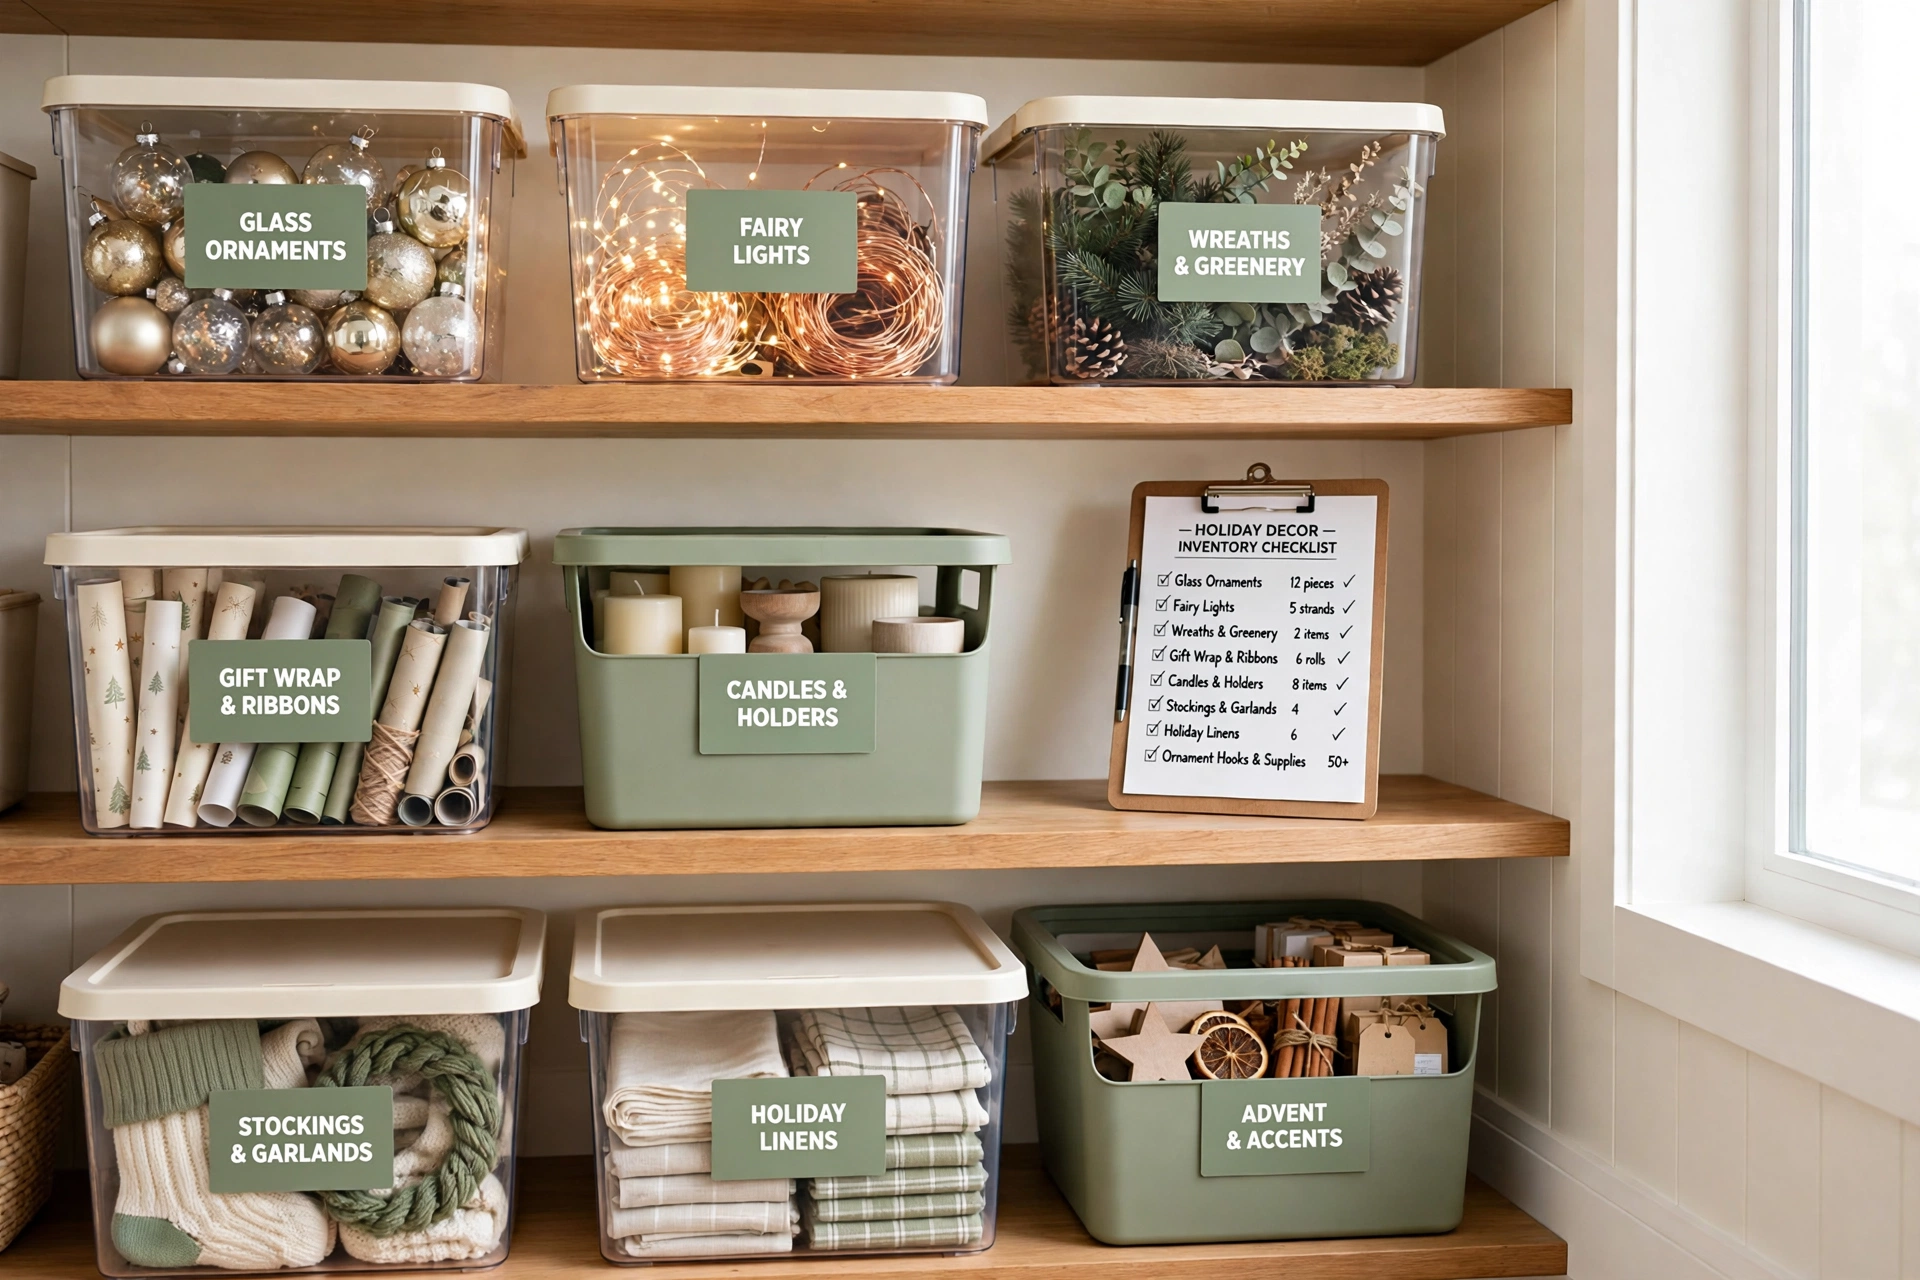
Every year the same thing happens in homes across the country. The holiday boxes come down from the attic or out of the garage, and nobody remembers what is inside them. You open three bins looking for the tree skirt, find two boxes of tangled lights, and buy a new set of ornaments you already own. The decorations are all there, but without records you spend the first day of decorating just searching.
A simple inventory system fixes that problem for good. When every bin has a number, a list, and a photo, you know exactly what you own and where it sits before you lift a single box. These 19 holiday decoration inventory organization ideas will help you build storage records that make setup faster, packing easier, and shopping smarter year after year.
1. Start a Master Inventory List for Every Decoration
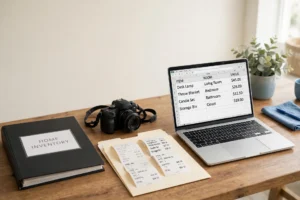
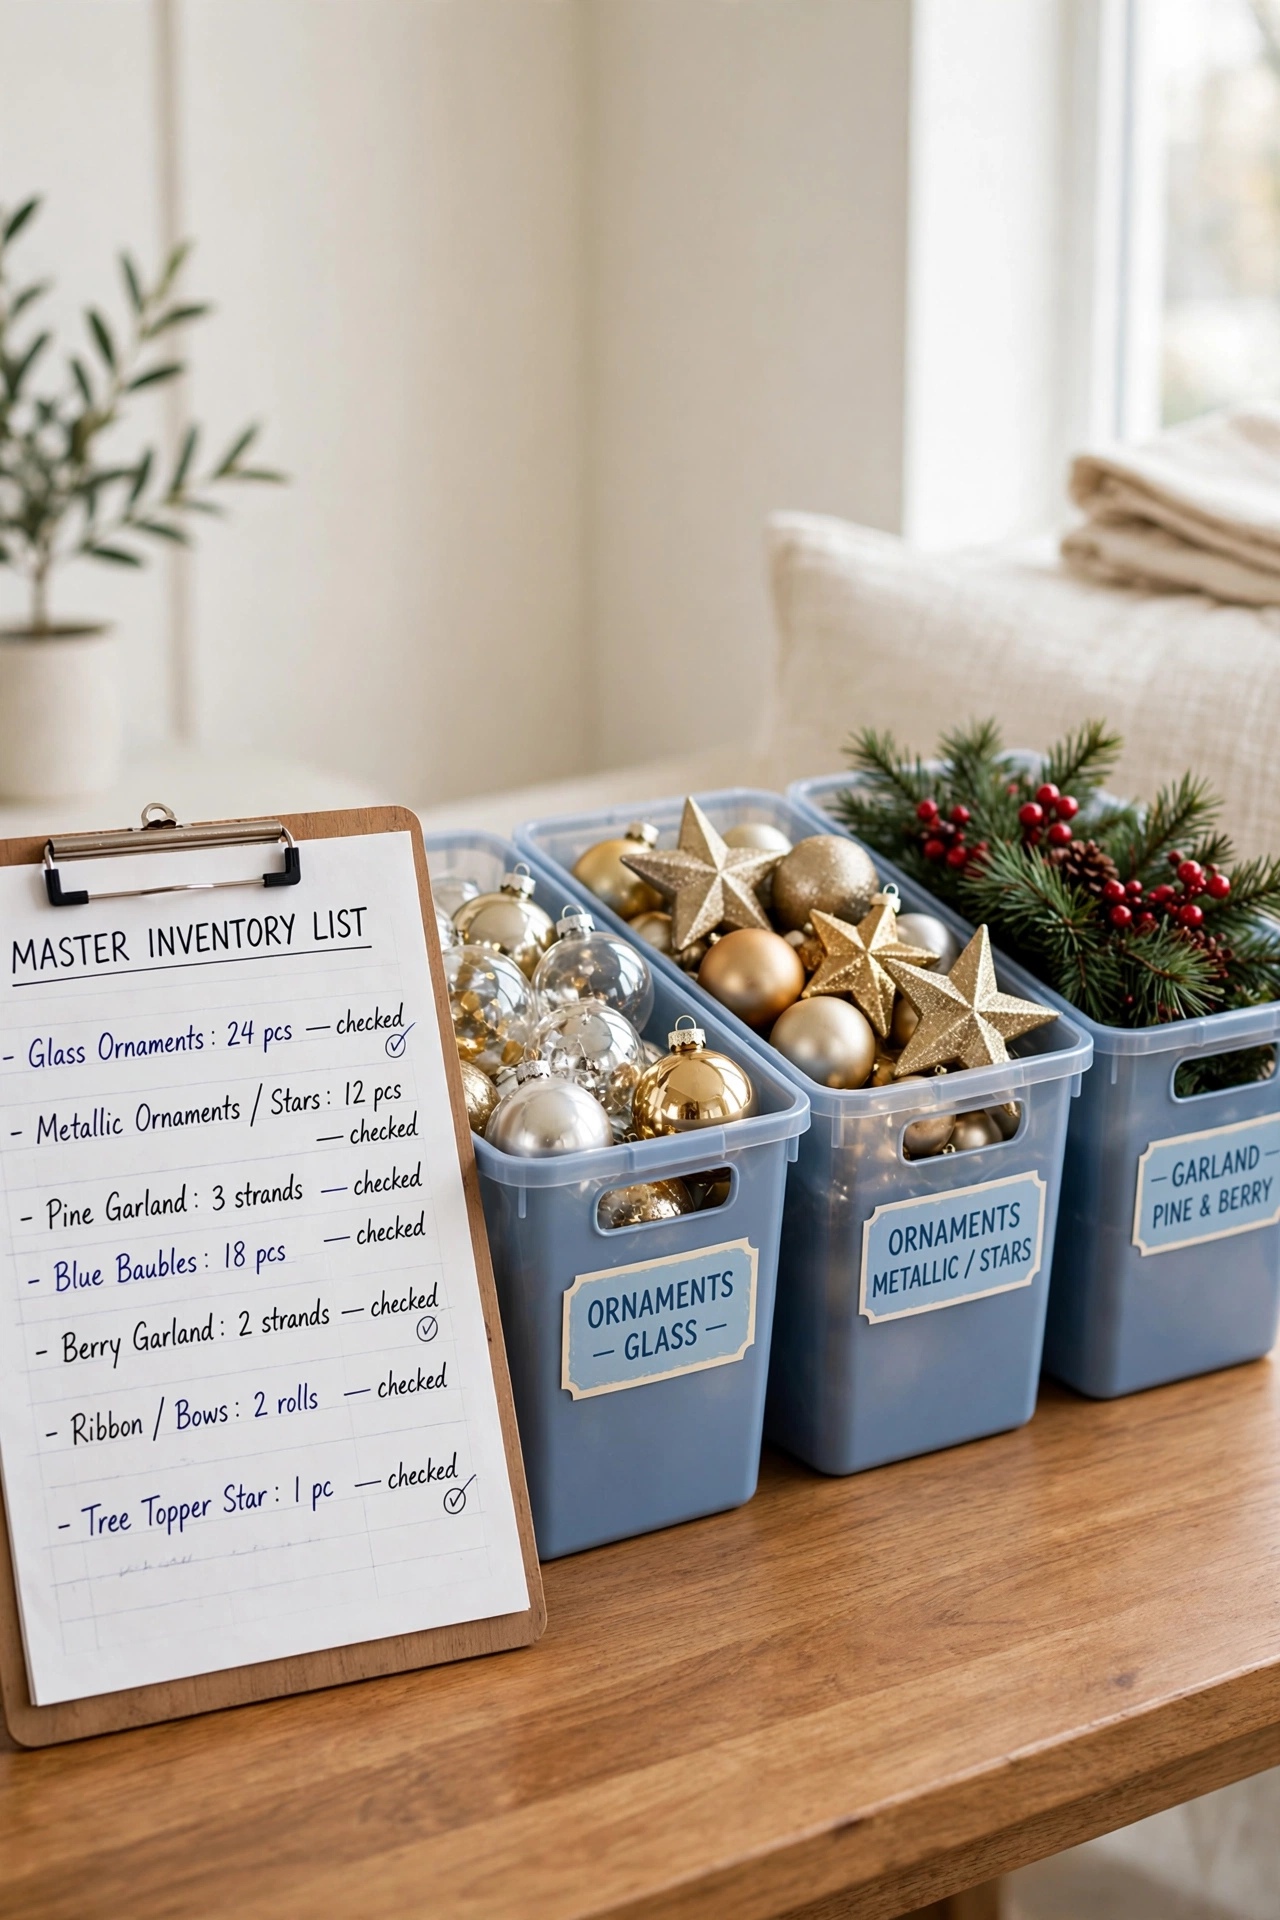
A master inventory list is one document that names every holiday decoration you own. Write down each item or group of items, such as the tree topper, the stocking set, or the box of red ornaments. Keep the list in one place so you never guess what you own when the season arrives.
Start small if the full collection feels overwhelming. List one bin at a time and add to the master list as you go. Within a single packing session you will have a complete record, and next year you will open the list instead of opening every box.
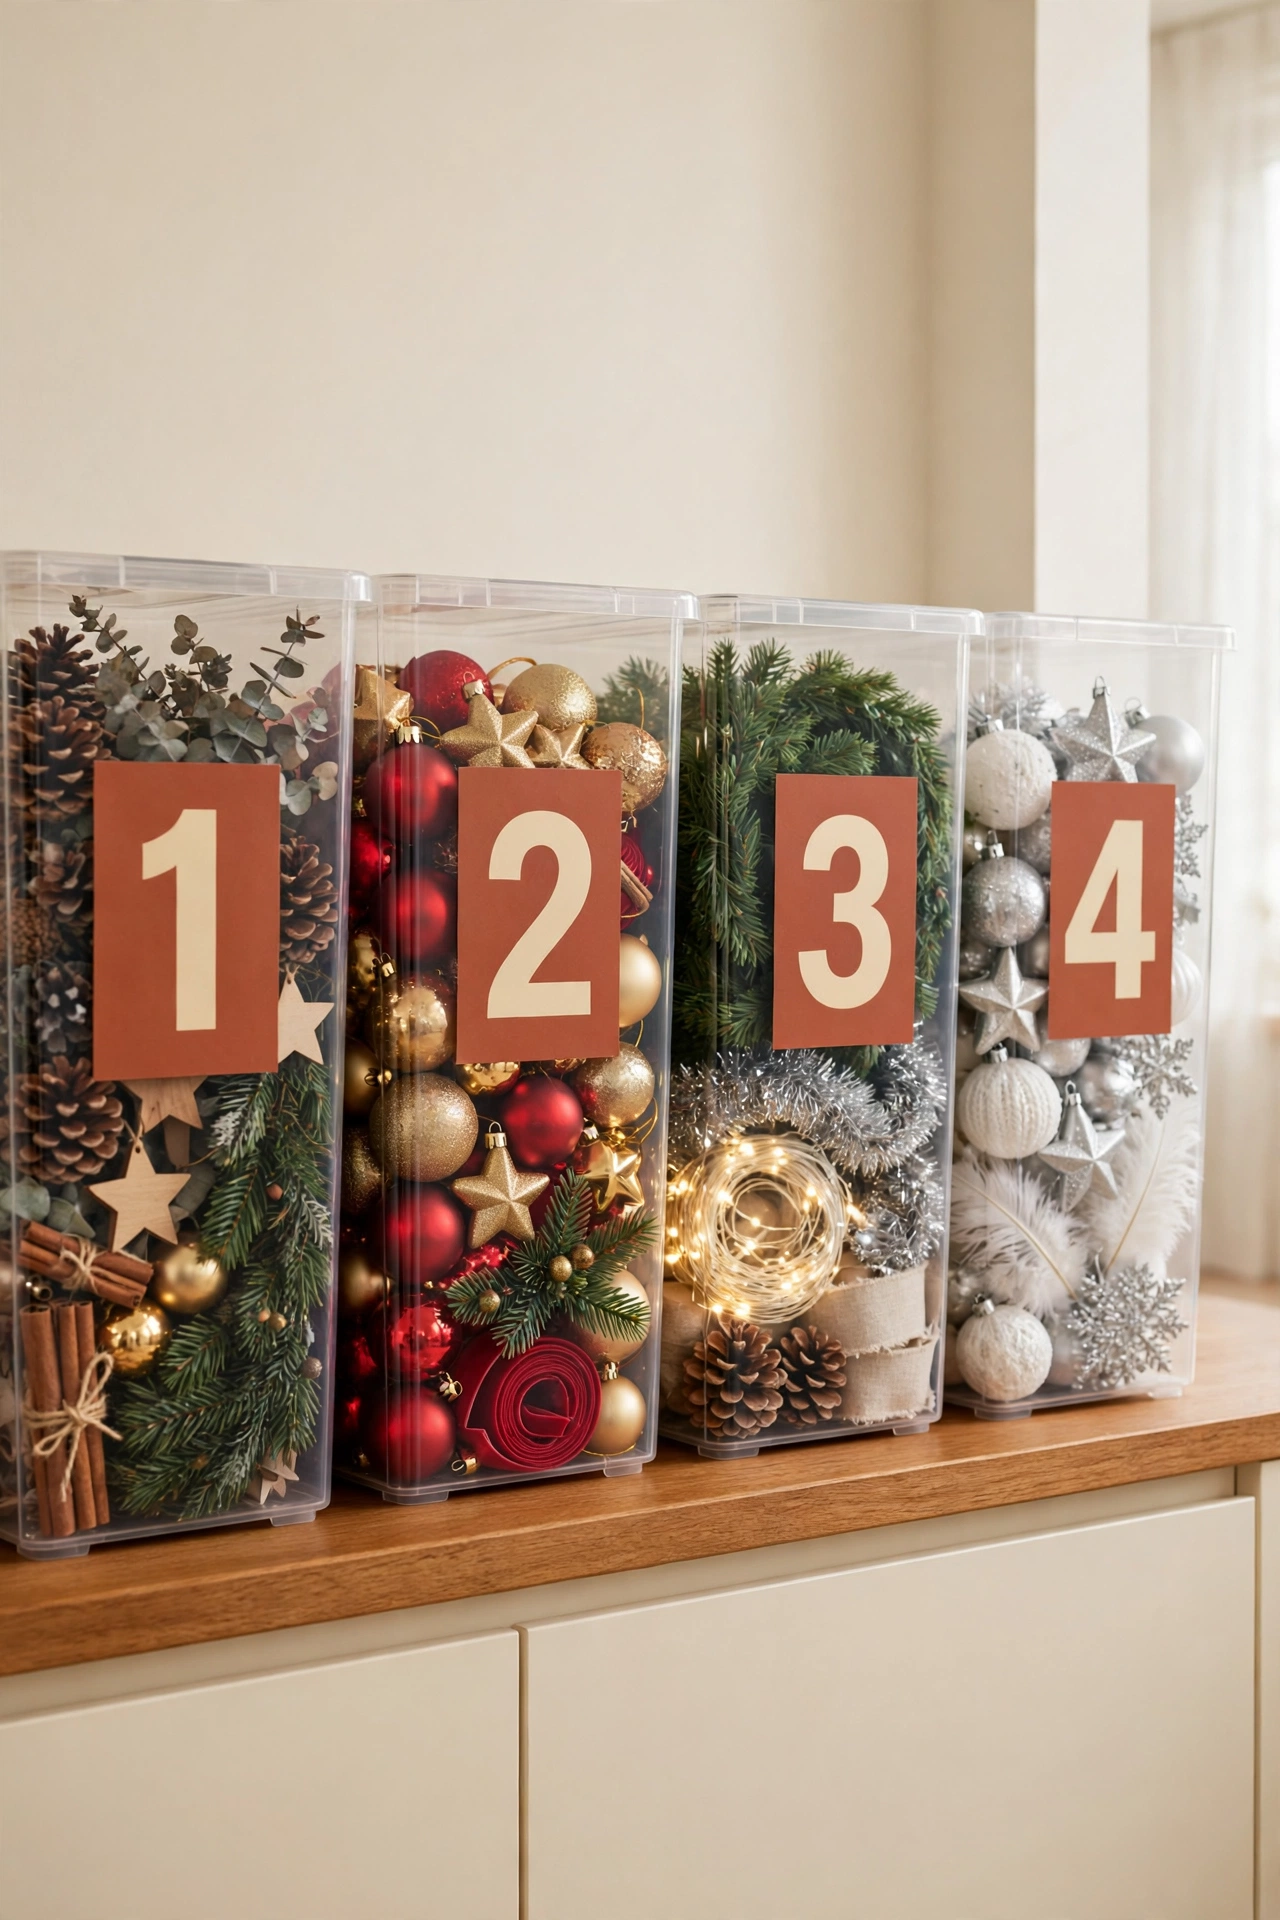
2. Number Each Bin and Match It to a List
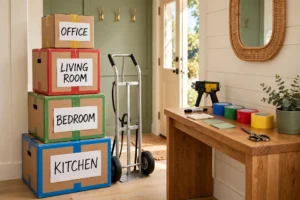
Give every storage bin a number, and write the same number next to its contents on your inventory list. Bin 1 holds the tree ornaments, Bin 2 holds the garlands, and so on. The numbers turn a stack of identical boxes into a system you can read at a glance.
Use large printed labels or bold marker on the outside of each bin so the numbers stay visible on a shelf. This simple habit works just like tracking food supplies, and these food inventory organization ideas show how the same numbered approach keeps a pantry easy to manage. When you need one item, the list tells you the bin number and you walk straight to it.
3. Photograph the Contents of Every Box
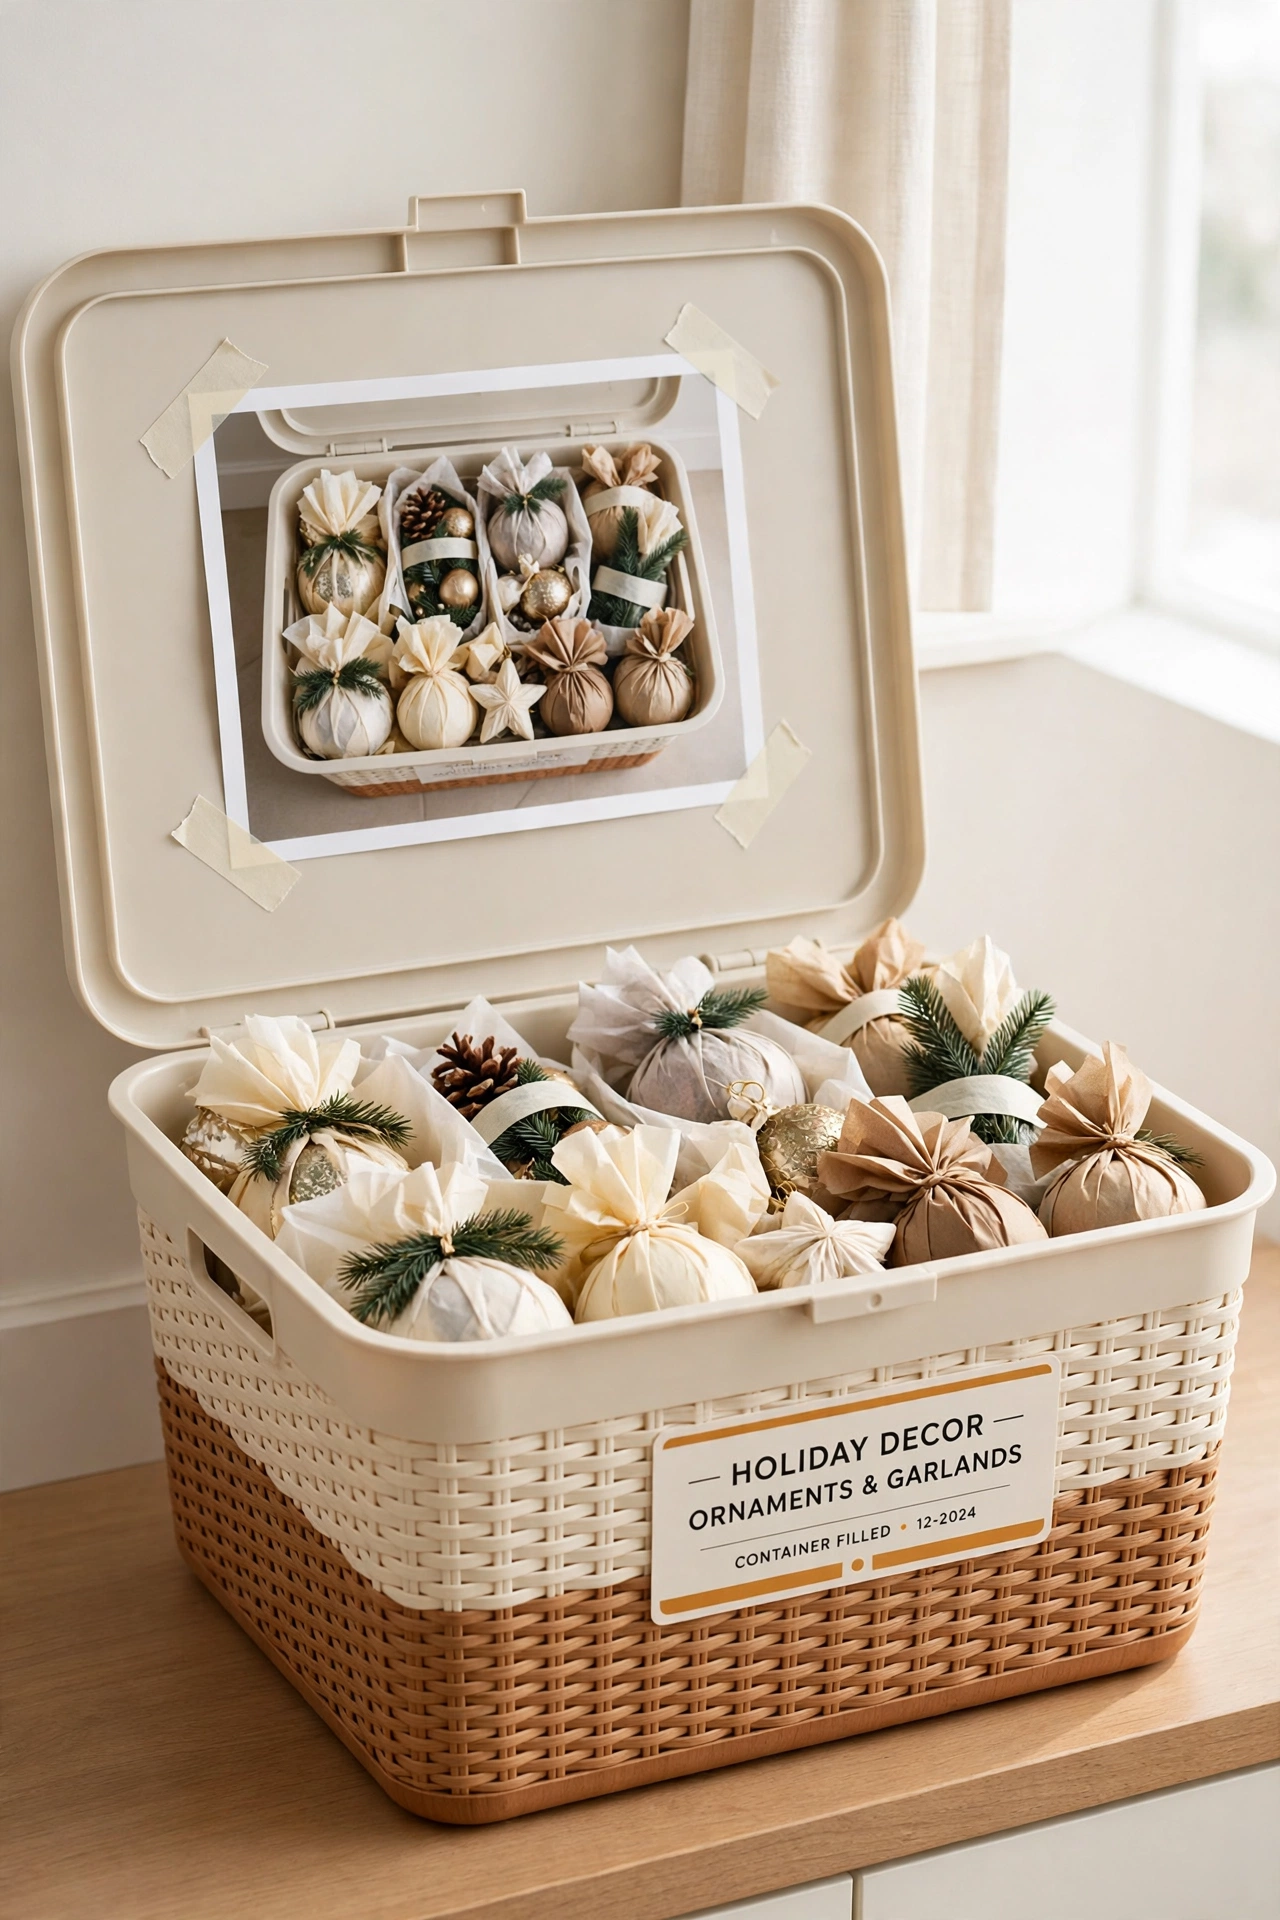
Before you close a bin, take a photo of everything inside it with your phone. A single picture shows more than a long written list, and it takes only a few seconds. Keep the photos in one album on your phone so you can check a box without opening it.
You can also print the photo and tape it to the inside of the bin lid. That way anyone in the family can see the contents the moment the lid comes off. Photos also help you remember how fragile items were packed, so you can wrap them the same way next year.
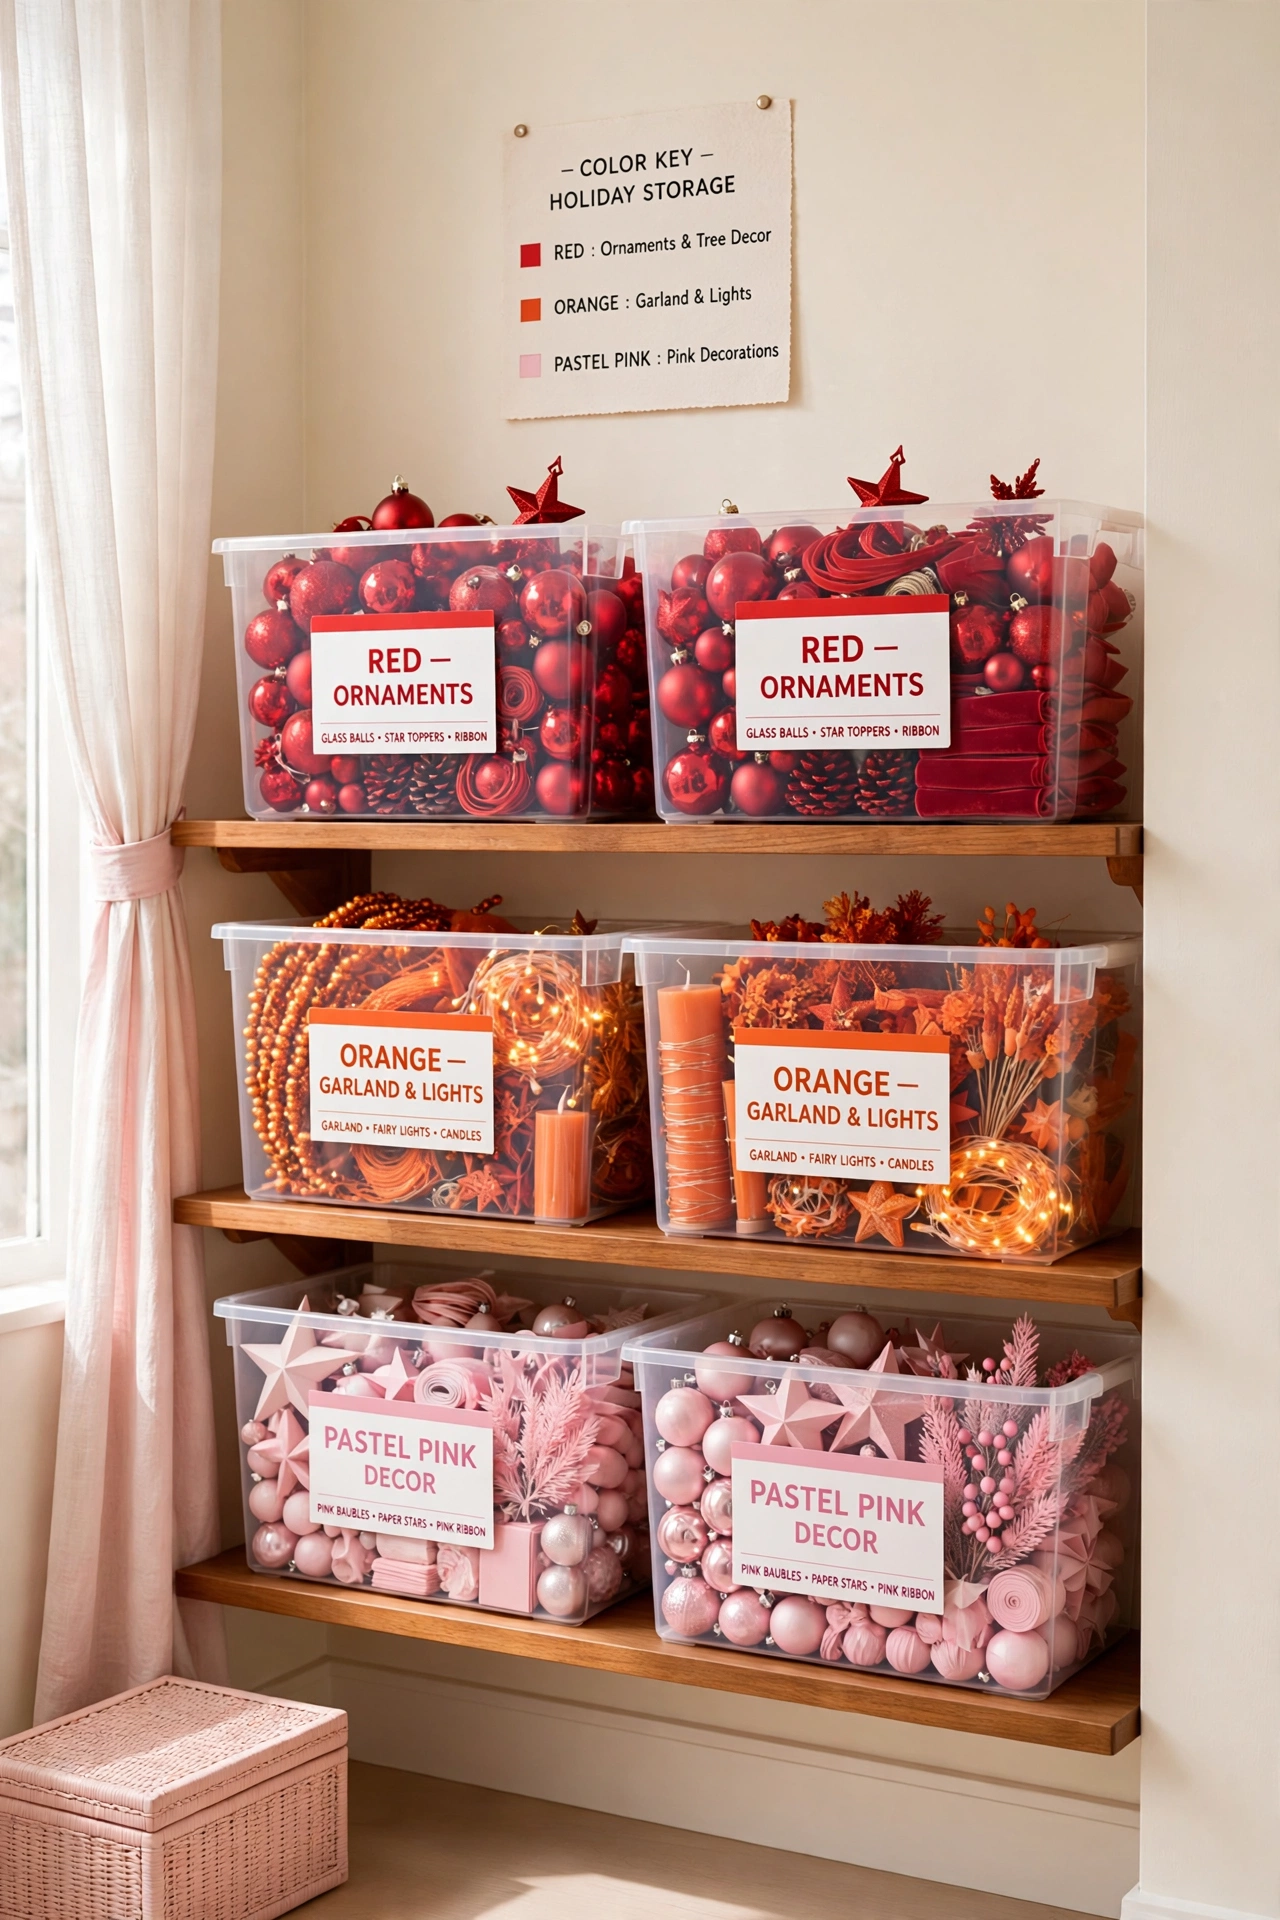
4. Color-Code Bins by Holiday
Assign one color to each holiday and use matching labels or bins for that holiday only. Red labels can mark Christmas boxes, orange labels can mark Halloween boxes, and pastel labels can mark spring boxes. Color coding lets you spot the right group from across the room.
Keep the color key written on your master list so everyone uses the same system. If you buy new bins, choose colored lids or colored tape to match the labels. A quick look at the shelf tells you which holiday group sits where, even before you read a single word.
5. Keep a One-Page Box Contents Card Inside Each Lid
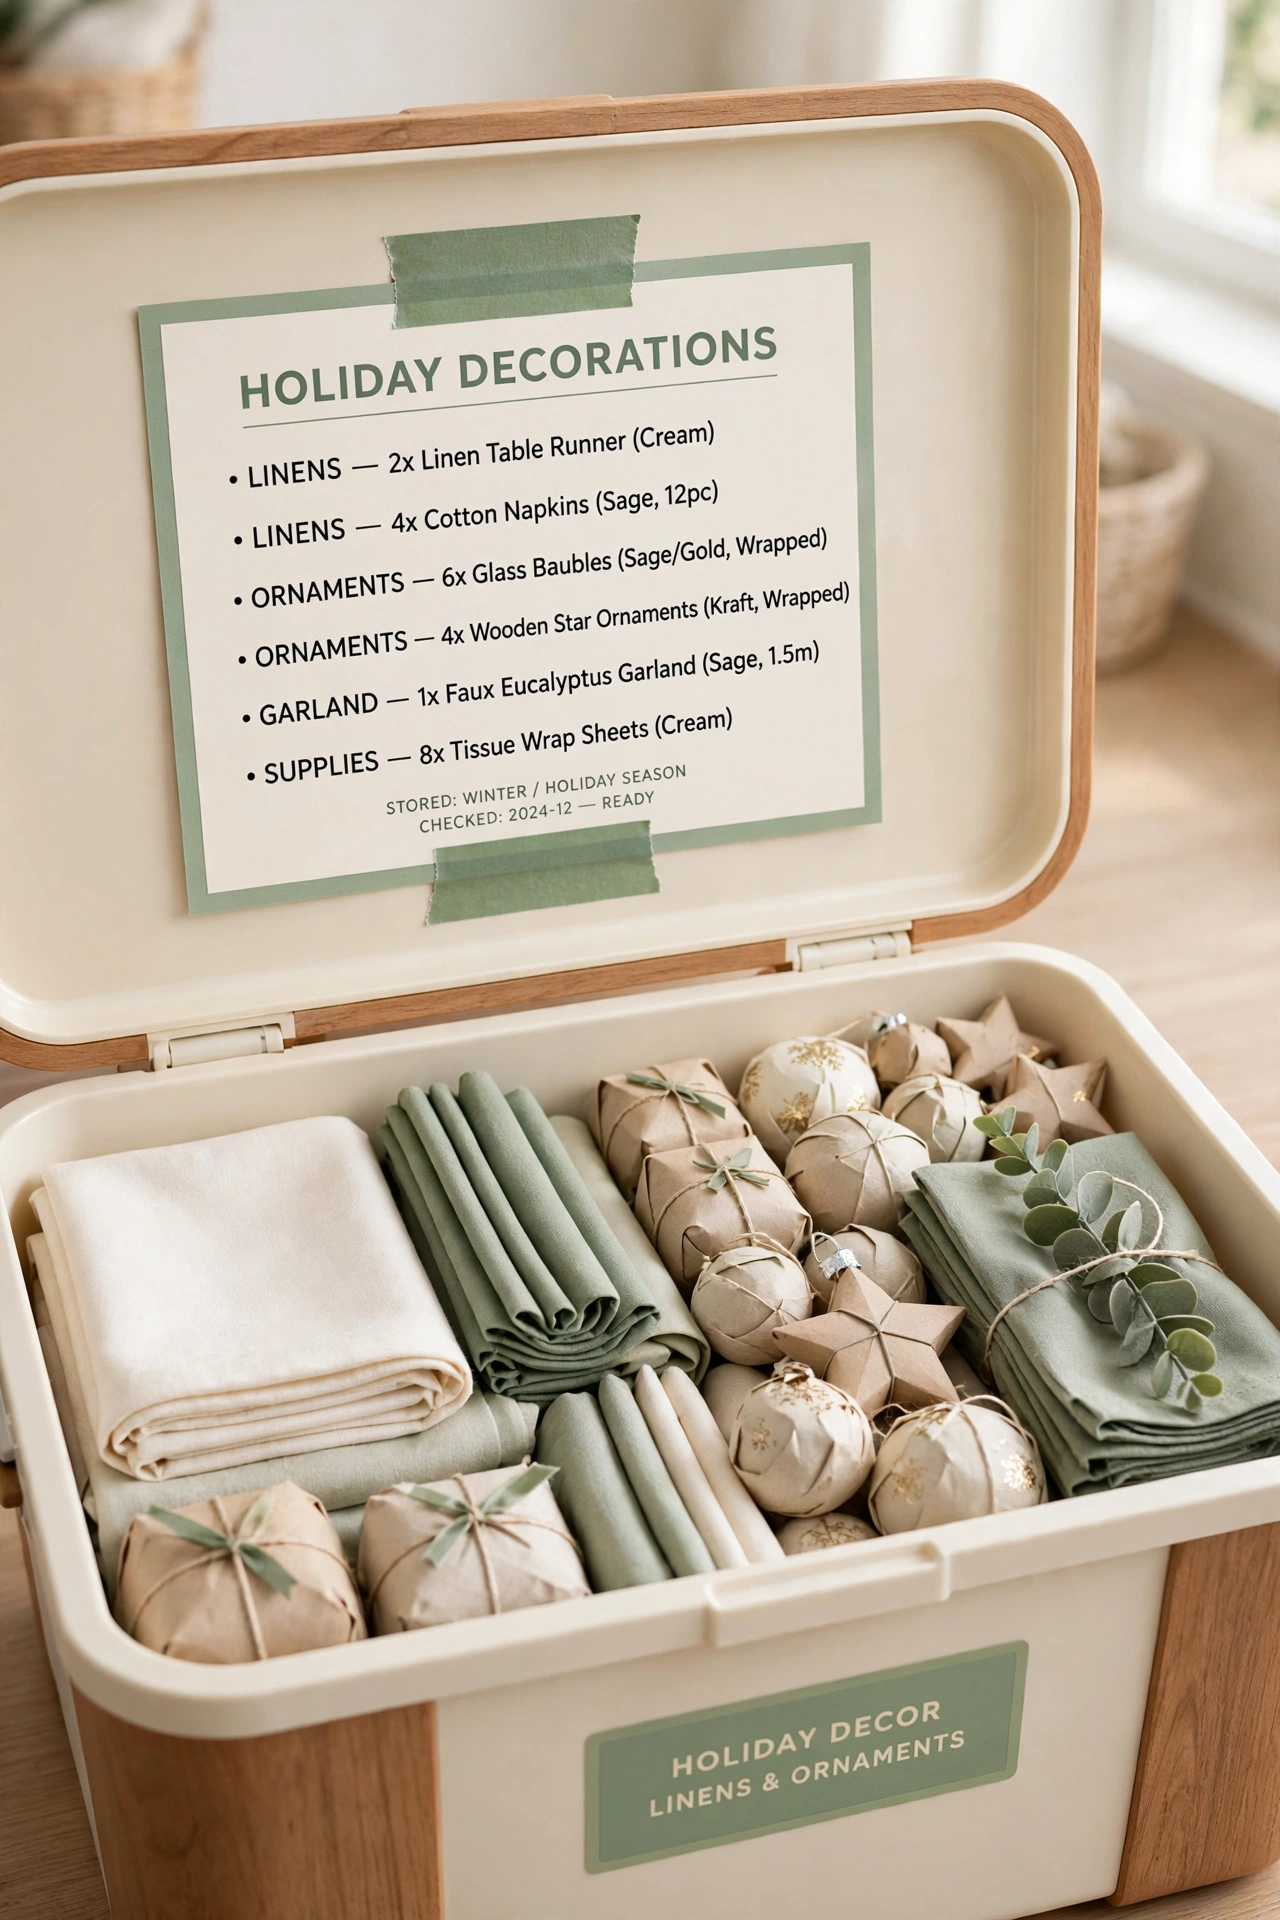
Tape a small card to the inside of every bin lid that lists exactly what sits in that bin. The card stays with the box, so the record never gets separated from the decorations. When you open the lid, the full contents list is right in front of you.
Use a simple template with lines for the bin number, the holiday, and each item inside. Update the card with a pen whenever you add or remove something. This one-page record saves you from digging through layers of tissue paper to confirm what is packed below.
6. Map Your Storage Shelves on Paper
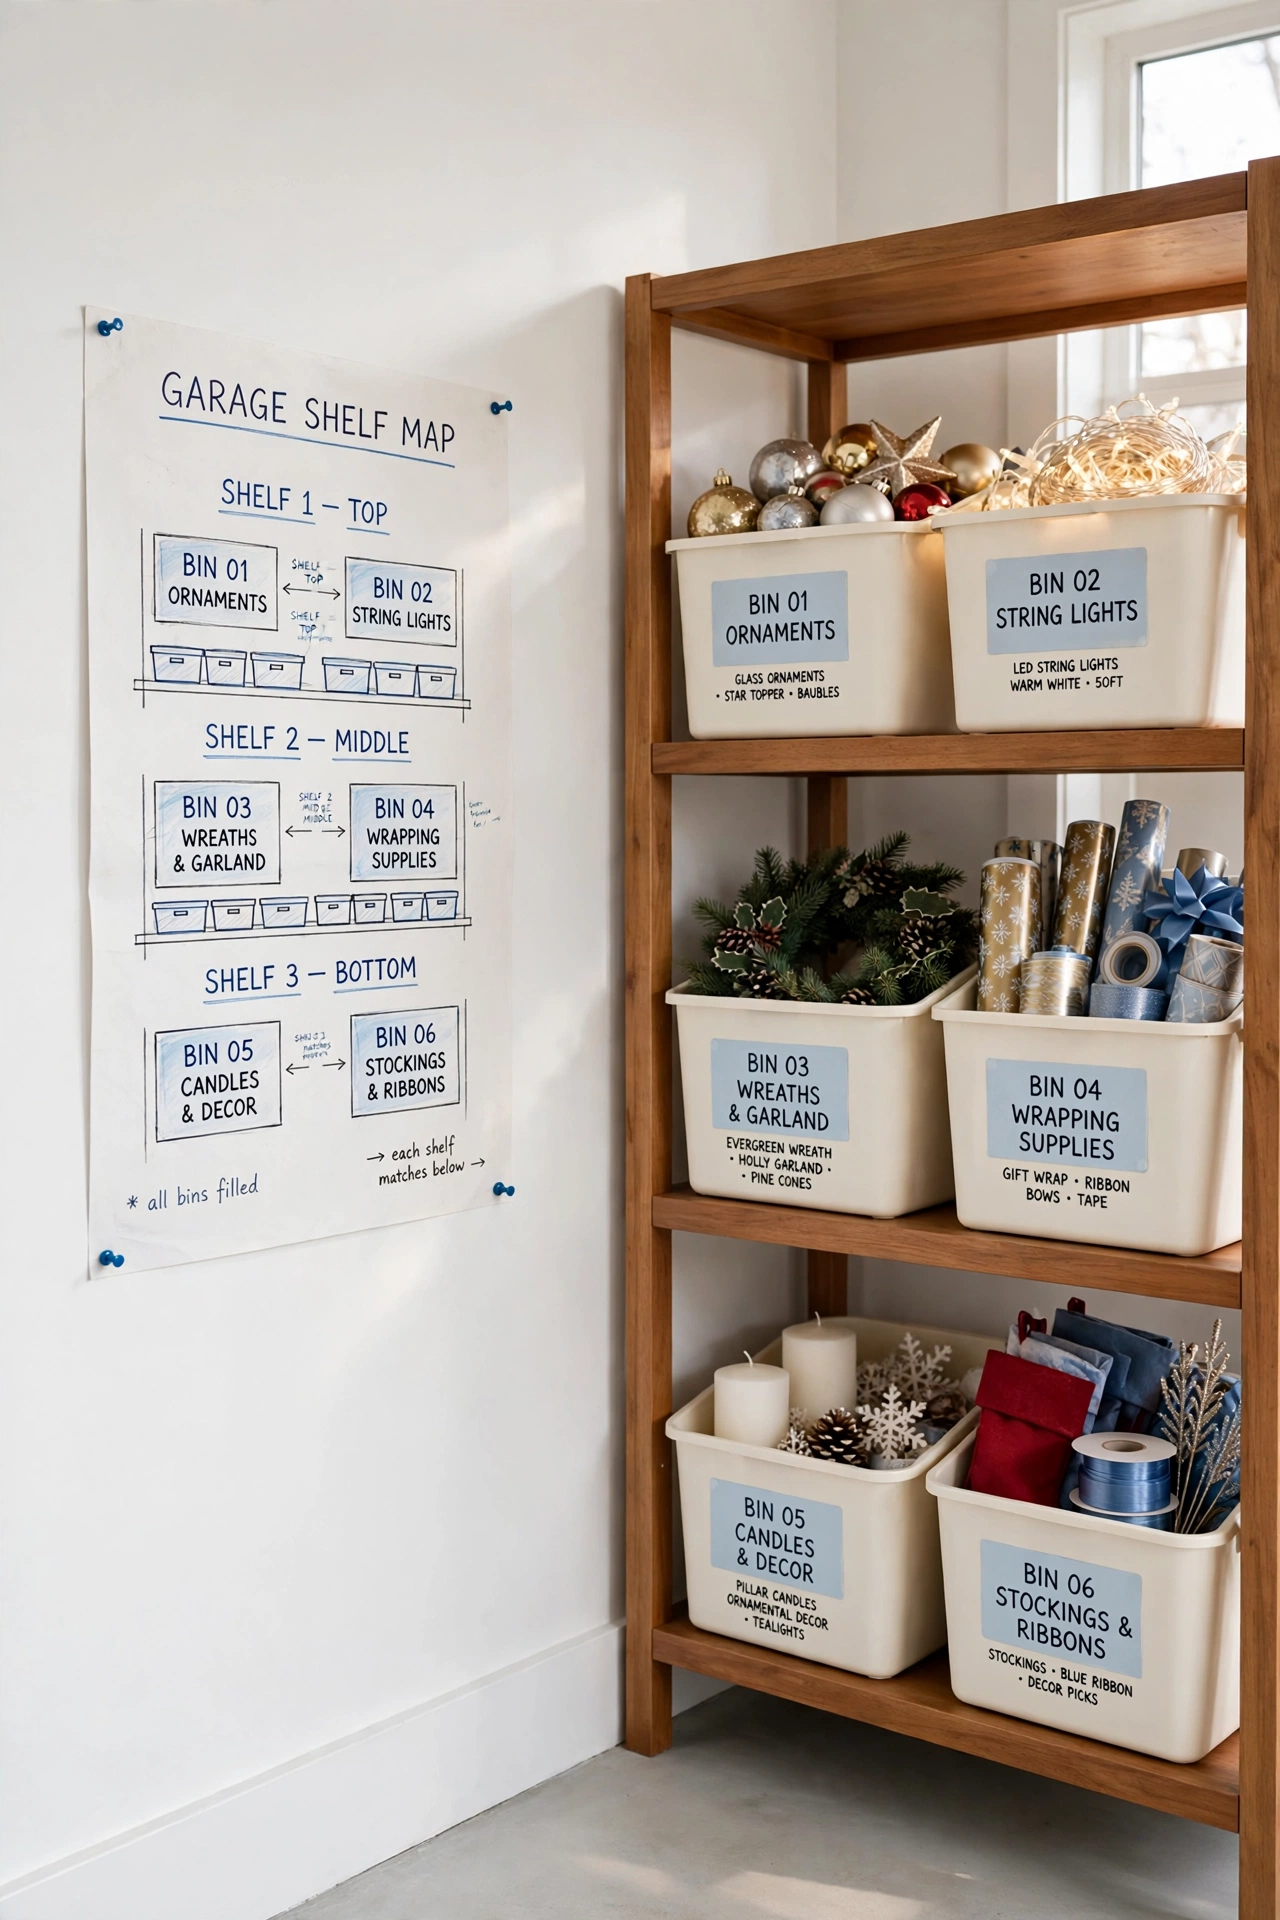
Draw a simple map of your storage shelves and mark which bin sits on each shelf. The map does not need to be fancy. A rectangle for each shelf with the bin numbers written inside is enough. Pin the map near the storage area or keep it with your master list.
A shelf map matters most when bins move during the year or when someone else puts them away. Instead of hunting through the garage, you check the map and go to the right shelf. For sturdy shelving that holds labeled bins well, see these garage shelf organization ideas that keep heavy holiday boxes safe and easy to reach.
7. Log Ornament Counts Before You Pack Away
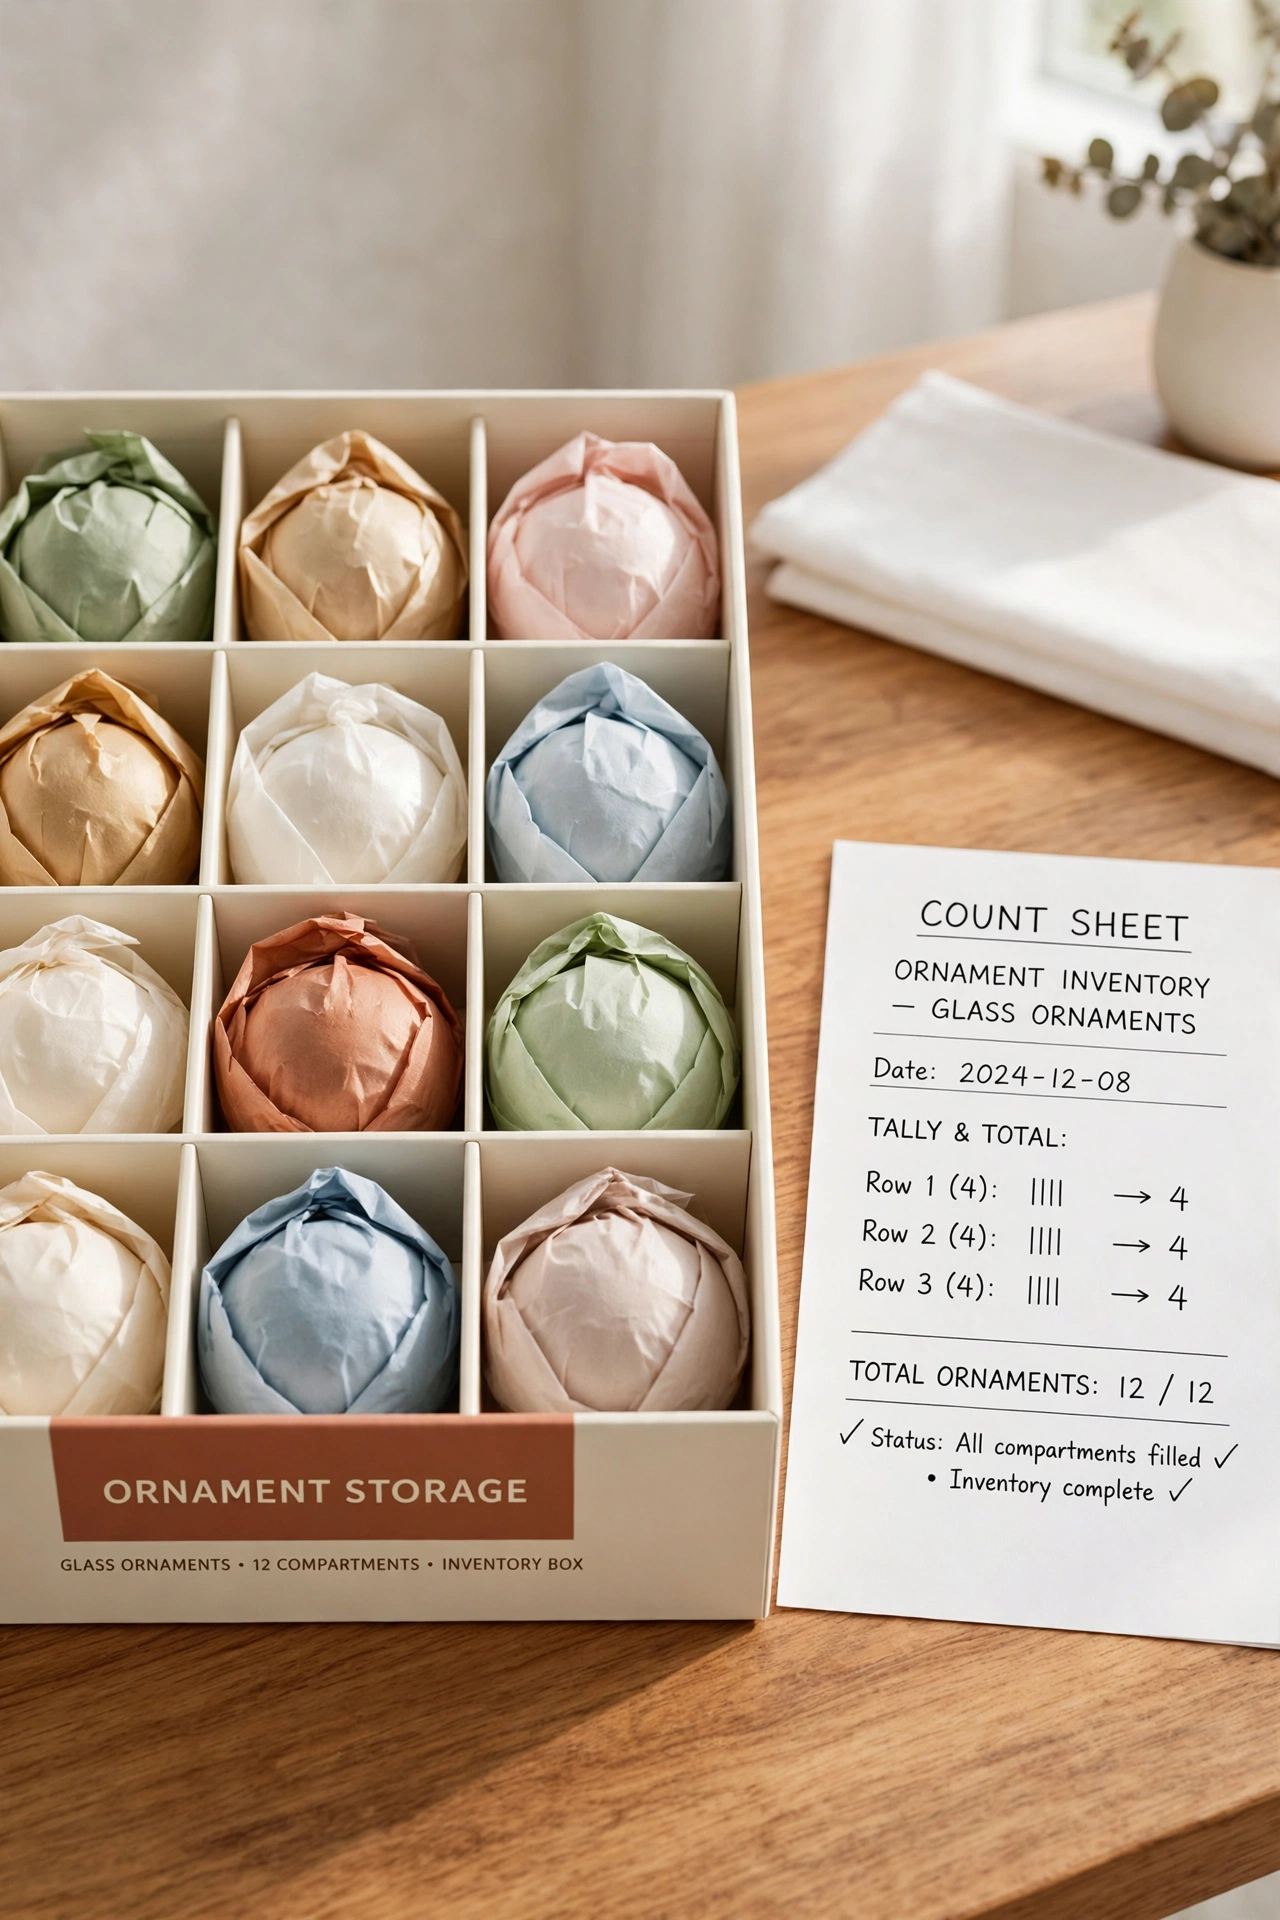
Count your ornaments before you pack them and write the totals on your inventory list. Record how many ornaments sit in each box and note any that broke during the season. Counts stop you from buying duplicates of ornaments you already own in plenty.
Group the counts by type if your collection is large, such as glass balls, wooden ornaments, and keepsake ornaments. A quick count takes only a few minutes while you wrap each piece. Next year the numbers tell you at a glance whether anything is missing.
8. Create a Lights Log With Lengths and Working Order
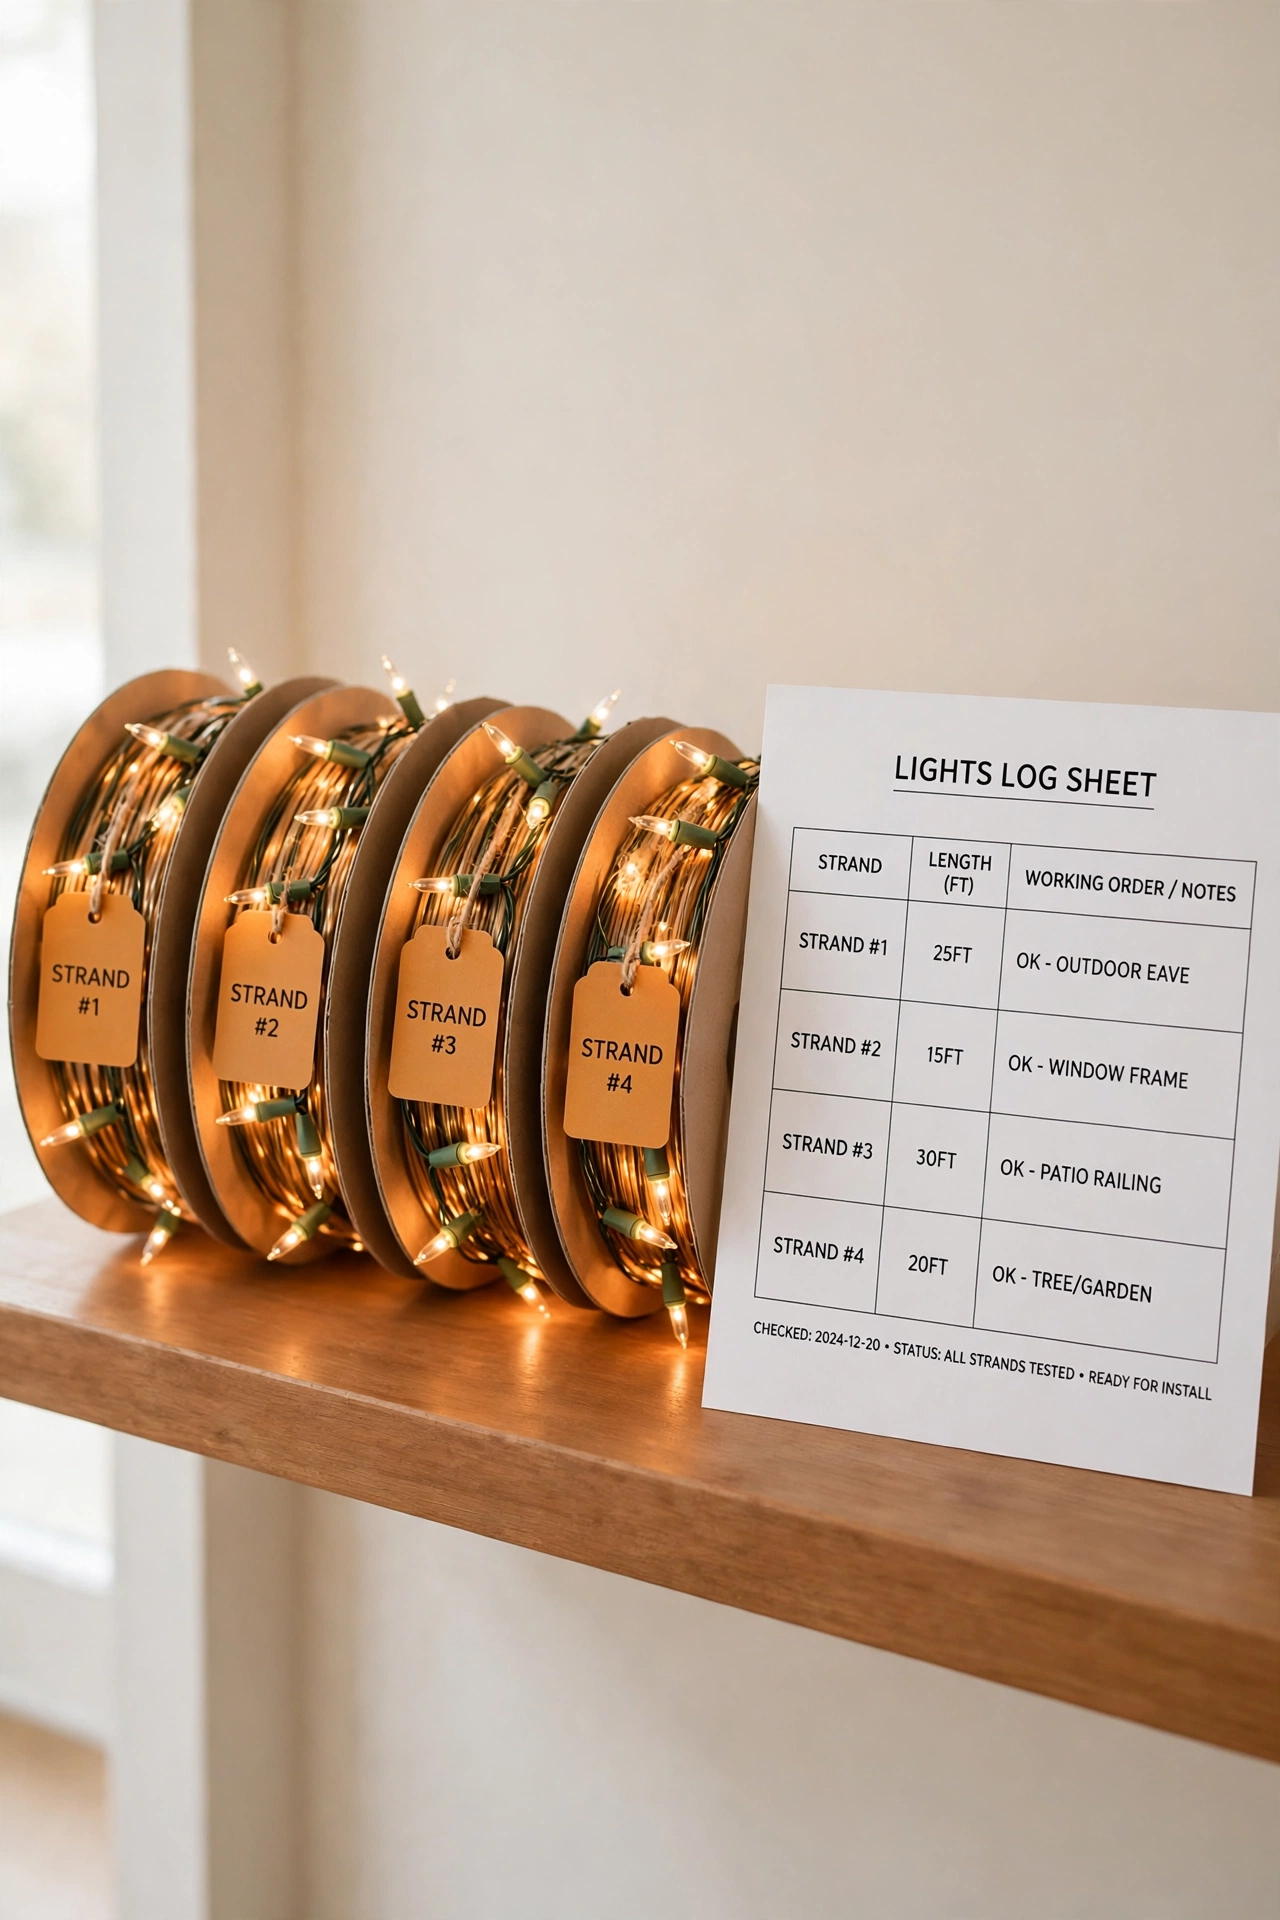
Holiday lights cause more frustration than any other decoration when records are missing. Start a lights log that records each strand, its length, its color, and whether it worked when you packed it. Note which strands need new bulbs so you can fix them before setup day.
Wrap each strand around a cord spool or a piece of cardboard and attach a small tag with its number from the log. When decorating time comes, you will know exactly how many working strands you have and where each one goes. No more untangling mystery strands in the dark.
9. Use a Binder for Printed Inventory Sheets
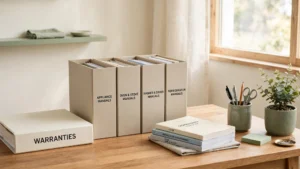
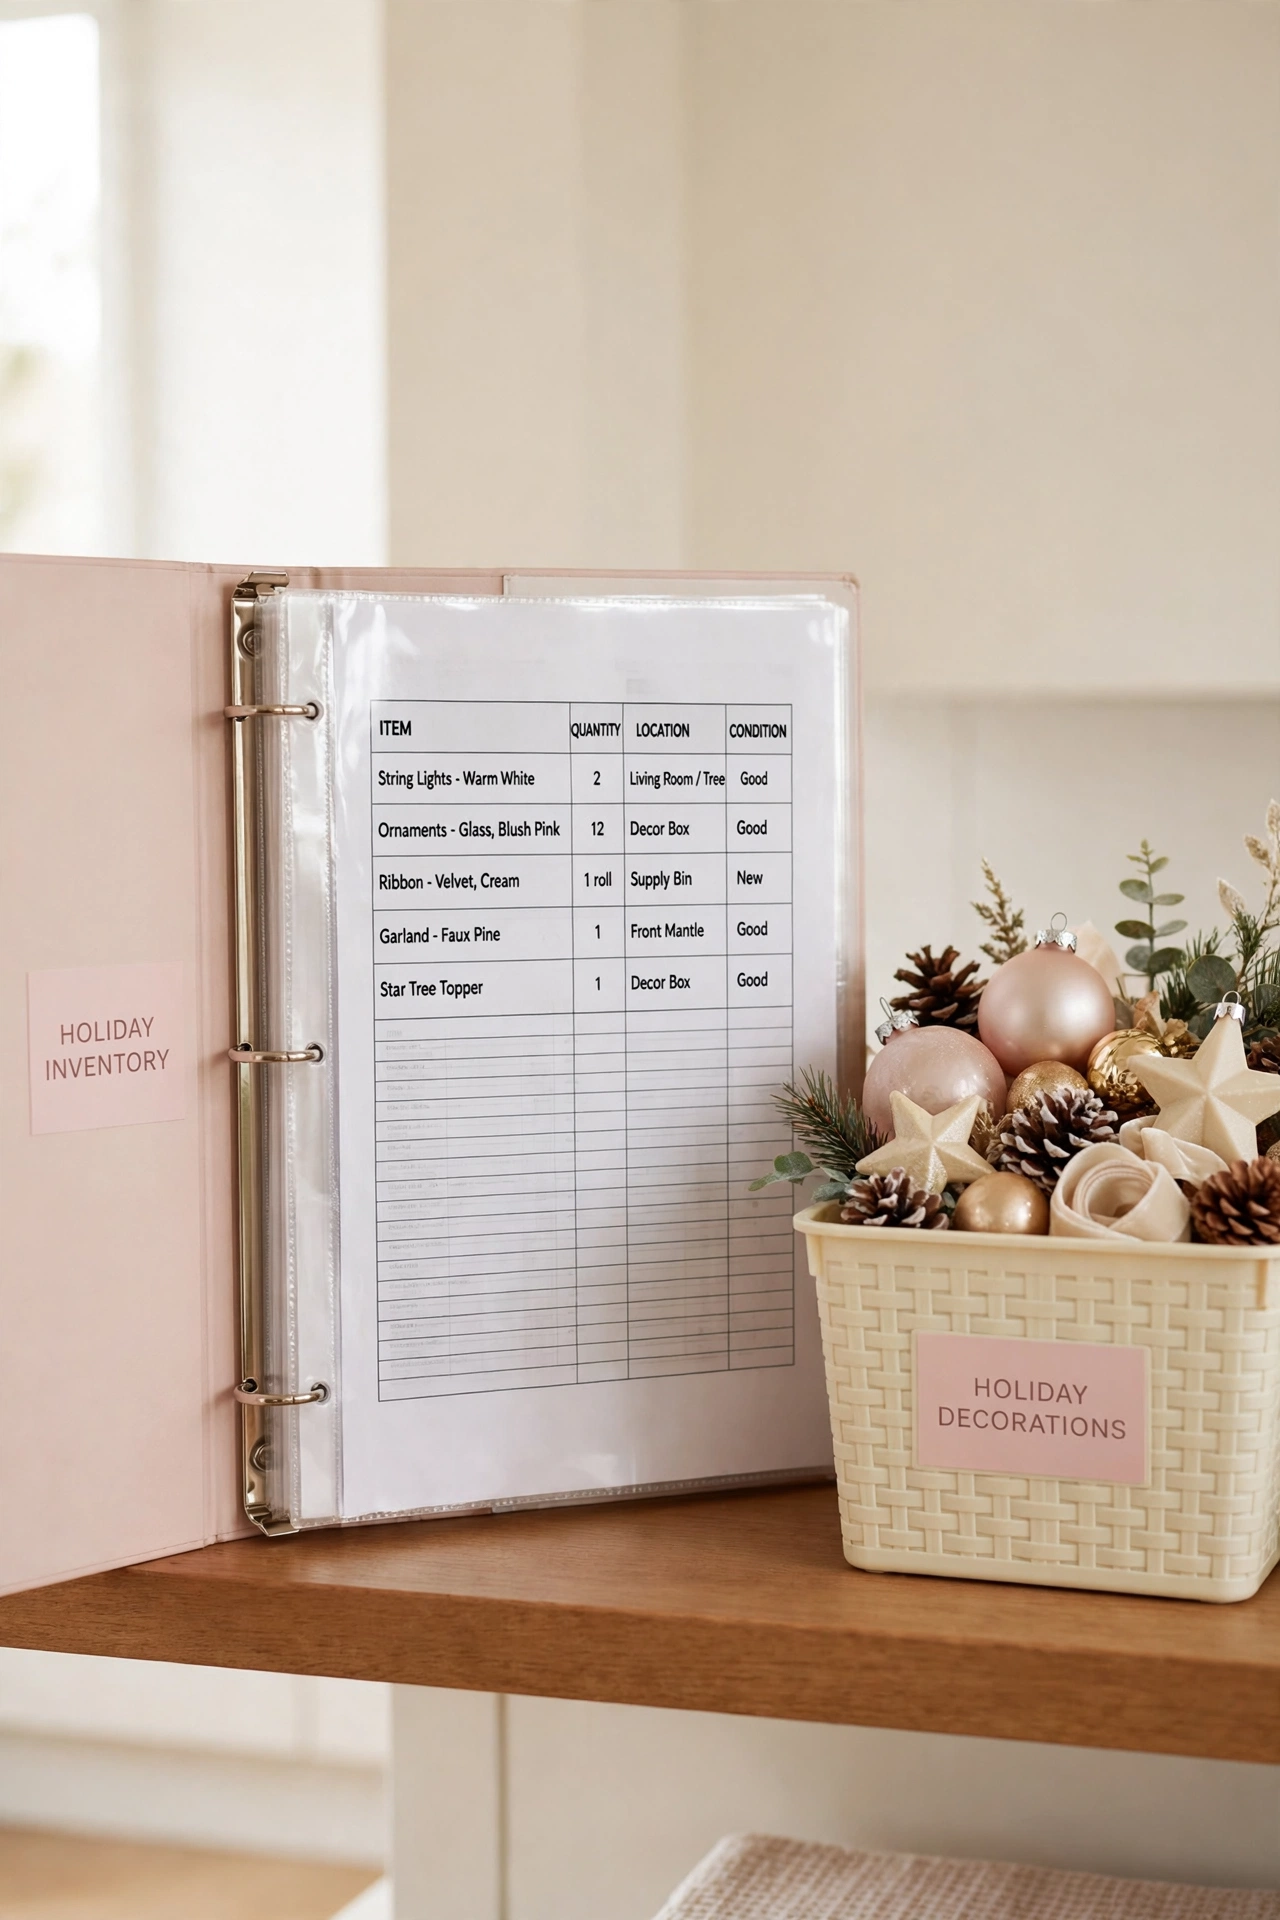
A single binder can hold your master list, your bin cards, your lights log, and your shelf map in one place. Use clear page protectors so the sheets stay clean in a dusty garage or attic. Label the spine with the words Holiday Inventory so the binder is easy to find.
Keep the binder on the same shelf as the decoration bins or in a nearby closet. Each year, pull it out before you touch a box and review what you own. A paper binder also works when phones die or files get lost, so your records are always within reach.
10. Track Light Strands and Cords in a Cord Log
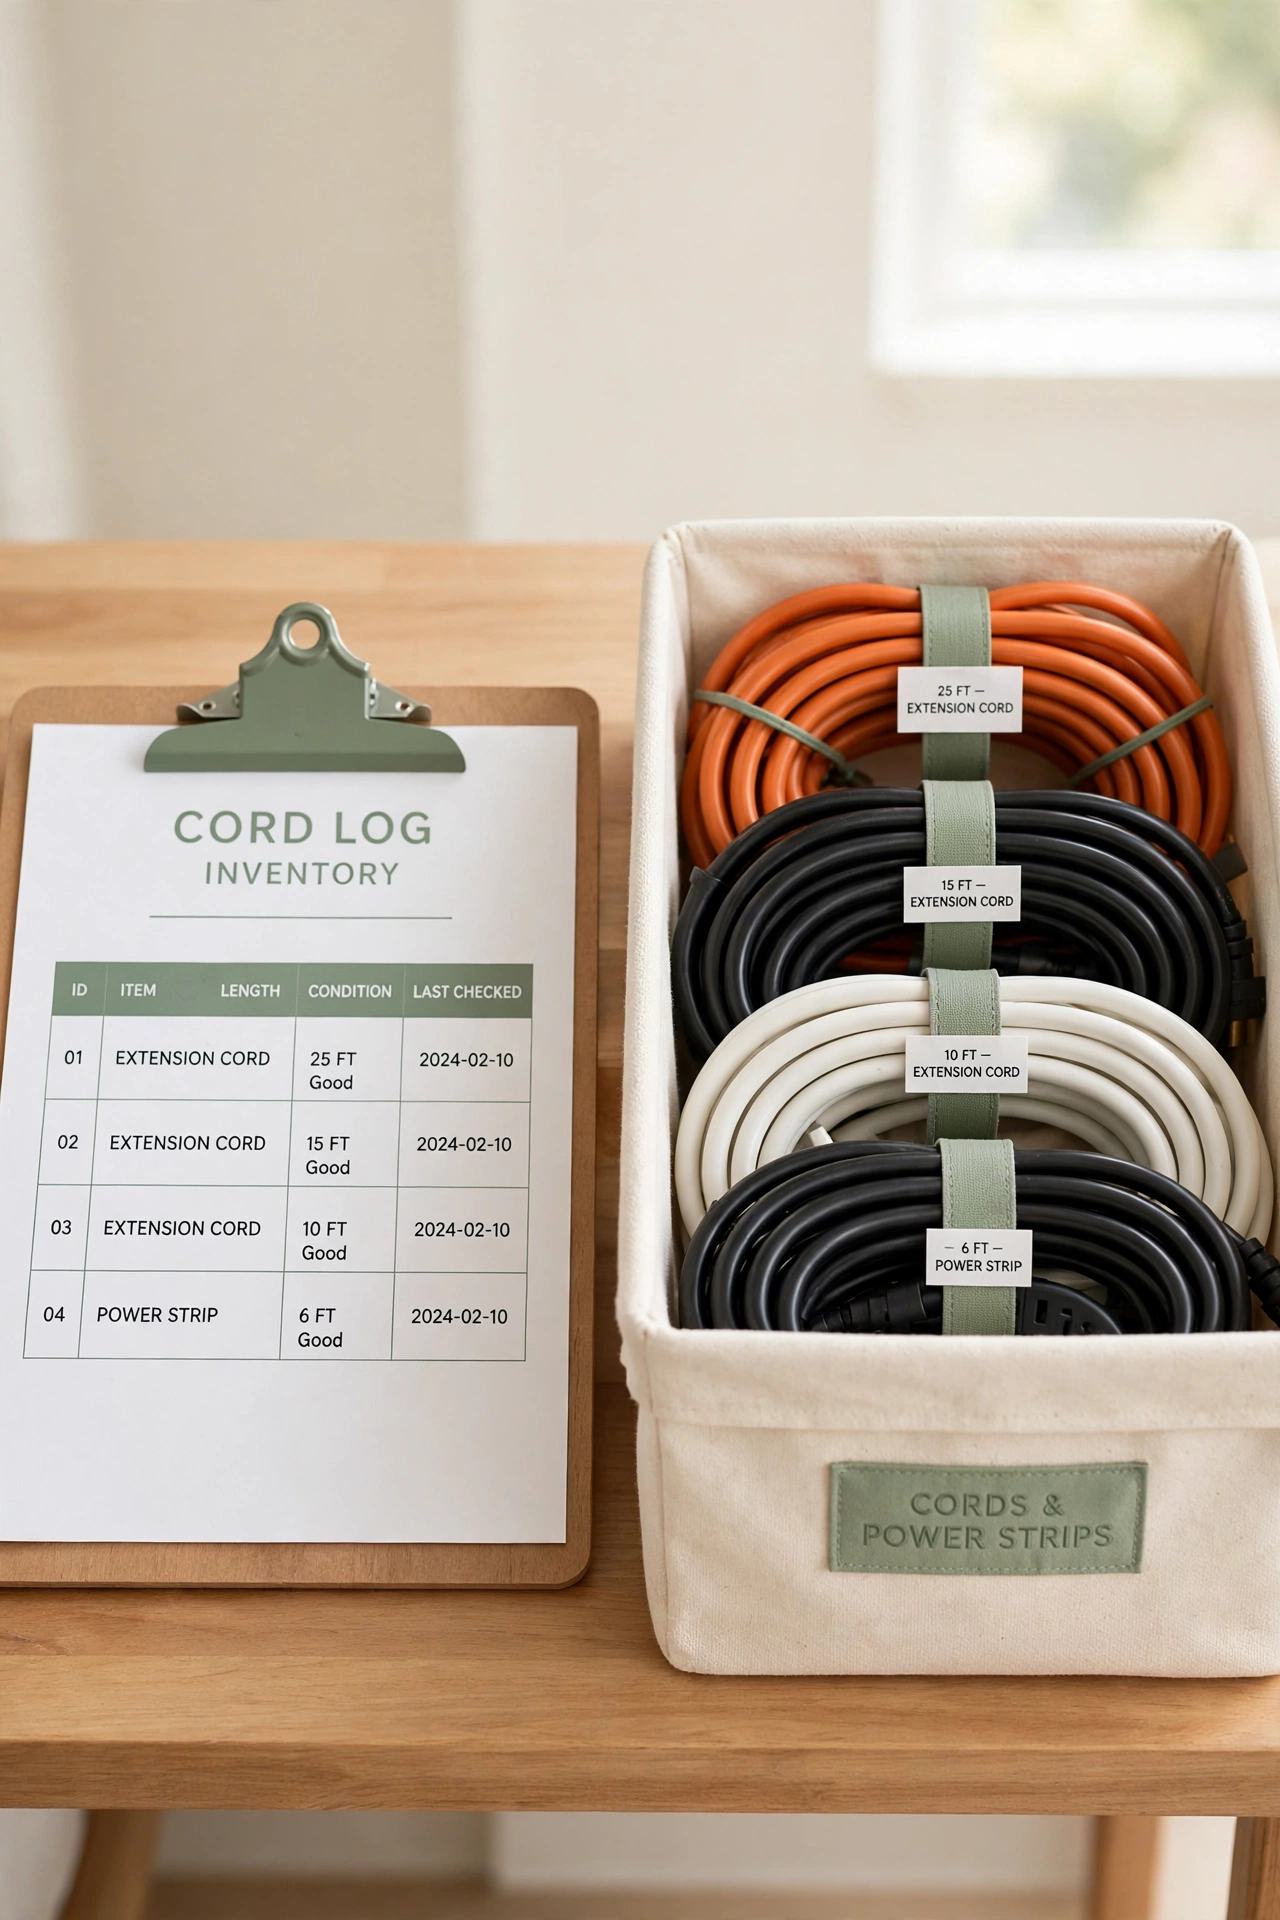
Extension cords, timers, and power strips are easy to lose among the decoration boxes. A cord log records each cord, its length, and which bin holds it. Add a note about where each cord was used, such as the front window or the mantel, so setup goes faster.
Coil each cord neatly and secure it with a Velcro tie or a rubber band before it goes into its bin. These extension cord storage ideas show tidy ways to keep cords tangle-free all year. When the log and the storage match, you will never buy a third extension cord you do not need.
11. Record Decoration Condition Notes Each Year
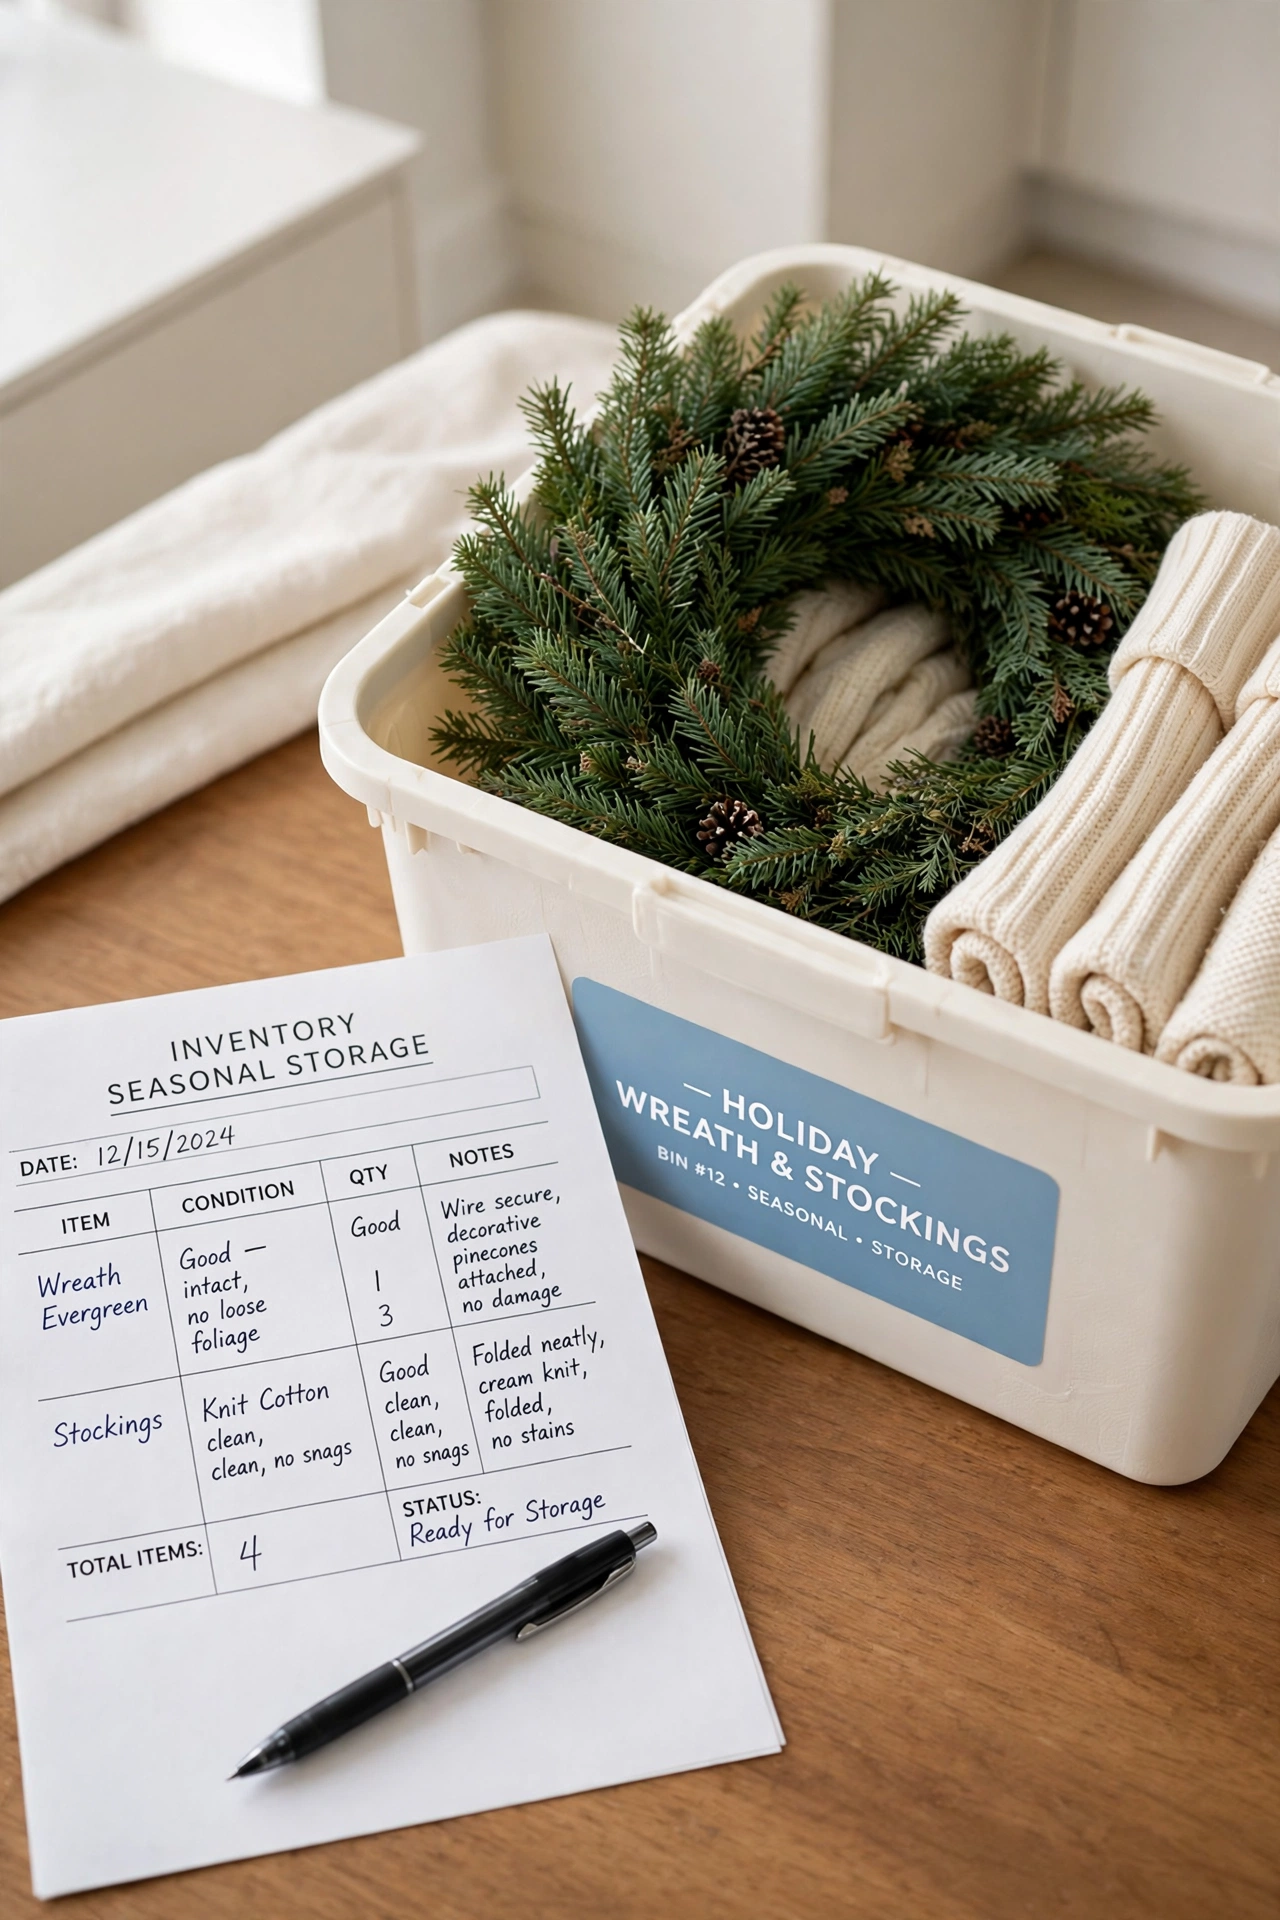
As you pack each decoration, jot down a short note about its condition. Write whether an item is like new, needs a small repair, or should be retired. Condition notes help you plan repairs during the off-season instead of discovering damage on setup day.
Keep the notes on the same inventory sheet as the item name so the information stays together. A note like “wreath needs new bow” or “one stocking hook loose” takes seconds to write. Over the years these notes build a clear picture of which decorations are worth keeping.
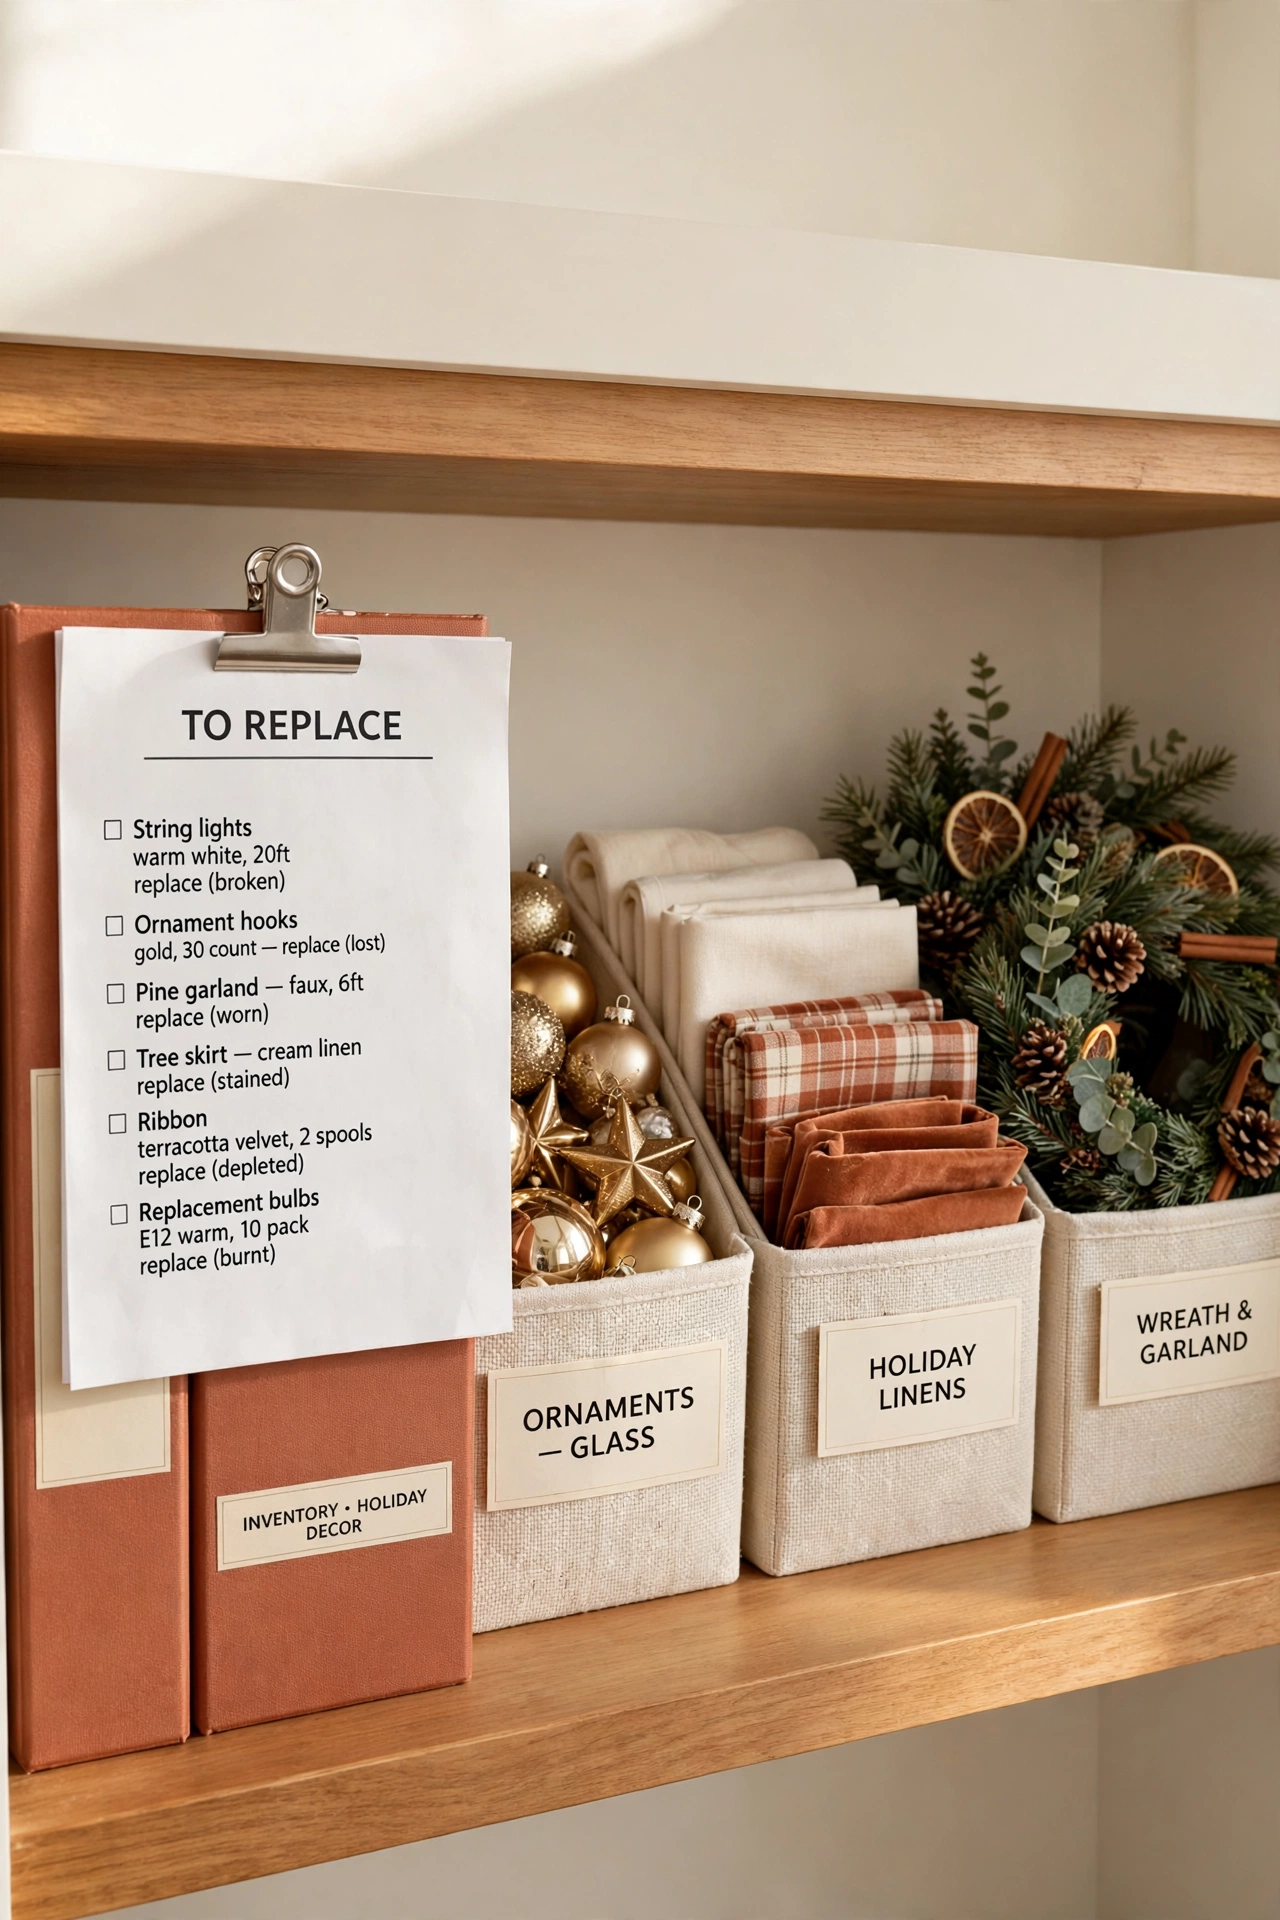
12. Keep a Shopping List of Items to Replace
Every packing session reveals a few things that need replacing. Start a running shopping list on the last page of your inventory binder and add items as you notice them. A dead light strand, a cracked ornament hook, or a worn tree skirt all go on the list.
Review the list before the holiday sales start so you can shop with a plan instead of guessing. You will buy only what you truly need and skip the impulse purchases that create clutter. A focused list also keeps your decoration budget under control each season.
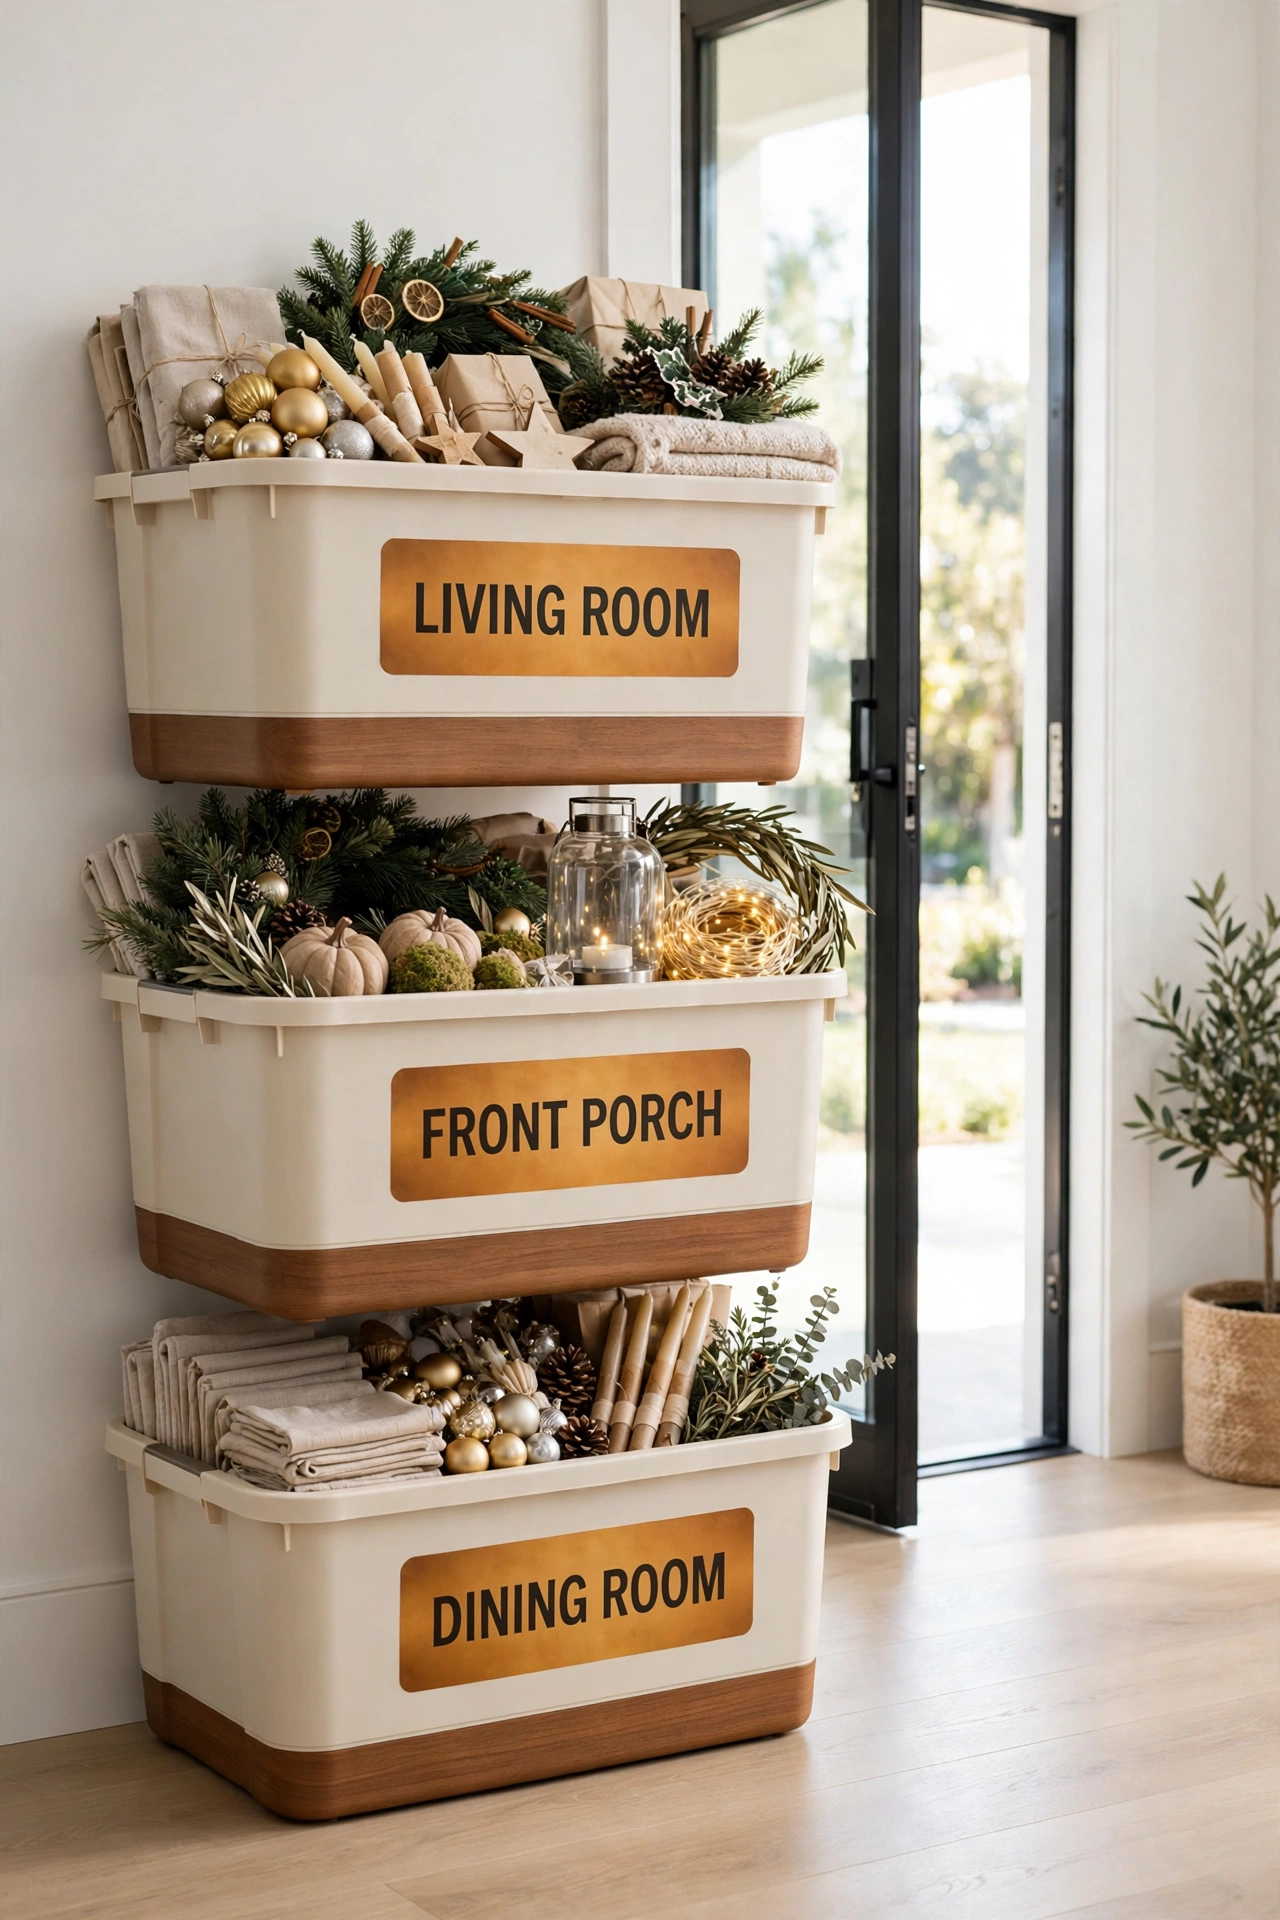
13. Label Bins With Room Names for Setup Day
Add a room name to every bin label so you know where each box belongs when setup day arrives. A bin marked “Living Room” goes straight to the living room, while a bin marked “Front Porch” heads outside. Room labels turn unloading into a one-trip job.
Match the room names to the rooms where you actually display the decorations. If a bin holds items for two rooms, list both names on the label. This small detail saves repeated trips up and down the stairs with heavy boxes.
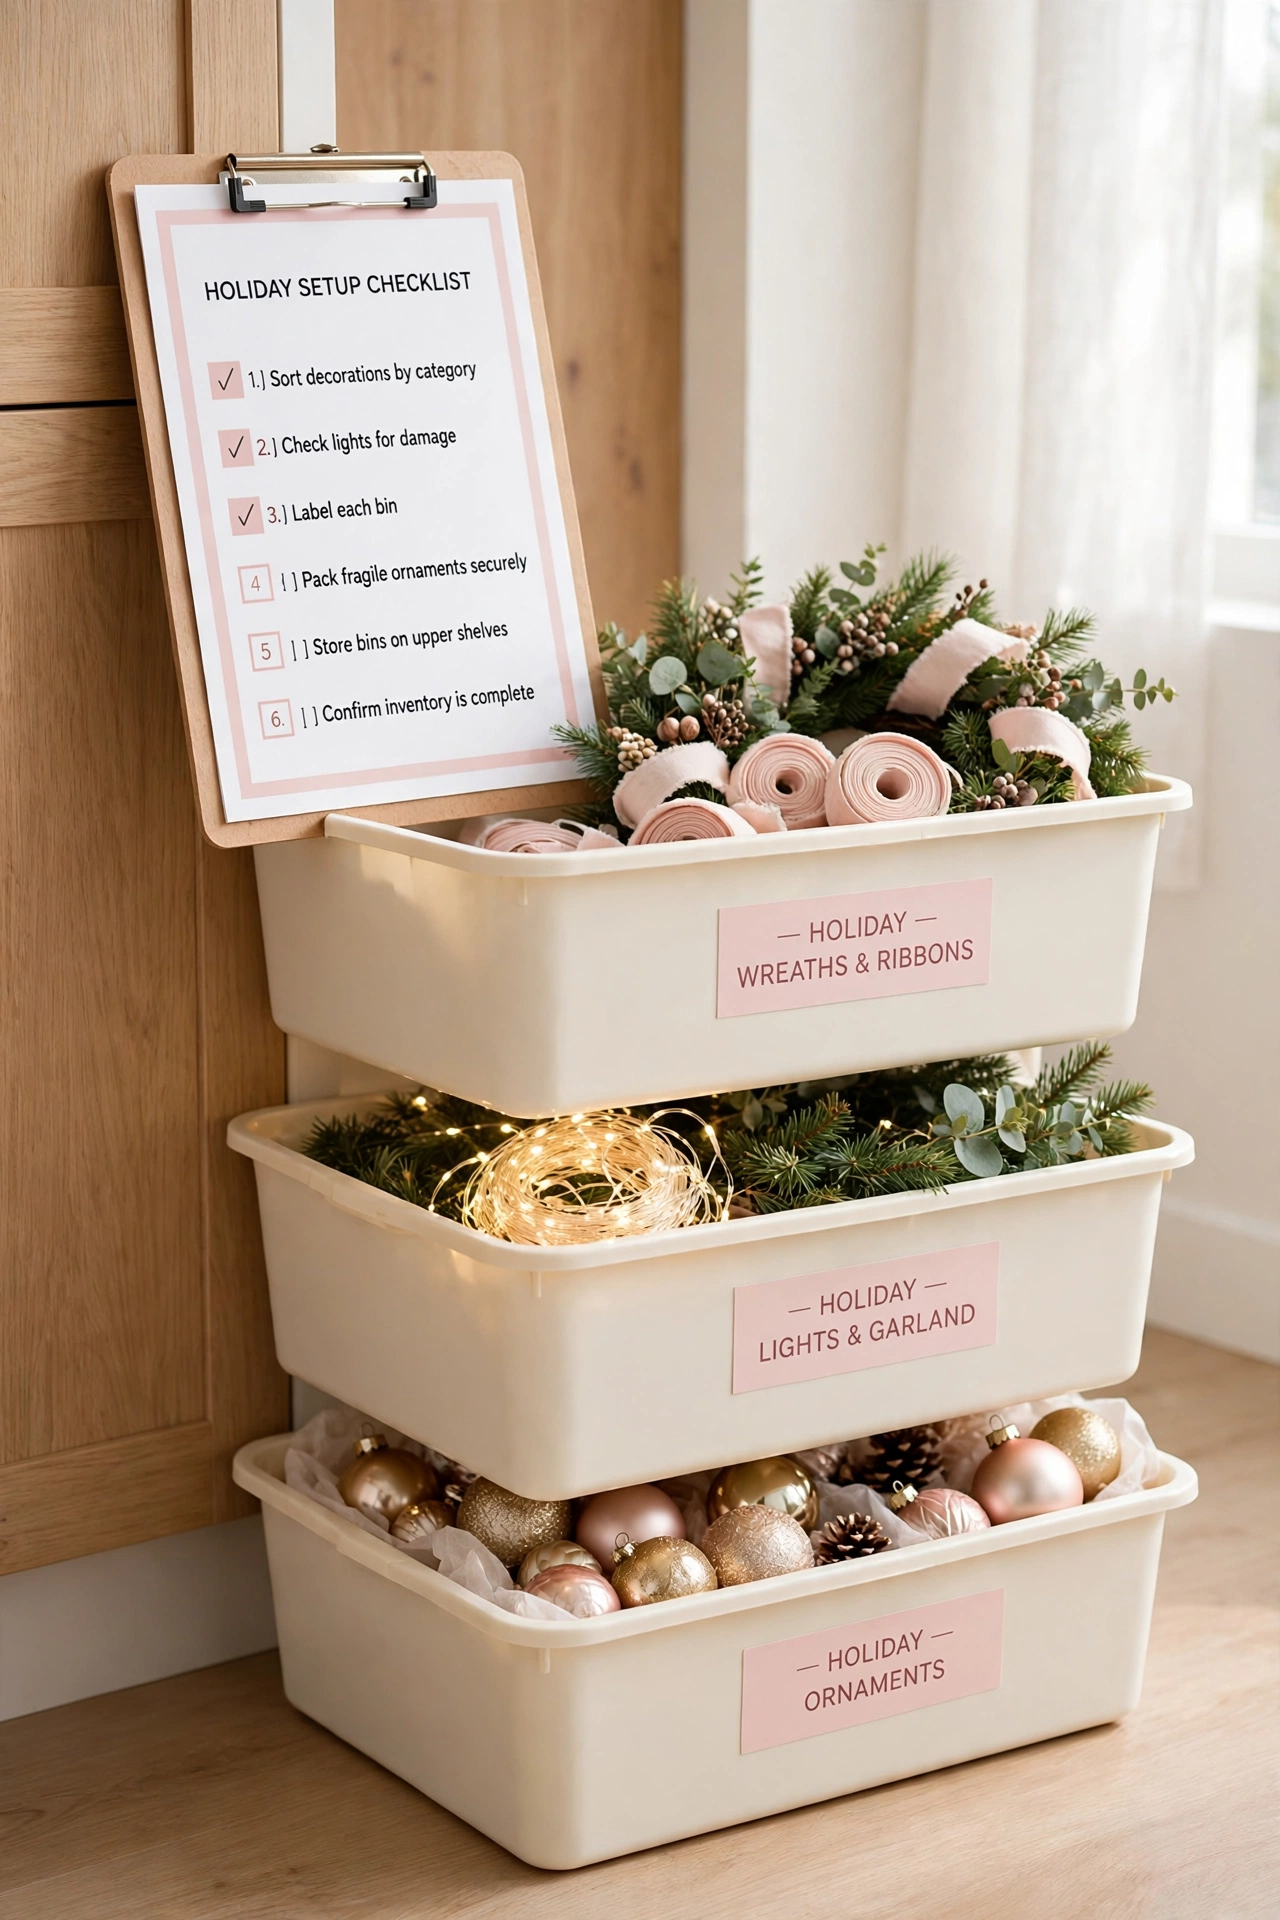
14. Make a Setup Checklist in Packing Order
Write a setup checklist that lists the order in which decorations should come out of storage. Large items like the tree and the wreath usually come first, while delicate ornaments come last. A clear order keeps setup calm and prevents fragile items from sitting out unprotected.
Number the checklist steps to match your bin numbers so you open boxes in the right sequence. Check off each step as you finish it. The same list works in reverse at pack-up time, so you put delicate items away first and heavy items last.
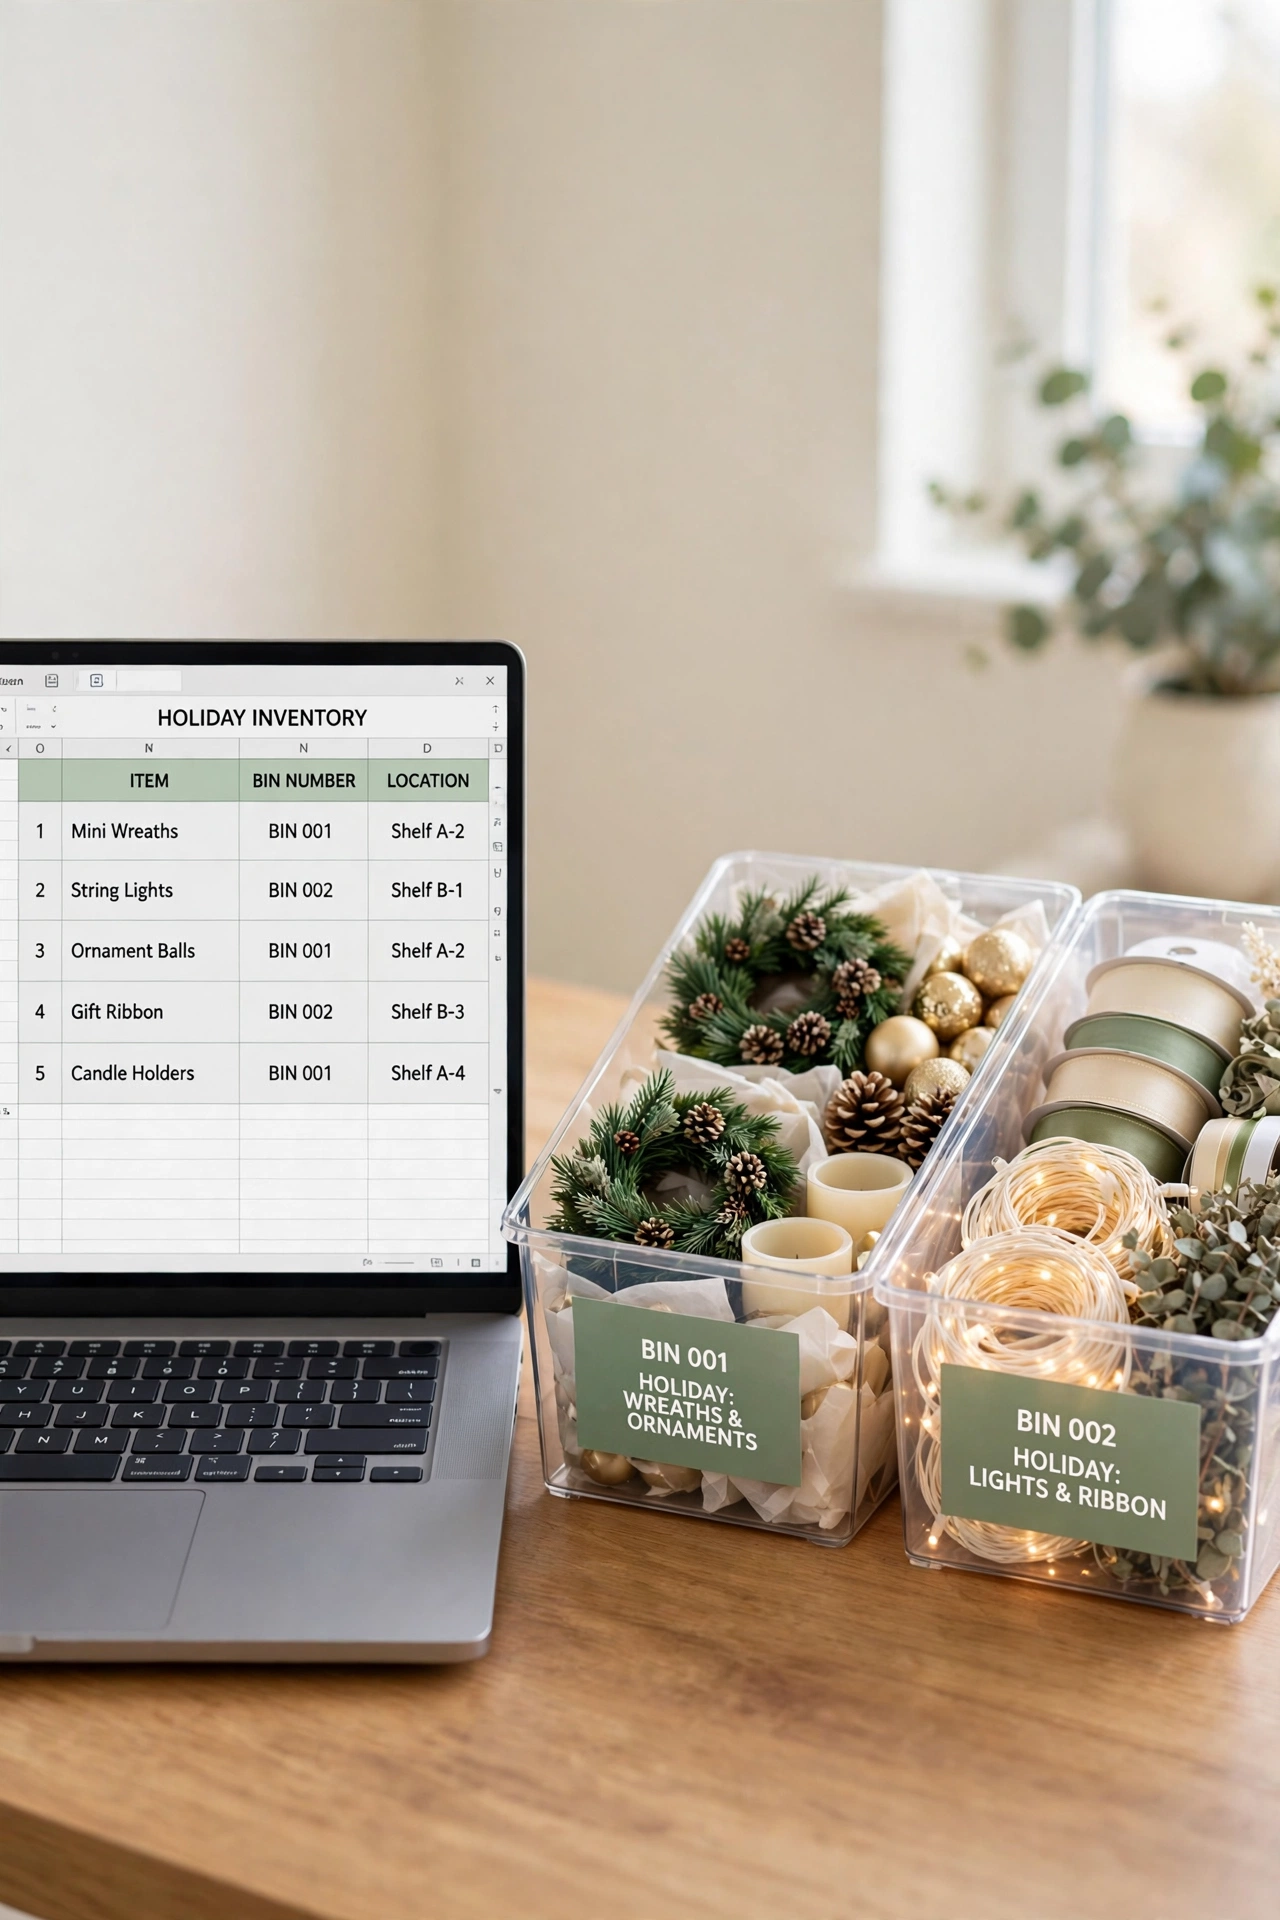
15. Store a Digital Copy of Your Inventory
Keep a digital copy of your inventory list on your phone or computer as a backup to the paper binder. A simple spreadsheet or a notes app works well. Type the bin numbers and contents once, and the digital list stays easy to search and update.
A digital copy also lets you check your inventory while you shop. If you see a decoration on sale, you can search the list in seconds and confirm whether you already own something similar. Share the file with family members so everyone works from the same record.
16. Add a Donate and Remove List Each Season
Each year, some decorations no longer fit your style or your space. Keep a donate and remove list in your inventory binder and add items as you pack. Write the item name and whether you plan to donate it, gift it, or throw it away.
Review the list before the next season and remove those items from the bins and from the master list. Letting go of unused decorations frees shelf space and keeps your records honest. A smaller, well-loved collection is easier to store and more fun to set up.

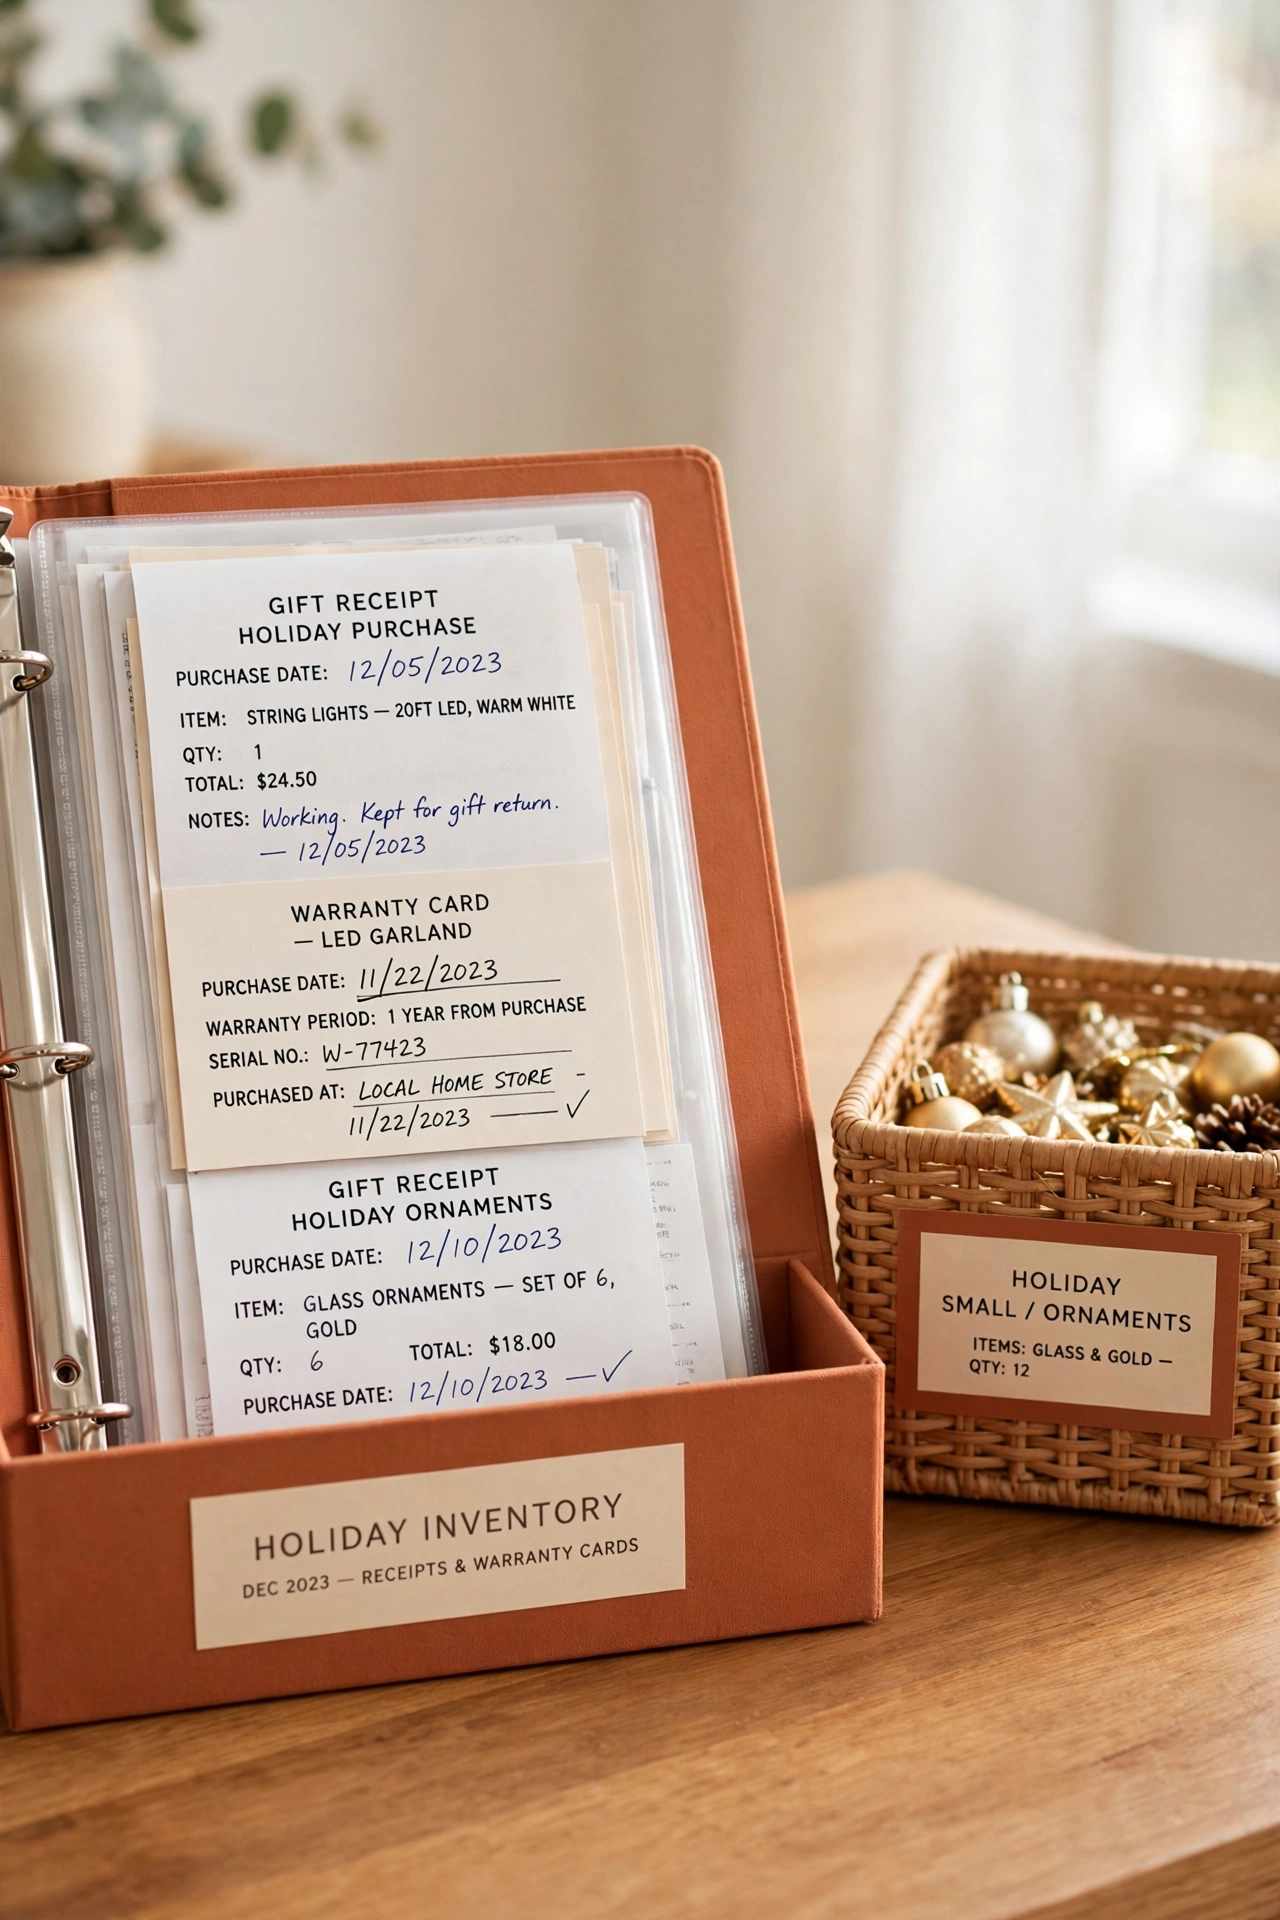
17. Keep Receipts and Warranties in a Holiday Folder
Expensive decorations like pre-lit trees and outdoor light sets often come with warranties. Keep the receipts and warranty cards in a single folder inside your inventory binder. Write the purchase date and the store name on each receipt before you file it.
When a light set fails or a tree section stops working, the folder tells you whether a replacement is covered. You will not waste time searching drawers for a receipt you filed months ago. One folder keeps every proof of purchase safe and easy to find.
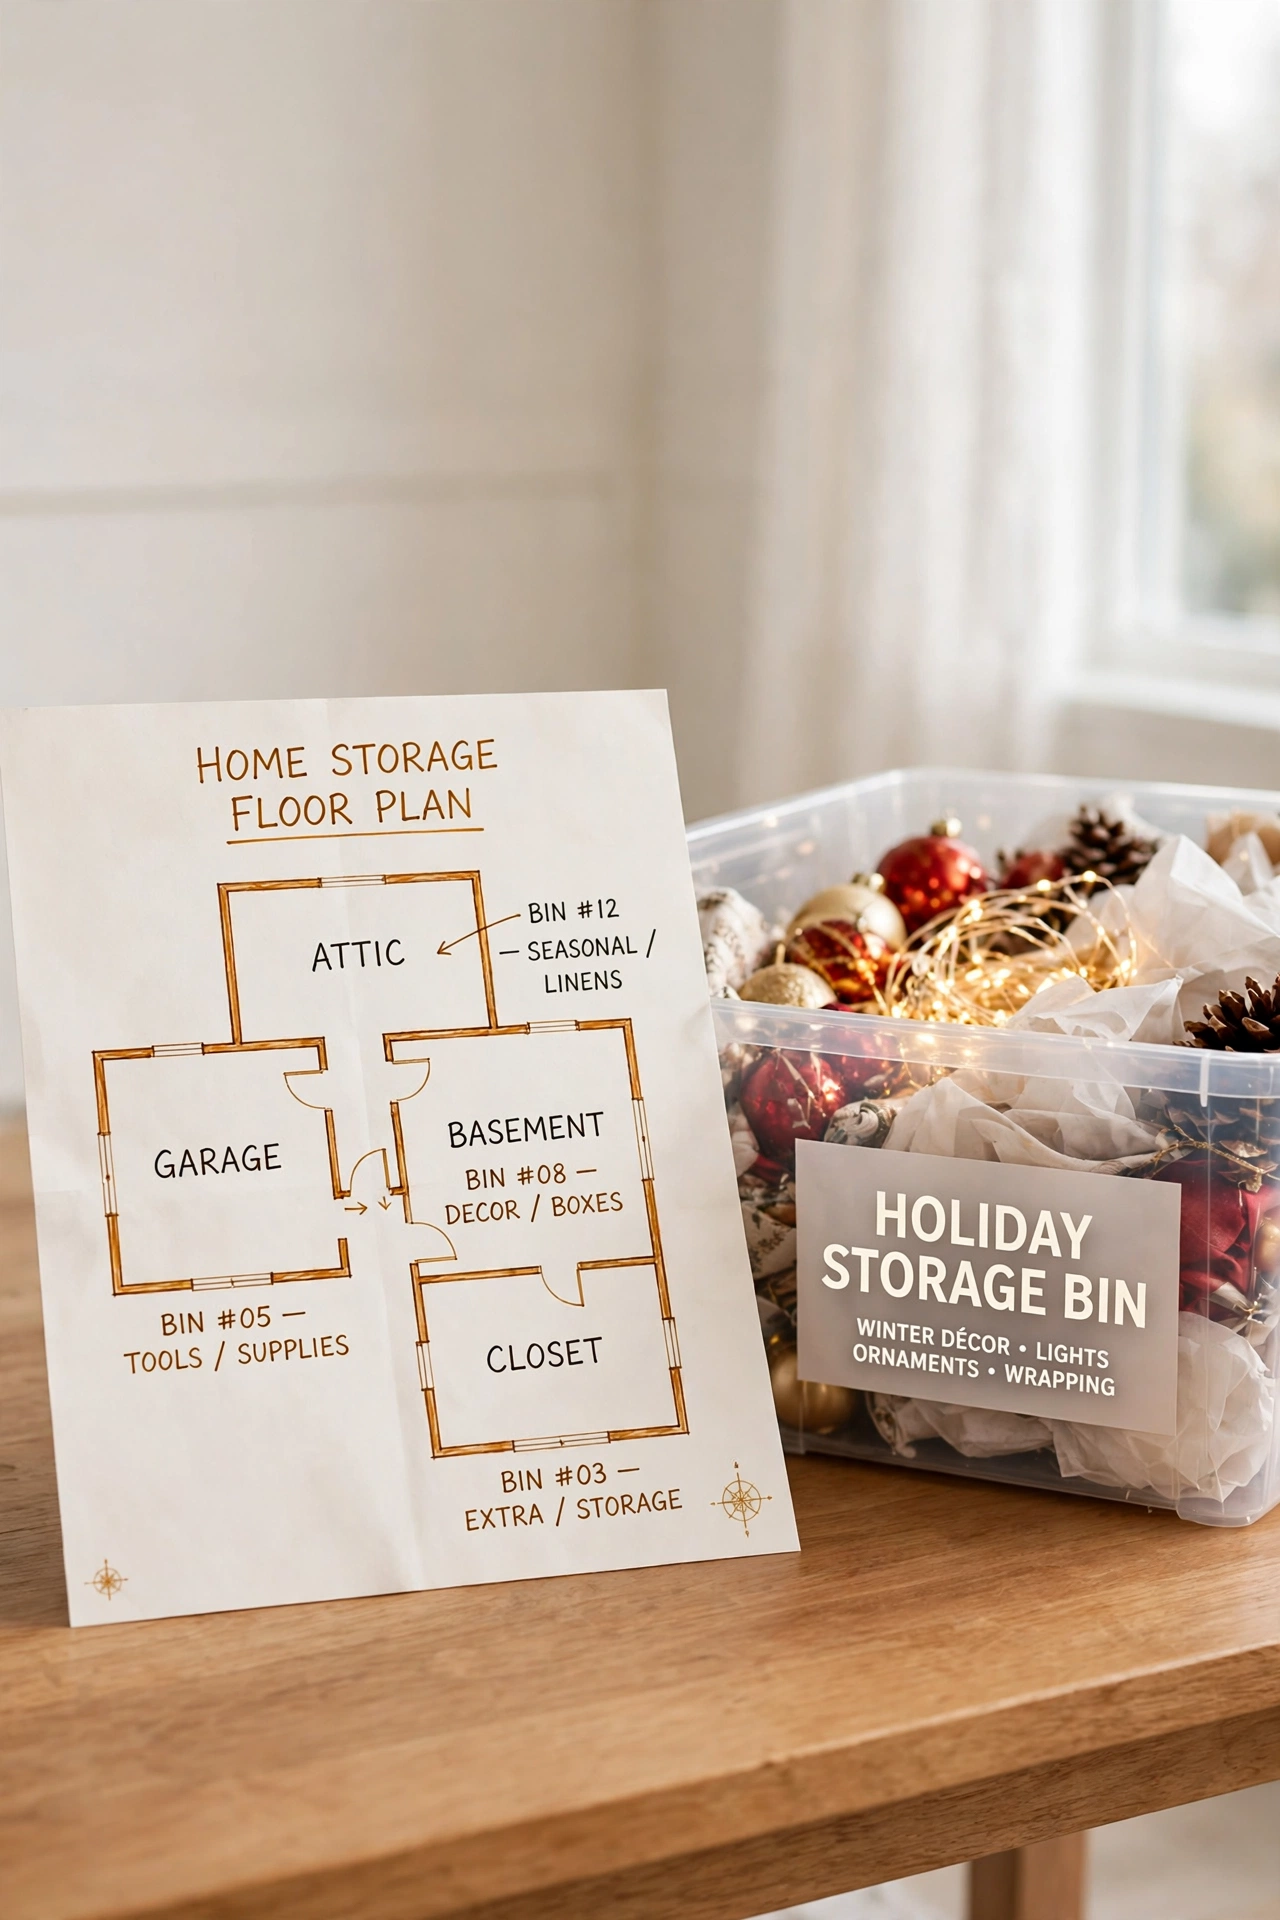
18. Note Storage Locations on a Home Map
If your decorations live in more than one spot, draw a simple home map that shows where each group sits. Mark the attic, the garage shelves, the basement closet, and any other storage spot. Write the bin numbers next to each location on the map.
A home map ends the yearly search for the box that moved to a new corner. Update the map whenever bins change locations, even if the move seems small. Keep the map at the front of your binder so it is the first thing you see when the season starts.
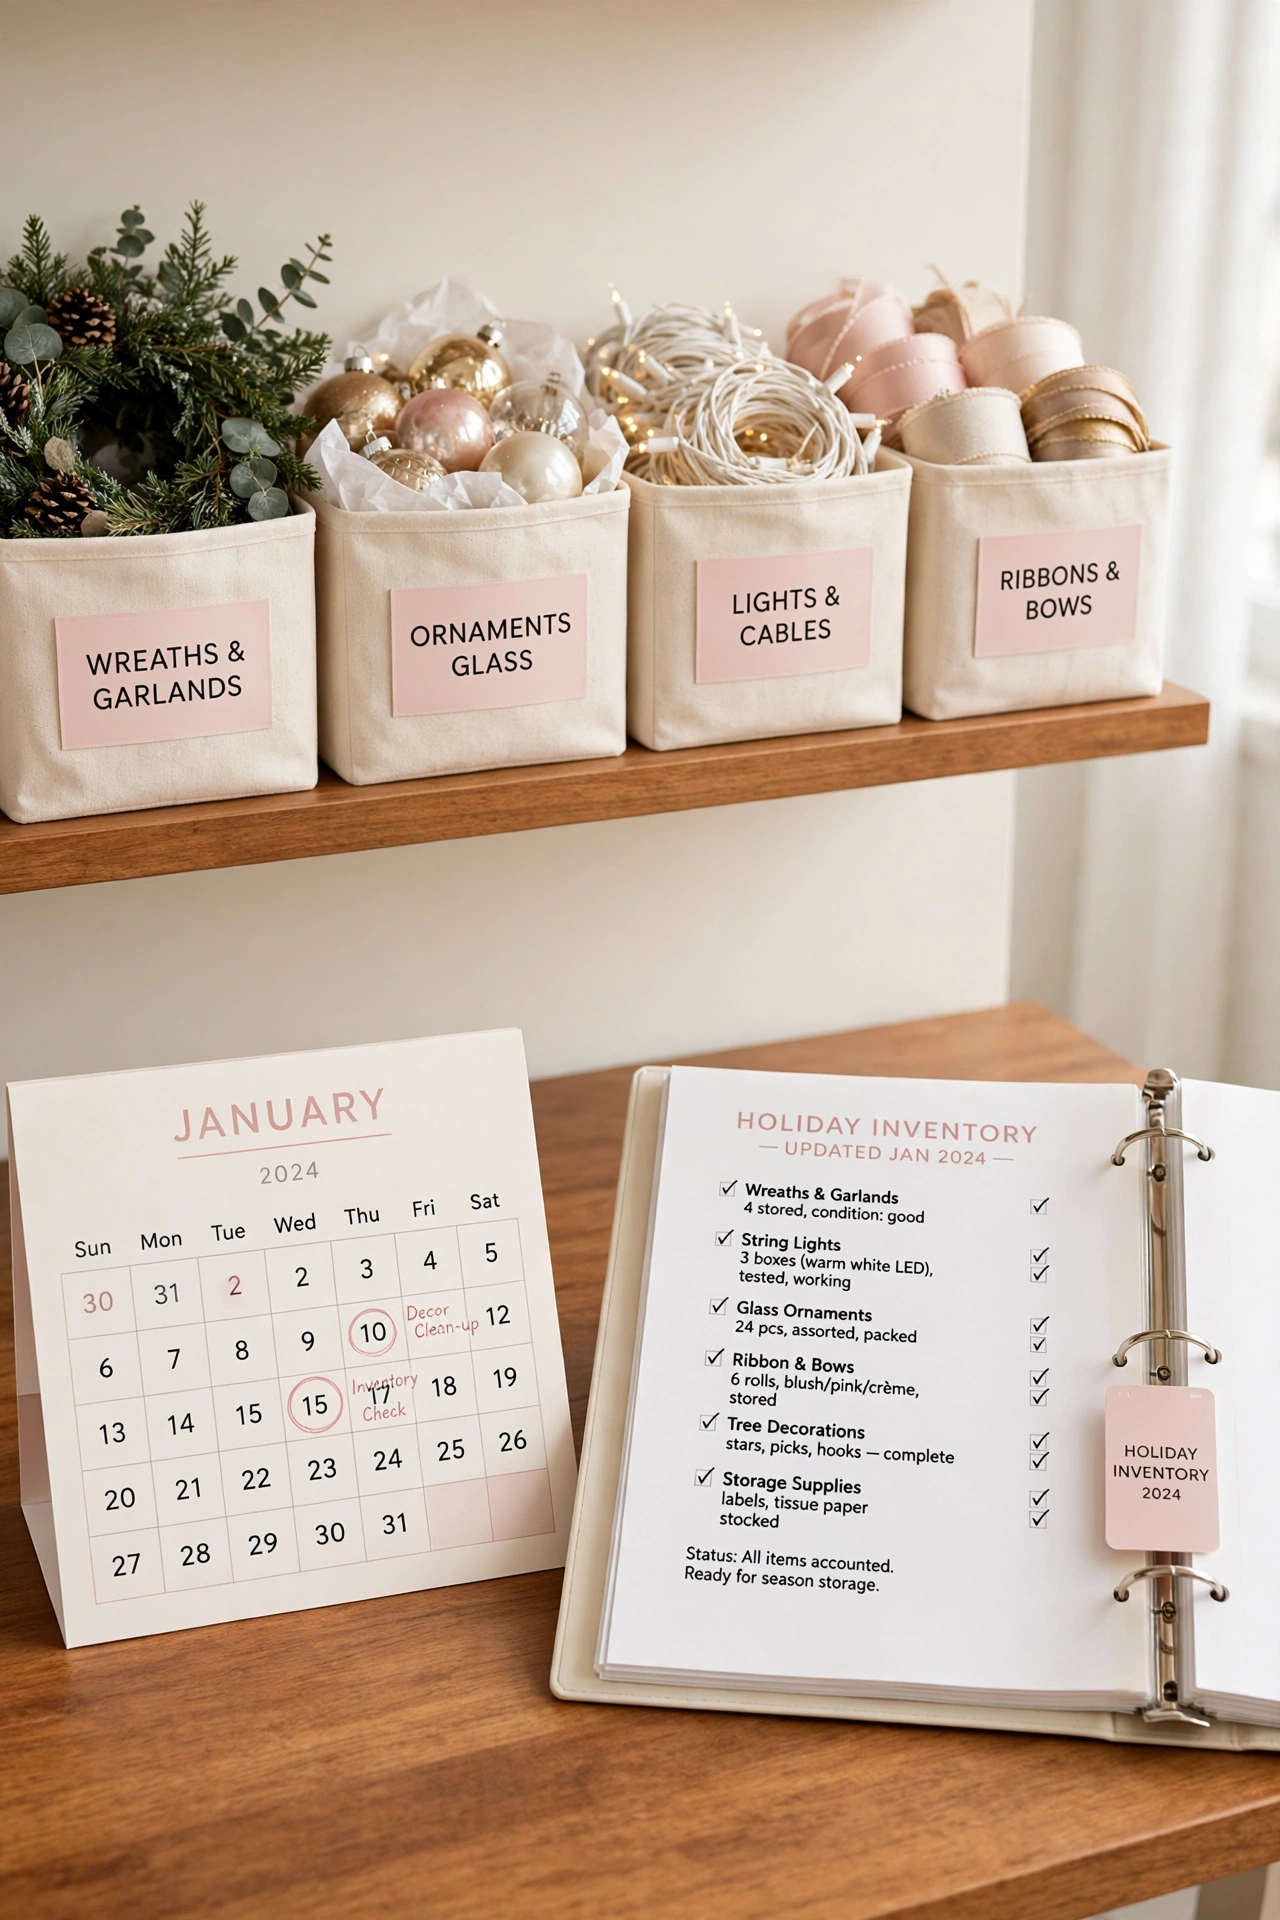
19. Review and Update Records Every January
Set aside one hour each January to review and update your holiday inventory records. Check the master list against what is actually in the bins, fix any counts that changed, and remove items you donated. Fresh records at the start of the year stay accurate all year long.
January is the best time for this review because the packing is still fresh in your mind. Note any storage problems you noticed, such as a bin that cracked or a shelf that sagged. Small fixes now prevent bigger headaches when the next holiday season arrives.
Conclusion
Holiday decoration inventory records turn a stressful search into a smooth routine. With numbered bins, photos, lists, and a shelf map, you will know what you own, where it sits, and what condition it is in before the season even begins. The system takes one packing session to build and pays you back every year after that.
Start with the master list and the bin numbers, then add the other records one at a time. You do not need to build the whole system in a single day. For seasonal items that rotate in and out of storage with the holidays, these blanket storage ideas show the same label-and-rotate habit at work. Good records keep your holidays joyful and your storage calm.
Frequently Asked Questions About Holiday Decoration Inventory Organization Ideas for Storage Records
How do I start a holiday decoration inventory if I have never kept records?
Start with one bin at a time. Empty the bin, list every item on a sheet of paper, take a photo, and tape the list inside the lid. Repeat for each bin until every box has a record. You can build the full master list in a single afternoon.
What should I write on each bin label?
Write the bin number, the holiday, the room where the items belong, and a short list of the main contents. Large, clear lettering works best so the label stays readable from a few steps away. Keep the format the same on every bin so the system stays easy to read.
Should I keep paper records or digital records?
Keep both if you can. Paper records in a binder work in the garage without a charged phone, while a digital copy lets you search and check your inventory while you shop. Update both at the same time so they never disagree with each other.
Where should I store my inventory binder and records?
Store the binder on the same shelf as the decoration bins or in a nearby closet where you will see it before you start unpacking. Keep receipts and warranty cards in a folder inside the binder. These important document storage ideas show safe ways to protect paper records from dust and moisture.
How often should I update my holiday decoration inventory?
Update the records every time you pack decorations away and again during a short review each January. Add new purchases right away and remove donated or broken items from the list. Two short updates a year keep the inventory accurate without much effort.

Hi, I’m Emily! I turn messy corners into cozy, organized spots. DreamNestDecor is where I share simple, practical home ideas — decor, organization, and small-space solutions that work in real life, not just in photos. Every idea here is carefully researched before it’s shared.