You open the closet door and there it is again: the box of concert tickets, the scarf your grandmother knitted, the first drawing your child ever brought home from school. Each item holds a memory, and the thought of throwing any of it away feels wrong. So the box stays, and another box joins it, until the memories you love start to feel like clutter you resent.
You do not have to choose between a tidy home and the treasures that matter to you. These 28 sentimental item organization ideas show you how to keep what you love with clear limits, smart displays, and simple systems that honor the memory without letting it take over your home.
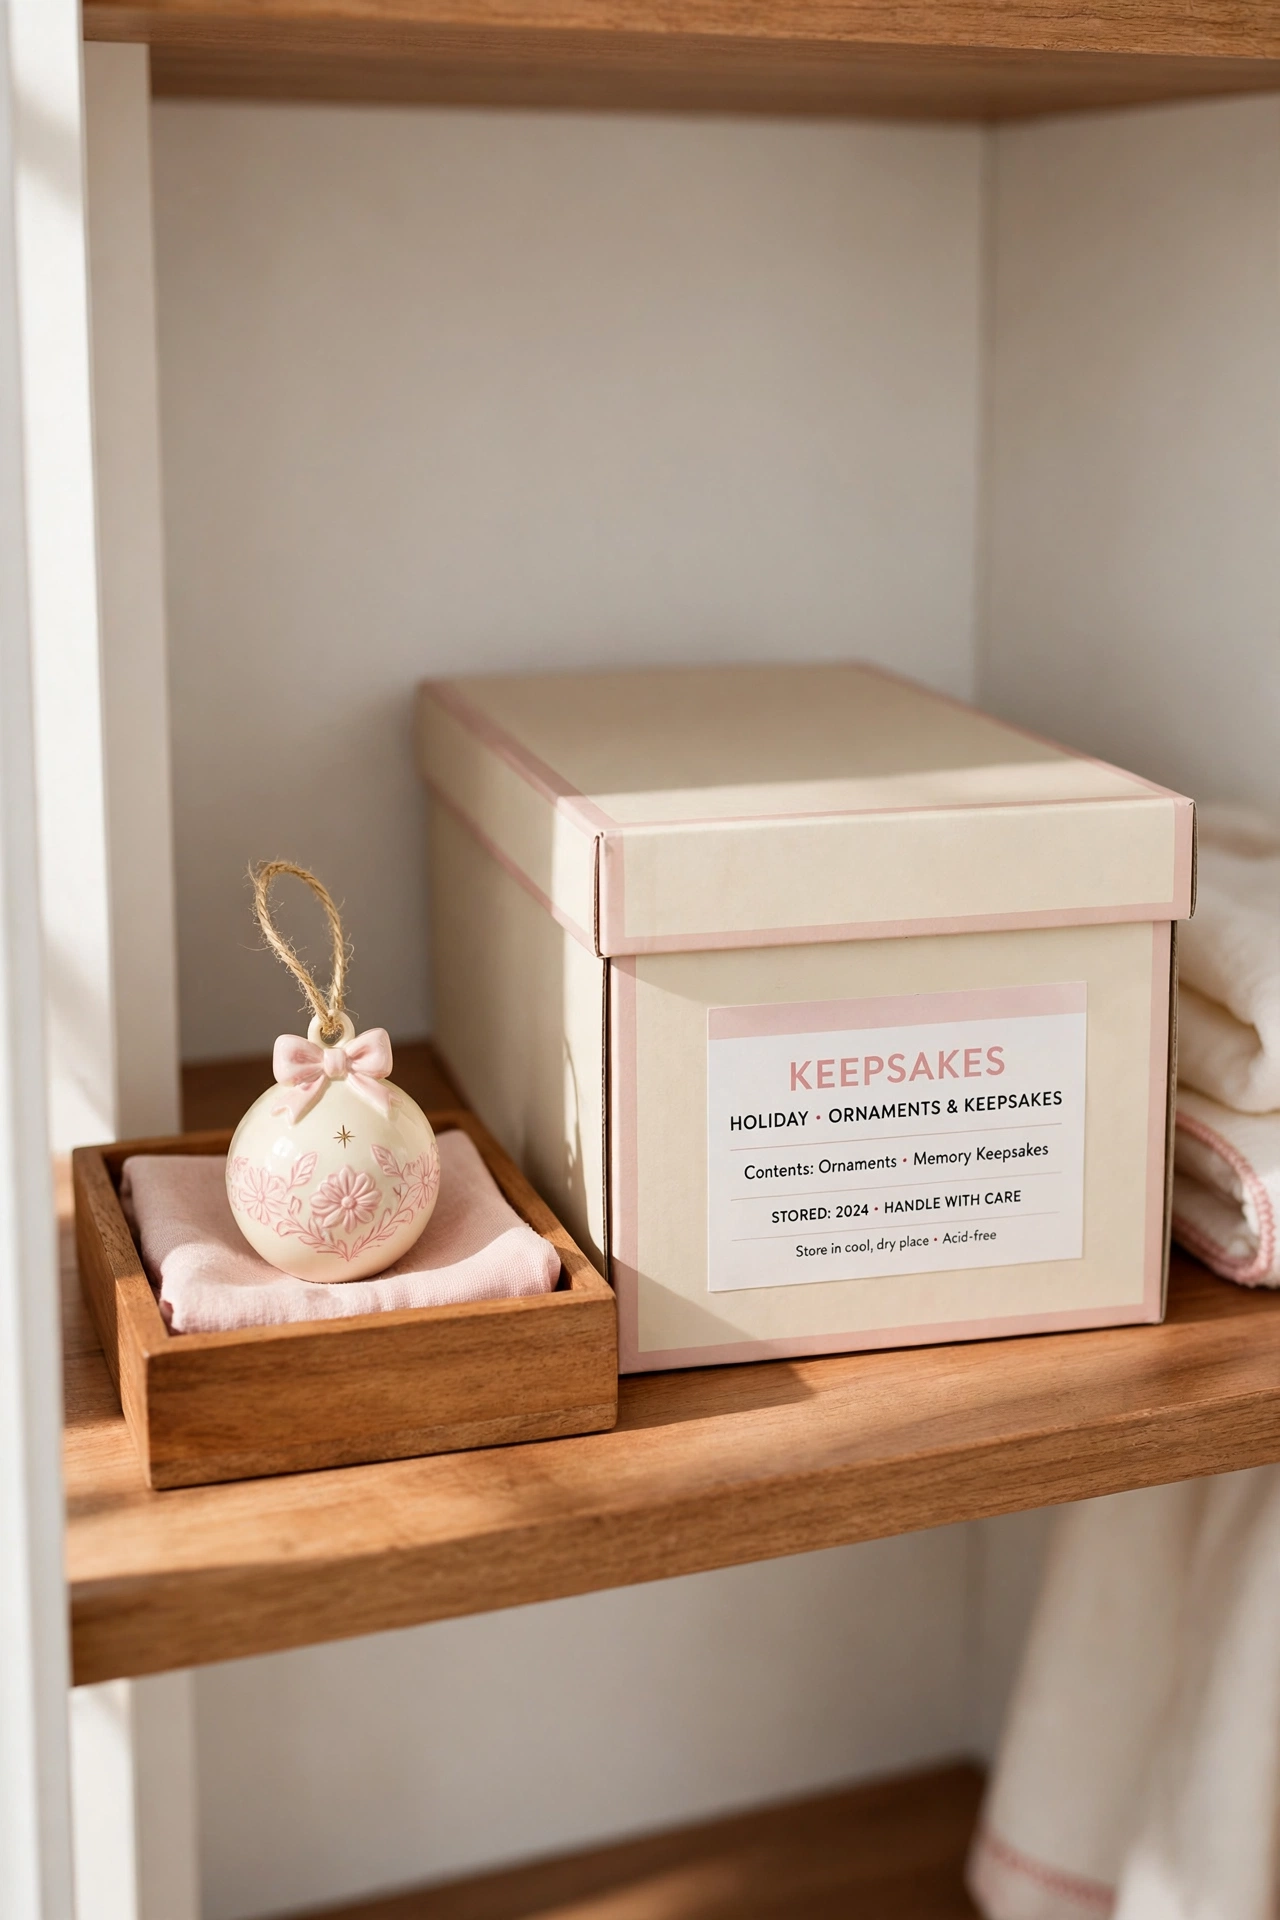
1. Set a One-Box Limit for Each Family Member
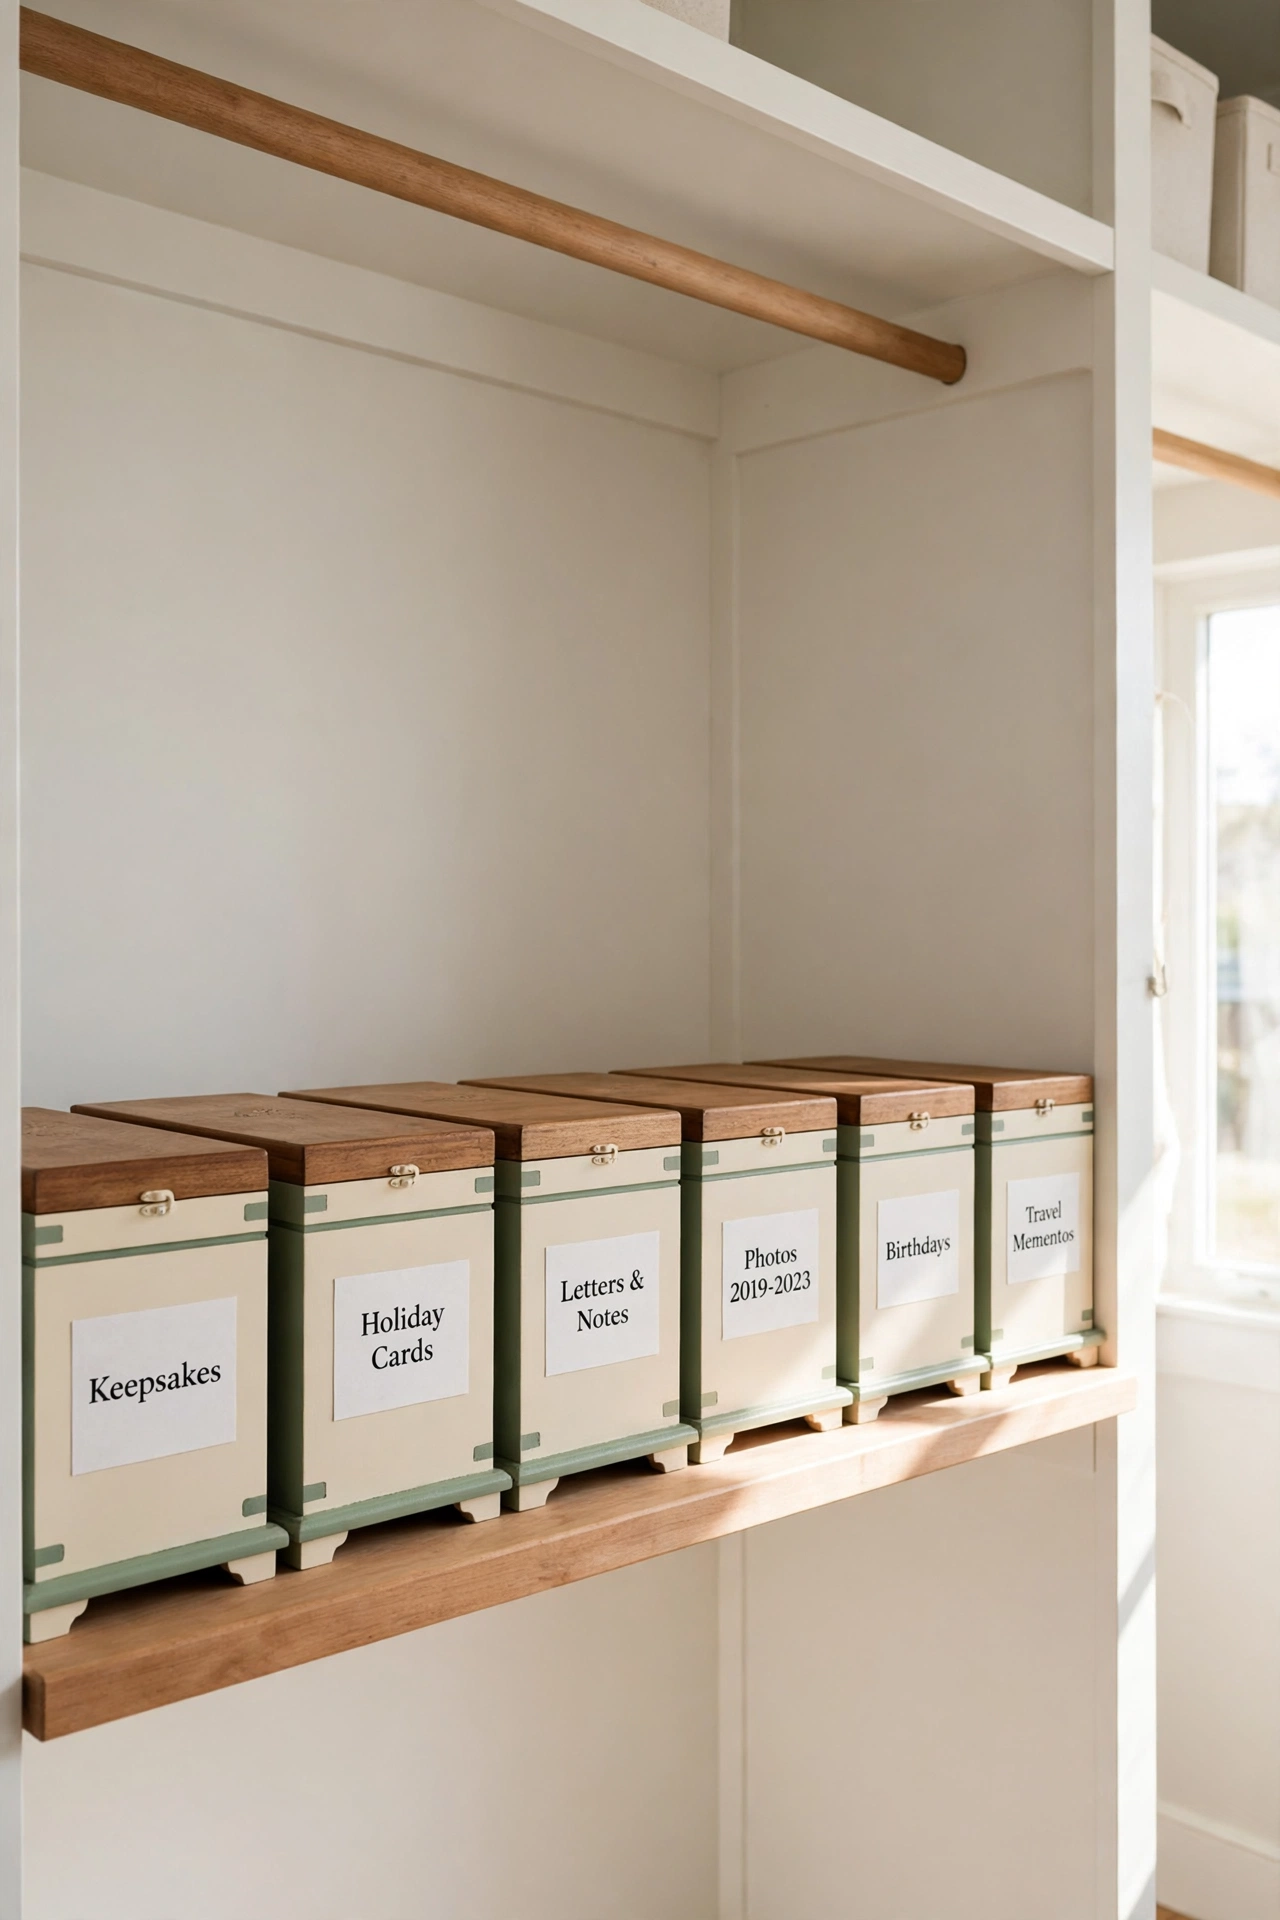
A one-box limit gives every person in the household a single container for their most treasured keepsakes. When the box is full, something must leave before anything new goes in. The rule is simple, fair, and easy for children and adults to understand.
Choose a sturdy box that fits on a closet shelf, and label it with the person’s name. The limit forces gentle choices instead of painful purges, and it keeps sentimental items from spreading into every drawer and closet in the house. Over time, each box becomes a curated collection instead of a random pile.
2. Start a Memory Box With Dividers and Labels
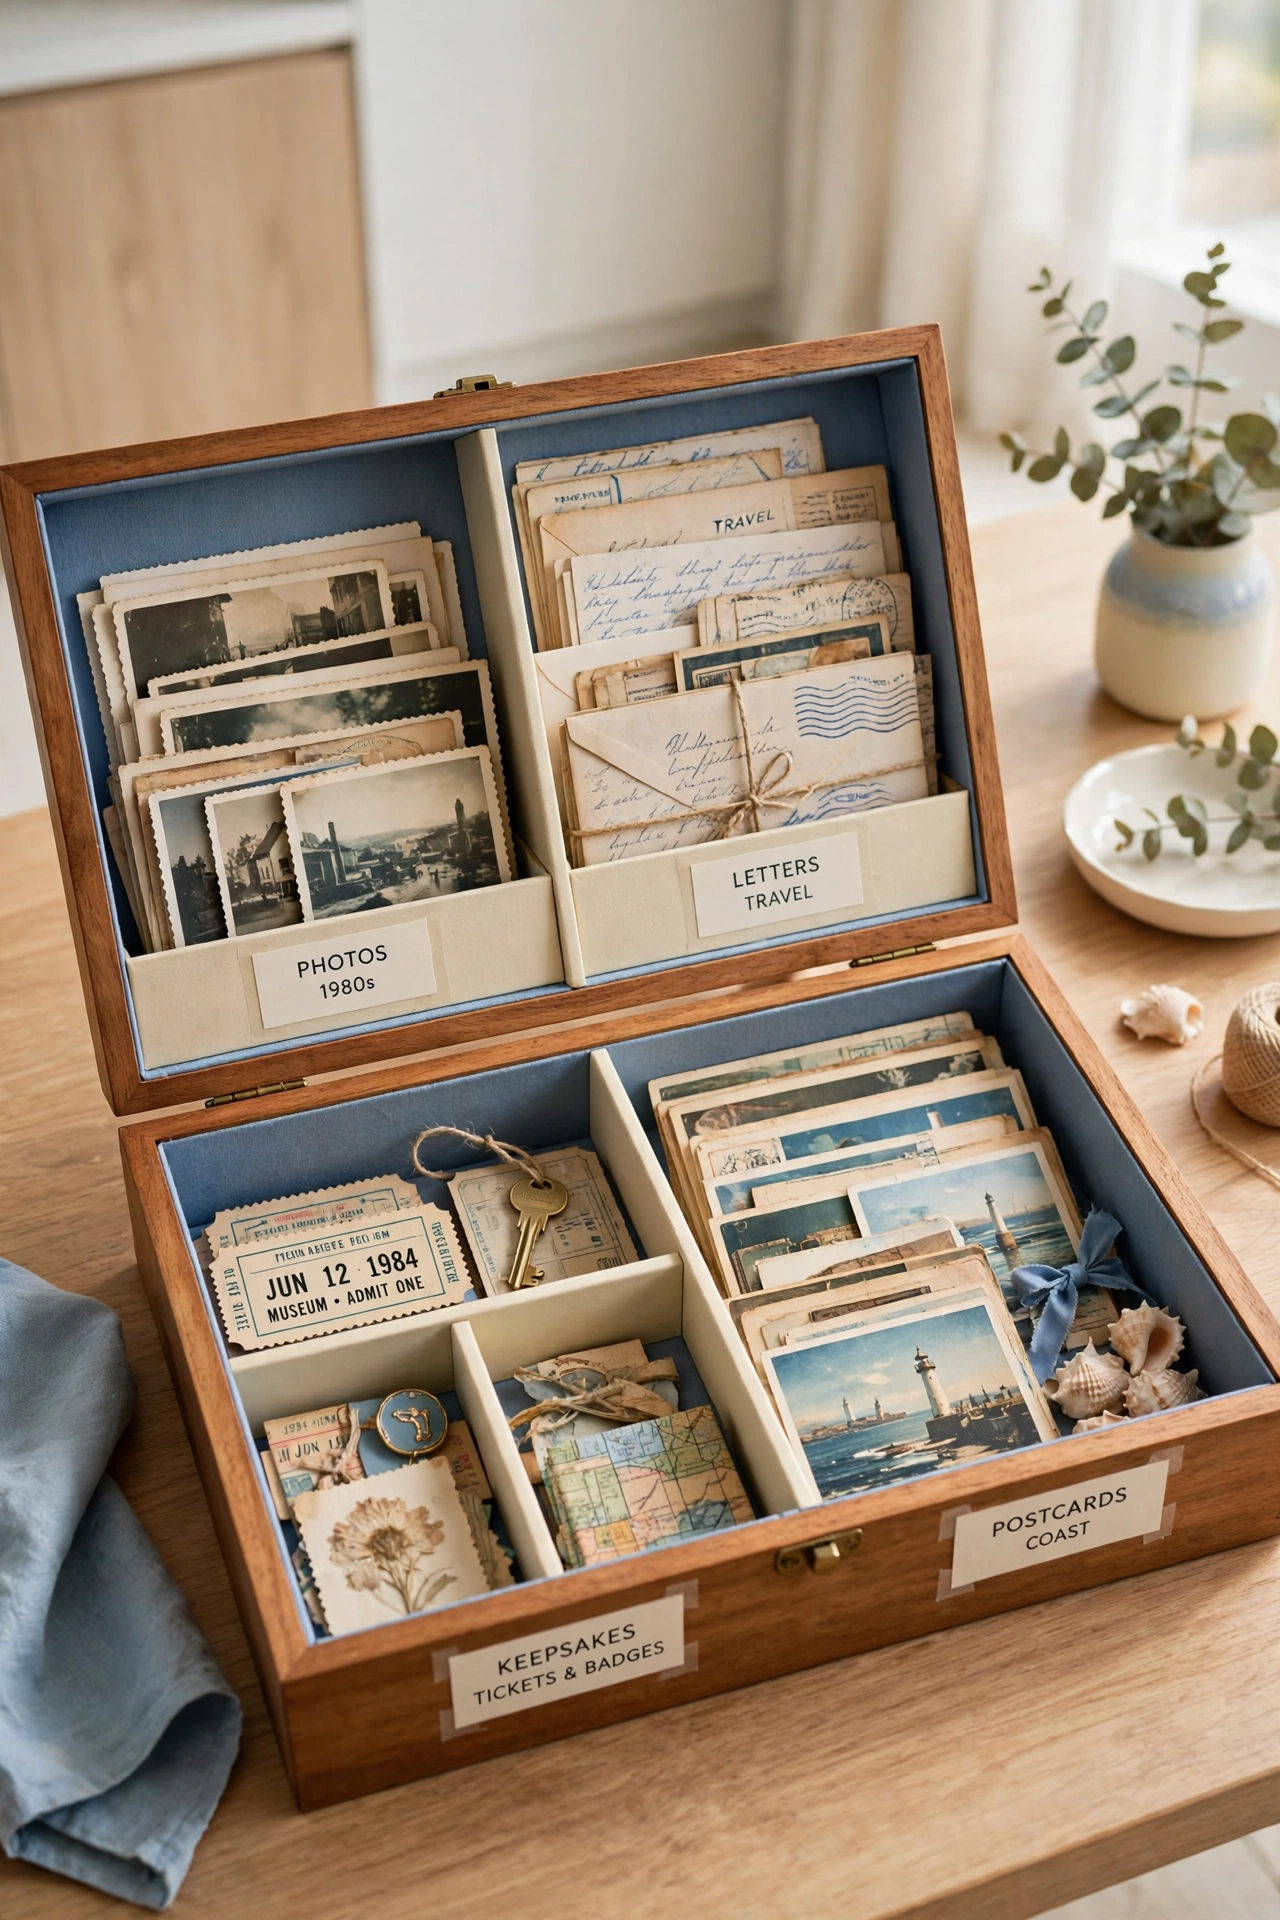
A memory box works best when the inside is organized into clear sections. Use dividers or small pouches to separate photos, letters, ticket stubs, and small objects. Labels on each section make it easy to find one memory without emptying the whole box.
Acid-free dividers protect paper items from yellowing, and small fabric pouches keep jewelry and tiny treasures safe. When you open the box years later, the order inside will make the memories feel cared for instead of forgotten. A tidy box also makes it easier to add new keepsakes in the right spot.
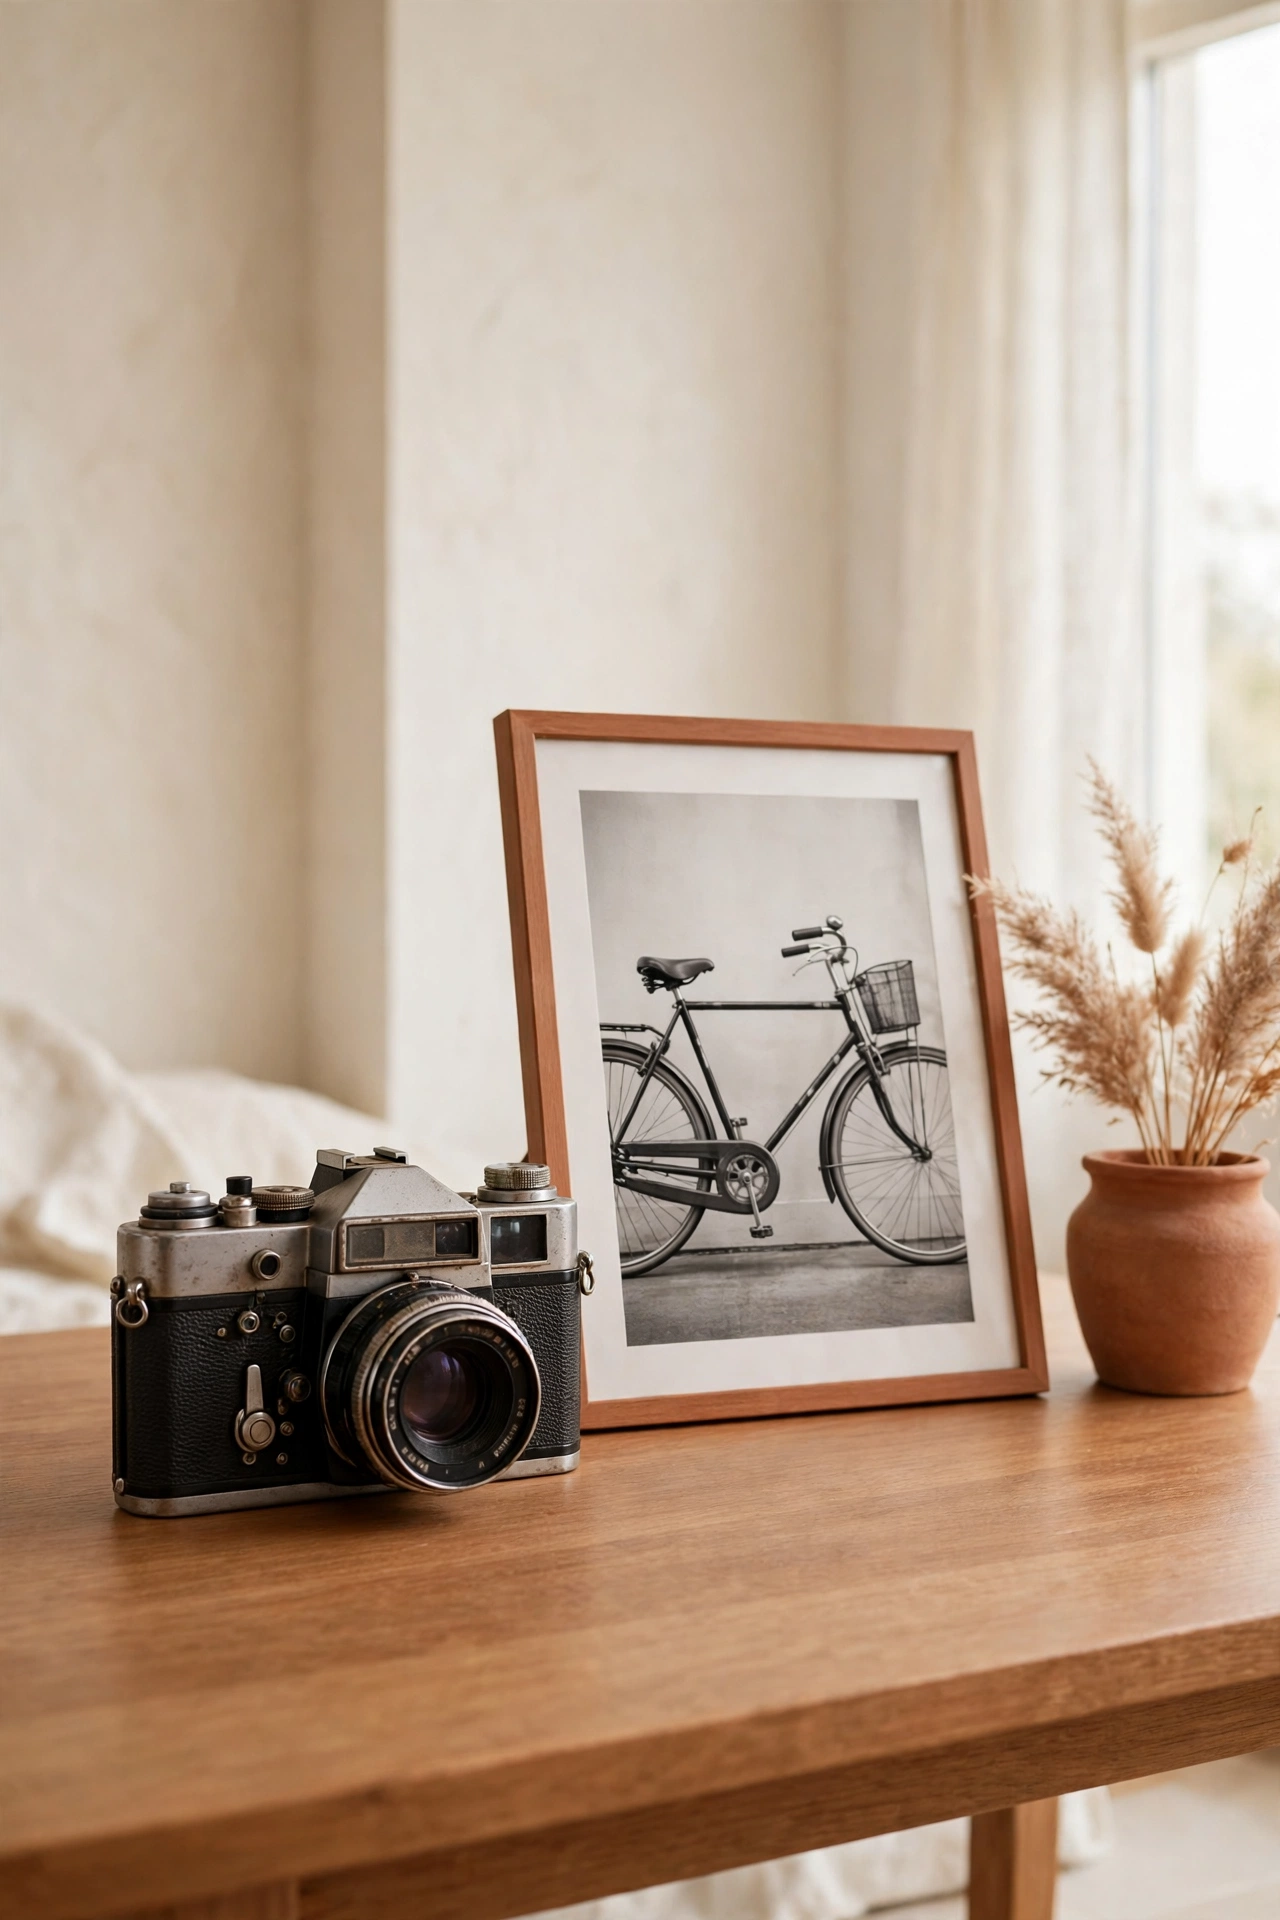
3. Photograph Bulky Keepsakes Before You Let Them Go
Some keepsakes are too large to store, like a childhood bicycle or a giant trophy collection. A good photograph captures the memory without keeping the object. Take the photo in natural light, from several angles, so the details stay vivid.
Print your favorite shot and keep it in the memory box, or save the photos in a dedicated album on your phone. The object can move on to a new home while the memory stays with you. This approach works especially well for bulky sports gear, oversized school projects, and furniture you no longer need.
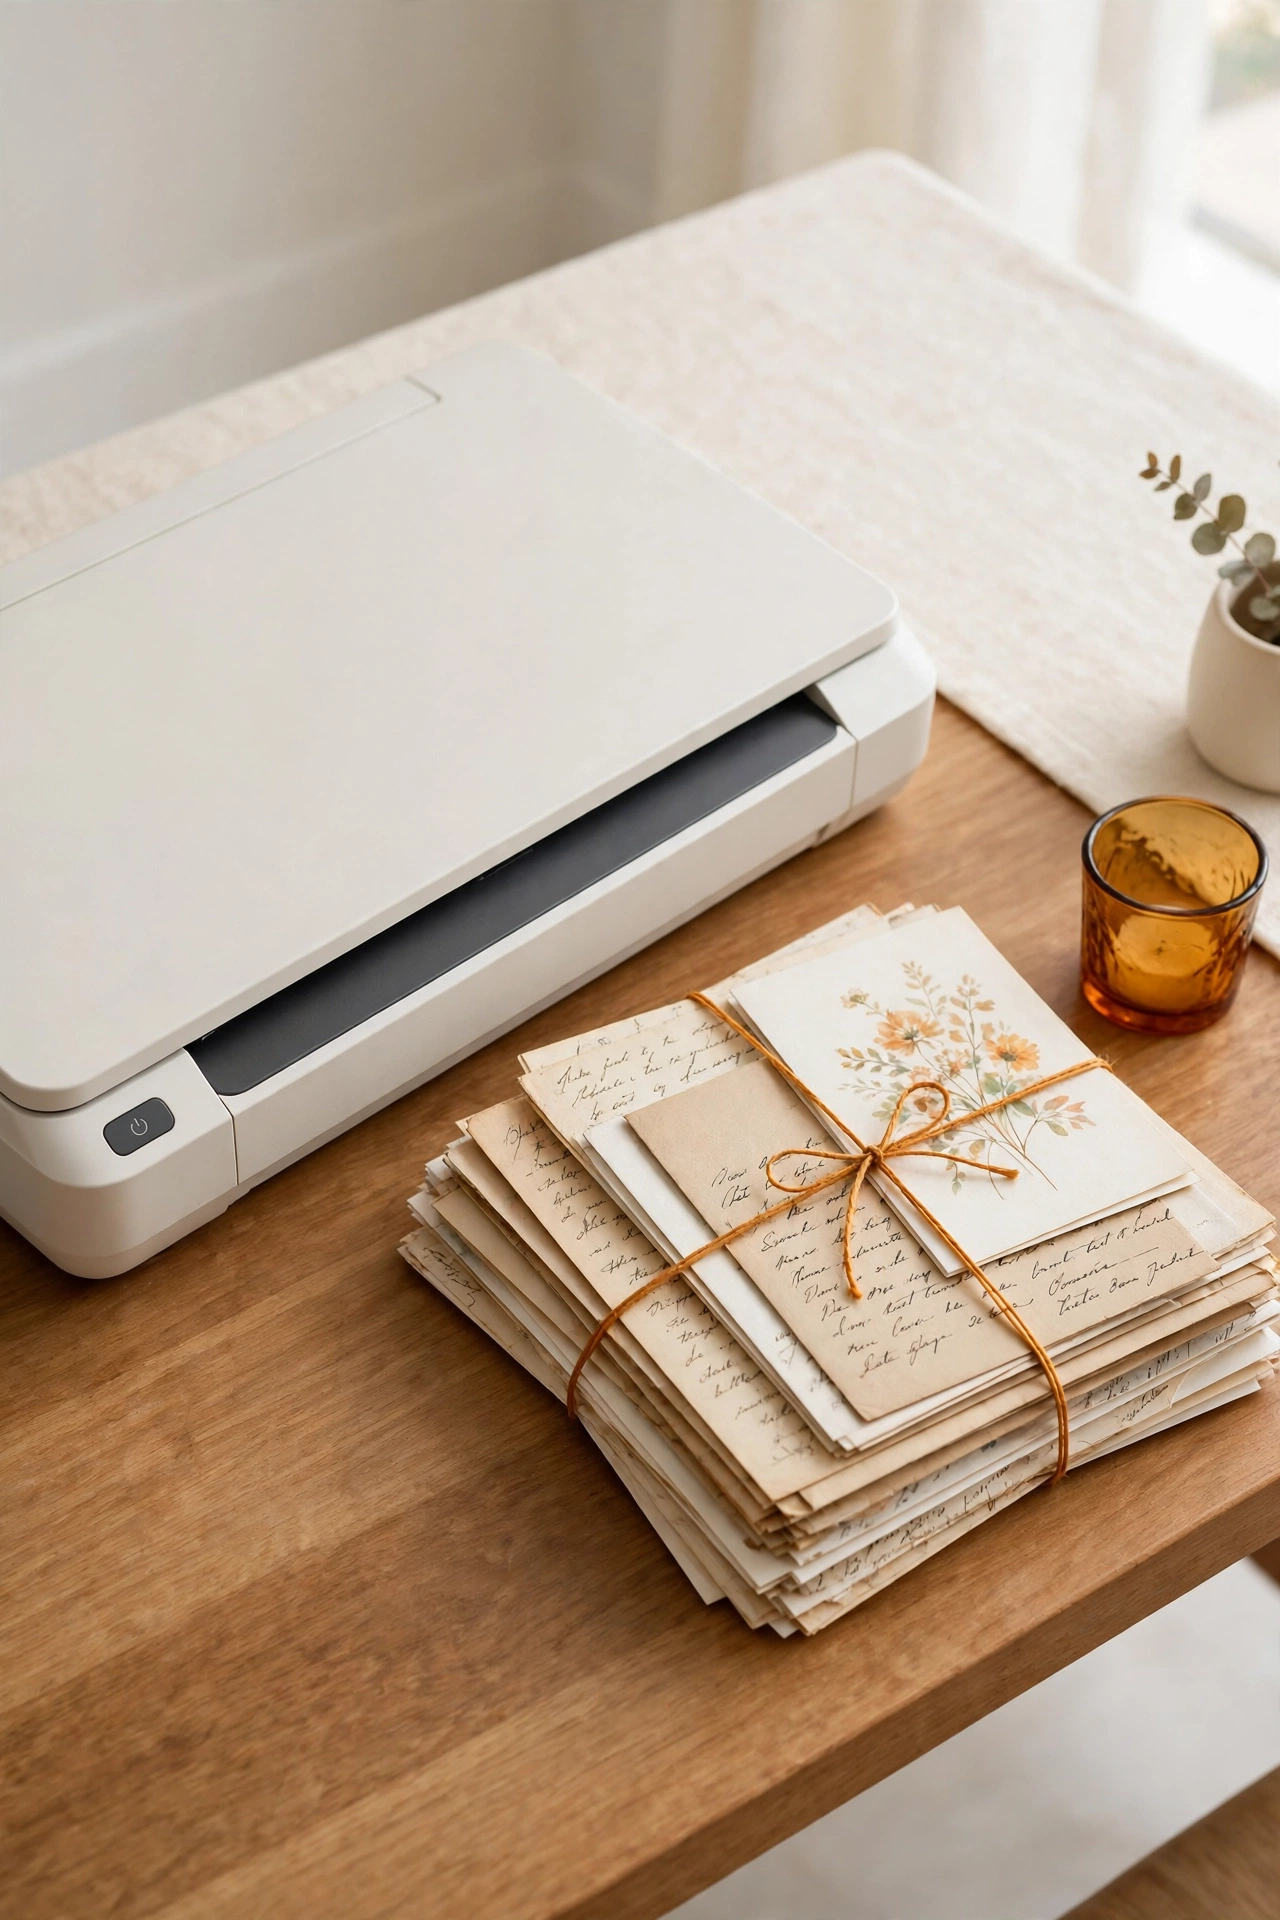
4. Scan Old Letters and Cards Into a Digital Archive
Handwritten letters and greeting cards carry enormous emotional weight, and they also take up serious space. Scanning them preserves every word and every bit of handwriting in a form that never fades or tears. A flatbed scanner or a phone scanning app both work well for this task.
Once the letters are scanned, keep a small folder of the most meaningful originals and store the rest digitally. Name each file with the sender and the date so you can find it in seconds. This method pairs beautifully with smart paper clutter organization ideas that keep the originals you keep safe and easy to find.
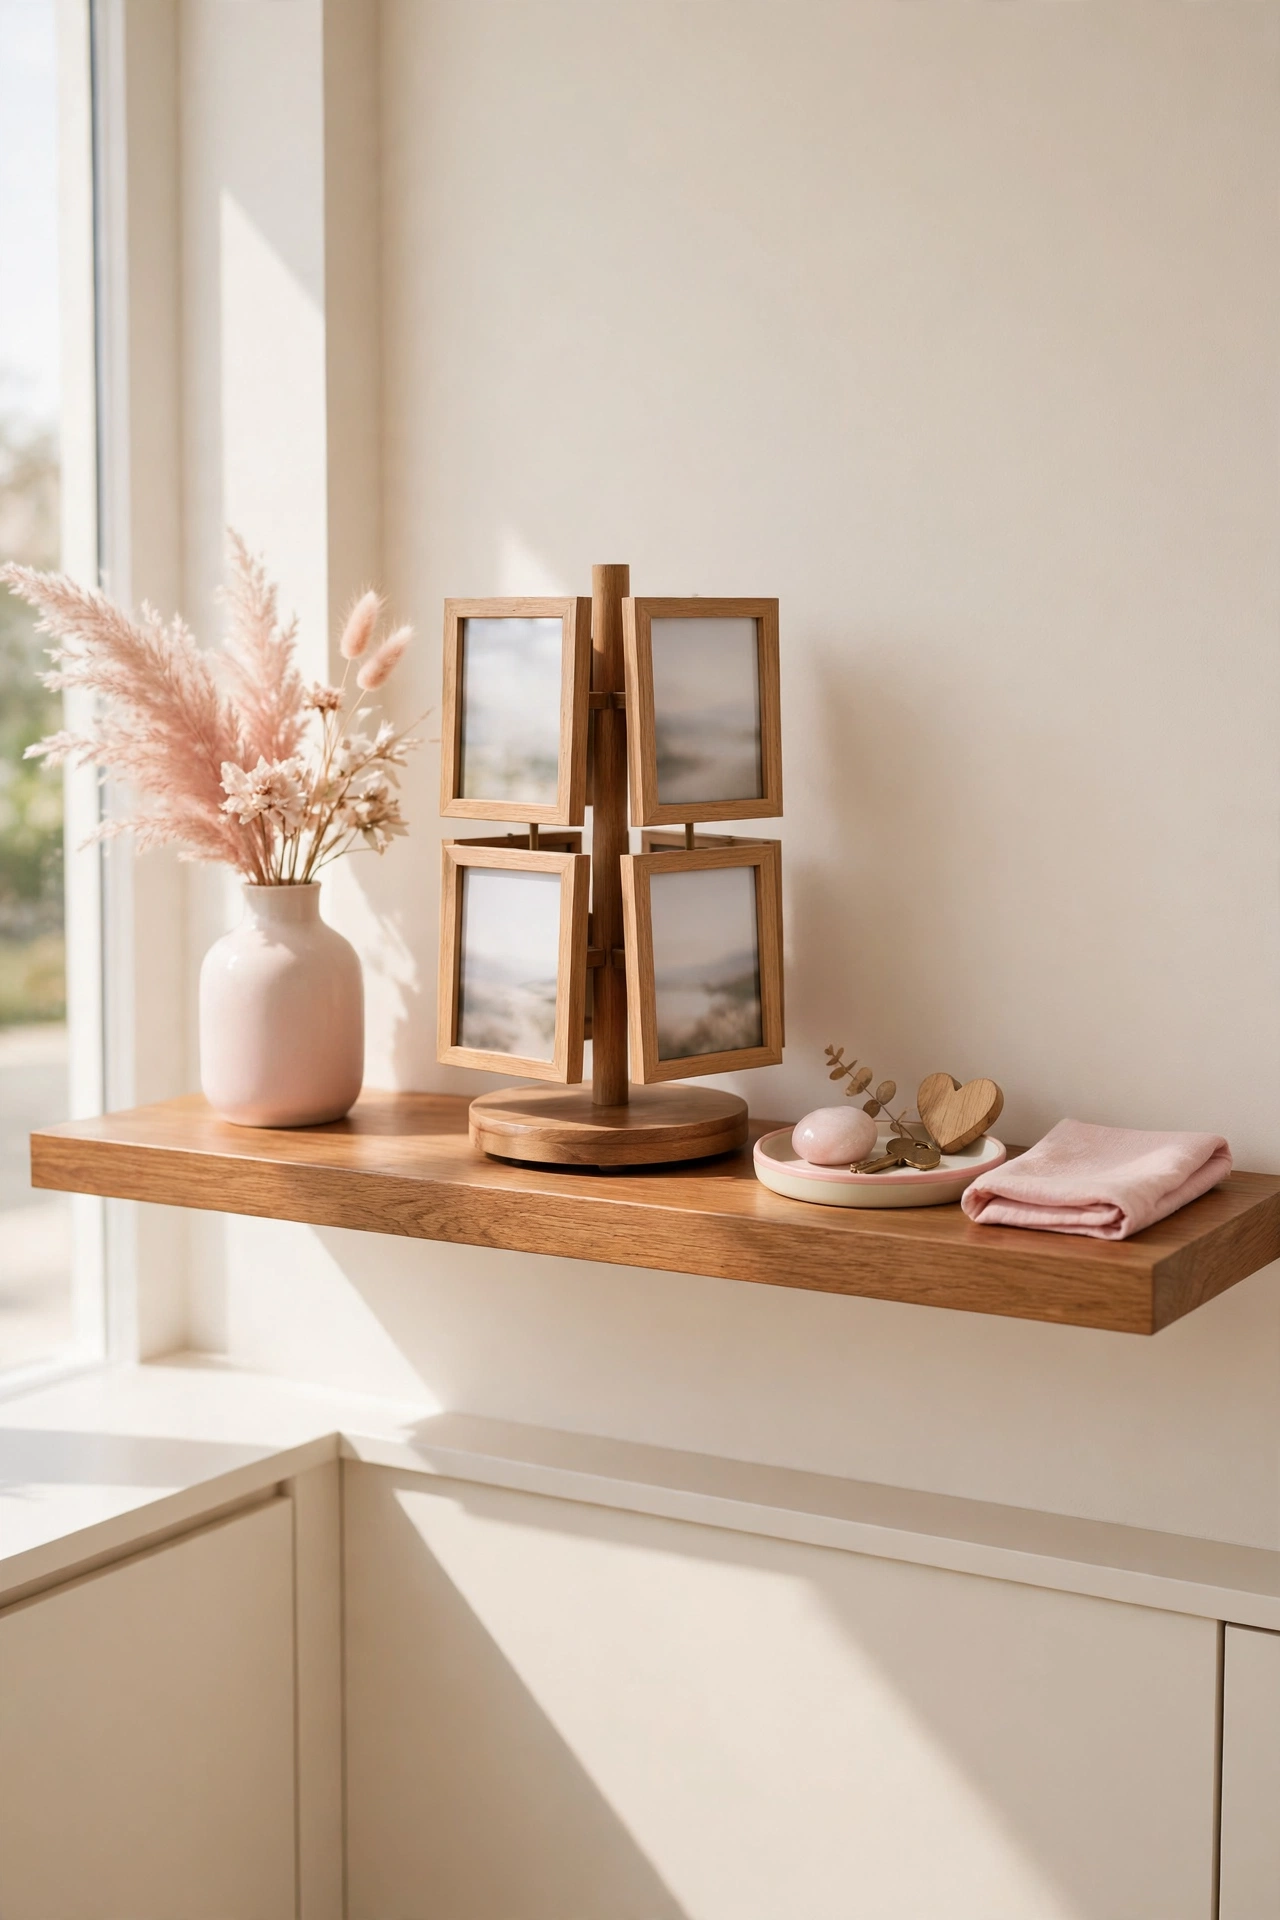
5. Rotate Displays on a Dedicated Memory Shelf
A memory shelf lets you enjoy your keepsakes instead of hiding them in boxes. Choose one shelf in the living room or hallway and display a small rotating selection of treasures. Change the display with the seasons or whenever a new memory deserves the spotlight.
Rotation keeps the shelf fresh and prevents it from turning into a crowded shrine. Store the off-display items in labeled boxes nearby, and swap them in when the mood strikes. Your keepsakes get seen and loved, and the rest of the house stays calm and uncluttered.
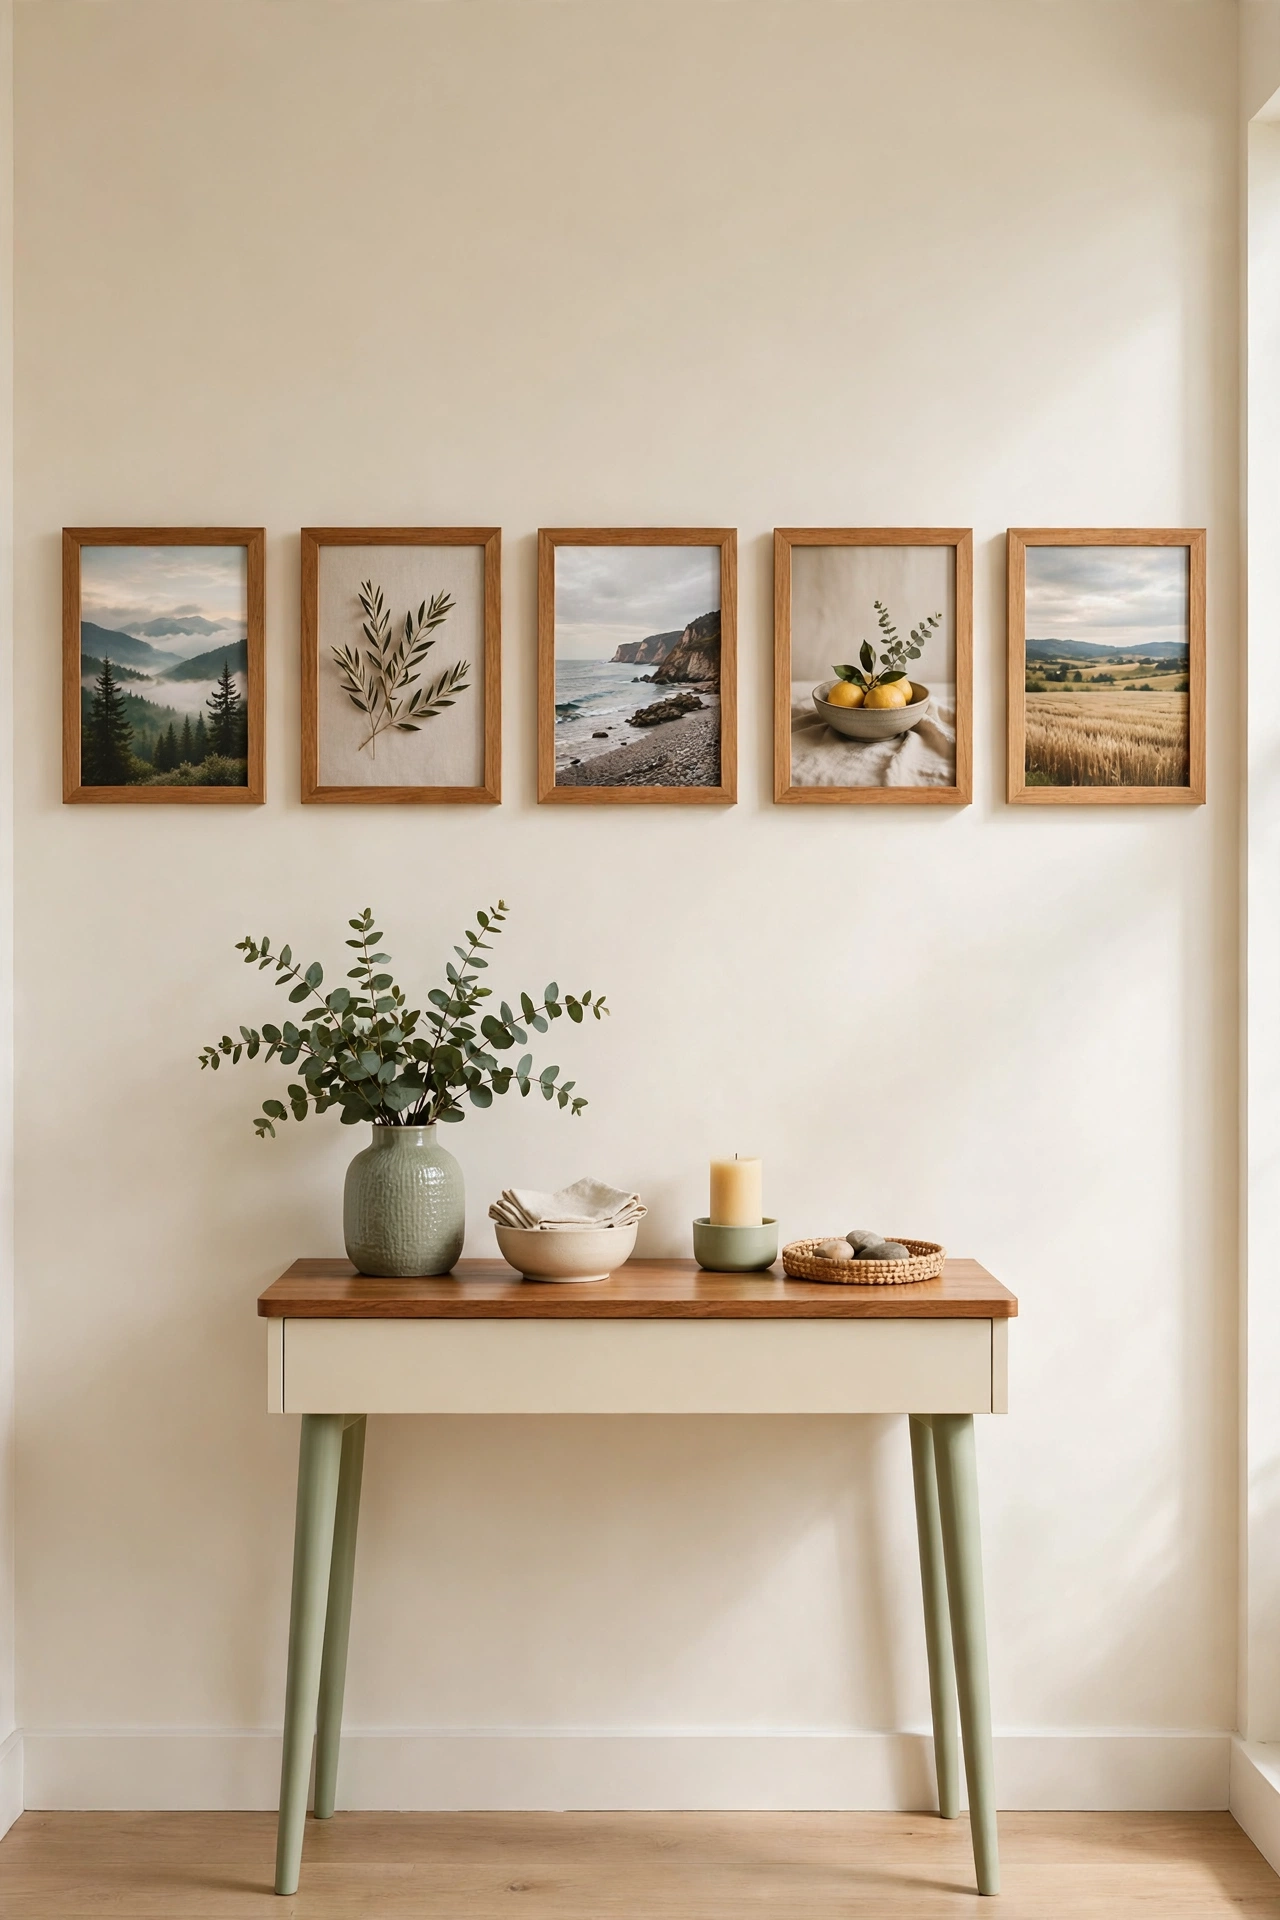
6. Frame One Favorite Photo Instead of Storing Albums
Photo albums pile up fast, and most of them sit unopened for years. Choose one favorite photo from each chapter of your life and frame it. The framed photos become daily reminders of happy times, while the albums can be digitized or stored in a single box.
Pick matching frames for a calm, intentional look, and hang them in a hallway or above a side table. One strong image tells a story better than a hundred forgotten prints. If a photo matters deeply, it deserves wall space, not a dark shelf.
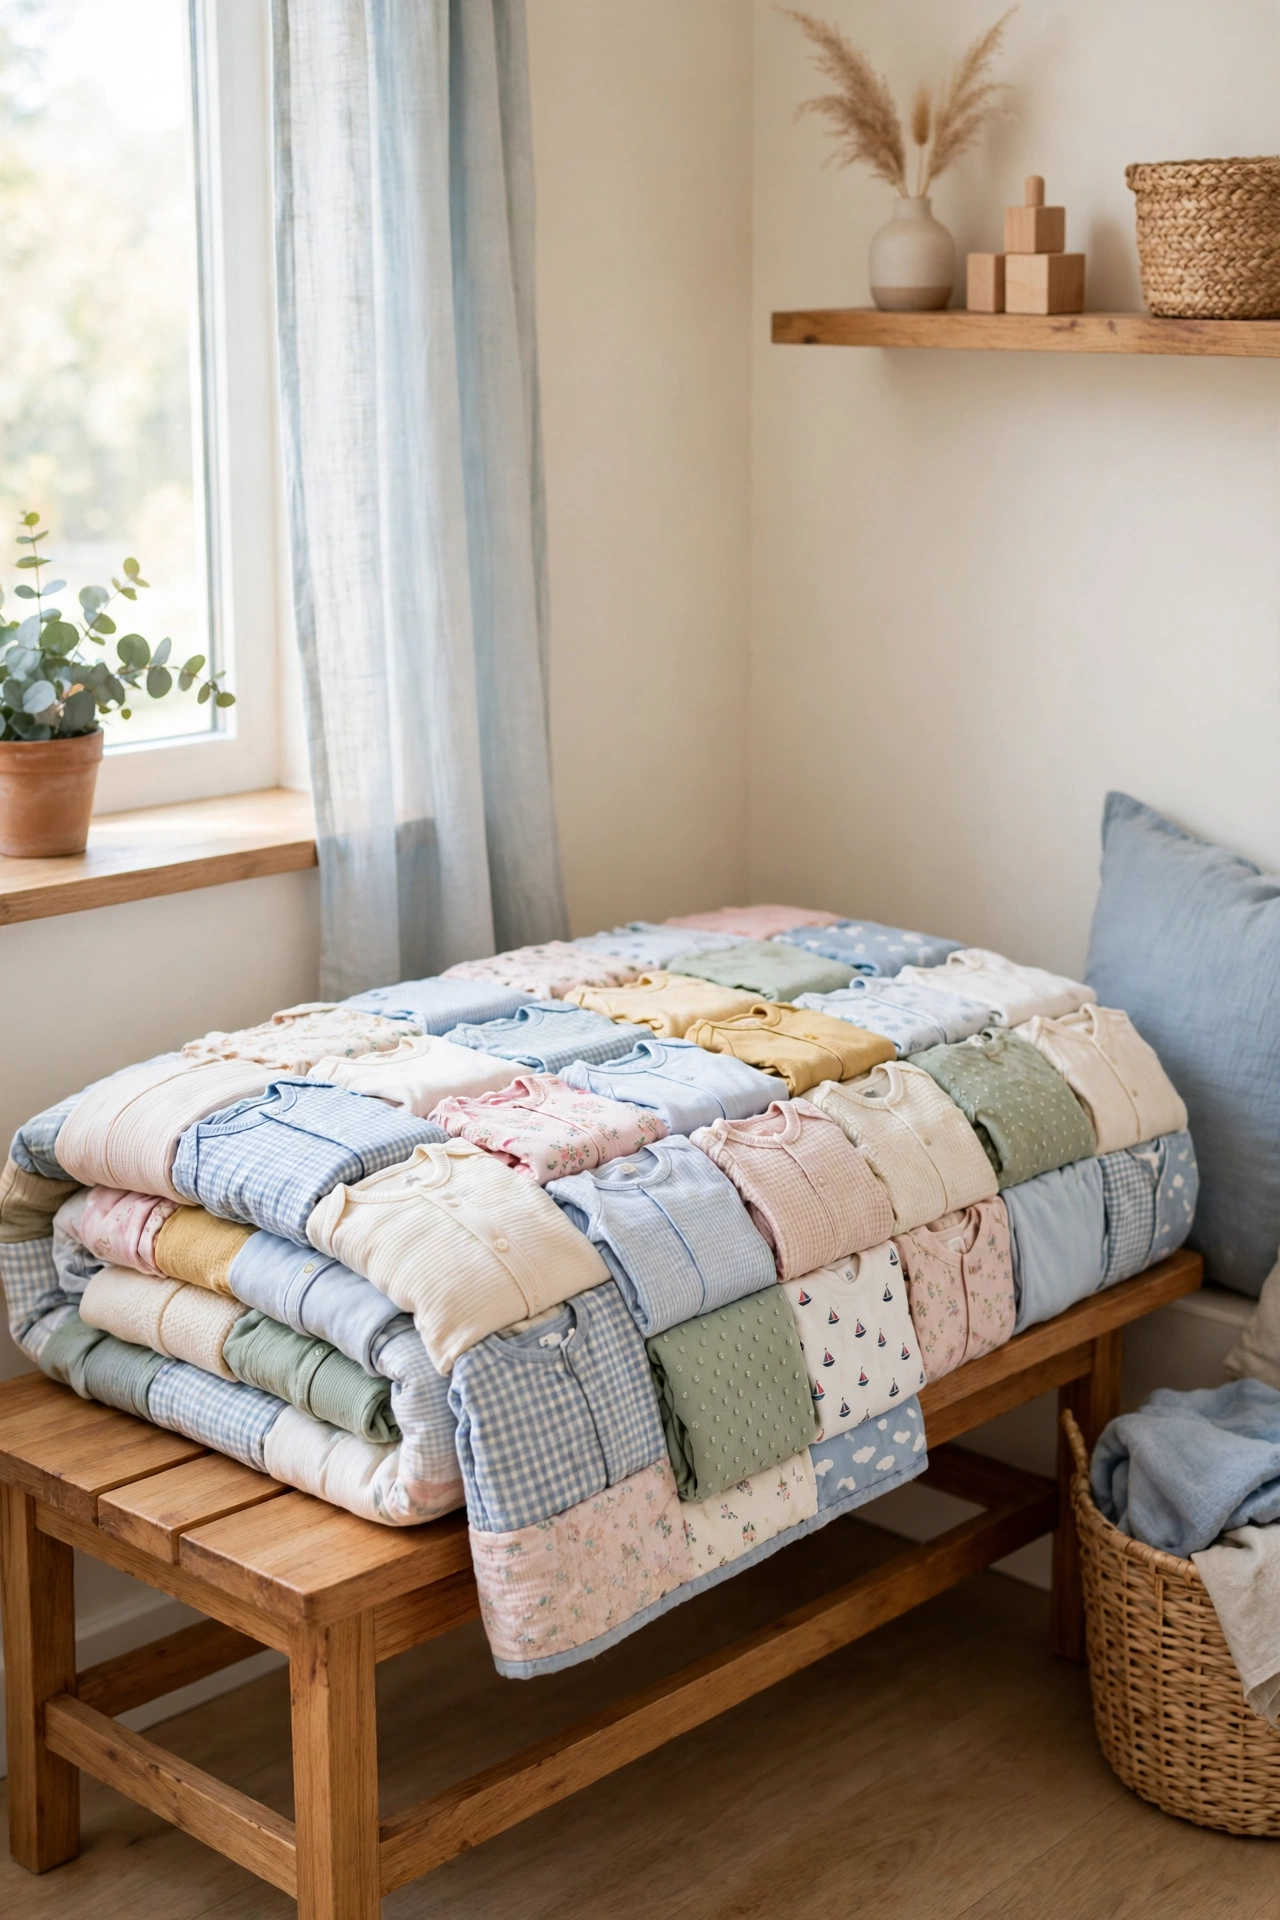
7. Turn Baby Clothes Into a Patchwork Quilt
A drawer full of tiny baby clothes is hard to part with, and a quilt turns those clothes into something you can use every day. Cut squares from favorite outfits and sew them into a patchwork throw. Each square holds a memory, and the quilt becomes a family heirloom.
If sewing is not your skill, many local quilt makers will create one from the clothes you send. The finished quilt can live on the sofa or at the foot of a bed, where it gets seen and touched. One quilt replaces several boxes of clothes you never open.
8. Keep a Shadow Box for Small Treasures
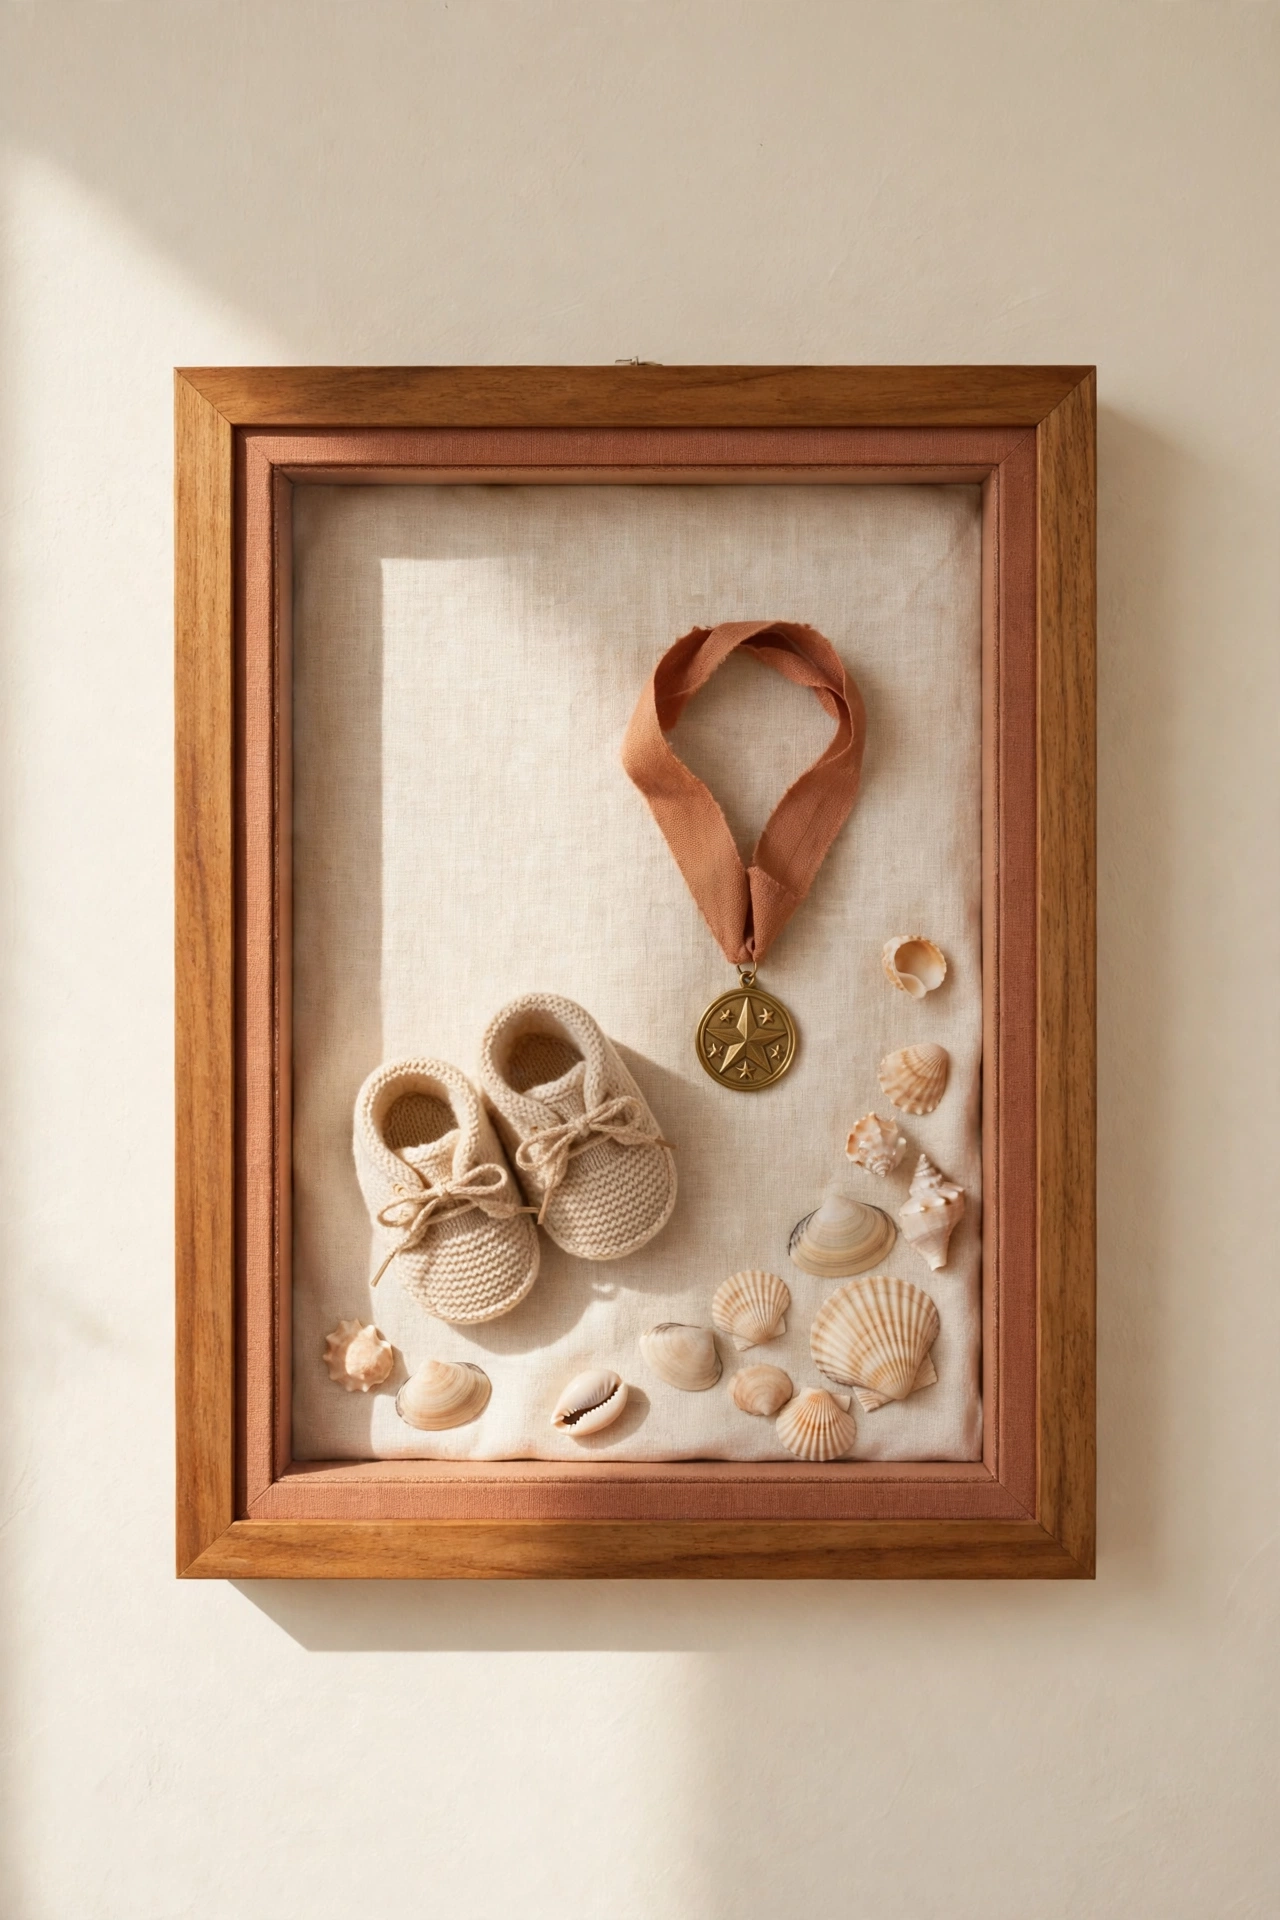
A shadow box is a deep frame that holds three-dimensional objects behind glass. It is perfect for small treasures like baby shoes, wedding favors, medals, and seashells from a special trip. The glass protects the items from dust while keeping them visible.
Arrange the objects on a fabric backing and leave some empty space so each item stands out. Hang the shadow box in a bedroom or hallway where you will see it often. A shadow box turns a drawer of odds and ends into a piece of art with a story.
9. Store Ticket Stubs and Cards in a Labeled Binder
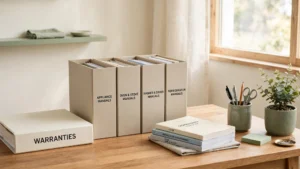
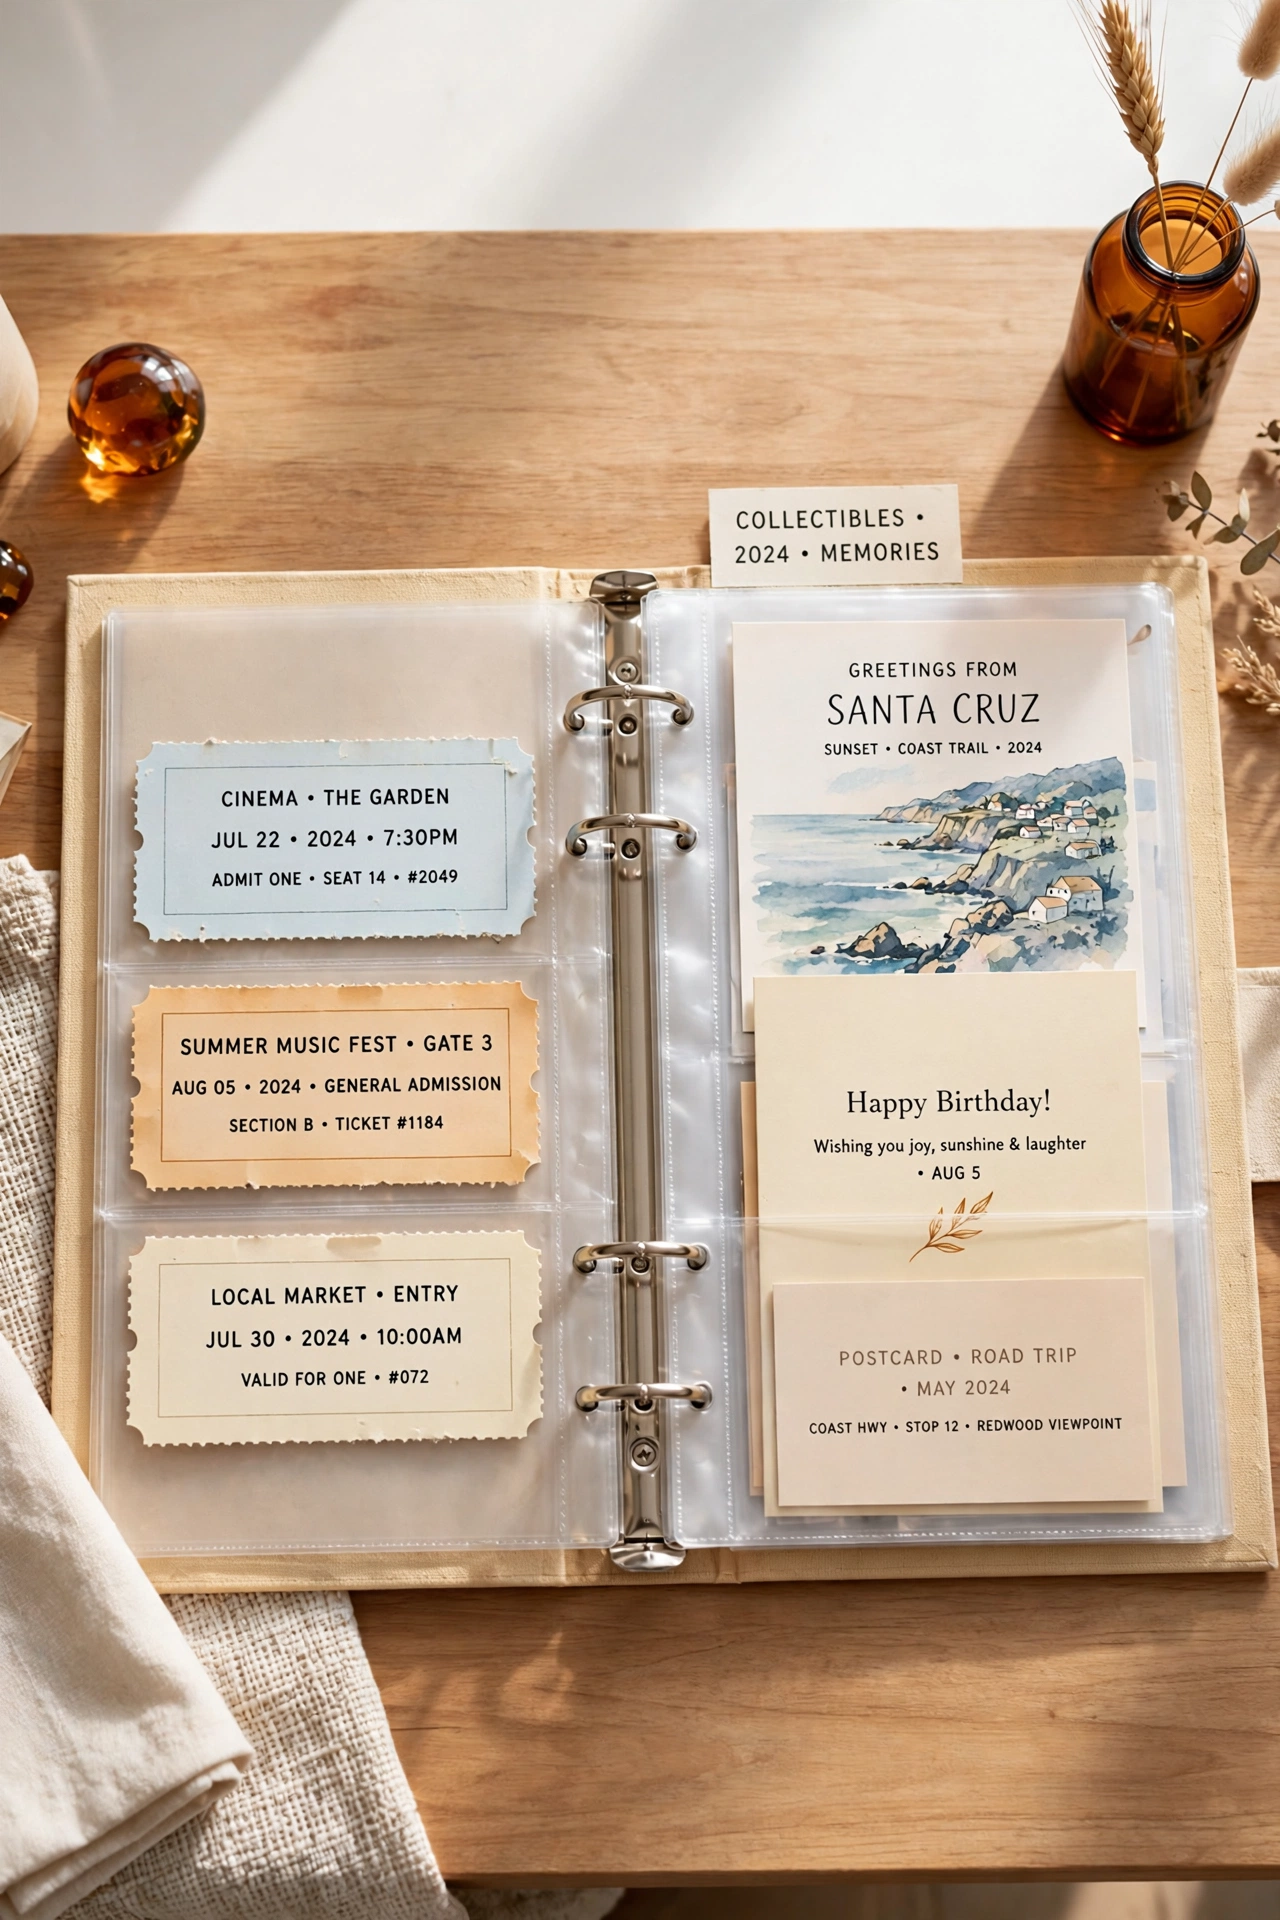
Ticket stubs, postcards, and greeting cards slip easily into a binder with clear pocket pages. The pockets keep paper flat and protected, and flipping through the binder feels like walking through your own history. Label the spine with a year range so you can grab the right binder at once.
Sort the pockets by event or by year, and add small labels under special items with the date and who you were with. A binder takes up one slot on a bookshelf, yet it can hold hundreds of memories. It also survives moves and storage far better than loose piles of paper.
10. Digitize Printed Photos With a Scanner App
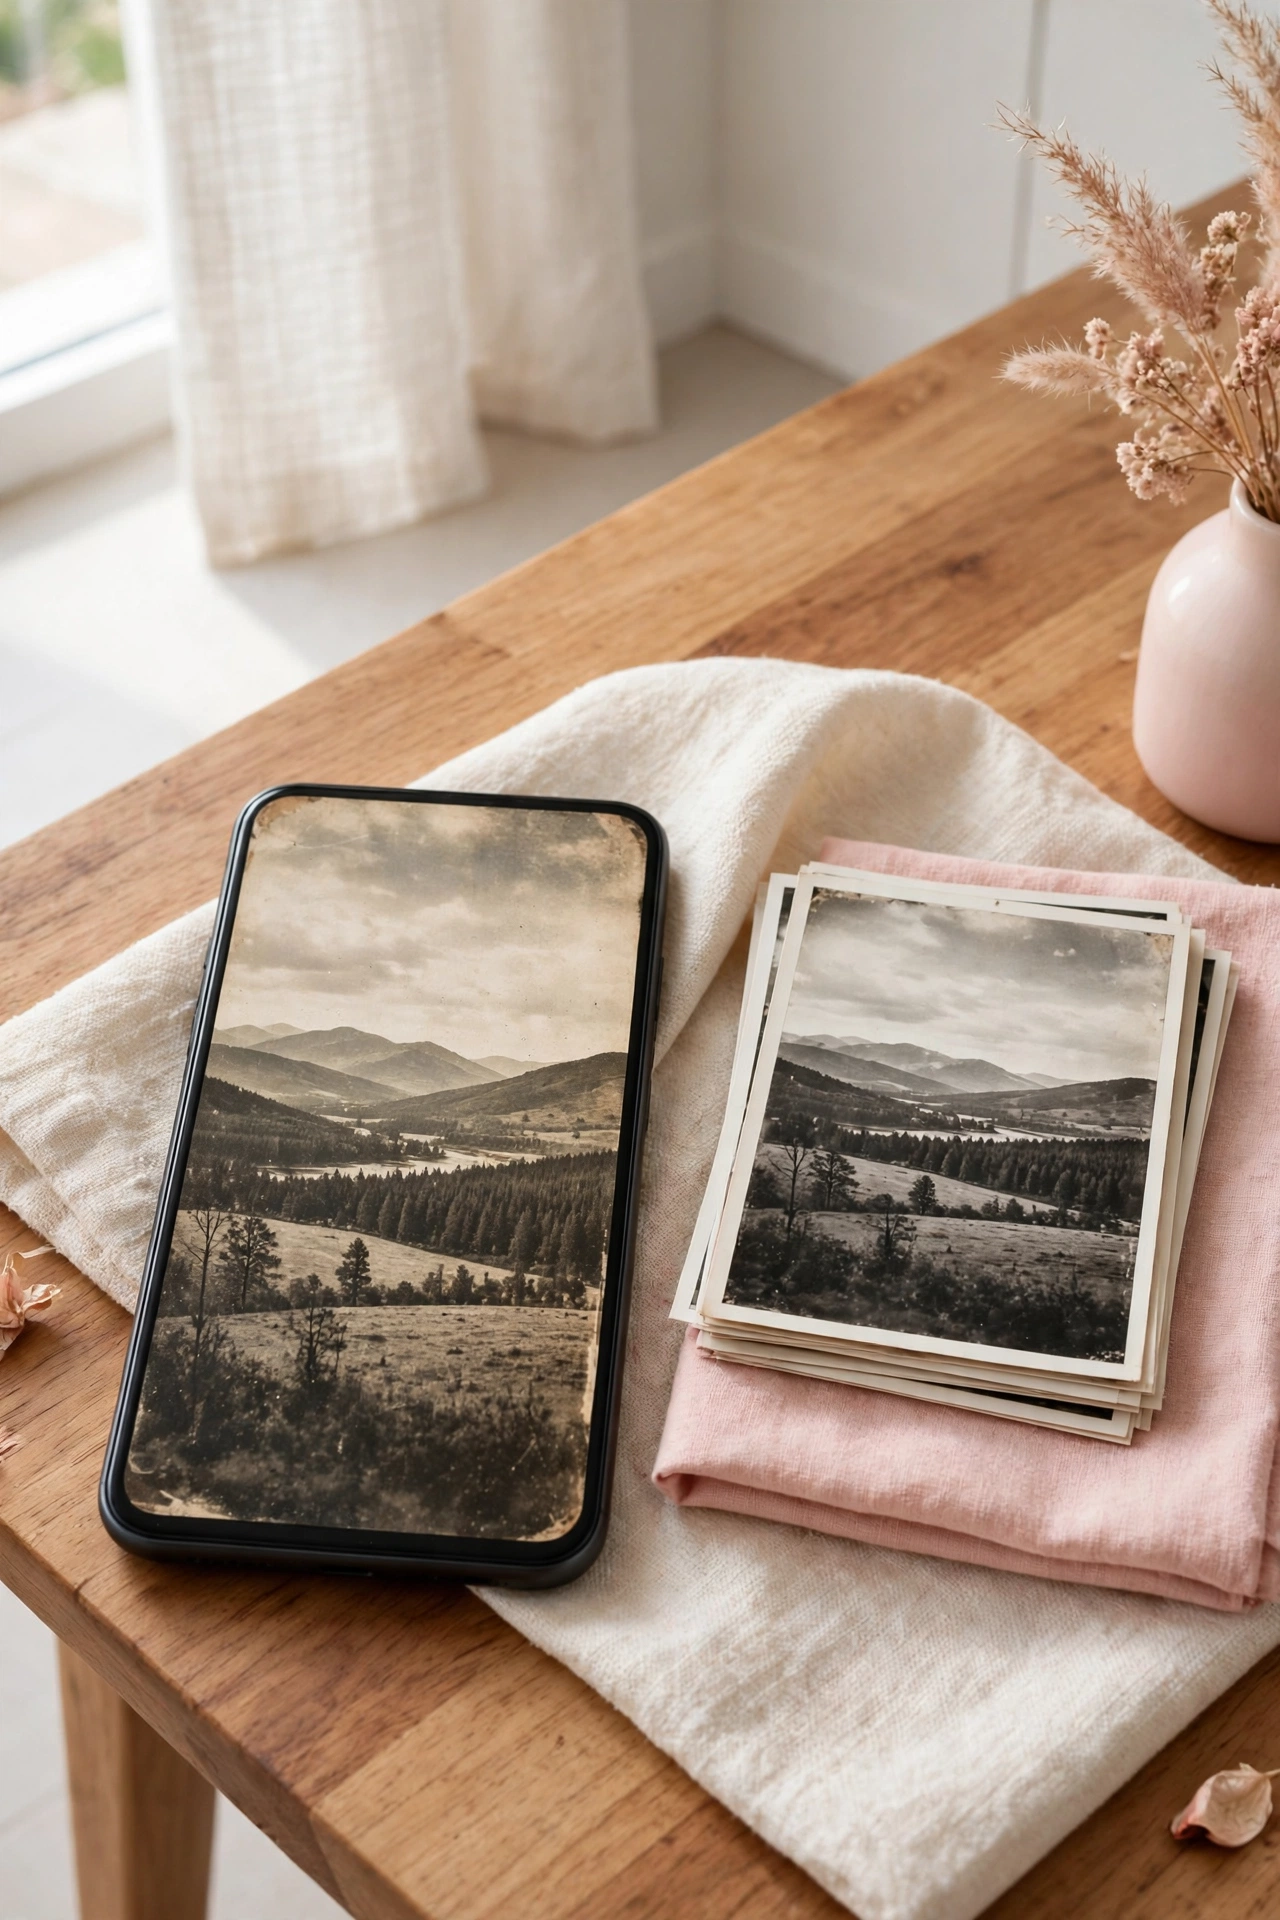
Boxes of printed photos are heavy, fragile, and hard to search. A scanner app on your phone turns each print into a digital file in seconds, and automatic cropping keeps the edges neat. Work through one box at a time so the task never feels overwhelming.
Back the files up in two places, such as a cloud account and an external drive, so the memories are safe from accidents. After scanning, keep only the prints that feel irreplaceable in their original form. For a full system, these digital photo organization ideas will help you sort, name, and protect your new digital collection.
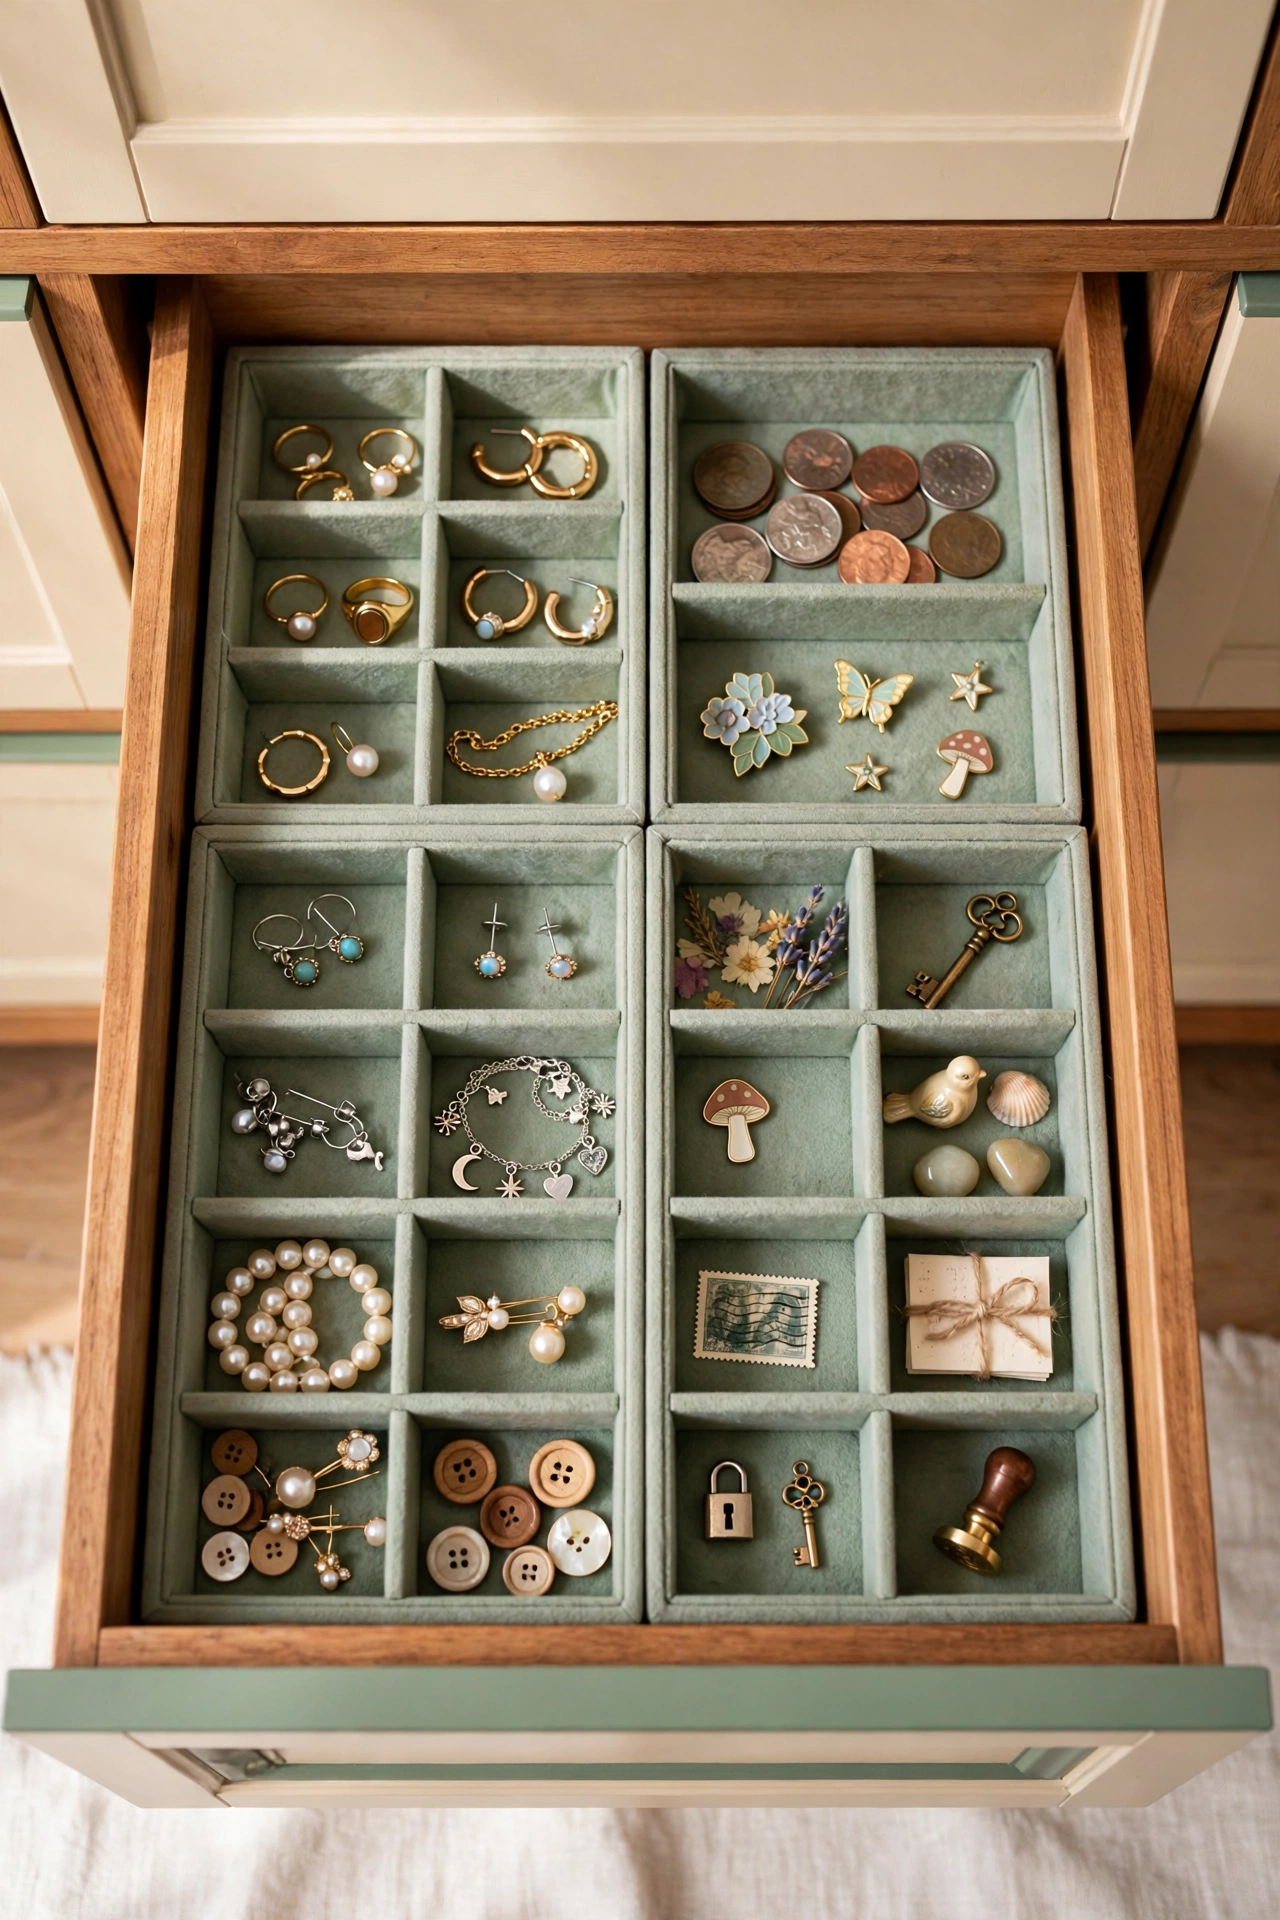
11. Create a Keepsake Drawer With Small Compartments
One drawer can hold a lifetime of small treasures if the inside is divided into compartments. Use a drawer organizer with small sections for jewelry, coins, pins, keys, and other tiny keepsakes. Each item gets its own space, so nothing gets tangled or scratched.
Line the compartments with soft fabric to protect delicate pieces, and add a small label to sections that hold similar items. A keepsake drawer in a dresser or side table keeps treasures close at hand without cluttering surfaces. Open it whenever you want a quiet moment with your memories.
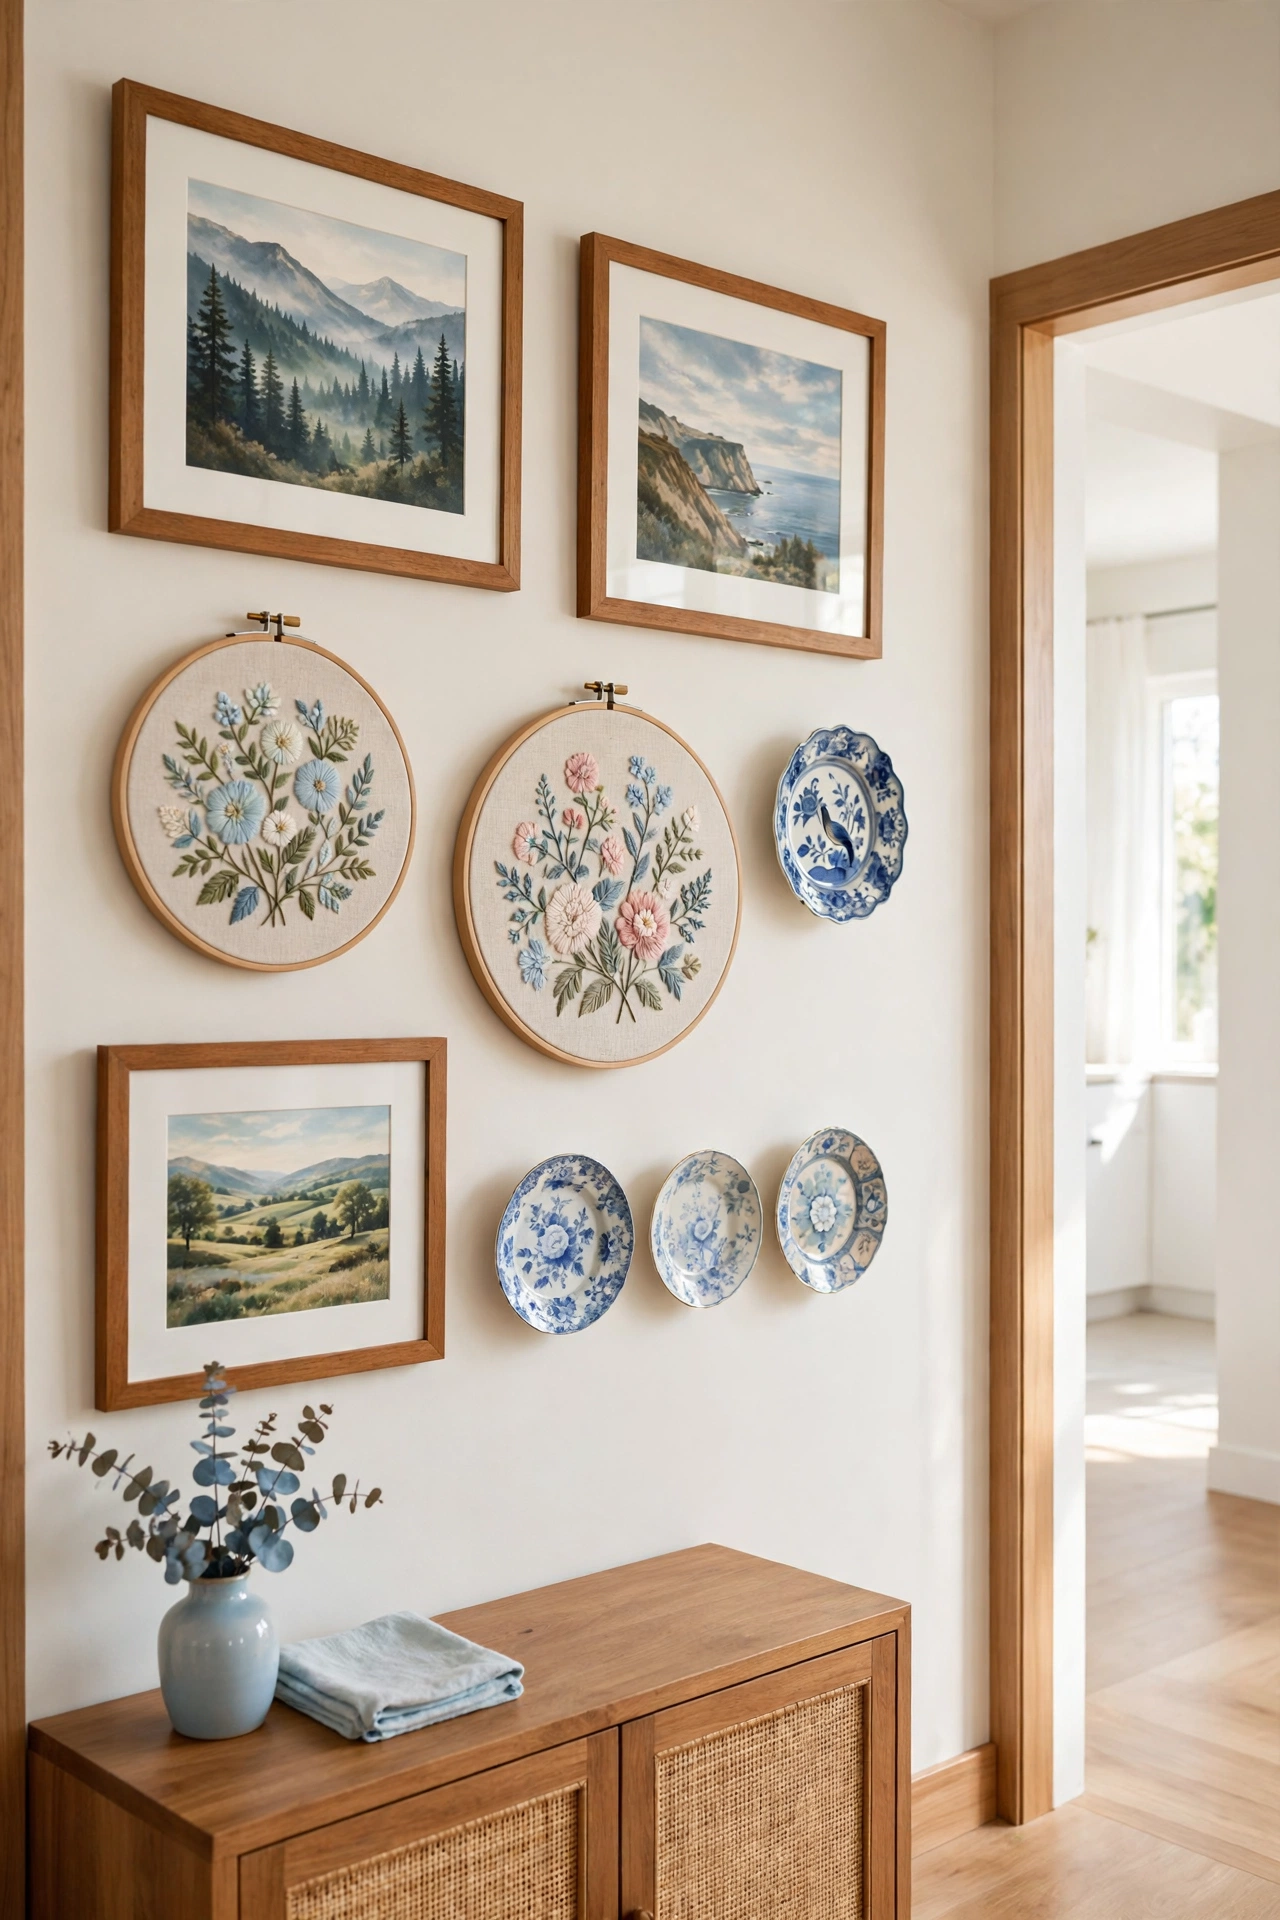
12. Hang a Gallery Wall of Family Heirlooms
A gallery wall gives heirlooms a place of honor instead of a spot in storage. Mix framed photos, embroidered pieces, small plates, and framed documents in a loose arrangement. The wall becomes a visual family tree that guests notice and ask about.
Start with the largest piece in the center and build outward, leaving even gaps between frames. Use removable picture strips if you rent or want to change the layout later. A gallery wall turns storage into storytelling, and it uses wall space your home already has.
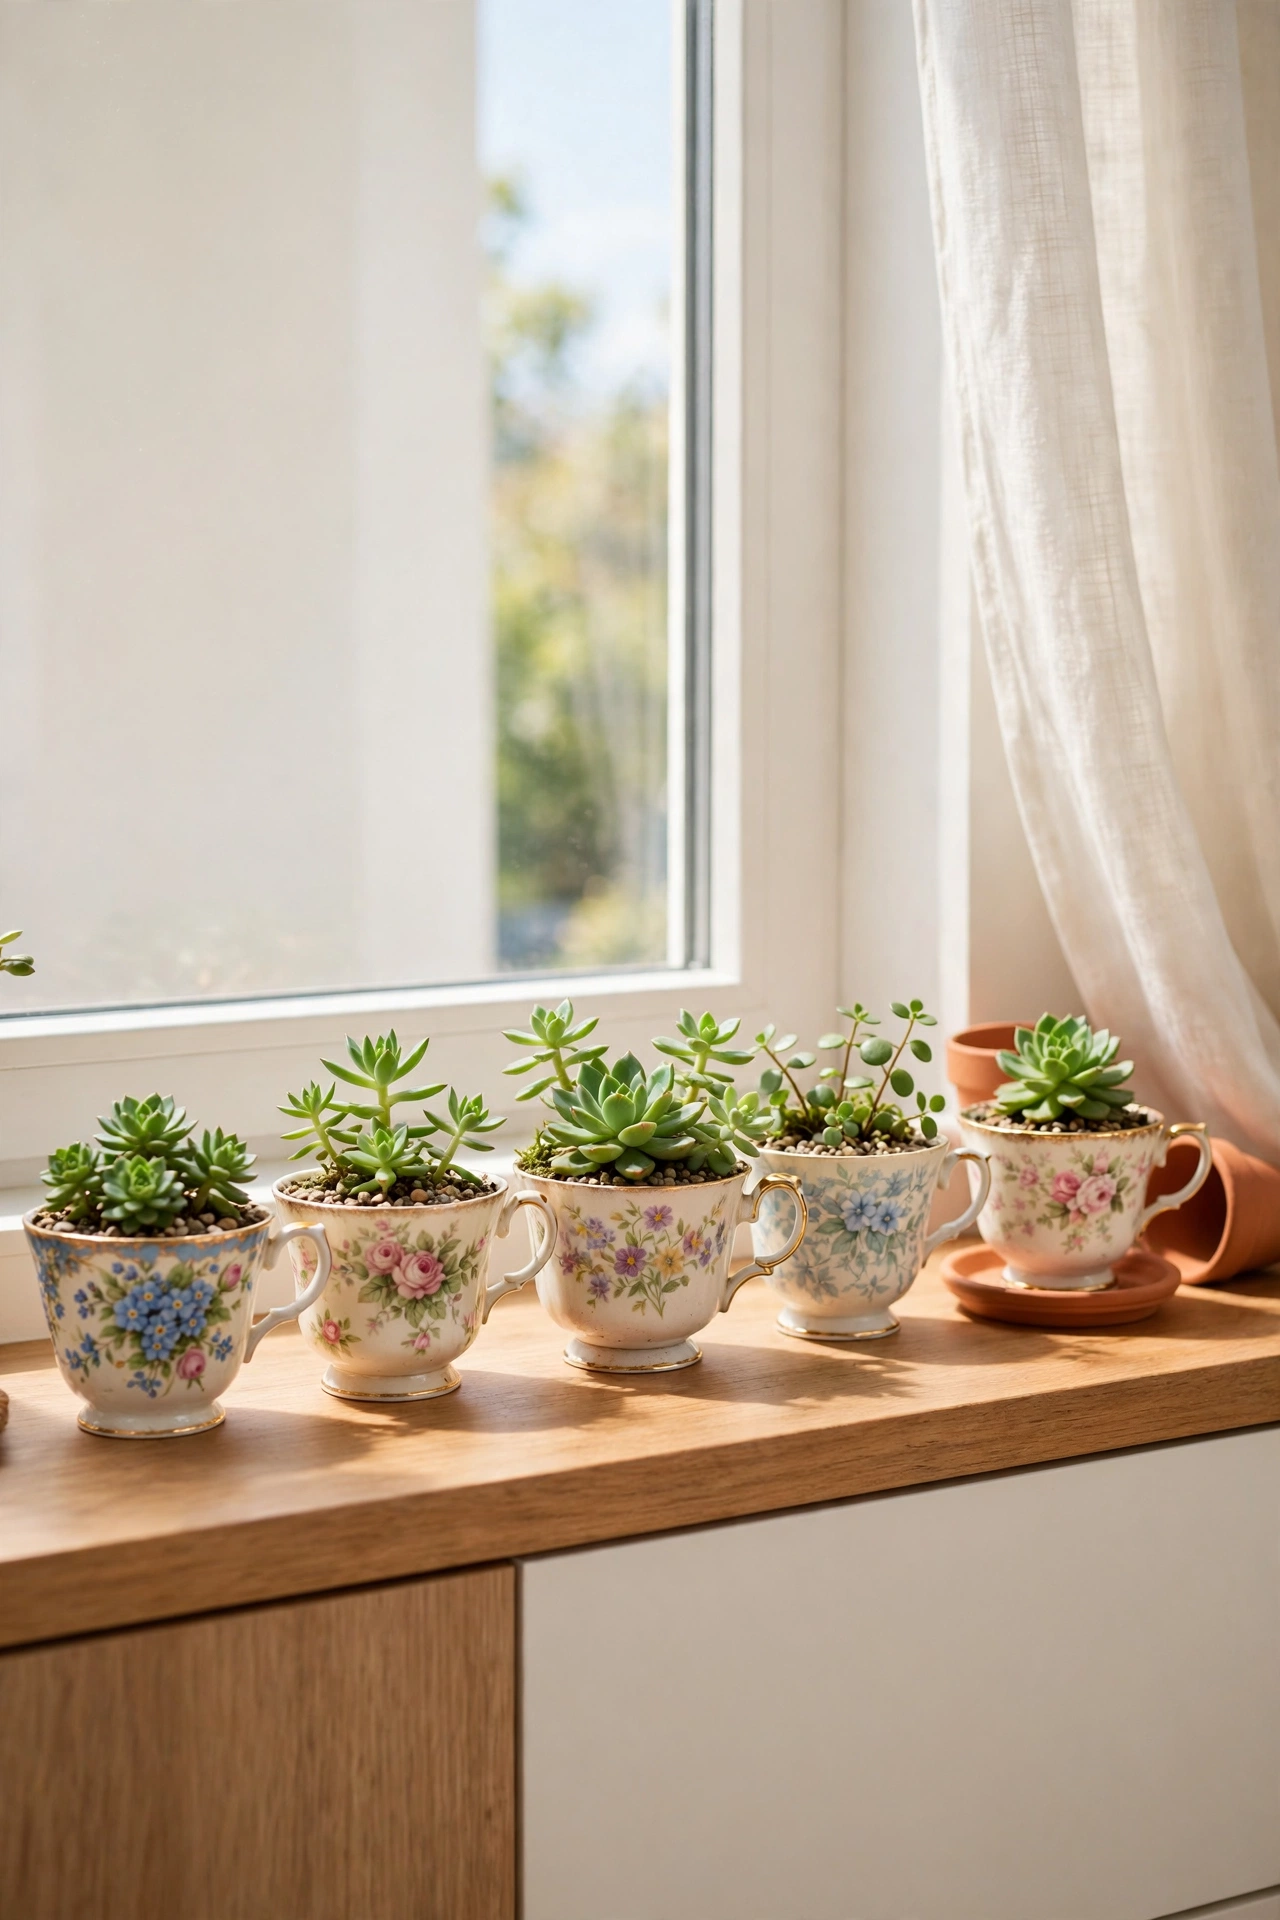
13. Repurpose a Teacup Collection Into Planters
A cabinet full of inherited teacups can feel like a burden when you never drink from them. Turn the prettiest cups into small planters for succulents and herbs. The cups stay in daily view, and the plants give them a fresh purpose.
Drill a small drainage hole in the bottom or add a layer of pebbles before the soil. Place the planted cups on a windowsill or a kitchen shelf where they catch the light. Repurposing keeps the memory alive in a useful form, and you can still keep one or two cups untouched for display.
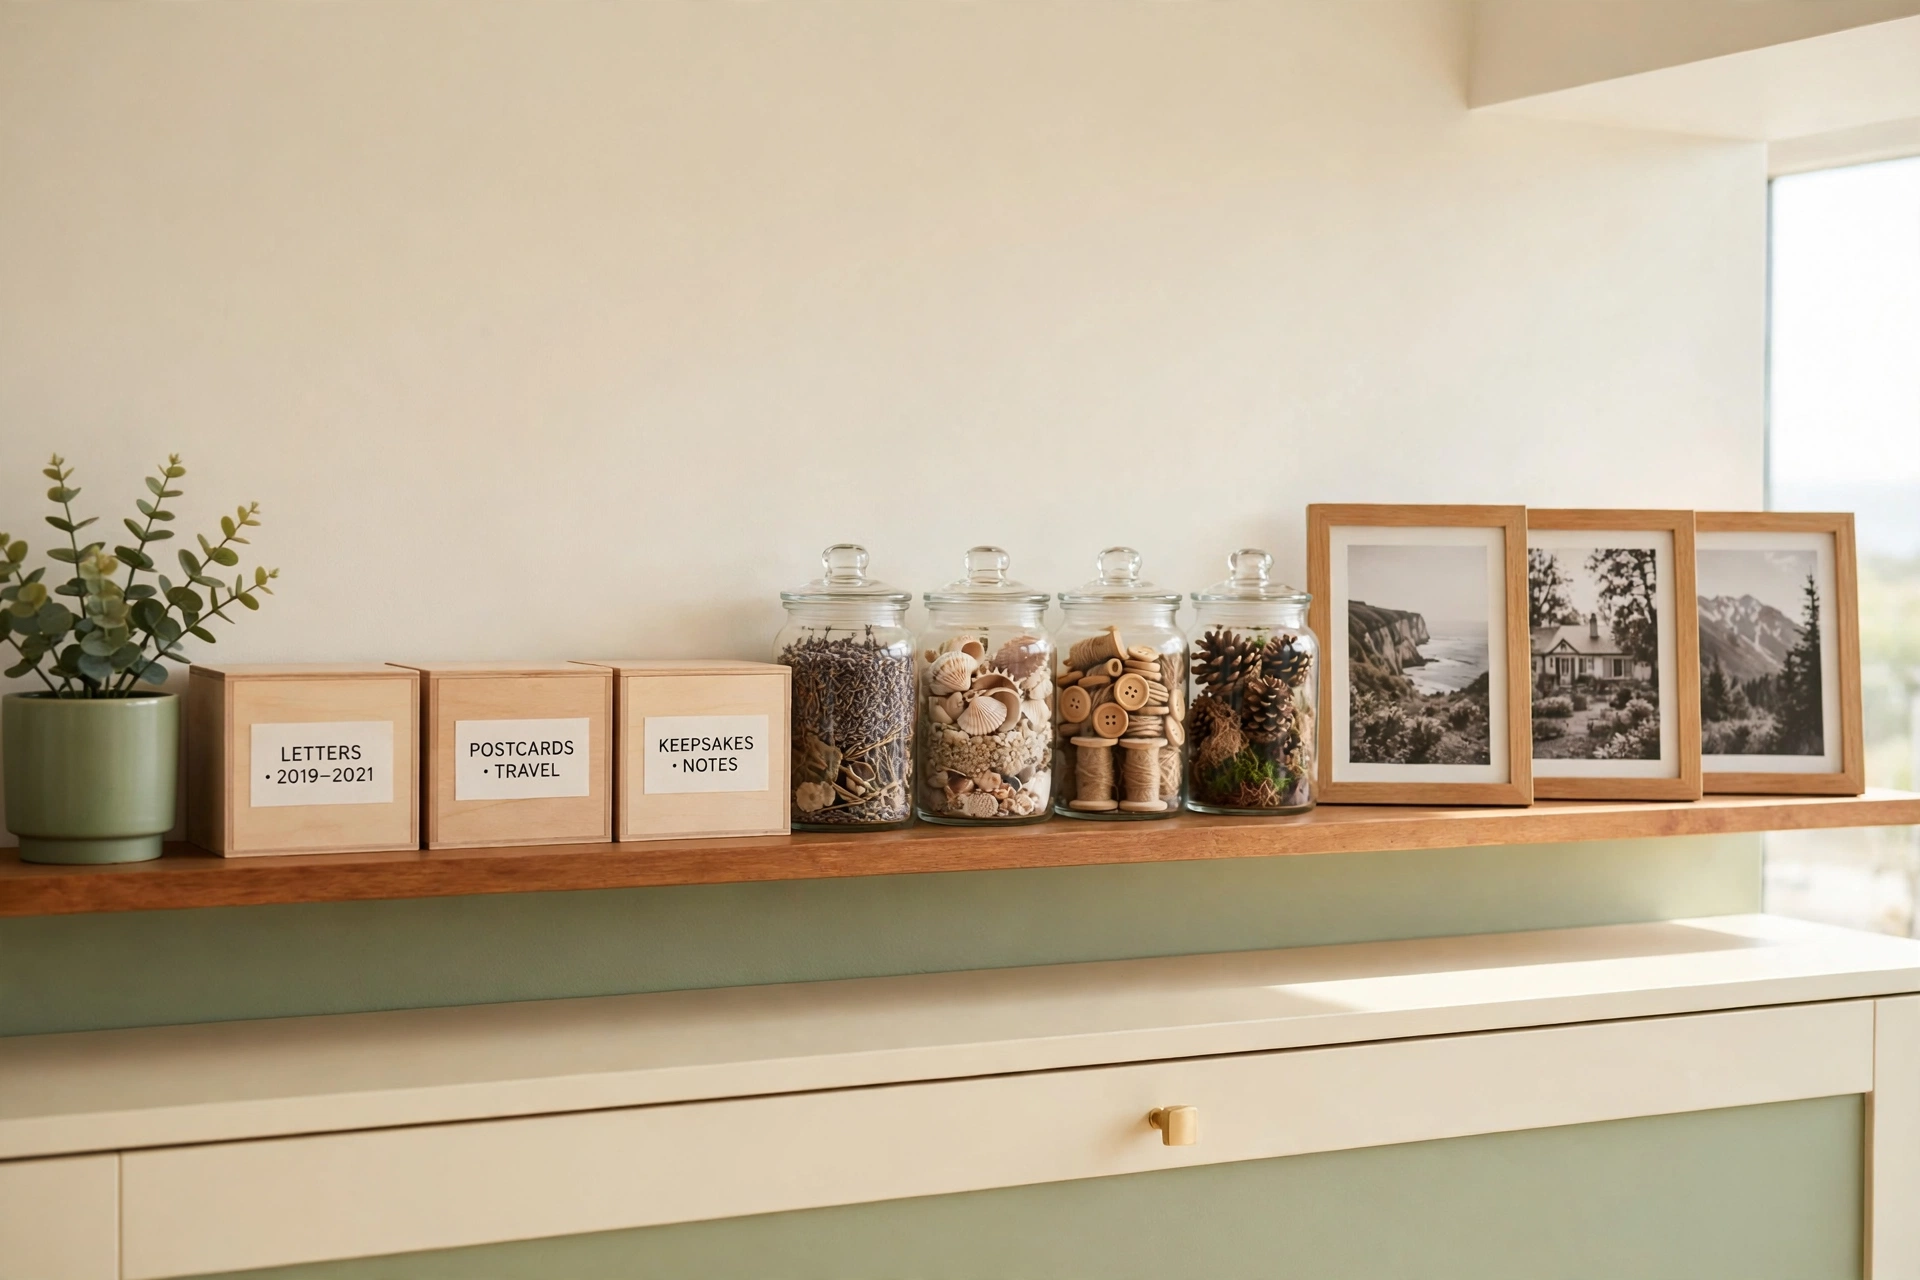
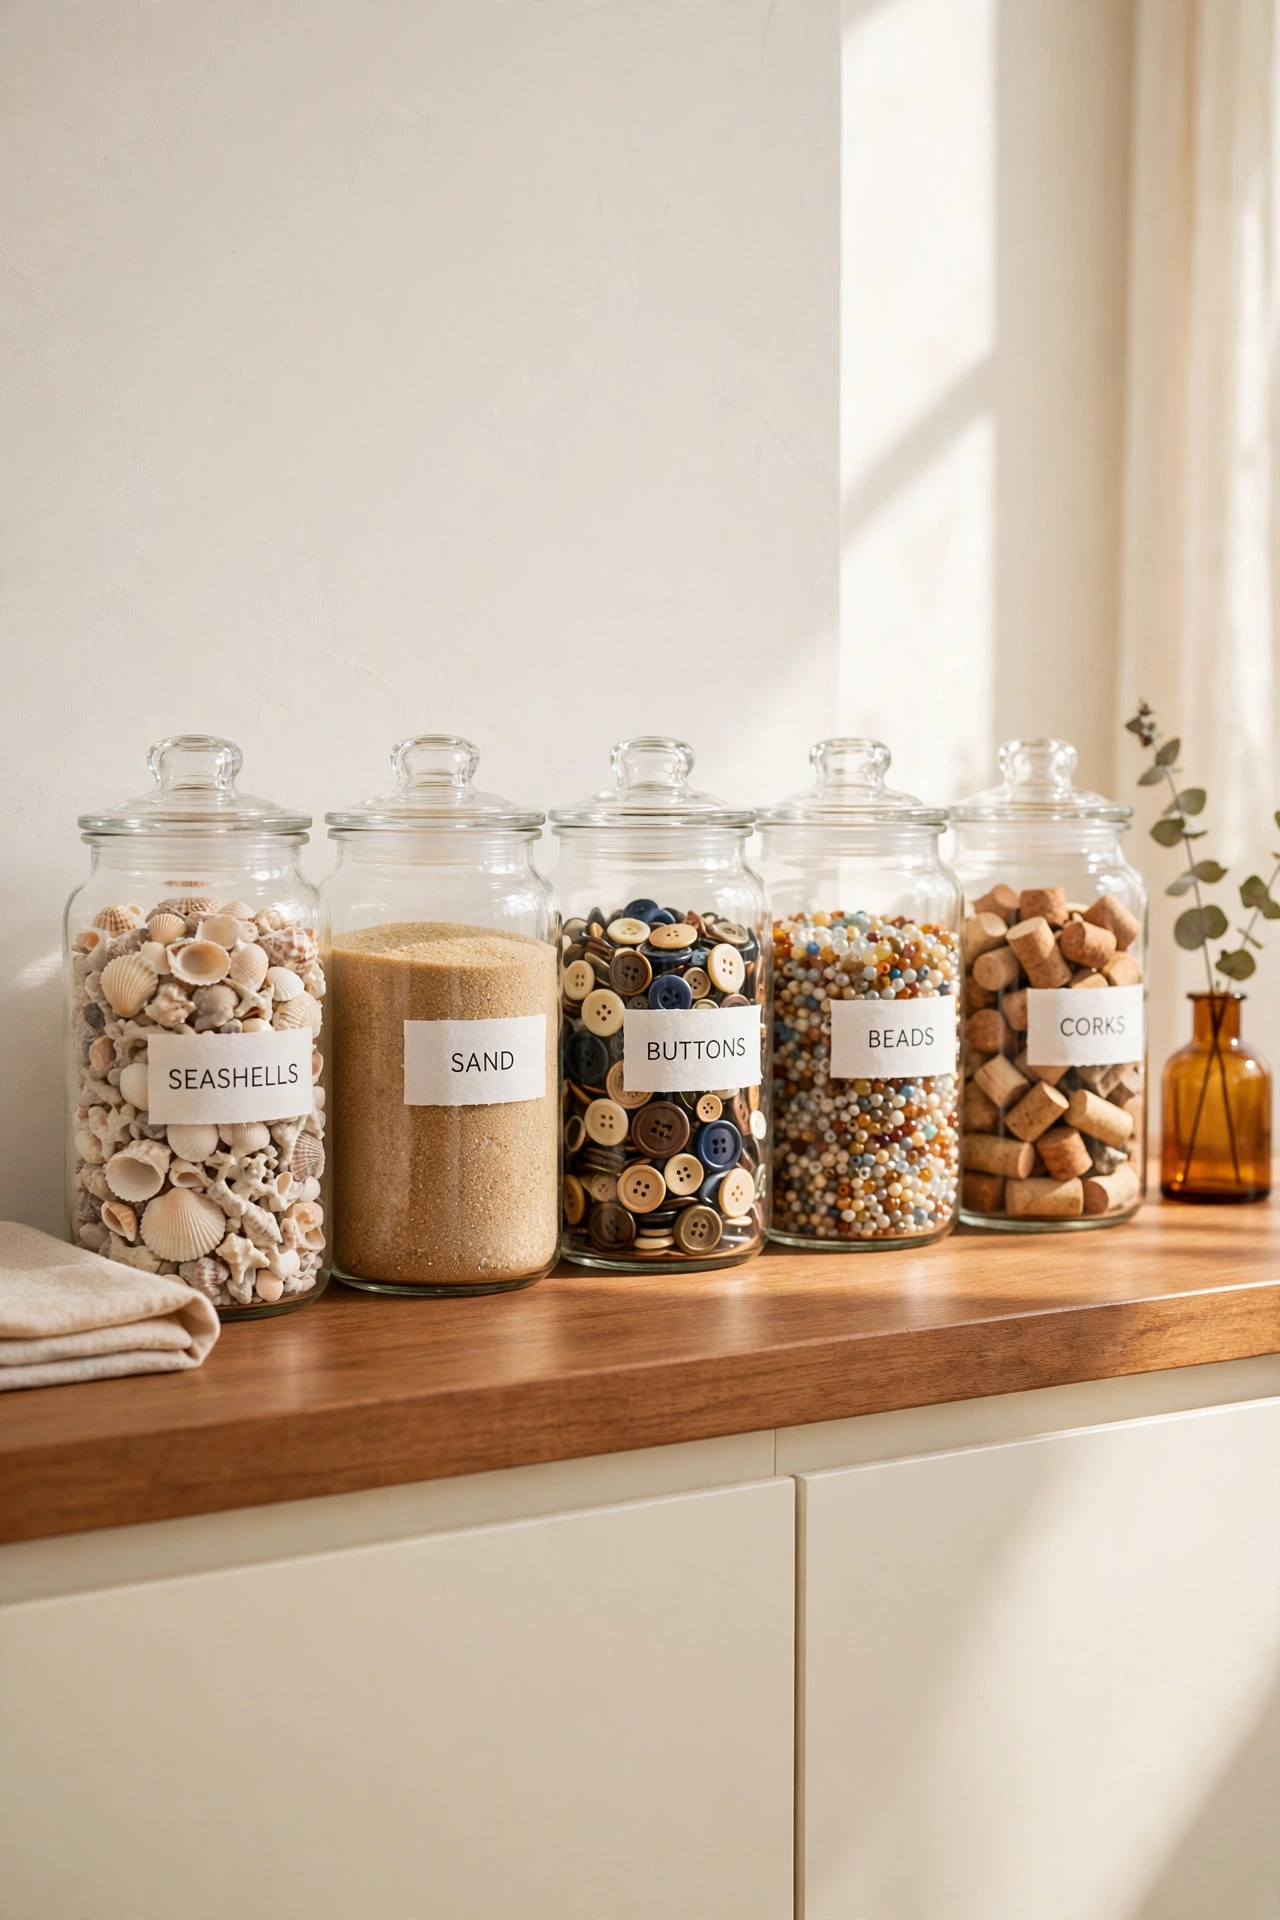
14. Use Clear Jars for Tiny Mementos
Clear jars are perfect for tiny mementos like beach sand, ticket confetti, buttons, beads, and small stones. The glass keeps everything visible, and a row of filled jars on a shelf looks intentional and charming. Add a small paper label with the date and place for each jar.
Choose jars in the same style but different sizes, and keep the lids tight so nothing spills. Group the jars by trip or by theme so the collection tells a story. Tiny items that would vanish in a drawer become a display you enjoy every day.
15. Keep a One-In-One-Out Rule for New Keepsakes
A one-in-one-out rule stops sentimental clutter from growing back after you organize it. Every time a new keepsake enters your home, an older one leaves, gets digitized, or moves to long-term storage. The rule protects the space you worked hard to create.
Apply the rule to souvenirs, gifts, and school keepsakes alike. If the new item truly earns its place, finding one item to release becomes a thoughtful ritual instead of a chore. Over the years, the rule keeps your collection at a size you can actually enjoy.
16. Build a Memory Shelf in the Hallway
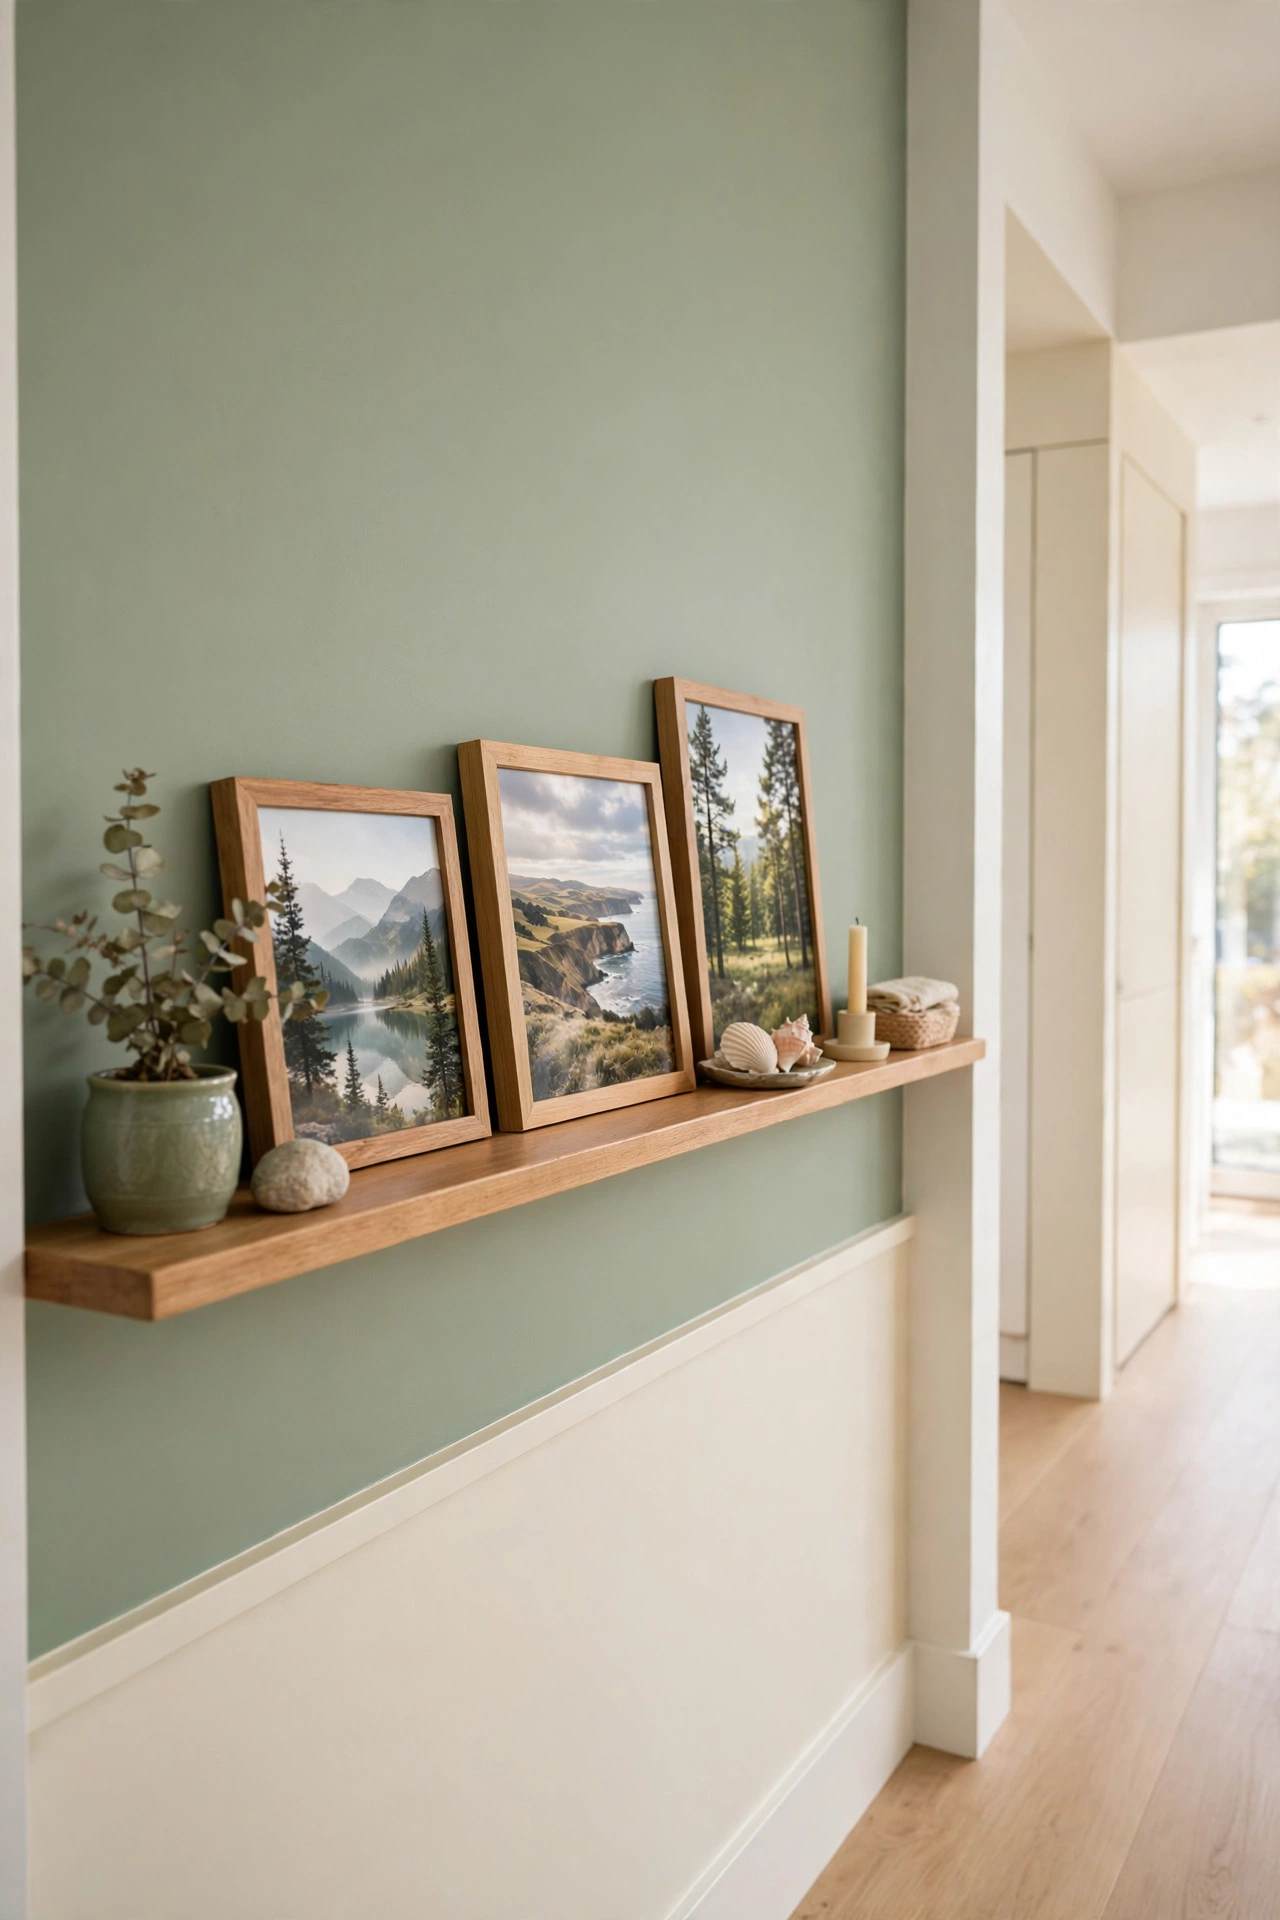
A hallway is often wasted space, and a narrow memory shelf turns it into a gallery you pass every day. Install a slim picture ledge and arrange framed photos, small keepsakes, and a vase along its length. The ledge style lets you swap items in seconds without new nail holes.
Keep the arrangement to a few pieces so the hallway still feels open and calm. Change the display when a new memory arrives or when the seasons change. A hallway memory shelf gives keepsakes daily attention in a spot that would otherwise sit empty.
17. Store Childhood Toys in a Labeled Bin
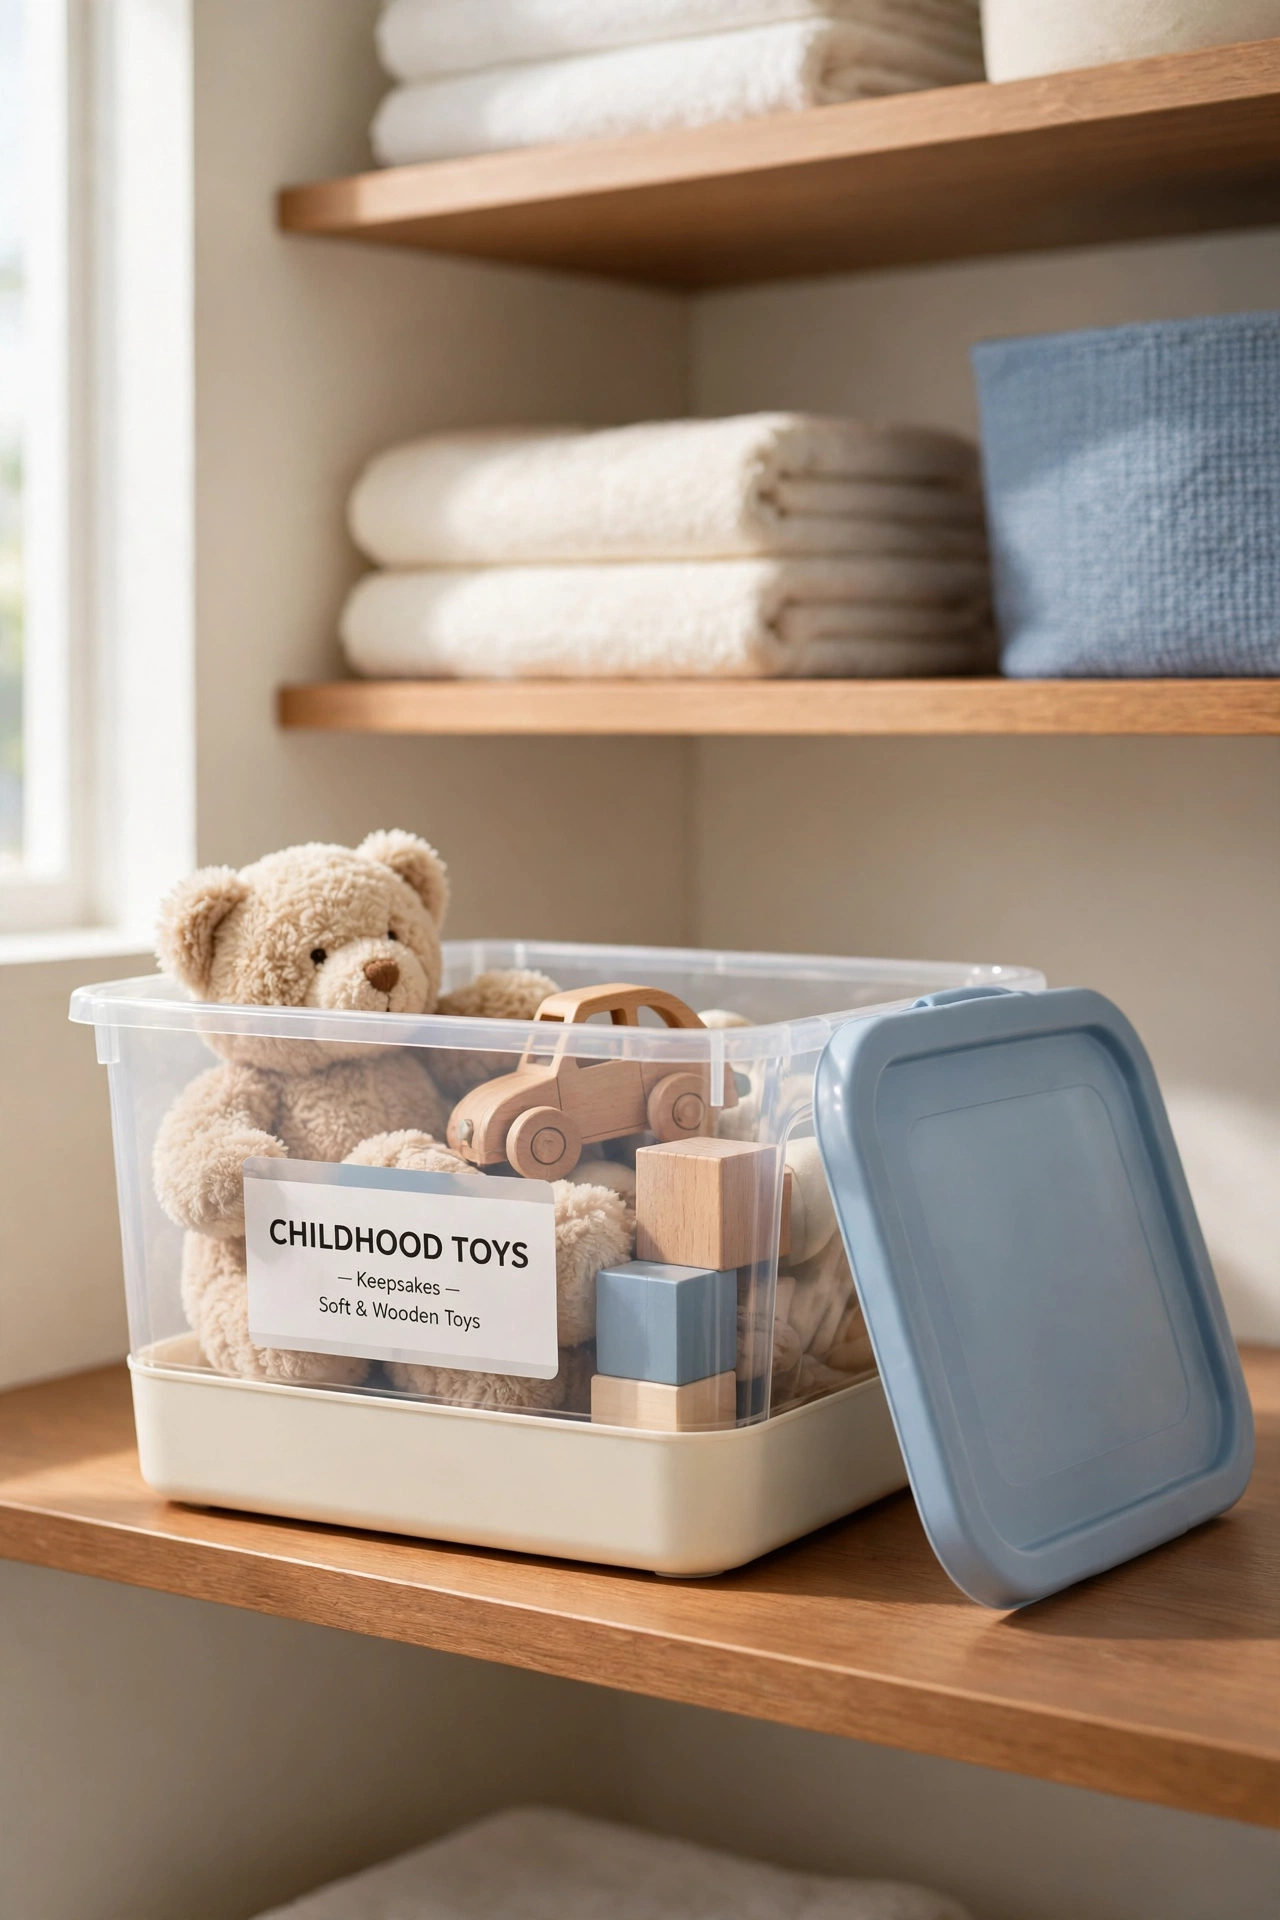
A few beloved childhood toys deserve a place in your home, even long after the playroom years end. Choose the toys that carry the strongest memories, and store them in a single labeled bin with a lid. The limit keeps the collection special instead of sprawling.
Line the bin with clean tissue paper and place fragile toys on top so they do not get crushed. For plush toys that need more care, these stuffed animal storage ideas offer gentle ways to keep soft toys clean, visible, and protected. A labeled bin on a closet shelf keeps childhood close without filling the house.
18. Turn Old T-Shirts Into a Throw Blanket
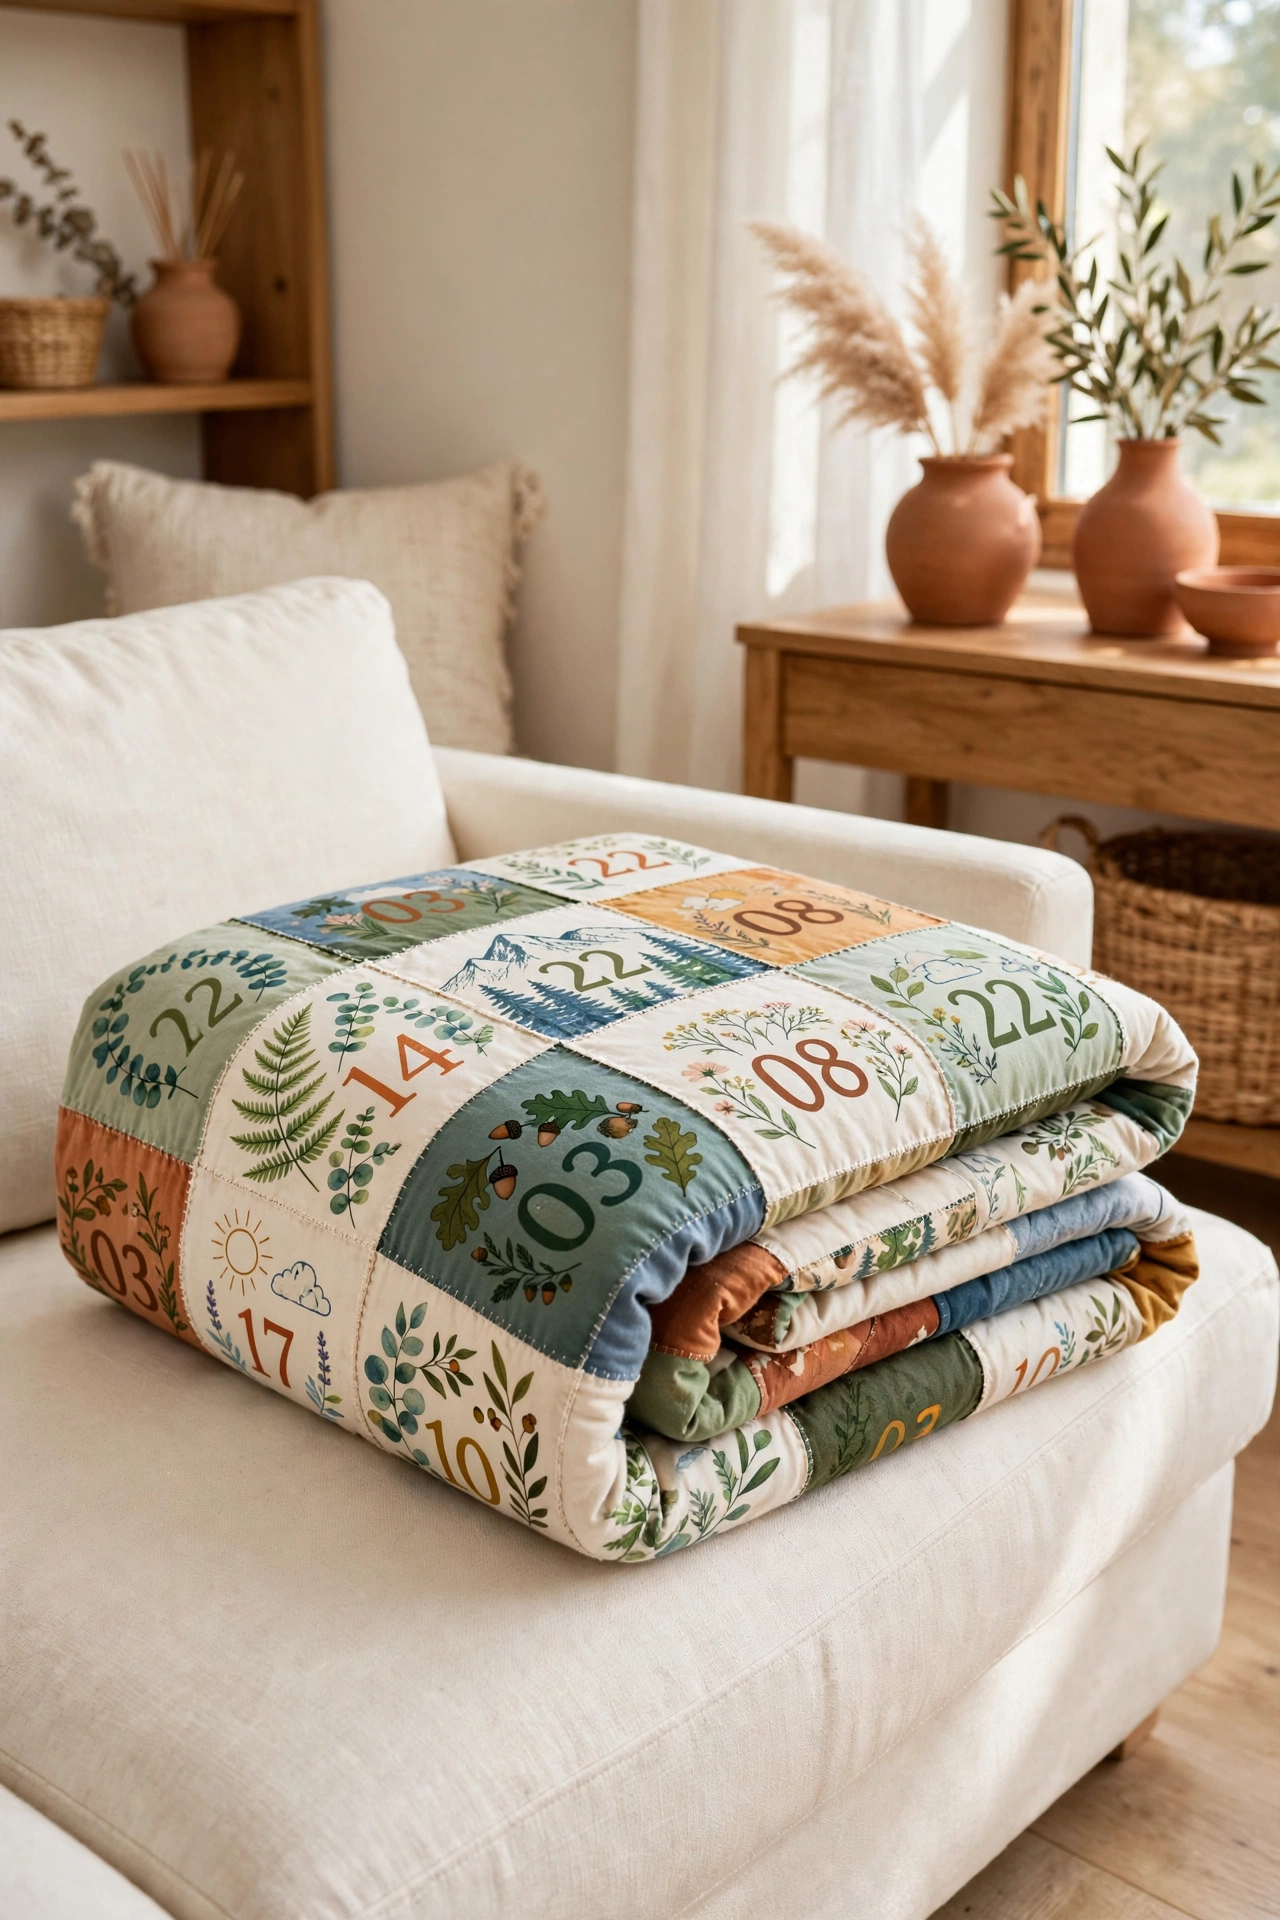
Concert shirts, team jerseys, and race-day tees pile up in drawers because each one marks a moment. A T-shirt throw blanket stitches those moments into a single usable item. Cut the printed panels from each shirt and join them with a soft backing fabric.
The finished blanket works on a sofa, a bed, or a reading chair, and every square starts a conversation. If you do not sew, a local maker can assemble the blanket from the shirts you provide. One blanket can hold twenty memories and replace a whole drawer of shirts you never wear.
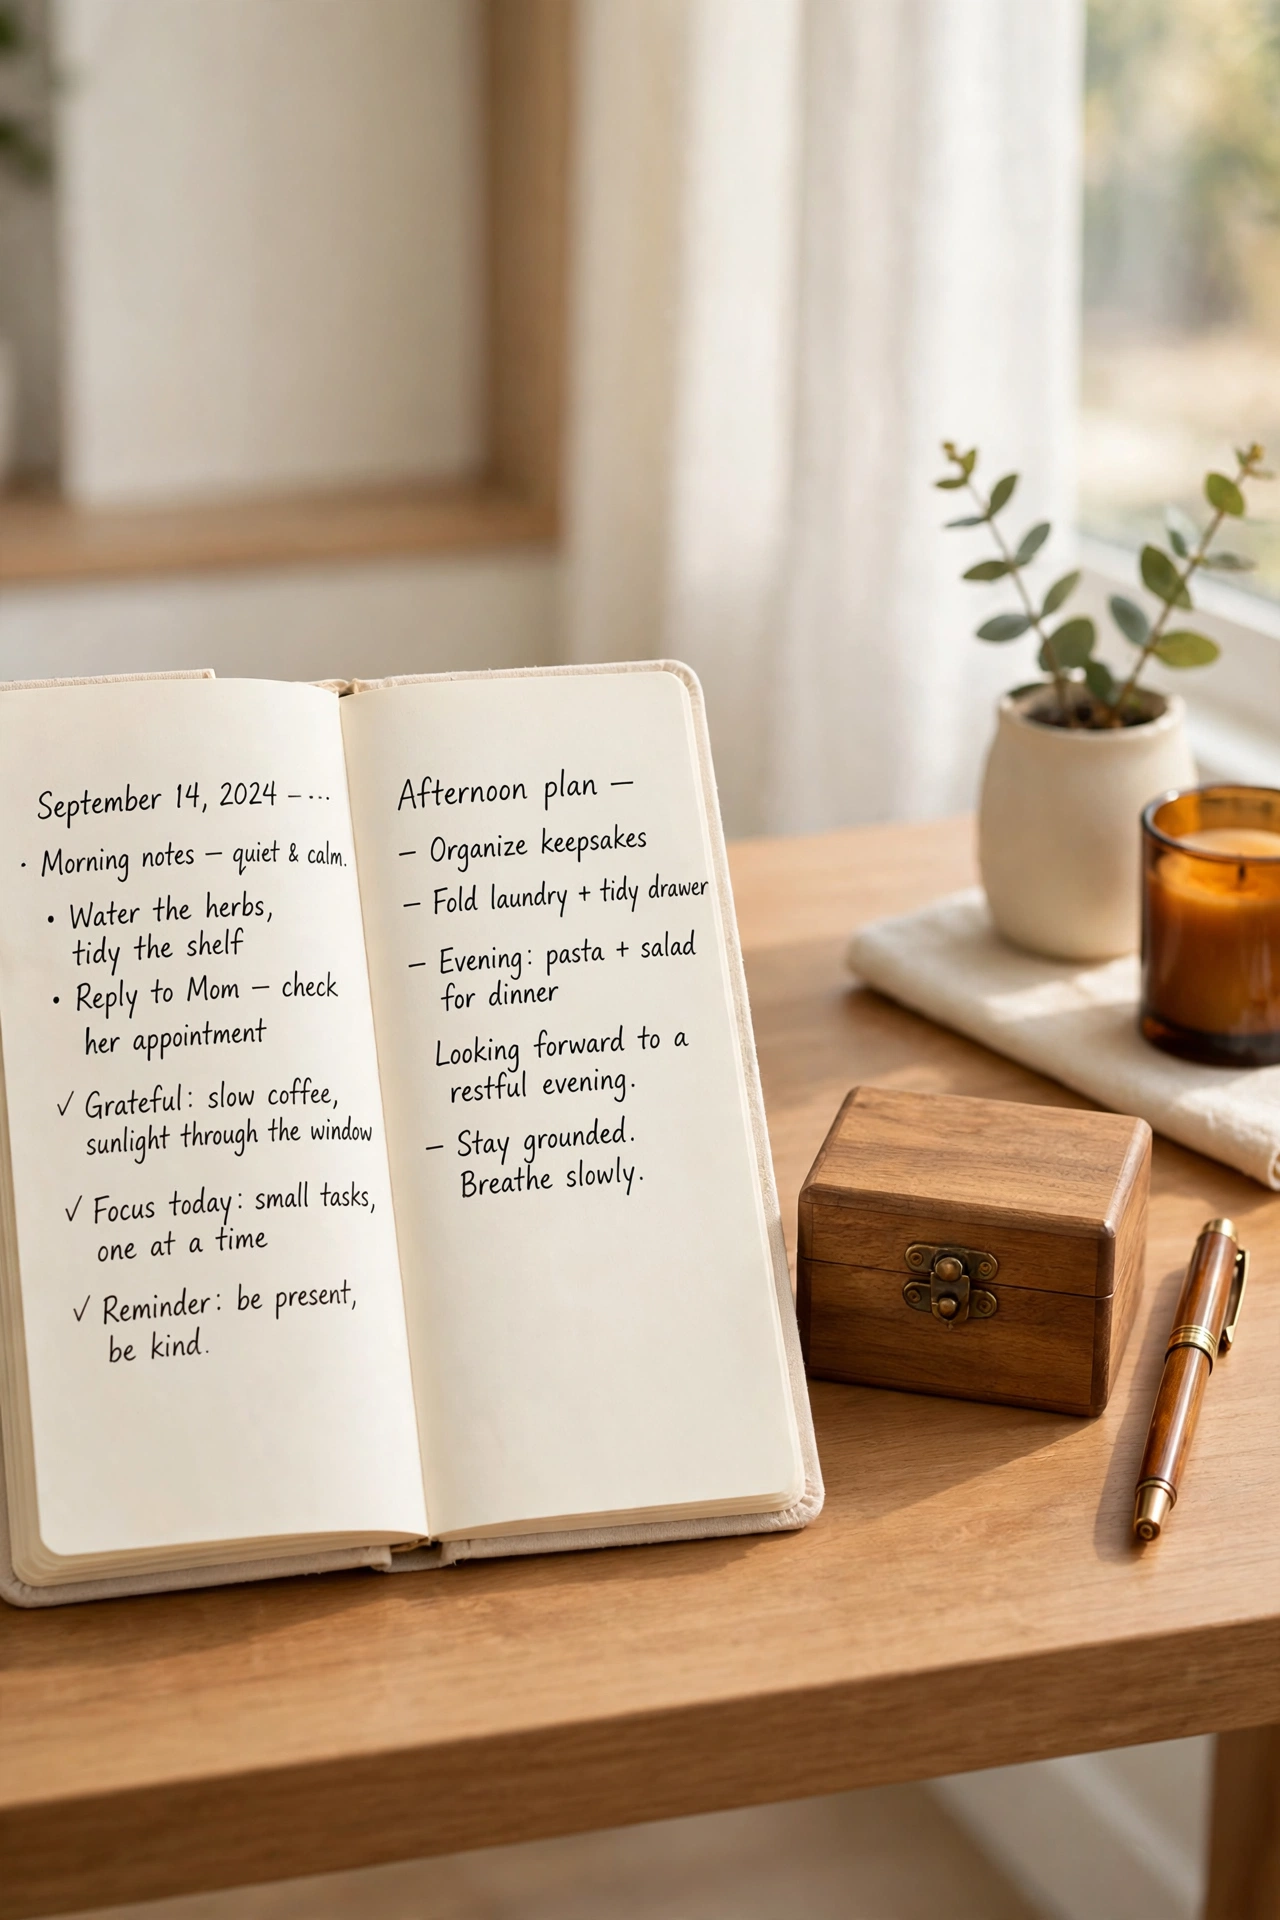
19. Keep a Journal of Stories Behind the Items
The real value of a keepsake is the story attached to it, and stories fade faster than objects. A simple journal lets you record who gave you each item, when it mattered, and why you kept it. Write one short entry per keepsake, with the date at the top.
Store the journal inside the memory box so the stories and the objects stay together. Future family members will treasure the written stories even more than the items themselves. A journal also helps you decide what to keep, because an item with no story is easier to release.
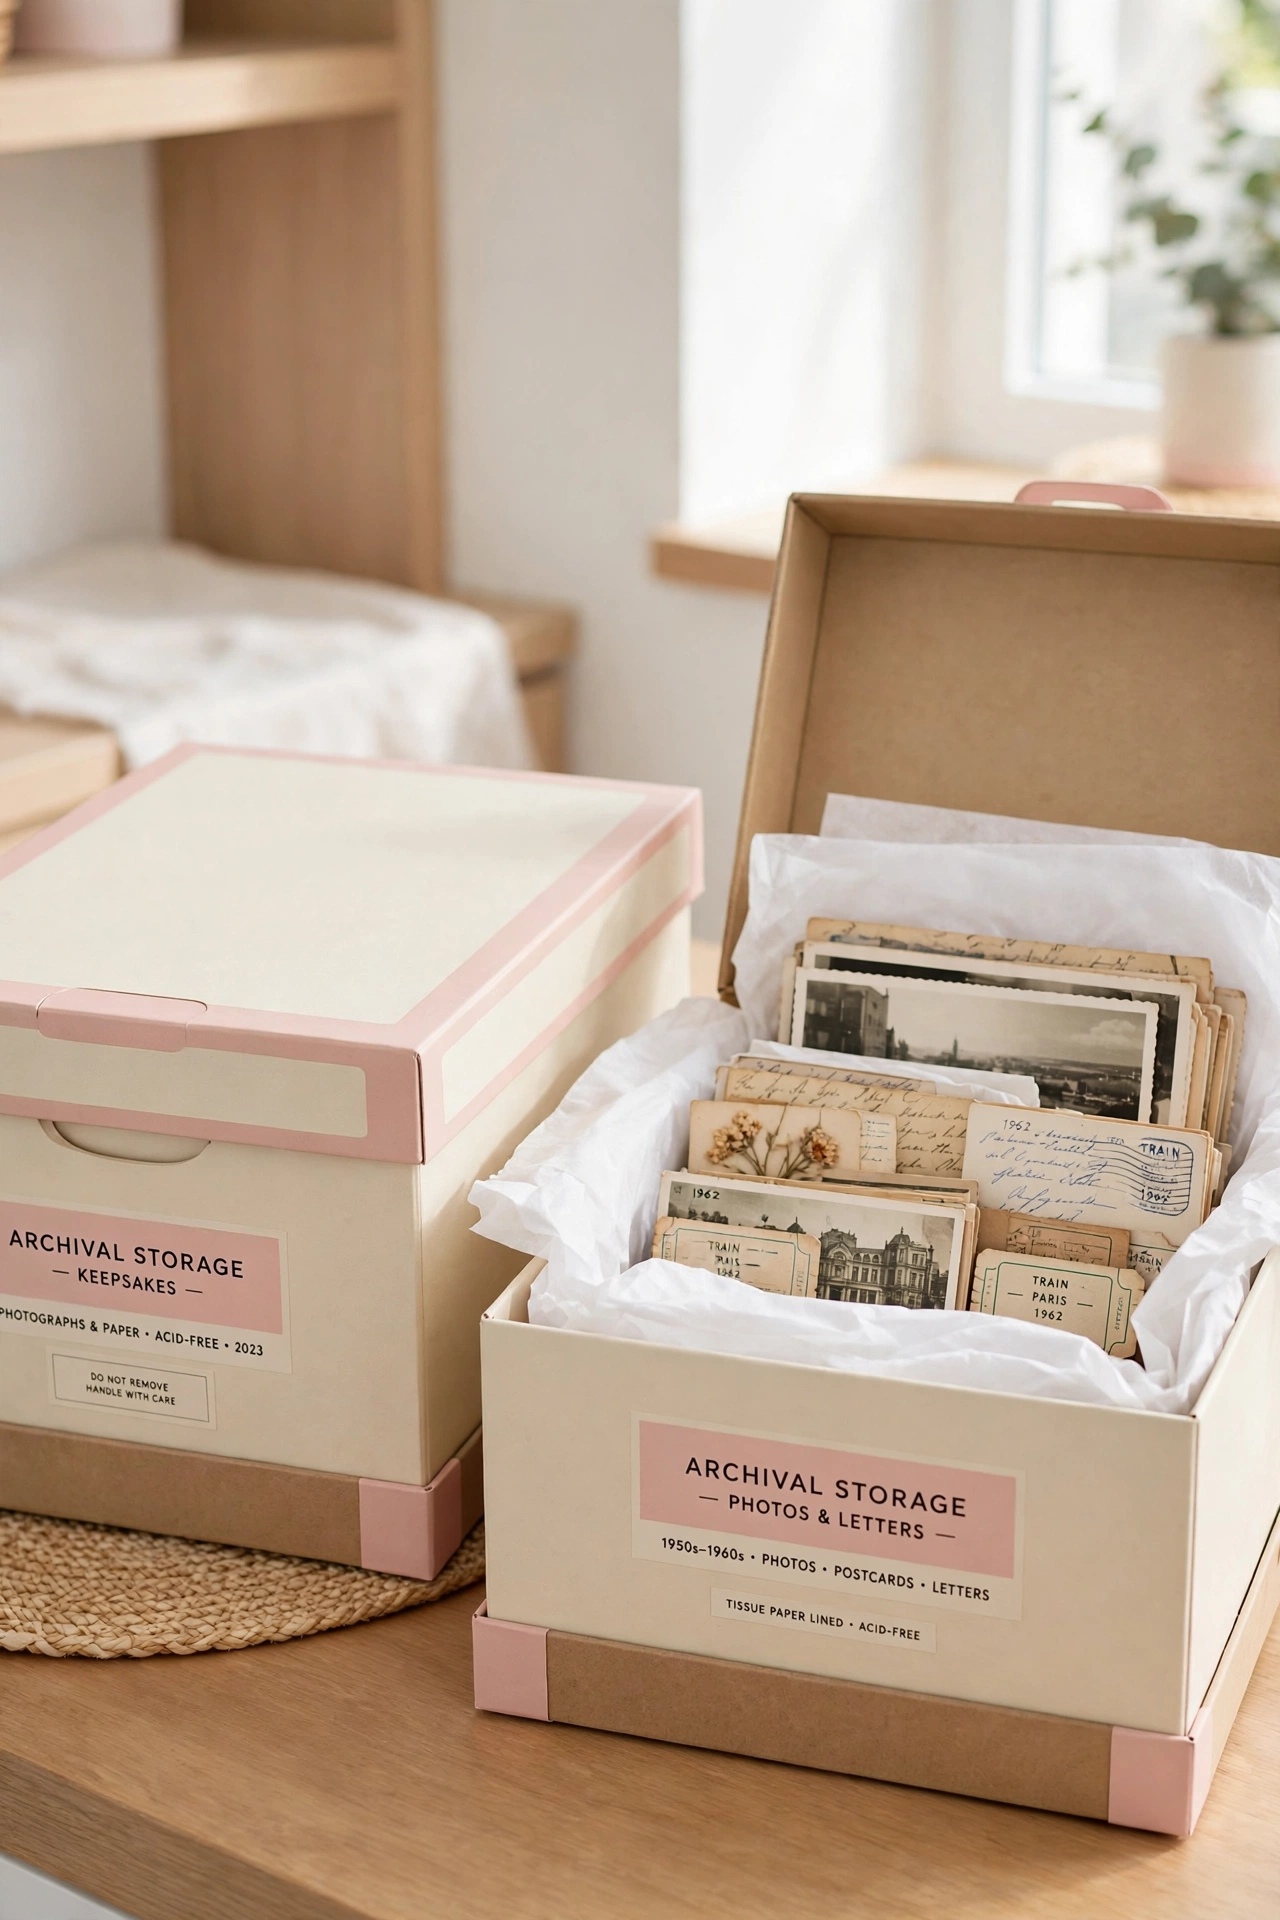
20. Use Acid-Free Boxes for Fragile Paper Keepsakes
Old photographs, wedding invitations, and newspaper clippings need acid-free storage to survive. Regular cardboard and plastic can yellow and damage paper over time. Acid-free boxes and folders protect delicate items for decades without special effort.
Place tissue paper between layers, and avoid rubber bands and metal clips that stain or tear. Label each box on the outside with its contents and date range, and store the boxes in a cool, dry closet. Fragile paper keepsakes last far longer when they rest in the right container.
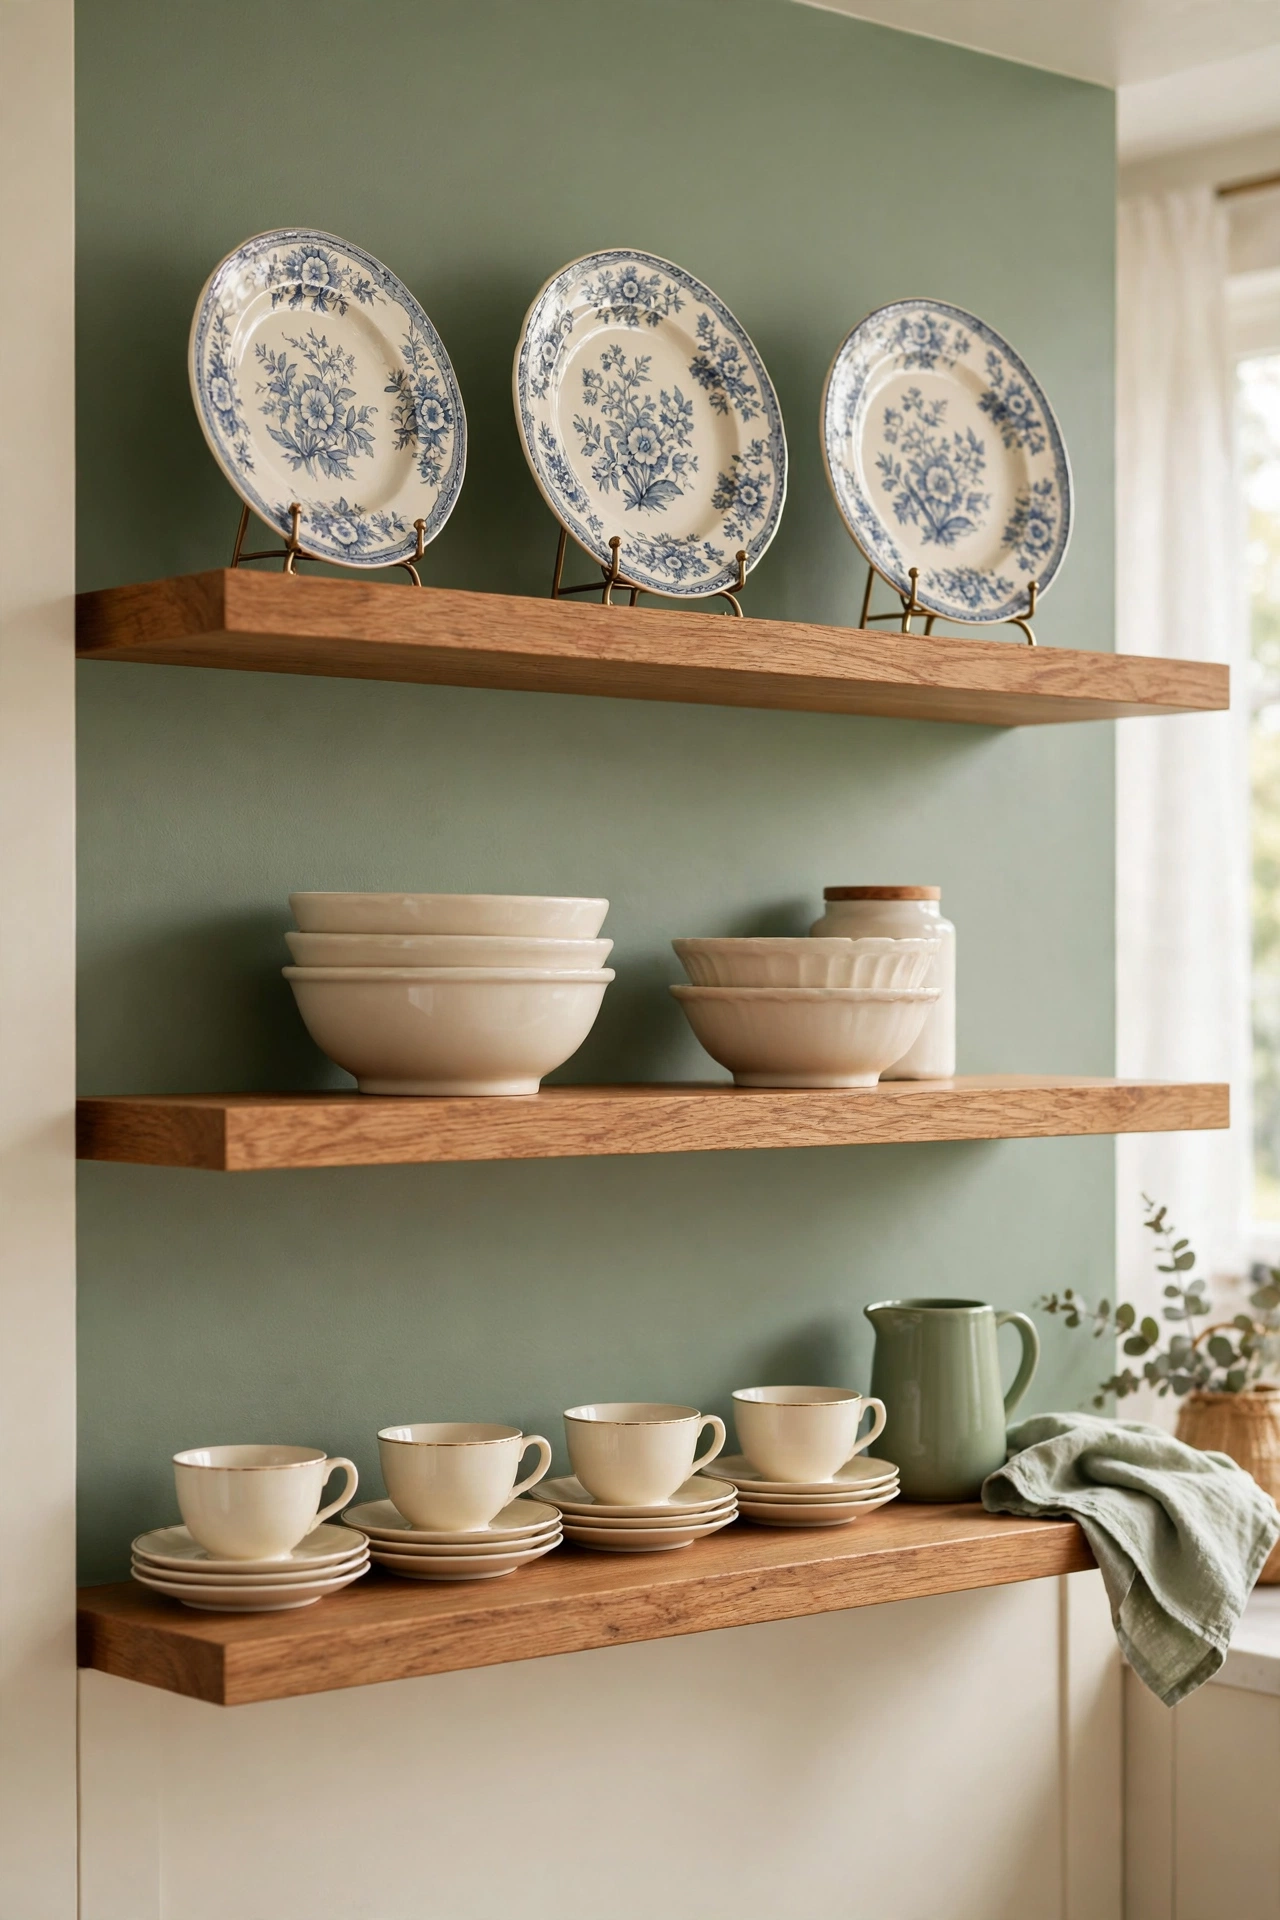
21. Display Heirloom China on Open Shelves
Heirloom china hidden in a box serves no one, while the same pieces on open shelves bring beauty to every meal. Arrange plates on plate stands, stack bowls in small groups, and place teacups in a neat row. Open shelving turns storage into decoration.
Use the china for special meals so it stays part of family life instead of a museum piece. Wash and dry each piece carefully after use, and return it to its spot on the shelf. Heirlooms that get used and seen carry their stories forward far better than ones kept in the dark.
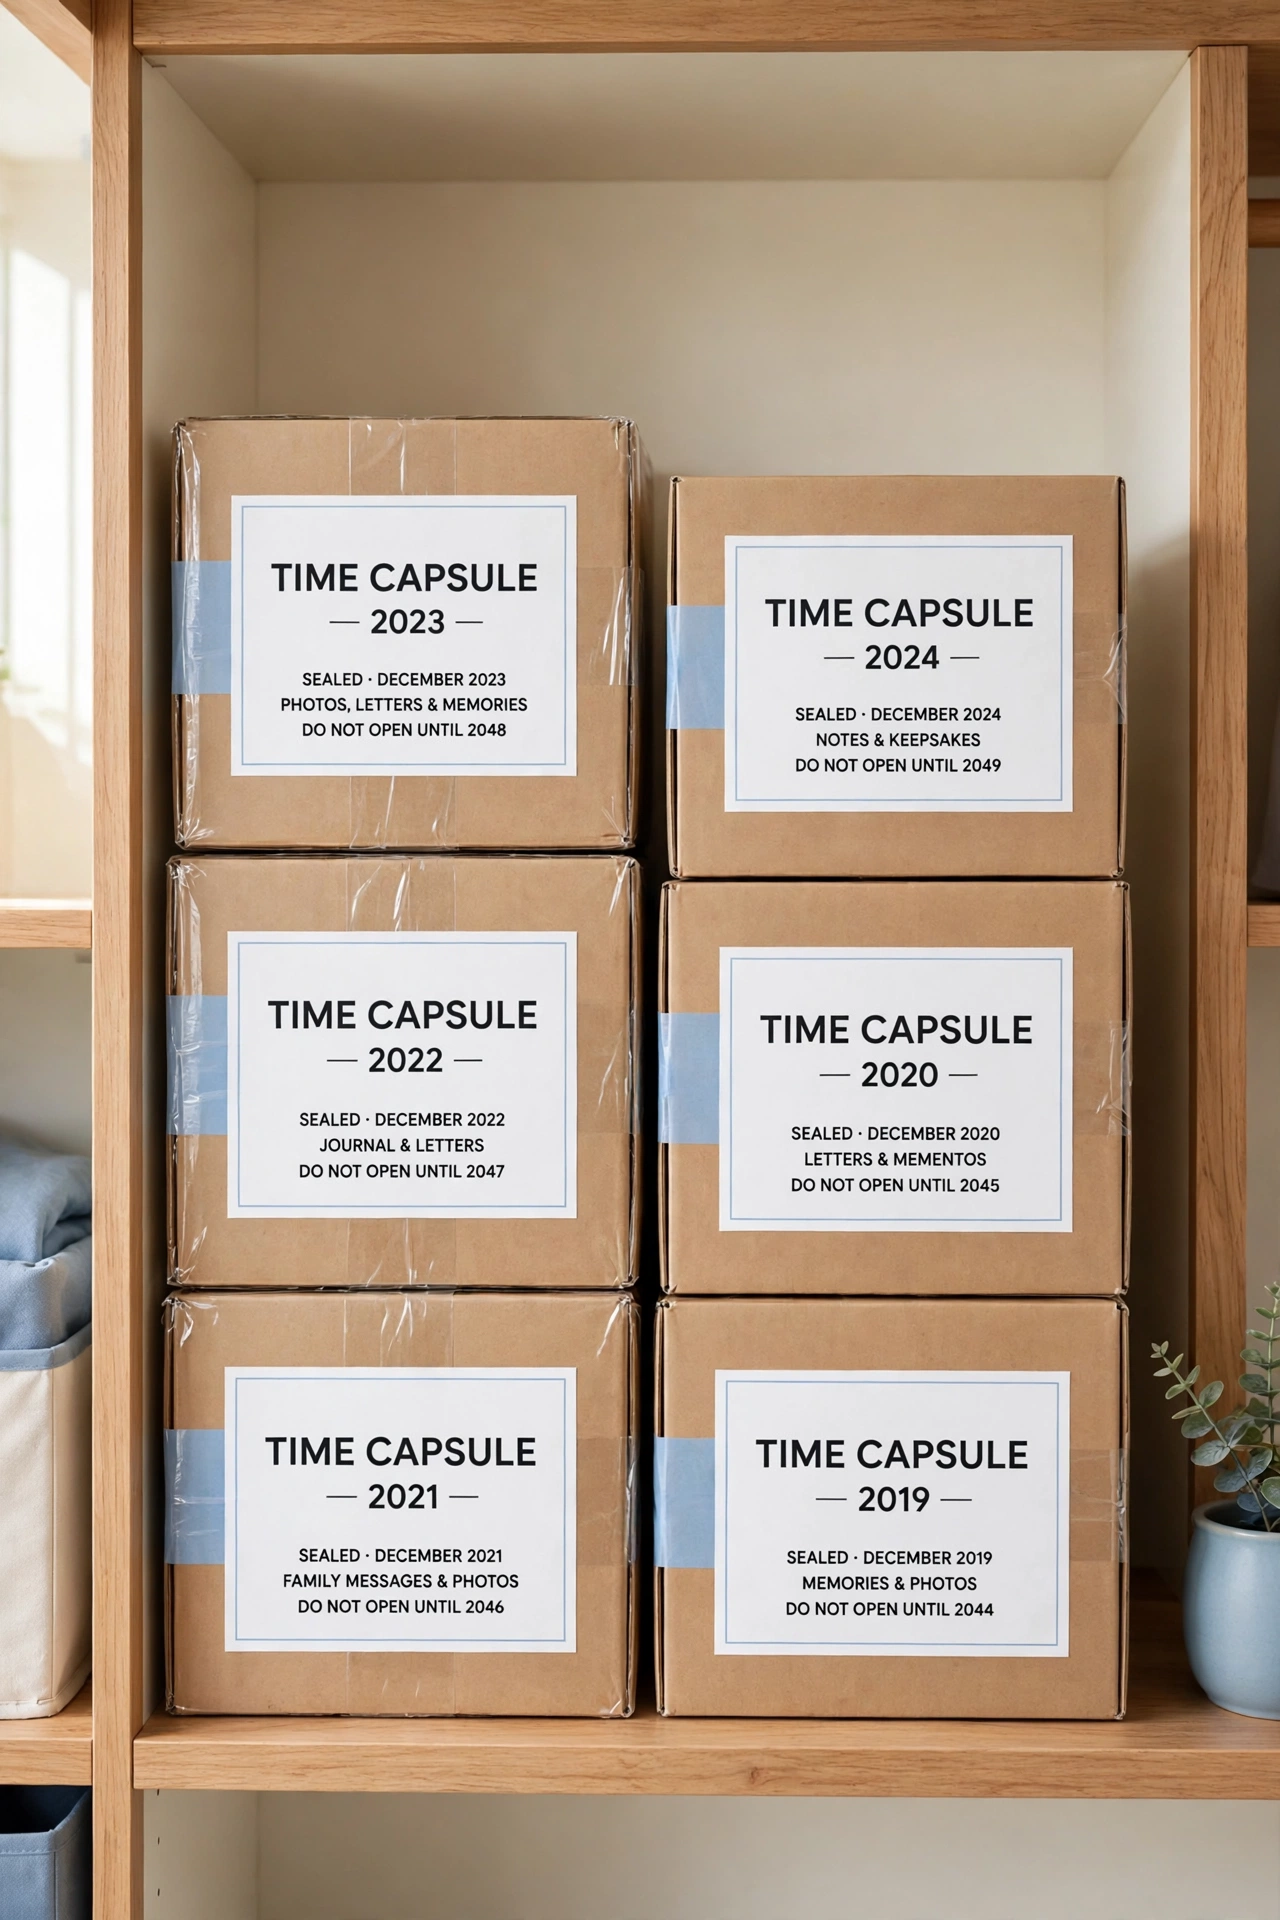
22. Make a Yearly Time Capsule Box
A yearly time capsule box captures one year of family life in a single container. Throughout the year, drop in ticket stubs, photos, notes, and small mementos as they arrive. At the end of the year, seal the box, label it with the year, and start a fresh one.
Opening an old capsule years later feels like a gift from your past self. The yearly limit keeps the habit small and sustainable, and the sealed boxes stack neatly on a closet shelf. Time capsules turn random clutter into a clear, dated record of your life.
23. Store School Memories in a Graded Folder System
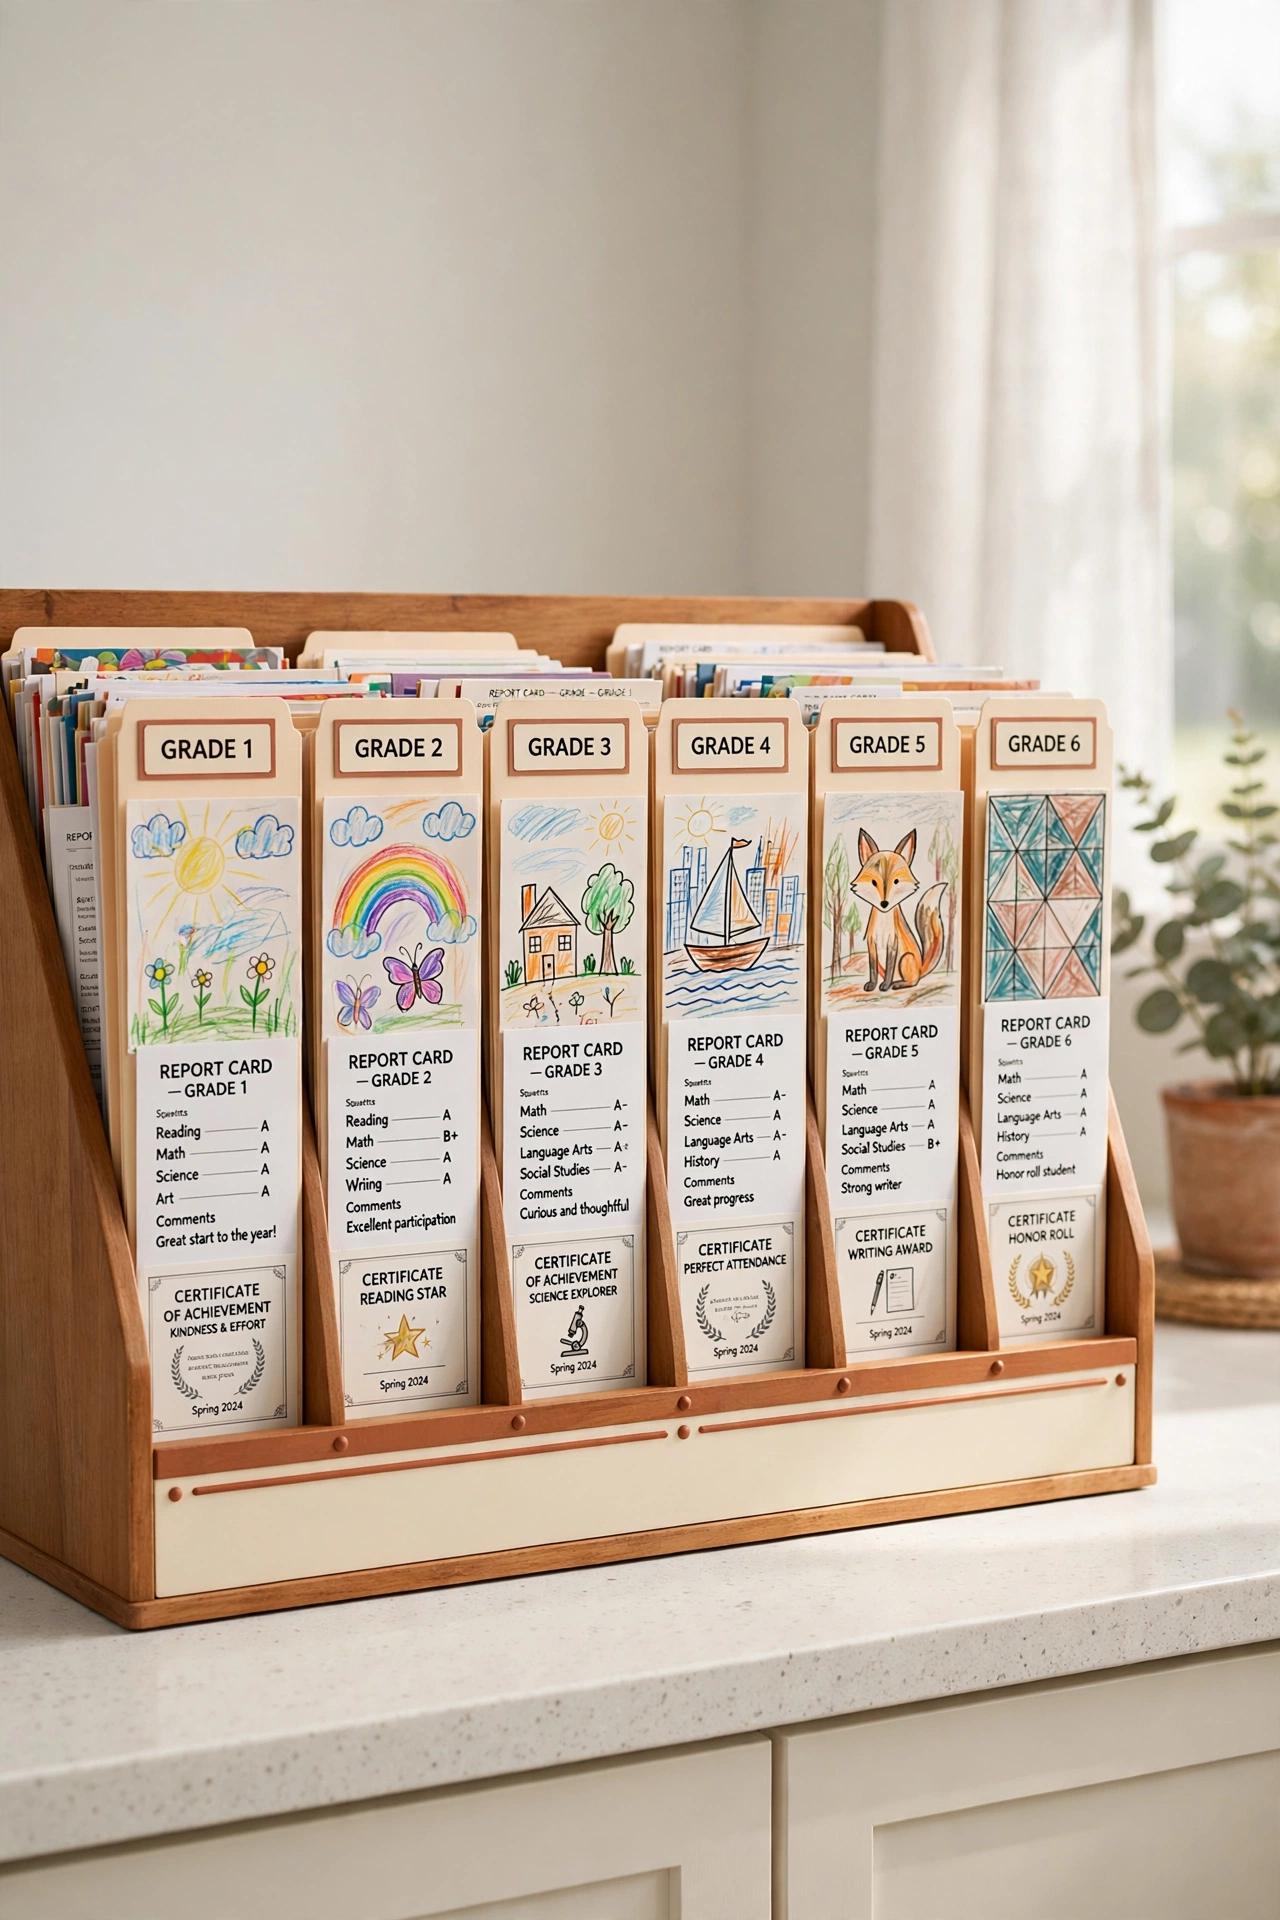
School years generate report cards, artwork, certificates, and photos at a steady pace. A folder system with one folder per grade keeps the paper trail in order. Label each folder with the school year, and file new items as they come home.
At the end of each year, review the folder and keep the pieces that best represent that grade. For a complete approach to the paper side of school life, these school paper organization ideas will help you sort what stays, what gets scanned, and what can go. A slim folder per grade beats a dozen overflowing boxes.
24. Turn Greeting Cards Into a Bound Keepsake Book
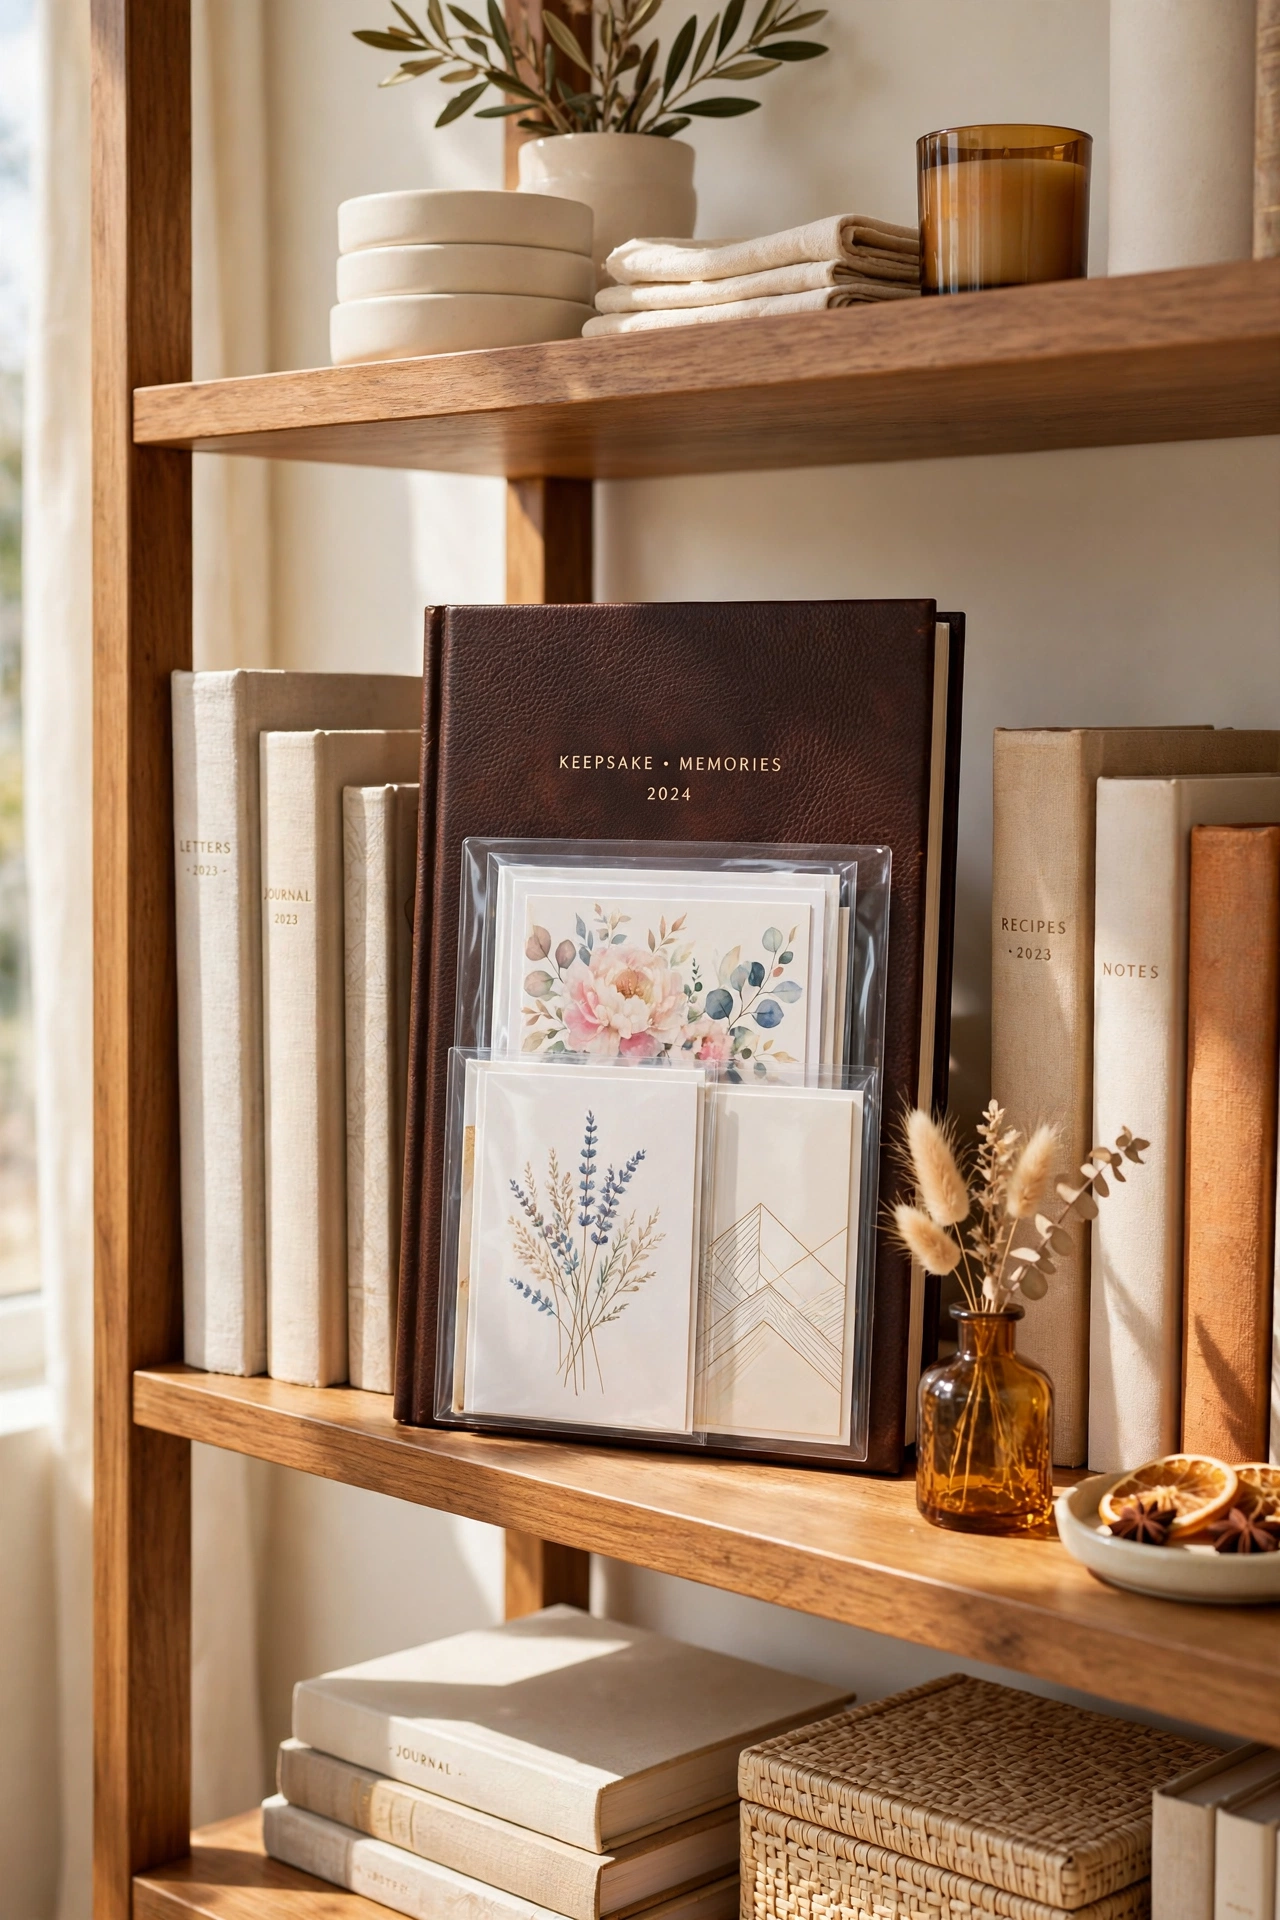
Greeting cards from birthdays, holidays, and milestones deserve better than a rubber band and a drawer. A bound keepsake book holds the cards in order, with clear sleeves or glued pages that protect them from bending. Add a title page with the occasion and the year.
Sort the cards by occasion or by sender, and write a short note beside the ones that mean the most. The finished book sits on a shelf like any other book and invites browsing. A bound book also takes up far less room than the loose stack it replaces.
25. Keep a Small Display Tray on the Dresser
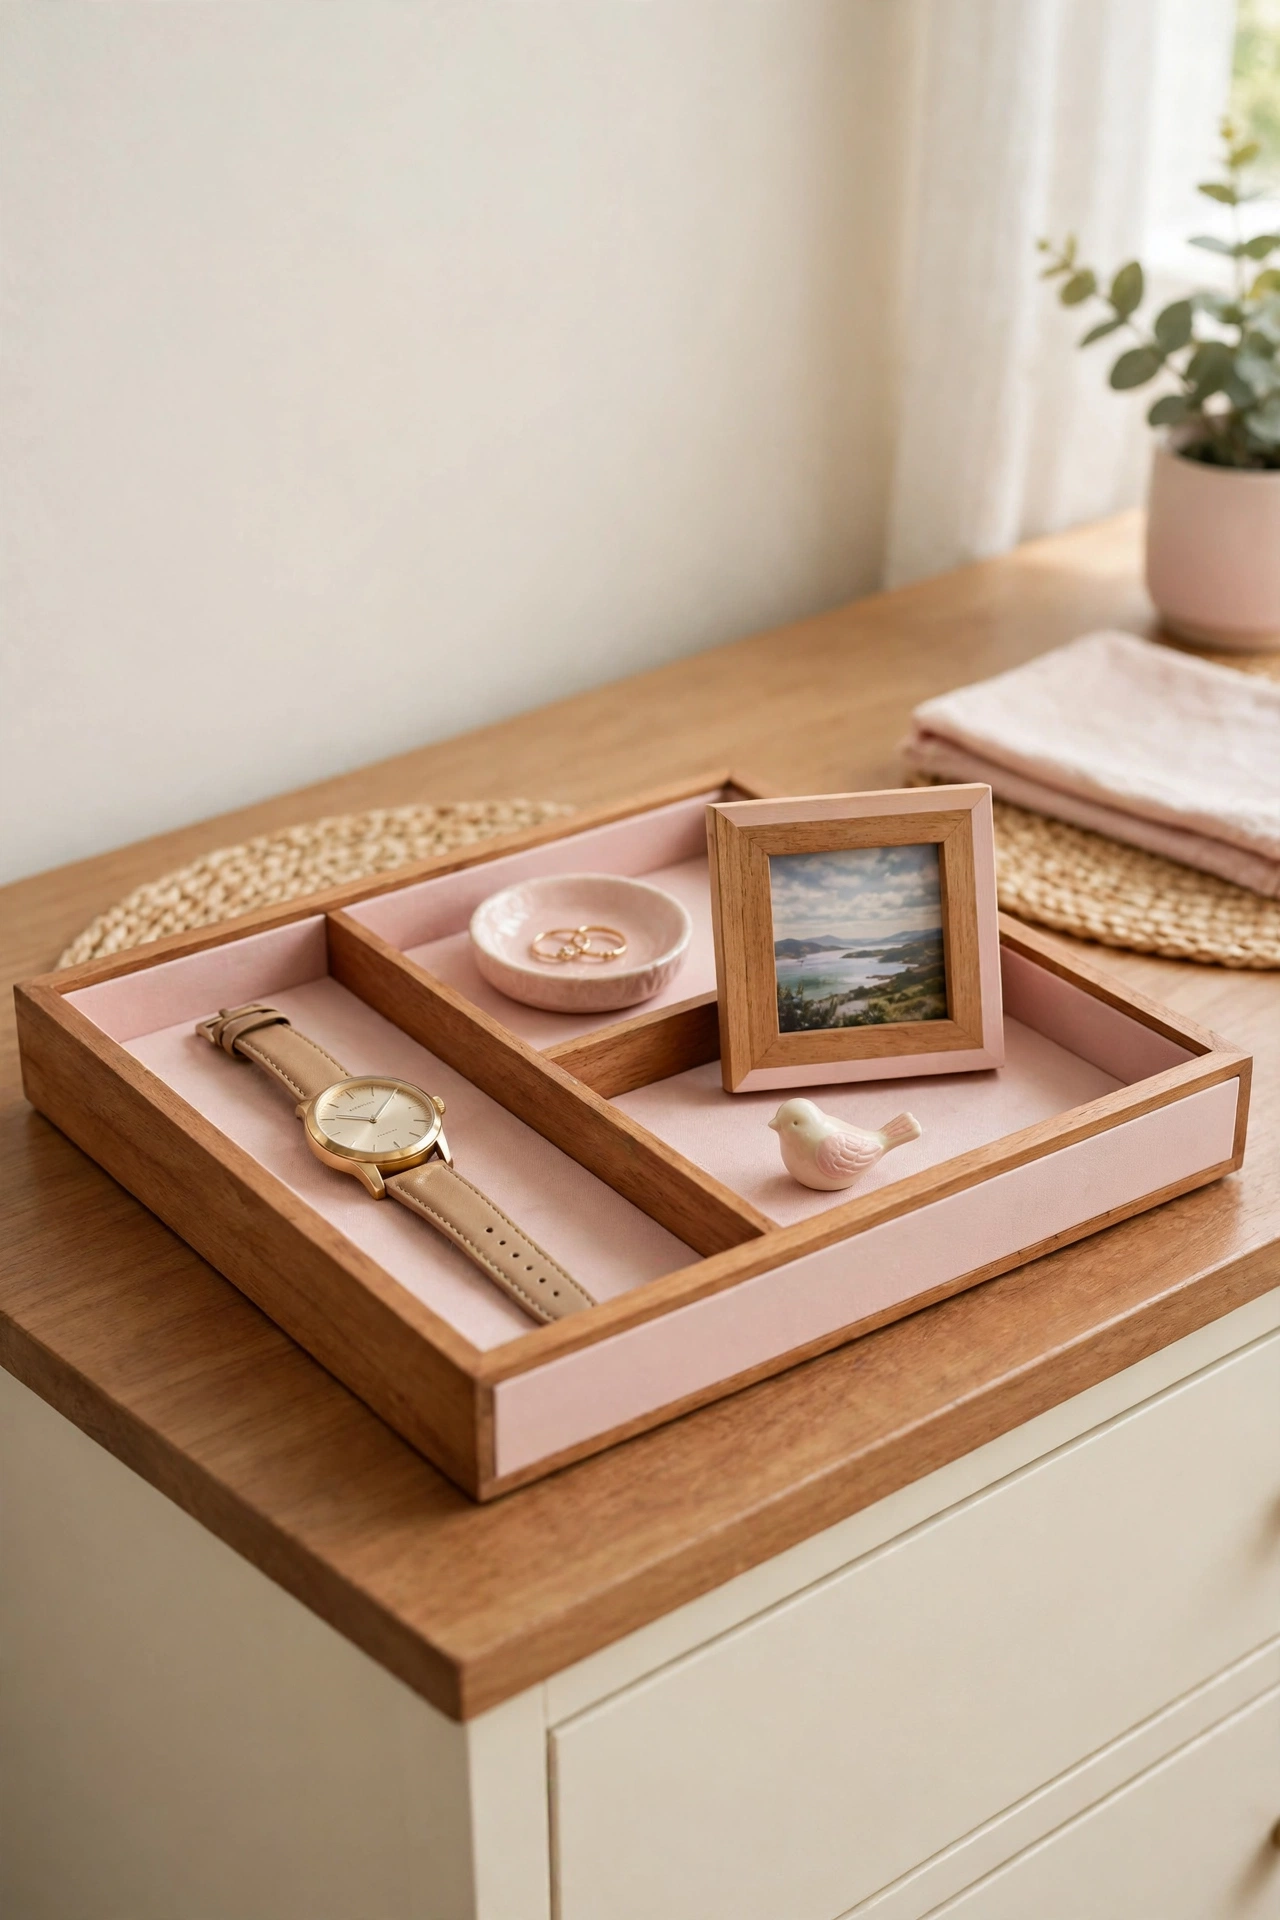
A small display tray corrals a few favorite keepsakes on top of a dresser without letting them scatter. Place a watch, a ring dish, a small framed photo, and one special object on the tray. The tray edge defines the space, so the collection stays tidy by design.
Choose a tray in wood or metal that matches your bedroom, and keep the number of items low. When the tray feels crowded, it is time to rotate something back into storage. A dresser tray gives your most-loved small items a stage instead of a junk drawer.
26. Use Vacuum Bags for Bulky Textile Keepsakes
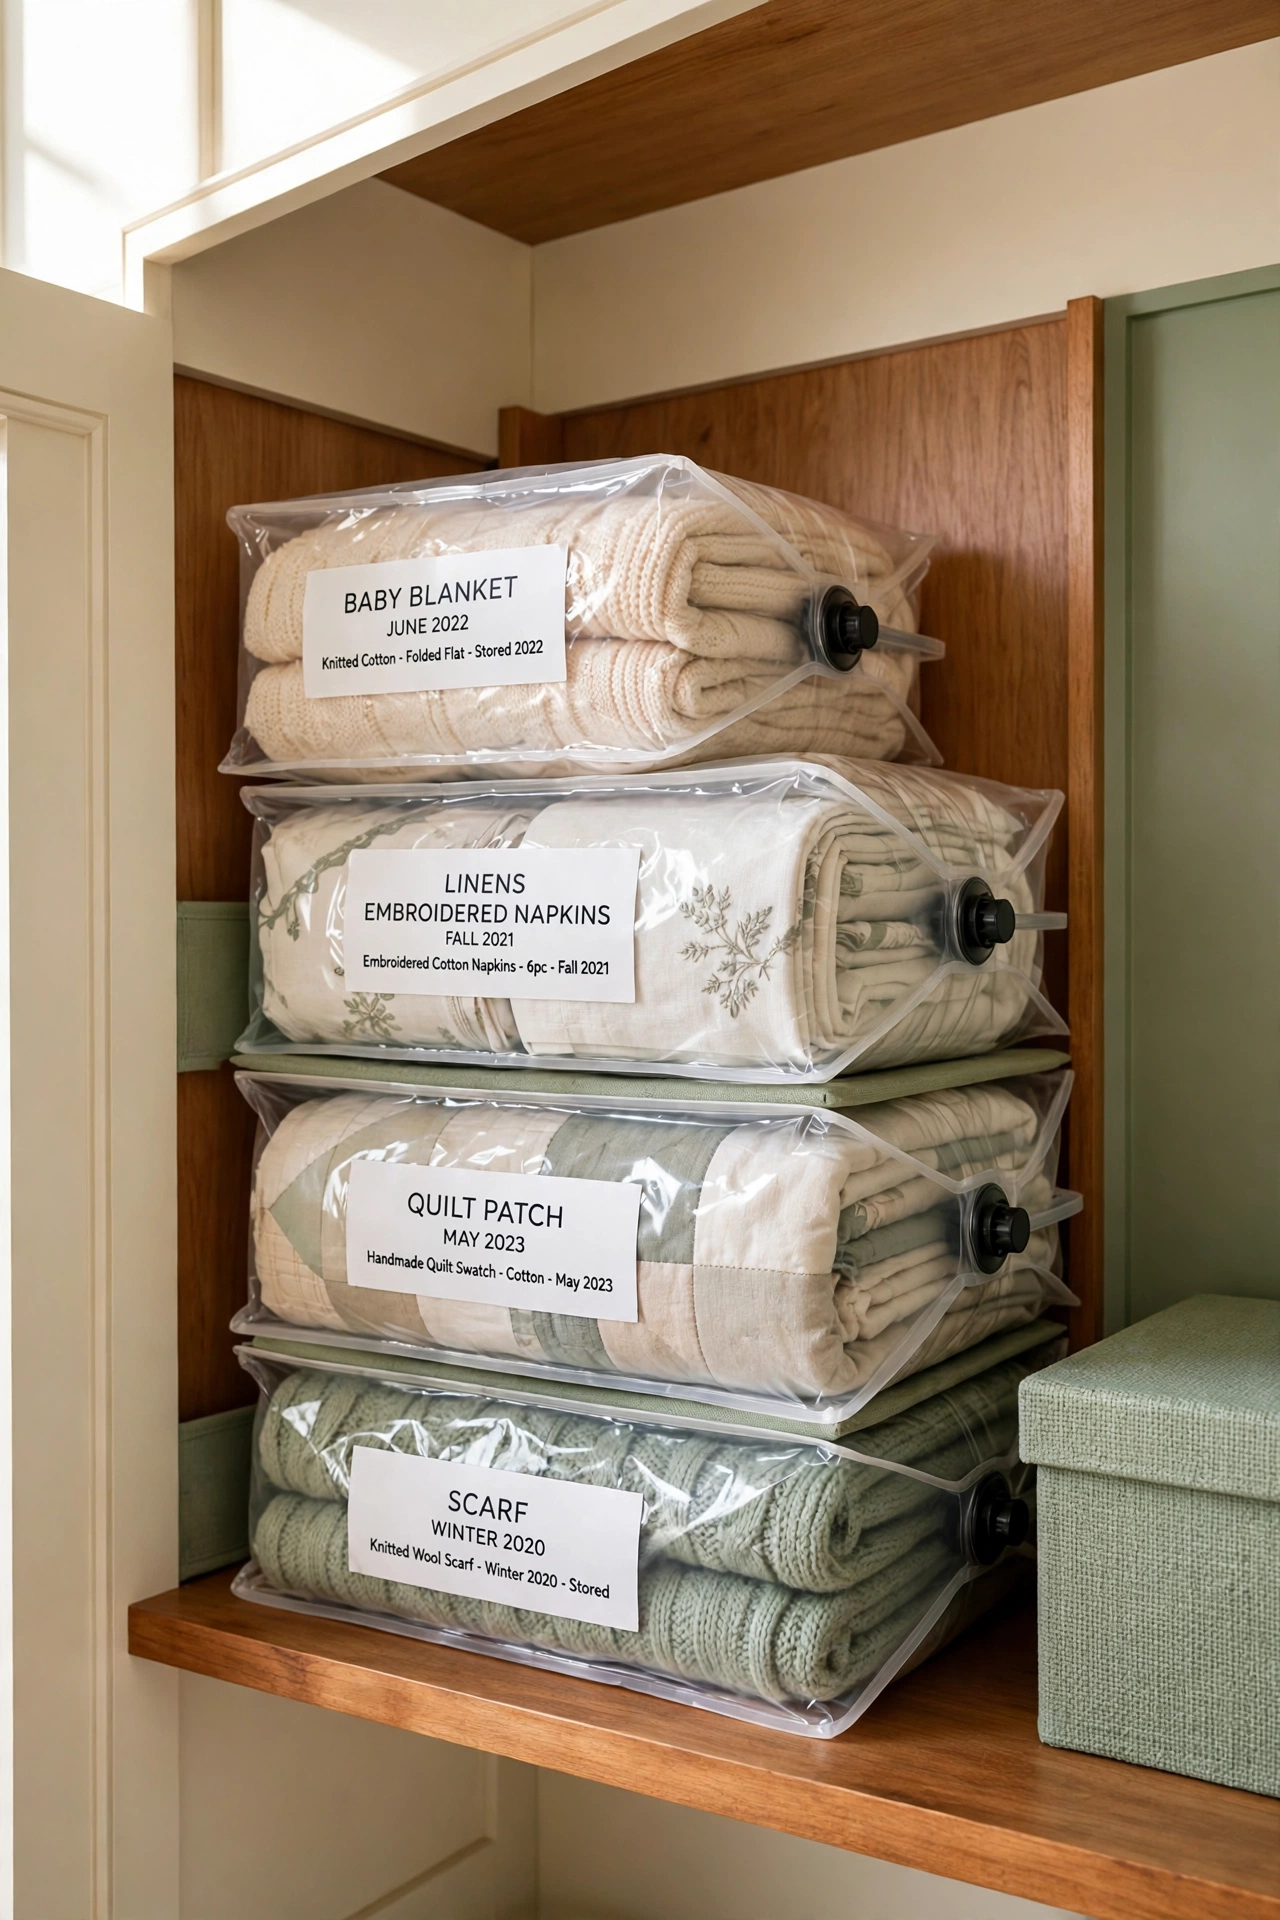
Wedding dresses, christening gowns, and handmade quilts take up enormous closet space. Vacuum storage bags shrink soft textiles to a fraction of their size while protecting them from dust and moisture. Fold each item gently with tissue paper before sealing the bag.
Store the sealed bags flat on a high closet shelf, and label each one with its contents. Check the bags once a year and refold the items so creases do not set permanently. Vacuum bags let you keep large textile treasures without sacrificing a whole closet.
27. Create a Digital Slideshow for Family Gatherings
A digital slideshow brings old photos back into family life without hauling out albums. Gather scanned photos and short video clips, arrange them by year, and add simple captions with names and dates. Play the slideshow on a television during holidays and reunions.
Family members will add stories you forgot, and younger relatives will finally see the faces behind the names. Save the finished slideshow in two places so it survives device changes. A slideshow turns stored photos into shared memories that everyone can enjoy together.

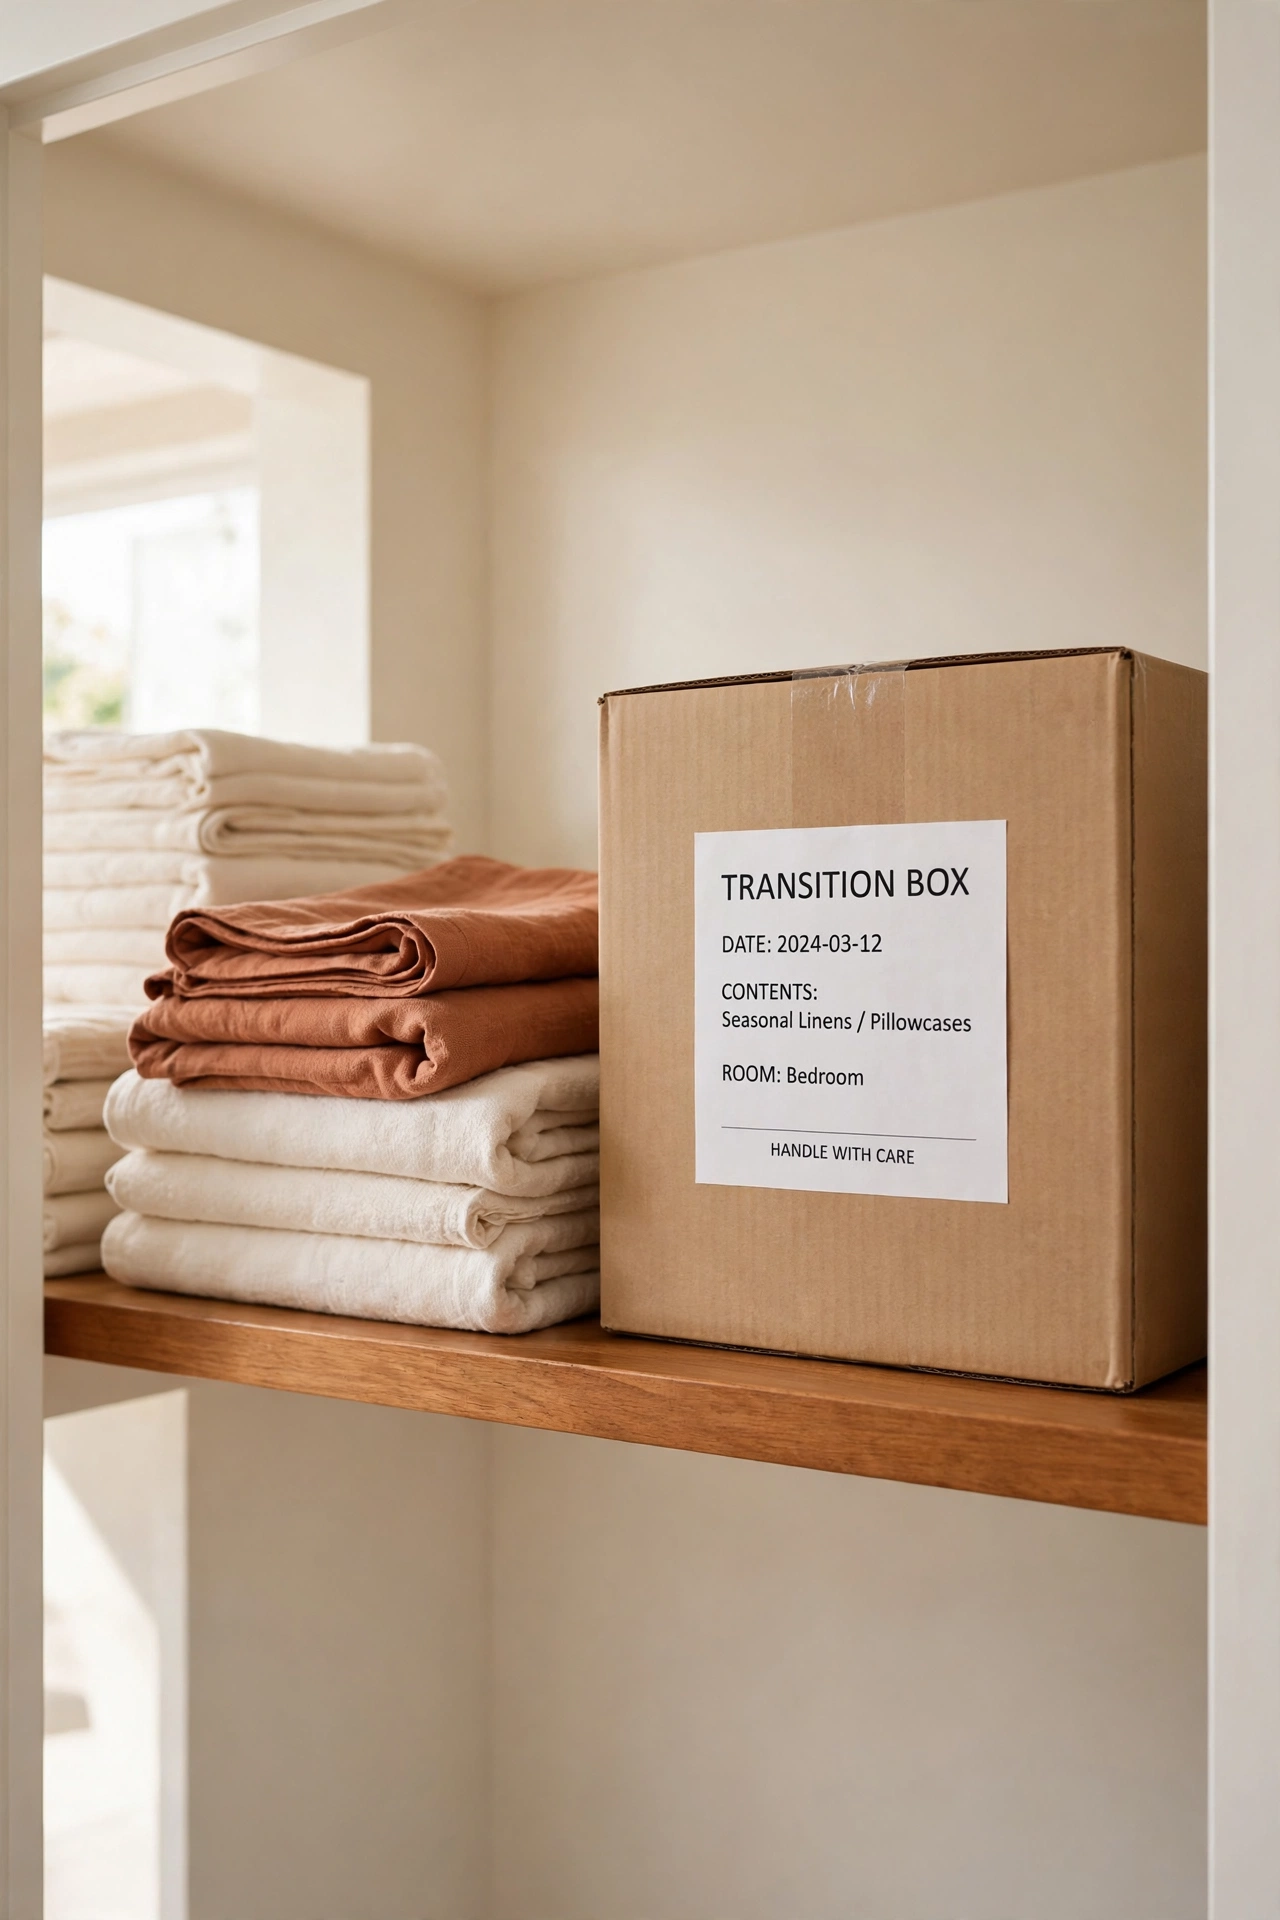
28. Give Keepsakes a Trial Stay in a Transition Box
When you cannot decide whether to keep an item, give it a trial stay in a transition box. Seal the box, write the date on the outside, and store it out of sight for six months. If you never open the box or miss the item, the decision makes itself.
If you do reach for something inside, that item earns a permanent place in your memory box or on display. The transition box removes guilt from the process because nothing is thrown away in a rush. It is a gentle waiting room that turns hard choices into easy ones.
Conclusion
Sentimental items deserve care, not clutter. With a one-box limit, a rotating display, and a habit of digitizing what you can, you can keep the treasures that matter and still enjoy a calm, tidy home. The goal is not to own less of your history, but to give your history a proper home.
Start with one idea from this list, perhaps the memory box or the transition box, and build from there. Your keepsakes will feel more loved when they have limits, labels, and a place to be seen. The memories stay, the mess goes, and your home tells your story beautifully.
Frequently Asked Questions About Sentimental Item Organization Ideas Without Throwing Everything Away
How do I organize sentimental items without feeling guilty?
Set a clear container limit, such as one box per person, and let the limit make the hard choices for you. Photograph or scan items you cannot store, and keep the originals that carry the strongest stories. Guilt fades when you know the memory is preserved even if the object moves on.
What is the best way to store old photos and letters?
Store originals in acid-free boxes or folders in a cool, dry closet, with tissue paper between layers. Scan everything first so you have a digital backup that never fades. Keep only the most meaningful originals, and let the digital copies carry the rest of the collection.
How can I display children’s artwork without clutter?
Rotate a small selection on a dedicated display shelf or frame, and photograph each piece before it comes down. Keep the best originals in a folder for the school year, and recycle the rest with a clear conscience. These kids art display ideas offer more rotation systems that keep walls fresh and storage slim.
Should I keep every gift from a loved one who has passed away?
You do not need to keep everything to honor someone you loved. Choose the items that hold the strongest memories or that you actually use and display. Photograph the rest, write down the story behind each piece, and let the remaining items go to people who will use them.
How often should I review my keepsake boxes?
Review each box once a year, ideally at the same time you review the rest of your home. Check for damage, update labels, and notice whether anything no longer earns its space. A yearly review keeps the collection meaningful and prevents quiet clutter from building up again.

Hi, I’m Emily! I turn messy corners into cozy, organized spots. DreamNestDecor is where I share simple, practical home ideas — decor, organization, and small-space solutions that work in real life, not just in photos. Every idea here is carefully researched before it’s shared.