Open a drawer one quiet afternoon and you find a tiny hospital bracelet, a folded onesie no bigger than your hand, and a card with two perfect footprints. In that moment, the whole first year comes rushing back. These small objects hold the biggest memories of your life, and they deserve a safe and tidy home of their own.
Without a plan, keepsakes pile up in bags, boxes, and random drawers, and the special pieces get lost among everyday clutter. These 15 children’s keepsake organization ideas will help you sort, label, and display baby memories so every treasure stays protected and easy to find when you want to revisit it.
1. Start a Labeled Memory Box for Each Child
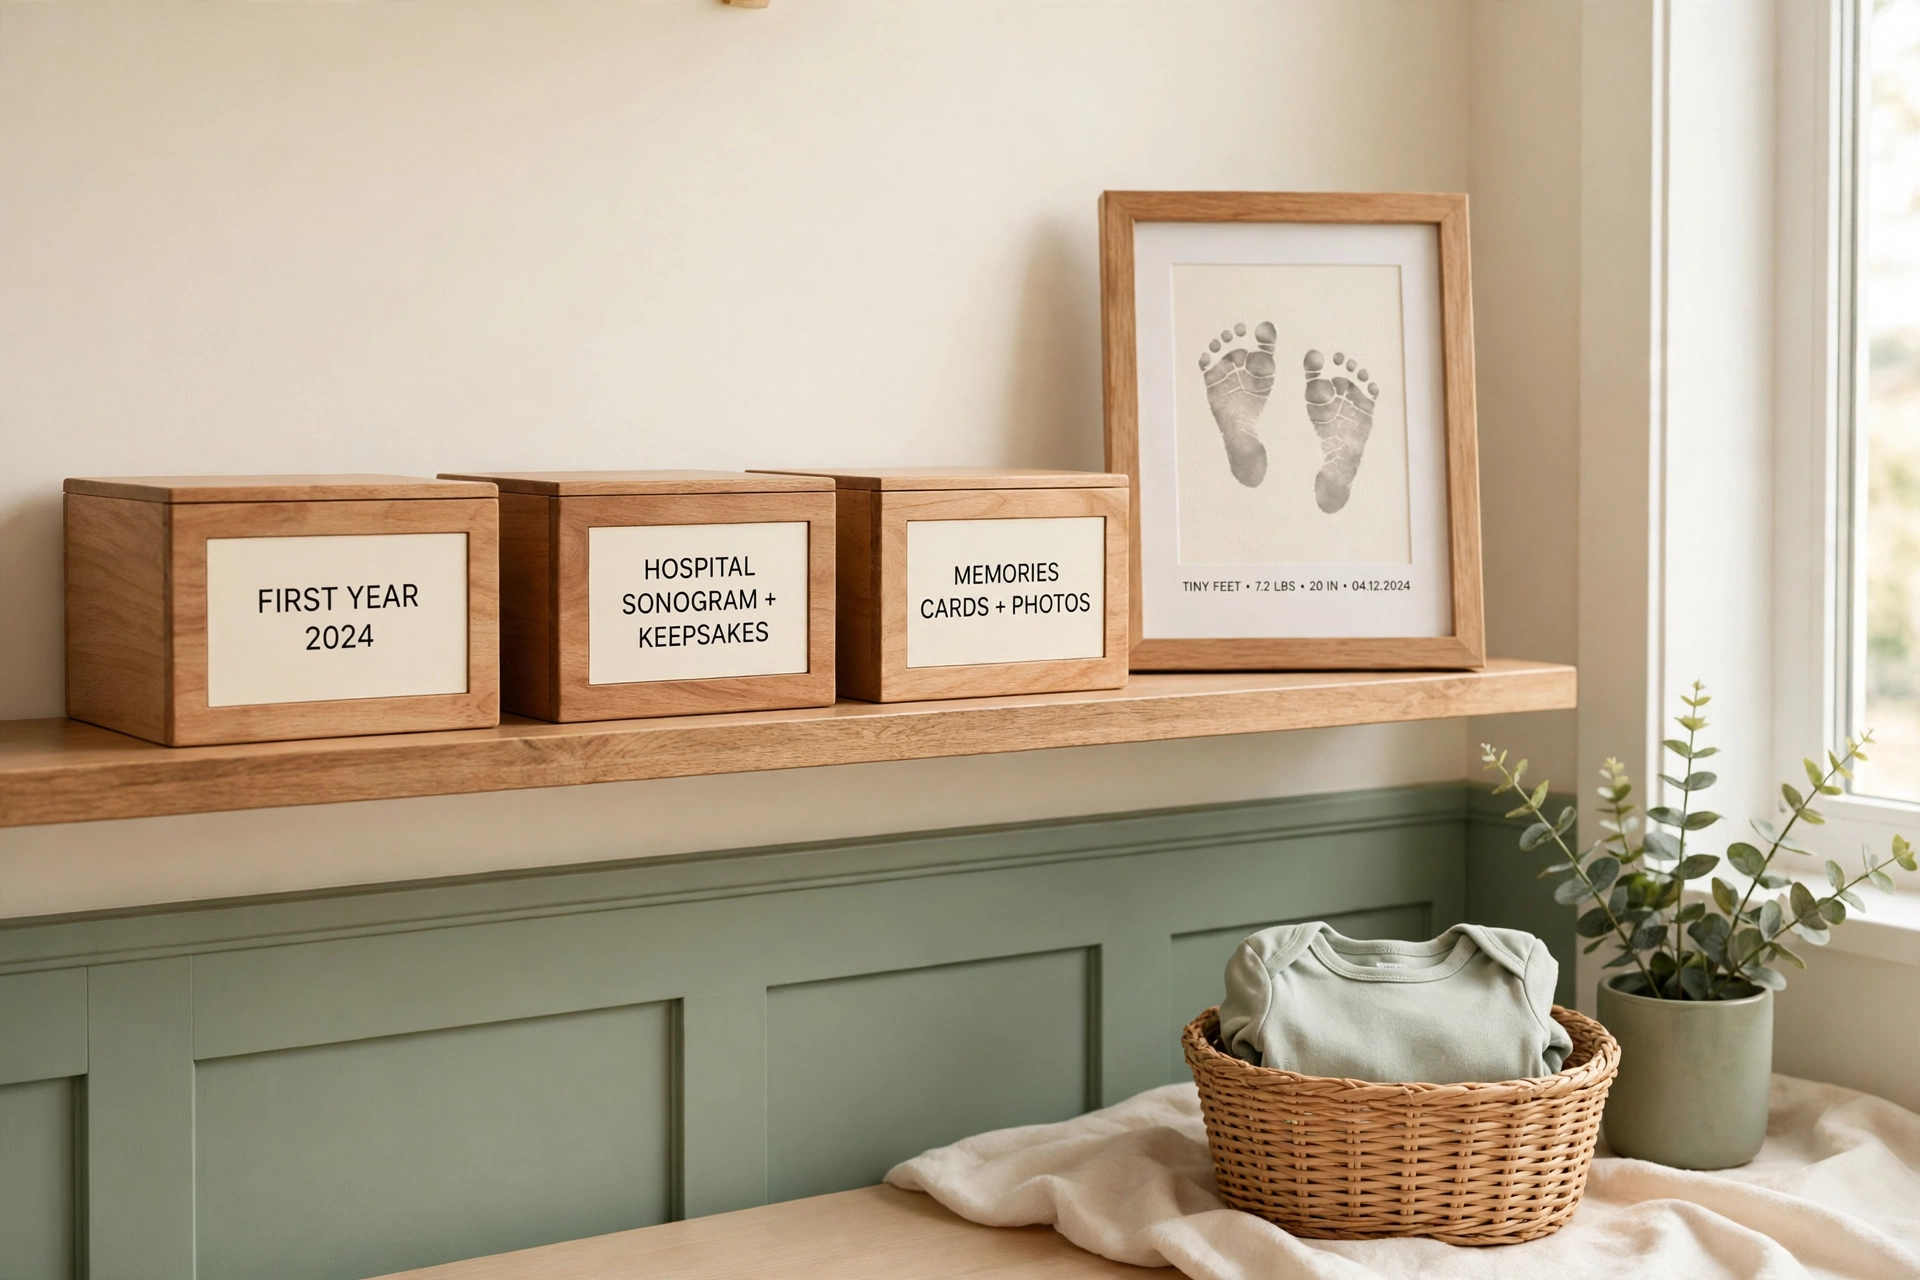
Give each child one sturdy memory box with a clear printed label that shows the full name and birth year. This box becomes the single home for the most precious items from the first years, from the hospital bracelet to the first birthday card. When everything has one designated place, nothing drifts into random drawers or forgotten bags.
Choose a box with a tight-fitting lid to keep out dust and light, and line the inside with clean acid-free tissue paper. Place the box on a closet shelf where you can reach it easily when a new keepsake arrives. A labeled box also makes it simple for grandparents or caregivers to add items in the right place.
2. Keep the Hospital Bracelet in a Shadow Box
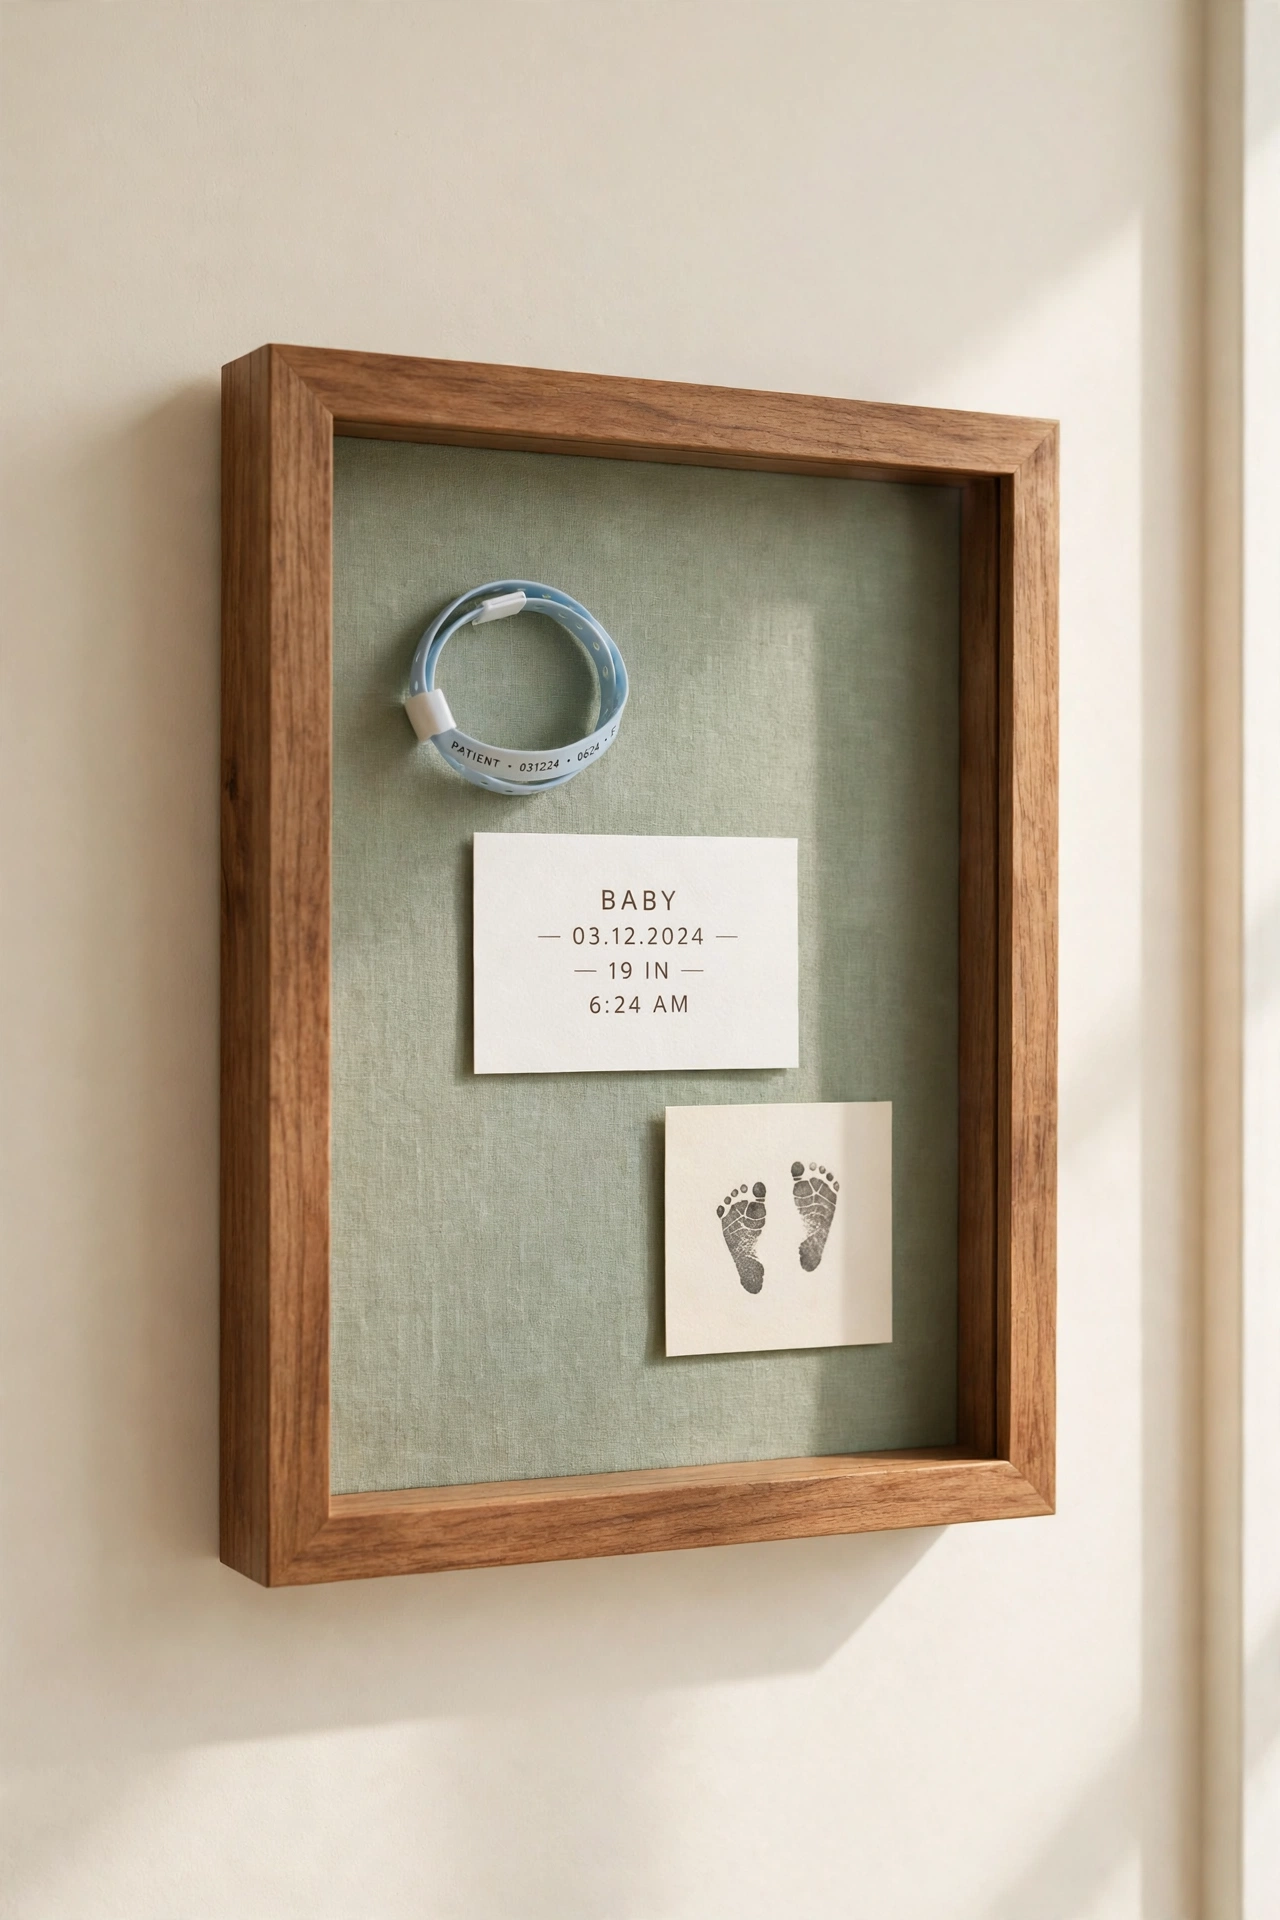
A shadow box frame turns the hospital bracelet, the name card, and the first footprints into a display you can enjoy every day. Arrange the small items on a soft fabric backing and close the deep frame to protect them from dust and curious hands. The result looks like a piece of art with a story behind it.
Hang the shadow box in the nursery or place it on a bedroom shelf where it catches natural light. Keep the glass clean and the frame out of direct sunlight so the paper and fabric colors stay bright. This small display keeps the tiniest memories visible instead of hidden away in a drawer.
3. Fold First Outfits Into Acid-Free Tissue Boxes
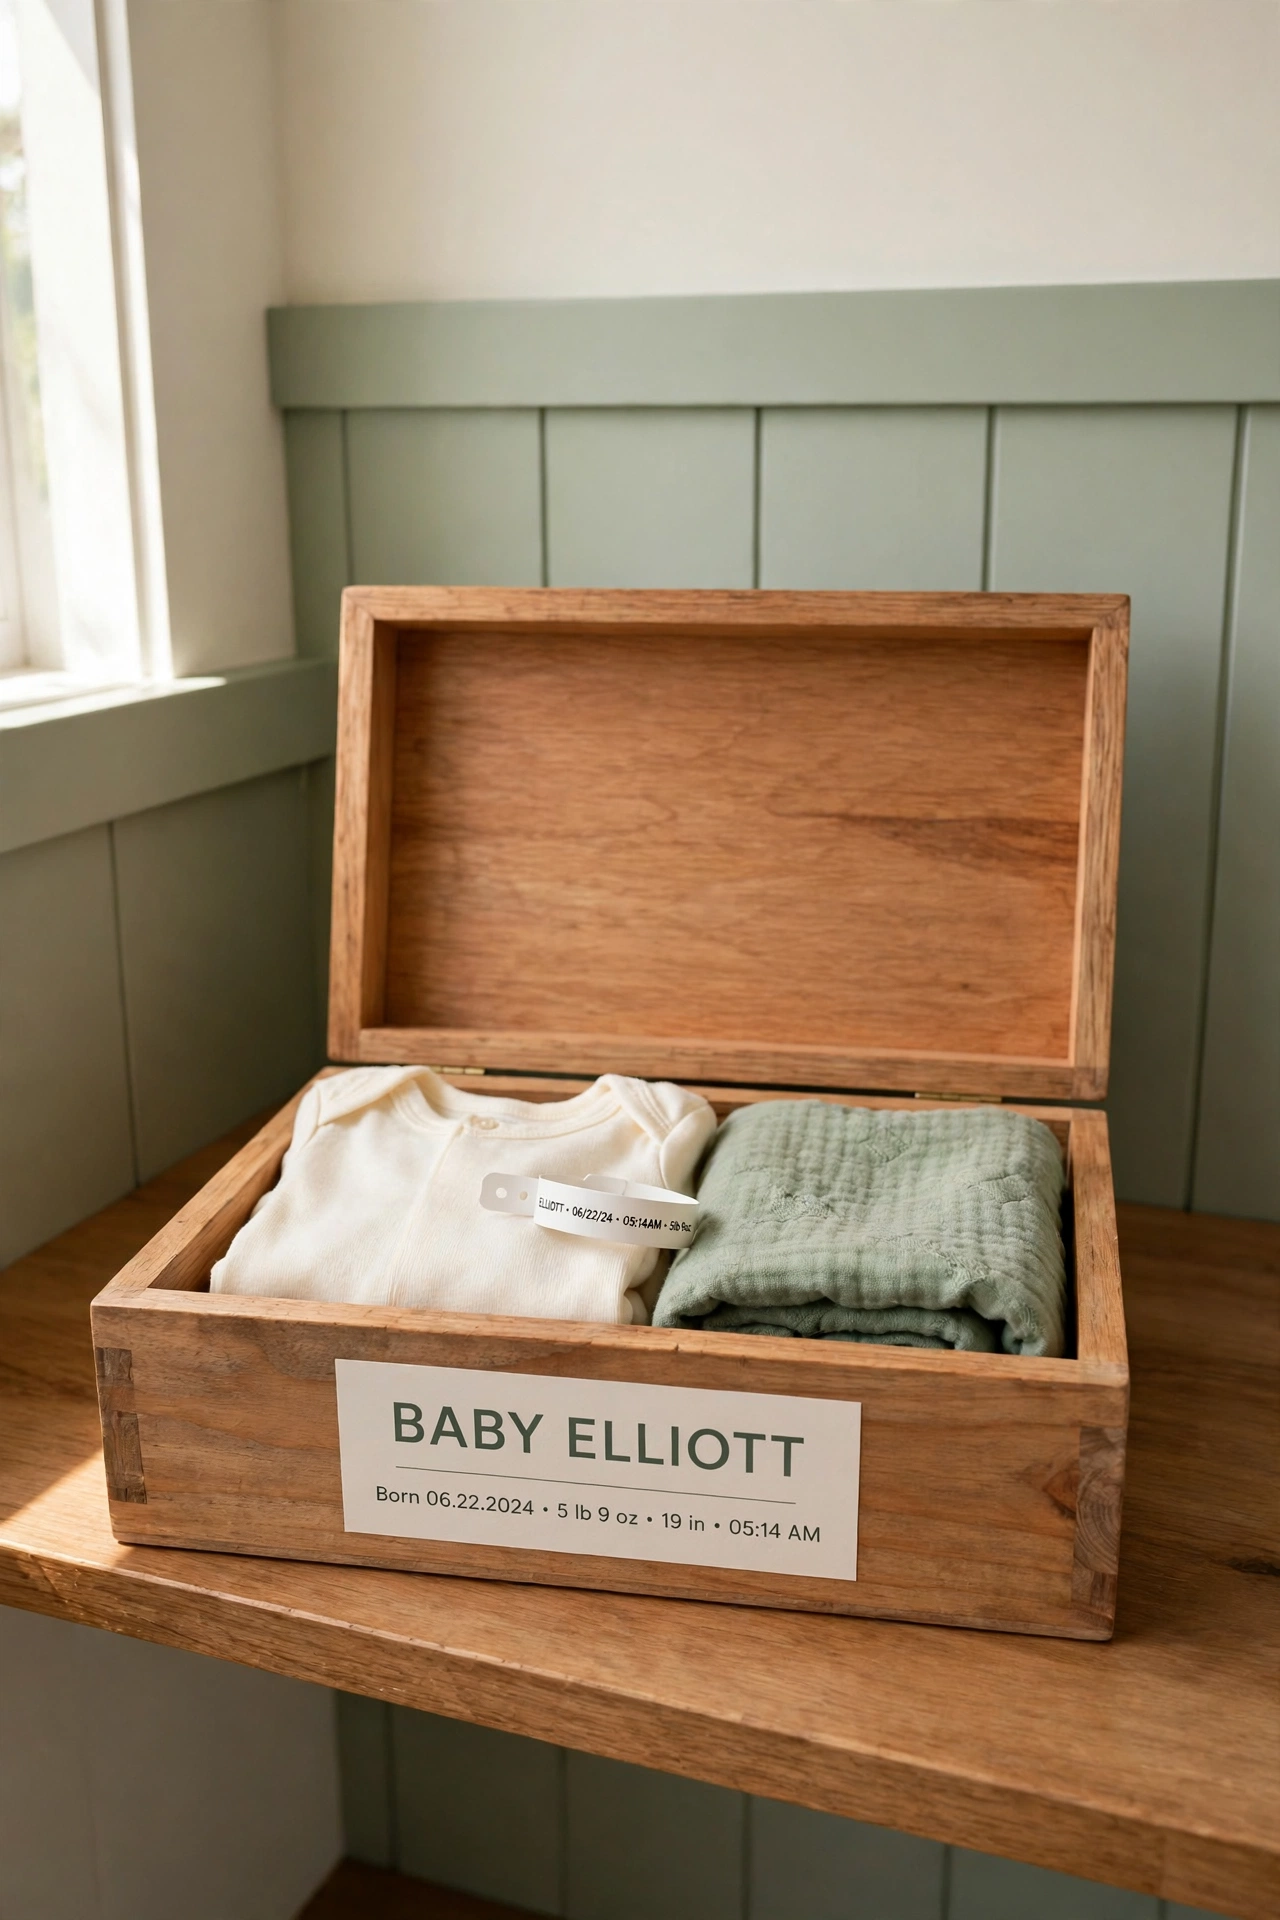
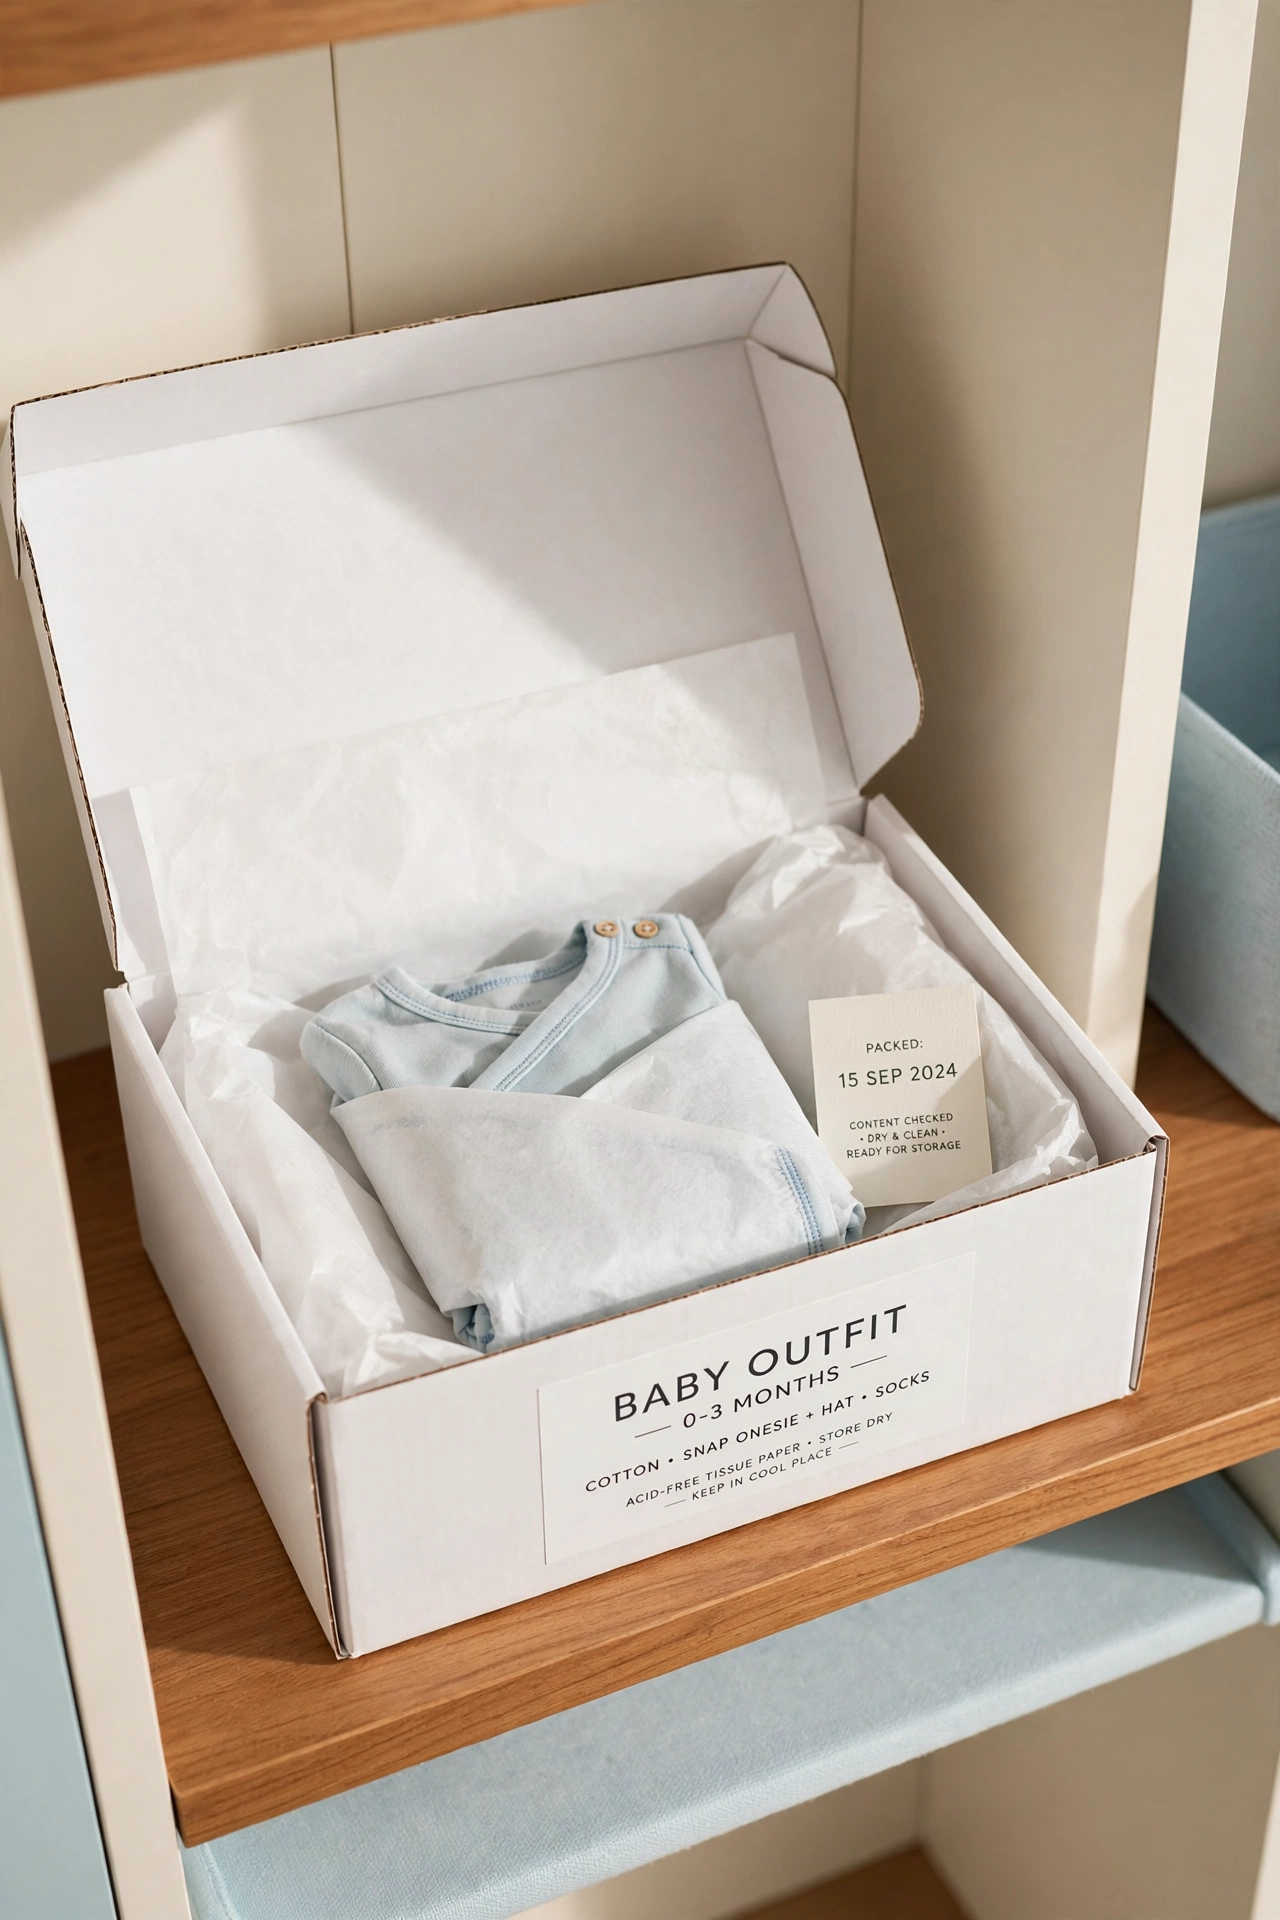
The outfit your baby wore home from the hospital deserves better than a plastic bag in the back of a closet. Fold each special outfit neatly, wrap it in acid-free tissue paper, and lay it flat in a labeled box. The tissue protects delicate fabric from yellowing and creasing over the years.
Write the age and the occasion on a small card and tuck it inside the box with the outfit. When you open the box years later, the card will remind you exactly when each tiny garment was worn. Store the boxes flat on a high closet shelf, away from dampness and direct heat.
4. Frame Tiny Footprints and Handprints
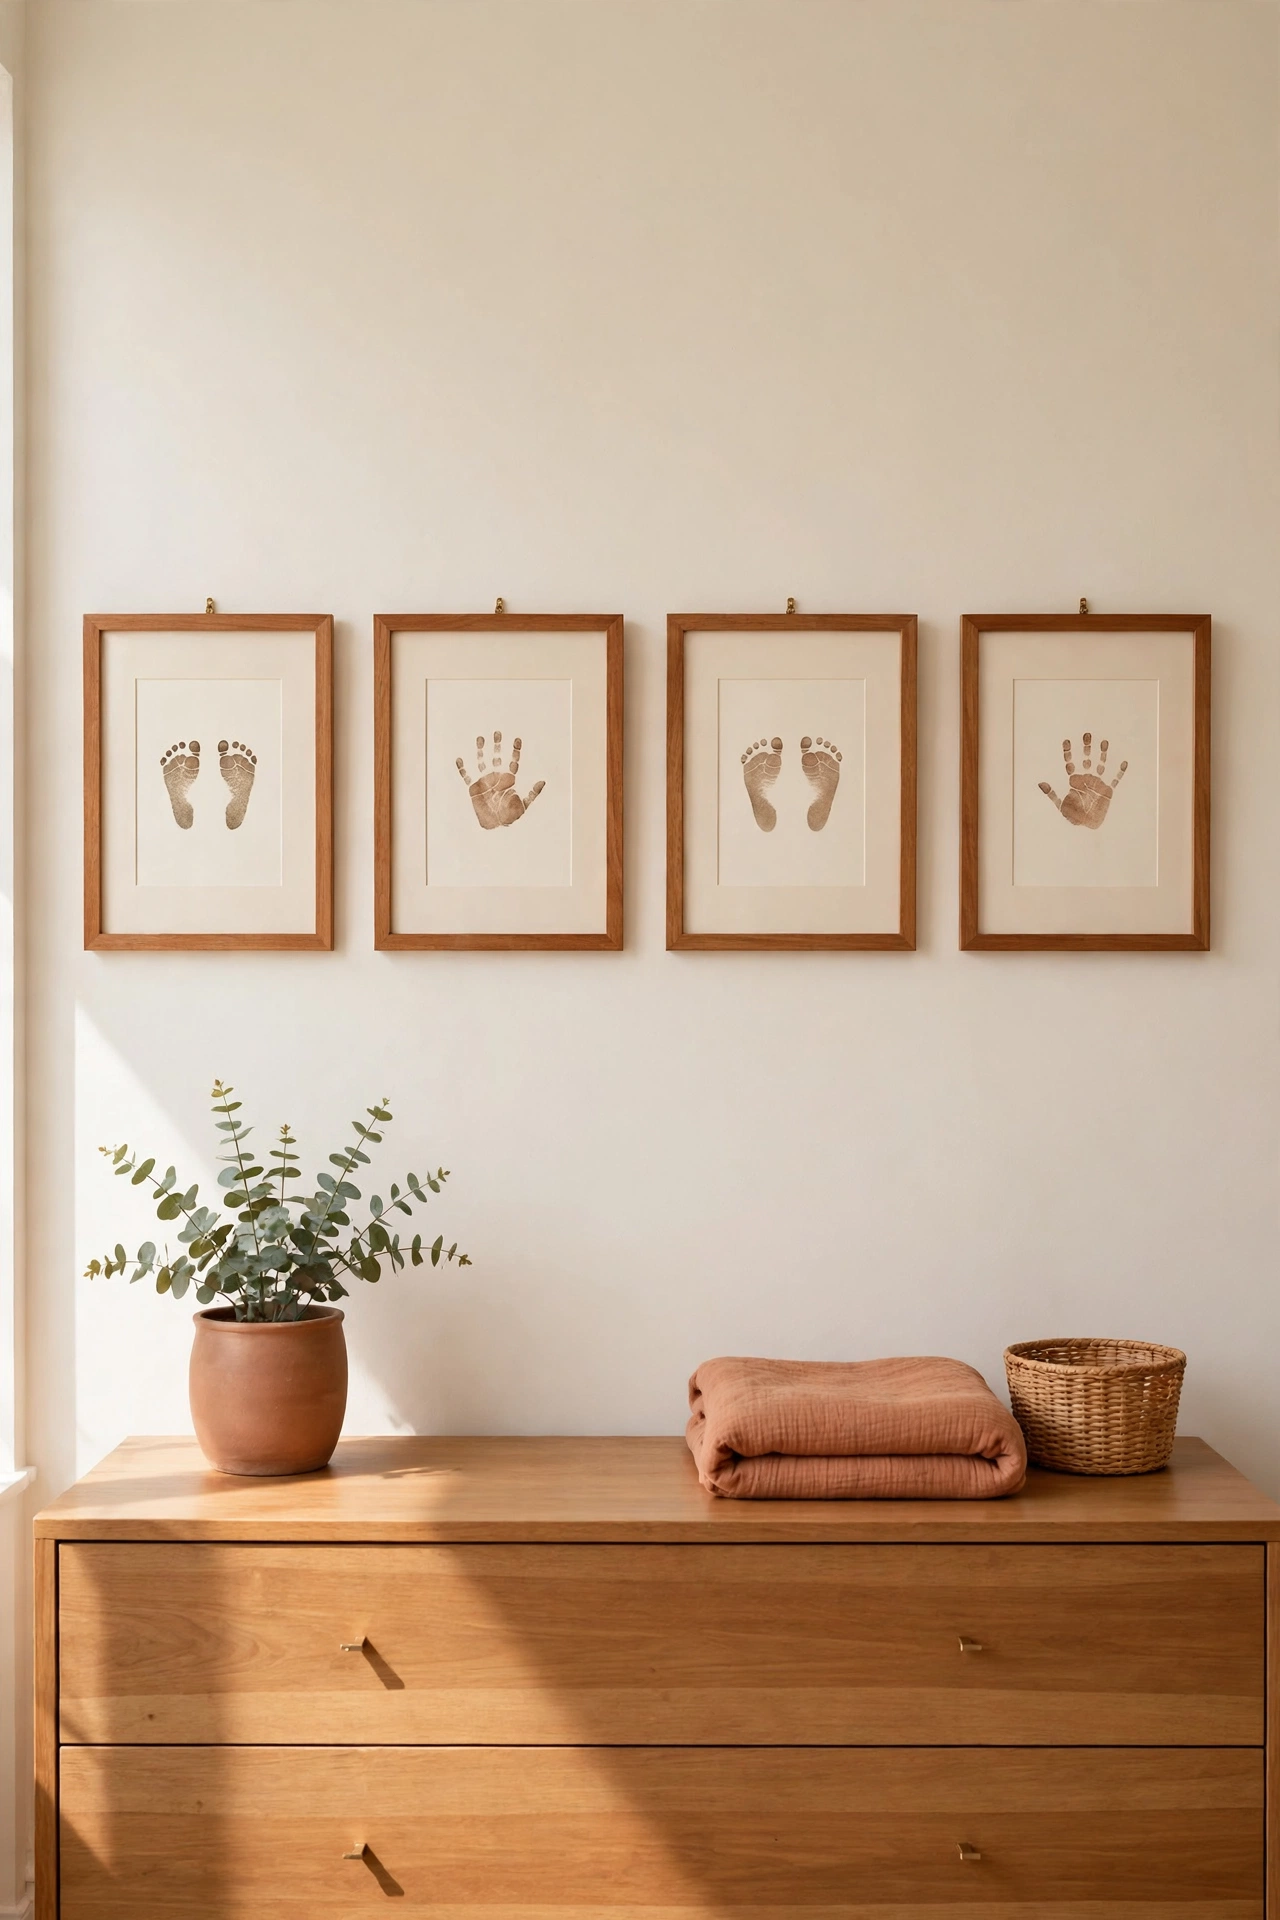
Footprint and handprint cards are among the sweetest keepsakes of the baby years, and simple frames keep them safe for decades. Choose matching frames in one finish so the prints look like a planned set rather than a random collection. Hang them in a row or cluster them on one nursery wall.
Use acid-free mats inside the frames to keep the paper from touching the glass, which prevents sticking and fading. If you have prints from several ages, arrange them in order so you can see how quickly those little hands and feet grew. The framed prints become a daily reminder of how fast the first years pass.
5. File Milestone Cards in a Labeled Card Box
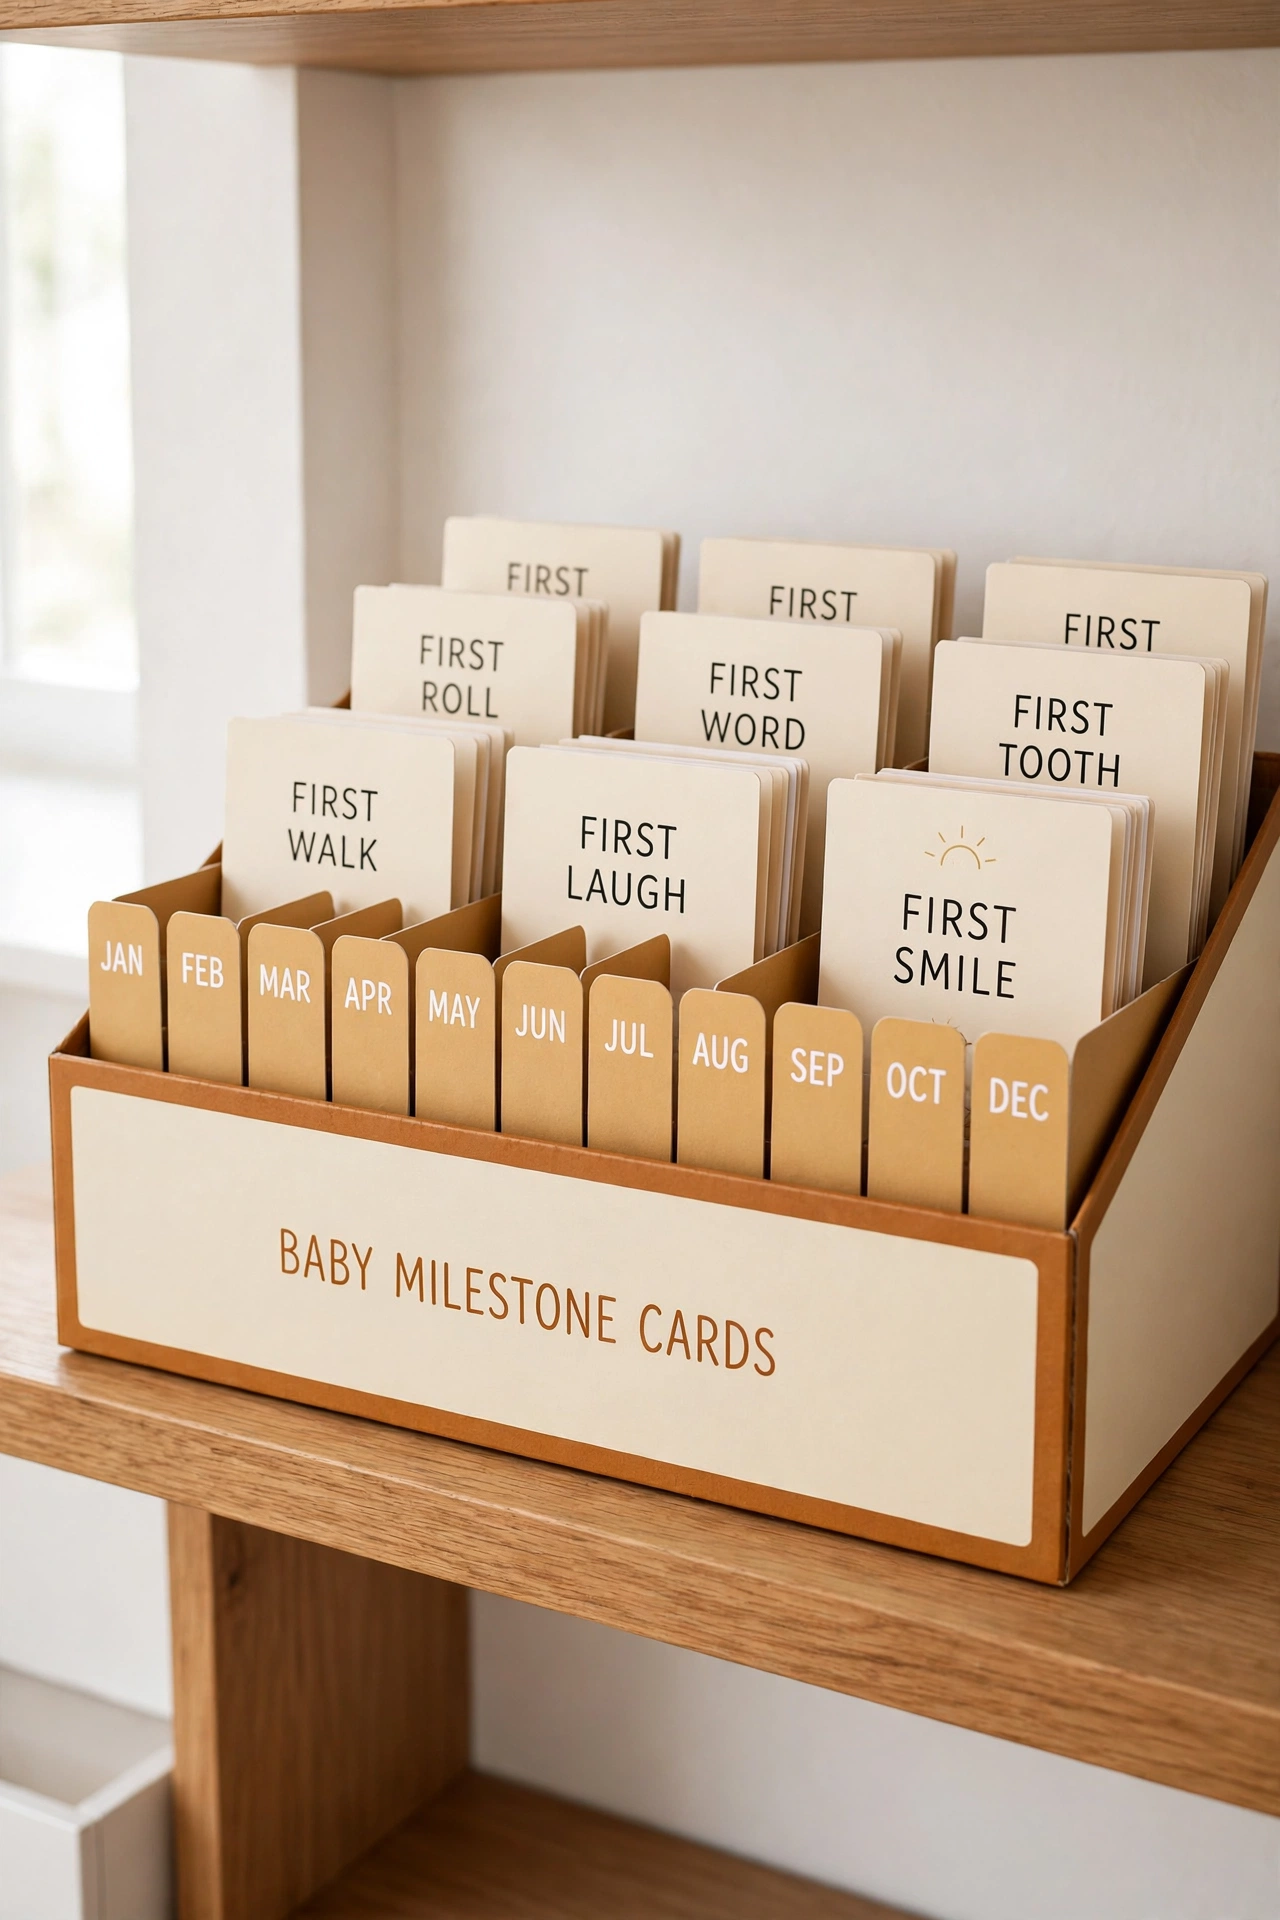
Milestone cards mark the first smile, the first tooth, and the first steps, and they scatter easily if they have no home. File them in order inside a labeled card box with tabbed dividers for each month or stage. The box keeps the cards upright, clean, and easy to flip through.
Write the date on the back of each card as soon as the milestone happens, while the memory is still fresh. A small card box fits on a bookshelf or inside the main memory box, so it never takes over a room. When the cards are filed in order, the whole first year reads like a short and happy story.
6. Store Ultrasound Photos in an Archival Album
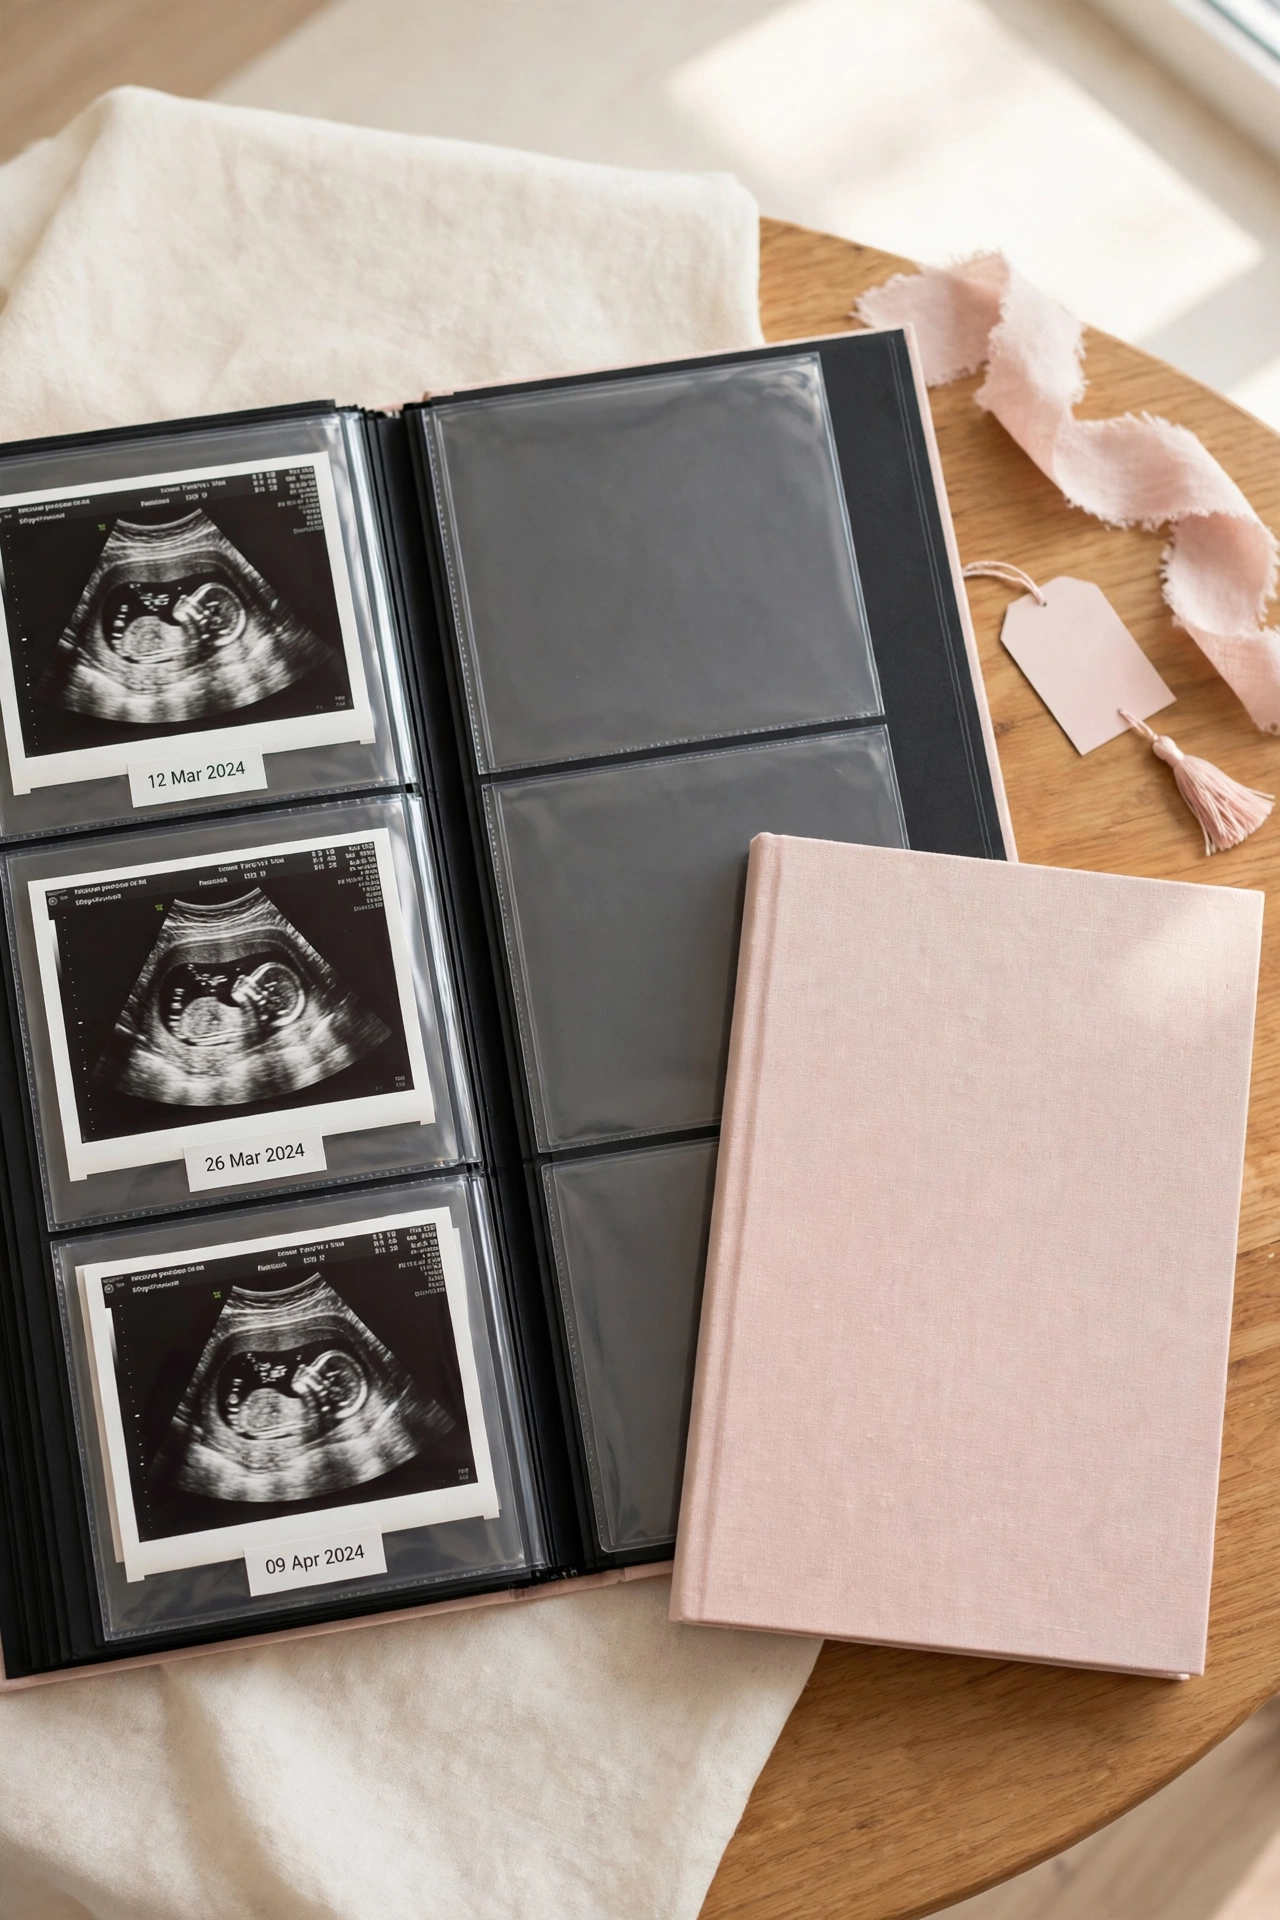
Ultrasound photos are printed on thermal paper that fades quickly when it sits in sunlight or warm air. Slip each photo into an acid-free sleeve inside an archival album to slow down fading and keep the images crisp. The album protects the very first pictures of your baby.
Label each page with the date and the week of pregnancy so the album tells the story from the first scan to the birth. Keep the album upright on a bookshelf in a cool and dry room. With proper care, those first grainy images will still be clear when your child is old enough to ask about them.
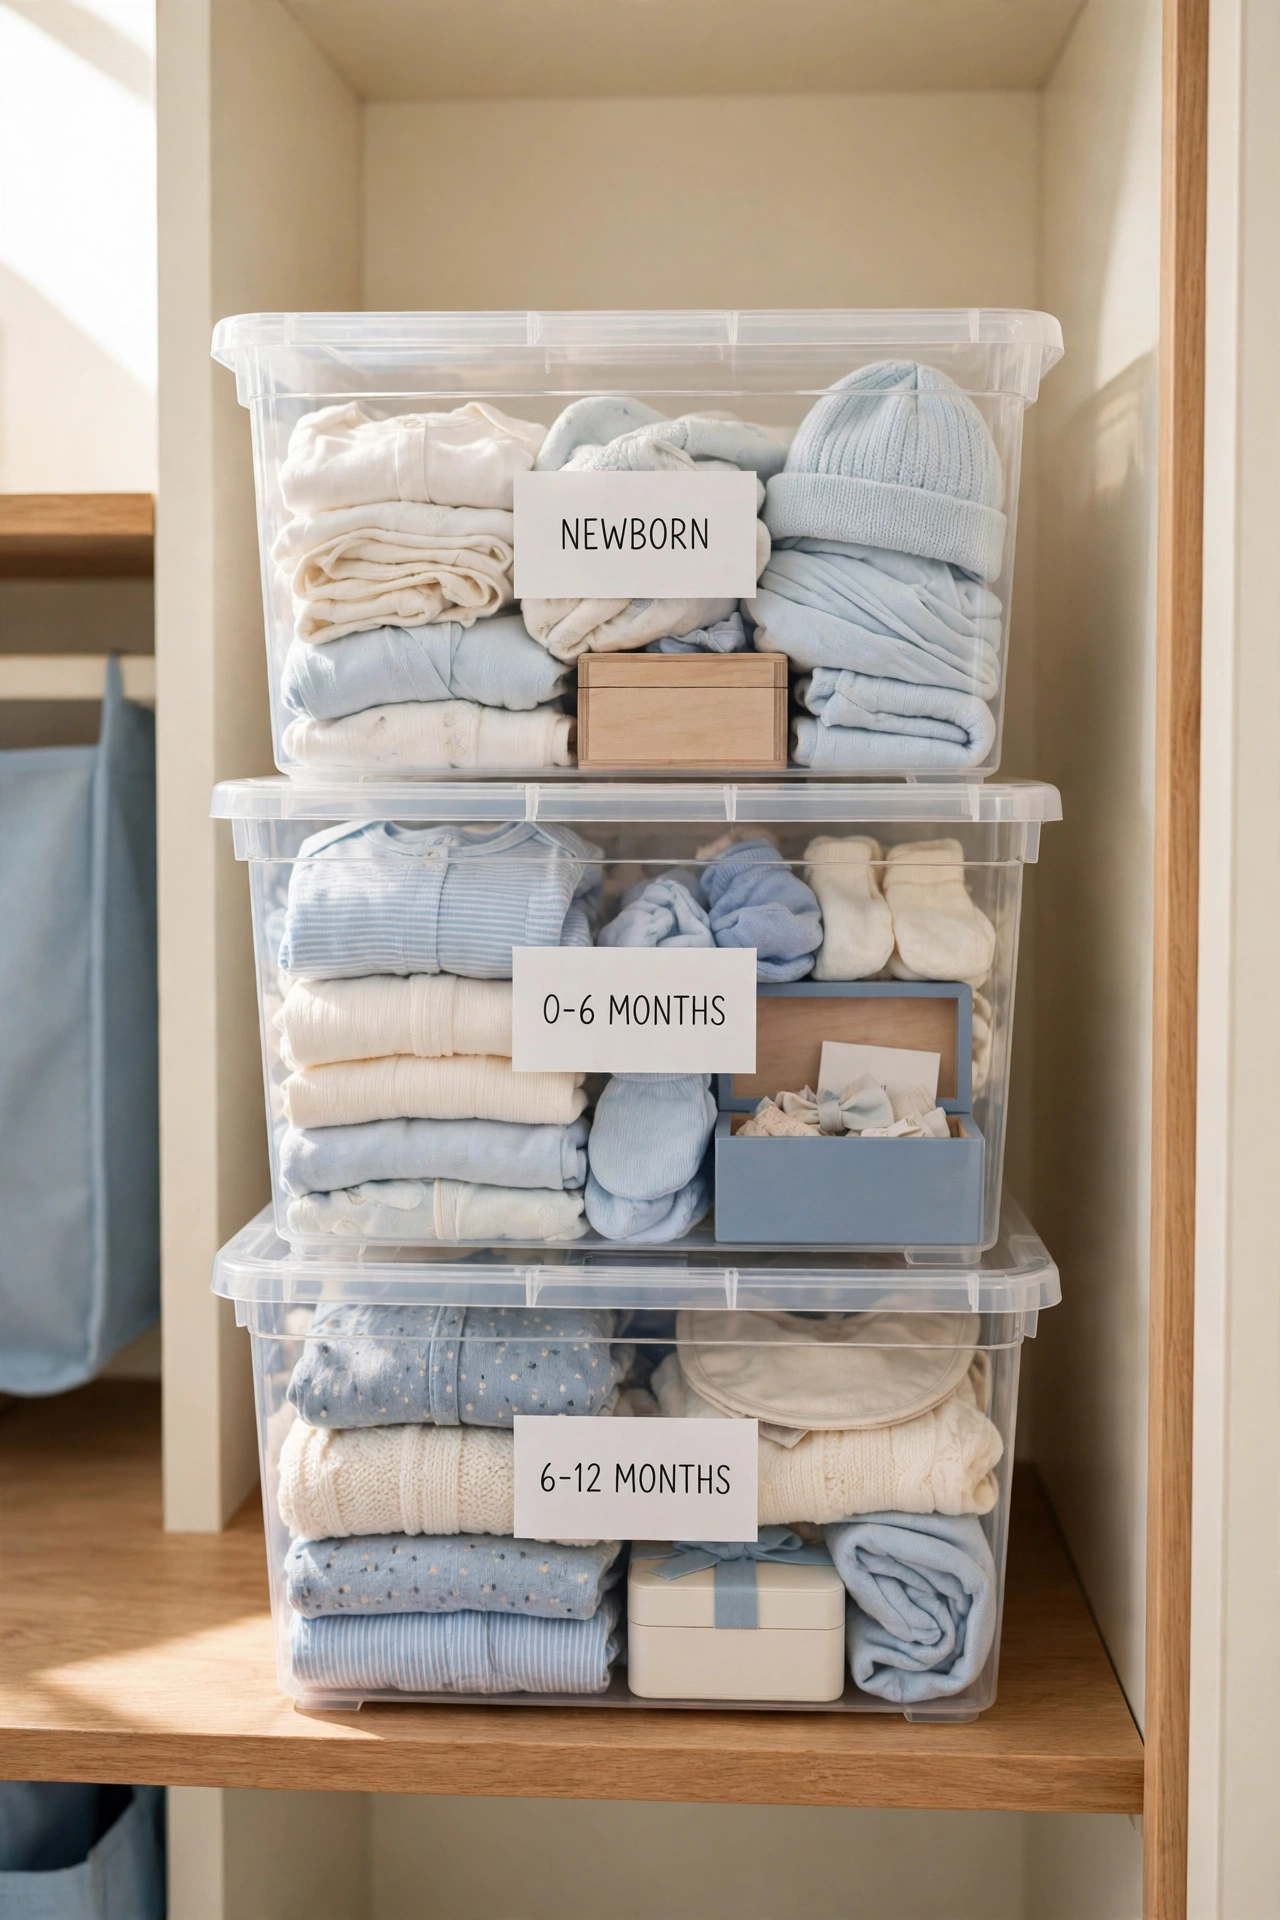
7. Label Clear Bins by Age and Stage
Clear bins with printed labels make it easy to sort keepsakes by age without opening every container. Label one bin for the newborn months, one for the first half year, and one for the toddler stage, and fill each bin only with items from that period. The clear sides let you spot the right bin at a glance.
Stack the bins on a closet shelf or inside a wardrobe, with the earliest stage at the bottom and the current stage on top. As your child grows, start a new bin and move the finished one to long-term storage. This simple system keeps the collection organized by time instead of turning into one mixed pile.
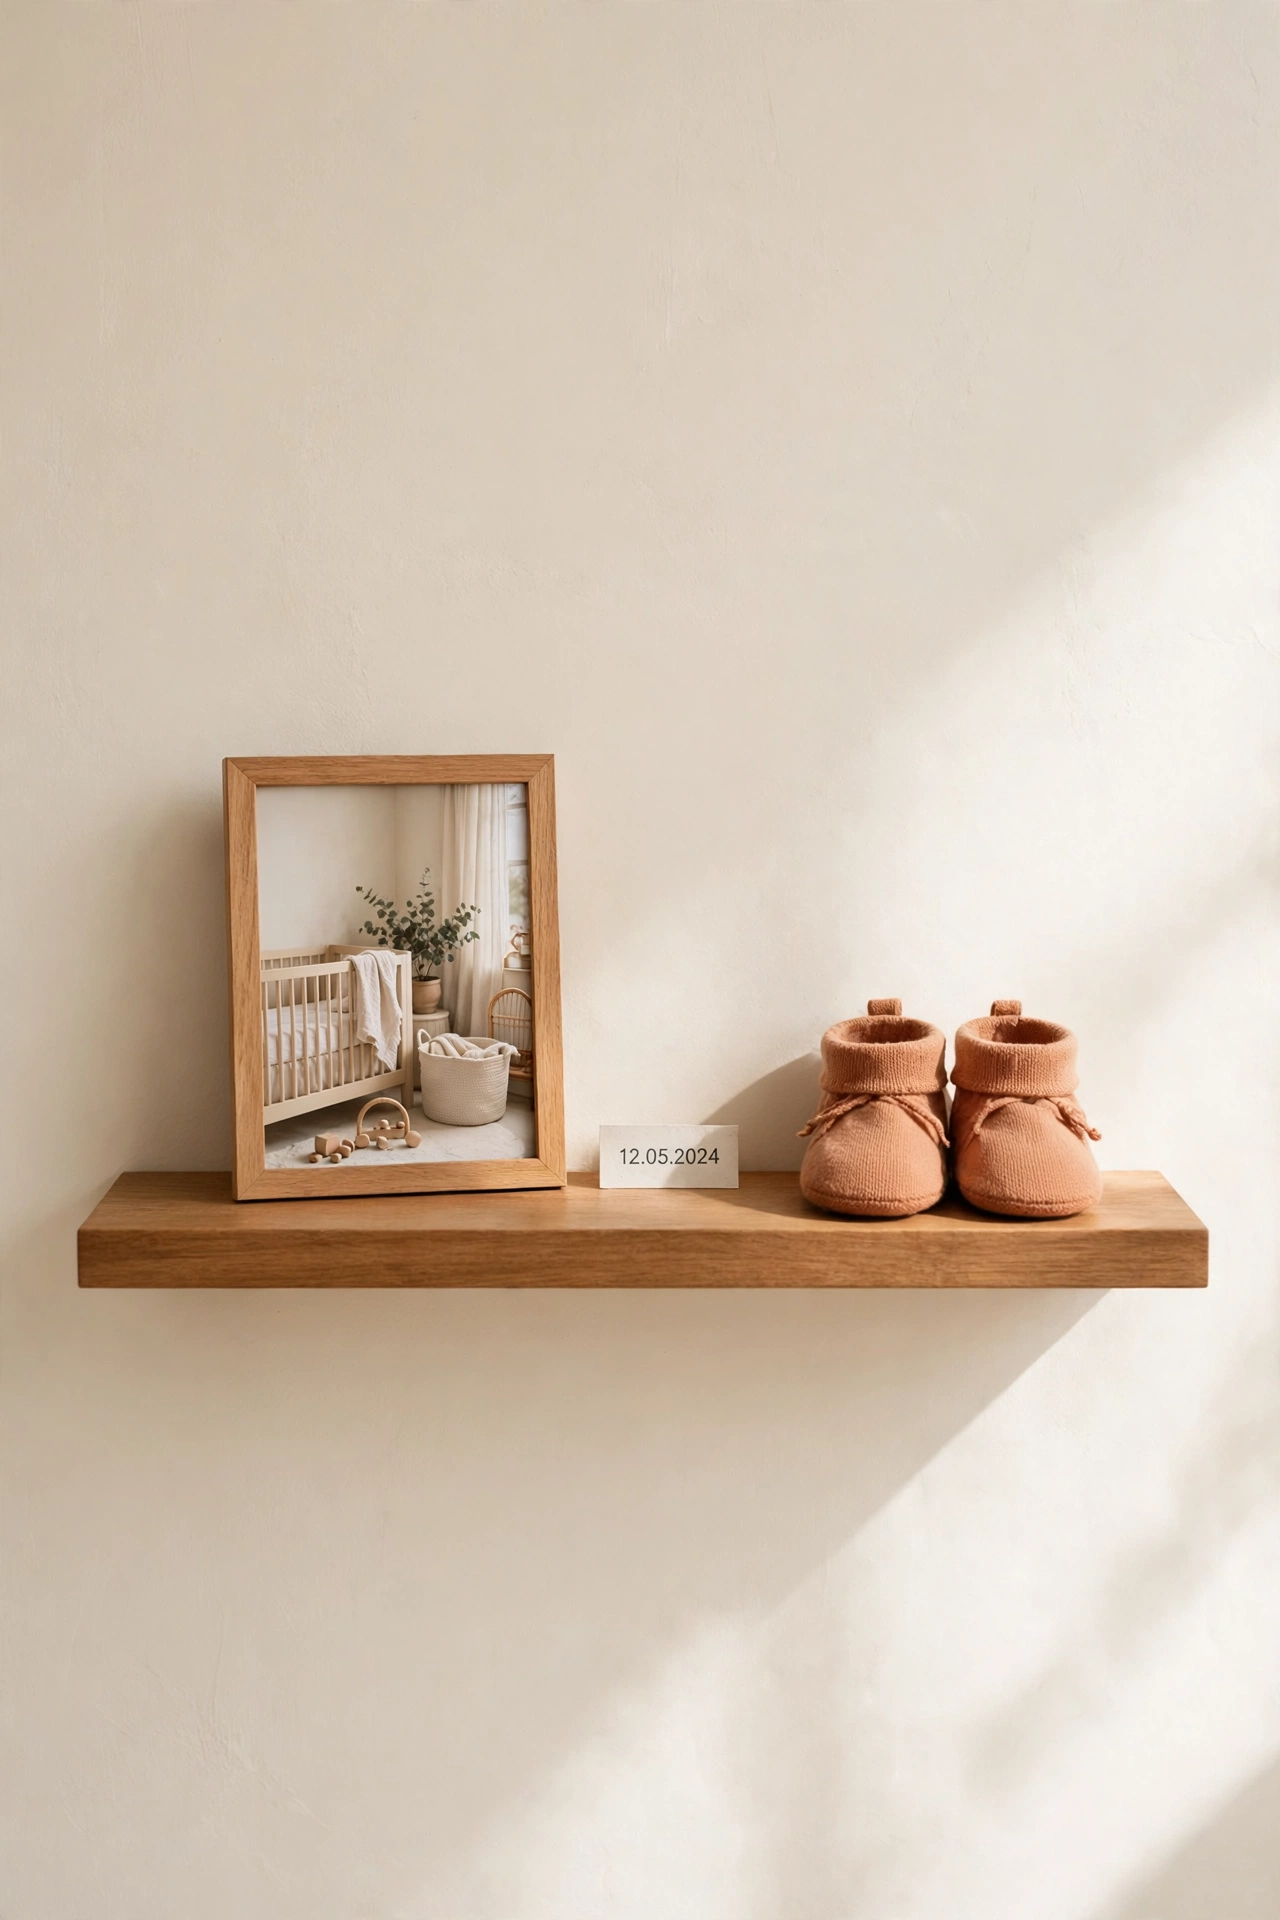
8. Display the First Pair of Shoes on a Floating Shelf
The first pair of shoes is small enough to display and special enough to deserve a spot of its own. Place the shoes on a floating shelf beside a framed photo or a small keepsake box, where they can be seen and admired. The display takes up almost no space and adds charm to the nursery.
Keep the shelf away from windows so sunlight does not fade the leather or fabric. A tiny printed label under the shoes with the age and the date adds context without cluttering the display. When the shoes sit out in the open, they spark happy memories every time you walk past.
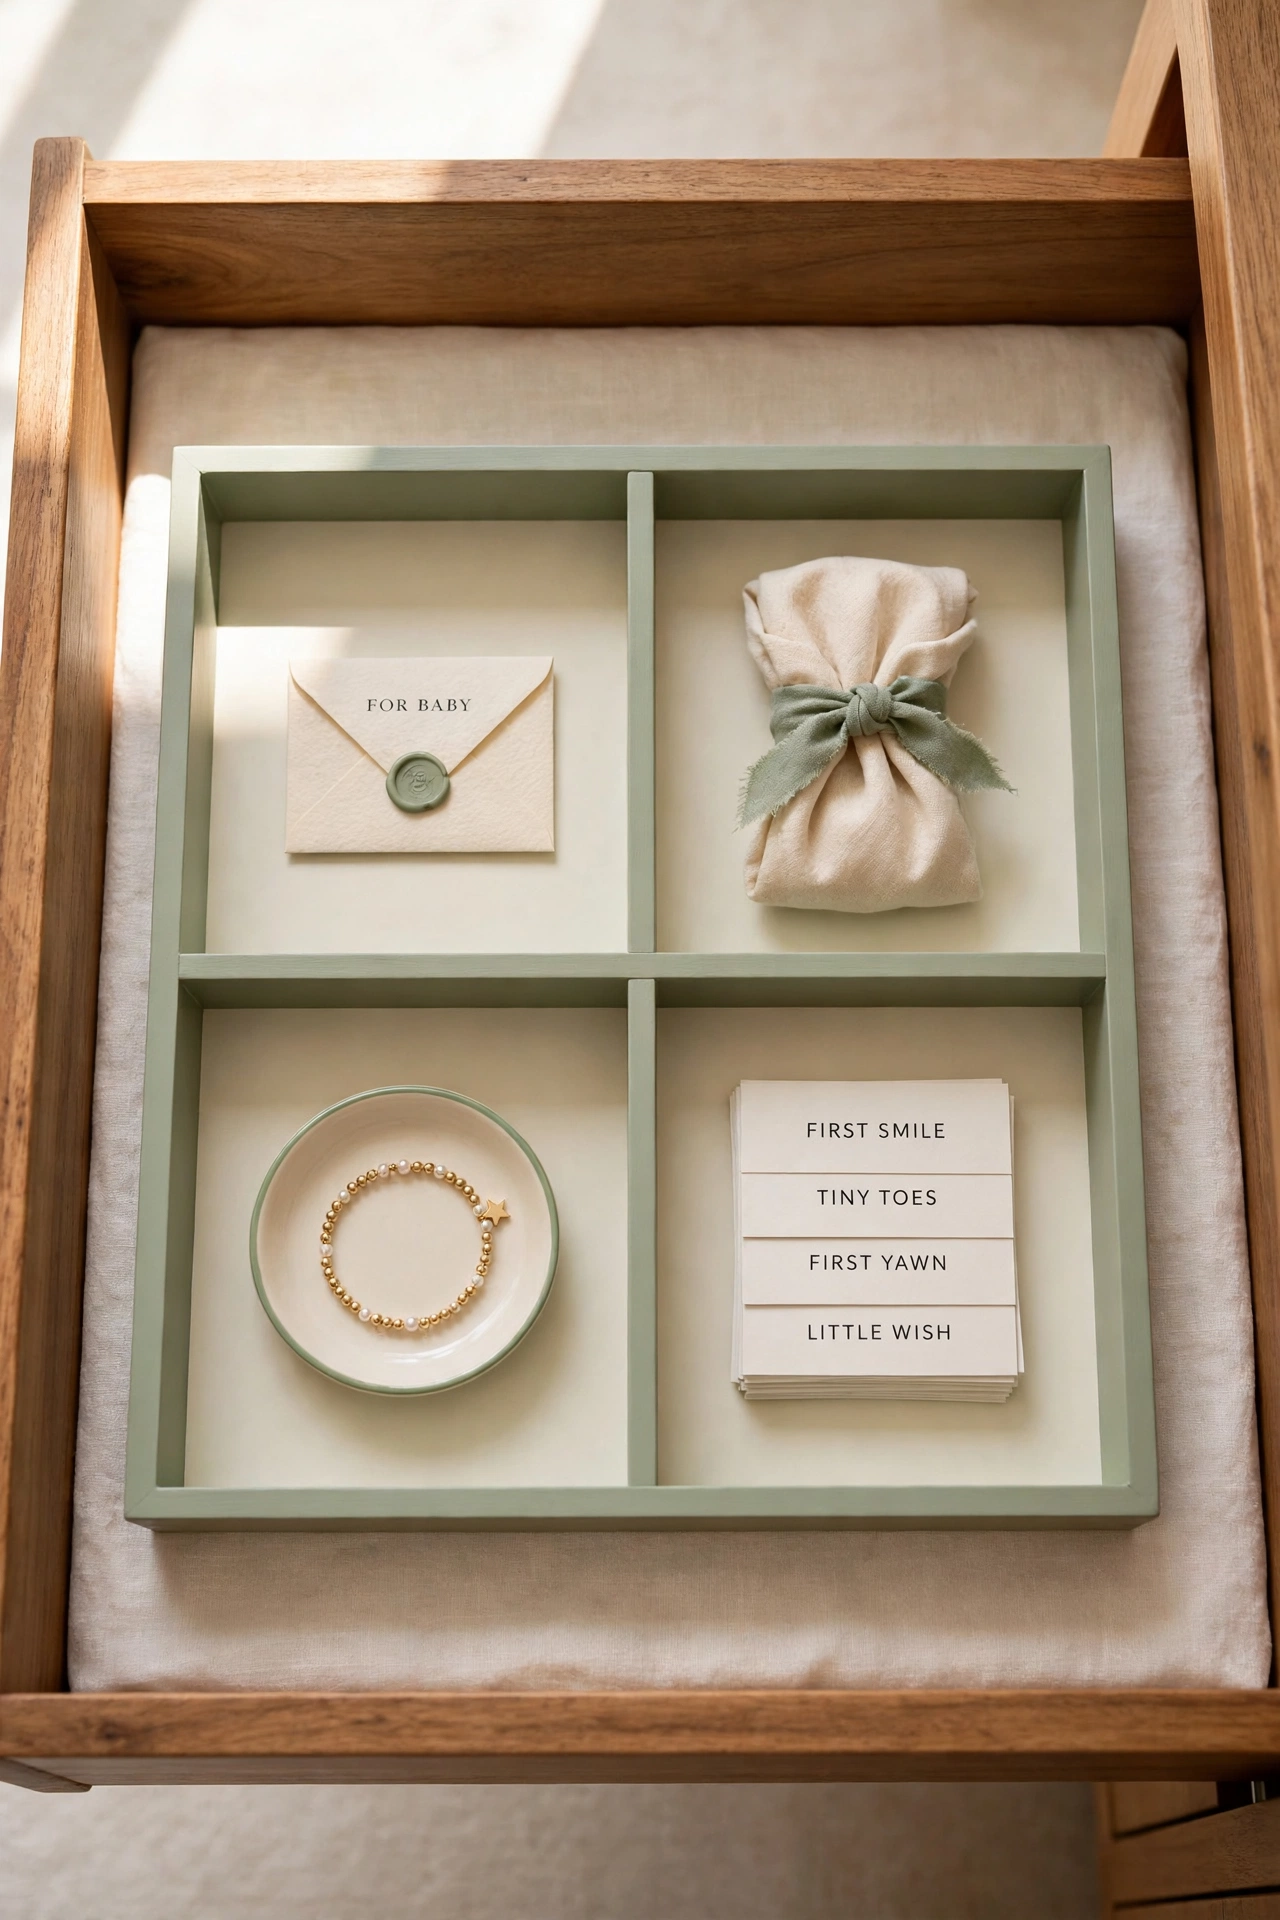
9. Turn One Drawer Into a Keepsake Station
One drawer with dividers can hold all the small keepsakes that arrive week after week, from locks of hair to birthday candles. Place a divider tray inside the drawer and give each section a job, so new items land in the right spot the moment they arrive. The drawer keeps small treasures contained and easy to sort later.
Put the keepsake drawer near the changing area so you can tuck items away during daily routines. If you already keep baby supplies in order with these diaper station organization ideas, the keepsake drawer fits naturally into the same zone. Empty the drawer into the main memory box once a season to keep it from overflowing.
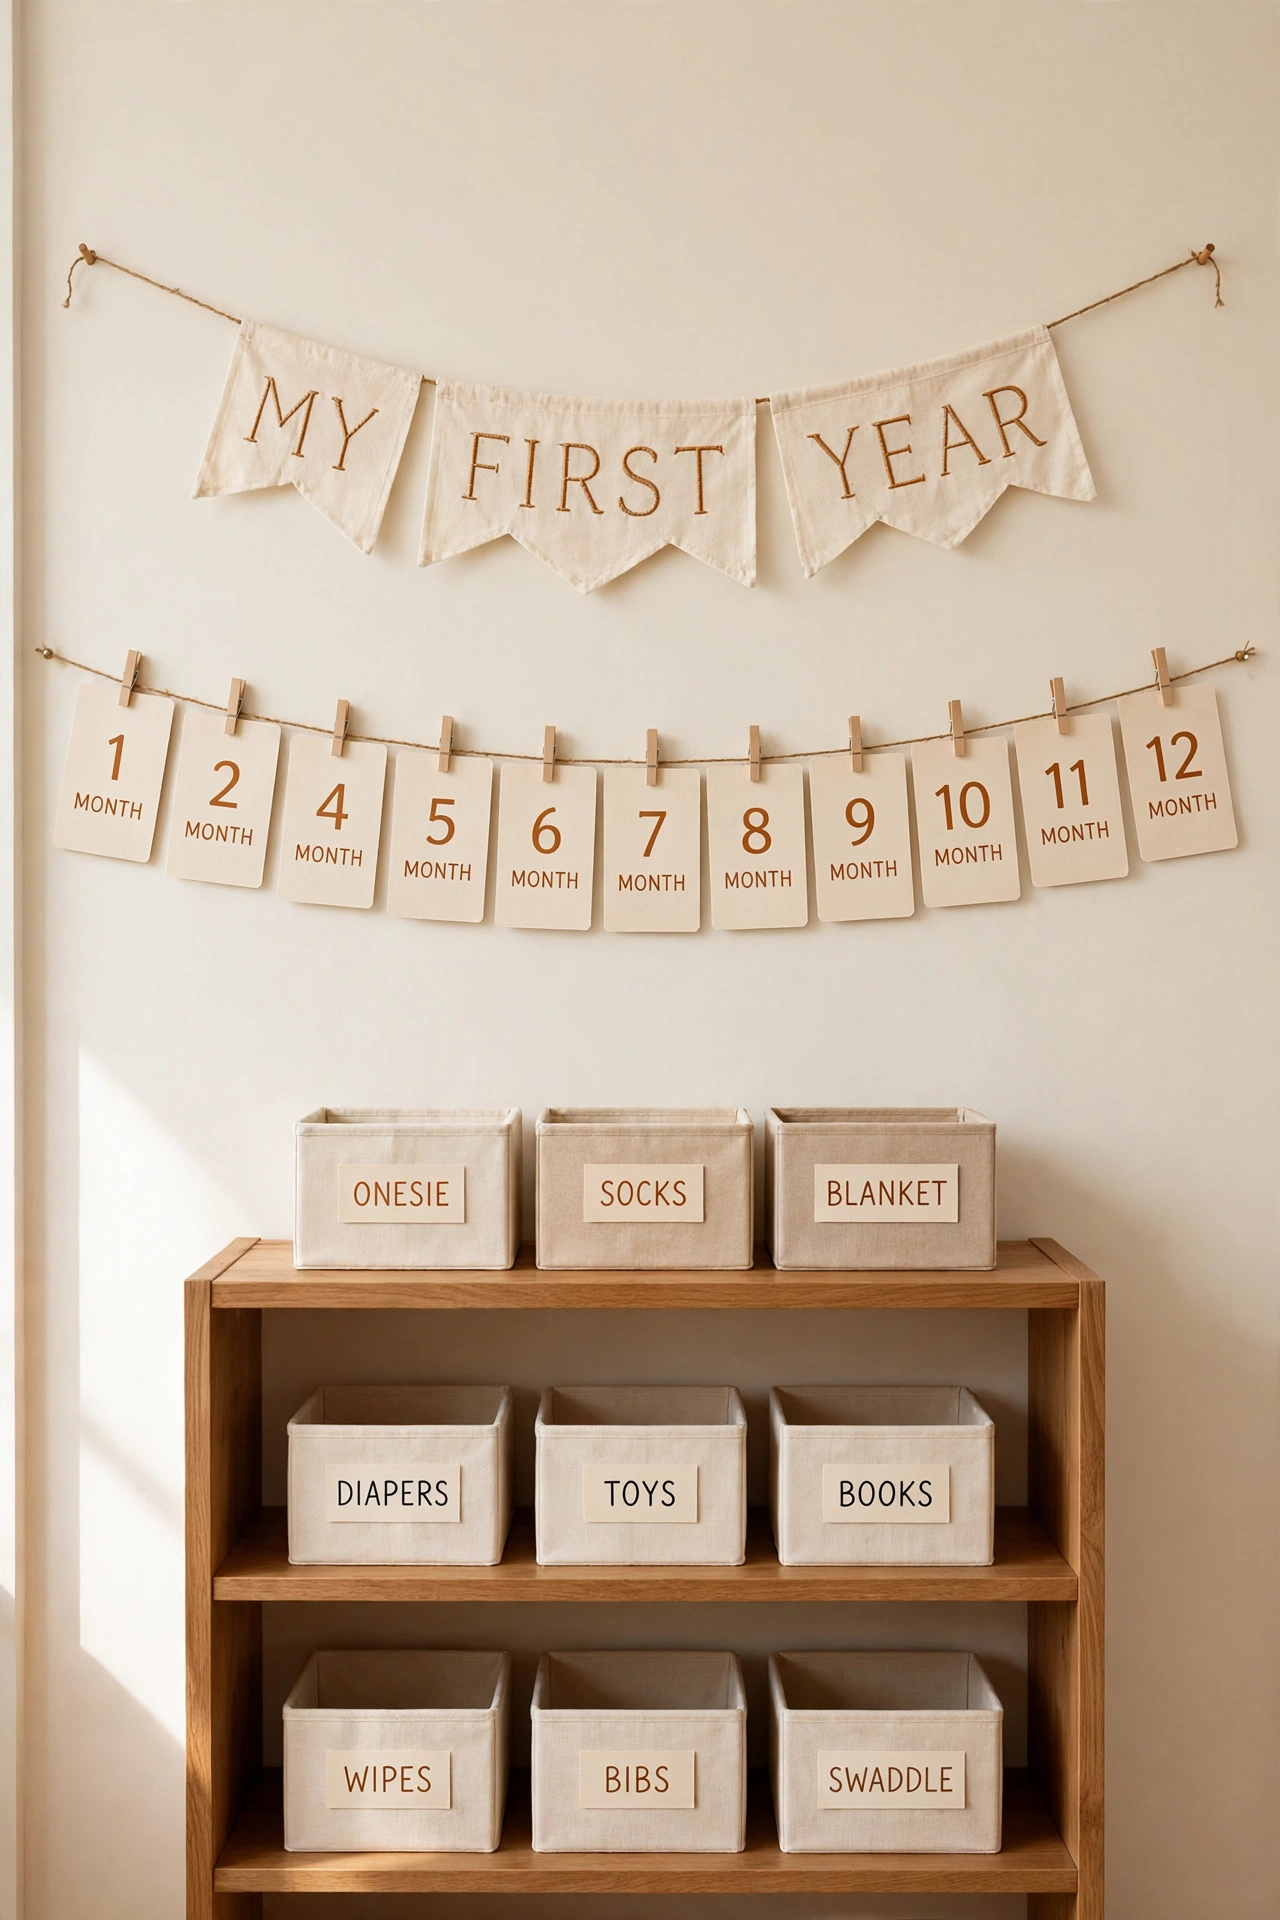
10. Hang a Monthly Milestone Banner
A milestone banner strings the monthly cards along a ribbon or cord so the whole first year hangs in view. Clip each card in order as the months pass, and the banner grows into a cheerful timeline of your baby’s first year. It is a display and a storage solution in one simple idea.
Hang the banner on a nursery wall or across a bookshelf, using small clips that hold the cards without tearing them. When the year is complete, take the cards down in order and file them in the card box. The banner gives the cards a moment in the spotlight before they go into safe storage.
11. Tie Birthday Cards Into Ribbon Bundles
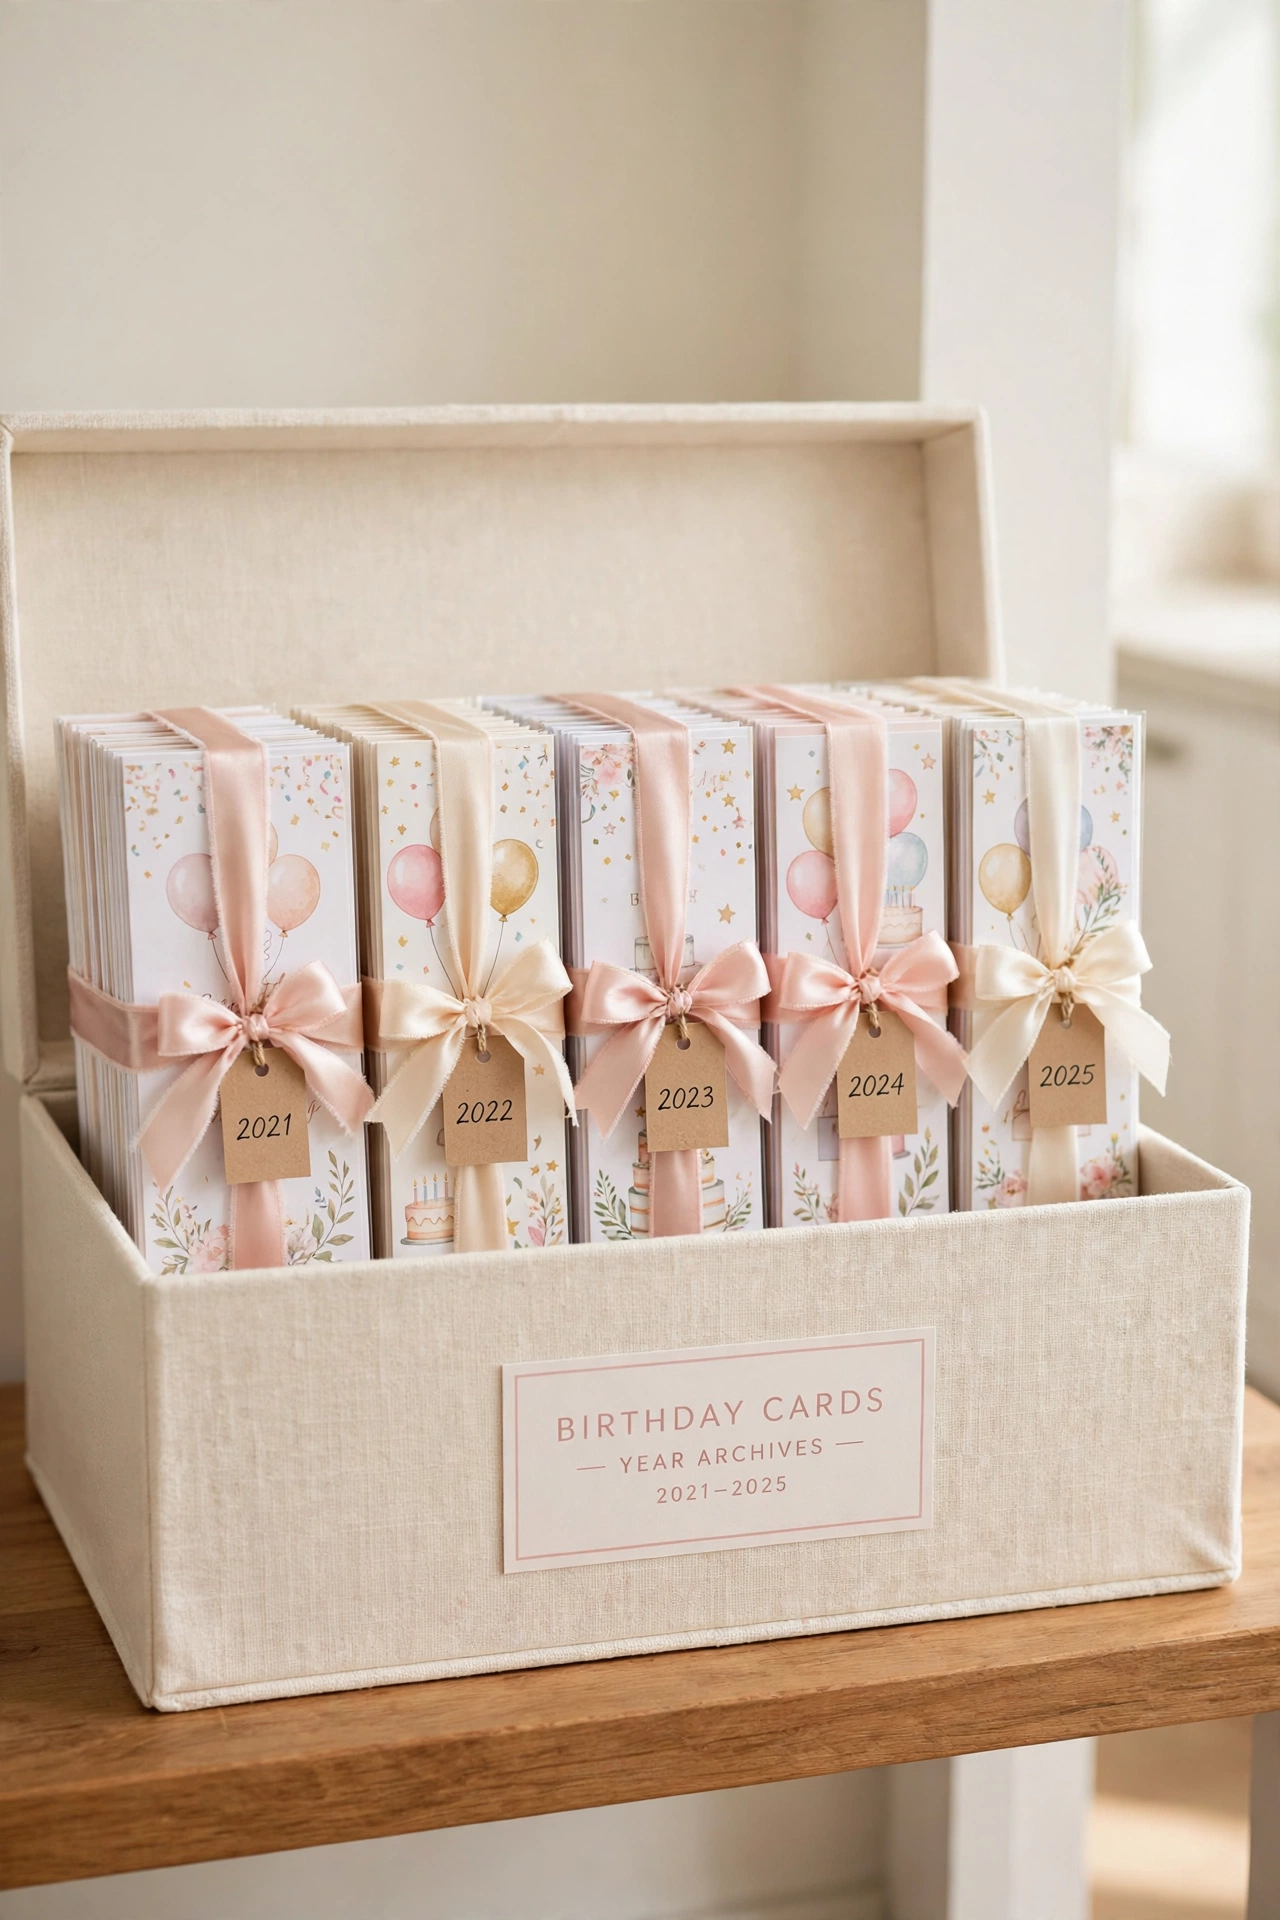
Birthday cards from family and friends pile up fast, and loose cards bend and scatter. Stack the cards from each birthday in date order, tie the stack with a soft ribbon, and slip a small tag on the ribbon with the age and the year. The bundles stay neat and look lovely on a shelf.
Store the ribbon bundles upright in a labeled box, with the earliest birthday at the front. When you untie a bundle years later, the cards will still be in order and ready to read from start to finish. This gentle habit turns a pile of cards into a keepsake you can revisit on every birthday.
12. Give the First Plush Toy Its Own Shelf
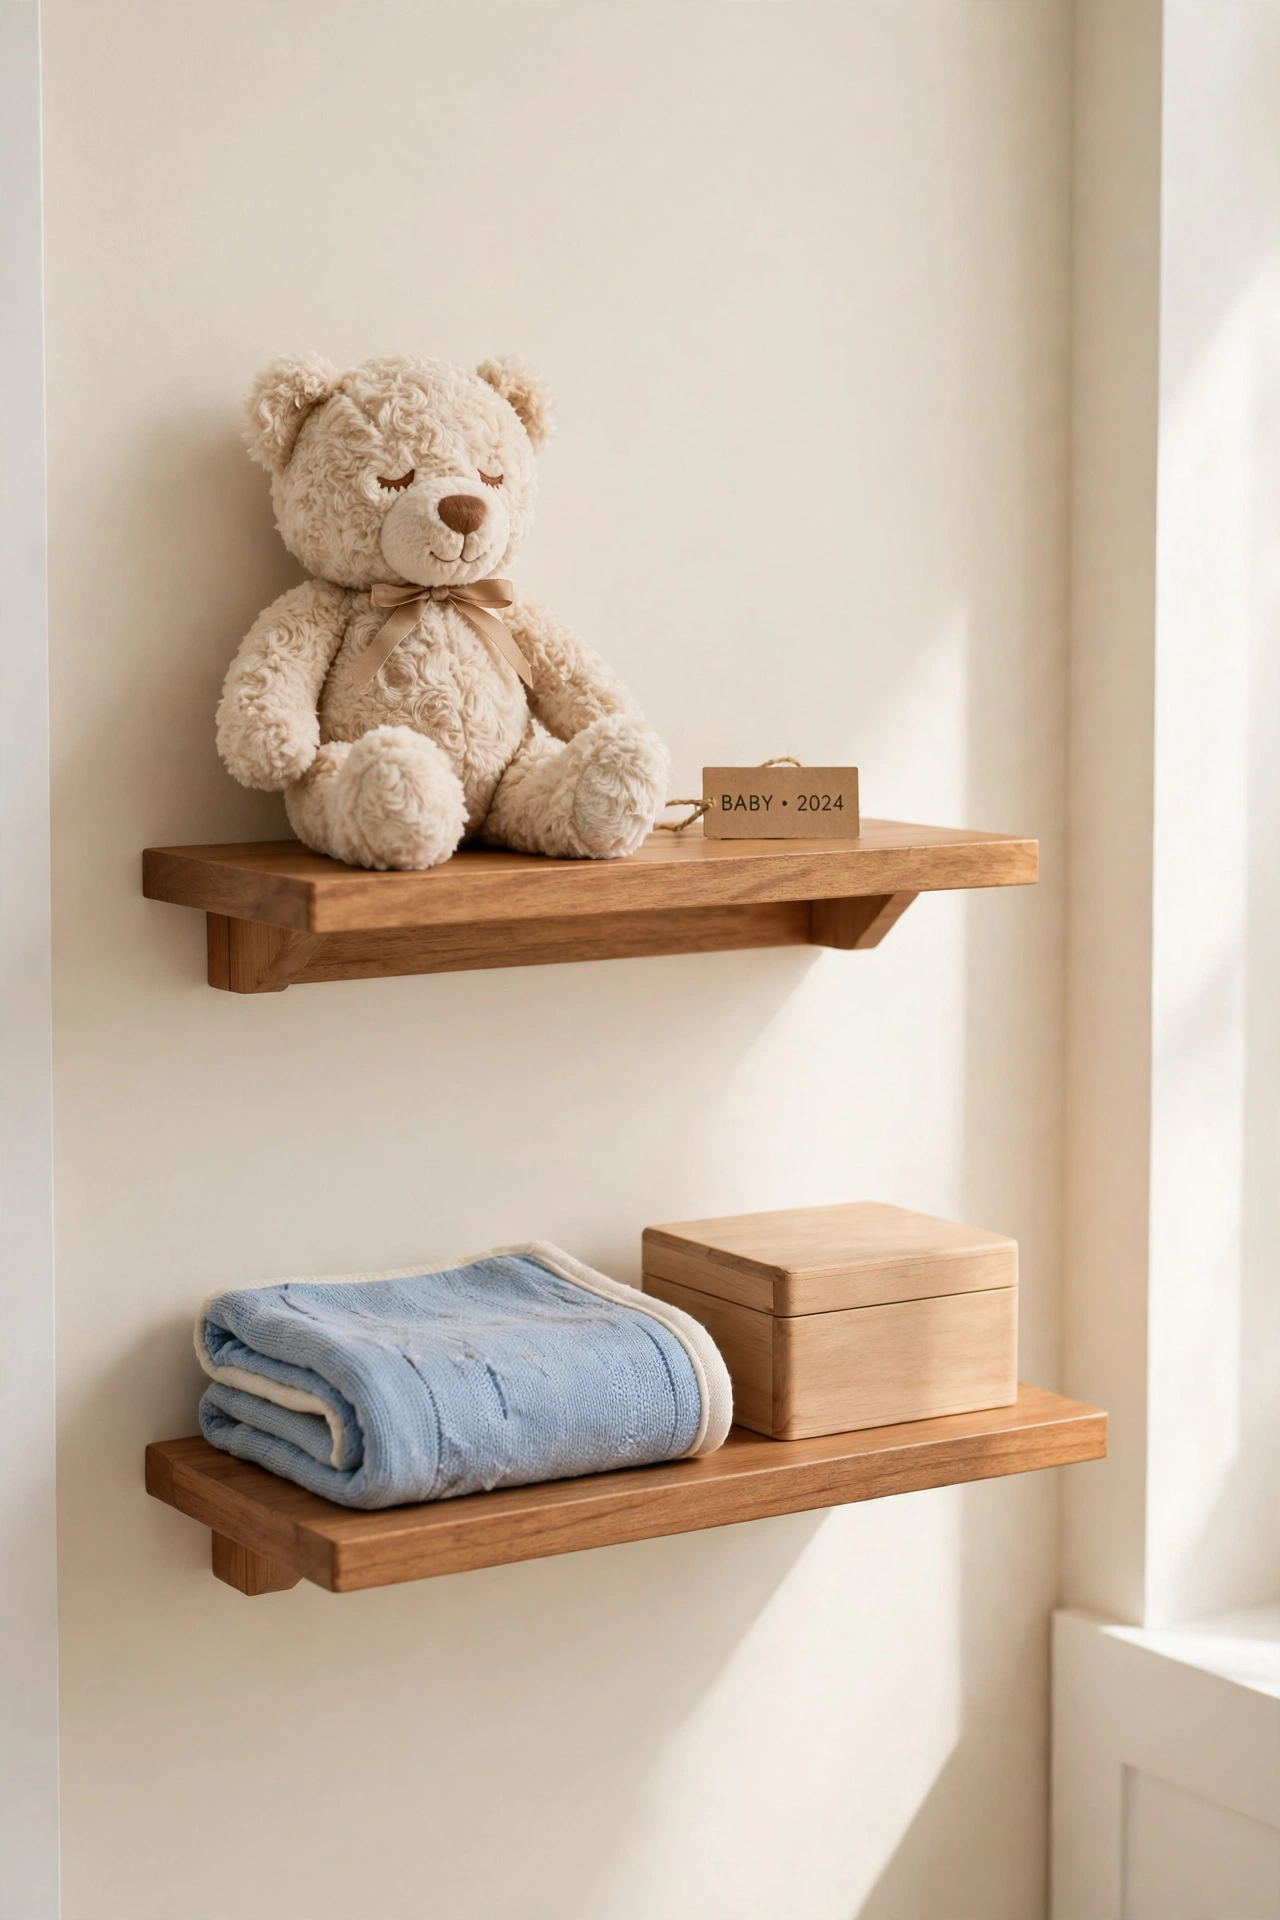
The first plush toy is often the most loved object of the baby years, and it deserves a display spot of its own. Place it on a small shelf with a printed name tag, away from the everyday toy bins where it could get lost or damaged. A dedicated shelf keeps the toy clean, visible, and safe.
Choose a shelf at adult eye level so the toy stays out of reach of younger siblings and pets. If the toy collection grows, these stuffed animal storage ideas will help you organize the rest while the first plush keeps its place of honor. The special toy stays a keepsake instead of becoming just another toy in the pile.
13. Scan Paper Keepsakes Into a Digital Folder
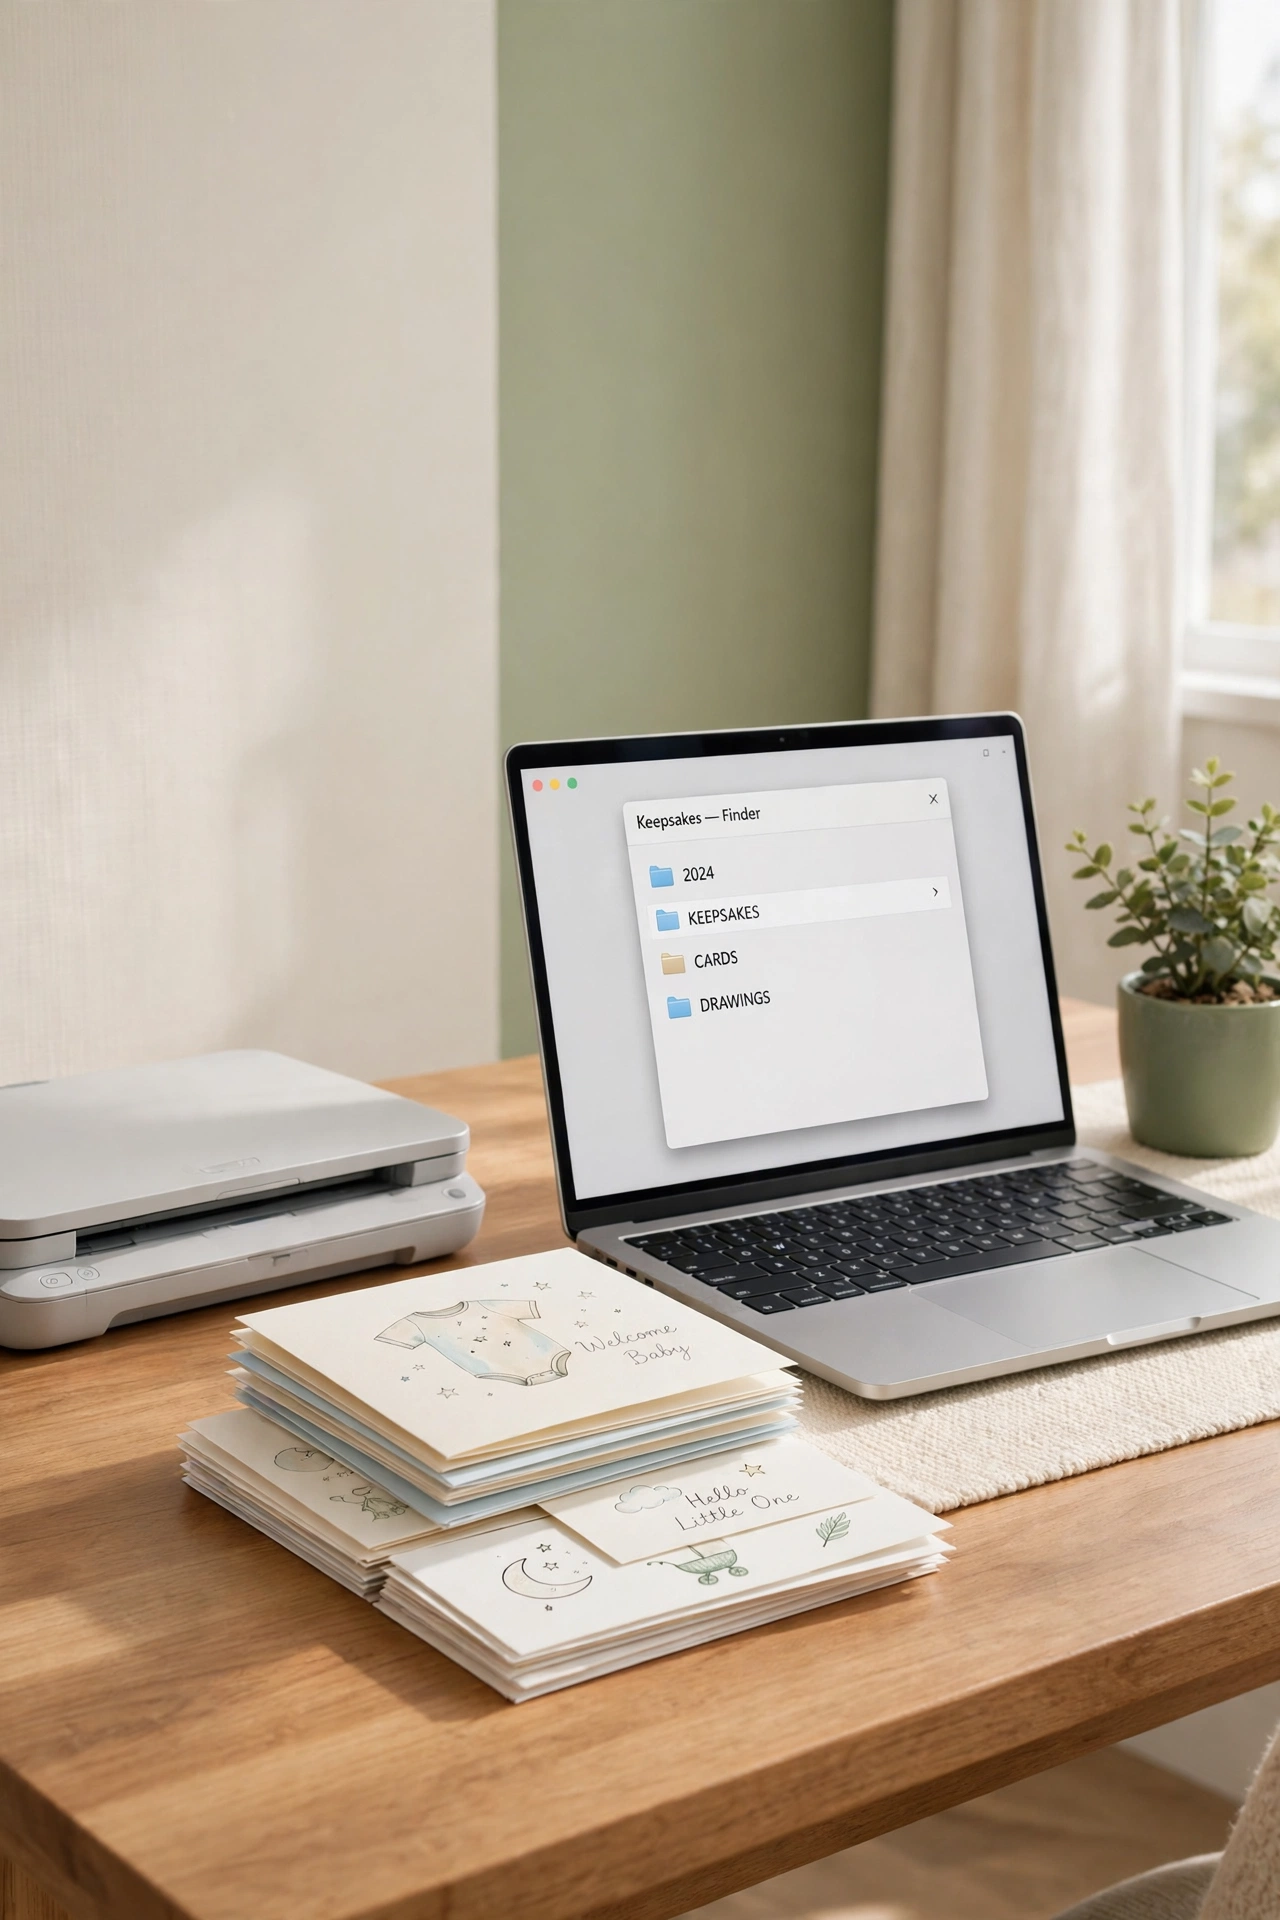
Paper keepsakes fade, tear, and take up space, but a digital copy lasts forever and takes up no room at all. Scan drawings, cards, and milestone notes as they arrive, and save the files in a folder named by year and month. The digital archive backs up the originals and makes sharing with family simple.
Name each file with the date and a short description so you can find any keepsake in seconds. For a full system that covers photos as well as scans, these digital photo organization ideas will help you build folders that stay tidy for years. Keep the paper originals in the memory box and enjoy the digital copies every day.
14. Slide Flat Keepsake Bins Under the Bed
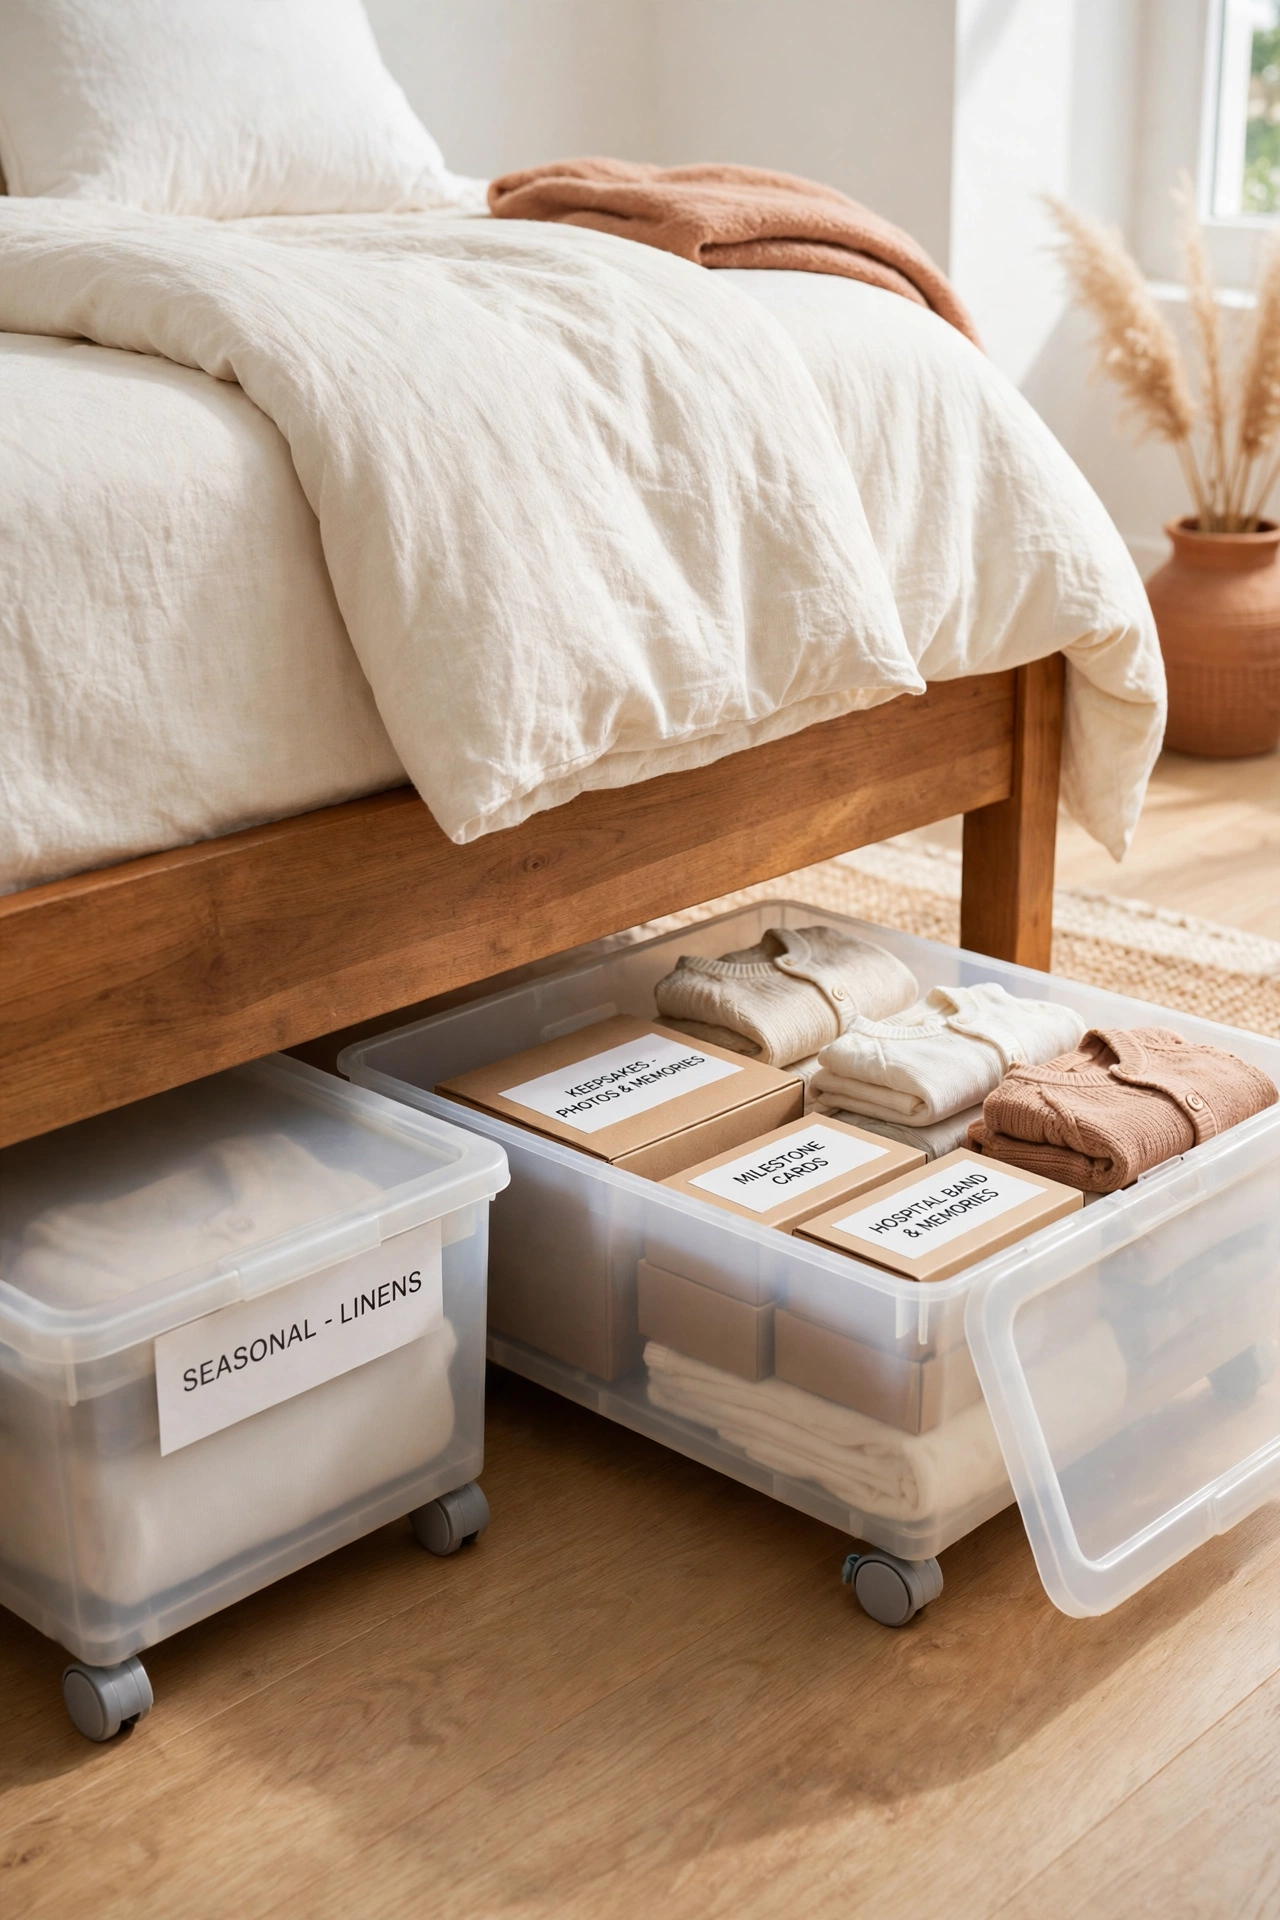
Flat bins that slide under the bed give keepsakes a large and hidden home without using closet space. Fill each bin with labeled boxes from one stage of childhood, close the lid, and slide it under the bed on smooth wheels. The bins stay out of sight and out of the way until you want them.
Choose bins with tight lids to keep out dust, and add a printed label on the end you can see from the side of the bed. For more ways to use this hidden space, these under bed storage organization ideas show how to make every inch count. Under-bed storage is perfect for keepsakes you revisit only a few times a year.
15. Build a Keepsake Gallery Wall in the Nursery
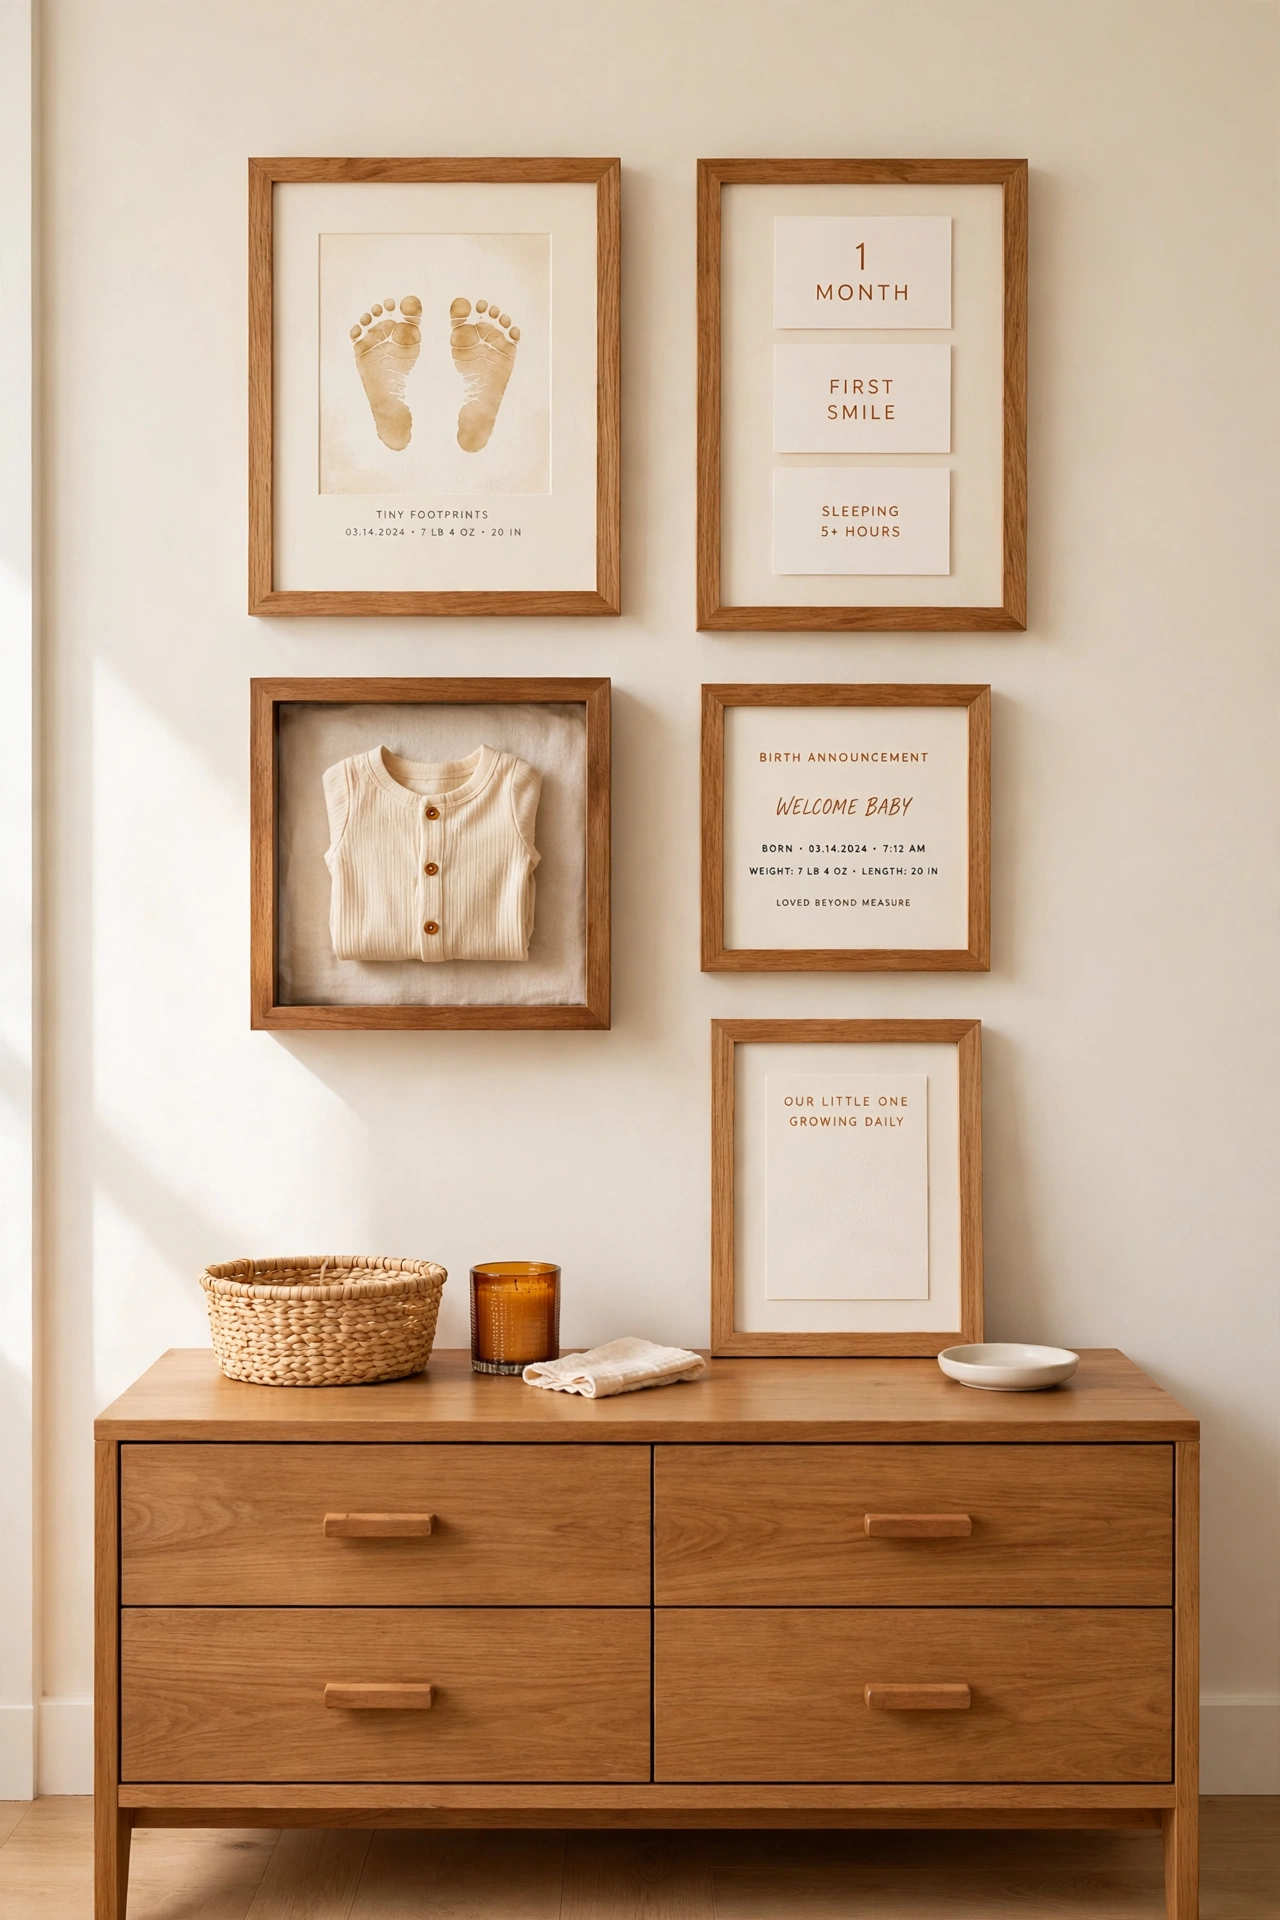
A gallery wall brings the best keepsakes together in one beautiful display, from framed footprints to milestone cards and tiny outfits in deep frames. Plan the layout on the floor first, then hang the pieces with even spacing so the wall looks balanced and calm. The gallery turns memories into the main decoration of the room.
Mix frame sizes but keep one finish throughout so the display feels planned and tidy. If you want the wall to grow with your child, these kids art display ideas show how to swap pieces in and out as new artwork arrives. A gallery wall keeps the sweetest memories in view during the years they matter most.
Conclusion
Your child’s first years pass in a blur, but the keepsakes from those years can stay organized and safe for a lifetime. A labeled box, a framed footprint, and a tidy bin system are all it takes to protect the objects that hold your happiest memories. Start with one idea and build the system as new keepsakes arrive.
The goal is not a perfect museum, it is a simple routine that keeps every treasure findable and in good condition. Choose the ideas that fit your space, label everything clearly, and enjoy revisiting these small pieces of a very big story whenever you open a box or walk past the wall.
Frequently Asked Questions About Children’s Keepsake Organization Ideas for Baby Memories
What is the best container for baby keepsakes?
A sturdy box with a tight-fitting lid is the best container for most baby keepsakes. Acid-free boxes and tissue paper protect fabric and paper from yellowing, while clear bins work well for items you want to see without opening the lid. Avoid damp basements and hot attics, which damage keepsakes over time.
How do I keep baby clothes from yellowing in storage?
Wash and fully dry each garment before storing it, then wrap it in acid-free tissue paper and lay it flat in a box. Keep the box in a cool and dry closet, away from direct sunlight. Check the clothes once a year and refold them so creases do not become permanent.
Should I keep every card and drawing my child receives?
You do not need to keep every single item. Save the cards and drawings that carry a clear memory, a special message, or a milestone, and scan the rest before letting them go. A small collection of meaningful pieces is easier to store and more enjoyable to revisit than boxes of unsorted paper.
How do I organize keepsakes for more than one child?
Give each child a separate labeled memory box and a separate set of bins, and use a different label color for each child so the boxes are easy to tell apart. Keep a shared shelf for the boxes so the whole collection stays in one place. Label every item with the name and the date as soon as it arrives.
How often should I sort through baby keepsakes?
Sort through keepsakes once a season, or at least once a year on your child’s birthday. Move finished items into long-term storage, check that labels are still clear, and make sure nothing has suffered damage from dampness or pests. A short yearly review keeps the collection tidy and the memories fresh.

Hi, I’m Emily! I turn messy corners into cozy, organized spots. DreamNestDecor is where I share simple, practical home ideas — decor, organization, and small-space solutions that work in real life, not just in photos. Every idea here is carefully researched before it’s shared.