
You are running on three hours of sleep, and your baby has just gone through a third diaper in one hour. You reach for the wipes, and they are nowhere to be found. Your heart sinks while your little one wiggles on the changing pad.
A well organized diaper station changes everything. When every item has a set place, you can handle a change in under a minute, even in the dark. You stop dreading the messy moments and start moving through them with calm.
These fifteen ideas will help you build a station that works for real life with a newborn. Each one focuses on speed, safety, and keeping your hands free when you need them most.
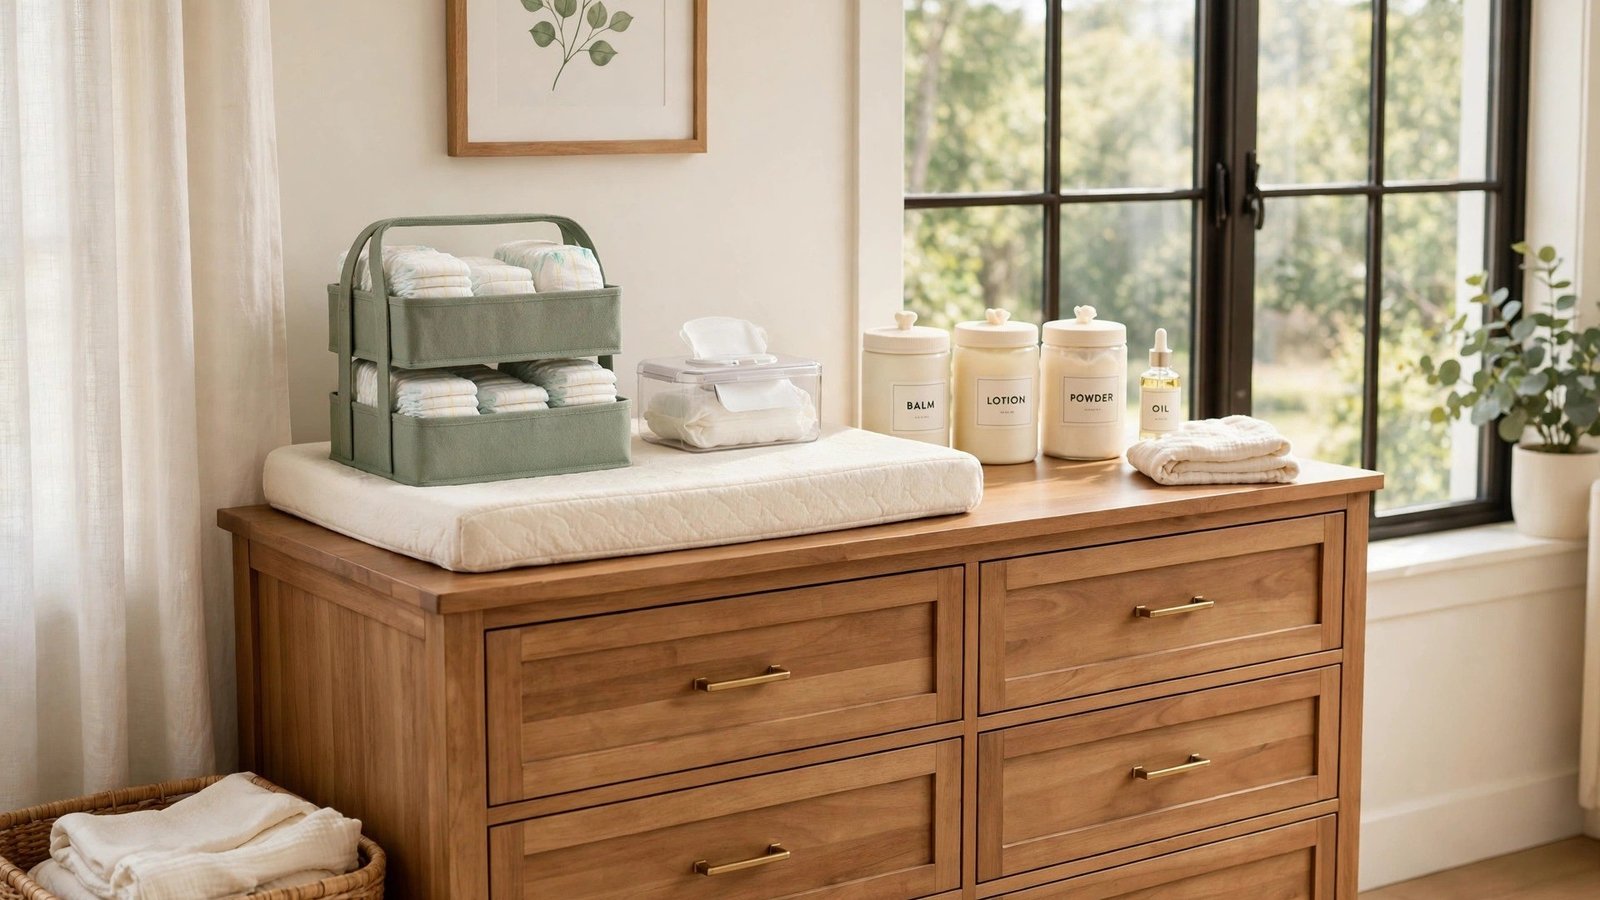
1. Two-Tier Diaper Caddy for the Changing Top
A two-tier caddy sits on your dresser or changing table and holds everything for a change in one neat frame. Stack diapers on the top tier and keep wipes, cream, and a spare onesie below. You can grab what you need with one hand while the other stays on your baby.
Look for a caddy with high sides so items do not topple when you bump the dresser. Wipe the base clean once a week, since cream and lotion tend to leave residue. This single organizer removes the need for five separate containers on top of your dresser.
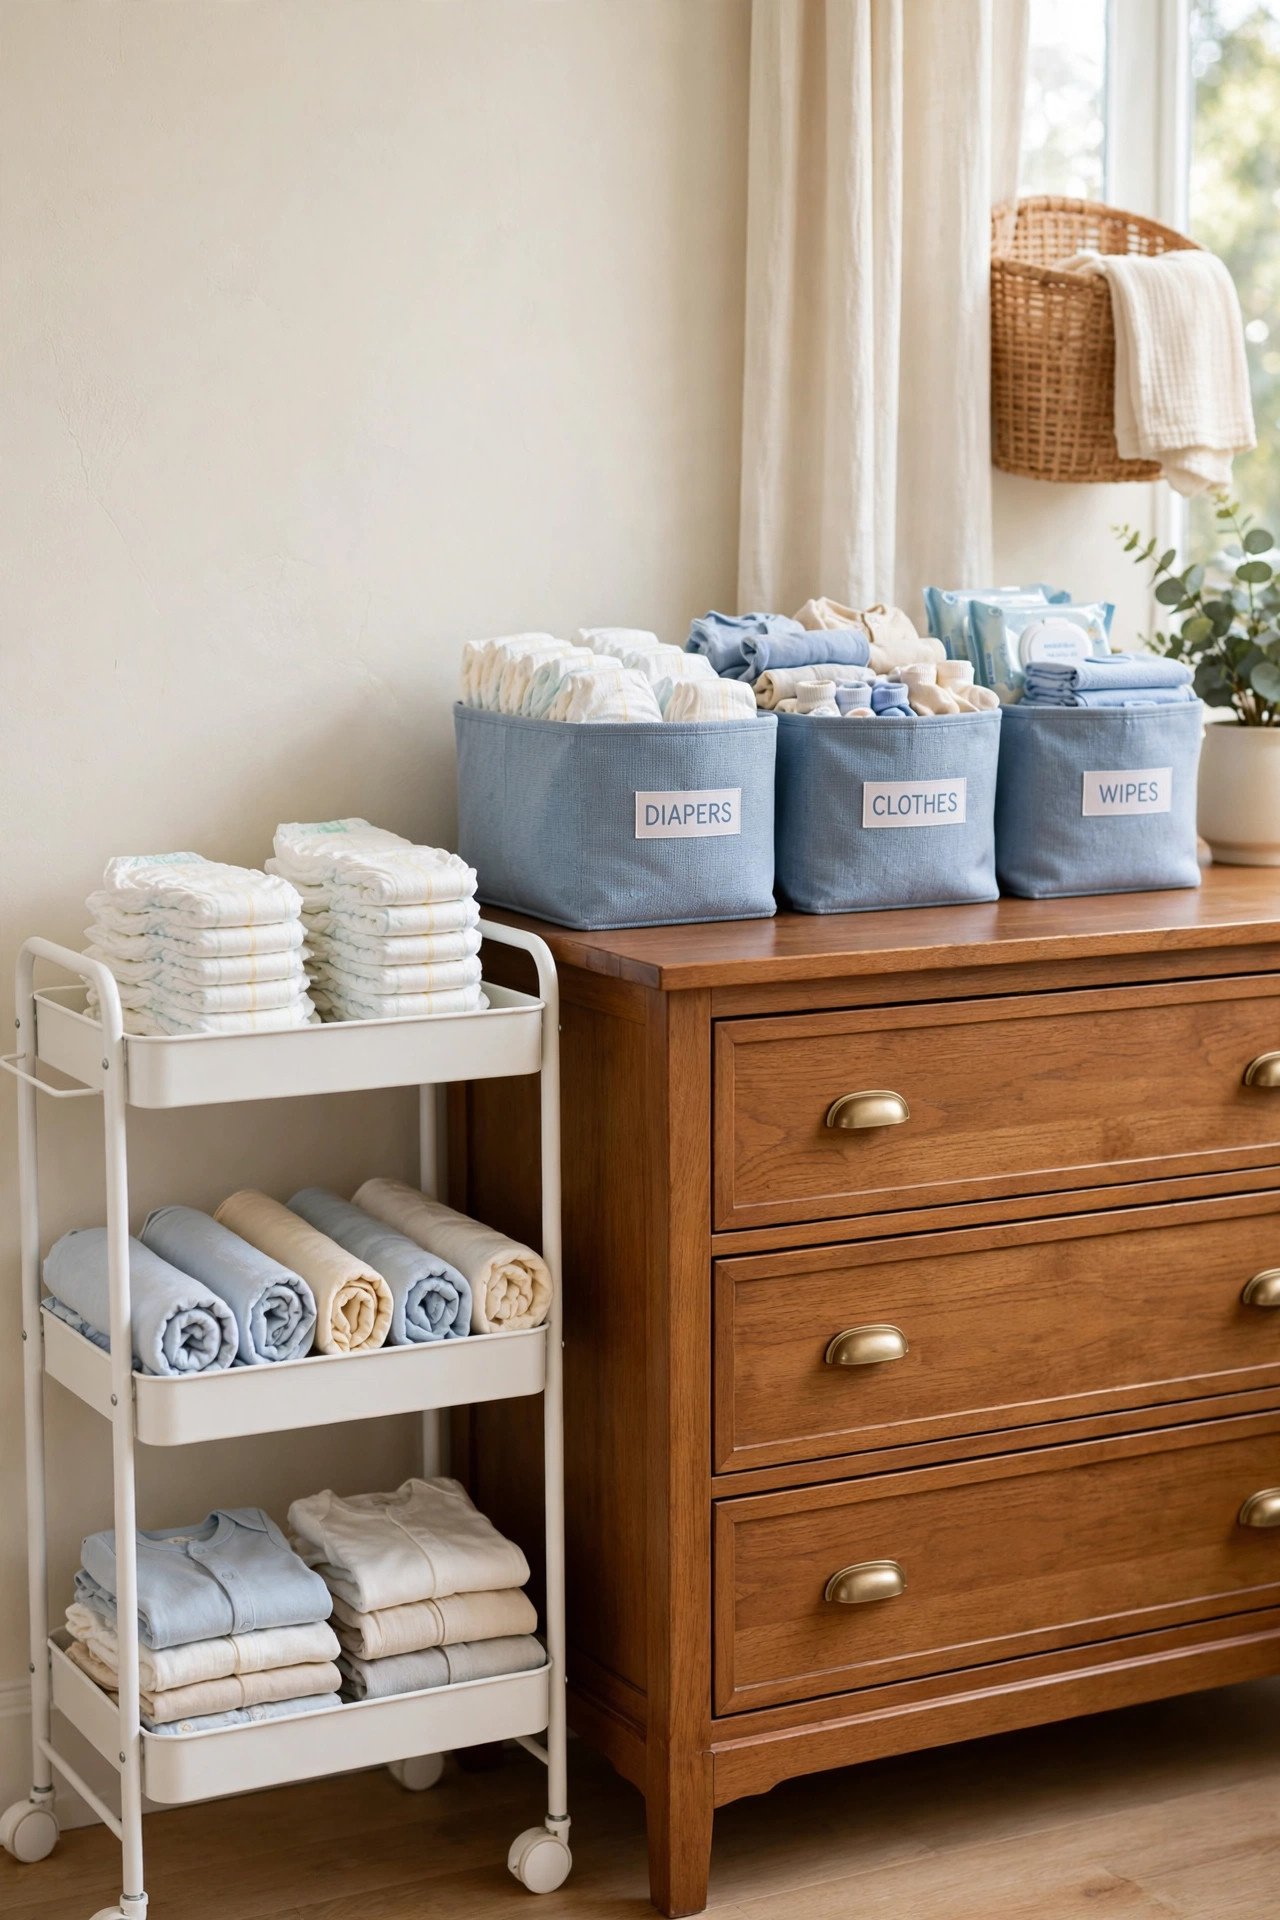
2. Slim Rolling Cart Beside the Dresser
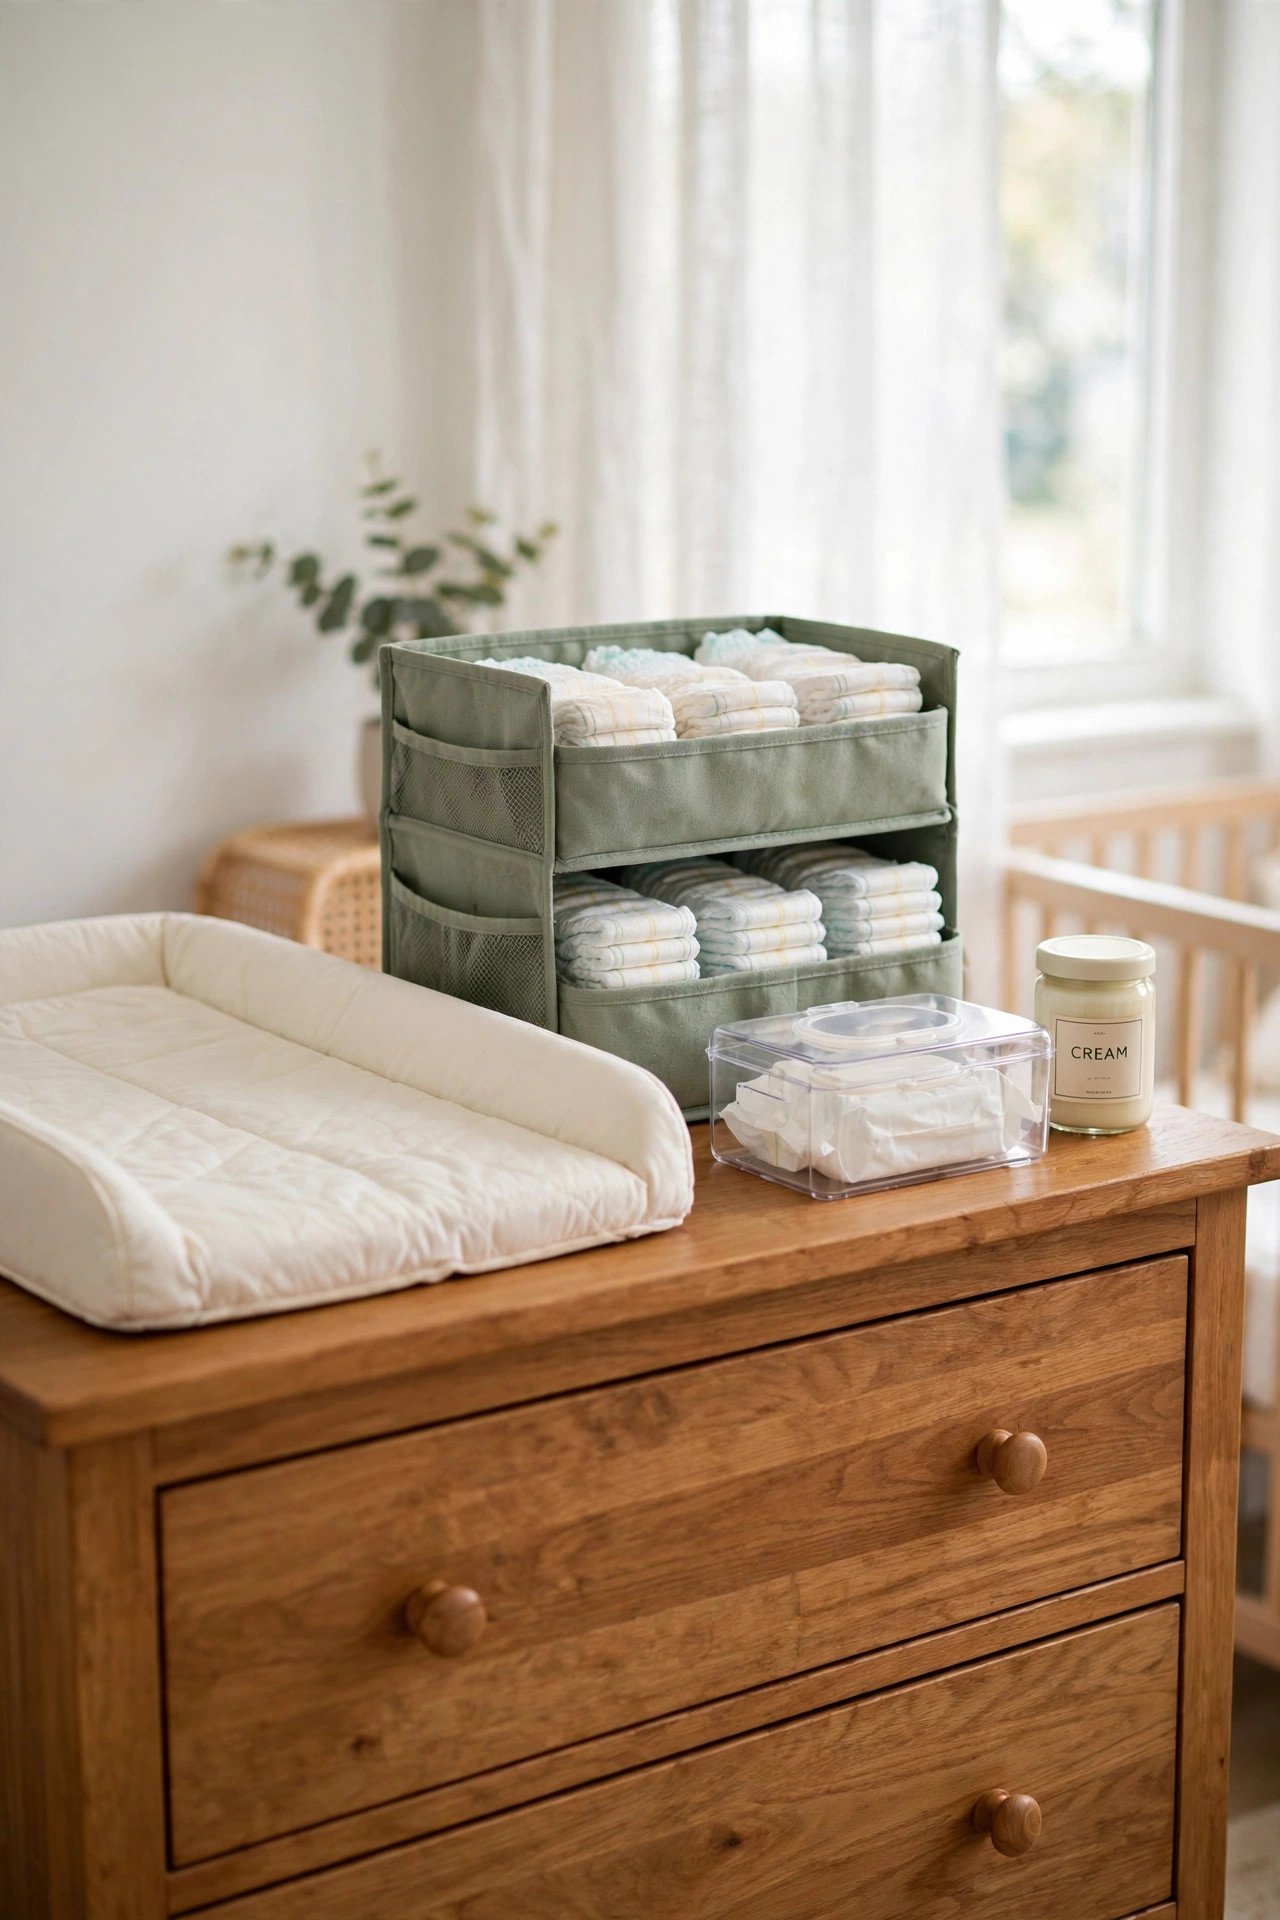
A narrow rolling cart with three shelves slides into the gap beside your changing dresser. Fill it with diapers, burp cloths, spare outfits, and a folded changing pad liner. When you need floor space, you can roll the whole station into a closet in seconds.
Choose a cart with locking wheels so it stays still during changes. Place the heaviest items on the bottom shelf to keep the cart steady. This trick works well in small nurseries where every inch of floor space matters.
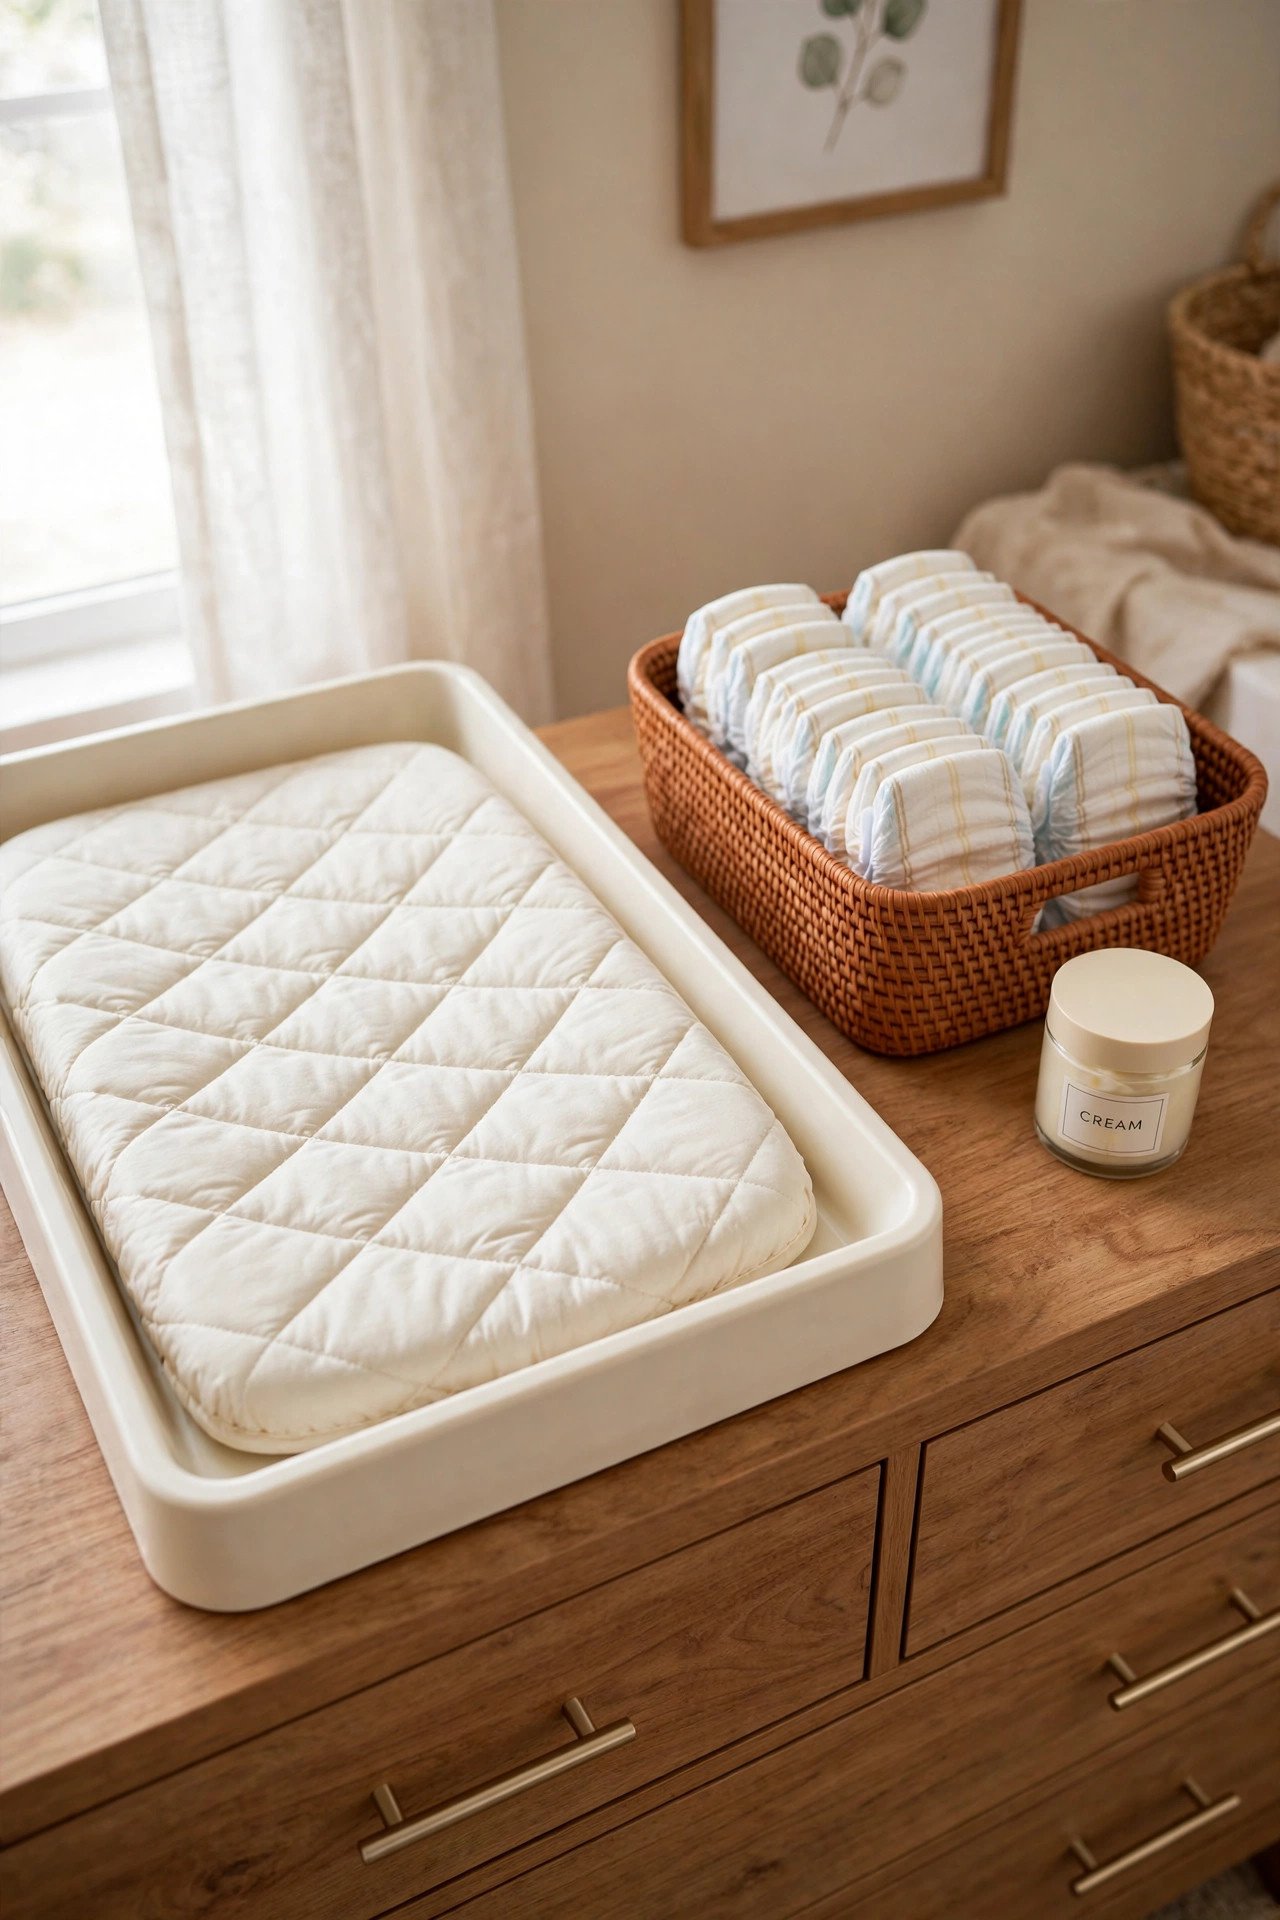
3. Dresser-Top Changing Tray With Raised Edges
A changing tray with raised edges turns any sturdy dresser into a safe changing spot. The lip keeps the pad from sliding while you work, which matters once your baby starts to roll. You can remove the tray in seconds when the diaper phase ends.
Measure your dresser top before you buy, and leave a few inches of space on each side for your caddy. Anchor the dresser to the wall for extra safety. This simple tray makes the station feel built in without any construction.
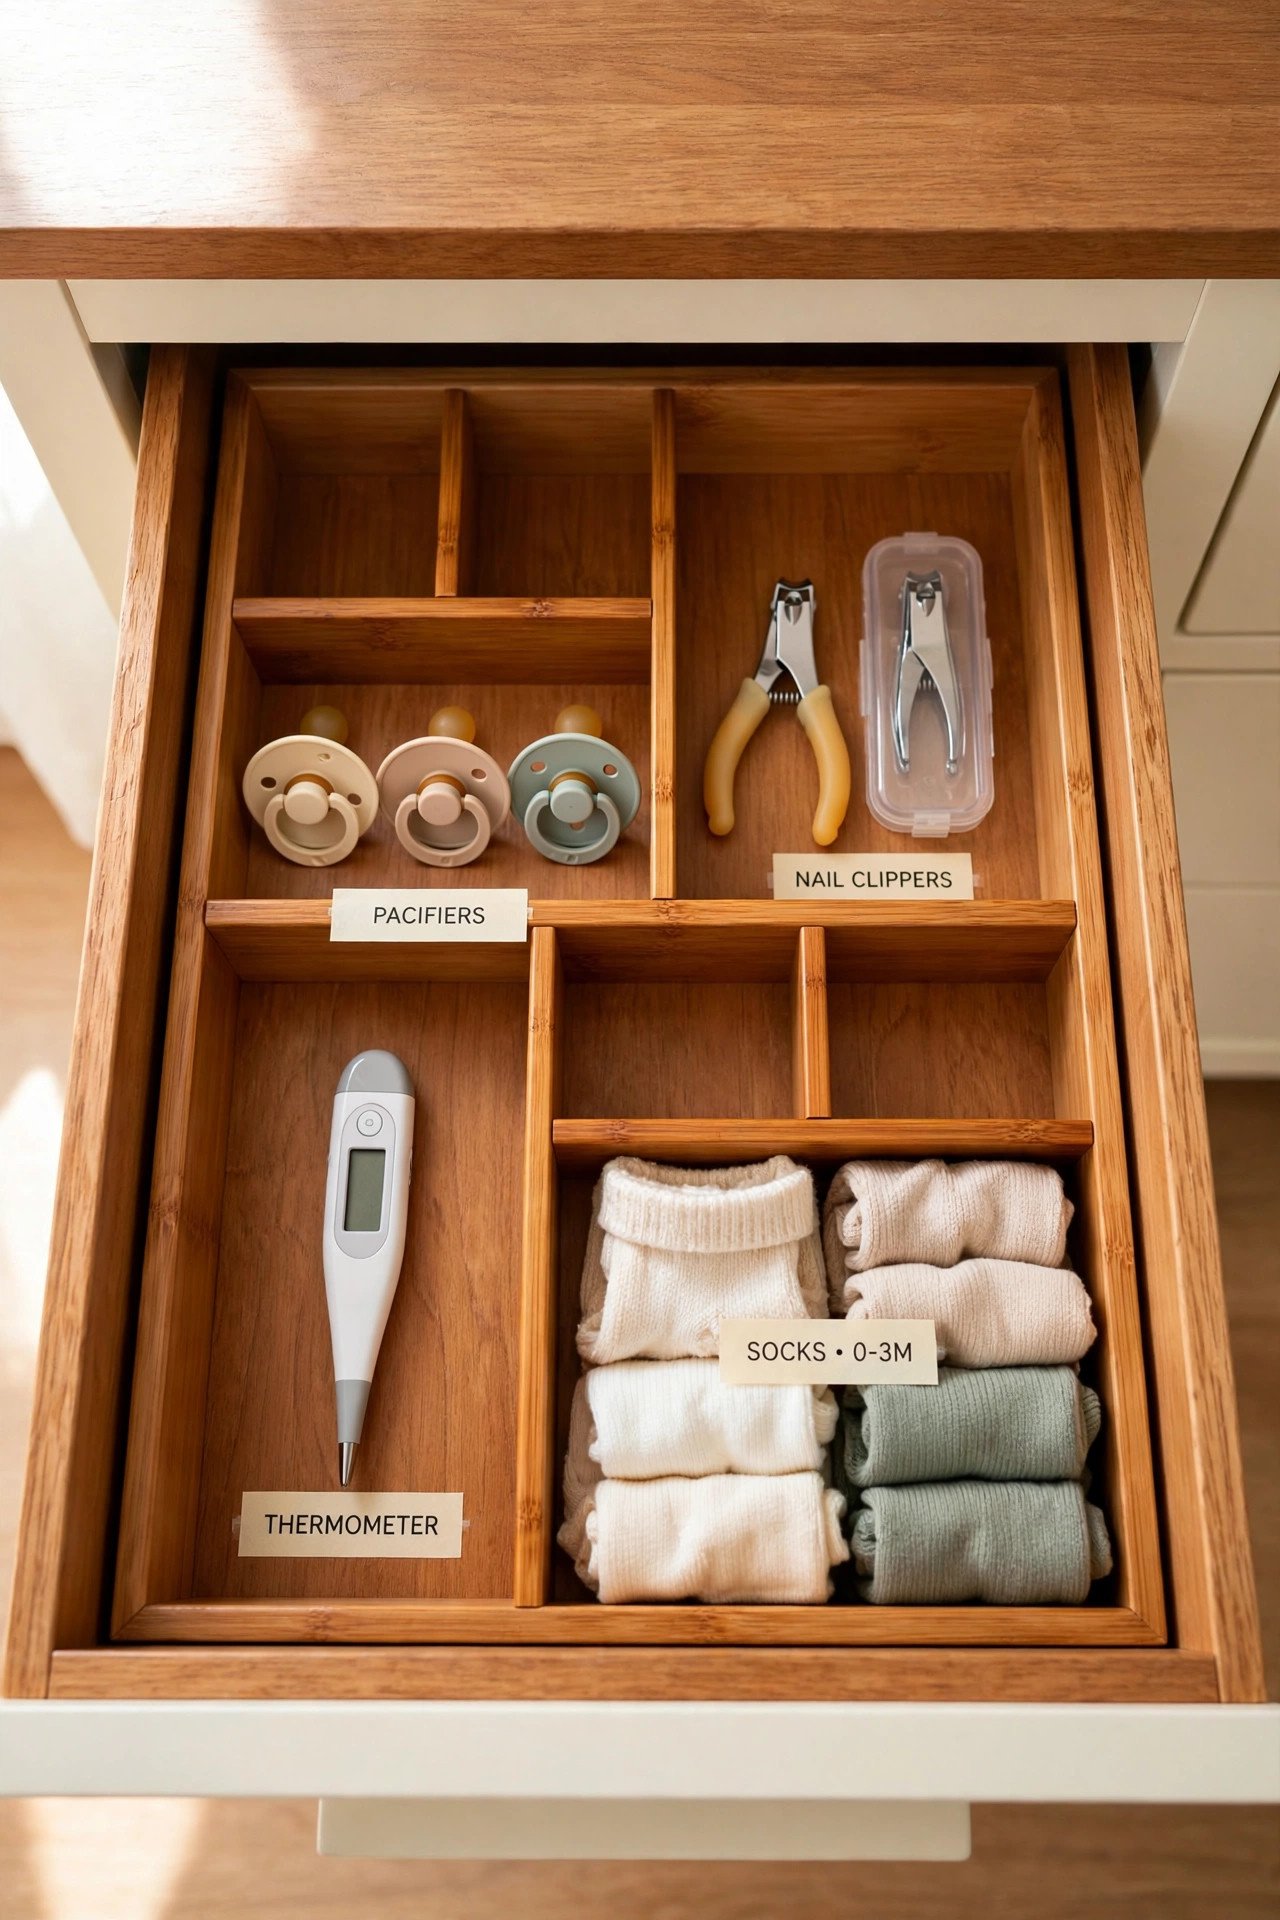
4. Drawer Dividers for Tiny Baby Supplies
The top drawer of your nursery dresser can swallow pacifiers, nail clippers, thermometers, and socks in one afternoon. Adjustable drawer dividers split the space into small zones so every tiny item has a visible home. You will find the nose bulb in seconds instead of digging for ten minutes.
The same dividers that keep a makeup drawer neat work just as well for pacifiers and nail clippers. Use shallow inserts so the drawer still closes with tall bottles in the lower drawers.
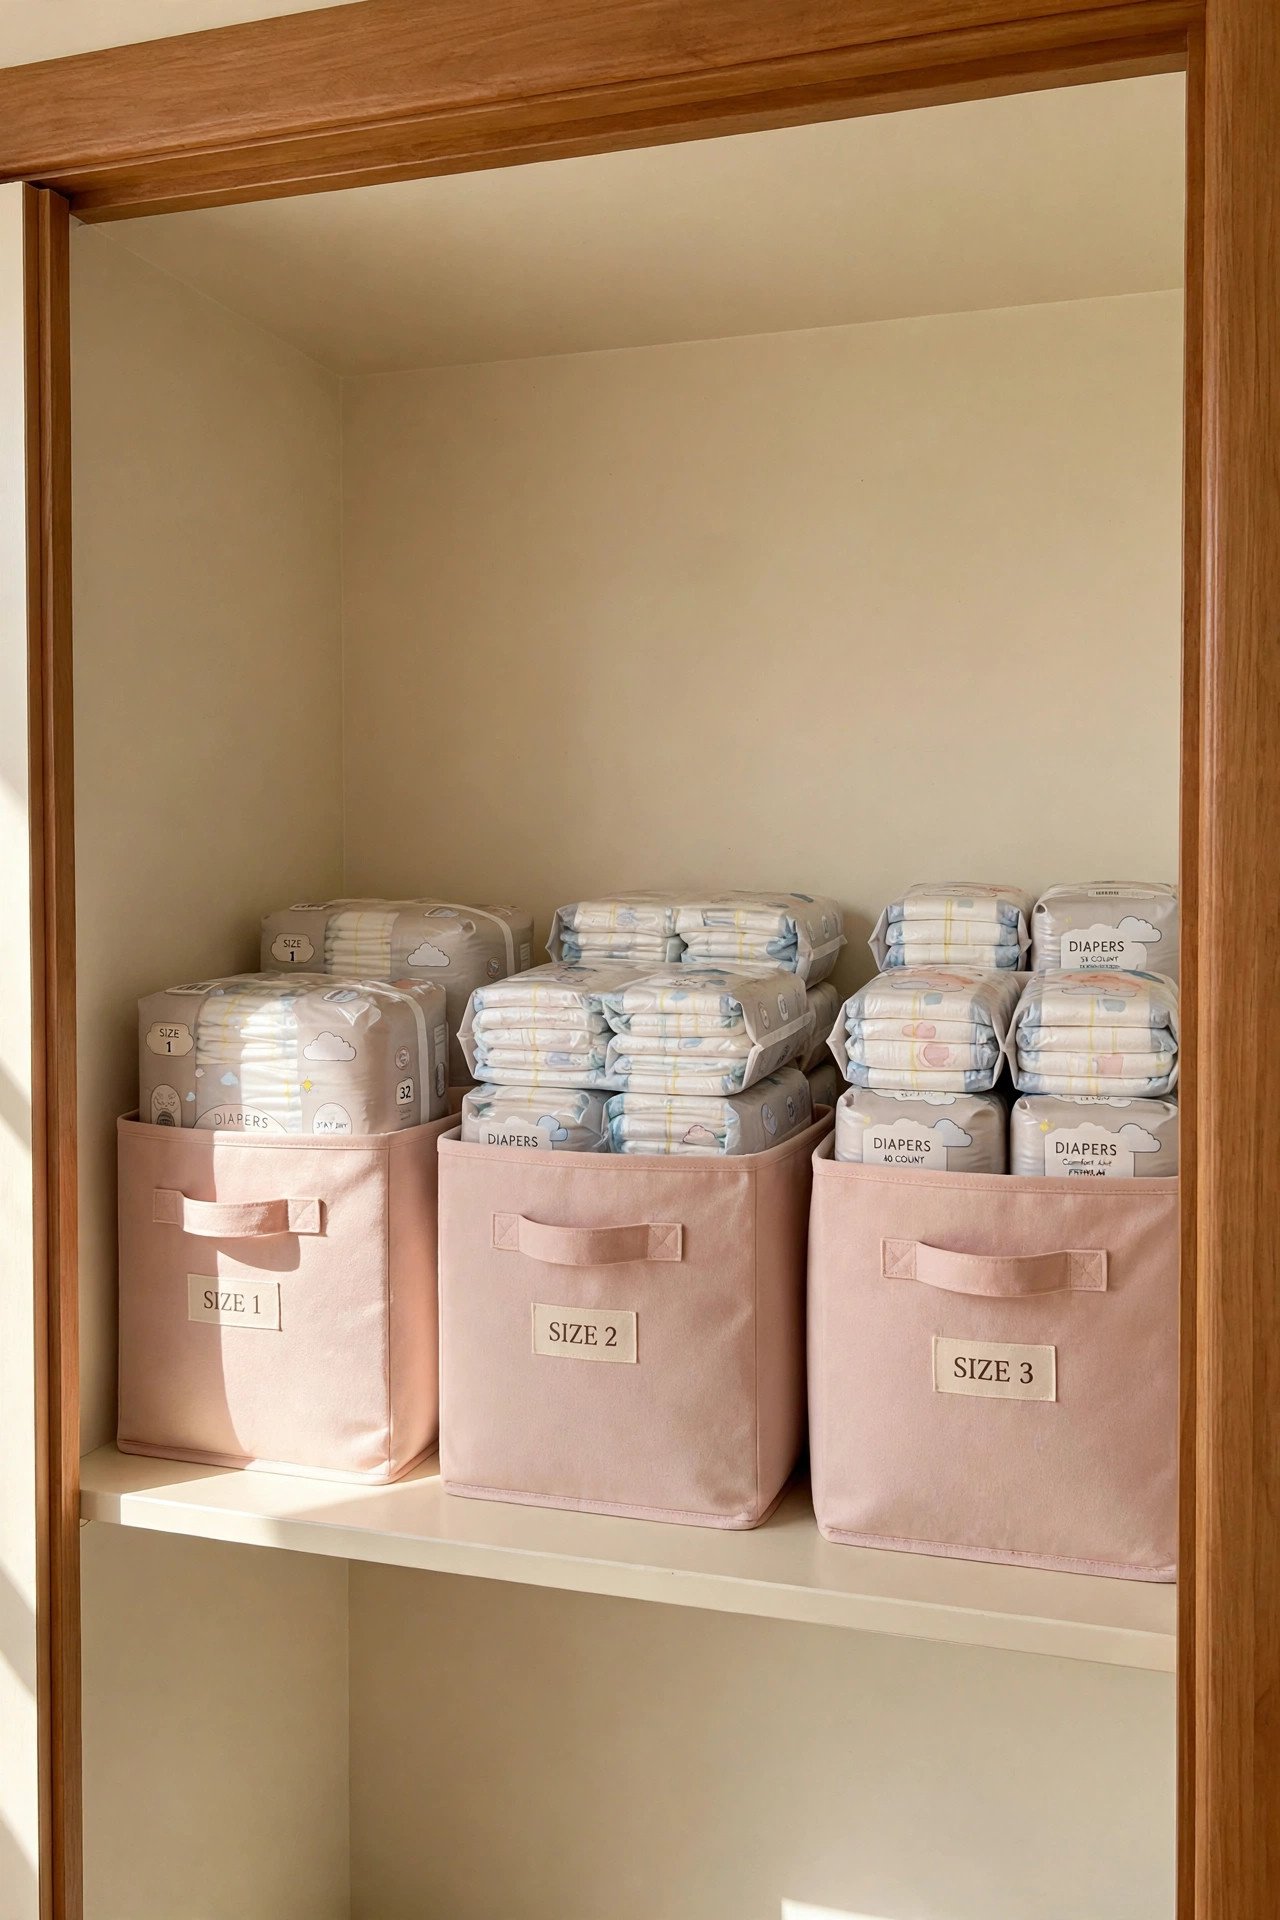
5. Labelled Bins Sorted by Diaper Size
Babies move through diaper sizes fast, and half-open packs pile up on shelves. Sort your stock into labelled bins by size, and stack the current size at the front. You will always know when the next size needs to go on the shopping list.
Use clear labels with large print so a sleep-deprived parent or a visiting grandparent can read them at a glance. Donate the outgrown sizes to a shelter instead of storing them for months. A quick label system keeps the whole shelf honest.
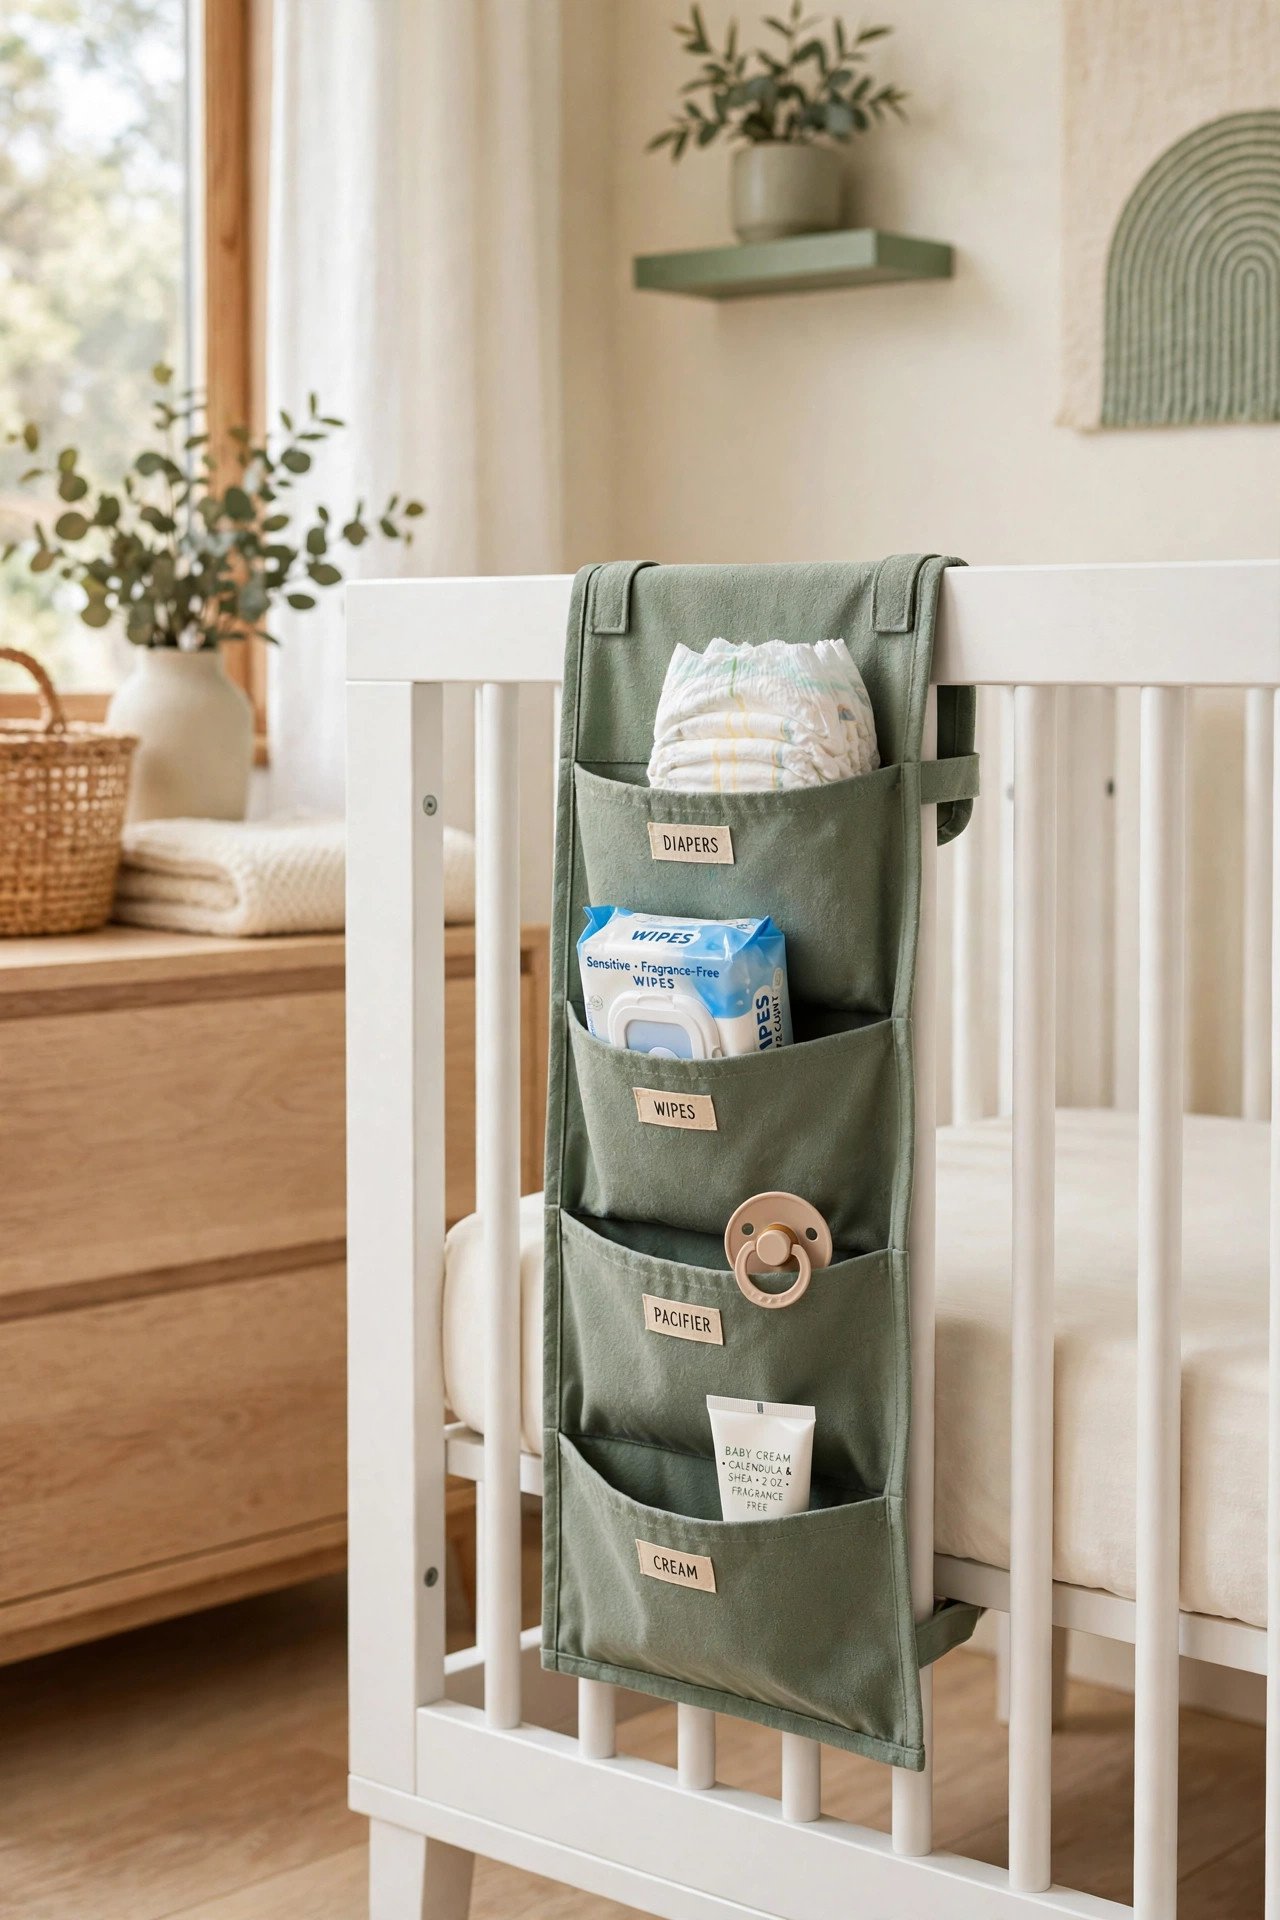
6. Hanging Pocket Organizer on the Crib Side
A fabric pocket organizer draped over the crib rail or the side of the dresser puts small items at eye level. Slide in diapers, wipes, a spare pacifier, and the diaper cream tube. You can reach everything without turning away from your baby.
Pick an organizer with deep pockets that hold their shape when full. Make sure it hangs flat and secure, away from where your baby sleeps. This vertical storage frees up the entire dresser top for the changing pad.
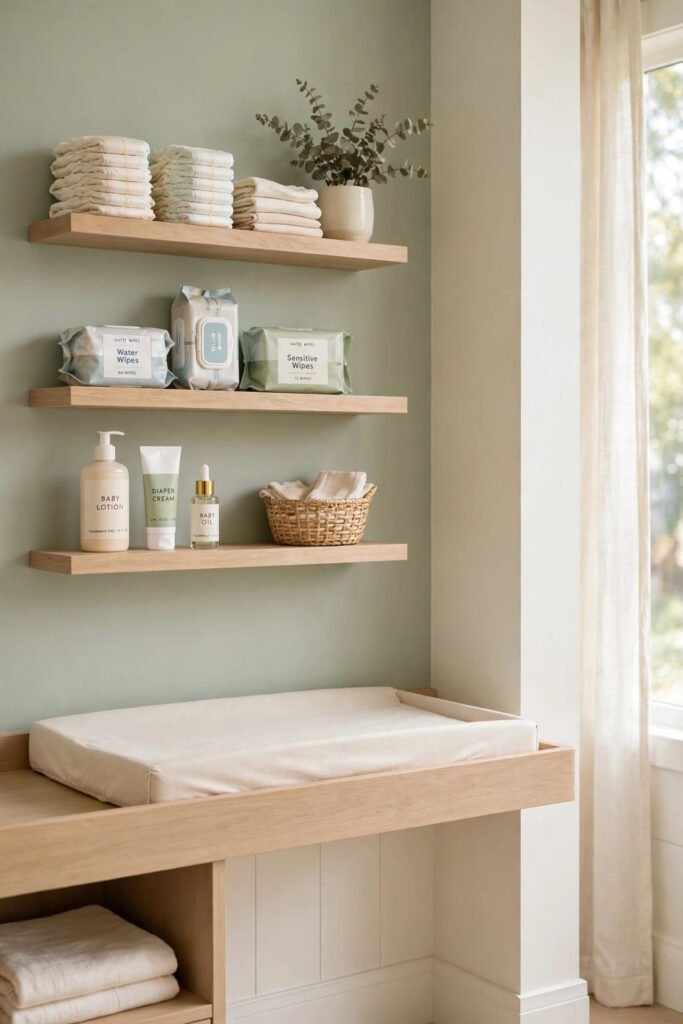
7. Floating Shelves for Wipes and Lotions
Two floating shelves above the changing station hold wipe refills, lotions, and extra creams at arm height. You keep the dresser top clear for the actual changing work. Decorative baskets on the shelves hide the less pretty bulk packs.
Mount the shelves higher than your baby can reach, even when standing in the crib nearby. Keep a small basket on the lower shelf for the items you use every day. This setup keeps supplies visible without cluttering the work surface.
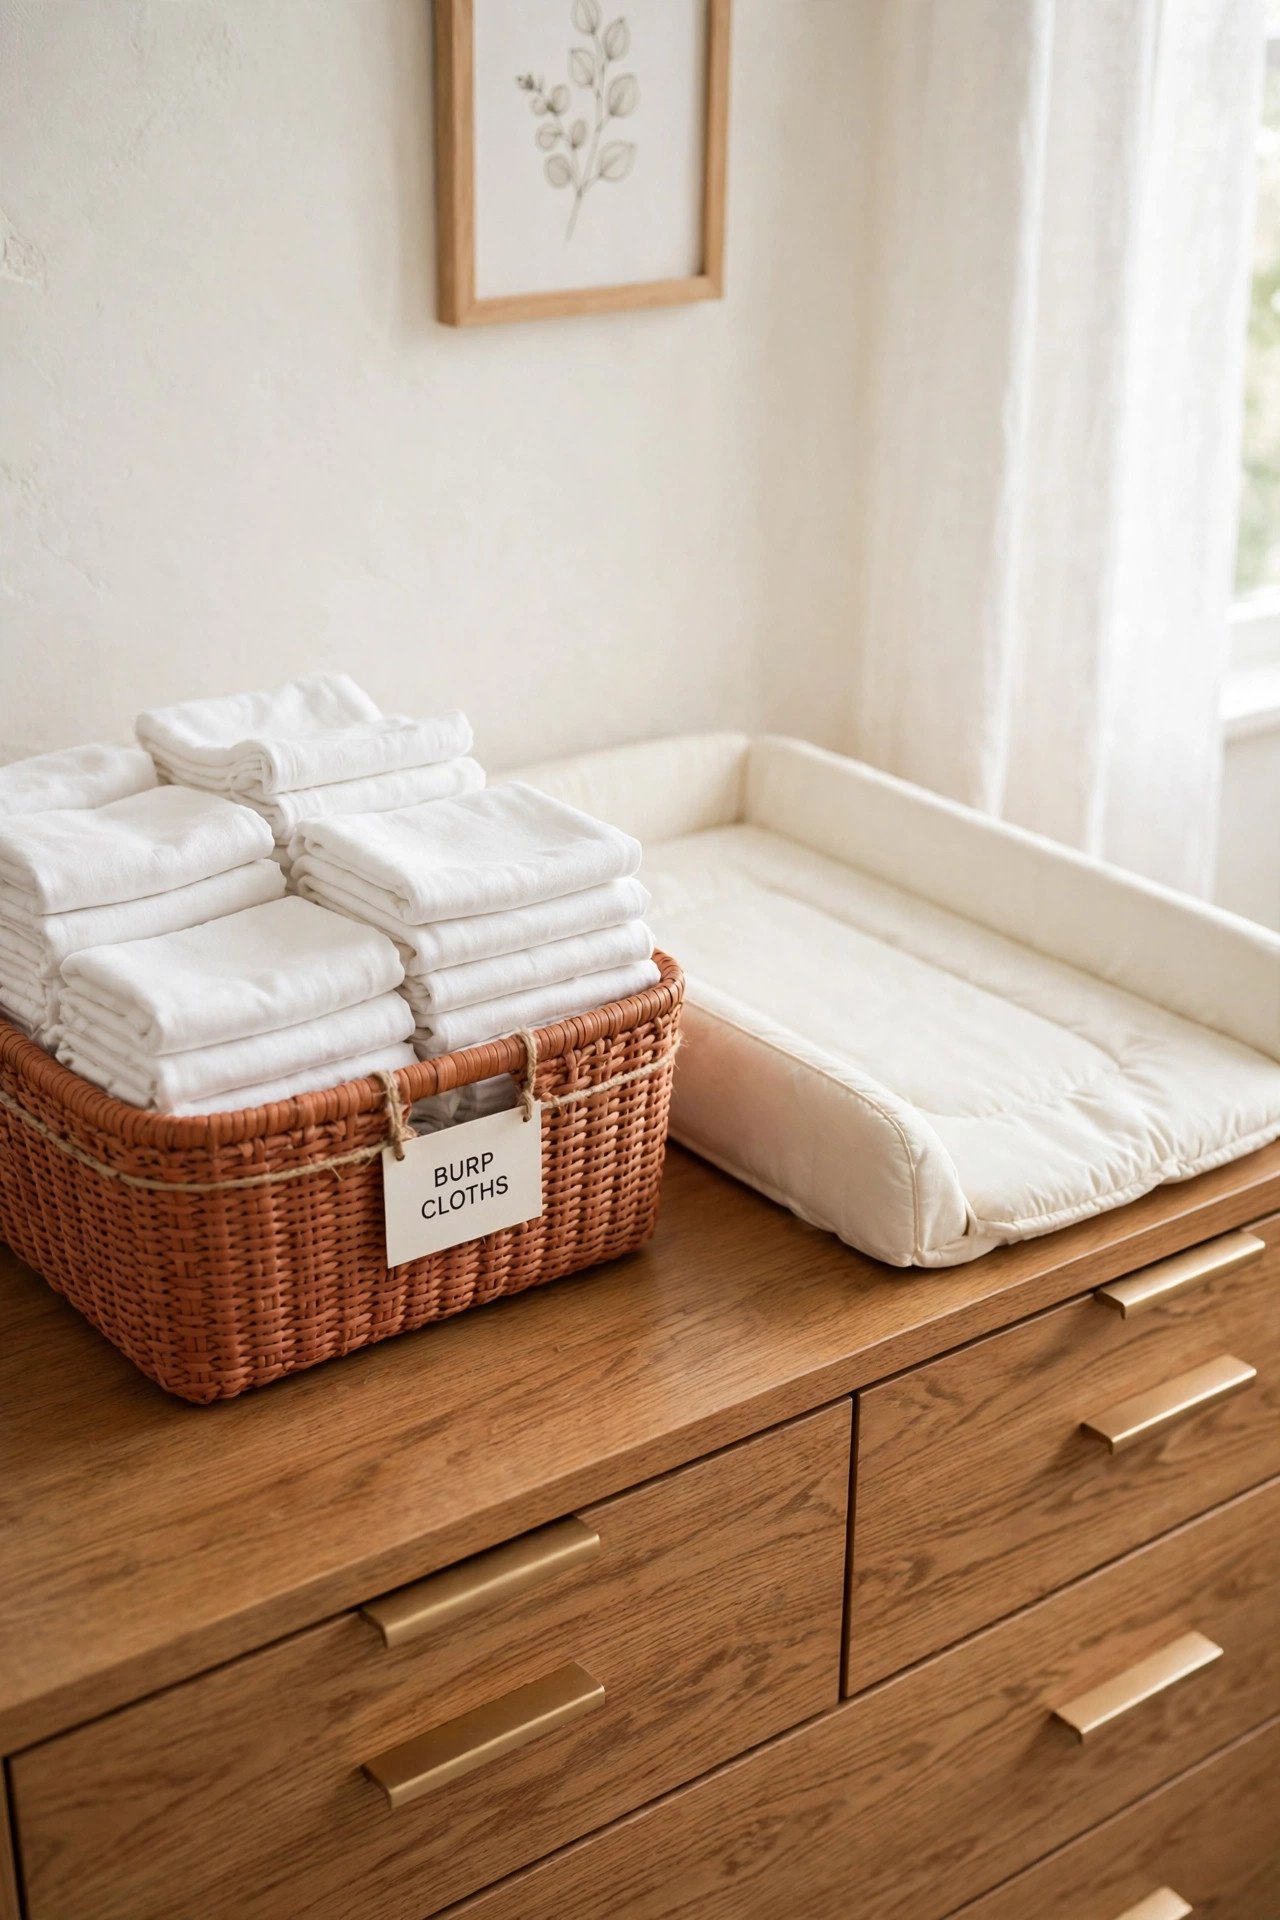
8. Burp Cloth Basket at Arm’s Reach
Burp cloths vanish when you need them most, so give them a dedicated basket right beside the changing pad. Fold each cloth in thirds so they stack neatly and pull out one at a time. You will reach for them during changes, feeds, and middle-of-the-night cleanups.
Keep at least six cloths in the basket and the rest in a laundry pile nearby. Choose a washable basket liner so spit-up does not stain the basket itself. This small habit saves you from sprinting to the linen closet with a fussy baby.
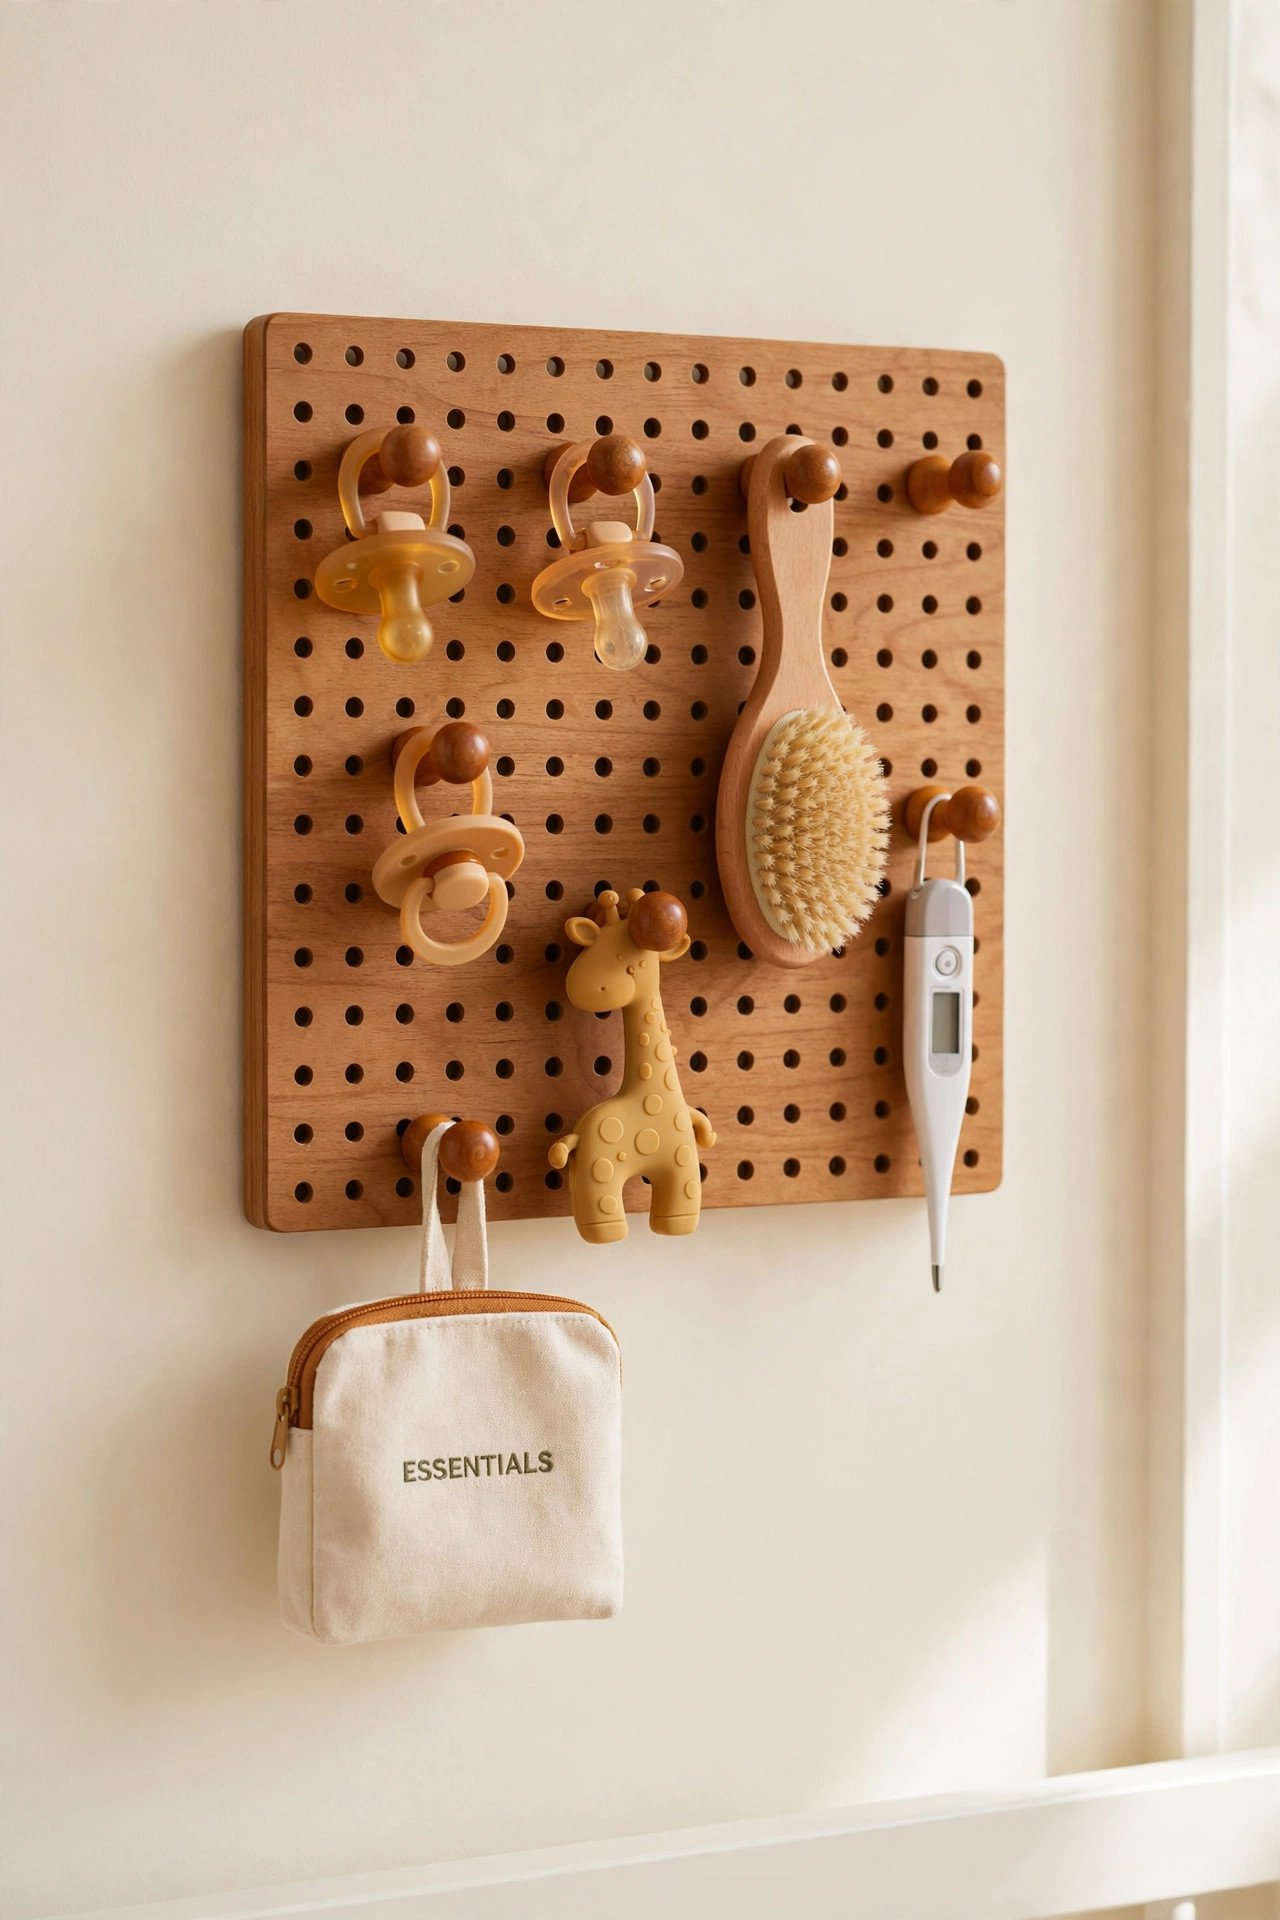
9. Pegboard for Pacifiers and Small Gear
A small pegboard on the wall beside the station holds pacifiers, hairbrushes, thermometers, and teething toys on hooks. You can see every item at a glance instead of fishing through a drawer. Move the hooks around as your baby grows and the gear changes.
Use short hooks with rounded ends for safety. Hang a small labeled pouch on one hook for the nail clippers and file. This wall storage keeps the smallest essentials visible and impossible to lose.
10. Midnight-Only Mini Basket for Night Changes
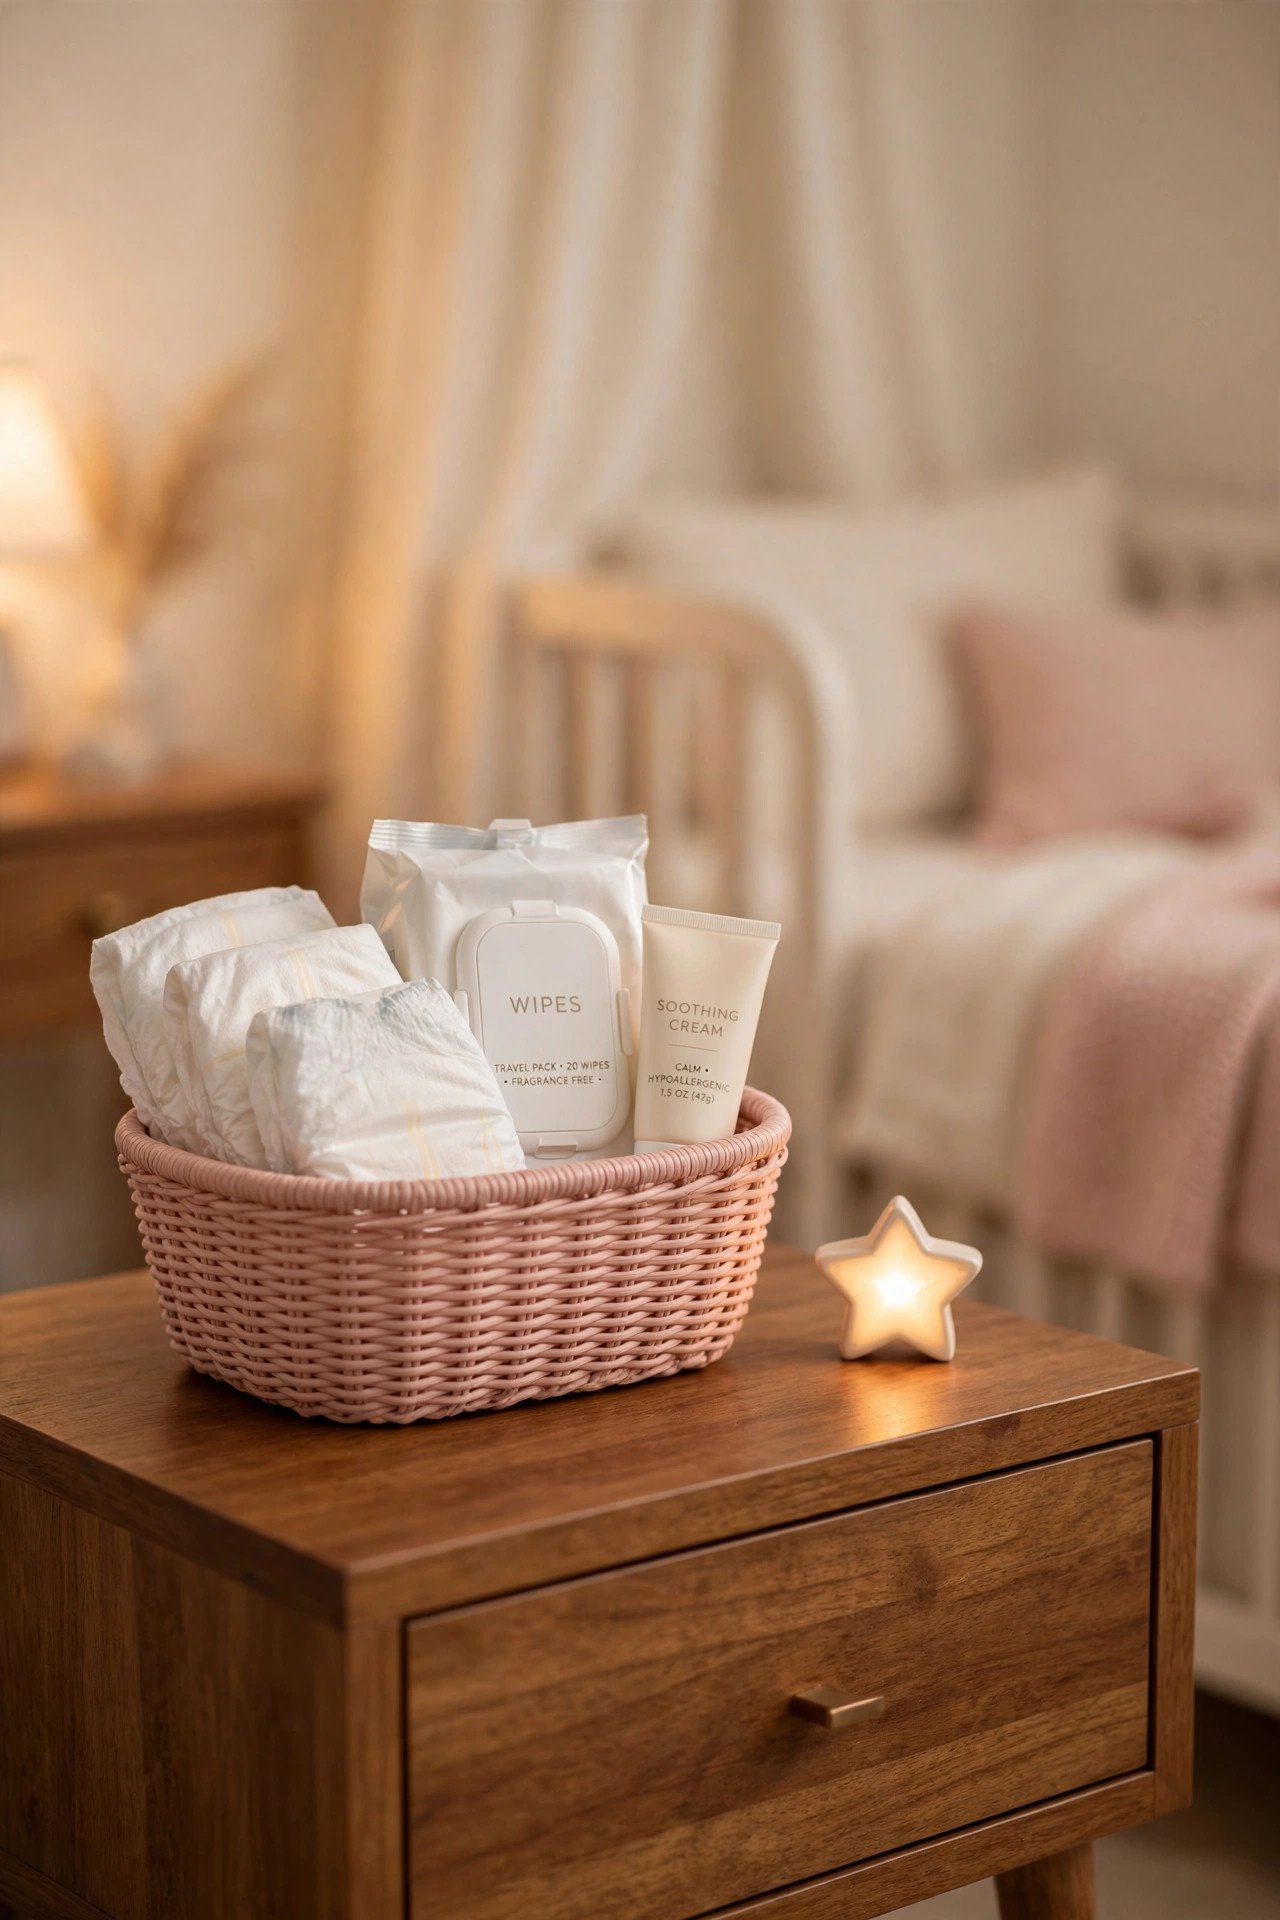
Night changes need a separate, tiny setup so you do not turn on bright lights and wake the baby fully. Fill a small basket with three diapers, a travel pack of wipes, and one cream tube. Keep it on the nightstand or a low shelf near the crib.
Restock the basket each morning so it is always ready by bedtime. Add a dim night light beside it so you can see without overhead lights. This two-minute ritual makes the 3 a.m. change far less painful for everyone.
11. Diaper Bag Restocking Station
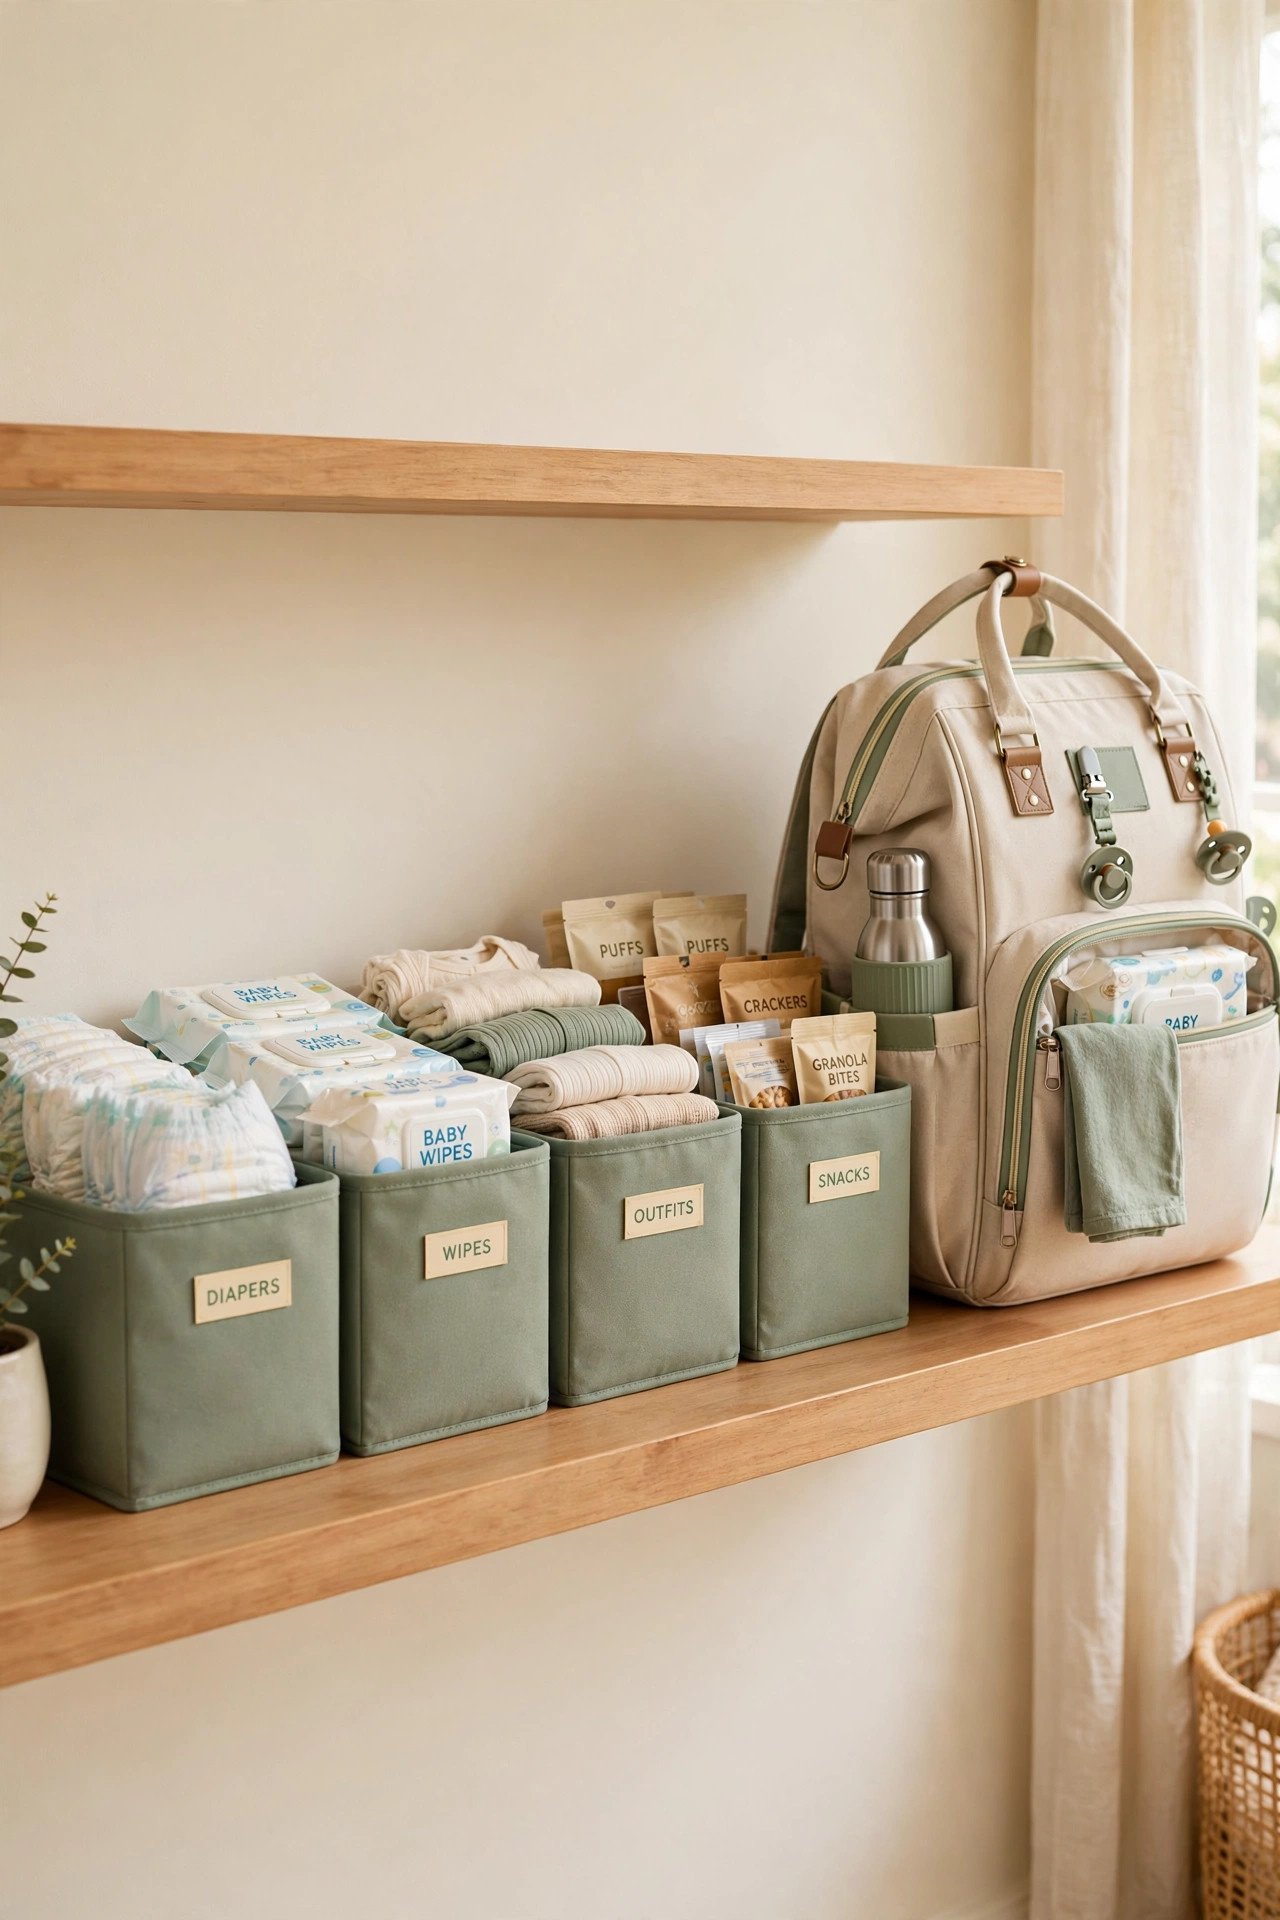
Your diaper bag empties faster than you expect, usually right before you leave the house. Dedicate one shelf or bin as the restocking station with extra diapers, wipes, outfits, and snacks. Refill the bag from this spot after every outing.
Keep a checklist taped inside the bin lid so anyone can restock the bag correctly. Store seasonal extras, like sunscreen or a warm hat, in the same place. You will never discover an empty bag at the park again.
12. Wipe Dispenser With a One-Hand Lid
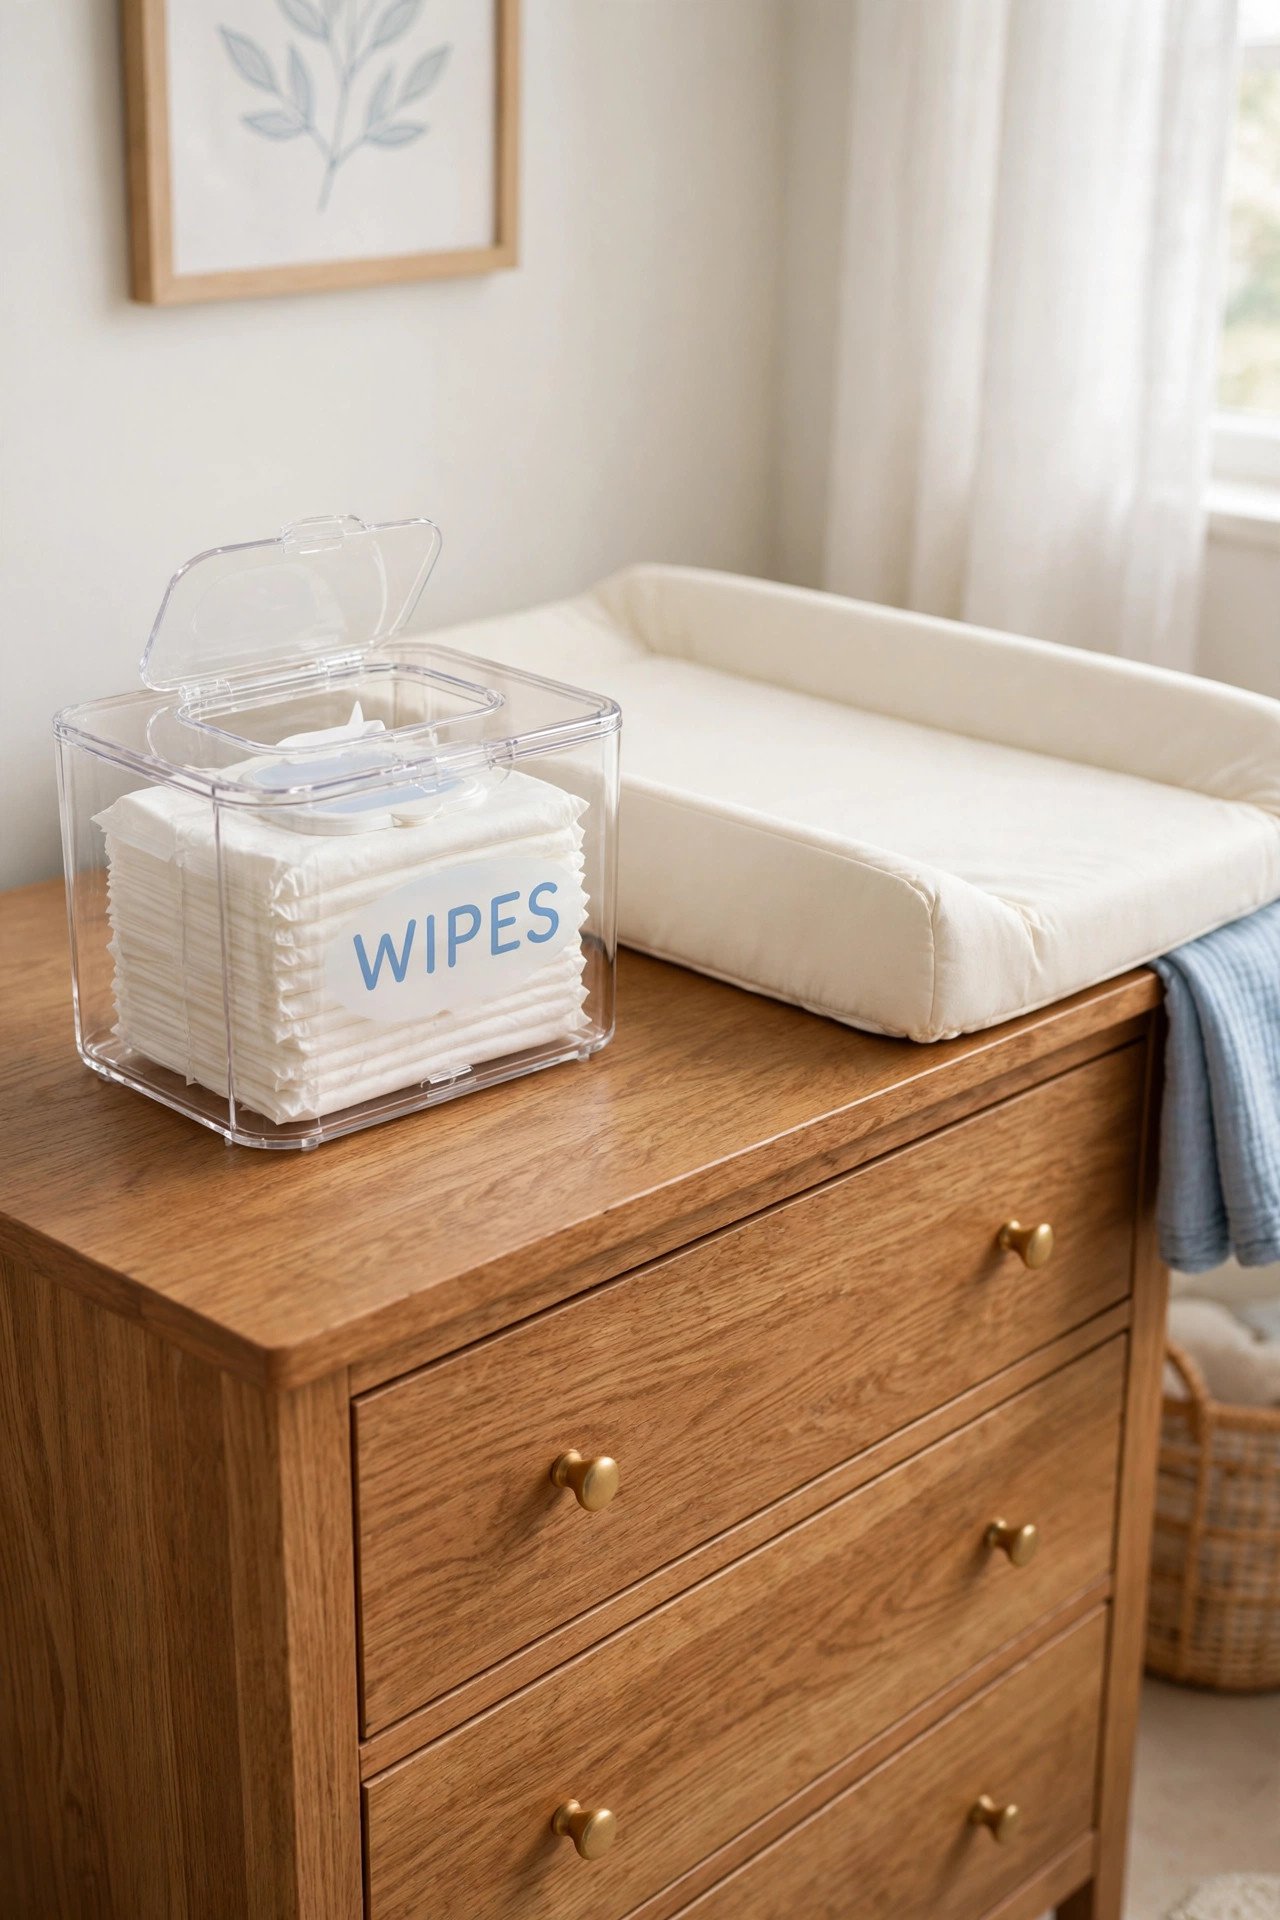
A wipe dispenser with a flip-top lid lets you pull a wipe with one hand while the other holds a squirming baby. Refillable dispensers also cut down on the waste of single-use travel packs. You can set the dispenser right beside the changing pad for the fastest reach.
Wipe the lid with a damp cloth each week to stop residue from sticking the seal. Keep one refill pack in the drawer below so you never run out mid-change. This small upgrade saves time during every single change.
13. Pump Bottles for Creams and Lotions
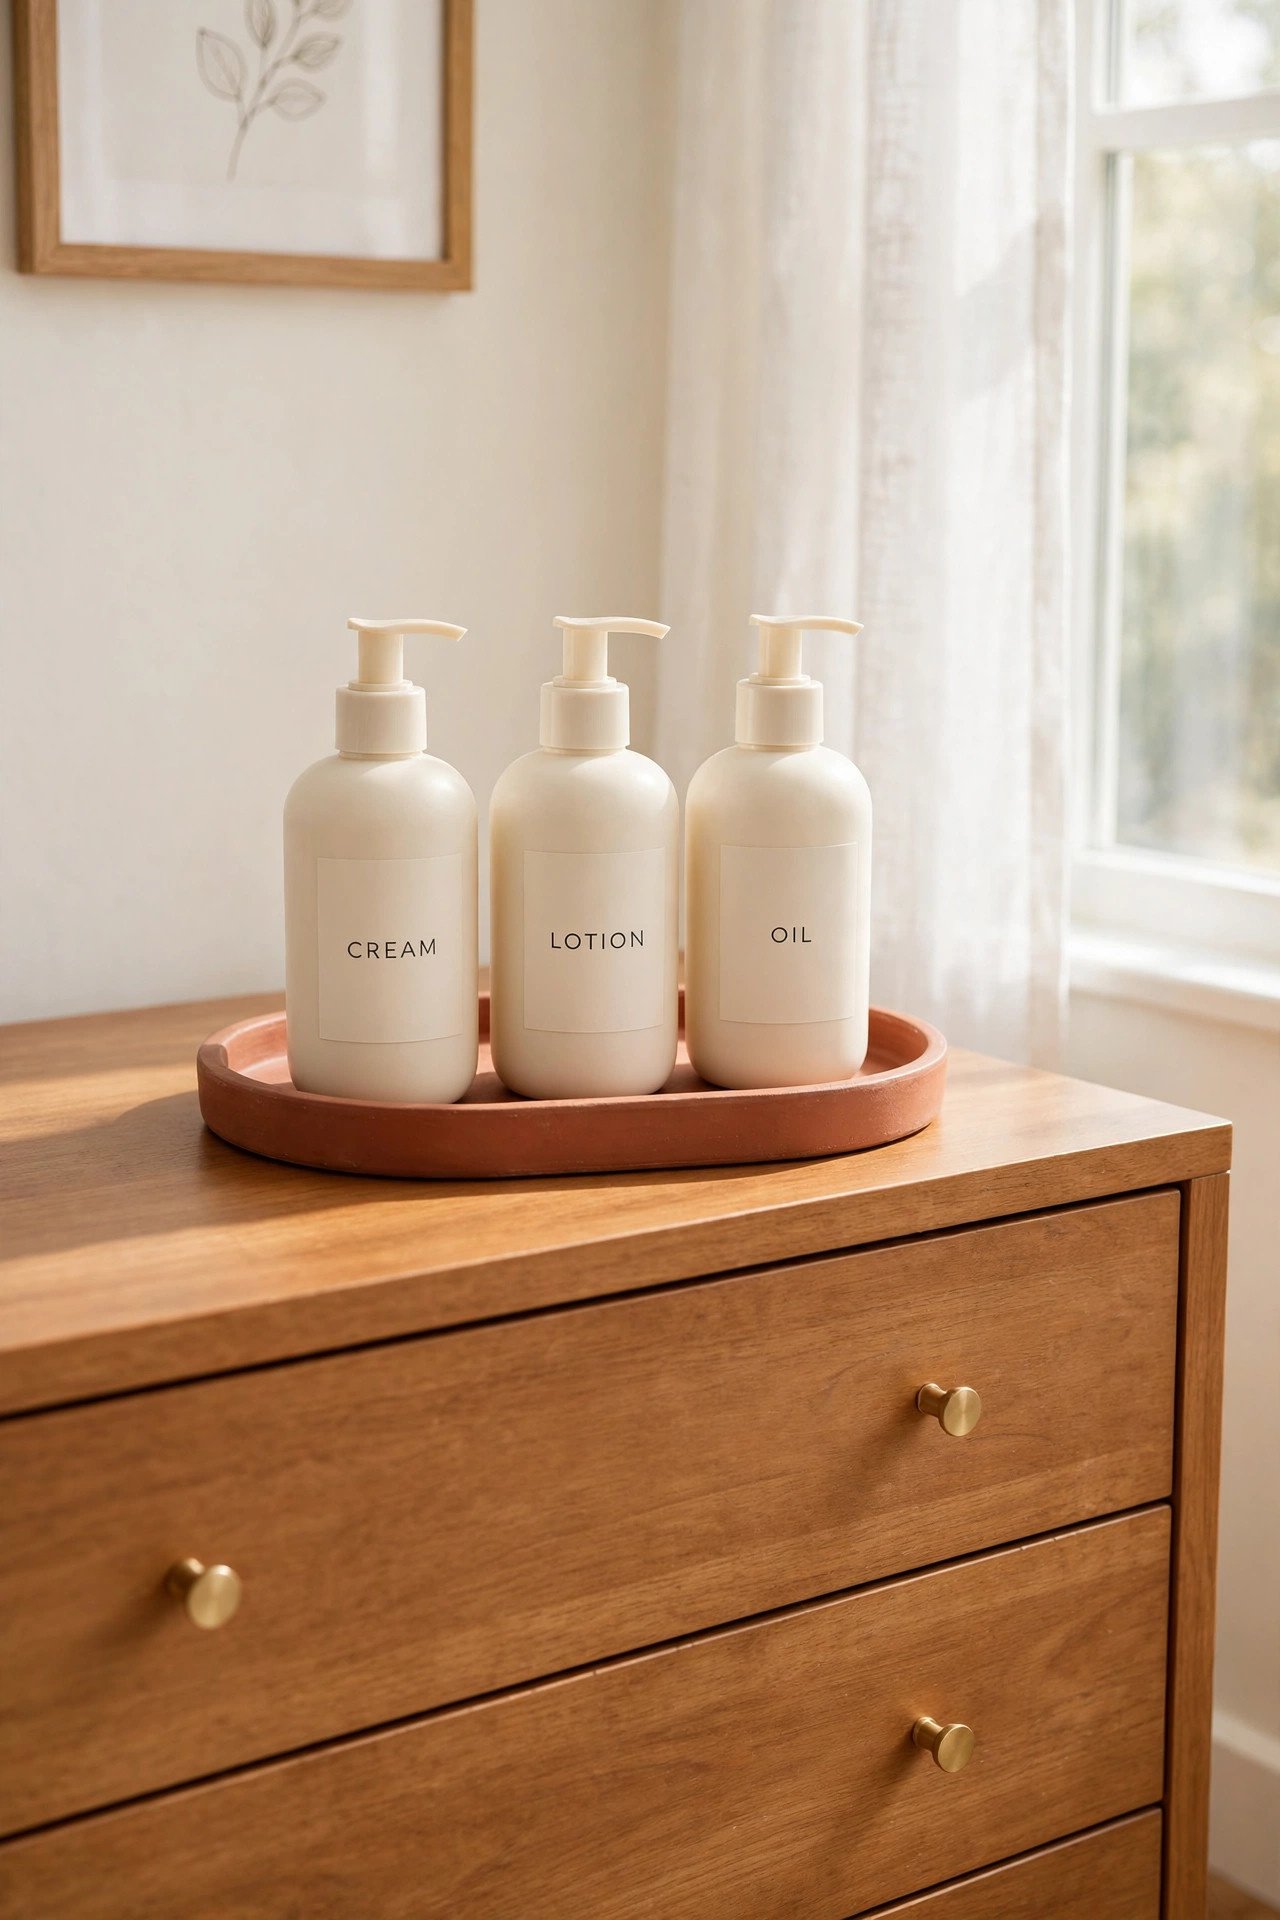
Diaper cream tubes roll away and lotion bottles tip over at the worst moments. Transfer your most-used creams and lotions into small pump bottles. One press gives you the right amount with zero fumbling, which matters when both hands are busy.
Label each pump clearly, since the bottles all look alike once decanted. This pump-bottle trick also tidies bathroom storage under the sink, where space is just as tight. Clean the pump tops weekly so cream does not crust around the nozzle.
14. Wet Bag Zone for Cloth Diapers
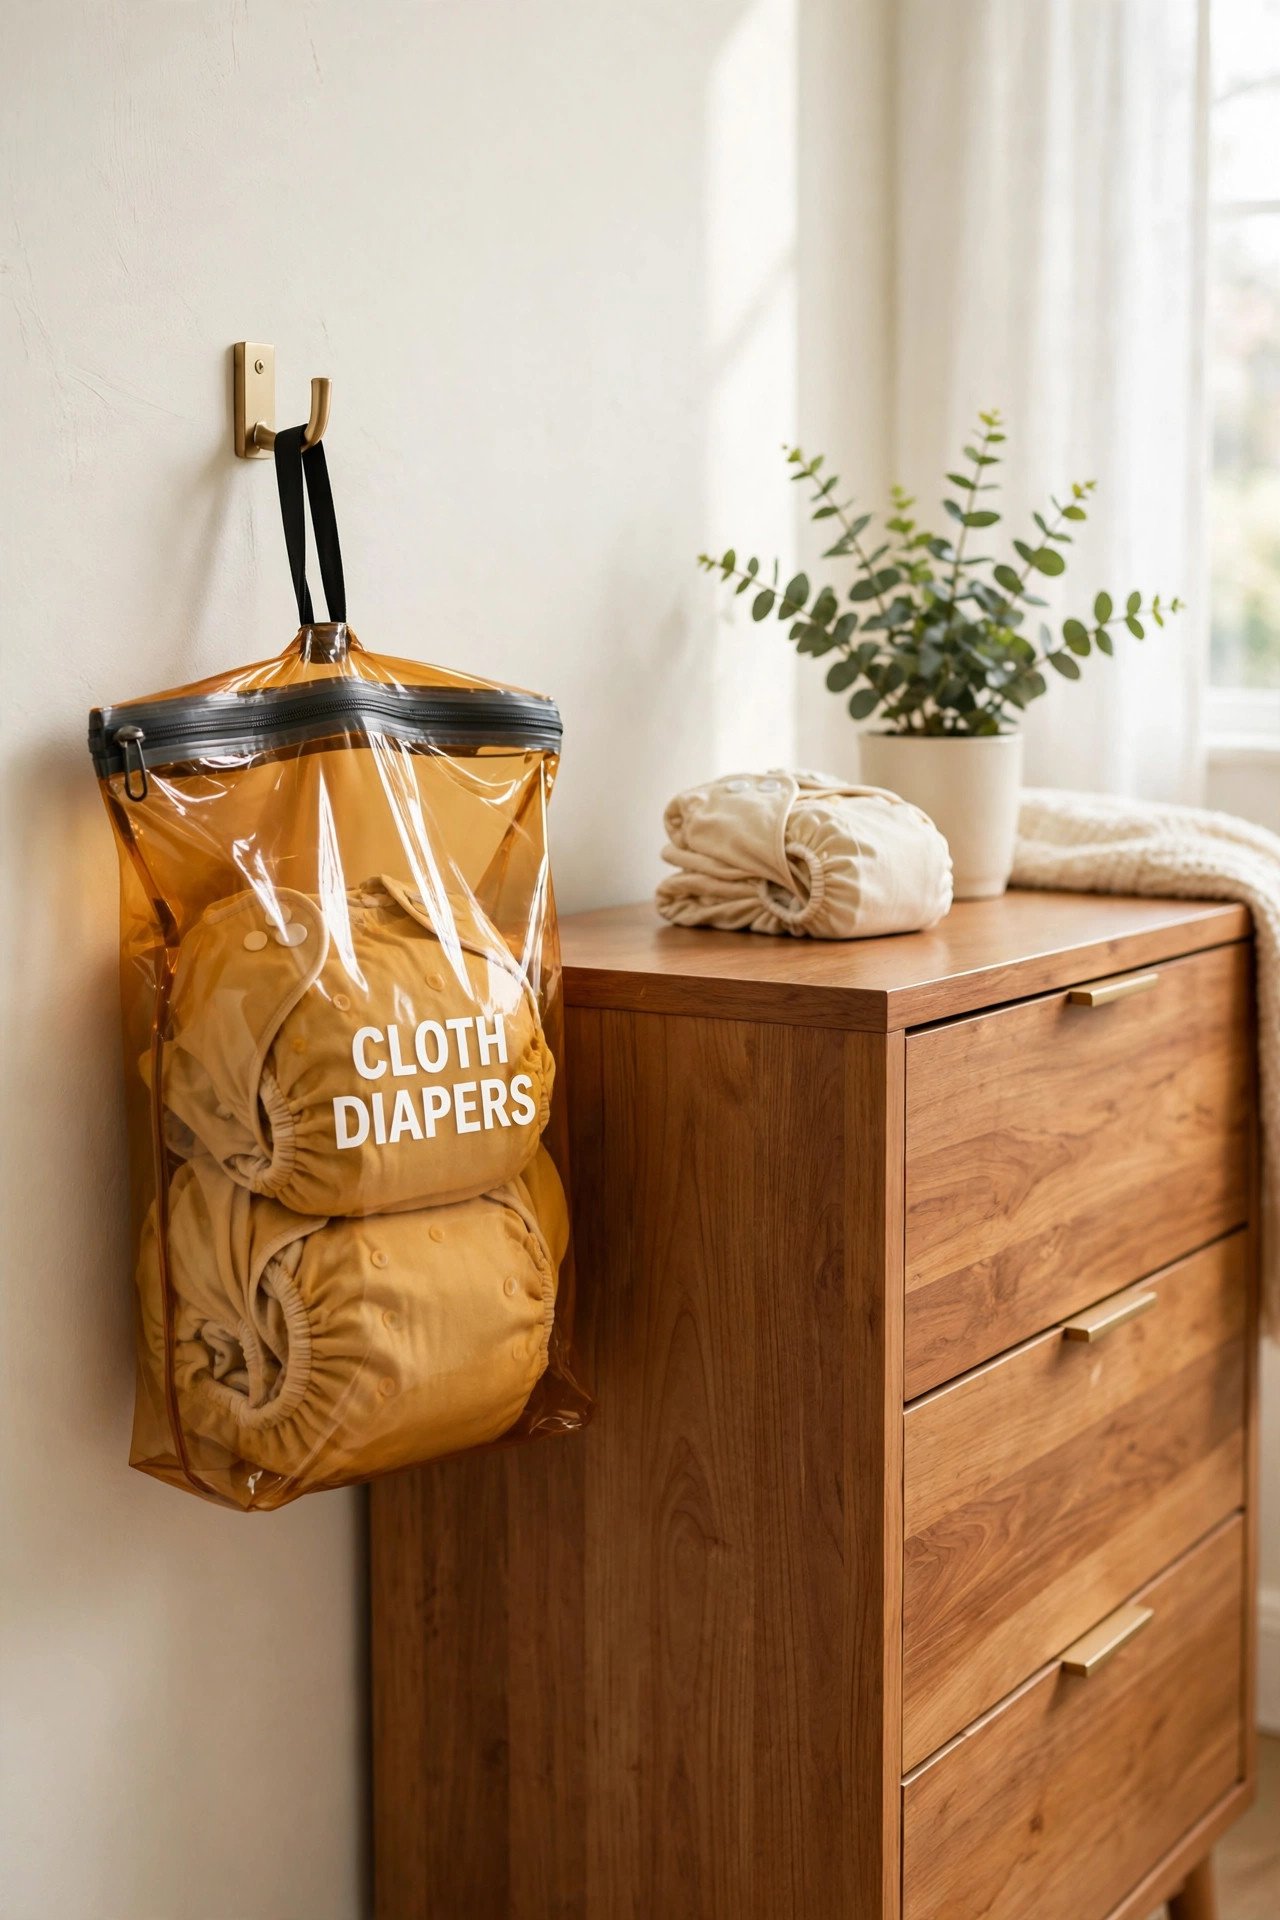
If you use cloth diapers, a hanging wet bag near the station keeps soiled diapers contained until laundry day. Hang the bag on a hook at the side of the dresser, away from clean supplies. A bag with a zipper and a waterproof lining controls odors between washes.
Wash the bag with your diaper laundry each time so it stays fresh. Keep a spare bag ready for daycare or outings. A clear sorting plan, like the ideas in laundry room organization, keeps cloth diaper laundry from piling up.
15. Outgrown-Clothes Donation Bin
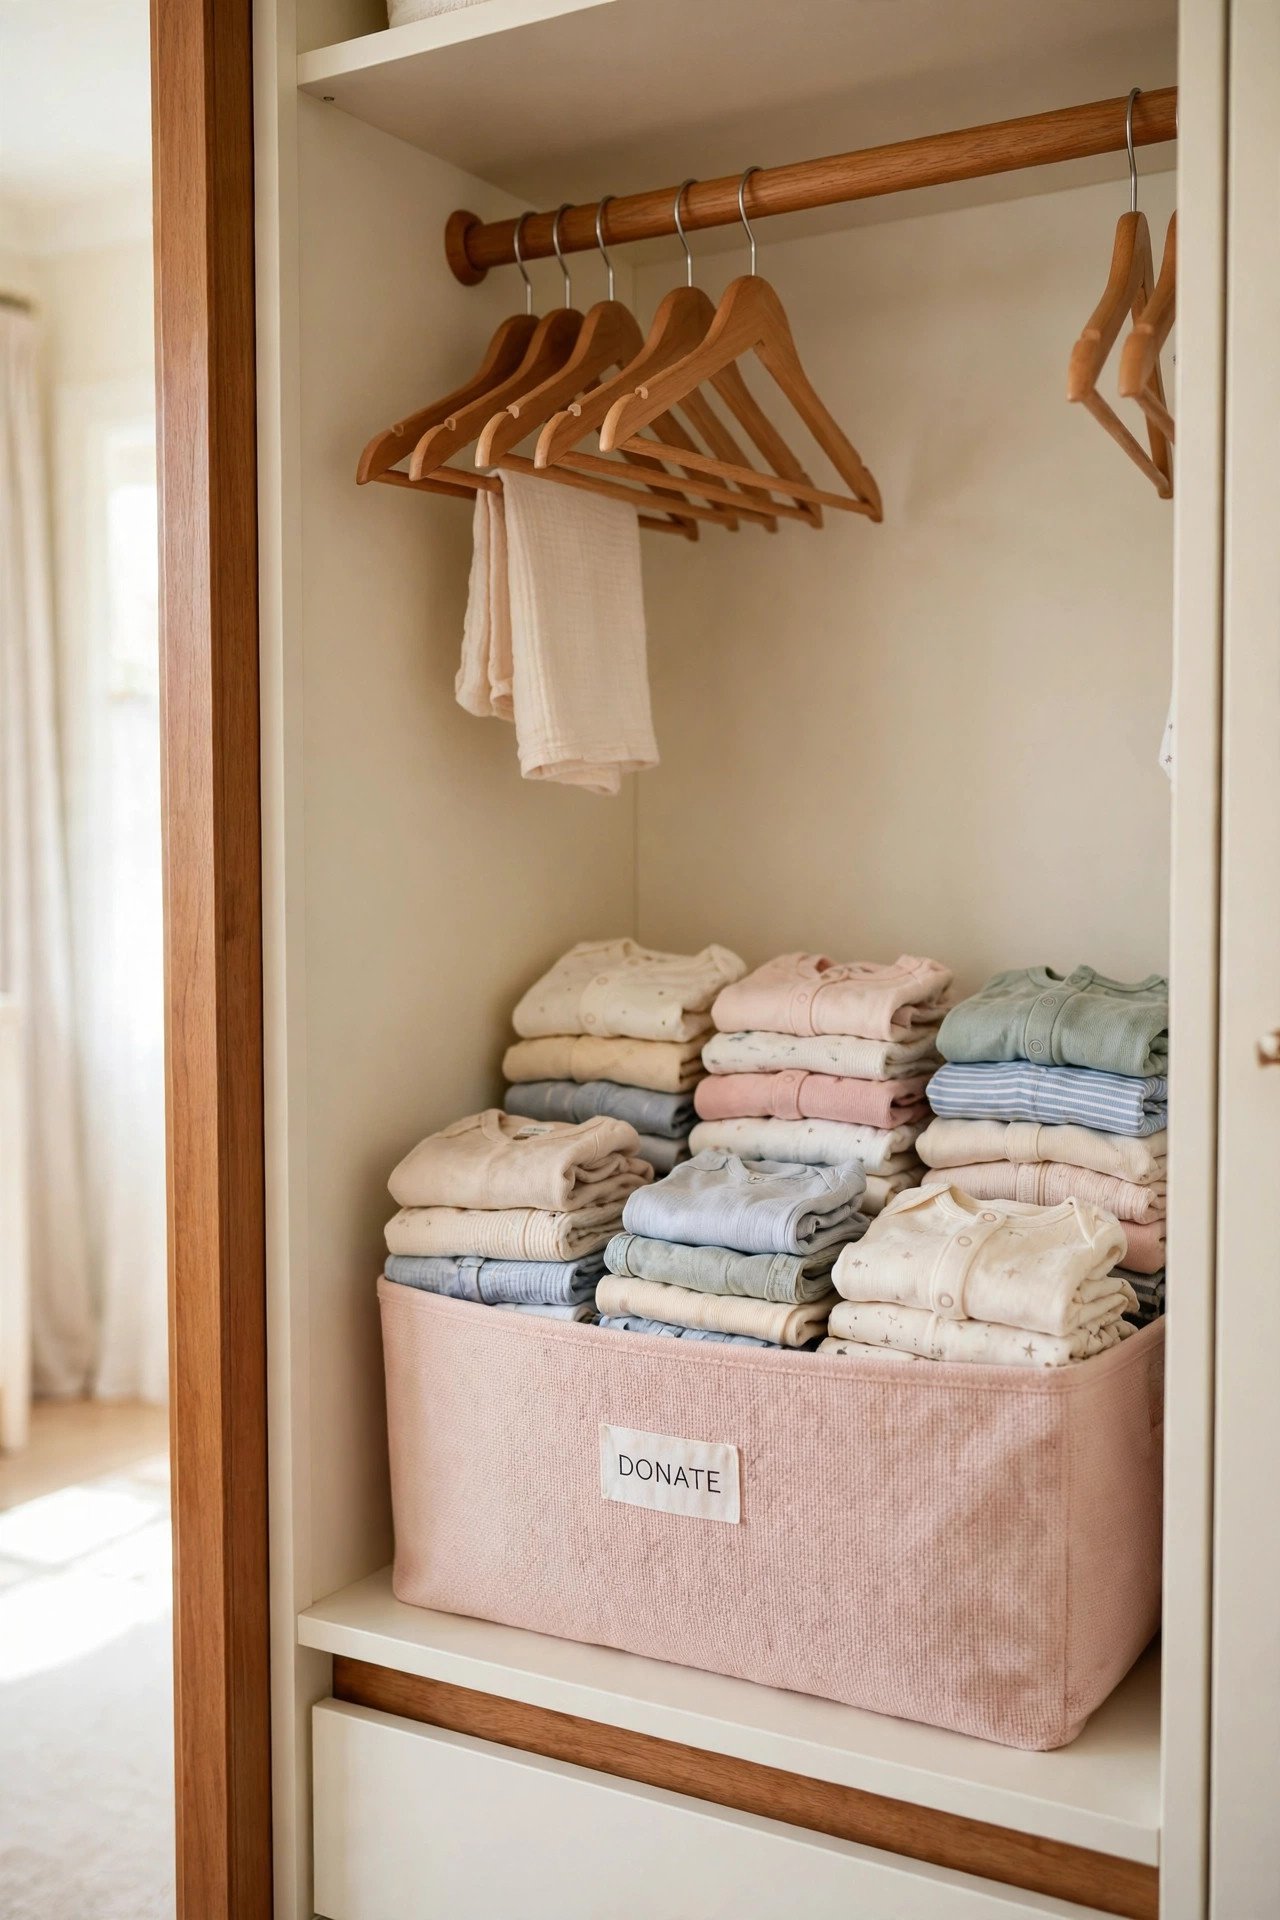
Babies outgrow clothes every few weeks, and the tiny outfits stack up in drawers. Place a labeled bin in the closet for anything that no longer fits. When the bin fills up, bag it for donation or storage in one trip.
Sort by size as you toss items in, which makes hand-me-downs easy to find later. Keep the bin low and open so you actually use it during busy weeks. This habit stops the dresser drawers from overflowing with clothes your baby cannot wear.
Conclusion
A diaper station does not need to be large or expensive. It needs to be fast, safe, and forgiving on your worst days. Pick the two or three ideas that match your space and start there.
You will spend hundreds of hours at this station in the first year. A little organization now pays you back every single day, one calm change at a time.
Diaper Station Organization FAQs
What do you need in a diaper station?
Diapers in the current size, wipes, diaper cream, a changing pad, spare onesies, burp cloths, and a trash bin for soiled diapers. Keep everything within arm’s reach of the changing spot.
How do you organize diapers by size?
Sort packs into labelled bins by size and keep the current size at the front. Move up a size bin when the fit gets snug, and donate extras you will not use.
Where should you put the diaper station?
Choose a sturdy dresser or table near your baby’s crib, with room to stand on one side. Keep supplies off the floor and within one-handed reach of the changing pad.
How do you keep a diaper station tidy?
Restock the station each morning, wipe surfaces weekly, and return items to their labelled spots after every change. A monthly purge removes outgrown sizes and dried-out wipes.
What is the best diaper storage for small spaces?
A slim rolling cart or a hanging pocket organizer uses vertical space without needing a dresser. Both hold a full day of supplies and roll or fold away when you need floor space.

Hi, I’m Emily! I turn messy corners into cozy, organized spots. DreamNestDecor is where I share simple, practical home ideas — decor, organization, and small-space solutions that work in real life, not just in photos. Every idea here is carefully researched before it’s shared.