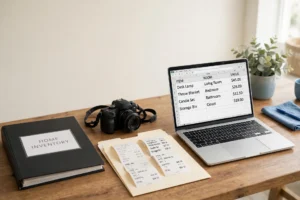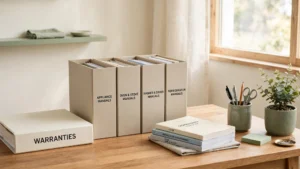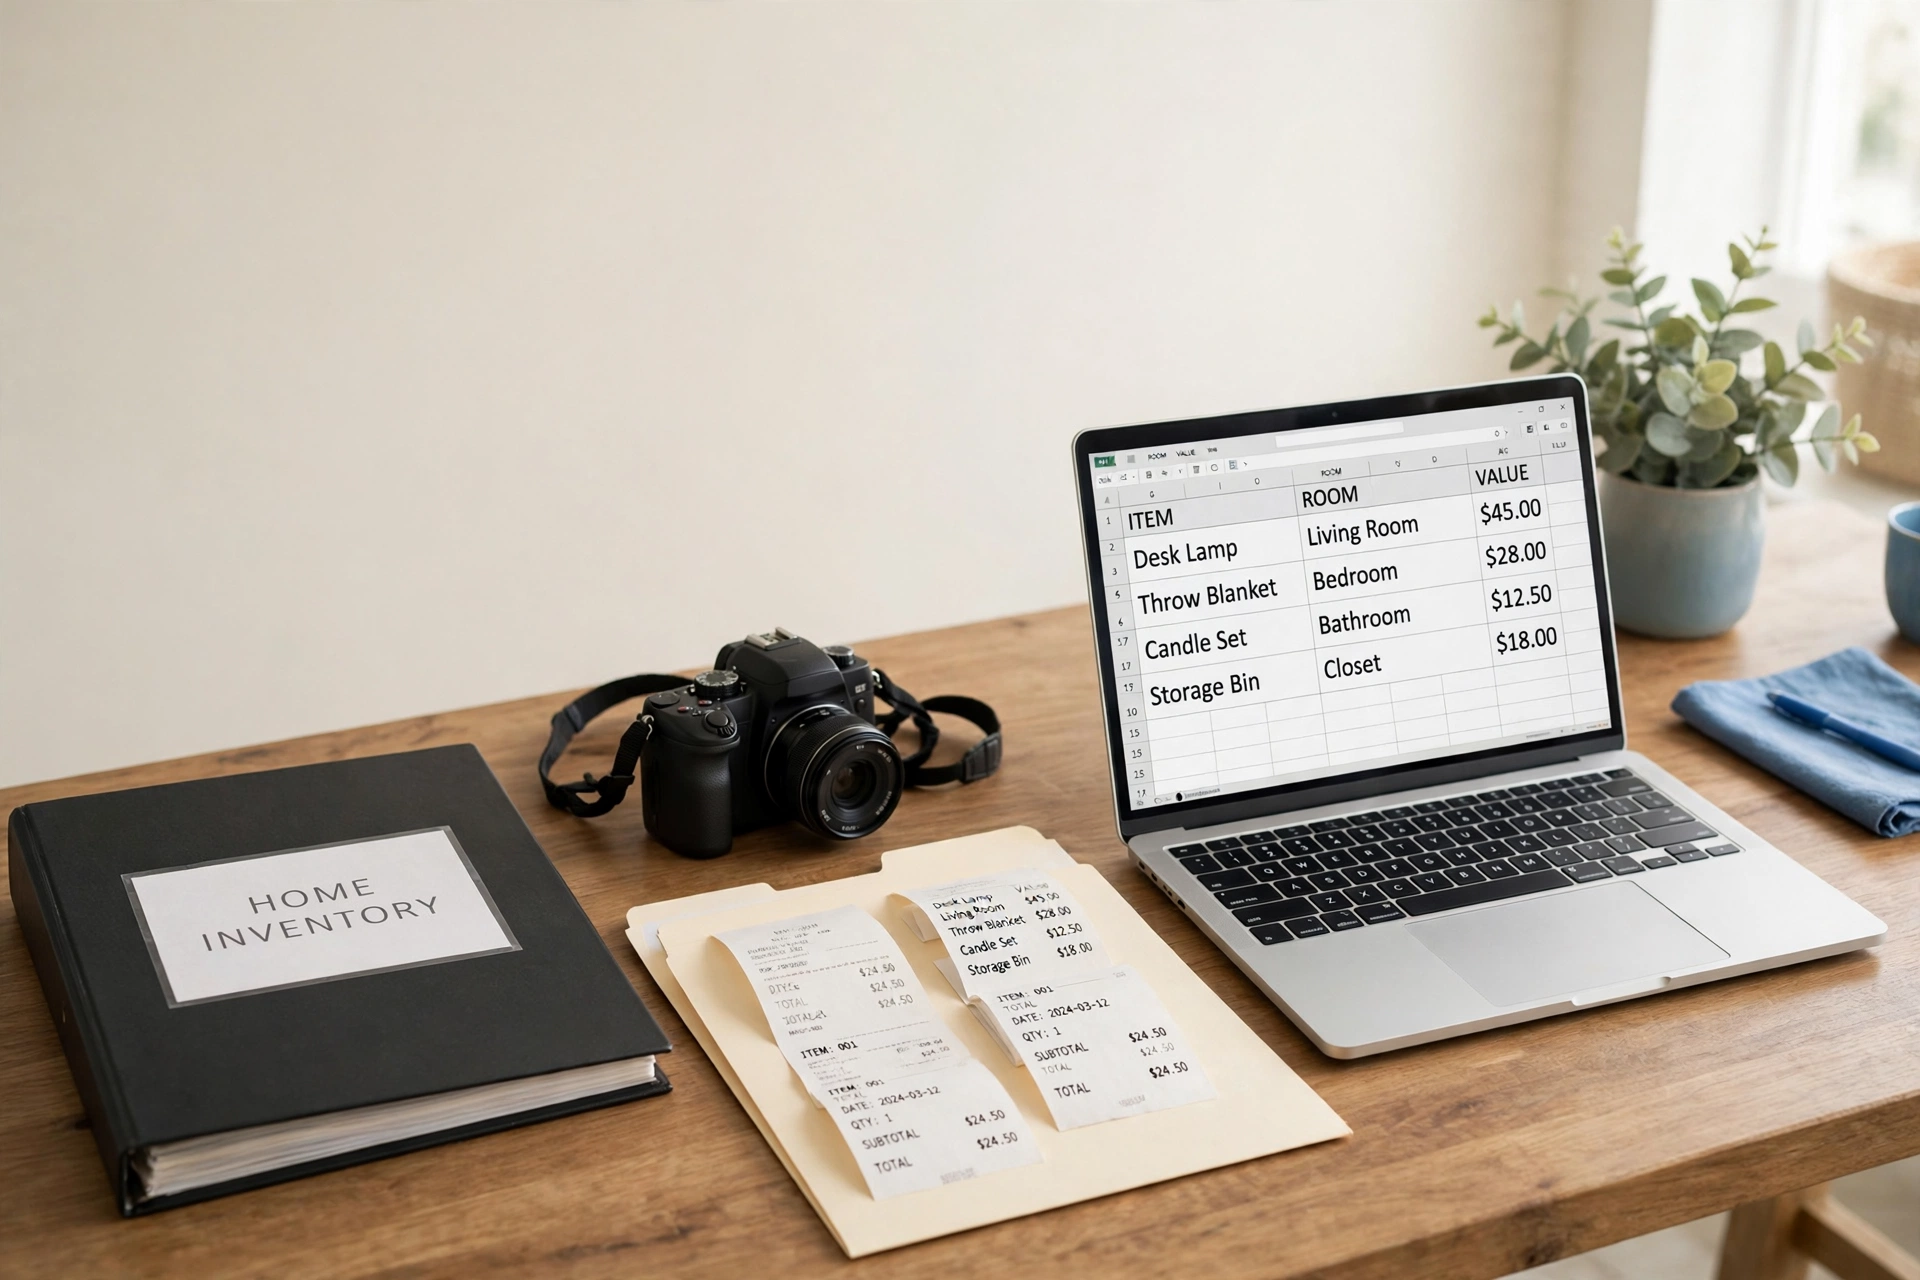
Picture this: a pipe bursts in your kitchen while you are away for the weekend, and by the time you return, the floor is soaked and the cabinets are ruined. Your insurer asks for a list of everything that was damaged, with proof of what each item was worth. In that stressful moment, a home inventory checklist is the difference between a smooth claim and a long guessing game.
A home inventory is simply a complete record of what you own, room by room, with photos, values, and receipts to back it up. You do not need special software or a full weekend to build one. These 13 home inventory checklist ideas will help you document your belongings for insurance records in a way that is thorough, organized, and easy to update.
1. Start With a Room by Room Walkthrough Checklist
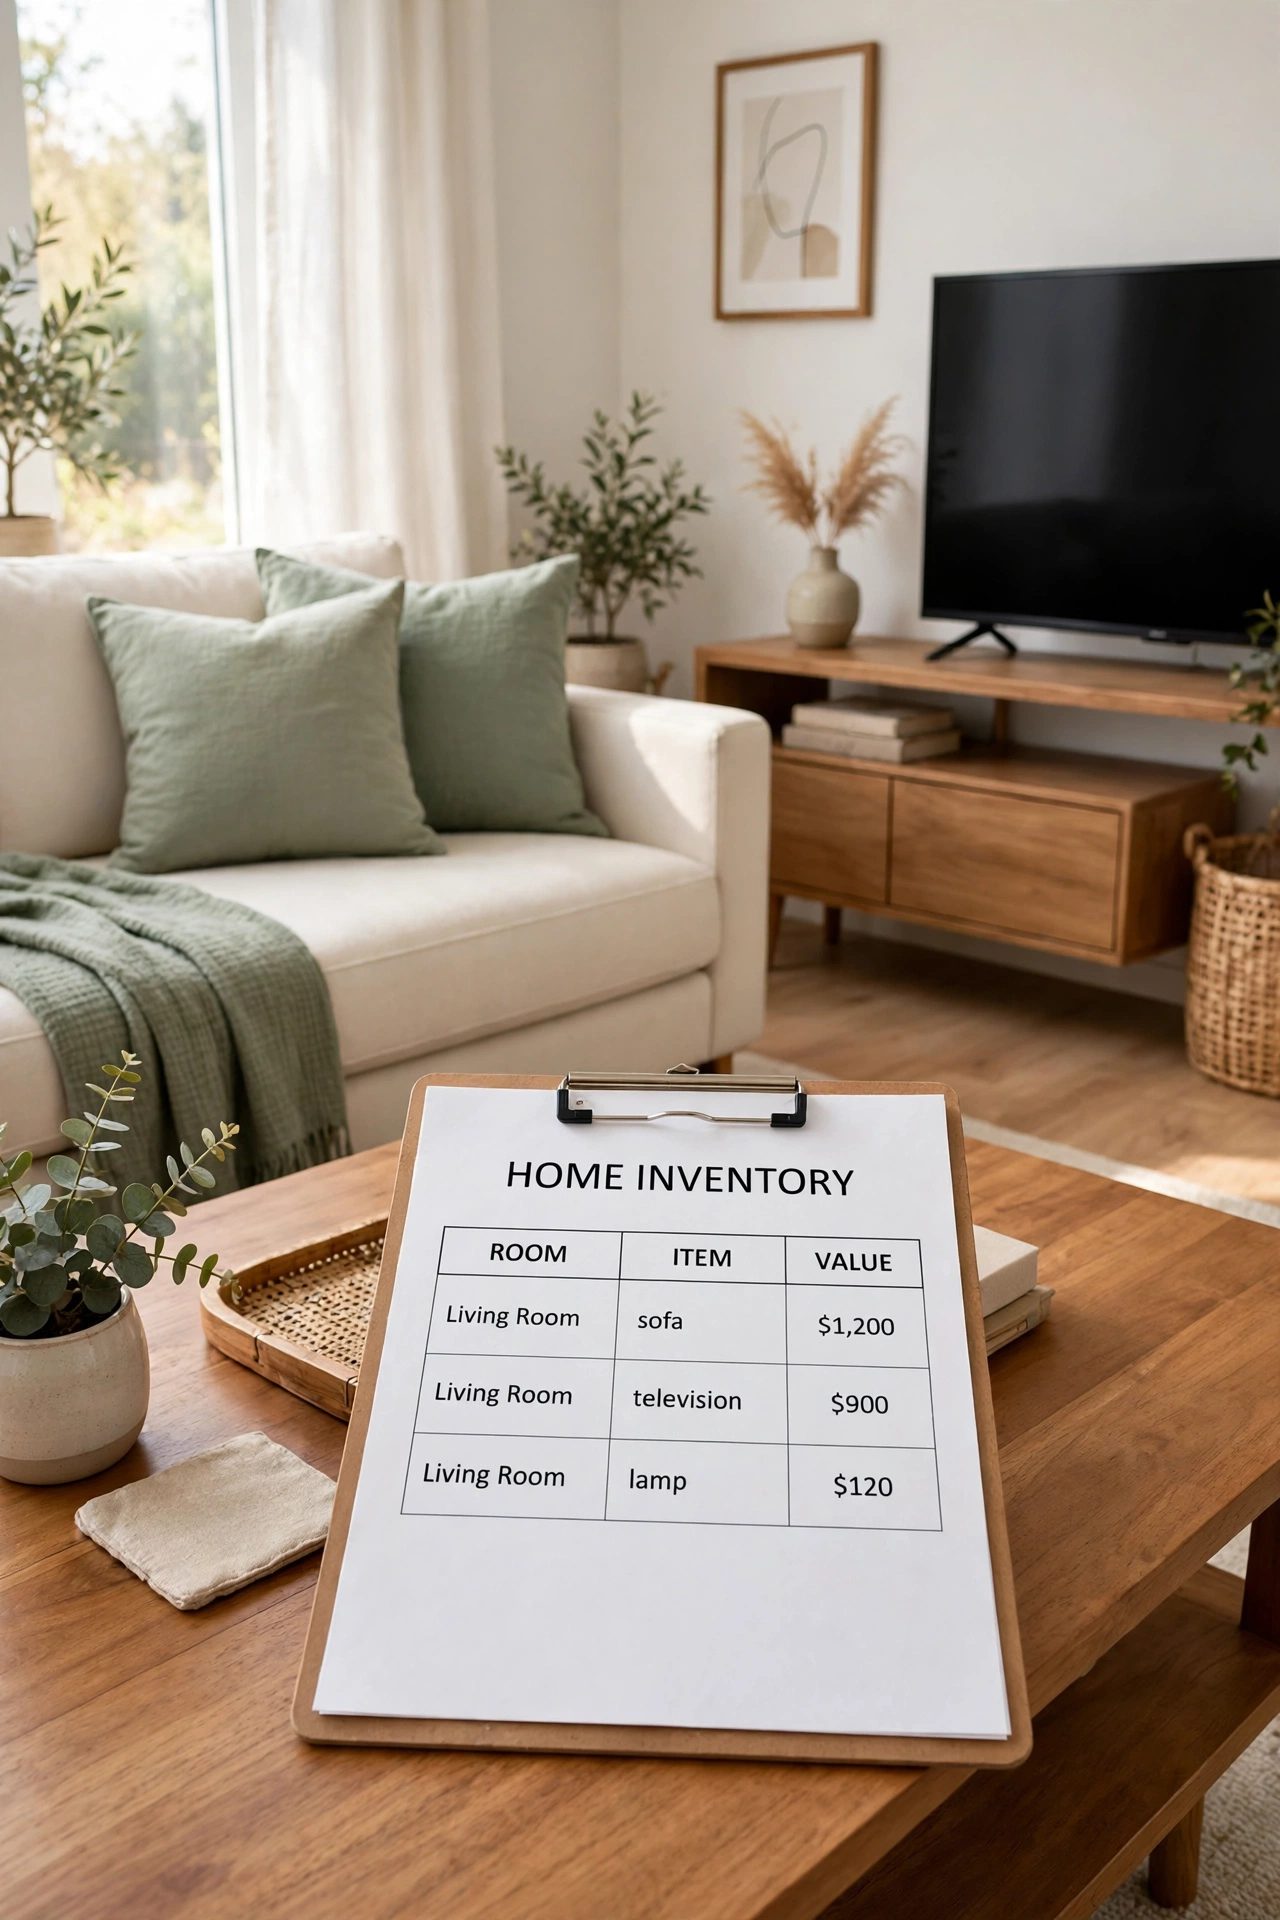
The easiest way to begin a home inventory is to walk through your home one room at a time with a simple checklist in hand. Start at the front door and move through each room in order, writing down every significant item you see, from the sofa and television in the living room to the washer and dryer in the laundry room. Working room by room keeps the task manageable and makes sure no space is skipped.
Give each room its own page or section, and note the item name, a brief description, and an estimated value for each belonging. Do not rush the walkthrough, and open every cabinet and closet as you go. A steady, room by room pace turns a daunting project into a calm afternoon task, and you will finish with a clear record of your whole home.
2. Photograph Every Room From All Four Corners
Photos are the strongest proof in any insurance claim, and the best method is to photograph each room from all four corners. Stand in each corner, face the opposite corner, and take a wide shot that captures the furniture, electronics, and decor in that view. Four photos per room create a complete visual record that shows exactly how the room looked.
Take the photos in bright daylight with the curtains open so every detail is visible, and keep the rooms tidy so nothing is hidden behind clutter. For a system that keeps thousands of household photos easy to find later, see these digital photo organization ideas. Name each photo file with the room name and the date so you can locate it in seconds when you need it.

3. Record a Slow Video Walkthrough With Narration
A video walkthrough captures details that written lists and still photos can miss. Hold your phone steady and walk slowly through each room, panning across shelves, opening closet doors, and describing items out loud as you go. Mention brand names, approximate purchase dates, and values while you film, so the narration becomes part of the record.
Keep the camera moving slowly and pause for a few seconds on valuable items like electronics, artwork, and jewelry storage. A full walkthrough of an average home takes only twenty to thirty minutes to film. Store the finished video in the same folder as your photos so your whole visual record stays together.

4. Log Serial Numbers for Electronics and Appliances
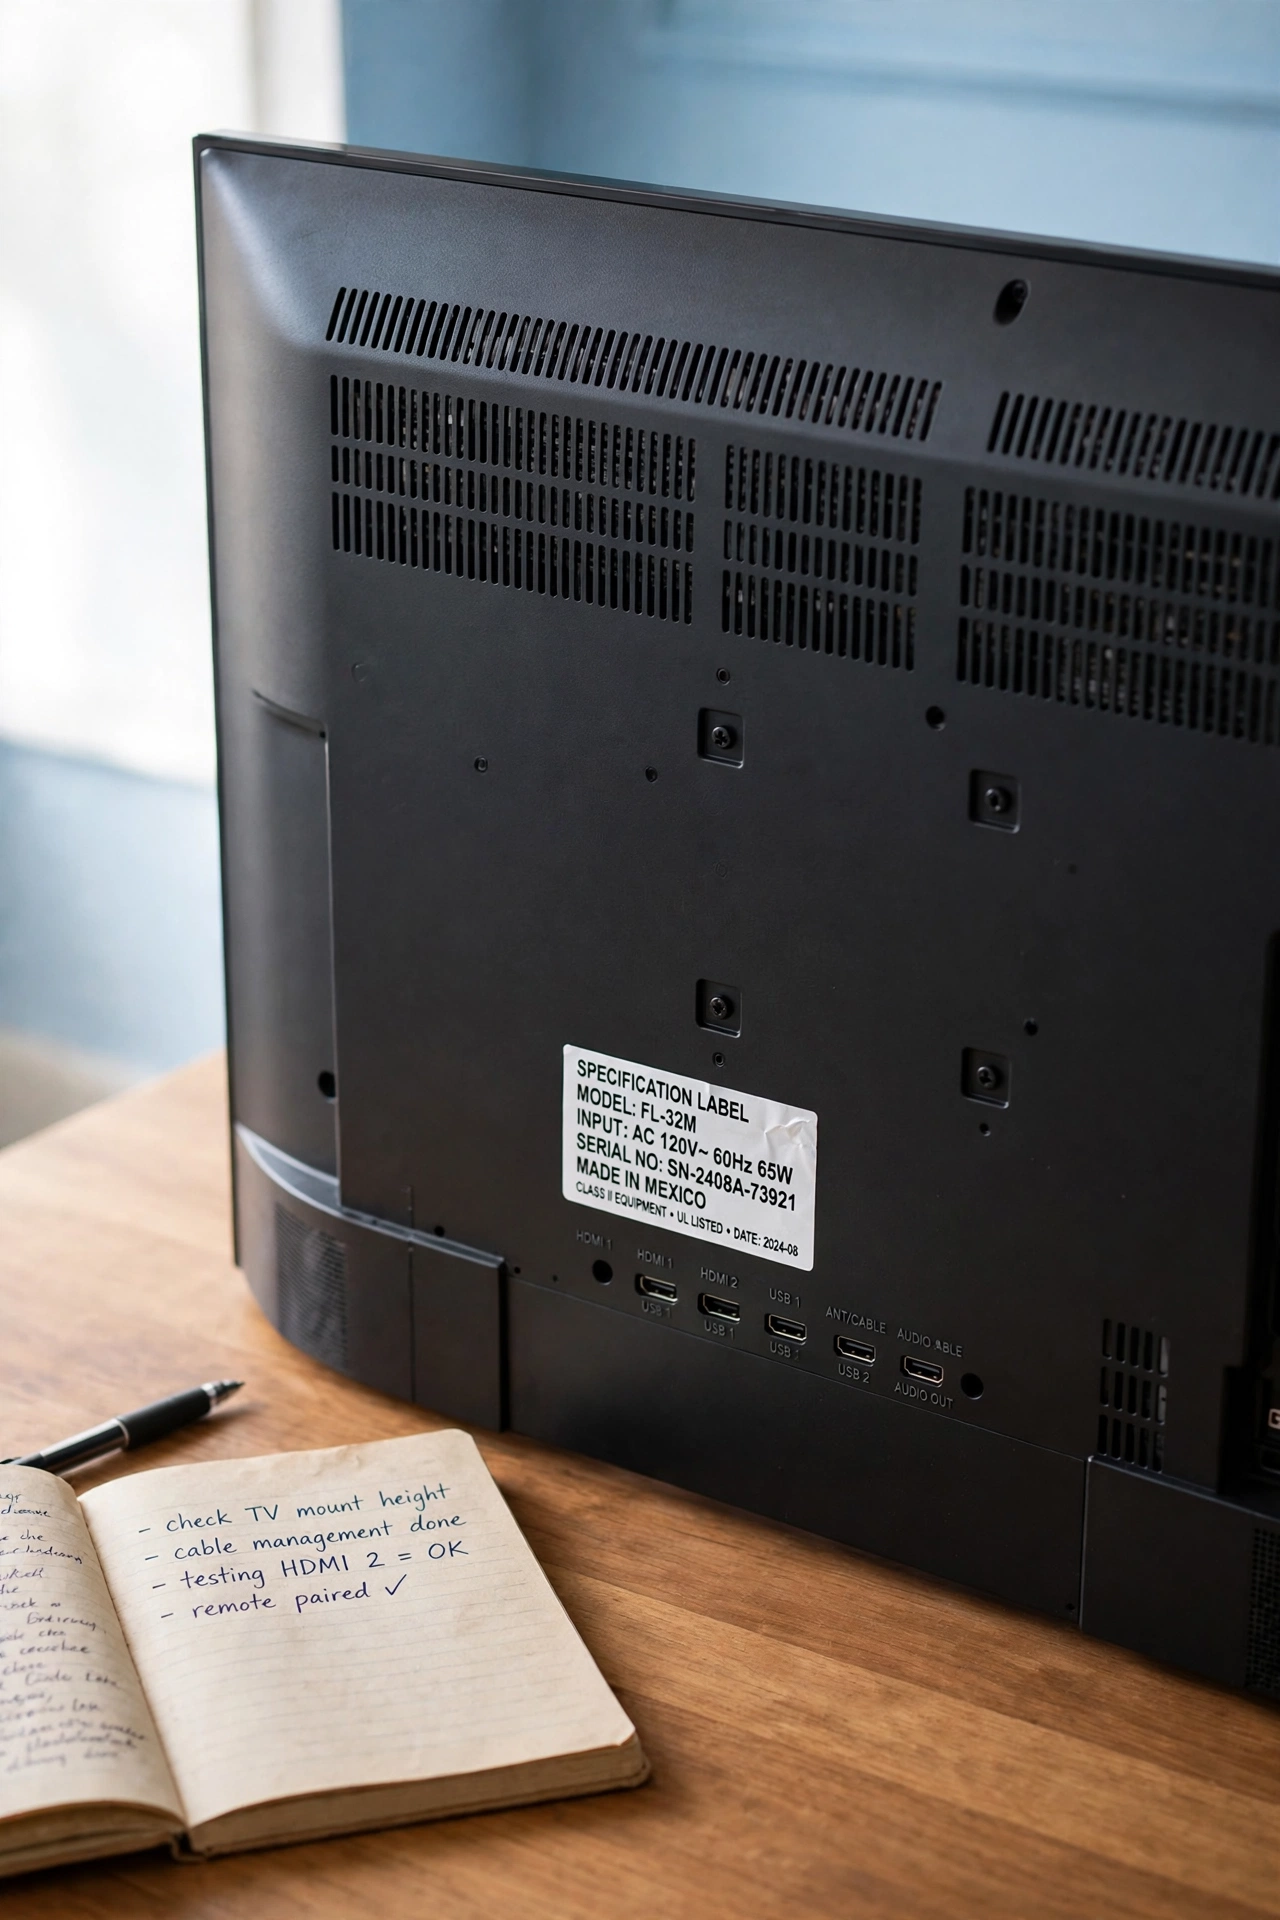
Serial numbers are the unique fingerprints of your electronics and appliances, and insurers ask for them after a theft or a fire. Record the serial number, model number, and brand for every television, laptop, phone, camera, refrigerator, washer, and power tool in your home. These numbers prove exactly which items you owned and help police and insurers identify recovered property.
Find serial numbers on a sticker on the back or bottom of each device, or in the settings menu of phones and computers. Photograph each sticker as well as writing the number down, so you have two forms of proof. Keep the list in your inventory binder and in your digital backup, and update it whenever a new device enters the home.
5. Save Every Receipt in One Labeled Folder
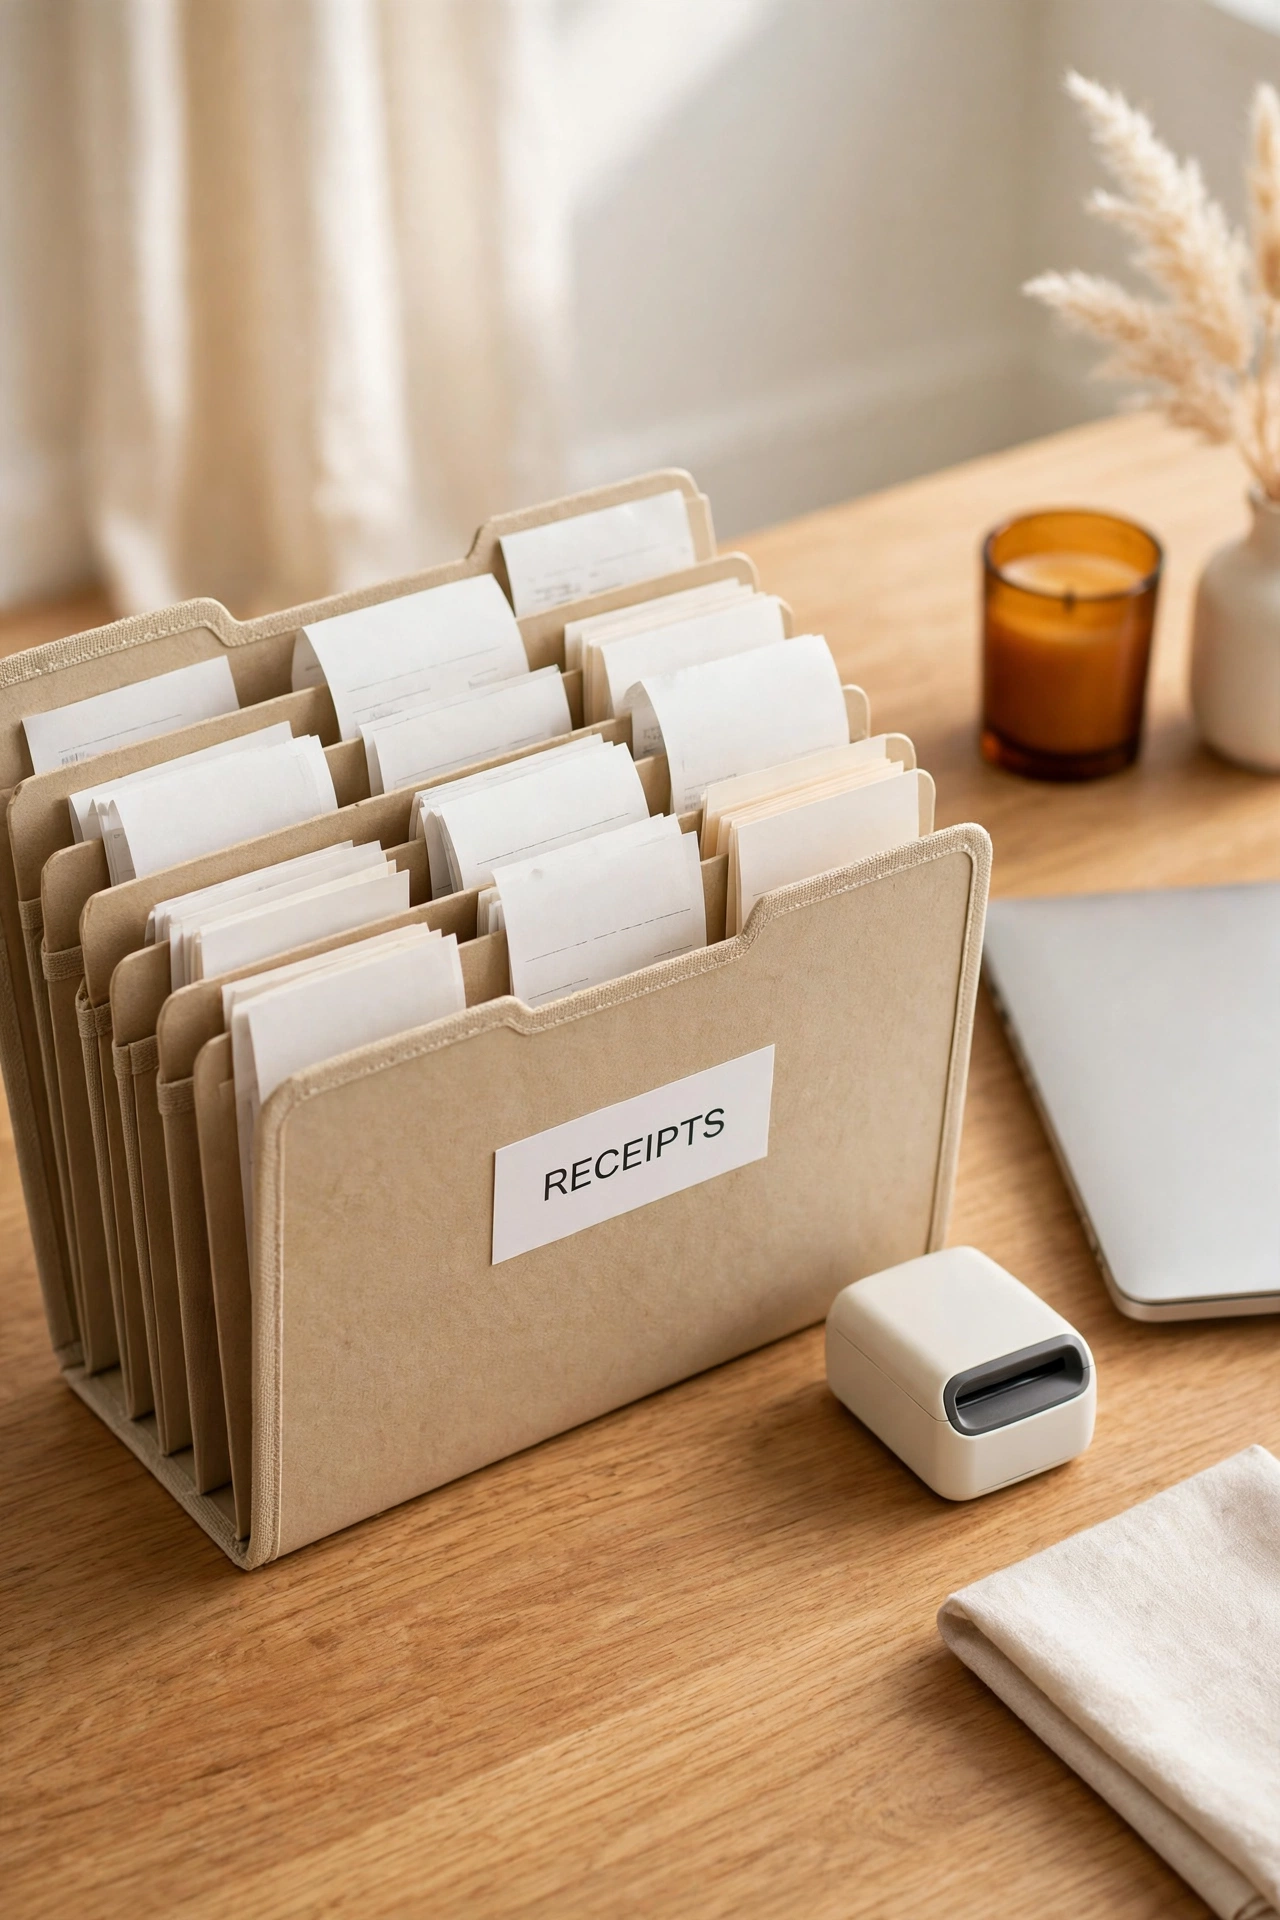
Receipts prove what you paid for an item and when you bought it, which is exactly what an insurer needs to calculate a claim. Gather every receipt for furniture, electronics, appliances, and valuable household goods into one clearly labeled folder, either a physical folder in a filing cabinet or a digital folder on your computer. One folder means no hunting through drawers when it matters.
Photograph or scan paper receipts as soon as they arrive, because thermal paper fades within a year or two. For a full system that keeps purchase proof tidy all year, see these receipt organization ideas. Write the item name and the room where it lives on the back of each paper receipt so the proof always connects to the right belonging.
6. List Jewelry and Valuables With Professional Appraisals
Jewelry, watches, and collectibles need special attention in a home inventory because their value is high and their size is small. List each piece separately with a description, a photograph, and the appraised value, and keep professional appraisals and certificates with the record. Standard insurance policies often limit coverage for valuables, so a detailed list also helps you decide whether you need extra coverage.
Photograph each valuable item against a plain background with a ruler or coin nearby for scale, and store the appraisals in a safe place away from the items themselves. These important document storage ideas will help you keep appraisals, certificates, and policies protected and easy to reach. Update the appraisal values every few years, since precious metals and gemstones change in value over time.

7. Photograph the Inside of Every Closet and Drawer
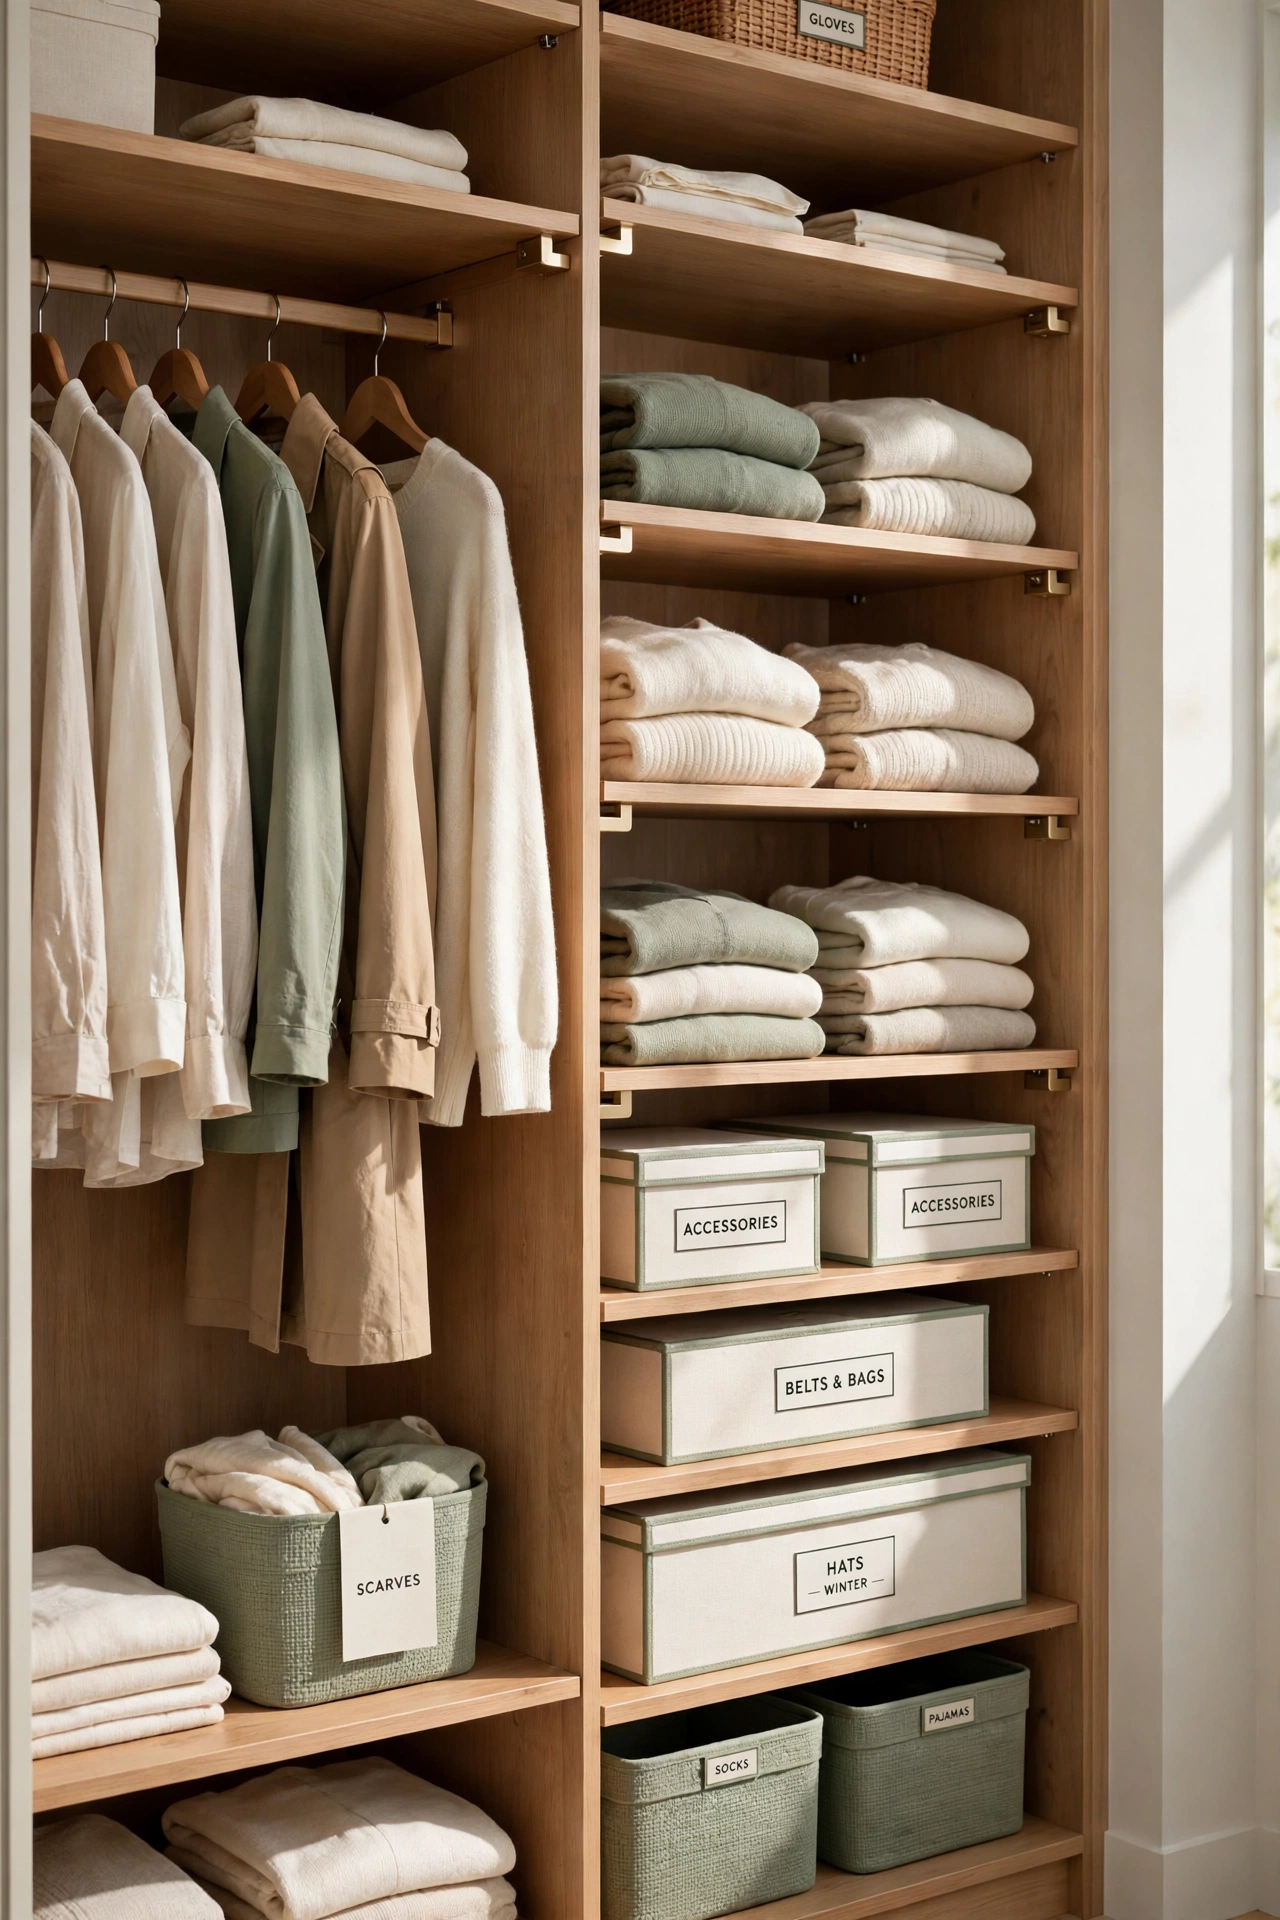
Closets and drawers hold a surprising share of a home’s value, from wardrobes full of clothing to drawers full of tools, linens, and keepsakes. Open every closet door and every drawer and photograph the contents neatly arranged, so the inventory shows what is stored out of sight as well as what is on display. Insurers often question claims for items that were never visible in room photos, and closet photos close that gap.
Group similar items together before you photograph them, and count large collections like shoes, handbags, or tools so the record includes quantities. A quick photo of each drawer takes seconds and can be worth thousands of dollars in a claim. Repeat the closet and drawer photos once a year, or whenever you do a seasonal clear out.
8. Document Furniture With Purchase Dates and Values
Furniture is often the largest category of value in a home inventory, yet it is the easiest to overlook because it never moves. Record each significant piece of furniture with its purchase date, purchase price, and current estimated value, along with a photograph that shows its condition. A sofa, a dining set, and a bedroom suite can easily total more than all the electronics in the house combined.
Note the material and brand where you know them, and keep delivery notes or order confirmations with your receipts. If you inherited a piece or received it as a gift, estimate its replacement value by checking similar items online and note that the value is an estimate. Honest, documented values make a claim faster and fairer for everyone.

9. Keep a Digital Spreadsheet Backup in the Cloud
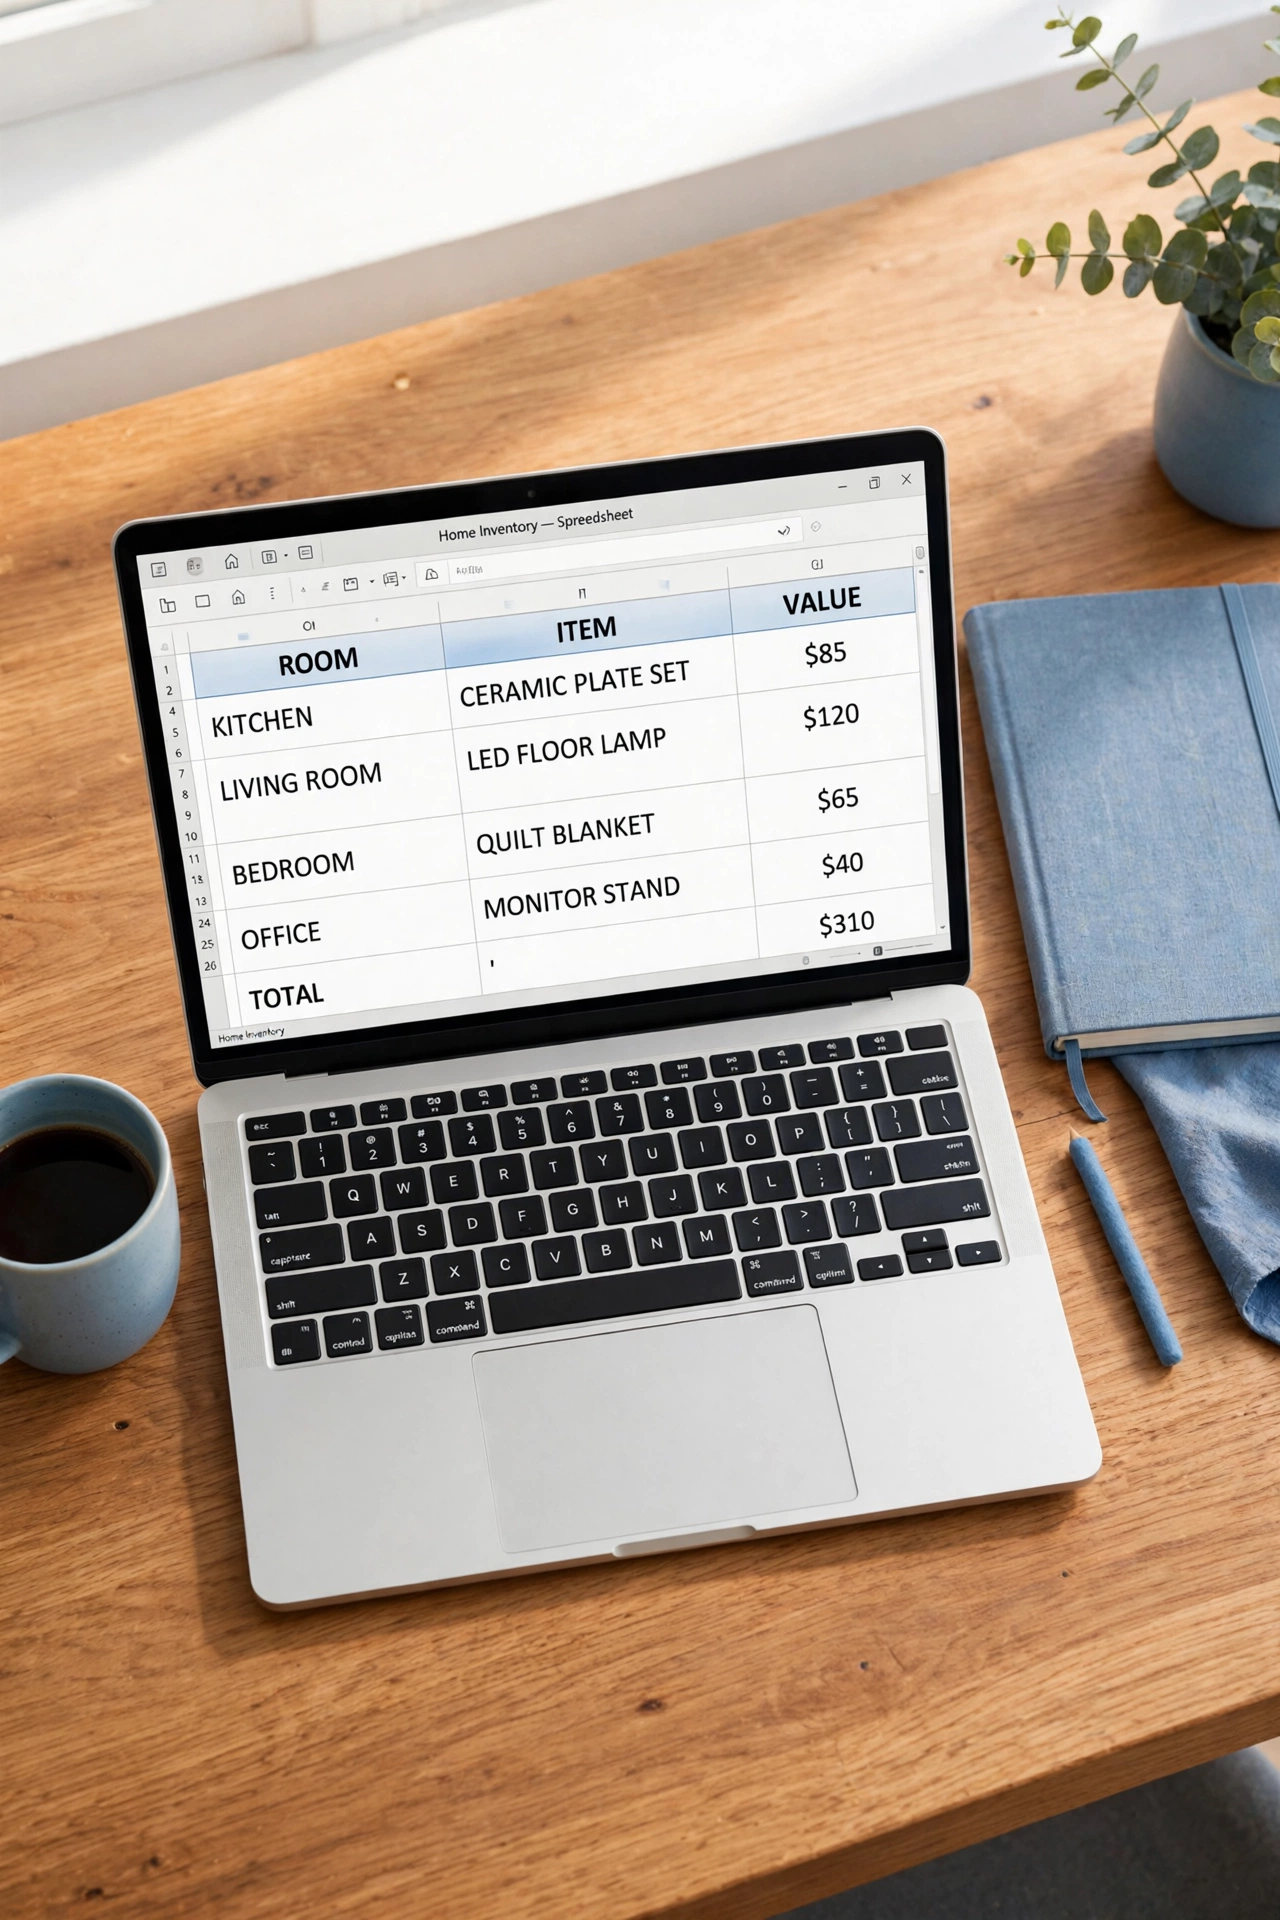
A paper inventory is useful, but a digital spreadsheet backup is what protects your record if the home itself is damaged. Build a simple spreadsheet with columns for room, item, description, serial number, purchase date, and value, and save it to a cloud service you can reach from any device. If a fire or flood destroys the paper copy, the cloud copy survives.
Share the spreadsheet with a trusted family member or store the login details in your household paperwork file so someone else can reach it in an emergency. These family calendar and paperwork organization ideas show how to keep household records in one reliable system. Update the spreadsheet on the same day you buy or remove a significant item, so the record never falls behind.
10. Photograph the Garage, Attic, and Storage Areas
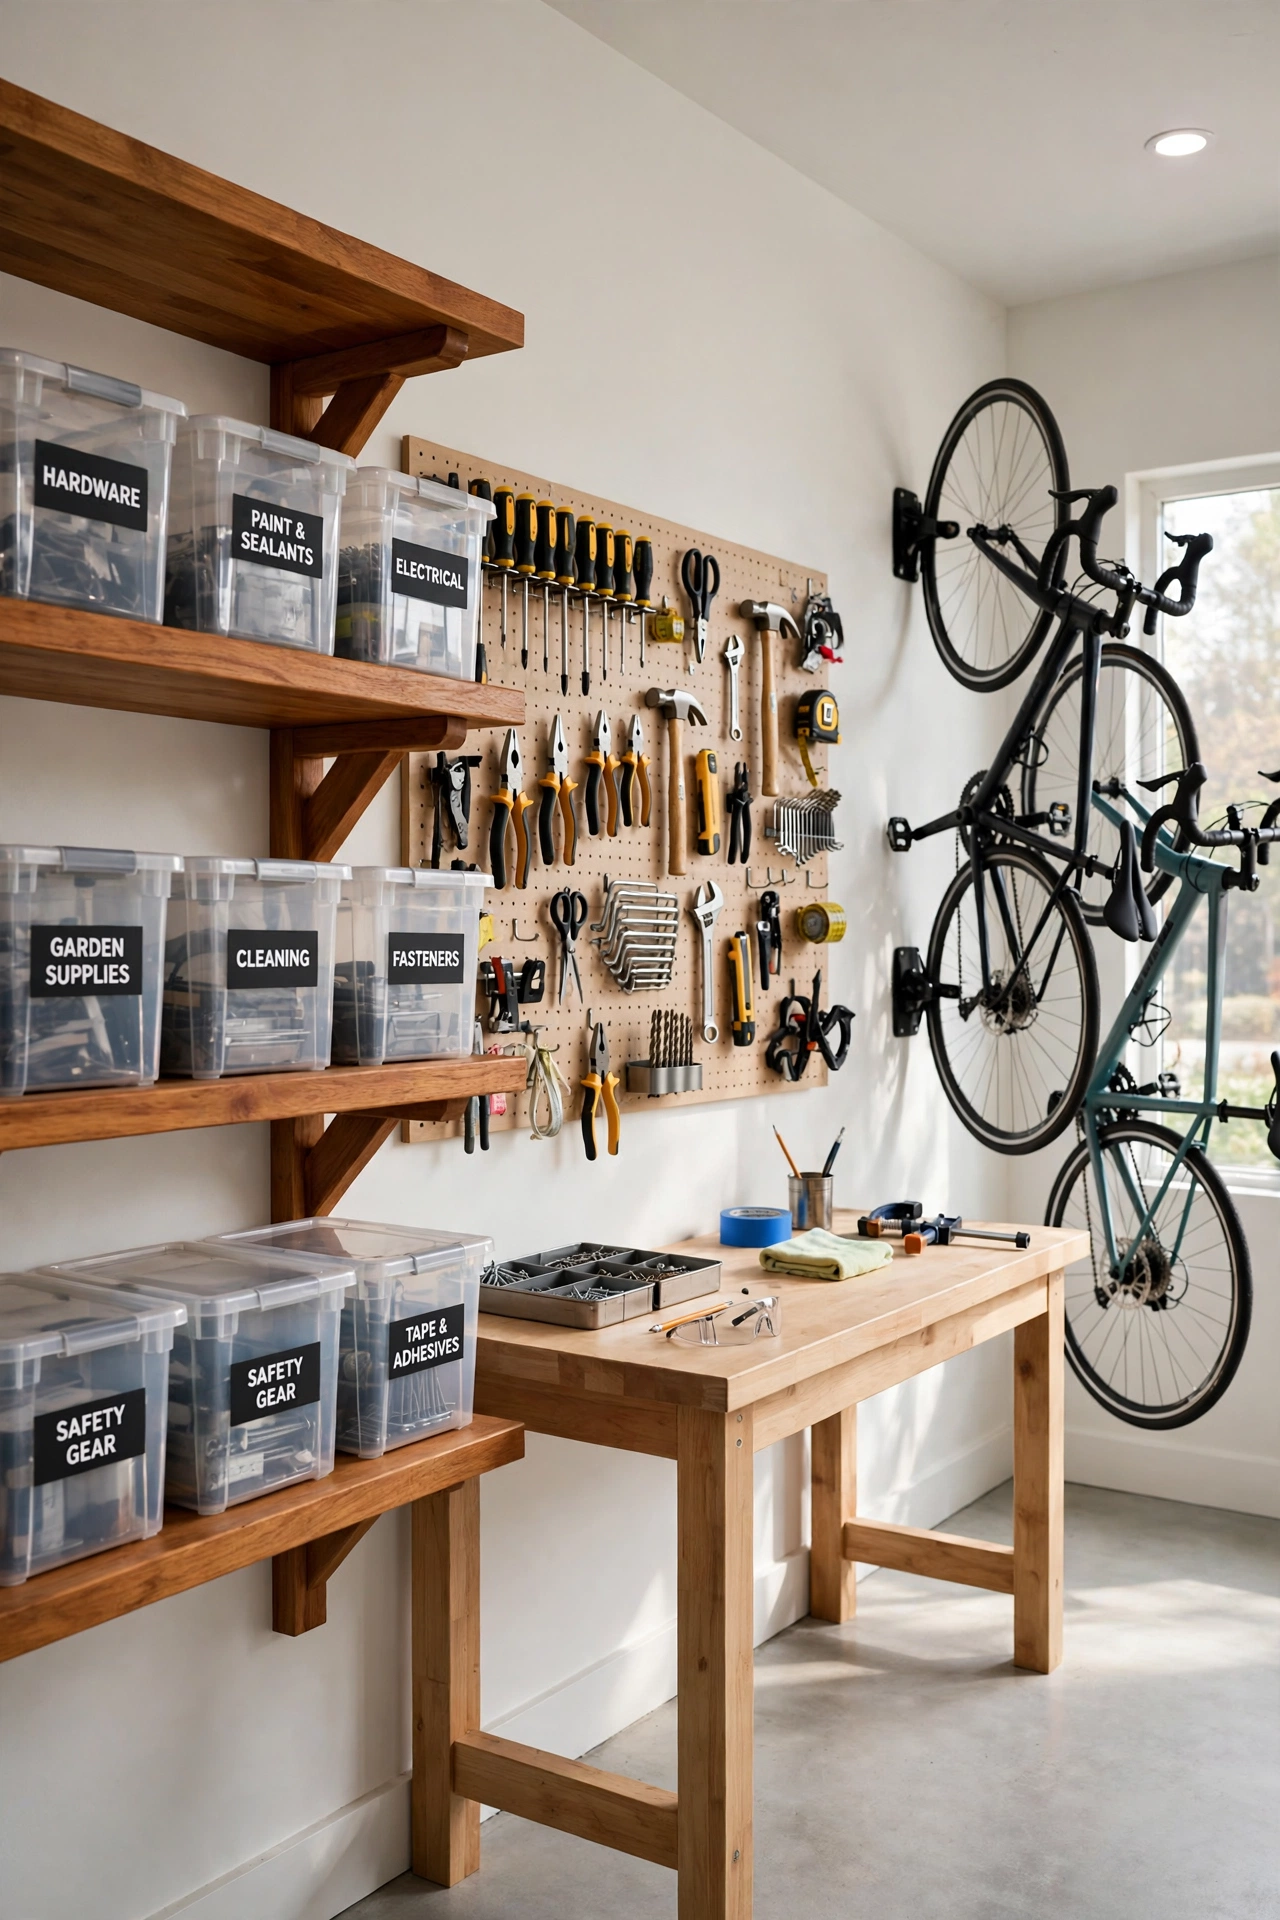
Garages, attics, basements, and storage sheds are easy to forget, yet they hold tools, sports equipment, seasonal decor, and boxes of valuables that add up quickly. Treat each storage area like a room in the inventory, with wide photos from each corner and a written list of the major items stored there. A garage full of tools and bicycles can be worth more than a whole bedroom.
Label storage boxes clearly and photograph the labels, so the inventory can reference the contents of each box without opening it. Keep pathways clear and shelves tidy while you document, since a clean storage area photographs better and is easier to inventory accurately. Revisit storage areas once a year, because their contents change more often than any other part of the home.
11. Update the Inventory After Every Major Purchase
A home inventory is only useful if it stays current, and the simplest habit is to update it the day a major purchase arrives. When you buy a new television, appliance, piece of furniture, or piece of jewelry, add it to the list, photograph it, log the serial number, and file the receipt before the box goes out. Five minutes of updating saves hours of reconstruction later.
Set a reminder on your phone for the first day of each month to review any purchases you missed, and remove items you sold, gave away, or threw out. A small monthly habit keeps the inventory honest and complete, so it is always ready if you ever need it. Over time, the updates become second nature, just like filing the receipt itself.
12. Store a Copy of the Inventory Outside the Home
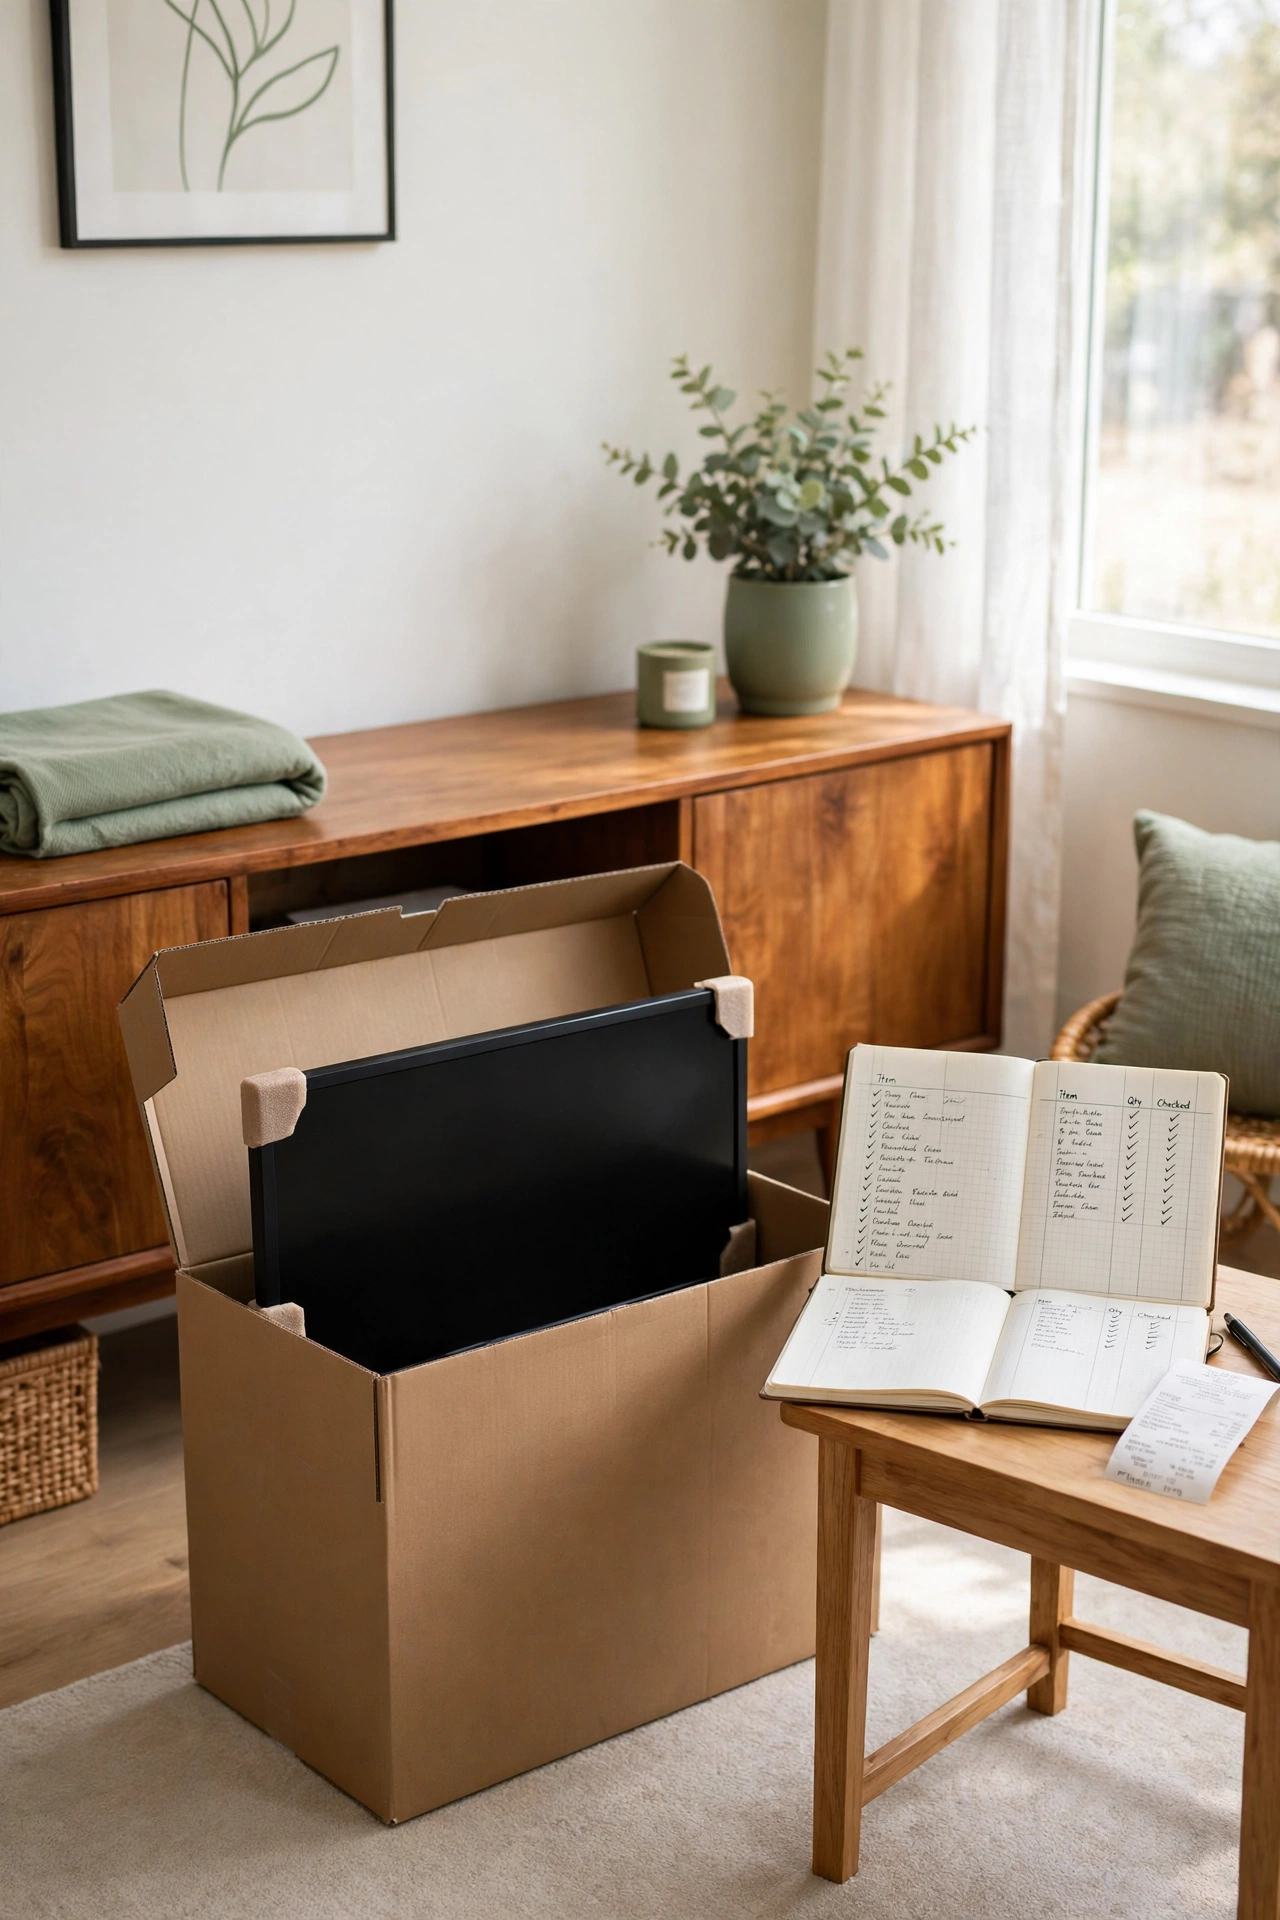
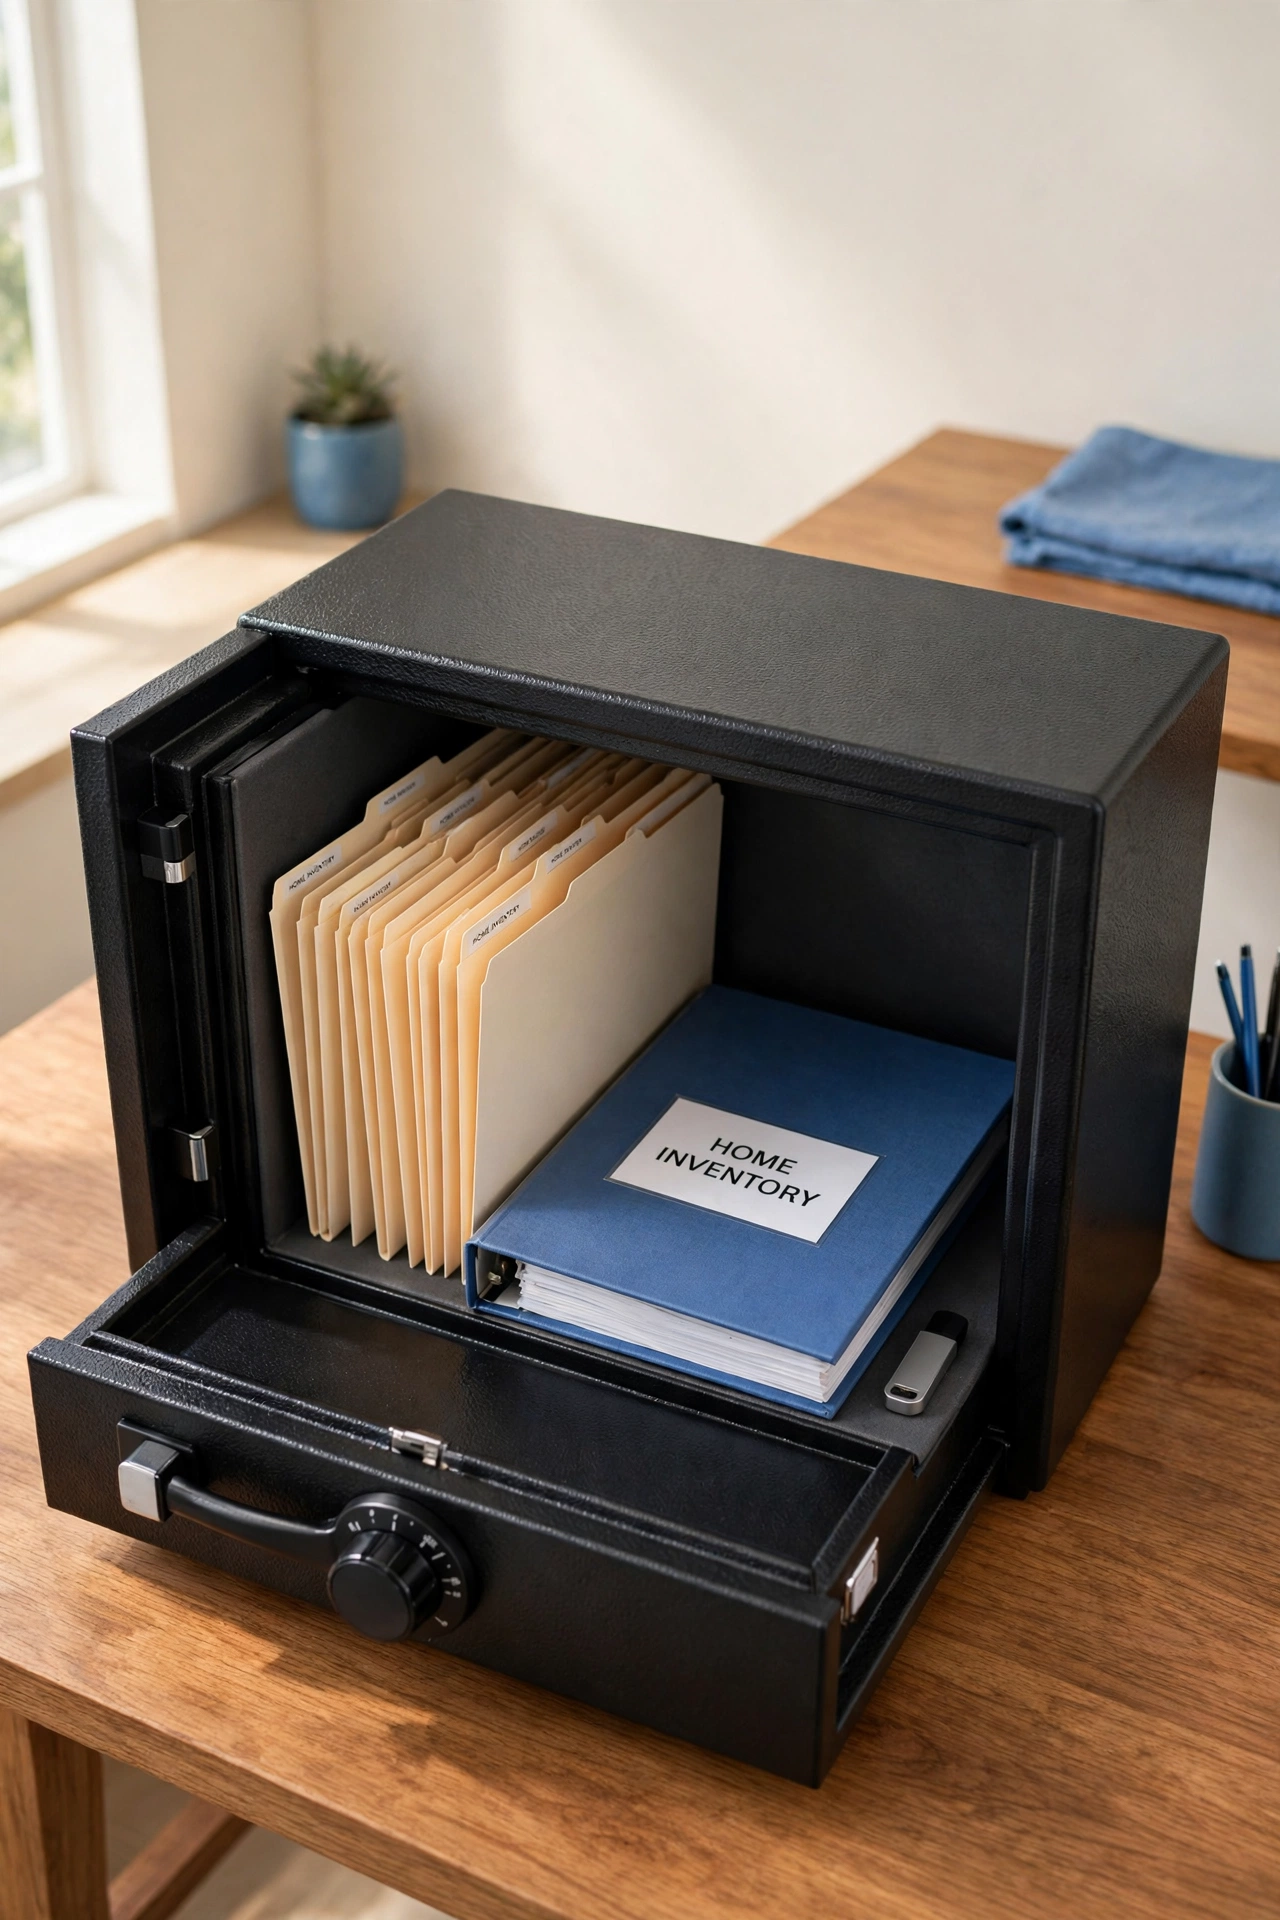
An inventory stored only inside the home can be lost in the very disaster it was meant to document. Keep a second copy somewhere safe outside the home, such as a safe deposit box, a trusted relative’s house, or a secure cloud folder. An off-site copy means your proof survives even if the house does not.
A USB drive in a fireproof safe at a family member’s home is a simple and affordable option, and a cloud folder is even easier to reach in an emergency. Make sure the off-site copy includes the photos, the video walkthrough, and the spreadsheet, not just the written list. Refresh the off-site copy every time you do a major update, so the backup never falls behind the original.
13. Review the Checklist With Your Insurer Every Year
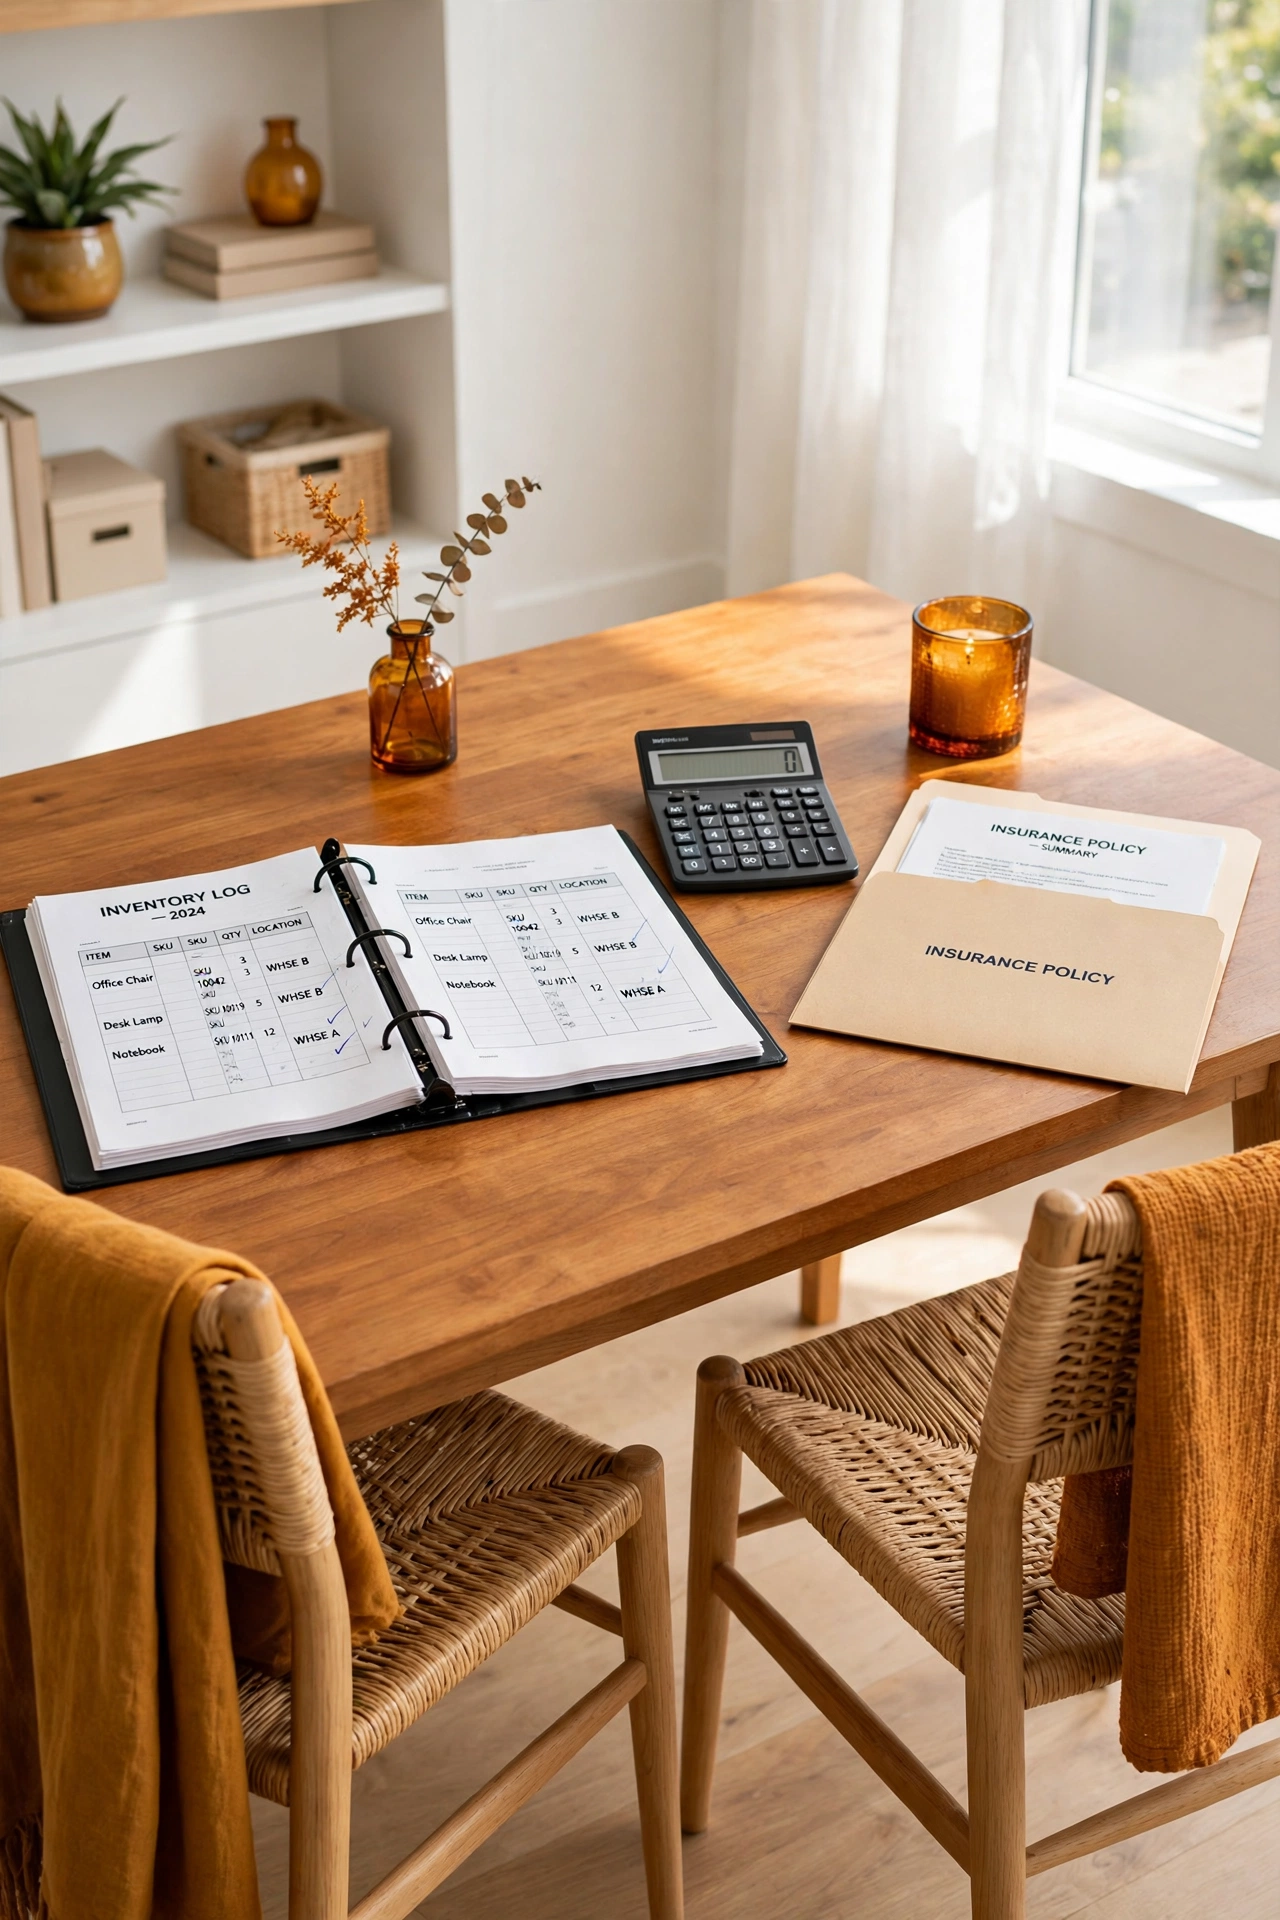
An annual review with your insurer turns your inventory from a private list into a working part of your coverage. Once a year, walk through the checklist together and confirm that your policy limits match the total value of your belongings, including any new purchases or valuables. Many homeowners discover they are underinsured only after a loss, when it is too late to fix.
Bring the updated inventory, the photos, and the appraisals to the review, and ask whether valuable items need scheduled coverage or a separate rider. The review is also the right time to confirm your deductible and to ask what proof the insurer prefers after a claim. A yearly conversation of thirty minutes can protect everything you have worked to document.
Conclusion
A home inventory checklist is one of the most valuable documents you can create for your household, and it costs nothing but a few hours of careful attention. Room by room photos, serial numbers, receipts, and a cloud backup together form a record that protects your belongings and your peace of mind. The best time to build it is now, while everything is safe and the details are fresh.
Start with one room this week, and add a room each day until the whole home is documented. Keep the record updated, keep a copy outside the home, and review it with your insurer every year. Your future self will thank you for the afternoon you spent building a record that can make a difficult claim far simpler.
Frequently Asked Questions About Home Inventory Checklist Ideas for Insurance Records
How long does it take to complete a home inventory?
Most homes take three to five hours to inventory thoroughly, including photos and a video walkthrough. Working room by room across several evenings makes the task feel much smaller. A simple inventory with photos only can be finished in under two hours.
What should I include in a home inventory for insurance?
Include every significant belonging with a description, a photograph, a purchase date, and an estimated value. Add serial numbers for electronics and appliances, receipts where you have them, and professional appraisals for jewelry and valuables. Do not forget closets, drawers, the garage, and storage areas.
How often should I update my home inventory?
Update the inventory after every major purchase, and review the full checklist once a year. An annual review catches items you added or removed during the year and keeps values current. A quick monthly check of new purchases keeps the record from falling behind.
Is a phone video enough proof for an insurance claim?
A video walkthrough is strong proof, especially when you narrate item names and values while filming. It works best alongside still photos, a written list, and receipts, because each form of proof supports the others. Store the video in the cloud so it survives damage to the home.
Where should I store my home inventory so it stays safe?
Keep the original at home and a second copy outside the home, such as in a safe deposit box, at a trusted relative’s house, or in a secure cloud folder. An off-site copy protects your record from the same fire, flood, or theft that damages the belongings it documents.

Hi, I’m Emily! I turn messy corners into cozy, organized spots. DreamNestDecor is where I share simple, practical home ideas — decor, organization, and small-space solutions that work in real life, not just in photos. Every idea here is carefully researched before it’s shared.