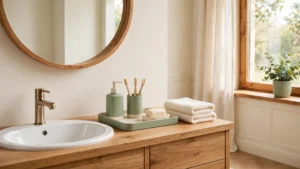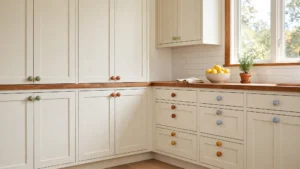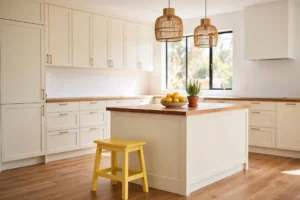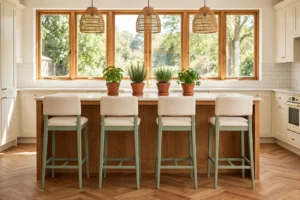
Every morning I opened the same kitchen cabinets and felt the same small sigh. The doors were fine, the paint was fresh, but the plain knobs made the whole room feel tired and unfinished. A full cabinet makeover was far outside my budget, so I looked for the smallest change that could still make a real difference.
That search led me to the knobs themselves, and the change was bigger than I expected. These 18 diy cabinet knob makeover ideas show you how to turn plain, dull knobs into small works of art with paint, paper, rope, resin, and clay, all for very little money. Each idea works on the knobs you already own, and most take less than one afternoon from start to finish.
1. Decoupage Knobs With Patterned Floral Paper
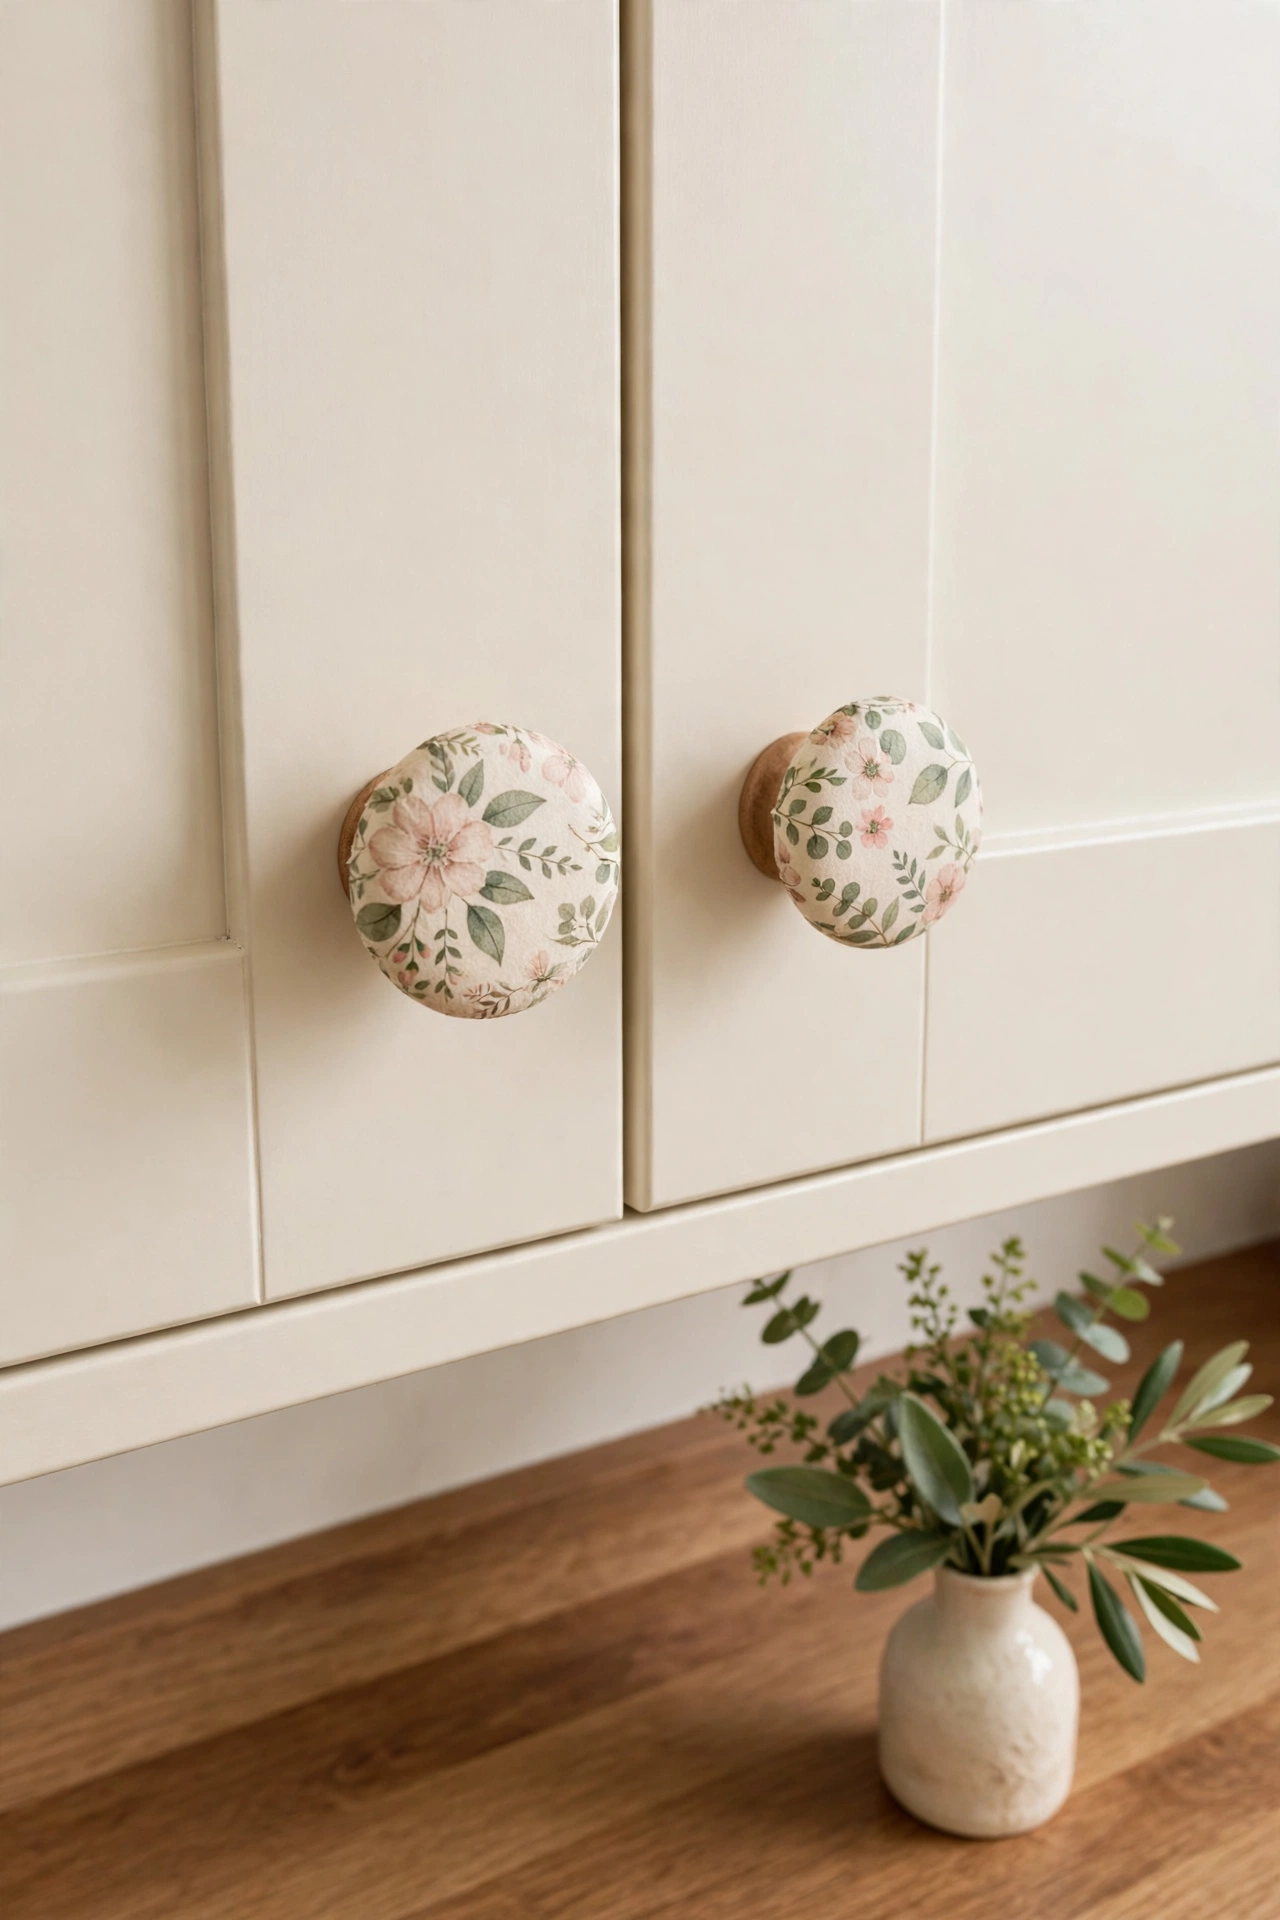
Decoupage turns a plain wooden knob into a tiny piece of patterned art. You cut small pieces of floral paper to fit the round face of the knob, brush on a thin layer of decoupage glue, smooth the paper down with your fingers, and seal it with two more thin coats. The paper hugs the curve of the knob, and the sealant gives it a smooth finish that stands up to daily use.
Choose a small scale print with sage leaves and blush flowers so the pattern reads clearly on a small surface. If you love this paper craft, you can use the same skill on other surfaces around your home, and these decoupage decor ideas will give you more places to try it. Keep leftover paper scraps in a folder so you can repair a knob later with the exact same print.
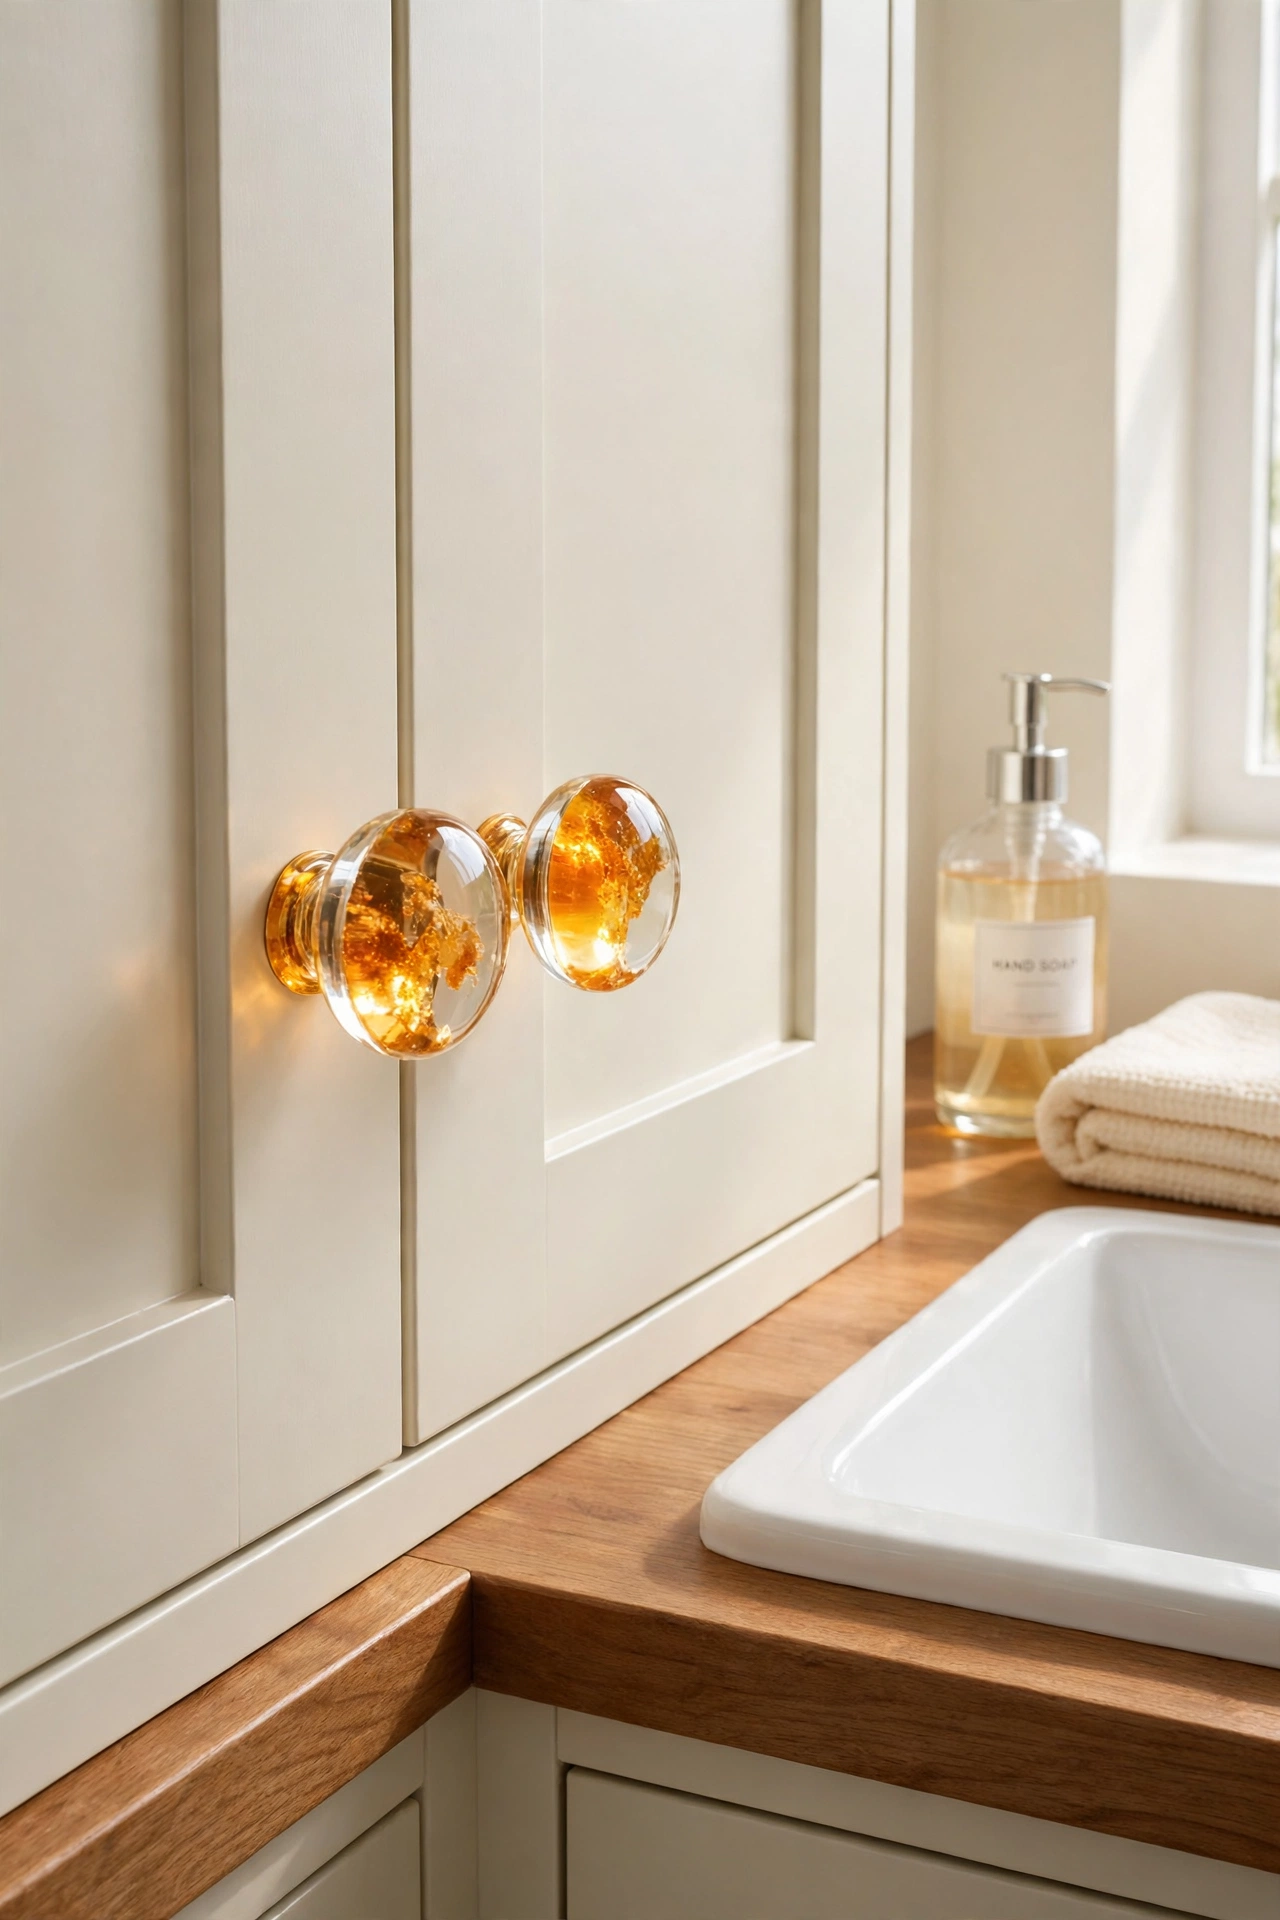
2. Resin-Coated Knobs With a Warm Amber Glow
A clear resin coat gives old knobs a deep glassy shine that looks far more costly than it is. You brush a thin layer of clear resin over a painted or plain knob, and as it cures it forms a hard glossy shell that catches the light. A touch of amber tint inside the resin gives the knob a warm honey glow that suits cream cabinets and warm wood counters.
Work on a covered surface and coat one knob at a time so the resin does not drip or pool. Let each knob cure fully before you screw it back on the door, and you will have a finish that wipes clean with a damp cloth. This idea works best in a bathroom, where the glossy surface also resists water splashes.
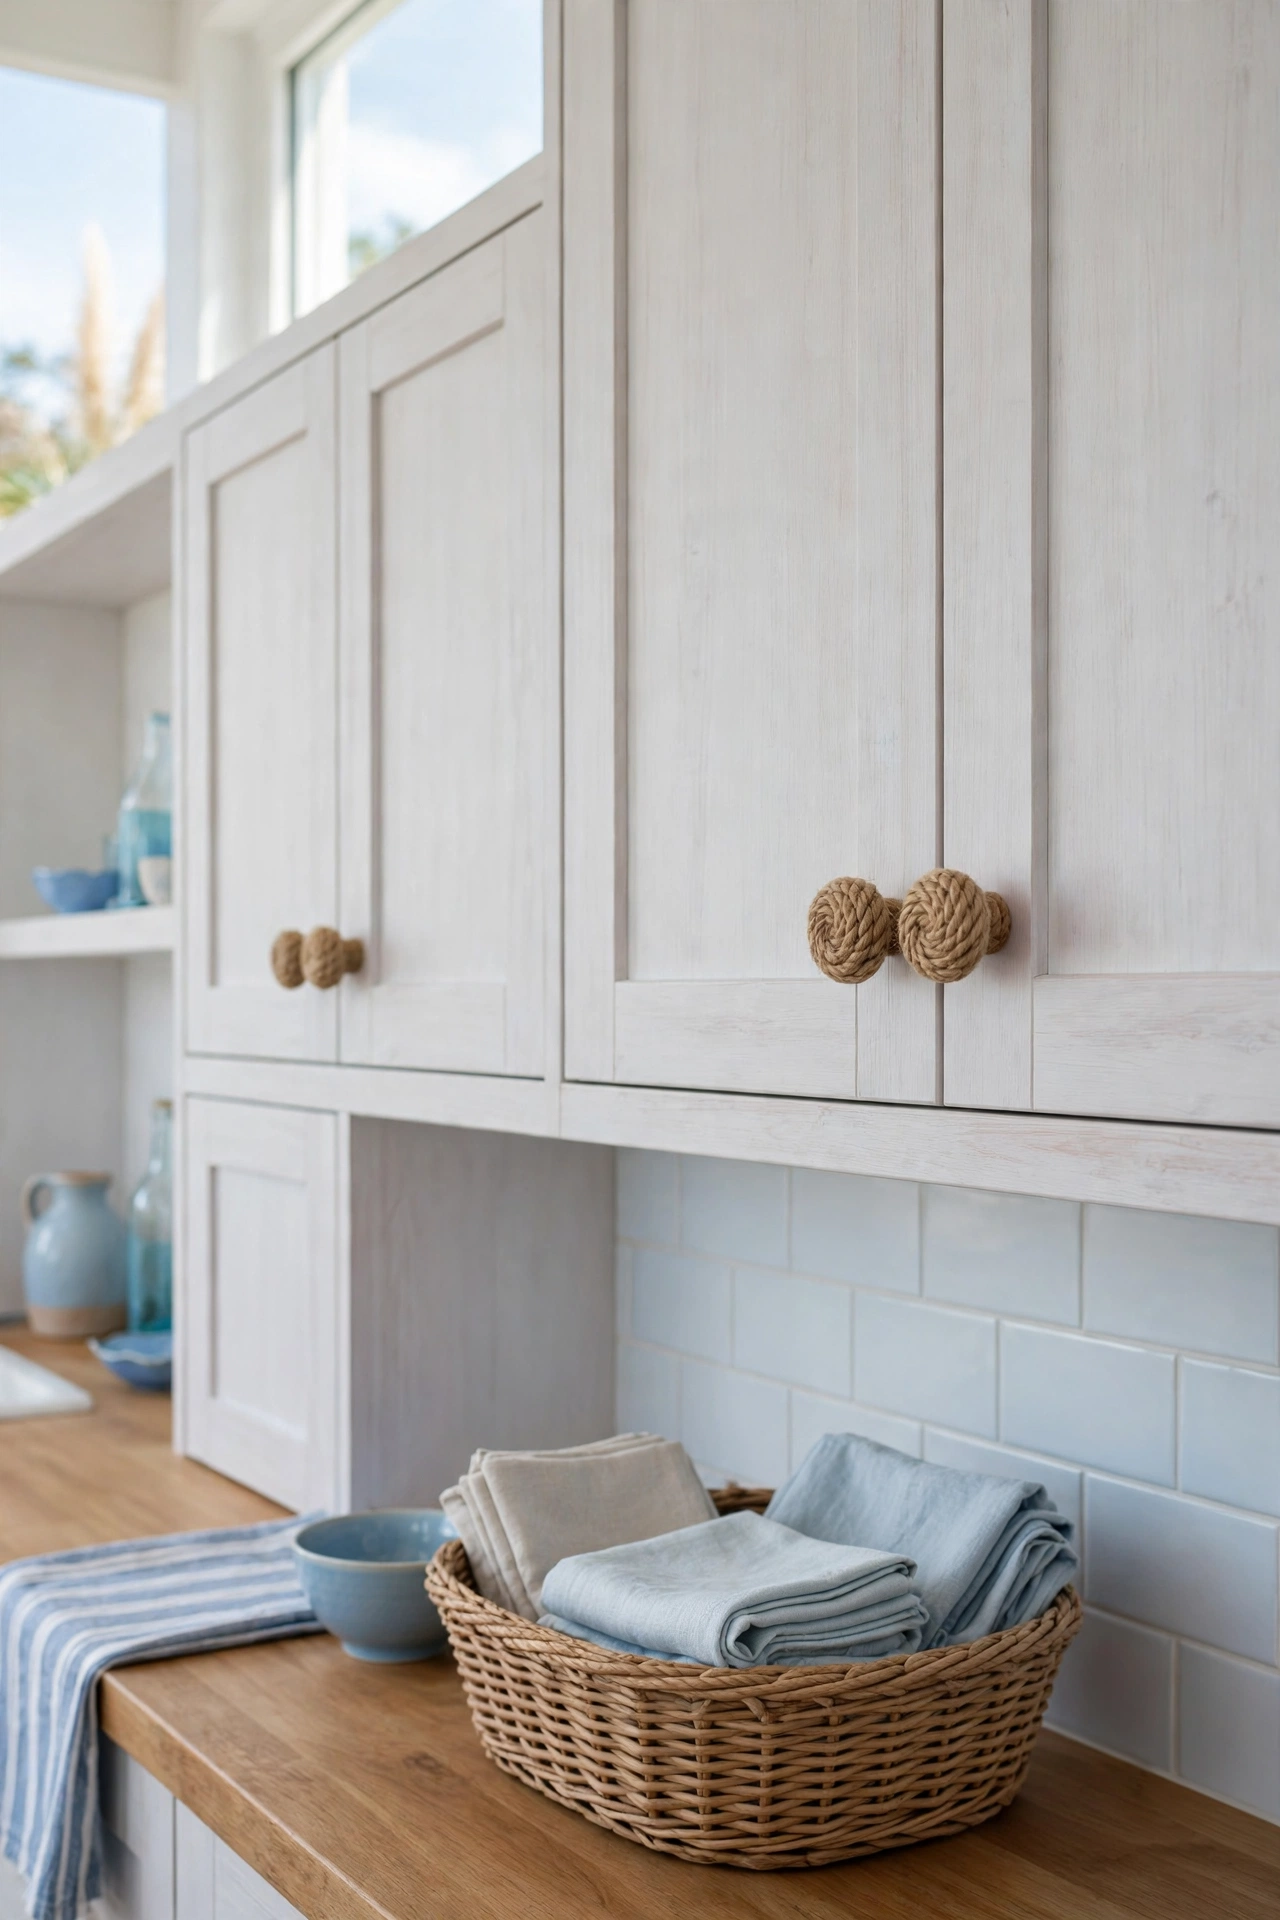
3. Rope-Wrapped Knobs for a Coastal Kitchen
Natural jute rope wrapped tightly around a round knob brings instant coastal charm to whitewashed cabinets. You start with a dab of strong glue at the base, wind the rope in neat rows until the whole knob is covered, and finish with a small knot tucked at the back. The texture feels warm in your hand and looks like something from a seaside cottage.
Keep the rows snug and even so no wood shows through between the coils. This style pairs well with soft blue tiles, woven baskets, and linen napkins, and it costs almost nothing when you buy one roll of rope for the whole kitchen. Seal the rope with a light coat of clear matte sealer if your kitchen gets steamy.
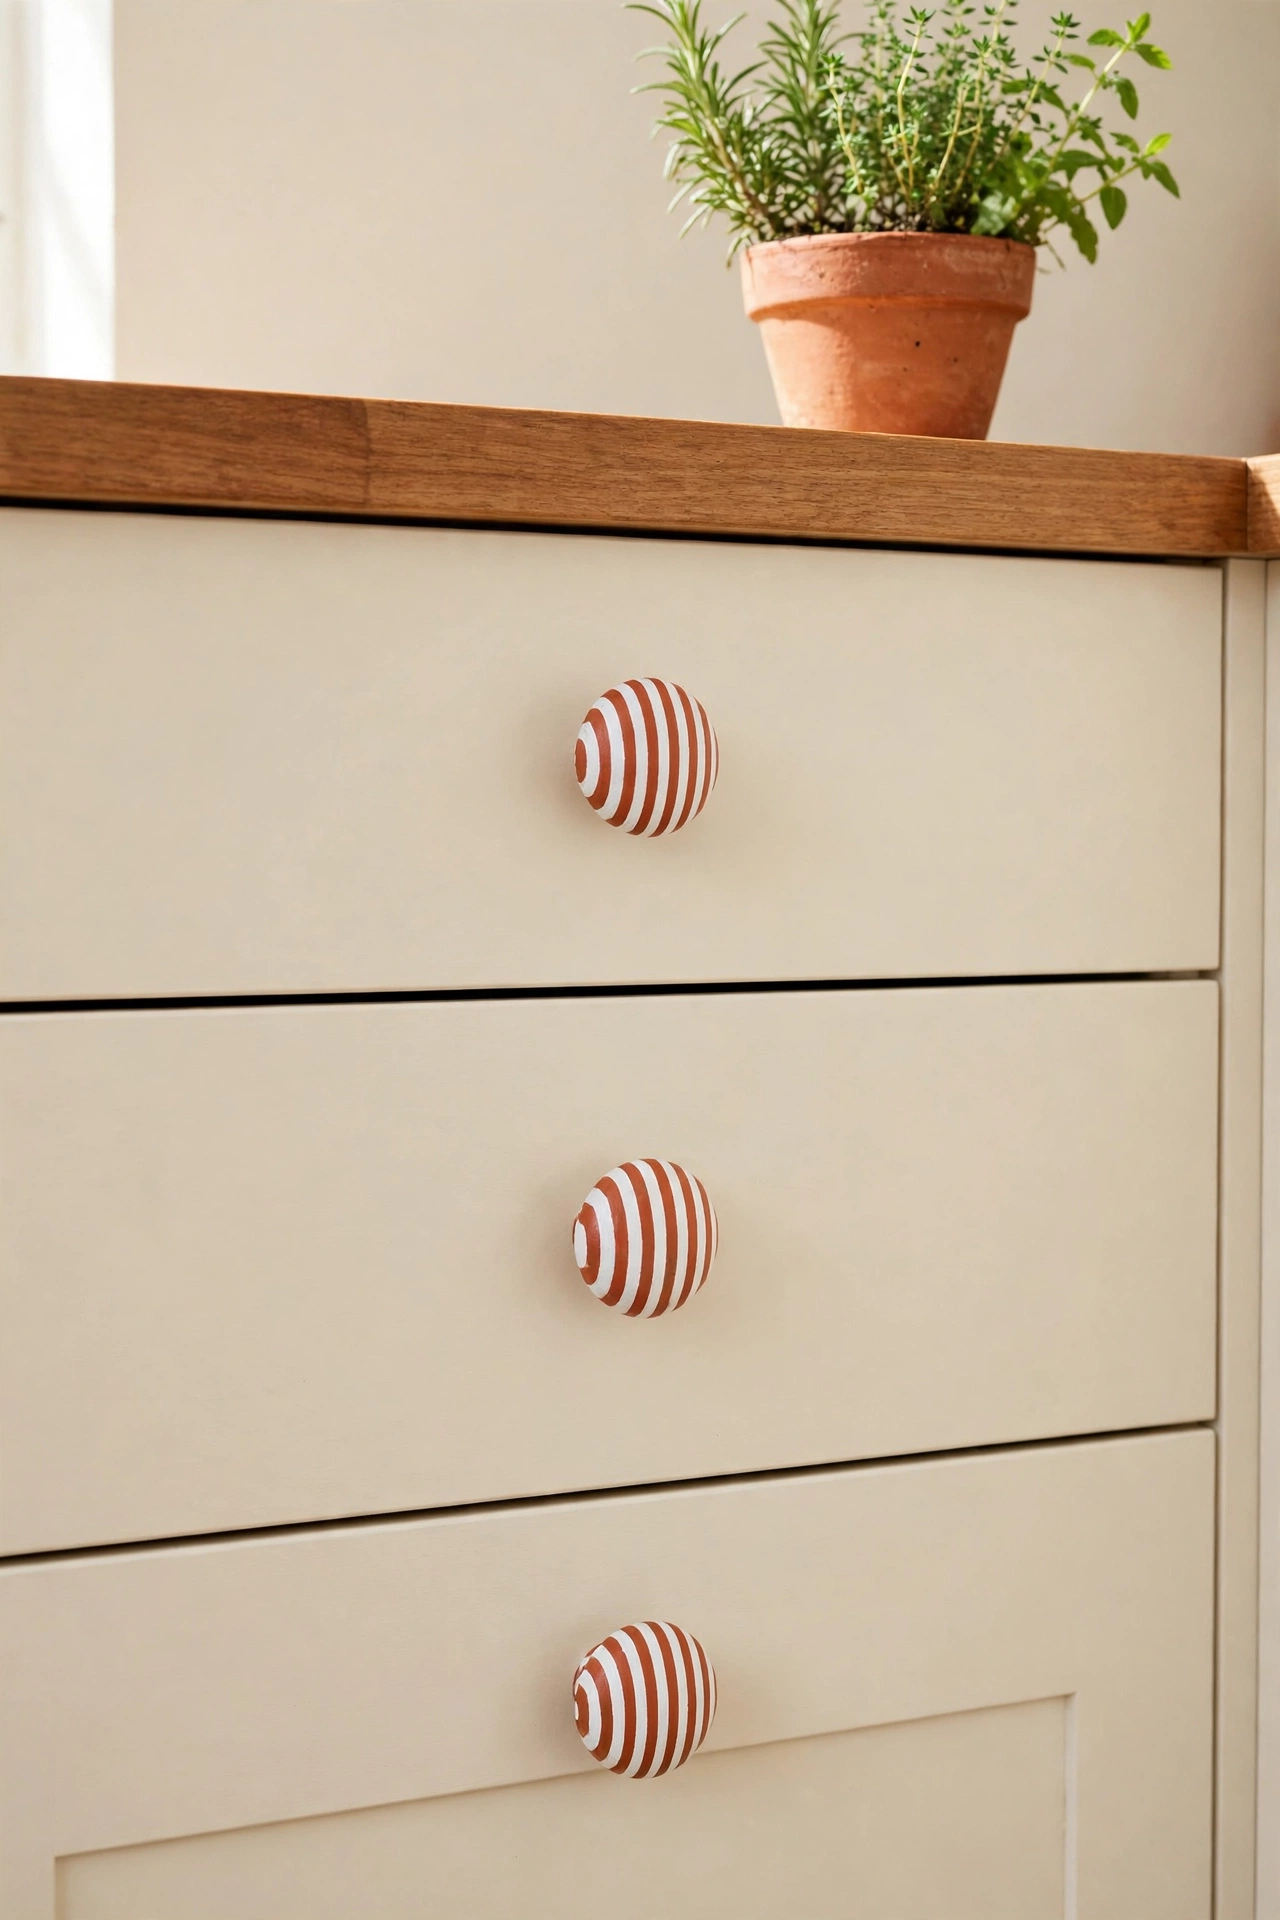
4. Painted Stripe Knobs in Terracotta and White
Neat hand-painted stripes turn a plain knob into a cheerful focal point on a cream drawer front. You paint the whole knob white first, let it dry, then wrap thin strips of painter tape around the knob to mark the stripe lines. Brush terracotta paint between the tape strips, peel the tape away while the paint is still slightly damp, and you get crisp clean lines.
Thin stripes look fresh and modern, while wide stripes feel bold and playful, so you can match the width to your kitchen style. Paint all the knobs in one batch so the stripe spacing stays even across the set. Two thin coats of paint give better coverage than one thick coat, and a clear topcoat keeps the stripes bright.
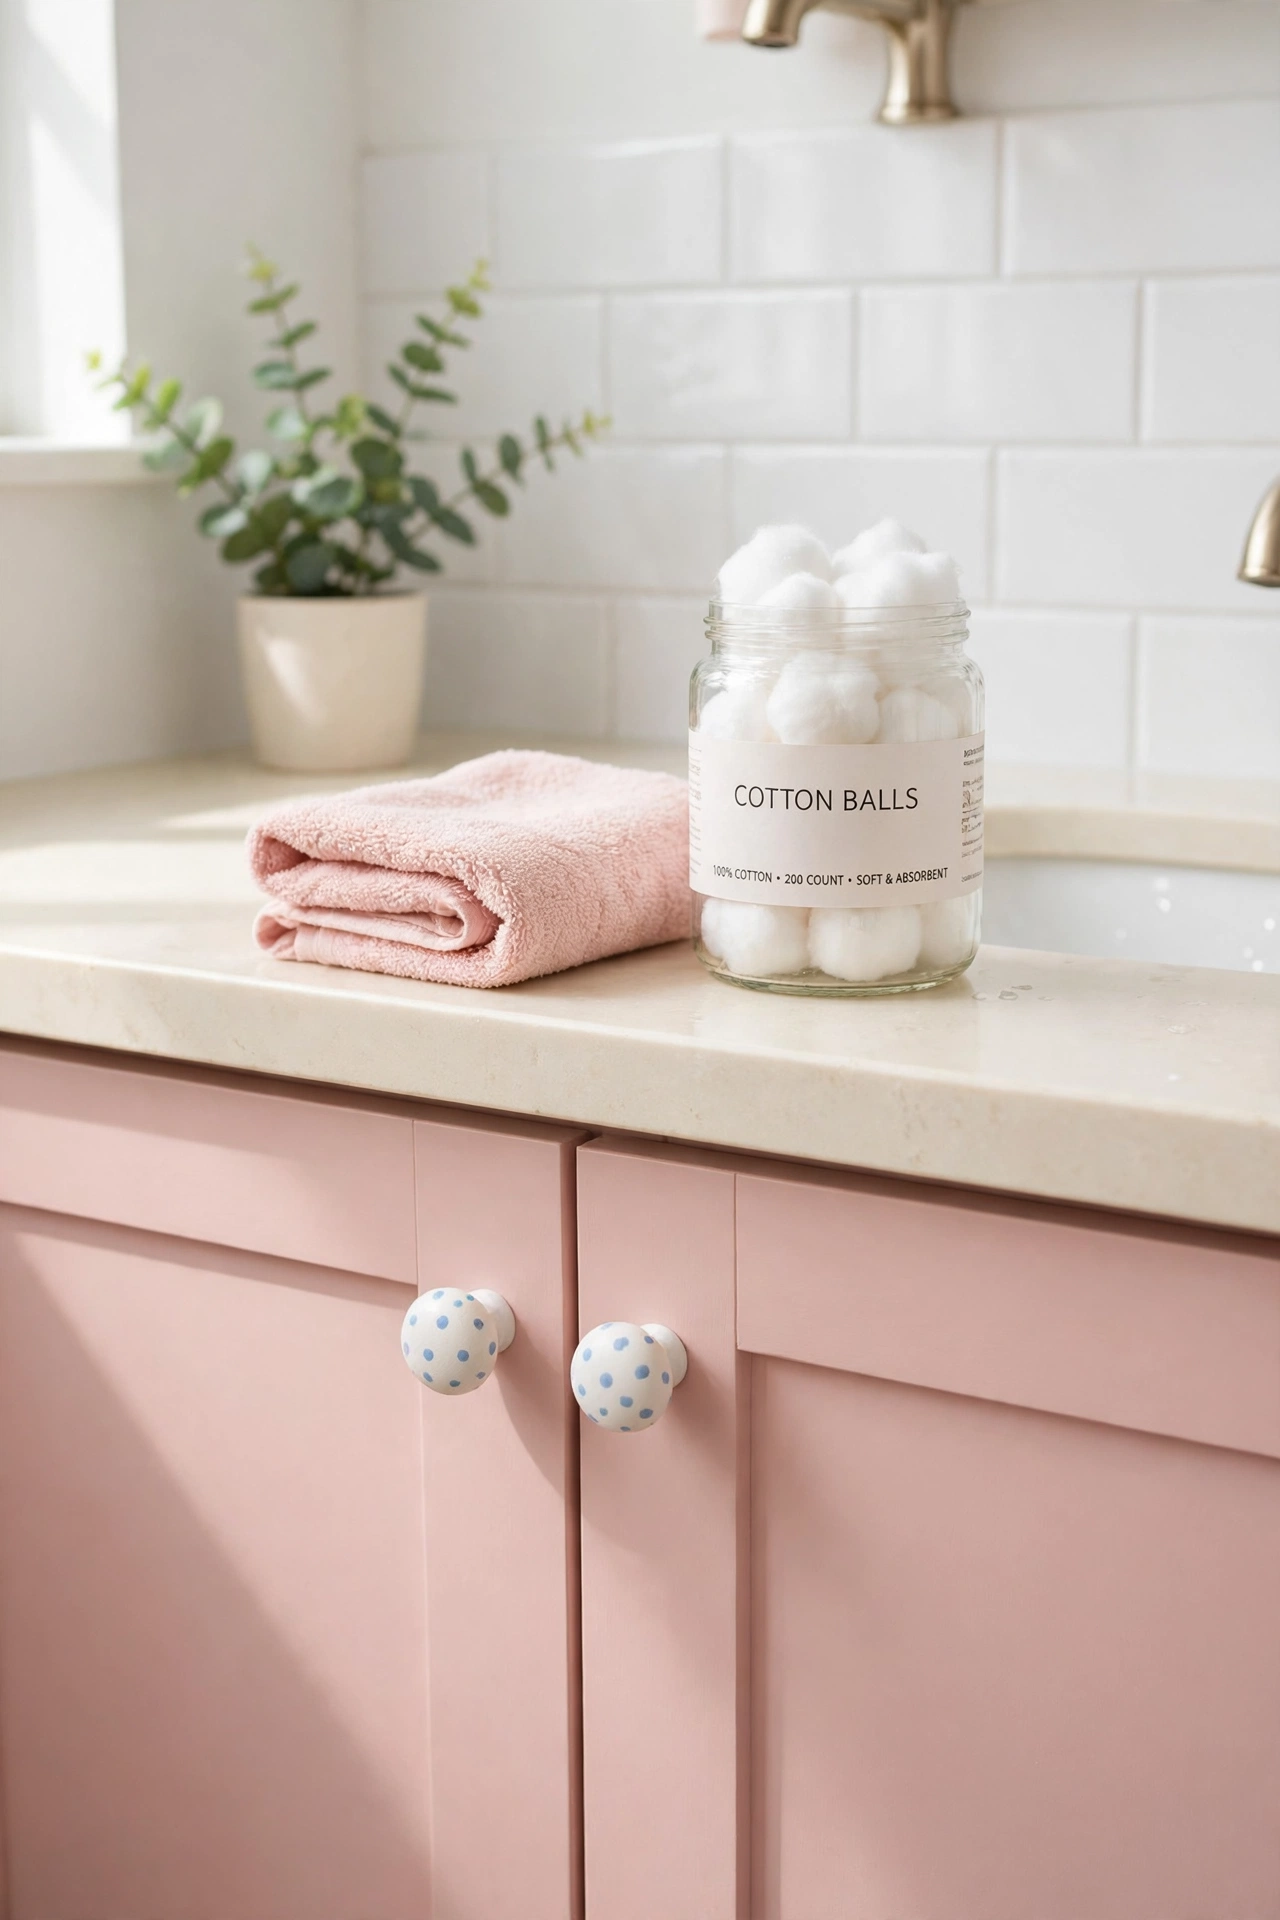
5. Polka Dot Knobs for a Playful Bathroom
Small painted dots bring a light and happy feel to a bathroom vanity, and they are one of the easiest patterns you can paint. You paint each knob white, then press the flat end of a pencil eraser into soft blue paint and stamp neat dots around the face of the knob. The eraser gives you dots that are all the same size, which keeps the set looking tidy.
Blush pink cabinet doors make the blue dots pop, and the look feels fresh without being childish. If you want to refresh the rest of the room at the same time, these budget friendly bathroom makeover ideas pair well with this small change. Seal the dots with a clear coat so they survive steam and daily hand washing.
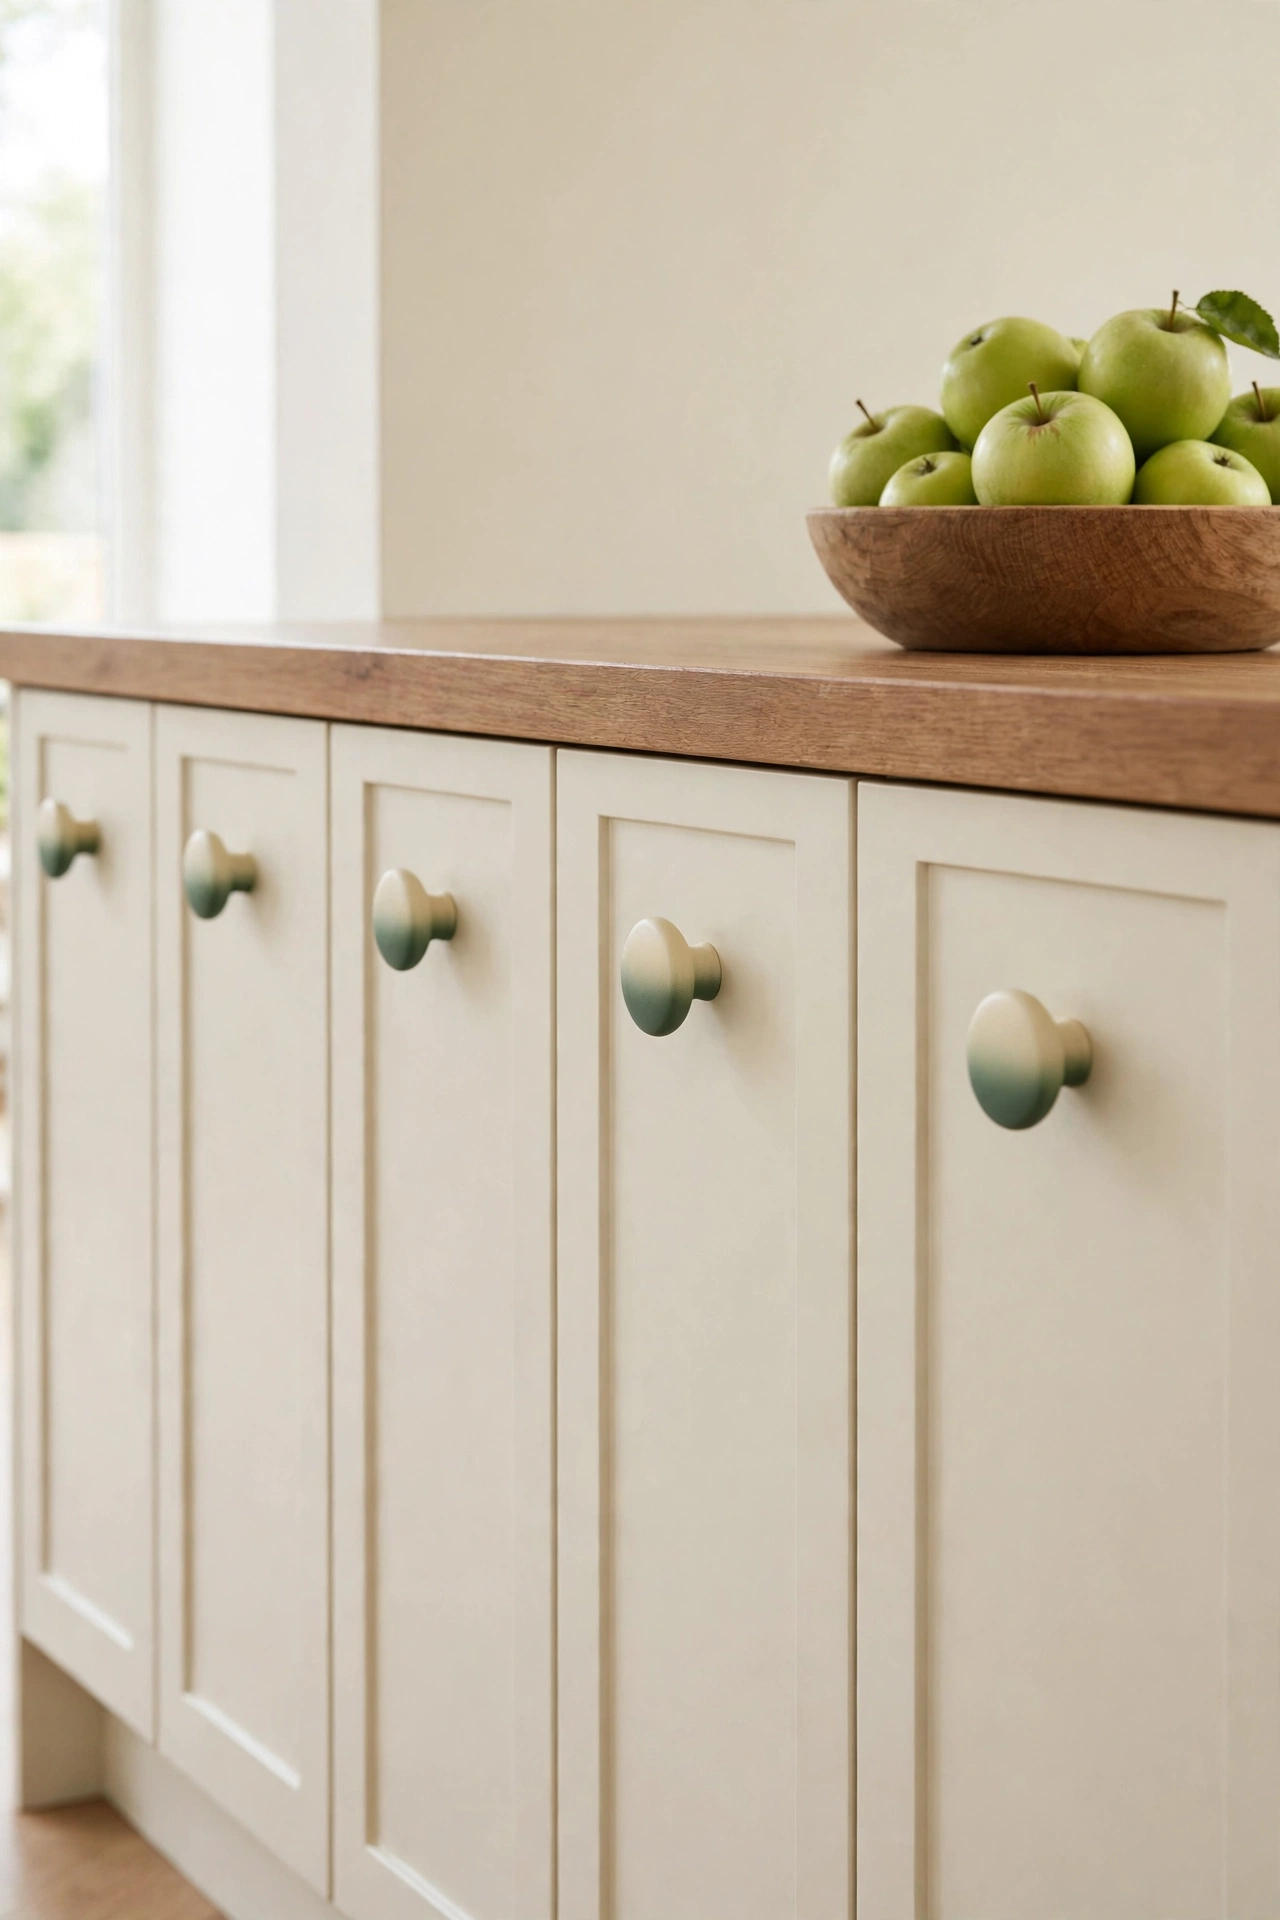
6. Ombre Knobs That Fade From Sage to Cream
An ombre finish fades gently from deep sage green at the base of the knob to pale cream at the face, and the soft blend looks calm and modern on a row of cabinets. You paint the whole knob cream first, then blend sage paint upward from the base with a damp sponge while the paint is still wet. The sponge softens the edge between the two colors so the fade looks smooth.
Practice on one spare knob first so you learn how much pressure gives the softest blend. Work quickly while the paint stays wet, and step back often to check that all the knobs fade in the same direction. The result looks like a quiet watercolor wash, and it suits kitchens with wood counters and green plants.
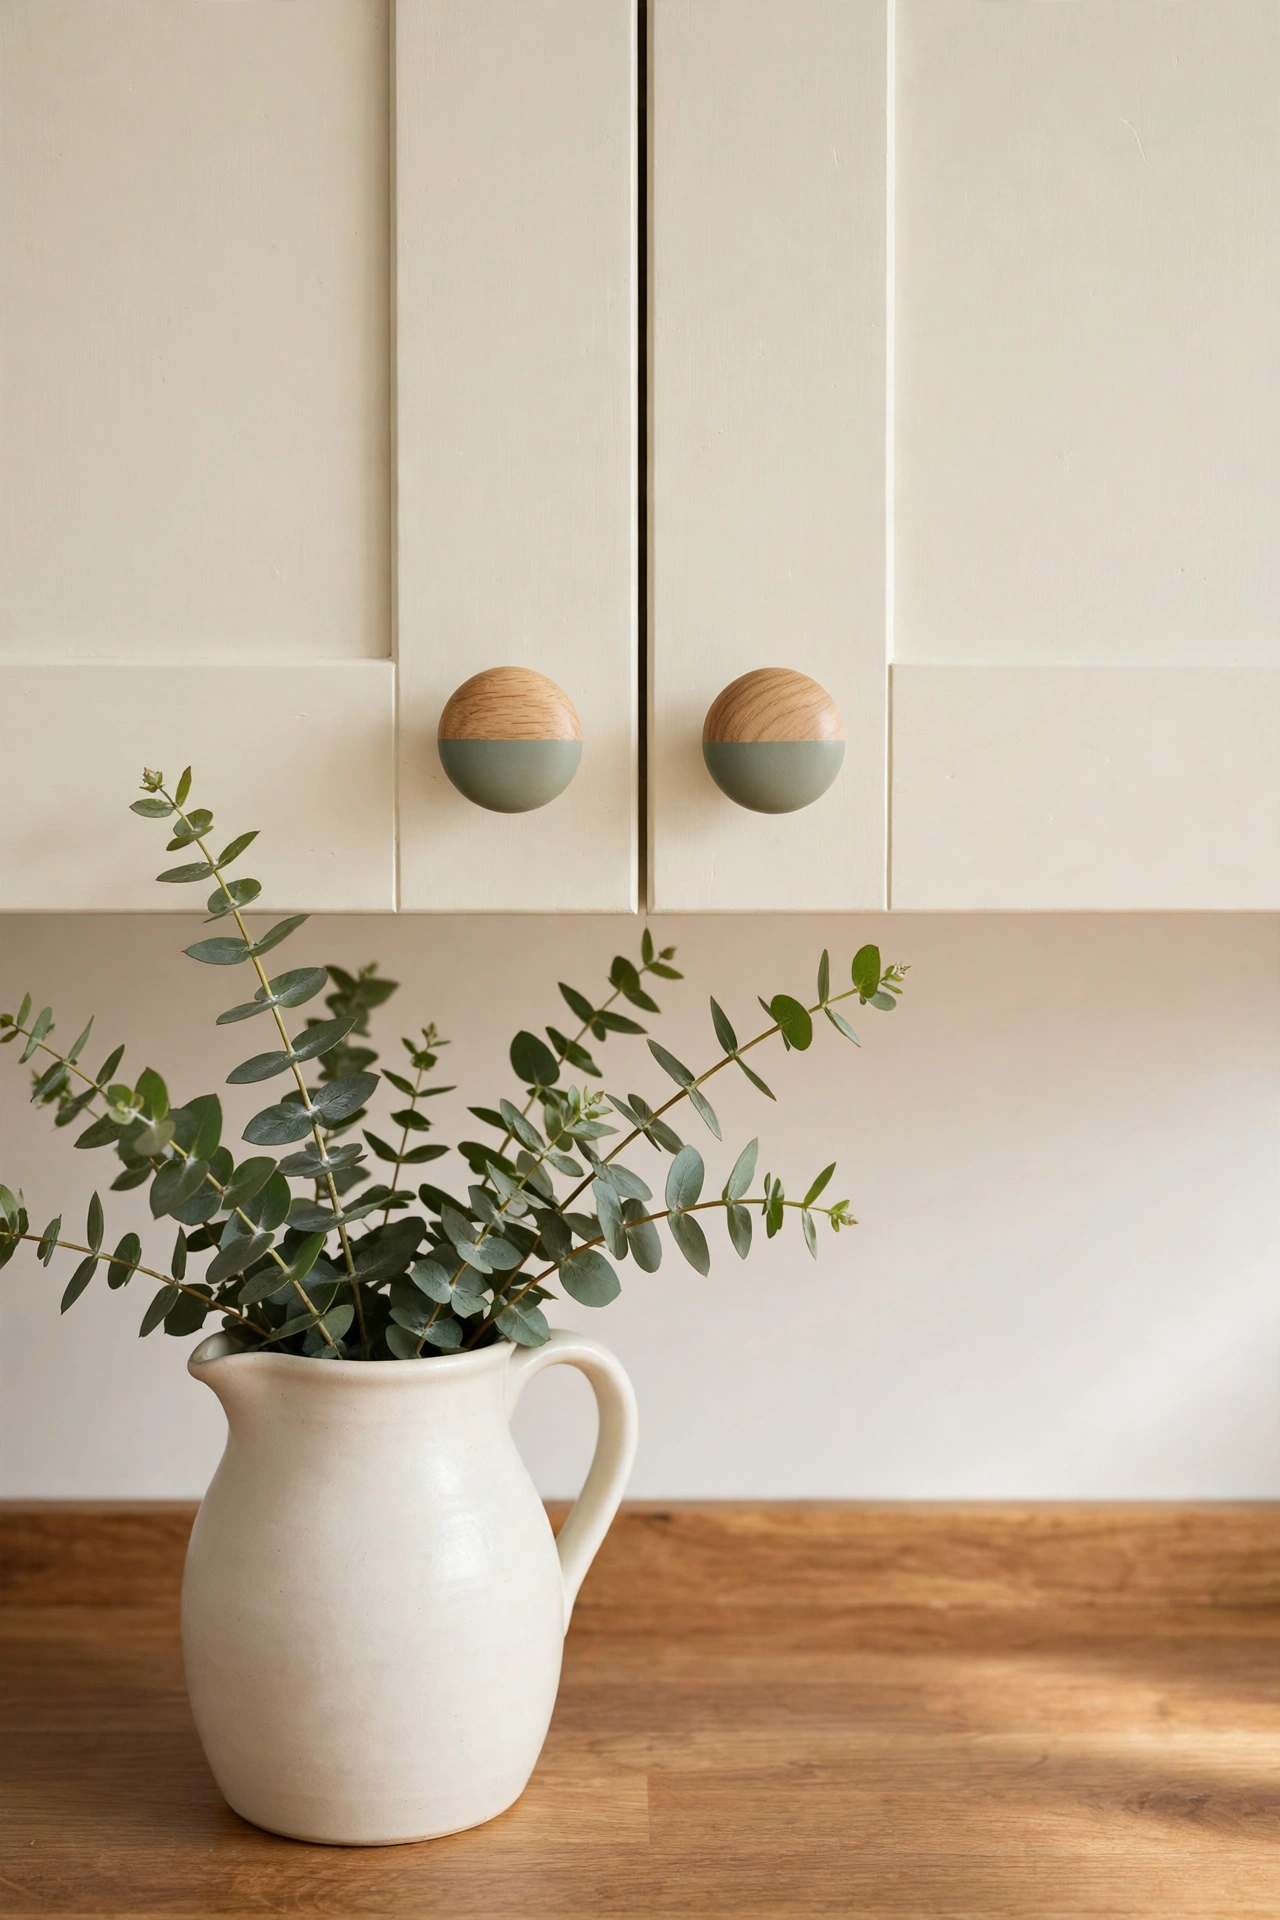
7. Two-Tone Knobs With Sage Paint and Natural Wood
A two-tone knob splits the round face into two clean halves, one in natural wood and one in sage paint, and the crisp line between them looks sharp and modern. You sand the knob smooth, tape off the half you want to keep bare, paint the other half sage, and remove the tape for a clean edge. A coat of clear sealer on the wood half keeps the grain visible and protects it from grease.
The mix of painted color and bare wood grain ties the knobs to both the cabinets and the countertop, which makes the whole kitchen feel planned. If you want a richer wood tone on the bare half, a light wood stain can deepen the grain, and these wood stain projects show how to get an even finish. Keep the paint line level on every knob so the set looks uniform.
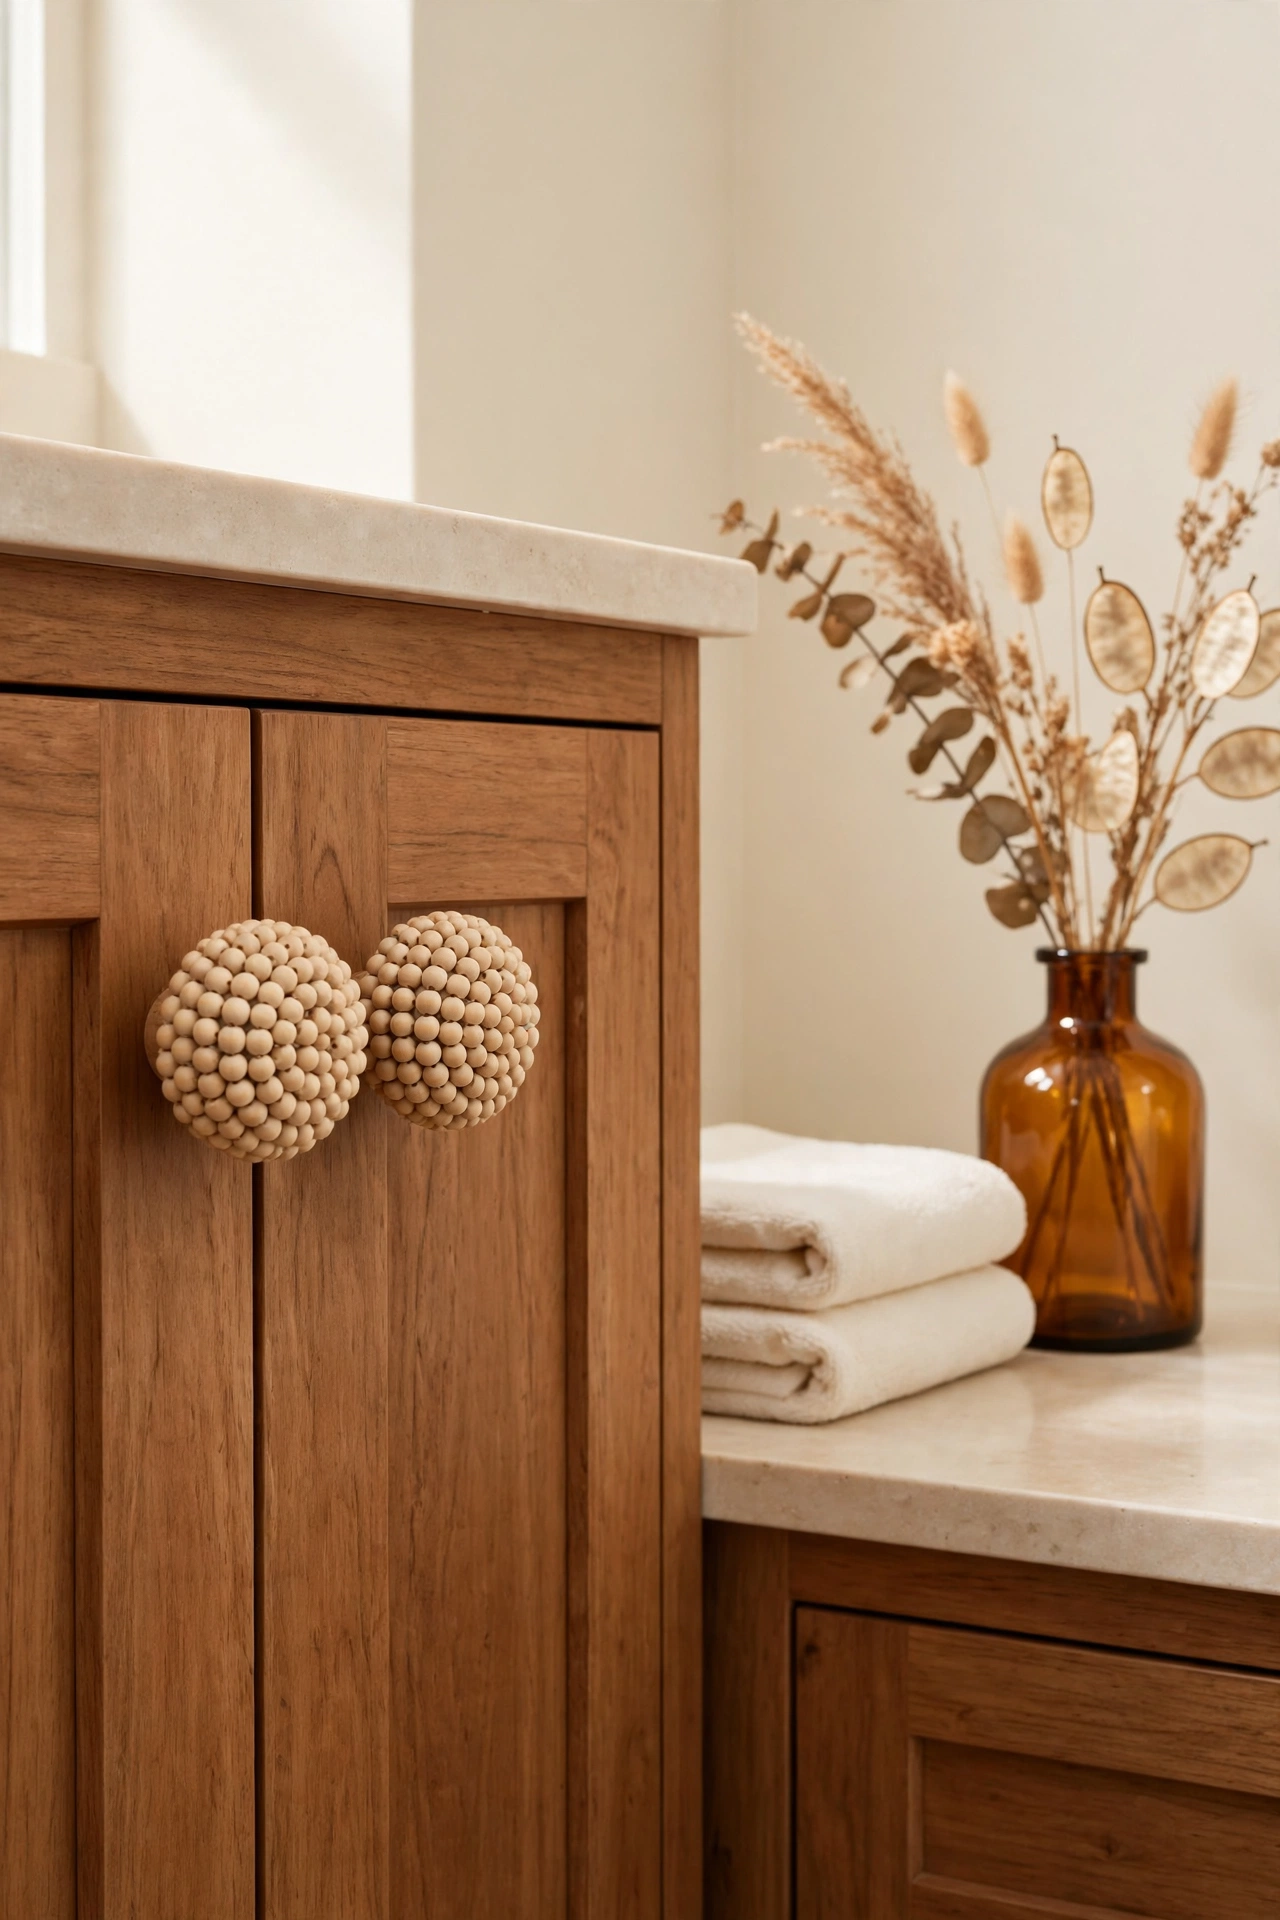
8. Bead-Covered Knobs With Tiny Wooden Beads
Small natural wooden beads glued over the whole surface of a knob create a rich bumpy texture that feels lovely to hold. You glue the beads on one row at a time, starting at the outer edge and working toward the center, and press each bead firmly into place. The beads catch light from every angle, so the knobs look warm and handcrafted.
Use beads that are all the same size so the rows sit evenly, and let the glue dry fully between rows so nothing slides. This idea suits a warm wood vanity, where the pale beads stand out against the darker wood. A light coat of clear sealer over the finished beads keeps dust out of the gaps and makes cleaning simple.
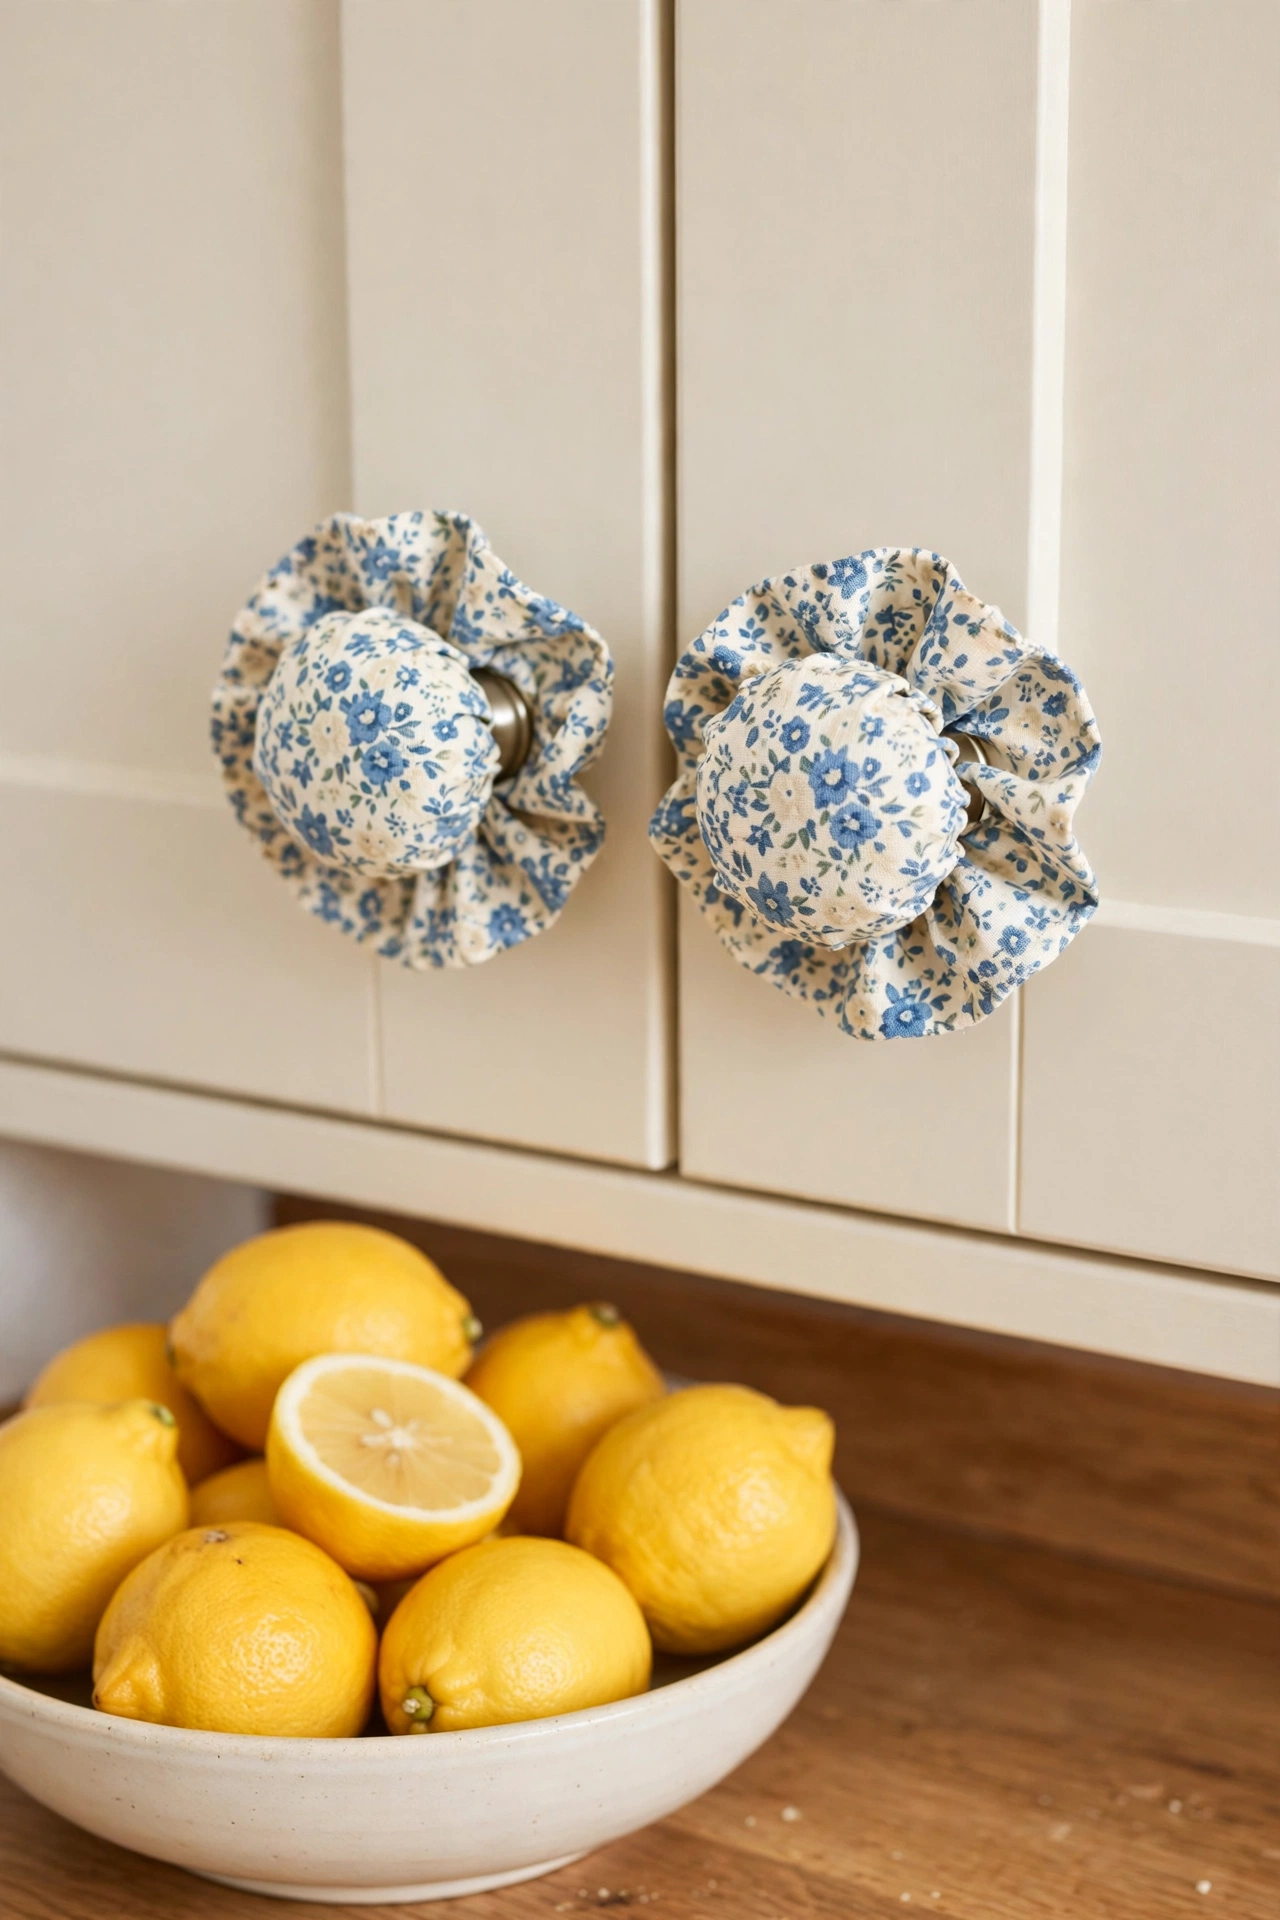
9. Fabric-Covered Knobs in a Blue Floral Print
Fabric gives a knob a soft gathered look that paint alone cannot match. You cut a circle of cotton fabric larger than the knob face, gather the edges around the back with a running stitch, pull the thread tight, and glue the gathered fabric flat against the back of the knob. A small scale blue floral print looks charming on cream cabinets and adds a cottage feel to the kitchen.
Choose a thin cotton that gathers smoothly without bulk, and press the fabric with an iron before you start so the print lies flat. Seal the fabric with two coats of clear fabric sealer so it resists kitchen splashes and wipes clean. You can swap the fabric each season for a fresh look without buying new knobs.
10. Mosaic Tile Tops for Kitchen Cabinet Knobs
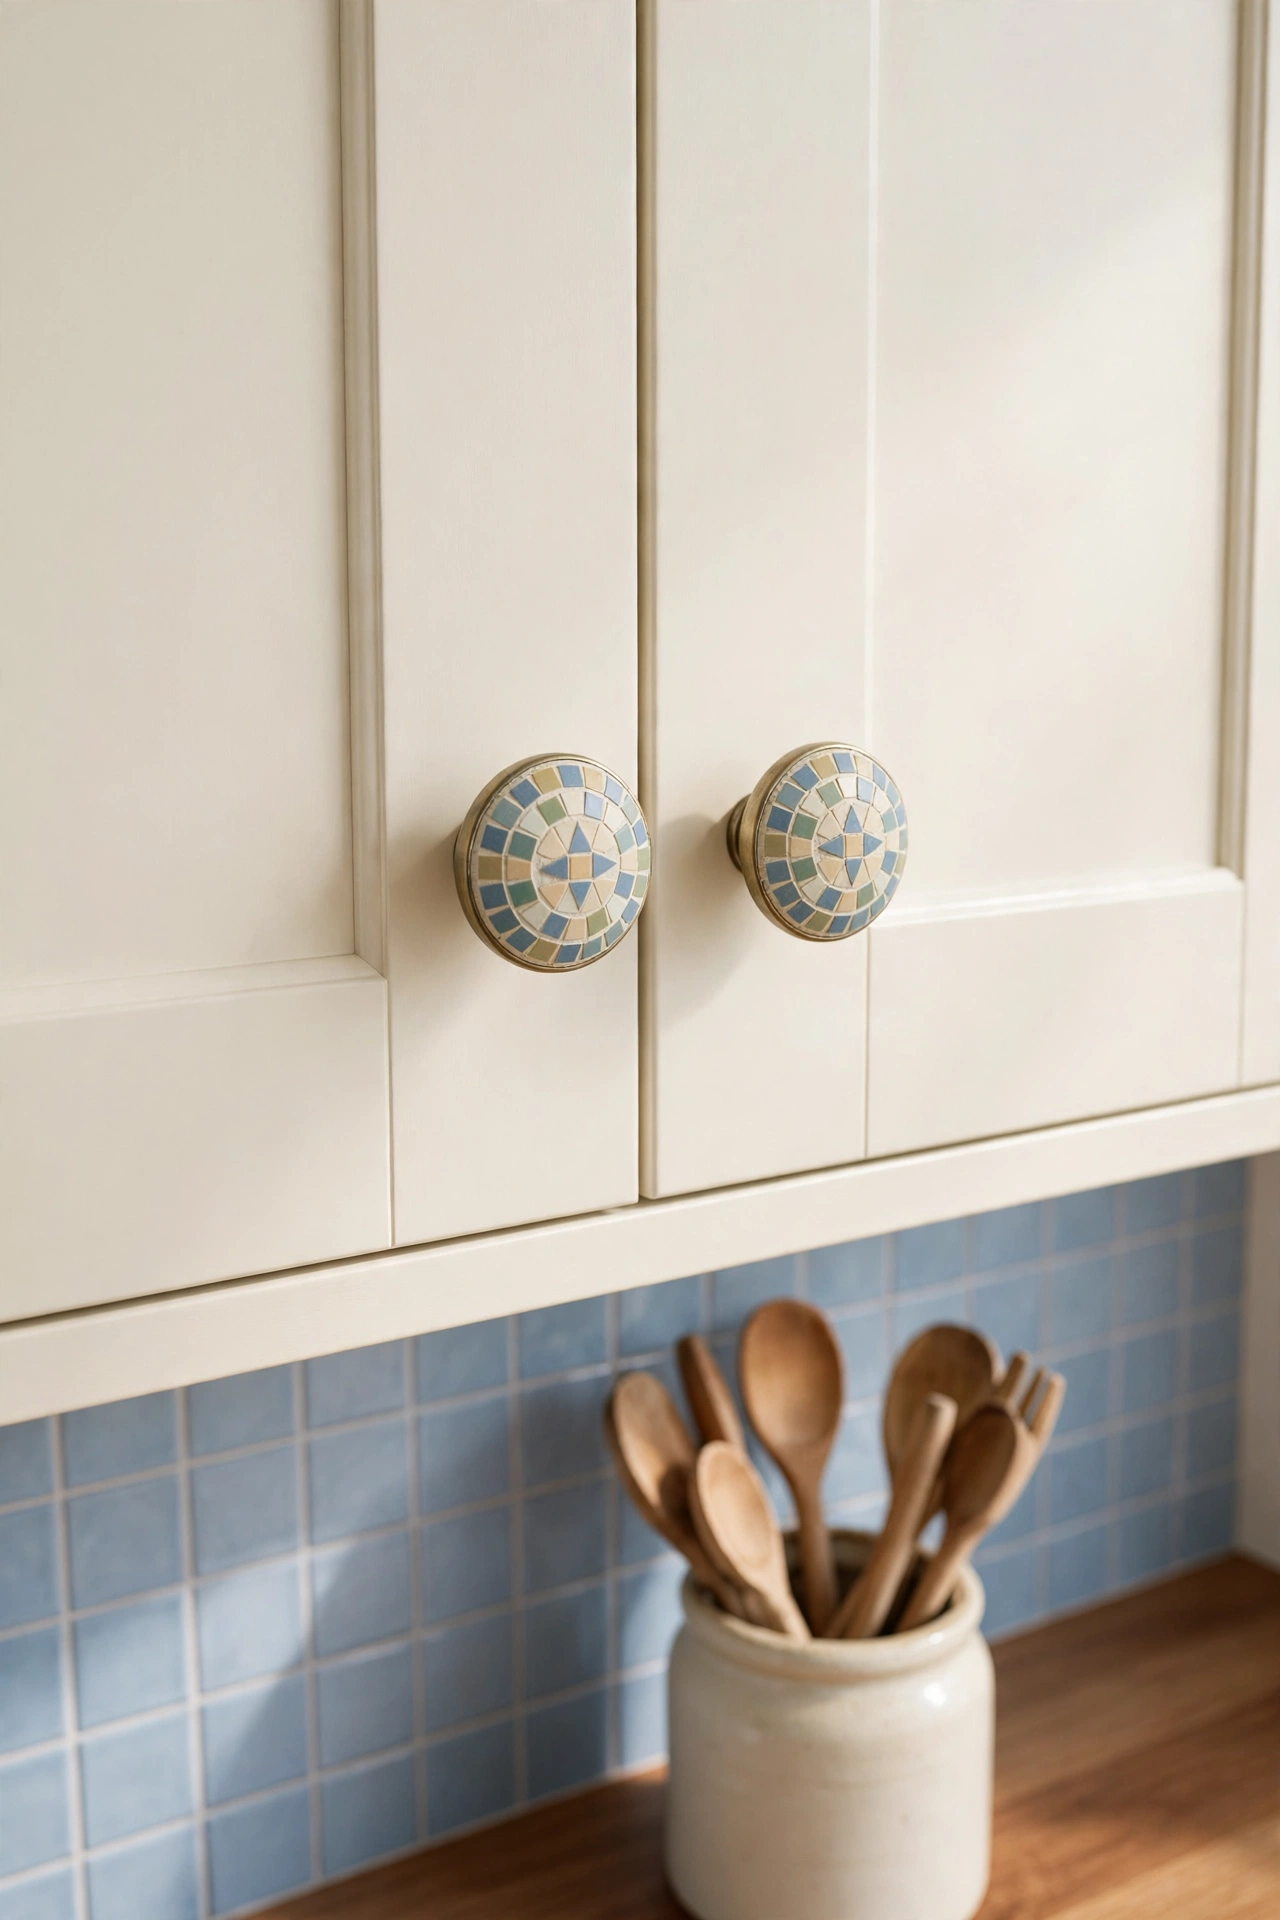
Tiny mosaic tiles set into the flat face of a knob turn each one into a small piece of art. You glue the tiles in a simple star or grid pattern with strong craft glue, let them set, and press a small amount of grout between the gaps with your fingertip. A damp cloth wipes the grout off the tile faces, and the finished knob looks like a miniature tiled medallion.
Soft blue, sage, and cream tiles echo a tiled backsplash and tie the knobs into the rest of the kitchen. Cut the tiles with tile nippers if you need small pieces for the edge, and wear gloves so the cut edges do not scratch your hands. Seal the grout when it is dry so it stays clean and bright.
11. Air-Dry Clay Knobs Shaped by Hand
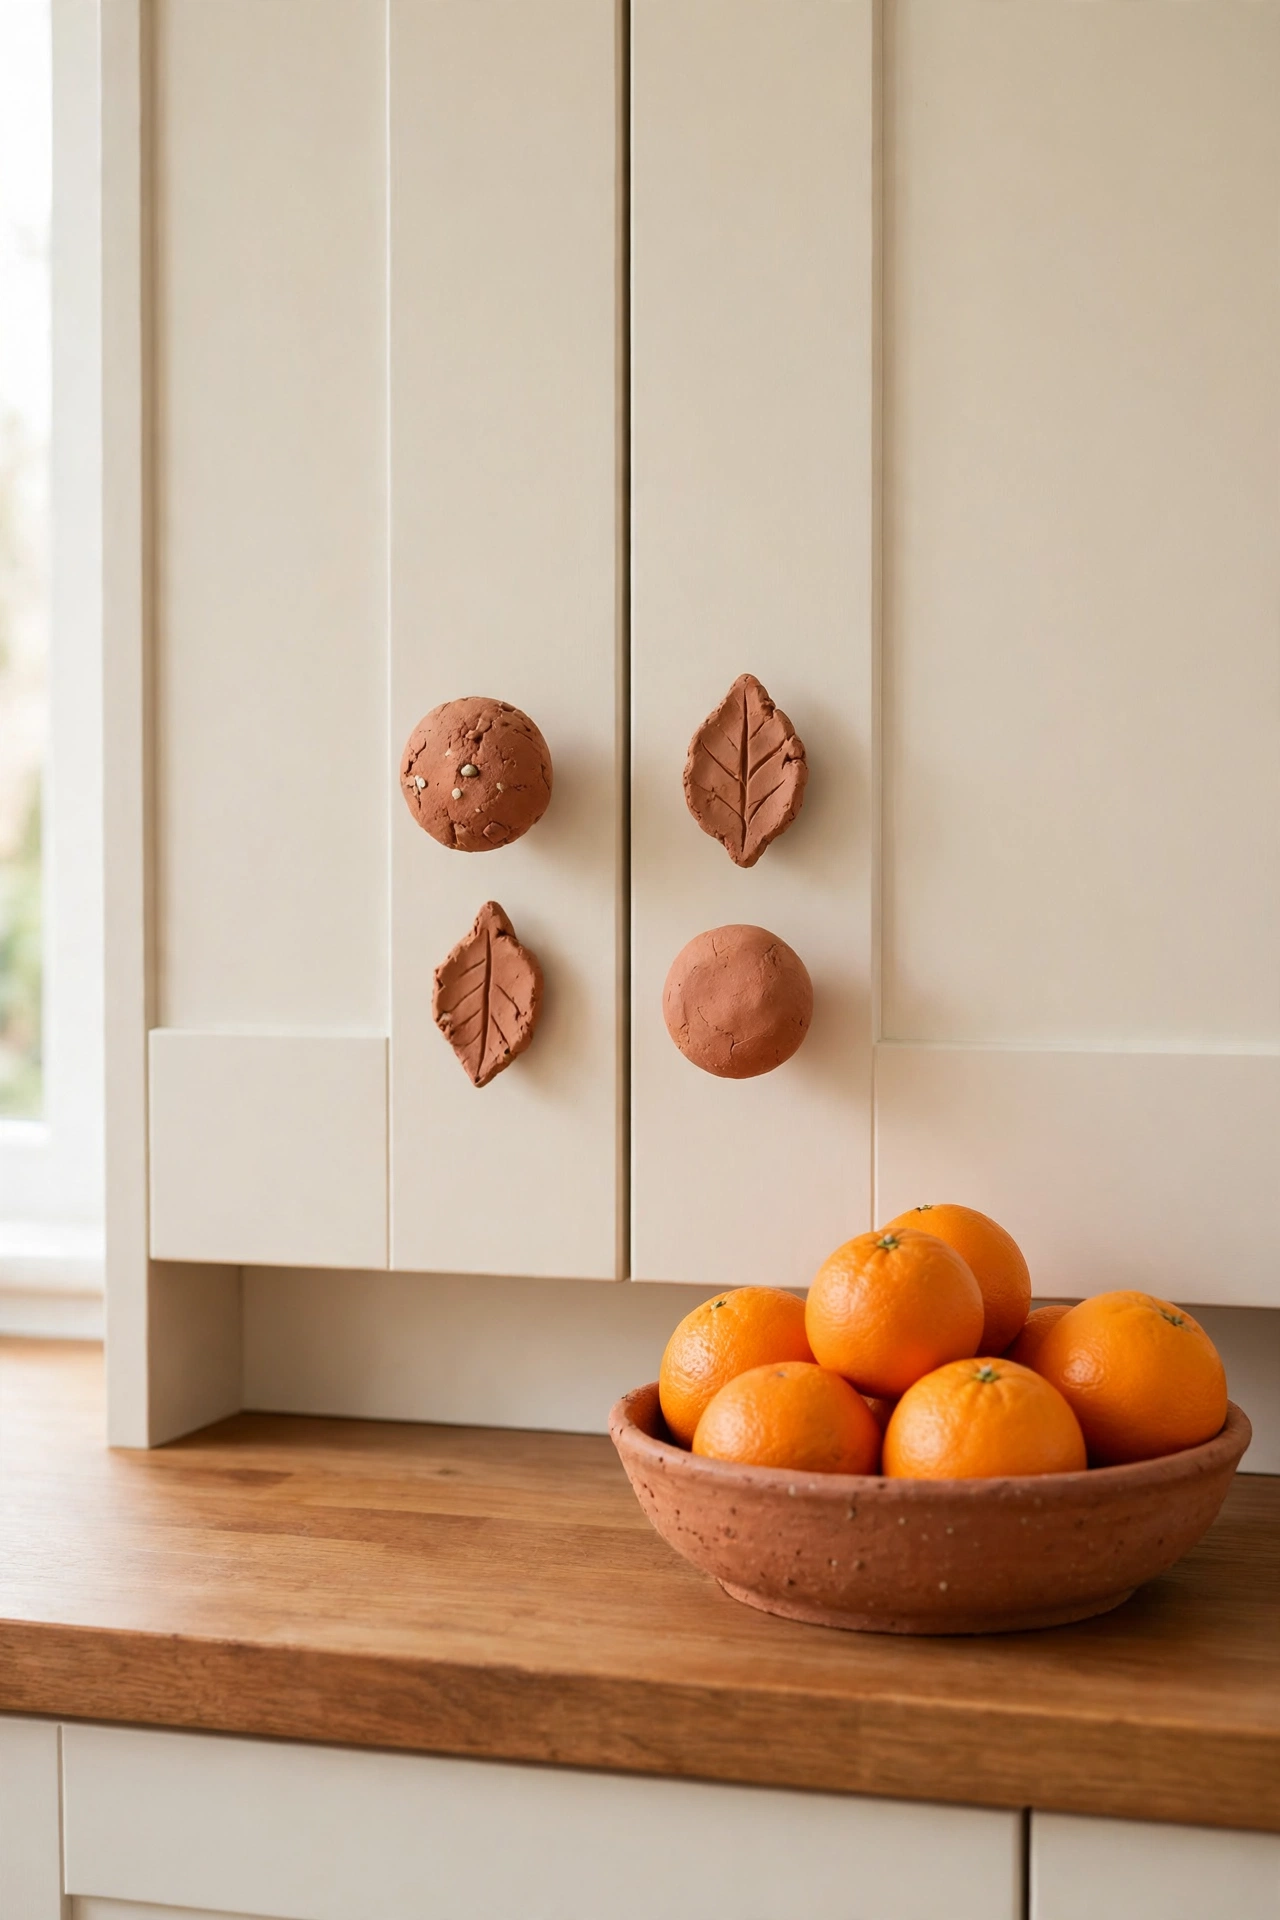
Air-dry clay lets you shape brand new knobs in any form you like, from smooth rounds to small leaves with pressed veins. You knead the clay until it is soft, press it into shape with your hands, push a screw through the back while the clay is still soft, and let the knob dry fully for two days. A coat of clear sealer hardens the surface and gives it a soft sheen.
Terracotta colored clay looks warm and earthy against cream cabinets, and the slight unevenness of a handmade shape is part of the charm. Mix round knobs with leaf shapes across the cabinets for a playful set, or keep one shape for a calm uniform look. Sand any rough edge gently with fine sandpaper before you seal the clay.
12. Pressed-Flower Resin Knobs for a Garden Feel
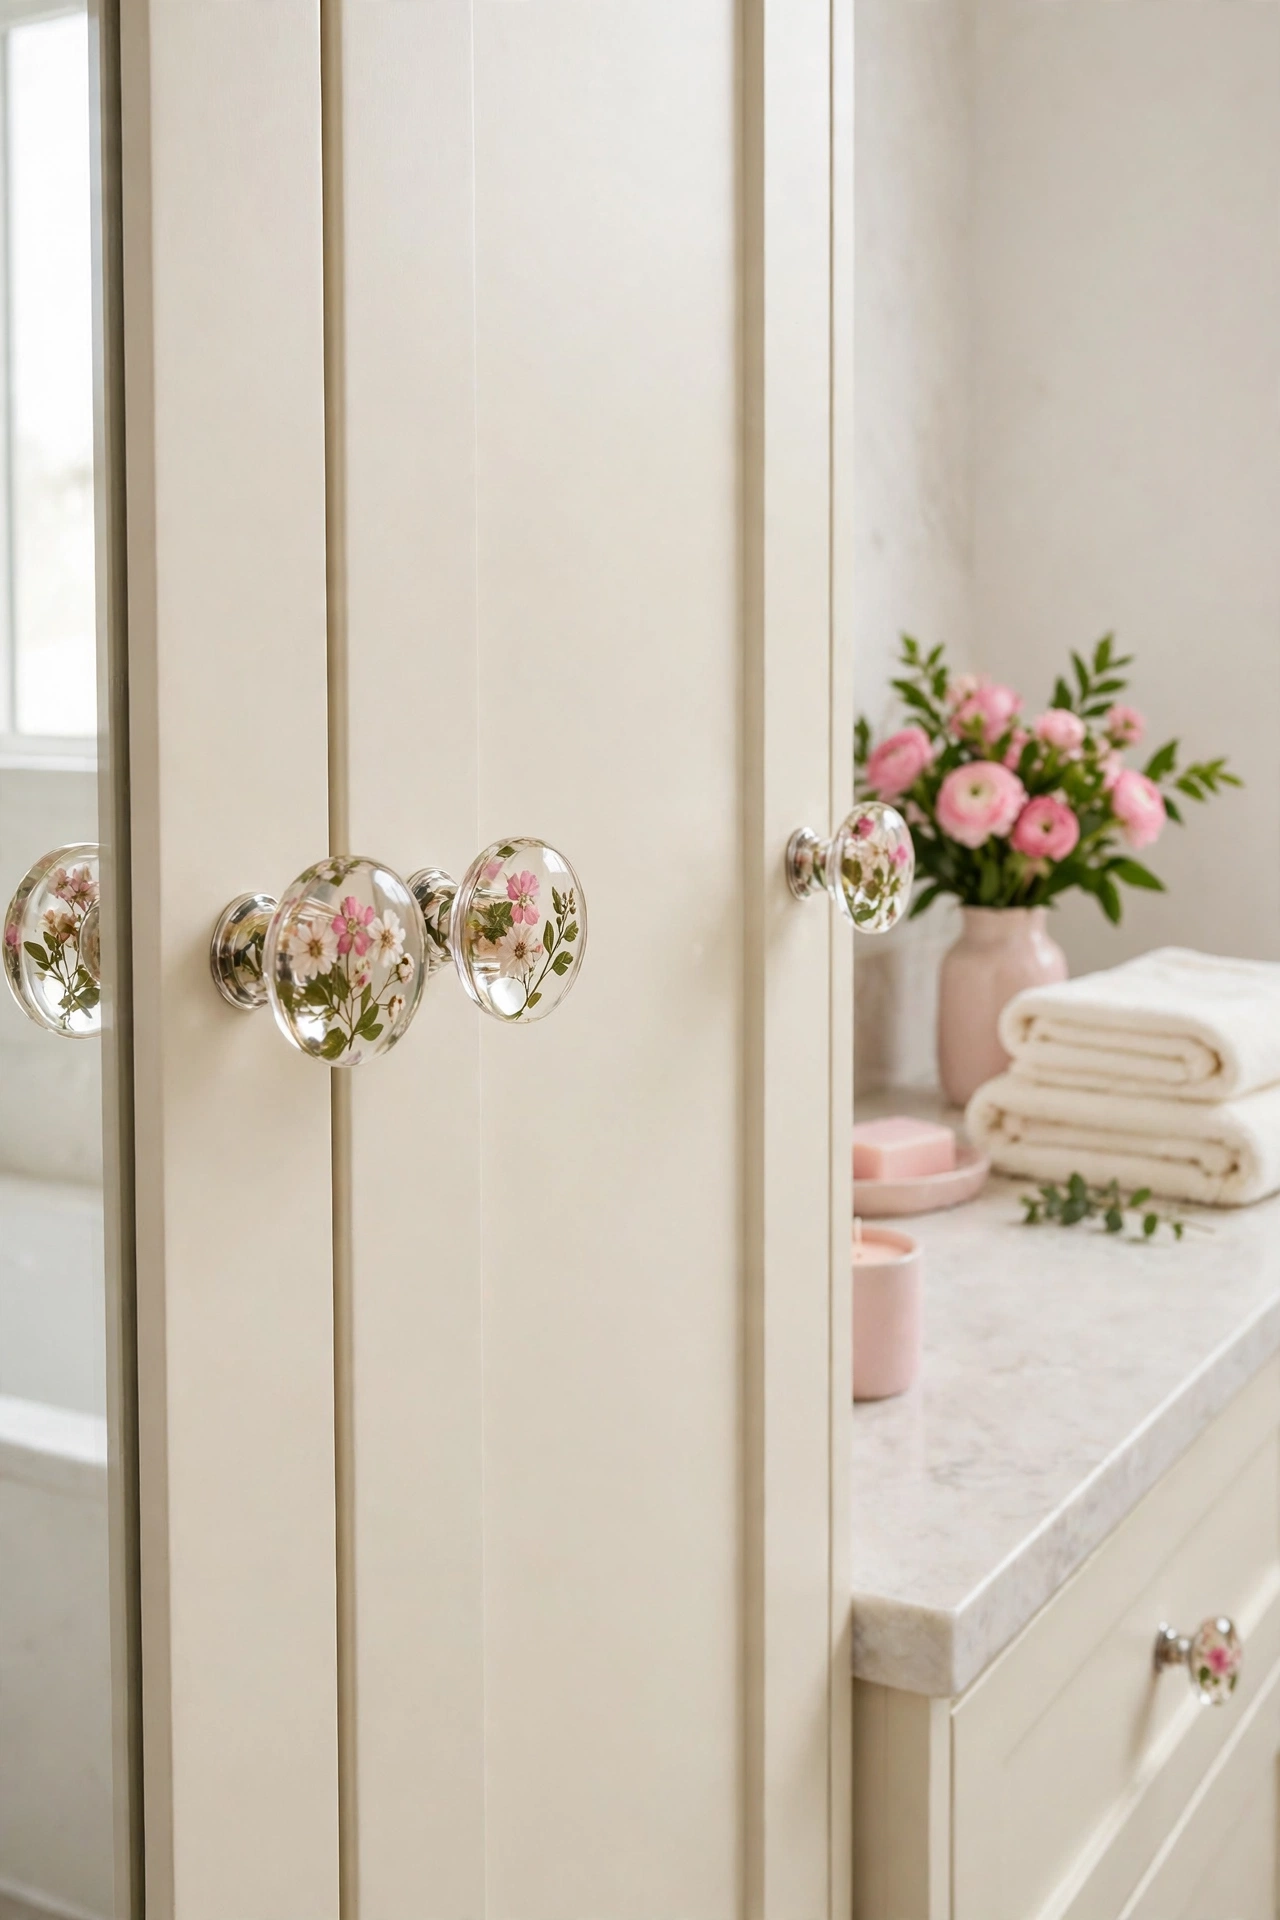
Pressed flowers sealed inside clear resin look like tiny garden scenes frozen in glass. You press small pink and white flowers flat for a week, arrange them on the face of a clear knob base, and pour a thin layer of clear resin over them. The resin holds the flowers in place and magnifies the petals slightly, so each knob looks delicate and detailed.
Pick flowers that are small and flat, such as daisies and tiny wildflowers, so they sit neatly on the knob face. Pour the resin slowly to avoid air bubbles, and pop any bubble you see with a toothpick before the resin sets. These knobs suit a bathroom with blush accents, where they bring a soft garden feel to the vanity.
13. Chalkboard Paint Knobs You Can Write On
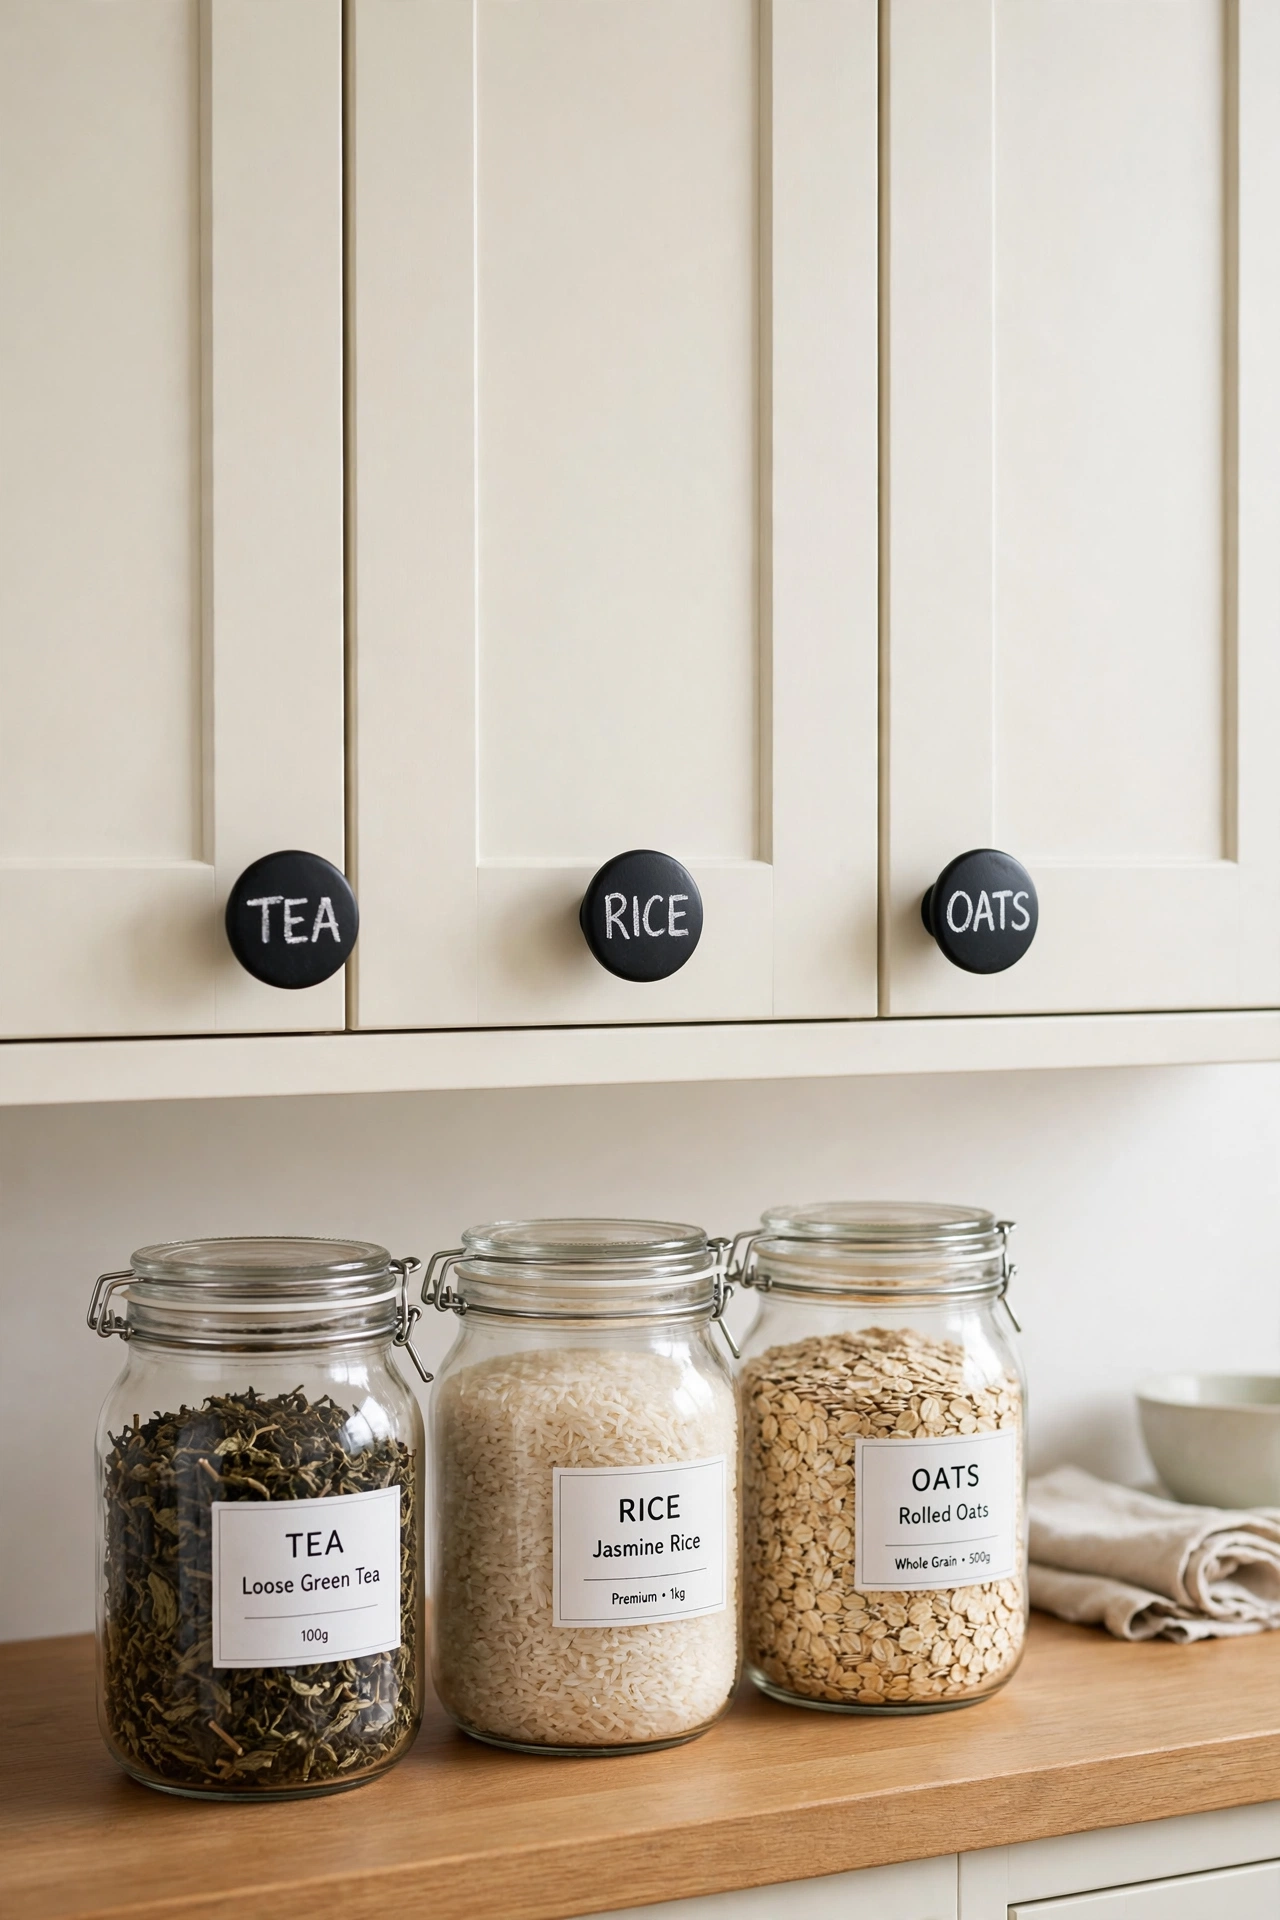
Chalkboard paint turns each knob into a tiny writable label that you can change any time. You brush two coats of chalkboard paint onto round knobs, let them cure for a full day, and then write on them with white chalk. Words like TEA, RICE, and OATS tell you what sits behind each pantry door at a glance, and you can wipe the chalk off and write a new word when the contents change.
Season the chalkboard surface first by rubbing the side of a chalk stick over the whole face and wiping it clean, which keeps the first word from leaving a faint ghost behind. Use a chalk marker for sharper letters that last longer, or plain chalk for words you change often. The dark chalkboard knobs look striking against cream pantry doors.
14. Color-Blocked Knob Sets for a Modern Kitchen
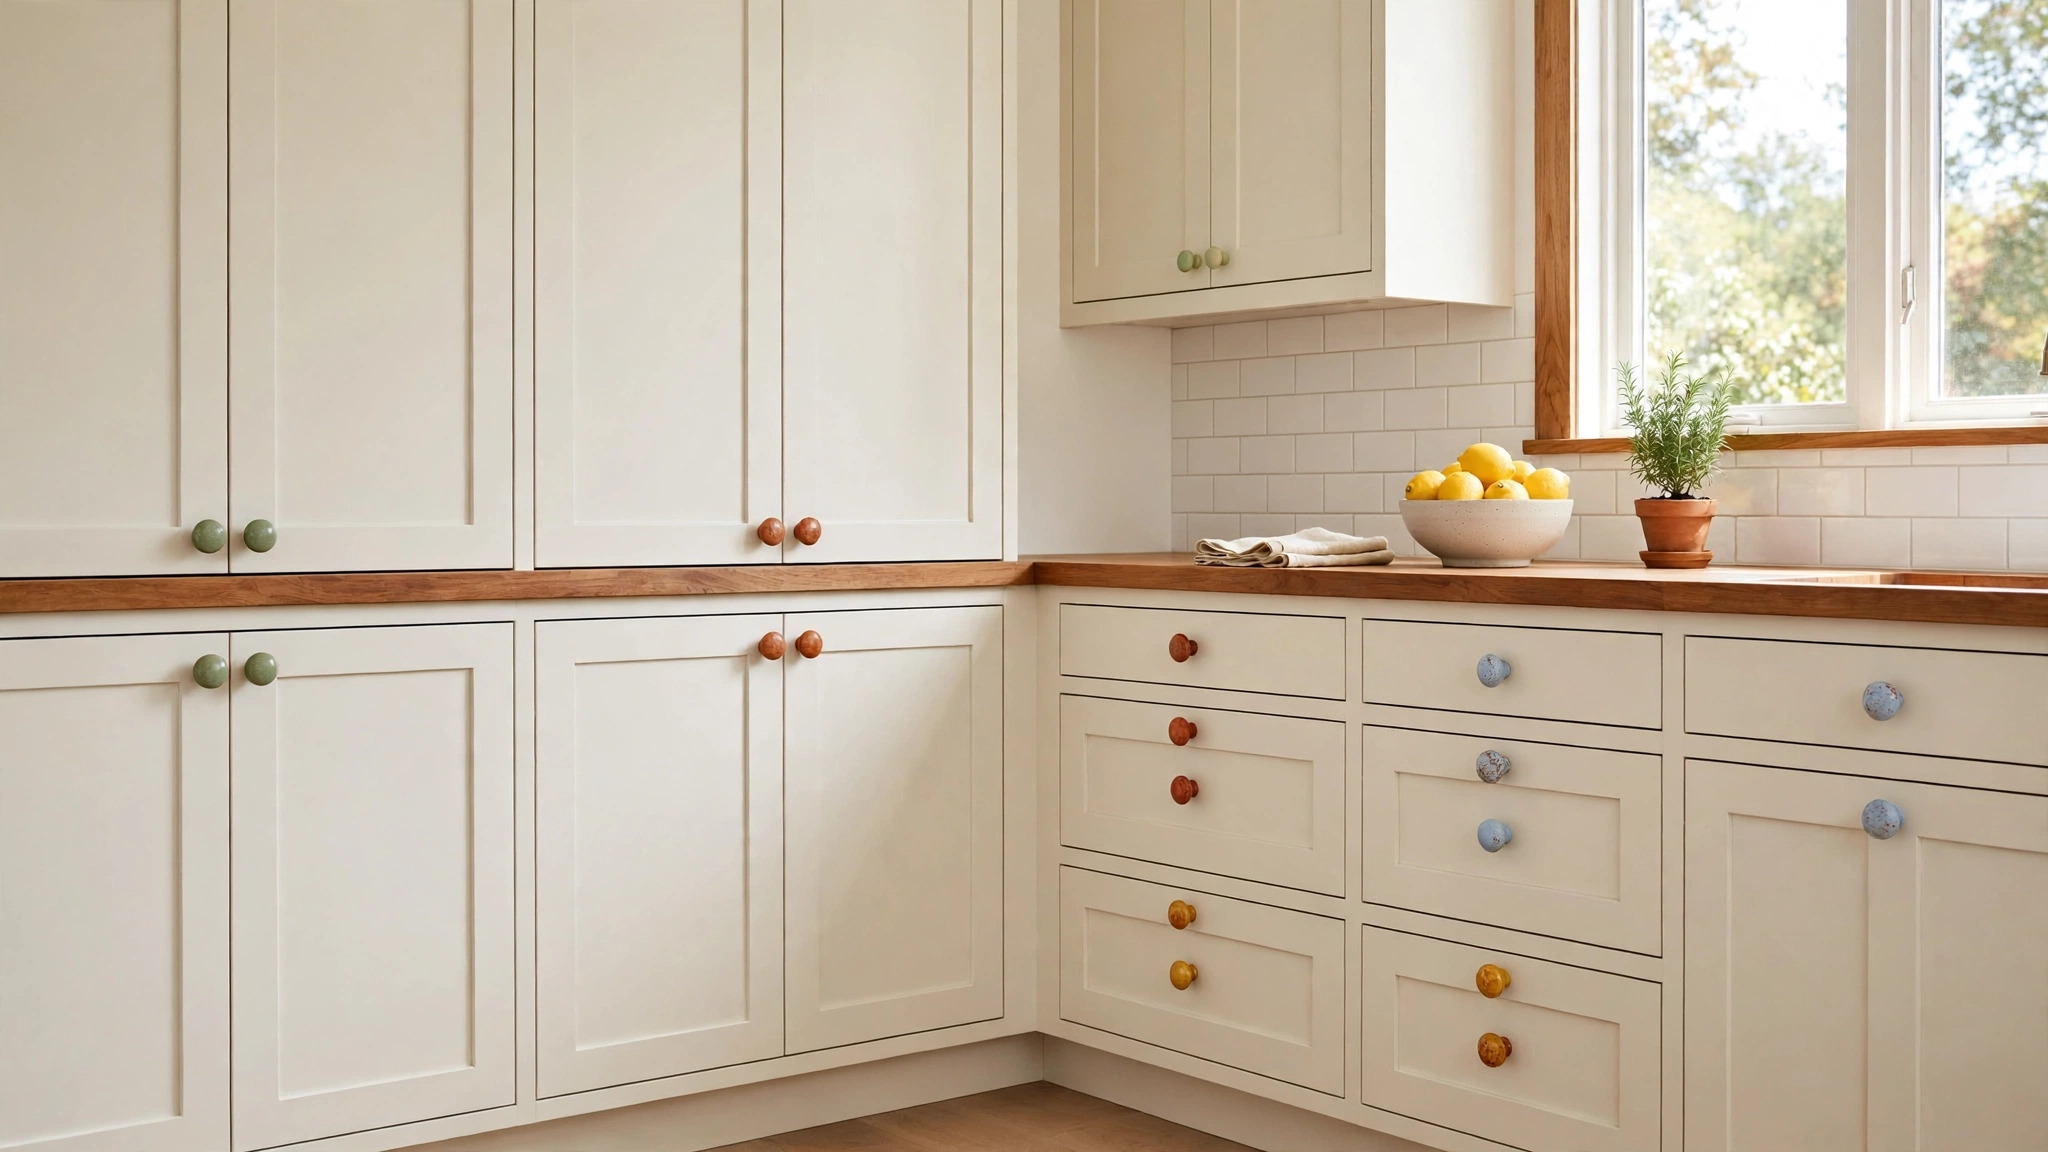
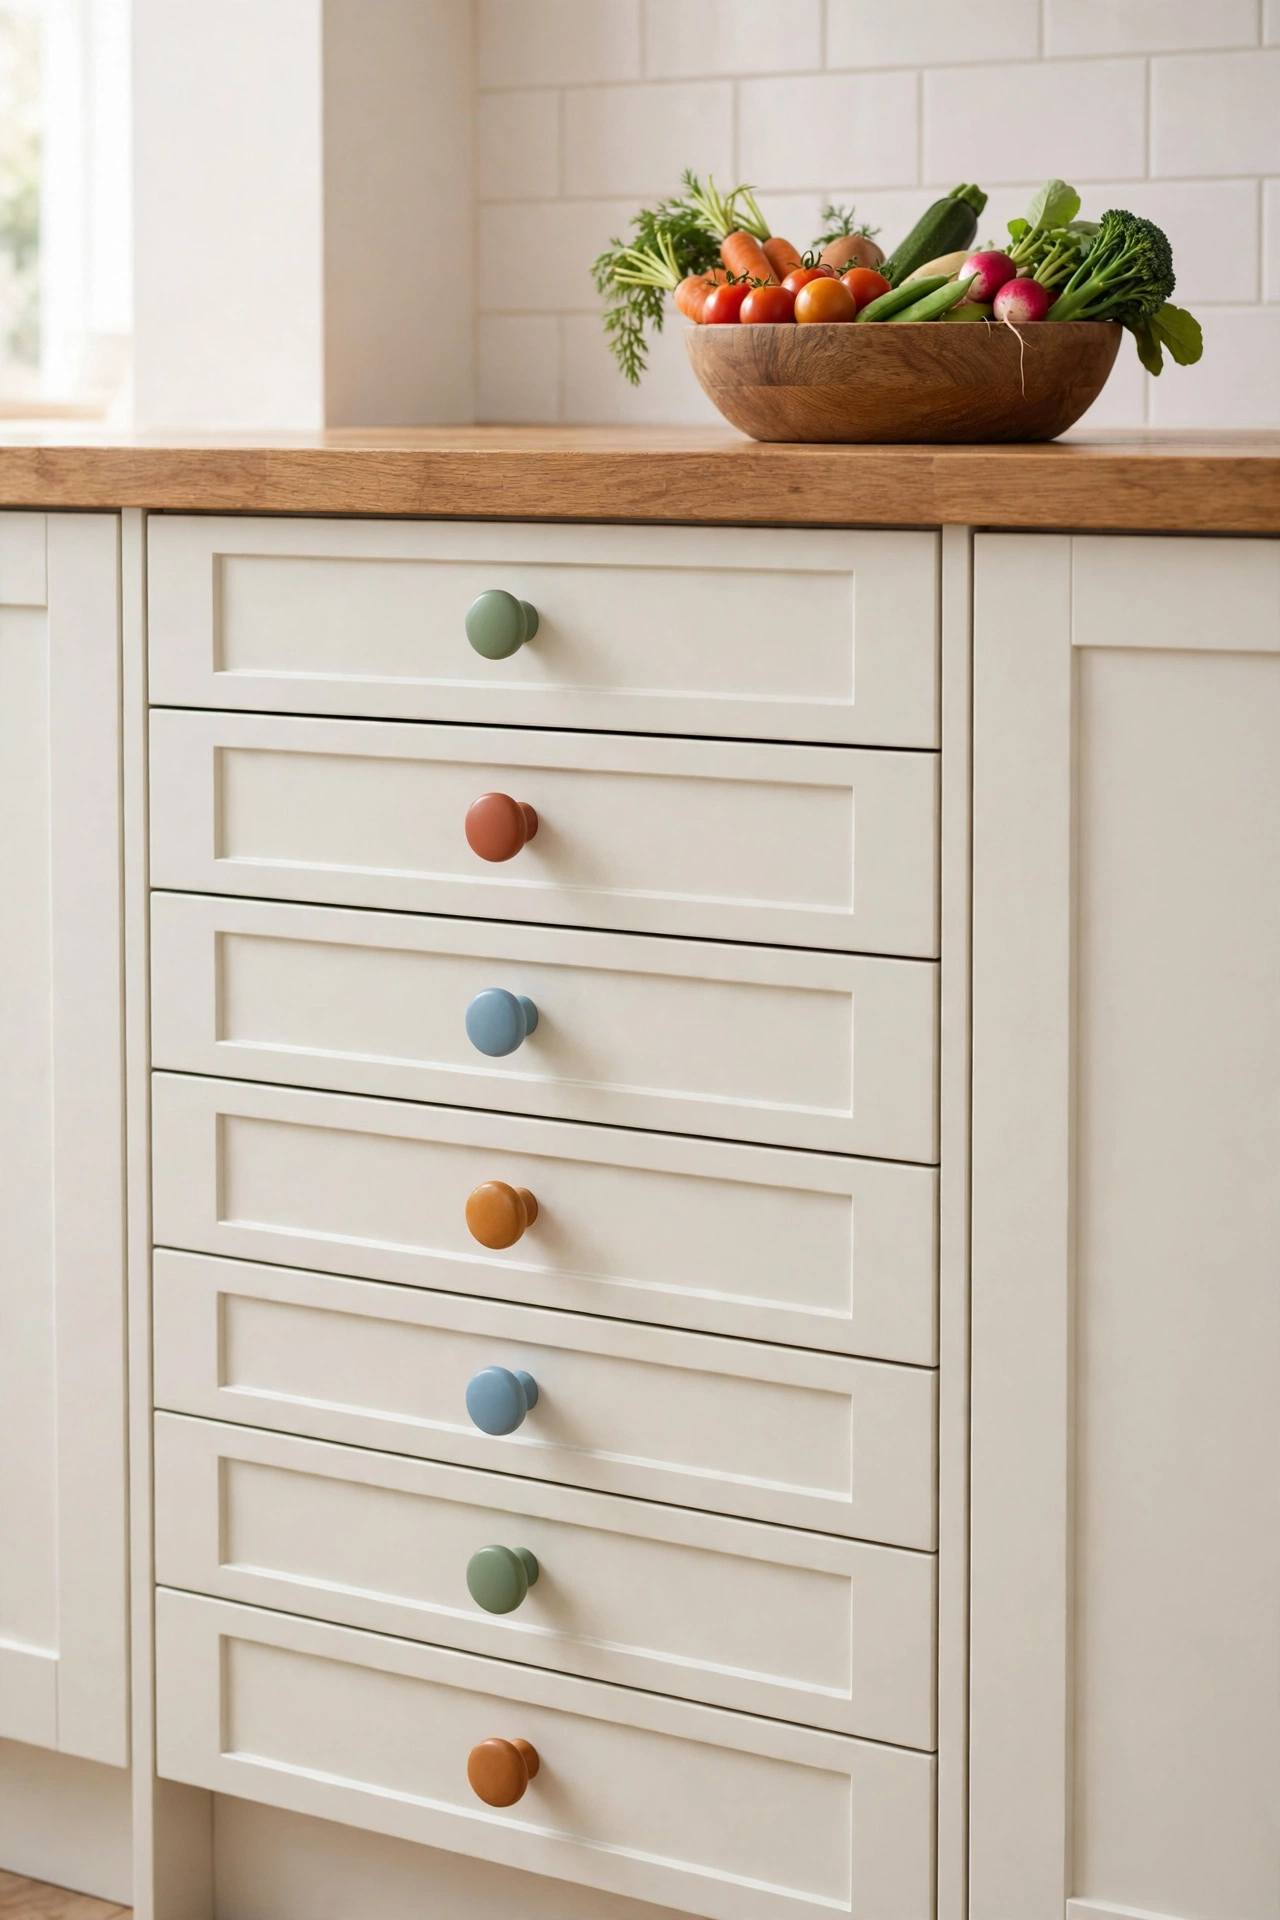
A color-blocked set paints each knob one solid color from a planned palette, and the repeating pattern down a row of drawers looks bold and modern. You choose four colors that sit well together, such as sage green, terracotta, soft blue, and amber, and paint the knobs in the same order again and again. The repeat keeps the look calm even though the colors are strong.
Paint the knobs off the drawers and lay them out in order on a tray so you can check the pattern before you reinstall them. Two thin coats give a smooth solid color, and a clear topcoat keeps the blocks bright through daily use. This idea works best on simple flat drawer fronts, where the knobs carry all the color.
15. Numbered Knobs for Pantry and Linen Cabinets
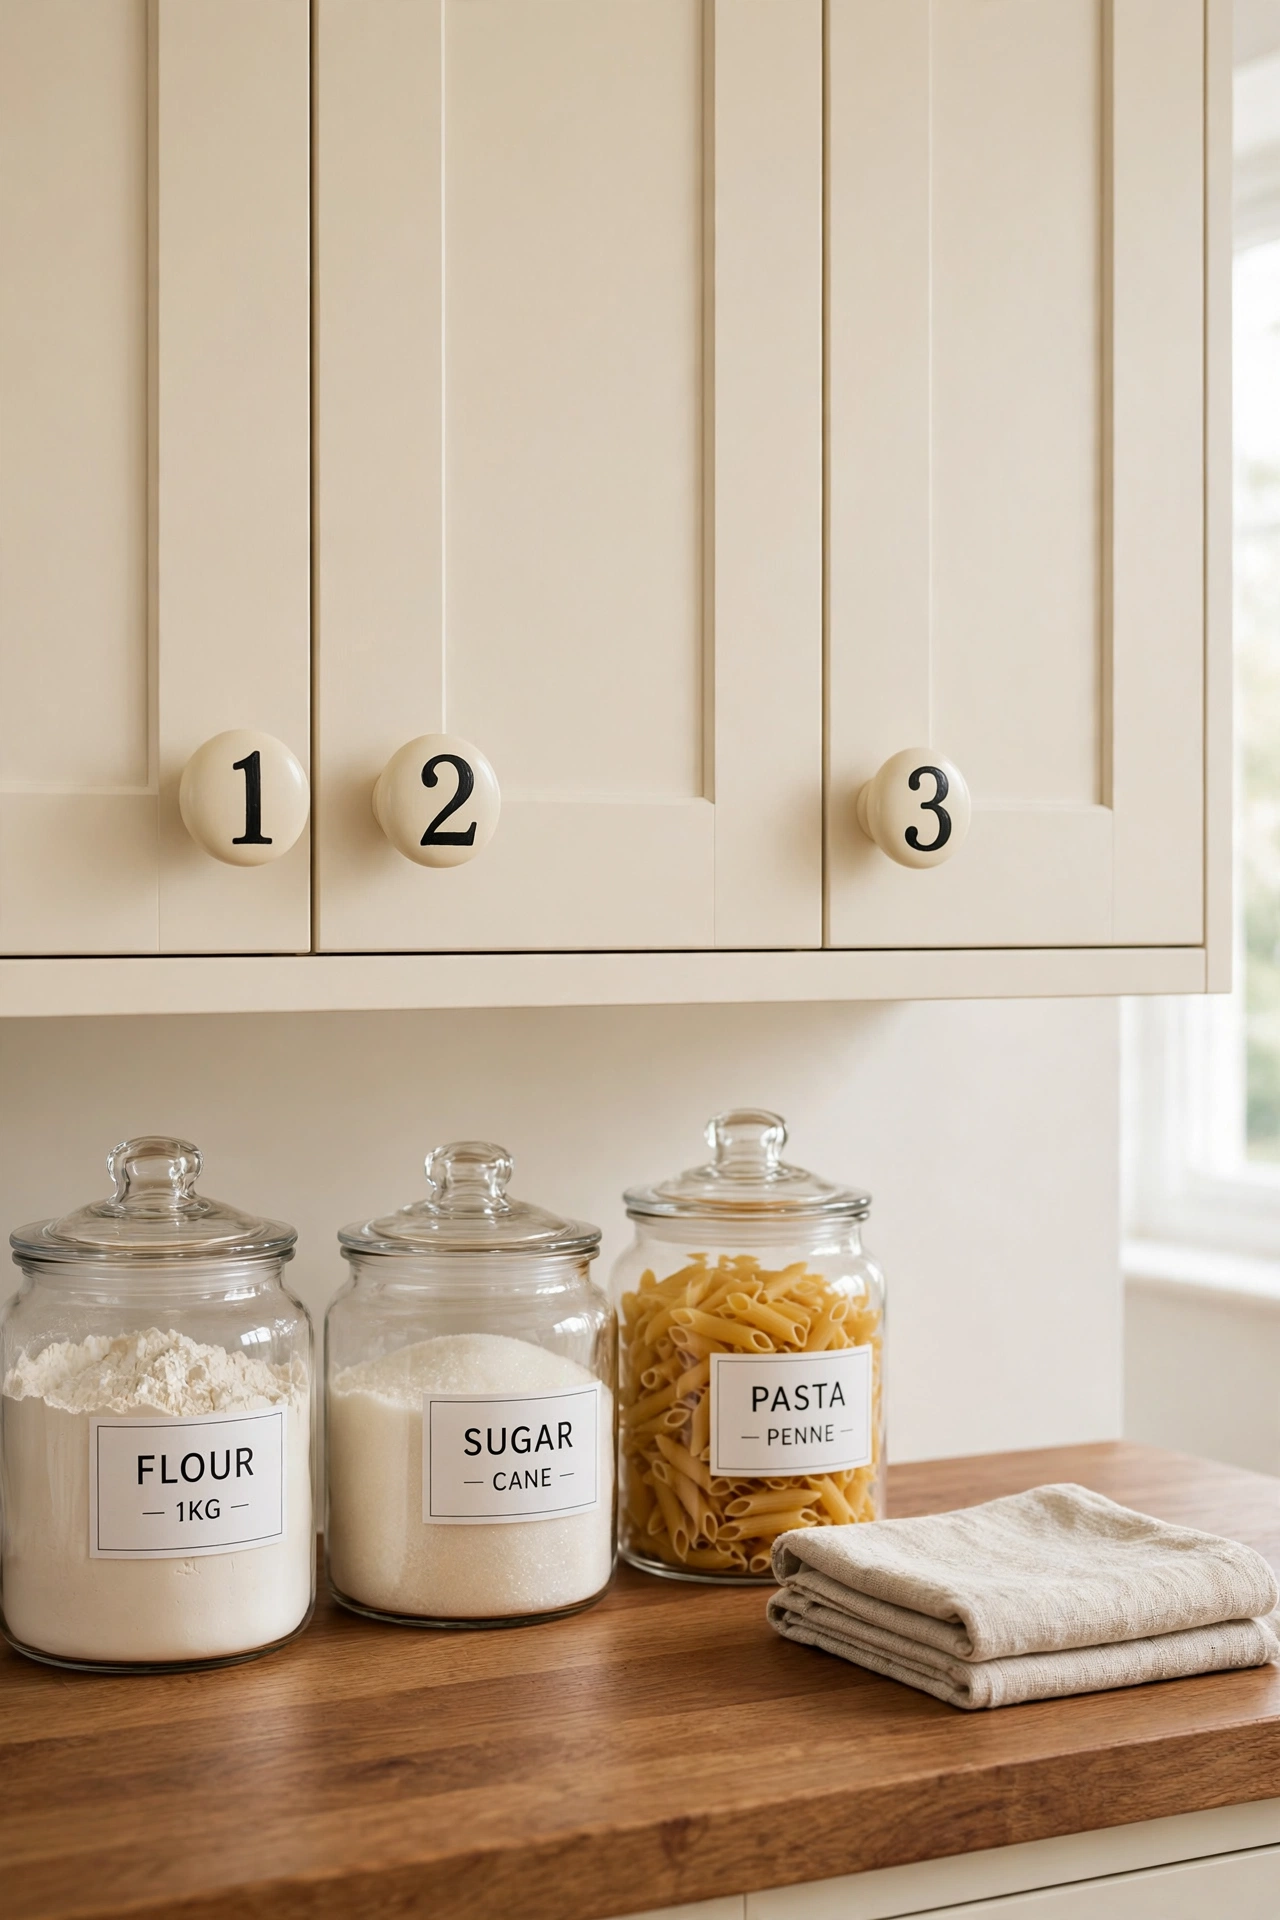
Large painted numbers on cream knobs give pantry and linen cabinets a charming old shop feel. You paint each knob cream, then paint one bold black number on the face with a small brush, or press on a number decal and seal over it. Numbers help everyone in the house remember which door holds the flour, the sugar, or the spare towels.
Keep the numbers large and centered so they read clearly from across the room. A classic serif style suits a farmhouse kitchen, while a clean round style suits a modern one. Seal each knob well, since the numbered doors get opened often and the paint needs to survive daily handling.
16. Labelled Knobs With Readable Printed Words
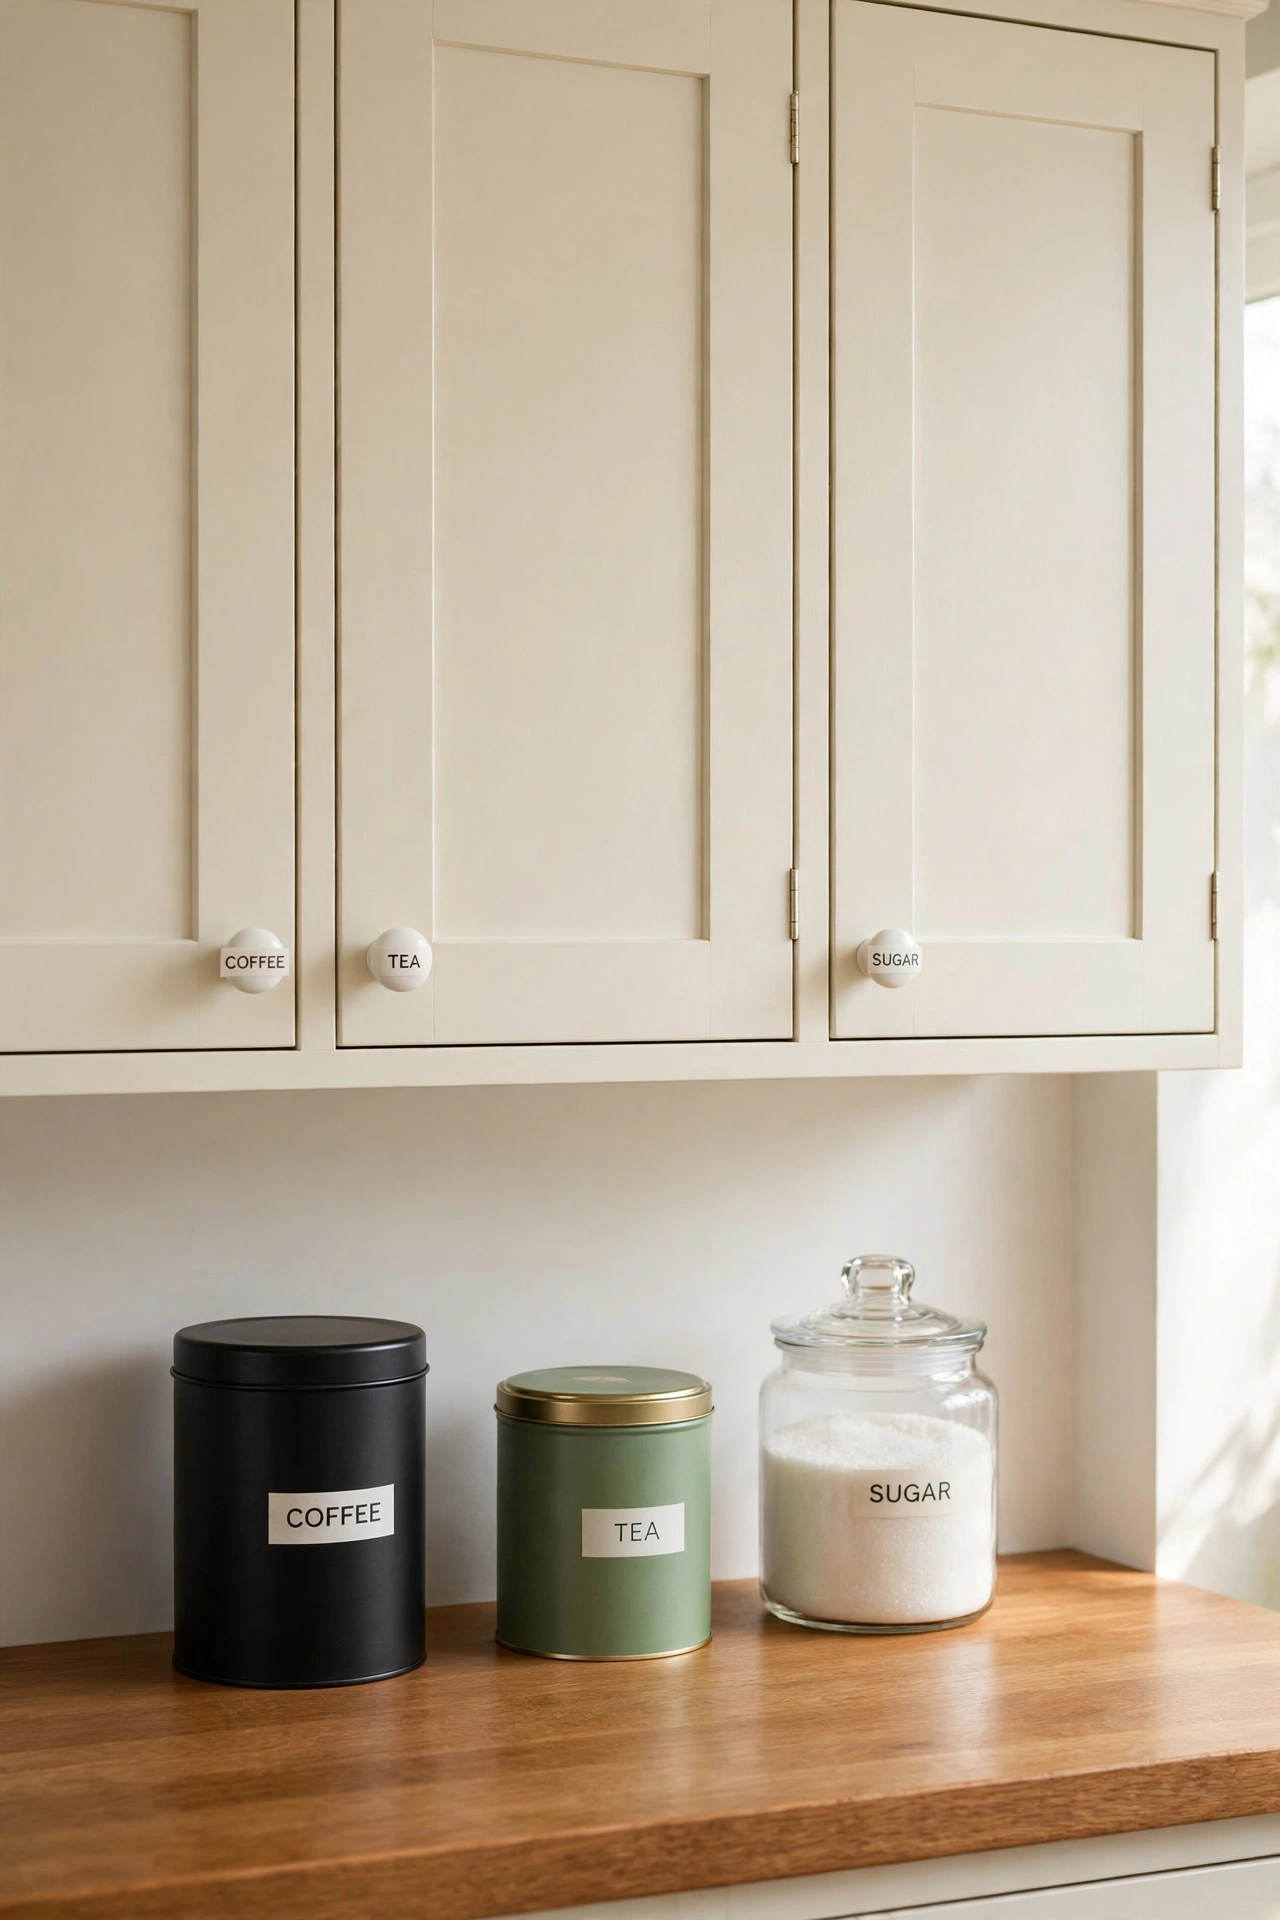
Printed word labels on white knobs turn a pantry into a tidy and organized station. You print small labels with words like COFFEE, TEA, and SUGAR on plain paper, cut them to size, glue them to the face of each knob, and seal them with several thin coats of clear sealer. The printed letters stay crisp and readable, and they match the labels on the canisters below.
Use a simple bold font in dark letters so the words read clearly from a few steps away. Print a full set of labels at once so the size and style stay even across all the knobs. This idea also works in a bathroom, where labels like SOAP and TOWELS help guests find what they need without opening every door.
17. Faux Marble Knobs for an Elegant Bathroom
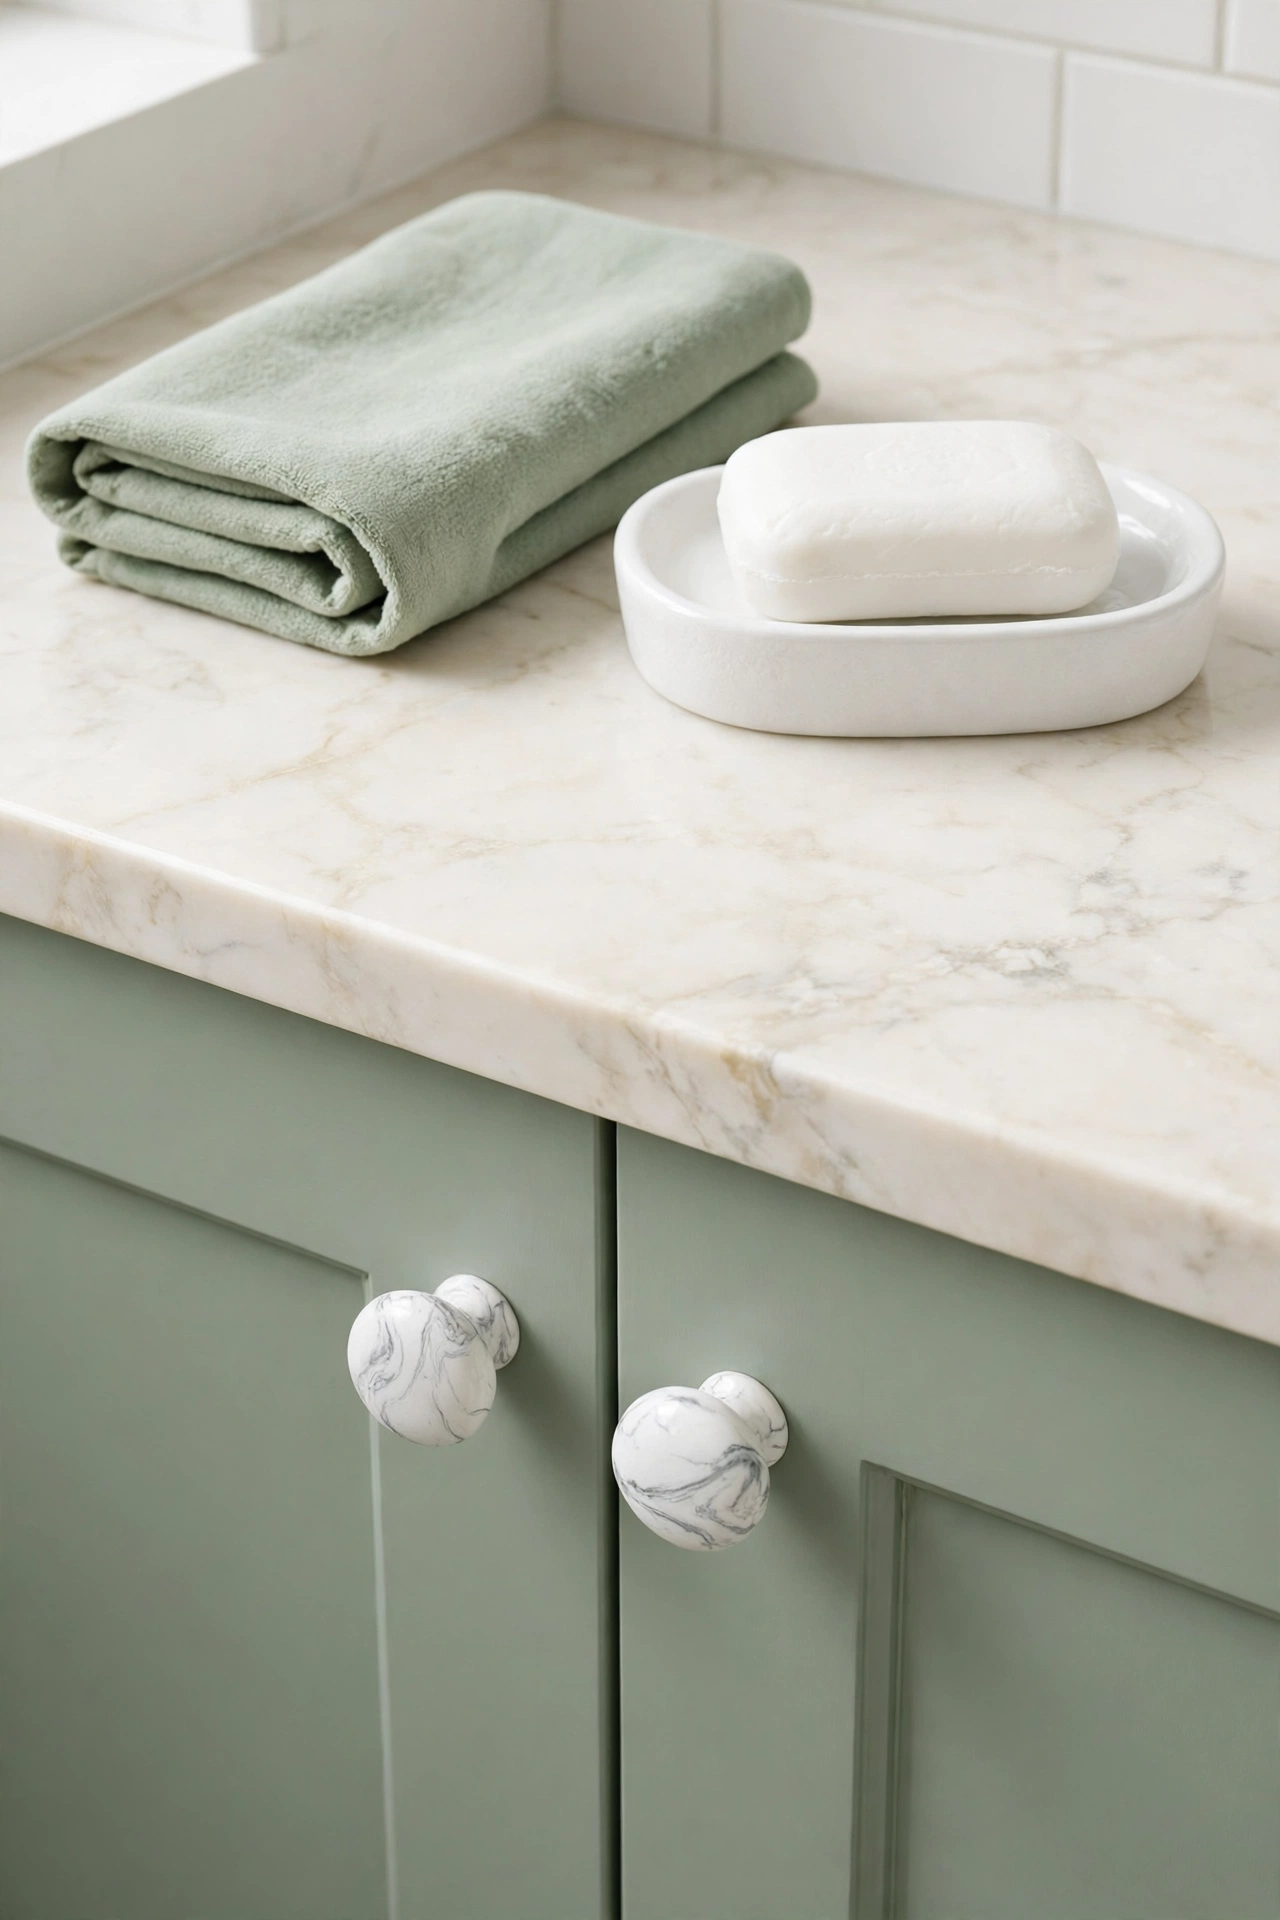
Faux marble paint gives plain knobs the look of real stone at a fraction of the cost. You paint each knob white, then drag a fine brush loaded with soft gray paint in thin wavy lines across the face to mimic marble veins. A light feathering with a dry brush softens the veins, and a glossy clear coat gives the knob the polished shine of real marble.
Study a photo of real marble first so your veins branch and fade in a natural way, and keep the veins thin so they look delicate rather than heavy. Sage green cabinet doors make the white marble knobs stand out, and the look feels calm and elegant beside a marble counter. Seal the knobs well so the veins survive steam and splashes.
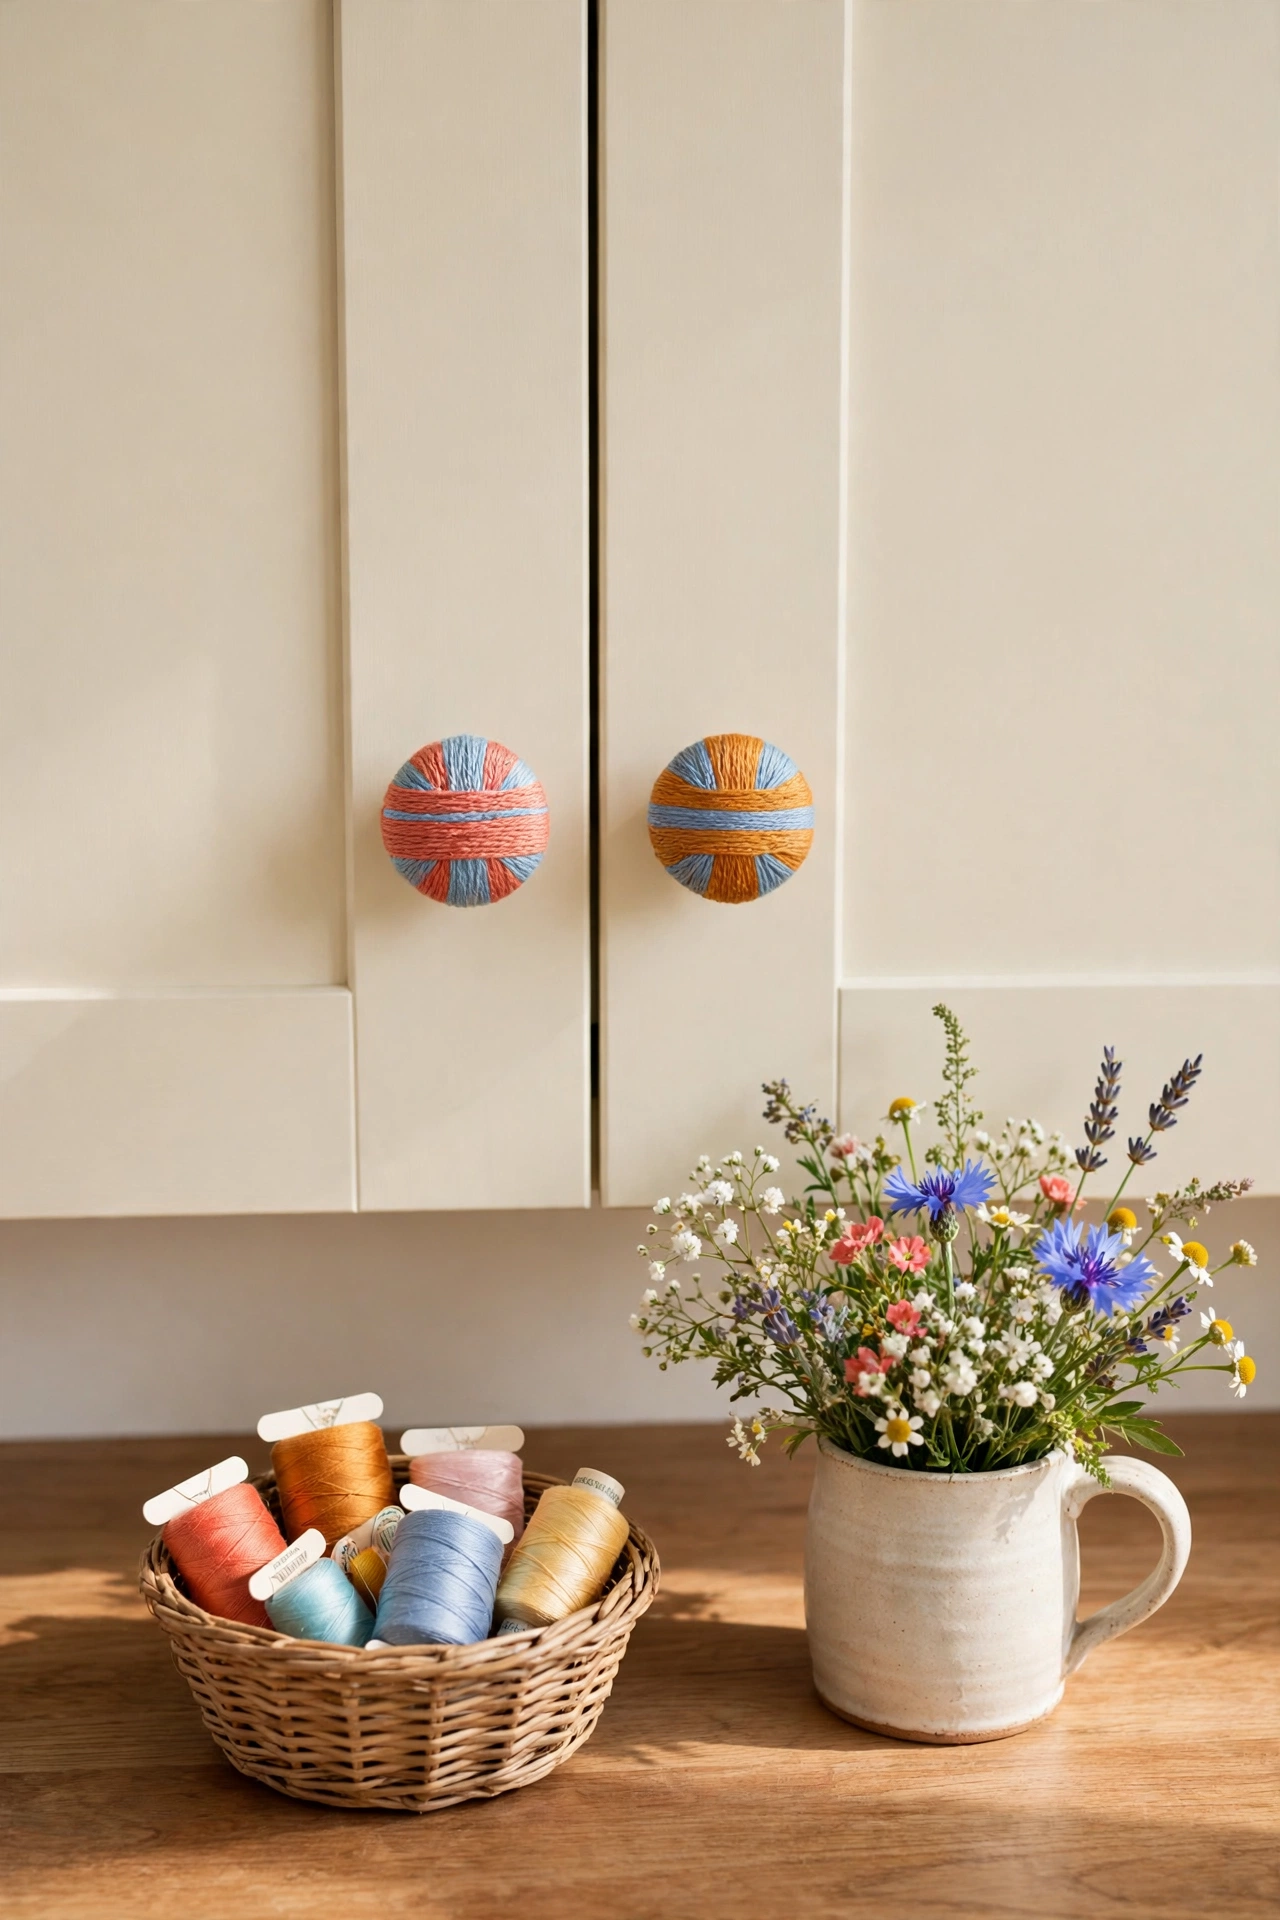
18. Knobs Wrapped in Colorful Embroidery Thread
Embroidery thread wrapped in bright bands around a knob brings cheerful handmade color to cream cabinets. You glue the end of the thread at the back, wind it in neat bands of coral, amber, and soft blue, and glue the tail down when the knob is fully covered. The thread gives a soft woven texture, and the bands of color look like a tiny woven ball.
Wind the thread tightly and keep the bands even so the surface feels smooth in your hand. Change the band order on each knob for a playful set, or repeat the same order for a tidy look. A light coat of clear sealer keeps the thread clean and stops the ends from lifting with use.
Conclusion
A cabinet knob makeover proves that the smallest change in a room can bring the biggest smile. You do not need a large budget or a full renovation to make your kitchen or bathroom feel fresh, because one afternoon with paint, paper, rope, or clay can transform every door and drawer you touch each day. Pick the idea that matches your style, gather your supplies, and start with a single cabinet to see the change for yourself.
Once you see how much life new knobs bring to a room, you may want to refresh the larger pieces too, and these furniture makeover ideas will help you plan the next step. Keep the knobs you love, try a new technique on a spare set, and enjoy a home that feels more personal with every small project you finish.
Frequently Asked Questions About DIY Cabinet Knob Makeover Ideas
What paint works best for a cabinet knob makeover?
Acrylic craft paint works well for most knob makeovers because it dries fast, comes in many colors, and sticks to wood and metal after a light sanding. Always finish with two thin coats of clear sealer so the paint survives daily handling, grease, and cleaning.
Do I need to remove the knobs before I decorate them?
Yes, removing the knobs makes the work much easier and gives a cleaner result. You can paint, wrap, or coat all sides without drips on the cabinet doors, and you can let the knobs dry flat on a tray before you screw them back in place.
How do I make decorated knobs last in a steamy bathroom?
Seal every decorated knob with a water resistant clear topcoat, and add one extra coat for bathroom knobs that face steam and splashes. Resin coats and glossy sealers hold up best in wet rooms, while fabric and paper knobs need a full seal on every edge.
Can I do a knob makeover without buying new knobs?
Yes, every idea in this article works on the knobs you already own. Paint, paper, rope, thread, beads, and clay all attach to plain wooden or metal knobs, so the only cost is the craft supplies, which you may already have at home.
How long does a cabinet knob makeover take?
Most ideas take one afternoon, including drying time between coats. Simple paint ideas can be done in two hours, while resin and air-dry clay need a full day or two to cure before you reinstall the knobs.

Hi, I’m Emily! I turn messy corners into cozy, organized spots. DreamNestDecor is where I share simple, practical home ideas — decor, organization, and small-space solutions that work in real life, not just in photos. Every idea here is carefully researched before it’s shared.