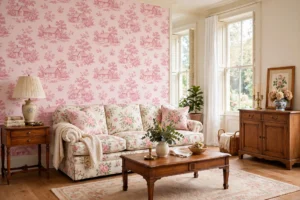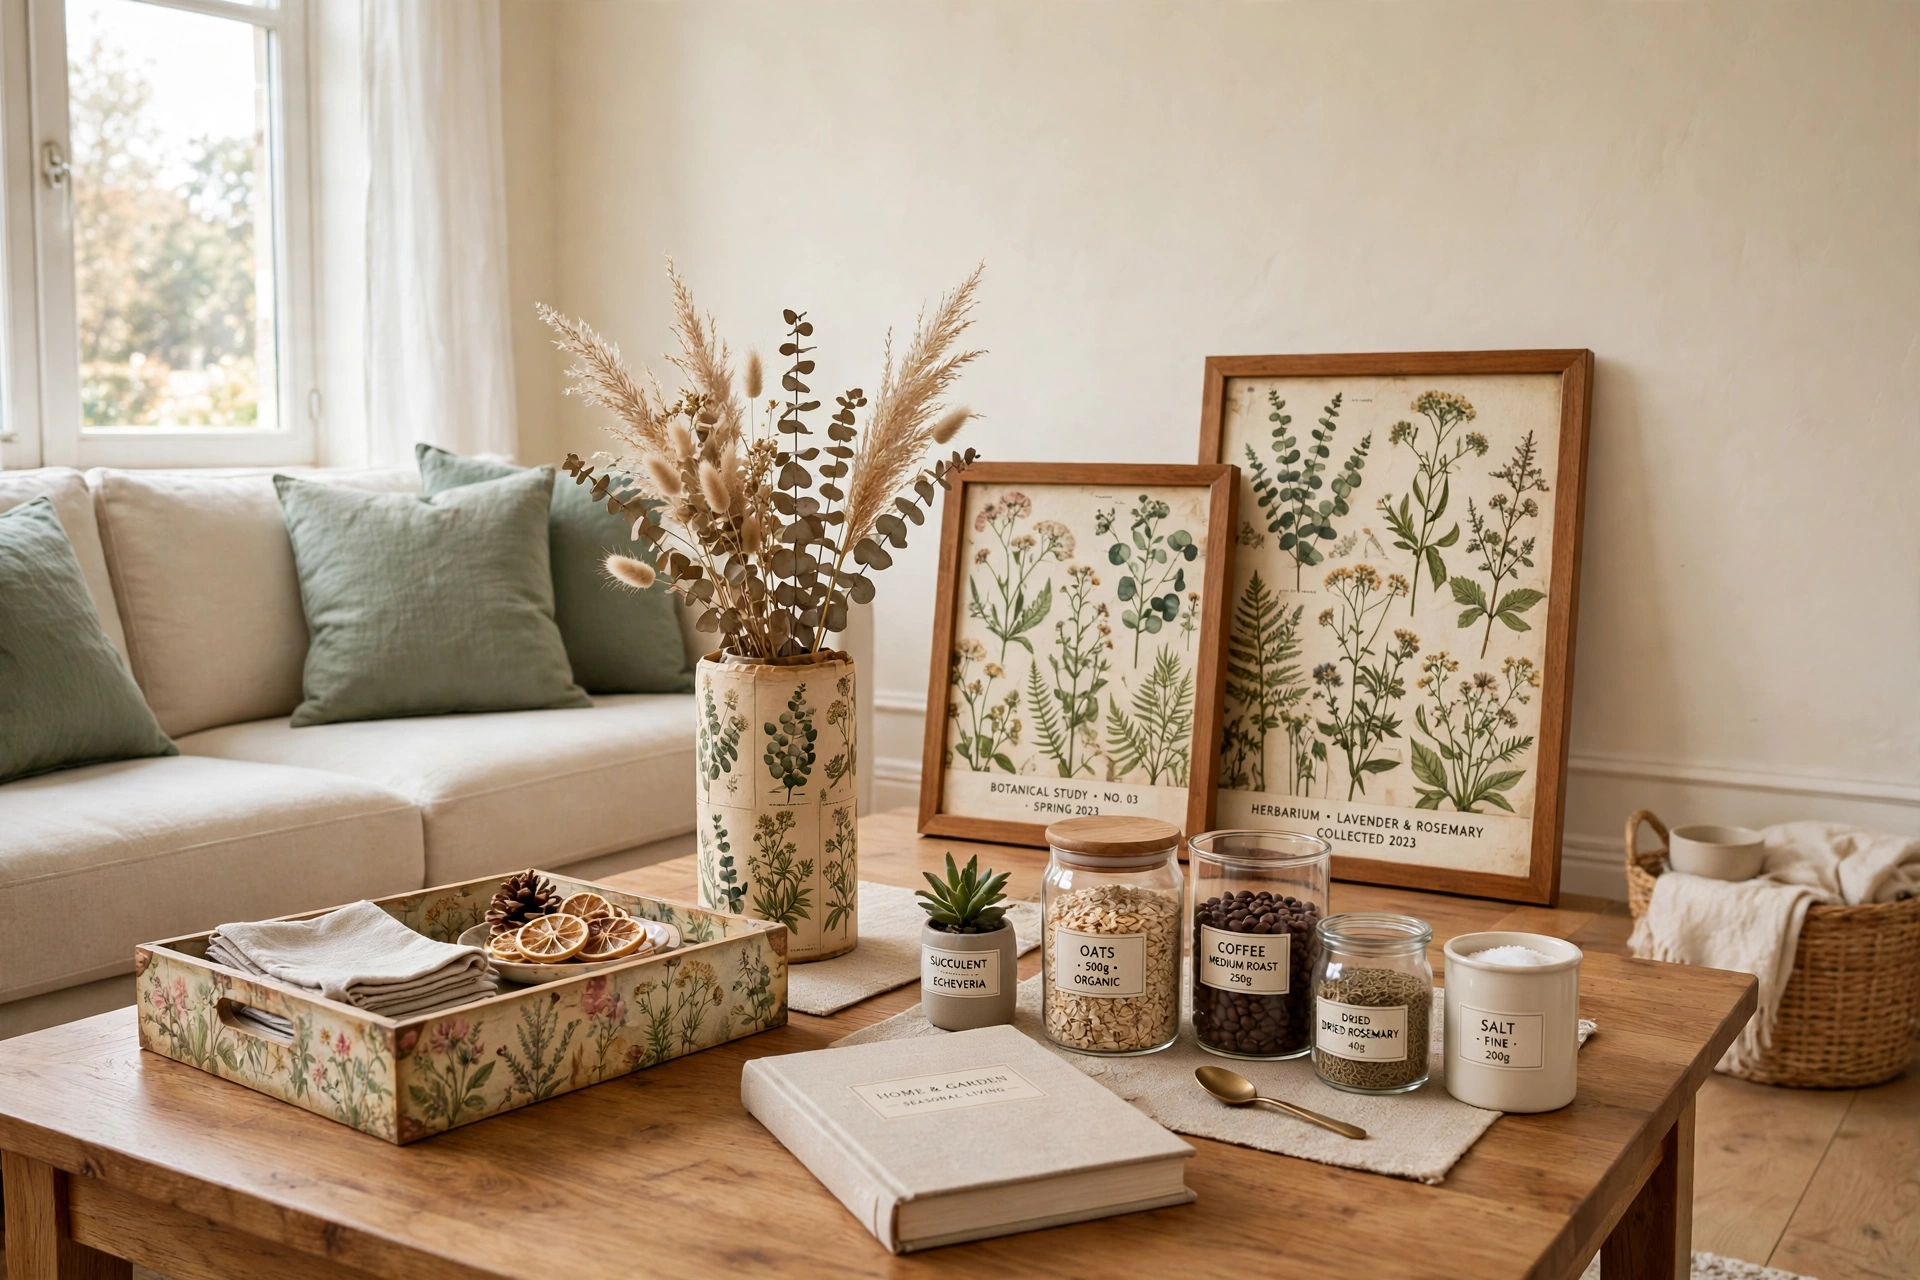
Picture this: you walk into a room and spot a tray covered in soft floral paper, a vase wrapped in vintage botanical prints, and a picture frame decorated with delicate patterns you chose yourself. Every piece tells a small story about your taste, and none of it cost much at all. That personal and handmade feeling is exactly what decoupage gives to a home.
You do not need special skills or expensive supplies to start. All you need is paper you love, a little glue, and an old object waiting for new life. These 18 DIY decoupage decor ideas will help you turn plain trays, jars, frames, and furniture into one of a kind pieces, one careful layer at a time.
1. Cover a Plain Tray in Floral Paper
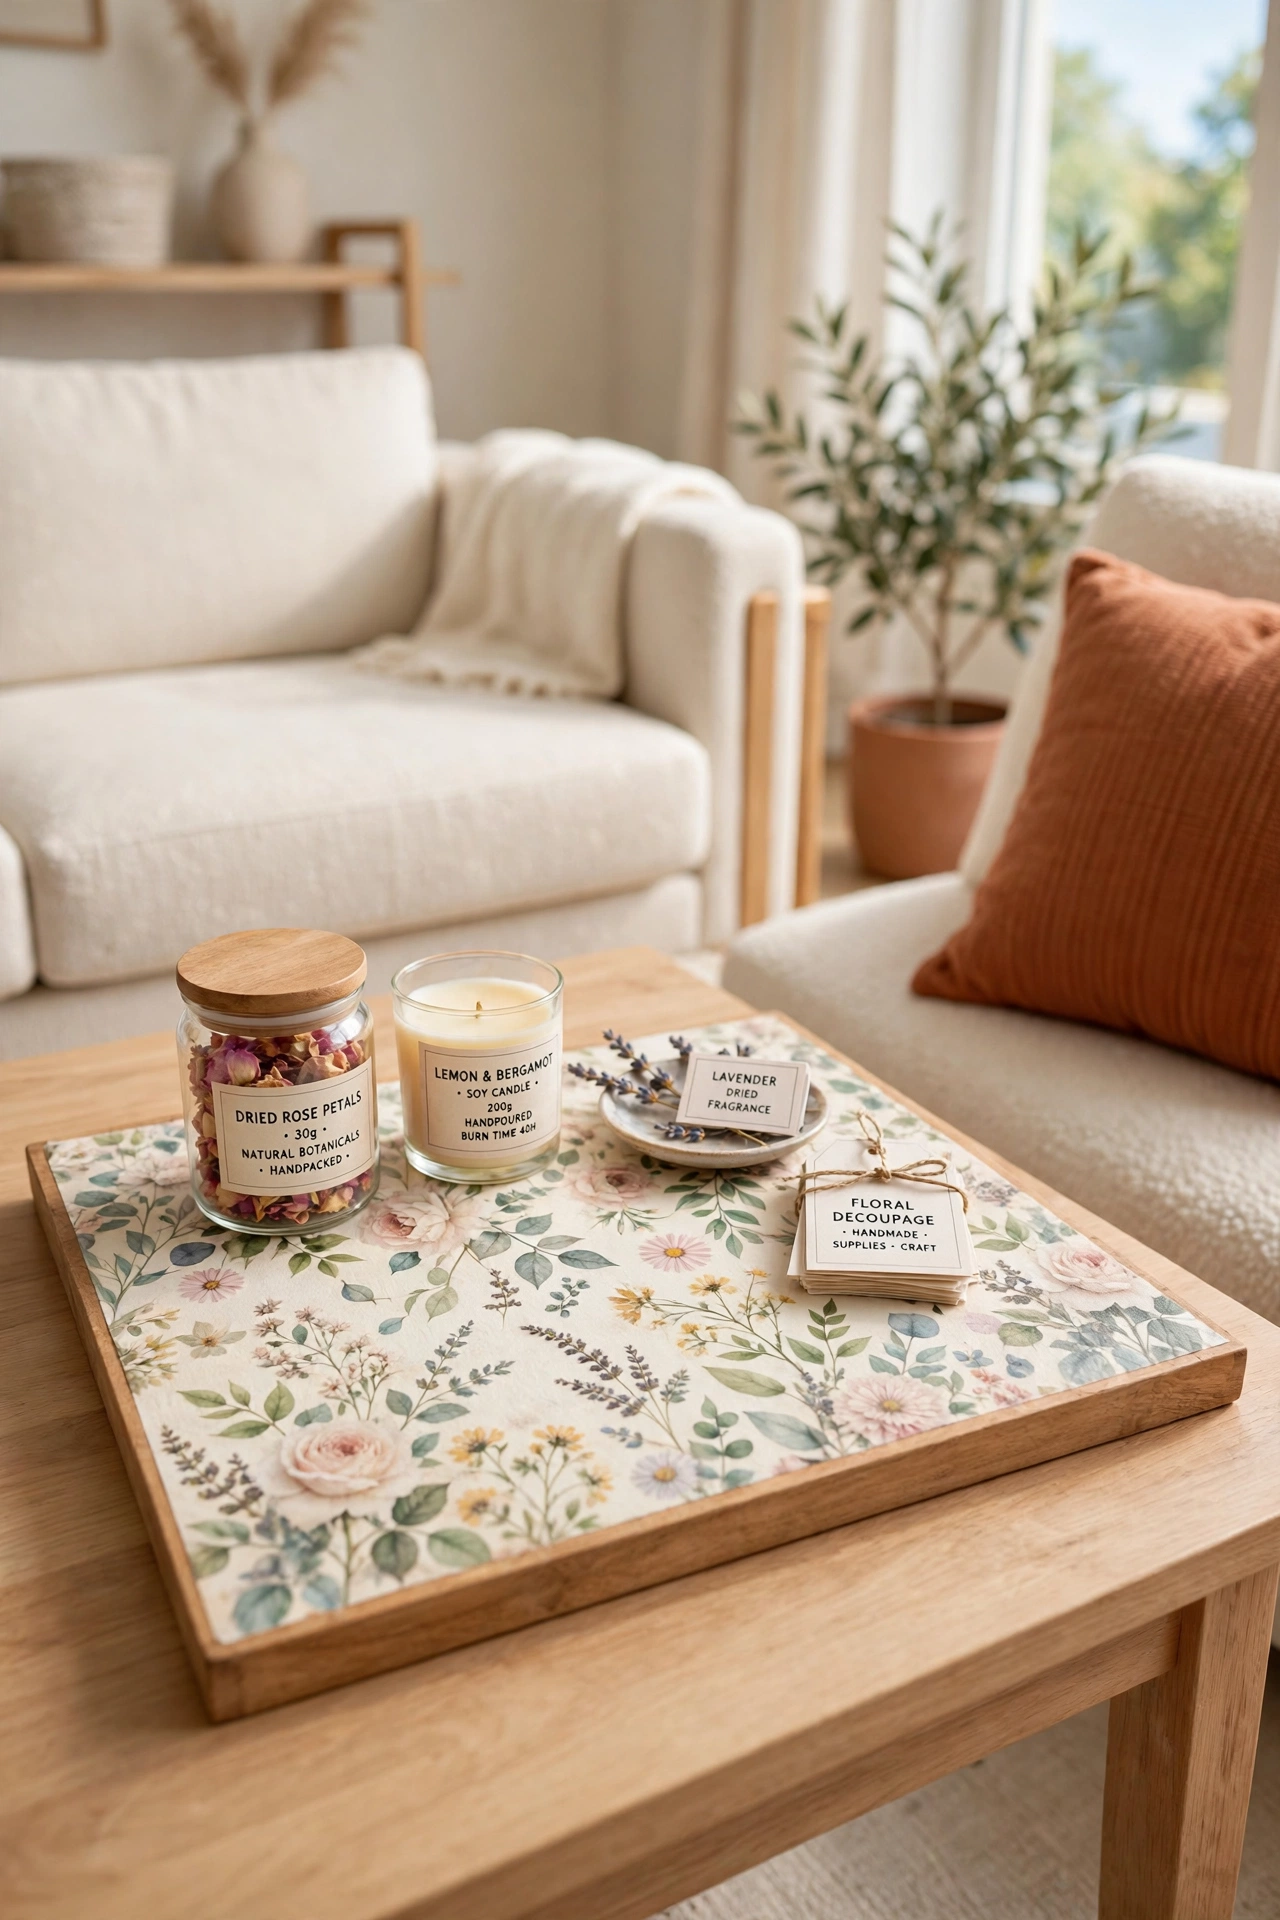
A plain wooden or metal tray becomes a work of art with a layer of floral decoupage paper. Choose a print that matches your room, cut it to fit the base, and smooth it down with decoupage glue. A clear top coat seals the paper and protects it from spills.
Use the finished tray to serve tea, hold candles, or organize small items on a coffee table. For more ways to dress up simple serving pieces, see these DIY decorative tray ideas. A floral tray adds color to a room without costing much, and it looks like a piece you found in a boutique.
2. Wrap a Vase in Vintage Botanical Prints
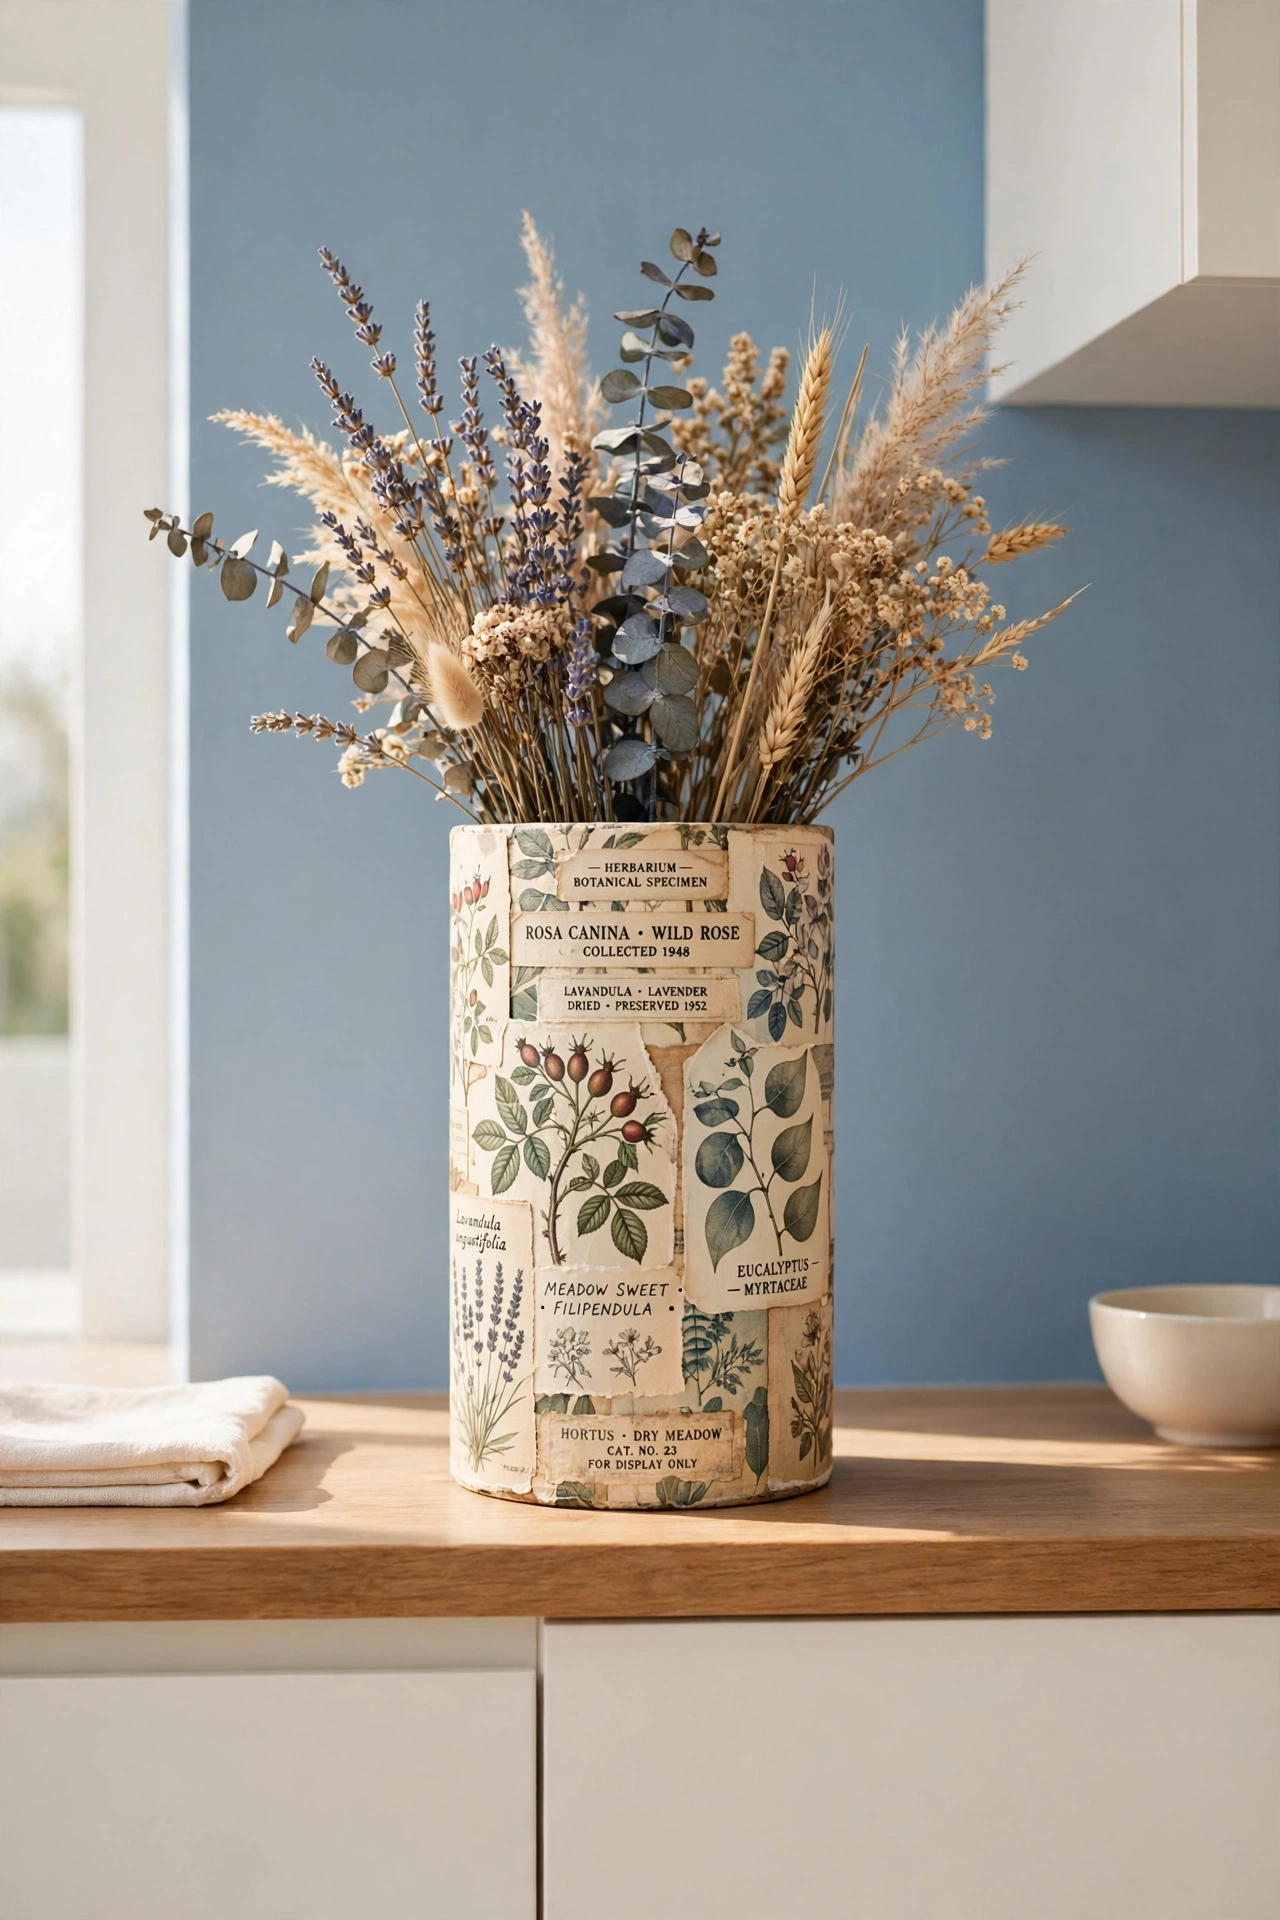
An old glass or ceramic vase gets a fresh look when you wrap it in vintage botanical prints. Cut the paper into small pieces and layer them around the vase so the stems and leaves flow naturally. Seal the surface with two coats of clear varnish for a smooth finish.
Fill the vase with fresh flowers or dried stems and place it on a shelf or a windowsill. For more vase projects that suit this style, see these DIY decorative vase ideas. The printed vase turns a plain container into a focal point that guests always notice.
3. Decorate Picture Frames with Patterned Paper
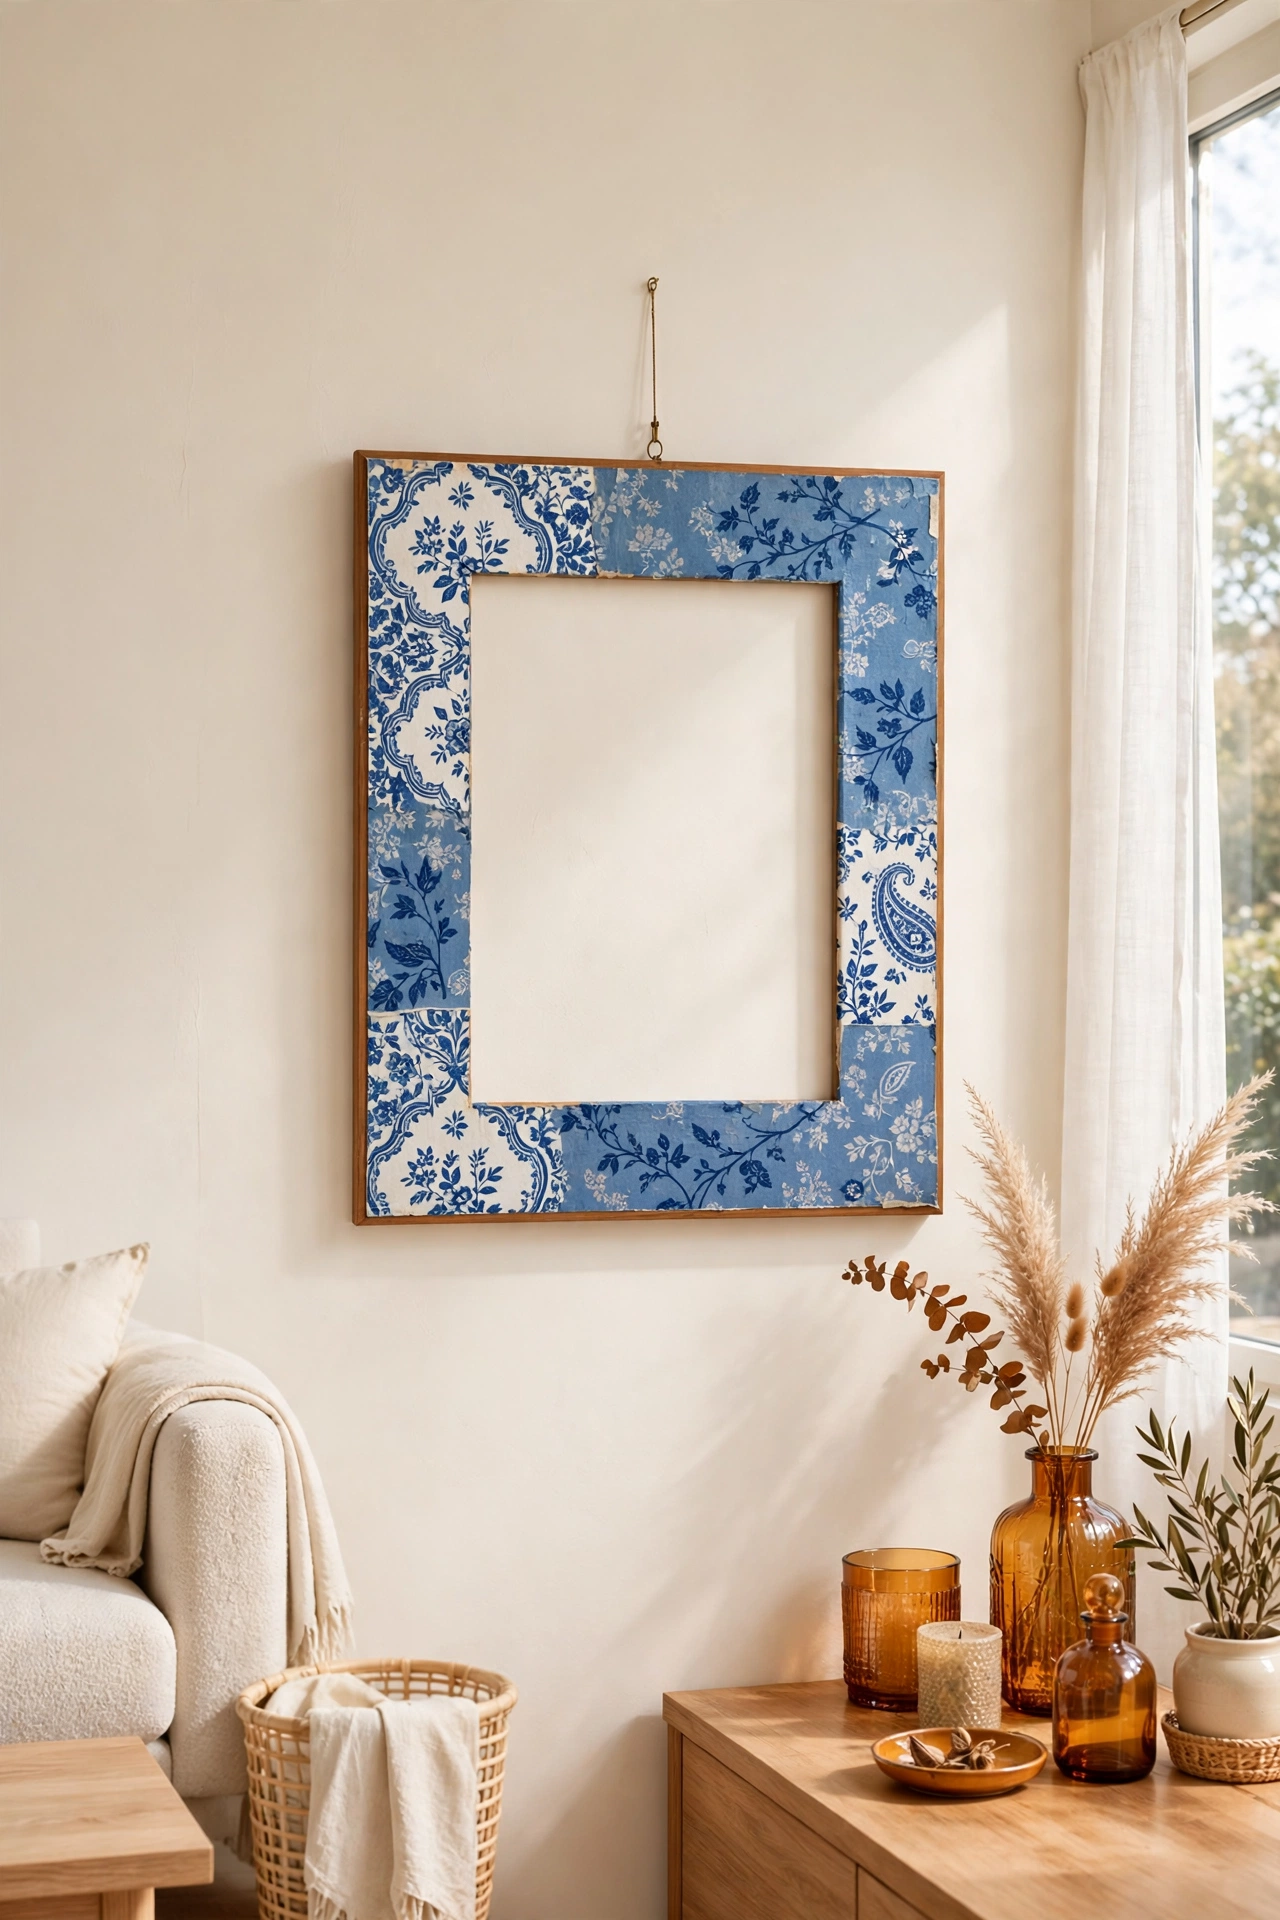
Plain picture frames look brand new when you cover them in patterned decoupage paper. Choose bold stripes for a modern room or soft florals for a romantic feel. Apply the paper in neat strips and trim the edges carefully so the frame looks clean and finished.
Hang the frame with a favorite photo or a small print inside. For more frame makeover projects, see these DIY picture frame makeover ideas. A decoupage frame costs very little and makes even a simple photo feel special on the wall.
4. Dress Up Candle Holders with Tissue Paper
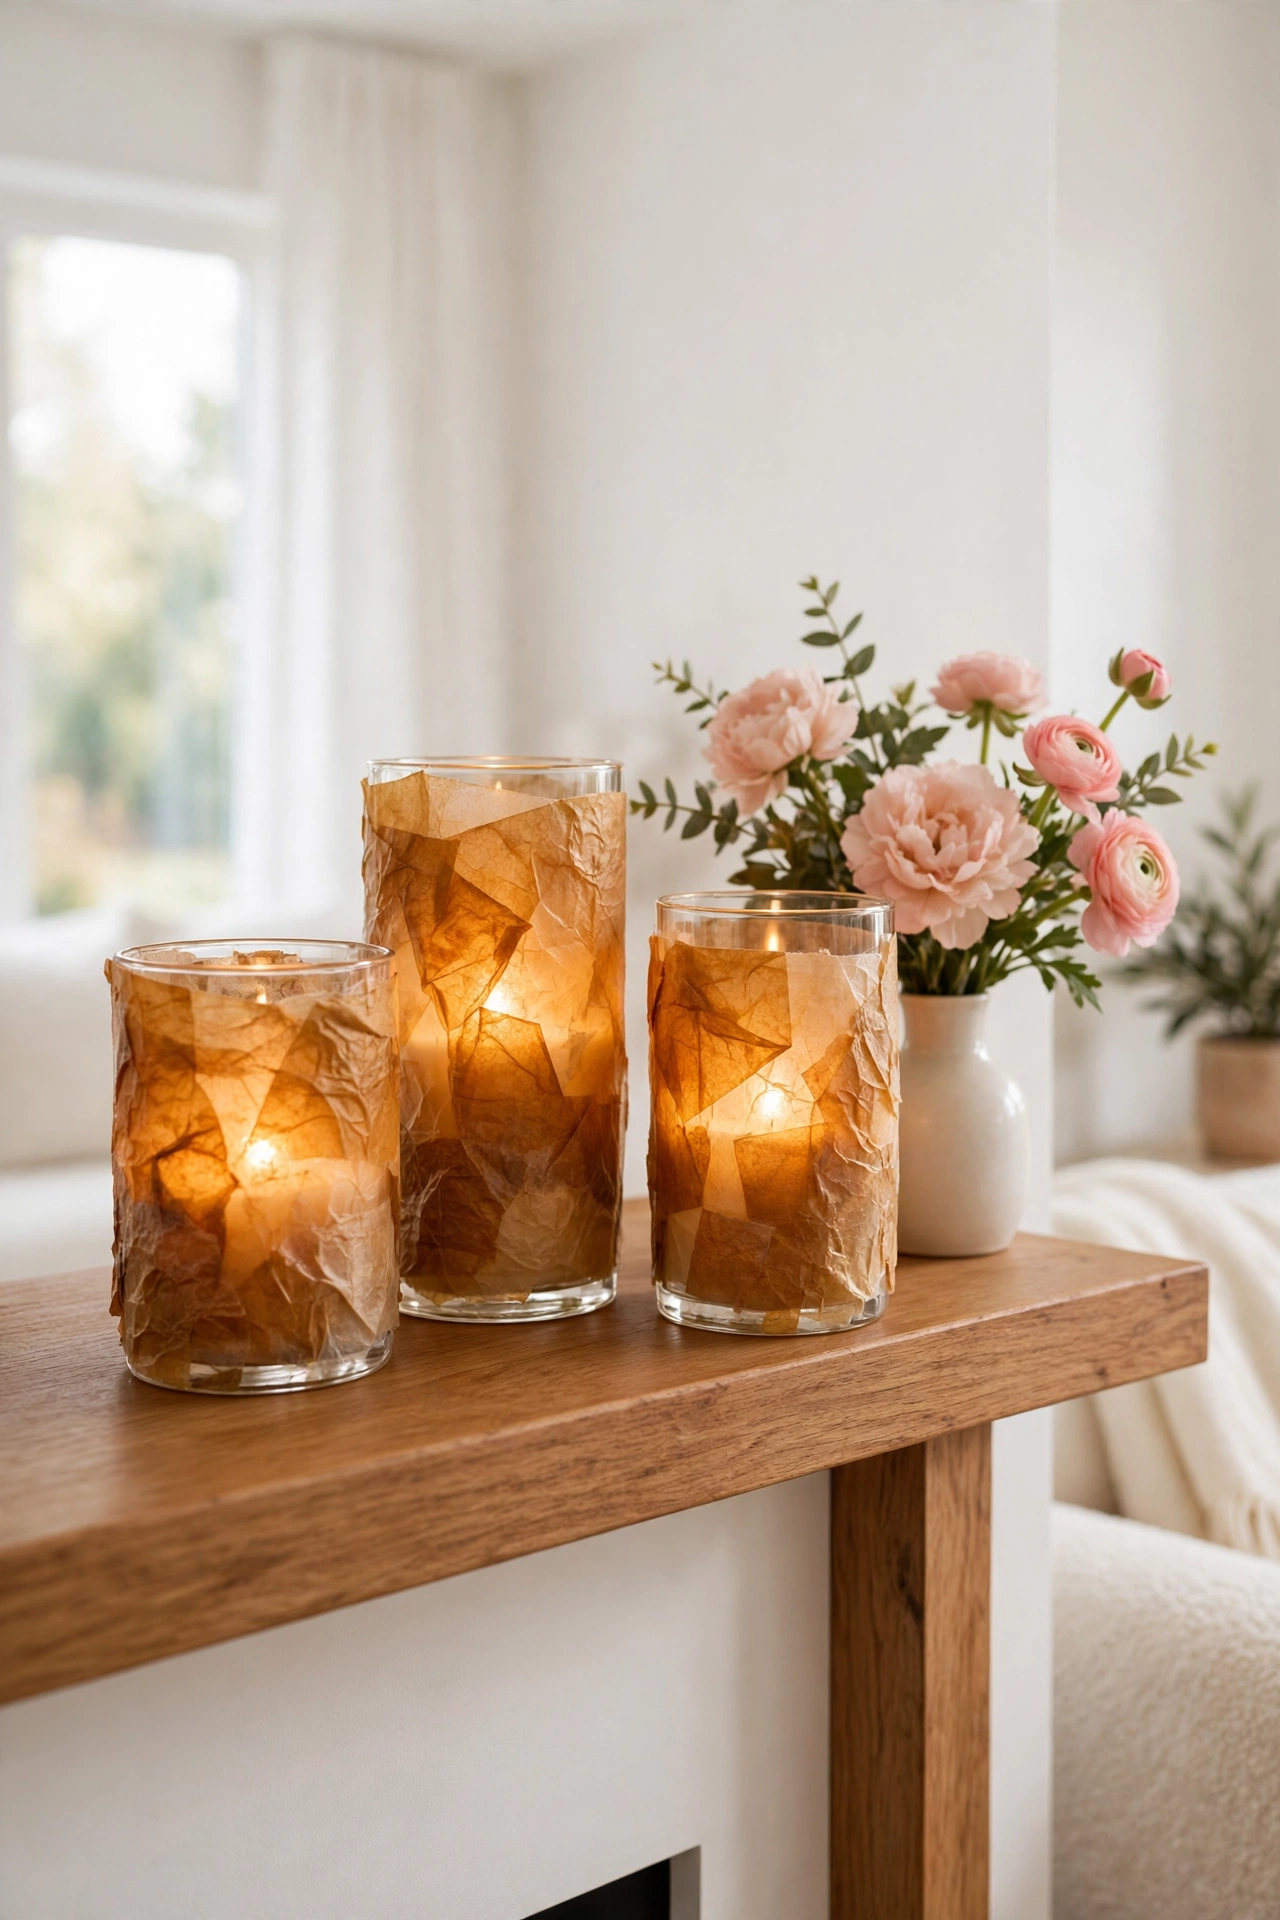
Glass candle holders glow beautifully when you cover them in thin tissue paper with a decoupage finish. Pick warm colors like amber and gold for a cozy light, or soft pastels for a gentle evening glow. The tissue paper lets the candlelight shine through while hiding the plain glass.
Always keep the paper away from the flame and use a small tea light in a glass cup inside the holder. Place the finished holders on a mantel or a dining table for a soft, handmade glow. This is one of the quickest decoupage projects you can finish in a single evening.
5. Make Coasters from Decorative Napkins
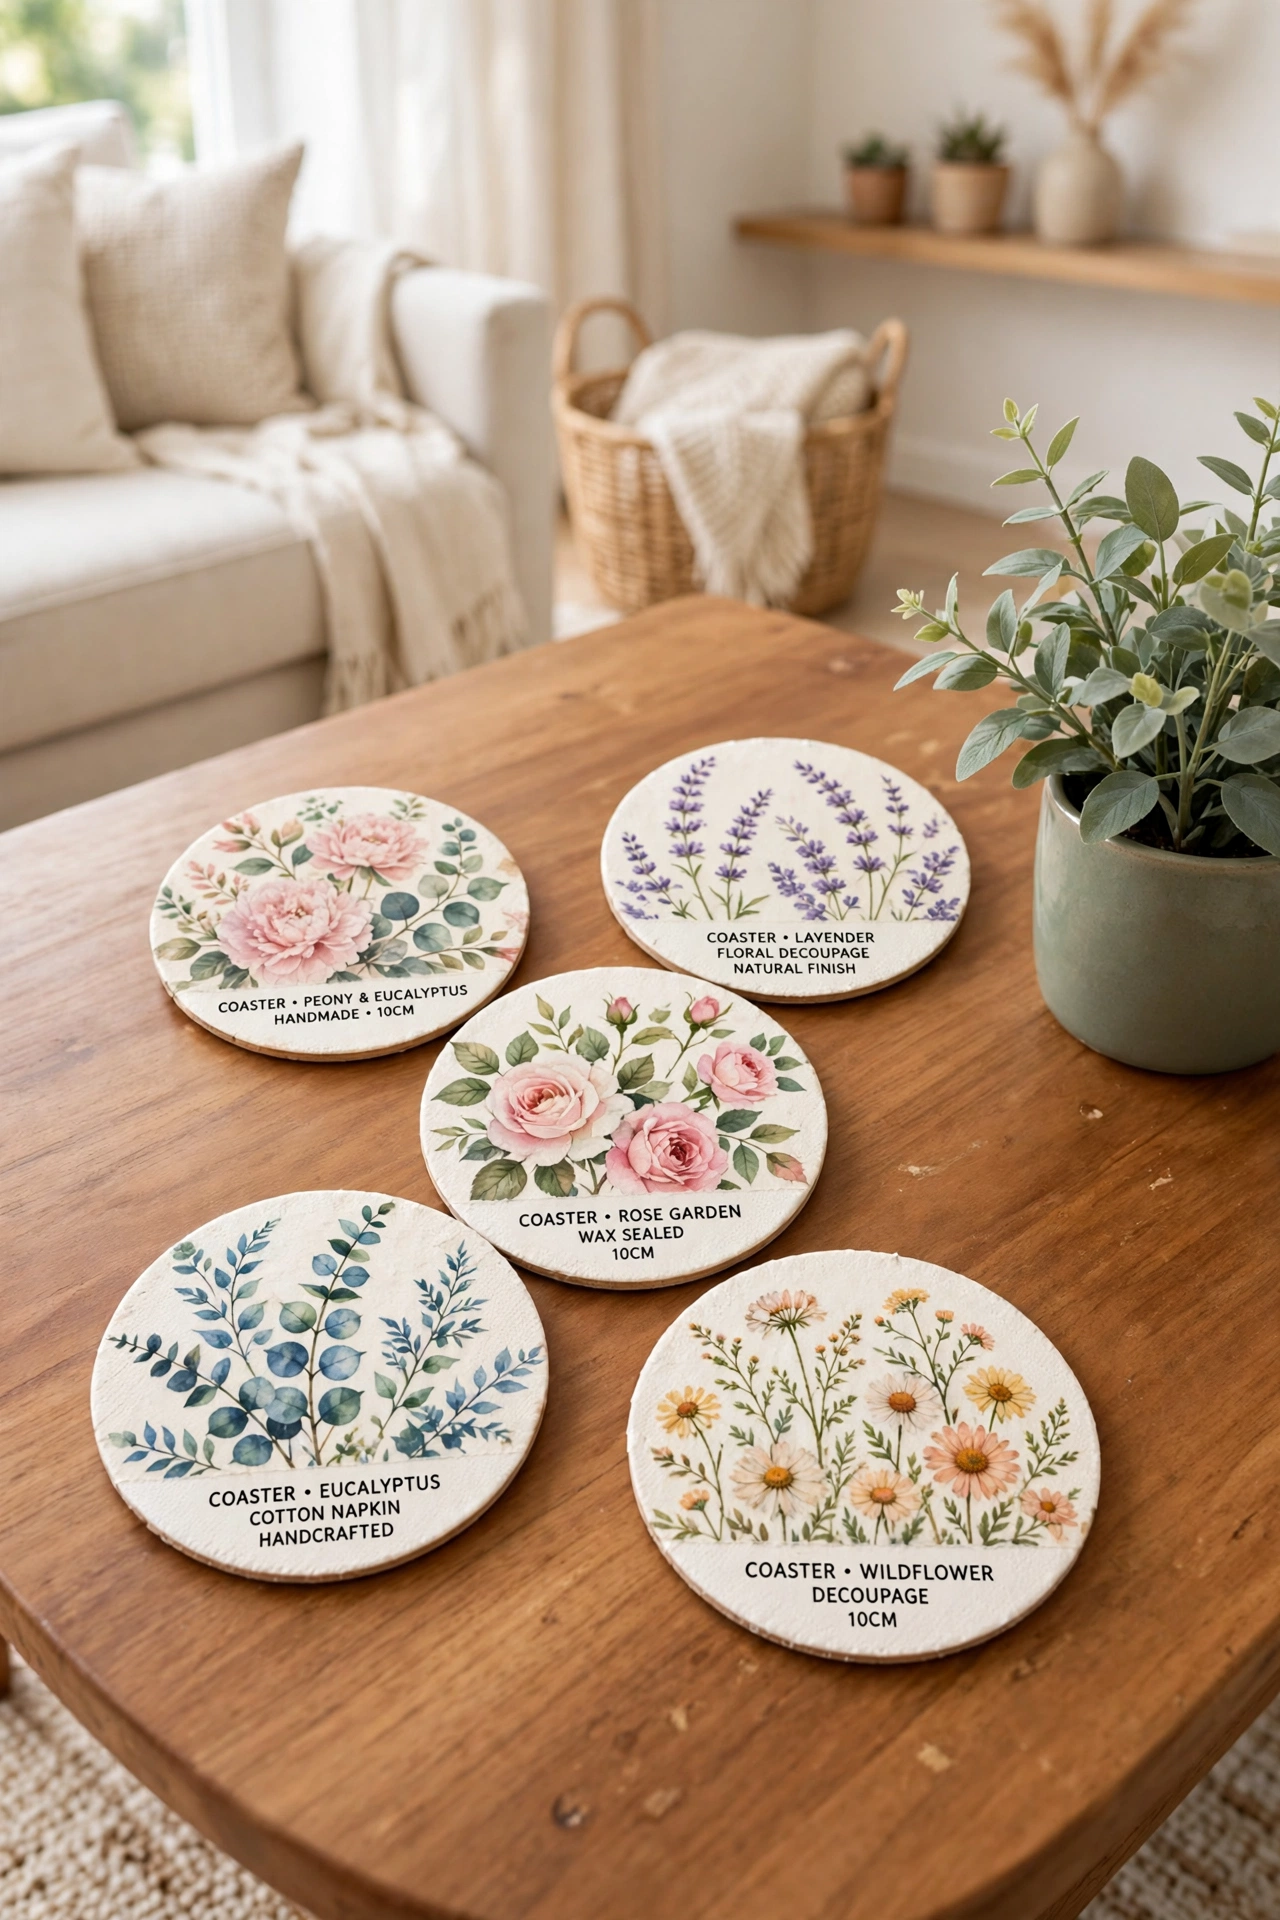
Decorative paper napkins are perfect for decoupage coasters. Cut a pretty napkin design to size and glue it onto a plain tile or a wooden disc. Seal it with several coats of waterproof varnish so it stands up to wet glasses.
Make a full set of four or six coasters in matching or mixed prints for your coffee table. The napkin layer is thin, so it hugs the surface neatly and looks like a printed design. These coasters make lovely gifts too, since each set can match the taste of the person who receives it.
6. Transform a Plain Box into a Keepsake Box
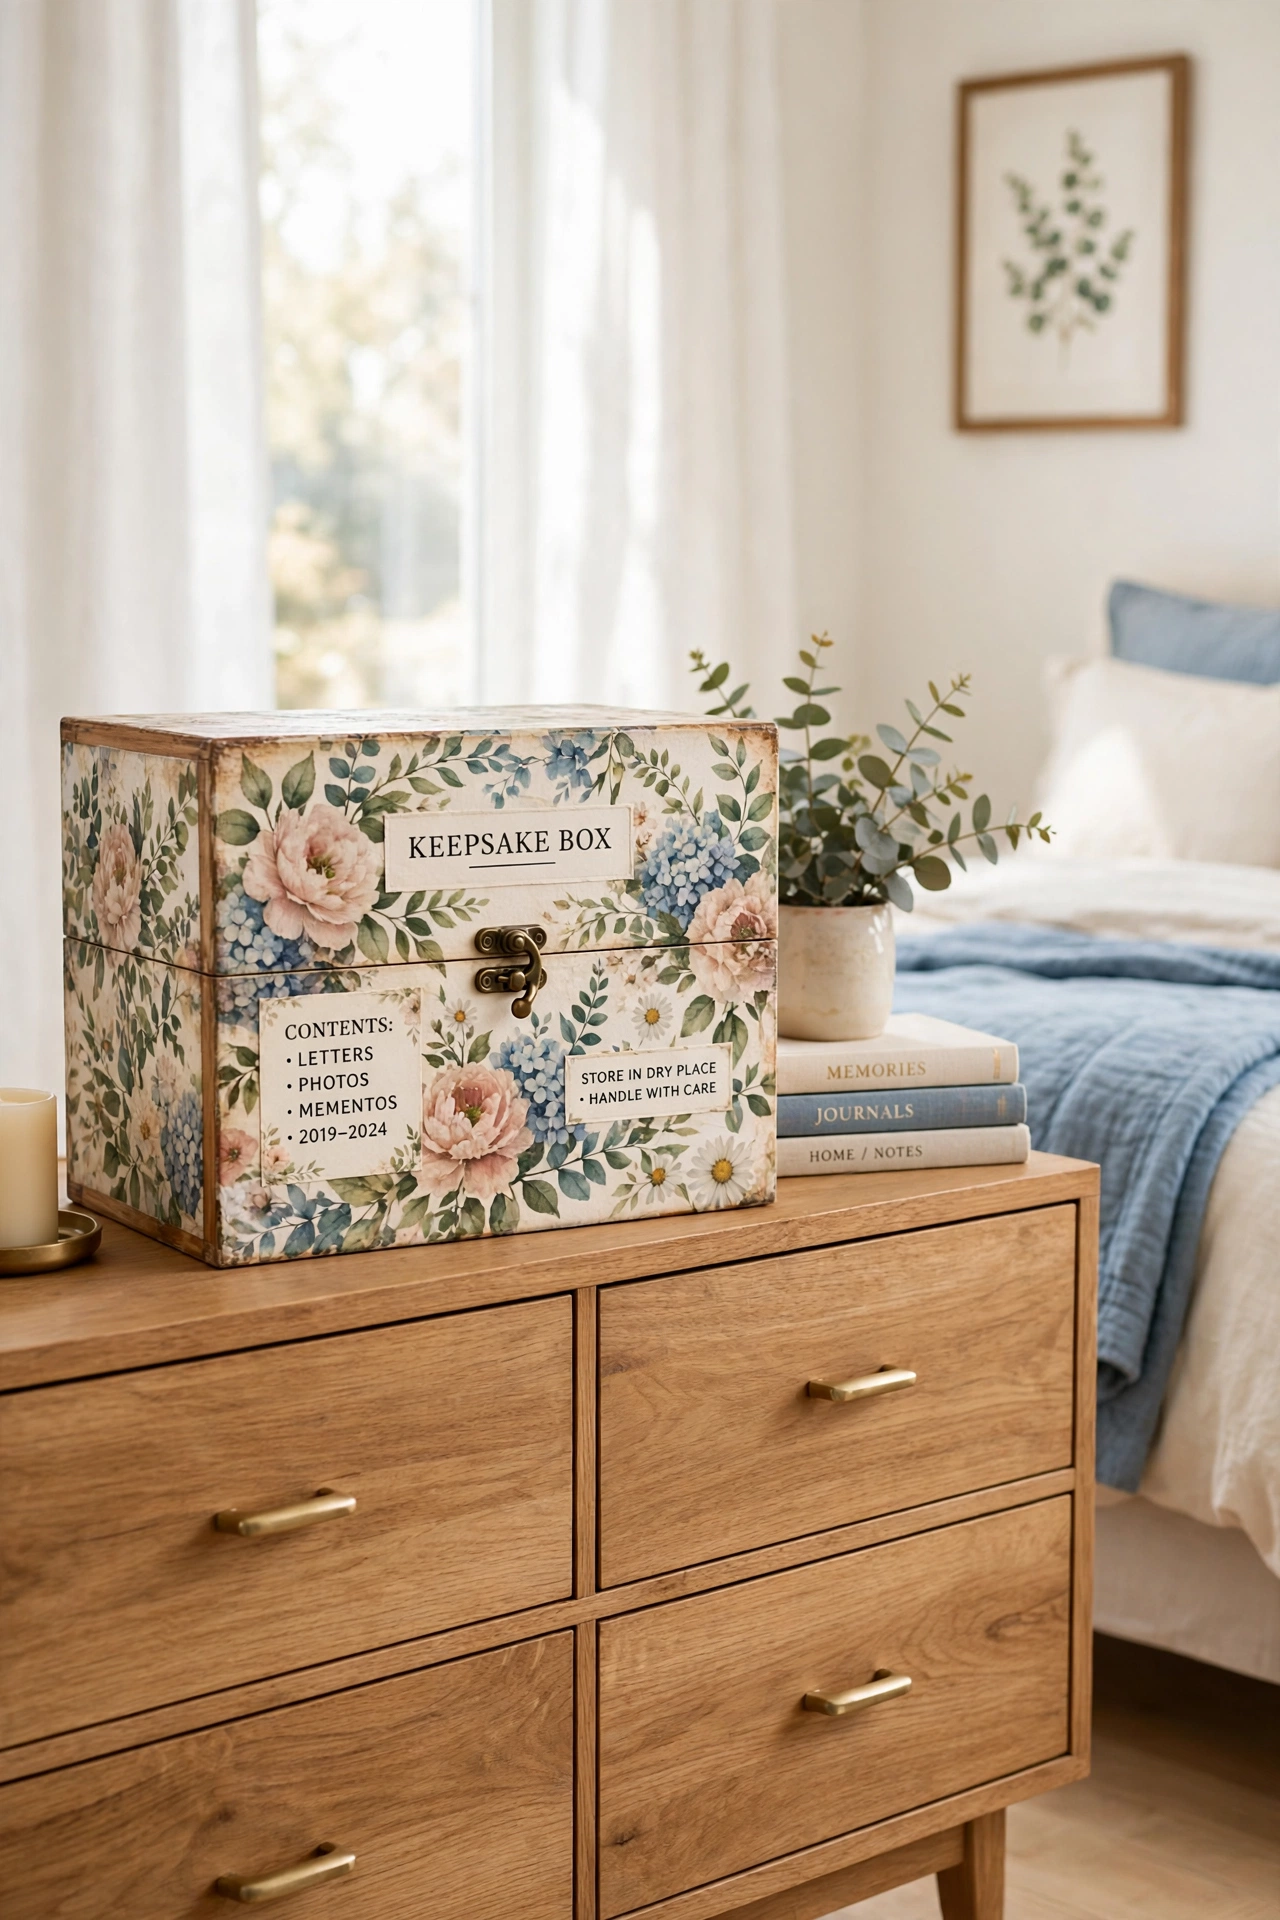
A plain wooden or cardboard box becomes a keepsake box with decoupage paper and a little patience. Cover the lid and sides in a print you love, add a small knob or ribbon, and line the inside with soft fabric. The box is now a beautiful home for letters, photos, or small treasures.
Place the finished box on a dresser or a bookshelf where it adds charm to the room. You can make one for each family member with a different paper pattern. A keepsake box is a simple project that turns an ordinary container into something worth keeping for years.
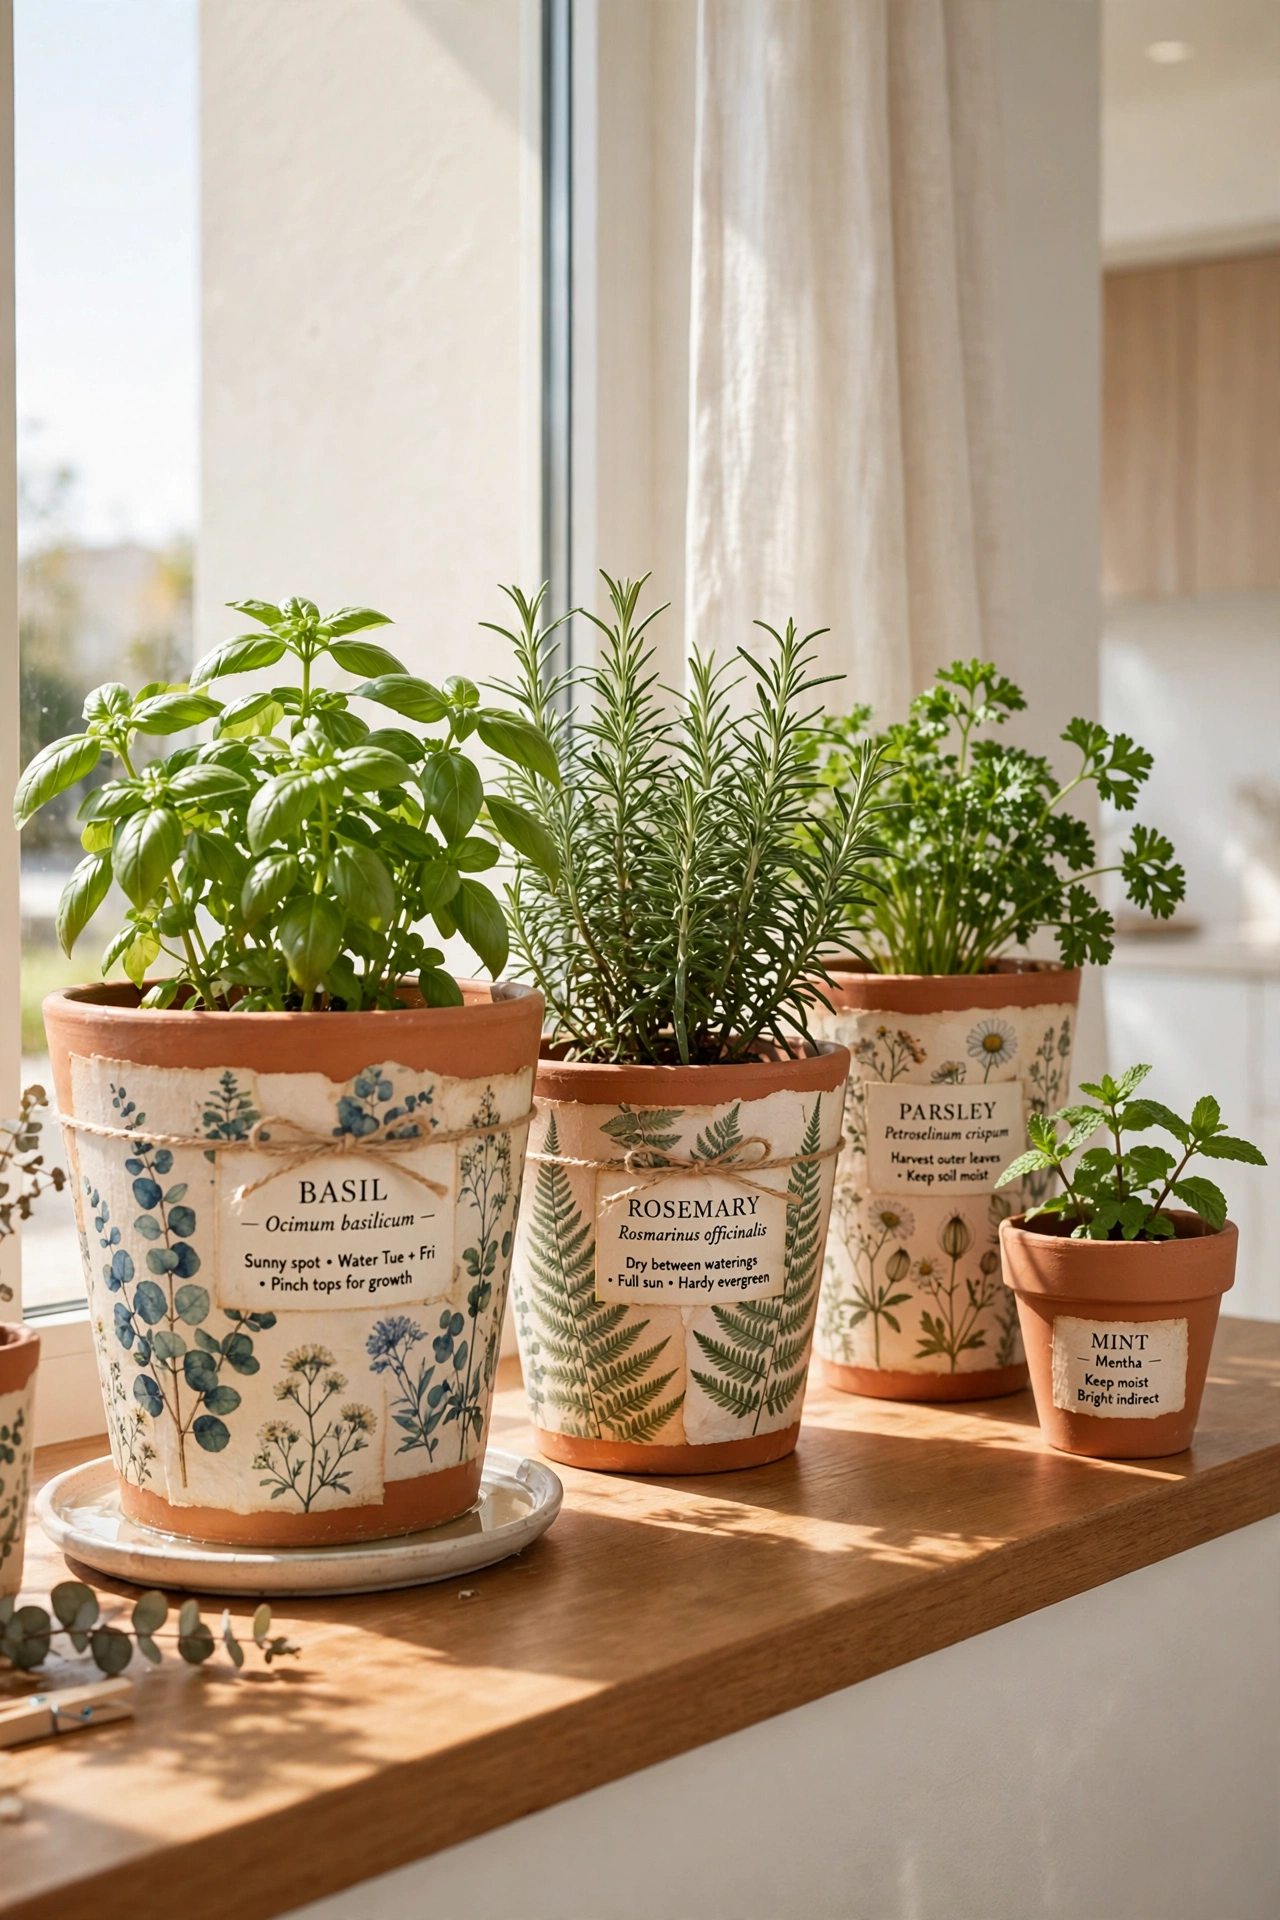
7. Give Planters a Fresh Look with Paper Prints
Plain terracotta or plastic planters look far more stylish with a decoupage finish. Wrap the outside in botanical prints, geometric patterns, or soft watercolor designs. Seal the surface well so water from the plant does not damage the paper.
Group two or three decorated planters on a windowsill or a plant shelf for a coordinated display. The printed planters make even a simple green plant look like a styled feature. This project is perfect for using up leftover paper from other decoupage crafts.
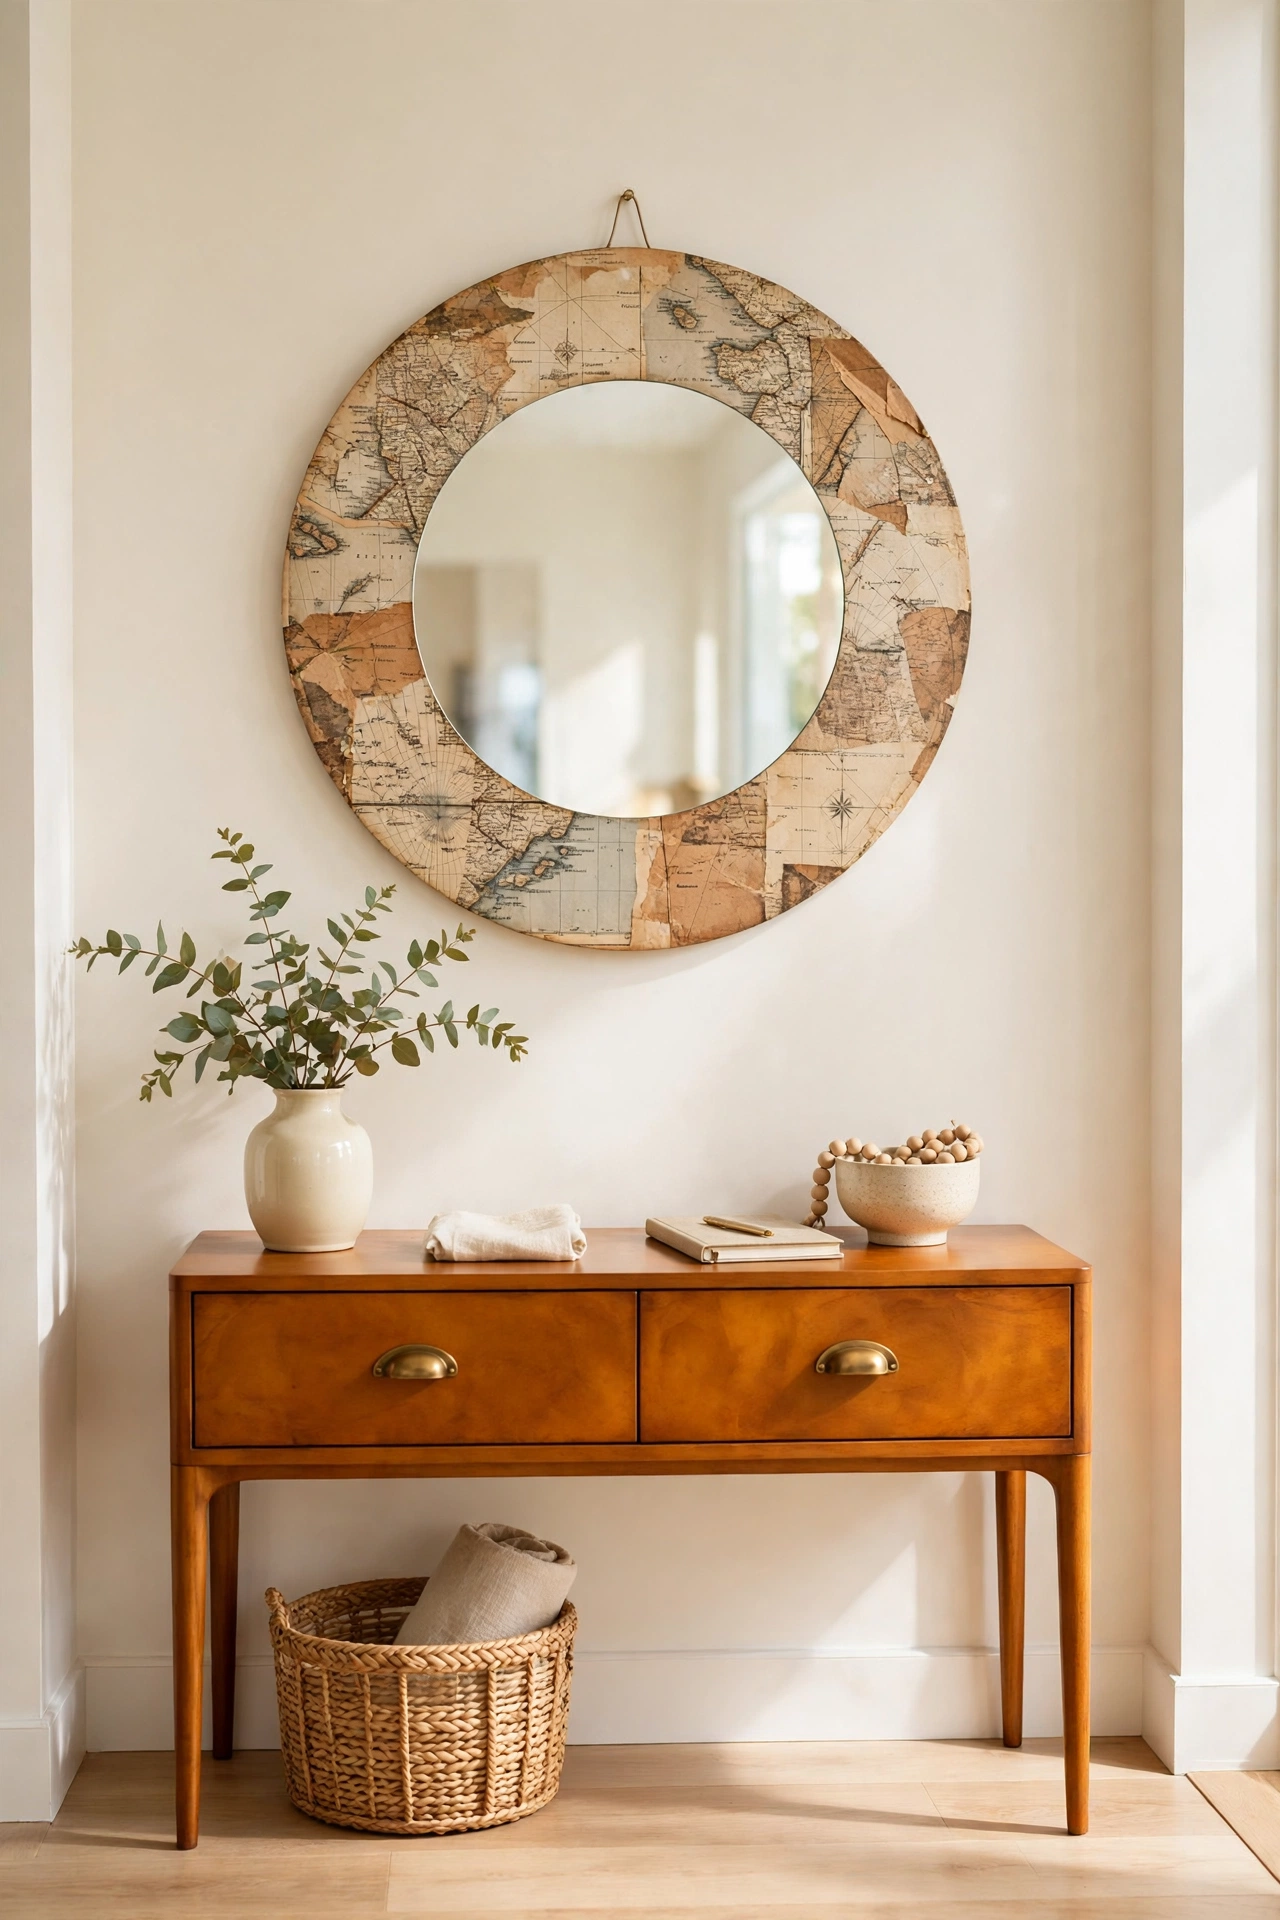
8. Refresh a Mirror with a Decoupage Frame
A mirror with a plain frame gets a whole new personality with decoupage. Cover the frame in paper that suits your room, from vintage maps to soft florals, and seal it with clear varnish. The decorated frame turns a simple mirror into a statement piece.
Hang the mirror in an entryway or a bedroom where it can catch the light. A decoupage mirror frame costs very little and looks far more expensive than it is. It is also a great way to update a thrift store mirror you already own.
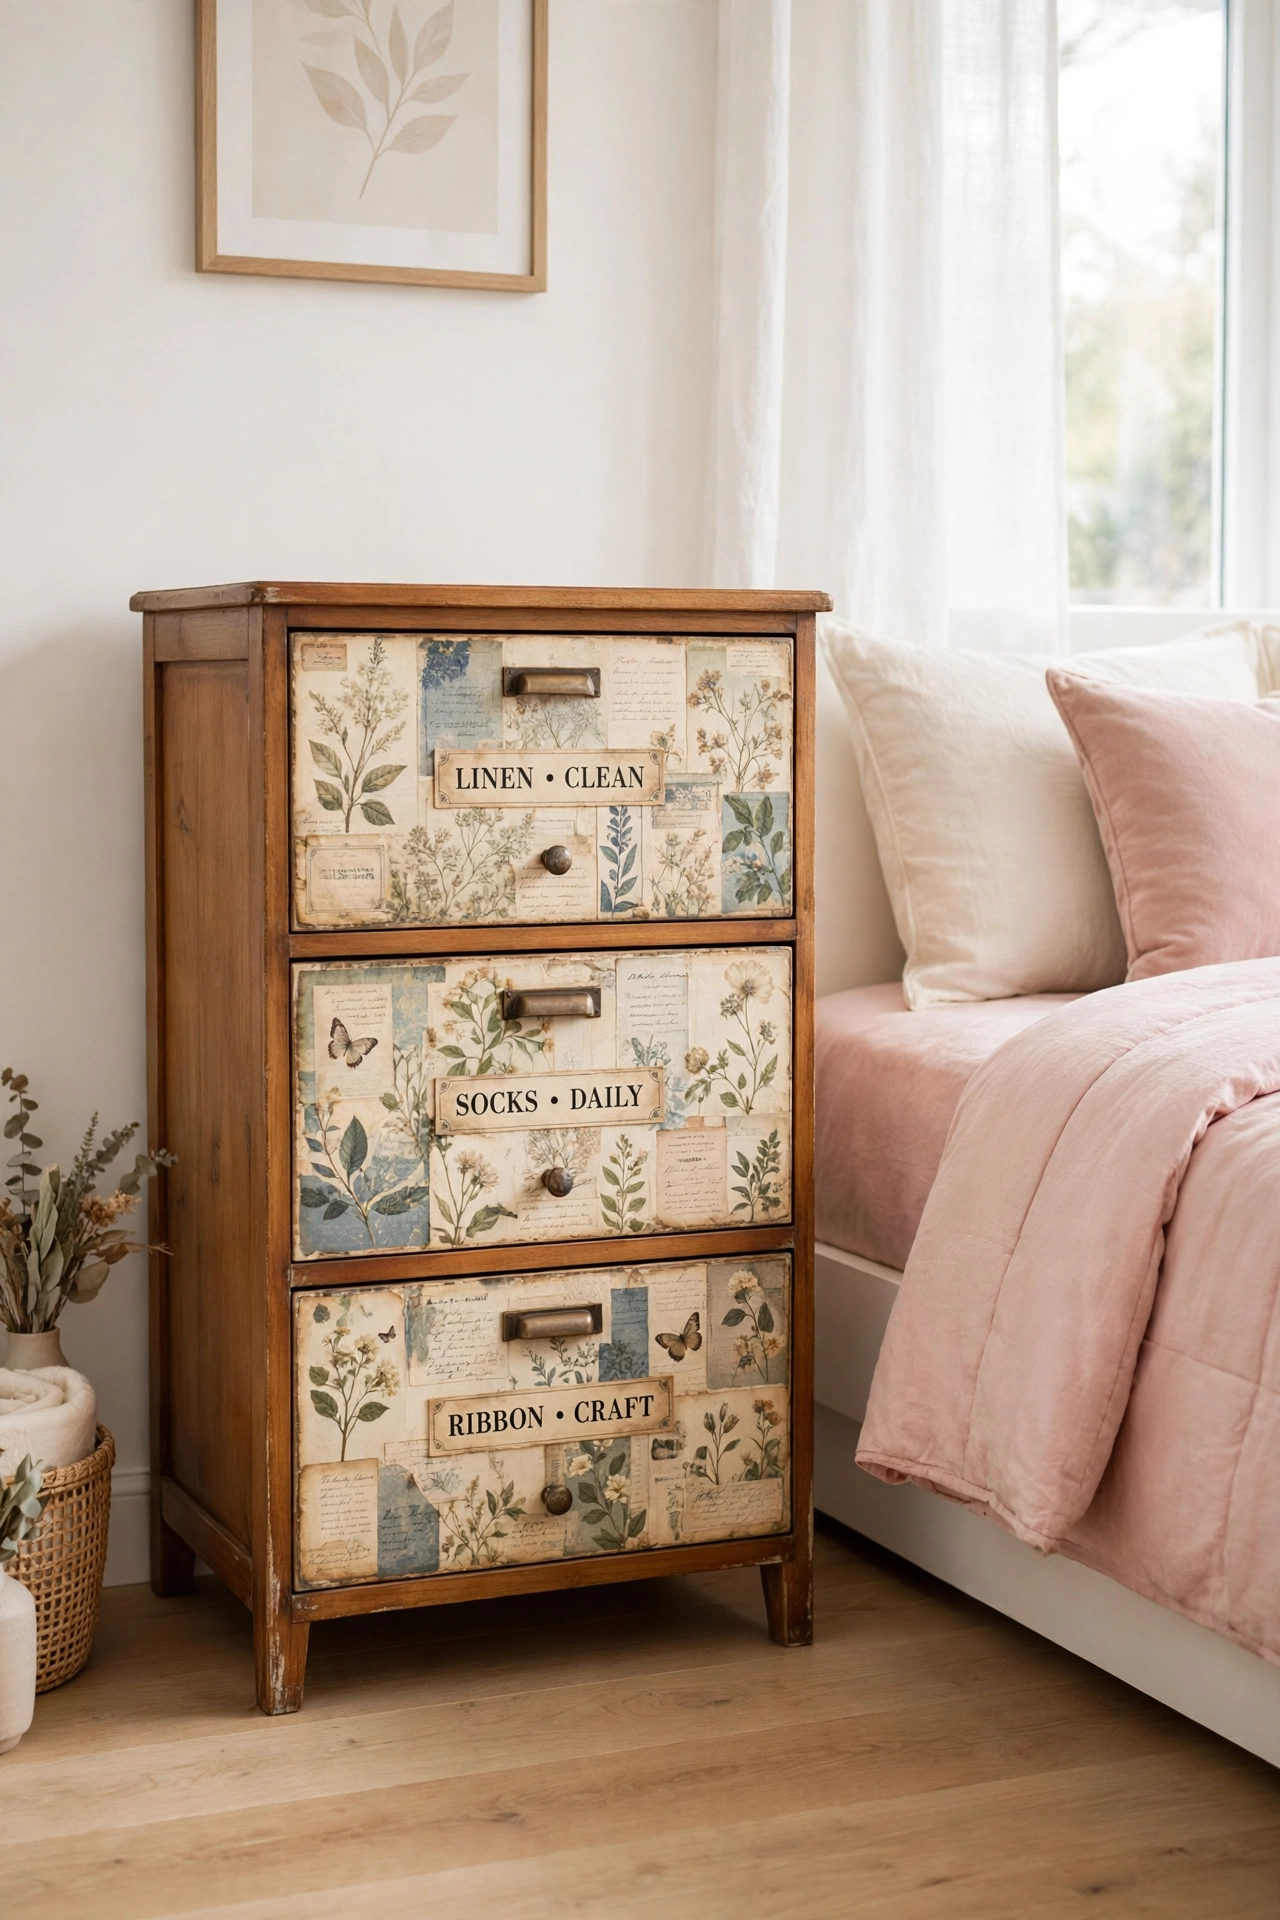
9. Cover Drawer Fronts with Vintage Paper
Drawer fronts are a wonderful canvas for decoupage. Cover each drawer of a small chest or a side table in vintage paper, old book pages, or floral prints. A clear sealant protects the paper from daily use and keeps the drawers looking fresh.
Change the knobs to match the paper for a finished look. A decoupage chest of drawers becomes the focal point of a bedroom or a hallway. This project takes a little more time than the small crafts, but the result is a piece of furniture that feels completely your own.
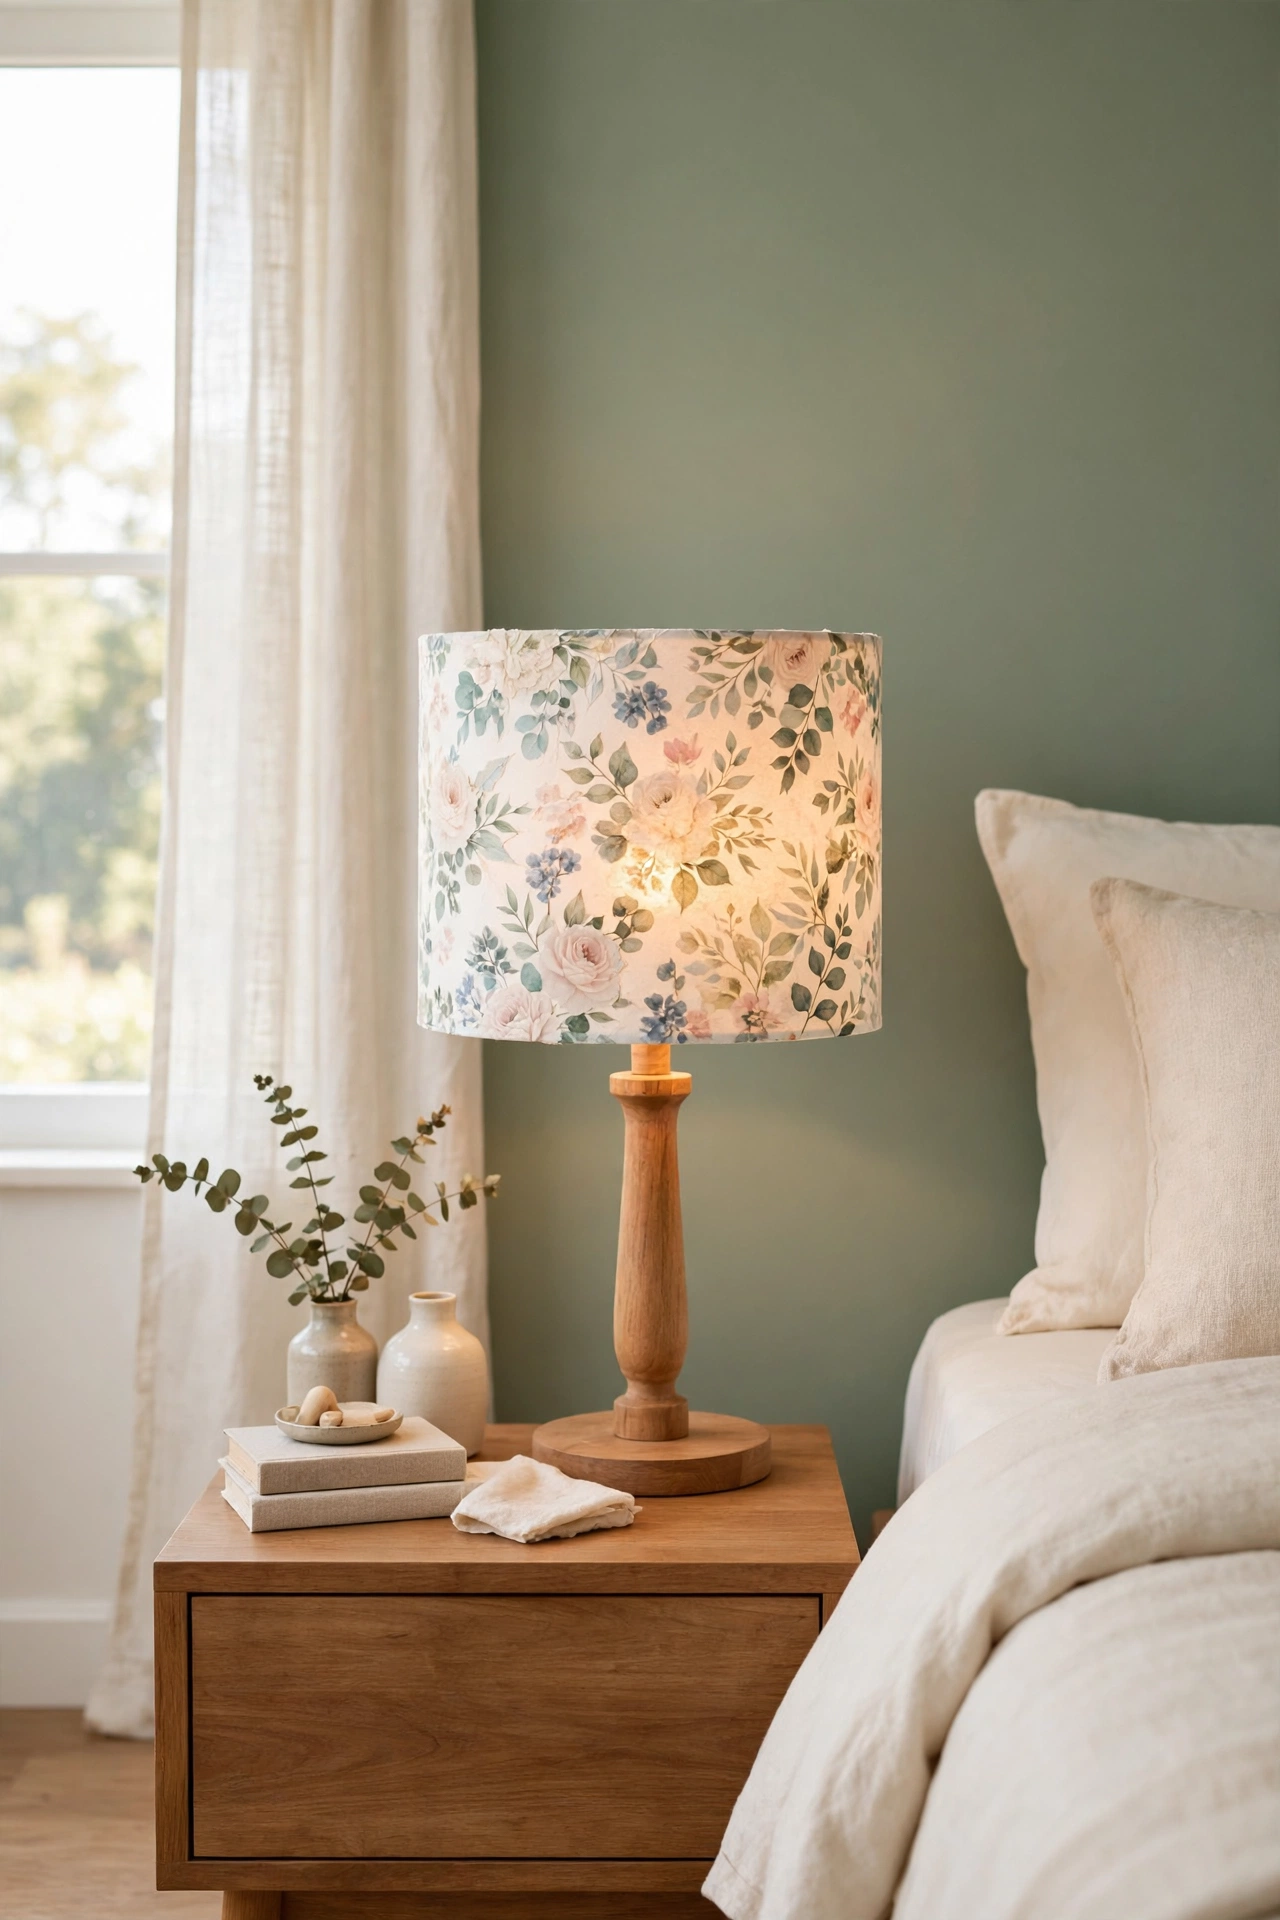
10. Wrap a Lampshade in Soft Patterned Paper
A plain lampshade becomes a soft work of art when you wrap it in patterned decoupage paper. Use thin paper so the light still shines through, and choose prints that glow warmly when the lamp is on. Smooth the paper carefully to avoid bubbles and wrinkles.
Place the finished lamp on a bedside table or a console for a gentle evening light. For more lampshade projects to try, see these DIY lampshade makeover ideas. A decoupage lampshade adds pattern and warmth to a room for the cost of a few sheets of paper.
11. Create Wall Art from Framed Paper Collages
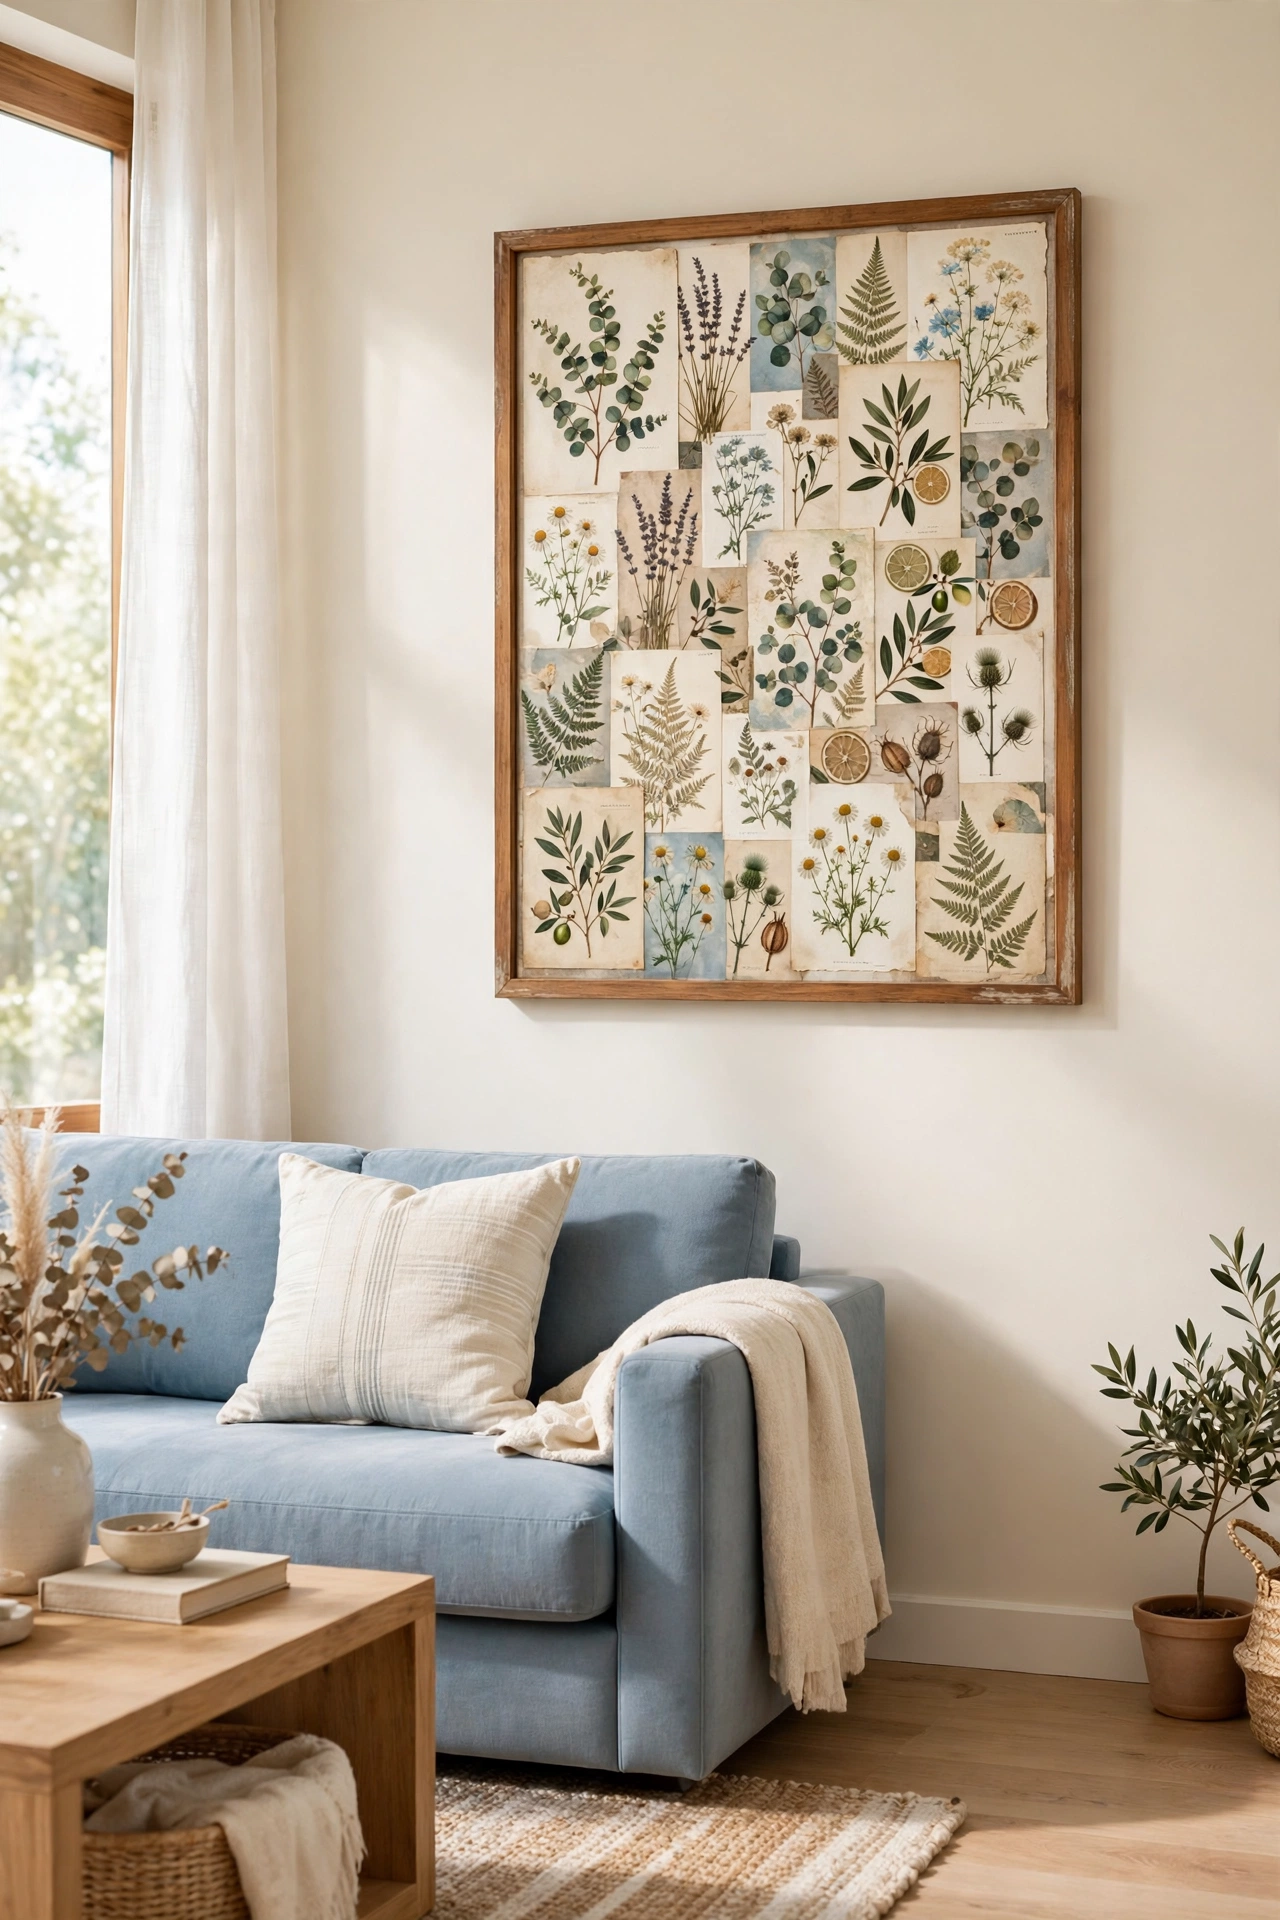
Decoupage wall art starts with a simple canvas or board and a collection of paper pieces you love. Layer maps, botanical prints, and soft colors into a collage, then seal the whole surface with clear varnish. Frame it or hang it as it is for a handmade gallery piece.
Make a pair of matching collages for a balanced look on a living room wall. Each piece is unique because no two collages come out the same. This is a wonderful project for using paper scraps and turning them into art worth displaying.
12. Decorate Serving Boards with Food Safe Paper
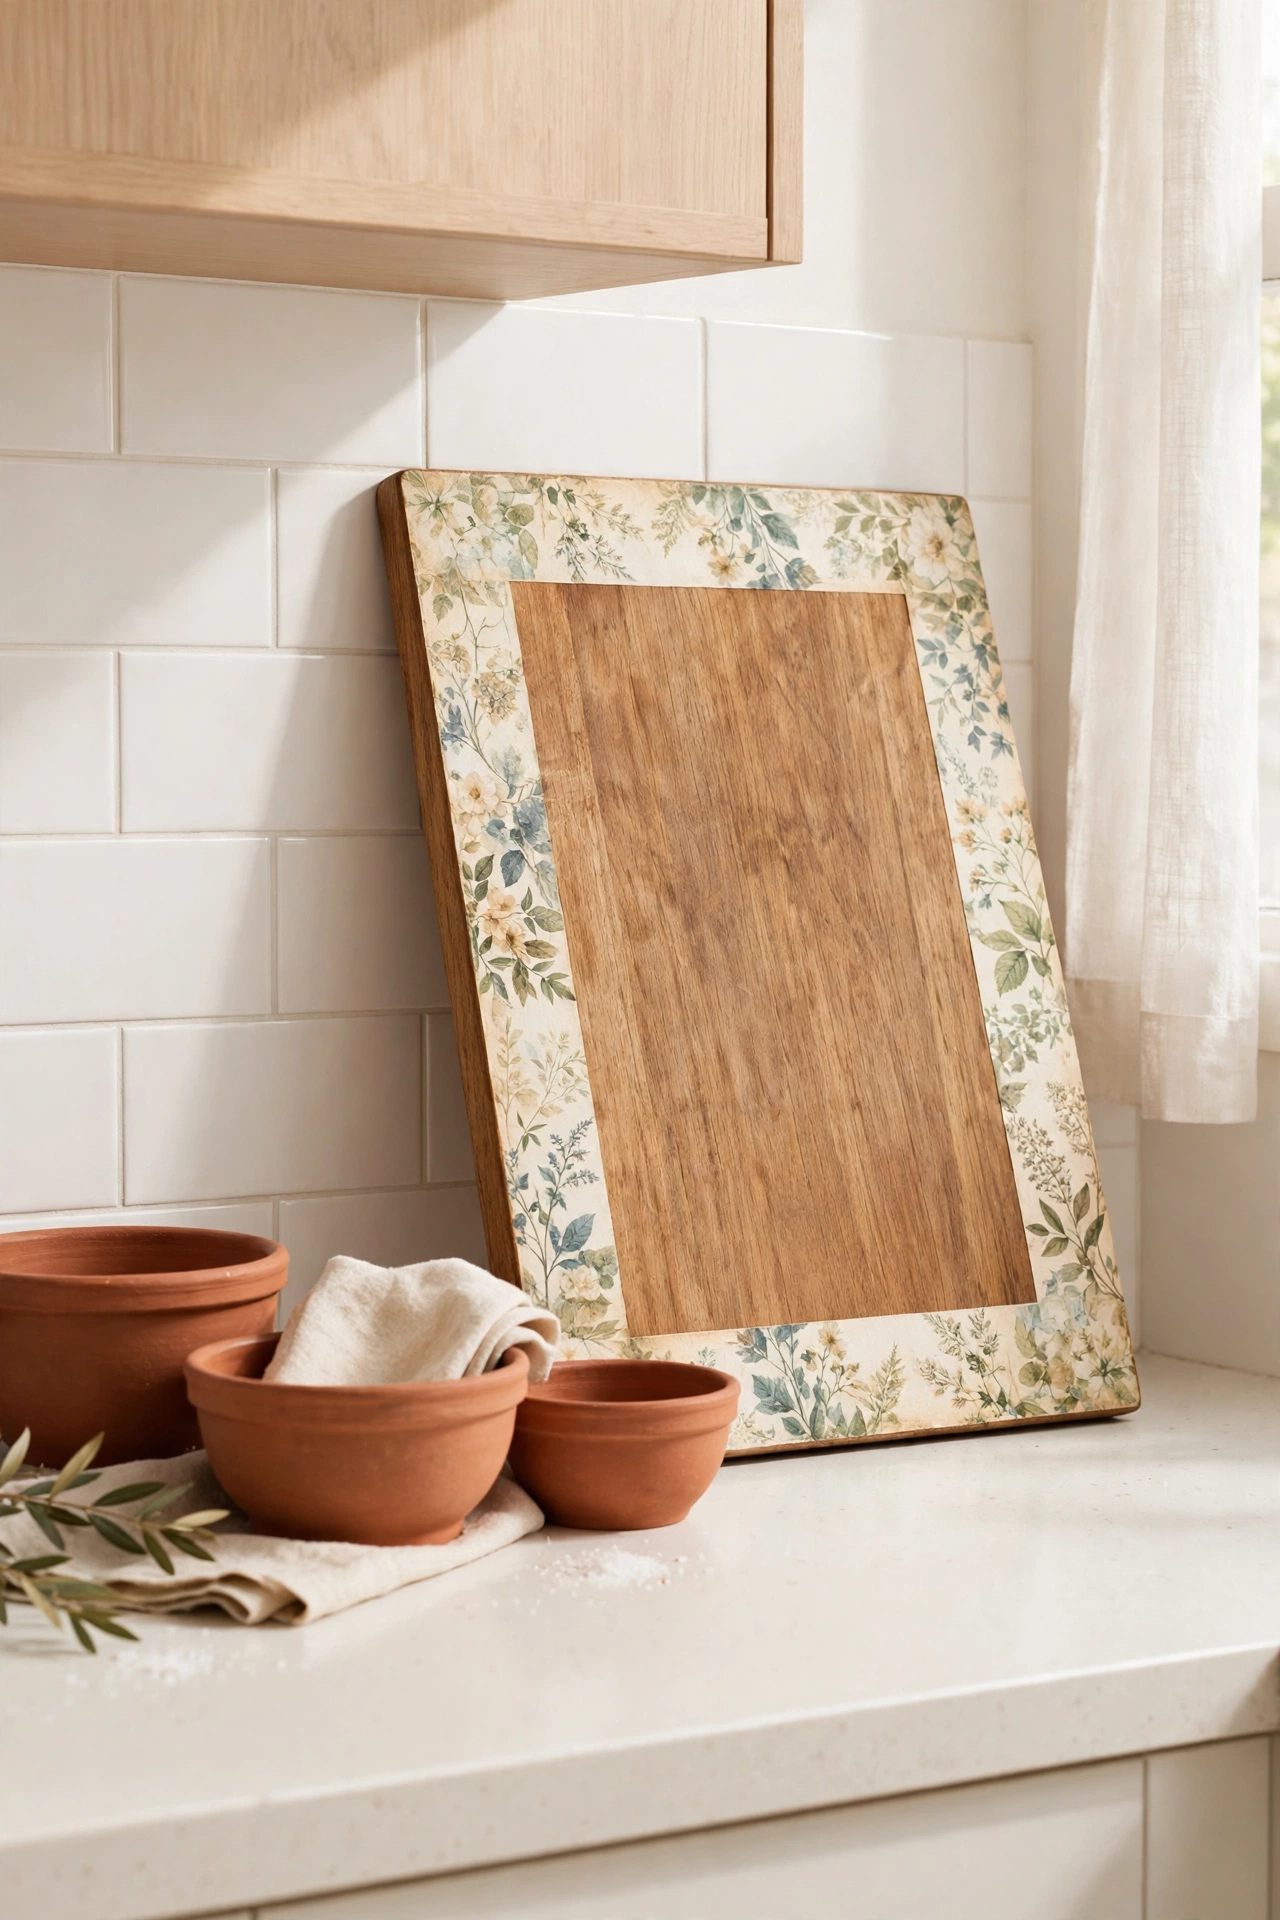
A wooden serving board gets a personal touch with decoupage paper on the handle or the border. Use food safe sealant over the paper so the board stays safe for serving cheese, bread, or fruit. Keep the paper away from the center where food sits directly.
Display the finished board on a kitchen wall or lean it on a counter when it is not in use. The decorated handle turns a plain board into a pretty kitchen accent. This project is simple enough for a beginner and makes a thoughtful housewarming gift.
13. Turn Glass Jars into Decorative Storage Jars
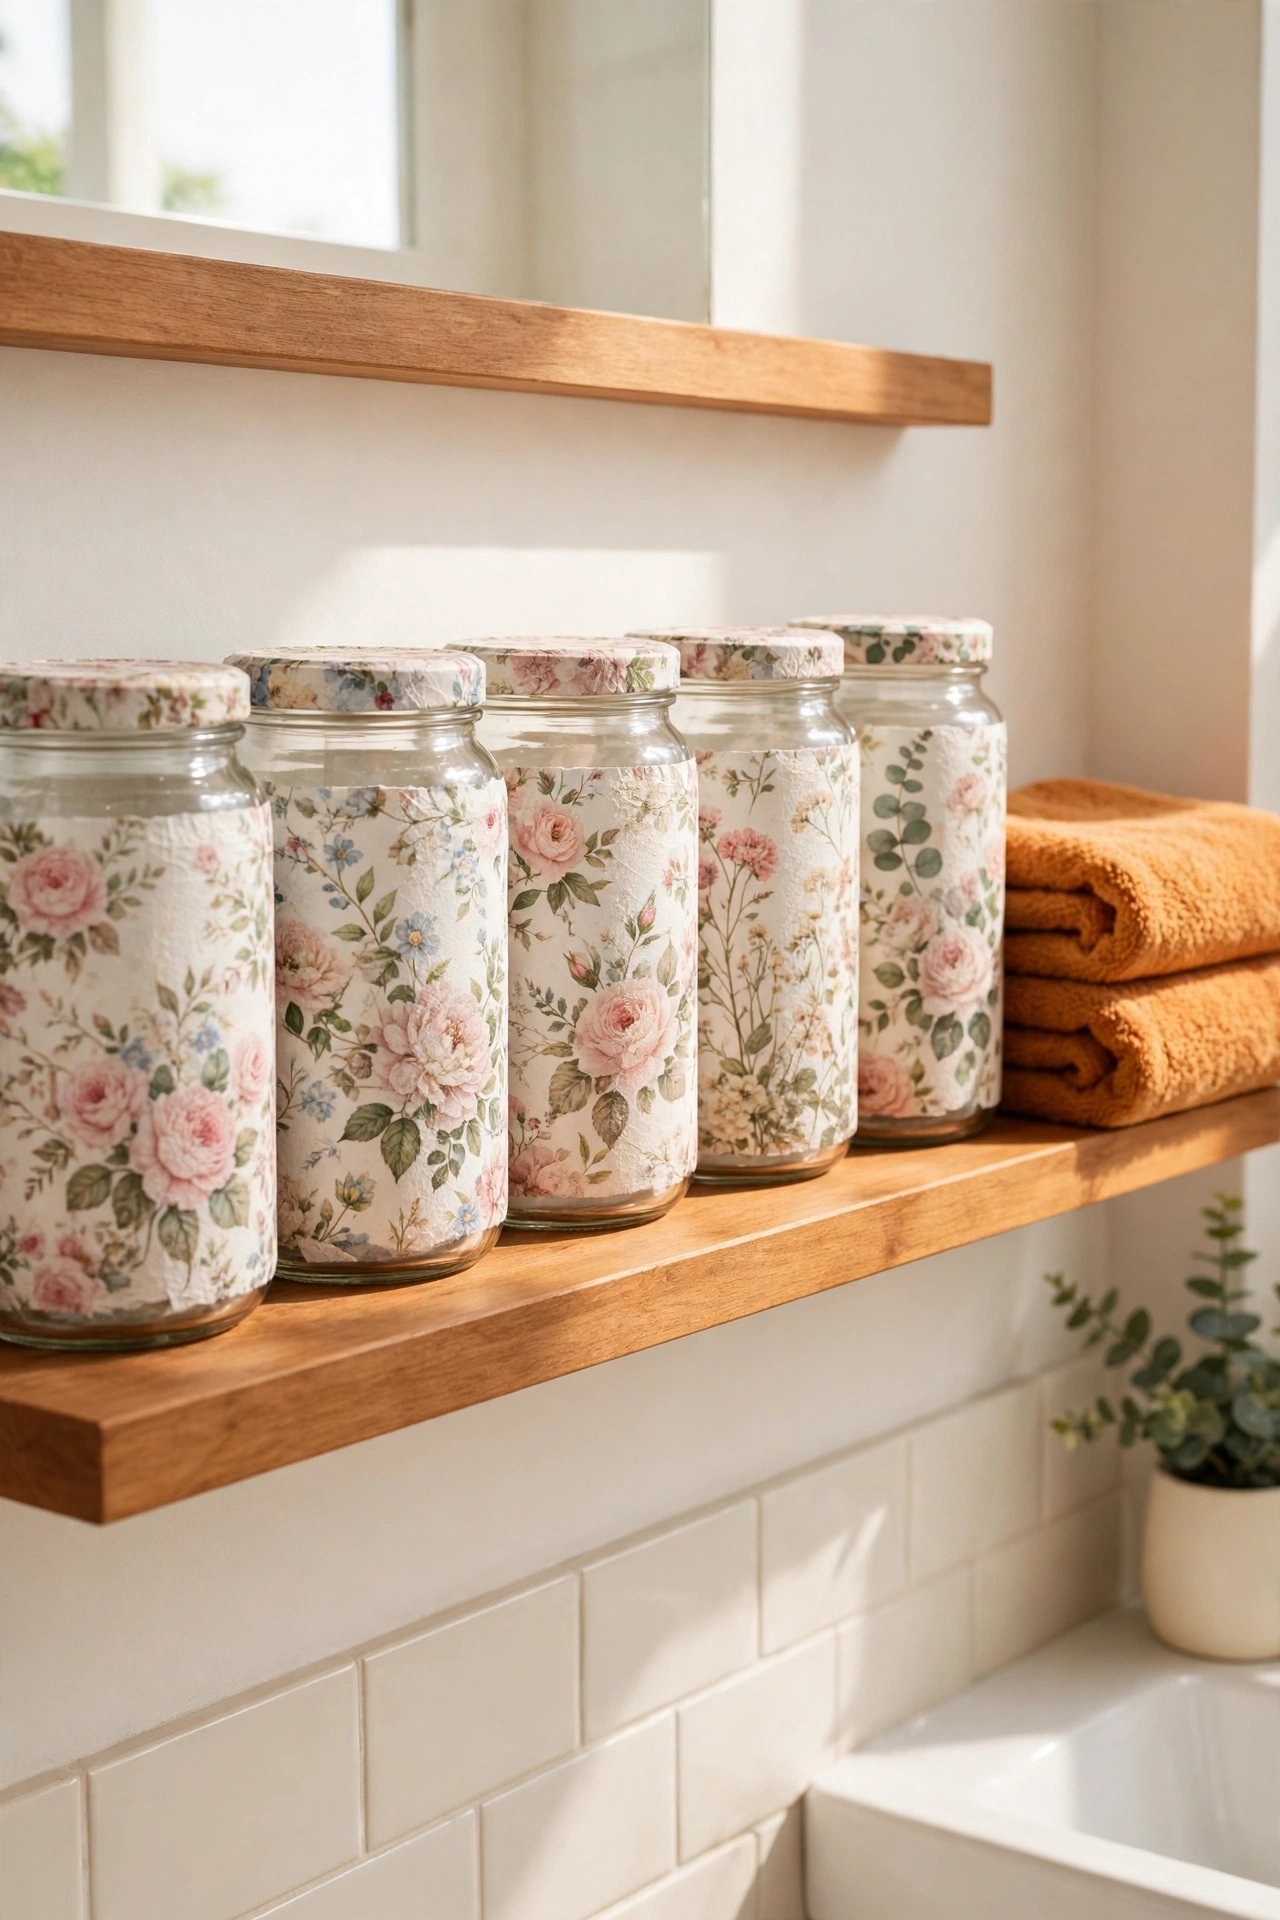
Empty glass jars become decorative storage with a layer of decoupage paper. Cover the outside in floral or striped prints and add a ribbon around the lid. The jars are perfect for holding cotton balls, tea bags, or small craft supplies.
Line up a row of decorated jars on a bathroom shelf or a kitchen counter for a tidy and pretty display. Clear glass lets you see what is inside while the paper adds color. This is one of the easiest decoupage projects and a great way to reuse jars you already have.
14. Give an Old Clock a Decoupage Face
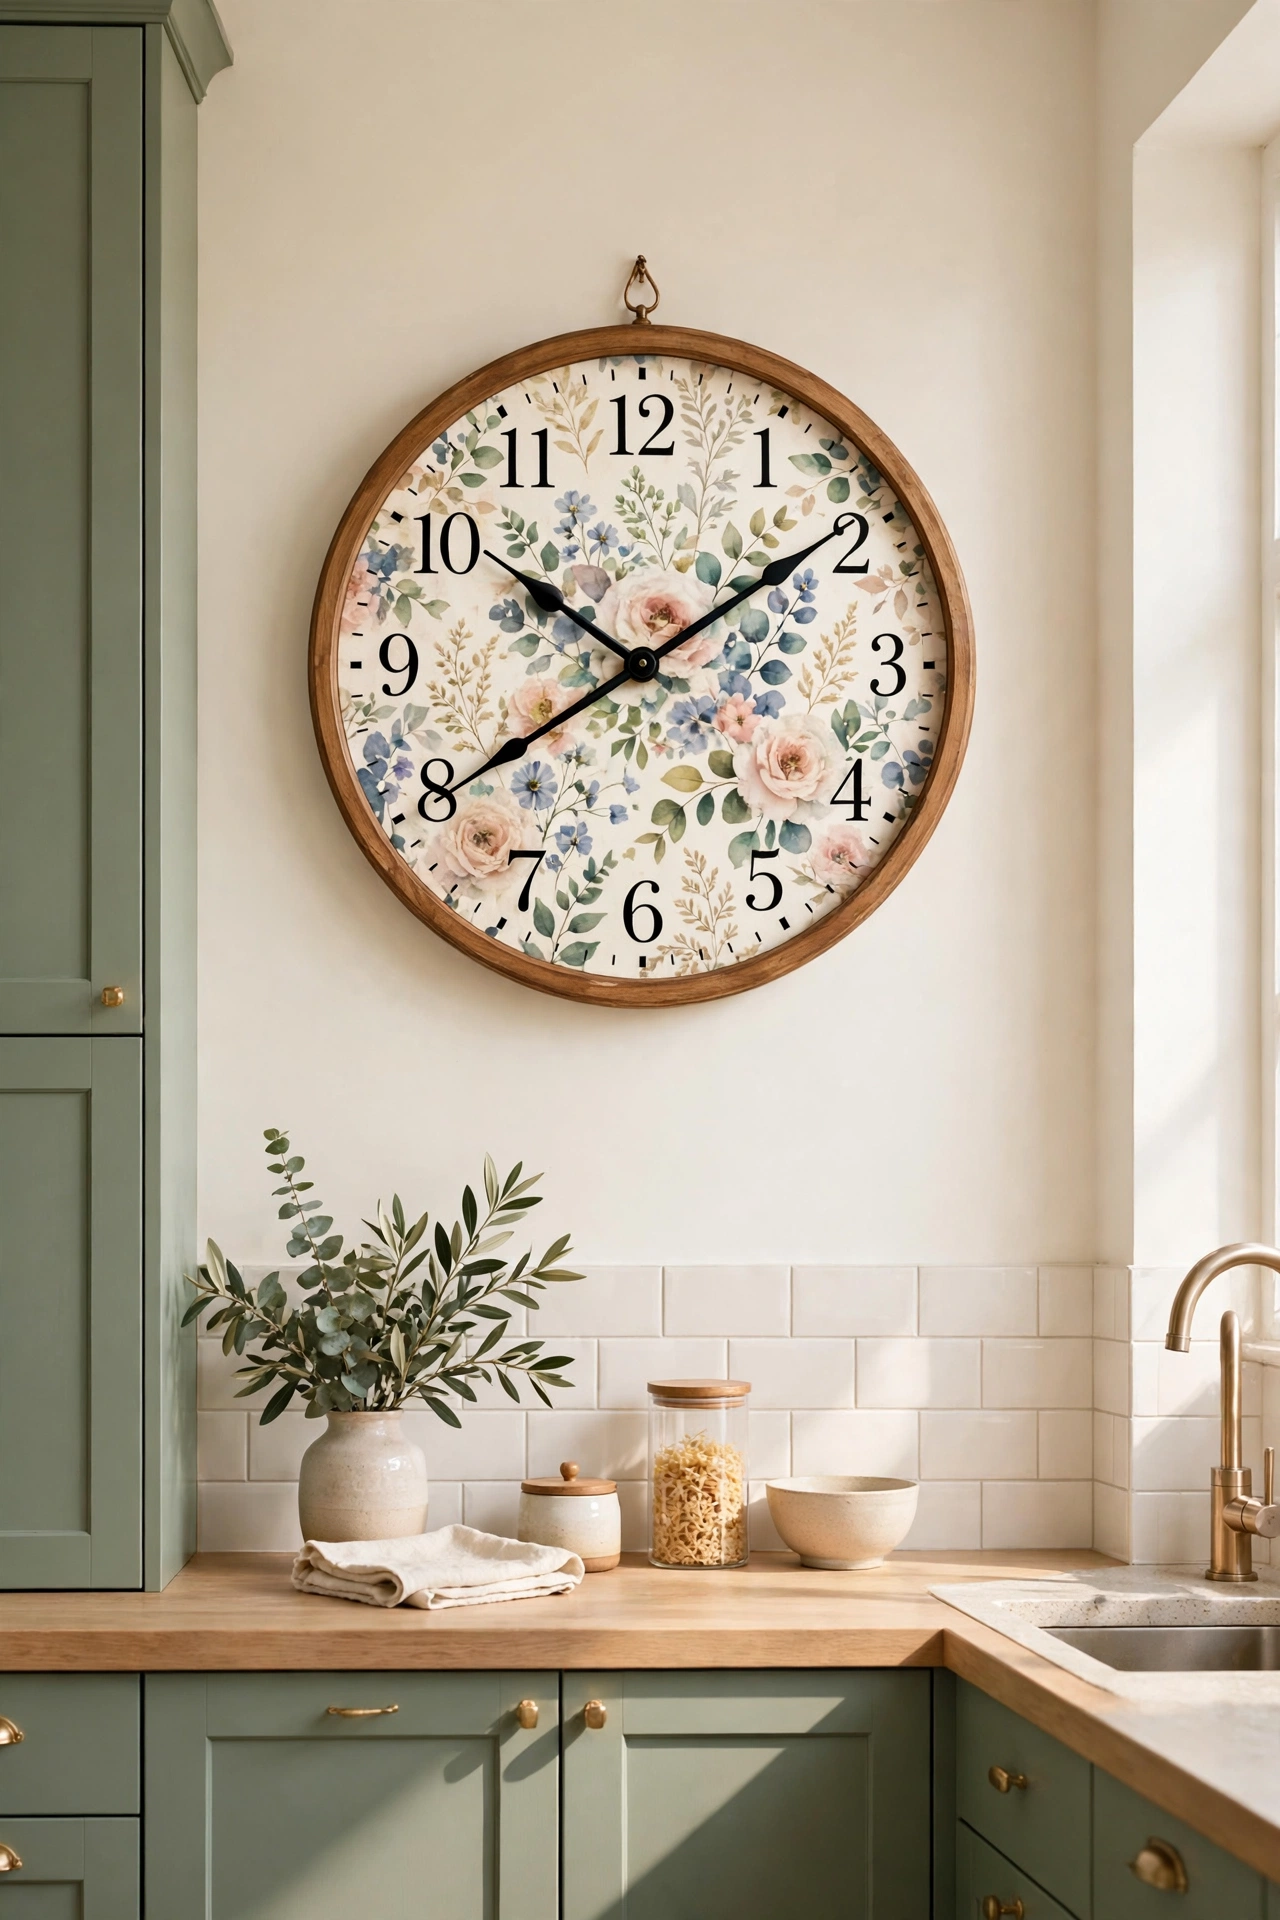
An old wall clock with a plain face looks brand new with decoupage paper. Cover the clock face in a soft pattern, mark the numbers clearly, and seal the surface. Add new hands in a color that matches the paper for a finished look.
Hang the clock in a kitchen or a living room where it is both useful and decorative. A decoupage clock face is a fun project that mixes craft with function. It also makes a lovely handmade gift for a new home.
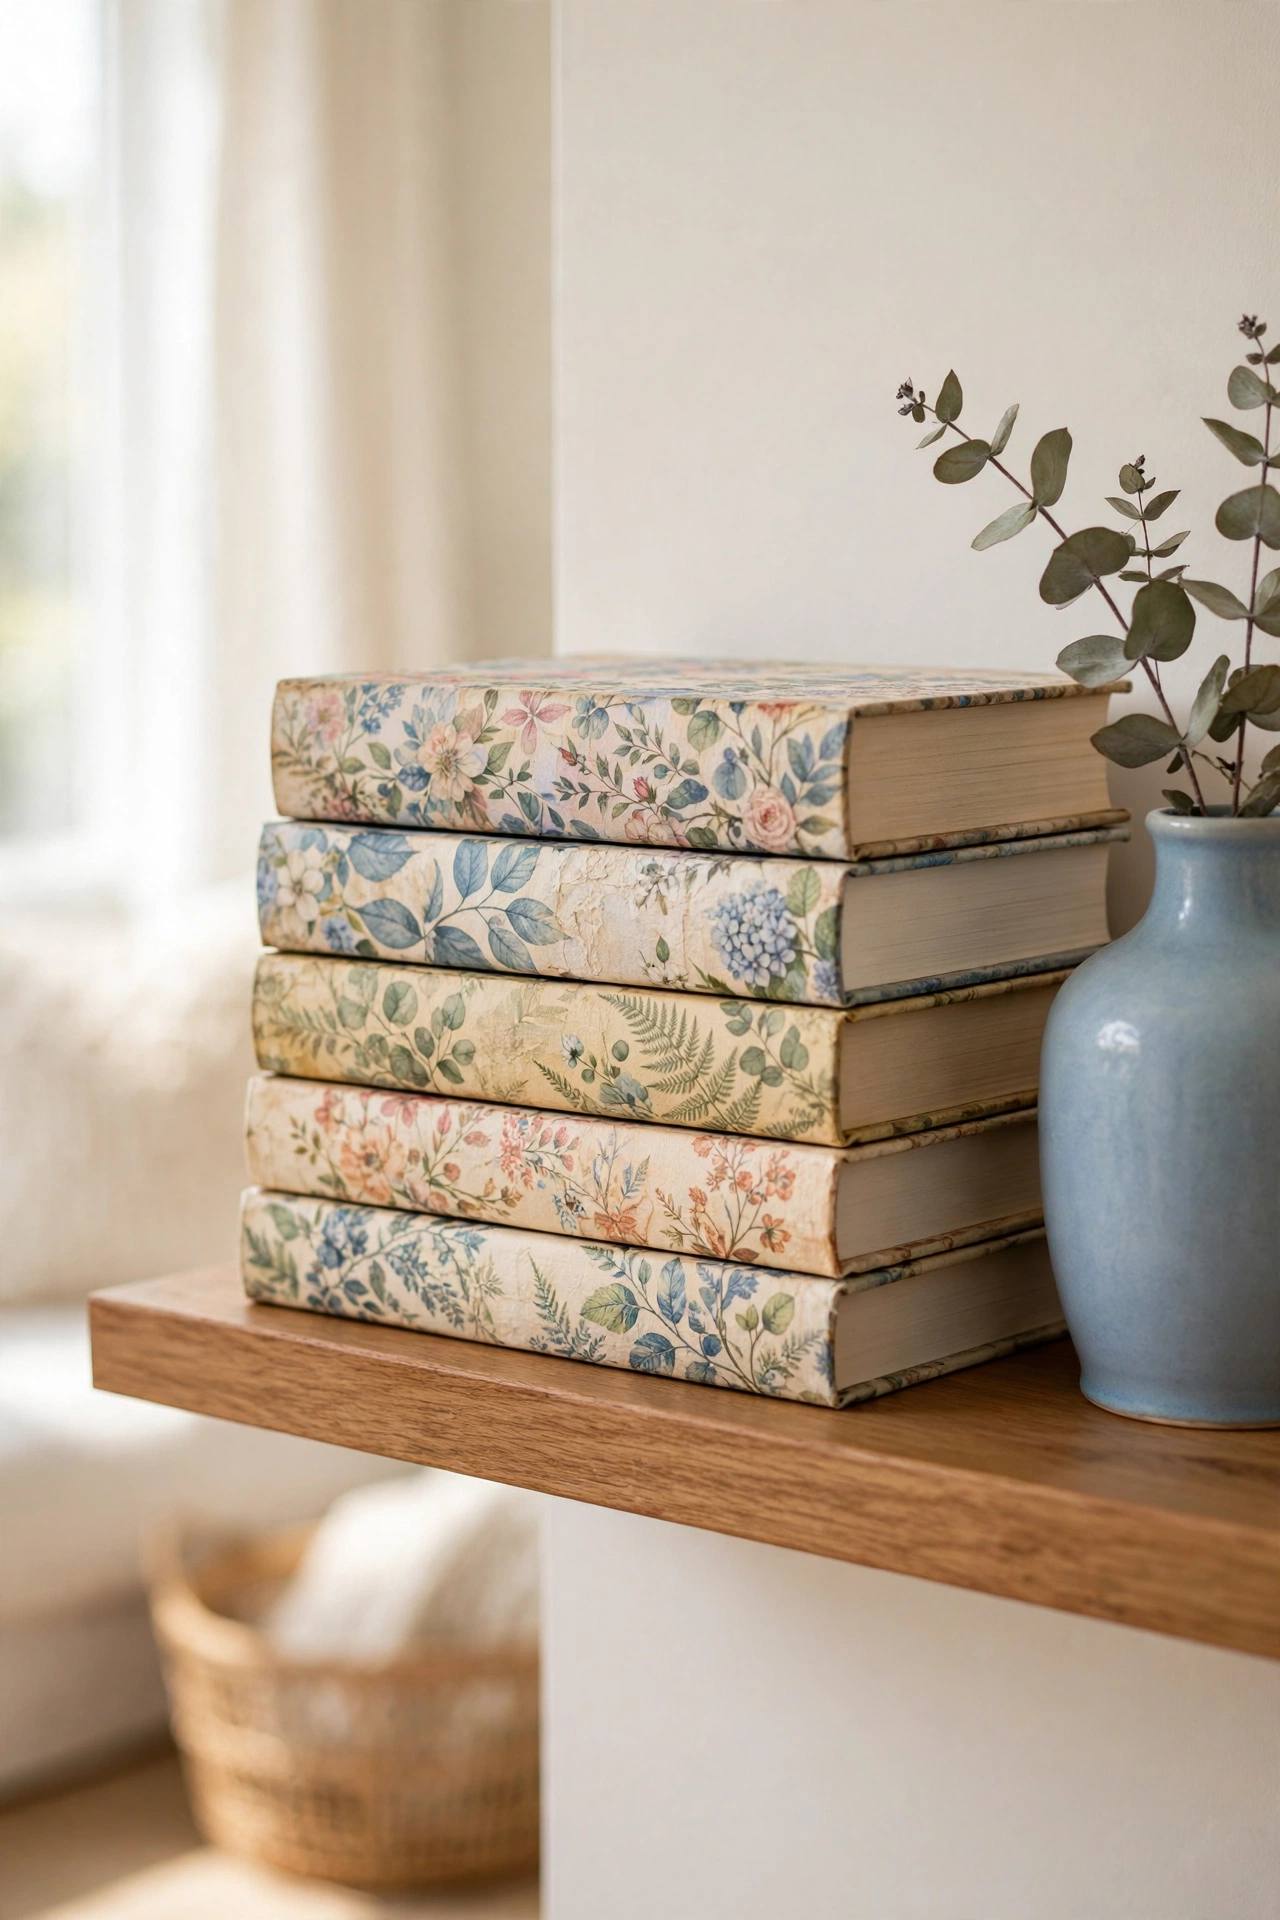
15. Cover Book Covers in Decorative Paper
Plain notebooks and old hardcover books look beautiful with decoupage covers. Choose paper that matches your room and glue it neatly over the front and back covers. A clear sealant keeps the paper from tearing with daily use.
Stack the finished books on a coffee table or a shelf as decorative pieces. Decoupage book covers are a lovely way to give old journals a second life. You can also make a matching set in the same paper for a coordinated shelf display.
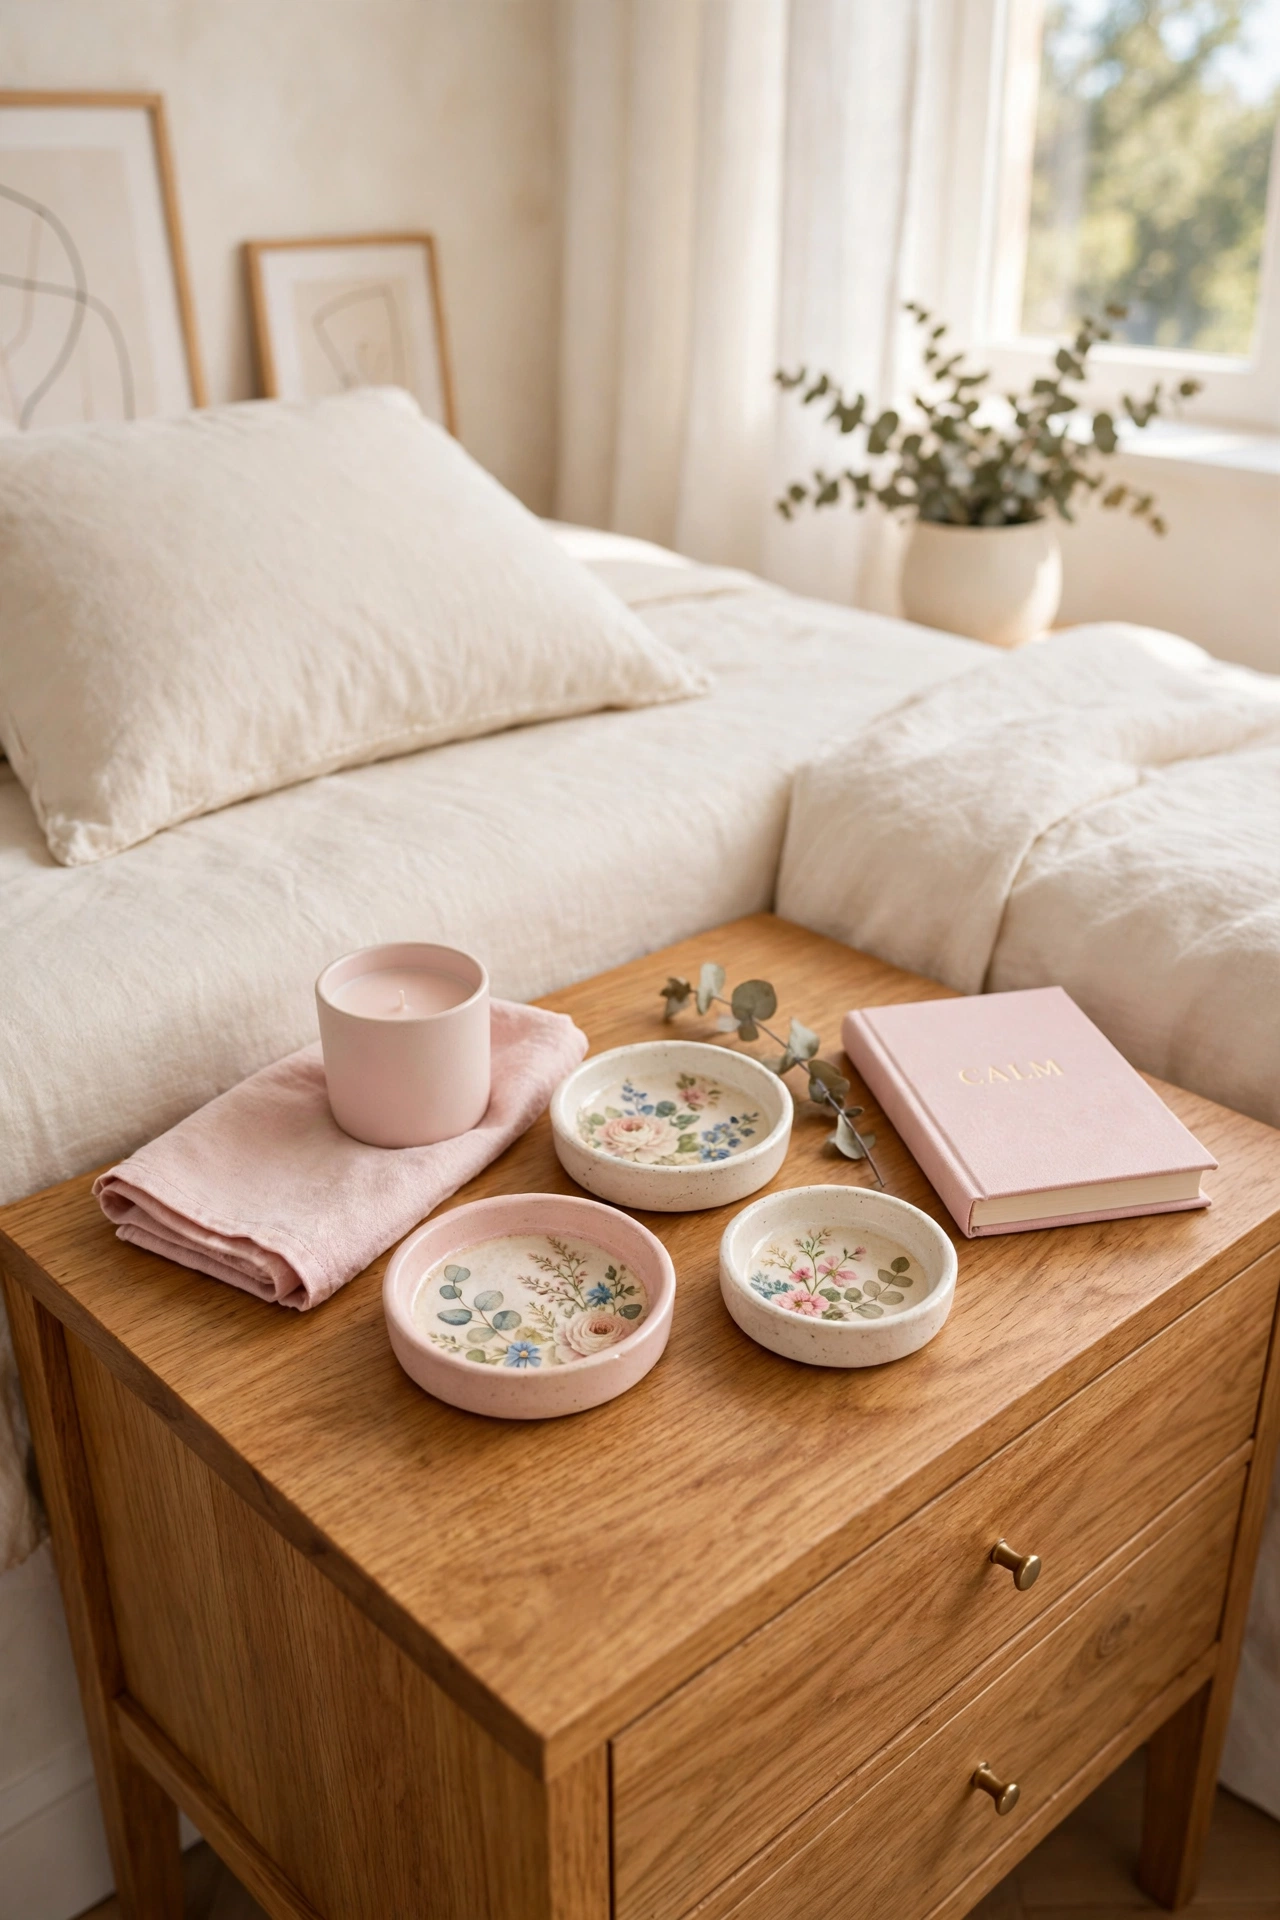
16. Make Trinket Dishes from Decoupage Plates
Small ceramic plates and shallow dishes become trinket dishes with a decoupage finish. Cover the inside of the dish in a pretty print and seal it with several coats of varnish. The dish is perfect for holding rings, earrings, or keys by the door.
Place one on a bedside table and one in the entryway for a matching pair. Trinket dishes are quick to make and use very little paper. They also make charming small gifts when you wrap them with a ribbon.
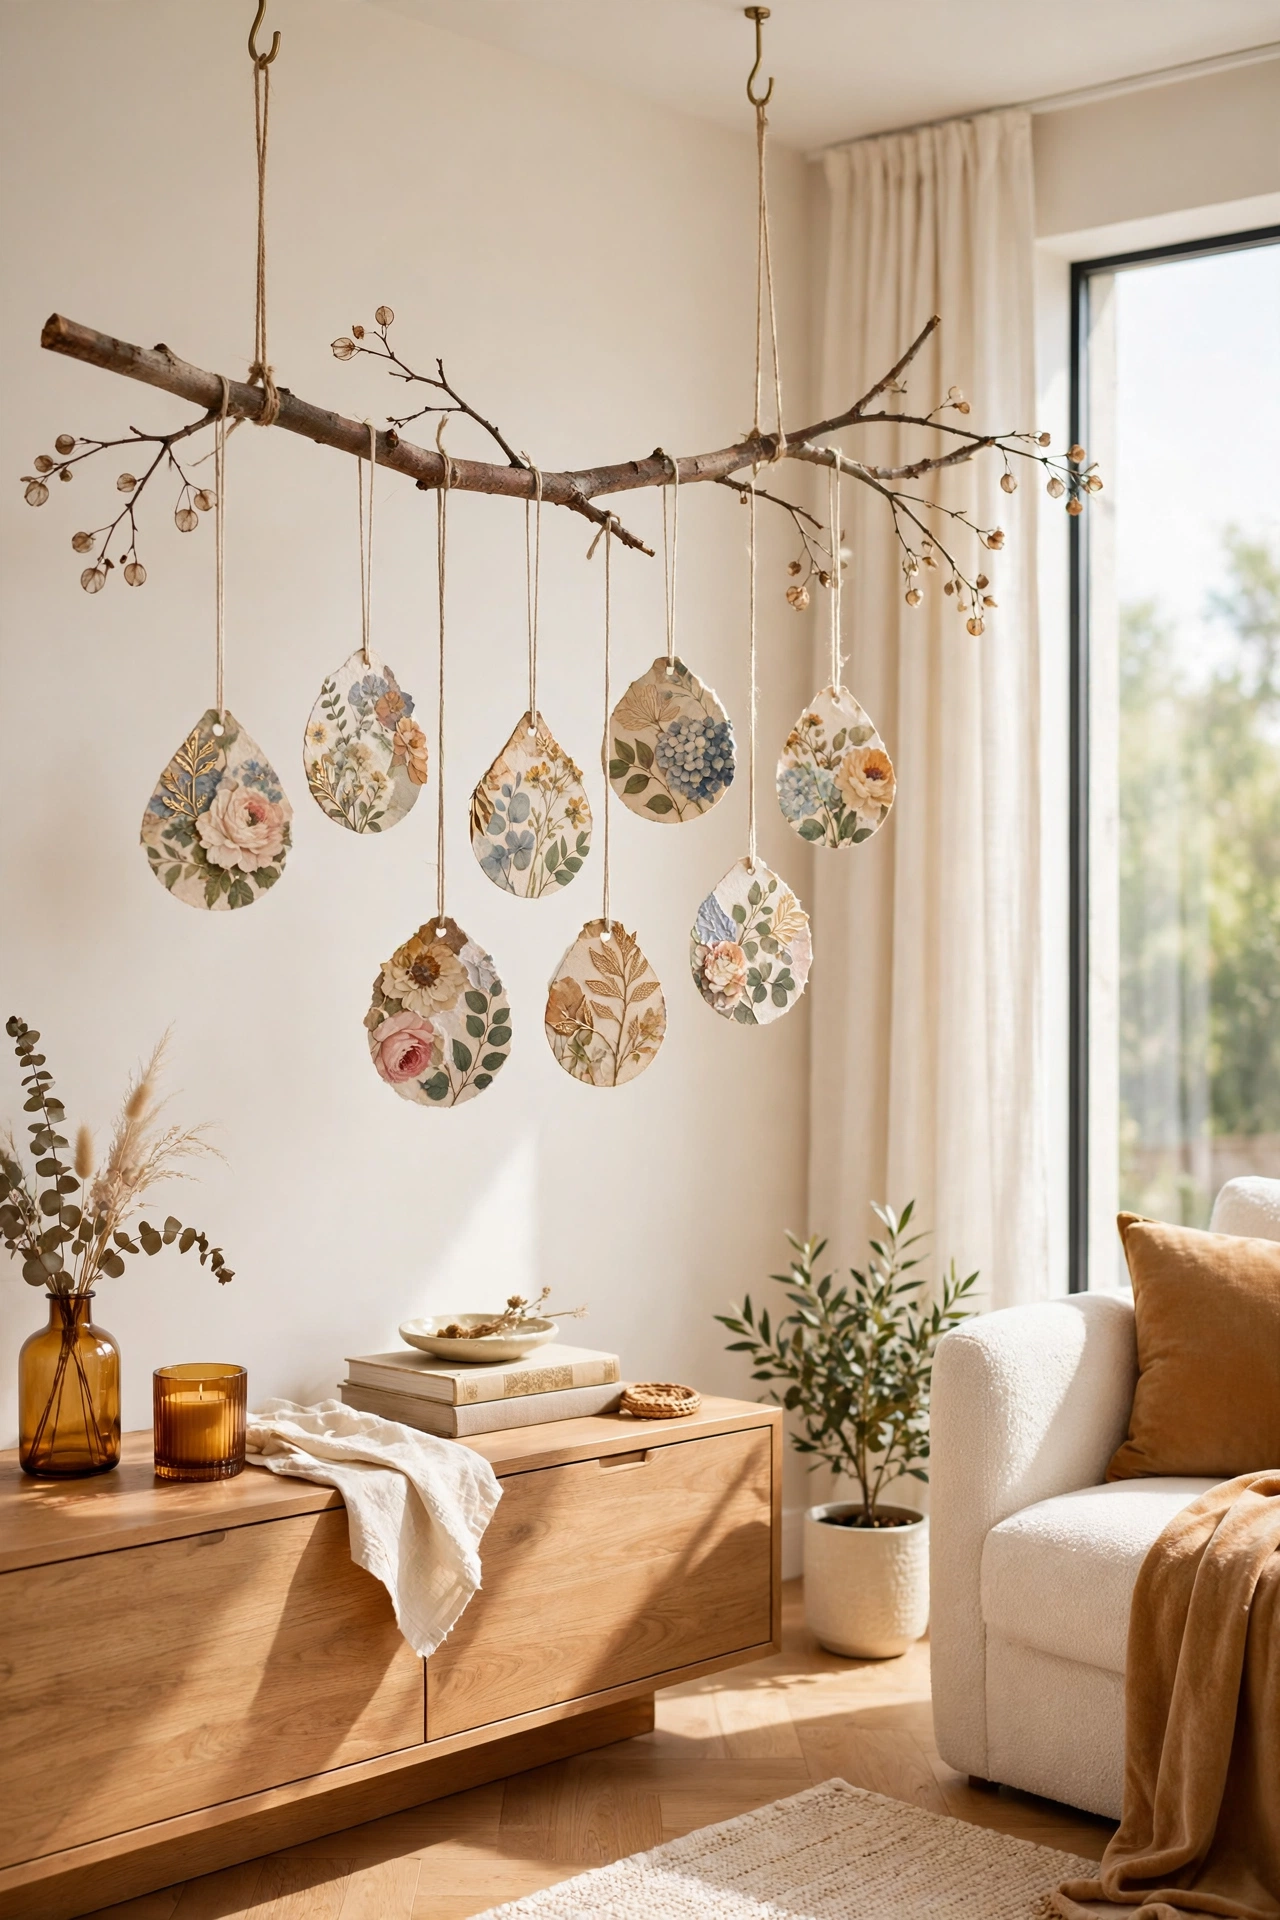
17. Craft Ornaments from Decoupage Baubles
Plain baubles and wooden shapes become festive ornaments with decoupage paper. Cut small pieces of patterned paper and layer them around the ornament, then add a ribbon for hanging. A clear sealant keeps the paper bright through many seasons.
Hang the finished ornaments on a tree, a branch, or a garland for a handmade holiday display. You can make them in any color scheme to match your decor. Decoupage ornaments are a lovely craft to share with family during the holidays.
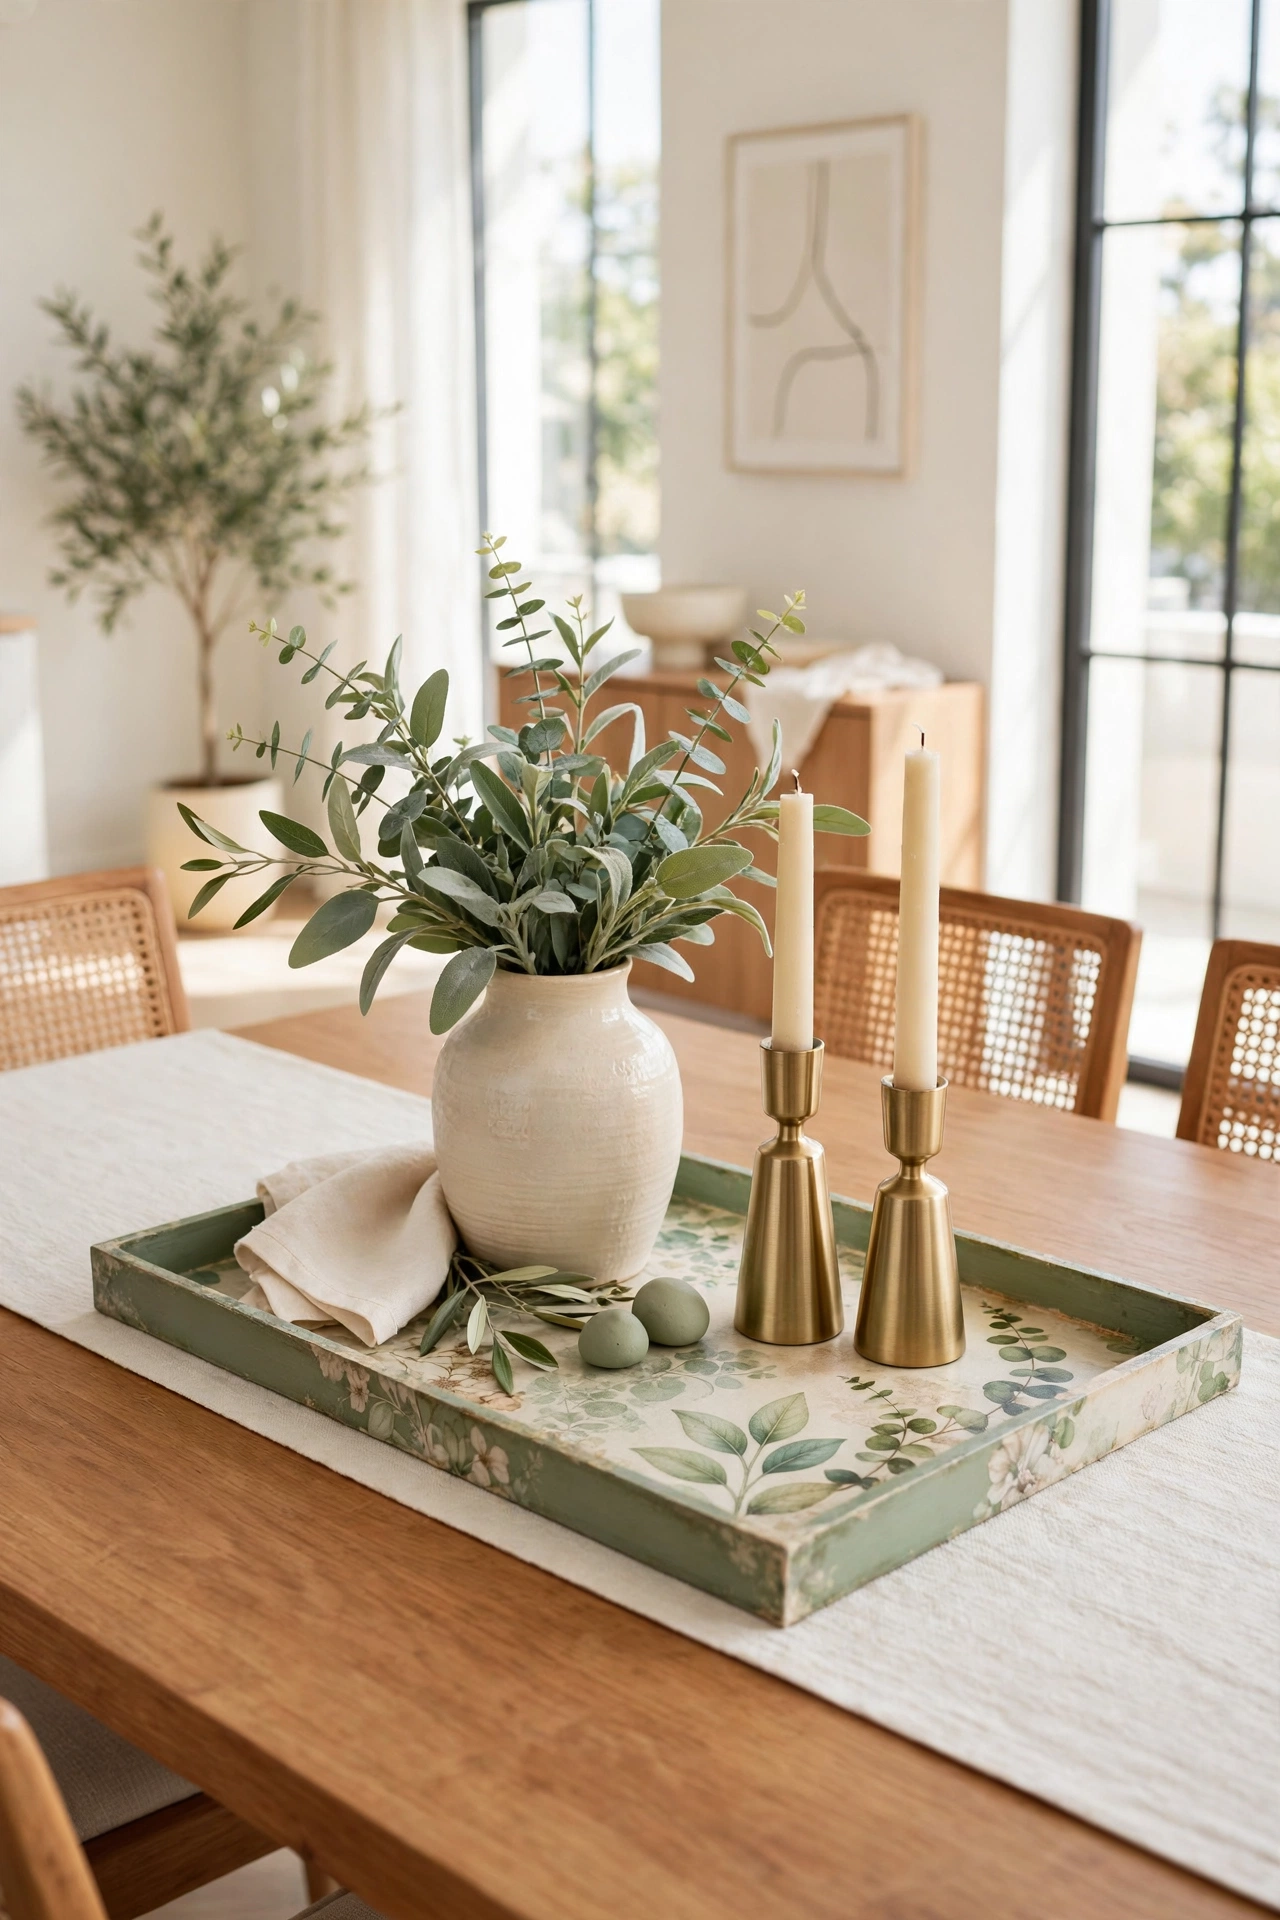
18. Build a Table Centerpiece from Decoupage Pieces
A table centerpiece comes together when you group several decoupage pieces in one display. Combine a decorated tray, a decoupage vase, and a few candle holders on a single tray or a runner. The matching papers tie the whole arrangement together.
Change the paper colors with the seasons for a fresh look all year. A decoupage centerpiece turns a dining table into a personal and welcoming space. It is the perfect final project because it shows off everything you have learned in the other seventeen ideas.
Conclusion
Decoupage does not ask for expensive tools or years of practice, it asks for paper you love and a little patience. From a floral tray to a vintage drawer front, each idea turns an ordinary object into something personal and beautiful. The best decoupage projects are the ones that make your home feel like yours.
Pick one or two ideas that fit your home and start today. A jar, a frame, or a coaster can be your first project, and the rest will follow naturally. For a calm home beyond the crafting table, these nightly reset routine ideas will help you keep every room organized with just a few minutes each evening.
Frequently Asked Questions About DIY Decoupage Decor Ideas for Personalized Interiors
What is decoupage and how does it work?
Decoupage is the craft of gluing cut paper onto an object and sealing it with varnish. You cut a design from paper, napkins, or fabric, stick it to a clean surface with decoupage glue, and add clear coats on top. The result looks like a painted design but takes far less skill to achieve.
What kind of glue should I use for decoupage?
Use a dedicated decoupage glue or a water based craft glue that dries clear. Apply a thin layer under the paper and another layer on top to seal it. For outdoor pieces or items that get wet, finish with a waterproof varnish for extra protection.
Can I decoupage on any surface?
Decoupage works on wood, glass, ceramic, metal, plastic, and fabric. Clean the surface first and sand rough wood lightly so the paper sticks well. Very smooth or greasy surfaces need a light primer coat before you start gluing.
How do I stop bubbles and wrinkles in decoupage paper?
Work with thin paper and smooth it from the center outward with a soft brush or a plastic card. Apply glue in thin layers and let each layer dry before adding the next. Small wrinkles can be smoothed with a damp sponge while the glue is still wet.
Is decoupage durable enough for everyday items?
Yes, decoupage lasts well when you seal it with several coats of varnish. Use a waterproof top coat on items like coasters, trays, and jars that meet water. With proper sealing, decoupage pieces hold up to daily use for years.

Hi, I’m Emily! I turn messy corners into cozy, organized spots. DreamNestDecor is where I share simple, practical home ideas — decor, organization, and small-space solutions that work in real life, not just in photos. Every idea here is carefully researched before it’s shared.