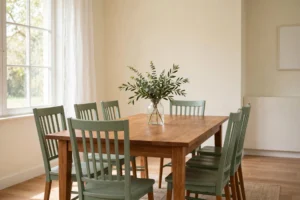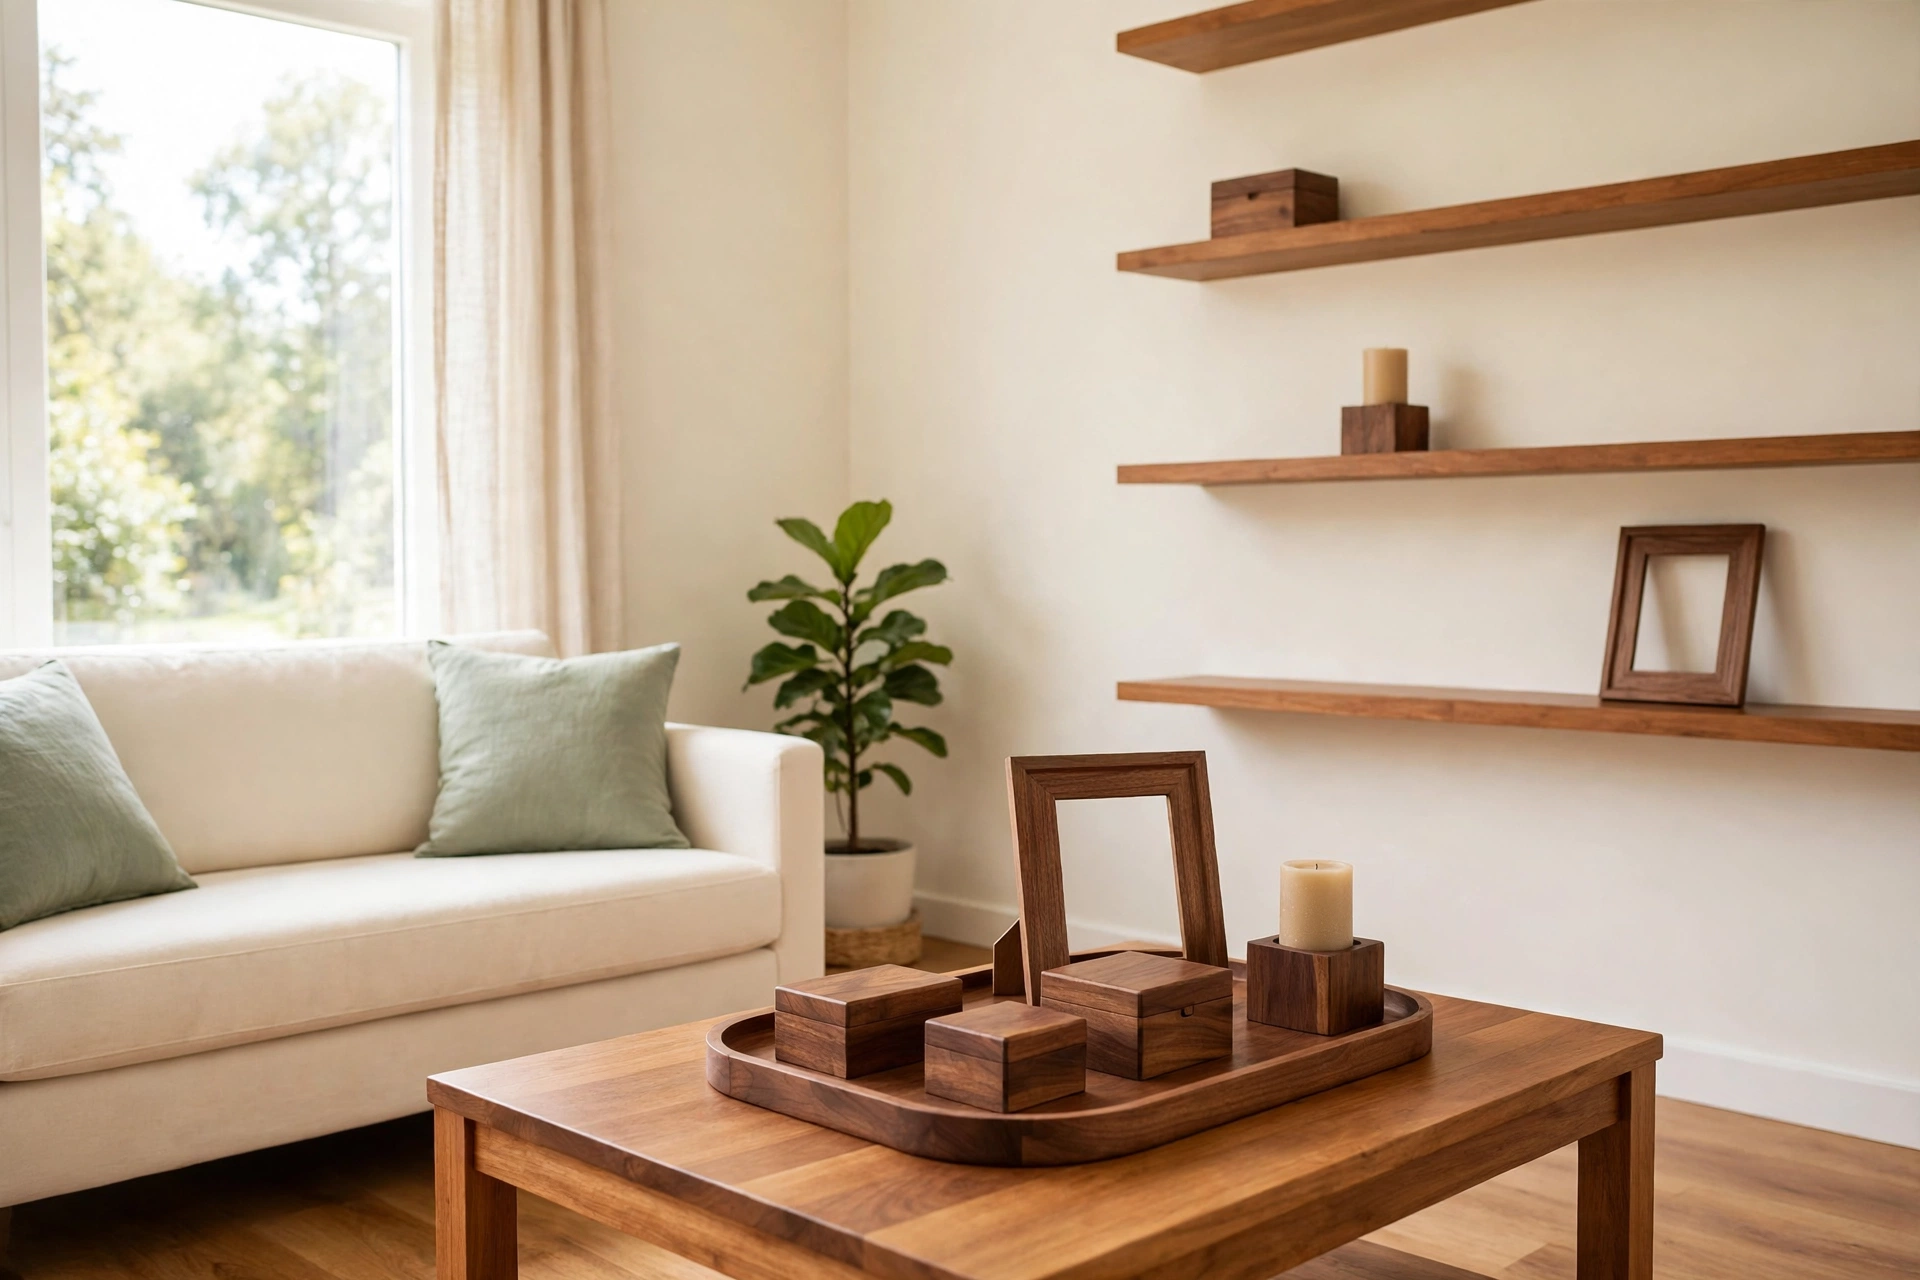
Picture this: you open a closet and find an old wooden tray, a plain picture frame, and a tired little side table you almost gave away. They look dull and dated, but the wood underneath is still solid and full of character. All three are waiting for a fresh coat of stain to bring them back to life.
Wood stain is one of the cheapest and most satisfying ways to refresh old home accessories. A small can of stain, a brush, and an afternoon are enough to turn worn wood into a warm, rich piece you will be proud to display. These 15 DIY wood stain projects will show you exactly what to stain, how to prep each piece, and which finish works best in every room.
1. Restain a Wooden Serving Tray for the Coffee Table
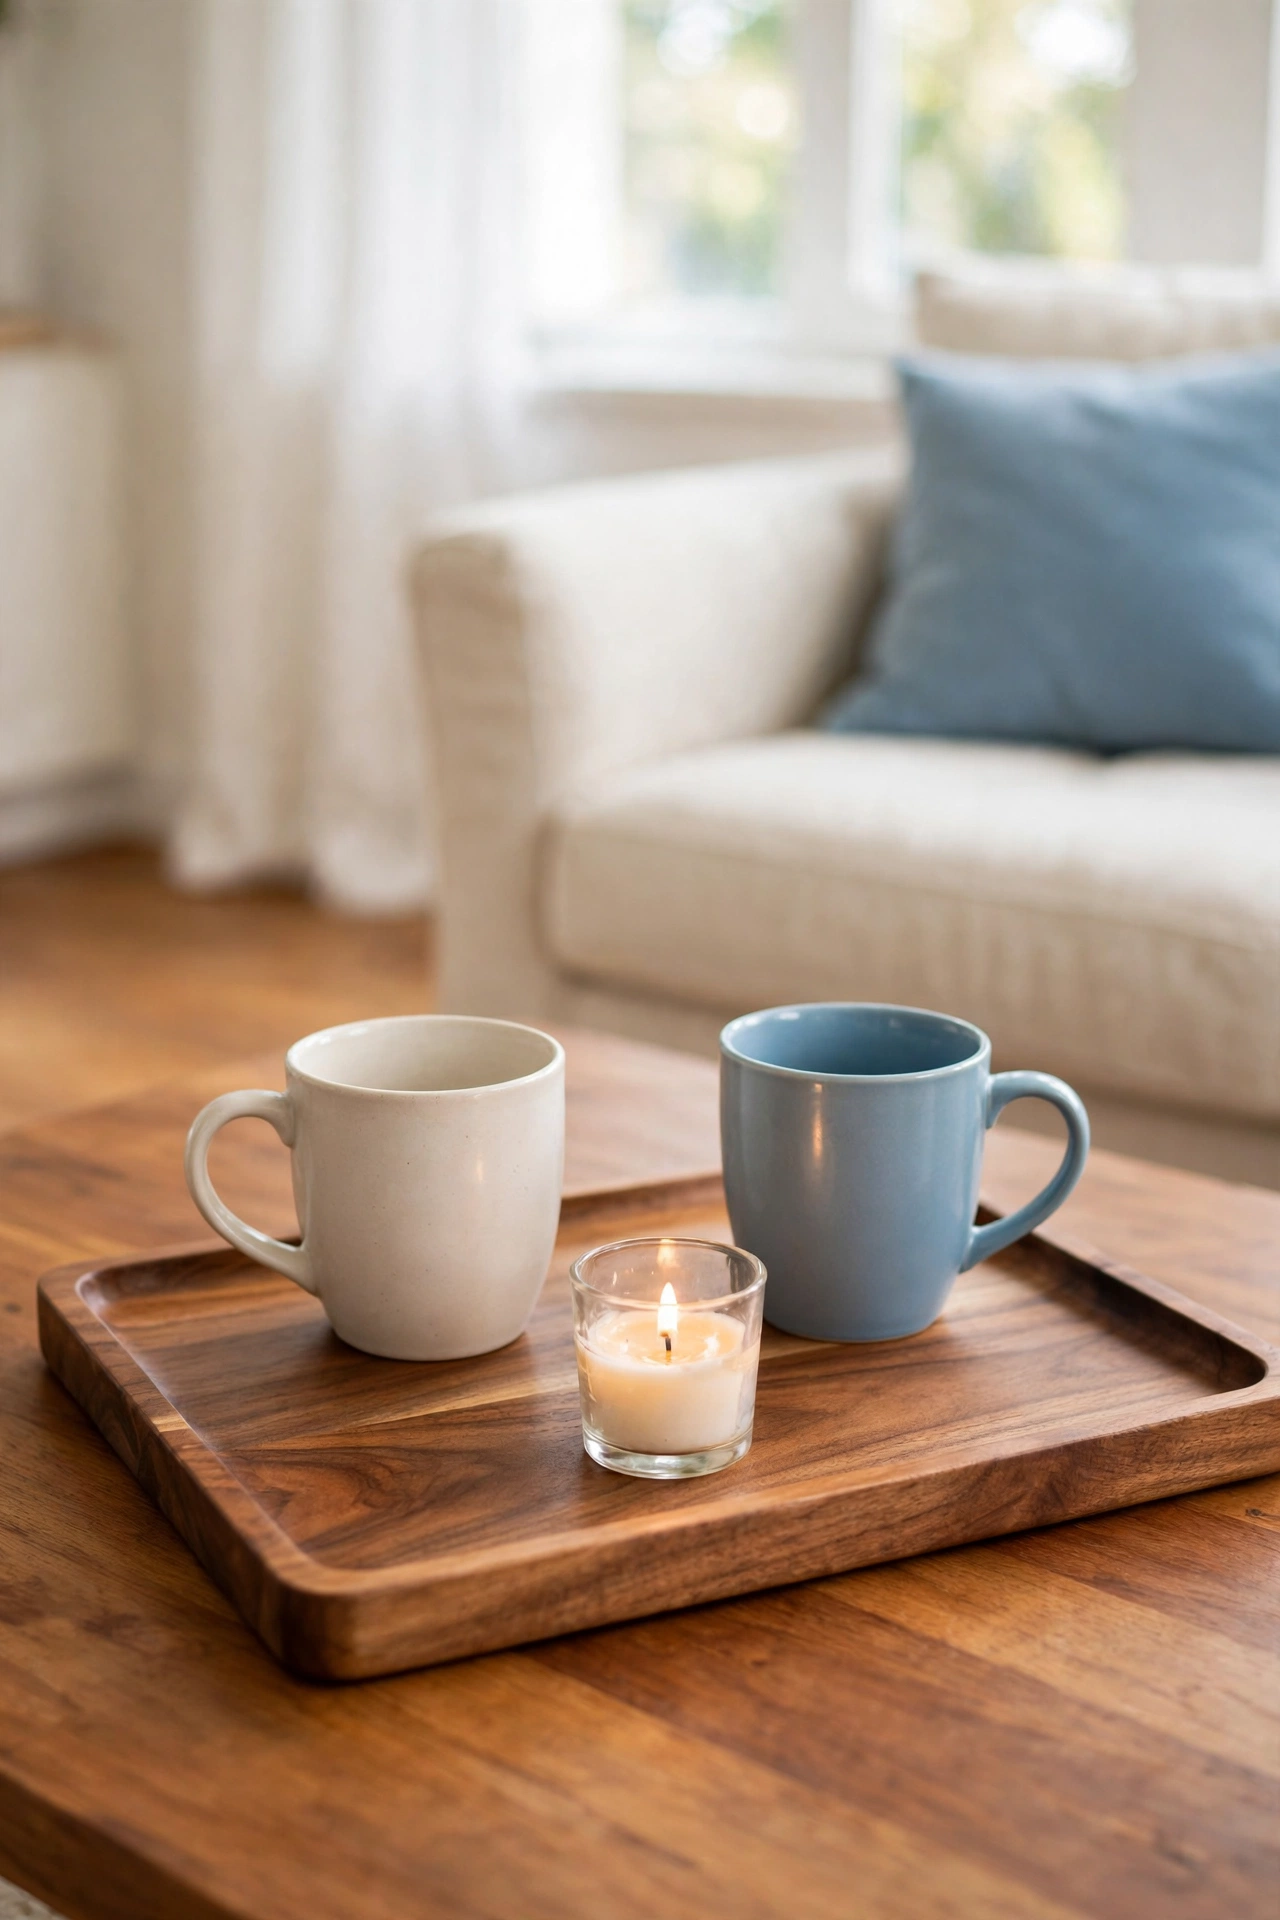
A wooden serving tray is the perfect first stain project because it is small, flat, and easy to sand. Choose a warm walnut or honey tone to make the grain stand out, and the tray will look like a brand new piece. It will hold coffee mugs, candles, and small plants beautifully on your coffee table.
Sand the tray lightly with fine sandpaper, wipe away every bit of dust, and apply the stain with a soft cloth in the direction of the grain. Let it dry fully, then add a clear protective topcoat so the tray can handle cups and spills. You will use it every day, and guests will never guess it was once an old, forgotten accessory.
2. Give Old Wooden Picture Frames a Rich New Tone
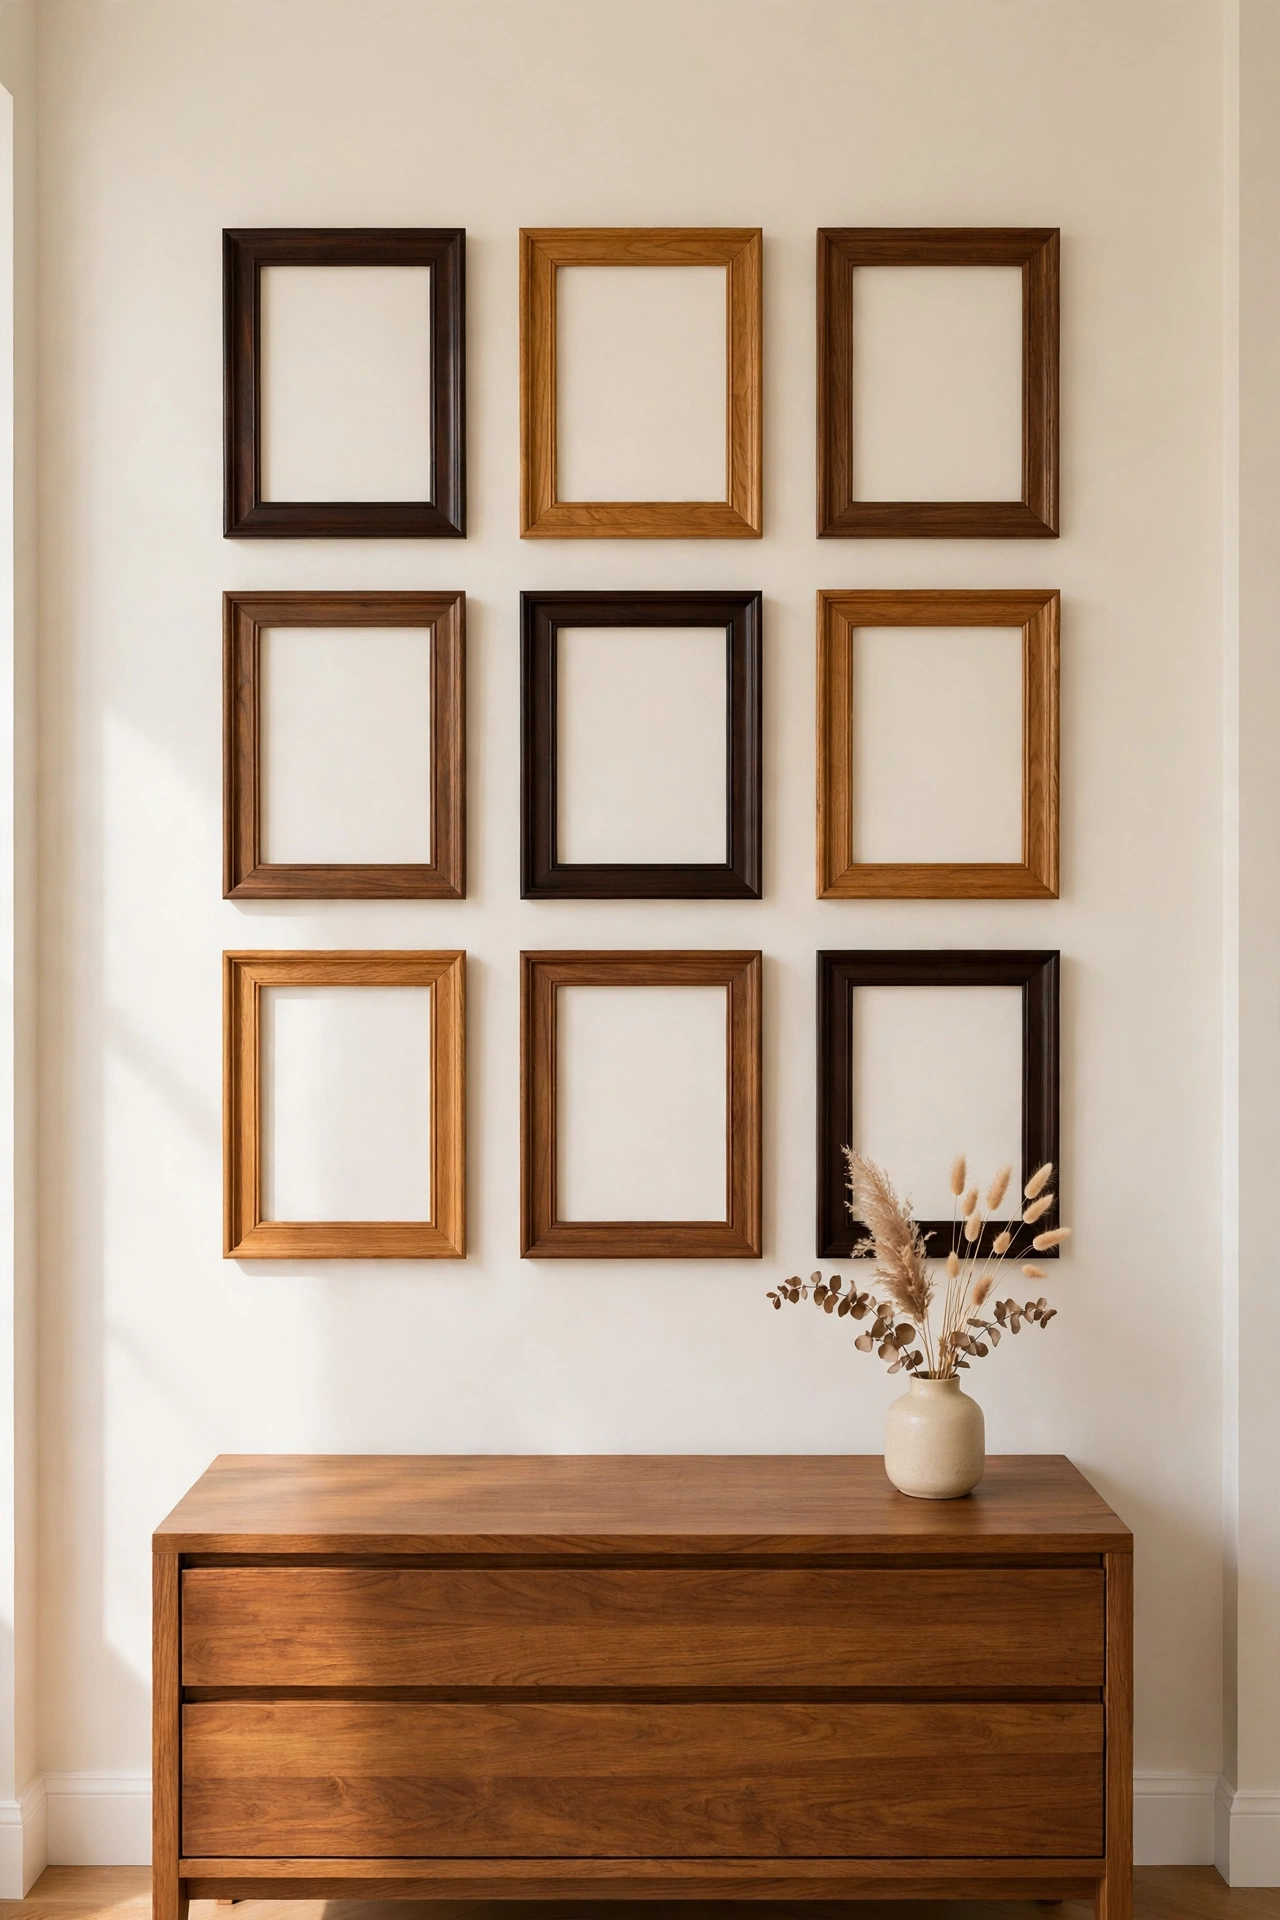
Plain wooden picture frames often fade or yellow over time, but stain brings them back to life in minutes. A deep espresso stain makes a frame look elegant and classic, while a light oak tone keeps it fresh and modern. Group several stained frames together for a gallery wall that looks intentional and polished.
Remove the glass and backing before you start, then sand each frame gently so the stain absorbs evenly. Wipe the stain on with a cloth, let it sit for a few minutes, and wipe off the extra for a smooth, even color. For more frame refresh inspiration, see these DIY picture frame makeover ideas that pair perfectly with a fresh stain.
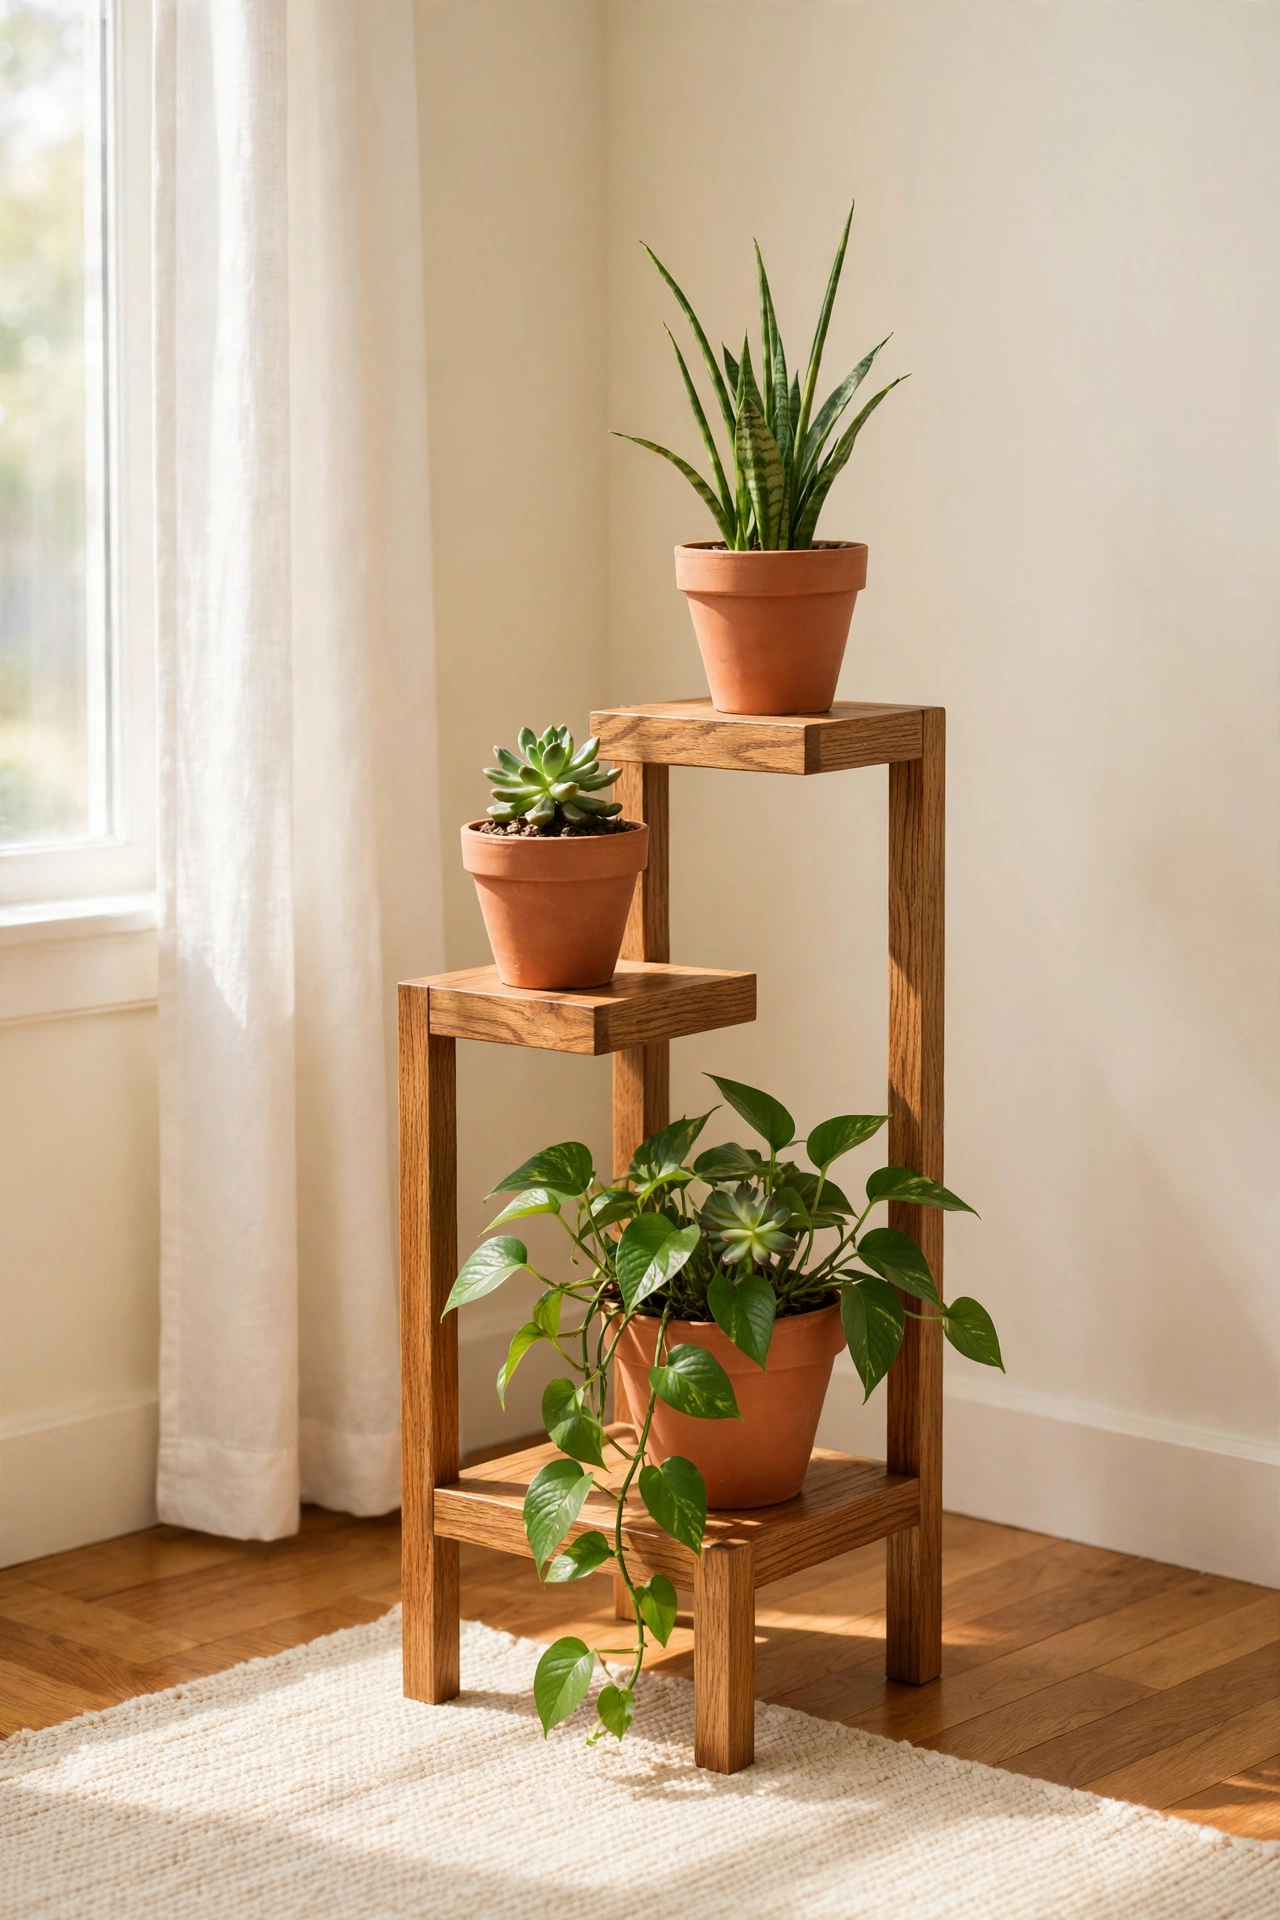
3. Stain a Wooden Plant Stand for a Lush Corner
A wooden plant stand holds your favorite greenery, so it deserves to look as good as the plants it displays. Stain transforms a pale or scratched stand into a rich piece that anchors a sunny corner. A medium oak tone works beautifully with terracotta pots and leafy green plants.
Clean the stand well and sand away any rough spots or old finish before you stain. Apply two thin coats for a deeper color, and seal the top surface so water drips from the pots do not leave marks. Your plants will look even more vibrant sitting on warm, freshly stained wood.
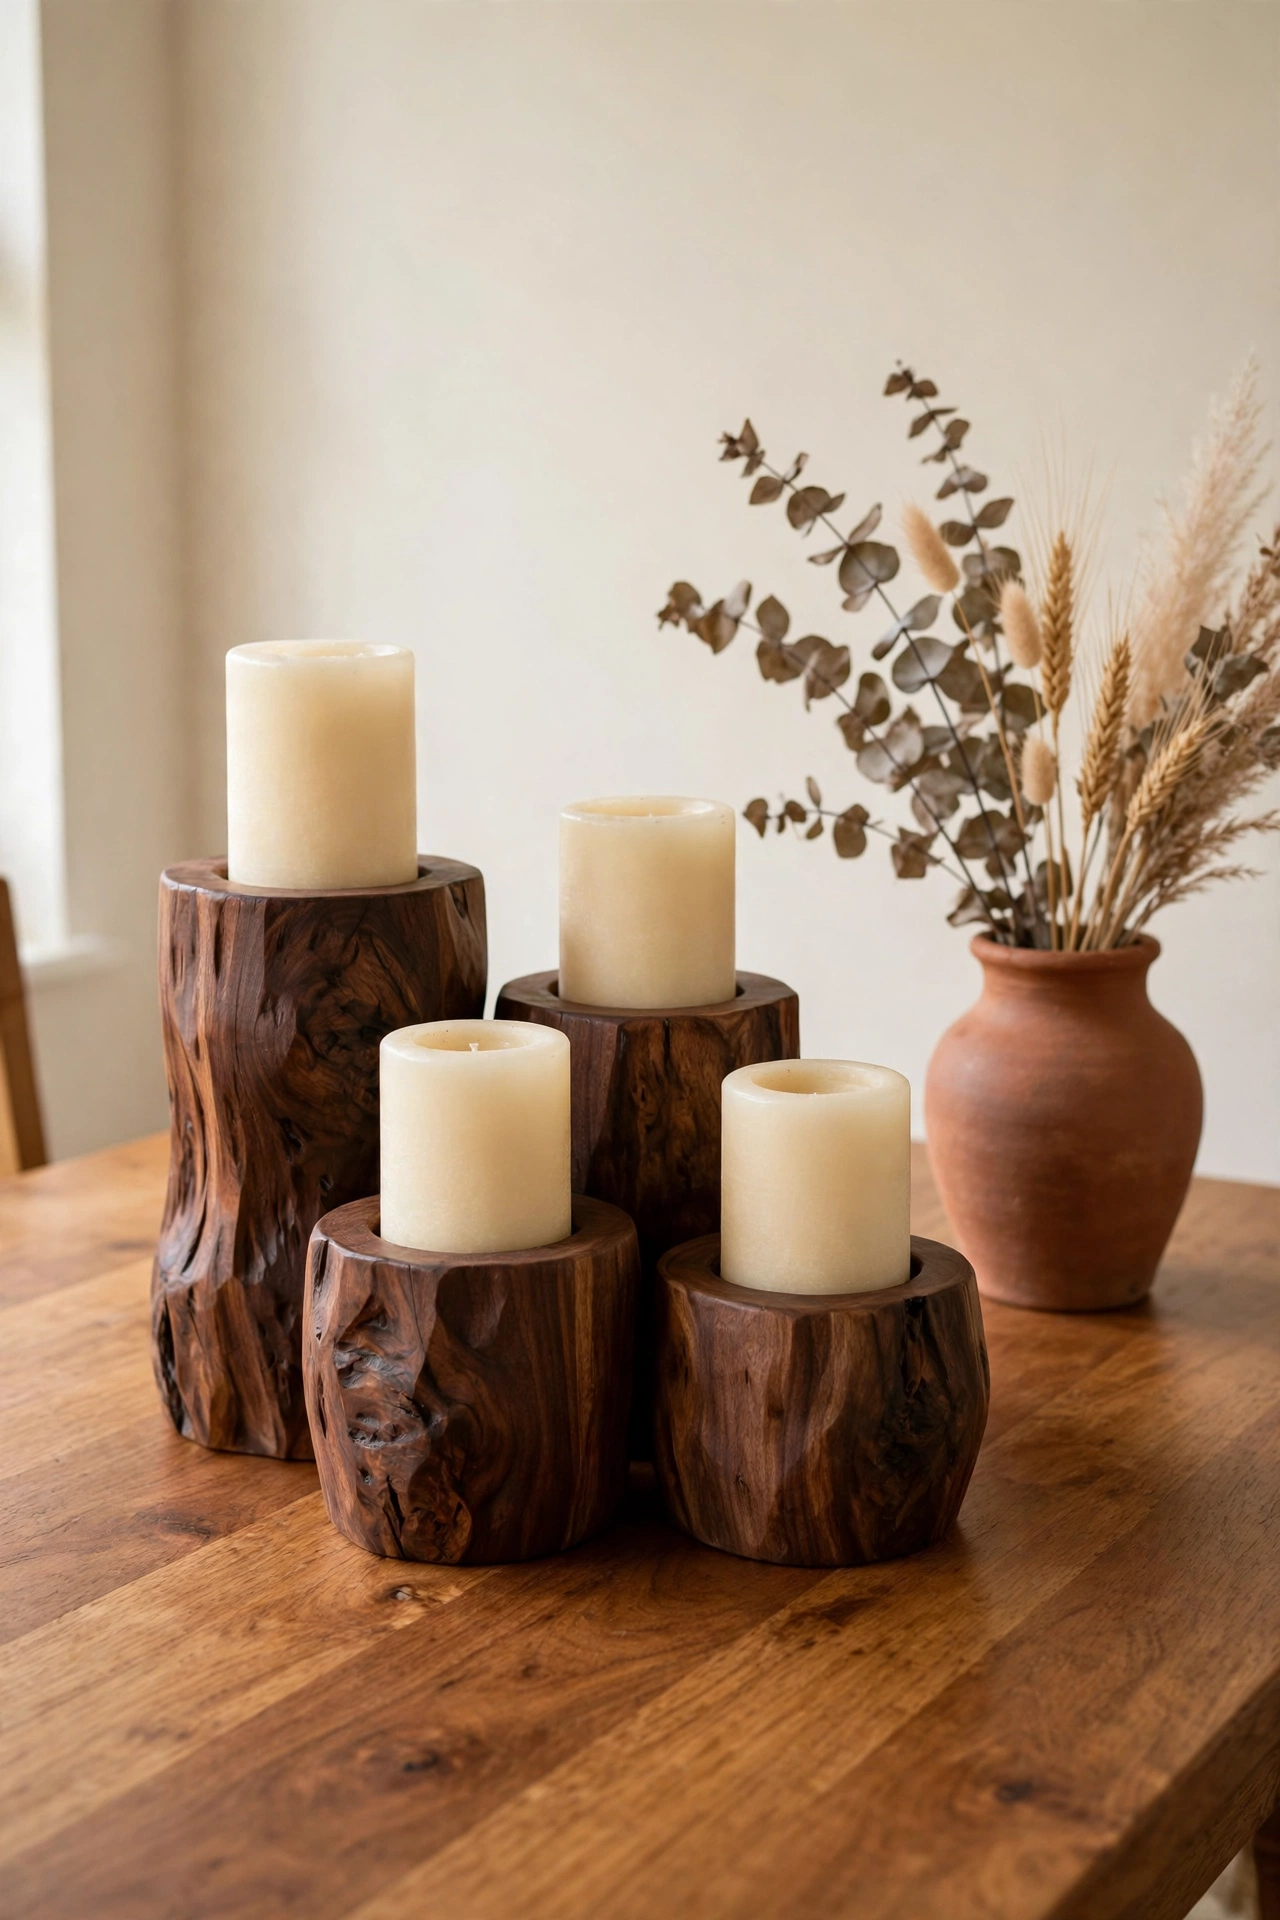
4. Refresh Wooden Candle Holders With a Deep Stain
Wooden candle holders are small, so they are ideal for testing a bold stain color you have never tried before. A dark walnut or ebony stain gives chunky candle holders a dramatic, high end look that suits a dining table or mantel. Even a set of mismatched holders will look like a collected set once they share the same stain.
Sand each holder smooth, then brush on the stain and wipe off the excess so the wood grain shows through. Add a clear matte sealer to protect the finish from wax drips and heat. A cluster of stained candle holders makes any table feel warm and finished, with or without a flame.
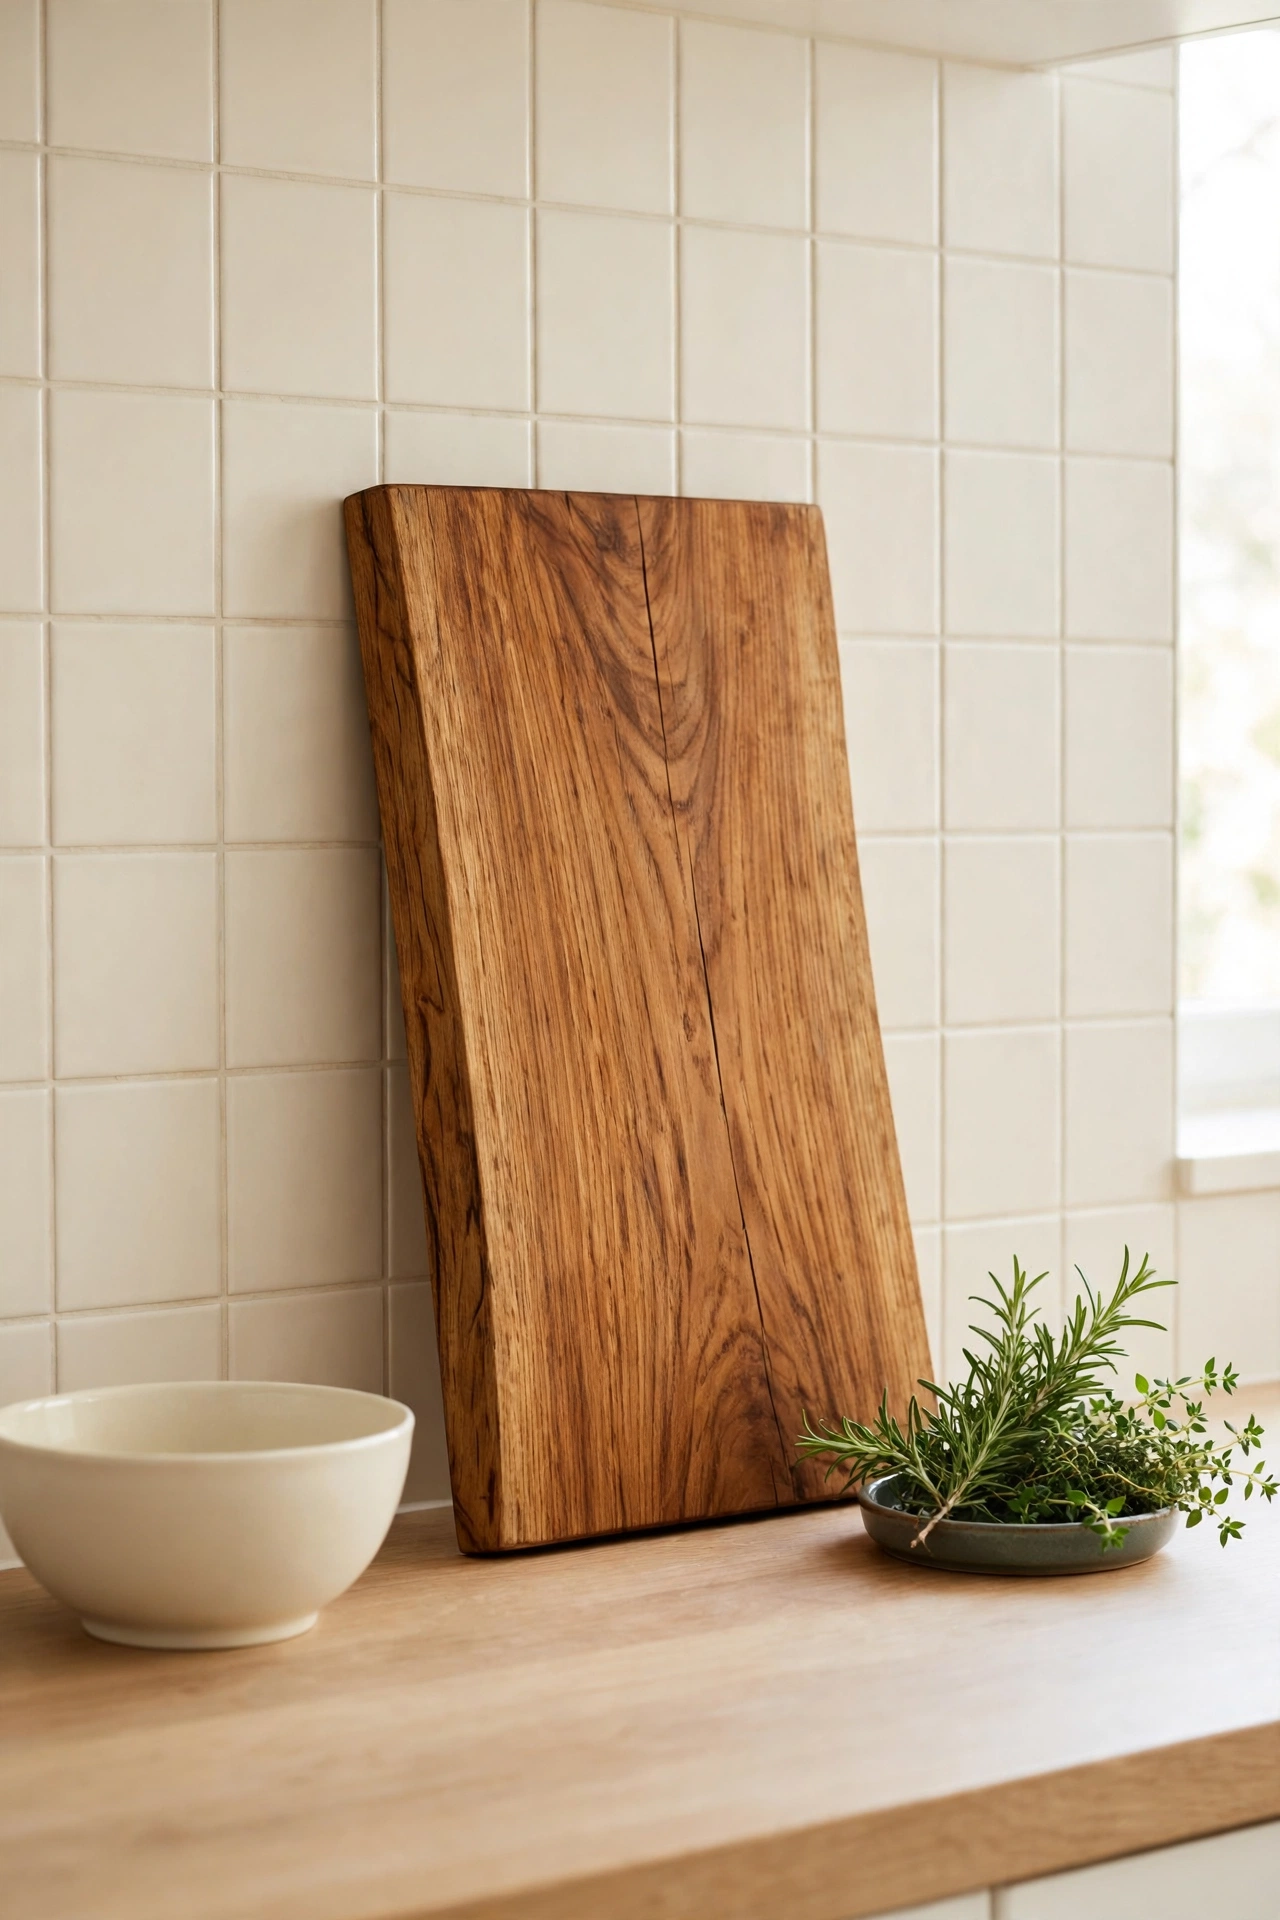
5. Stain a Wooden Cutting Board for Display and Daily Use
A thick wooden cutting board or serving board is both a kitchen tool and a piece of decor, and stain gives it a rich, appetizing glow. Choose a warm honey or amber tone that flatters the wood grain and looks beautiful leaning against a kitchen backsplash. Use a food safe oil finish if you plan to cut on the board itself.
Sand the board smooth on both sides, then rub the stain in with a cloth and wipe off any extra. If the board is for display only, a clear topcoat will keep the color deep and even. A stained board styled with a small dish of herbs turns an ordinary countertop into a warm, inviting kitchen scene.
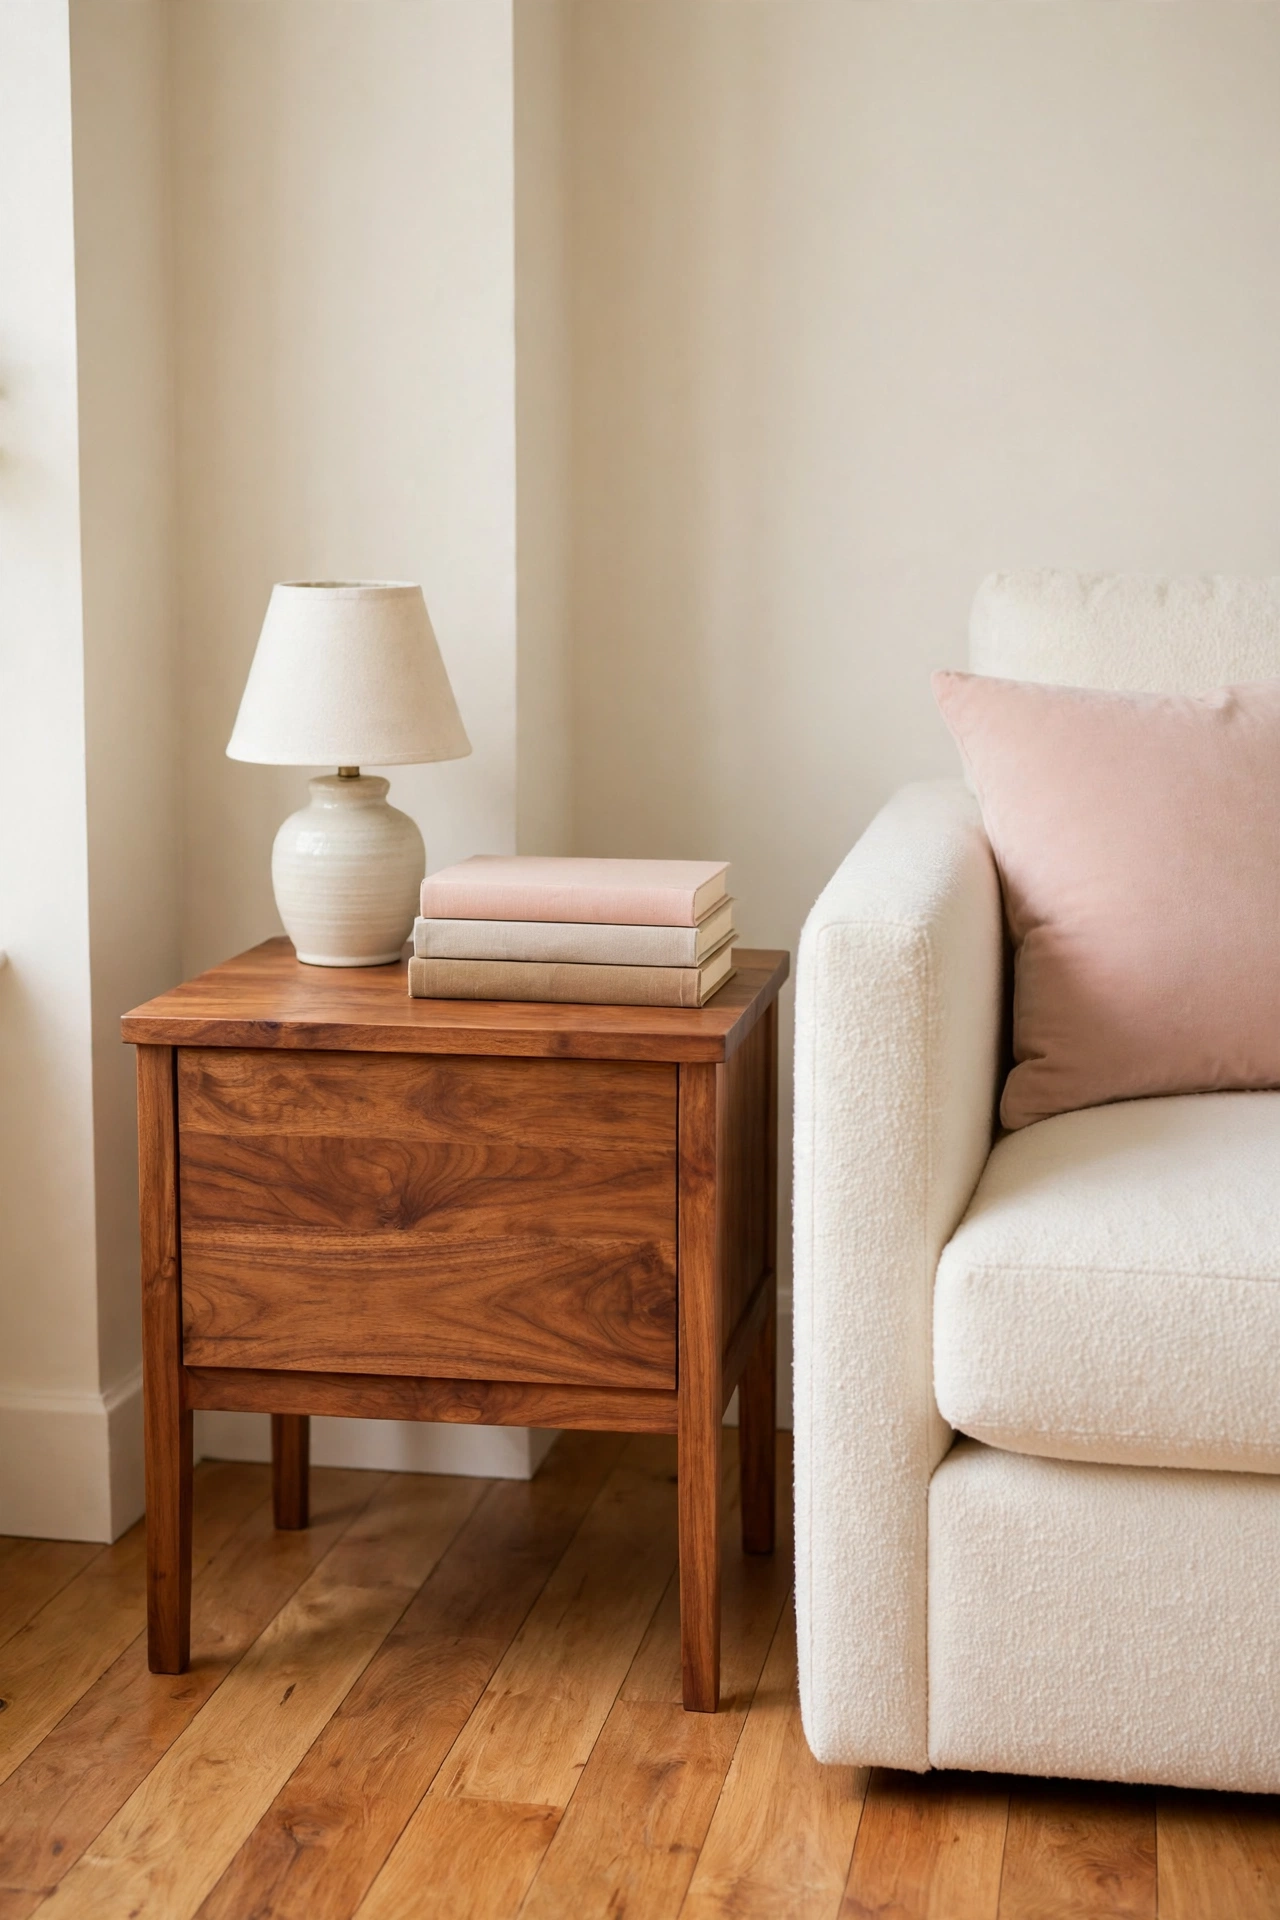
6. Revive a Worn Wooden Side Table With Stain
A small wooden side table is one of the most useful accessories in any home, and it is also one of the first pieces to show wear. Rings from cups, scratches, and faded patches all disappear under a fresh coat of stain. A warm chestnut tone suits almost any sofa and rug combination.
Sand the top down to bare wood so the stain absorbs evenly, then work your way around the legs and edges. Two coats of stain with a light sanding in between will give you a smooth, professional result. If you love giving old furniture a fresh life, these painted furniture ideas offer more ways to refresh the pieces you already own.
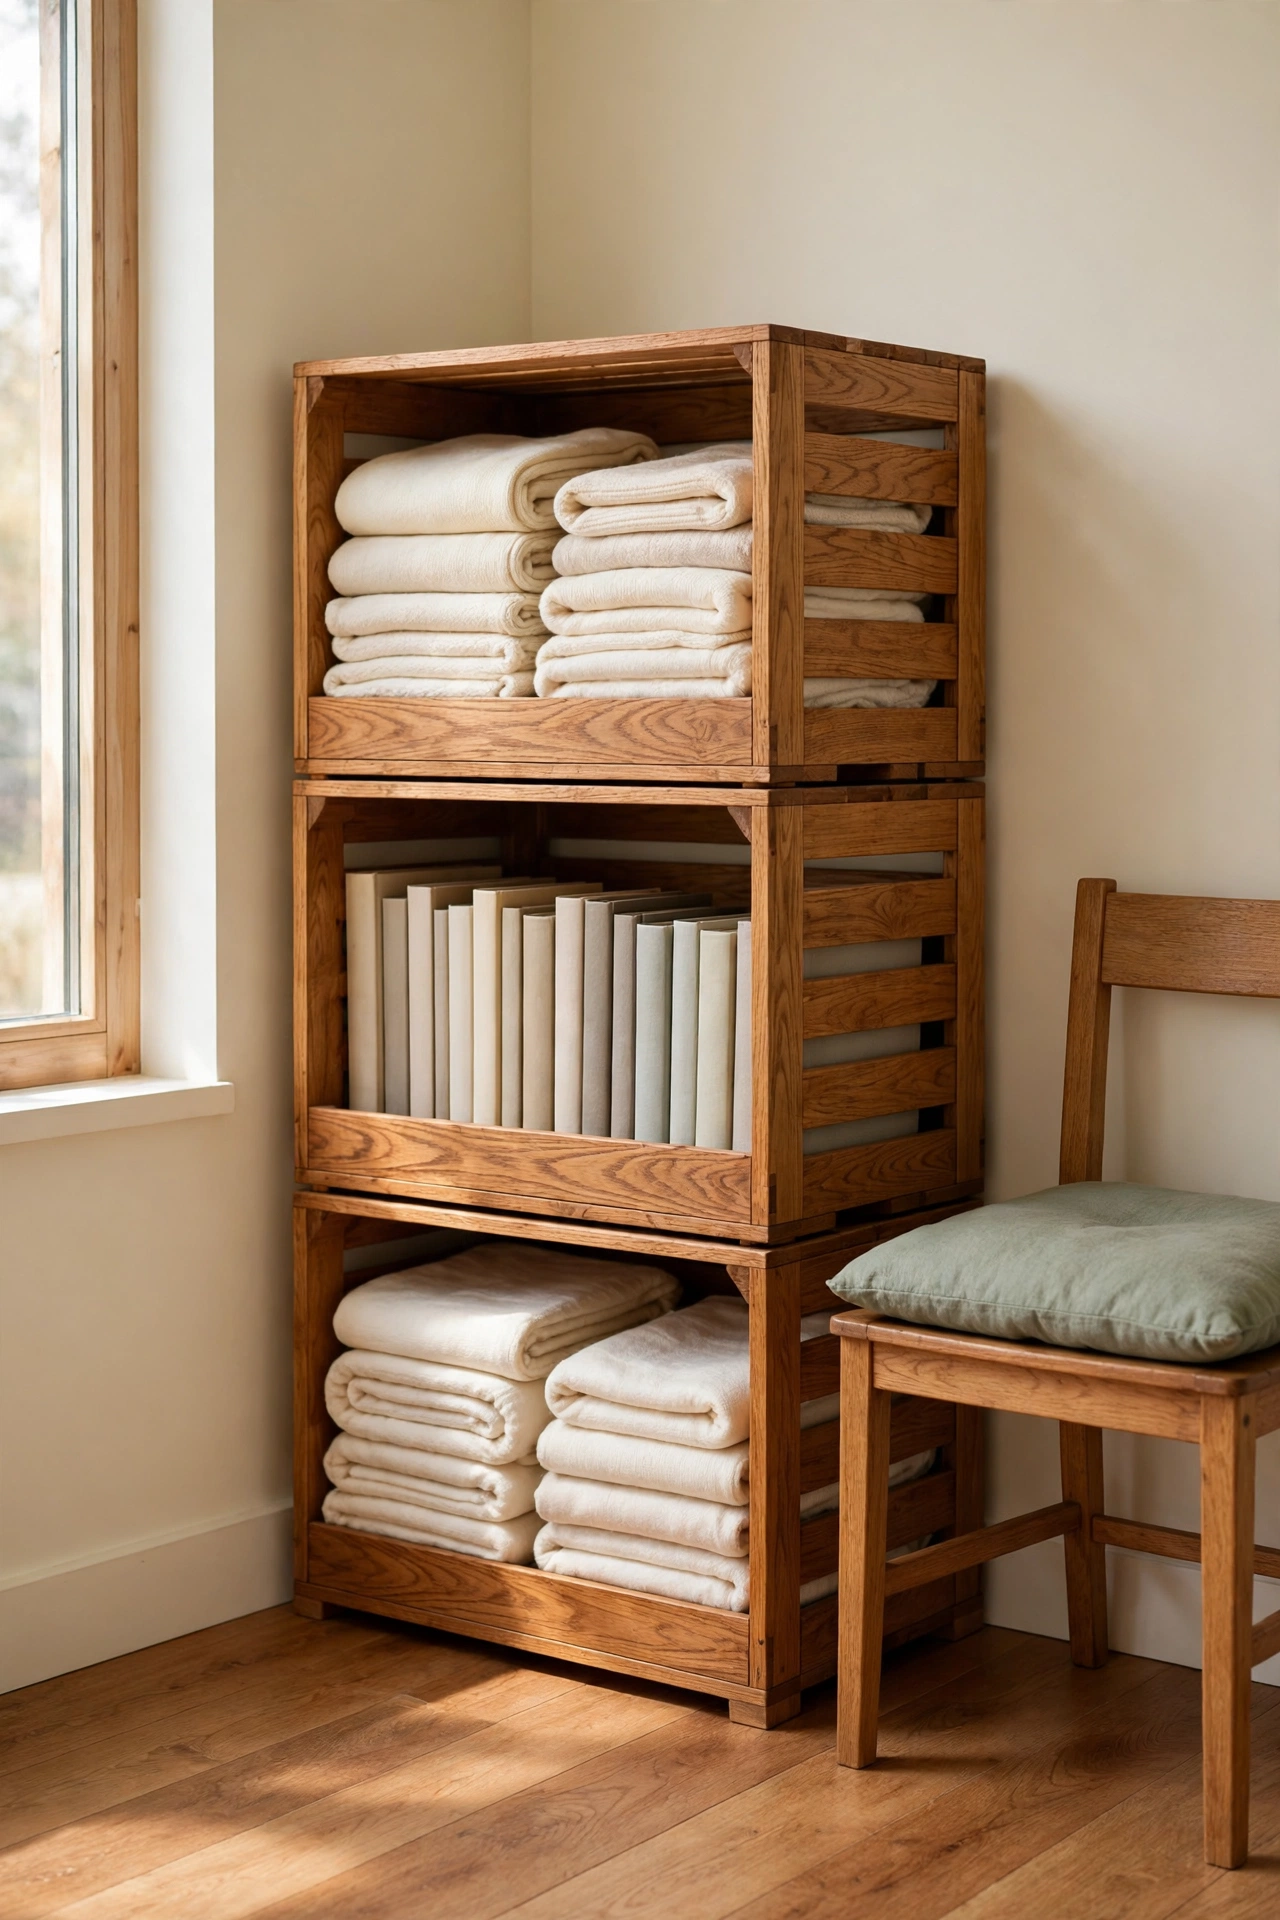
7. Stain Wooden Storage Crates for Rustic Organization
Wooden crates are endlessly useful for storing books, blankets, toys, and pantry goods, but raw crates can look rough and unfinished. Stain gives them a warm, rustic finish that fits right into a living room or entryway. Stack two or three stained crates for a charming open shelving unit that costs almost nothing.
Sand the crates to remove splinters, then apply the stain with a brush to reach all the corners and slats. A gray weathered stain suits a farmhouse look, while a warm oak tone feels more classic. Thrift shops are a great source of old crates, and these thrift store decor ideas will help you spot more pieces worth staining.
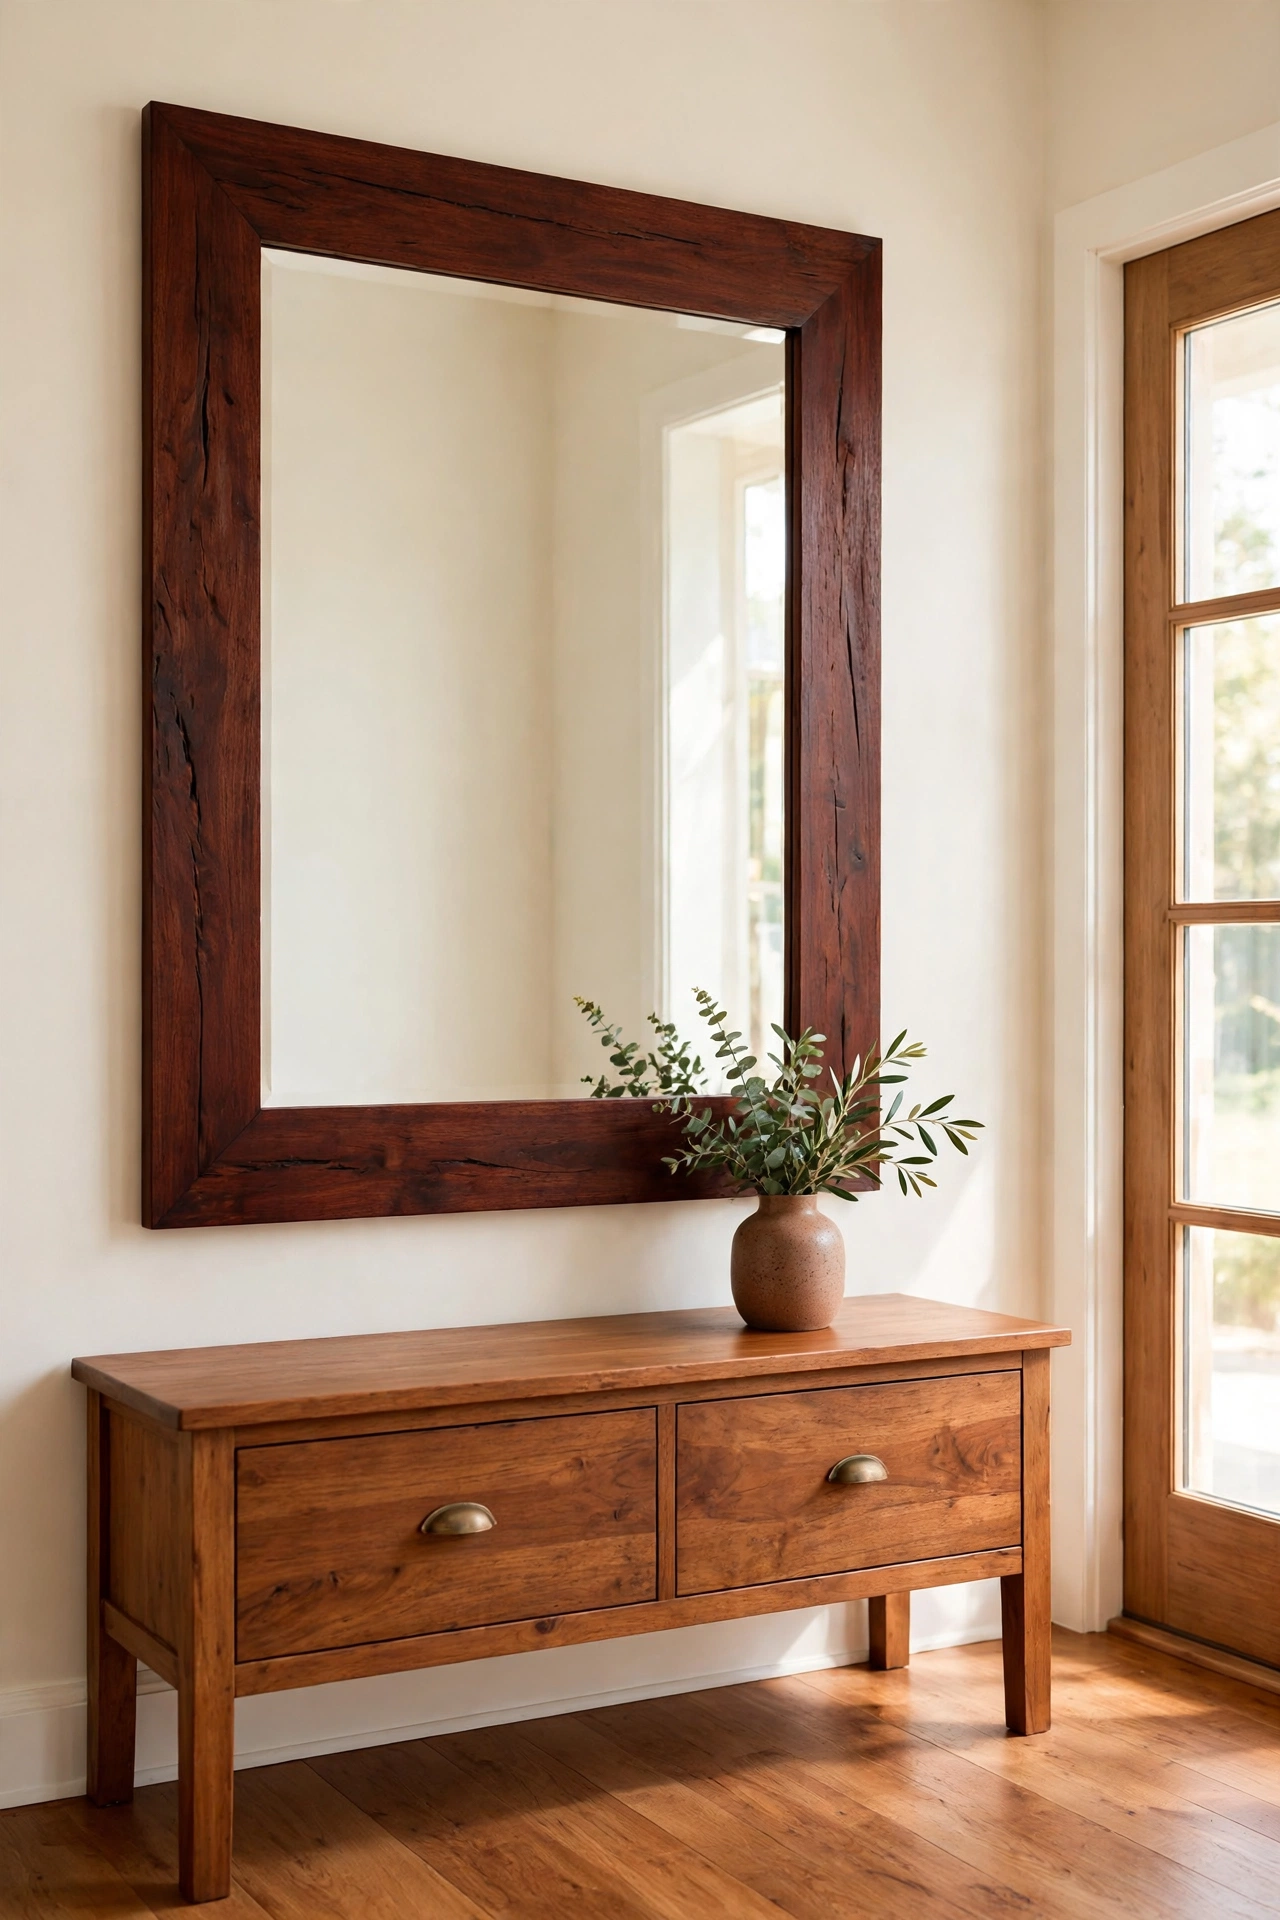
8. Restain a Wooden Mirror Frame for the Entryway
A large wooden mirror frame makes a strong first impression in an entryway, but an old finish can drag the whole space down. Stain renews the frame and lets the natural grain become the star. A deep mahogany tone adds elegance, while a light driftwood stain keeps the entry feeling airy and relaxed.
Protect the mirror with tape and paper before you sand and stain the frame. Work the stain into carved details with a small brush, then wipe the surface smooth with a cloth. Hang the finished mirror above a console table and watch the whole entryway feel brighter and more polished.
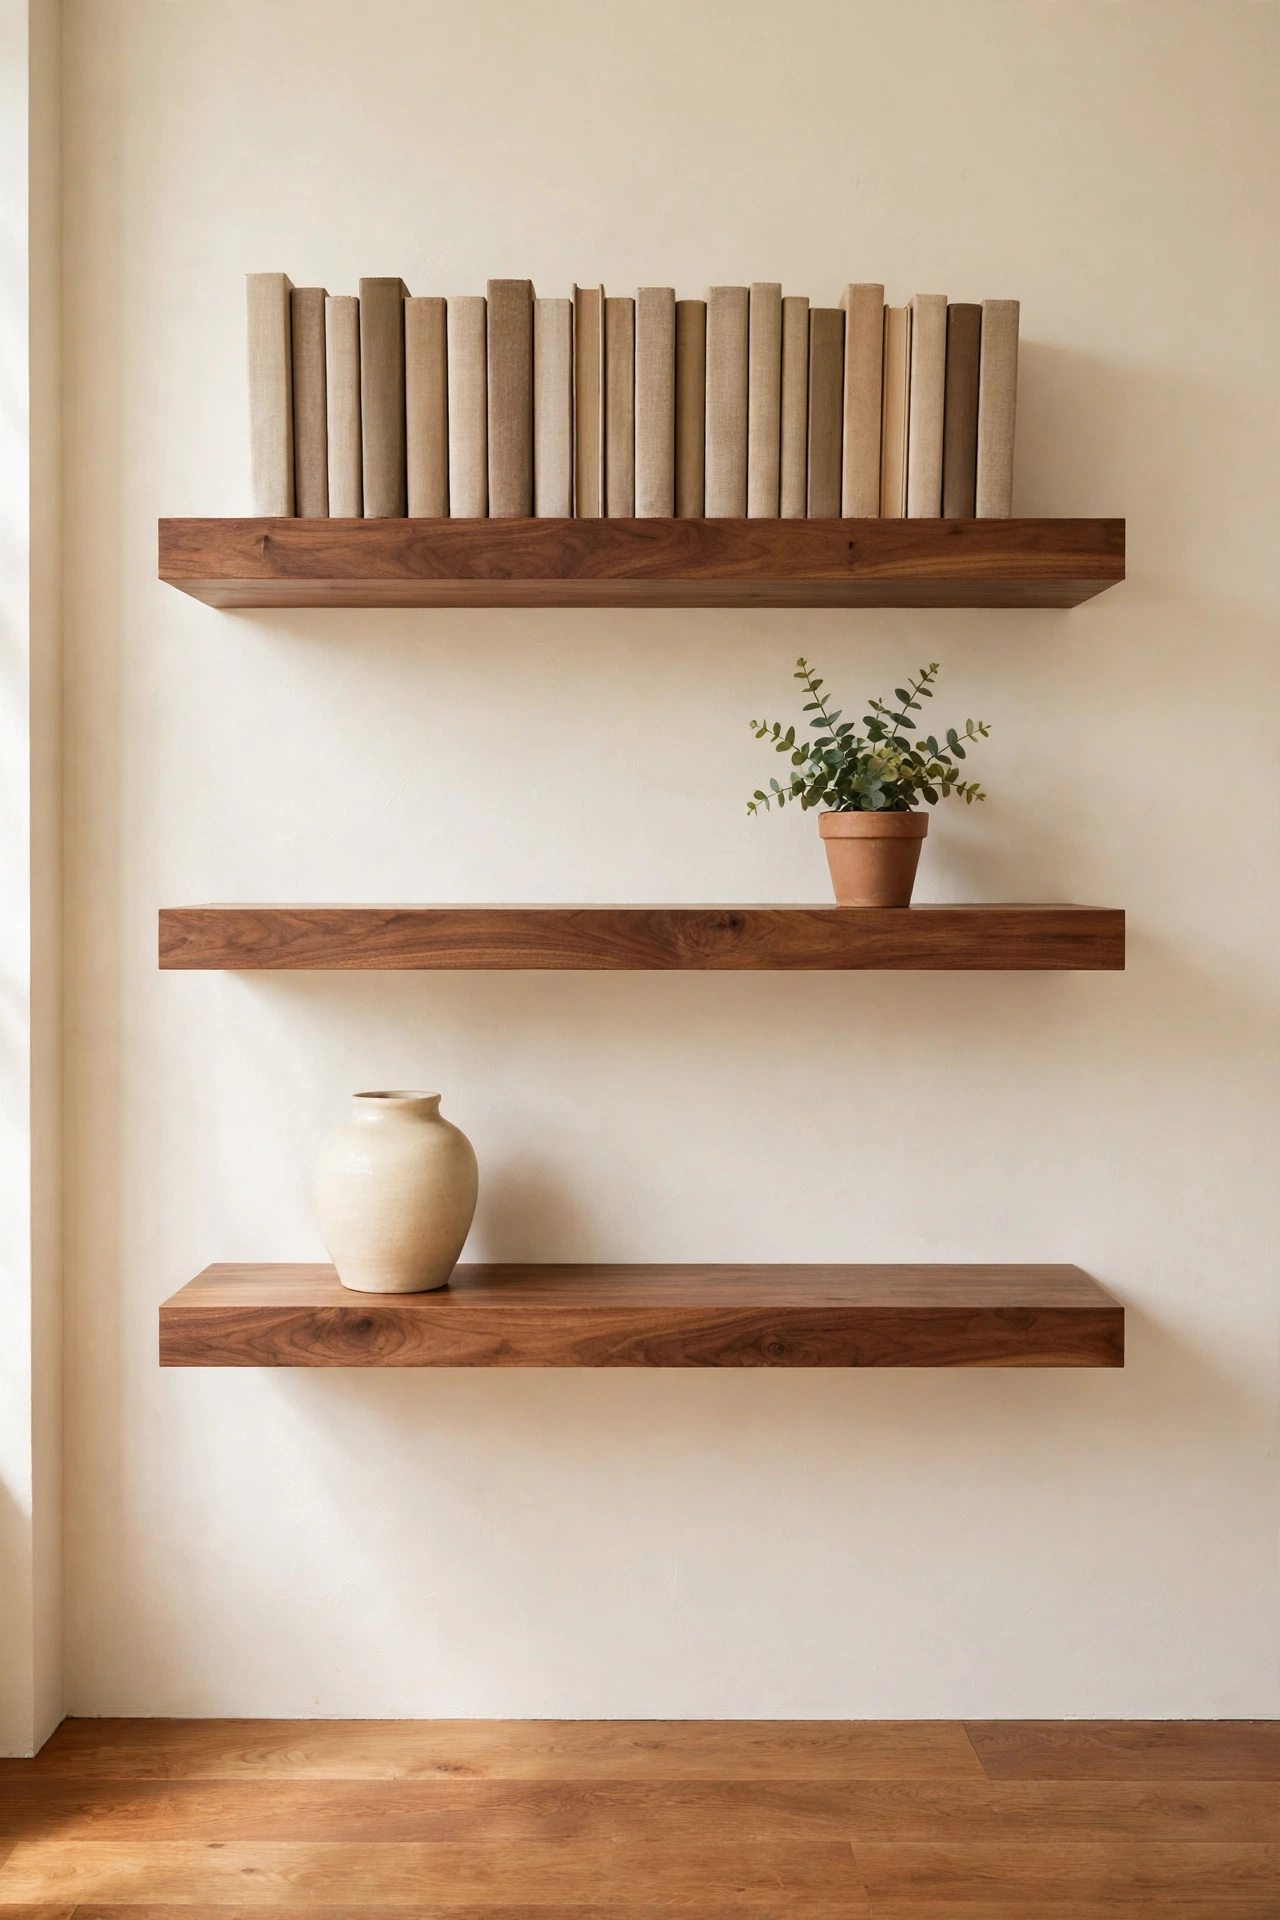
9. Stain Wooden Floating Shelves for a Custom Look
Floating shelves look far more expensive when the wood has a rich, even stain. A set of shelves in warm walnut turns a plain wall into a display space for books, plants, and favorite objects. The stain adds depth that raw or painted wood simply cannot match.
Sand each shelf board on all sides and stain them before mounting so you can coat the edges evenly. Match the stain tone to other wood in the room, such as the floor or a nearby table, for a cohesive look. For a bolder wood feature on the wall behind your shelves, these DIY wooden slat wall ideas show how stained wood can transform a whole wall.
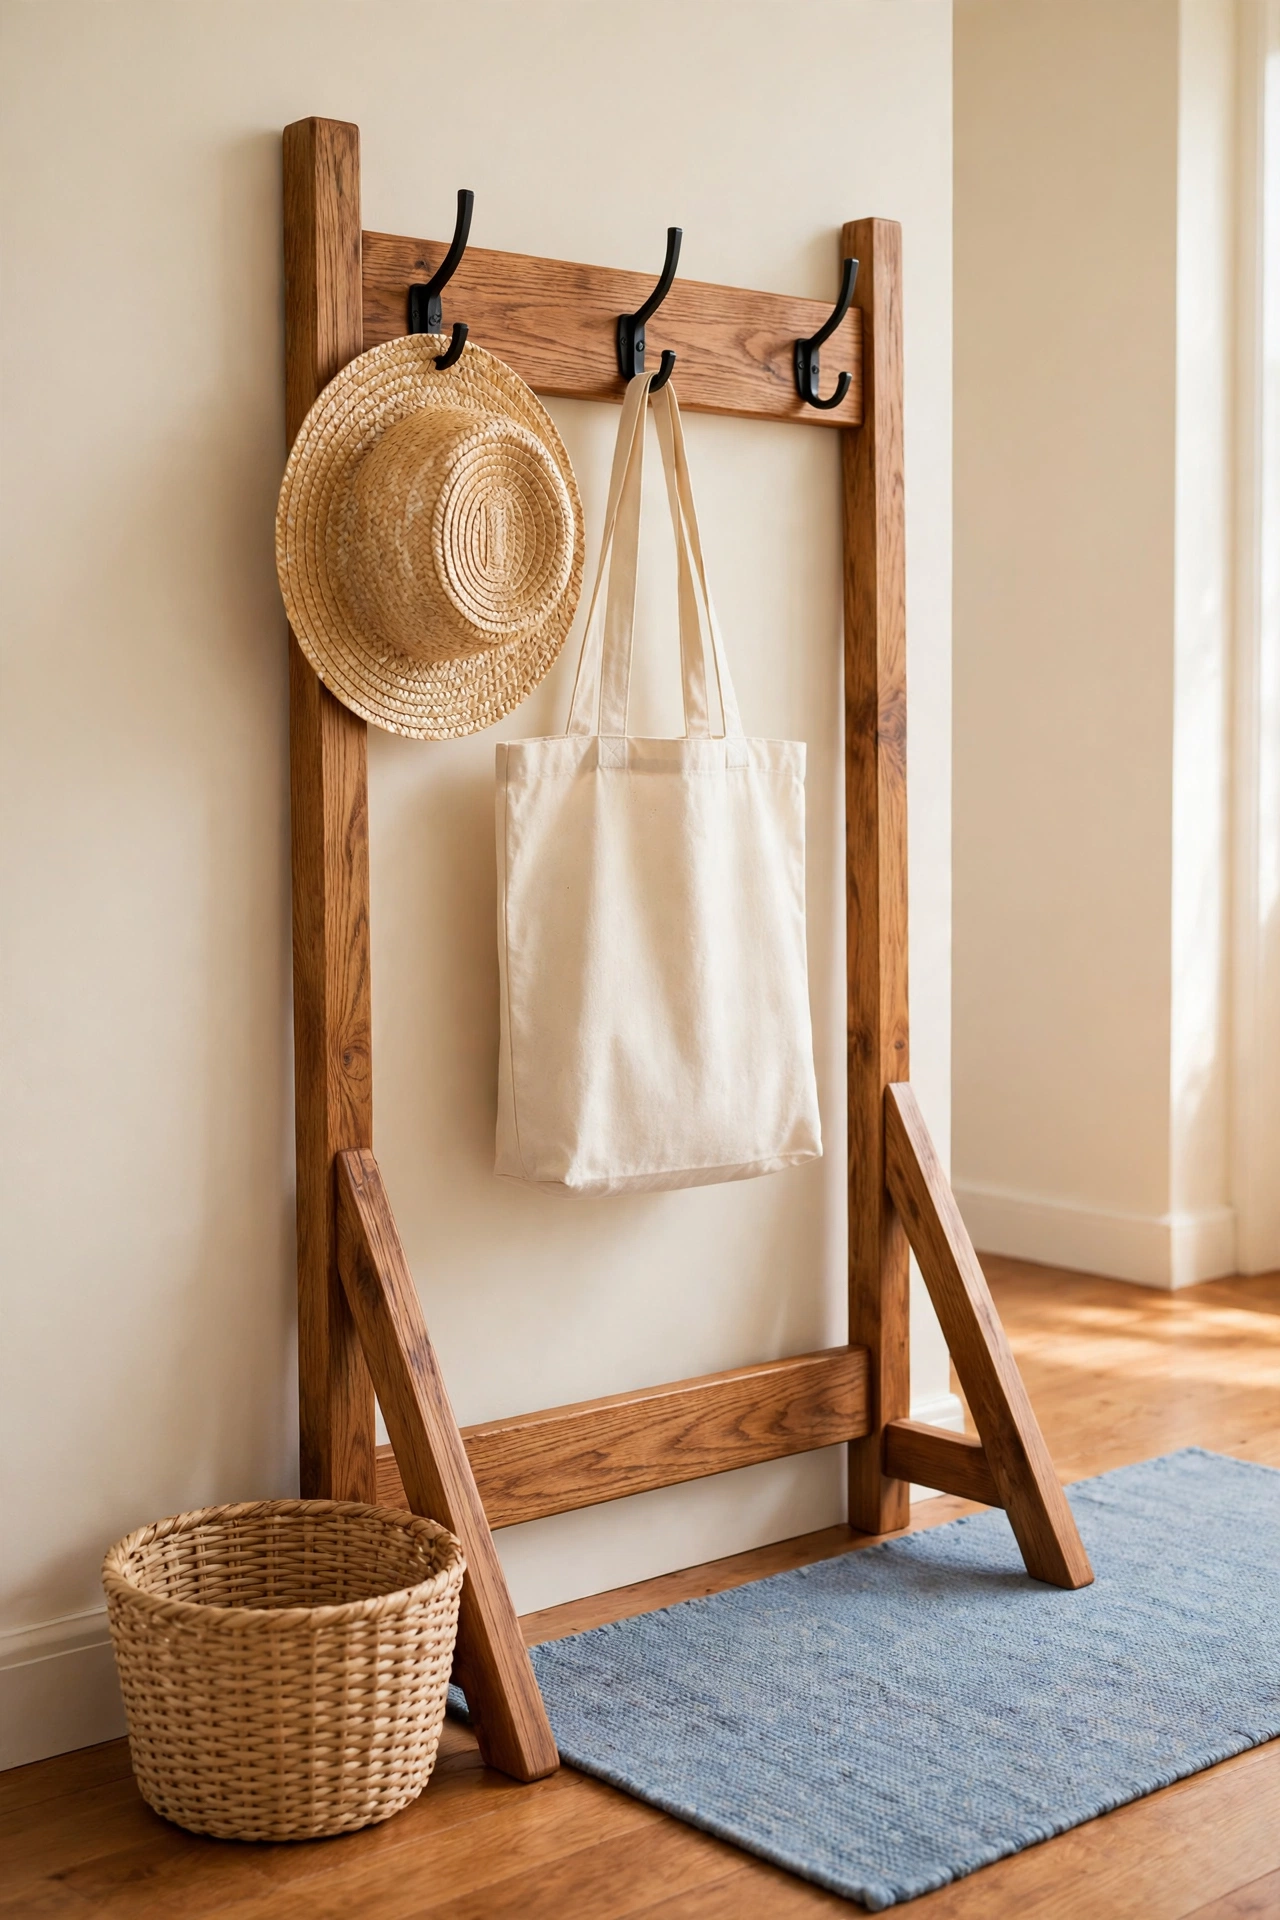
10. Stain a Wooden Coat Rack for a Tidy Hallway
A wooden coat rack works hard in a hallway, holding coats, bags, and hats every single day. Over time the finish wears thin, but stain restores it to a warm, welcoming piece. A mid tone oak stain pairs well with cream walls, woven baskets, and a soft rug underfoot.
Remove the hooks before sanding so you can stain the board evenly from end to end. Wipe on the stain, let it dry, and reattach the hooks for a clean, finished look. A freshly stained coat rack makes the hallway feel cared for and sets a warm tone for the whole home.
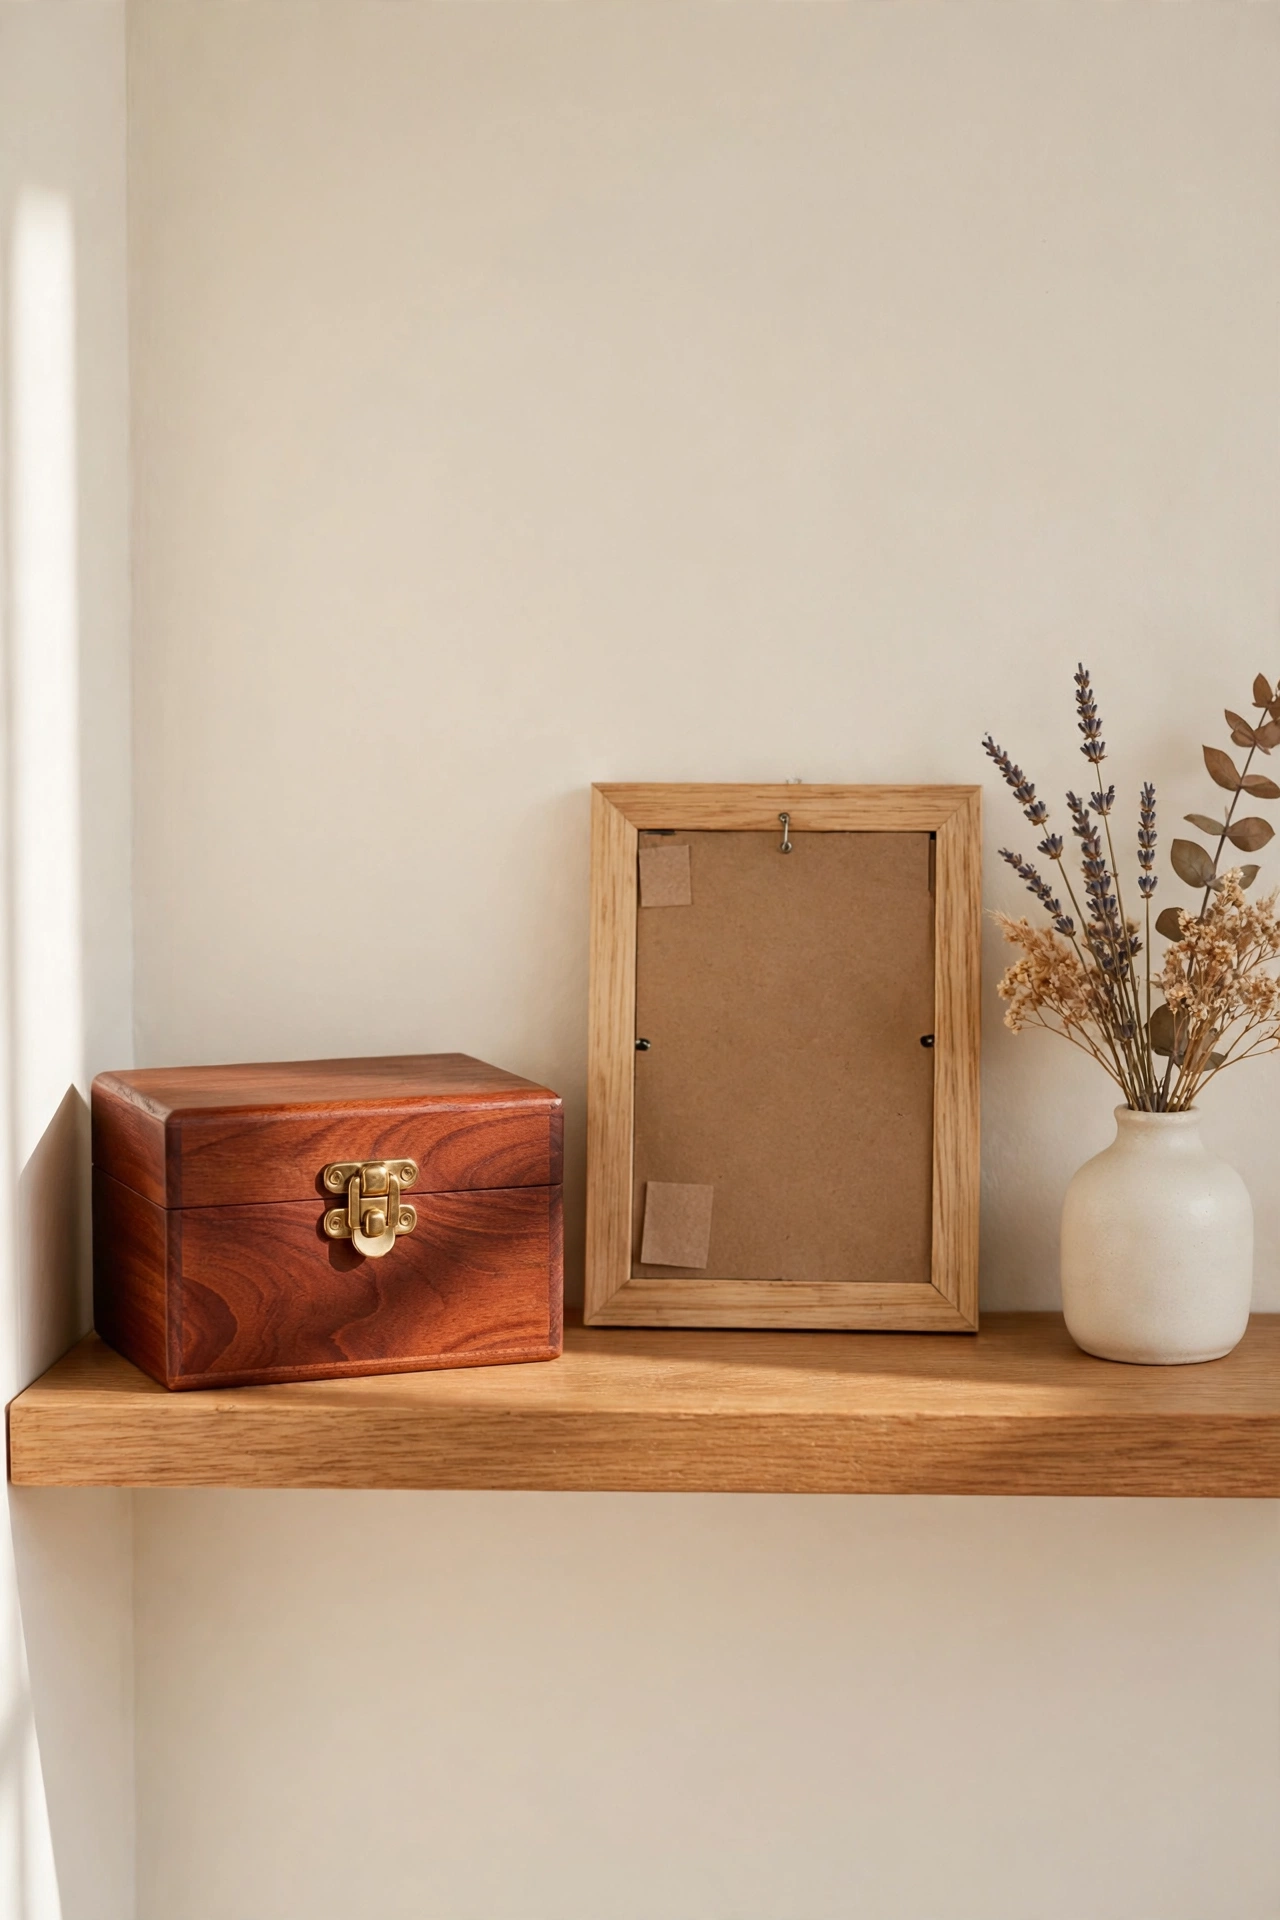
11. Stain a Wooden Keepsake Box for Treasured Items
A wooden keepsake box holds letters, photos, and small treasures, so it deserves a finish as special as the memories inside. Stain deepens the wood tone and highlights the grain, turning a plain box into a beautiful object worth displaying. A cherry or rosewood tone feels especially warm and classic.
Sand the box inside and out with fine sandpaper, then apply the stain with a small cloth to control the color on the lid and hinges. Line the inside with soft fabric after the stain dries for a lovely finishing touch. A stained keepsake box makes a thoughtful handmade gift as well as a treasured piece for your own shelf.
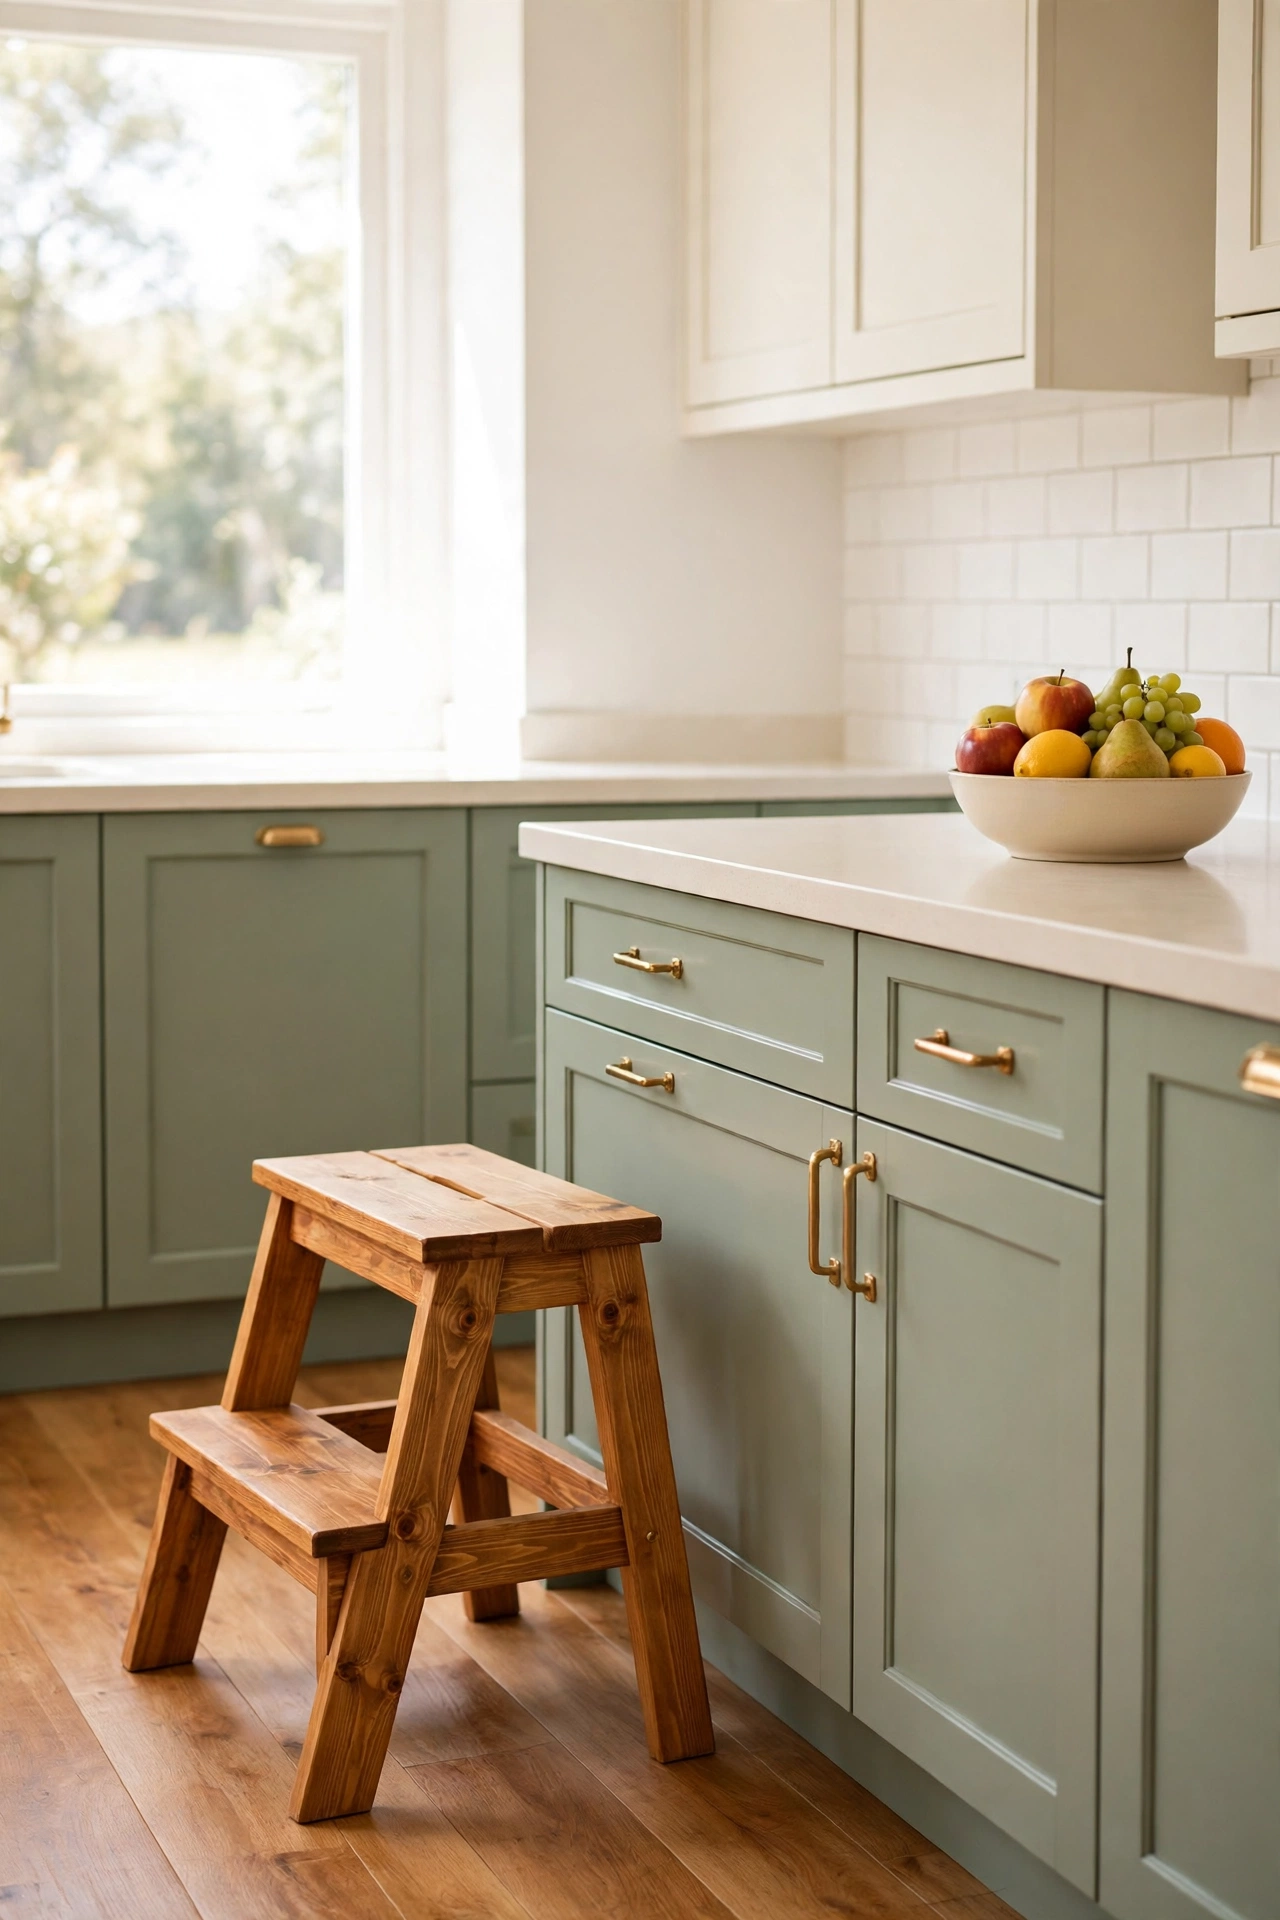
12. Restain a Wooden Step Stool for the Kitchen
A wooden step stool is a kitchen workhorse, helping you reach high shelves and giving little ones a boost at the counter. Years of use leave it scratched and dull, but stain brings it back beautifully. A warm honey stain looks cheerful in a bright kitchen and hides everyday wear.
Sand the stool thoroughly, paying attention to the steps and edges where wear is heaviest. Apply the stain in thin coats and finish with a durable clear sealer that can handle feet and spills. A restained step stool tucked beside the counter looks tidy and ready for its next job.
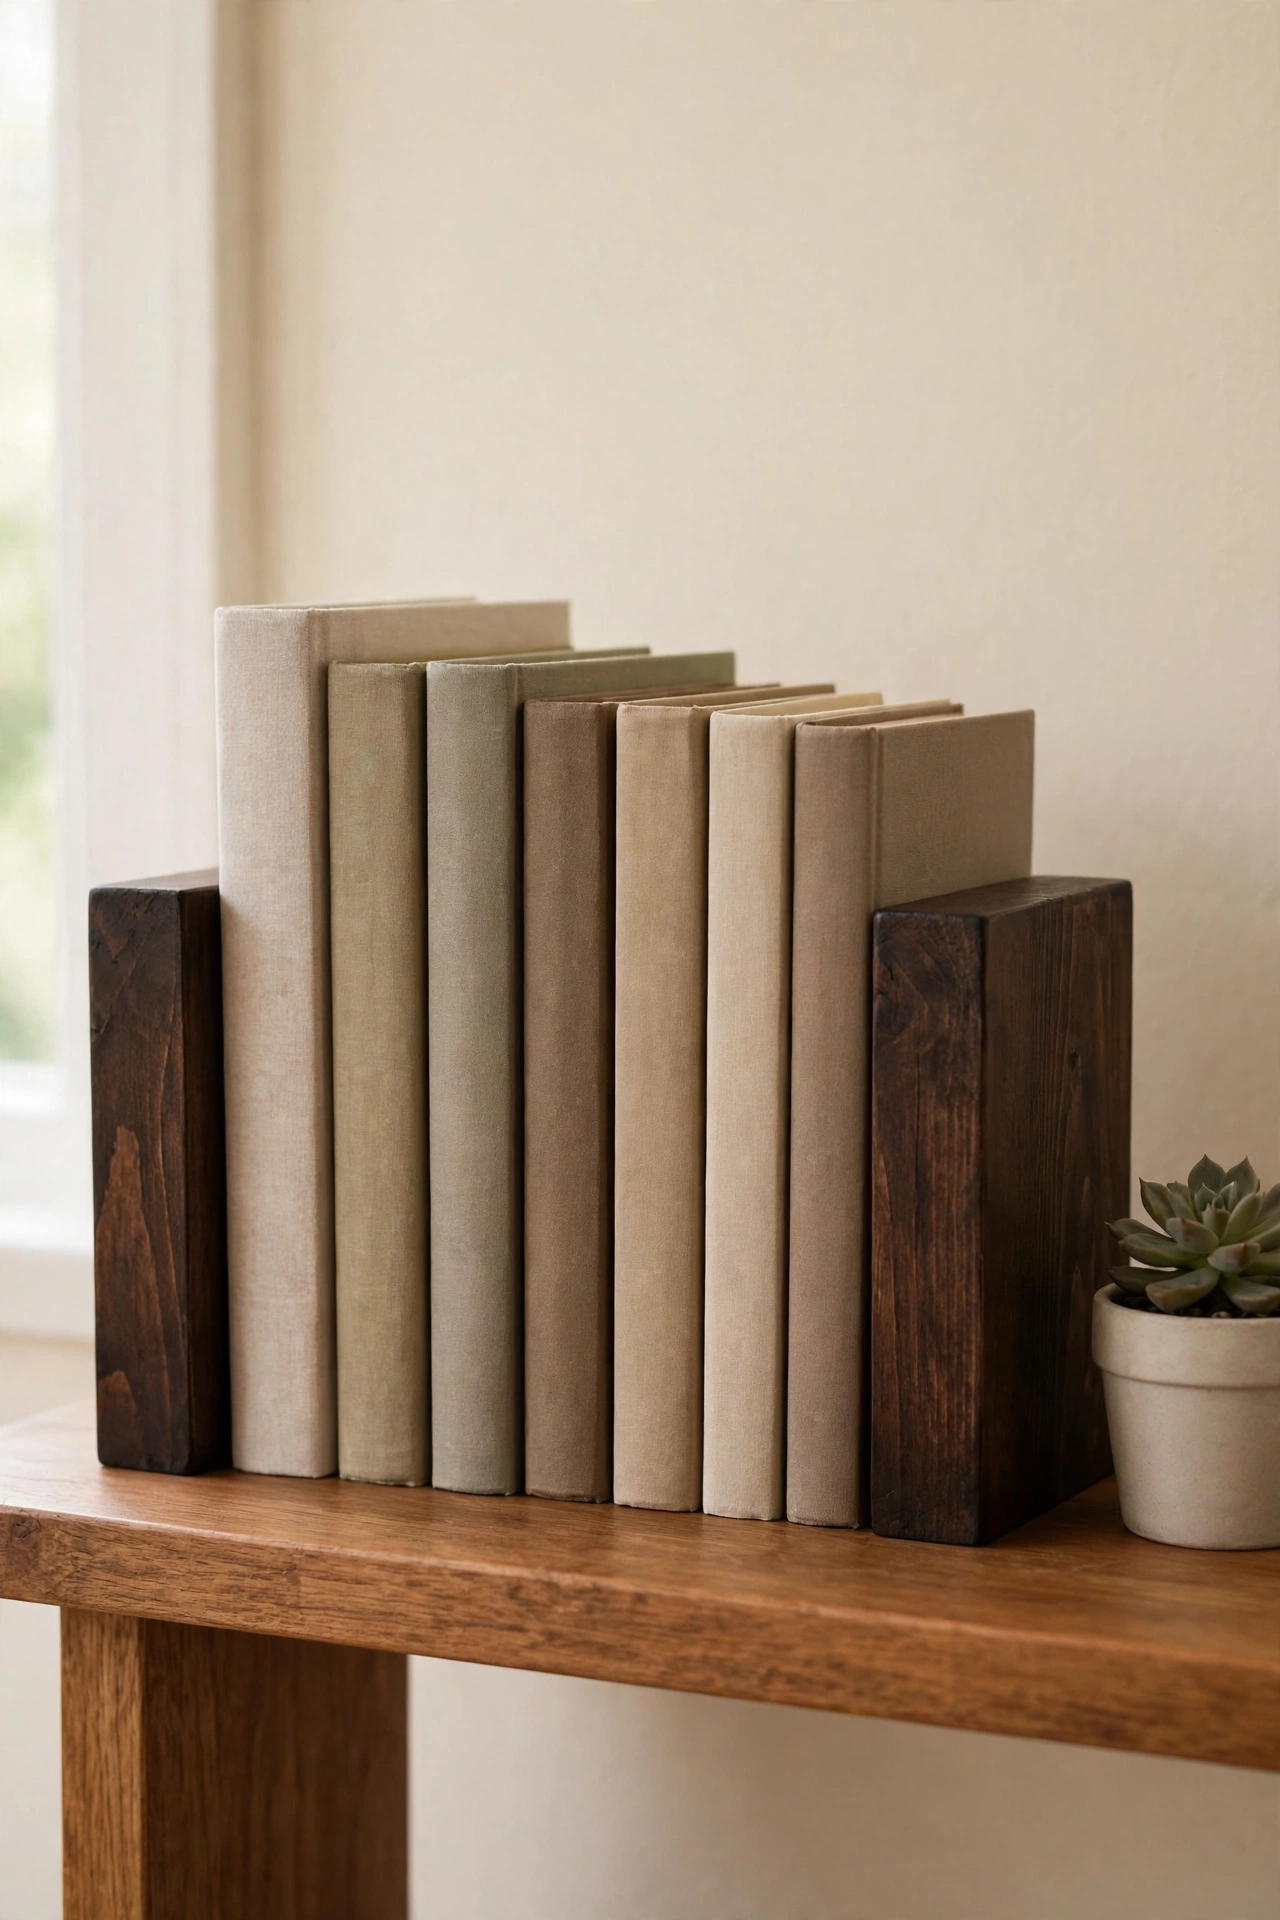
13. Stain Wooden Bookends for a Styled Bookshelf
Wooden bookends are small enough to stain in under an hour, and they make a whole bookshelf look more polished. A dark stain gives simple block bookends a sculptural, modern feel, while a natural oak tone keeps them soft and classic. Match the stain to your shelf wood for a seamless look.
Sand the bookends smooth and apply the stain with a cloth, turning each piece to coat every side. Seal them lightly so they resist dust and fingerprints. Stained bookends holding a row of your favorite books turn a plain shelf into a styled display you will enjoy every day.
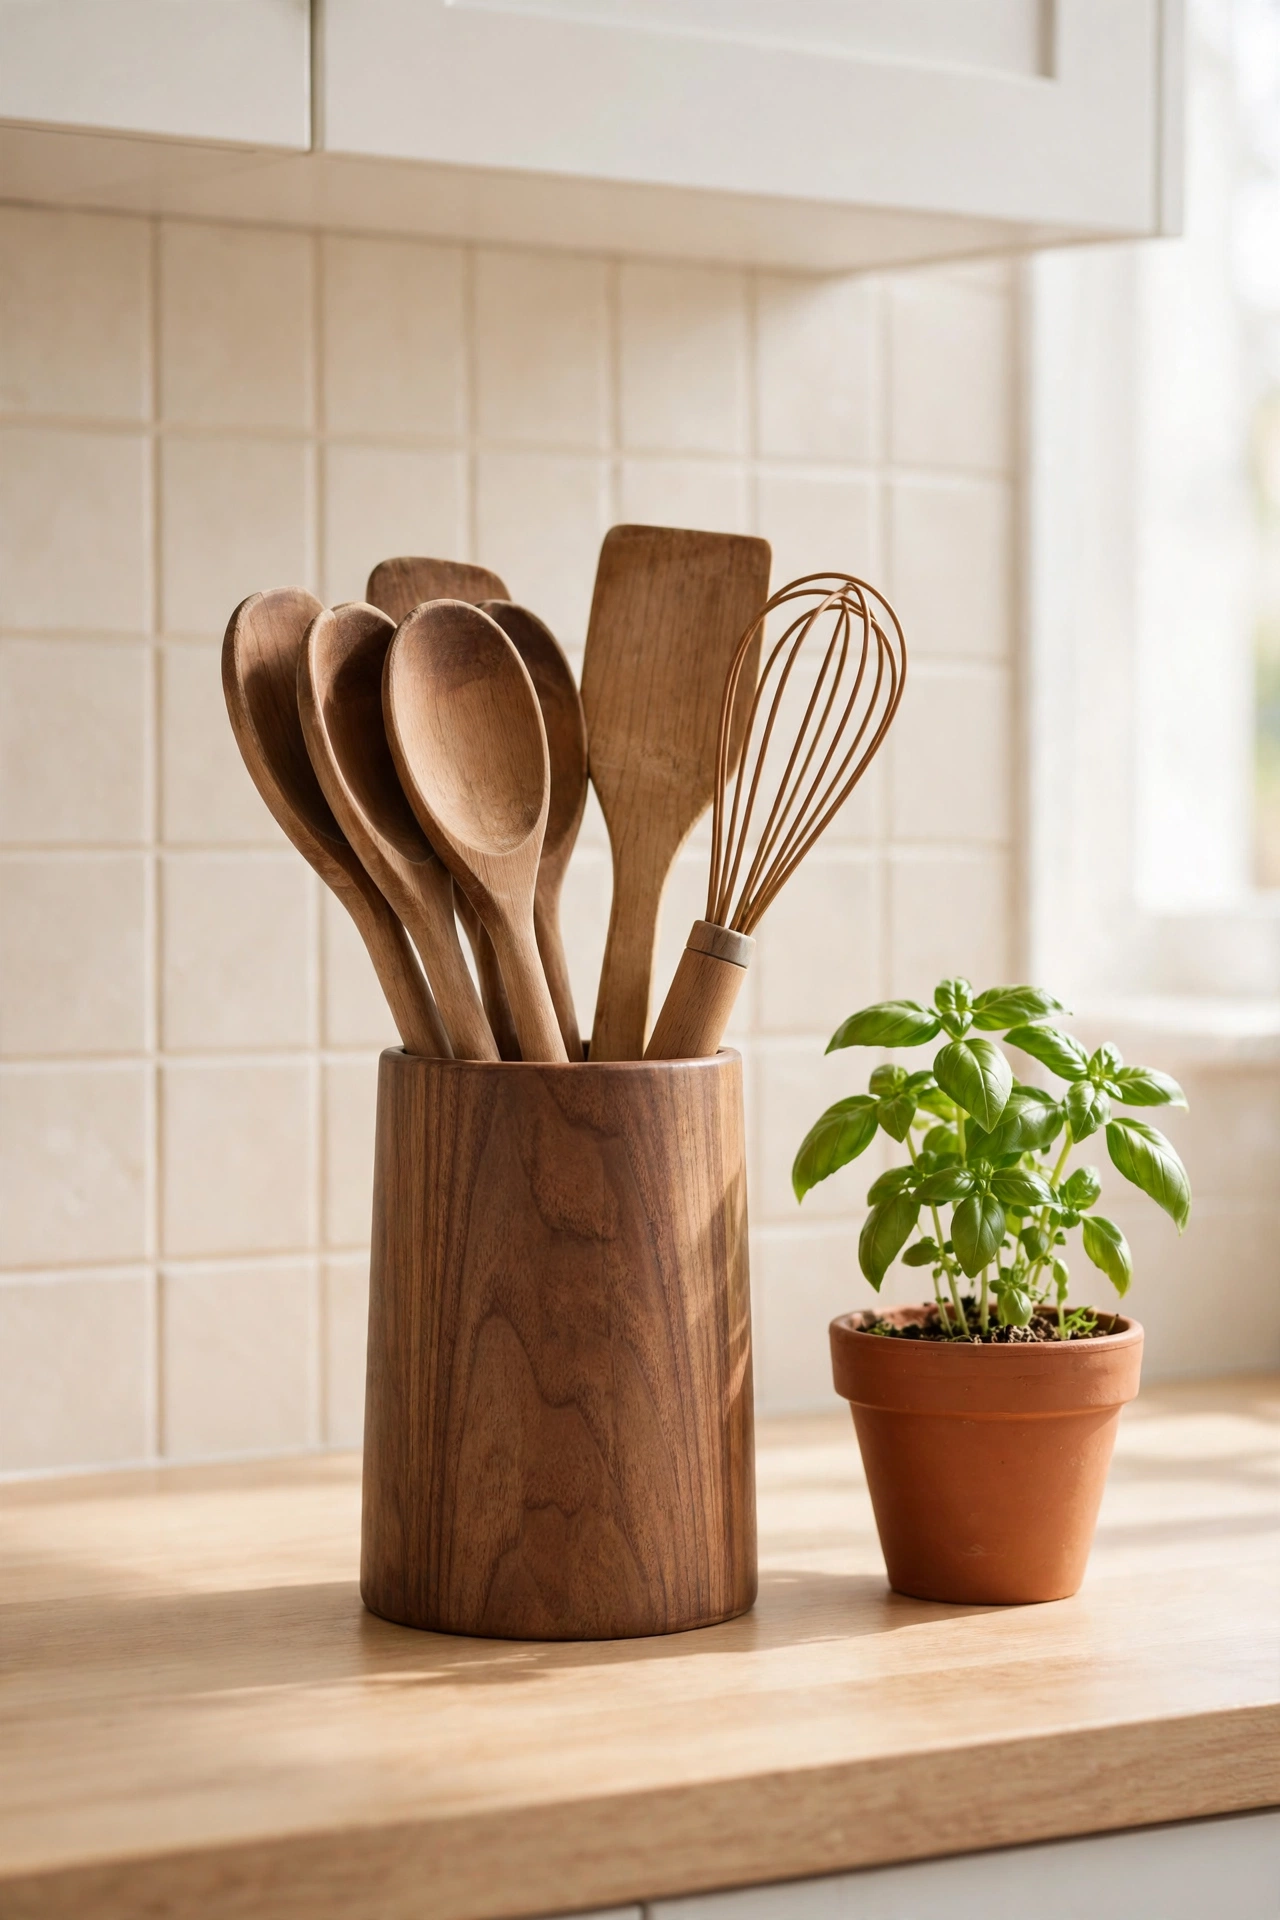
14. Stain a Wooden Utensil Holder for the Countertop
A wooden utensil holder sits on the countertop all day, so it should look as good as the kitchen around it. Stain turns a plain holder into a warm, rustic accent that matches your cutting boards and shelves. A medium walnut tone hides stains from cooking and looks richer over time.
Sand the holder inside and out, then wipe on the stain and remove the excess so the color stays even. A food safe oil finish on the inside keeps the holder easy to wipe clean. Fill it with wooden spoons, spatulas, and whisks, and the countertop will feel organized and warm.
15. Stain a Wooden Entryway Bench for a Warm Welcome
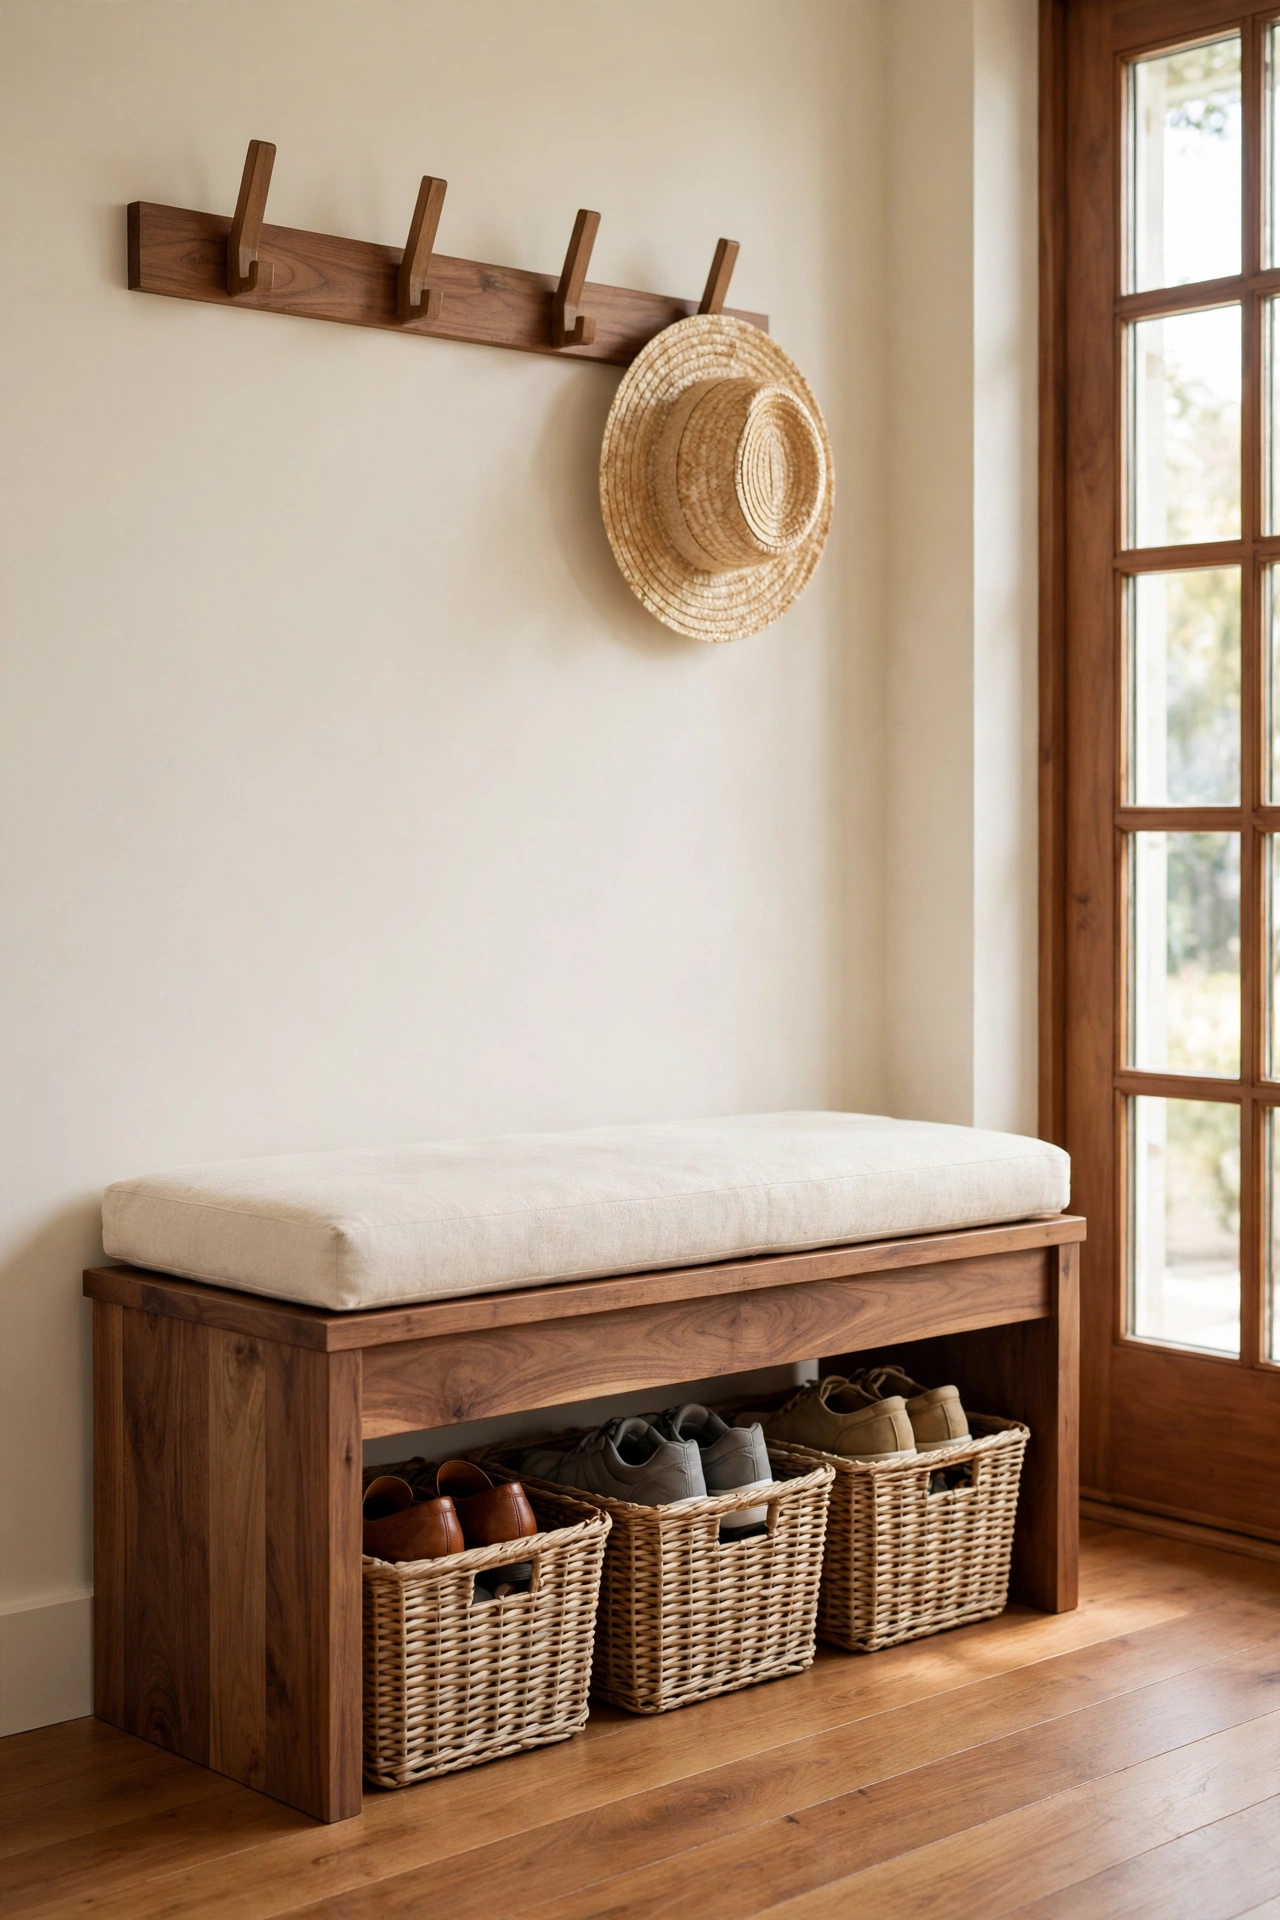
A wooden entryway bench is the first piece of furniture guests notice, and a fresh stain makes it look welcoming and well cared for. A warm walnut tone suits most entryways and pairs beautifully with a cream cushion, woven baskets, and a row of hooks above. The bench becomes both seating and storage in one handsome piece.
Sand the bench top and legs carefully, then apply two coats of stain for a deep, even color. Seal the seat well so it stands up to shoes, bags, and daily use. For more ways to refresh the furniture you already have, these DIY furniture makeover ideas will inspire your next weekend project.
Conclusion
Wood stain is proof that you do not need a big budget to make old accessories feel new again. From a small tray to a full entryway bench, every project on this list uses the same simple steps: sand, stain, seal, and enjoy. The warm grain of real wood does most of the work for you.
Start with the smallest piece you own, such as a picture frame or a set of candle holders, and build your confidence from there. Once you see how beautiful stained wood looks in your home, you will be looking around every room for the next piece to refresh.
Frequently Asked Questions About DIY Wood Stain Projects for Old Home Accessories
Do I need to sand old wood before staining?
Yes, sanding is the most important step for a good result. Sanding removes old finish, smooths rough spots, and opens the wood grain so the stain absorbs evenly. Start with medium sandpaper and finish with fine sandpaper, then wipe away all dust before you apply the stain.
What is the best wood stain color for beginners?
A medium warm tone like golden oak, honey, or provincial is the safest choice for a first project. These colors flatter most wood types, hide small mistakes, and suit almost any room. Test the stain on a hidden spot first so you can see the true color on your wood before you commit.
Can I stain wood without stripping the old finish?
If the old finish is thin and worn, light sanding is usually enough for the stain to absorb. If the old finish is thick, glossy, or peeling, you will need to strip or sand it down to bare wood first. Stain needs to reach the wood grain to work, so a sealed surface will block the color.
How do I protect stained wood accessories from daily use?
Apply a clear protective topcoat after the stain dries fully. A polyurethane sealer works well for trays, tables, and benches that see heavy use, while a simple oil finish suits decorative pieces. Let each coat dry completely and sand lightly between coats for the smoothest finish.
Is wood stain safe for kitchen items like cutting boards?
Standard wood stain is not food safe, so boards you cut on should be finished with a food safe oil instead. For display boards and serving pieces that hold food only briefly, a fully cured food safe finish is the safest choice. Always read the product label and let the finish cure for the full time it recommends.

Hi, I’m Emily! I turn messy corners into cozy, organized spots. DreamNestDecor is where I share simple, practical home ideas — decor, organization, and small-space solutions that work in real life, not just in photos. Every idea here is carefully researched before it’s shared.