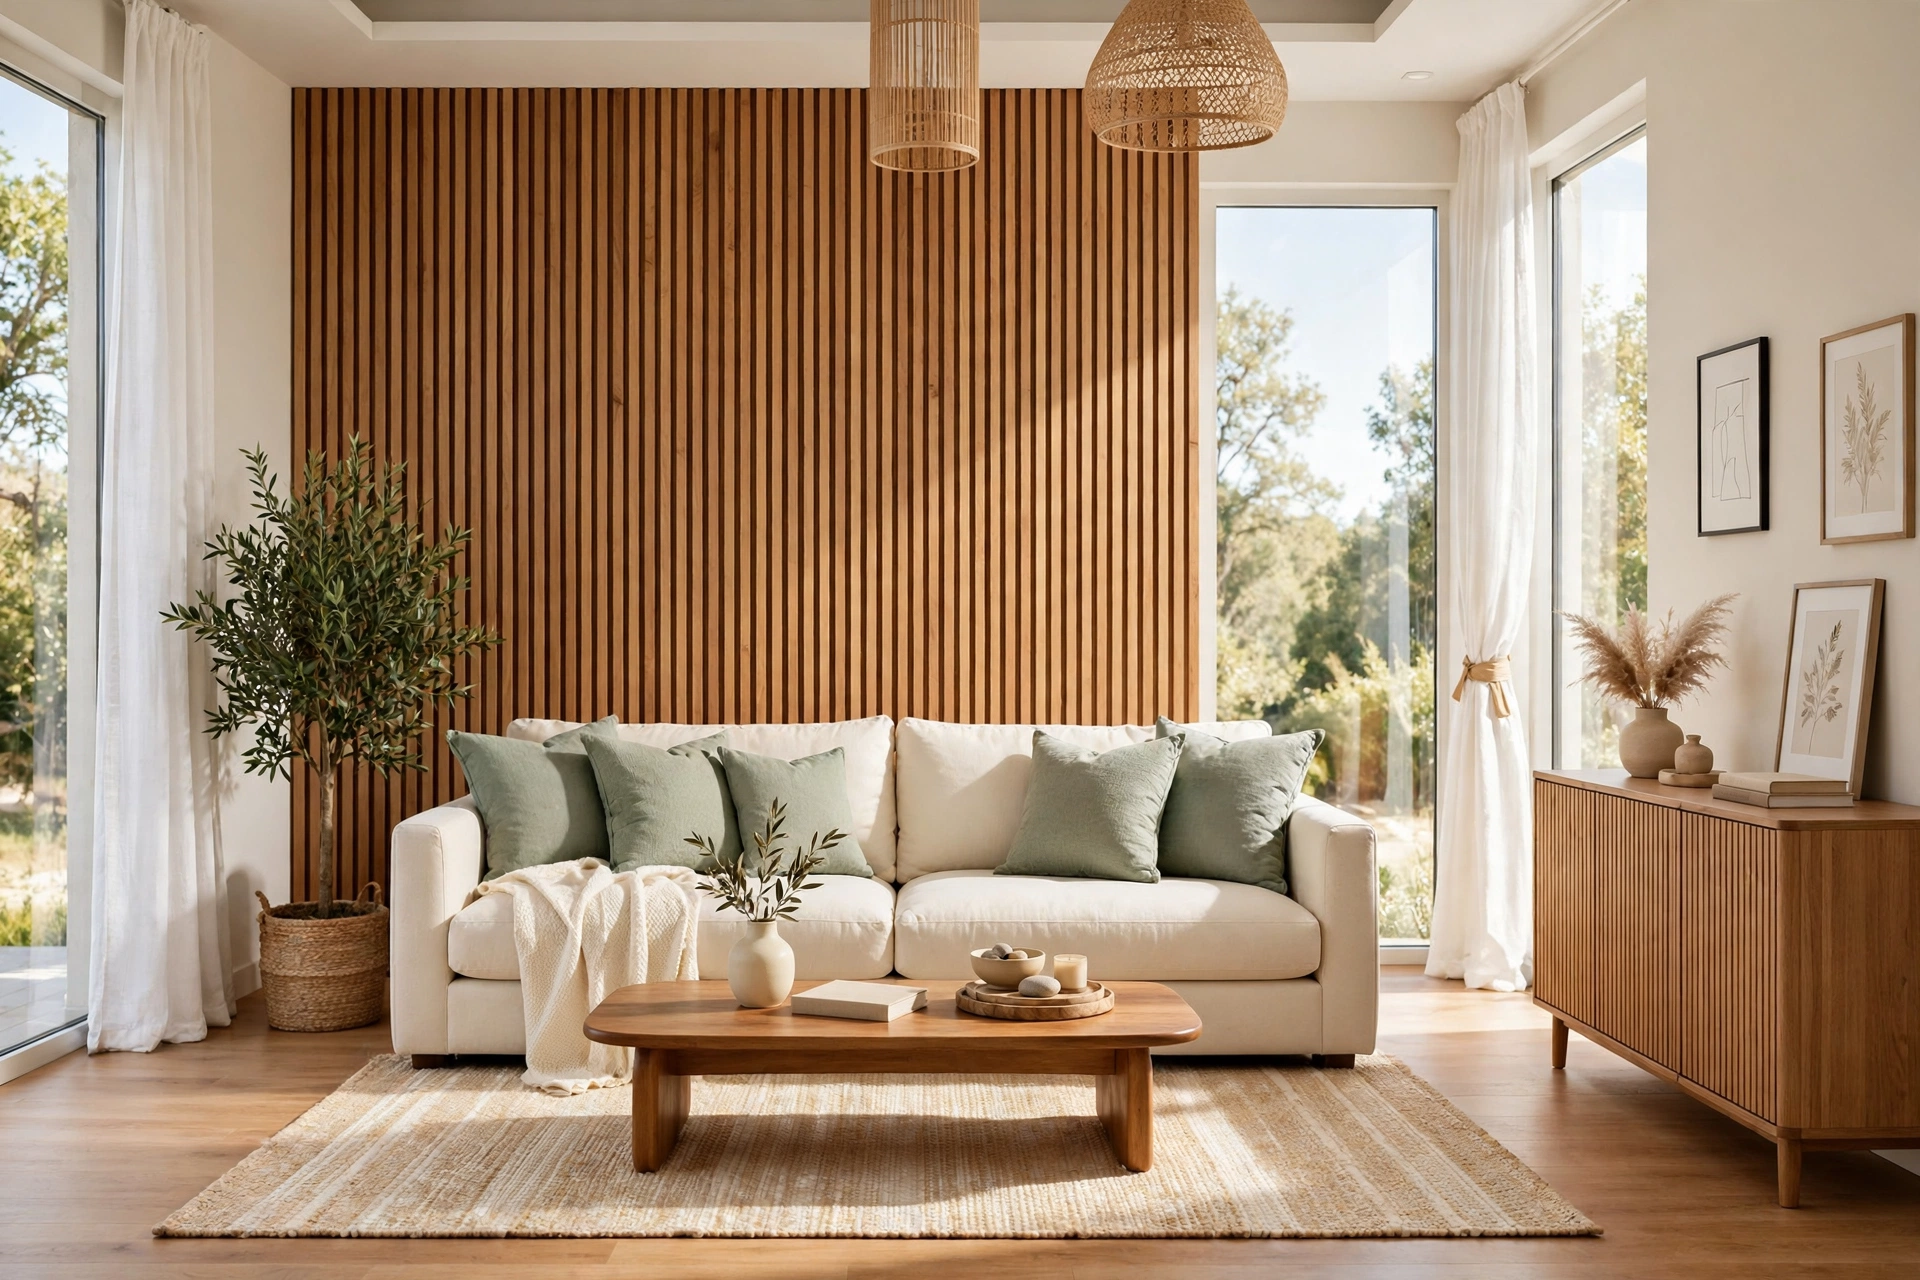
Picture this: you walk into a living room and one wall stops you in your tracks. Thin strips of warm wood run from floor to ceiling, catching the light and giving the whole room a calm, crafted feel. It looks like a designer feature, yet it started as a pile of plain timber and a free weekend. That quiet wow factor is exactly what a wooden slat wall brings to a home.
You do not need a large budget or professional tools to build one. A few boards, simple fixings, and a clear plan are enough to transform a plain wall into the best feature in the room. These 31 DIY wooden slat wall ideas on a budget will help you add warmth, texture, and style to every room in your home, one strip at a time.
1. Build Classic Vertical Slats Behind the Sofa
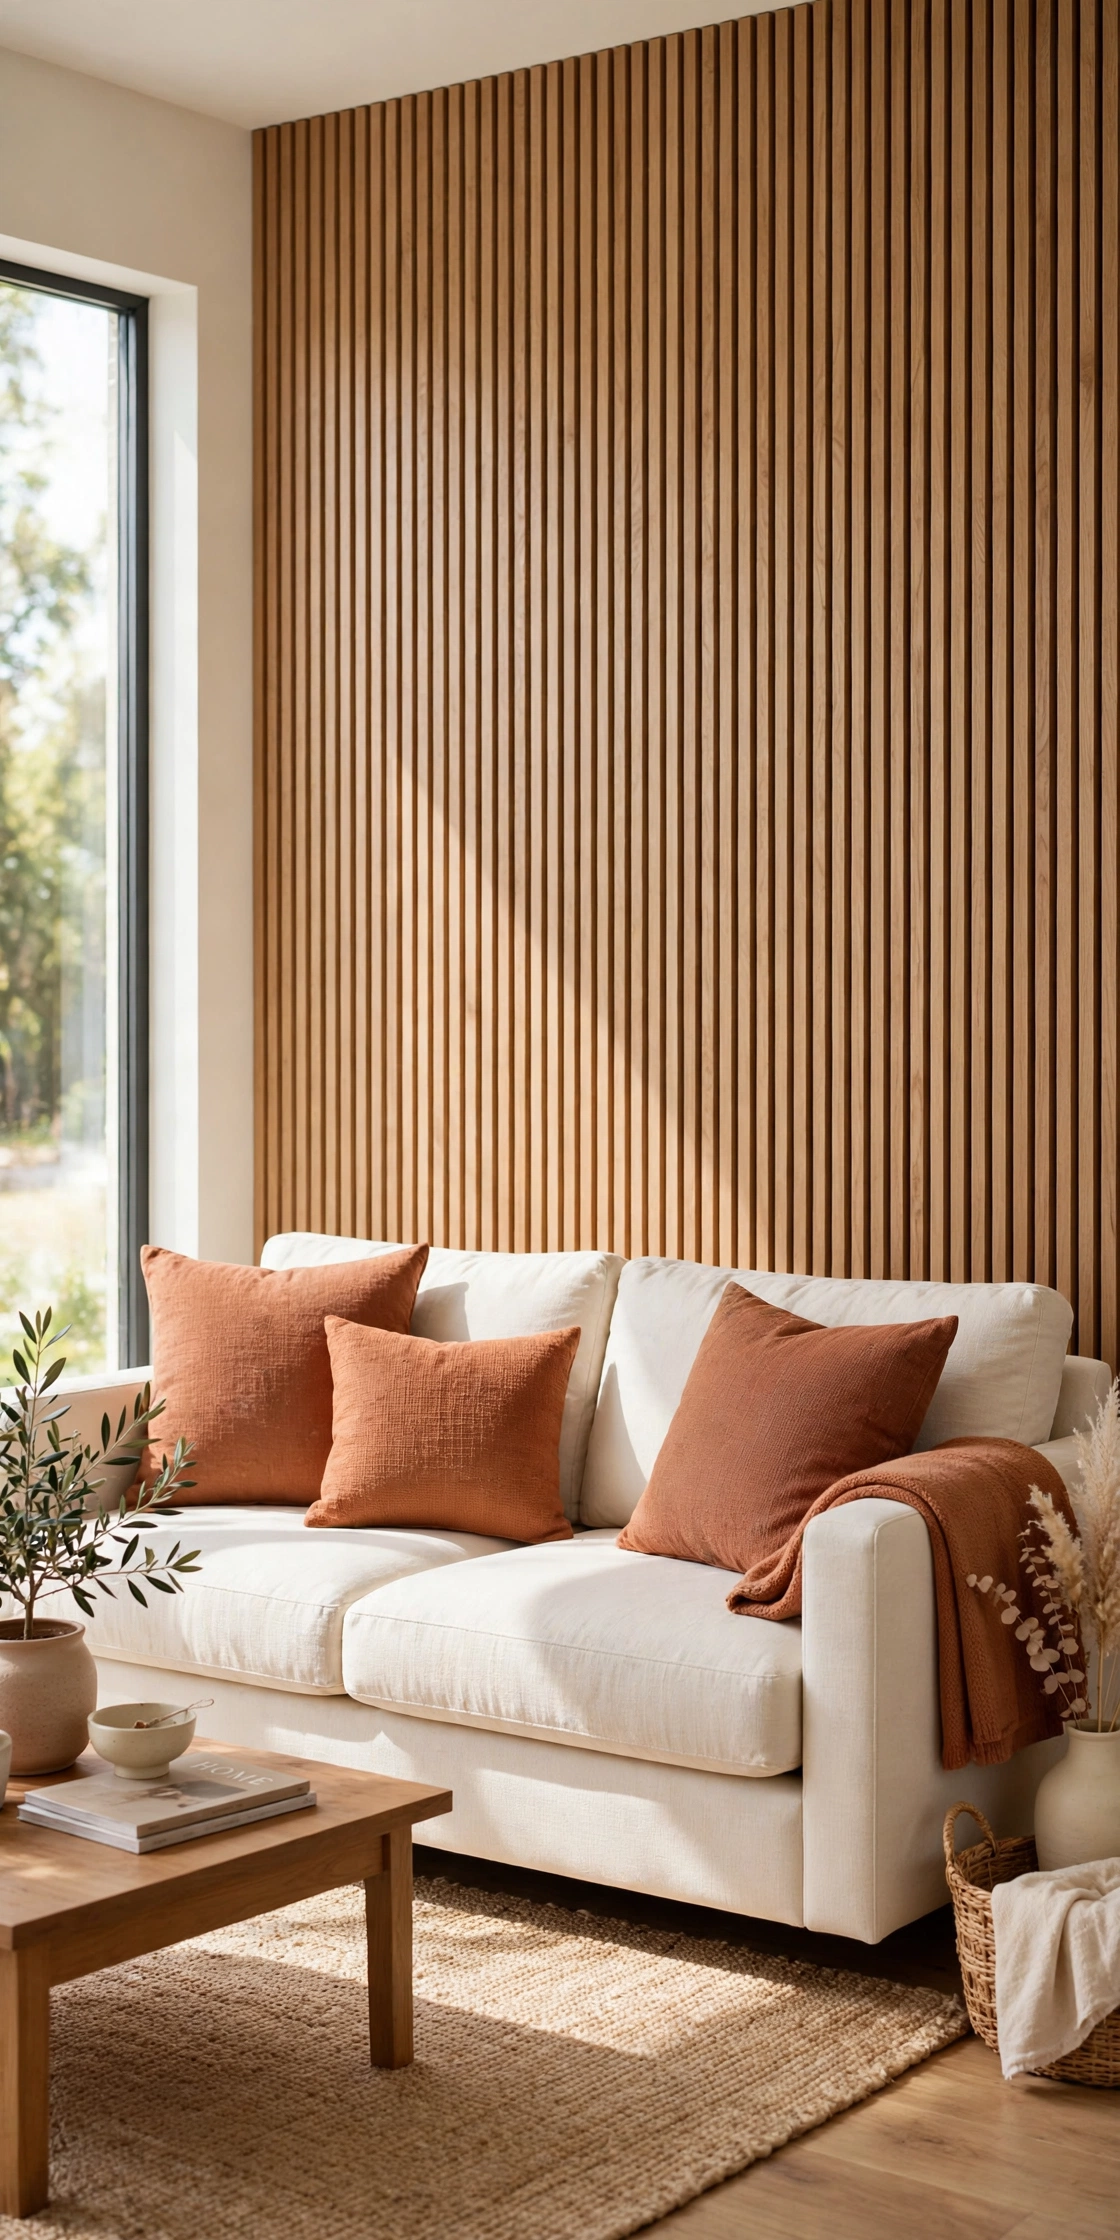
Vertical slats behind the sofa are the most popular way to start, and for good reason. The tall lines draw the eye upward and make the ceiling feel higher, while the warm wood softens a plain wall. A sofa in front of the slats looks instantly more styled, even with simple cushions.
Use thin battens about 25 millimetres wide with a gap of around 15 millimetres between them. Paint the wall behind the slats in a dark tone so the gaps read as shadow lines. Measure twice, cut once, and work from the centre outward so the pattern stays even on both sides.
2. Run Horizontal Slats for a Calm Bedroom Wall
Horizontal slats give a bedroom a calm, restful feeling that vertical lines cannot match. The long lines stretch the wall sideways and make a small bedroom feel wider. Behind a bed, horizontal slats act like a built in headboard with real presence.
Choose a pale wood tone such as ash or light oak to keep the room bright. Fix the slats with a level at every row, because even a small tilt shows clearly on a horizontal line. Leave the bedding plain and let the wall carry the pattern.
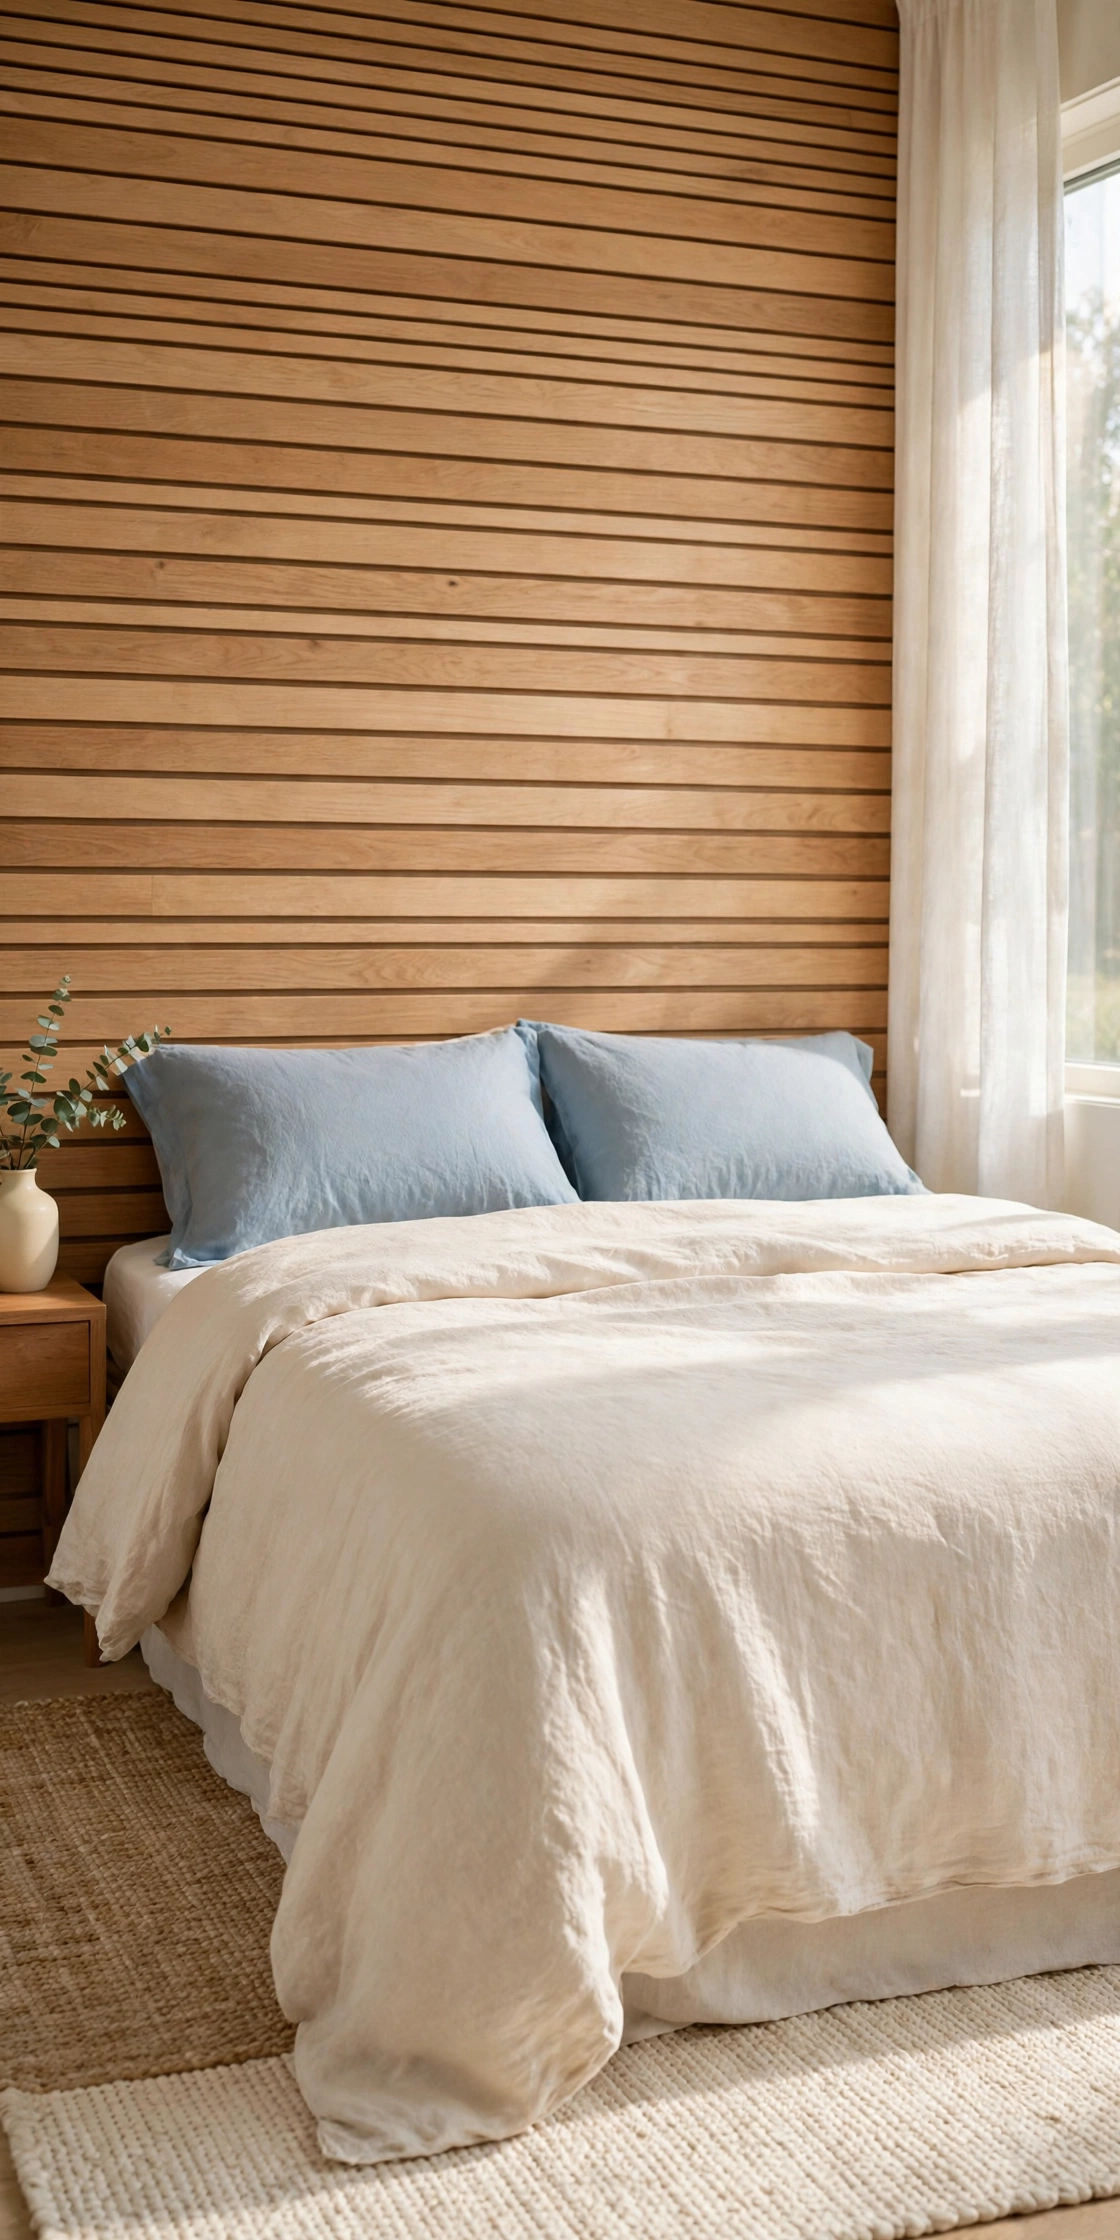
3. Try Thin Slats with Wide Gaps for an Airy Look
Thin slats with wide gaps create a light, airy feature that suits small rooms. The open spacing lets the wall colour show through, so the feature feels like a screen rather than a solid panel. It adds texture without making the room feel heavy.
Use battens around 15 millimetres wide with gaps of 30 millimetres or more. A pale wall behind the slats keeps the whole effect soft and bright. This style works well in hallways and reading corners where you want interest without bulk.
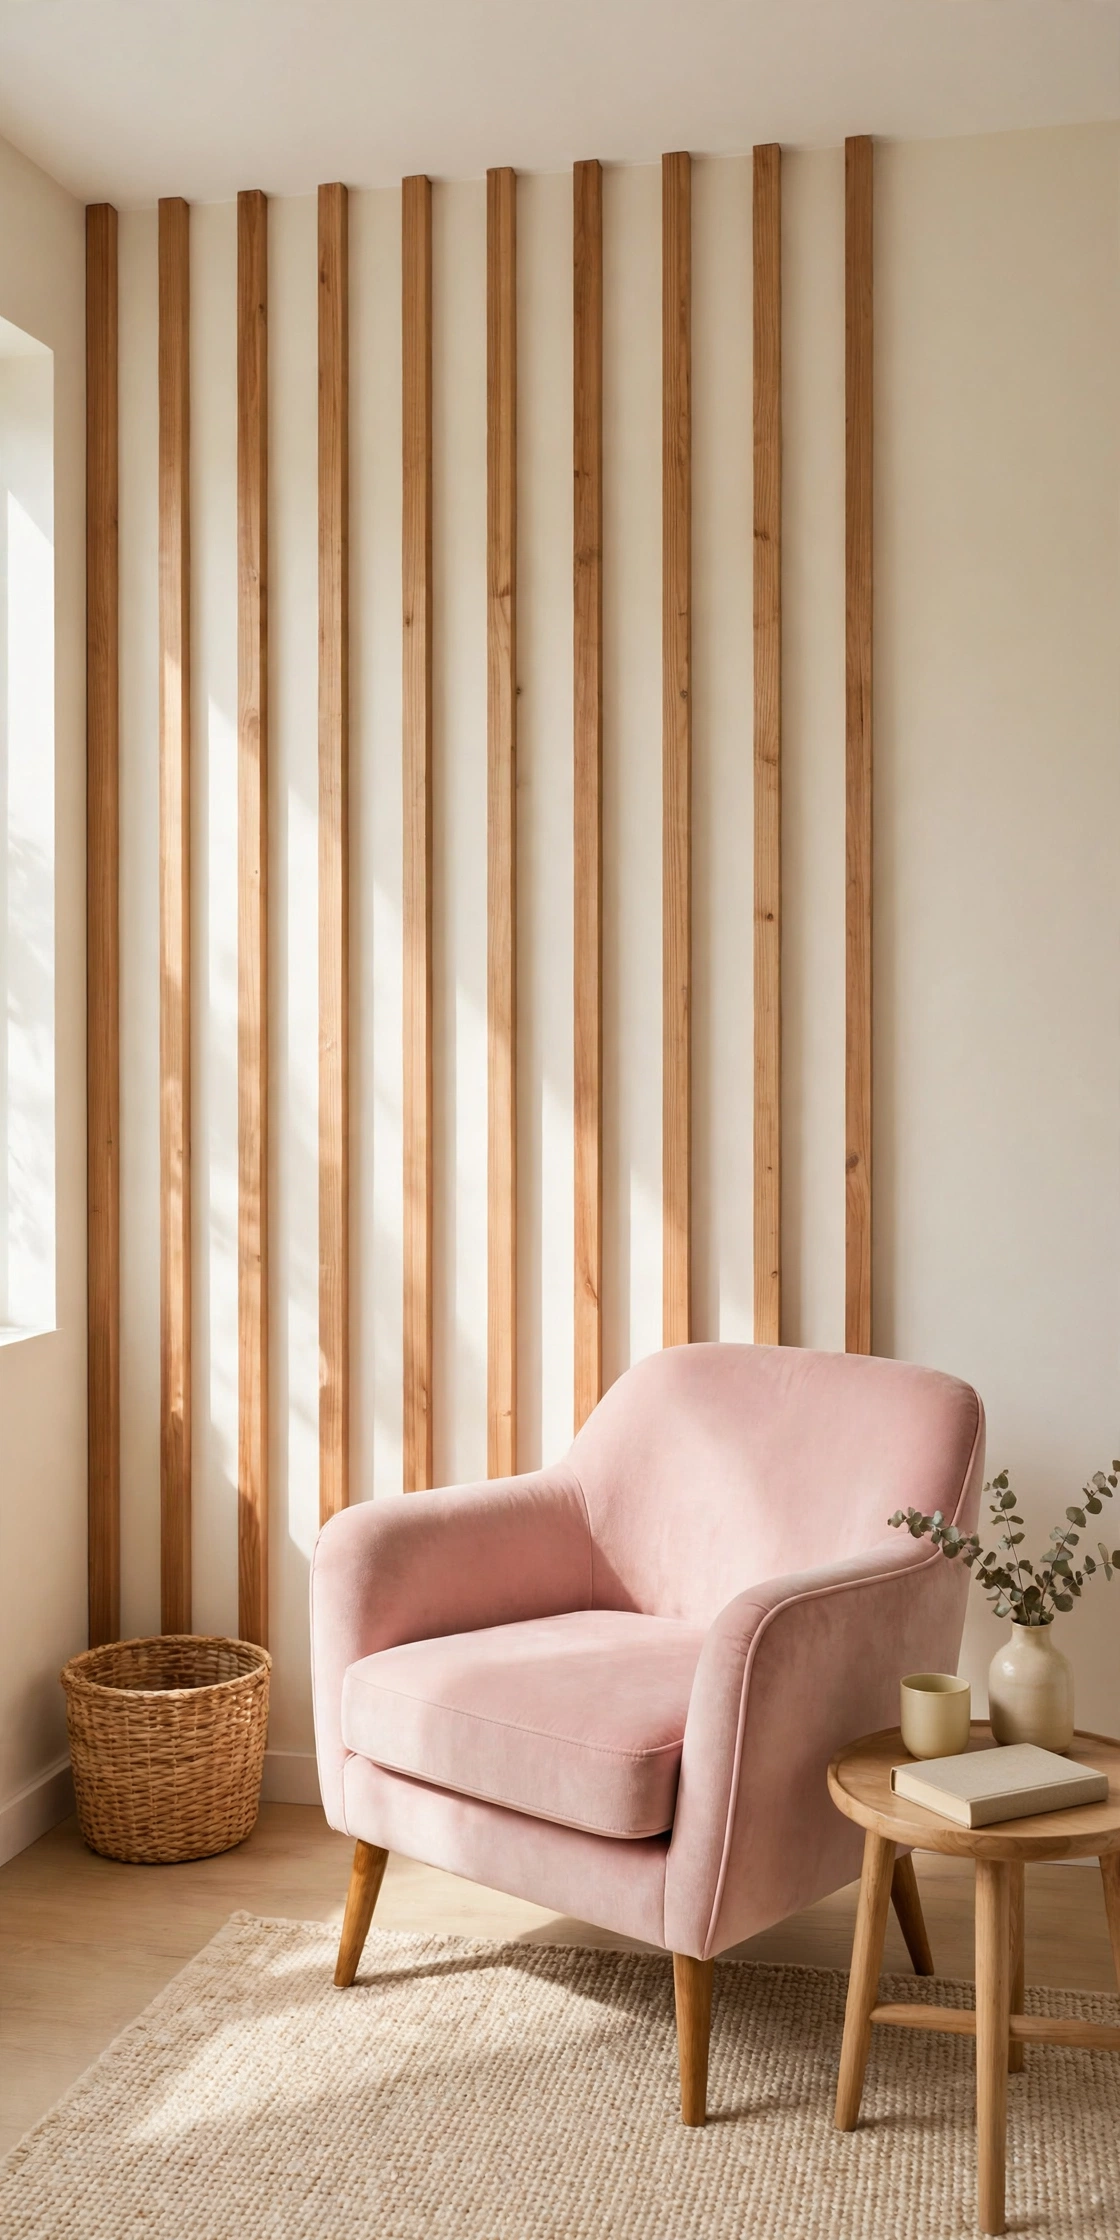
4. Go Chunky for a Bold Statement Wall
Chunky slats make a strong statement in a large living room or open plan space. Thick battens of 40 millimetres or more cast deeper shadows and give the wall a sculpted, architectural feel. The result looks expensive, even when the timber cost very little.
Keep the rest of the room simple so the wall stays the hero. A plain sofa, one large plant, and a low coffee table are all you need. Chunky slats also hide uneven walls well, which makes them a smart choice for older homes.
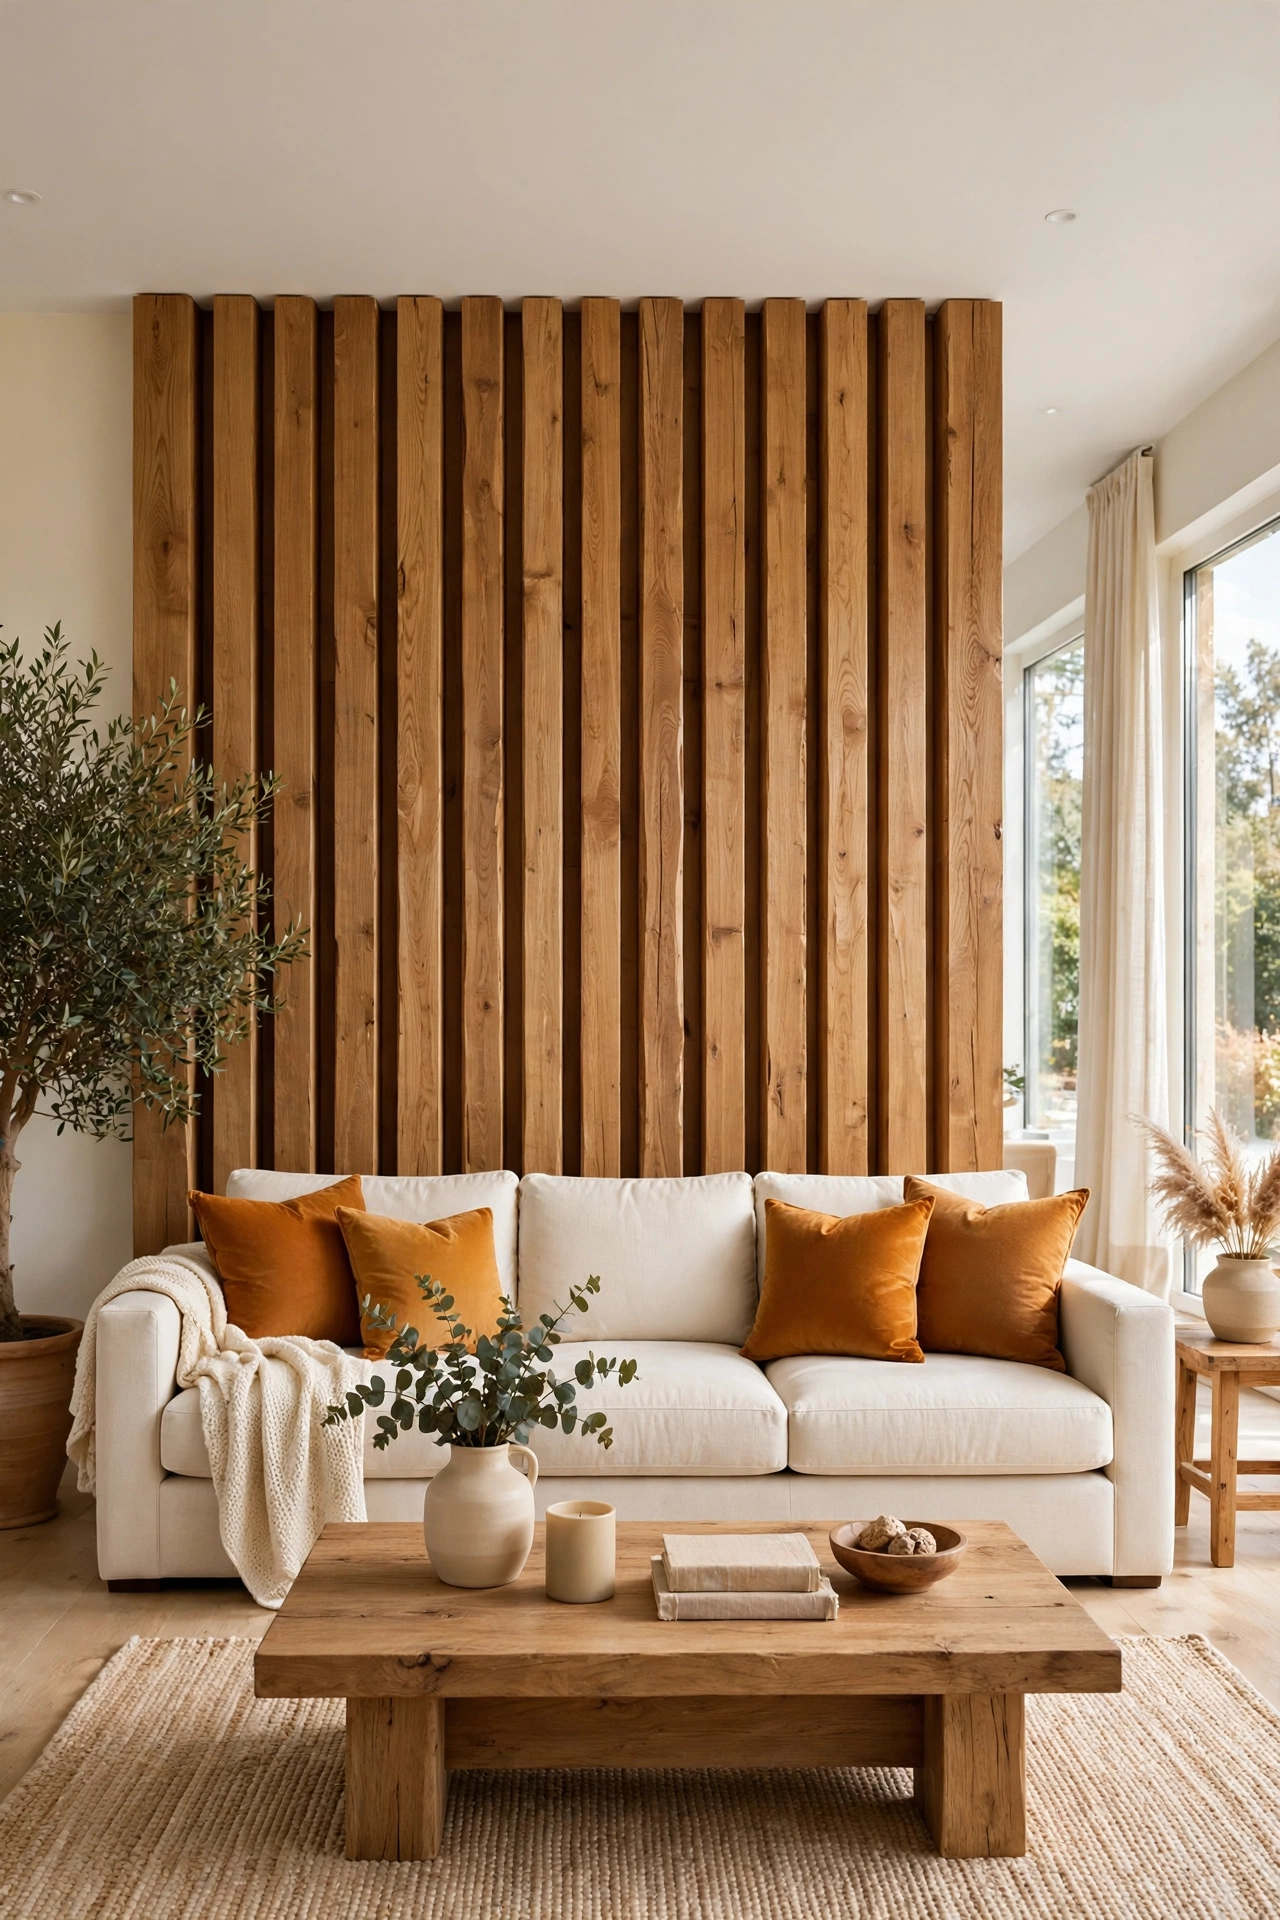
5. Stop at Half Height with a Painted Top
A half height slat wall gives you the texture of wood without covering the whole wall. The slats run up to chair rail height, and the wall above stays painted in a soft colour. A slim shelf or picture ledge on top of the slats finishes the edge neatly.
This idea suits dining rooms and hallways, where a full wall of wood can feel too much. Paint the upper wall in warm white or soft sage for a fresh contrast. For more ideas on layering wall features with trim, see these board and batten wall ideas. The ledge also gives you a spot for small plants and framed photos.
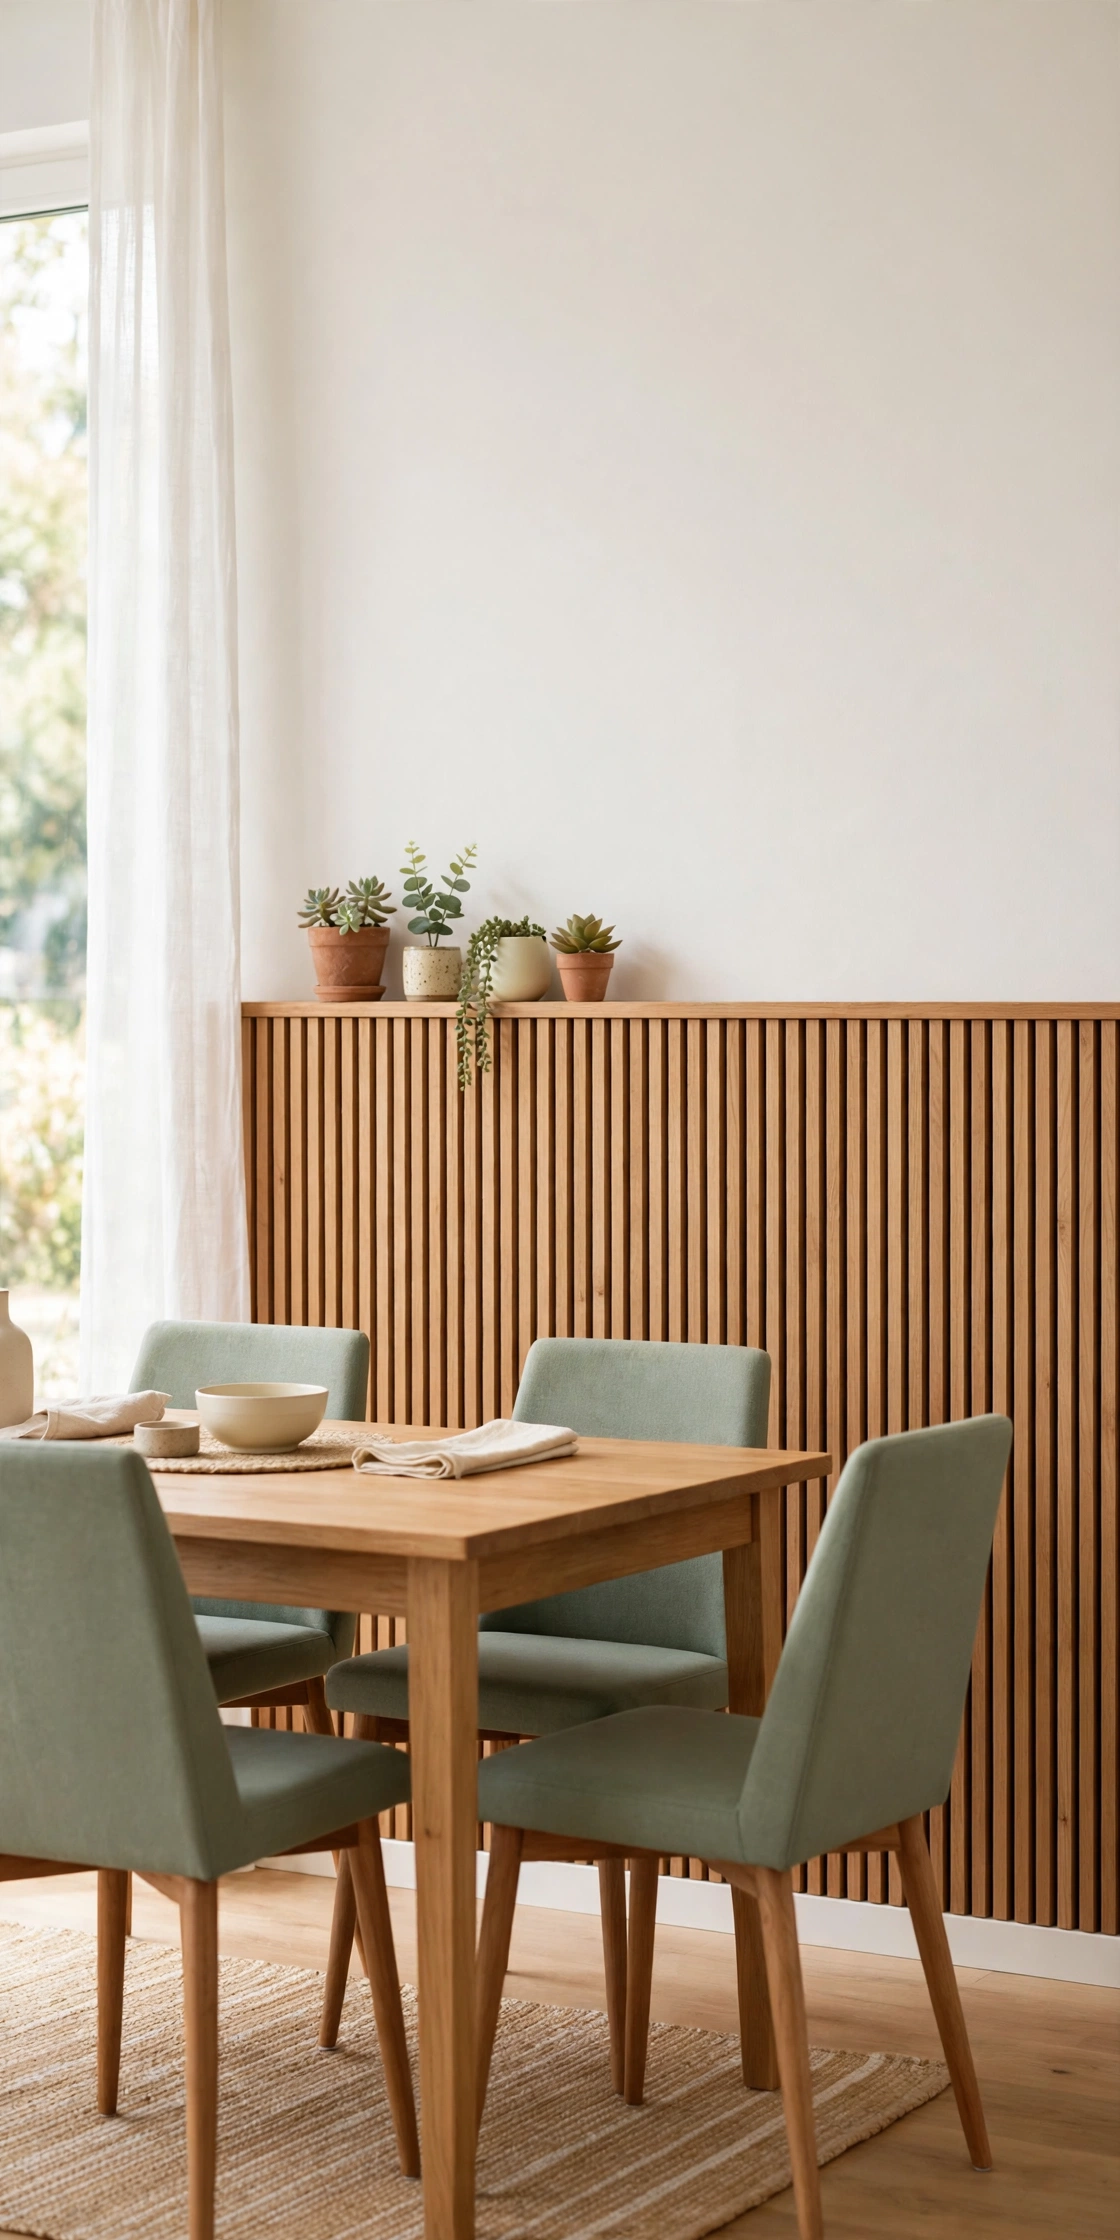
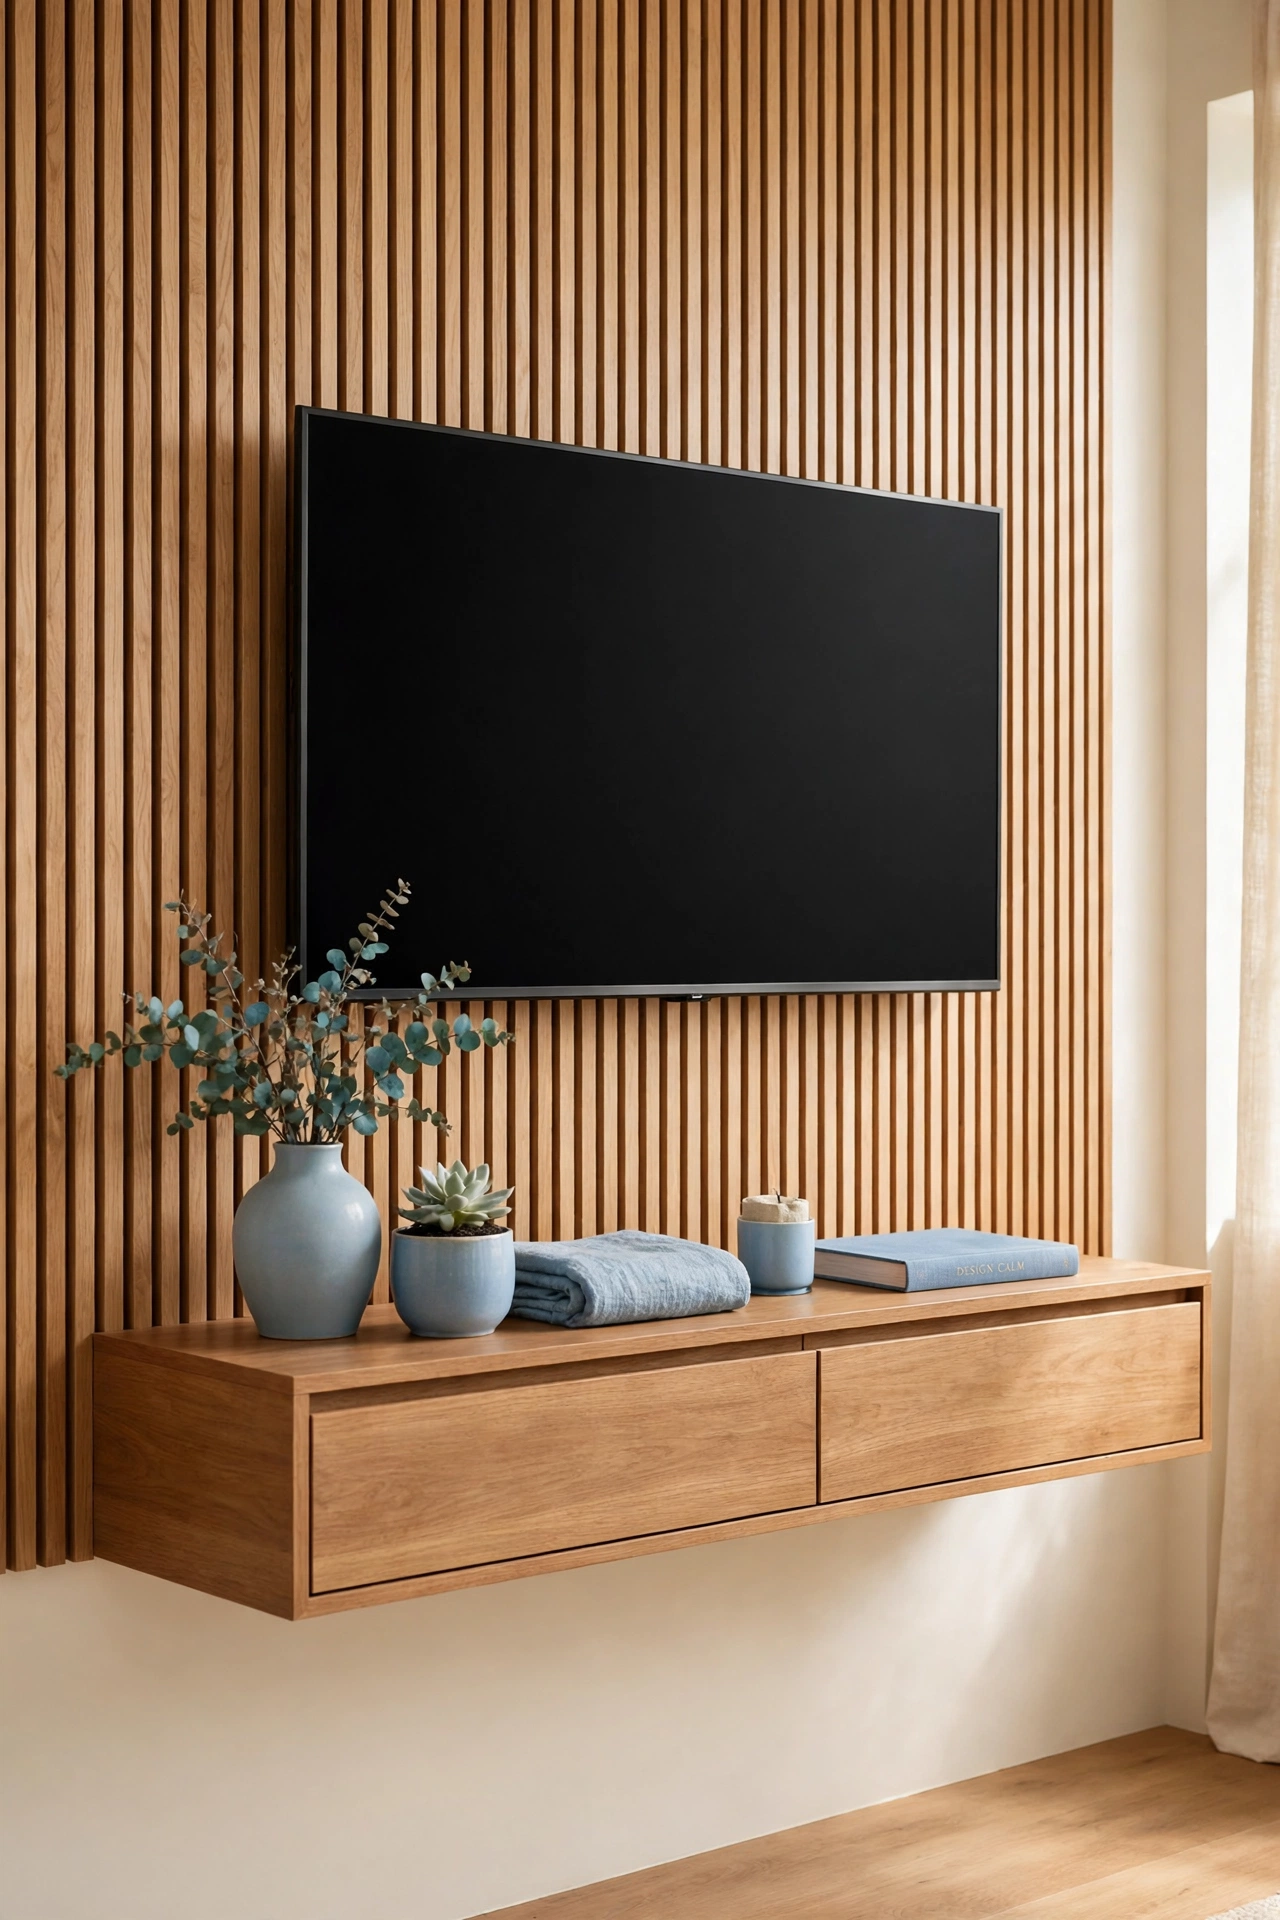
6. Use Slats as a TV Backdrop
A slat wall behind the television turns a black screen into part of the decor. The wood frame draws the eye to the screen when it is on, and softens the blank rectangle when it is off. Cables can run neatly behind the slats, out of sight.
Leave a wider gap behind the television for the mount and cables, and keep the slats level across the whole panel. A floating media unit below the screen completes the look. Choose a warm mid tone wood so the screen blends in rather than standing out.
7. Make a Slat Wall Headboard
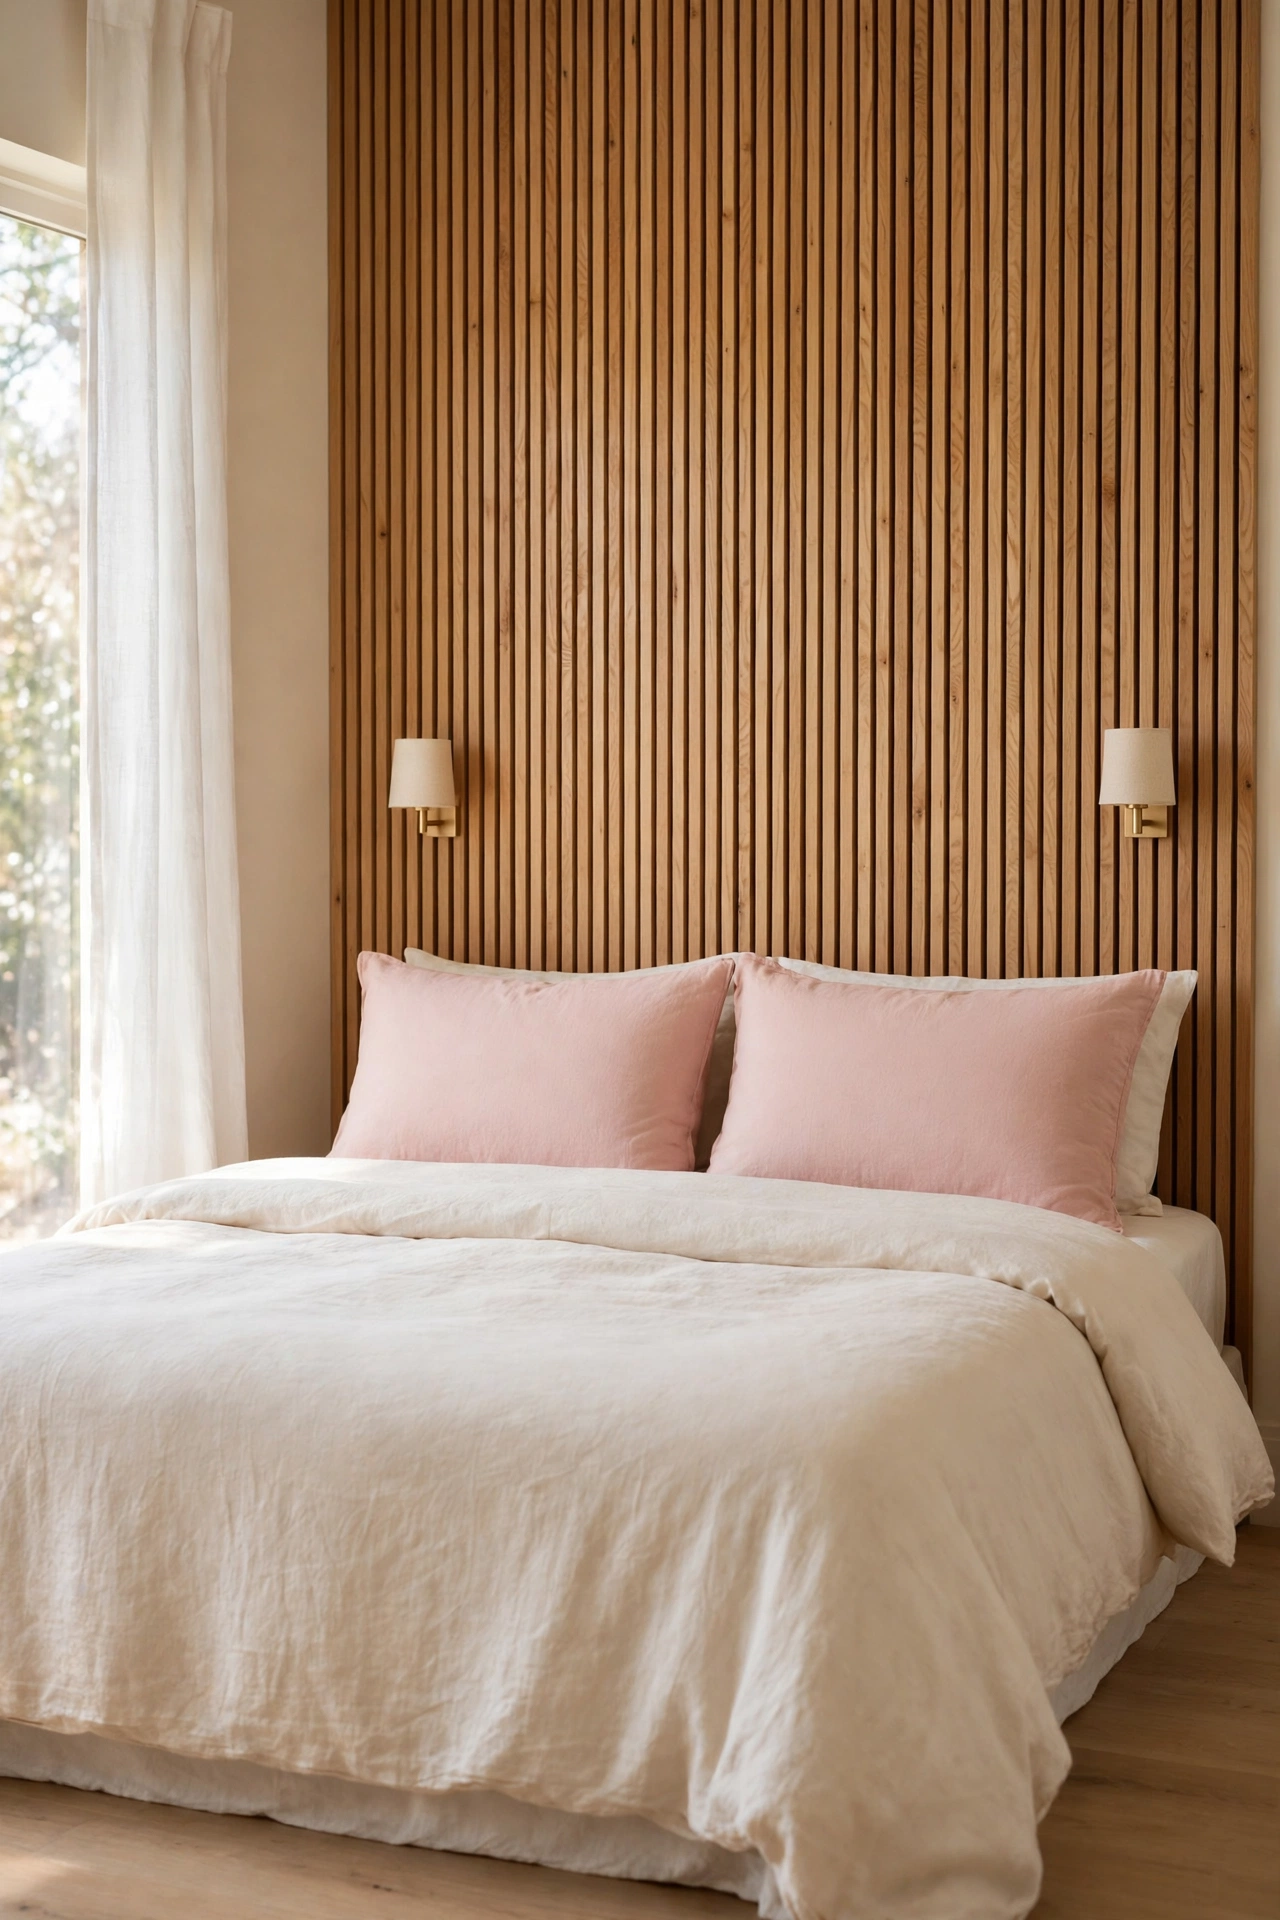
A slat wall headboard is a simple way to give a bedroom a custom made feel. The slats run across the wall behind the bed, wider than the bed itself, so the bed looks framed and intentional. Pillows and bedding sit softly against the wood.
Build the panel about 30 centimetres wider than the bed on each side. Add two small wall lights on the slats for evening reading. The headboard works with any bed frame, from a simple wooden base to an upholstered design.
8. Frame the Fireplace with Slats
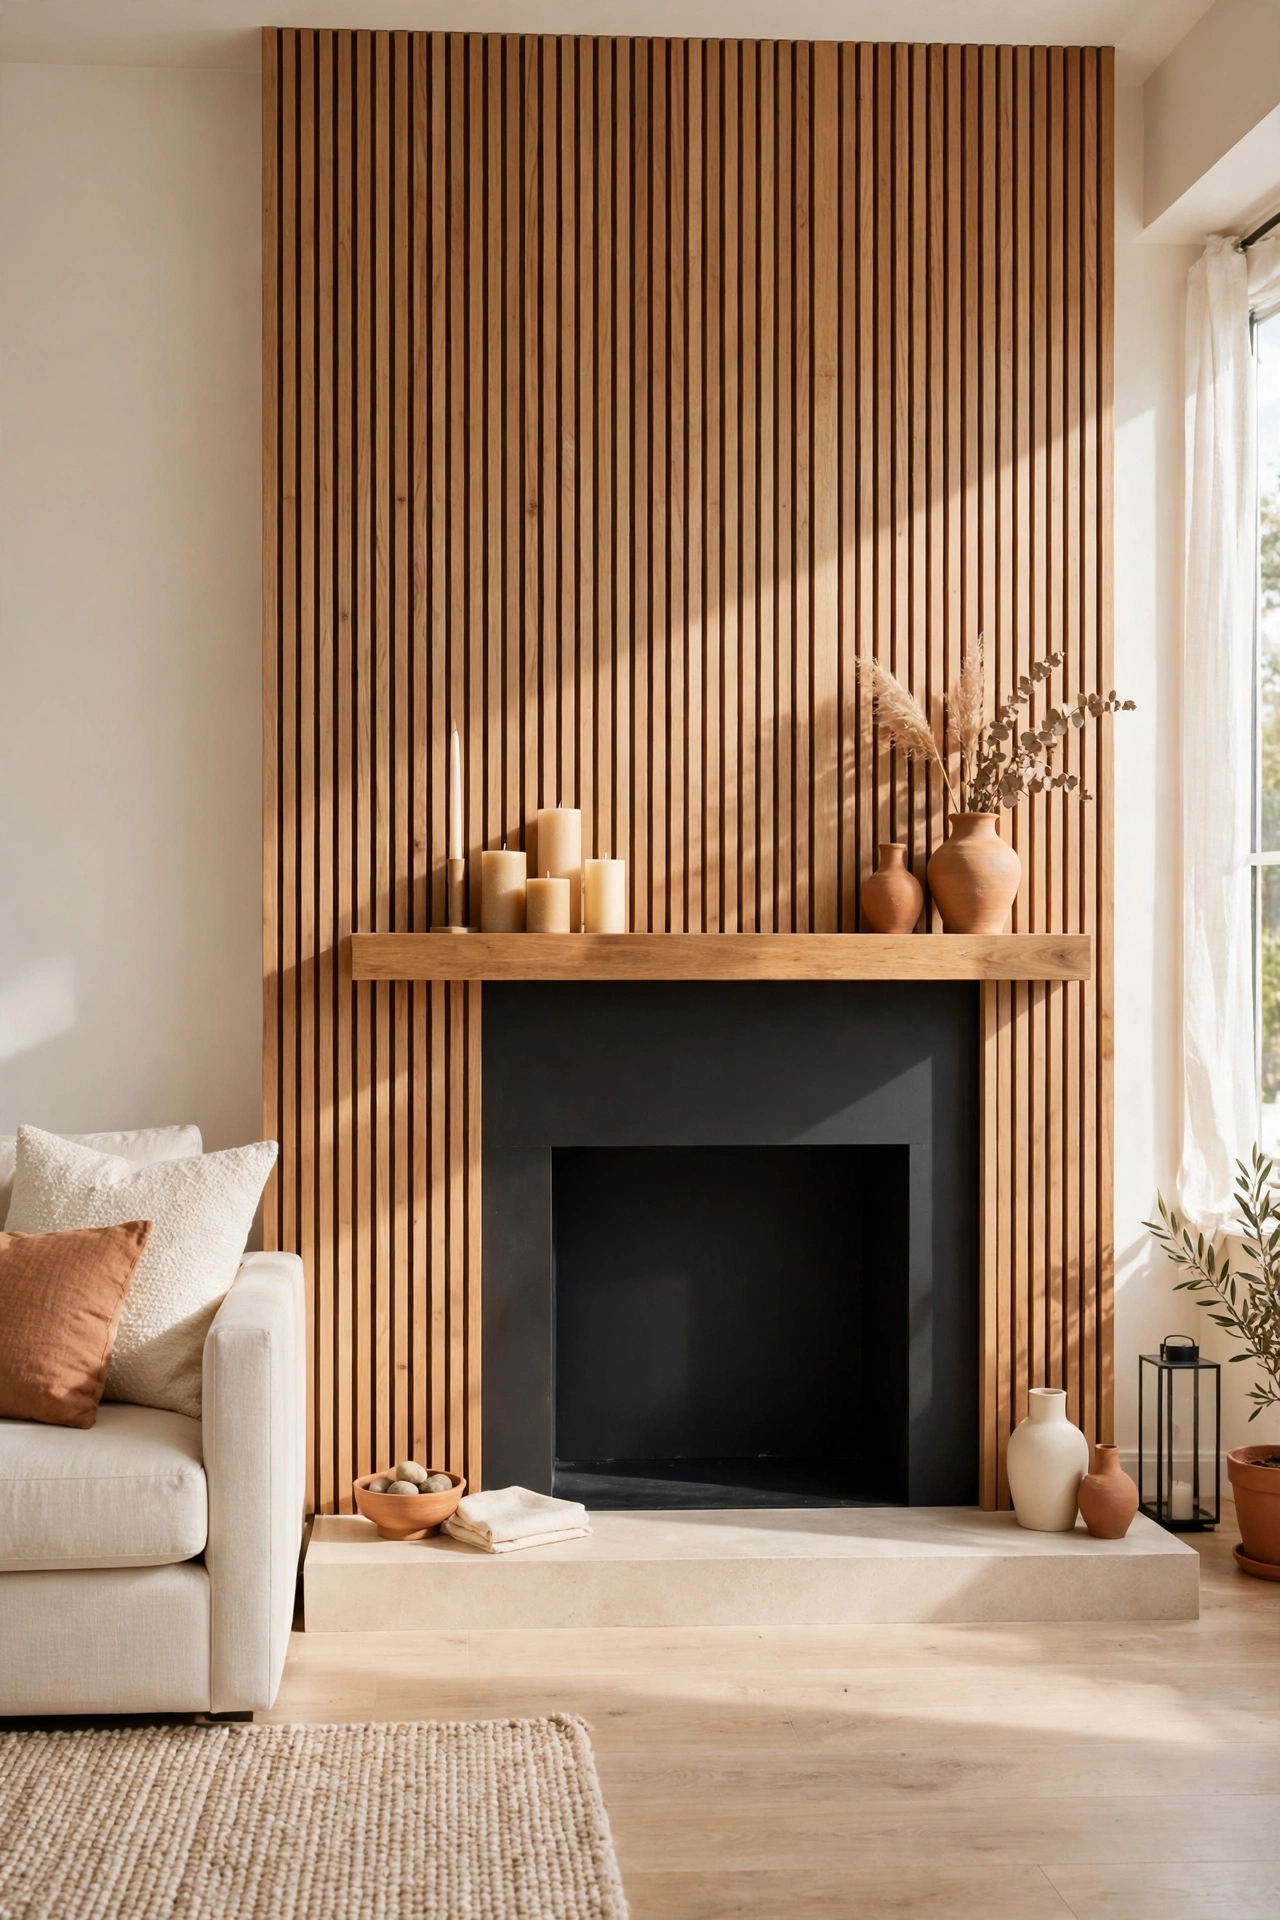
Slats around a fireplace create a warm focal point that suits the heart of the home. Run the slats up the chimney breast and across the wall, leaving the firebox and mantel clear. The wood adds warmth while the fire adds glow.
Keep slats at least 30 centimetres from any open flame and use a heat resistant board behind them near the firebox. A simple wooden mantel shelf across the slats gives you a spot for candles and seasonal decor. The result feels cosy in every season.
9. Add an Entryway Slat Wall with Hooks
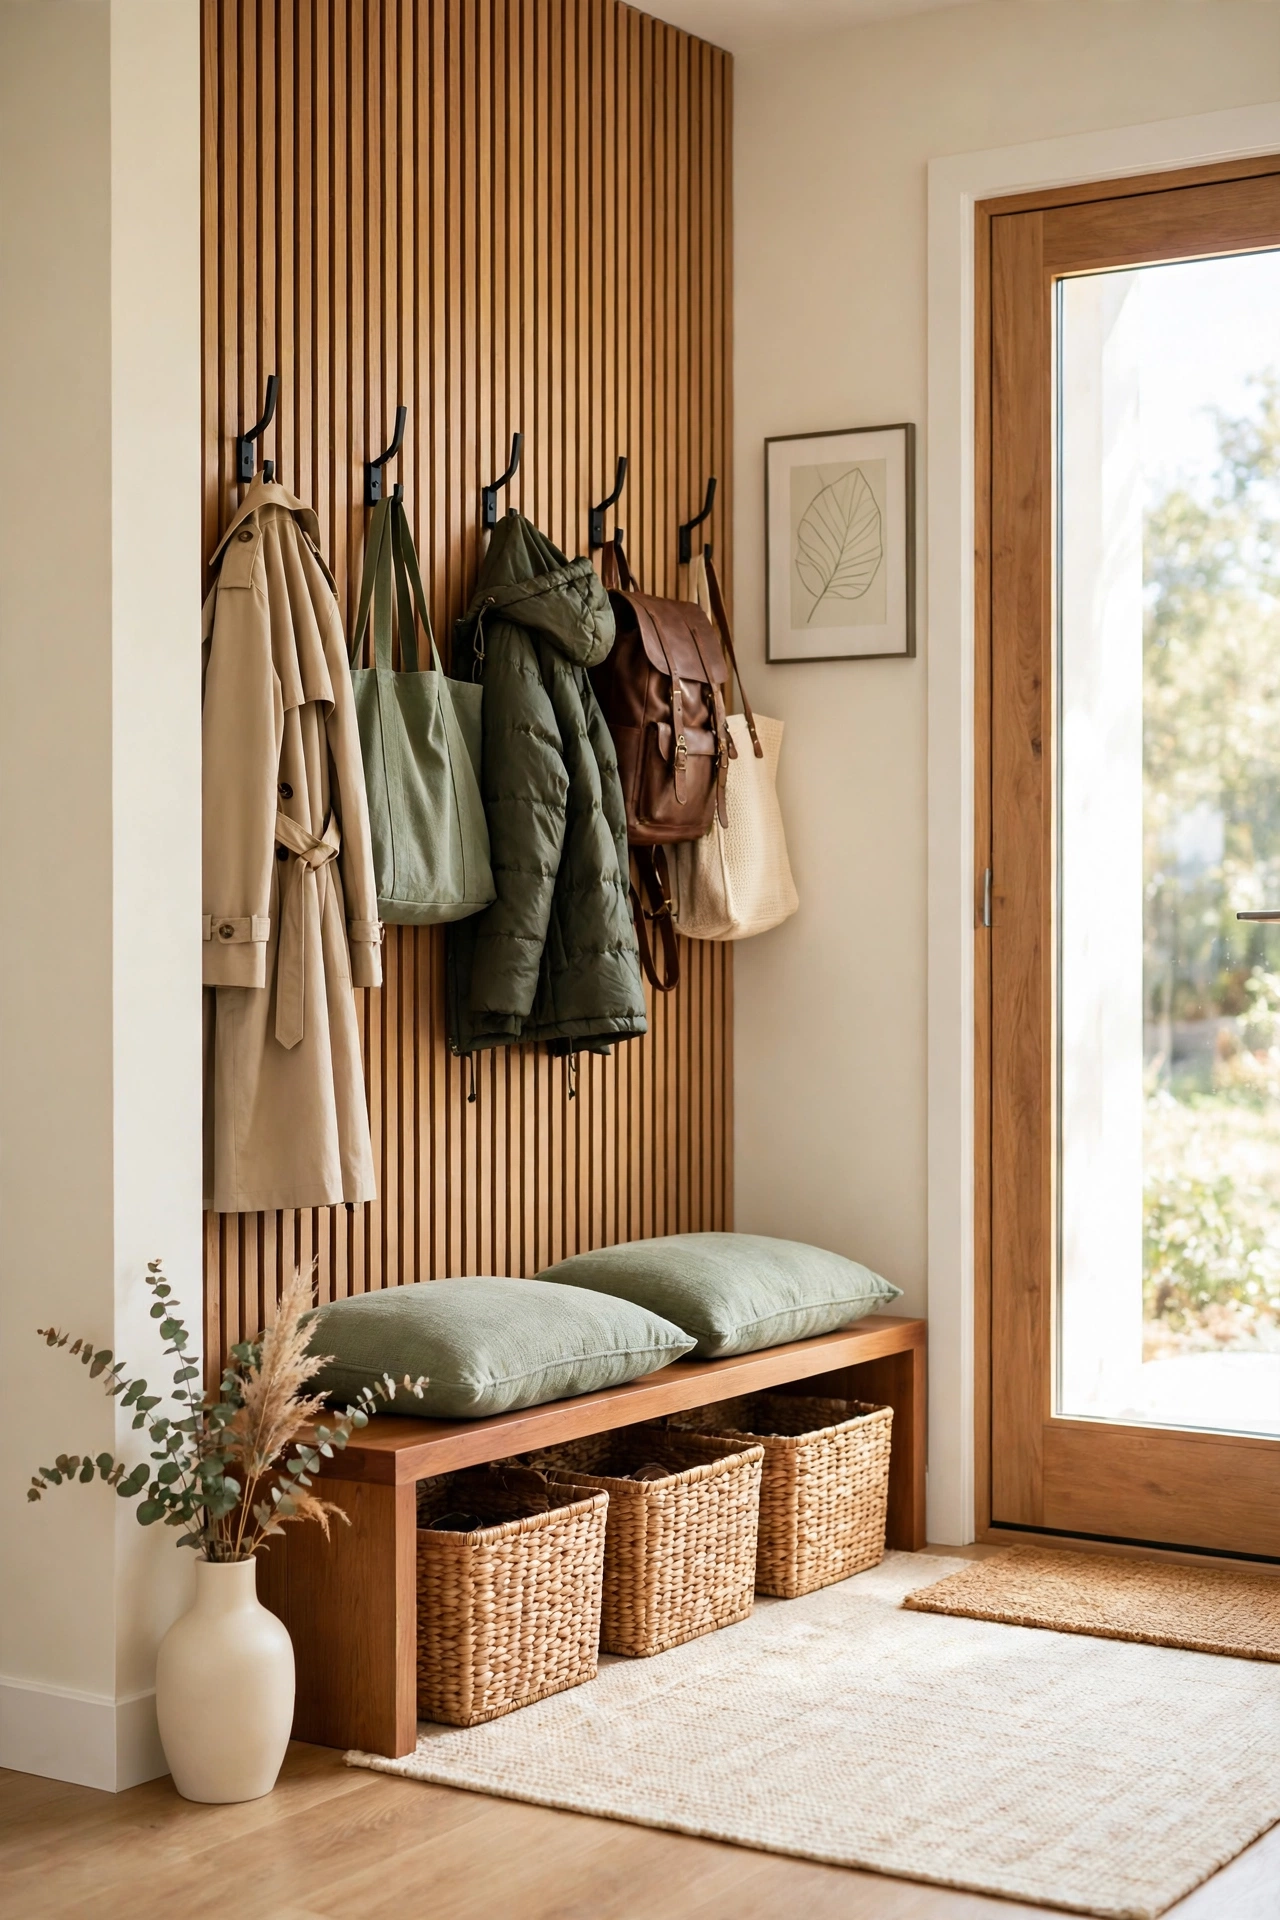
An entryway slat wall with hooks turns the first thing you see into something useful. Coats, bags, and hats hang from sturdy hooks fixed through the slats, while the wood itself makes the hallway feel warm and welcoming.
Fix the slats to a backing board so the hooks have solid timber to grip. Add a low bench or a row of baskets underneath for shoes. The whole setup costs far less than a bought hallway unit and fits the space exactly.
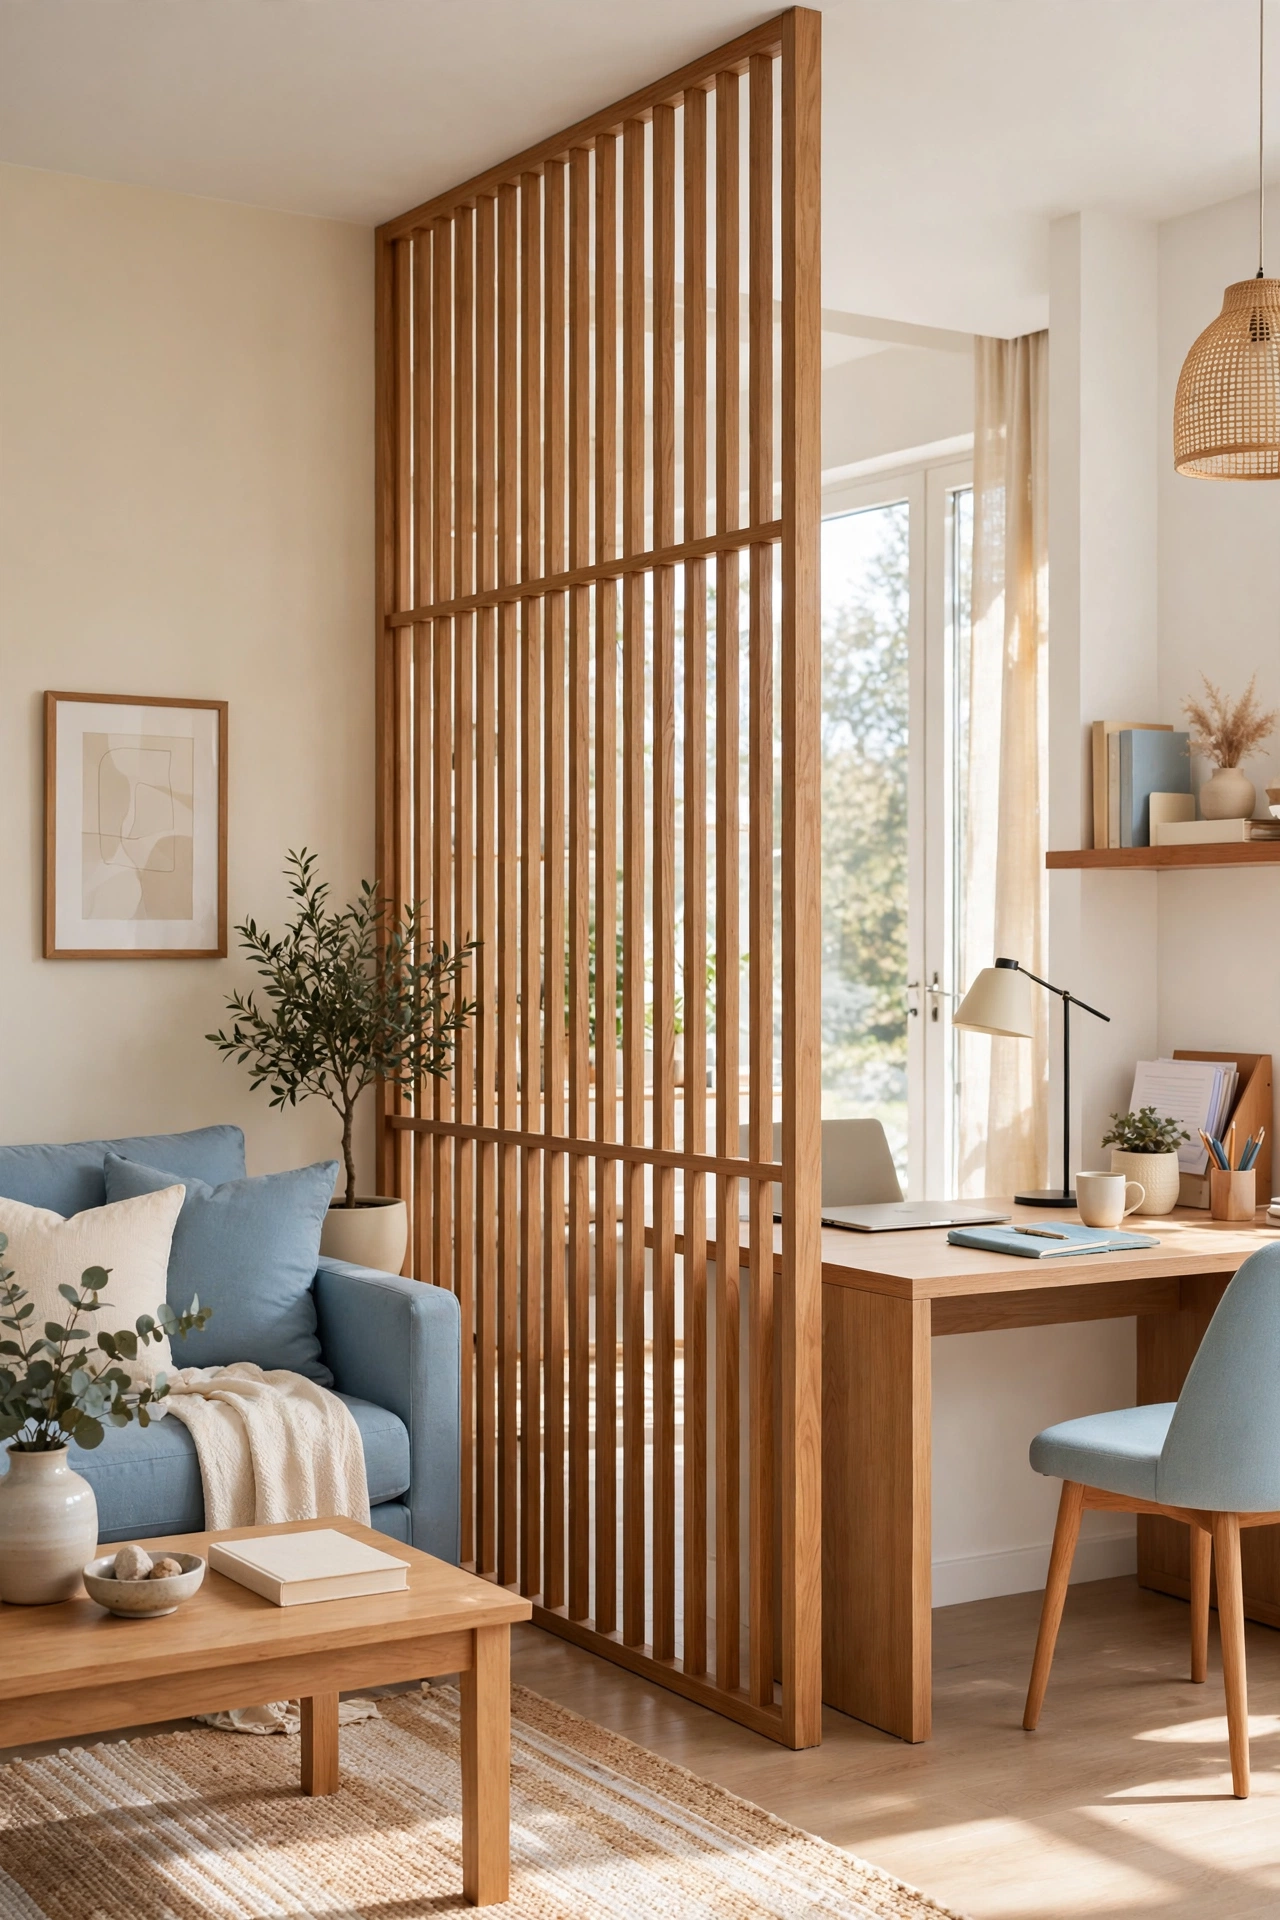
10. Divide a Room with a Freestanding Slat Screen
A freestanding slat screen divides an open plan room without blocking the light. The gaps between slats let air and daylight pass through, so both sides of the room stay bright. It is a gentle divider, not a wall.
Build the screen in a simple frame with feet wide enough to keep it stable. Place it between a living area and a workspace, or behind a dining table. Because it is freestanding, you can move it when the layout of the room changes.
11. Curve Slats Around a Corner
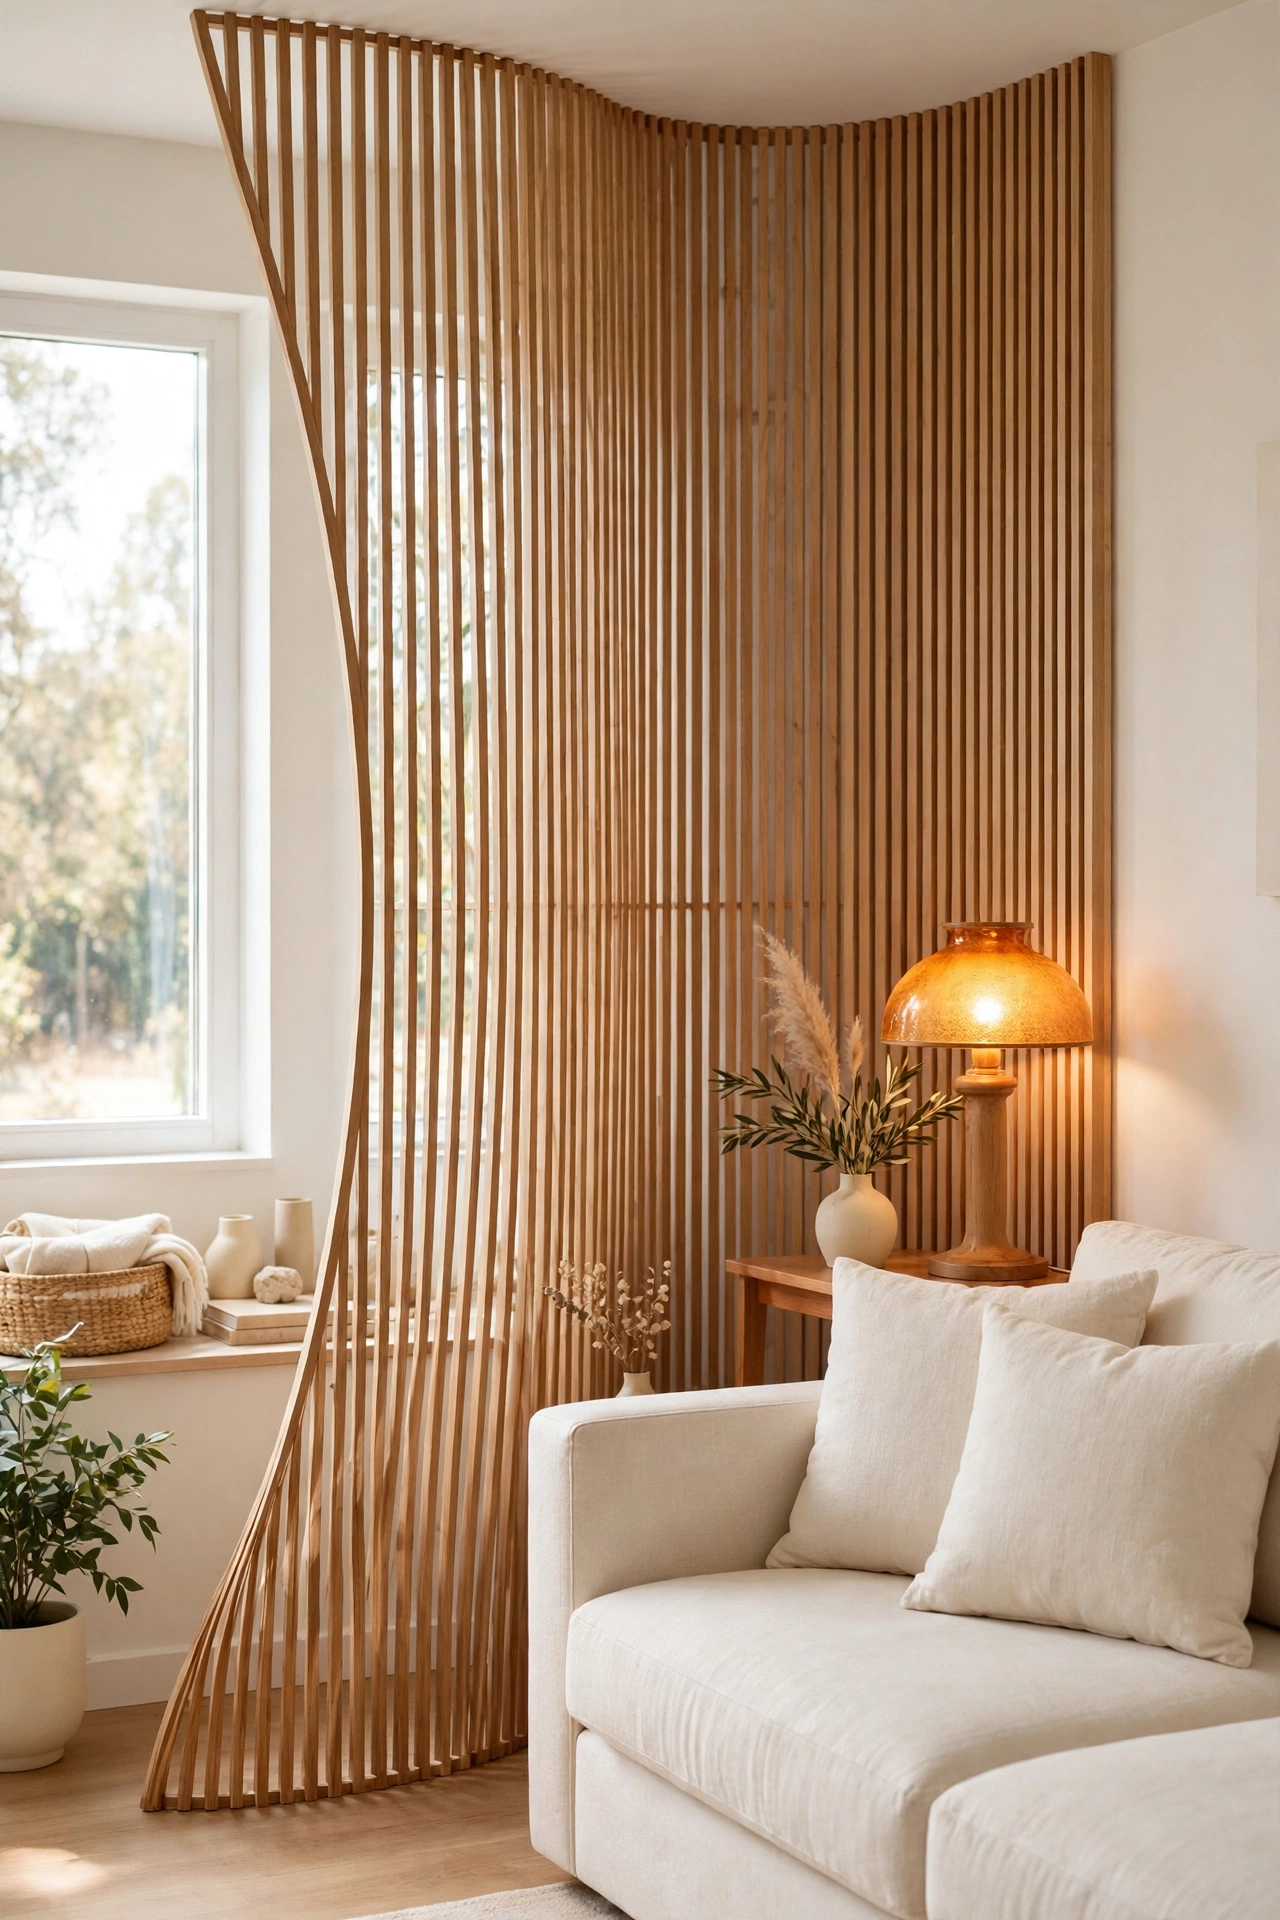
Curved slats around a corner soften a sharp angle and turn a dead space into a feature. Thin flexible battens bend gently around the corner when fixed to a curved backing board. The curve catches light in a way flat walls never do.
This idea works well in awkward corners beside a sofa or a dining table. Use the thinnest battens you can find, and fix them slowly with a little extra glue. The result looks like a piece of crafted furniture built into the room.
12. Hide LED Strips Behind the Slats
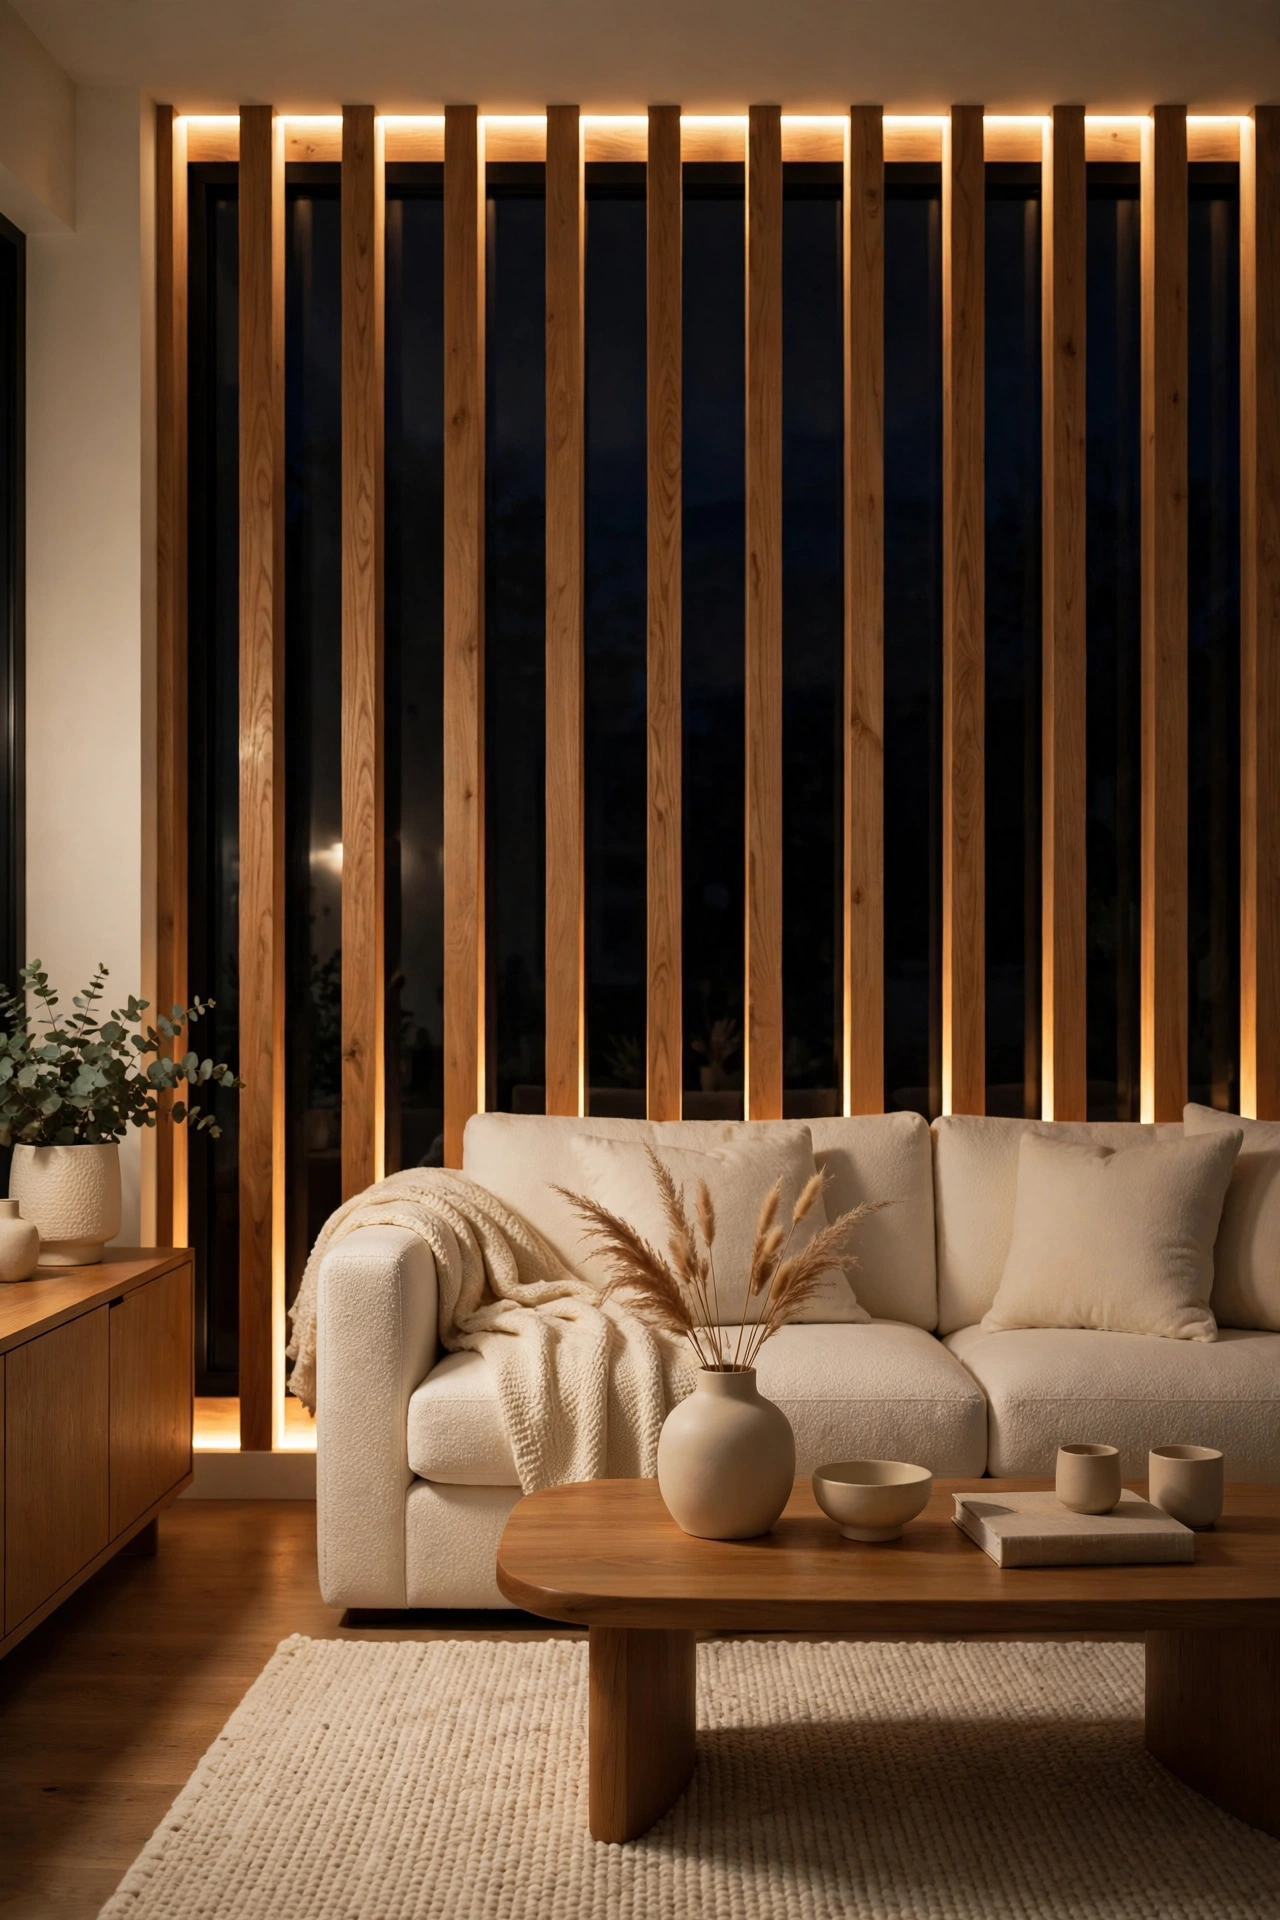
LED strips hidden behind slats add a warm glow that makes the whole wall look alive at night. The light spills through the gaps and throws soft shadows across the room. A simple remote or wall switch controls the brightness.
Fix the strips to the wall before you fit the slats, and leave a small gap at the top and bottom for the light to escape. Warm white light suits wood best, while a dimmer lets you set the mood. This upgrade costs little and changes the room completely after dark.
13. Paint the Slats Matte Black
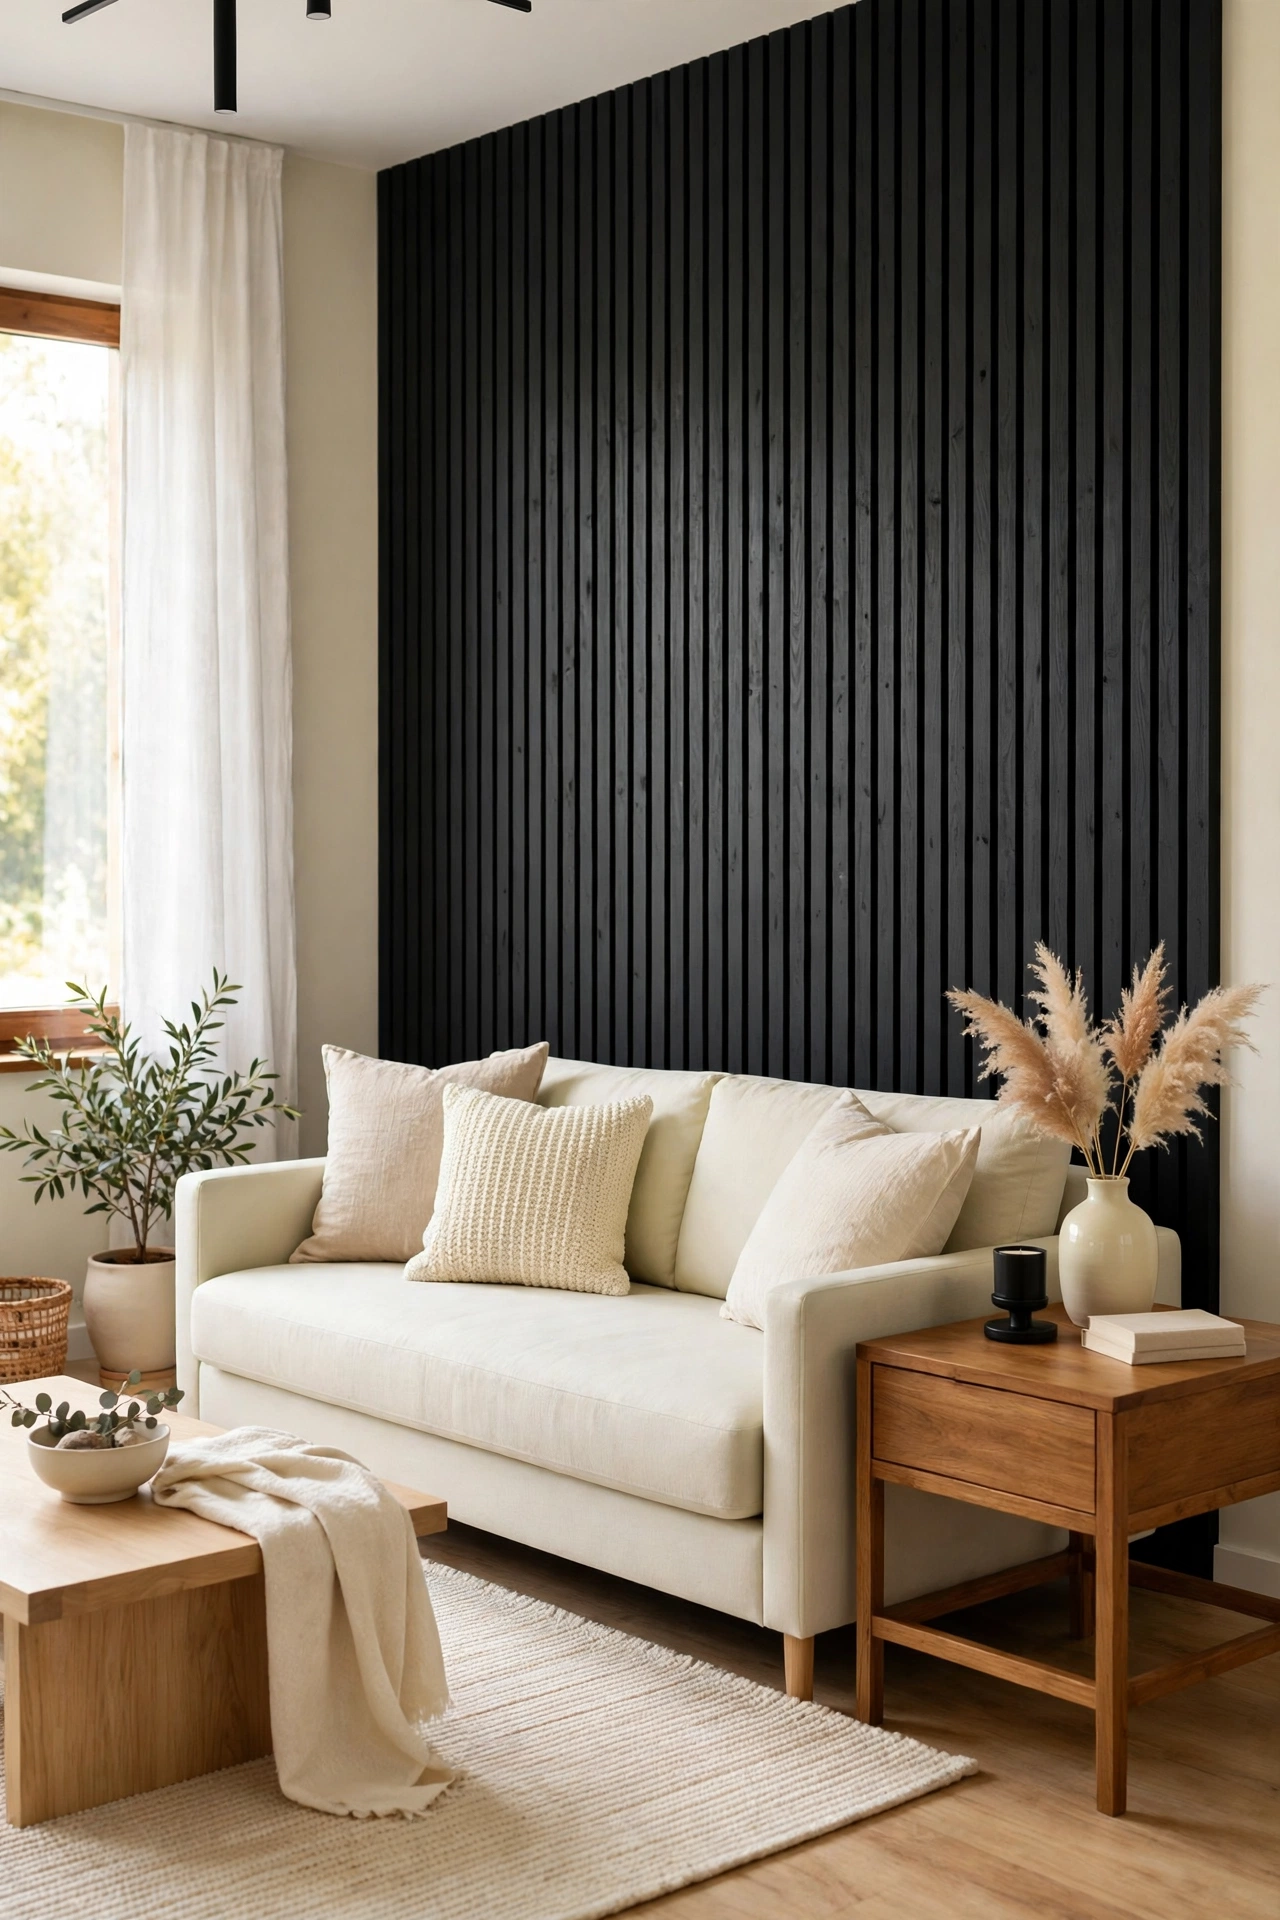
Matte black slats give a modern, dramatic look that suits contemporary homes. The dark lines create strong contrast against pale walls and make furniture and art stand out. Black slats also hide dust and small marks better than pale wood.
Paint the backing wall black too, so the gaps disappear into shadow. Use a matte or eggshell finish to avoid shine. Pair black slats with warm wood furniture and soft textiles to keep the room from feeling cold.
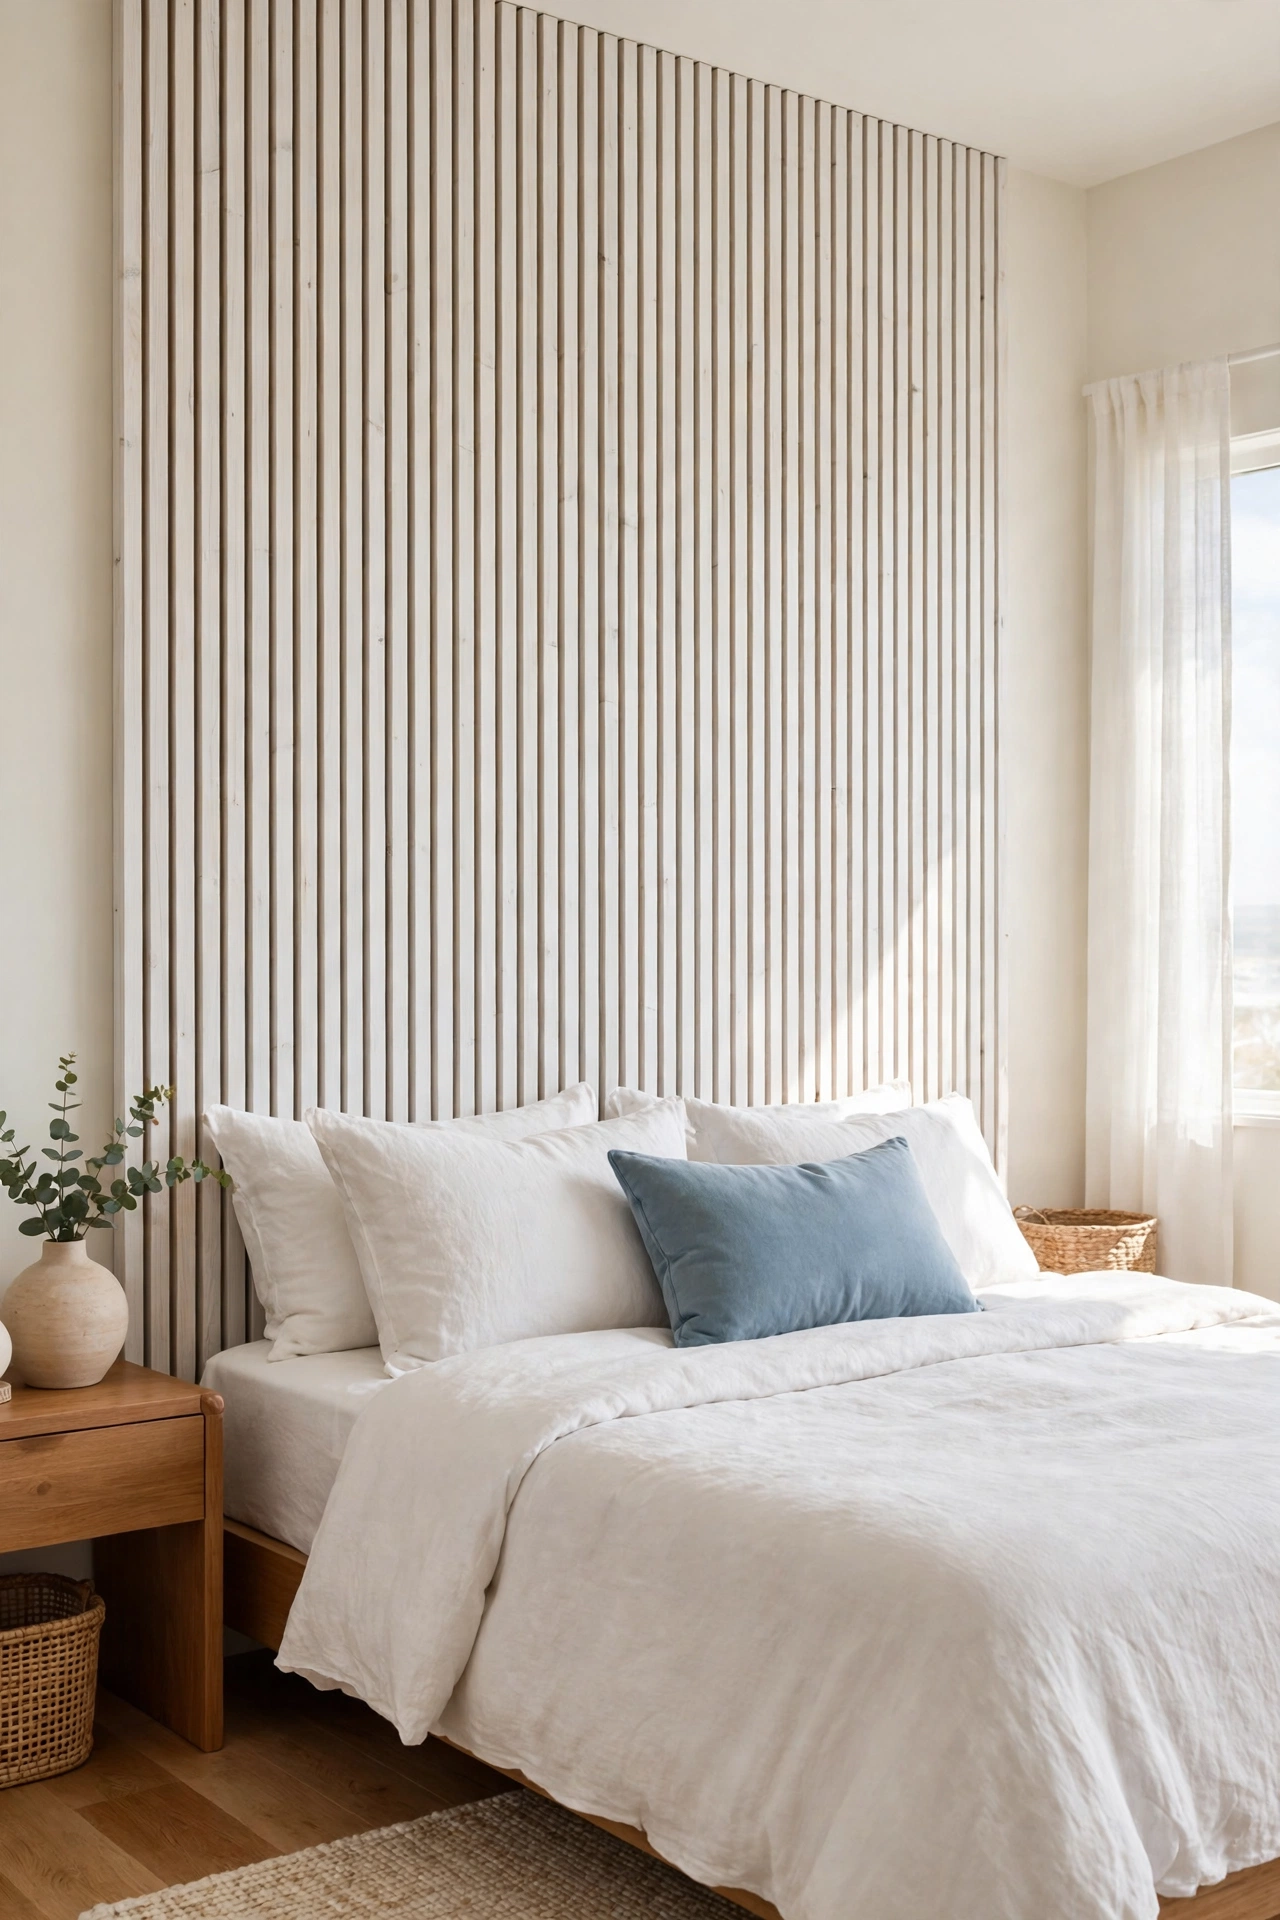
14. Whitewash Slats for a Coastal Feel
Whitewashed slats bring a light coastal feeling to a bedroom or bathroom. The pale finish lets the wood grain show through while keeping the room bright and breezy. It is the same slat idea, softened for a relaxed space.
Apply a thin white wash with a rag and wipe off the excess before it dries. Two light coats give a better finish than one heavy coat. Pair whitewashed slats with linen bedding, woven baskets, and sea glass tones for a complete coastal look.
15. Stain Slats in Rich Walnut
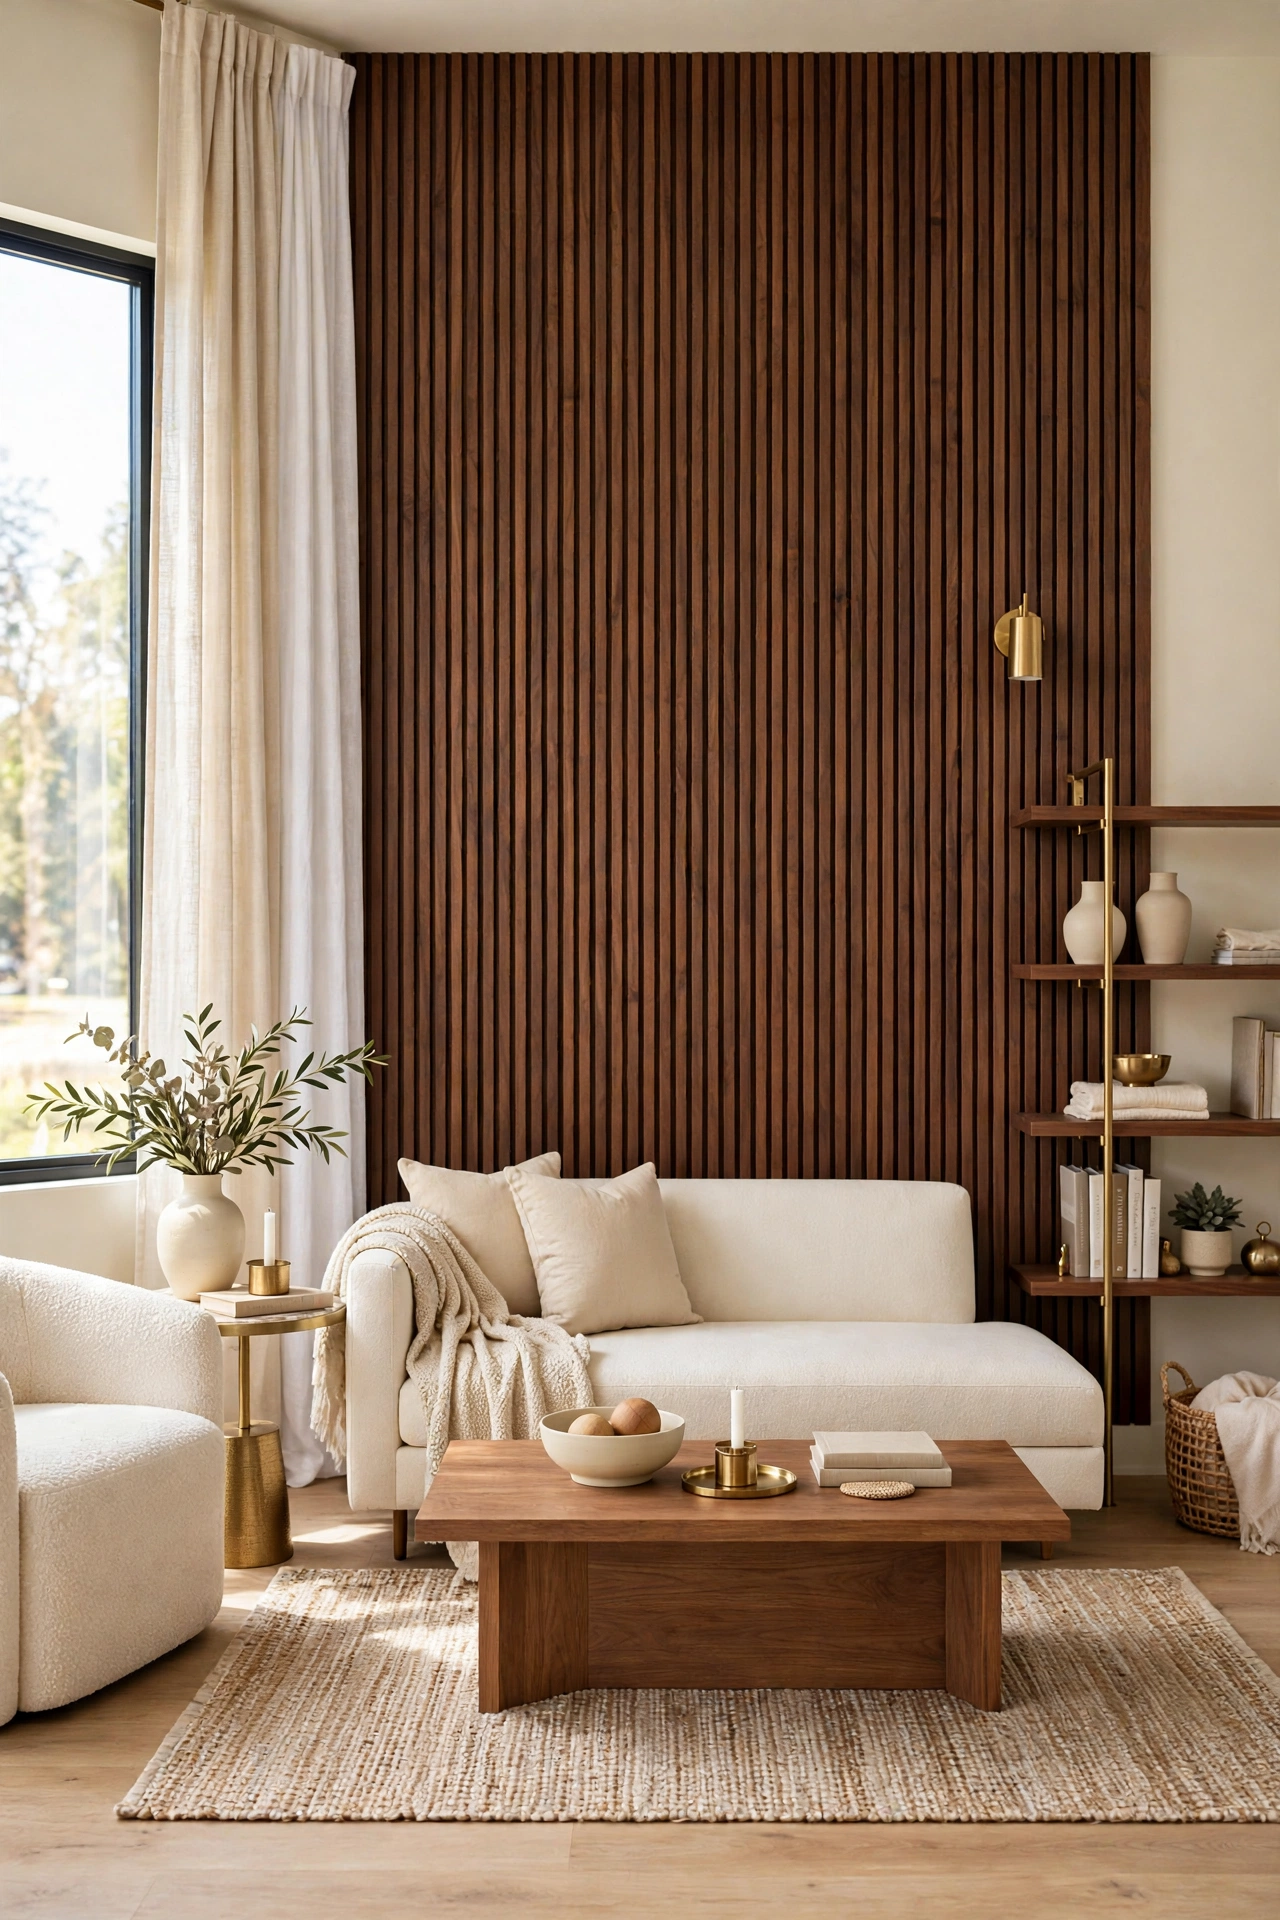
A walnut stain turns plain pine battens into something that looks like fine furniture. The deep brown tone adds warmth and richness, and it pairs beautifully with cream walls and brass details. Staining is one of the cheapest ways to upgrade basic timber.
Sand the battens smooth, apply the stain with a cloth, and seal with a clear matte finish. Test the stain on a spare piece first, because pine takes stain unevenly. The finished wall looks like it cost far more than it did.
16. Use Reclaimed Wood for Rustic Charm
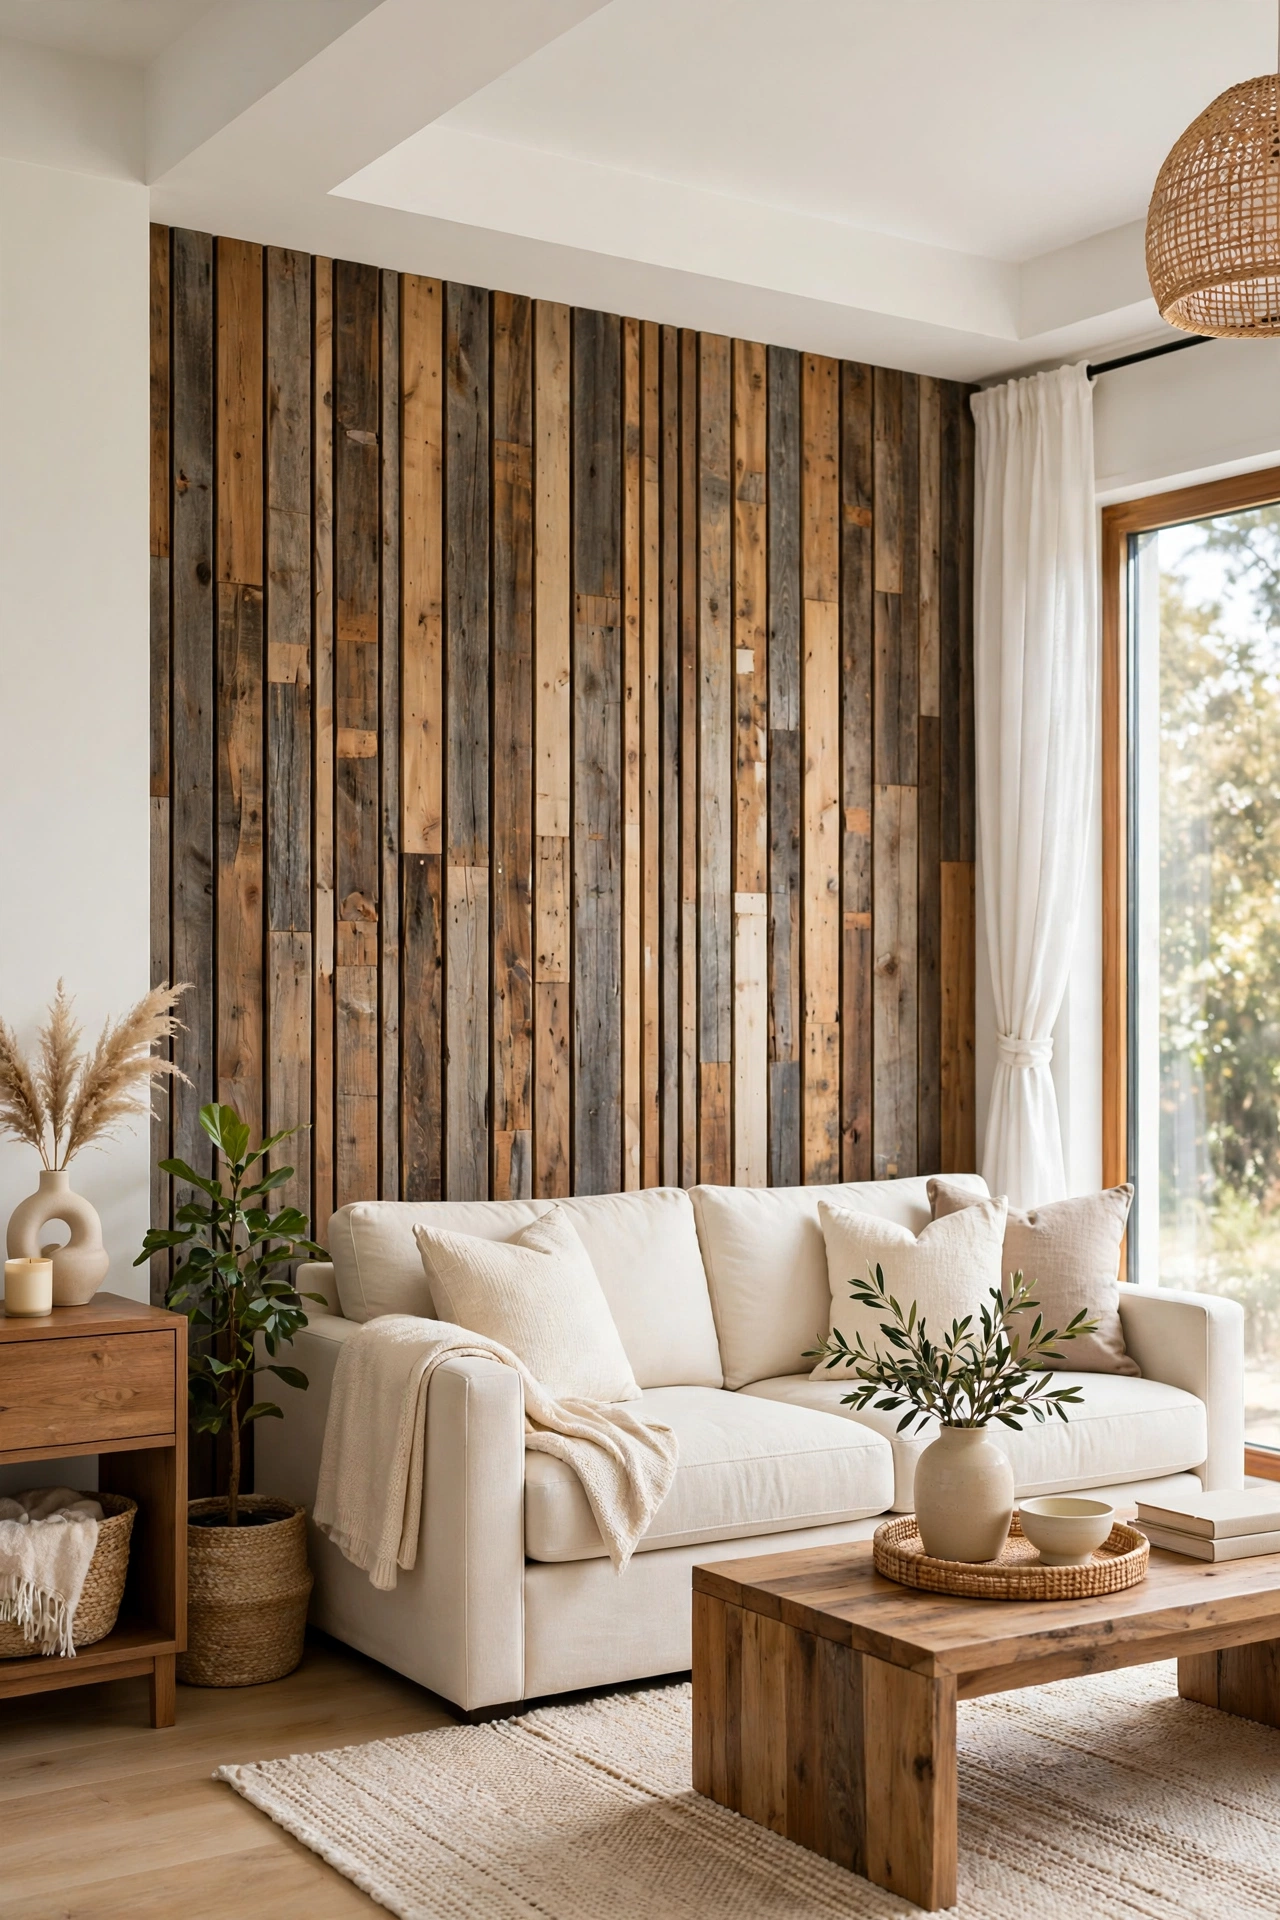
Reclaimed wood slats bring history and character that new timber cannot copy. Old floorboards, fence panels, and pallet wood all work when they are cleaned, sanded, and sealed. Each board has its own tone, which makes the wall feel collected over time.
Check every board for nails and sand it well before cutting. Mix tones across the wall instead of grouping similar boards together. The finished feature suits farmhouse, rustic, and cottage style rooms perfectly.
17. Build with Plywood Strips on a Tight Budget
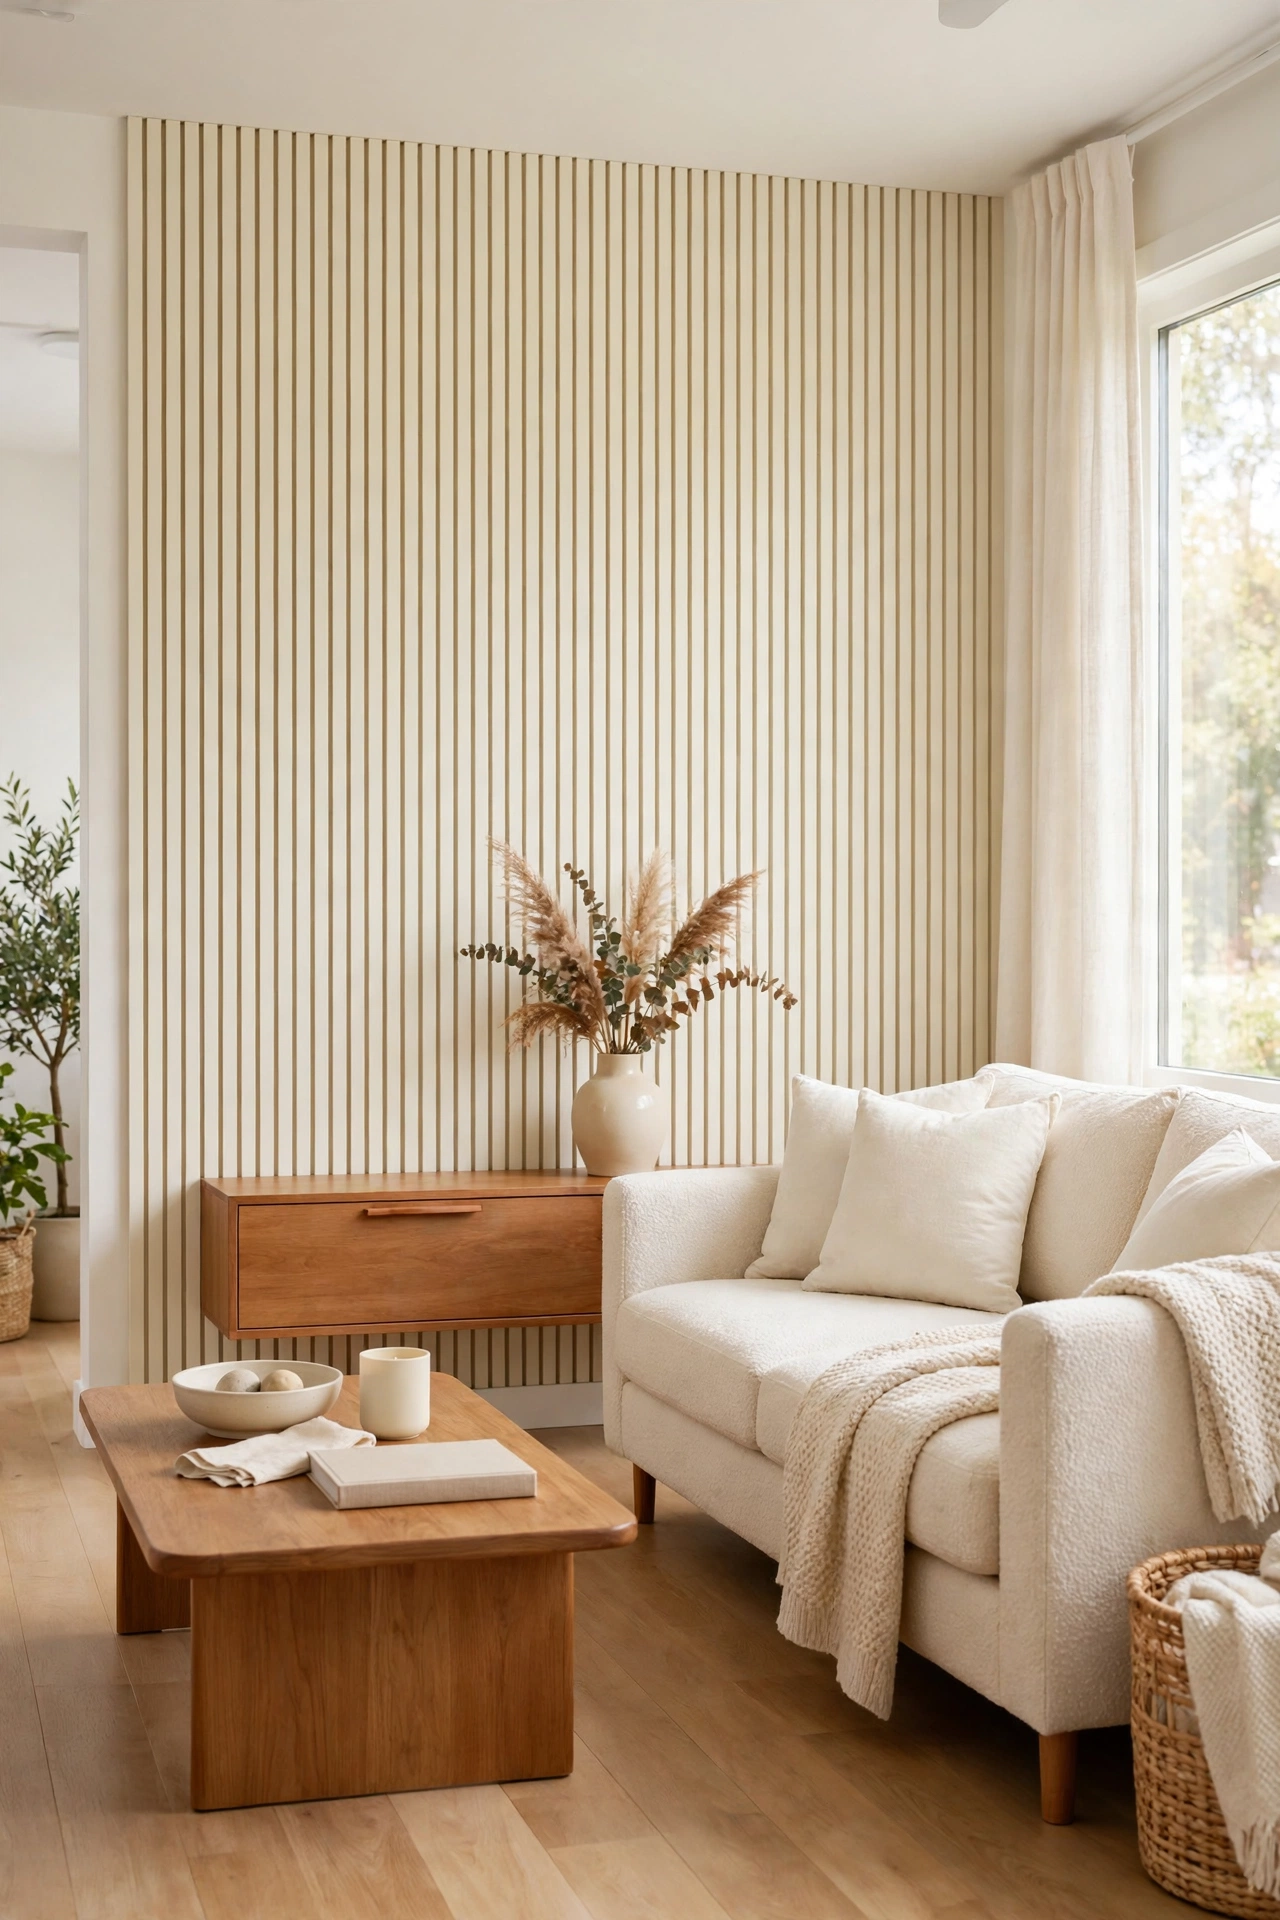
Plywood strips are the cheapest way to build a slat wall, and the result looks just as good as solid timber. Cut a sheet of plywood into even strips with a straight edge guide, sand the edges, and paint or stain them to match your room.
Use 12 millimetre plywood for a sturdy slat that stays straight. Edge banding or a coat of paint hides the layered edge of the plywood. This method can cut the cost of a whole wall by more than half.
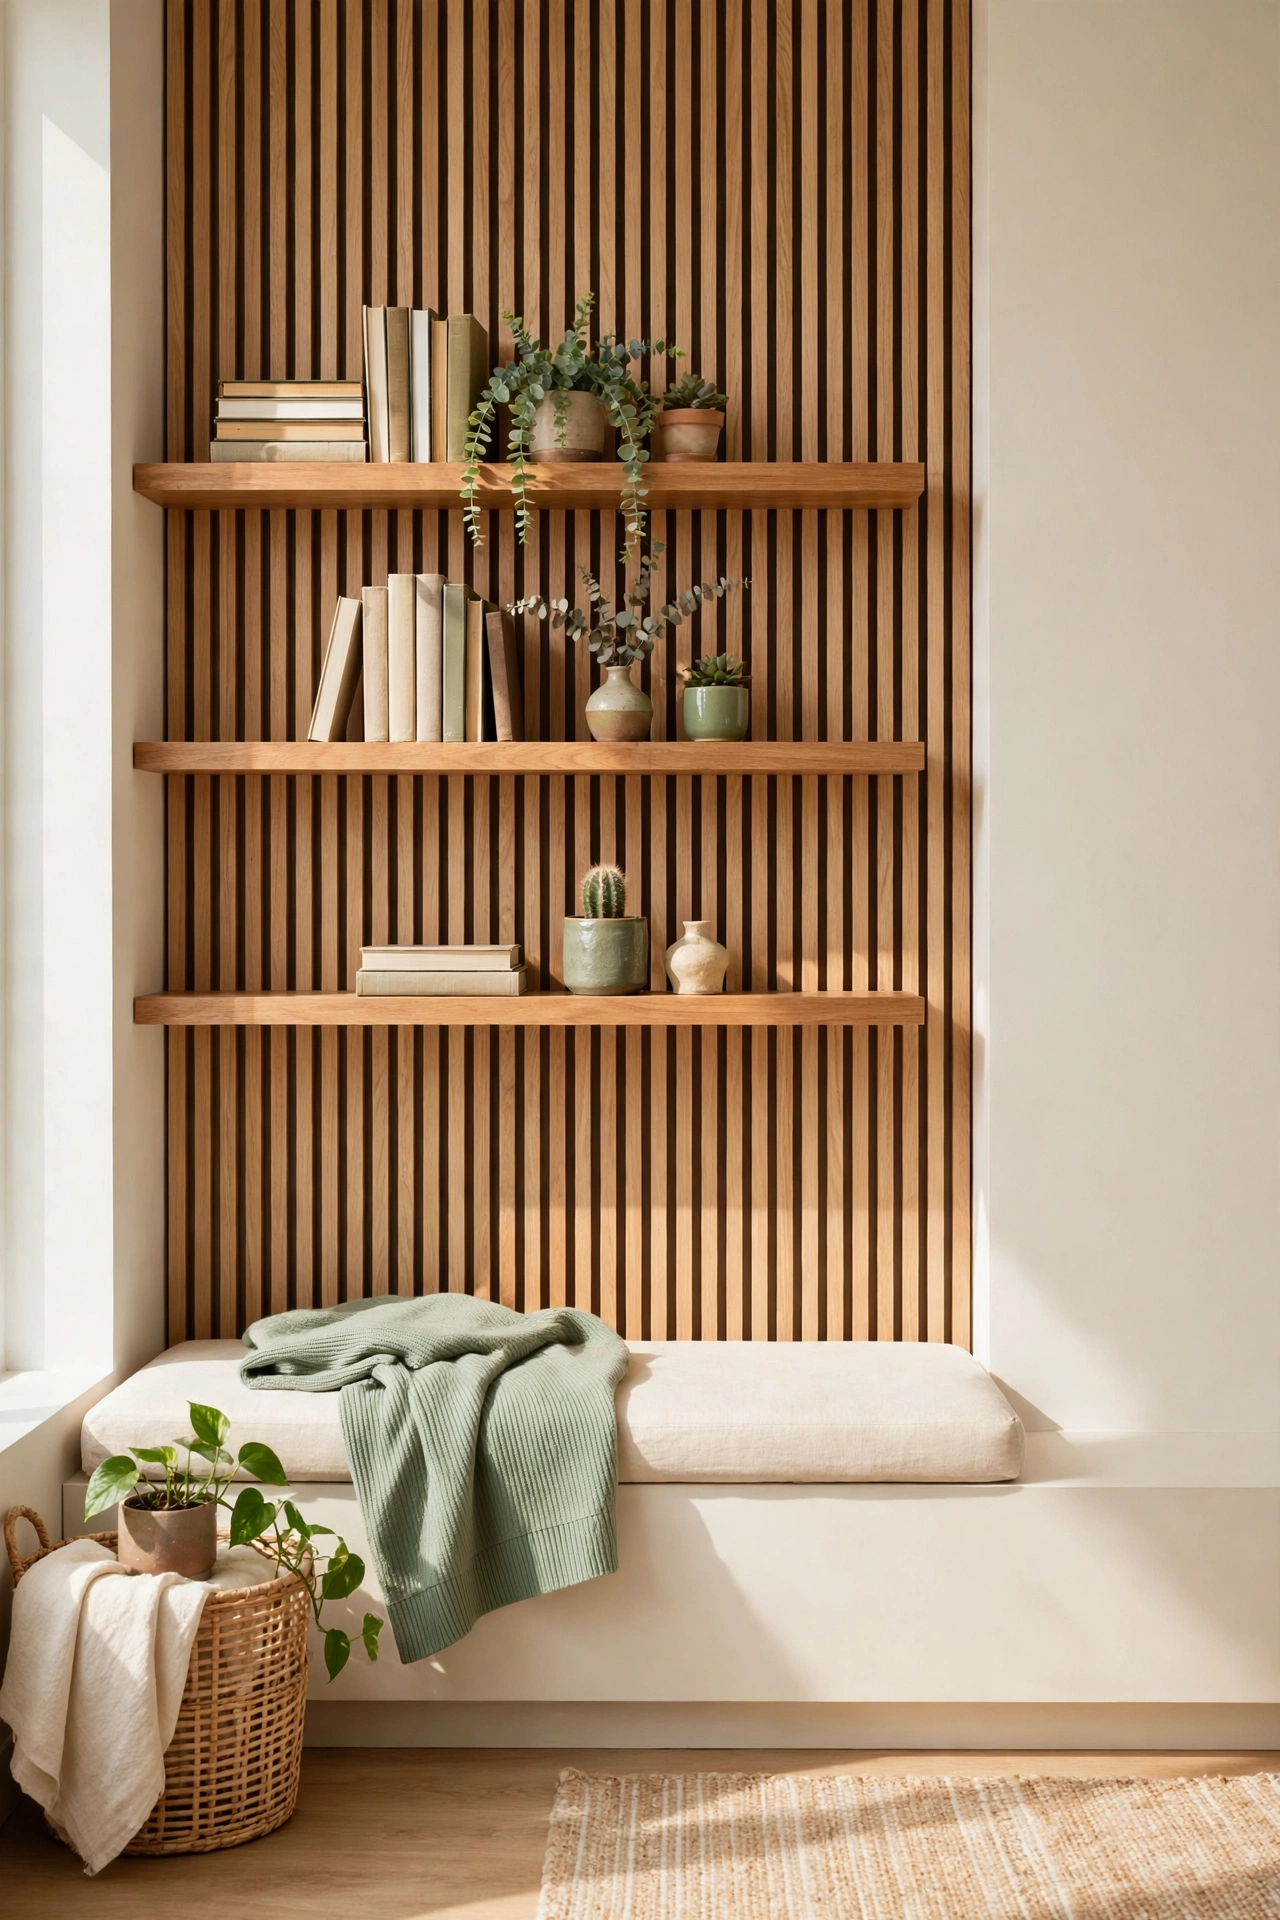
18. Add Floating Shelves Across the Slats
Floating shelves fixed through a slat wall give you display space without extra furniture. Books, plants, and small vases sit neatly on the shelves while the slats provide a warm backdrop. The shelves look like they grow out of the wall itself.
Fix the shelf brackets into the wall studs behind the slats for real strength. Keep the shelves short and the display light so the slats stay visible. For more ideas on styling small displays, see these DIY decorative tray ideas. Two shelves are plenty for most walls.
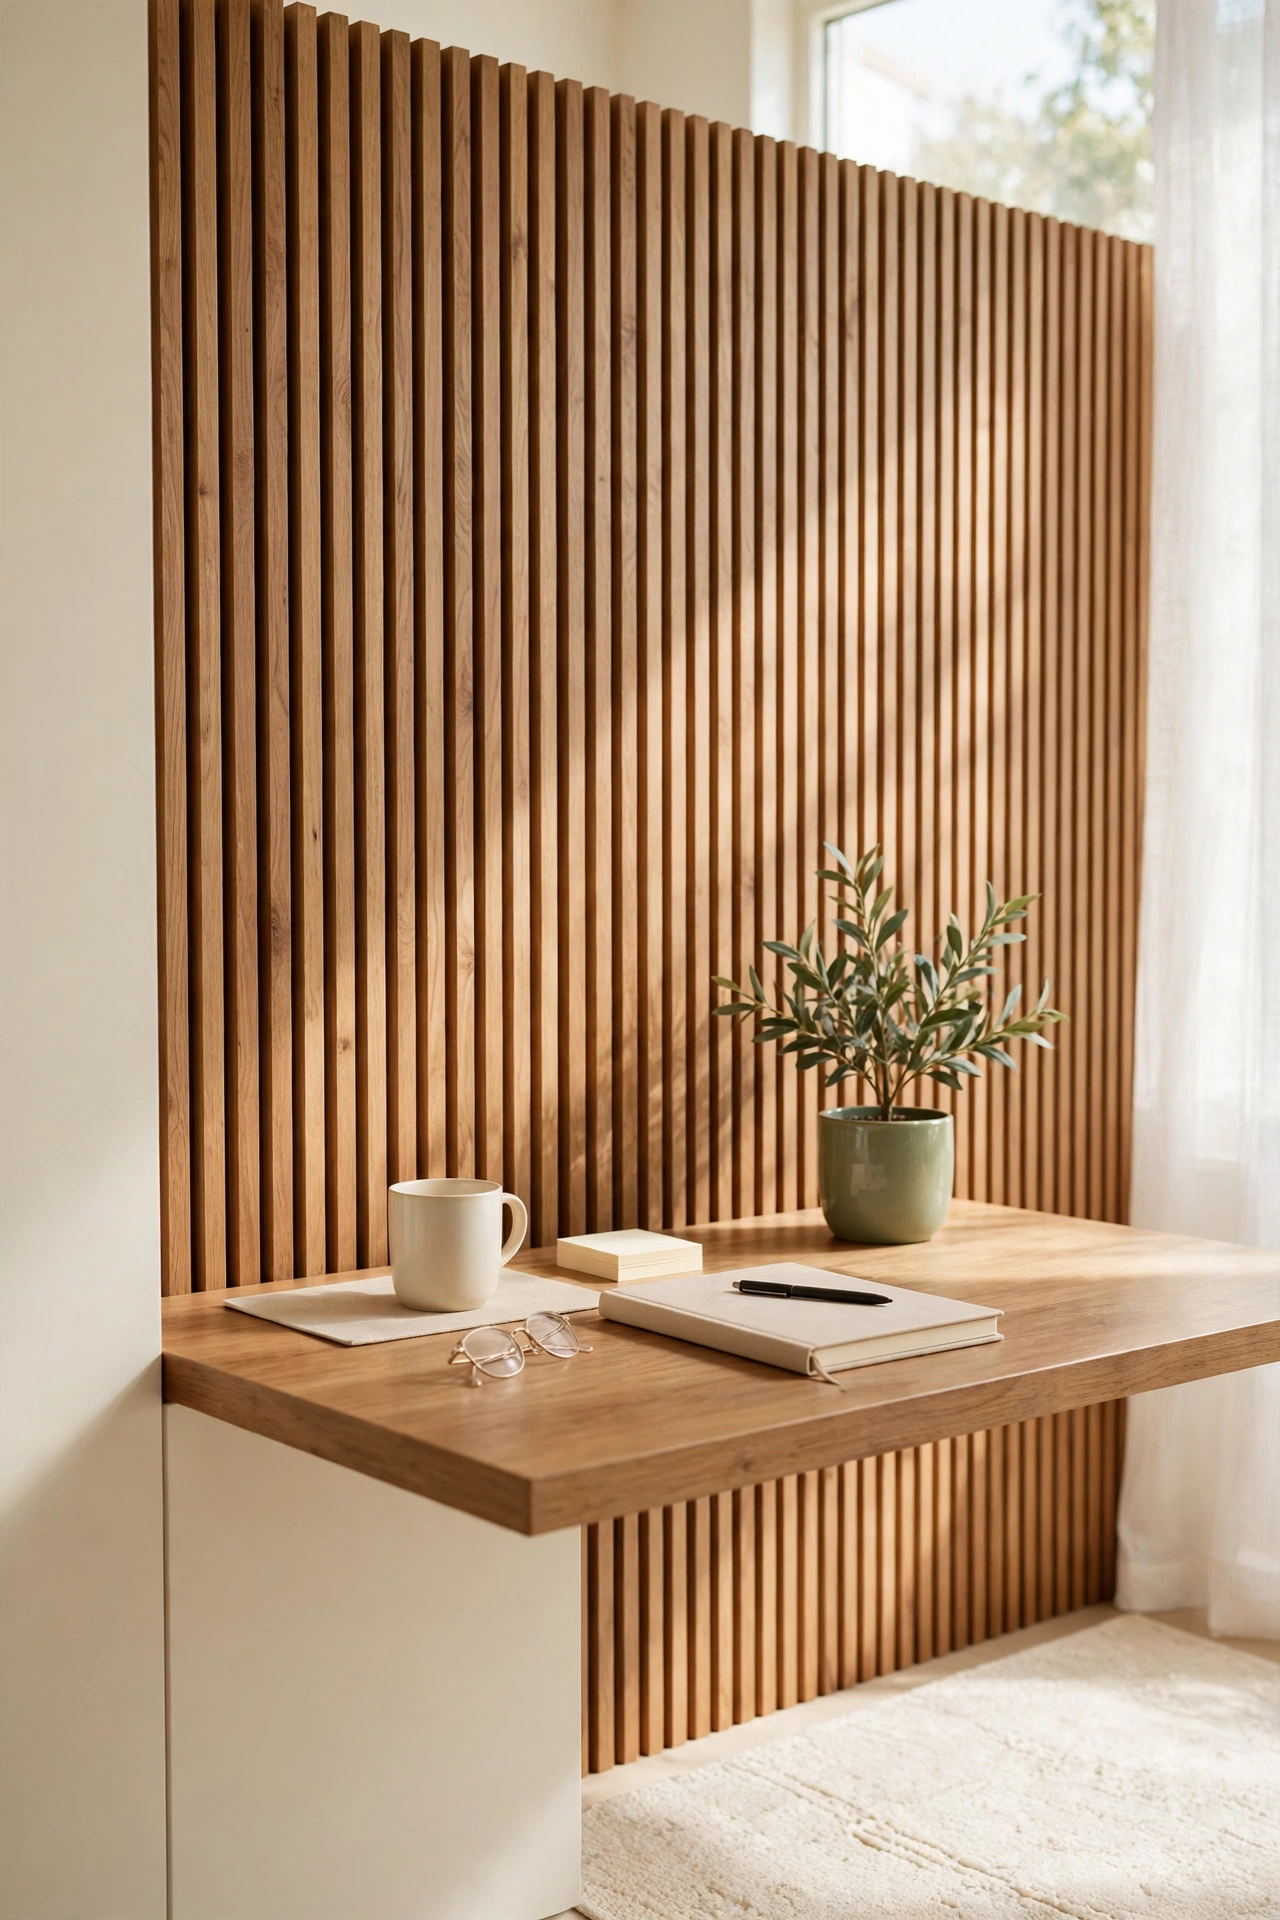
19. Fit a Desk into the Slat Wall
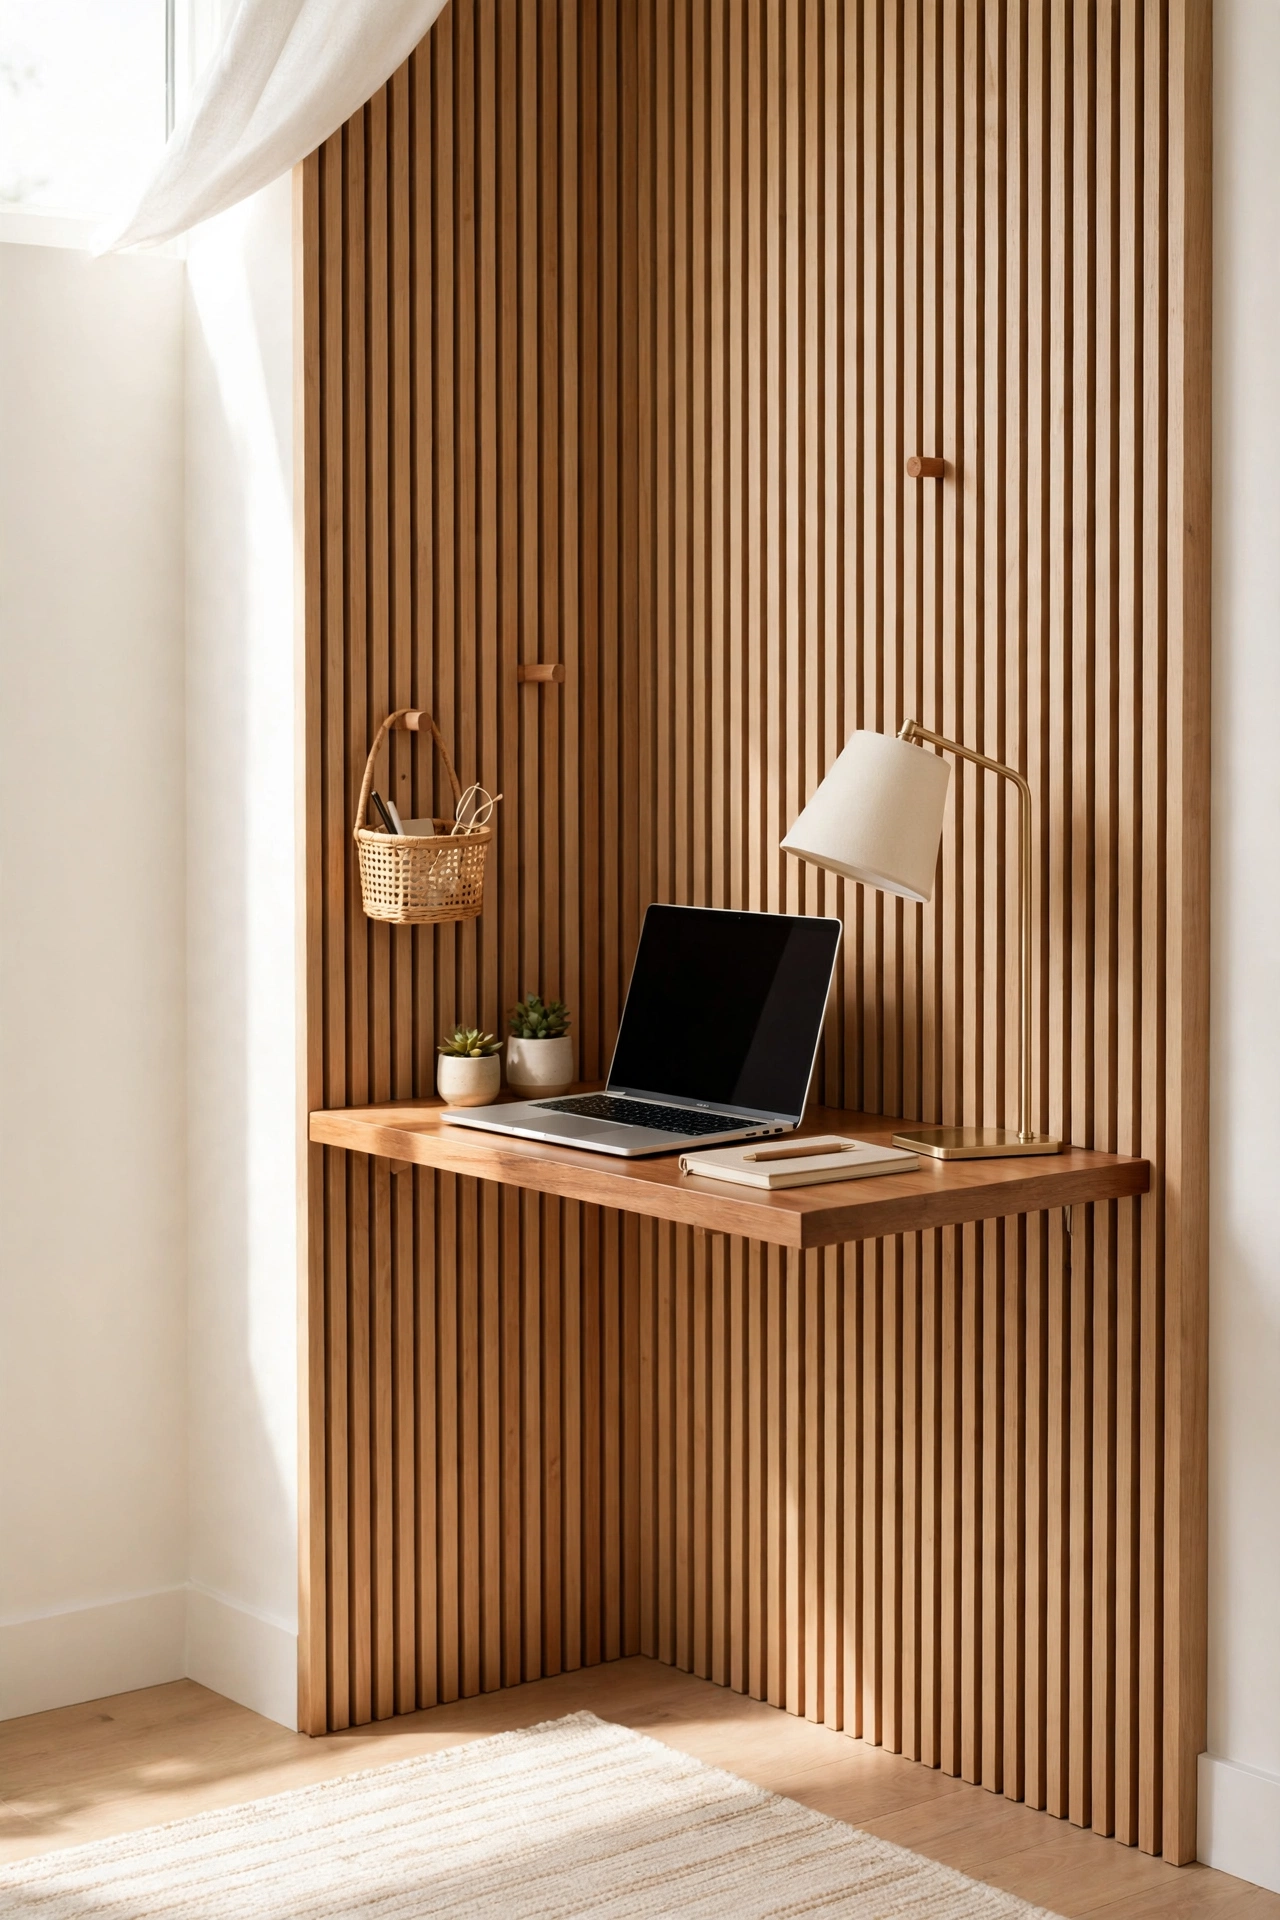
A desk folded into a slat wall turns a small corner into a home office. A simple timber desktop fixed between two slats gives you a work surface, and the slats hide cables and add warmth. When work ends, the desk becomes a display shelf.
Choose a desktop depth of around 50 centimetres so a laptop and a lamp fit comfortably. Fix the desk to the studs behind the slats with strong brackets. A small stool tucked underneath keeps the whole setup compact.
20. Bring Slats into the Dining Room
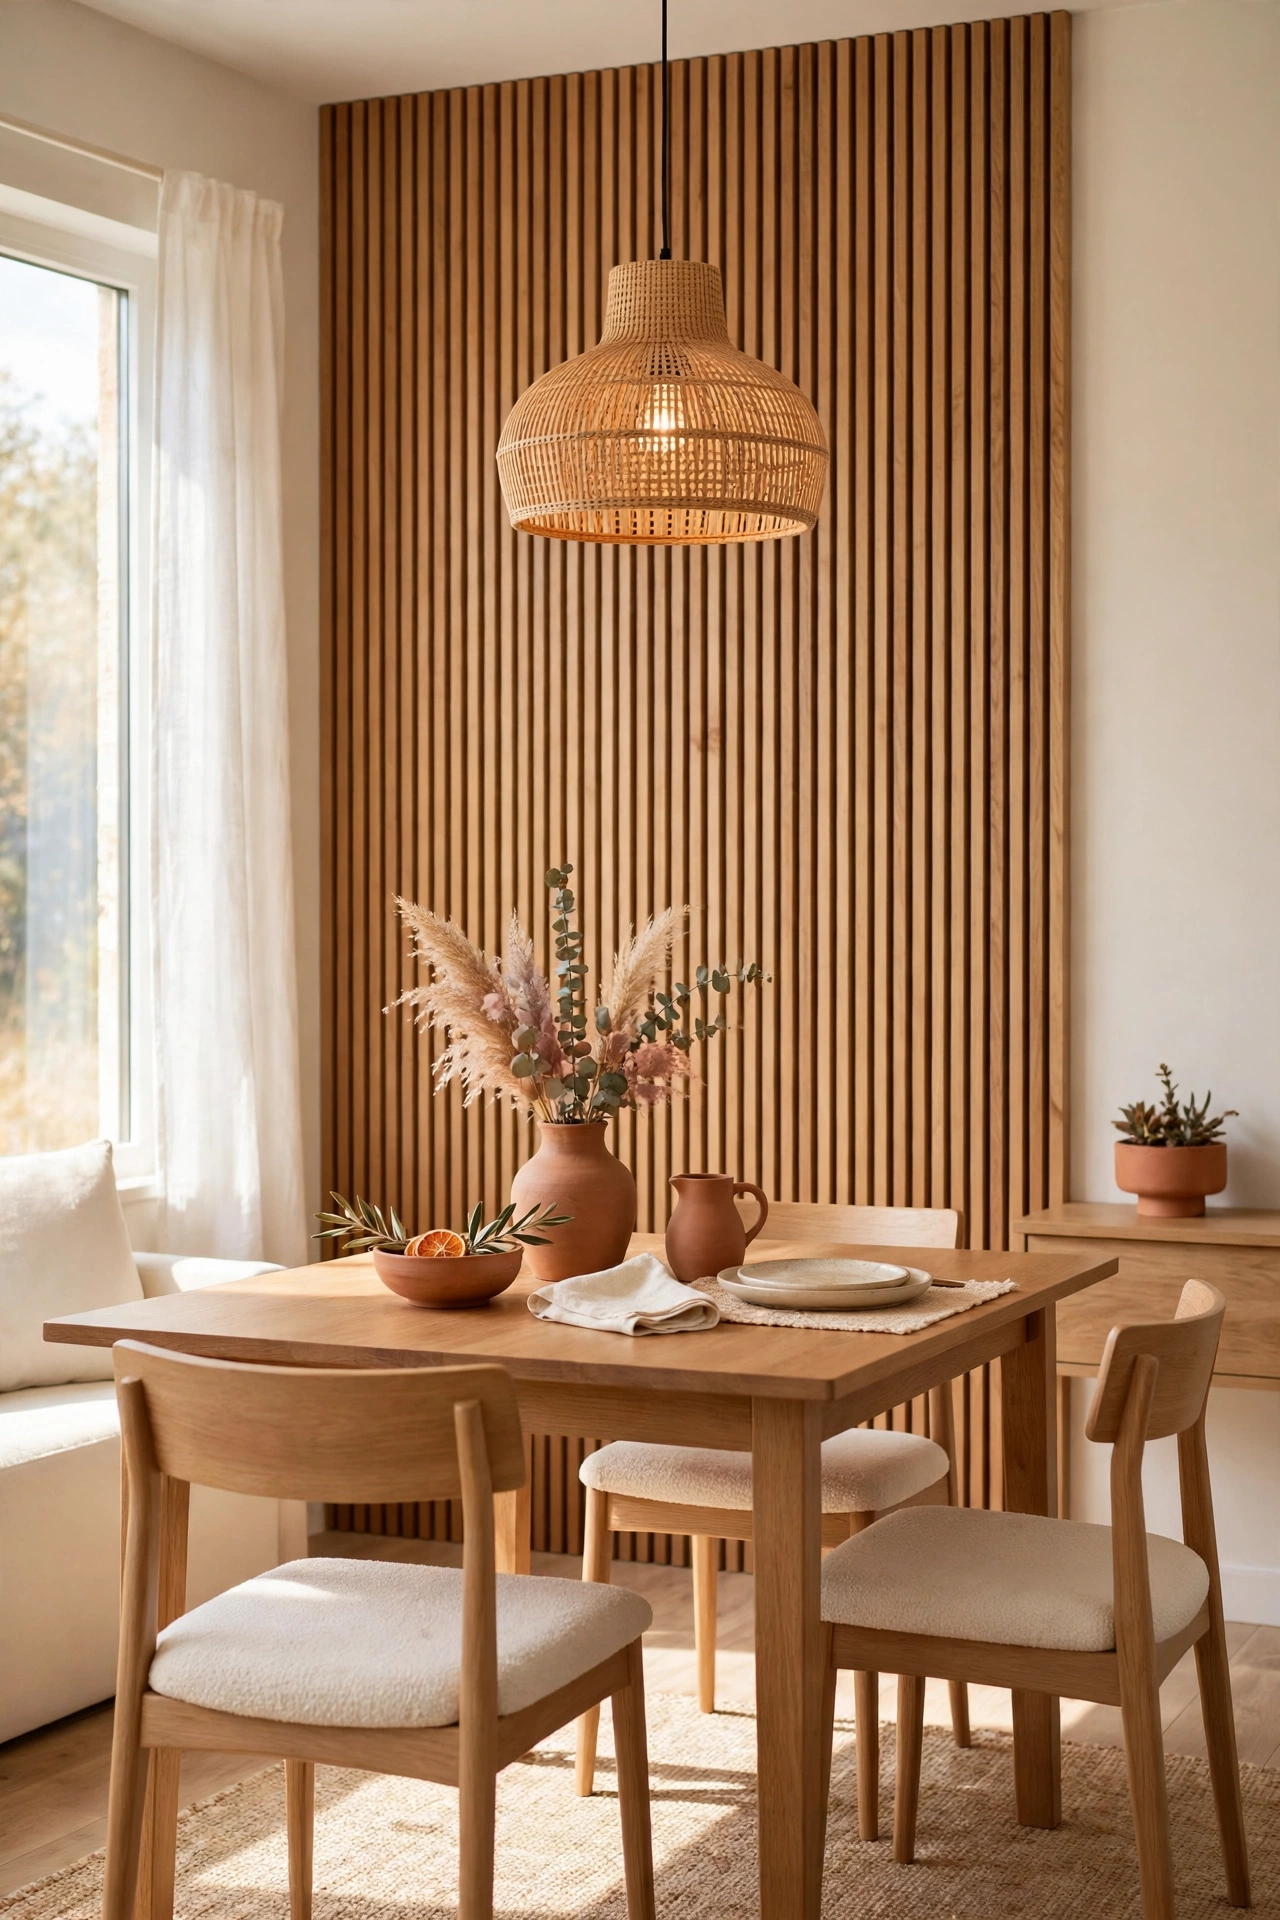
A slat wall in the dining room makes everyday meals feel a little more special. The wood adds warmth behind the table, and the vertical lines give the room a sense of height. It also helps the dining area feel separate in an open plan home.
Run the slats across the full width of the wall behind the table. A simple pendant light and a wooden table complete the look. Keep the table setting plain so the wall stays the star of the room.
21. Run Slats Behind the Kitchen Island
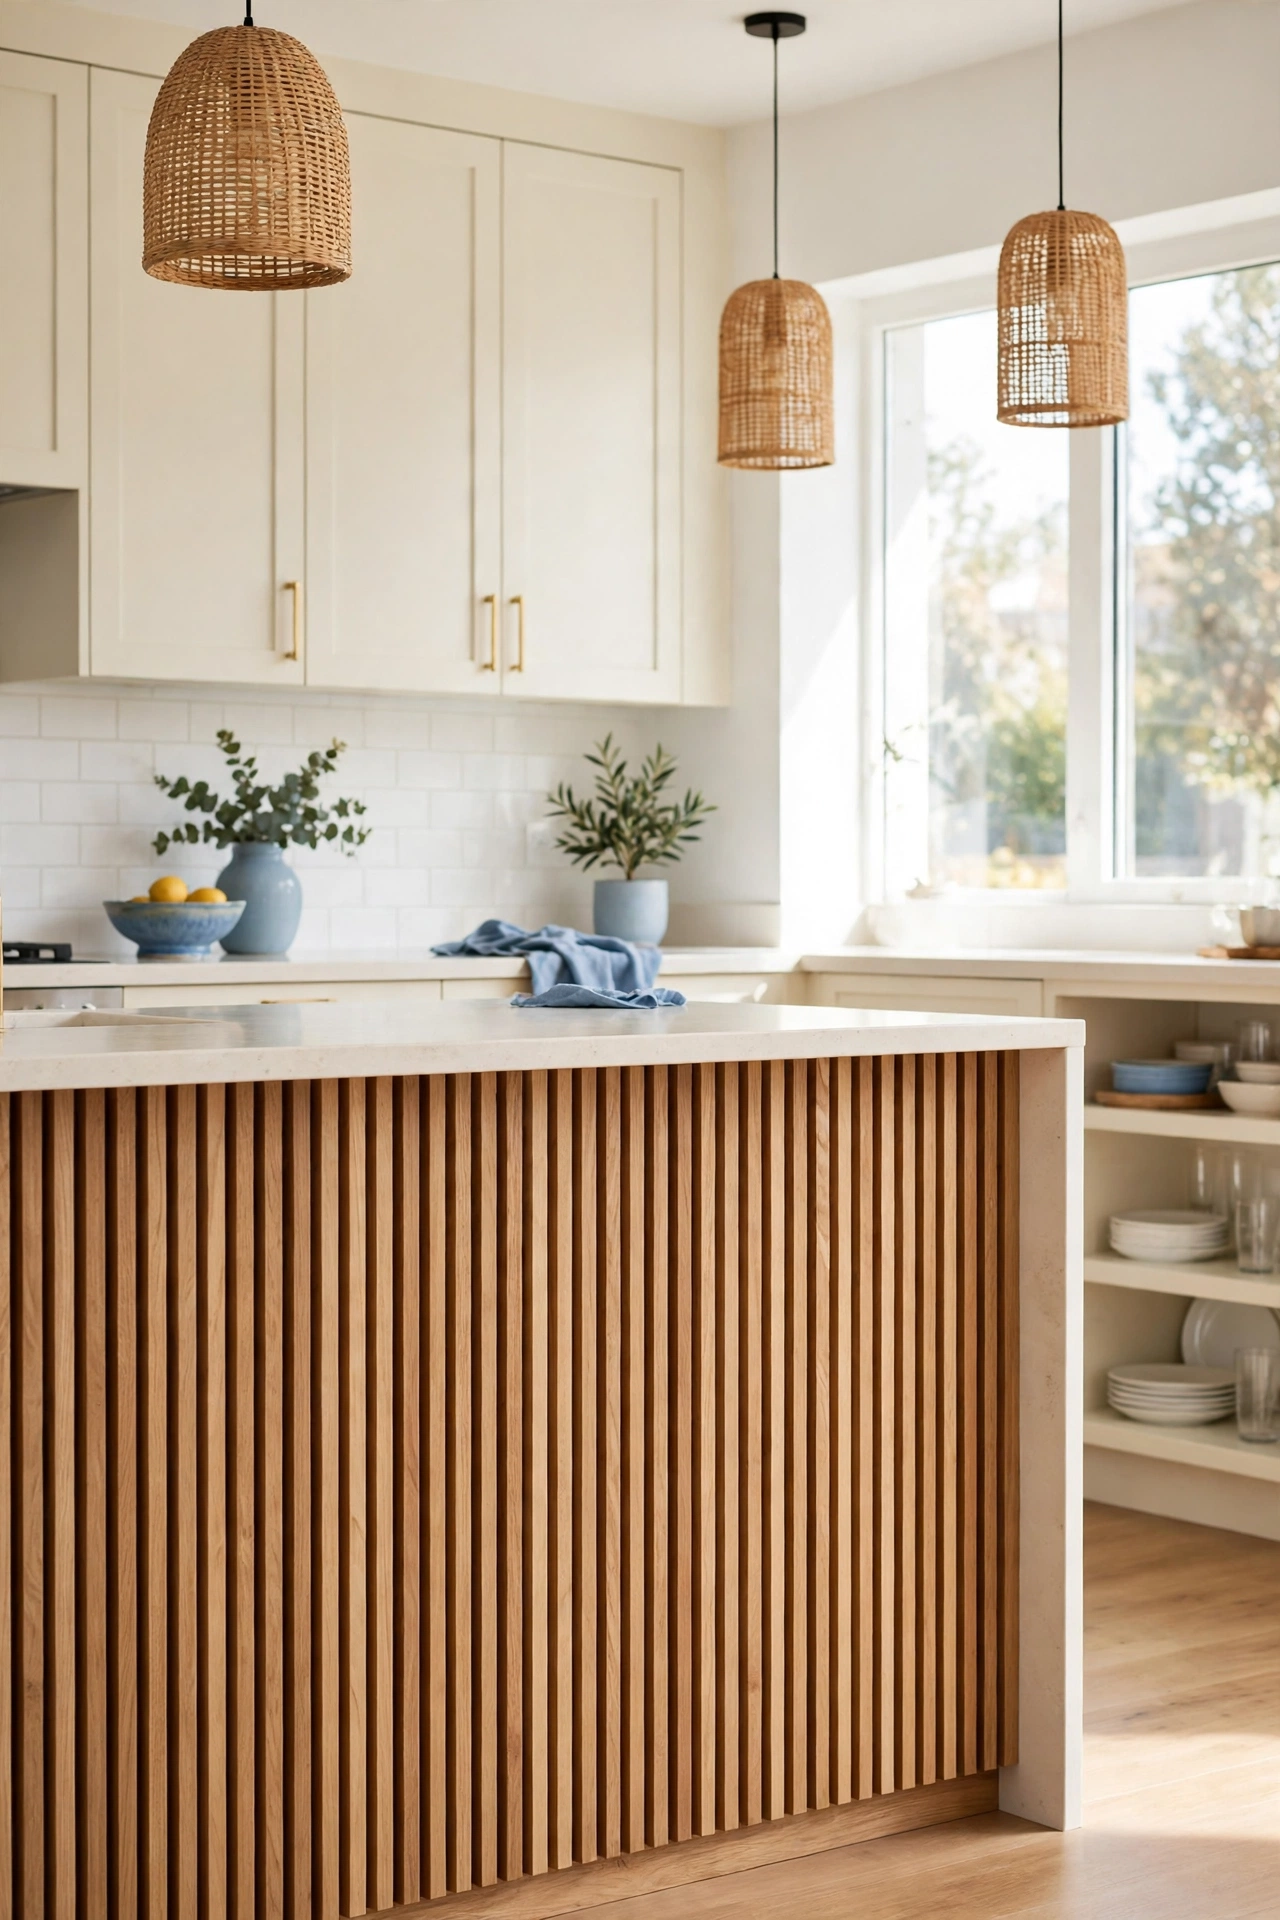
Slats on the back of a kitchen island add a crafted detail to the hardest working spot in the house. The wood softens the hard surfaces of the kitchen and makes the island feel like furniture rather than a workbench. Sealed timber wipes clean with a damp cloth.
Use a hardwearing sealant on the slats so splashes and steam cause no damage. Vertical slats suit a long island, while horizontal slats suit a small one. The island becomes a feature instead of a plain box.
22. Seal Slats for a Bathroom Feature
A slat wall in a bathroom adds spa like warmth to a room full of tile and glass. Sealed timber handles steam well when it is finished with a waterproof varnish. The slats work best on the wall opposite the shower, away from direct water.
Choose a moisture resistant timber such as teak or cedar if the budget allows. Seal every face of each slat, including the back and the cut ends. A slat wall behind a freestanding bath turns an ordinary bathroom into a retreat.
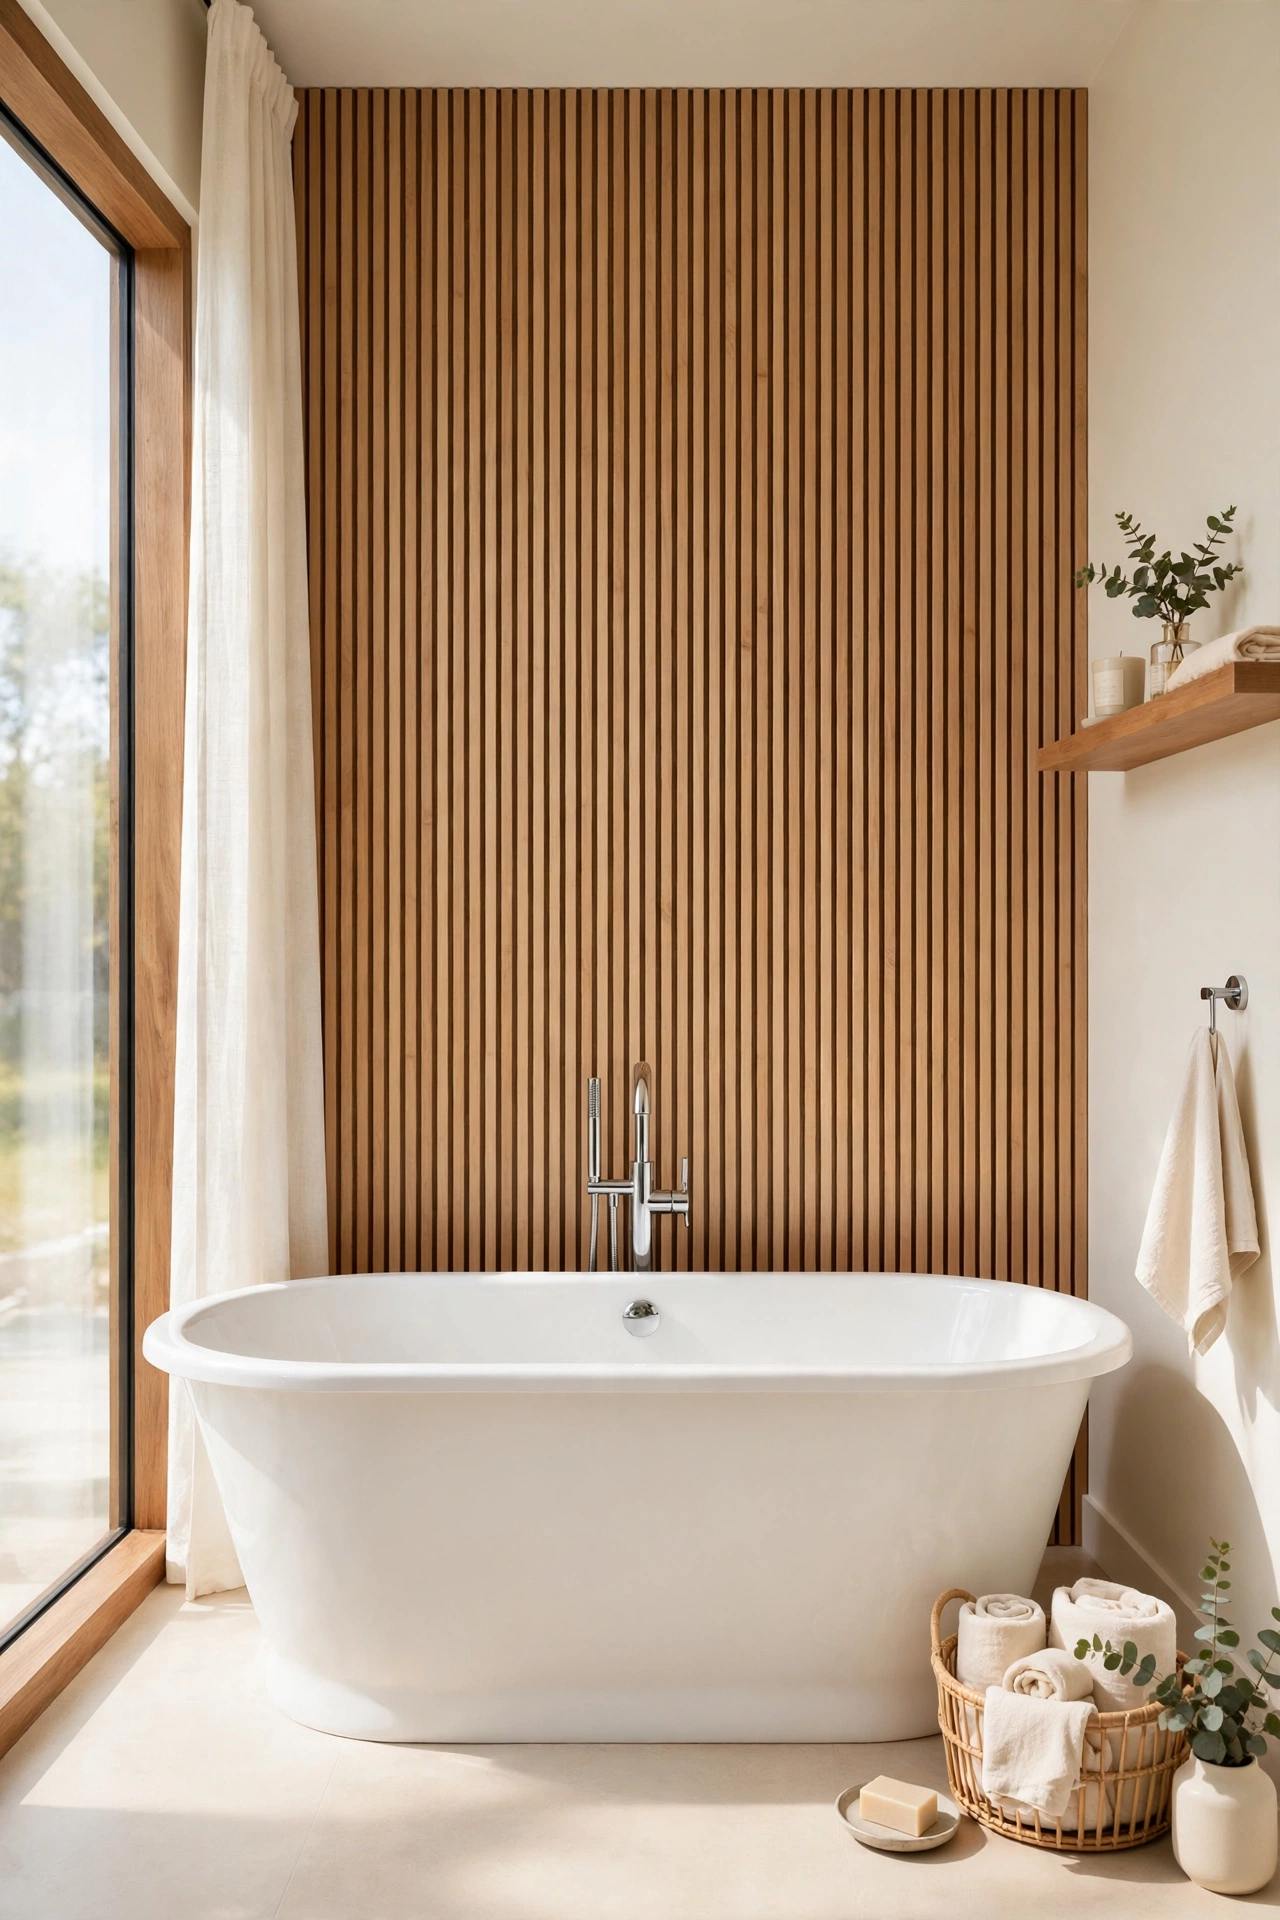
23. Warm Up the Home Office with Slats
A slat wall in a home office makes video calls look better and work feel calmer. The wood adds texture behind your desk without the clutter of shelves and posters. It also improves the sound of the room by breaking up flat surfaces.
Keep the slats behind the desk in a pale tone so the wall stays bright on camera. A small plant and a desk lamp complete the setup. The whole wall takes a weekend to build and changes how the room feels every working day.
24. Add Felt Backing for Better Acoustics
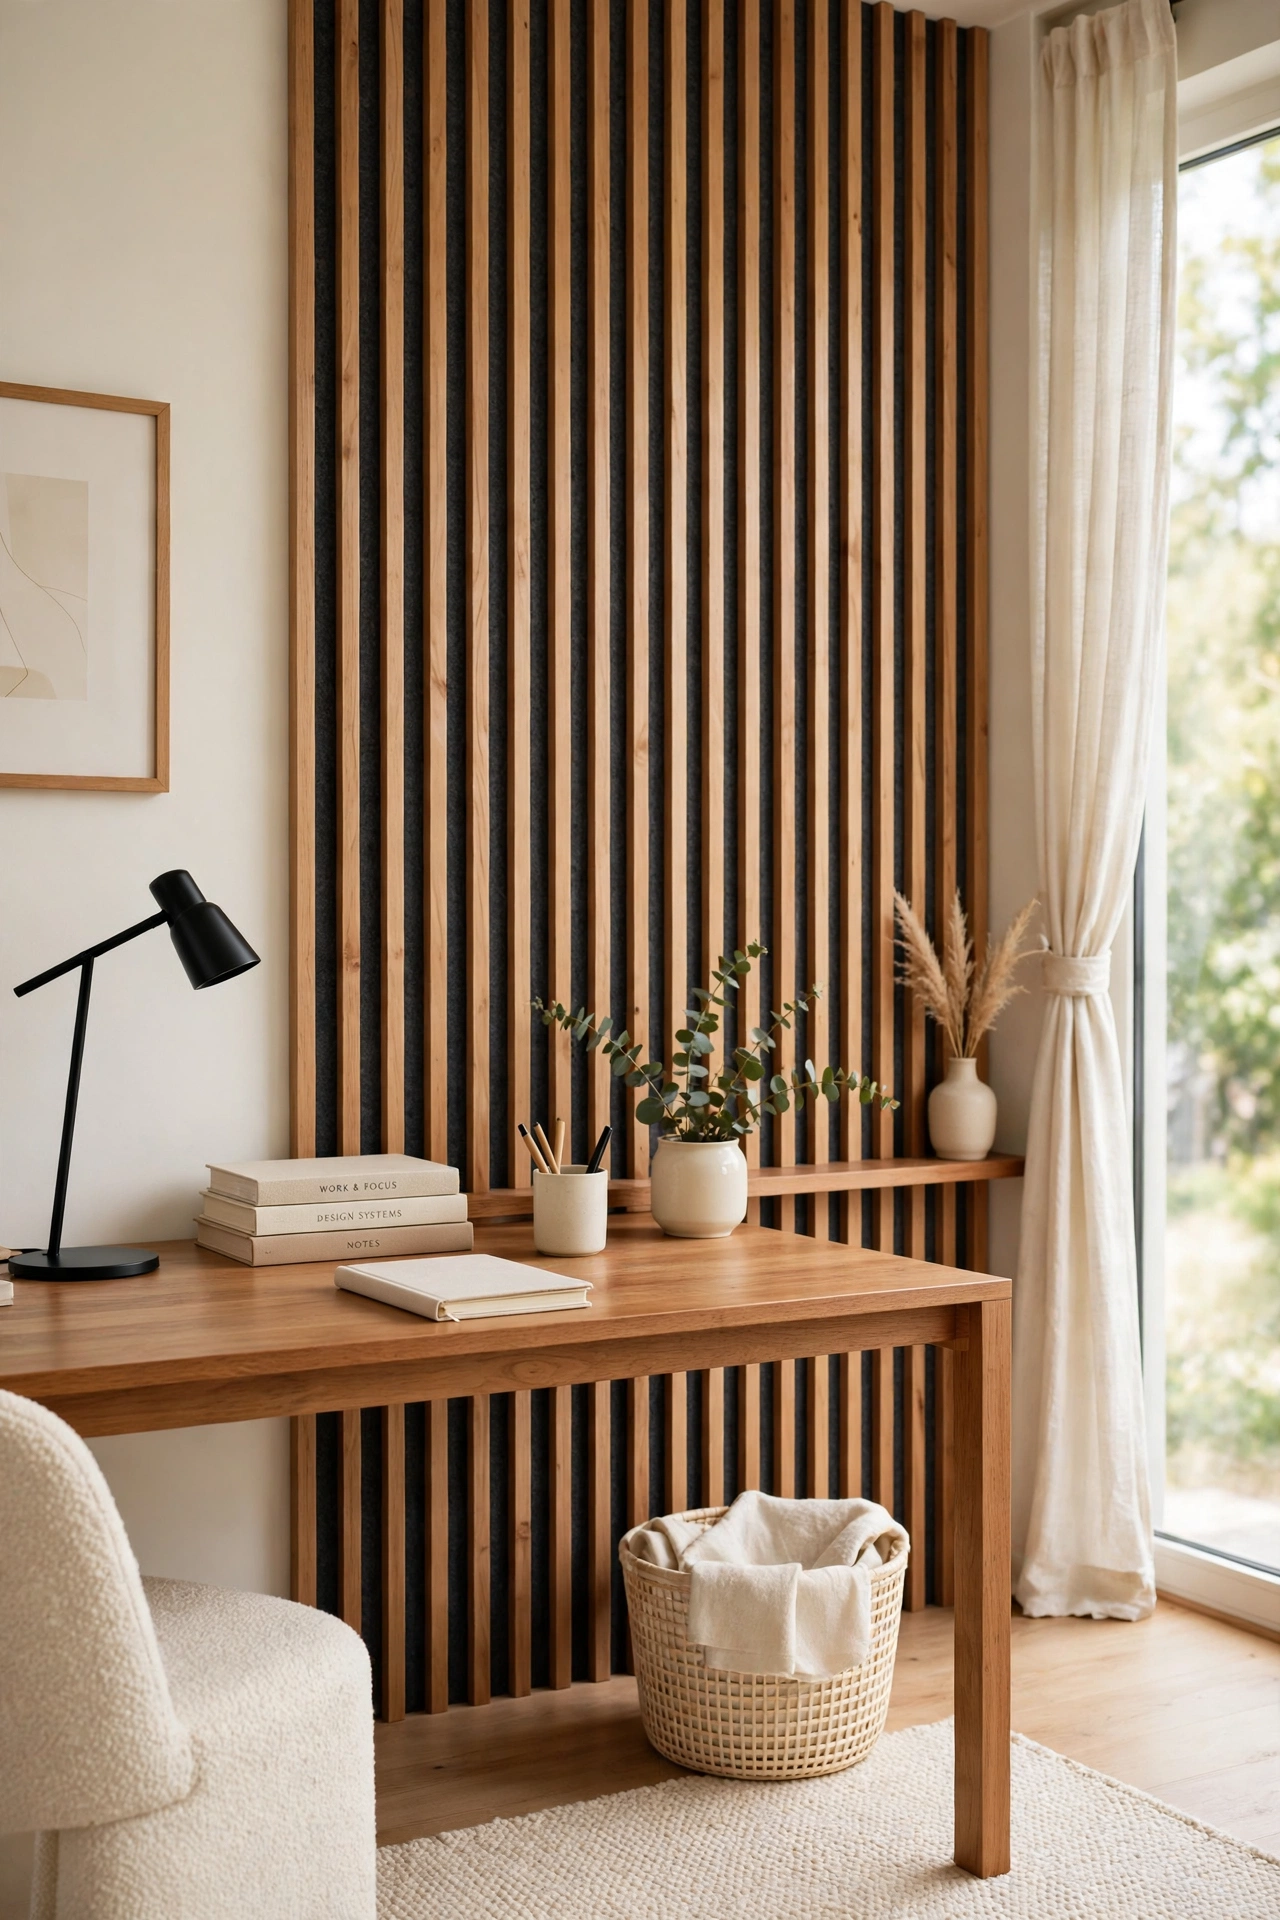
Felt backing behind slats absorbs sound and makes a room quieter and calmer. The felt sits on the wall first, then the slats fix through it. This is a smart upgrade for a home office, a music room, or a busy family living room.
Choose acoustic felt in a dark charcoal or warm grey so it disappears between the slats. The felt also hides wall marks and gives the wall a finished look before the slats go on. You will notice the difference in sound the first evening.
25. Weave Plants Through the Slats
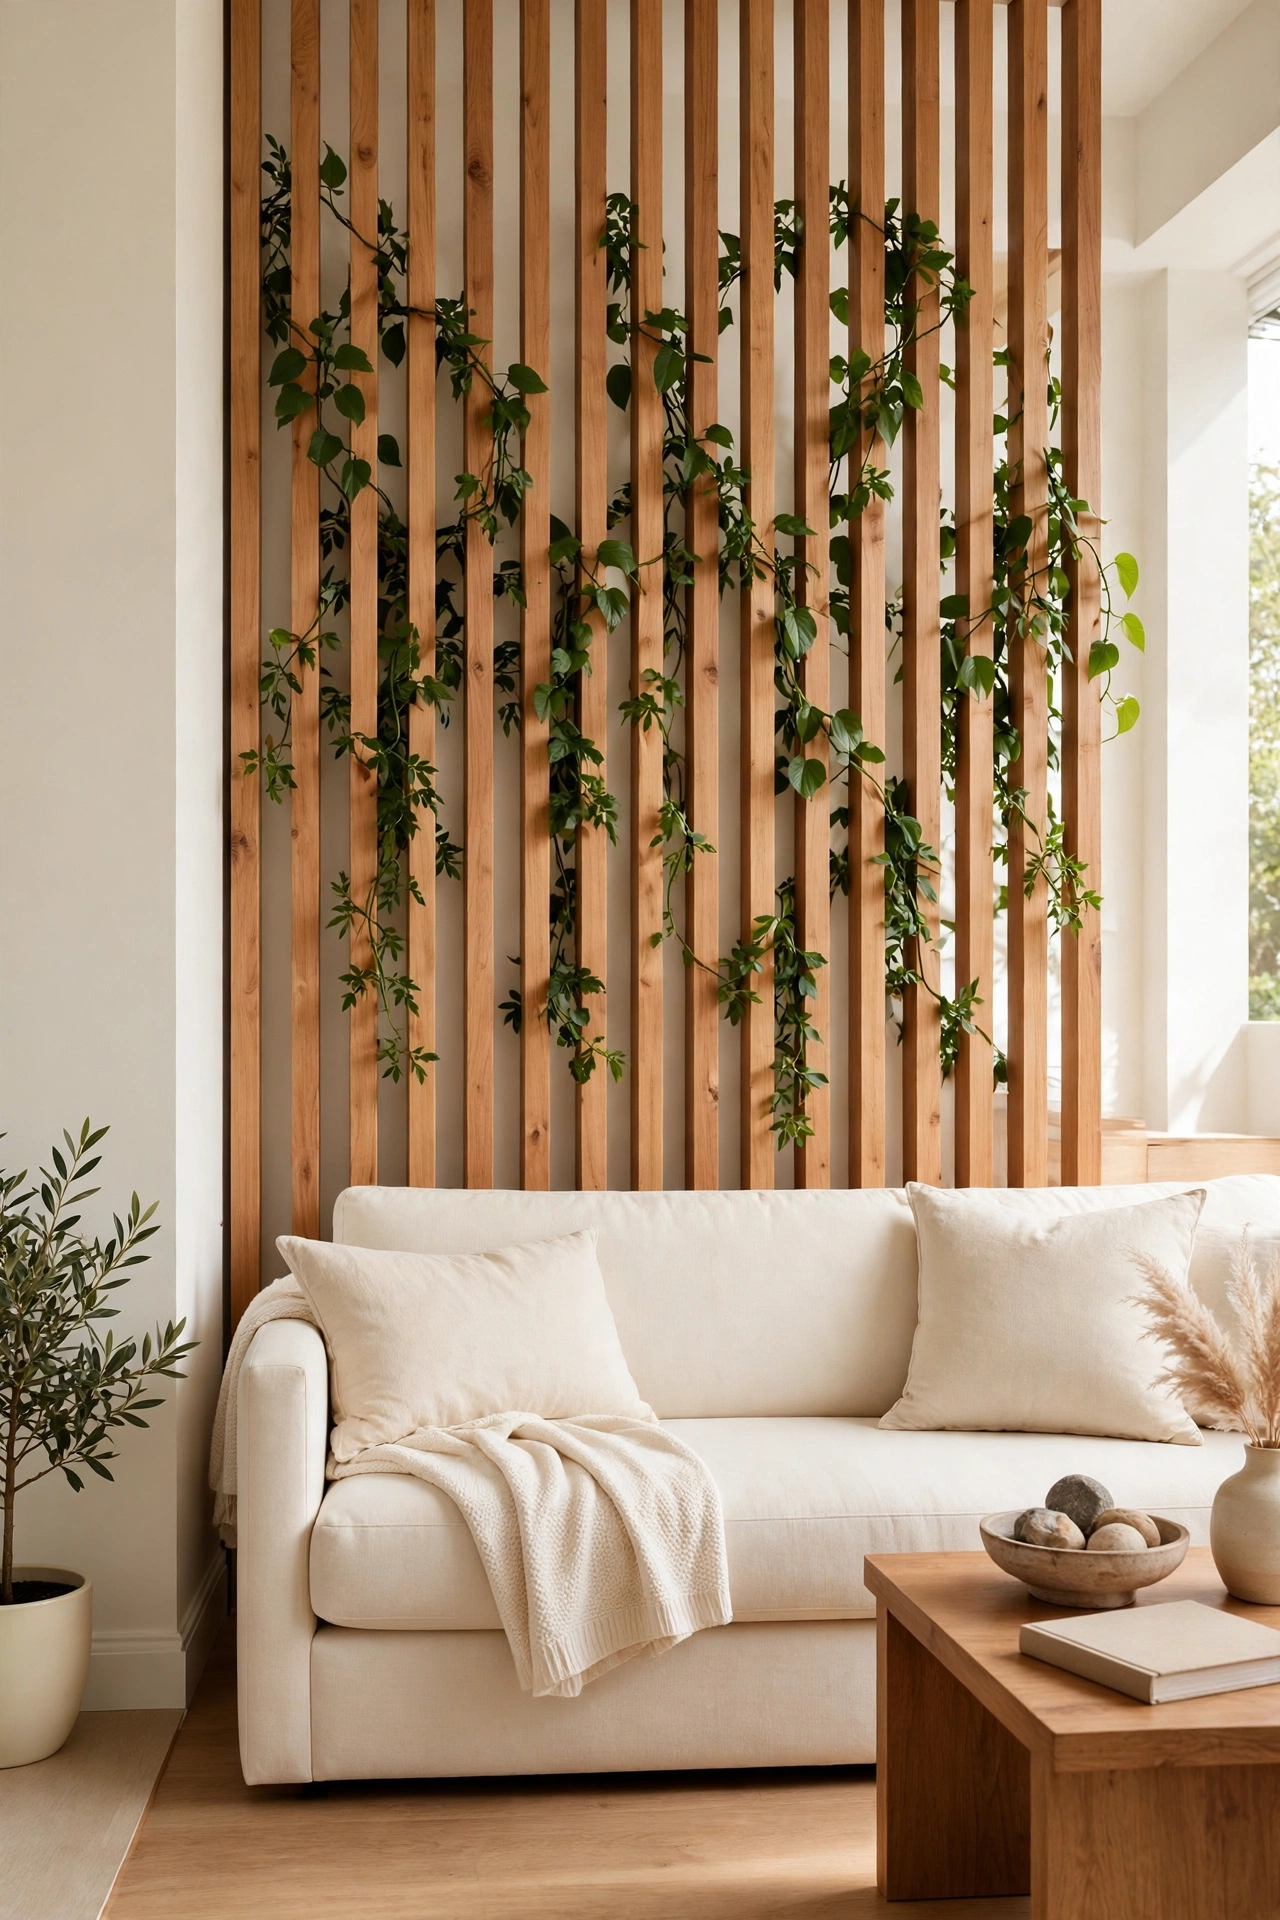
Plants woven through a slat wall bring life and colour to the wood. Trailing plants hang from small hooks on the slats, while small pots sit on short ledges fixed between them. The green against the warm wood looks fresh in every season.
Choose low light plants such as pothos or philodendron for an indoor wall. Use small pots with saucers so water never reaches the timber. The wall becomes a living feature that grows and changes through the year.
26. Hang Art on the Slat Wall
Art hung on a slat wall gets a warm frame that plain walls cannot offer. A single large print or a small group of frames looks intentional against the vertical lines. The slats add texture behind the art without competing with it.
Fix picture hooks into the wall behind the slats, not into the slats themselves. Keep the frames simple in wood or thin black metal. For more ideas on arranging framed pieces, see these DIY decorative mirror frame ideas. One strong piece works better than many small ones.
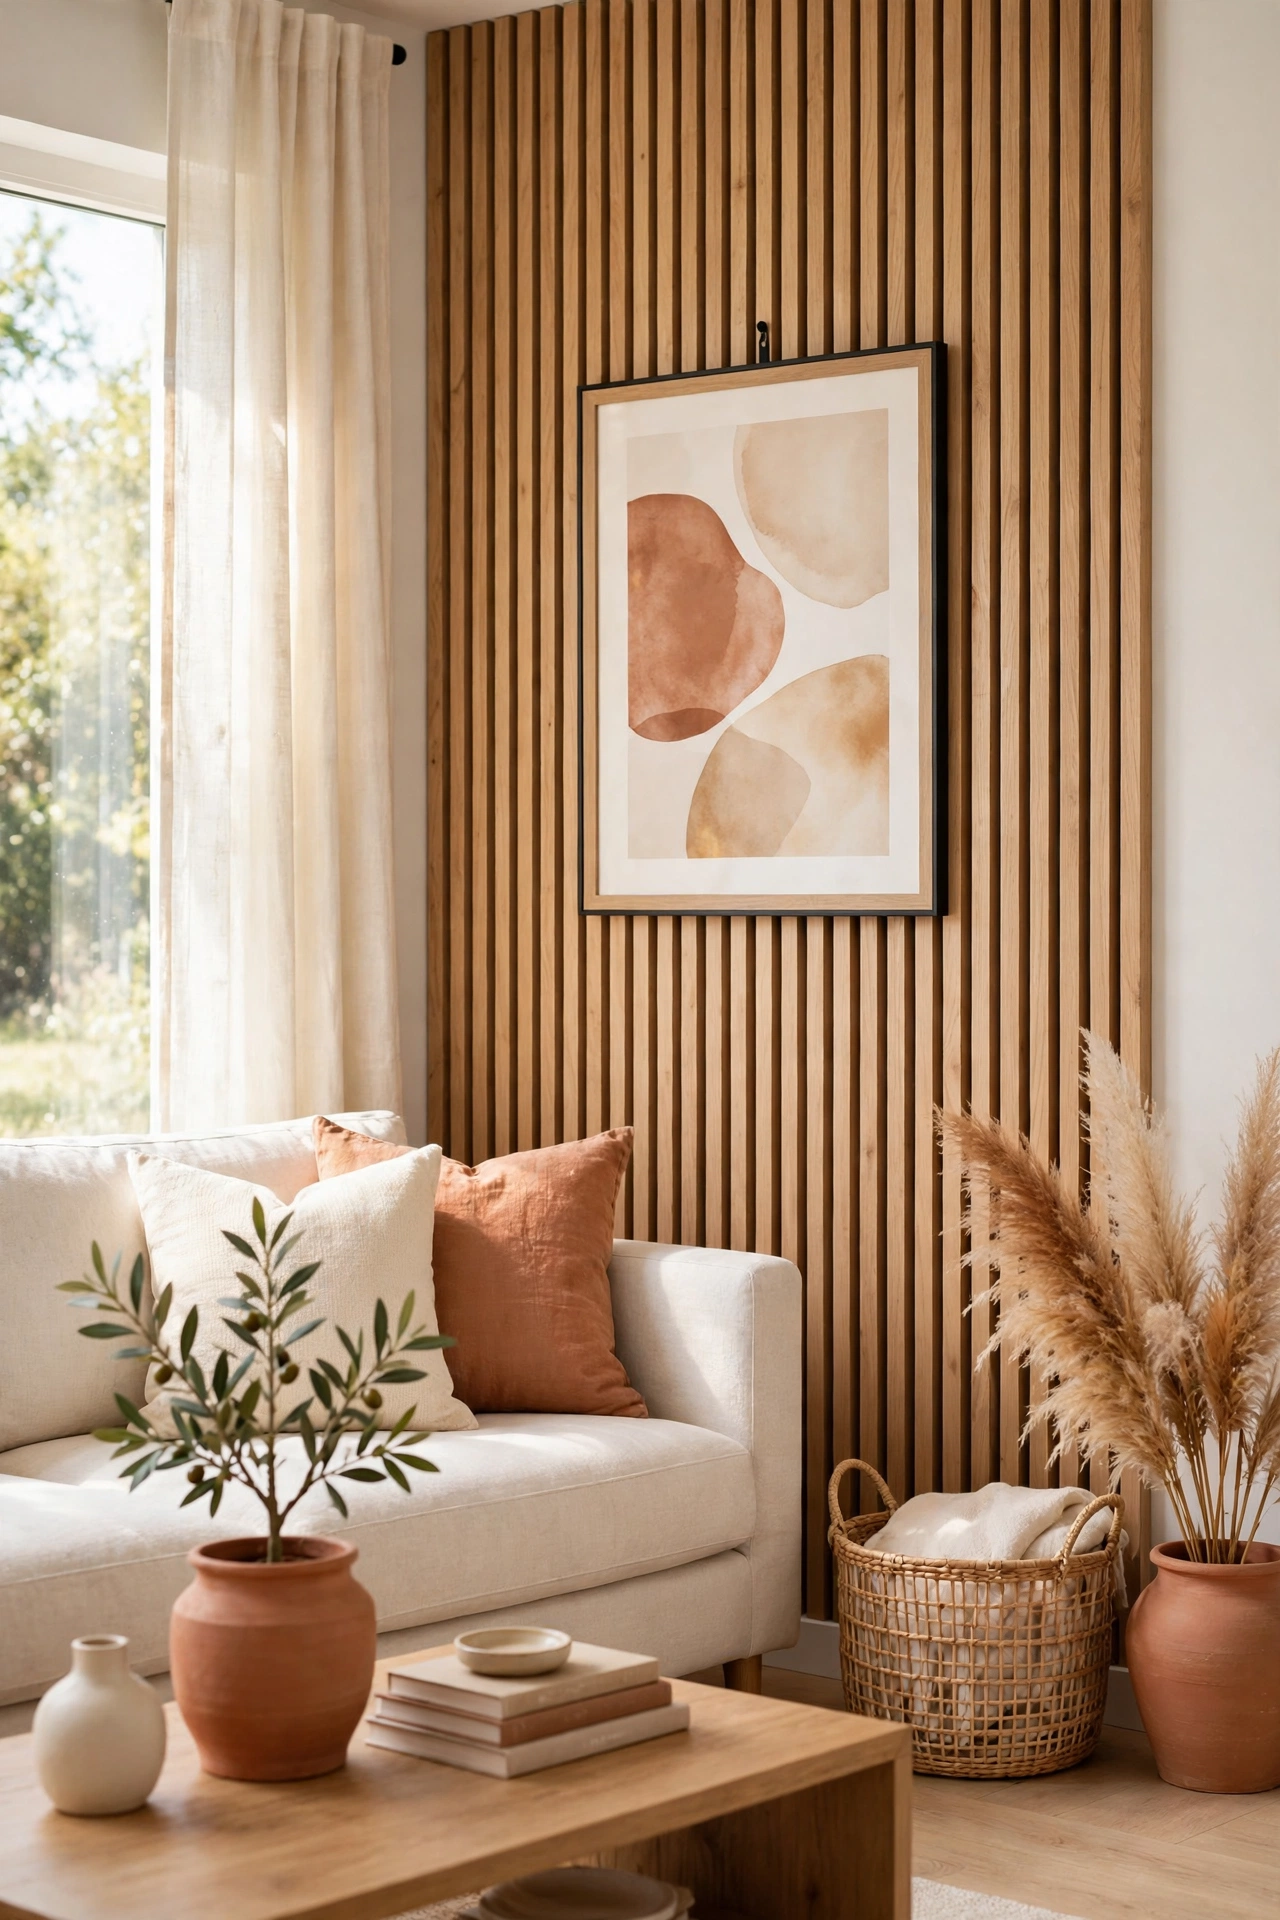
27. Feature Slats on the Staircase Wall
A slat wall running up a staircase turns a plain passage into a design feature. The slats follow the angle of the stairs, which draws the eye upward and makes the hallway feel taller. It is a bold use of a space that is often ignored.
Cut the slats to follow the stair angle with a simple template. Work from the bottom of the stairs upward so each slat sits level. A slat staircase wall makes the whole entrance to your home feel considered and warm.
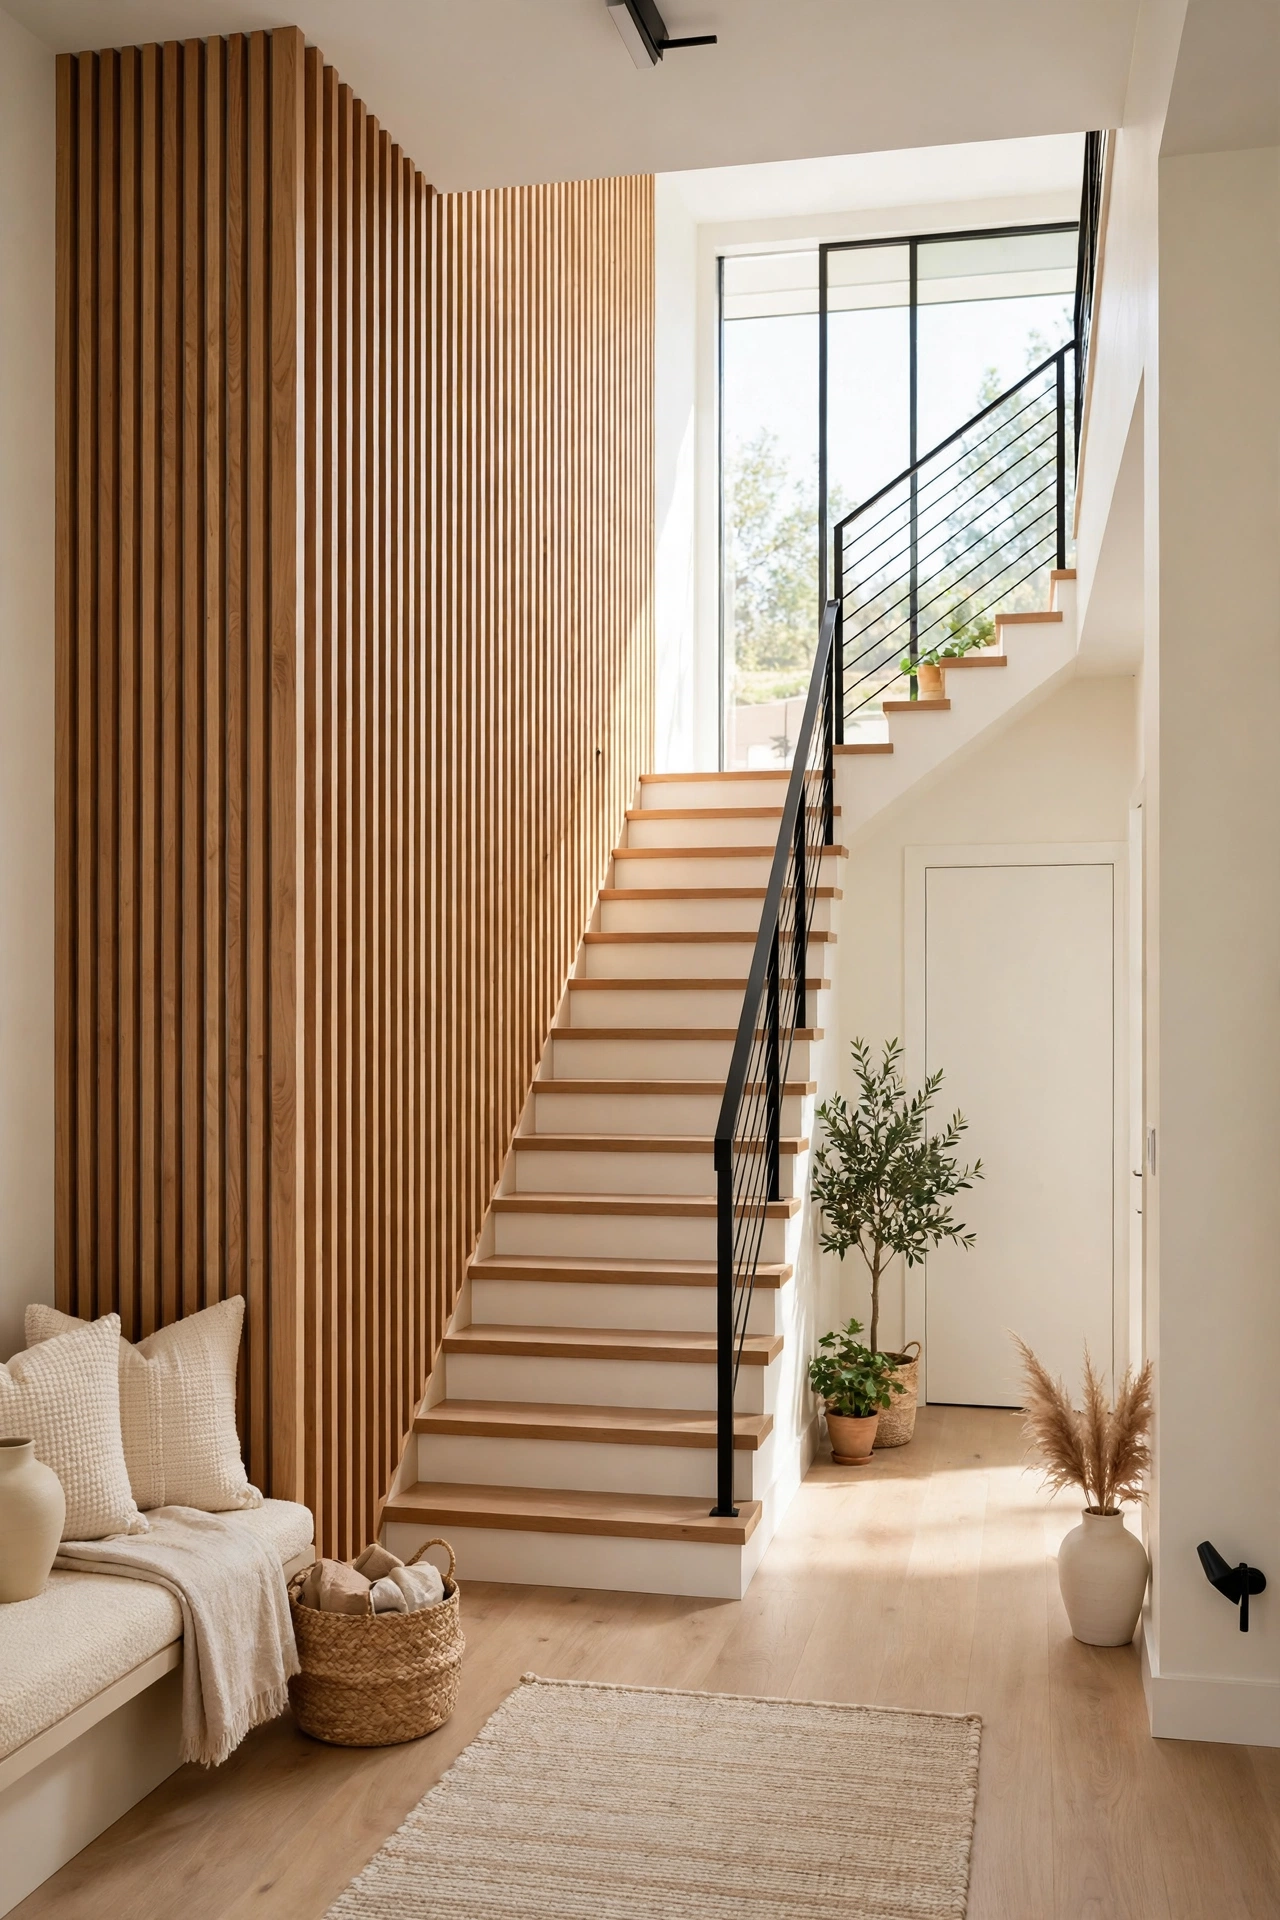
28. Use Slats in a Narrow Hallway
A narrow hallway benefits from slats more than almost any other room. Vertical lines make the space feel taller, and the wood adds warmth to a passage that is usually plain and dark. The feature costs little because the wall is small.
Use thin slats with a pale finish so the hallway stays bright. A small mirror and a slim console table complete the space. The hallway stops being a route between rooms and becomes a feature in its own right.
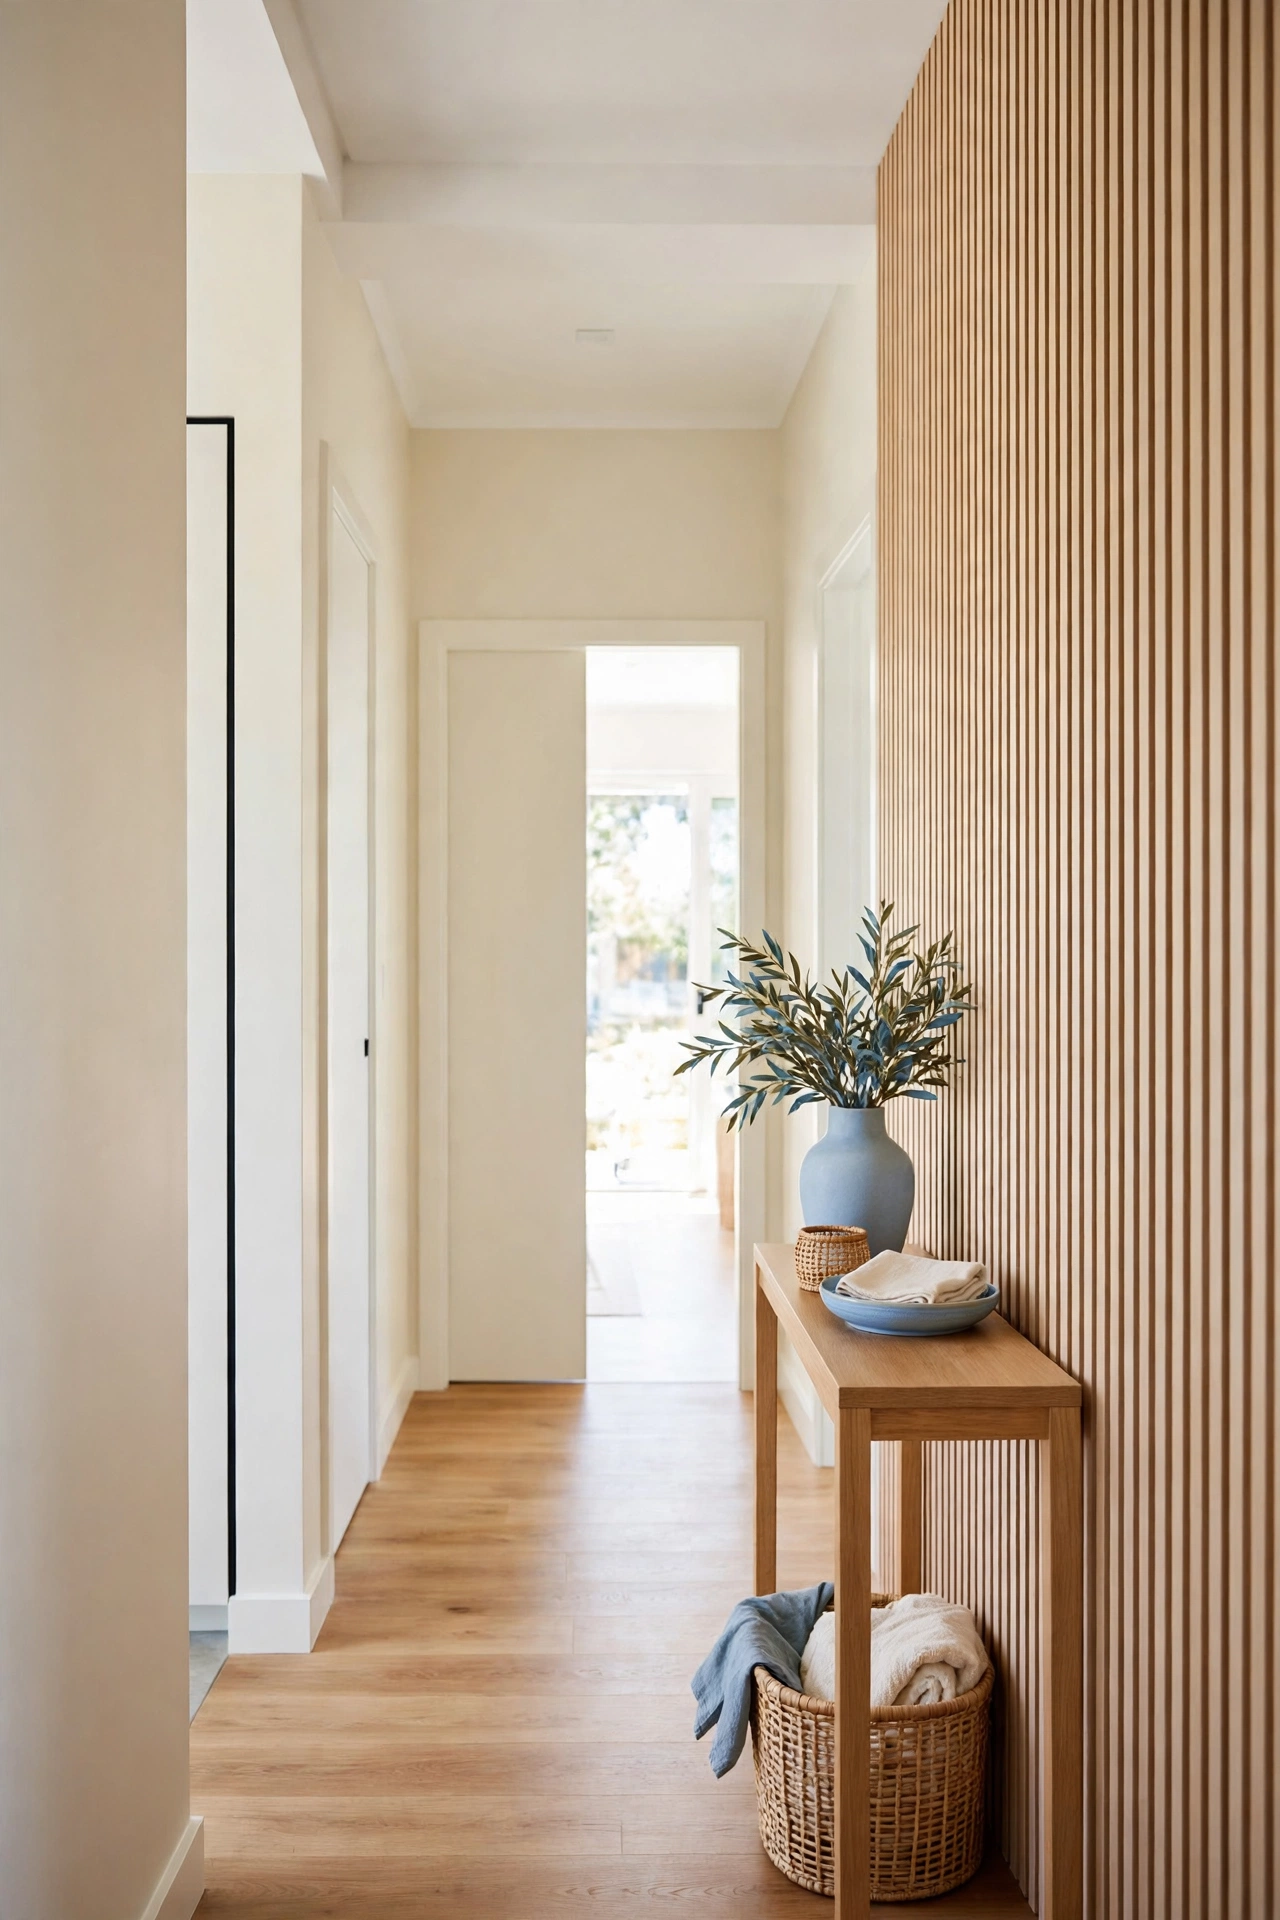
29. Pair Slats with a Round Mirror
A round mirror on a slat wall softens the straight lines with a gentle curve. The mirror reflects light and makes the room feel larger, while the slats frame it with warmth. It is a simple pairing that works in hallways, bedrooms, and living rooms.
Hang the mirror from a strong fixing in the wall behind the slats. Keep the frame thin so the slats stay visible around it. The round shape against the vertical lines creates a pleasing contrast that lifts the whole wall.
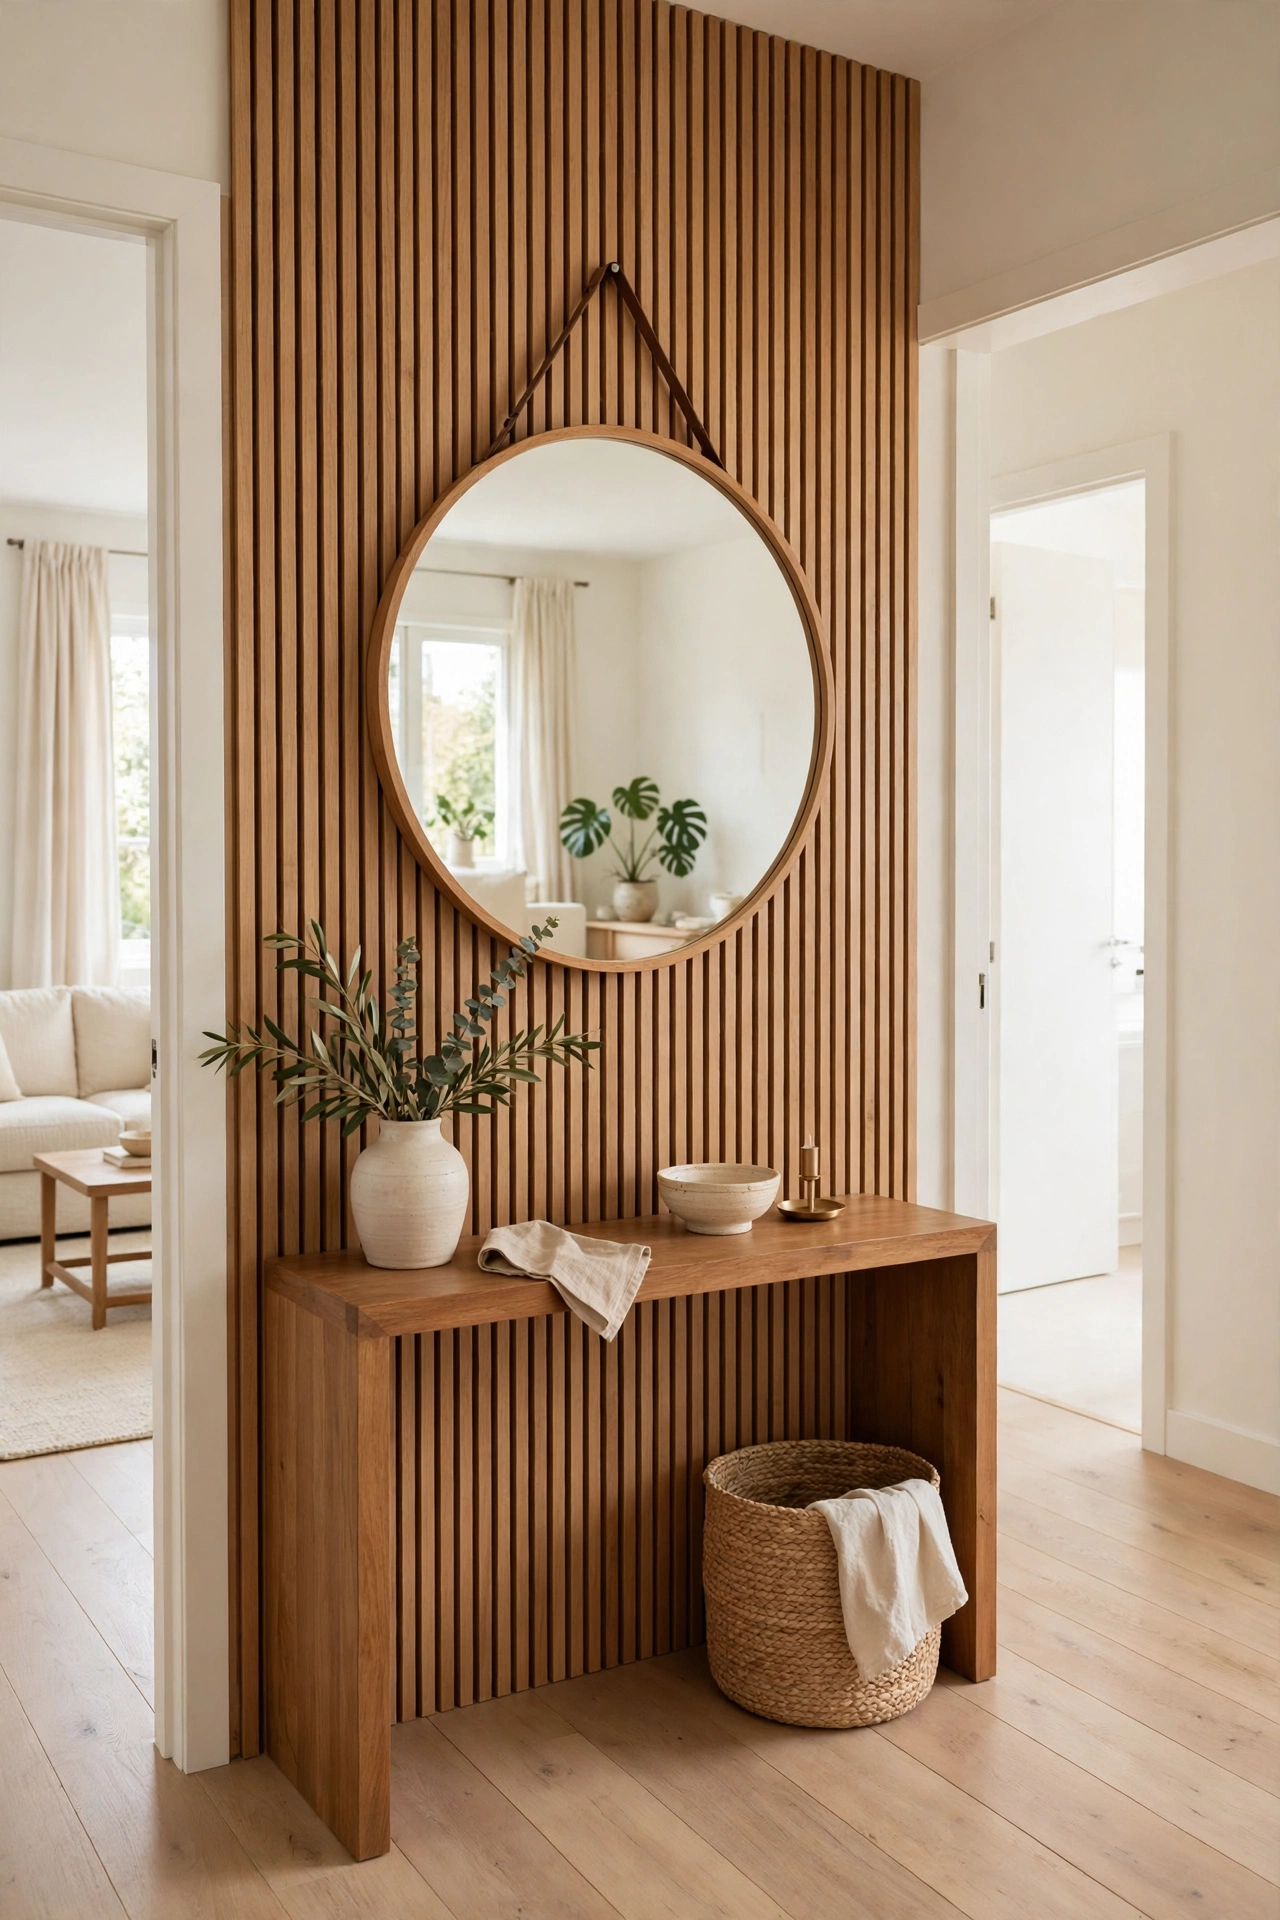
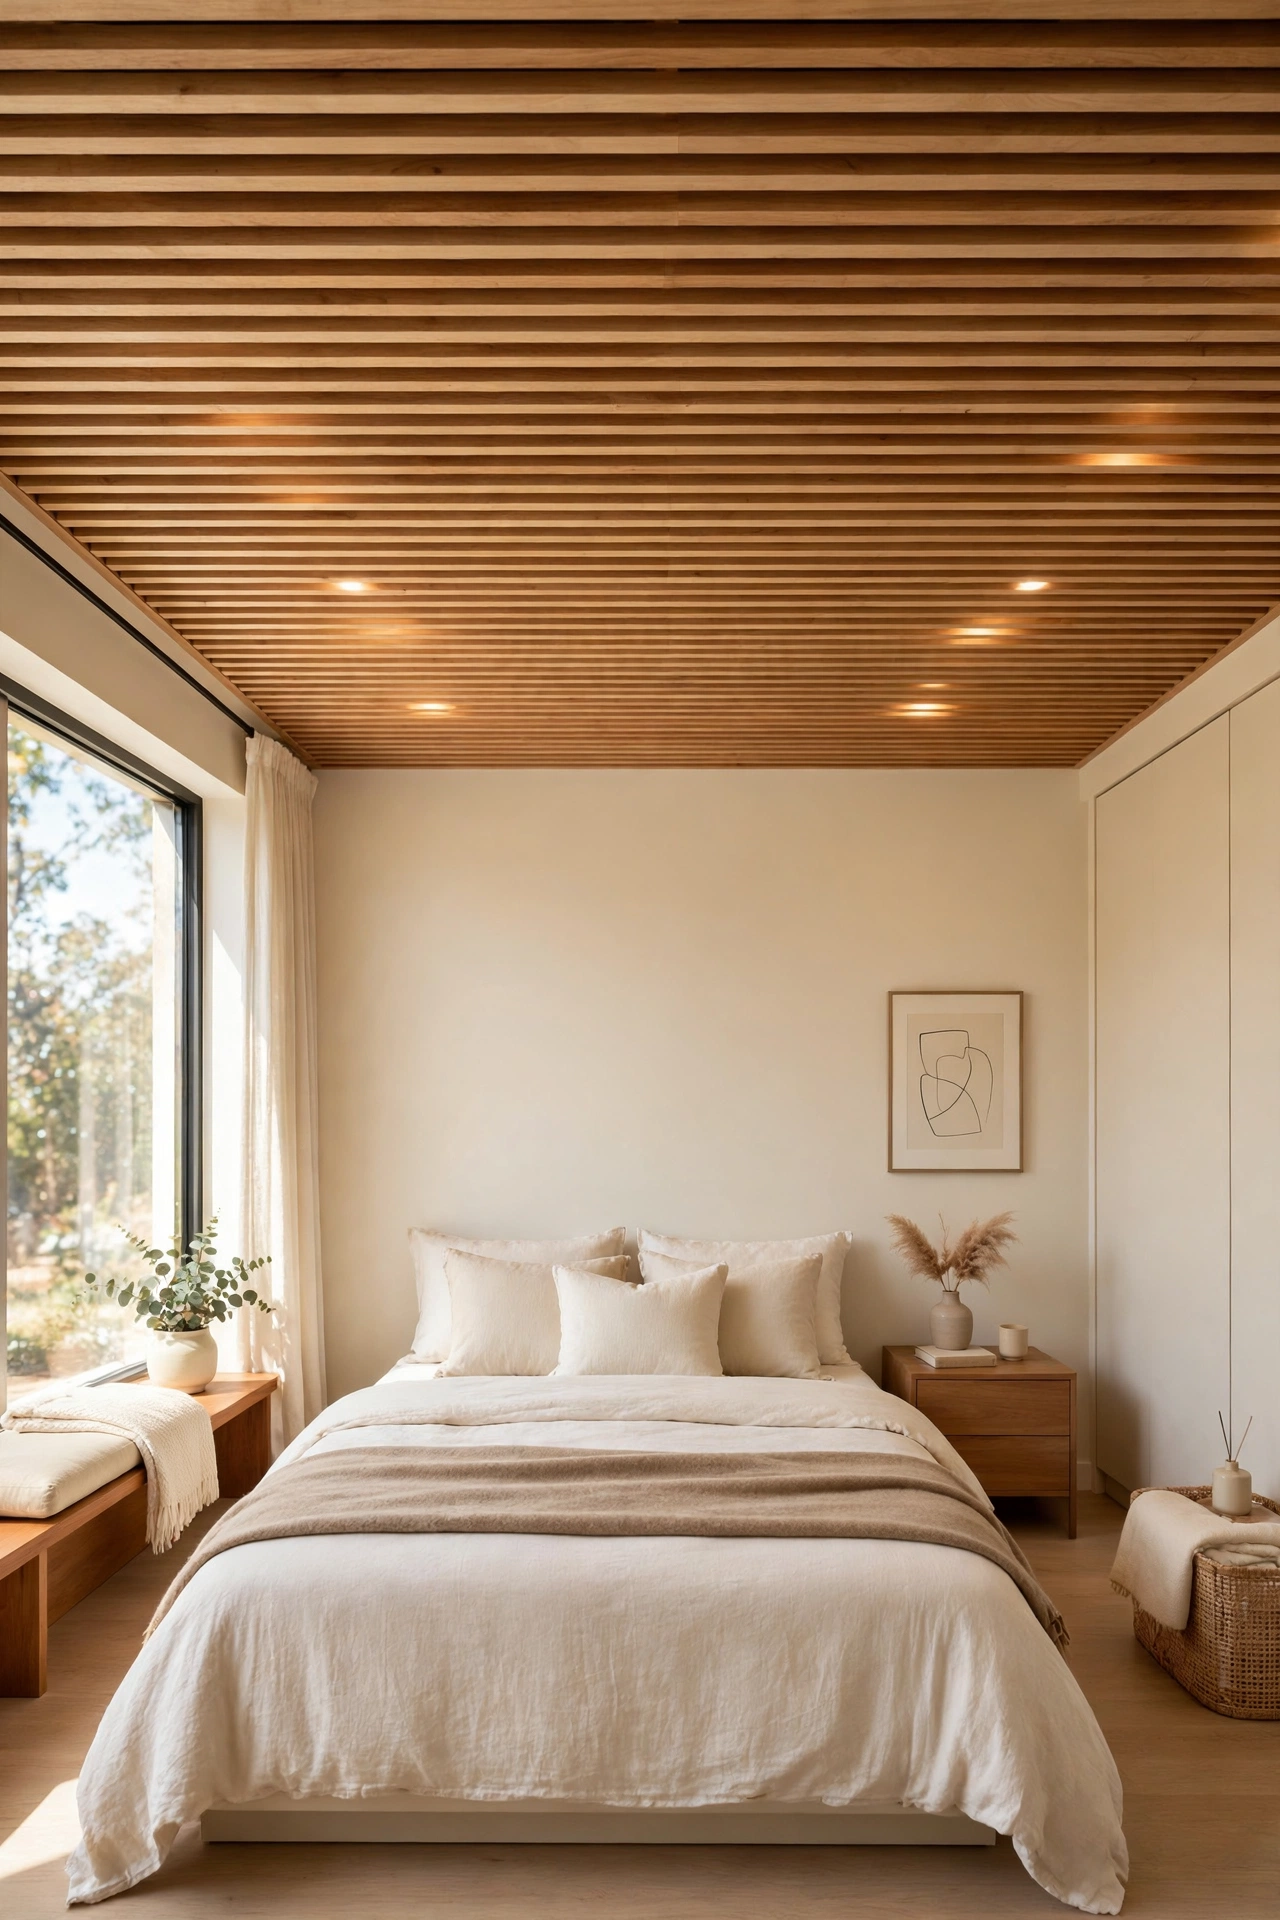
30. Take Slats Across the Ceiling
Slats across a ceiling create a warm canopy that makes a room feel cosy and crafted. The wood softens a plain white ceiling and adds interest overhead without taking any floor space. It suits bedrooms and dining rooms best.
Fix battens to the ceiling joists with strong screws and work with a helper to hold each slat in place. Keep the slats light in colour so the ceiling does not feel low. A ceiling of slats turns an ordinary room into something special.
31. Hide Storage Behind the Slats
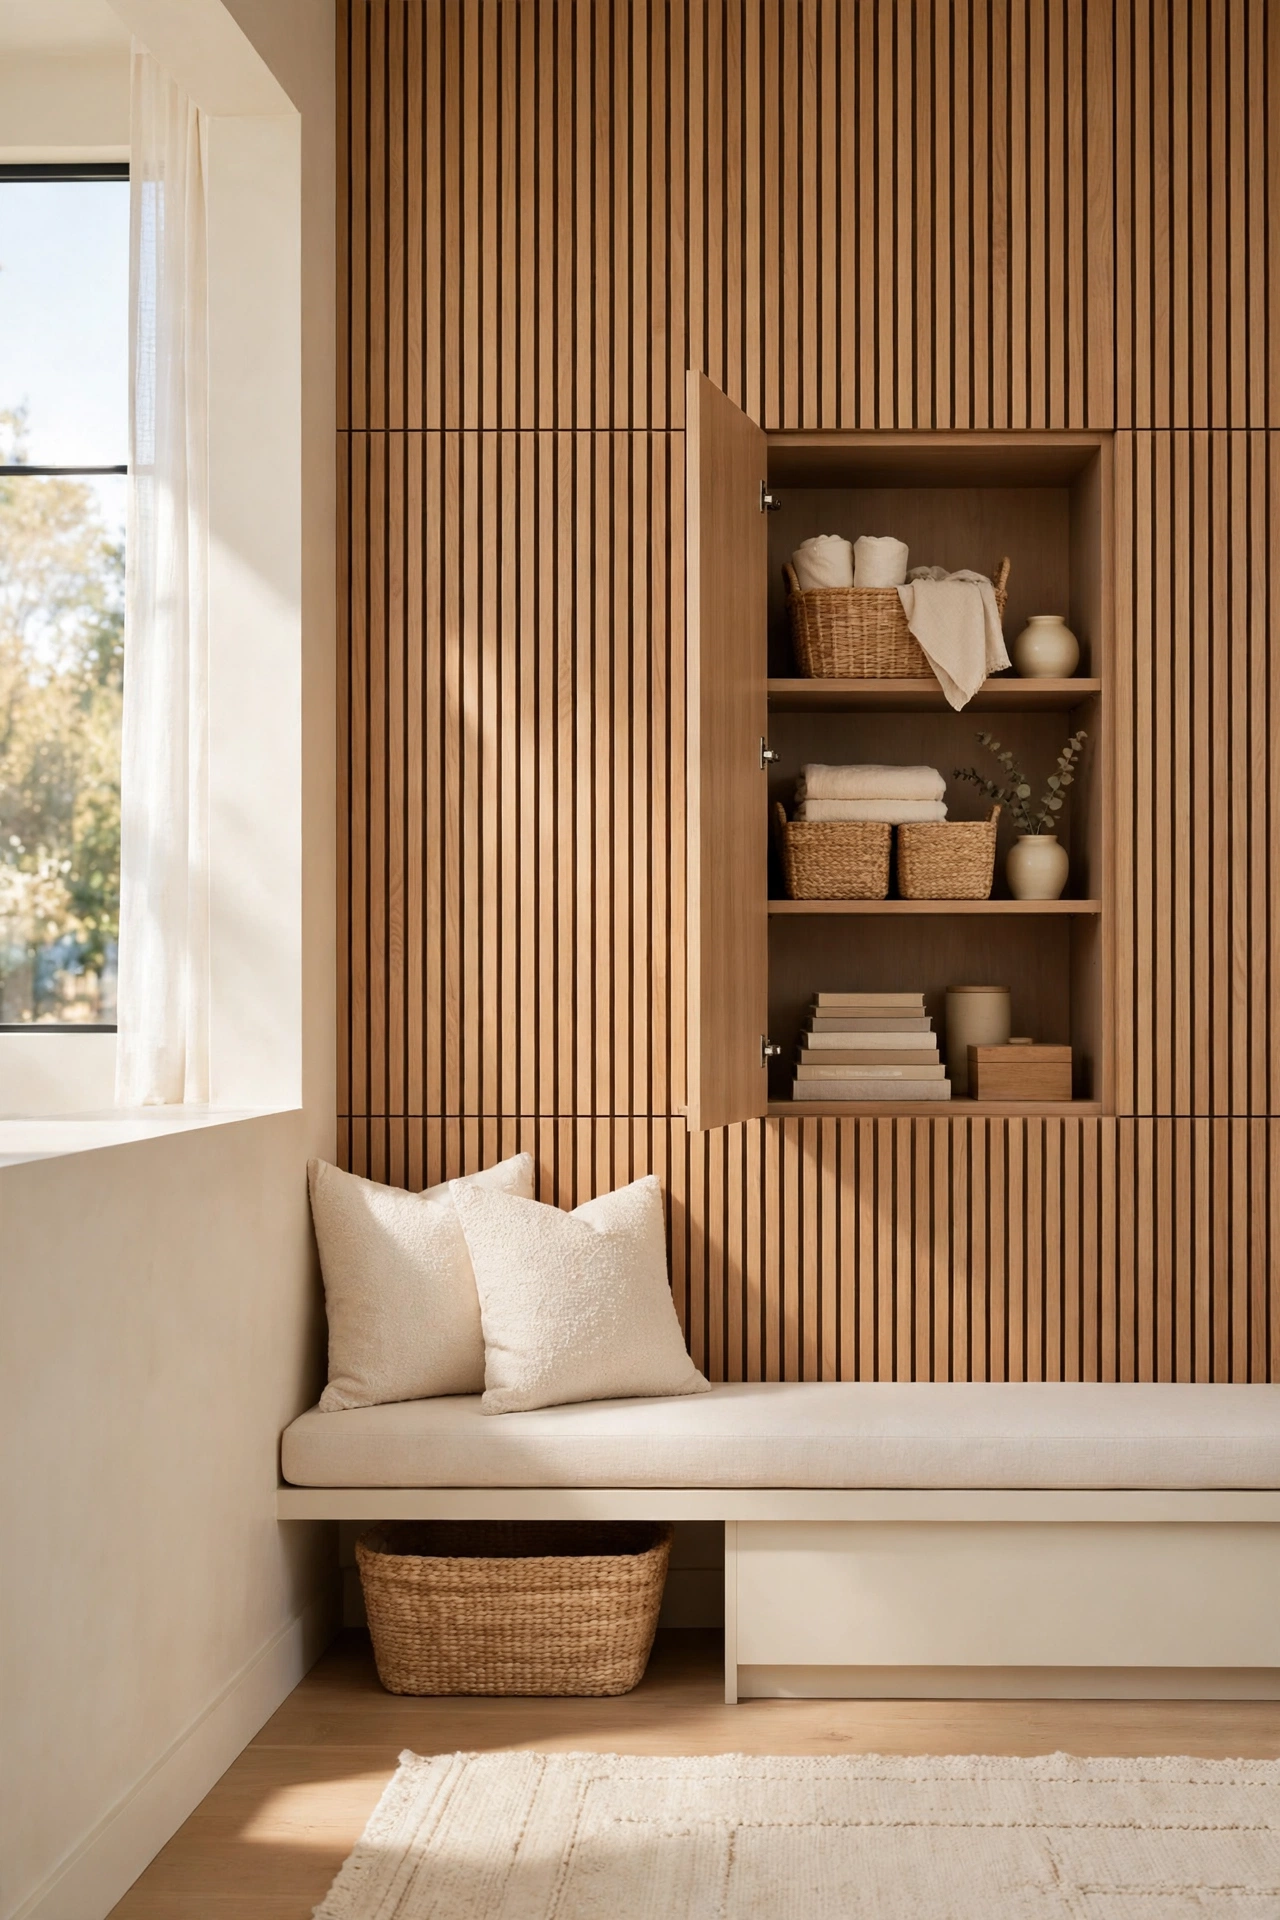
Hidden storage behind a slat wall is the cleverest trick in this list. A section of slats mounts on a hinged frame, opening to reveal shelves for books, games, or cleaning supplies. Closed, the wall looks like a plain feature with no clue that storage hides behind it.
Build the hidden door section on a strong hinge and keep it the same size as the surrounding slats. Add a small finger pull at the edge that blends into a gap. This idea gives you secret storage that guests will never notice.
Conclusion
A wooden slat wall is one of the best budget projects you can take on at home. It needs little more than timber, simple tools, and a free weekend, yet it changes the whole feeling of a room. From a classic wall behind the sofa to hidden storage and a glowing feature at night, each idea here adds warmth and craft to your home.
Pick one wall and start there. Measure carefully, cut slowly, and enjoy watching plain timber turn into a feature you will love for years. For more ways to add texture to plain walls on a budget, these peel and stick wallpaper ideas pair beautifully with a slat wall in the same home.
Frequently Asked Questions About DIY Wooden Slat Wall Ideas on a Budget
How much does a DIY wooden slat wall cost?
A small slat wall costs around 50 to 100 dollars in materials when you use pine battens or plywood strips. Larger walls cost more, but even a full living room feature usually stays under 300 dollars. Reclaimed wood and plywood strips bring the cost down further.
What is the best wood for a slat wall?
Pine is the best choice for most DIY slat walls because it is cheap, light, and easy to cut. Oak and walnut look richer but cost more. Plywood strips are a good budget option, while cedar and teak suit bathrooms because they resist moisture.
Do I need a backing board behind the slats?
A backing board is not required, but it makes the job easier and the finish tidier. You can fix slats straight to the wall with adhesive and pins, or fix them to a thin plywood panel first. A painted backing board also gives the gaps a clean, even colour.
How do I keep a slat wall level?
Use a spirit level on every slat and a spacer block to keep the gaps even. Start from the centre of the wall and work outward so any small error lands at the edges. Check the level again after every few slats, because small drifts add up across a wide wall.
Can I remove a slat wall later without damage?
Yes, slats fixed with adhesive and small pins come off with a scraper and a little filler for the holes. Walls may need a fresh coat of paint after removal. Slats fixed to a backing panel come off even more cleanly, since only the panel fixings touch the wall.

Hi, I’m Emily! I turn messy corners into cozy, organized spots. DreamNestDecor is where I share simple, practical home ideas — decor, organization, and small-space solutions that work in real life, not just in photos. Every idea here is carefully researched before it’s shared.