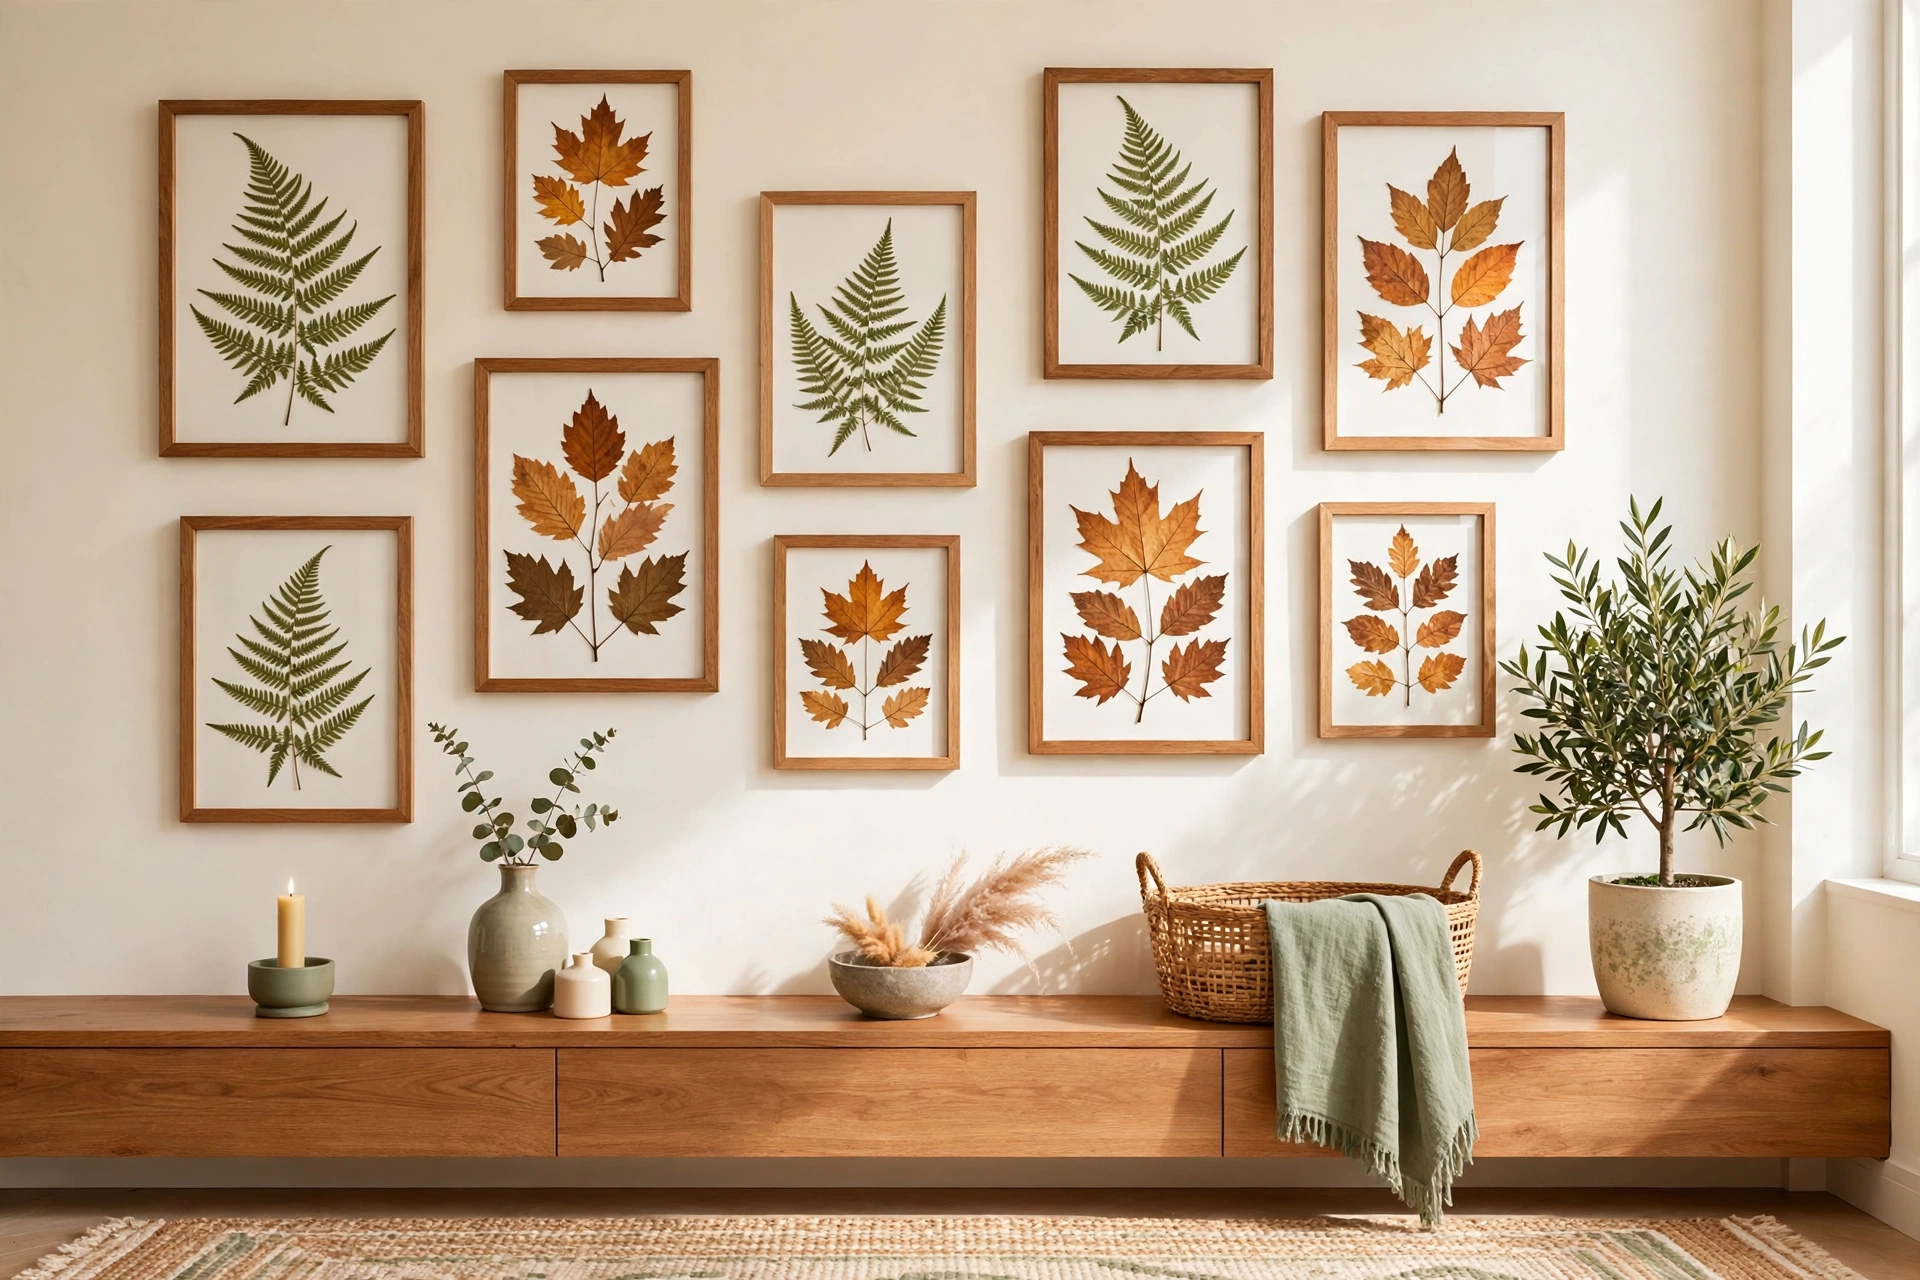
Picture this: you walk into a living room and the wall above the sofa is filled with soft green ferns, golden maple leaves, and delicate eucalyptus sprigs, all pressed flat and framed with care. The leaves were free, gathered from your own garden or a walk in the park, yet the display looks like it came from an expensive home decor shop. That simple magic is exactly what botanical wall art with real leaves gives to a home.
You do not need a large budget or any art training to make it. All you need is a few fresh leaves, a heavy book, and a frame you already own. These 33 DIY botanical wall art ideas using real leaves will help you turn plain walls into fresh, natural displays that bring the outdoors inside.
1. Press Fern Fronds in a Simple Frame
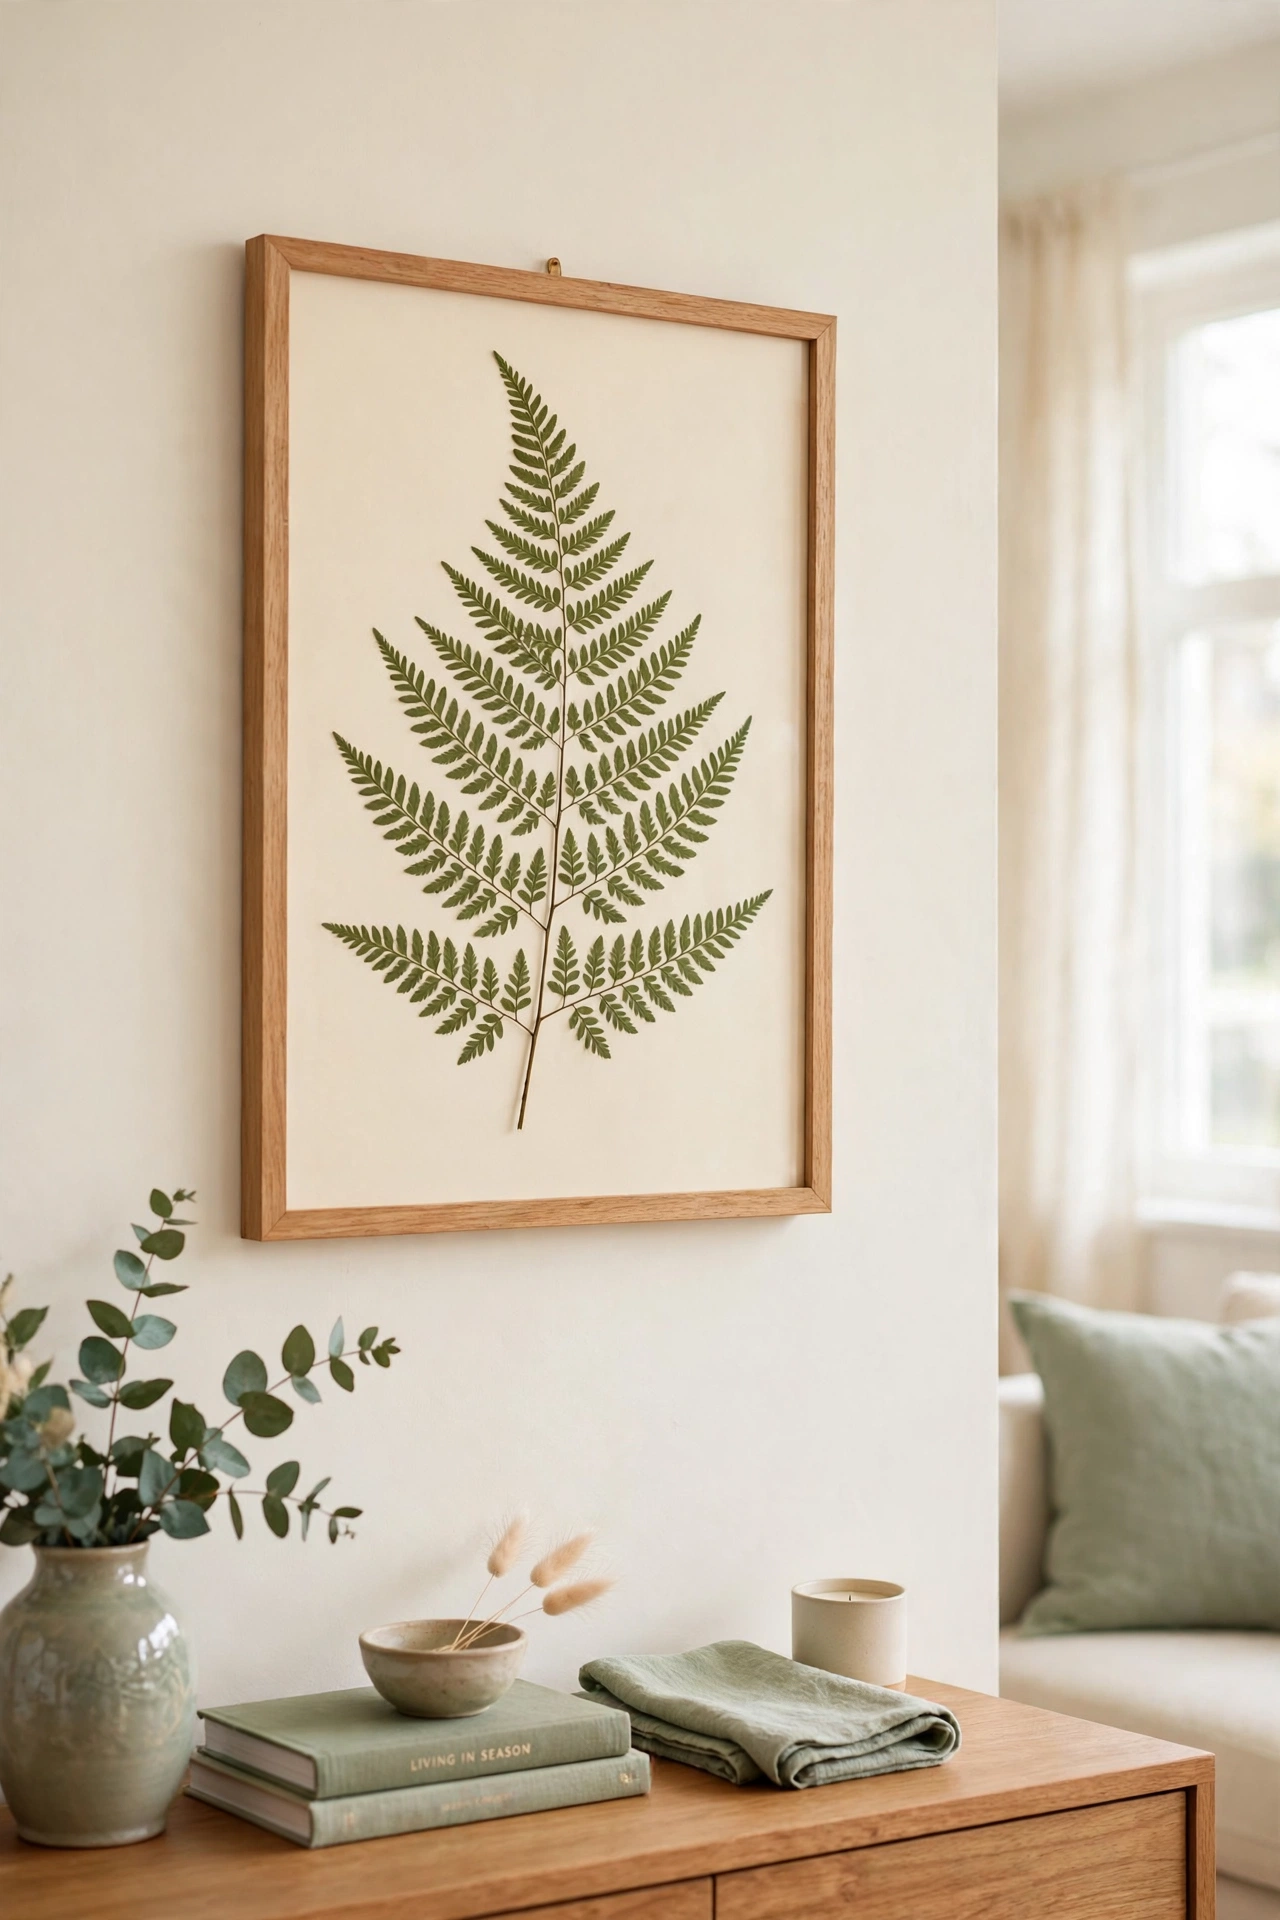
Fern fronds press beautifully because their fine leaves keep their shape and color for years. Choose a young frond with fresh green color and lay it flat between sheets of plain paper inside a heavy book. Leave it for two weeks until it feels dry and papery to the touch.
Mount the pressed frond on a cream card and slide it into a simple wooden frame. Hang it in a hallway or above a desk where the soft green adds life without shouting for attention. A single fern in a clean frame looks calm, elegant, and completely natural.
2. Create a Leaf Grid in a Gallery Wall
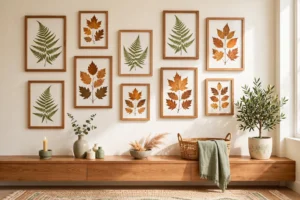
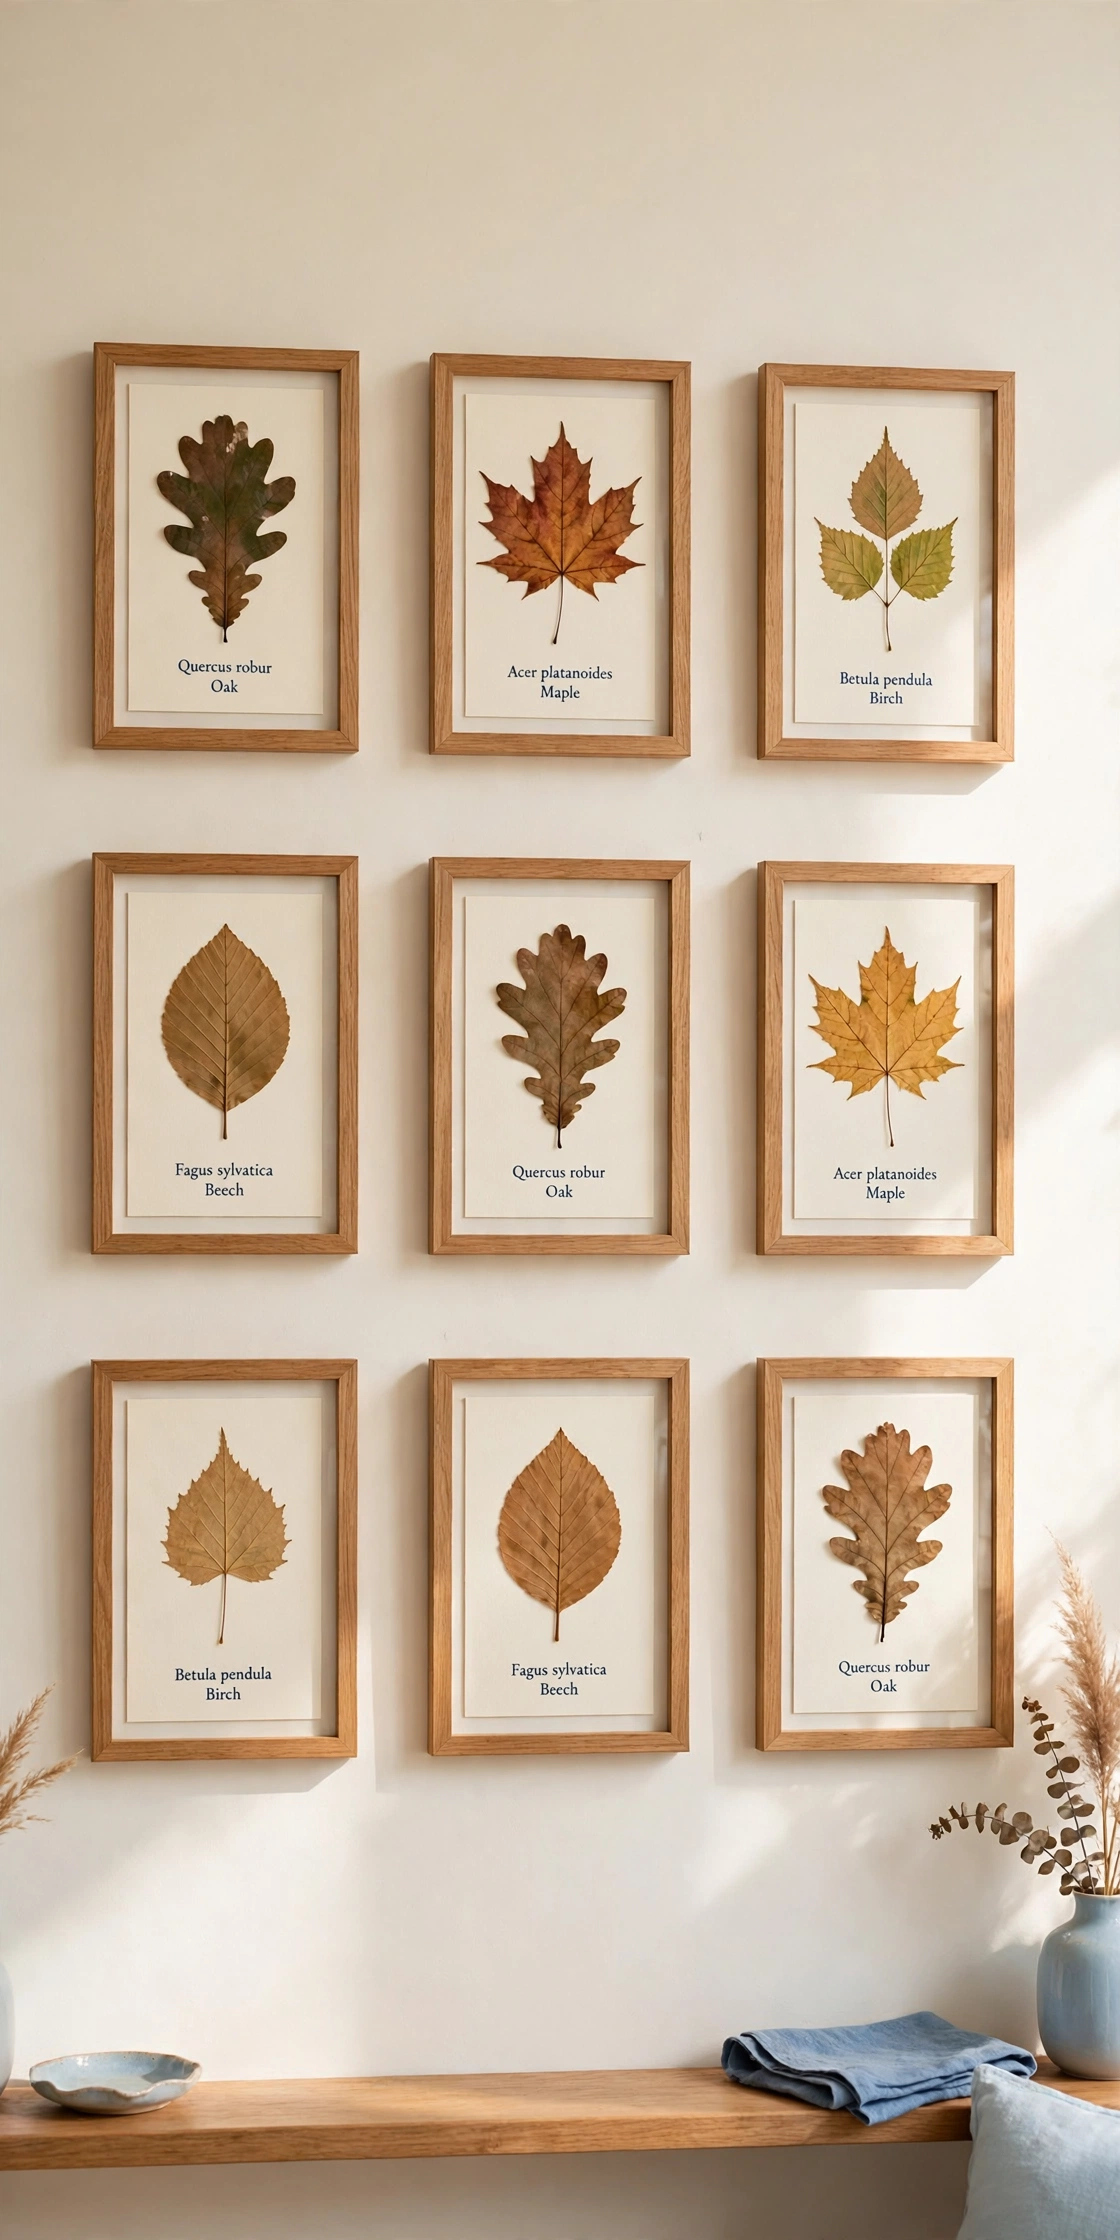
A grid of small frames, each holding a different leaf, turns a blank wall into a living herbarium. Choose leaves of similar size but different shapes, such as oak, maple, birch, and beech, and press them all the same way. When the leaves are dry, mount each one on matching cream cards.
Hang the frames in a neat grid with even spacing, three across and three down, for a tidy gallery effect. For more ideas on arranging framed art with confidence, see these antique gallery wall ideas. The grid looks organized and intentional, and guests will love spotting each different leaf.
3. Make a Floating Frame with a Single Maple Leaf
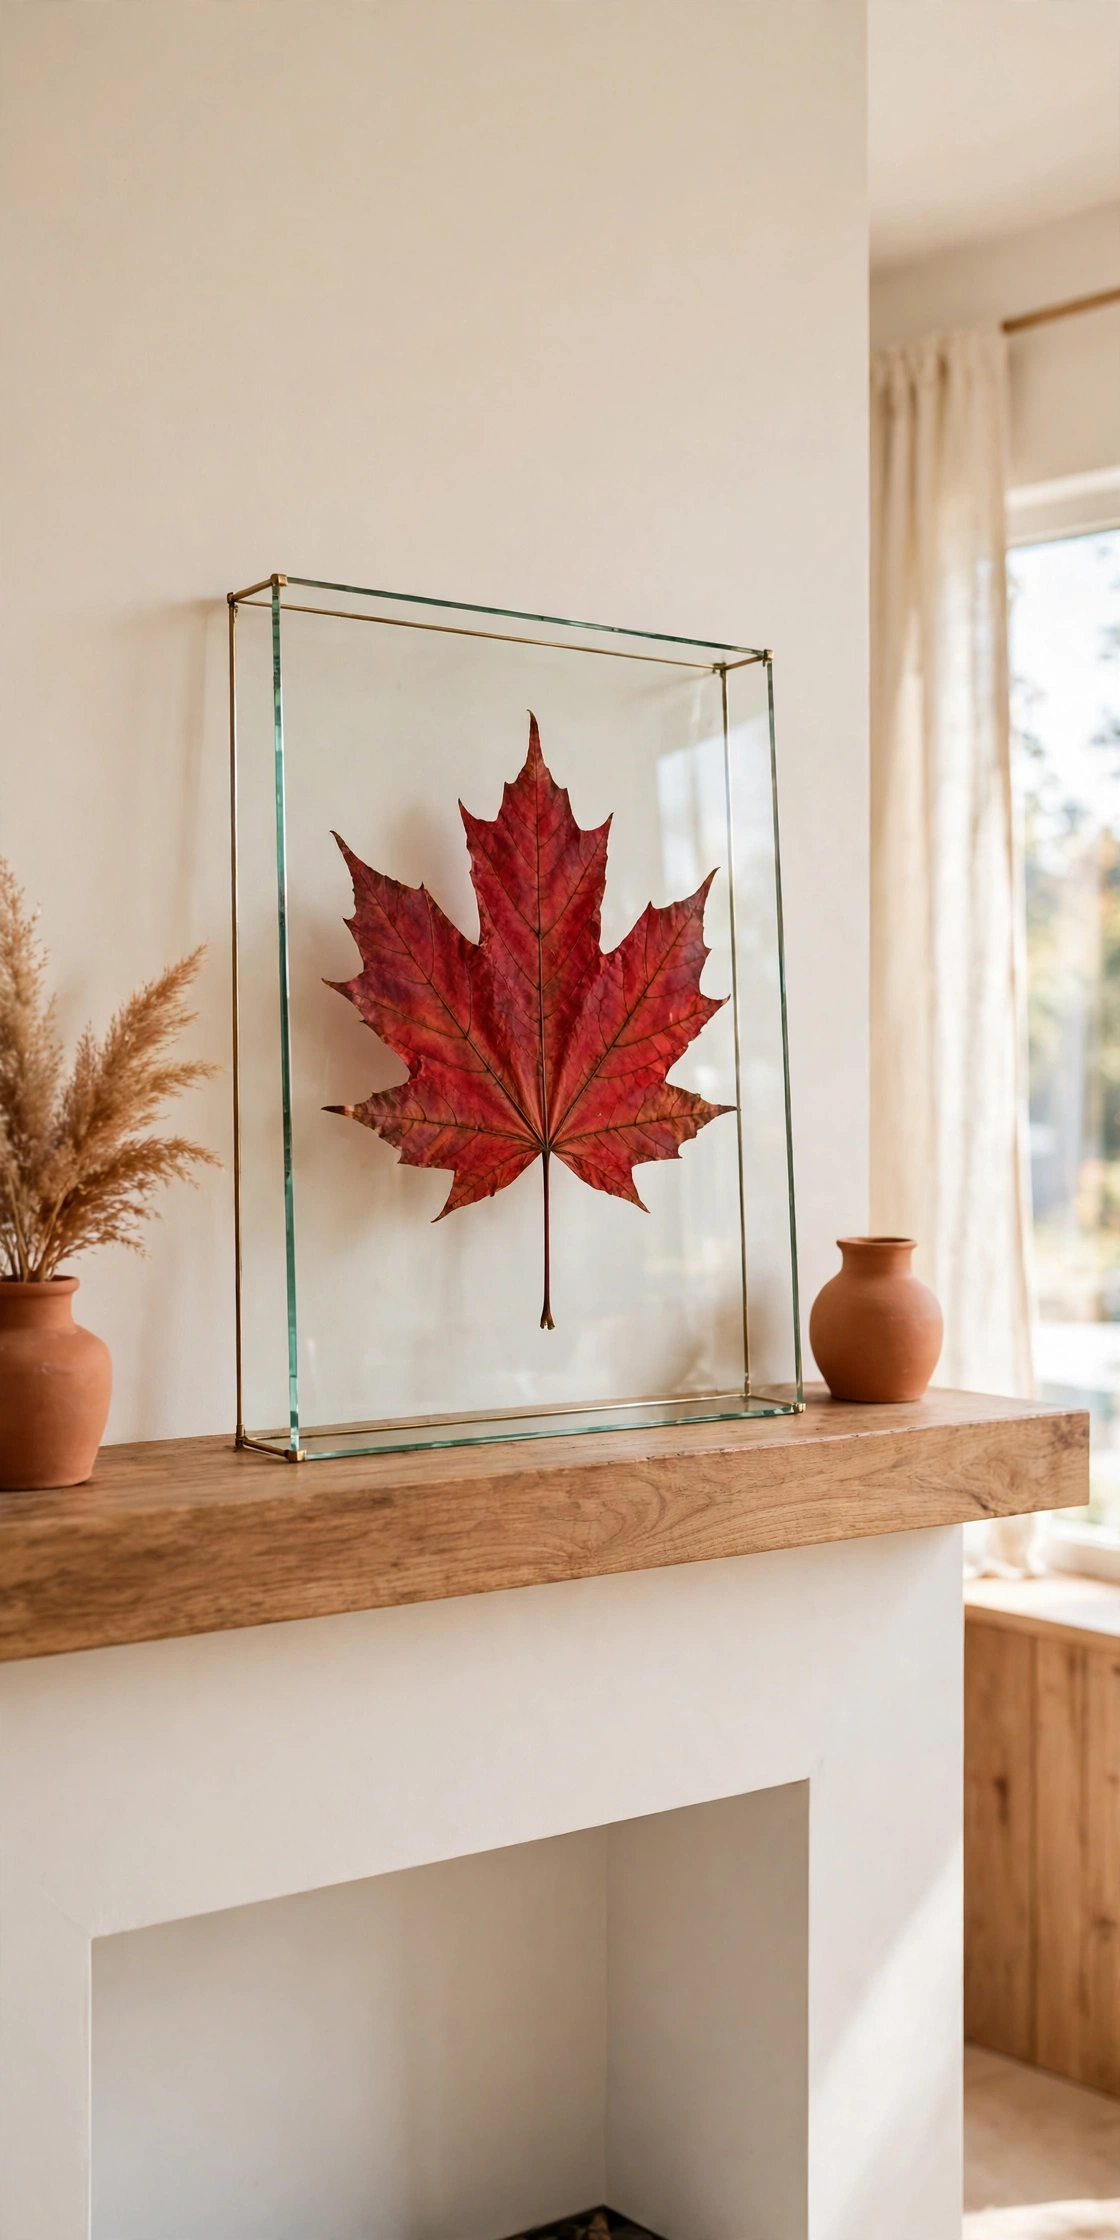
A floating frame holds a leaf between two sheets of glass, so it looks suspended in midair. Choose one perfect maple leaf with rich autumn color and press it flat first. The glass on both sides lets light pass through the leaf and shows off every vein.
Place the floating frame on a mantel or hang it in front of a pale wall so the leaf glows in daylight. A single bold leaf makes a stronger statement than a crowded display. This is one of the easiest botanical projects, and it suits modern and classic rooms alike.
4. Arrange a Eucalyptus Sprig Shadow Box
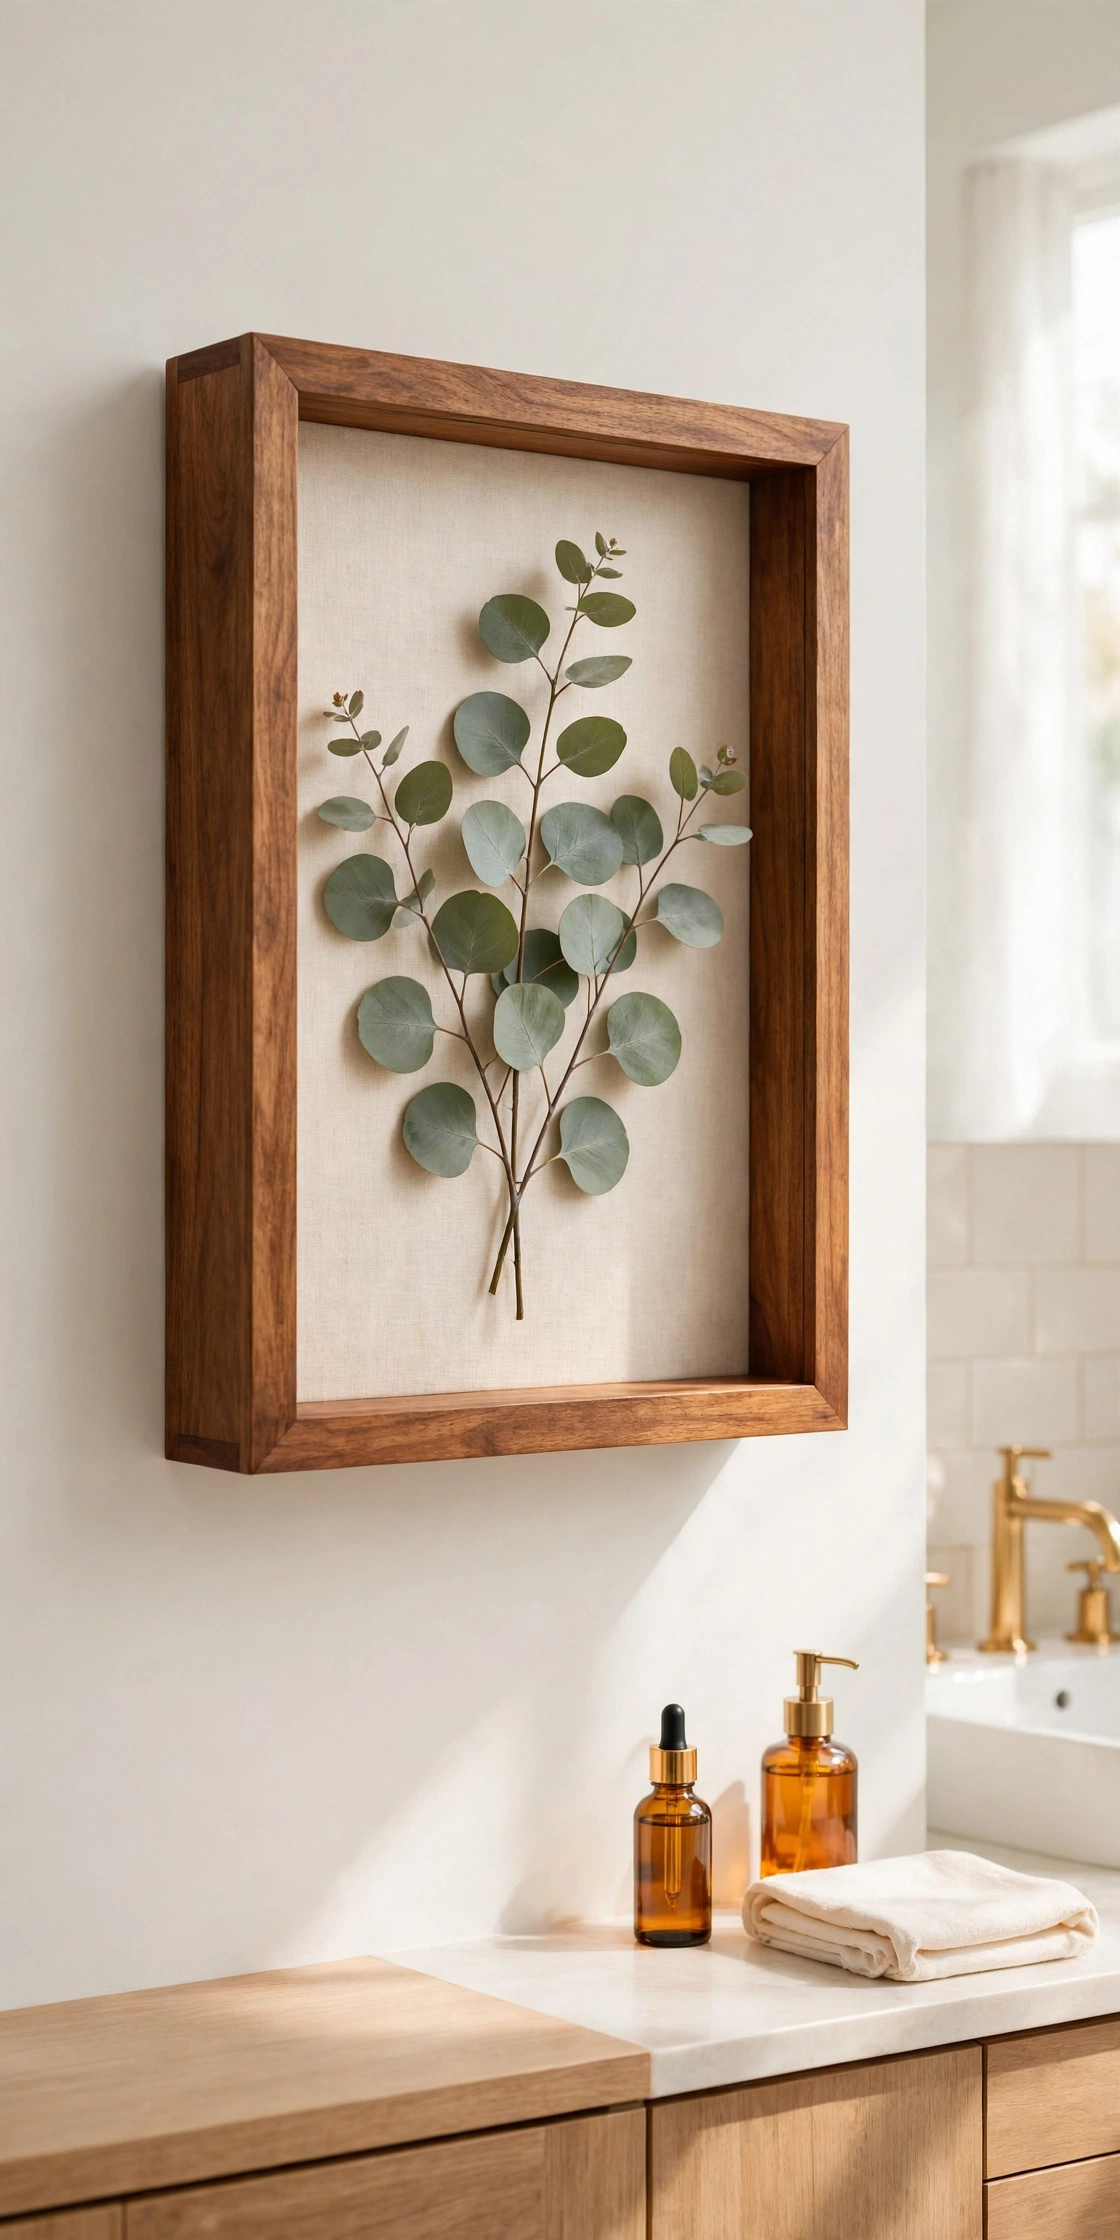
A shadow box is a deep frame that gives flat leaves room to breathe. Lay a fresh eucalyptus sprig inside, with its round silver green leaves fanned out across a linen backing. The depth of the box keeps the sprig from being crushed while the glass protects it from dust.
Choose a shadow box in warm wood or soft white to match the room. Hang it in a bathroom or bedroom where the cool green tones feel calm and fresh. Eucalyptus keeps its shape well when dried, so the display stays beautiful for a long time.
5. Press Wildflowers and Leaves in Vintage Frames
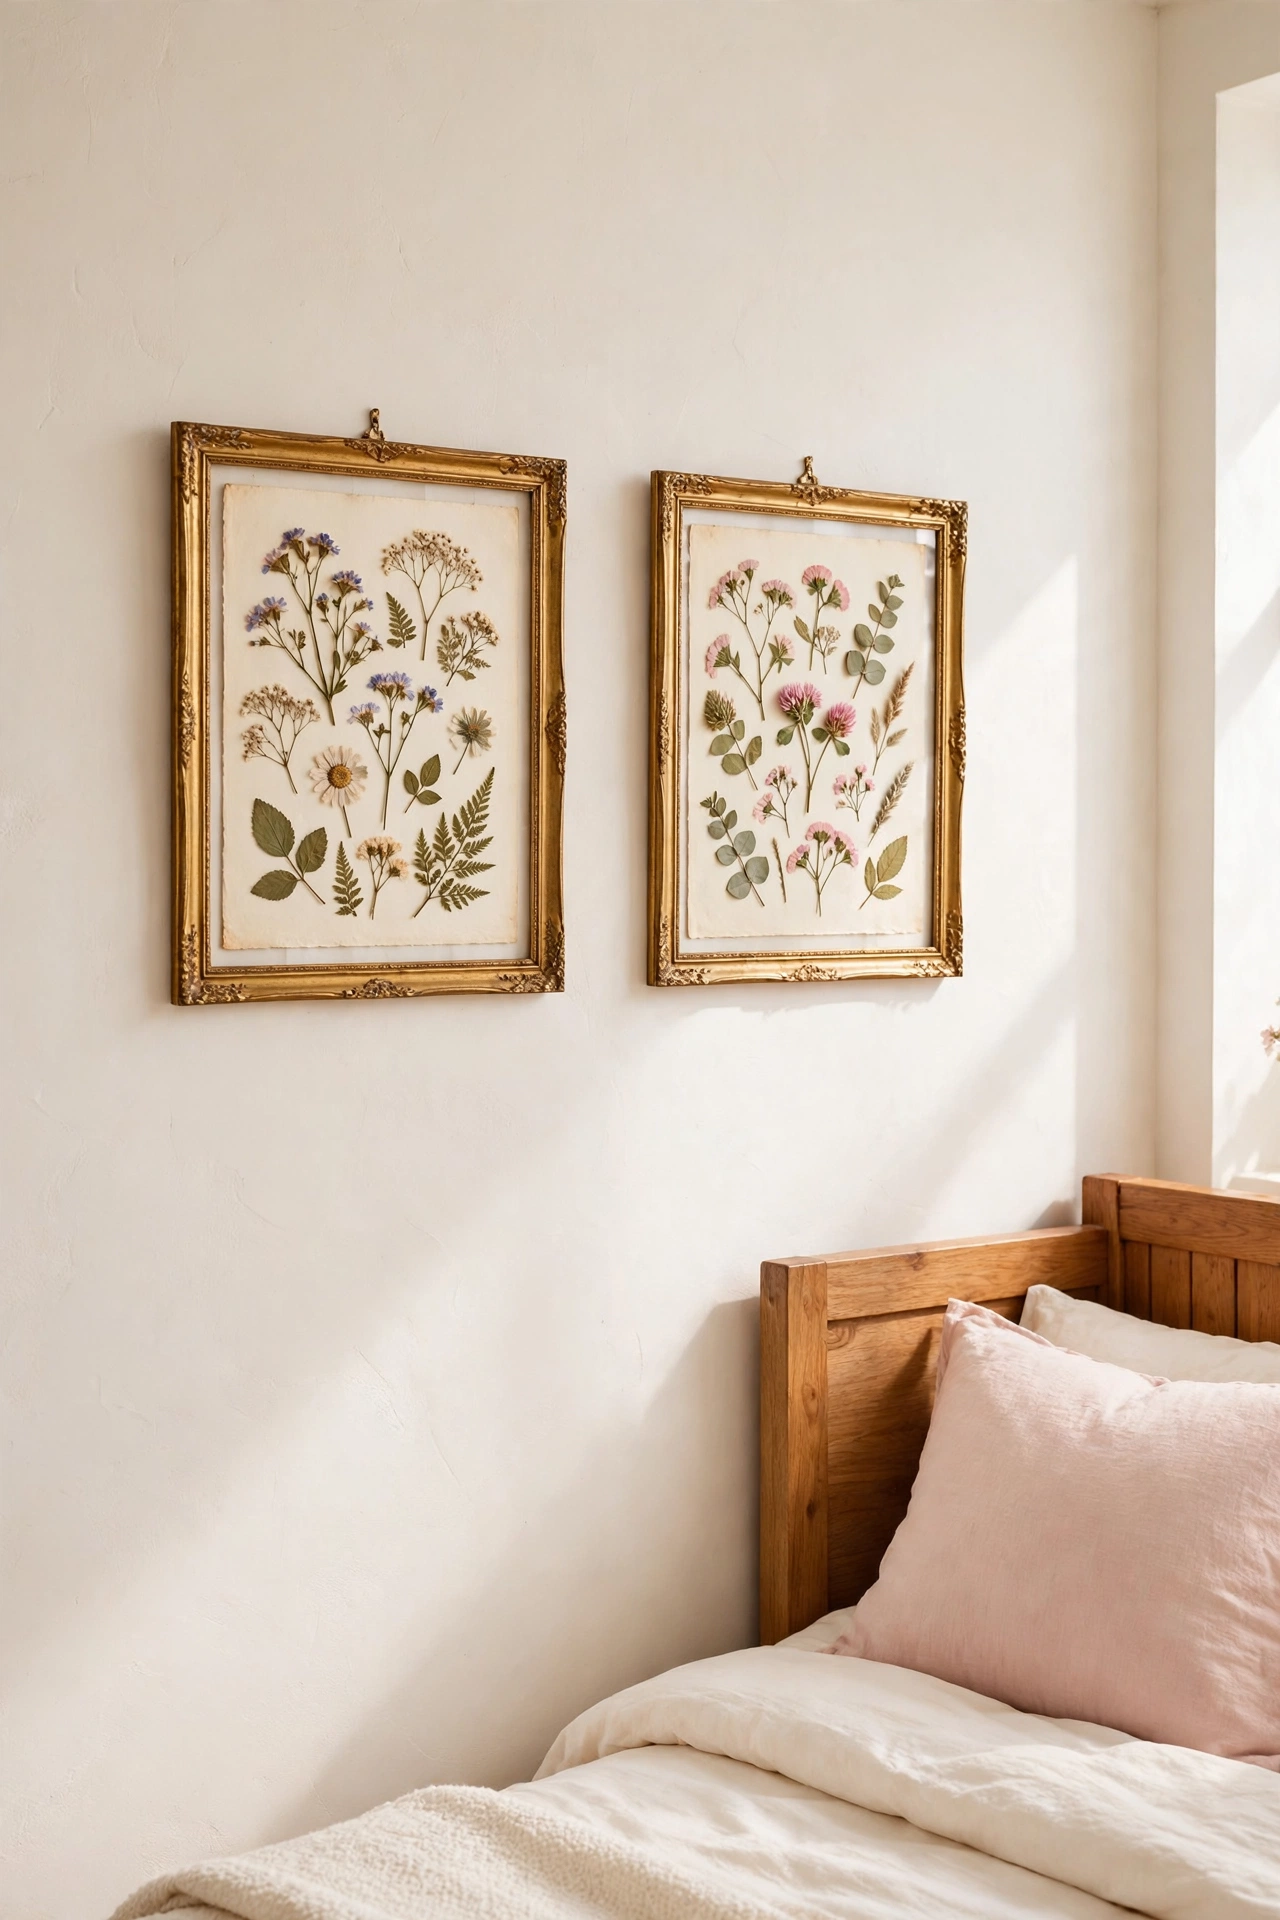
Old vintage frames from thrift shops give pressed leaves a charming, collected feel. Mix small wildflowers with the leaves you press, such as daisies, clover, and tiny ferns, and arrange them on aged cream paper. The combination of flowers and leaves looks like a page from an old nature journal.
Hang two or three vintage frames together in a bedroom or reading nook for a soft, romantic display. The worn gold or dark wood of the frames adds warmth that new frames cannot copy. This project costs very little and fills a wall with real garden beauty.
6. Build a Herbarium Style Leaf Collection Wall
A herbarium wall copies the look of old botanical collections, with each leaf labeled and mounted in a row. Press leaves from trees in your neighborhood, then mount each one on a white card with a small handwritten label underneath. Use neat handwriting or printed labels for a clean, scientific look.
Arrange the cards in a straight row or a grid on a study wall or in a hallway. The labels turn a simple leaf display into a conversation piece, and children love learning the name of each tree. This wall brings order and curiosity into any room.
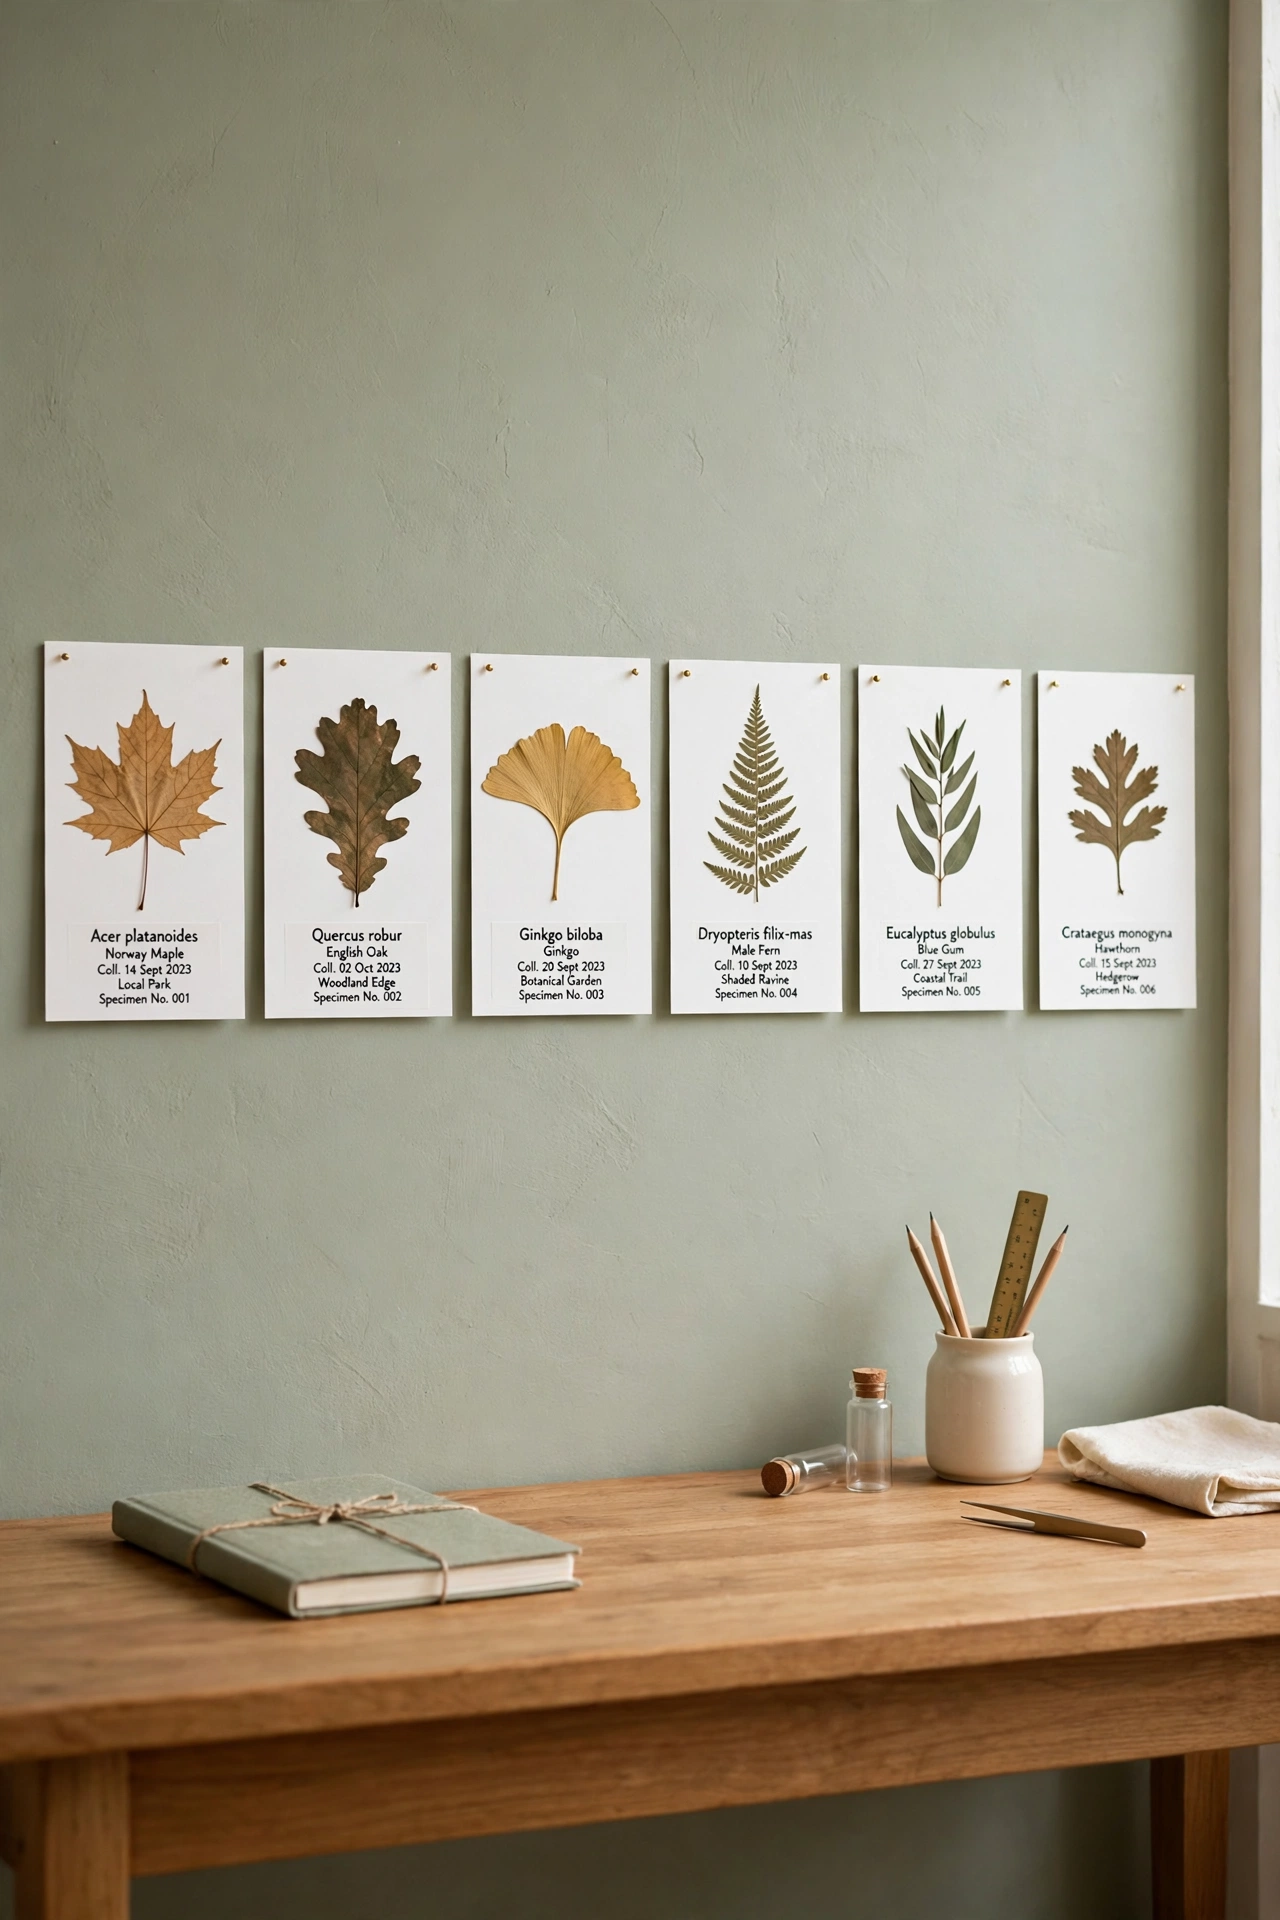
7. Frame Pressed Leaves in a Glass Clip Frame
A glass clip frame has no bulky border, just two glass panels held together by metal clips. Sandwich a pressed leaf between the glass and mount it on a plain card so the leaf is the only thing you see. The frameless look feels light and modern.
Hang clip frames in a kitchen or a small apartment where heavy frames would feel too much. The glass reflects daylight and makes the leaves look fresh and alive. This is a cheap and quick way to dress up a plain wall with real nature.
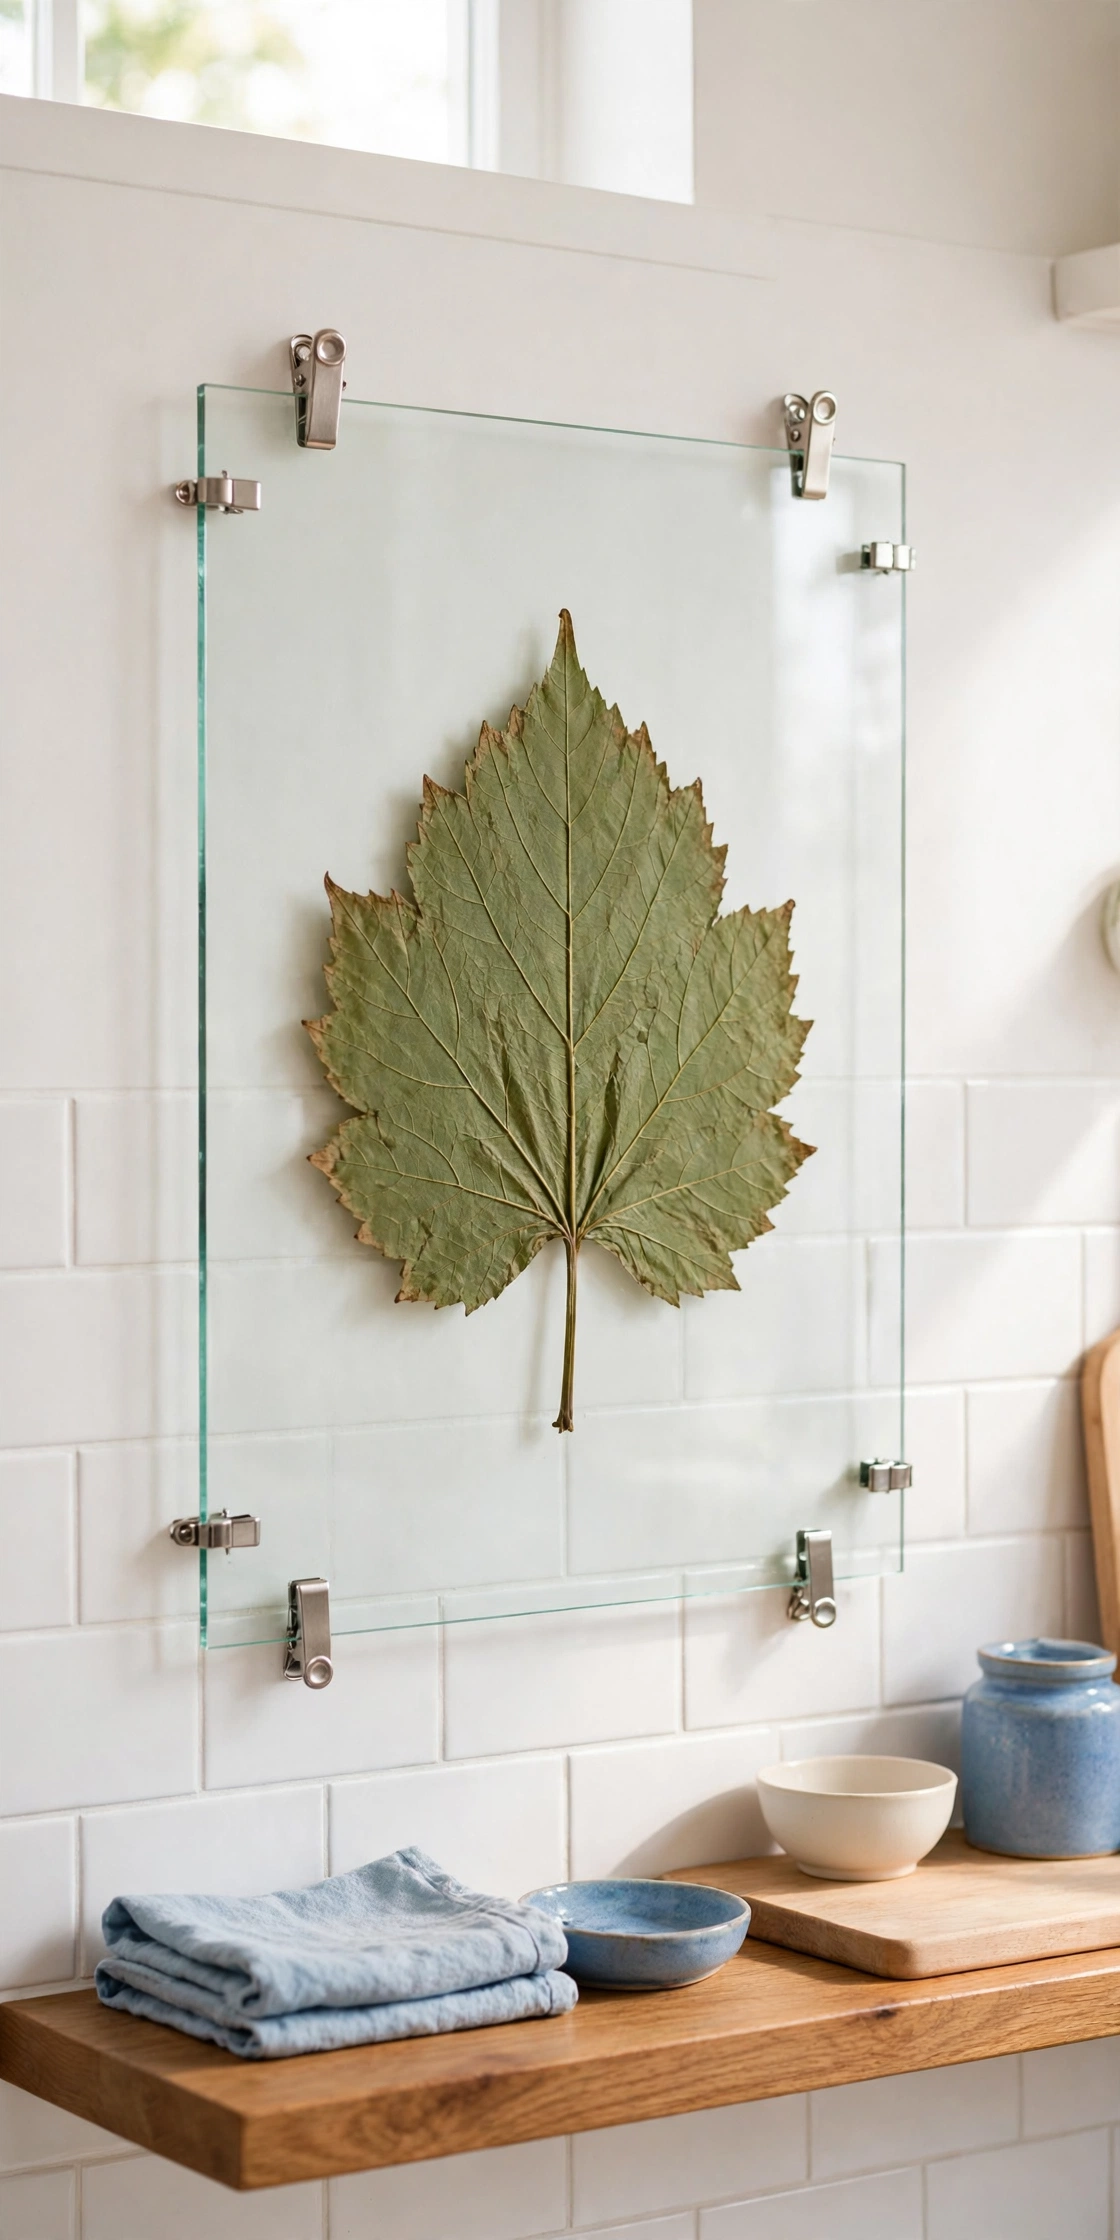
8. Make a Leaf Wreath Wall Hanging
A wreath made from dried leaves brings soft autumn color to any wall. Start with a plain grapevine wreath base and tuck dried oak, maple, and beech leaves into the vines until the circle looks full. Add a few pinecones or dried seed pods for texture if you like.
Hang the wreath above a fireplace, on a front door, or in an entryway where it greets every visitor. The warm golds and reds of dried leaves suit fall perfectly, and the wreath lasts for a whole season. This is a welcoming project that uses leaves you can gather for free.
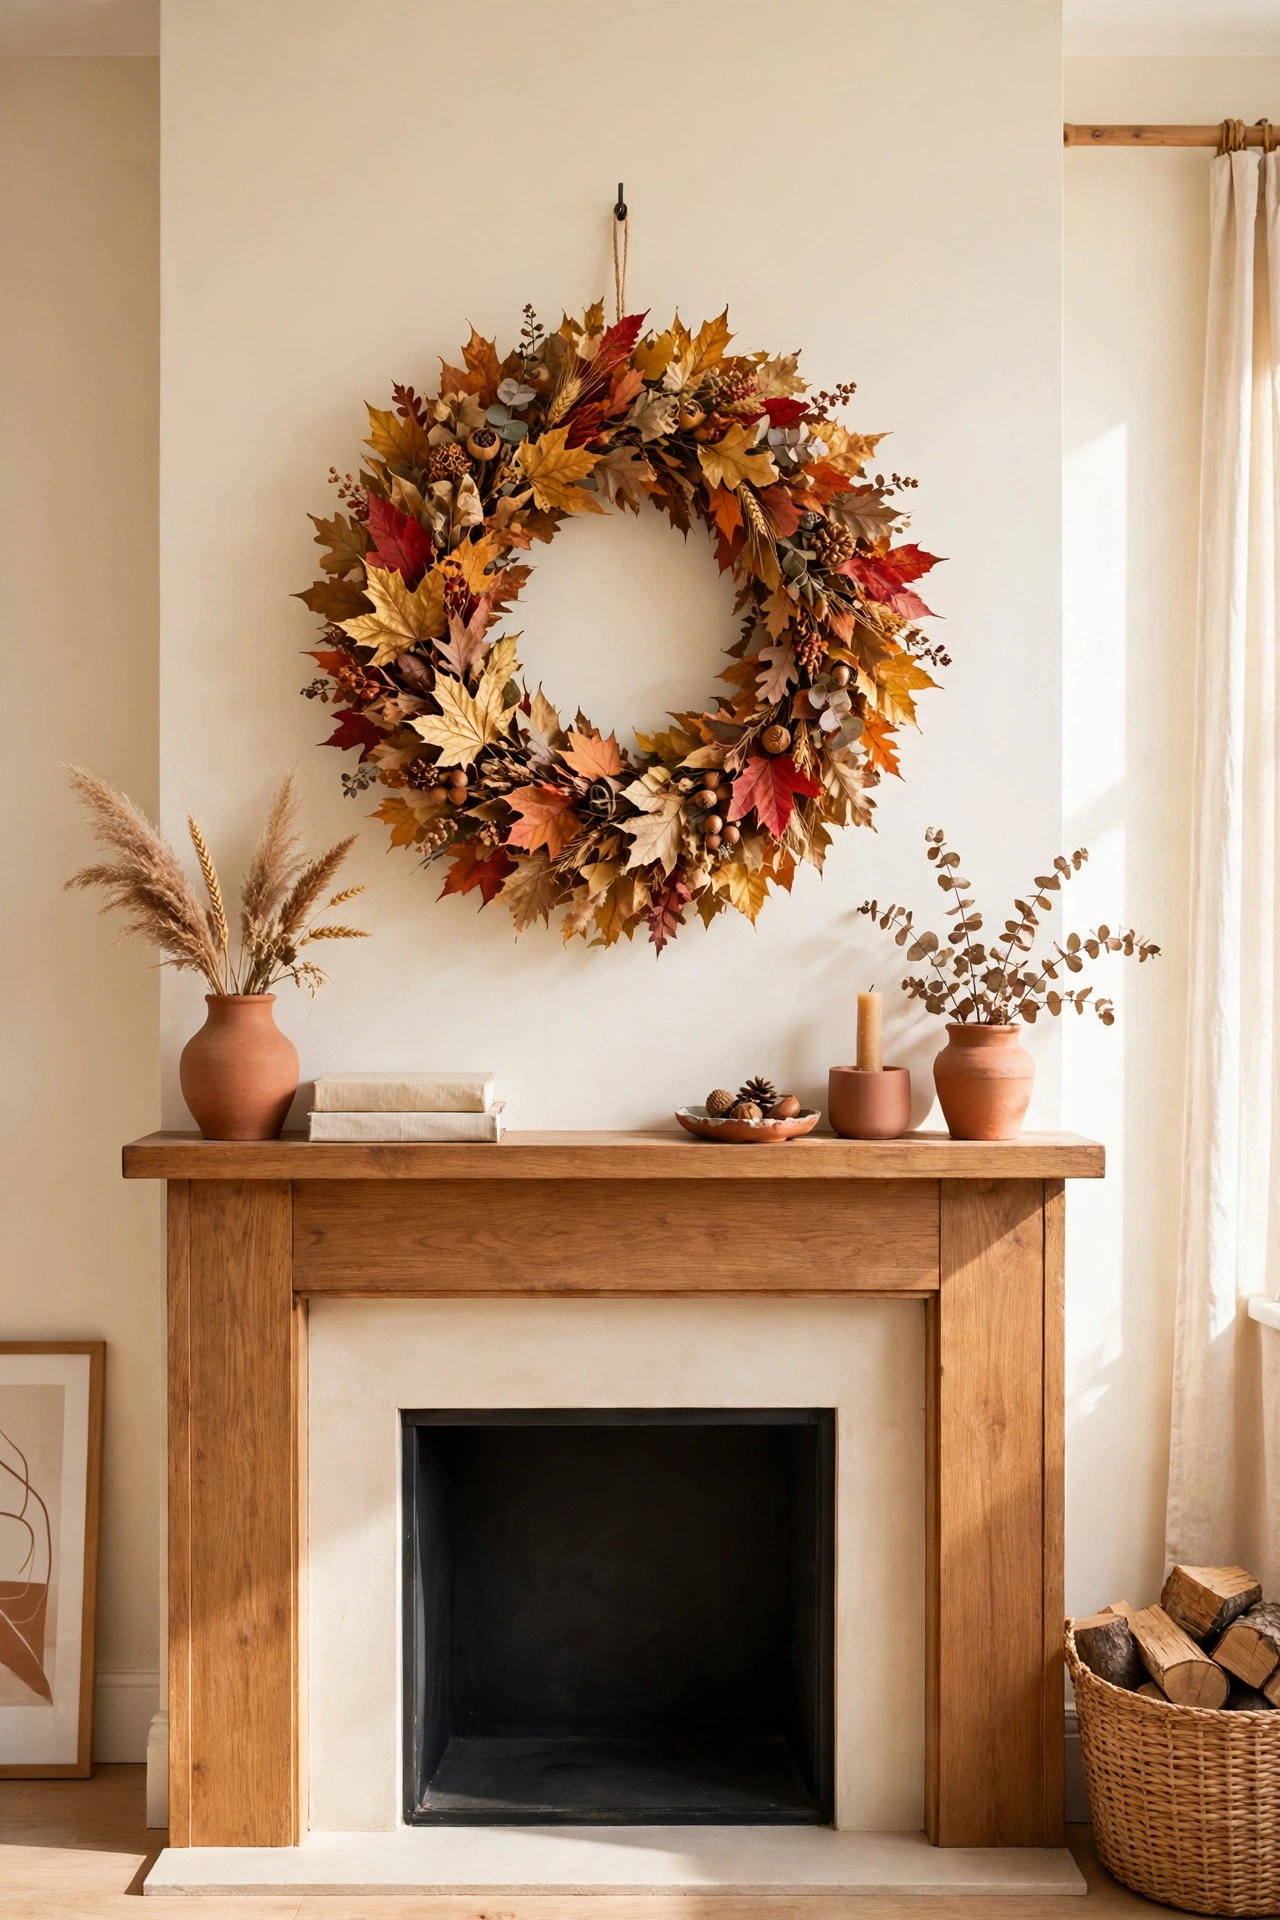
9. Create Leaf Prints with Paint on Canvas
Leaf printing turns real leaves into stamps for canvas art. Brush a thin layer of craft paint onto the back of a fresh leaf, then press it firmly onto a white canvas. Lift the leaf away and a perfect print of every vein remains behind.
Repeat the print in different colors, such as sage green, soft blue, and terracotta, until the canvas feels balanced. Hang the finished canvas in a living room or a child bedroom where the playful pattern adds color. This project is fun for the whole family and each canvas turns out unique.
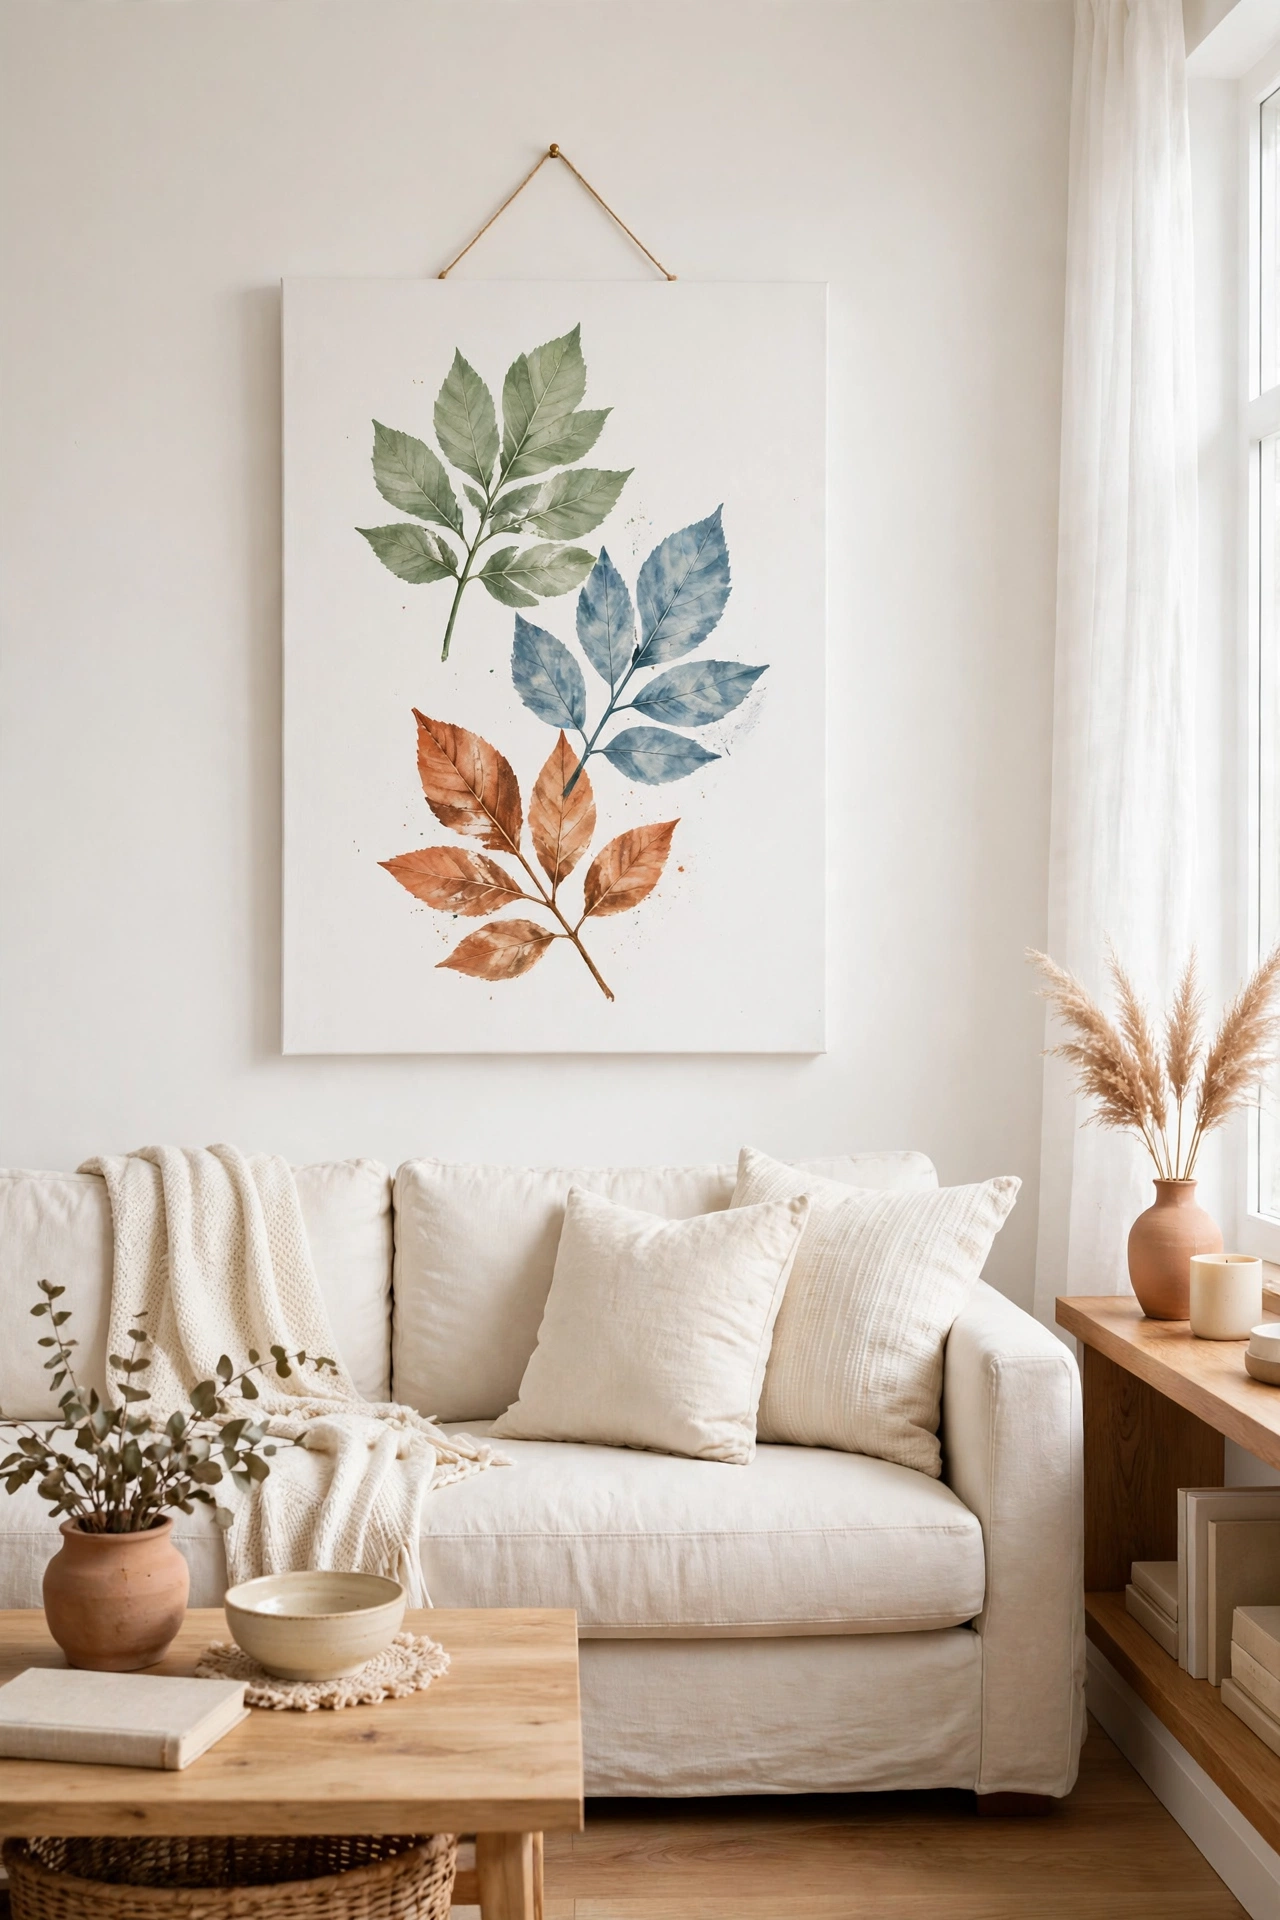
10. Press Autumn Leaves in a Large Format Frame
A large frame filled with autumn leaves makes a bold seasonal statement. Gather leaves in red, gold, and orange, press them flat, and arrange them in a loose scatter across a cream background. The mix of warm colors looks like a snapshot of a forest floor in October.
Hang the large frame above a sofa or a sideboard as the main artwork of the room. Swap the leaves each year when fresh autumn leaves fall, so the display always feels current. This oversized piece costs almost nothing yet fills a whole wall.
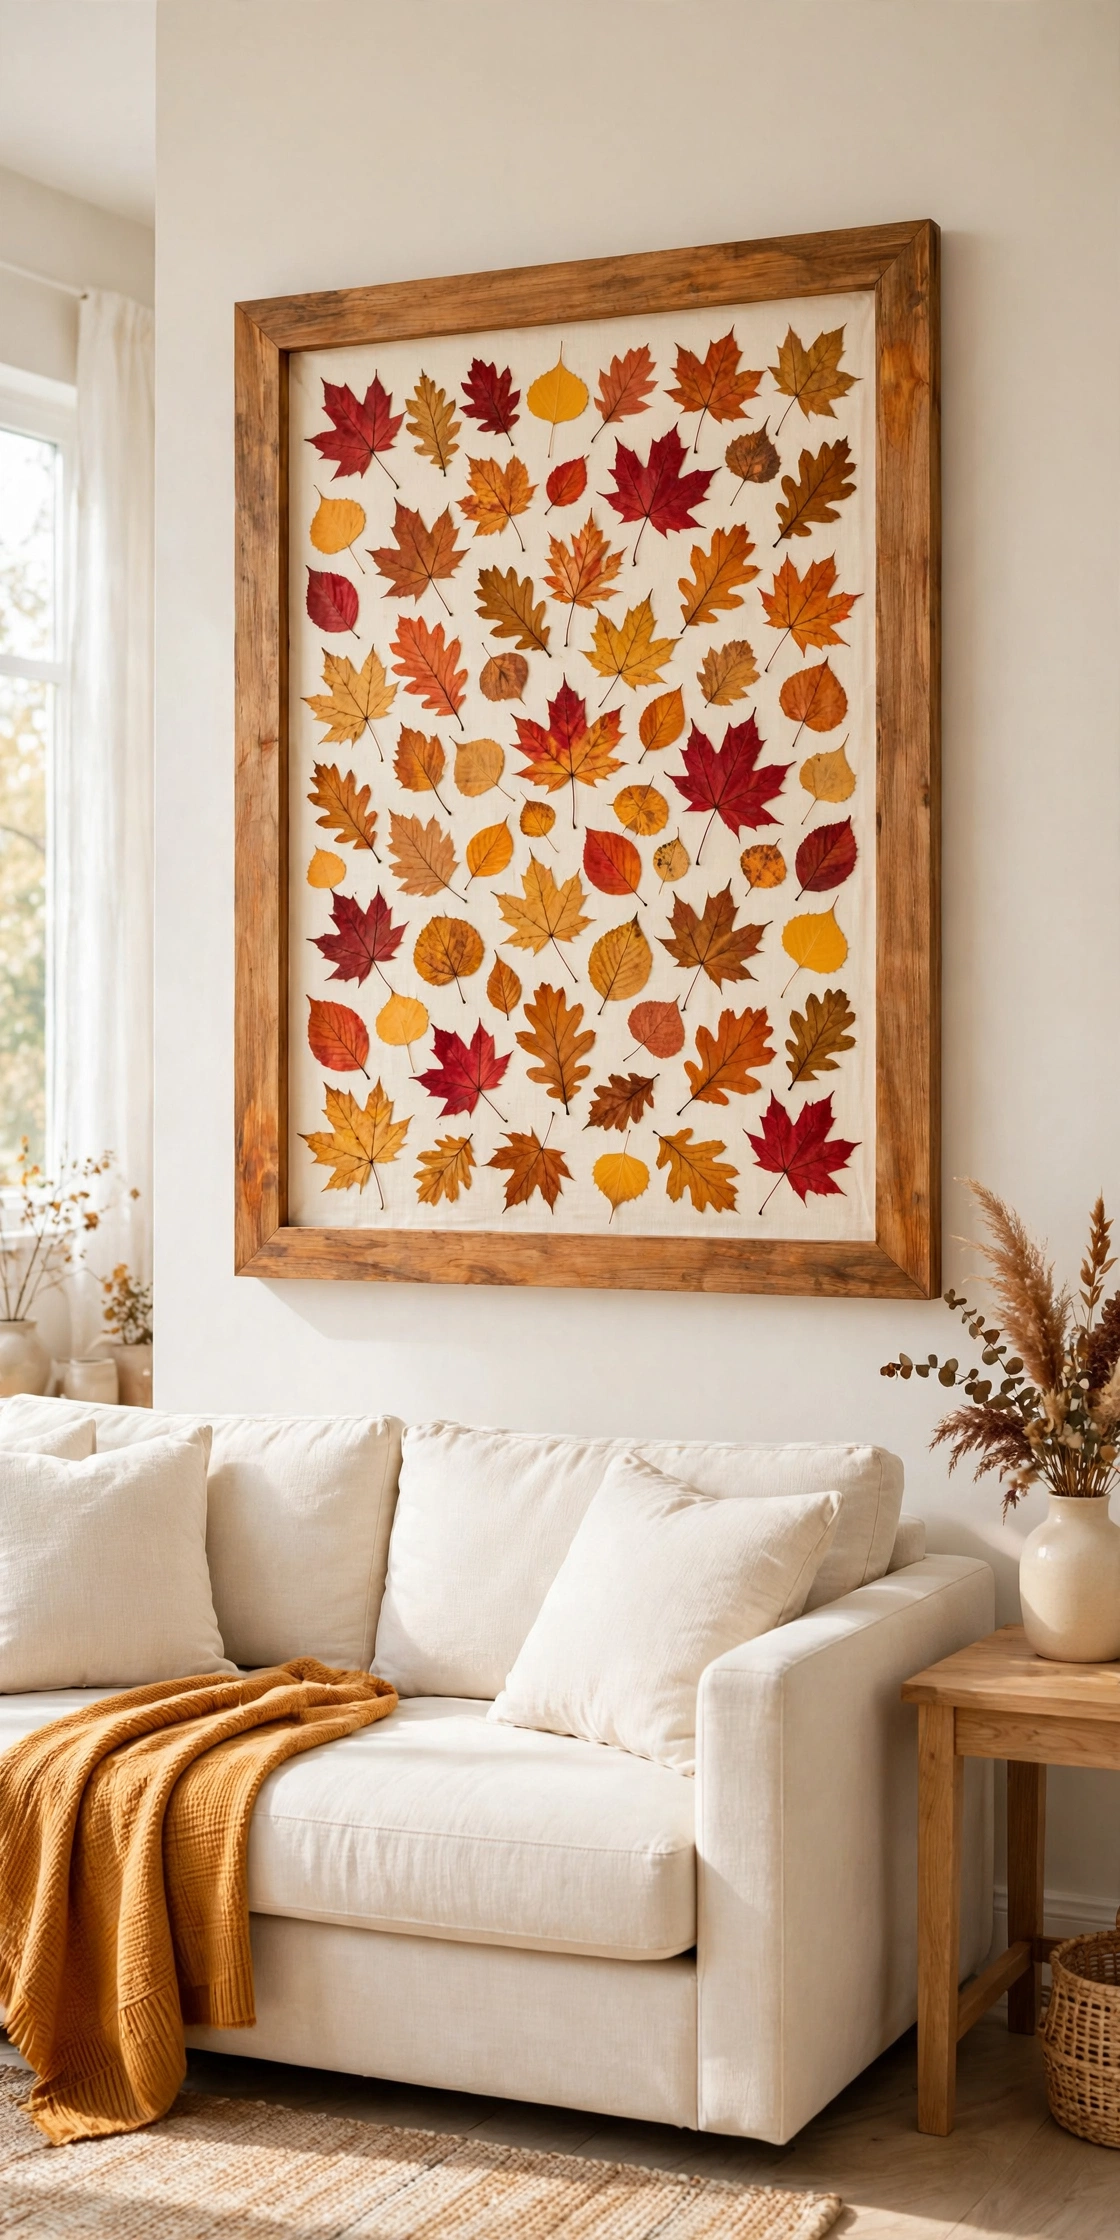
11. Make a Botanical Monogram with Leaves
A monogram covered in pressed leaves personalizes a wall in the sweetest way. Cut a large letter from thick card, then glue small pressed leaves across the surface until no card shows through. Use leaves in one color family, such as greens or autumn golds, for a tidy look.
Hang the leaf monogram in a bedroom, a nursery, or an entryway where it marks the room as yours. A first initial works well, or use a full family initial in a hallway. This project is simple, personal, and makes a thoughtful handmade gift too.
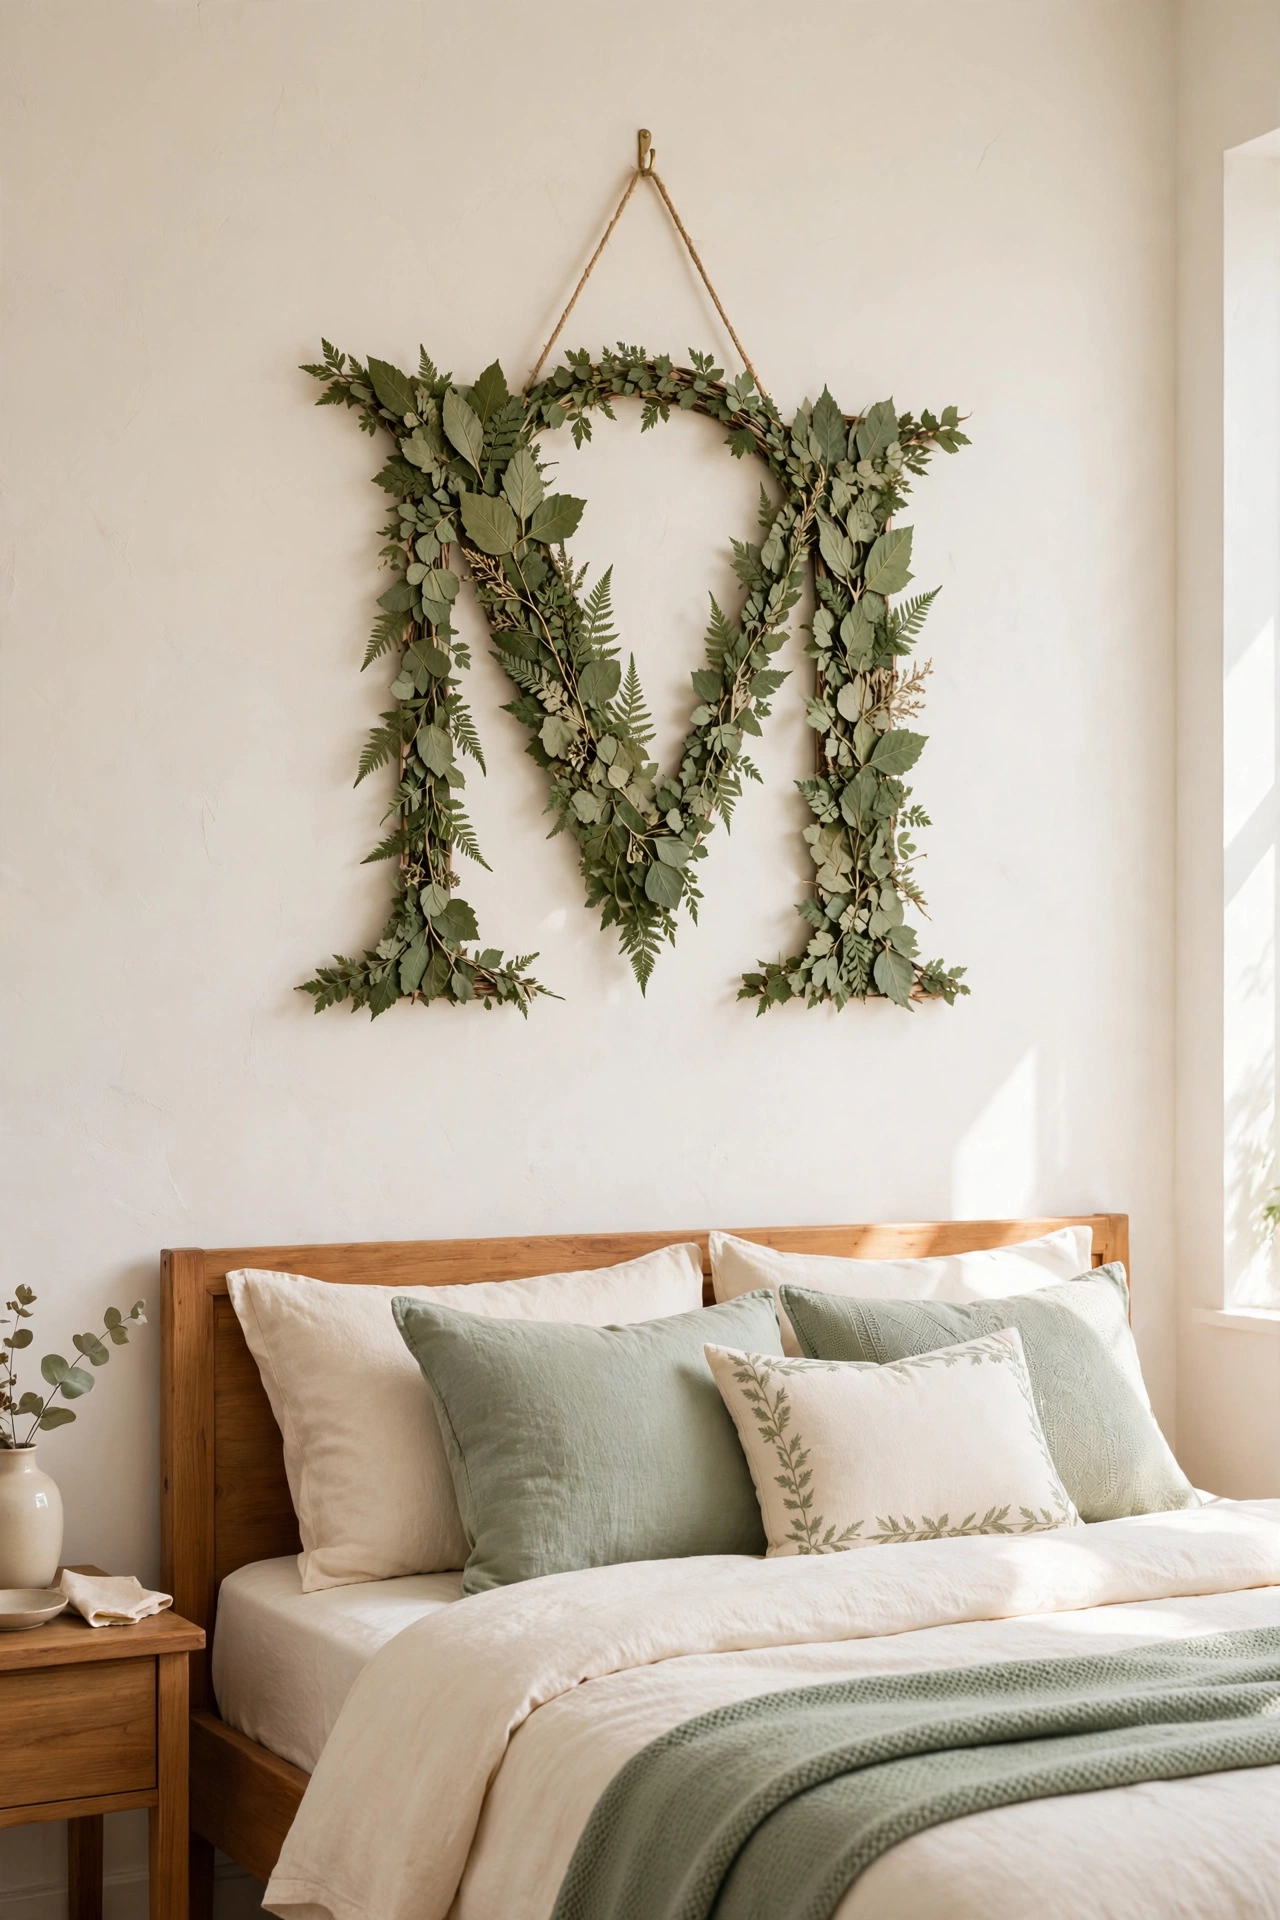
12. Frame Leaf Silhouettes as Abstract Art
Leaf silhouettes give a wall a modern, artistic feel with very little effort. Place a fresh leaf on white paper and spray or brush paint around it, then lift the leaf away to reveal a clean white shape. The contrast between the painted background and the pale leaf shape looks like real abstract art.
Make two or three silhouettes in different colors and frame them as a set. For ideas on styling bold art in a calm room, see these abstract art styling ideas. This technique works with any leaf shape, and the results always look fresh and gallery worthy.
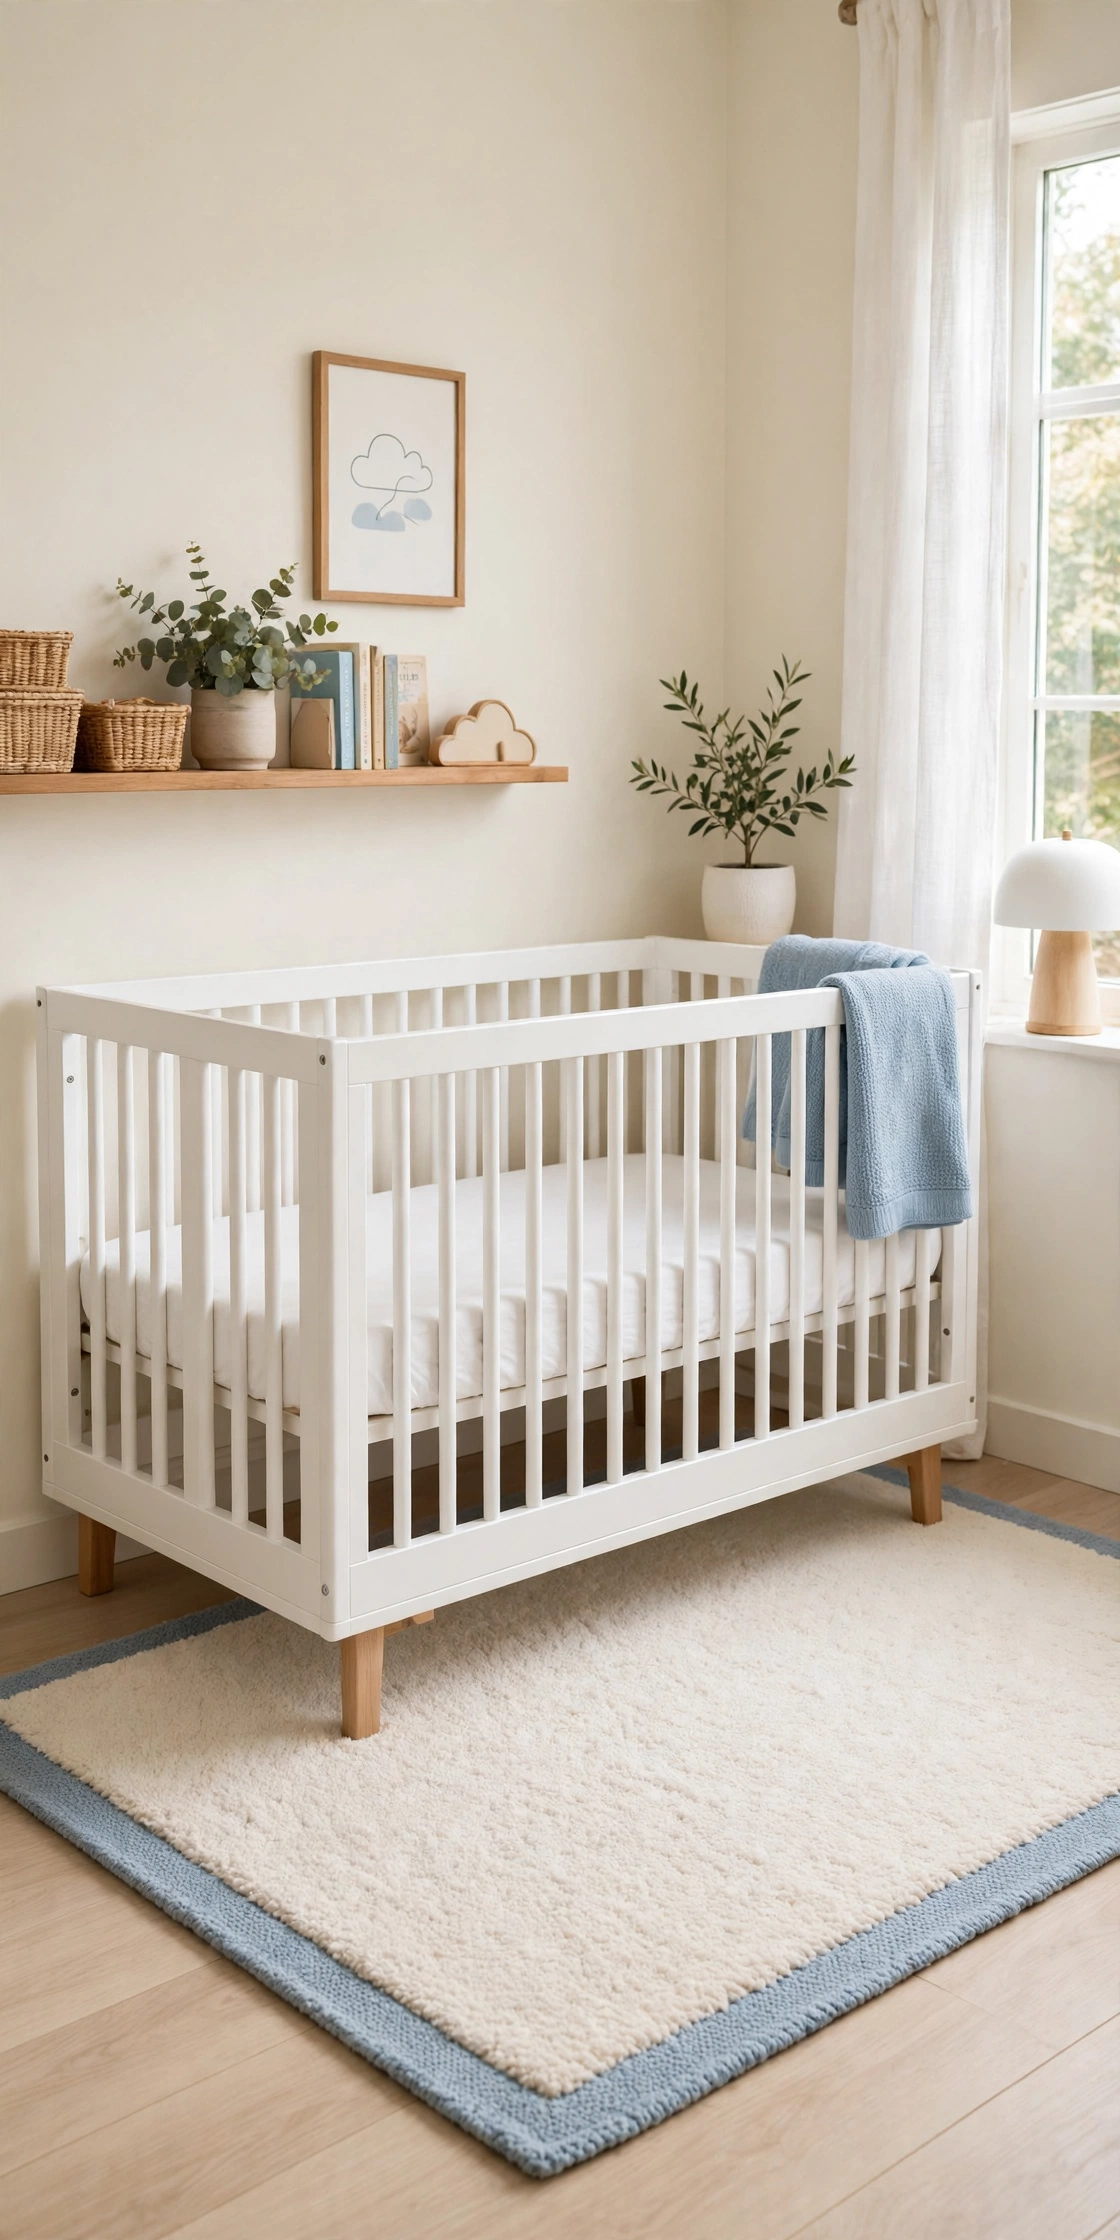
13. Create a Leaf Mobile for a Bright Corner
A leaf mobile hangs pressed leaves from thin threads so they drift gently in the air. Press small leaves flat, then attach each one to a thread and hang the threads at different lengths from a wooden branch or a metal hoop. The leaves turn slowly in a breeze and catch the light.
Hang the mobile near a window in a bedroom, a nursery, or a sunroom where moving air keeps it dancing. The soft movement adds life to a quiet corner without taking up any wall space. This is a light and dreamy project that children especially love.

14. Press Leaves Between Glass Panes for a Window Display
Pressing leaves between two glass panes creates a window display that glows when sunlight passes through. Choose translucent leaves, such as young maple or birch, and press them until they are completely flat. Sandwich them between glass and hang the panels in a sunny window.
The sunlight turns the leaves into natural stained glass, with green and gold tones shining into the room. This display works best in a kitchen or sunroom window where the light is strong. It is a beautiful way to enjoy leaves all year round.

15. Make a Leaf Garland Wall Hanging
A leaf garland strings dried leaves along a cord for a soft, natural wall decoration. Thread dried oak and maple leaves onto a length of twine, spacing them evenly so the garland drapes in a gentle curve. Add small wooden beads between the leaves for a finished look.
Drape the garland across a mantel, along a shelf, or over a headboard for a touch of autumn warmth. The garland is light and easy to move, so you can change its place with the seasons. This project takes an afternoon and uses leaves from any garden.

16. Arrange a Seasonal Leaf Calendar Wall
A seasonal leaf calendar wall shows one leaf for each month of the year. Press a fresh leaf at the start of every month, from spring buds to autumn gold, and mount the twelve leaves in a row with the month name under each one. The wall tells the story of a whole year in nature.
Hang the calendar in a hallway or a family room where everyone can watch it grow through the year. Children love adding each new leaf as the months pass. This long term project turns leaf collecting into a family tradition.

17. Frame Dried Leaves in a Deep Shadow Box
Some leaves are too thick or curly to press flat, and a deep shadow box is the answer. Place dried magnolia or oak leaves inside the box with space around each one, so their natural curls and layers stay visible. The glass front protects the leaves while the depth shows off their shape.
Hang the shadow box in a living room or a dining room where guests can admire the leaves up close. A dark backing makes green and gold leaves stand out, while a pale backing keeps the look soft. This display treats ordinary leaves like museum pieces.
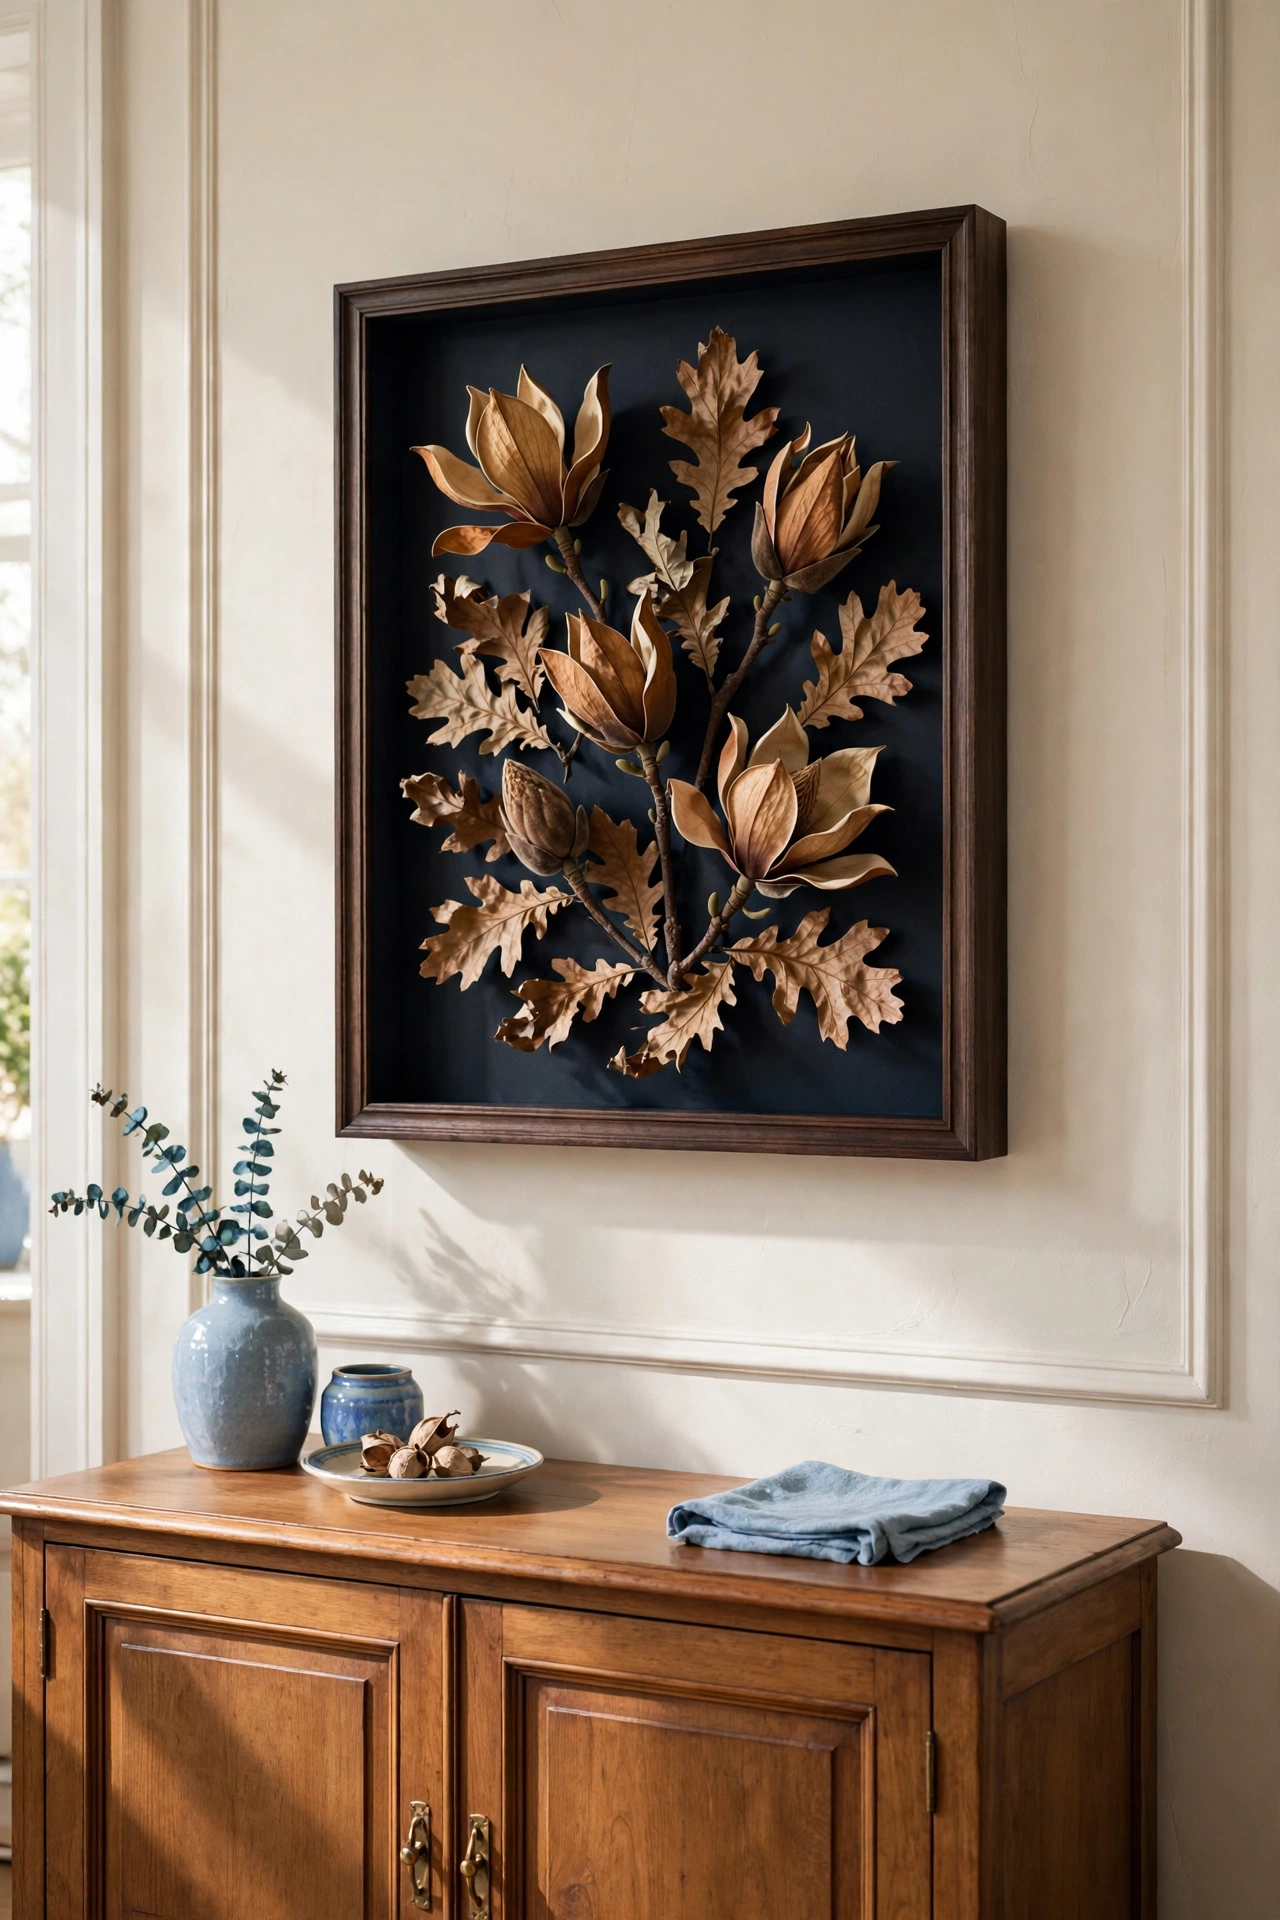
18. Seal Leaves onto Canvas with Clear Craft Glue
Clear craft glue seals pressed leaves onto canvas and protects them from moisture and fading. Arrange the leaves in a pleasing pattern on the canvas first, then brush a thin layer of glue over the whole surface. The glue dries clear and leaves a smooth, glossy finish.
Hang the sealed canvas in a bathroom or kitchen where humidity would damage unprotected leaves. The glossy surface is easy to wipe clean and the leaves stay bright for years. This method is perfect for leaves you want to keep as long term art.
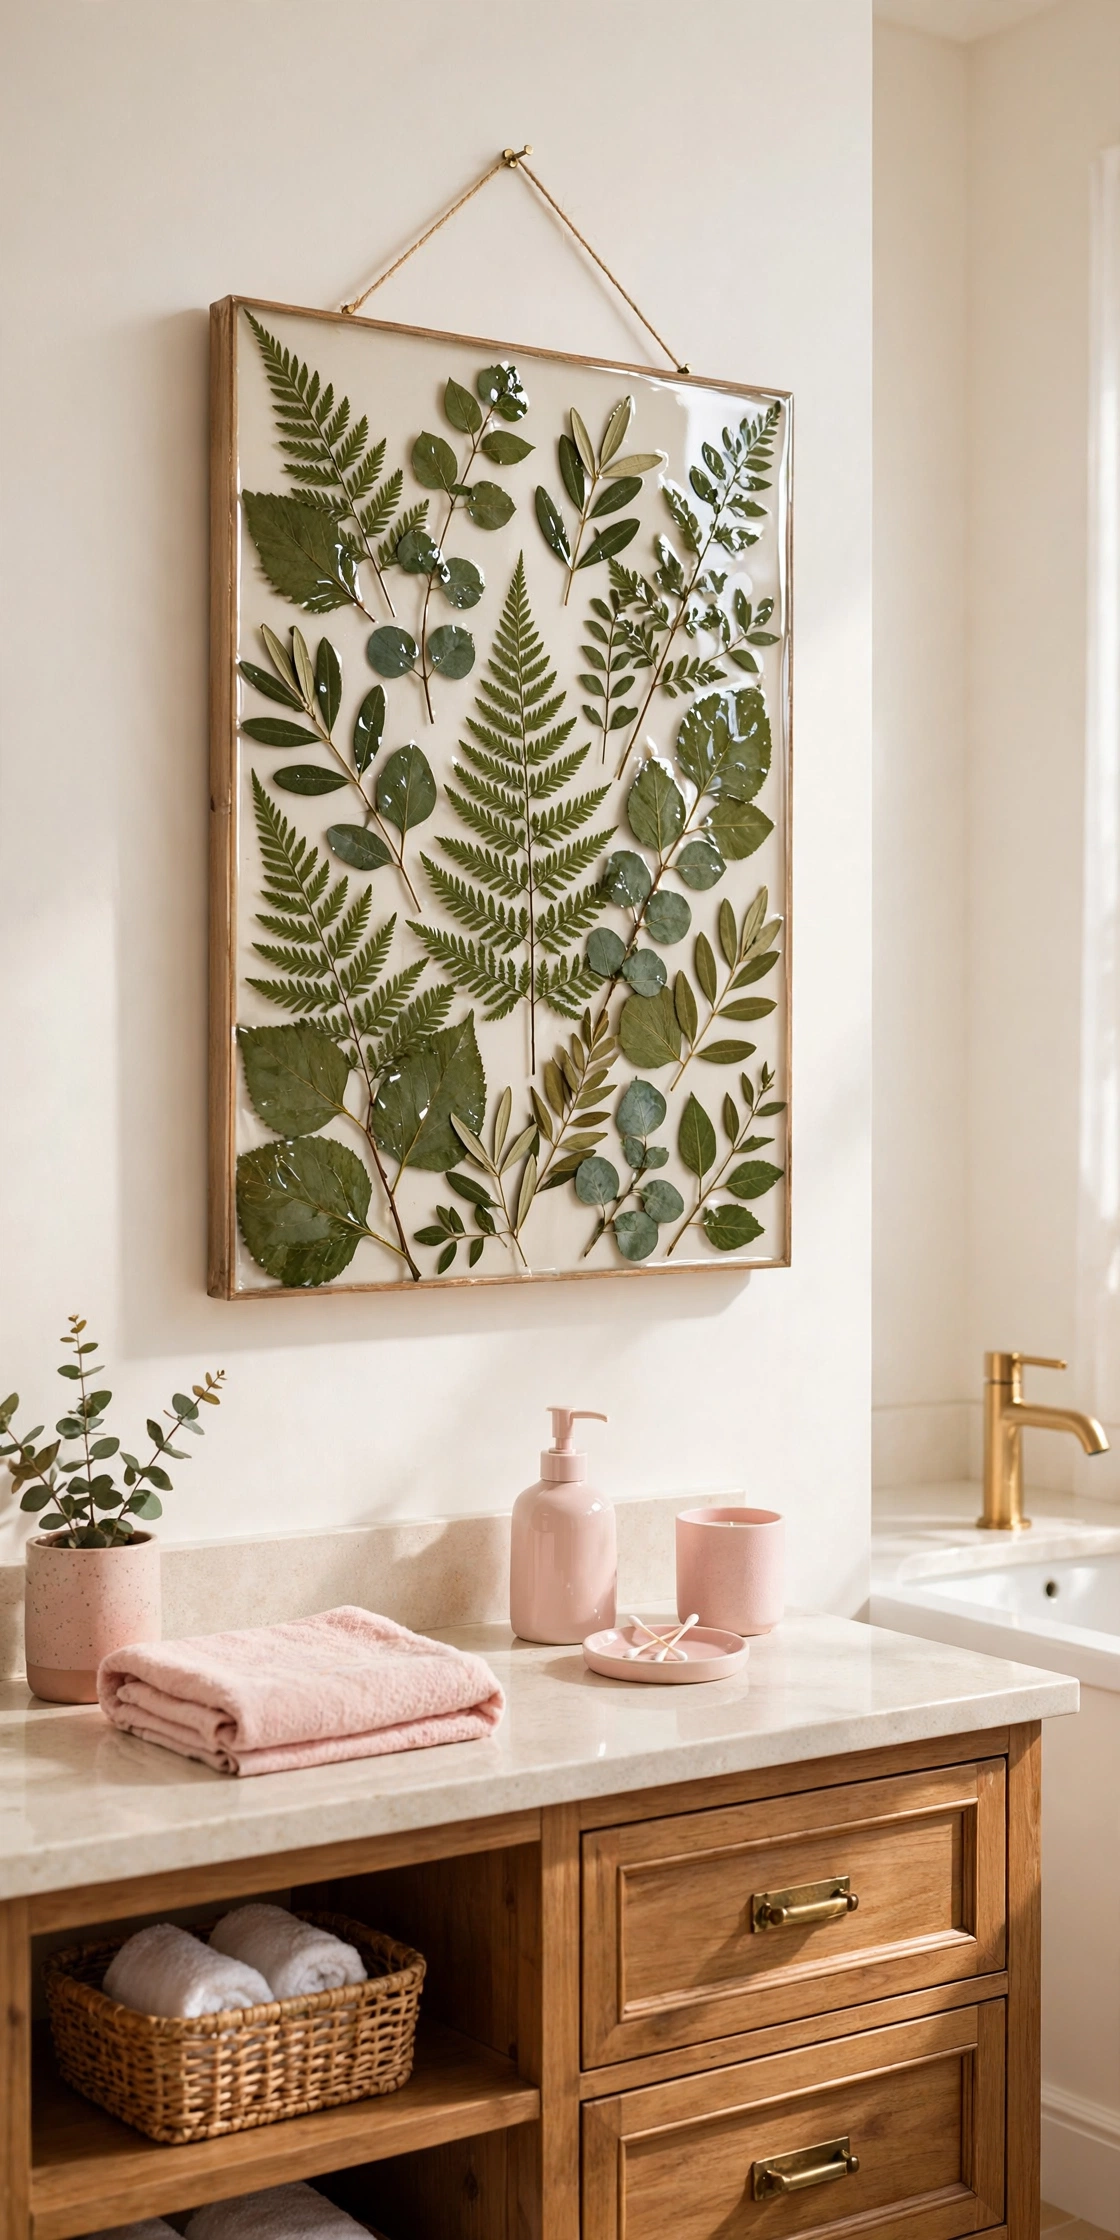
19. Create a Leaf Wall Hanging on a Wooden Dowel
A wooden dowel wall hanging is a simple way to display pressed leaves like a small tapestry. Tie two cords to the ends of a dowel, then hang pressed leaves from the dowel on threads of different lengths. The leaves flutter gently and the whole piece feels light and handmade.
Hang the dowel display in a bedroom or a reading corner where its soft movement adds calm. Choose leaves in one color, such as all greens, for a peaceful look. This project needs only a dowel, some thread, and leaves from your garden.
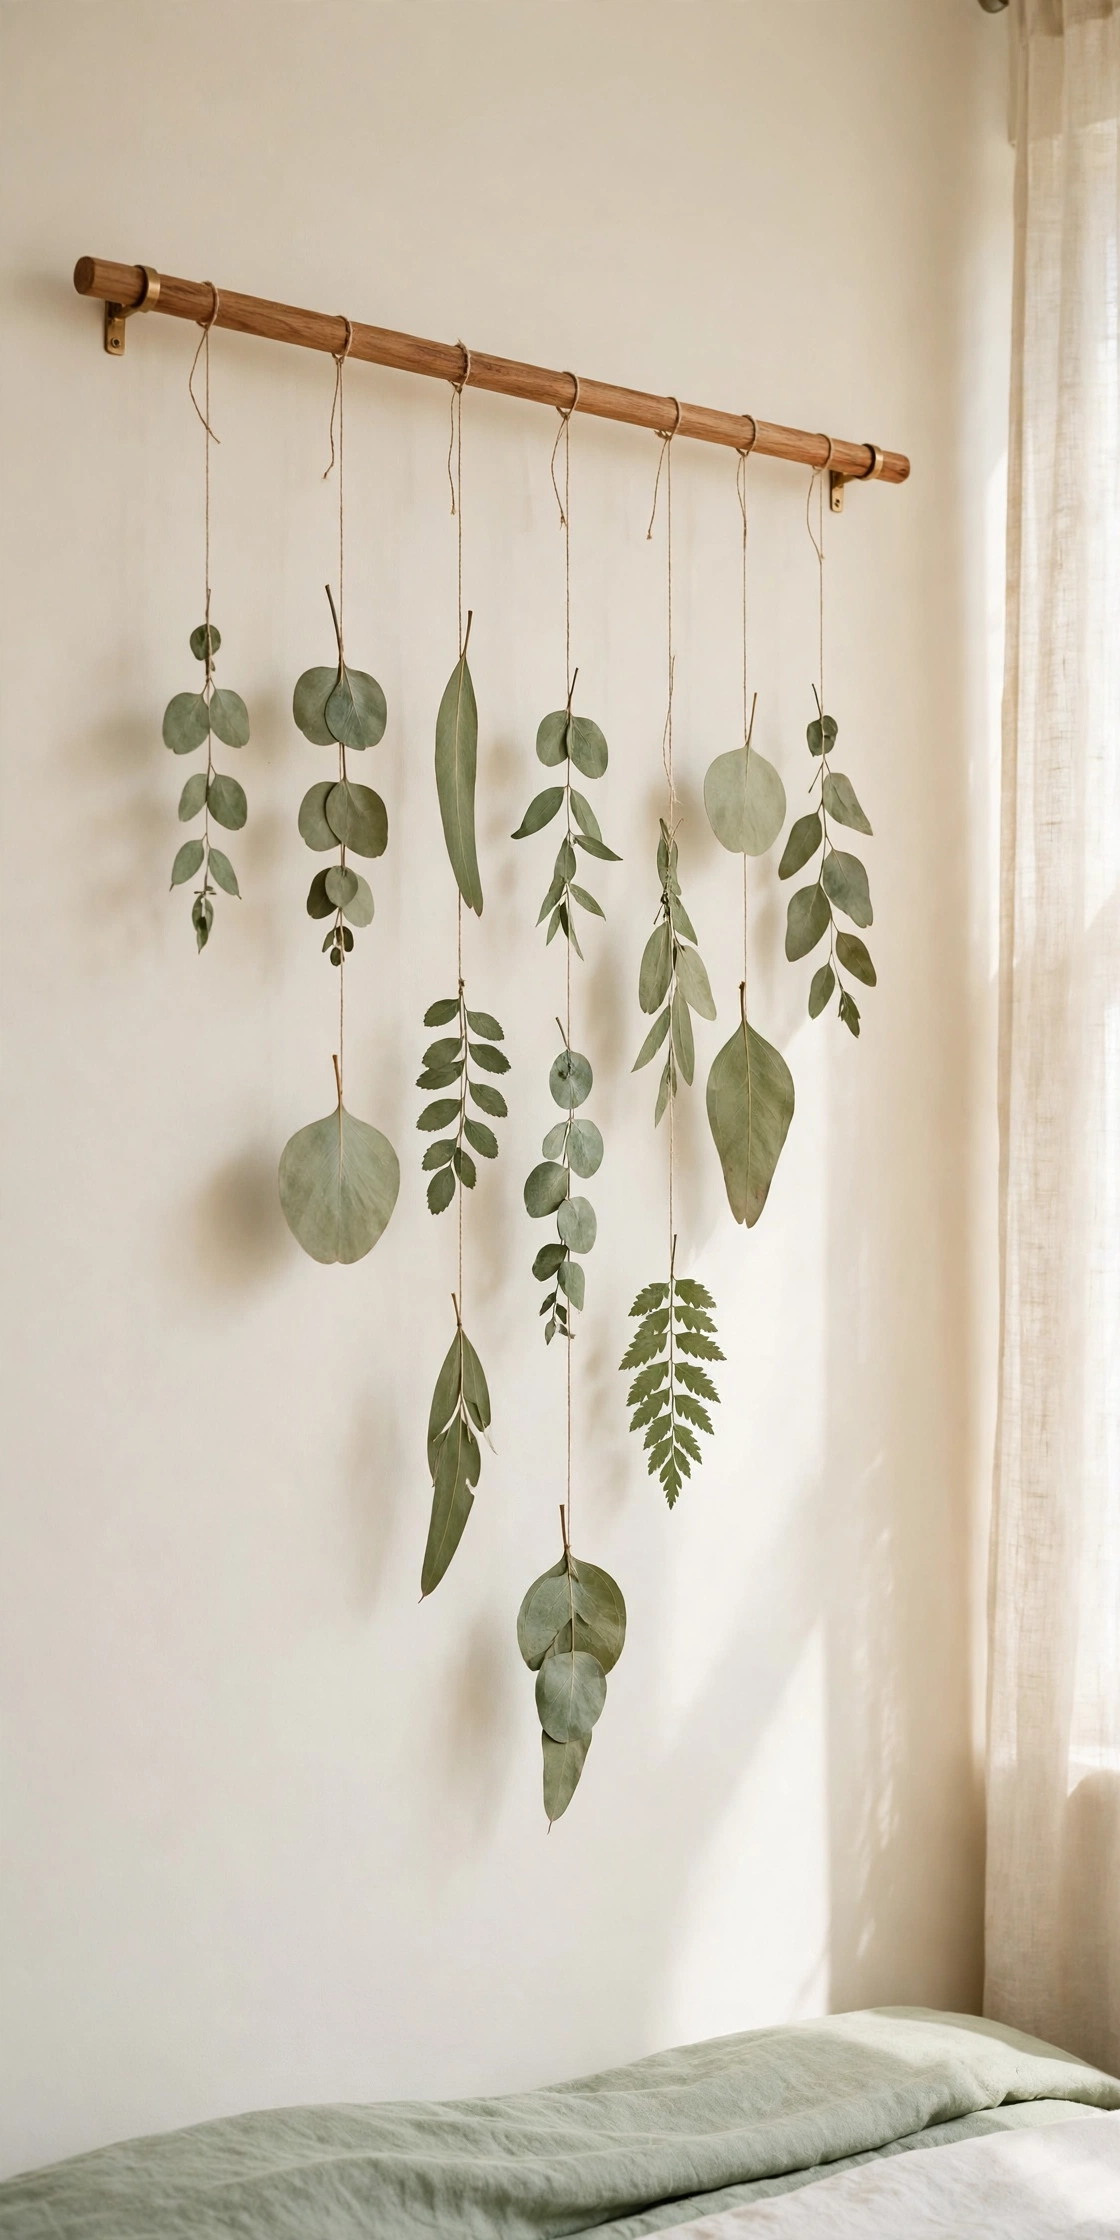
20. Press Leaves onto a Wooden Plaque
A wooden plaque gives pressed leaves a warm, rustic home. Sand a plain wooden board until it feels smooth, then glue pressed leaves across the surface in a neat pattern. Seal the whole plaque with clear varnish so the leaves stay protected and the wood glows.
Hang the plaque in an entryway or a kitchen where the warm wood suits the room. The combination of natural wood and real leaves feels earthy and honest. This is a sturdy display that lasts for years and suits farmhouse and cottage styles.
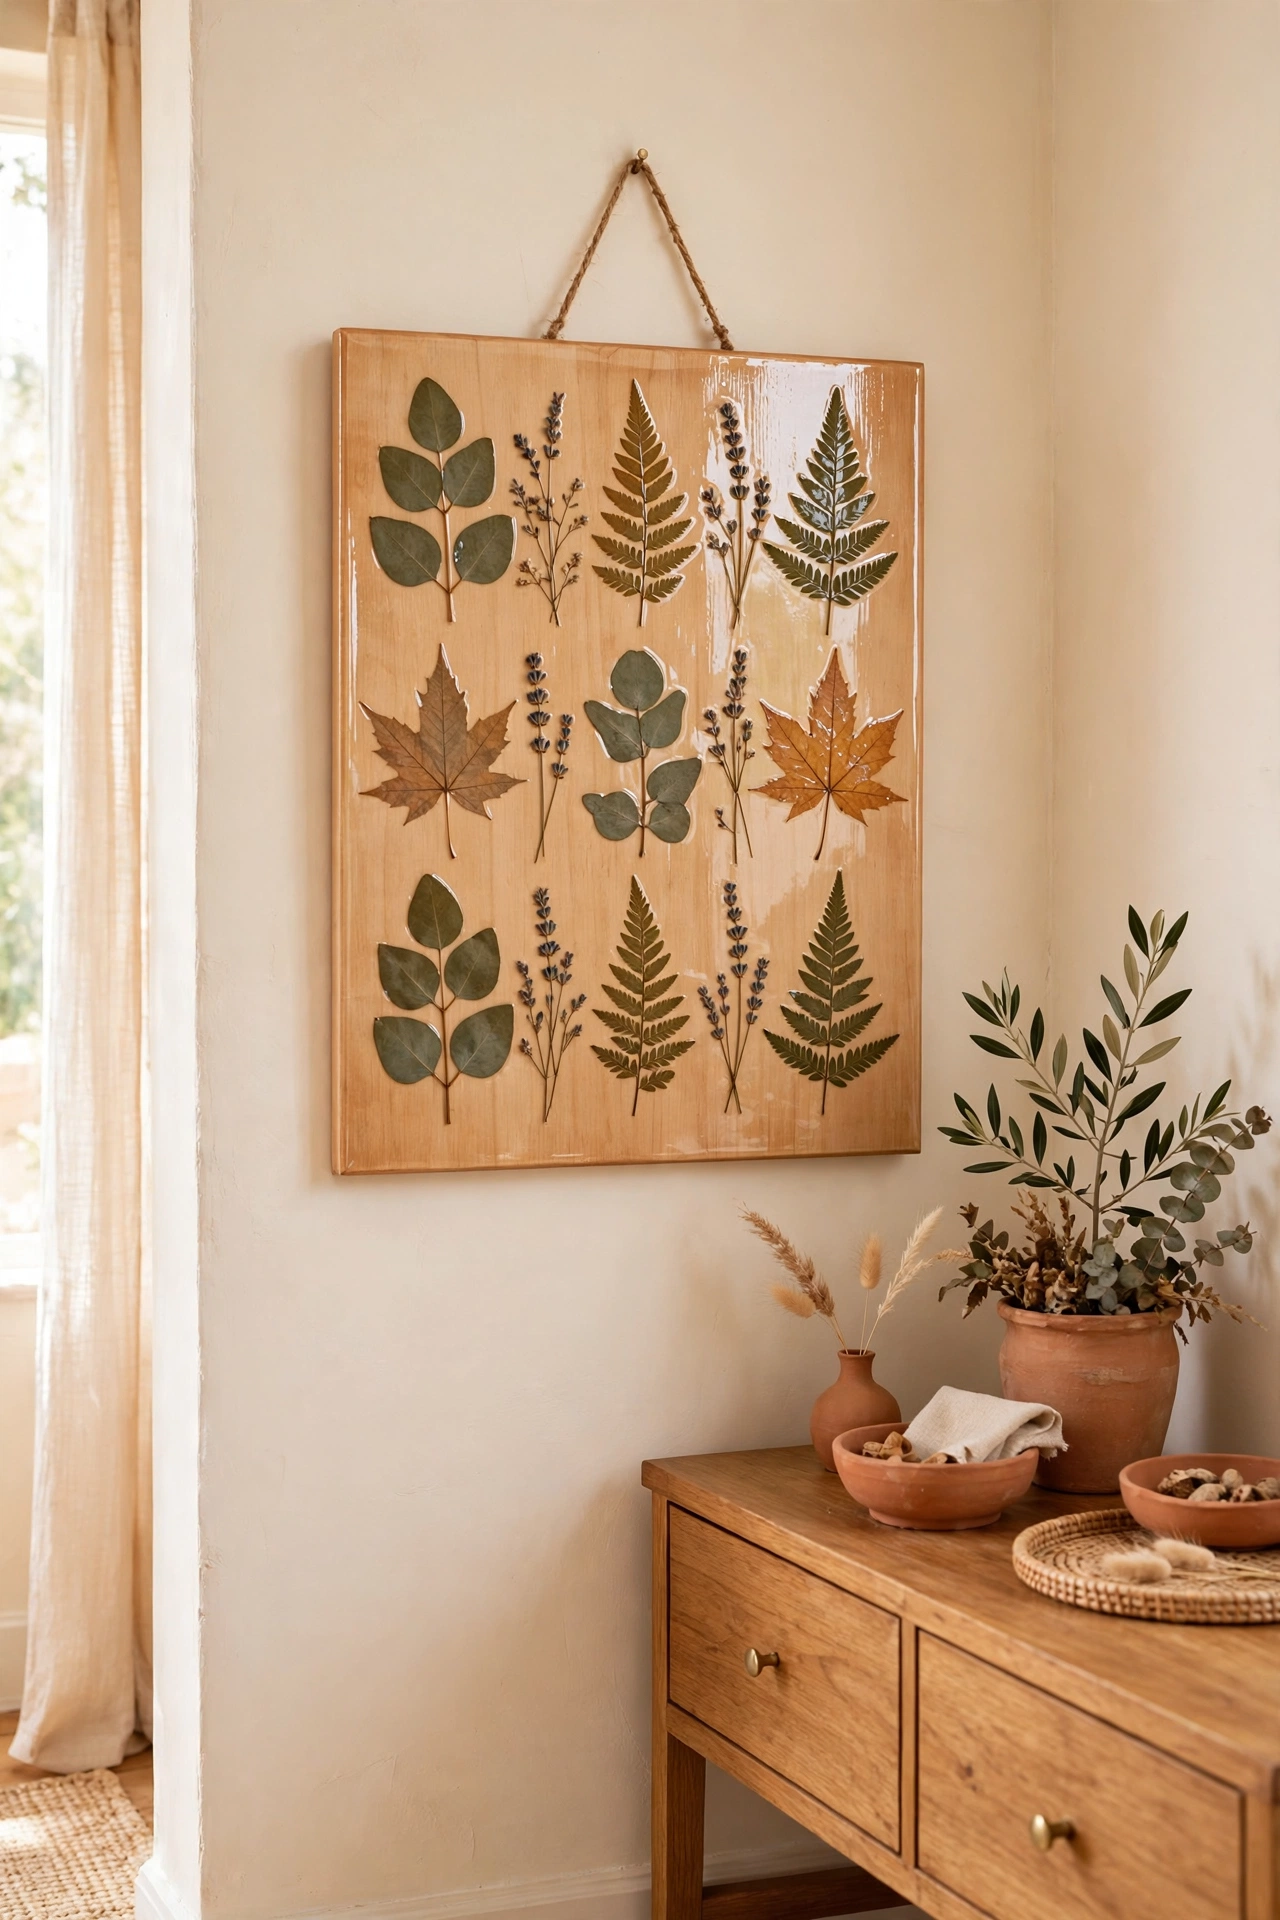
21. Make a Leaf Art Collage in a Large Frame
A collage mixes leaves of many shapes, sizes, and colors into one joyful artwork. Press leaves from several trees, then arrange them in a large frame with the biggest leaves at the center and smaller ones around the edges. Overlap the leaves slightly for a full, layered look.
Hang the collage above a dining table or in a family room where its energy fills the space. The mix of greens, golds, and reds looks like a celebration of nature. No two collages ever turn out the same, which makes each one special.
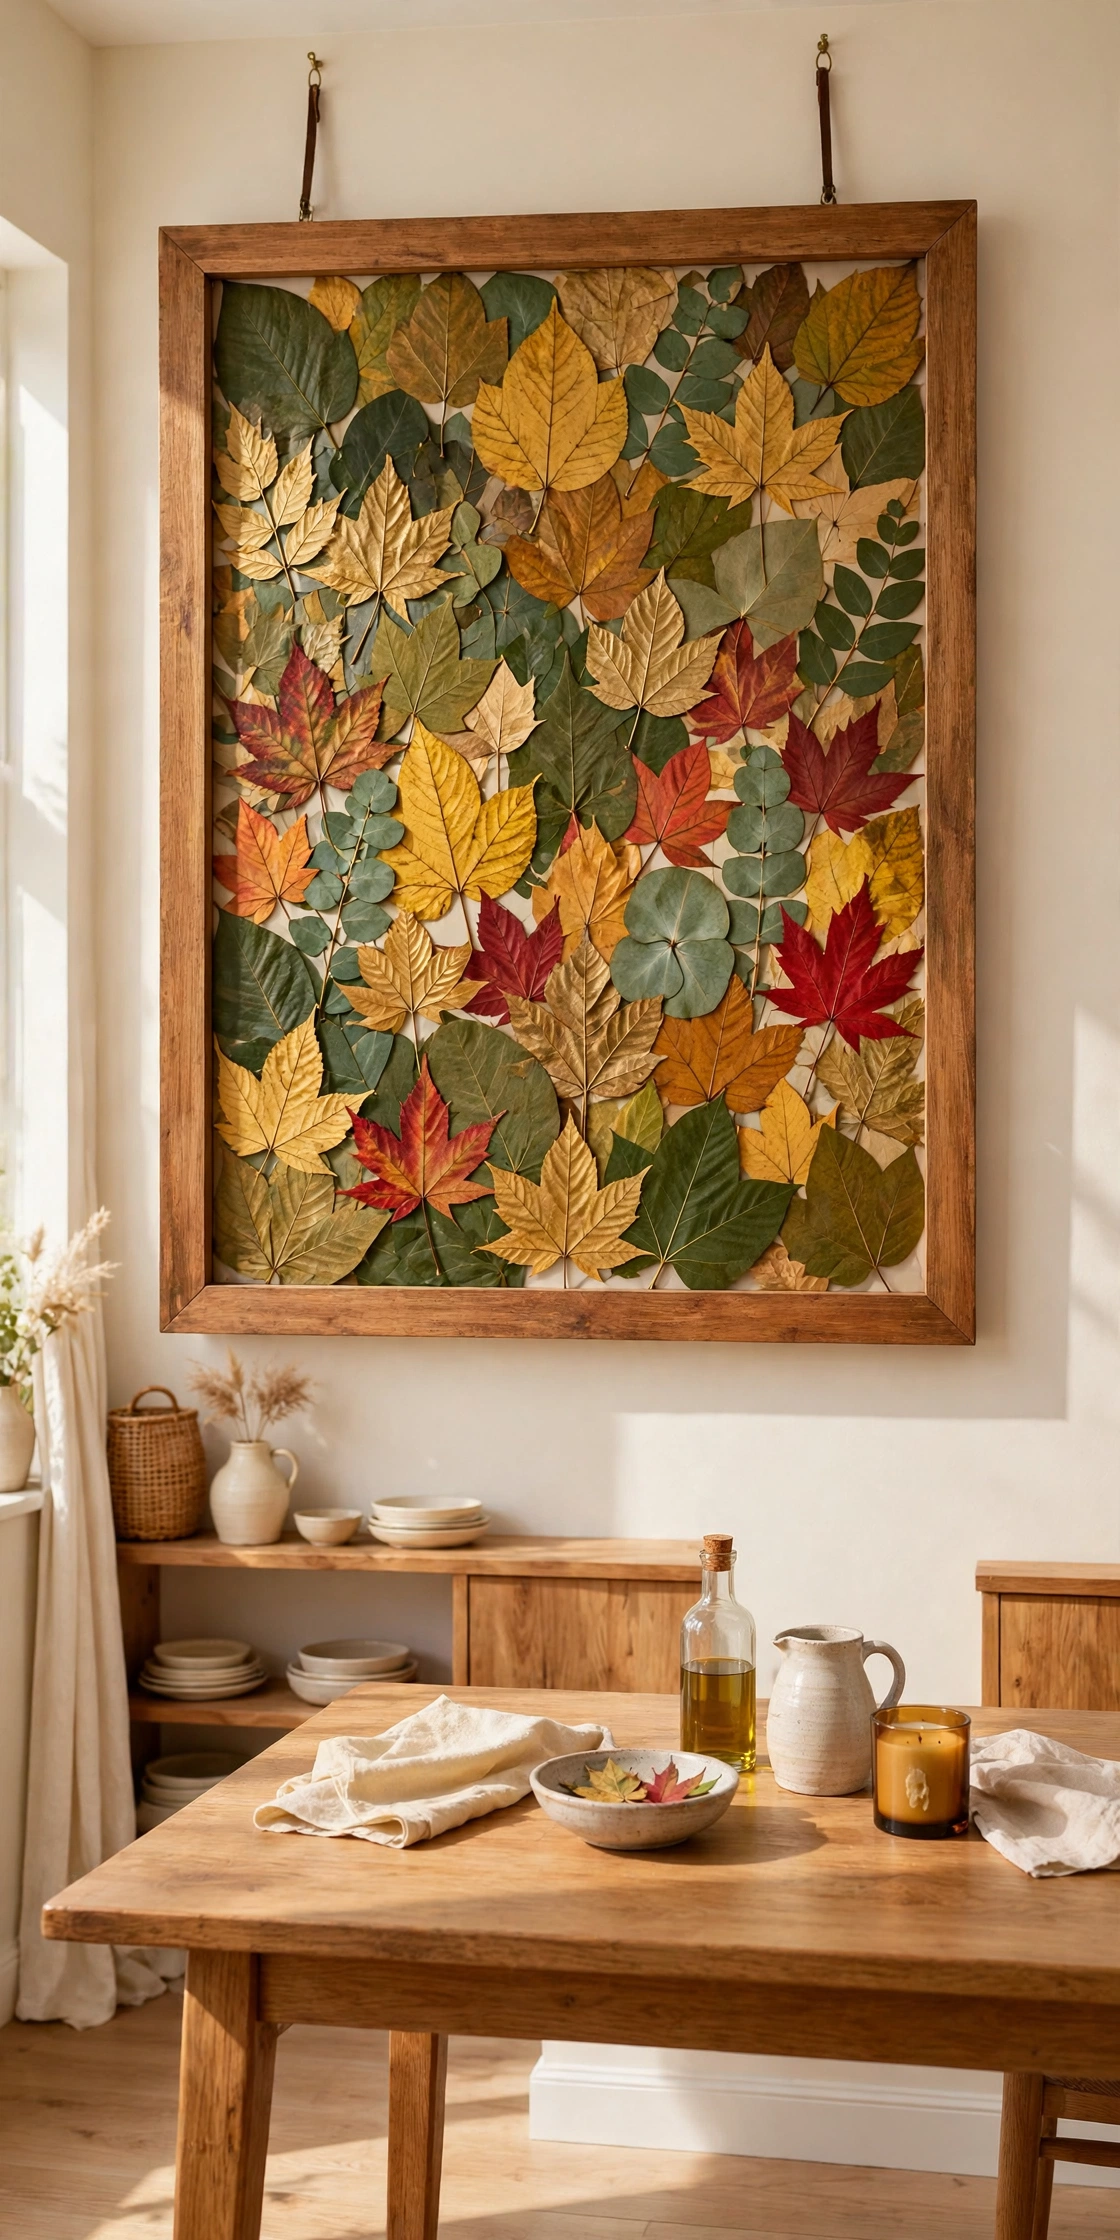
22. Frame a Single Statement Leaf in Gold
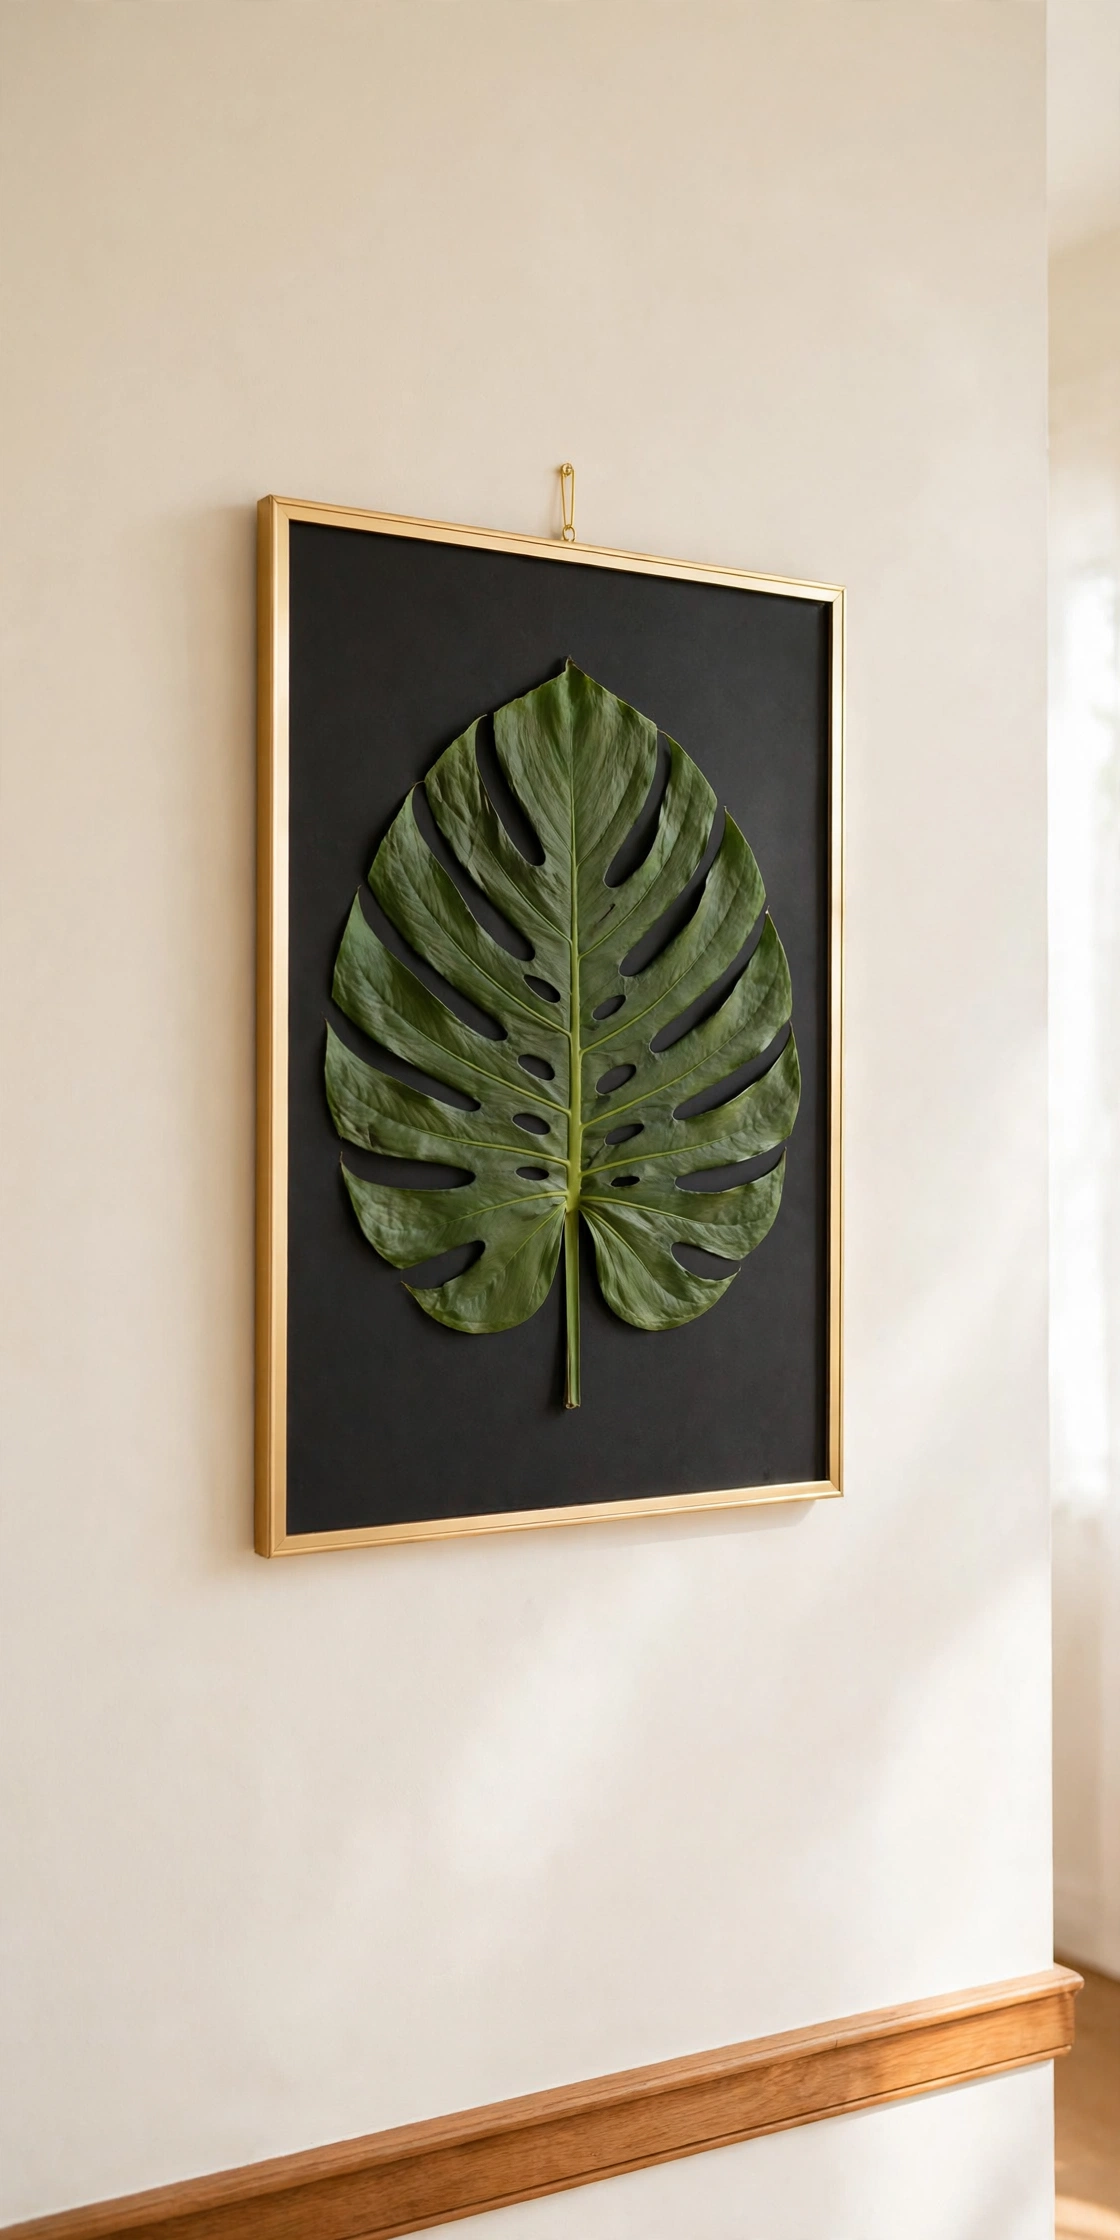
One large, perfect leaf in a gold frame is a study in simple luxury. Choose a big tropical leaf, such as a monstera or a palm frond, press it flat, and mount it on dark card inside a slim gold frame. The gold border makes the green leaf look rich and precious.
Hang the gold framed leaf in a living room or a bedroom where it adds a touch of glamour. For a calm home with elegant gold touches, see these quiet luxury decor ideas. A single statement leaf proves that less can be more.
23. Create a Leaf Tapestry Wall Hanging
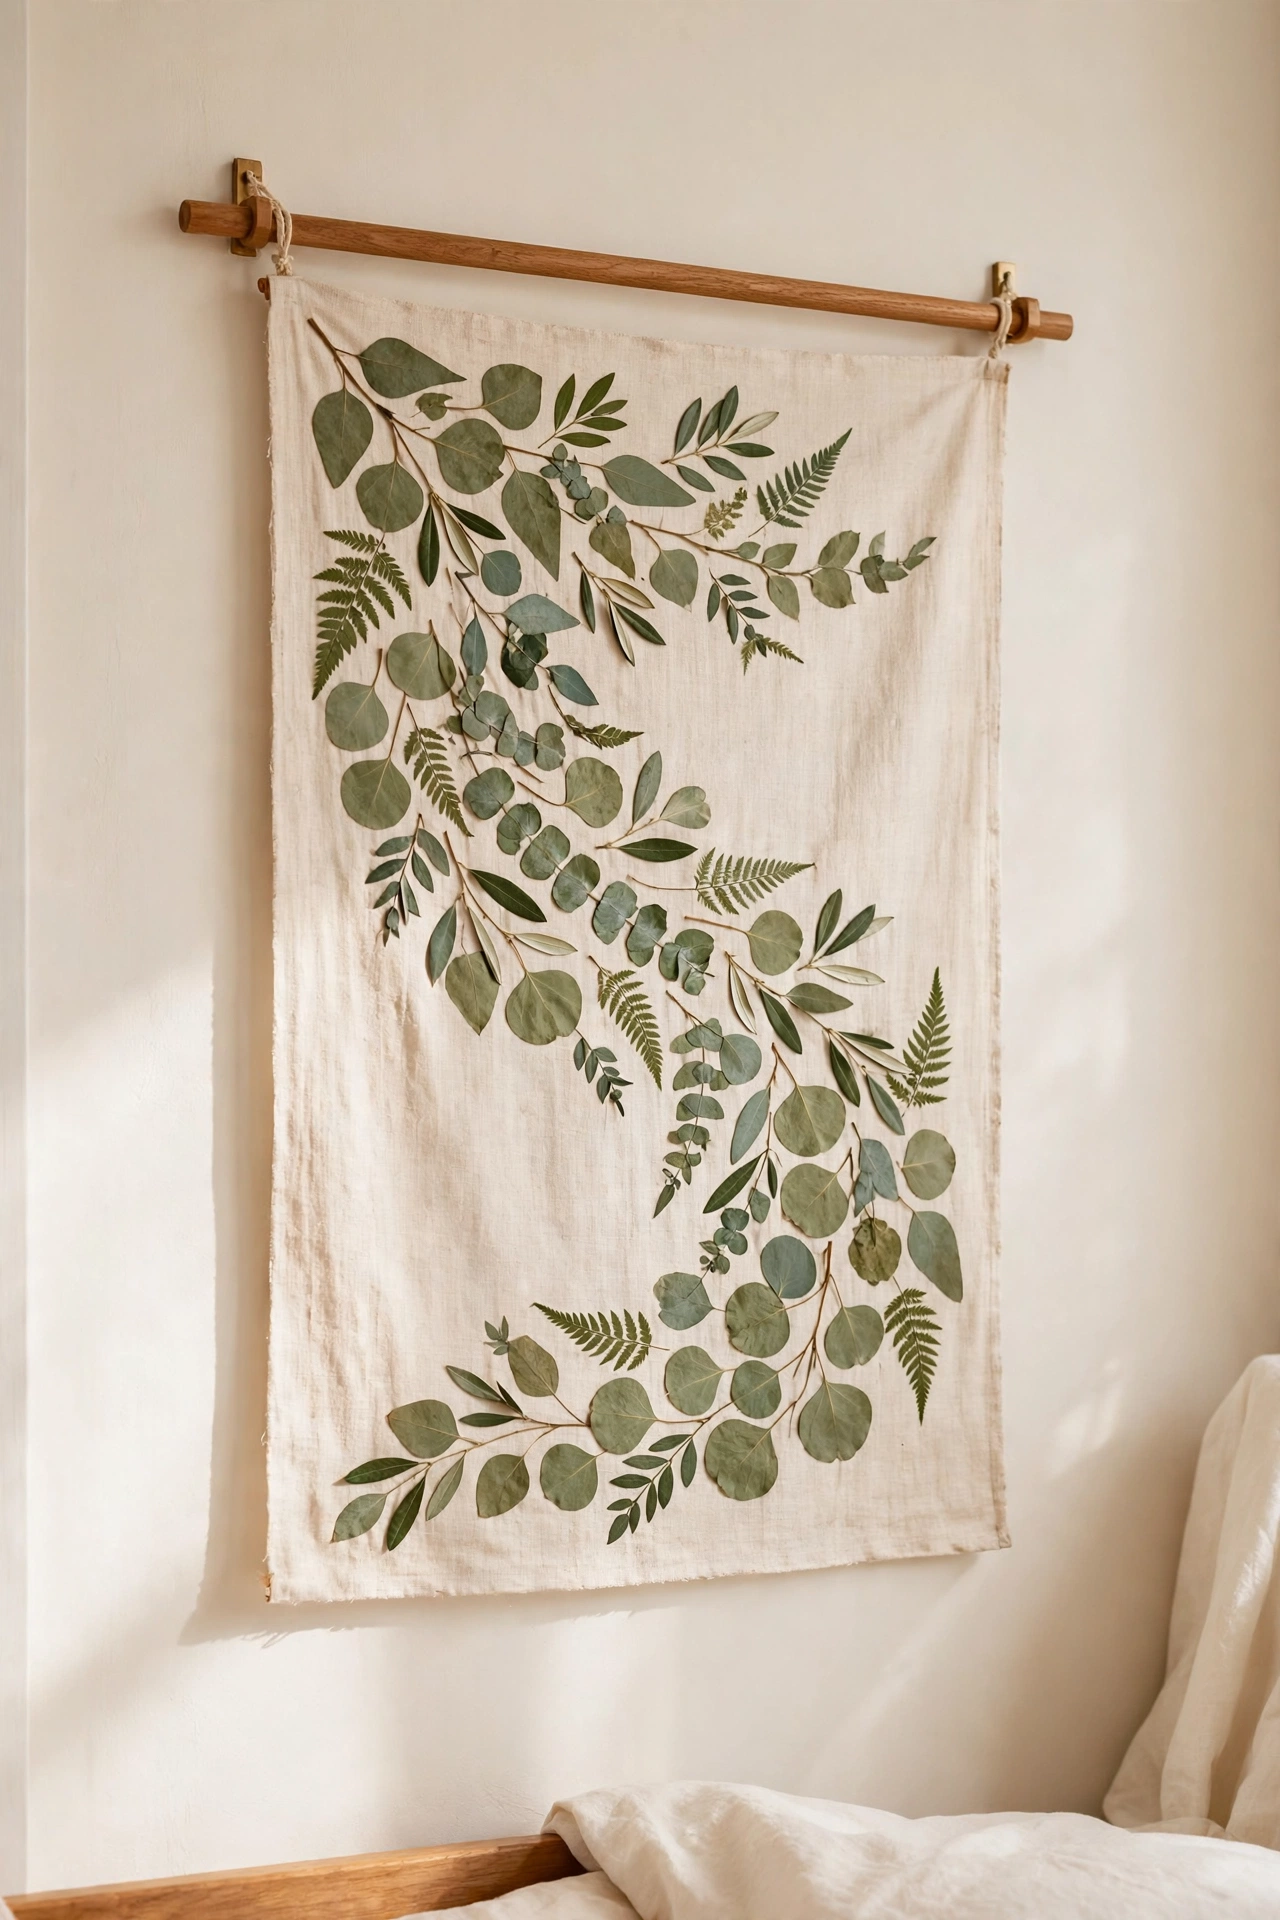
A leaf tapestry uses fabric as the base for pressed leaves, which gives the art a soft, textile feel. Glue pressed leaves onto a piece of natural linen in a flowing pattern, then hang the linen from a wooden rod. The fabric ripples gently and the leaves look like they are growing across it.
Hang the tapestry in a bedroom or a living room where soft textures suit the space. Linen in cream or pale sage keeps the leaves as the star of the piece. This wall hanging is light, easy to move, and brings a handmade warmth to any wall.
24. Arrange Leaves in a Color Gradient Frame
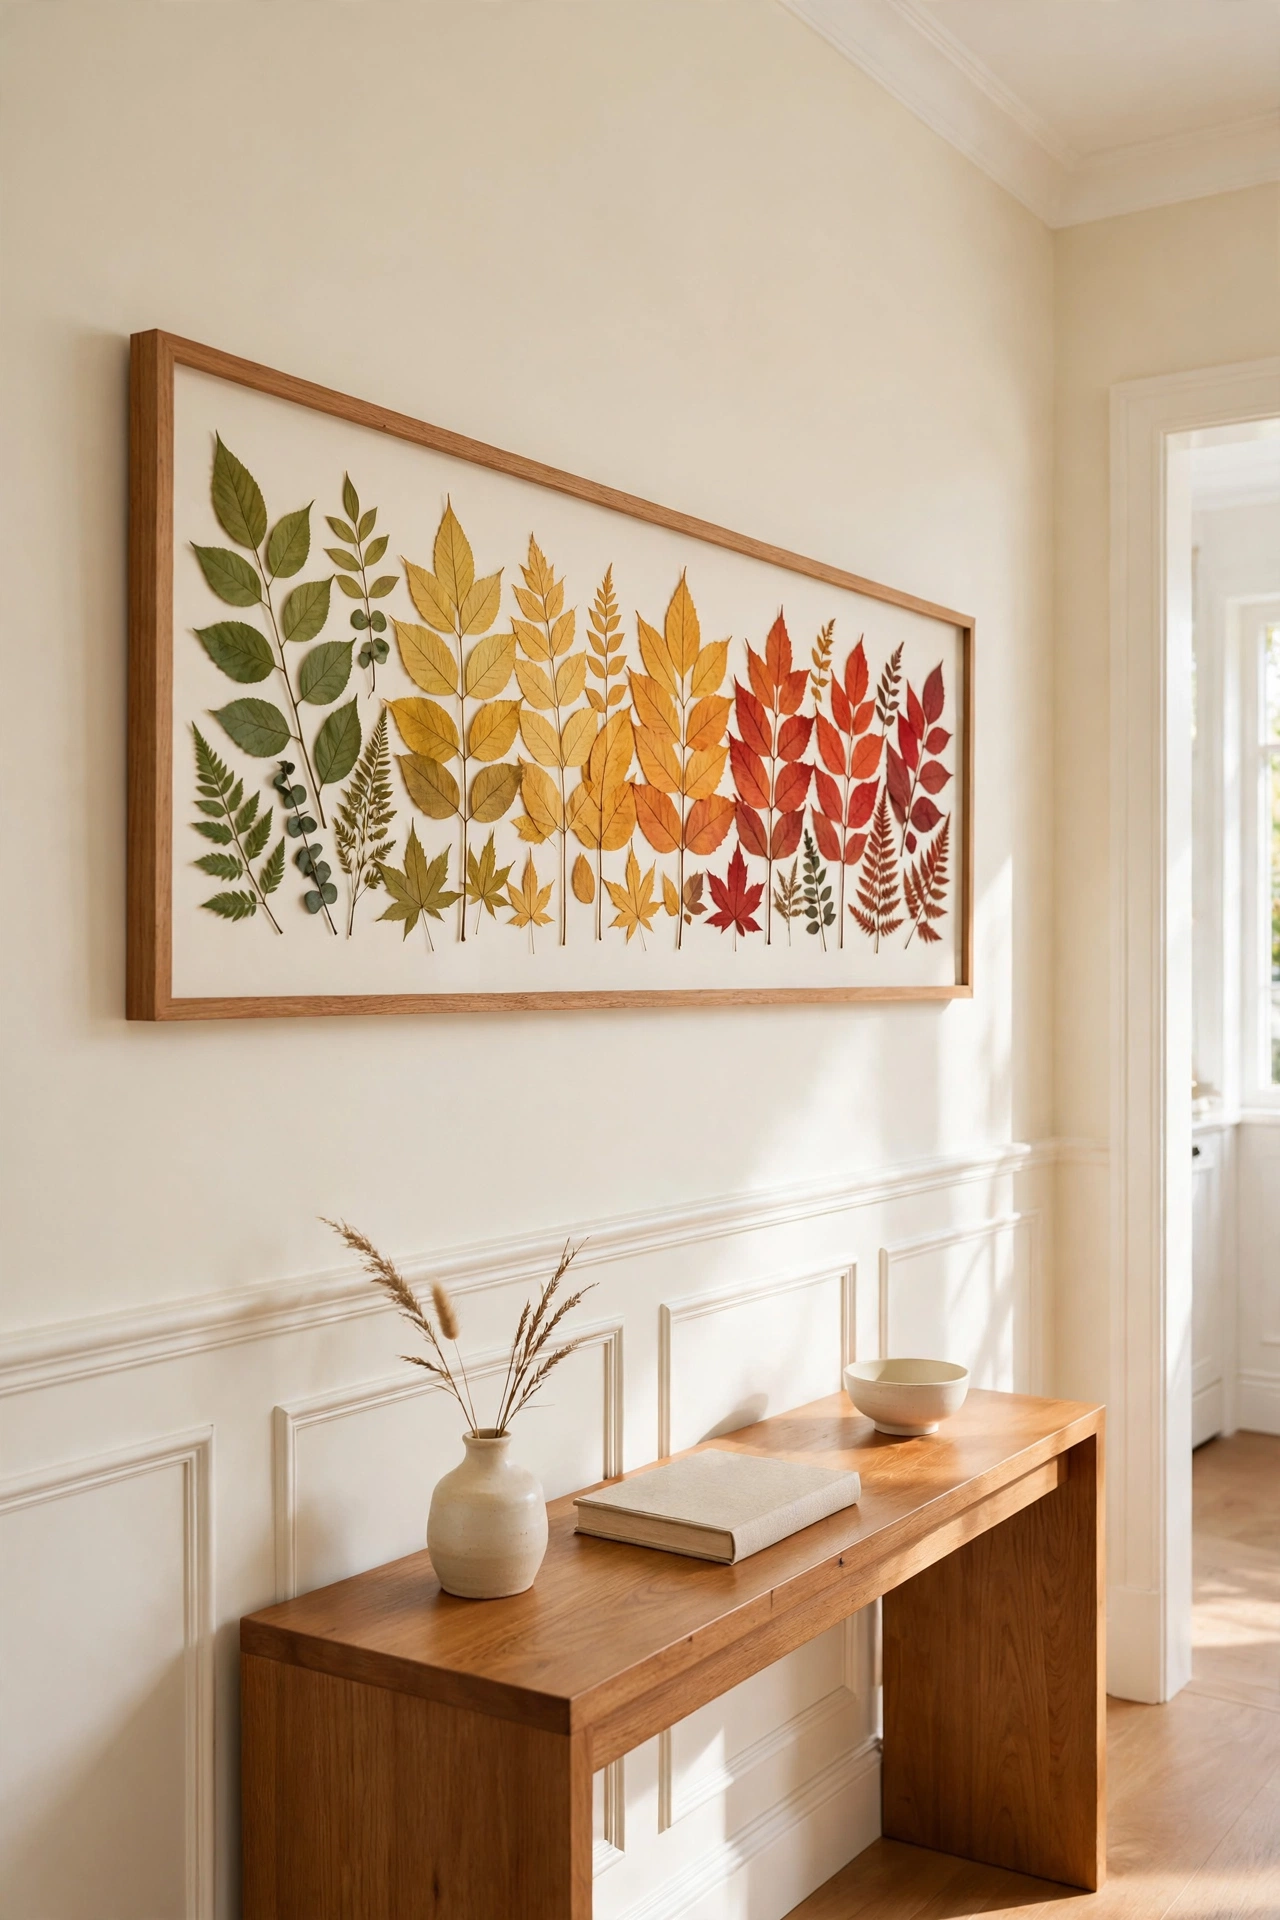
A color gradient frame arranges leaves from green to gold to red in a smooth rainbow of autumn. Press leaves in every shade you can find, then line them up in order across a long frame. The gradual change of color looks like a sunset captured on a wall.
Hang the gradient frame in a hallway or above a console table where its colors draw the eye. This display works best with leaves collected on a single autumn walk, so the colors feel natural together. It is a striking piece that starts conversations.
25. Make a Botanical Sun Catcher for the Window
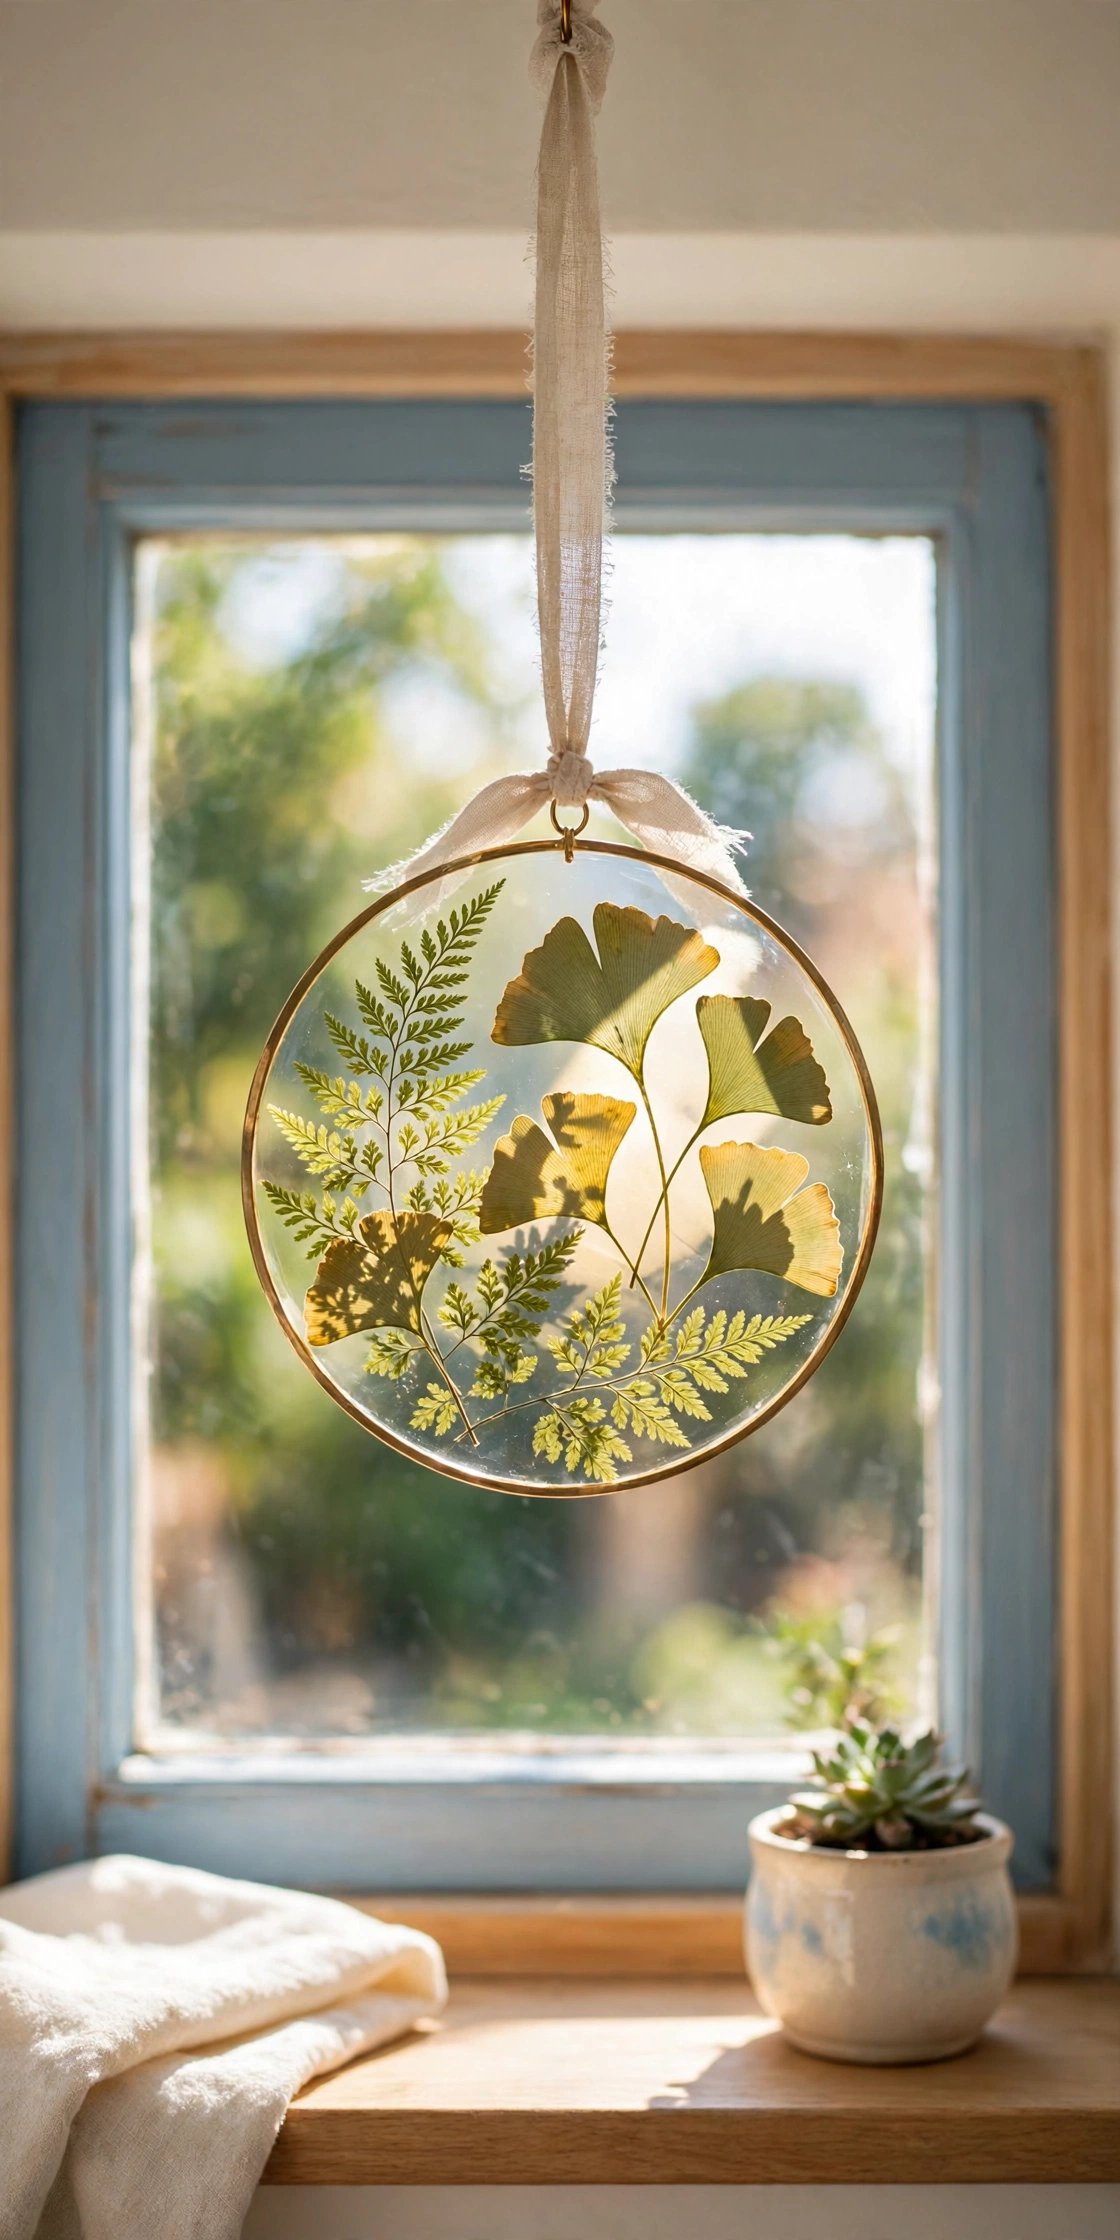
A sun catcher frames pressed leaves in clear resin or between two sheets of clear film, then hangs in a window to catch the light. Choose small leaves with fine veins, such as ferns or ginkgo, so the sunlight shines through every detail. Add a ribbon at the top for hanging.
Hang the sun catcher in a south facing window where the light is strongest. The leaves glow green and gold through the day and cast soft shadows on the wall. This small project brings a jewel like sparkle to any window.
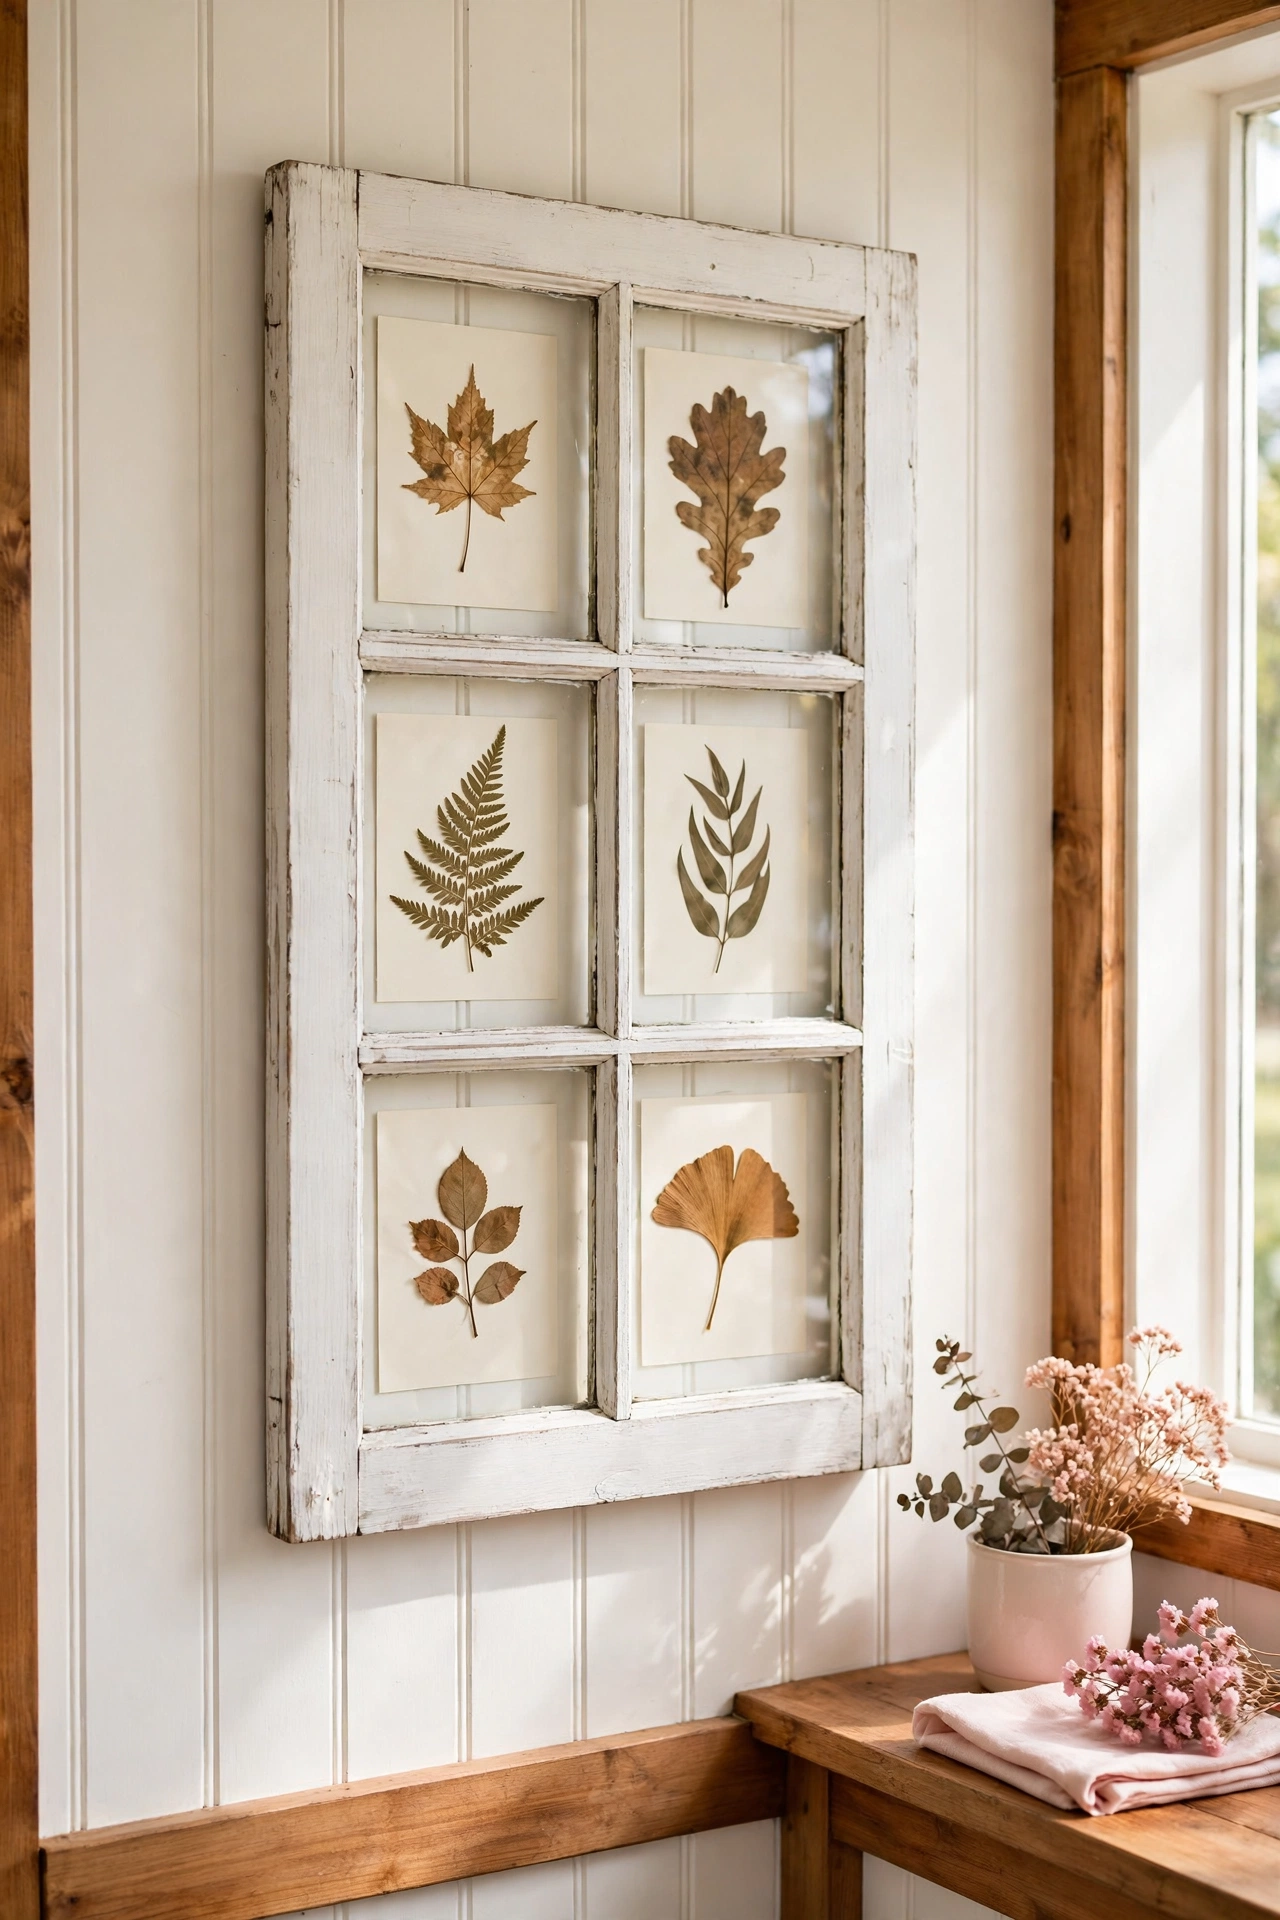
26. Press Leaves in a Recycled Window Frame
An old window frame with several small panes is perfect for pressed leaves. Clean the glass, then place one pressed leaf behind each pane on a cream backing. The divided panes turn each leaf into its own tiny picture.
Hang the window frame in a living room or a porch where its rustic charm fits the space. Old windows are easy to find at salvage shops and cost very little. This upcycled display turns trash into treasure and fills a wall with nature.
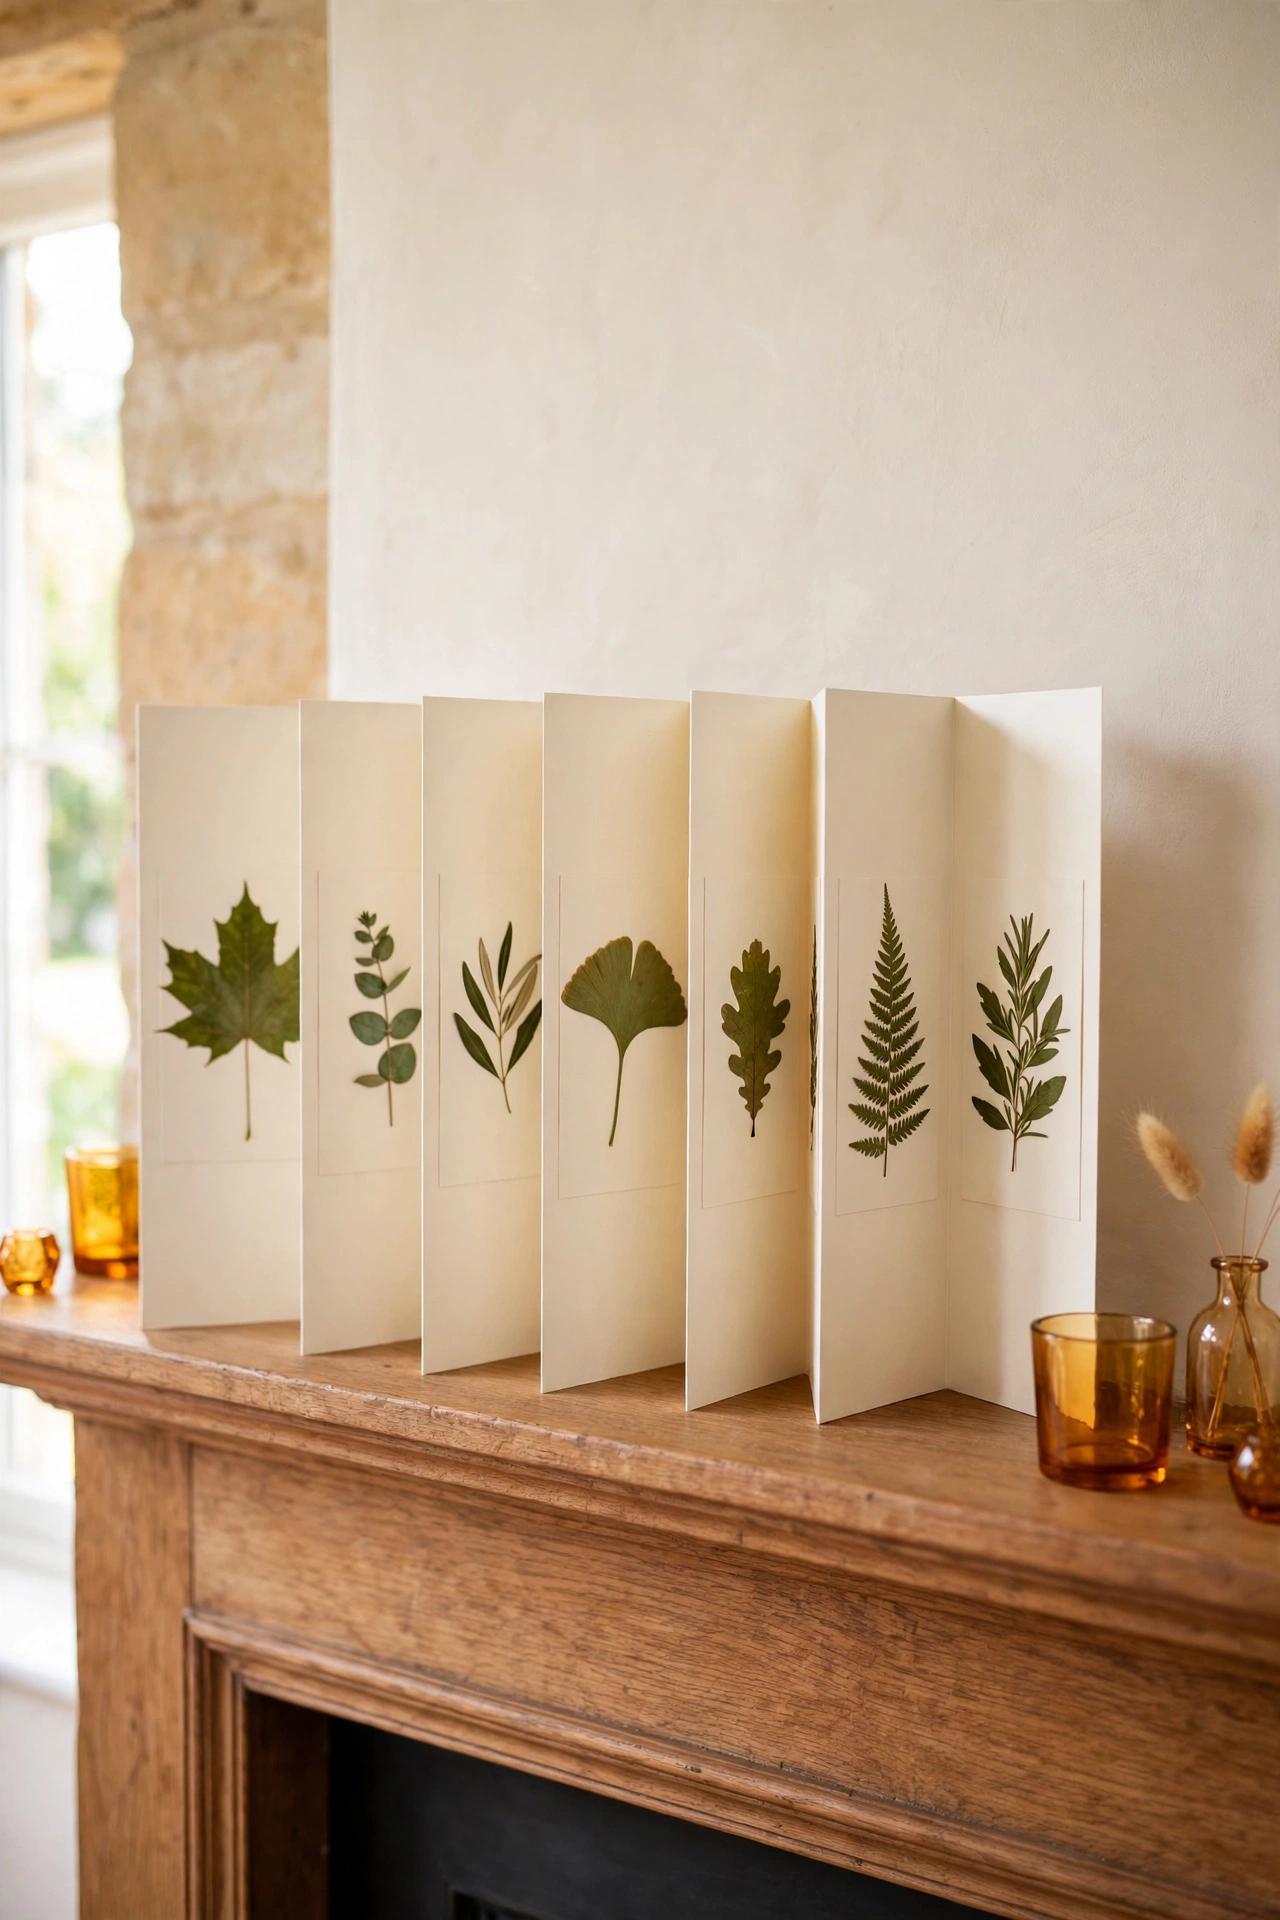
27. Create a Leaf Art Accordion Wall Display
An accordion display folds like a screen and stands on a shelf or a table against the wall. Attach pressed leaves to a strip of folded card, with one leaf on each panel, then stand the folded strip upright. The zigzag shape adds depth and lets you see the leaves from different angles.
Place the accordion display on a mantel or a bookshelf where it adds interest without taking up wall space. You can fold it flat for storage and open it again whenever you like. This flexible display is fun to rearrange through the seasons.
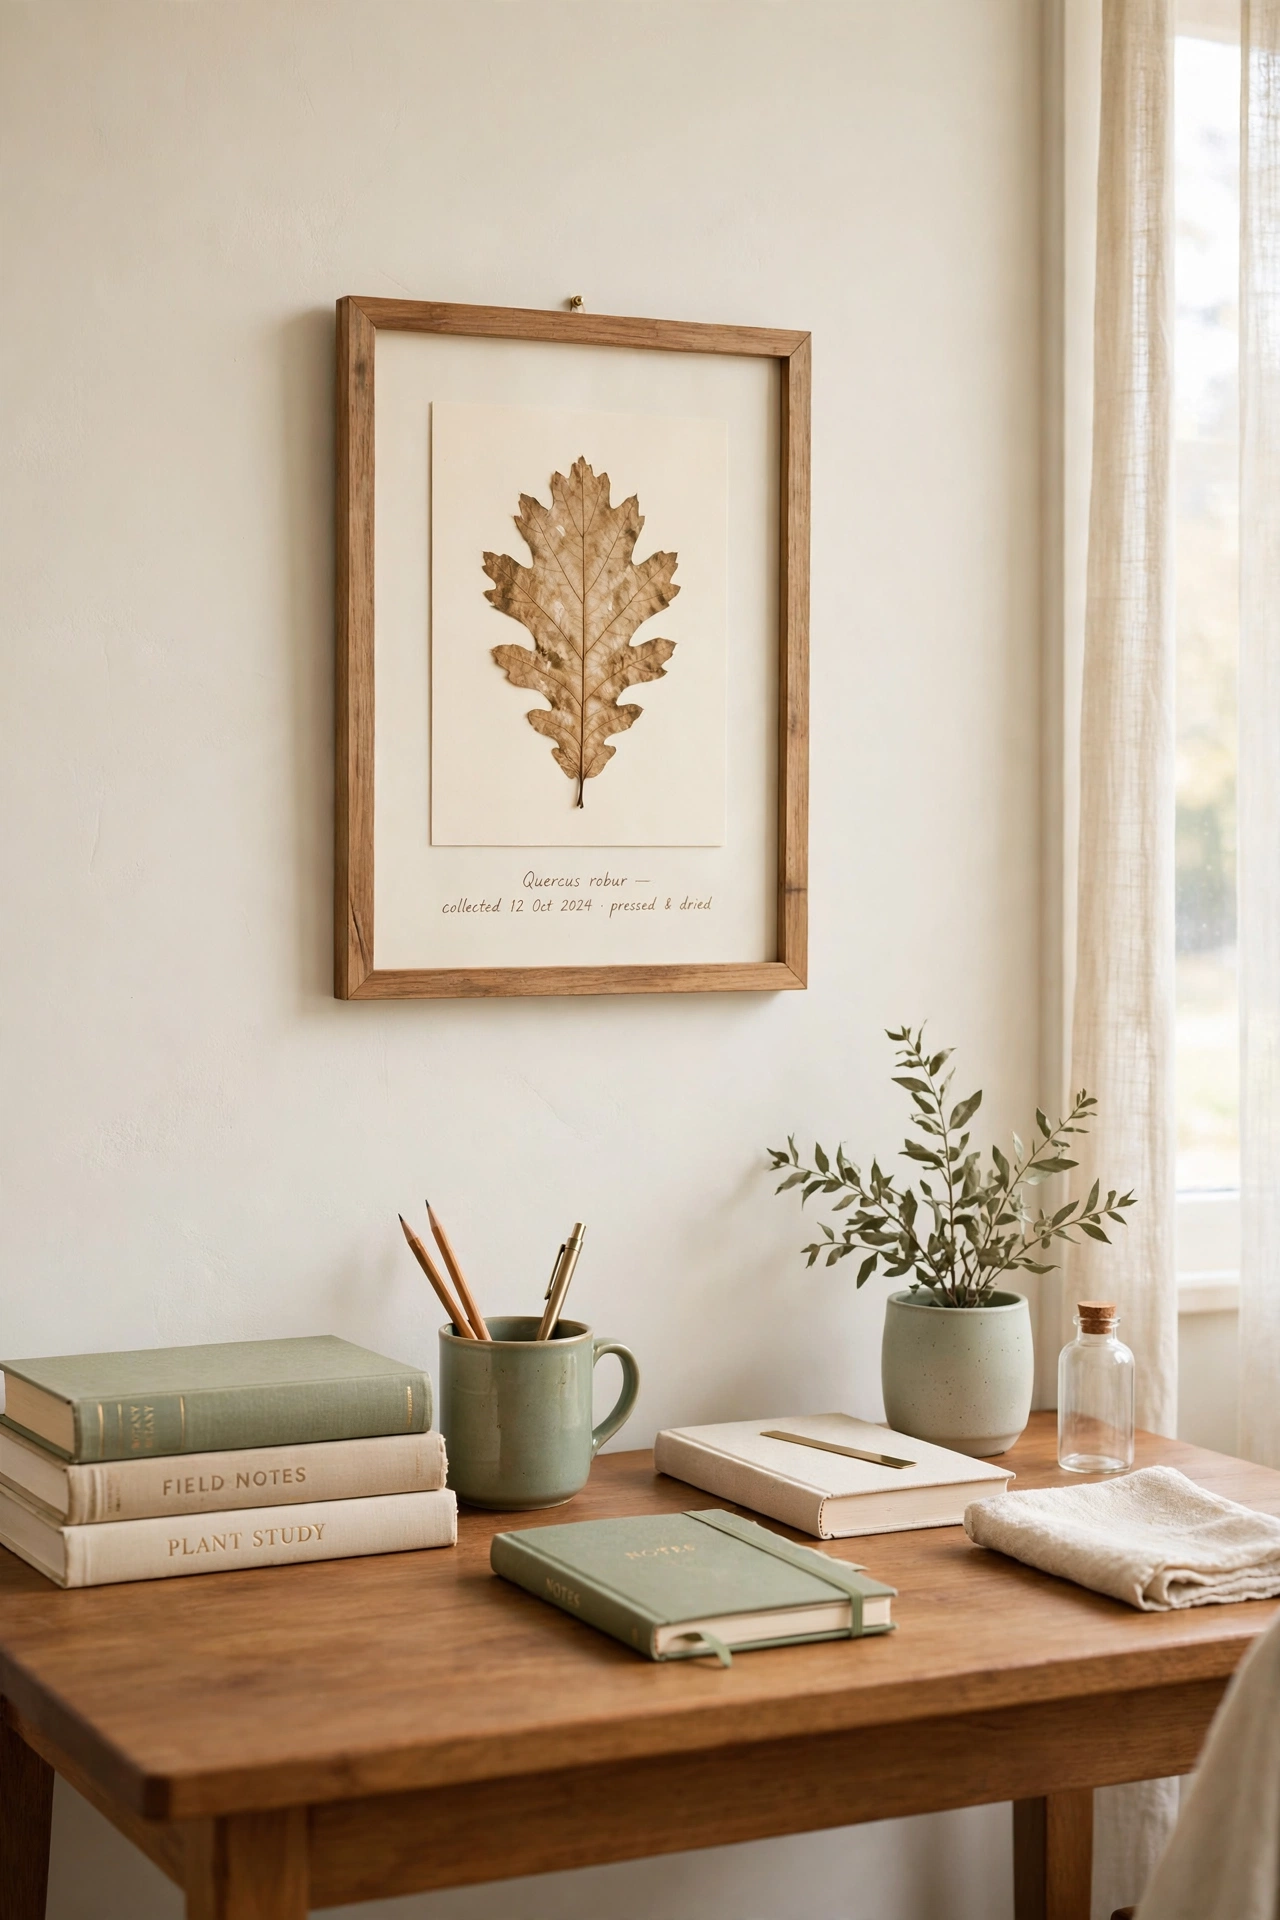
28. Frame Leaves with Handwritten Labels
Handwritten labels add a personal, journal like quality to pressed leaf art. Press a leaf, mount it on cream card, and write its name and the date you found it underneath in neat handwriting. The label turns a simple leaf into a small story.
Frame several labeled leaves together for a wall that feels like a page from a naturalist diary. This display suits a study, a library corner, or a child bedroom where learning is part of the fun. Each label makes the wall more personal and more interesting.
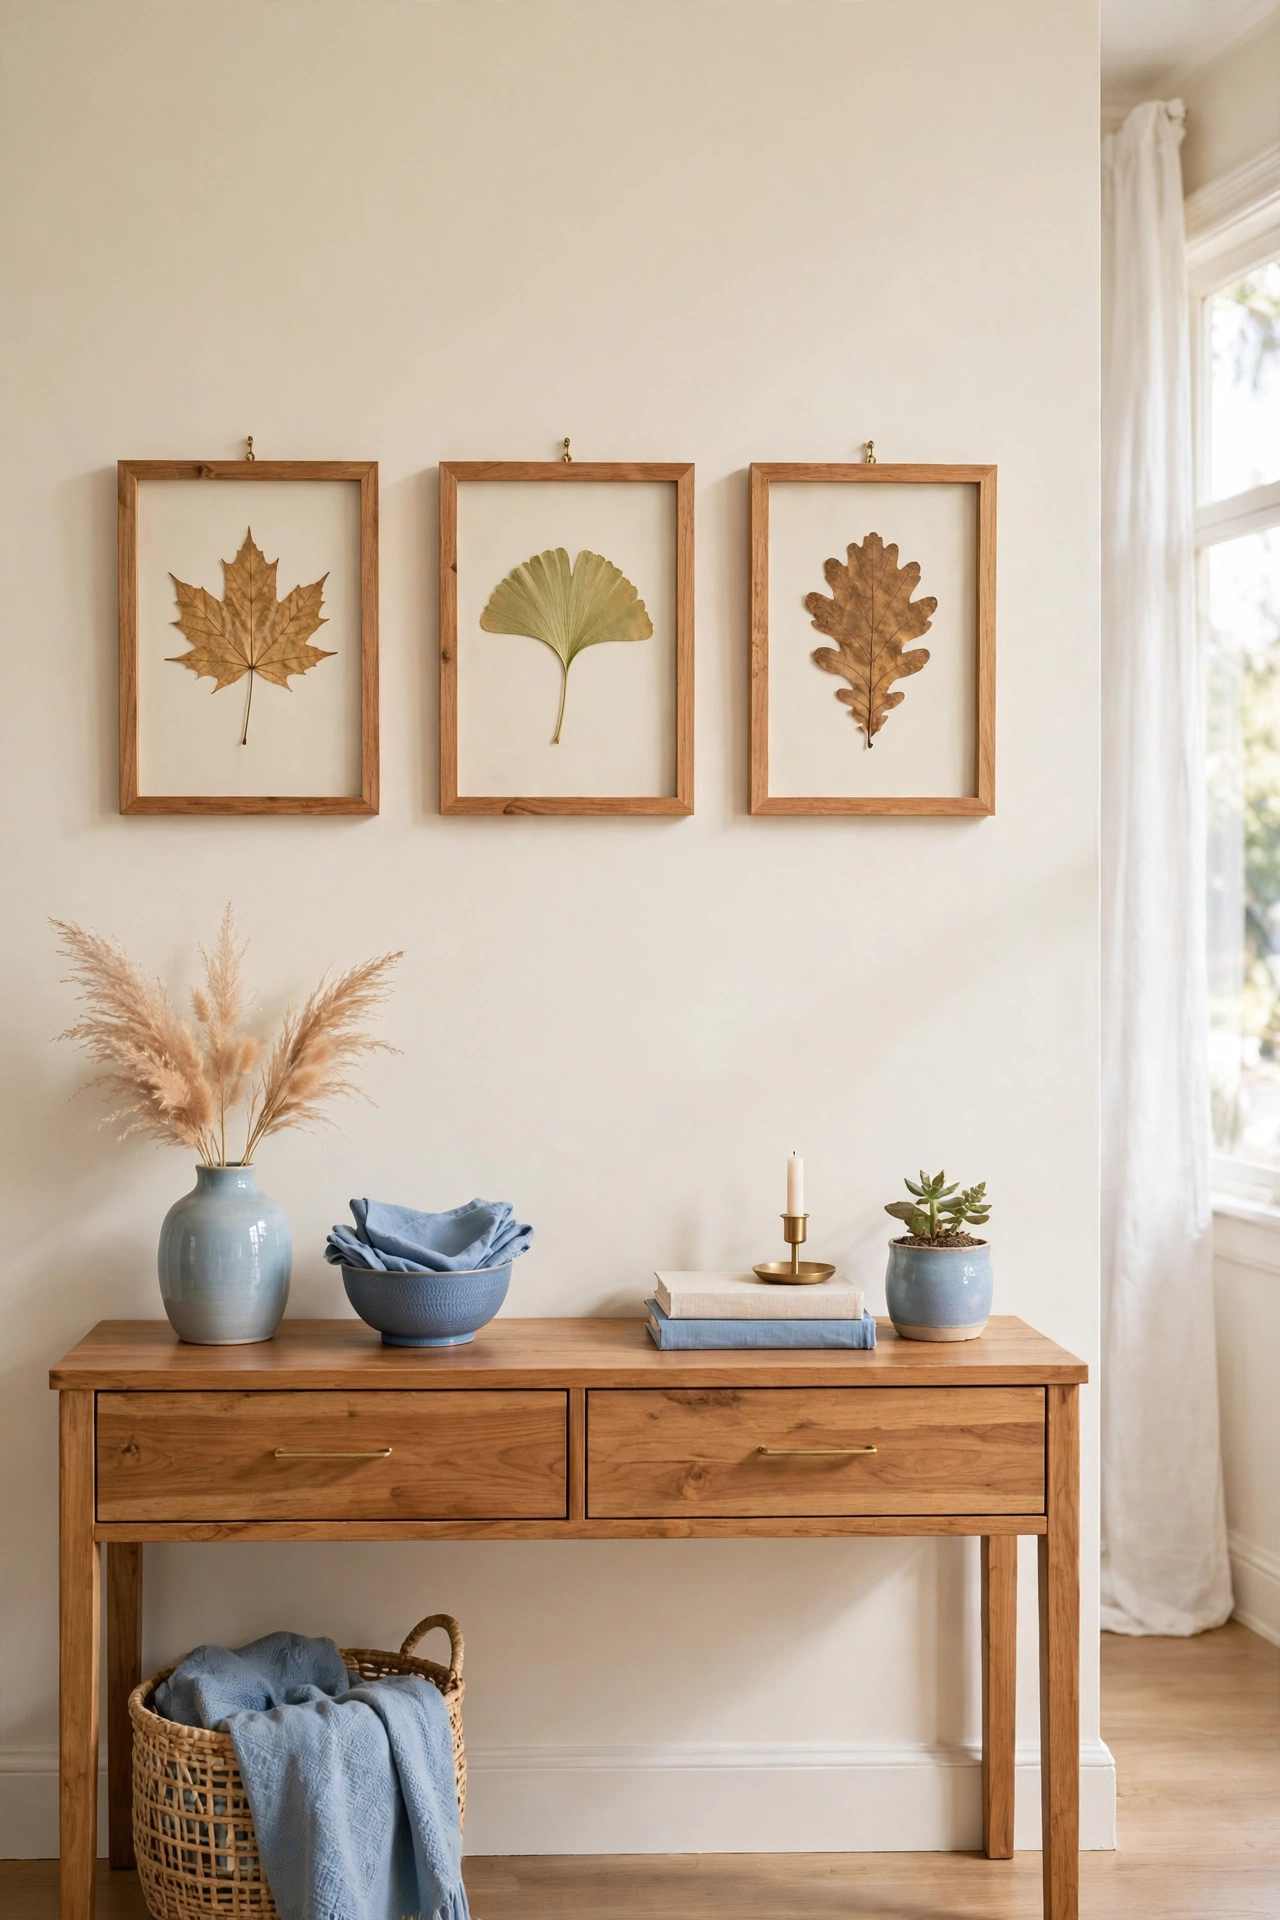
29. Make a Botanical Wall Art Set of Three Matching Frames
A set of three matching frames is a classic way to fill a wall without a single large artwork. Press leaves from the same tree or the same garden walk, mount each one the same way, and hang the three frames in a row with equal spacing. The matching frames tie the set together.
Hang the trio above a sofa, a bed, or a console table as a balanced focal point. Three is a pleasing number that feels complete without being busy. This simple set suits almost every room and every style of home.
30. Press Leaves onto Fabric for a Wall Hanging
Pressing leaves onto fabric creates a soft wall hanging with a handmade feel. Glue pressed leaves onto a piece of cotton or linen, then hem the edges and hang the fabric from a wooden rod. The fabric moves gently and the leaves look like they are part of the cloth.
Hang the fabric wall hanging in a bedroom or a nursery where soft textures suit the room. For more ideas on refreshing soft furnishings with your own hands, see these DIY cushion cover ideas. This project is gentle, affordable, and easy to wash and care for.
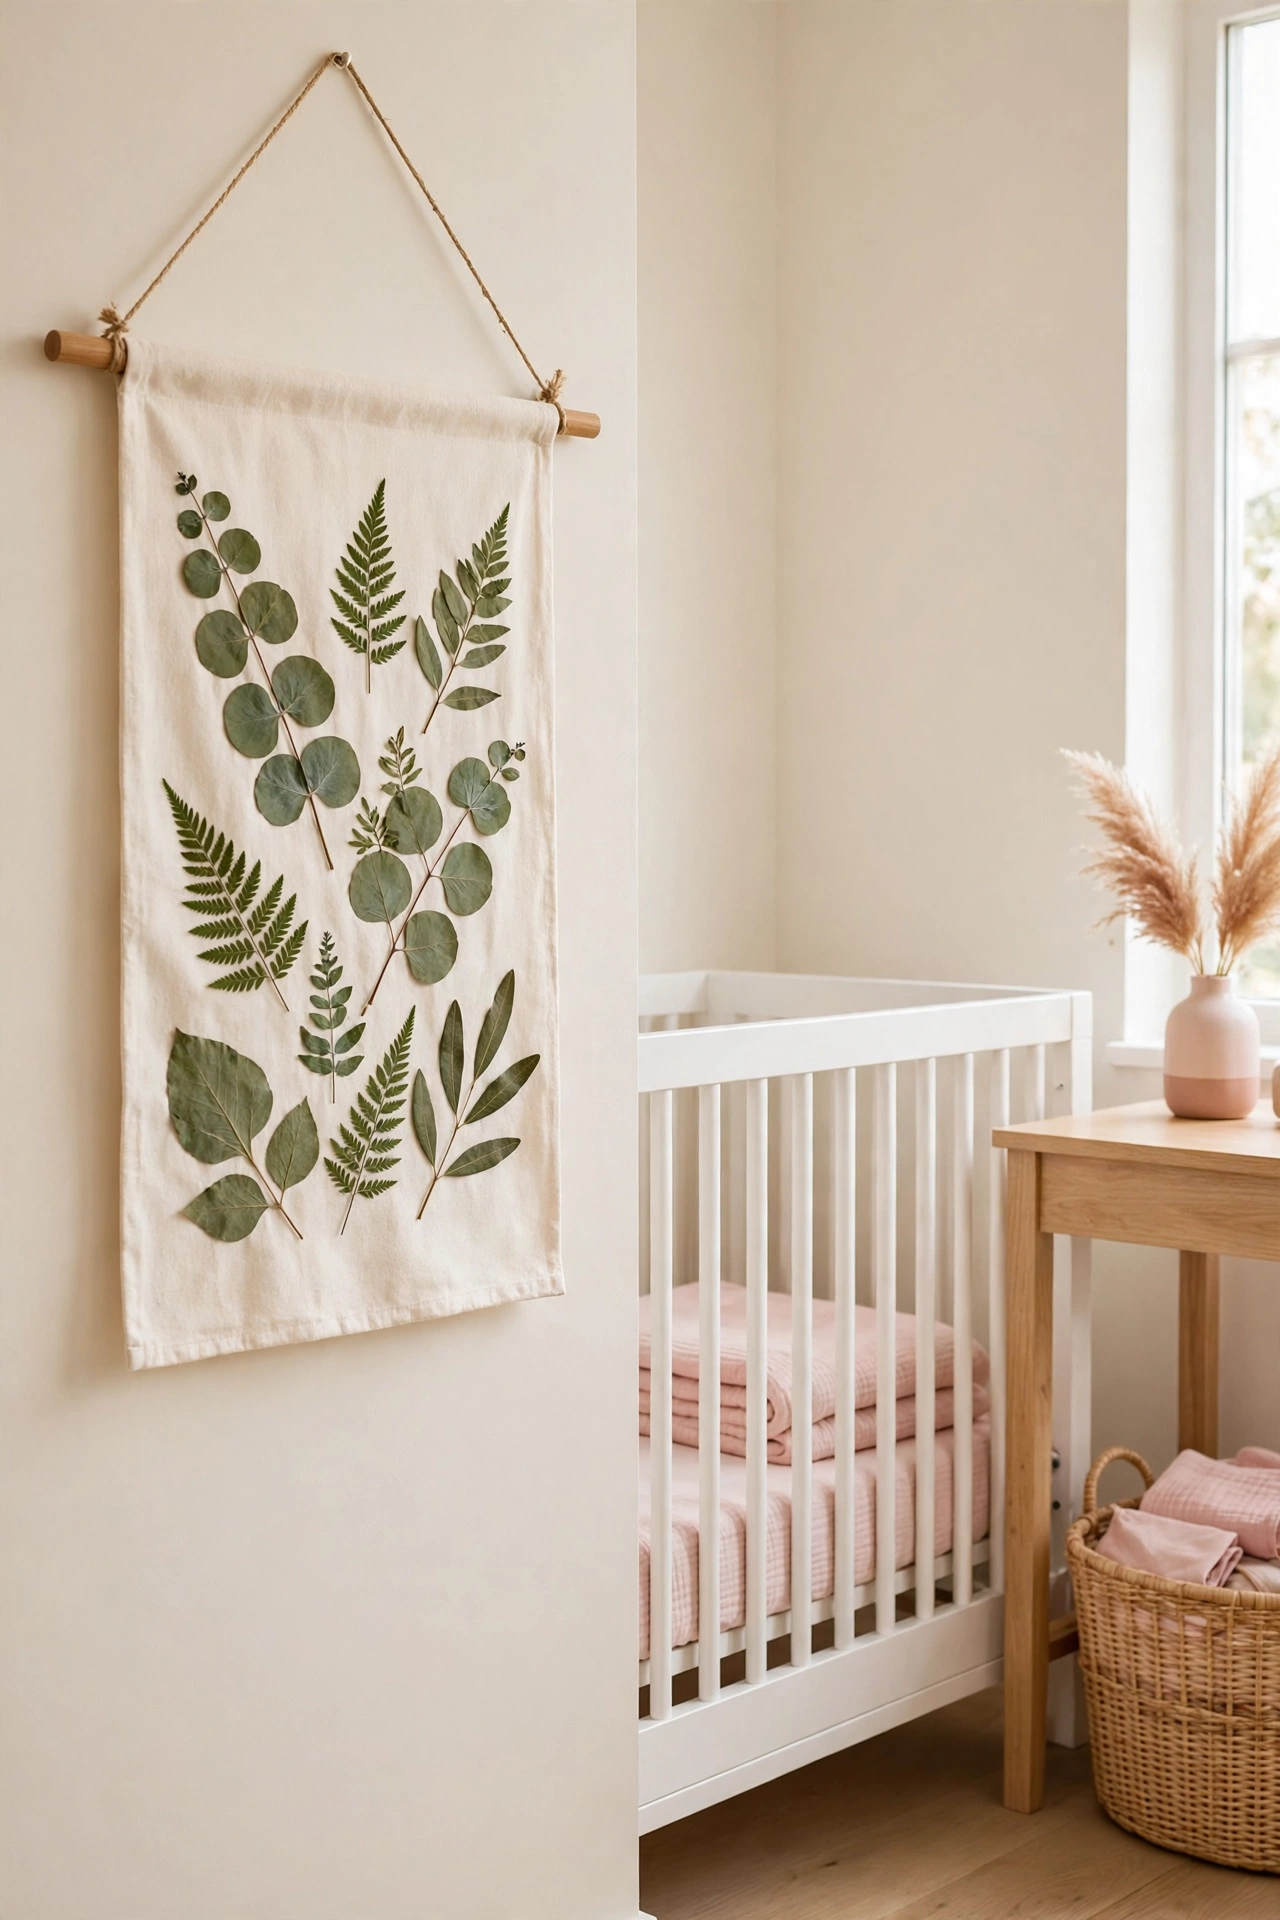
31. Turn Pressed Leaves into a Wall Clock
A wall clock decorated with pressed leaves is both art and a useful object. Buy a plain clock kit with hands and a simple round face, then arrange pressed leaves around the edge of the face before sealing them under clear glue. The leaves frame the numbers without hiding them.
Hang the leaf clock in a kitchen or a home office where you check the time often. The natural leaves soften the plain clock face and make it a talking point. This project turns a boring household item into a piece of botanical art.
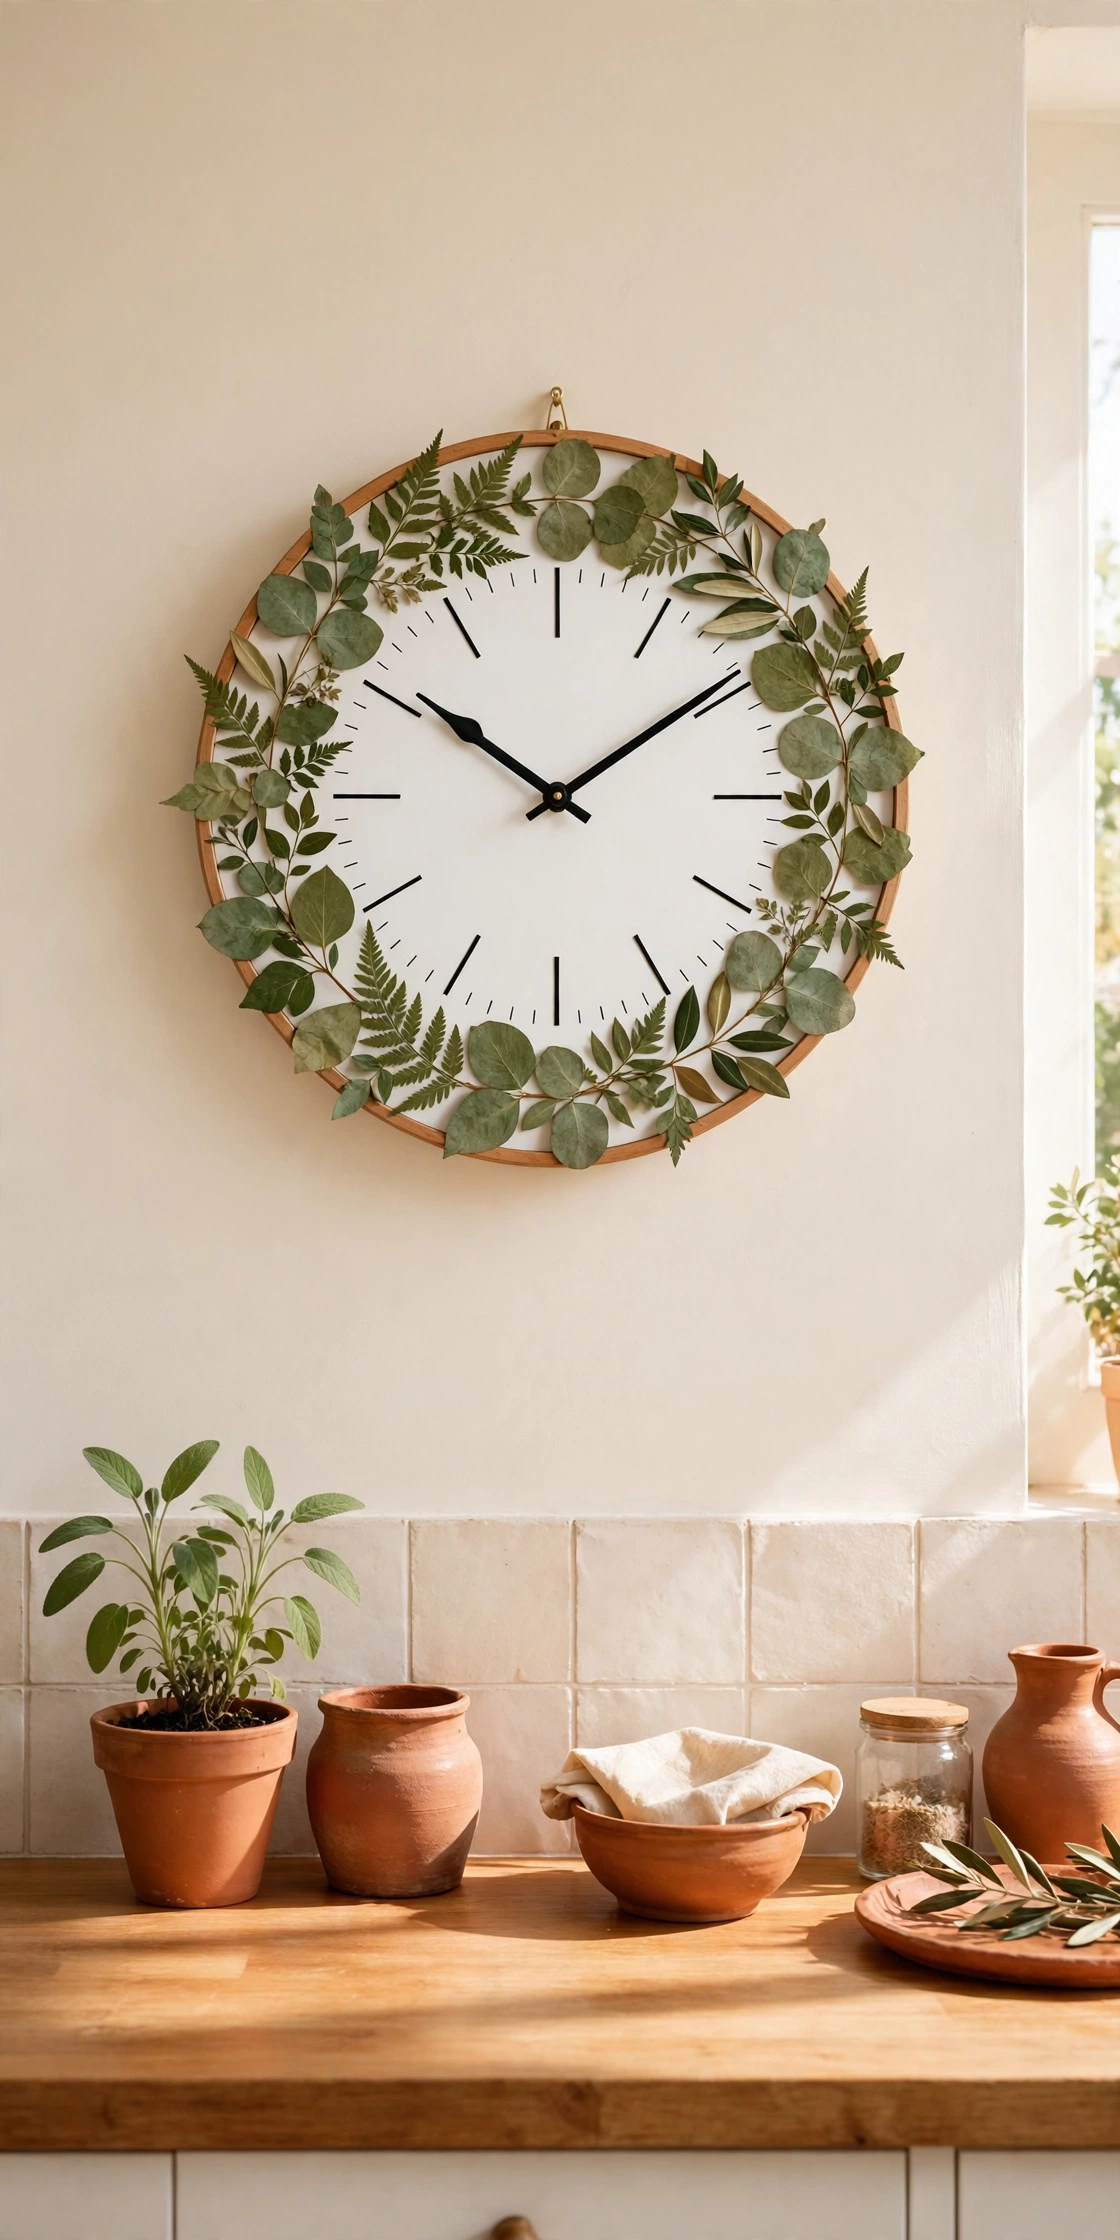
32. Make a Pressed Leaf Mirror Frame
Pressed leaves around a mirror frame turn an ordinary mirror into a botanical feature. Glue small pressed leaves around the edge of a plain round or square mirror, then seal them with clear glue to protect them. The leaves catch the light every time you look in the mirror.
Hang the leaf mirror in an entryway or a hallway where it reflects light into the space. The green leaves soften the hard edge of the glass and make the mirror feel alive. This is a lovely way to combine function and nature in one piece.
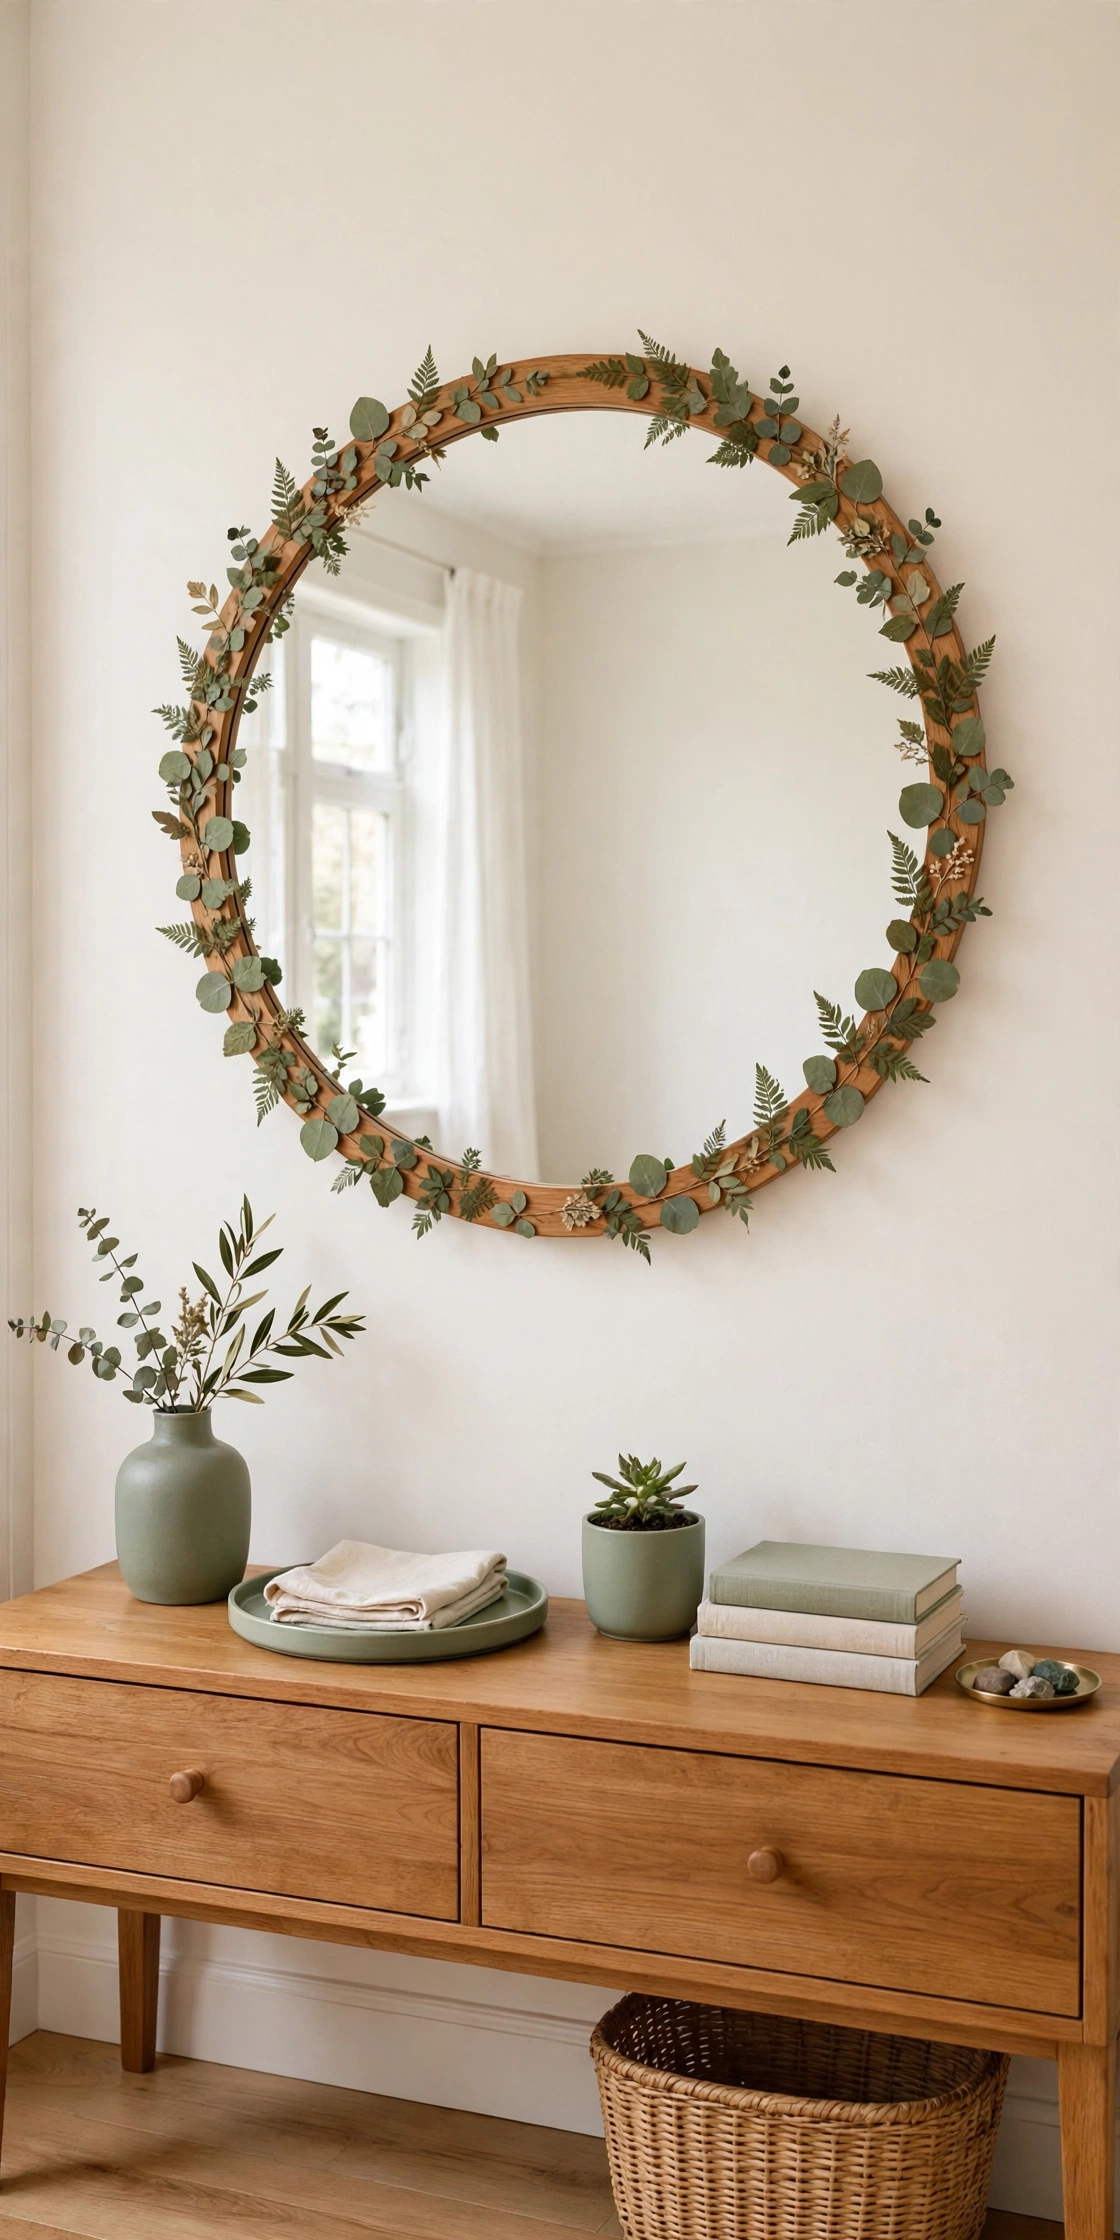
33. Create a Pressed Leaf Memory Wall of Garden Leaves
A memory wall gathers leaves from meaningful places, such as your first home garden, a family walk, or a holiday trip. Press one leaf from each special place and mount them together in a large frame with small notes about where each leaf came from. The wall becomes a map of happy memories.
Hang the memory wall in a family room or a hallway where everyone can see it and add to it over time. New leaves join the wall as new memories are made. This is the most personal botanical art of all, because no one else can copy your story.
Conclusion
Botanical wall art with real leaves proves that the best decor is often free and close at hand. From a single fern in a simple frame to a full memory wall of garden leaves, each idea here turns nature into art that no shop can copy. The leaves you gather today can brighten your walls for years.
Pick one or two ideas that fit your home and start today. Press a few leaves, find a frame, and hang your first piece before the week ends. For more soft vintage touches that pair beautifully with leaf art, see these vintage doily decor ideas. Your walls will feel fresher, calmer, and more personal with every leaf you add.
Frequently Asked Questions About DIY Botanical Wall Art Ideas Using Real Leaves
How long does it take to press leaves for wall art?
Most leaves take one to two weeks to press fully flat inside a heavy book. Thin leaves like ferns dry faster, while thick leaves like magnolia need a full two weeks. Check the leaves after a week and leave them longer if they still feel soft or damp.
How do I stop pressed leaves from fading in sunlight?
Keep pressed leaf art away from direct sunlight, which fades colors fastest. Hang framed leaves on walls that get soft indirect light, and use glass with UV protection if you can. Sealing leaves under clear glue also slows fading and keeps colors brighter for longer.
What is the best paper to use behind pressed leaves?
Plain cream or white card works best because it shows off leaf colors without competing with them. Acid free card is ideal since it will not yellow over time. Avoid colored paper unless you want a bold background, as strong colors can distract from the leaves.
Can I use leaves that are already dry and brown?
Yes, dry brown leaves work well for autumn displays and rustic projects. Press them flat for a few days to smooth out curls, then mount them the same way as fresh leaves. Brown leaves suit wreaths, garlands, and shadow boxes where warm earthy tones feel right.
How do I keep pressed leaf art dust free?
Always frame pressed leaves behind glass, which keeps dust away and protects the leaves from moisture. Dust the outside of the glass with a soft dry cloth. For open displays like garlands, shake them gently outdoors every few weeks to remove dust.

Hi, I’m Emily! I turn messy corners into cozy, organized spots. DreamNestDecor is where I share simple, practical home ideas — decor, organization, and small-space solutions that work in real life, not just in photos. Every idea here is carefully researched before it’s shared.