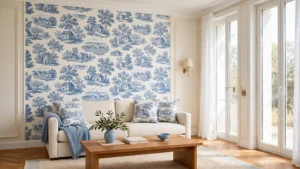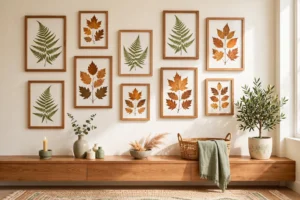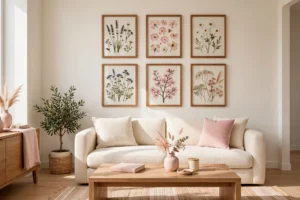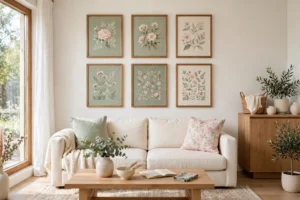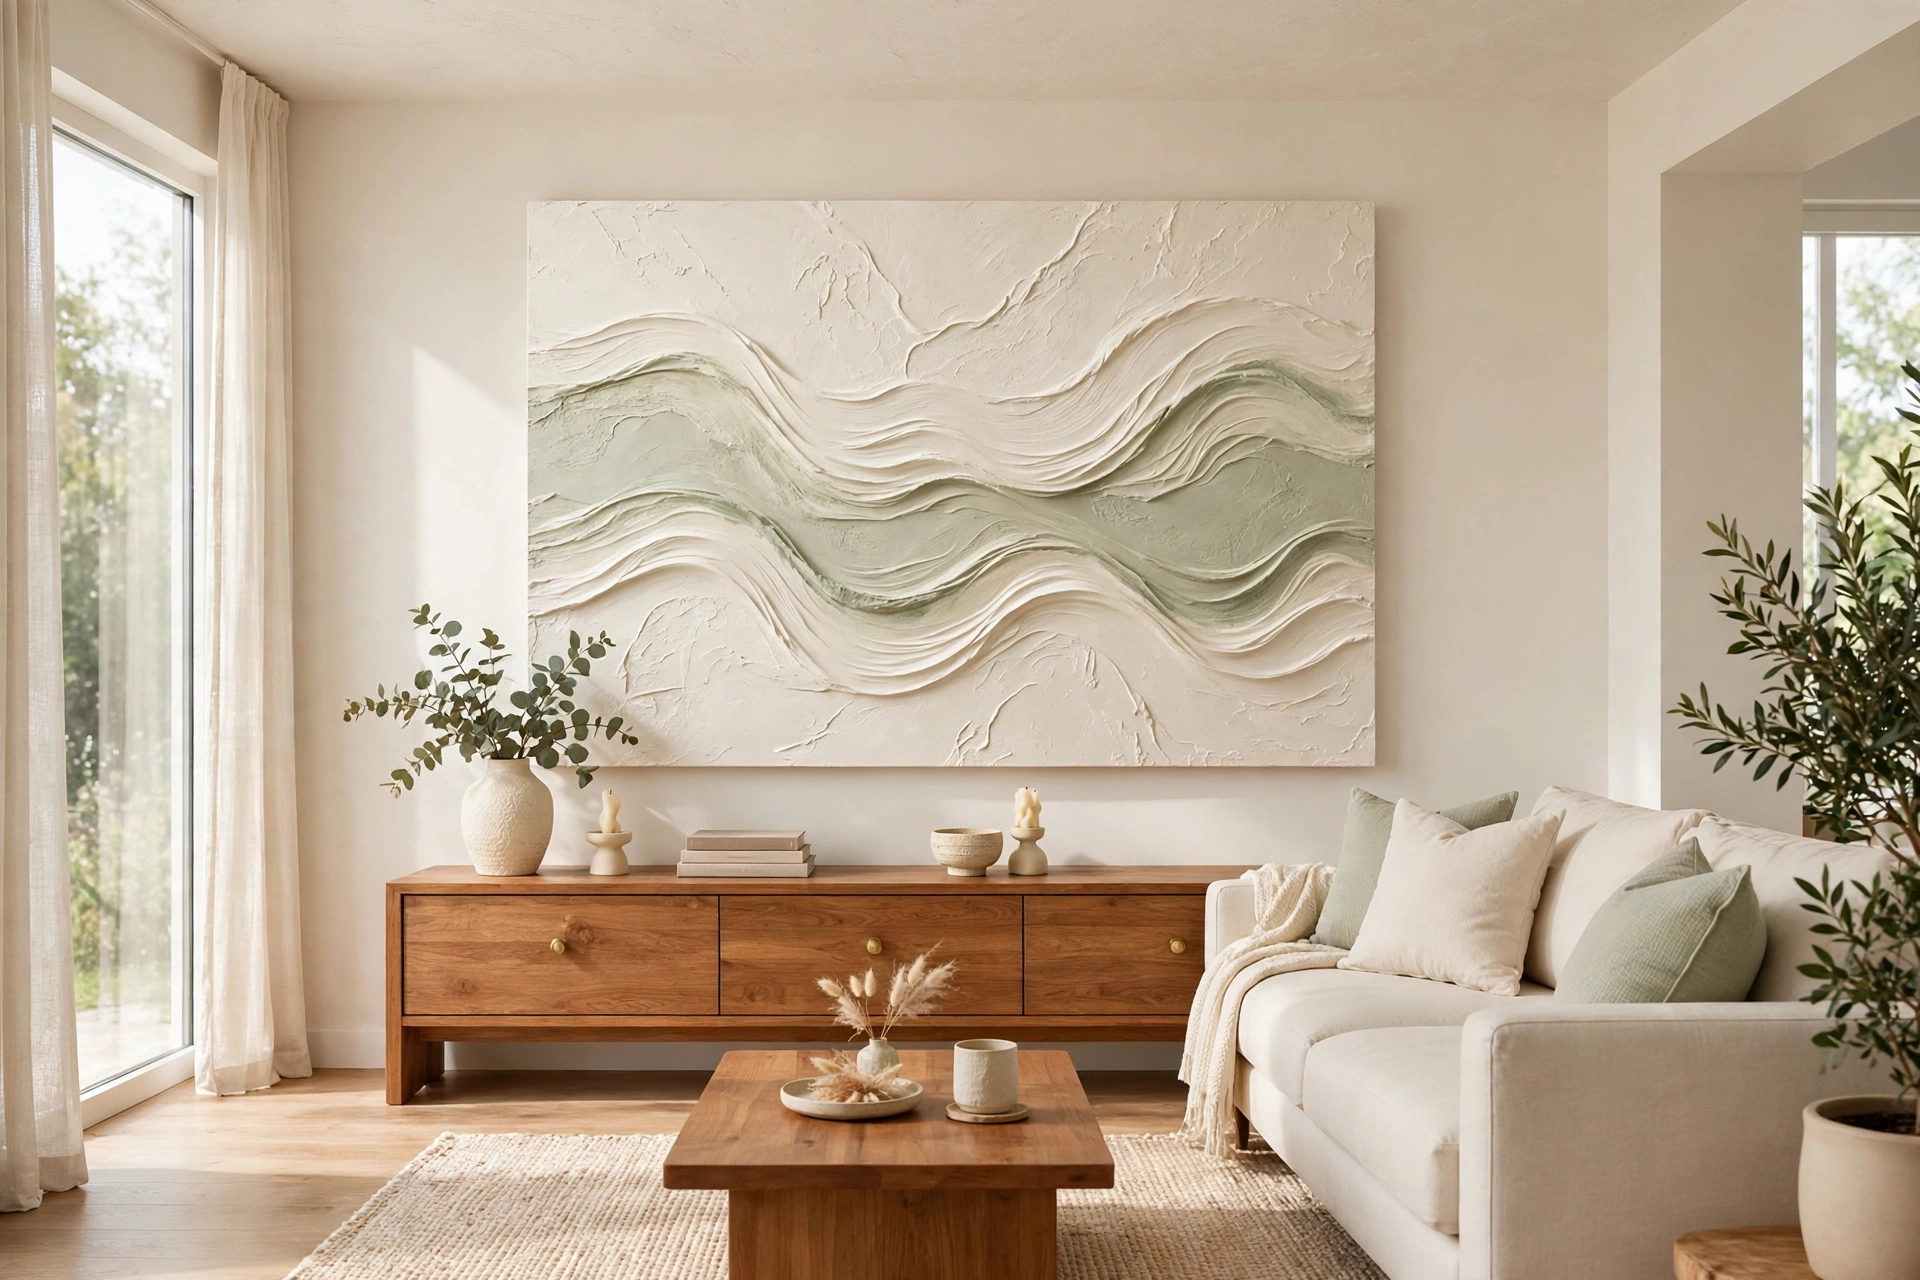
Picture this: you walk into a living room and one wall stops you in your tracks. A large canvas hangs there, full of soft waves, raised arches, and gentle shadows that shift as the light moves across the room. It looks like a piece from an expensive gallery, yet it cost only a few dollars in supplies and one relaxed afternoon to make. That quiet luxury is exactly what textured canvas art brings into a home.
You do not need art school training or a big budget to create it. All you need is a blank canvas, a few simple materials, and the willingness to play with texture. These 24 DIY textured canvas art ideas for stylish walls will help you turn plain walls into beautiful focal points, one textured layer at a time.
1. Spread Plaster for a Soft Wave Texture
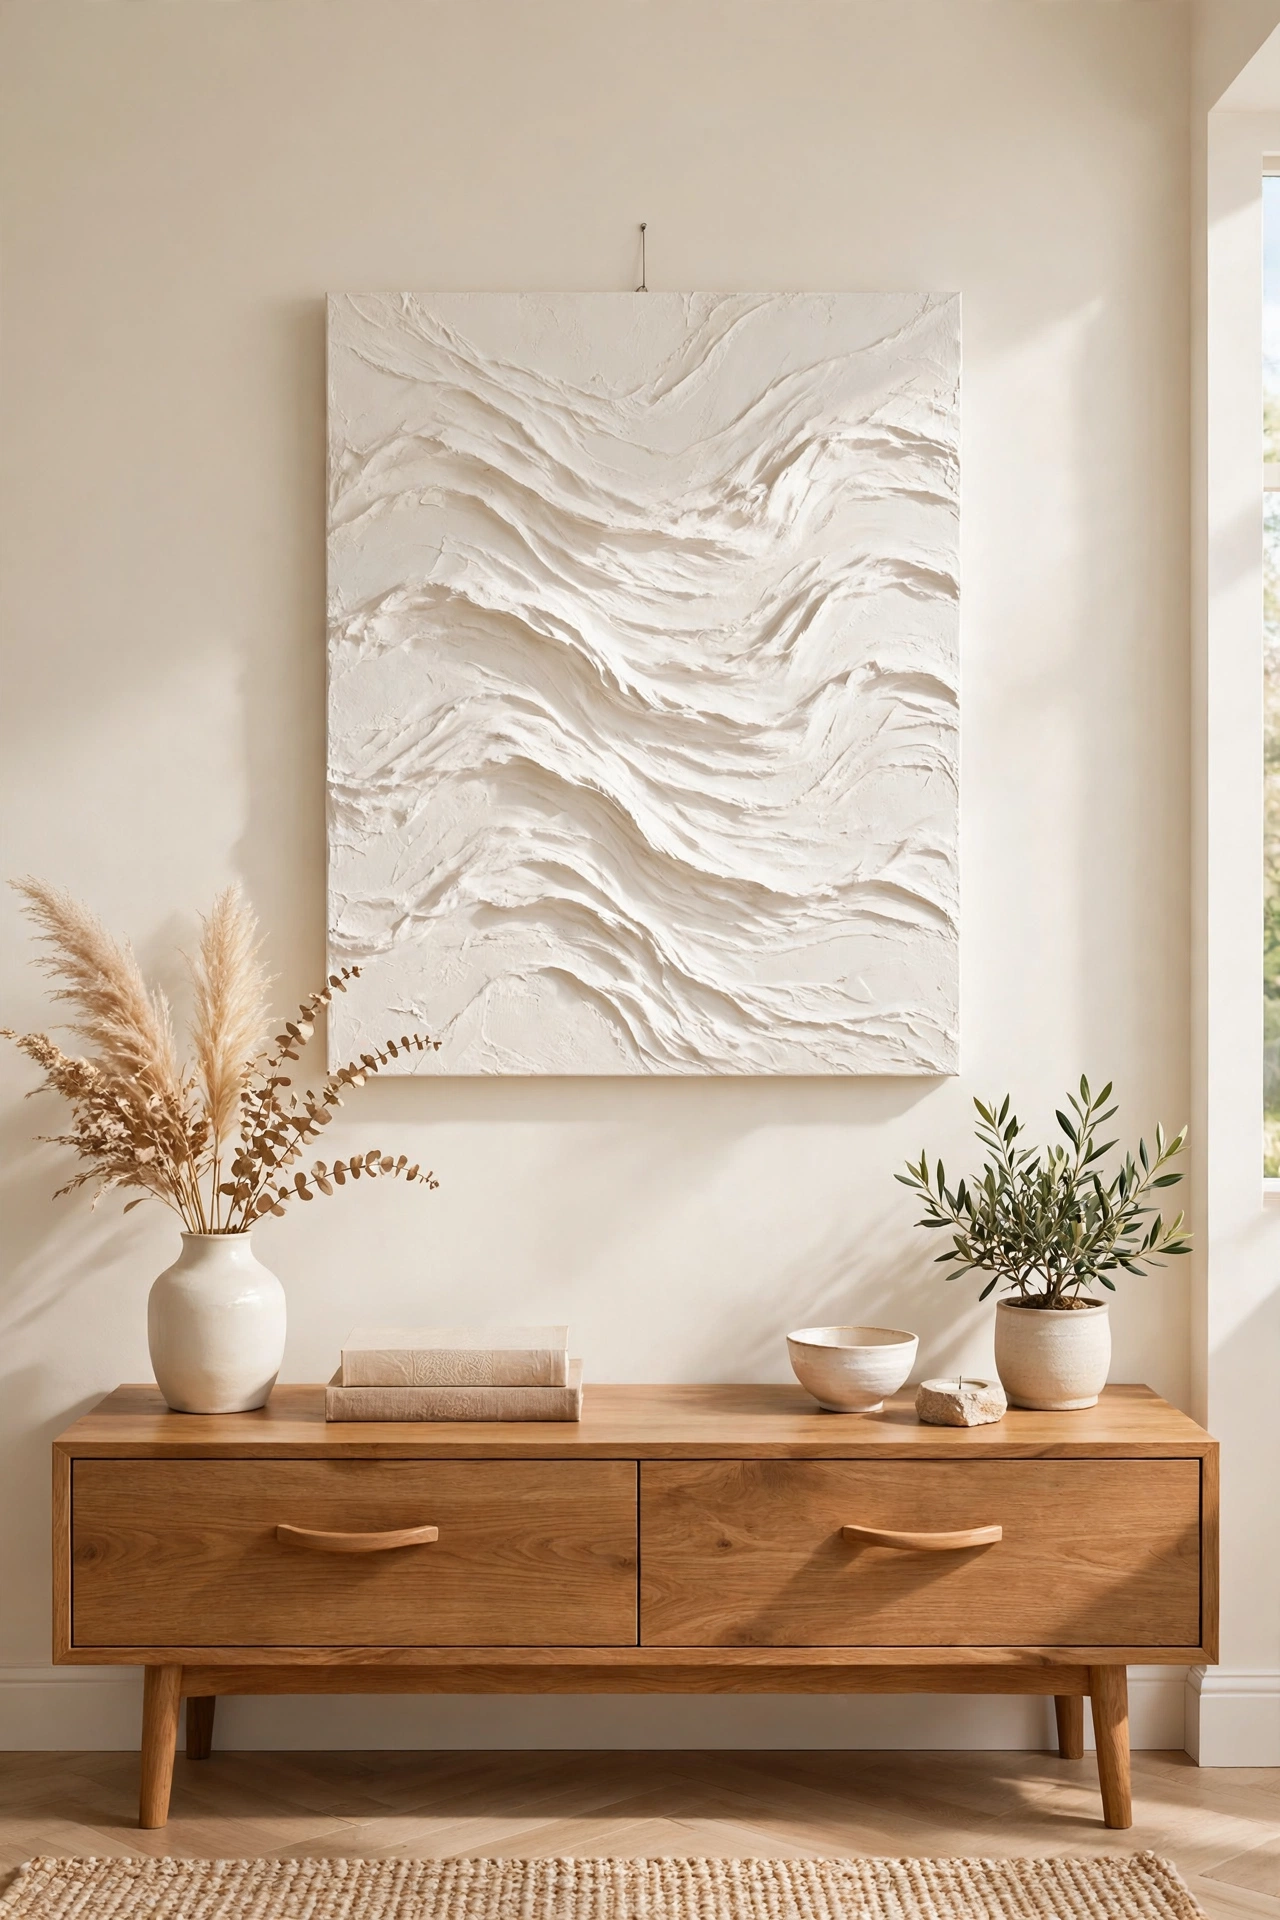
Plaster is the easiest way to give a flat canvas a soft, sculptural surface. Scoop a thick layer onto the canvas with a wide putty knife, then drag the knife in slow, curving strokes to form gentle waves. The plaster catches light in a way that flat paint never can, so the canvas changes mood from morning to evening.
Let the plaster dry fully for a full day before you paint over it. A coat of warm white or soft cream keeps the look calm and modern. Hang the finished piece above a sofa or a console table where the light can reach it and show off every curve.
2. Comb Lines Through Wet Joint Compound
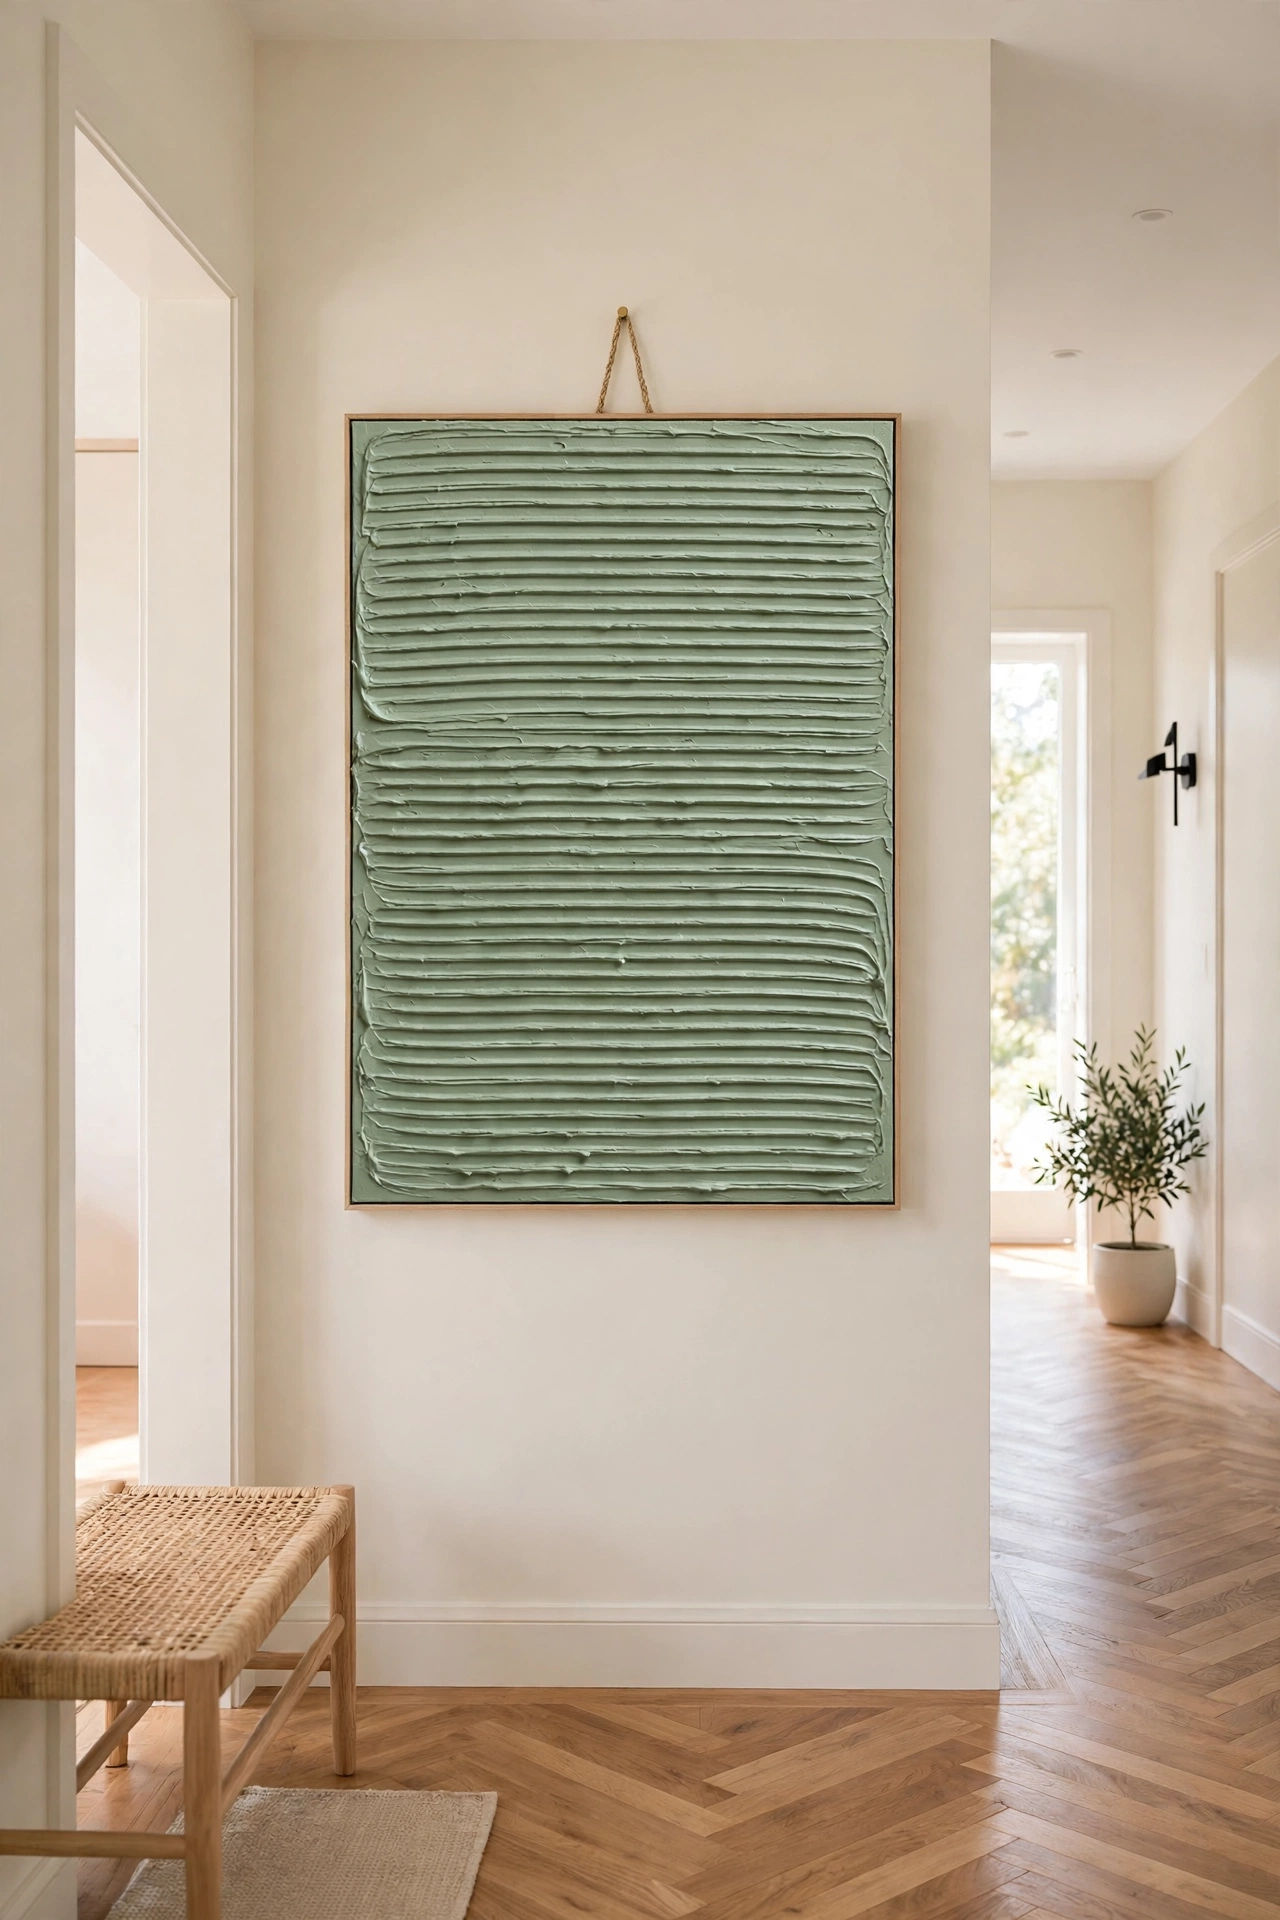
Joint compound is cheap, easy to find, and perfect for carving clean lines into a canvas. Spread a thick layer across the surface, then drag a wide-tooth comb through it in straight, even rows. The result is a neat ribbed pattern that feels orderly and modern.
Try diagonal lines for a sense of movement, or vertical lines to make a low ceiling feel taller. Paint the finished texture in a single color, such as sage green or soft blue, so the shadows do the talking. A pair of matching panels side by side makes a strong statement in a hallway.
3. Press Bubble Wrap Into Wet Paint
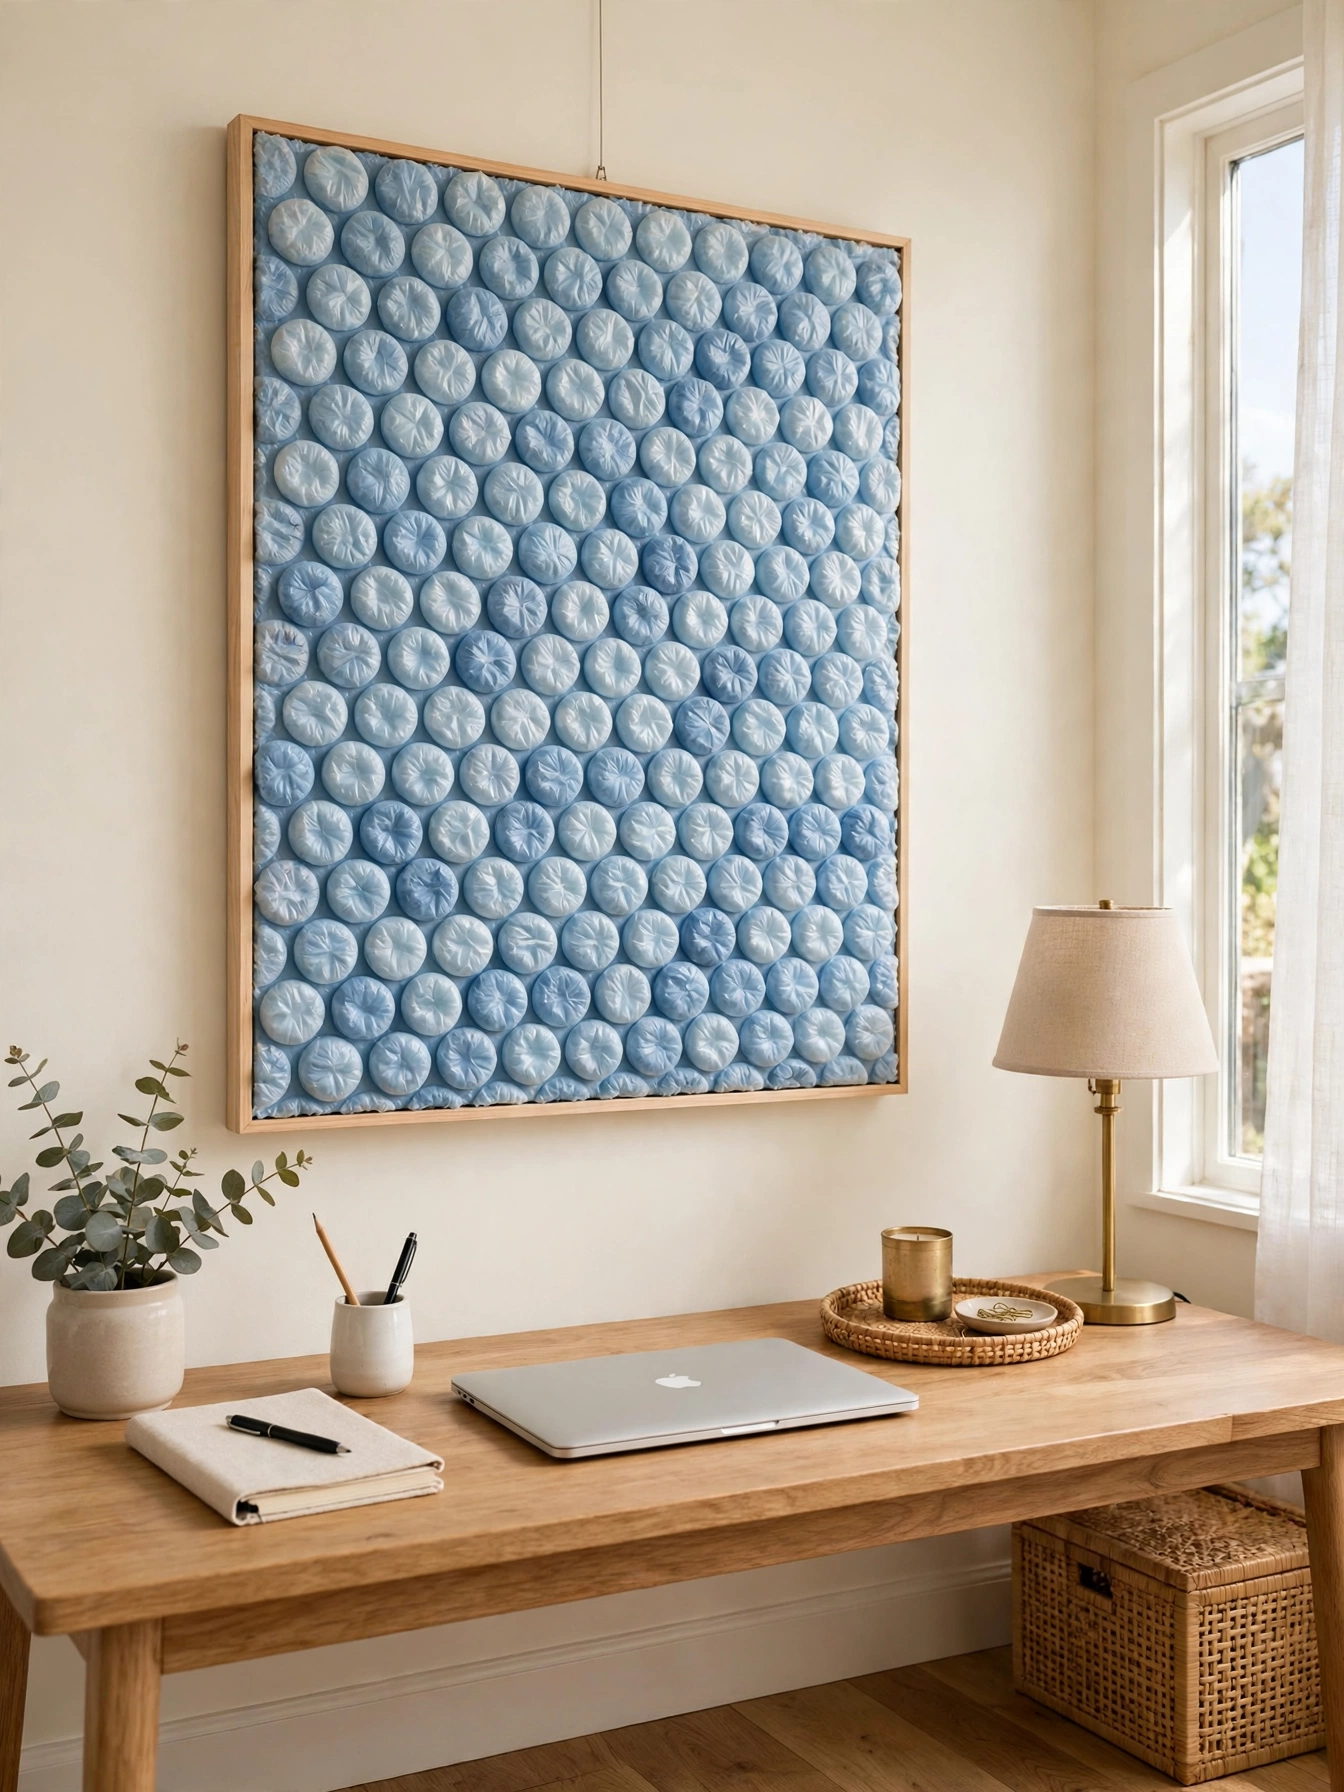
Bubble wrap gives a canvas a playful honeycomb texture with almost no effort. Paint a thick layer of acrylic paint onto the canvas, press a sheet of bubble wrap firmly into the wet paint, and peel it away slowly. The bubbles leave a round, dotted pattern that looks surprisingly elegant once it dries.
Use two tones of the same color, such as a pale blue base with a deeper blue bubble print, for a layered effect. Let each layer dry before you add the next so the circles stay crisp. This technique works well for a cheerful piece in a home office or a playroom.
4. Layer Torn Tissue Paper for a Paper Mache Finish
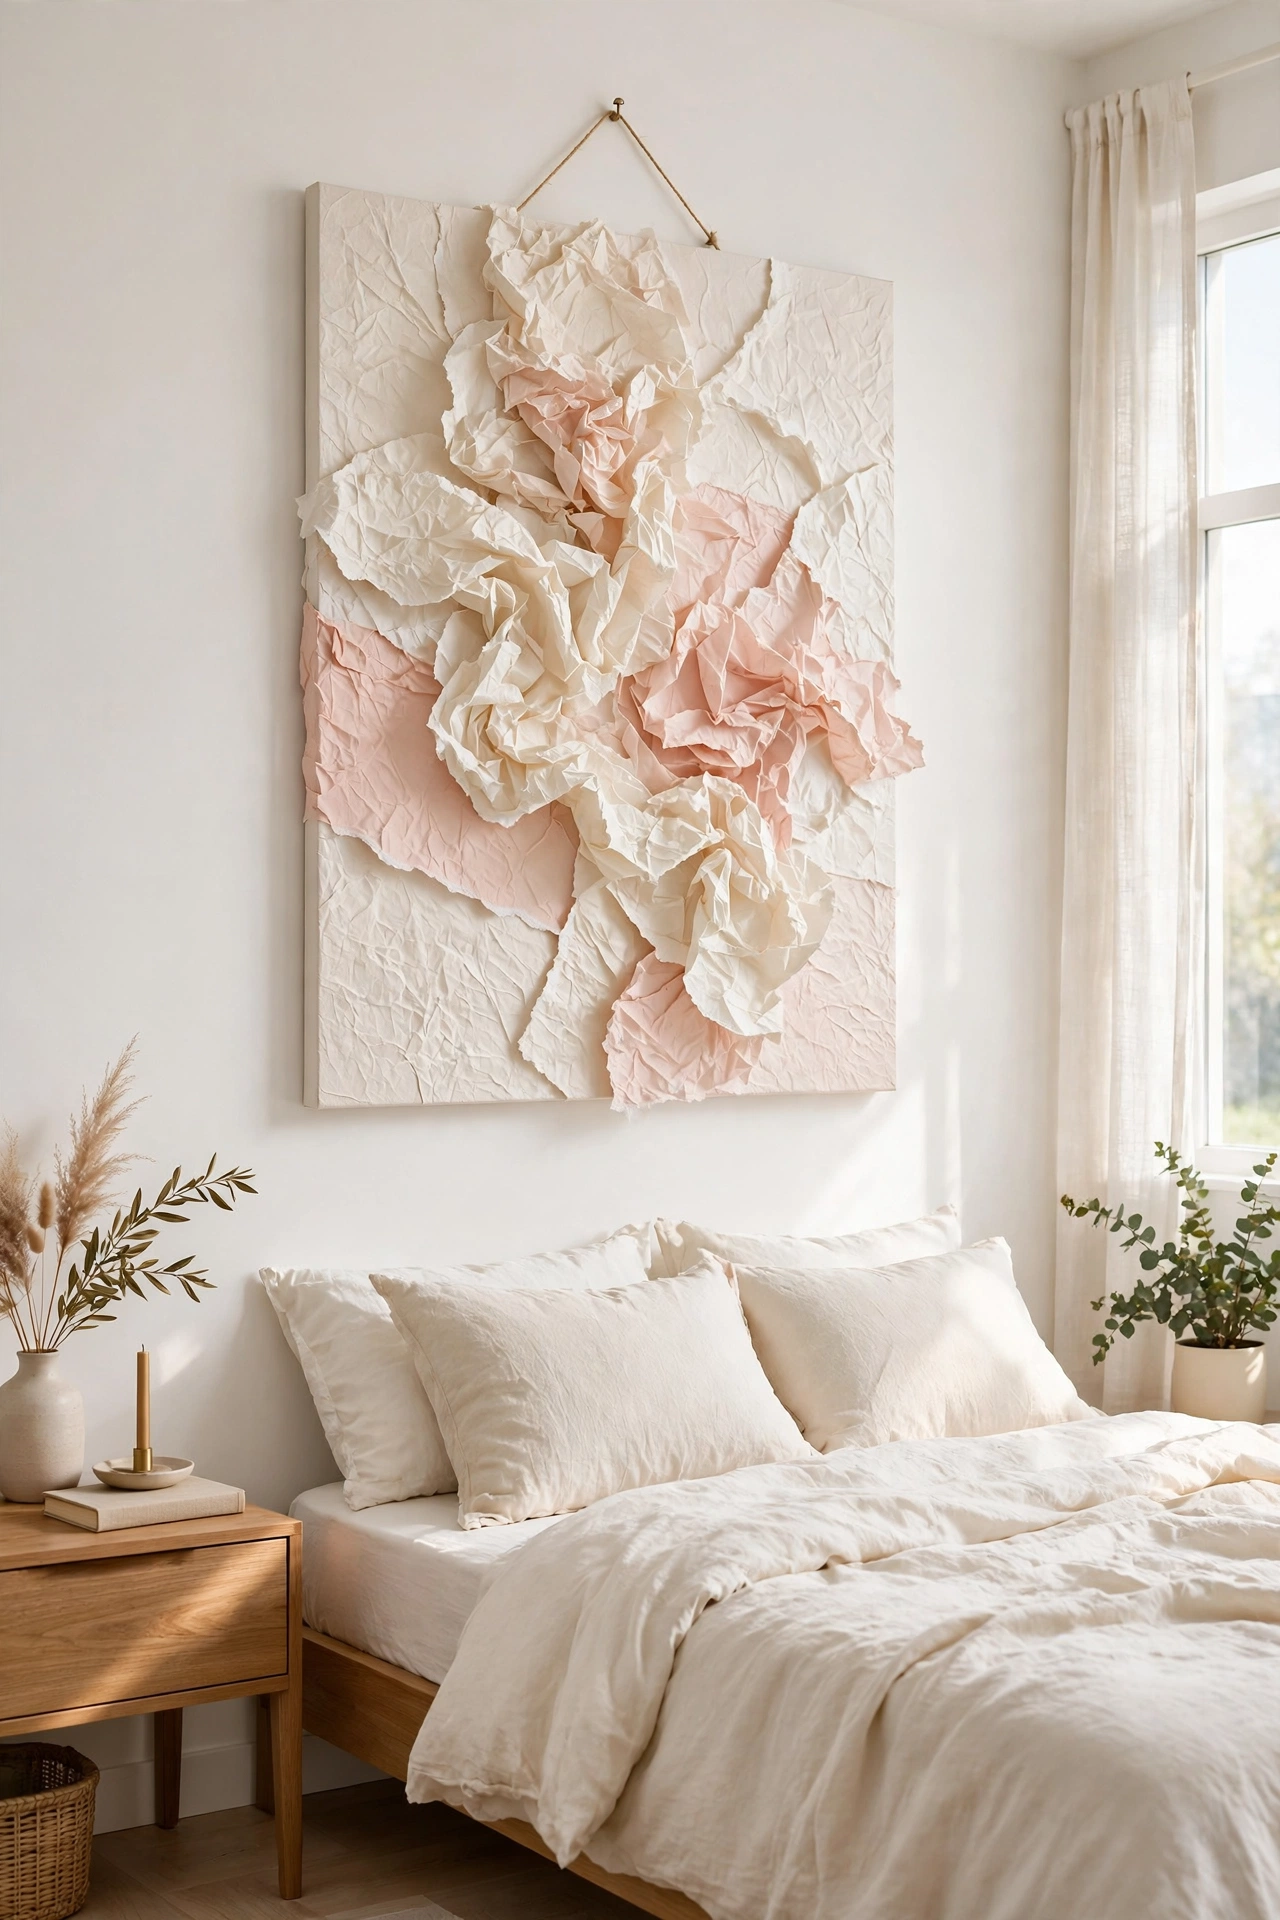
Torn tissue paper creates a soft, crinkled texture that looks like handmade paper. Tear the tissue into rough shapes, brush a thin layer of glue onto the canvas, and press the pieces down so the edges overlap. A second coat of glue on top seals the surface and adds a slight shine.
Choose tissue in cream, blush pink, and pale gold for a warm, layered look. Once the surface is dry, add a wash of watered-down paint to bring out the wrinkles and folds. The finished piece suits a bedroom or a reading corner where soft textures feel most at home.
5. Stamp Leaves Into a Plaster Panel
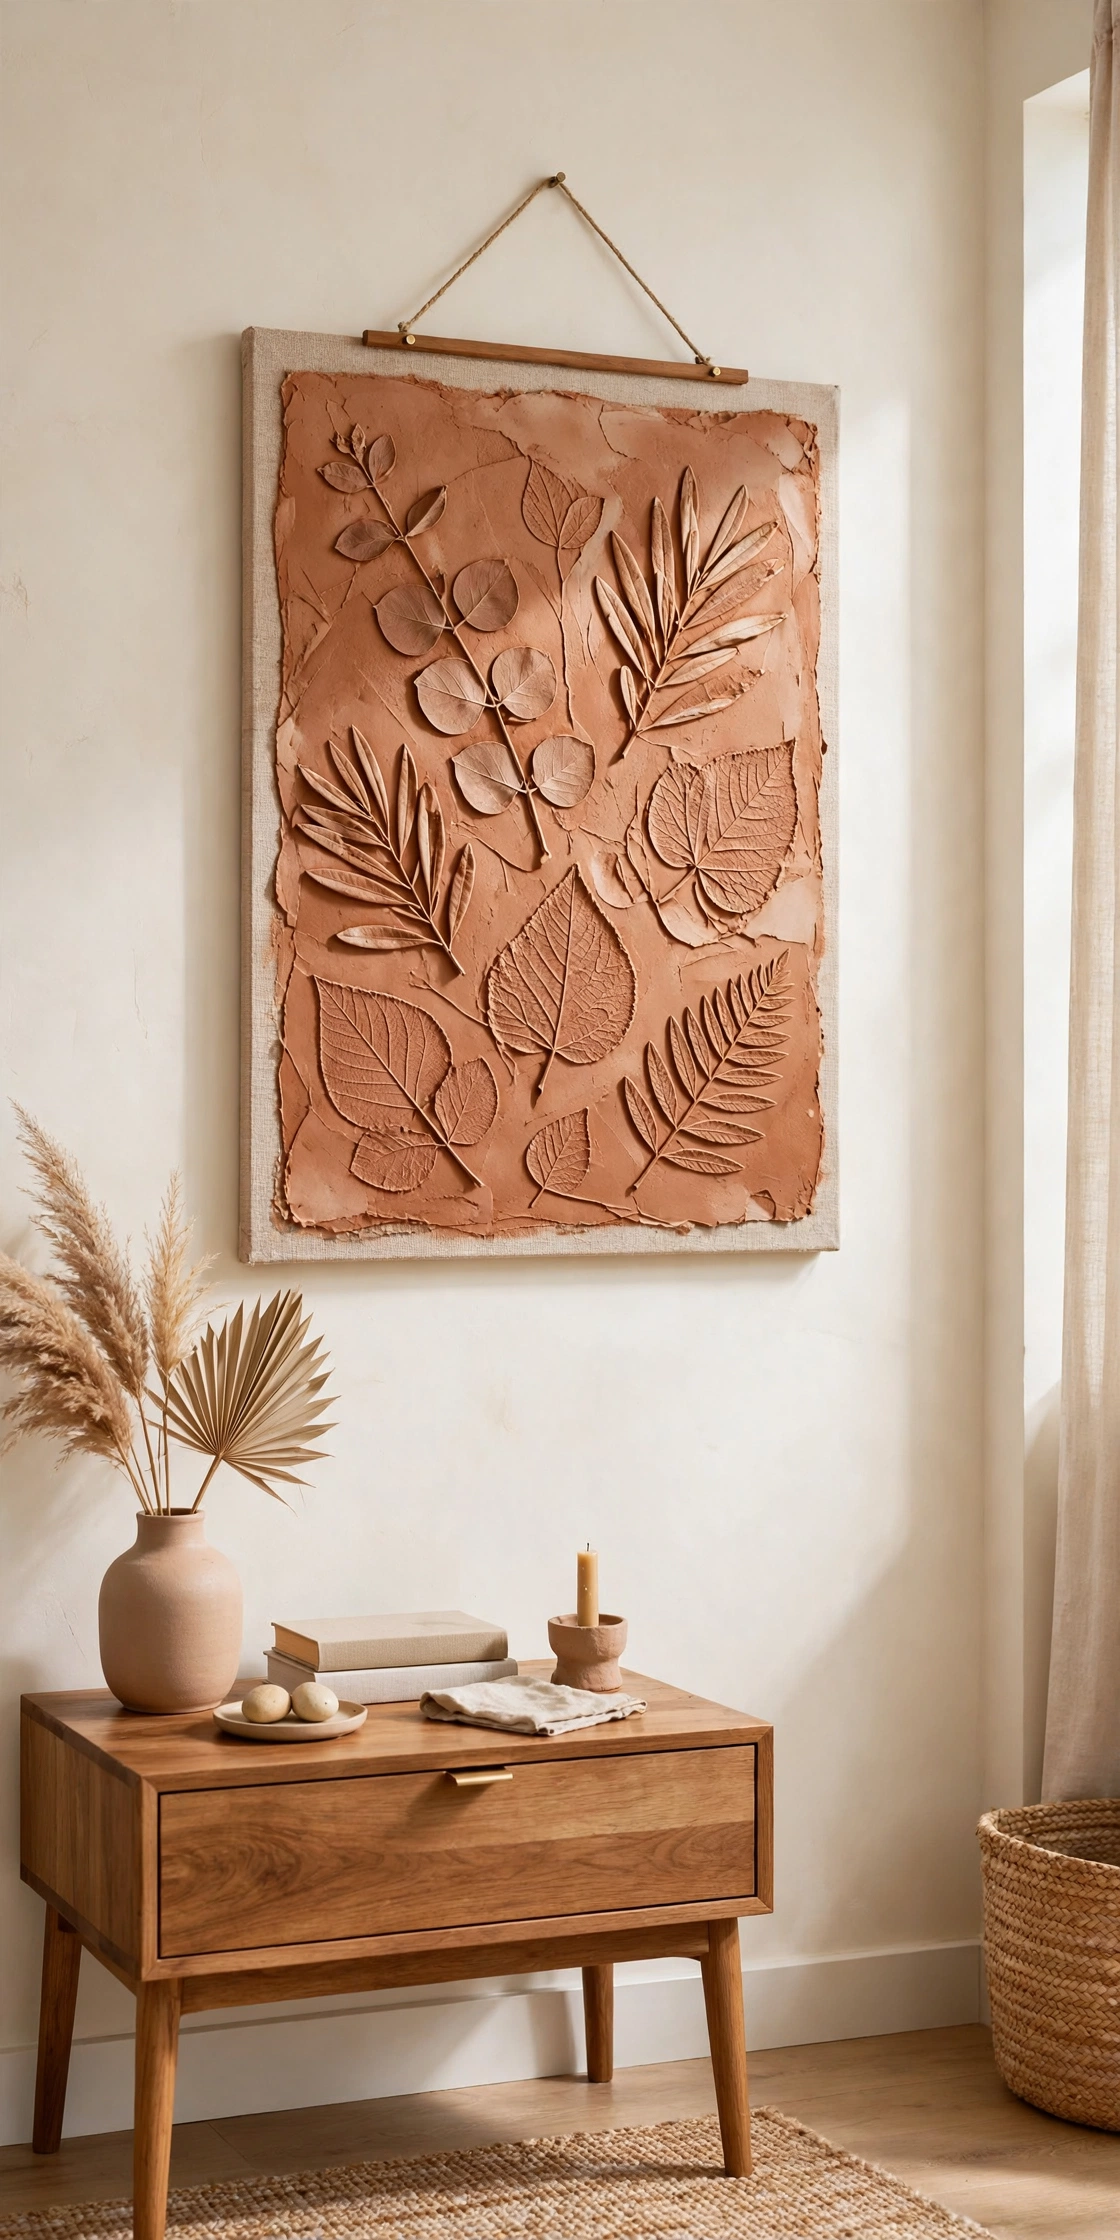
Real leaves make beautiful natural stamps in a soft plaster panel. Press a large leaf firmly into wet plaster, lift it away, and a perfect vein pattern remains. Repeat the stamp across the canvas to build a gentle botanical rhythm that feels calm and organic.
Paint the dried panel in a single tone, such as warm terracotta or soft amber, to keep the focus on the leaf shapes. A thin gold wash brushed lightly over the raised veins adds a quiet glow. Hang the finished piece near a window where real plants echo the same shapes.
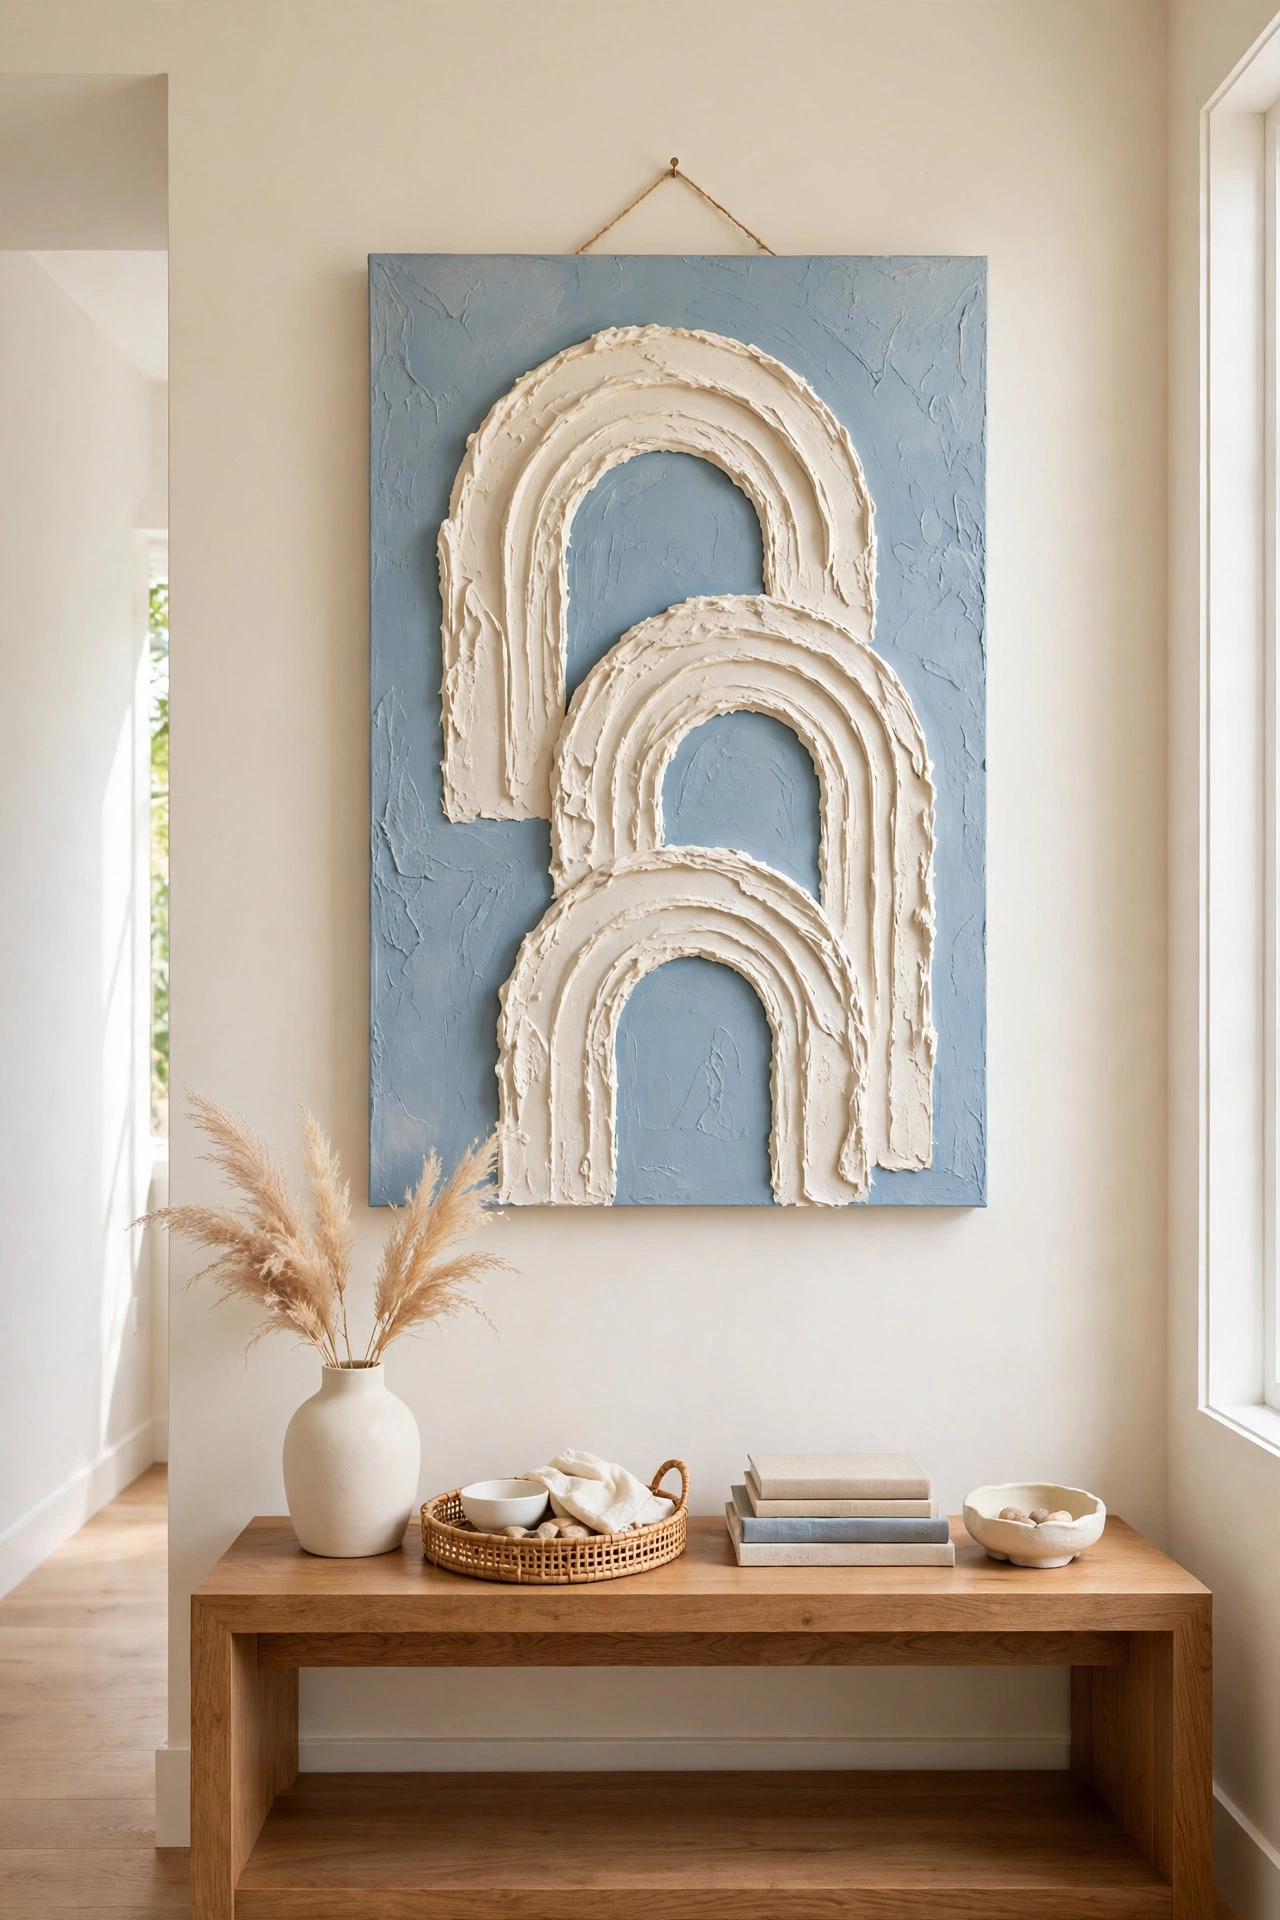
6. Build Raised Arches with a Piping Bag
A piping bag filled with thick joint compound works just like icing on a cake. Squeeze the compound onto the canvas in smooth arch shapes, layering each arch slightly over the one before it. The raised lines create a classic, graceful pattern that suits almost any room.
Practice the arches on a scrap board first until your hand moves in steady curves. Paint the finished arches in cream over a soft blue background for a gentle contrast. This style looks especially lovely in an entryway where the arches echo doorways and windows.
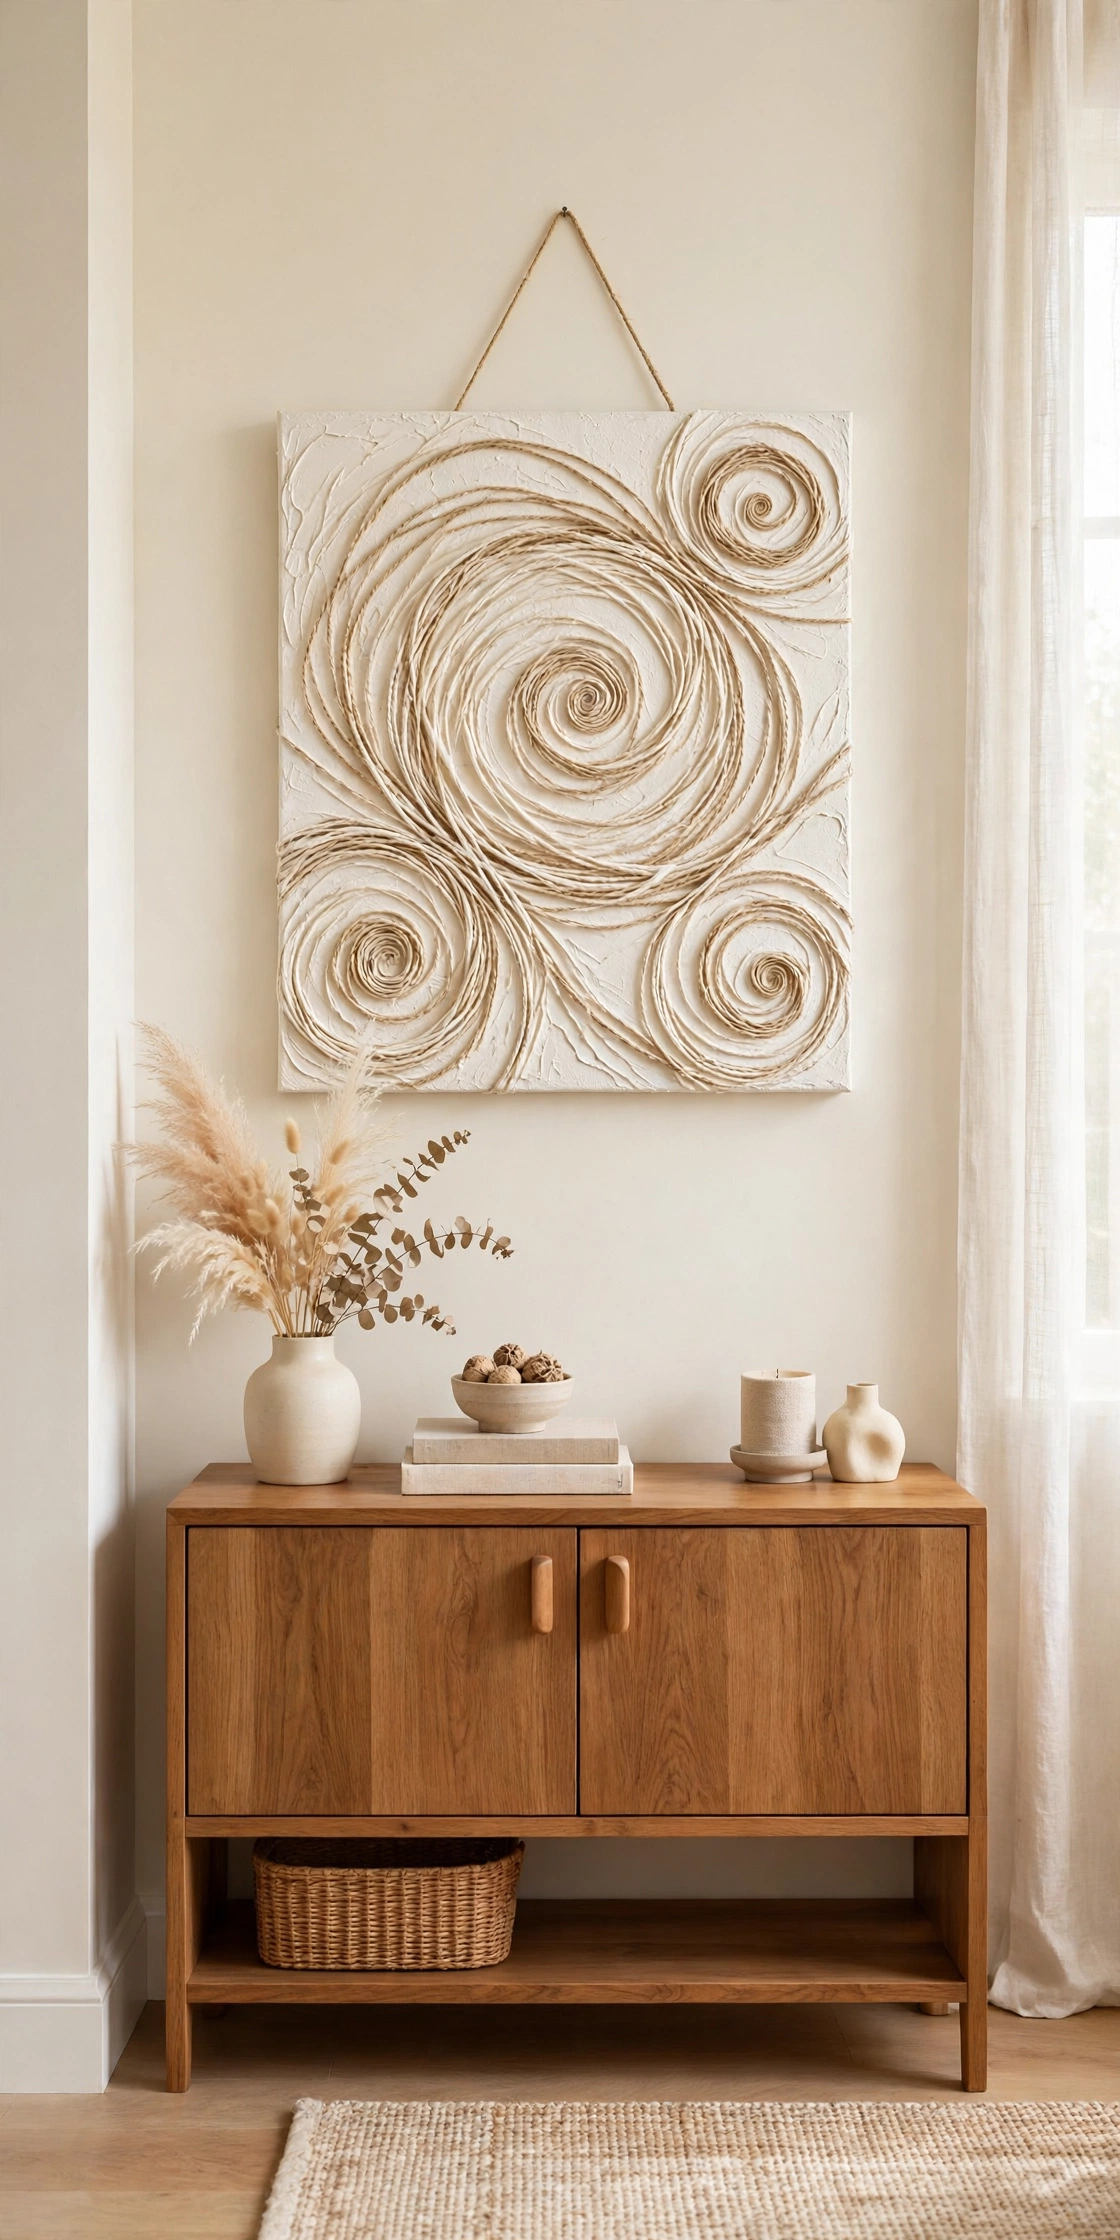
7. Glue Twine in Swirling Patterns
Twine adds a warm, rustic texture to a canvas with very little cost. Draw a swirling pattern on the canvas with a pencil, then glue the twine along the lines with strong craft glue. The raised cords catch light and shadow, so the pattern feels alive from every angle.
Keep the swirls loose and flowing rather than tight and fussy for a relaxed look. A coat of cream paint over the whole canvas unifies the twine and the background. This piece works well in a farmhouse style living room or above a wooden sideboard.
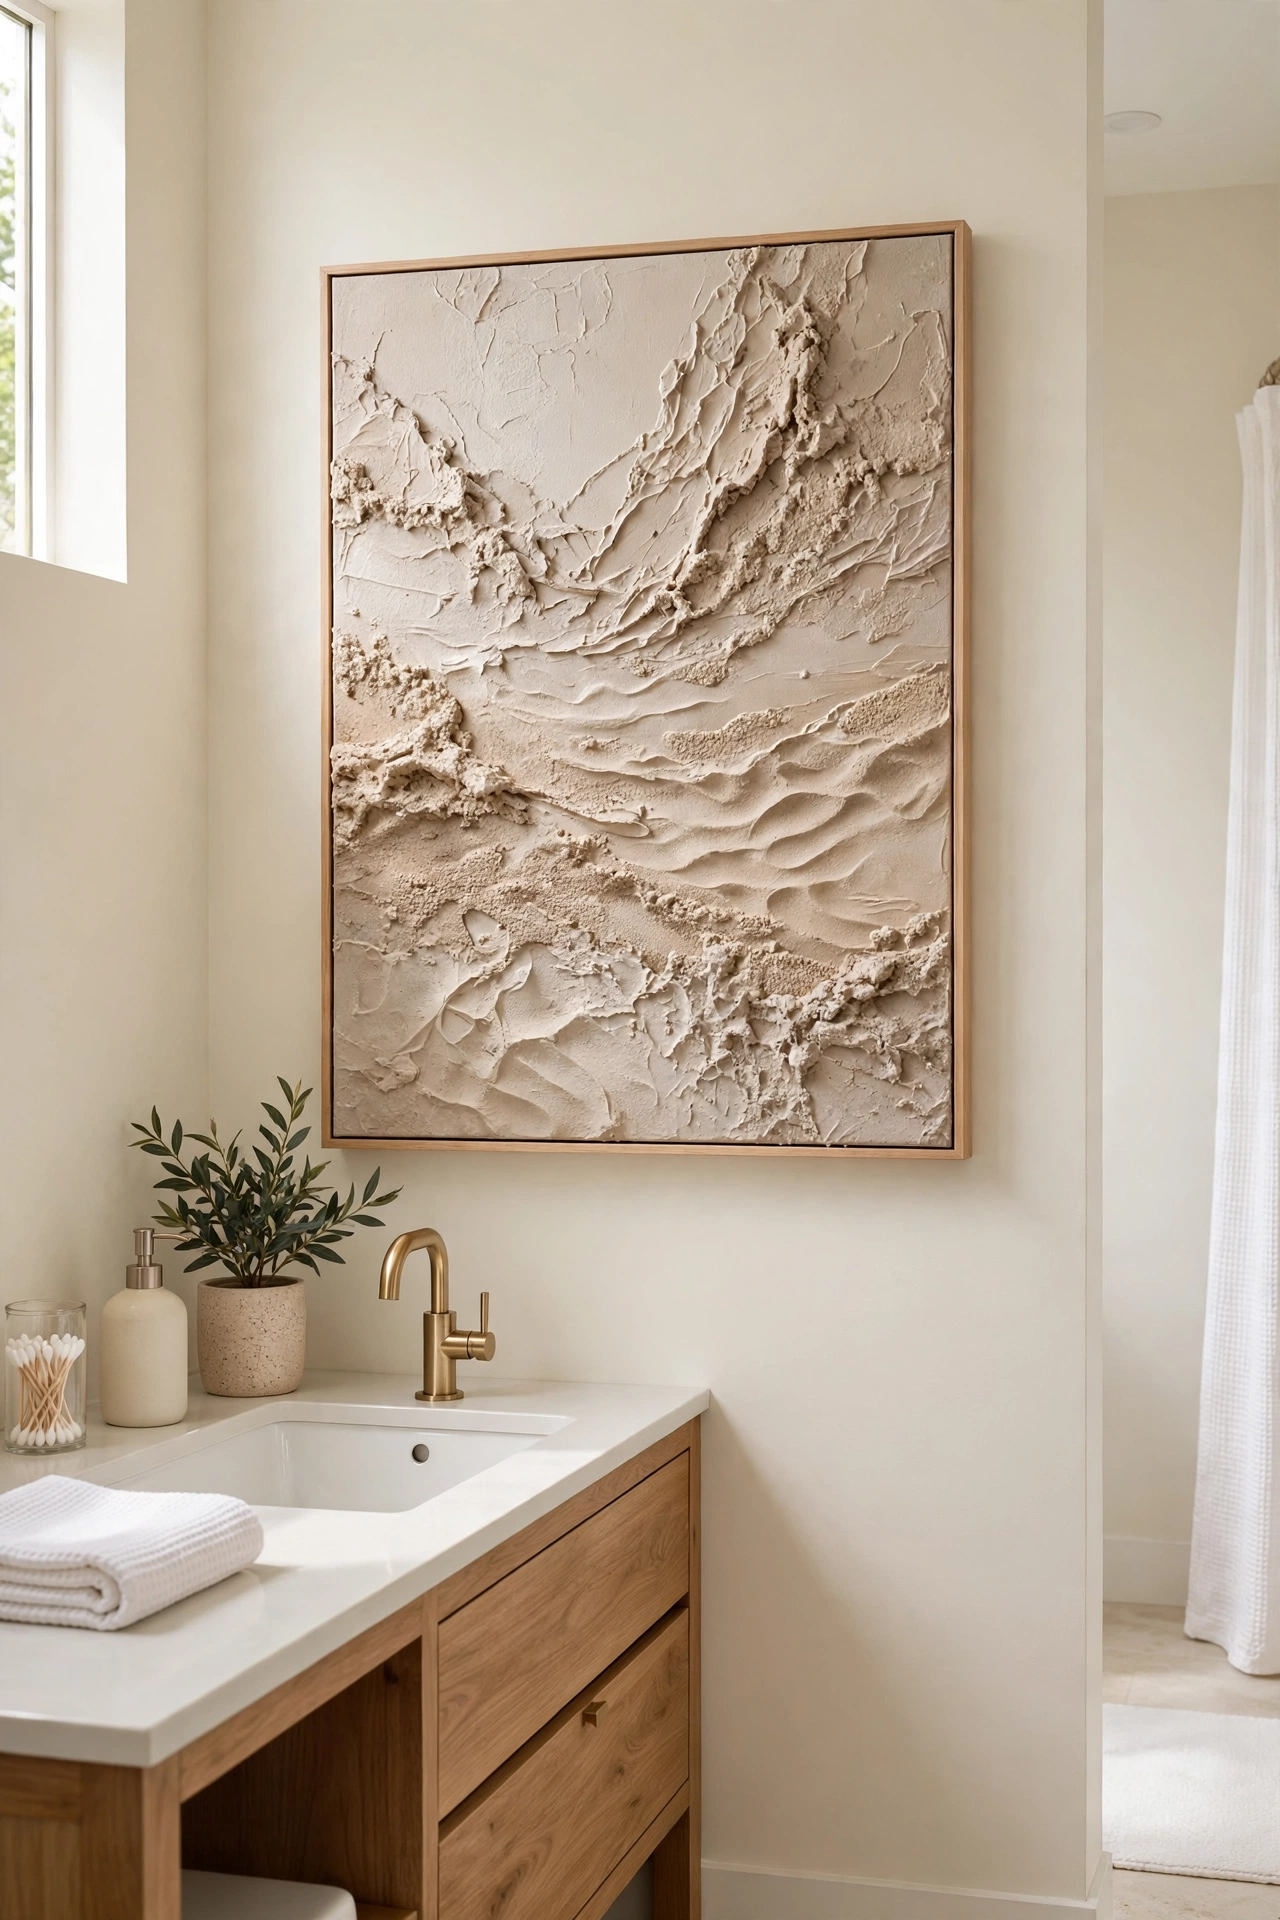
8. Create a Sand and Glue Relief
Fine sand mixed with glue makes a grainy relief that feels like a windswept beach. Stir sand into a thick layer of white glue, spread it across the canvas with a palette knife, and shape it into dunes, ridges, or ripples. The sand adds a real, touchable roughness that paint alone cannot match.
Let the relief dry for at least a day, then paint it in soft sand tones with a touch of amber. A simple wooden frame keeps the focus on the texture. This piece brings a calm, coastal feeling to a bathroom or a sunlit bedroom.
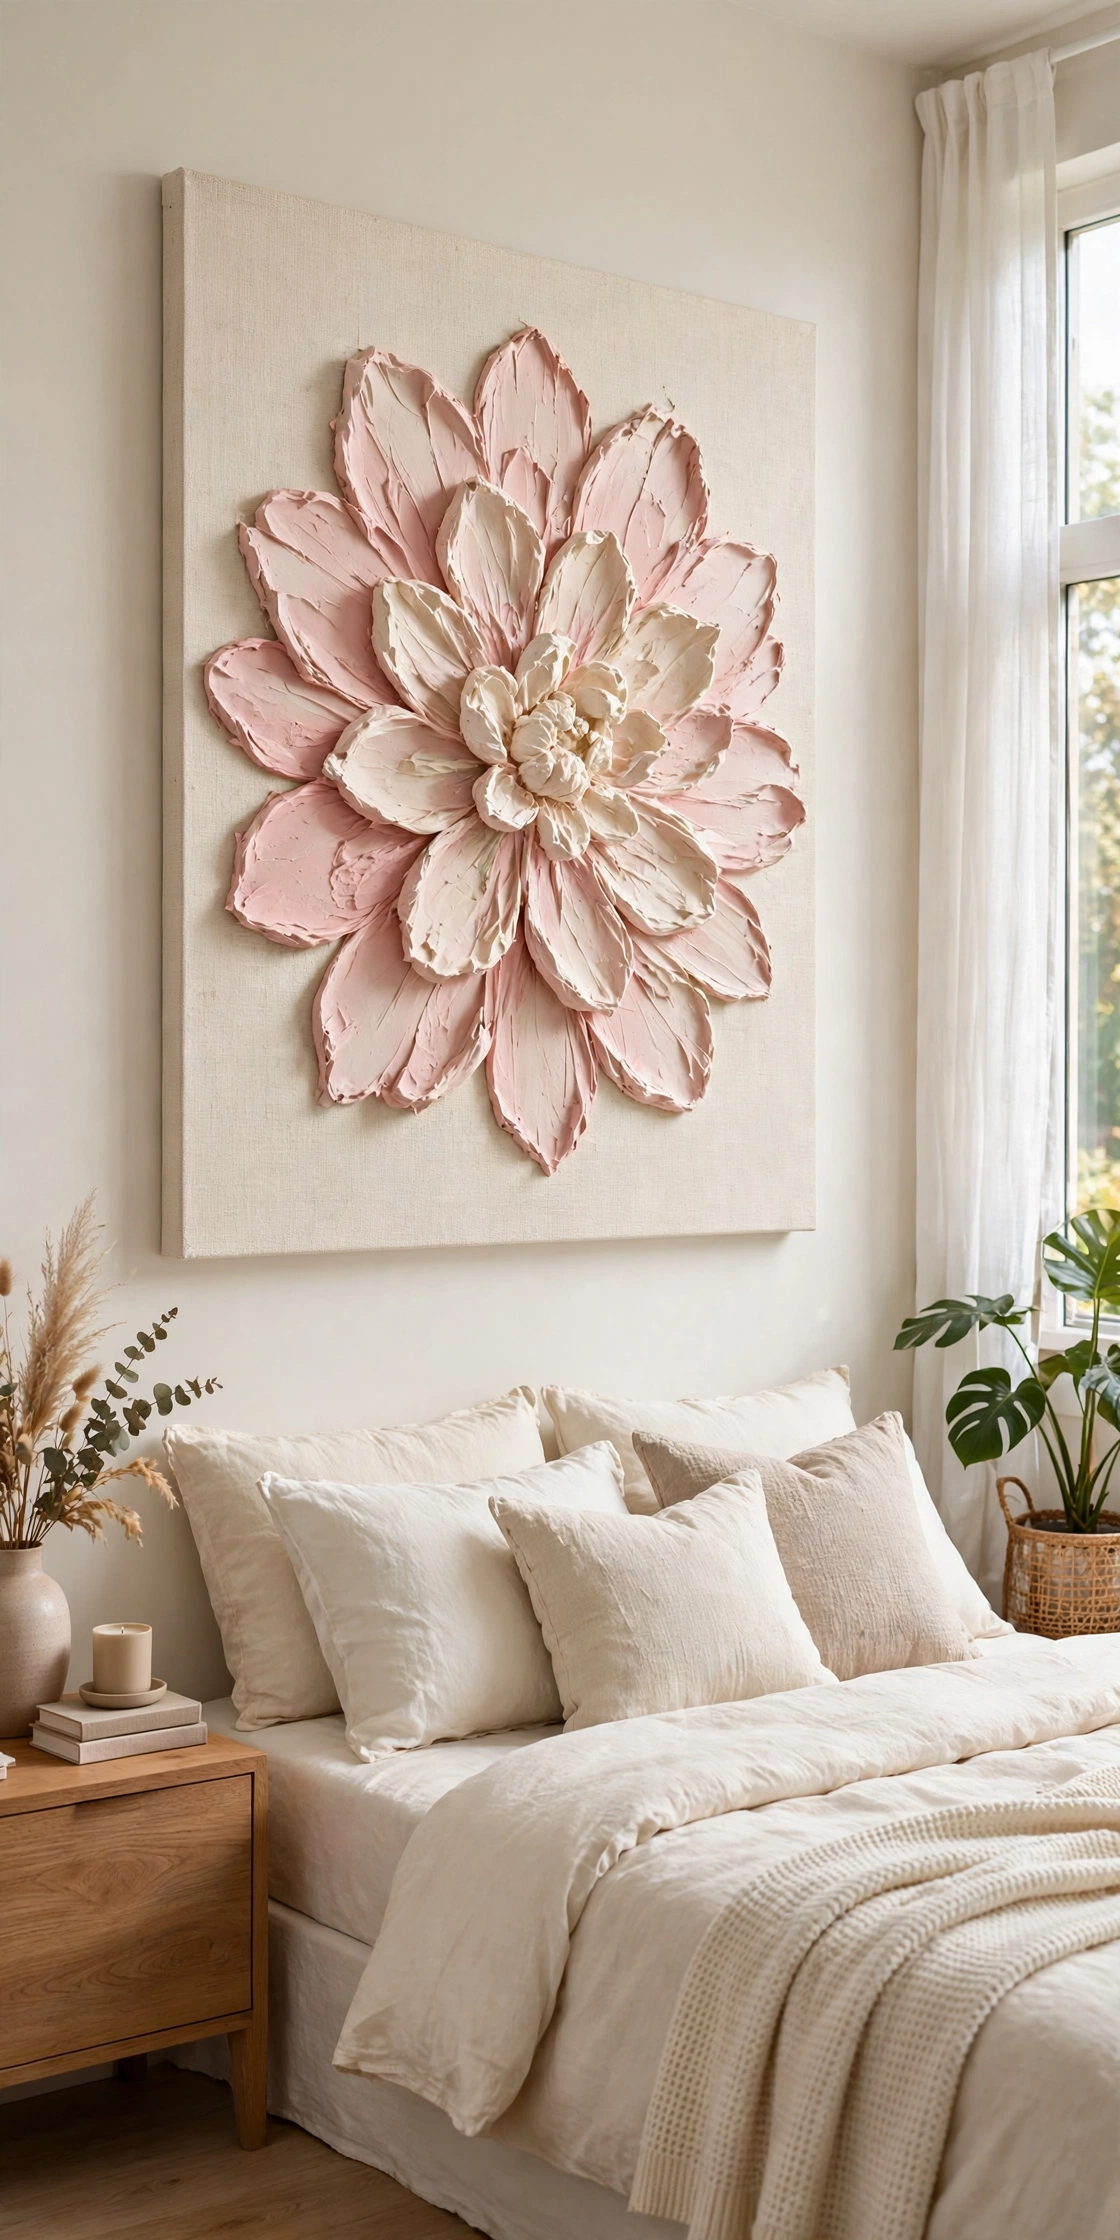
9. Sculpt Petals with Modeling Paste and a Palette Knife
Modeling paste is thick enough to hold its shape, which makes it ideal for sculpting raised petals. Load the paste onto a palette knife and press it onto the canvas in overlapping petal shapes. Each petal stands proud of the surface, so the finished flower has real depth.
Build one large bloom in the center of the canvas, or scatter small petals across the whole surface for a looser feel. Paint the petals in blush pink over a cream background for a soft, romantic result. For more ideas on arranging art with confidence, see these abstract art styling ideas. The finished piece suits a bedroom wall where its gentle texture feels calm at the end of the day.
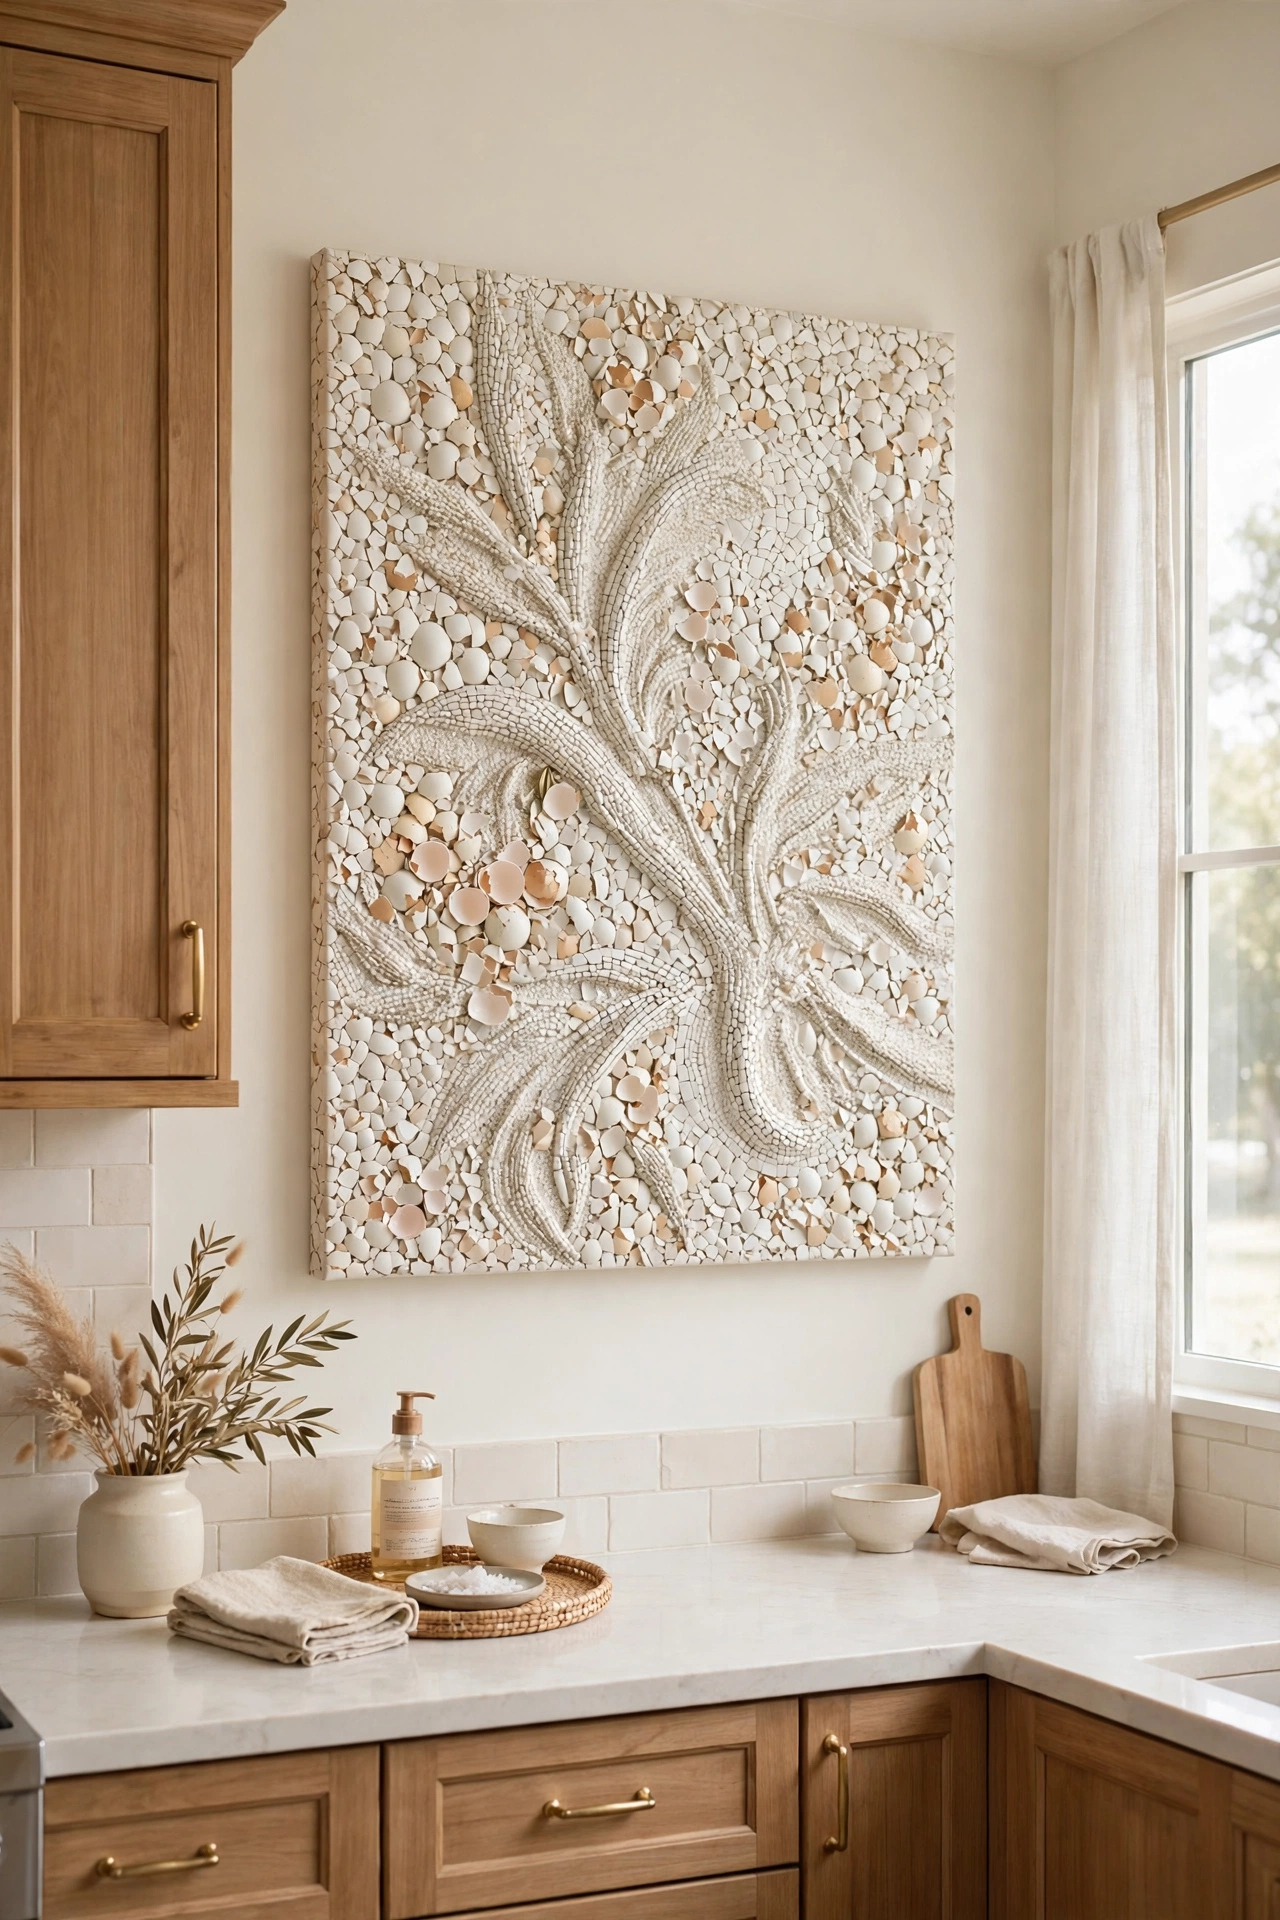
10. Add Crushed Eggshells for a Mosaic Texture
Crushed eggshells are free, easy to collect, and make a lovely mosaic texture on canvas. Rinse the shells, let them dry, and crush them into small pieces. Glue the pieces onto the canvas in a loose pattern and seal them with a clear coat so the edges stay smooth to the touch.
The shells have a natural off-white shine that catches light beautifully. Arrange them in a wave or a sunburst pattern for a deliberate design, or scatter them at random for an organic feel. This budget-friendly piece looks wonderful in a kitchen where its natural materials echo the room, and it pairs well with other finds from these thrift store decor ideas.
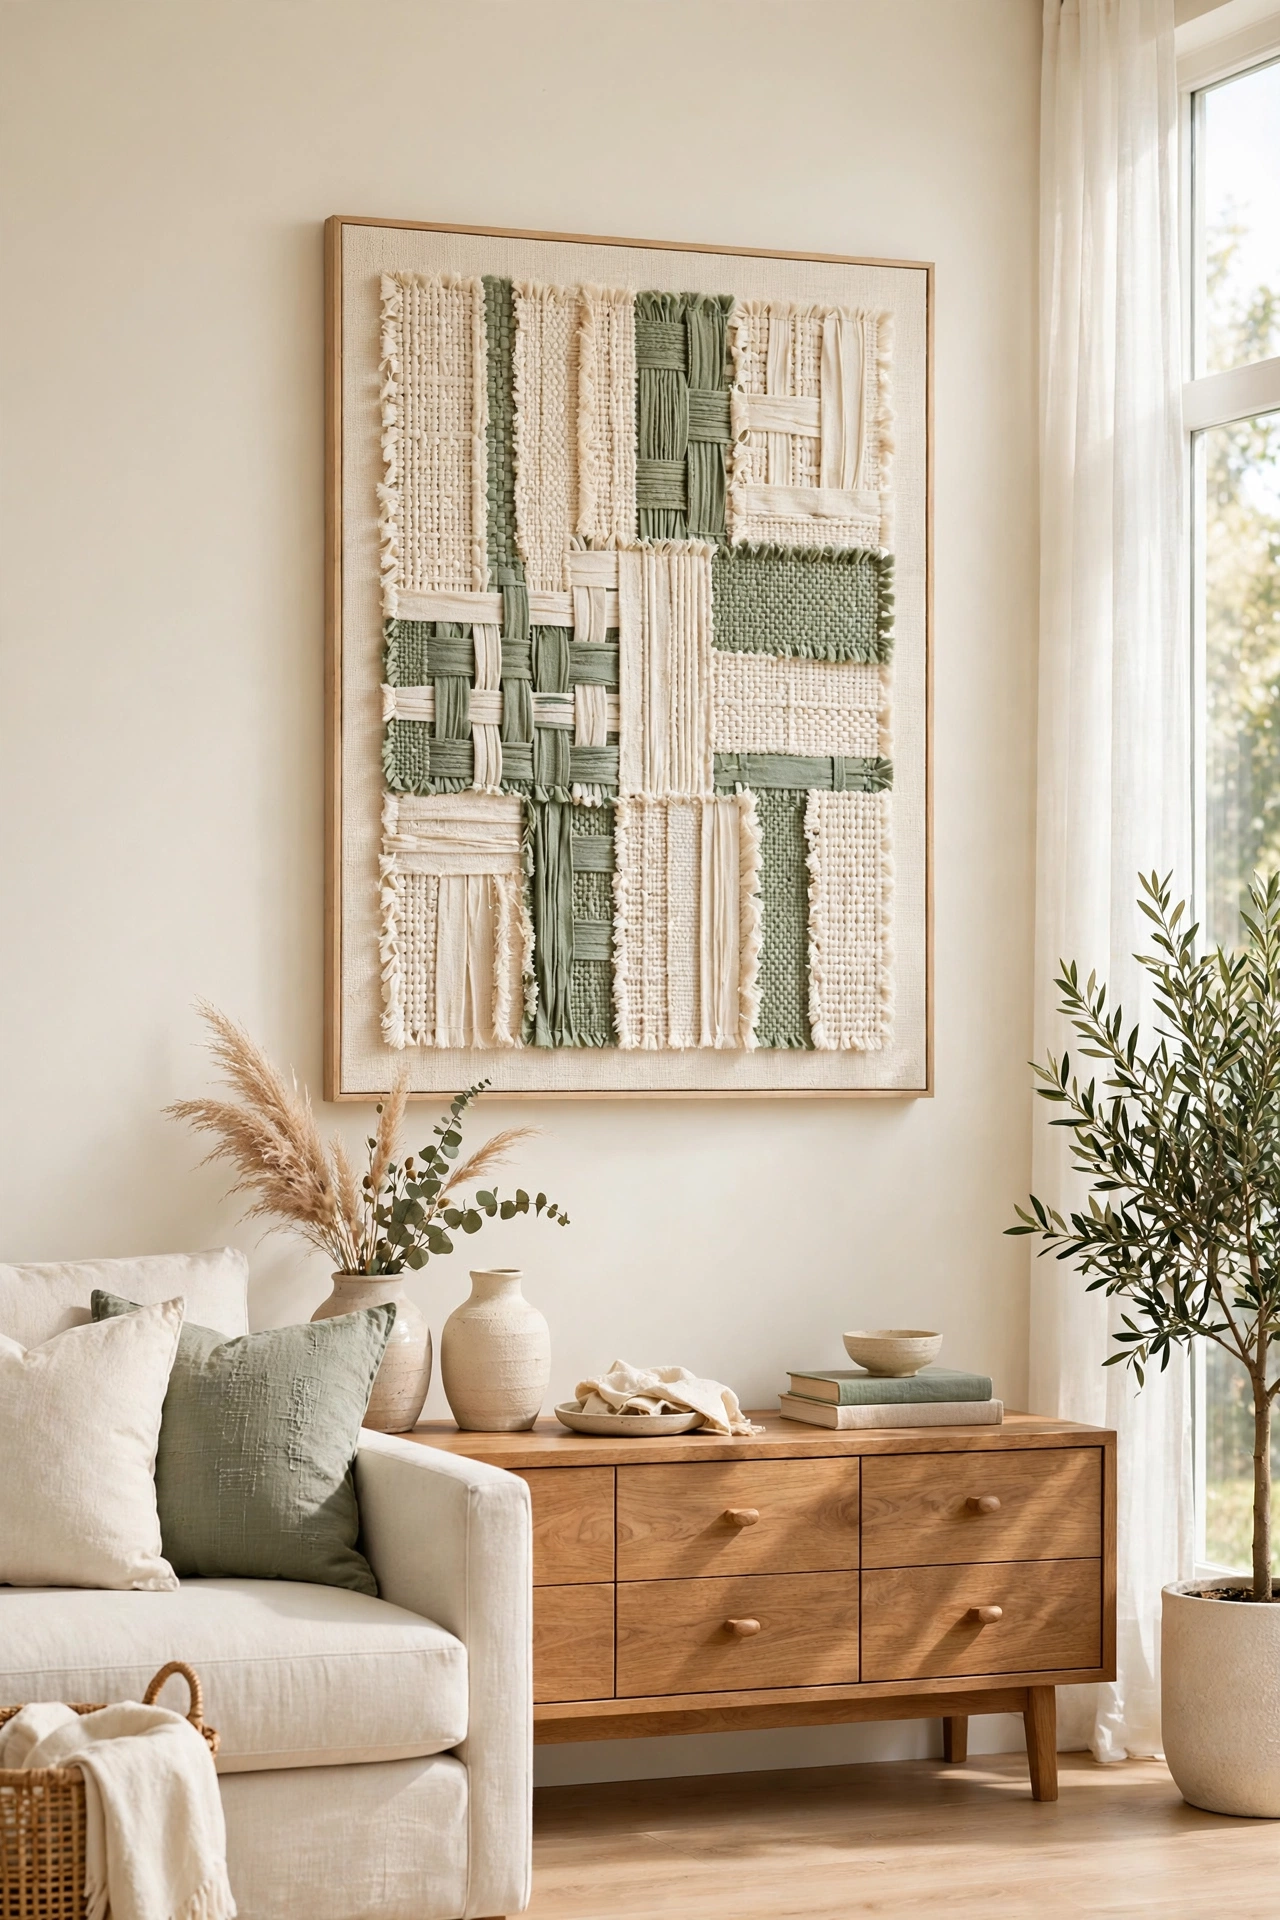
11. Weave Fabric Strips Across a Canvas
Fabric strips woven across a canvas create a soft, textile texture that paint cannot copy. Cut linen or cotton into even strips, then weave them over and under each other across the canvas surface. Secure the ends at the back with glue so the front stays neat and tight.
Mix cream strips with a few in sage green or soft blue for a calm, balanced pattern. A light coat of fabric stiffener keeps the weave firm and dust free. The finished piece brings warmth to a living room and pairs well with linen cushions and wooden furniture.
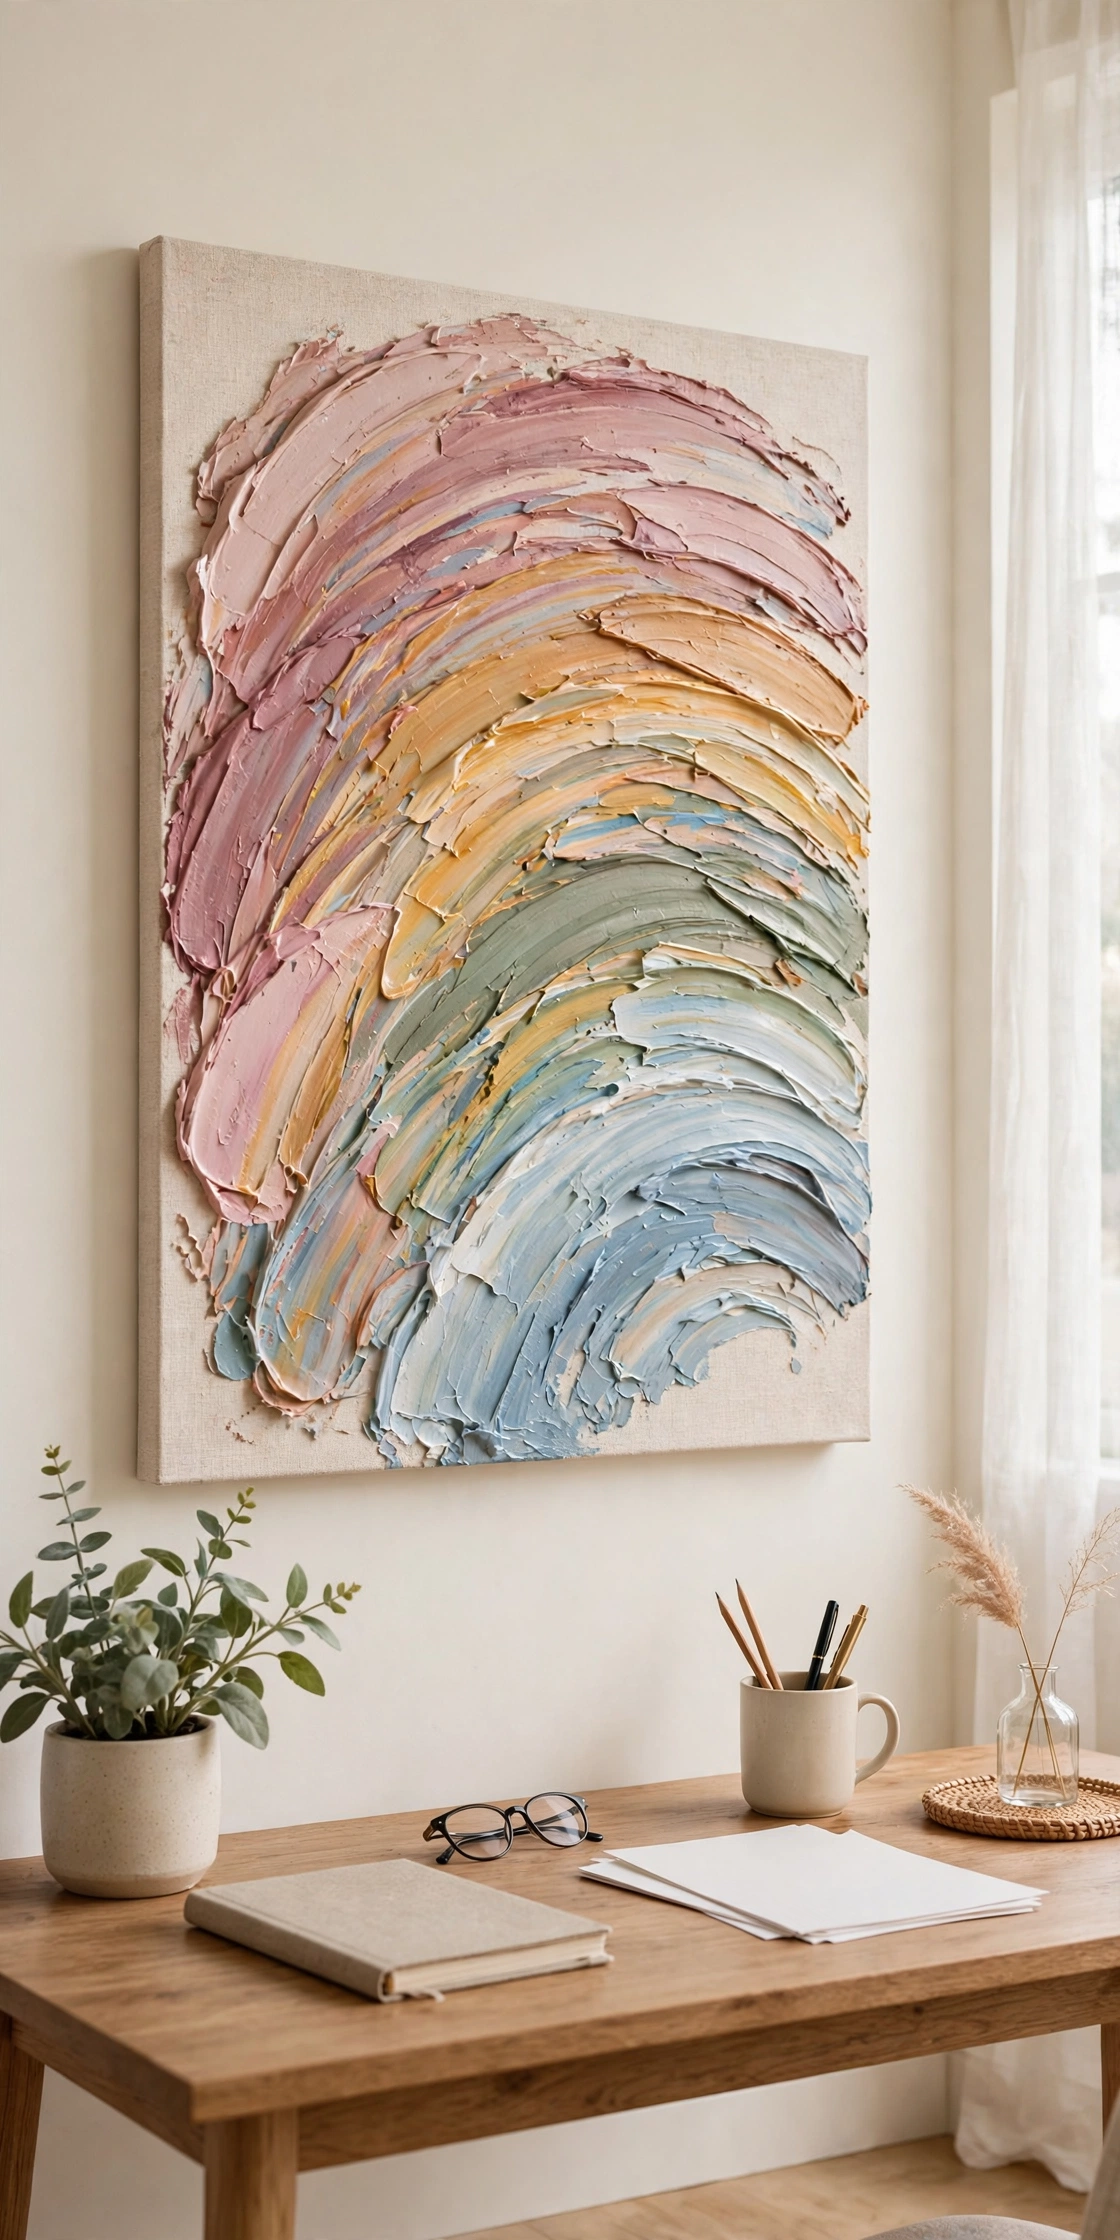
12. Paint a Rainbow with Thick Impasto Strokes
Impasto painting uses paint straight from the tube, laid on thick so every brushstroke stands up from the canvas. Load a palette knife with paint and drag it in bold arcs to form a soft rainbow. The thick ridges catch light and give the piece energy and movement.
Choose muted rainbow tones, such as dusty rose, soft amber, sage, and pale blue, so the result feels stylish rather than loud. Let the paint dry for several days because thick layers take time to cure. This cheerful piece brightens a hallway or a home office without overwhelming the room.
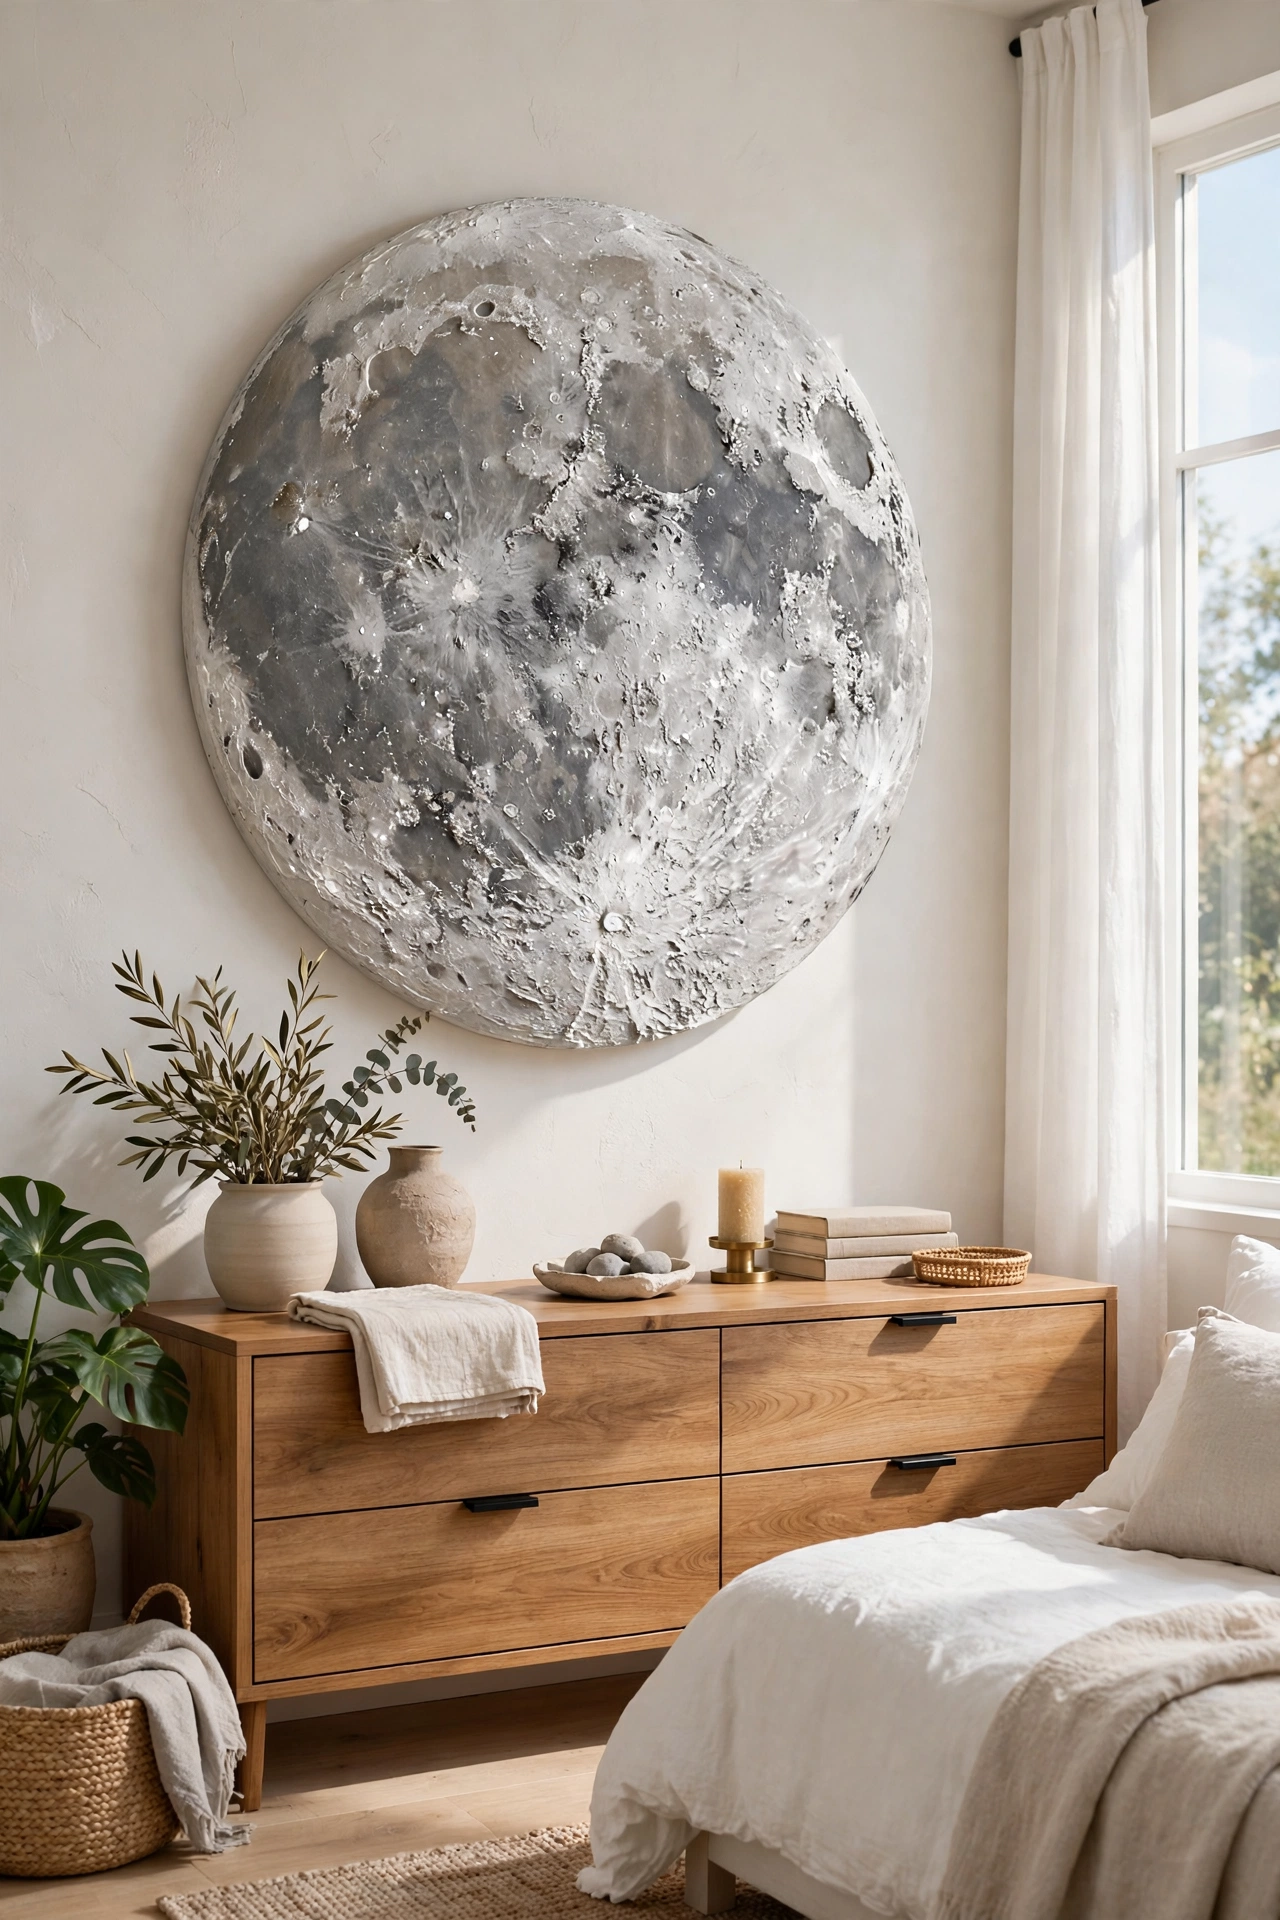
13. Make a Moon Surface with Plaster and a Sponge
A moon surface texture is simple to make with plaster and a kitchen sponge. Spread plaster across the canvas, then press a damp sponge into it again and again to form craters and dimples. The uneven surface looks just like the moon, full of quiet mystery.
Paint the dried plaster in soft grey with a touch of silver for a lunar glow. Hang the piece in a bedroom or a study where its calm, dreamy surface invites slow evenings. A round canvas suits this idea well because it echoes the shape of the moon itself.
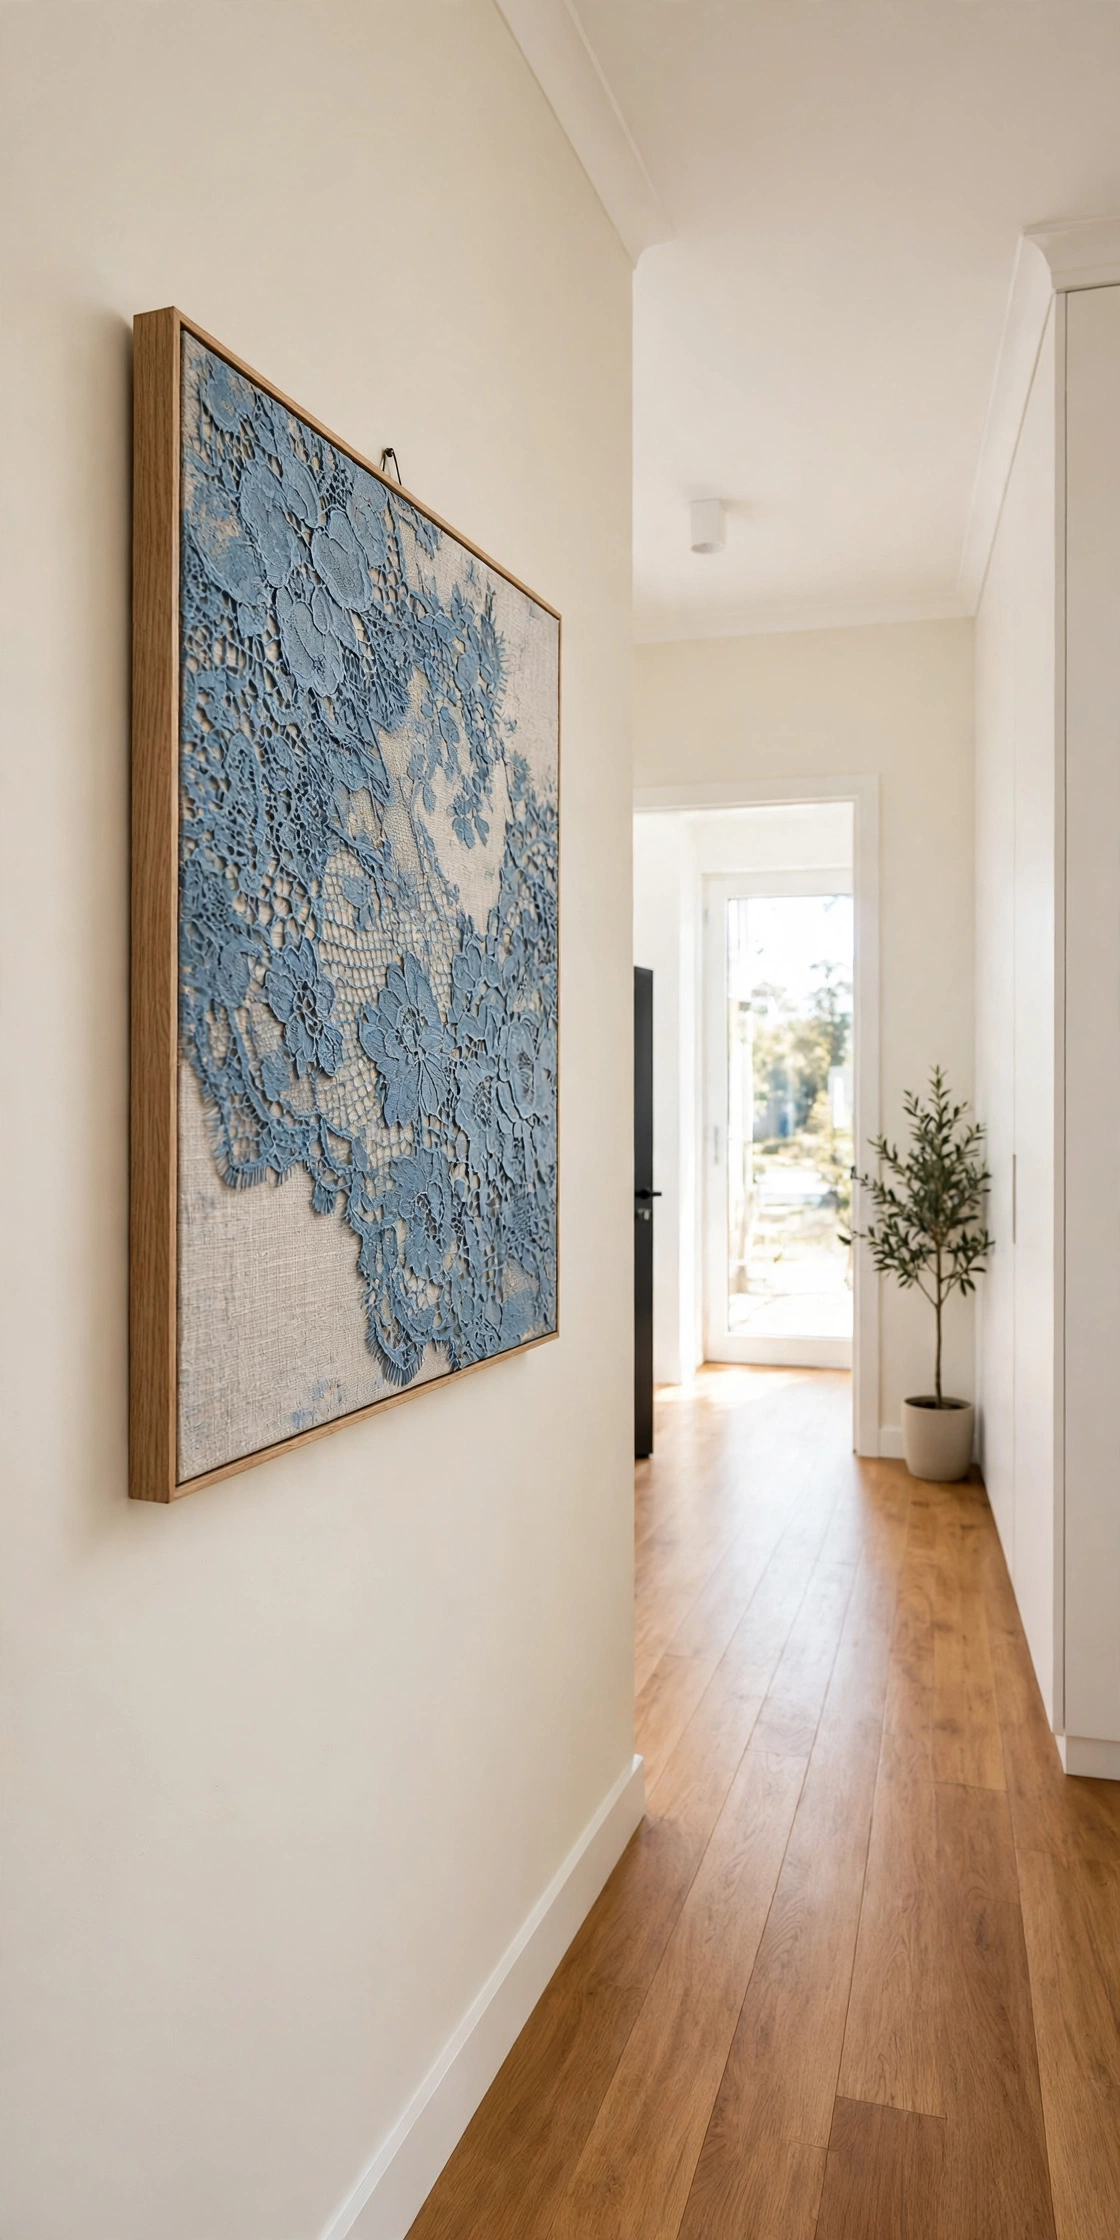
14. Press Lace Into Wet Gesso for a Delicate Print
Lace pressed into wet gesso leaves a fine, detailed print that looks like old embroidery. Brush gesso thickly onto the canvas, lay a piece of lace flat on top, and press it down gently with a roller. Peel the lace away once the gesso is firm and the pattern stays behind.
Paint the finished print in a single soft color, such as dusty blue or pale lilac, to keep the lace pattern visible. A white frame adds a crisp edge that suits the delicate design. For tips on arranging framed pieces in a balanced way, see these antique gallery wall ideas. This piece looks lovely in a hallway or a dressing room where fine details get noticed.
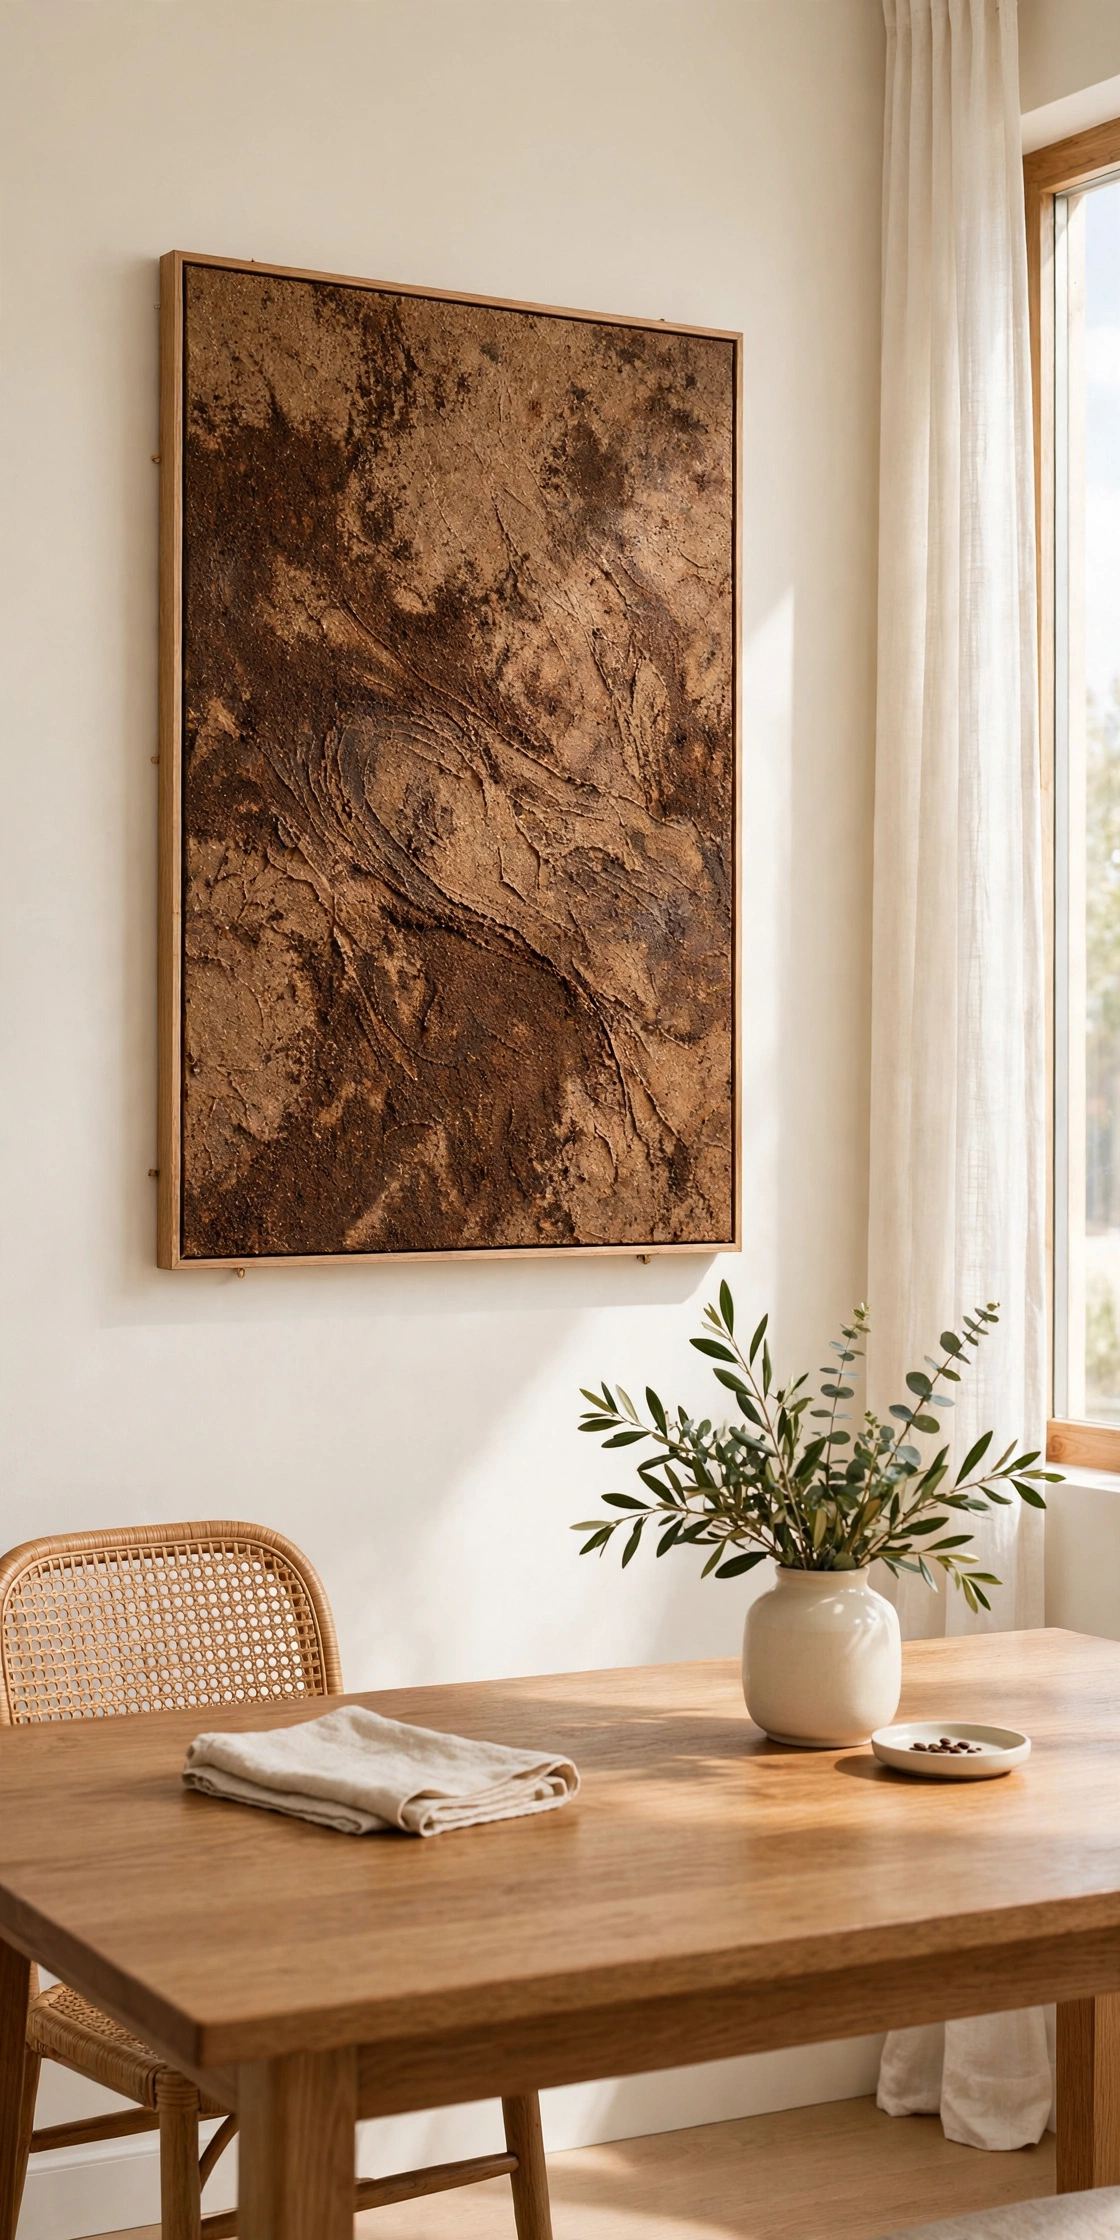
15. Layer Coffee Grounds for a Grainy Earthy Finish
Used coffee grounds give a canvas a rich, grainy texture and a warm brown tone. Mix the grounds with glue to form a thick paste, then spread it across the canvas in sweeping strokes. The grounds add a real, earthy roughness that suits a cozy, natural style.
Seal the dried surface with a clear matte coat to stop any loose grains from falling away. Pair the finished piece with wooden frames and cream walls for a warm, grounded look. This is a fun project for a coffee lover, and the finished art suits a kitchen or a dining nook perfectly.
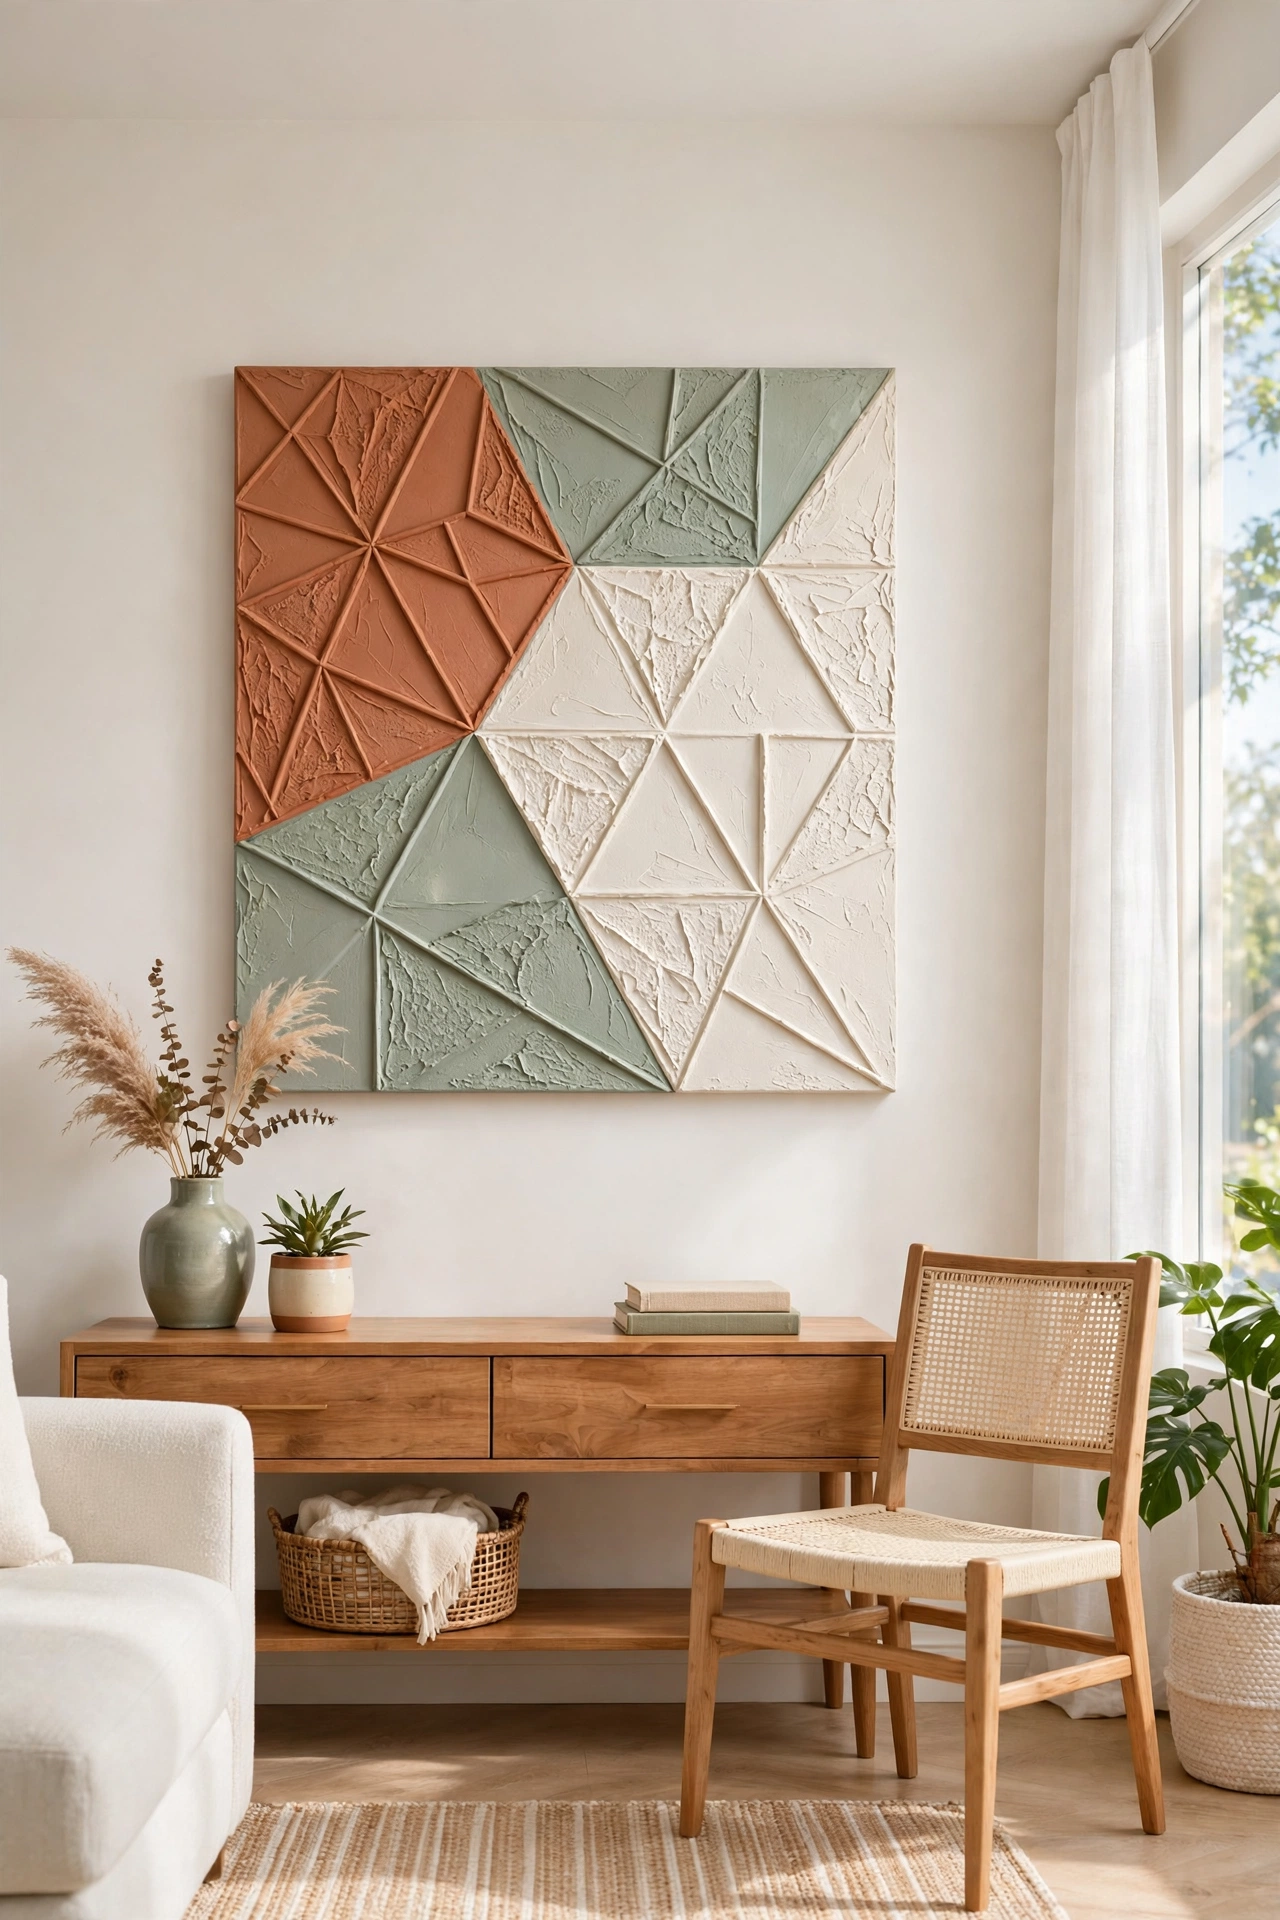
16. Form Geometric Relief with Masking Tape
Masking tape is the secret to crisp geometric relief on a canvas. Lay the tape in triangles, diamonds, or chevrons across the surface, then spread modeling paste over the whole canvas. Peel the tape away while the paste is still damp to reveal clean, raised shapes.
Paint each raised shape a different soft color, such as terracotta, sage, and cream, for a playful modern look. Or keep the whole piece one color and let the shadows define the shapes. This bold piece anchors a modern living room wall with style and confidence.
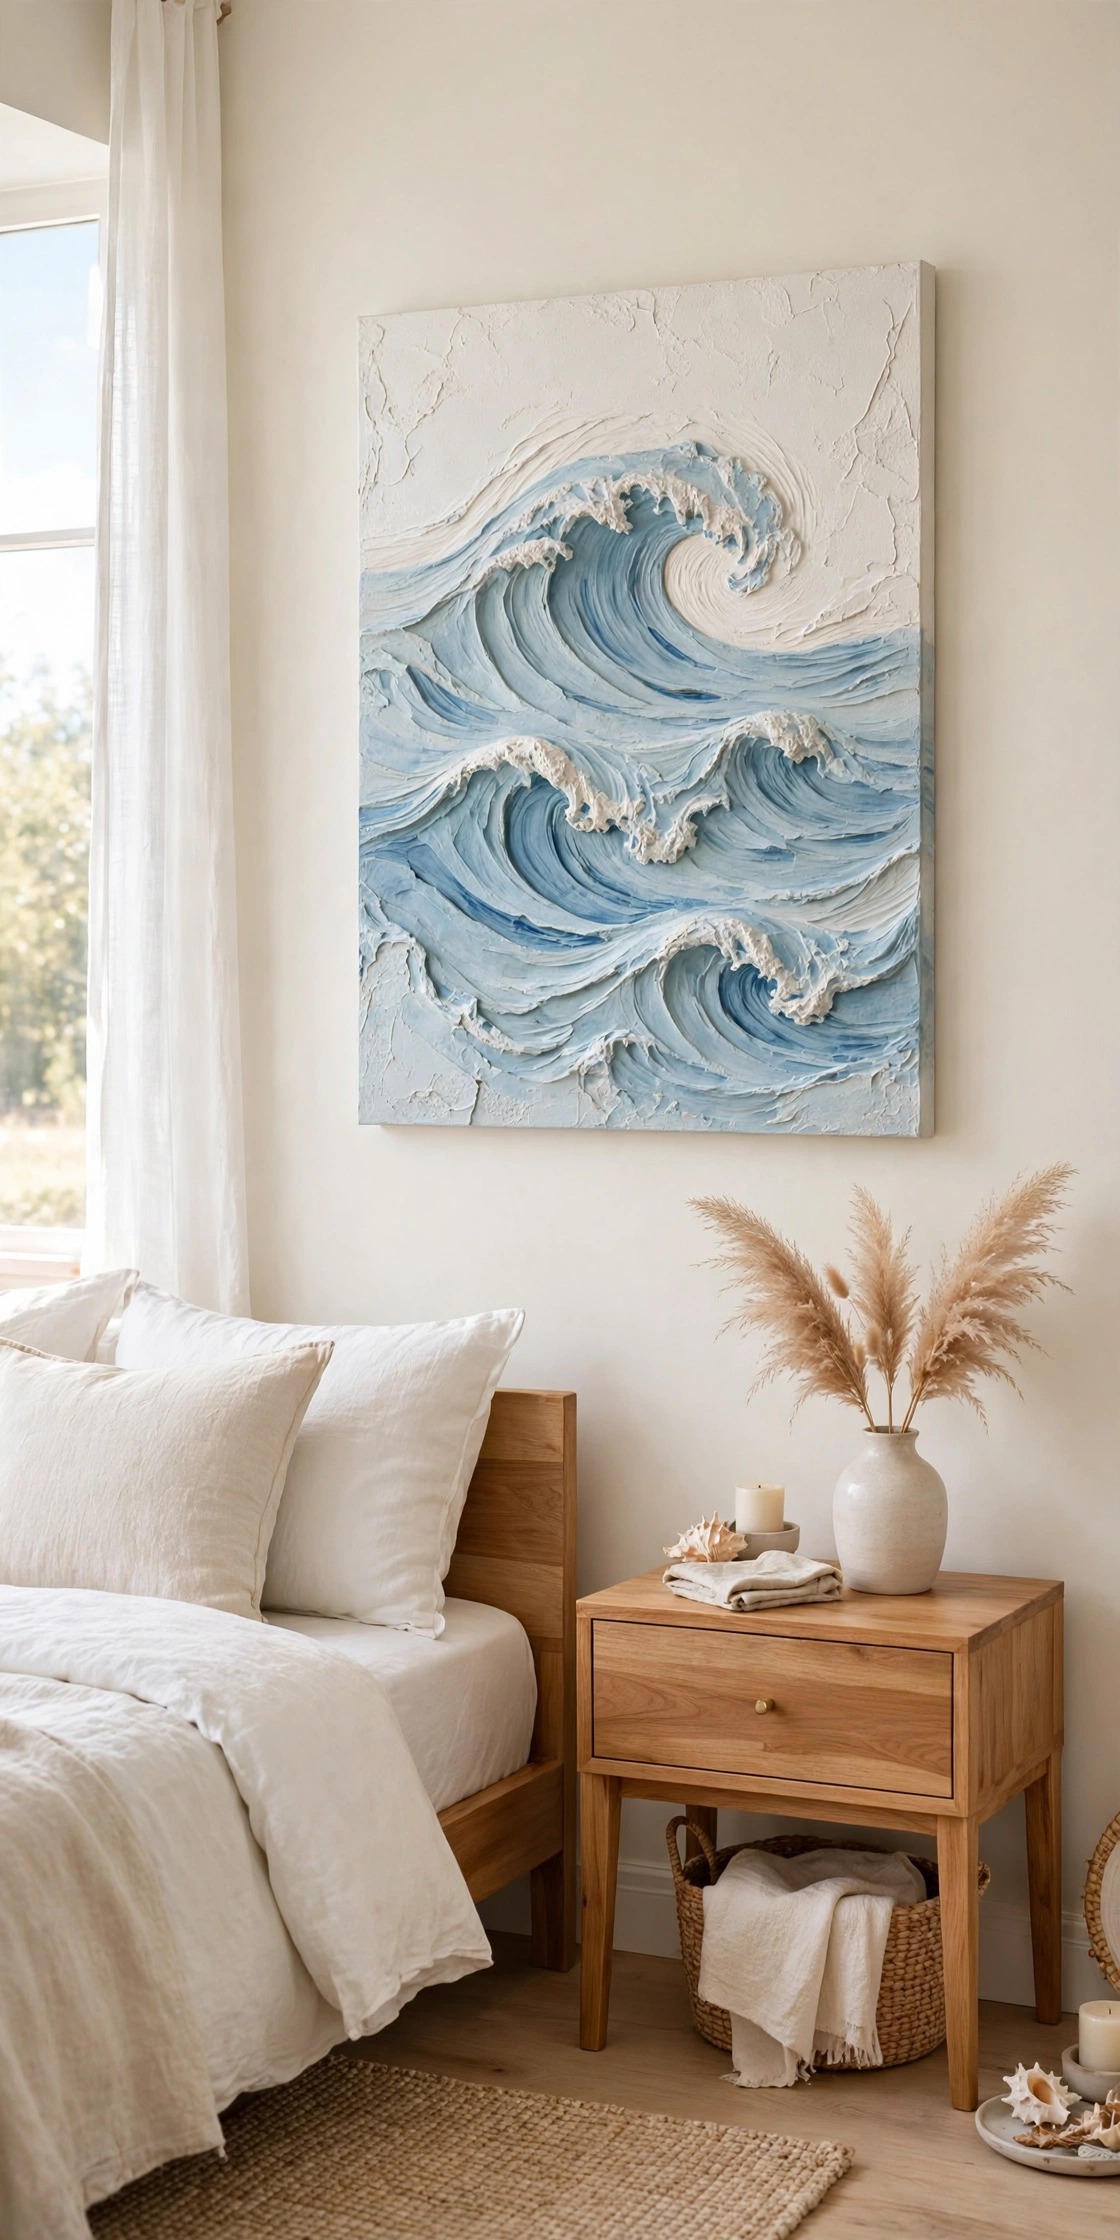
17. Create Ocean Waves with a Comb and Blue Paint
Ocean waves are easy to carve into wet joint compound with a wide comb. Spread the compound thickly, then drag the comb in long, curving sweeps that rise and fall like water. The ridges catch light in a way that feels like sunlight on the sea.
Paint the waves in layers of soft blue, starting pale at the top and deepening toward the bottom. A touch of white on the highest ridges adds foam-like highlights. Hang the finished piece in a bathroom or a coastal bedroom where its calm movement feels right at home.
18. Add Dried Flowers Under a Clear Medium Coat
Dried flowers pressed under a clear medium coat keep their color and shape for years. Arrange small blooms and leaves on the canvas, then brush a thick layer of clear medium over the top. The medium dries clear and glossy, sealing the flowers into the surface like glass.
Use a single type of flower, such as lavender or small daisies, for a tidy design, or mix several for a wildflower feel. A cream background keeps the flowers bright and visible. This delicate piece suits a bedroom or a powder room where its soft beauty can be enjoyed up close.
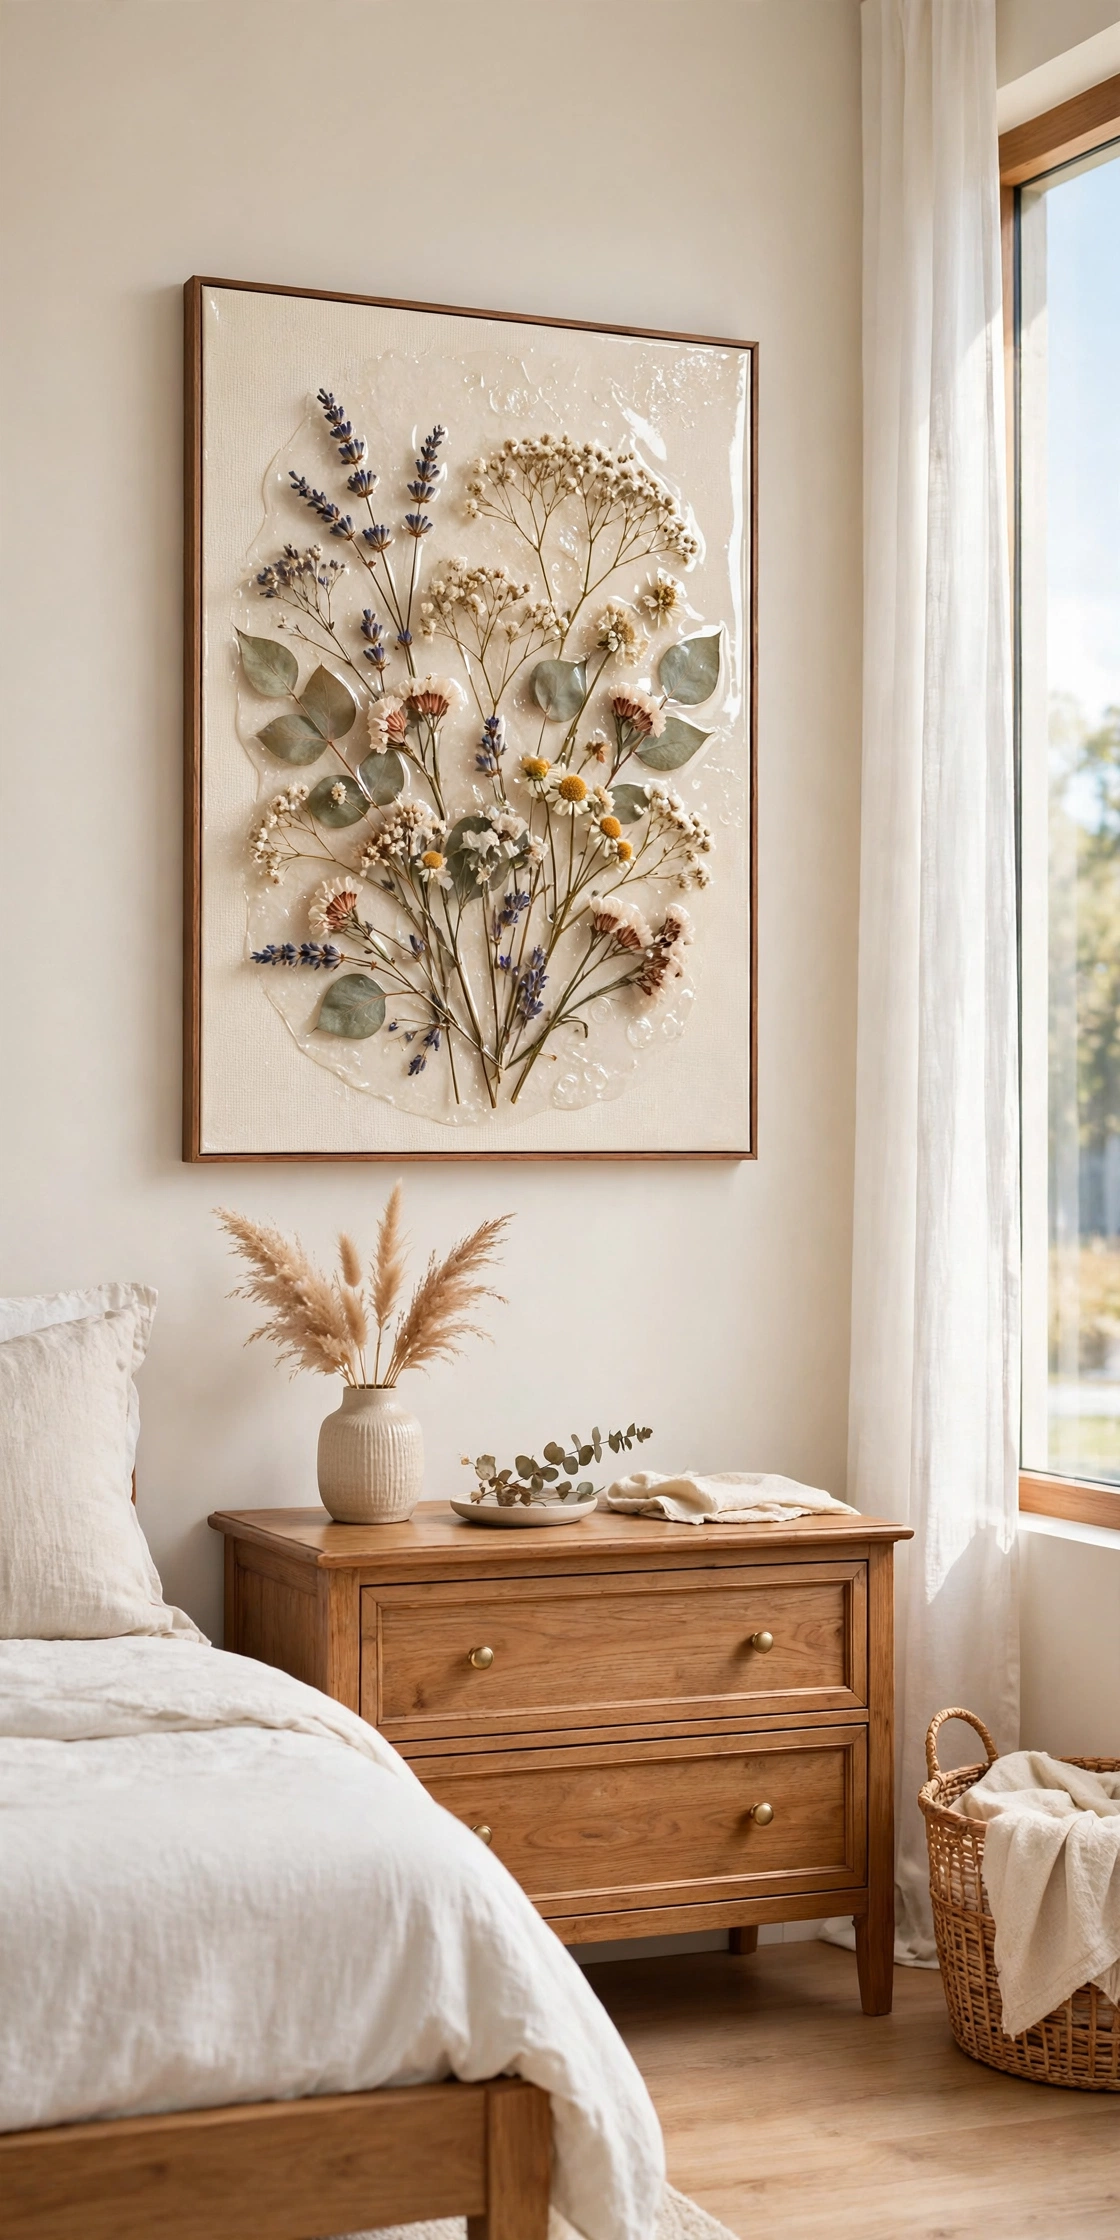
19. Build a Stucco Sunburst with a Palette Knife
A sunburst pattern radiates energy from the center of a canvas like rays of light. Load a palette knife with stucco paste and drag it outward from the center in straight, even strokes. Each ray stands slightly raised, so the whole piece glows as light moves across it.
Paint the rays in warm amber and cream for a sunny, welcoming feel. A round canvas makes the sunburst look complete and balanced. For more plaster ideas that suit a warm home, see these DIY plaster decor ideas. Hang the finished piece in a dining room where its warmth suits family meals.
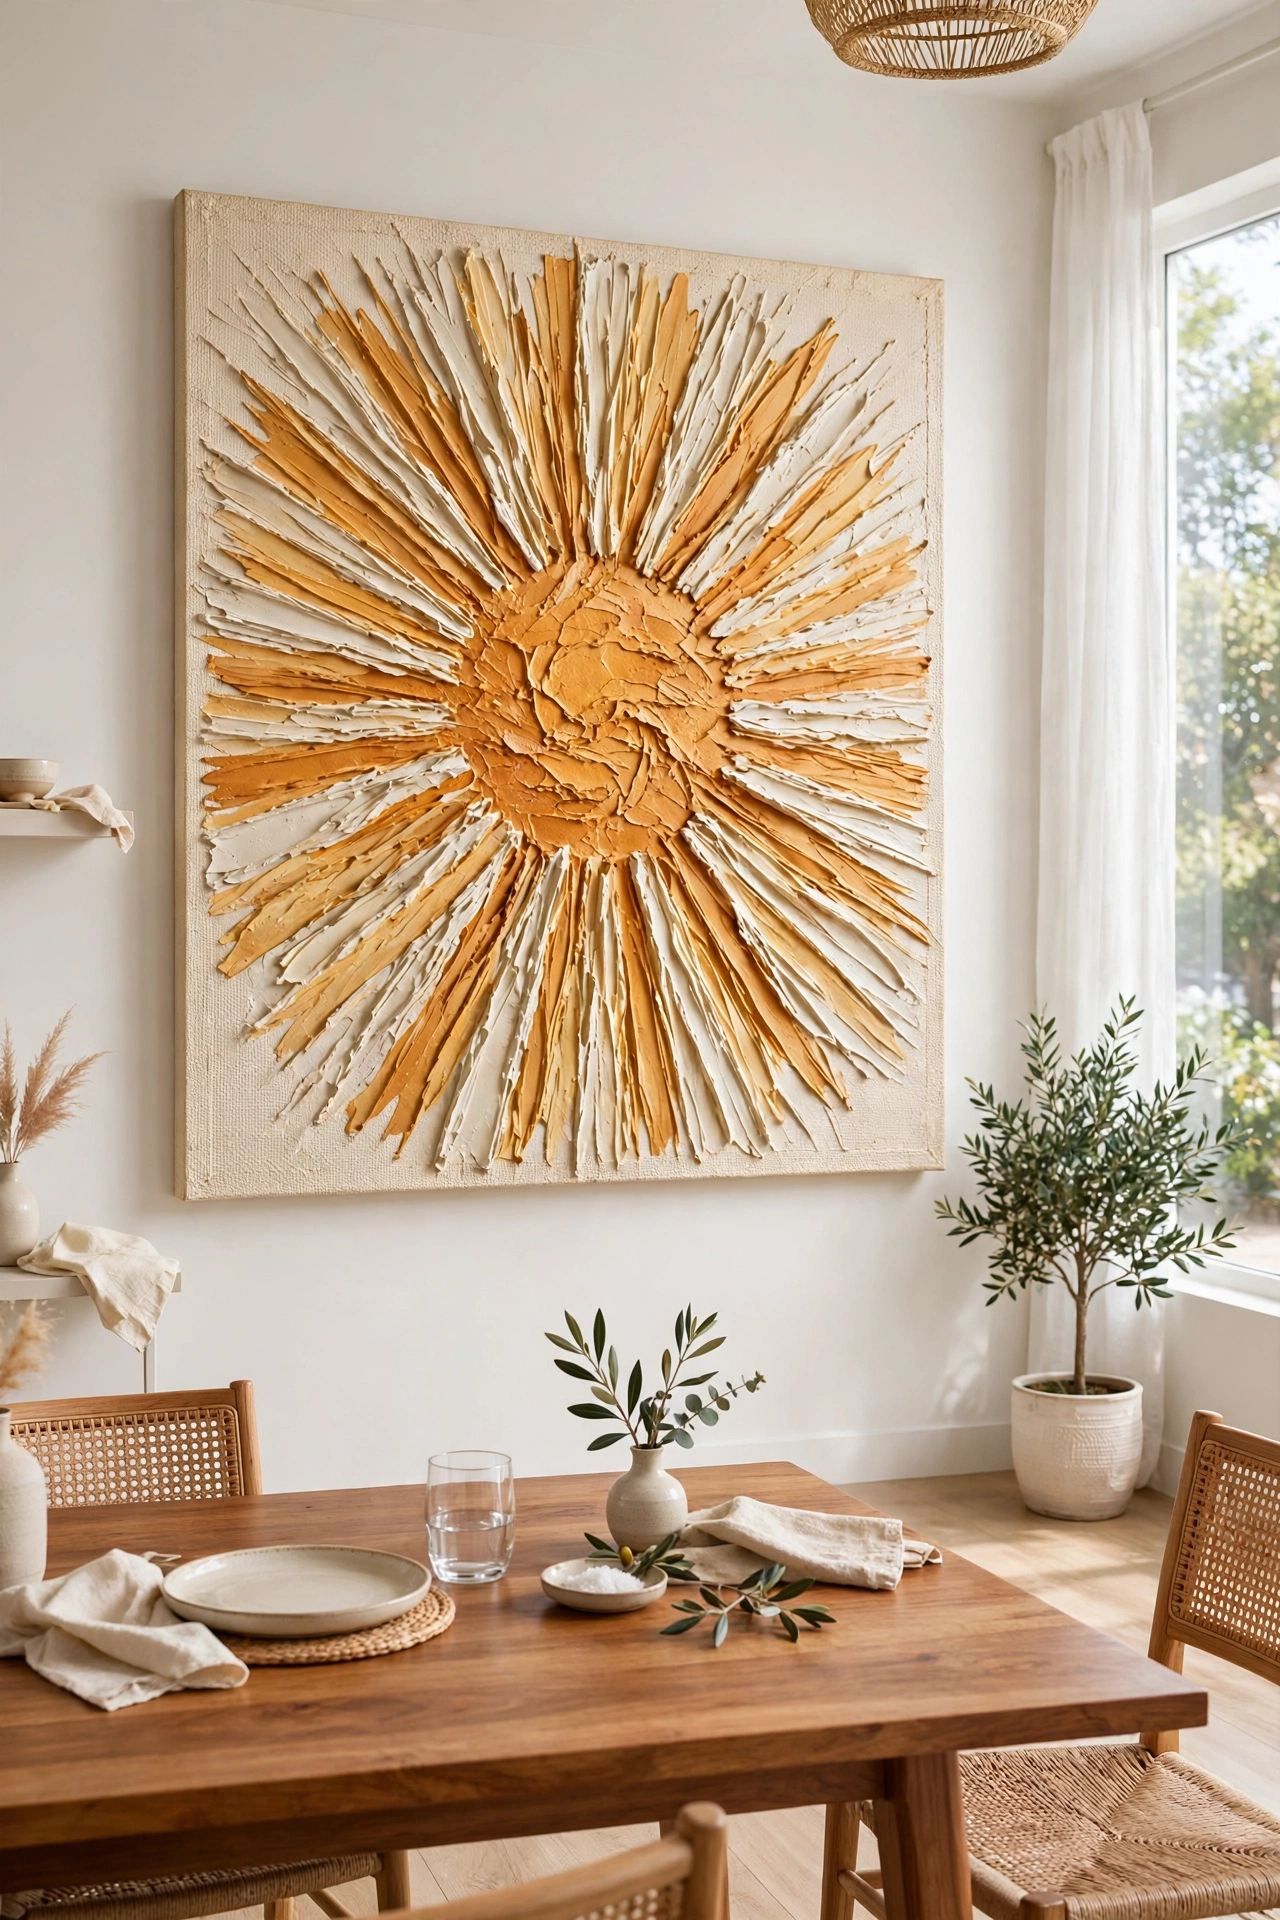
20. Use a Fork to Carve Fine Lines
A simple fork is a surprisingly good carving tool for wet plaster or joint compound. Drag the tines through the surface in wavy lines, tight curls, or neat crosshatch patterns. The fine lines add a delicate texture that looks far more refined than the tool suggests.
Try a crosshatch pattern for a woven look, or long flowing waves for a calm, watery feel. Paint the finished piece in a single soft tone, such as blush pink or pale grey, so the fine lines stay the star. This technique costs nothing and suits a first project perfectly.
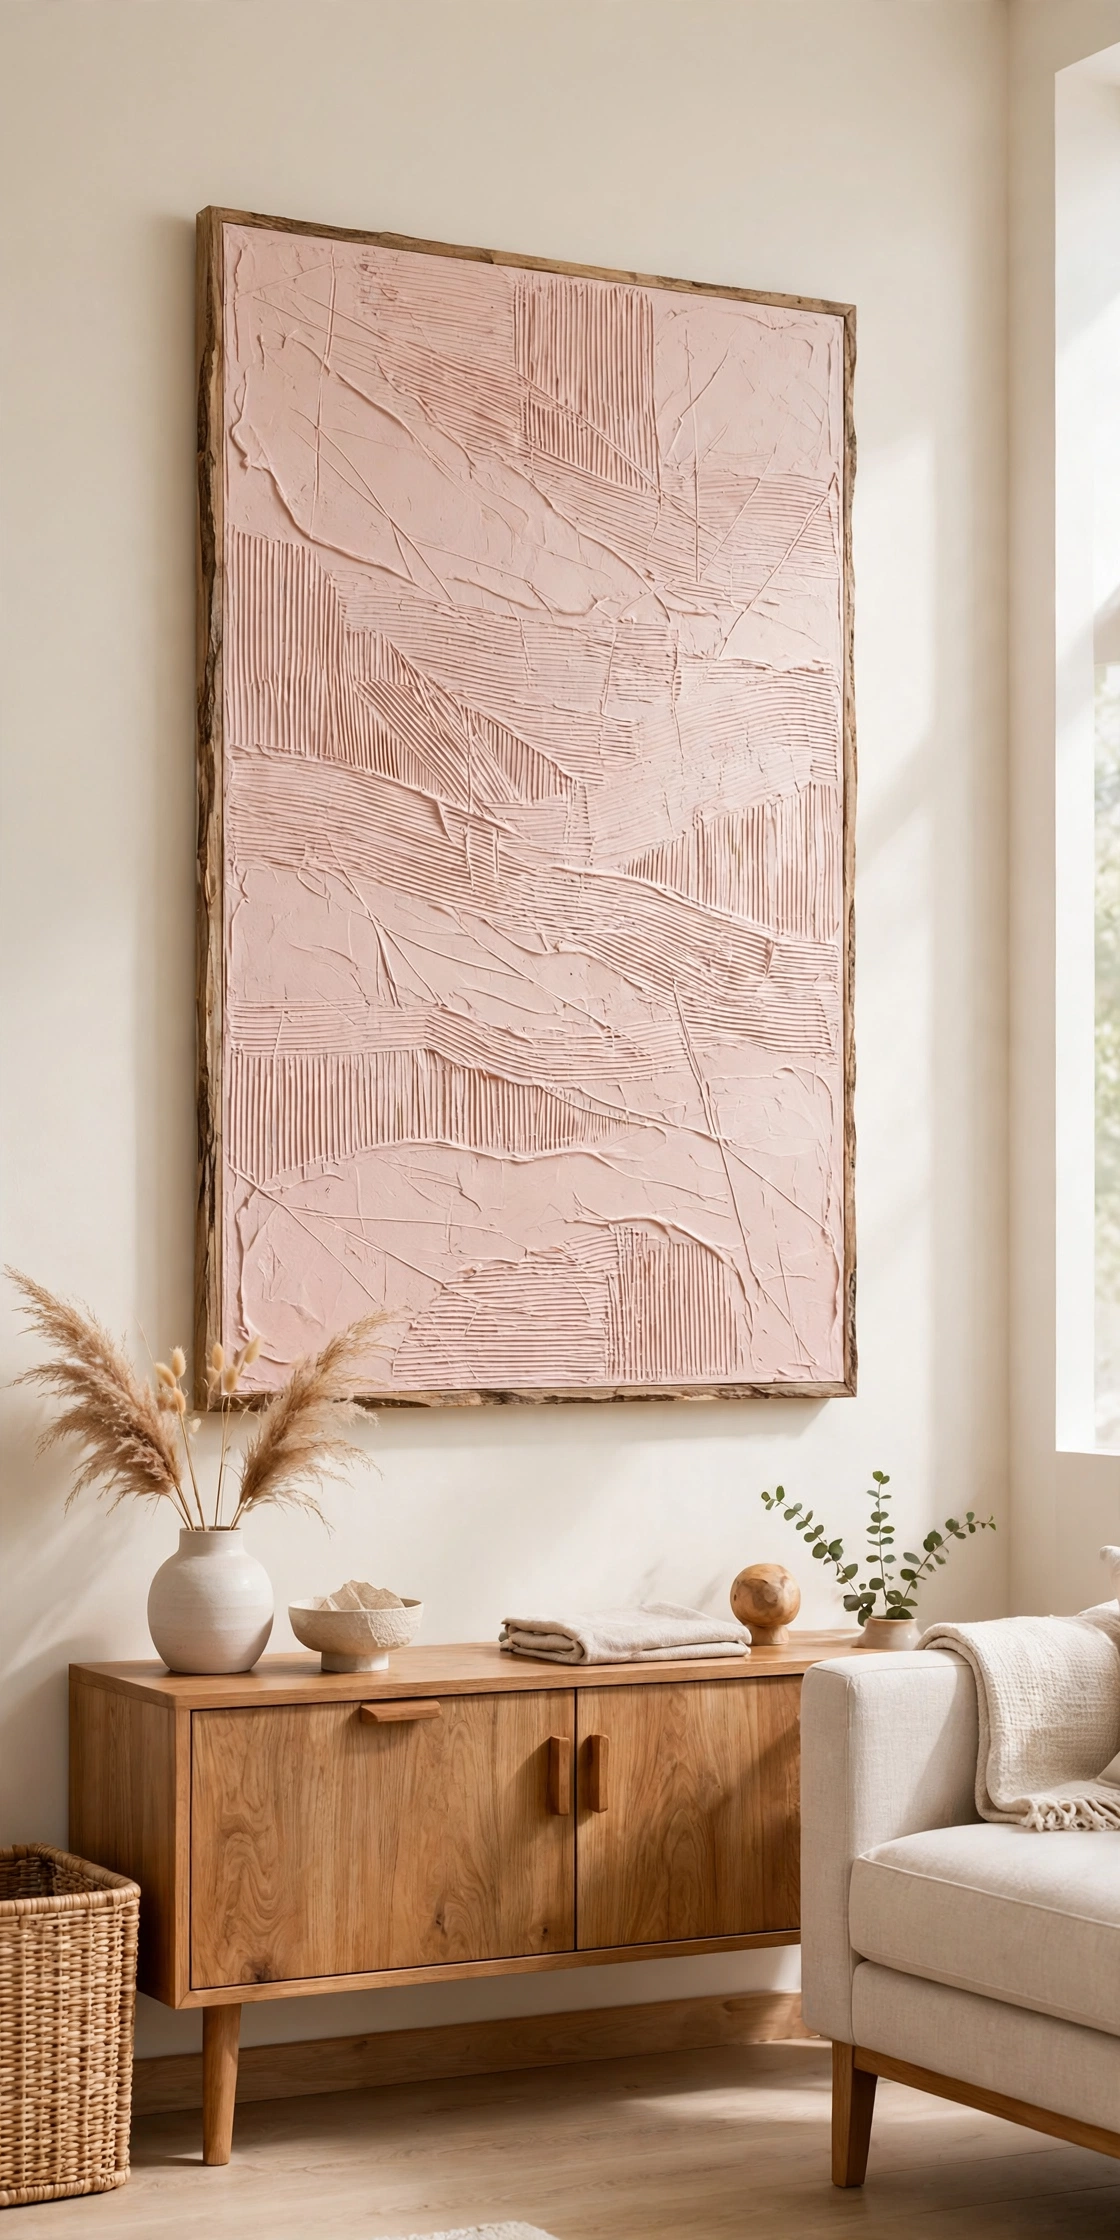
21. Layer Burlap Under Paint for a Rustic Weave
Burlap glued under a thin layer of paint gives a canvas a rough, rustic weave that feels honest and warm. Cut the burlap to fit the canvas, glue it down flat, and brush a thin wash of paint over the top. The weave shows through the paint in a soft, broken pattern.
Choose cream or sage paint so the burlap texture stays visible without looking dark. A wooden frame with a natural finish completes the rustic look. This piece suits a farmhouse kitchen or a cozy reading corner where natural materials feel most at home.
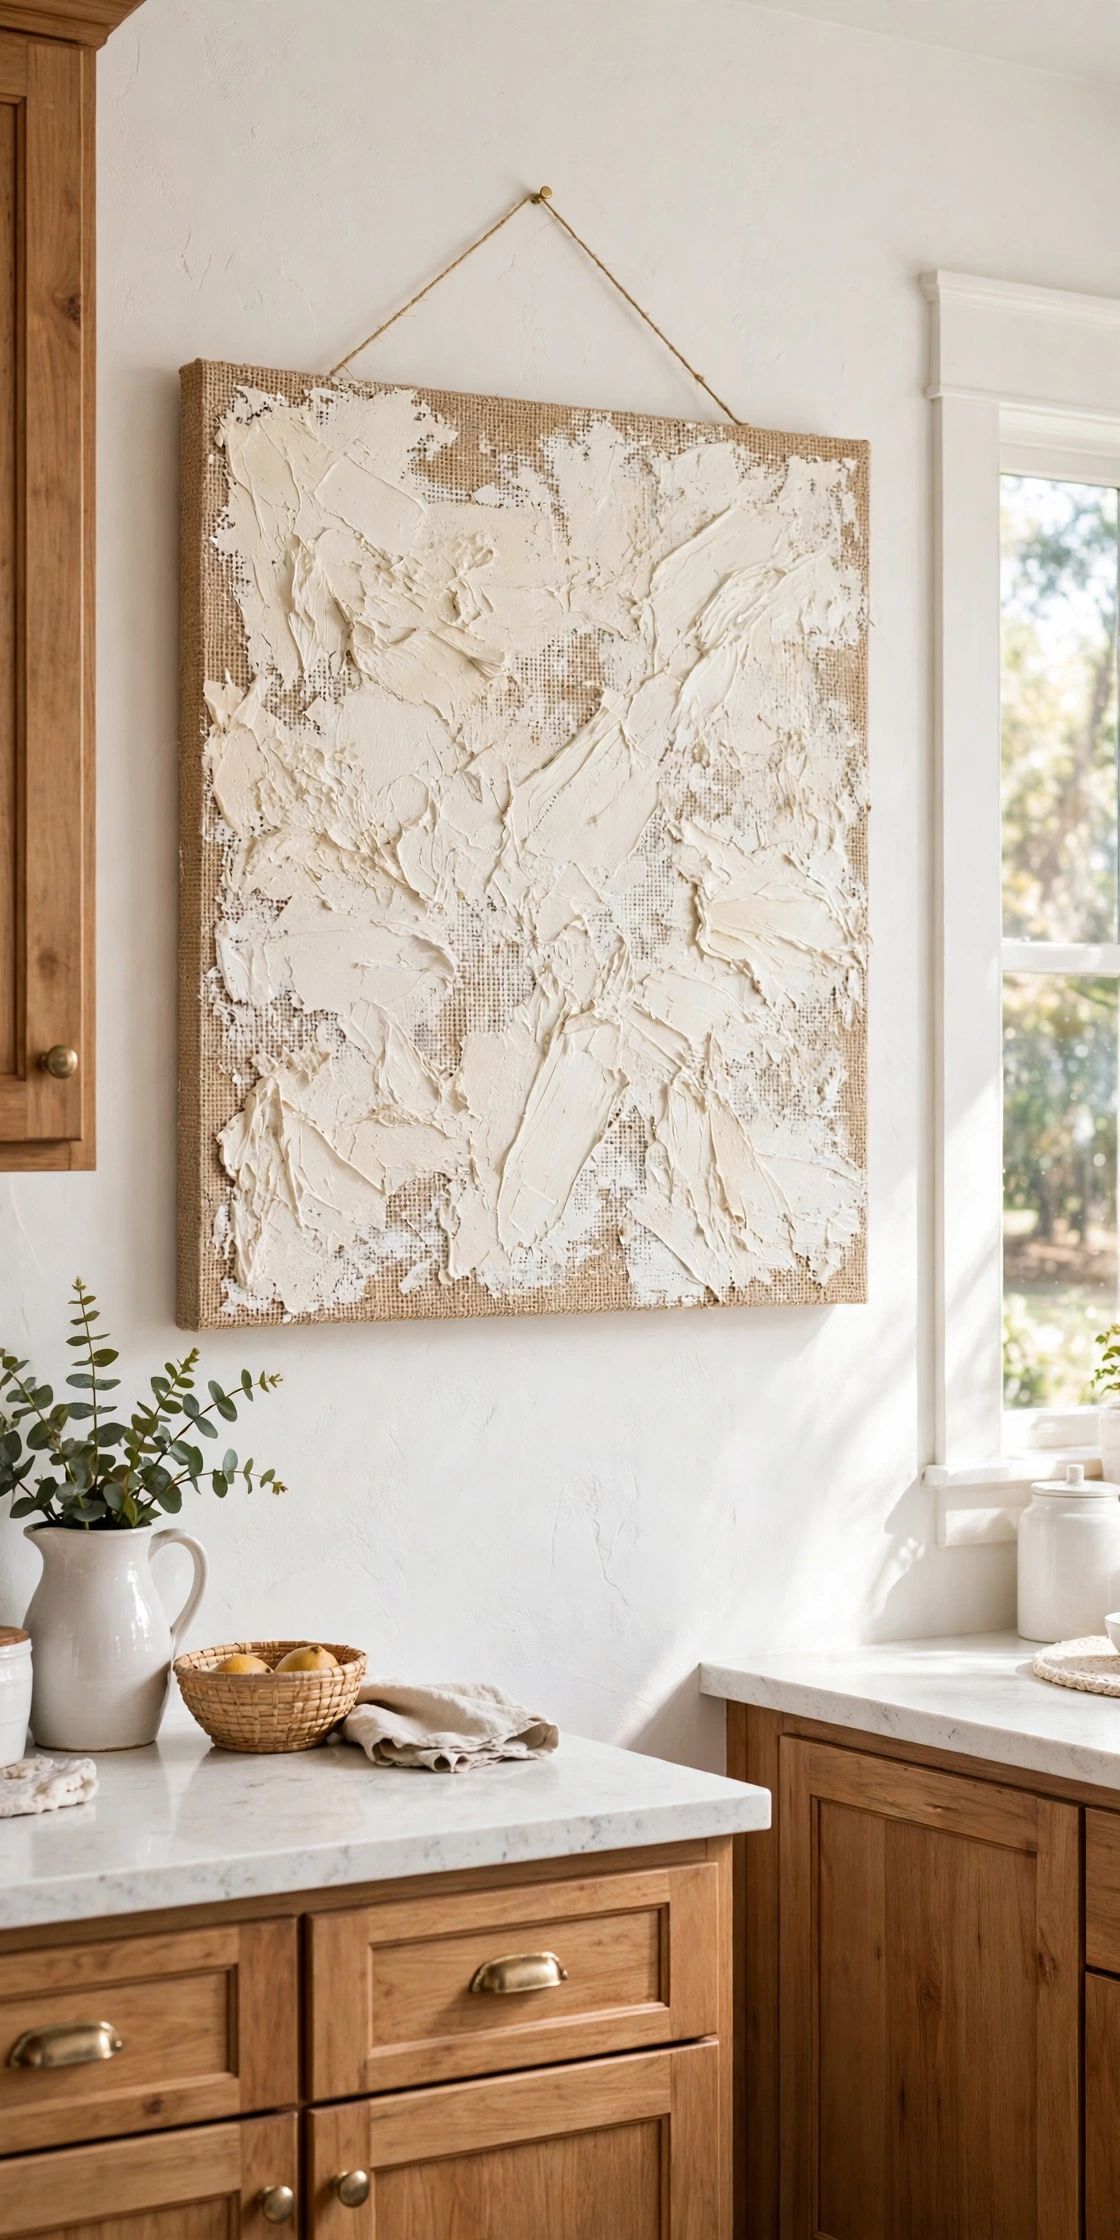
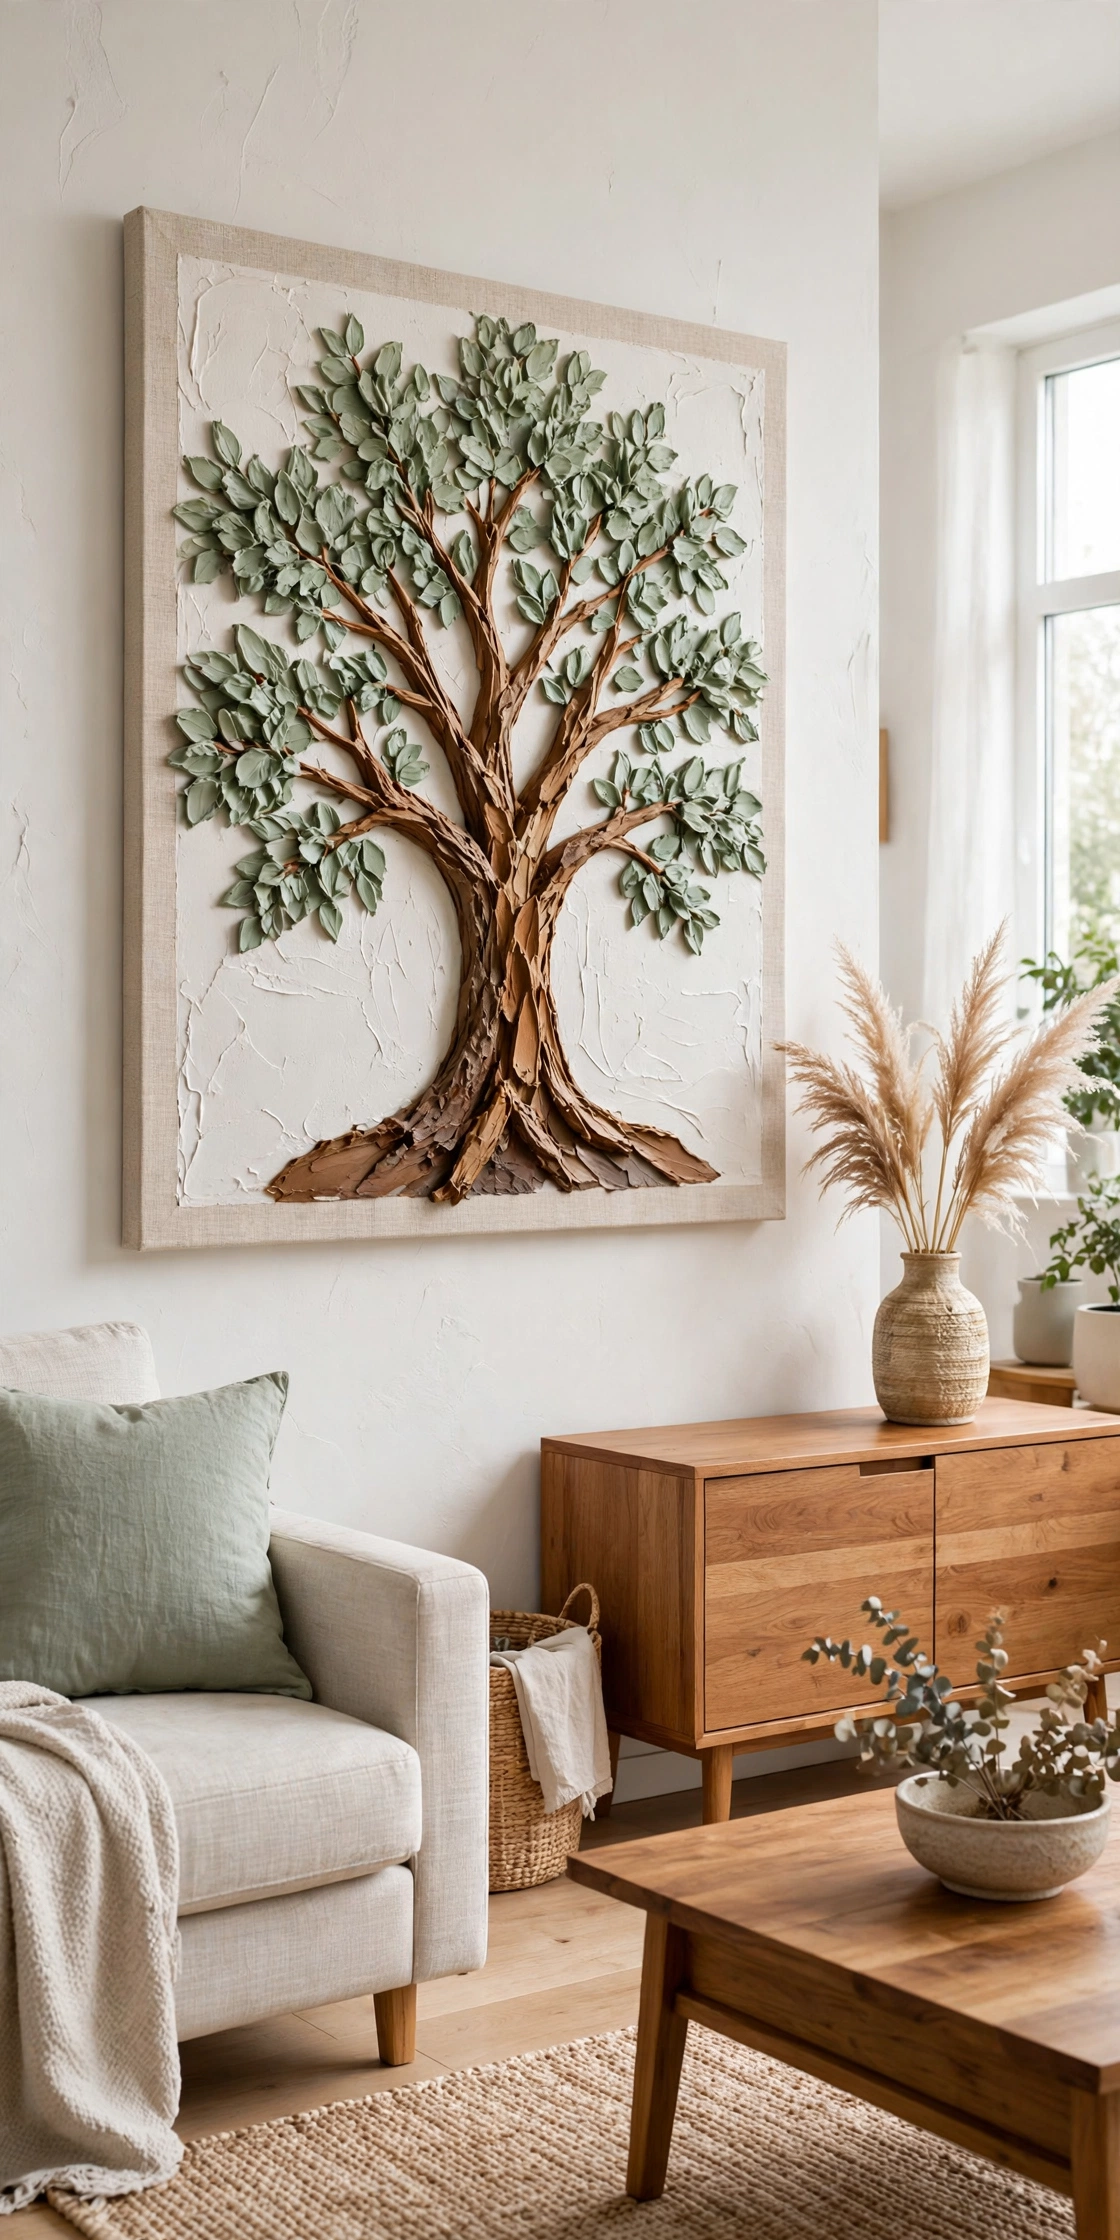
22. Make a Textured Tree with Modeling Paste
A tree built from modeling paste turns a flat canvas into a small sculpture. Spread paste onto the canvas to form a trunk, then use a palette knife to pull out branches in every direction. Add small dabs of paste for leaves, so the whole tree stands out from the surface.
Paint the trunk in warm brown and the leaves in sage green for a natural look. Or keep the whole tree white against a soft blue background for a modern, minimal feel. The finished piece brings a quiet, natural calm to a living room or a nursery.
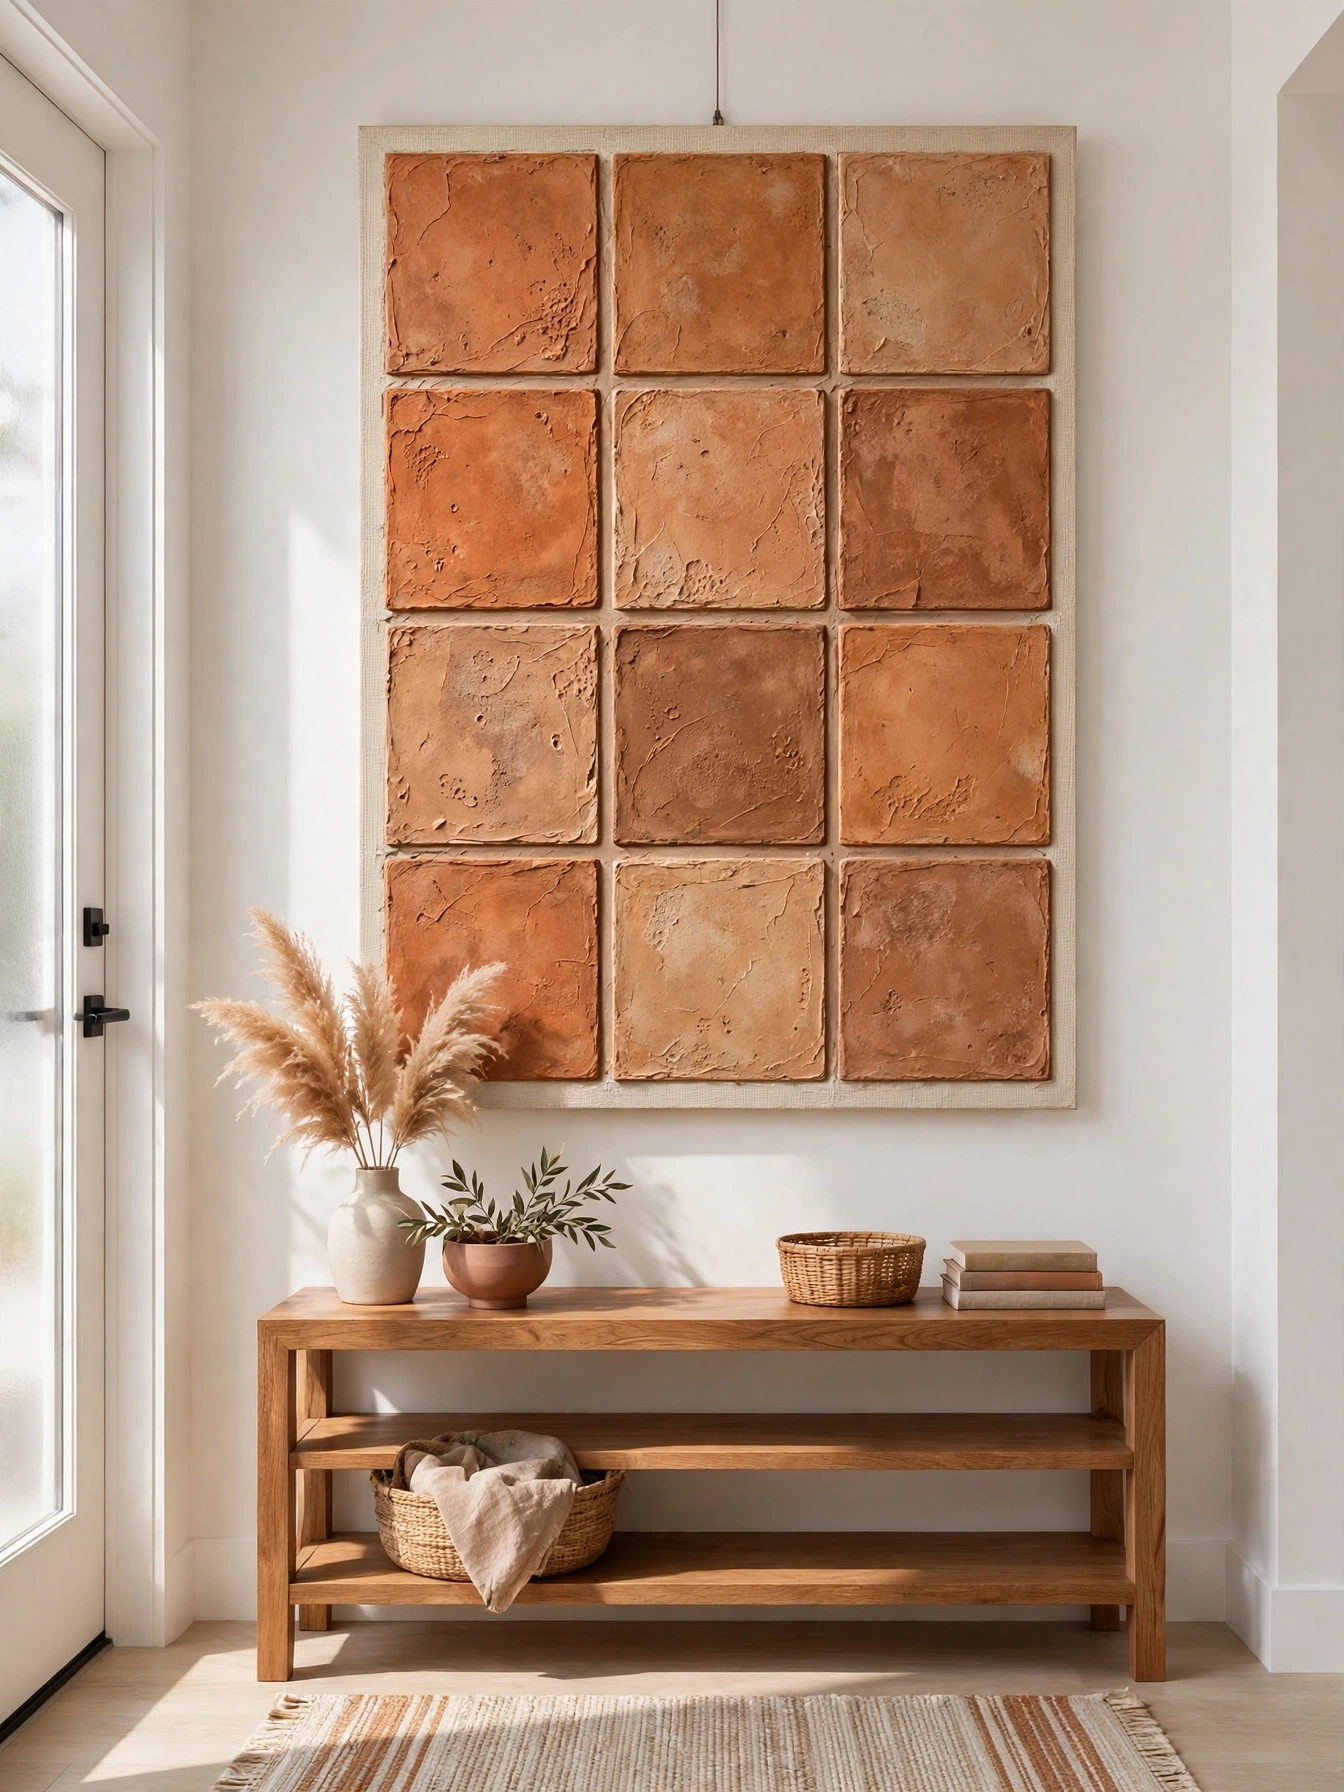
23. Create a Terracotta Tile Effect with Joint Compound
Joint compound scored into squares makes a convincing terracotta tile effect on canvas. Spread the compound thickly, then score it into a grid with a ruler and a craft knife. The grooves look just like grout lines between real tiles.
Paint each square a slightly different shade of terracotta so the surface feels handmade and warm. A light wash of cream over the grooves adds depth and age. This Mediterranean-style piece suits a kitchen or an entryway where warm earth tones feel welcoming.
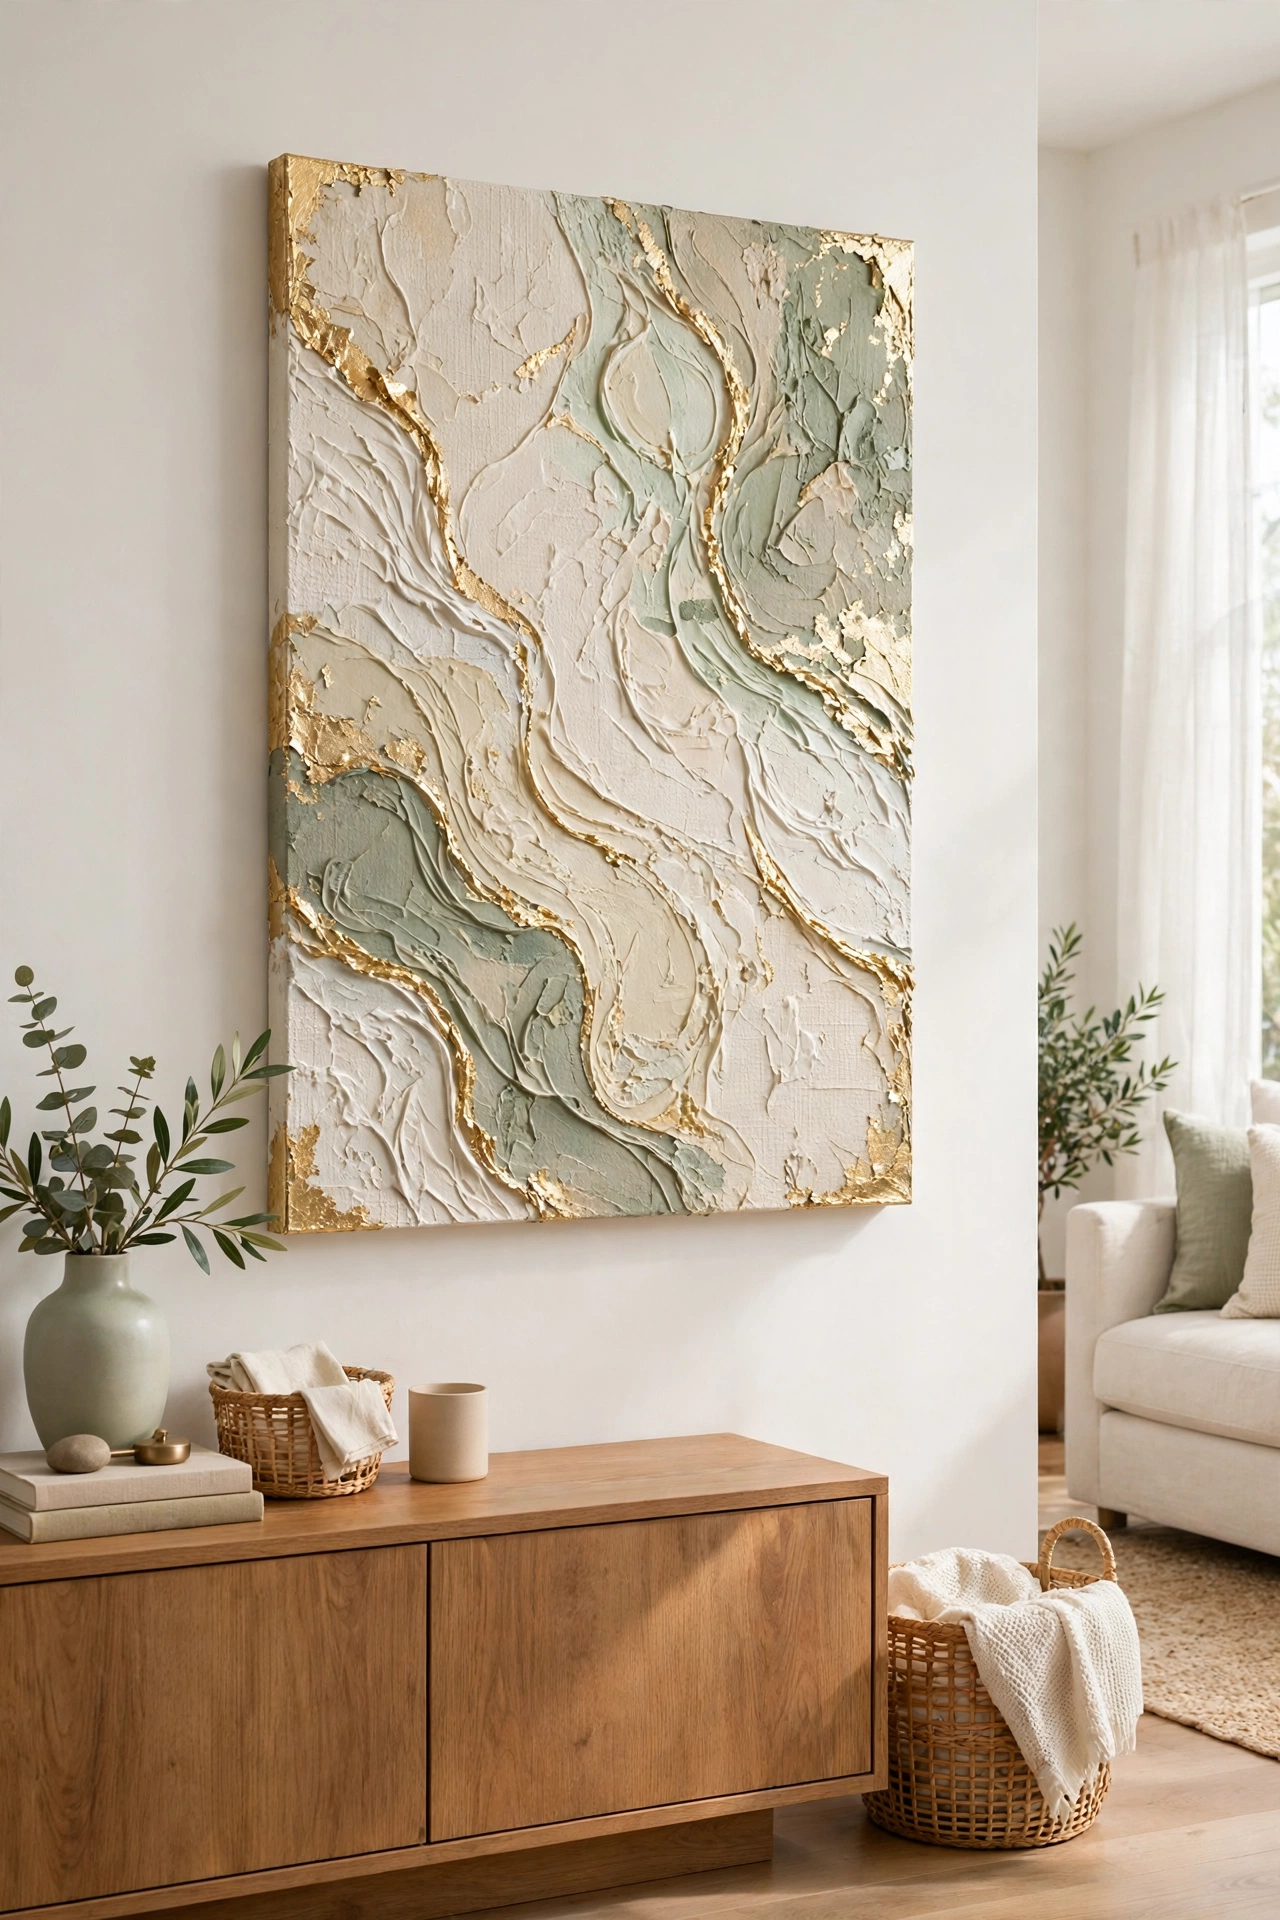
24. Finish with a Gold Leaf Highlight on Raised Edges
Gold leaf is the perfect finishing touch for any textured canvas. Brush a thin layer of adhesive onto the highest ridges of your finished piece, wait until it turns tacky, and press small sheets of gold leaf into place. The gold catches light and draws the eye to every raised edge.
Use gold sparingly, just on the tops of waves, petals, or arches, so the effect feels elegant rather than flashy. Seal the leaf with a clear coat to keep it from flaking. This final touch turns a simple canvas into a piece that looks truly special on any wall.
Conclusion
Textured canvas art proves that beautiful walls do not need a big budget or professional training. From soft plaster waves to gold leaf highlights, each idea here uses simple materials and a little patience to create something truly special. The texture adds depth and warmth that flat art simply cannot match.
Pick one idea that fits your style and start today. A blank canvas, a palette knife, and an afternoon are all you need to begin. For more budget-friendly ways to refresh your walls, see these DIY trim ideas. Your walls will thank you with a look that feels personal, stylish, and completely your own.
Frequently Asked Questions About DIY Textured Canvas Art Ideas for Stylish Walls
What is the cheapest way to make textured canvas art?
Joint compound, plaster, and a palette knife are the cheapest way to start. A small tub of joint compound costs very little and covers several canvases. Thrifted canvases and household tools like forks, combs, and bubble wrap keep the cost close to nothing.
How long does textured canvas art take to dry?
Thin layers of joint compound or plaster dry in about one day. Thick layers of modeling paste or impasto paint can take three to five days to cure fully. Always wait until the surface feels firm and cool to the touch before you paint over it or hang the piece.
Can I use textured canvas art in a bathroom?
Yes, textured canvas art works in a bathroom if you seal it well. Use a clear waterproof sealer over the finished piece to protect it from steam and splashes. Hang the art away from direct water and choose a spot with good airflow so it stays in great shape.
What size canvas should I start with?
A medium canvas around 16 by 20 inches is a good size for a first project. It gives you enough room to practice texture without wasting materials. Once you feel confident, move up to a larger canvas for a bold statement piece.
How do I hang heavy textured canvas art safely?
Use picture hanging hooks rated for the weight of your finished piece, since plaster and modeling paste add real weight. A French cleat or two sturdy D-rings spread the load across the wall. Always anchor into a stud or use proper wall anchors for heavier pieces.

Hi, I’m Emily! I turn messy corners into cozy, organized spots. DreamNestDecor is where I share simple, practical home ideas — decor, organization, and small-space solutions that work in real life, not just in photos. Every idea here is carefully researched before it’s shared.