

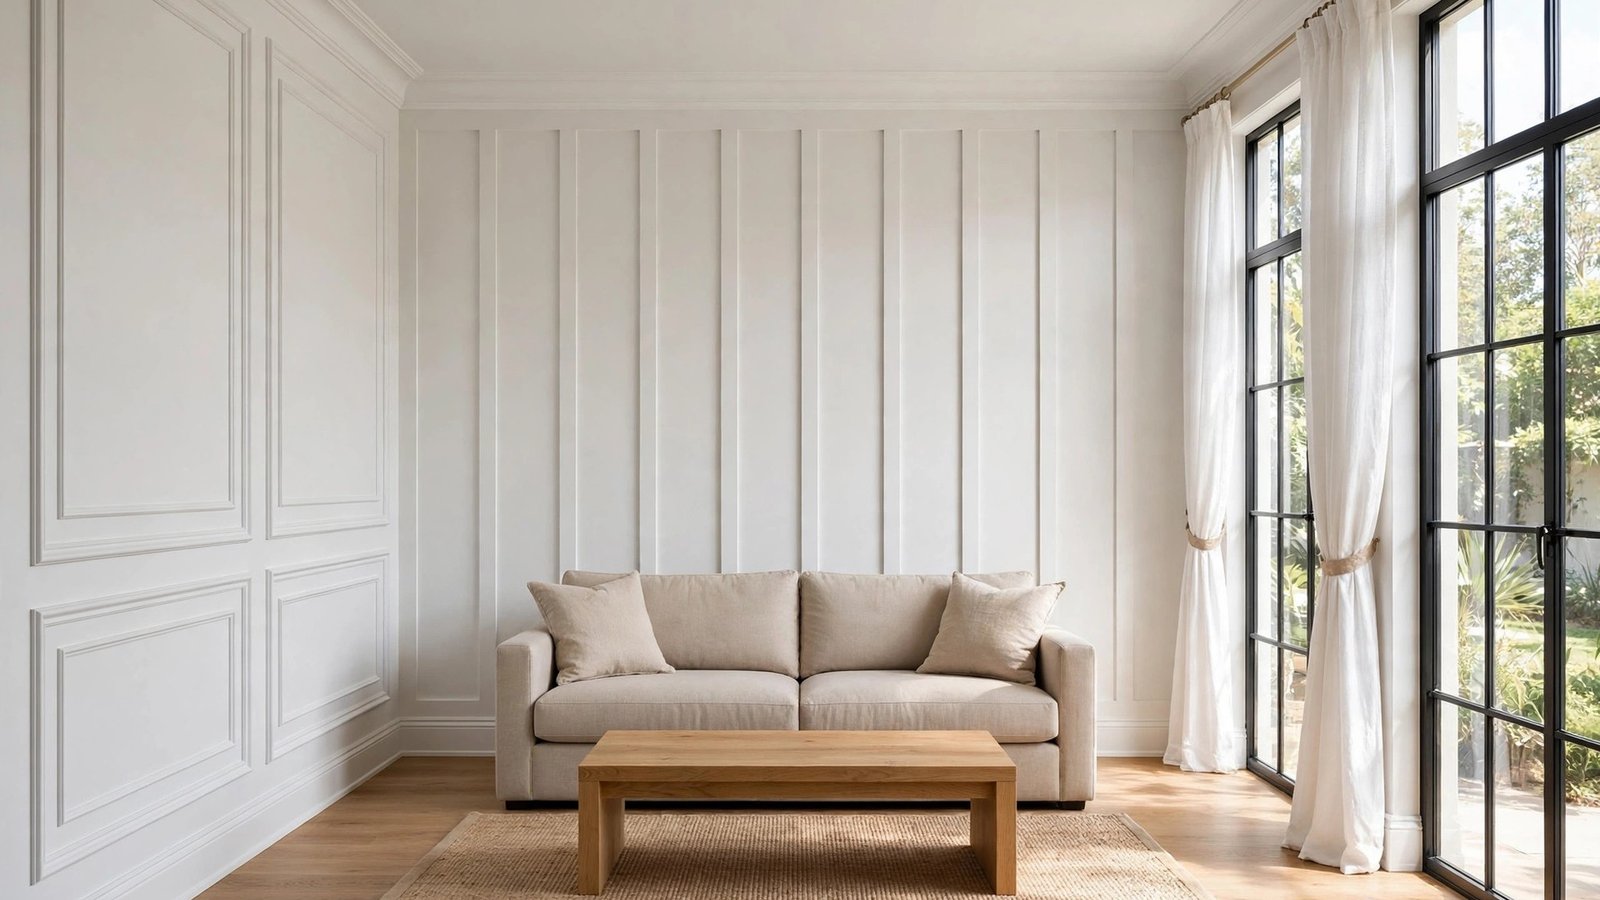
Plain walls are a missed opportunity. A few strips of trim, some paint, and a free afternoon can give any room the custom-built look of a designer home. Trim is like jewelry for your walls: the right piece makes the whole outfit sing, and it costs far less than you think.
These 19 DIY trim ideas range from classic picture frame molding to modern shadow gaps, and most use inexpensive MDF or pine from the hardware store. No contractor needed. Pick one idea, measure carefully, and watch your plain walls transform.
1. Classic Picture Frame Molding
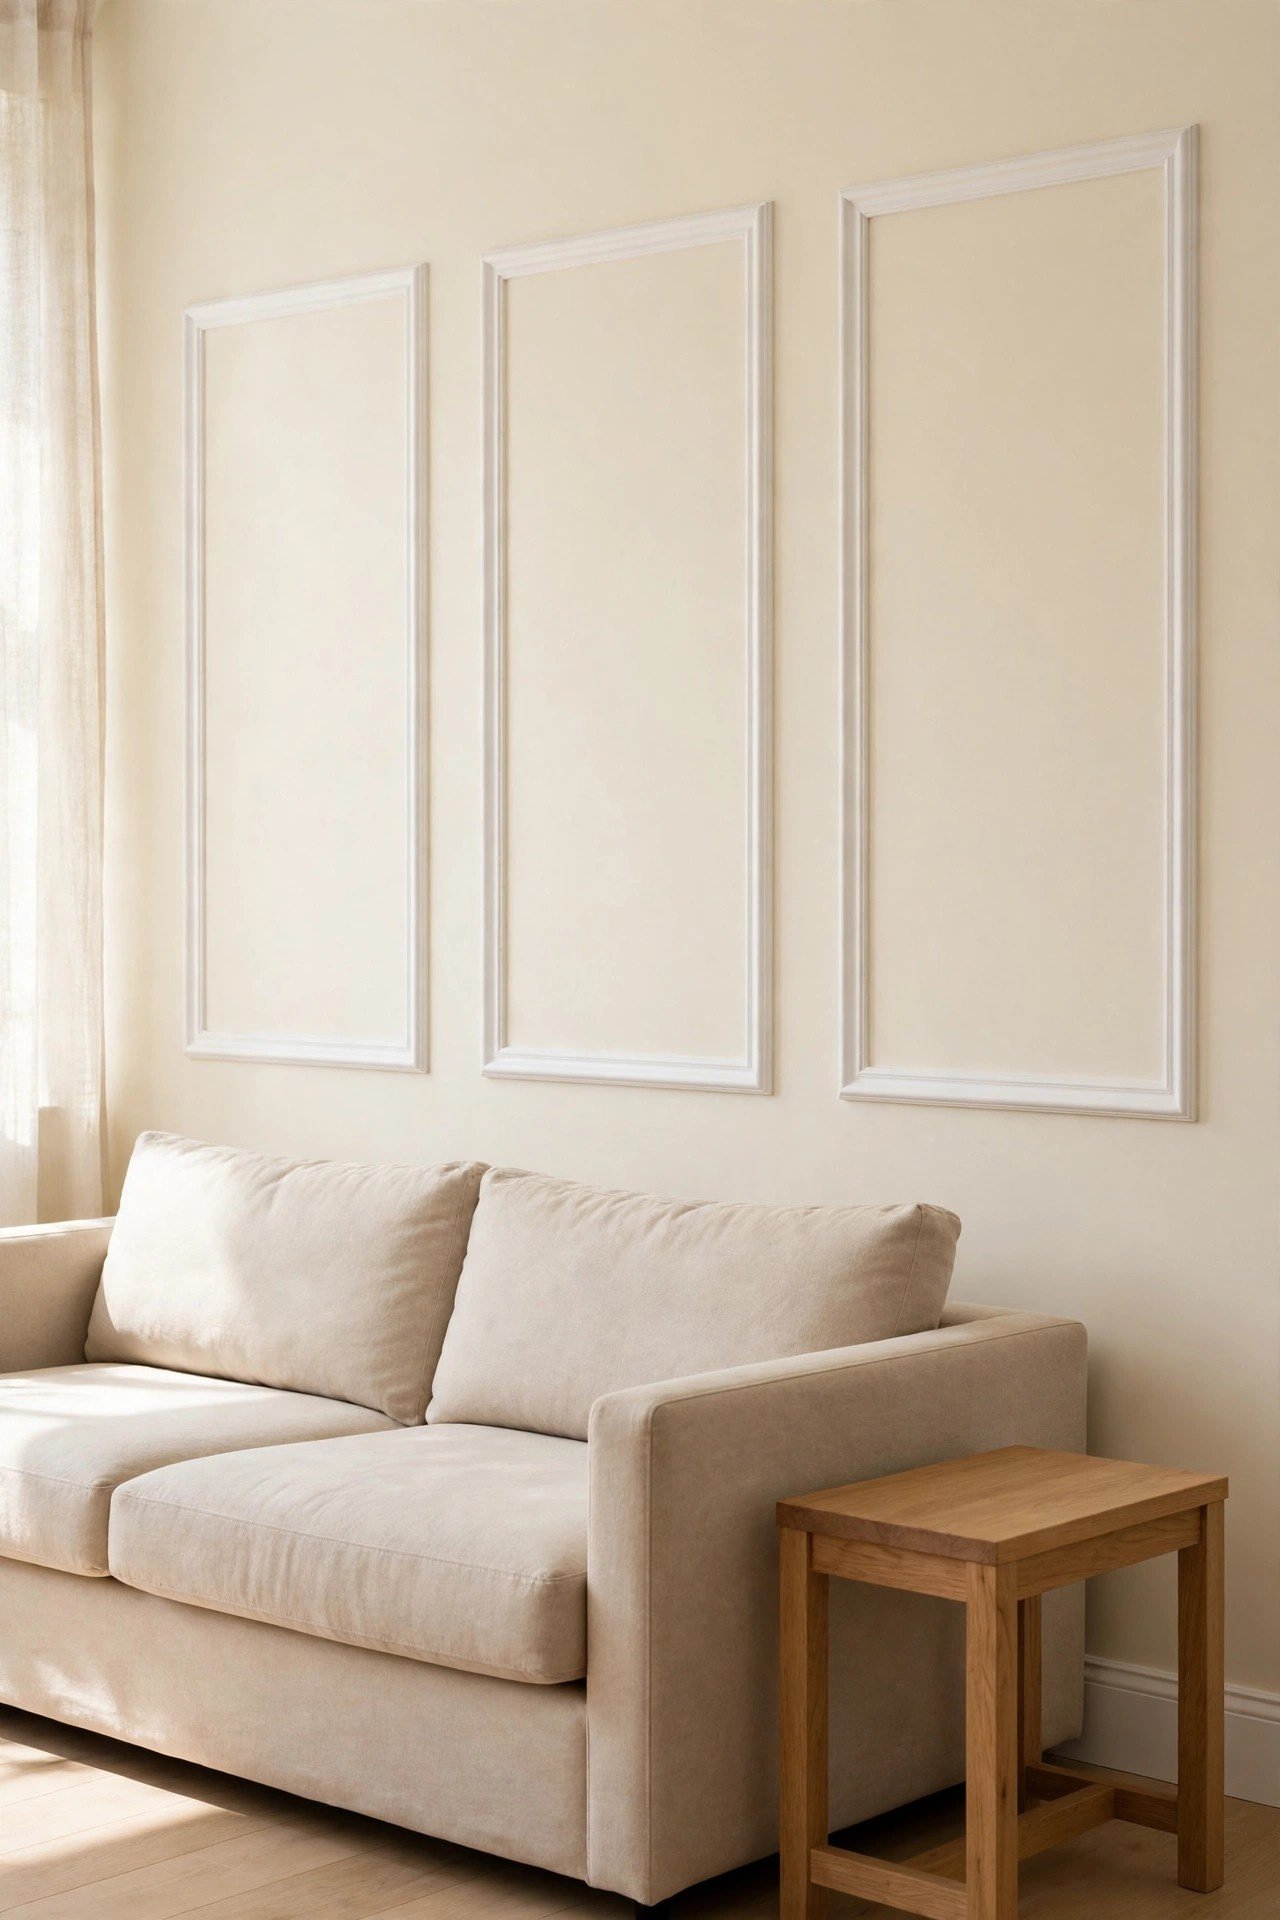
Create rectangular frames directly on the wall using narrow trim and mitered corners. Paint the molding the same color as the wall for an elegant, subtle look, or use a contrasting shade to make the frames pop. This timeless technique reads expensive but costs little in materials.
Measure carefully and cut 45-degree miters for clean corners. Caulk the seams before painting for a seamless finish. For more molding inspiration, see these decorative molding ideas that expand on this classic technique.
2. Board and Batten Accent Wall
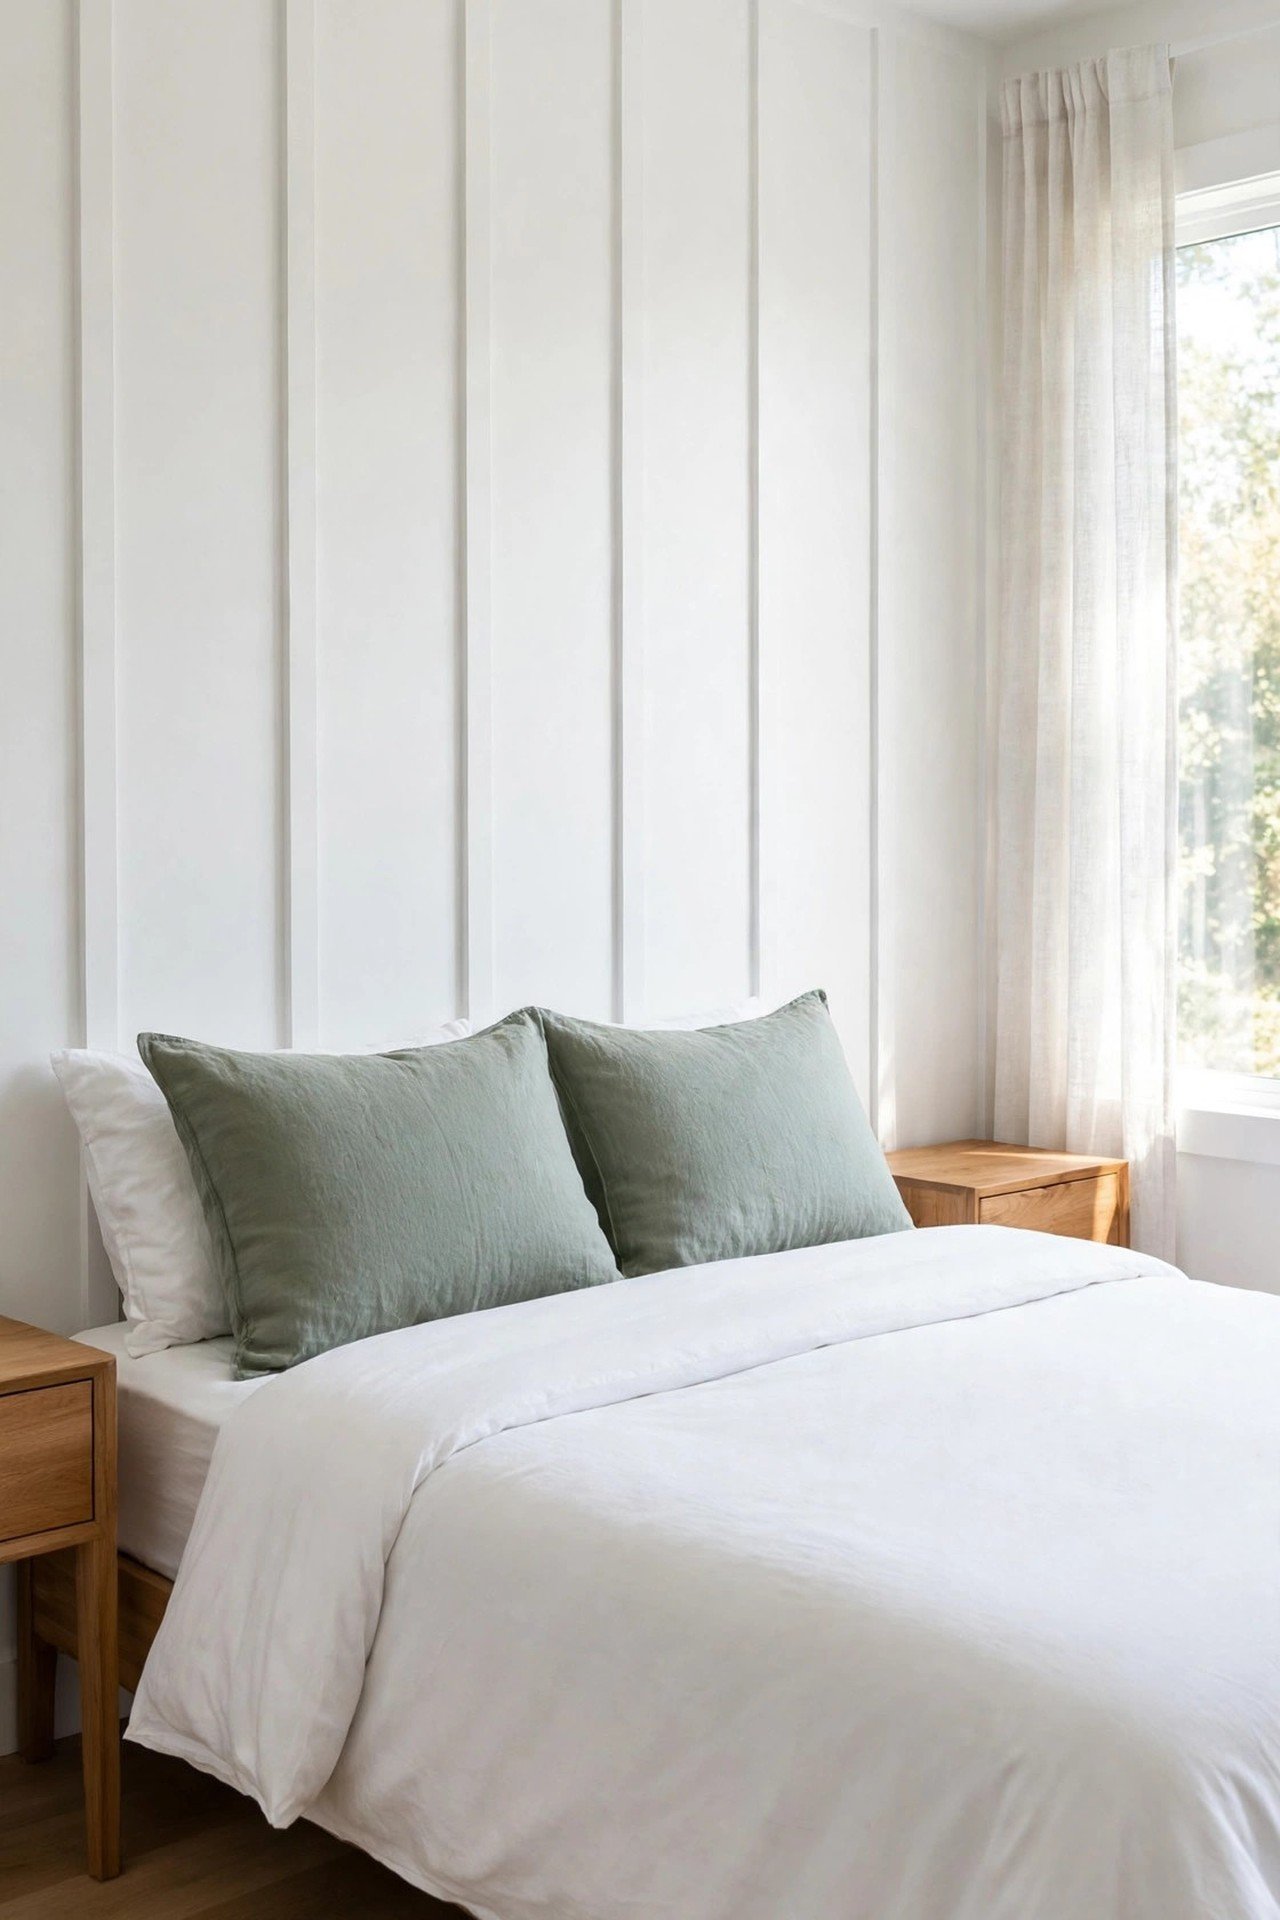
Attach vertical battens over a painted wall to create rhythm, texture, and the illusion of height. Thin MDF strips keep the project lightweight and budget-friendly. Paint everything one color for a built-in look, or use contrasting paint for drama.
This technique works beautifully behind beds, in dining rooms, and on entry walls. Keep battens slim and spacing regular for a modern feel. For a full guide to this style, explore these board and batten wall ideas with step-by-step inspiration.
3. Painted Faux Chair Rail
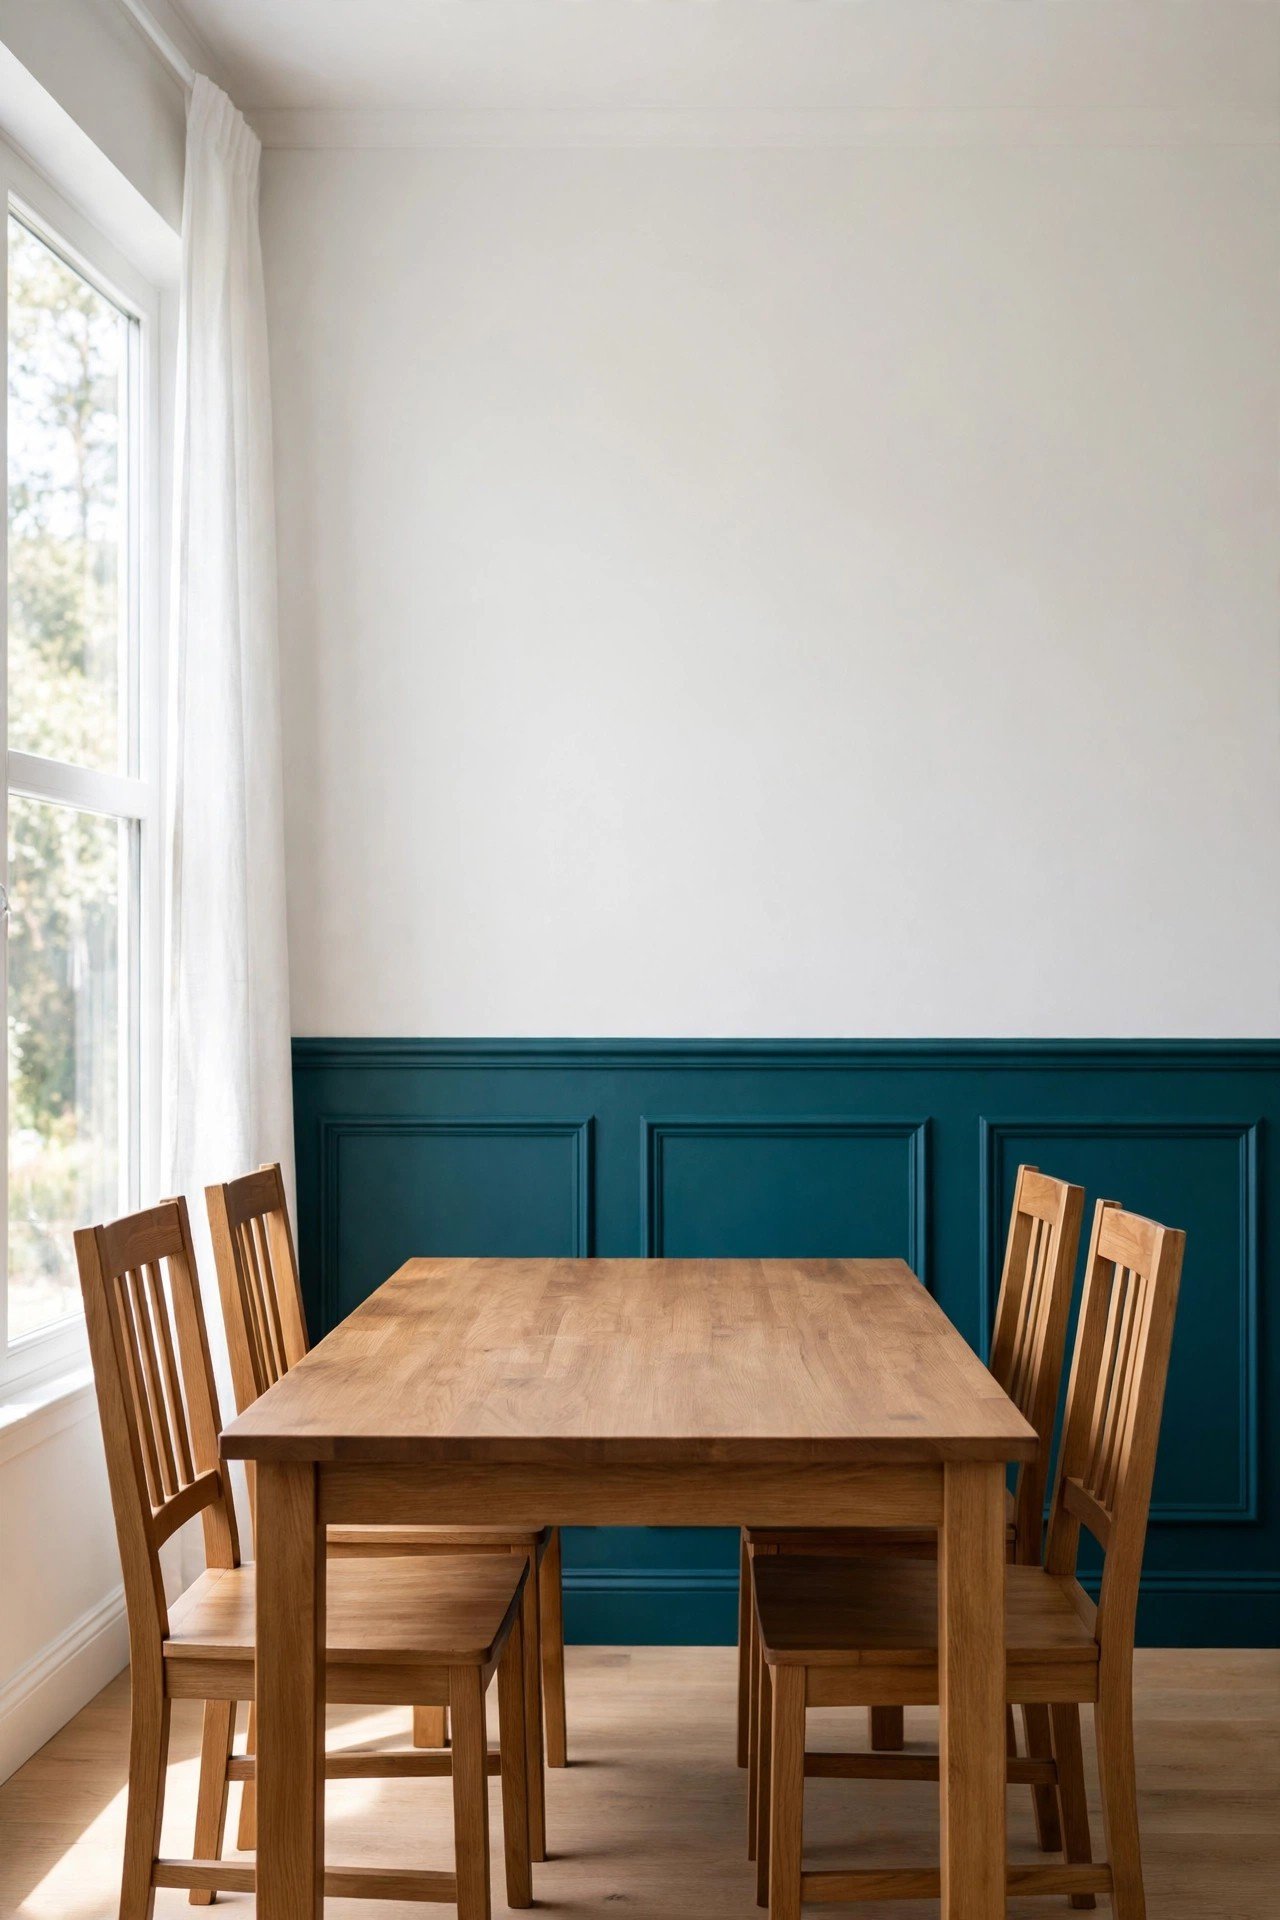
Create the look of a chair rail using only paint and painter’s tape. Paint the lower third of the wall one color and the upper portion another, with a crisp dividing line where a real rail would sit. This zero-trim trick delivers architectural interest for the cost of a paint sample.
Choose two tones of the same color for subtlety, or bold contrasting shades for drama. The painted line is completely renter-friendly since it disappears with a fresh coat. This is the fastest trim illusion in the entire list.
4. Budget Crown Molding
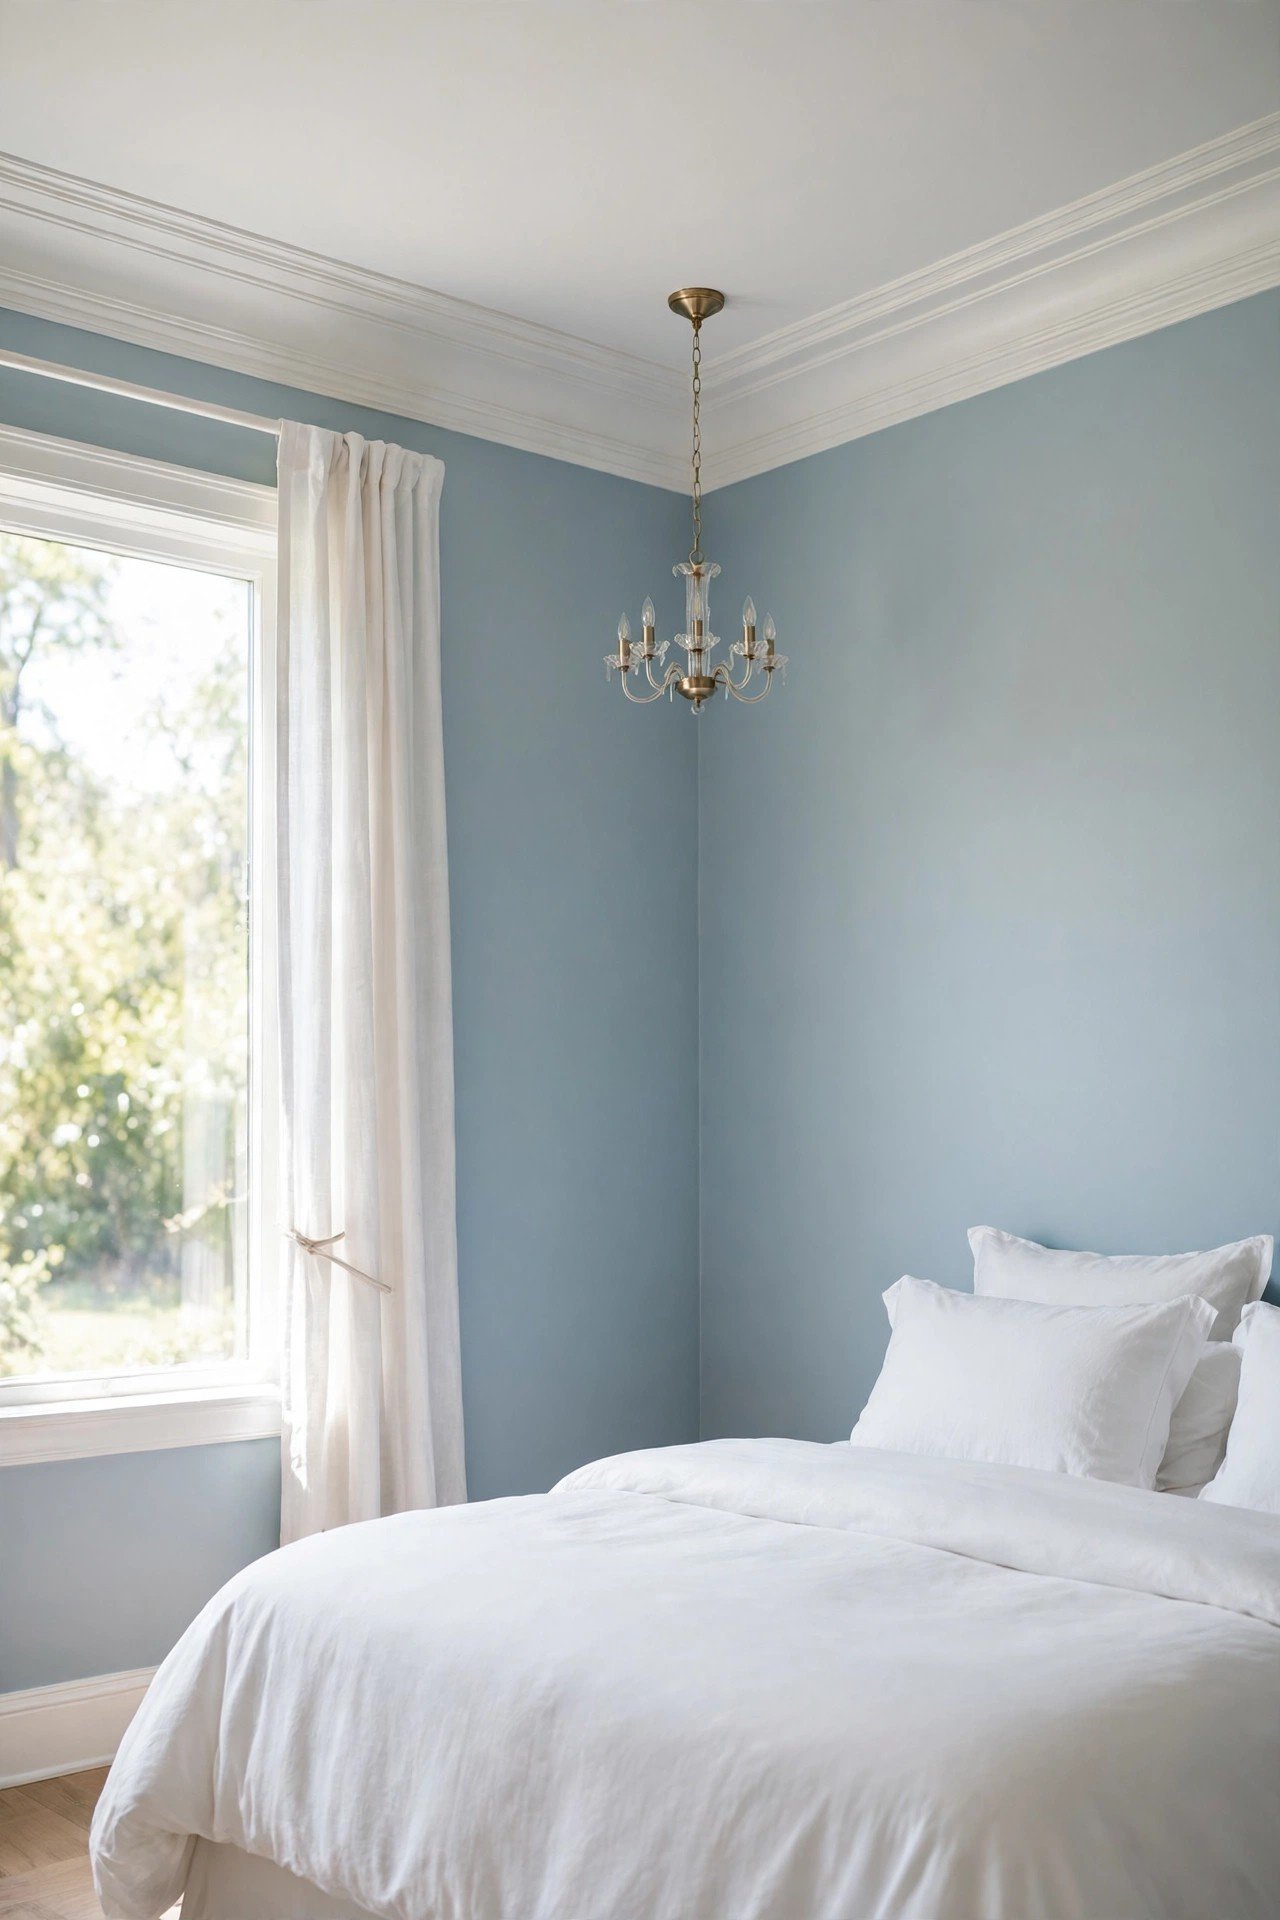
Crown molding where the wall meets the ceiling instantly makes a room feel finished and upscale. Lightweight foam or MDF crown molding costs a fraction of traditional wood and installs with adhesive and nails. Paint it the same color as the ceiling for a seamless look.
Measure each wall carefully and cut inside corners with a miter saw. Caulk every joint before painting for professional results. Even simple crown molding transforms a plain box of a room into something special.
5. Craftsman-Style Window Trim
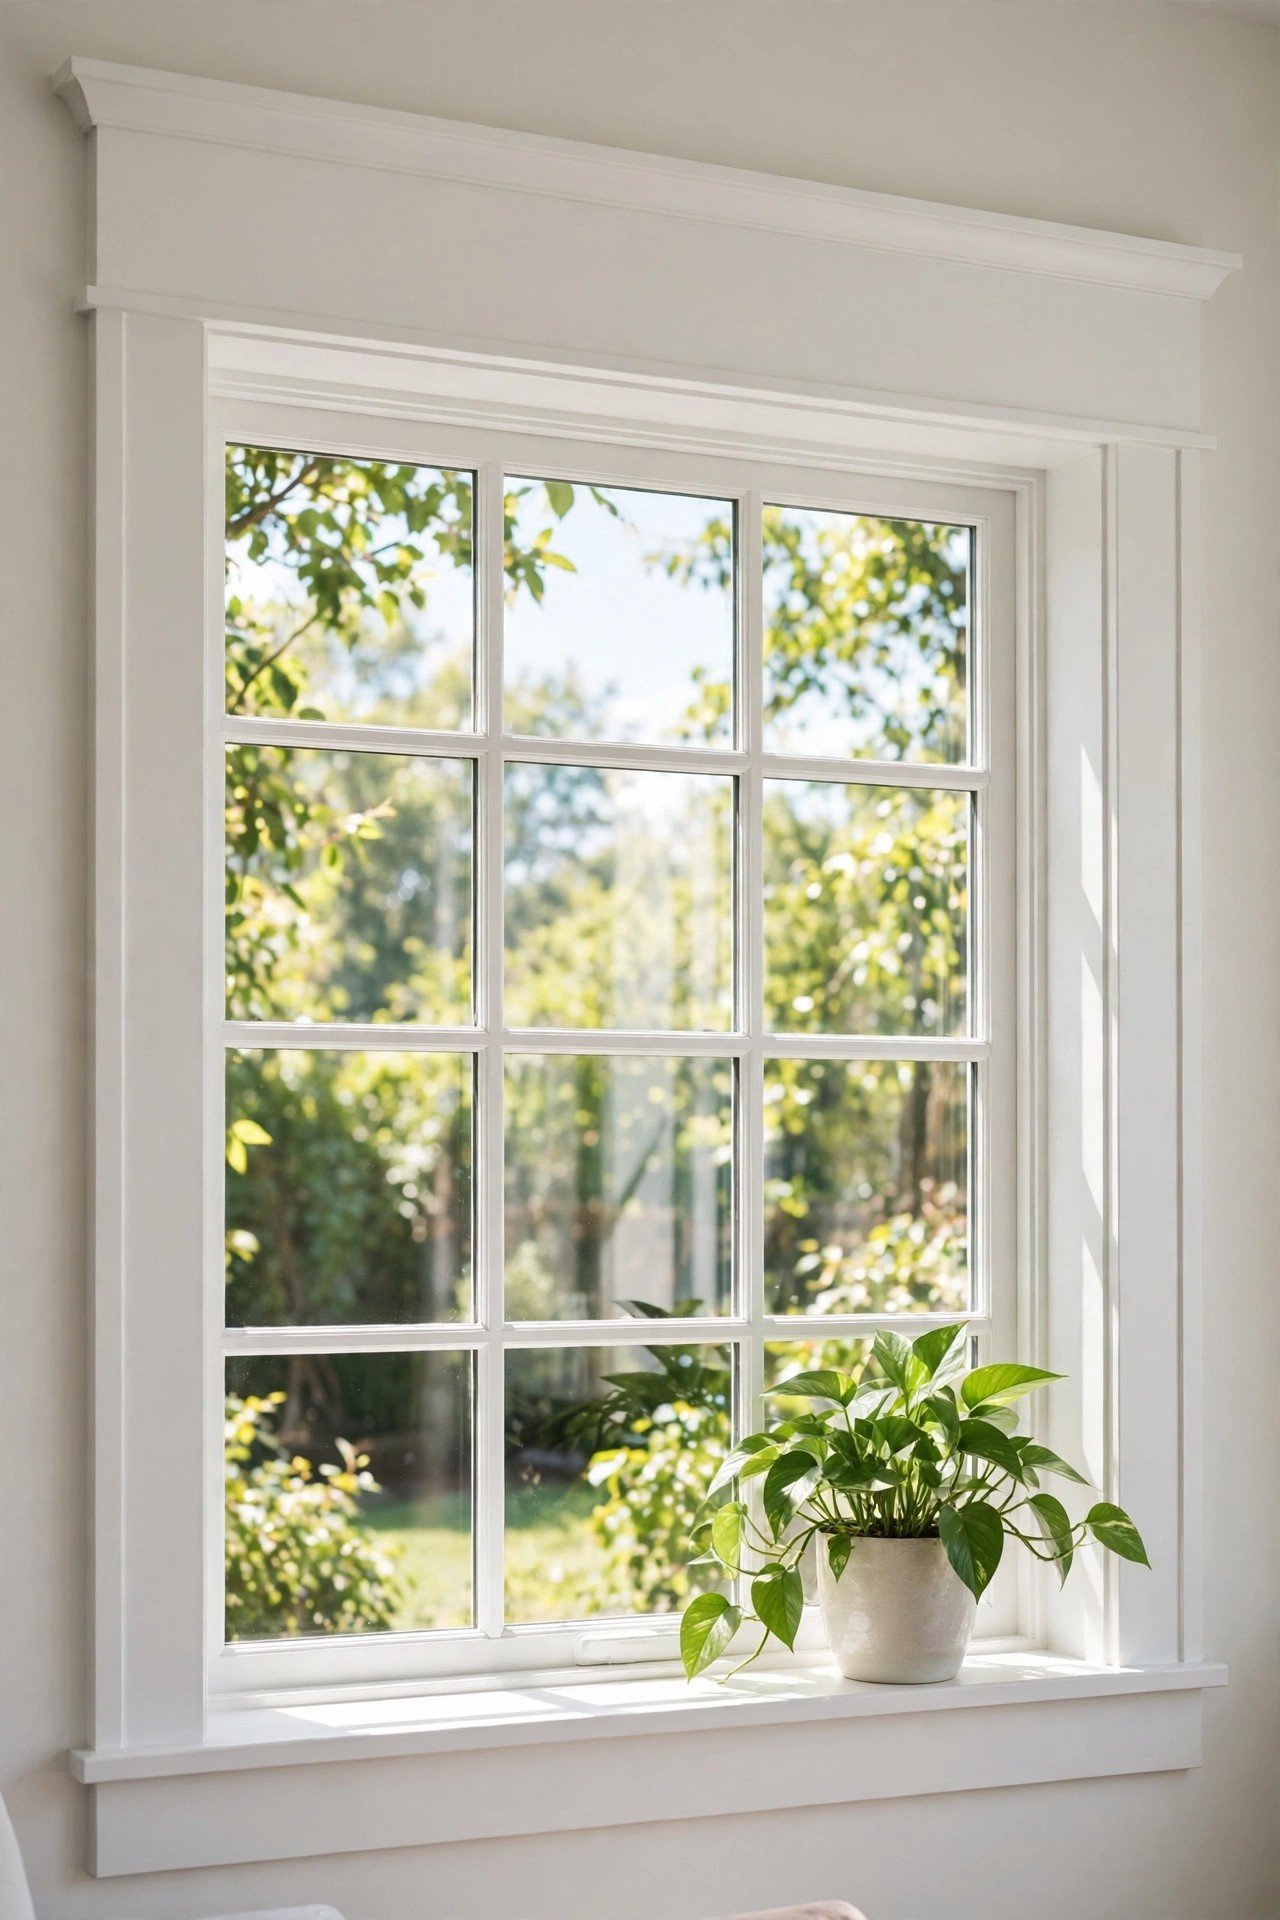
Replace thin, builder-grade window casings with wide, flat Craftsman-style trim for a bold, tailored look. The simple straight lines and strong edges draw attention to your windows and natural light. Paint it white for classic appeal or match the wall color for modern calm.
Add a slightly wider header piece on top for authentic Craftsman character. This upgrade makes plain windows feel intentional and architectural. It is ideal for both older homes and new builds lacking detail.
6. Taller Baseboard Upgrade
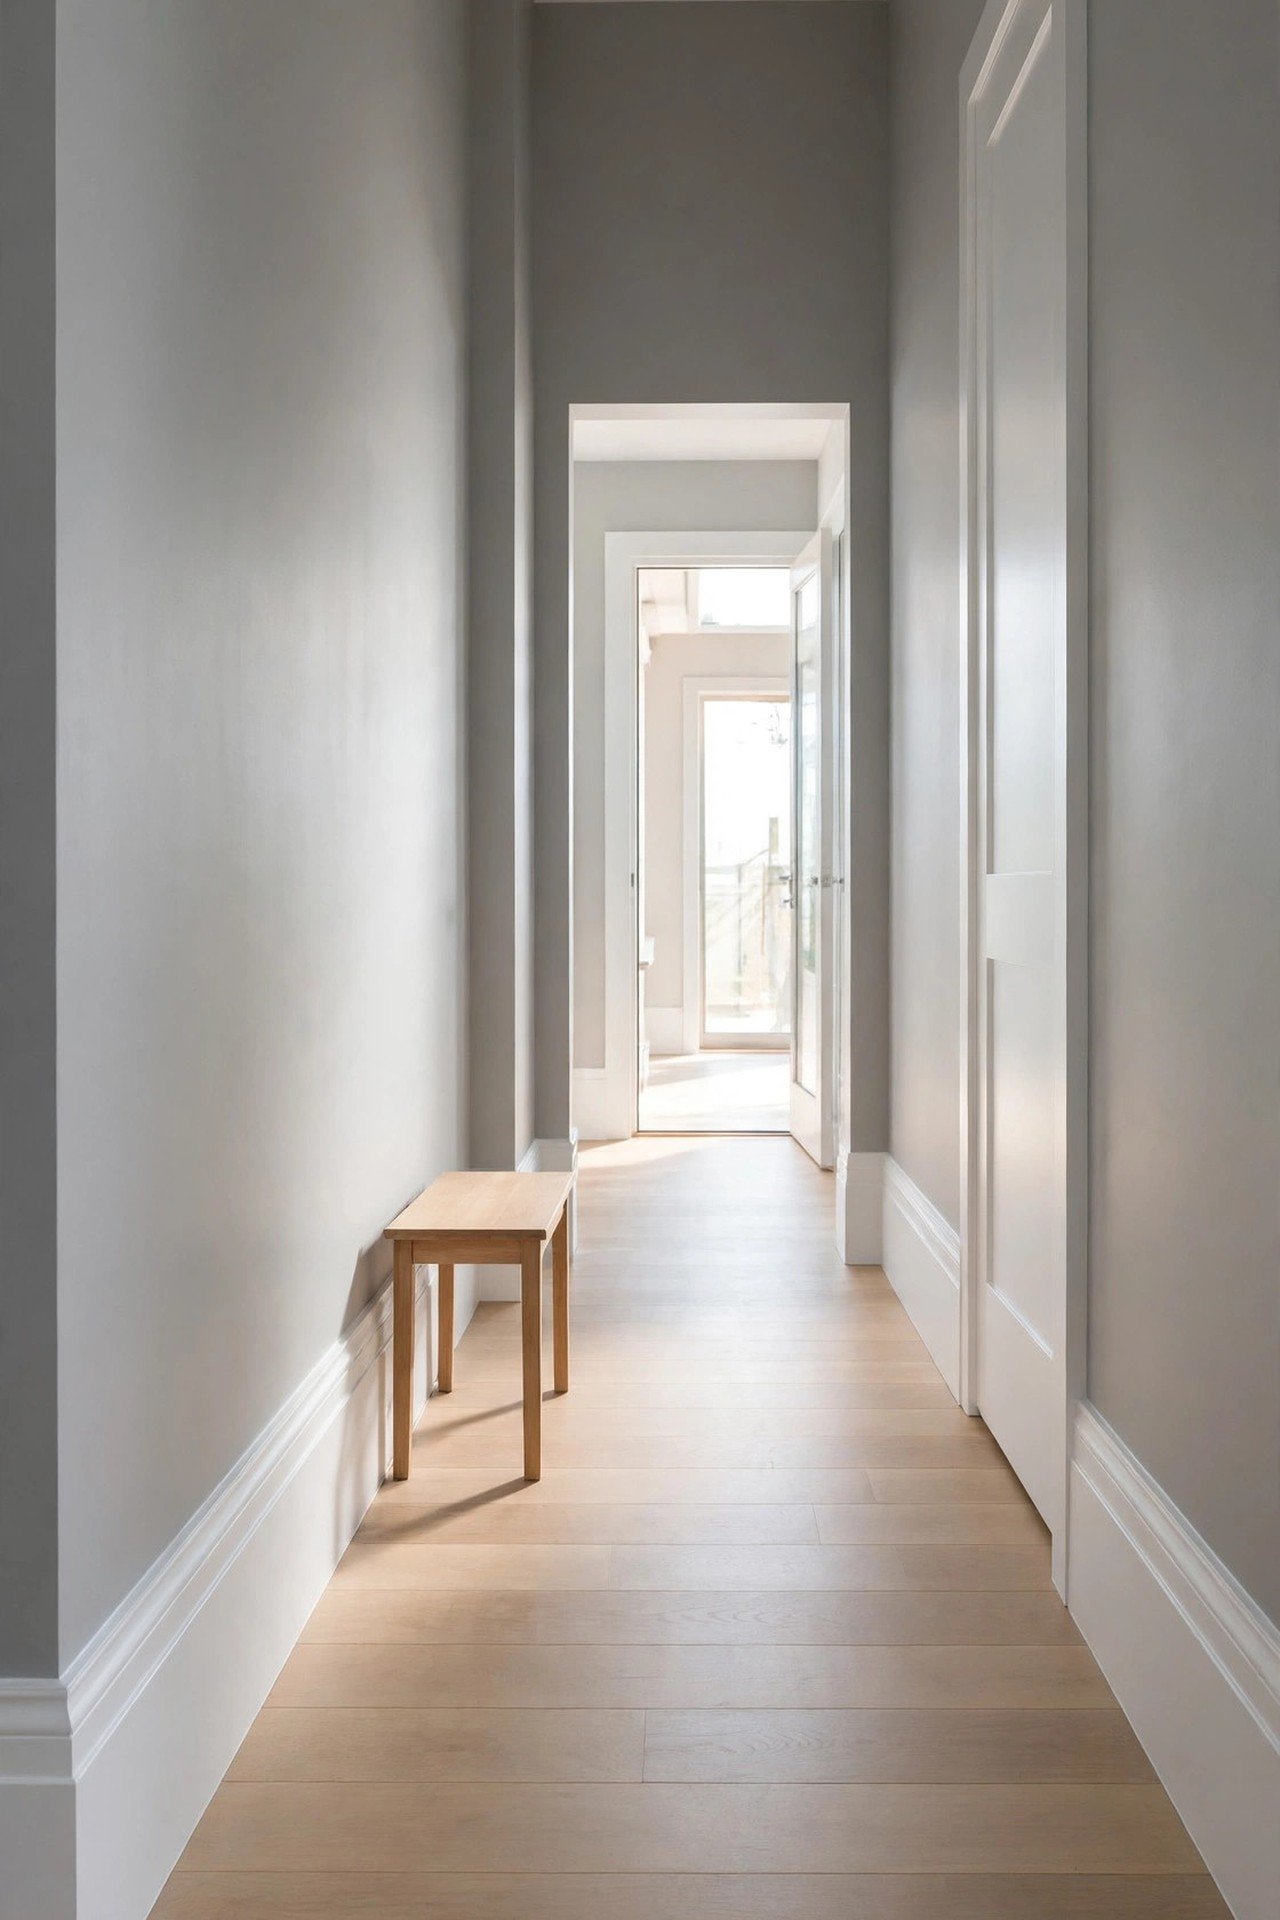
Swap short, thin baseboards for taller, chunkier profiles to give rooms instant substance. Five or seven-inch baseboards look custom and high-end compared to standard three-inch strips. MDF baseboards keep the cost low while delivering the same visual weight.
Paint baseboards semi-gloss white for crisp definition against any wall color. This single change affects every room it touches. It is one of the highest-impact trim upgrades for the money.
7. Faux Wainscoting Boxes
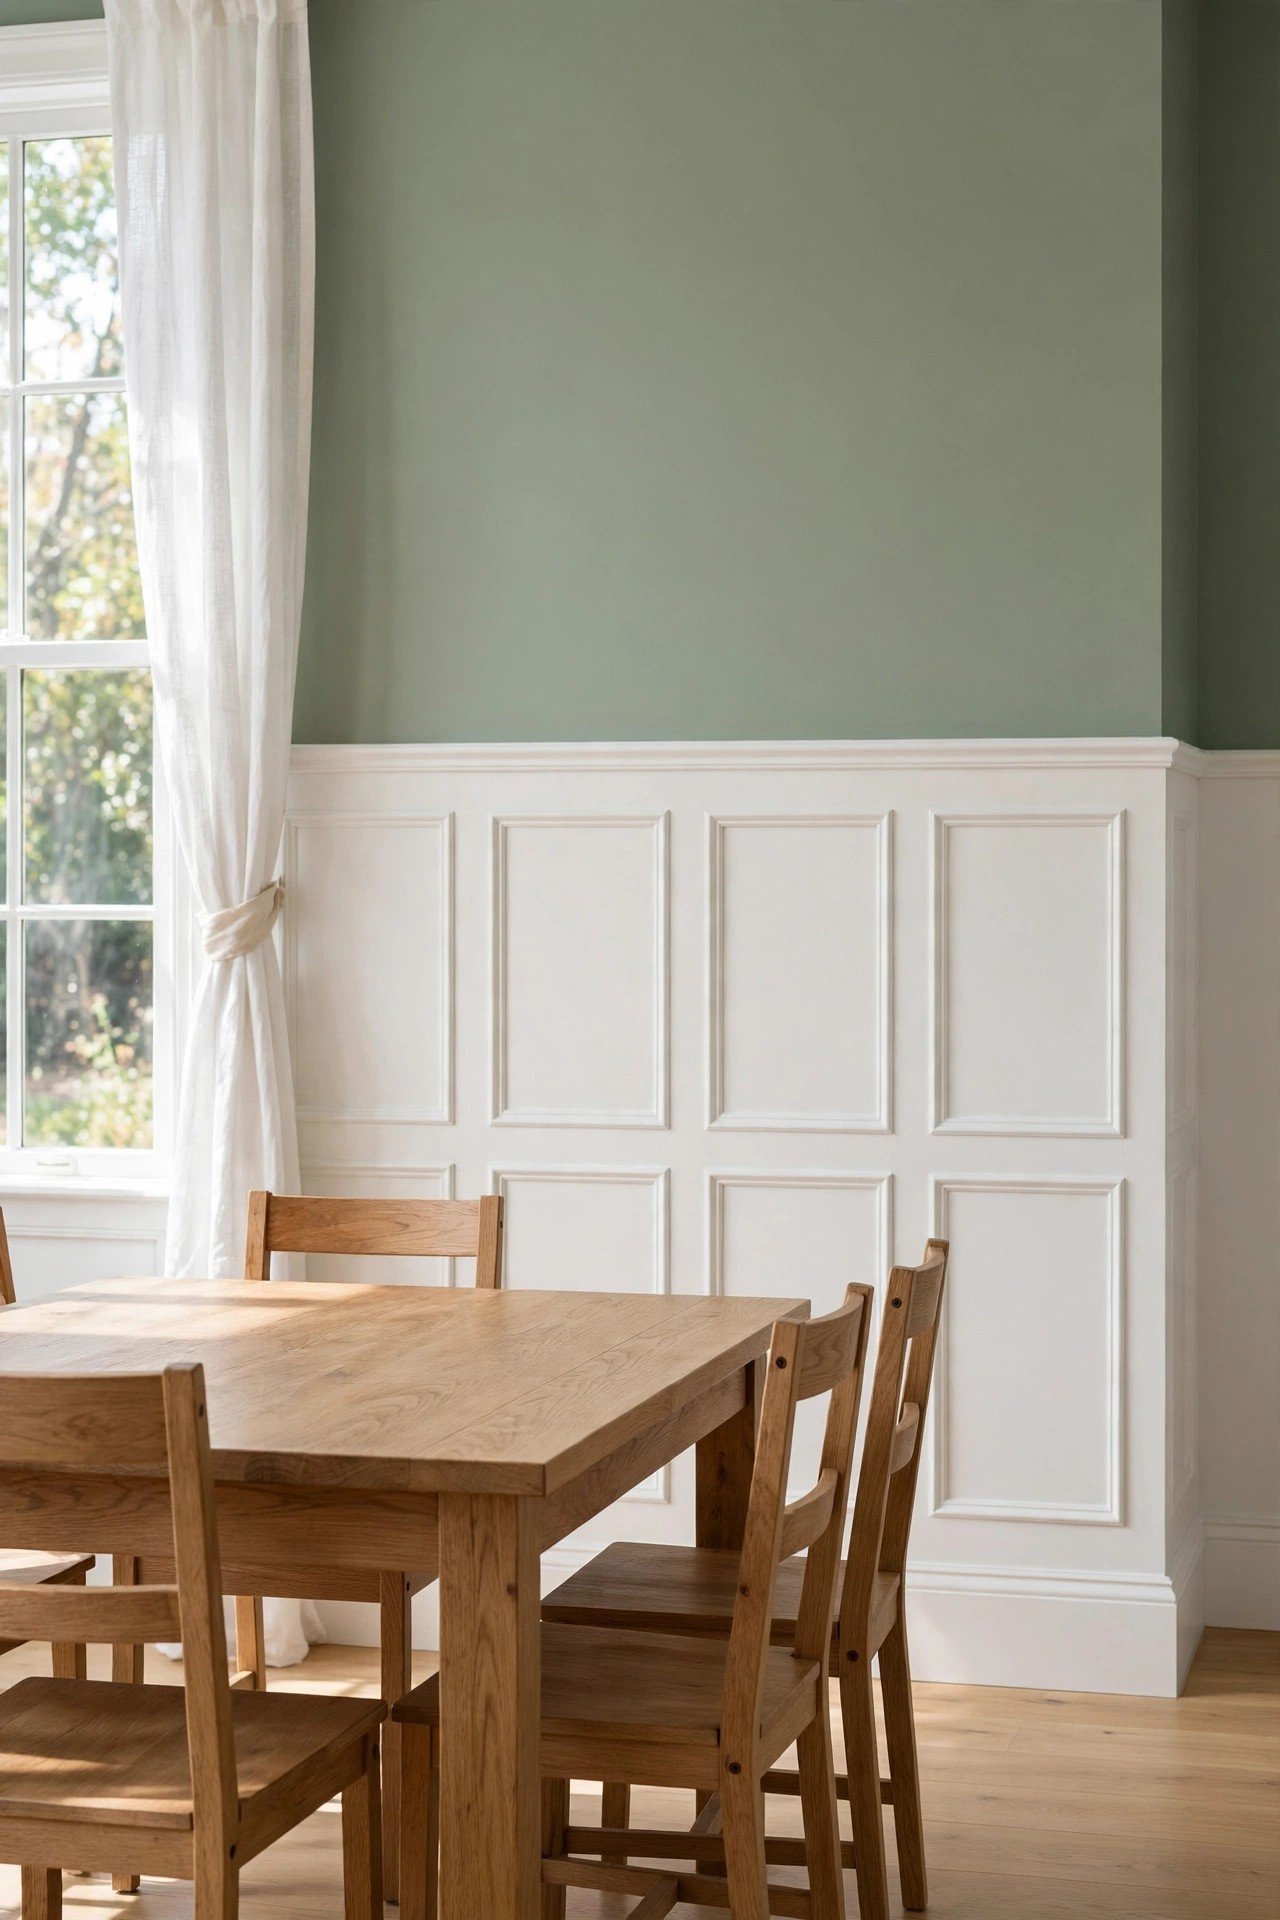
Build wainscoting boxes from simple trim applied directly to the lower wall, then paint everything one color. The boxes mimic expensive raised paneling for a fraction of the cost. This works wonderfully in dining rooms, hallways, and bedrooms.
Keep the boxes evenly sized and aligned for a professional look. A chair rail across the top completes the wainscoting illusion. For paint color ideas that make panels sing, see these two-tone wall paint ideas.
8. Upgraded Door Casing
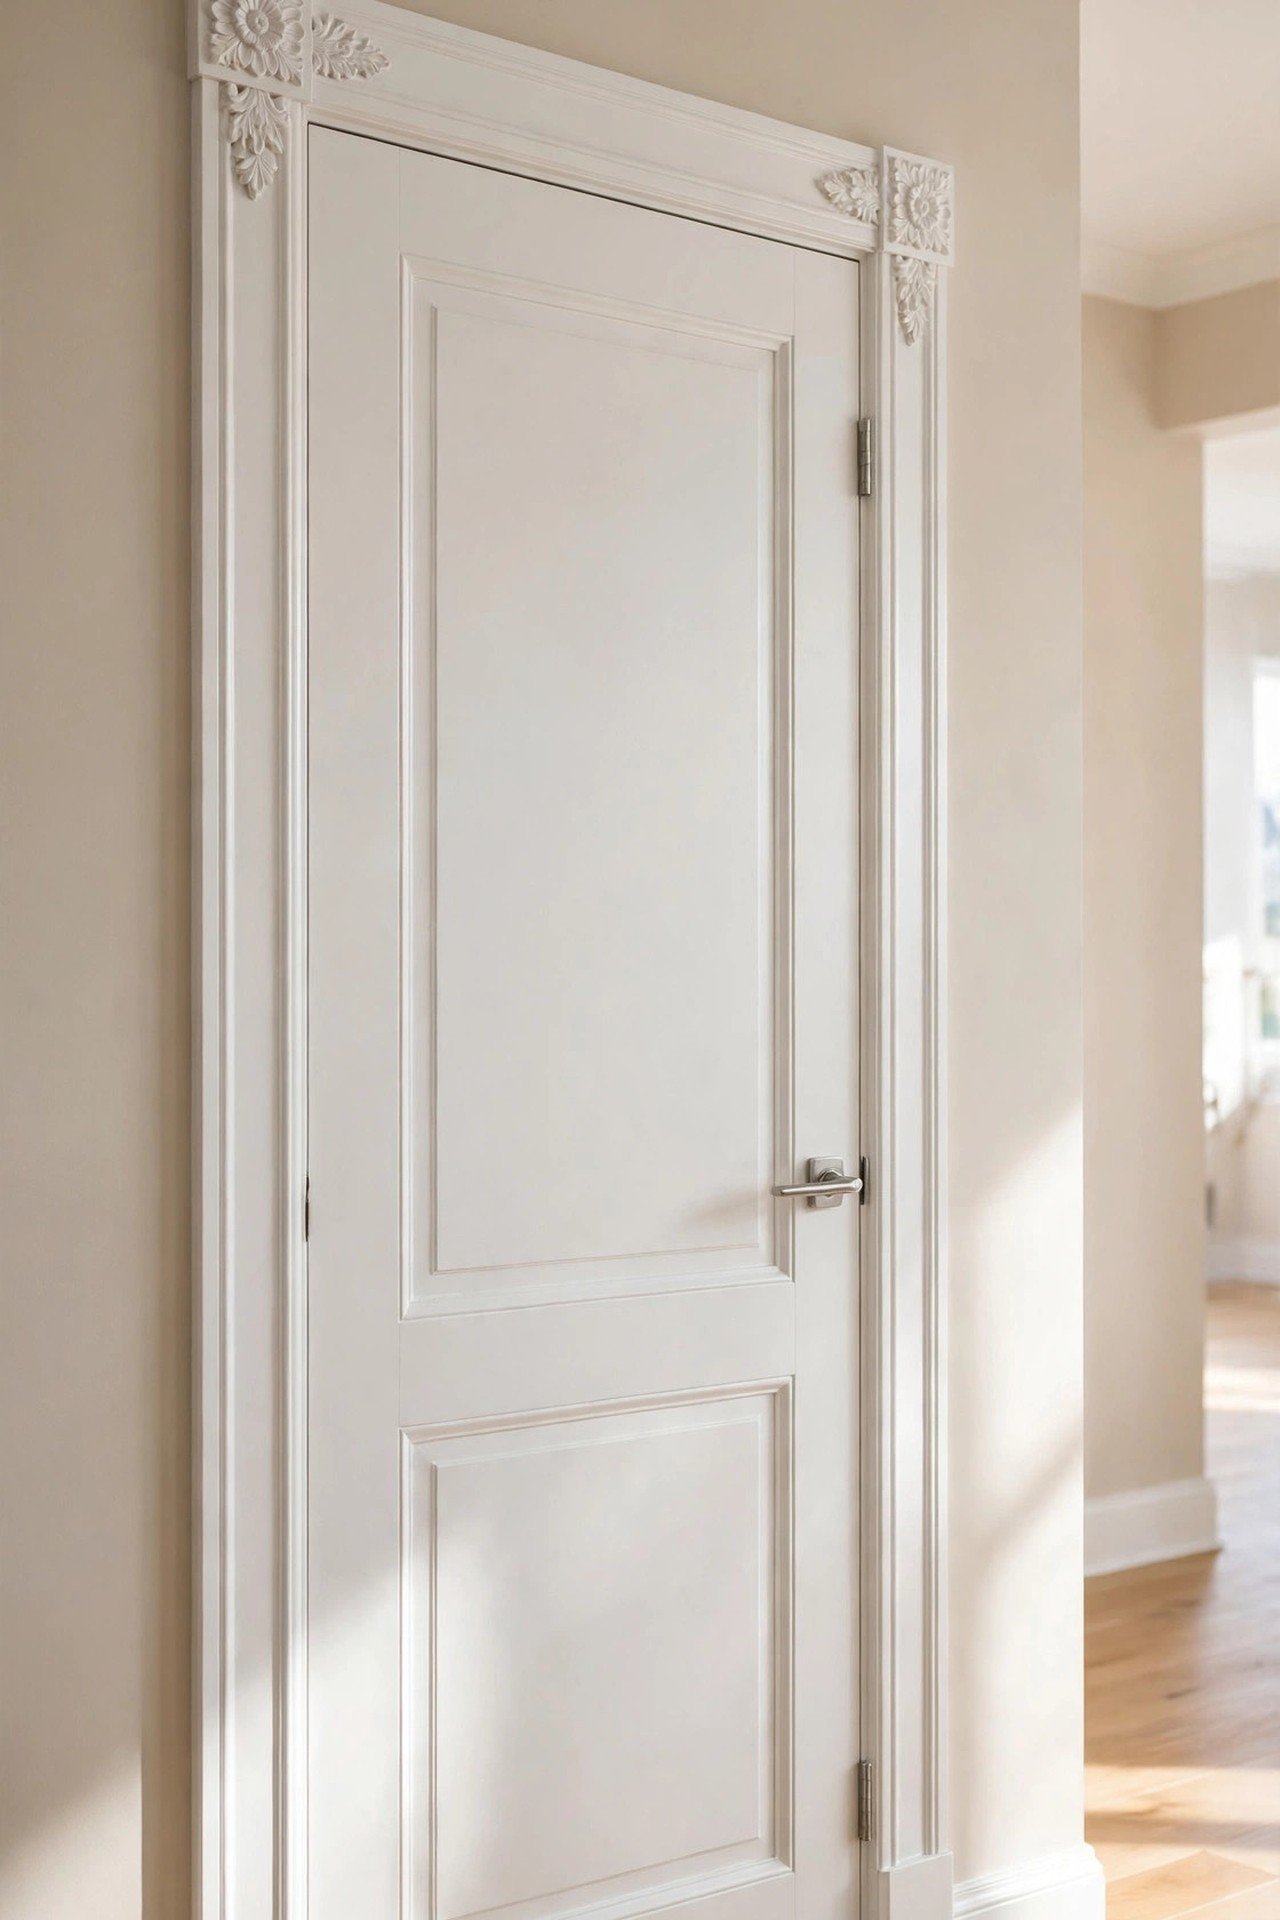
Frame interior doors with wider, more detailed casing to give them presence and polish. Simple backband molding layered over flat casing creates a rich, built-up look. Paint it the same as your other trim for a cohesive feel.
Add decorative corner blocks, also called rosettes, where the casing meets for a classic touch. Doors are used every day, so this upgrade gets noticed constantly. It is a small project with outsized impact.
9. Mantel Trim Surround
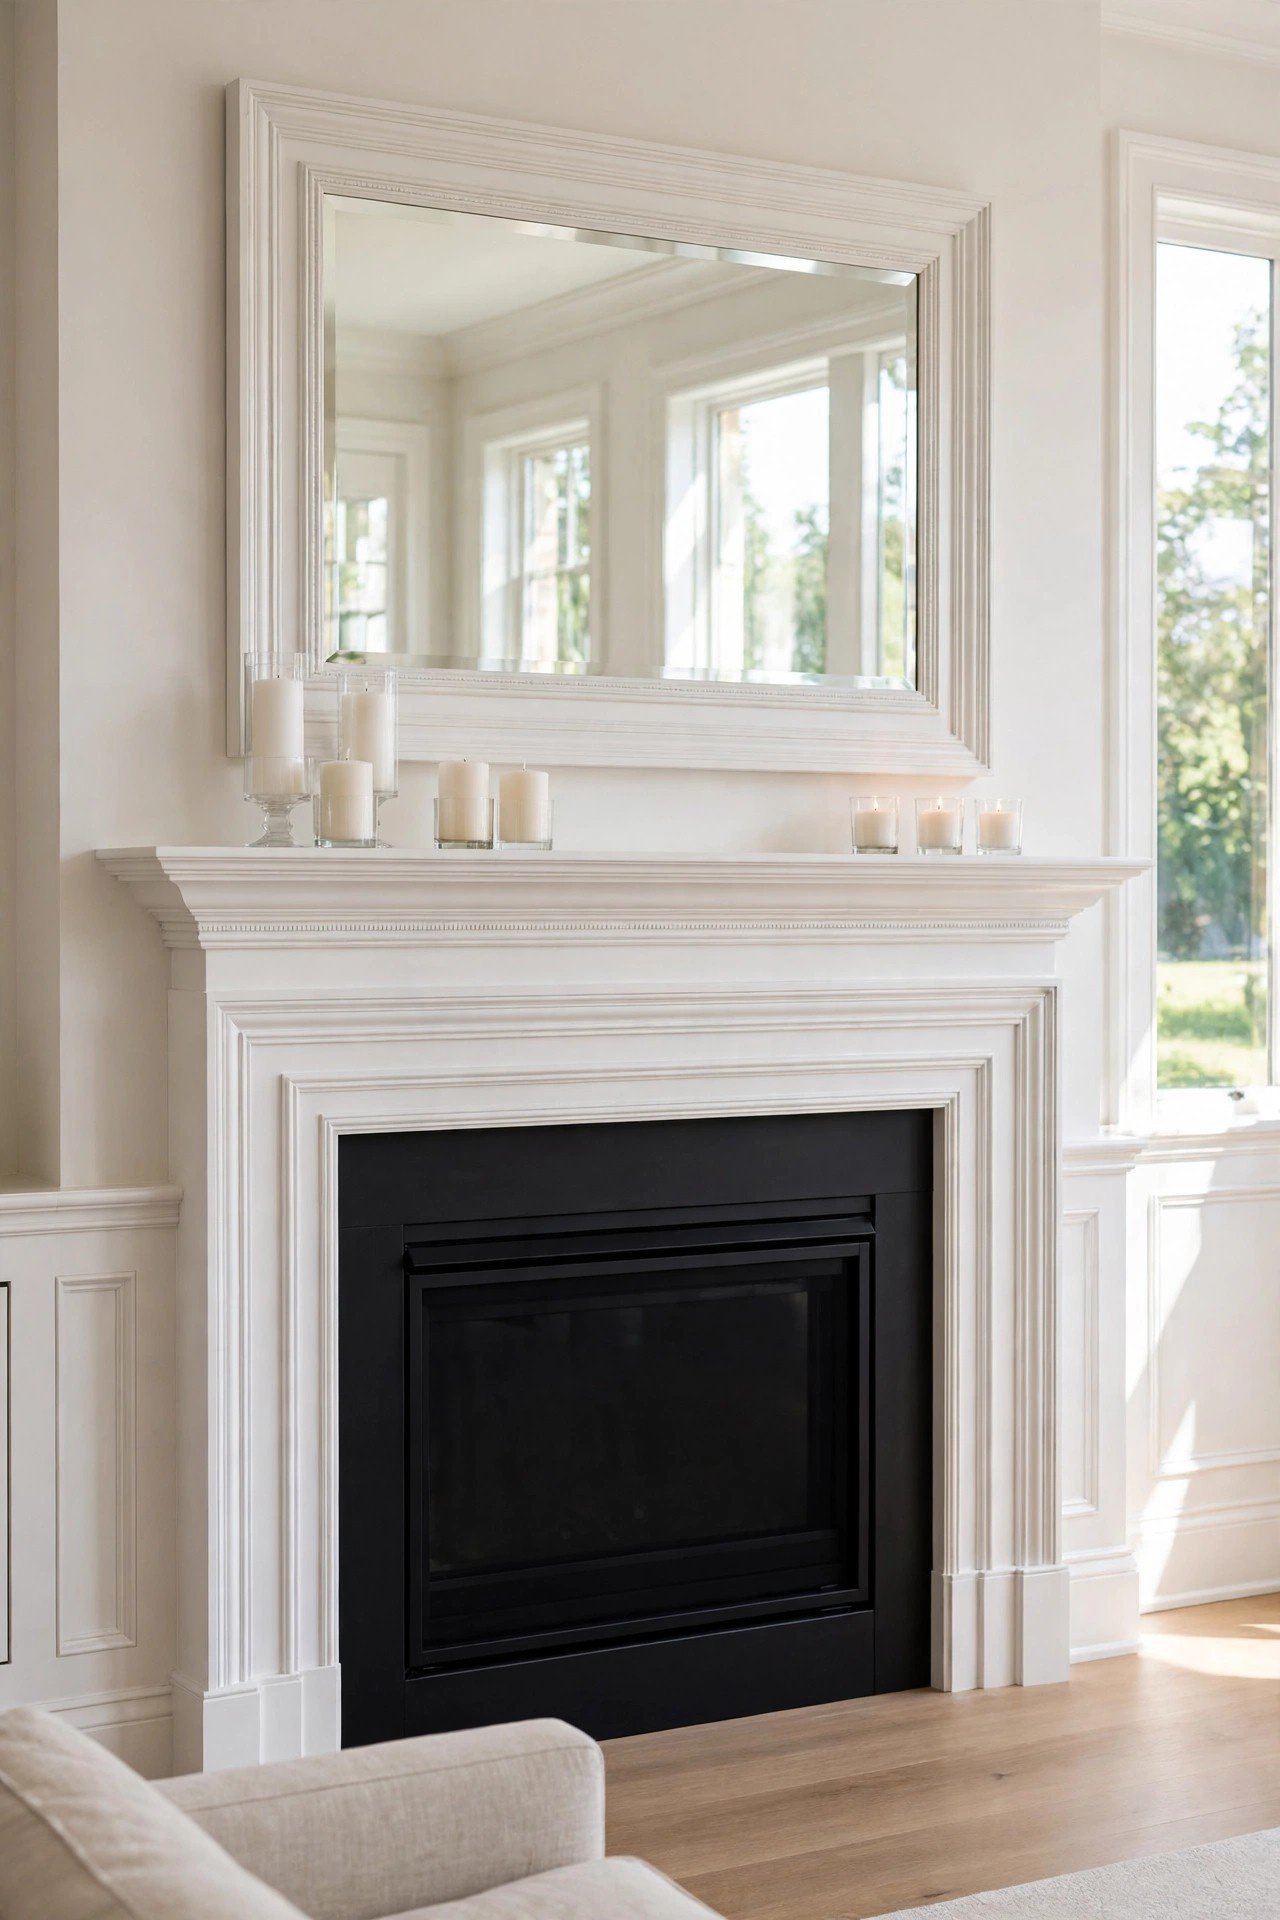
Build up a plain fireplace mantel with layered trim to create a substantial, custom surround. Stack simple moldings to form an elegant profile that frames the firebox. Paint it white or a bold color depending on your style.
This project turns a builder-basic mantel into a true focal point. Add a chunky mantel shelf on top for styling space. For more fireplace transformation ideas, the same layered approach works on any flat surround.
10. Plywood Shiplap-Look Planks
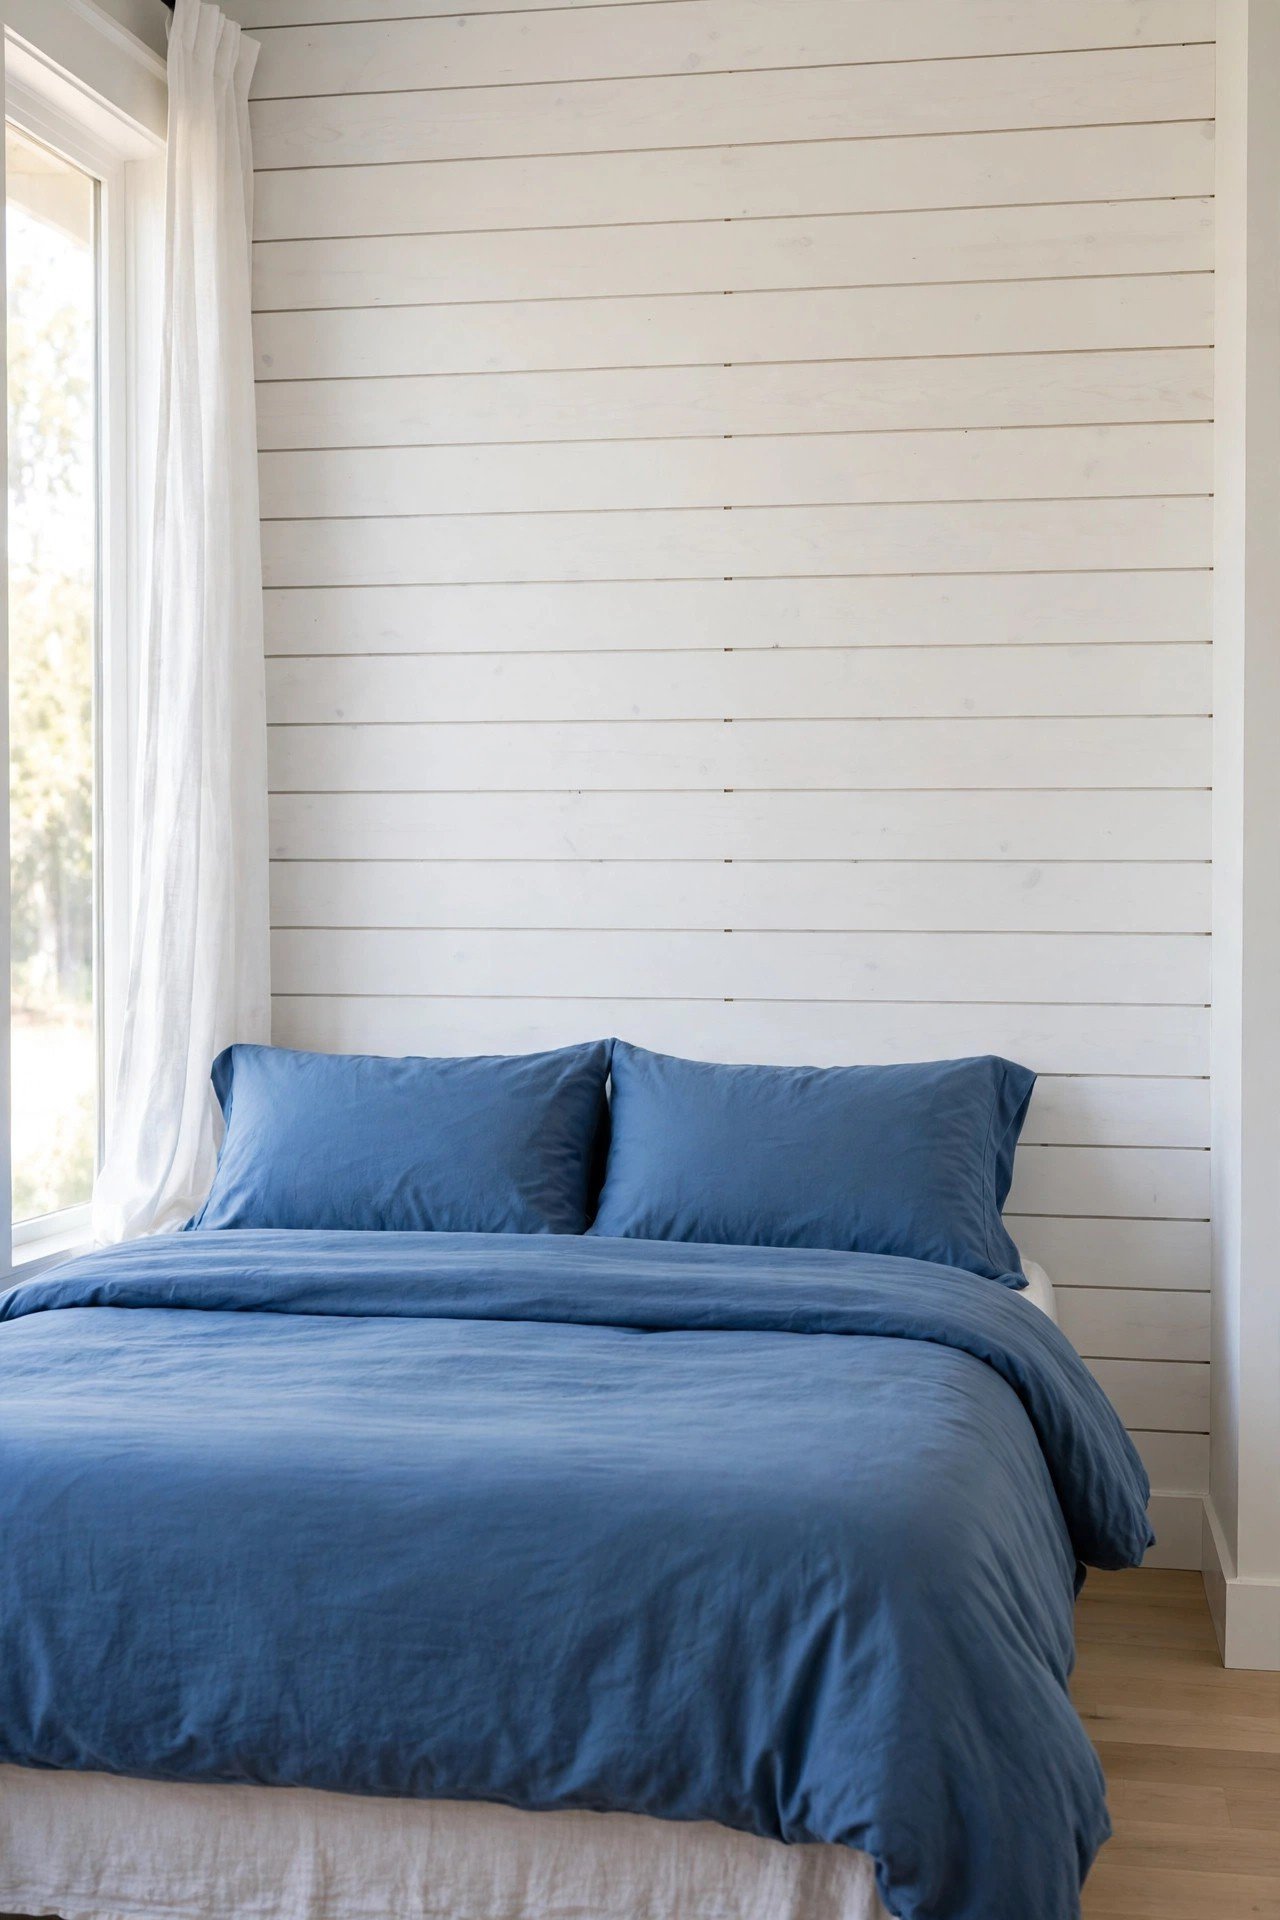
Cut thin plywood sheets into planks and install them with small gaps for an affordable shiplap look. This technique delivers farmhouse texture for a fraction of real shiplap pricing. Paint the planks white or leave them natural for different moods.
Use a nickel as a spacer to keep gaps consistent. This works as a full accent wall or a half-wall treatment. The horizontal lines add cozy, casual character to bedrooms and living rooms.
11. Wallpaper Inside Molding Panels
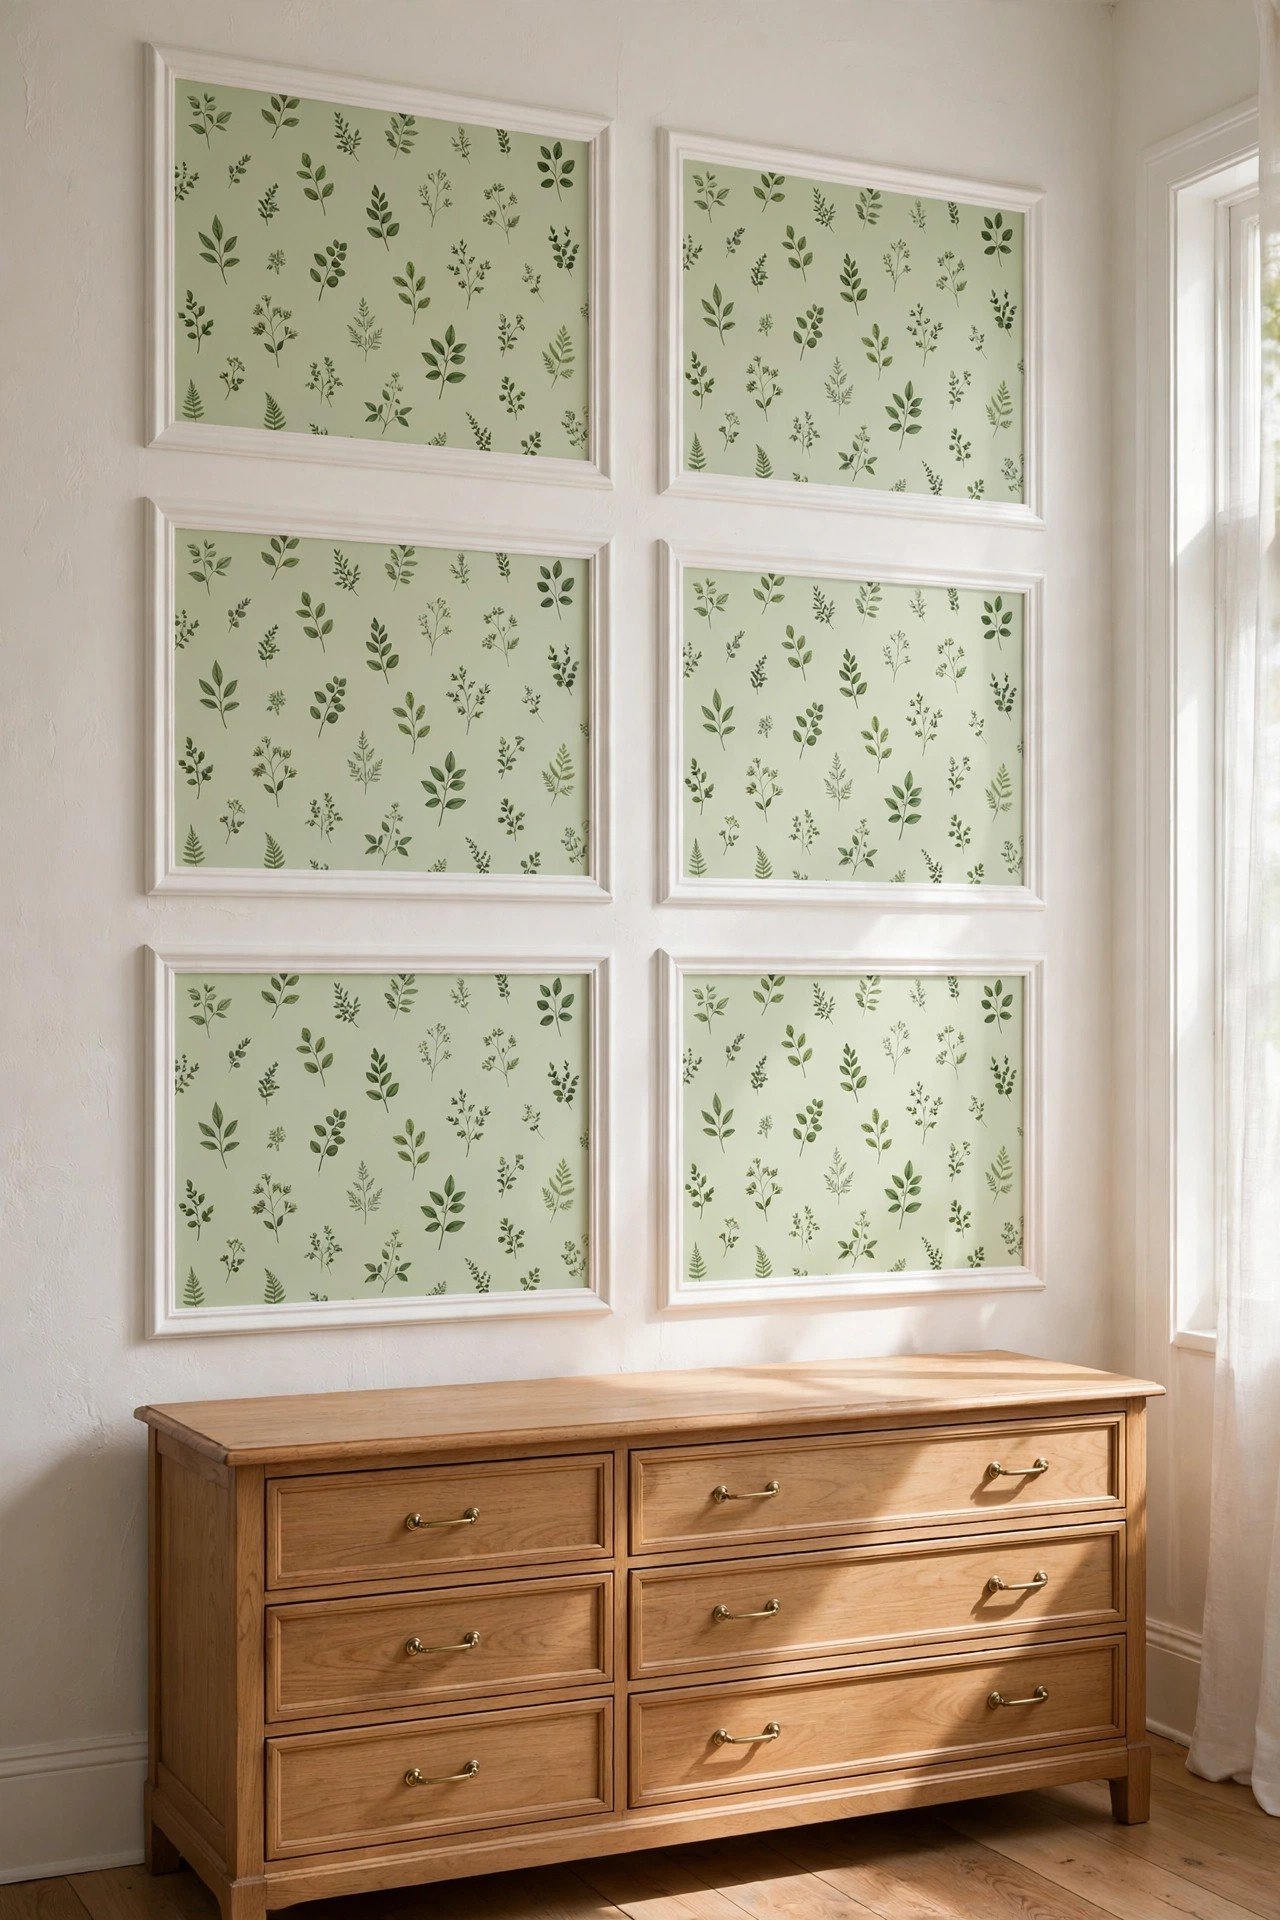
Place wallpaper inside picture frame molding panels instead of covering the whole wall. The molding frames the pattern like large-scale art, while painted wall shows around it. This technique tames busy wallpaper and makes it feel intentional.
Choose a small botanical print for bedrooms or bold grasscloth for living rooms. You need far less wallpaper than a full wall, which saves money. For more wallpaper inspiration, see these wallpaper accent wall ideas that celebrate pattern.
12. Dark Painted Trim Contrast
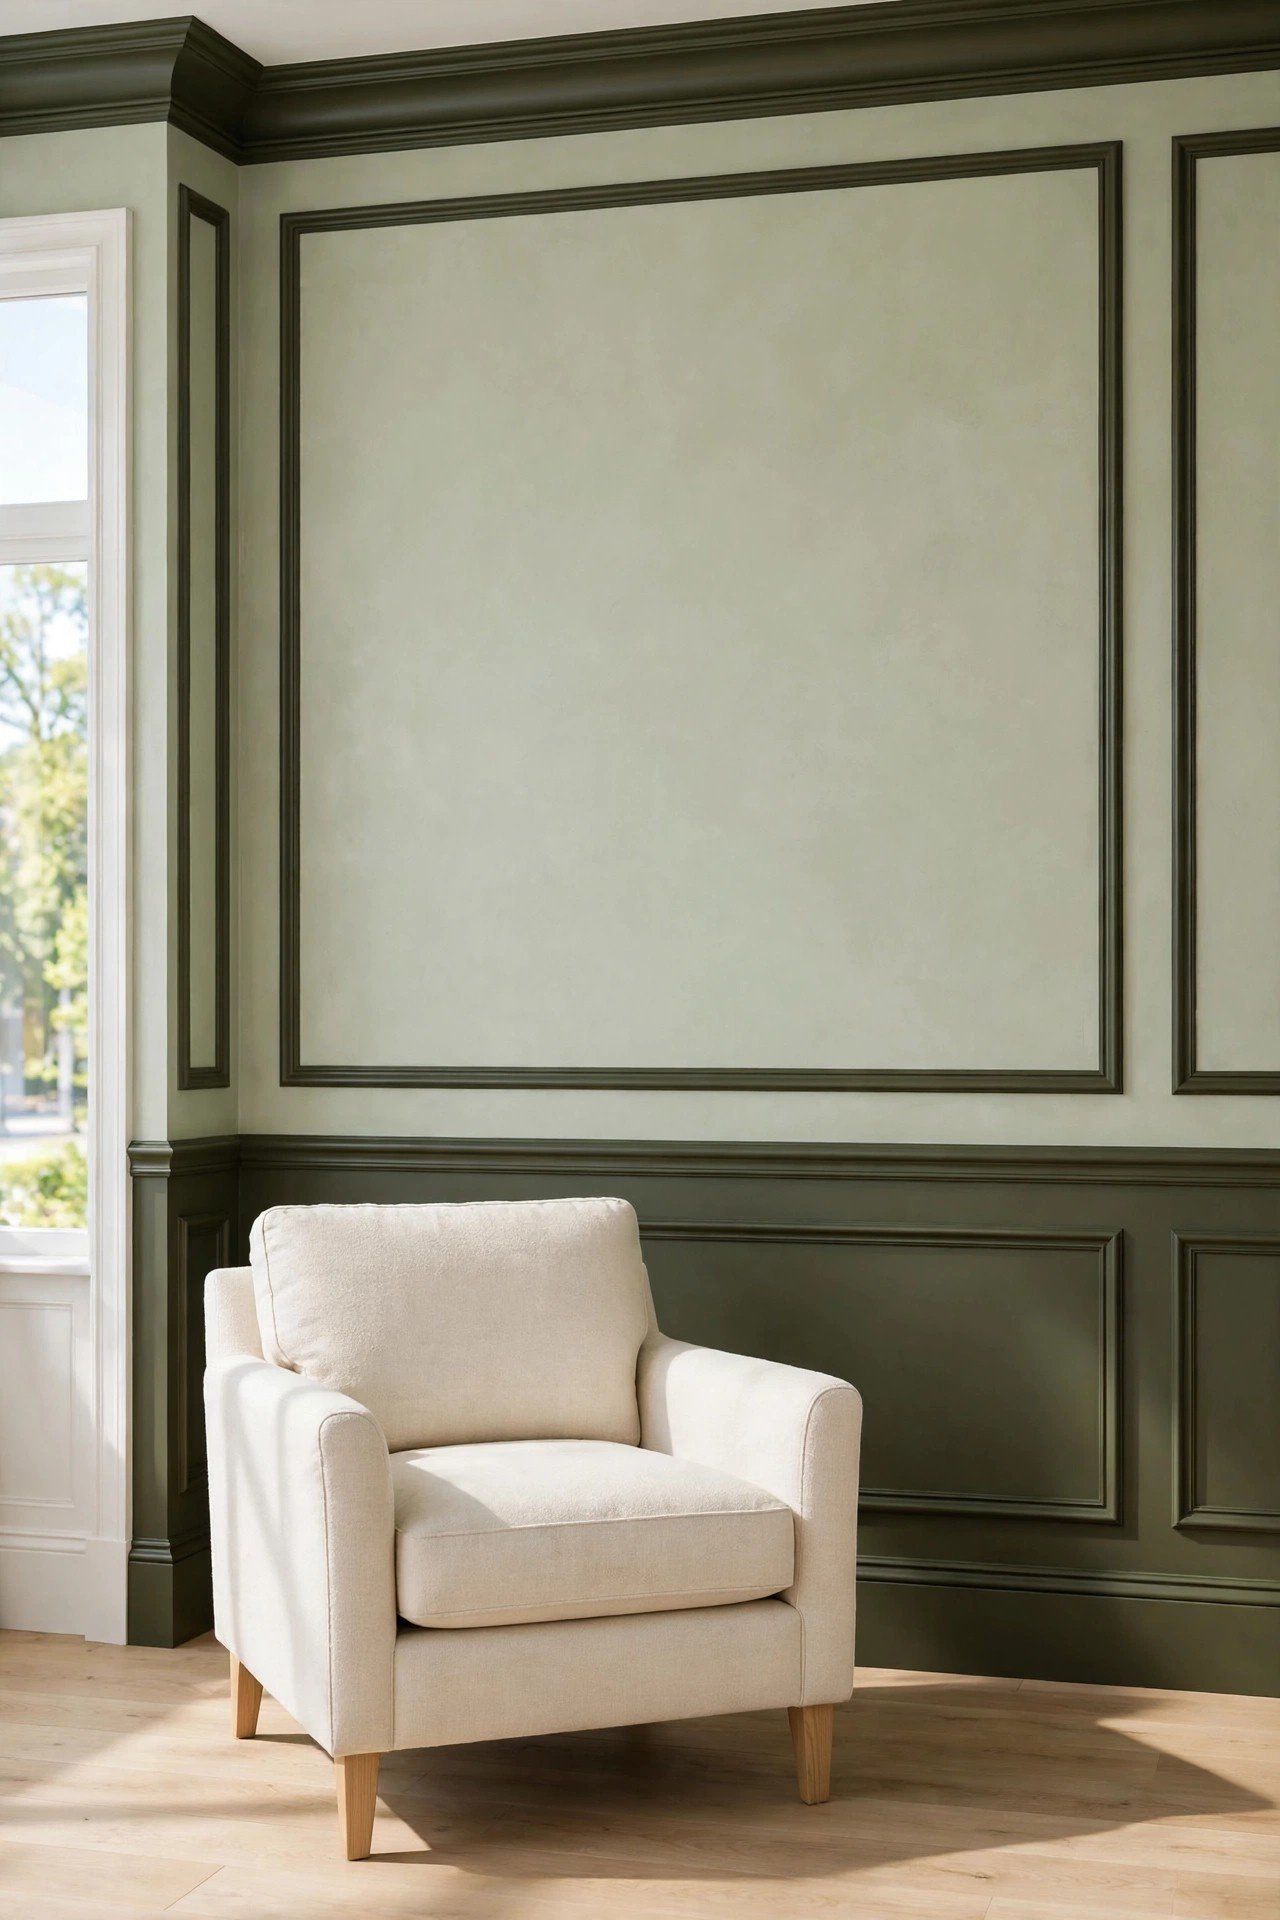
Paint your trim a darker tone than the walls for sophisticated contrast. Pale sage walls with olive molding, or dusty pink walls with deep burgundy trim, create a custom, curated feeling. The darker outline makes every panel visible while keeping the palette connected.
This middle ground between all-white trim and full color drenching feels especially designer. Test paint samples in different lights before committing. Dark trim turns ordinary molding into the star of the room.
13. DIY Ceiling Medallion
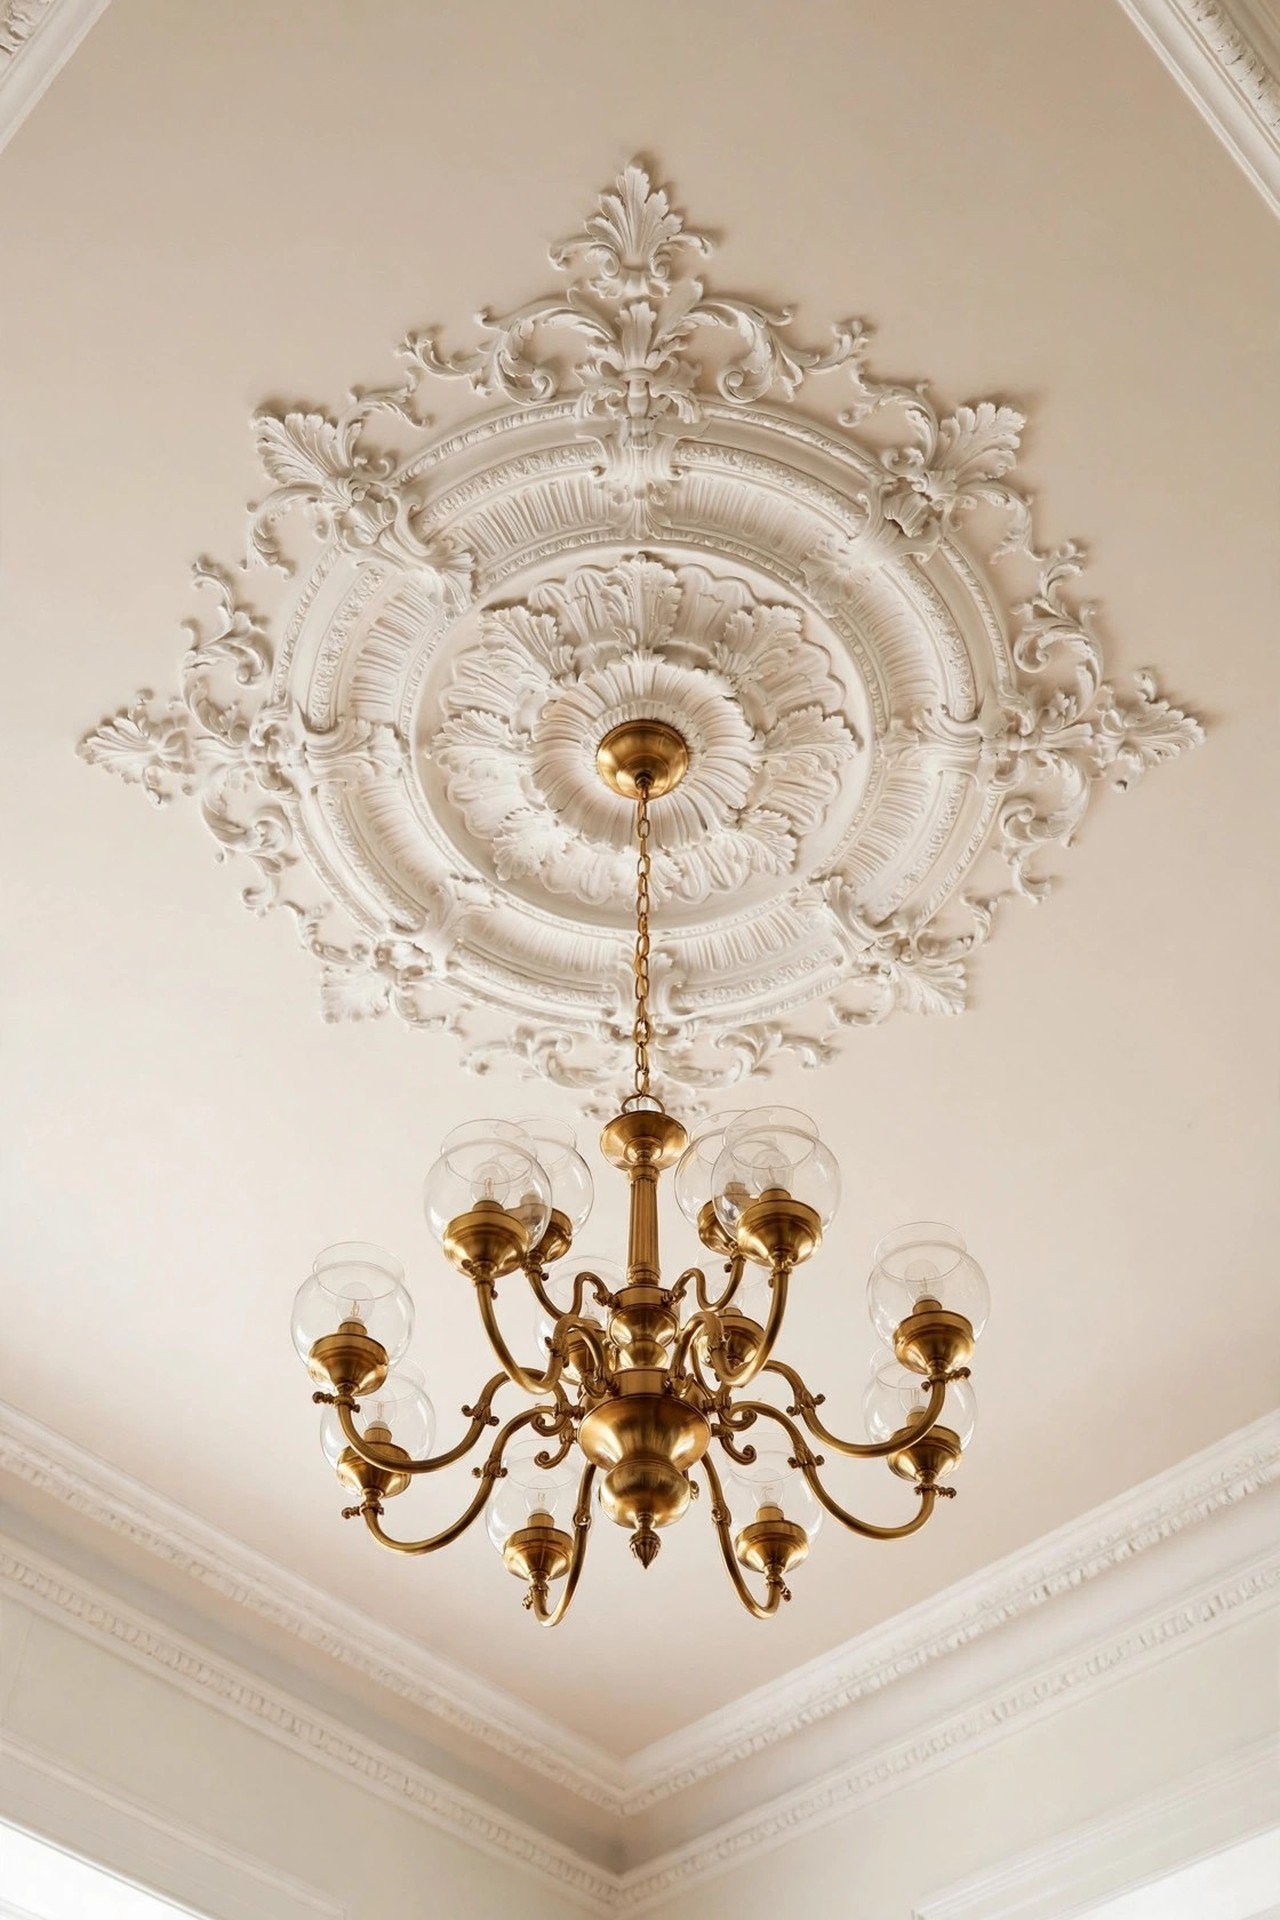
Install a ceiling medallion around your light fixture for instant old-world elegance. Lightweight polyurethane medallions cost little and install with adhesive in minutes. Paint it to match the ceiling or add metallic gold for drama.
Choose a medallion proportional to your fixture and room size. This small detail makes chandeliers and pendants look grander. For ceiling inspiration, explore these ceiling design ideas that treat the fifth wall with respect.
14. Trim Picture Ledge
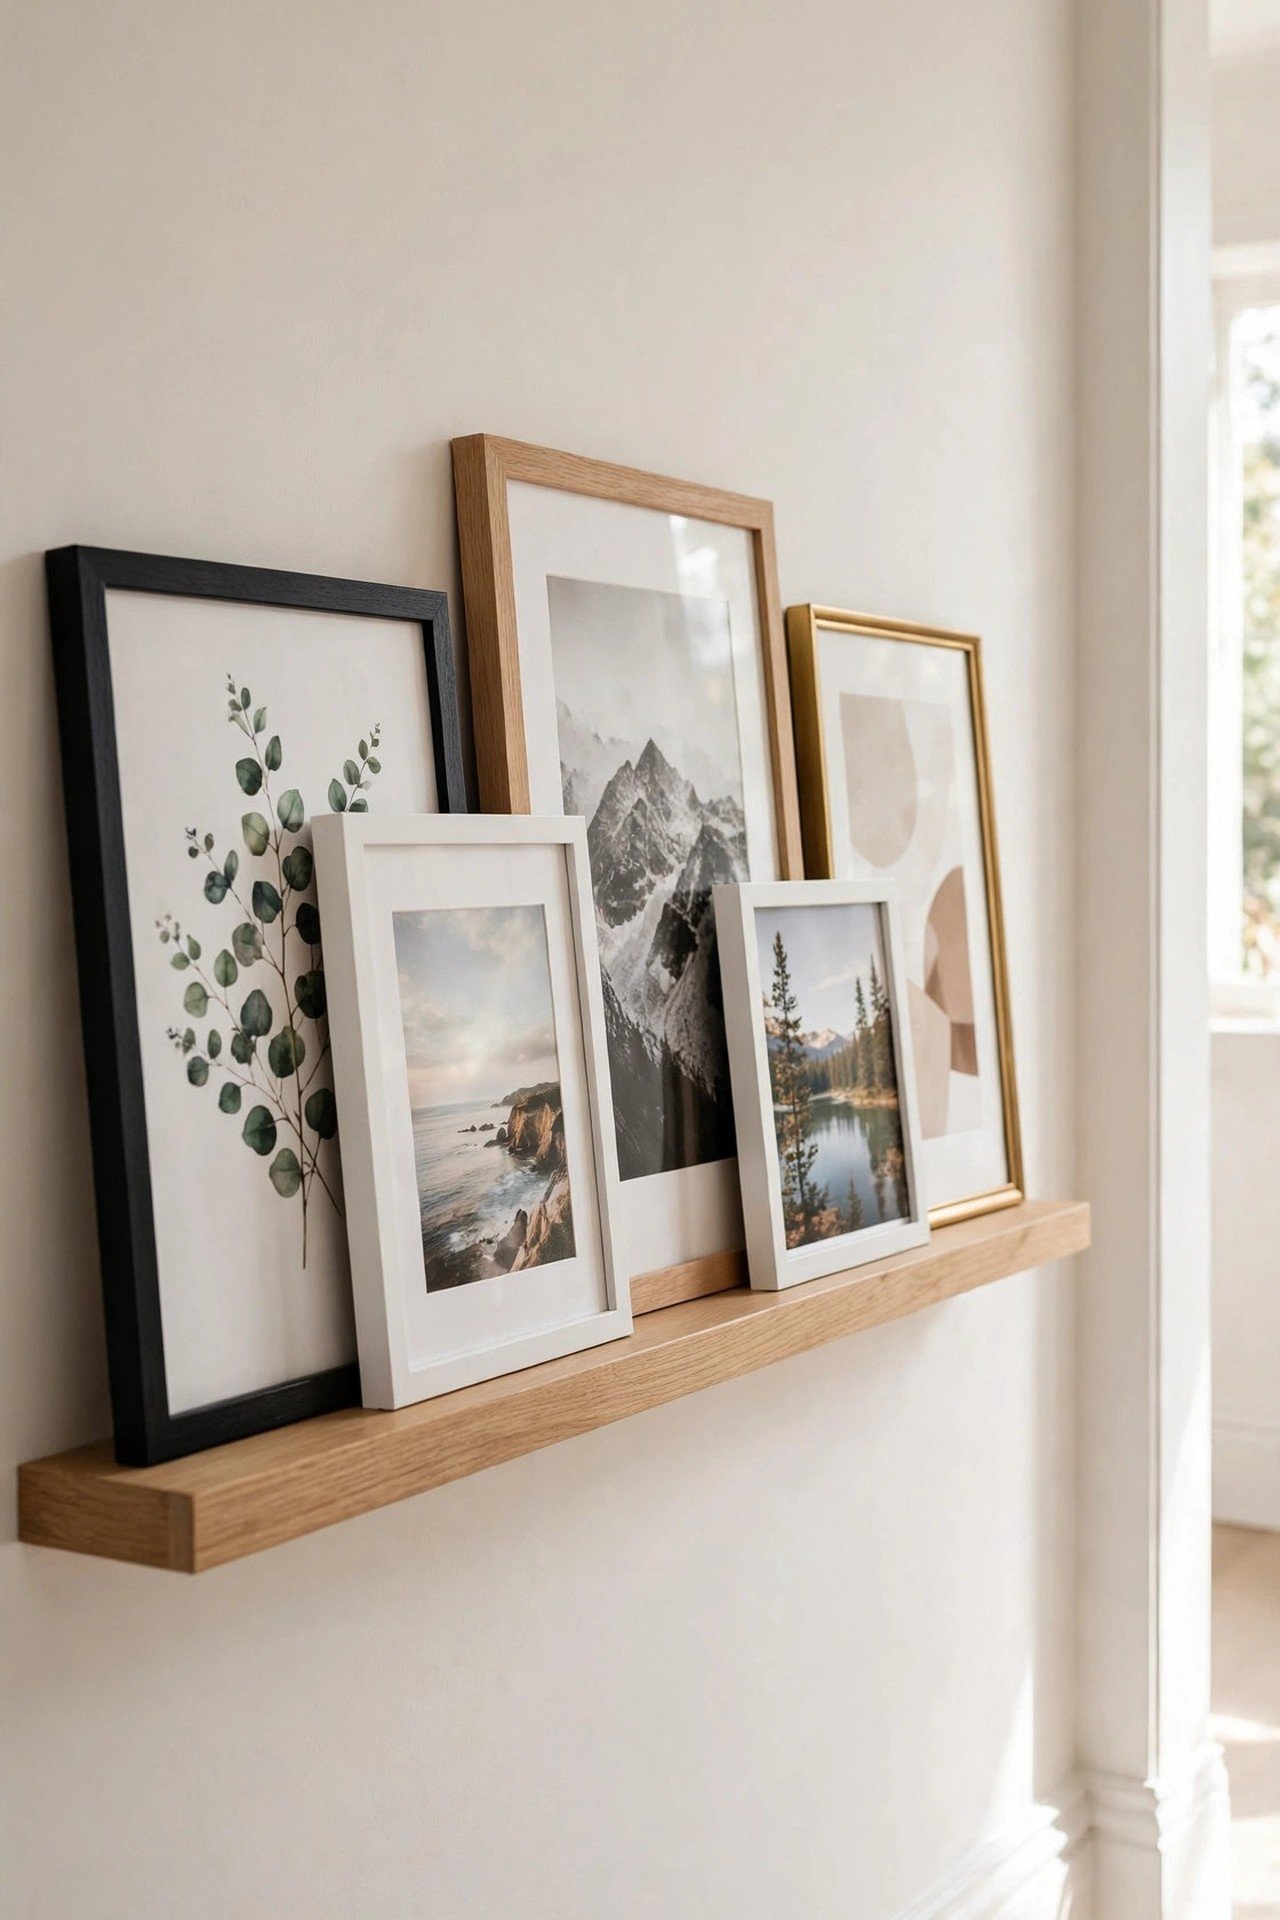
Build a simple picture ledge from trim boards to display art, photos, and small objects. The ledge lets you layer frames without drilling new holes every time. Paint it to match the wall so it blends in, or stain it for contrast.
Install the ledge at eye level along a hallway or above a sofa. Layer large frames behind small ones for depth. This flexible display is perfect for people who love to rearrange often.
15. Curved Arch Trim Accent
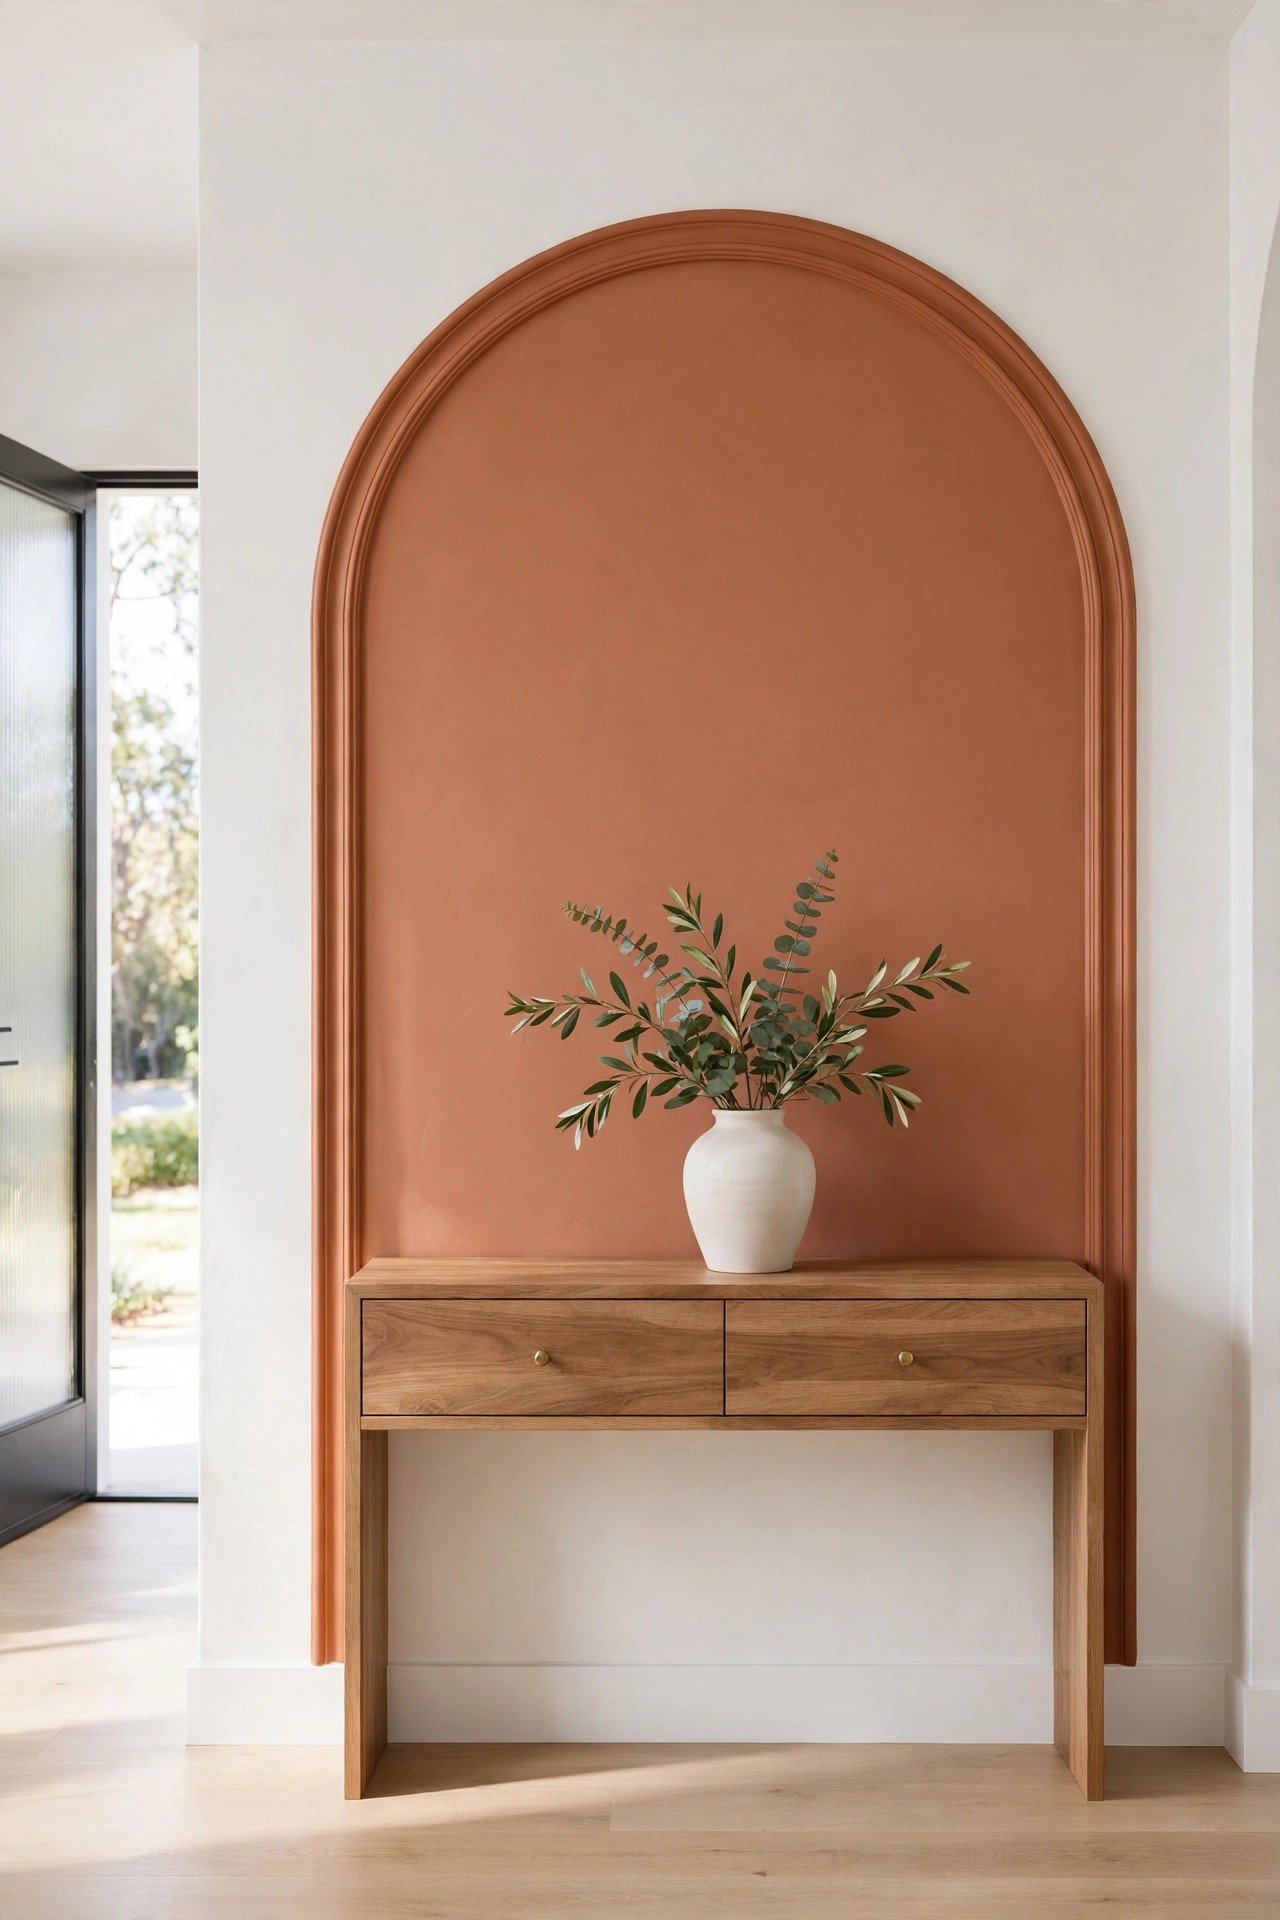
Bend flexible trim into an arch shape on the wall for a soft, modern accent. The curved outline creates a beautiful backdrop for a console table, bed, or reading chair. Paint the arch a contrasting color to make it pop.
Flexible trim bends easily into smooth curves without special tools. This on-trend look suits bedrooms, nurseries, and entryways. The arch adds architectural interest where none existed before.
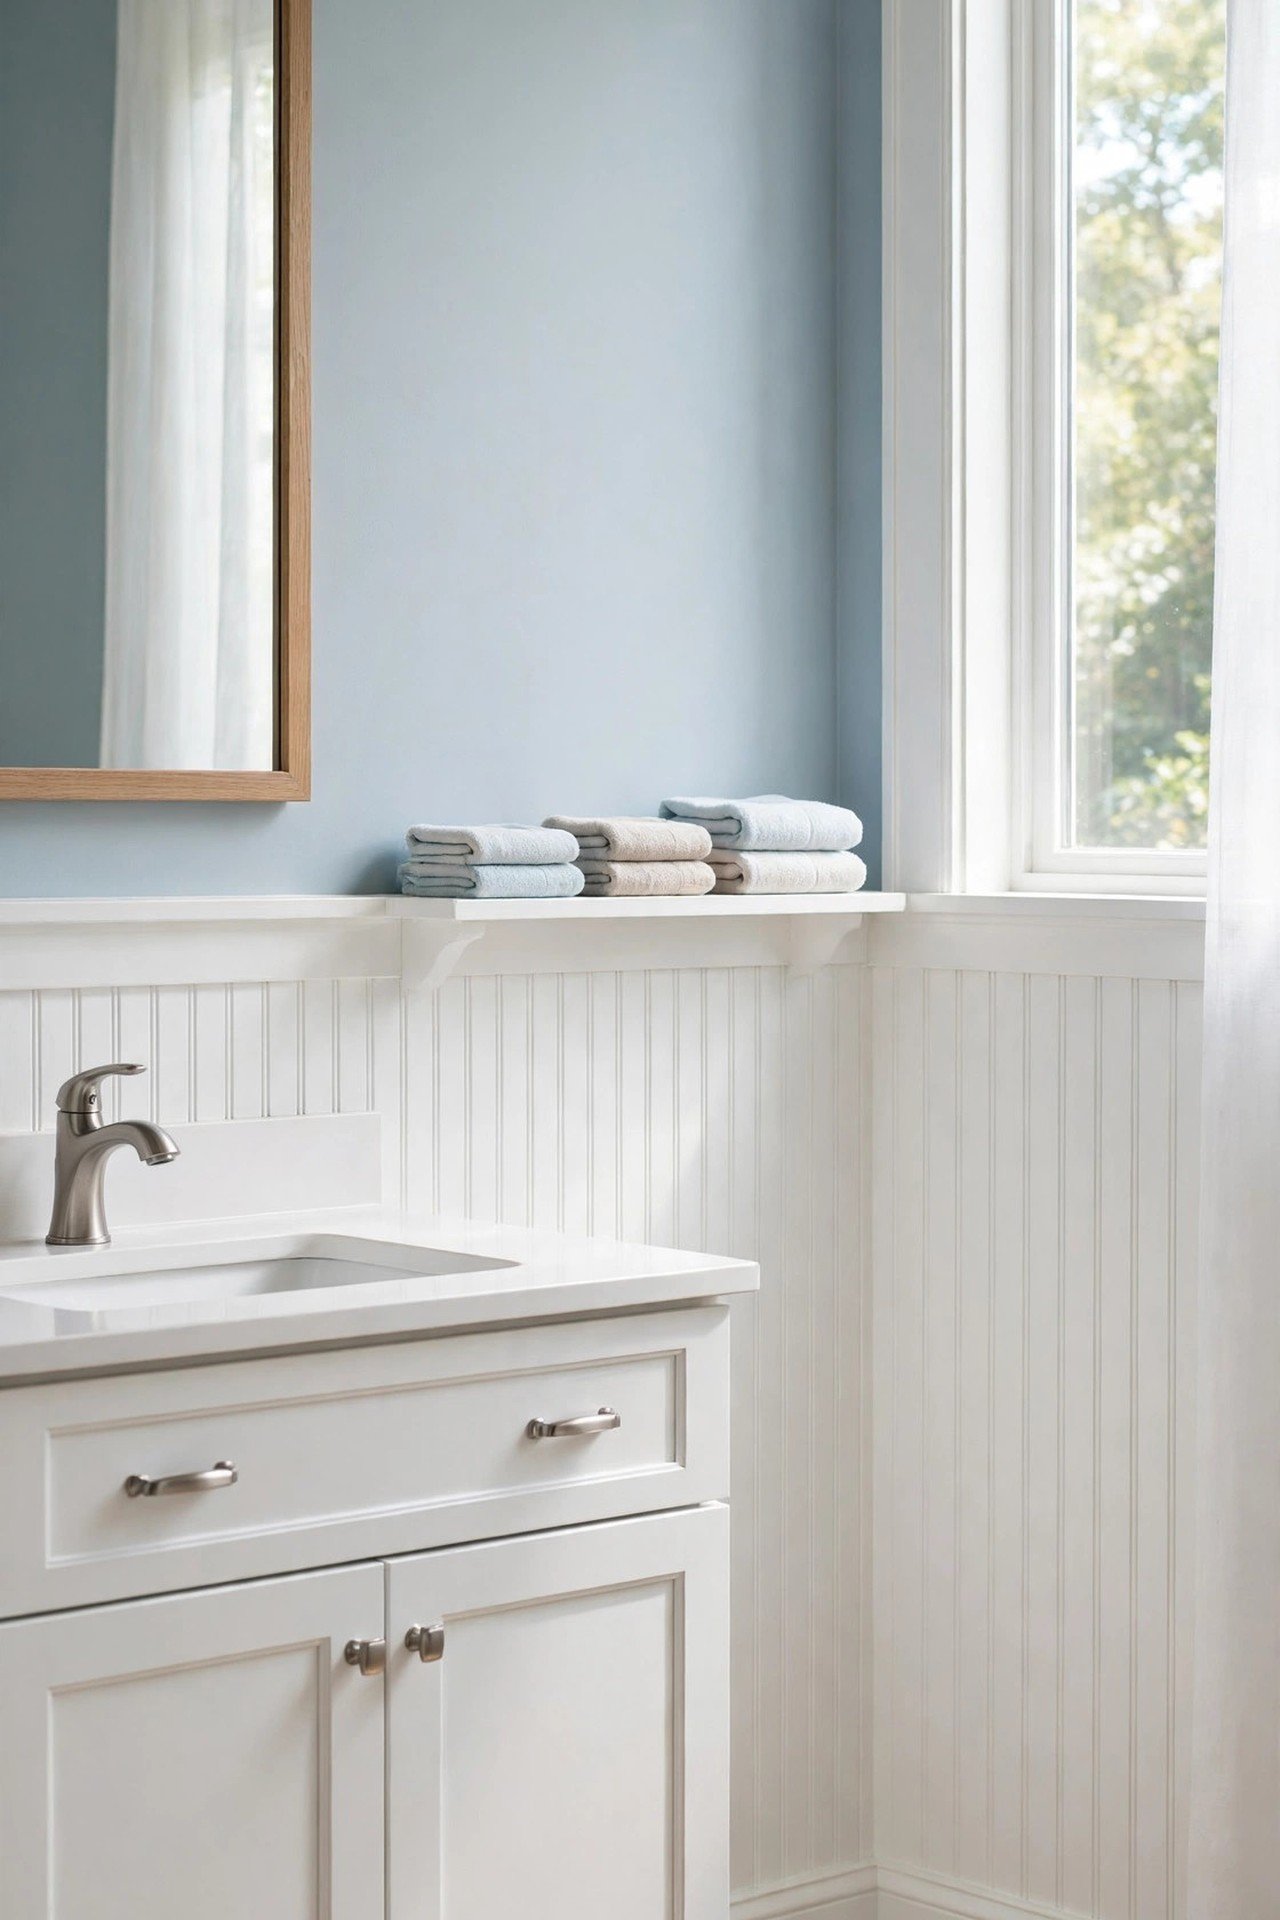
16. Beadboard Half Wall with Trim
Install beadboard on the lower half of the wall and cap it with a simple trim ledge. The ledge adds a finished edge and creates a small shelf for tiny decor. Paint everything white for classic cottage charm.
This treatment protects walls in busy areas while adding texture and character. It suits bathrooms, mudrooms, and hallways perfectly. The project takes a weekend and transforms the whole space.
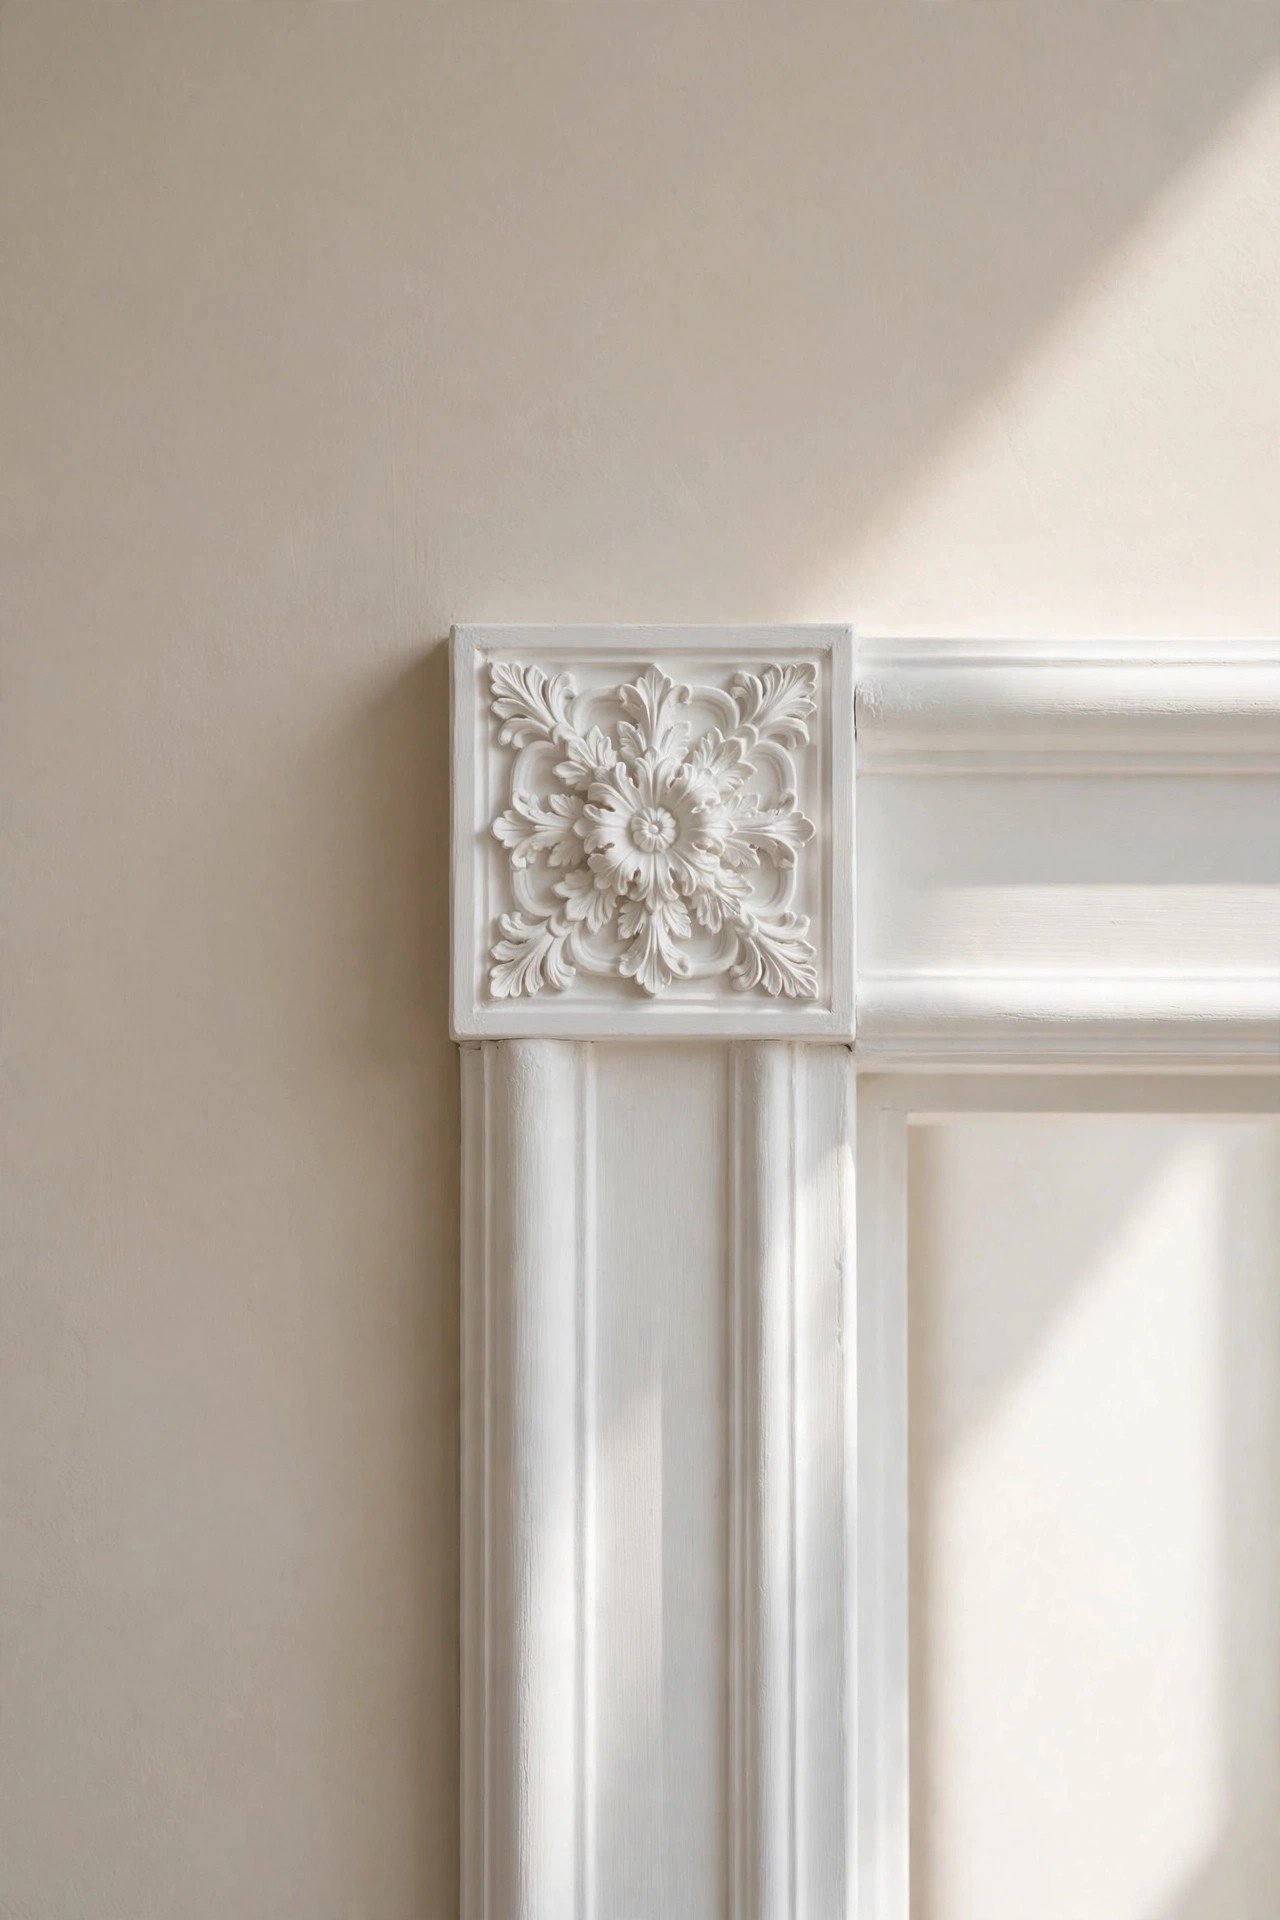
17. Decorative Corner Rosettes
Add carved corner blocks, called rosettes, where door and window trim meet for instant classic detail. These small squares elevate plain casing into something that looks original to an old house. They install with a dab of adhesive and paint beautifully.
Rosettes hide imperfect miter joints, which makes them practical as well as pretty. Choose simple designs for modern homes or ornate ones for traditional style. This tiny addition makes trim look professionally crafted.
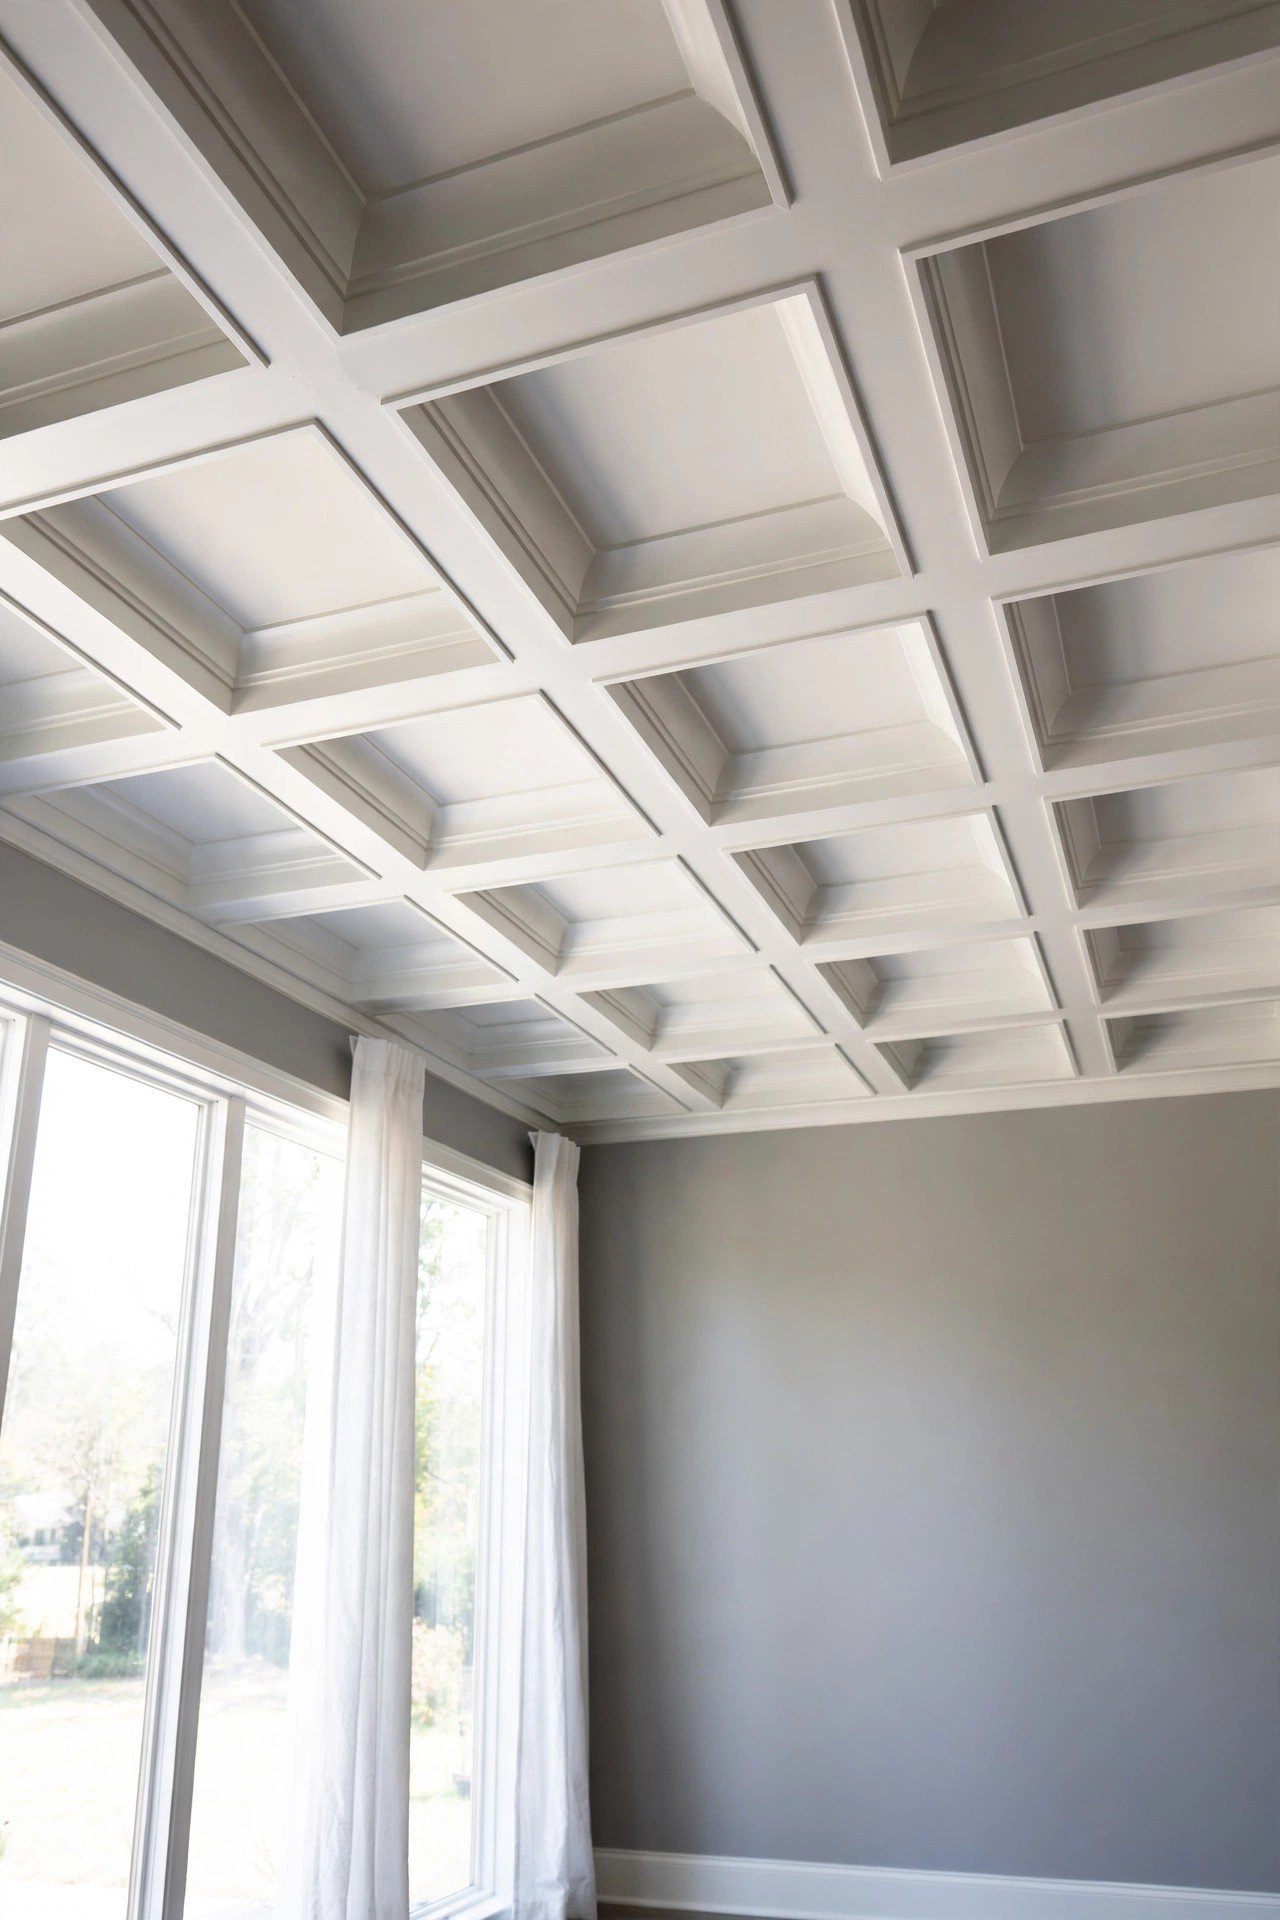
18. Faux Coffered Ceiling Trim
Create the look of a coffered ceiling using simple trim boxes applied directly to a flat ceiling. The grid of beams adds dramatic architectural depth overhead. Paint everything one color for a seamless, high-end effect.
This ambitious project delivers the most dramatic transformation in the list. Work carefully with measurements since the ceiling is highly visible. The result looks like custom millwork worth thousands.
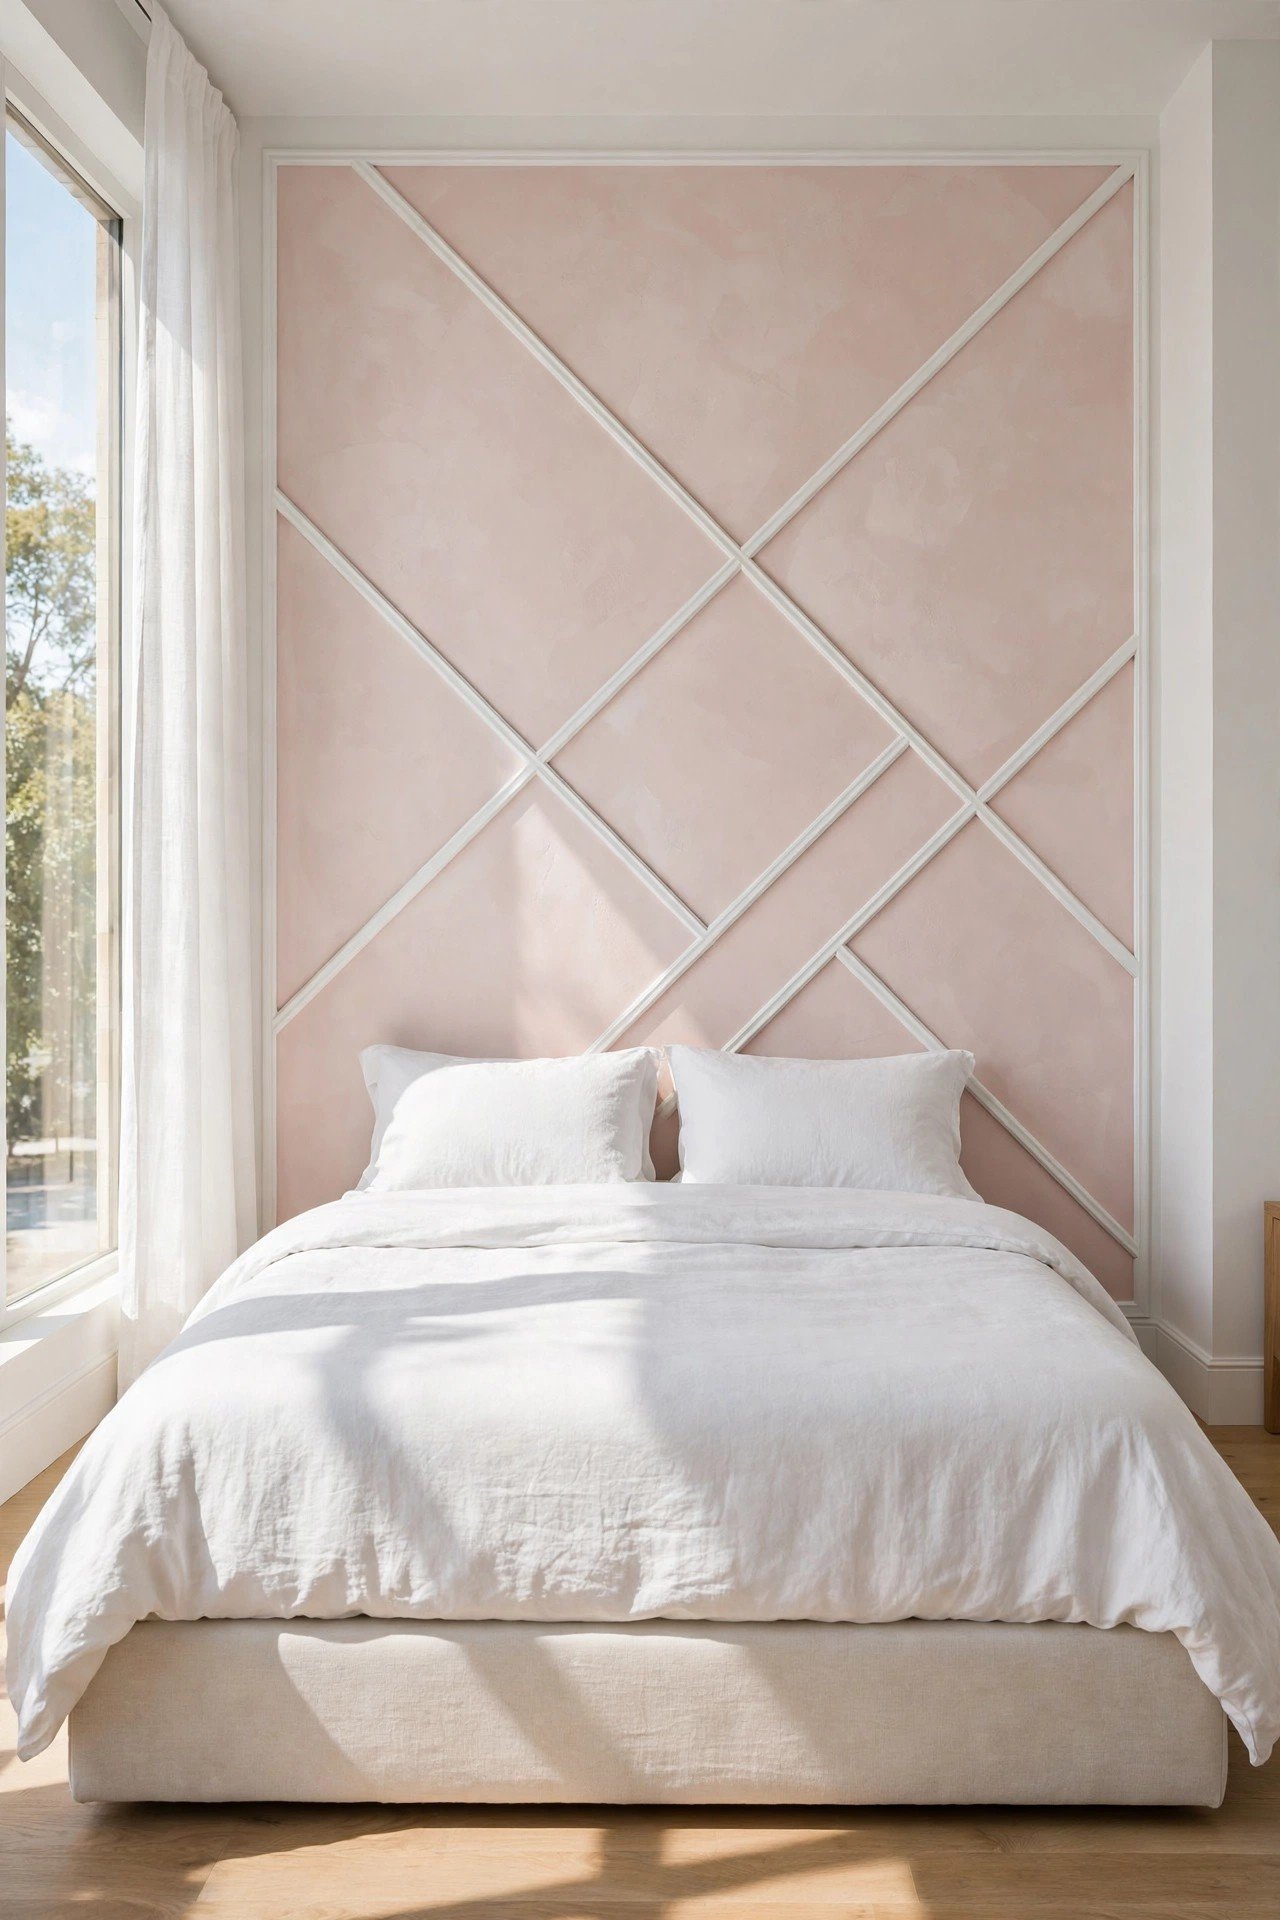
19. Trim Headboard Feature Wall
Build a geometric trim design on the wall behind your bed to create a stunning headboard alternative. Angled lines, rectangles, or a simple grid all work beautifully. Paint the trim the same as the wall for subtle texture or contrast it for drama.
This feature wall eliminates the need for an expensive headboard. Center the design on the bed for perfect symmetry. For more bedroom wall inspiration, see these interior door color ideas that prove paint transforms any surface.
Conclusion
Trim is the fastest way to make plain walls look custom and expensive. From picture frame molding to coffered ceilings, these 19 ideas prove that a few strips of wood and a can of paint can transform any room. Most projects take a single weekend and cost less than a nice dinner out.
Start with the room you see most often and add one trim detail. Measure twice, caulk every seam, and paint with care. Your walls will thank you with character, depth, and a finished feeling that flat paint alone can never deliver.
Frequently Asked Questions About DIY Trim Ideas
What is the cheapest trim material for DIY projects?
MDF trim is the cheapest option, starting around one dollar per square foot. It cuts cleanly, paints beautifully, and works well for most interior projects. Use real wood only in areas with moisture, since MDF swells when wet.
What tools do I need to install wall trim?
A miter saw or miter box, a brad nailer or hammer and nails, a level, measuring tape, caulk, and paint cover most projects. A stud finder helps for heavier trim, and wood filler hides nail holes before painting.
How do I get clean mitered corners?
Measure twice and cut 45-degree angles carefully, testing each joint before nailing. Small gaps can be filled with paintable caulk, which disappears under paint. Practice on scrap pieces until your corners fit tightly.
Should trim match the wall color or contrast?
Matching trim creates a seamless, modern look that makes rooms feel larger. Contrasting trim adds drama and highlights the architectural detail. Both approaches work; choose based on whether you want subtle texture or bold definition.
Can I install trim over textured walls?
Yes, but heavily textured walls can leave gaps behind the trim. Fill gaps with paintable caulk for a clean finish, or skim coat the wall smooth first for the most professional result. Light orange-peel texture usually causes no problems.

Hi, I’m Emily! I turn messy corners into cozy, organized spots. DreamNestDecor is where I share simple, practical home ideas — decor, organization, and small-space solutions that work in real life, not just in photos. Every idea here is carefully researched before it’s shared.