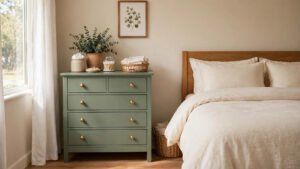

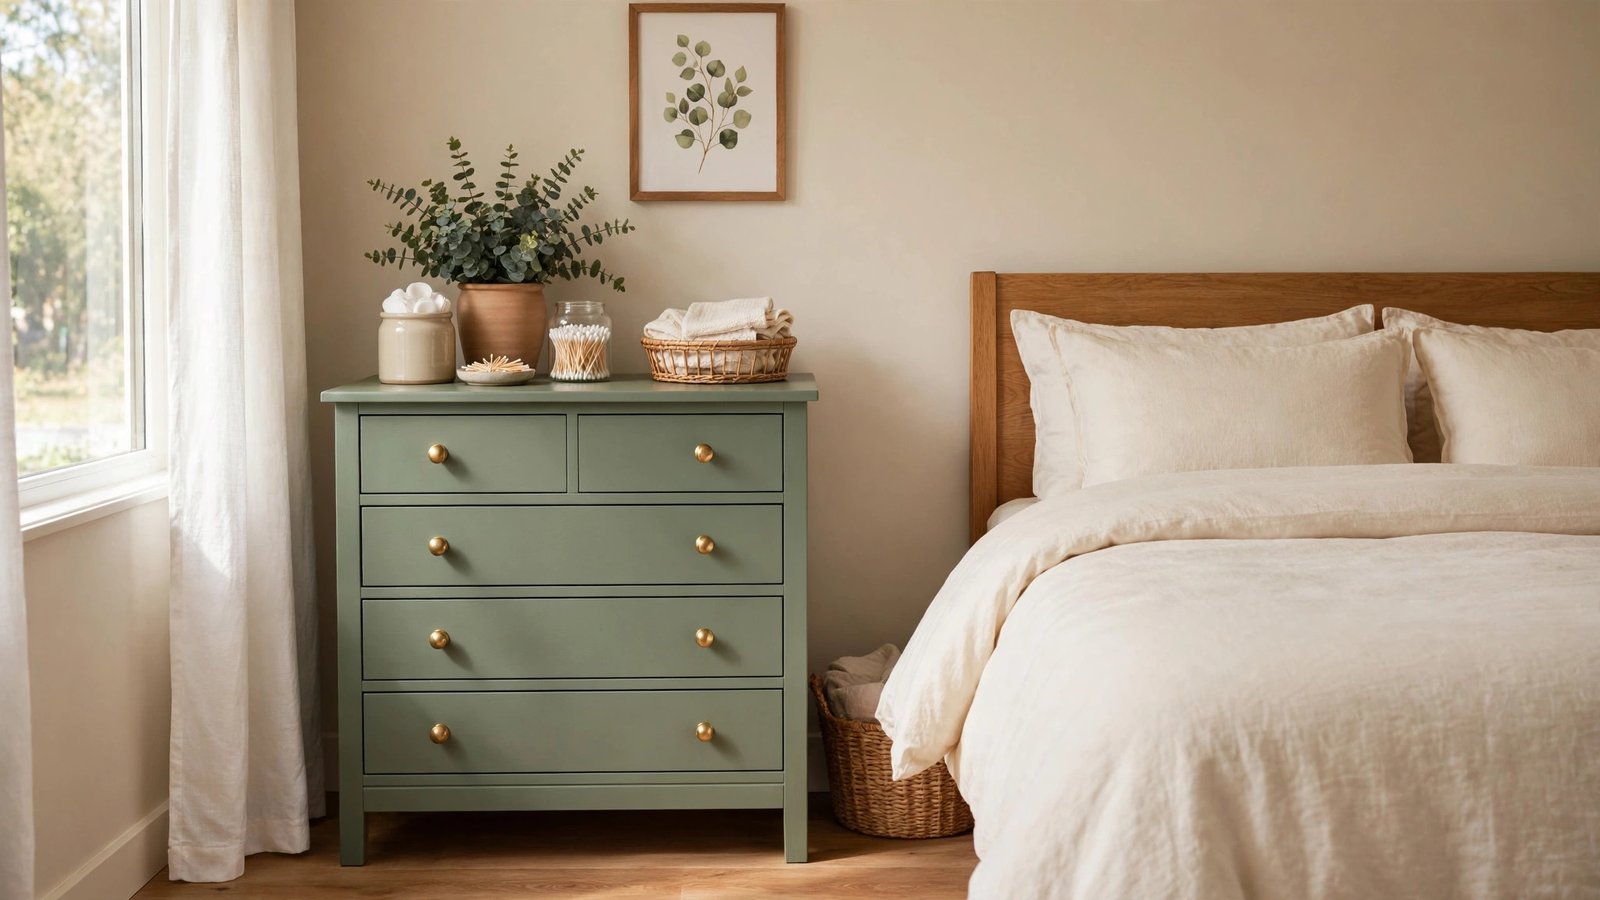
Every painter I know has a graveyard of half used paint cans sitting in the garage. Mine had seven. One Saturday I lined them all up, picked the prettiest sage green, and painted an old dresser that had been embarrassing me for years. By dinner time it looked like a boutique find, and the paint cost me nothing.
That dresser taught me that leftover paint is basically free furniture waiting to happen. You do not need new cans or fancy tools, just the odds and ends you already own. Below are 18 DIY furniture makeover ideas using leftover paint that turn tired pieces into treasures.
1. Refresh an Old Dresser With One Bold Color
An old dresser is the perfect first project for leftover paint. Clean it well, give it a light sanding, and roll on two coats of your boldest leftover color. New knobs from the hardware aisle finish the transformation for a few dollars.
Sage green, navy, or terracotta all turn boring wood into a statement piece. A painted dresser also fits beautifully with quiet luxury styling when you keep the hardware classic. Keep the top surface clear so the color gets full attention. One bold dresser can anchor a whole bedroom.
2. Paint a Nightstand in Two Tones
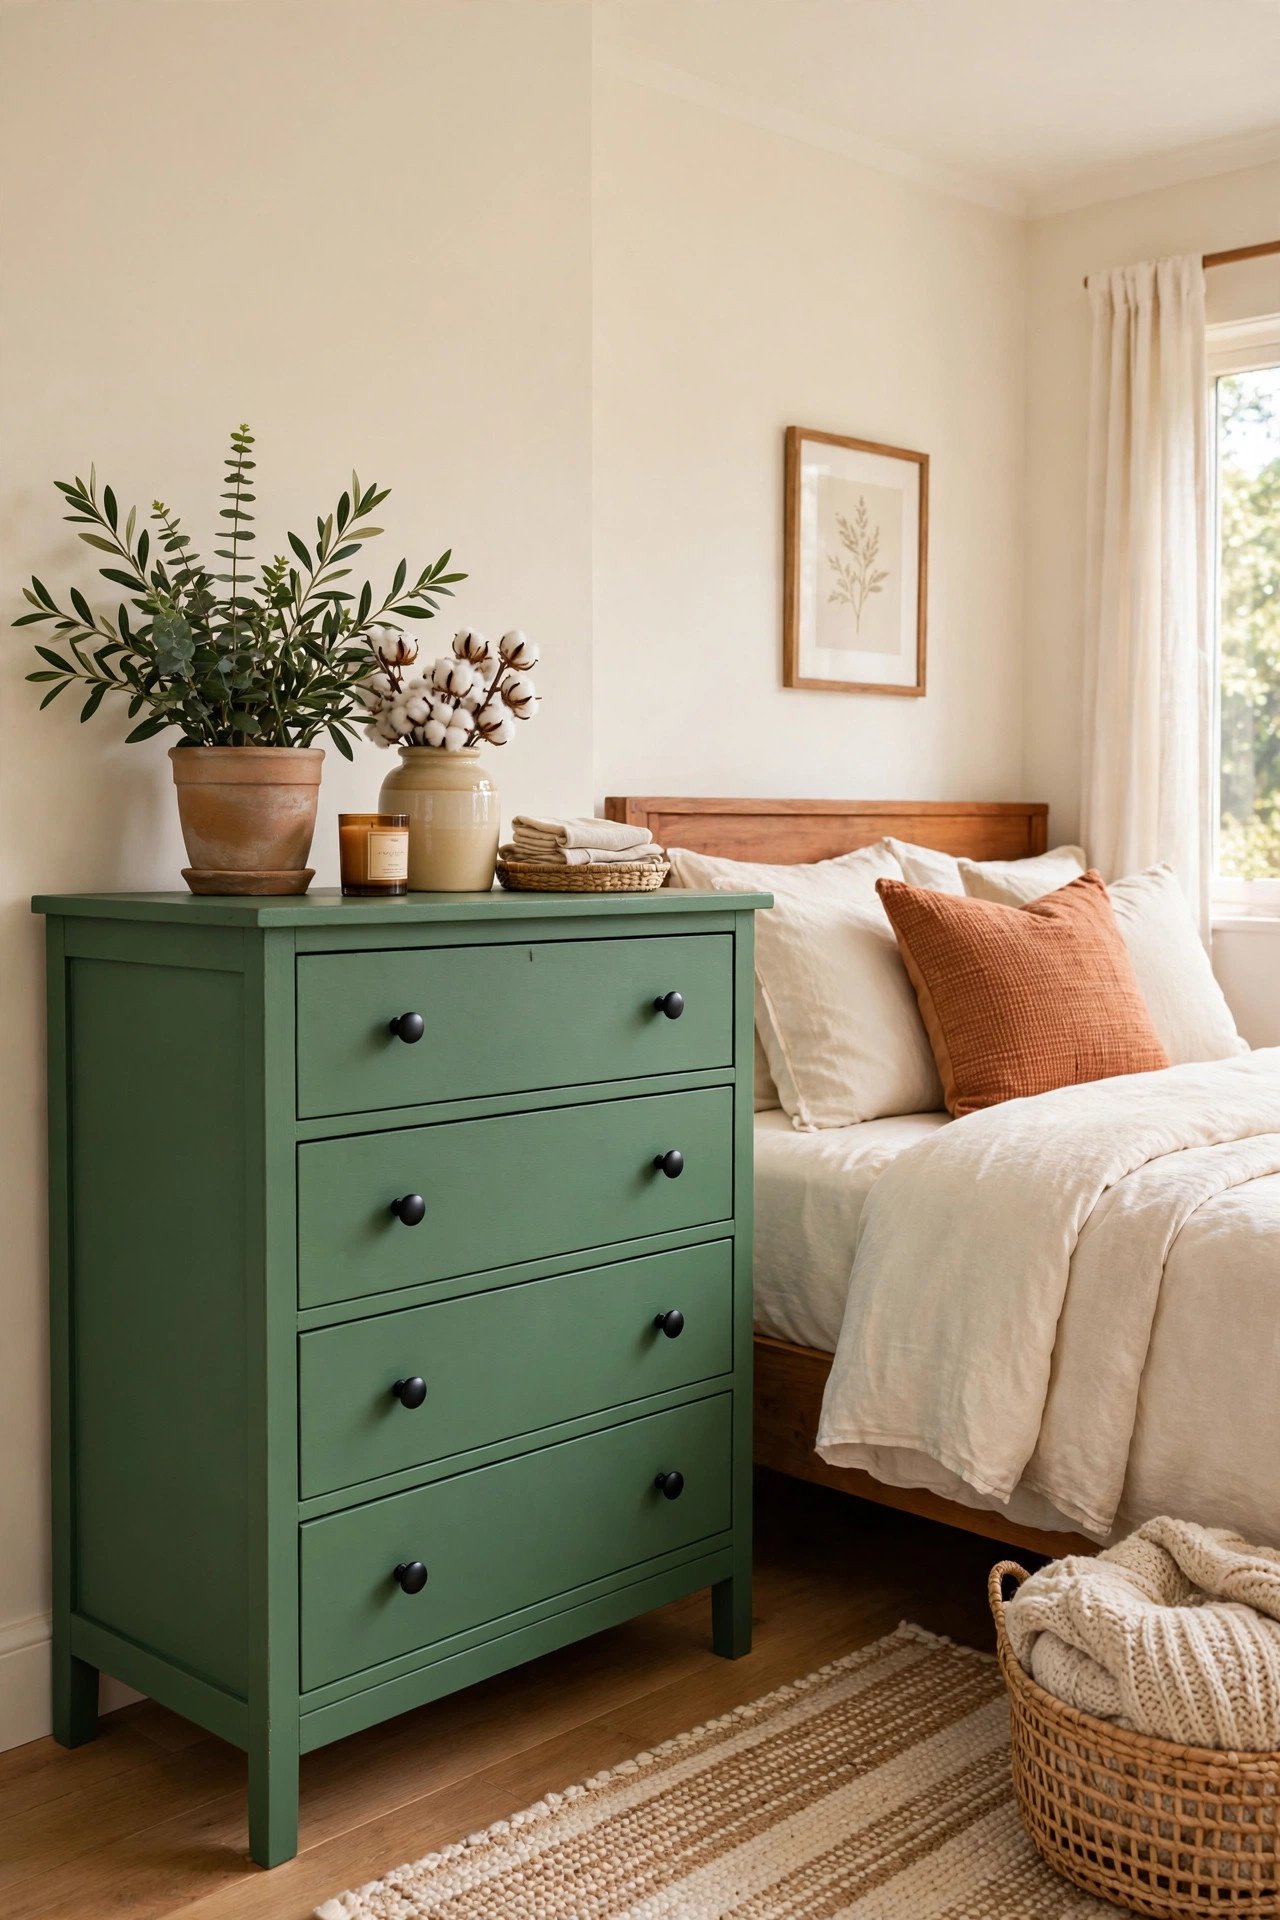
Two tone paint makes a plain nightstand look custom designed. Paint the body cream and the drawer fronts terracotta, or try any two leftovers that play nicely together. Tape the dividing line carefully for a crisp edge.
This trick works best when one color is light and the other is bold. Update the hardware to match the bolder tone. A two tone nightstand looks far more expensive than its parts.
3. Give a Wooden Chair the Chalk Paint Treatment
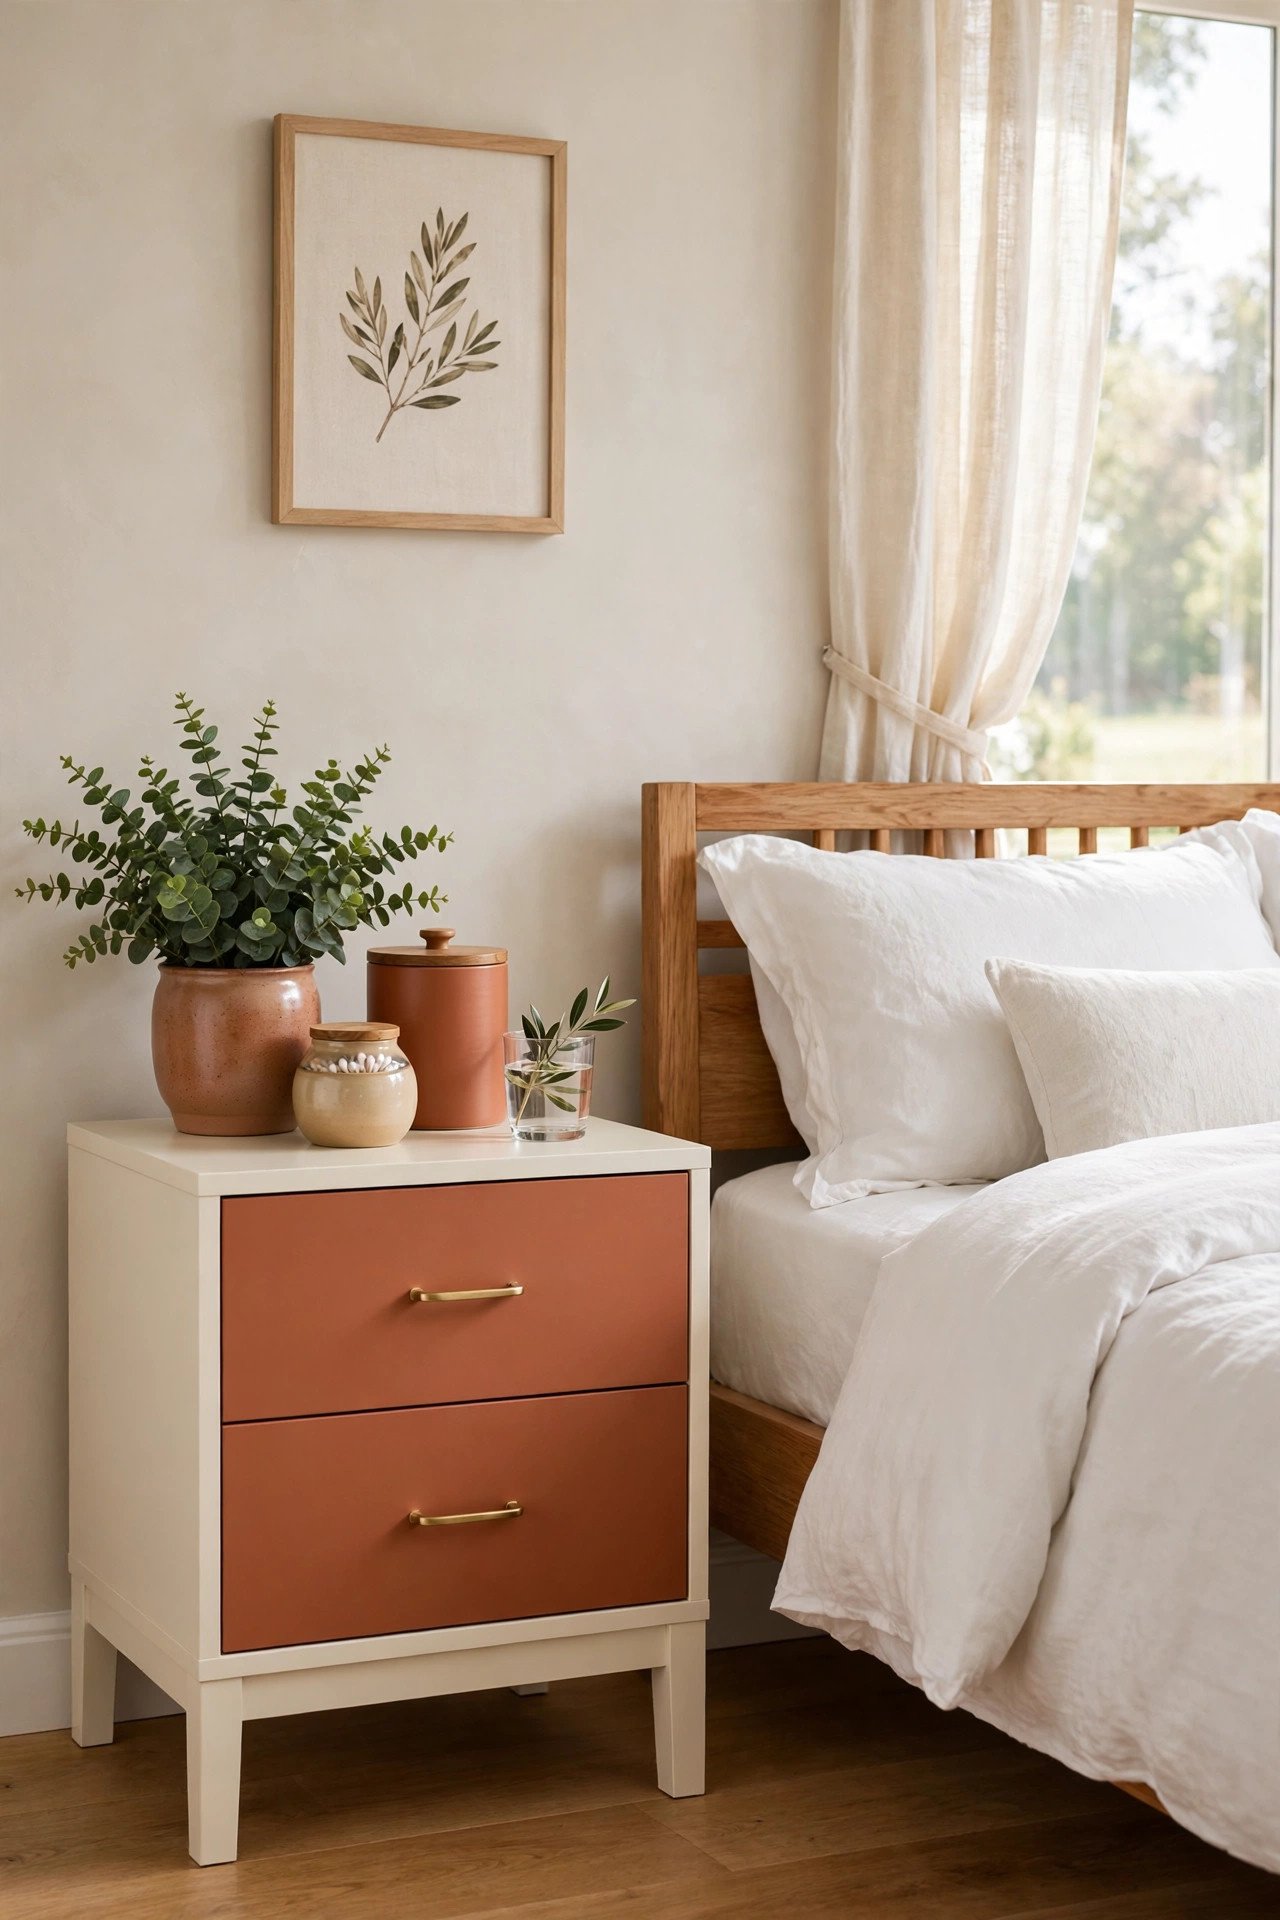
Chalk paint forgives almost everything, which makes it perfect for tired wooden chairs. Brush it on with no priming, let it dry, then distress the edges lightly with sandpaper. The matte finish hides a multitude of sins.
Soft blue, dusty rose, or warm white all give chairs a charming vintage feel. Seal with clear wax so the finish survives daily sitting. A chalk painted chair adds character to any corner.
4. Paint the Back Panel of a Bookshelf
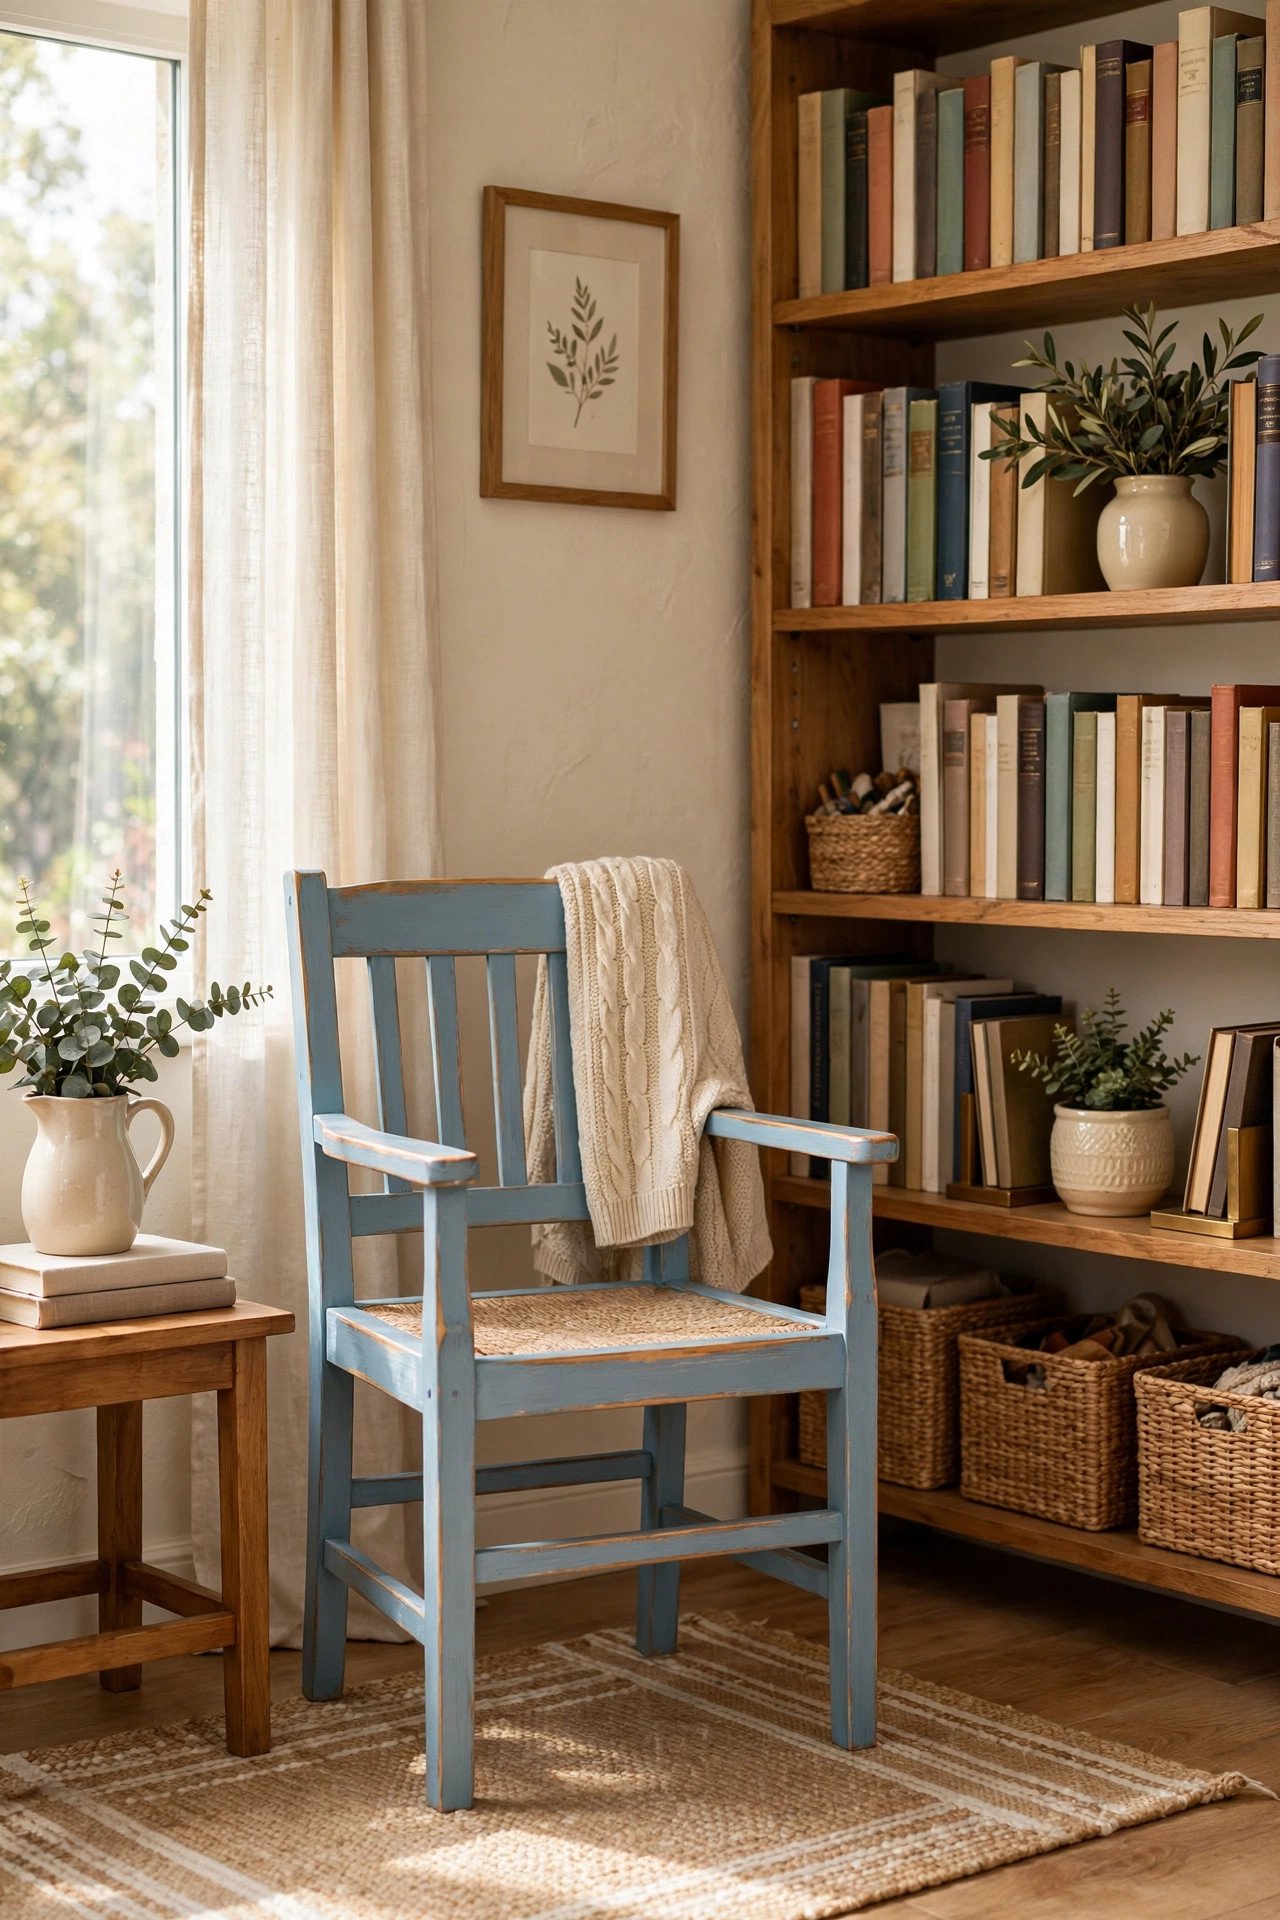
Painting just the back panel of a bookshelf creates stunning depth for almost no paint. Pull the shelf away from the wall and paint the inside back in a rich color like deep teal. Your books and objects pop against the bold background.
This uses so little paint that even a sample pot is enough. Keep the shelf frame neutral so the color stays a surprise. A painted back panel turns storage into a display case.
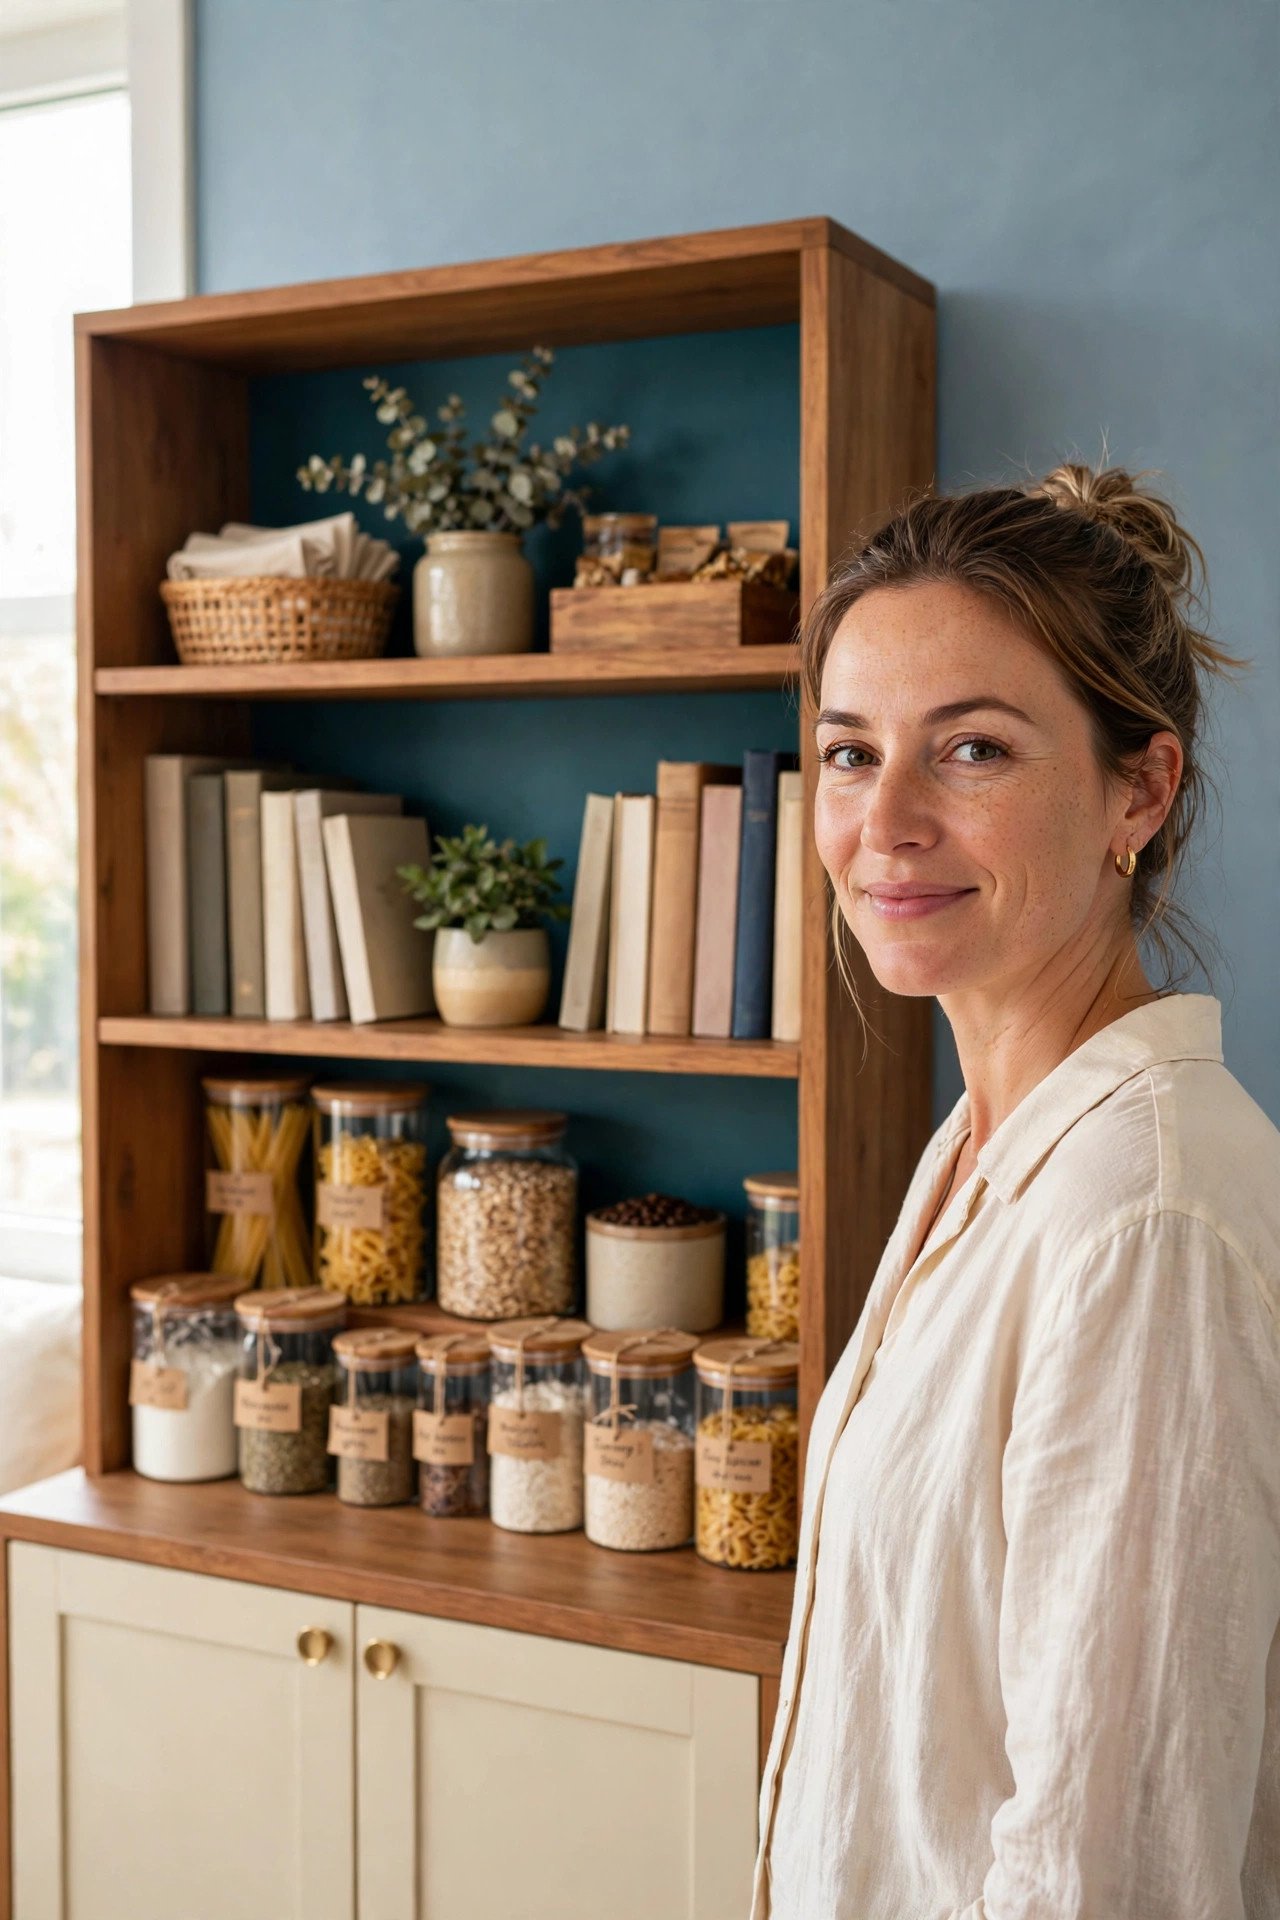
5. Dip Dye Table Legs for a Modern Look
Dip dyed table legs give plain furniture a designer detail in minutes. Tape a straight line partway up each leg and paint everything below it in a bold leftover color. The crisp line looks intentional and modern.
Amber, black, or deep green all work beautifully on wood tones. Remove the tape while the paint is slightly tacky for the cleanest edge. This tiny change makes a basic table look custom.
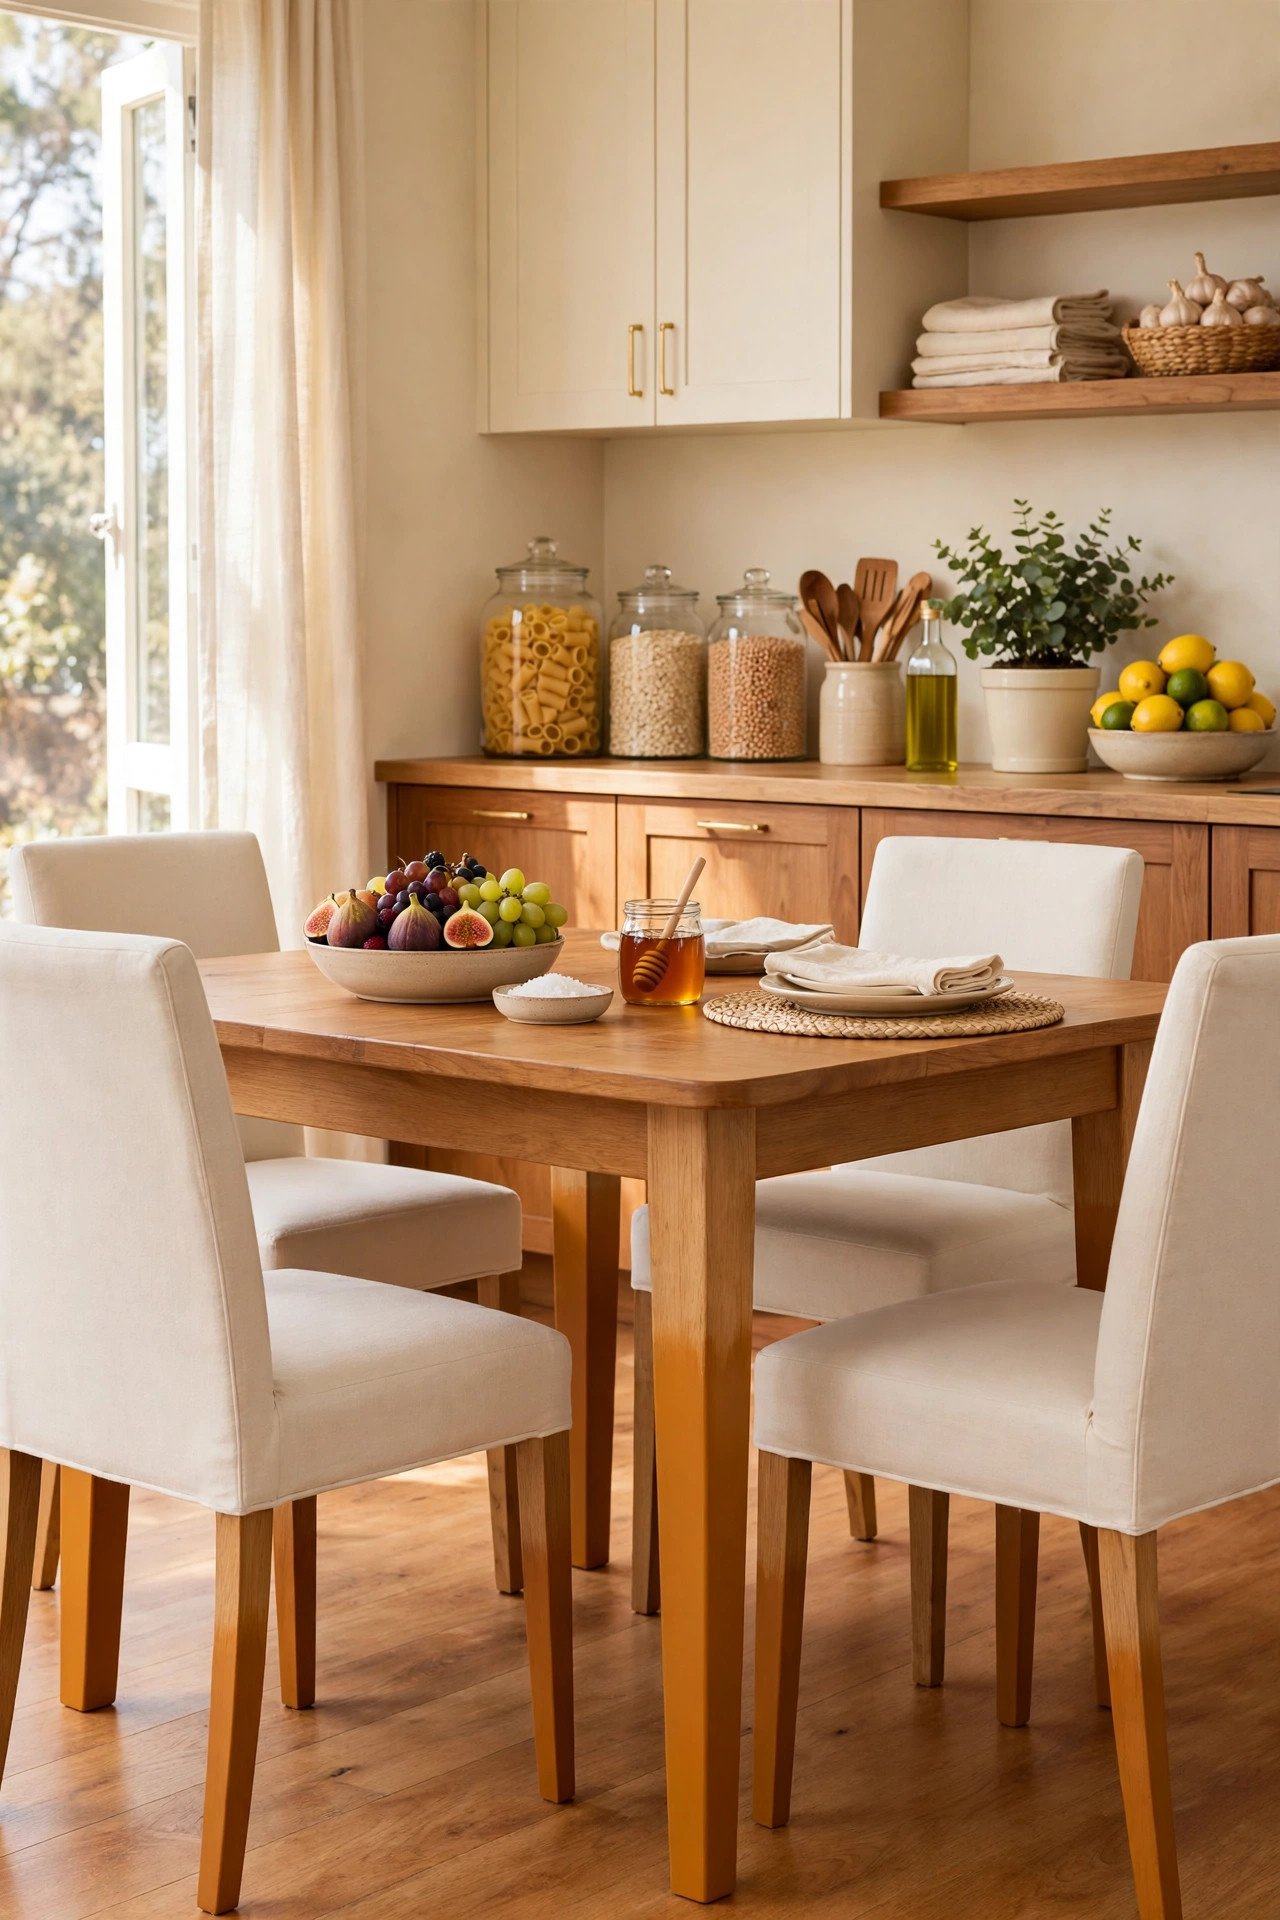
6. Stencil a Pattern on Drawer Fronts
A simple stencil turns flat drawer fronts into patterned art. Paint the dresser a solid base color, then stencil a geometric or floral pattern in a contrasting leftover. Reusable stencils cost little and last for many projects.
Keep the pattern small scale so it reads as texture from across the room. These painted accent ideas show how patterns transform plain furniture. Stenciled drawers look hand crafted in the best way.
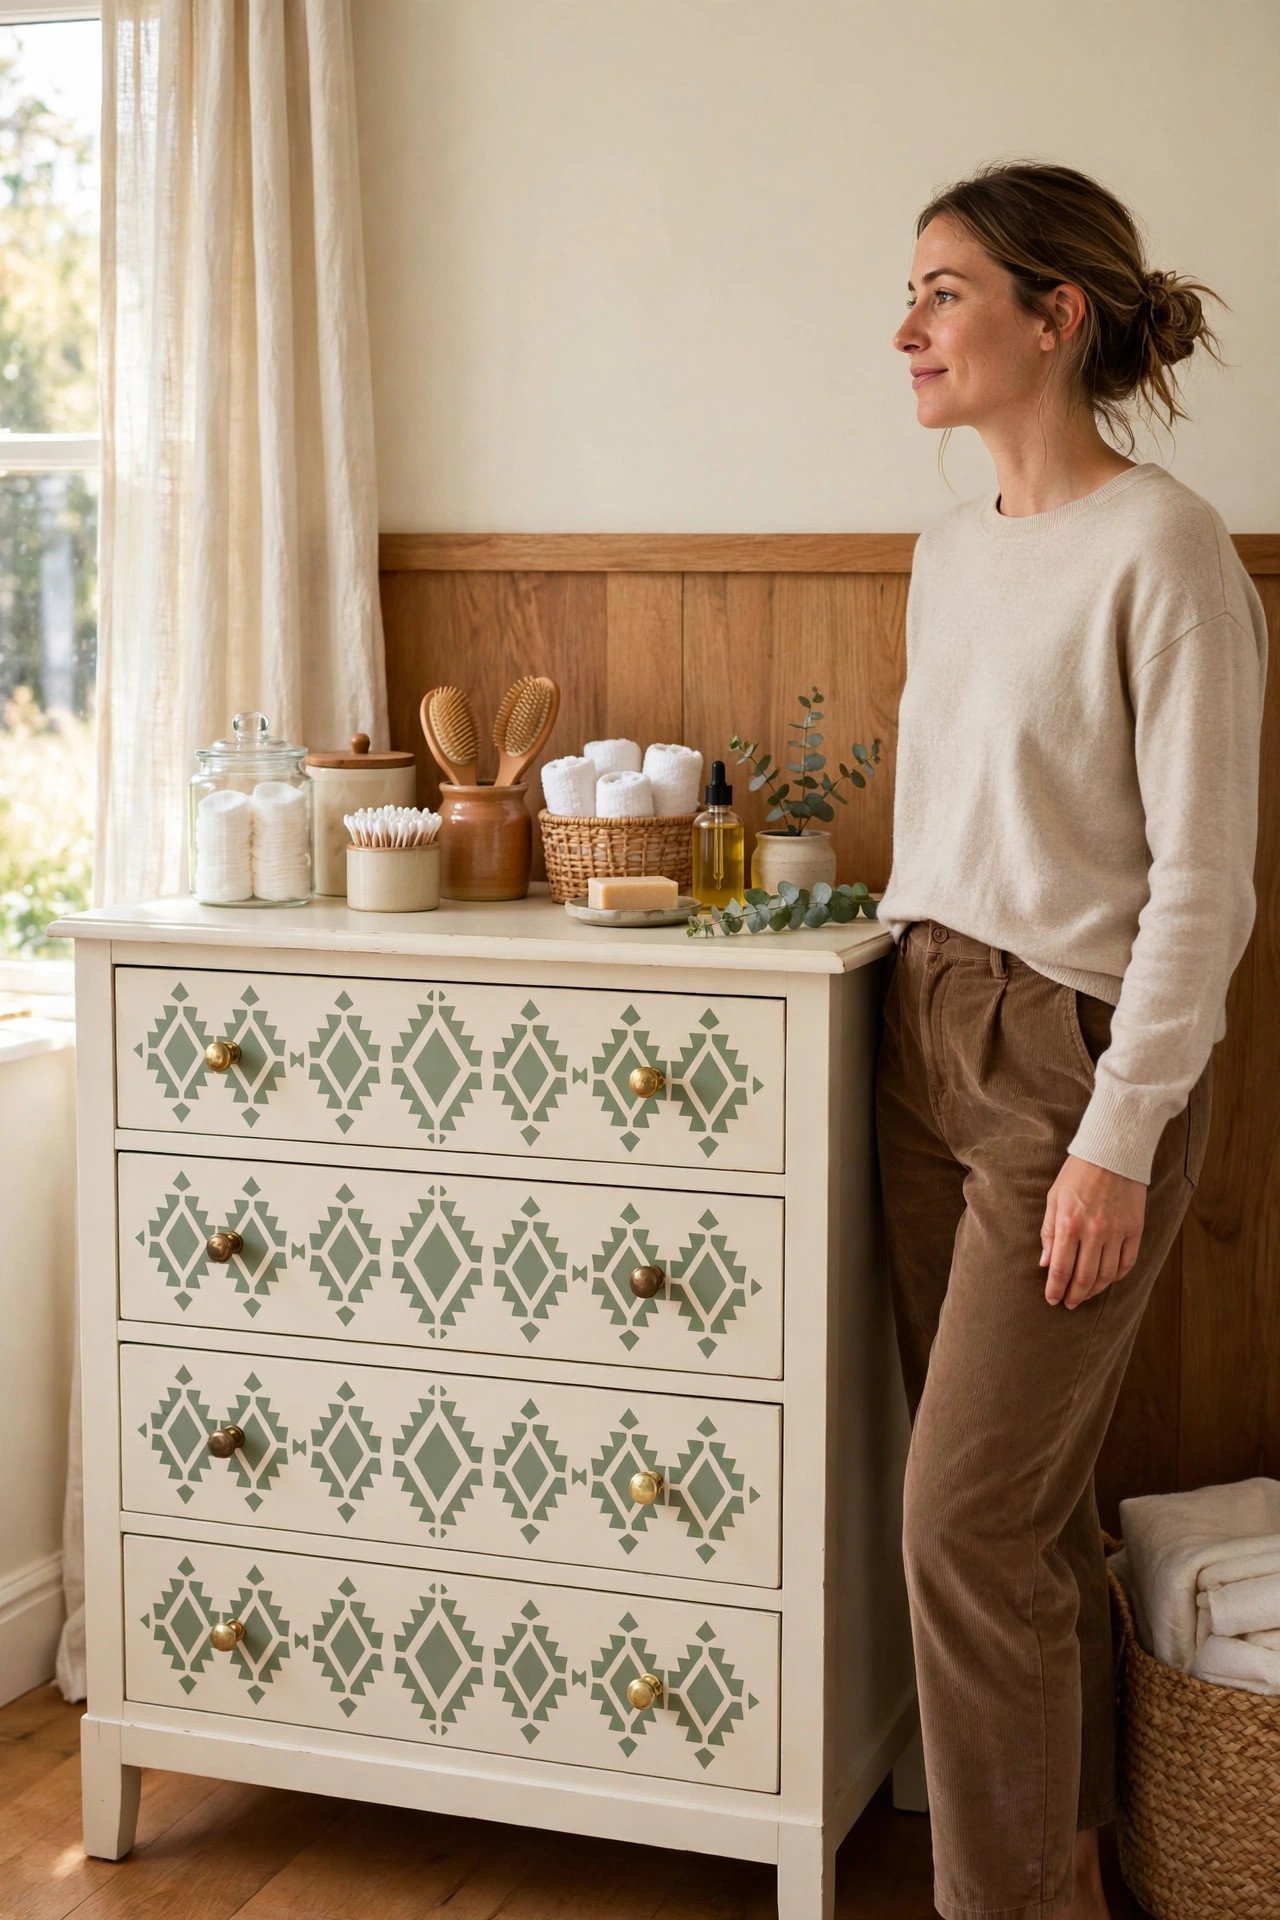
7. Color Block a Wardrobe for Drama
Color blocking a wardrobe creates bold modern art from a boring box. Divide the doors into large sections with tape and fill each with a different leftover color. Take cues from bold color combinations to pick pairings that sing. Cream and blush pink make a soft statement, while navy and mustard shout.
Plan the layout on paper first so the blocks balance nicely. Use a level for every tape line since crooked blocks ruin the effect. A color blocked wardrobe becomes the star of the bedroom.
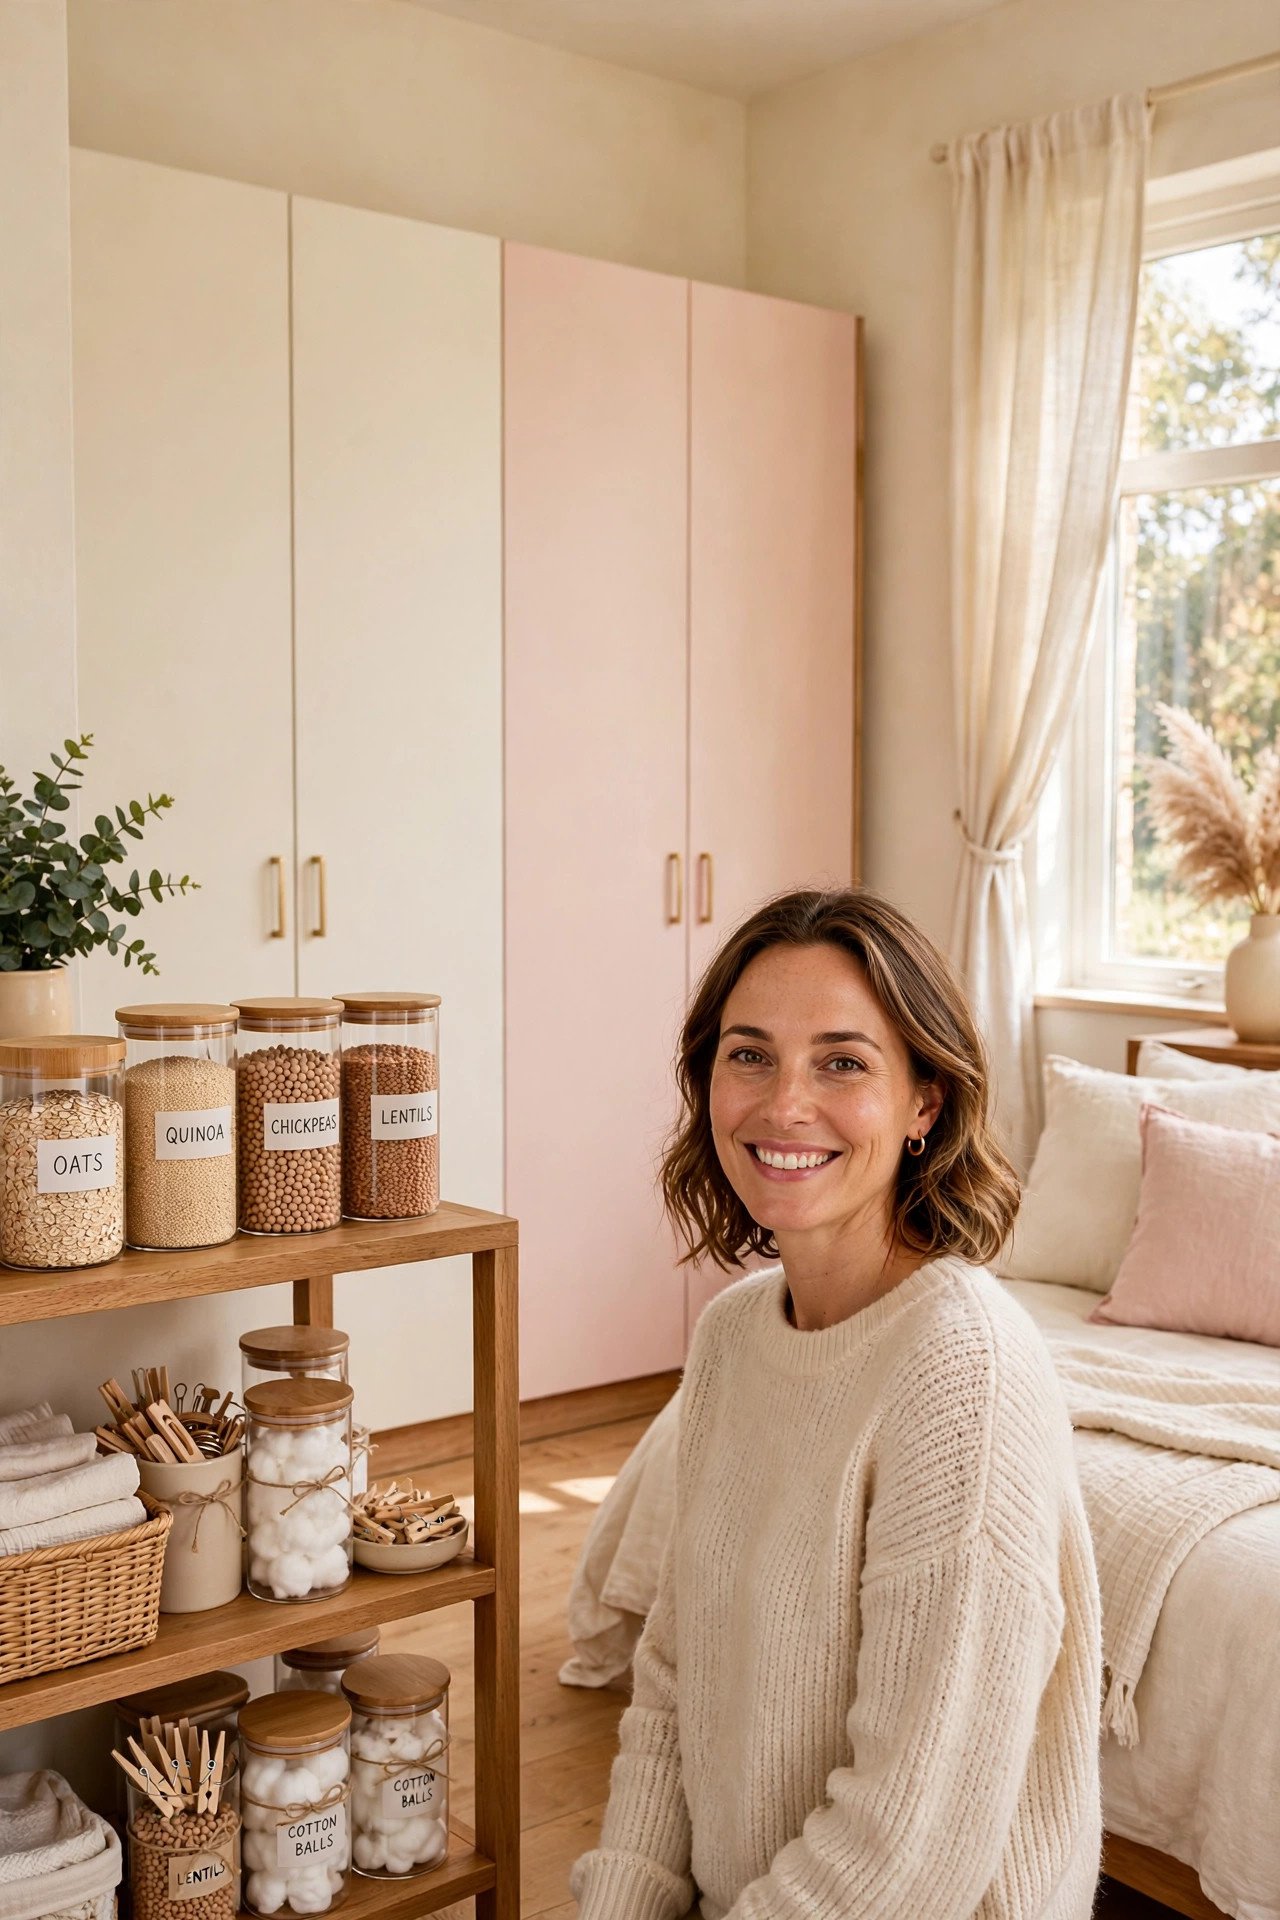
8. Brighten Bar Stools With Cheerful Paint
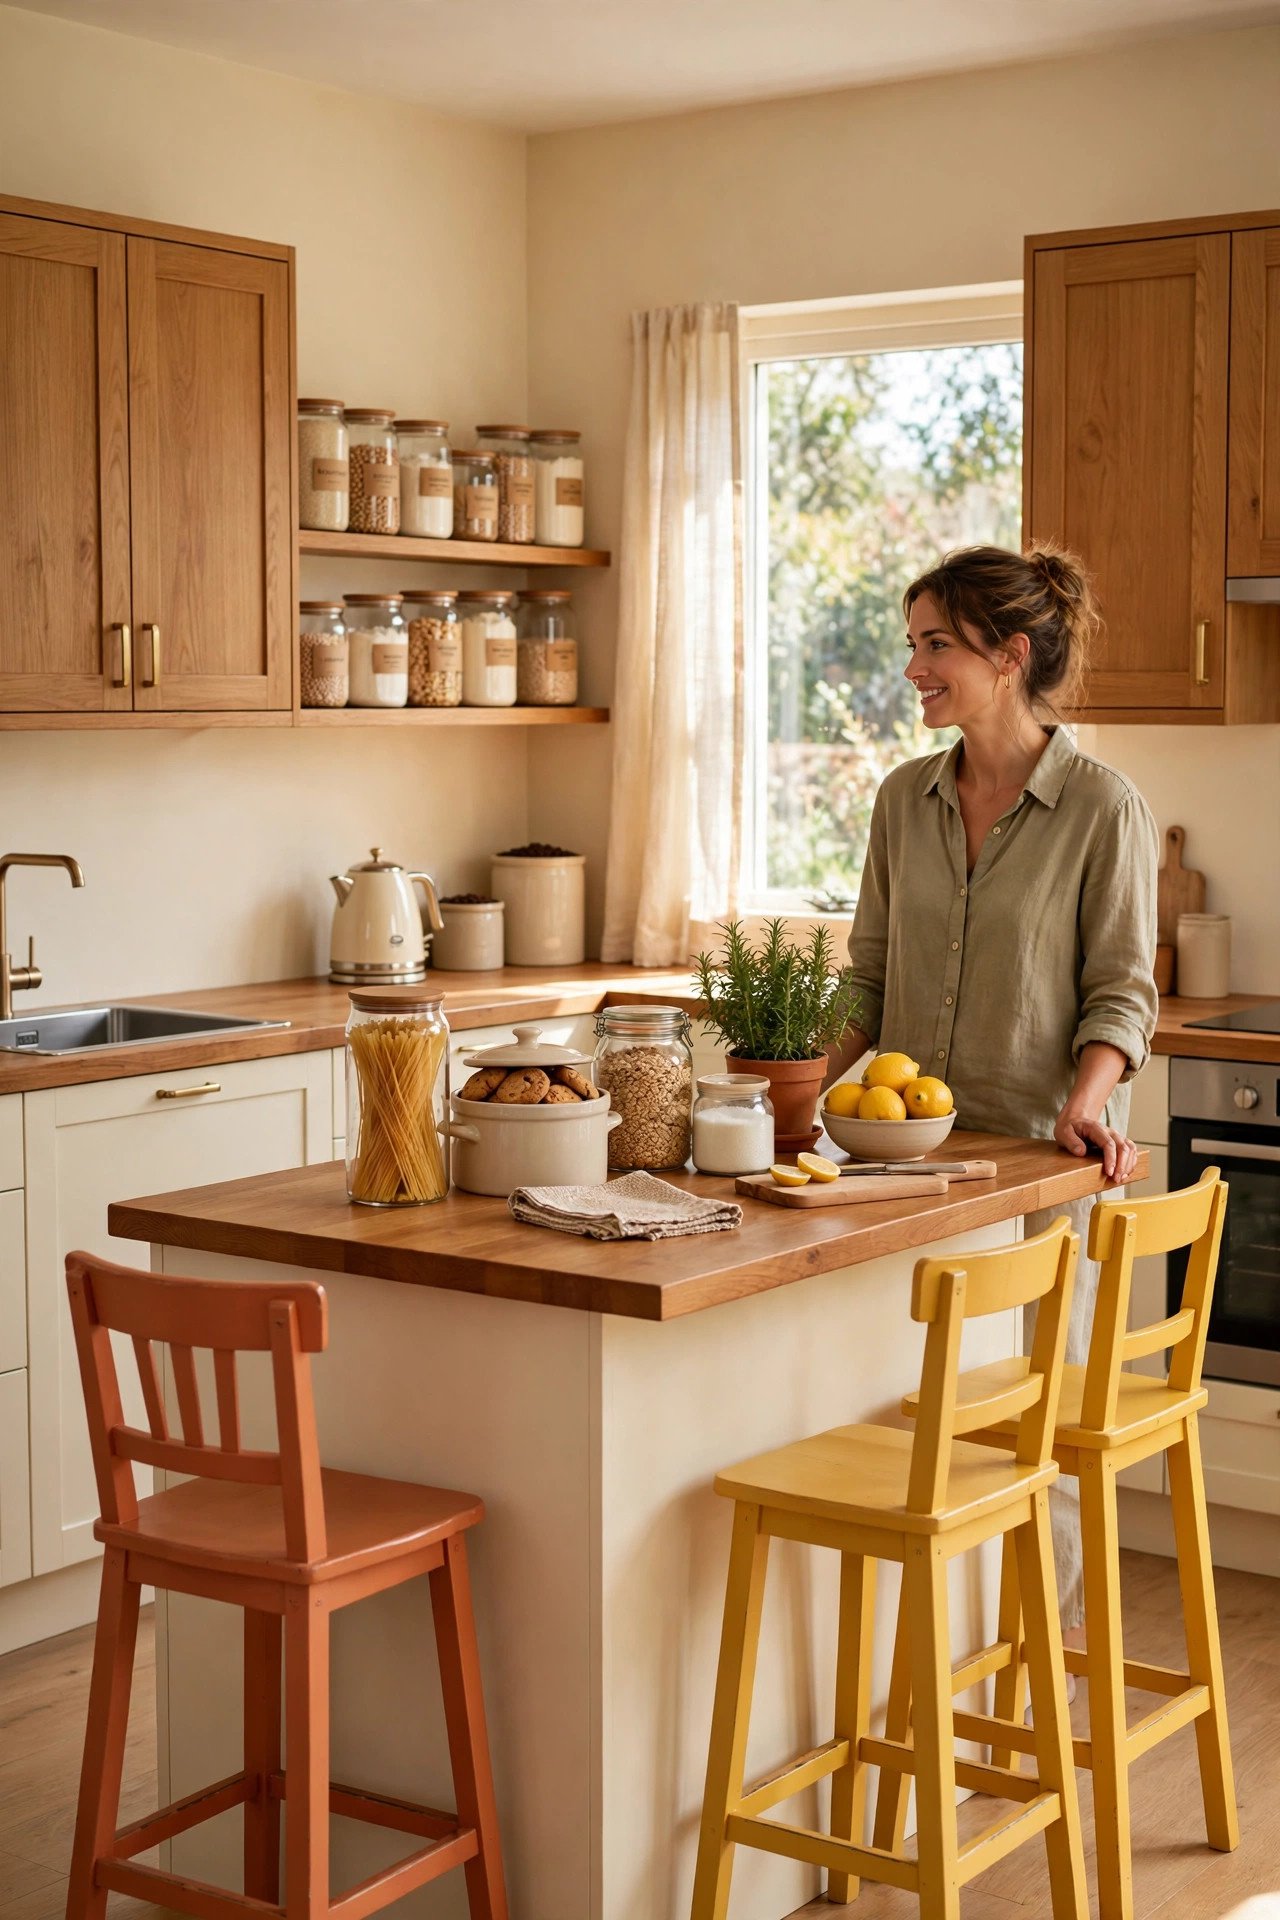
Bar stools take paint beautifully and use very little of it. Paint each stool a different cheerful leftover color for a playful set. Terracotta, mustard, and sage look fantastic together around a kitchen island.
Sand the seats lightly so the paint grips through daily use. Finish with a clear sealer since stools take a beating. Mismatched painted stools make a kitchen feel joyful and personal.
9. Create an Ombre Effect on a Dresser
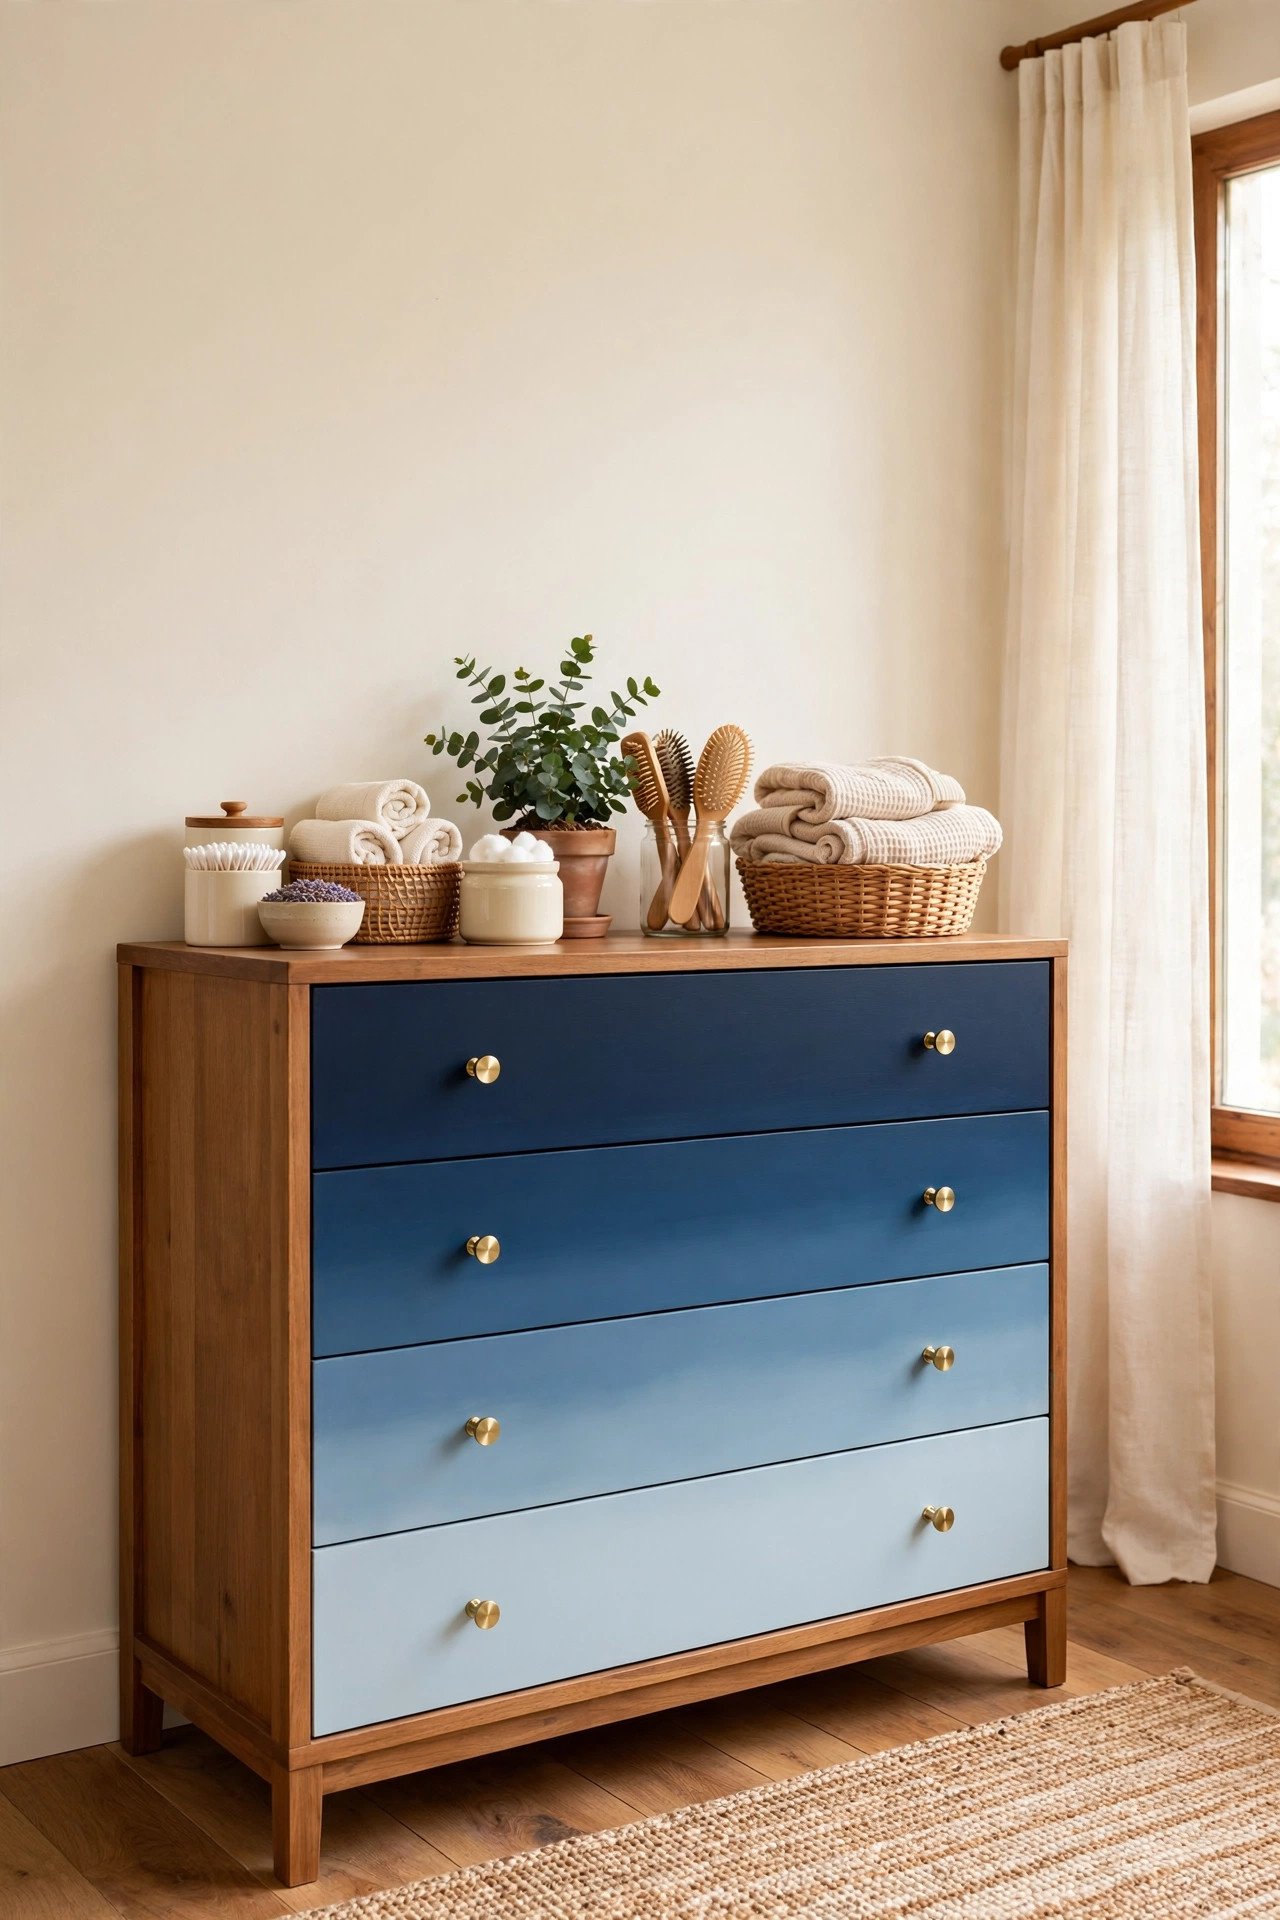
An ombre dresser fades from dark to light across the drawers like a sunset. Mix your leftover color with increasing amounts of white for each drawer. The gradient looks advanced but only needs basic blending.
Paint the frame in the darkest or lightest shade to anchor the fade. Blend each drawer edge while the paint is wet for smooth transitions. Ombre turns a plain dresser into a showpiece.
10. Turn a Picture Ledge Into a Color Pop
A plain wooden picture ledge becomes art itself with a coat of bold paint. Amber, teal, or coral ledges make framed photos pop against neutral walls. The ledge uses so little paint that one sample pot covers it twice.
Mount the painted ledge with the same care as a shelf, since it holds your treasures. Keep the art frames simple so the ledge color shines. A colorful ledge frames your memories beautifully.

11. Whitewash a Bench for Farmhouse Charm
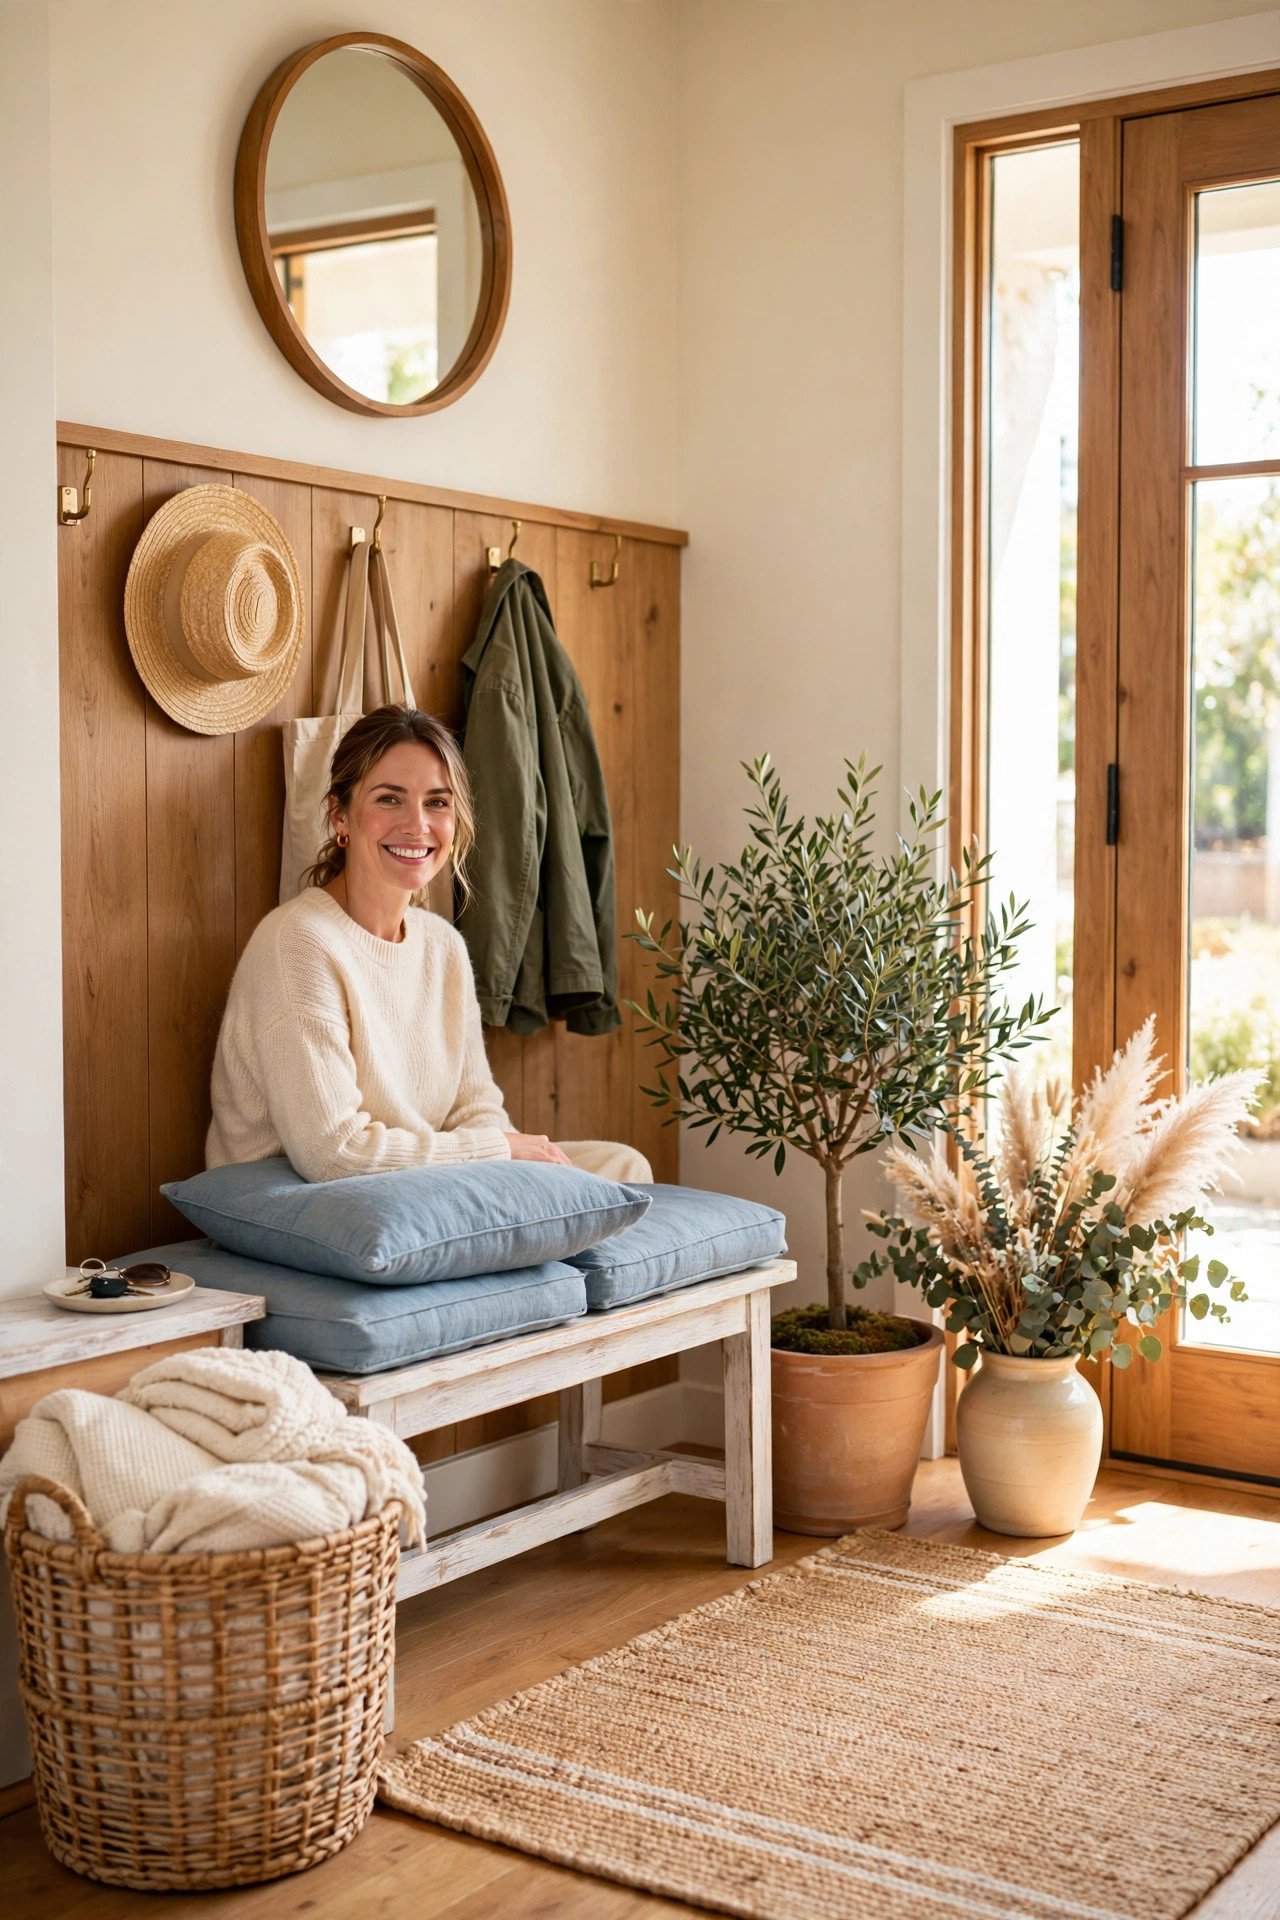
Whitewashing lets wood grain show through a milky finish for instant farmhouse charm. Mix white paint half and half with water and brush it on, wiping back the excess. The wood stays visible but softened.
This technique rescues dark or orange toned wood without hiding it completely. A whitewashed bench suits entryways and foot of bed spots perfectly. Rustic and refined can share one piece of furniture.
12. Transform a Filing Cabinet Into a Side Table
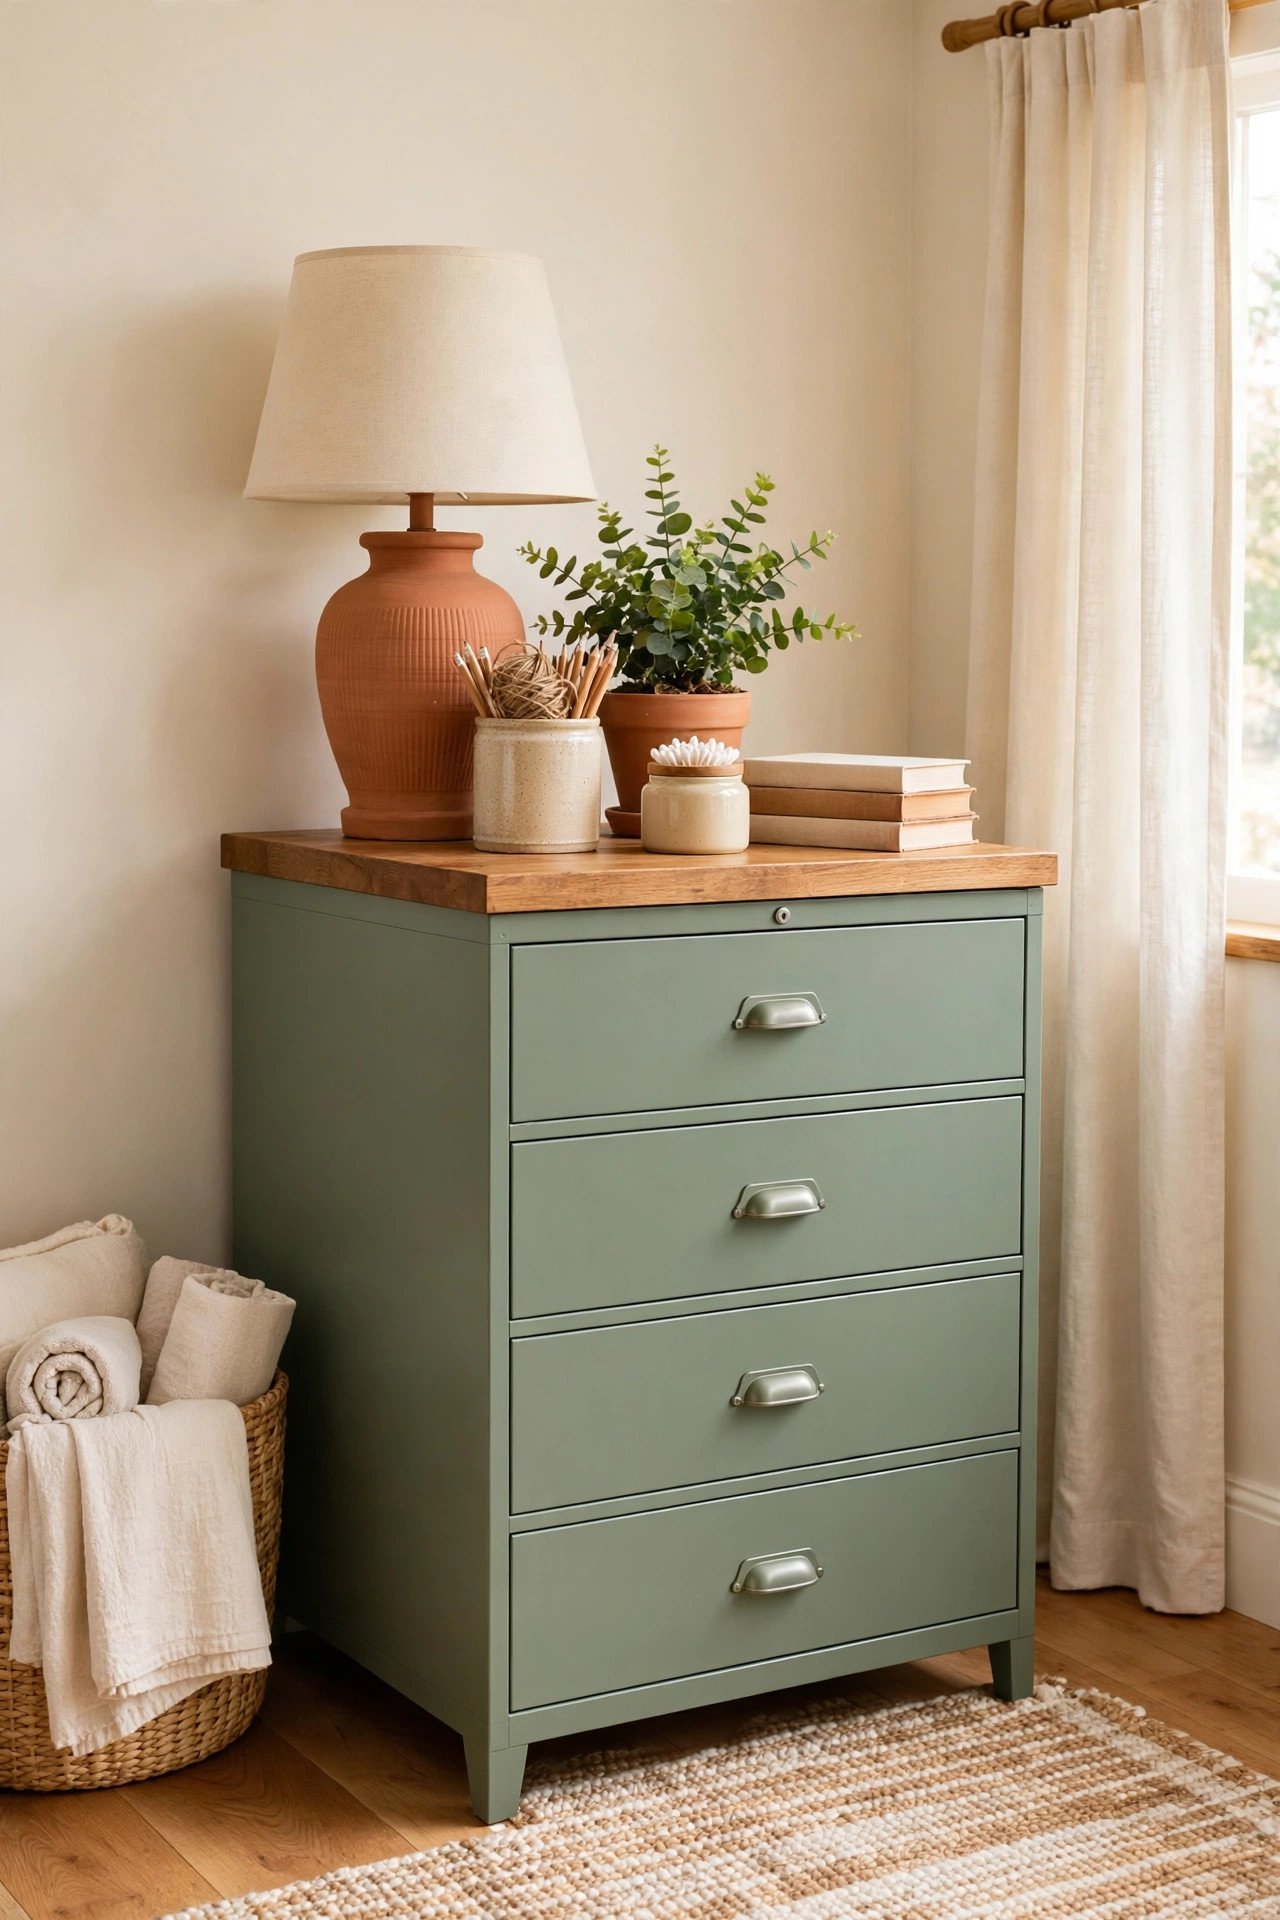
A metal filing cabinet becomes a chic side table with paint and imagination. Spray or brush it in sage green or matte black and top it with a wooden board. The drawers hide clutter while the top holds a lamp.
Remove the drawers and sand any rust spots before painting metal. New cup pulls replace dated handles beautifully, and the finished piece suits a small home office perfectly. Office cast offs become living room stars with one good paint job.
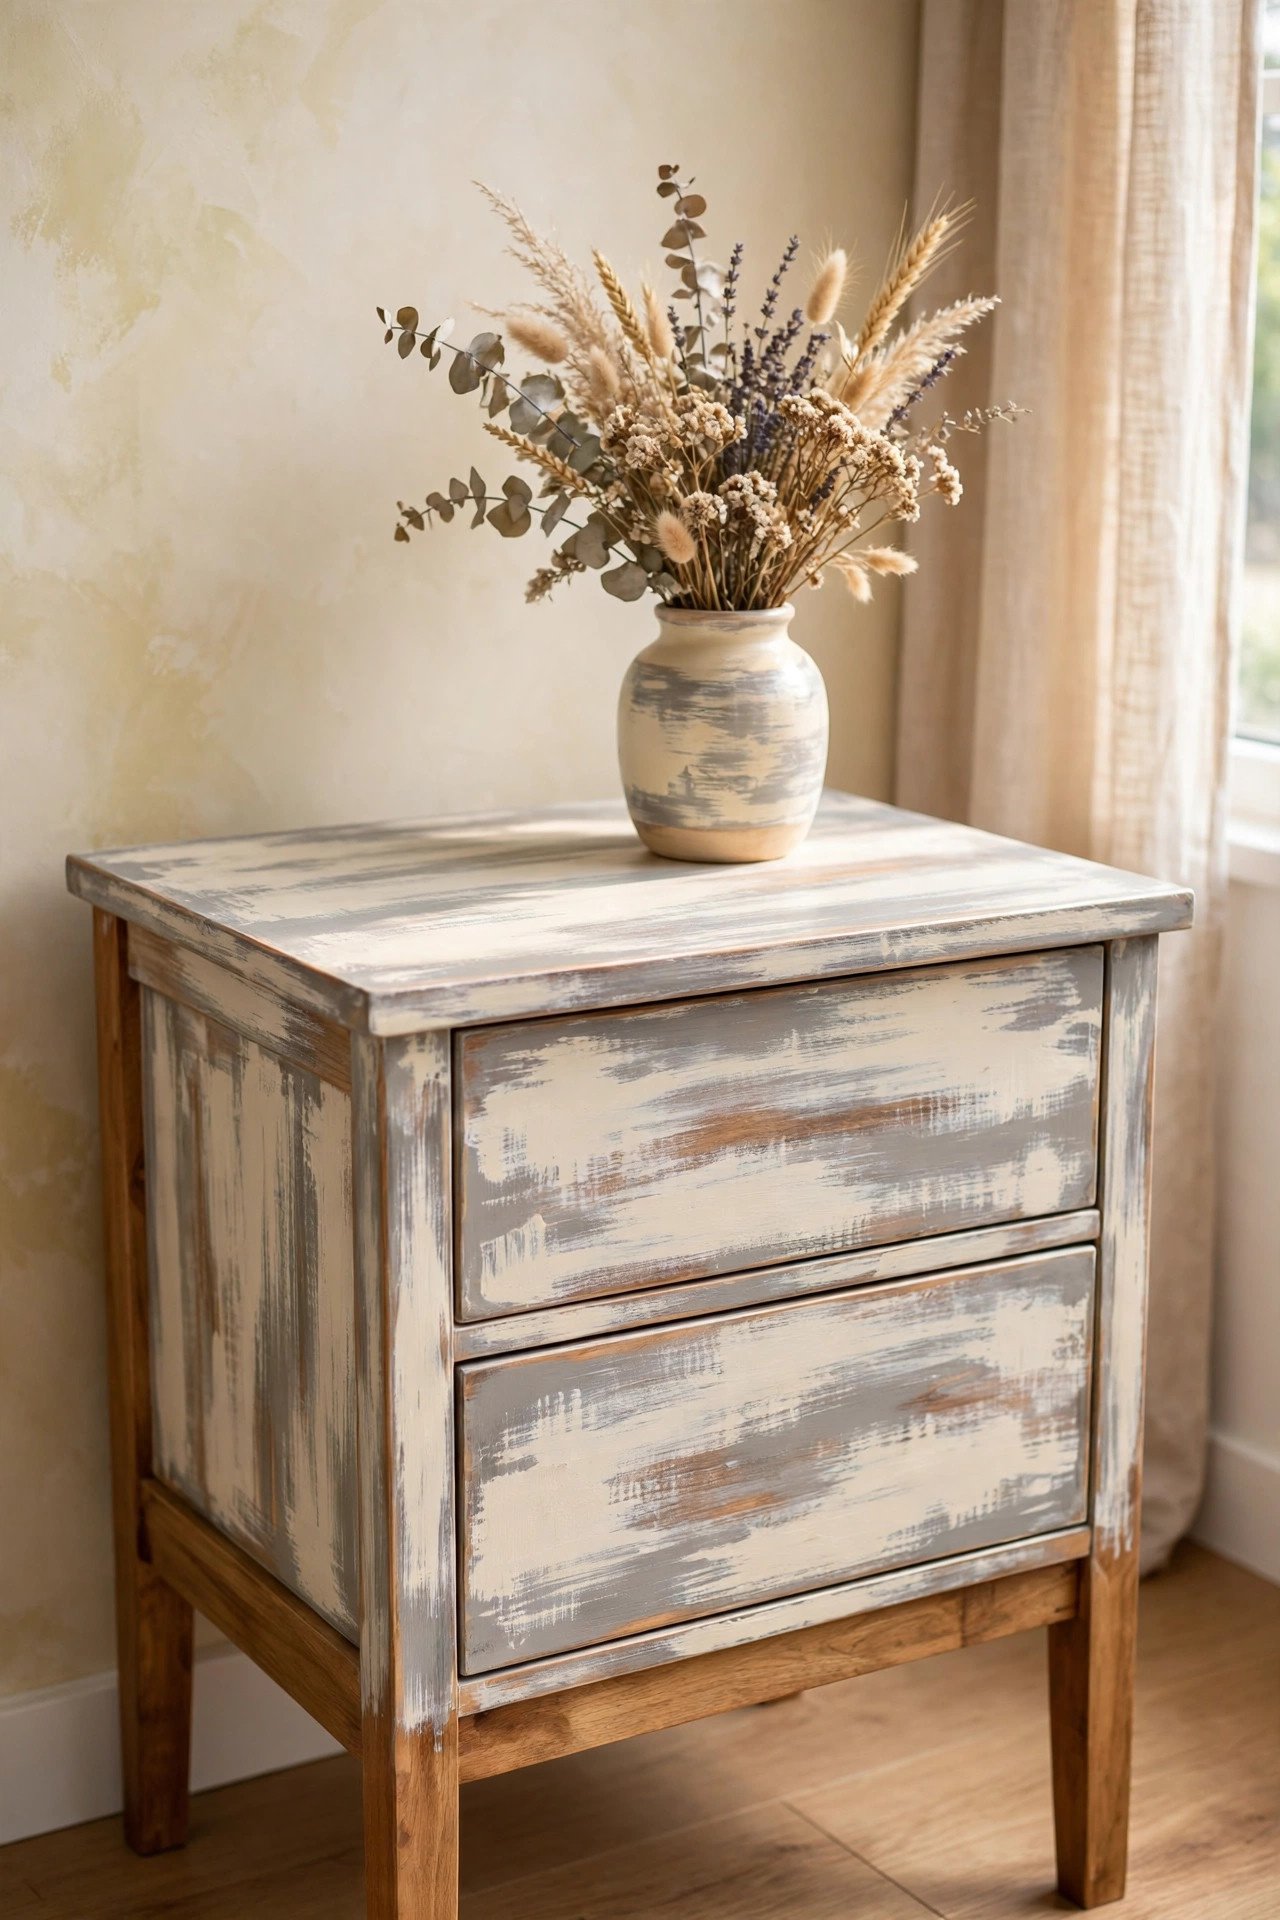
13. Dry Brush a Side Table for Texture
Dry brushing layers paint thinly so the base shows through for gorgeous texture. Dip just the tips of the brush in paint and drag lightly across the surface. Cream over gray creates a weathered linen look.
Build the effect slowly since you can always add more but cannot take it away. This technique hides scratches and dents beautifully. A dry brushed table looks like a vintage market find.
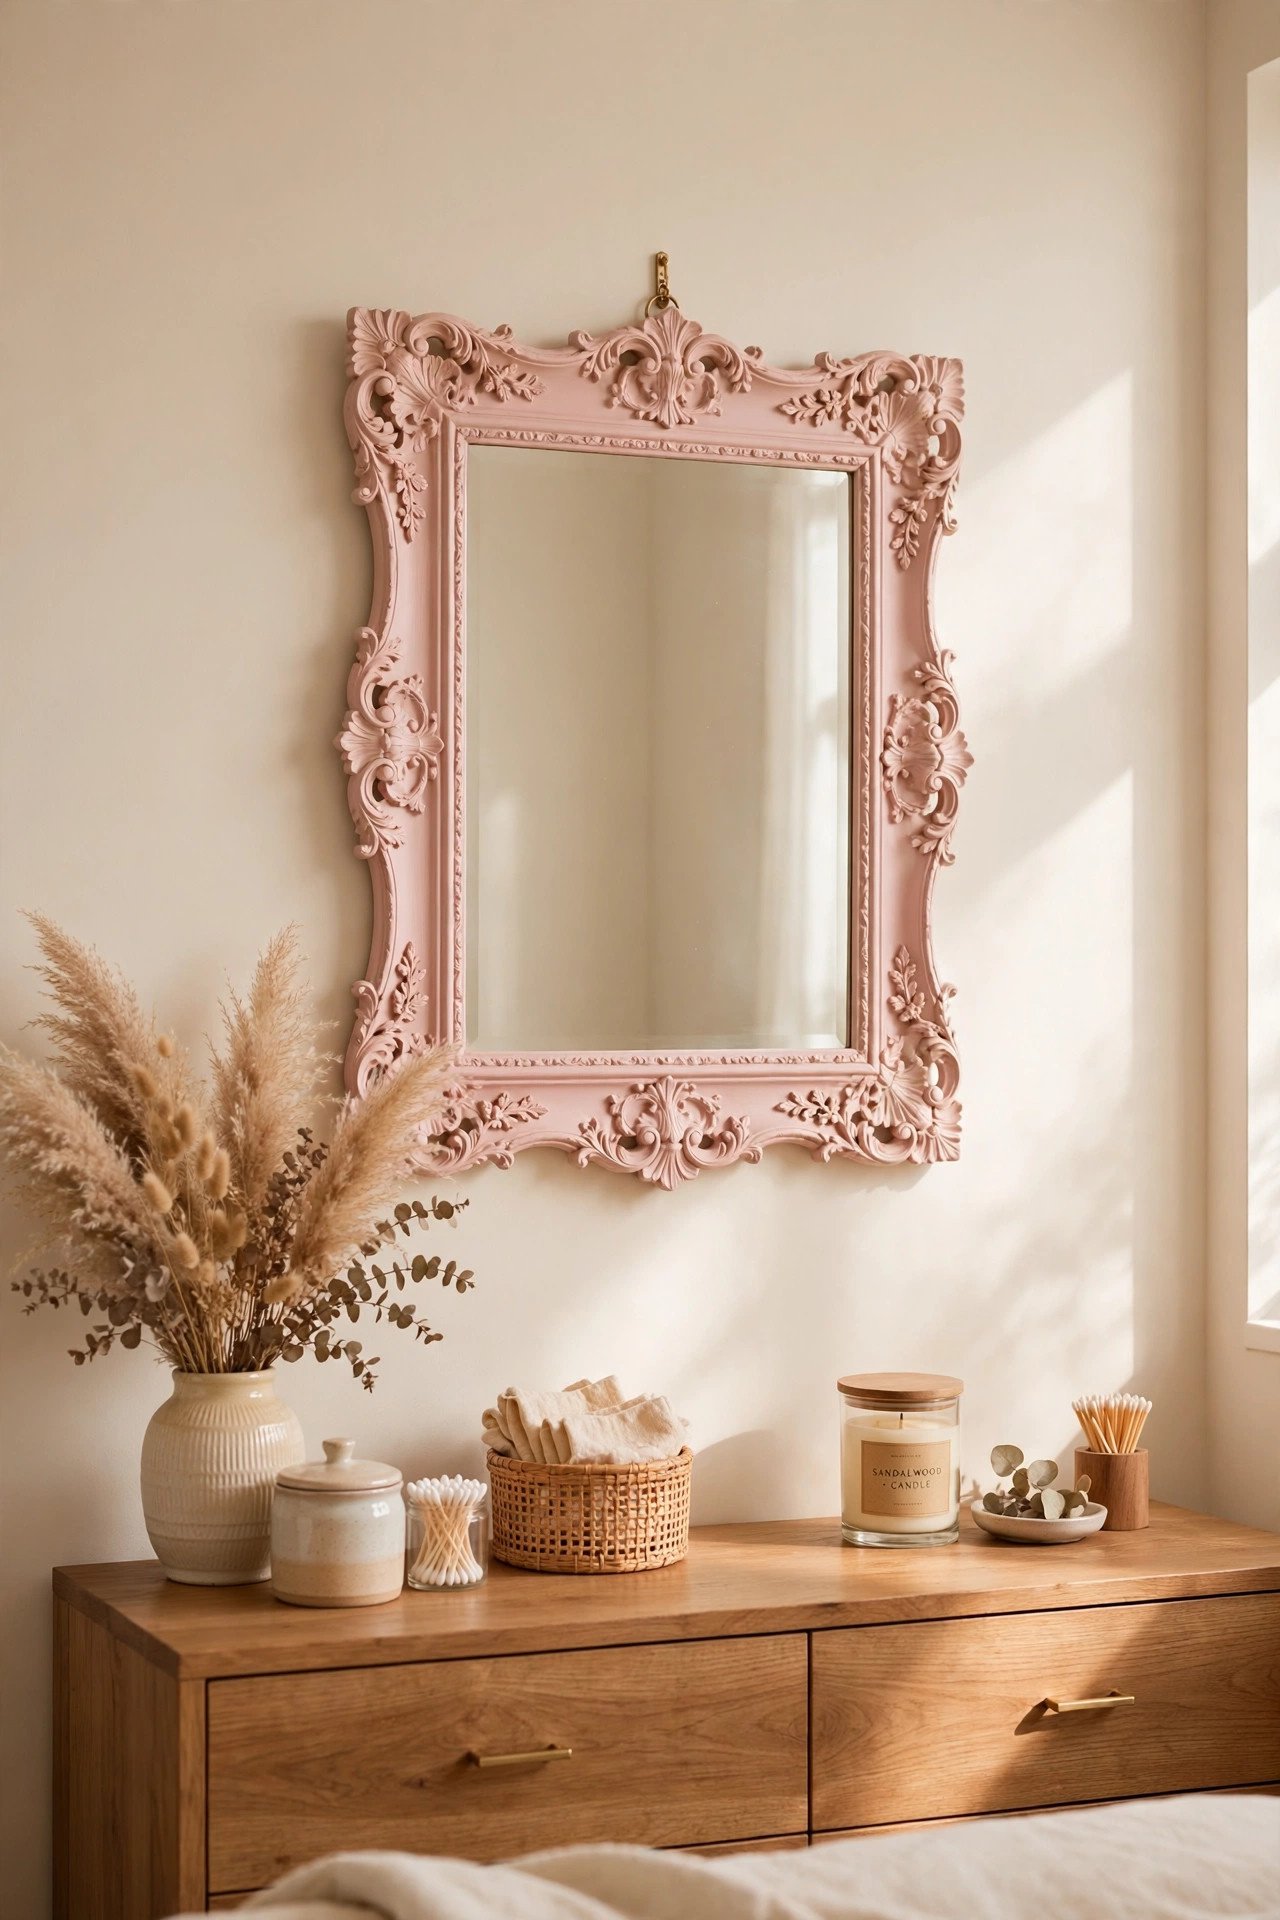
14. Paint a Mirror Frame to Match Your Room
An ornate thrifted mirror frame takes paint like it was made for it. Blush pink, gold, or matte black all elevate carved details beautifully. The paint settles into every curve and makes the carving pop.
Protect the mirror glass with tape before you start. Two thin coats beat one thick coat on detailed frames. A painted frame ties an old mirror into your current color story.
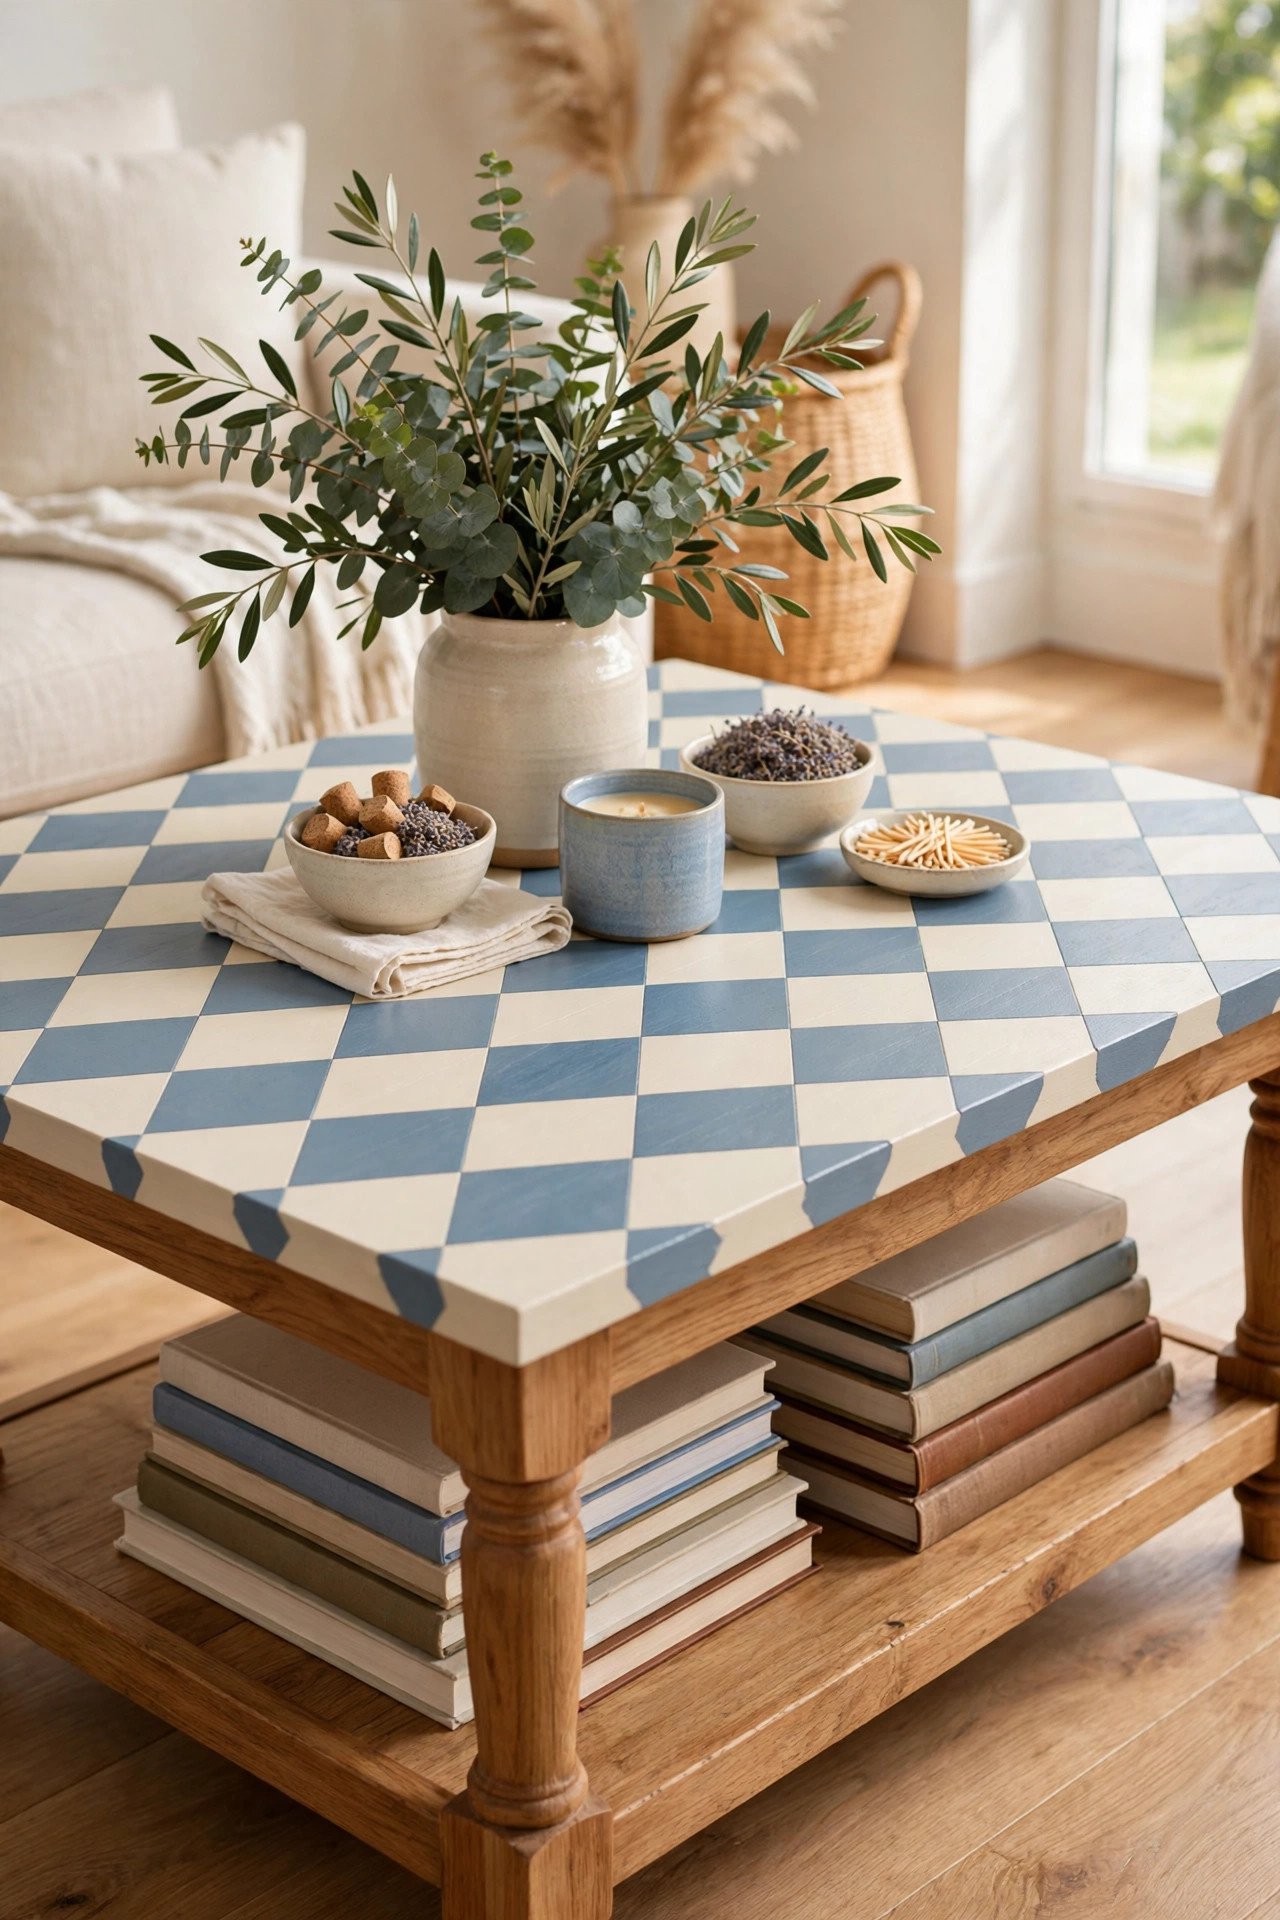
15. Try a Harlequin Pattern on a Coffee Table
A harlequin diamond pattern turns a plain coffee table top into a graphic statement. Tape the diamond grid carefully and fill alternate diamonds with two leftover colors. Cream and soft blue keep it elegant.
Measure twice before taping since diamonds punish sloppy lines. Seal the finished top well because coffee tables work hard. A patterned table becomes the conversation piece of the living room.
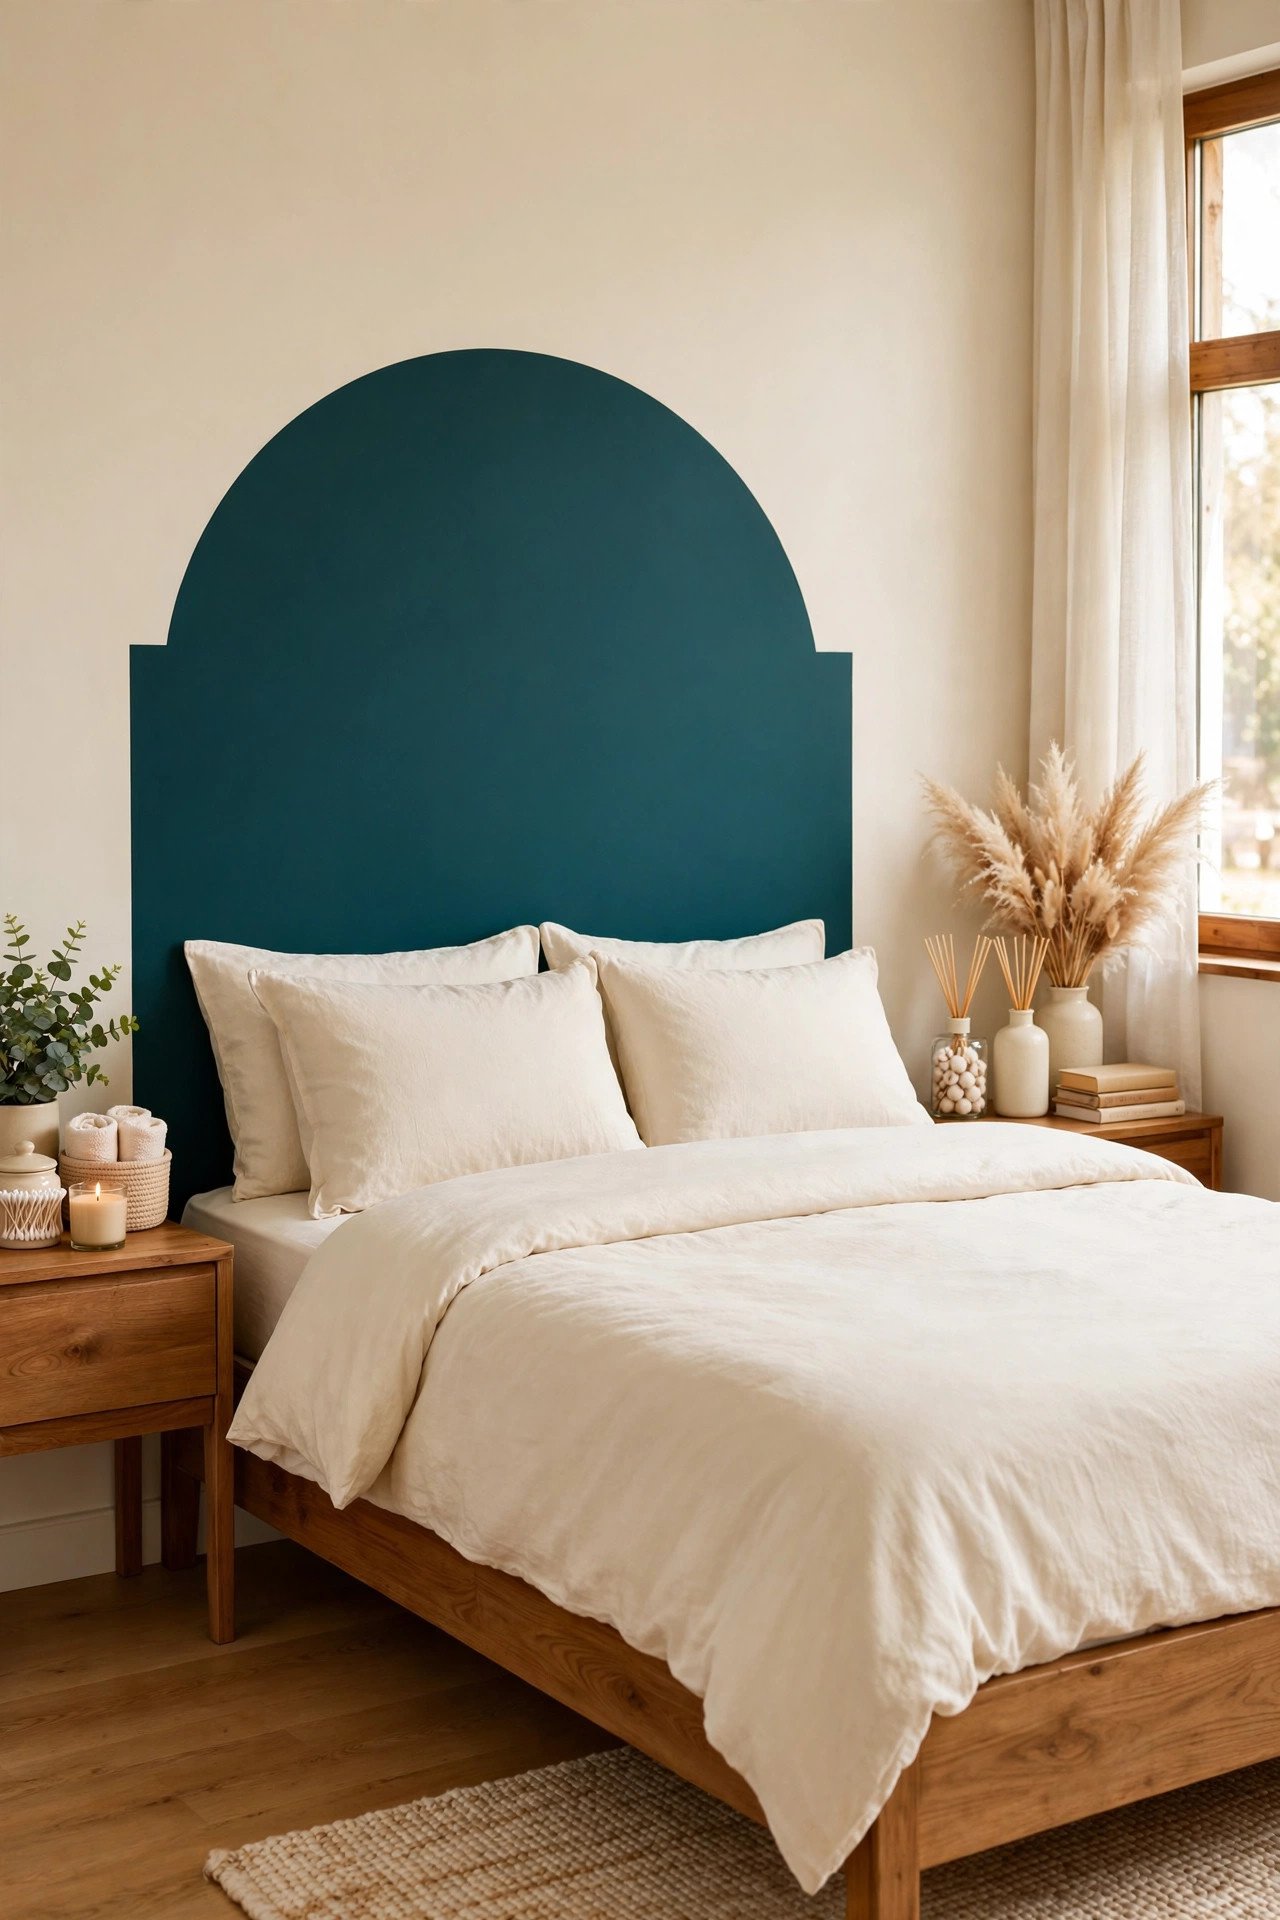
16. Paint a Headboard Directly on the Wall
No headboard is no problem when you have leftover paint. Paint a headboard shape directly on the wall behind your bed in a rich color like deep teal. An arched or rectangular shape frames the bed beautifully.
Sketch the shape lightly in pencil first and step back to check the proportions. This trick saves hundreds compared to buying a real headboard. Painted headboards look intentional and modern.
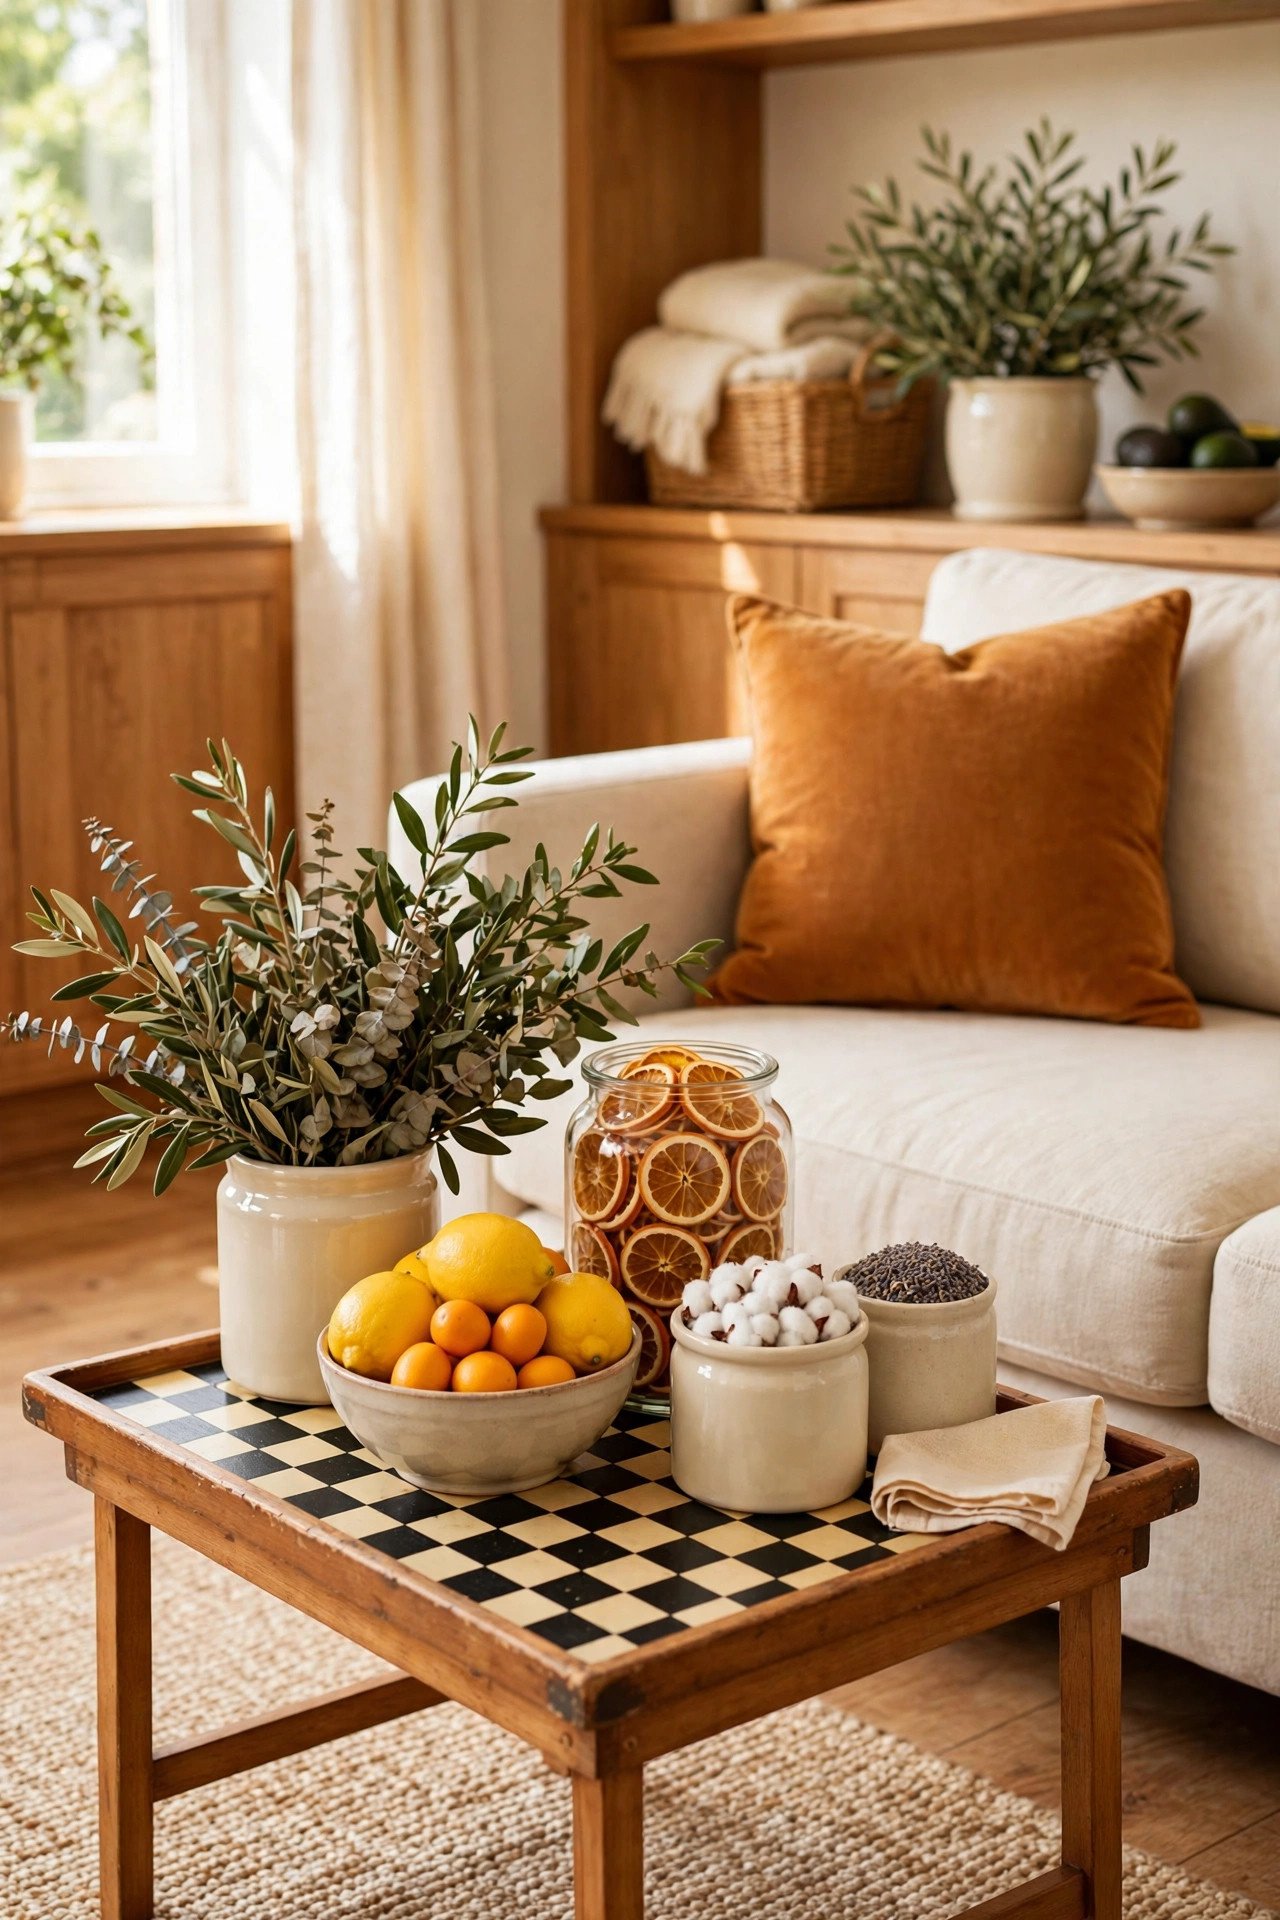
17. Checkerboard a Small Tray Table
A checkerboard top makes the humblest tray table look designer. Tape perfect squares and alternate black and cream paint. The classic pattern suits everything from modern to farmhouse rooms.
Keep the squares small on a tiny table so the pattern reads clearly. A clear topcoat protects the design from mugs and books. Checkerboard is timeless, bold, and surprisingly easy.
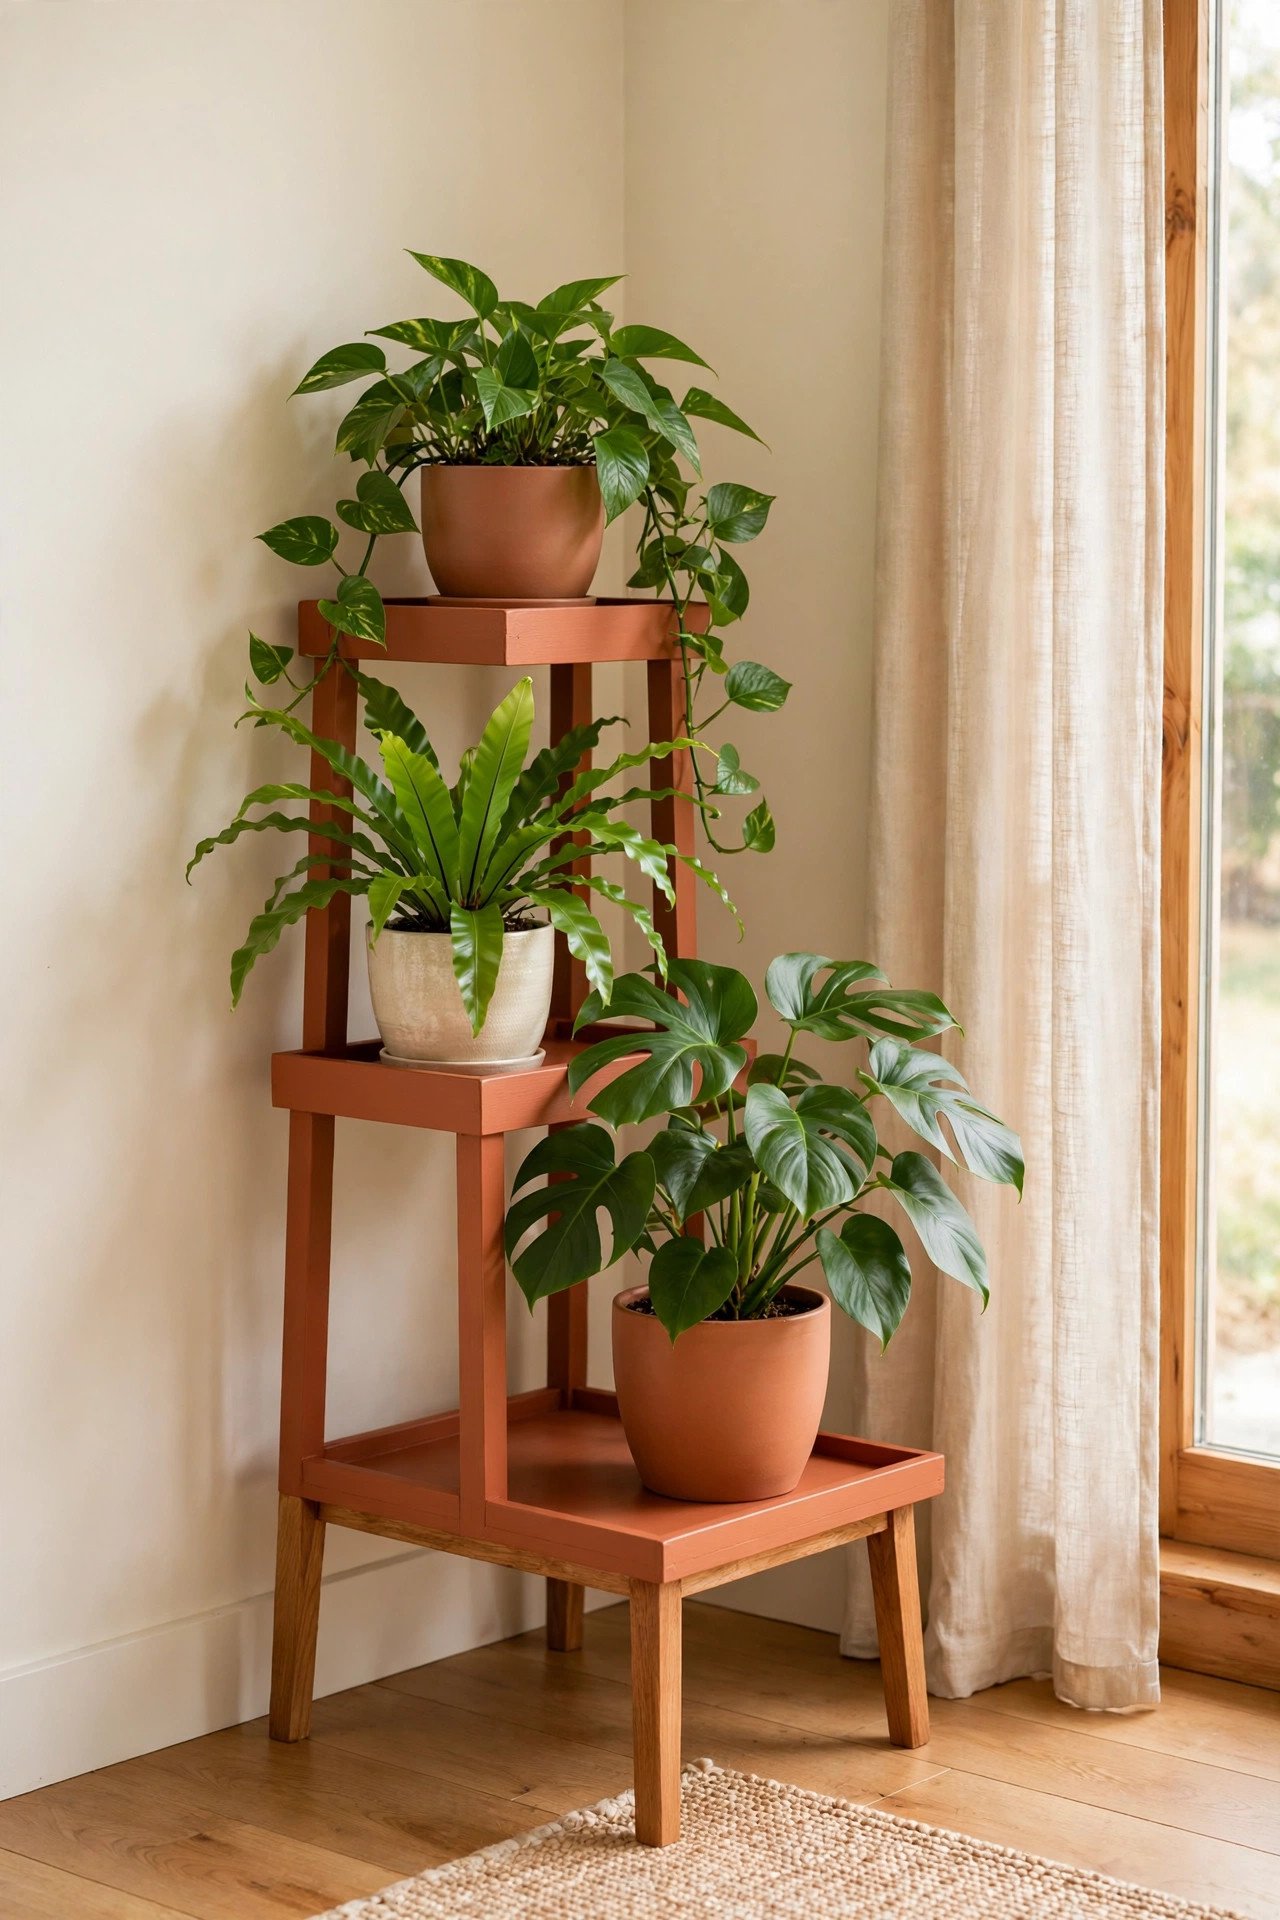
18. Refresh a Plant Stand With Fresh Color
A wooden plant stand deserves better than bare wood. Paint it terracotta, sage, or mustard and your plants instantly look more styled. The small size means one project takes under an hour.
Take inspiration from sustainable decorating and rescue old stands instead of buying new. A colorful stand turns a plant corner into a designed moment. Small paint, big difference.
Conclusion
These 18 ideas prove that the paint cans in your garage are a furniture store in disguise. Leftover paint costs nothing extra and transforms the pieces you already own. A brush, a free afternoon, and a little courage are the whole supply list.
Start with the smallest piece you have and see how addictive it feels. You will be eyeing every tired table in the house by the weekend. Happy painting, friend.
Frequently Asked Questions About DIY Furniture Makeover Ideas
What kind of leftover paint works for furniture?
Wall paint, chalk paint, and even craft acrylics all work on furniture with the right prep. Clean and lightly sand the piece first, then apply thin coats. Finish with a clear sealer or wax, especially on pieces that get daily use like tables and chairs.
Do I need to sand furniture before painting?
A light scuff sanding helps paint grip on glossy or varnished surfaces. For chalk paint and matte finishes, you can often skip heavy sanding and just clean well. Always sand slick laminate or previously oiled wood, since paint peels off those surfaces easily.
How do you paint furniture without brush marks?
Use a high quality brush or a small foam roller and apply thin coats. Brush in one direction with the grain, and do not overwork the paint once it starts to dry. Lightly sand between coats with fine sandpaper for the smoothest finish.
Can you mix leftover paints together?
Yes, as long as they are the same type, such as all latex or all chalk paint. Mix thoroughly and test the color on cardboard first, since wet paint dries darker. Never mix oil and water based paints, and avoid mixing very old separated paint.
How do you seal painted furniture?
Use clear wax for chalk painted pieces and water based polyurethane for high traffic items. Apply two thin coats rather than one thick coat. Let the sealer cure for several days before heavy use so the finish hardens fully.

Hi, I’m Emily! I turn messy corners into cozy, organized spots. DreamNestDecor is where I share simple, practical home ideas — decor, organization, and small-space solutions that work in real life, not just in photos. Every idea here is carefully researched before it’s shared.