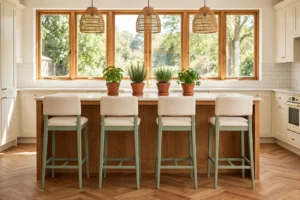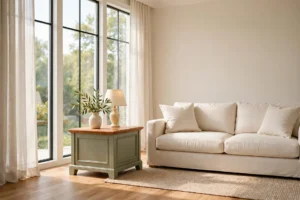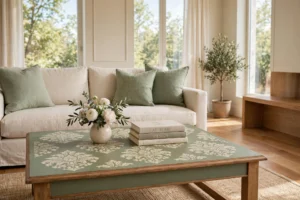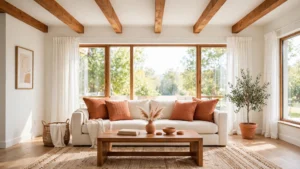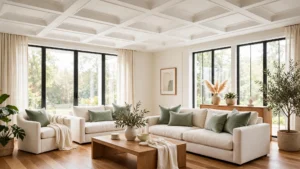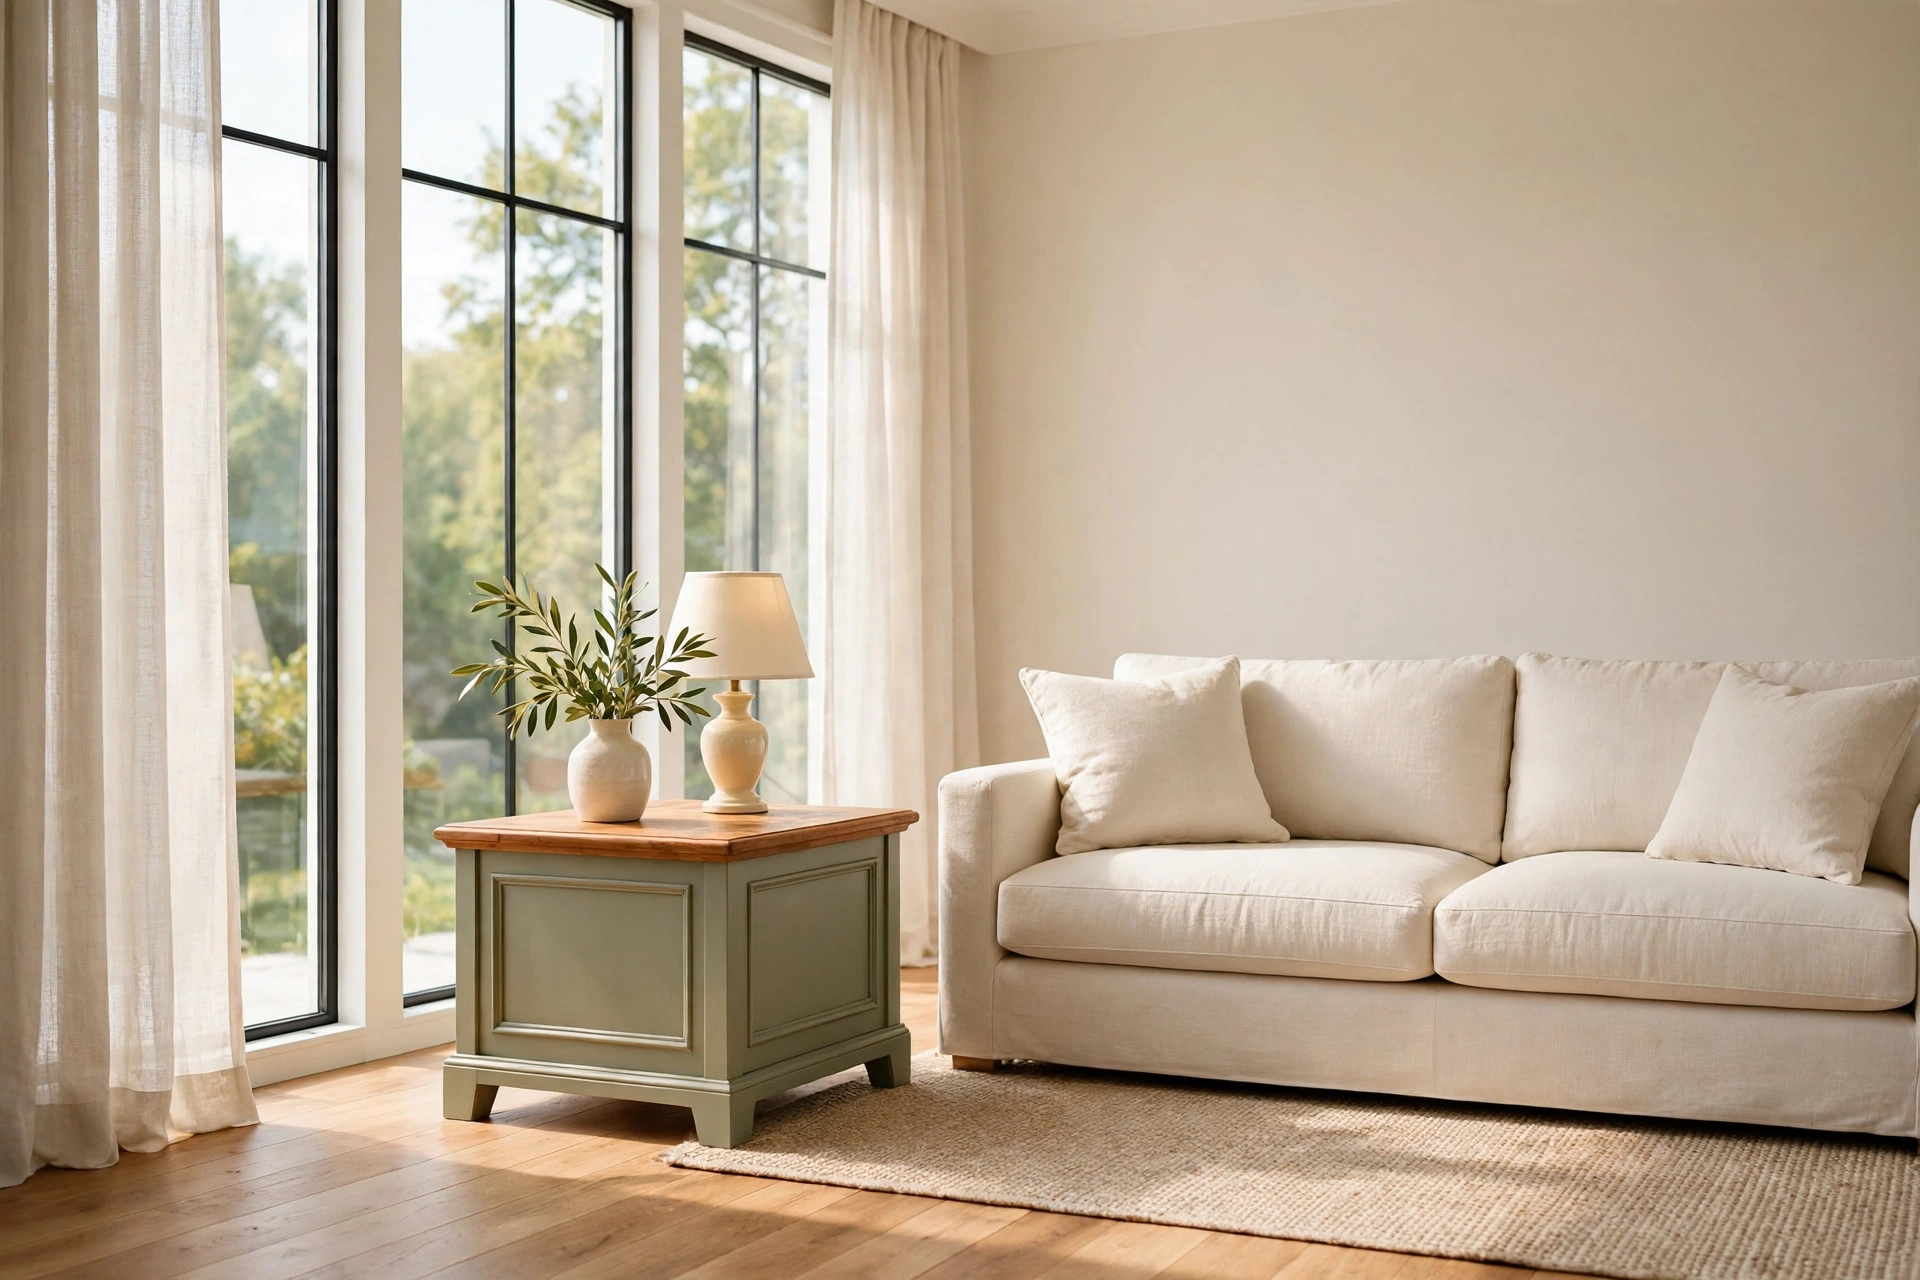
Picture this: you walk into your living room and the small table beside your sofa finally looks like it belongs there. It is not new and it did not cost much. It is the same old side table you almost gave away, now fresh, steady, and styled with a lamp and a book. That little transformation can change the whole feeling of the room.
An old side table is one of the easiest pieces of furniture to rescue. It is small enough to finish in a weekend and forgiving enough for a first project. These 21 diy side table makeover ideas will show you how to turn a tired end table into a piece you love, with paint, stain, new legs, fresh hardware, and a few clever finishes.
1. Give It a Soft Sage Chalk Paint Refresh
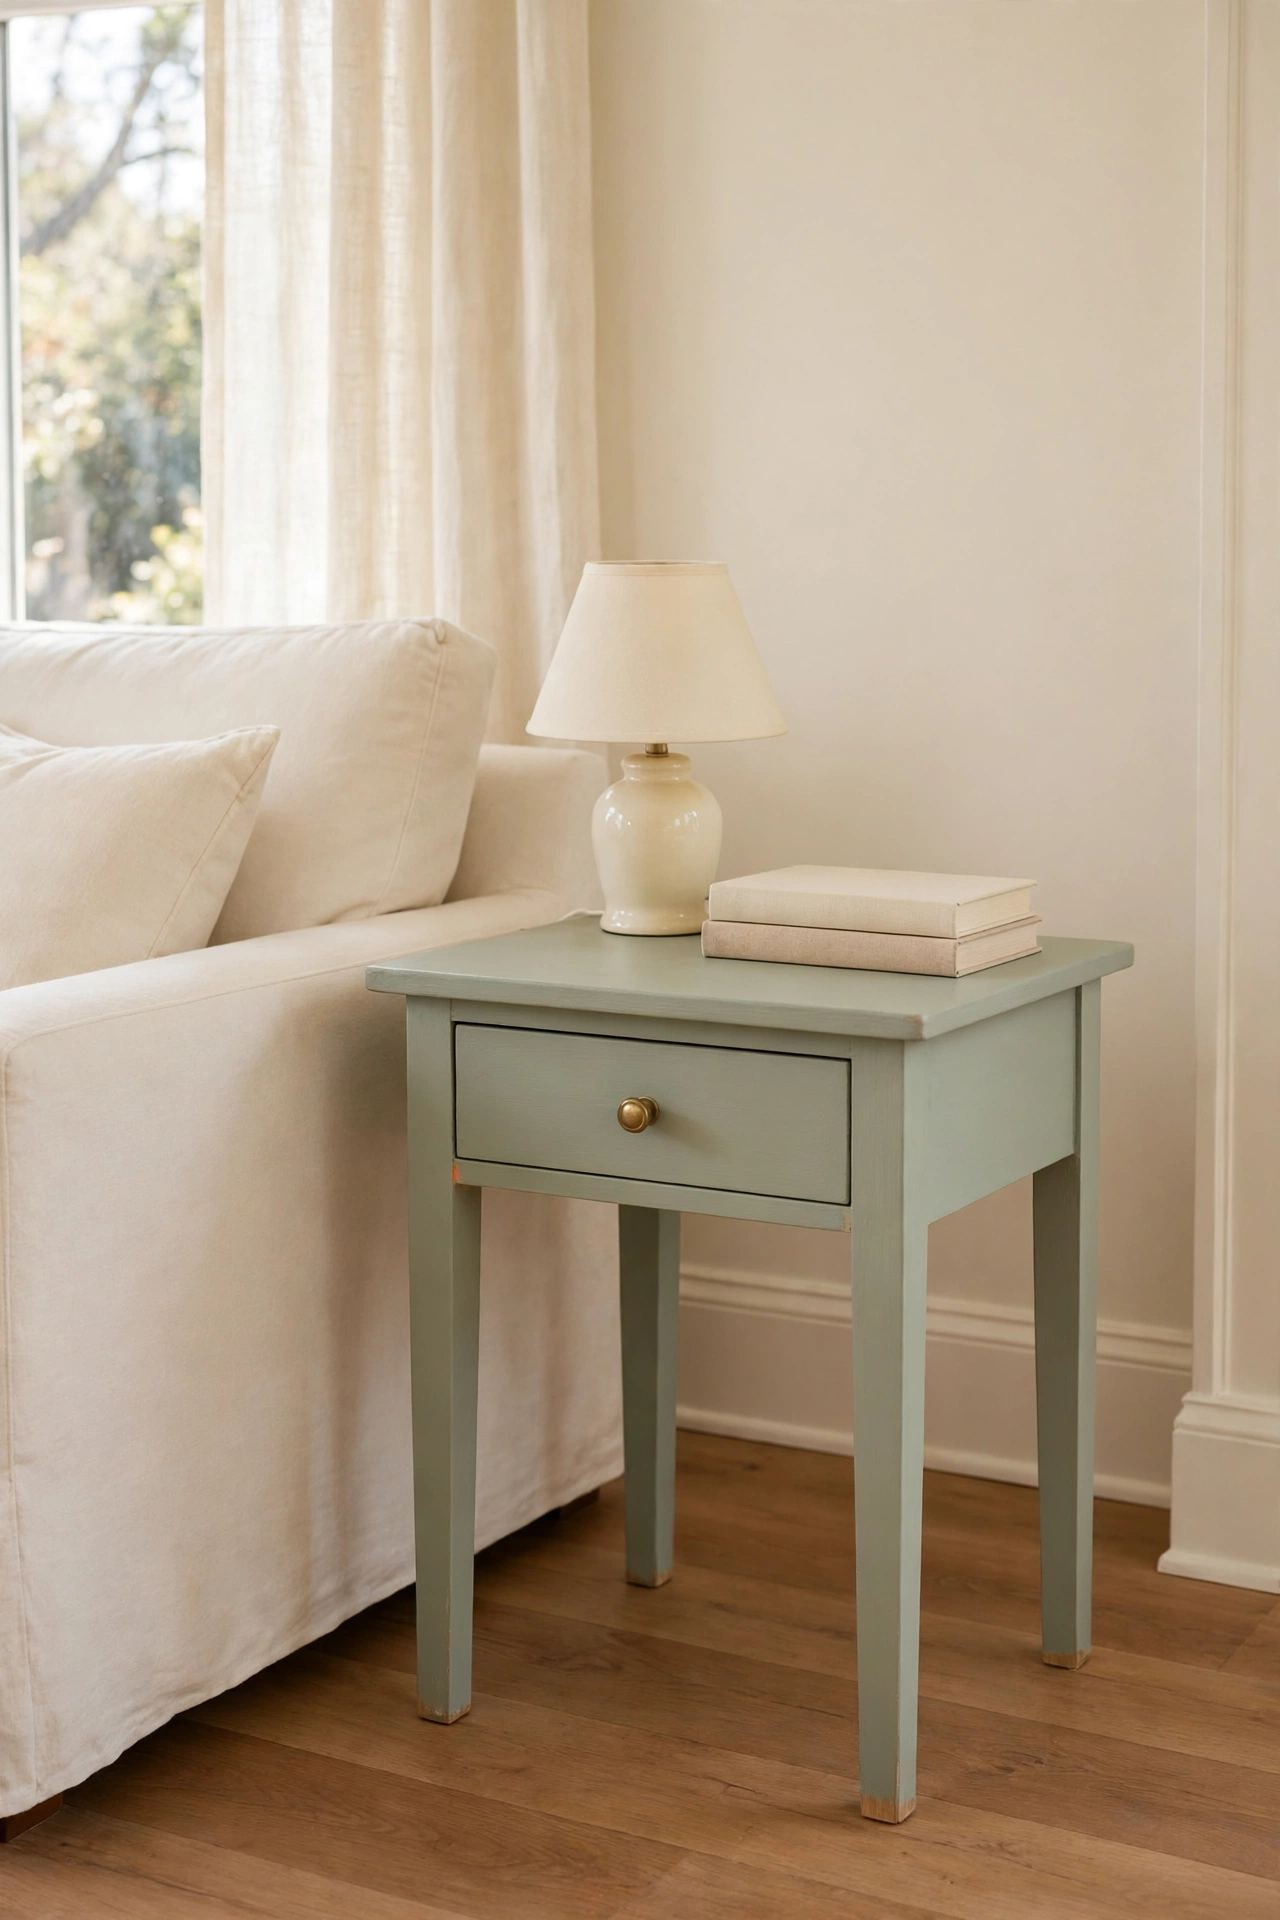
Chalk paint is a kind and forgiving finish for a first makeover. It sticks well to old varnish with very little sanding, and the soft matte surface hides small scratches and dents. A soft sage green gives a dated side table a calm, modern cottage look that suits almost any living room.
Clean the table well, apply two thin coats, and seal it with clear wax or a matte topcoat so the finish survives daily use. Style the finished table beside your sofa with a cream lamp and a small stack of books. If you love this soft painted look, these painted furniture ideas will give you more colors and finishes to try on other pieces in your home.
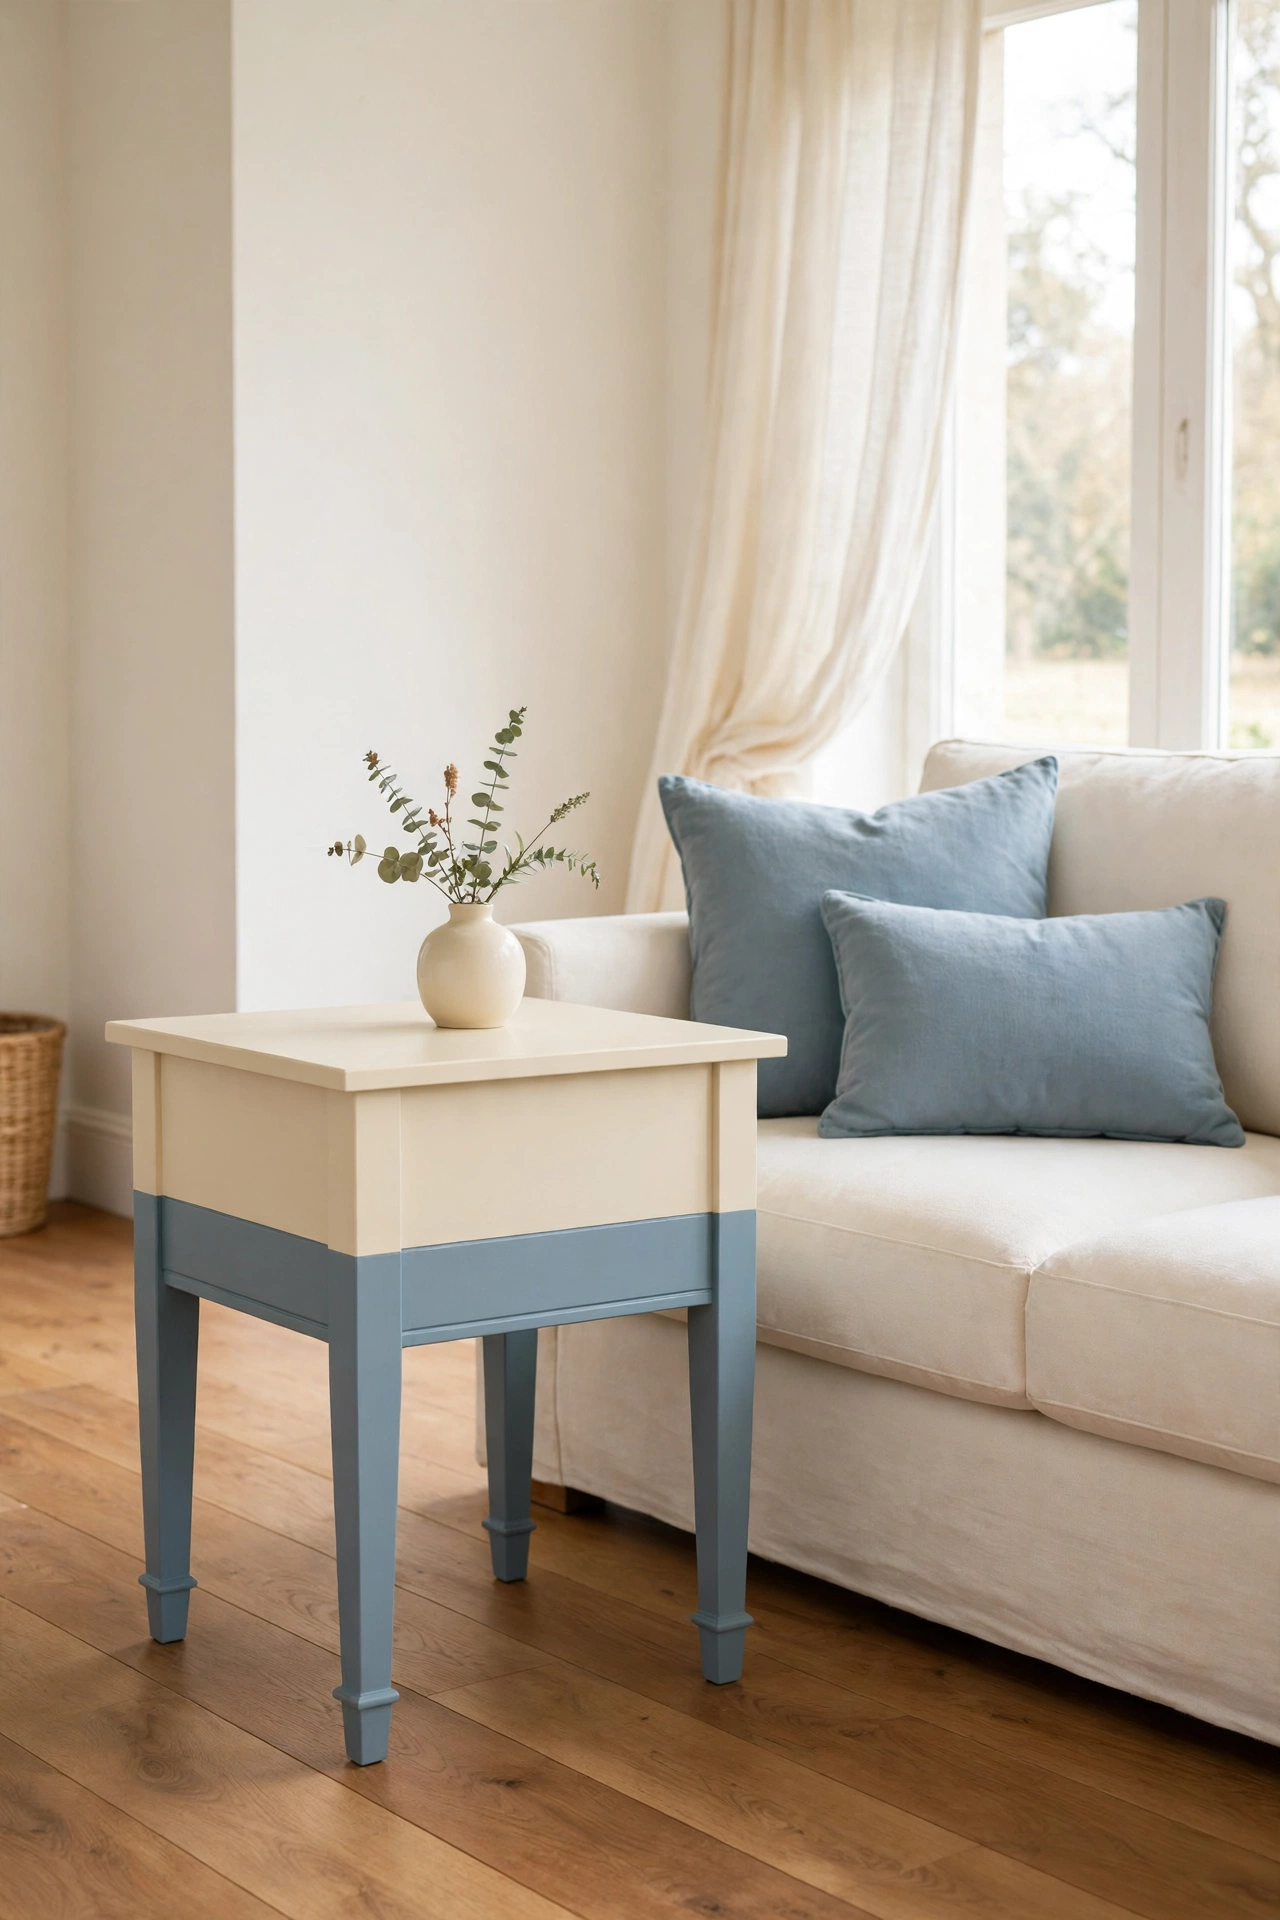
2. Paint the Top Cream and the Base a Soft Blue
A two tone finish makes a plain side table look custom and deliberate. Paint the tabletop a warm cream and the legs and apron a soft dusty blue, and the contrast gives the little table a clear sense of design. The cream top also stays light and bright, so the table feels airy even in a small seating area.
Use painter tape along the edge where the two colors meet so the line stays crisp and clean. Let each color dry fully before you tape over it, and finish with a clear protective coat on the top. This is a lovely choice when your sofa cushions already carry a hint of blue, because the table will tie the whole corner together.
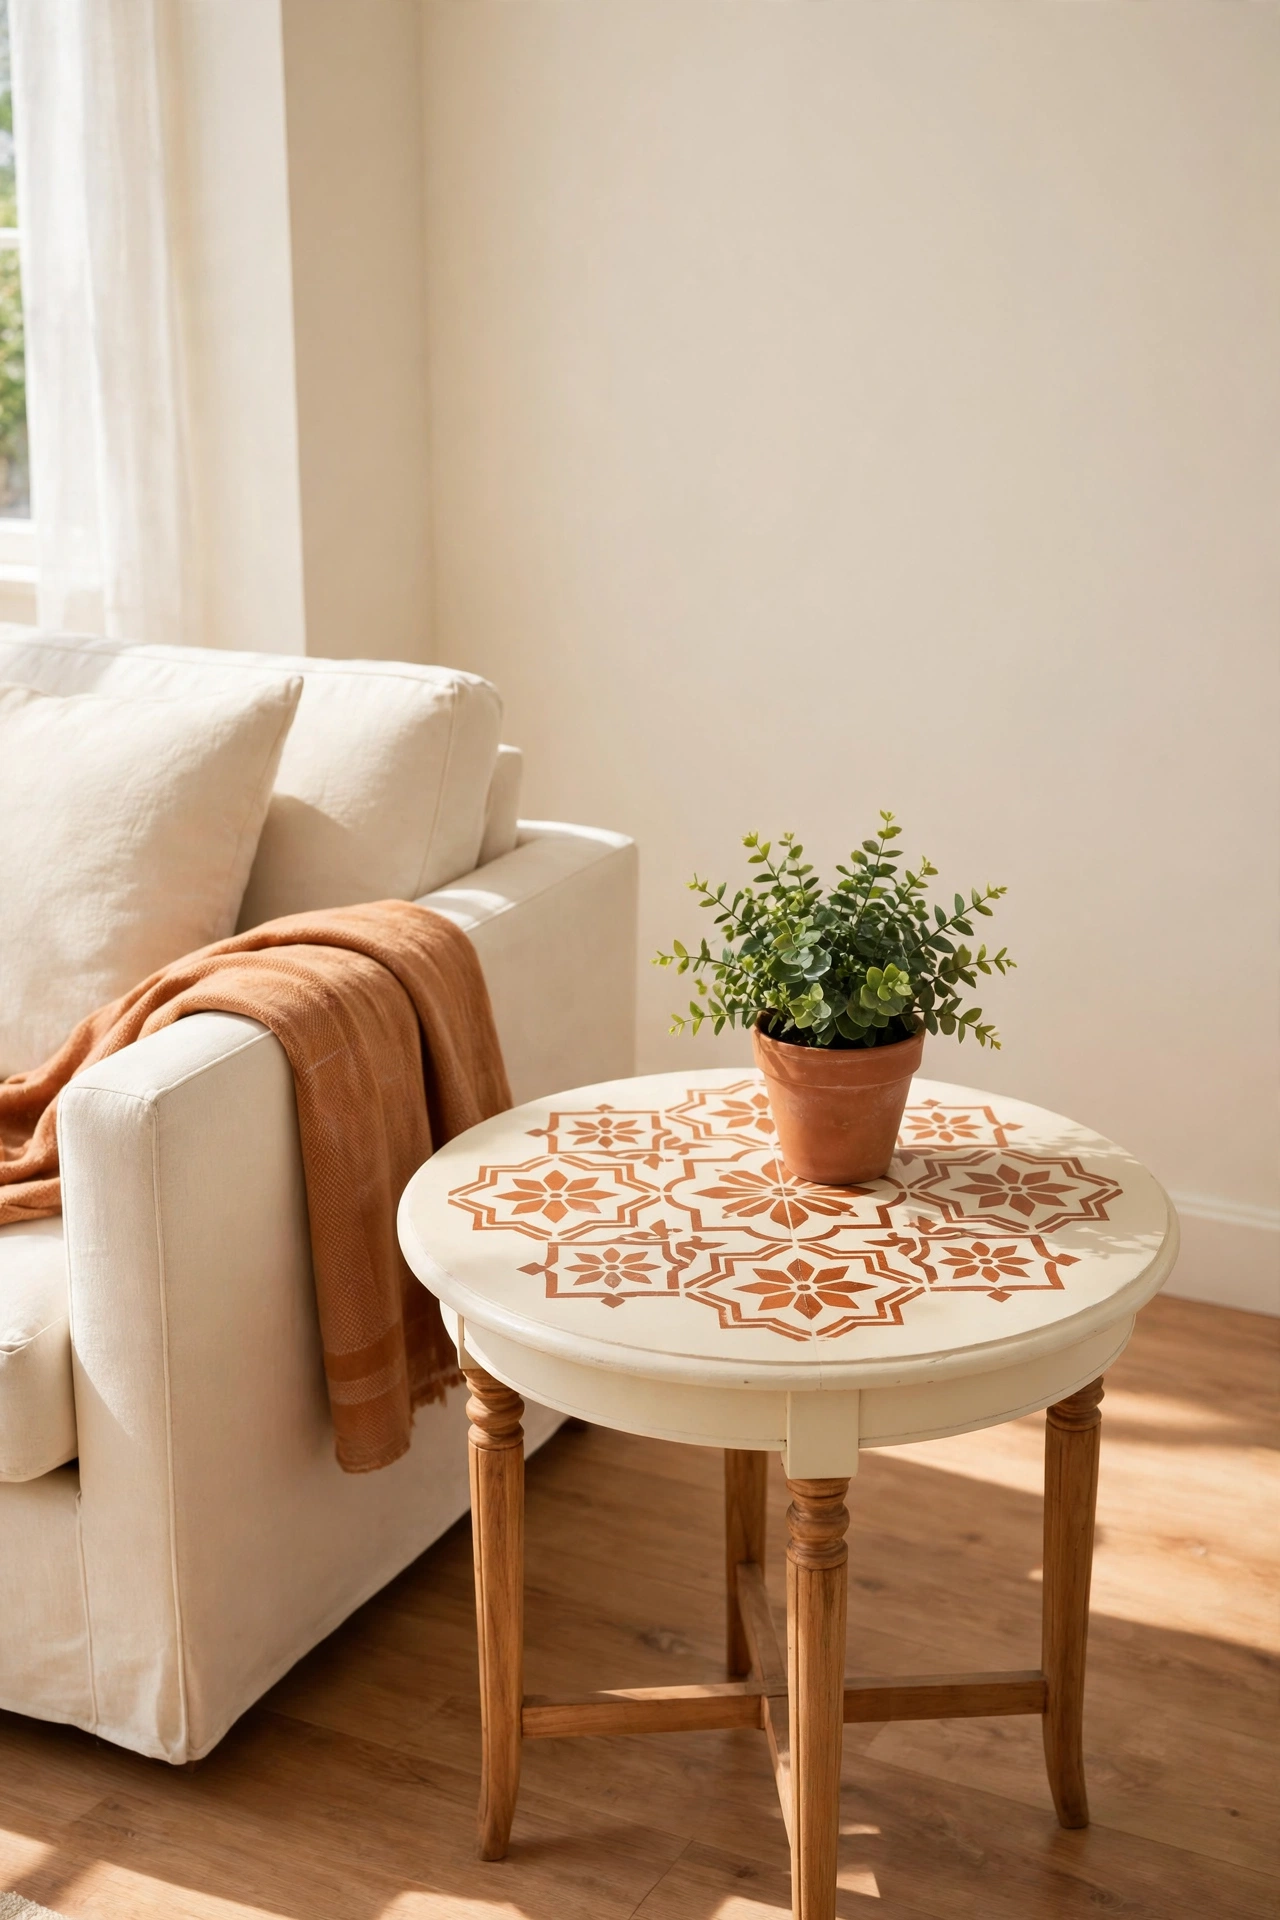
3. Stencil a Terracotta Pattern on the Tabletop
A stencil turns a plain round or square tabletop into a piece of art. Choose a simple tile or star pattern and stencil it in warm terracotta over a cream painted top. The pattern adds interest without the cost of new tile or a new table, and it looks wonderful in a cozy living room.
Hold the stencil flat with a little tape and use almost no paint on the brush so the edges stay sharp. Work from the center outward and let each section dry before you move the stencil. Seal the finished top with several thin coats of clear sealer, because a tabletop gets more wear than any other part of the table.
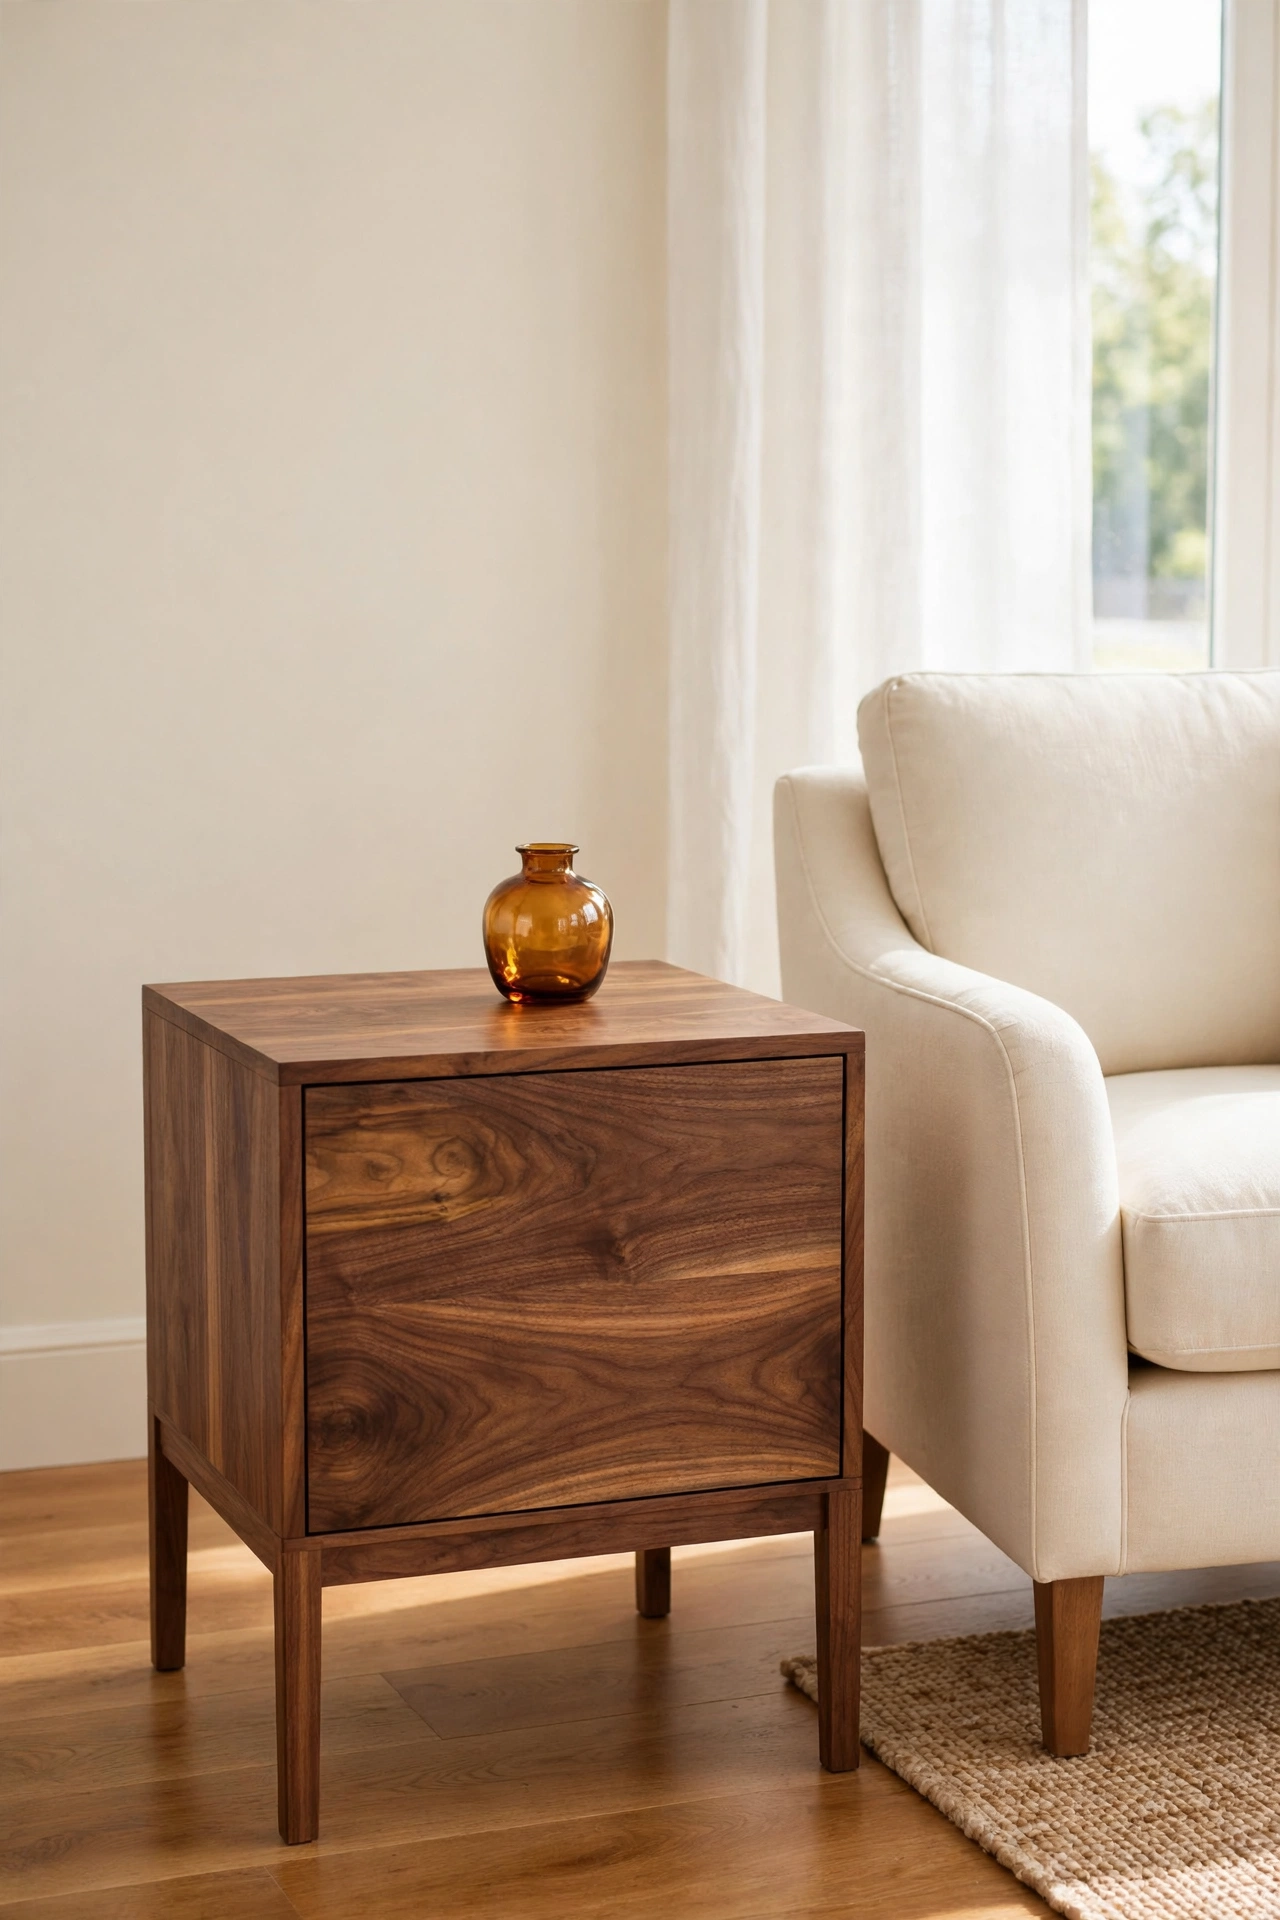
4. Strip It Back and Apply a Rich Wood Stain
Some old side tables hide beautiful wood under layers of dark varnish. If the grain looks promising, sand the top back to bare wood and apply a rich walnut or honey stain. The warm grain becomes the star of the piece, and the table gains a quality look that paint alone cannot give.
Work through the sandpaper grits from coarse to fine, wipe away every trace of dust, and apply the stain with a clean cloth in the direction of the grain. Finish with three thin coats of clear polyurethane for a hard wearing top. For more staining guidance and project ideas, these DIY wood stain projects show how to test colors and get an even finish on old wood.
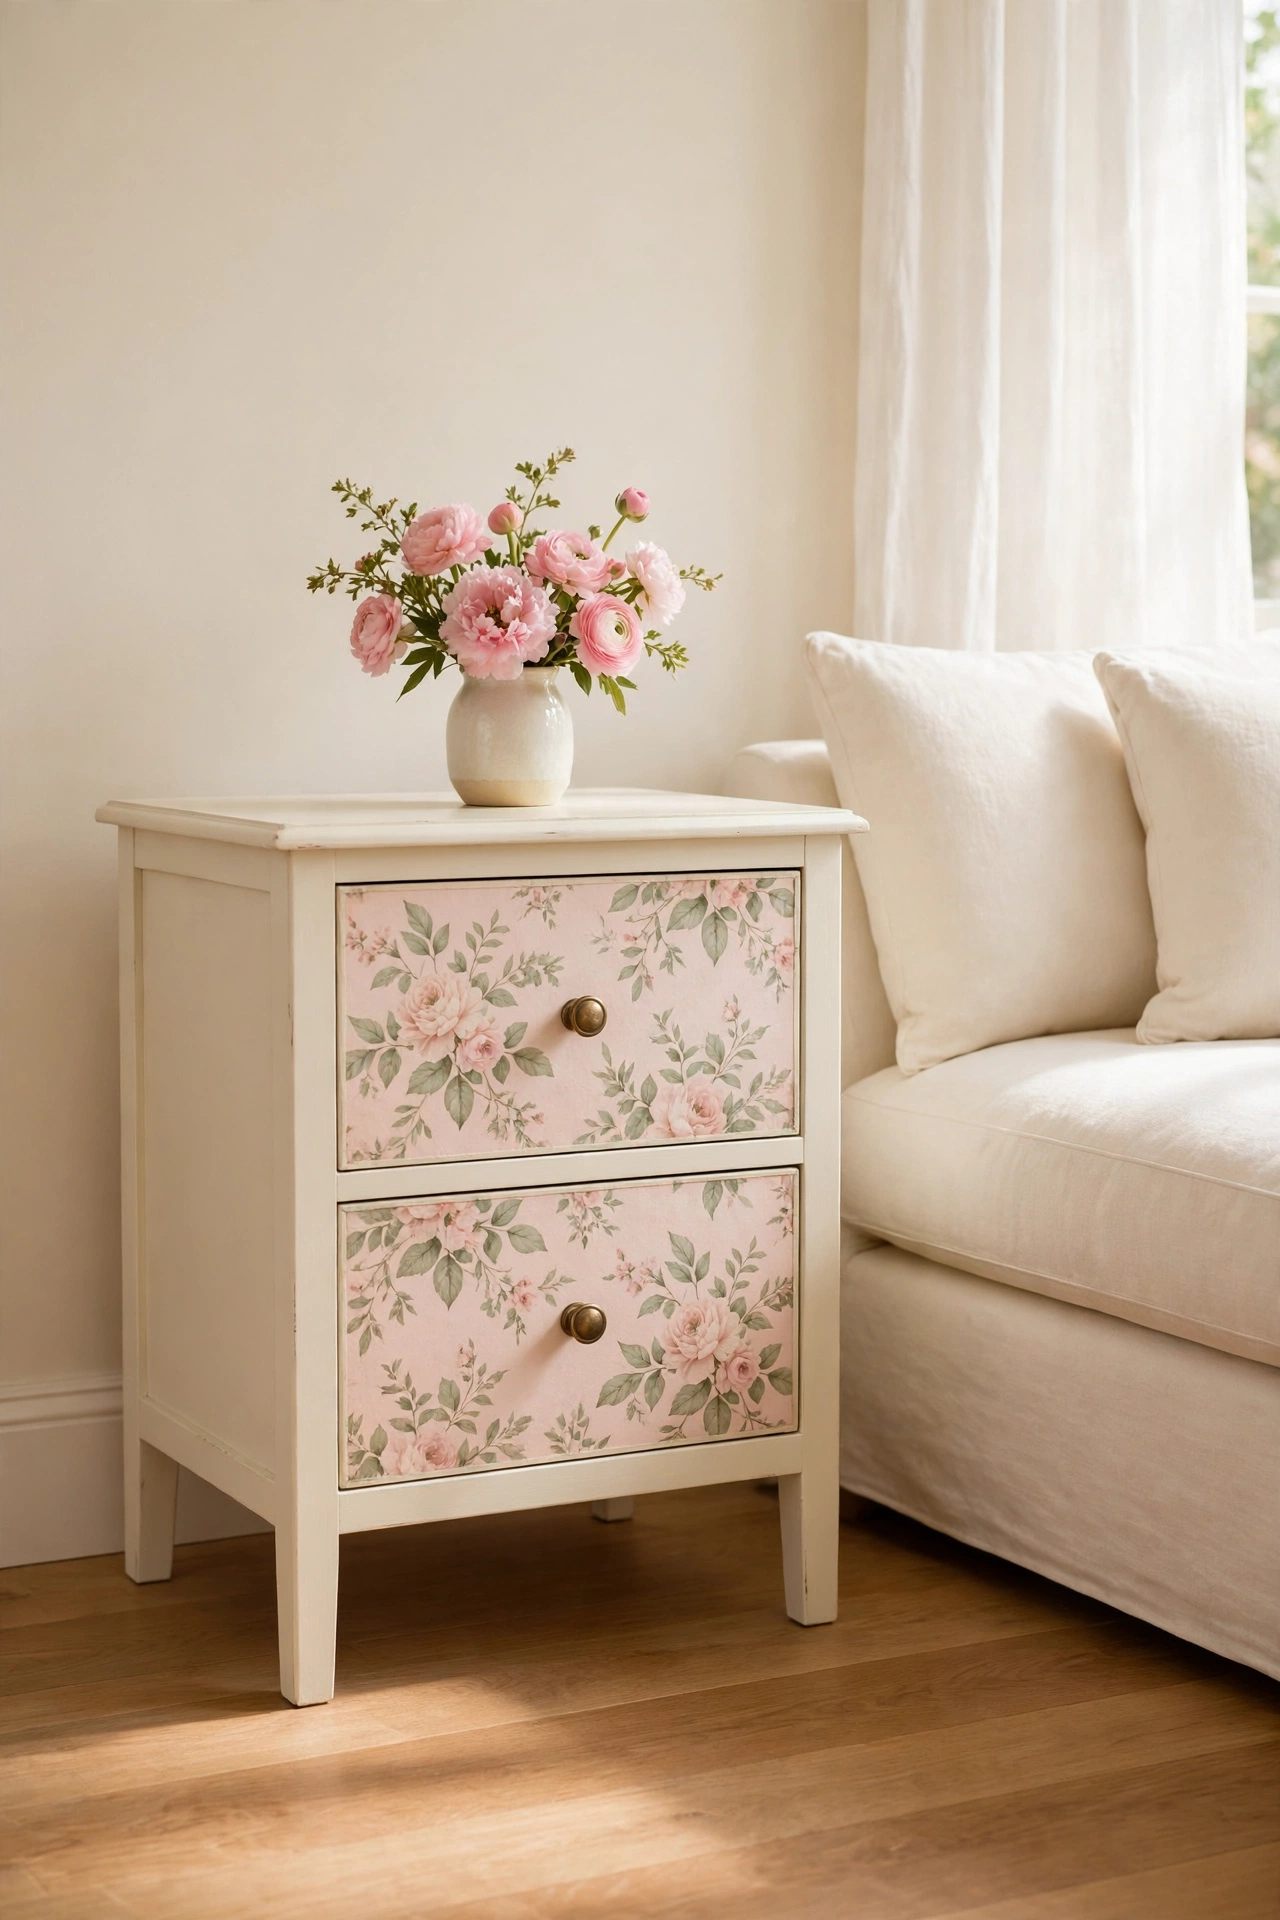
5. Cover the Drawer Fronts With Floral Decoupage
Decoupage is a simple way to dress up the drawer fronts or the top of a side table. Choose a floral paper in soft blush and sage tones, cut it to fit, and glue it down with decoupage medium. The paper turns a plain drawer into a decorative panel that looks like it was painted by hand.
Smooth out every air bubble with a flat tool and let the paper dry fully before you add two or three sealing coats over the top. Keep the rest of the table a quiet cream so the floral panel stays the focus. This method also works beautifully on the inside of a small shelf, where it gives a sweet surprise every time you open the drawer. For more paper craft projects, see these DIY decoupage decor ideas for other surfaces around the home.
6. Swap the Old Knobs for Warm Brass Hardware
New hardware is the fastest makeover of all. If your side table has a drawer or a small cabinet door, remove the tired old knob and fit a warm brass pull or a small round brass knob. The change takes only a few minutes, yet it makes the whole table feel new and intentional.
Measure the distance between screw holes before you shop, so the new hardware fits the old holes without extra drilling. Brass pairs beautifully with sage green, navy, cream, and warm wood finishes. If you want to refresh more than one piece, these DIY decorative hardware makeovers show how far a simple hardware swap can go.
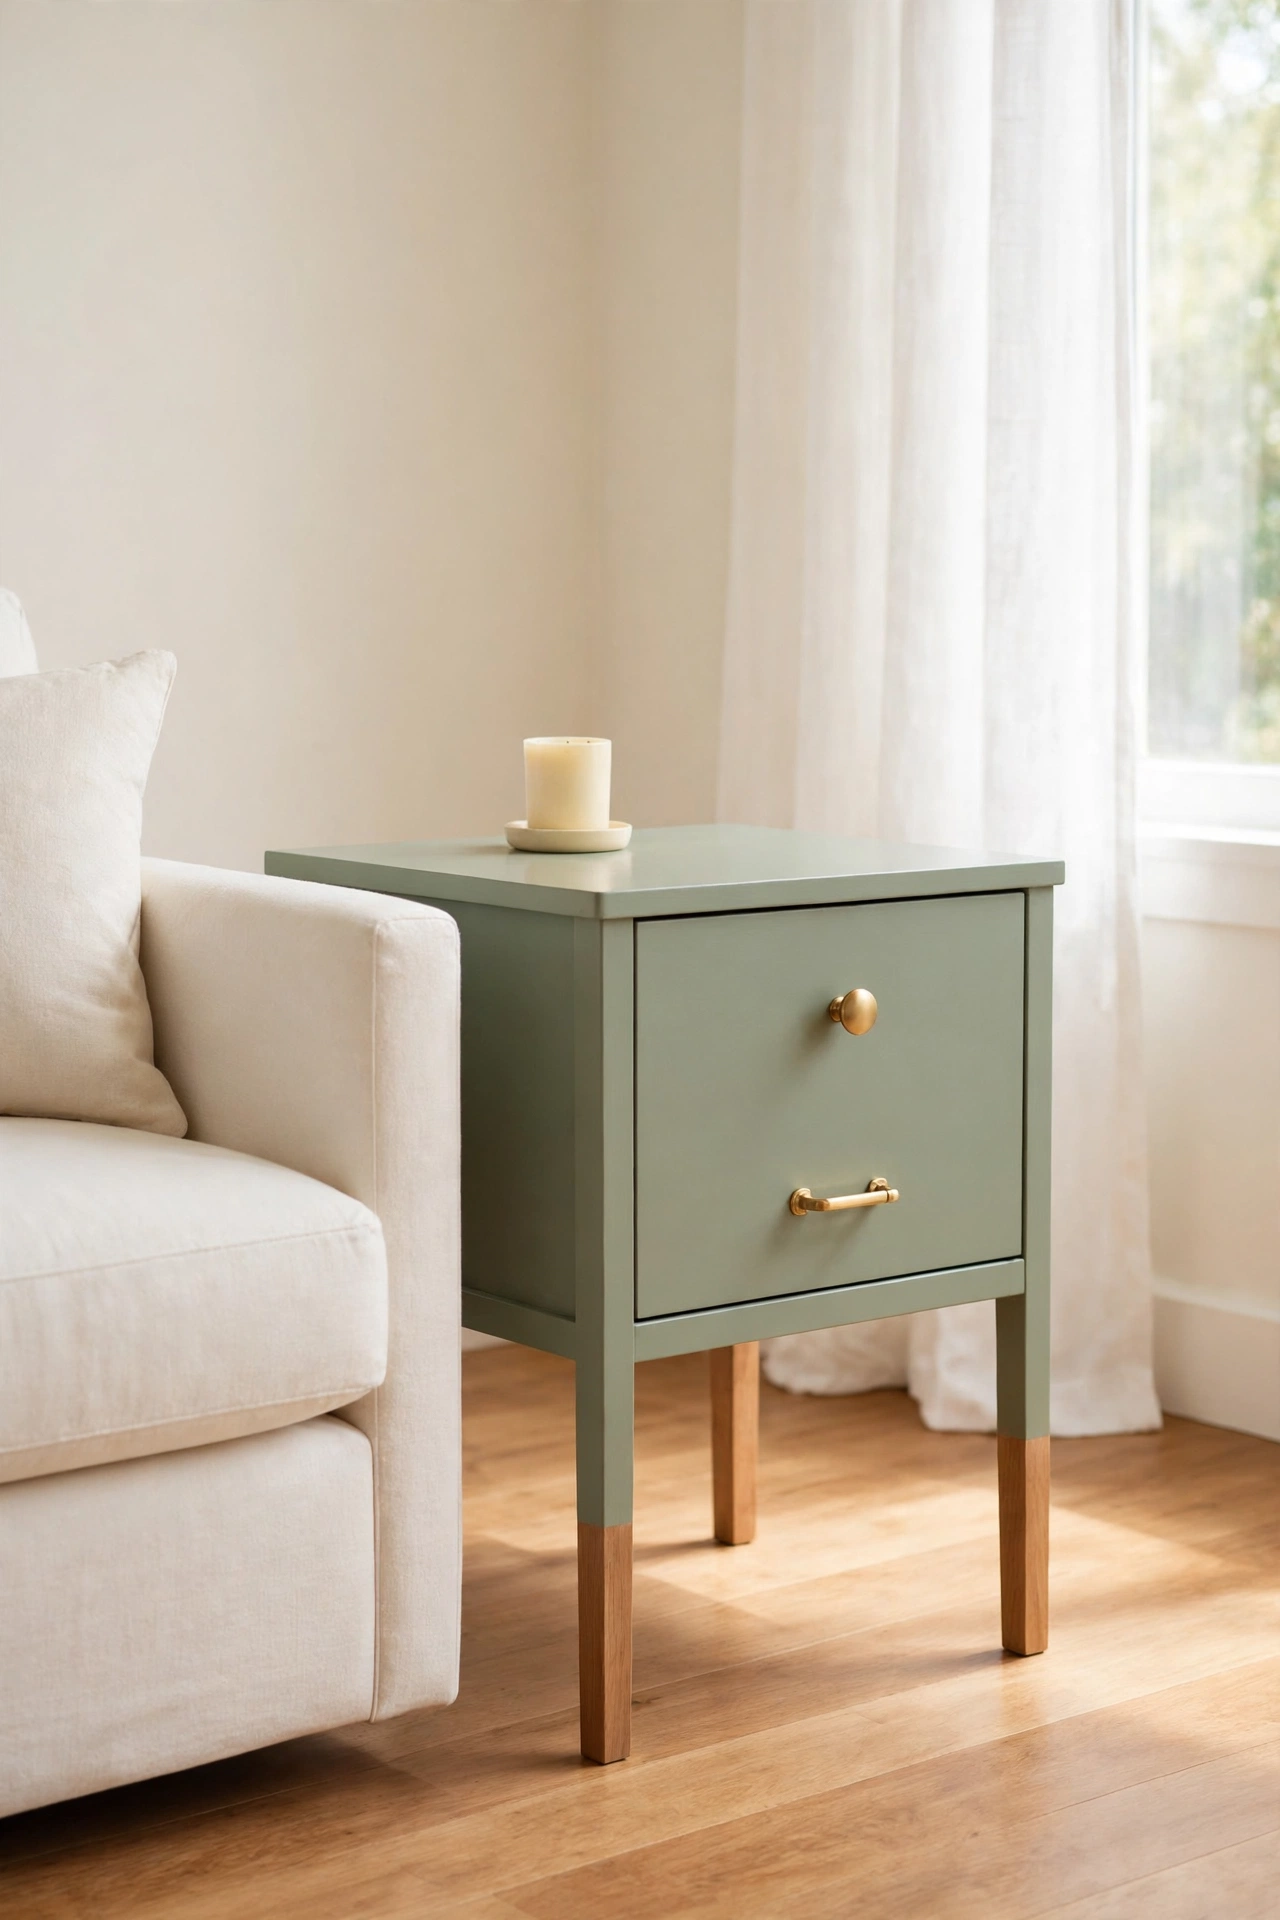
7. Fit Slim Hairpin Legs for a Modern Lift
Hairpin legs give an old side table a light and modern silhouette. Remove the old chunky legs, attach four slim black steel hairpin legs to the underside, and the table suddenly looks like a mid century design piece. The open space under the table also makes a small living room feel larger.
Choose legs that match the height you need beside your sofa arm, usually around the same height as the seat cushion. Attach a flat mounting plate to the underside of the table and screw the legs in firmly so the table stays steady. Pair the dark legs with a warm wood top for a balanced look that suits modern and Scandinavian rooms.
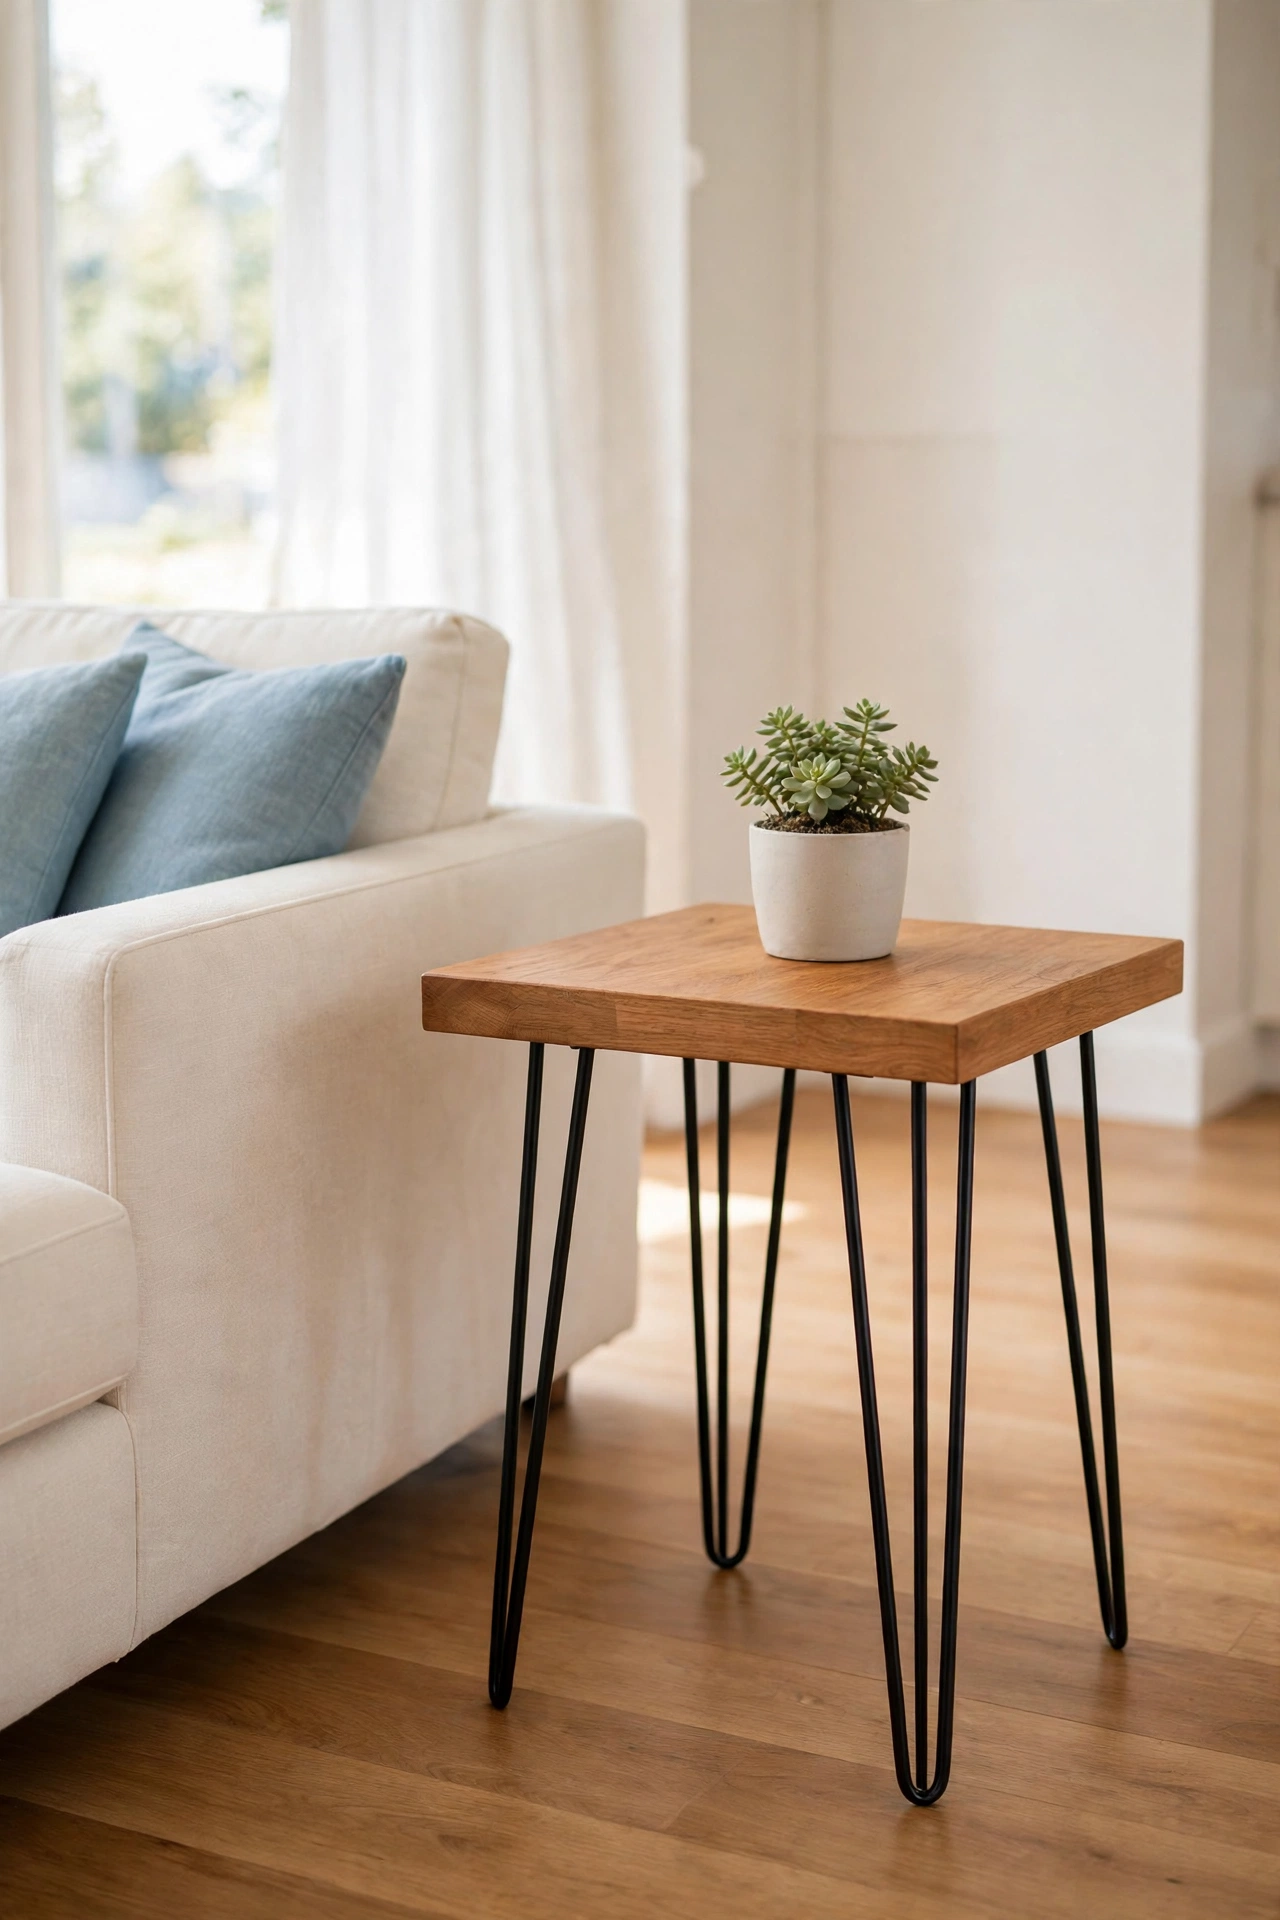
8. Wrap the Top in Marble Look Contact Paper
Marble look contact paper gives a scratched or stained tabletop a clean stone surface for very little money. Measure the top, cut the paper with a small overlap, and smooth it down slowly to avoid bubbles. The white marble pattern with soft gray veins looks fresh and elegant beside any sofa.
Trim the excess neatly around the edge with a craft knife and seal the edge with a thin line of clear glue so it does not lift with use. This is a smart choice for a table with a damaged top that you do not want to sand or paint. Style it with a small terracotta pot and a cream candle to keep the look warm rather than cold.
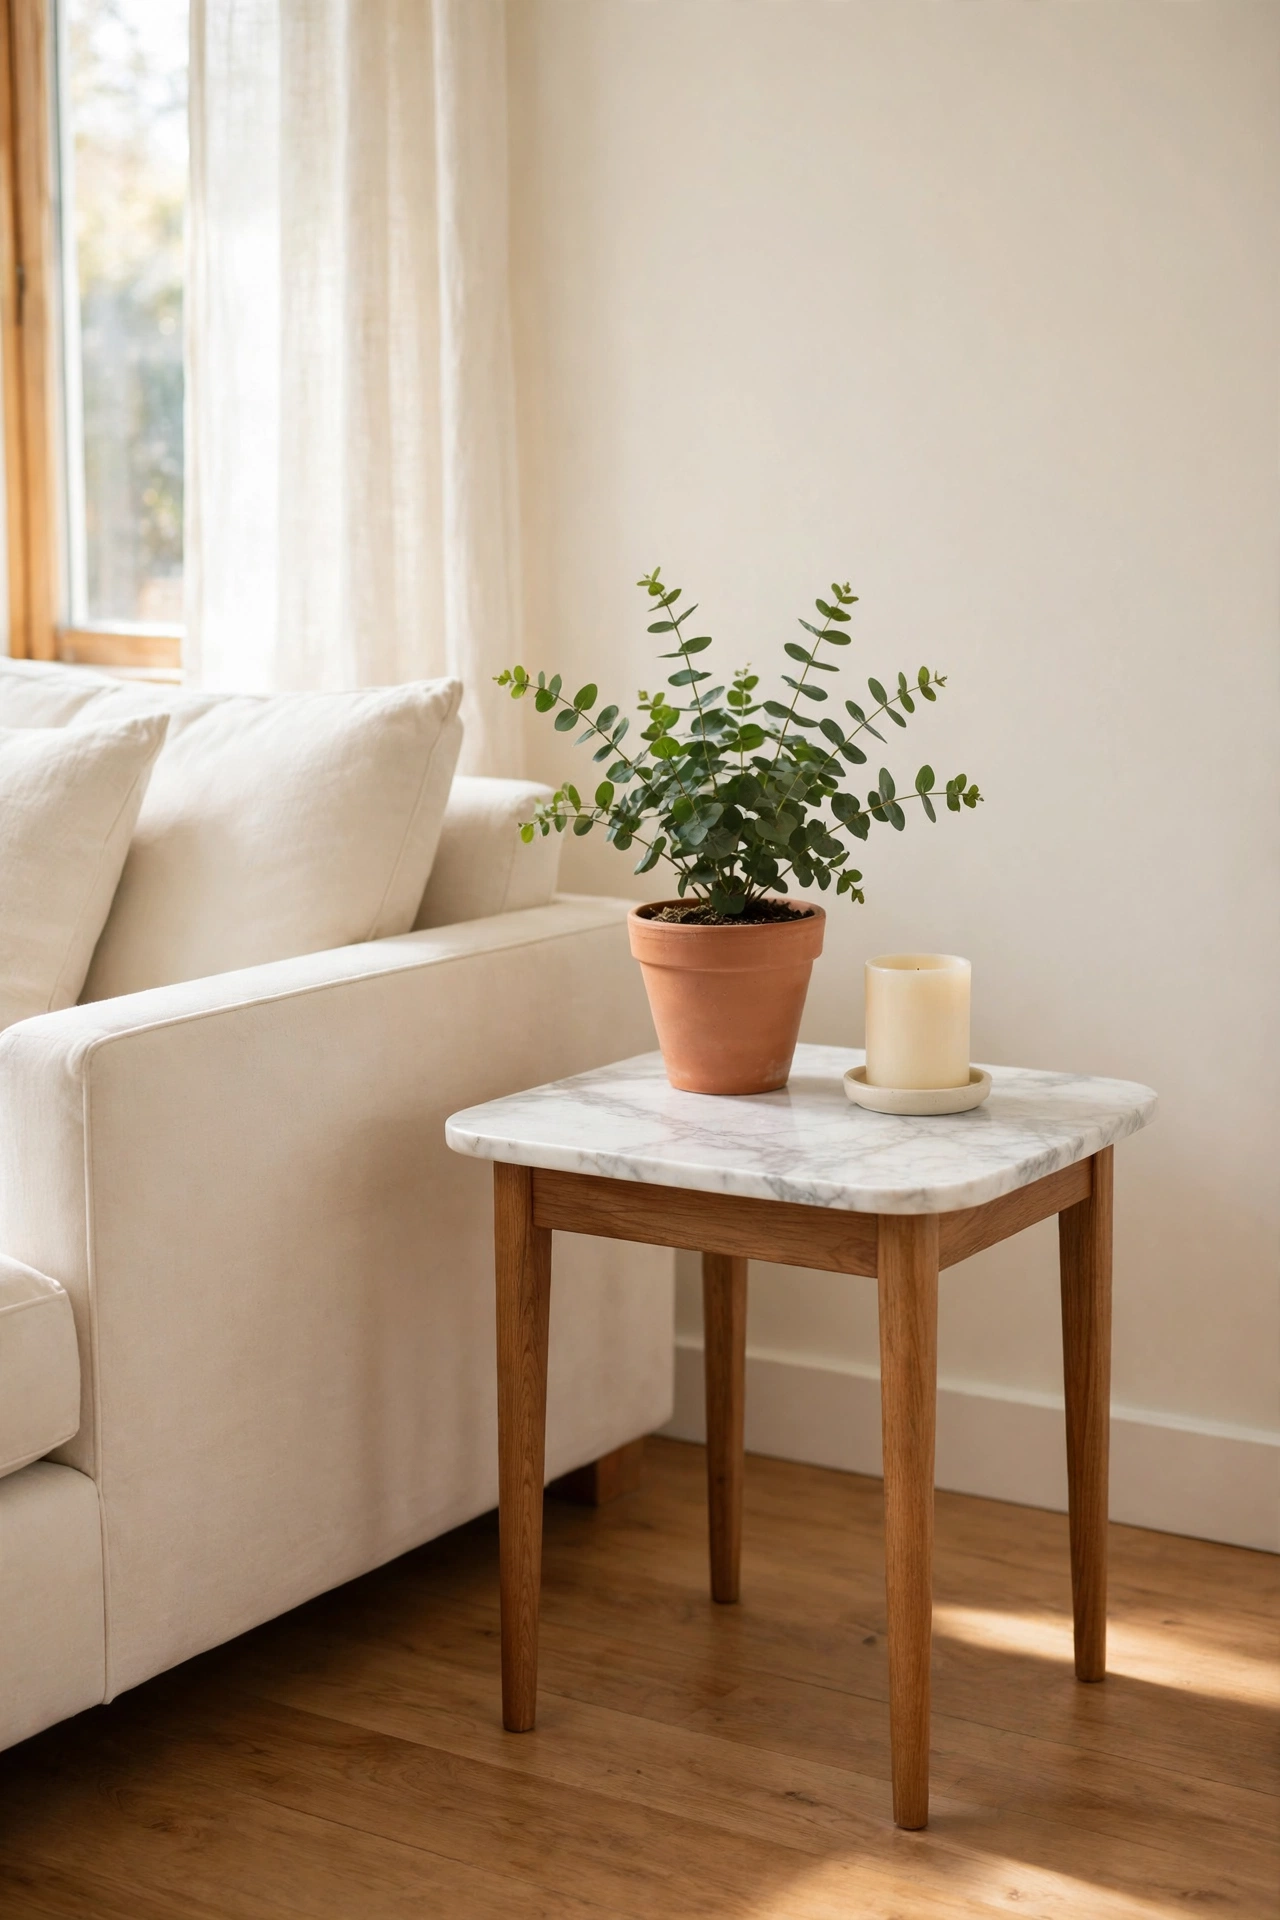
9. Add Gold Leaf Accents Along the Edges
Gold leaf adds a touch of glamour to an old side table without the cost of new materials. Apply adhesive size along the edges of the tabletop, the drawer trim, or the carved details, then press on thin gold leaf sheets and brush away the excess. The soft metallic glow catches the light beautifully in the evening.
Keep the base color calm, such as deep green, charcoal, or cream, so the gold stays elegant rather than loud. Seal the gold leaf with a clear topcoat to protect it from wear. A small amber glass vase on the finished table picks up the golden tones and completes the warm, polished look.
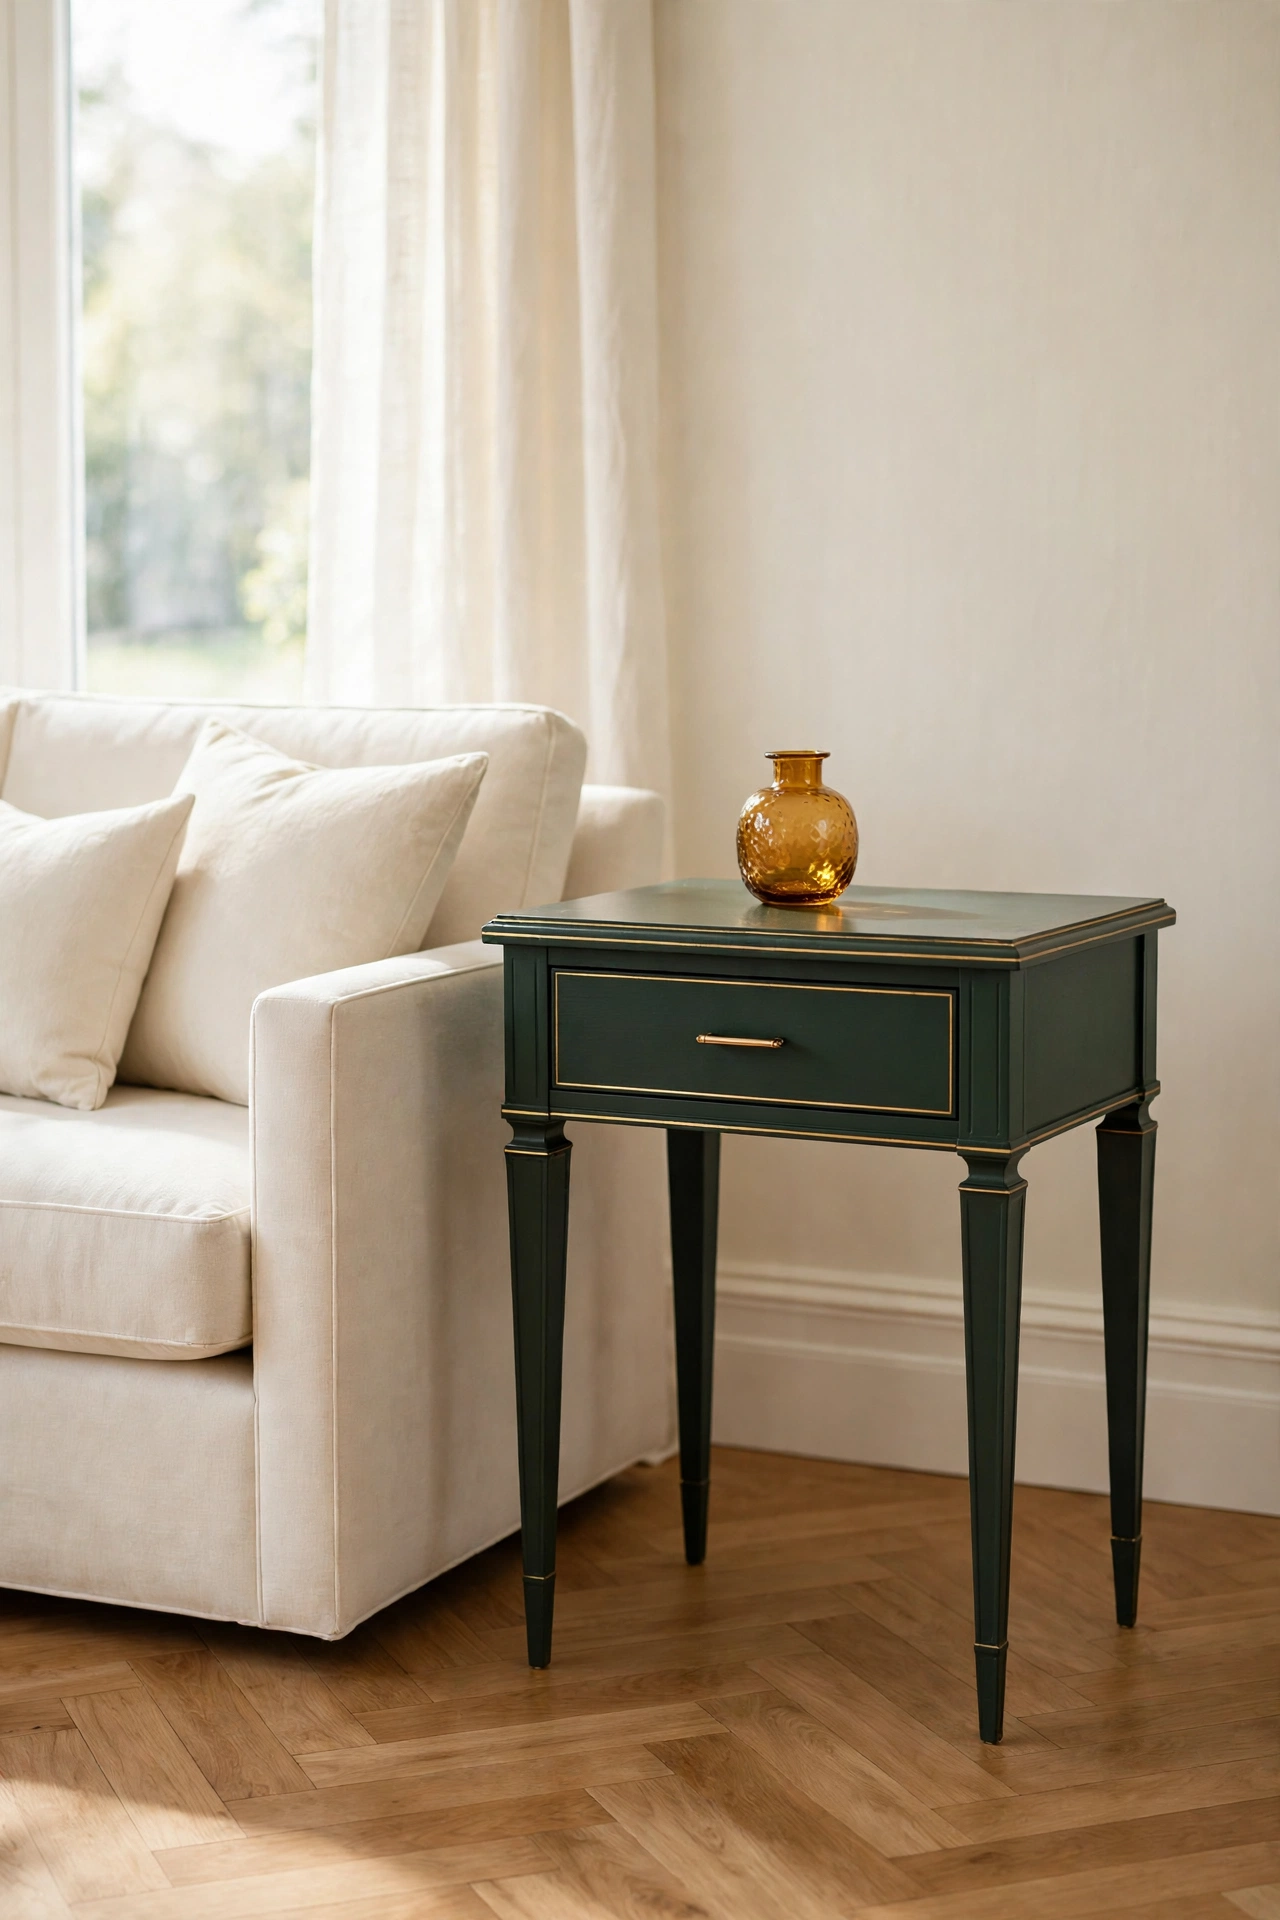
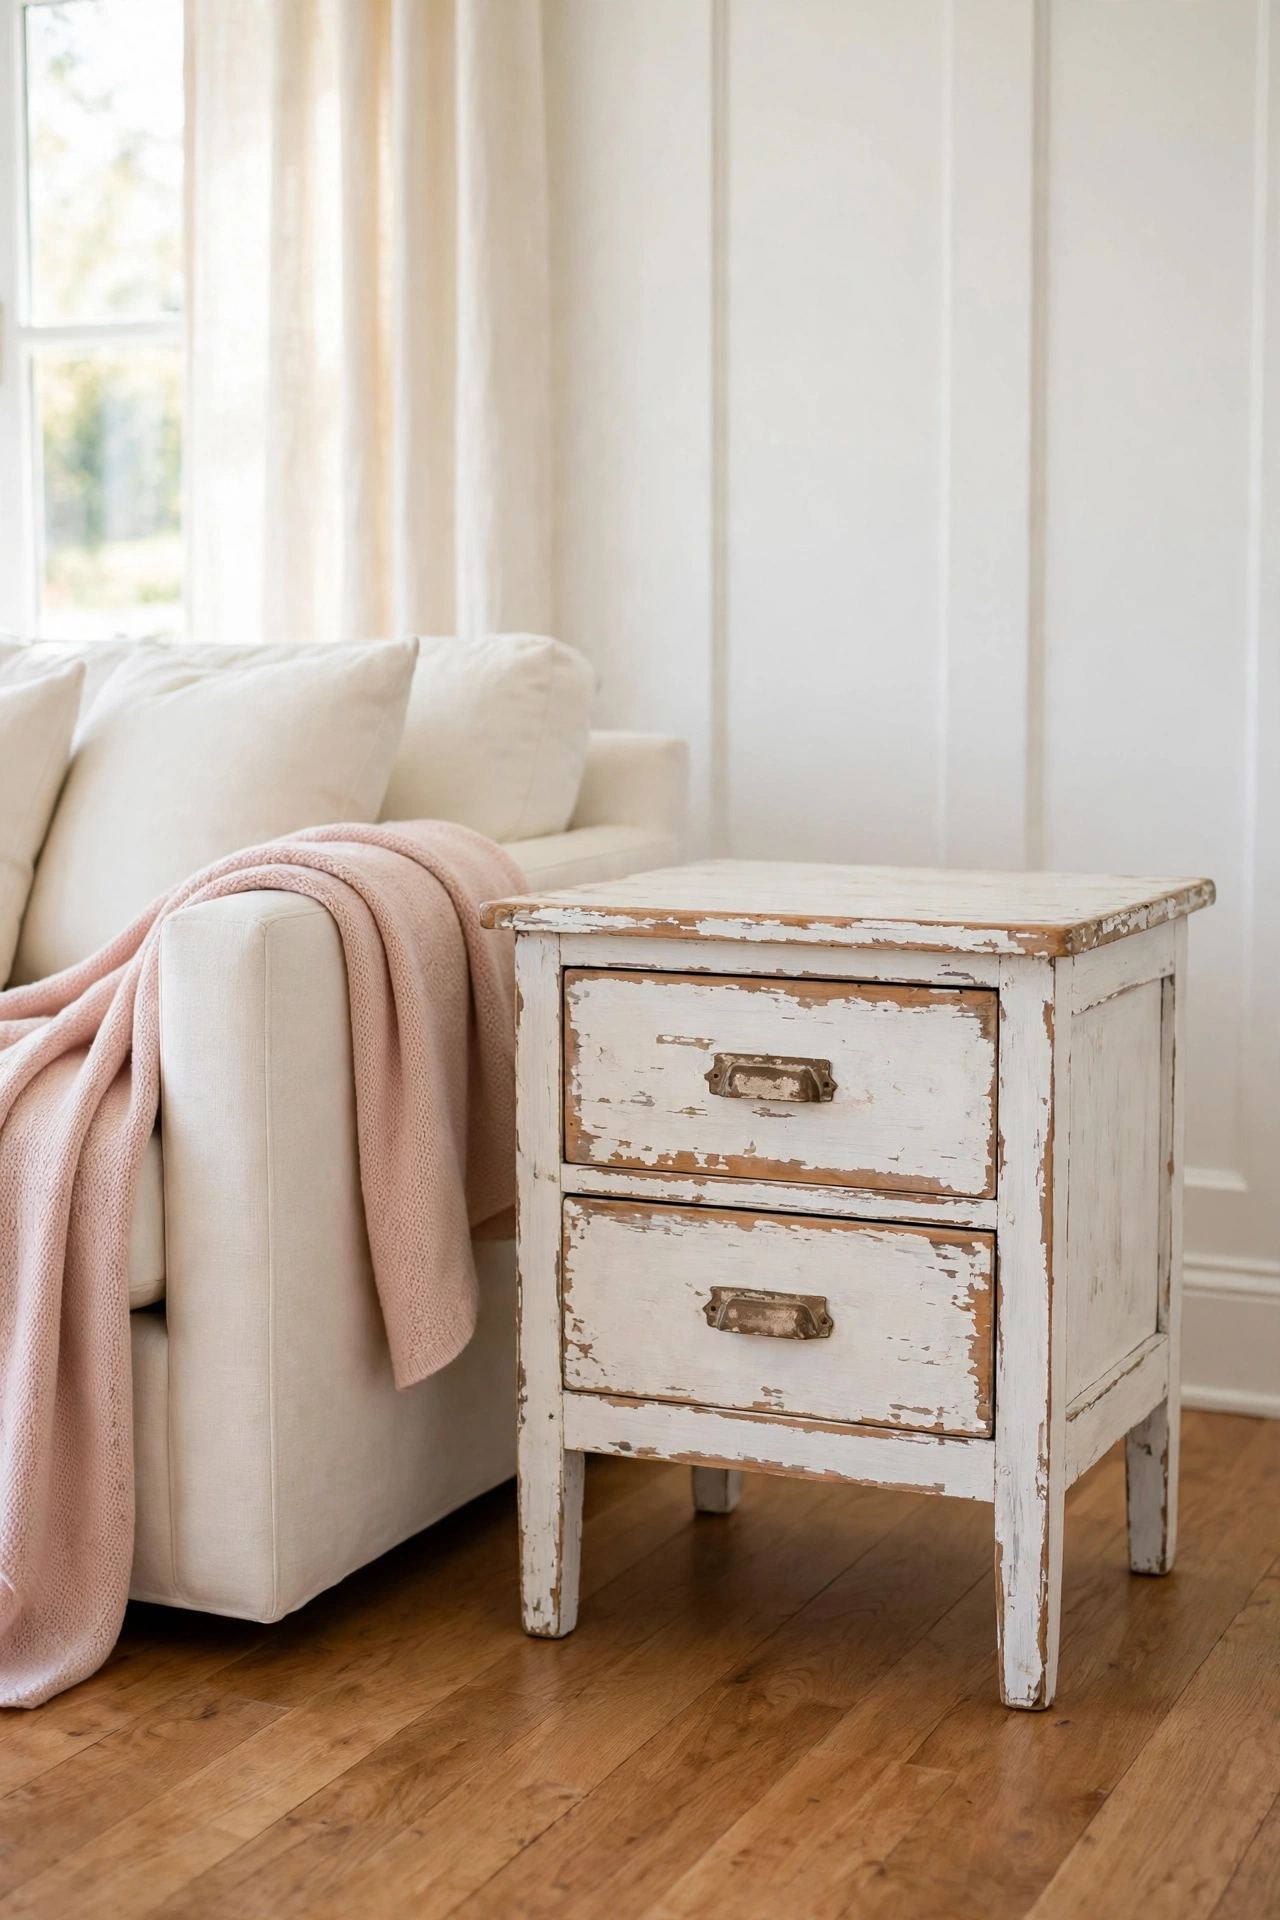
10. Distress a Whitewash Finish for Farmhouse Charm
A distressed whitewash finish gives a side table a relaxed farmhouse feel. Paint the table white, then sand the edges and corners lightly so hints of wood show through. The worn look feels honest and lived in, and it hides future scuffs far better than a perfect glossy finish.
Focus the sanding on spots that would wear naturally, such as the edges of the top, the corners of the legs, and the drawer edges. Seal the finish with clear wax to keep the soft matte look. A blush pink throw draped over the sofa arm nearby softens the rustic finish and keeps the corner feeling cozy.
11. Color Block the Base in Bold Terracotta
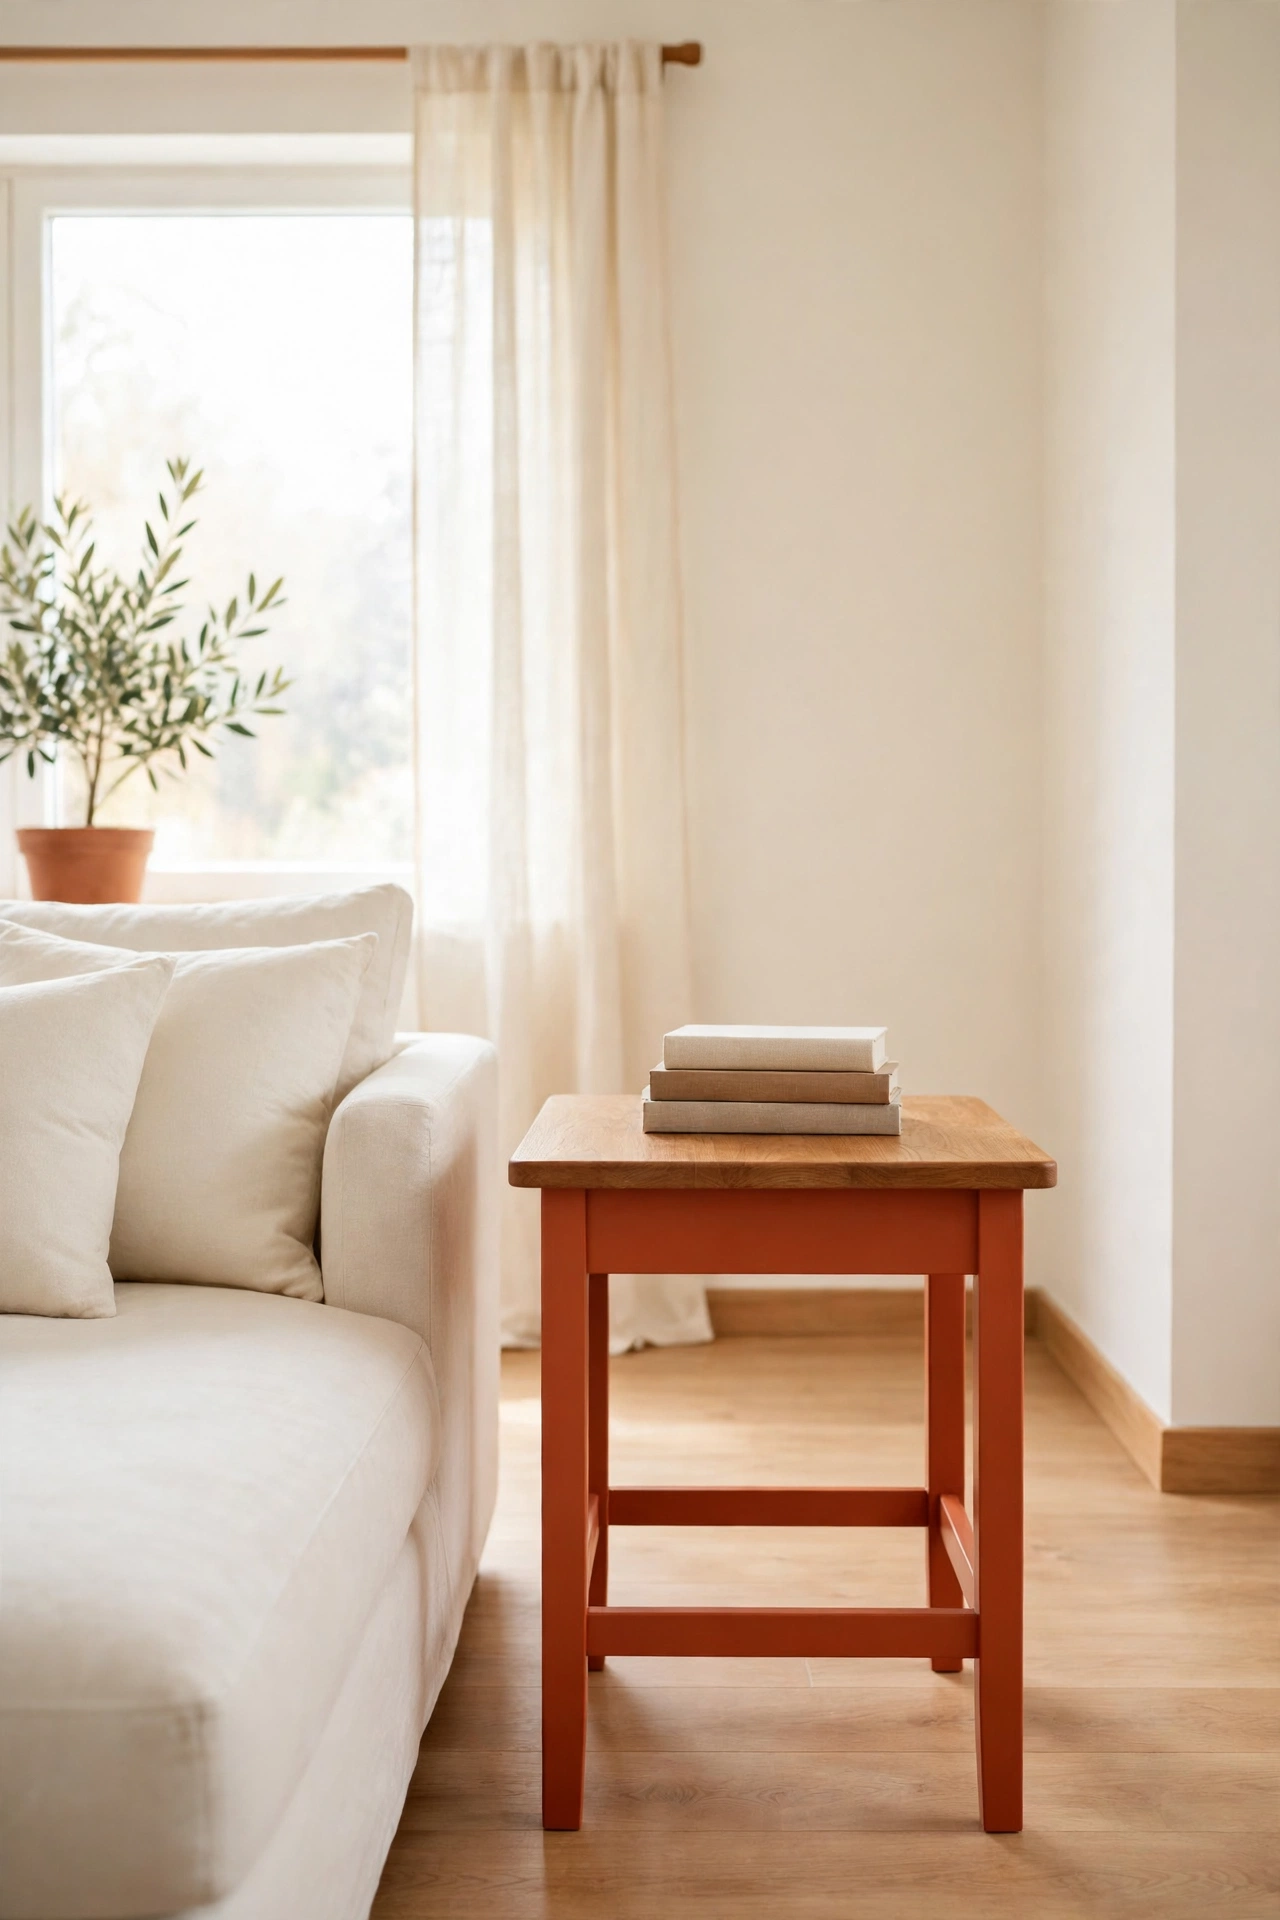
Color blocking means painting one strong block of color on part of the furniture and leaving the rest quiet. Paint the whole base of a side table in bold terracotta and keep the tabletop in natural wood. The warm color block becomes a cheerful focal point in a neutral living room.
Choose a terracotta that matches other warm accents in the room, such as cushions, a rug, or a planter, so the table feels connected to the space. Two coats of paint and a clear sealer are enough for a durable finish. This bold approach works best on a simple table with clean lines, where the color can speak for itself.
12. Inlay a Tile Mosaic Into the Tabletop
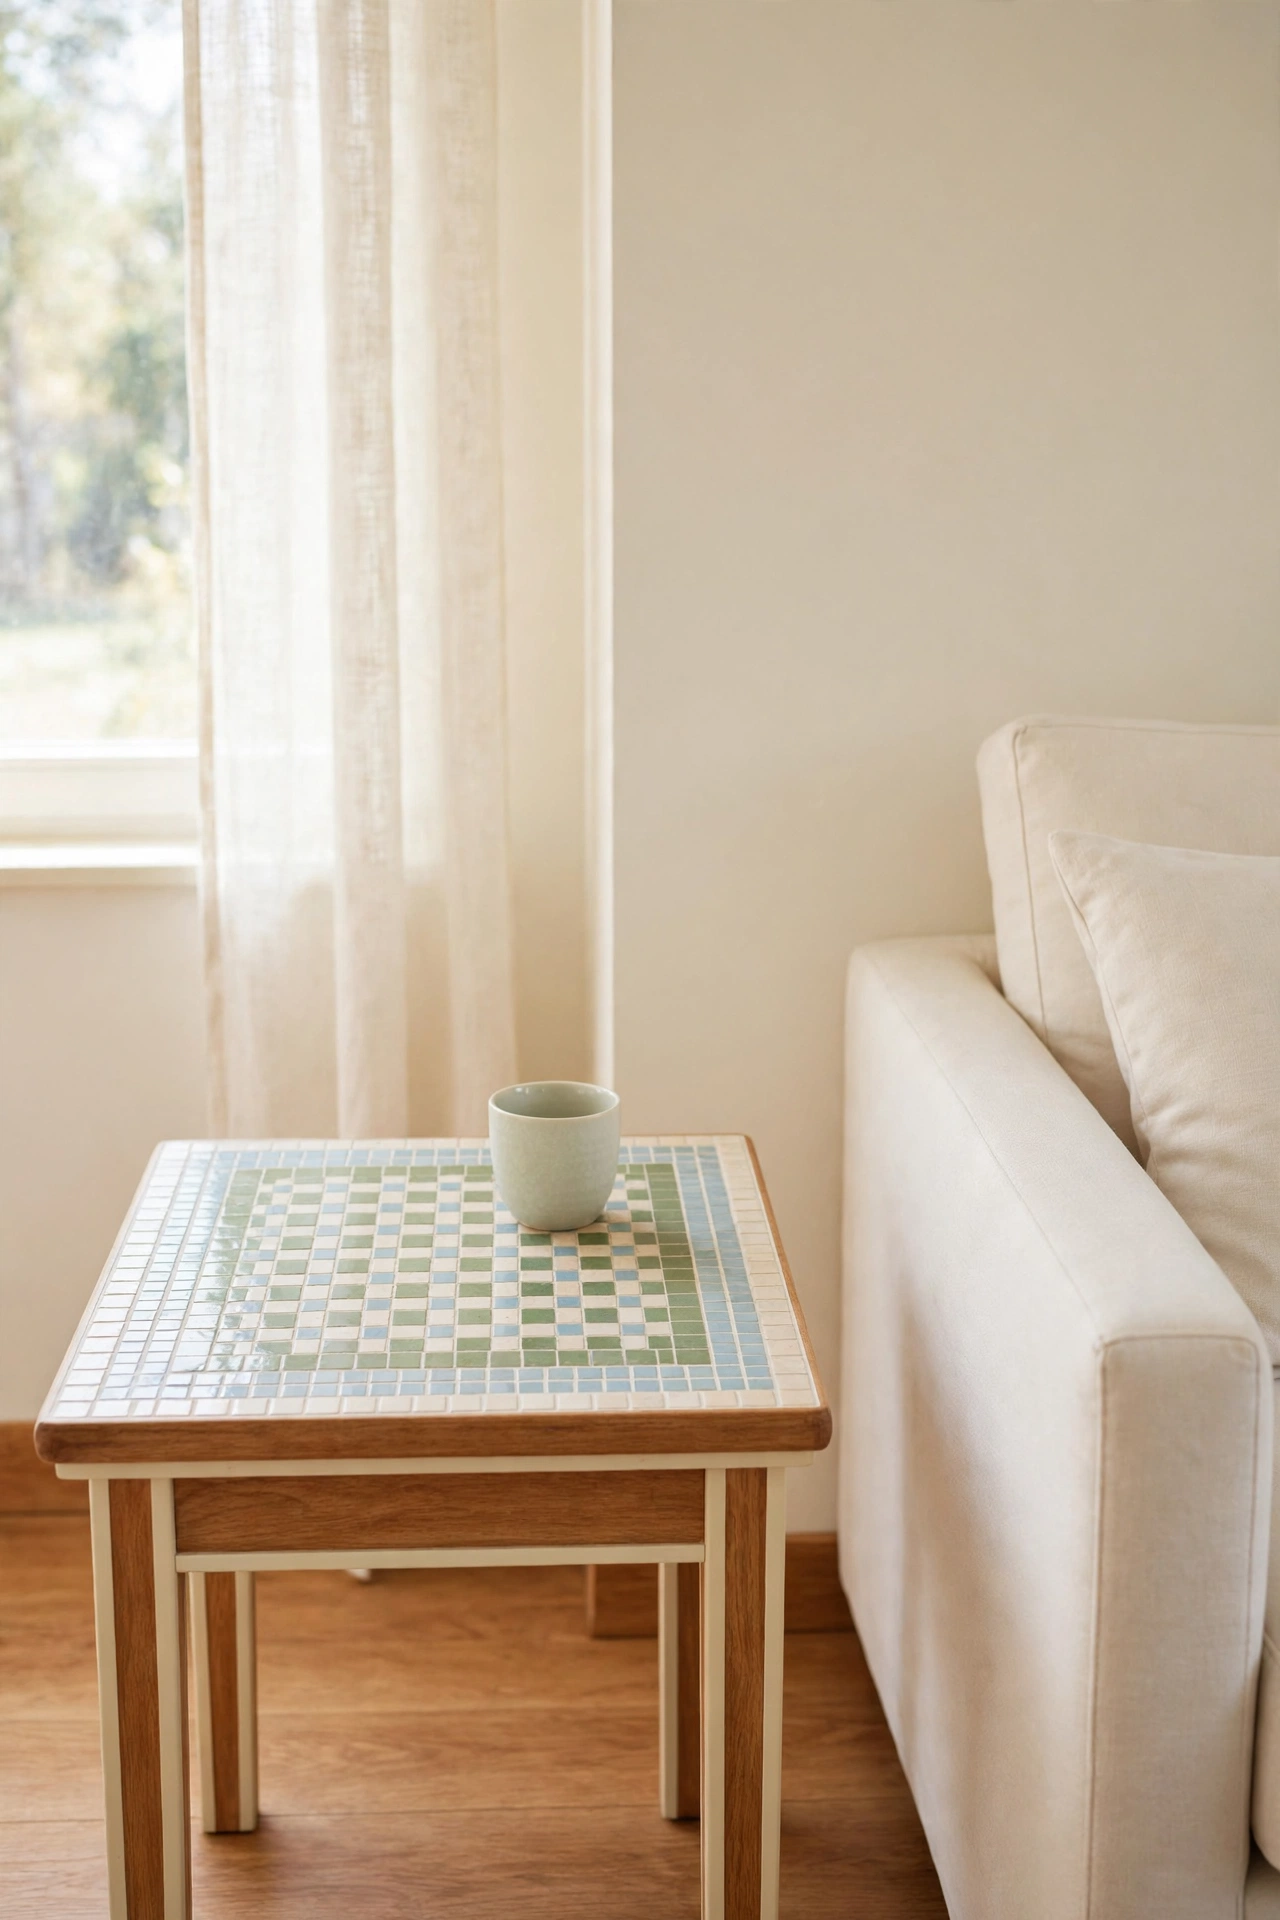
A tile mosaic top turns a side table into a small work of art. Glue small mosaic tiles in soft sage, cream, and pale blue onto the tabletop, grout the gaps, and wipe the surface clean. The tiled top is hard wearing and easy to clean, which makes it perfect for holding drinks beside the sofa.
Choose small tiles so the pattern fits the scale of a side table, and keep the design simple with a border or a gentle geometric pattern. Use tile adhesive and grout rated for furniture, and seal the grout once it is dry. The mosaic adds texture and color to the seating area while protecting the table underneath.
13. Add a Woven Cane Panel to the Cabinet Door
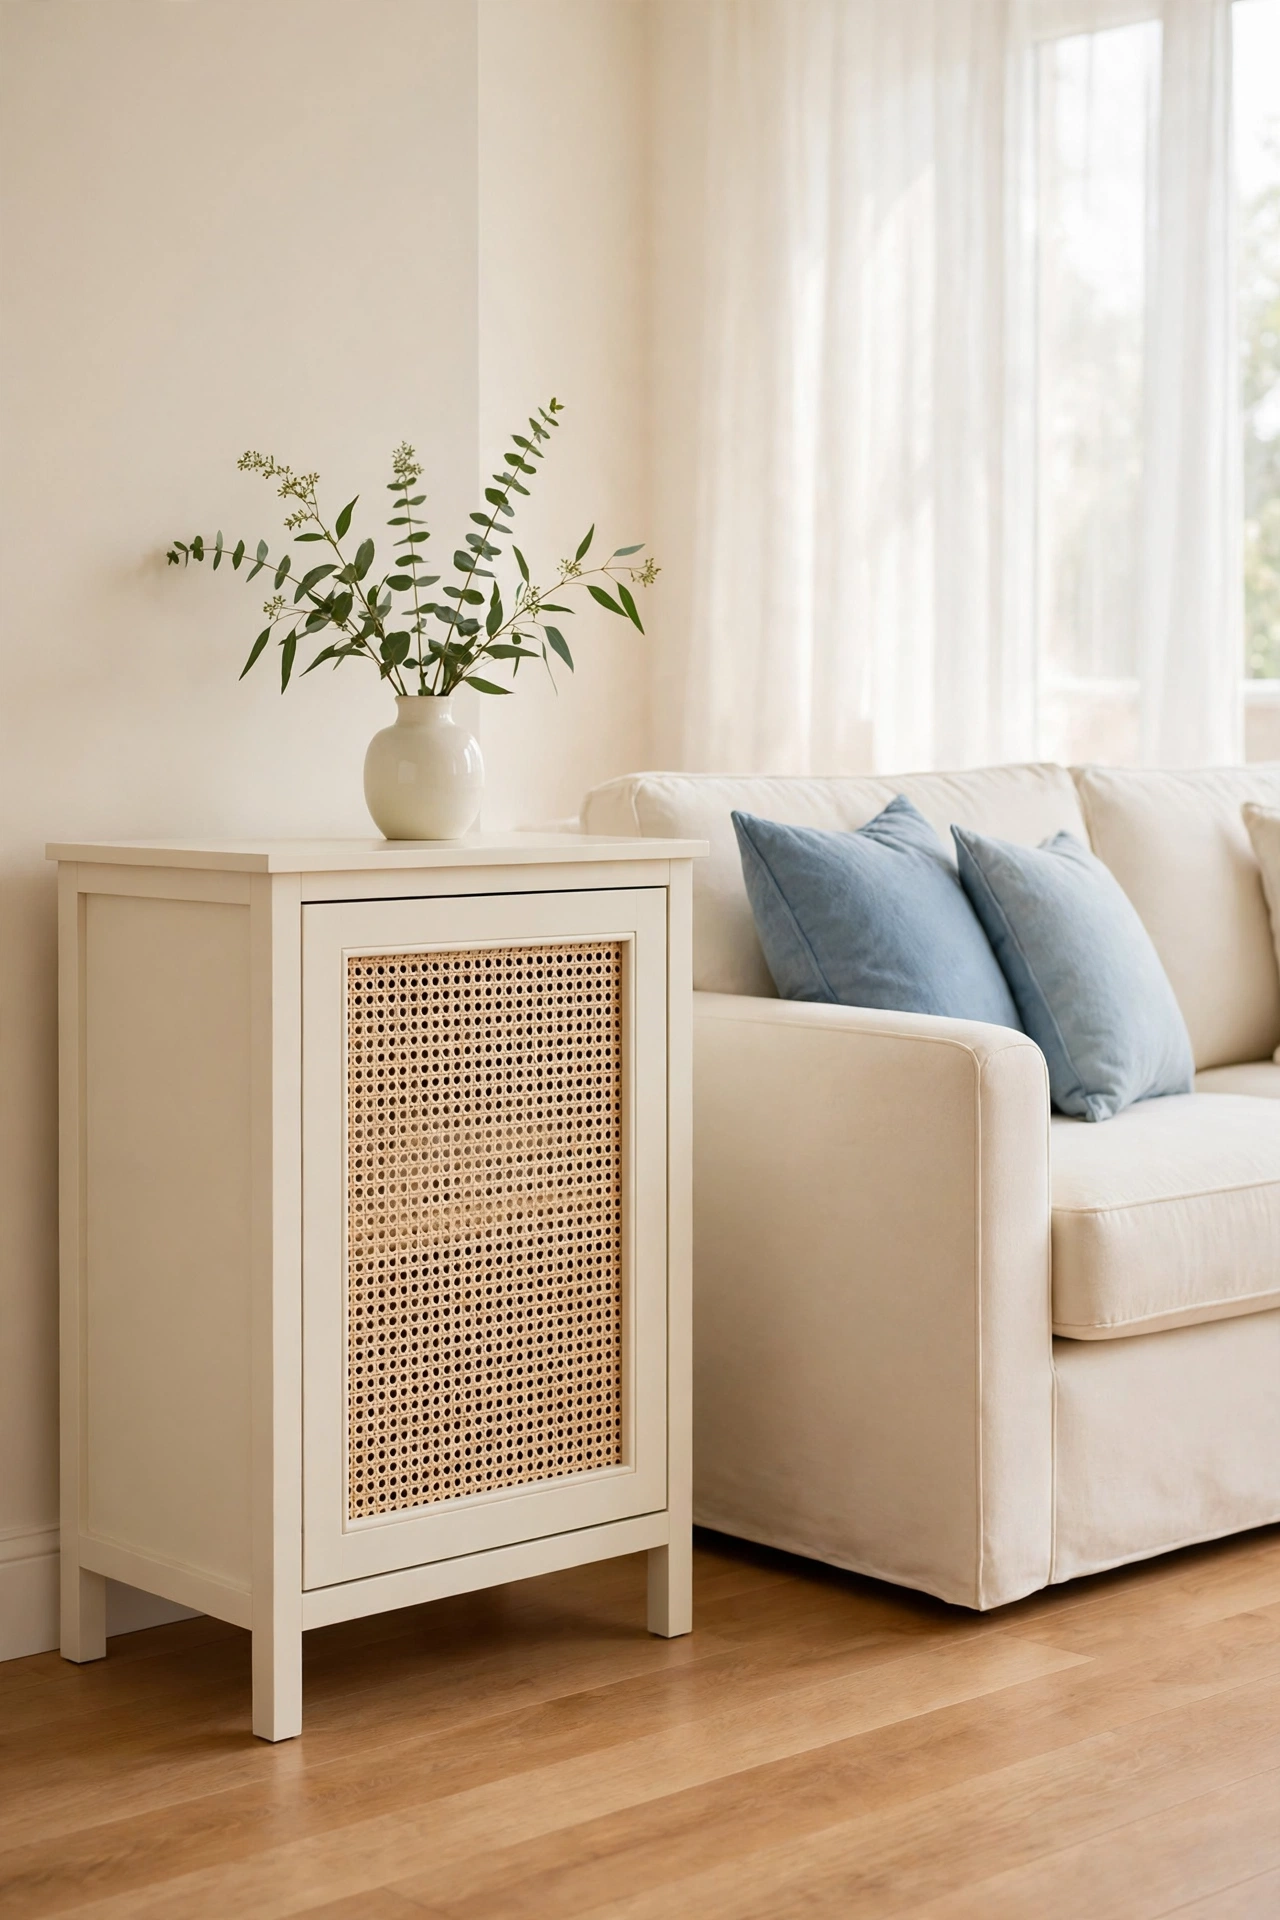
If your side table has a small cabinet door or an open shelf, a woven cane panel gives it a light and airy update. Remove the old solid panel, cut a piece of cane webbing to fit, and fix it in place with thin trim. The woven texture adds warmth and lets air flow through the cabinet.
Soak the cane webbing briefly before you fit it so it tightens as it dries and stays drum tight. Paint the frame of the table a soft cream and keep the cane natural for a fresh coastal feel. This update suits rattan and woven accents elsewhere in the room, and it makes a heavy old table feel much lighter.
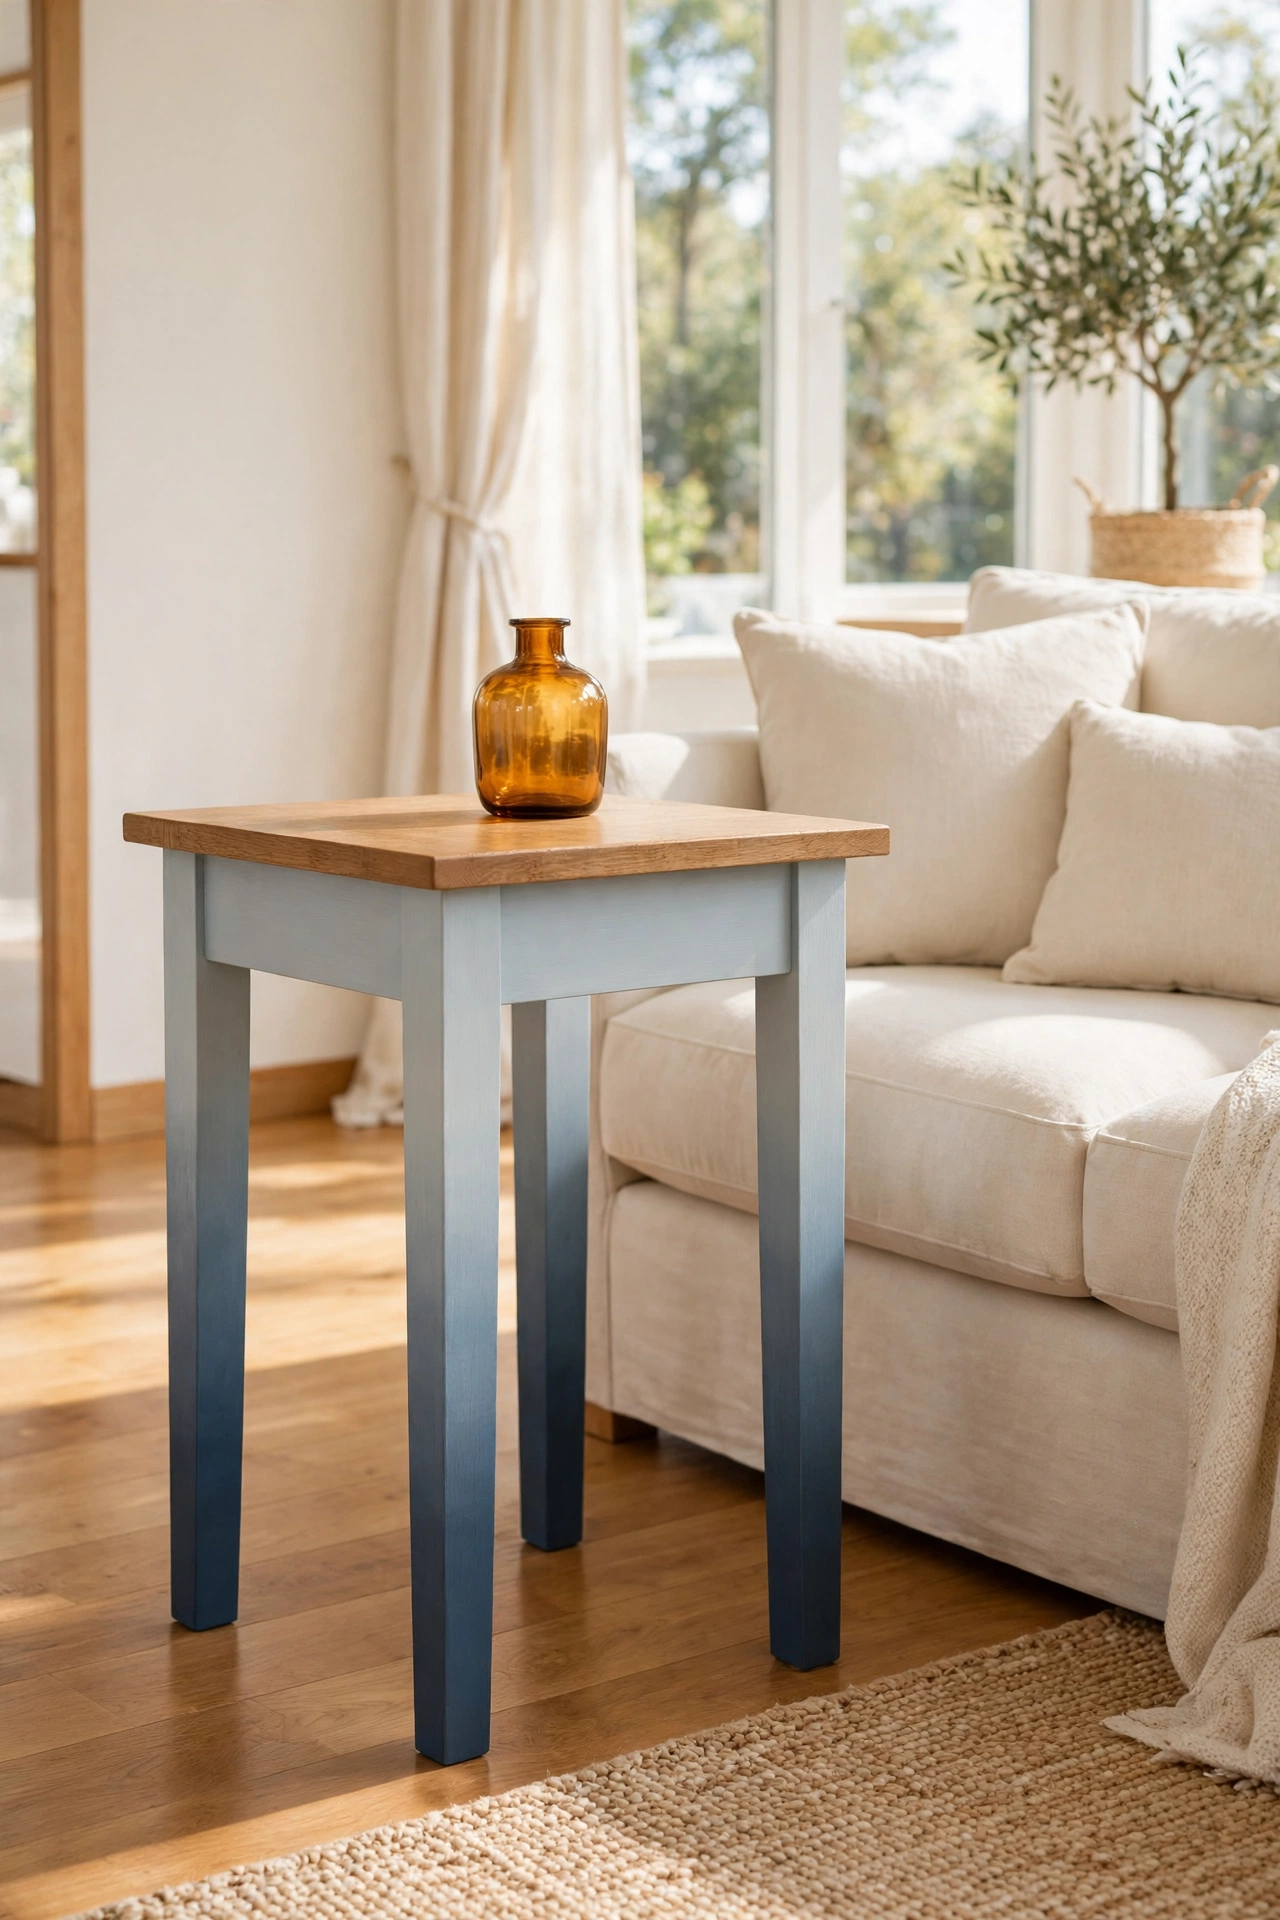
14. Blend an Ombre Fade From Dark to Light
An ombre finish blends one color into another across the height of the table. Start with a deep slate blue at the feet, blend into a mid blue on the legs, and finish with a pale blue gray at the tabletop edge. The gentle fade looks artistic and modern, and it draws the eye upward toward the sofa.
Blend the colors while the paint is still slightly wet, using a dry brush to soften the line between shades. Practice on a scrap board first until the blend feels smooth. Keep the tabletop itself a solid color or natural wood so the fade stays on the base, where it has room to shine.
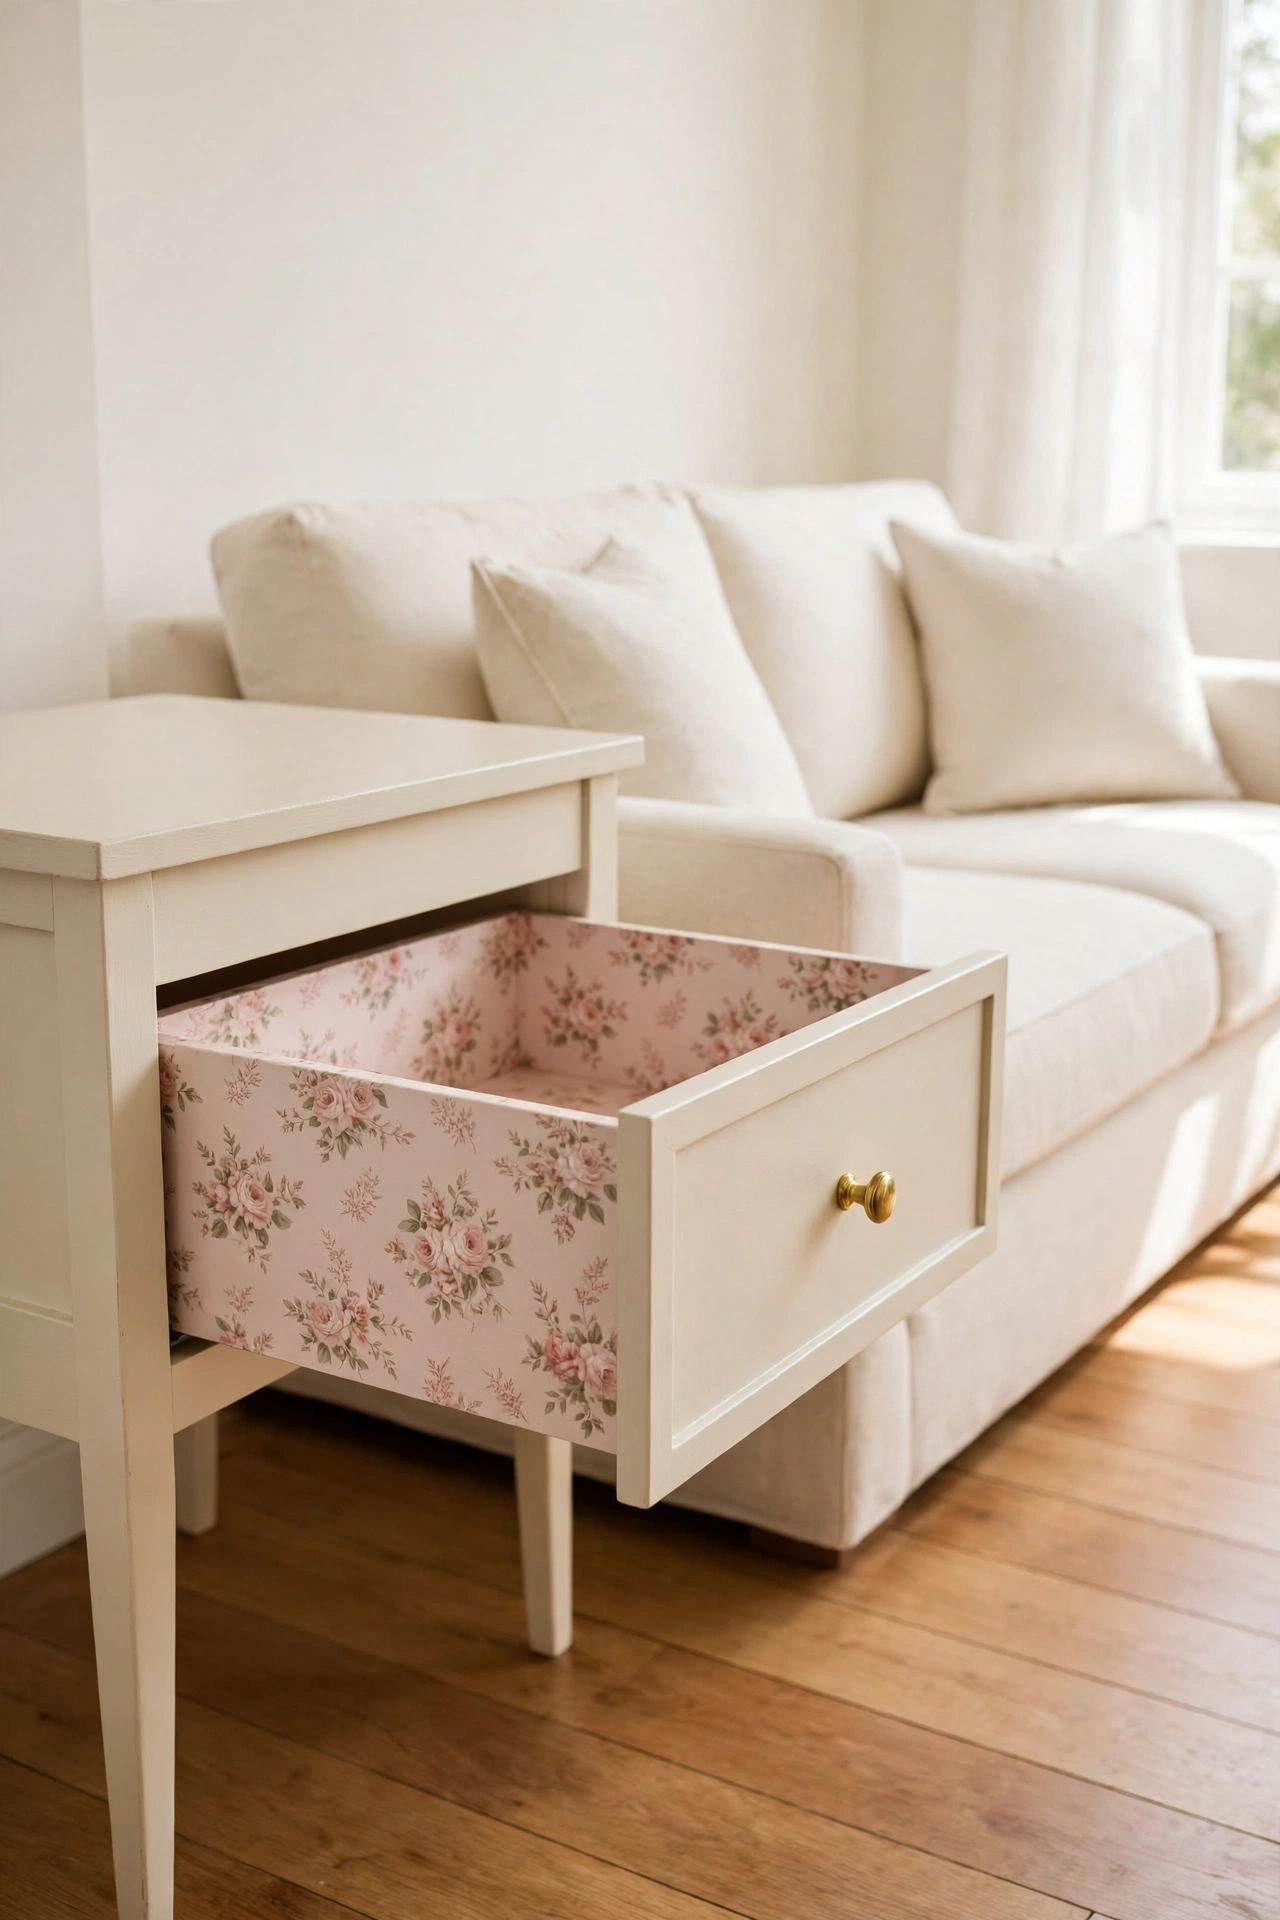
15. Line the Drawer and Shelf With Pretty Wallpaper
Wallpaper is not only for walls. Line the inside of a side table drawer and the back of an open shelf with a pretty blush floral wallpaper, and every glance inside feels special. This small detail costs very little because you need only a small leftover piece.
Measure each surface, cut the paper slightly small, and paste it down smoothly with wallpaper paste or double sided tape. Seal the paper with a clear coat if the shelf will hold cups or books. Pair the blush lining with a cream painted exterior and a small brass knob for a finished look that feels thoughtful and complete.
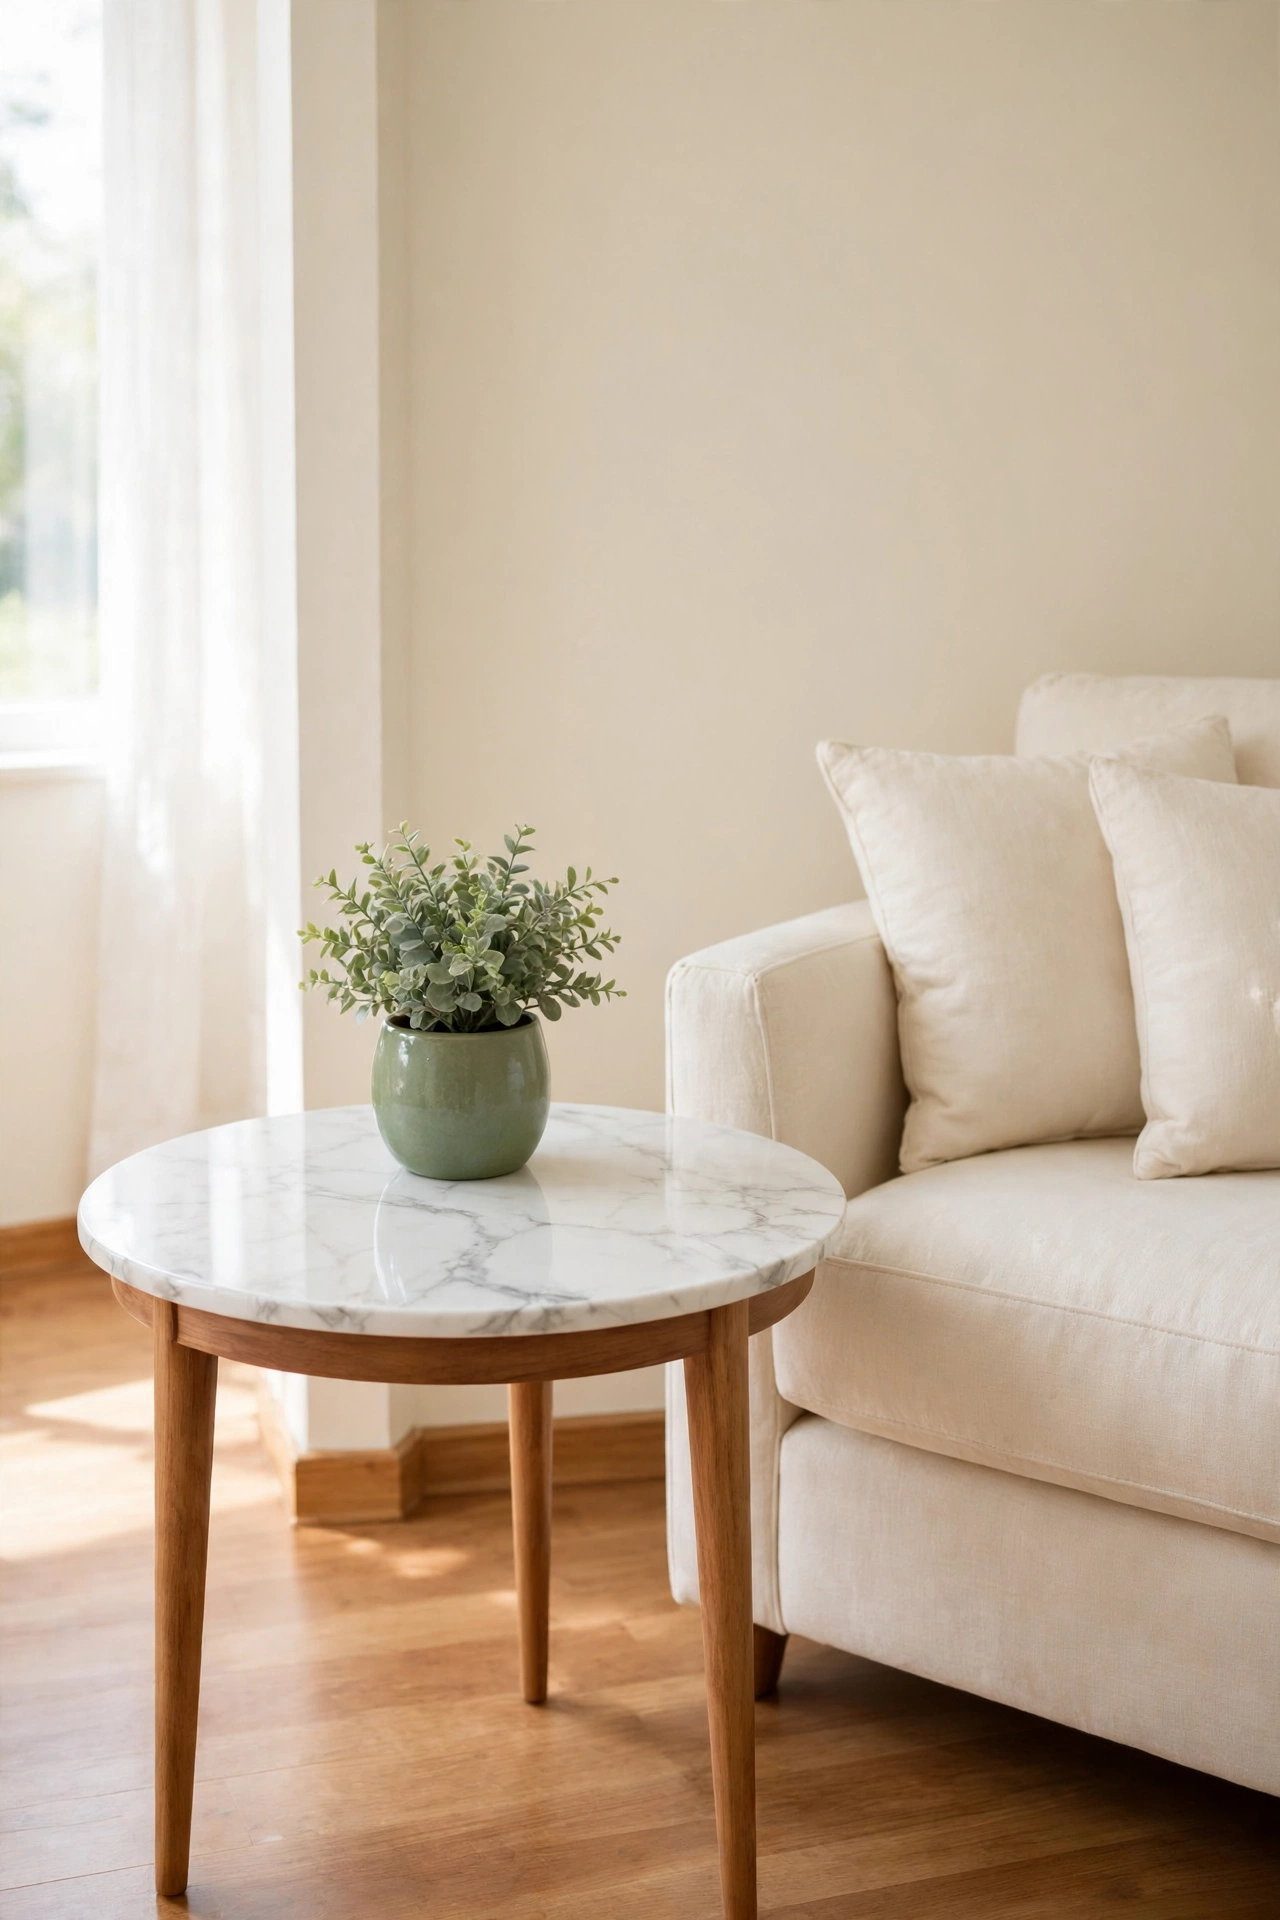
16. Paint a Faux Marble Finish on the Top
A faux marble finish uses paint and a fine brush to copy the soft veins of real marble. Paint the tabletop white, then draw thin gray veins with a fine art brush and soften them with a damp cloth. The result looks surprisingly real from a normal viewing distance.
Study a photo of real marble first so your veins branch and fade naturally instead of forming neat lines. Finish with a high gloss clear coat, because the shine is what sells the stone effect. A sage green plant on the finished top adds a fresh contrast to the cool marble surface.
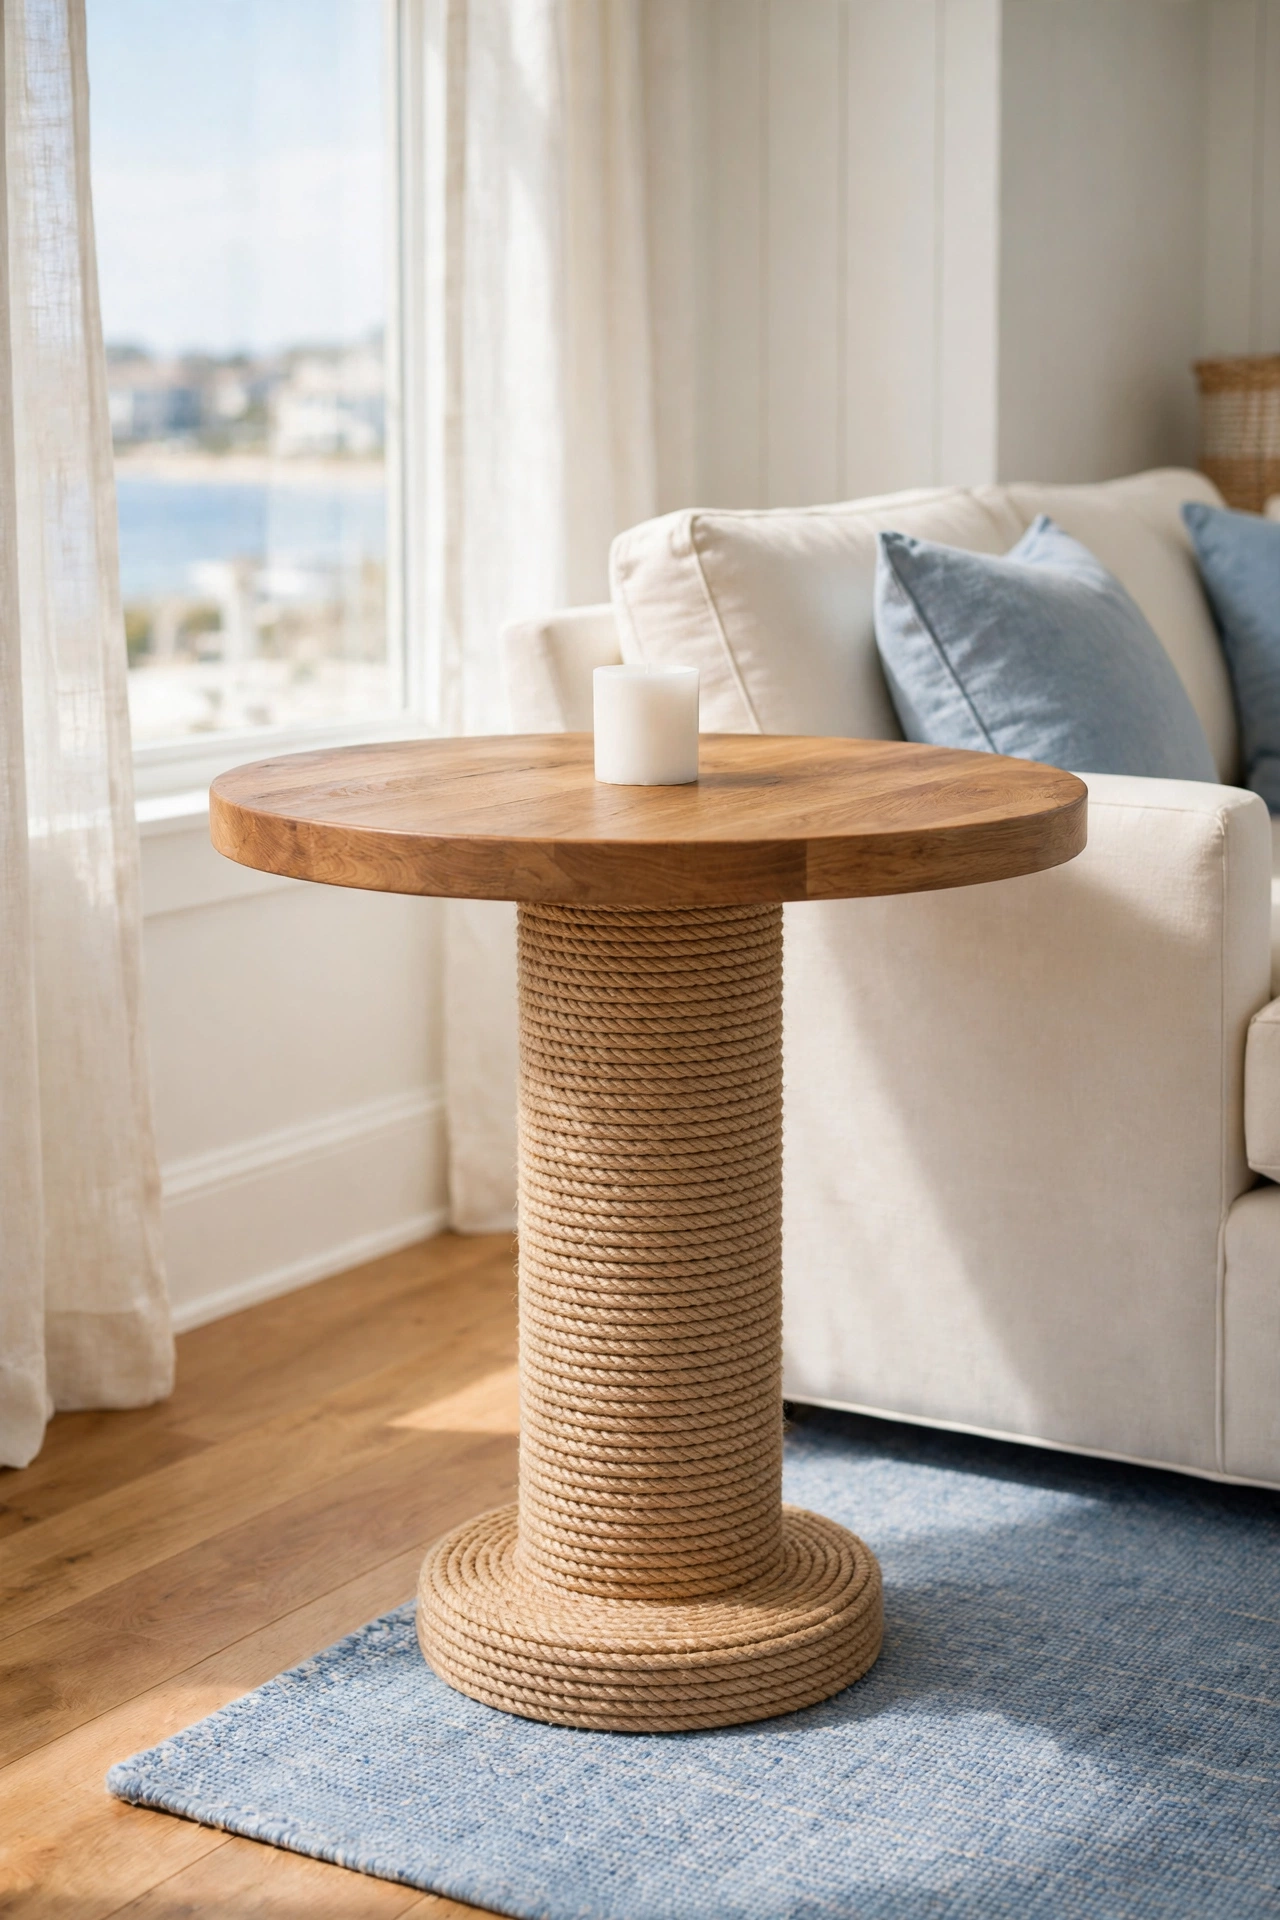
17. Wrap the Pedestal Base in Natural Rope
A pedestal side table gets a coastal makeover when you wrap the central column in natural rope. Start at the bottom, glue the rope end in place, and wind it tightly upward in neat rows until the whole column is covered. The texture adds warmth and a relaxed seaside feel to the living room.
Use a hot glue gun on the first and last rows and a small dot of glue every few rows to keep the wrap secure. Keep the tabletop in warm natural wood so the rope and wood tones work together. A soft blue rug under the table completes the breezy coastal look.
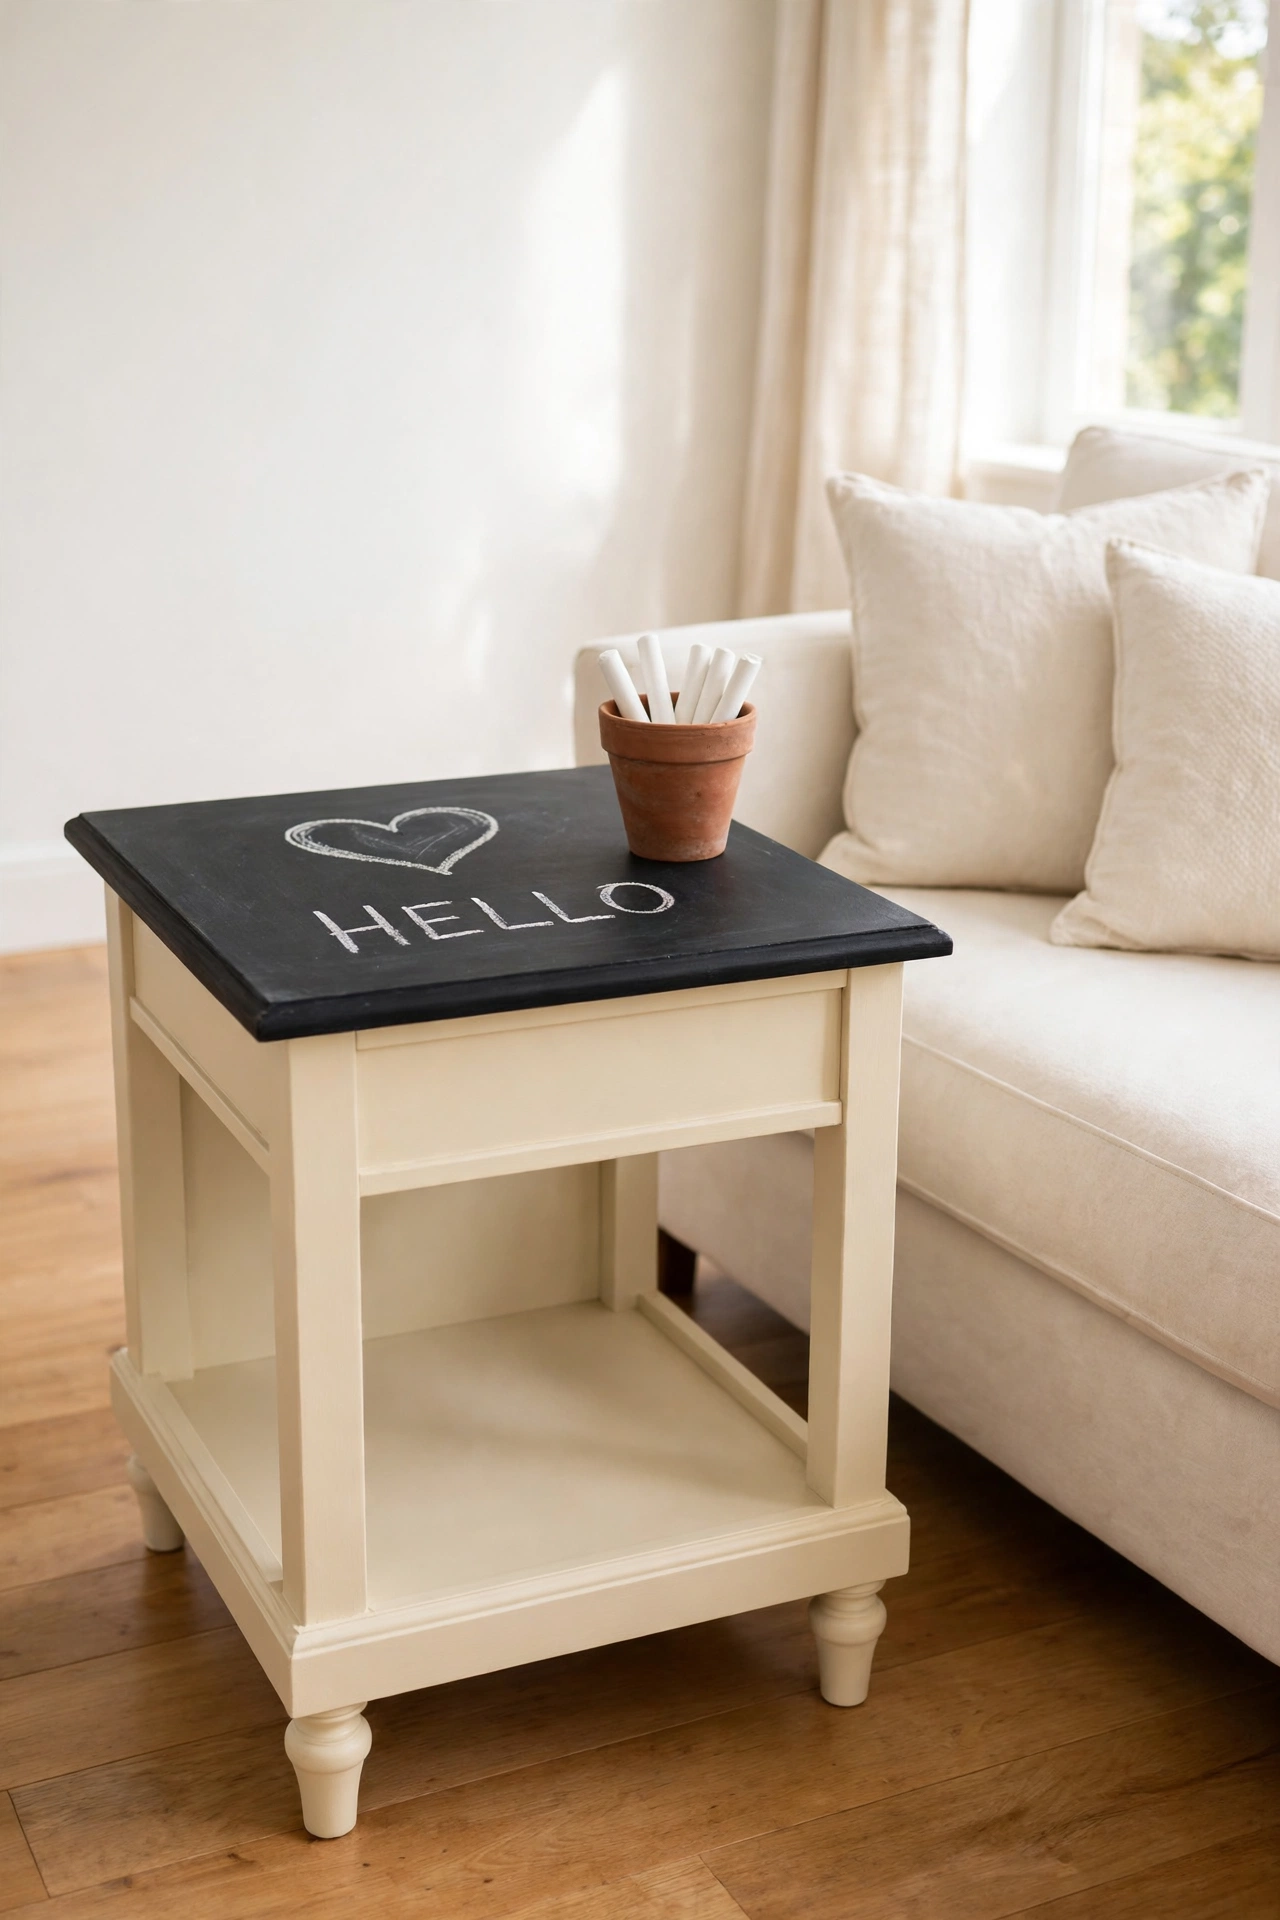
18. Paint the Top With Chalkboard Paint for Notes
Chalkboard paint turns a side table top into a fun and useful writing surface. Paint the top with two or three coats of chalkboard paint, let it cure, and condition it by rubbing chalk over the whole surface. You can then write the day plan, a welcome message, or a small drawing that changes with the seasons.
This is a wonderful choice for a family living room, where the table becomes a message center as well as a surface for cups. Keep the base a warm cream and add a small terracotta pot holding chalk sticks. Wipe the top clean with a damp cloth whenever you want a fresh start.
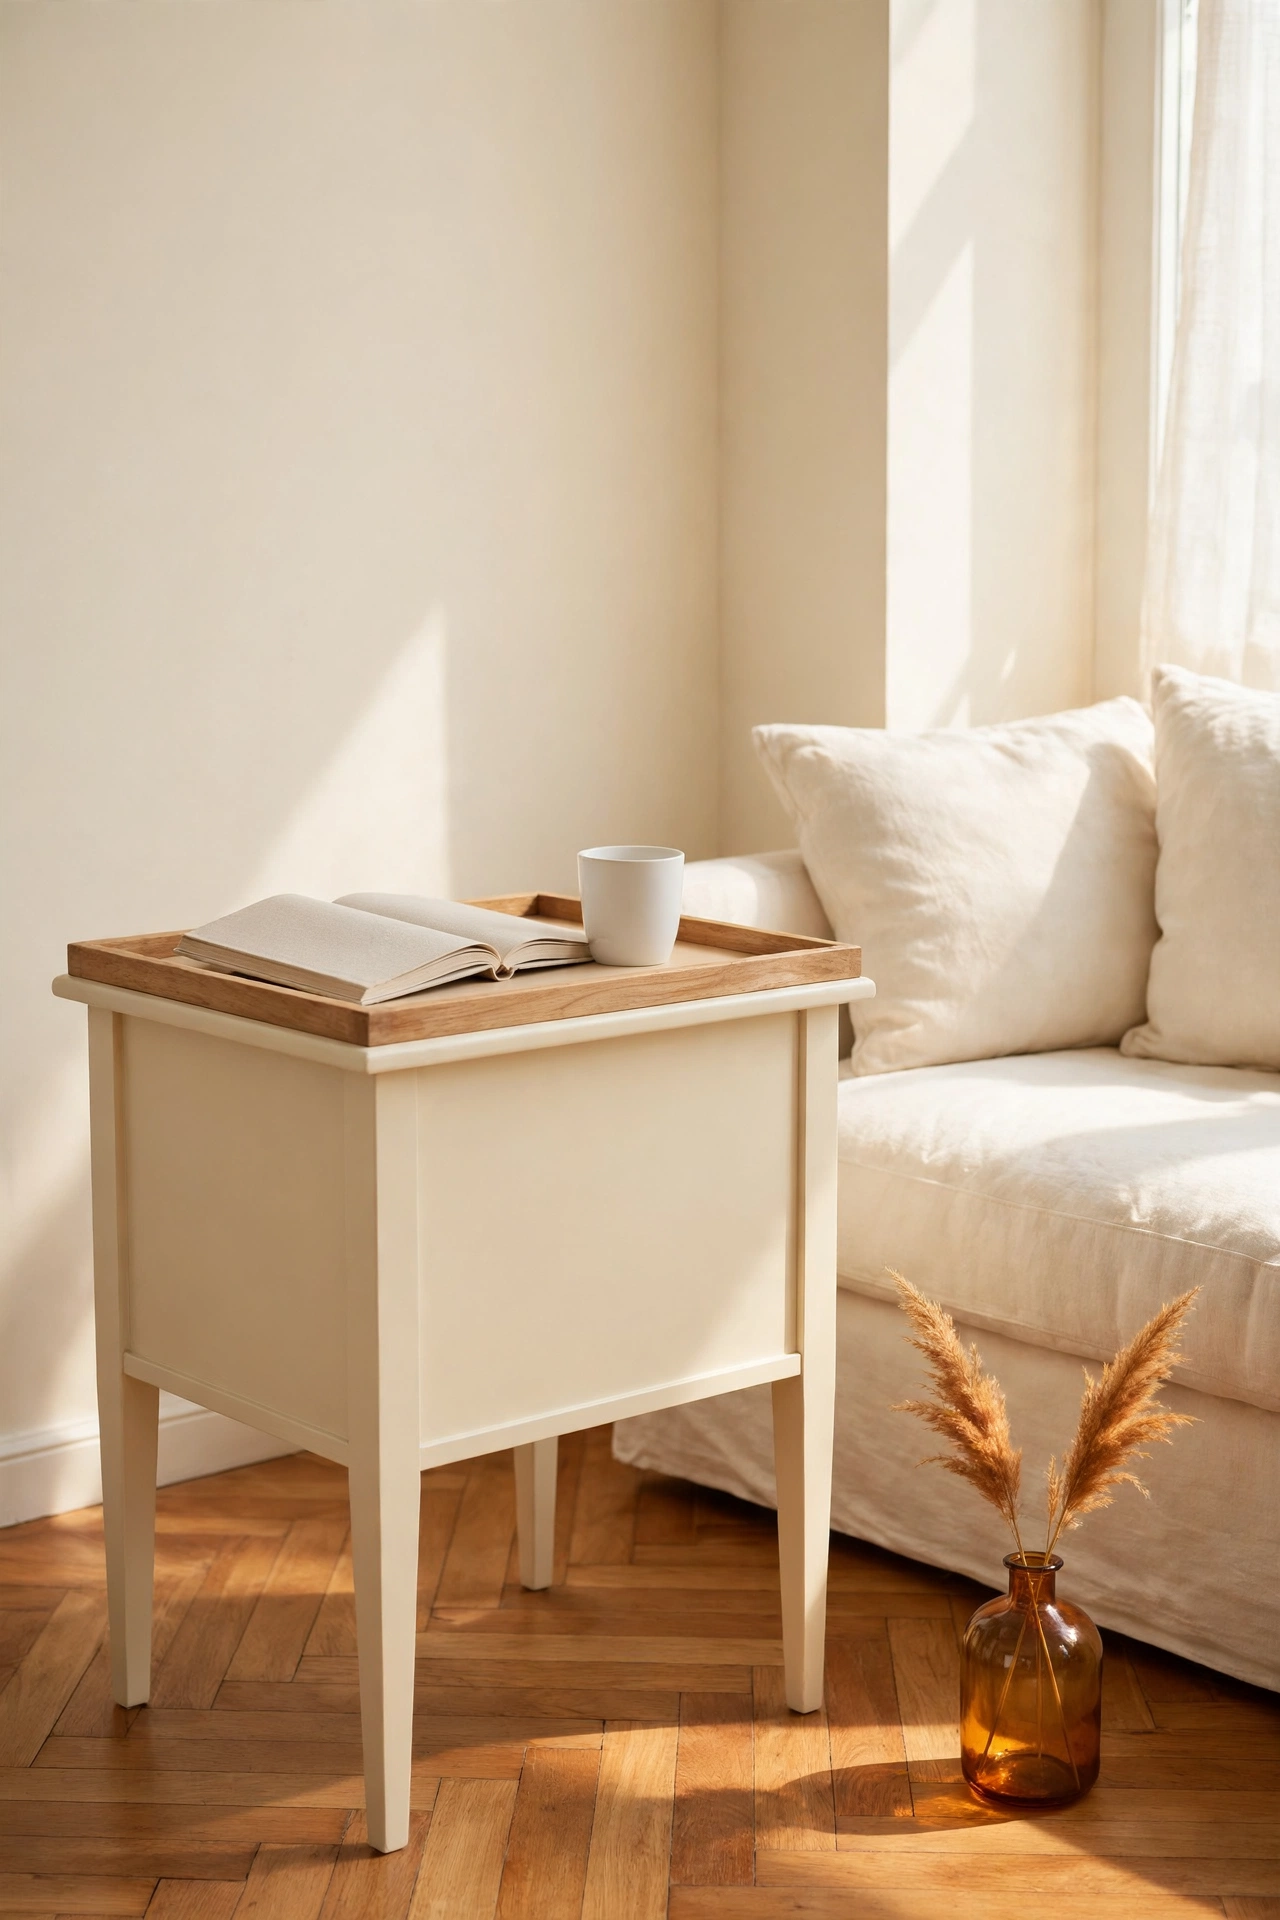
19. Add a Raised Edge to Create a Tray Top
A tray top makes a side table more useful beside the sofa. Glue and nail thin wood strips around the edge of the tabletop to form a shallow raised lip. The lip keeps drinks, remote controls, and books from sliding off, and it gives the table a neat tailored look.
Paint the tray and the table the same warm cream, or stain the lip to match a wood top for a two tone effect. Sand the inside corners smooth so the tray is easy to wipe clean. This is a practical upgrade that also makes the table look more finished and deliberate.
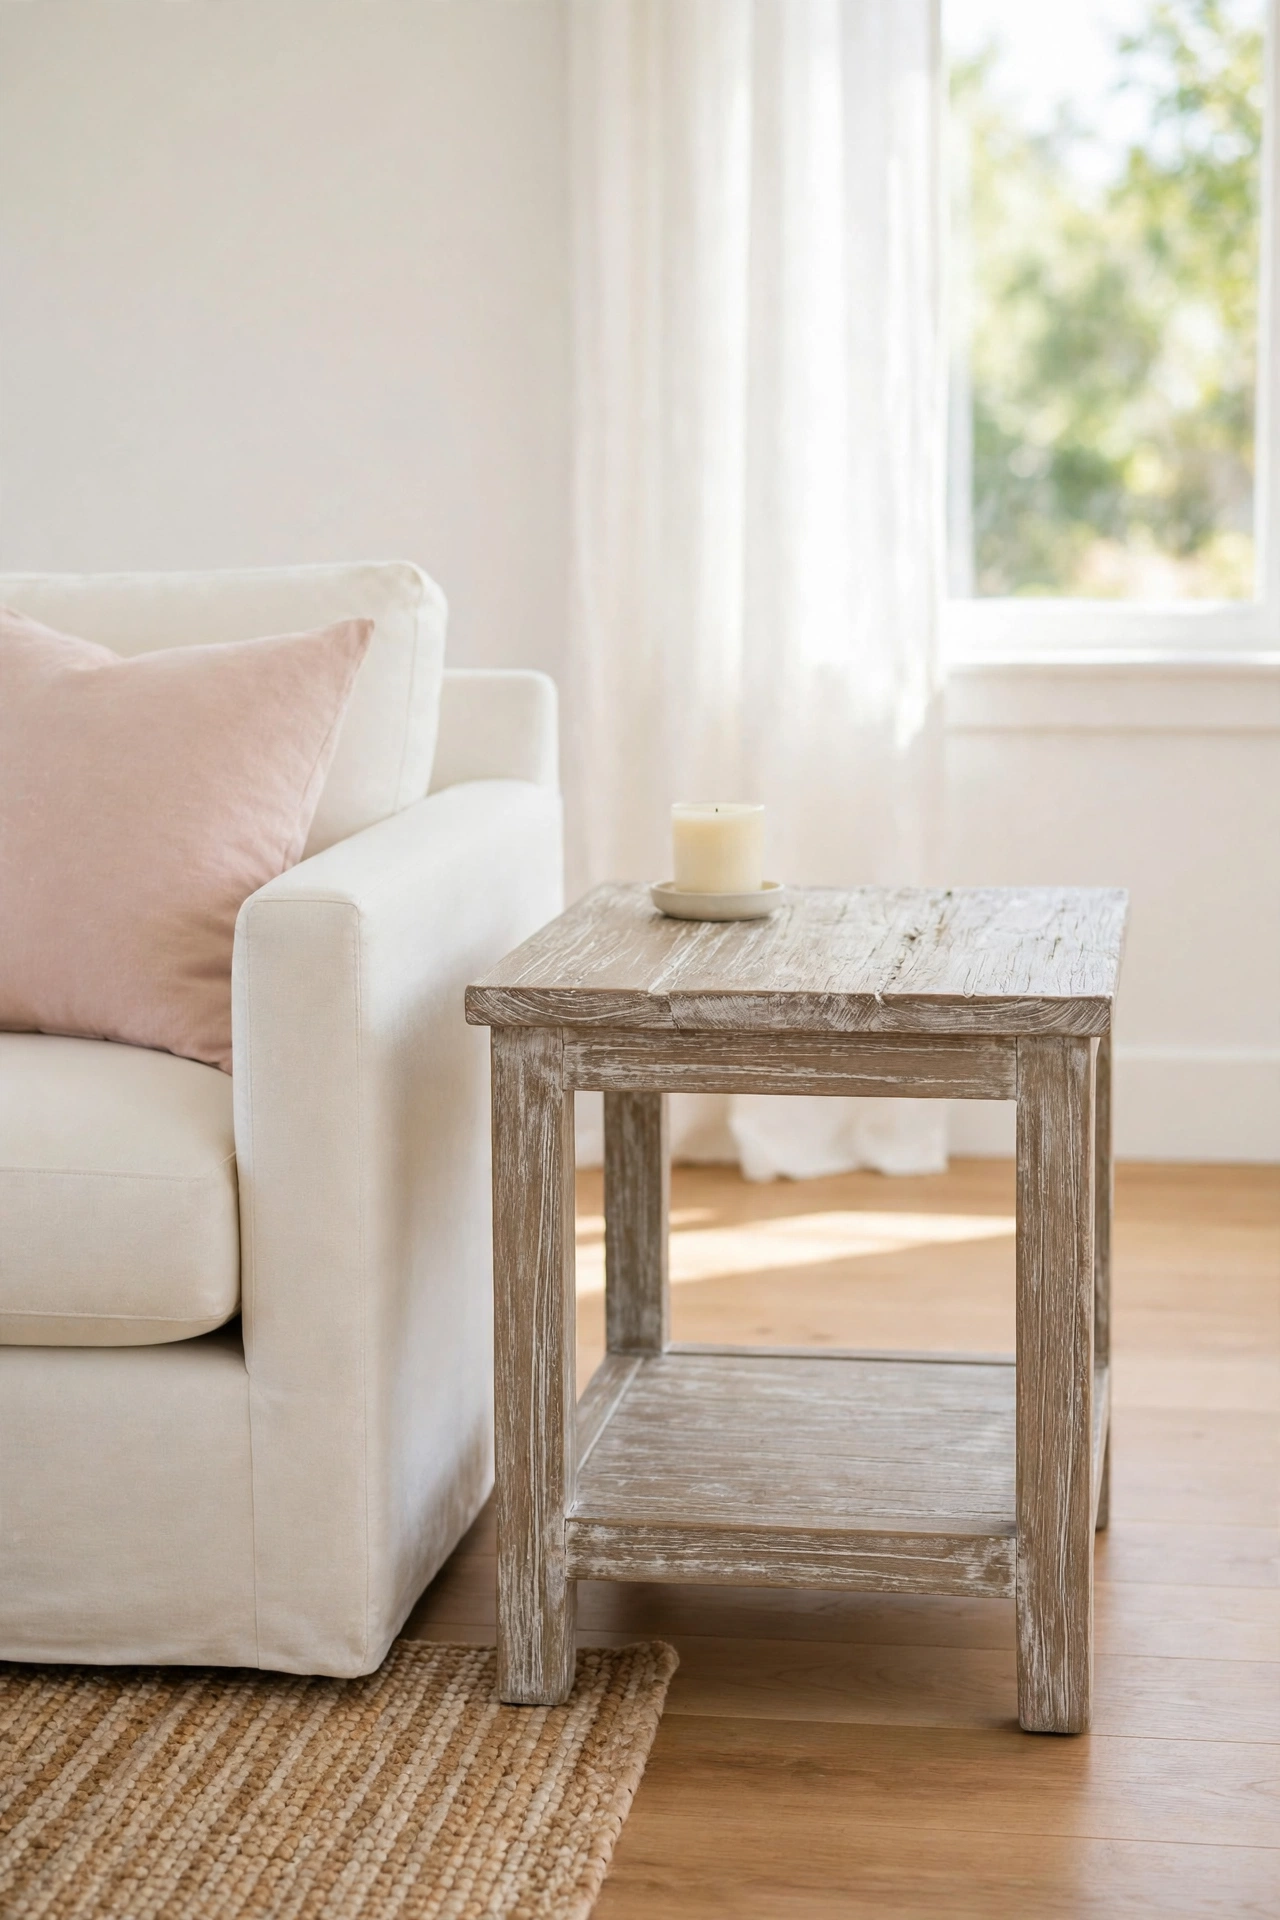
20. Wash the Wood With a Driftwood Limewash Effect
A limewash effect gives old wood a pale weathered look like driftwood on a beach. Brush a thin white wash over sanded wood, then wipe most of it away so the white settles into the grain. The result is a soft gray brown tone that feels calm and coastal.
Work in small sections and wipe each one before the wash dries so the effect stays even. Seal the finished wood with a matte clear coat to protect the pale finish. A blush pink cushion on the sofa nearby warms up the cool driftwood tones and keeps the corner inviting.
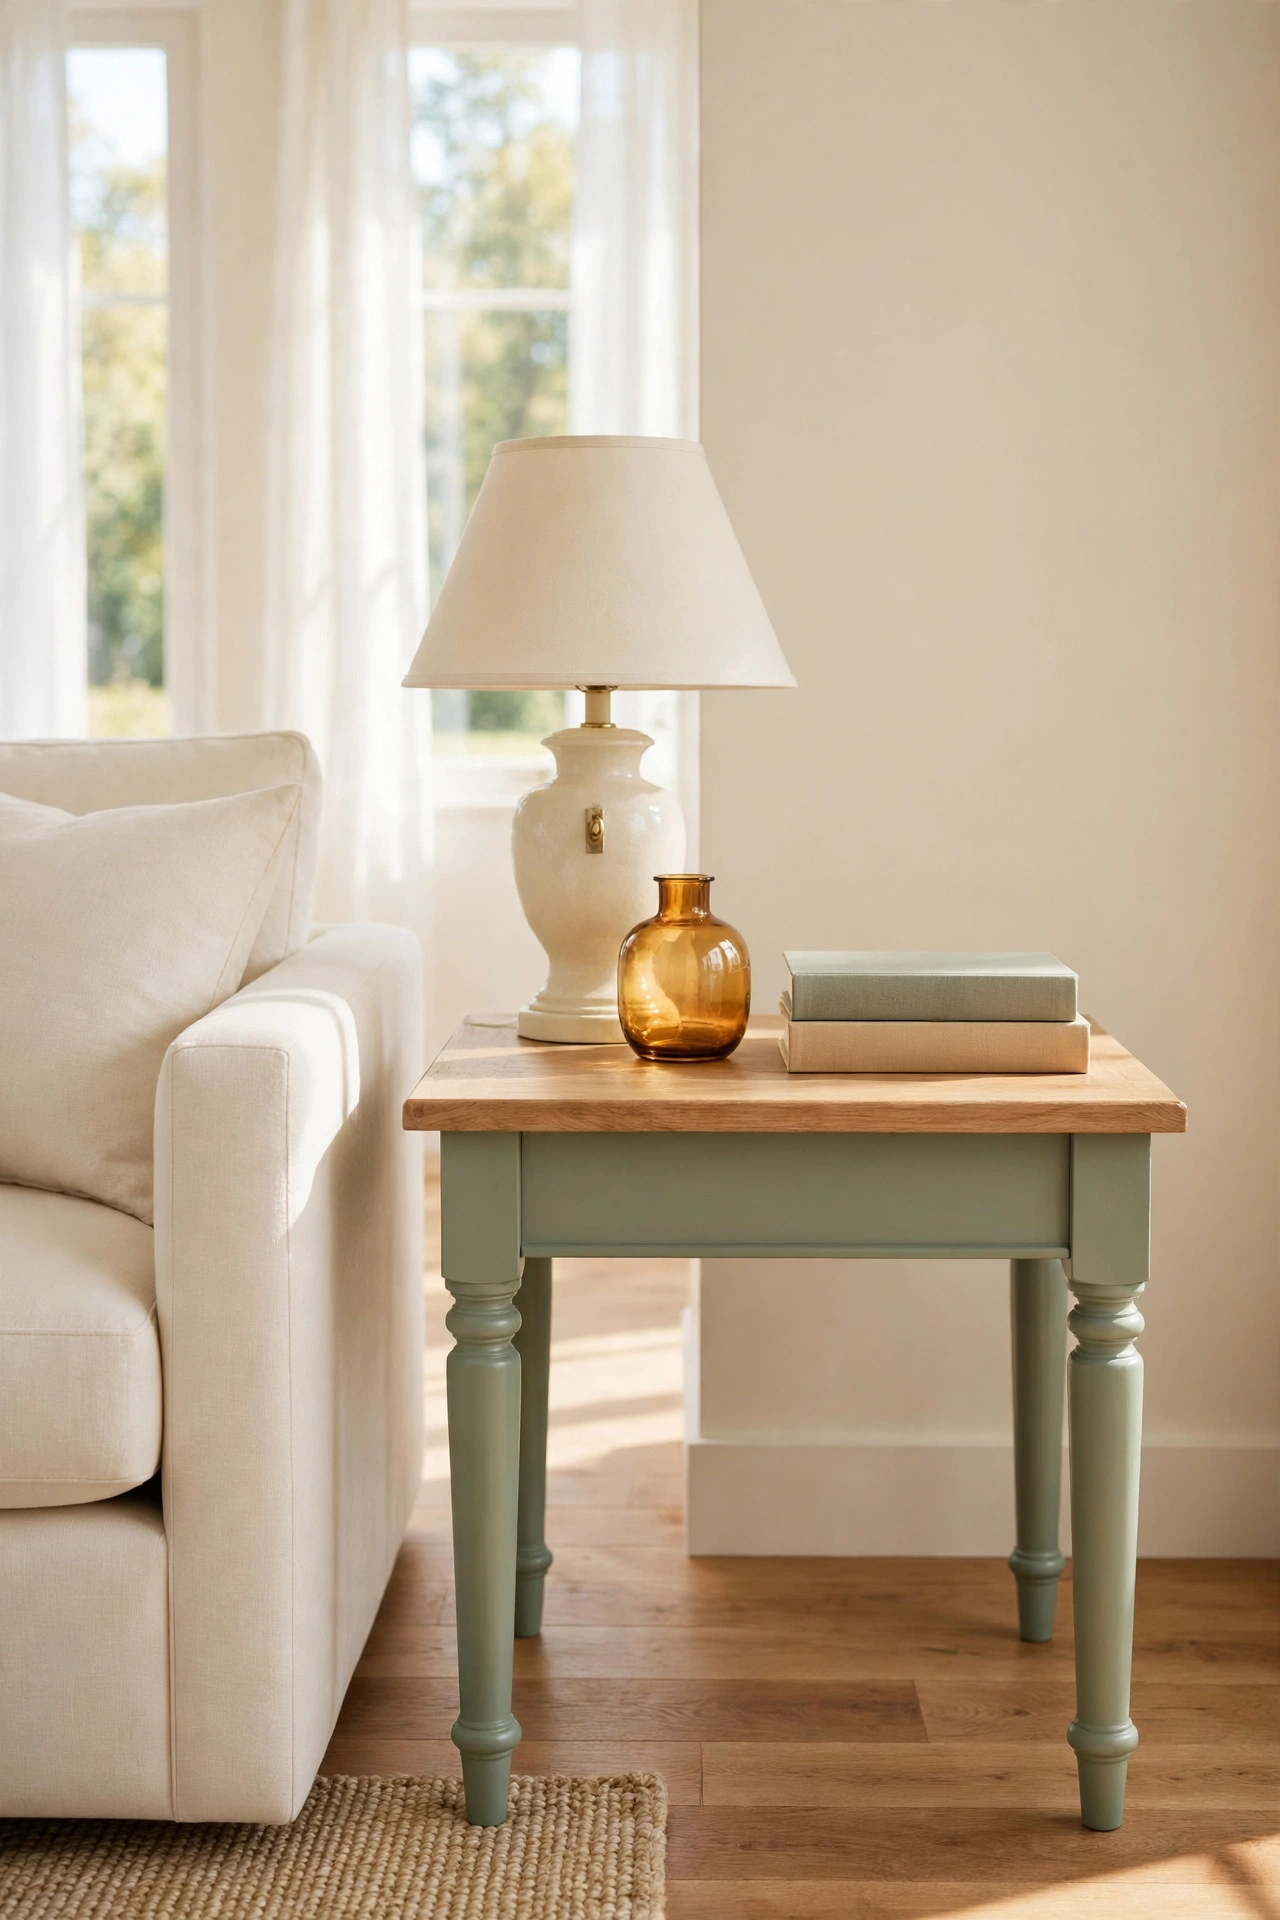
21. Pair a Sage Painted Base With a Natural Wood Top
The classic combination of a painted base and a natural wood top suits almost every living room. Paint the legs and apron a soft sage green and sand the tabletop back to bare wood with a clear protective finish. The mix of painted and natural surfaces feels balanced and timeless.
This combination also hides wear well, because the wood top can be sanded and resealed years later without touching the painted base. Style the finished table with a cream table lamp, a small amber glass vase, and a stack of two books. It is a simple formula that works on nearly any old side table.
Conclusion
An old side table is one of the most rewarding makeover projects in a home. It is small enough to finish in a weekend, cheap enough to experiment on, and visible enough that every improvement shows. Whether you choose paint, stain, new legs, or a tiled top, the table you save will serve your living room for years.
Start with the idea that matches your skill level and your room, and enjoy the process of bringing an old piece back to life. Once you finish one table, you may find yourself looking at every tired piece of furniture with new eyes. For more budget friendly projects, these DIY furniture makeover ideas will help you refresh the rest of your home one piece at a time.
Frequently Asked Questions About DIY Side Table Makeover Ideas for Old Furniture
What is the easiest makeover for an old side table?
A simple chalk paint refresh is the easiest starting point. Clean the table, apply two thin coats of chalk paint, and seal it with wax or a clear topcoat. The whole project takes one afternoon and needs very little sanding or skill.
Do I need to sand a side table before painting it?
Light sanding helps most paints stick better, but chalk paint and some mineral paints grip well with only a good cleaning. If the old finish is glossy or peeling, sand it lightly with fine sandpaper and wipe away the dust before you paint. A quick sanding step gives a smoother and longer lasting result.
How do I protect a painted side table top from cups and scratches?
Seal the tabletop with two or three thin coats of clear polyurethane or a water based topcoat. Let each coat dry fully and sand very lightly between coats. A sealed top resists water rings, scratches, and daily wear far better than paint alone.
Can I change the legs on an old side table?
Yes, most side table legs unscrew or unbolt from the underside. You can replace them with hairpin legs, turned wood legs, or tapered mid century legs to change the whole style of the table. Measure the height you need beside your sofa and choose legs that keep the tabletop level with the sofa arm.
What paint works best on old wood furniture?
Chalk paint, mineral paint, and acrylic furniture paint all work well on old wood. Chalk paint gives a soft matte finish and needs little prep, while acrylic furniture paint gives a harder wearing surface for tabletops. Always finish with a clear sealer on surfaces that will hold drinks or books.

Hi, I’m Emily! I turn messy corners into cozy, organized spots. DreamNestDecor is where I share simple, practical home ideas — decor, organization, and small-space solutions that work in real life, not just in photos. Every idea here is carefully researched before it’s shared.