Picture this: you walk into your kitchen in the morning, and the tall stools lined up at the island look tired and scratched. The seats wobble a little, the finish has worn thin, and the whole row drags down a kitchen you otherwise love. You know new stools would cost a small fortune, so the old ones stay put, day after day.
You do not need to buy new stools to fix that feeling. A weekend of sanding, painting, or fresh fabric can turn worn bar-height seating into the best looking seats in the house. These 13 diy bar stool makeover ideas will help you refresh counter stools and island stools of every style, from bold painted finishes to woven seats and warm wood stain.
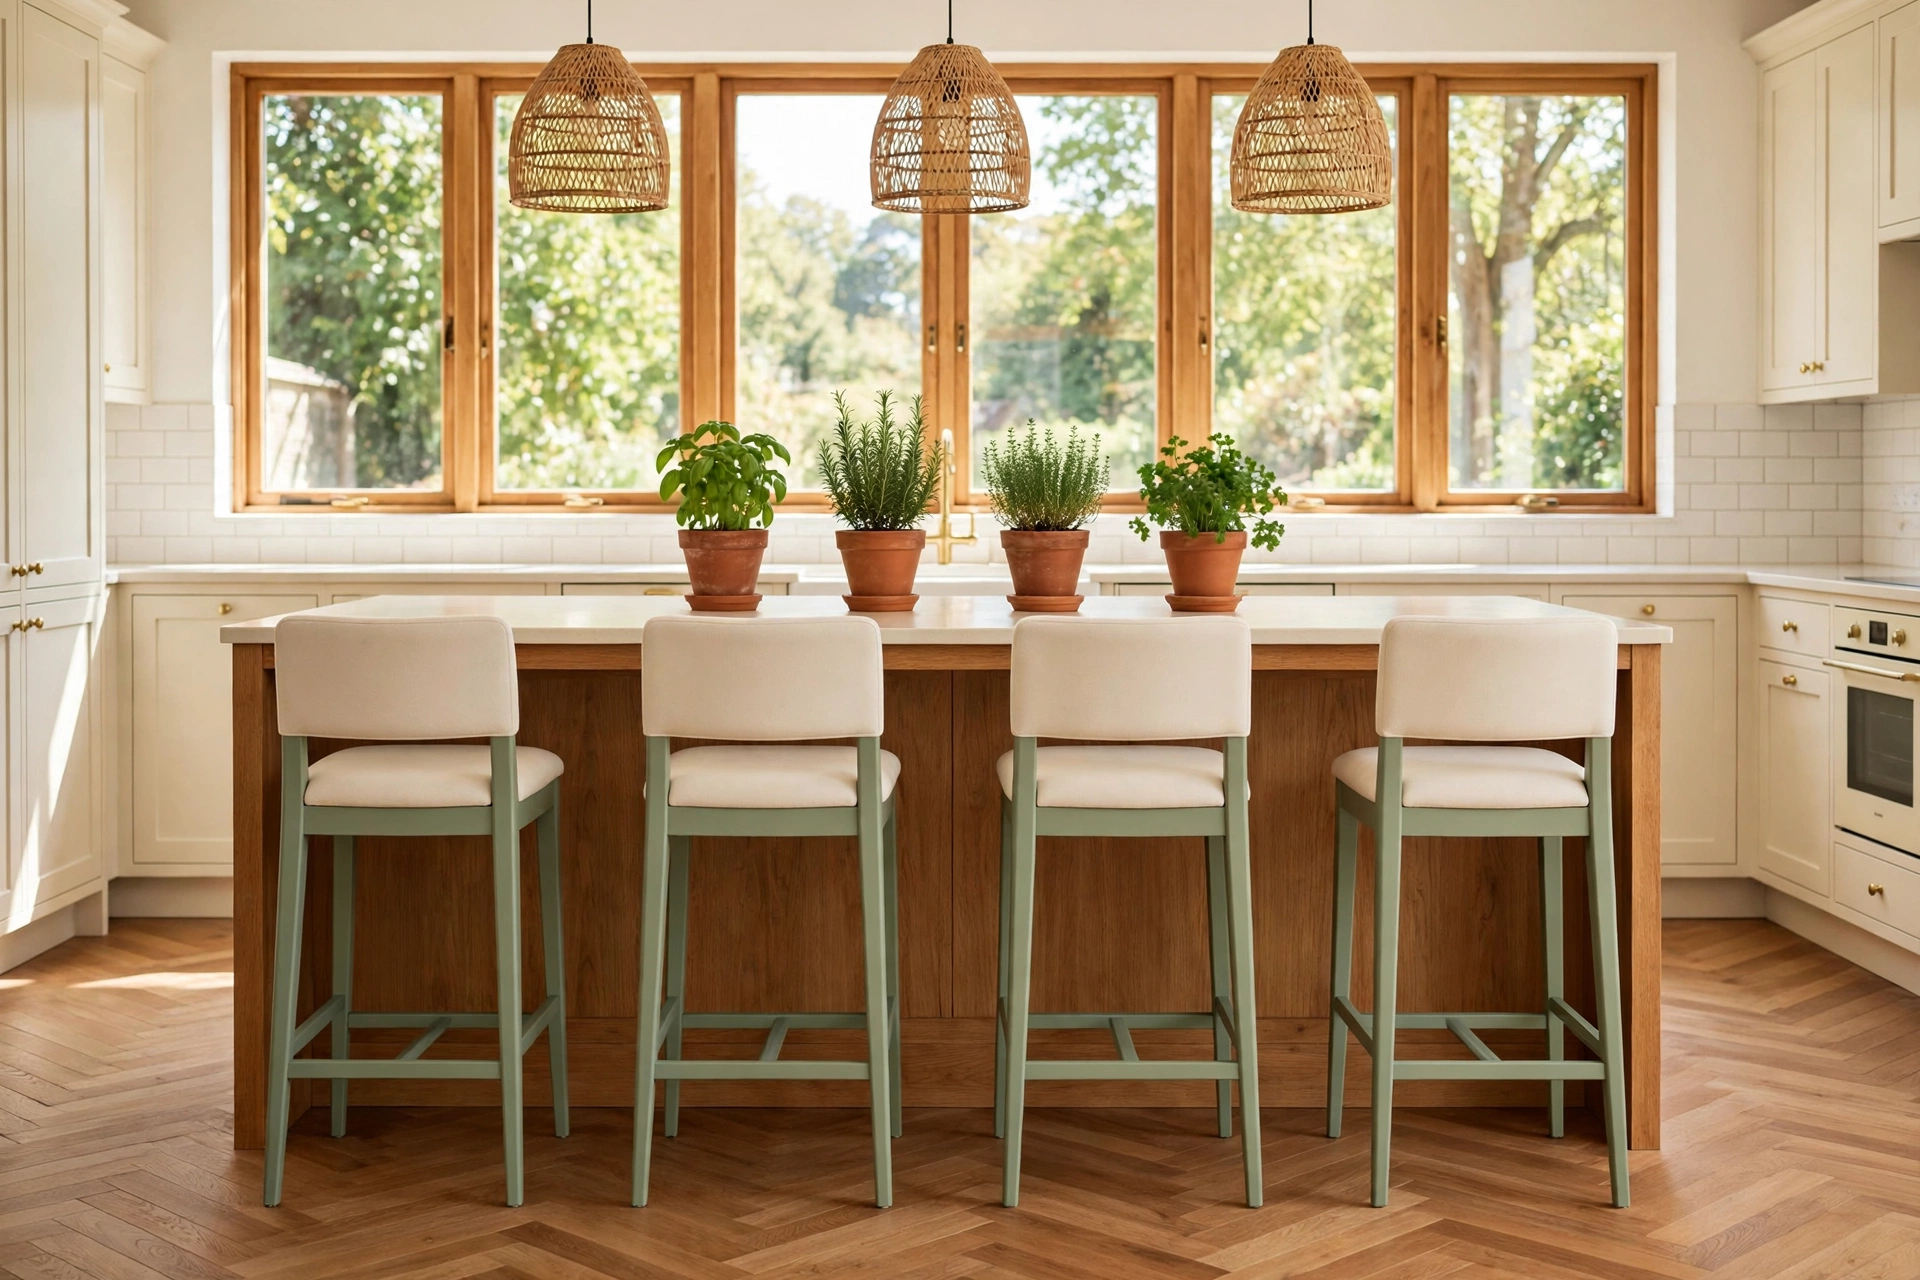
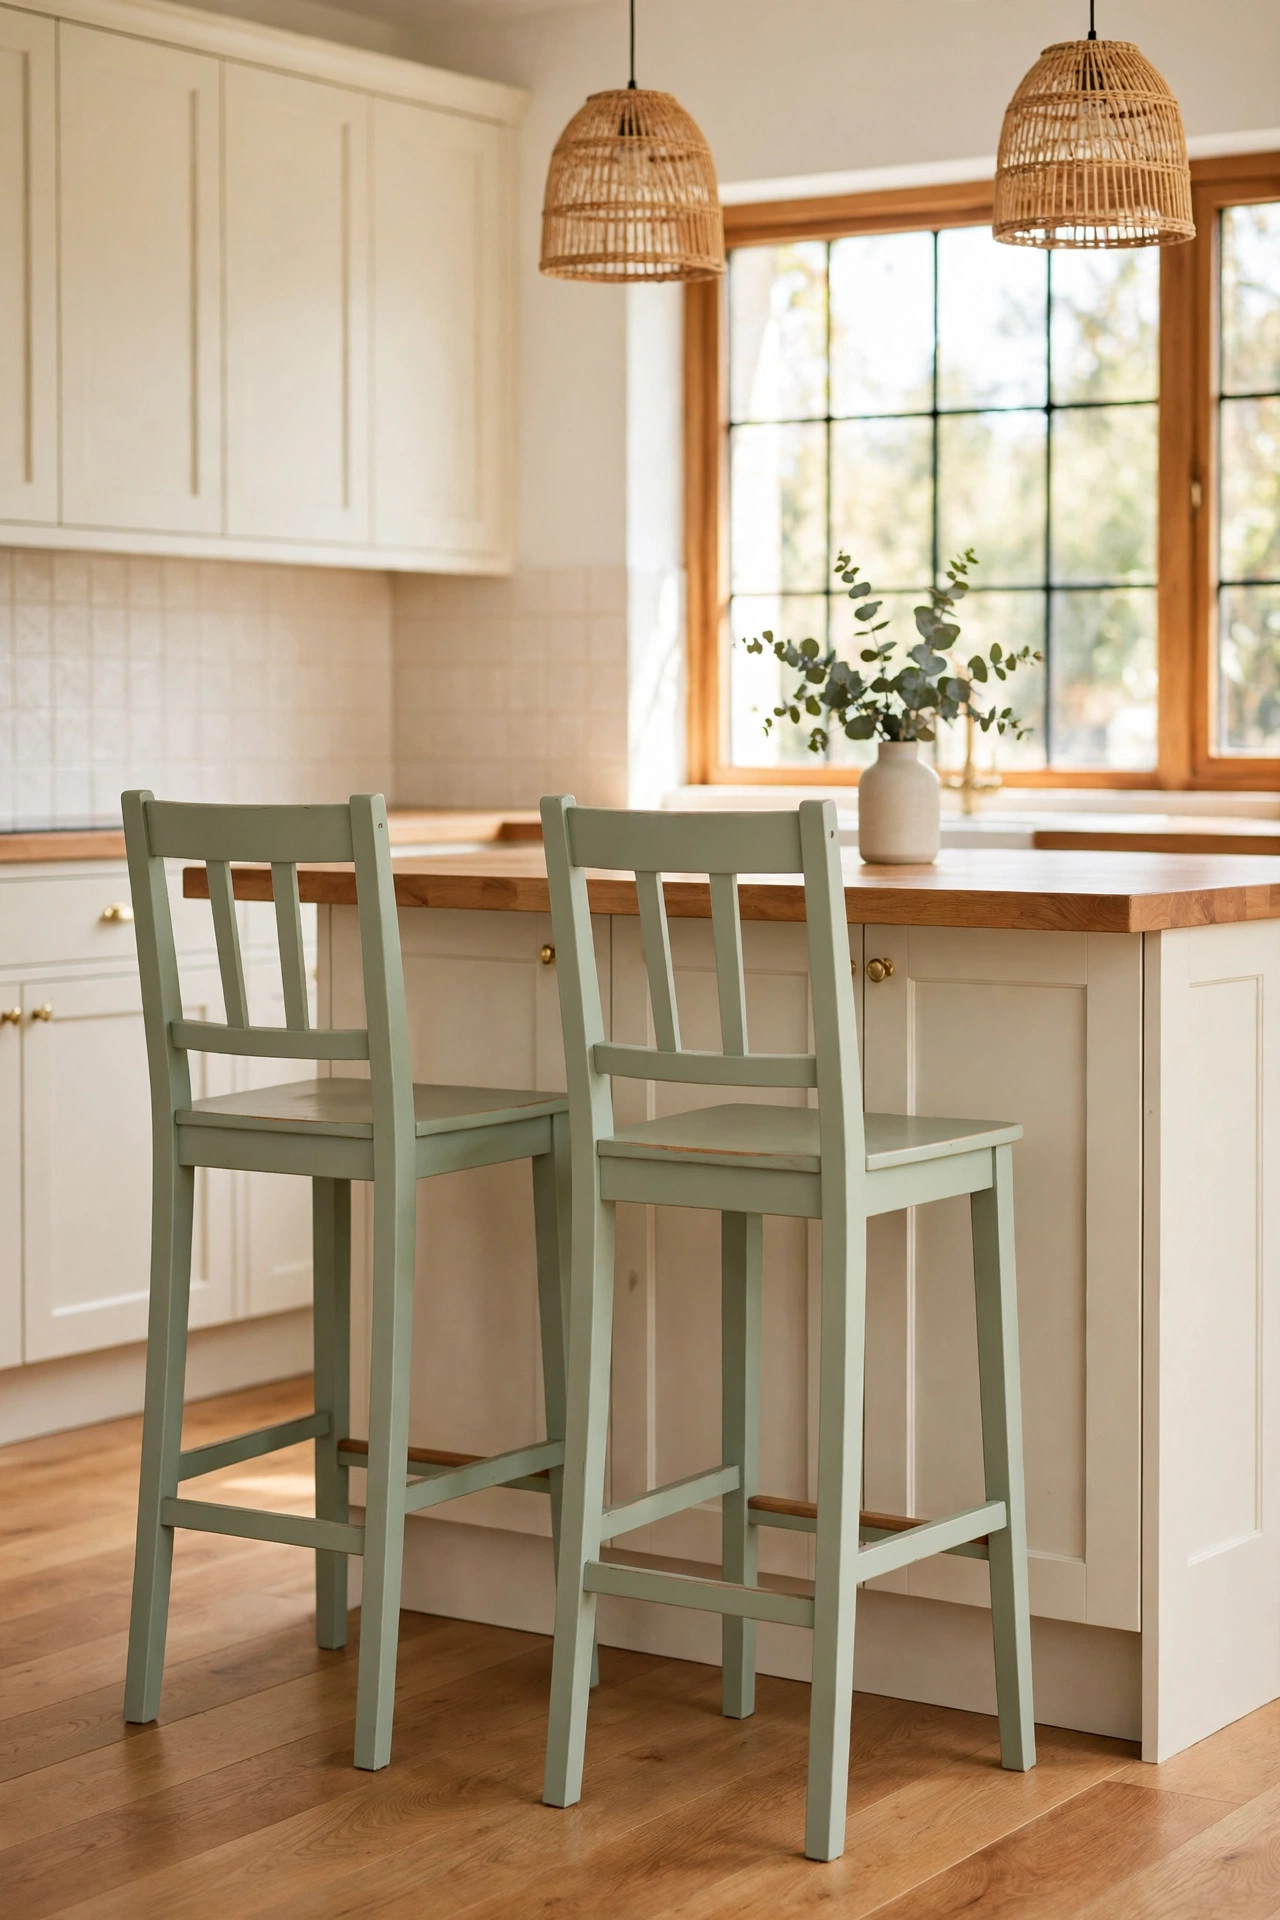
1. Give Plain Stools a Bold Sage Green Paint Finish
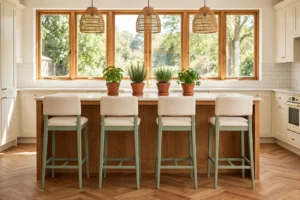
A fresh coat of sage green paint can rescue a set of plain wooden bar stools in a single afternoon. The soft green feels calm and current, and it pairs beautifully with cream cabinets and warm wood counters. Sand the old finish lightly, wipe away the dust, and apply two thin coats of furniture paint for a smooth, durable result.
Let each coat dry fully before you add the next one, and finish with a clear protective topcoat on the seats, where daily use wears paint fastest. The tall legs and stretchers of bar-height stools give you plenty of surface to show off the color. Once the paint cures, the stools look like a brand new set that cost far more than a can of paint.
2. Reupholster Worn Seats With Durable Soft Blue Fabric
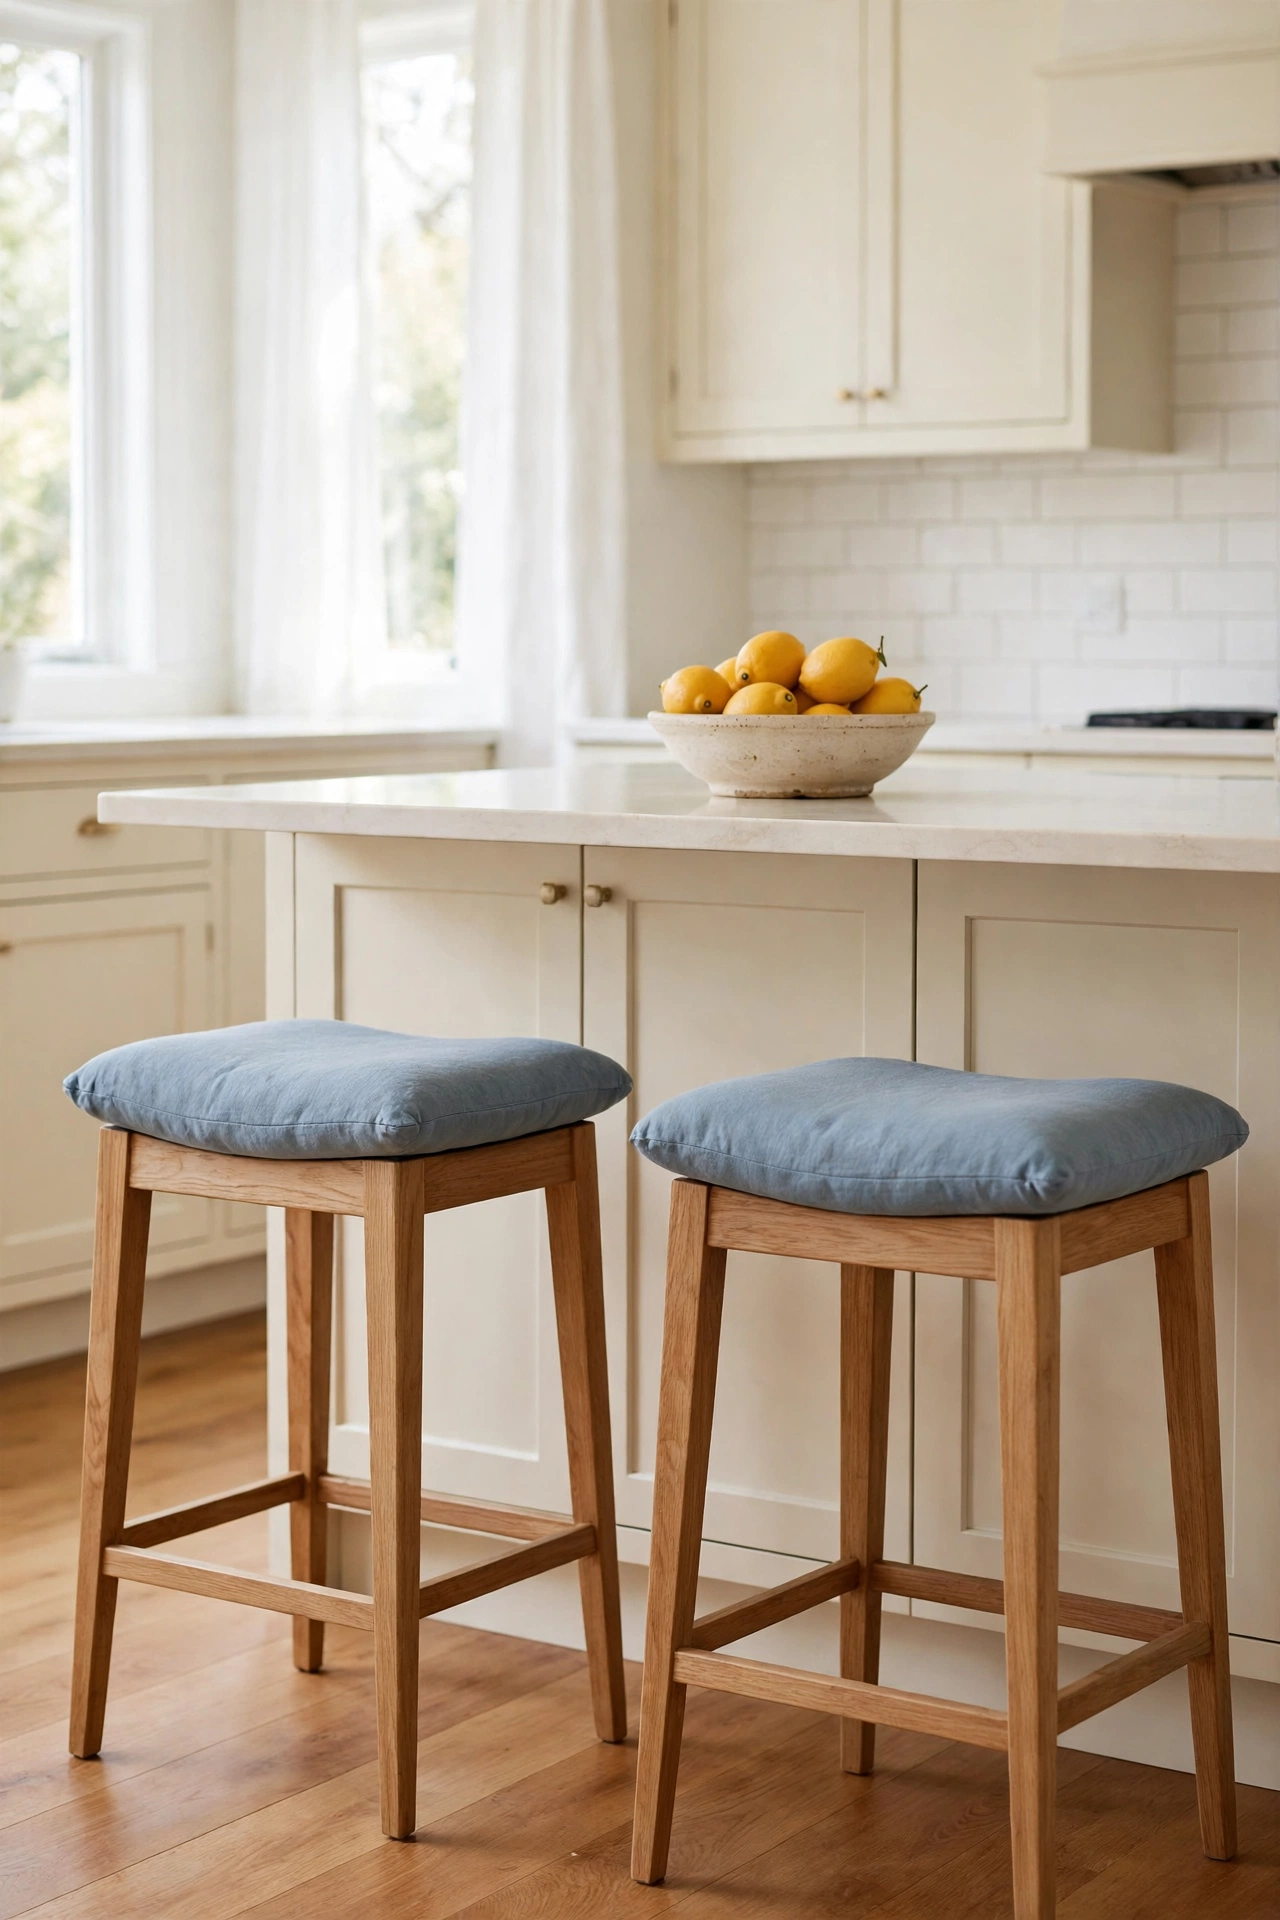
If the frames of your stools are solid but the seats look flat and stained, new fabric is the fastest fix. Choose a durable upholstery fabric in soft blue linen, add a layer of fresh foam, and staple the fabric neatly under the seat base. The whole job takes less than an hour per stool once you have your supplies ready.
Pull the fabric tight and fold the corners like wrapping a gift so the seat looks smooth from every angle. Soft blue seats add a gentle touch of color to a cream and wood kitchen without overwhelming the room. The same reupholstery skills work on other seating too, and these DIY dining chair makeover ideas show how far fresh fabric can take tired chairs.
3. Refresh Wooden Stools With a Rich Walnut Stain
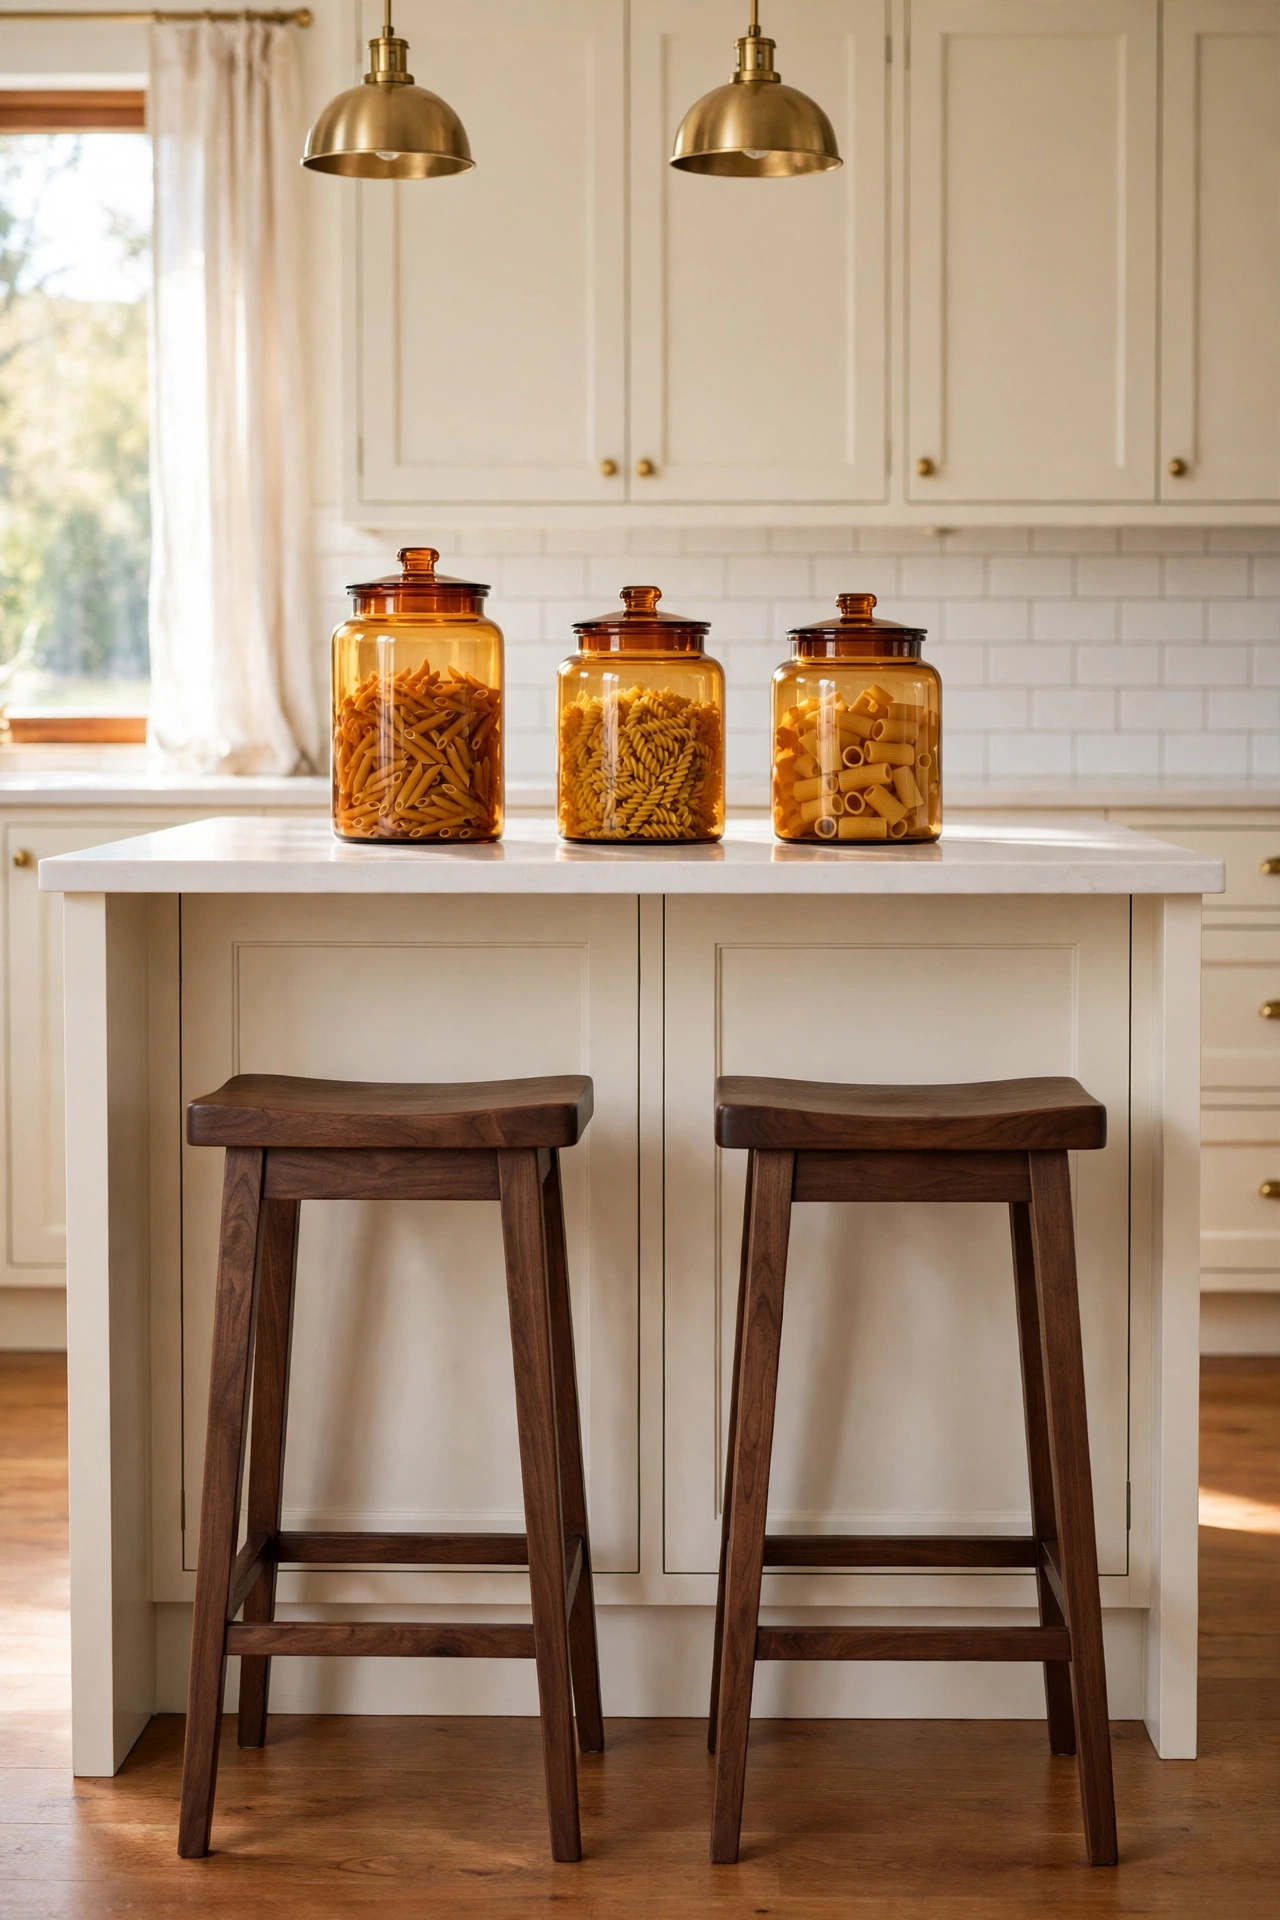
Stain is the right choice when your stools have good wood grain hiding under a dull or dated finish. Strip or sand the old finish back to bare wood, then apply a rich walnut stain with a clean cloth, wiping with the grain. The warm brown tone adds depth and makes the tall legs look like quality furniture.
Work in thin coats and test the color on the underside of a seat first so you can adjust before you commit. Two coats of stain followed by a clear sealant will stand up to daily kitchen use and spilled drinks. For more guidance on choosing and applying stain, these DIY wood stain projects walk through the steps for furniture of every size.
4. Weave New Rush Seats for a Natural Farmhouse Look
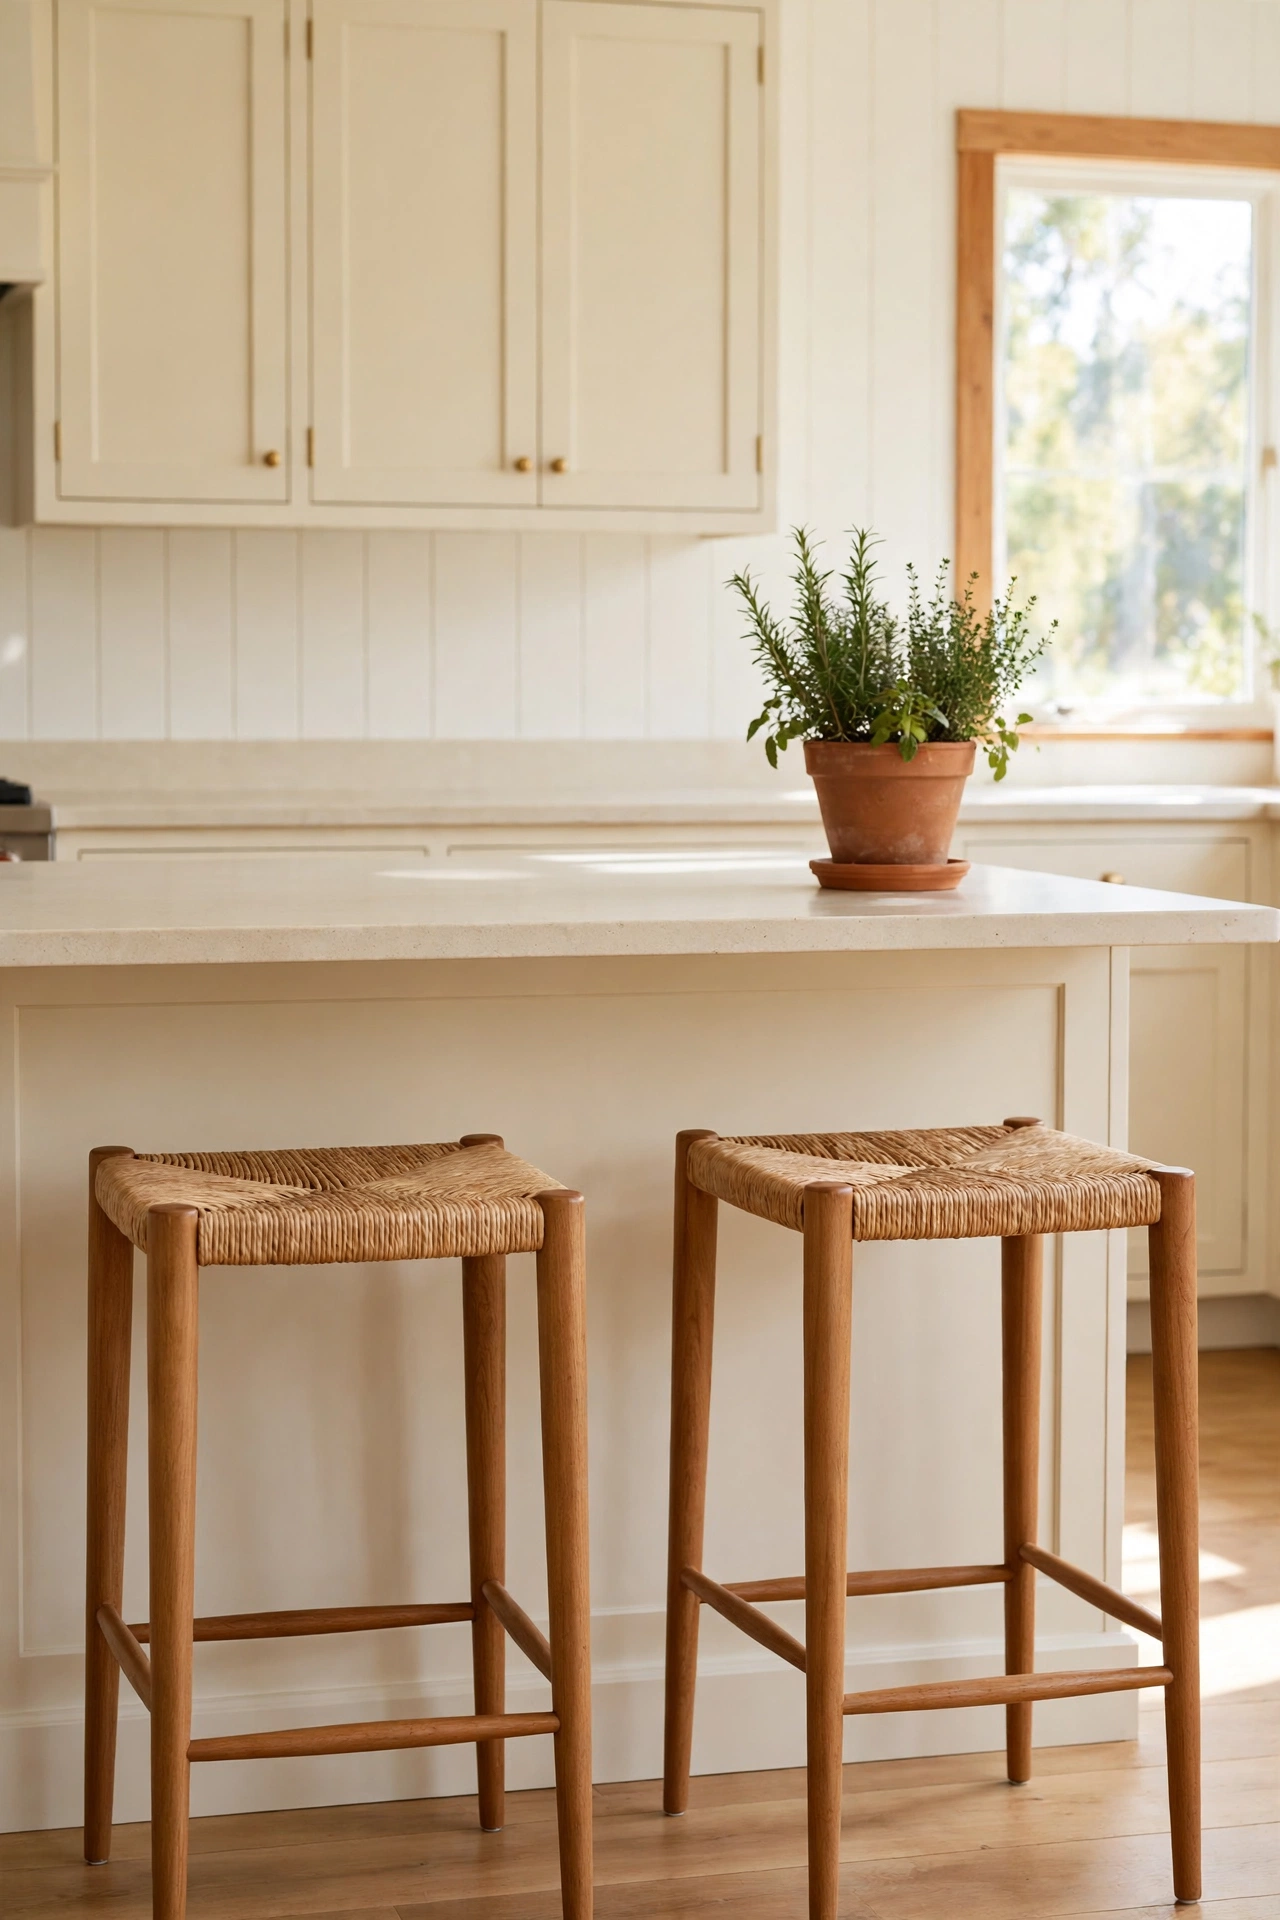
Rush seats bring a natural, handcrafted texture to bar stools that plain wood seats cannot match. Pre-woven rush cane sheets make the job much simpler than traditional hand weaving, and they fit into the same seat frame once the old seat is removed. The woven pattern catches light beautifully and adds warmth to a bright kitchen.
Soak the rush sheet briefly so it stays flexible while you fit it, then secure it with the spline and glue made for cane work. The natural tan color pairs well with cream walls and terracotta pots on the counter. Rush seats are sturdy enough for daily use, and a single woven sheet can refresh a whole set of stools.
5. Try a Two-Tone Paint Finish in Terracotta and Cream
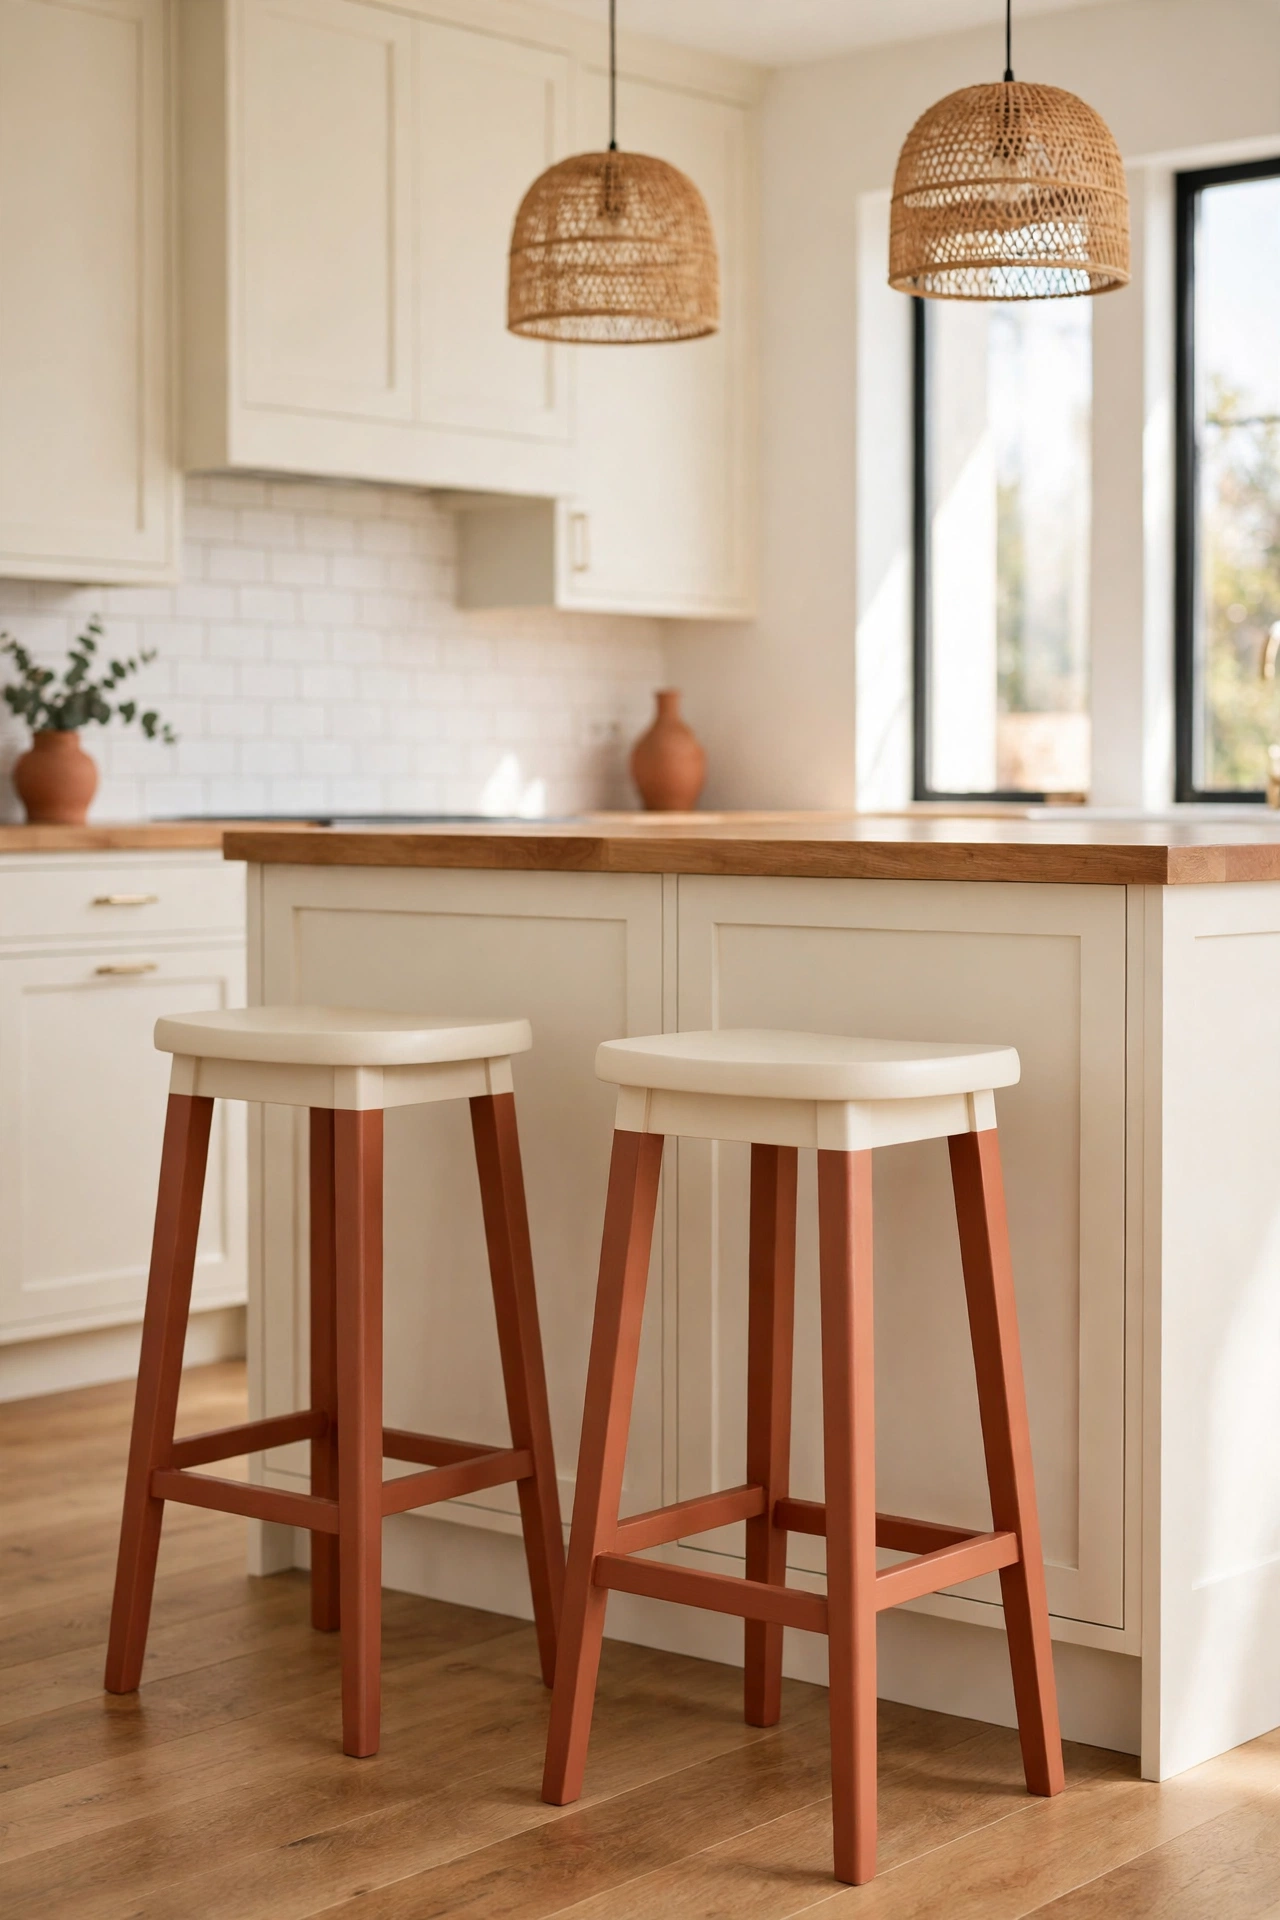
Two-tone paint gives bar stools a custom, designer look with very little extra effort. Paint the legs and stretchers in warm terracotta and keep the seat in soft cream, or reverse the pairing for a bolder effect. The contrast draws the eye to the tall silhouette of the stool and makes the whole island area feel more styled.
Use painter tape to keep the line between colors crisp, and remove the tape while the second color is still slightly tacky for the cleanest edge. Terracotta warms up a white kitchen, while the cream seat keeps the look light and fresh. For more painted furniture inspiration, these painted furniture ideas offer color pairings that work across the whole home.
6. Fit Washable Slipcovers on Swivel Stools
Swivel stools see heavy daily use, and their fixed cushions can start to look shabby long before the frame wears out. A fitted slipcover in blush pink cotton gives the seat a fresh face and comes off easily for washing. Choose a stretch fabric with elastic edges so the cover hugs the round or square seat without slipping.
Measure the seat width and thickness before you order or sew, and look for covers with ties or elastic hems that stay put when the stool spins. Blush pink softens a kitchen with dark cabinets and adds a gentle warmth to the island area. Slipcovers also let you change the look seasonally without committing to a permanent fabric.
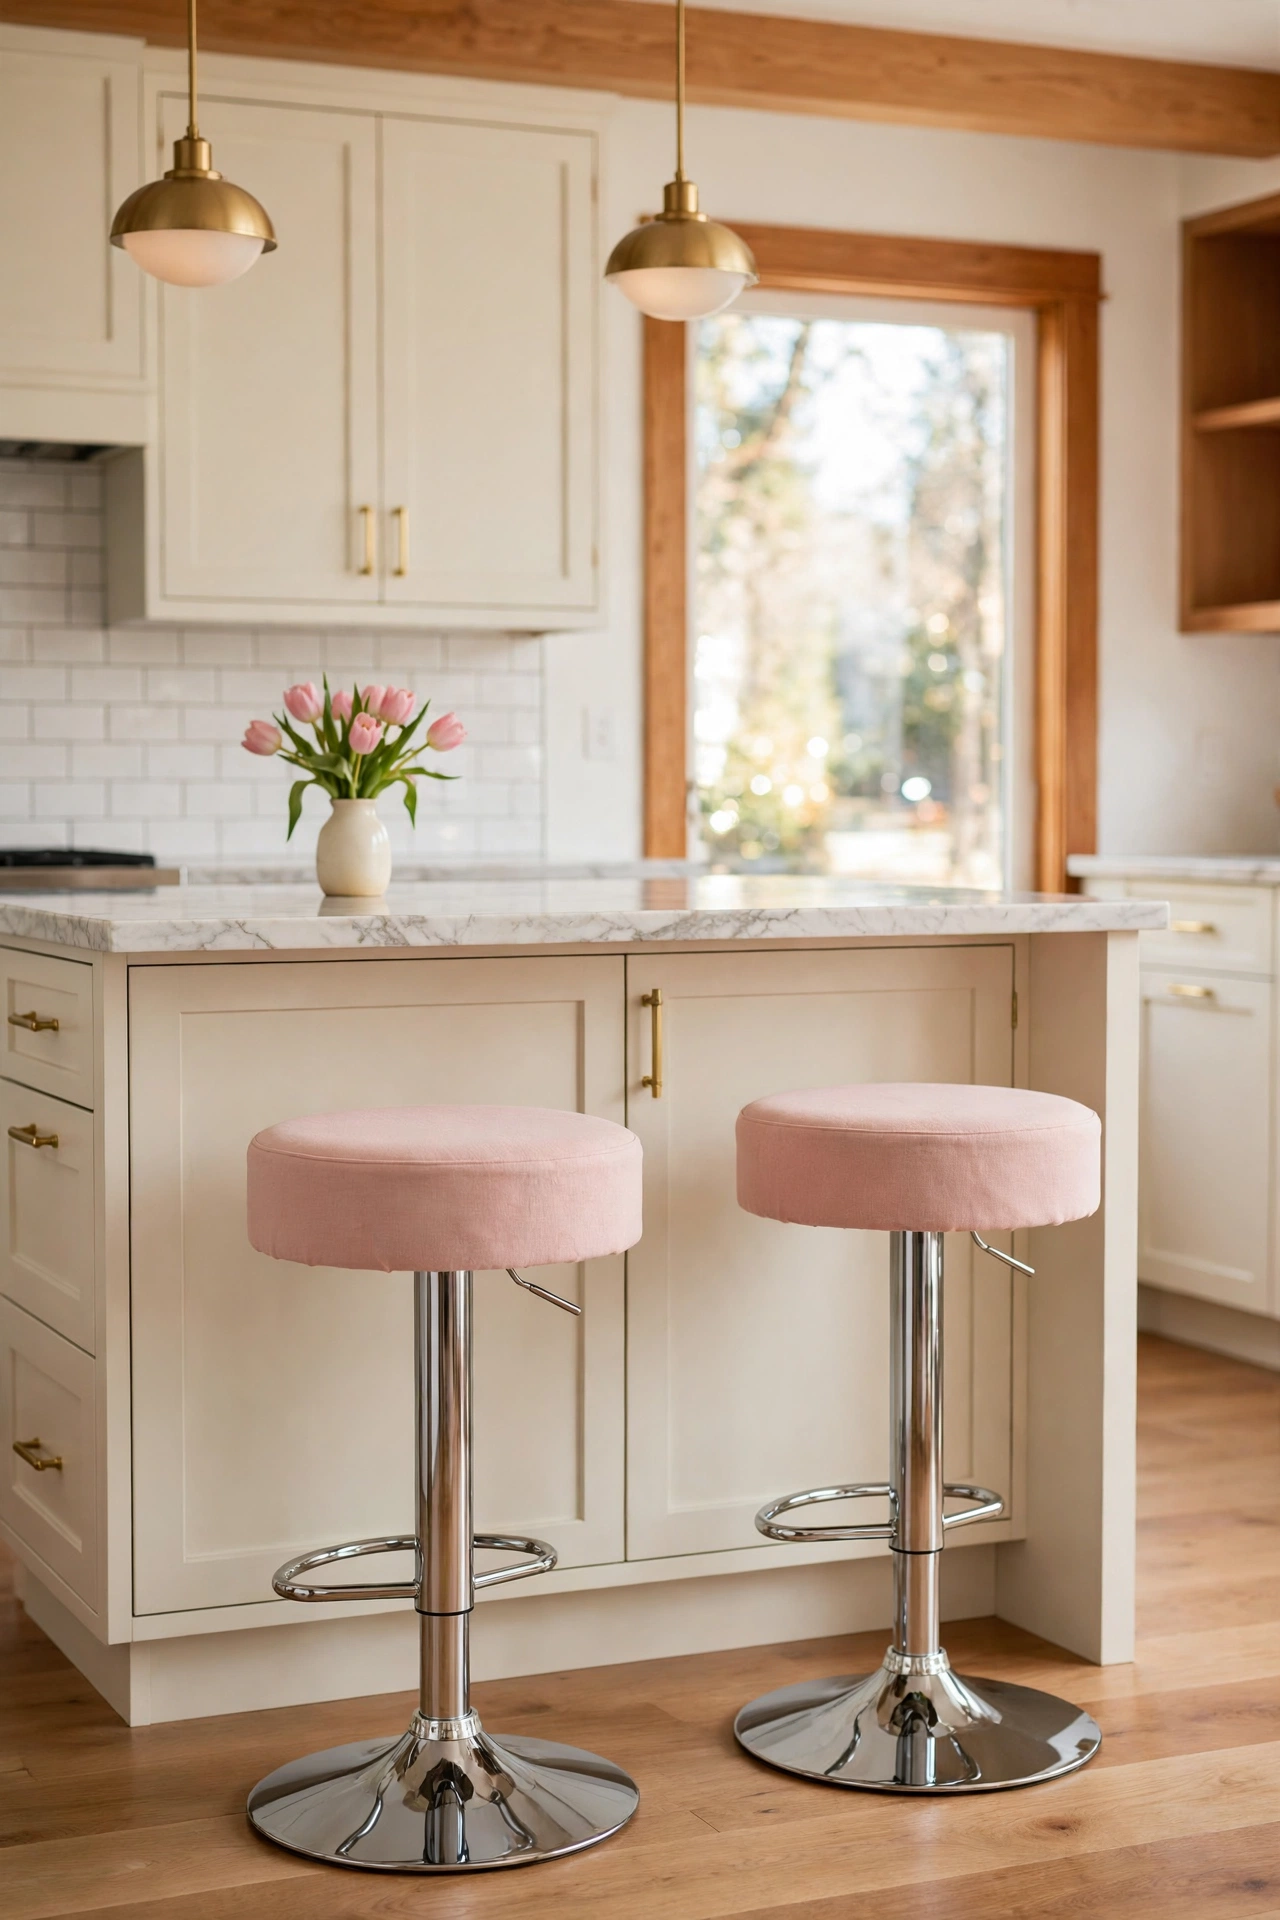
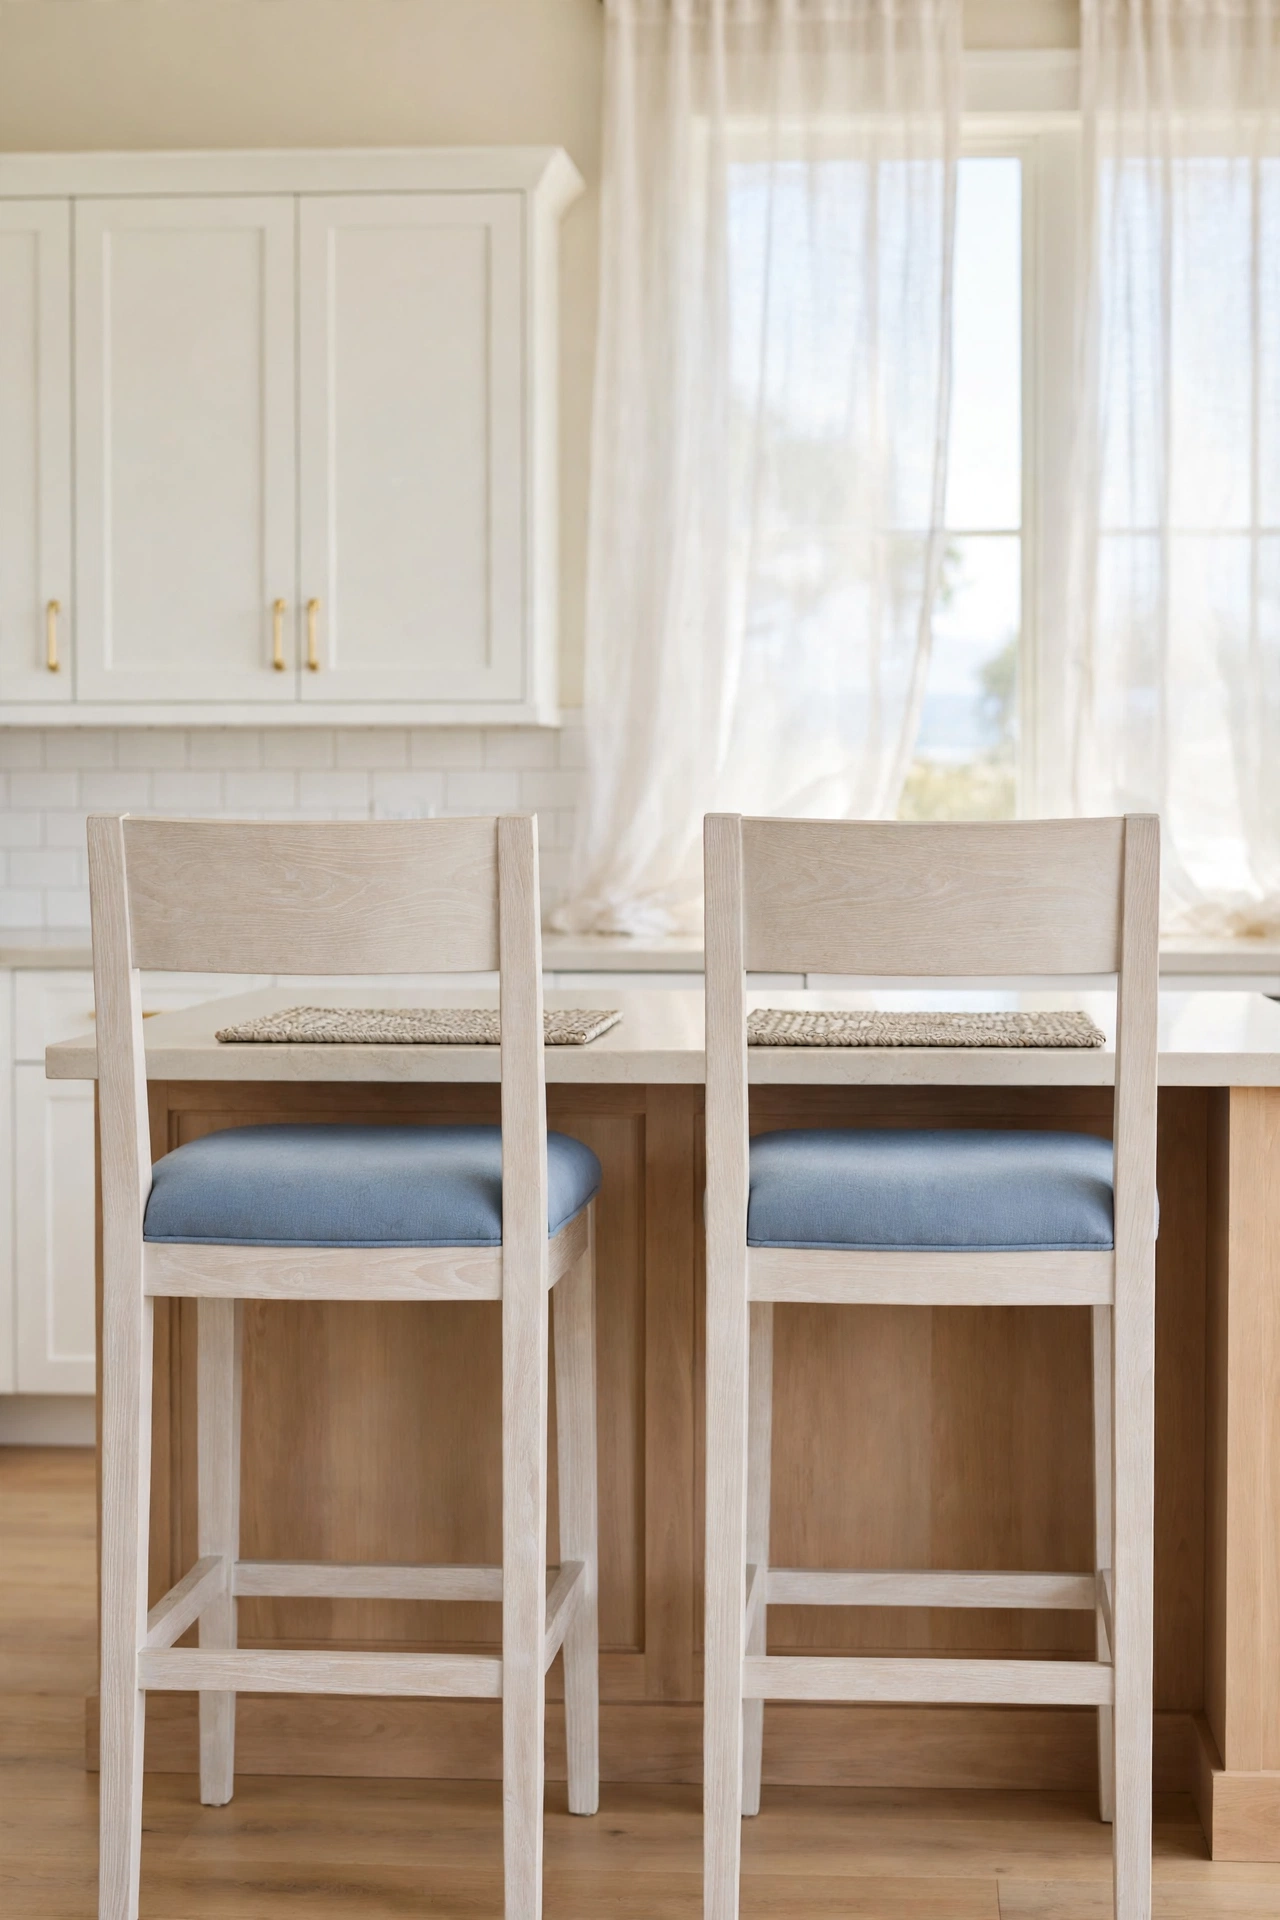
7. Whitewash Stools for a Breezy Coastal Kitchen
Whitewash lets the wood grain show through a soft, sun-bleached finish that suits coastal and cottage kitchens. Mix white paint with water until it flows like thin cream, brush it on with the grain, and wipe back the excess with a rag. The result is a pale, airy finish that makes tall stools feel lighter in the room.
Seal the whitewash with a matte clear coat so the pale finish survives daily use and cleaning. Pair the stools with soft blue cushions and woven placemats on the island for a complete coastal look. If your island needs the same fresh treatment, these budget friendly kitchen island makeover ideas will help you match the two pieces.
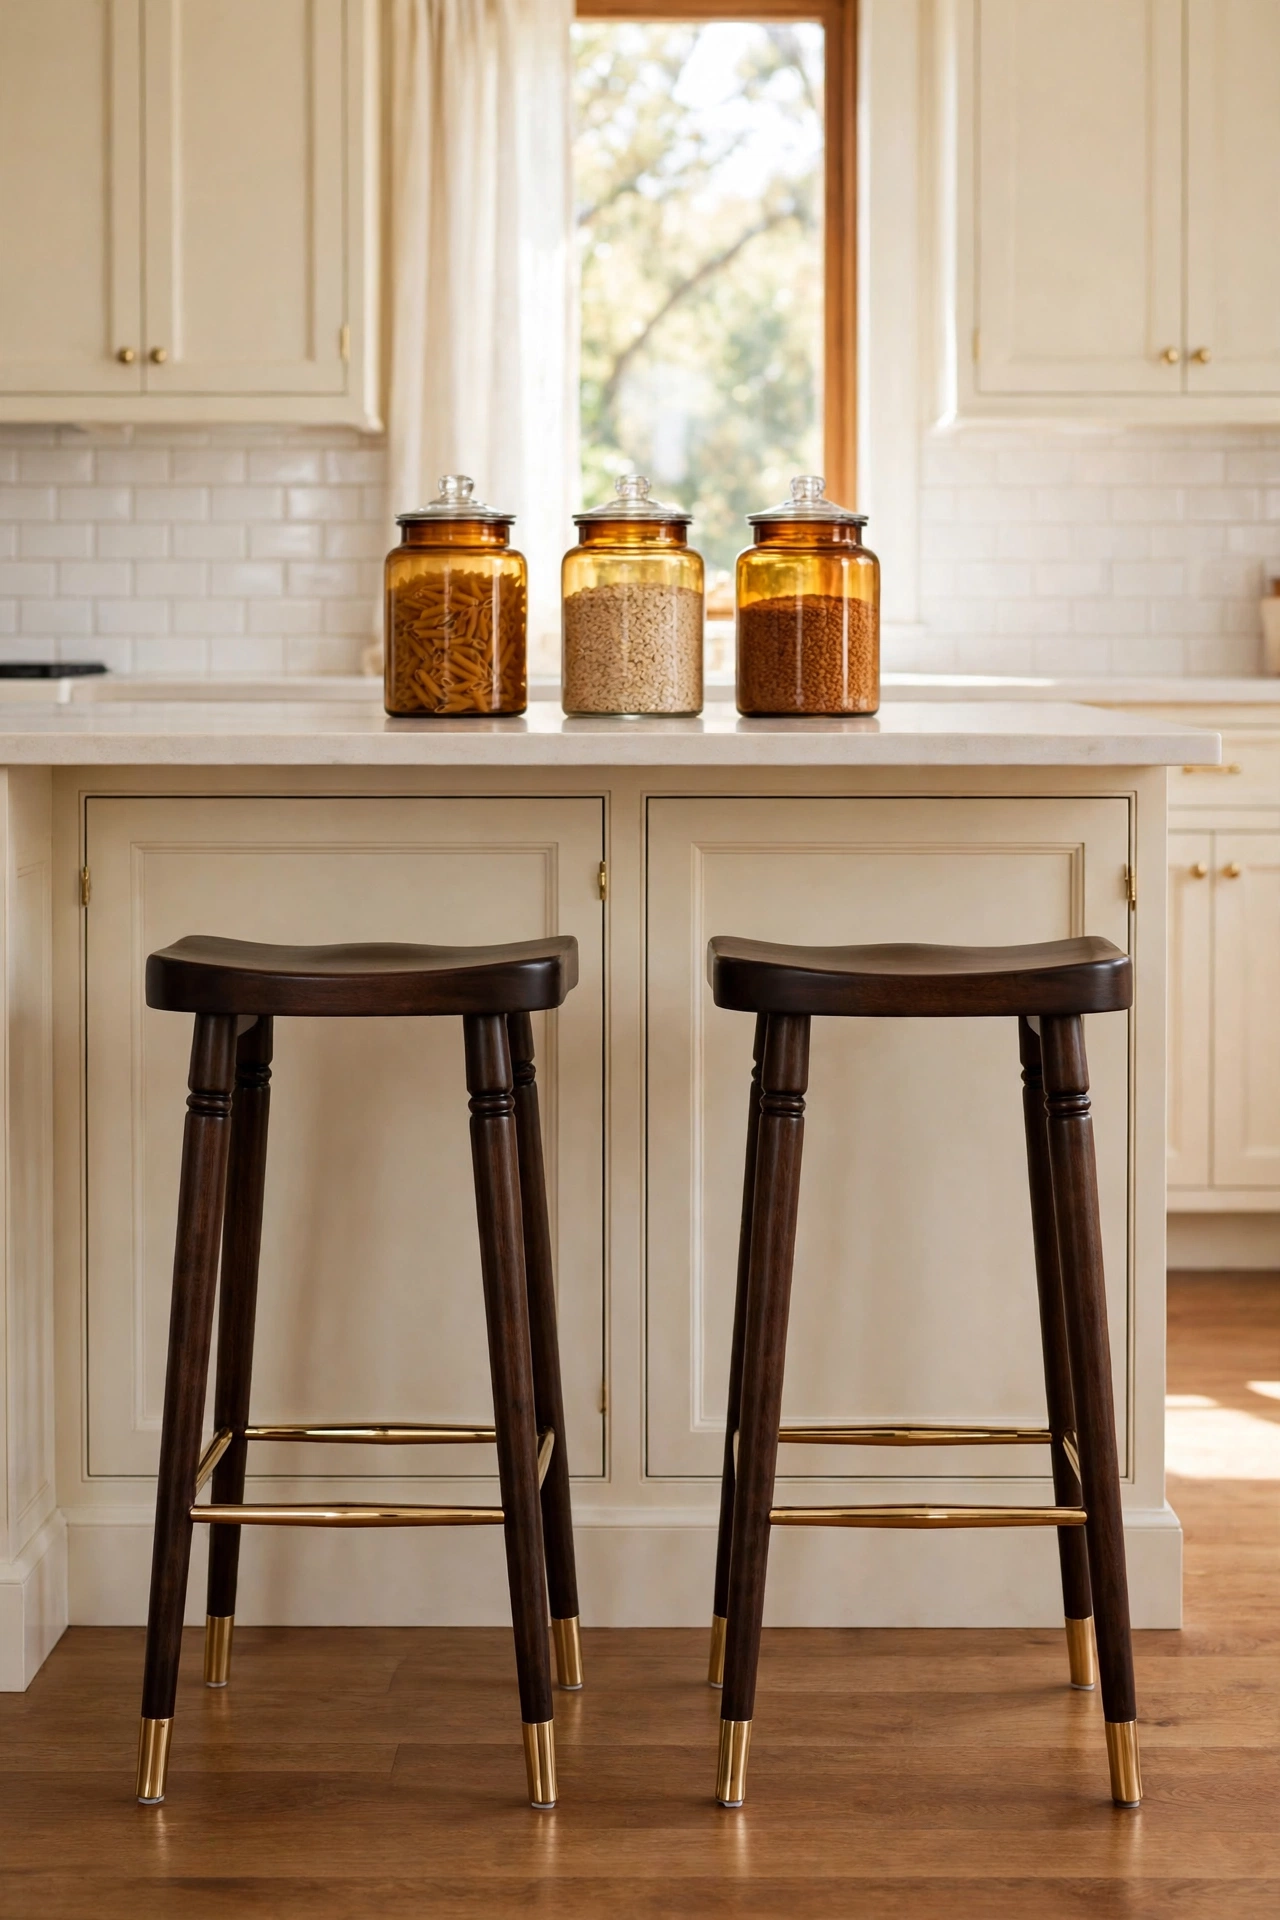
8. Upgrade the Footrest With Warm Brass Details
The footrest takes more wear than any other part of a bar stool, and it is often the first place where the finish chips. A brass footrest rail or a set of brass foot caps turns that weak spot into a polished feature. The warm metal glows against dark wood legs and adds a touch of elegance to everyday seating.
Measure the diameter of the existing footrest bar before you buy caps or sleeves, and fix them firmly with screws or strong adhesive. Brass pairs beautifully with amber glass jars and warm wood on the counter. This small upgrade costs little but makes the whole set of stools look custom made.
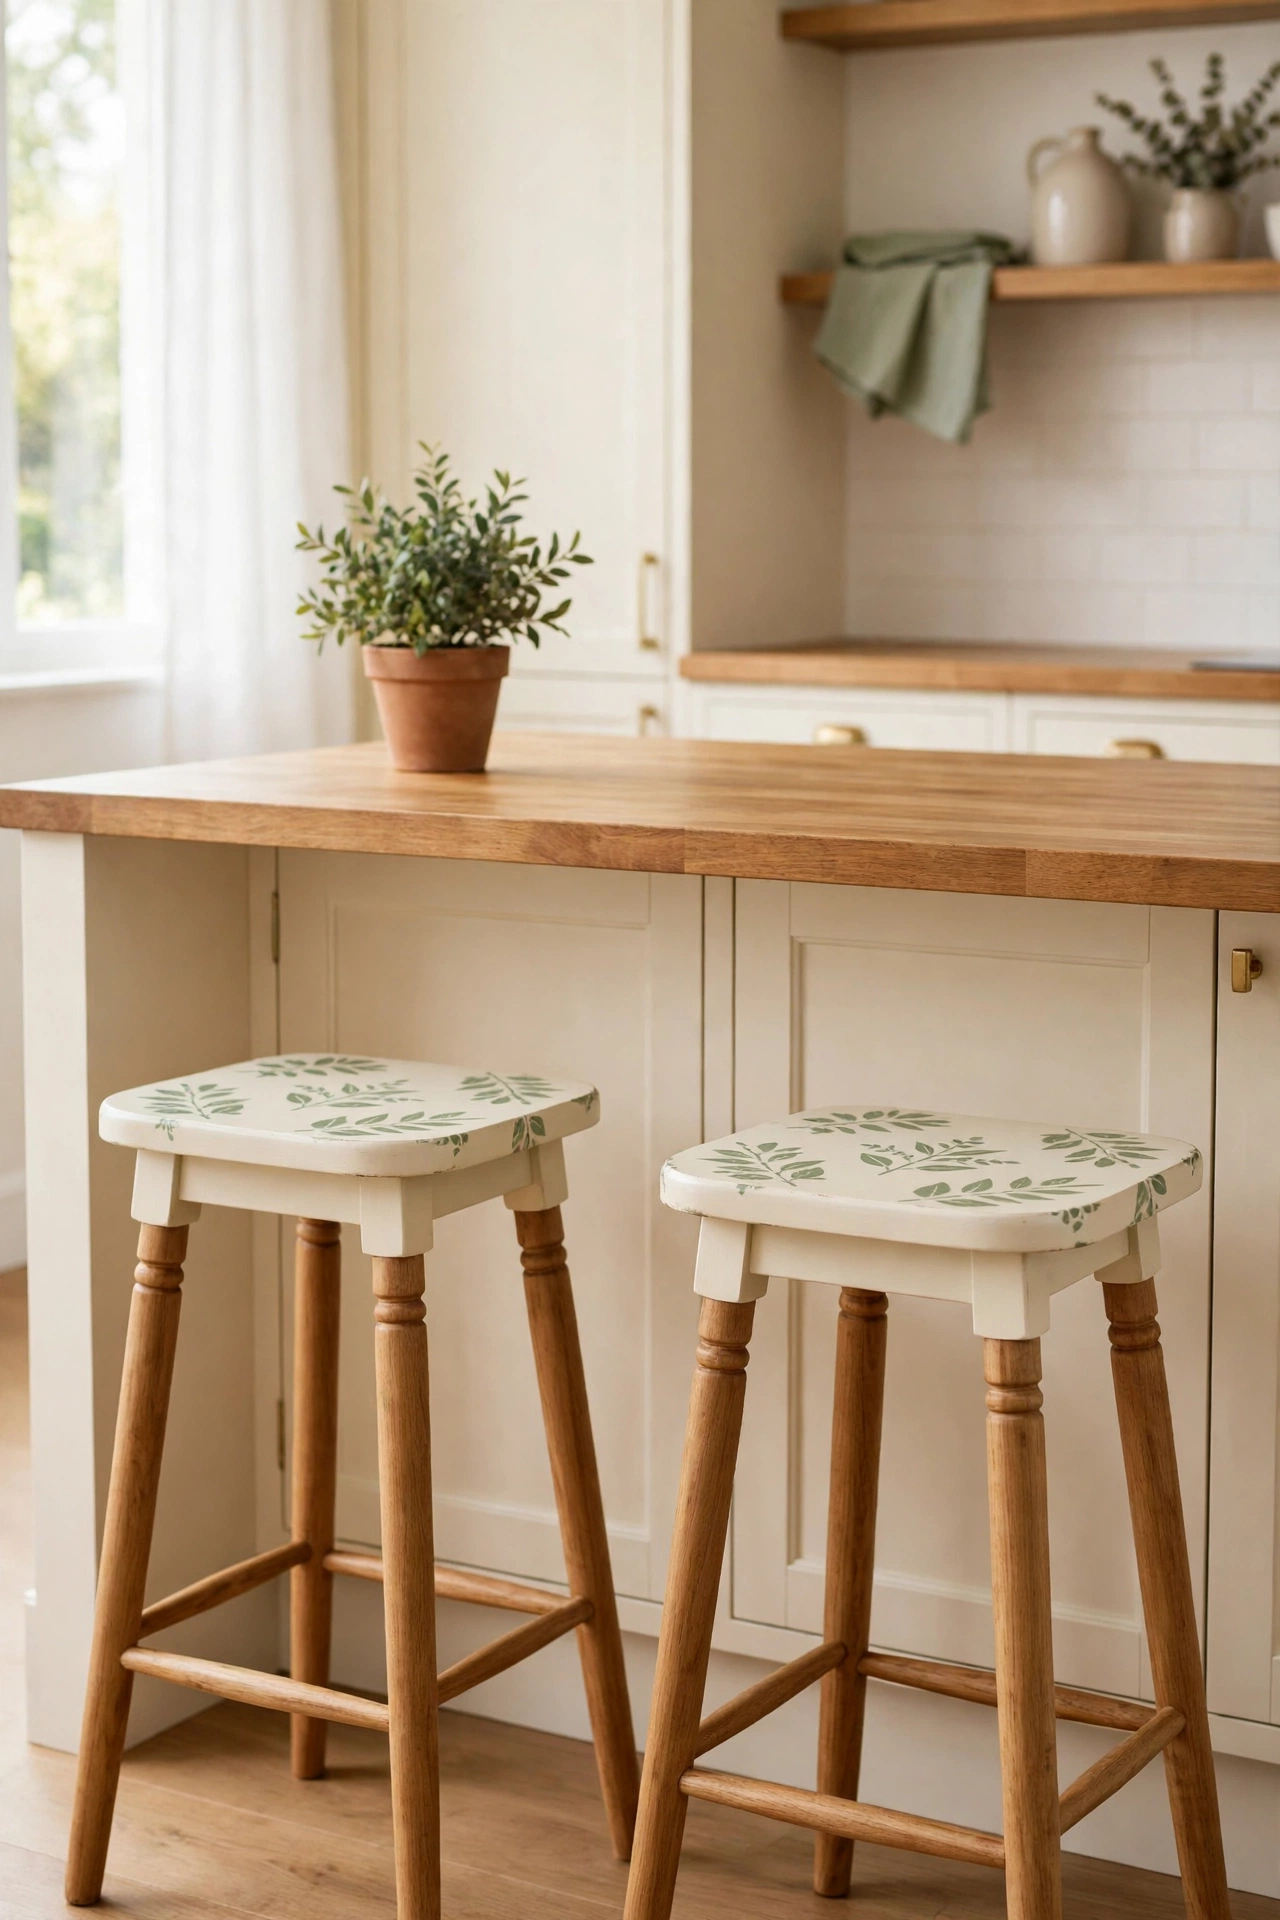
9. Stencil a Pattern Onto Plain Wooden Seats
A stencil turns a plain round or square seat into a piece of art without any freehand painting skill. Choose a simple geometric or botanical pattern, center it on the seat, and dab paint on with a nearly dry stencil brush so the paint does not bleed under the edges. Sage green motifs on a cream seat look fresh and classic.
Keep the pattern small enough that it reads clearly when someone sits down, and seal the seat with several coats of clear finish so the design survives daily use. Stenciling is a forgiving project, and a mistake sands off easily before you seal it. Repeat the same motif on every stool in the set for a coordinated look.
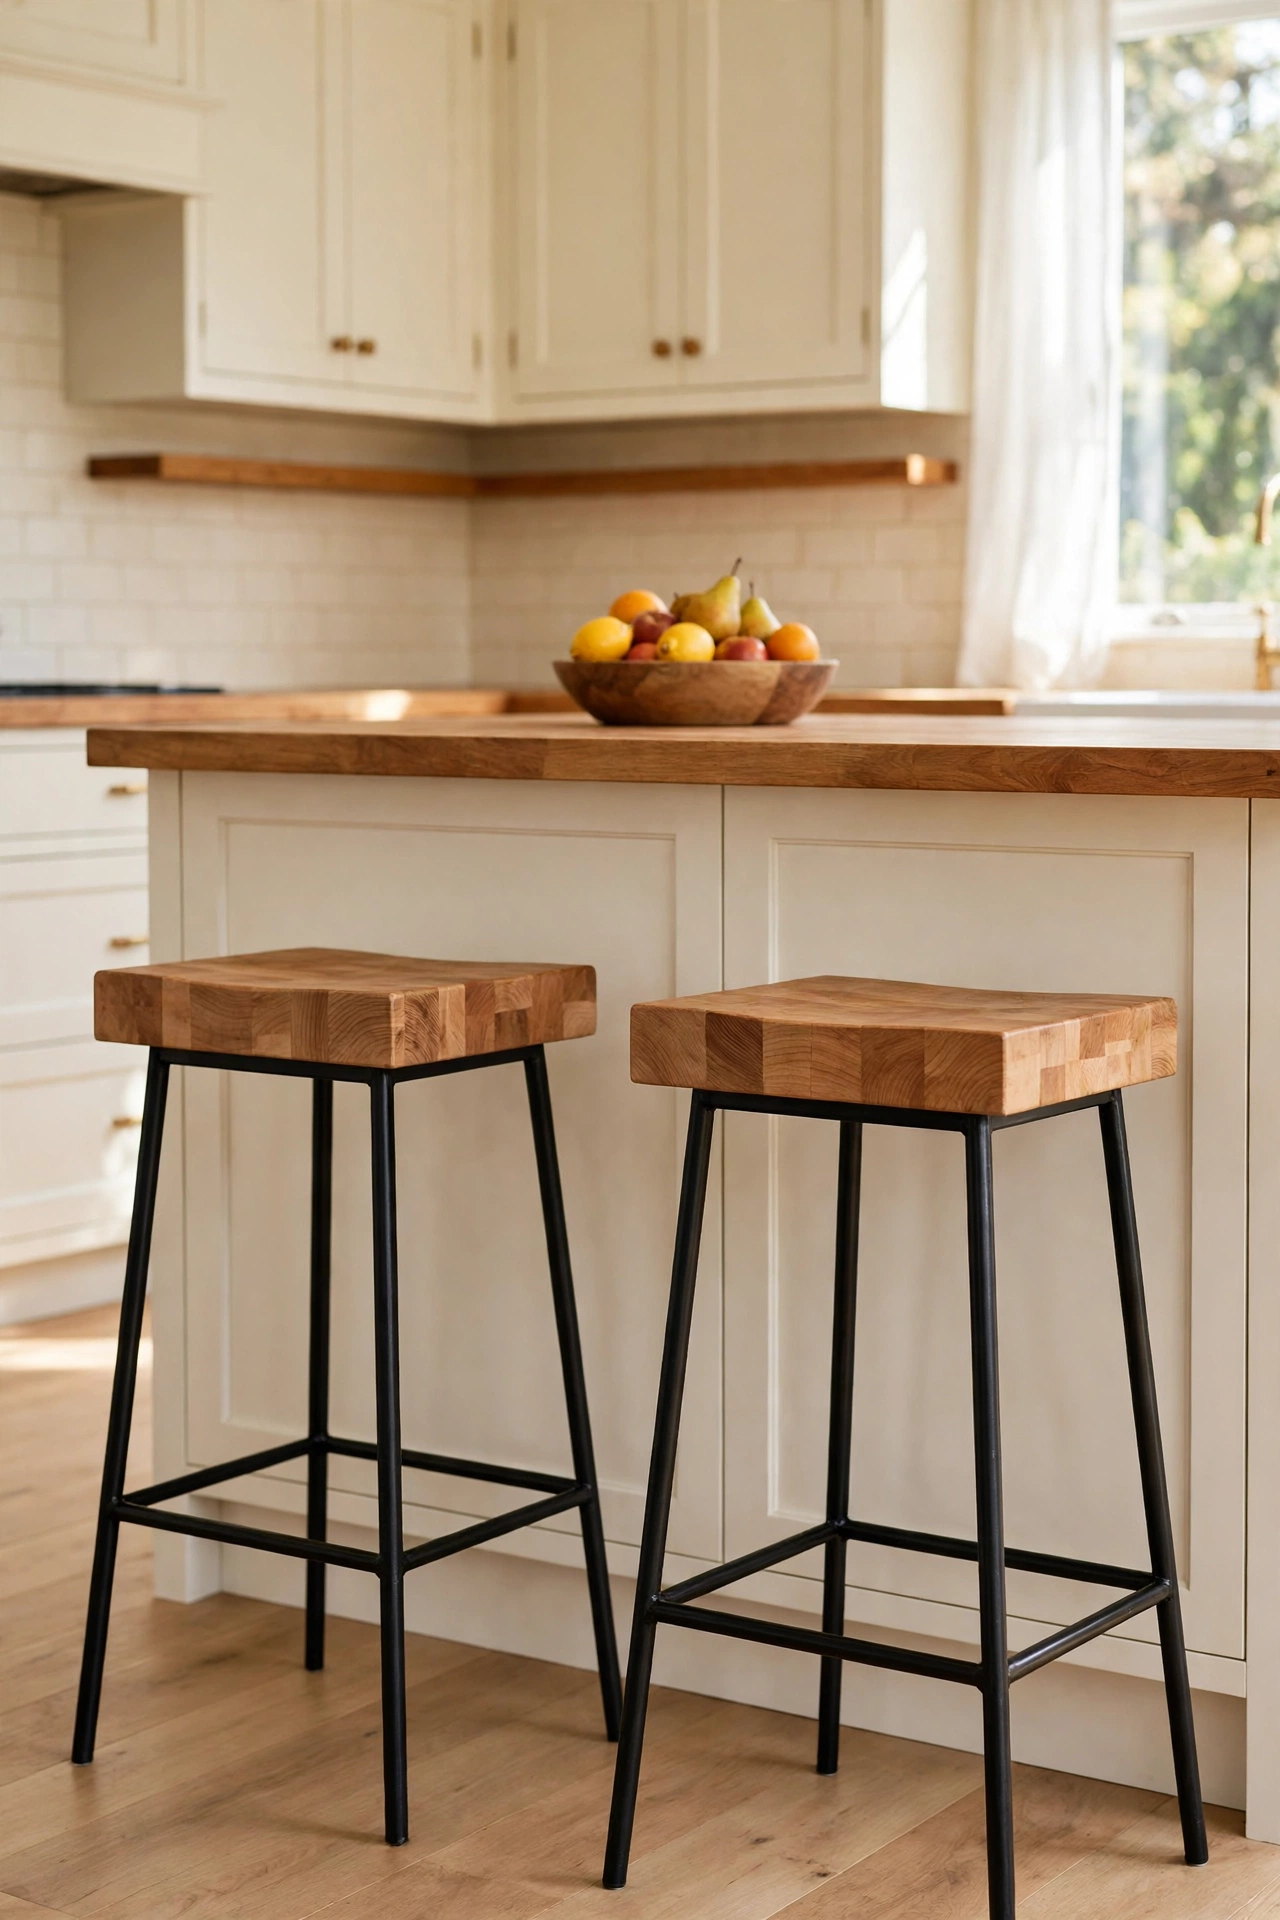
10. Swap Old Seats for Thick Butcher Block Tops
When the stool frame is strong but the seat is cracked or too thin, a thick butcher block top gives the stool a whole new life. Cut the block to match the seat size, sand the edges smooth, and seal it with food-safe oil or a durable clear coat. The warm wood top looks substantial and feels solid under you.
Butcher block seats pair well with black metal legs for an industrial look or with painted wood legs for a softer farmhouse feel. The thick top also raises the seat slightly, so check that the new height still tucks neatly under your counter. This swap is one of the most satisfying makeovers because the result looks and feels completely new.
11. Add a Curved Backrest for Comfort and Style
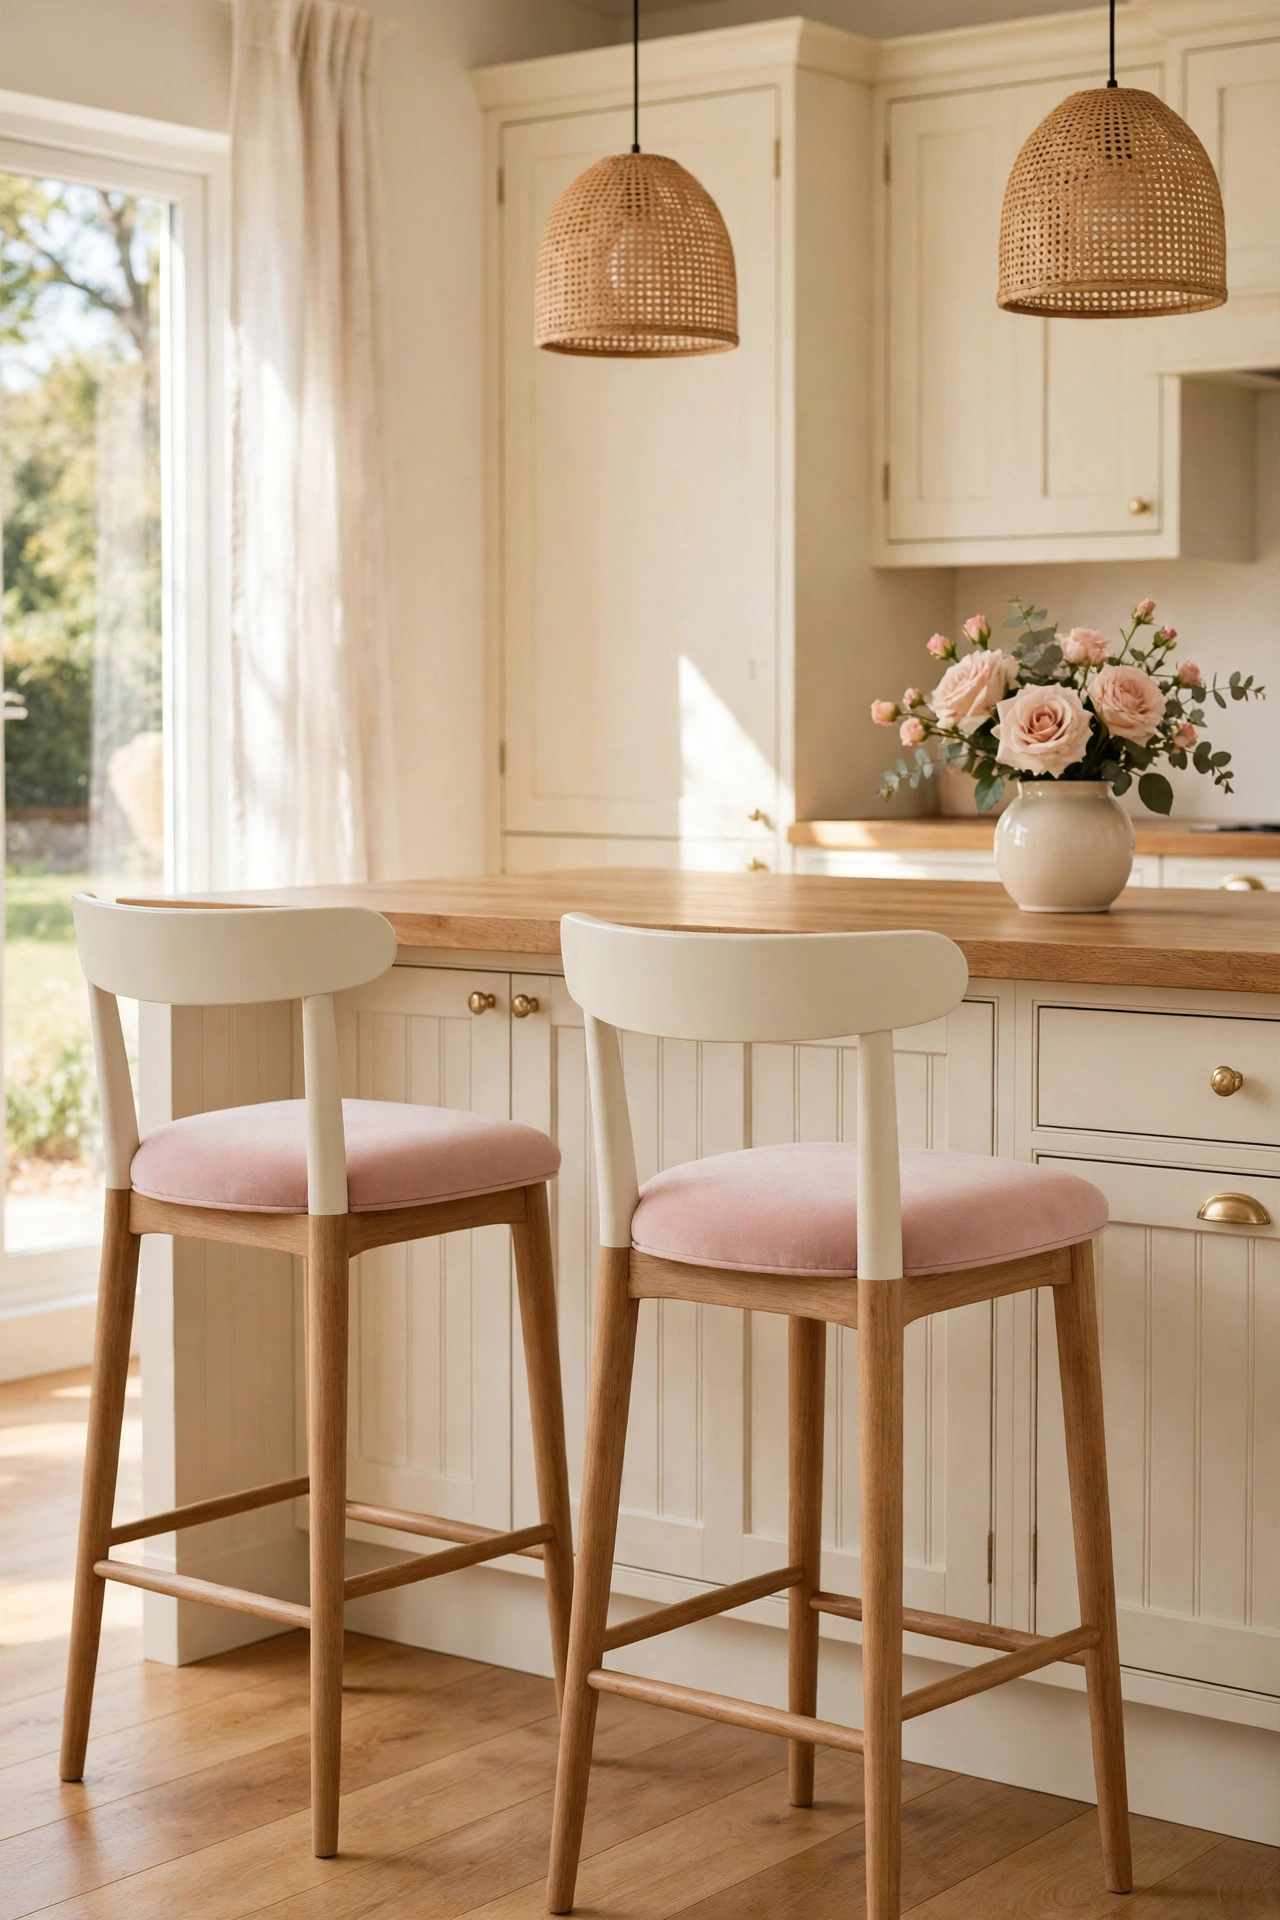
Backless stools are easy to tuck away, but a low curved backrest makes long breakfasts and homework sessions far more comfortable. A simple steam-bent or cut plywood back, shaped into a gentle curve and painted cream, bolts onto the rear legs of most wooden stools. The curve supports your lower back without making the stool bulky.
Pad the backrest with a thin layer of foam and blush pink fabric if you want extra comfort, or leave the painted wood bare for a clean modern line. Measure the leg spacing carefully before you cut so the backrest fits flush. This addition transforms a basic stool into seating guests will happily use for hours.
12. Go Matte Black With Warm Brass Hardware
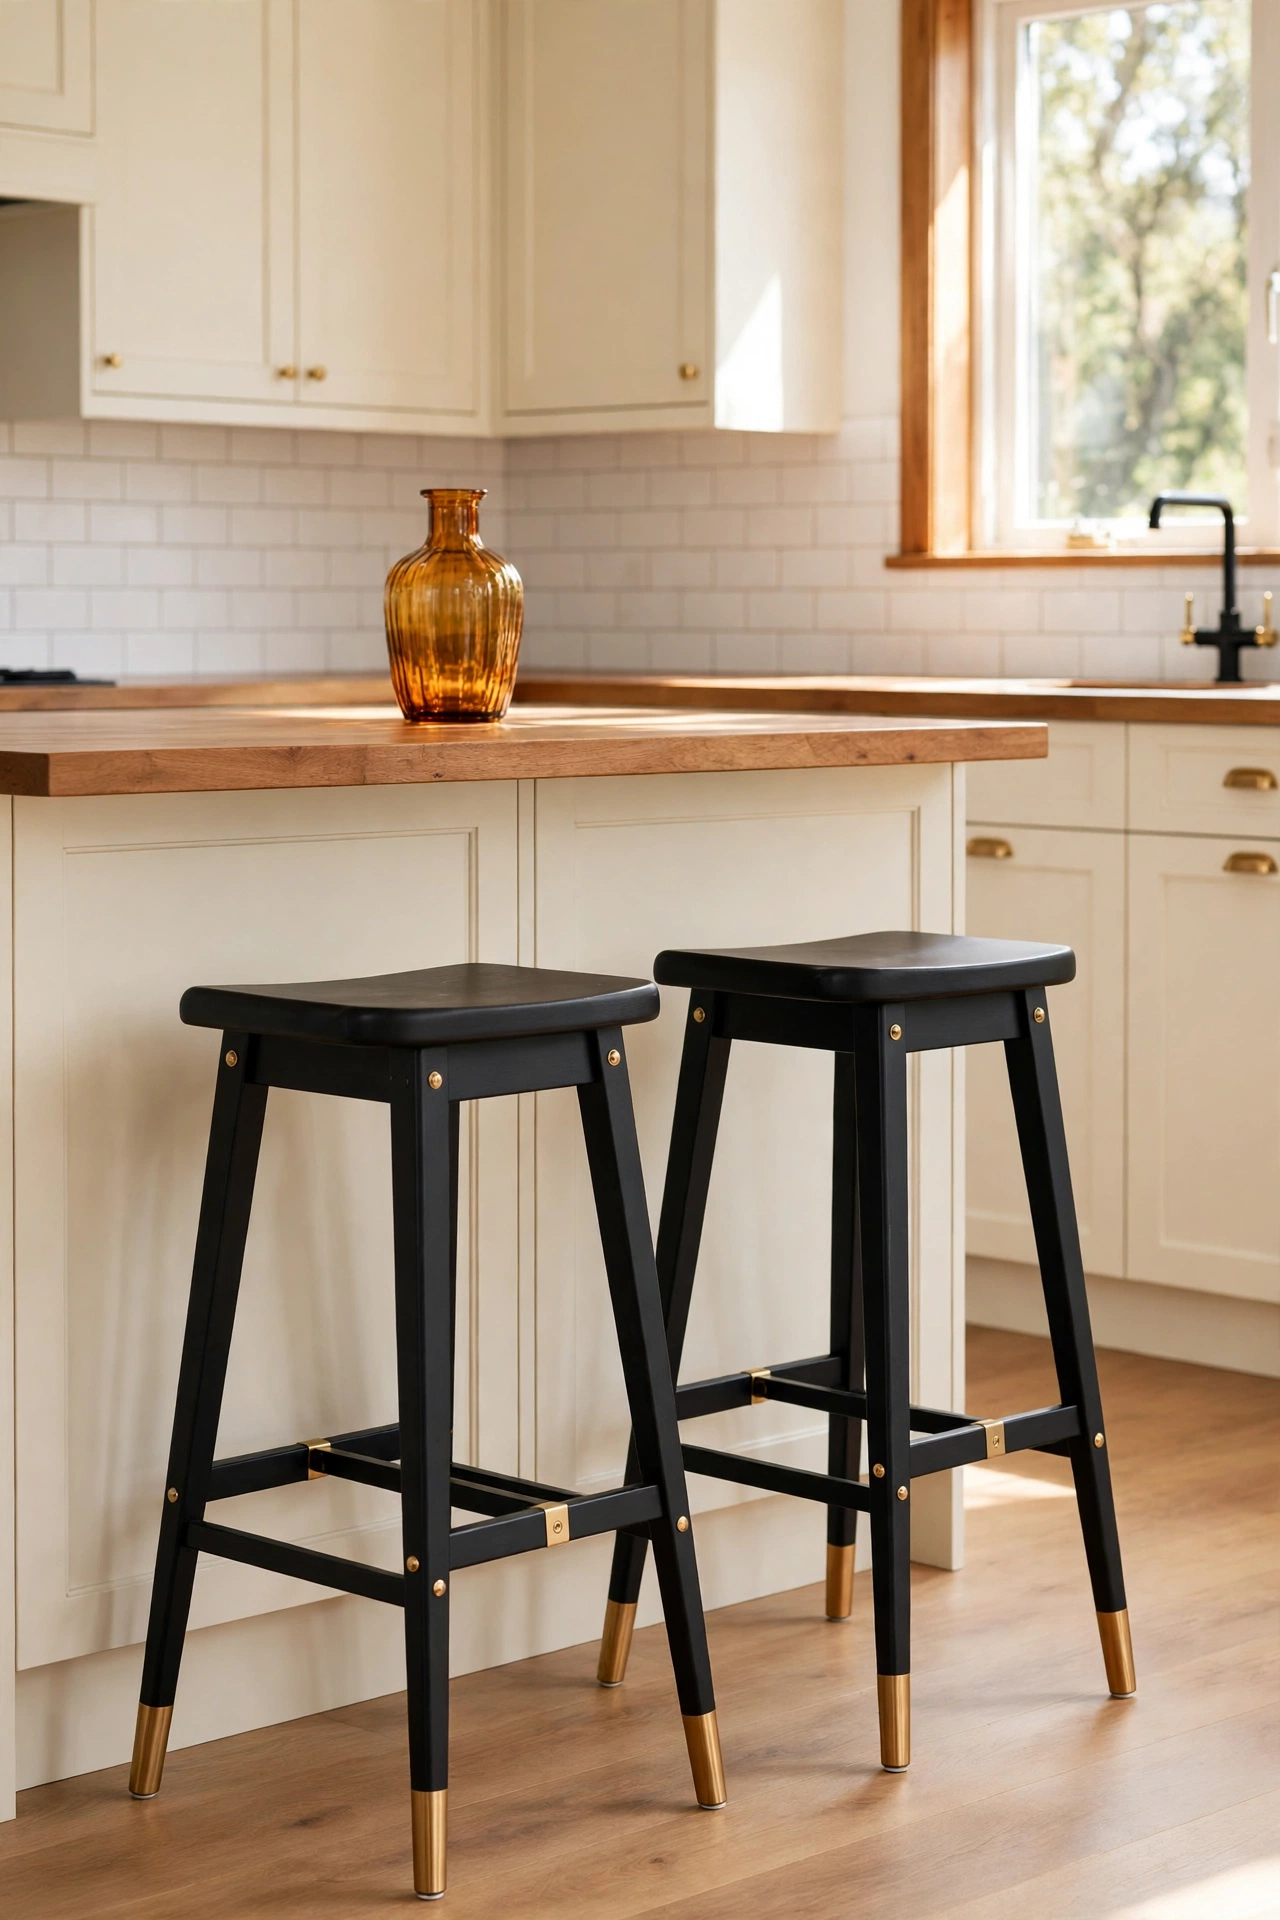
Matte black paint gives bar stools a sleek modern edge that suits contemporary kitchens. The flat finish hides small dents and scratches better than gloss, and it makes the tall legs read as crisp clean lines. Sand the stools smooth, apply a bonding primer, and finish with two coats of matte black furniture paint.
Add warm brass hardware, such as decorative bolts, foot caps, or a small brass plate on the seat edge, to keep the black from feeling cold. The brass catches the light and ties the stools to other metal details in the kitchen. Thrifted stools are perfect for this makeover, and these thrifted bar cart makeover ideas show the same black and brass pairing on a matching piece.
13. Hang a Woven Basket From the Stretchers for Storage
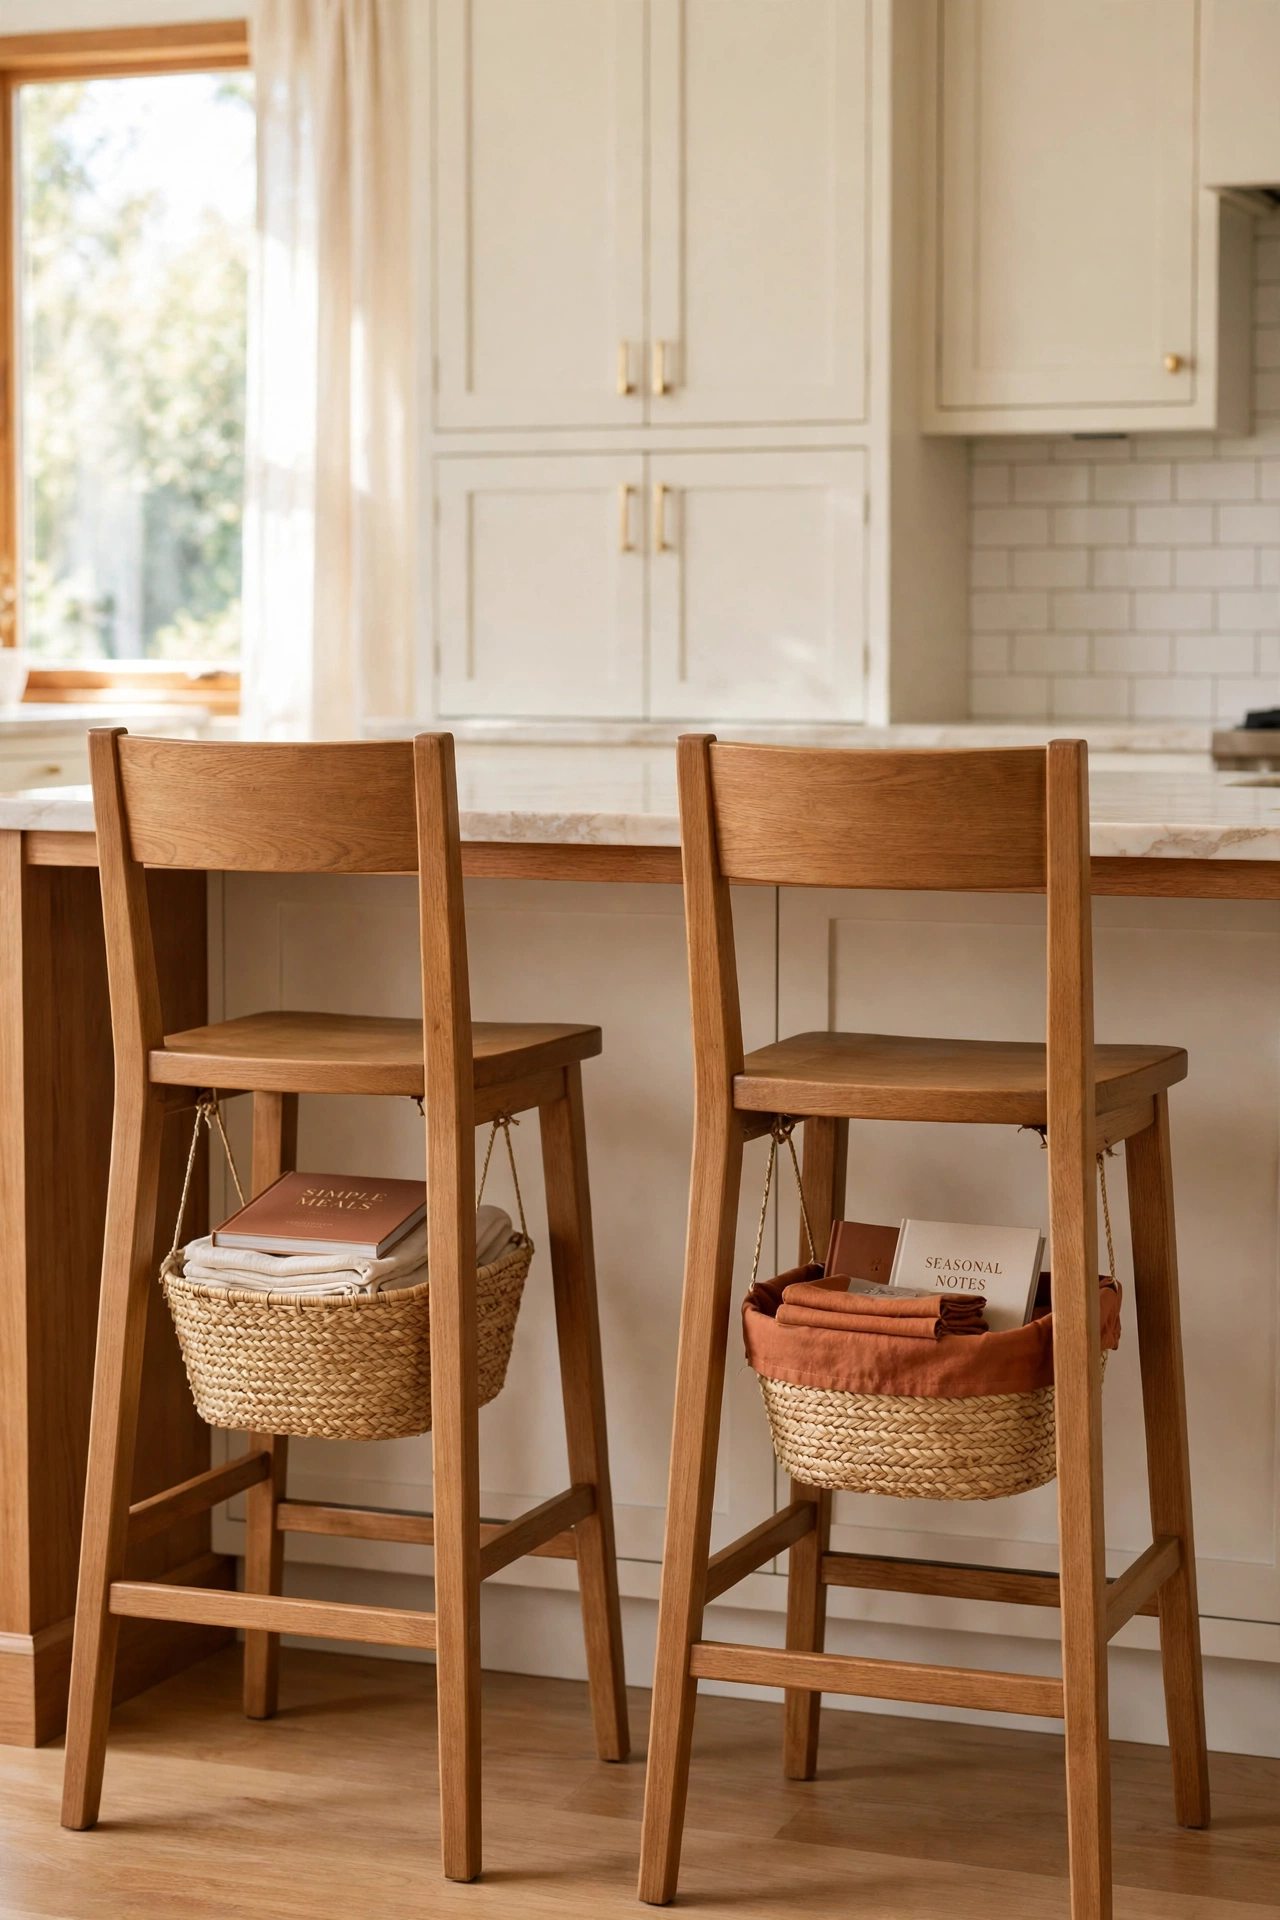
The stretchers between the legs of a bar stool are wasted space in most kitchens. A shallow woven basket hung from the stretchers holds napkins, placemats, or a small cookbook collection right where you use them. Choose a basket in natural seagrass with sturdy handles that hook over the stretcher bars.
Keep the basket shallow and light so the stool stays stable and the basket does not bump your feet. Terracotta colored liners inside the basket add a warm accent and keep small items from slipping through the weave. This clever addition gives every stool a little storage of its own and keeps the island top clear.
Conclusion
Bar stool makeovers prove that you do not need a big budget to change the way your kitchen feels. Paint, stain, fabric, and a few small hardware upgrades can turn worn seating into a feature you are proud to show off. Each idea here works on its own, and many of them combine beautifully on the same set of stools.
Start with the stool that looks the worst and test your chosen makeover on it first. Once you see the result, you will want to finish the whole row. A set of refreshed bar stools makes every meal at the island feel a little more special, and it costs far less than buying new.
Frequently Asked Questions About DIY Bar Stool Makeover Ideas for Kitchen Interiors
What paint works best for wooden bar stools?
Furniture paint or acrylic latex paint with a bonding primer works best for wooden bar stools. These paints grip the surface well and resist chipping from daily use. Always finish the seat with a clear protective topcoat, since the seat takes the most wear.
How do I measure bar stools for new seat cushions?
Measure the seat width, depth, and thickness at the widest points, and note whether the seat is round or square. For a snug fit, measure twice and add a small amount for the fabric wrap under the seat. If the stool swivels, measure the seat pad itself, not the base.
Can I make over metal bar stools as well as wooden ones?
Yes, metal stools take paint beautifully once they are cleaned and primed with a metal primer. Spray paint gives the smoothest finish on metal legs and frames. You can also reupholster the seats and add brass foot caps the same way you would on wooden stools.
How do I keep painted bar stools from chipping?
Sand the surface lightly and use a bonding primer before you paint, and let each coat dry fully before the next one. Seal the finished stools with two or three coats of clear polyurethane, especially on the seats and footrests. Avoid dragging the stools across the floor, since that chips the legs fastest.
What is the right bar stool height for a kitchen island?
For a standard 36 inch counter, choose stools with a seat height of 24 to 26 inches. For a 42 inch bar height counter, choose stools with a seat height of 28 to 30 inches. Leave about 10 to 12 inches between the seat and the underside of the counter so your legs fit comfortably.

Hi, I’m Emily! I turn messy corners into cozy, organized spots. DreamNestDecor is where I share simple, practical home ideas — decor, organization, and small-space solutions that work in real life, not just in photos. Every idea here is carefully researched before it’s shared.