
You have always dreamed of a kitchen island, that extra counter space, the casual seating, the storage that seems to multiply. But custom islands cost thousands, and your kitchen layout laughs at standard sizes. The solution is simpler than you think, because the perfect island starts as something else entirely.
These thirty-one budget friendly kitchen island makeover ideas turn dressers, desks, bookshelves, and even wash tubs into hardworking islands. Each project costs a fraction of a custom build while fitting your exact space. Find your starting piece and let us build your dream island.
1. Multifunctional Breakfast Bar Island
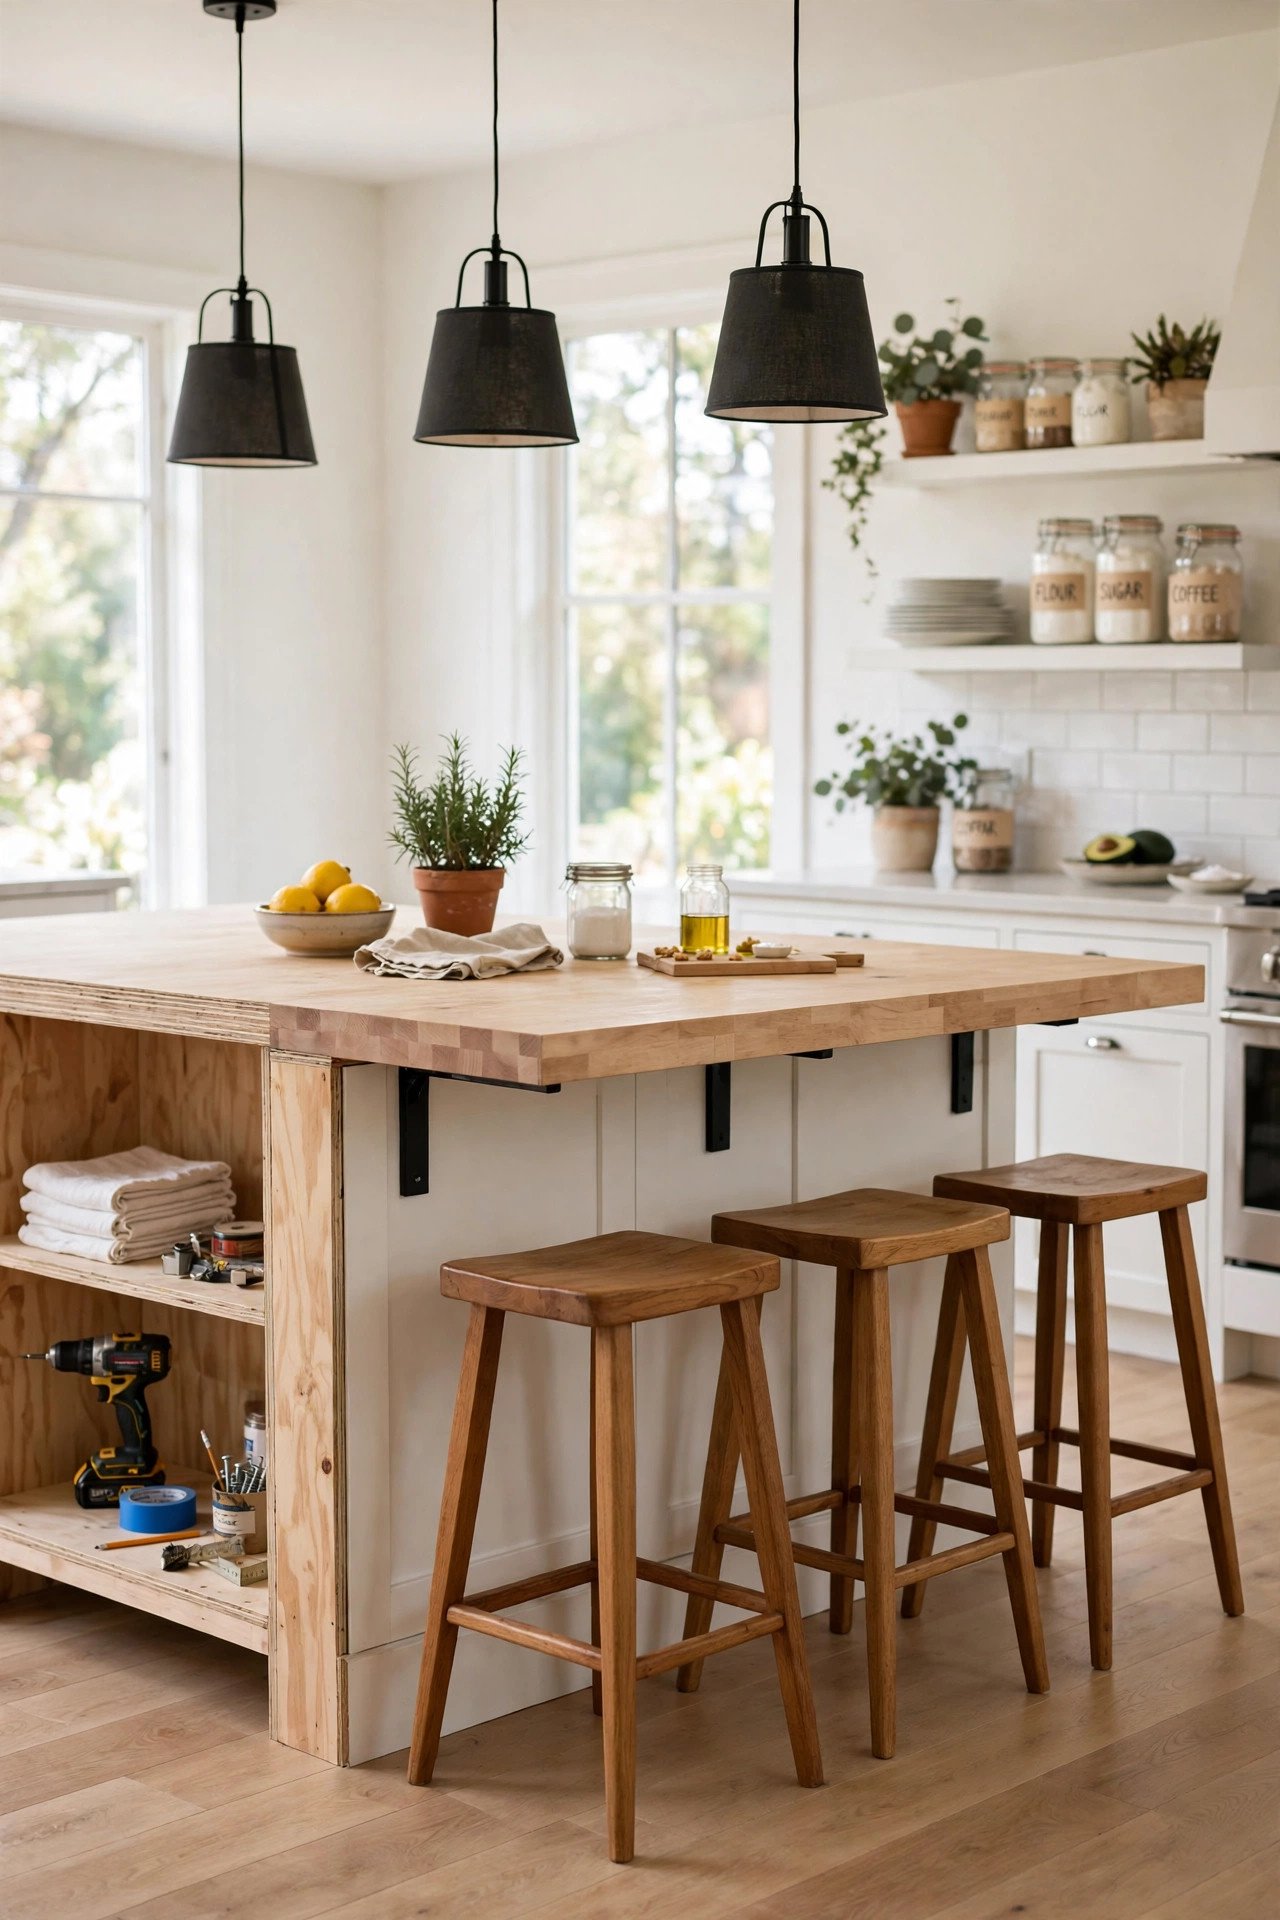
One island can do double duty when you design it as a breakfast bar too. Build or buy an island with an overhanging countertop that creates knee space for a row of stools. The overhang turns your prep area into the family’s favorite casual dining spot.
This smart design means you do not need both an island and a separate bar. Kids can snack after school while you prep dinner on the same surface. It is the hardest-working layout for busy family kitchens.
2. Old Dresser Turned Rustic Island
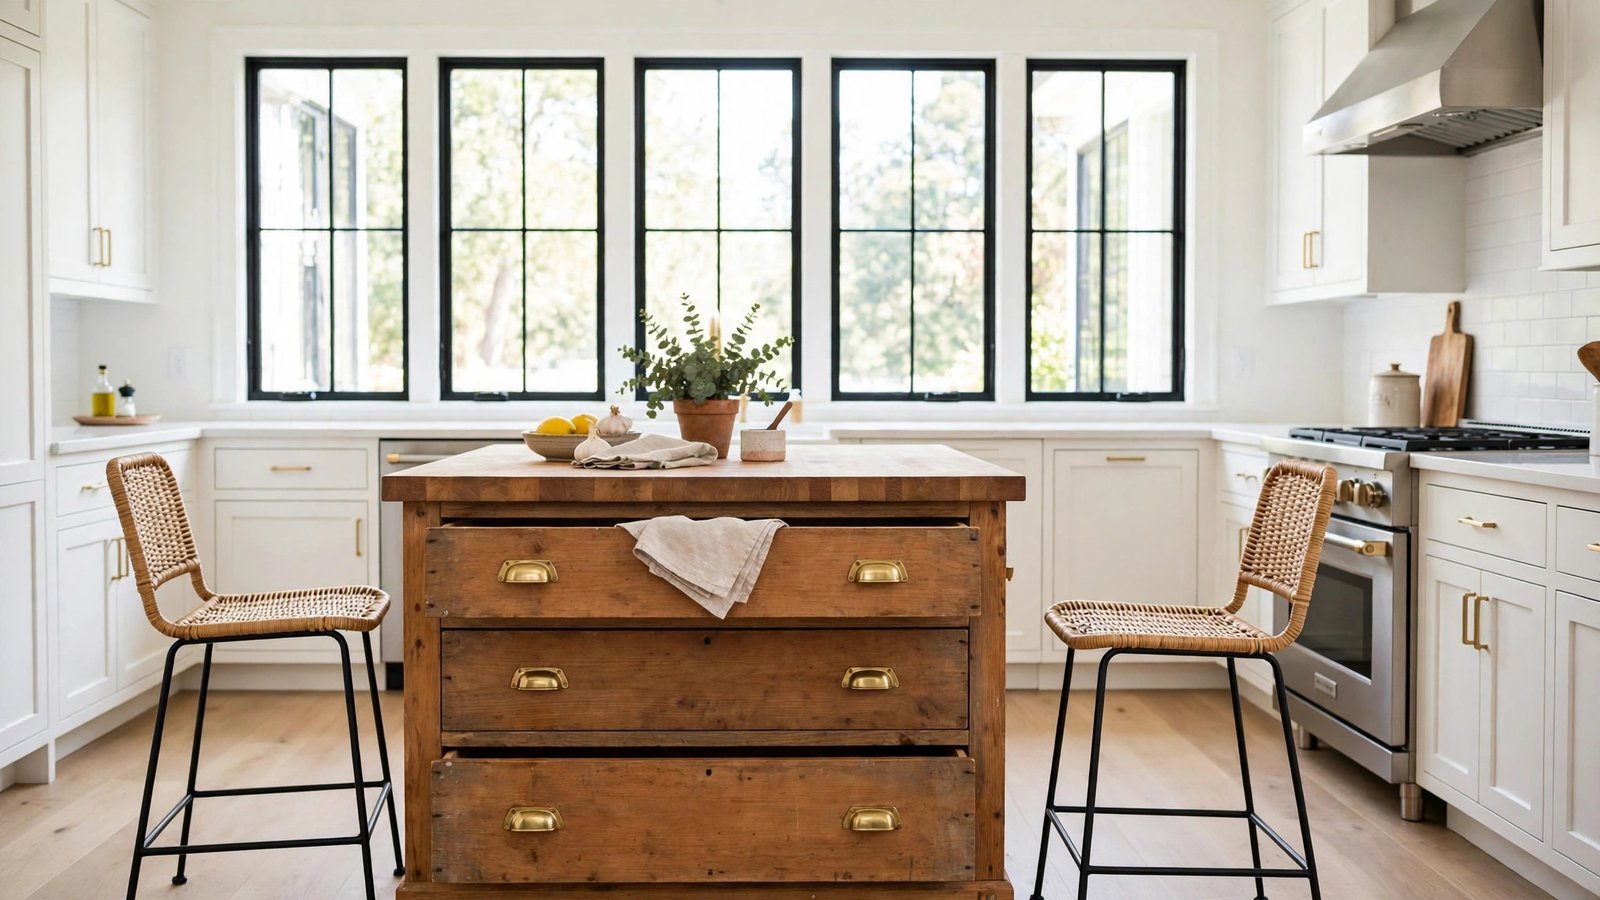
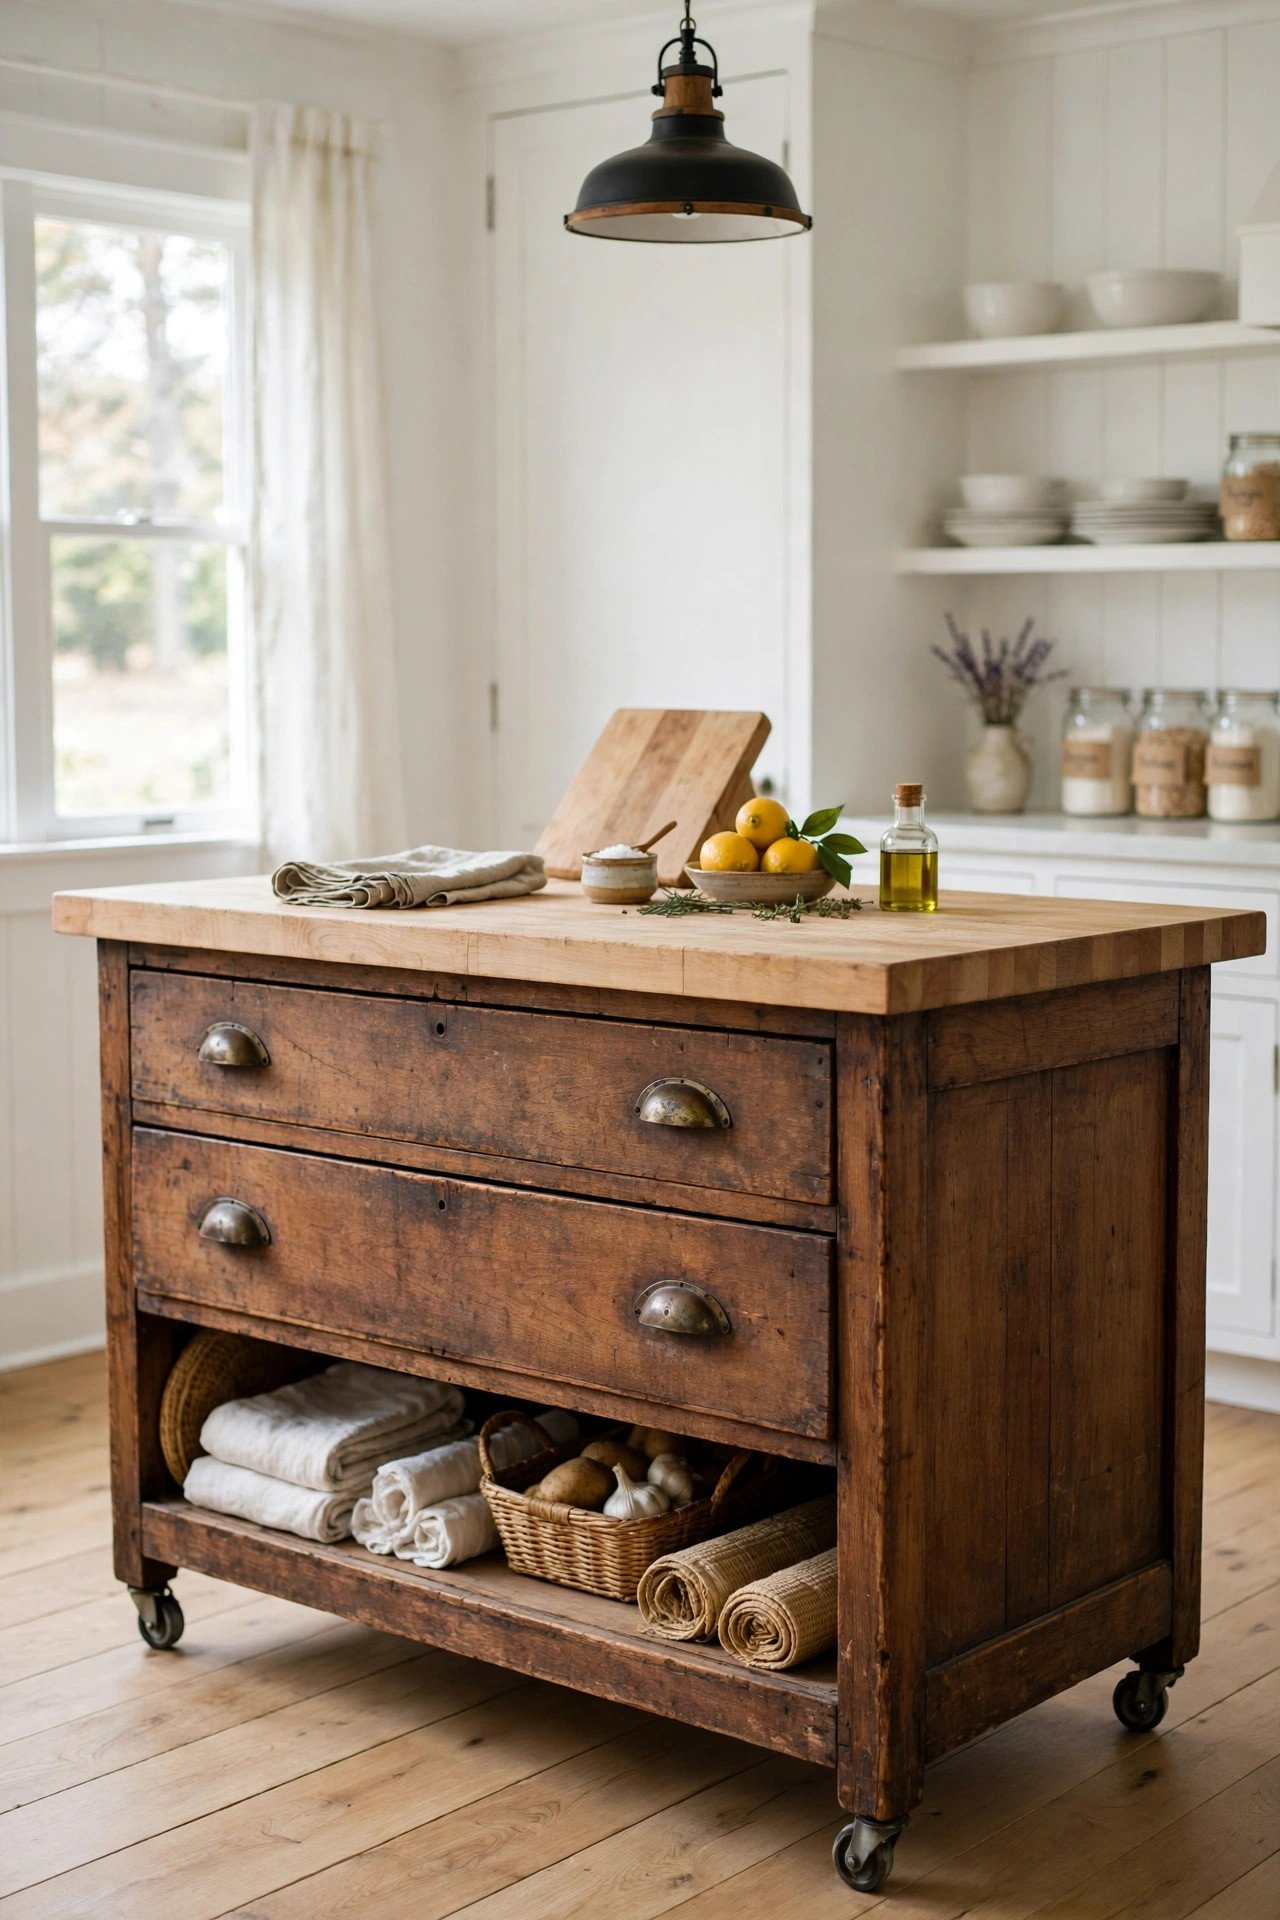
An old dresser makes a perfect kitchen island base with almost no modification. The drawers already provide deep storage for dishes, pans, and linens. Add a new countertop, paint or stain the body, and you have a charming island for very little money.
Thrift stores sell solid wood dressers for a fraction of cabinet prices. This cottage-style conversion suits farmhouse kitchens beautifully. Giving old furniture new purpose aligns with sustainable home decor ideas that keep quality pieces in use.
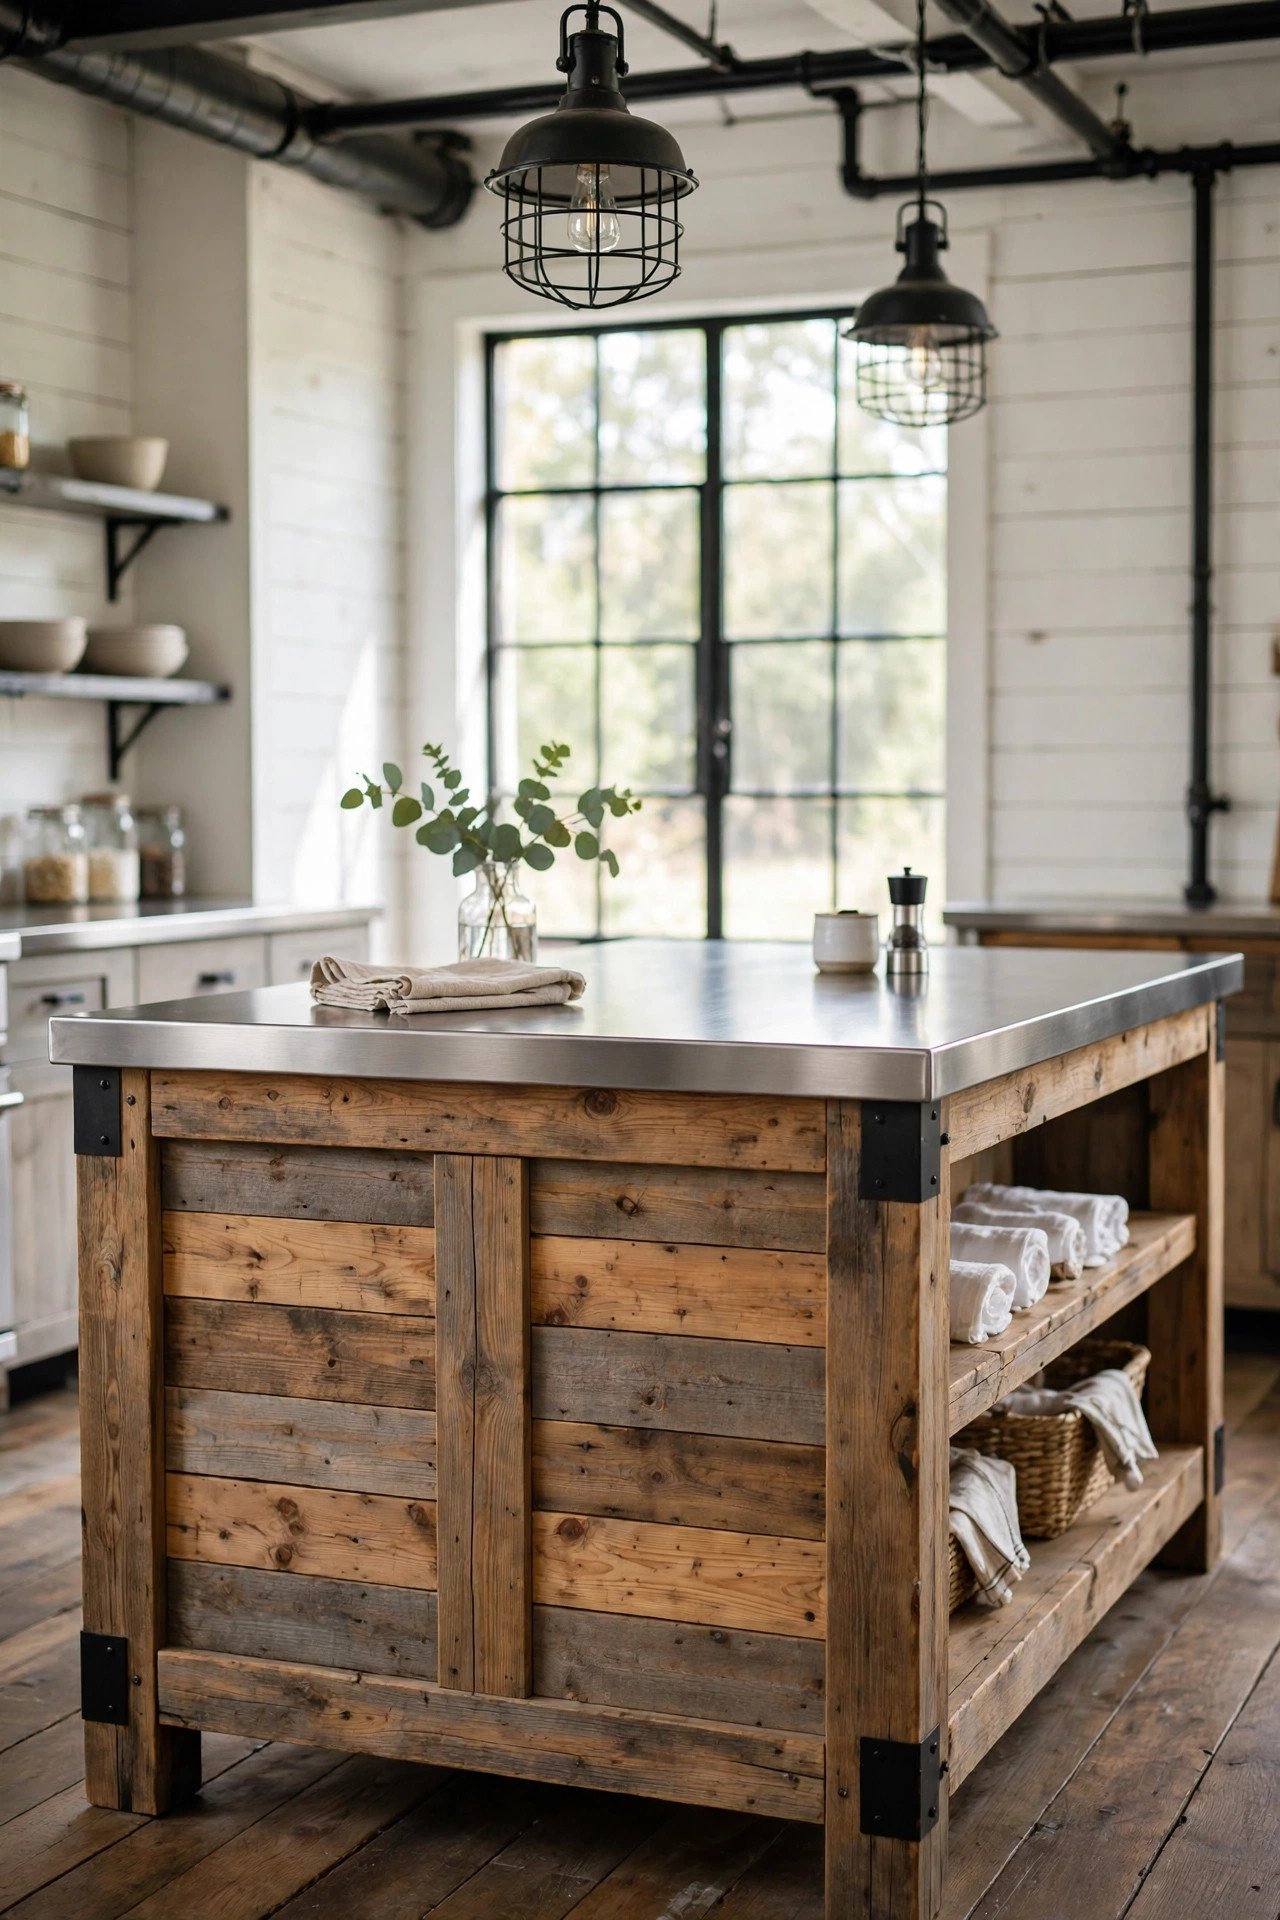
3. Rustic Island With Metal Countertop
You do not need woodworking skills to build a rustic island with a metal top. Start with an old buffet, console table, or thrifted dresser as your base. Nail planks across the exterior for texture and top it with a sheet metal counter for practicality.
The metal surface wipes clean easily and develops attractive patina over time. This rustic-chic combination impresses guests while costing very little. Inexpensive flat-pack furniture works as a base too.
4. Island With Trash Storage System
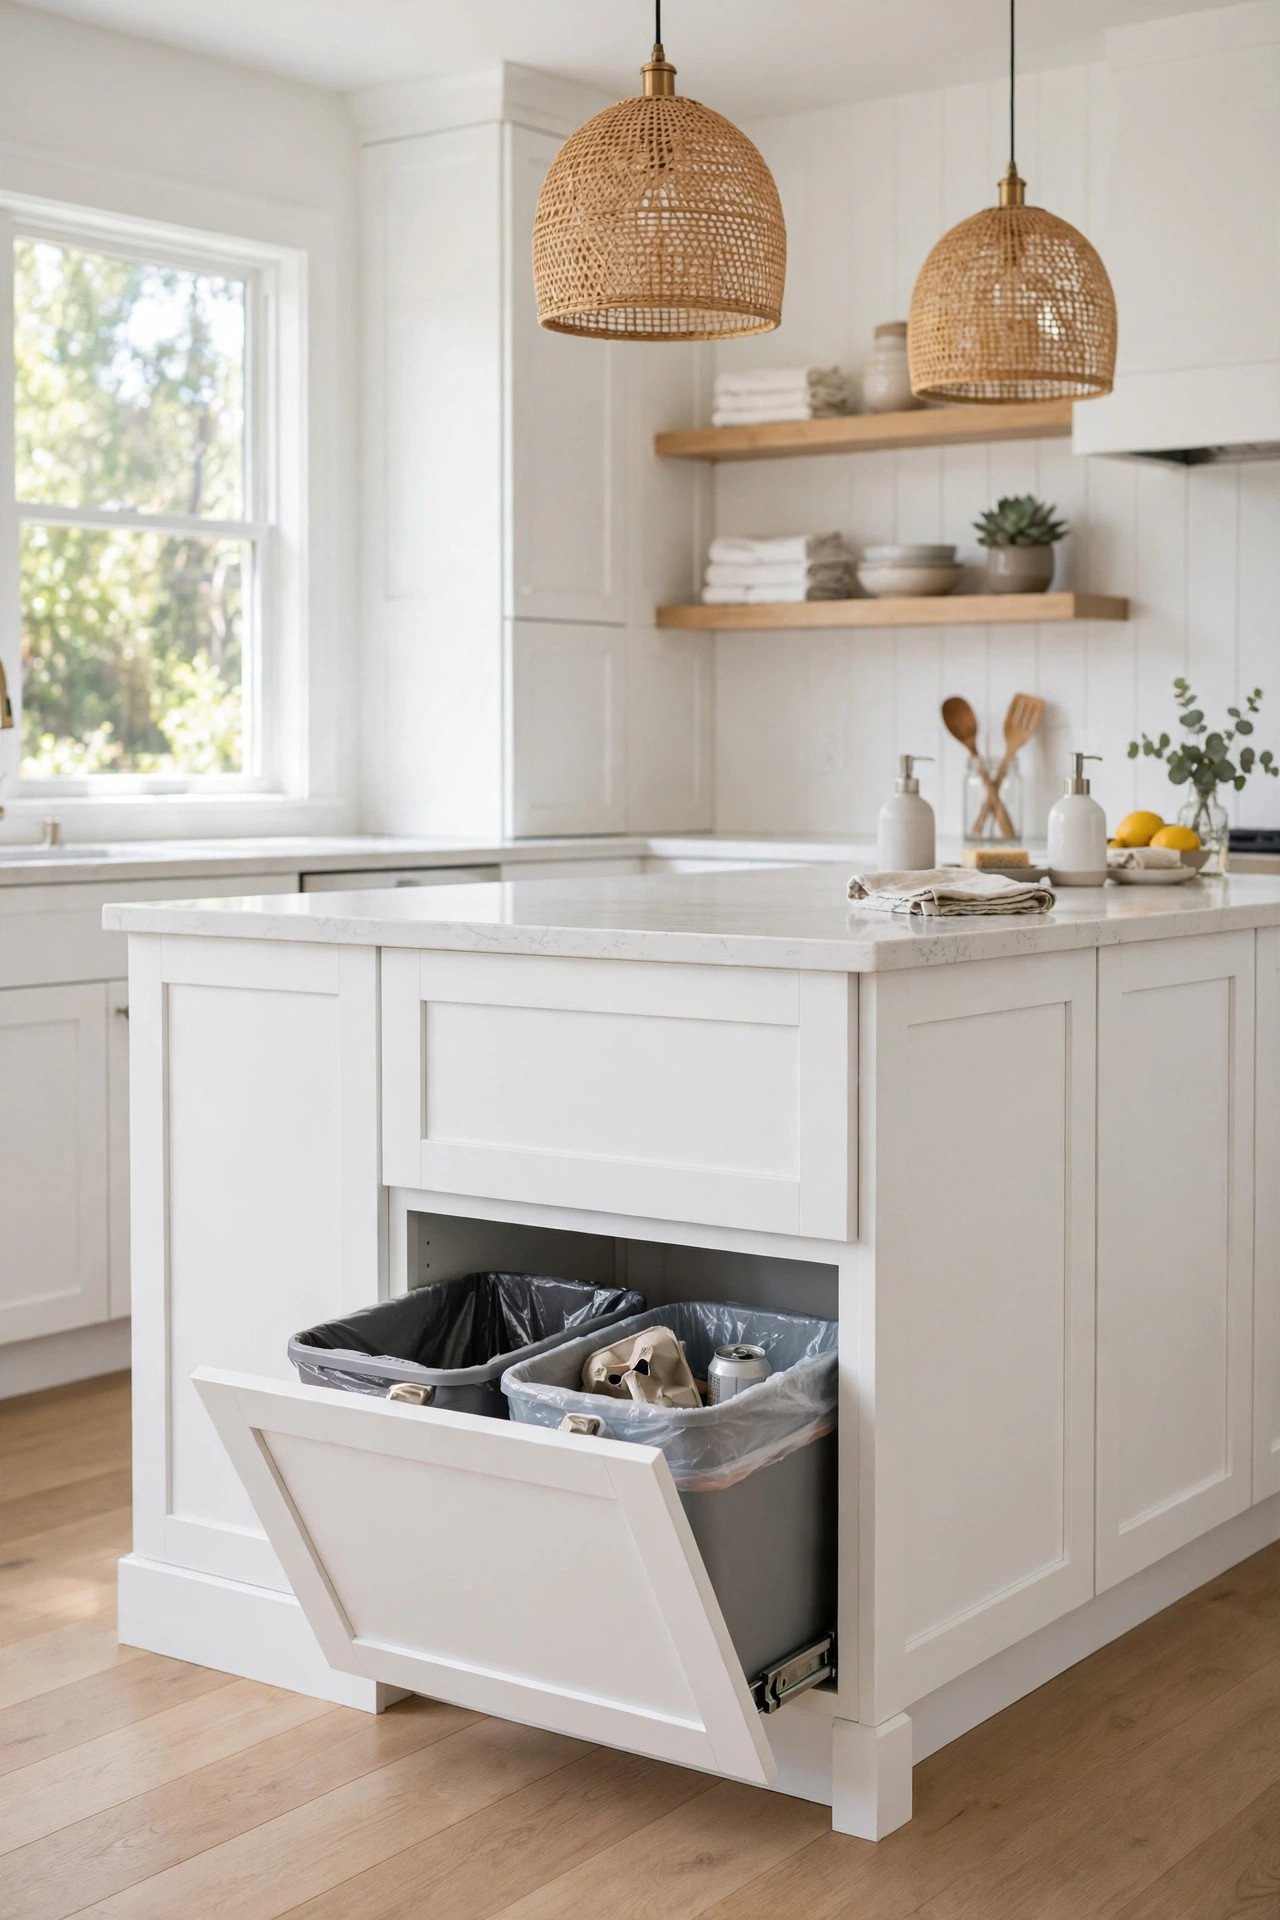
Building your own island lets you solve the eternal trash bin problem. Design a tip-out bin or pull-out drawer that hides your garbage can inside the island. The rest of the island can hold open shelving and side hooks.
Hidden trash keeps your kitchen looking clean while keeping the bin exactly where you need it during cooking. This custom solution is something store-bought islands rarely offer. Your kitchen instantly feels more organized.
5. Customized Island For Small Kitchens
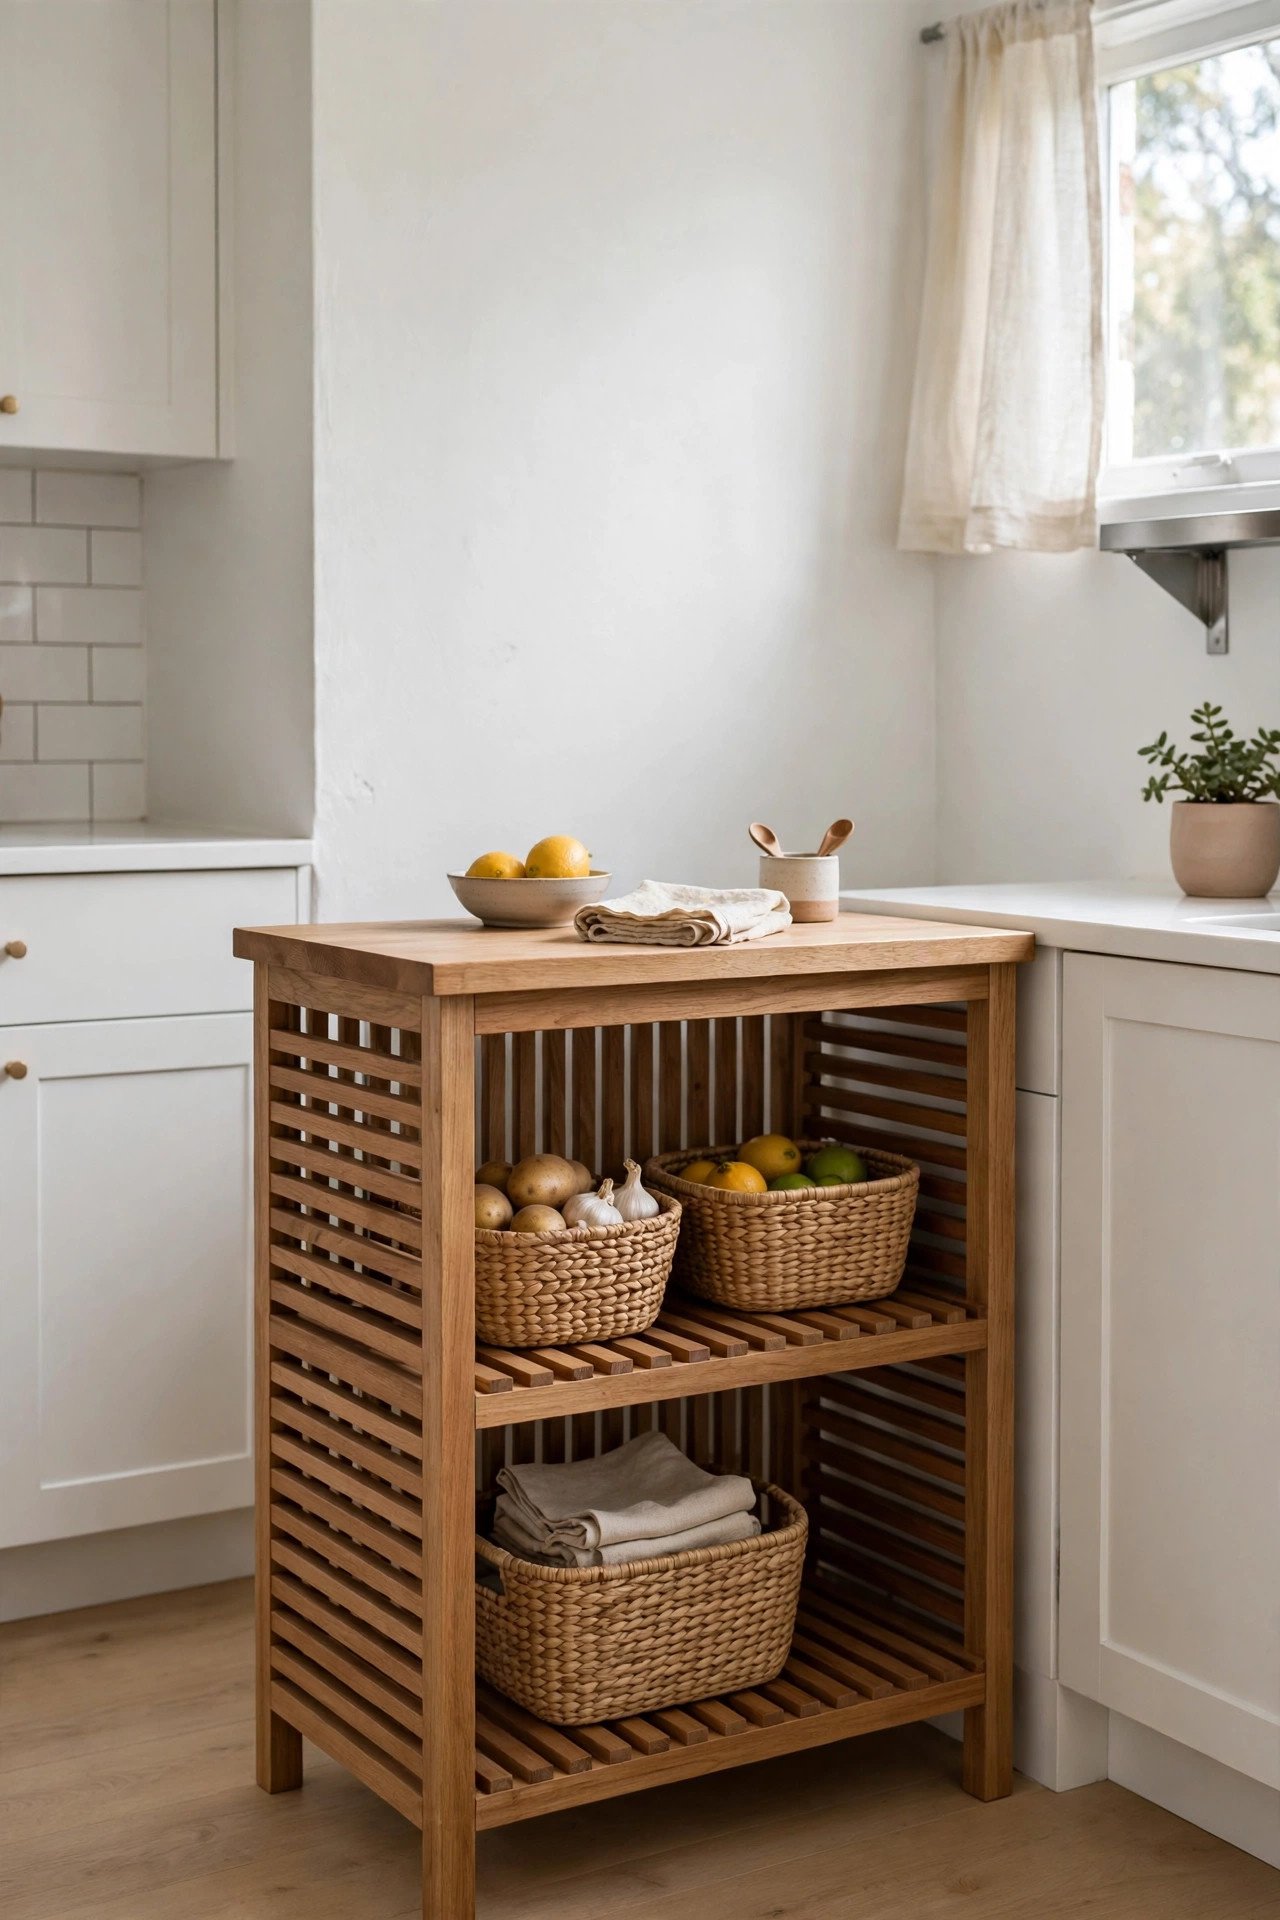
Small or oddly shaped kitchens need islands built to fit, not forced to fit. A custom-built island lets you choose the exact size and shape your space allows. Open slatted shelves keep it airy while providing storage.
This tailored approach works in galley kitchens and tight layouts where standard islands would block traffic. For more small-space kitchen inspiration, explore small kitchen ideas cottage retreat that maximize every inch. Basic tools and simple plans make this very achievable.
6. Simple Island From Flat-Pack Finds
Affordable flat-pack shelving units become custom islands in a single afternoon. Arrange two shelving units back to back, secure them together, and top them with an inexpensive wood countertop. Paint everything one color for a unified look.
Thrift stores often carry the perfect pieces to repurpose even cheaper. The wood top elevates simple engineered furniture into something that looks custom. This is the fastest island build on this list.

7. Personalized Statement Island
Your island is the most visible piece in the kitchen, so make it a design focal point. Add lighted interior shelves behind glass doors to show off pretty dishes. Curved brackets and decorative molding give it French country charm.
When you build it yourself, every detail reflects your taste rather than a catalog. Paint it a color you love instead of defaulting to white. A personalized island makes the whole kitchen feel designed.

8. Sophisticated DIY Island
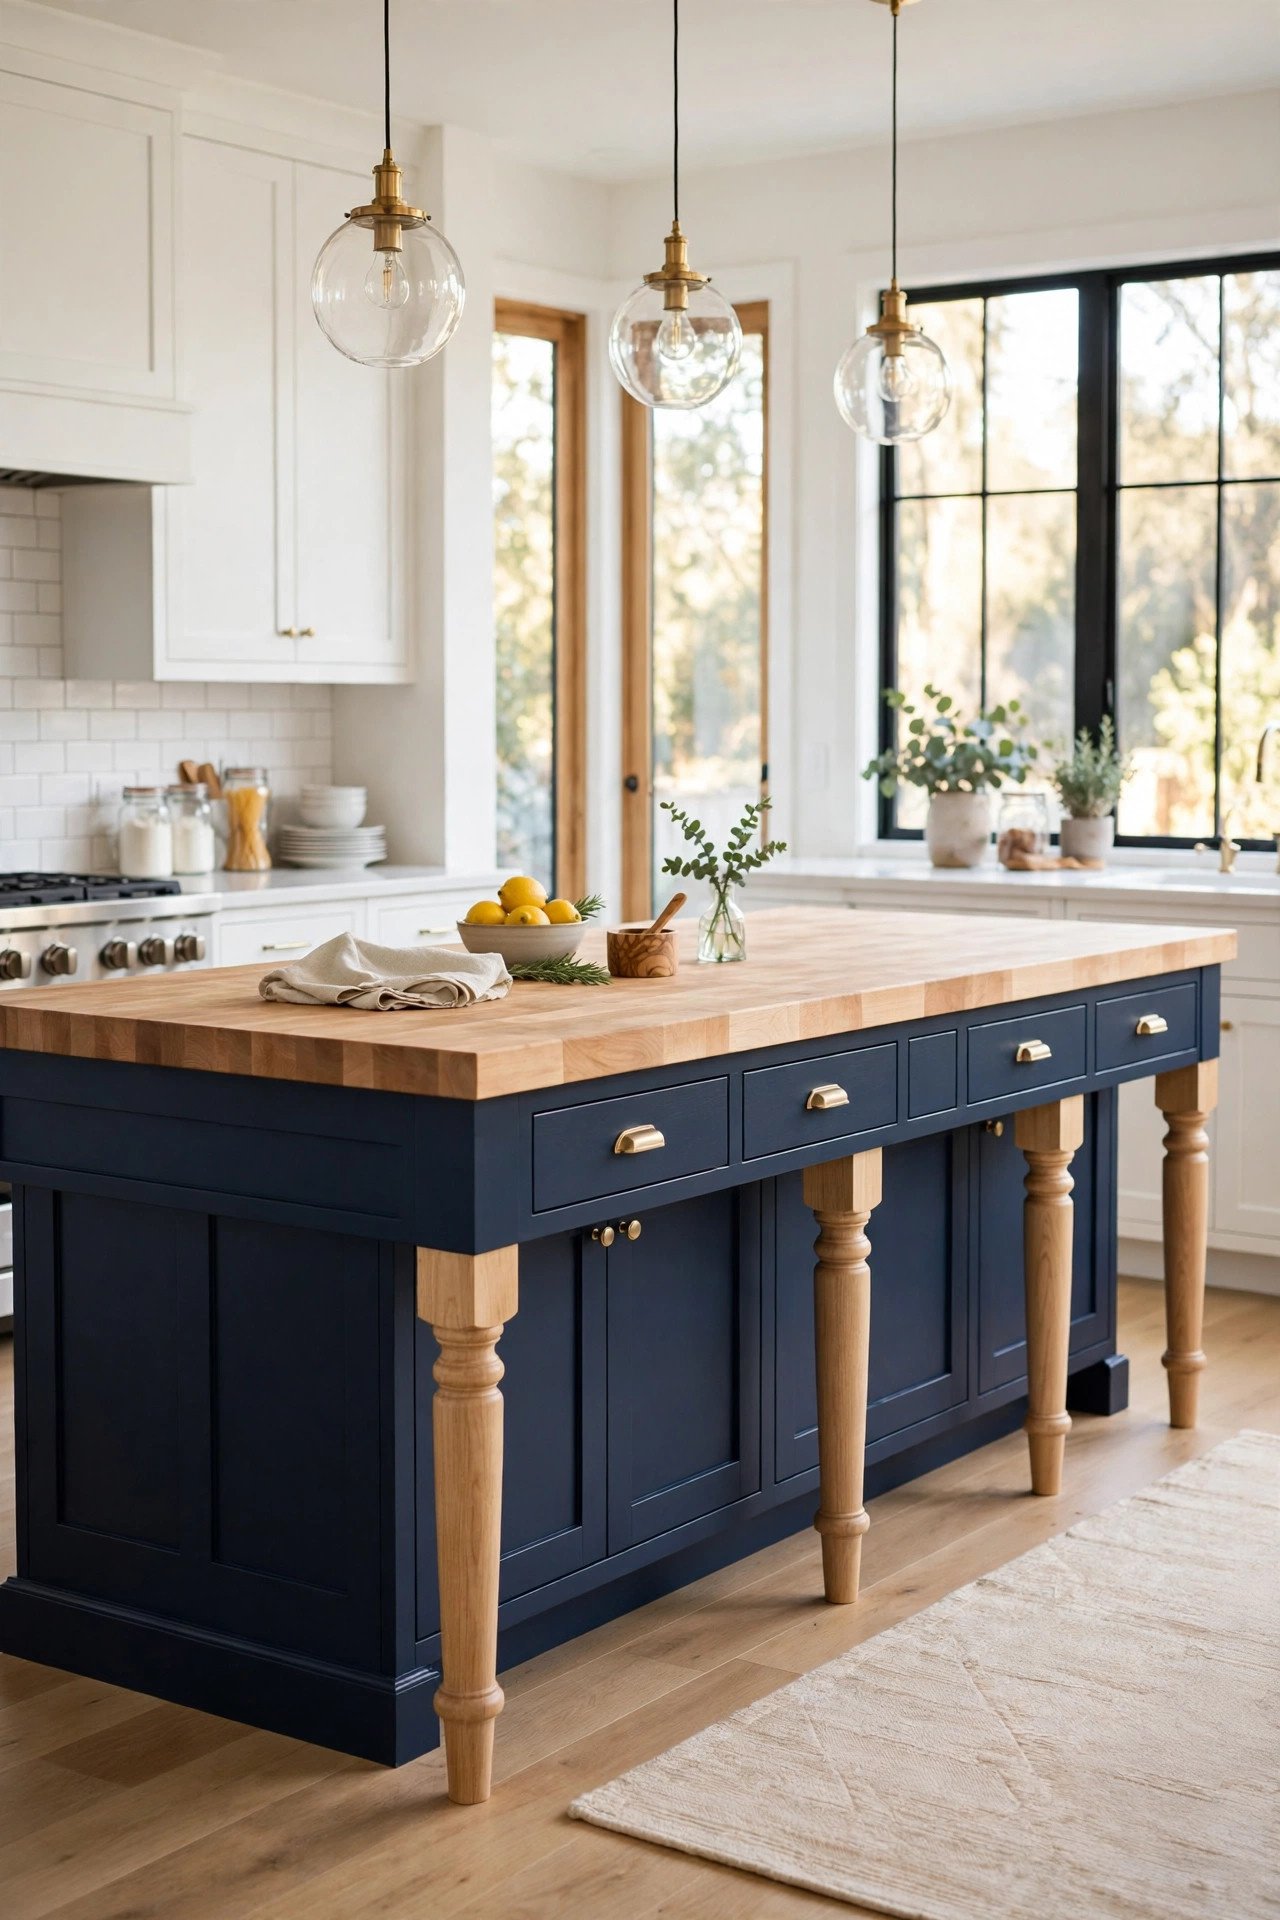
Handmade does not have to look homemade when you focus on the details. Turned wooden legs, available ready-made, instantly elevate a simple island body. Beadboard doors and a tiered apron add crafted character.
These small accents take a DIY island from fine to fabulous. Take time with trim and hardware selection. Your friends will never believe you built it yourself.

9. Extended Island With New Countertop
If your current island is too small, extend it instead of starting over. Add an apron, four legs, and a larger countertop to your existing base. The expanded surface transforms how the island functions.
This clever extension works even when the original island is a hodgepodge of salvaged pieces. The new top unifies everything visually. You get double the workspace for the cost of lumber and a countertop.
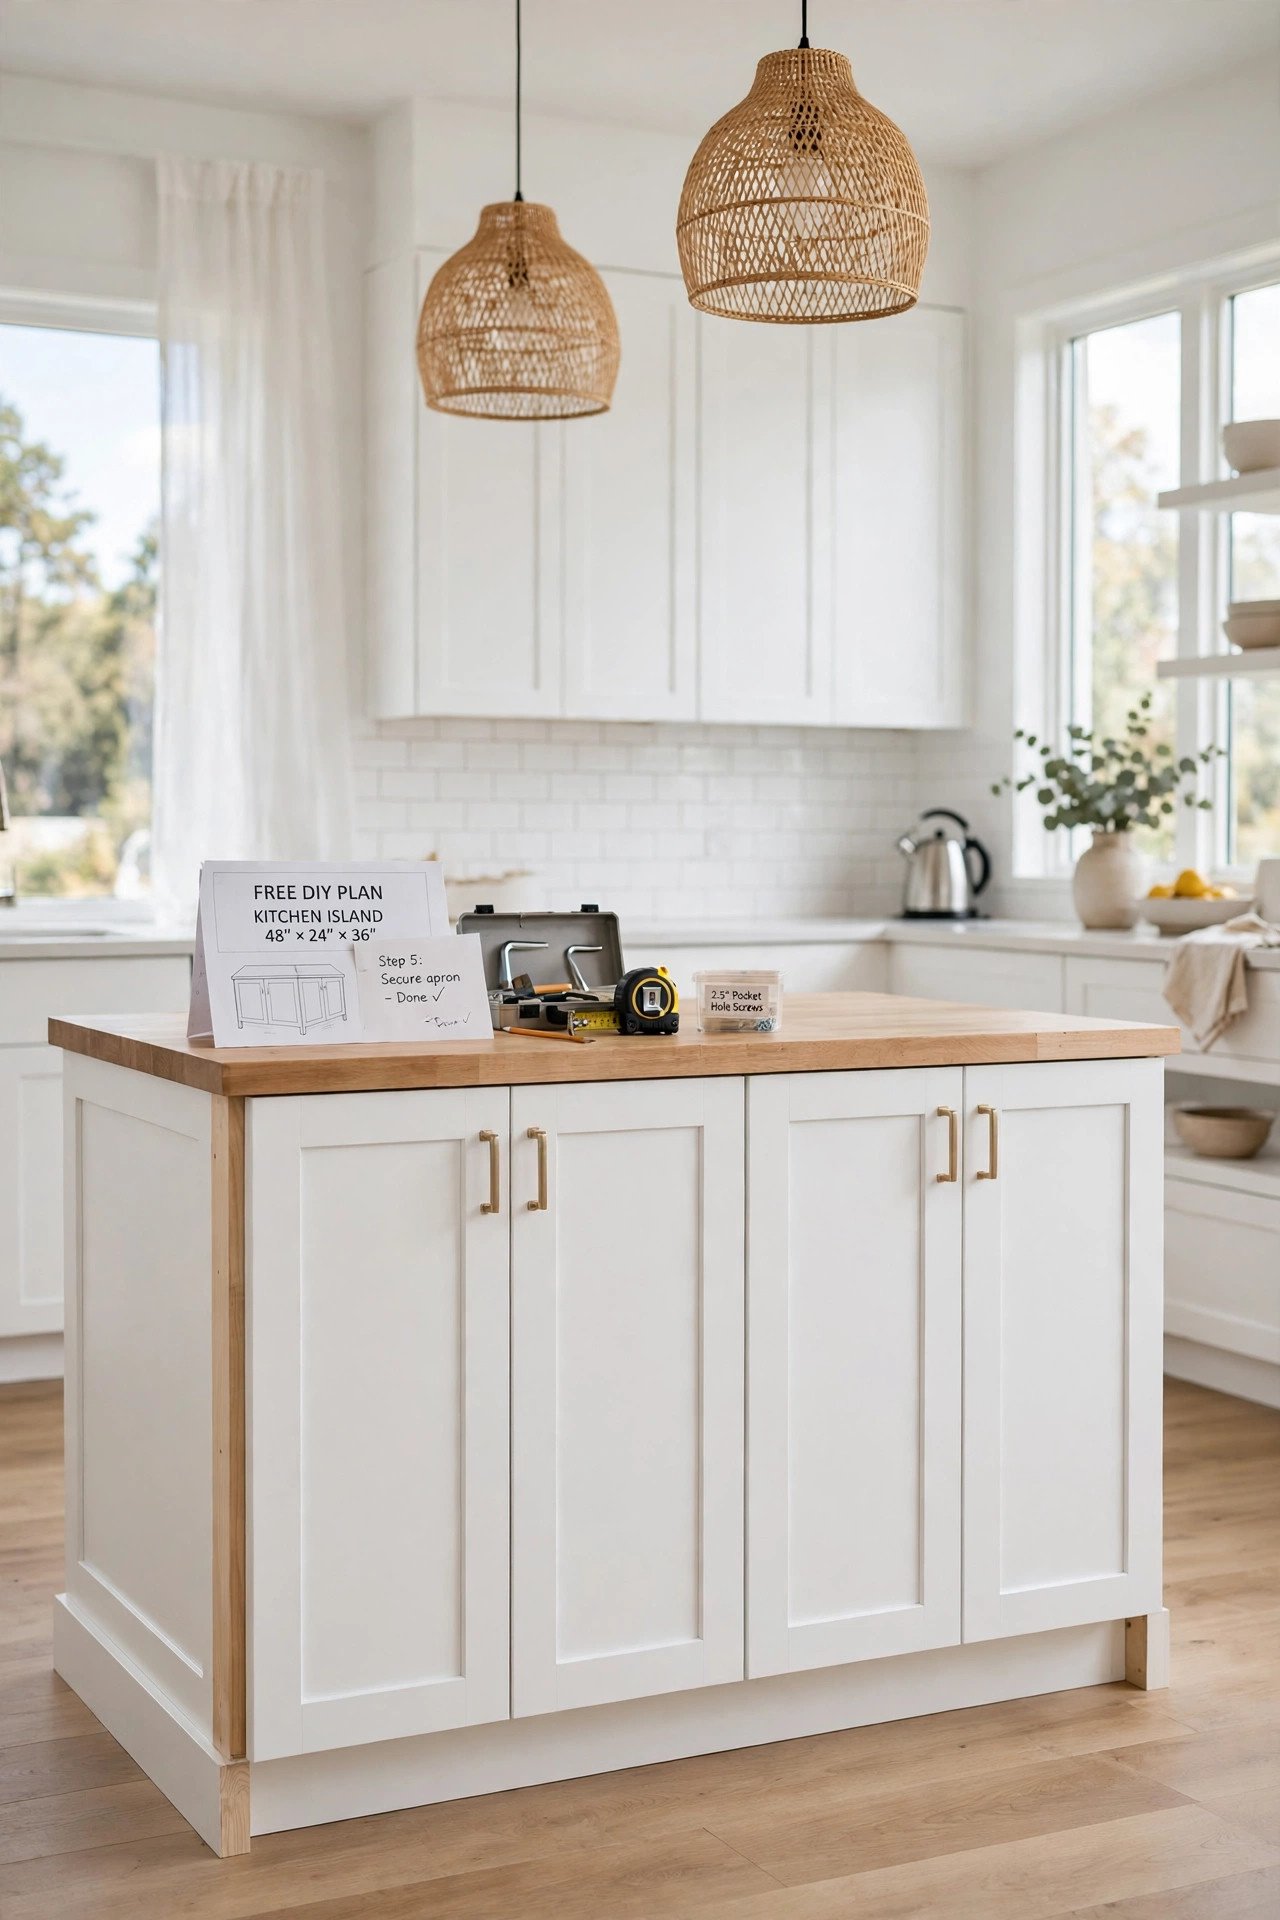
10. Easy Assemble Island With Free Plans
Free online plans take the guesswork out of building your first island. Detailed cut lists tell you exactly what to buy, and step-by-step instructions guide every joint. Follow the plans precisely for professional results.
Many plans are designed for beginners with basic tools. The finished island looks store-bought at a fraction of the price. Start with plans matched to your skill level and build your confidence.
11. Old Bookshelf Turned Island
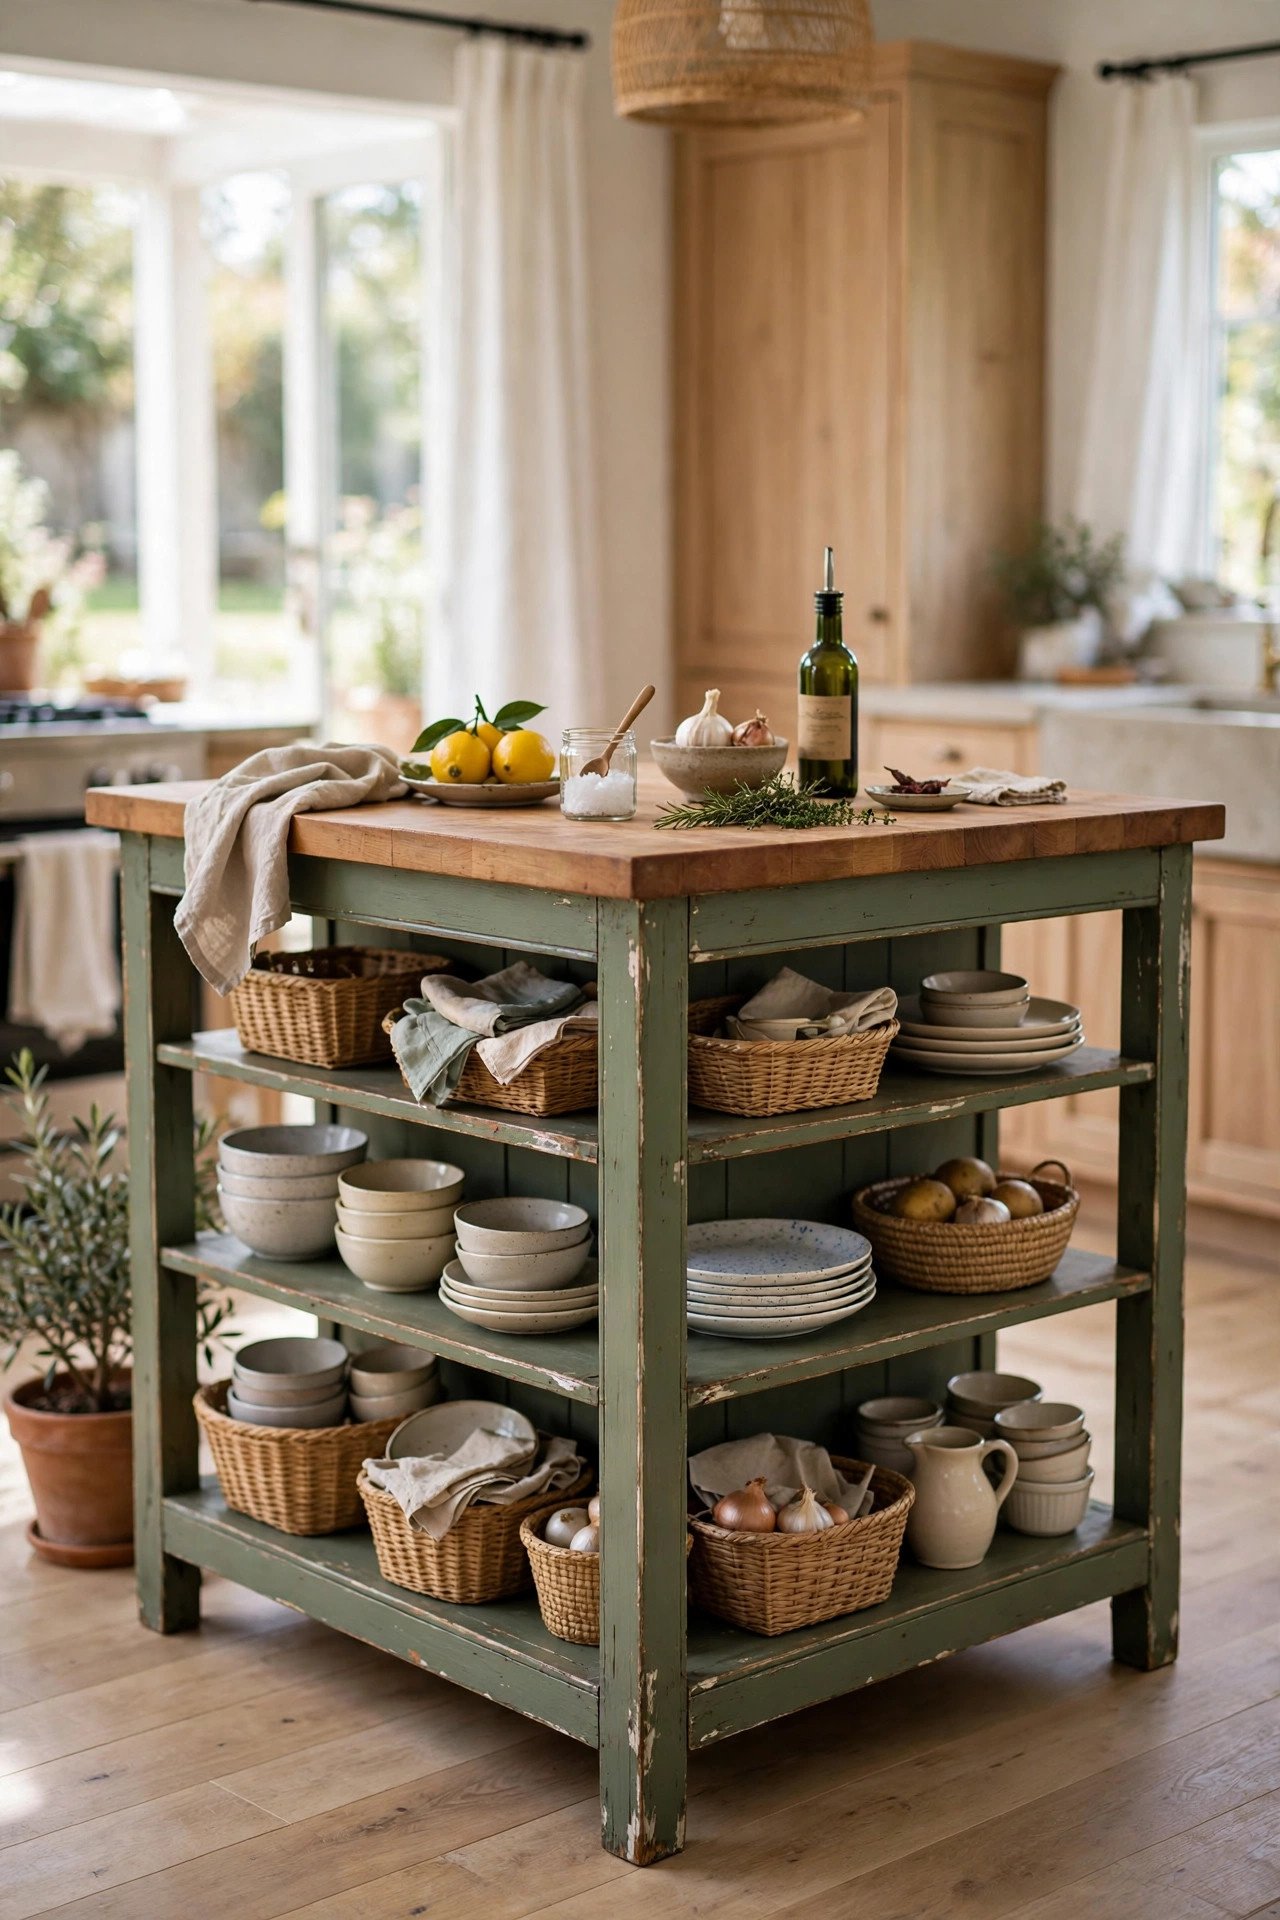
That old bookshelf in the basement is secretly a kitchen island waiting to happen. Remove the flimsy back panel, add decorative trim and a new countertop, and the transformation is complete. The shelves become perfect pantry storage.
Style the open shelves with baskets, cookbooks, and pretty dishes for a curated look. This conversion costs almost nothing if you already own the bookshelf. For styling the new shelves, take cues from pantry organization ideas for deep shelves to keep everything tidy.
12. New Facing Island Makeover
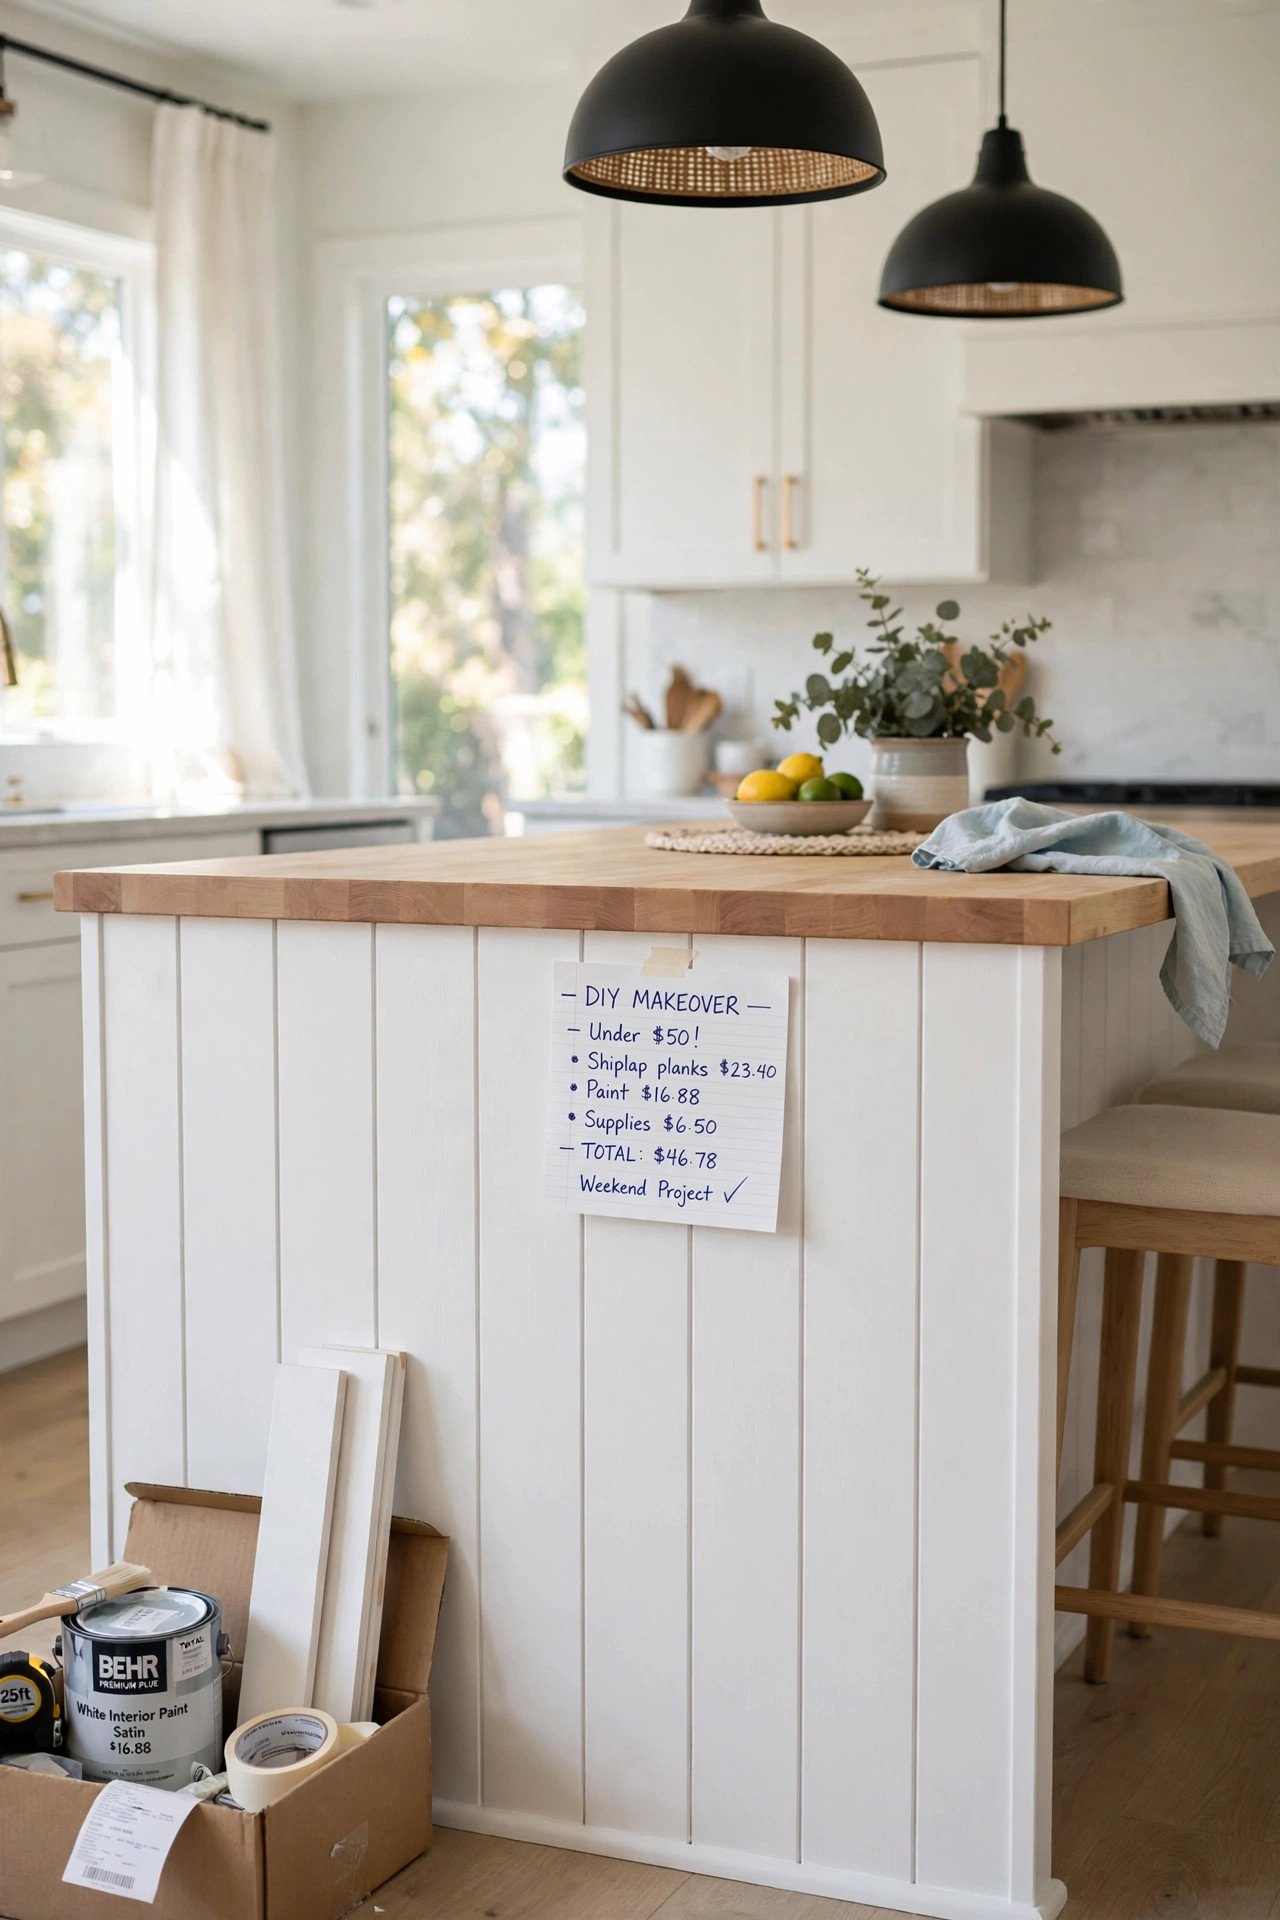
When your island looks dated, give it a new face instead of tearing it out. A few boards applied to the flat sides turn a boring island into an artisan-inspired piece. The makeover looks expensive but costs less than fifty dollars.
Try vertical planks, beadboard, or decorative molding depending on your style. Paint the new facing to match or contrast with your cabinets. This weekend refresh completely changes your kitchen’s feel.
13. Professional-Looking DIY Island
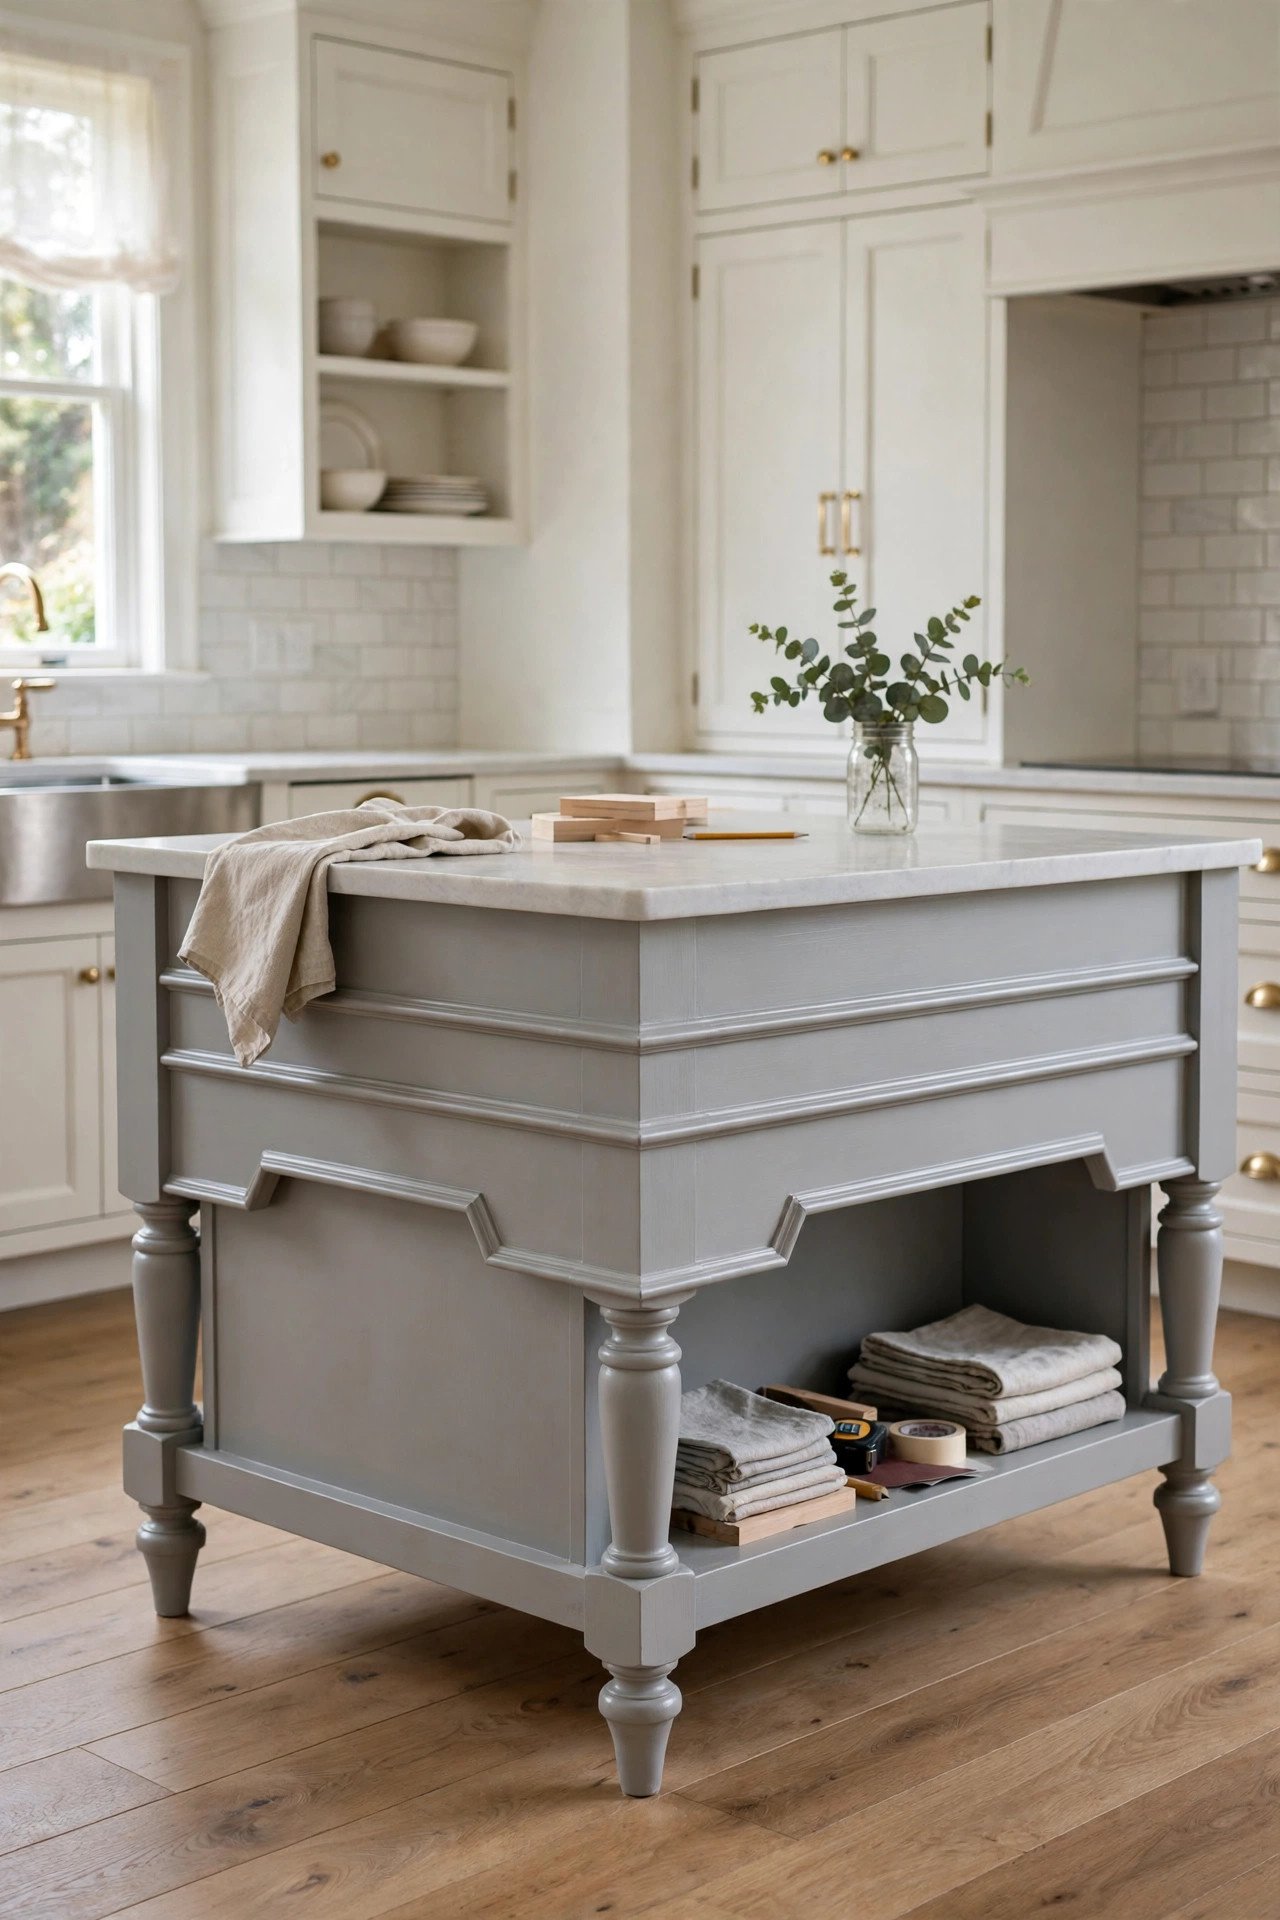
The secret to a professional DIY island is all in the details. Avoid flat boards and unfinished surfaces, which are the giveaways of amateur work. Add a tiered apron, beadboard doors, and turned feet for a furniture-quality finish.
Sand between paint coats and use quality hardware for the final polish. These finishing steps take extra time but transform the result. Your island will look like it came from a custom cabinet shop.
14. Rustic Island For Open Floor Plans
In an open floor plan, your island helps define the kitchen zone. A rustic island with a substantial presence anchors the space without blocking light or sightlines. It breaks up the openness while keeping the airy vibe.
Choose a design that looks good from all sides, since open plans expose every angle. The island becomes a visual divider between cooking and living areas. Style both sides so it looks intentional from the sofa too.
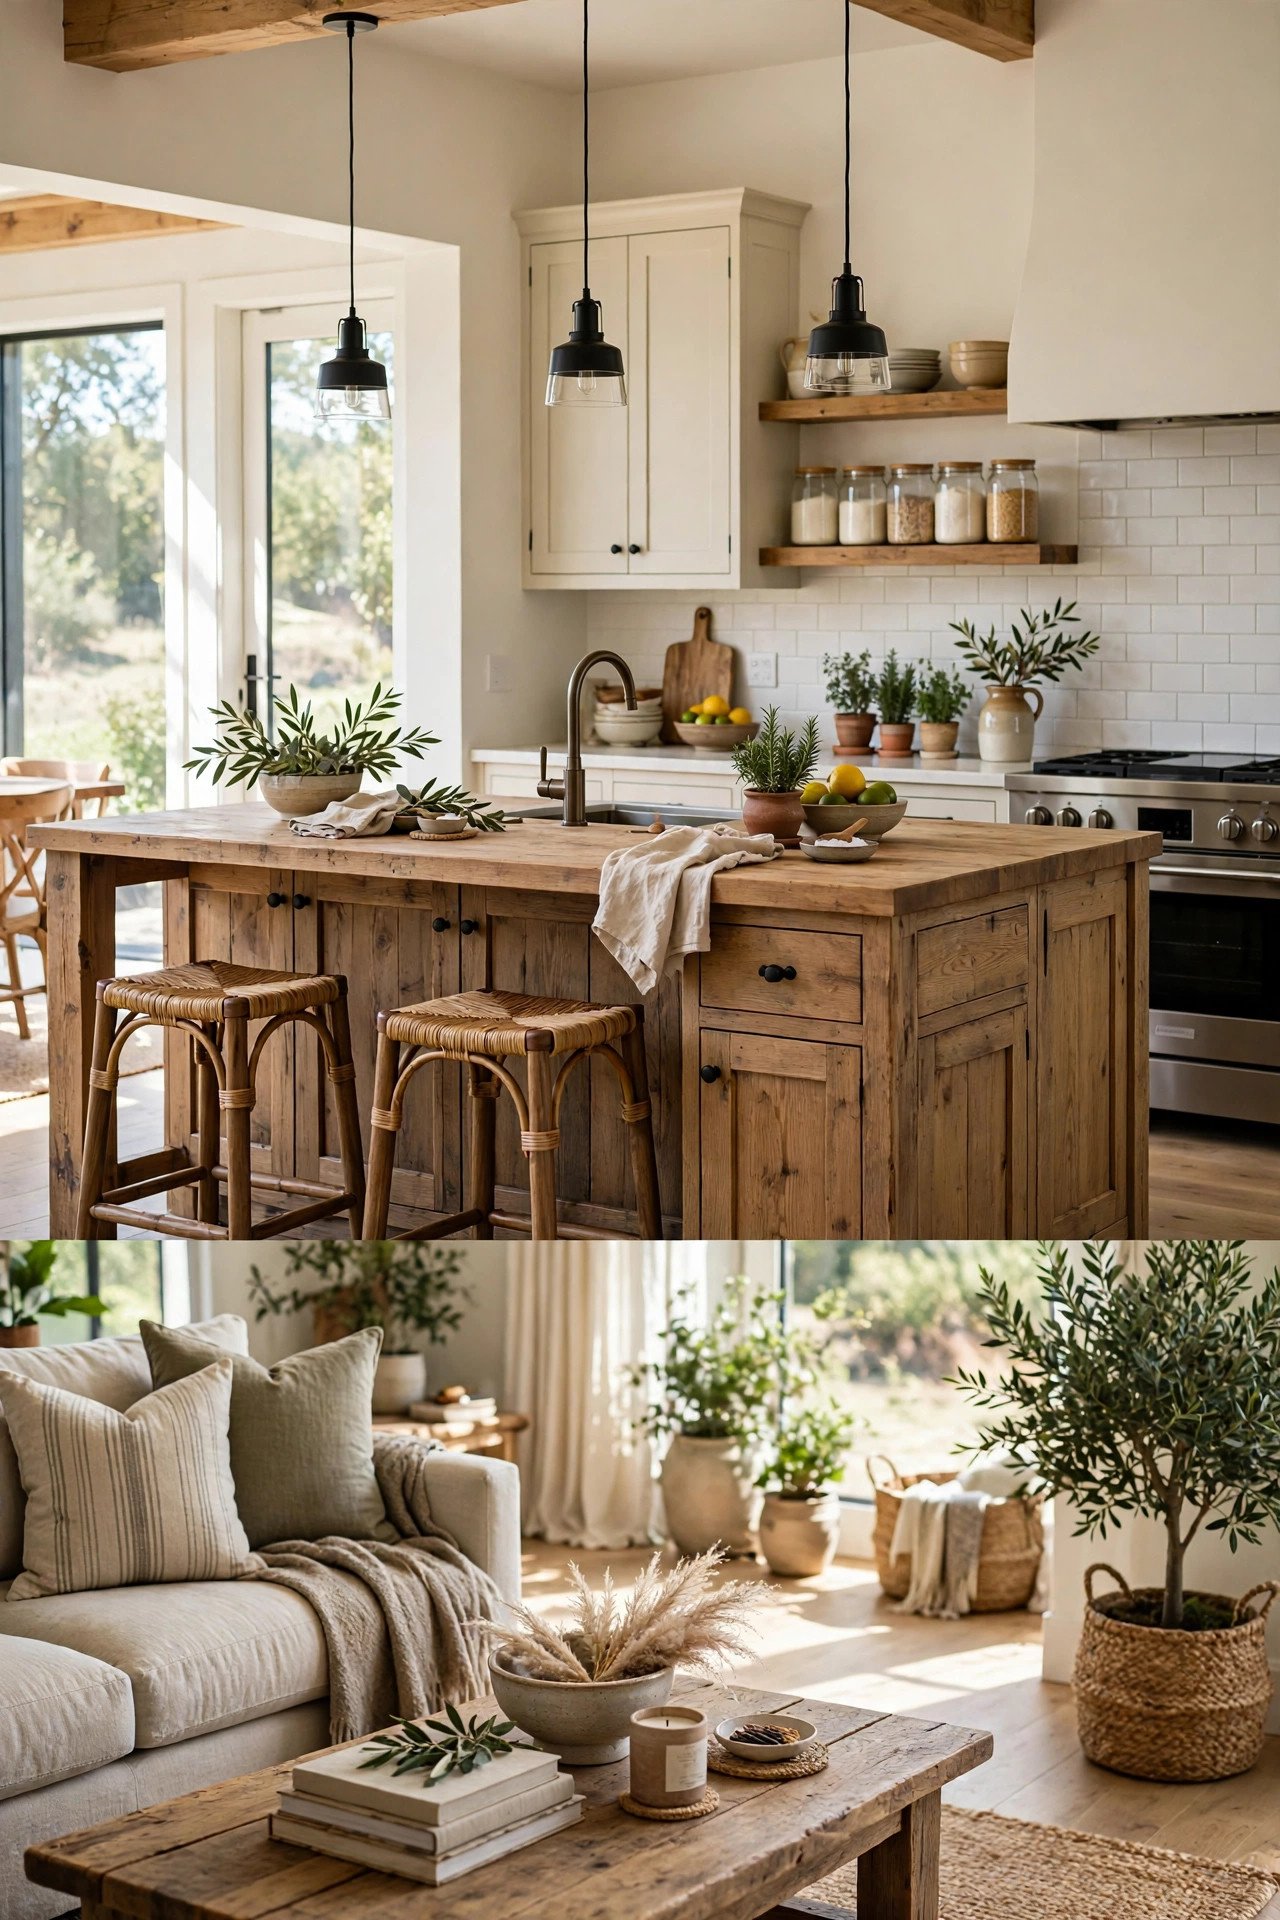
15. Old Desk Turned Movable Island
An old desk becomes a rolling island with just a few modifications. Add a new top if needed, attach locking caster wheels, and paint it to match your kitchen. Roll it to the center when you cook and tuck it aside when you do not.
This movable solution is perfect for small kitchens that cannot spare permanent floor space. The desk drawers already provide handy storage for utensils. Look for solid wood desks at thrift stores for the best candidates.

16. Pull-Out Drawer Storage Island
Maximize your island’s storage with pull-out drawers that bring everything within reach. Convert deep cabinets into pull-out shelves so nothing gets lost in the back. Tip-out bins hide trash and recycling neatly.
Start with an old cabinet base, add wheels, new hardware, and fresh paint. The pull-out function makes the island incredibly practical for daily cooking. Organize the drawers like you would with spice drawer organization ideas, giving every tool a dedicated spot.
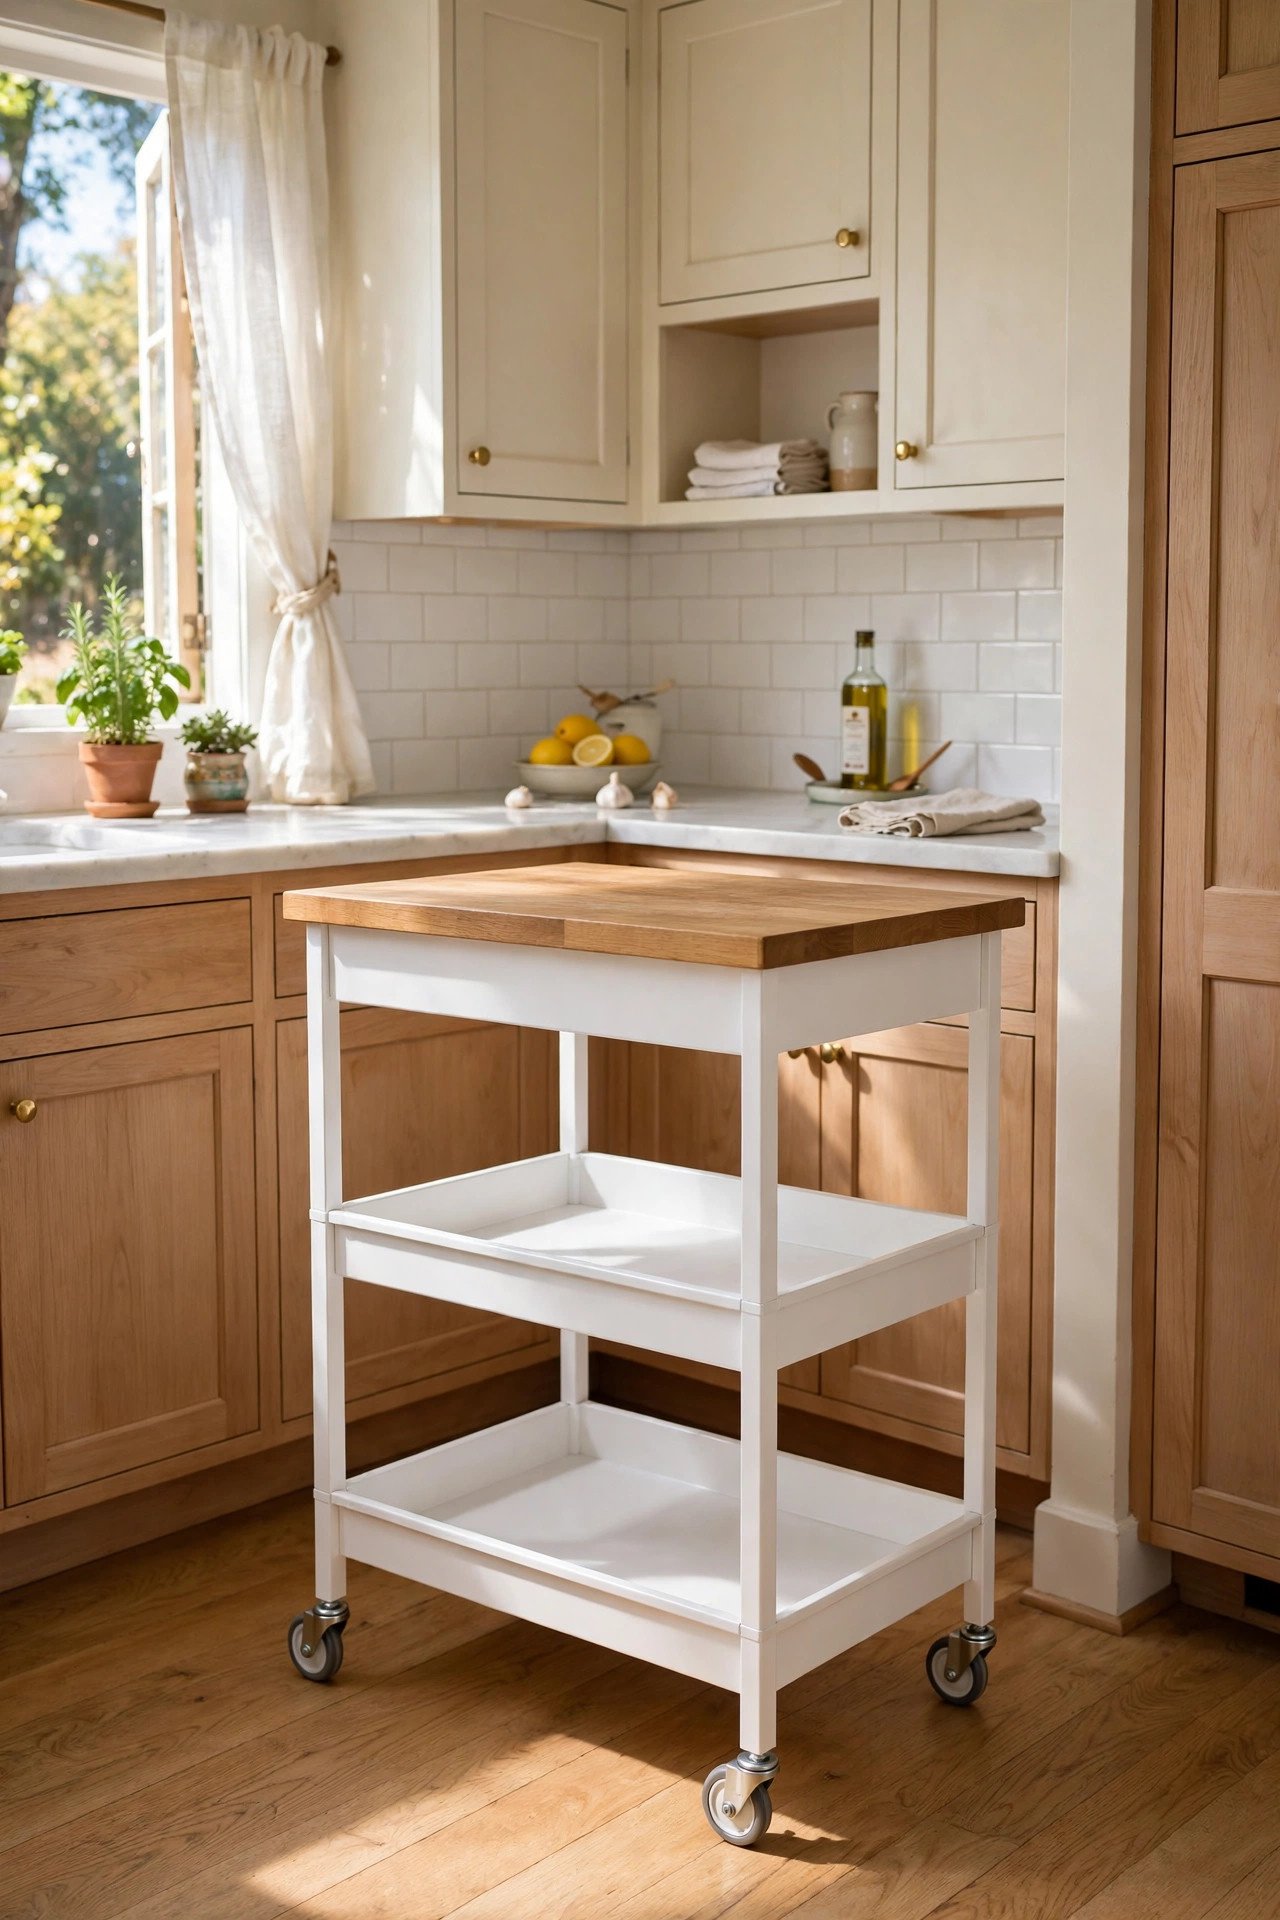
17. Chic Woodwork Glam Island
In a French country or cottage kitchen, island details matter enormously. Build your island with premade turned legs, reclaimed scrap wood, and decorative molding for old-world charm. A single coat of paint unifies all the elements.
This detailed approach creates an island that looks far more expensive than its parts. The turned legs are the stars, so let them show. Your cottage kitchen gains a true centerpiece.
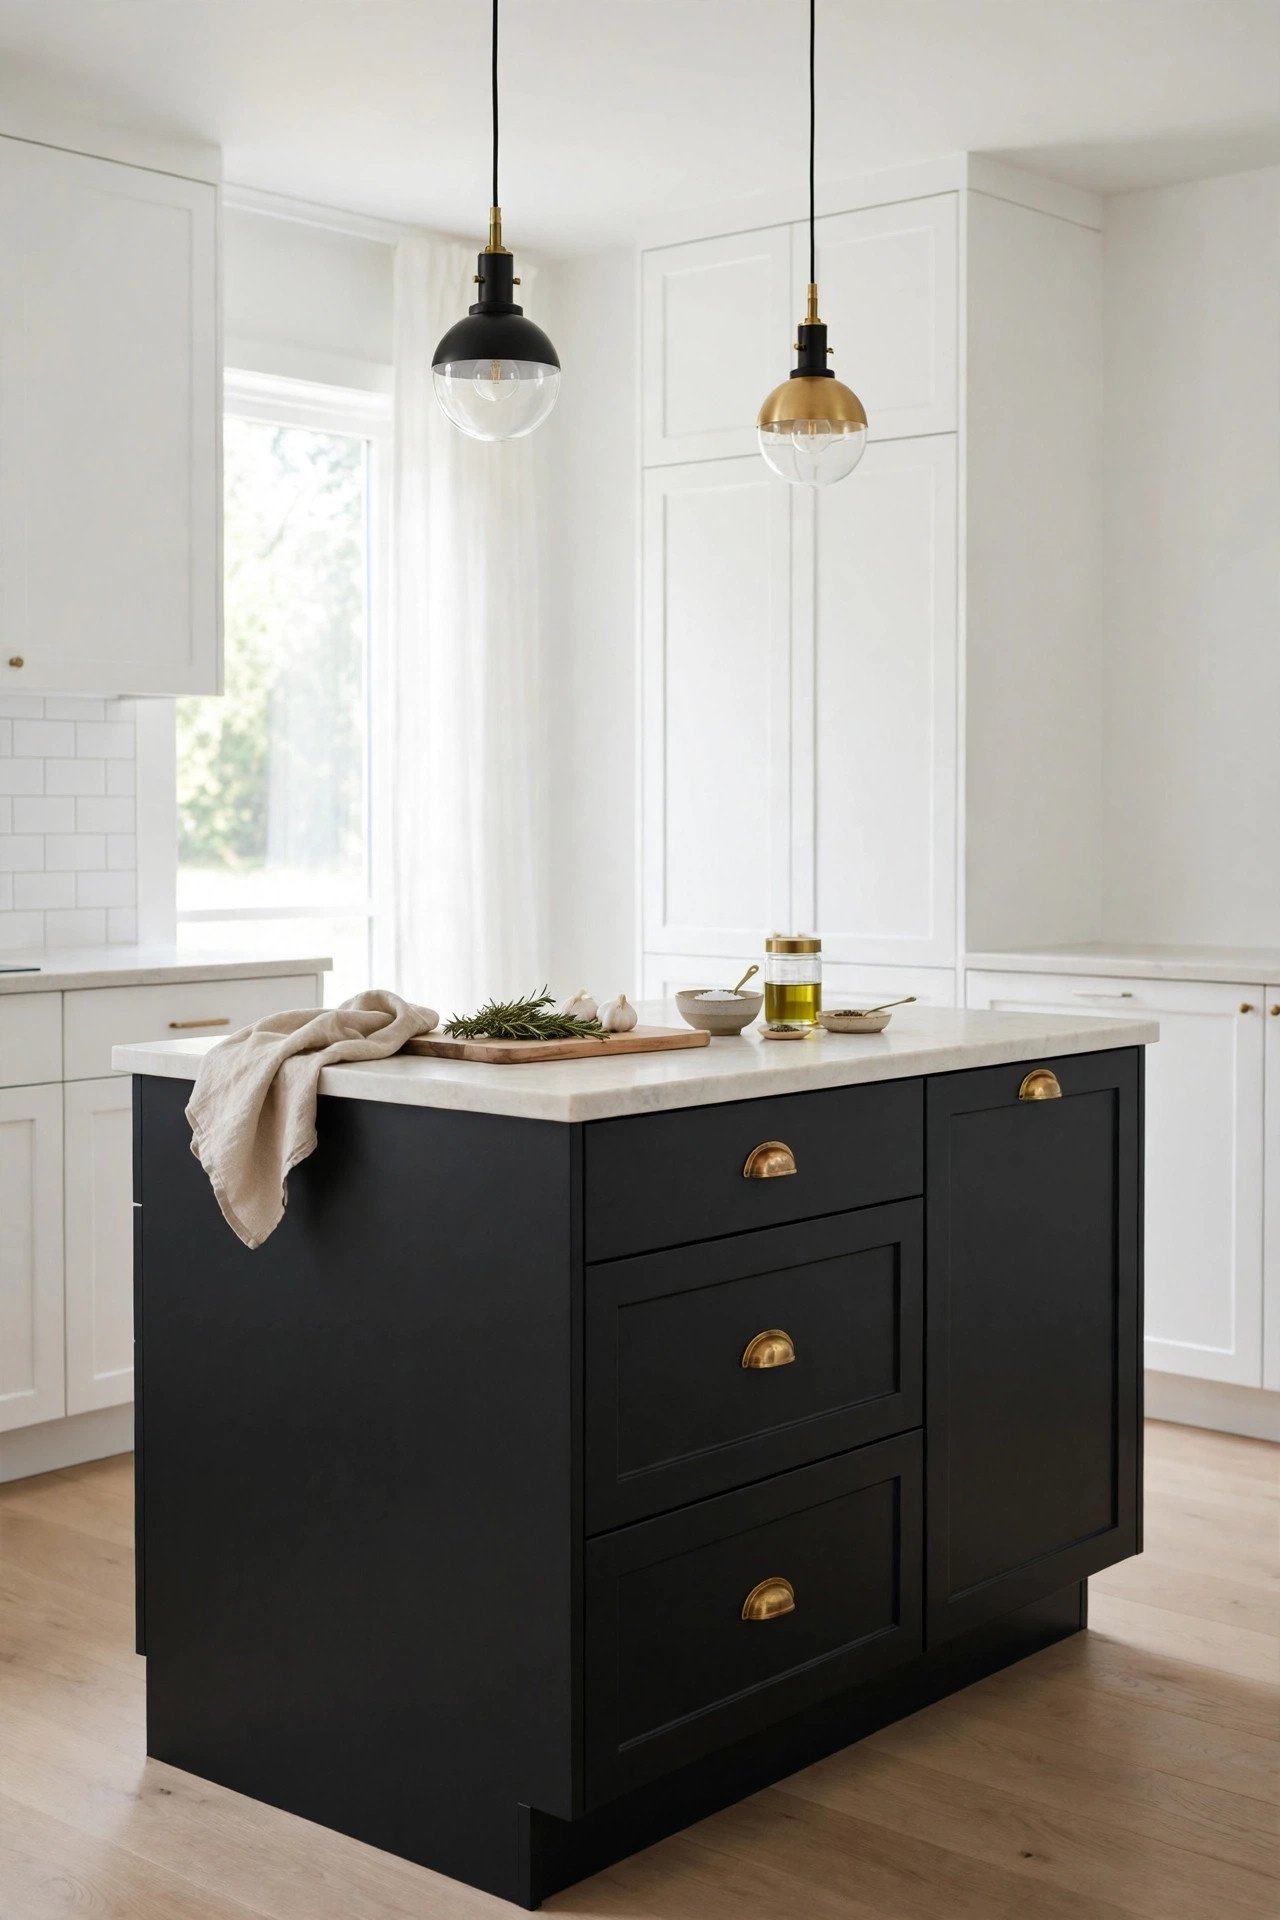
18. Simple Rustic Beginner Island
Never built furniture before, because this simple rustic island is the perfect first project. Basic butt joints create a strong structure with minimal tools. Any lumber store will cut your boards to size, speeding up the build.
The straightforward design suits farmhouse and country kitchens perfectly. You will learn fundamental skills while creating something genuinely useful. Finish it with stain or paint to match your kitchen.
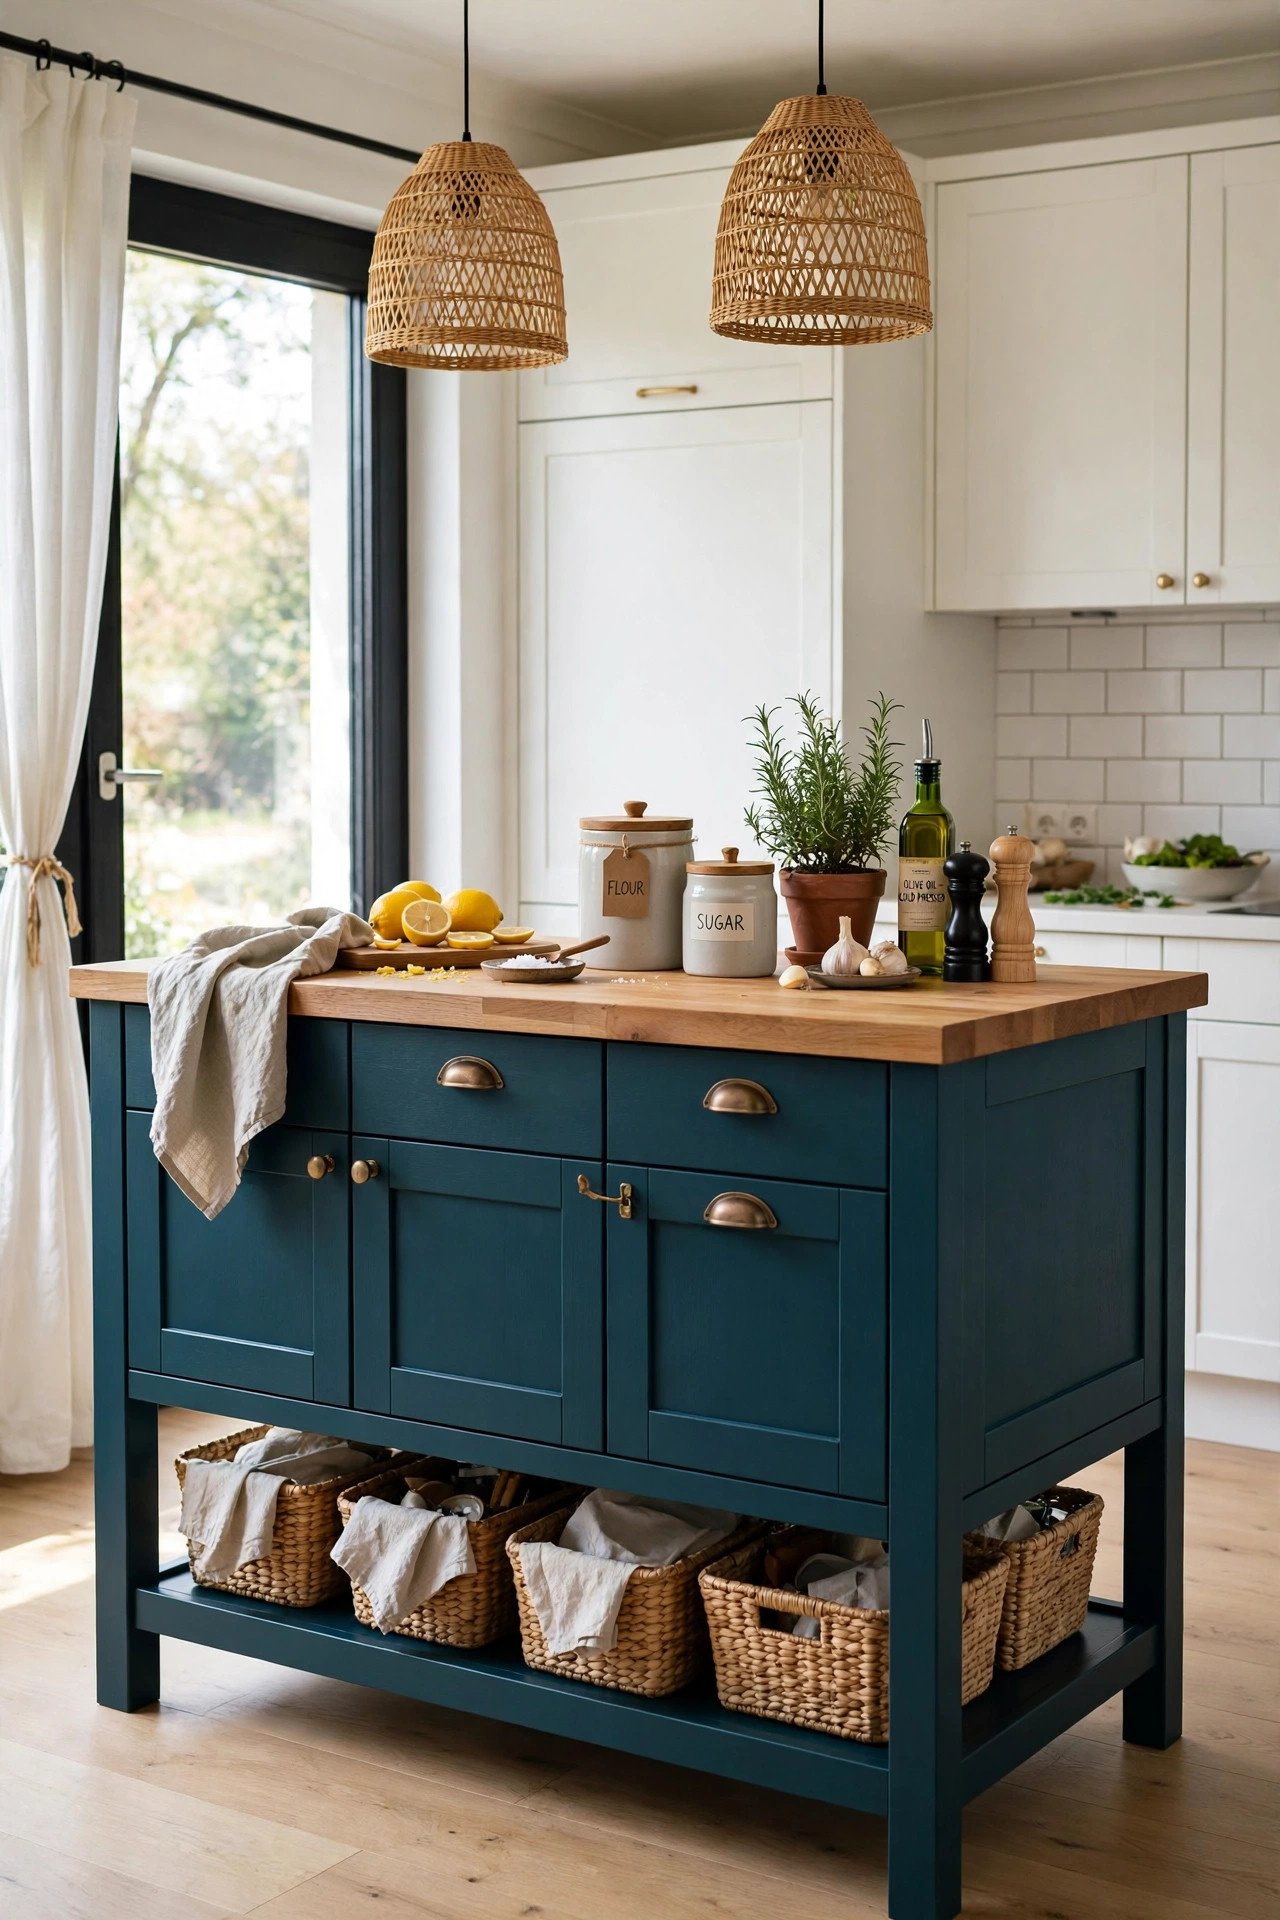
19. Modish Desk Conversion Island
That small old desk at the garage sale is secretly the perfect island base. A few boards and a coat of paint transform it into a functional piece while keeping its charming vintage details. The whole project takes one afternoon.
Desks already have the right height and often include handy drawers. Paint it a color that pops against your cabinets. This is thrifting at its most rewarding.

20. Repurposed Dresser Island
Need more kitchen storage, because an old dresser delivers it in spades. The deep drawers swallow dishes, pots, and pantry overflow with ease. Add a countertop and paint for a gorgeous high-storage island.
If you want breakfast seating, extend the top with an overhang for stools. Dressers are plentiful and cheap at thrift stores. This is one of the most practical conversions on this list.
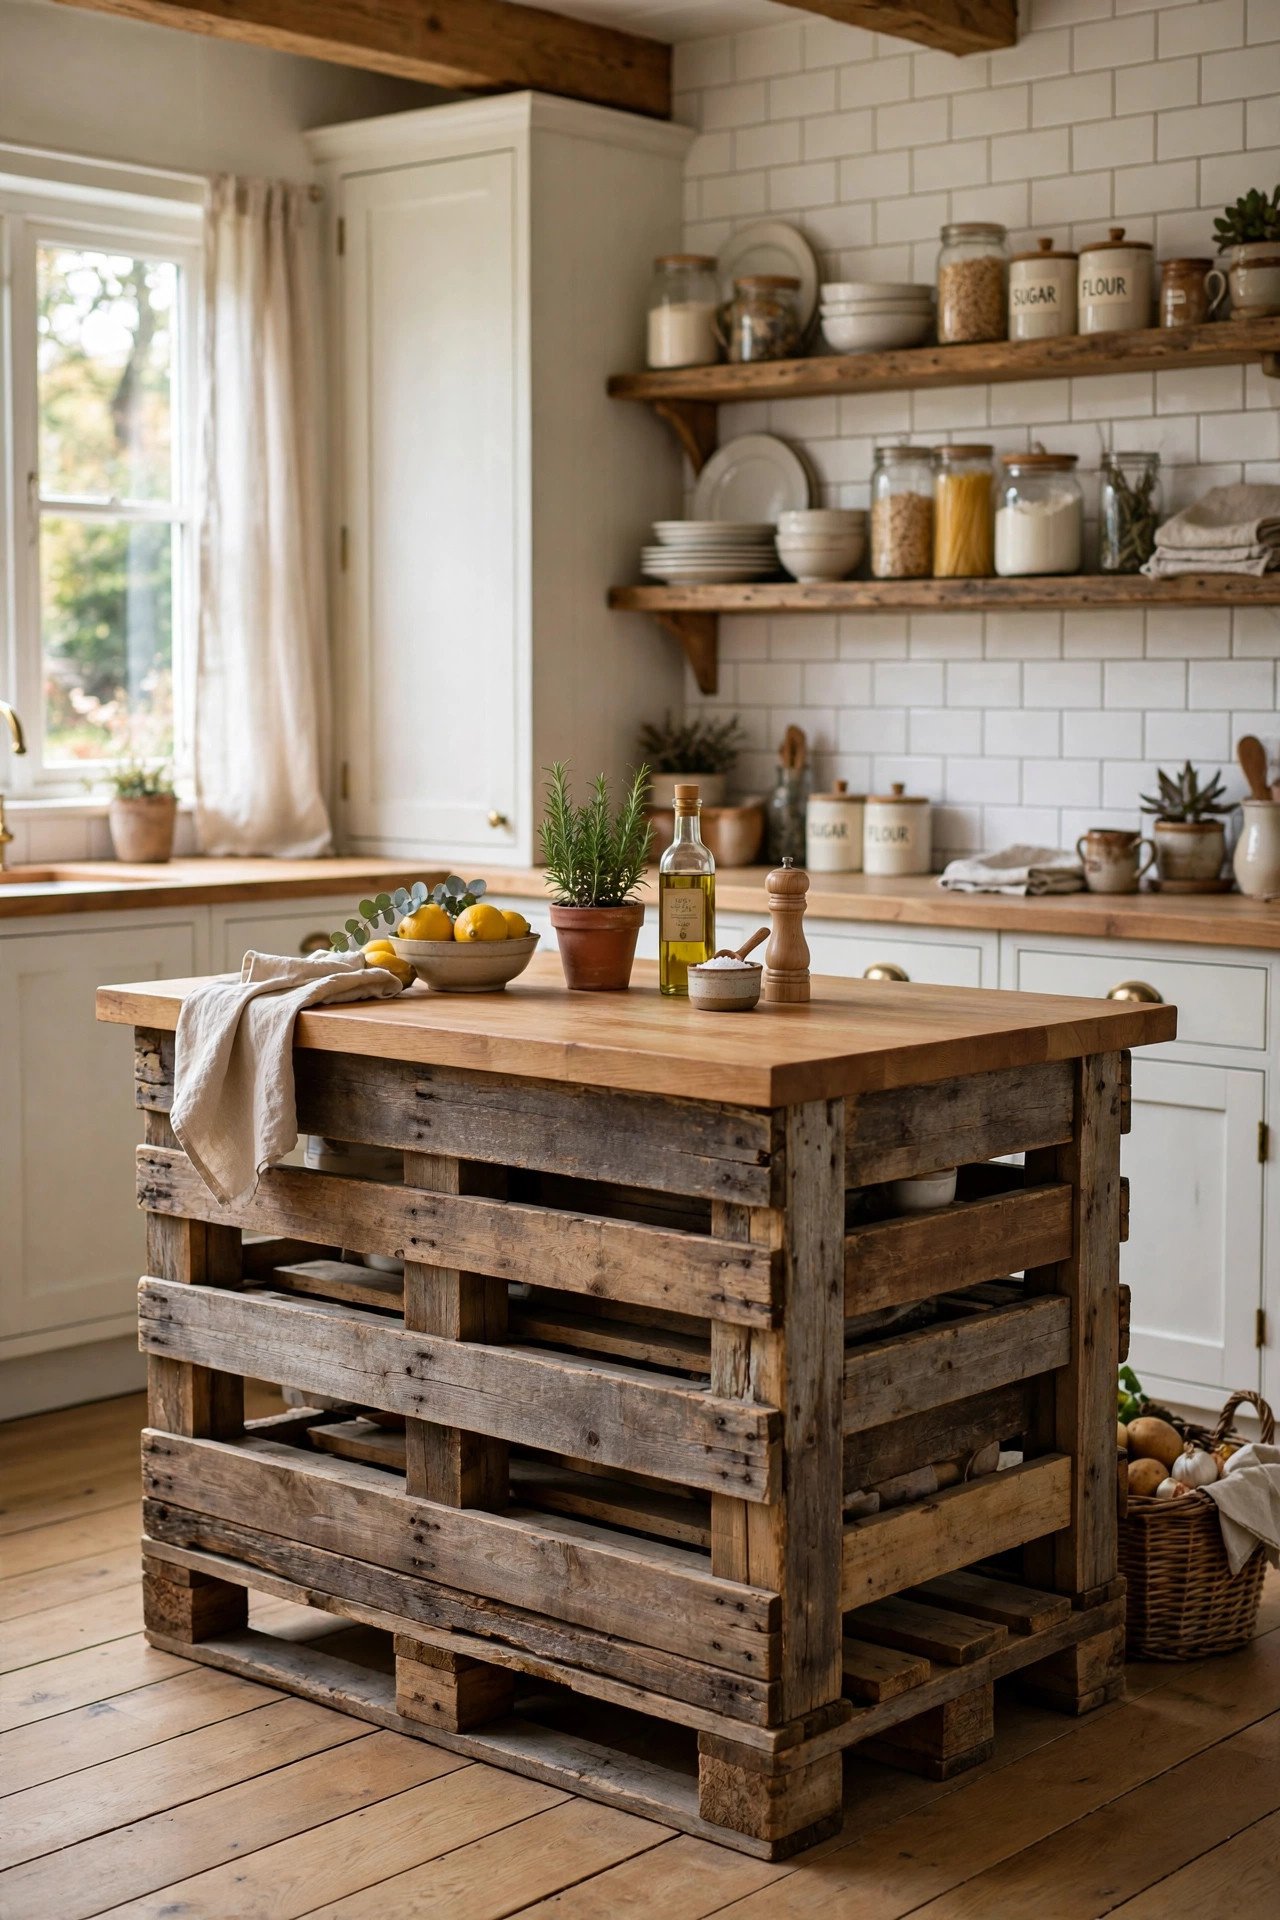
21. Upcycled Vintage Door Island
An old door makes a wonderfully characterful island top for big kitchens. Lay the door flat as the island surface, topping it with glass or plexiglass so the beautiful details show through. Build a simple open base with shelves below.
The door’s panels and hardware become the island’s artwork. This conversation piece suits eclectic and farmhouse kitchens. Salvage yards are full of beautiful old doors waiting for this purpose.

22. Country Distressed Paint Island
Achieve beloved farmhouse style with paint and distressing techniques. Paint your island base in a soft color, then sand the edges lightly for a well-loved look. Rustic wood planks on the top complete the country feel.
The distressed finish hides future wear and tear gracefully, which is ideal for busy kitchens. This forgiving technique suits beginners perfectly. Your kitchen gains instant farmhouse warmth.
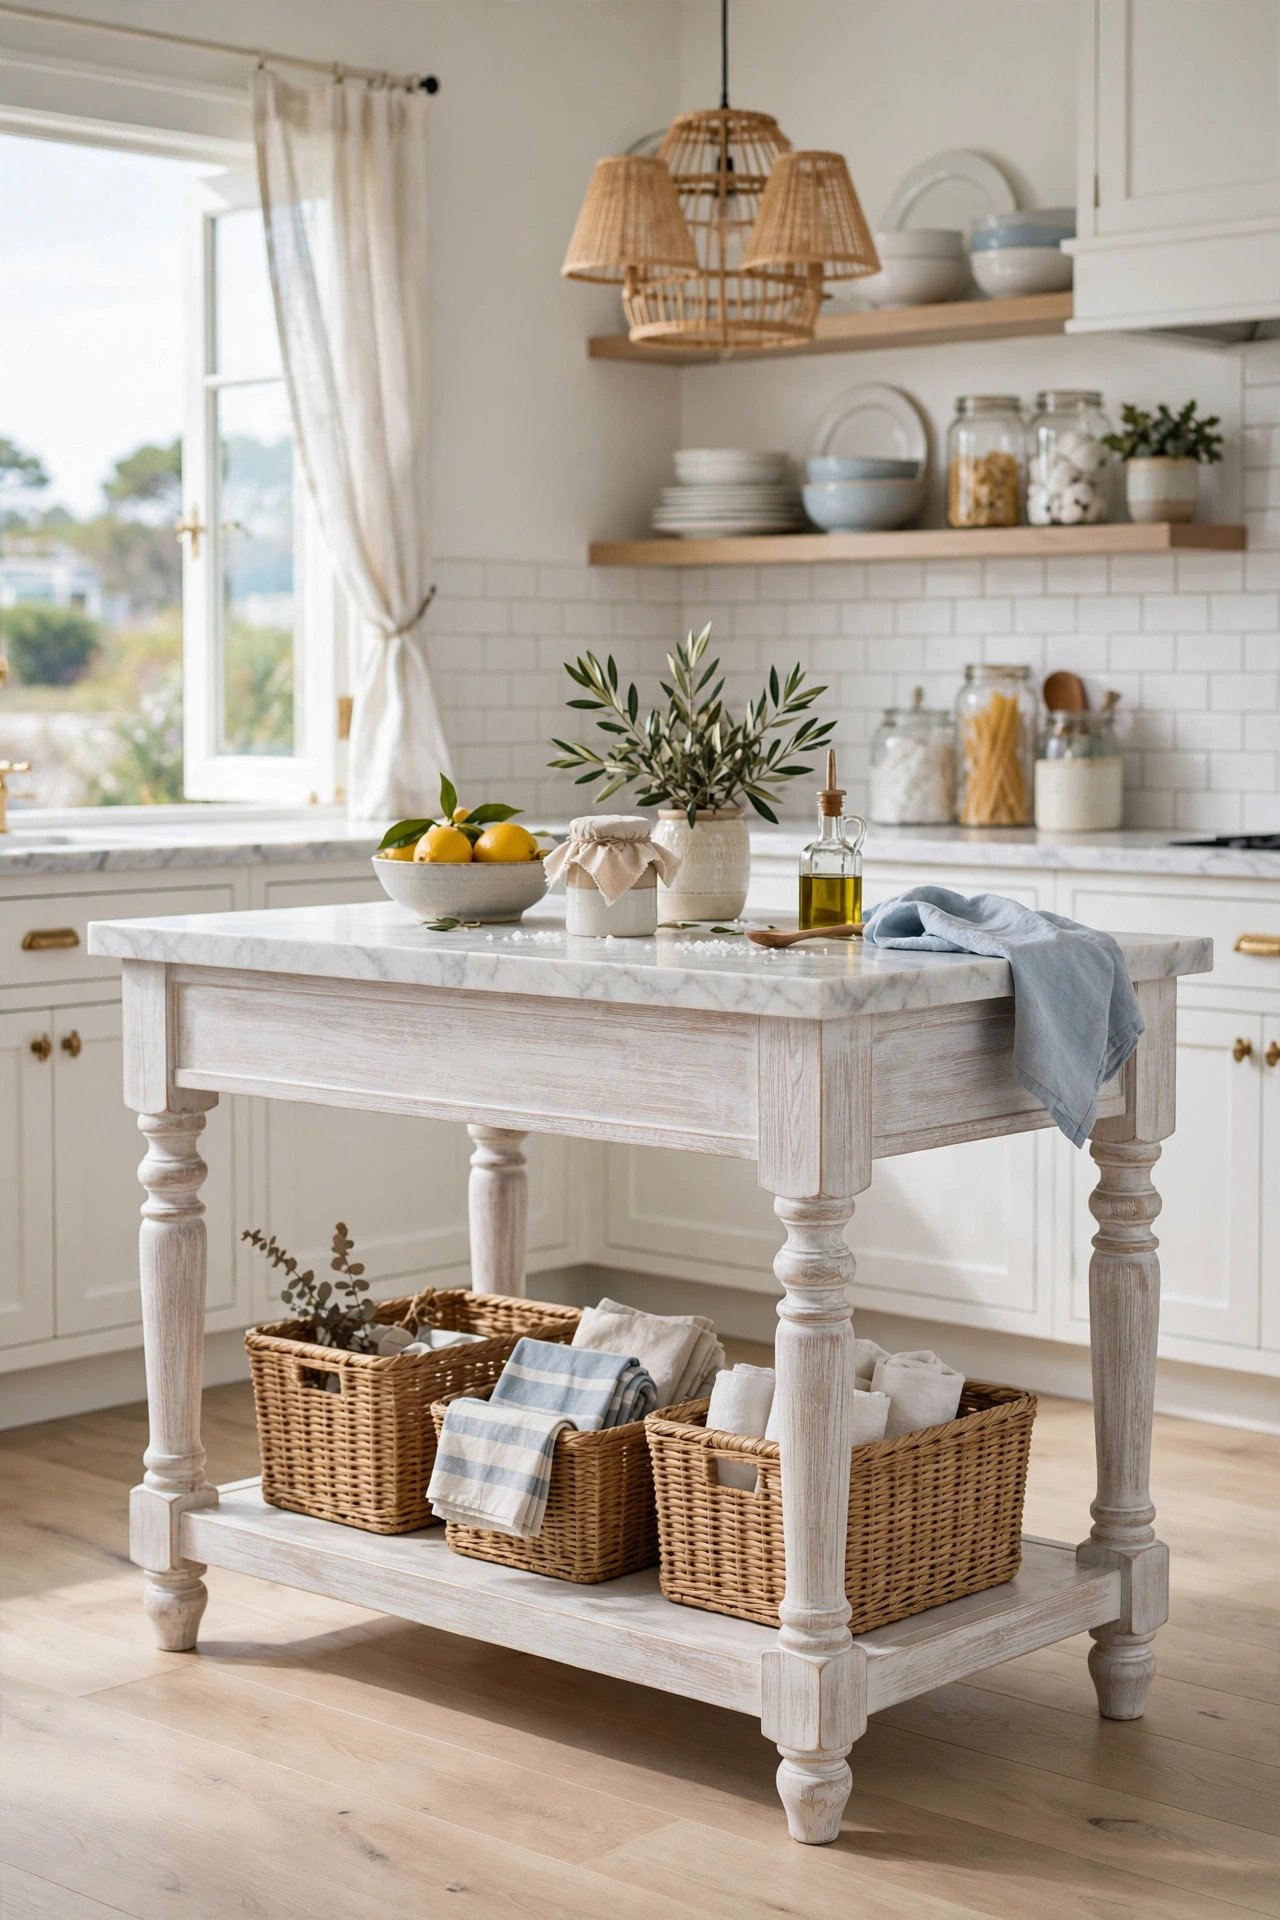
23. Whimsical Wash Tub Island
A vintage wash tub island is completely unique and full of country charm. Build a simple planked top to fit over the tub, stain it to match your furniture, and let the tub body form the base. The side handles double as towel holders.
This quirky piece sets your kitchen apart from every catalog look. A tray mounted on the lower braces adds shelf space. It is proof that the best islands come from imagination, not stores.

24. Rolling Bar Cart Island
A sturdy rolling cart becomes a petite island for the smallest kitchens. Choose a cart with a solid top and at least two shelves, then style the shelves with everyday cooking essentials. Lock the wheels when you cook and roll it away after.
This micro-island adds precious counter space exactly where you need it. Use the lower shelves for mixing bowls and small appliances. It is the perfect starter island for apartment kitchens.

25. Butcher Block Storage Cube Island
Top a simple storage cube with butcher block for an instant classic island. The cube provides closed storage while the thick wood top gives you a beautiful prep surface. Butcher block is affordable and ages gracefully.
Oil the butcher block regularly to keep it food-safe and rich looking. Add casters to make the cube mobile. This clean simple design suits modern and Scandinavian kitchens.
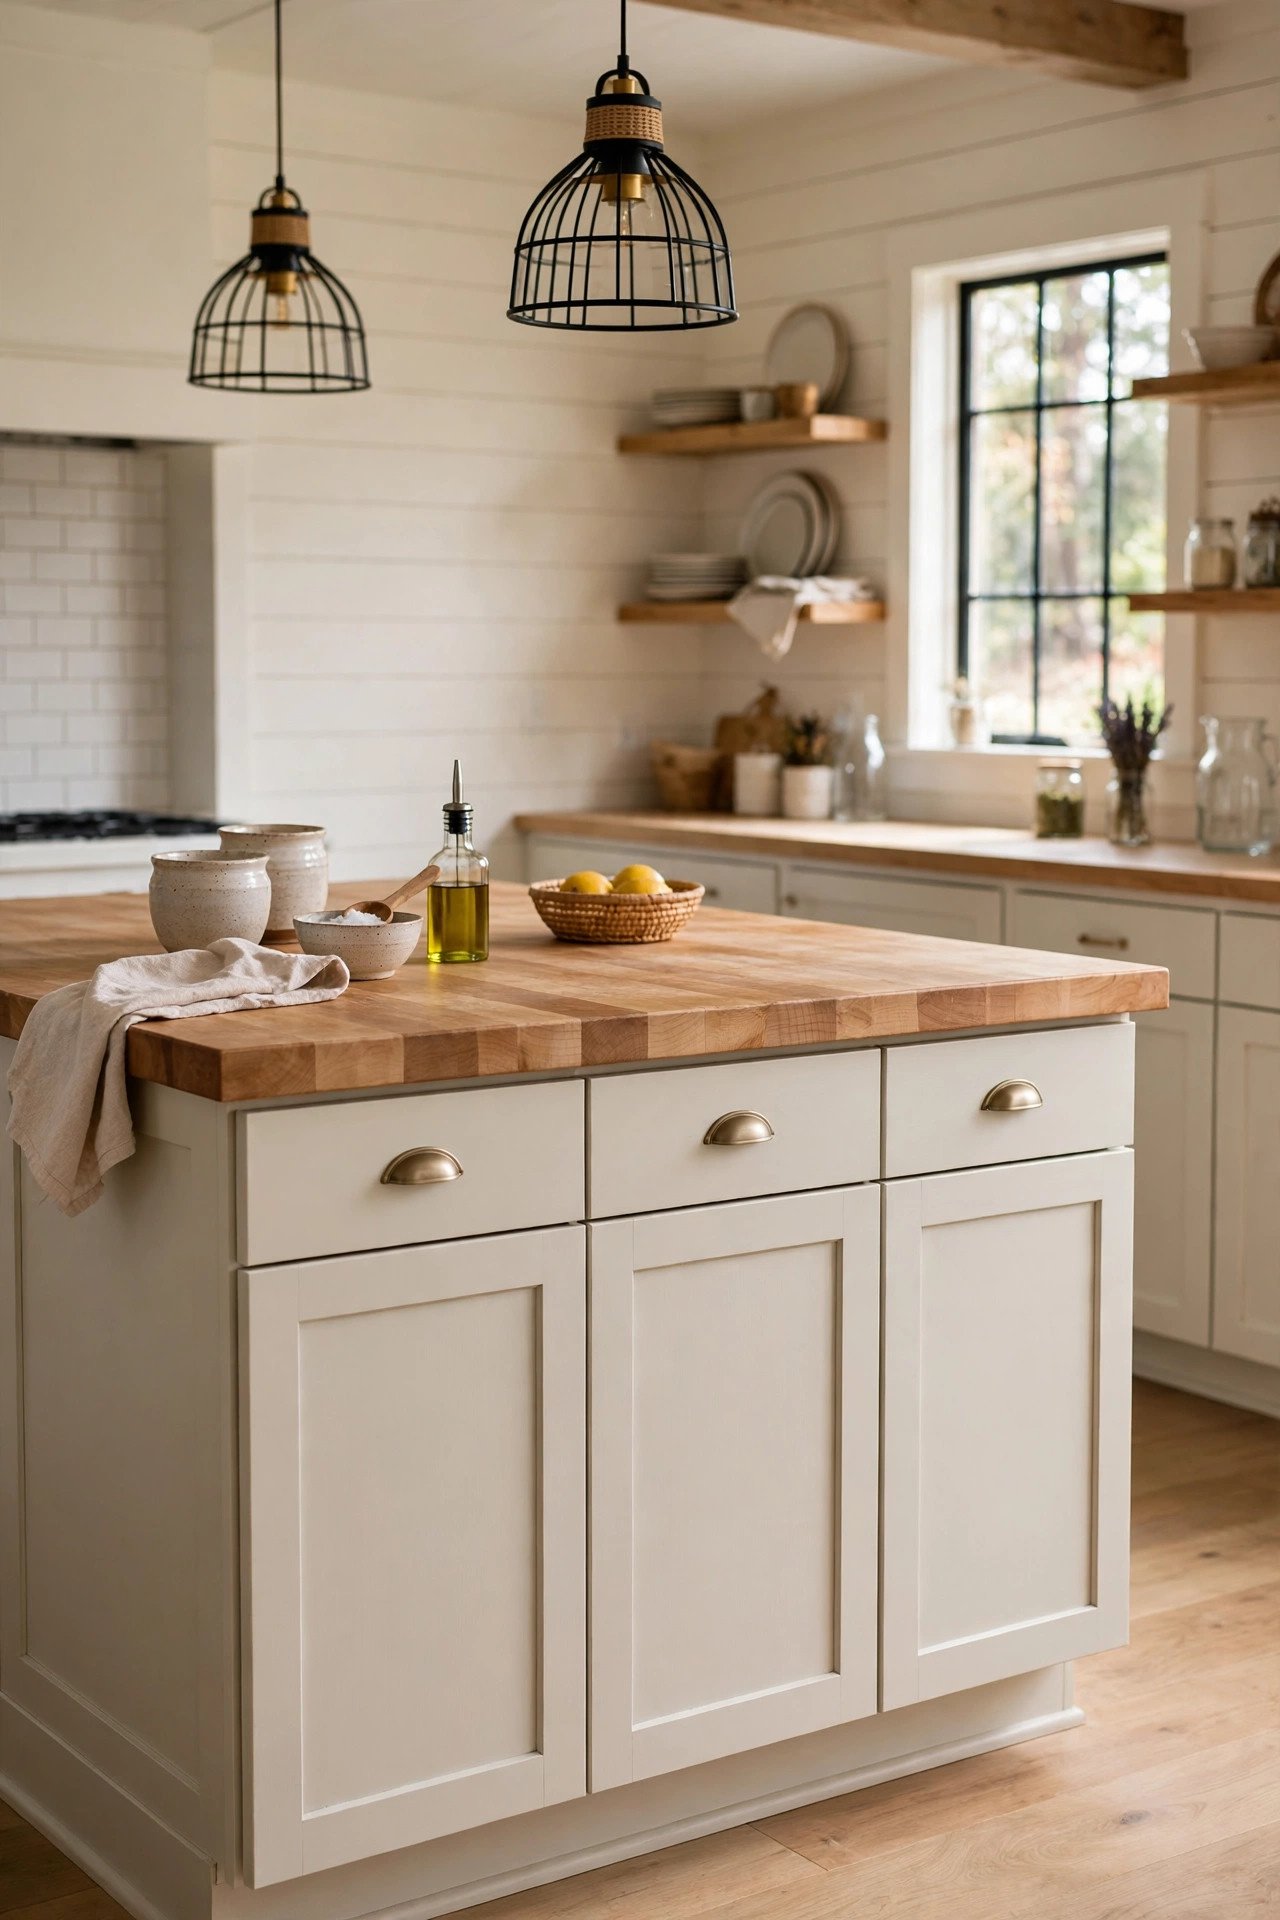
26. Narrow Rolling Pantry Island
A narrow rolling cart fills that awkward gap between appliances beautifully. Build or buy a slim unit on wheels that slides into tight spaces. Use it for spices, oils, and canned goods that need a home.
Top it with a small wood cutting board for bonus prep space. The slim profile means even galley kitchens can enjoy island benefits. Pull it out when you cook and tuck it away after.
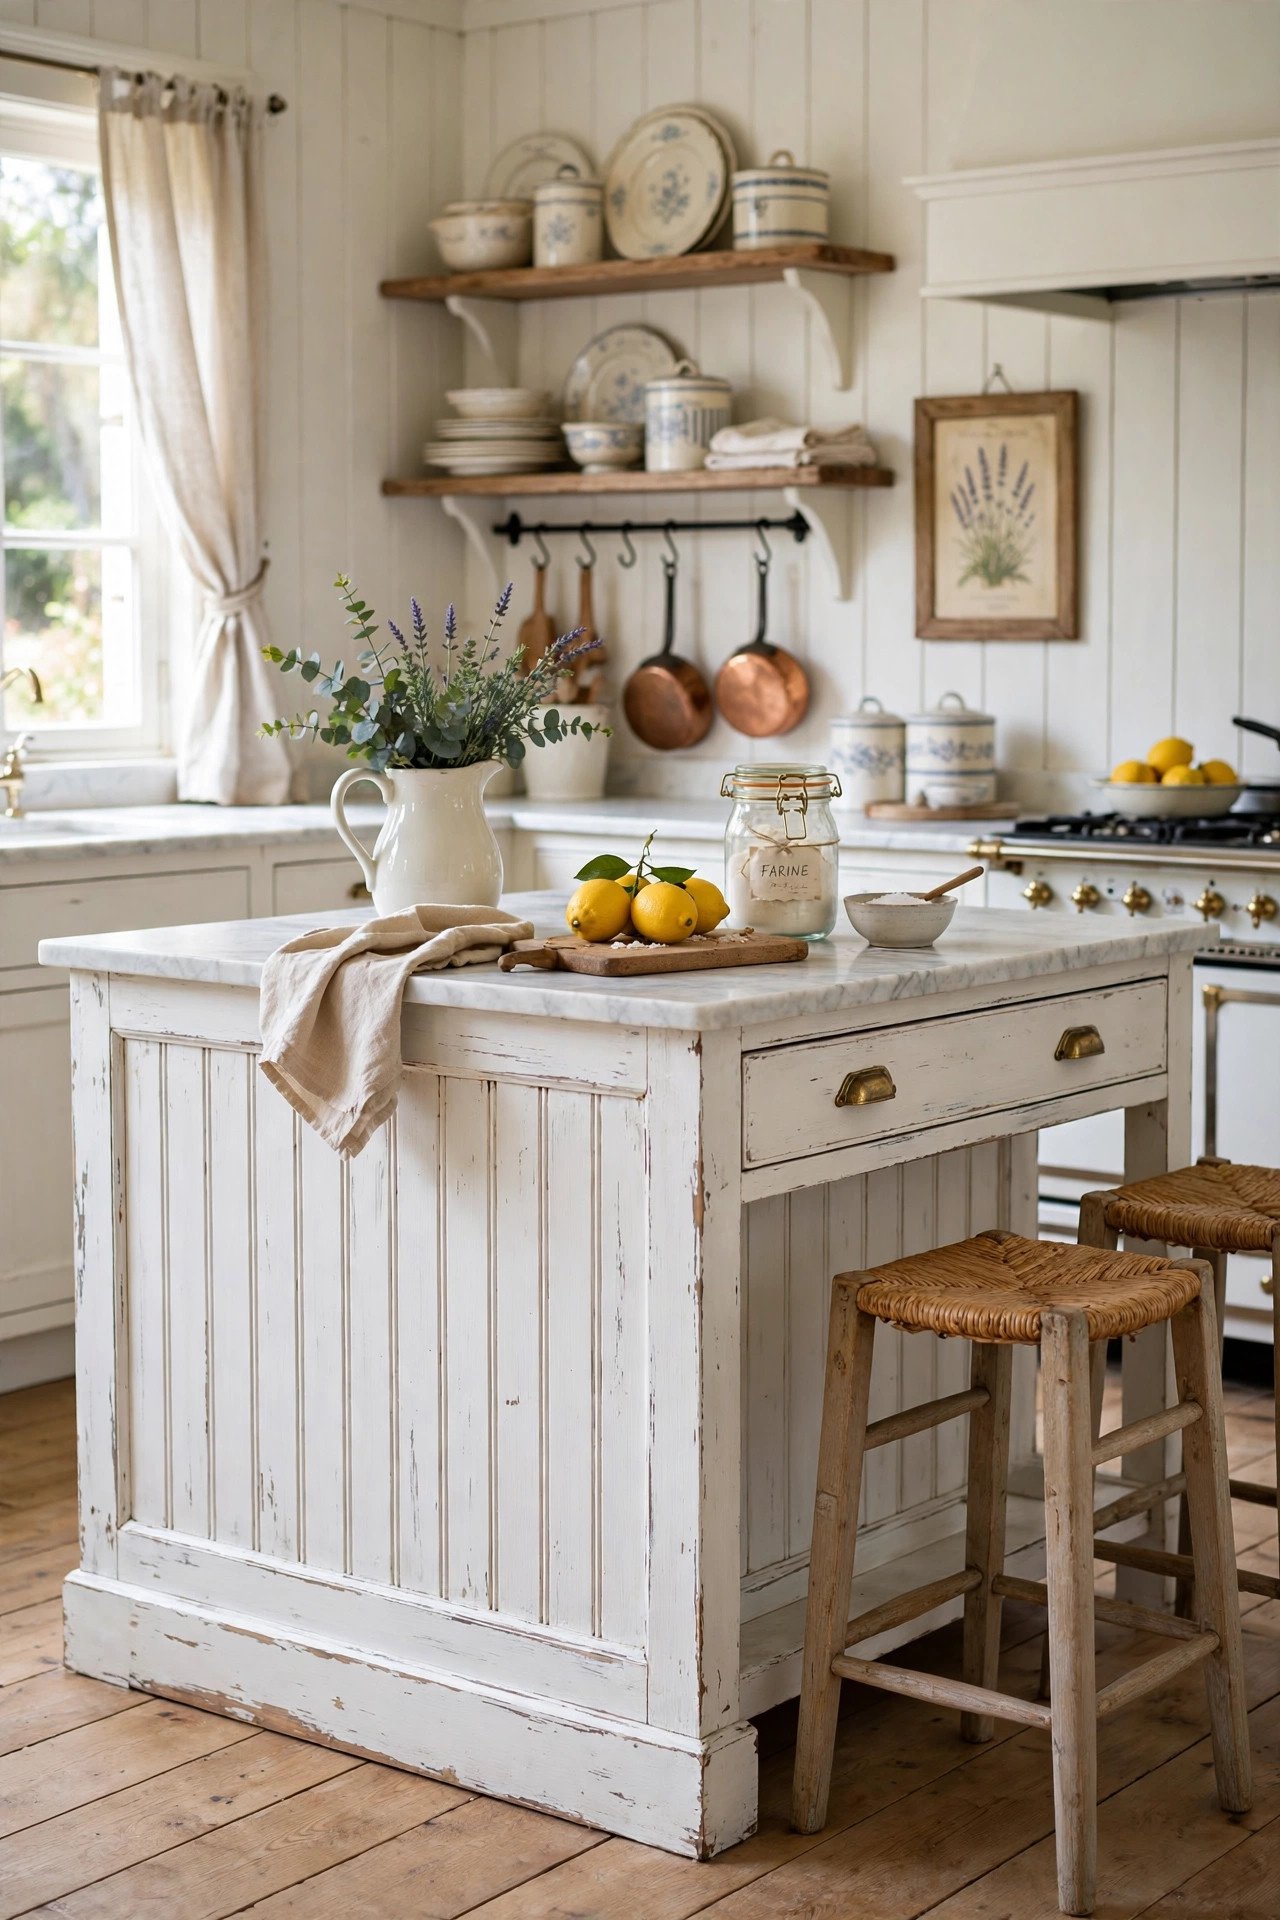
27. Pallet Wood Island With Casters
Free pallet wood becomes a charming island base with a weekend of work. Break down clean pallets, build a simple box frame, and clad it with the pallet boards. Heavy-duty casters make it easy to move for cleaning.
The varied wood tones give authentic rustic character no new lumber can match. Sand thoroughly to avoid splinters. Top it with a smooth countertop for a practical work surface.
28. Nightstand Pair Island
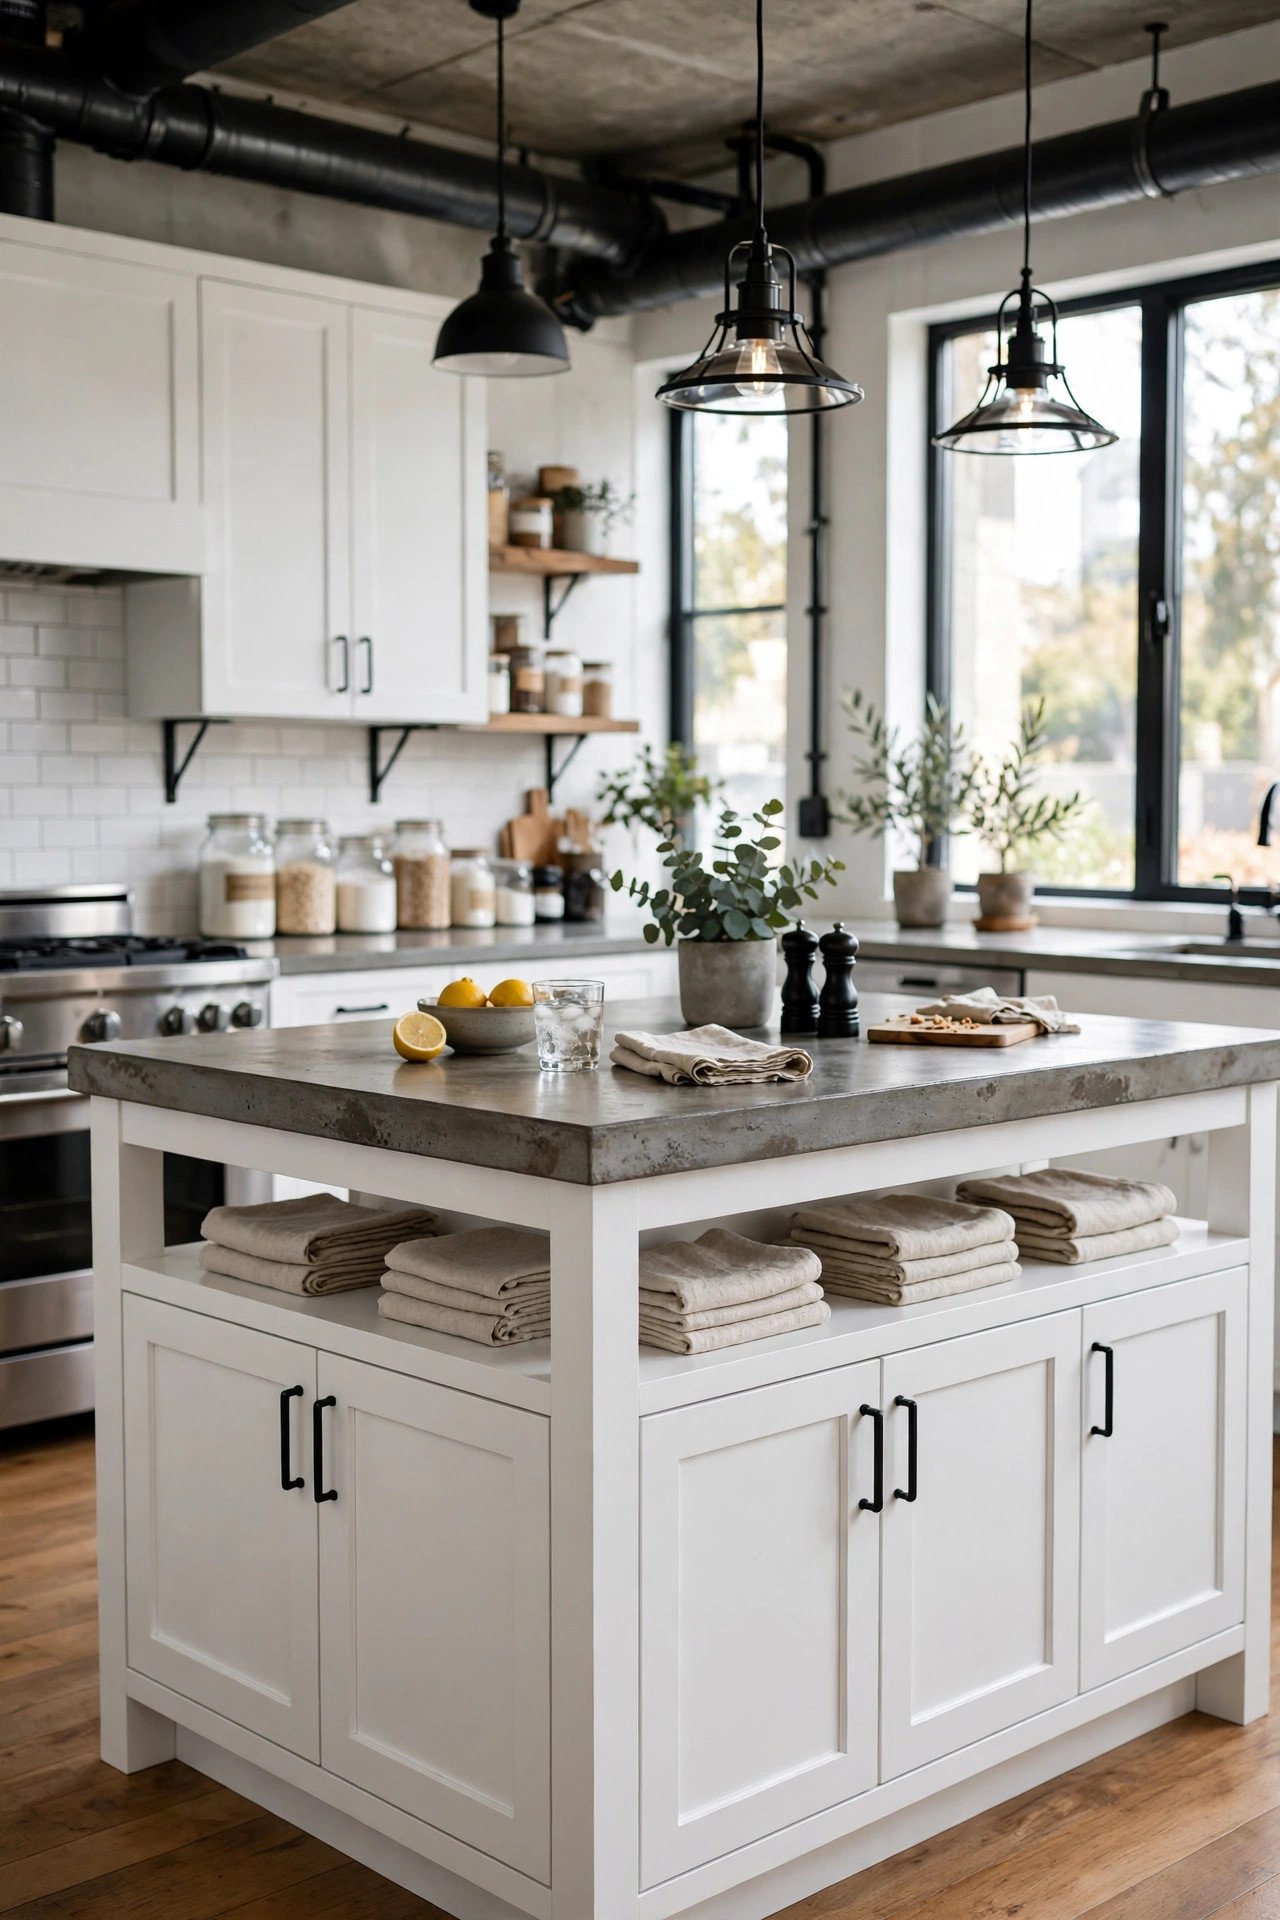
Two matching nightstands pushed together form a surprisingly perfect island base. Their drawers provide divided storage and their height is already counter-friendly. Join them with a single countertop spanning both.
Thrift stores often sell nightstand pairs for very little. Paint them to match your kitchen for a unified look. This clever hack creates a small island for under fifty dollars total.

29. Open-Shelf Island With Curtain Skirt
An open-shelf island with a fabric curtain skirt hides clutter beautifully. Build simple open shelving, then hang a cute curtain on a tension rod across the front. The skirt adds softness while concealing pots and appliances.
Change the curtain seasonally for an easy style refresh. This farmhouse-friendly look costs very little to create. The hidden storage keeps your kitchen looking tidy with minimal effort.
30. Painted Cabinet Base Island
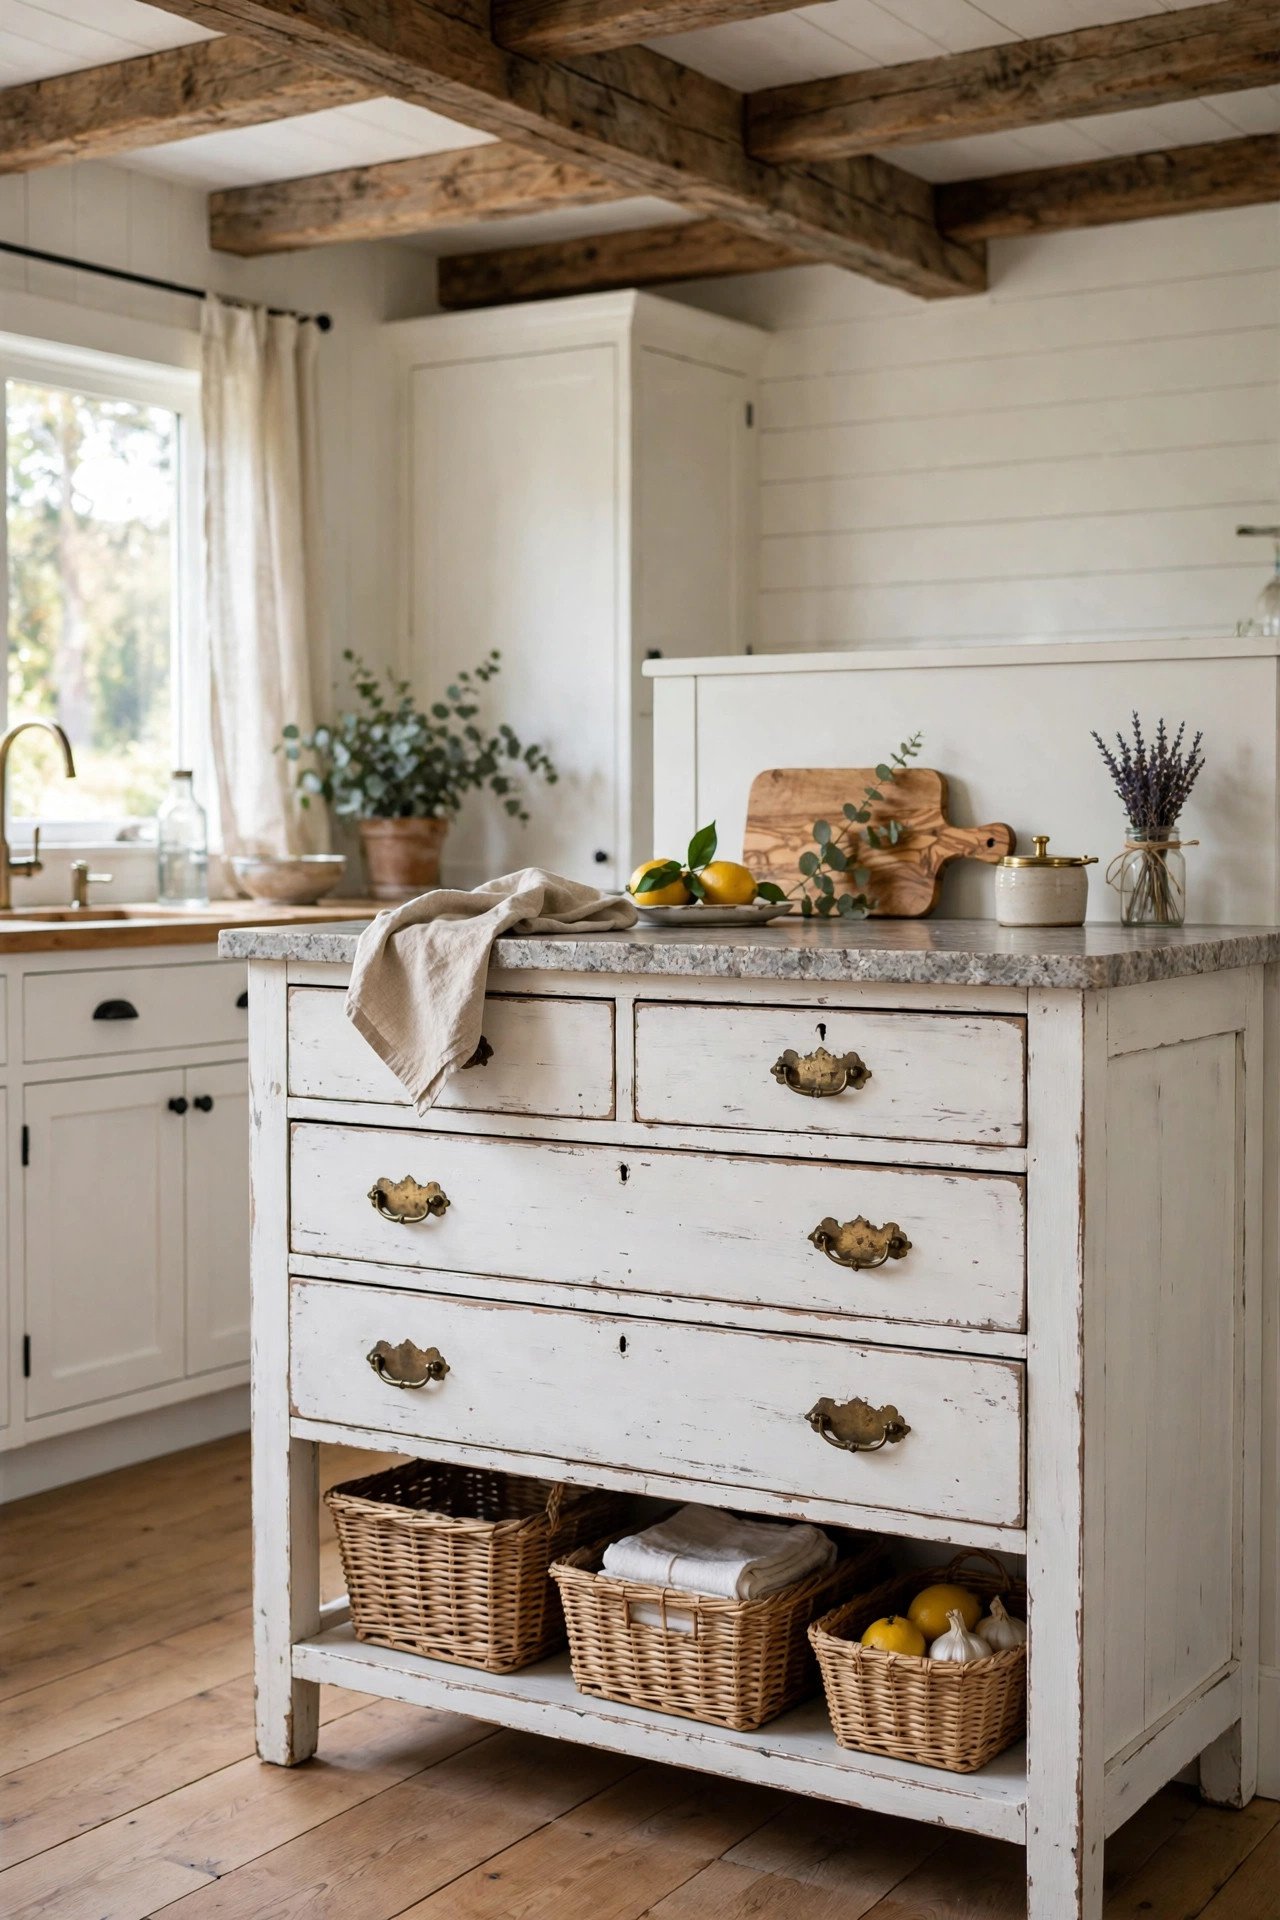
A single stock cabinet becomes an island with paint and a stone-look top. Buy an unfinished base cabinet, paint it a rich color like navy or forest green, and top it with an affordable stone-look laminate counter. The result looks custom.
Stock cabinets come in standard sizes that fit most kitchens. The painted finish elevates the basic box dramatically. Add nice hardware for the final designer touch.

31. Salvaged Door And Crate Island
Combine a salvaged door top with wooden crates as the base for ultimate rustic charm. Stack sturdy crates to form the body, secure them together, and lay the door across the top. The crates provide cubby storage on all sides.
This fully salvaged island costs almost nothing if you source the materials free. Each piece brings its own history and patina. It is the most characterful island you will ever own.

Conclusion
A kitchen island does not require a custom cabinet budget, because you now have thirty-one ways to build one from affordable starting pieces. From dresser conversions to rolling carts to fully salvaged creations, every idea delivers the counter space and storage you crave. The island of your dreams is hiding in a thrift store right now.
Measure your space carefully, choose the build that fits your skills, and start hunting for your base piece this weekend. Take your time with the finishing details, since they are what make a DIY island look professional. Your kitchen is about to become everyone’s favorite room.
Frequently Asked Questions About Budget Friendly Kitchen Island Makeover
What is the cheapest way to add a kitchen island?
Converting thrifted furniture like a dresser, desk, or bookshelf is the cheapest path, often costing under one hundred dollars total. Add a simple wood countertop and paint for a finished look. Rolling carts work as tiny islands for even less.
How big should a DIY kitchen island be?
Leave at least thirty-six inches of clearance on all working sides, or forty-two inches if two cooks share the kitchen. Standard island height is thirty-six inches for prep work. Measure your space carefully before choosing a base piece.
Can I use a dresser as a kitchen island?
Yes, dressers make excellent island bases because their drawers provide deep storage. Choose a sturdy solid wood dresser and add a moisture-resistant countertop. Seal the top well since kitchen islands face spills and heat.
How do I make a DIY island look professional?
Focus on finishing details like trim, quality hardware, and smooth paintwork. A substantial countertop with a slight overhang looks custom. Consistent paint color and well-fitted moldings hide the DIY origins completely.
Should a kitchen island have seating?
Seating is wonderful if you have space for a twelve-inch countertop overhang for knee room. Islands without seating still add valuable prep space and storage. Choose based on your kitchen size and how your family actually uses the space.

Hi, I’m Emily! I turn messy corners into cozy, organized spots. DreamNestDecor is where I share simple, practical home ideas — decor, organization, and small-space solutions that work in real life, not just in photos. Every idea here is carefully researched before it’s shared.