1. Give a Soap Dispenser a Matte Black Finish
A matte black soap dispenser instantly makes a bathroom vanity look modern and intentional. Black paint hides old stains and scratches on a plain plastic or ceramic pump, and the flat finish reads as sleek rather than shiny. Pair the dispenser with a cream hand towel and warm wood accents so the dark color feels balanced and warm.Clean the dispenser well and remove the pump top before you paint. Use a spray paint made for the material, and apply two thin coats instead of one thick coat so the finish stays smooth. Finish with a clear waterproof sealer so the paint stands up to daily splashes and wet hands.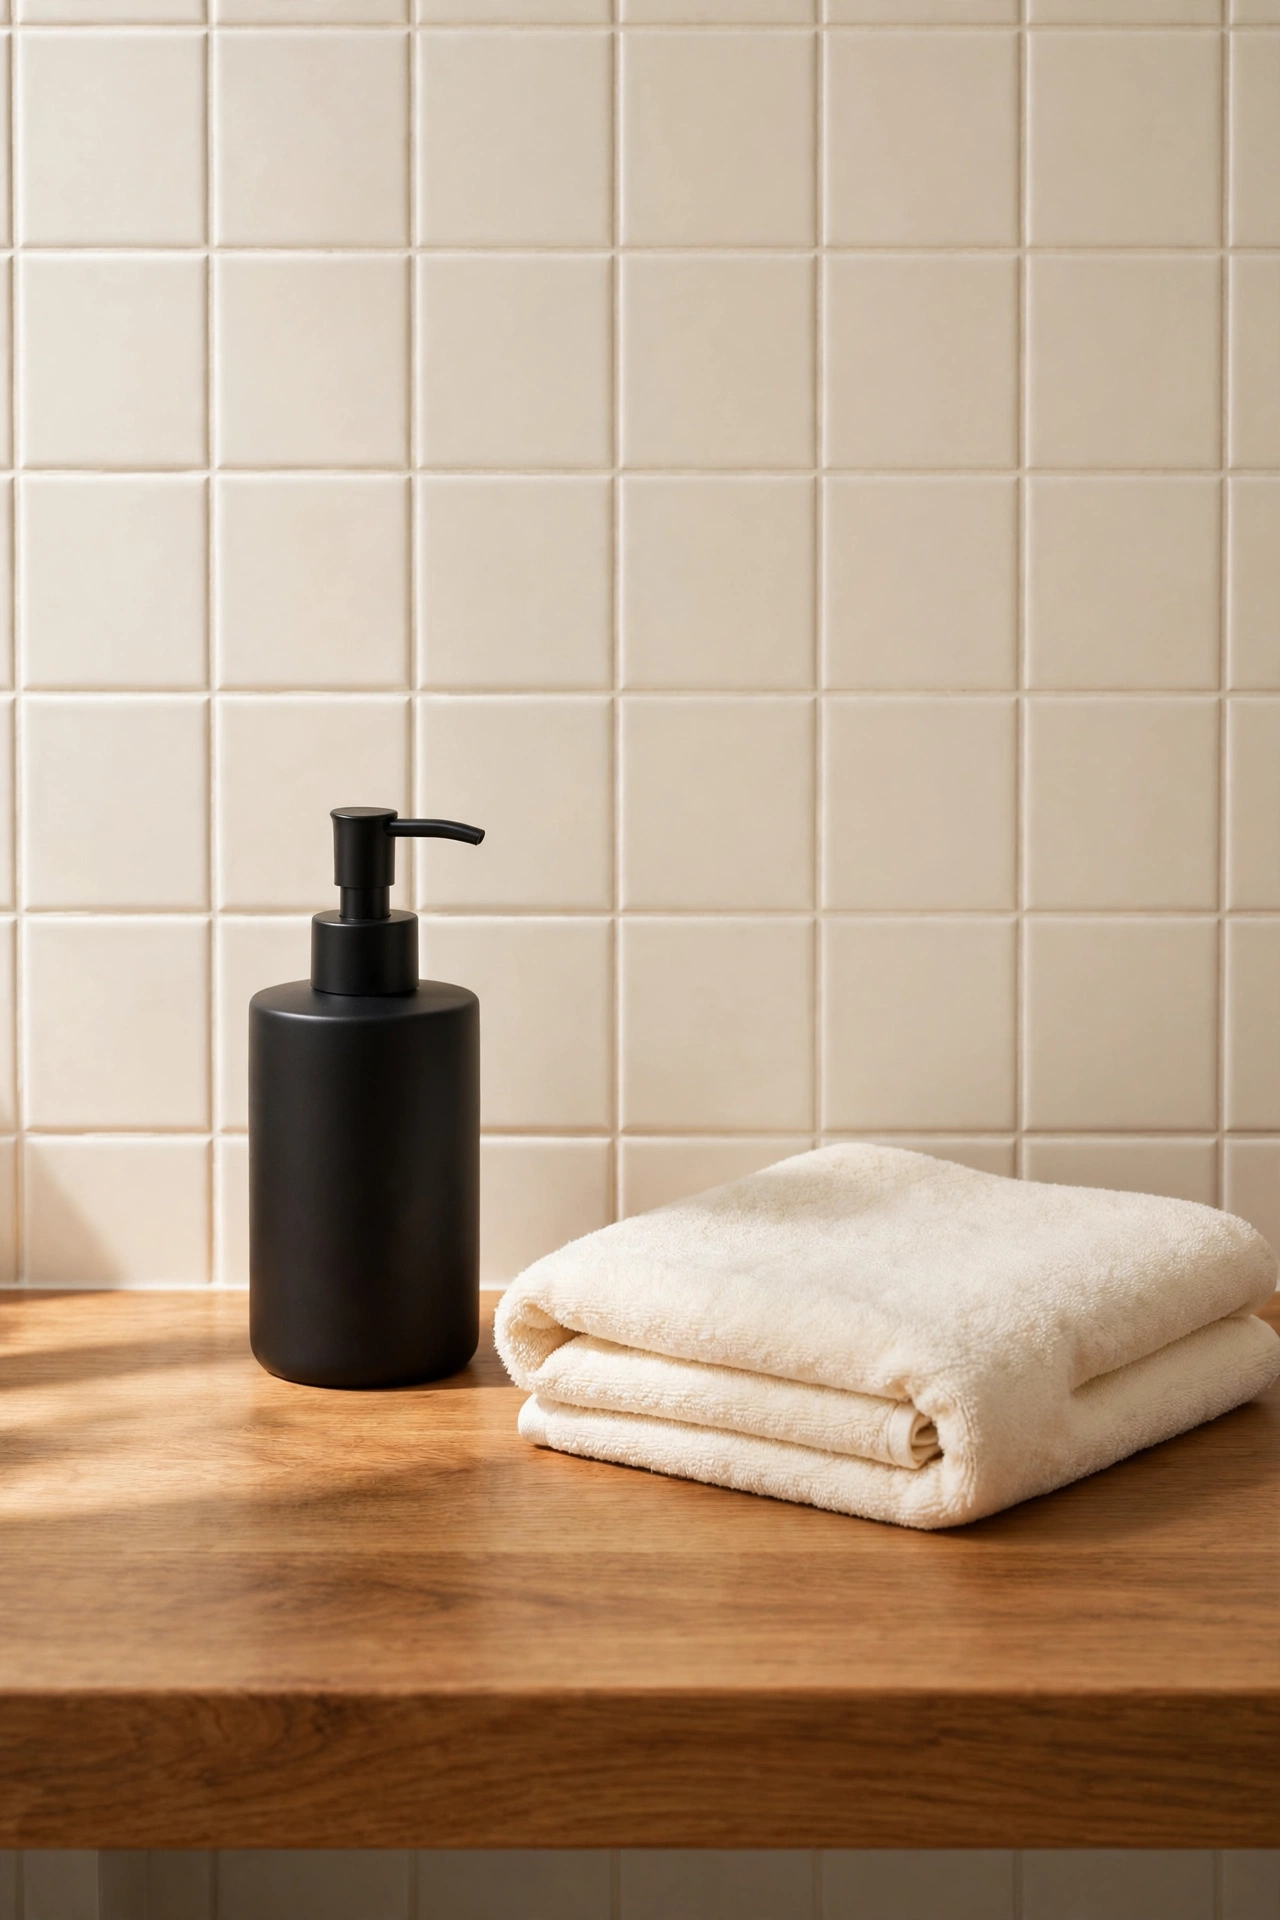
2. Paint a Toothbrush Holder Set Sage Green
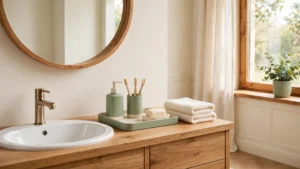
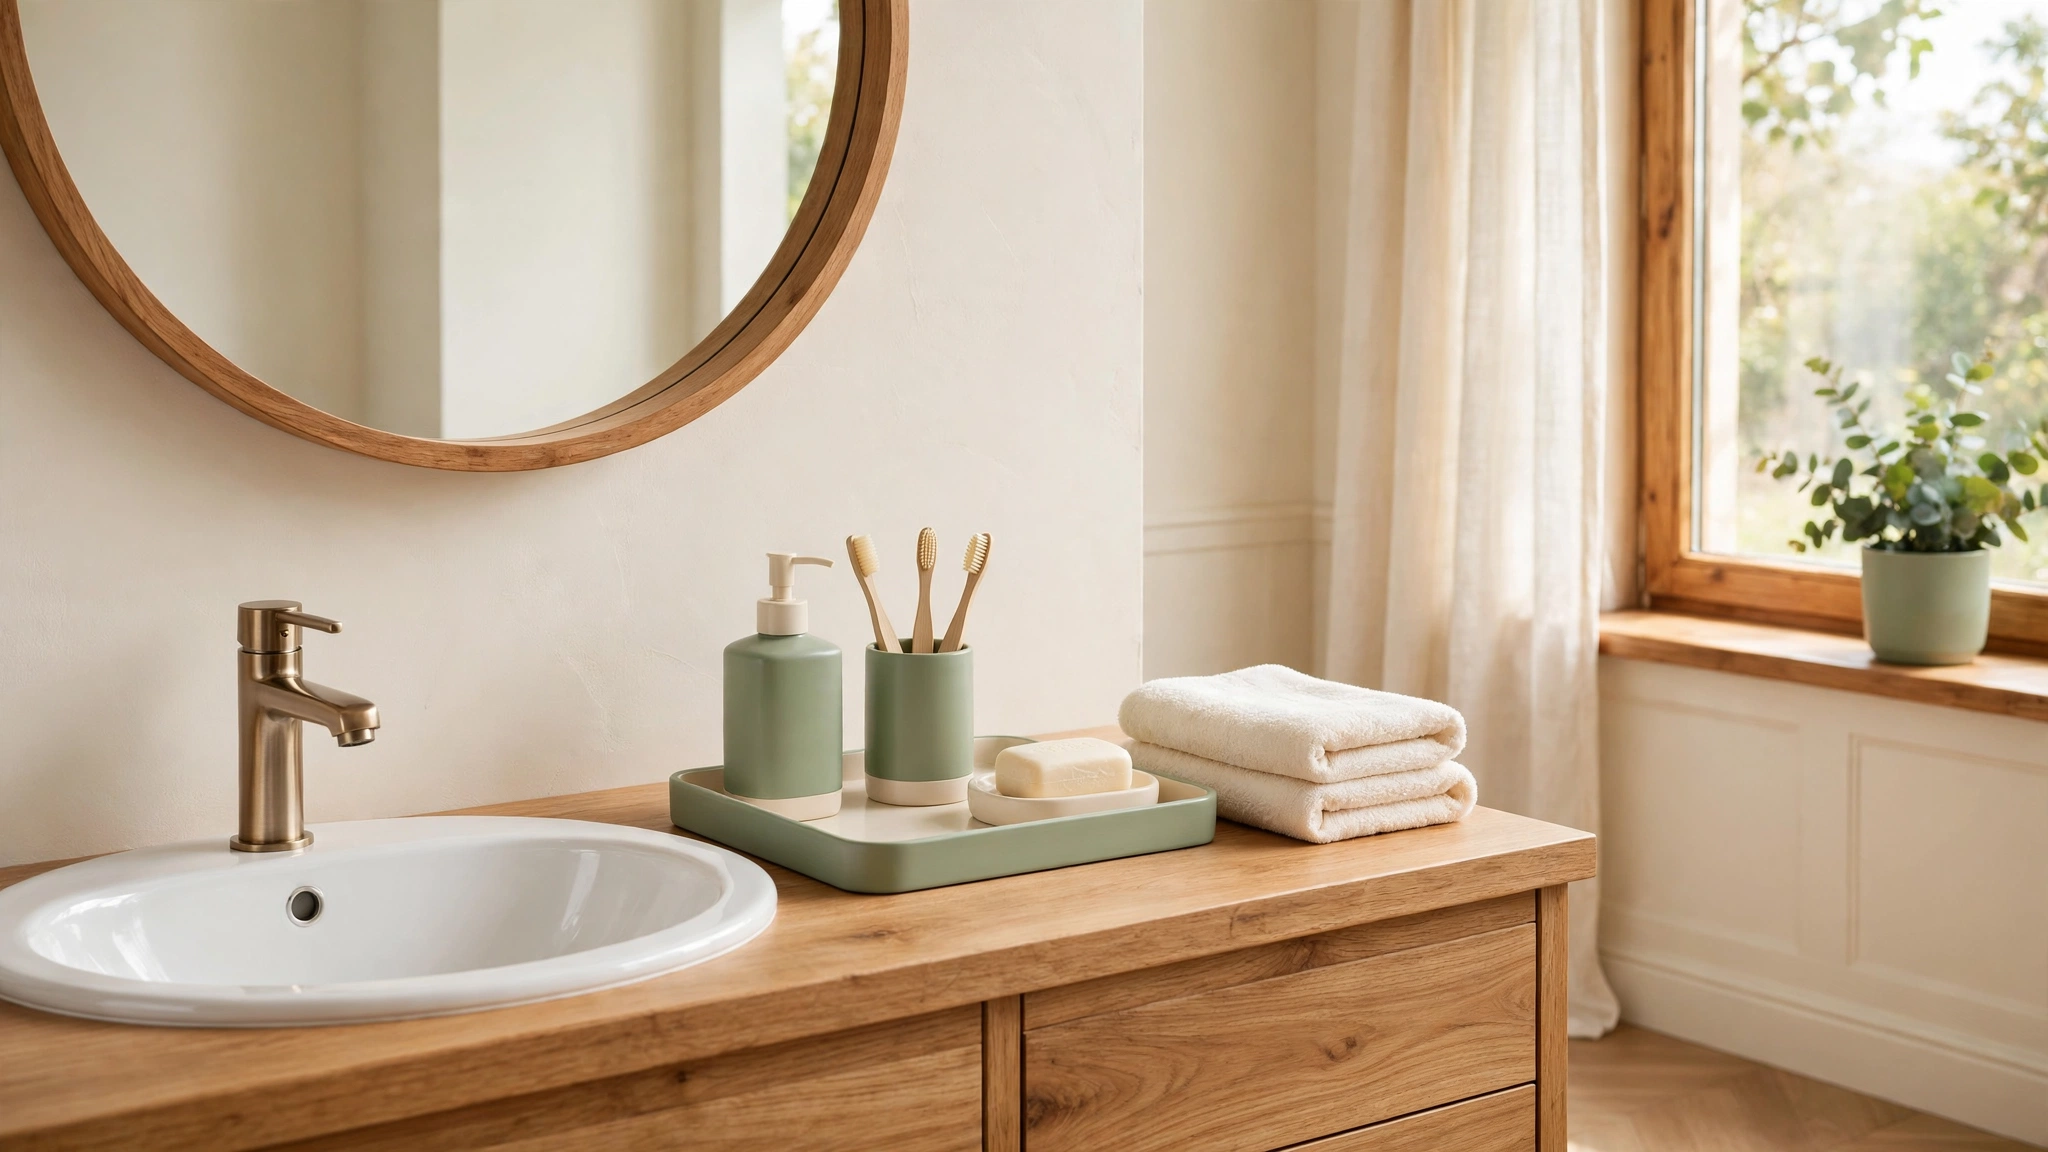
Sage green is a calm and natural color that suits almost any bathroom style. Paint a toothbrush holder and its matching rinse cup in soft sage, and the pair will look like a set you bought from a boutique. The gentle green pairs beautifully with cream walls, warm wood, and woven baskets.Choose a paint that is safe for items that sit near water, and seal the inside rim well since toothbrush holders get wet every day. Let the paint cure fully for at least a day before you put toothbrushes back in. The soft color will make the whole sink area feel fresher and more restful.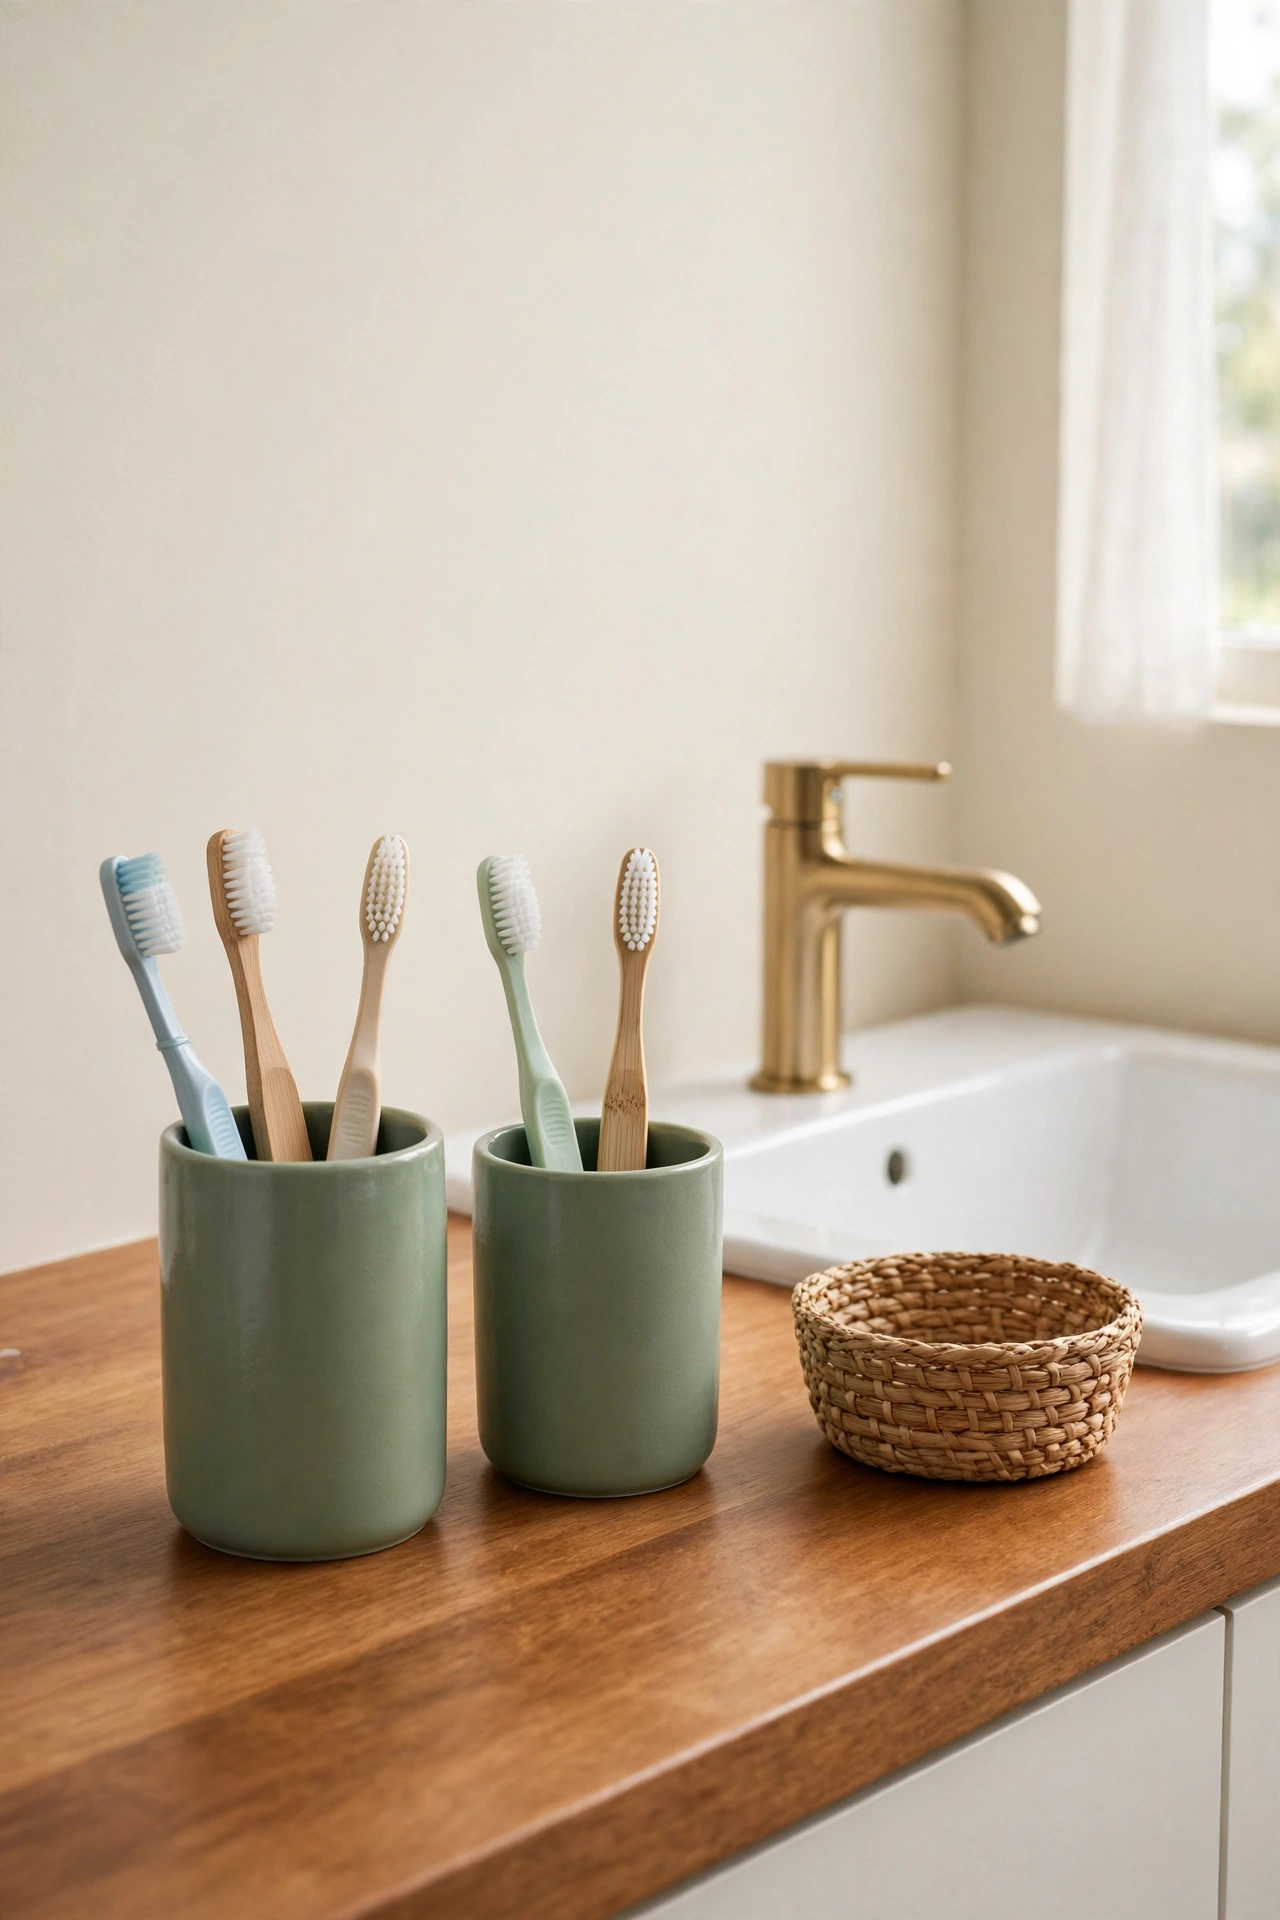
3. Warm Up a Soap Dish With Terracotta Paint
Terracotta paint gives a plain soap dish the warm, earthy look of handmade pottery. The rich clay color stands out against white sinks and cream tiles, and it brings a cozy Mediterranean feeling to the bathroom. A terracotta dish also hides soap residue better than a white one.Paint the dish inside and out, then seal it with several coats of waterproof topcoat since soap dishes sit in water often. Add a bar of soap with a printed label and the dish becomes a small styled vignette on the vanity. This is a ten minute project with a big visual payoff.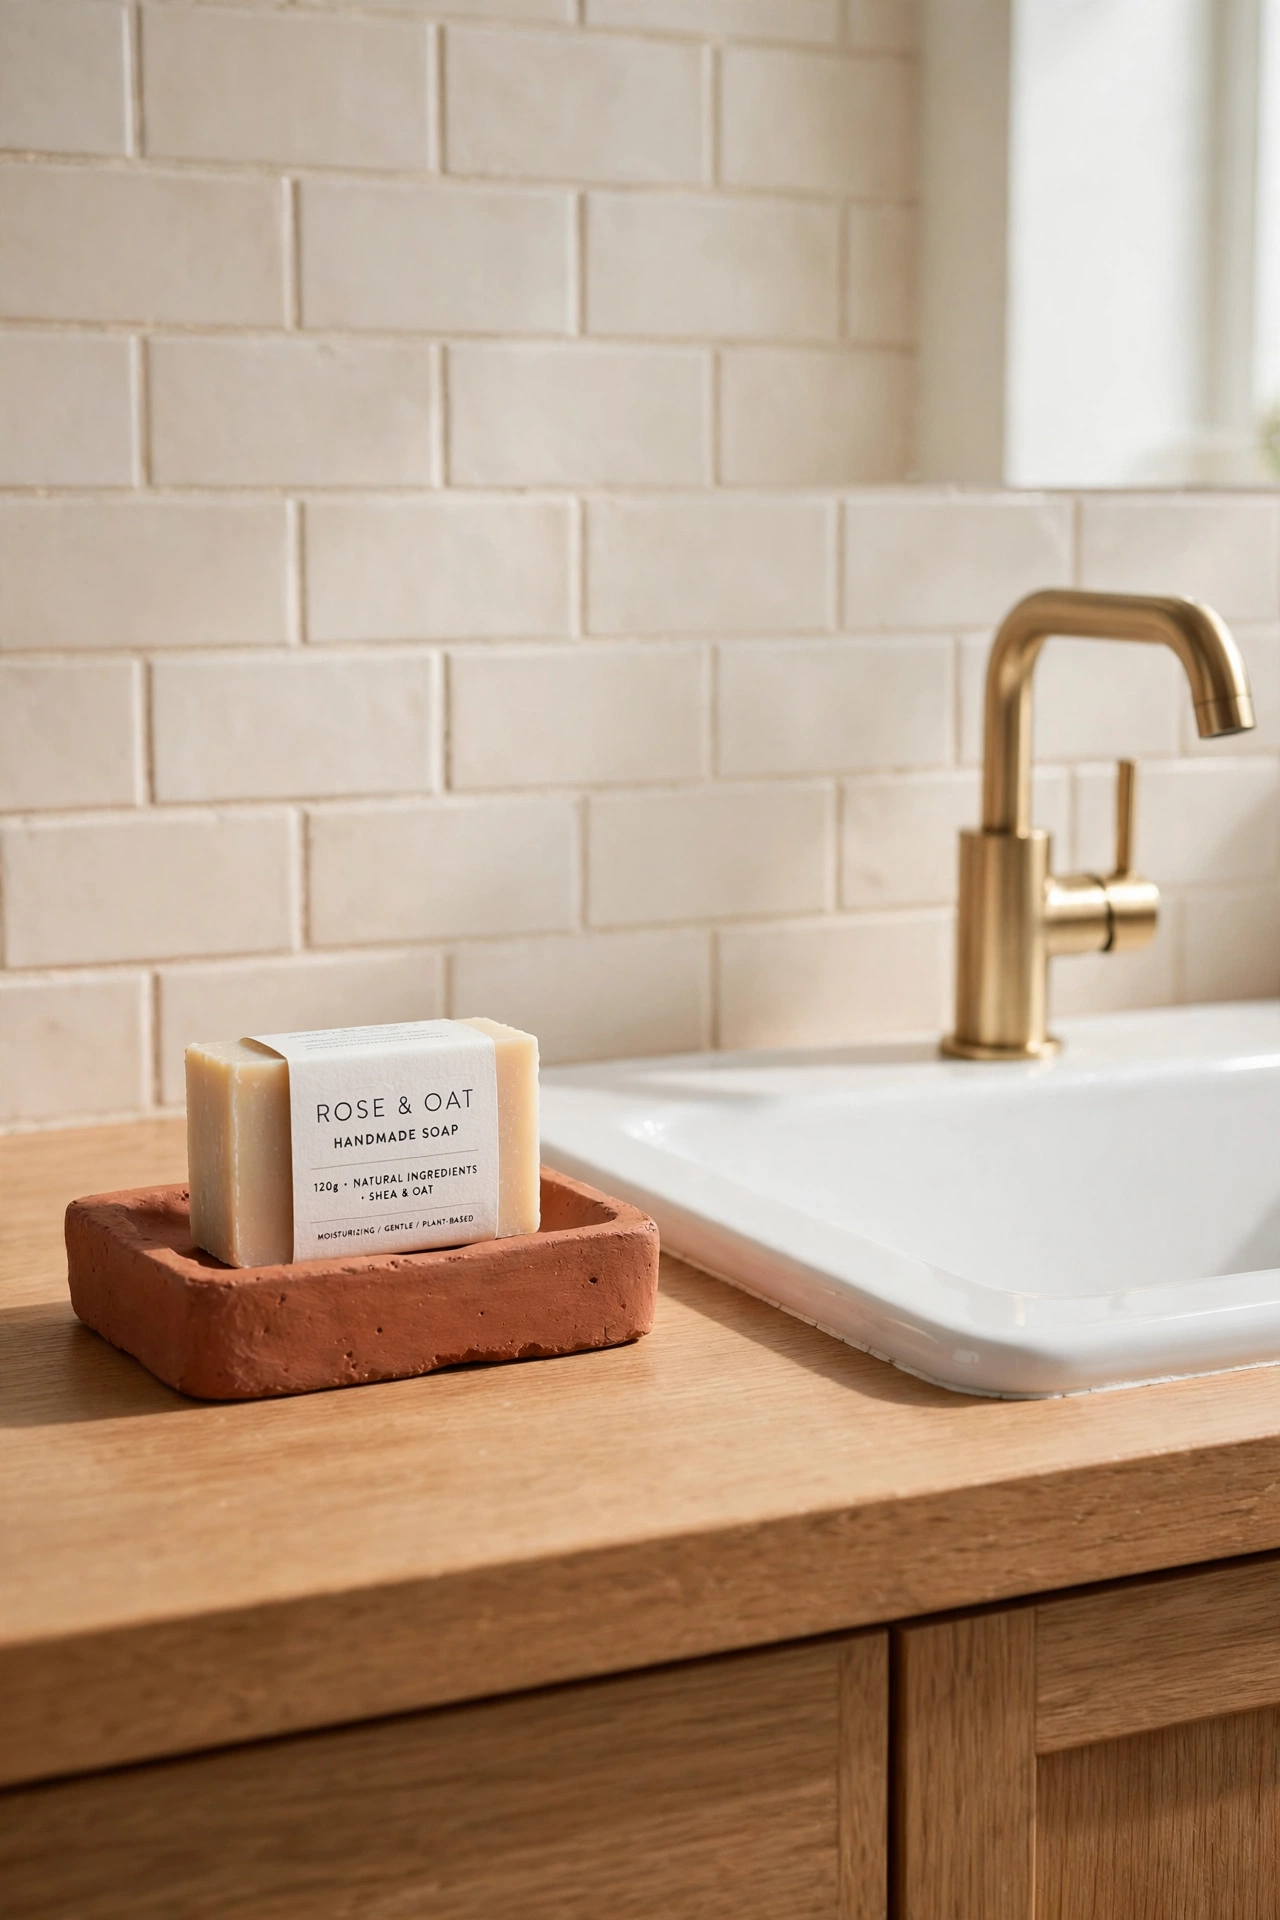
4. Chalk Paint a Vanity Tray Soft White
A vanity tray gathers all the small items on your sink into one tidy group. Chalk paint in soft white gives a plain wooden or metal tray a smooth, velvety finish that looks far more expensive than it costs. The tray keeps perfume bottles, cotton jars, and hand cream corralled and easy to wipe clean.Sand the tray lightly first so the chalk paint grips well, then apply two coats and finish with a coat of clear wax or sealer. The soft white surface brightens the whole vanity and makes colorful bottles stand out. You can also stencil a small motif in the center for a personal touch.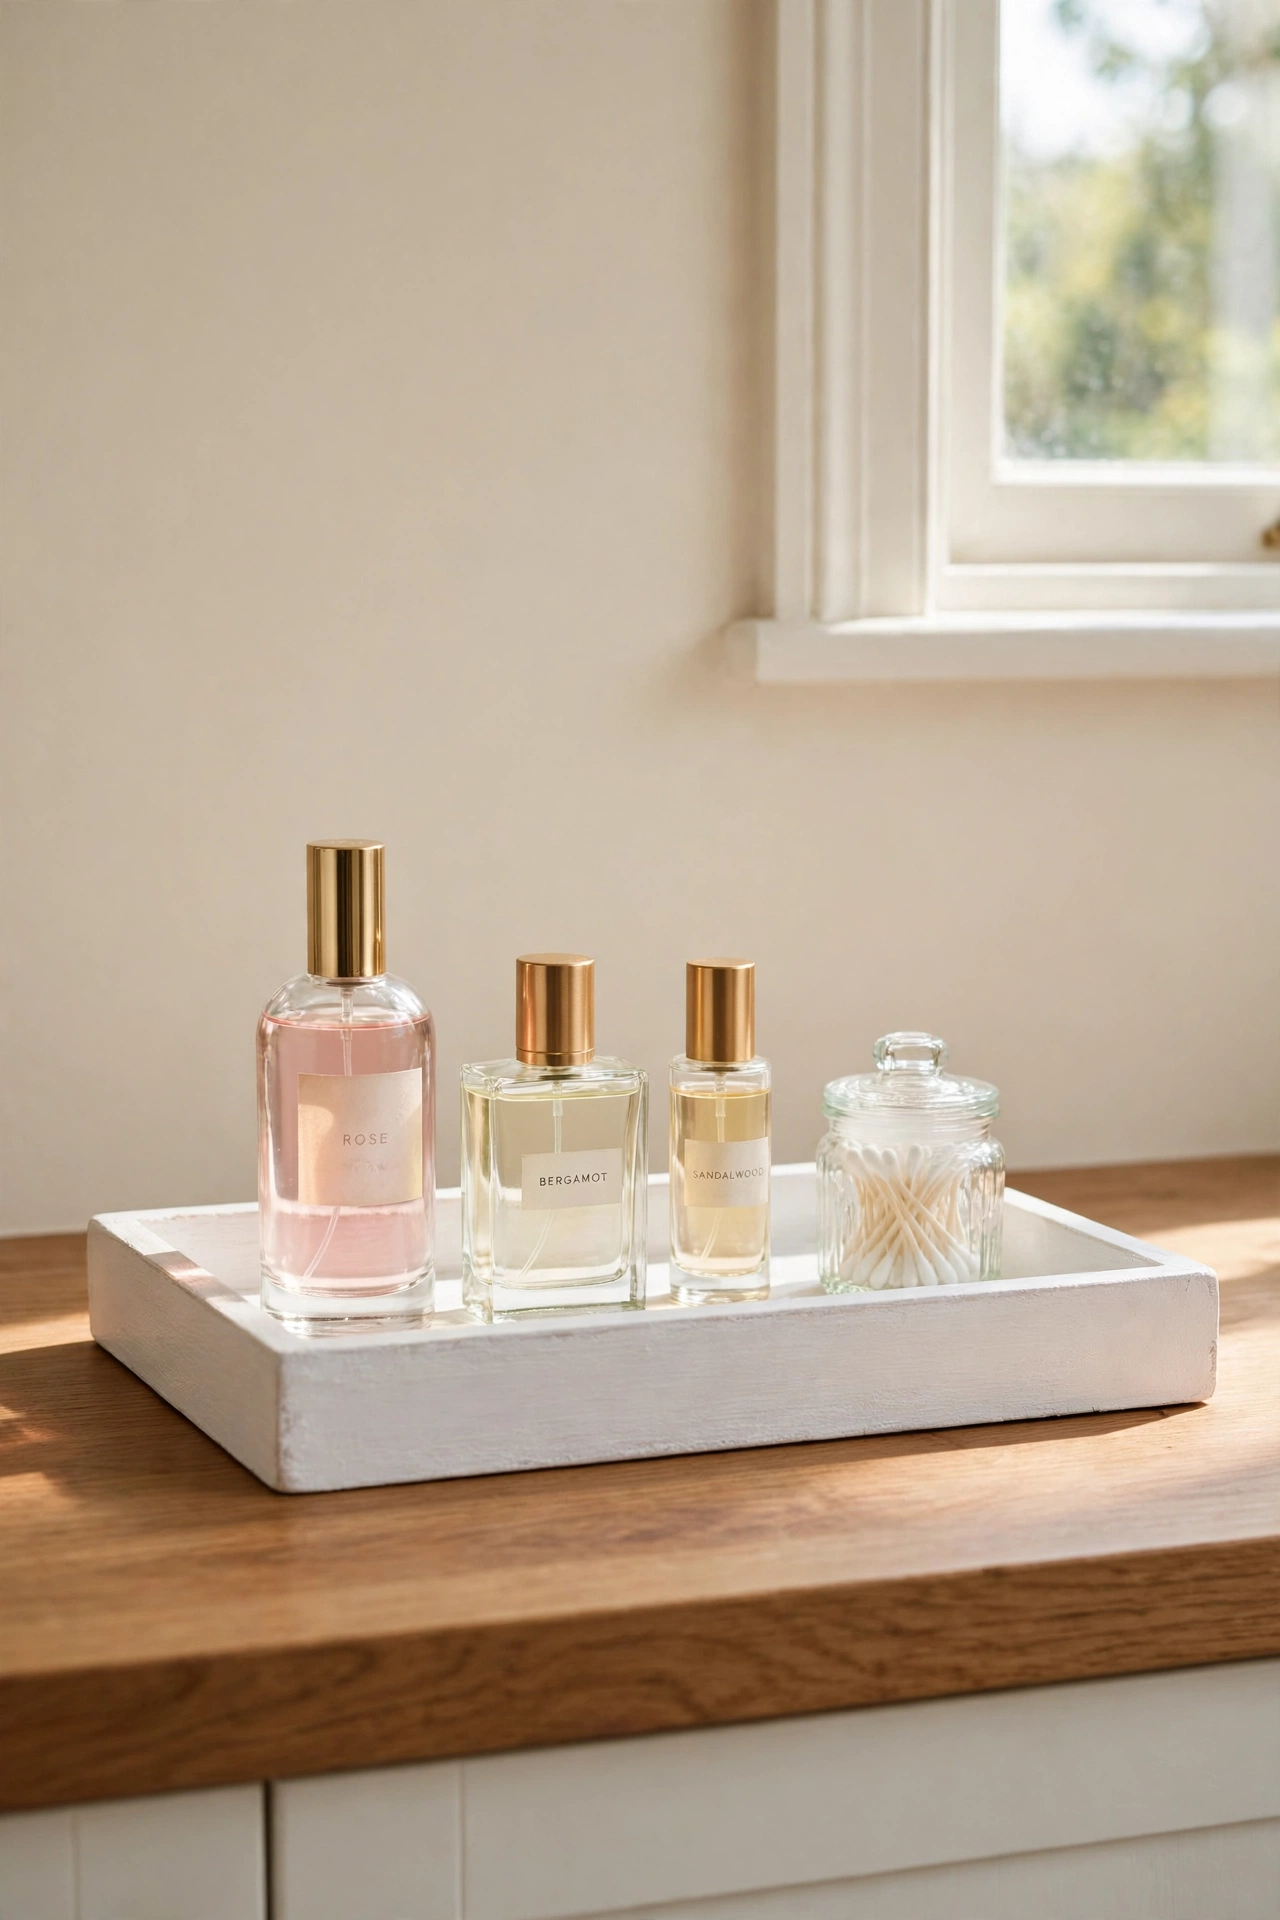
5. Cover a Tissue Box in Blush Pink
A tissue box cover is one of the easiest accessories to repaint, and blush pink turns a boring box into a soft accent. The pale pink reads as a warm neutral in daylight and pairs well with gold fixtures, cream towels, and marble patterns. It is a small change that makes the whole room feel more considered.Use a wooden tissue box cover for the best result, since paint grips wood beautifully. Sand it smooth, paint two thin coats of blush pink, and seal it so it resists bathroom humidity. Keep a spare box of tissues inside so the cover always looks full and ready for guests.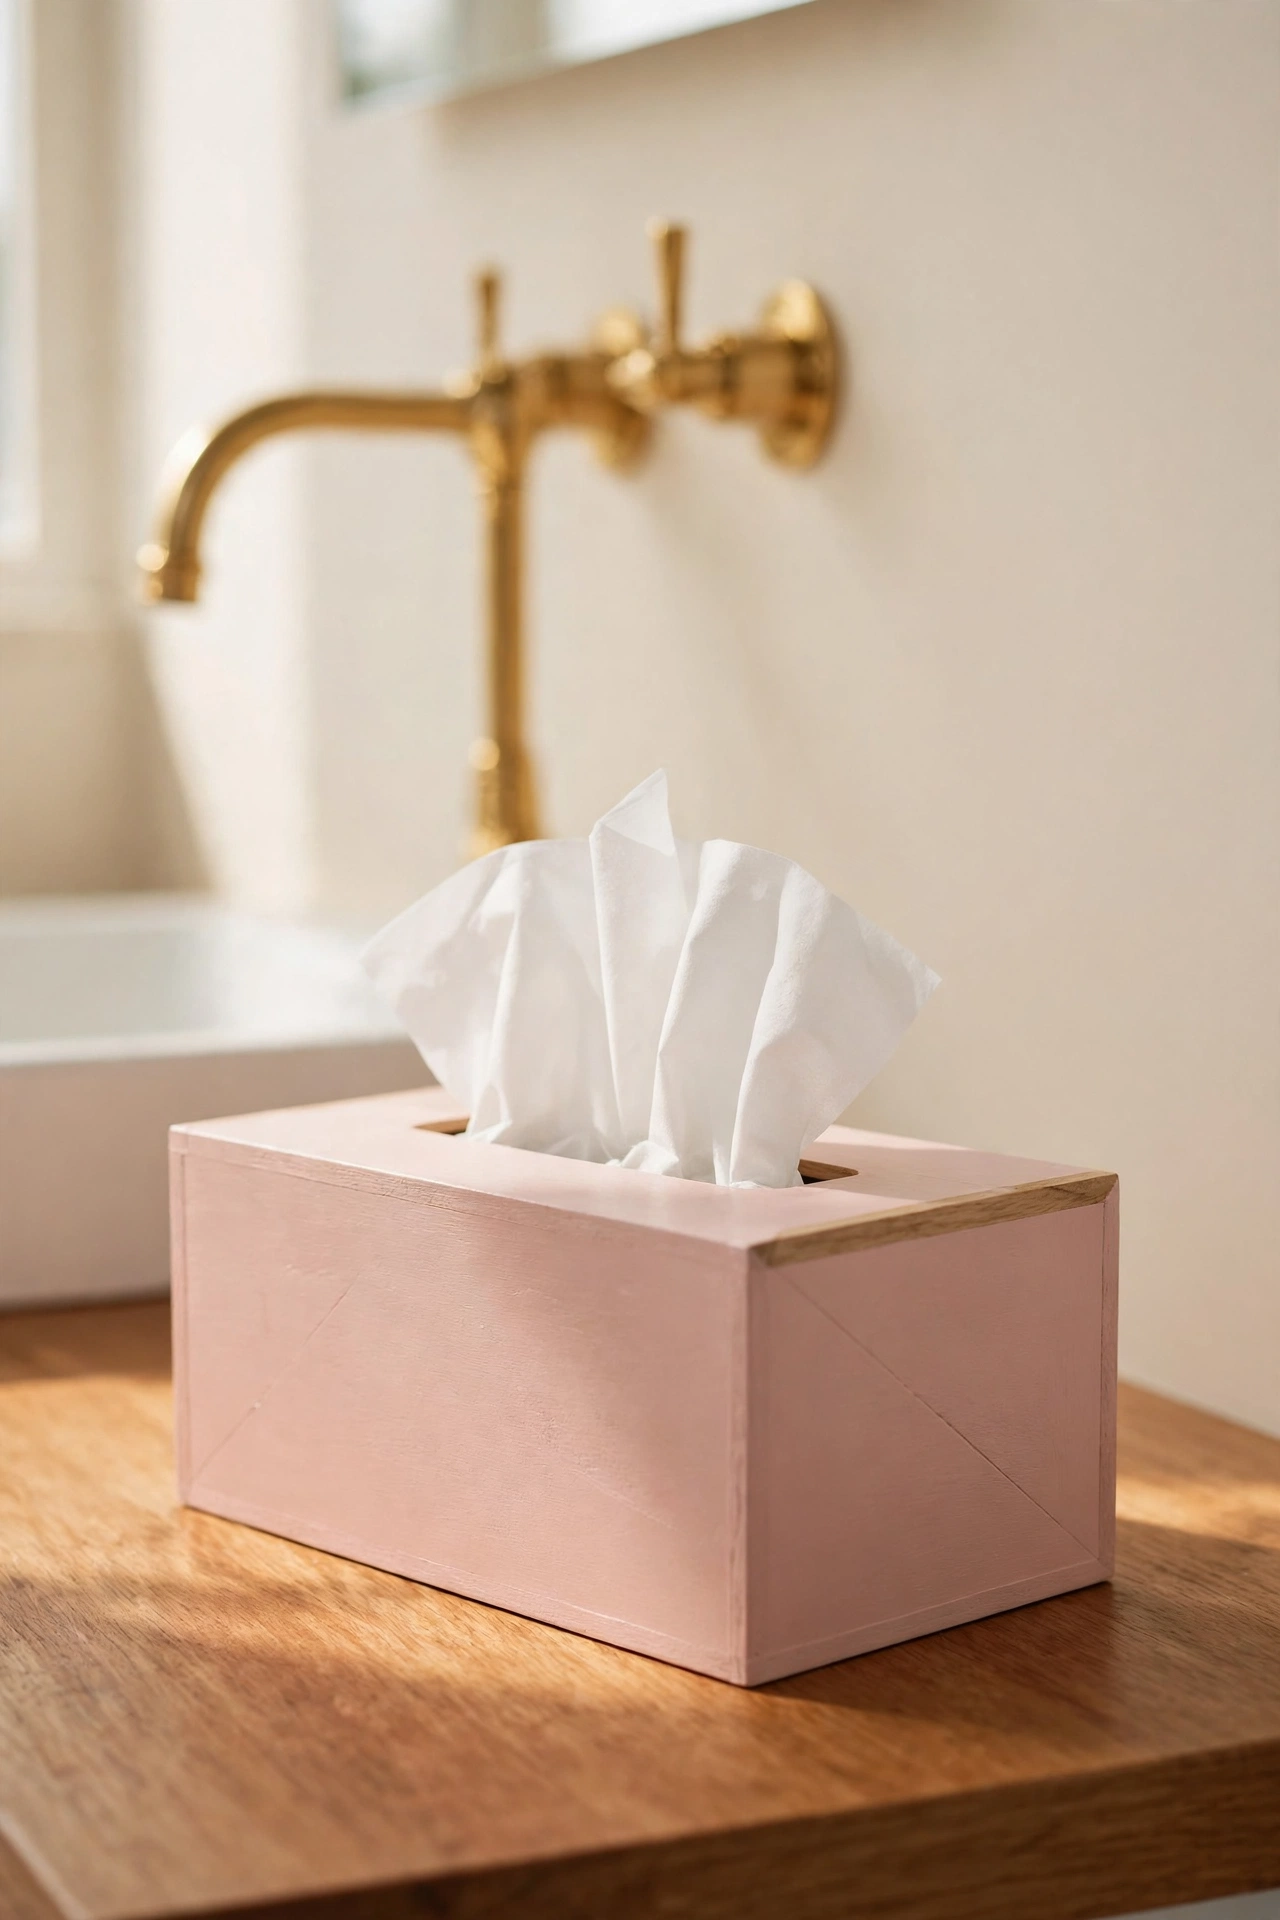
6. Paint a Wastebasket Deep Navy Blue
A wastebasket is easy to overlook, but a deep navy paint job turns it into a deliberate design choice. Navy looks rich against white tile and warm wood floors, and it hides scuffs far better than a light color. The basket becomes an accent piece instead of an eyesore tucked in the corner.Choose a metal or sturdy plastic basket and clean it thoroughly before painting. Spray paint gives the smoothest finish on a round basket, so apply light coats from all sides and let each coat dry fully. A navy wastebasket with a cream liner bag inside looks crisp and finished.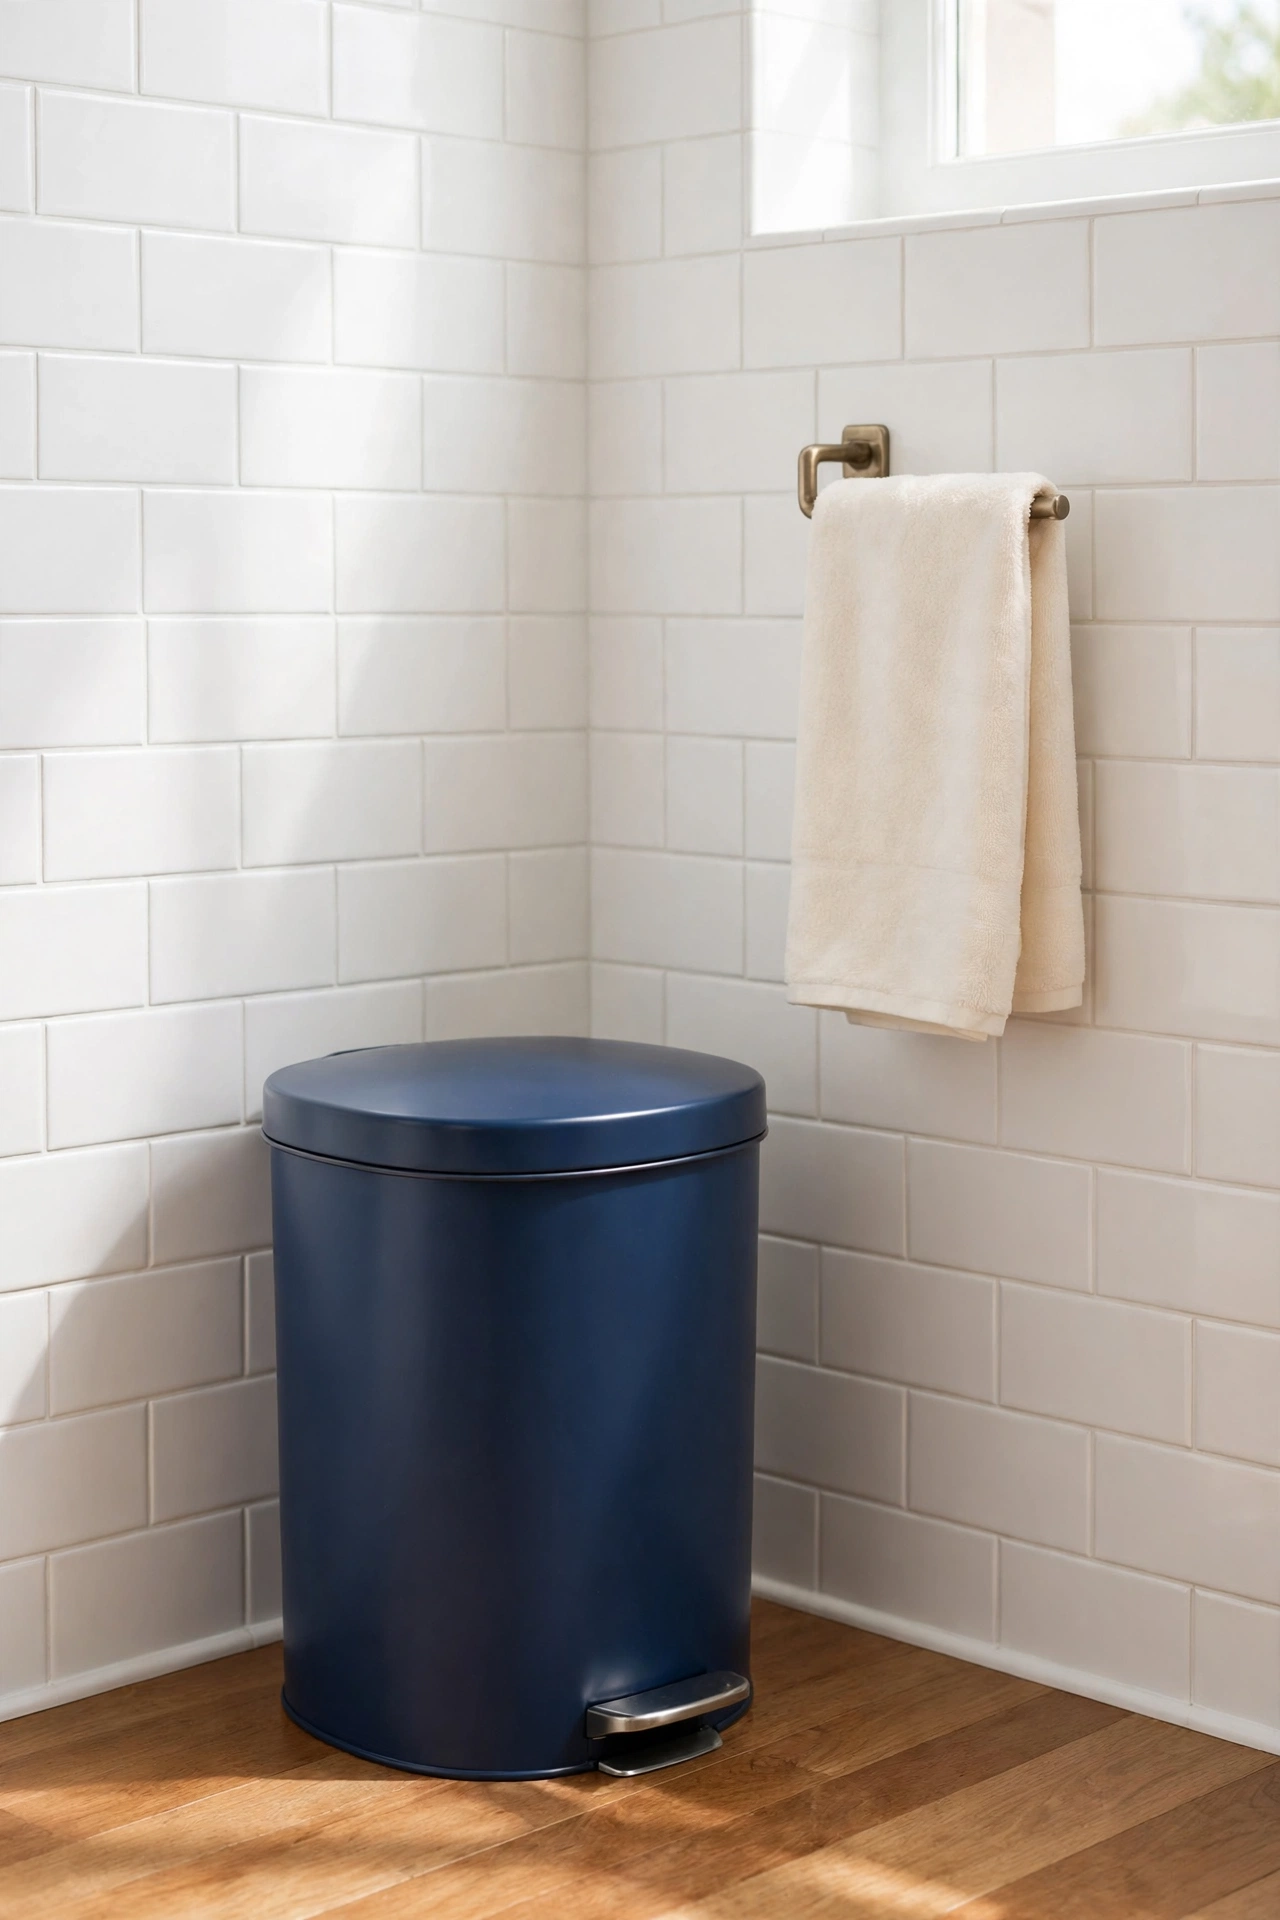
7. Dip Dye Glass Jars in Metallic Gold
Glass jars make wonderful organizers for cotton pads, hair ties, and bobby pins. Dipping the bottom third of each jar in metallic gold paint gives them a glamorous, boutique look while the clear glass above still shows what is inside. The gold band catches the light and adds warmth to the vanity.Pour gold paint into a shallow dish and dip each jar to the same depth, then set the jars upside down to dry on wax paper. Seal the painted band with clear topcoat so it does not chip when you move the jars. Fill the jars to the brim with cotton pads and small essentials so they look abundant and tidy.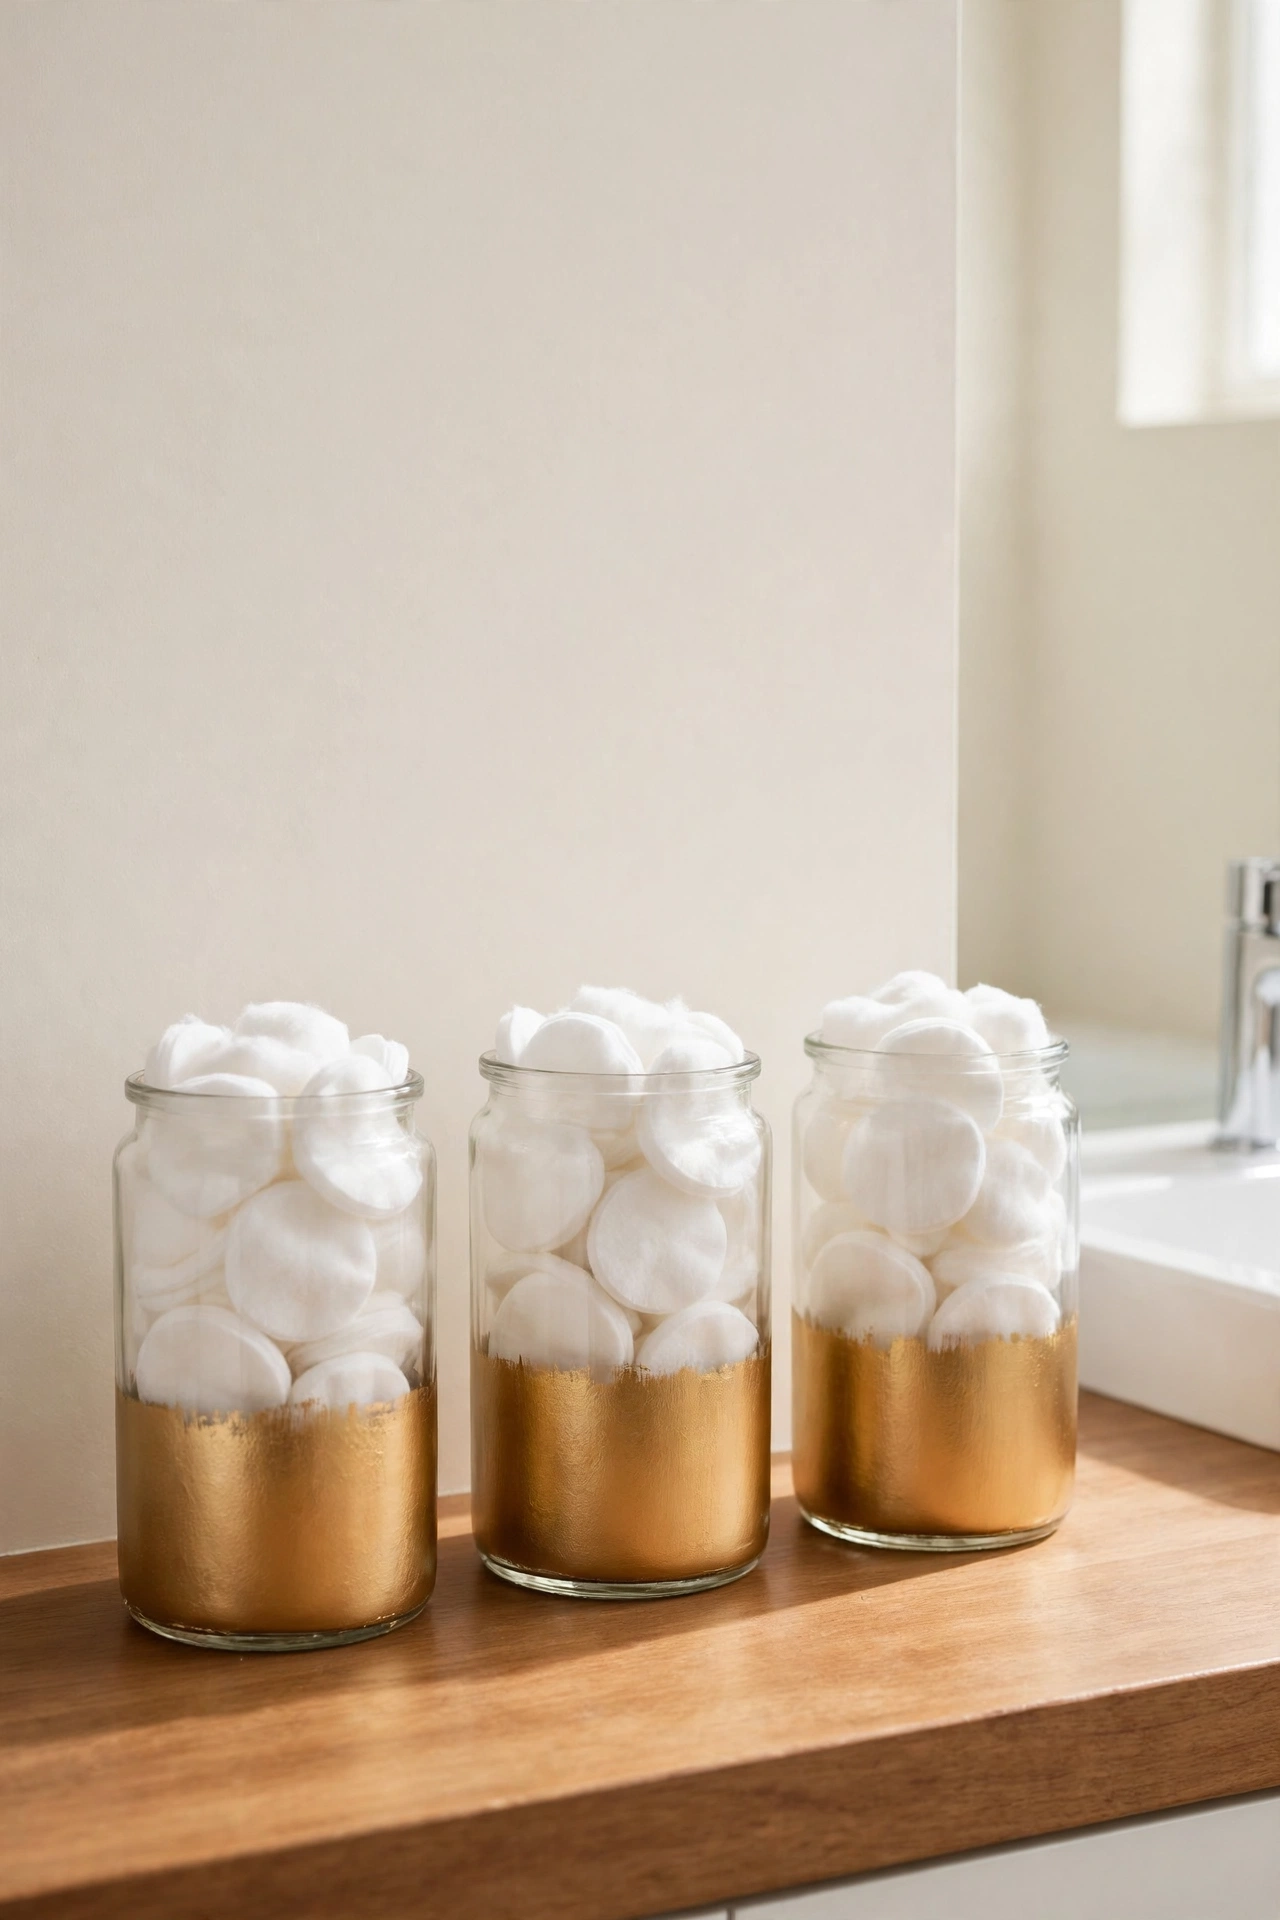
8. Paint a Wooden Towel Ladder Cream White
A wooden towel ladder leaning against the wall is both storage and decor. Cream white paint freshens an old ladder and makes it blend with light walls while still showing the wood grain through the finish. Hang two or three neatly folded towels on the rungs for a spa like display.Sand the ladder smooth and wipe away all dust before painting so the finish stays clean. Two coats of cream paint plus a clear sealer will protect the wood from damp towels. For more ways to keep towels tidy and beautiful, these bathroom towel organization ideas will help you plan the whole setup.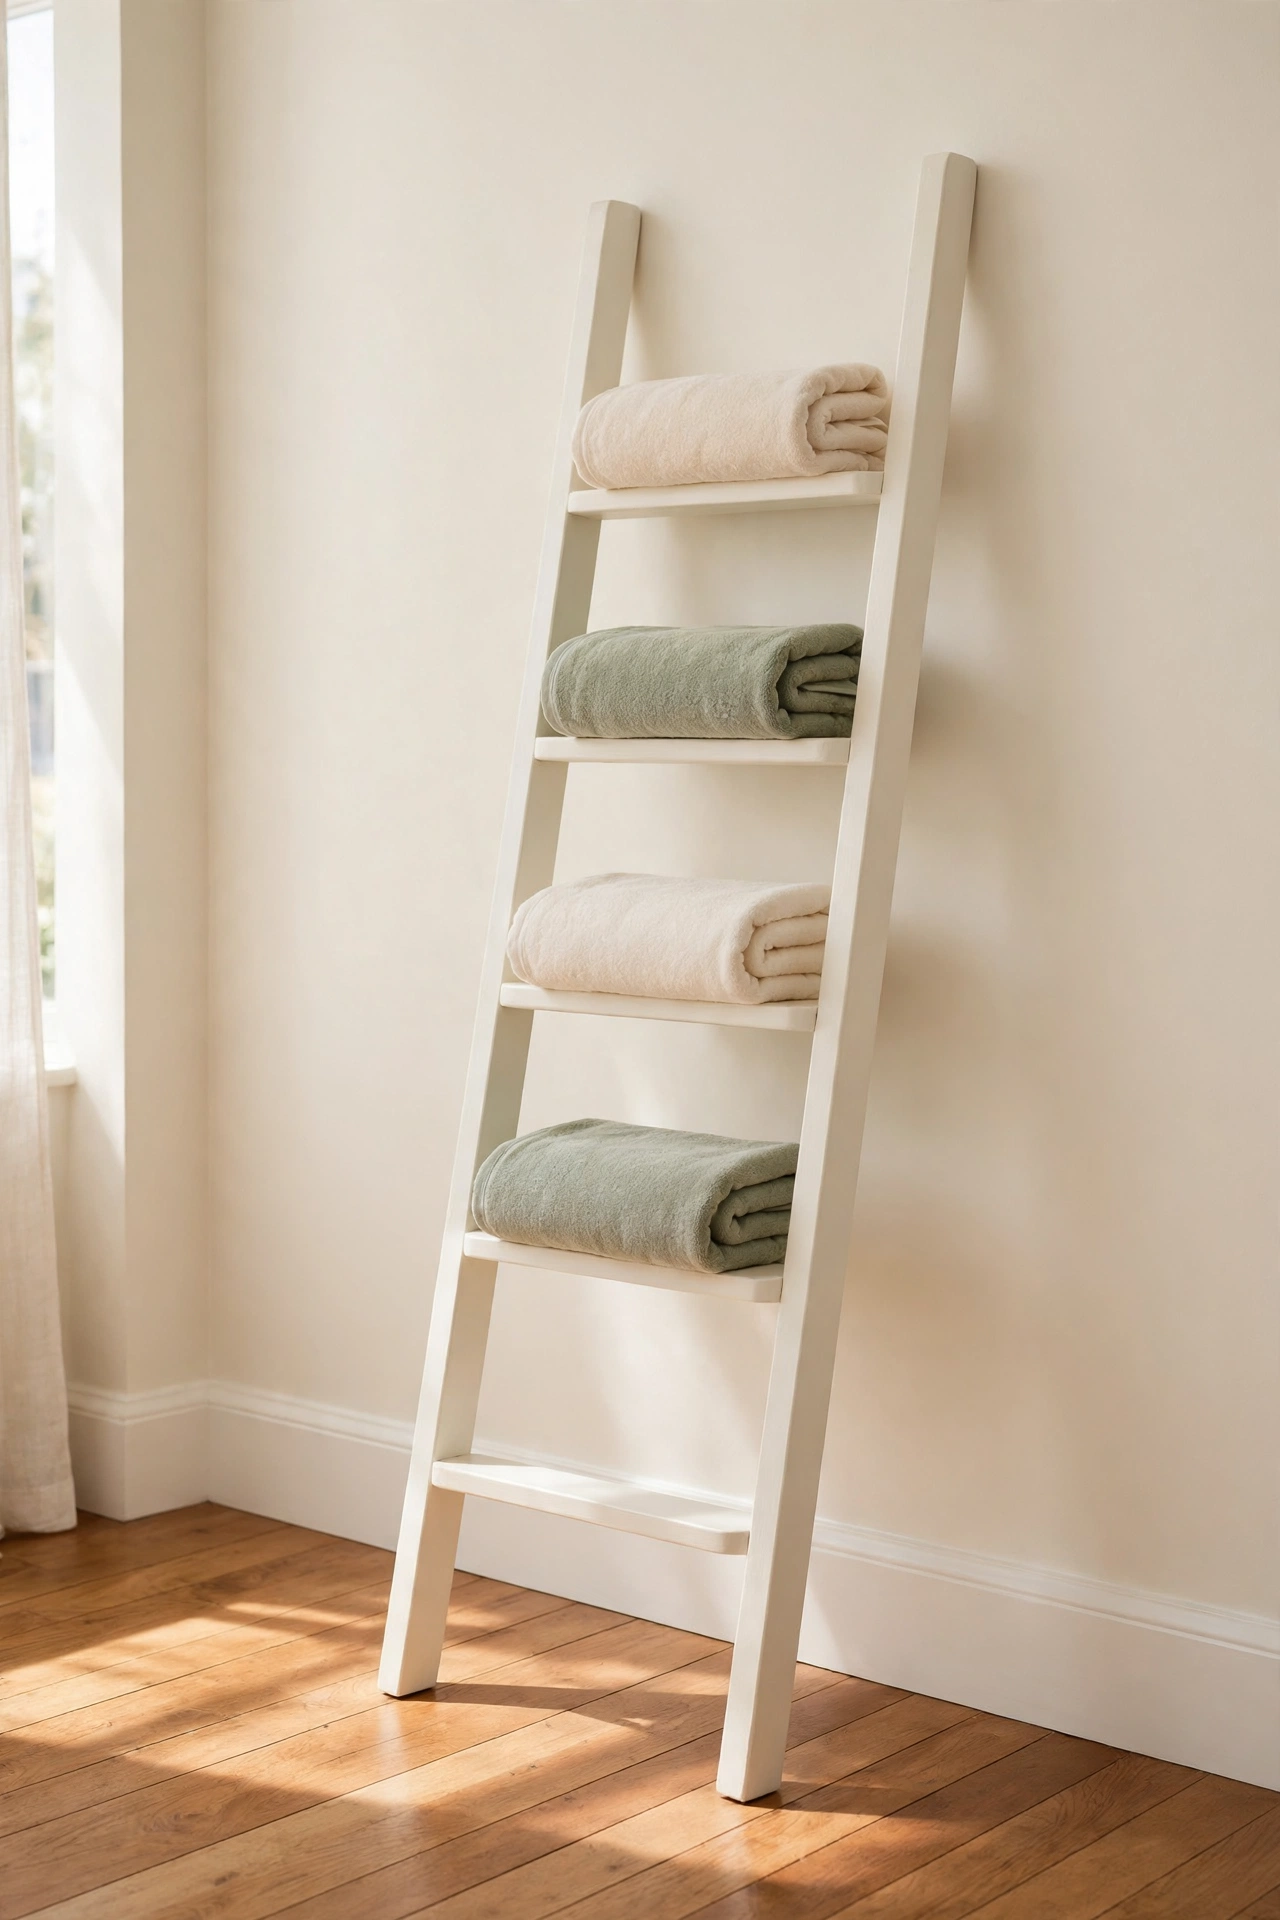
9. Refresh a Medicine Cabinet Frame With Paint
An old medicine cabinet often has a dated wood or metal frame that drags down the whole bathroom. A fresh coat of paint in soft white or pale sage makes the frame look new and helps the mirror blend with the rest of the room. This one afternoon project can change the look of the entire sink wall.Remove the cabinet door if you can, and tape off the mirror carefully before painting. Sand the frame lightly, apply a bonding primer, then two coats of paint made for humid rooms. For more cabinet transformations on a budget, these DIY cabinet makeover ideas show how far a little paint can go.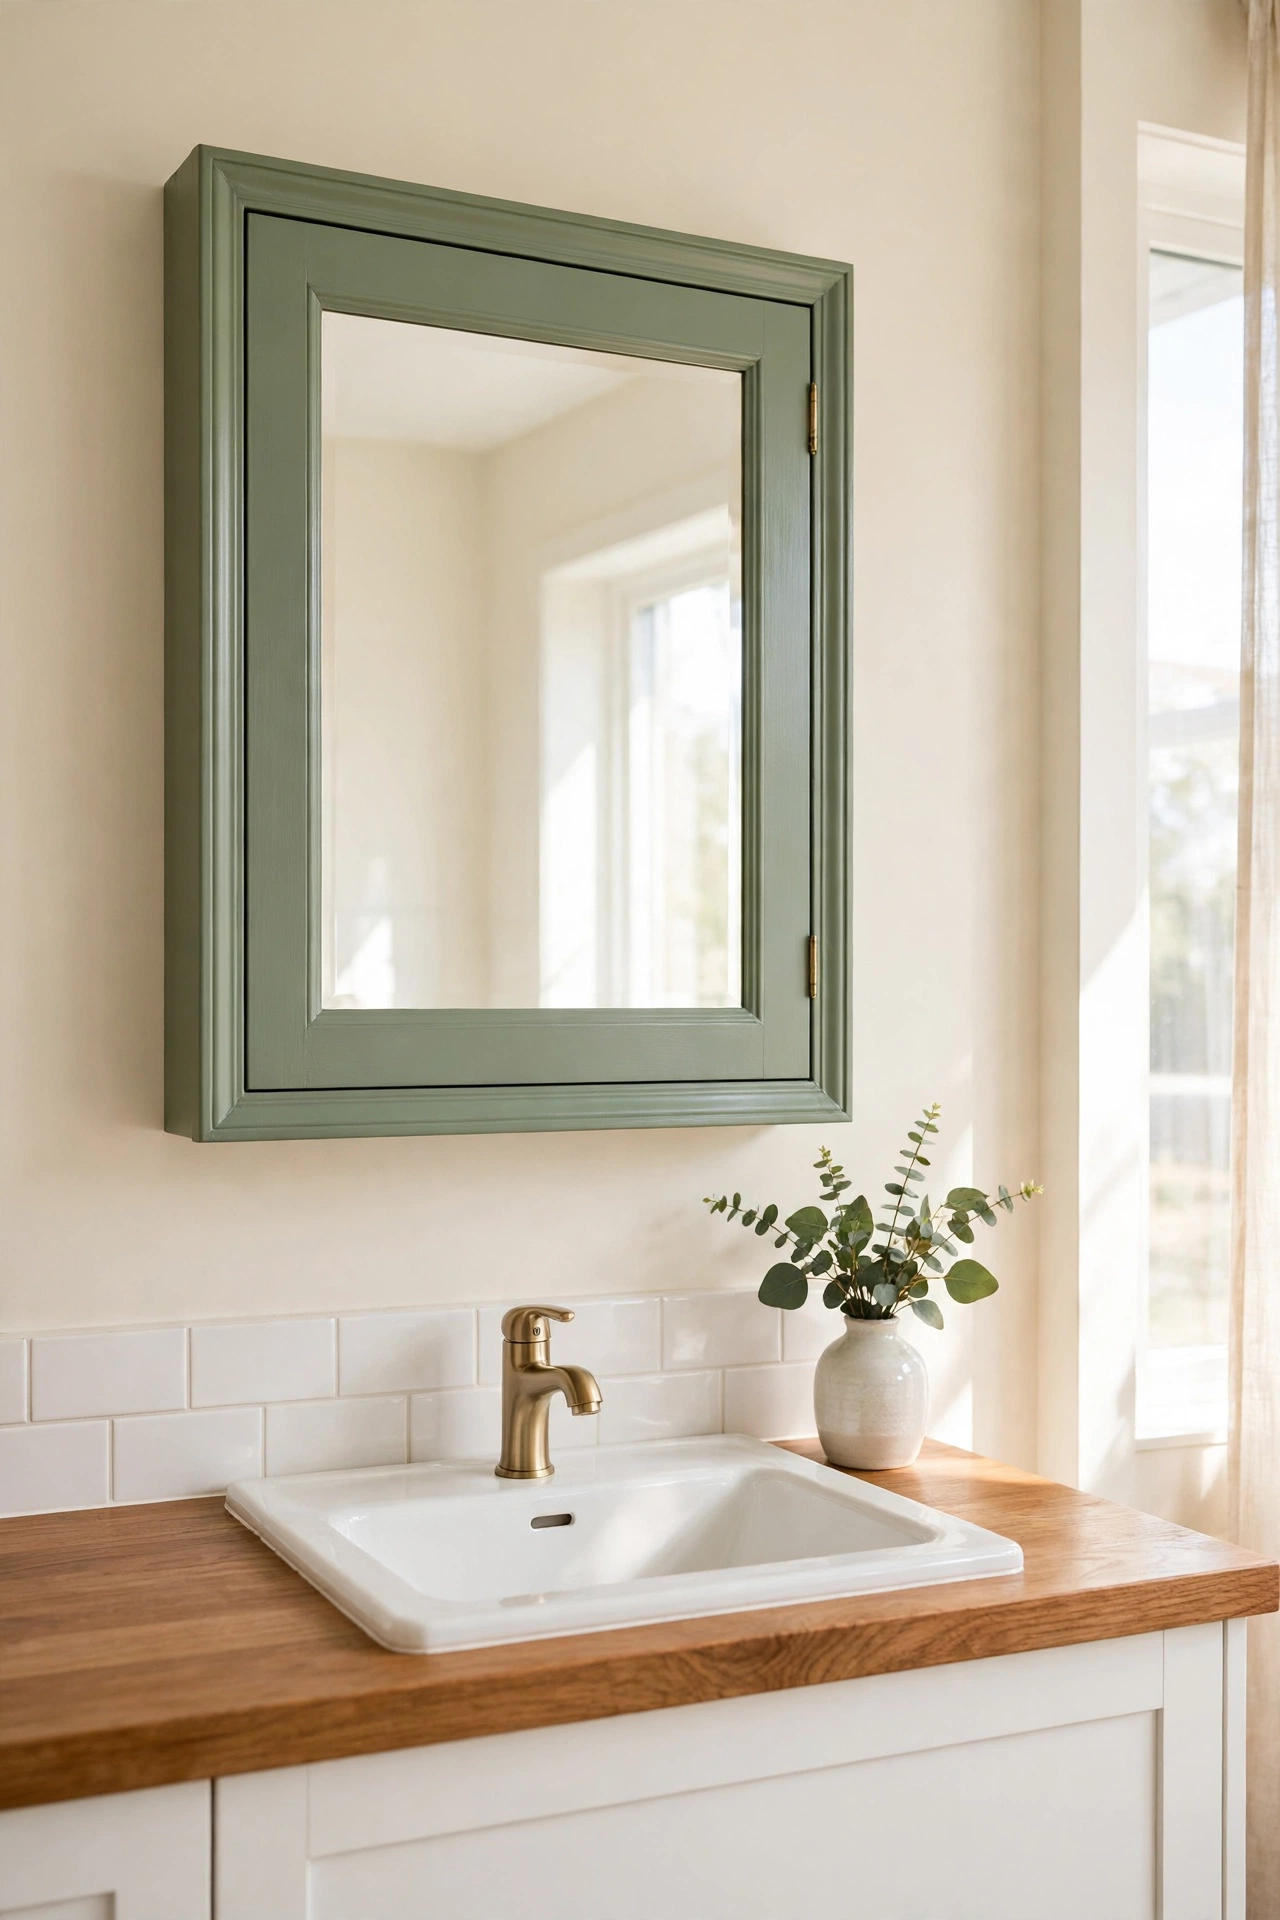
10. Paint a Tumbler and Rinse Cup Set in Two Tones
A two tone paint job makes a simple tumbler and rinse cup set look like designer tableware. Paint the bottom half in a soft blue and leave the top half cream, or flip the colors for a playful look. The clean line between the two colors adds a crisp, modern detail to the sink.Use painter tape to mark a perfectly straight line before you paint the second color. Remove the tape while the paint is still slightly tacky so the edge stays sharp. Seal both cups well, since rinse cups get filled and emptied many times a day.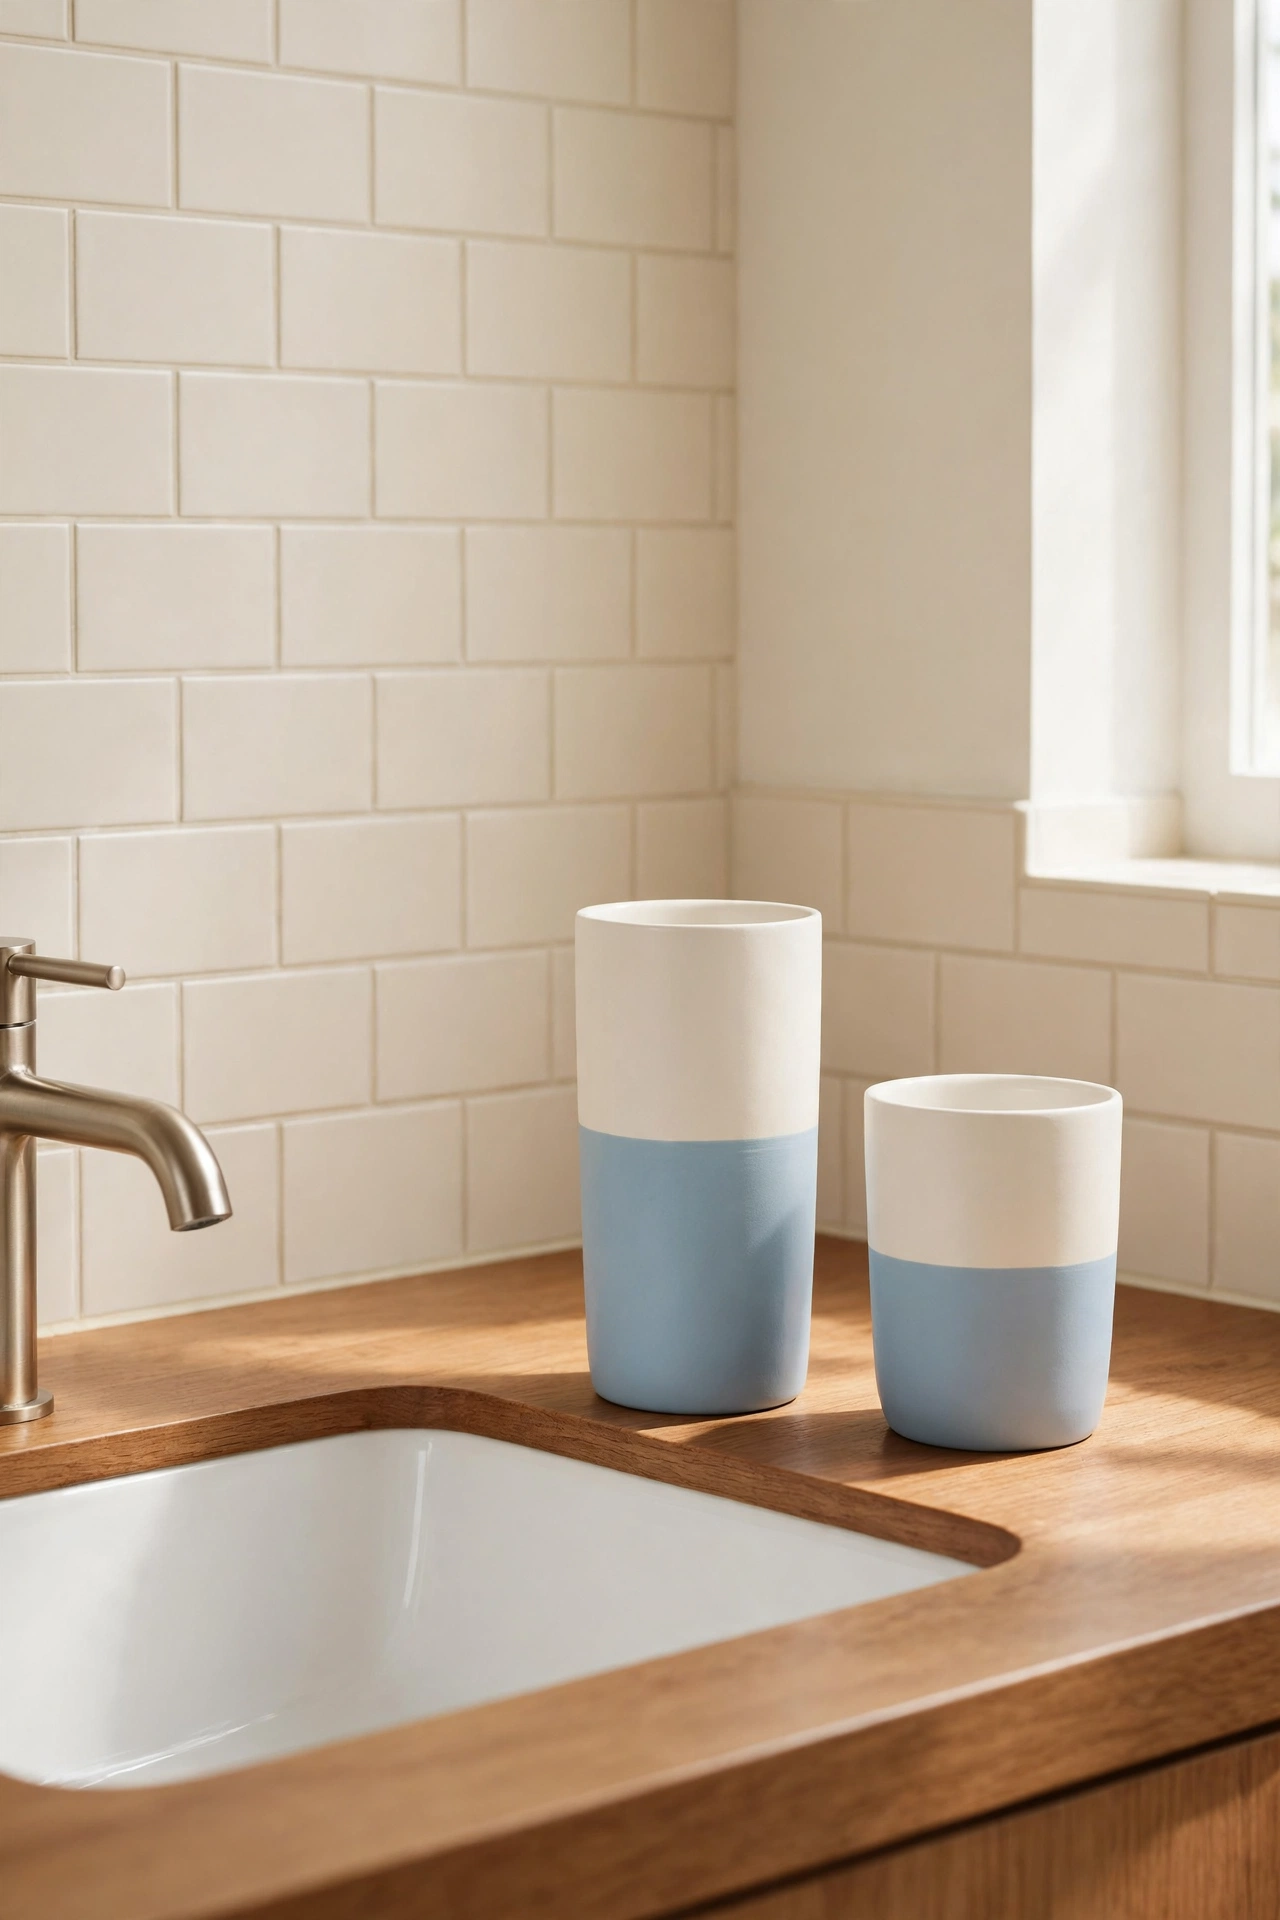
11. Stencil a Pattern Onto a Ceramic Soap Dish
Stenciling turns a plain ceramic soap dish into a patterned accent that looks hand painted by an artist. Choose a simple geometric or floral stencil and paint it in a contrasting color like navy on white or terracotta on cream. The pattern adds personality without overwhelming the vanity.Hold the stencil flat with painter tape and dab the paint on with a sponge brush using very little paint at a time. Too much paint will bleed under the stencil and blur the design. Let the pattern dry fully, then seal it with waterproof topcoat so the design survives daily soap and water.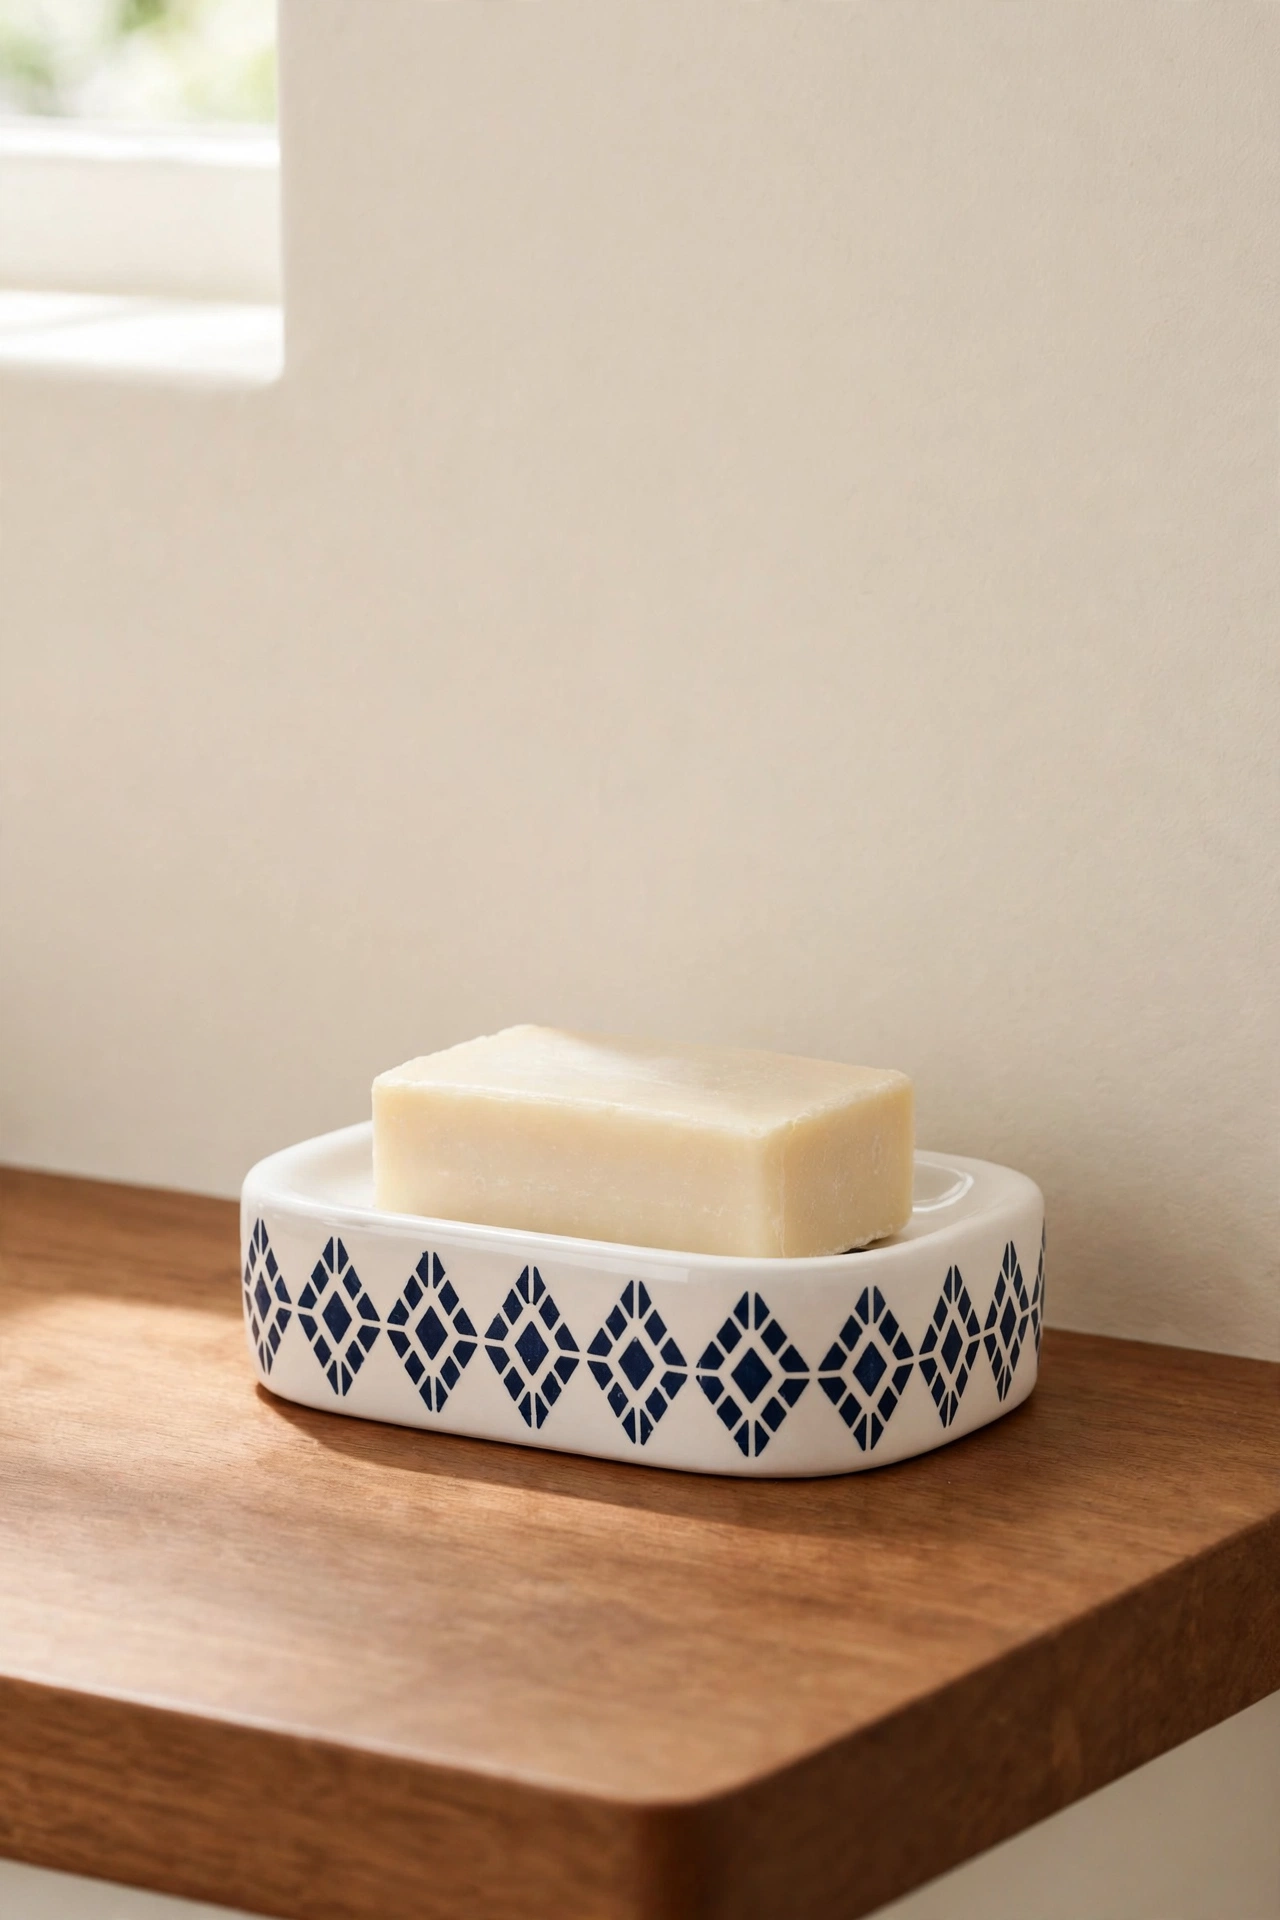
12. Paint Labels Onto Amber Glass Bottles
Amber glass bottles look beautiful holding shampoo, conditioner, and body wash, and painted labels make them even better. Use white or cream paint to write simple words like SHAMPOO and SOAP directly on the glass, or paint a neat rectangular label panel and add the words with a fine brush. The result looks like a high end refill station.Practice your lettering on paper first so the words come out even and readable. A stencil or a printed guide taped inside the bottle can help you keep the letters straight. Seal the painted words with clear topcoat, and fill each bottle to the top so the amber glass glows in the bathroom light.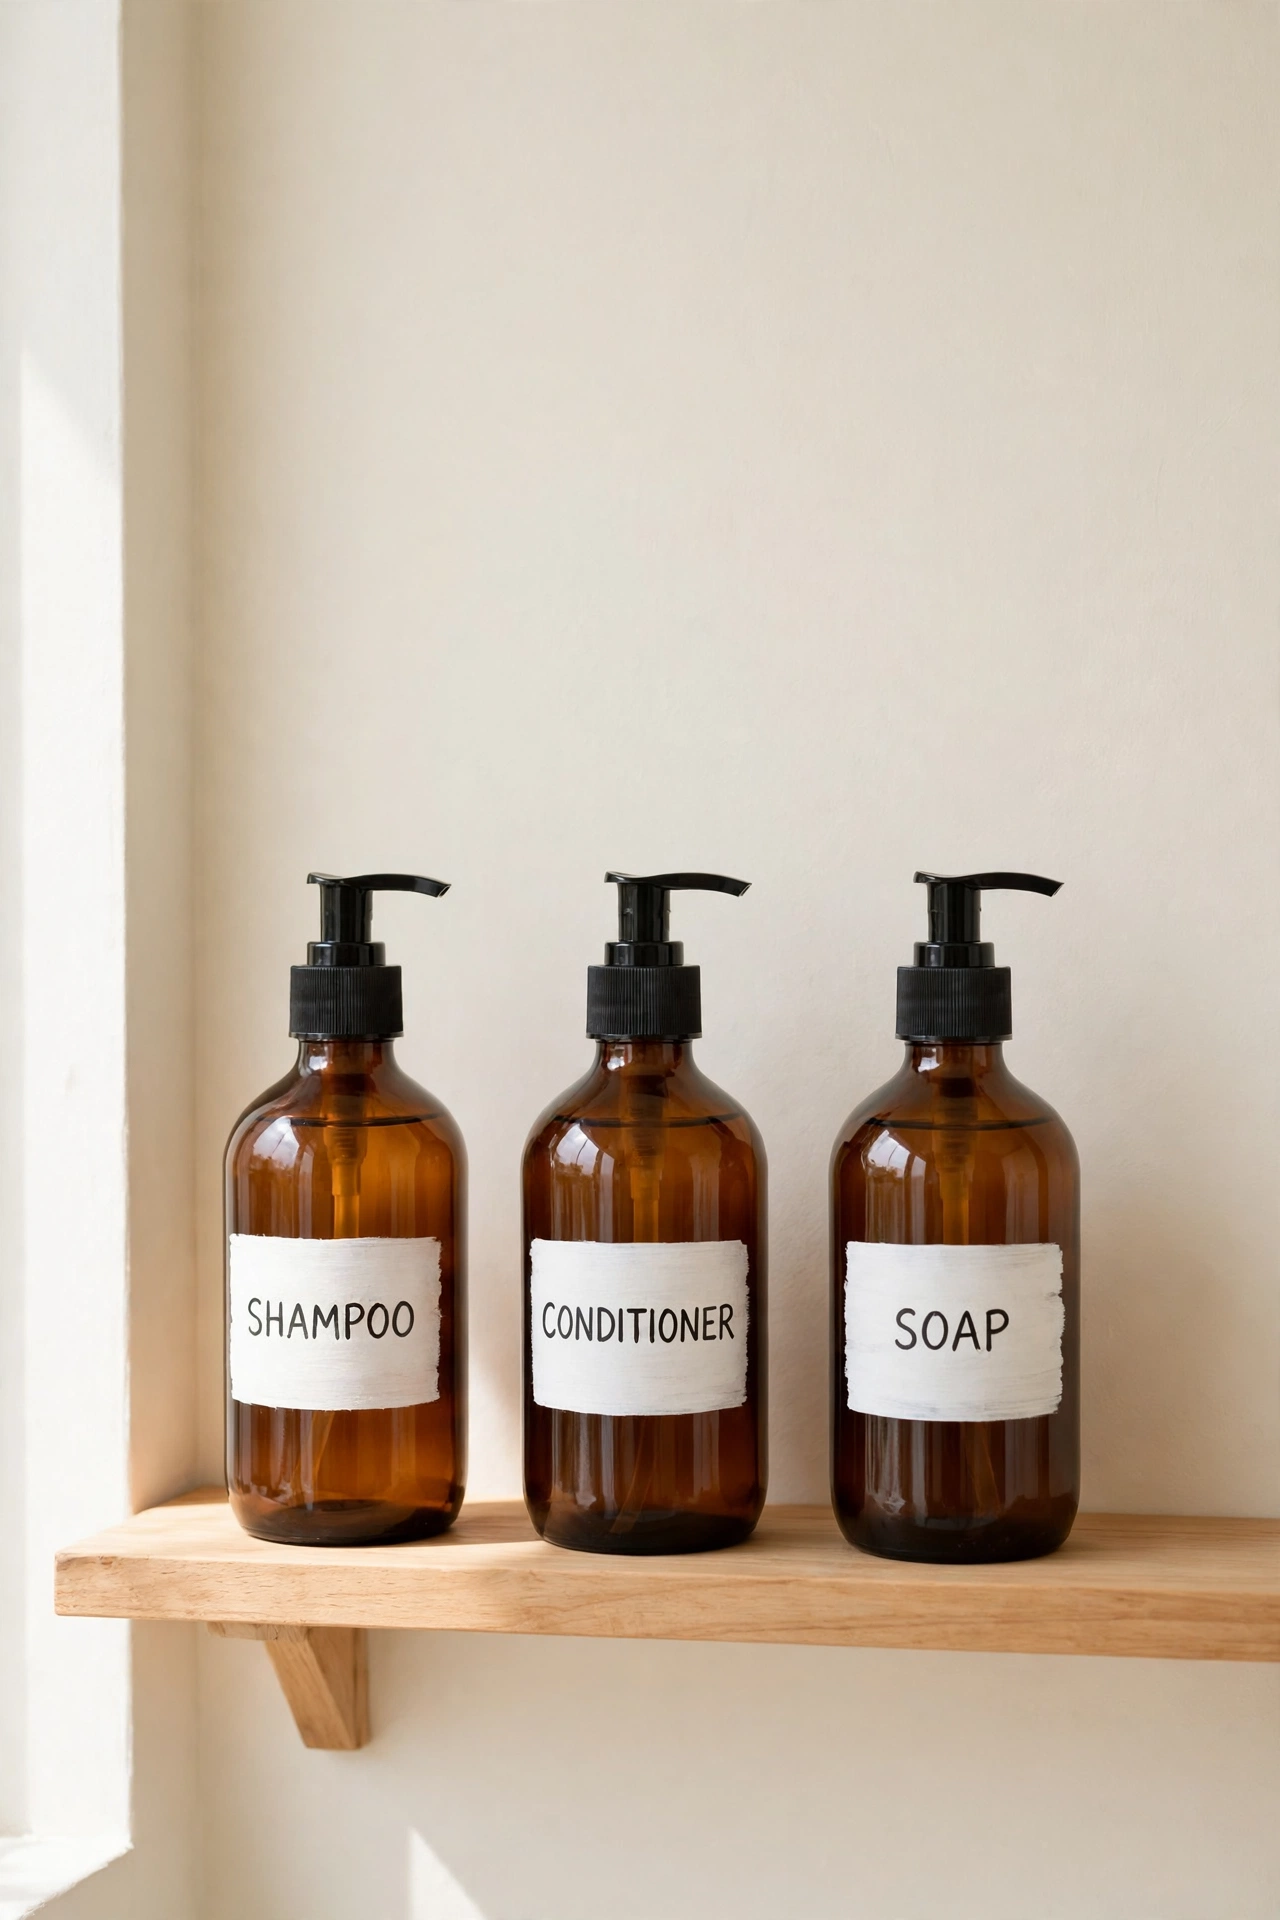
13. Paint a Bath Caddy Tray Soft Blue
A bath caddy tray stretches across the tub and holds a book, a candle, and a cup of tea while you soak. Soft blue paint gives a plain wooden caddy a calm, coastal feeling that matches the relaxing mood of bath time. The painted finish also protects the wood from steam and splashes.Sand the caddy smooth and apply two coats of exterior grade or bathroom safe paint, since the tray sits over water. Add a clear waterproof sealer for extra protection. Style the finished caddy with a folded washcloth, a lit candle, and a small vase so it looks inviting even when the tub is empty.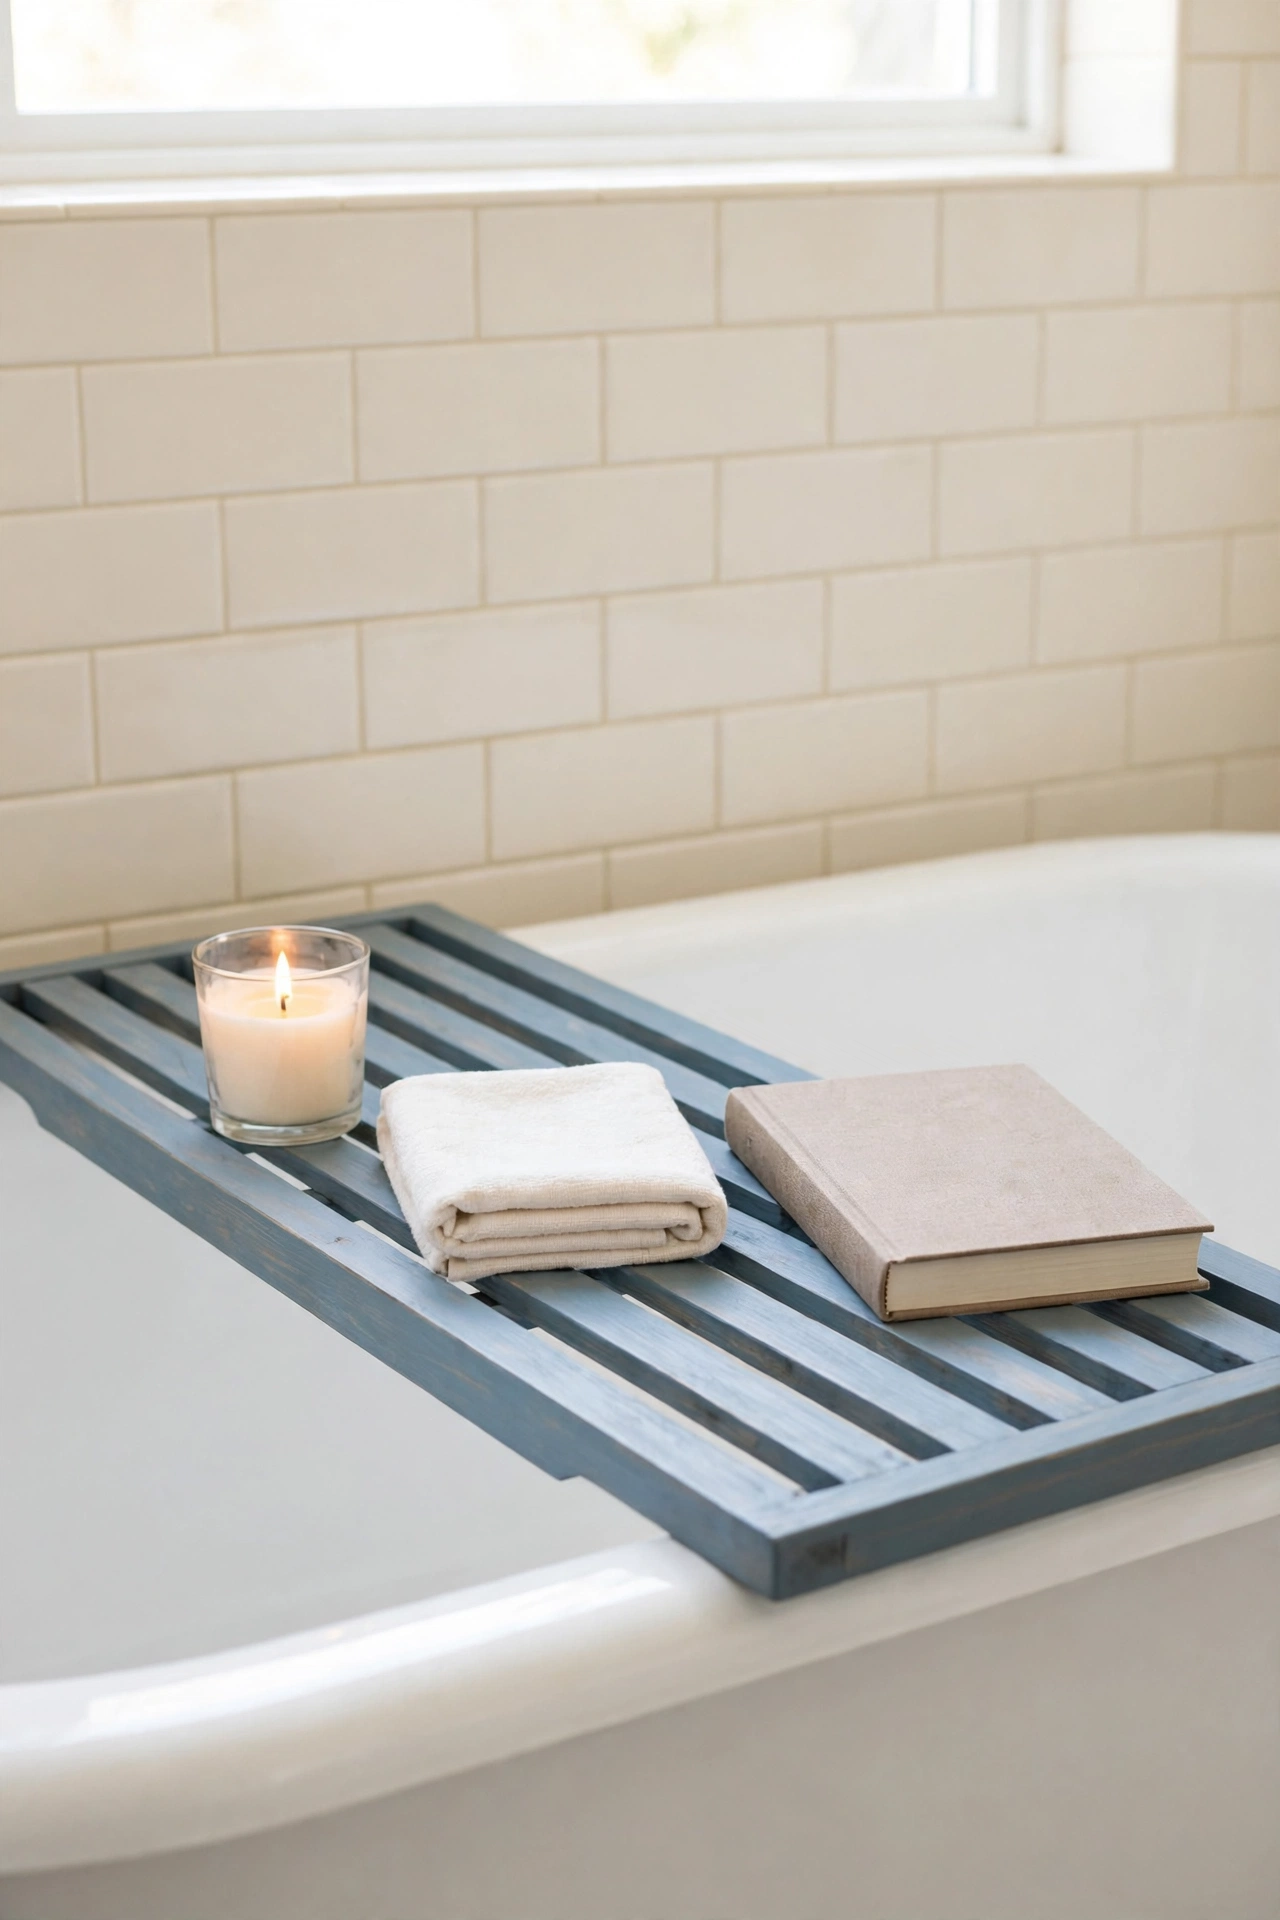
14. Give Towel Hooks a Brushed Brass Effect
Old chrome or plastic towel hooks can look tired and dated. Brass effect paint transforms them into warm, golden hardware that looks far more expensive than it is. The brushed finish catches the light softly and pairs beautifully with cream walls and warm wood.Remove the hooks from the wall and clean them with soap and water before painting. Apply a metal primer first, then two thin coats of brass effect spray paint for an even finish. For more hardware transformations, these DIY decorative hardware makeovers offer clever ways to upgrade knobs, pulls, and hooks all over the home.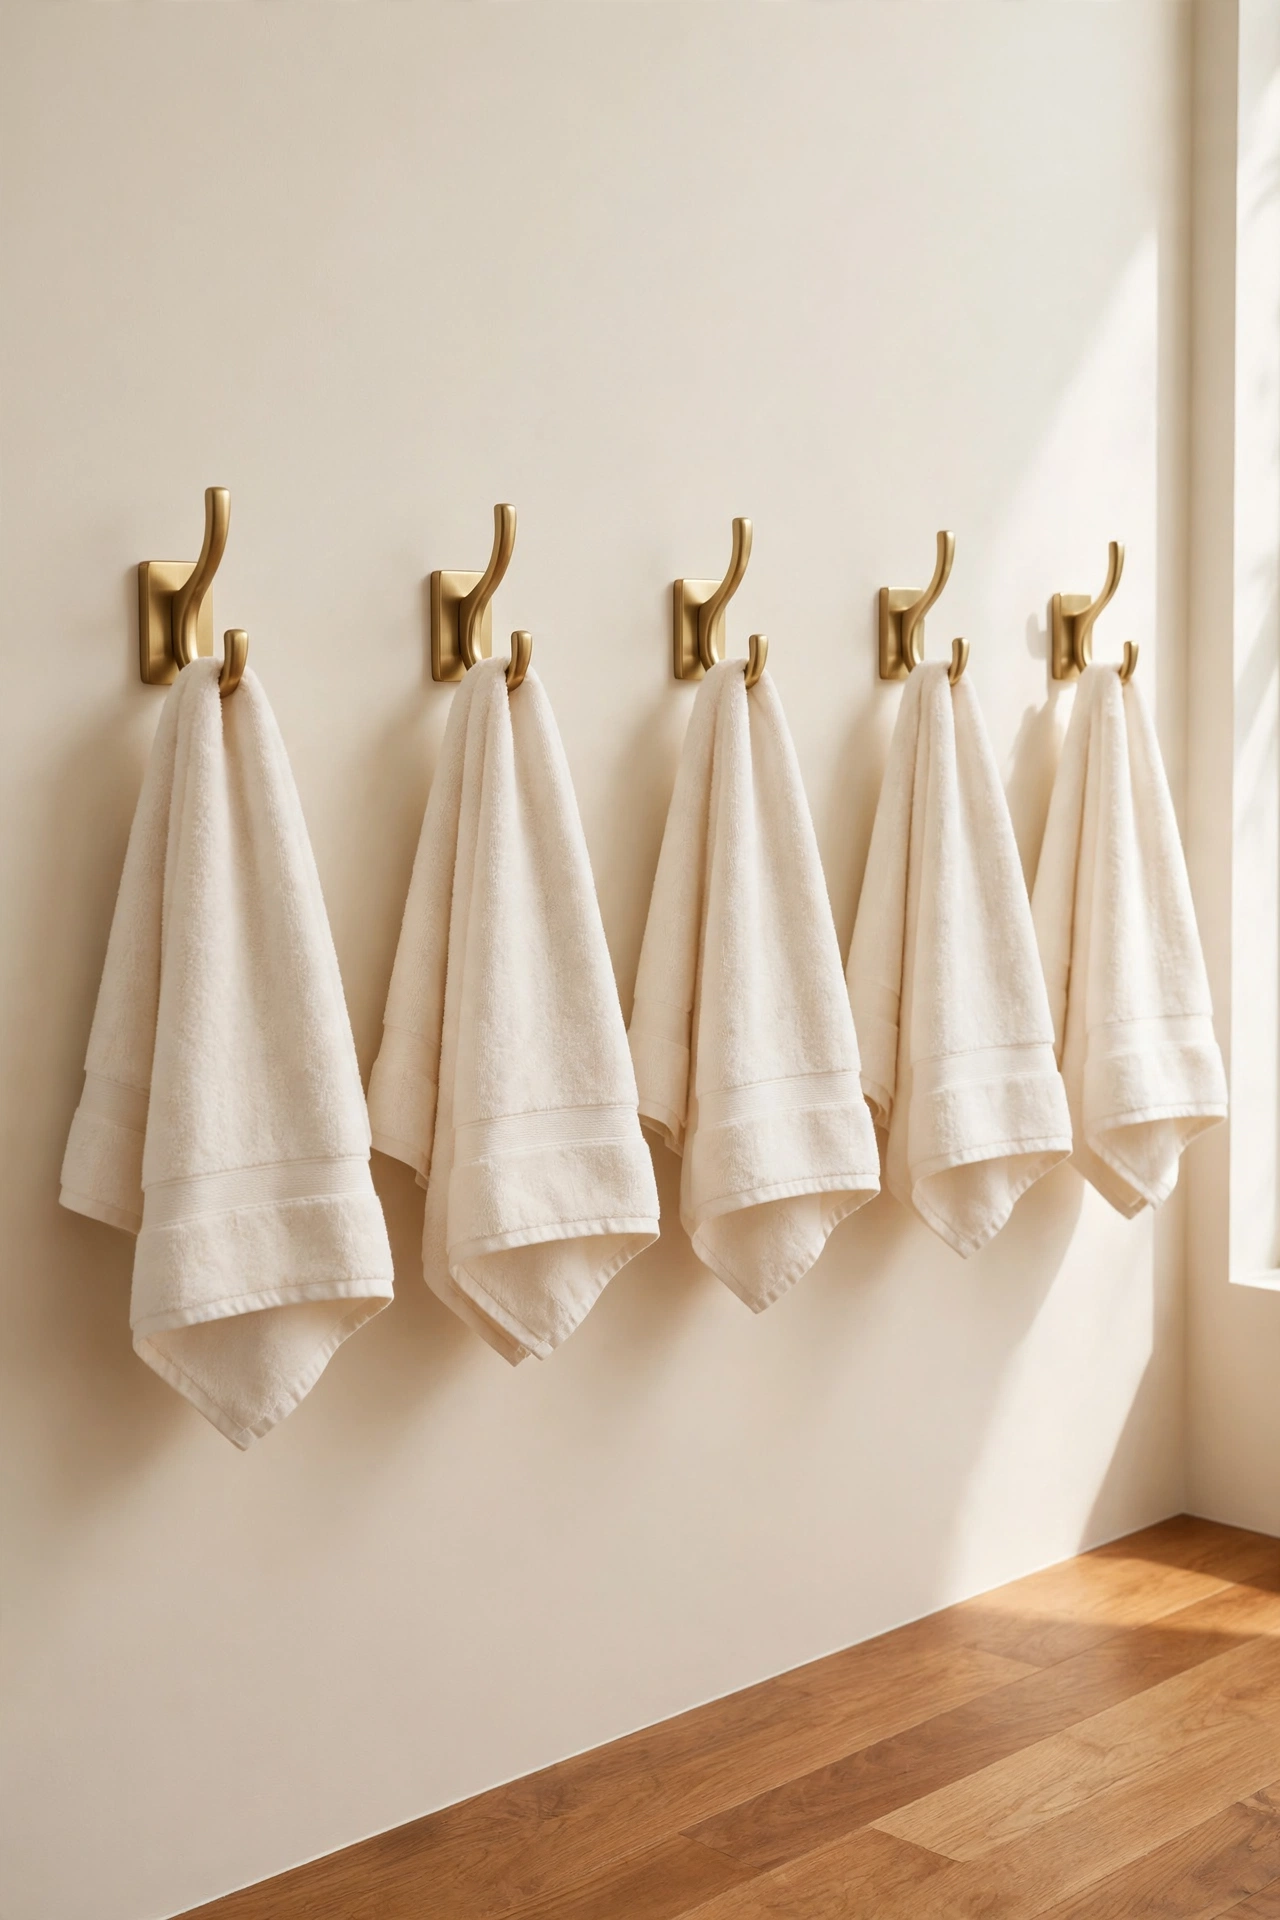
15. Paint a Canister Set Pastel Mint for Cotton Balls and Swabs
A set of small canisters keeps cotton balls, cotton swabs, and bath salts tidy and dust free. Pastel mint paint gives the canisters a fresh, clean look that feels like spring all year round. Line up three matching canisters on the vanity for a display that is both practical and pretty.Use canisters with tight fitting lids so the contents stay dry in the humid bathroom. Paint the bodies mint and leave the lids natural wood or paint them cream for contrast. Add small printed labels to each canister so everyone in the family can find what they need at a glance.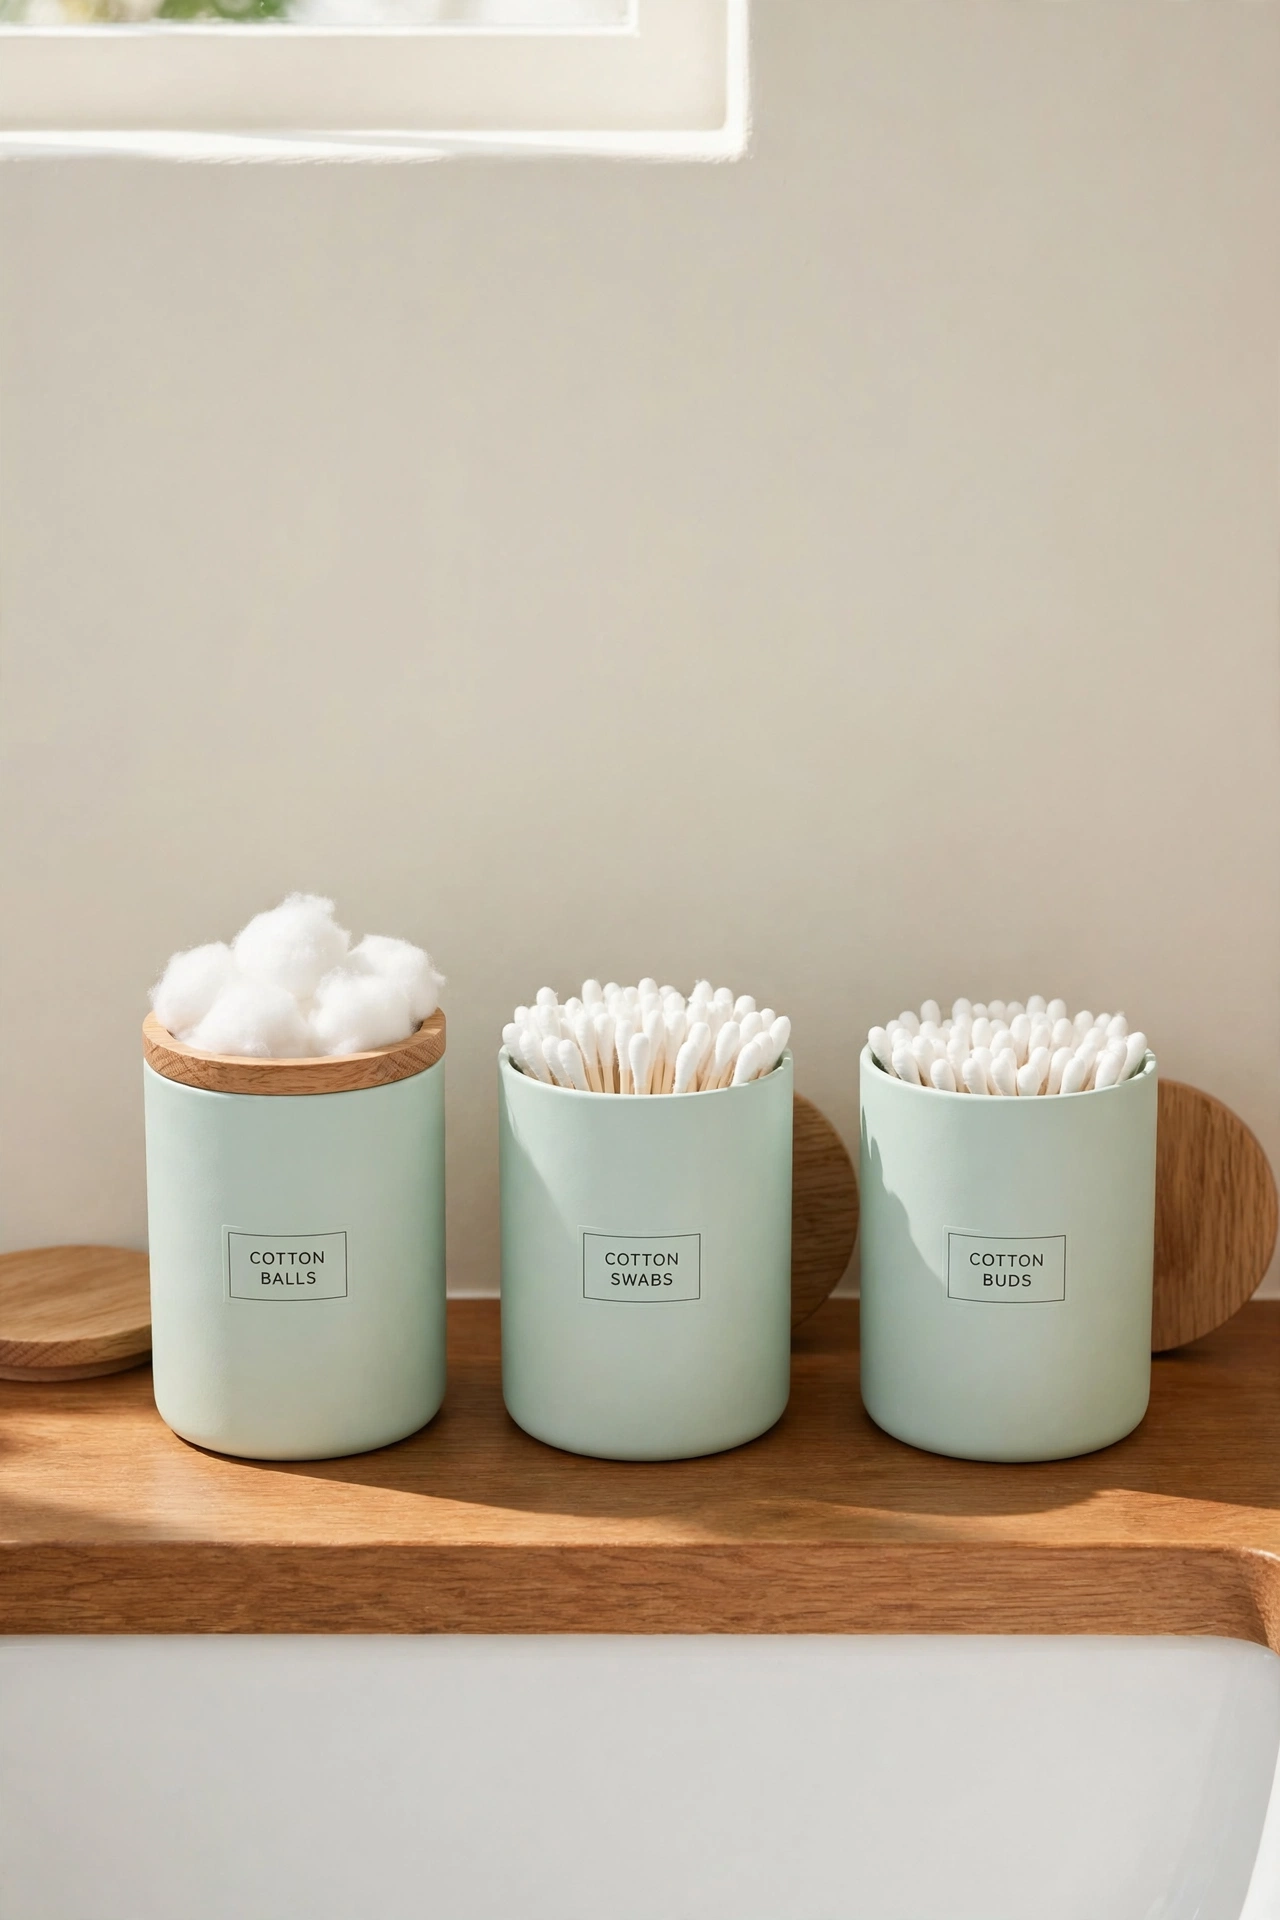
16. Paint a Toilet Brush Holder Charcoal Gray
A toilet brush holder is rarely a thing of beauty, but charcoal gray paint makes it blend in discreetly. The dark color hides wear and looks intentional next to modern fixtures, especially when it matches other dark accents like a black soap dispenser or dark framed mirror.Choose a holder with a smooth surface and clean it well before painting. Spray paint works best for the curved shape, so apply several light coats and let each one dry. A charcoal holder with a clean white brush inside looks neat and unobtrusive in the corner by the toilet.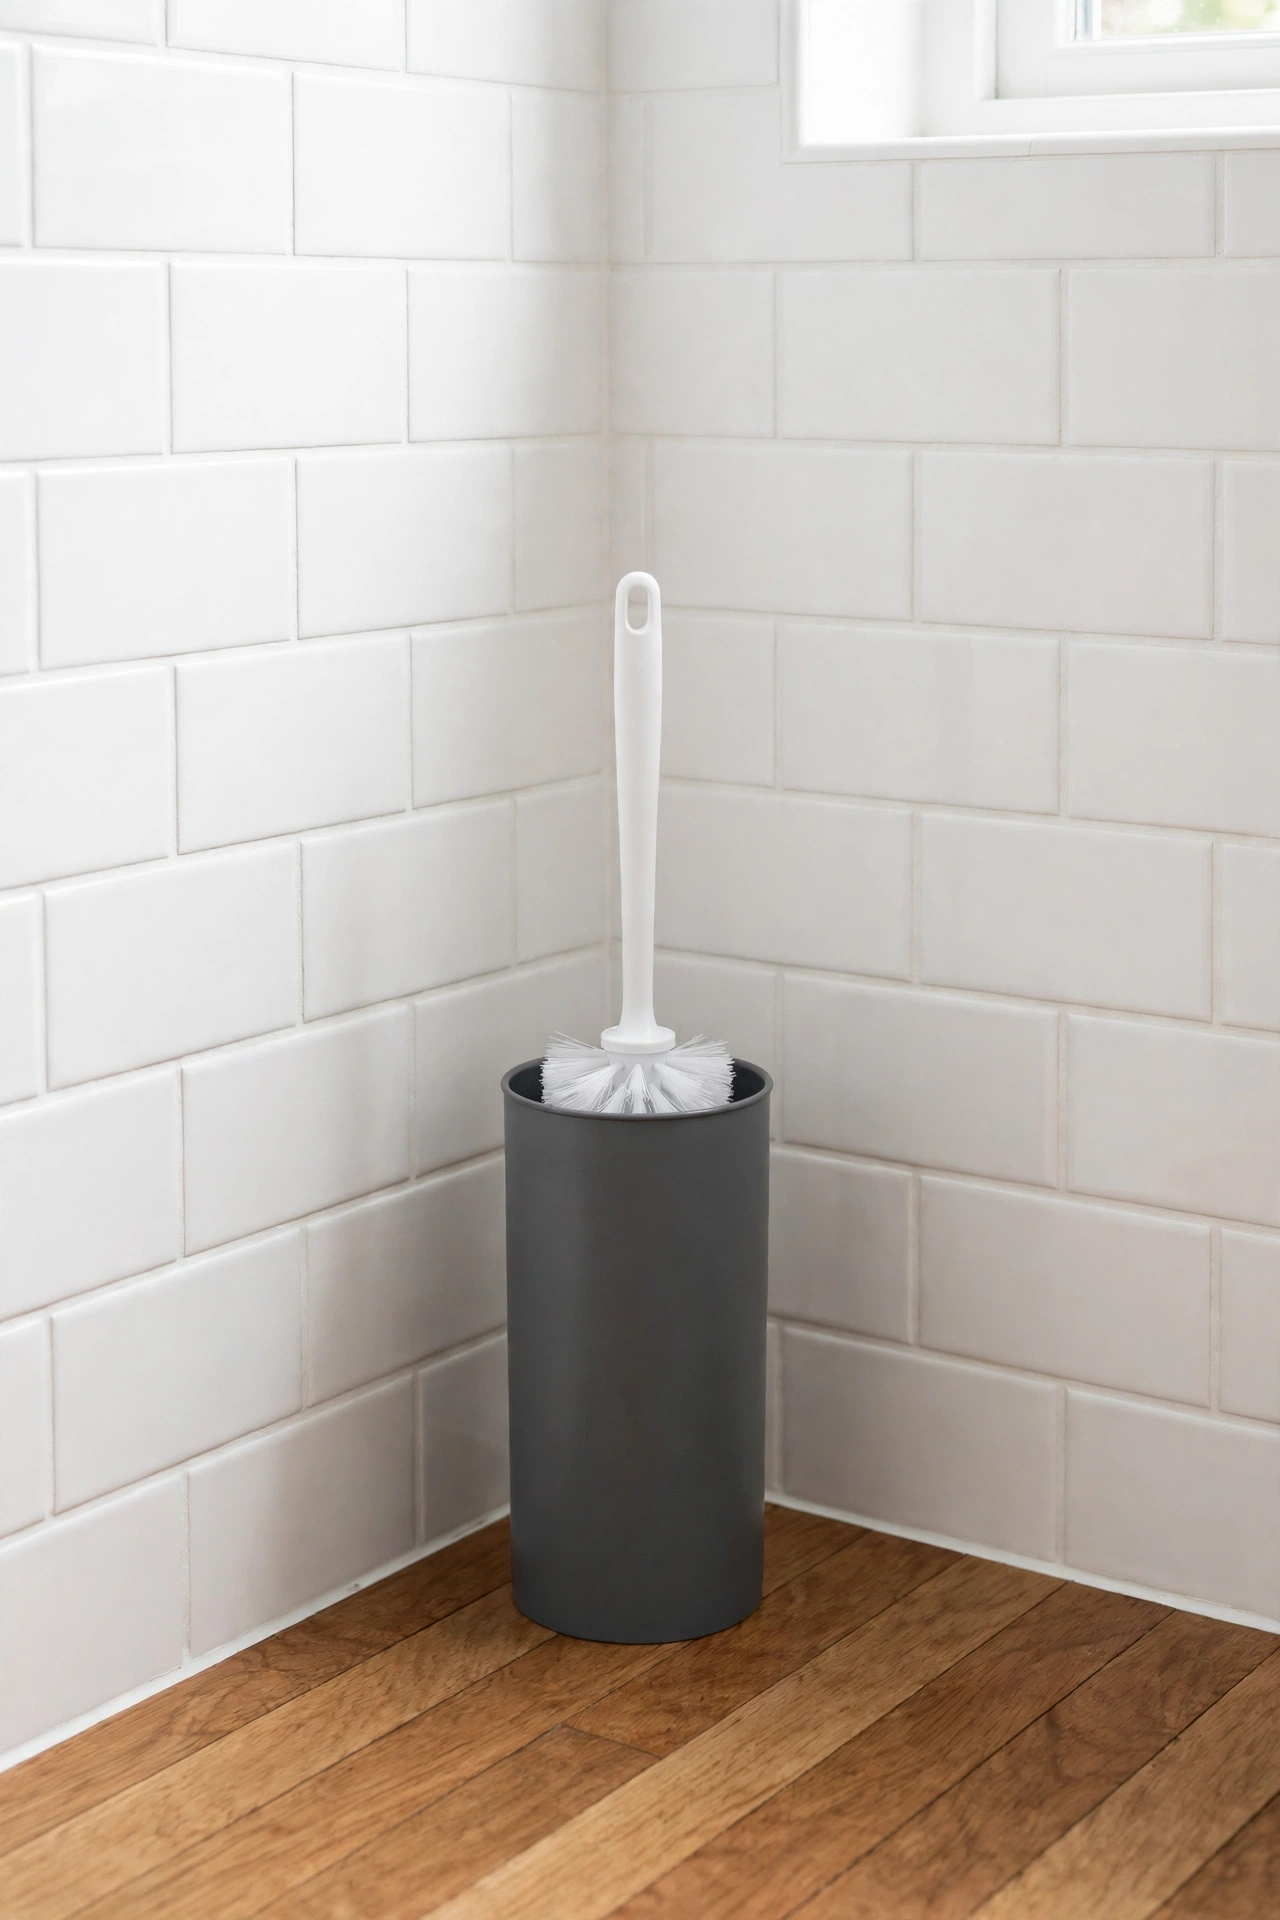
17. Paint a Plant Pot for Bathroom Greenery
A small plant brings life to a bathroom, and a painted pot makes it part of the decor. Choose a terracotta pot and paint it in a soft sage or warm blush, leaving a band of natural clay showing at the rim for a handmade look. A pothos or fern in a painted pot softens hard tile and brightens the whole room.Seal the inside of the pot before you add soil so moisture does not damage the paint from within. Place the pot on a small painted saucer to catch drips and protect the vanity surface. The combination of green leaves and a freshly painted pot adds a natural, calming accent to any bathroom.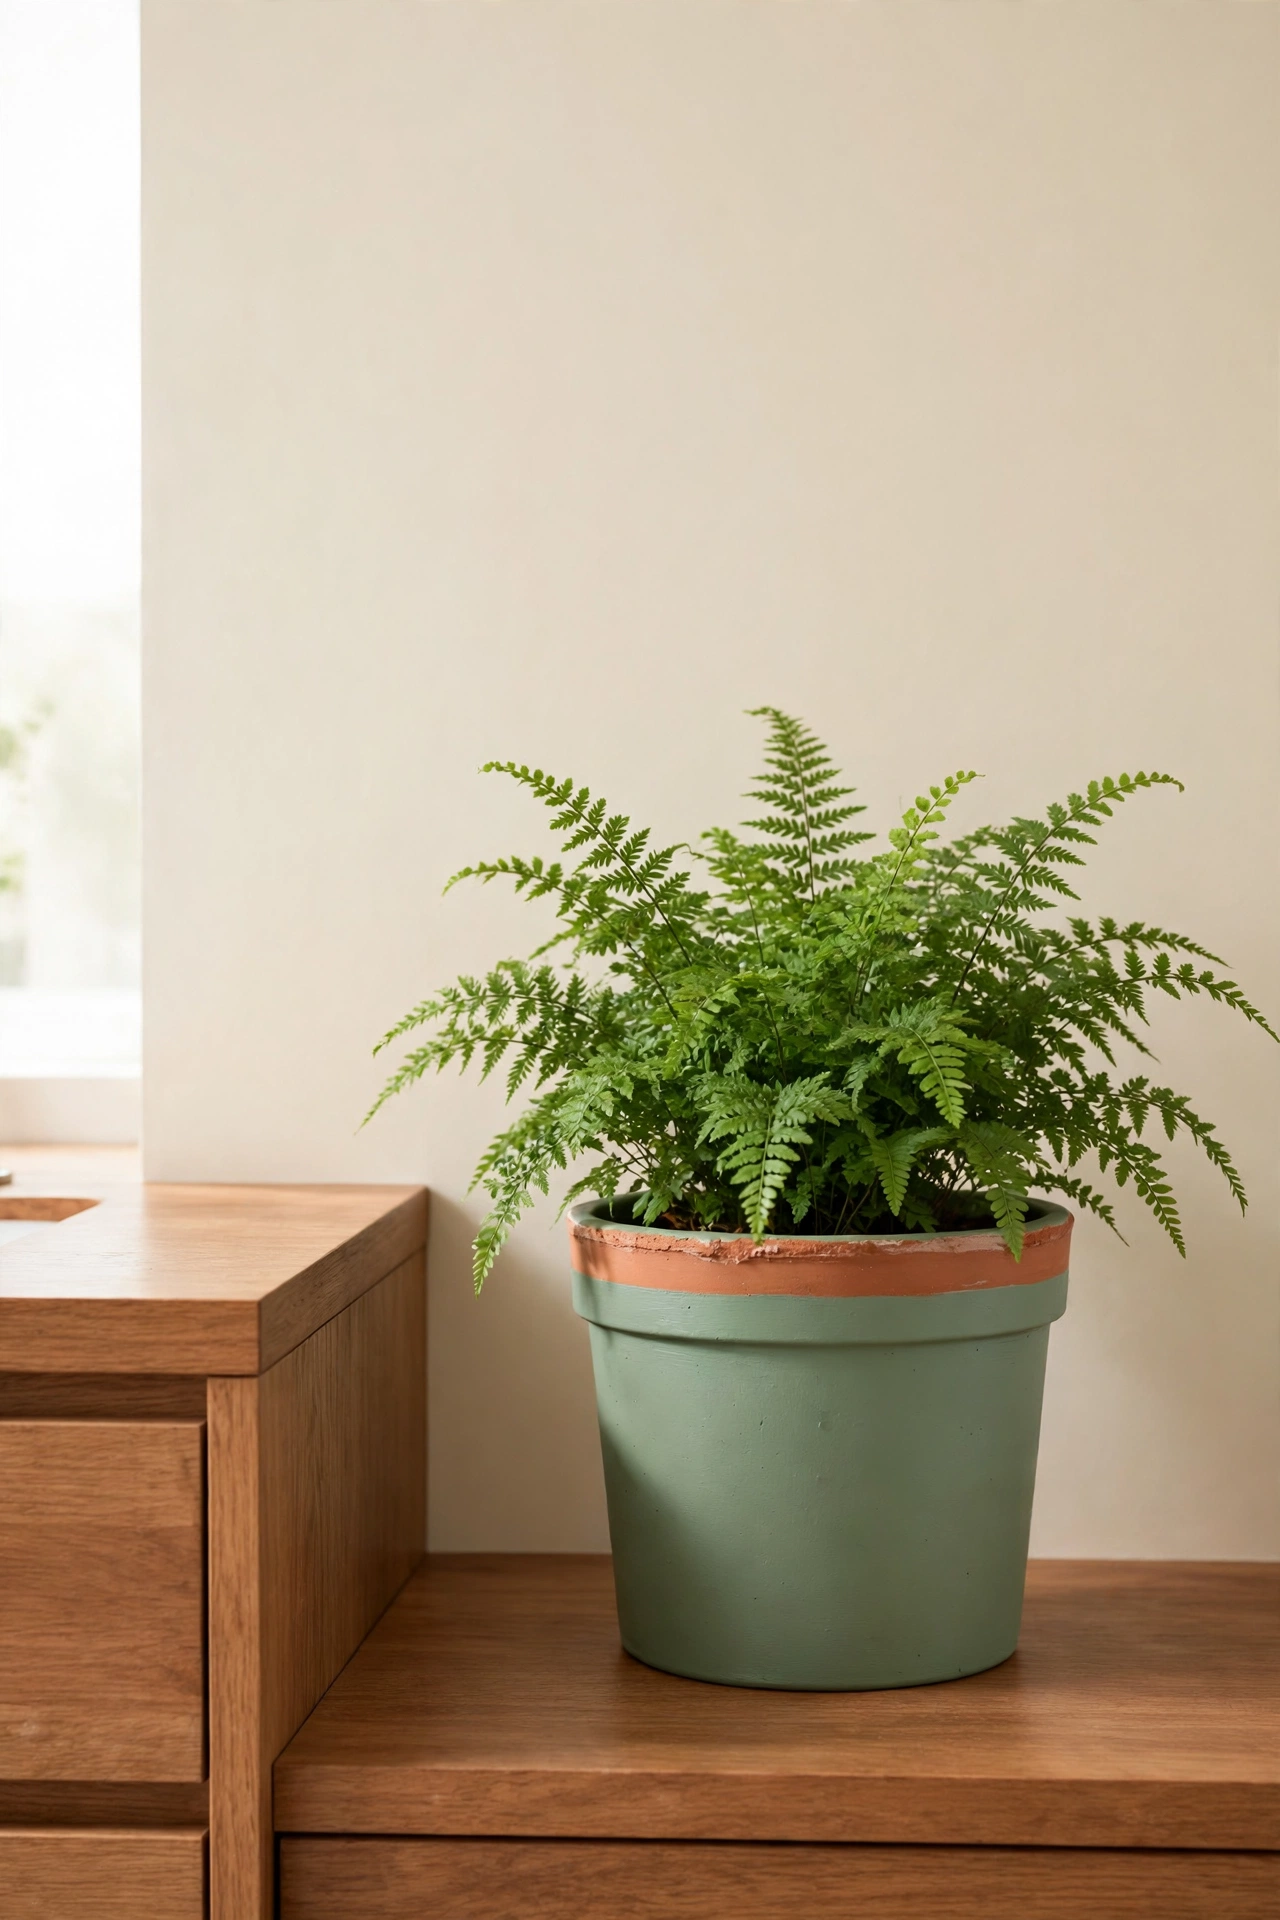
18. Paint a Vanity Mirror Frame Cream and Gold
A plain mirror frame is a perfect canvas for a two color paint makeover. Paint the frame cream and add thin gold lines along the inner edge for a touch of glamour that catches the light every morning. The combination feels elegant without being over the top.Tape off the mirror glass carefully and sand the frame lightly before you start. Paint the cream base coats first and let them dry fully, then add the gold detail with a small artist brush or gold paint pen. The finished frame will make the whole vanity area feel more polished and put together.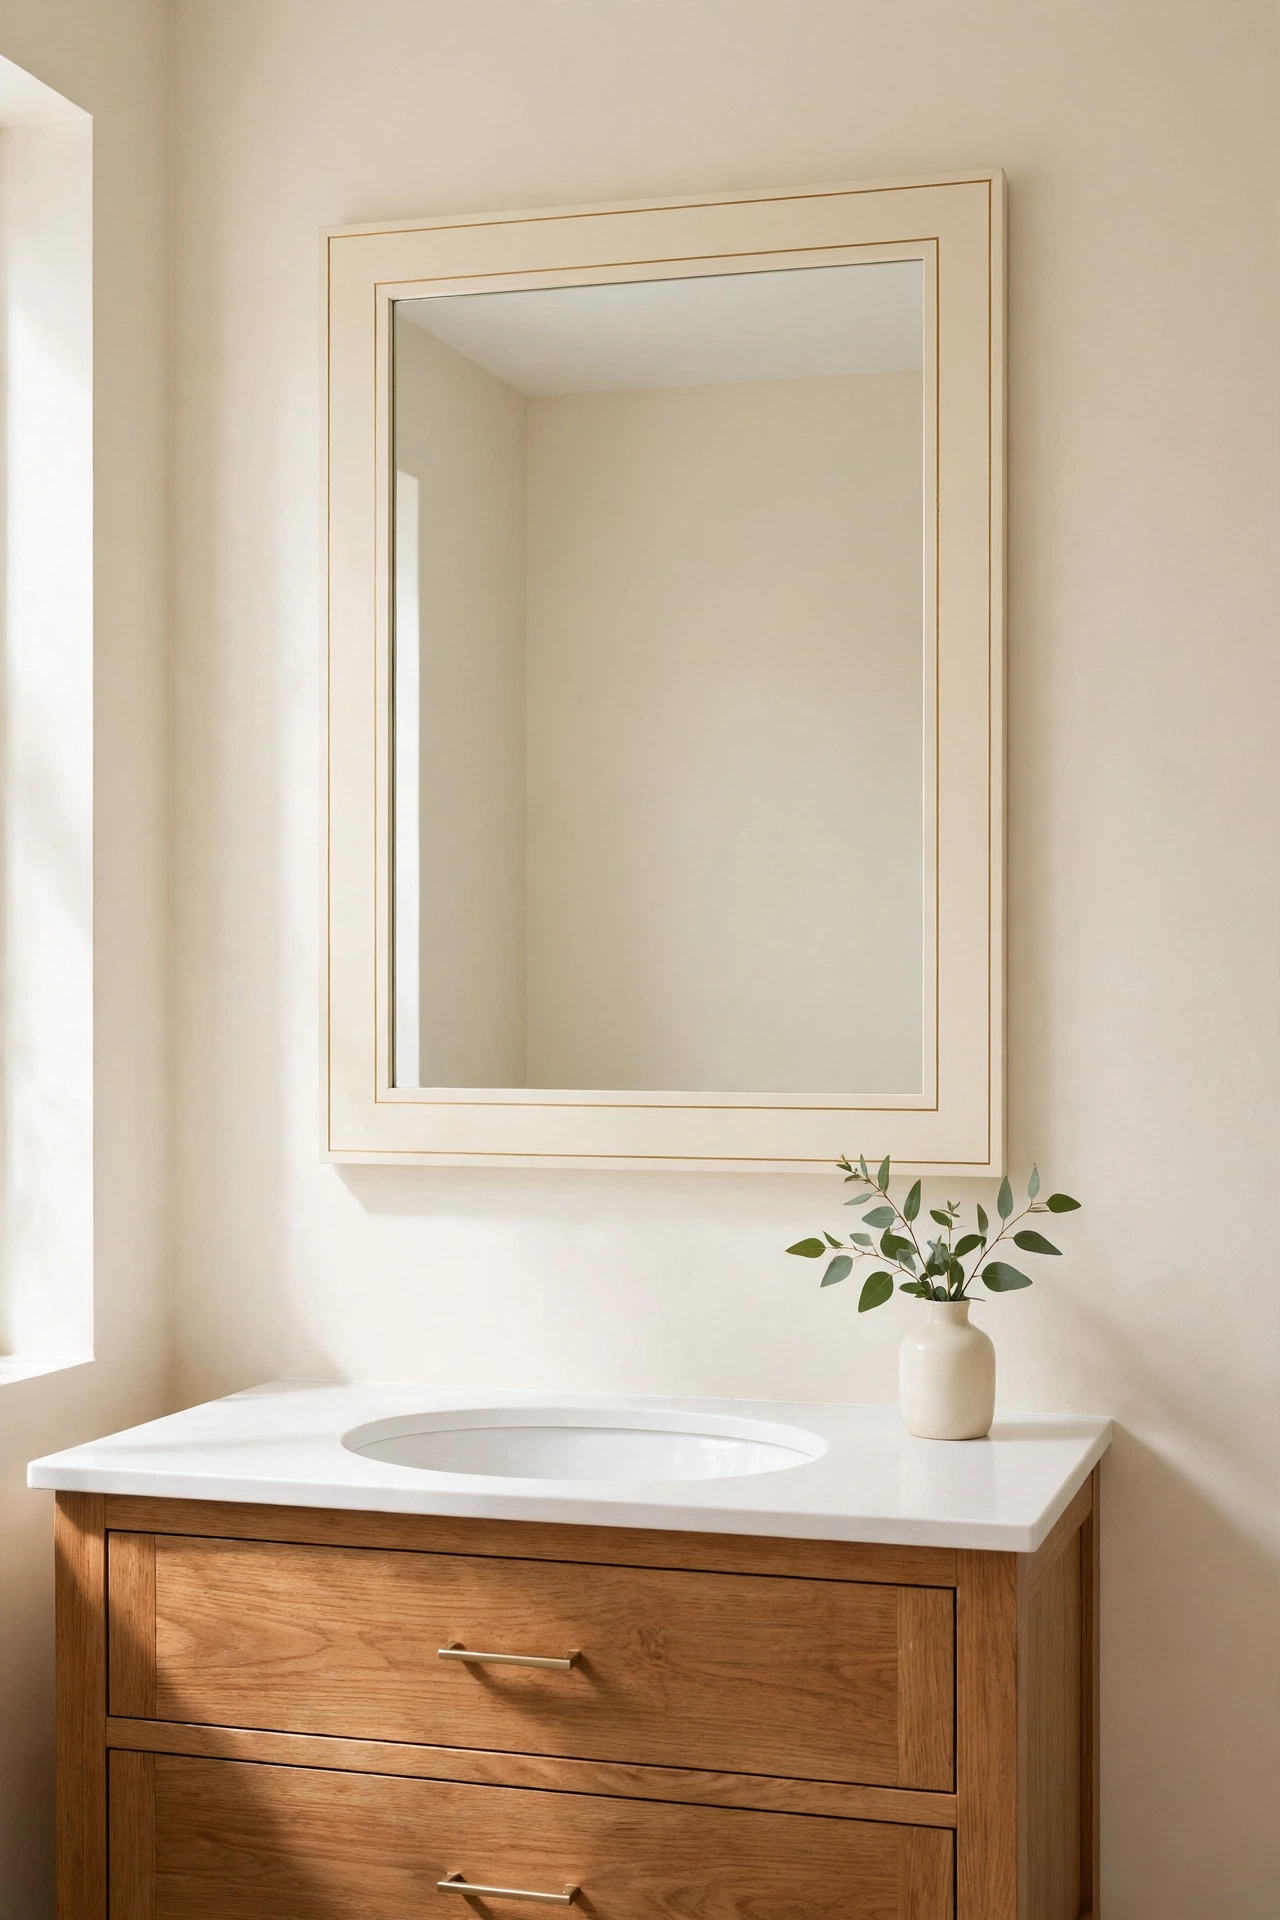
19. Add Painted Stripes to a Bathroom Hamper
A laundry hamper in the bathroom holds towels and clothes, and painted stripes turn it into a cheerful accent. Paint bold horizontal stripes in soft blue and white on a wooden or wicker hamper for a fresh coastal look. The stripes add pattern to a room that is often mostly plain tile.Use painter tape to keep the stripes even and crisp, and measure carefully so the bands are all the same width. Seal the painted surface so it resists moisture from damp towels. A striped hamper with a neatly folded towel draped over the edge looks tidy and welcoming.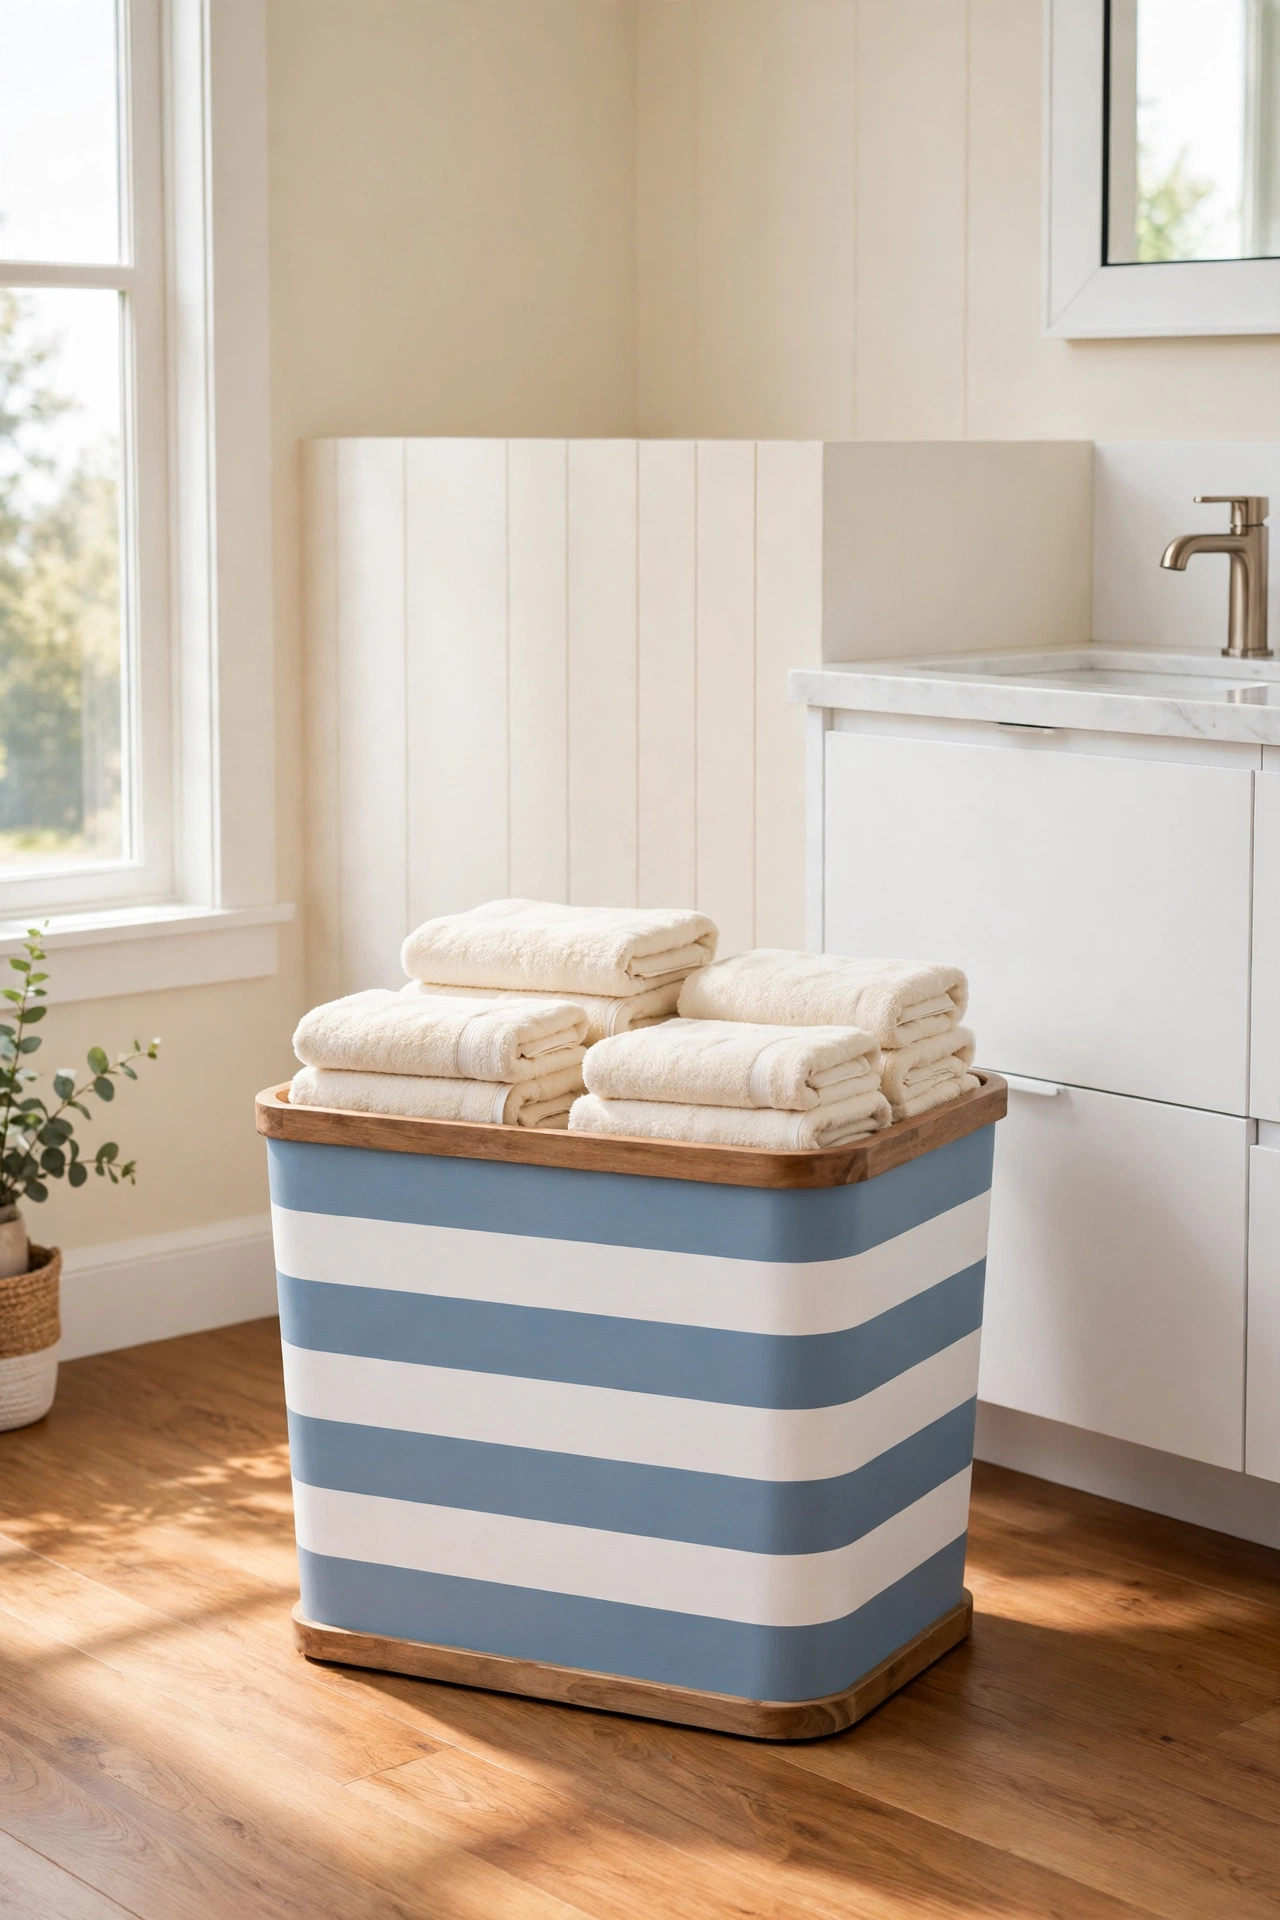
20. Paint a Shaving Stand Seafoam Green
A small stand that holds a razor, brush, and shaving cream deserves the same attention as the rest of the vanity. Seafoam green paint gives a wooden or metal stand a fresh, coastal feel that looks clean and masculine at the same time. The soft color pairs well with chrome razors and cream shaving mugs.Clean and sand the stand before painting so the finish adheres well to a surface that gets wet often. Apply two coats of seafoam paint and a waterproof sealer for durability. Keep the stand organized with just the essentials so the painted finish stays visible and the vanity stays uncluttered.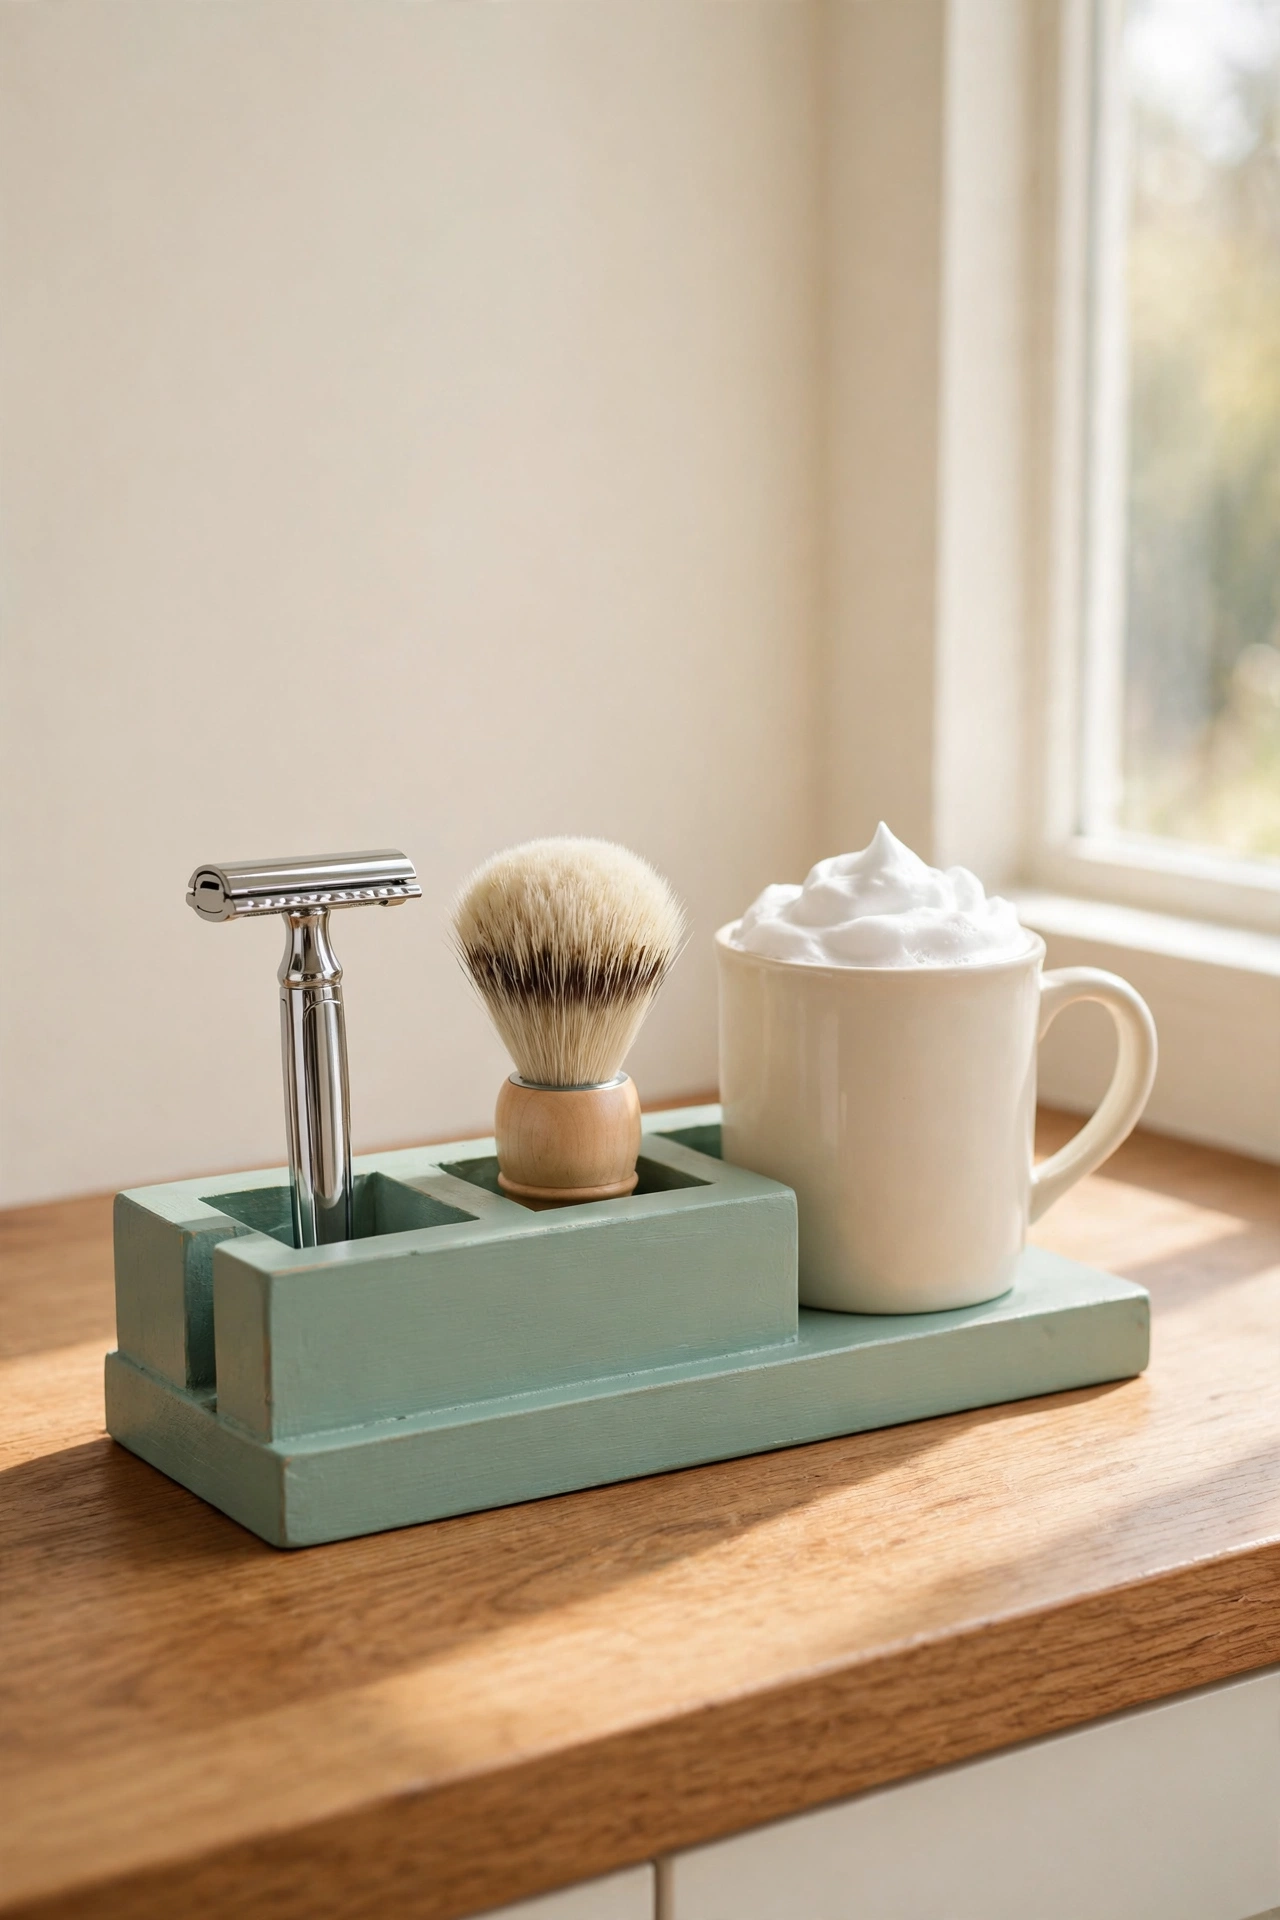
21. Paint an Under-Sink Storage Caddy
The space under the bathroom sink often becomes a jumble of bottles and half empty boxes. A painted storage caddy with a handle turns that chaos into a tidy kit you can lift out and carry. Paint the caddy in a cheerful amber or warm mustard so it is easy to spot inside a dark cabinet.Use a wooden or sturdy plastic caddy and paint it inside and out for a finished look. Sort cleaning supplies, spare soap, and first aid items into the compartments and label each section. For a full plan to tame the cabinet, these under bathroom sink organization ideas will help you make the most of every inch.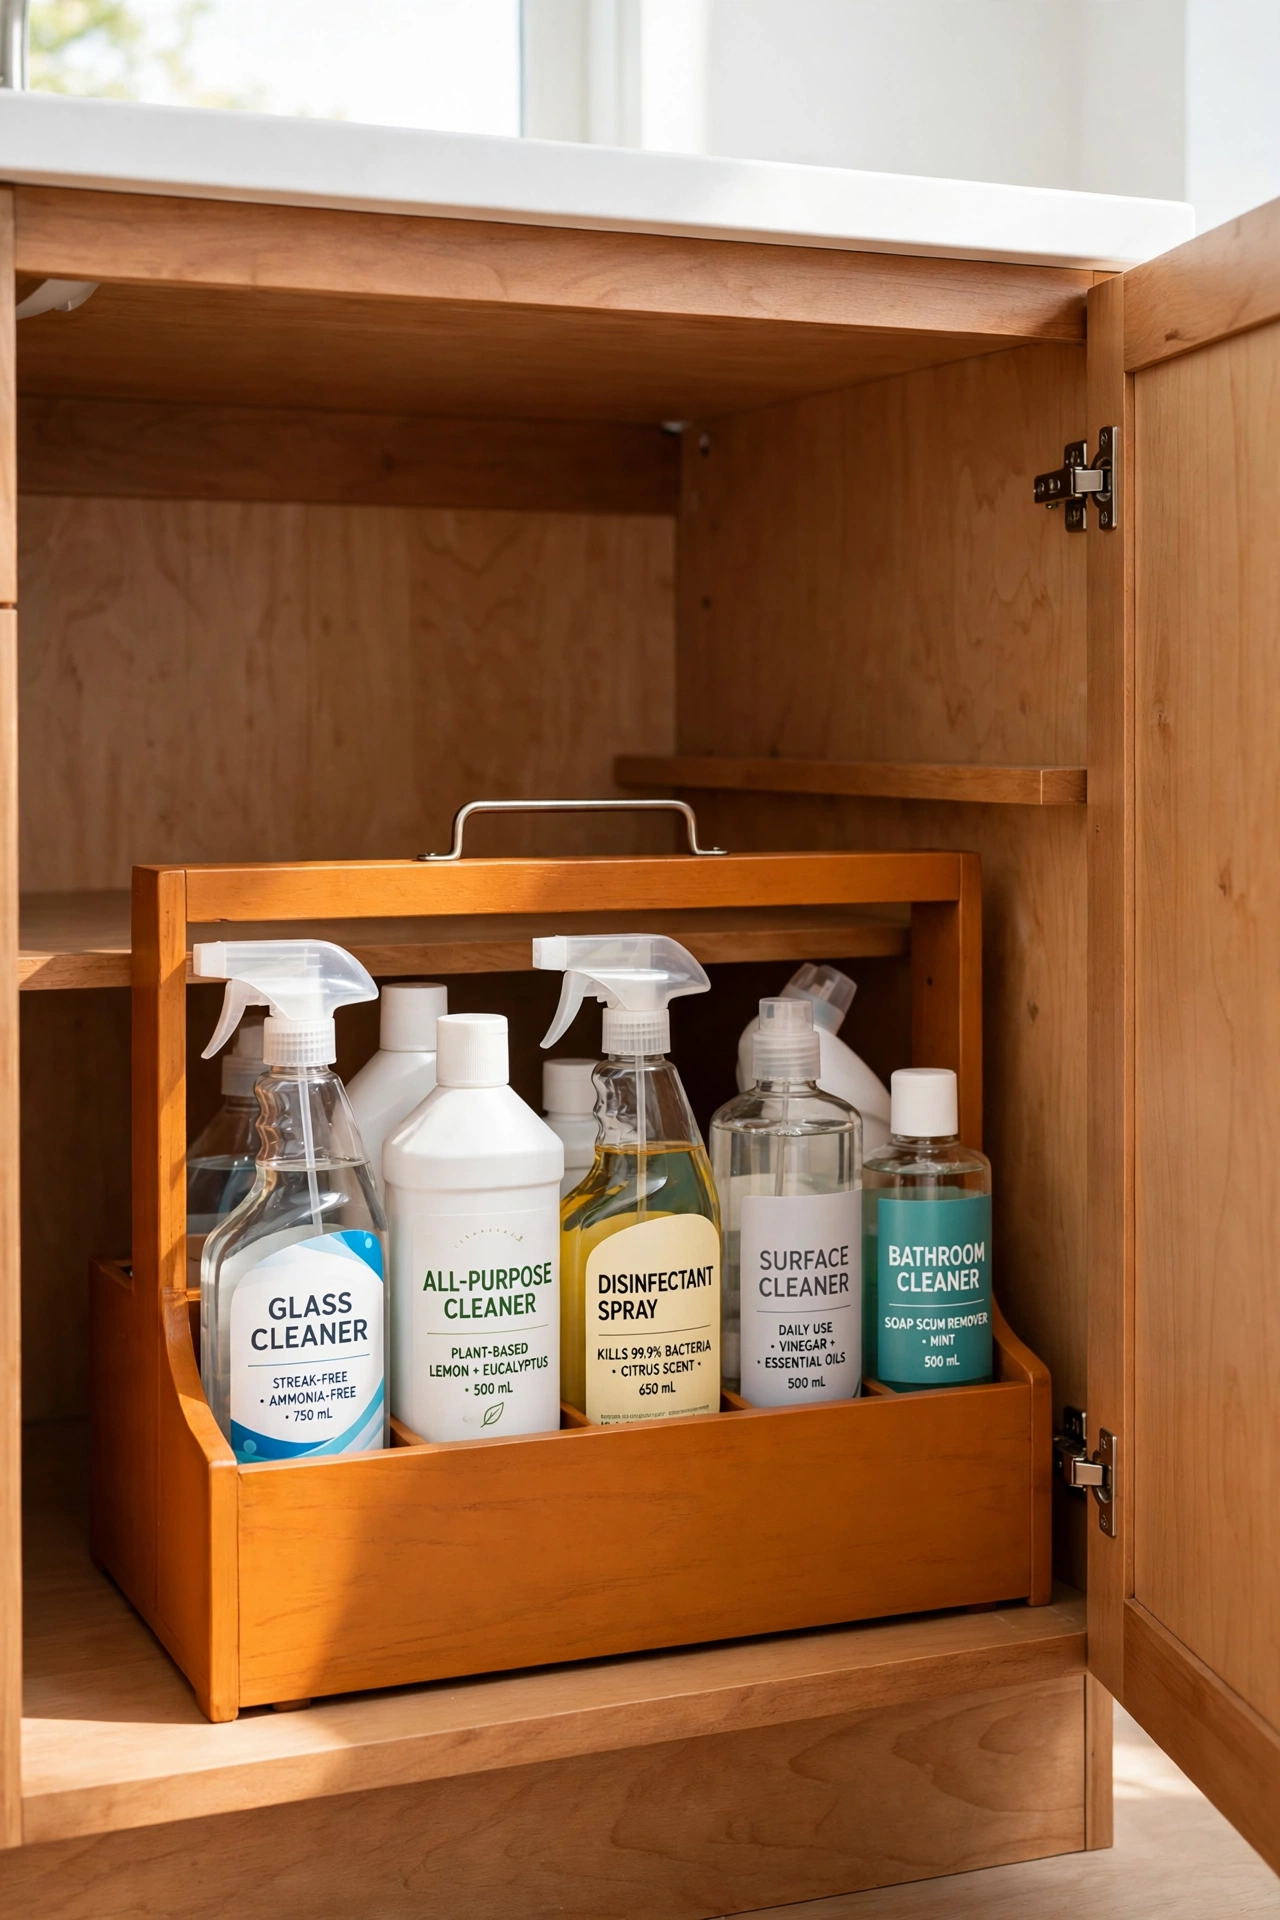
22. Limewash a Wooden Wall Shelf for a Rustic Look
A limewash finish gives a plain wooden wall shelf a soft, weathered look that suits farmhouse and rustic bathrooms. The pale, chalky wash lets the wood grain show through while lightening the whole shelf. Display folded washcloths, a small plant, and a jar of bath salts on the shelf for a styled, lived in feel.Mix limewash paint to a thin consistency and brush it on in the direction of the grain, wiping away the excess with a cloth. One coat gives a subtle effect, while two coats create a stronger whitewashed look. Seal the shelf lightly so it resists steam but keeps its matte, rustic texture.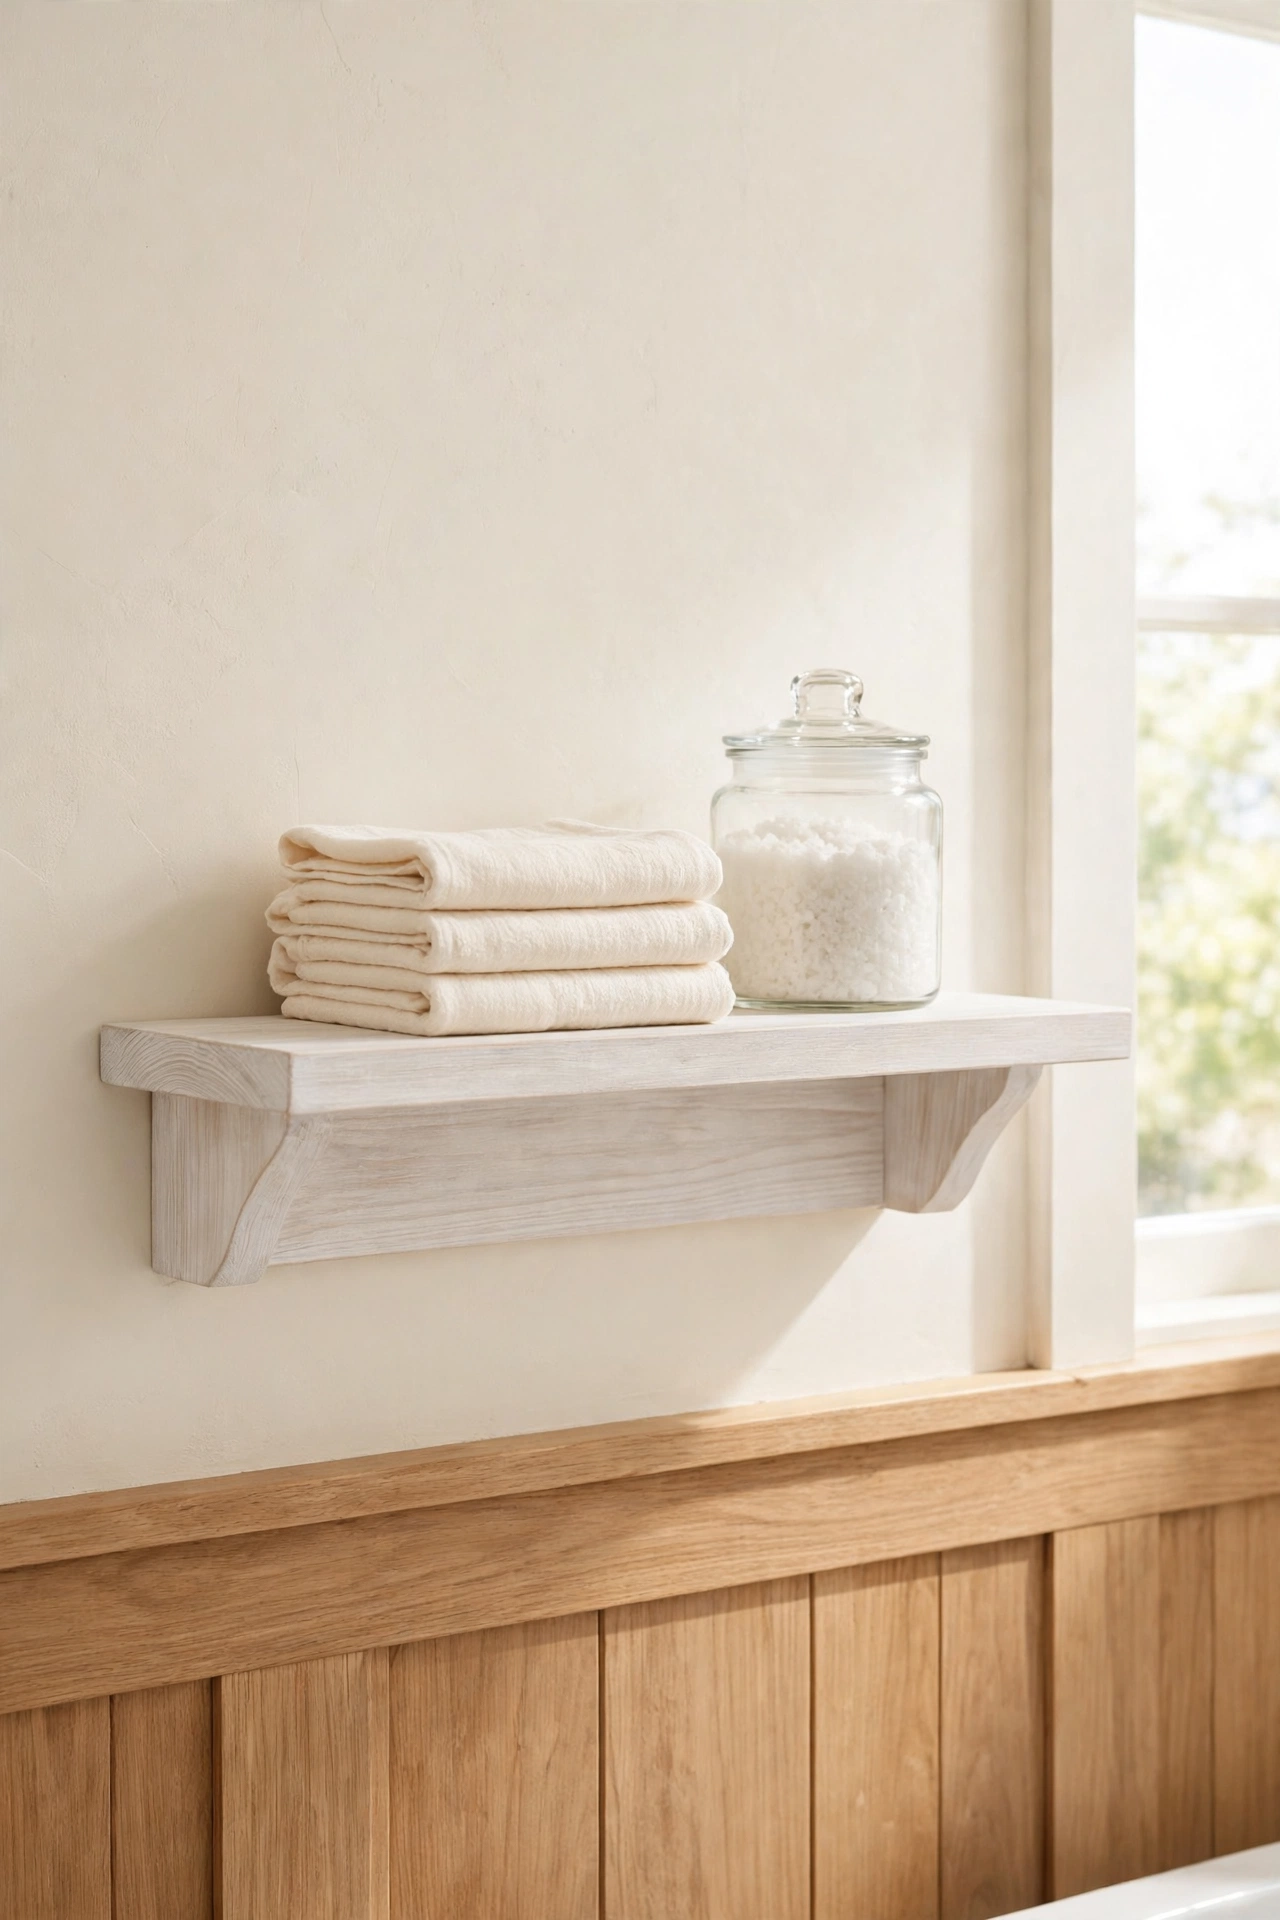
23. Paint a Basket for Bath Toys in Cheerful Coral
Families with small children know that bath toys multiply fast. A coral painted basket gives them a cheerful home that children will actually enjoy using. The bright color makes cleanup feel like a game, and the basket keeps toys contained instead of scattered across the tub edge.Choose a basket with holes or slats so water drains out after bath time. Paint it with a waterproof outdoor grade paint so it survives constant splashing. Place the basket on the tub edge or on a low shelf where little hands can reach it, and fill it with a tidy collection of favorite toys.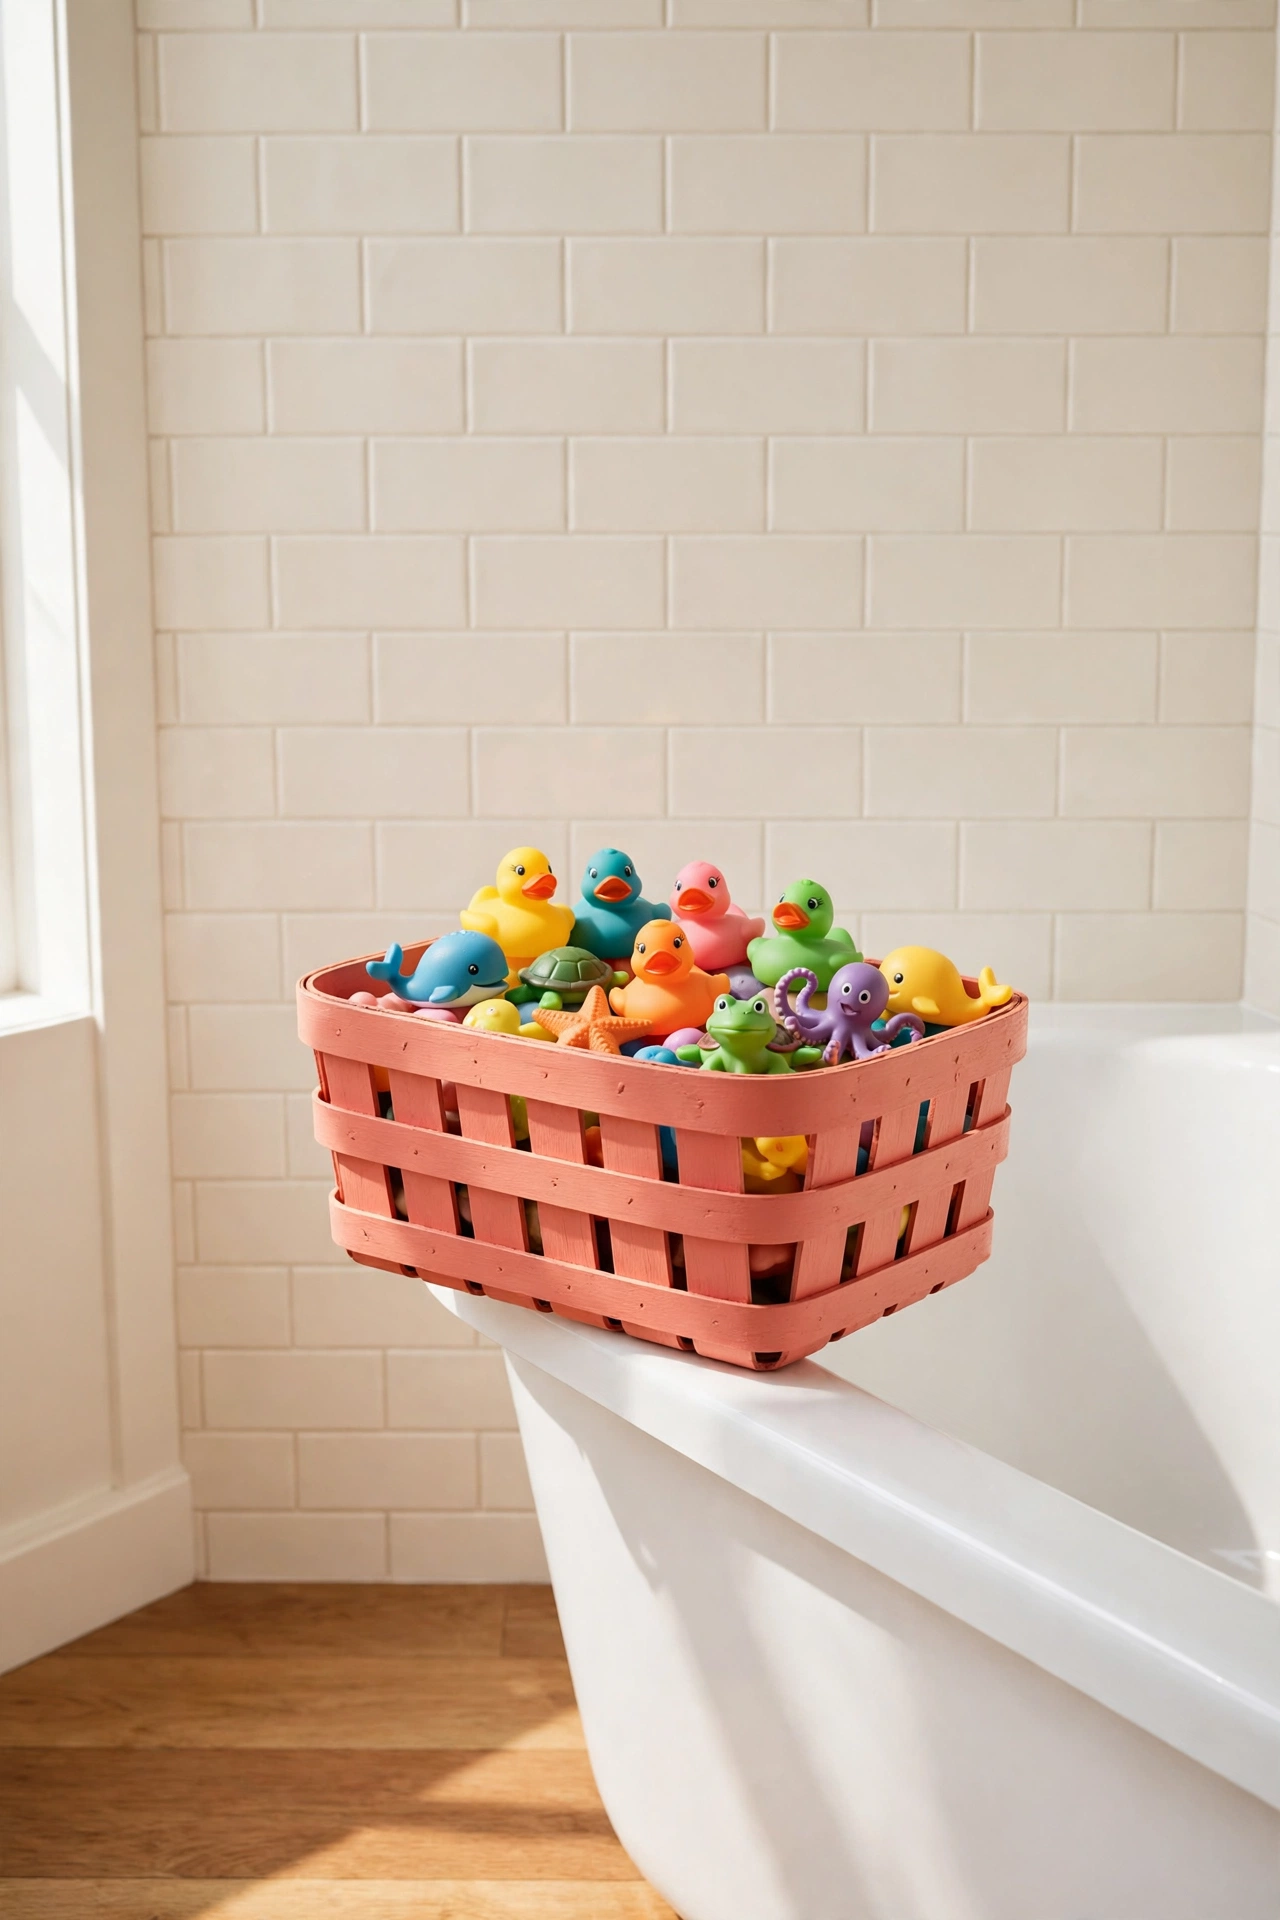
24. Paint Candle Holders in an Ombre Fade
Ombre candle holders bring a soft gradient of color to the bathroom, perfect for relaxing baths. Paint a set of three wooden or ceramic holders so the color fades from deep teal at the base to pale aqua at the top. The gradient looks artistic and calming in candlelight.Blend the colors while the paint is still damp, using a dry brush to soften the line between shades. Practice on paper first to get the fade just right. Place the finished holders on the bath caddy or vanity with unscented candles, and the soft color shift will add a spa like glow to the room.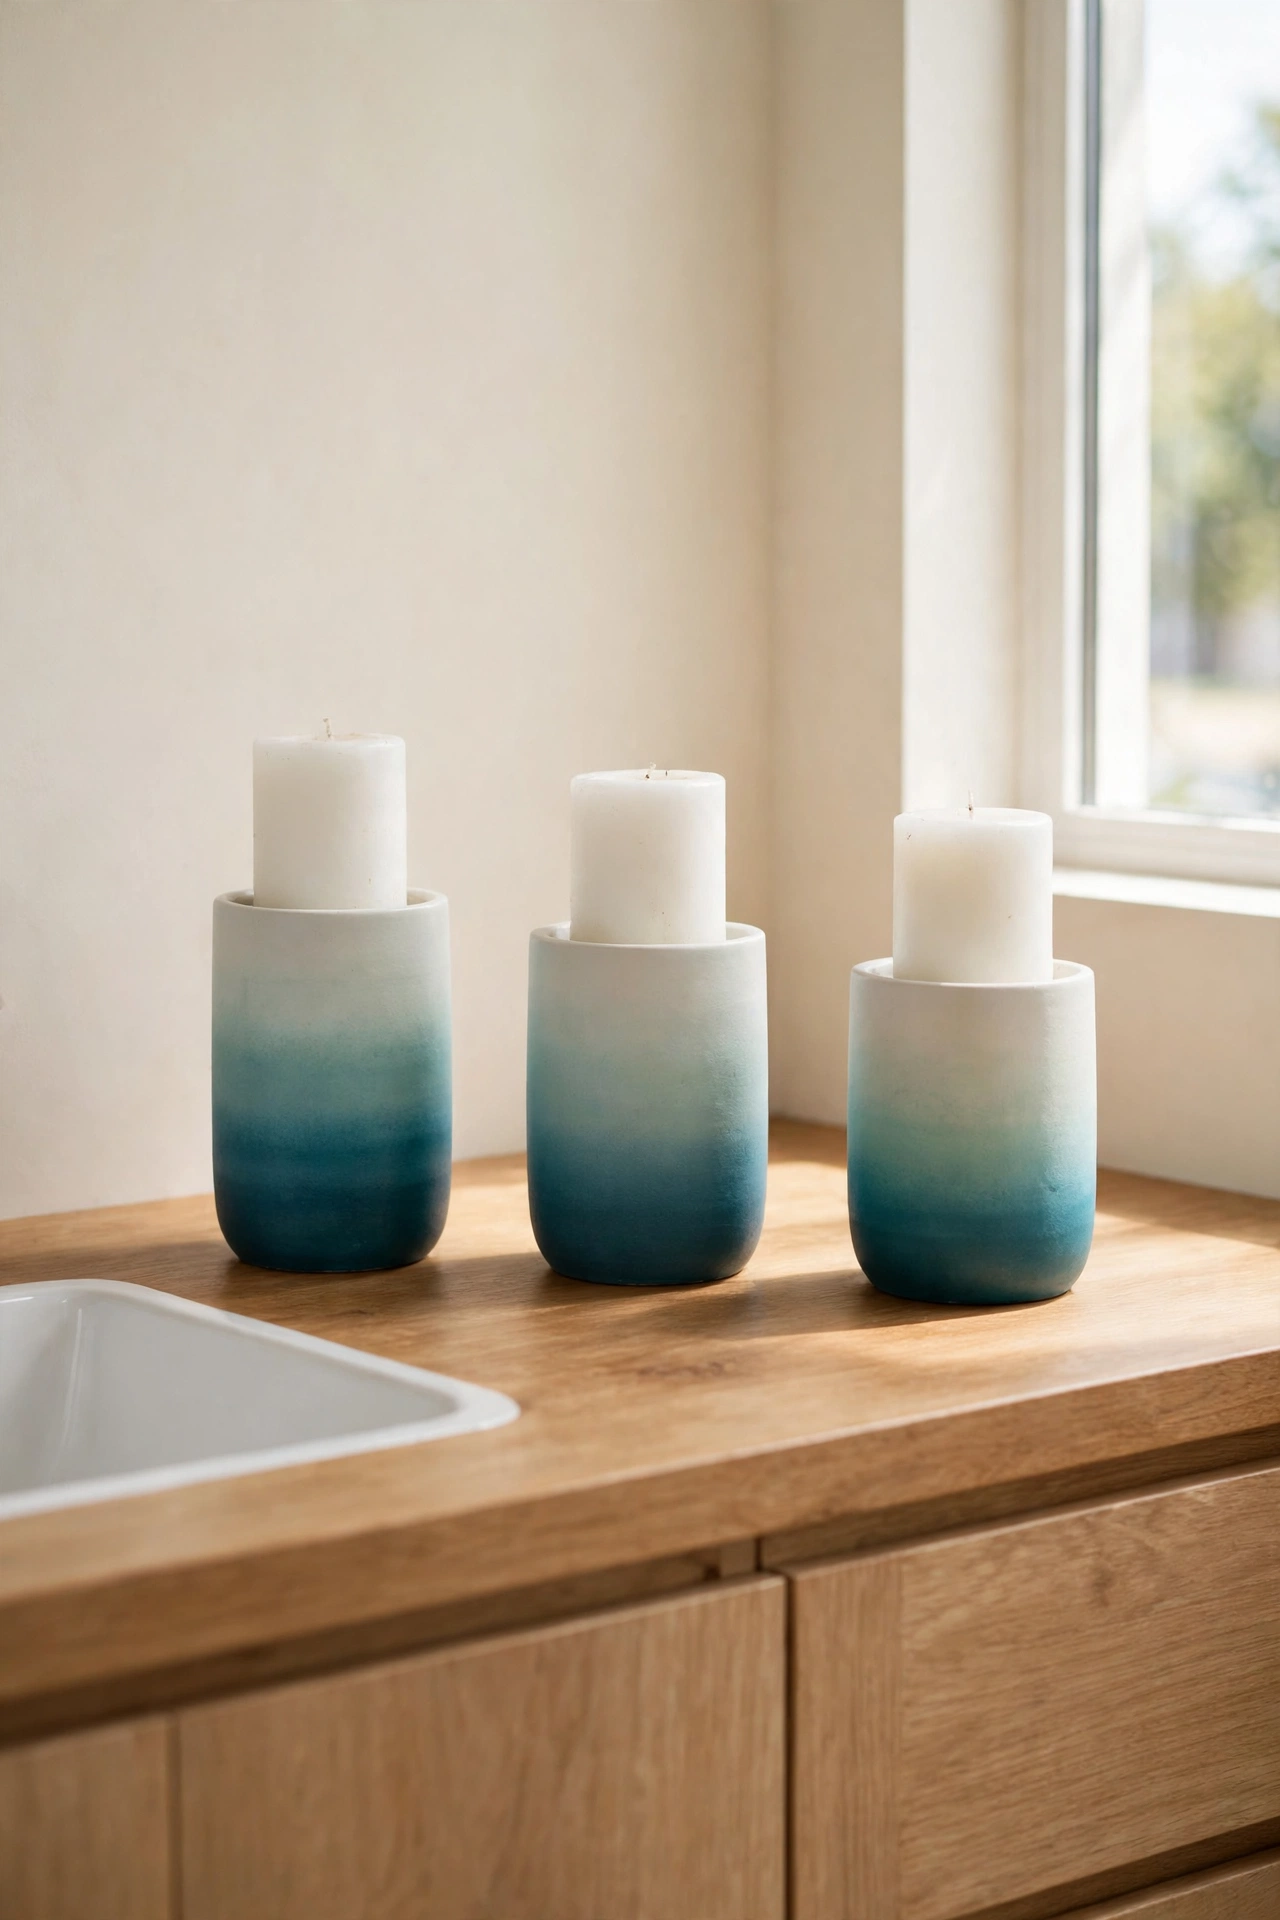
25. Paint Apothecary Jars White With Wood Lids
Apothecary jars with wood lids look charming holding bath salts, cotton rounds, and hair clips. Paint the glass jars white from the inside so the color glows softly through the glass, and leave the wood lids natural for a warm contrast. The jars look like vintage pharmacy finds.Pour a small amount of paint inside each jar and swirl it around until the glass is fully coated, then pour out the excess and let the jars dry upside down. This inside painting trick gives a smooth, glossy finish with no brush marks. Fill the jars to the top with bath salts and cotton rounds so they look full and inviting.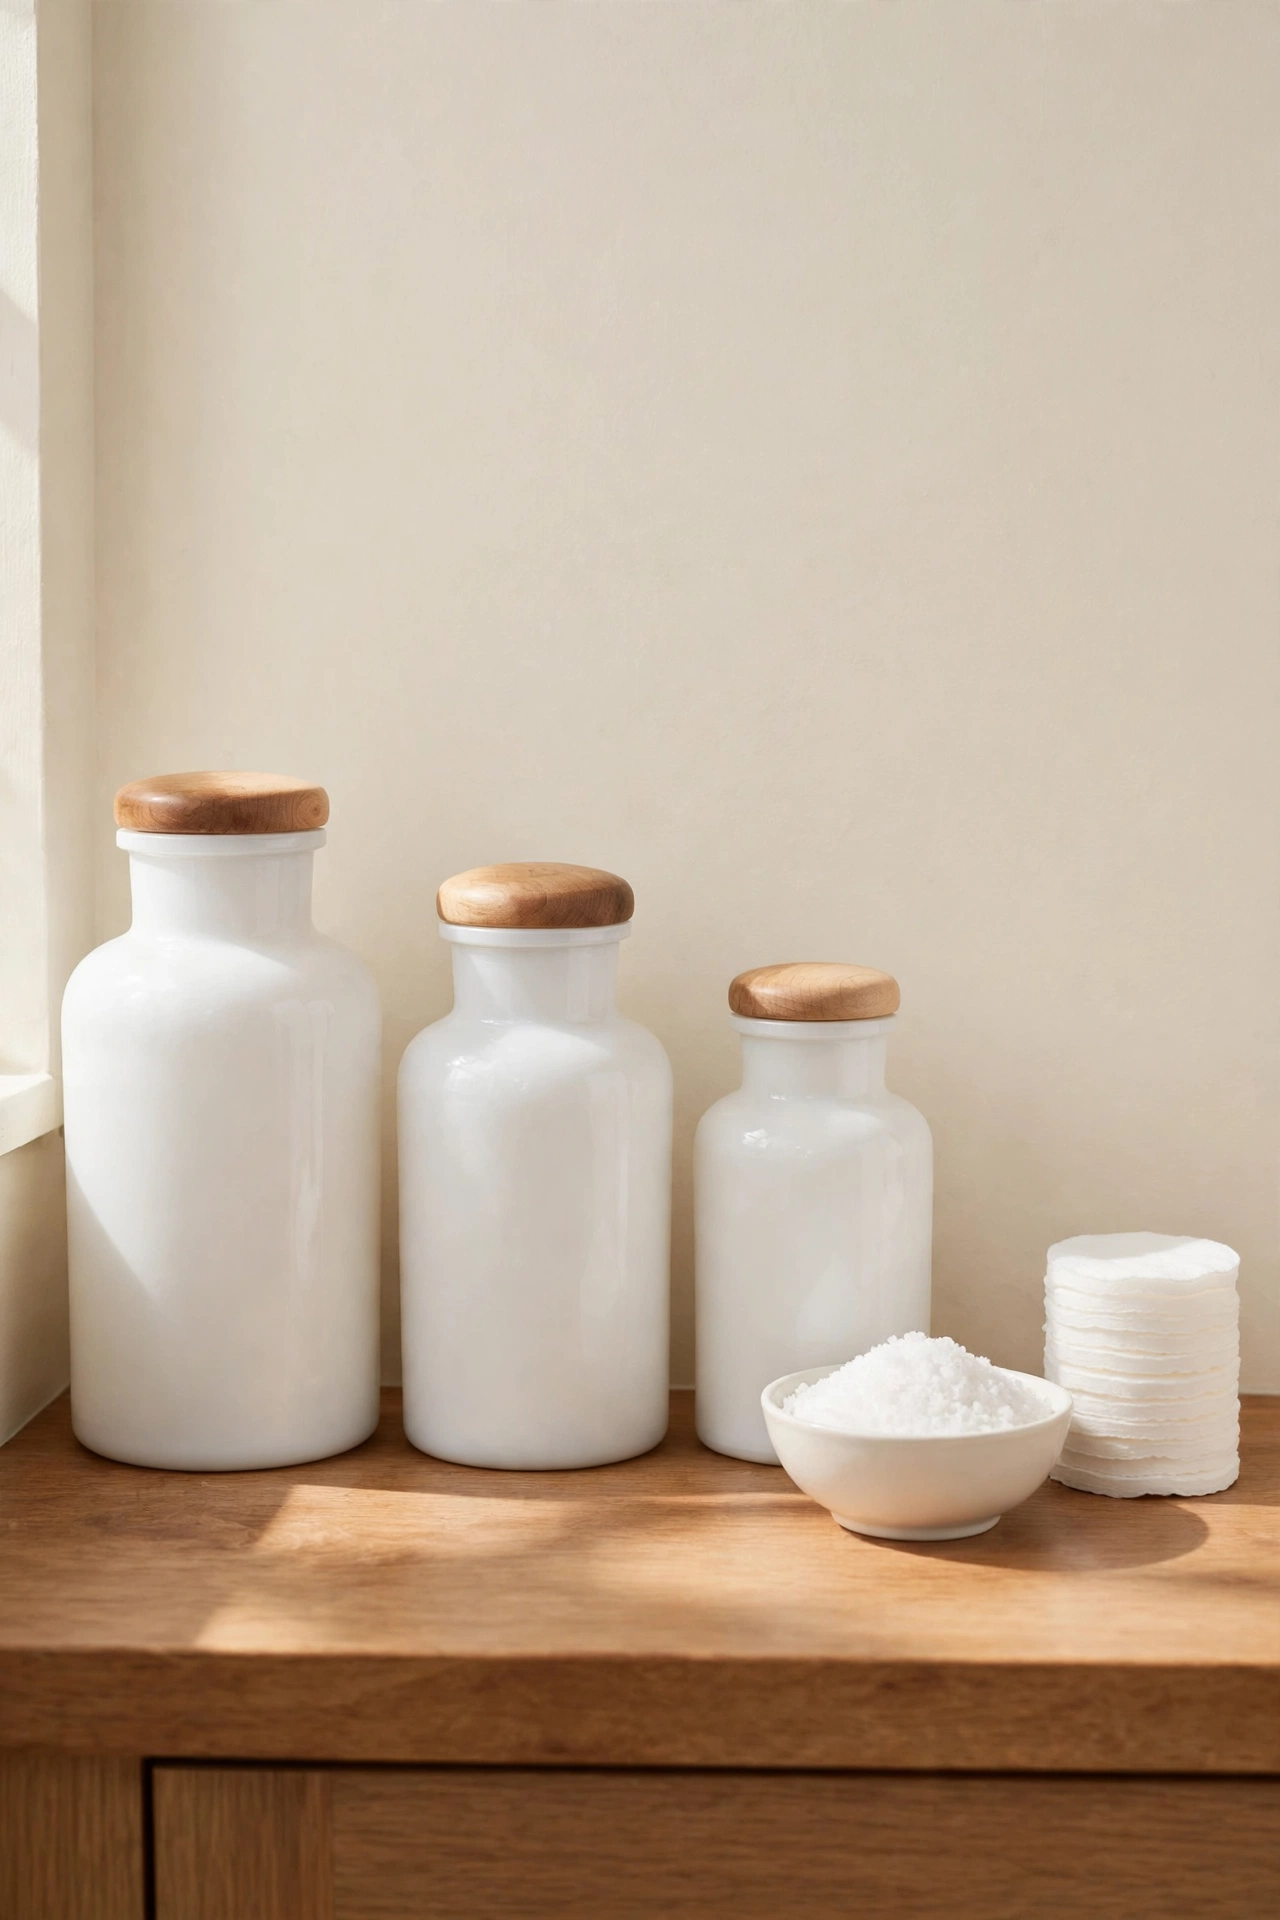
26. Paint a Wicker Basket for Rolled Towels
A wicker basket full of rolled towels is a classic spa display. Paint the basket in a soft blue or warm gray to match your bathroom palette, and the woven texture will show through the paint in a lovely way. Roll hand towels tightly and stand them upright so the basket looks full and lush.Use a spray paint made for wicker and apply light coats from several angles so the paint reaches between the weave. Let the basket dry fully before you fill it with towels. Place it on the floor beside the tub or on a low bench for an easy to reach towel station.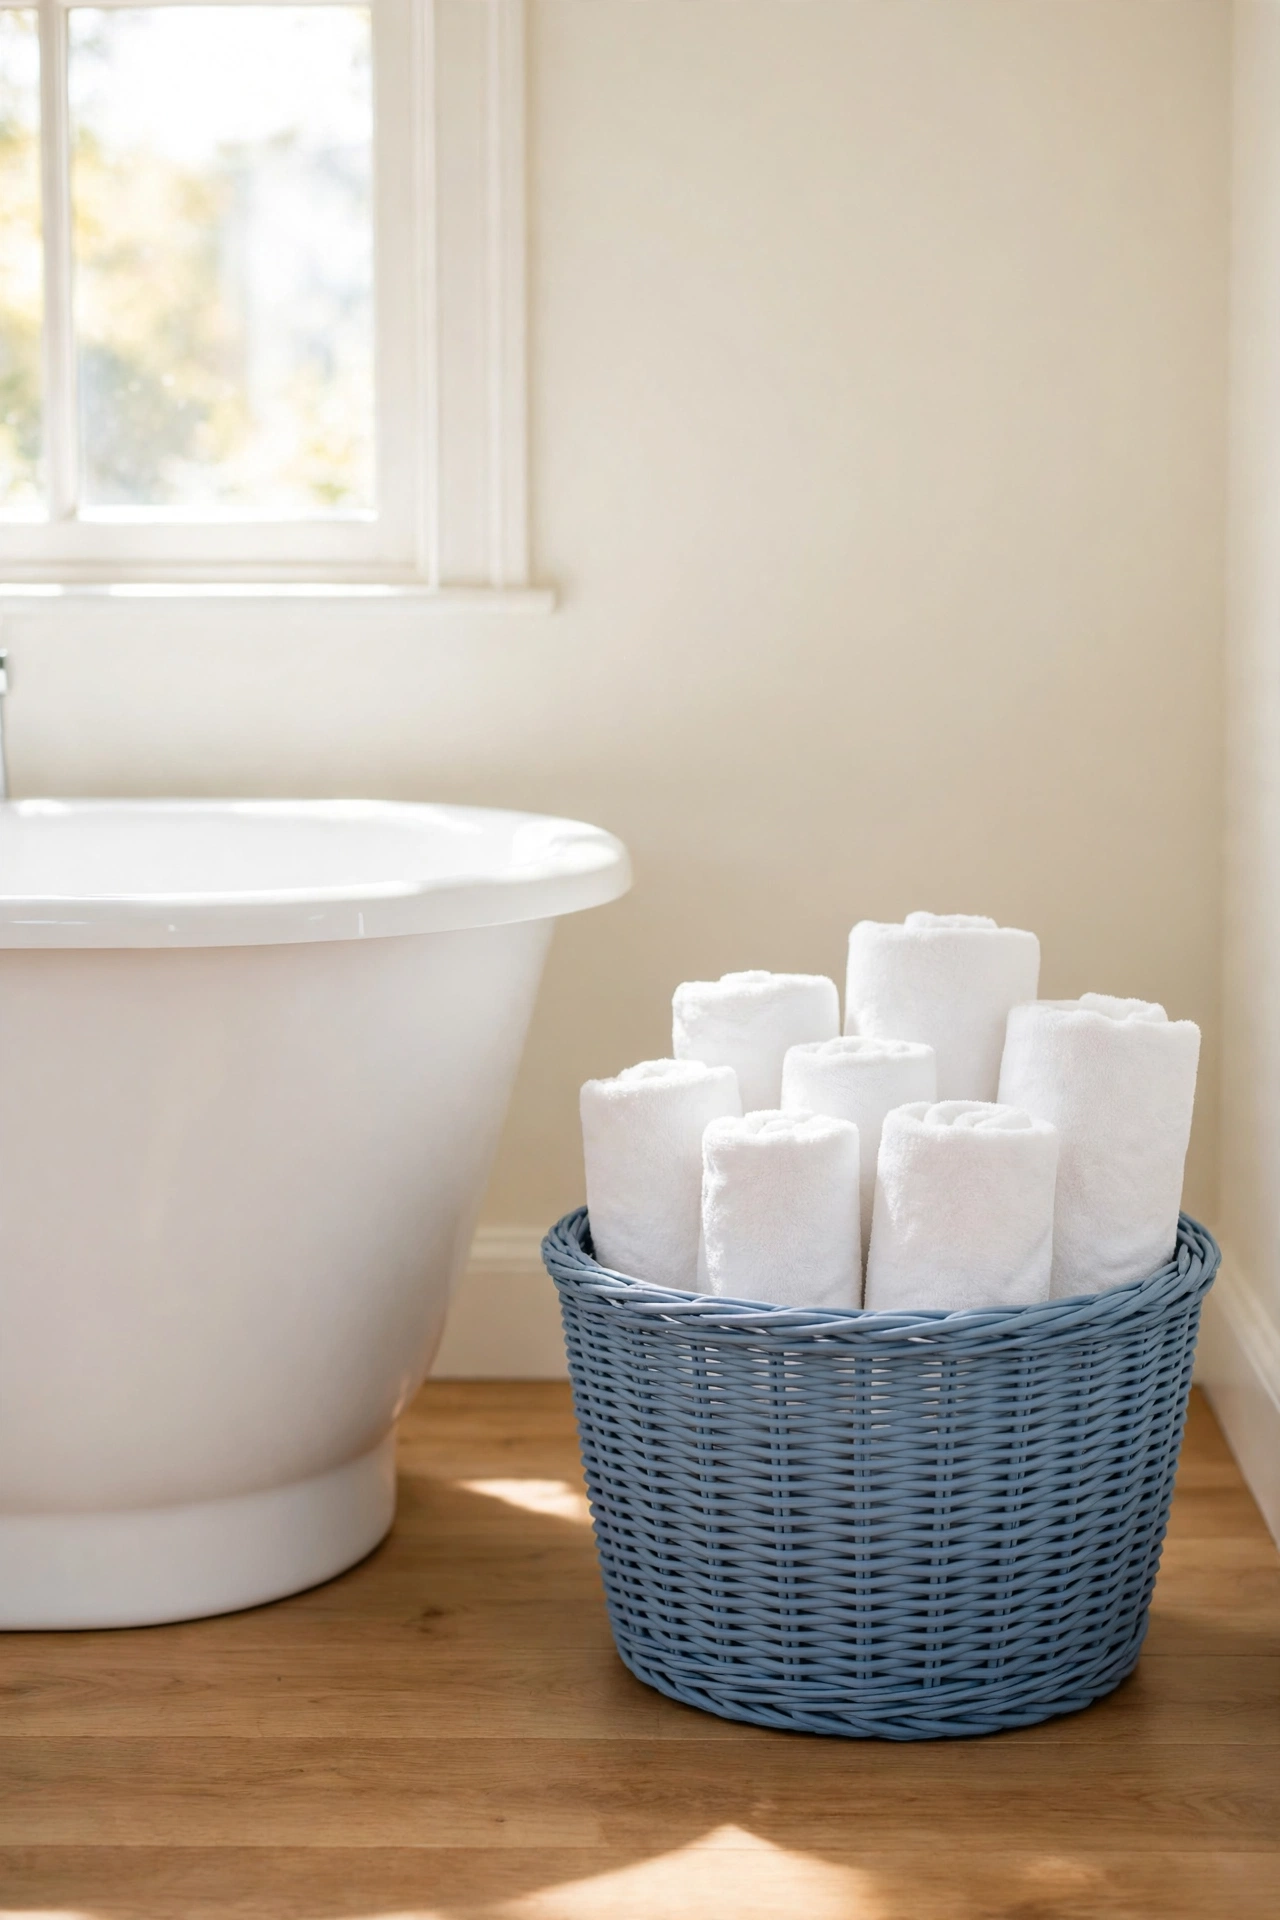
27. Match a Soap Pump and Dish Duo in Black and White
A matching soap pump and dish set in black and white looks crisp and graphic on any vanity. Paint the pump black and the dish white, or give both a black and white pattern like stripes or polka dots. The high contrast duo anchors the sink area and makes the whole vanity look designed.Keep the pattern simple so it reads clearly from across the room. Painter tape helps you create clean stripes, while a round sponge gives perfect dots. Seal both pieces with waterproof topcoat and place them on a small tray so the set reads as one intentional grouping.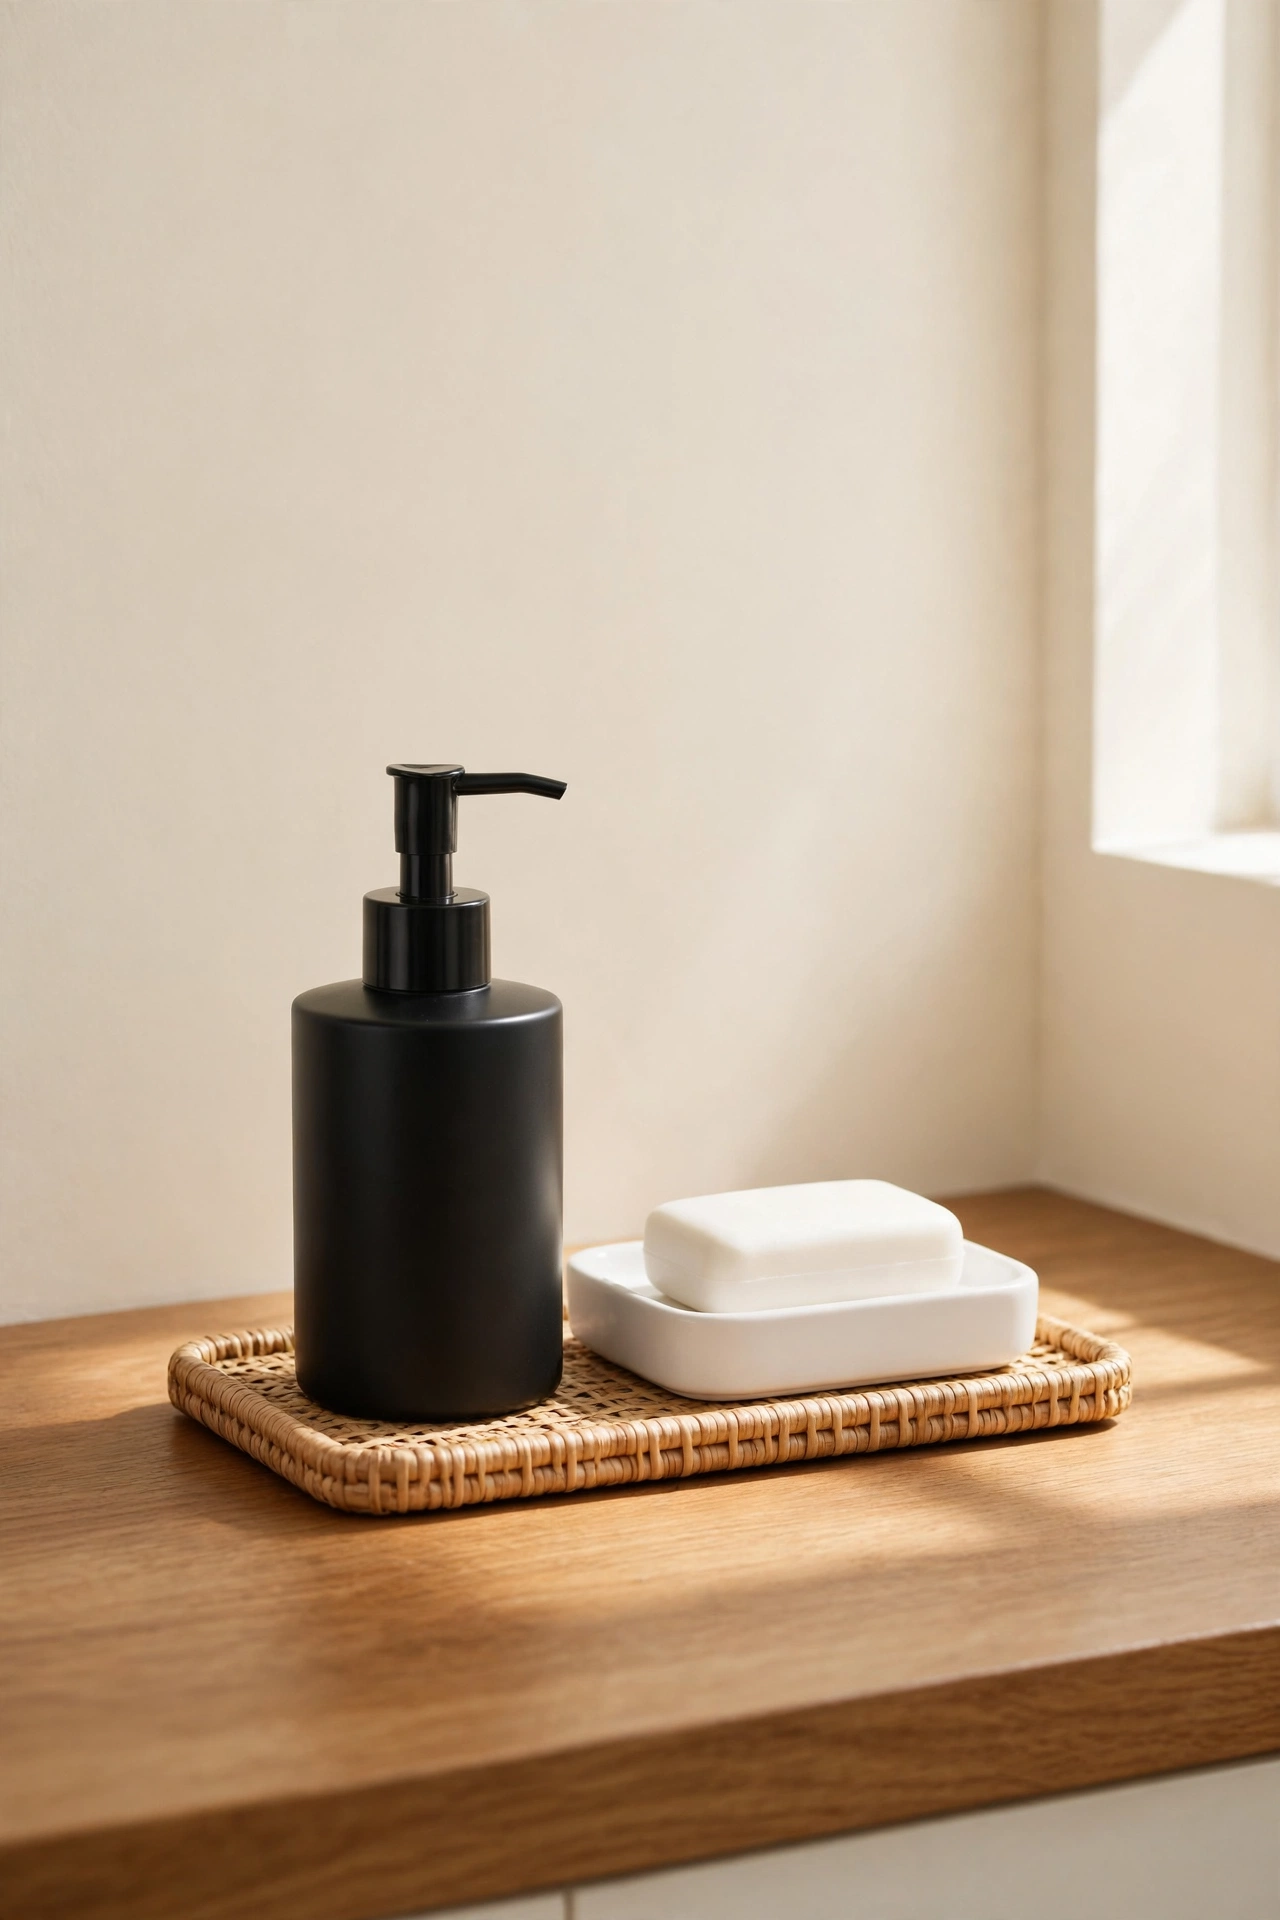
28. Paint a Peg Rail for Bathroom Essentials
A peg rail mounted on the bathroom wall holds washcloths, robes, and small hanging baskets. Paint the rail in a warm cream and the pegs in a contrasting accent color like sage or terracotta for a playful, custom look. The rail keeps essentials off the counter and within easy reach.Mount the rail securely into wall studs or with strong anchors, since wet towels add weight. Space the pegs evenly and paint the whole rail before you hang it for the cleanest finish. Hang a washcloth, a small basket of toiletries, and a robe on the pegs for a tidy, welcoming display.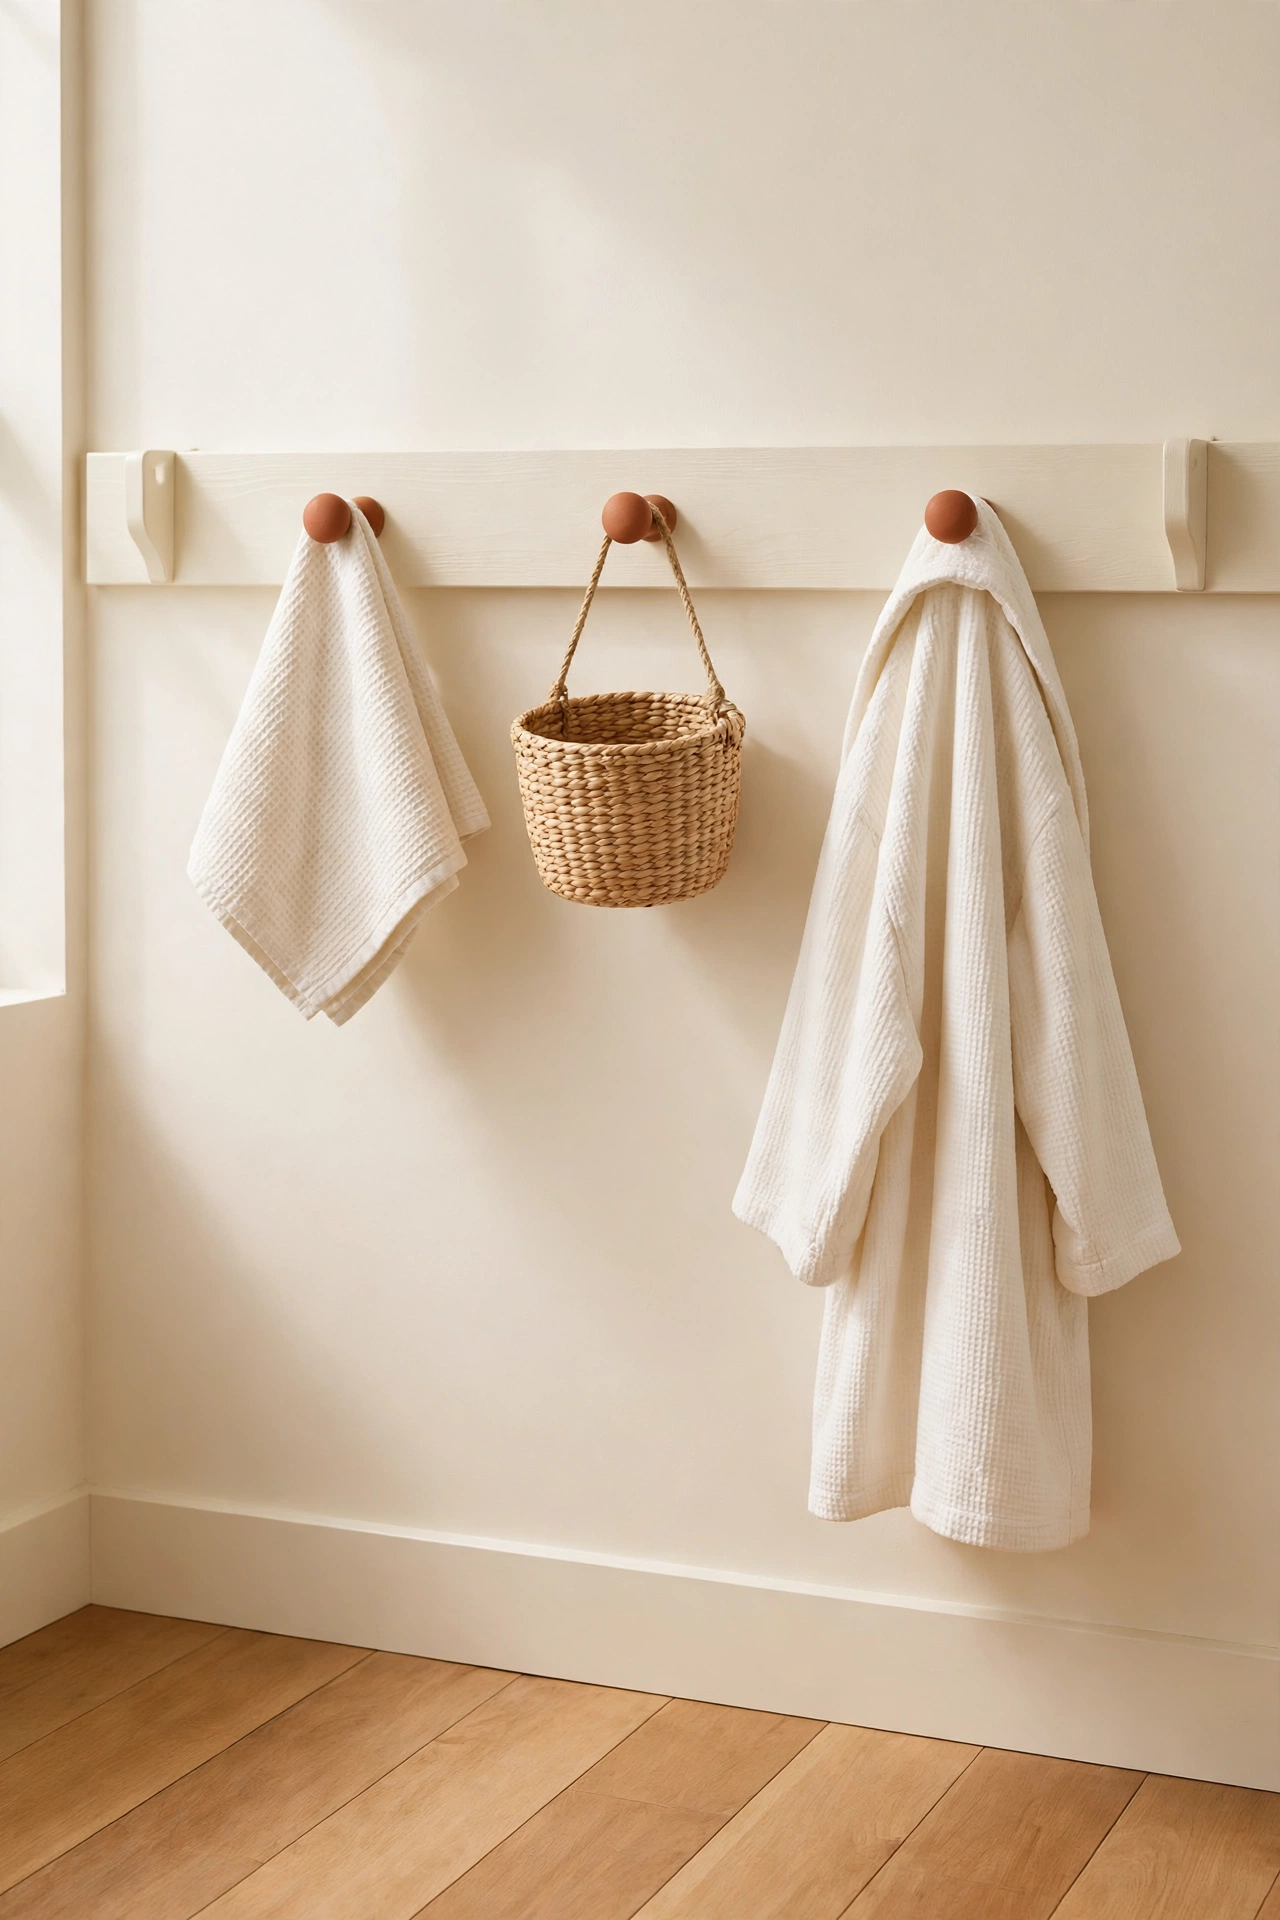
29. Hand Paint a Wooden Sign for the Bathroom Wall
A hand painted wooden sign adds personality to a blank bathroom wall. Paint a simple board in soft white, then add a short cheerful phrase like WASH or SOAK in sage green or navy letters. The sign fills empty wall space and gives the room a friendly, personal touch.Sand the board smooth and paint the background first, letting it dry fully before you add the letters. Use a stencil or lightly pencil the words first so the lettering stays straight and even. Seal the sign against humidity and hang it where it catches the eye without competing with the mirror.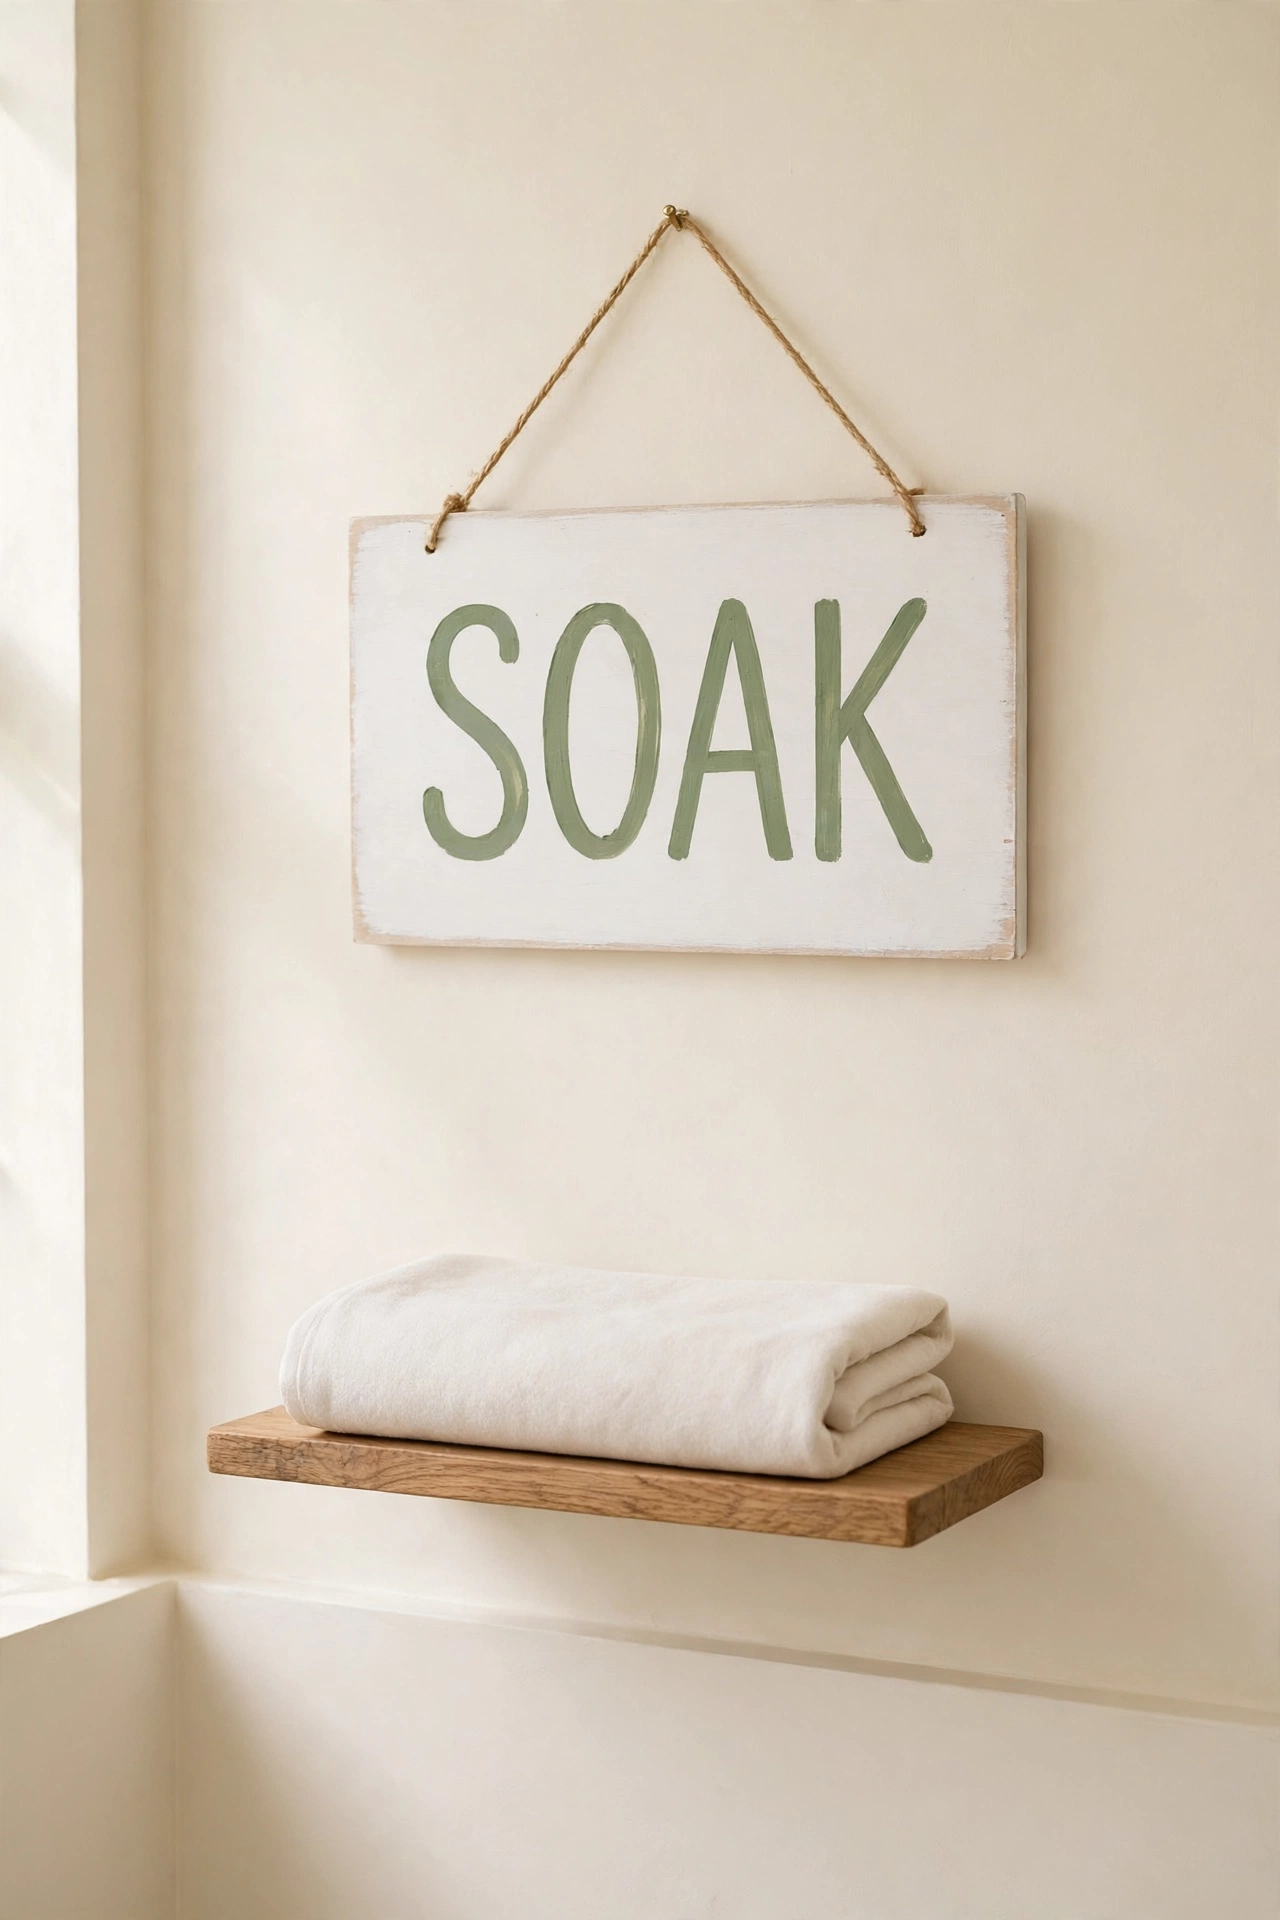
30. Paint a Mason Jar Vase for Fresh Eucalyptus
A mason jar painted in soft blush or pale blue makes a lovely vase for a few stems of fresh eucalyptus. The painted glass softens the look of the jar, and the green leaves add a fresh scent and a natural touch to the vanity. Eucalyptus also thrives in the steamy bathroom air.Paint the outside of the jar with two thin coats, leaving the rim unpainted for a charming contrast. Add water and three or four eucalyptus stems, trimming them so they stand tall without toppling the jar. Replace the stems every couple of weeks to keep the display fresh and fragrant.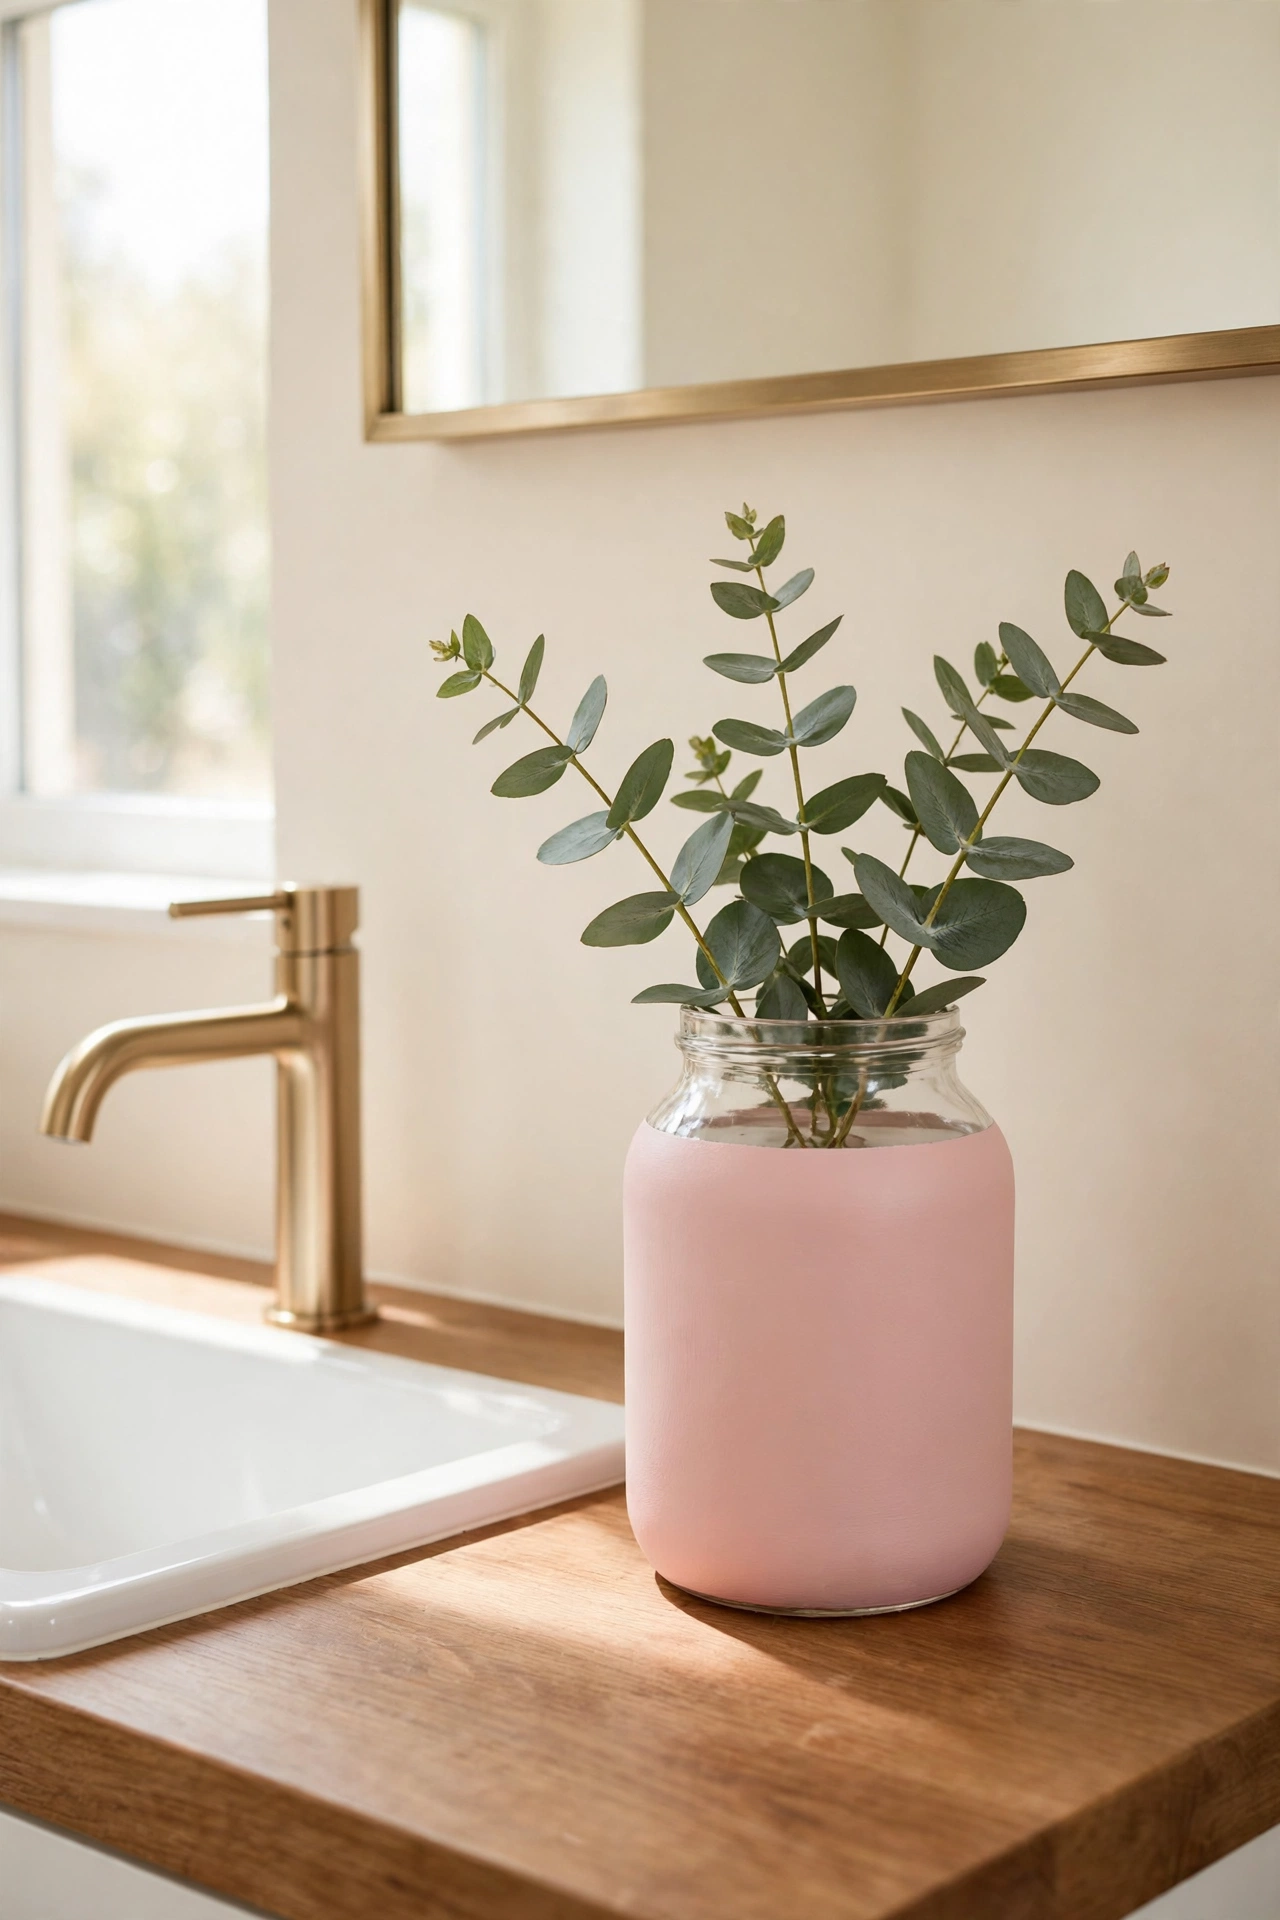
31. Color Block a Wooden Step Stool
A wooden step stool helps children reach the sink and gives adults a boost to high shelves. Color blocking turns a plain stool into a fun accent: paint the legs one color and the top step another, like mustard legs with a cream top. The bold blocks of color look modern and playful.Sand the stool well and use painter tape to create sharp lines between the color blocks. Apply a durable floor grade sealer on the top step since it takes the most wear. A color blocked stool tucked beside the vanity looks cheerful and invites little ones to wash their hands.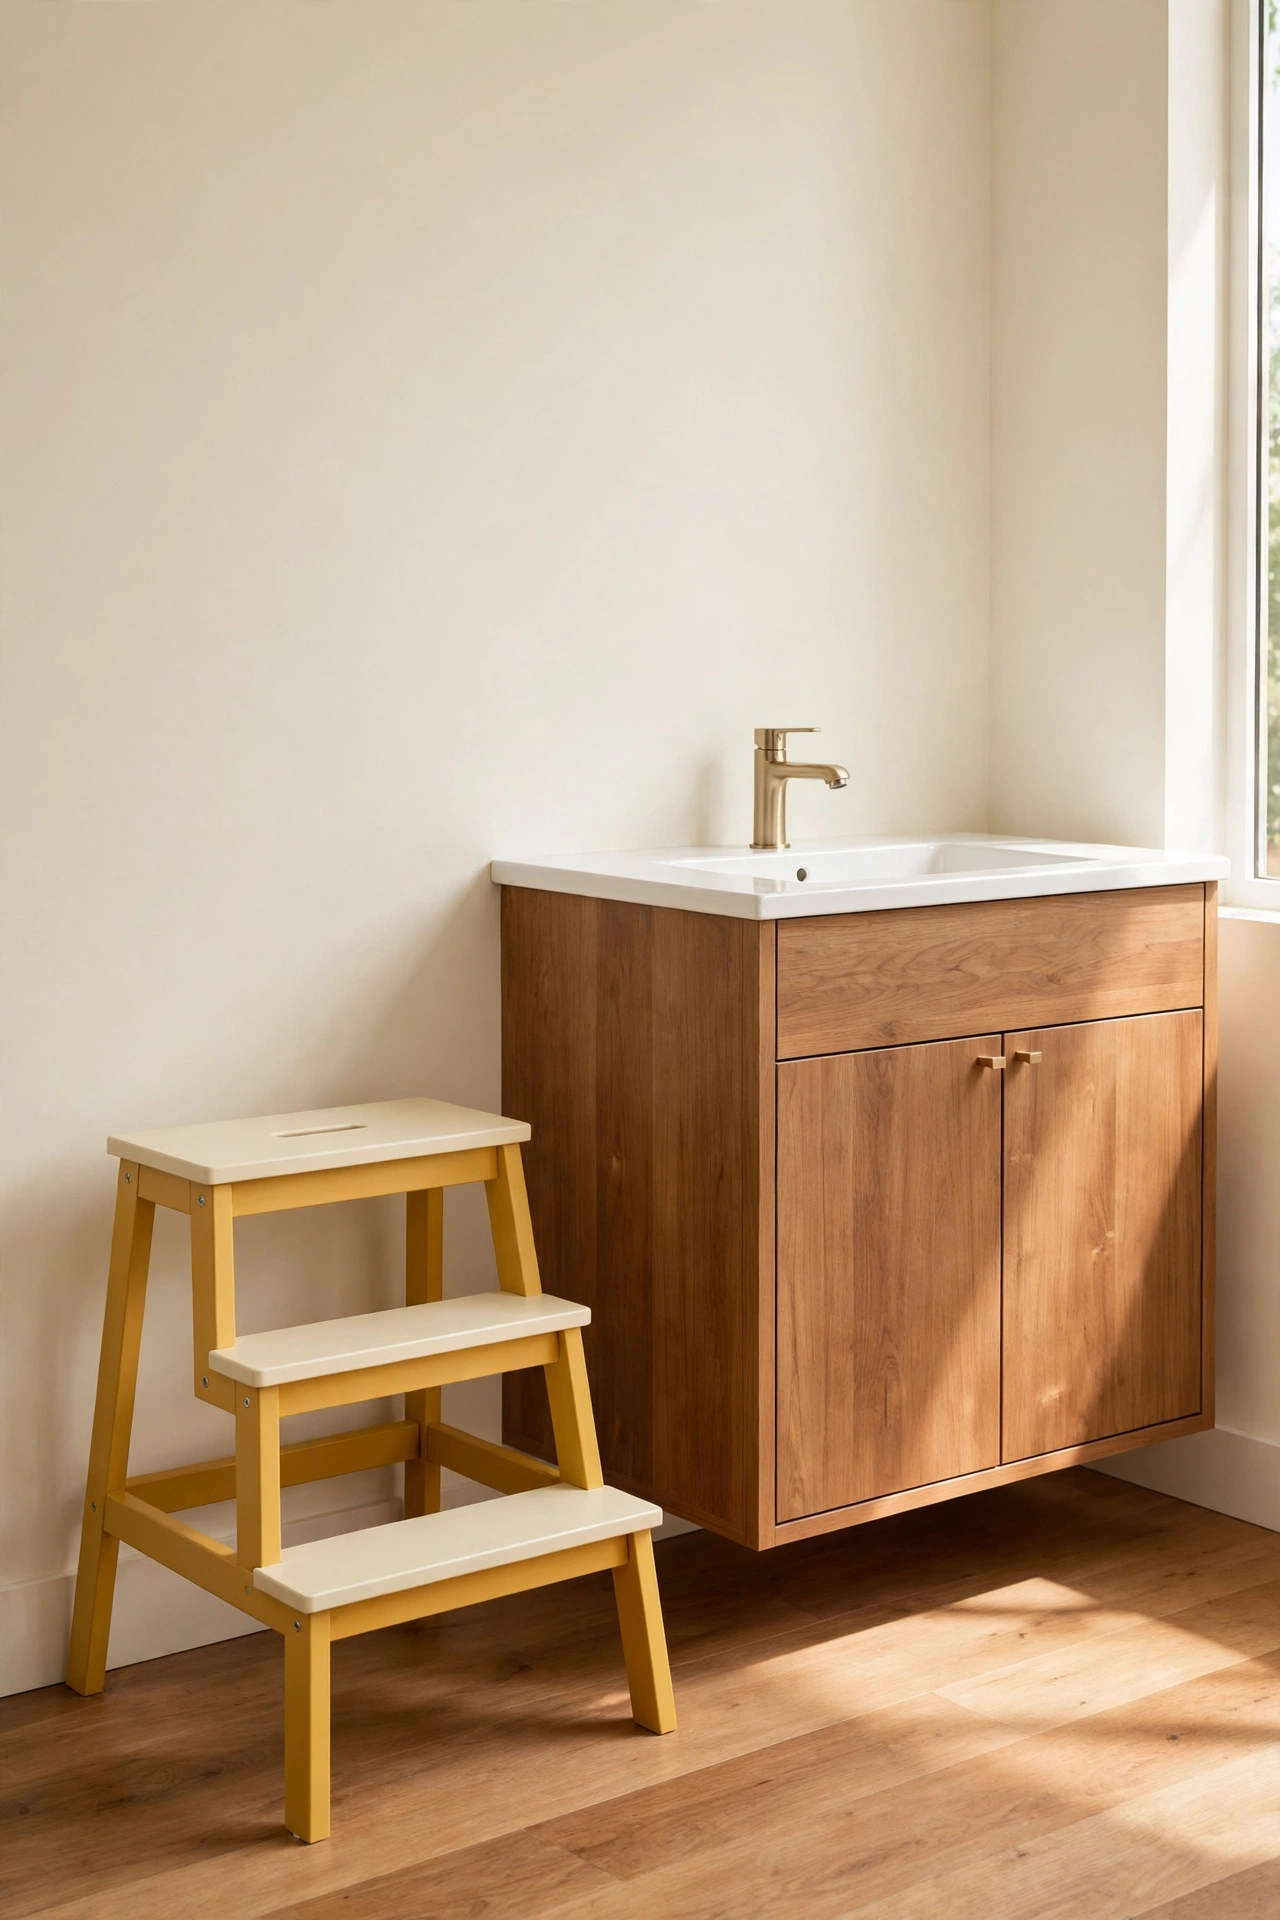
32. Paint a Full Accessory Set in One Signature Color
The most striking makeover is also the simplest: paint every accessory in one signature color. Choose a shade you love, like deep teal, warm terracotta, or soft sage, and apply it to the dispenser, holder, dish, tray, tissue cover, and wastebasket. The matching set looks like a curated collection from a high end store.Work through the accessories one at a time, using the same paint and sealer for a consistent finish. Keep the walls and towels neutral so the signature color takes center stage. When every piece matches, even a small bathroom feels calm, cohesive, and beautifully designed.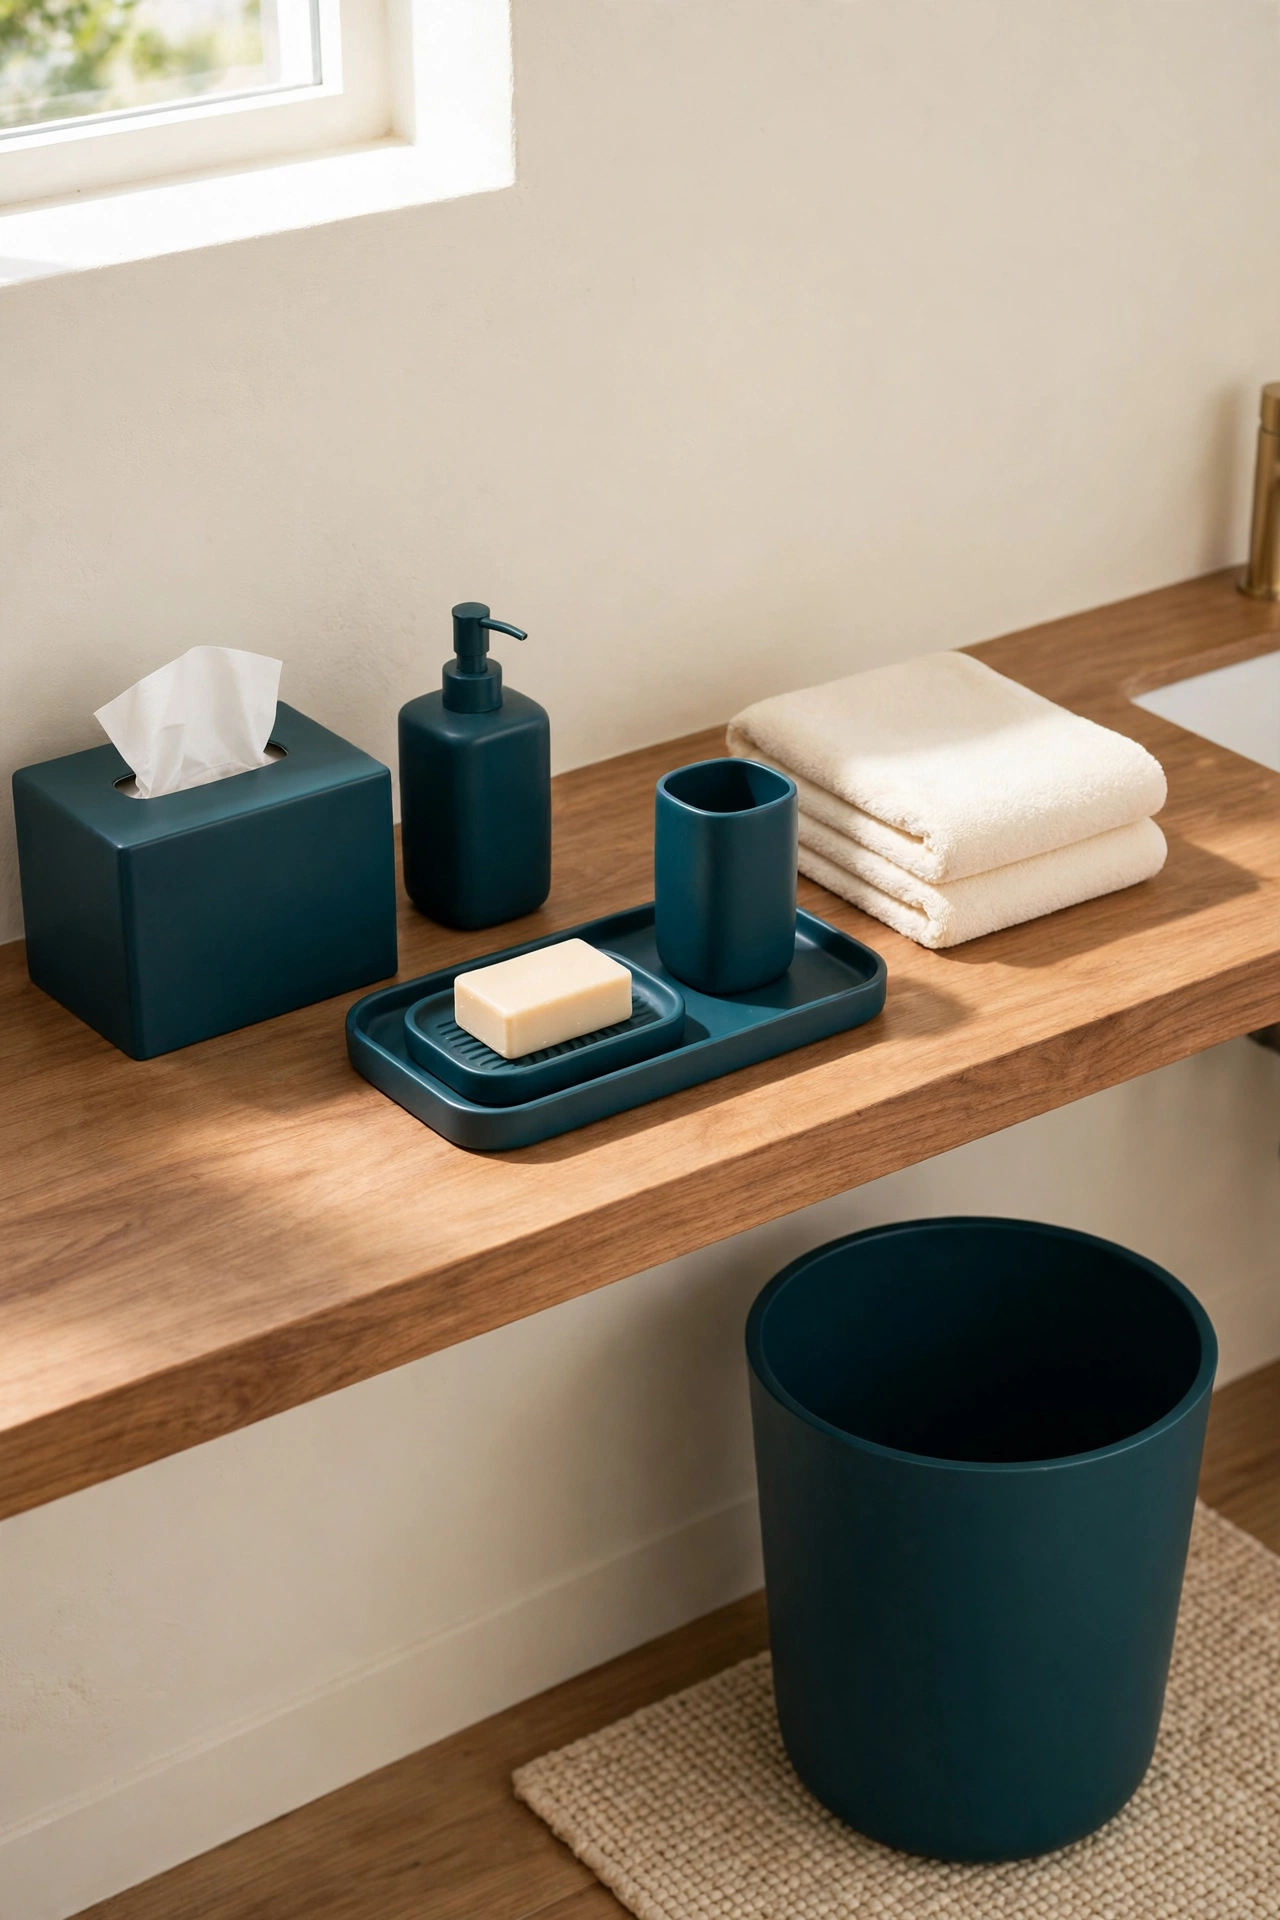
Conclusion
A bathroom makeover does not have to start with the walls or the floor. As these ideas show, a coat of paint on the small things you touch every day can transform the whole room. A matching dispenser, a freshly painted tray, and a colorful wastebasket work together to make the bathroom feel new.Pick one accessory to start with, perhaps the soap dispenser or the tissue box cover, and enjoy the quick win. Once you see how much difference one painted piece makes, you will want to work through the rest of the set. For a bigger refresh on the same budget, these budget friendly bathroom makeover ideas will help you plan the next steps.Frequently Asked Questions About DIY Bathroom Accessory Makeover Ideas With Paint
What kind of paint works best on bathroom accessories?
Acrylic craft paint works well on wood and ceramic, while spray paint made for plastic or metal gives the smoothest finish on those materials. For items that get wet often, choose a paint labeled for bathrooms or exterior use, and always finish with a clear waterproof sealer. The sealer is what protects the color from steam and splashes over time.
Do I need to sand accessories before painting them?
A light sanding helps paint grip smooth surfaces like ceramic, metal, and varnished wood. Use fine grit sandpaper and sand just enough to dull the shine, then wipe away all dust with a damp cloth. On rough or unfinished wood you can often skip sanding, but a quick pass still gives a smoother final finish.
How do I keep paint from peeling in a steamy bathroom?
Start with a clean, dry surface and use a bonding primer made for humid rooms. Apply thin coats and let each coat dry fully before the next one. Finish with two coats of waterproof clear sealer and let the piece cure for at least 48 hours before you use it near water. Good ventilation during drying also helps the paint harden properly.
Can I paint plastic bathroom accessories?
Yes, plastic accessories paint beautifully if you prepare them correctly. Wash the plastic with soap and water, sand it lightly, and apply a primer made for plastic before the color coats. Spray paint designed for plastic gives the most even result. Avoid heavy scrubbing on painted plastic, and reseal it if the finish starts to wear.
How long should painted accessories dry before I use them?
Most paint feels dry to the touch within an hour, but full curing takes much longer. Wait at least 24 hours before light use and 48 to 72 hours before the accessory gets regular contact with water. Rushing this step is the most common reason painted finishes peel, so patience pays off with a longer lasting result.

Hi, I’m Emily! I turn messy corners into cozy, organized spots. DreamNestDecor is where I share simple, practical home ideas — decor, organization, and small-space solutions that work in real life, not just in photos. Every idea here is carefully researched before it’s shared.