
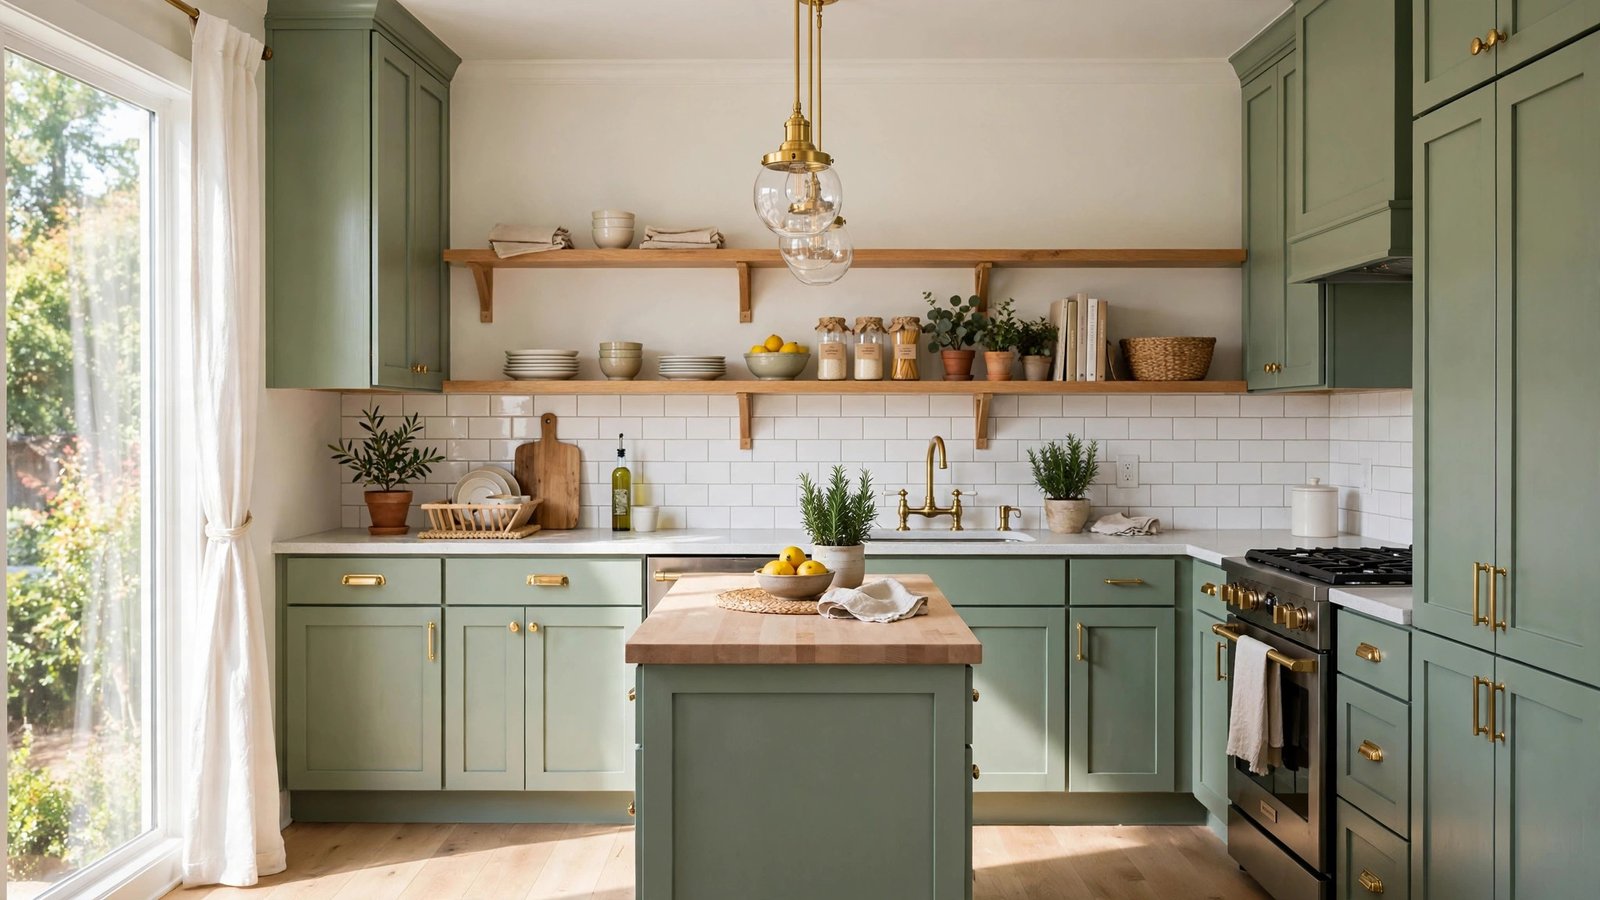
You love your kitchen, but every time you open those cabinets, you see the same dated oak doors staring back at you. A full kitchen remodel would fix everything, but the price tag makes your stomach drop, and the thought of weeks without a working kitchen is even worse. So you keep scrolling past dream kitchens on Pinterest, convinced that look is out of reach.
It is not. Your cabinet boxes are probably perfectly fine: it is just the surface that feels tired. A weekend, a paintbrush, and a few clever swaps can make those same cabinets look custom and current. These 12 DIY cabinet makeover ideas skip the demolition entirely, and several are fully renter friendly, just like our rental friendly decor hacks.
1. Bold New Paint Color for Cabinets
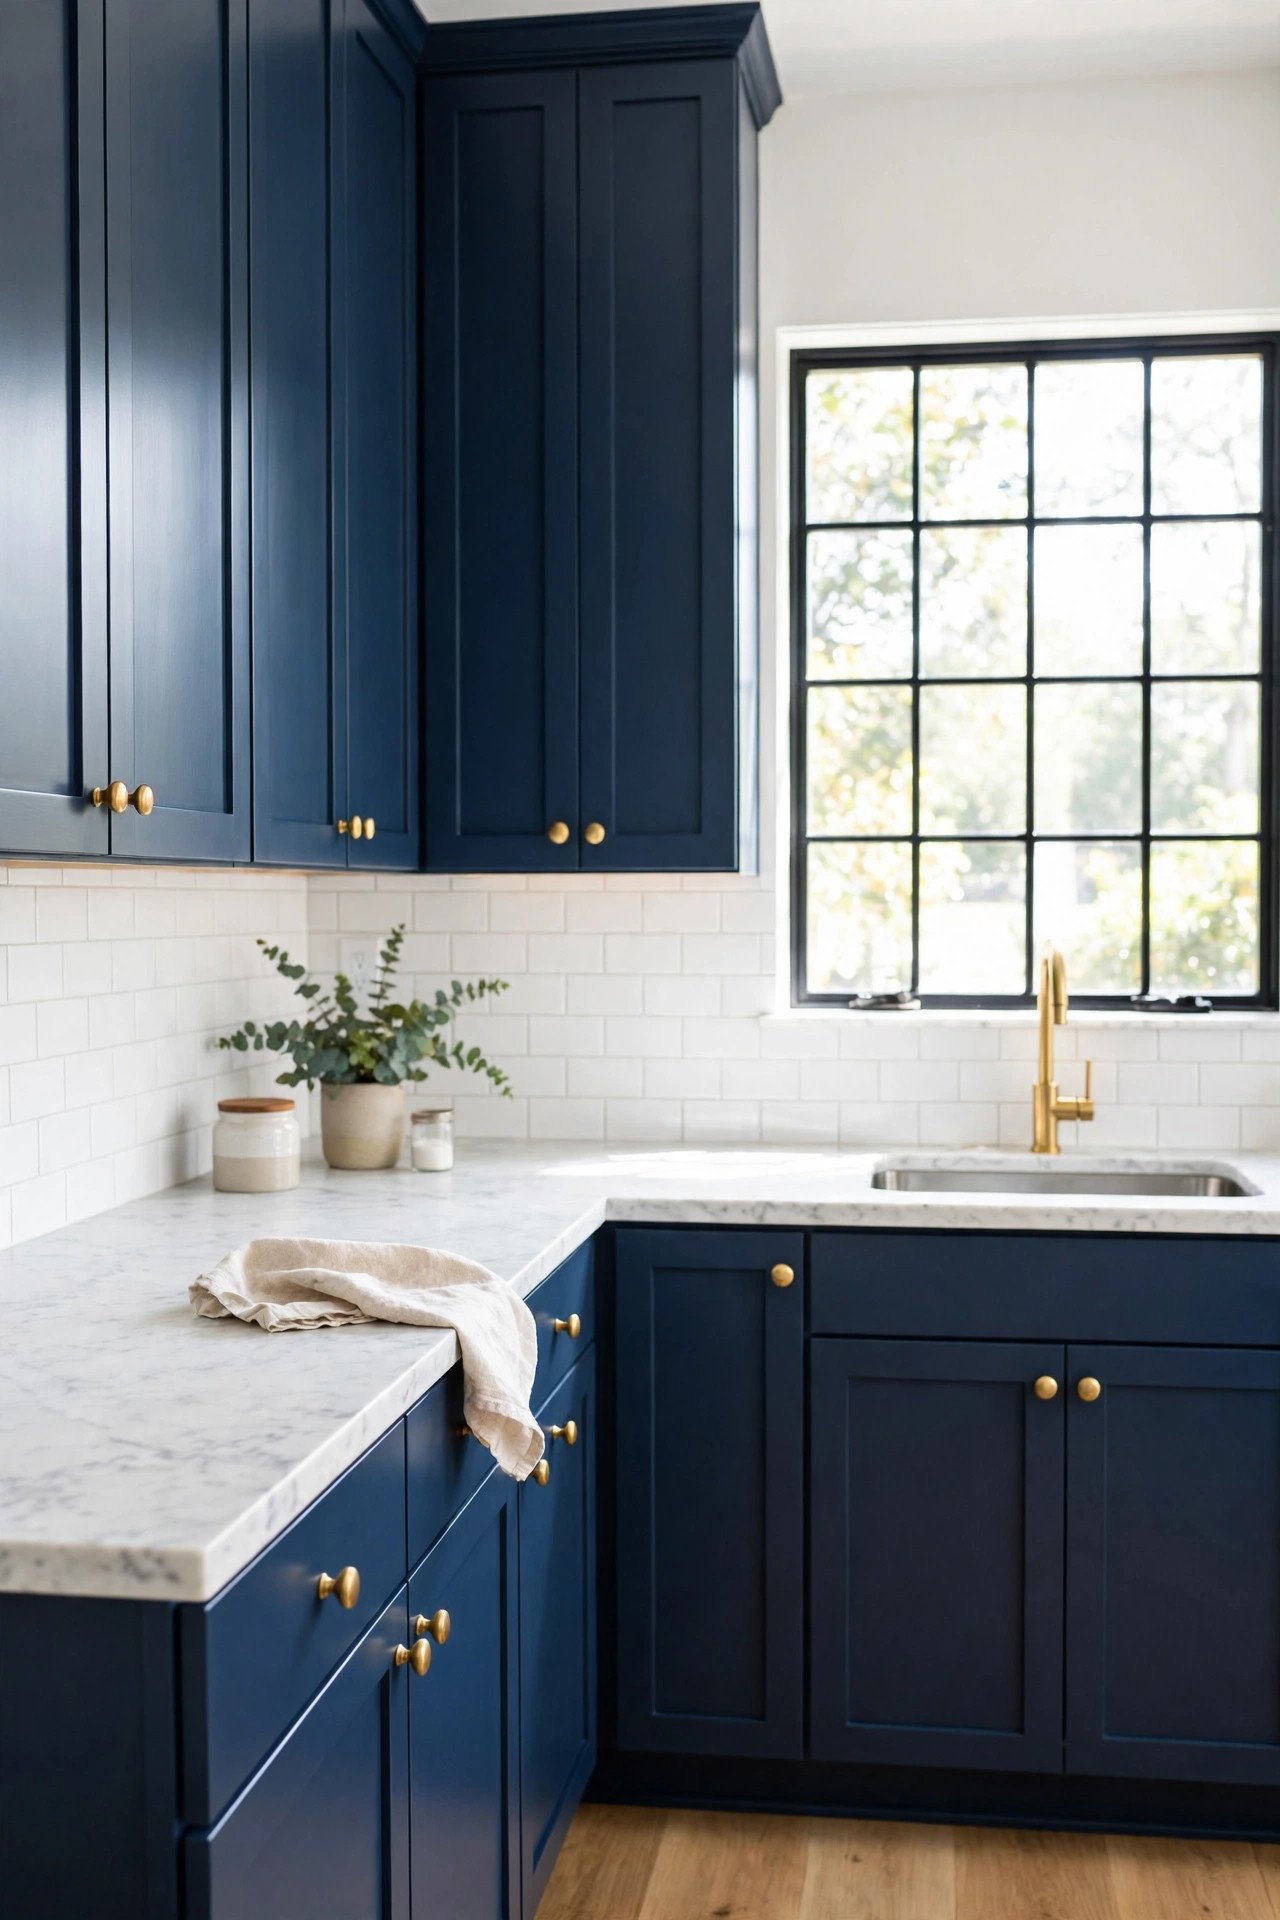
A single can of paint is the cheapest way to change your kitchen’s entire personality. Trading dated oak or beige for moody navy, forest green, or soft terracotta instantly makes the space feel designed rather than inherited. Sand lightly, prime well, and apply two coats of quality cabinet paint for a smooth, durable finish.
Choose a color that plays nicely with your countertops and backsplash so the whole room feels connected. Satin and matte finishes hide fingerprints better than high gloss, which matters in a busy kitchen. If a full-kitchen color feels bold, test it on just the island or the lower cabinets first.
2. Fresh Cabinet Hardware Swap
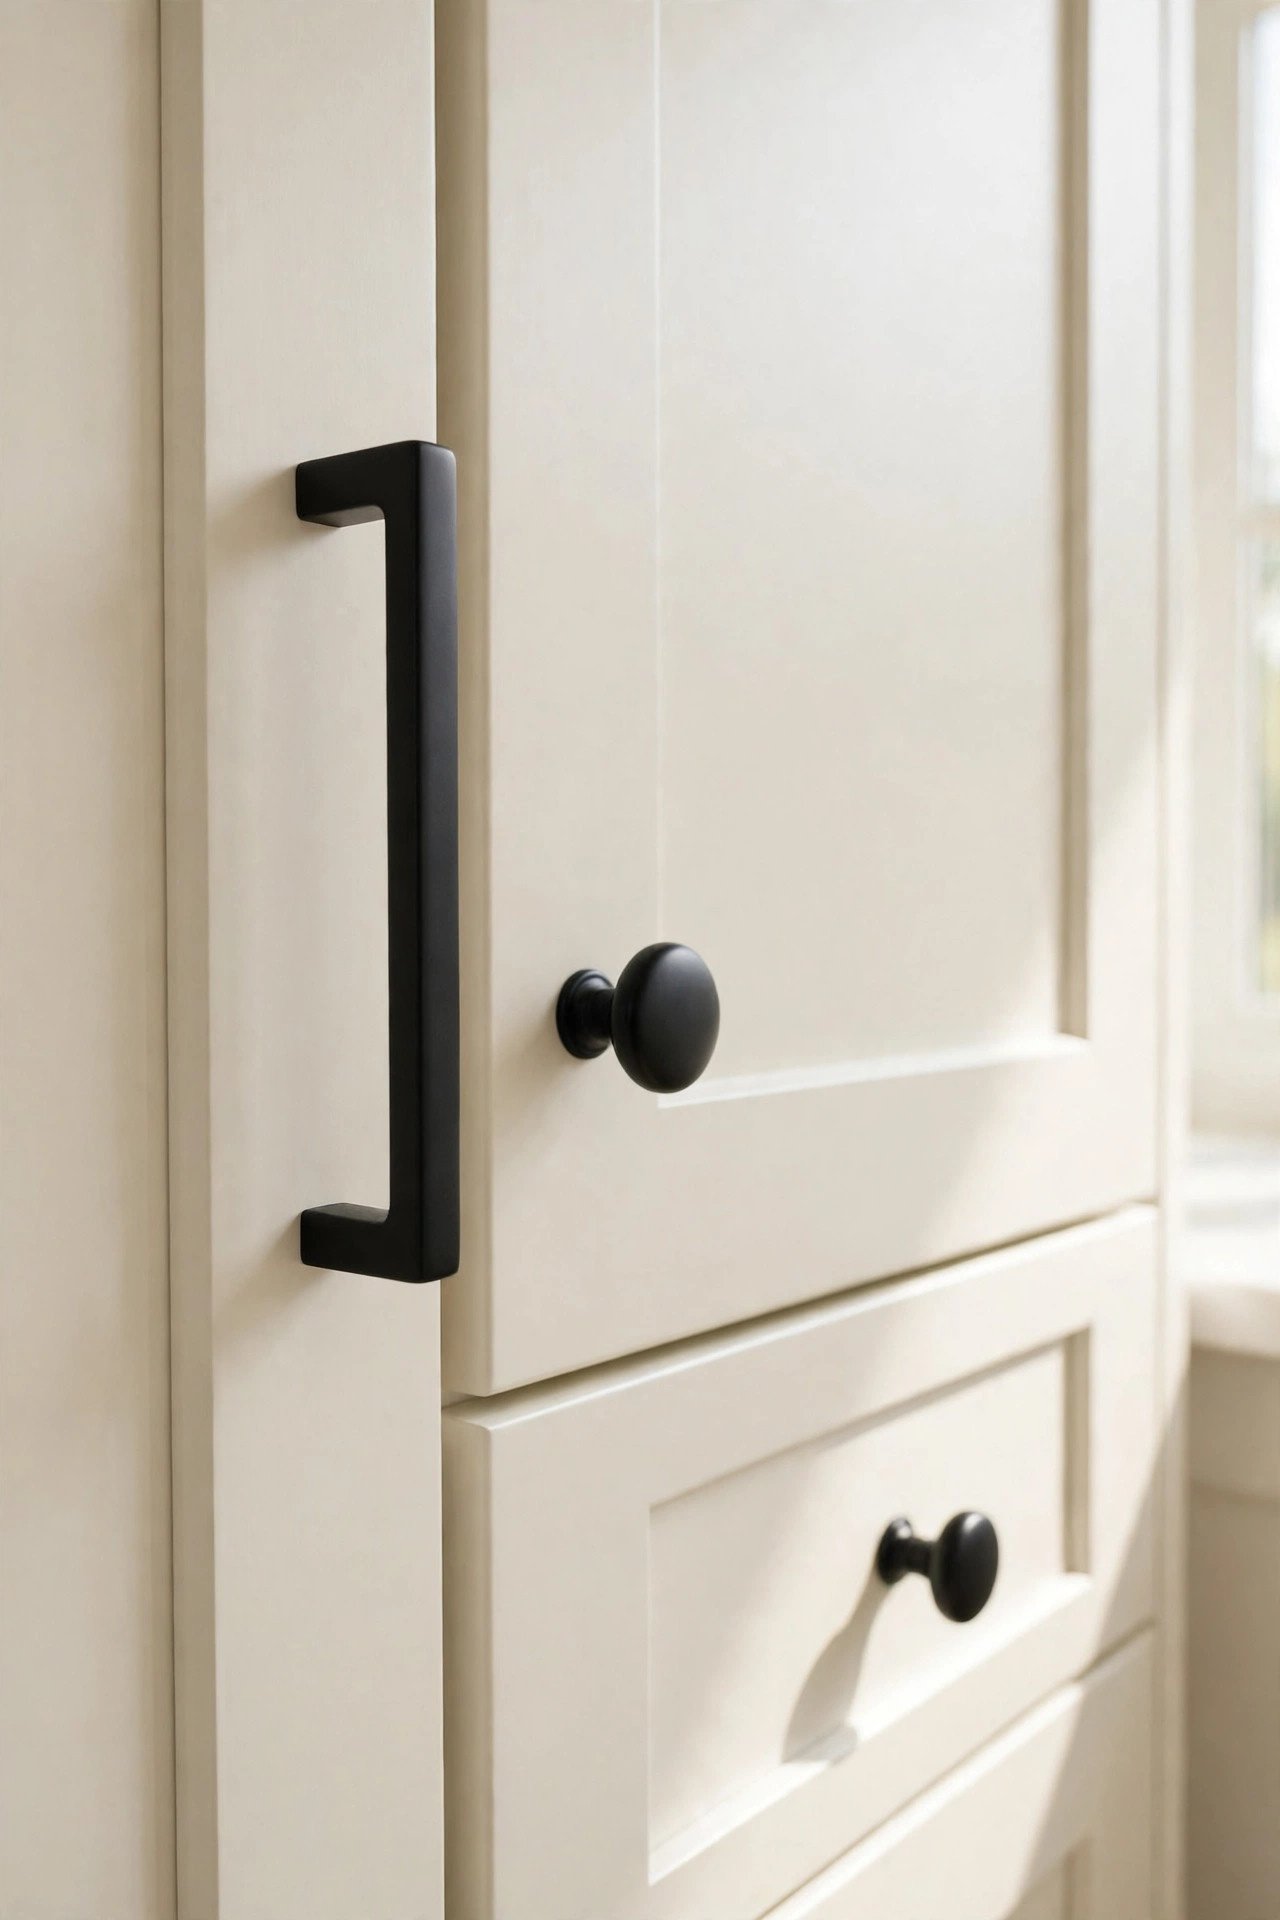
Never underestimate what new knobs and pulls can do. Hardware is like jewelry for your cabinets, and swapping dated brass for matte black, brushed gold, or unlacquered brass takes one afternoon and one screwdriver. The same old cabinet boxes suddenly look modern and intentional.
Try longer bar pulls on drawers with simple knobs on doors for a nice visual rhythm, or mix metals for a collected, curated feel. This update is fully reversible, which makes it perfect for renters too. Small swap, huge difference.
3. Airy Open Shelving
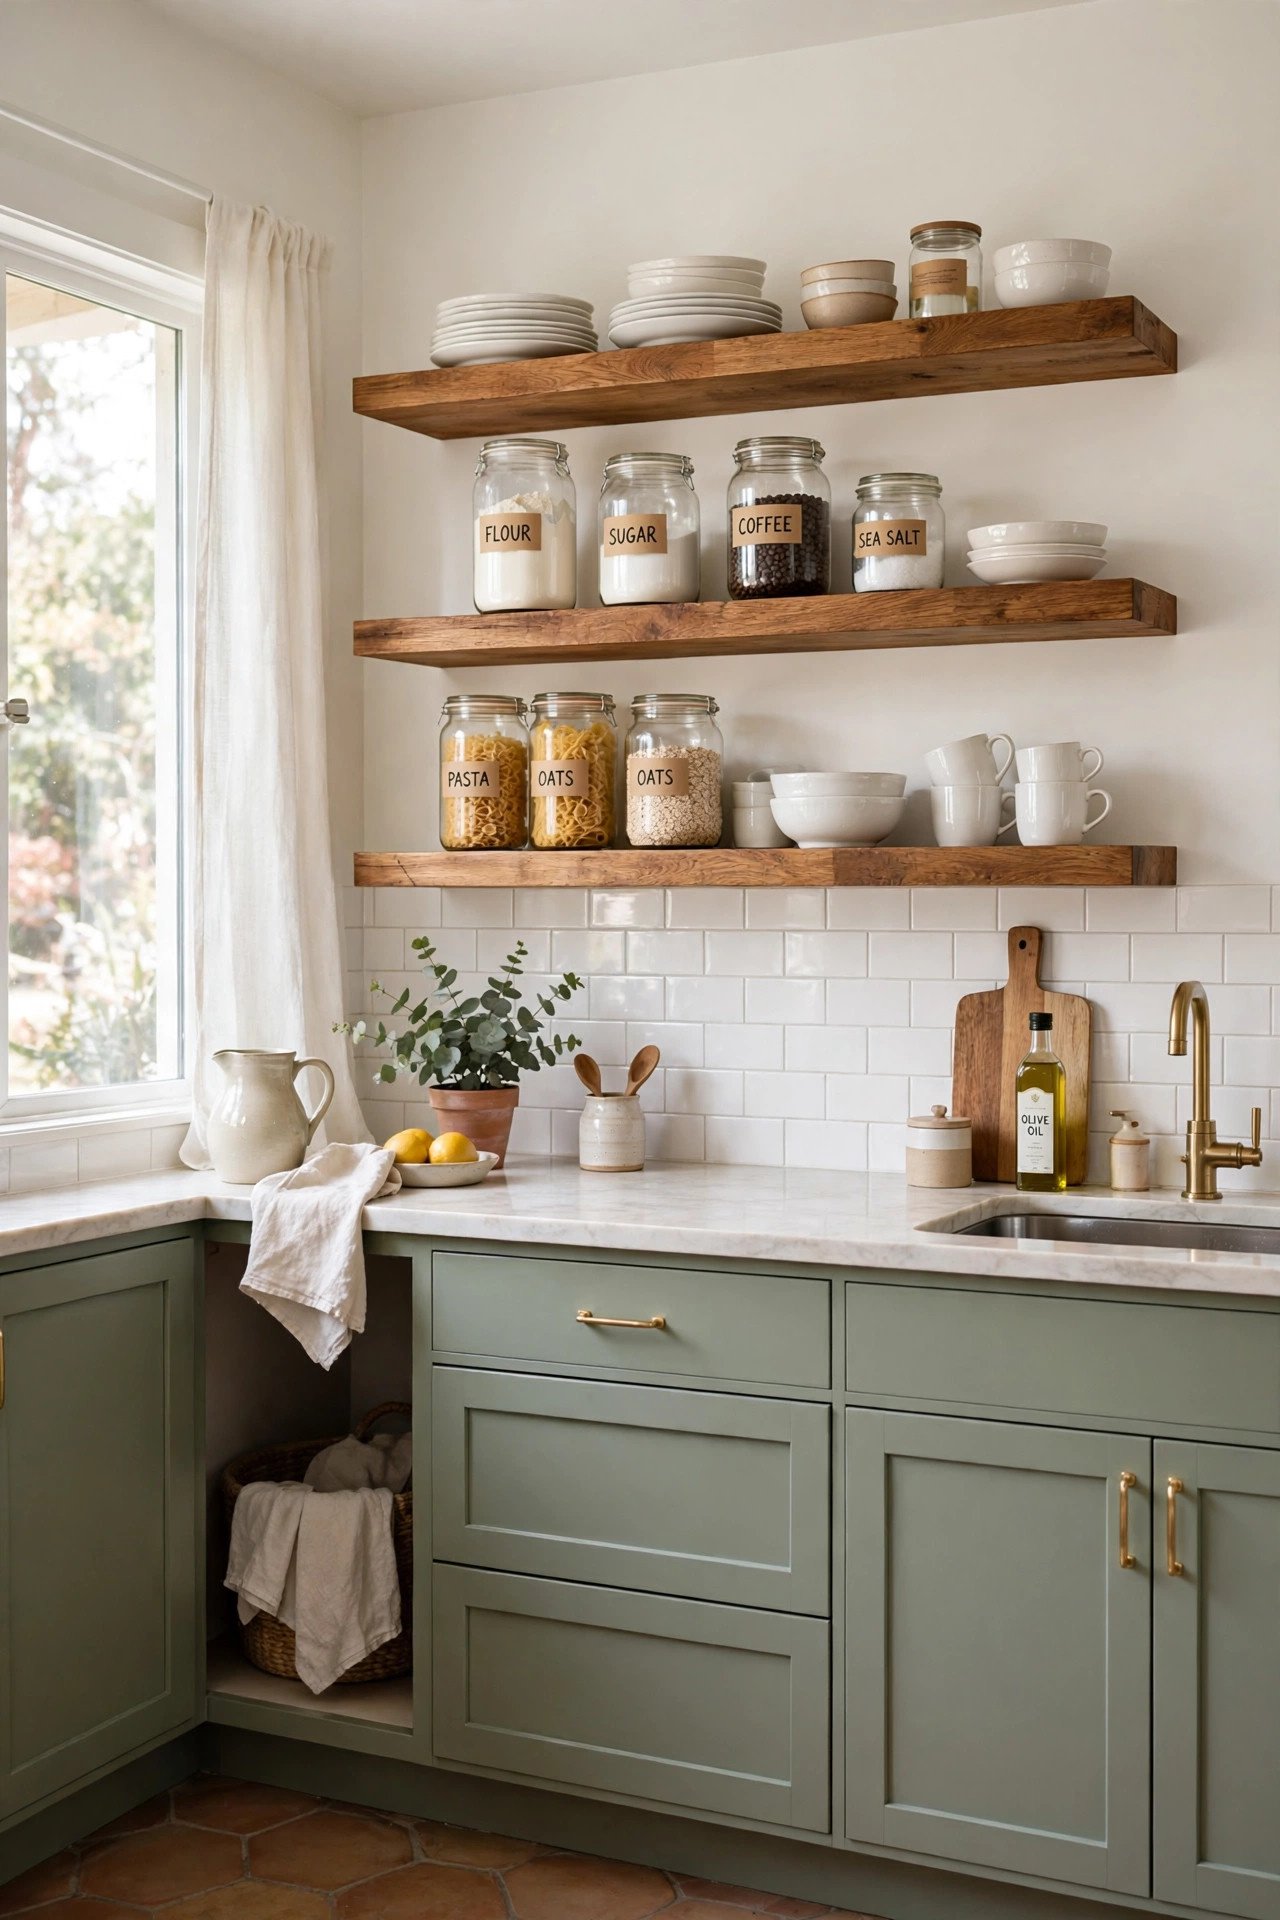
Removing a few upper cabinet doors, or replacing them with thick wood shelves, creates an airy boutique feel with no structural work. Open shelves are perfect for showing off pretty dishware, labeled glass jars, and a little greenery. Small kitchens especially benefit, because closed doors everywhere can feel heavy.
Keep shelves curated rather than cluttered by sticking to a simple color palette and grouping items by height. Rotate a few seasonal pieces through the year to keep the display fresh. Pair the shelves with a fresh coat of paint on the remaining cabinets for one cohesive look.
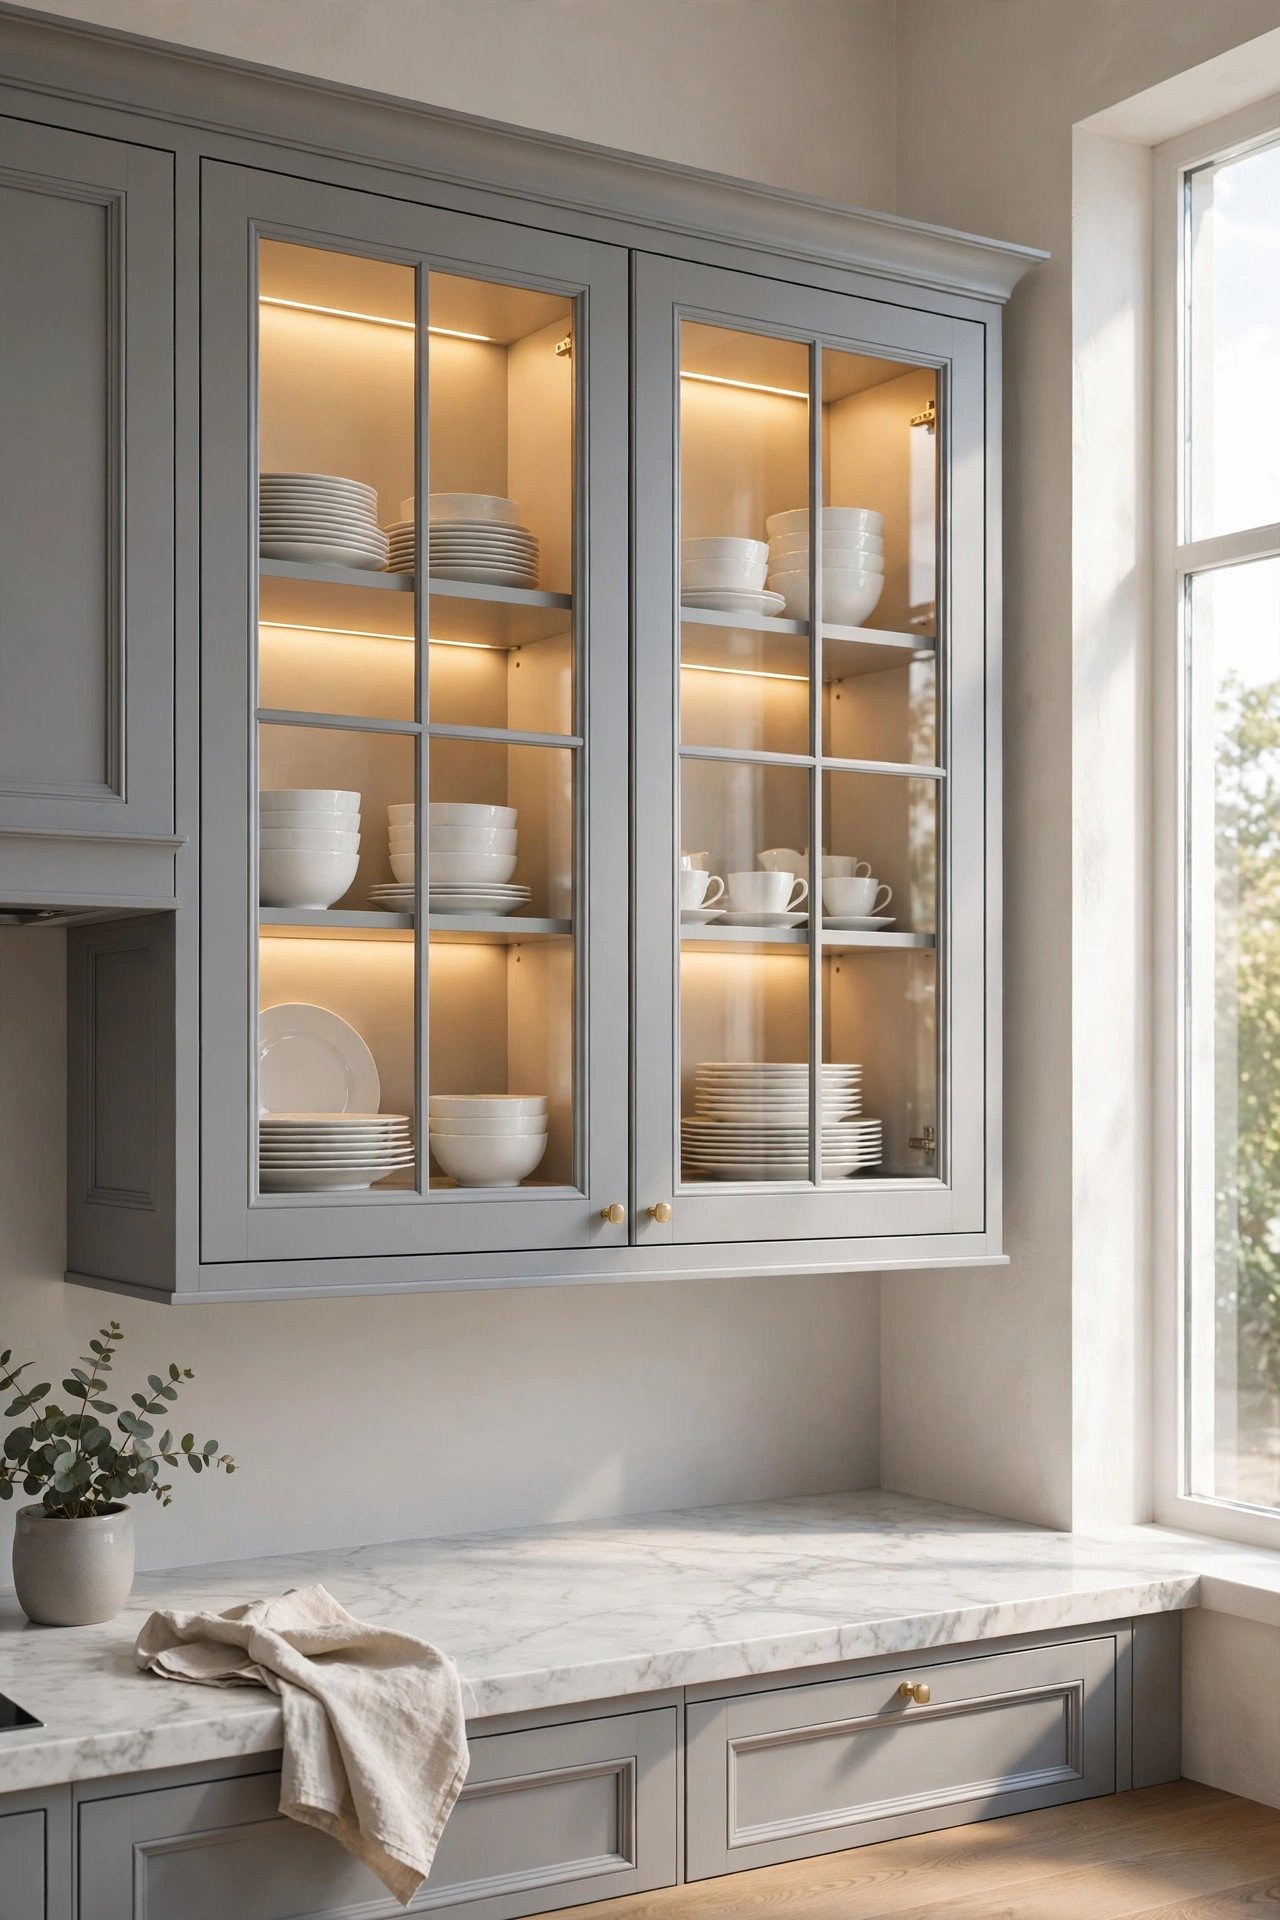
4. Elegant Glass-Front Doors
For a more refined alternative to open shelving, swap a few solid door panels for glass inserts. You still get protection from dust, but the glass adds depth and makes the kitchen feel larger. Frosted, seeded, and clear glass each create a different mood, so you can tune the visibility.
Add a slim LED strip inside the glass cabinets for a glowing display-case effect in the evening. This works beautifully near the sink or a coffee station, drawing the eye upward. It is a manageable weekend project if you are comfortable with a jigsaw.
5. Peel-and-Stick Wallpaper Inside Cabinets
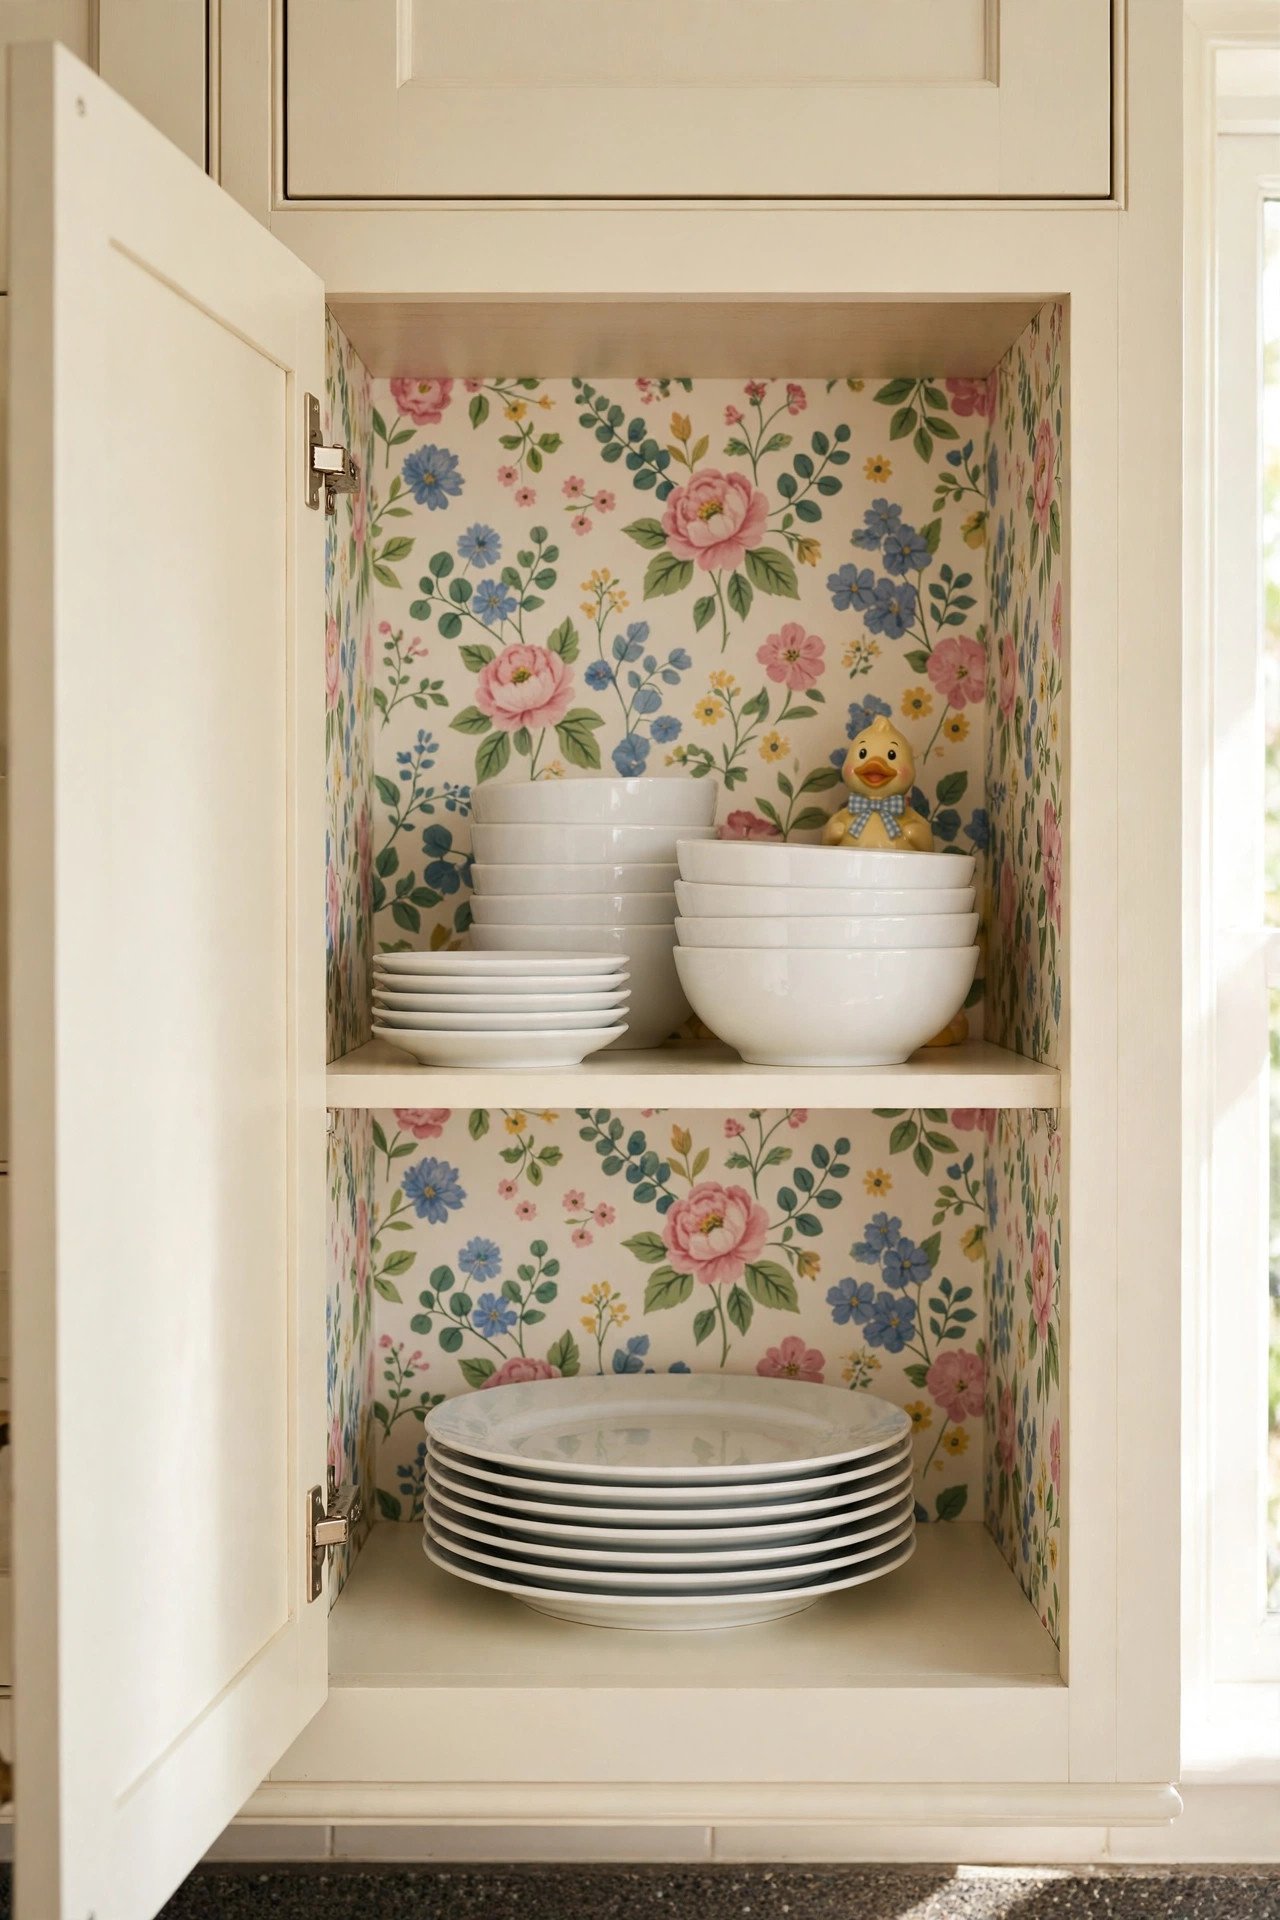
Here is a delightful surprise: line the inside of your cabinets with peel-and-stick wallpaper. Every time you open a door, you get a pop of pattern and color without touching the exterior finish. Florals, checkerboards, and warm terracotta prints are especially charming.
This takes less than an hour per cabinet and costs very little. It is perfect for renters and for anyone nervous about painting, and it makes glass-front or open cabinets even prettier because the pattern becomes part of the display. Measure, cut, smooth, done. For a matching patterned moment elsewhere, see our wallpaper accent wall ideas.
6. Custom Molding and Trim Details
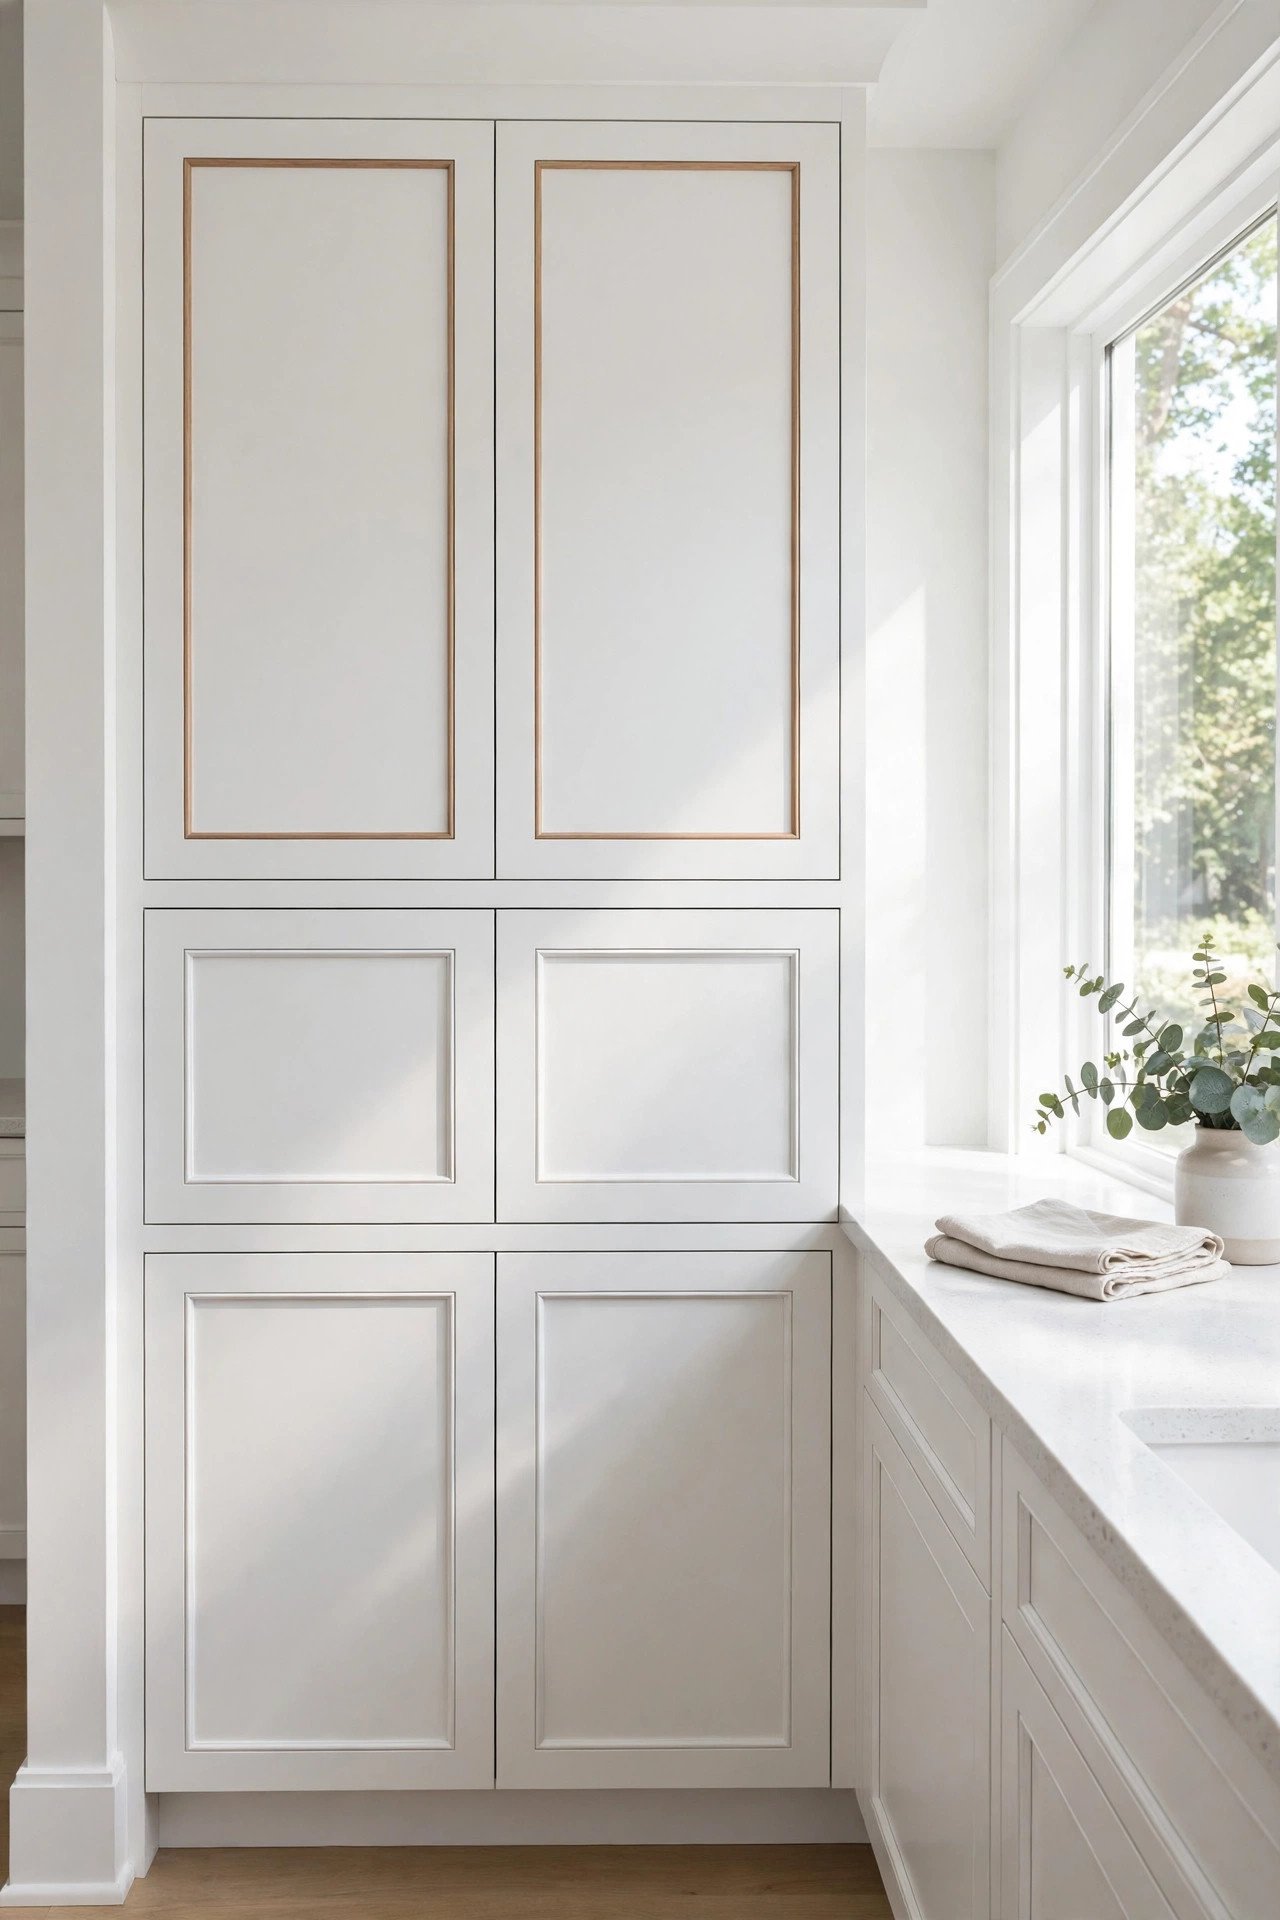
Flat, builder-grade doors can look custom with thin strips of wood trim applied in paneled or geometric patterns. The trim adds architectural interest and a furniture-like quality that fools everyone into thinking you bought expensive cabinetry. One coat of paint unifies the trim and the door into a single seamless design.
Glue and pin the trim in place, fill the nail holes, and paint everything the same color. This suits traditional, cottage, and transitional kitchens especially well. It takes more patience than painting alone, but the payoff is dramatic.
7. Stylish Two-Tone Cabinet Finish
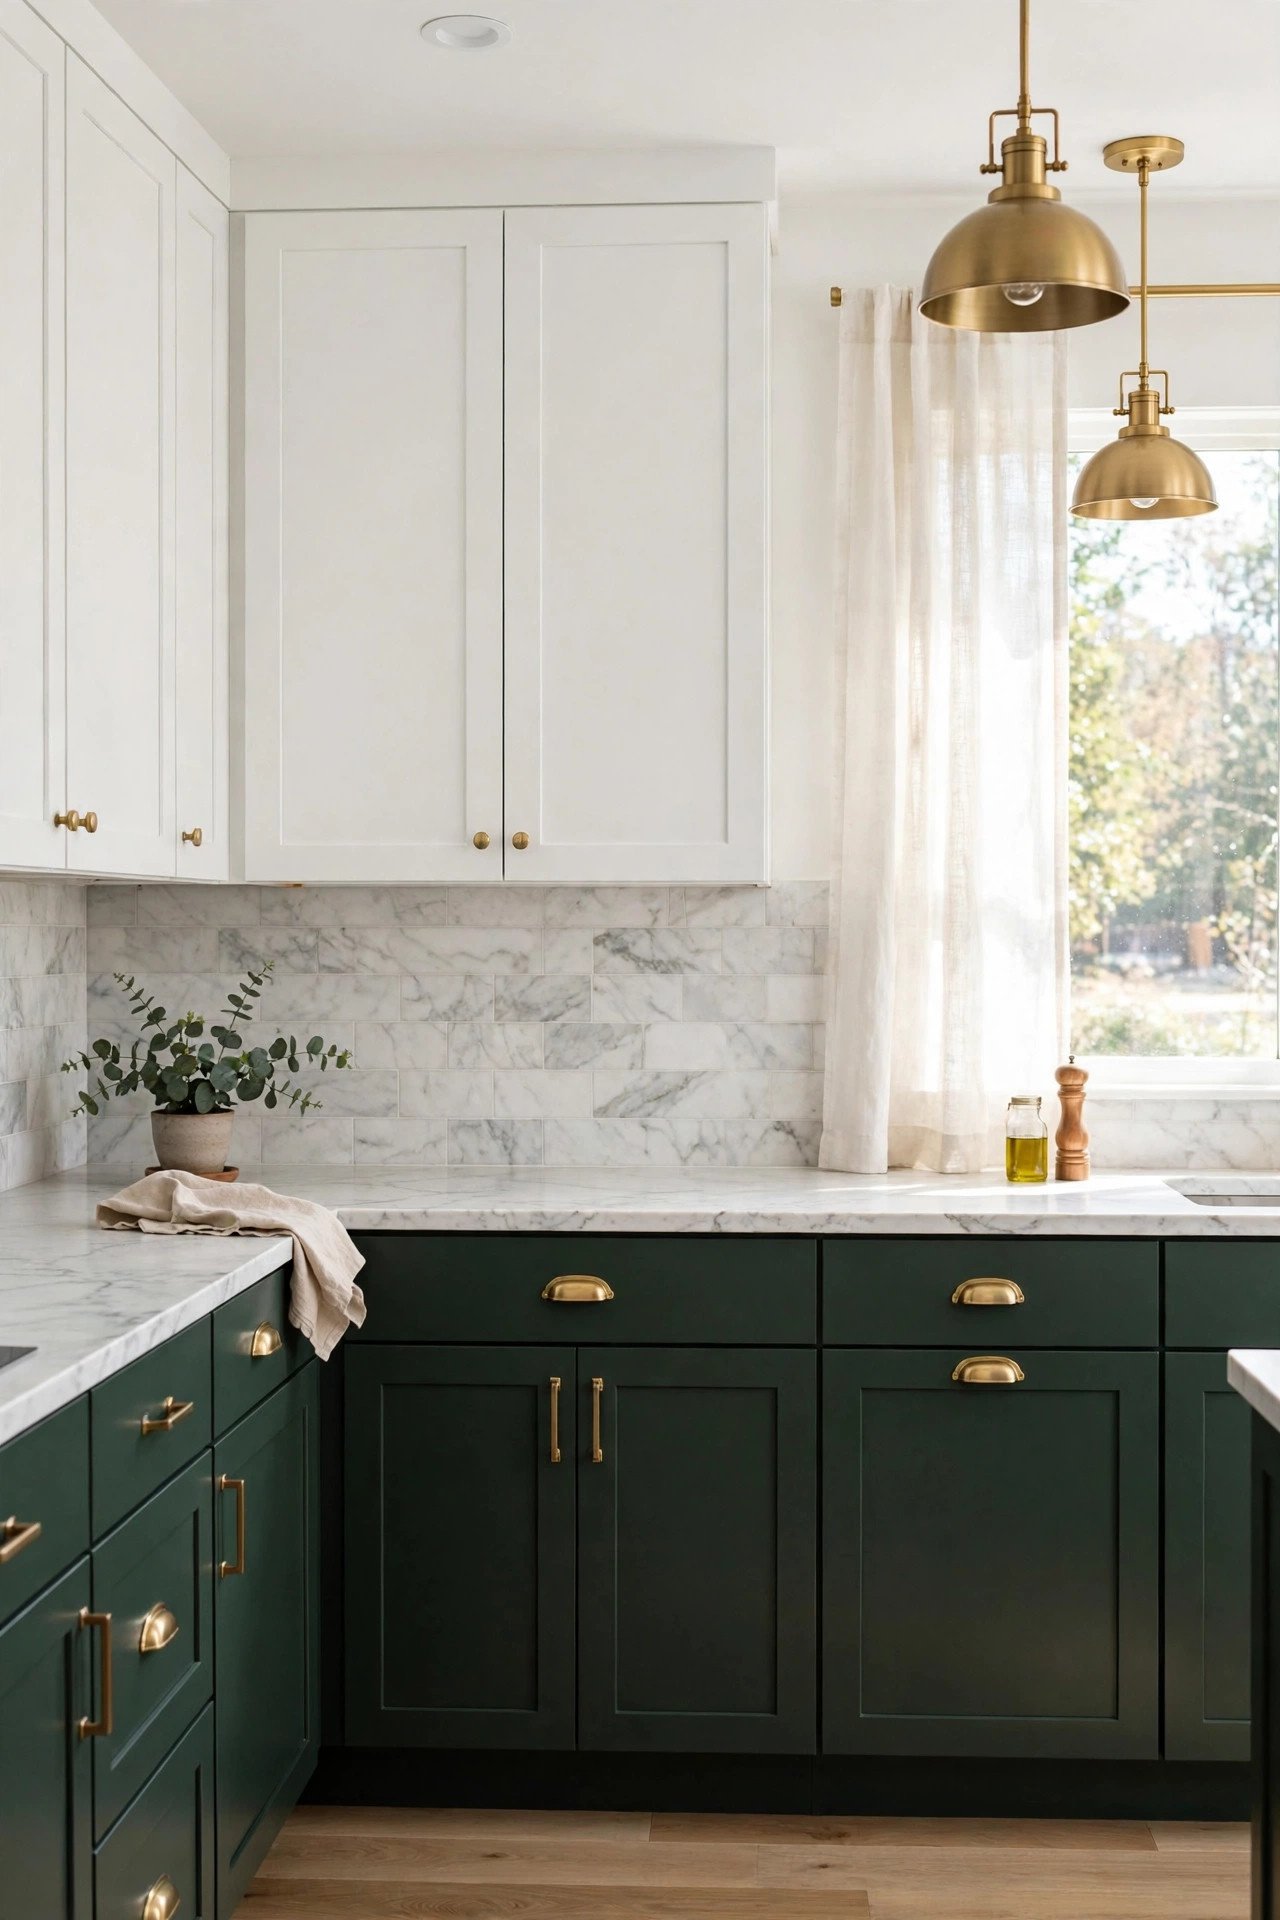
Two-tone cabinetry adds depth without overwhelming the room: paint the lower cabinets a rich, darker shade and keep the uppers light and airy. The contrast feels intentional and designer-approved, and the darker lowers cleverly hide the scuffs and wear that busy kitchens collect. It is a whole new look with paint alone.
Choose two colors that share an undertone so the pairing feels deliberate rather than mismatched. A kitchen island in a third complementary color can tie the palette together. For more paint pairing ideas, our two tone wall paint ideas show how layered color works across the home.
8. Cabinet Refacing Without Replacement
Refacing is the sweet spot between a paint job and a full remodel: you replace just the doors, drawer fronts, and visible veneer while keeping the sturdy existing boxes. Costs and construction time drop dramatically, yet the kitchen looks completely new. It is ideal when the structure is solid but the style is stuck in another decade.
Choose a current door style like shaker, slab, or beadboard, then finish with updated hardware and a fresh paint color. The result looks brand new from top to bottom. It costs more than paint, but far less than new cabinets.
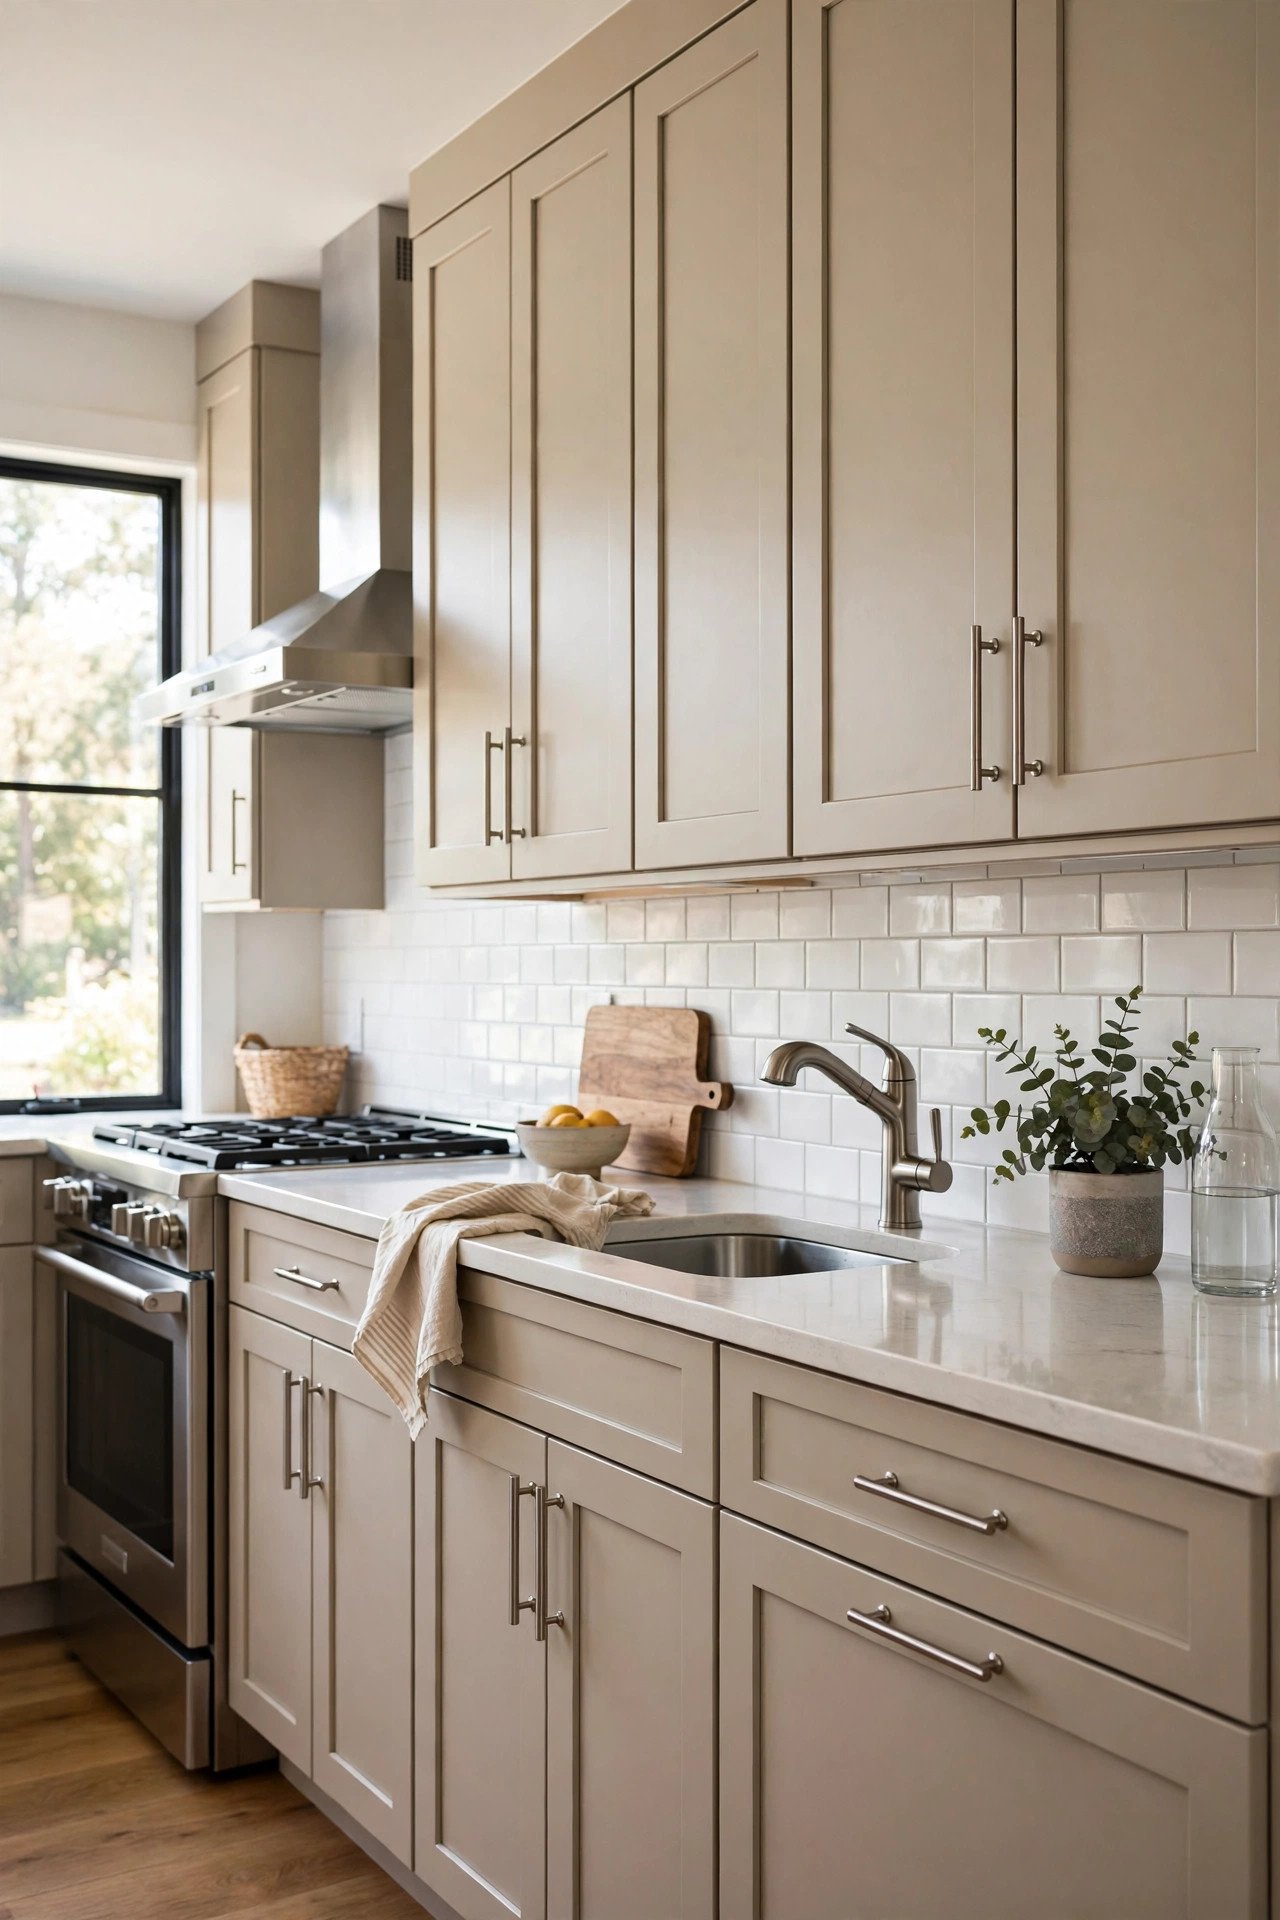
9. Warm Under-Cabinet Lighting
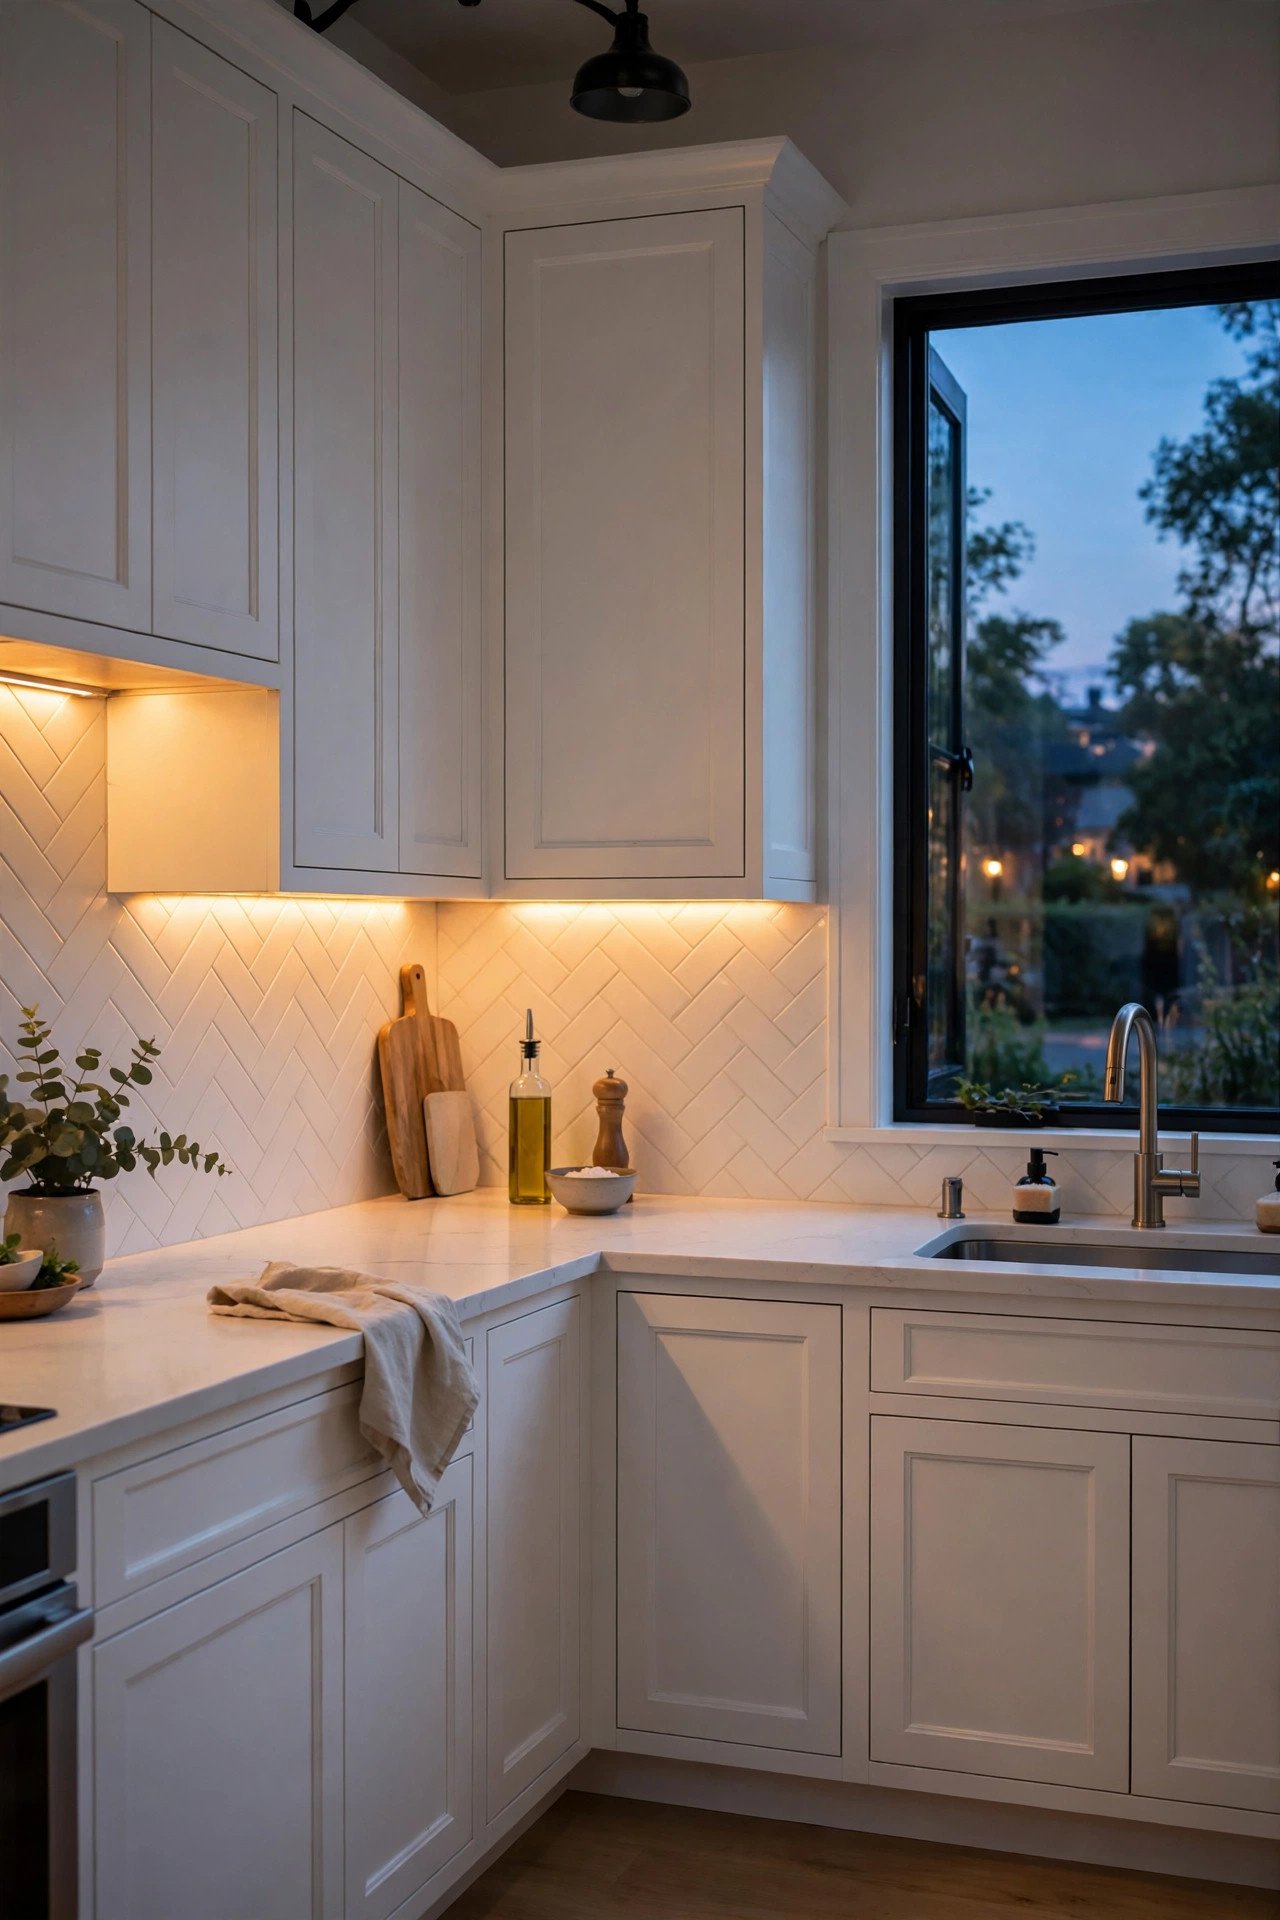
Lighting can transform cabinets without changing a single surface. Slim LED strips under the upper cabinets cast a warm glow that makes countertops feel like a professional workspace and the whole kitchen feel cozy after dark. Many options are plug-in or battery powered, so no electrician is needed.
Beyond the mood, the extra light makes chopping and cooking genuinely easier by killing countertop shadows. Choose warm white for a cozy glow, and pair the lighting with glass-front doors or open shelves for a soft, glowing display.
10. Distressed Antique Finish
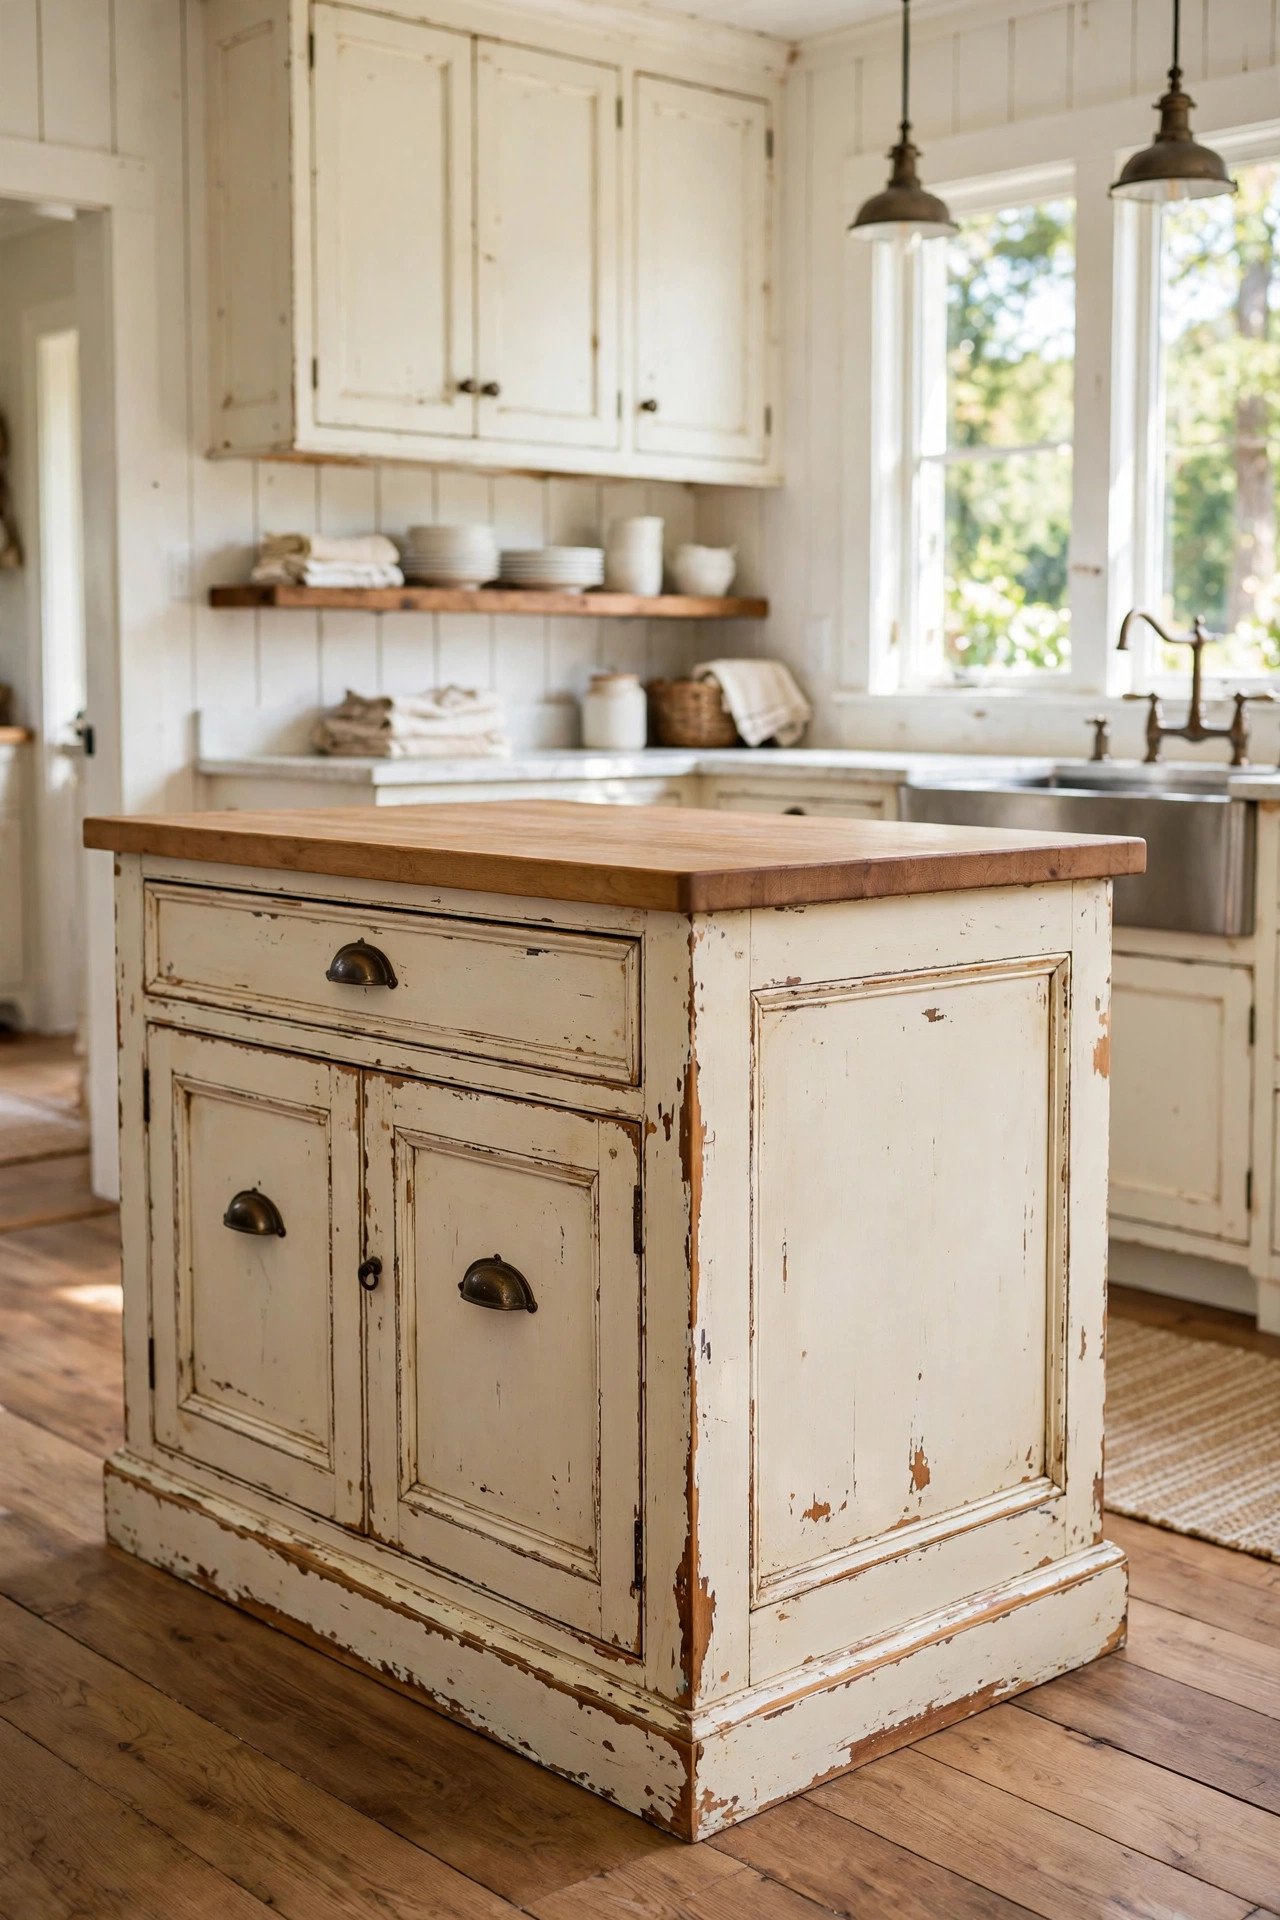
For farmhouse or vintage-inspired kitchens, a distressed finish adds instant history. Sand the edges of painted cabinets to reveal wood beneath, or brush a glaze into the grooves for an aged patina. The technique is forgiving: it hides small imperfections instead of highlighting them.
Pair the look with vintage-style hardware like oil-rubbed bronze or iron pulls to complete the old-world story. Try it on a single island or accent cabinet first, letting the distressed piece stand out as a charming focal point. For more vintage character, see our vintage wardrobe storage ideas.
11. Contrasting Kitchen Island Color
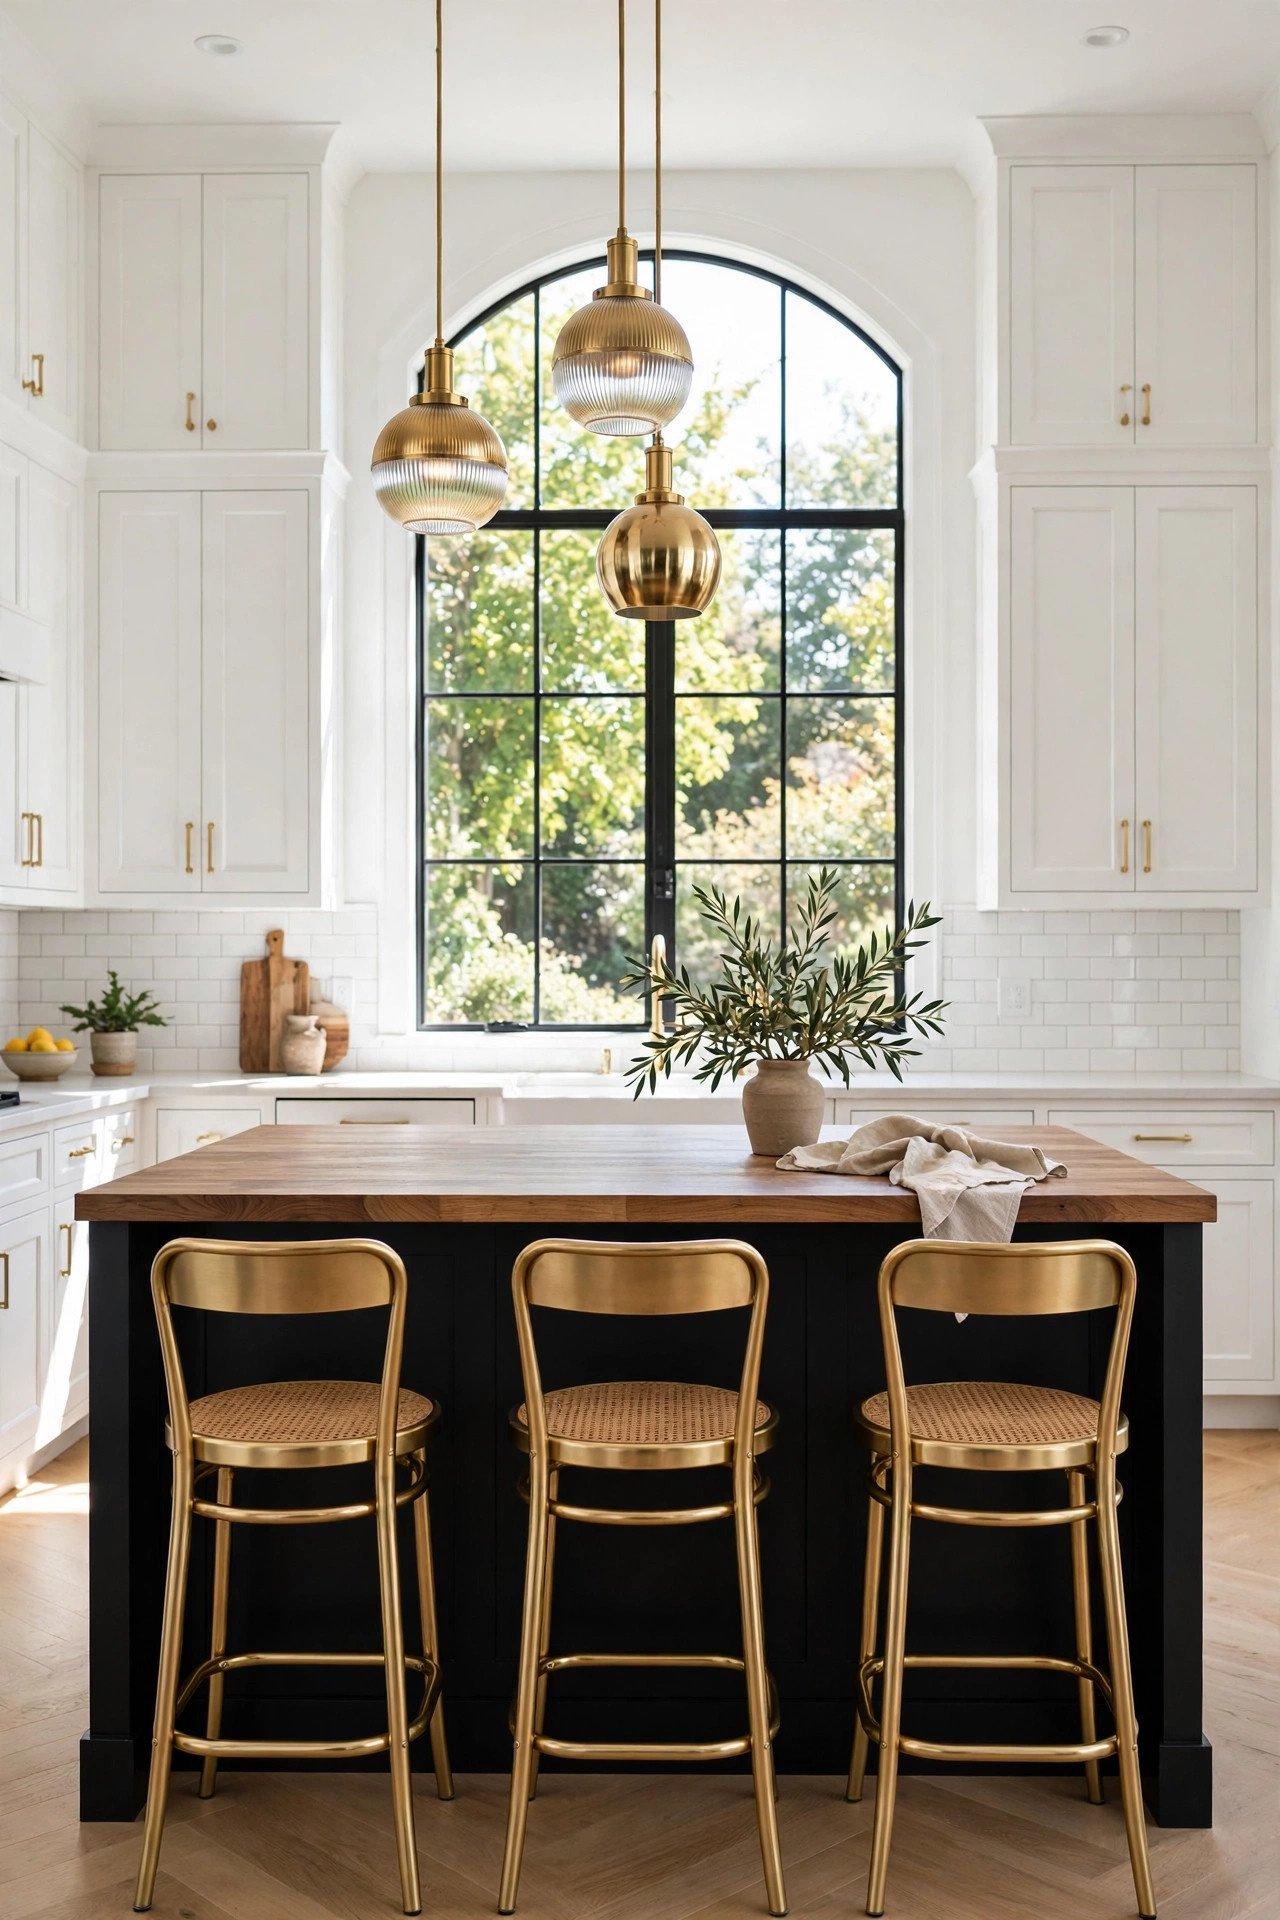
If your surrounding cabinets are in good shape, painting just the island a contrasting color refreshes the entire room. It is one small project with dramatic impact: the island becomes a deliberate focal point that makes the whole kitchen feel designed. Navy, forest green, and matte black all pop against white or wood-toned cabinetry.
Add new hardware or a butcher block top to the island to deepen the contrast even further. This is the perfect project when you want a big style statement with minimal time, cost, and disruption.
12. Removable Cabinet Skins and Contact Paper
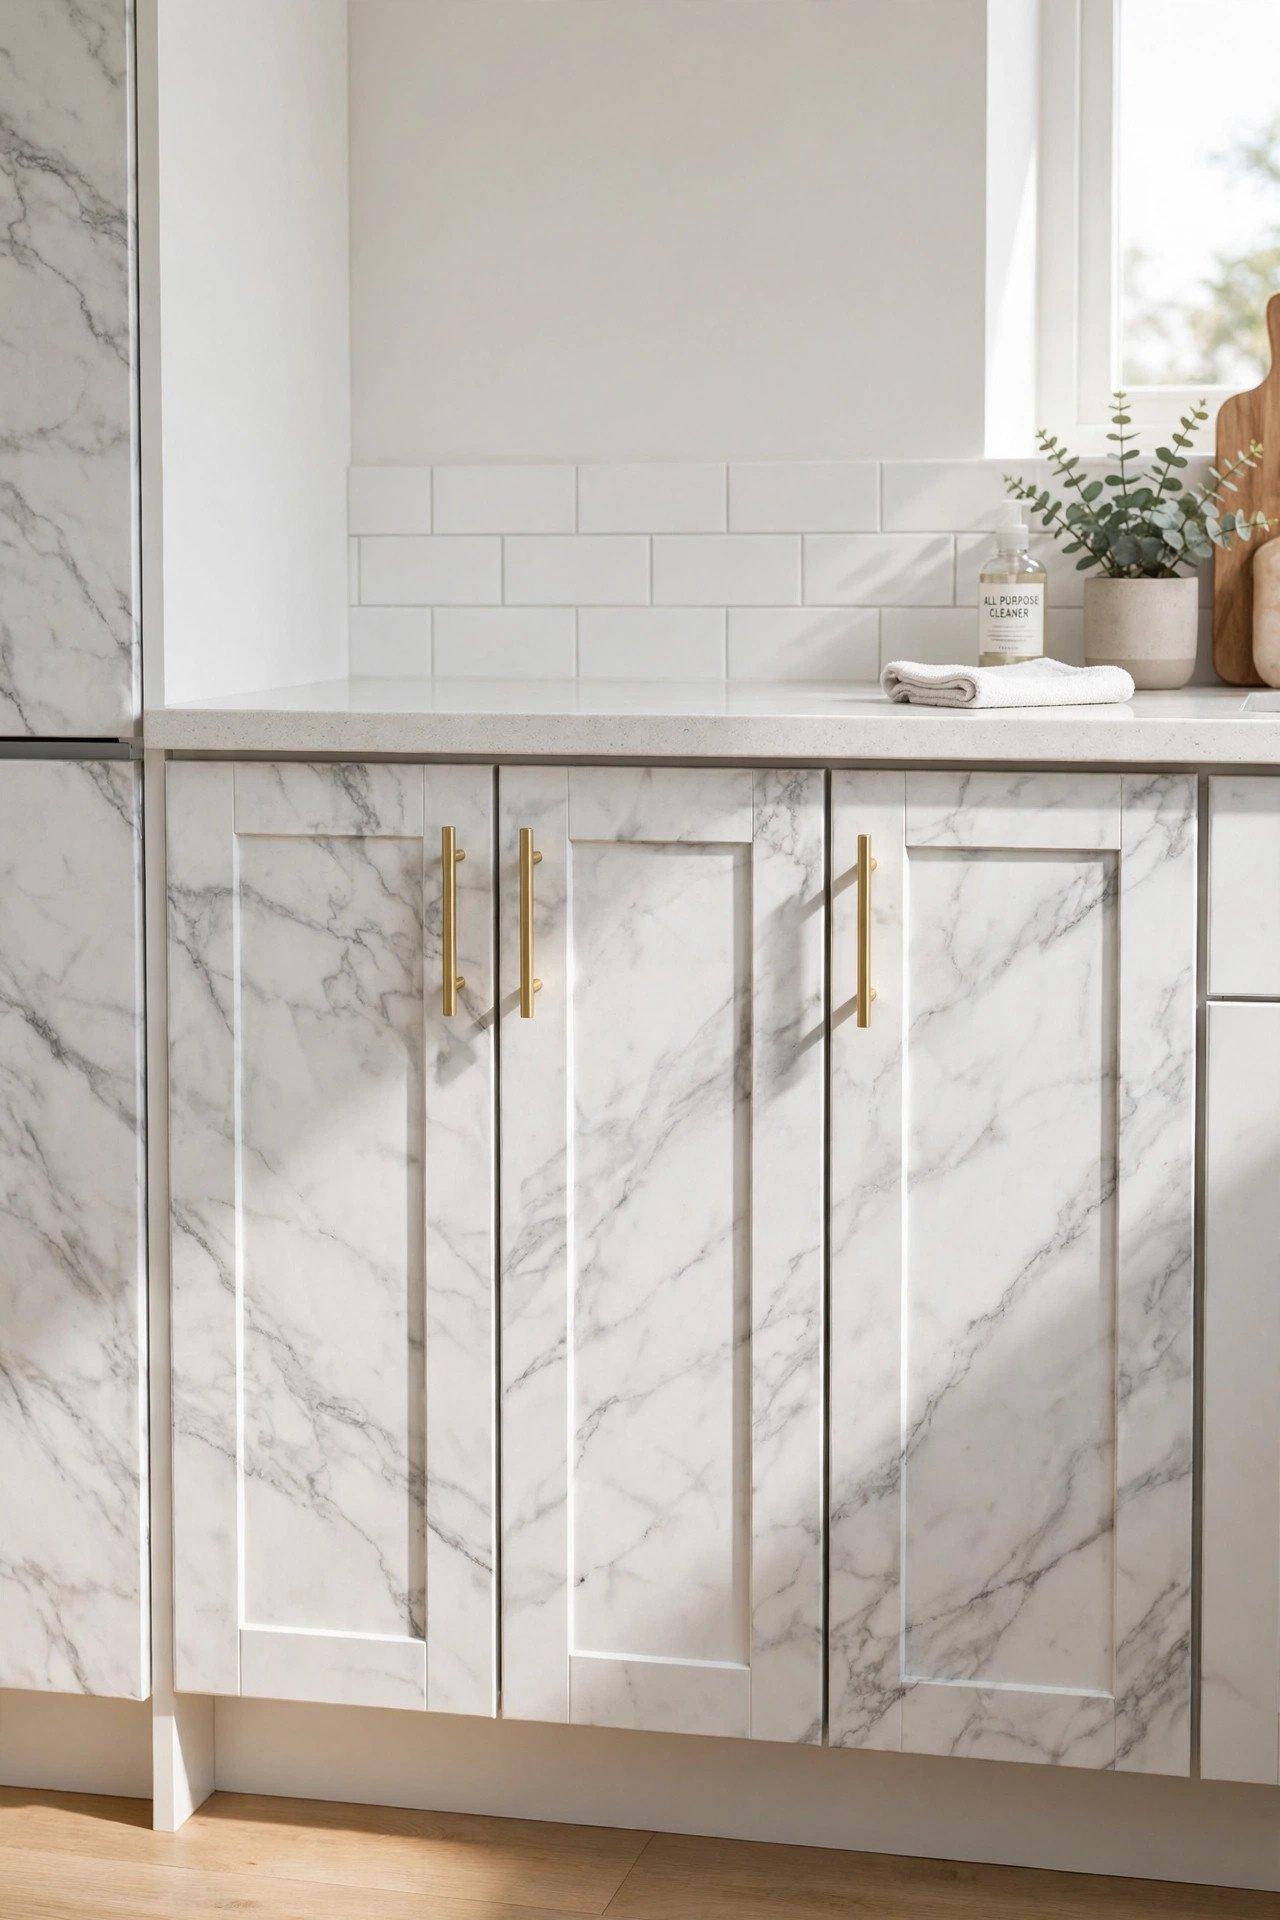
For renters or anyone who fears commitment, removable cabinet skins and contact paper deliver the look of paint with zero permanence. Adhesive wraps come in solid colors, wood grains, and marble-look finishes that smooth onto flat doors for a surprisingly convincing high-end result in one weekend.
Clean the surface, measure, cut, and smooth the material with a squeegee to avoid bubbles. When you move or crave a change, the skins peel away cleanly without harming the original finish. It is the lowest-risk way to experiment with bold color or trendy texture. Do not forget the storage inside either: our under sink organization ideas keep cabinets pretty on the inside too.
Conclusion
A beautiful kitchen does not require demolition, dust, or a five-figure budget. From one bold coat of paint to new hardware, glowing under-cabinet lights, or a clever contact-paper wrap, these cabinet makeovers prove that small updates create the biggest transformations. Pick the project that fits your weekend and your wallet, and start with a single cabinet if you want to test the waters.
Good prep is the secret behind every professional-looking result, so clean, sand, and prime before you begin. Your cabinets have good bones: they just need a little love to tell a brand-new story.
Frequently Asked Questions About DIY Cabinet Makeover Ideas
What is the cheapest way to makeover kitchen cabinets?
Paint is the cheapest option: a gallon of quality cabinet paint, primer, and sandpaper can transform a whole kitchen for a modest cost. Swapping hardware is the next cheapest and fastest update, often finished in a single afternoon.
Can you paint cabinets without sanding?
Light sanding gives the best long-lasting bond, but you can minimize it by cleaning thoroughly with a degreaser and using a high-adhesion bonding primer. Skipping prep entirely usually leads to chipping, so at least scuff glossy surfaces before priming.
Are peel-and-stick products safe for rental cabinets?
Yes, most removable contact paper and cabinet skins are designed to peel off cleanly from smooth, clean surfaces. Test a small hidden spot first, and avoid leaving them on for many years, since old adhesive can become harder to remove over time.
How long does a DIY cabinet paint job last?
With proper prep, quality cabinet paint, and a protective topcoat, a DIY paint job can look great for five to eight years. High-traffic areas near handles and the stove may need touch-ups sooner, so save a little leftover paint.
Should I paint upper and lower cabinets the same color?
Not necessarily. A two-tone look with darker lowers and lighter uppers adds depth and hides wear on the busiest cabinets. If you prefer one color, choose a mid-tone that works with both your floors and your countertops.

Hi, I’m Emily! I turn messy corners into cozy, organized spots. DreamNestDecor is where I share simple, practical home ideas — decor, organization, and small-space solutions that work in real life, not just in photos. Every idea here is carefully researched before it’s shared.