

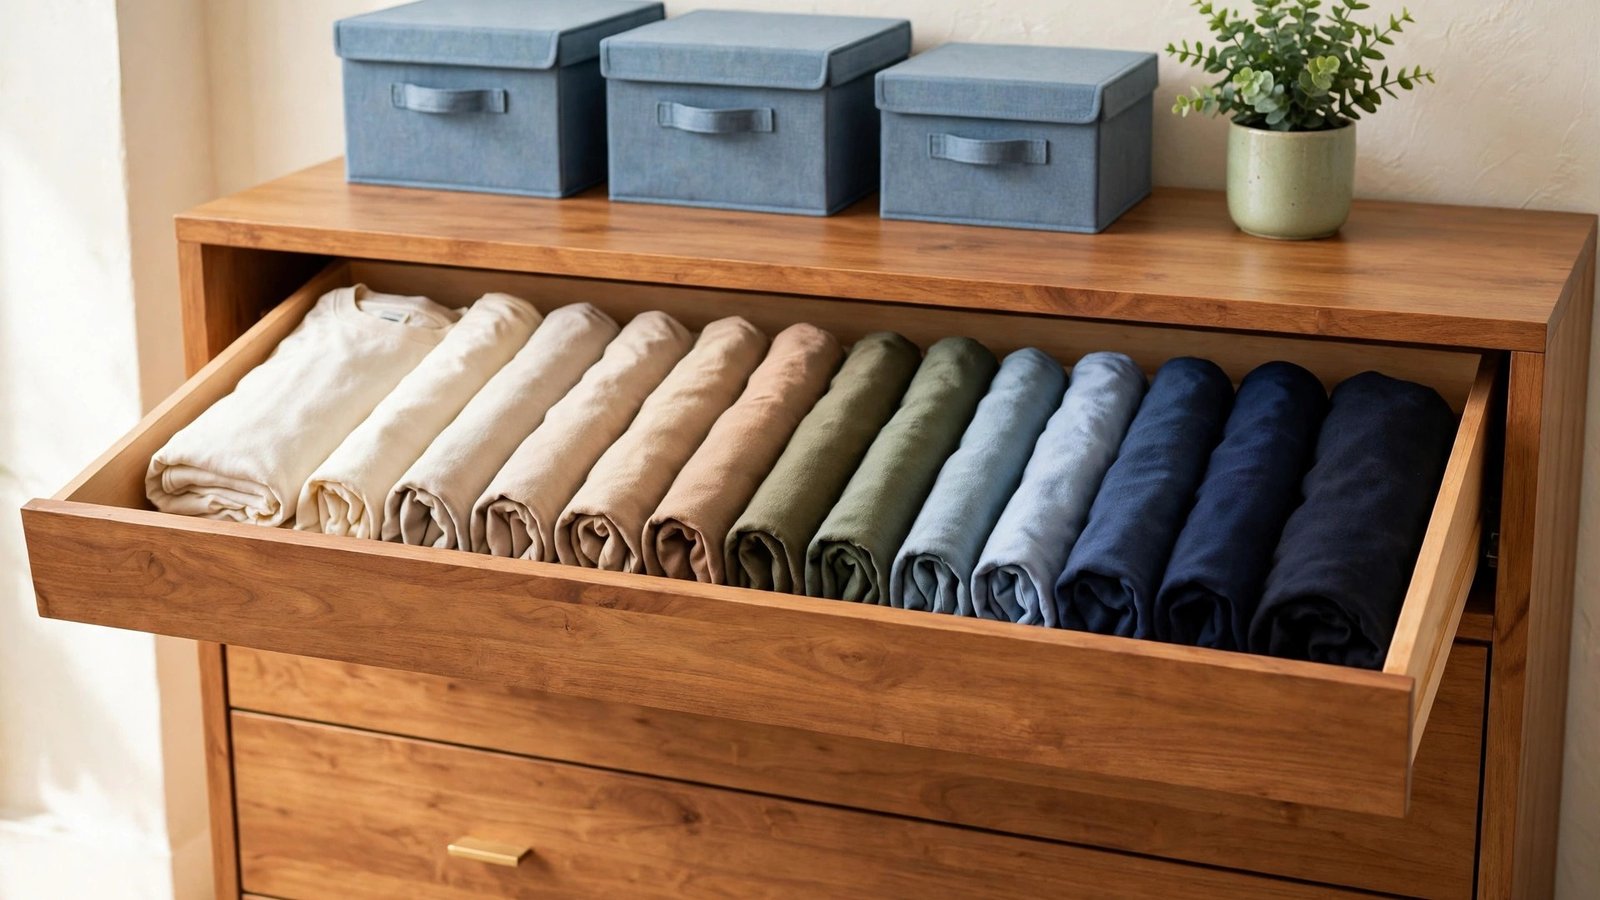
You open the drawer and see a leaning tower of t-shirts. The one you want is always at the bottom, and pulling it out ruins the whole stack. Getting dressed turns into a small excavation project every single morning.
File folding changes this completely. Instead of stacking shirts flat, you fold each one into a neat rectangle and stand it upright like a file in a filing cabinet. Every shirt stays visible, nothing gets buried, and the drawer looks calm the moment you open it.
These 21 t-shirt drawer organization ideas show you how to fold, sort, and store your shirts so you can see them all at a glance. Pick one idea, try it today, and feel the difference tomorrow morning.
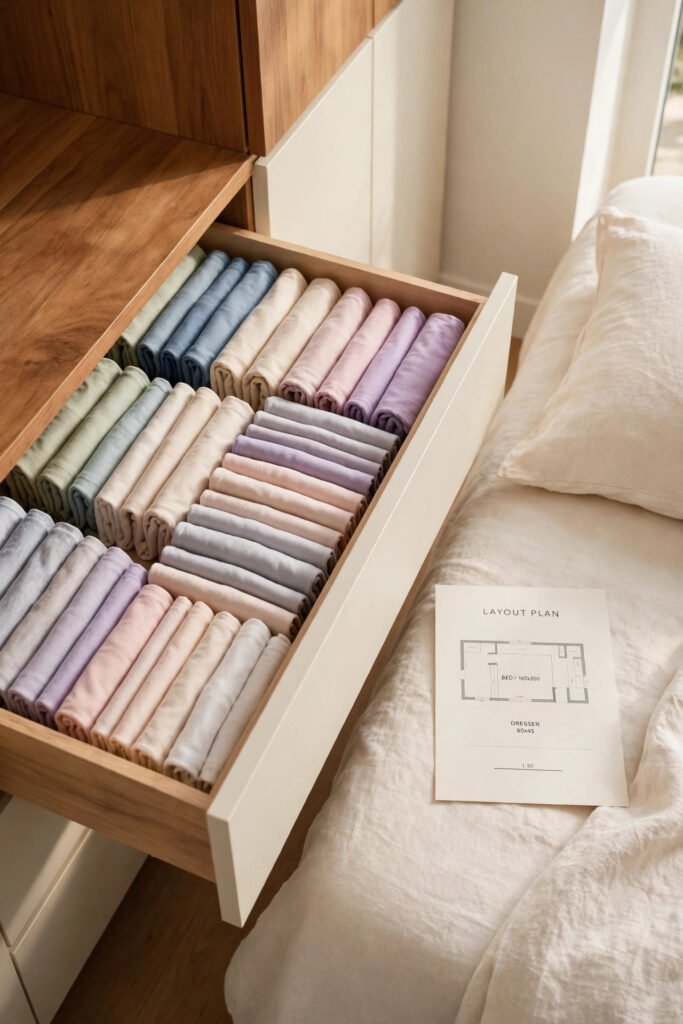
1. Learn the Basic File Fold First
Every system starts with the same fold. Lay the shirt face down, fold each side toward the center, fold the sleeves back, then fold the shirt into thirds from the bottom up. The result is a firm little rectangle that stands on its own.
Practice on three or four shirts before you touch the whole drawer. Once your hands learn the motion, each shirt takes under thirty seconds. A consistent fold is the foundation of everything that follows.
2. Fold Every Shirt to the Same Width
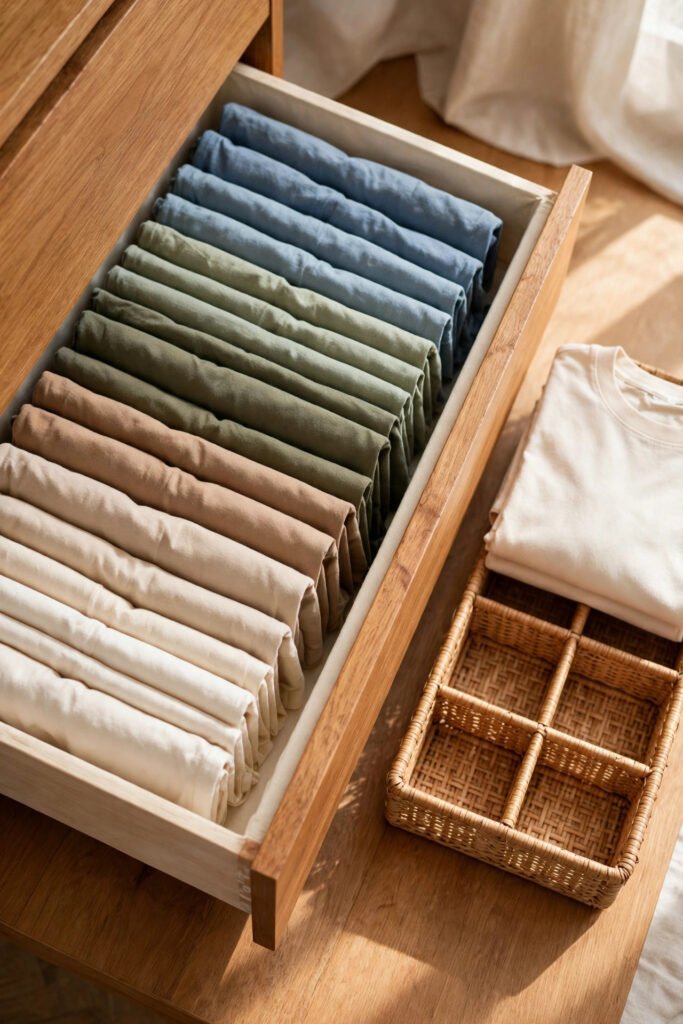
A file-folded drawer only looks tidy when every rectangle matches. Pick a target width, about the size of a paperback book, and fold every shirt to it. Uniform rectangles line up in straight rows with no gaps.
Use your hand span as a measuring tool if you do not own a folding board. Three hand widths across the shirt body works for most adult sizes. Consistency matters more than exact measurements.
3. Stand Shirts Upright Like Files
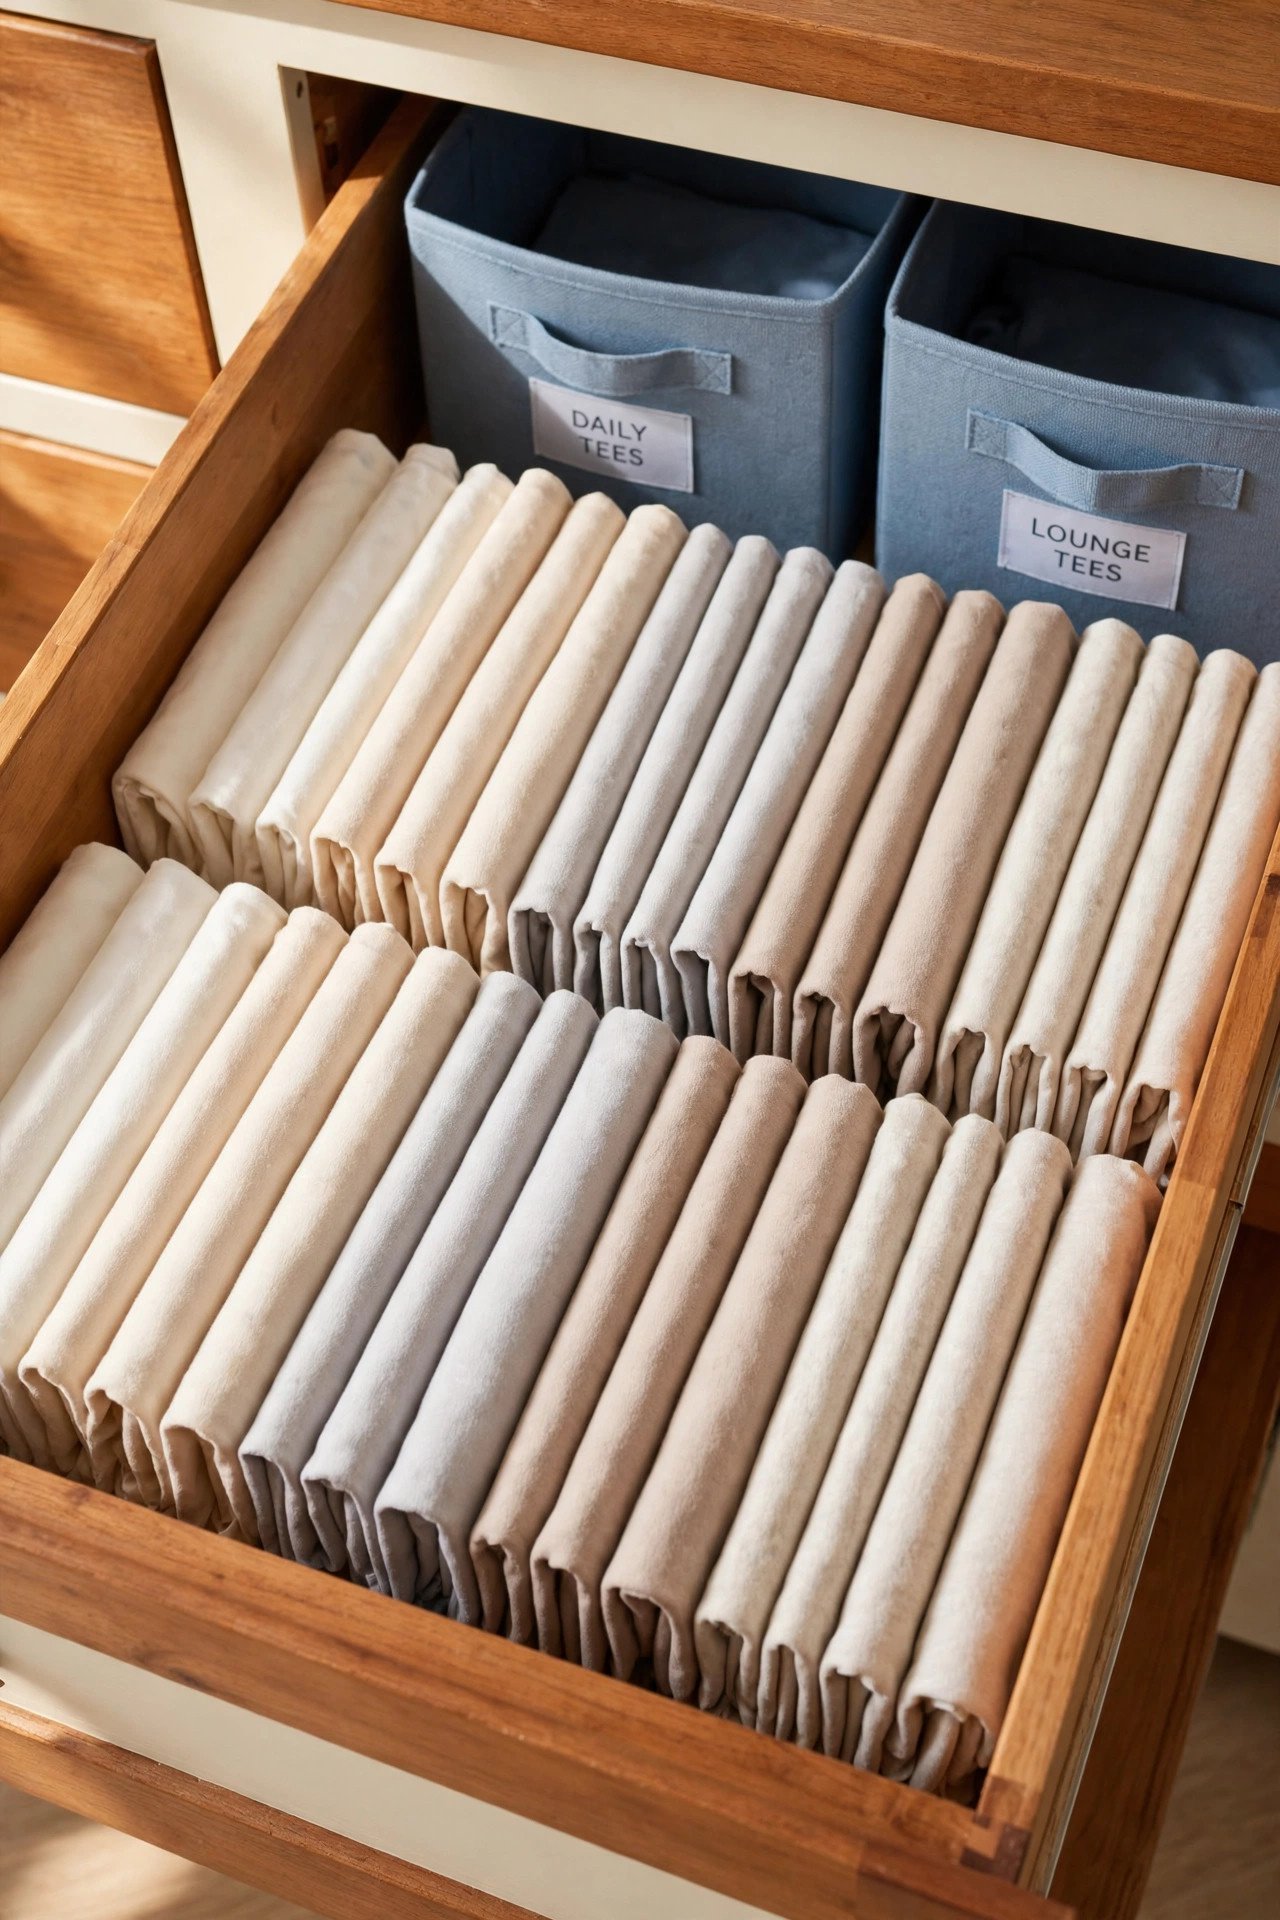
Slip each folded shirt into the drawer standing on its folded edge, spine facing up. This is the heart of file folding. You see the edge of every shirt at once, exactly like tabs in a filing cabinet.
Pack them snugly but not tightly. The shirts should support each other without leaning. If the row flops over, the fold is too loose or the row is too short, and a divider will fix it.
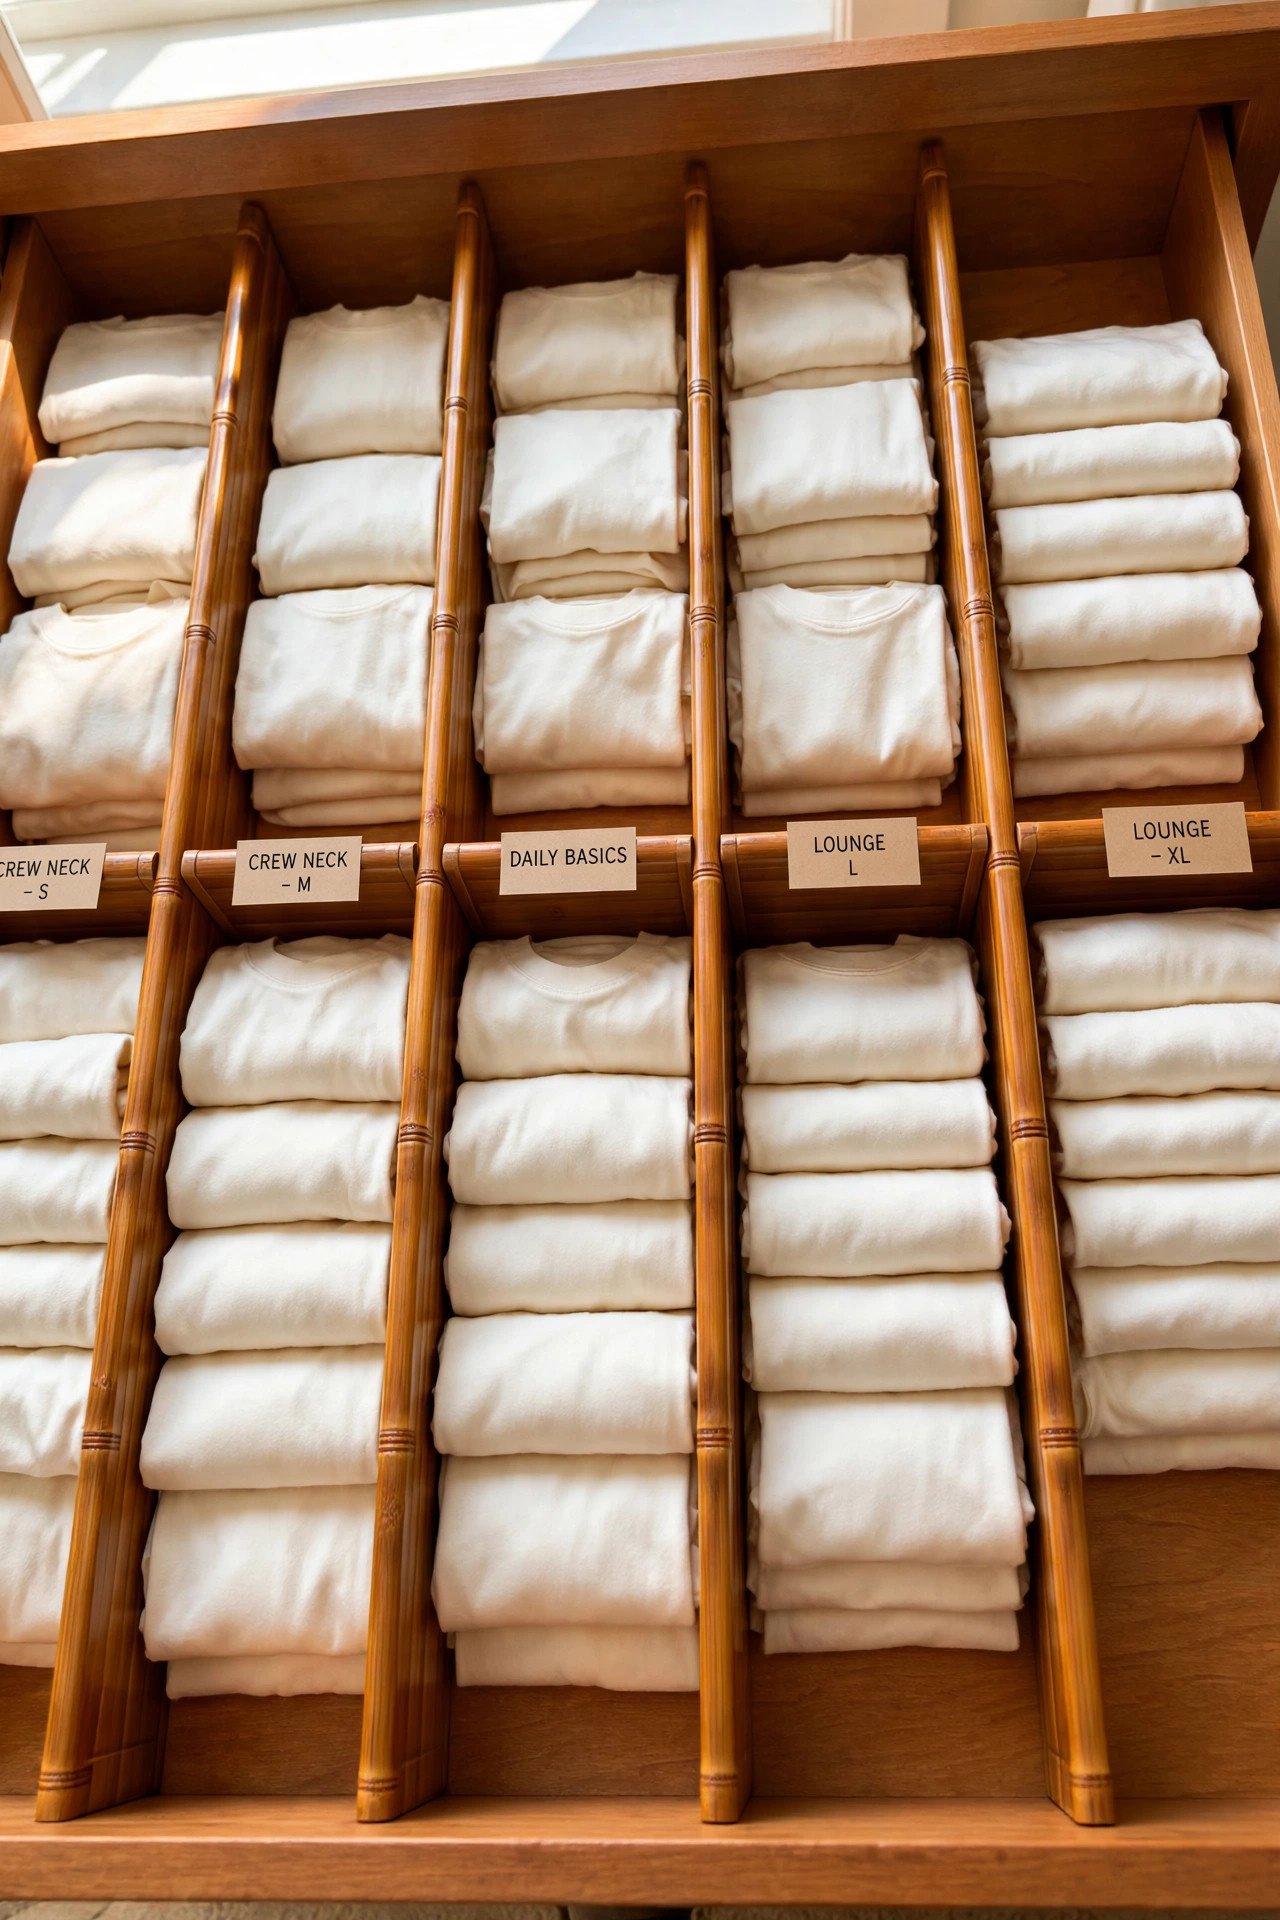
4. Add Drawer Dividers to Hold the Rows
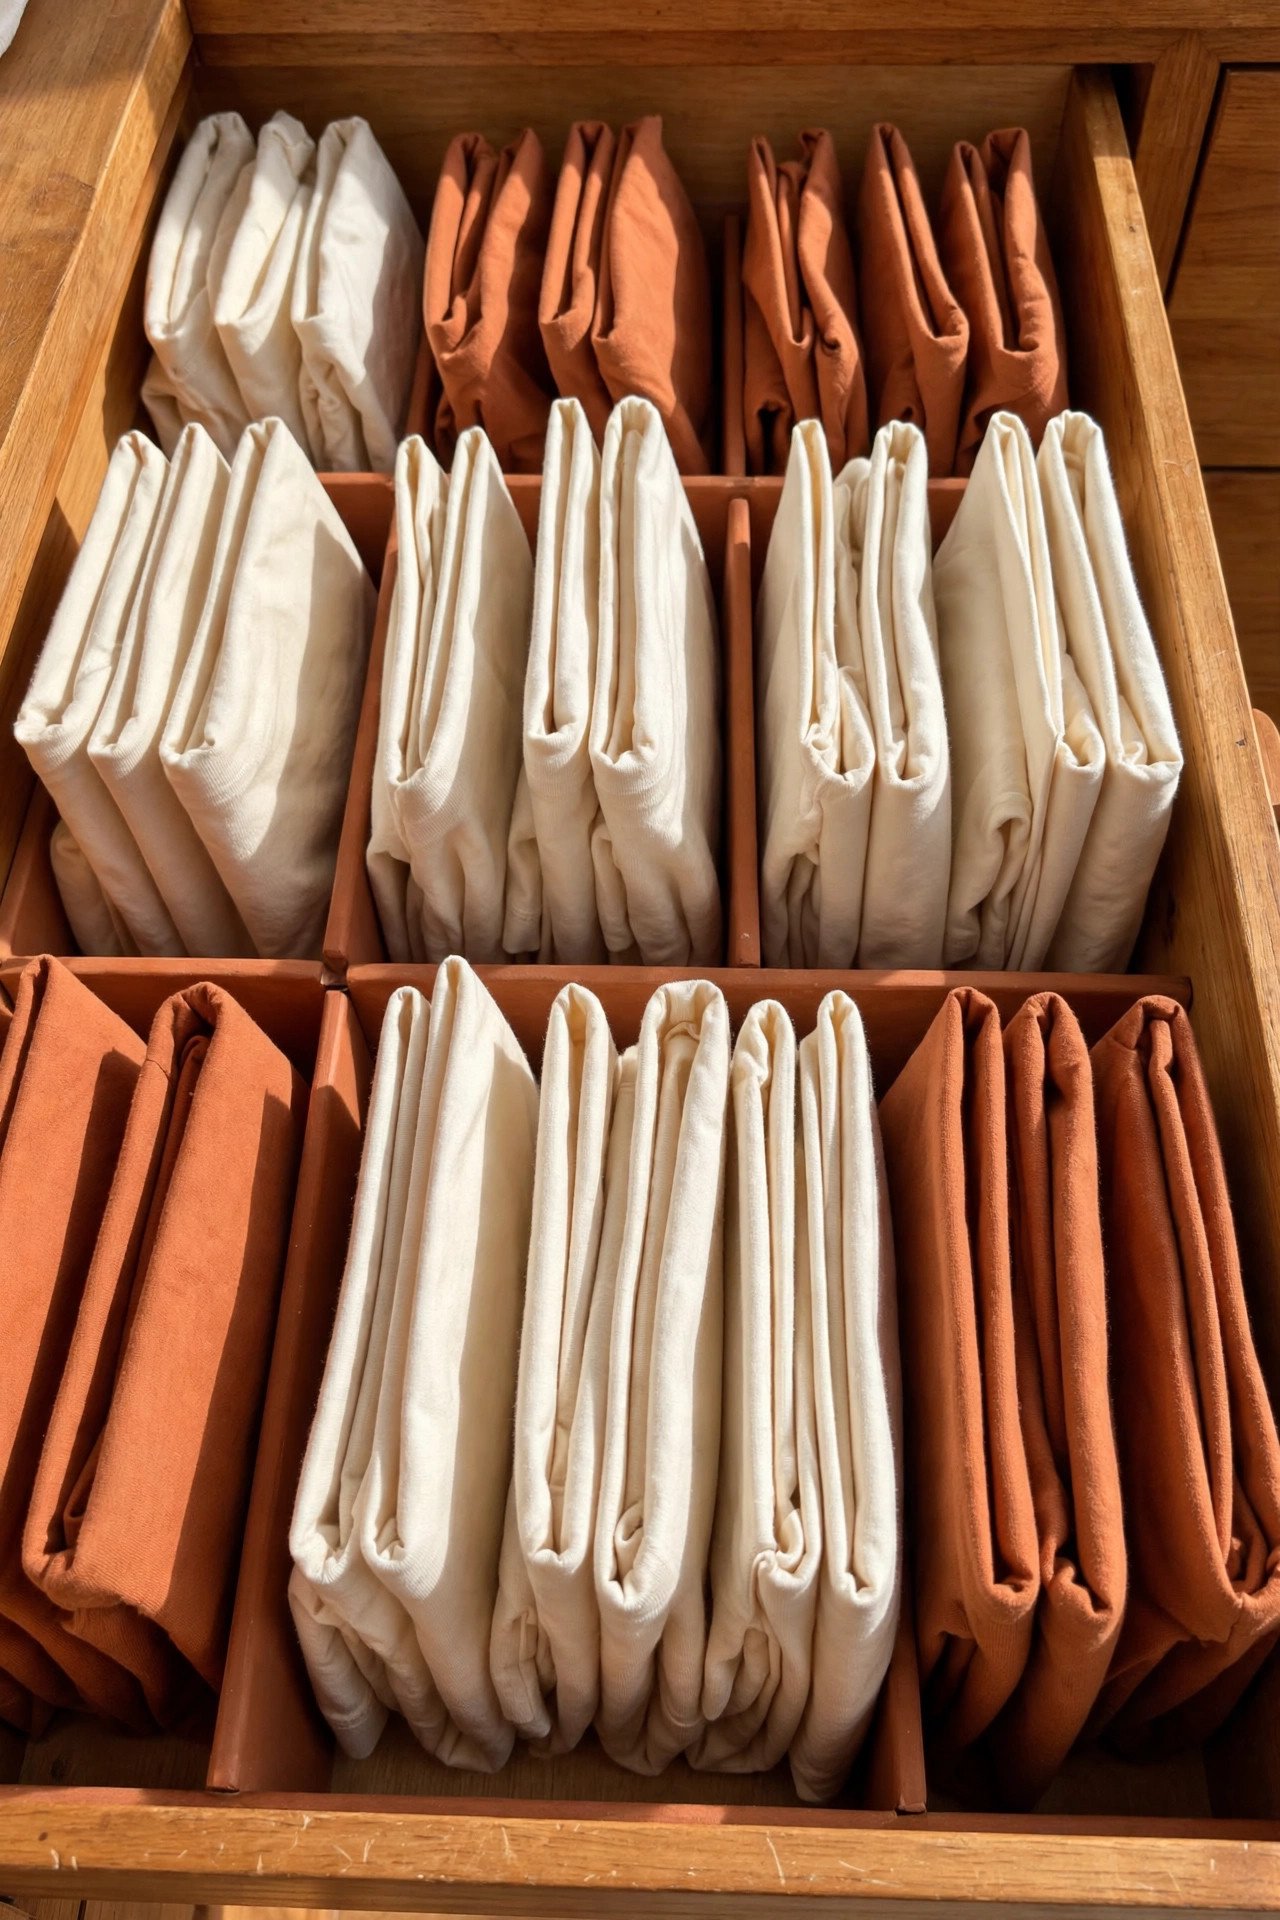
Short rows of shirts tip over the moment you pull one out. Spring-loaded drawer dividers or simple bamboo inserts keep each row standing tall. They work the same way dividers organize a spice drawer, giving every row its own lane.
Place one divider every six to eight shirts, depending on shirt thickness. Adjustable dividers are worth the small cost because they move when your collection changes. Fixed rows stay put even when the drawer is half empty.
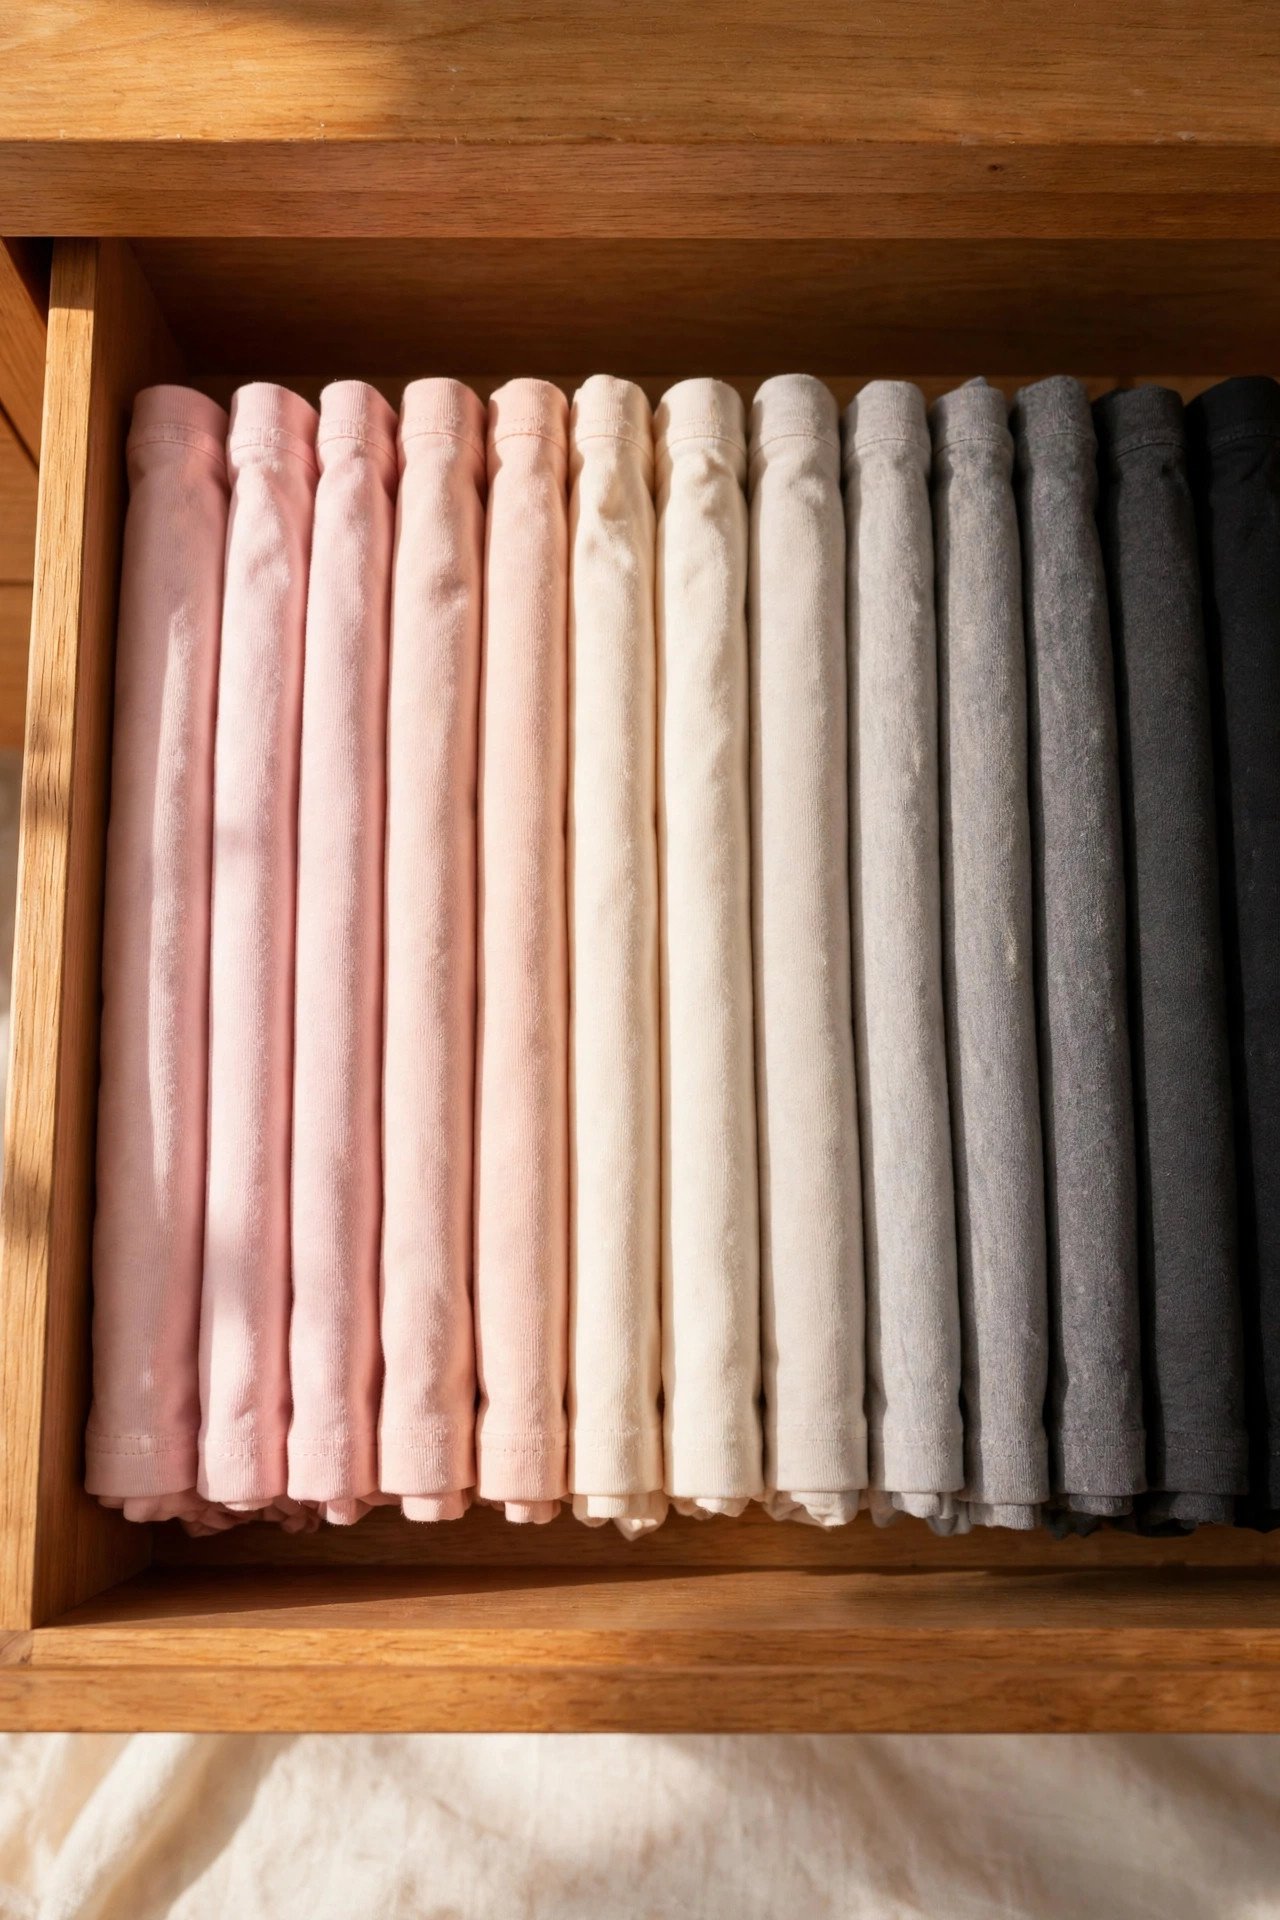
5. Sort Shirts Into a Color Gradient
Arrange the rows from light to dark: whites and creams first, then pastels, brights, and finally blacks. A gradient turns a plain drawer into something beautiful and makes color-matching outfits effortless.
You do not need to be exact. Rough groups of light, medium, and dark still look organized and help you find things fast. Keep the gradient going when new shirts arrive by sliding them into the right color zone.
6. Dedicate One Drawer to T-Shirts Only
File folding works best when shirts are not fighting other clothes for space. Give t-shirts their own drawer, even a shallow one. A single-purpose drawer stays organized far longer than a mixed one.
If drawer space is tight, use the top drawer since you reach for shirts daily. Move lesser-used items like scarves or swimwear elsewhere. Daily-use items deserve the easiest drawer to open.
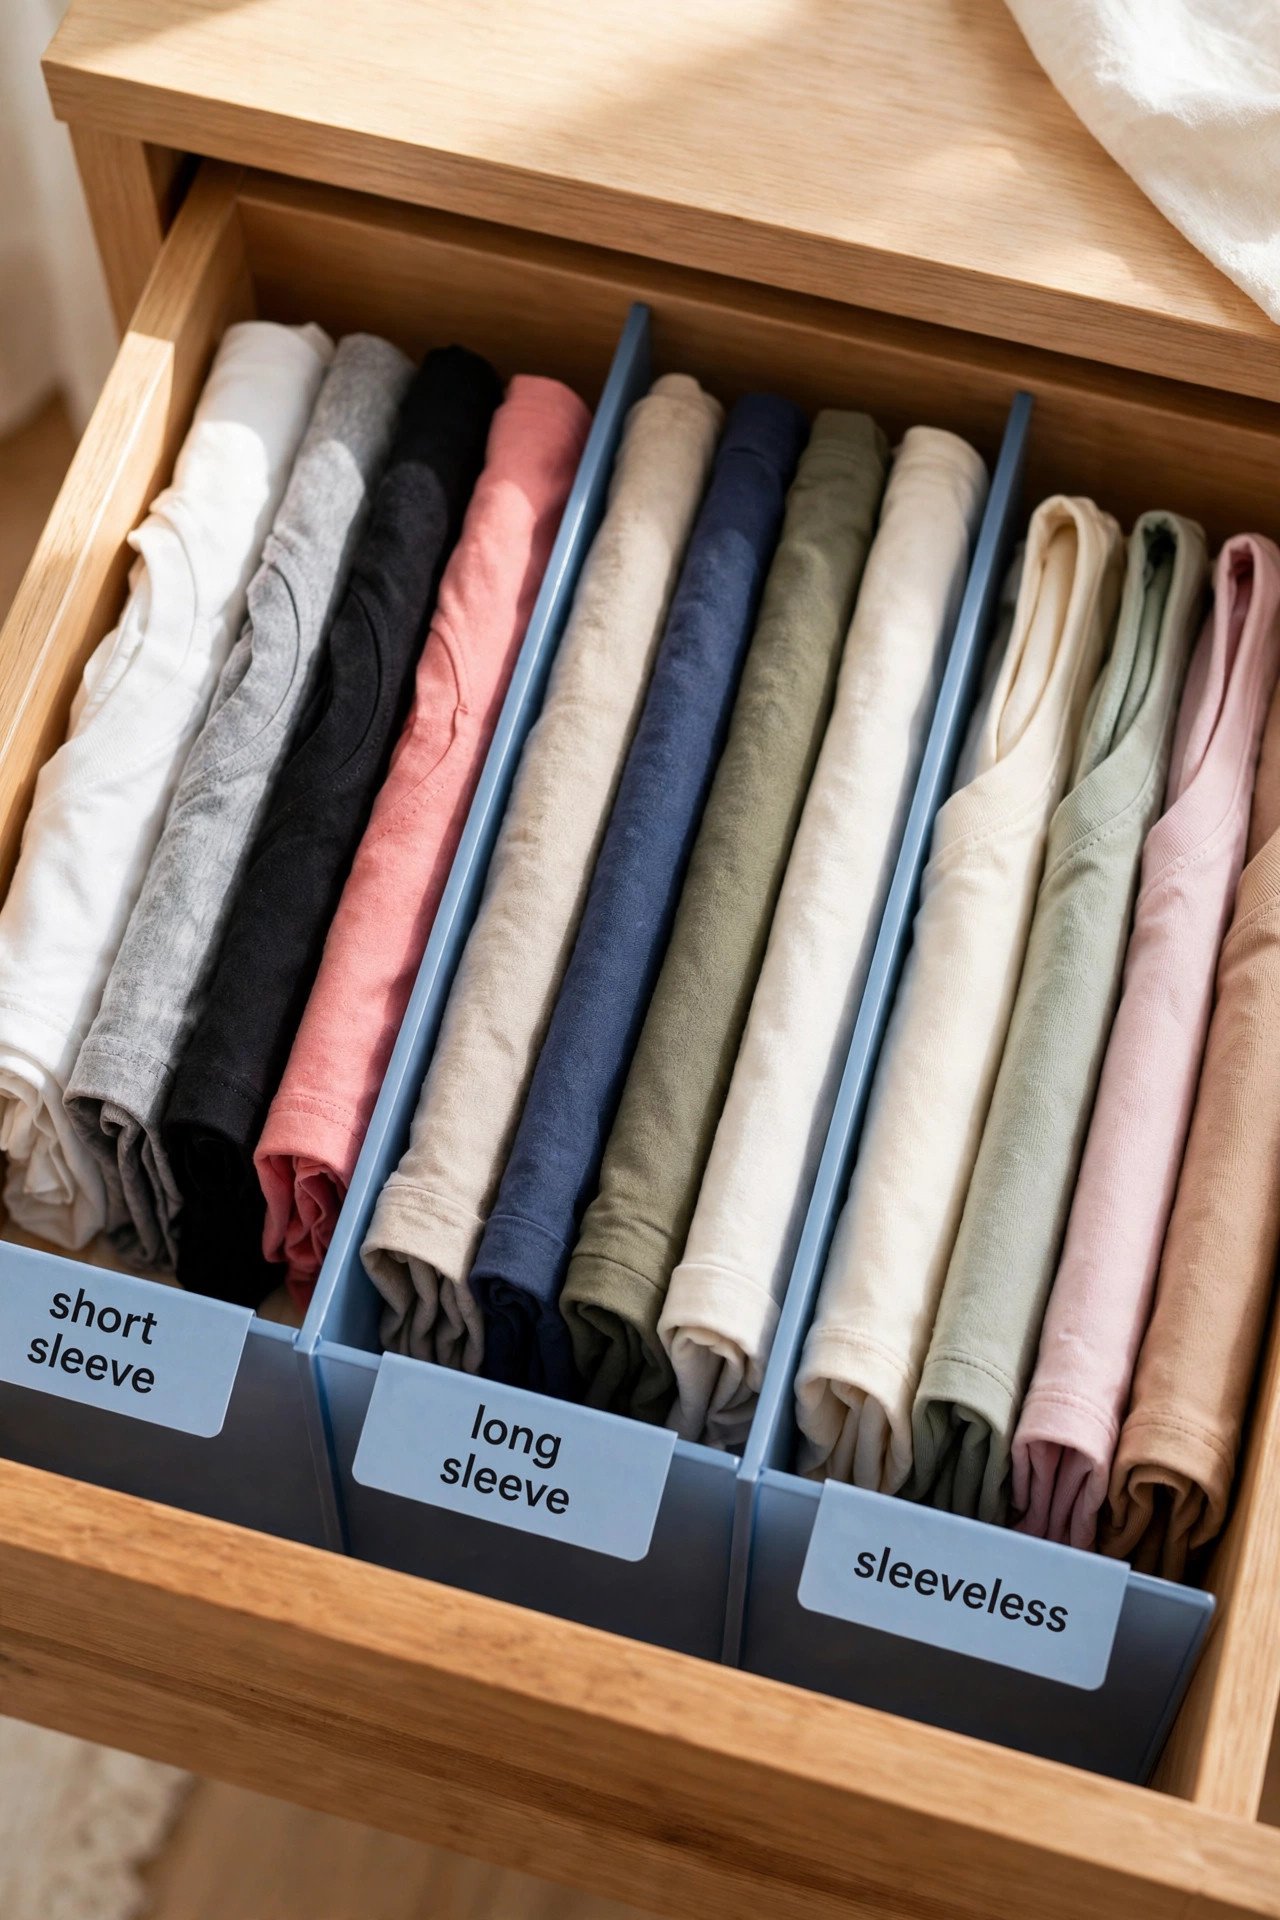
7. Group Shirts by Sleeve Length
Keep short sleeves, long sleeves, and sleeveless tops in separate rows. Sleeve length changes the fold shape slightly, and mixing them makes rows uneven. Grouped rows stand straighter and look neater.
This grouping also speeds up dressing for the weather. On a hot day you scan only the short-sleeve row. When seasons change, you can move a whole row at once instead of hunting shirt by shirt.
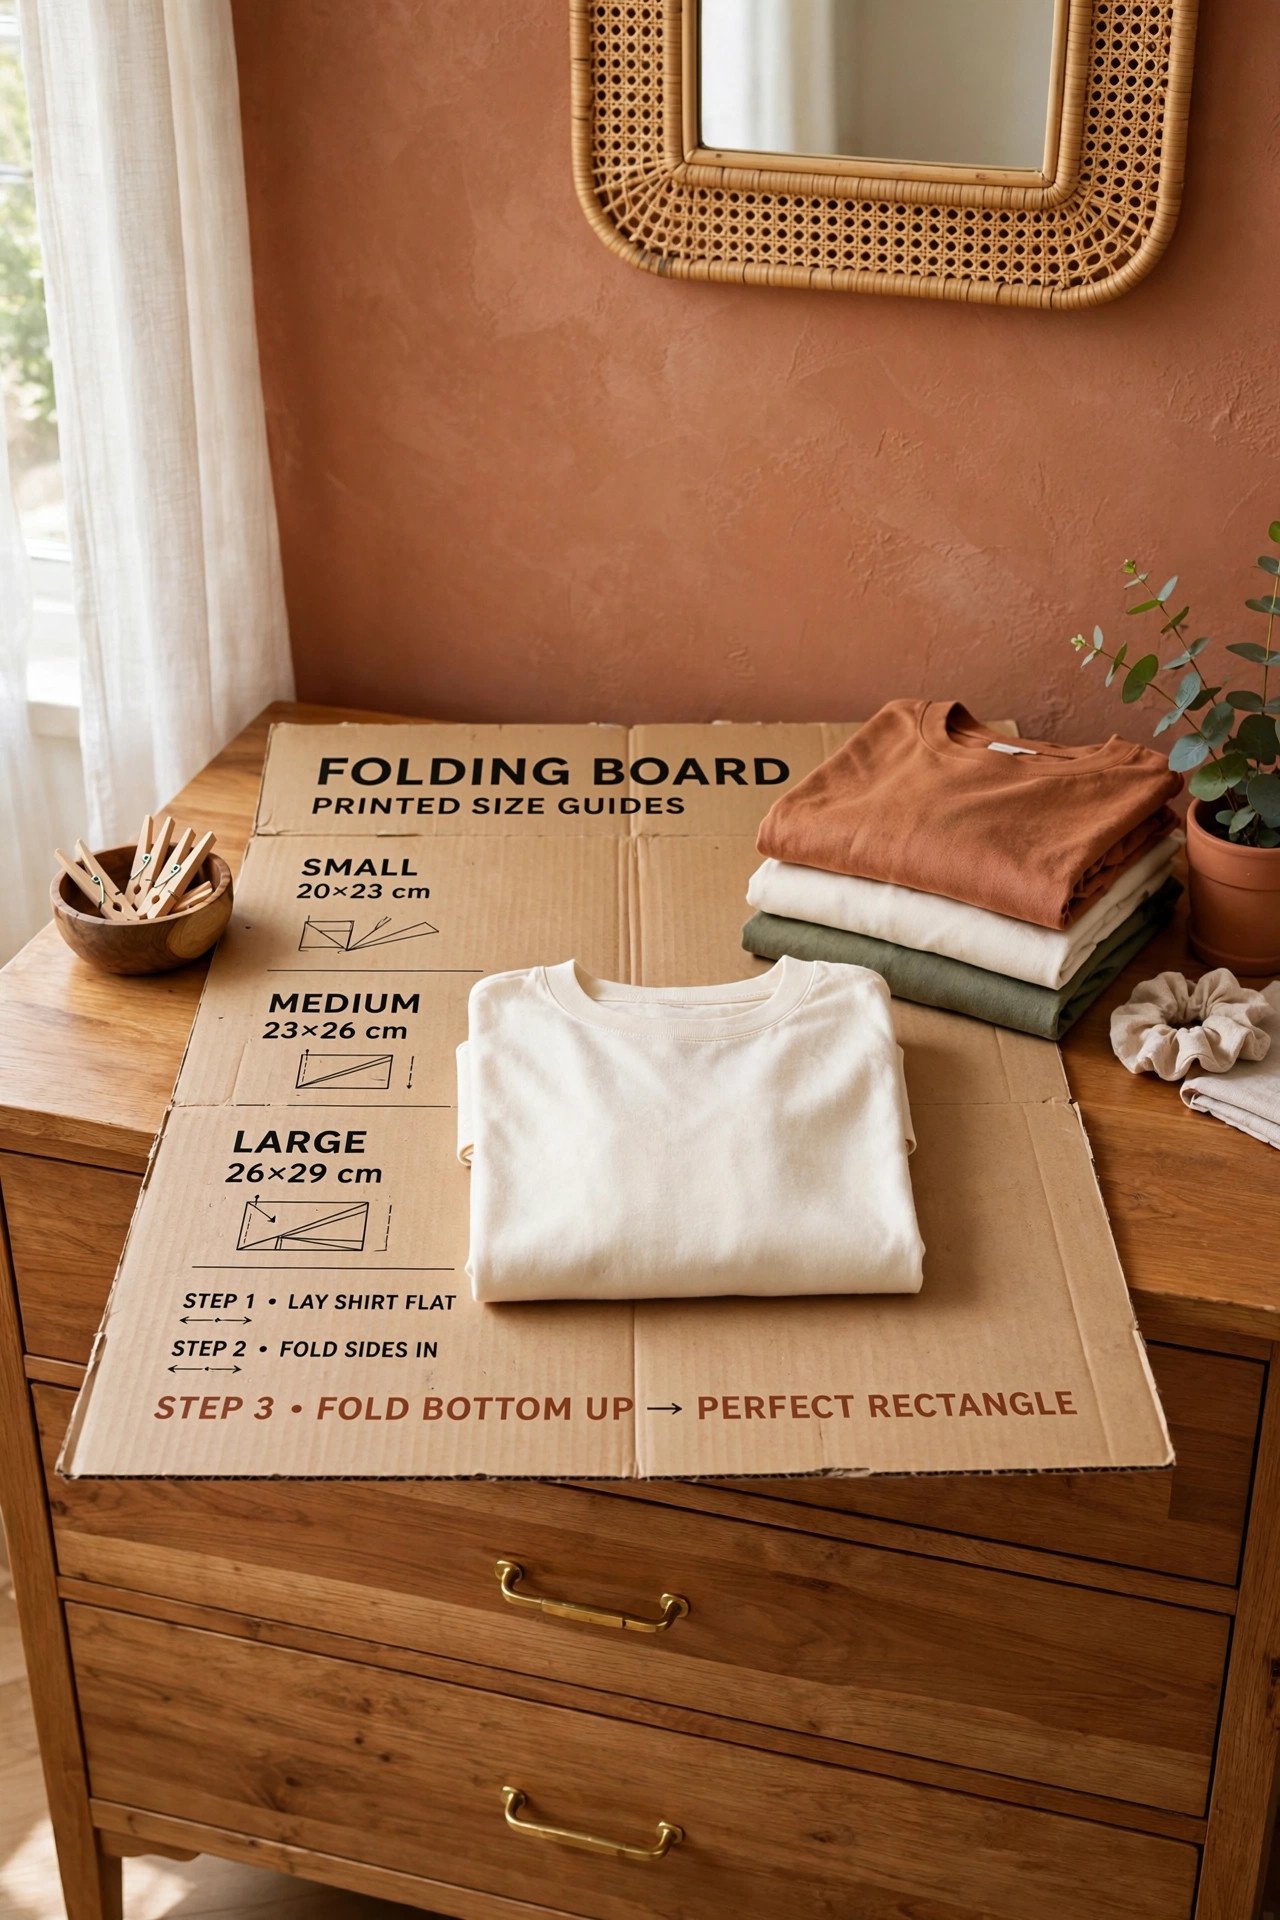
8. Use a Folding Board for Perfect Rectangles
A folding board is a flat template that guides each fold to the same size. Lay the shirt on the board, fold the sides in using the board edges, then fold up. Every shirt comes out identical.
Cardboard versions cost almost nothing and work just as well as plastic ones. Trace your ideal rectangle on a piece of sturdy cardboard and cut it out. Store the board flat under the shirts when you are done.
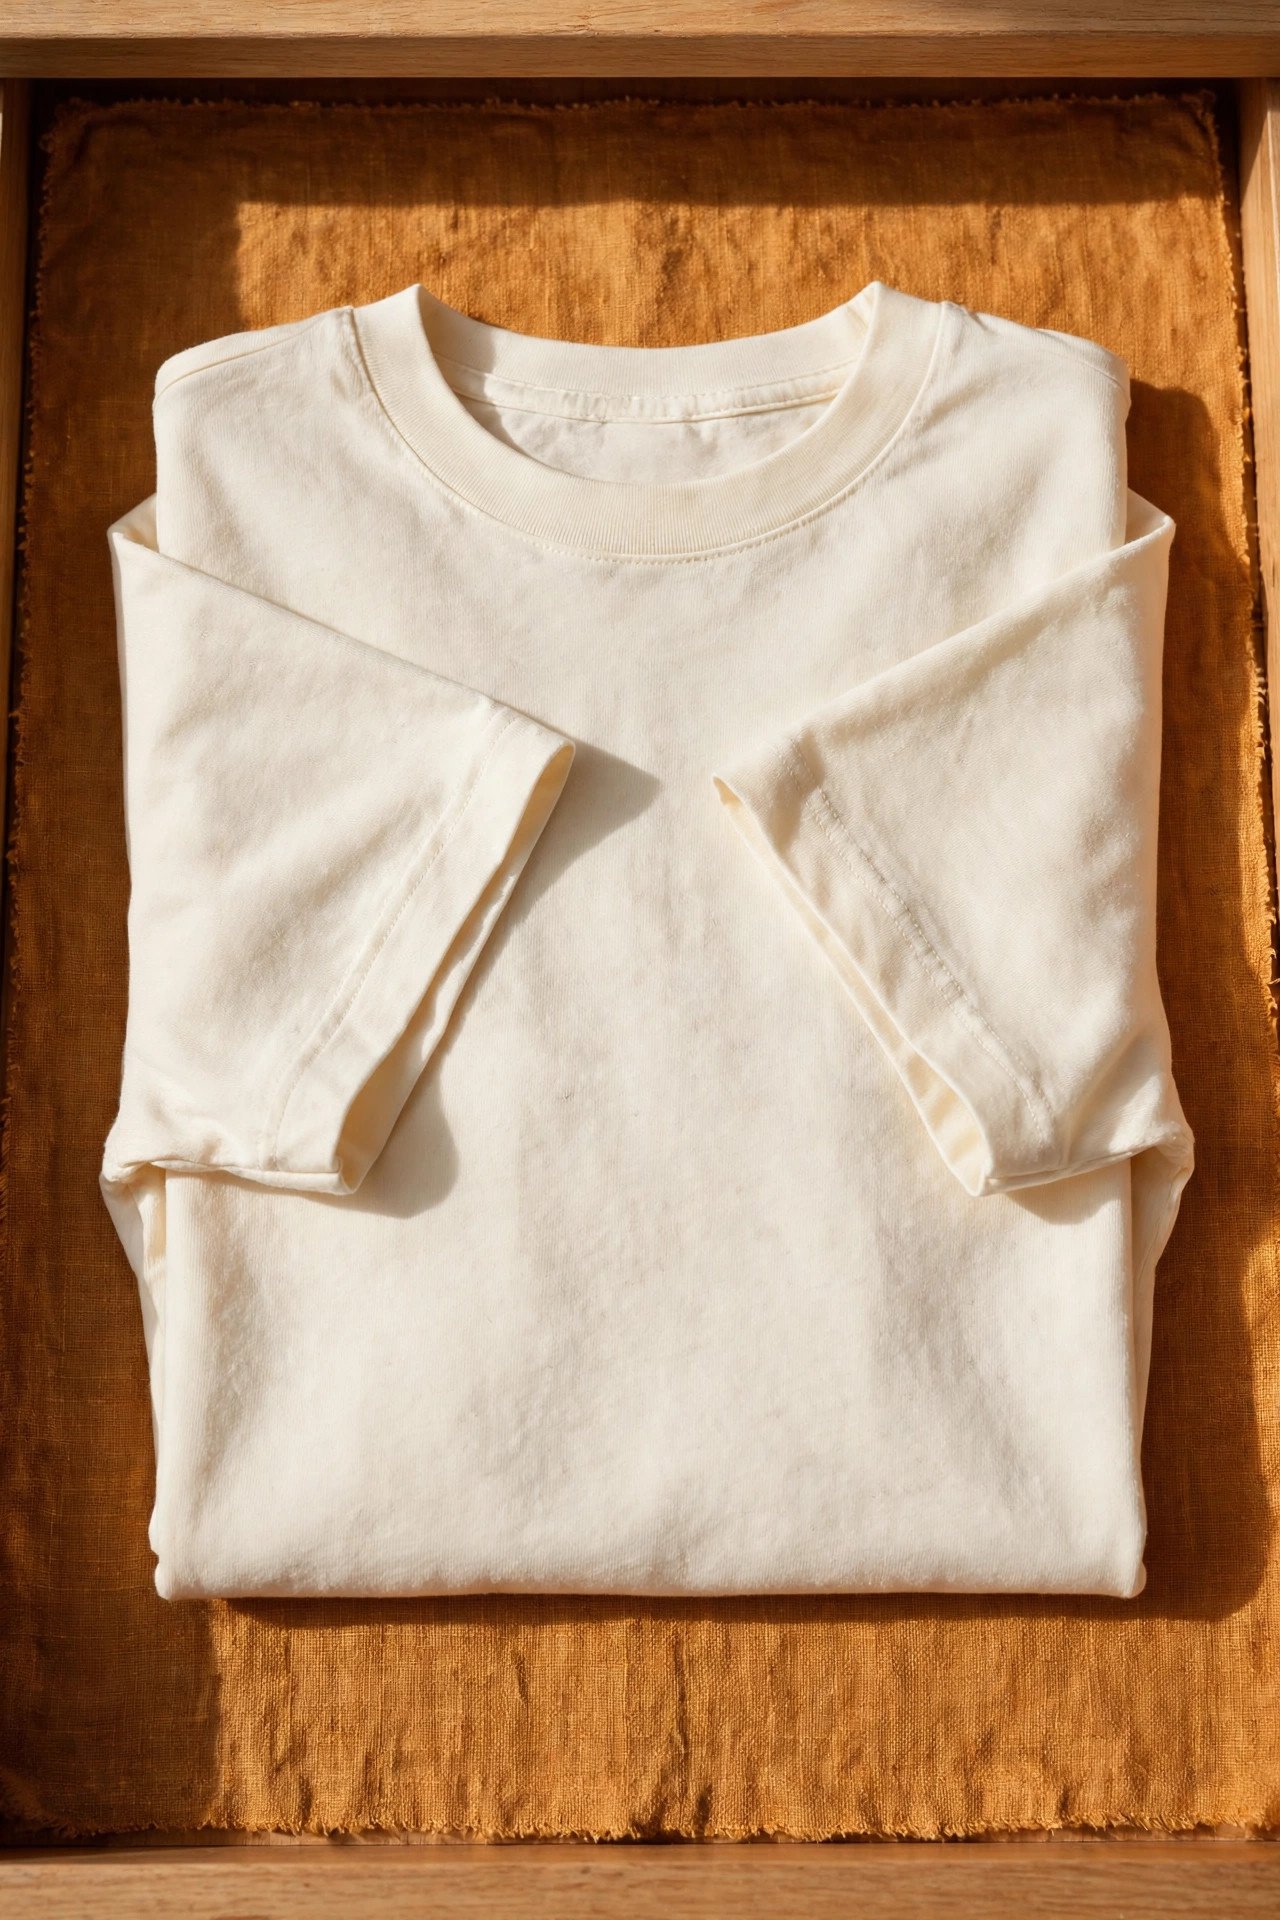
9. Tuck Sleeves Inward for a Clean Edge
Sleeves sticking out sideways make rows lumpy and uneven. After folding the sides in, fold each sleeve back across the shirt body before the final folds. The edges stay smooth and square.
For long sleeves, fold the sleeve down along the body first, then fold the sides in over it. This extra tuck takes five seconds and keeps every rectangle crisp. Neat edges are what make the drawer look professionally organized.
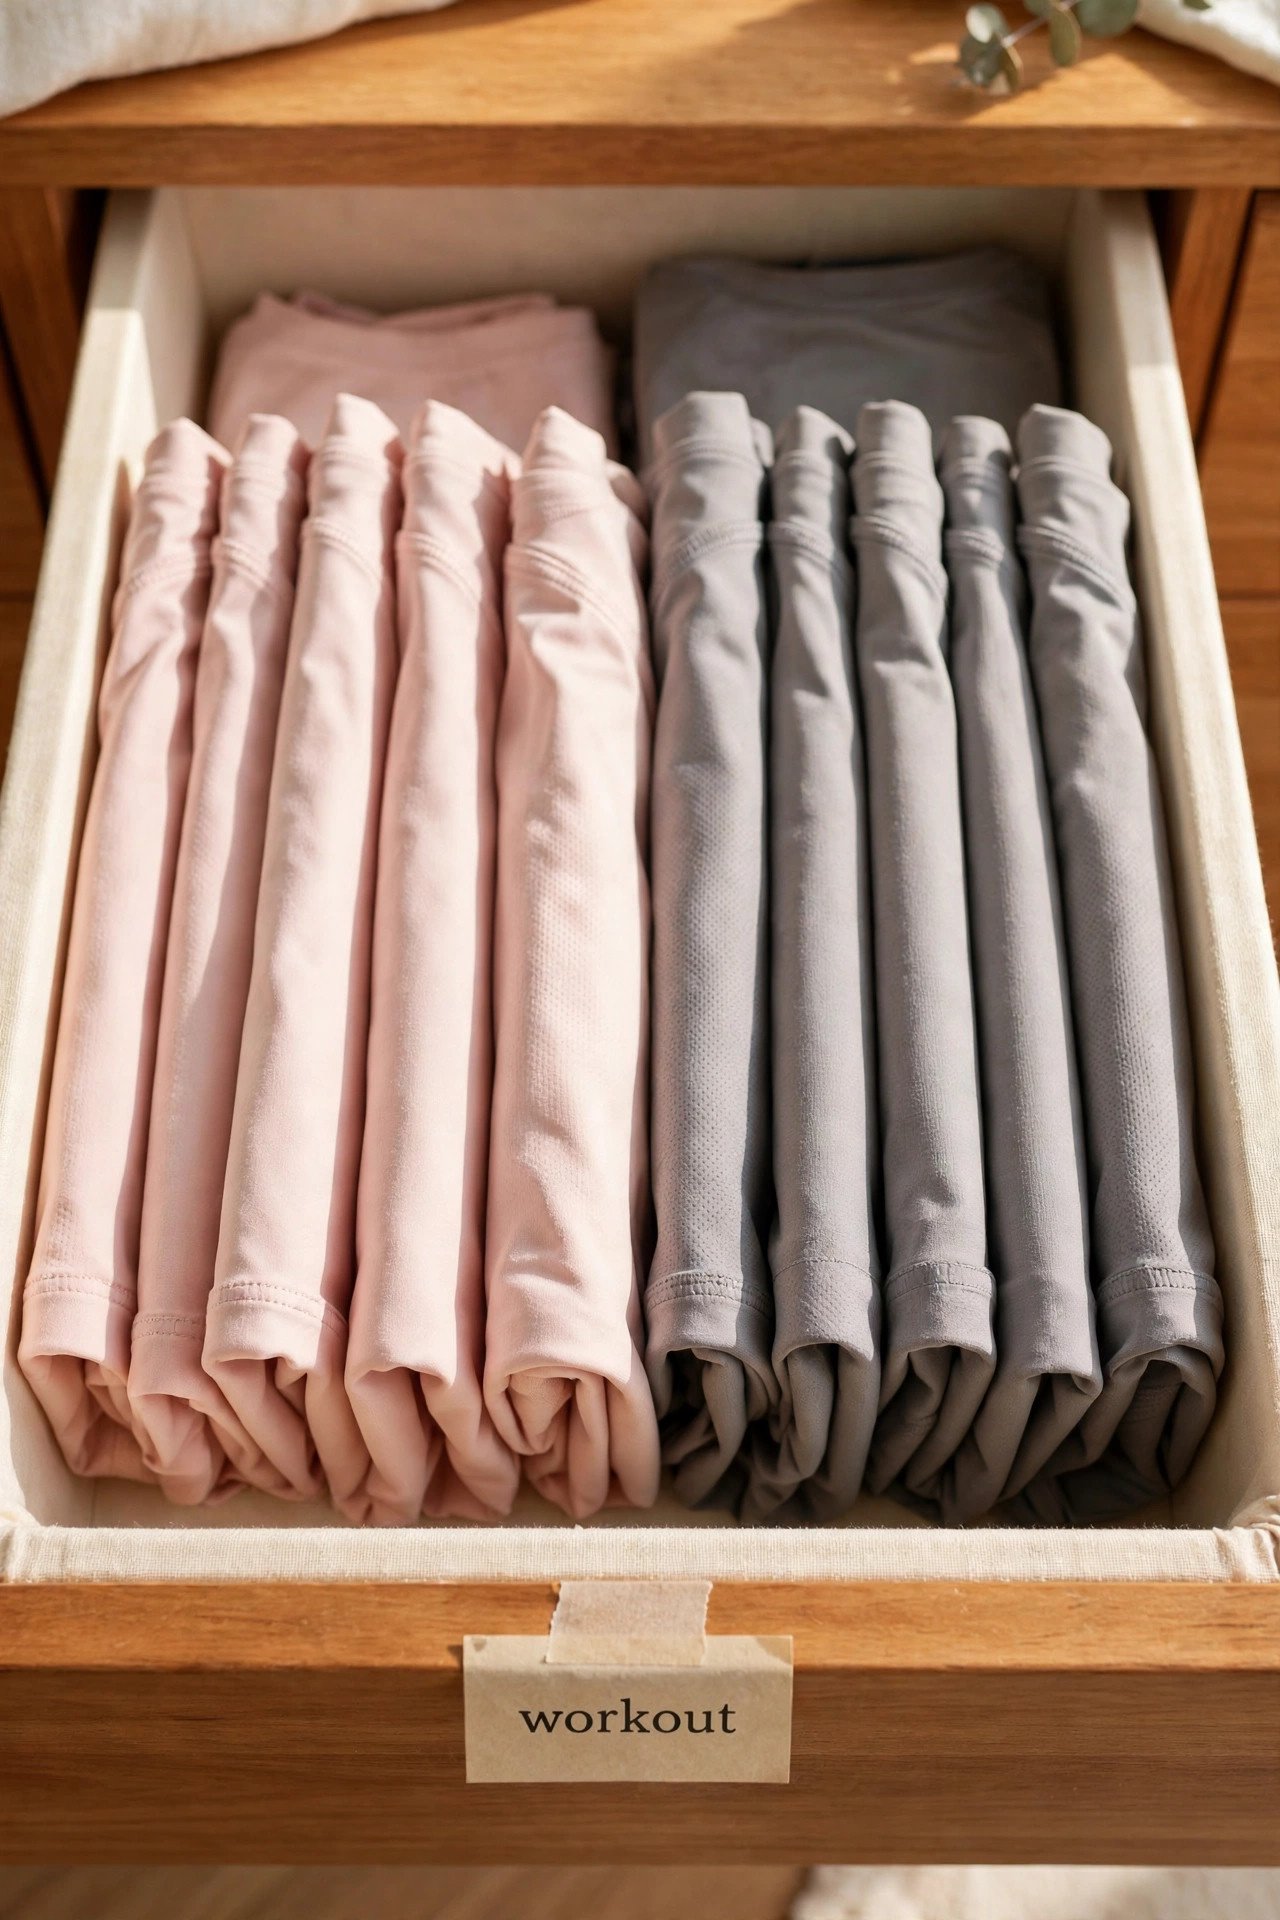
10. Keep Workout Shirts in Their Own Zone
Athletic shirts live a different life from everyday tees. They get sweaty, they wash more often, and you grab them in a hurry. Give them their own row or a small bin at one end of the drawer.
File fold them the same way so the system stays consistent. When gym clothes have a home, they stop migrating onto the dresser top. Your morning workout routine gets faster too.
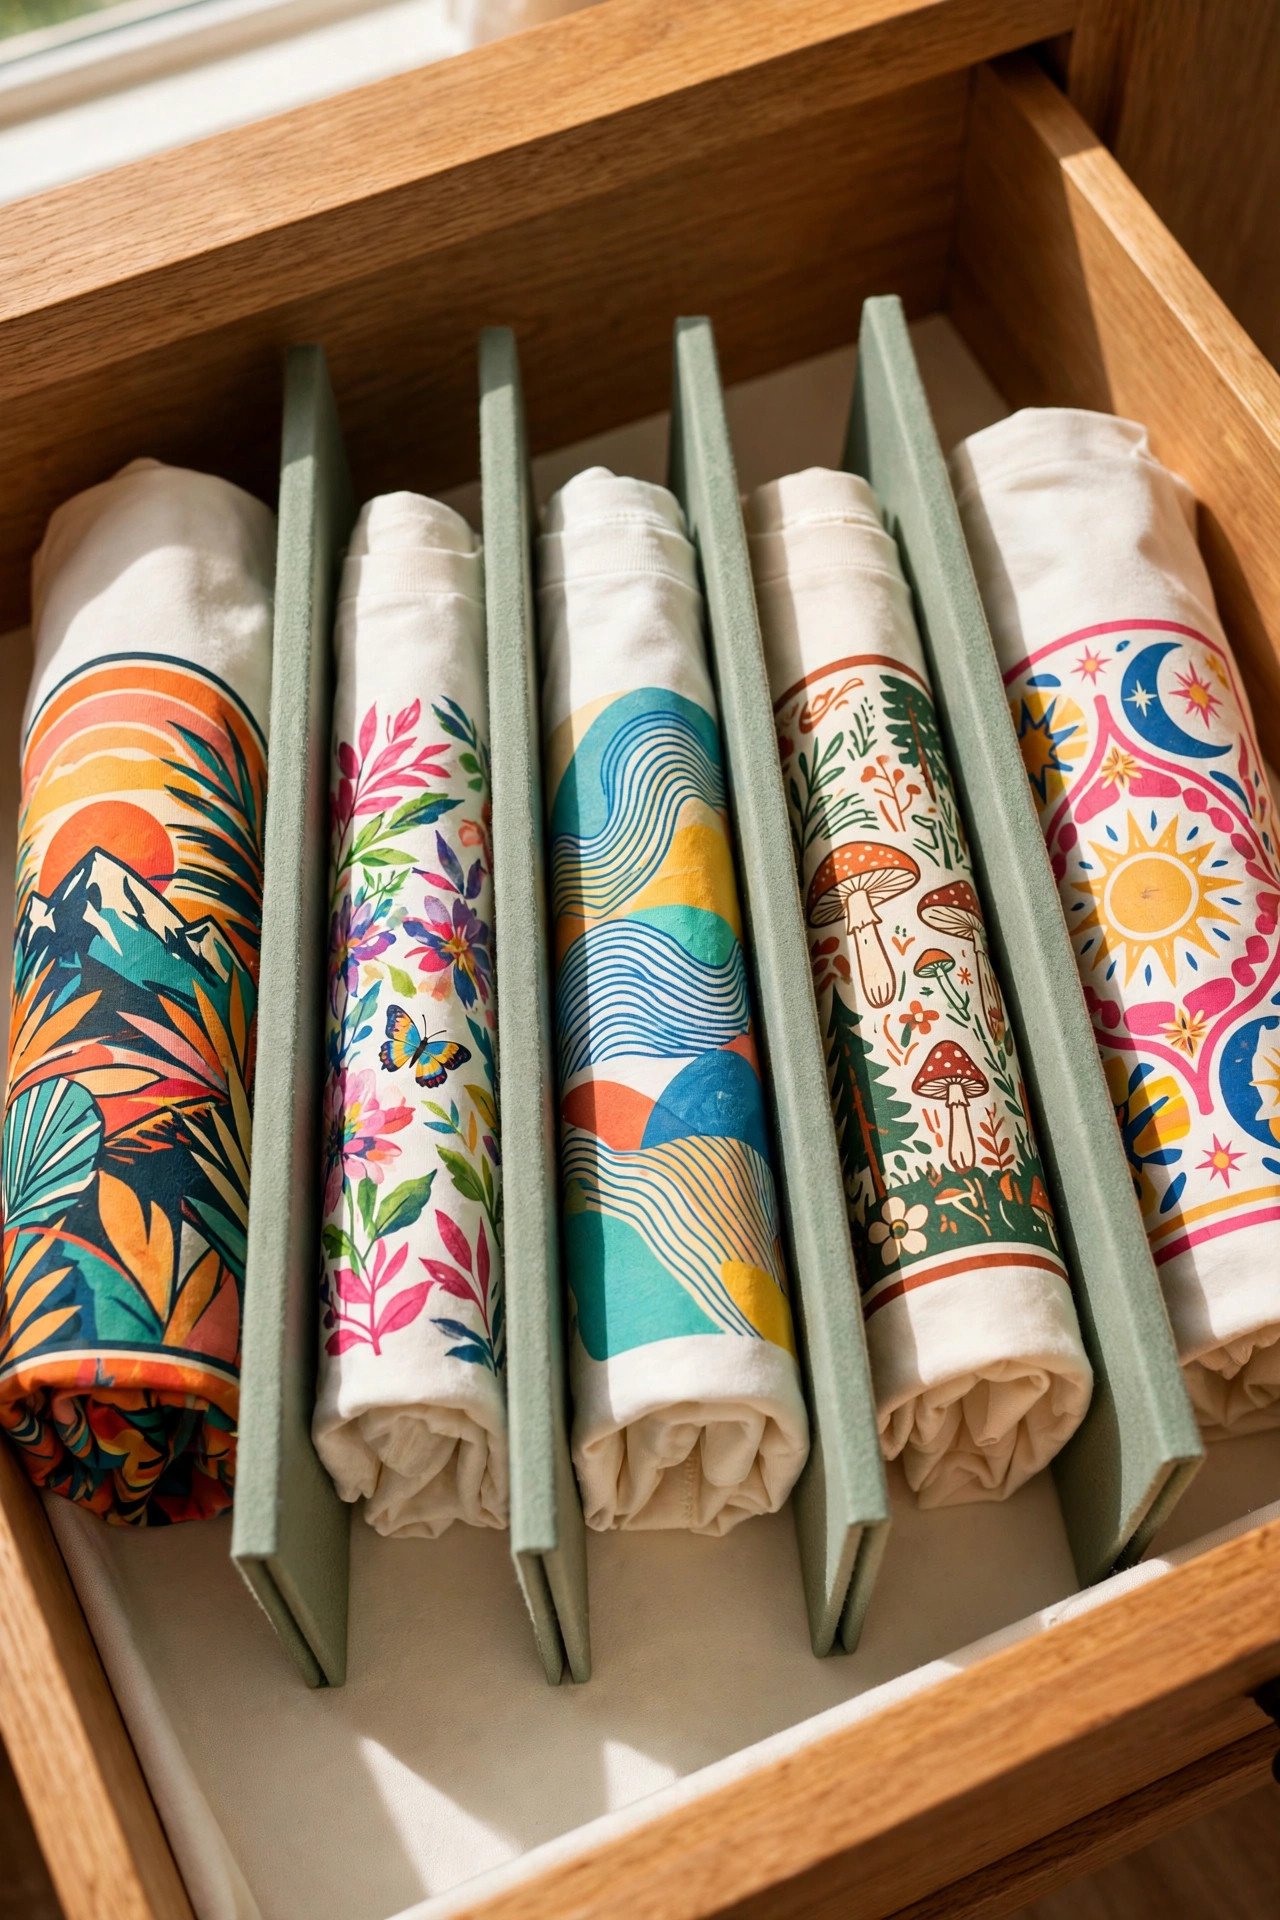
11. Face Graphic Prints Outward
Graphic tees are easier to identify by their design than by their color. When you file fold them, finish with the printed side facing up on the spine. You can read each design without pulling the shirt out.
This small habit saves real time on busy mornings. No more unfolding three shirts to find the band tee. The drawer doubles as a little gallery of your favorite prints.
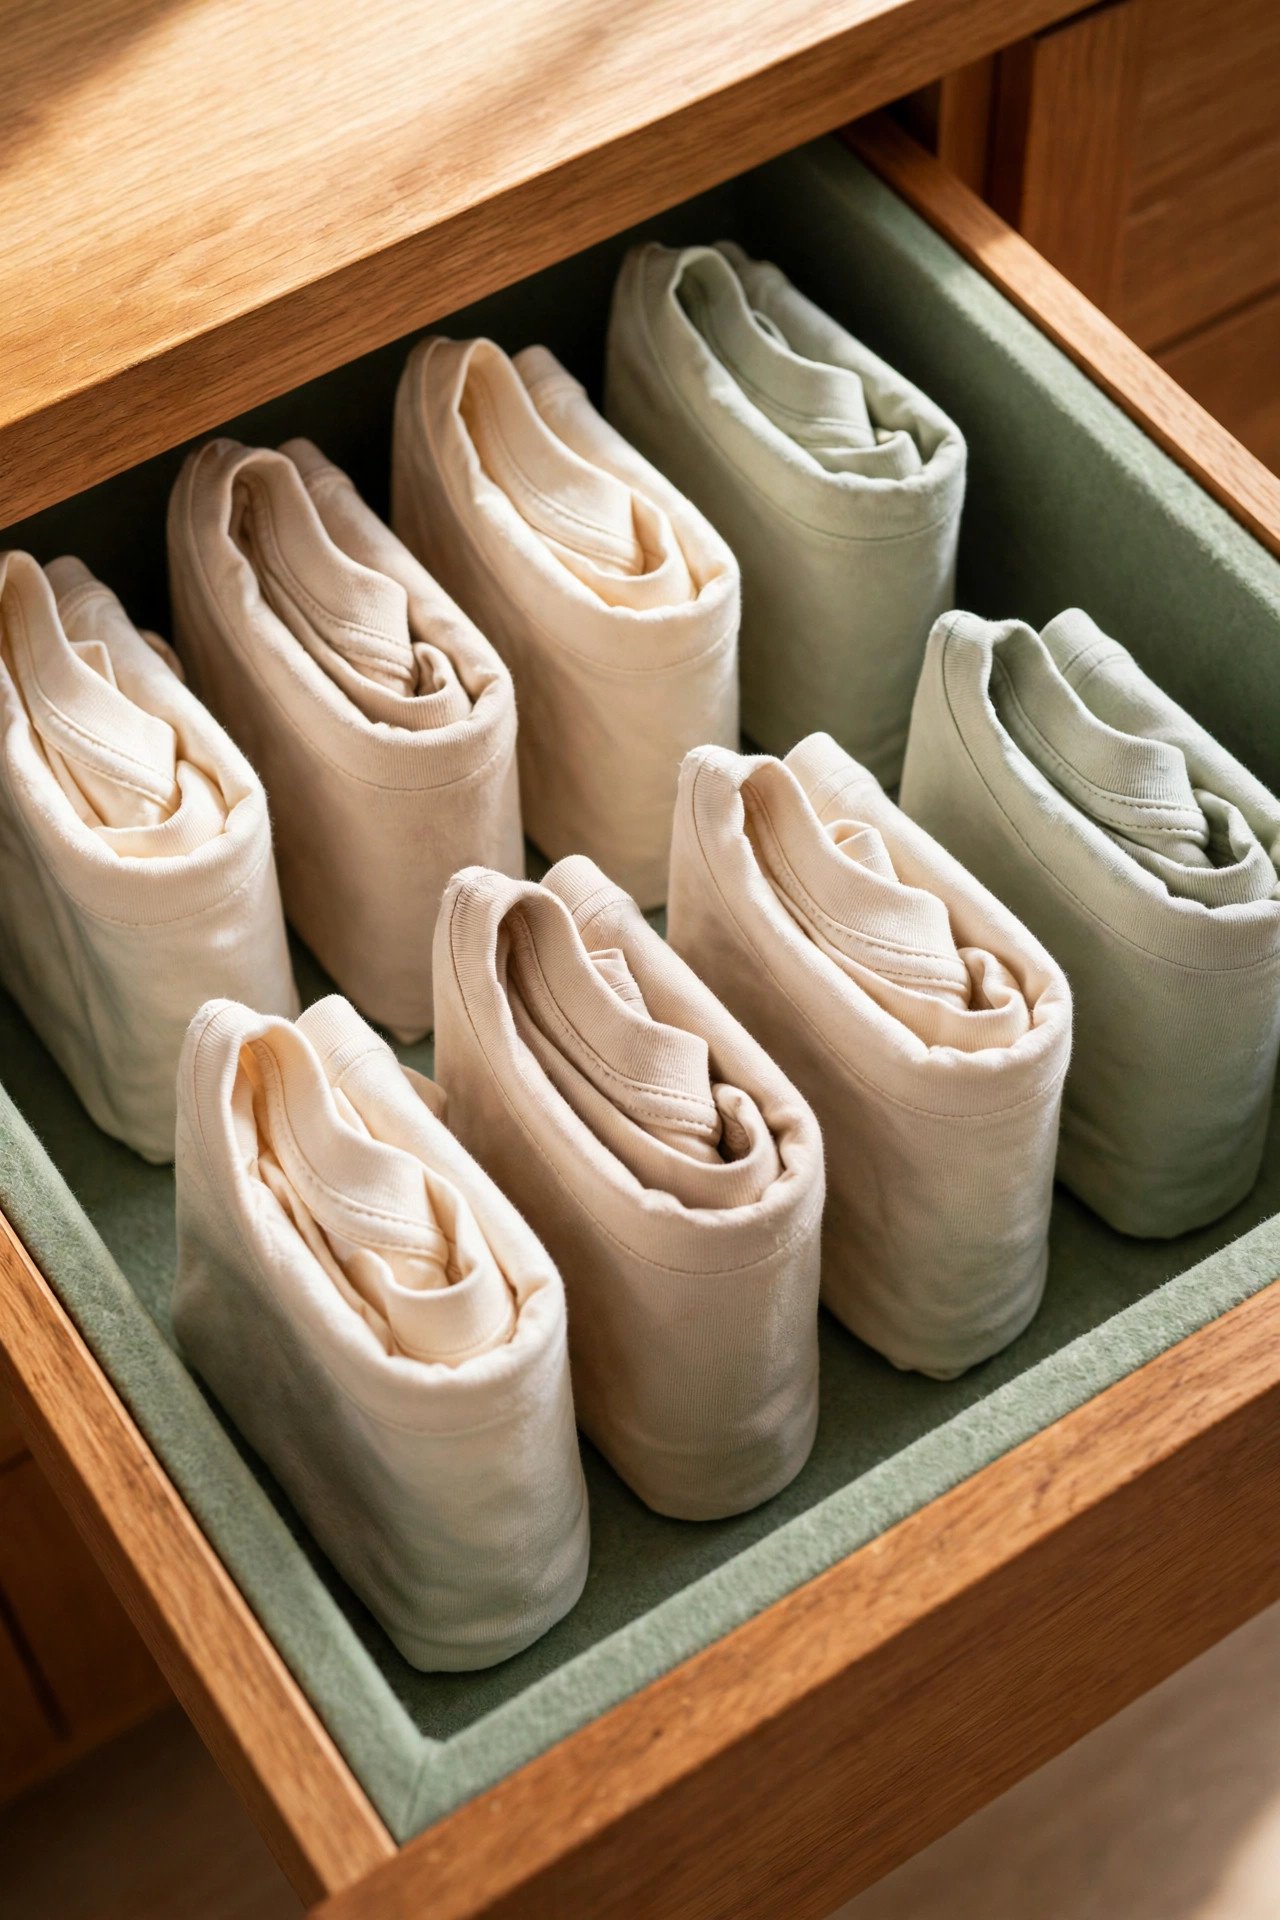
12. Drop Small Bins Into Deep Drawers
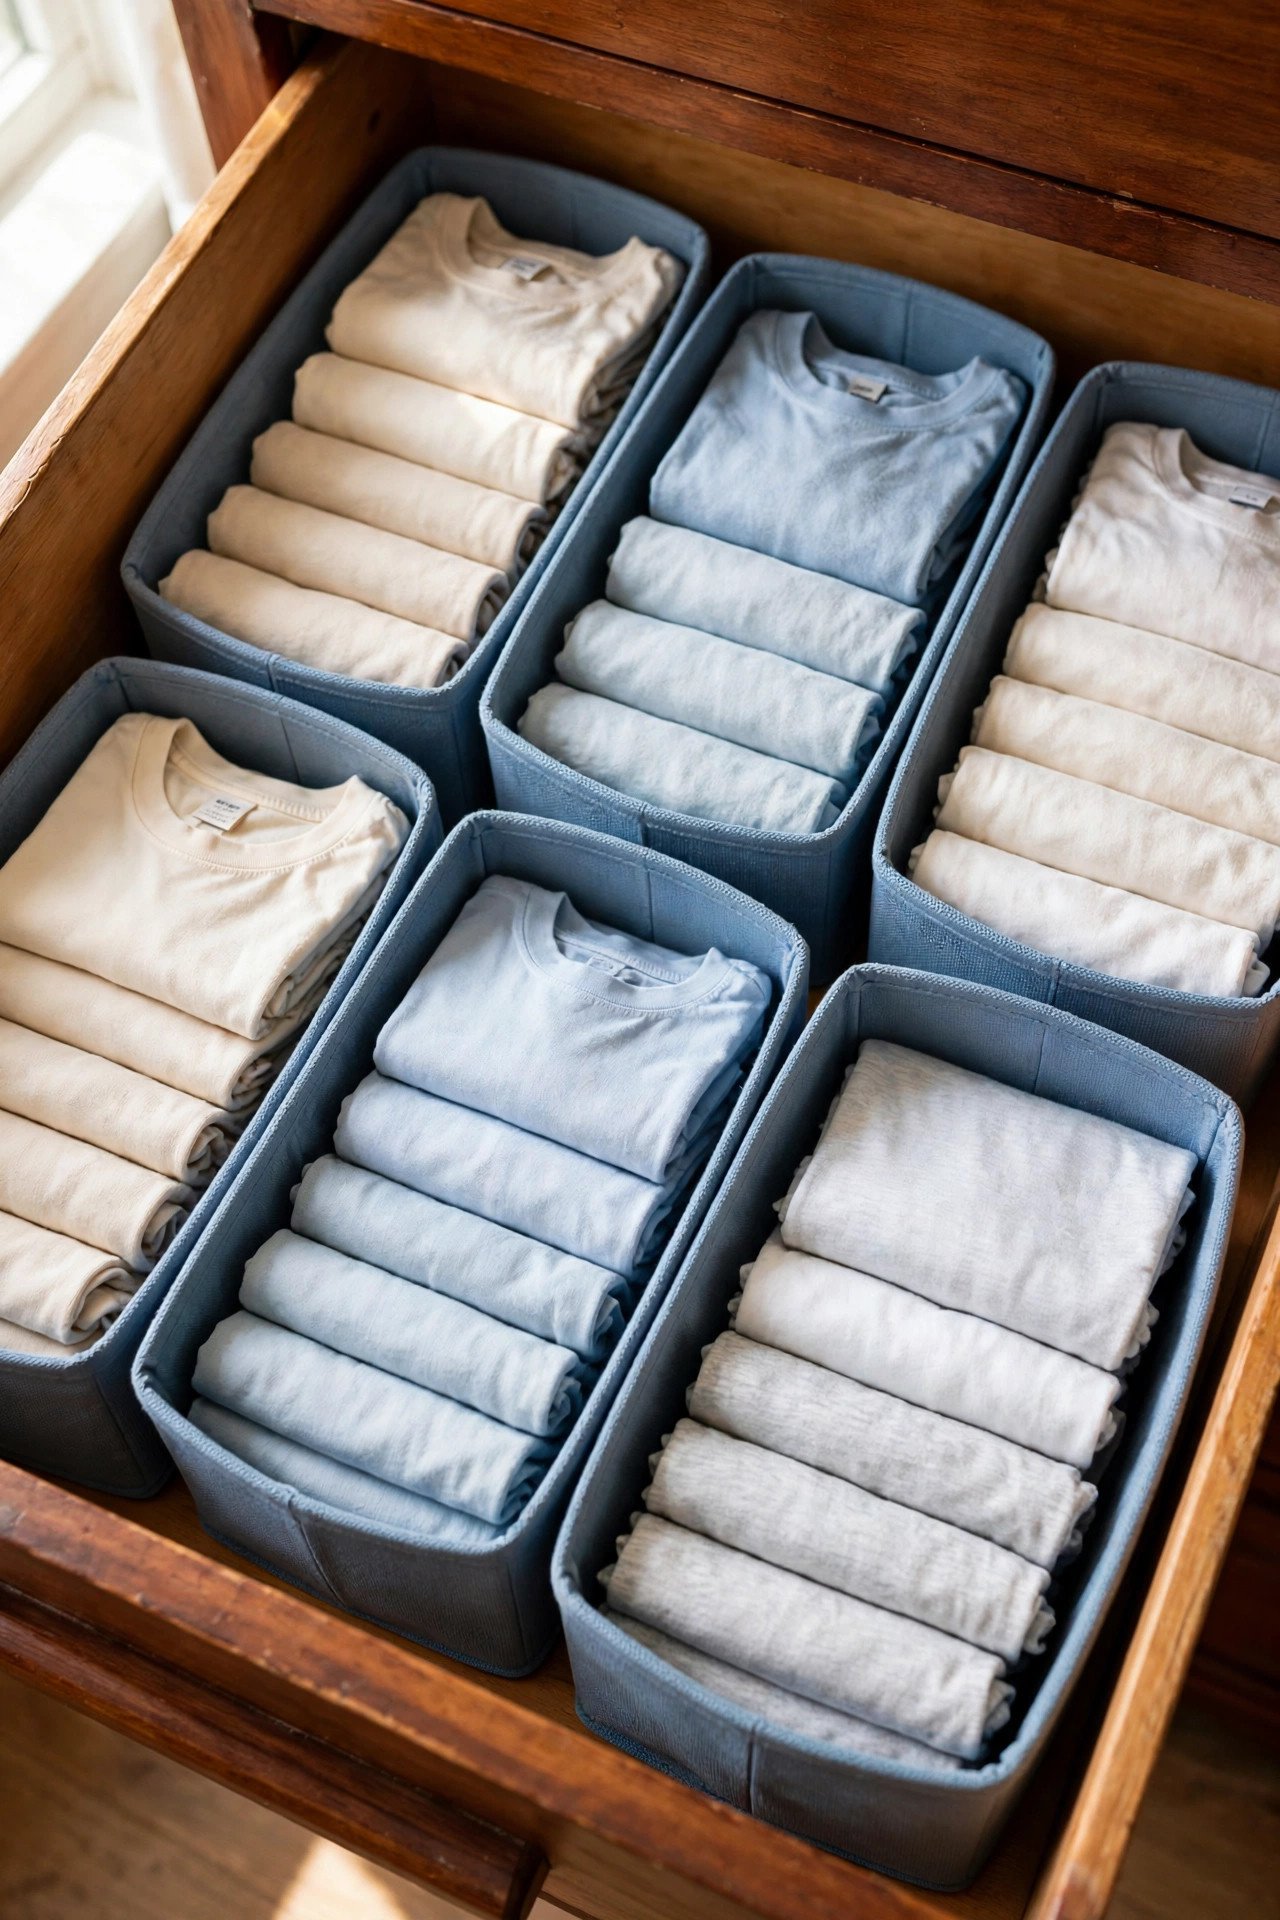
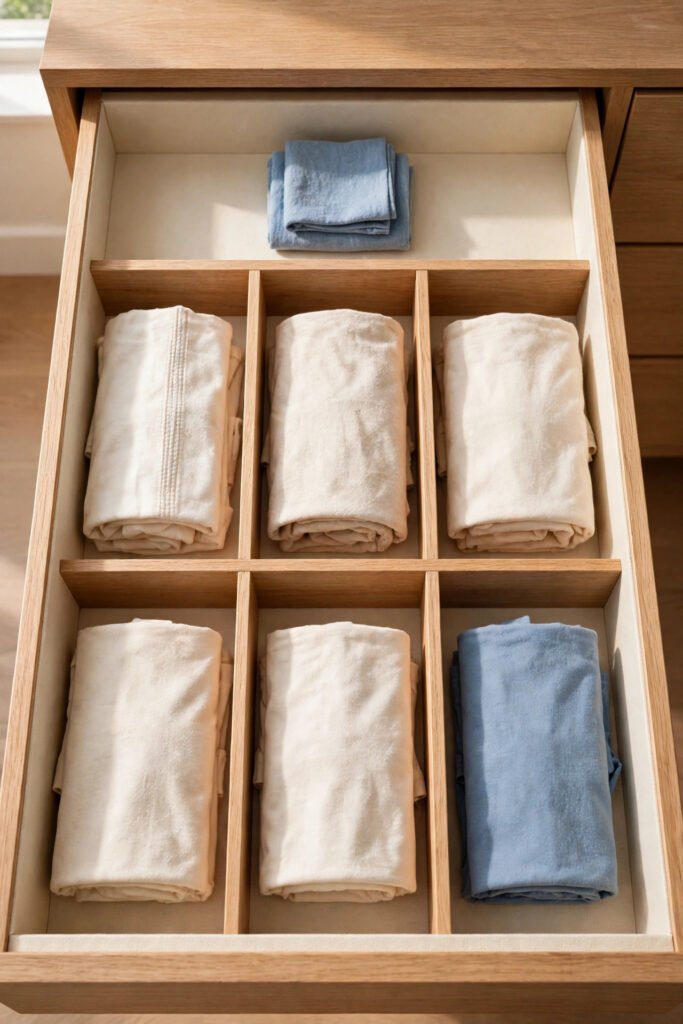
Deep drawers swallow short file-folded rows and let them topple. Set two or three open-top bins inside the drawer and file fold shirts inside each bin. The bin walls act as permanent dividers.
Choose bins that are almost as tall as the drawer so the rows cannot flop. Fill every bin completely, since empty bins invite clutter. Bins also let you lift a whole category out at once.
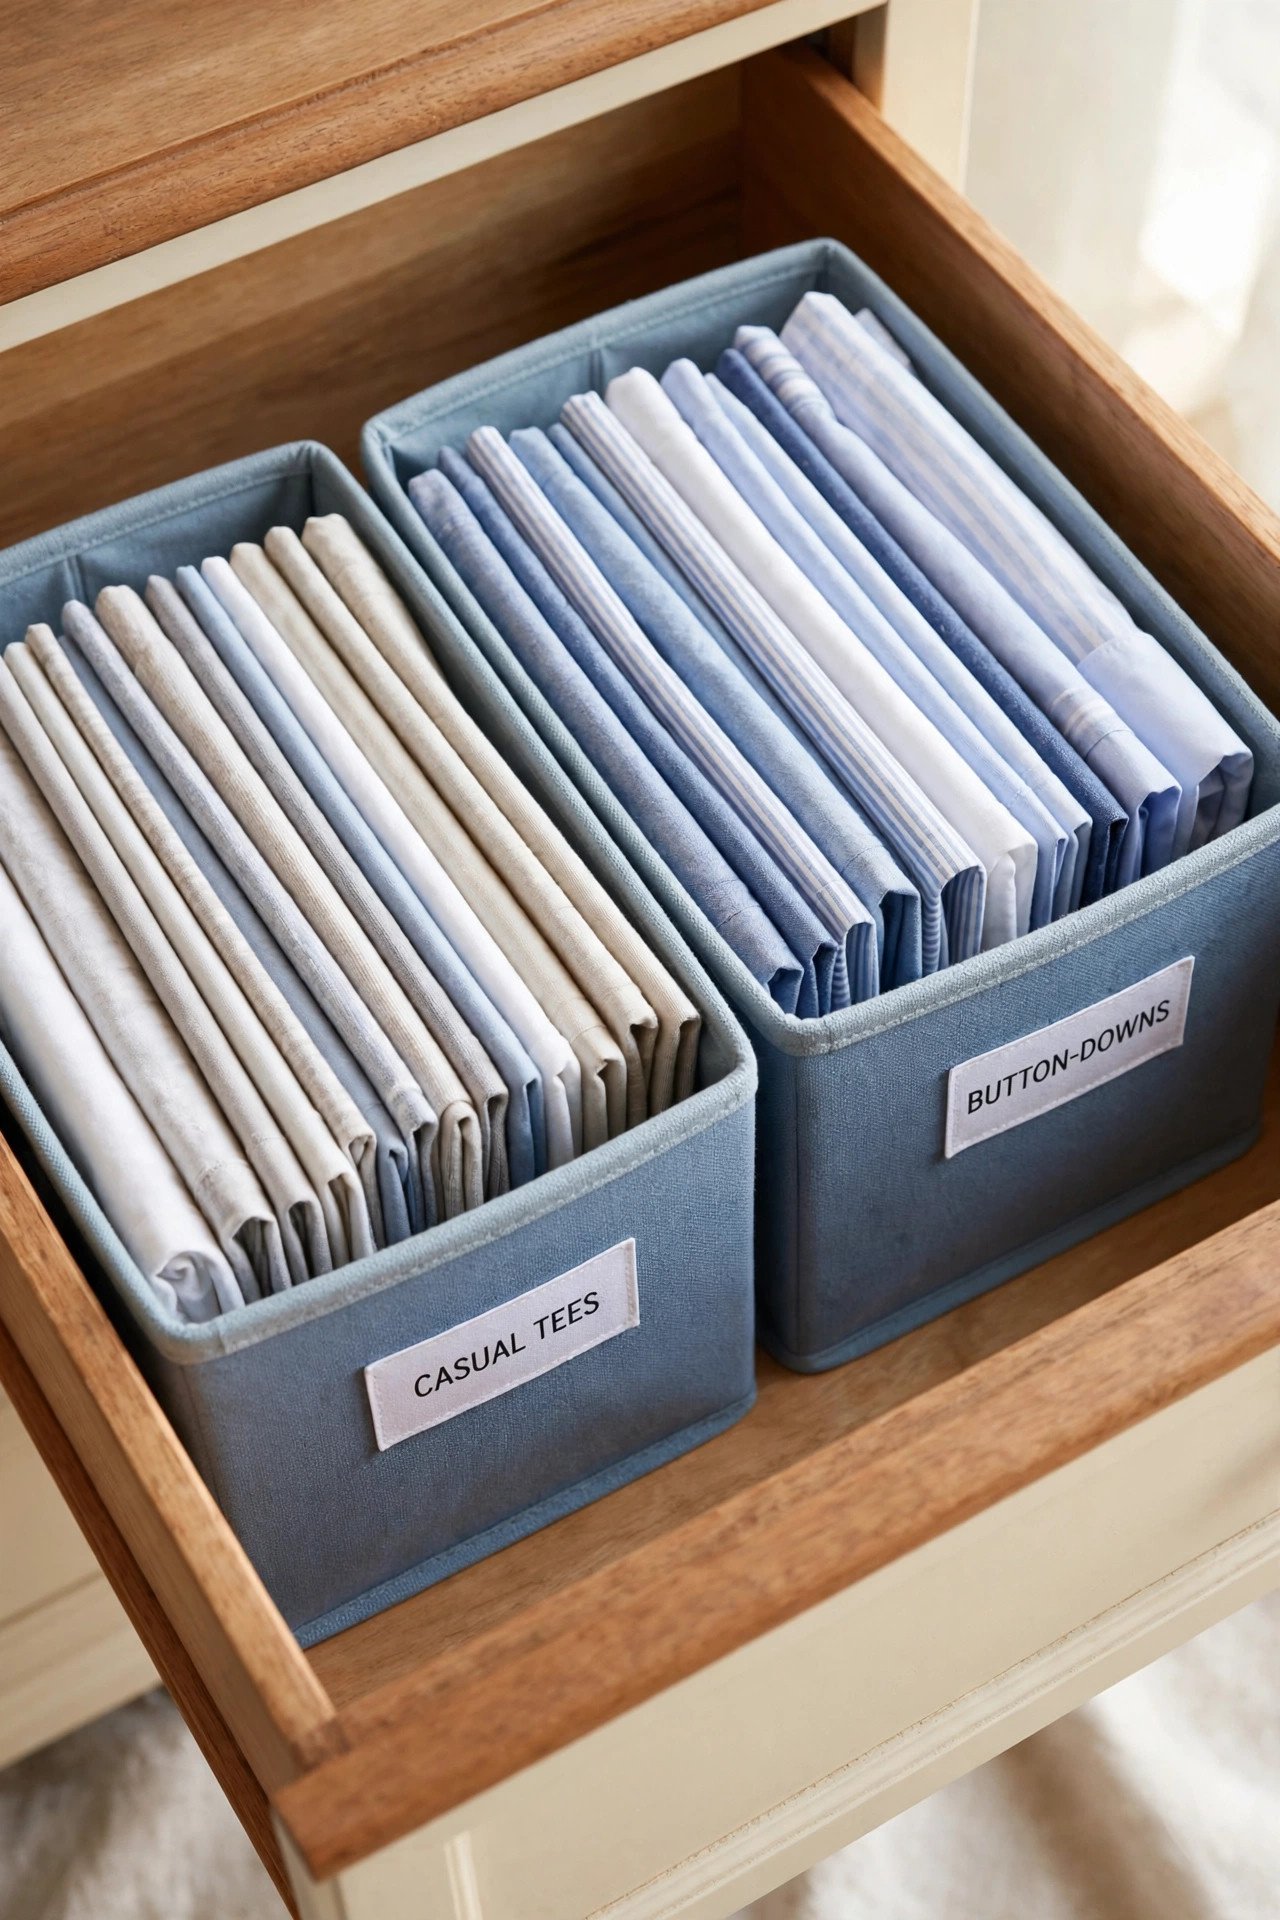
13. Label Each Row With a Printed Tag
Small printed labels on the drawer front or on divider tabs tell everyone where each category lives. Labels like everyday, workout, and sleep keep the system running even when someone else does the laundry.
Use a label maker or neat handwritten tags on card stock. Readable labels are part of the system, not decoration. When every row is named, shirts always find their way home.
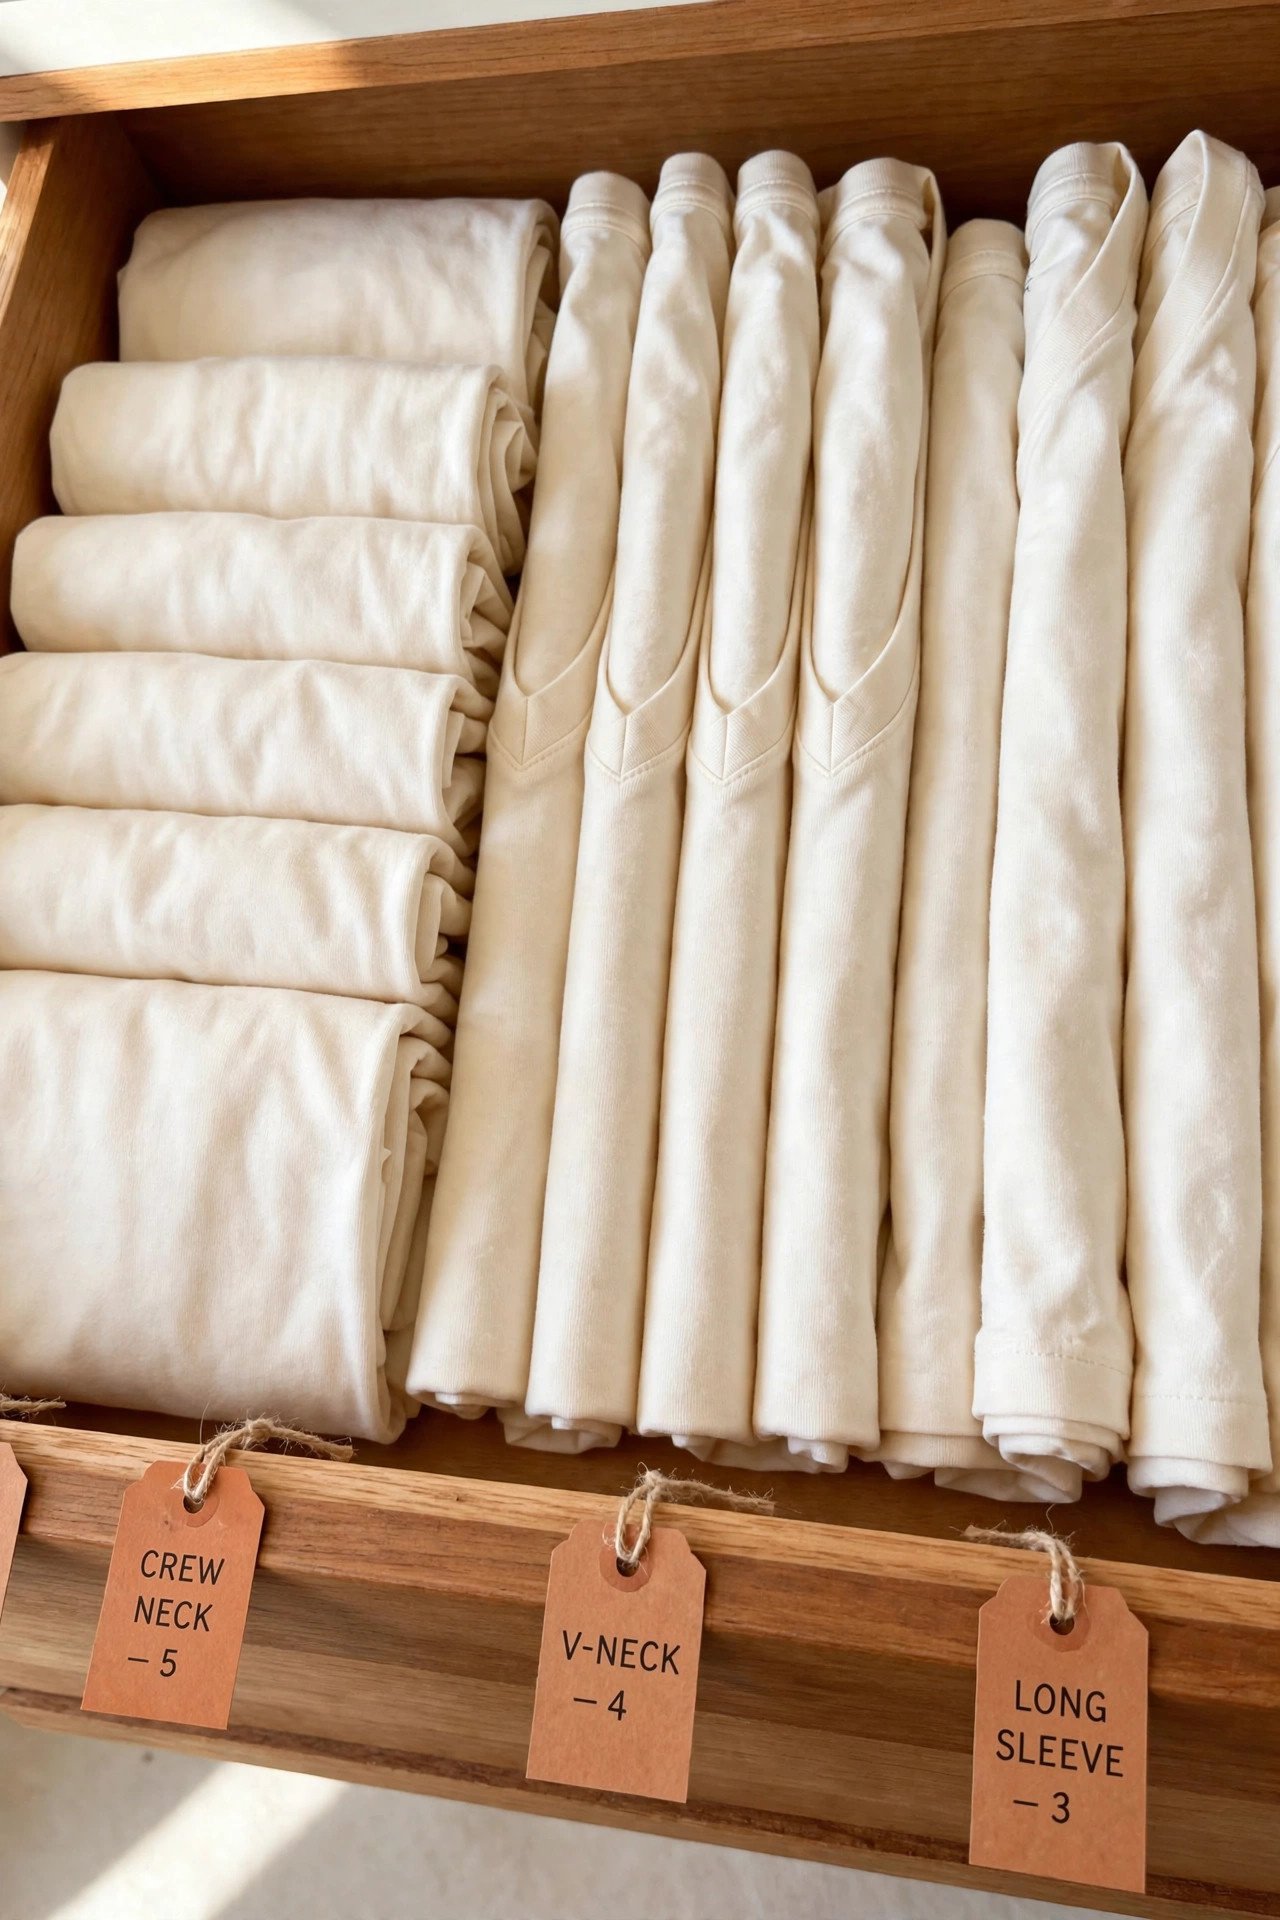
14. Move Off-Season Shirts Elsewhere
A drawer stuffed with shirts you cannot wear right now helps no one. When summer ends, move tank tops and thin tees to a storage bin in the closet. Give the current season the full drawer.
Swap the rows back when the weather turns. This seasonal rotation keeps the drawer breathing room all year. Fewer shirts in the drawer means every row stays upright and easy to browse.
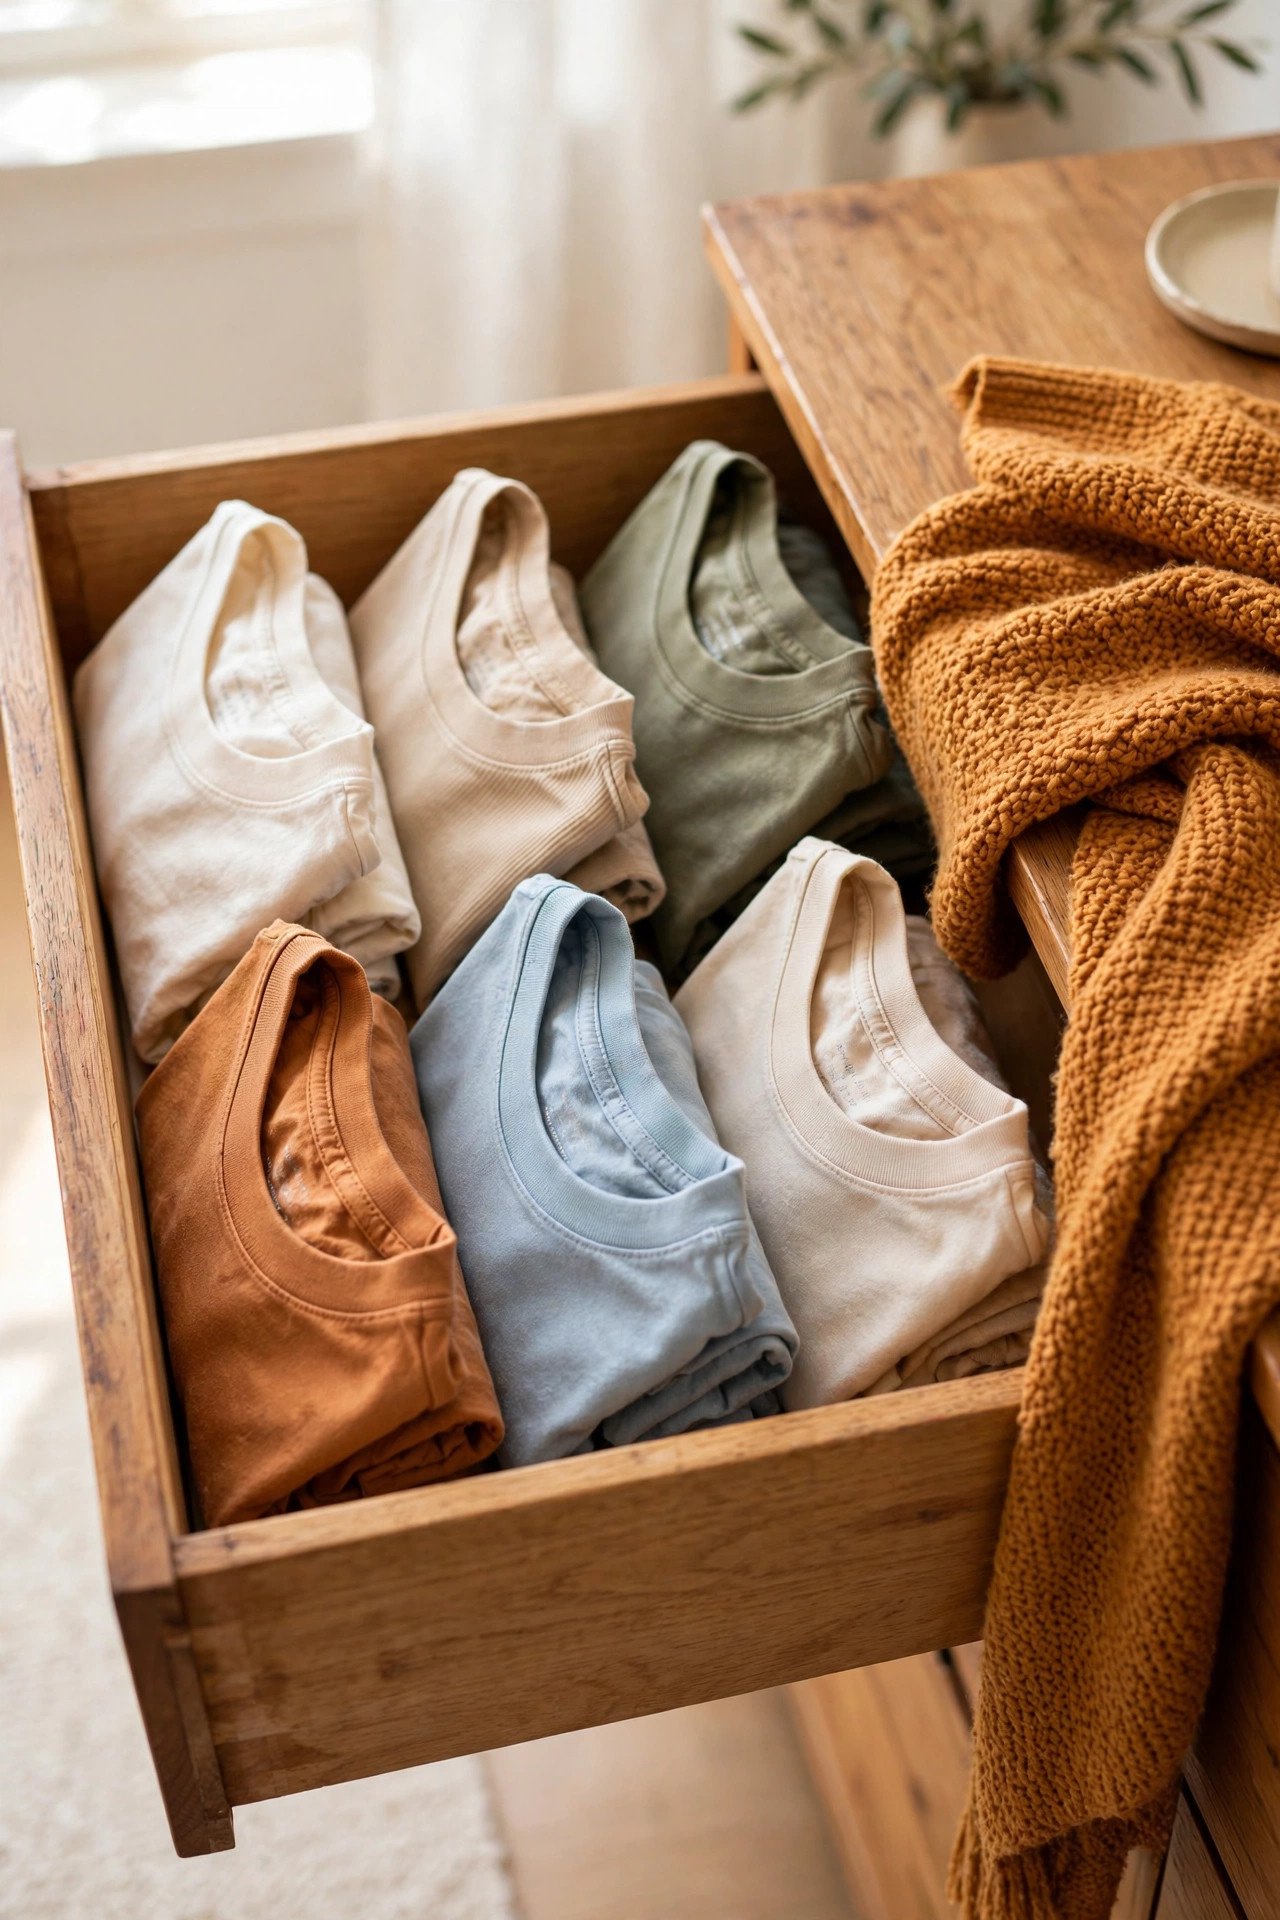
15. Keep a Donation Corner in the Drawer
Designate the last few inches of the drawer as a donation zone. When a shirt gets stained, stretched, or simply unworn, move it to the corner instead of back into the rows. The drawer stays curated without a big declutter session.
When the corner fills up, bag the shirts and drop them off the same week. This slow trickle keeps your collection honest. A drawer that only holds shirts you love is a drawer that stays organized.
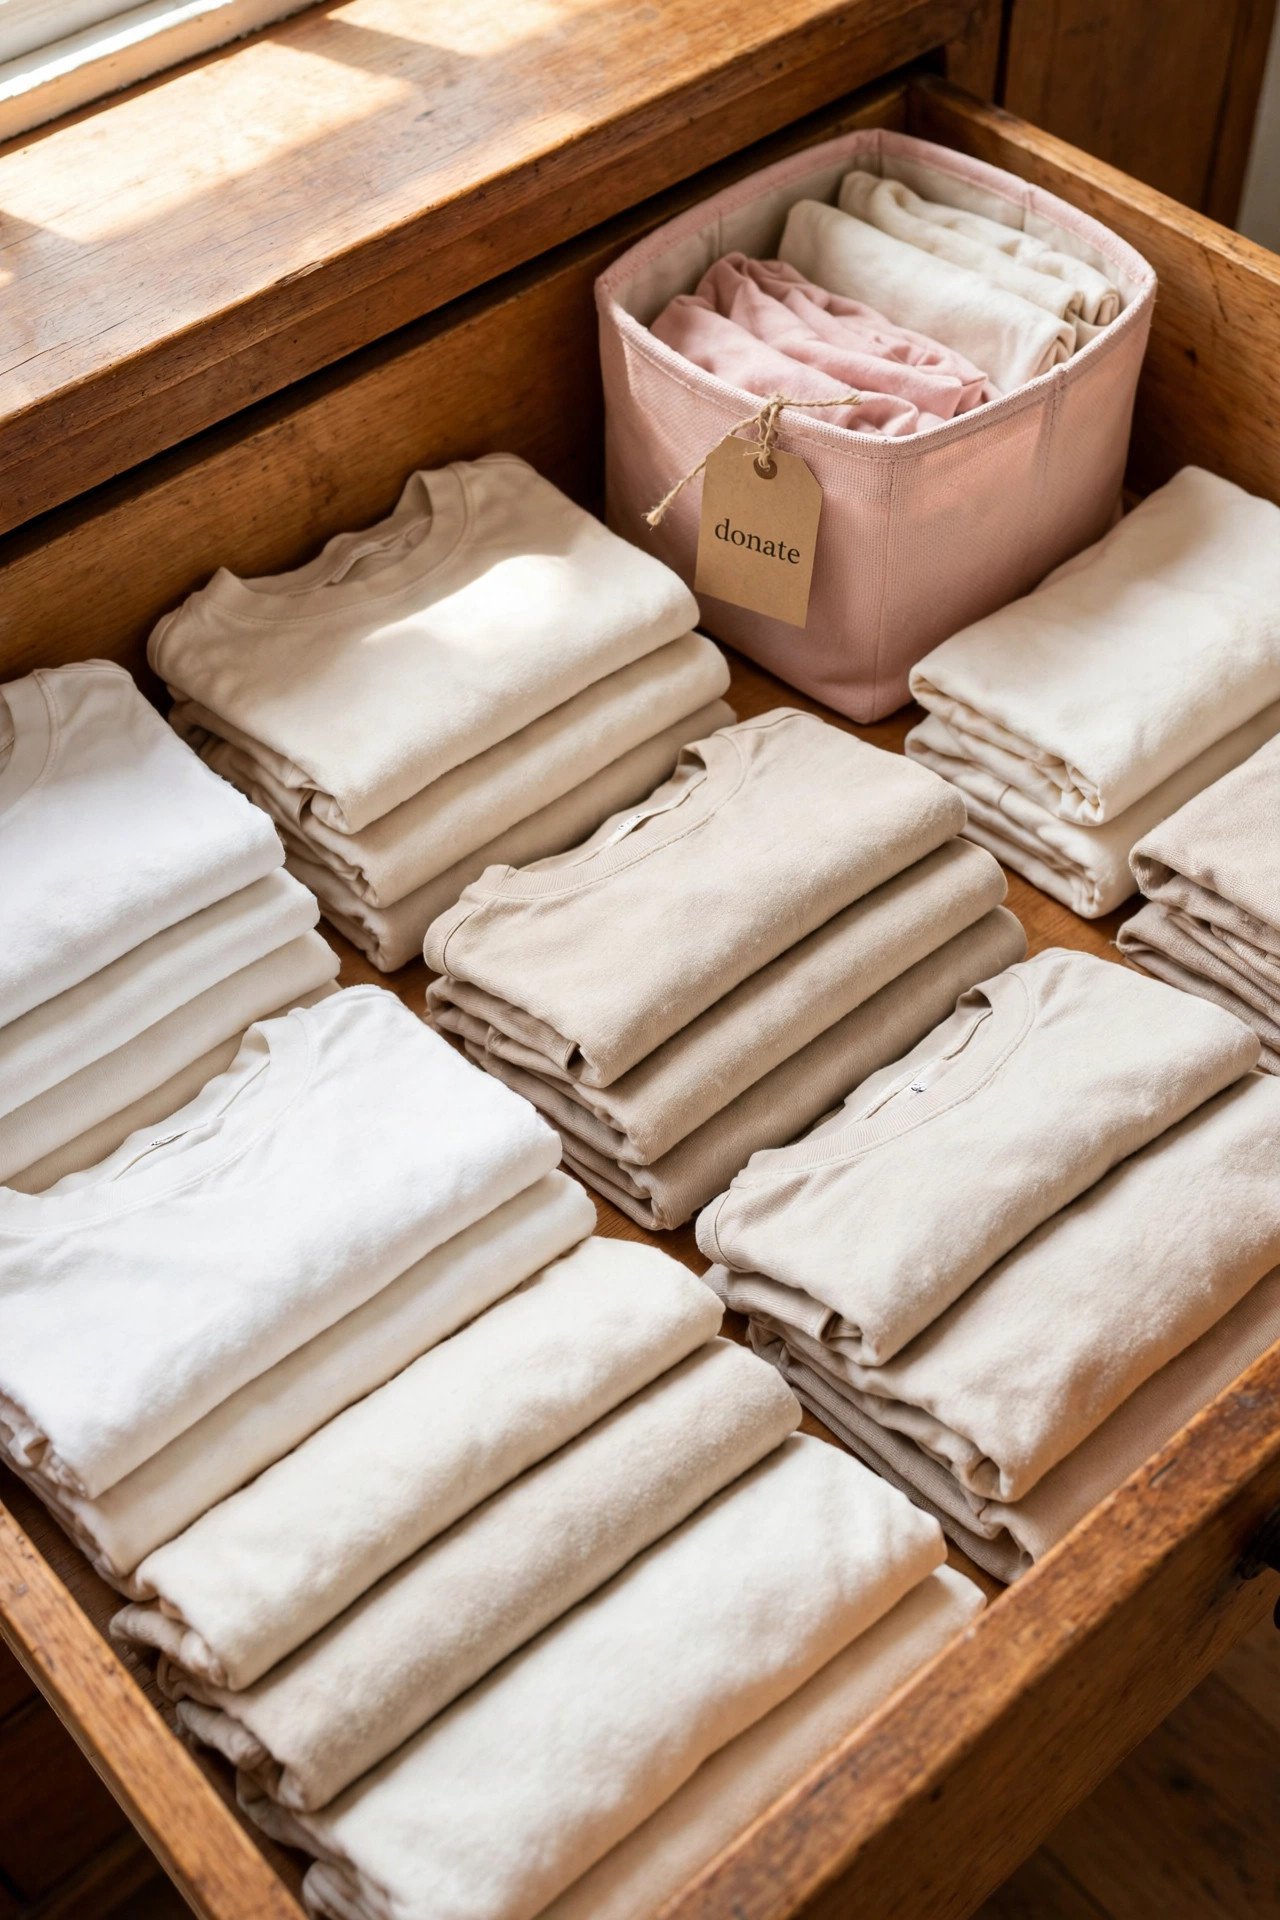
16. Refold Right After Laundry Day
The system collapses when clean shirts sit in a laundry basket for days. File fold each shirt as it comes out of the dryer and slide it straight into its row. Warm shirts fold crisply and the job takes minutes.
Make it a habit, not a project. Ten shirts folded while the dryer buzzes beats an hour of refolding later. Your laundry room routine and your drawer routine work best as one smooth flow.
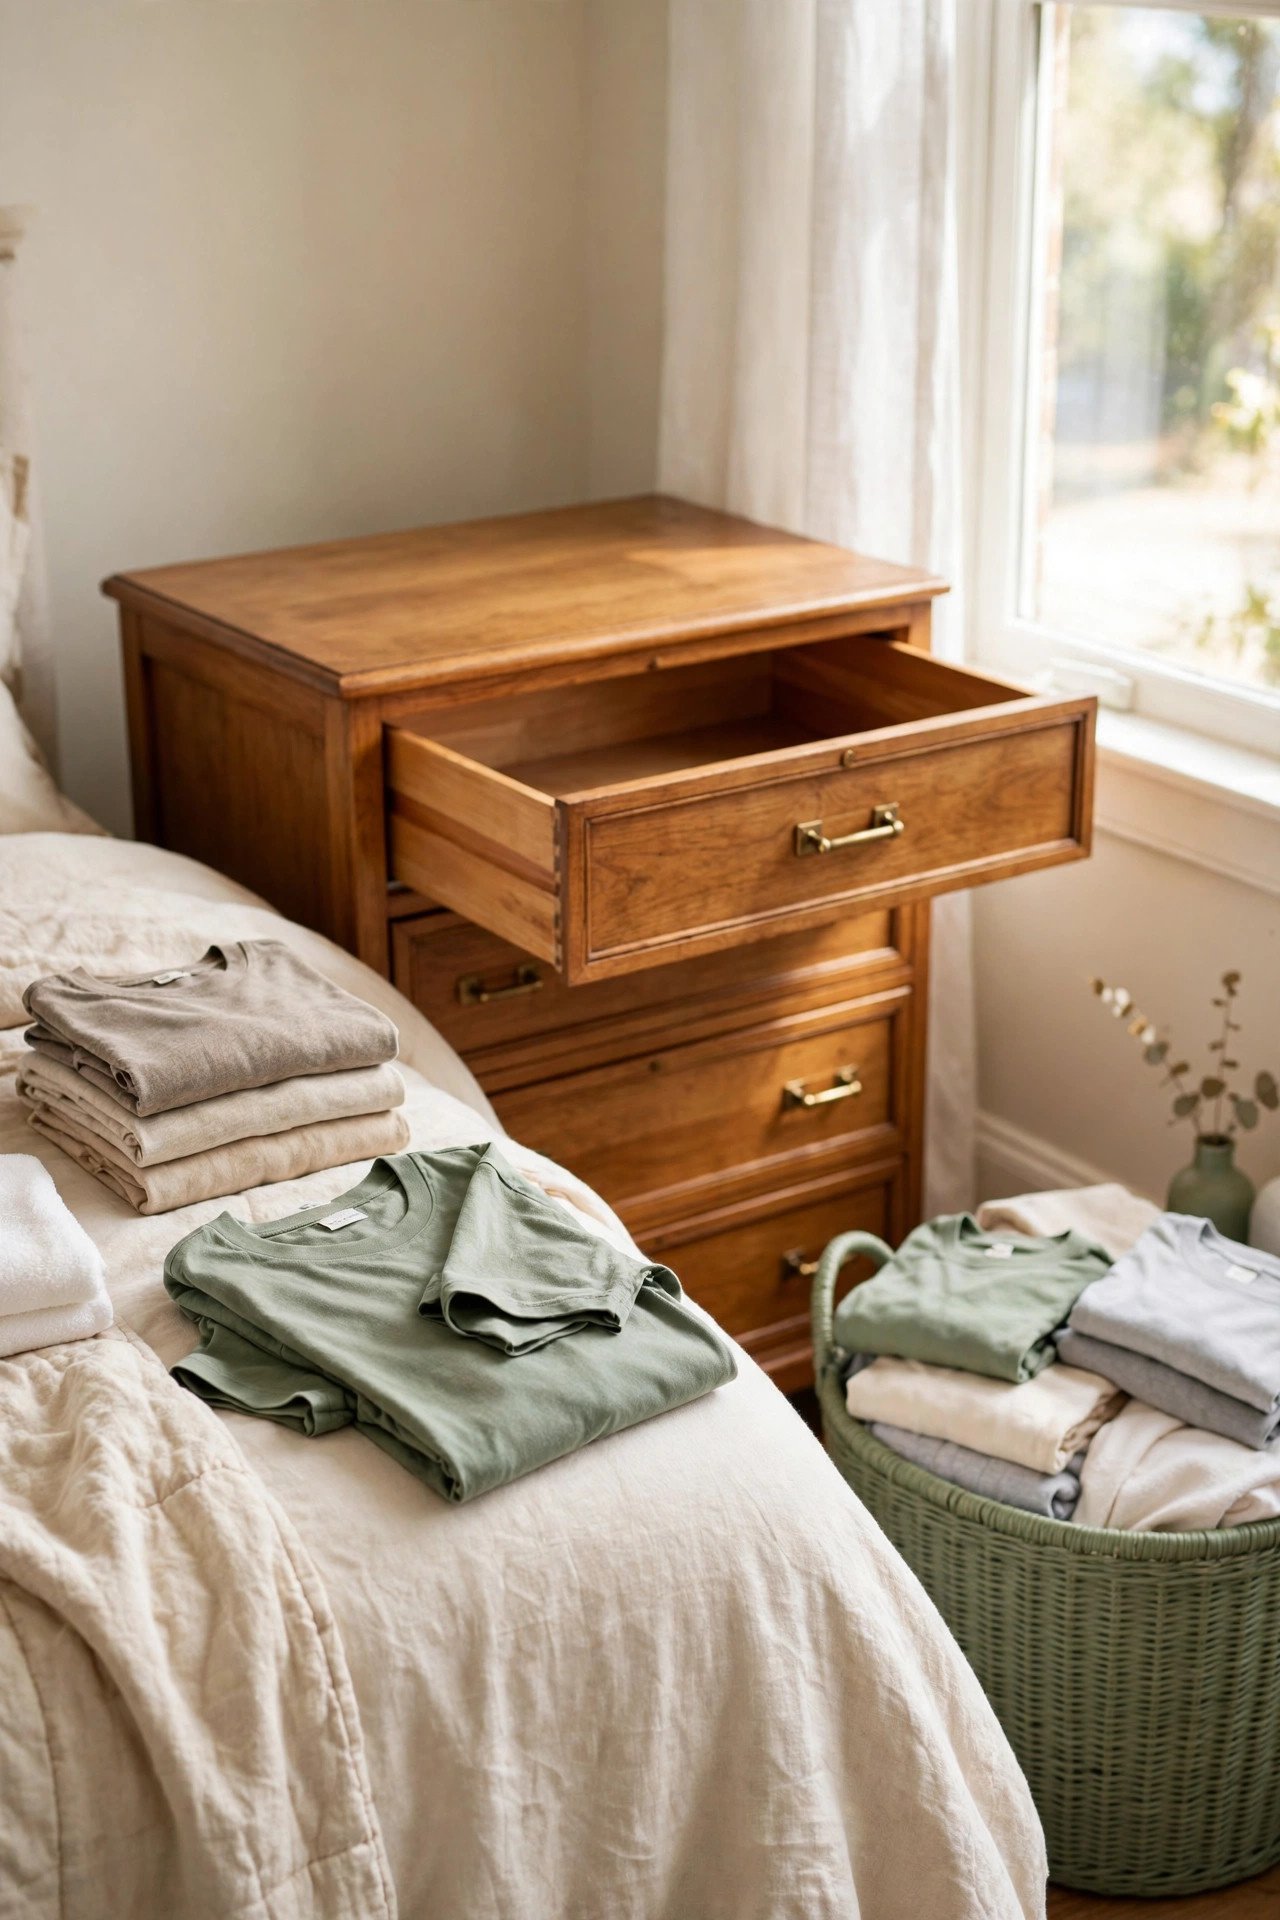
17. Try the Rectangle Within a Rectangle Method
For very deep drawers, fold shirts into smaller rectangles so two rows fit front to back. Fold the shirt into thirds, then fold the rectangle in half again. The compact size doubles your drawer capacity.
This tighter fold suits kids’ shirts and thin fabrics especially well. Test the size against your drawer depth before committing. Small, firm rectangles stand up even better than large ones.
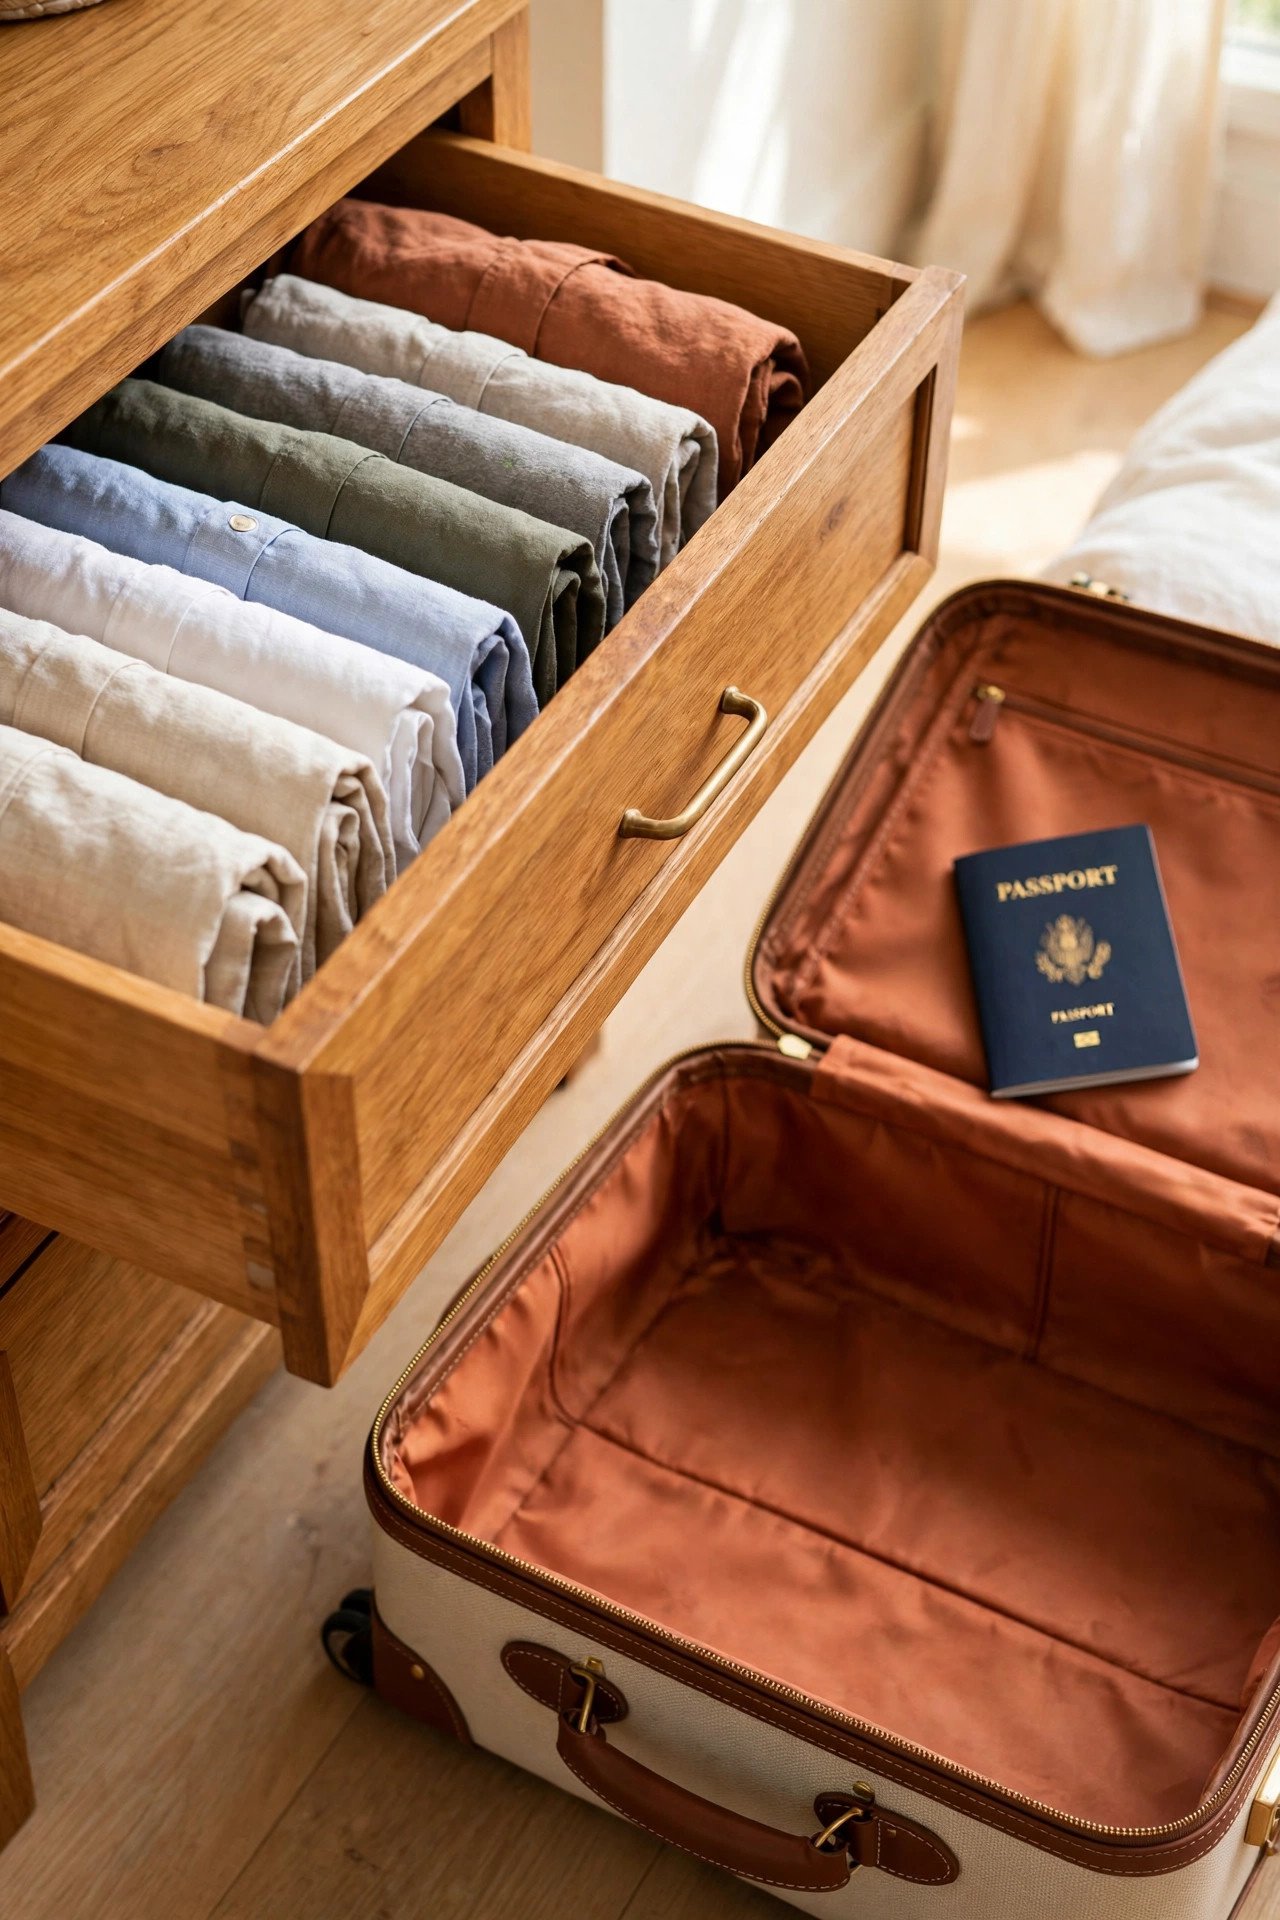
18. Prep Travel Rows for Quick Packing
File folding makes packing almost effortless. Keep one row as your travel row, filled with versatile shirts that work for trips. When a trip comes up, lift the row straight into your suitcase.
The upright rectangles pack neatly with no wasted space. Unpacking is just as fast: stand them in the hotel drawer. Your travel row doubles as a capsule wardrobe for weekends away.
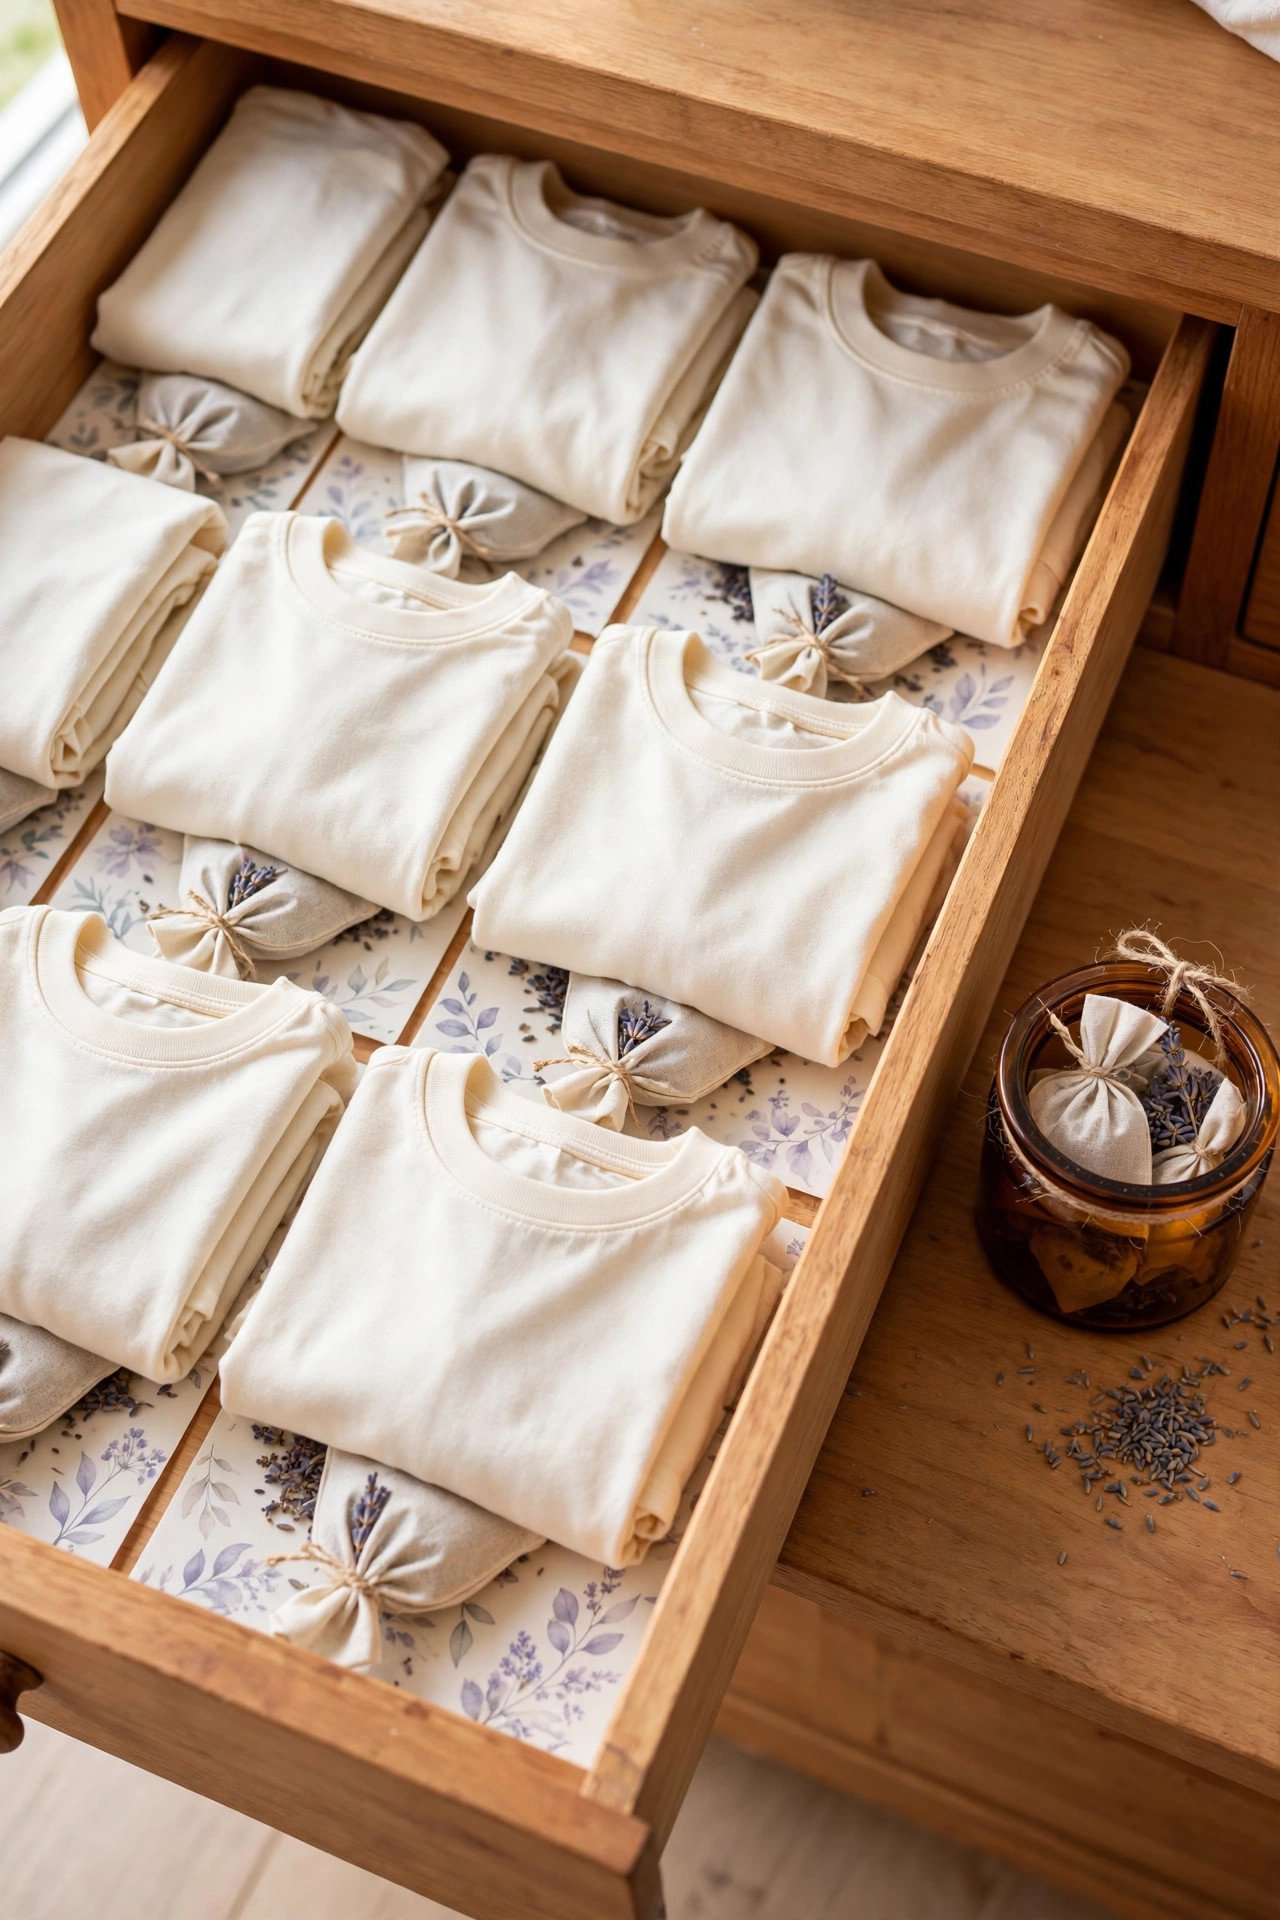
19. Slip Scented Liners Under the Rows
A drawer that smells fresh feels organized even before you look inside. Slide a scented drawer liner or a few sachets under the shirt rows. Lavender, cedar, and clean cotton scents all work well.
Replace the liners every few months so the scent stays gentle. Liners also protect the drawer surface from snags. A pleasant smell makes opening the drawer a small pleasure every morning.
20. Photograph Your Layout as a Reference
Once the drawer looks perfect, take a photo with your phone. The photo becomes your reset reference. When the drawer drifts into chaos, the picture shows you exactly where every row belongs.
Tape a small print inside the drawer or keep the photo in a home organization album. Kids and partners can use the photo to put shirts back correctly. One picture protects all your hard work.
21. Do a Monthly Five-Minute Drawer Reset
Even the best system drifts. Once a month, pull the drawer open and spend five minutes straightening rows, refolding floppy shirts, and returning strays to their zones. Five minutes is all it takes when the system exists.
Pair the reset with another monthly habit, like changing the sheets. If your clothes storage needs a bigger refresh, these vintage wardrobe storage ideas can inspire the next level. Small, regular resets keep the drawer beautiful all year.
Conclusion
File folding turns the most chaotic drawer in your bedroom into the calmest one. You see every shirt, you grab what you want in seconds, and laundry day stops feeling like a chore. The fold takes minutes to learn and pays you back every single morning.
Start with just one drawer and the basic fold. Add dividers, sort by color, and label the rows as the habit grows. Your t-shirts deserve better than a leaning tower, and so do you.
T-Shirt Drawer FAQs
What is file folding for t-shirts?
File folding means folding a shirt into a firm rectangle and standing it upright in the drawer, like a file in a filing cabinet. You see the edge of every shirt at once instead of only the top of a stack. It works in almost any drawer depth and keeps rows neat with dividers.
How do I keep file folded shirts from falling over?
Fold each shirt into a firm, even rectangle and pack rows snugly so shirts support each other. Add spring-loaded or bamboo dividers every six to eight shirts to hold short rows upright. In deep drawers, file fold inside open-top bins whose walls act as permanent dividers.
Should I fold or roll t-shirts for drawer storage?
File folding beats rolling for daily drawers because you can read every shirt without touching the others. Rolling works well for travel and very deep bins. For a drawer you open every morning, upright file folding gives the fastest, clearest view.
How many t-shirts fit in one file folded drawer?
A standard dresser drawer holds about twenty to thirty file folded adult t-shirts, depending on fabric thickness. Thin tees fit more, heavy cotton fits fewer. If the drawer overflows, move off-season shirts to closet storage and keep only the current season in the drawer.
How do I maintain a file folded drawer long term?
Refold shirts straight out of the dryer and slide them into their rows on laundry day. Do a five-minute monthly reset to straighten rows and refold floppy shirts. Keep a donation corner at the end of the drawer so worn-out shirts leave instead of piling up.

Hi, I’m Emily! I turn messy corners into cozy, organized spots. DreamNestDecor is where I share simple, practical home ideas — decor, organization, and small-space solutions that work in real life, not just in photos. Every idea here is carefully researched before it’s shared.