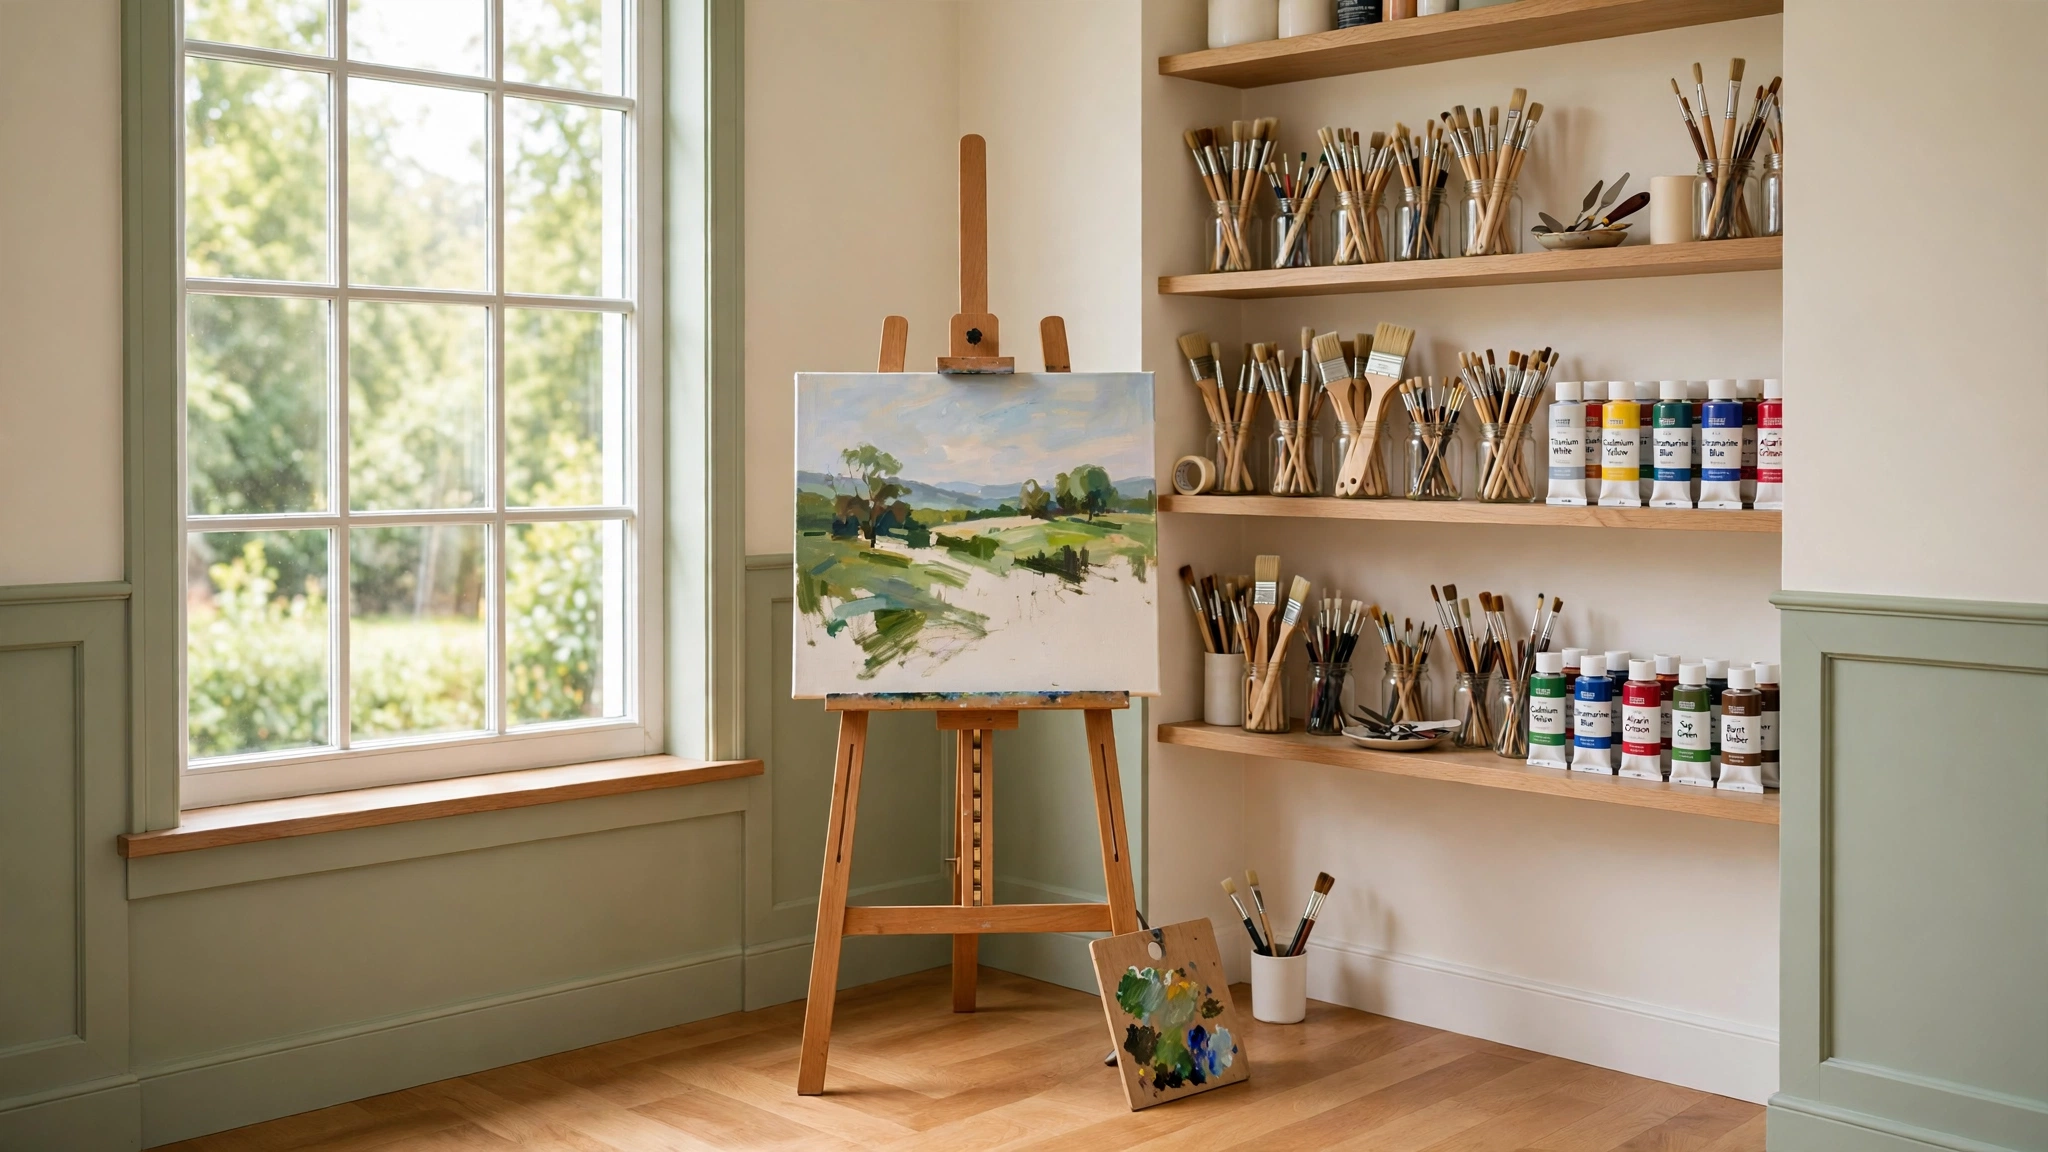
Picture this: you walk into a small spare room and instead of boxes and clutter you see an easel waiting by the window, clean jars of brushes lined up on a counter, and fresh canvases standing ready in a rack. That small room feels like a real studio, and it calls you to sit down and start painting. A good layout is what turns an ordinary corner into a working art space.
You do not need a large loft or an expensive renovation to get there. You need a clear place for each part of your process, from mixing paint to drying finished work. These 11 small art studio layout ideas will help you arrange a compact studio that supports your painting, drawing, and sculpture work without wasting a single inch.
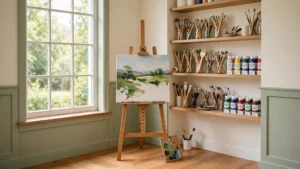
1. Set the Easel Under Steady North Light
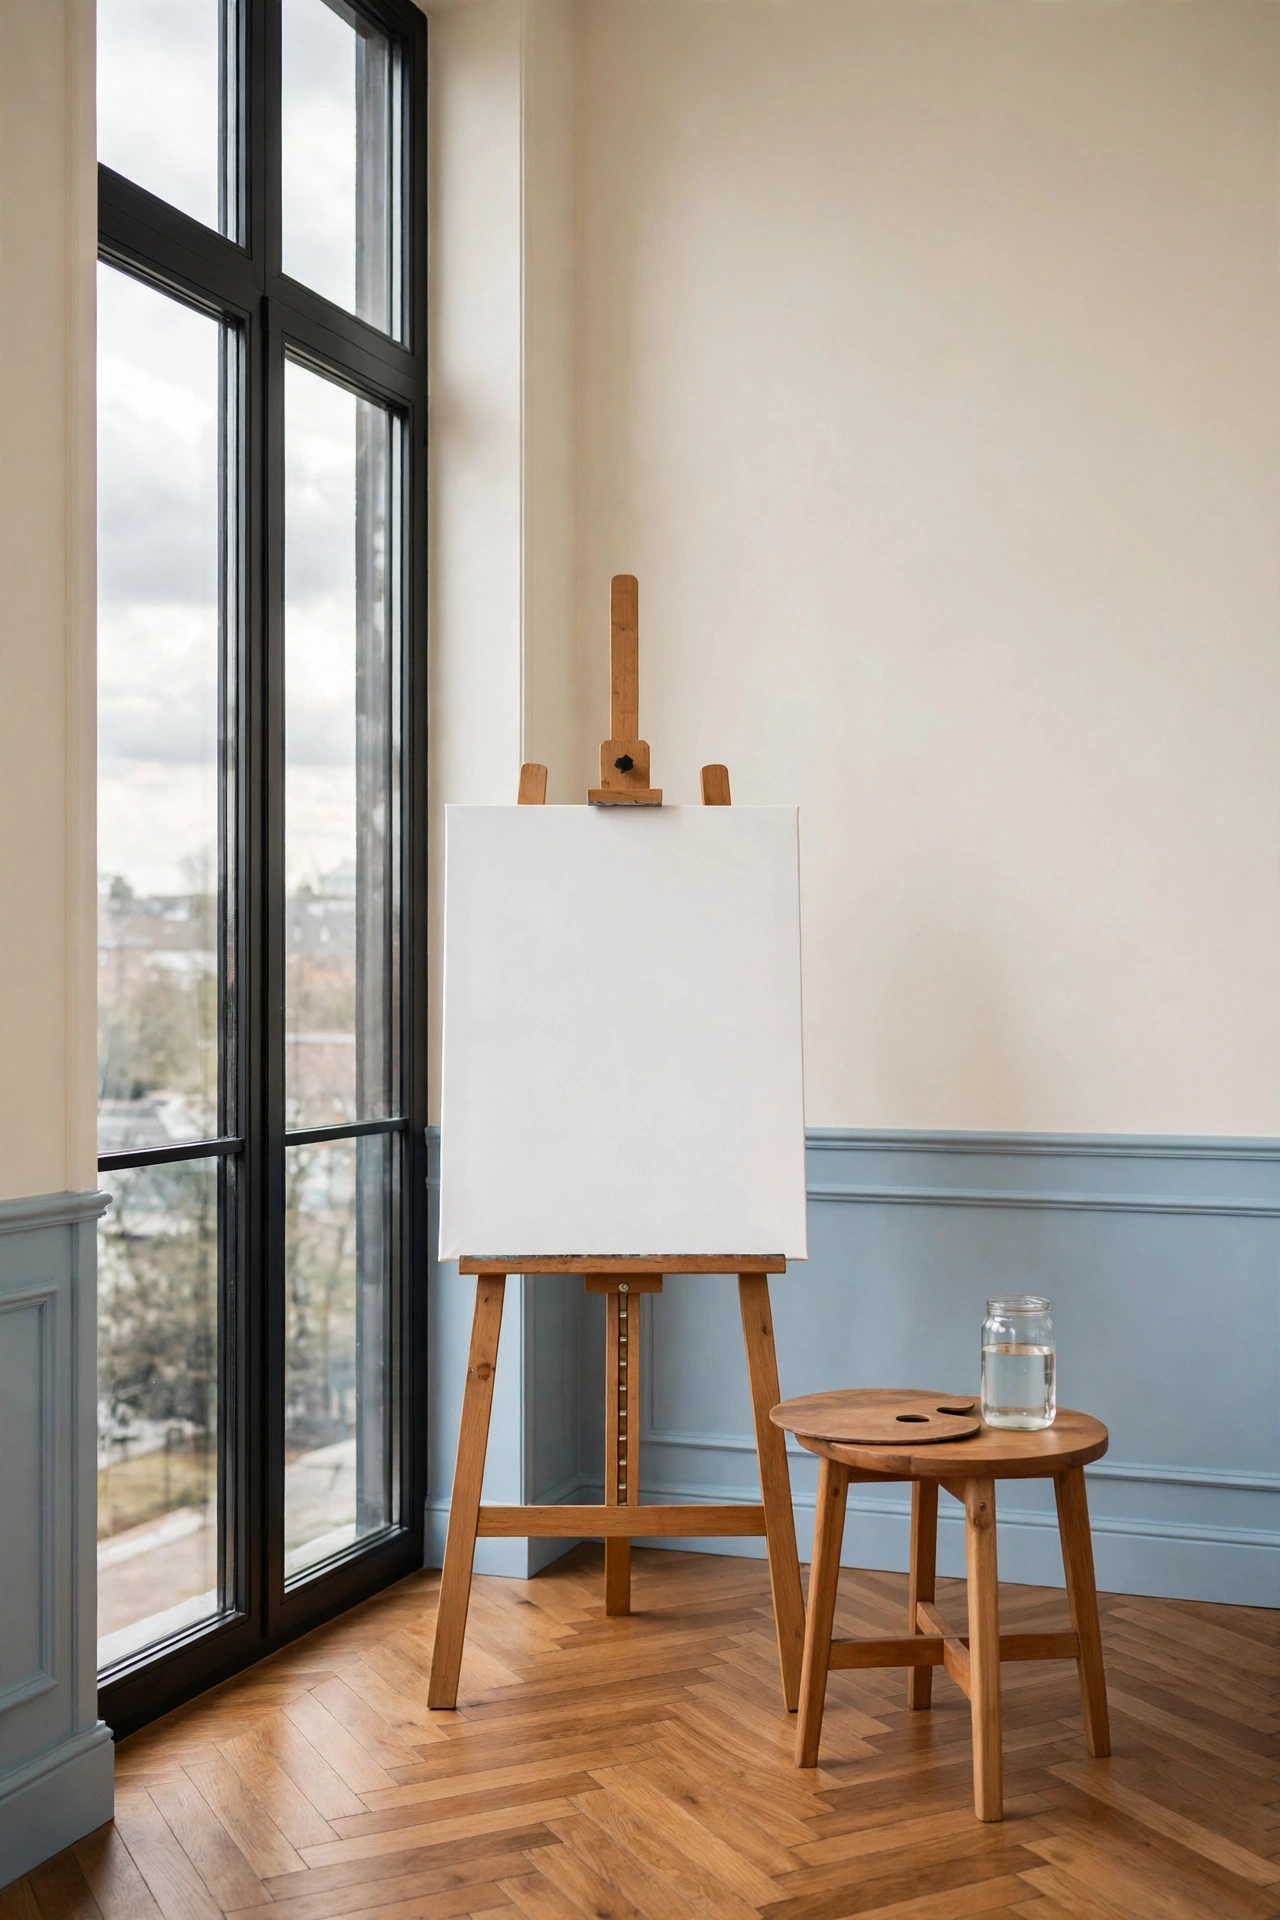
Light from a north facing window stays steady through most of the day, and it shifts far less than direct sunlight. That steady light helps you judge colors correctly, so the painting you see at noon still looks the same in the late afternoon. Place your main easel near the largest north facing window in the room and you will paint with far more confidence.
Angle the easel slightly so light falls across the canvas instead of straight into your eyes, and leave enough floor space behind you to step back and view the whole piece. A small side table beside the easel holds your palette and a jar of clean water within easy reach. If you enjoy bold color work at the easel, these diy abstract painting ideas will give you fresh starting points for your next canvas.
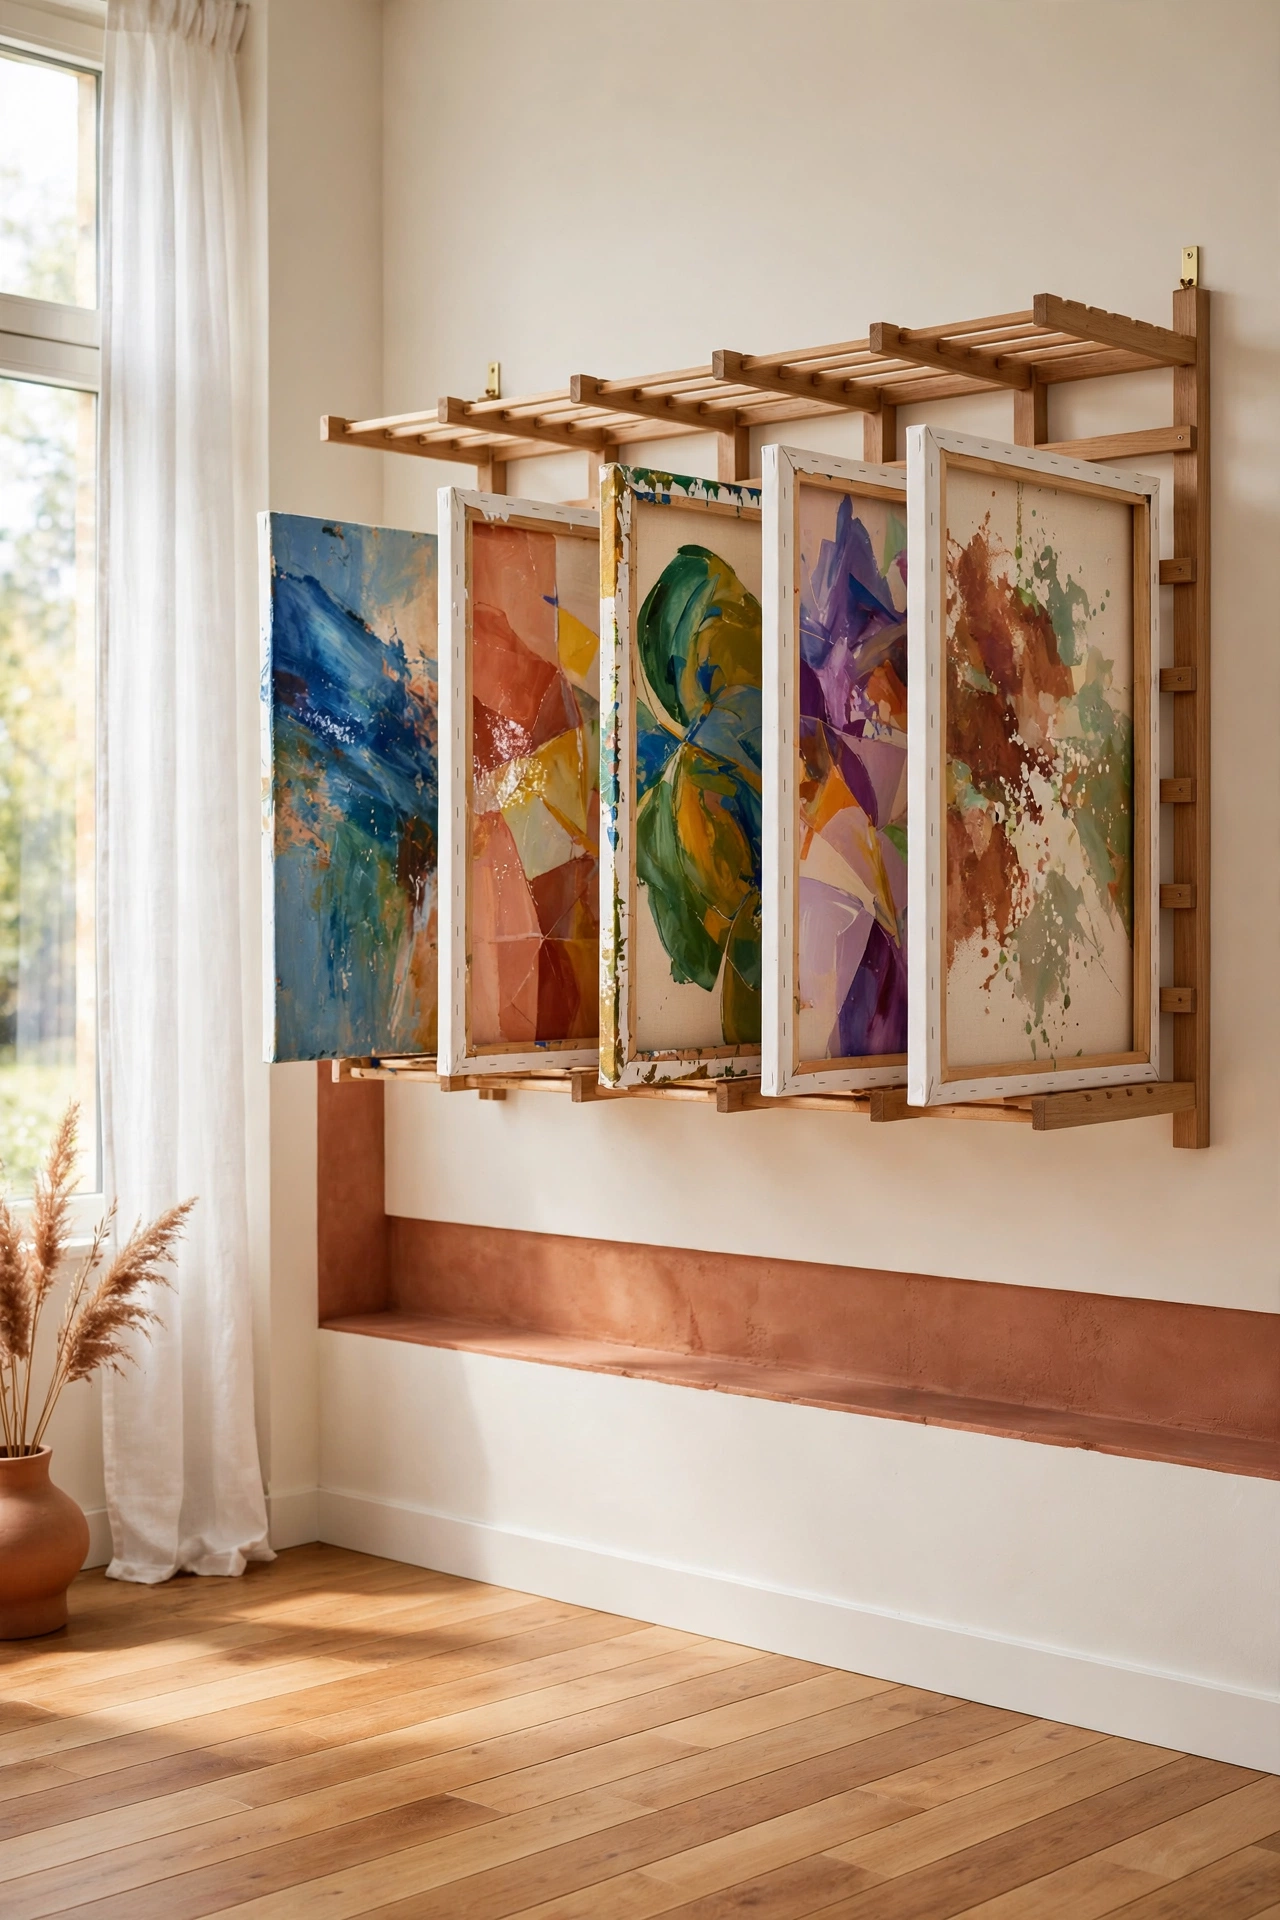
2. Build a Drying Rack Wall for Wet Canvases
Wet paintings are the hardest part of a small studio, because they need a safe place to dry where nothing will touch them. A drying rack mounted on the wall solves the problem by holding each canvas in its own slot, separated from the next. The rack uses wall space instead of floor space, which keeps the center of the room open for working.
Build the rack from simple wood slats with even gaps, and size the slots to fit your most common canvas sizes. Label each slot with a small clip or tag so you know which painting is drying and when you started it. A rack that holds six to eight canvases is plenty for most home painters and keeps every wet surface safe from dust and bumps.
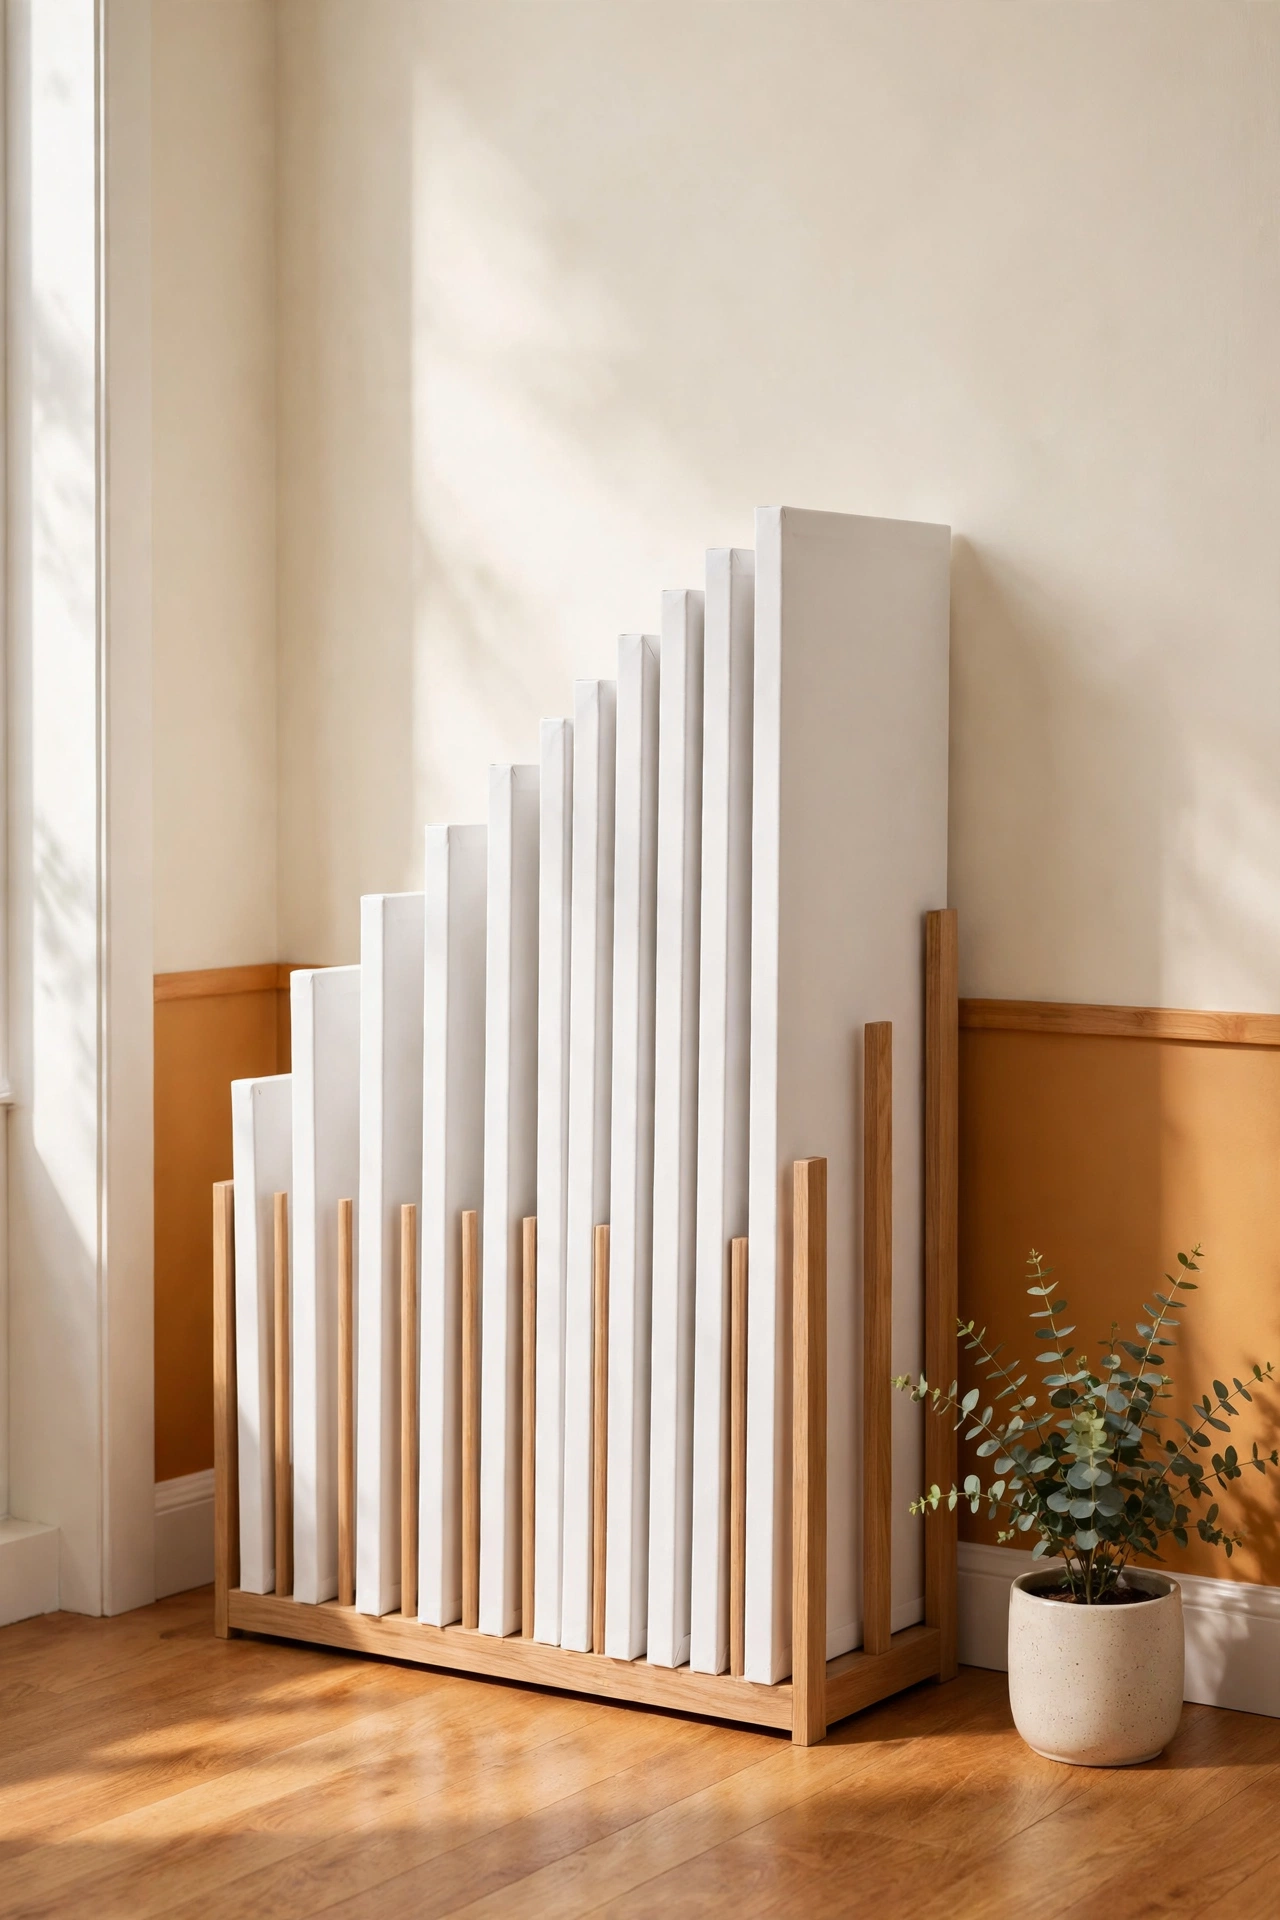
3. Store Canvases Upright in a Slim Slot Rack
Blank canvases that lean in a loose pile tend to warp, dent, and stick together over time. An upright slot rack keeps each canvas standing on its edge with air between it and the next one, so the surfaces stay clean and the frames stay square. The rack itself can be very slim, which makes it perfect for a narrow gap beside a wall or a door.
Sort the slots by canvas size, with the largest canvases at one end and the smallest at the other, so you can pull out exactly the size you need without disturbing the rest. A low rack on casters can slide under a counter when you need the floor clear, but a fixed rack against the wall stays steadier. For texture and surface inspiration before you stretch your next piece, these diy textured canvas art ideas show how much interest a prepared surface can add.
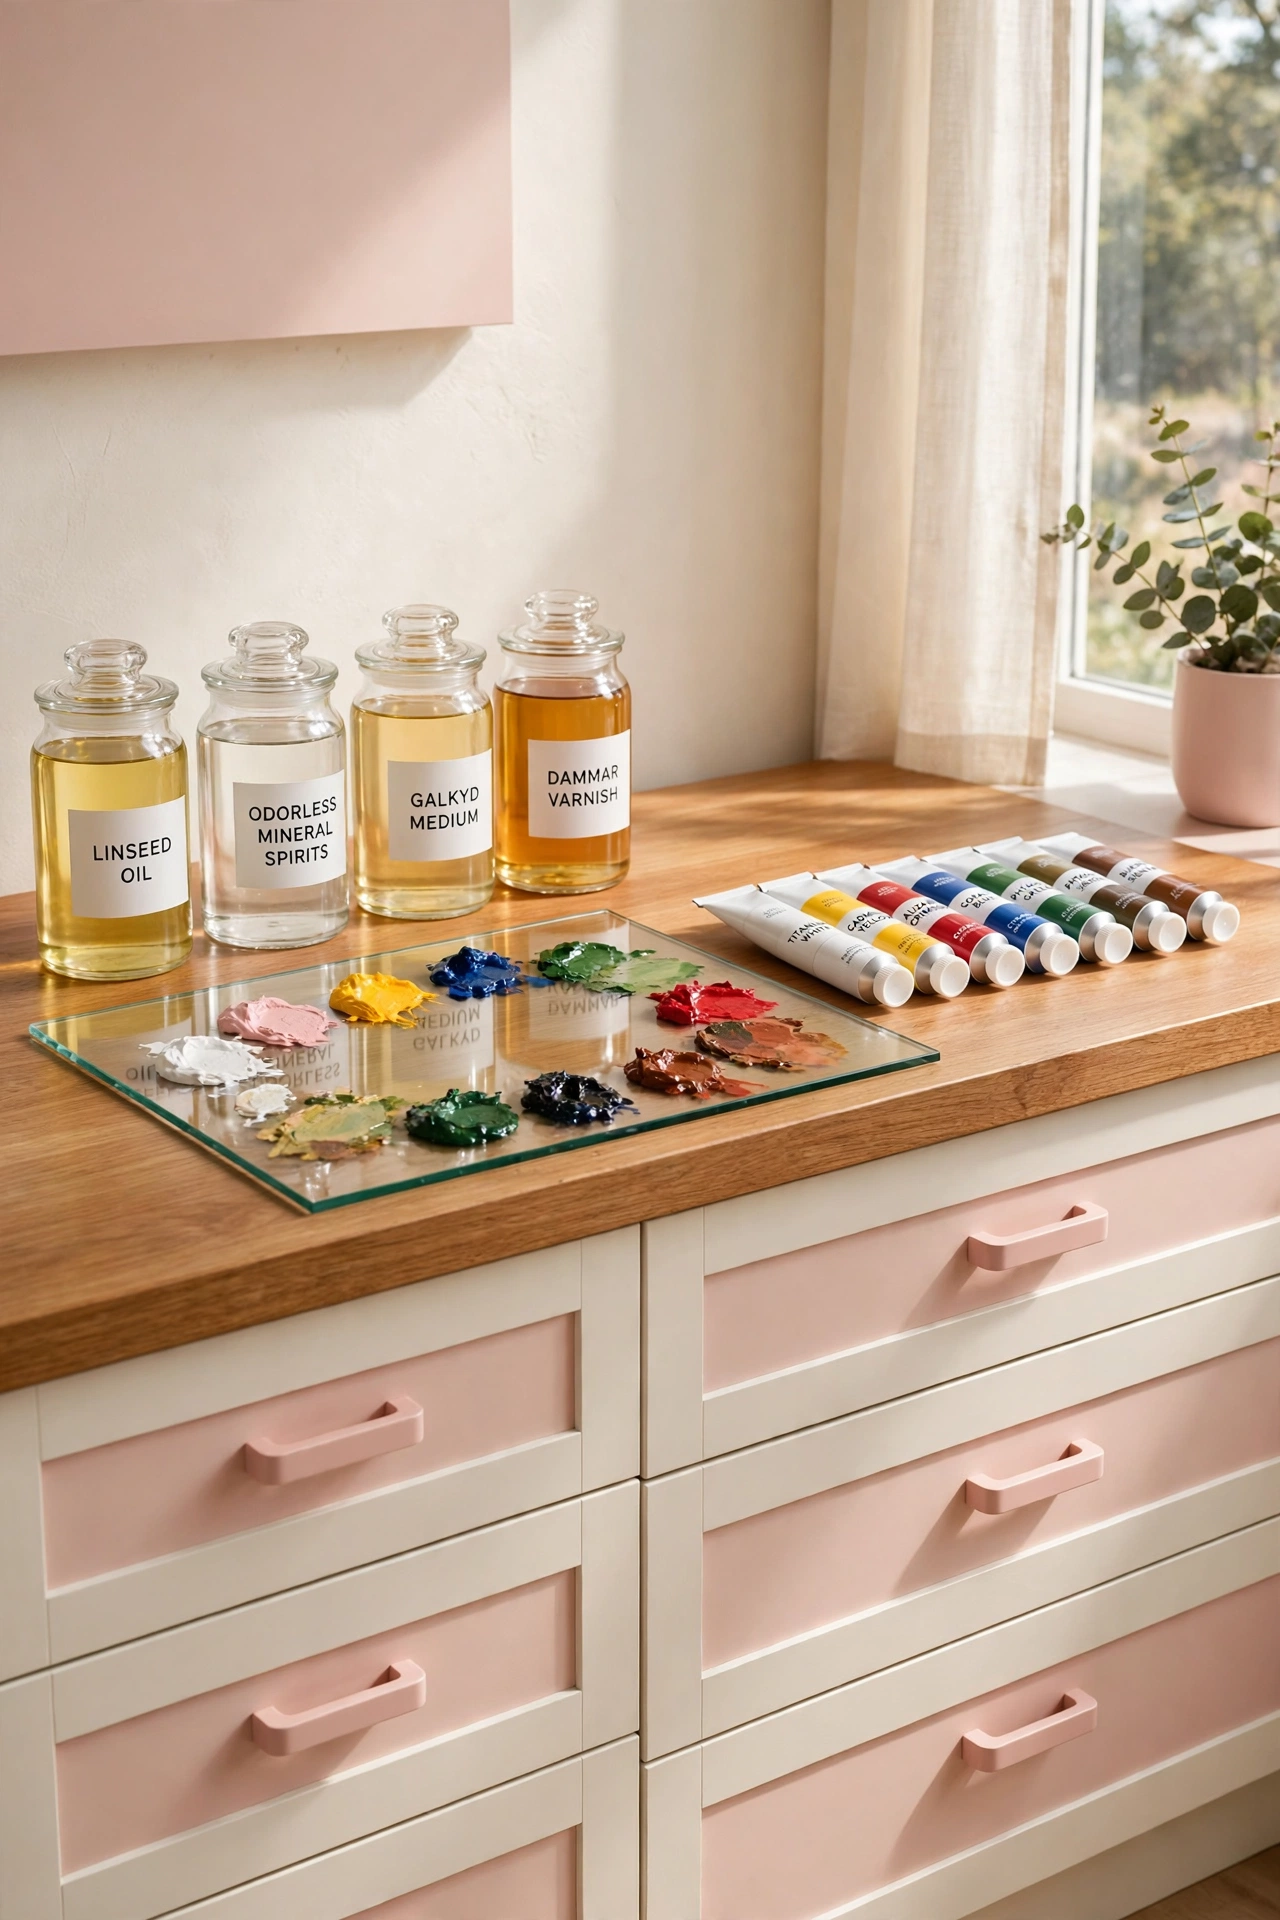
4. Set Up a Fixed Paint Mixing Counter
Mixing paint needs a dedicated surface that you never have to clear away for another job. A fixed counter along one wall gives you a permanent place for your palette, mediums, and tubes, and it keeps wet paint away from clean paper and finished work. Choose a counter height that lets you mix while standing, because you will spend a lot of time there.
Cover the counter with a wipeable surface such as sealed wood or a large glass sheet, and keep squeeze bottles and jars of medium in a neat row at the back. Label every jar clearly so you can reach for the right medium without stopping to read fine print. A fixed mixing counter turns color preparation from a chore into a quick and pleasant ritual.
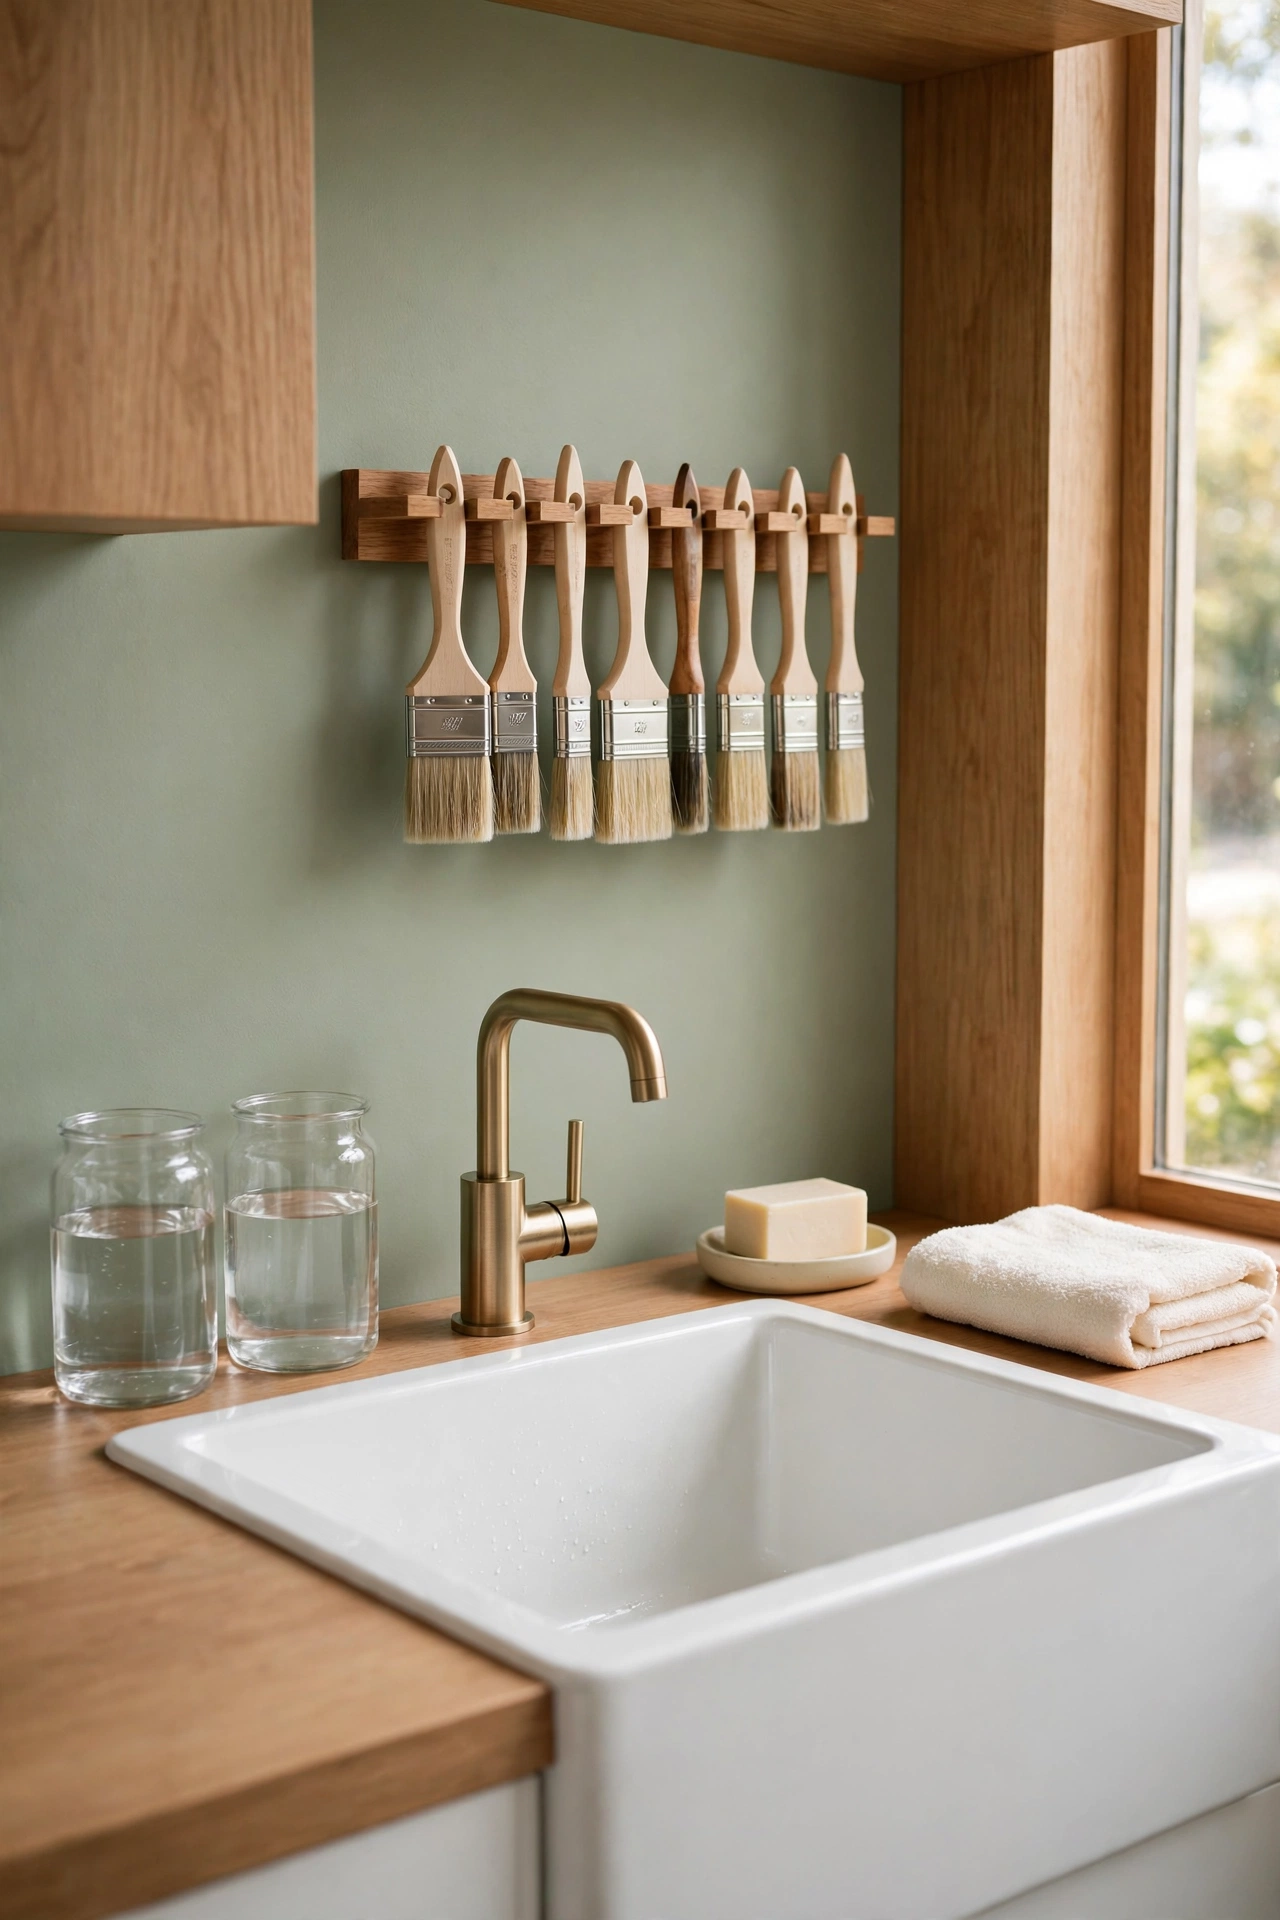
5. Add a Cleanup Sink Corner for Brush Care
Brushes last for years when you clean them properly, and they stiffen into useless sticks when you do not. A small cleanup corner with a sink or a deep wash basin makes cleaning part of your routine instead of a trip to the kitchen. Place the corner near your painting area so you can rinse a brush the moment you finish with a color.
Set out two wash jars, one for the first rinse and one for clean water, plus a bar of brush soap and a folded towel. A small rack above the sink holds brushes upside down so water drains away from the ferrule and the bristles keep their shape. This simple corner protects your best tools and keeps paint out of the family bathroom.
6. Hang a Critique Wall to Study Finished Work
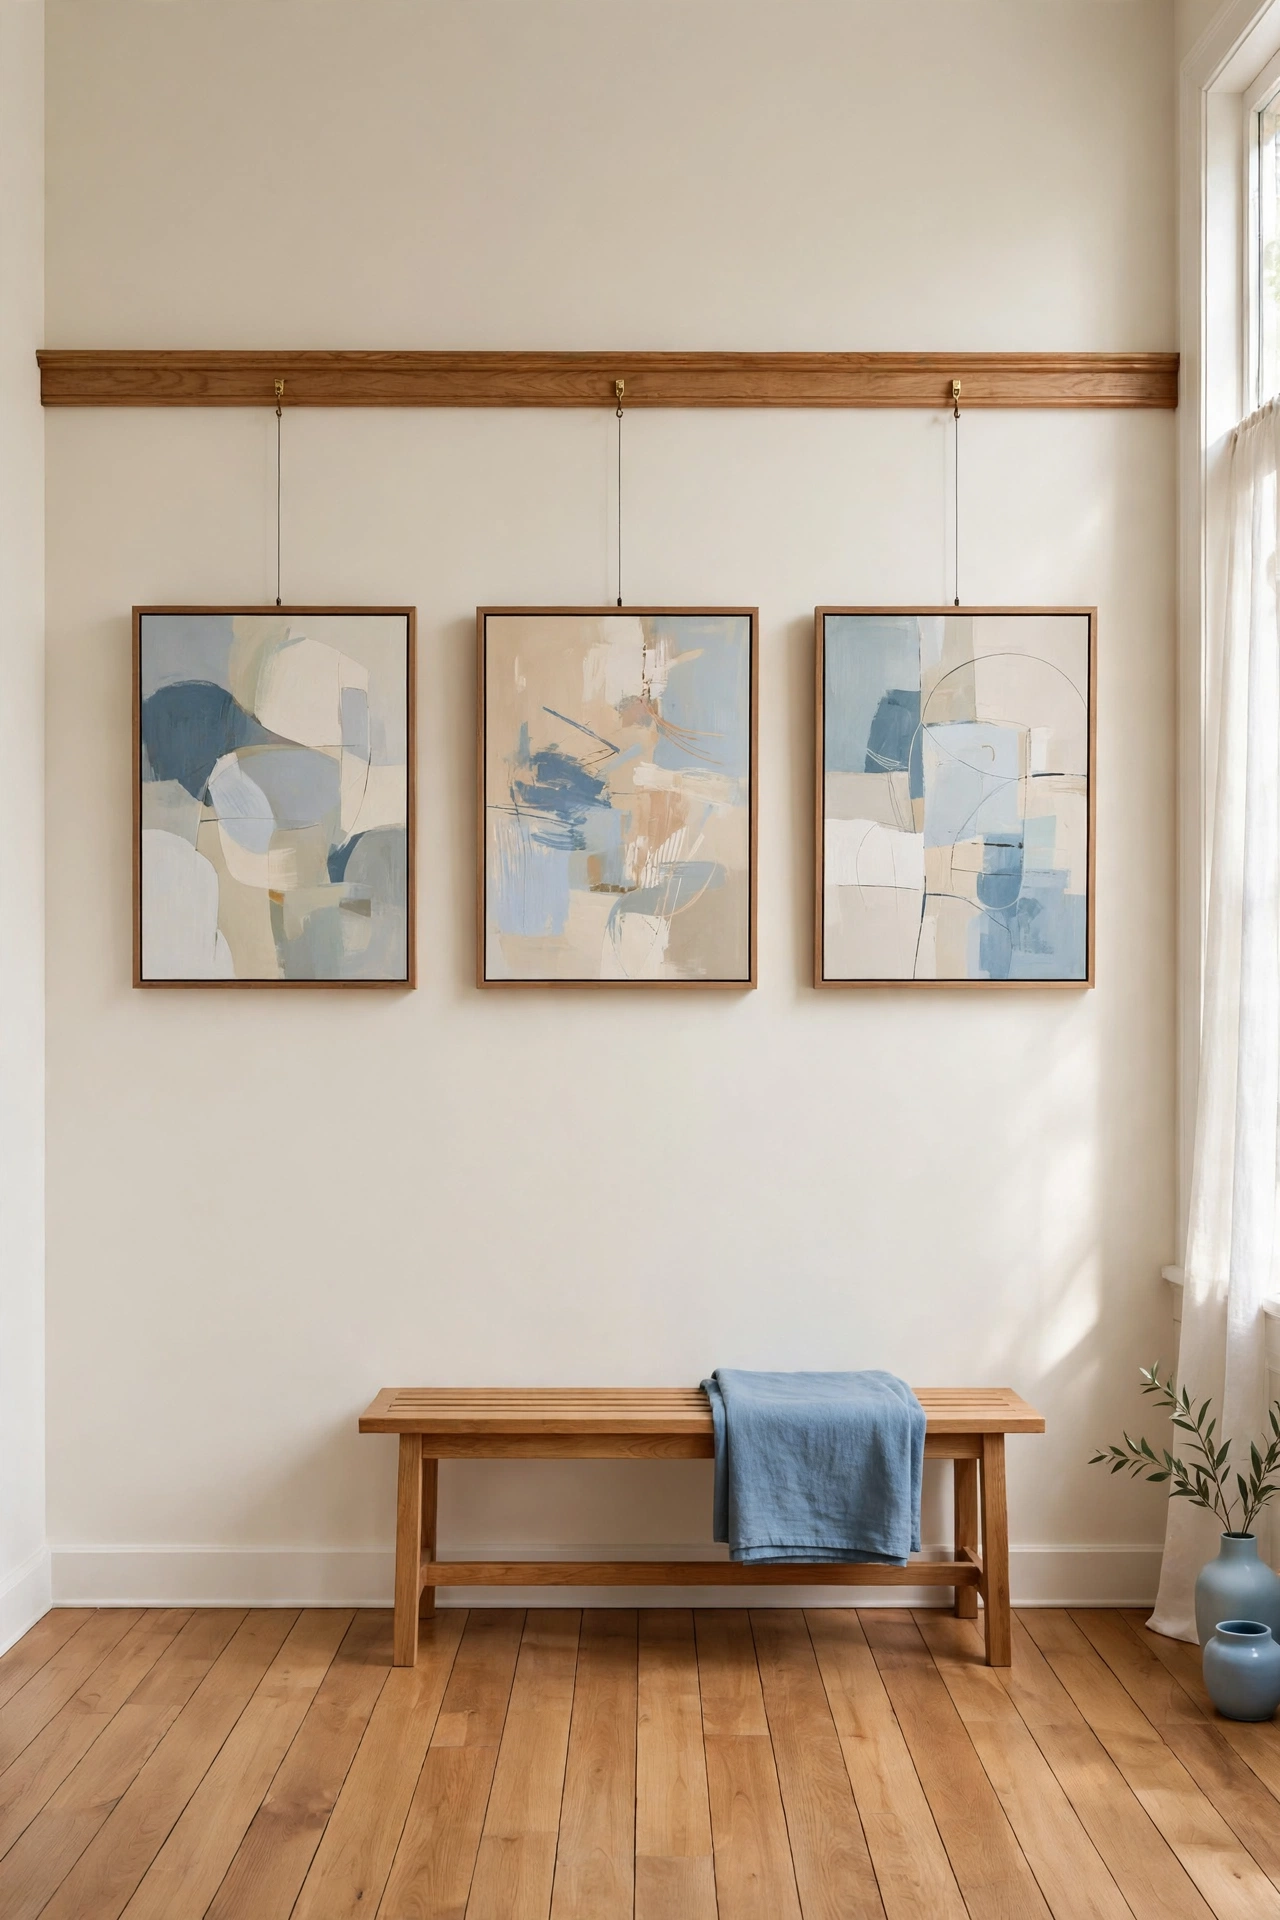
Every painting looks different when you step back from it, and a critique wall gives you a permanent place to do exactly that. Leave one wall mostly blank, fit it with a simple picture rail or a shallow ledge, and hang or lean finished and nearly finished work there. When you view a piece from across the room, weak spots and strong passages both become obvious.
Keep the wall painted in a soft neutral tone so the colors in your work stand out without competition. Change the display often, and live with each piece for a few days before you decide it is truly done. Studying your own work this way sharpens your eye quickly. For ideas on arranging finished pieces with style, these abstract art styling ideas will help you present your work at its best.
7. Keep Dry Media Separate From Wet Paint
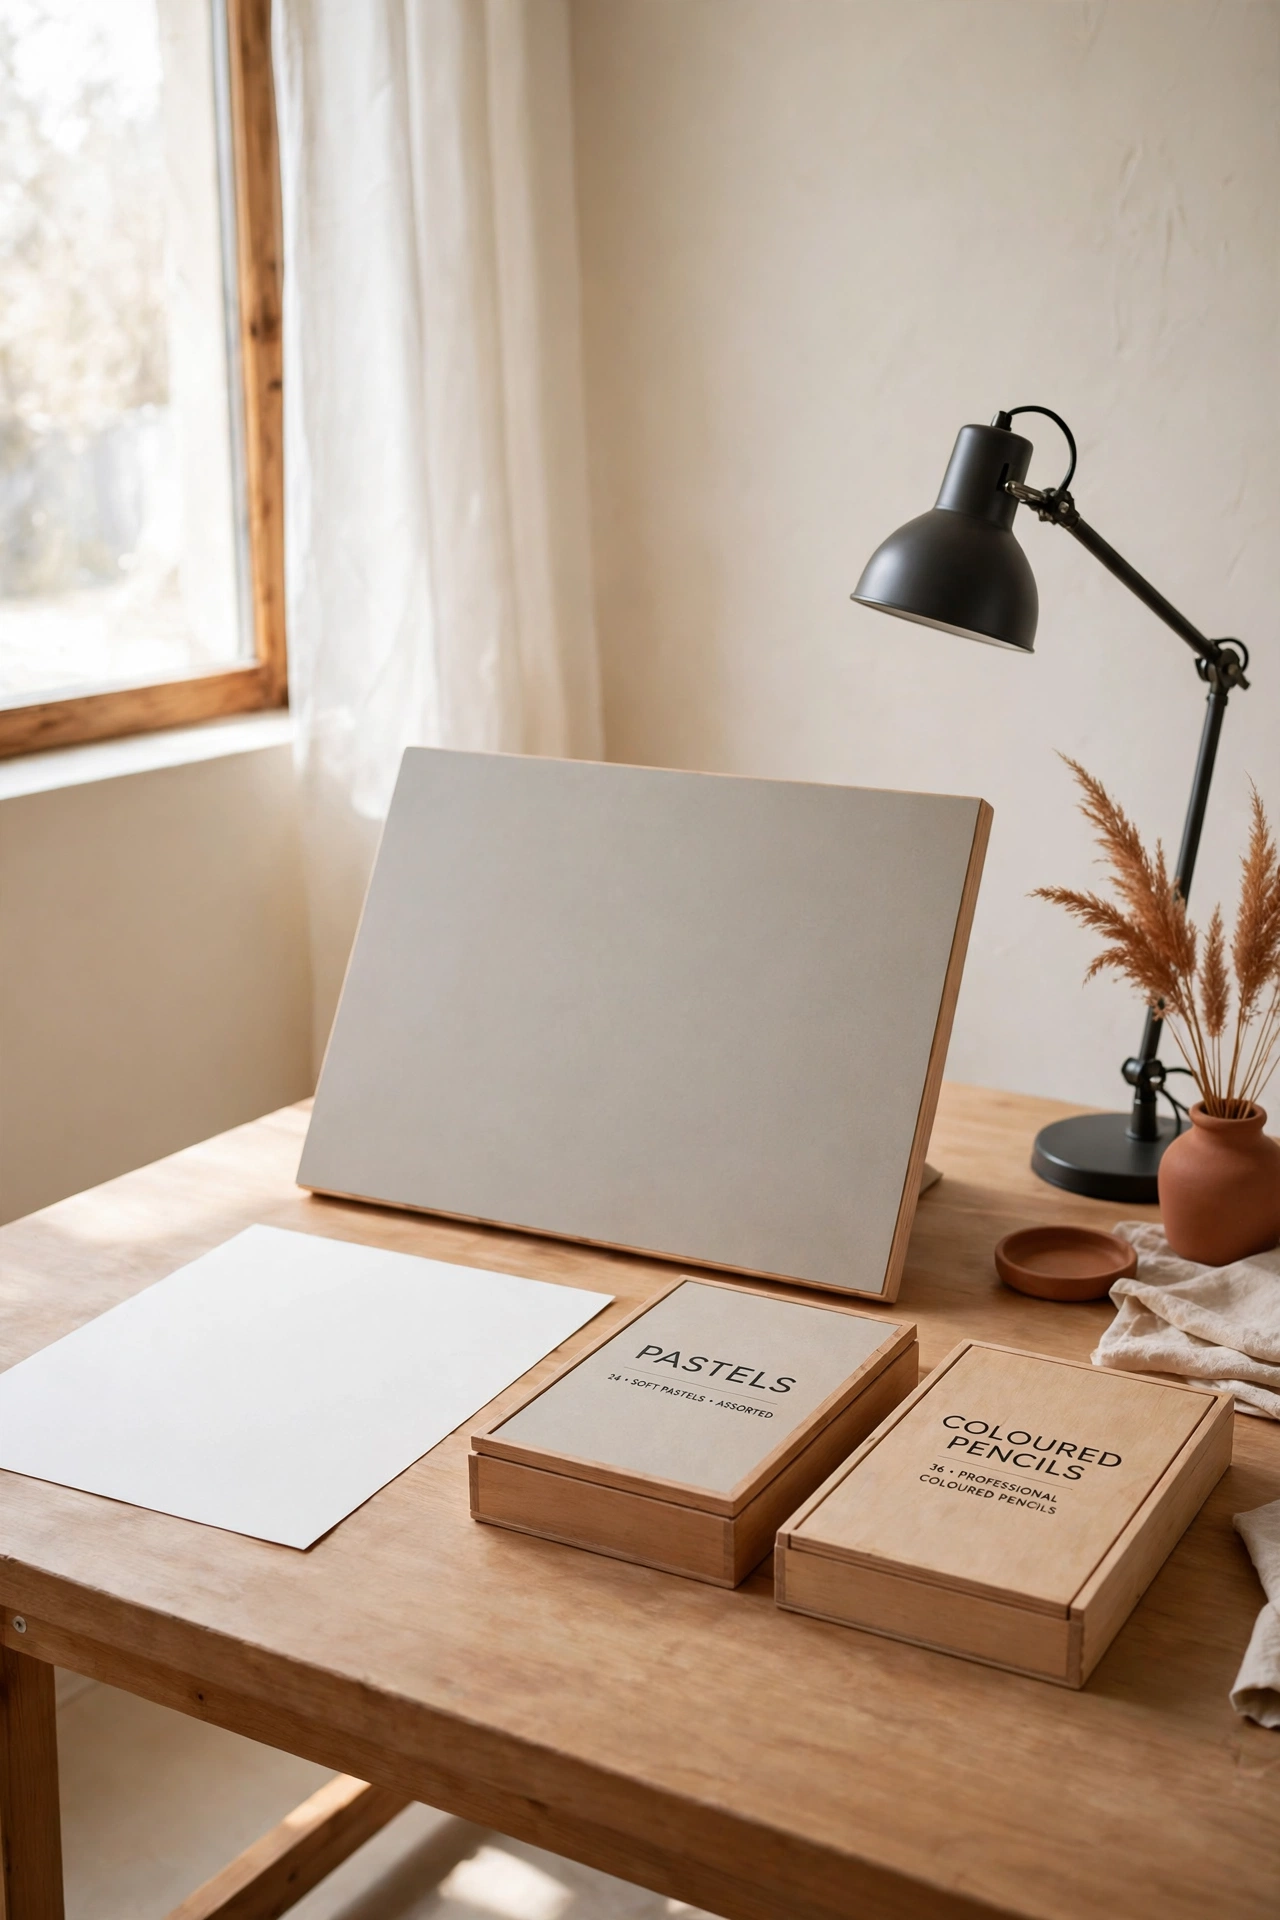
Charcoal dust, pastel powder, and graphite shavings do not belong anywhere near wet oil or acrylic paint. A dry media table on the opposite side of the room from your easel keeps the two worlds apart, so dust never settles into a fresh painting. The separation also protects your drawings from accidental splashes and wet fingerprints.
Give the dry table a smooth drawing board, a lamp with a steady arm, and closed storage for pastels and pencils so dust stays contained when you are not working. A small hand vacuum or a soft brush kept at the table makes cleanup quick after each session. With wet and dry work in their own zones, both stay cleaner and you switch between them without worry.
8. Fit Flat File Drawers for Paper and Prints
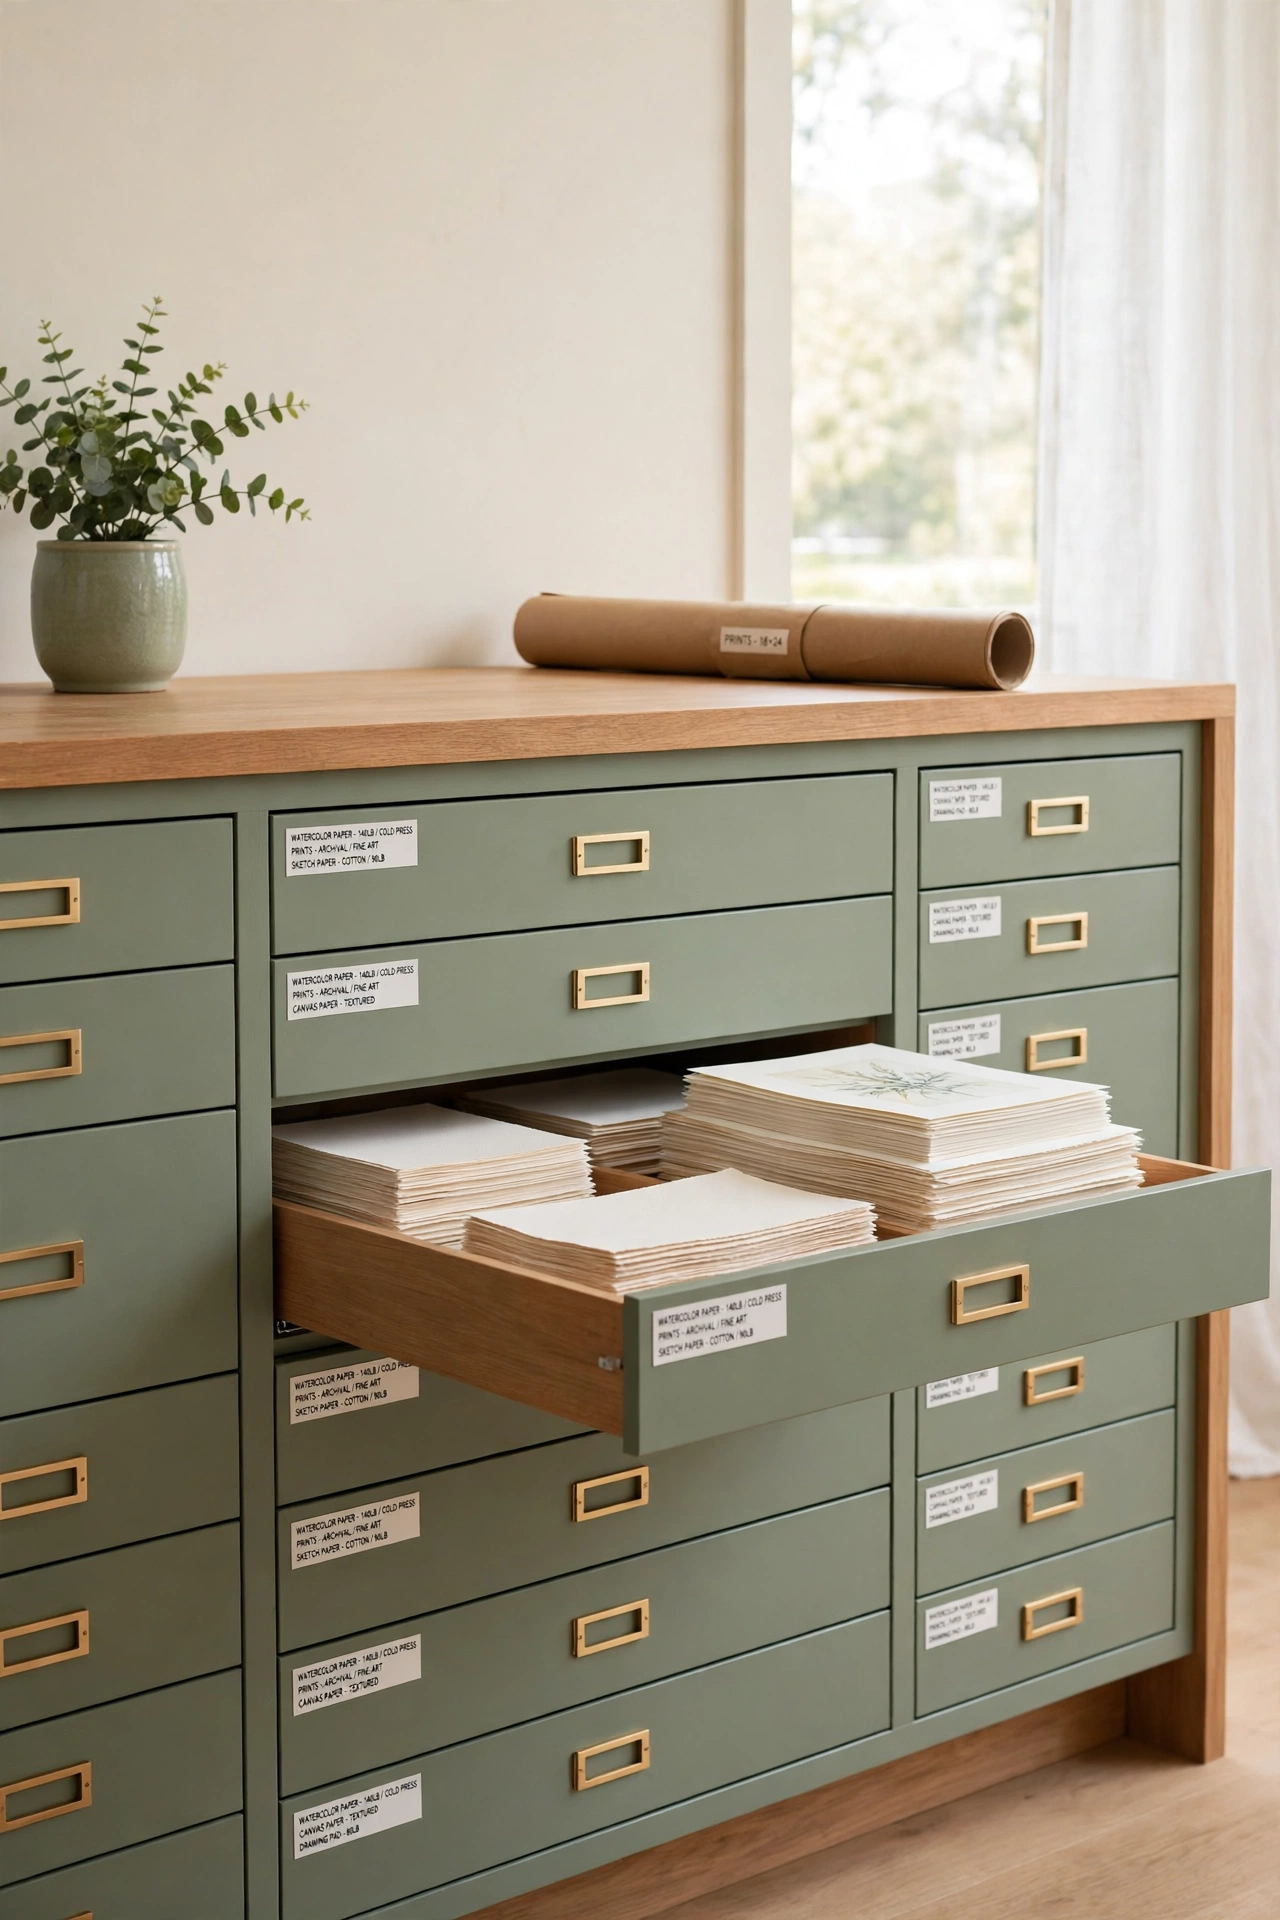
Watercolor paper, printmaking paper, and finished prints all need to lie flat, because rolling and stacking them in a corner leads to curls, creases, and dents. A set of shallow, wide flat file drawers under a counter or a worktable keeps every sheet safe and easy to find. The drawers also give you a firm work surface on top, which is a welcome bonus in a small room.
Label each drawer by paper type and size, and keep a sheet of clean interleaving paper between finished prints. Store the papers you use most often in the top drawers so you can reach them without bending down. Flat files are one of the most practical pieces of furniture a working artist can own.
9. Build a Reference Shelf for Sketchbooks and Art Books
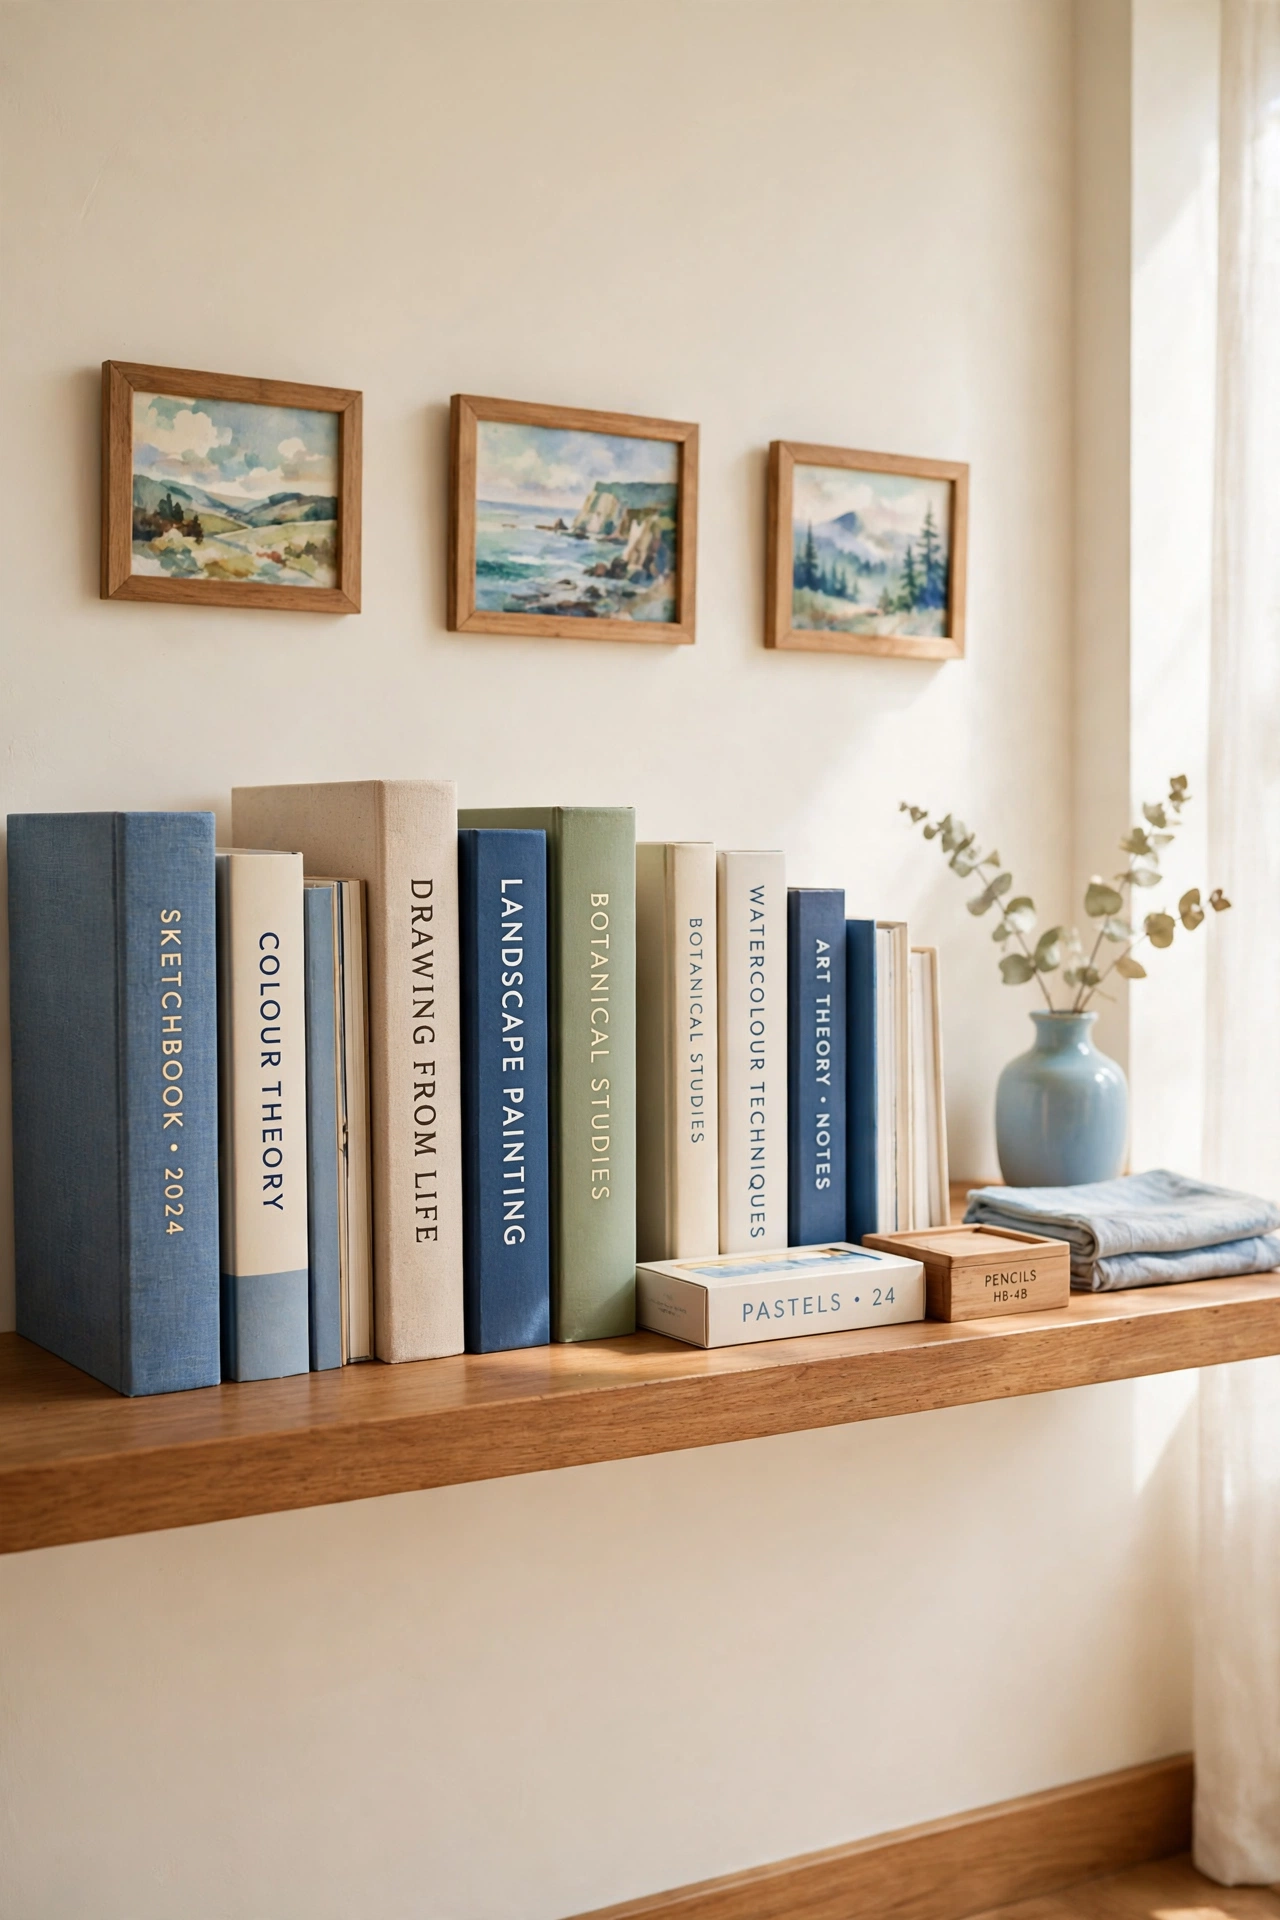
Sketchbooks and art books feed every new painting, so they deserve a shelf close to your easel instead of a box in another room. A sturdy reference shelf holds your sketchbooks upright with their spines visible, plus a few favorite art books you return to for color and composition ideas. When inspiration runs dry, the shelf is right there to refill it.
Arrange the books by subject or by project, and leave one shelf open for the sketchbook you are using right now. Frame a few of your best studies and hang them above the shelf in a small gallery arrangement to keep your own progress in view. A wall of framed studies, like the arrangements in these antique gallery wall ideas, turns the shelf into a proud record of your work.
10. Add a Photo Corner to Document Finished Work
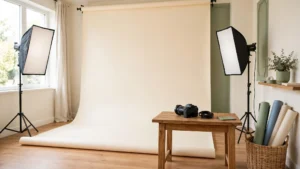
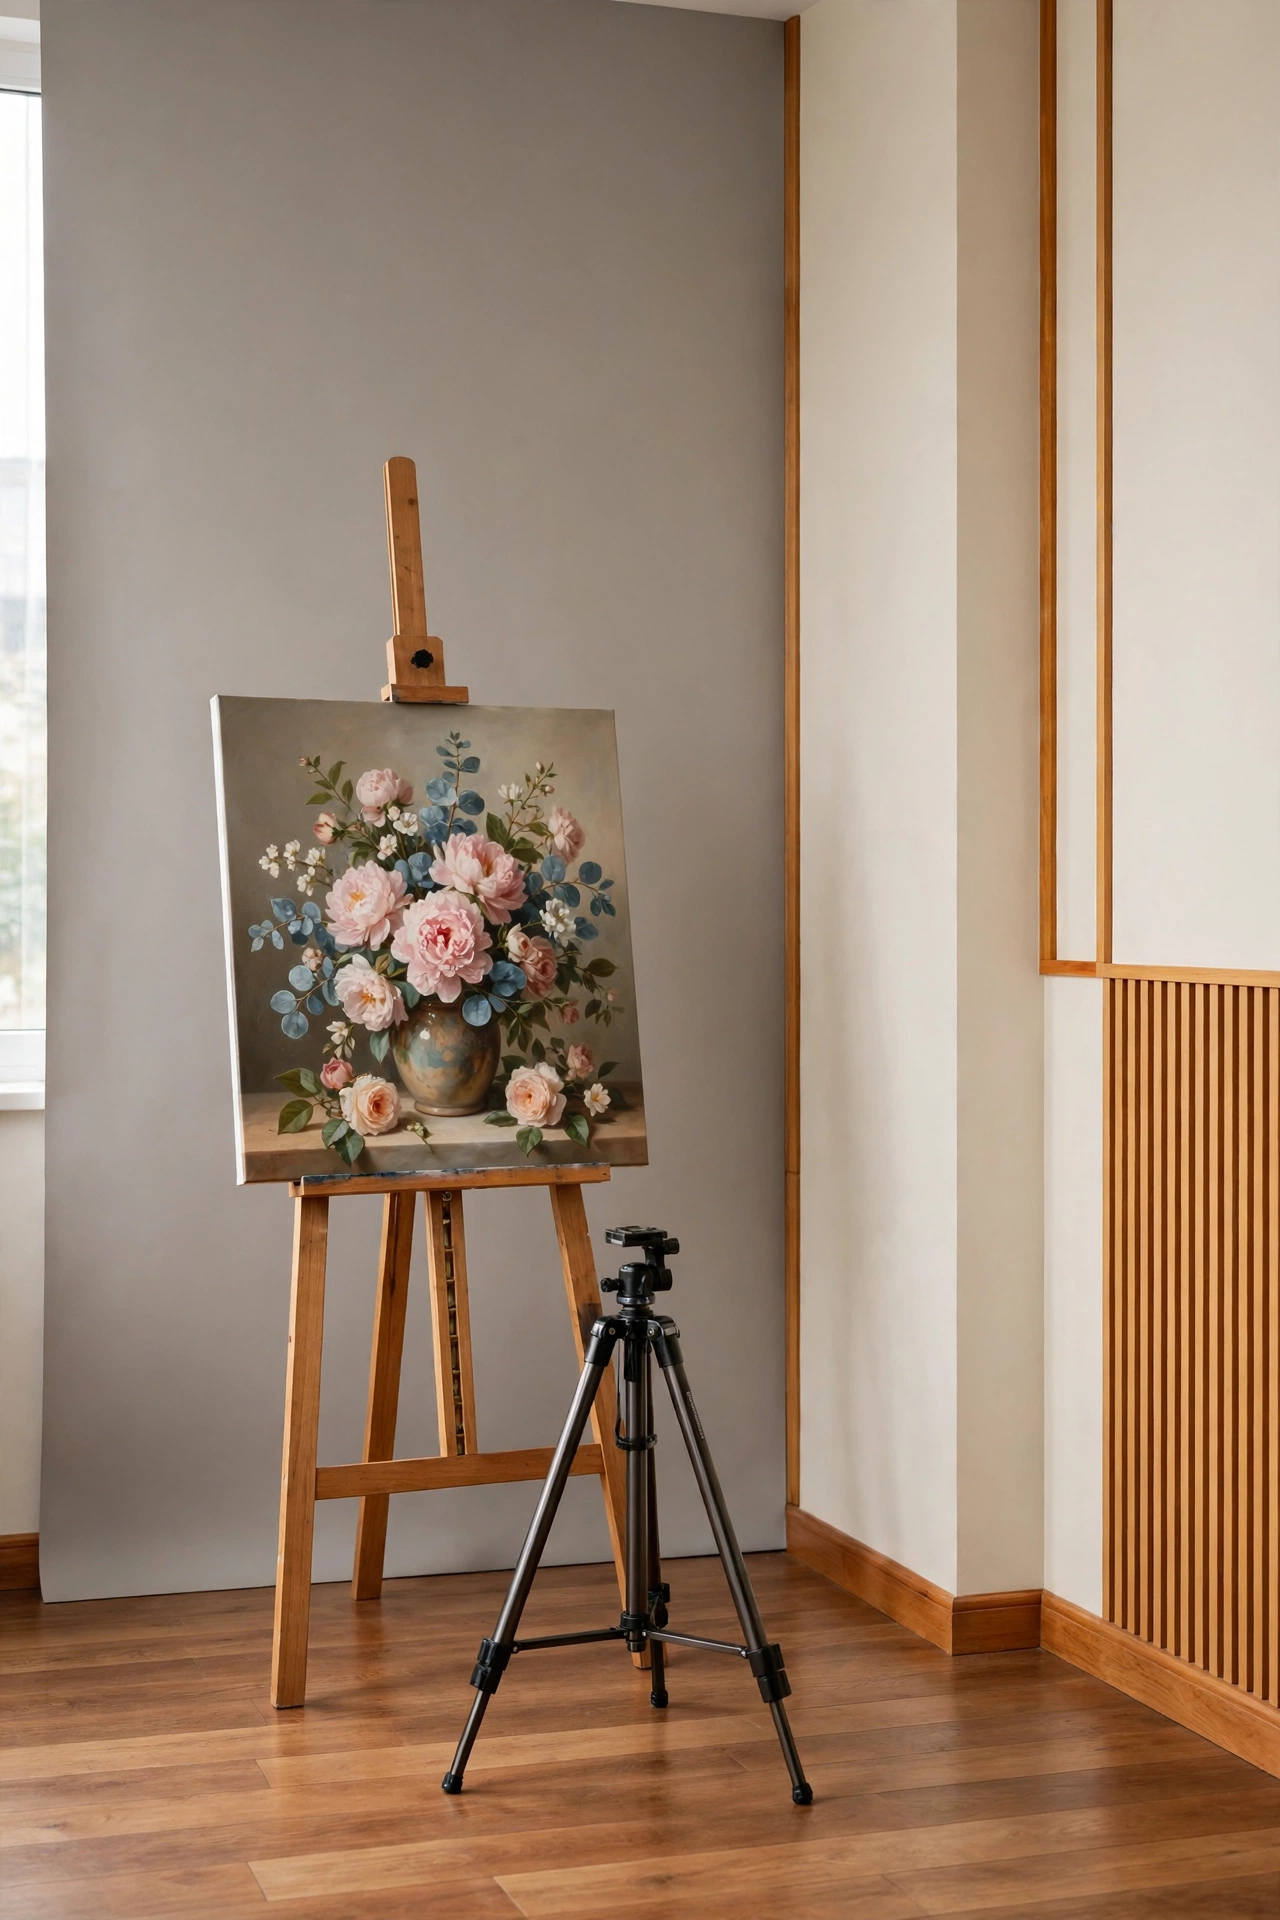
Every finished painting deserves a good photograph before it leaves the studio, whether it goes to a buyer, a show, or a frame on your own wall. A small photo corner with a plain neutral wall and steady daylight lets you document work quickly and consistently. You will never again hunt for a clean background at the last minute.
Paint one short stretch of wall in a soft warm gray or cream, and keep the floor in front of it clear for a tripod. Photograph each piece straight on, at the same distance, with the same light, so your records look consistent from year to year. Good documentation protects your work and makes it easy to share online or enter in shows.
11. Carve Out a Clay and Sculpture Bench
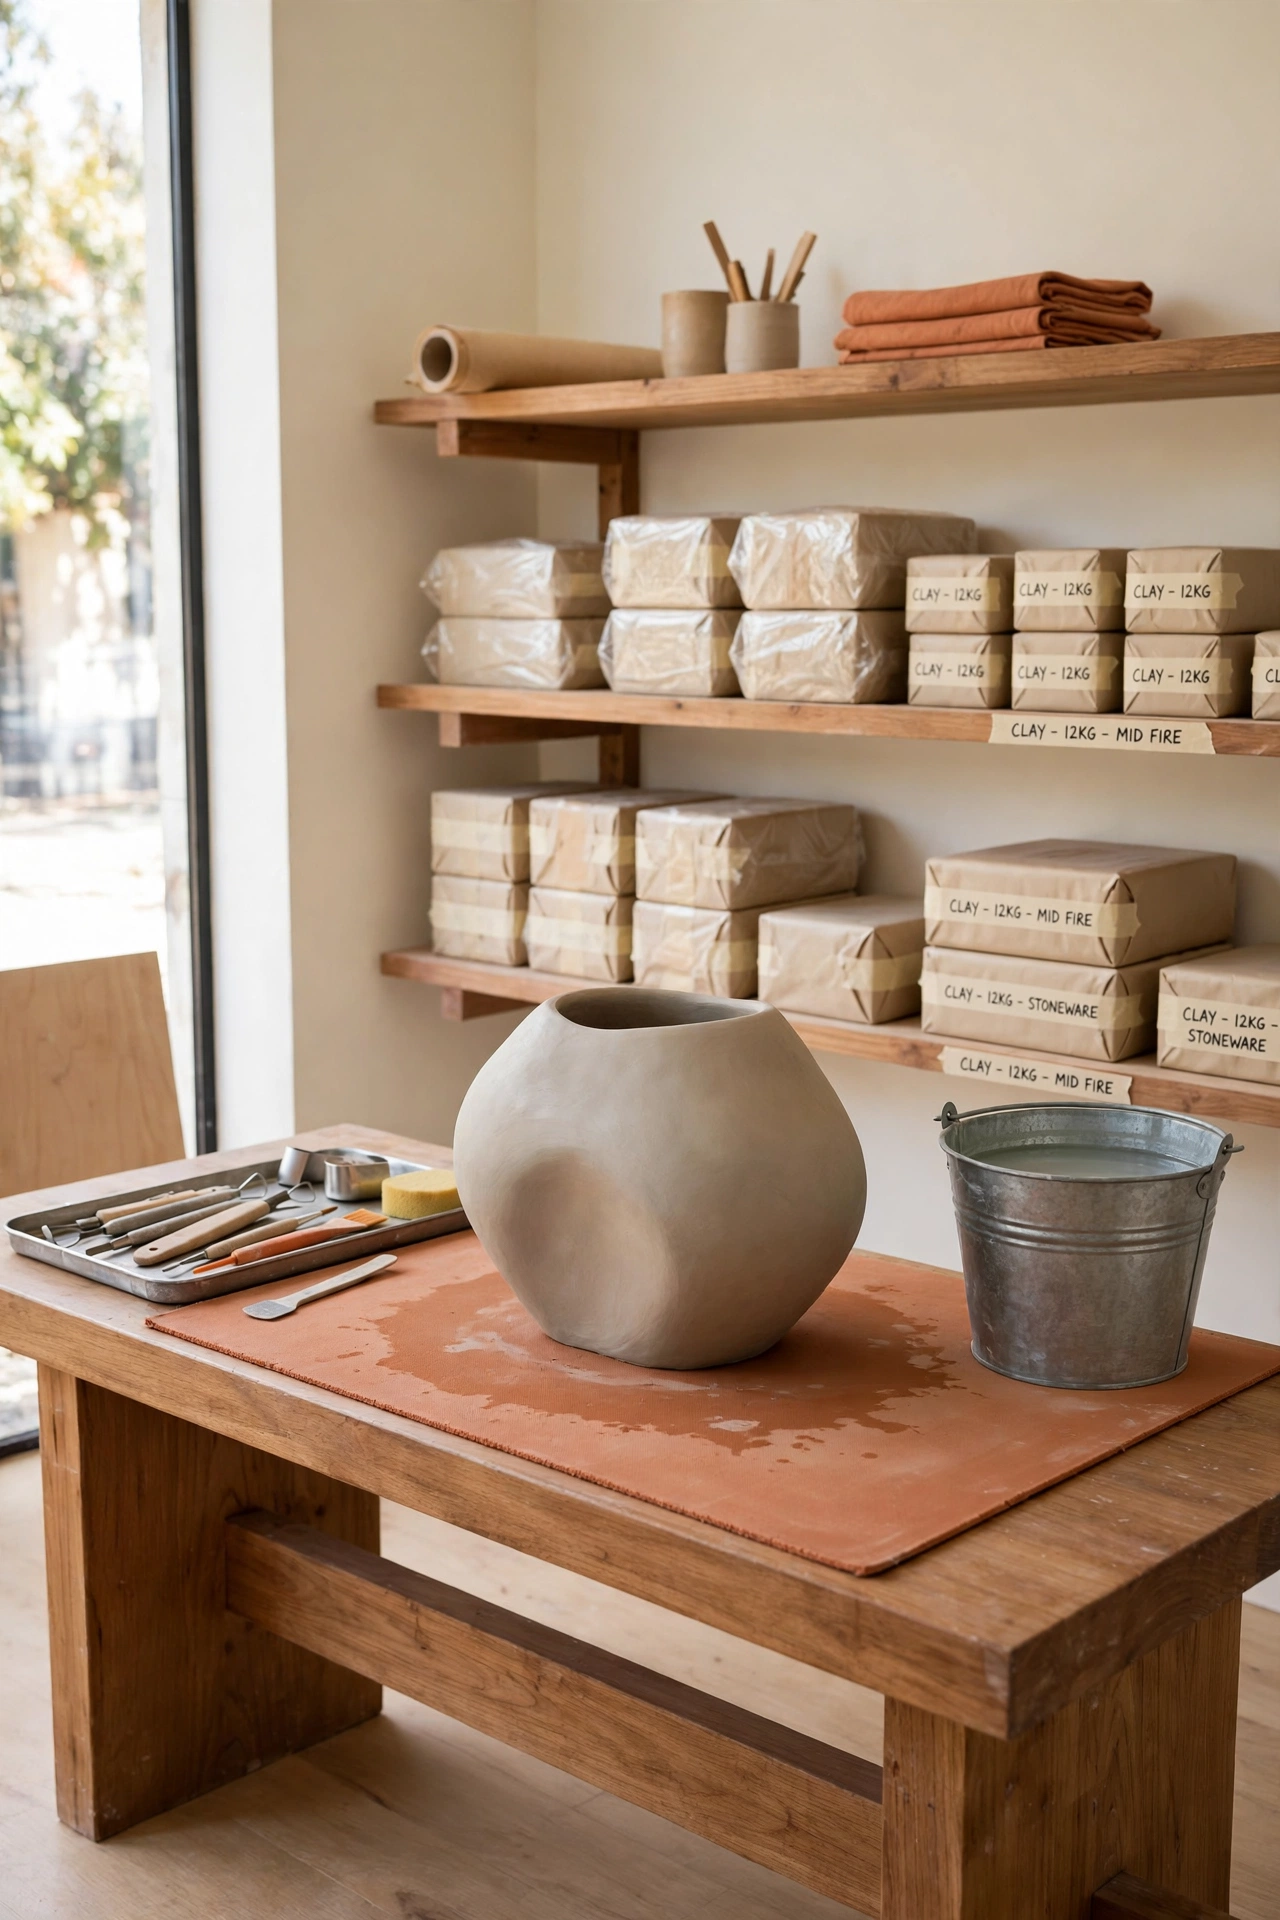
Clay and sculpture work needs a bench that is heavy, sturdy, and easy to wipe down, because wet clay and plaster dust are hard on ordinary furniture. A solid workbench in one corner of the studio gives sculpture its own home, safely away from clean canvases and paper. The bench should sit near your cleanup corner so water and tools stay close.
Top the bench with a sealed surface or a replaceable board, and keep a bucket of water, a splash mat, and your modeling tools in a tray on a lower shelf. Store works in progress on a damp shelf nearby, covered loosely so they dry slowly and evenly. A dedicated bench means you can start a sculpture on Monday and return to it on Friday without clearing anything away.
Conclusion
A small art studio works best when every part of your process has its own clear place. The easel catches the good light, wet canvases dry safely on the wall, clean paper stays flat in its drawers, and sculpture has a bench that can take a beating. When the layout supports your habits, you spend your studio time making art instead of searching for supplies.
Start with the two zones that matter most for your own work, usually the easel station and the drying rack, and add the rest one piece at a time. A compact room rewards careful planning, and the same zoning ideas that shape a good studio also help in any small work area, as these small home office layout ideas show. Set up your studio this weekend, and let the space itself invite you to create every single day.
Frequently Asked Questions About Small Art Studio Layout Ideas for Creative Work
How much space do I need for a small art studio?
A room of about 100 square feet works well for most painters, and even a space half that size can work if you plan the layout carefully. The key is vertical storage and clear zones, so the easel, drying rack, and supply storage each have a dedicated spot. Measure your largest canvas and your easel footprint first, then arrange everything else around them.
What is the best light for an art studio?
Steady, indirect natural light from a north facing window is the classic choice, because it changes the least through the day and keeps colors true. If you have no north window, use full spectrum daylight bulbs in a mix of overhead and task lamps. Avoid direct sun on your canvas, because glare hides detail and shifts color.
How do I store wet paintings in a small space?
A wall mounted drying rack with separate slots is the best answer for a small studio, because it holds several canvases upright without using floor space. Space the slots wide enough that wet surfaces never touch, and label each slot so you know what is drying. A rack of six to eight slots covers the needs of most home painters.
How do I keep paint fumes out of the rest of the home?
Open a window near your painting area and use a small exhaust fan to pull air outward while you work. Keep solvent containers closed when you are not using them, and choose low odor mediums whenever you can. A door that closes between the studio and the living area, plus a draft stopper, keeps fumes from drifting through the home.
Can I share a room between an art studio and another use?
Yes, a shared room works well if the studio zone has firm boundaries. Use a rug, a screen, or a row of storage furniture to mark the studio area, and keep all art supplies inside that zone. Choose furniture with doors or drawers so the room looks tidy when guests arrive, and cover the easel with a cloth between sessions.

Hi, I’m Emily! I turn messy corners into cozy, organized spots. DreamNestDecor is where I share simple, practical home ideas — decor, organization, and small-space solutions that work in real life, not just in photos. Every idea here is carefully researched before it’s shared.