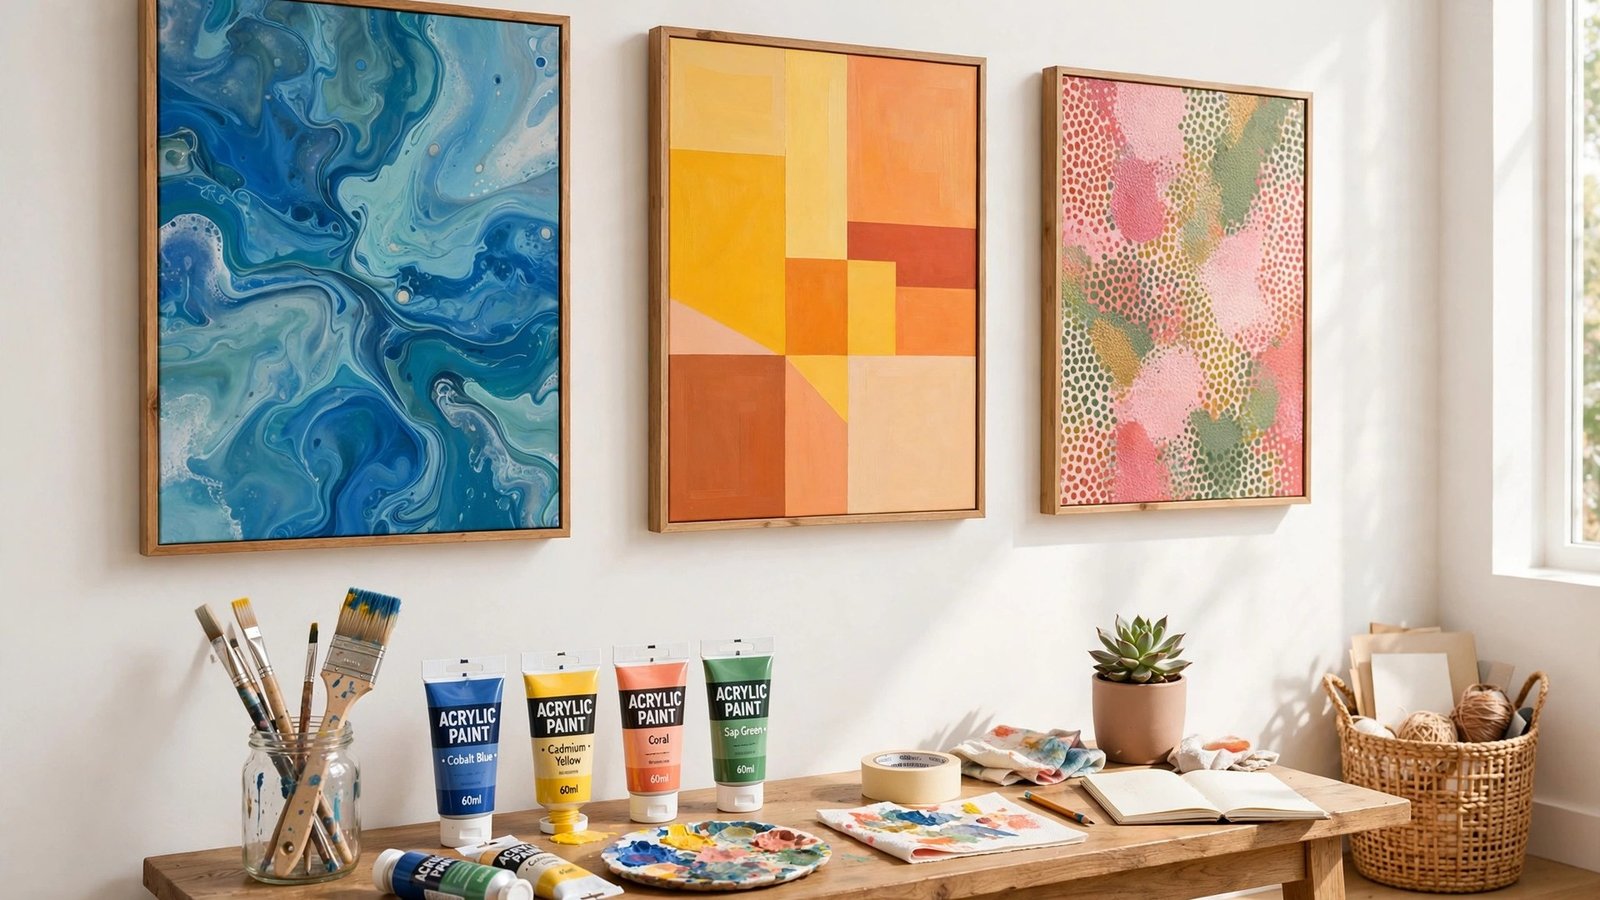
Abstract painting is the most forgiving art form a beginner can try. Nothing has to look like anything, so there is no nose to misplace and no horizon to tilt. What matters is color, shape, and texture, and those are exactly the skills that make every future painting better.
Each idea below is built on one simple rule or technique, needs only a few colors and basic supplies, and can be finished in an hour or two. Pick one, limit yourself to three colors plus white, and focus on contrast and balance rather than getting it right. Your walls are about to get a handmade upgrade.
1. Tape-Resist Geometric Shapes
Painter’s tape is a beginner’s best friend. Lay strips of tape across your canvas in triangles, chevrons, or random angles, then paint over the whole surface in two or three colors. When you peel the tape away, crisp white lines reveal themselves like magic.
This technique looks impressively precise with almost zero brush skill required. Try a large diagonal composition in muted tones for a modern look, or bold primary blocks for playful energy. The reveal moment never gets old.

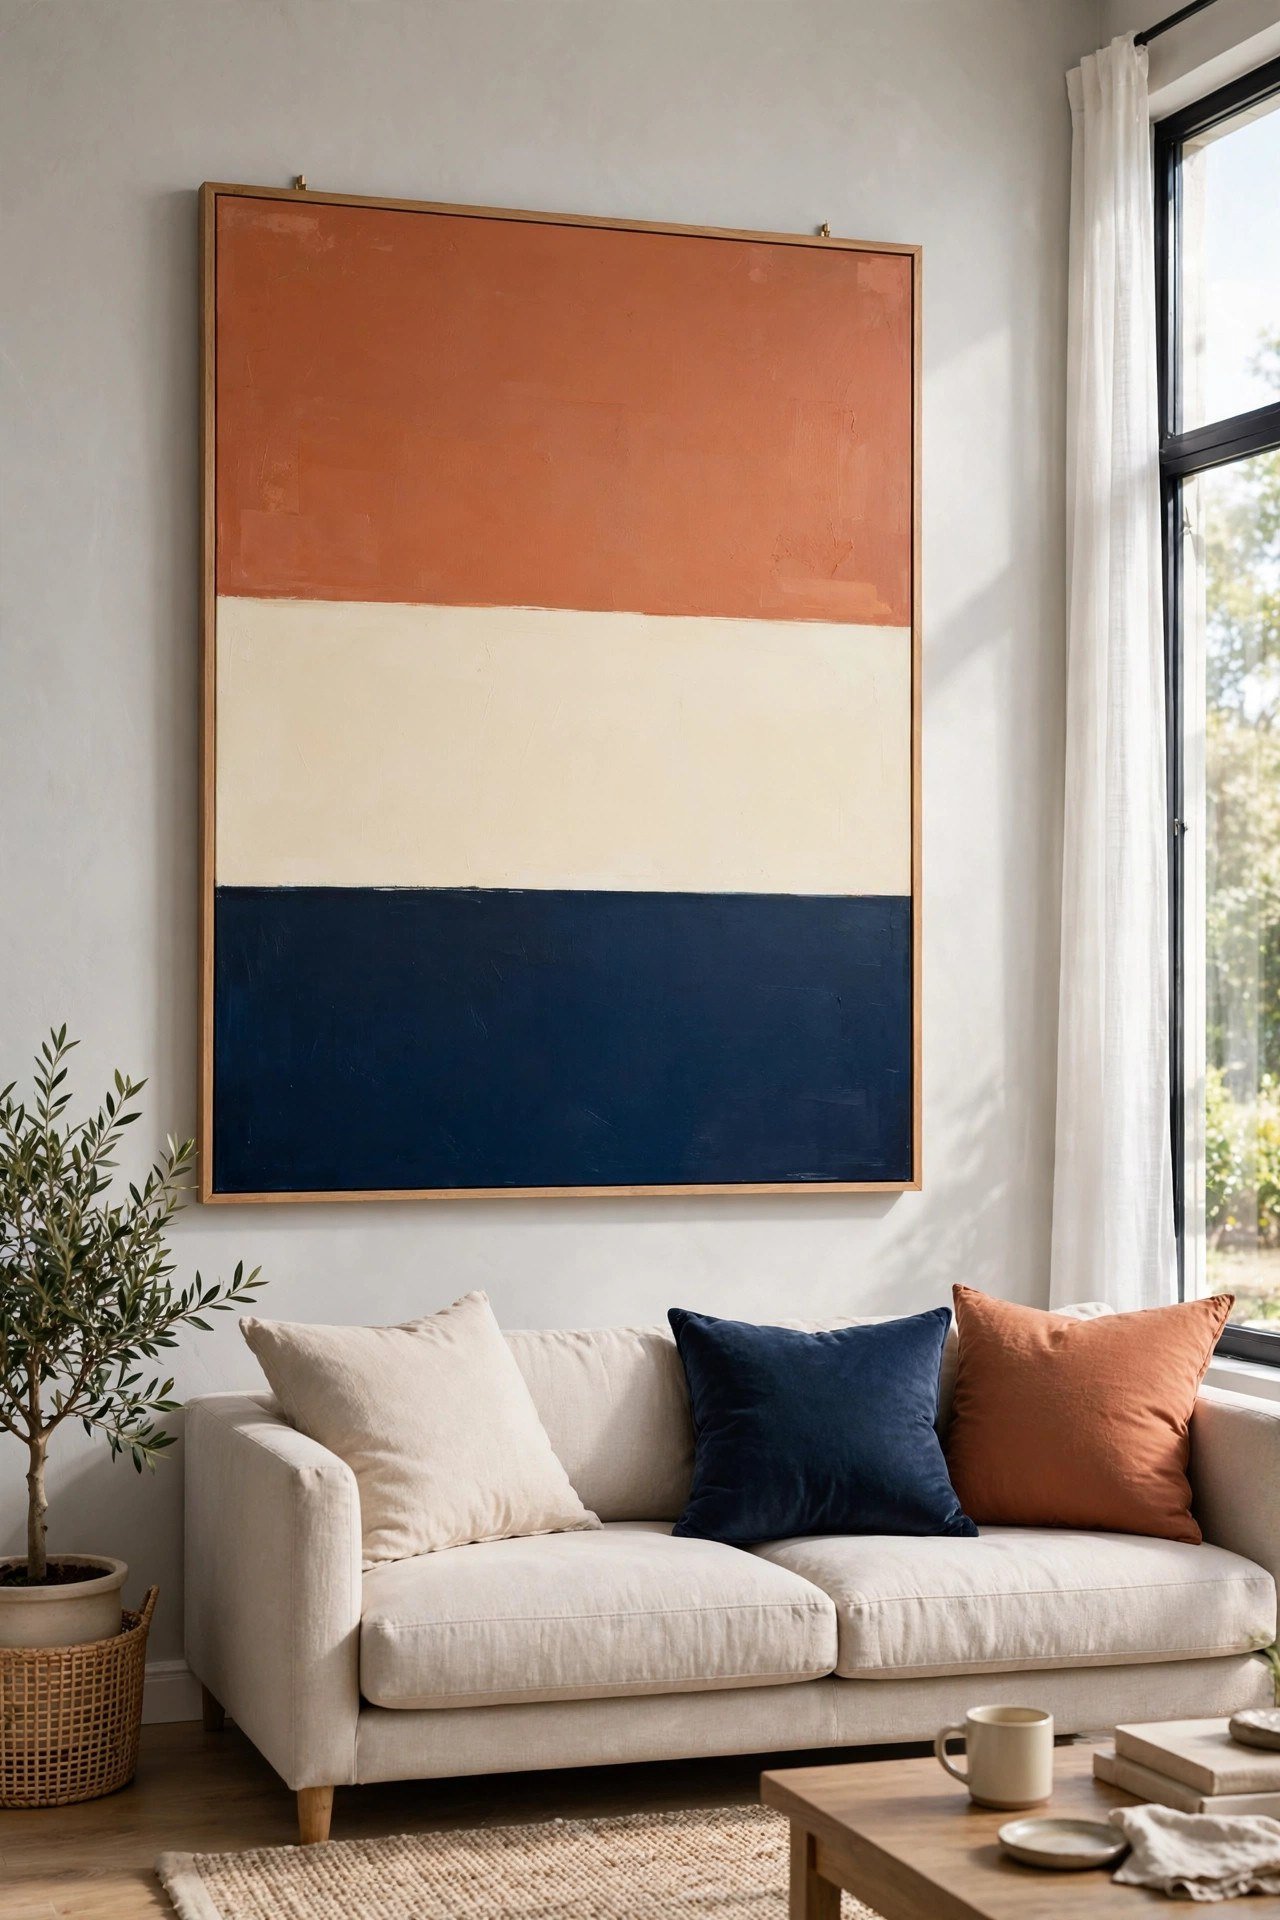
2. Color-Field Blocks
Color-field painting is simply large rectangles of color sitting side by side, and it looks far more sophisticated than its effort suggests. Divide your canvas into two or three horizontal or vertical bands, then fill each with a flat, confident coat of paint.
Choose colors with real contrast, like terracotta against cream or navy against soft gray, so the blocks vibrate against each other. Clean edges matter here, so use tape or a steady hand with a flat brush. It is minimalism you can actually make yourself.
3. Stacked Circles
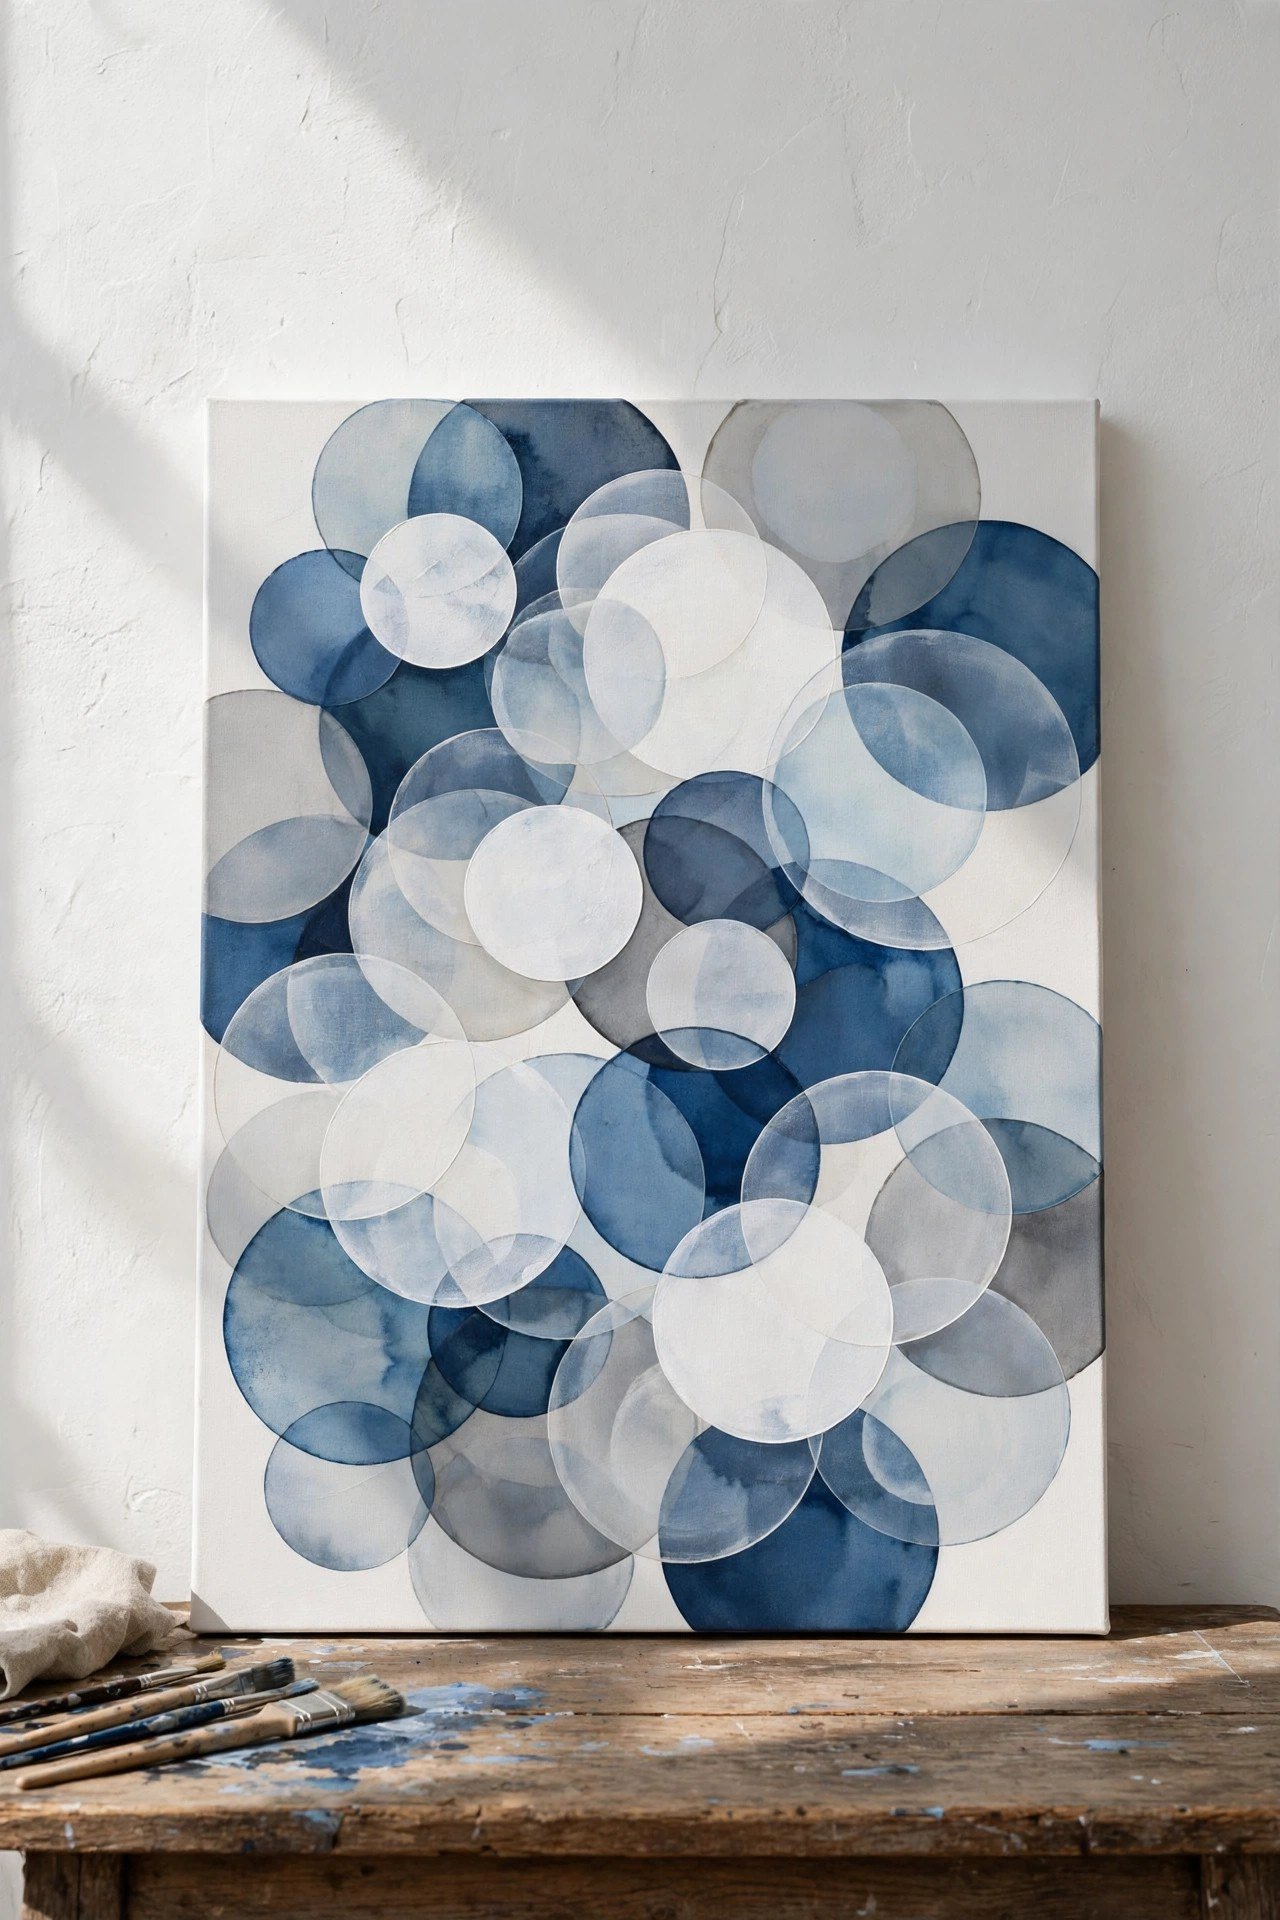
Circles are friendly shapes that always look intentional. Paint overlapping circles in different sizes across your canvas, letting some edges cross over others. Trace around bowls and lids for perfect rounds without any freehand stress.
Limit your palette to three colors plus white so the composition stays cohesive. Vary the transparency by watering down some paint for sheer circles that glow over solid ones. The result feels playful yet composed.
4. Palette Knife Texture
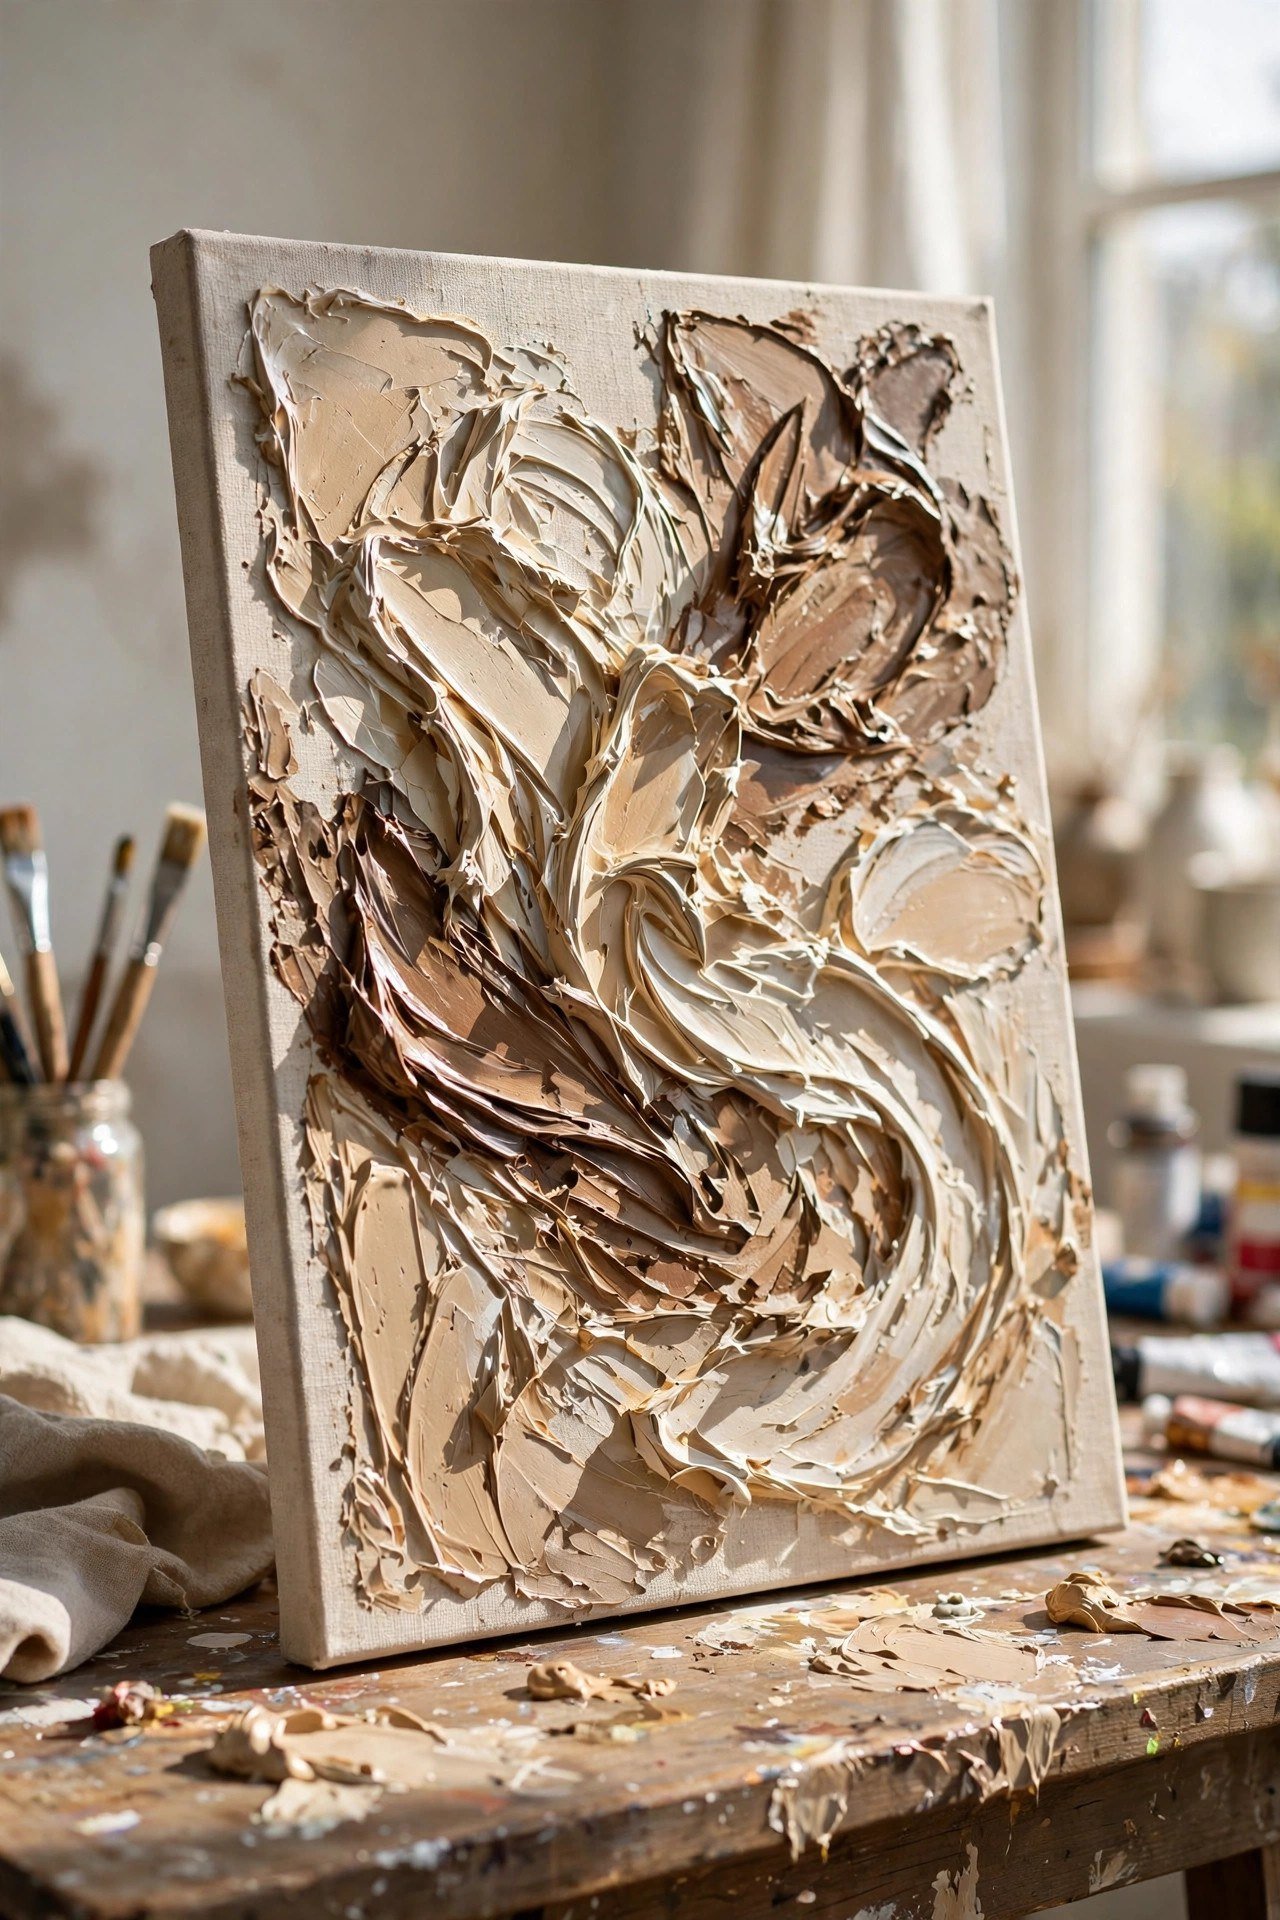
A palette knife turns thick paint into sculptural ridges and valleys. Scoop up paint with the flat blade and drag, press, or flick it across the canvas to build dimensional marks. The texture catches light beautifully once dry.
Work with paint straight from the tube or add a little modeling paste for extra body. Abstract landscapes of sky and fields emerge naturally from horizontal knife strokes. This technique hides every brush mistake under gorgeous texture.
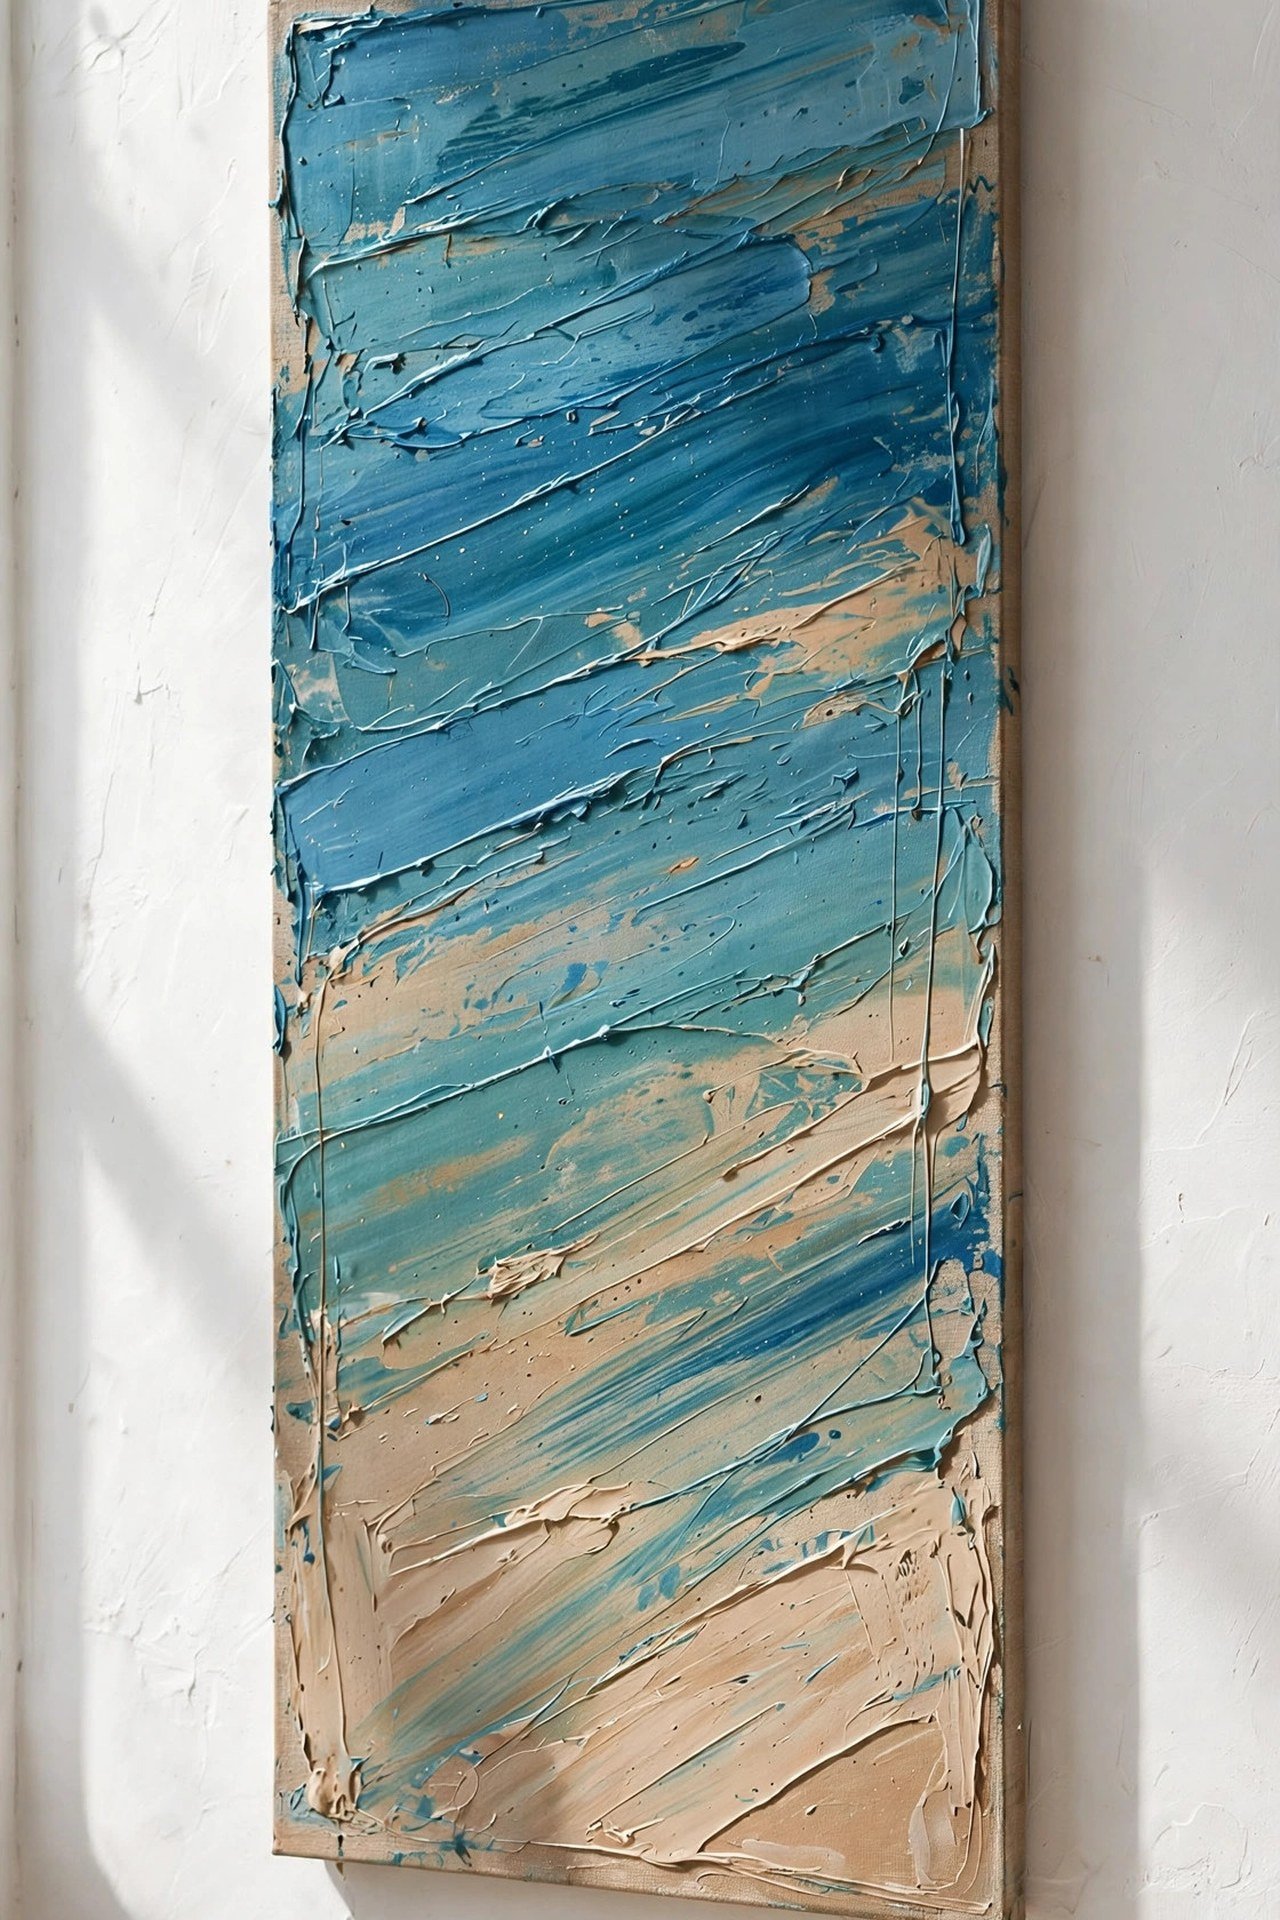
5. Squeegee Scraped Layers
Paint bold stripes of color across your canvas, then drag a plastic squeegee or old gift card through the wet paint. The scraping blends and streaks the colors into smooth, professional-looking gradients with fascinating dragged texture.
Layer two or three rounds of paint-and-scrape for depth, letting each layer dry in between. Ocean blues and sandy neutrals make a stunning coastal abstract. It feels like a magic trick the first time you try it.
6. Soft Gradient Blend
A smooth gradient from one color to another is a beautiful abstract all by itself. Paint two colors side by side on a damp canvas, then blend the meeting edge with a soft dry brush using light crisscross strokes until the transition melts seamlessly.
Sunset gradients of peach into lavender or teal into deep blue are timeless choices. Work quickly while the paint is wet, and keep a spray bottle handy to re-dampen the surface. Hang it large and it looks like fine art.

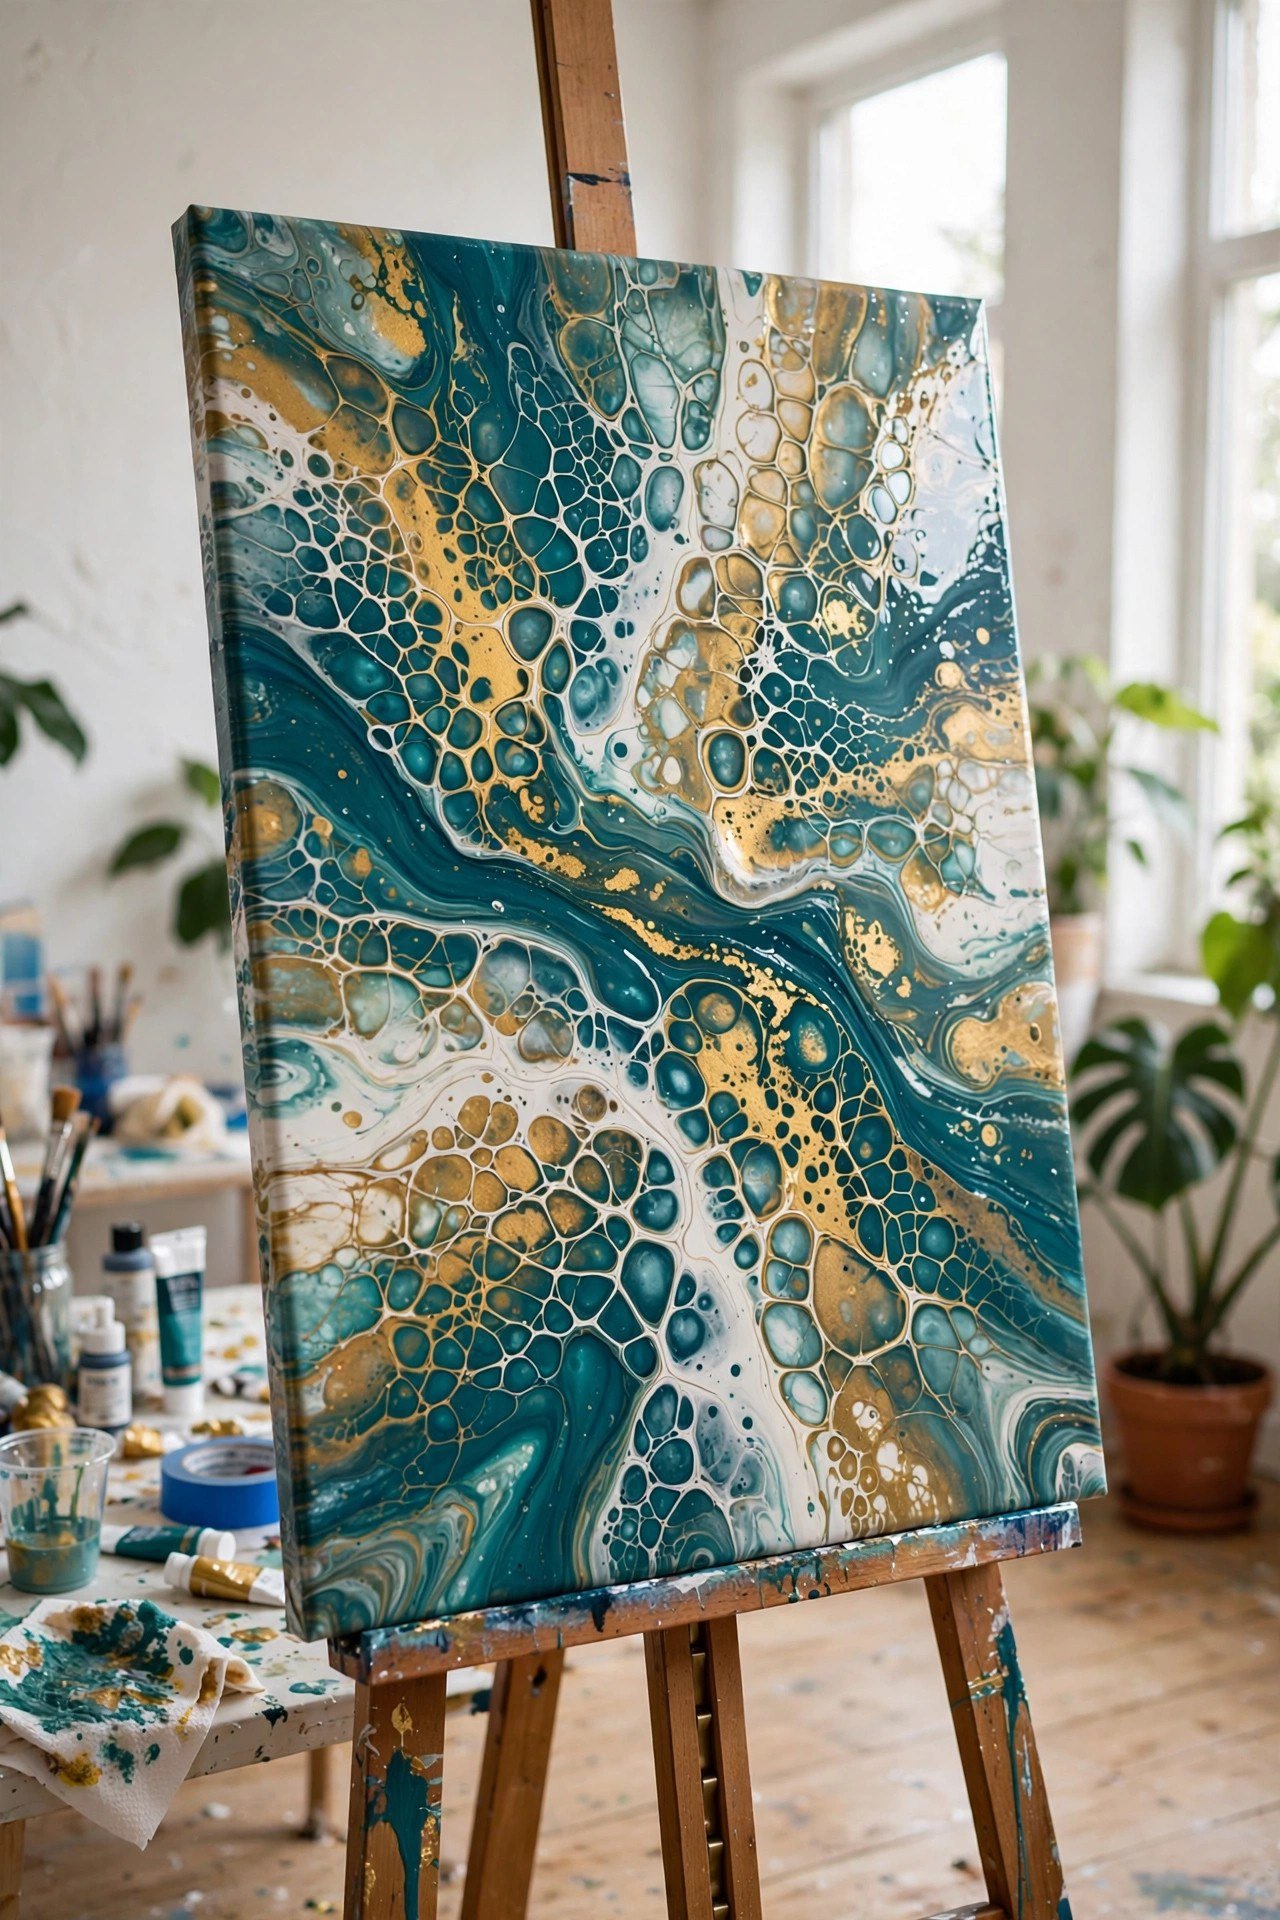
7. Acrylic Pour Painting
Pour painting creates marbled, cellular patterns with almost no brushwork. Mix acrylic paint with pouring medium, layer the colors in a cup, then pour onto the canvas and tilt it to spread the paint. Gravity does the artistic work for you.
Every pour is completely unique, which makes this technique addictive. Protect your table well and wear gloves, because it gets gloriously messy. For more handmade wall art ideas to pair with your pours, see these antique gallery wall ideas.
8. Sponge Dabbed Texture
A natural sea sponge or kitchen sponge dipped in paint creates gorgeous organic texture. Dab it across the canvas in clusters, rotating the sponge for varied marks. Layer two tones of the same color for depth that looks almost like stone or foliage.
This technique is wonderfully forgiving because there are no brushstrokes to judge. Sage green sponging over cream makes a soft botanical abstract, while charcoal over white feels boldly modern. It is also very relaxing to do.

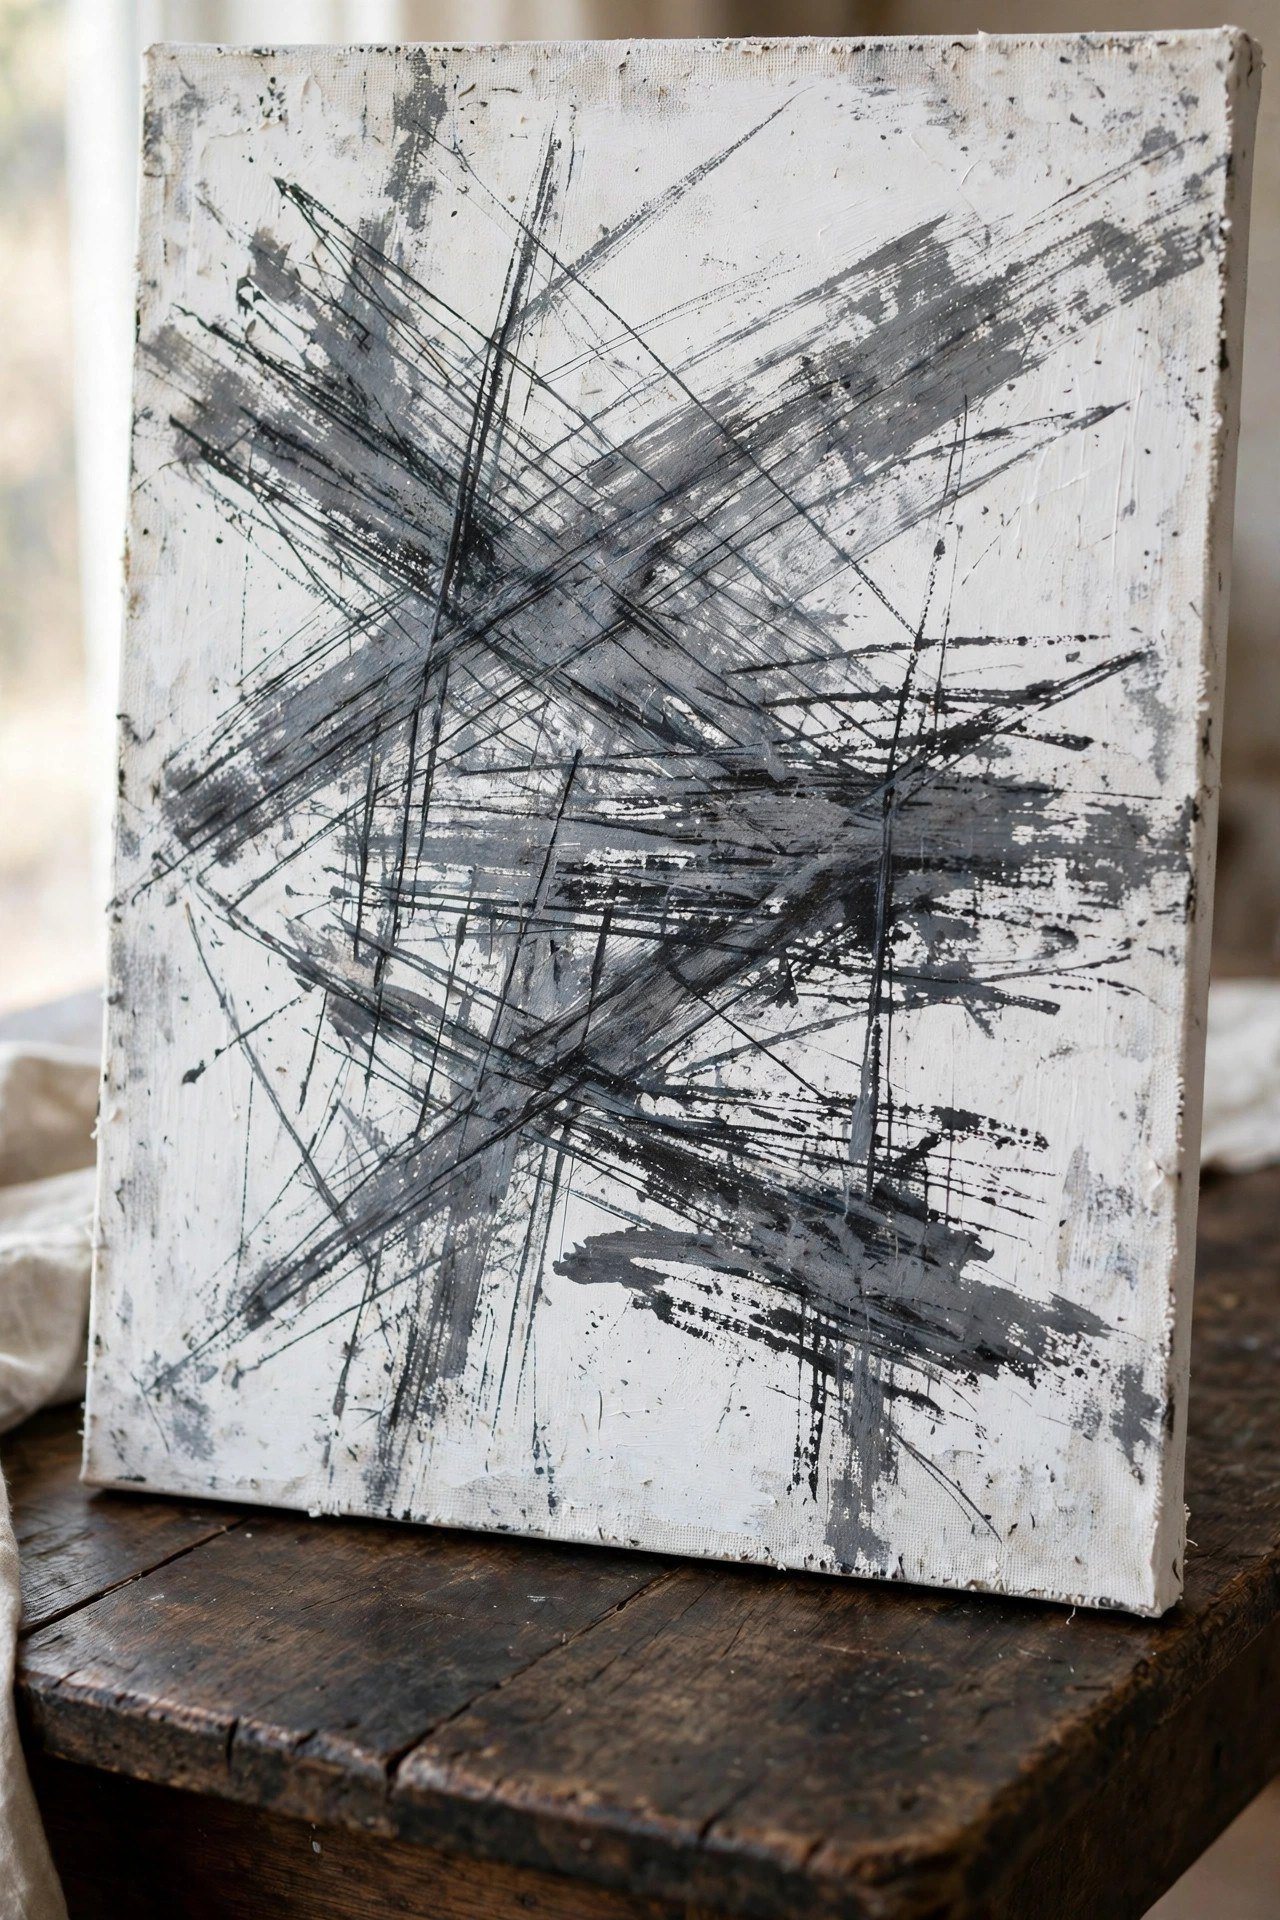
9. Dry Brush Strokes
Dry brushing uses a brush with very little paint for scratchy, energetic marks. Drag the nearly-dry brush lightly across the canvas so the texture of the surface breaks up each stroke. The result has a weathered, expressive quality.
Layer dry brush strokes in crossing directions with two or three colors for a woven effect. This technique shines on textured canvas or rough watercolor paper. It is perfect for moody, atmospheric abstracts with lots of movement.
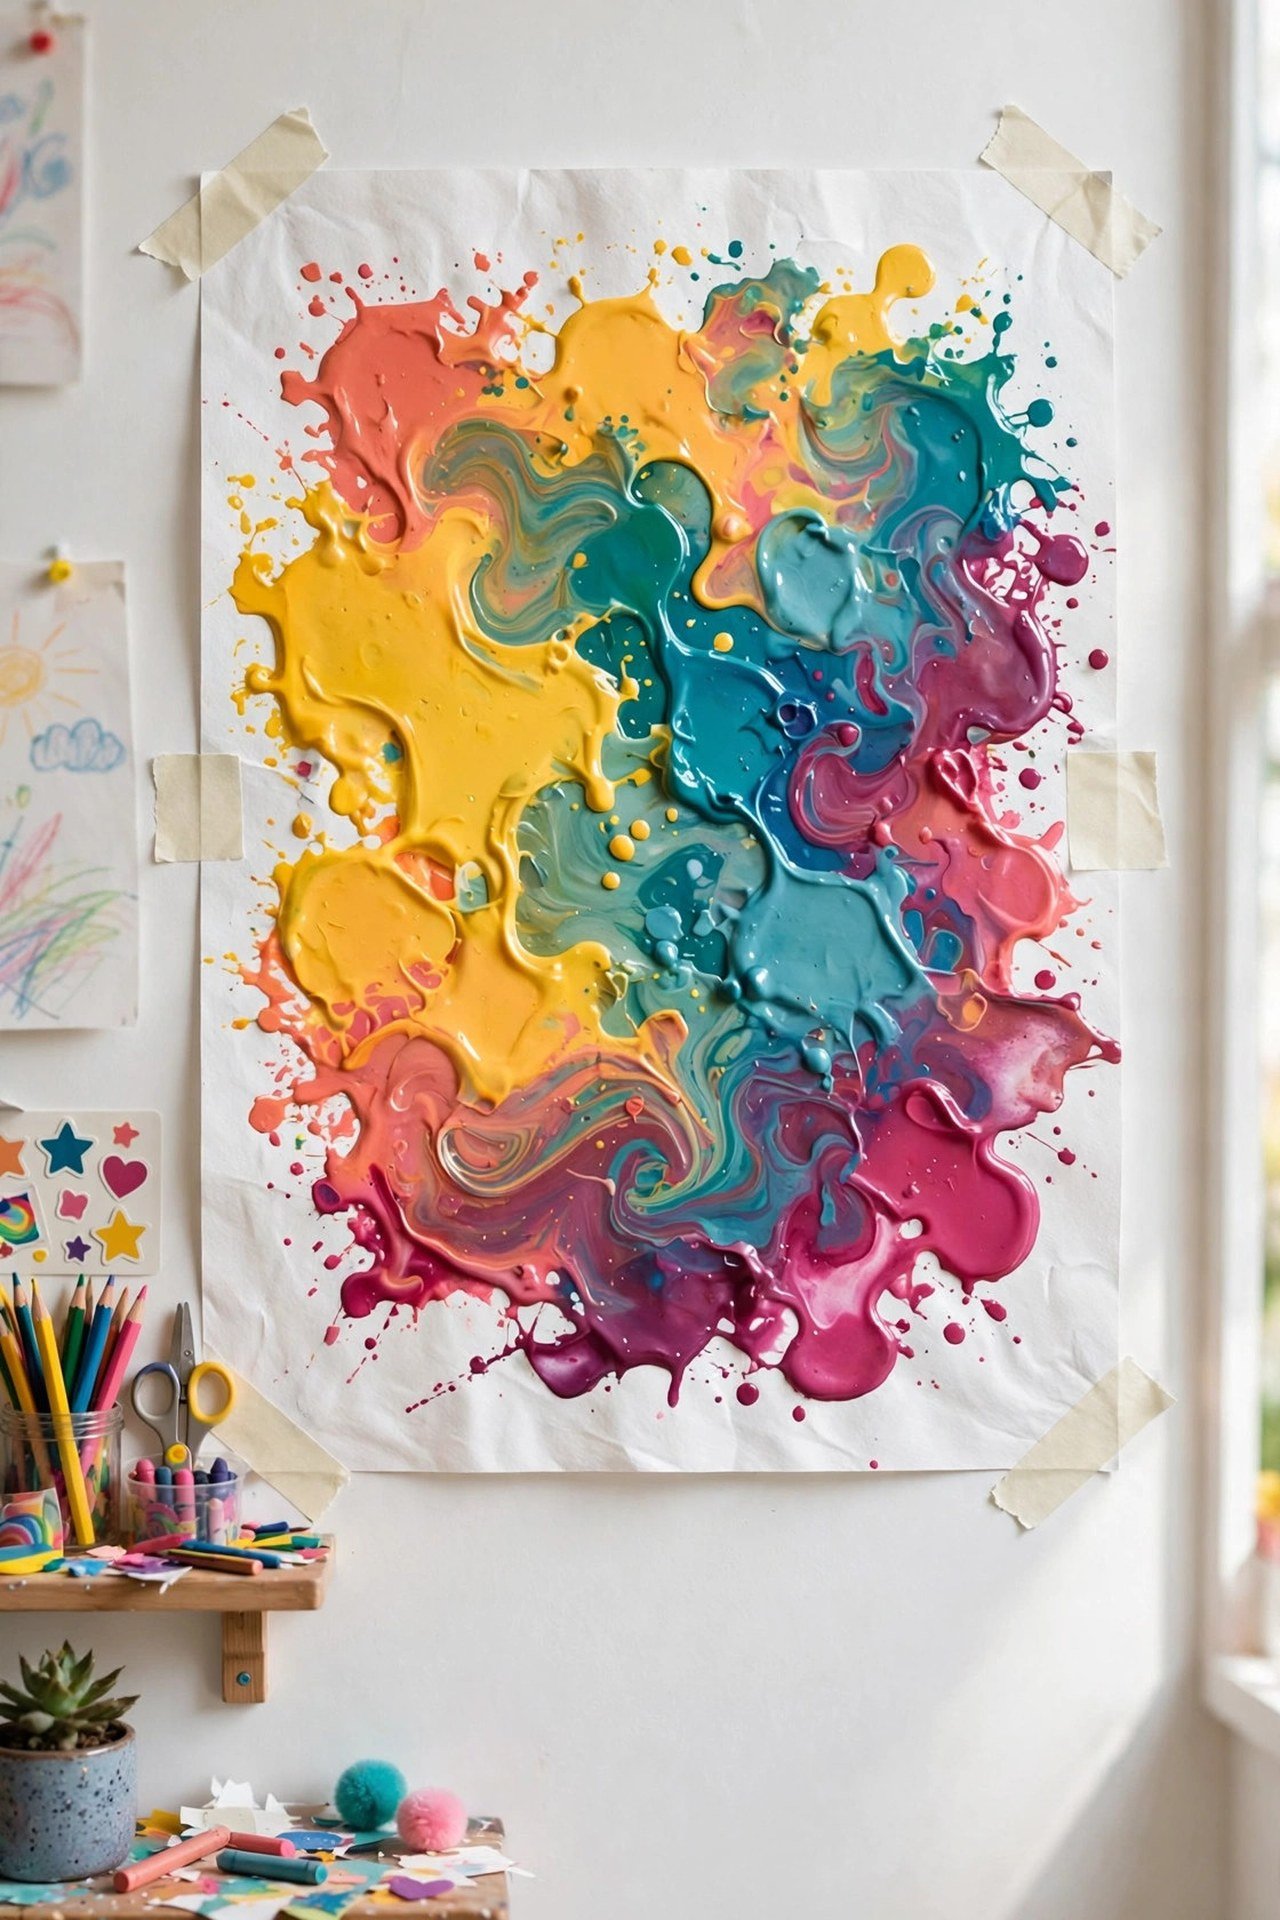
10. Playful Blob Art
Blob art is exactly what it sounds like: blobs of color interacting freely on the page. Squeeze or brush puddles of paint onto the canvas, then tilt, blow through a straw, or nudge them with a brush so they mingle at the edges.
There are no sharp edges to perfect and no plan to follow, which makes this ideal for a low-pressure creative session. Bright, cheerful colors keep it joyful. It is proof that art can be playful rather than serious.
11. Dish Soap Resist Technique
This surprising technique uses dish soap as a resist. Spray paint or brush acrylics onto your canvas in several colors, then drizzle dish soap in loops and swirls over the wet paint. After drying, rinse gently to reveal unique textures where the soap blocked the paint.
Keep the soap swirls thin rather than globby for the best effect. The revealed patterns look almost like coral or marble. It is fun, quick, and perfect for beginners who want to experiment with texture without complex brushwork.
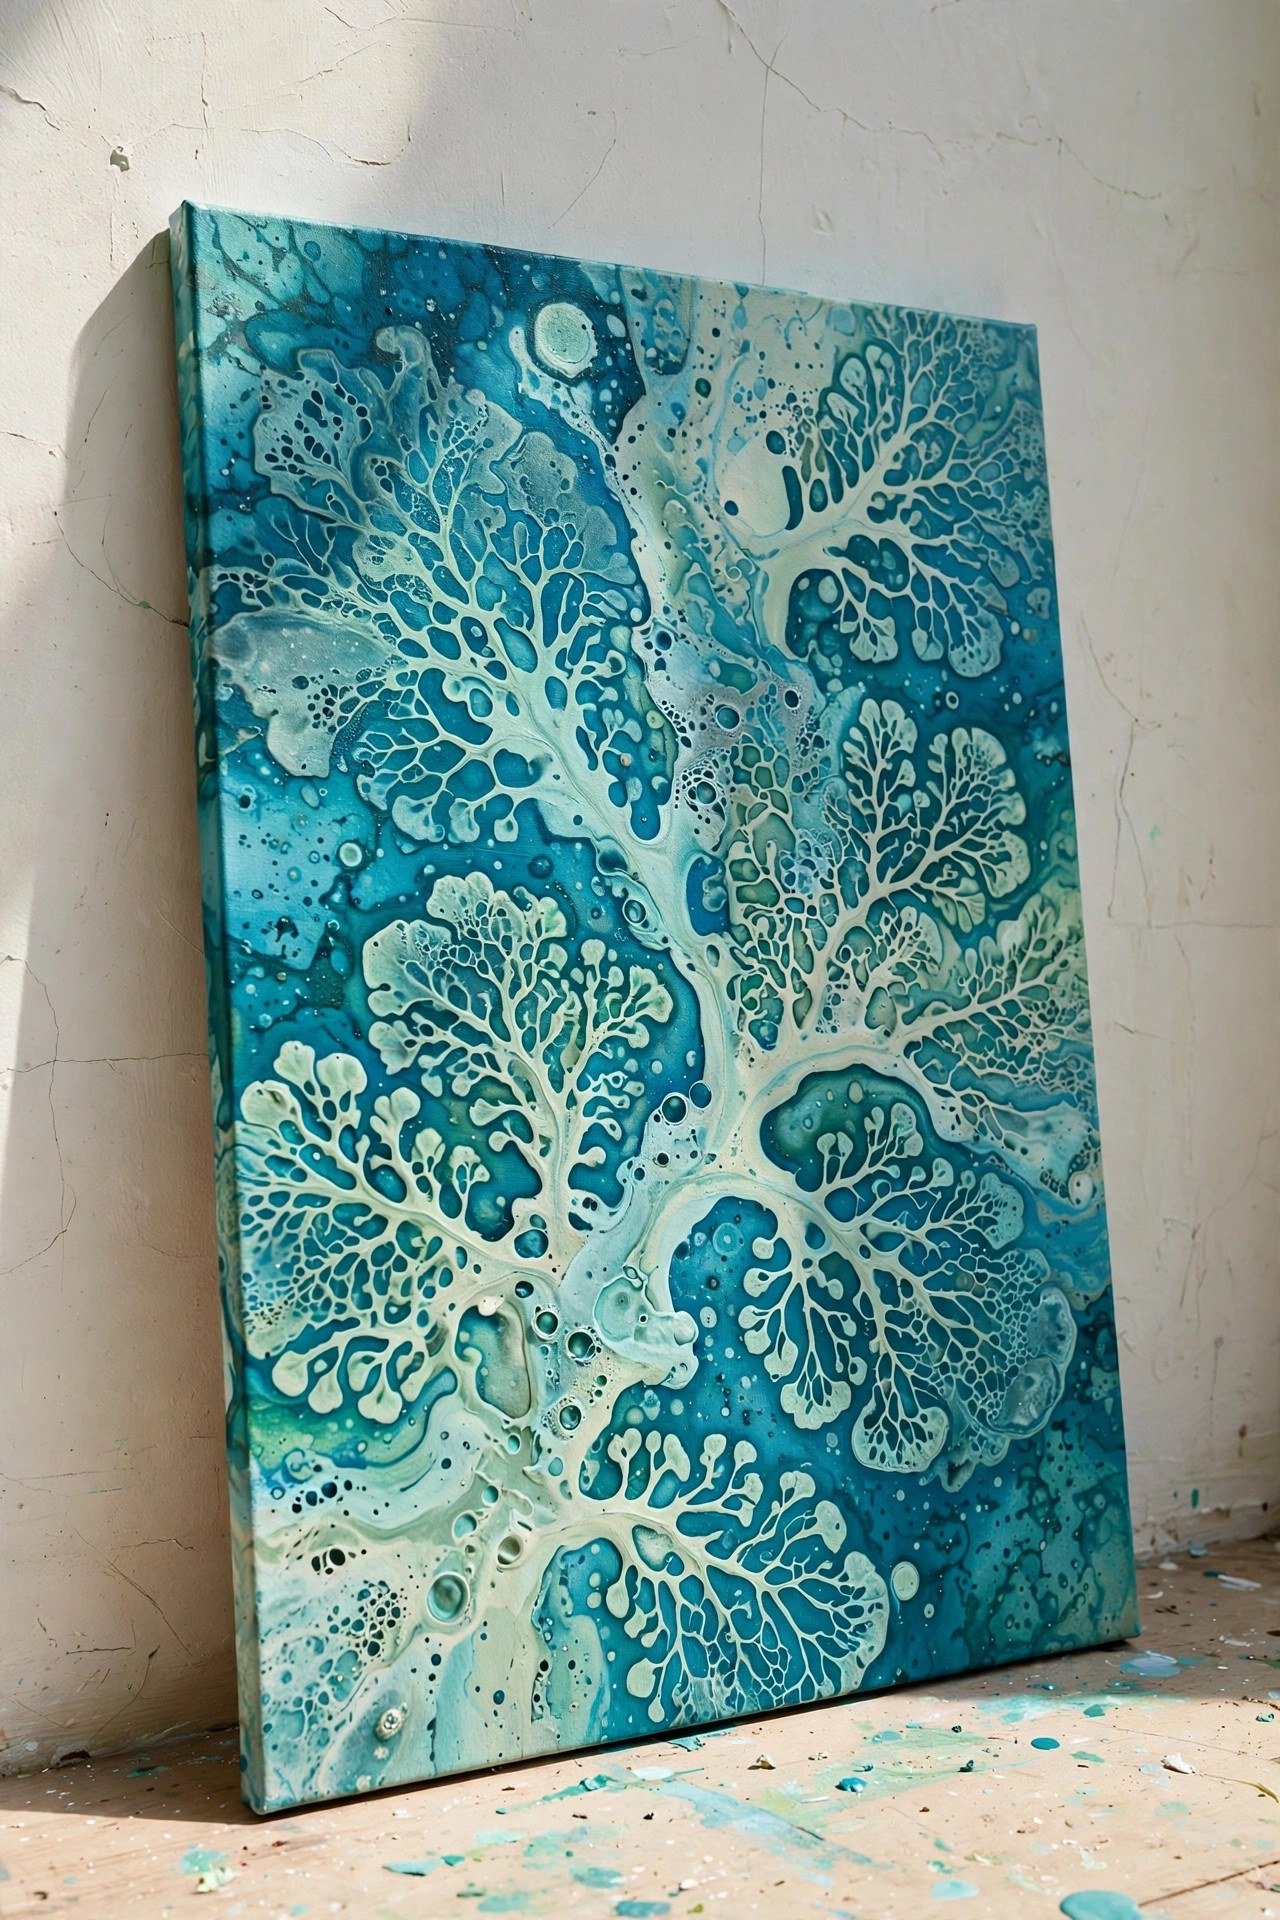
12. String Pull Painting
Dip pieces of string or yarn in fluid paint, lay them in squiggles across the canvas, then pull them off in one smooth motion. The dragged paint leaves behind feathery, branching marks that look incredibly intricate for such a simple method.
Try dark paint on a light background for dramatic contrast, or layer several pulls in different colors. Each pull is a small surprise. This technique makes stunning focal pieces for minimalist rooms.
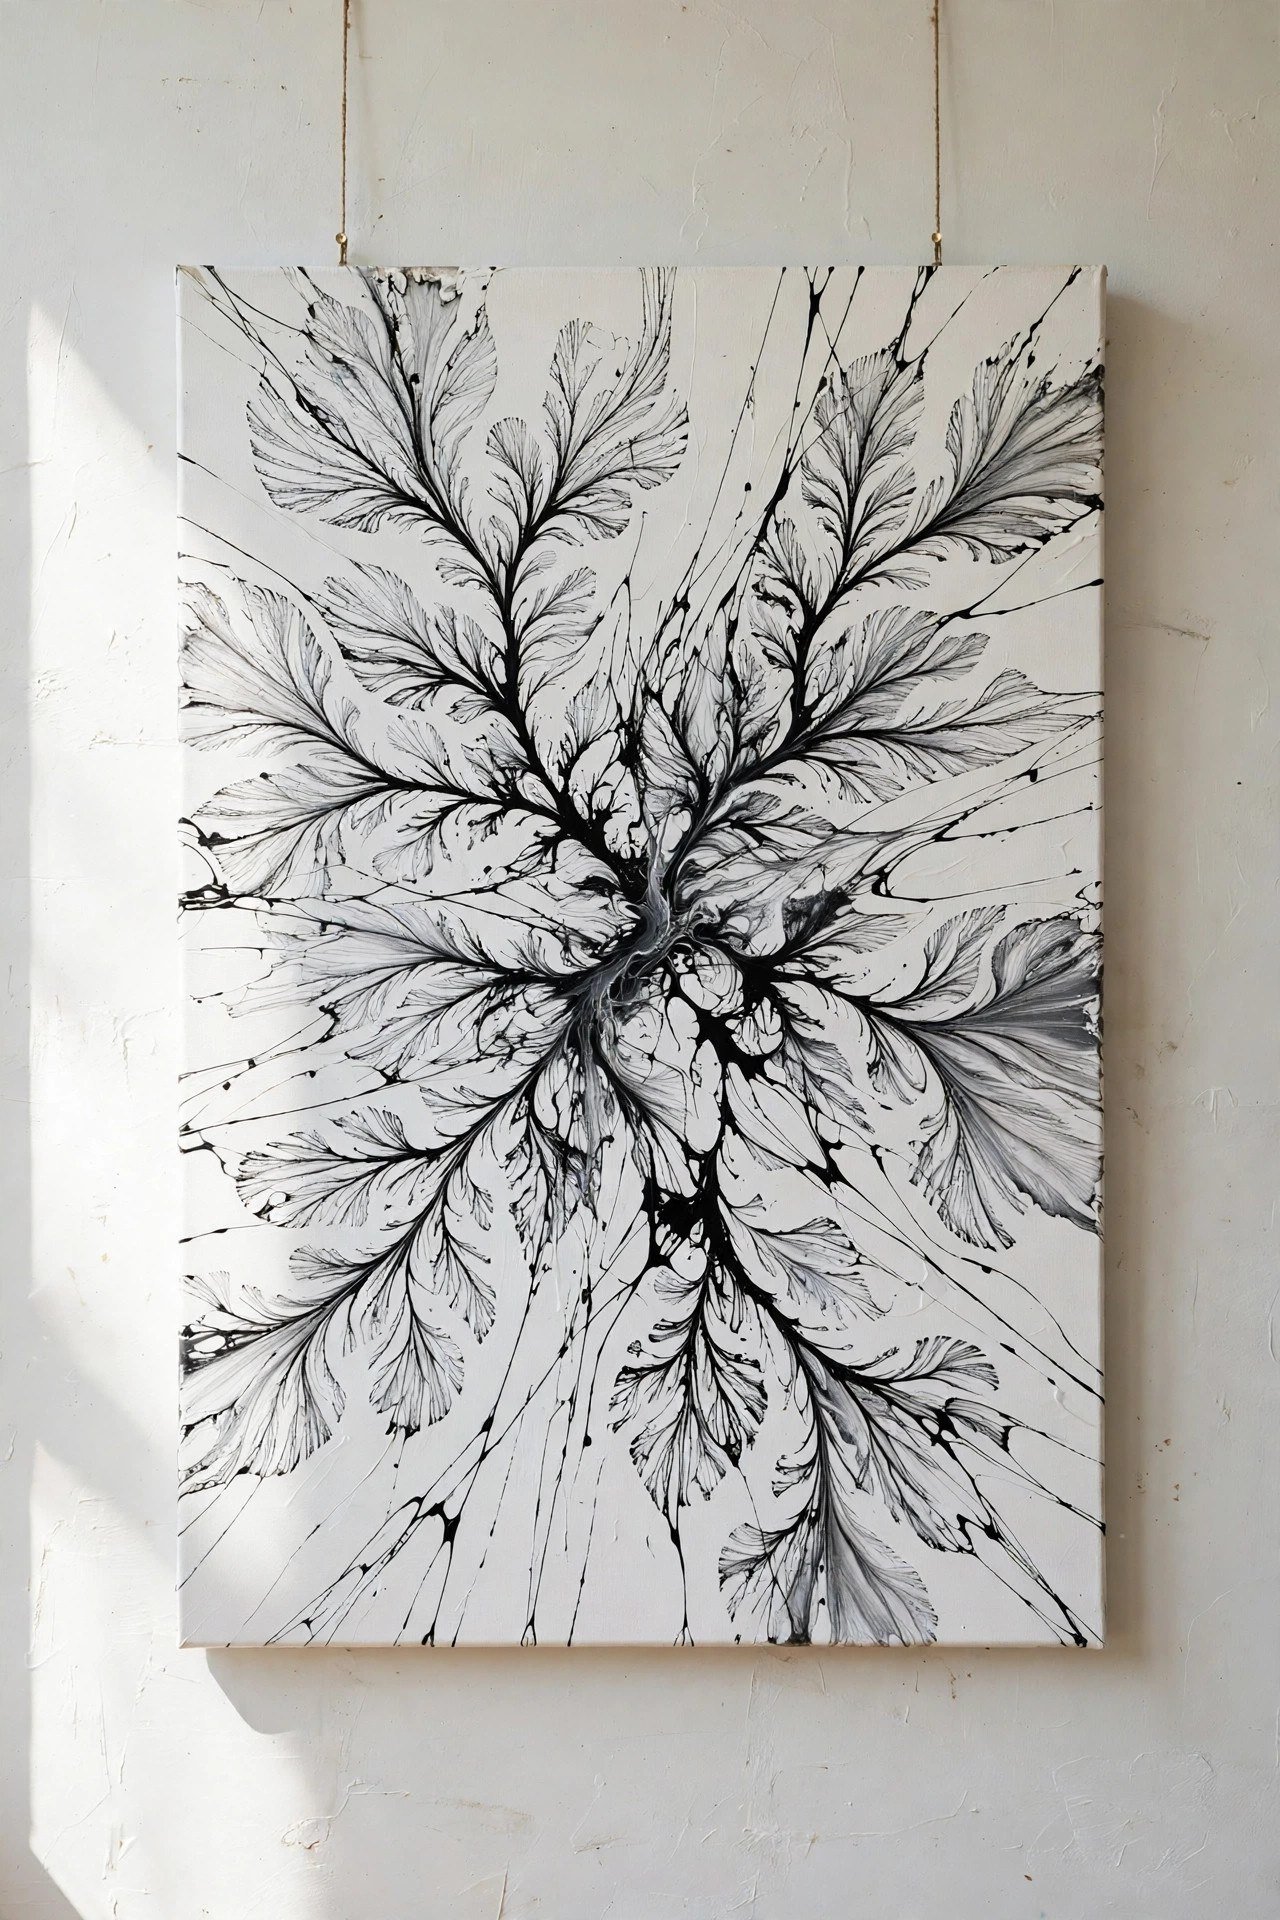
13. Bubble Wrap Printing
Press bubble wrap dipped in paint onto your canvas for instant dotted texture. The uniform bubbles create a rhythmic pattern that reads as intentional and modern. Layer two colors of bubbles slightly offset for a moiré-like effect.
Use large-bubble wrap for bold graphic dots or small bubbles for fine texture. This recycled material costs nothing and delights kids and adults alike. It works beautifully as a background layer under other techniques too.
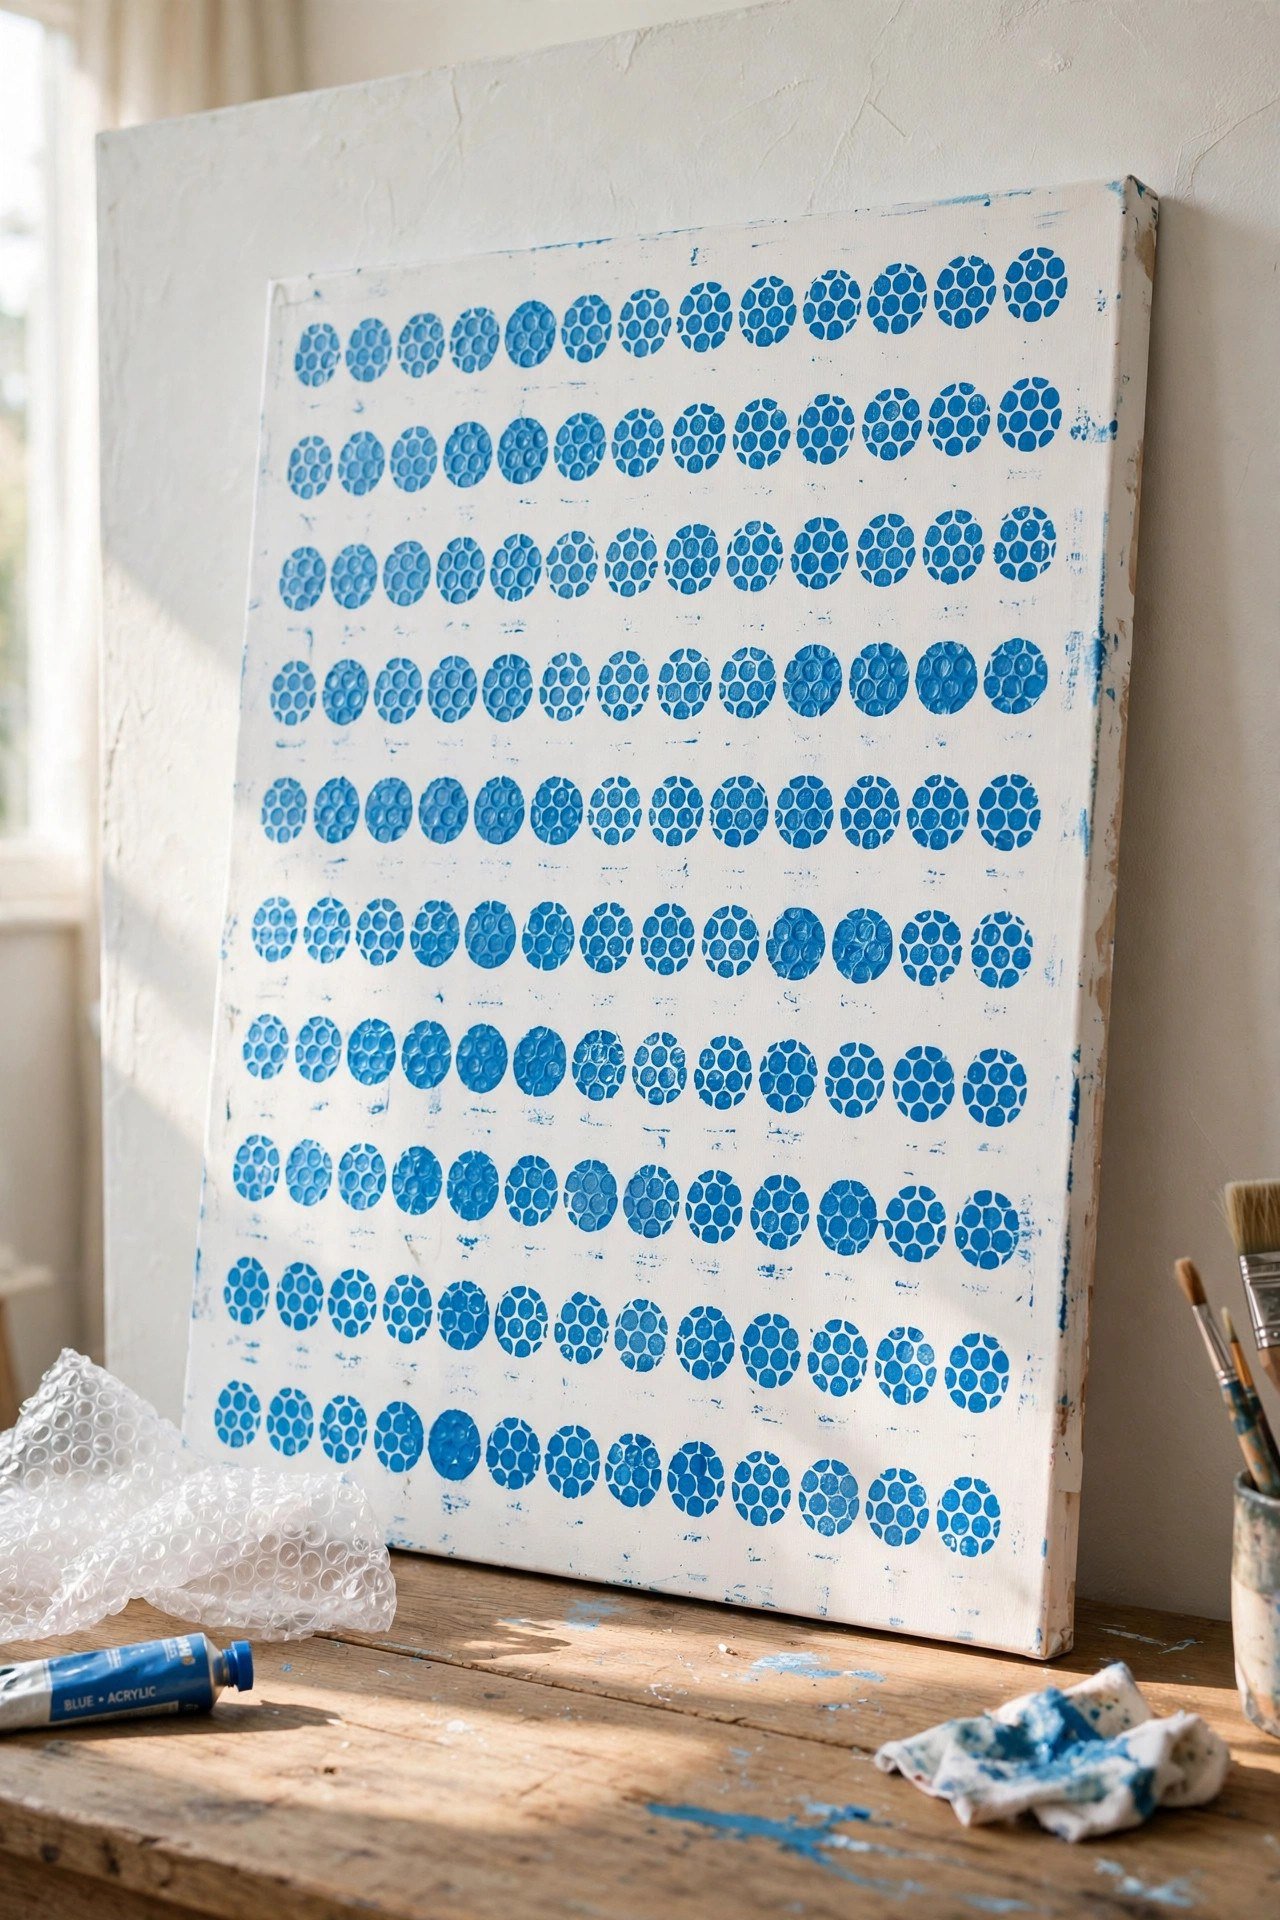
14. Old Gift Card Scraping
An old gift card or credit card makes a perfect mini squeegee. Load the canvas edge with paint, then scrape the card across it in straight or curved passes. The hard edge creates sharp lines and smooth blends that brushes struggle to achieve.
Scrape light paint over dark dried layers for a striking reversal effect. This tool gives you the popular scraped abstract look with something from your junk drawer. For more budget-friendly creative ideas, explore these sustainable home decor ideas.
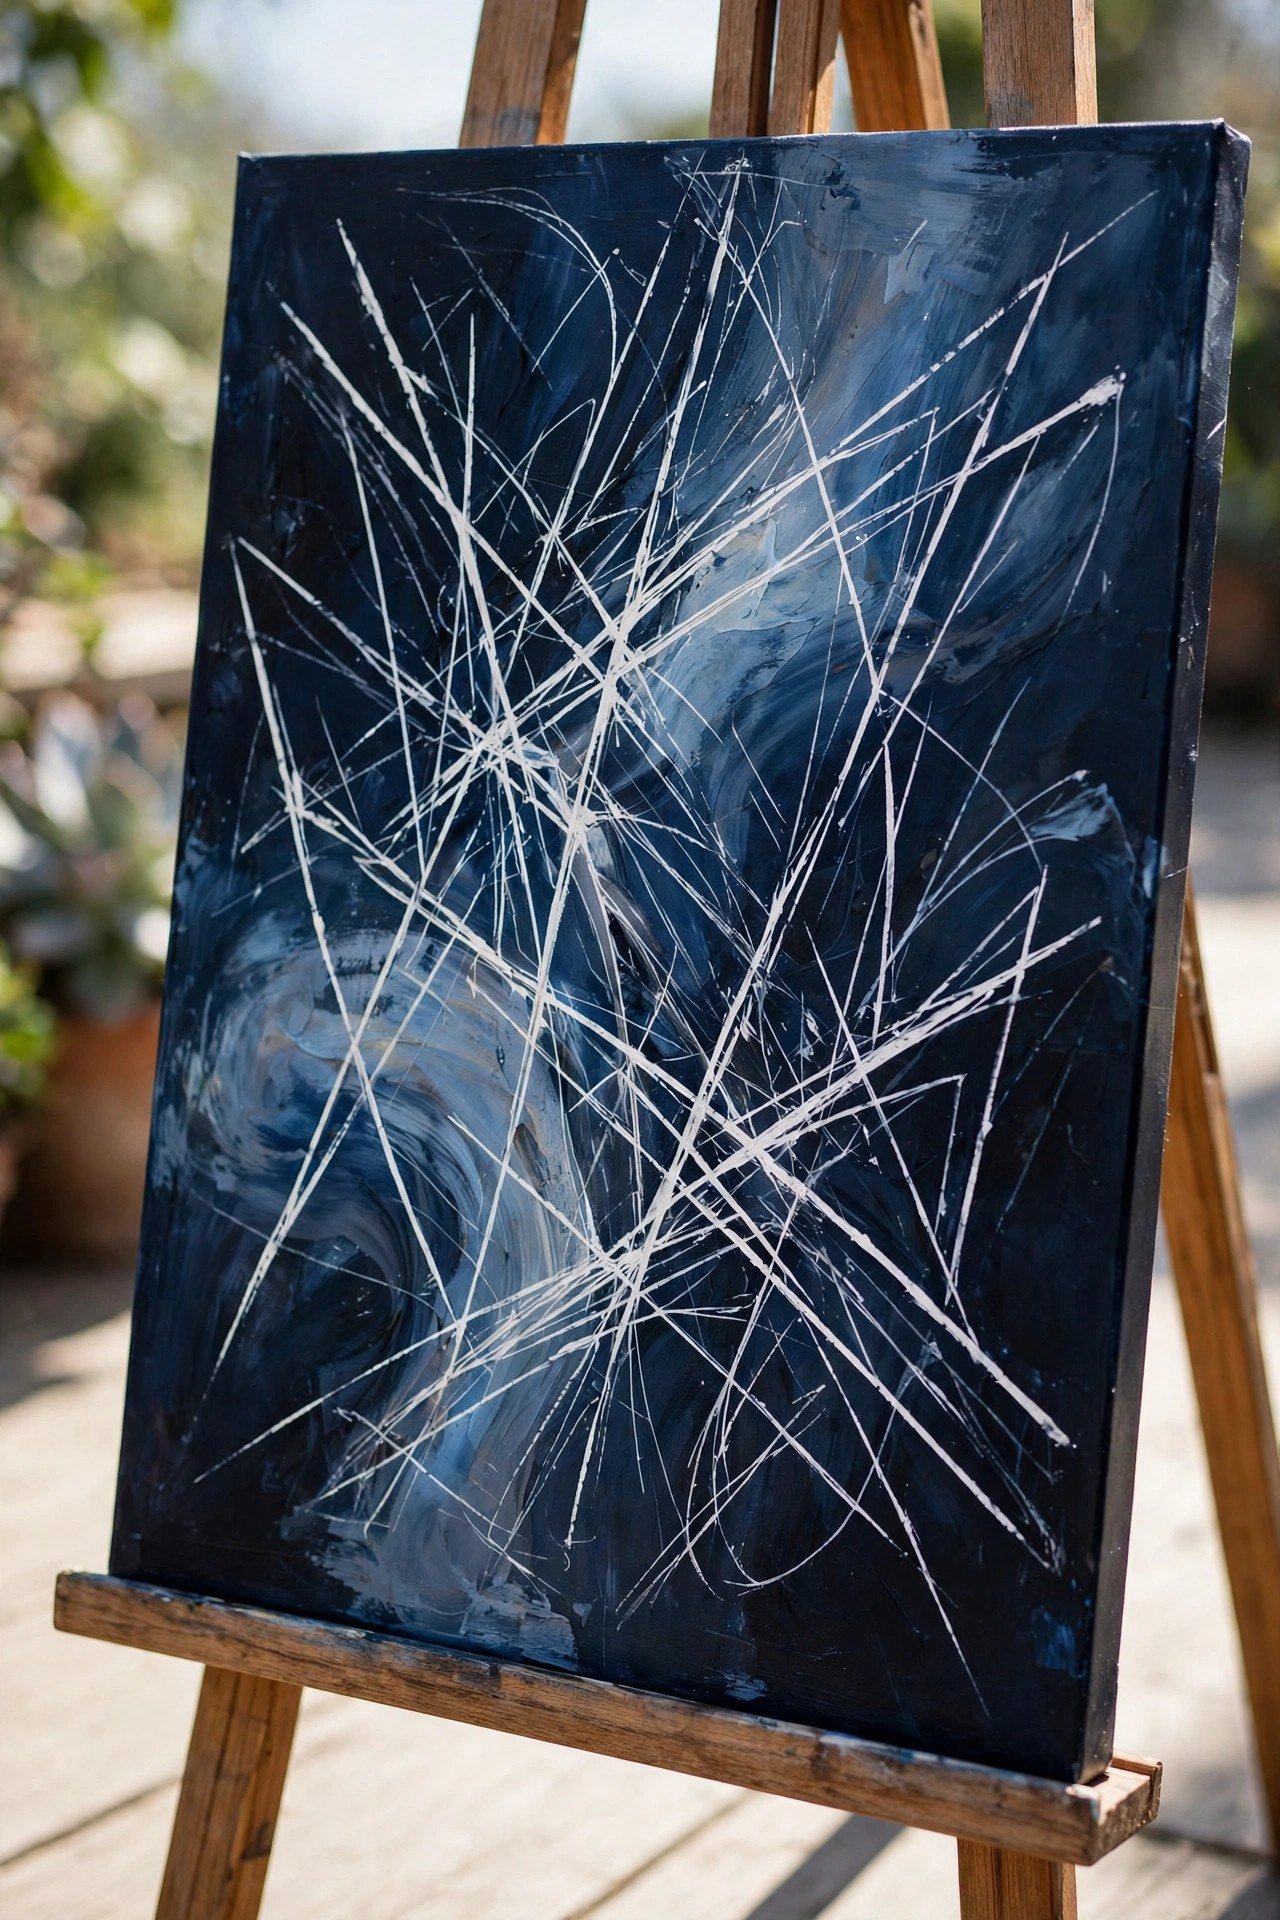
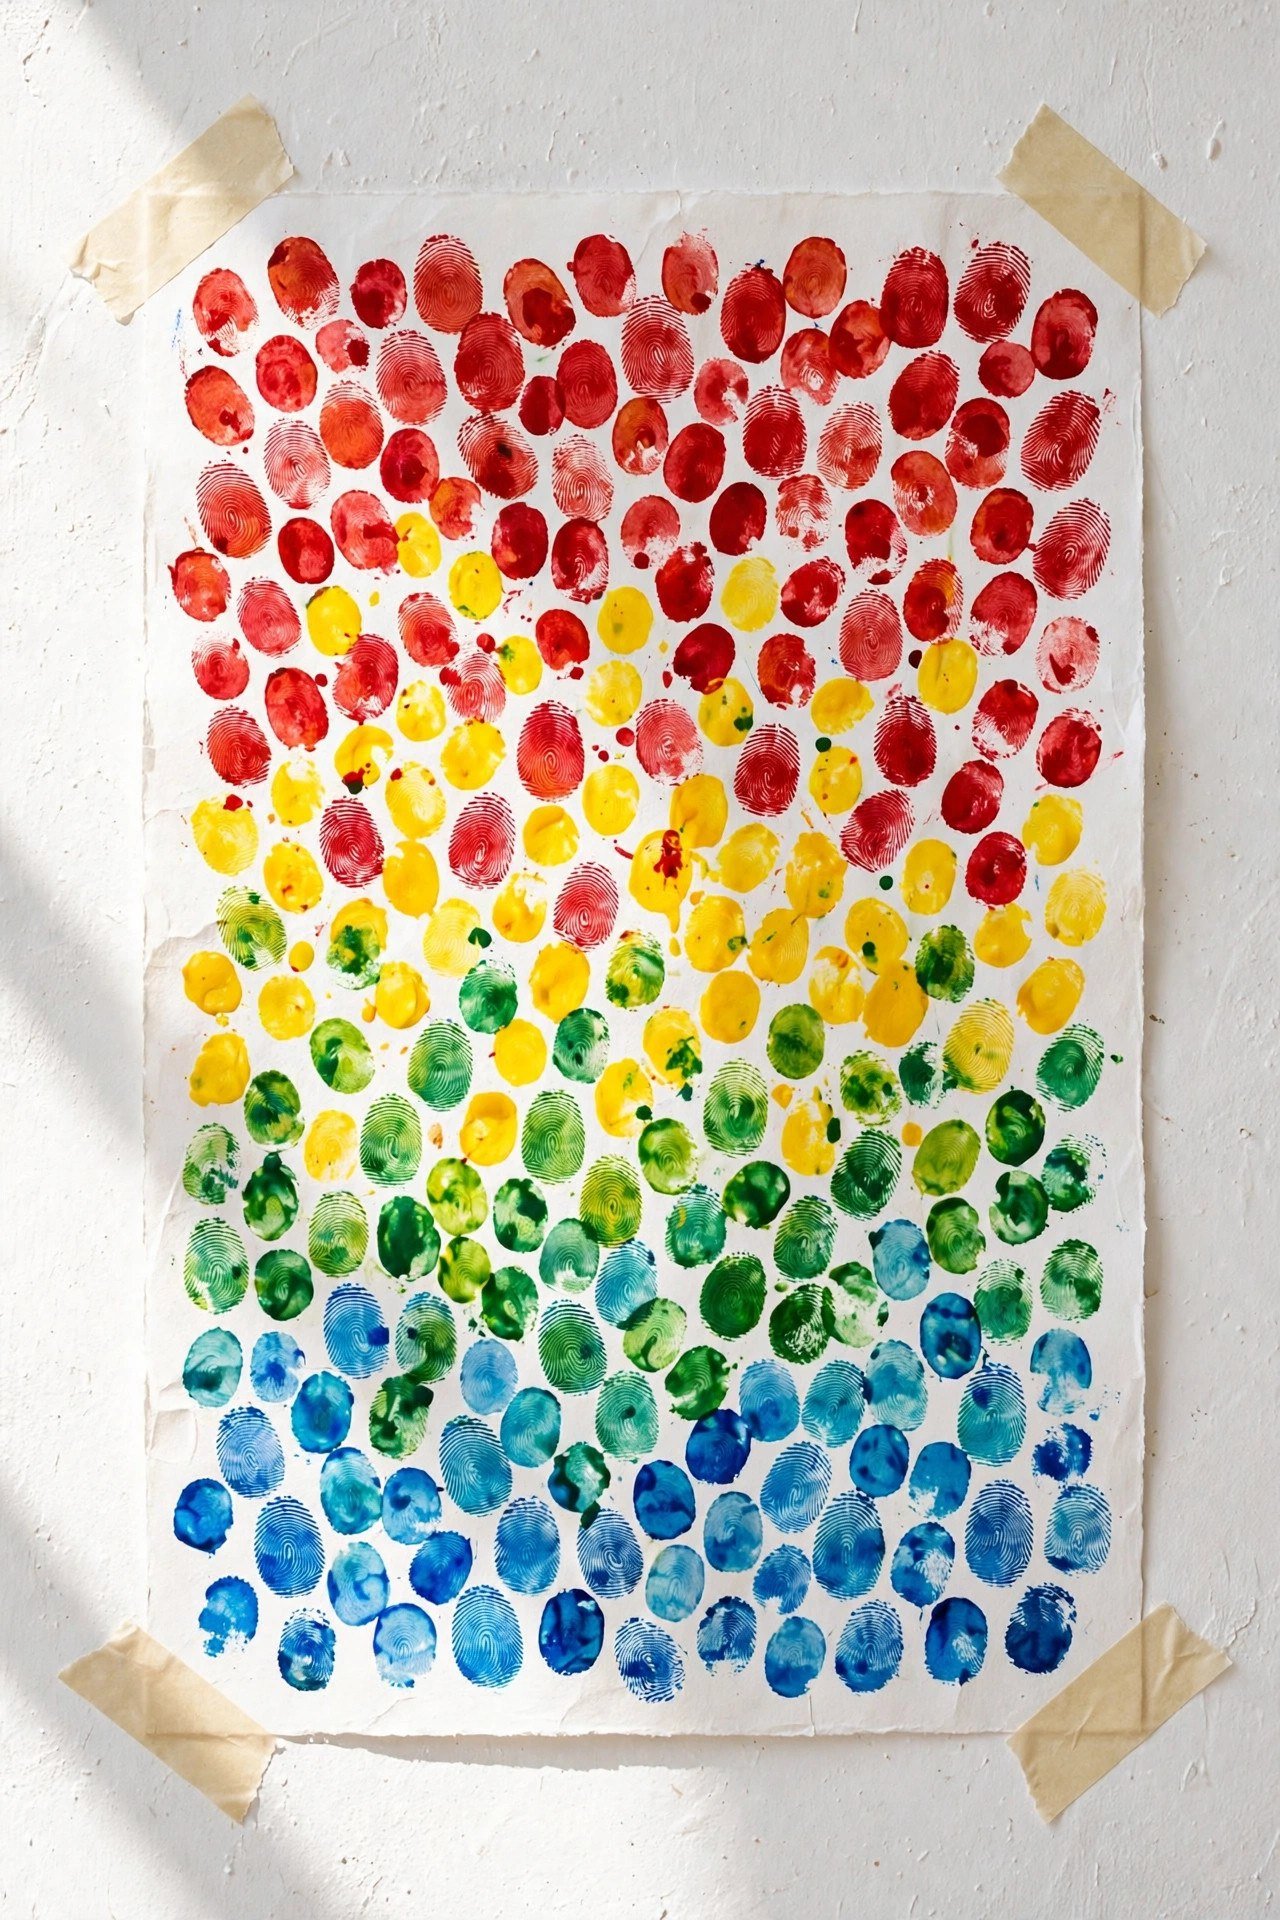
15. Finger Painted Marks
Your fingers are legitimate painting tools. Dip them in paint and make dots, swipes, and swirls directly on the canvas. The direct contact feels wonderfully freeing, and the slightly irregular marks have an organic warmth that brushes cannot replicate.
Build a field of fingerprint dots in graduating colors for a pointillist-inspired abstract, or drag fingers through wet paint for ribbed texture. Keep wet wipes nearby for quick color changes. This is pure process joy.
16. Three-Color Limited Palette
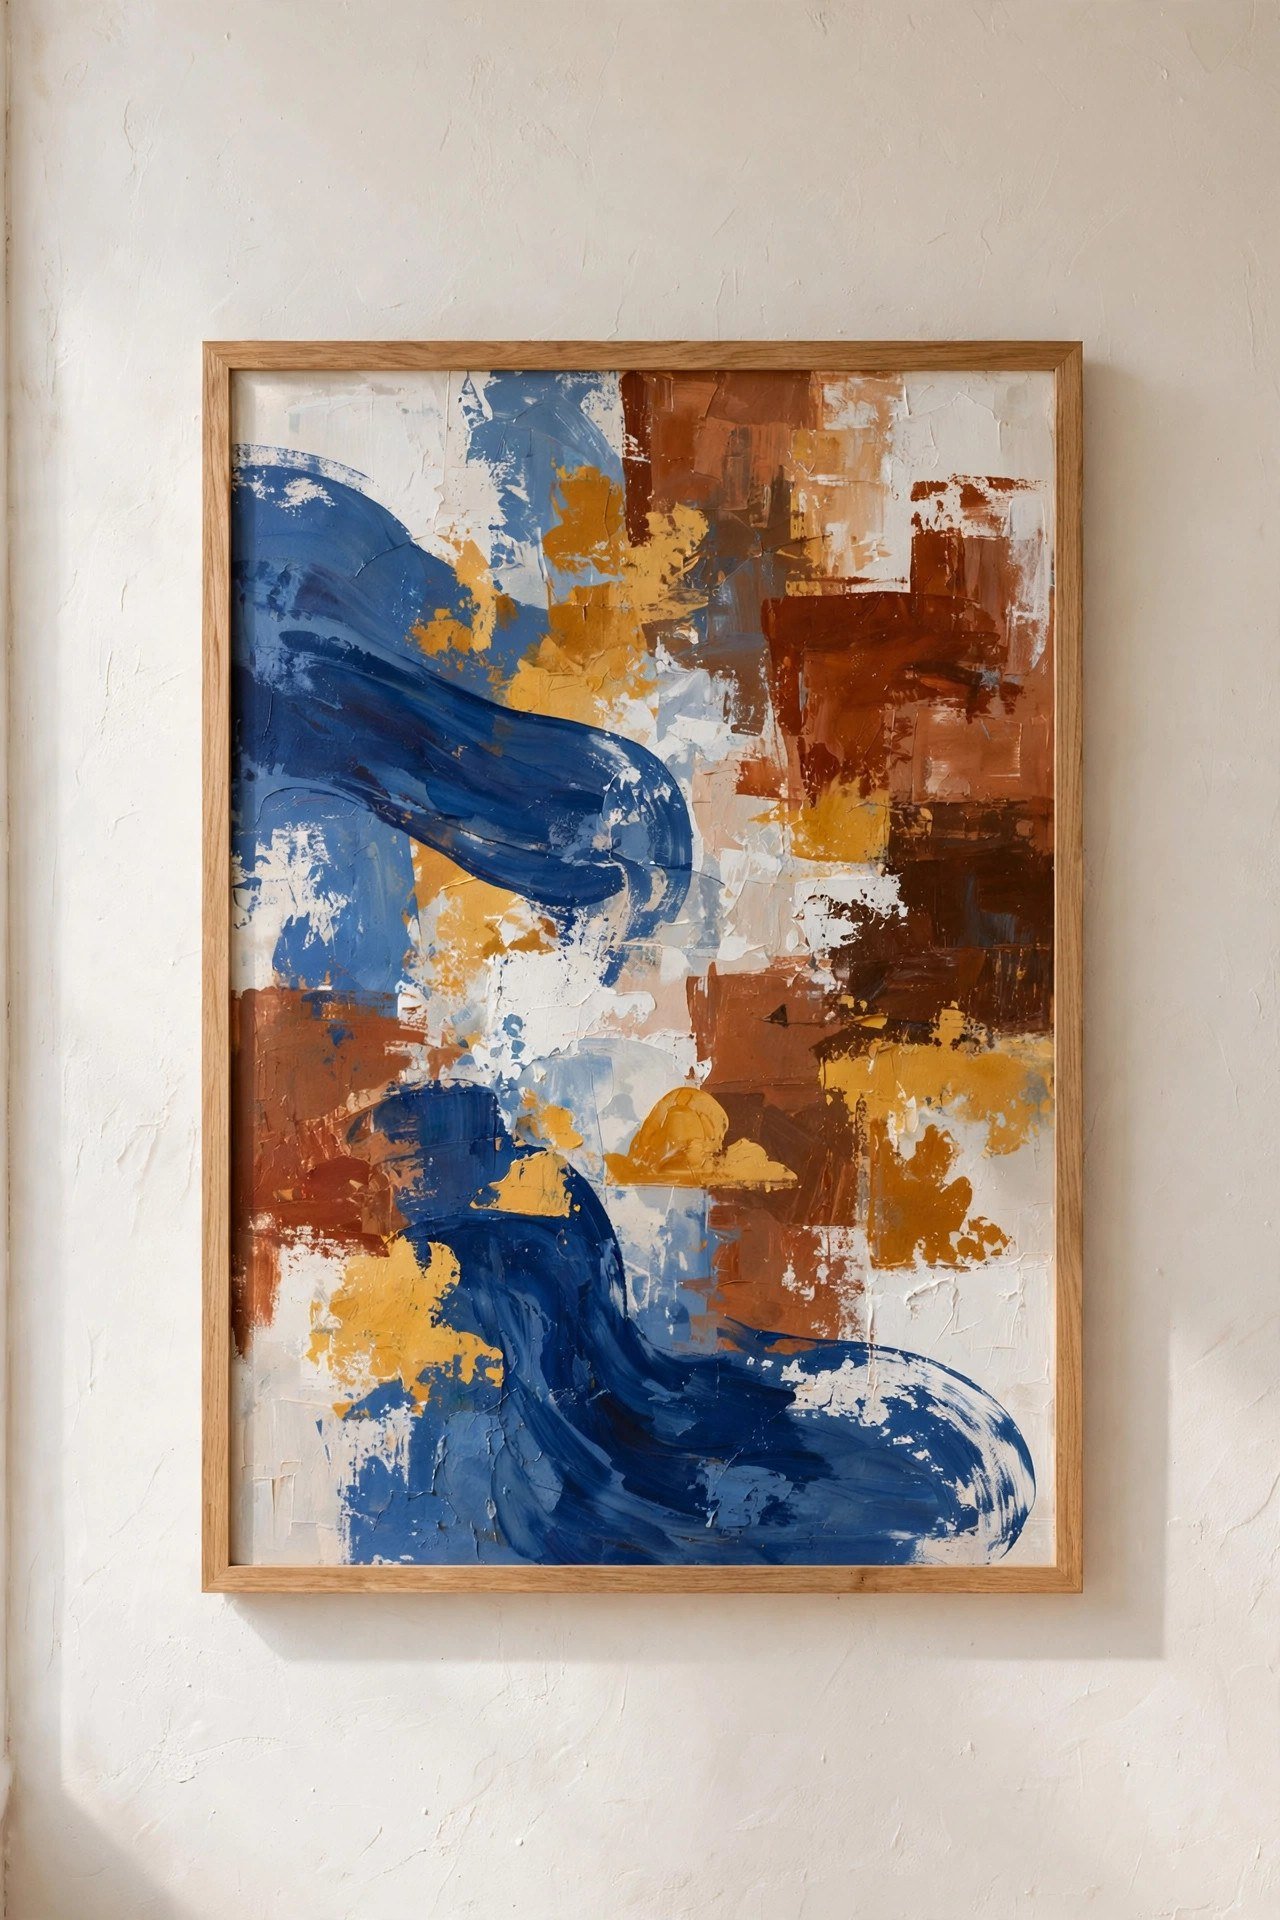
Restricting yourself to three colors plus white is a powerful creative constraint. Choose colors you love together, then mix every shade on the canvas from just those tubes. The limited palette keeps the painting cohesive while you learn how colors interact.
Try ultramarine, burnt sienna, and ochre for earthy harmony, or magenta, teal, and yellow for vibrant energy. You will be amazed how many shades emerge from three tubes. Limitation is the shortcut to a professional-looking result.
17. Monochrome Study
Paint an entire abstract in shades of a single color. Mix your chosen hue with white for tints and with black for shades, then explore how much variety one color can hold. The result is always elegant and surprisingly complex.
Deep blue monochromes feel calm and gallery-worthy, while terracotta monochromes bring warmth. Focus on value contrast between light and dark areas so the composition has depth. One color removes all color-mixing anxiety.

18. Warm and Cool Split Canvas
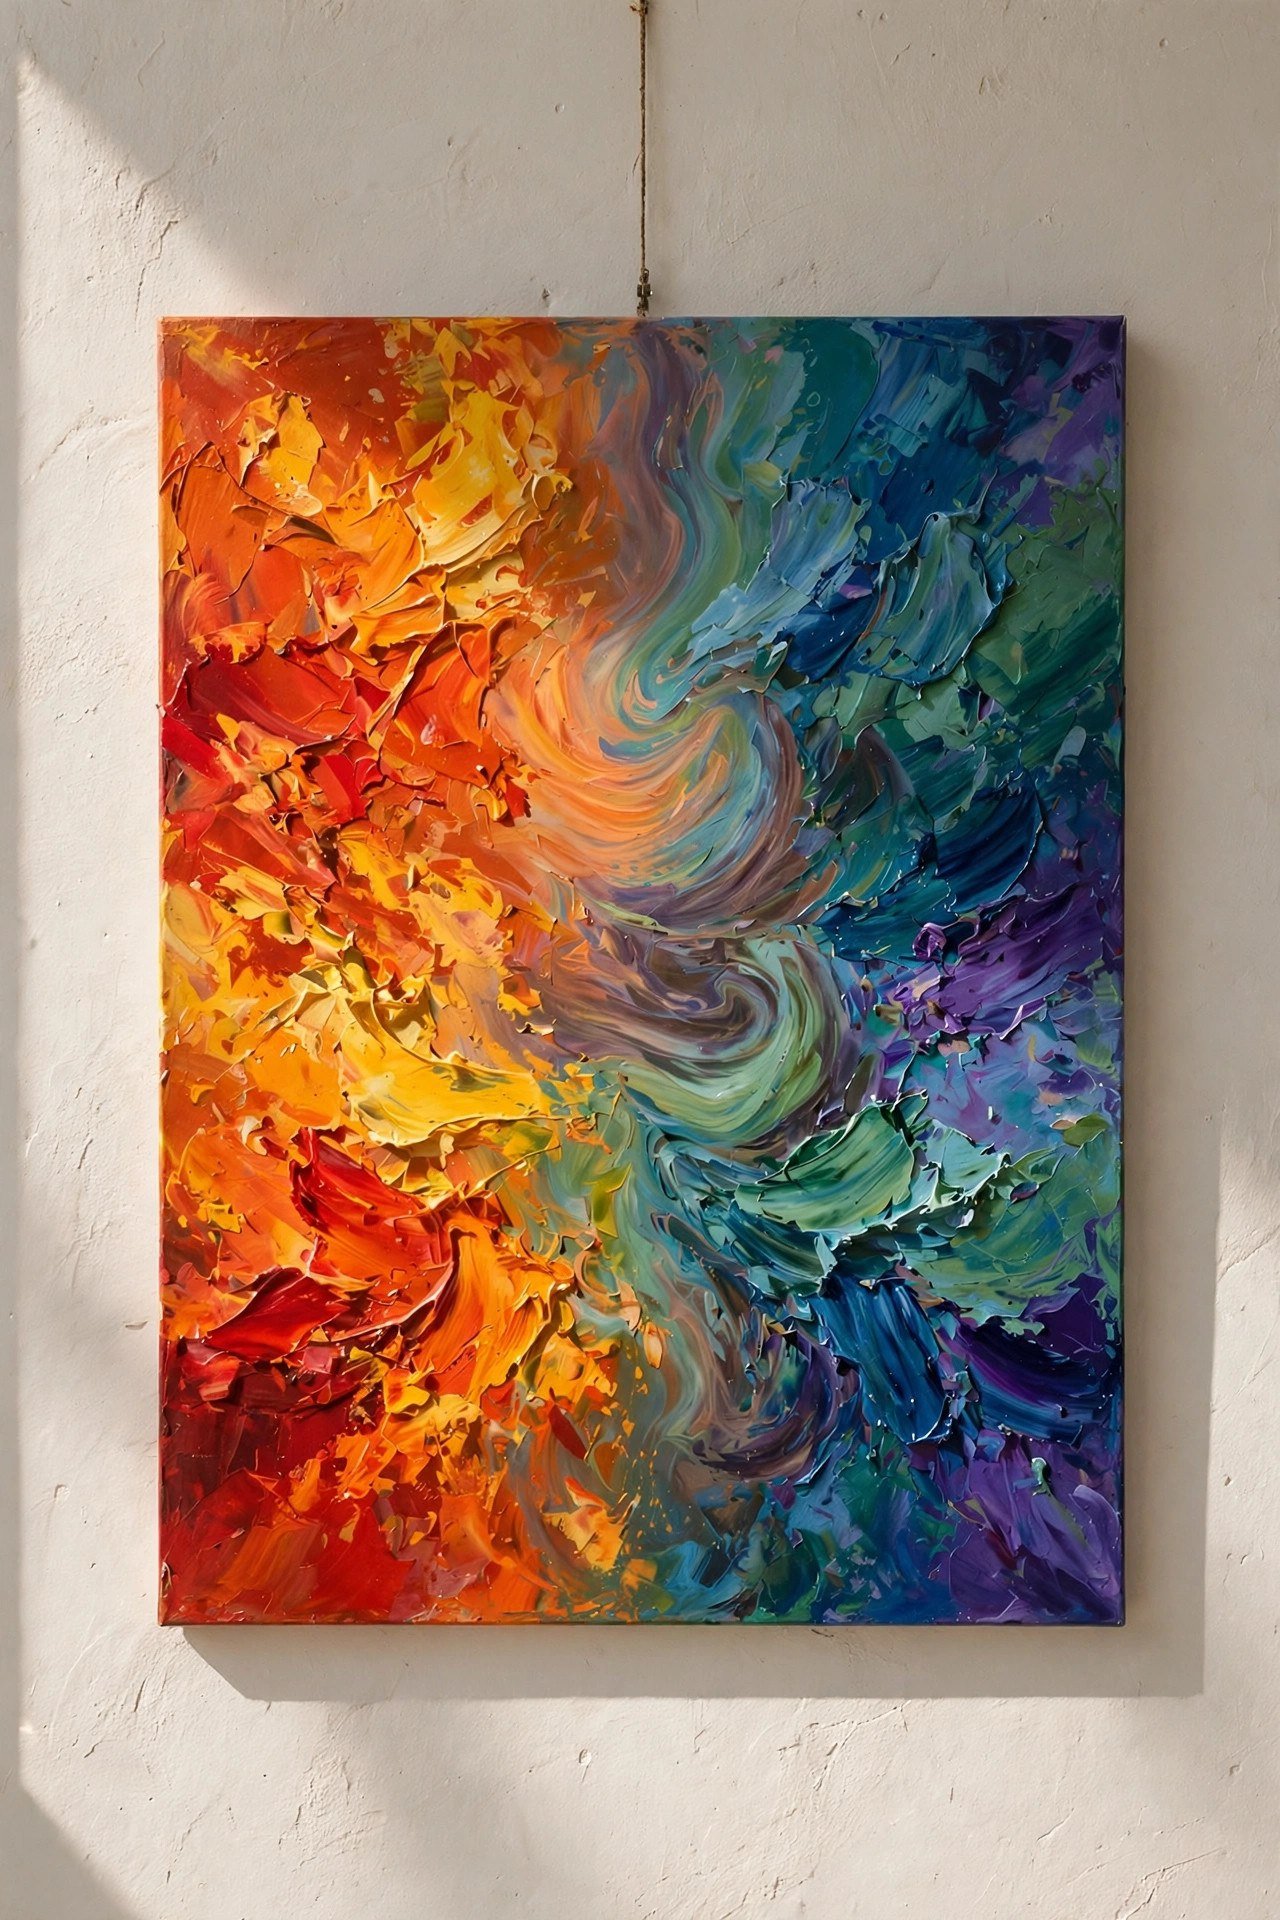
Divide your canvas down the middle and paint one side in warm colors and the other in cool colors. Reds, oranges, and yellows vibrate against blues, greens, and purples along the meeting line. The temperature contrast creates instant drama.
Let the two sides bleed into each other slightly at the center for a beautiful transition zone. This simple concept teaches you more about color temperature than any tutorial. It makes a bold statement above a sofa.
19. Four Circles Doodle Grid
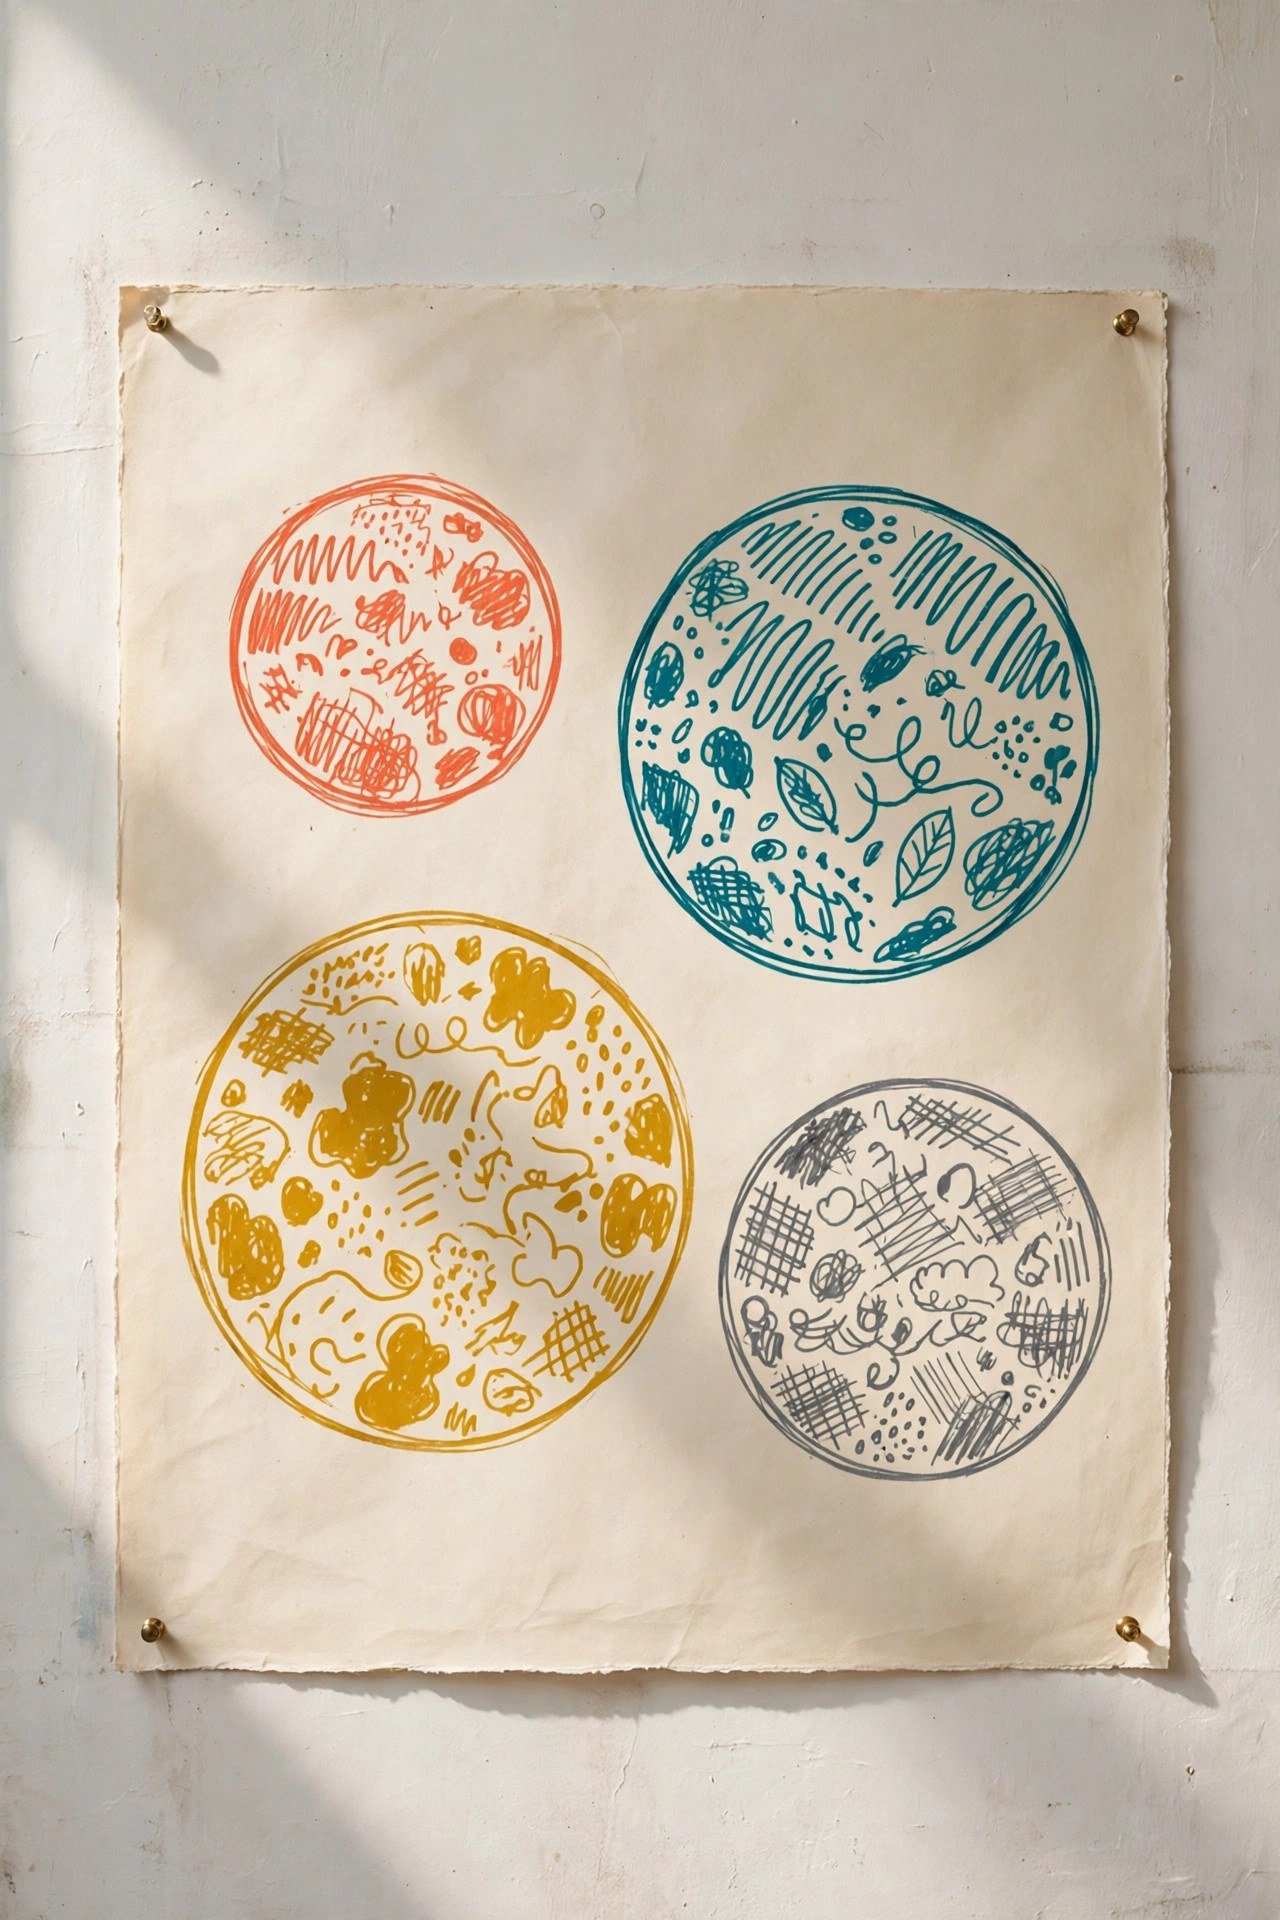
Lightly pencil four circles of different sizes on your paper or canvas, spaced like a playful puzzle. Fill the largest circle with lines, the smaller ones with contrasting marks, then add blob shapes until each space feels alive. Erase the pencil or keep it for sketchy charm.
Color each circle differently or keep one unified palette across all four. This structured starting point removes the fear of the blank canvas completely. Every attempt comes out fresh and deeply personal.
20. Line and Shape Fill
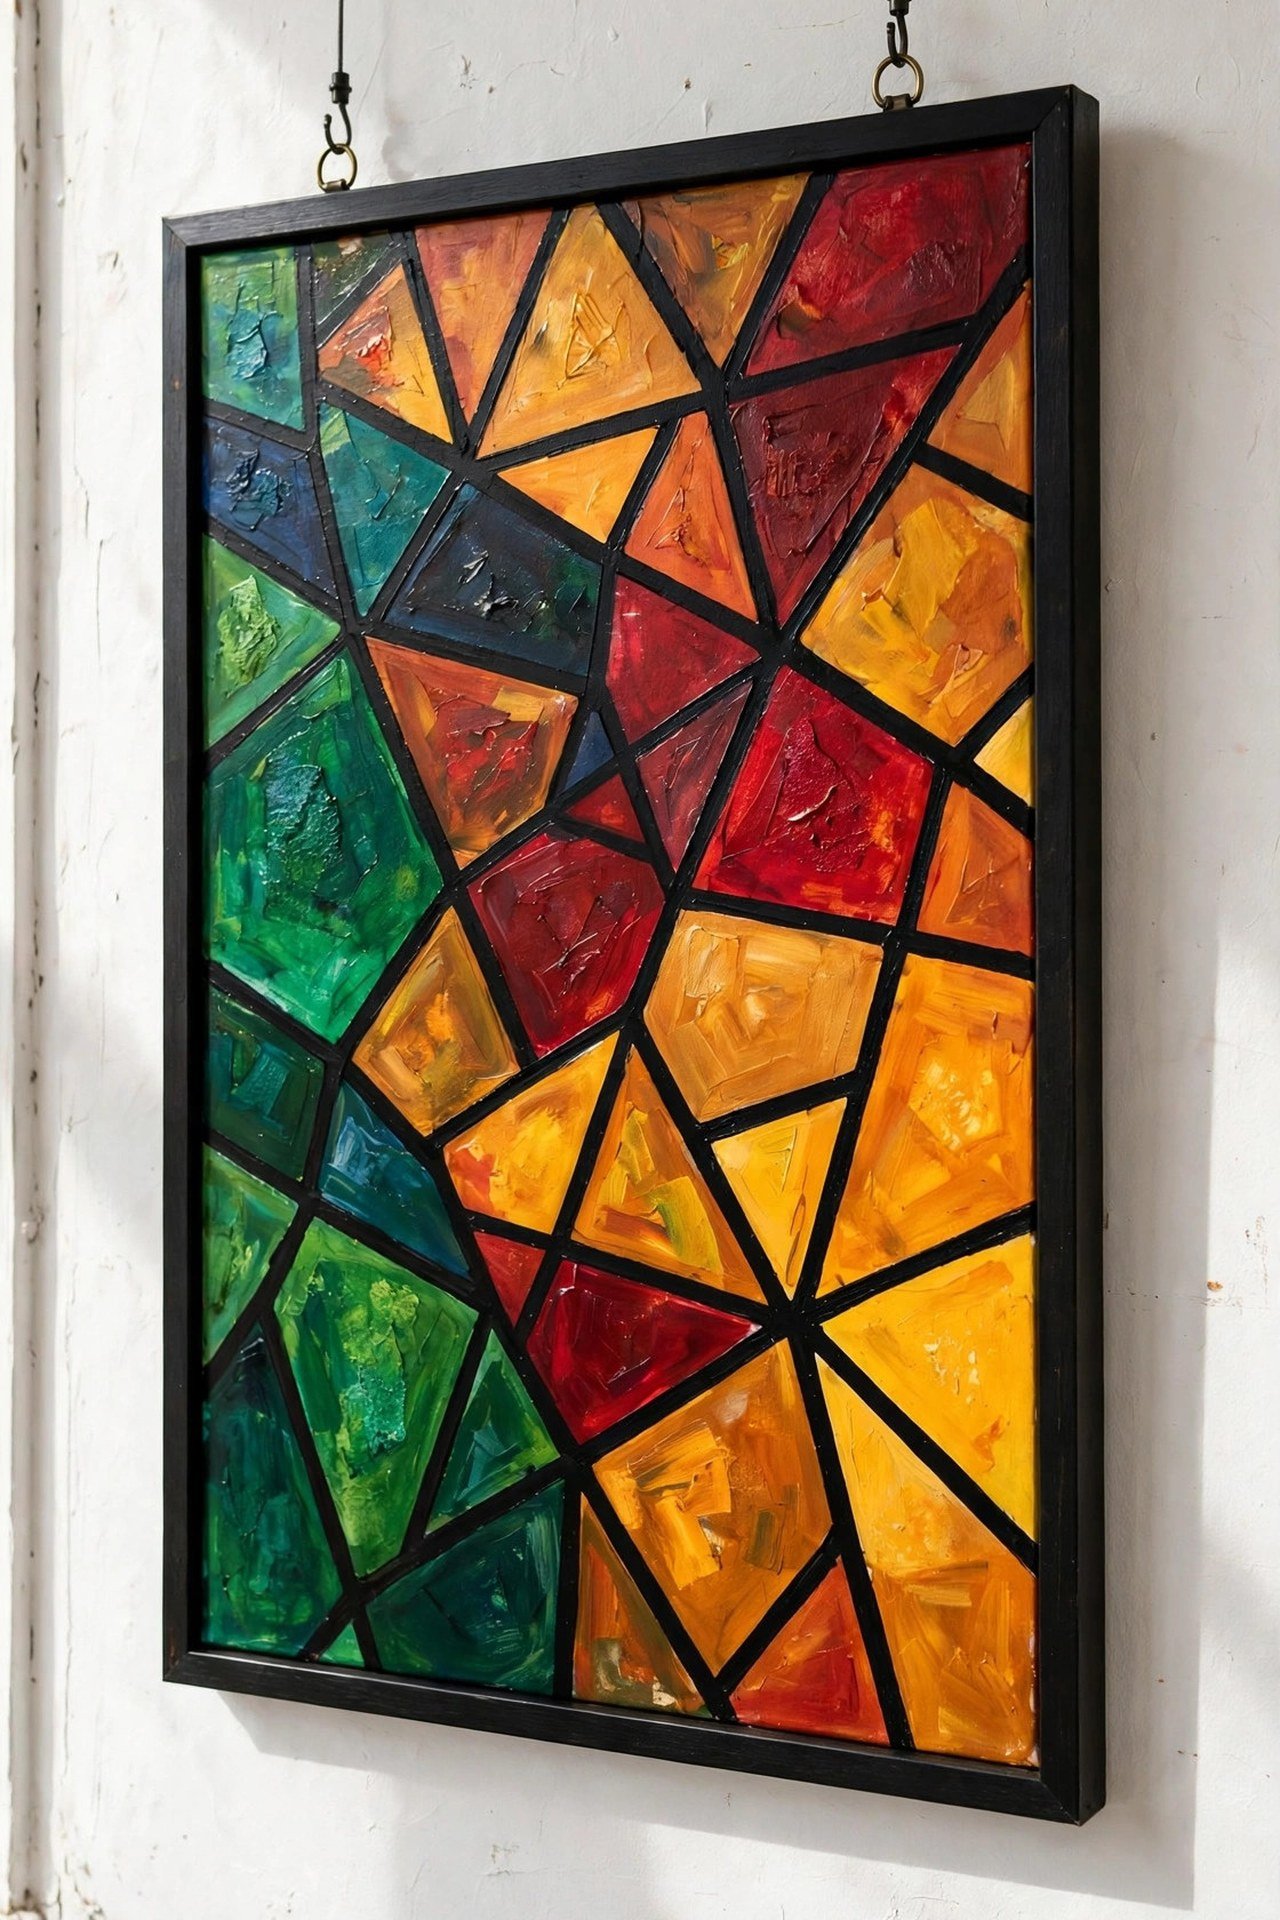
Draw a loose network of lines across your canvas with a brush or marker, creating irregular enclosed shapes. Then fill each shape with a different color, pattern, or texture. The line network holds the chaos together beautifully.
Use a ruler for crisp architectural lines or go freehand for organic flow. This stained-glass approach to abstraction is meditative to make and striking to hang. It suits bold, graphic interiors perfectly.
21. Collage and Paint Mix
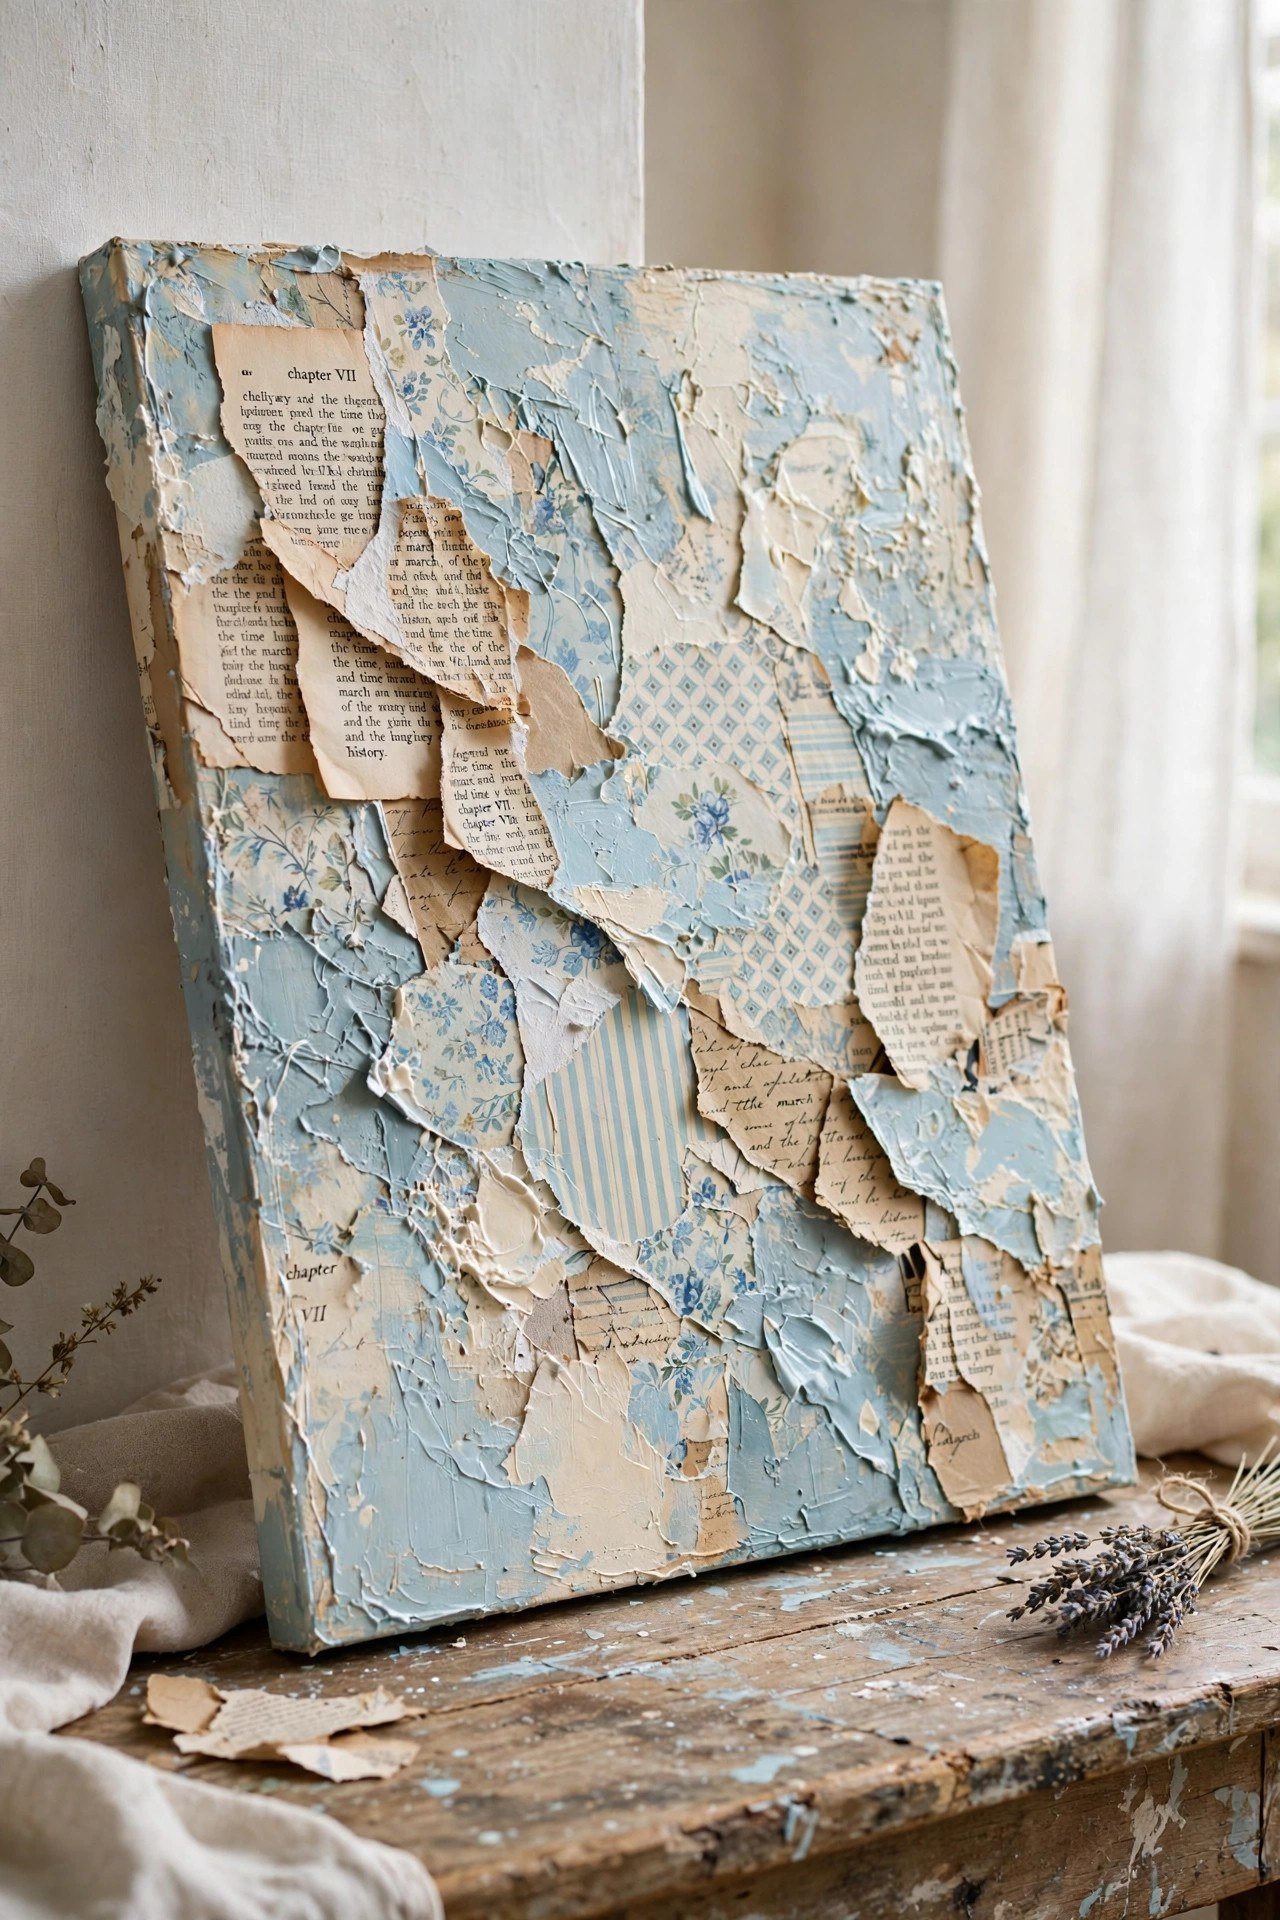
Glue torn paper, old book pages, or fabric scraps onto your canvas, then paint over and around them. The collage pieces peek through the paint, adding history and texture that paint alone cannot achieve. Seal everything with a final varnish.
Use papers in your room’s color story so the finished piece coordinates effortlessly. This mixed-media approach forgives every painting mistake because the collage carries visual interest on its own. It is wonderfully freeing.
22. Stencil Shape Layers
Cut simple shapes from cardboard to make your own stencils, then sponge or brush paint through them in overlapping layers. Circles, arches, and organic blobs all make beautiful repeated motifs. Slight imperfections in hand-cut stencils add handmade charm.
Layer the same shape in different sizes and transparencies for depth. Metallic paint through a stencil over a matte background looks especially luxe. Custom stencils mean your art matches your decor exactly.

23. Sponge Roller Stripes
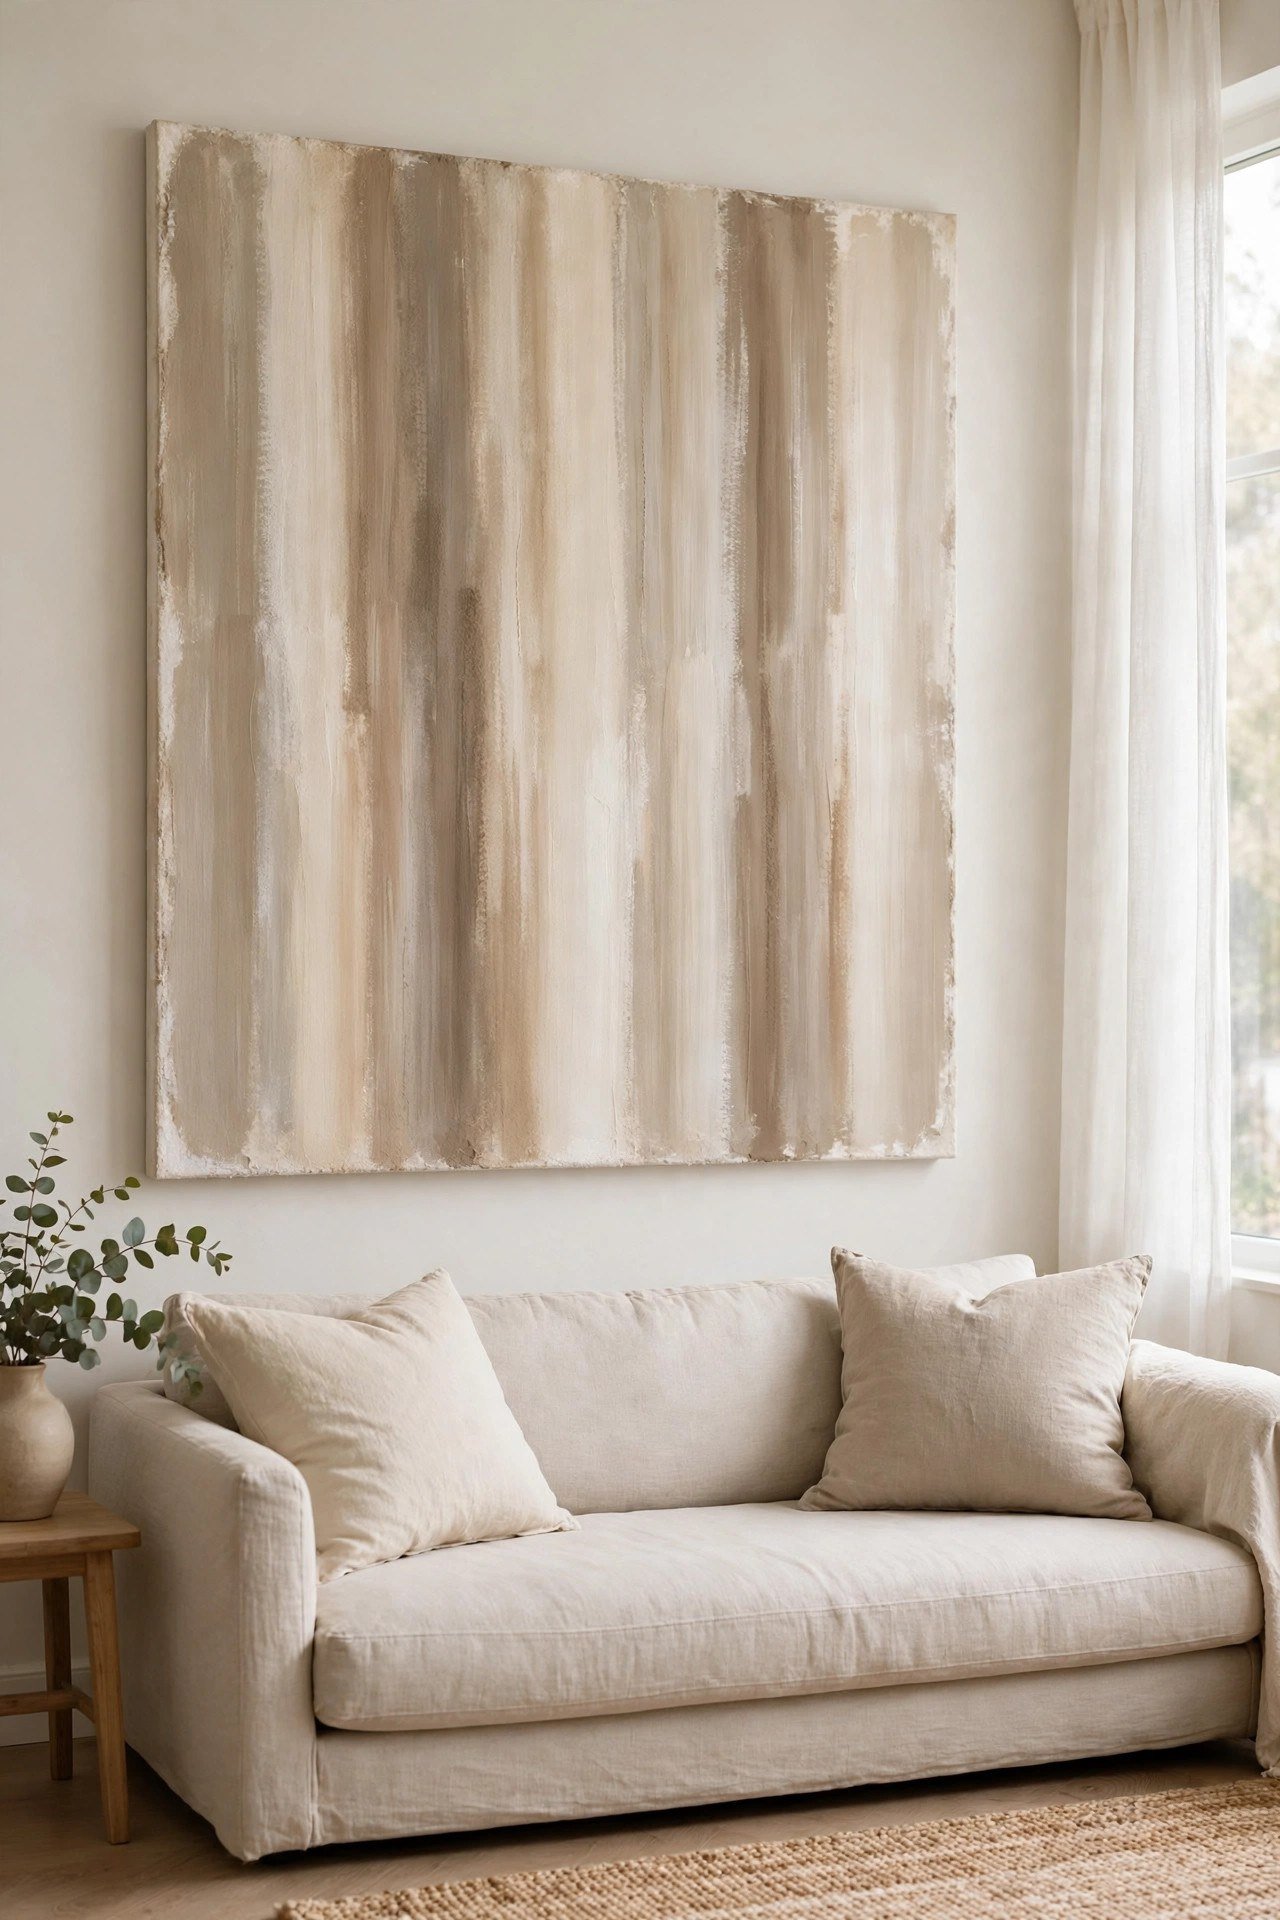
A small foam paint roller creates perfect soft stripes with zero brush skill. Load it lightly and roll vertical or horizontal bands across the canvas, reloading with different colors as you go. The edges stay soft and slightly textured.
Alternate wide and narrow stripes for rhythm, or roll one color over another while wet for blended bands. This technique covers large canvases fast, making it ideal for statement pieces above a bed or sofa, especially against a bold wall like these wallpaper accent wall ideas.
24. Palette Knife Dot Field
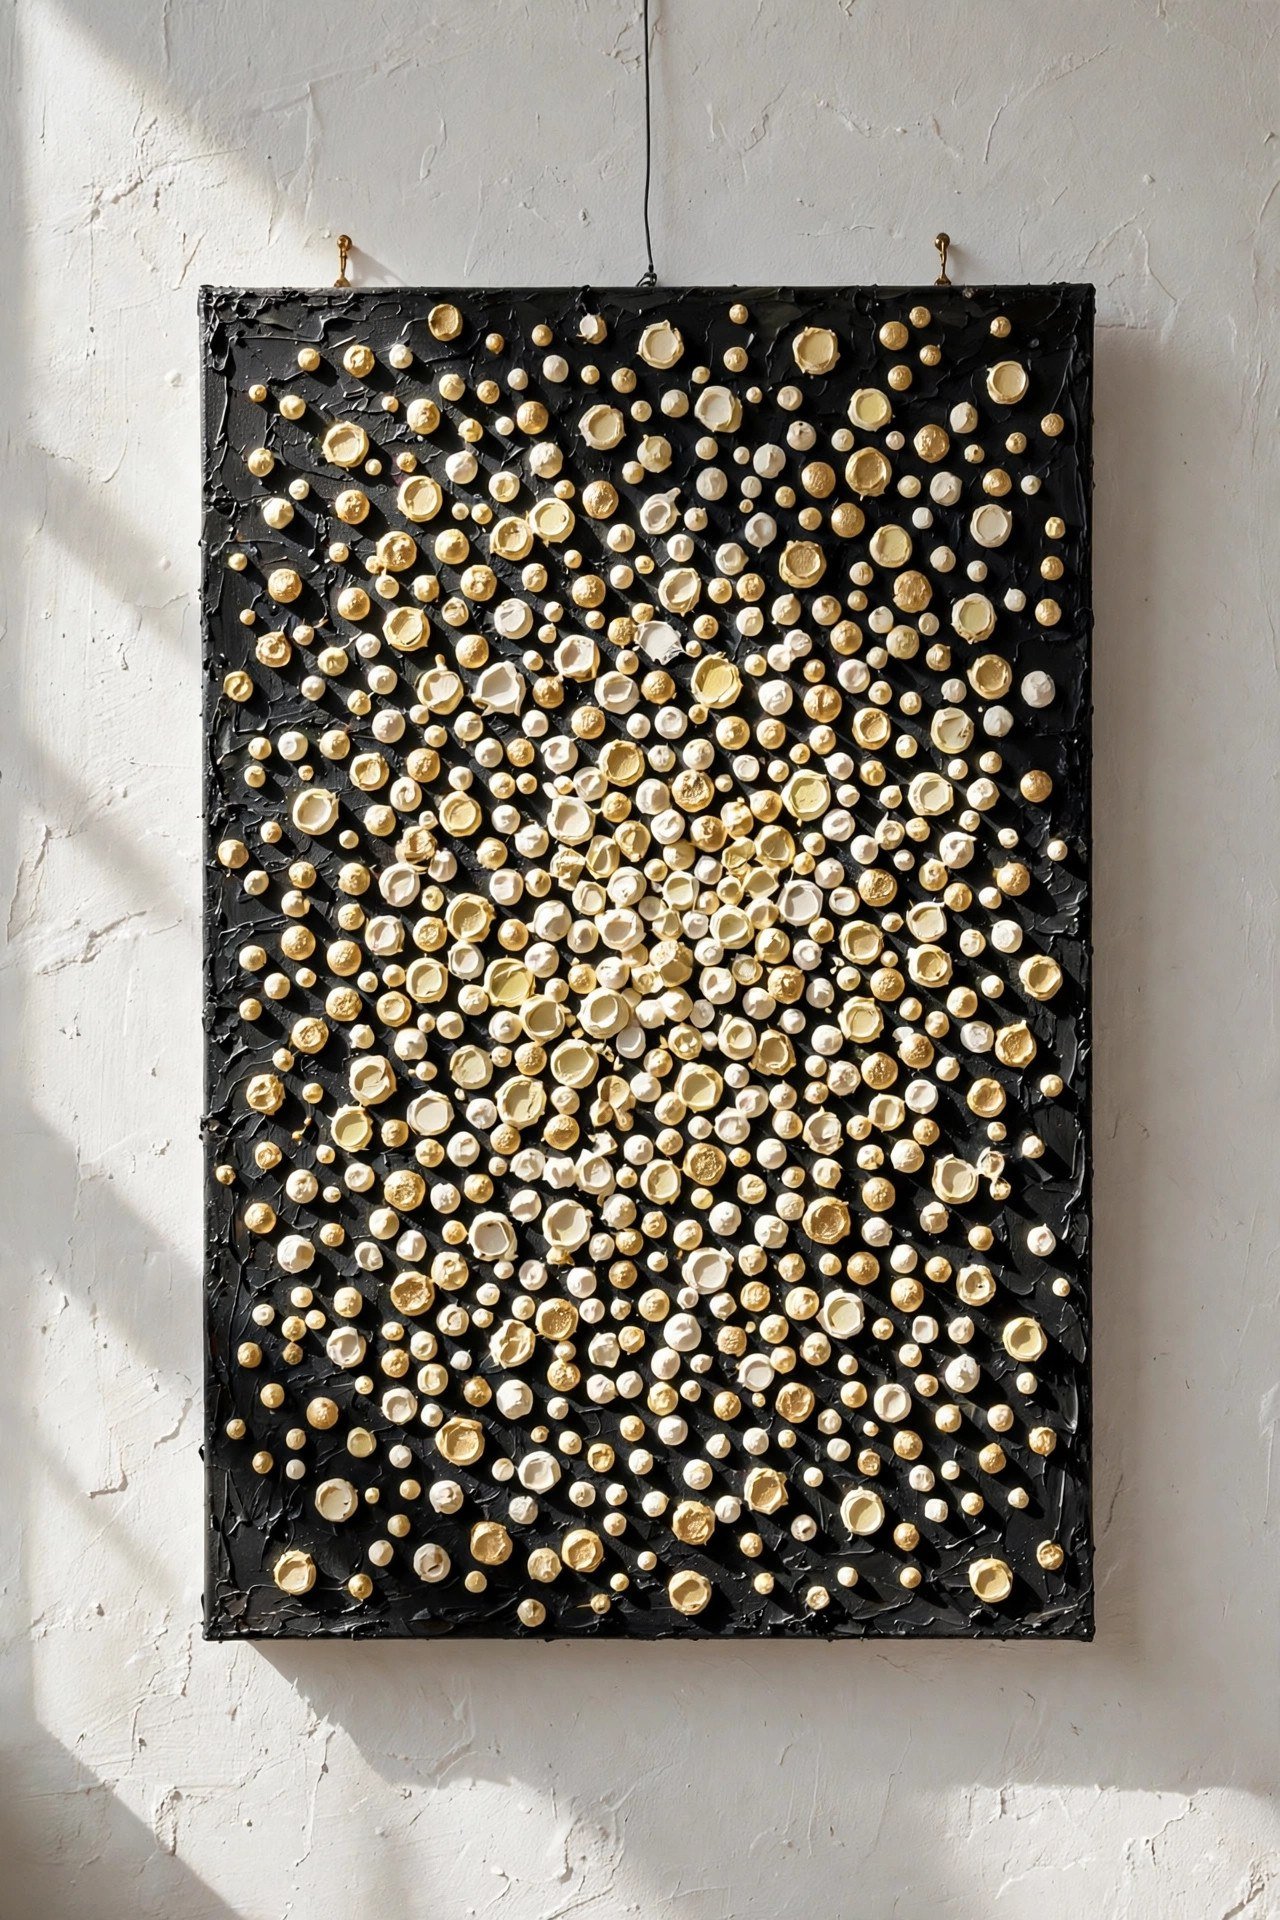
Use the tip of a palette knife to press thick dots of paint across your canvas in a scattered field. Vary the dot sizes and let some dots drag into small commas. The raised impasto dots cast tiny shadows that make the surface come alive.
A field of cream dots on a deep charcoal ground looks stunningly modern. This pointillist-meets-impasto technique is meditative to build dot by dot. Step back often to watch the pattern emerge.
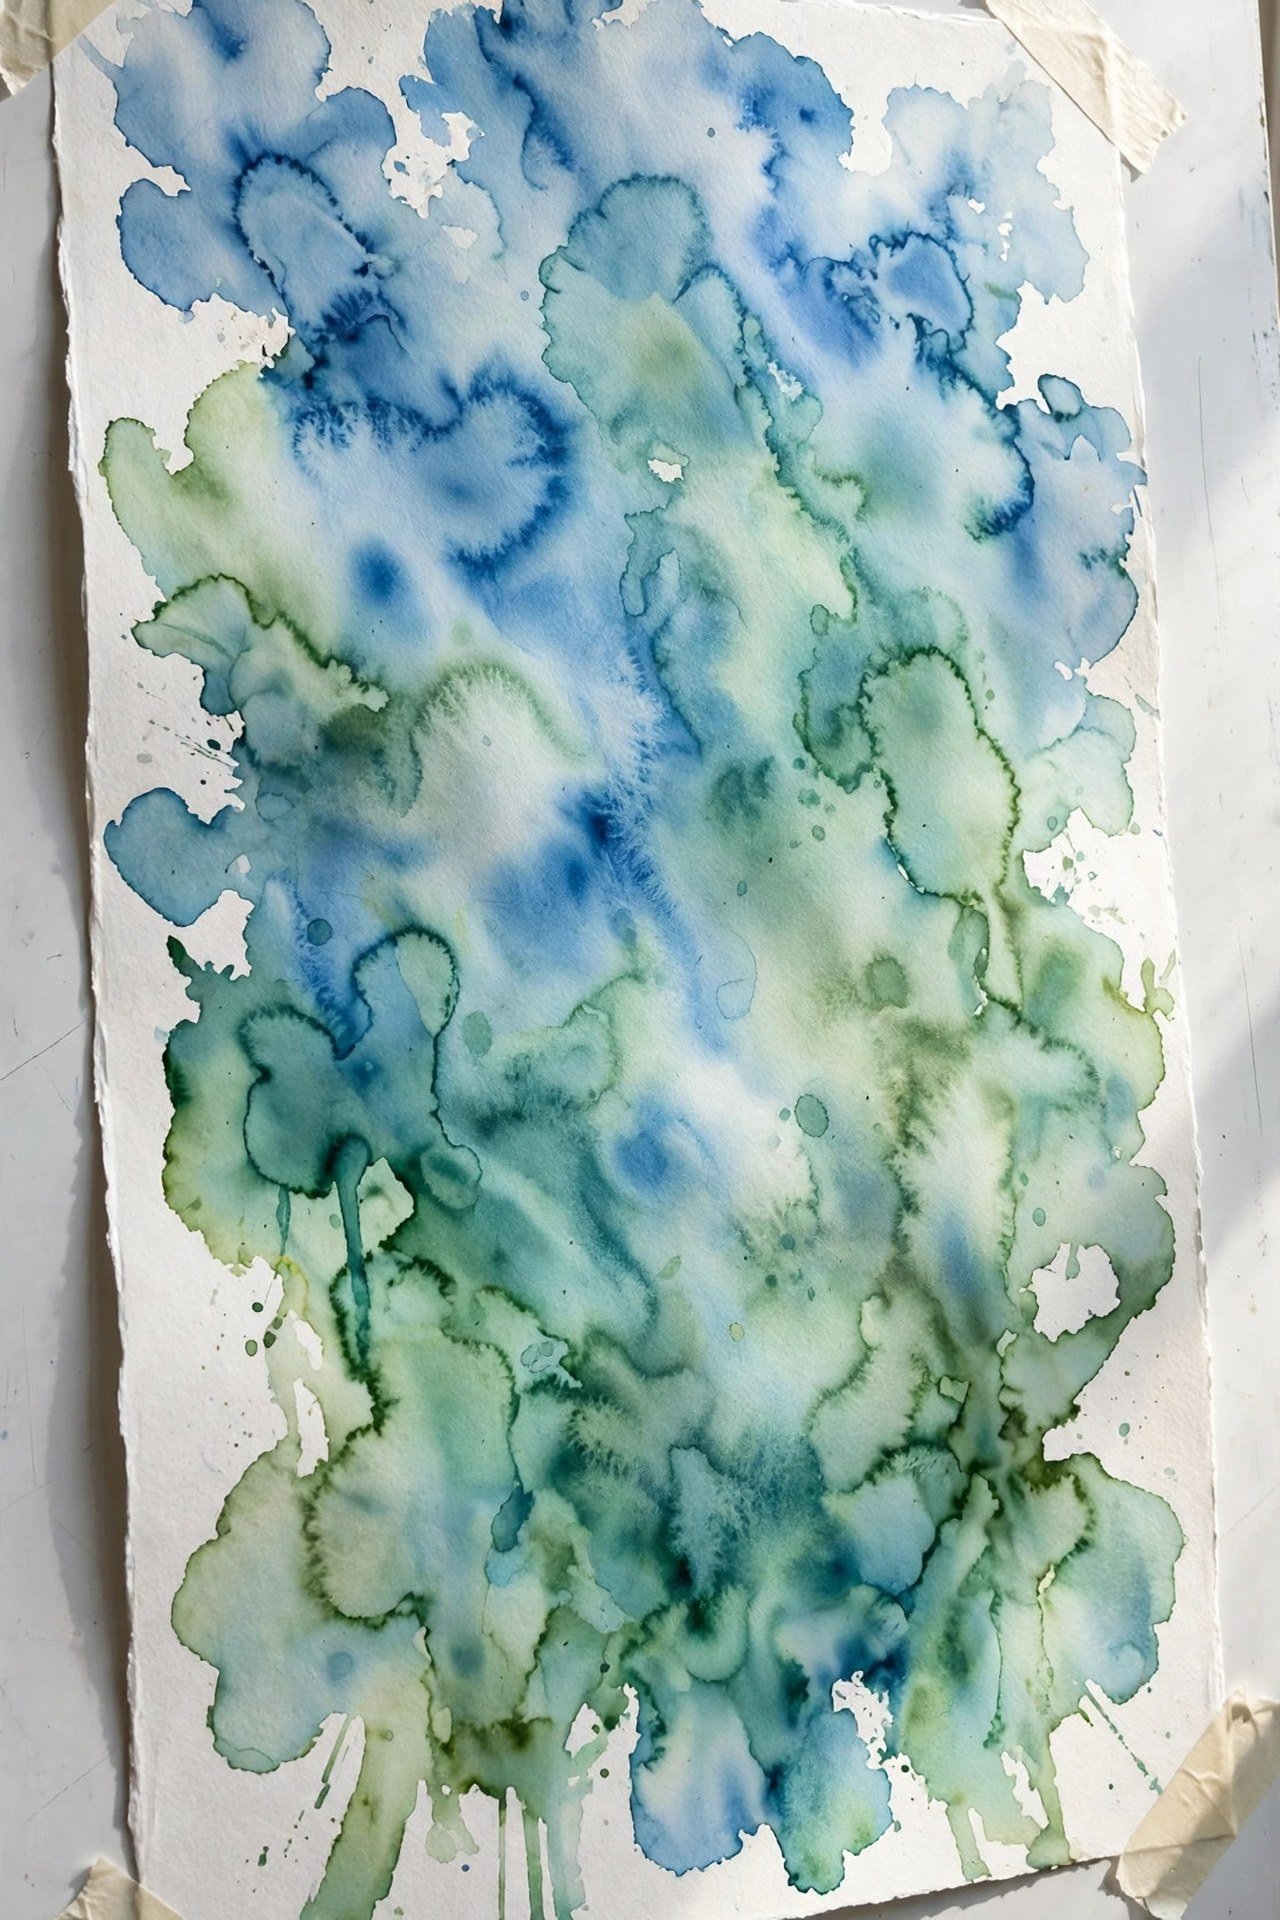
25. Wet-on-Wet Blending
Wet your canvas with clean water first, then drop fluid paint onto the damp surface and watch it bloom. Colors bleed and merge on their own into soft, watercolor-like effects with beautiful unpredictable edges. Tilt the canvas to guide the flow.
This technique rewards letting go of control. Blues and greens bloom into gorgeous aquatic abstracts, while warm colors create sunset washes. Mistakes are impossible because every bloom is beautiful.
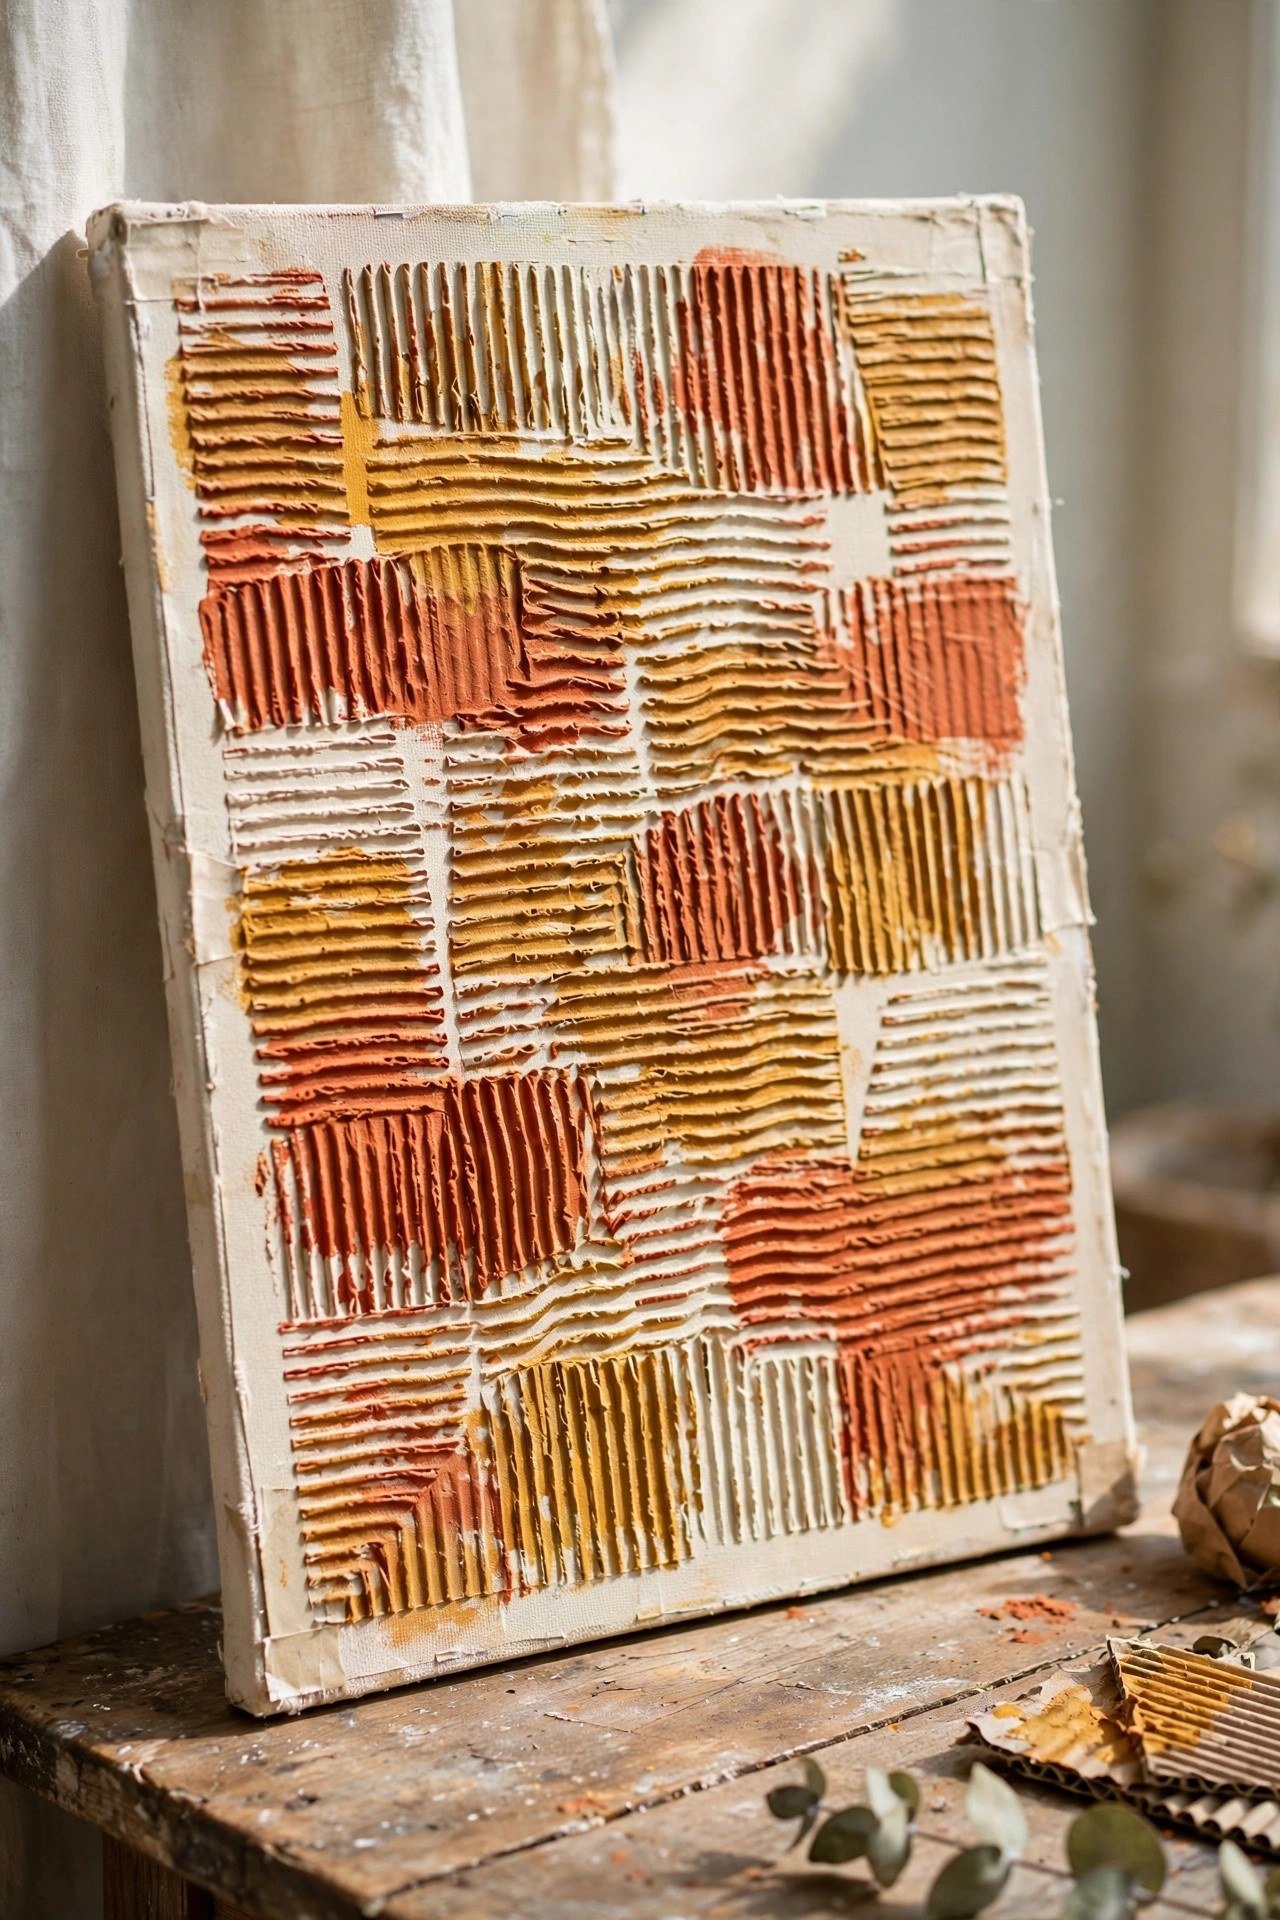
26. Cardboard Stamp Texture
Cut corrugated cardboard into strips or shapes to make free stamps. Dip the cut edge in paint and press it onto the canvas in rows or clusters. The ridged edge leaves striped impressions with a wonderful handmade rhythm.
Layer stamped marks in two tones for a woven textile effect. This recycled tool costs nothing and creates texture that looks intentionally designed. It is also a great technique to try with kids.
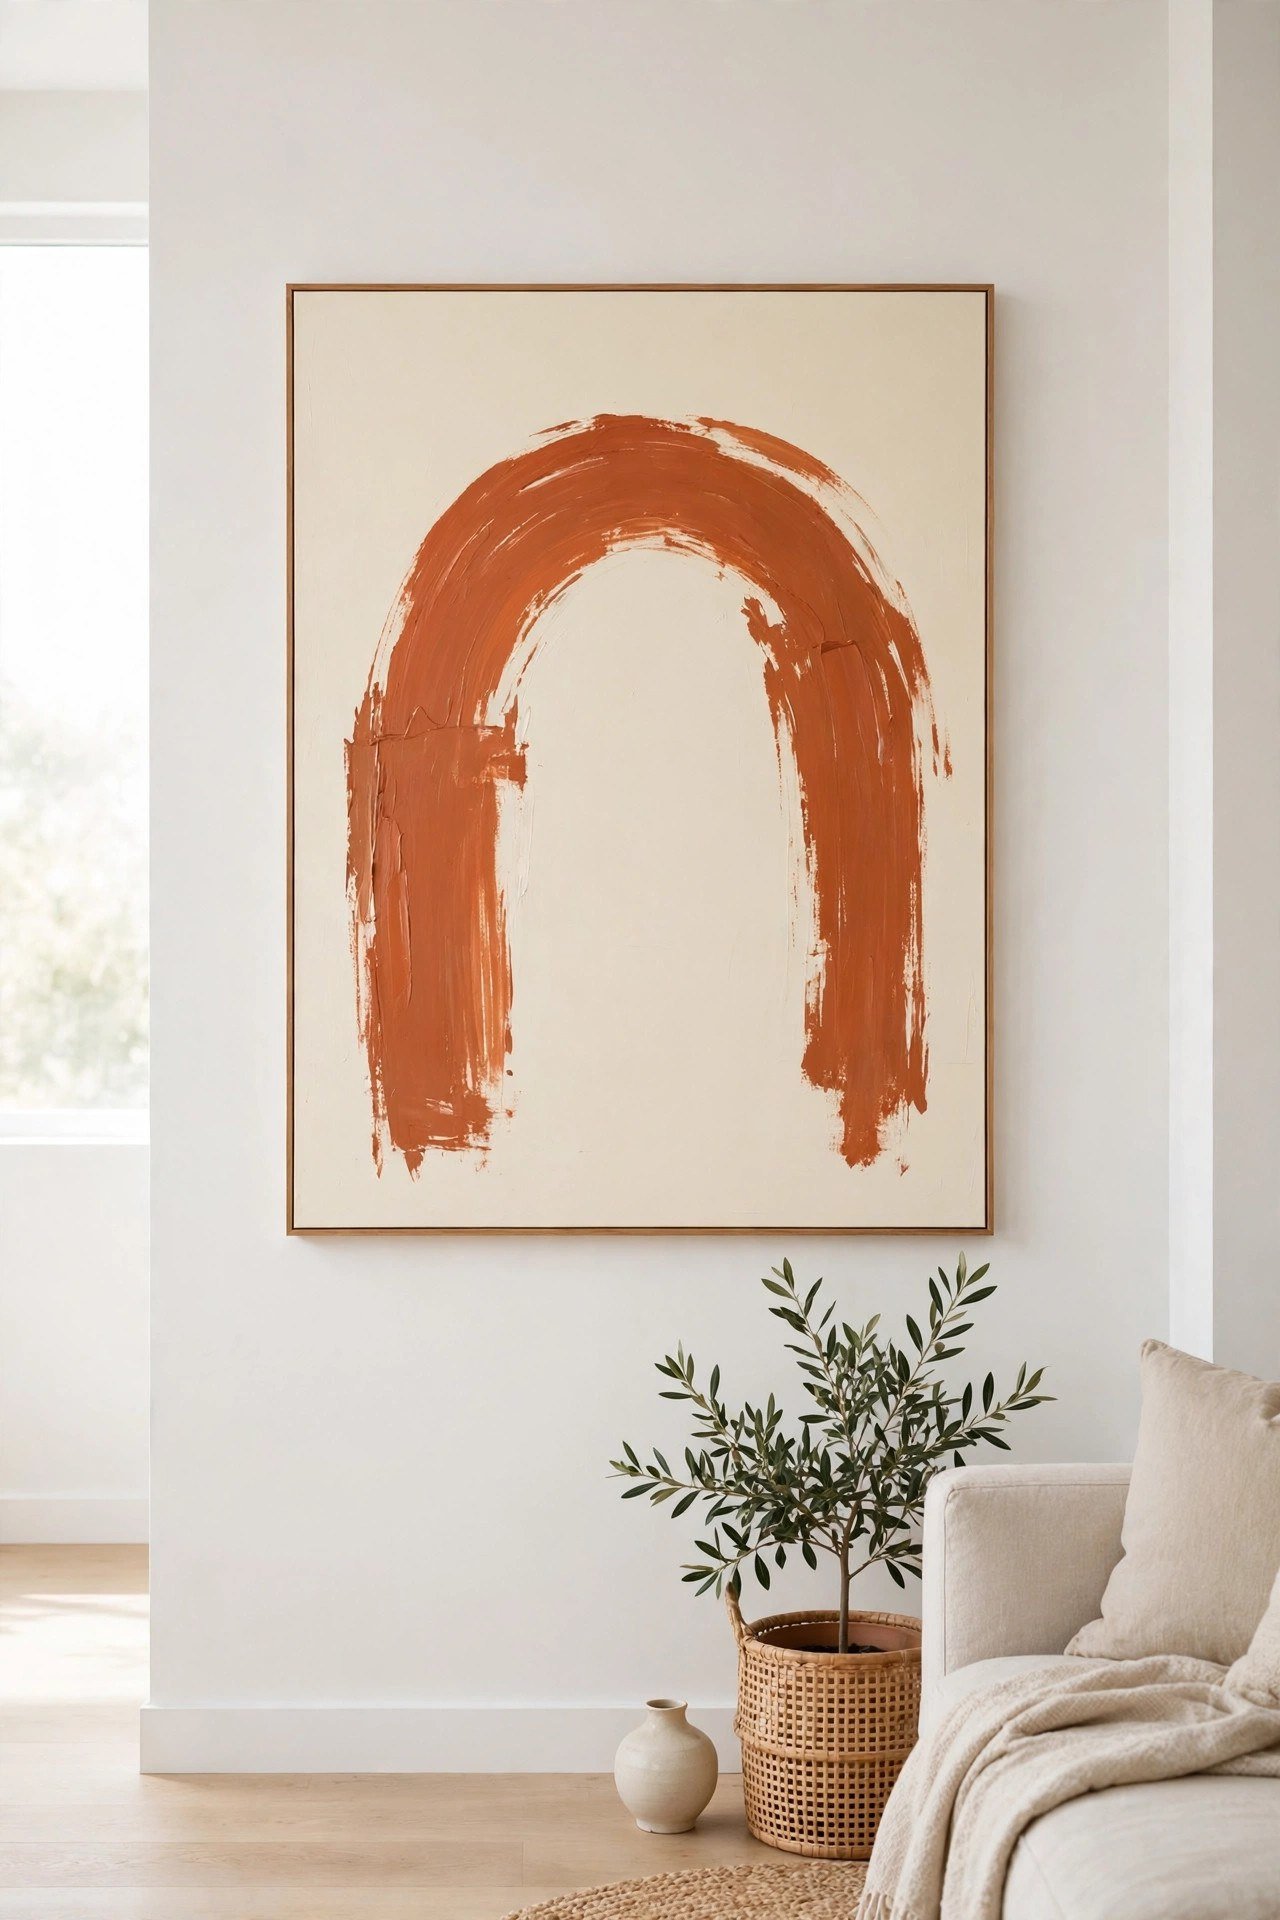
27. Oversized Single Shape
End with the boldest minimalist move: one huge shape on a plain background. Paint a single oversized circle, arch, or organic blob in a confident color against white or cream. The scale does all the talking.
Use a large brush and commit to the shape in a few sure strokes. This gallery-style abstract suits calm, curated rooms and pairs beautifully with quiet decor like these quiet luxury decor ideas. Sometimes one shape is everything you need.
Conclusion
Abstract painting asks nothing from you except a willingness to play. With tape, sponges, palette knives, and a few tubes of paint, you can fill your home with original art that no store can replicate. Every technique above is forgiving by design.
Start with the method that sounds most fun, not the one that looks most impressive. Hang your finished pieces proudly, because art you made yourself carries a warmth that purchased prints never will. Your walls are waiting for your first brushstroke.
Frequently Asked Questions About DIY Abstract Painting Ideas for Beginners
What supplies do beginners need for abstract painting?
Student-grade acrylic paints in primary colors plus white and black, a primed canvas or heavy paper, a few synthetic brushes, one palette knife, and water cups. Household items like sponges, old gift cards, and string expand your technique options for free.
How do you choose colors for an abstract painting?
Decide on a color story before you start by borrowing one from a photograph you love or choosing colors for the emotion you want. Limit yourself to three colors plus white and include light and dark versions so the painting has depth.
What is the easiest abstract technique for a total beginner?
Tape-resist geometric shapes give the most impressive result with the least skill. The tape creates crisp lines for you, so the finished painting looks precise and intentional even on your very first try.
How do you make a DIY abstract painting look professional?
Limit your palette, pay attention to contrast between light and dark areas, and leave some breathing room instead of filling every inch. A simple frame or floated canvas edge instantly elevates homemade art.
Can abstract art be hung in a rental without damage?
Yes. Lightweight canvases hang securely on adhesive picture strips rated for their weight, and leaning large canvases on a console or mantel needs no hanging at all. Both options come down cleanly at move-out.
Hi, I’m Emily! I turn messy corners into cozy, organized spots. DreamNestDecor is where I share simple, practical home ideas — decor, organization, and small-space solutions that work in real life, not just in photos. Every idea here is carefully researched before it’s shared.