Picture this: you clear a corner of a spare room, roll down a clean backdrop, switch on one soft light, and suddenly you have a studio that is ready for portraits, products, and creative shoots. You do not need a warehouse or a big budget to make it happen. A small room with good light and a smart layout can give you professional results right at home.
These 32 small photography studio layout ideas will help you plan every part of your home studio, from backdrop walls and lighting corners to prop storage and editing desks. Each idea fits a small space, so you can start with one corner and grow your setup as your skills and your client list grow.
1. Start With a Window Light Corner Studio
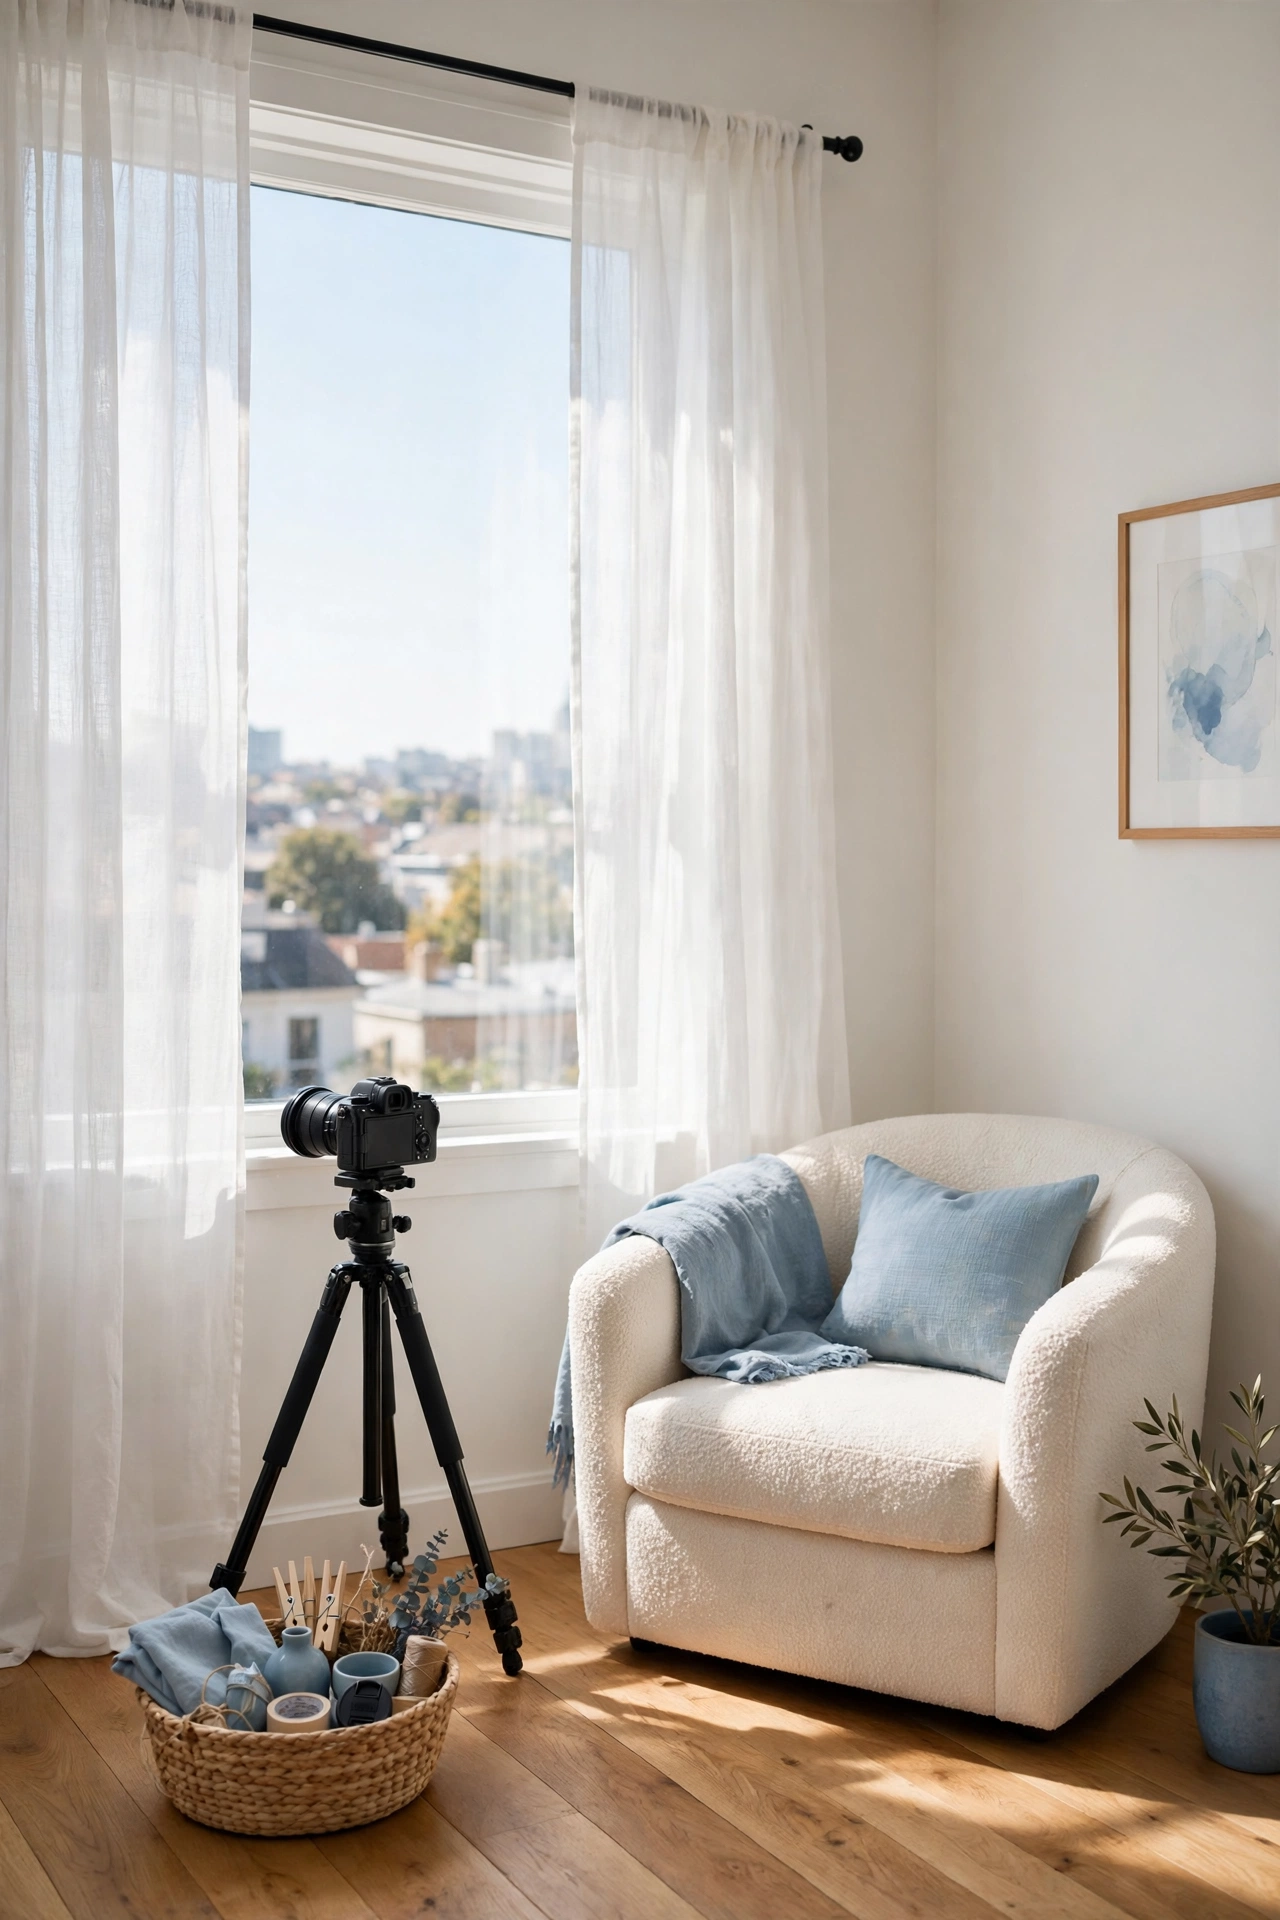
A bright window corner is the simplest studio you can build, because soft natural light does most of the work for you. Place your shooting chair or table at an angle to the window so the light wraps gently around your subject. Sheer curtains soften harsh midday sun and turn a plain corner into a flattering portrait spot.
Keep the rest of the corner clear so you can move around your subject without tripping over furniture. A small stool, a folding reflector, and a basket for props are all you need to start. This layout costs almost nothing and it teaches you to see light before you spend money on studio gear.
2. Roll Out a Seamless Paper Backdrop Wall
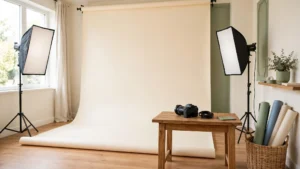
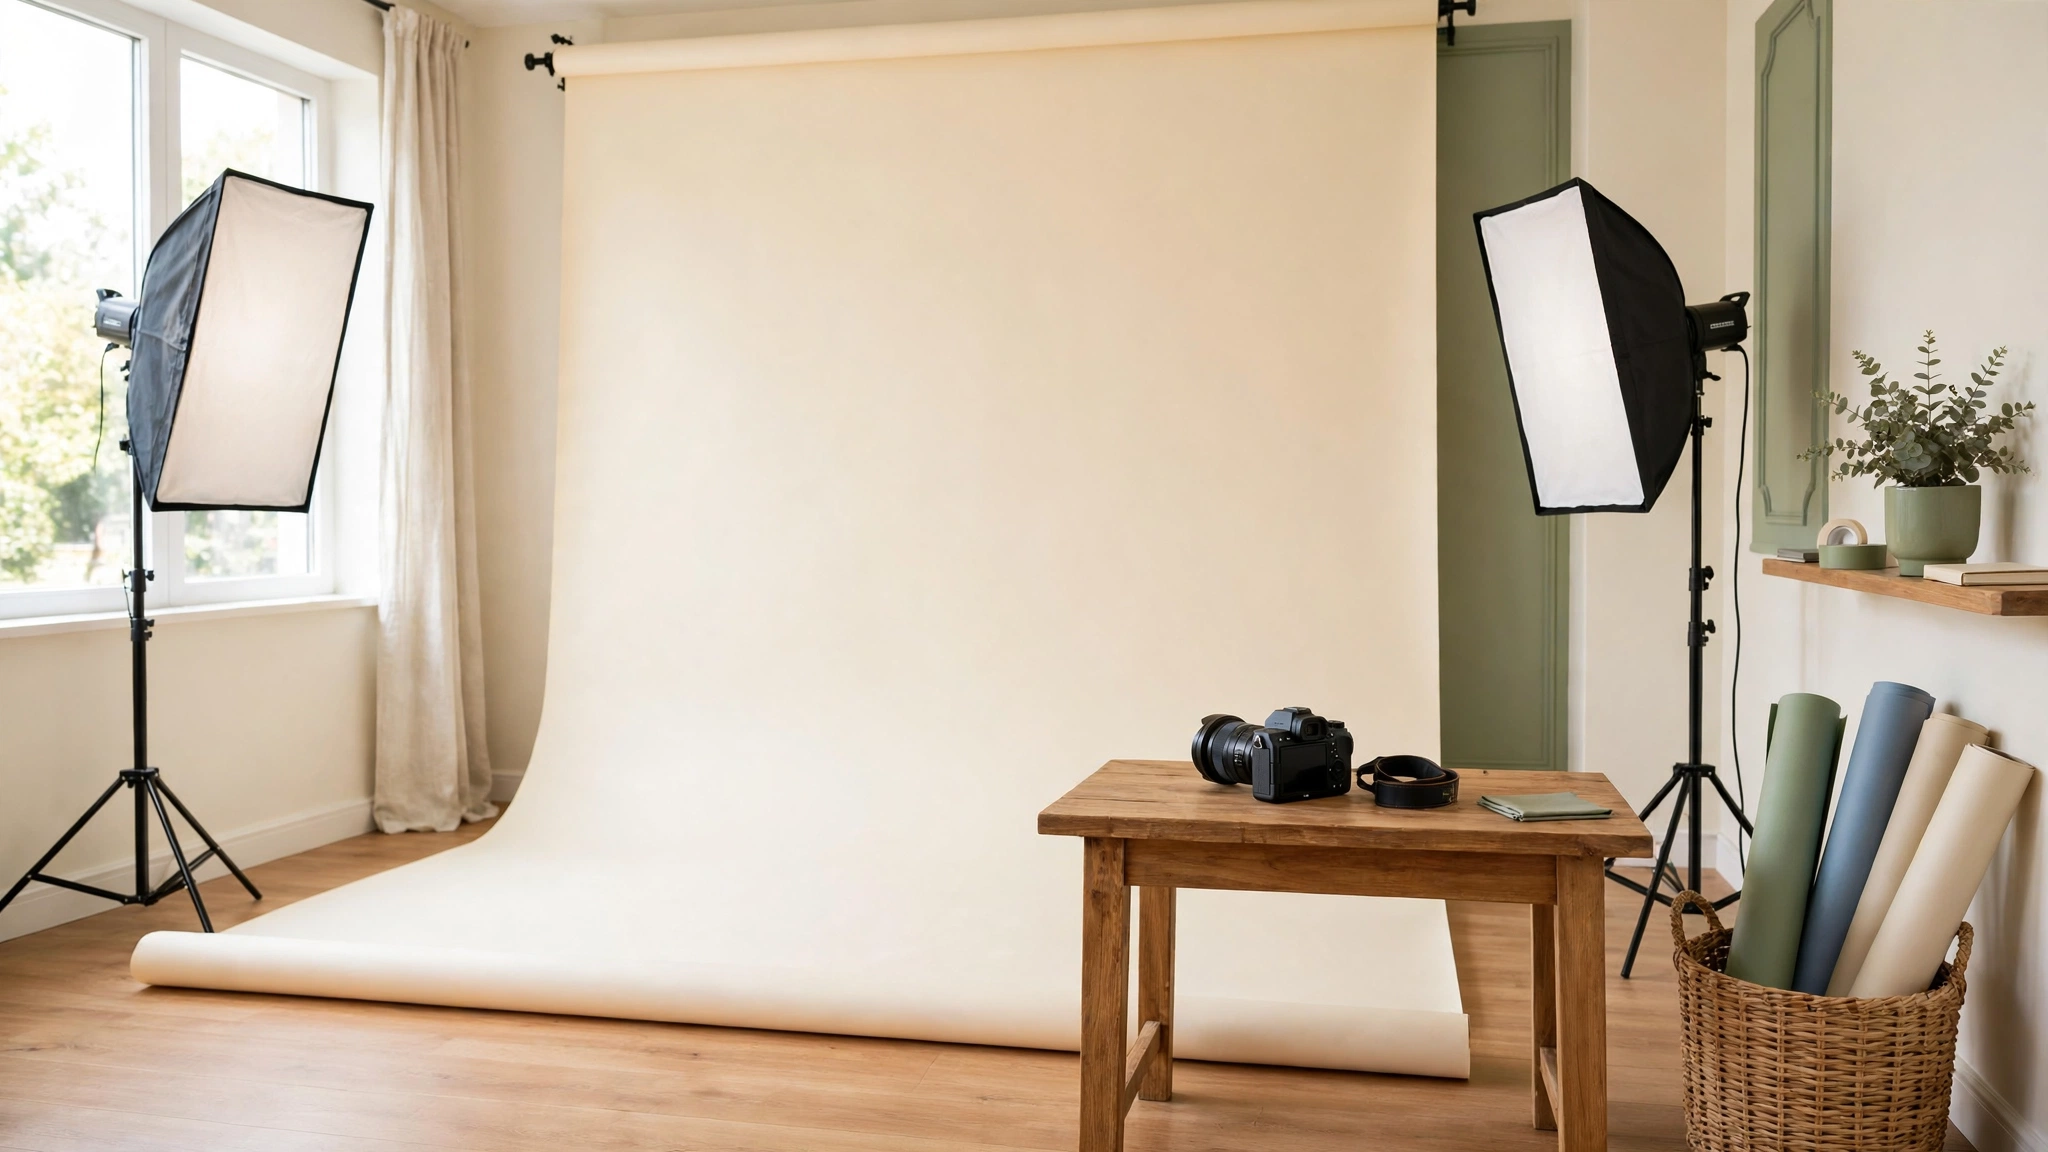
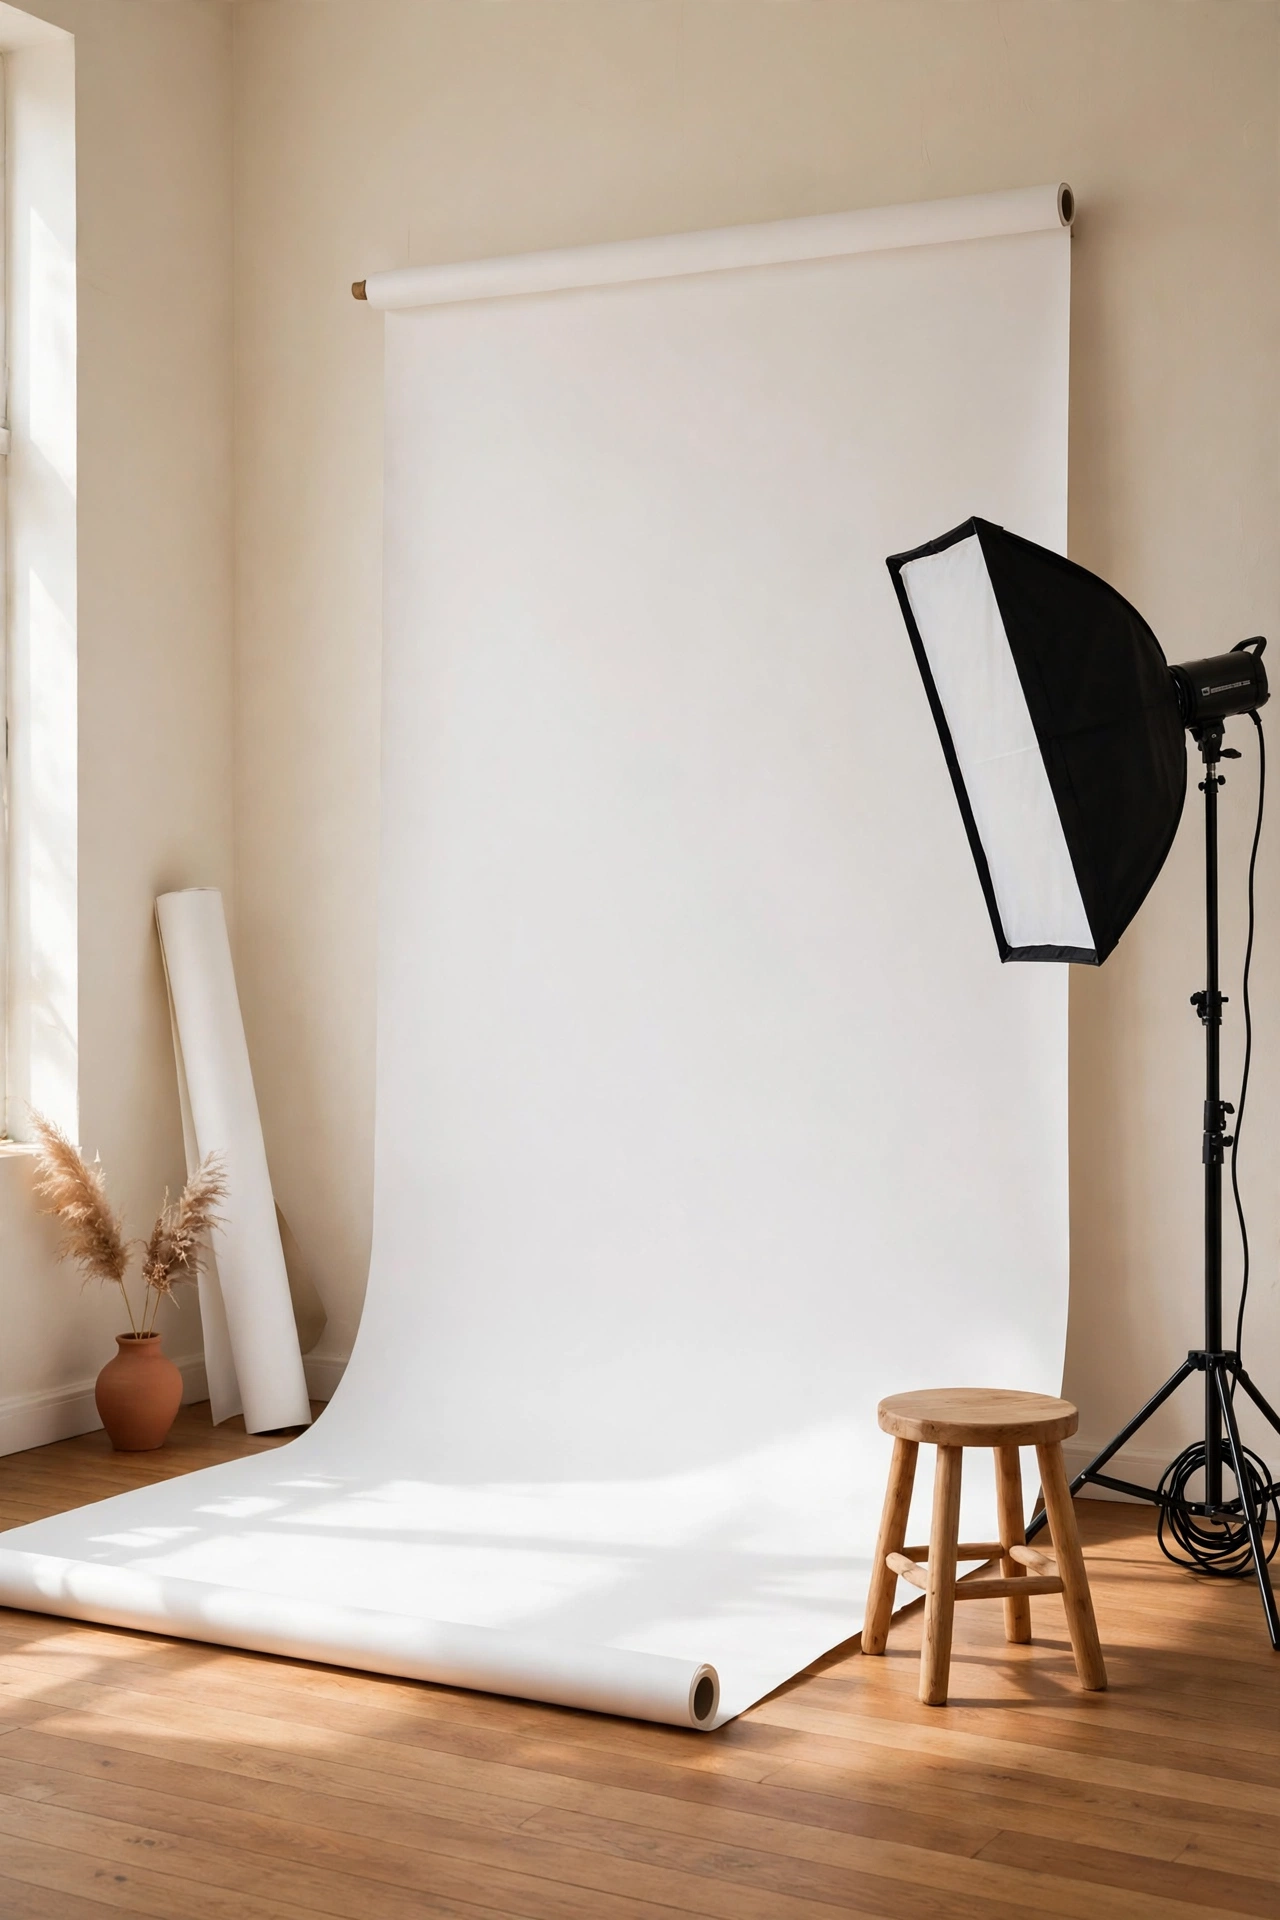
A seamless paper backdrop gives you a clean, professional background that curves gently from the wall to the floor. Mount a roll of paper on two stands or wall brackets along the longest empty wall in the room. White paper is the most flexible choice, because you can light it bright white or let it fall to soft gray.
Leave enough floor space in front of the paper for your subject and your tripod, at least six feet if you can manage it. Roll the paper out fresh for each shoot and cut away the used section when it gets scuffed. A tidy paper roll stored on the wall keeps the room looking neat between sessions.
3. Build a Fold-Down Backdrop Station
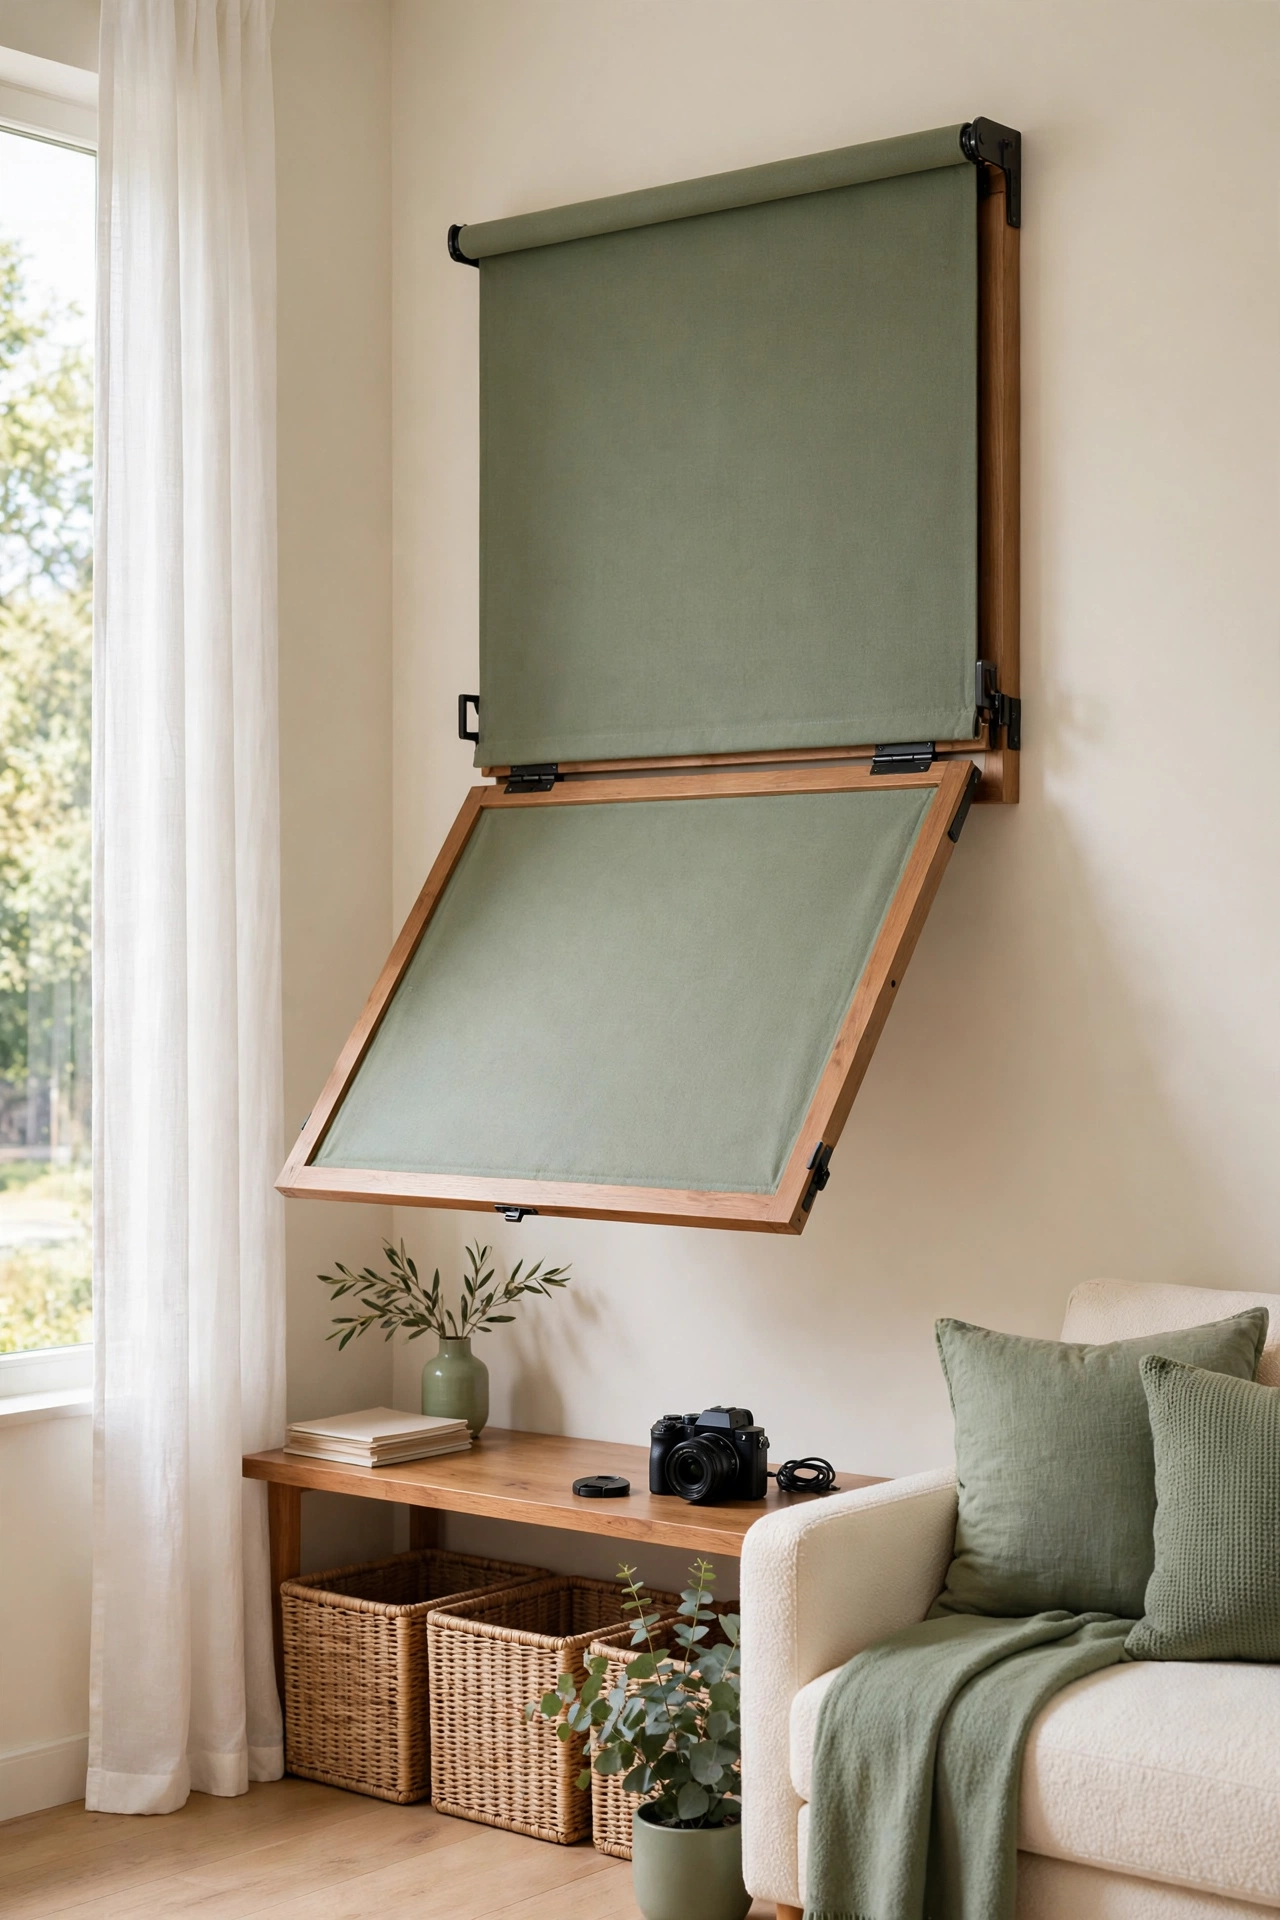
If your studio shares space with a living room or guest room, a fold-down backdrop station lets you switch the room back in minutes. Mount a hinged panel or a roll holder on the wall above a slim desk or console table. When shoot time comes, you pull the backdrop down and the room becomes a studio.
Store your lights on a compact stand in a nearby closet so setup takes less than ten minutes. This kind of flexible layout works well in apartments, and these small home office layout ideas show how one room can serve two purposes without feeling crowded. Fold the backdrop away after each shoot and your living space stays calm and clutter free.
4. Create a Two-Light Portrait Corner
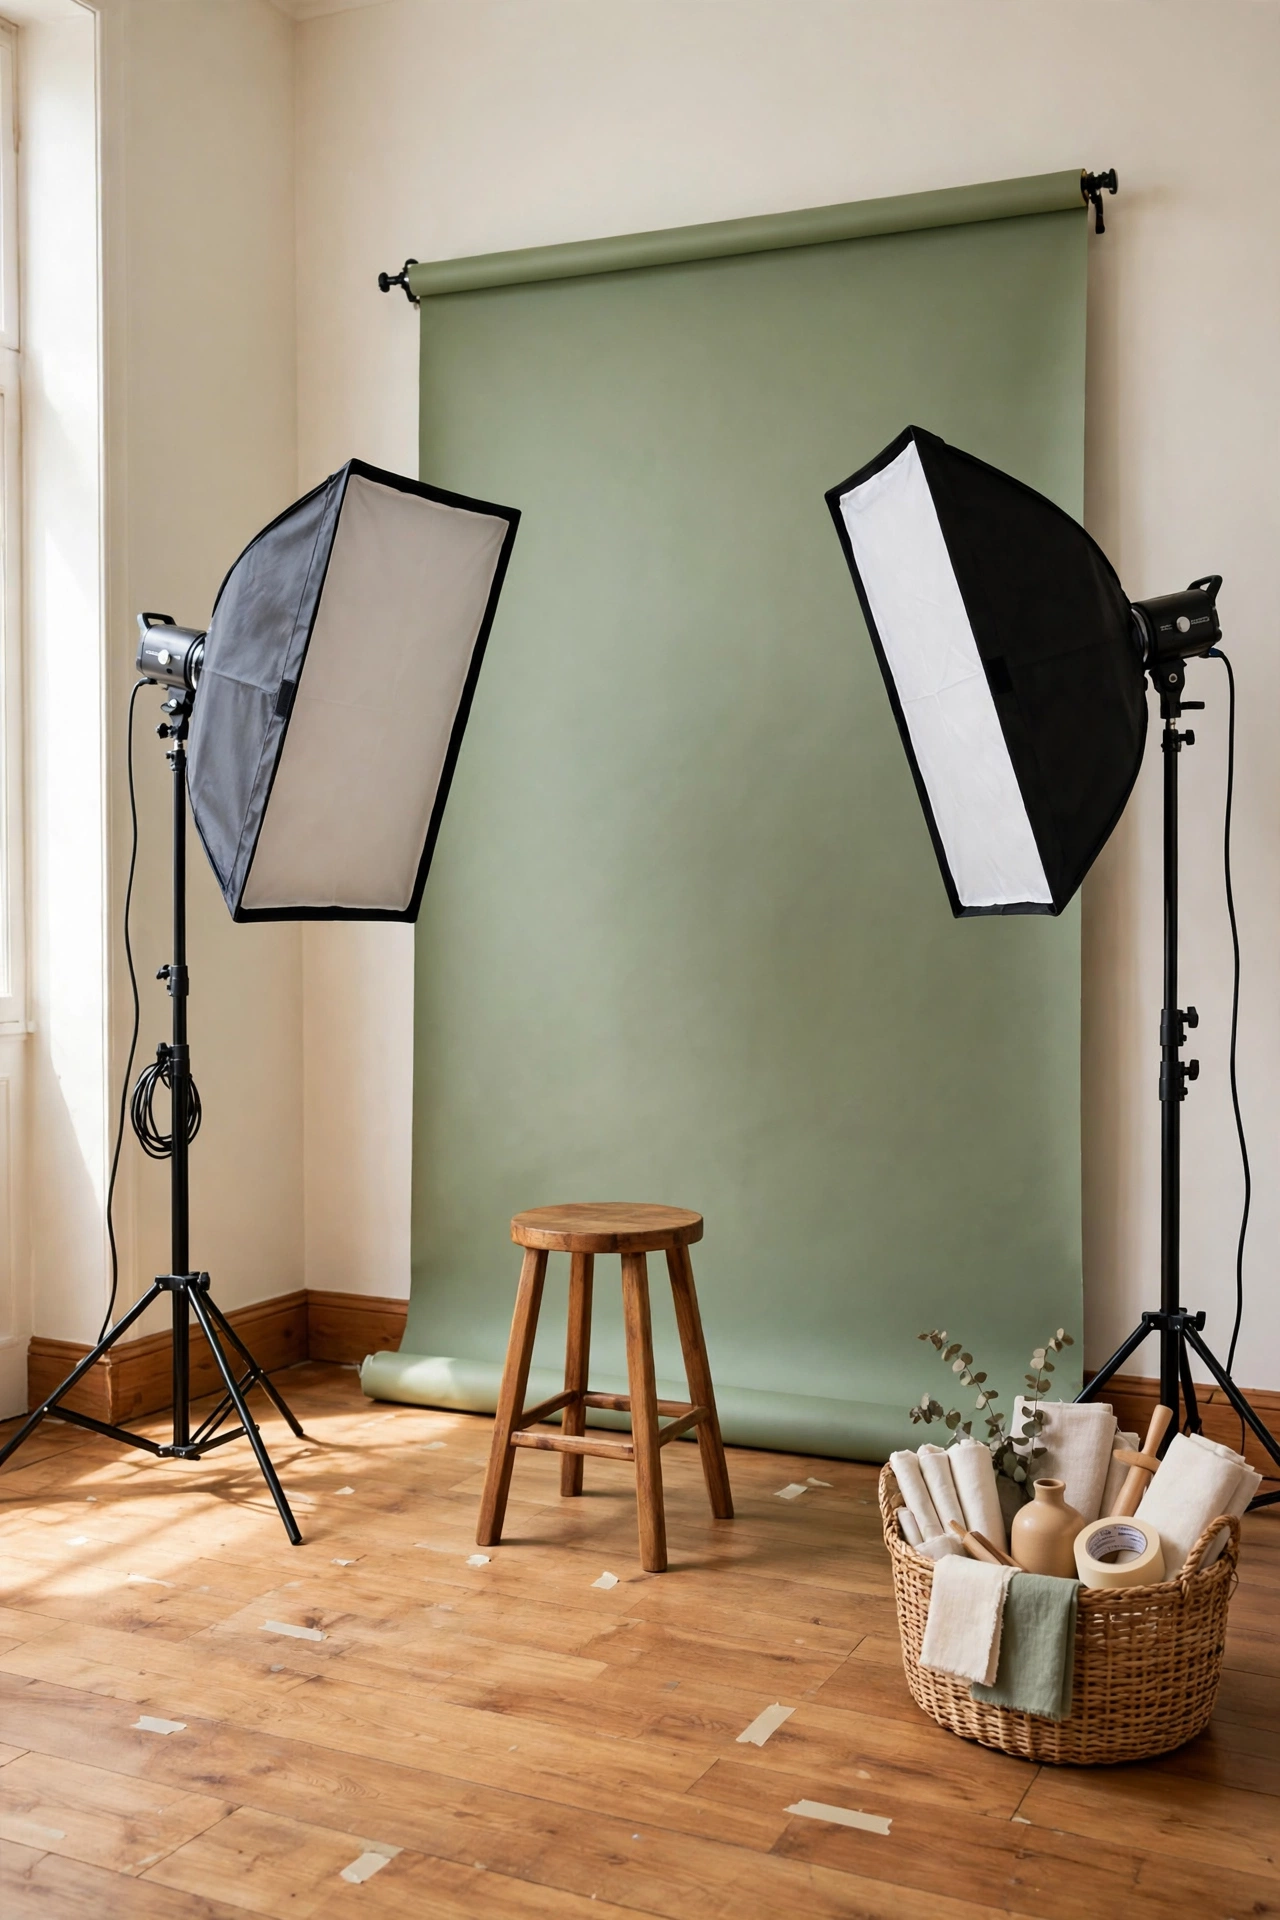
A two-light setup gives you full control over portraits in a very small footprint. Place one softbox at a 45-degree angle to your subject as the main light, and a second smaller light behind or to the side for gentle fill. A sage green or warm gray backdrop keeps the mood calm and modern.
Mark your light positions on the floor with small pieces of tape so you can rebuild the setup quickly every time. Keep a wooden stool as your posing seat, because it is easy to move and it suits almost any style of portrait. With two lights and a steady layout, your portraits will look consistent from shoot to shoot.
5. Set Up a Product Photography Table Station
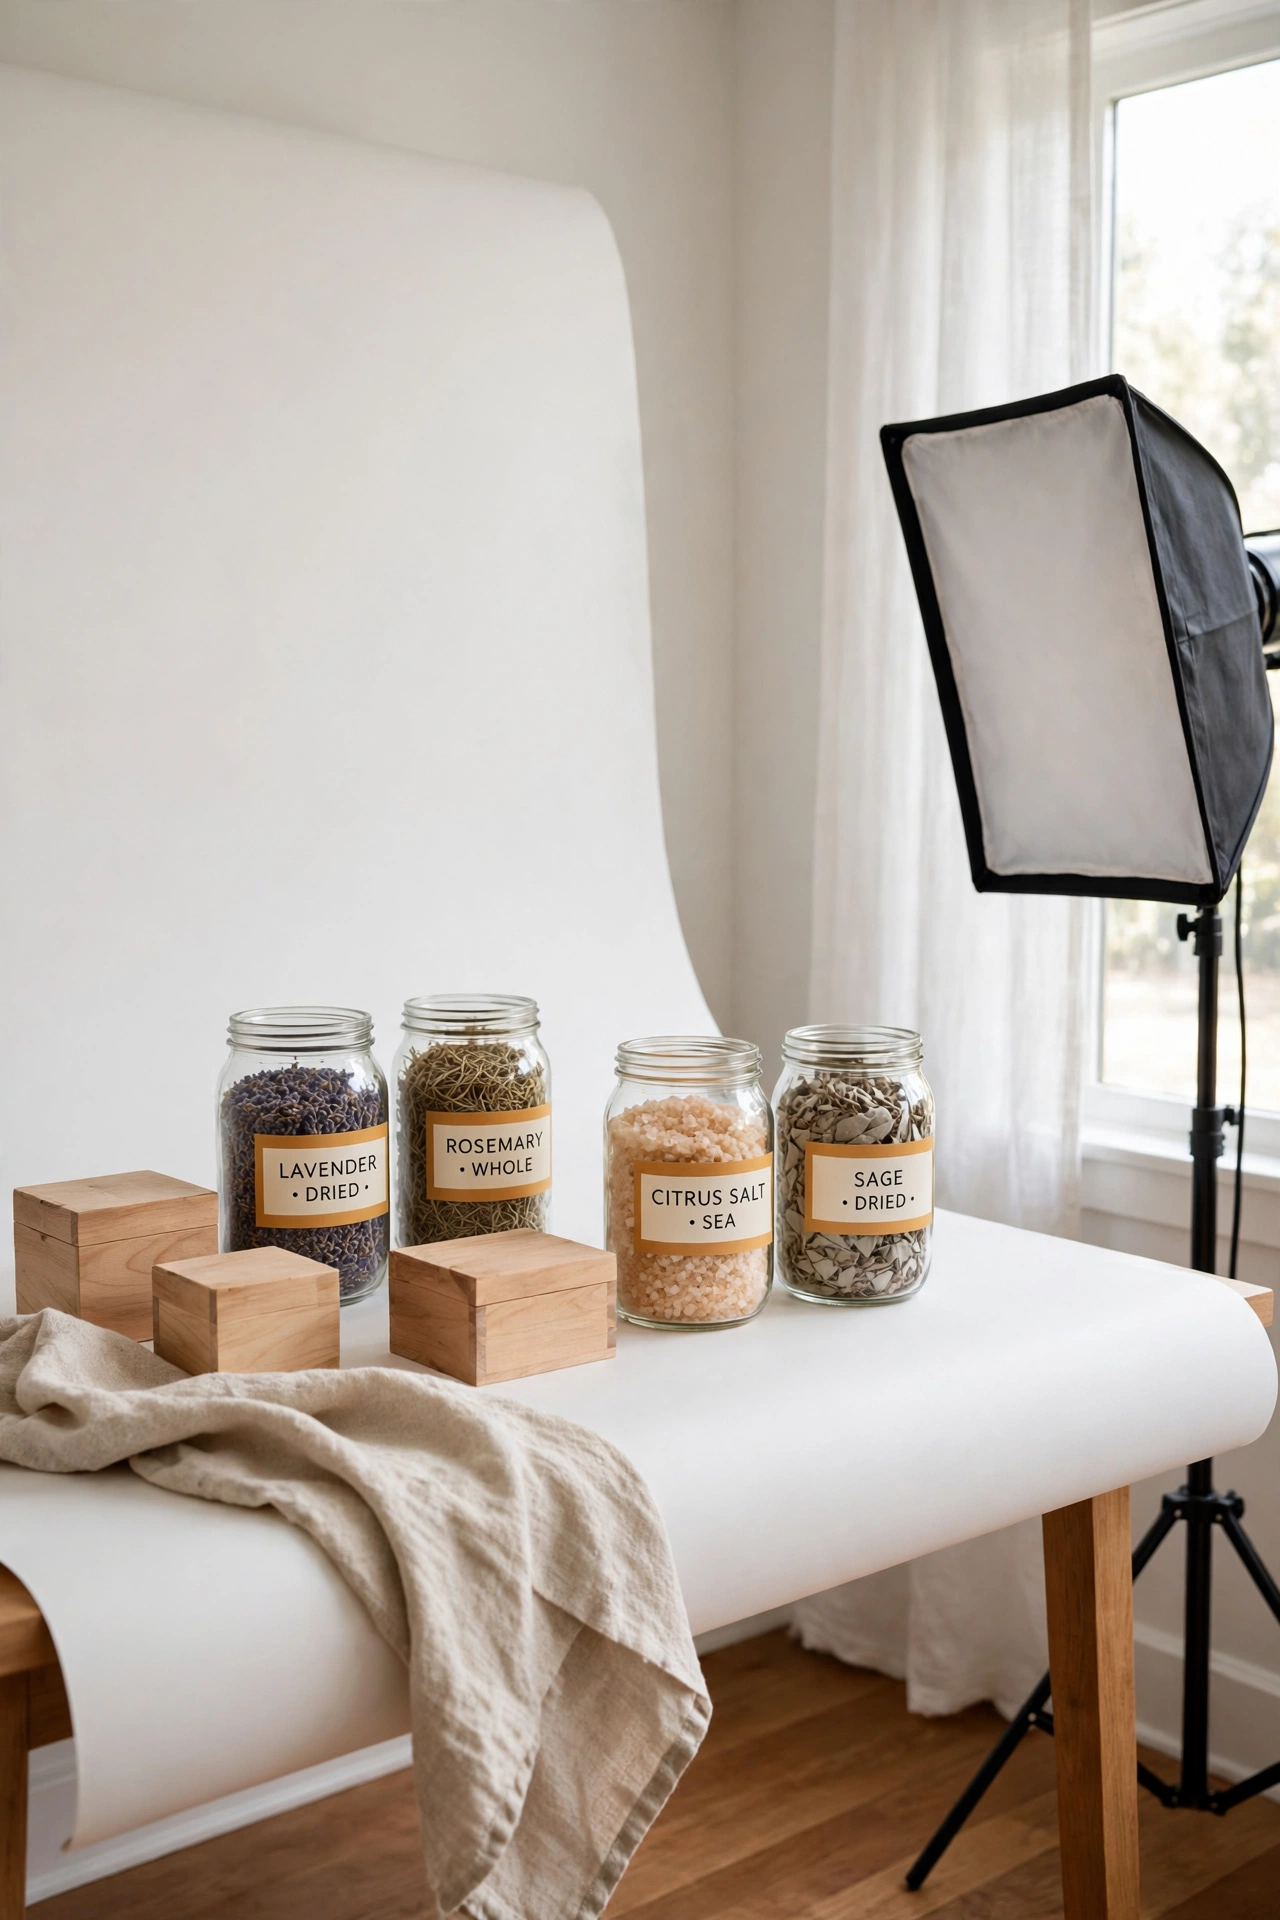
Small products deserve a dedicated table station where you can shoot without setting up from scratch each time. A sturdy table near a window, a white sweep of paper or foam board, and one softbox light are the core pieces. Keep the table surface clear so each product gets a clean stage.
Add a shelf or a small cart beside the table for styling props like wooden boxes, glass jars, and linen cloths. Shoot in batches by grouping similar products together, which saves time and keeps your lighting consistent. A permanent table station turns product shoots from a chore into a quick daily habit.
6. Turn a Spare Closet Into a Mini Studio
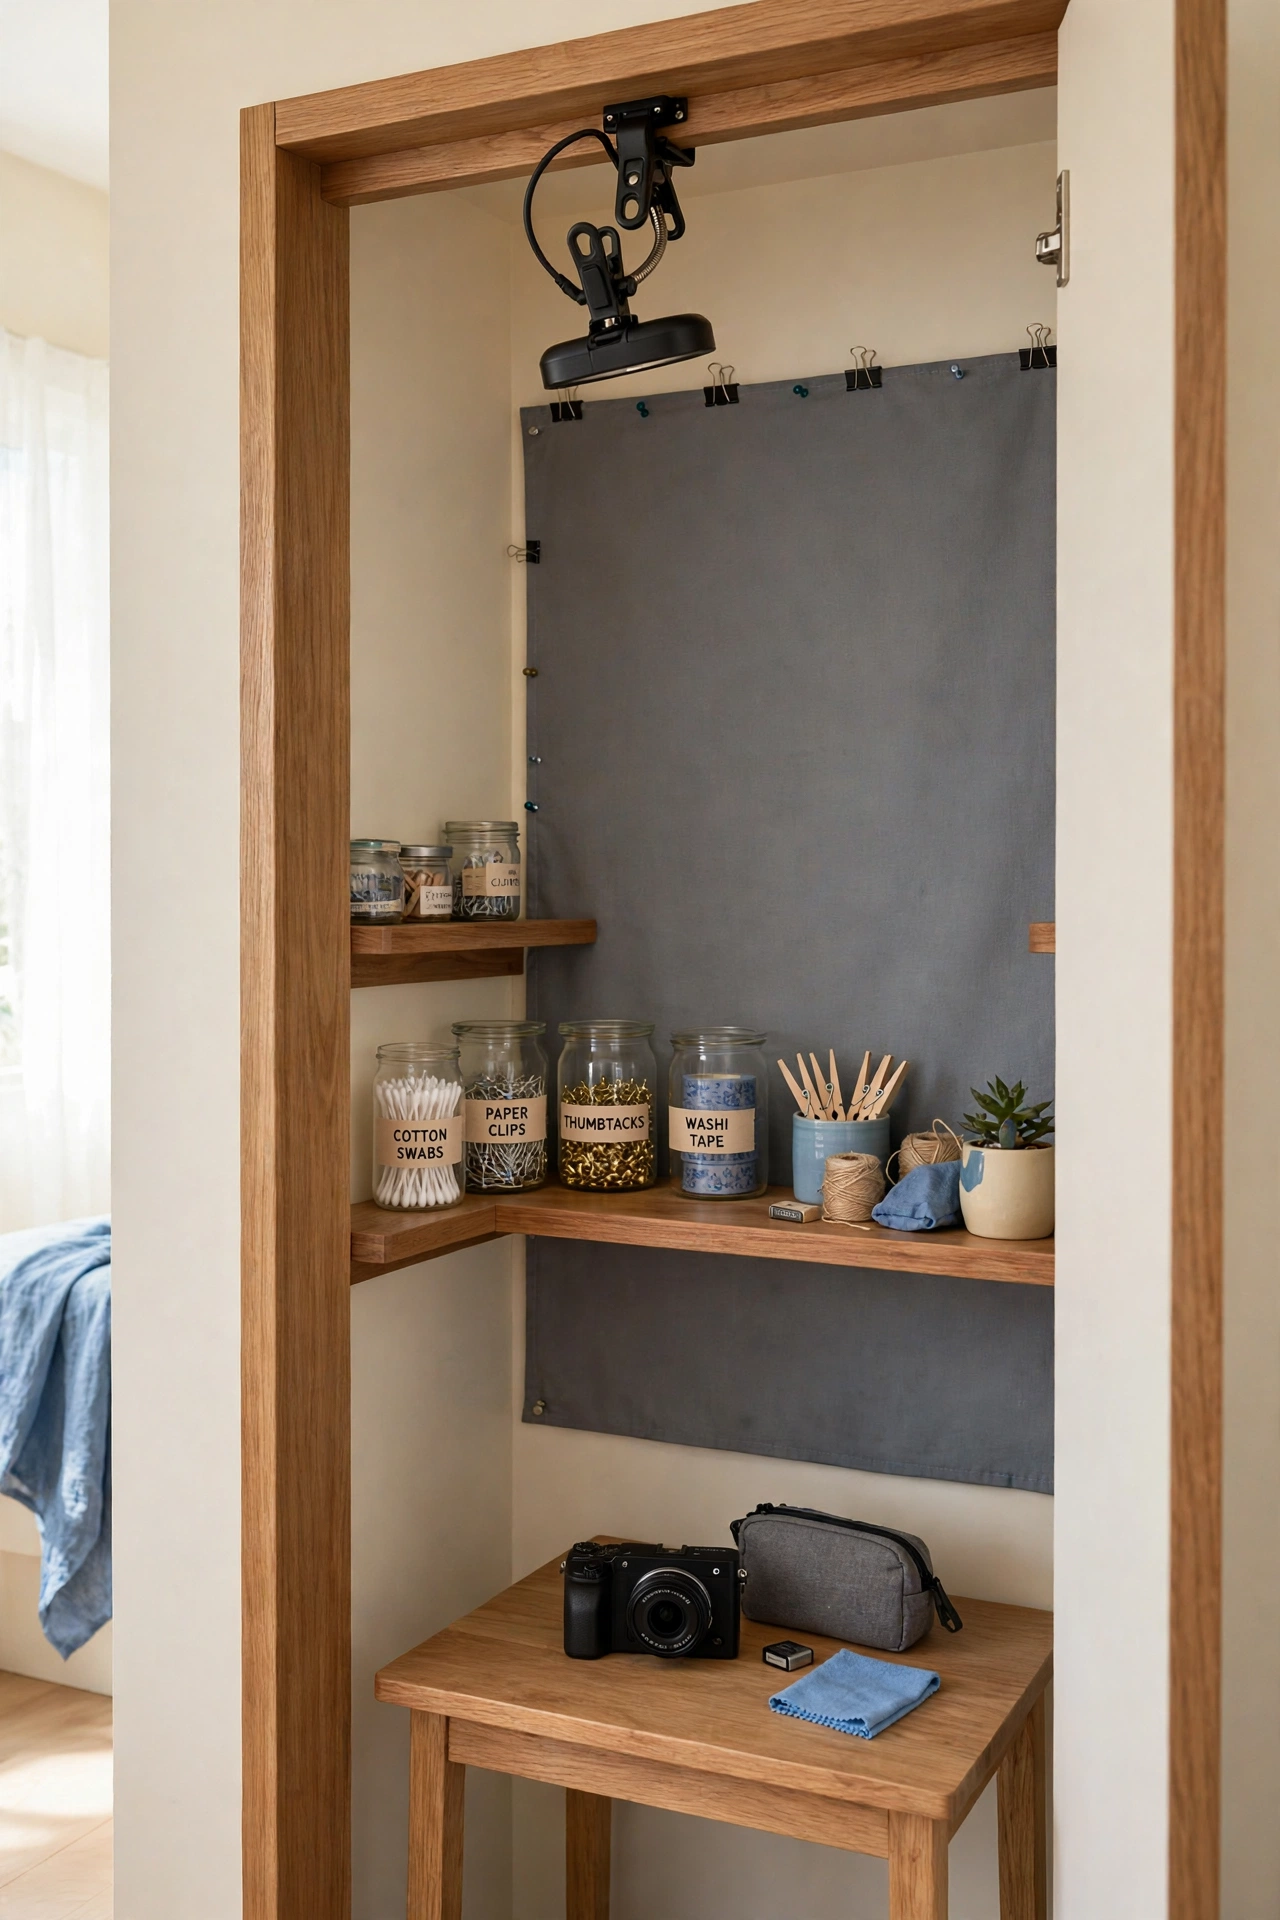
A spare closet can become a surprising mini studio for small products, flat lays, and headshots. Remove the doors, paint the inside a soft neutral color, and add a shelf at table height for your shooting surface. A clip light or a small panel light mounted inside gives you steady, controlled light.
Use the closet shelves above for prop storage so everything stays within easy reach. A gray or cream backdrop cloth pinned to the back wall finishes the space. This layout hides away completely when you close a curtain, which makes it perfect for homes where every room does double duty.
7. Design a Flat Lay Shooting Table Zone
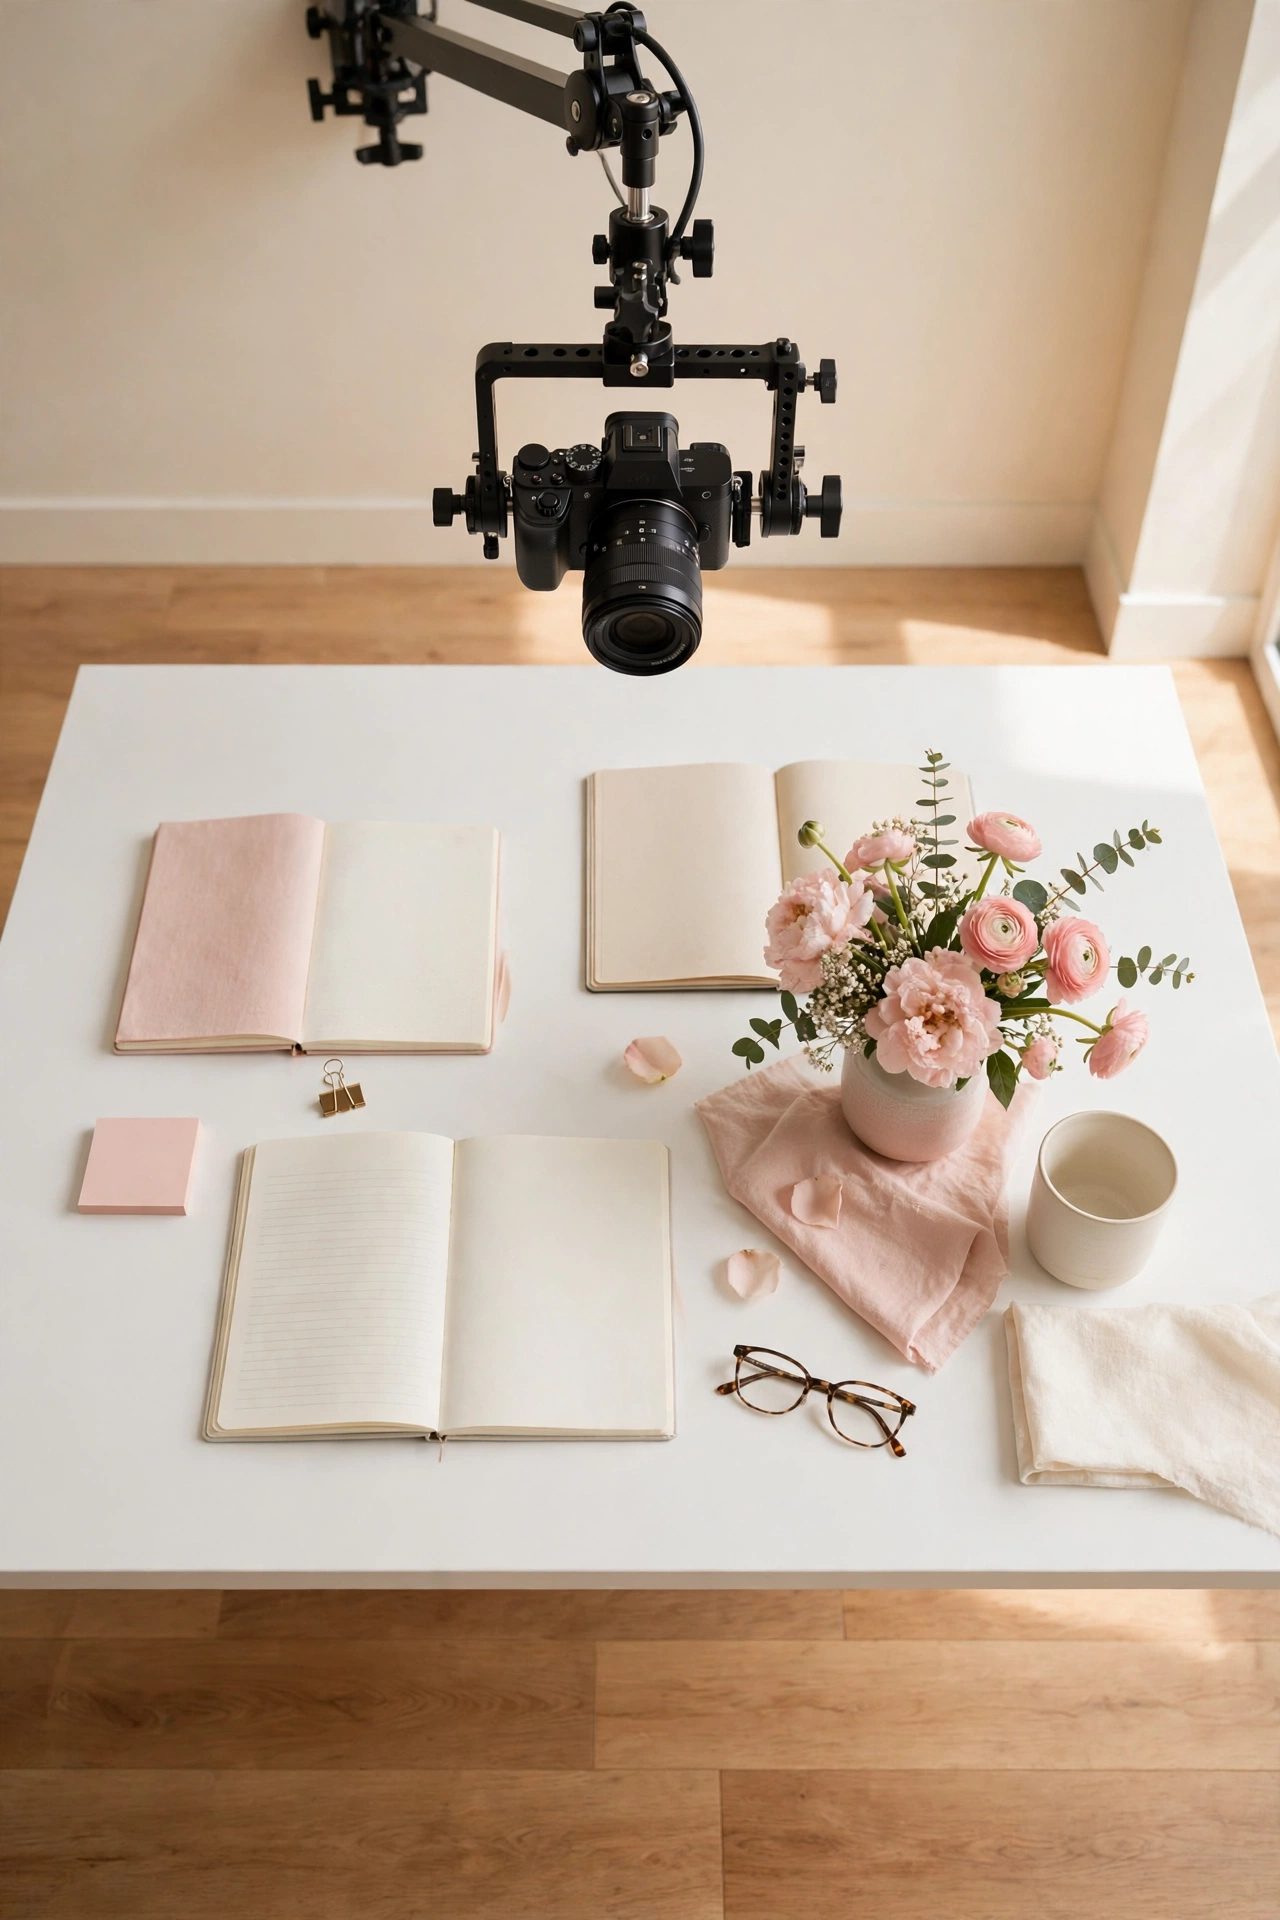
Flat lay photos need a stable overhead setup, so dedicate one table zone to shooting from above. A large white or light wood table gives you a generous canvas for styled arrangements. Mount your camera on a sturdy overhead arm or a tall tripod with a horizontal column so it stays steady.
Keep styling tools in a tray beside the table: tweezers, tape, scissors, and small risers for layering objects. Good window light from one side creates soft shadows that add depth to flat lays. A fixed overhead station means you can style, shoot, and clear the table in one smooth flow.
8. Mount a Wall-Mounted Backdrop Roller System
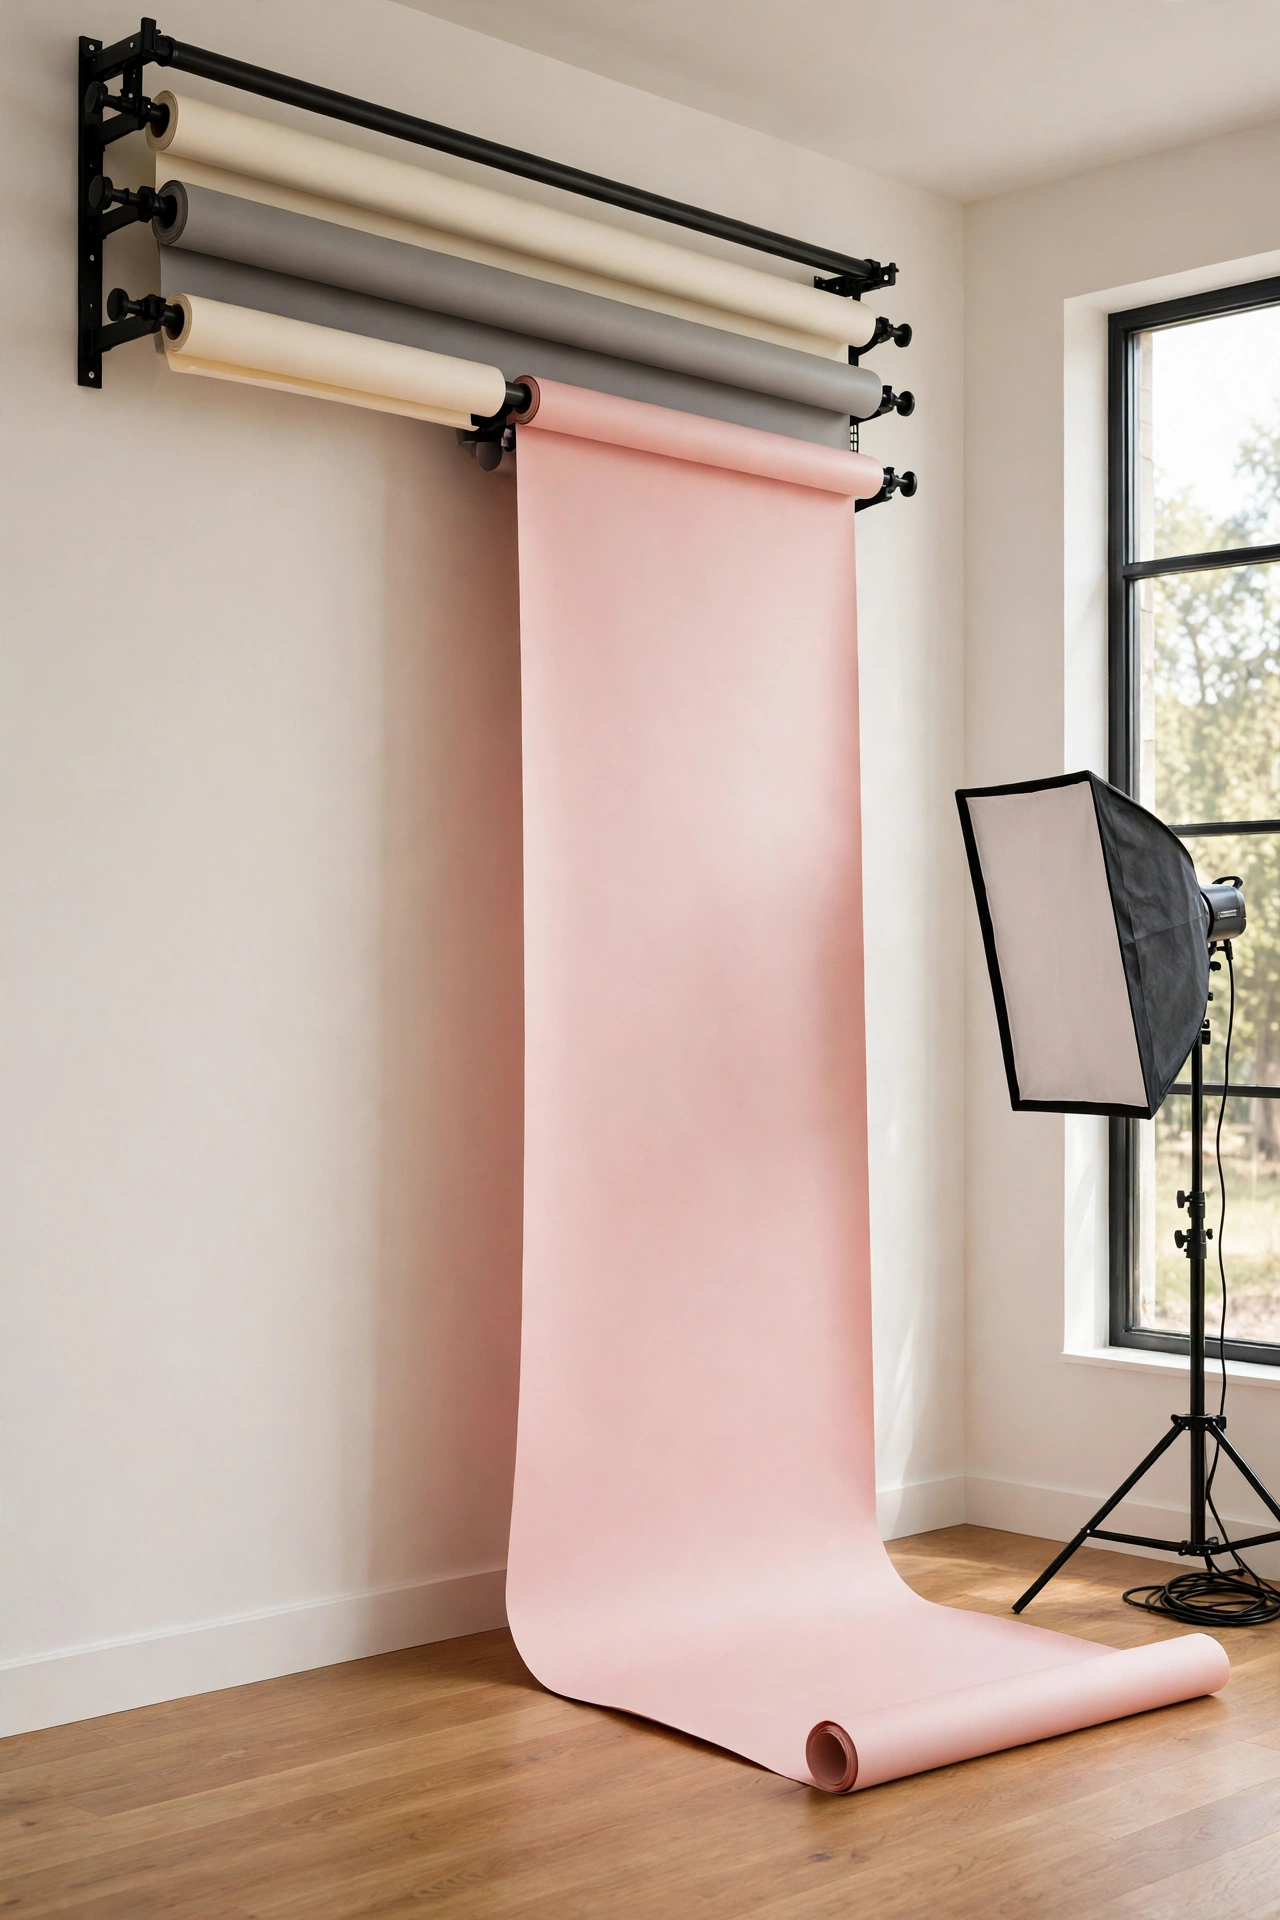
A wall-mounted roller system stores several backdrop rolls on one wall and lets you pull down the color you need in seconds. Mount three or four rolls on sturdy brackets near the ceiling, with the paper hanging down to the floor when in use. This system saves floor space and keeps your backdrops clean and wrinkle free.
Choose a starter set of colors that covers most shoots: cream, soft gray, and one accent like blush or sage. Label each roll so you can find the right color at a glance. A roller system turns a plain wall into the hardest working part of your studio.
9. Create a Soft Daylight Portrait Nook
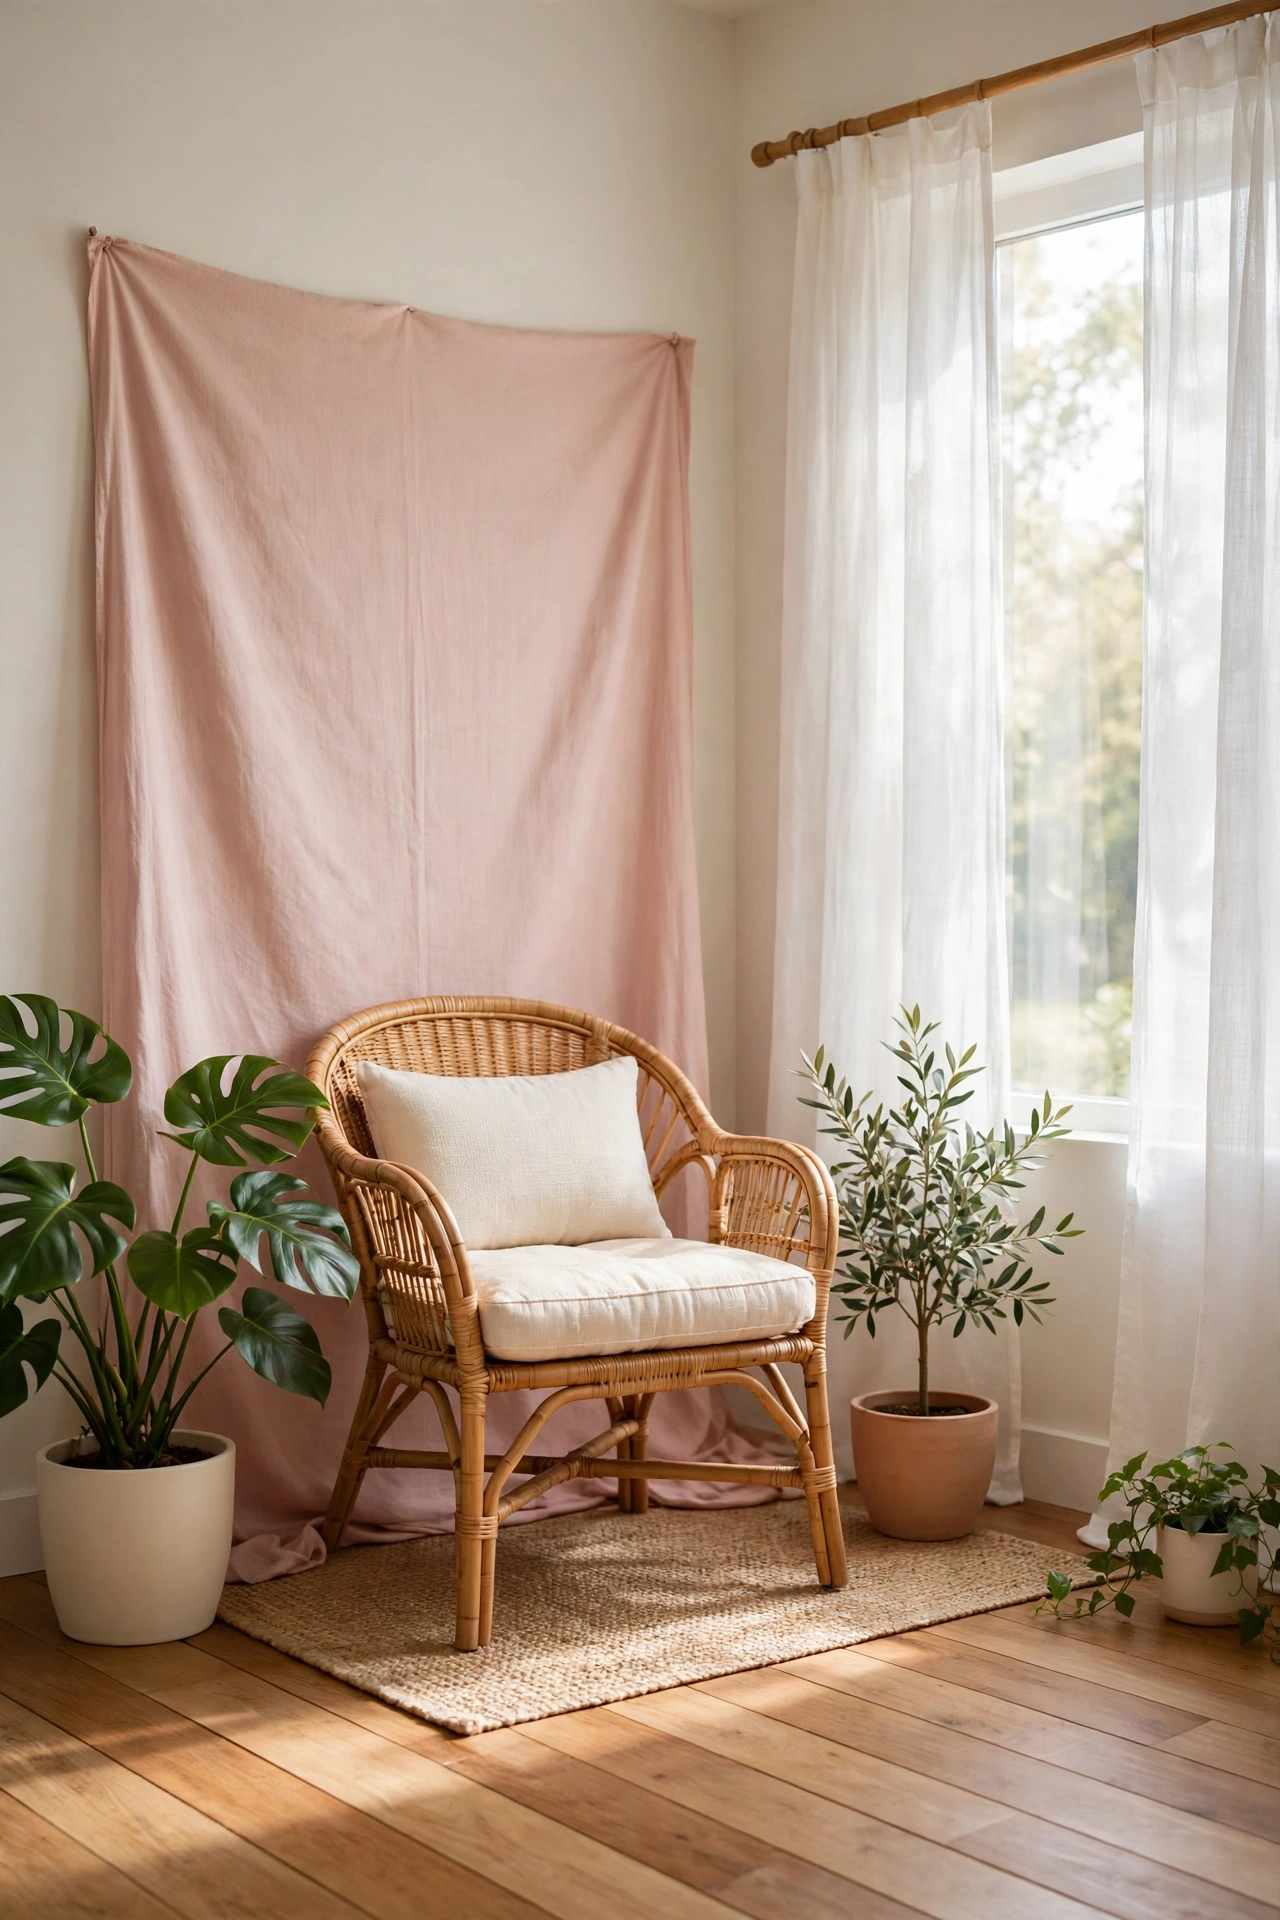
A daylight portrait nook uses a large window and a few soft furnishings to create a warm, lifestyle feel. Place a rattan chair or a small sofa near the window, add a blush or cream backdrop behind it, and let the natural light shape the scene. Potted plants add life and soften the edges of the frame.
This nook works beautifully for family portraits, branding photos, and relaxed headshots. Shoot in the morning or late afternoon when the light is soft and golden. Keep the styling simple so the focus stays on the person in the chair, not on the decor around them.
10. Build a DIY V-Flat Lighting Wall
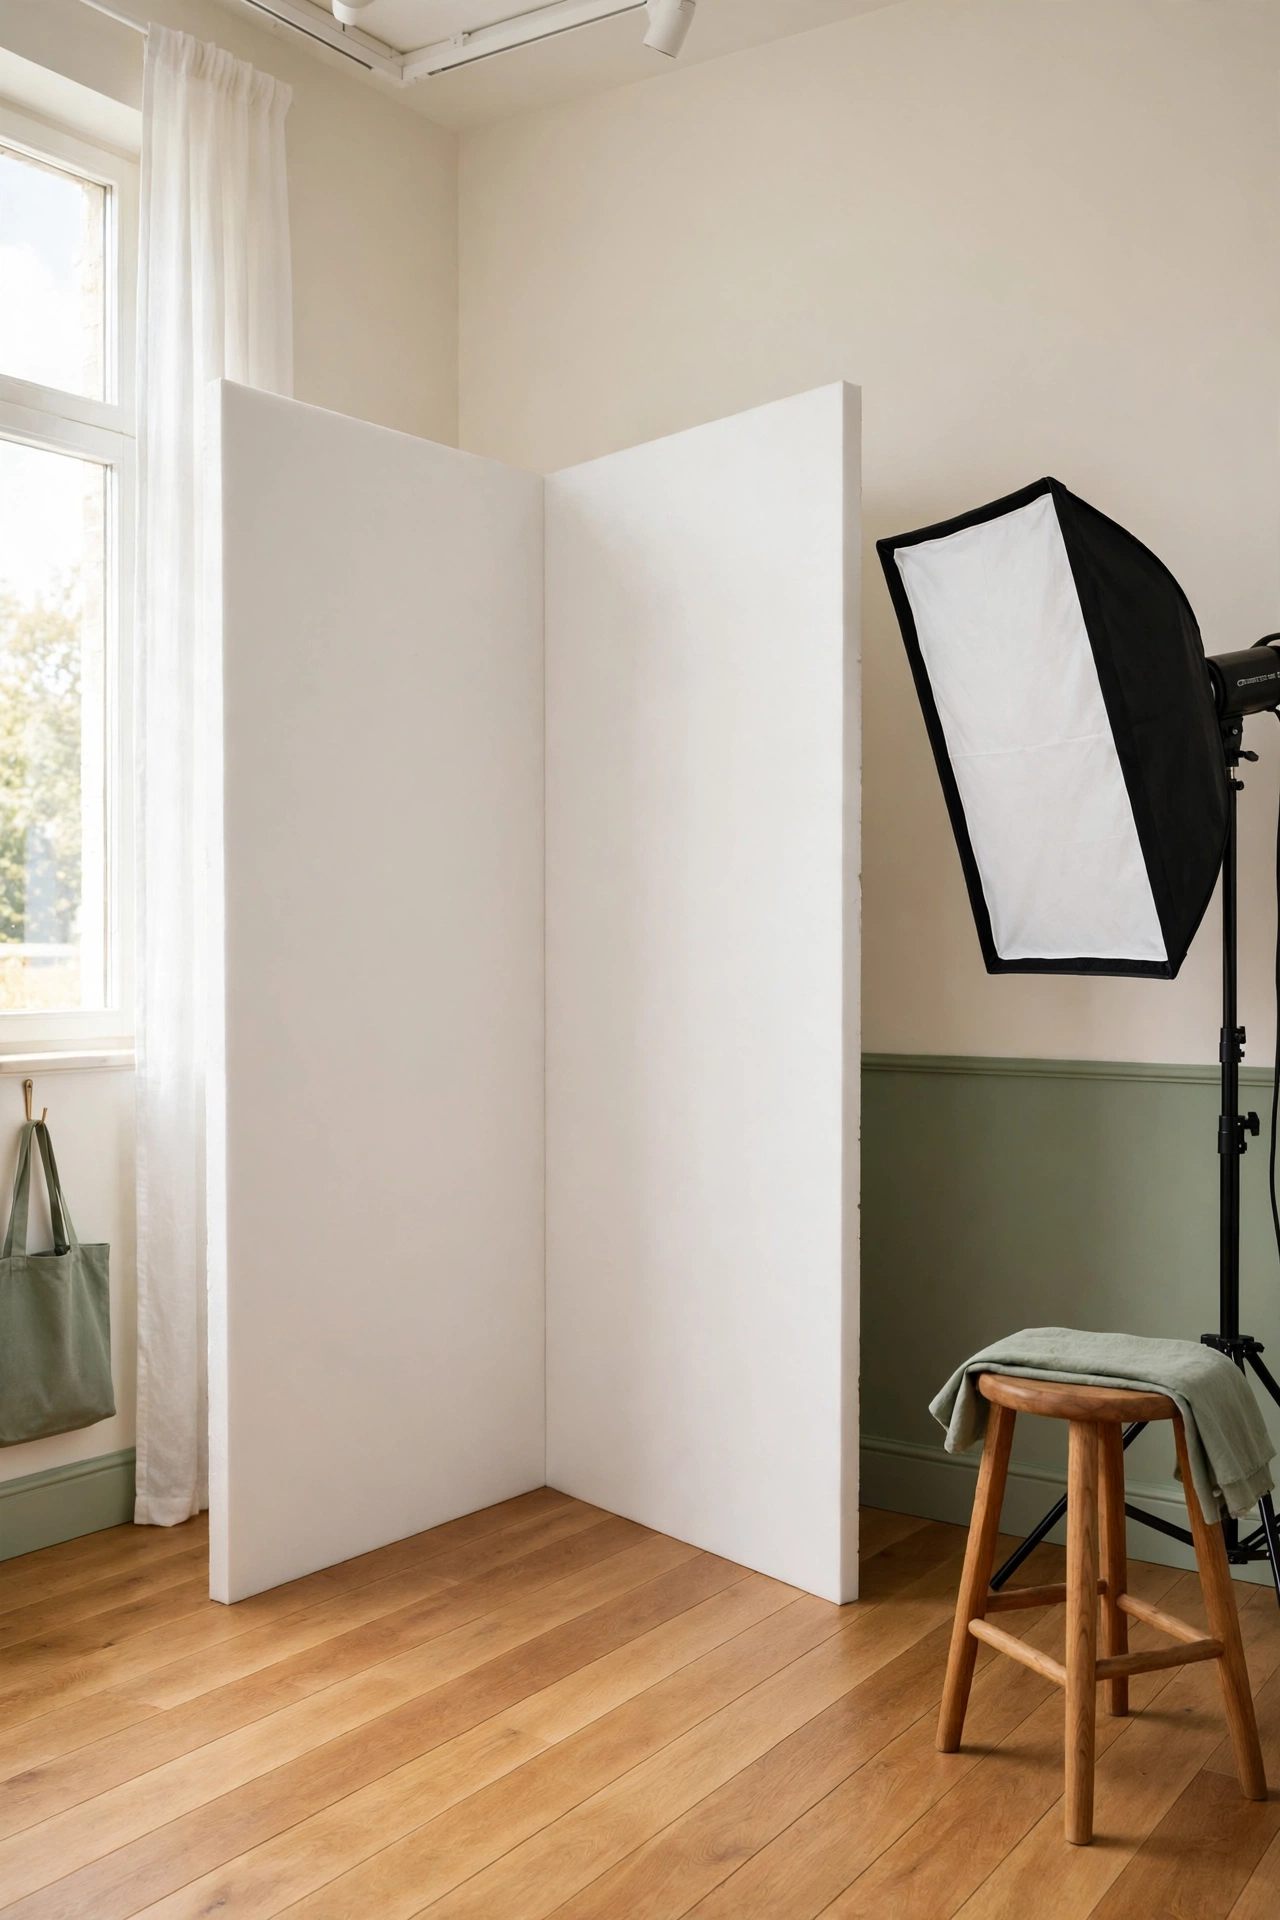
V-flats are large folding panels that bounce light, block light, or serve as movable walls, and two of them can transform a small studio. Stand a pair of white foam board panels in a V shape near your shooting area to bounce window light back onto your subject. Flip them to the black side when you want deeper shadows and more drama.
Store the panels flat against a wall or behind a door when they are not in use. V-flats are light, cheap to build, and endlessly useful for shaping light in tight spaces. With a pair of V-flats, even a small room can offer the lighting control of a much larger studio.
11. Set Up a Small Still Life Shooting Shelf
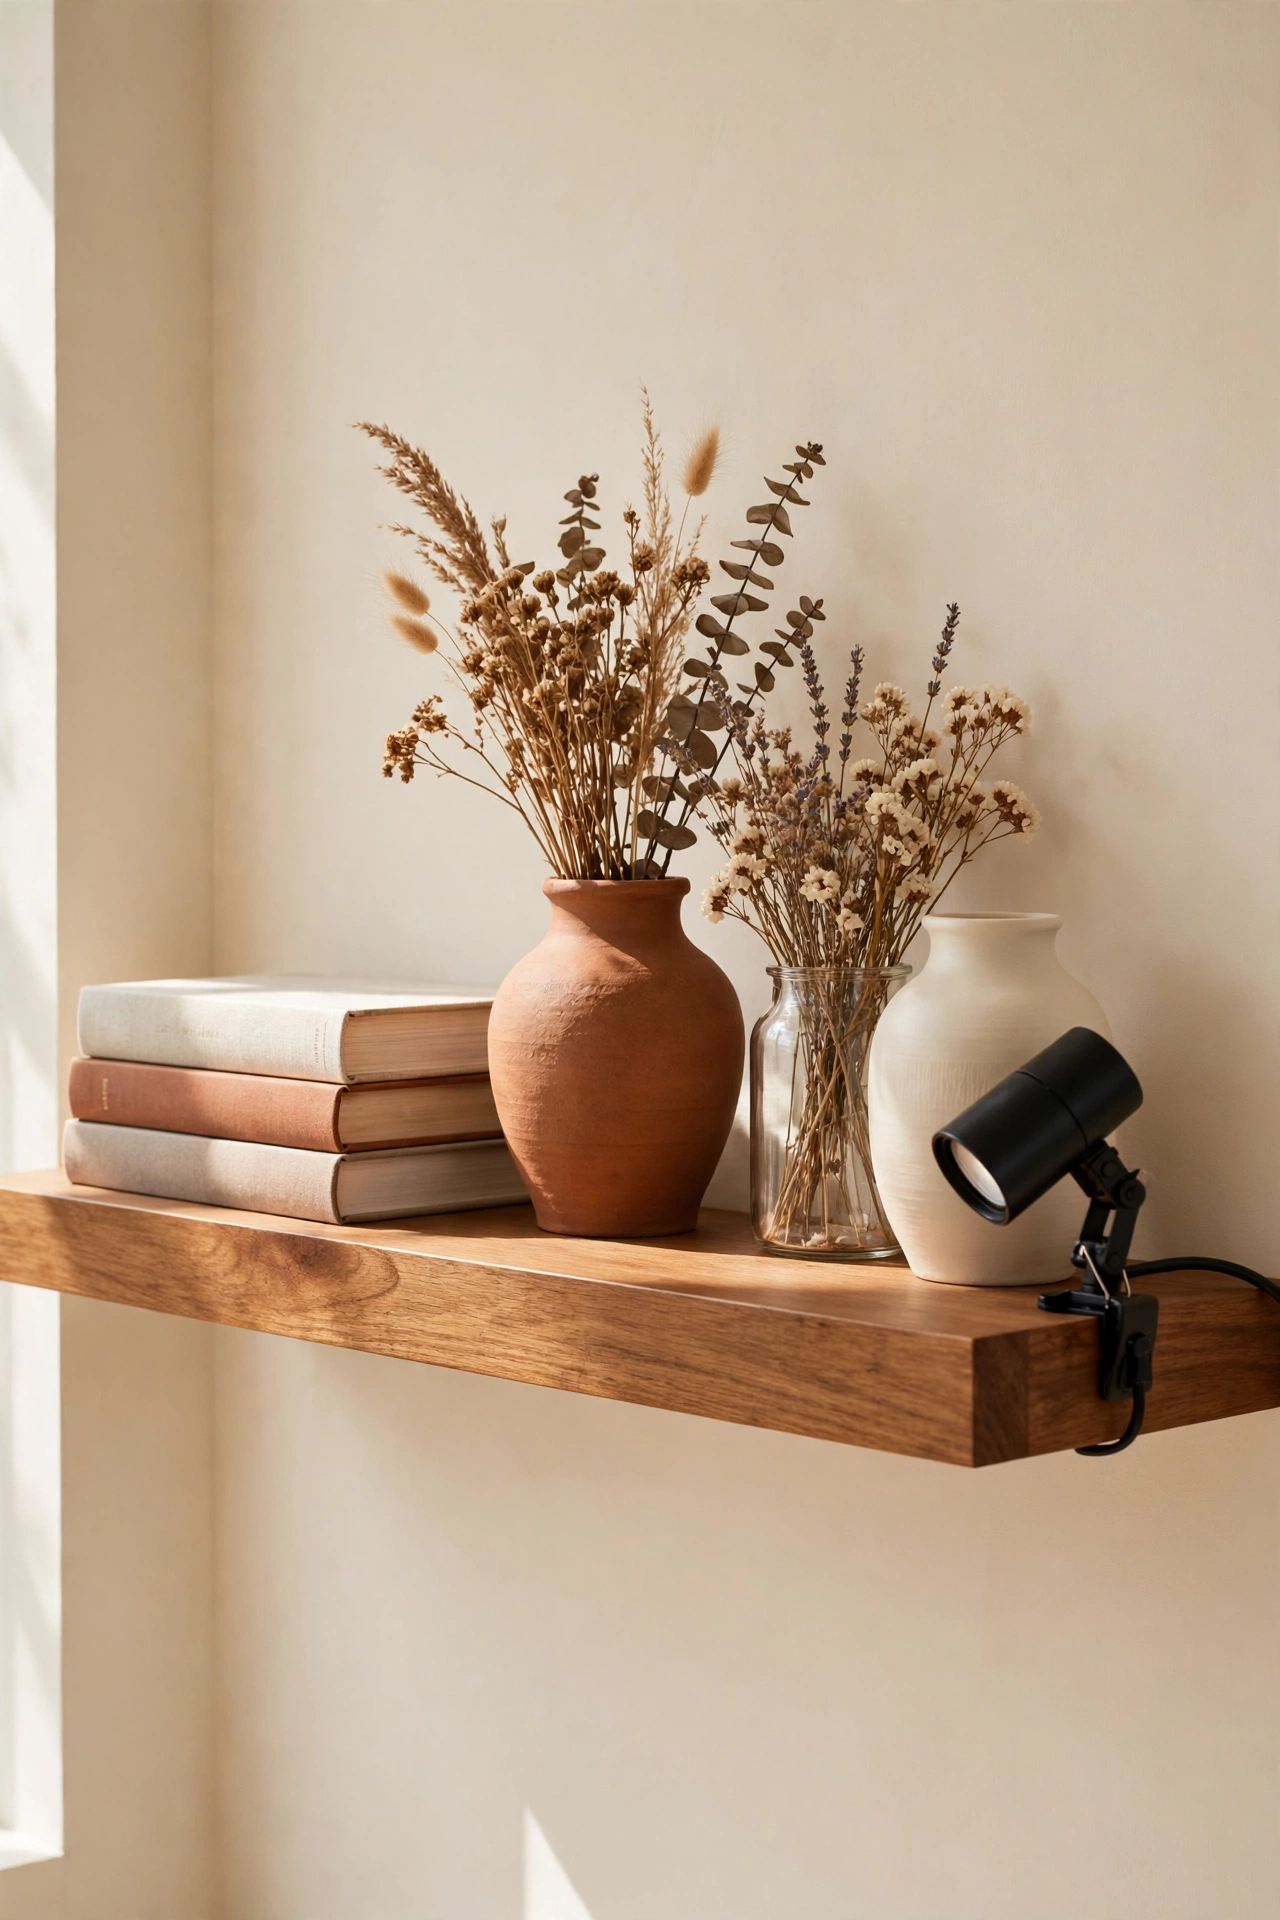
Still life photography needs only a shelf and good light, so a dedicated shooting shelf is a smart use of a small wall. Mount a deep wooden shelf at a comfortable height and style it with ceramic vases, stacked books, and dried flowers. A small spotlight or a clip light lets you shape the mood for each arrangement.
Change the objects on the shelf with the seasons to keep your portfolio fresh. A plain wall behind the shelf works as a natural backdrop, and you can pin up colored paper for variety. This compact station is ideal for creators who shoot ceramics, books, food, or handmade goods.
12. Design a Rolling Cart Lighting Station
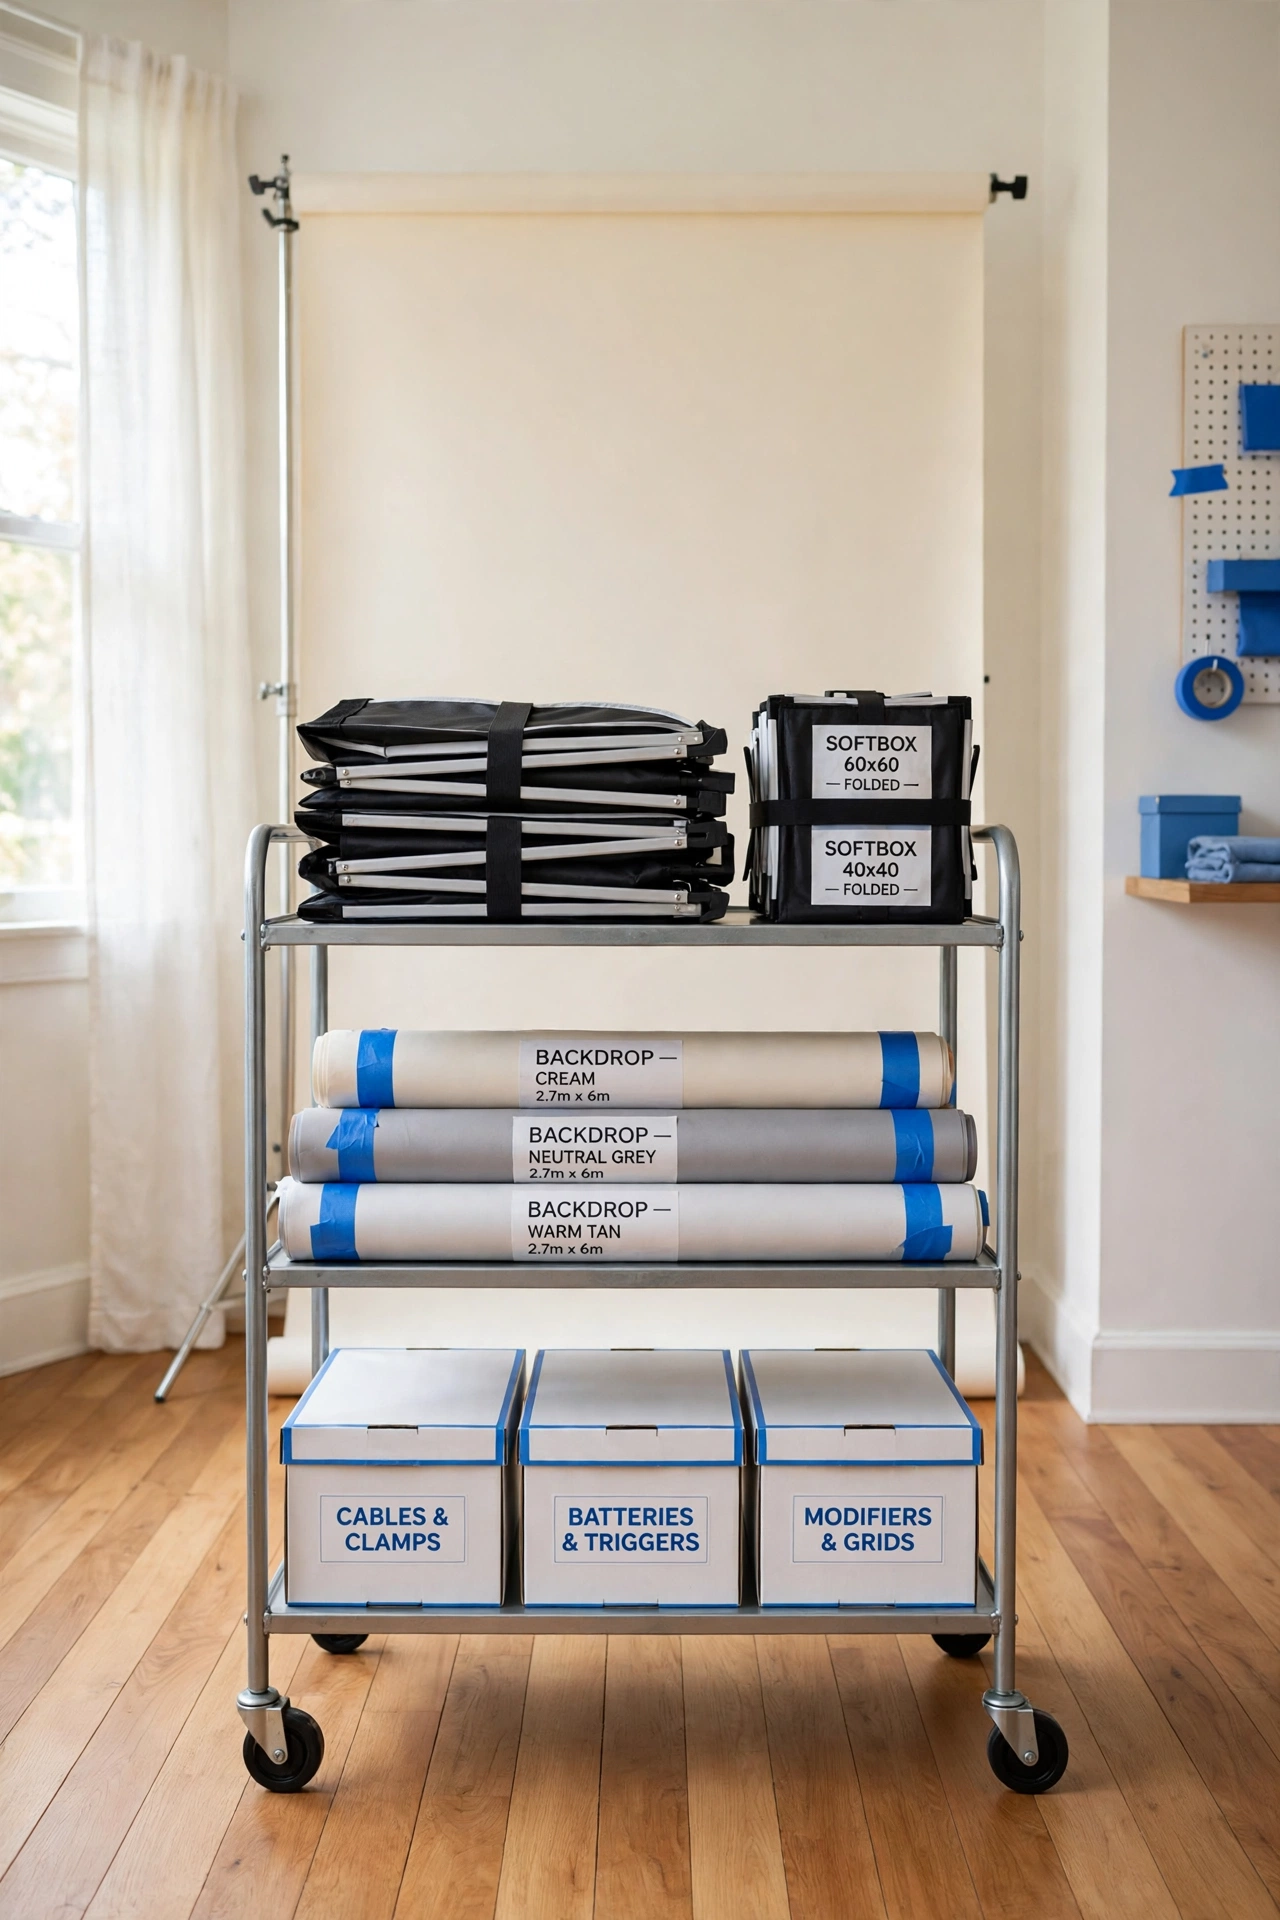
A rolling cart keeps your lights, modifiers, and cables together so you can wheel your whole lighting setup to any corner of the room. Load the cart with a folded softbox, spare bulbs, clamps, and a power strip. Lock the wheels once the cart is in place so nothing shifts during a shoot.
Label each shelf or bin so you can grab the right modifier without digging. A rolling cart is especially useful when your studio shares space with daily life, because you can park it in a closet when the shoot is done. Mobility turns one small room into several different studio layouts.
13. Turn a Garage Corner Into a Studio Zone
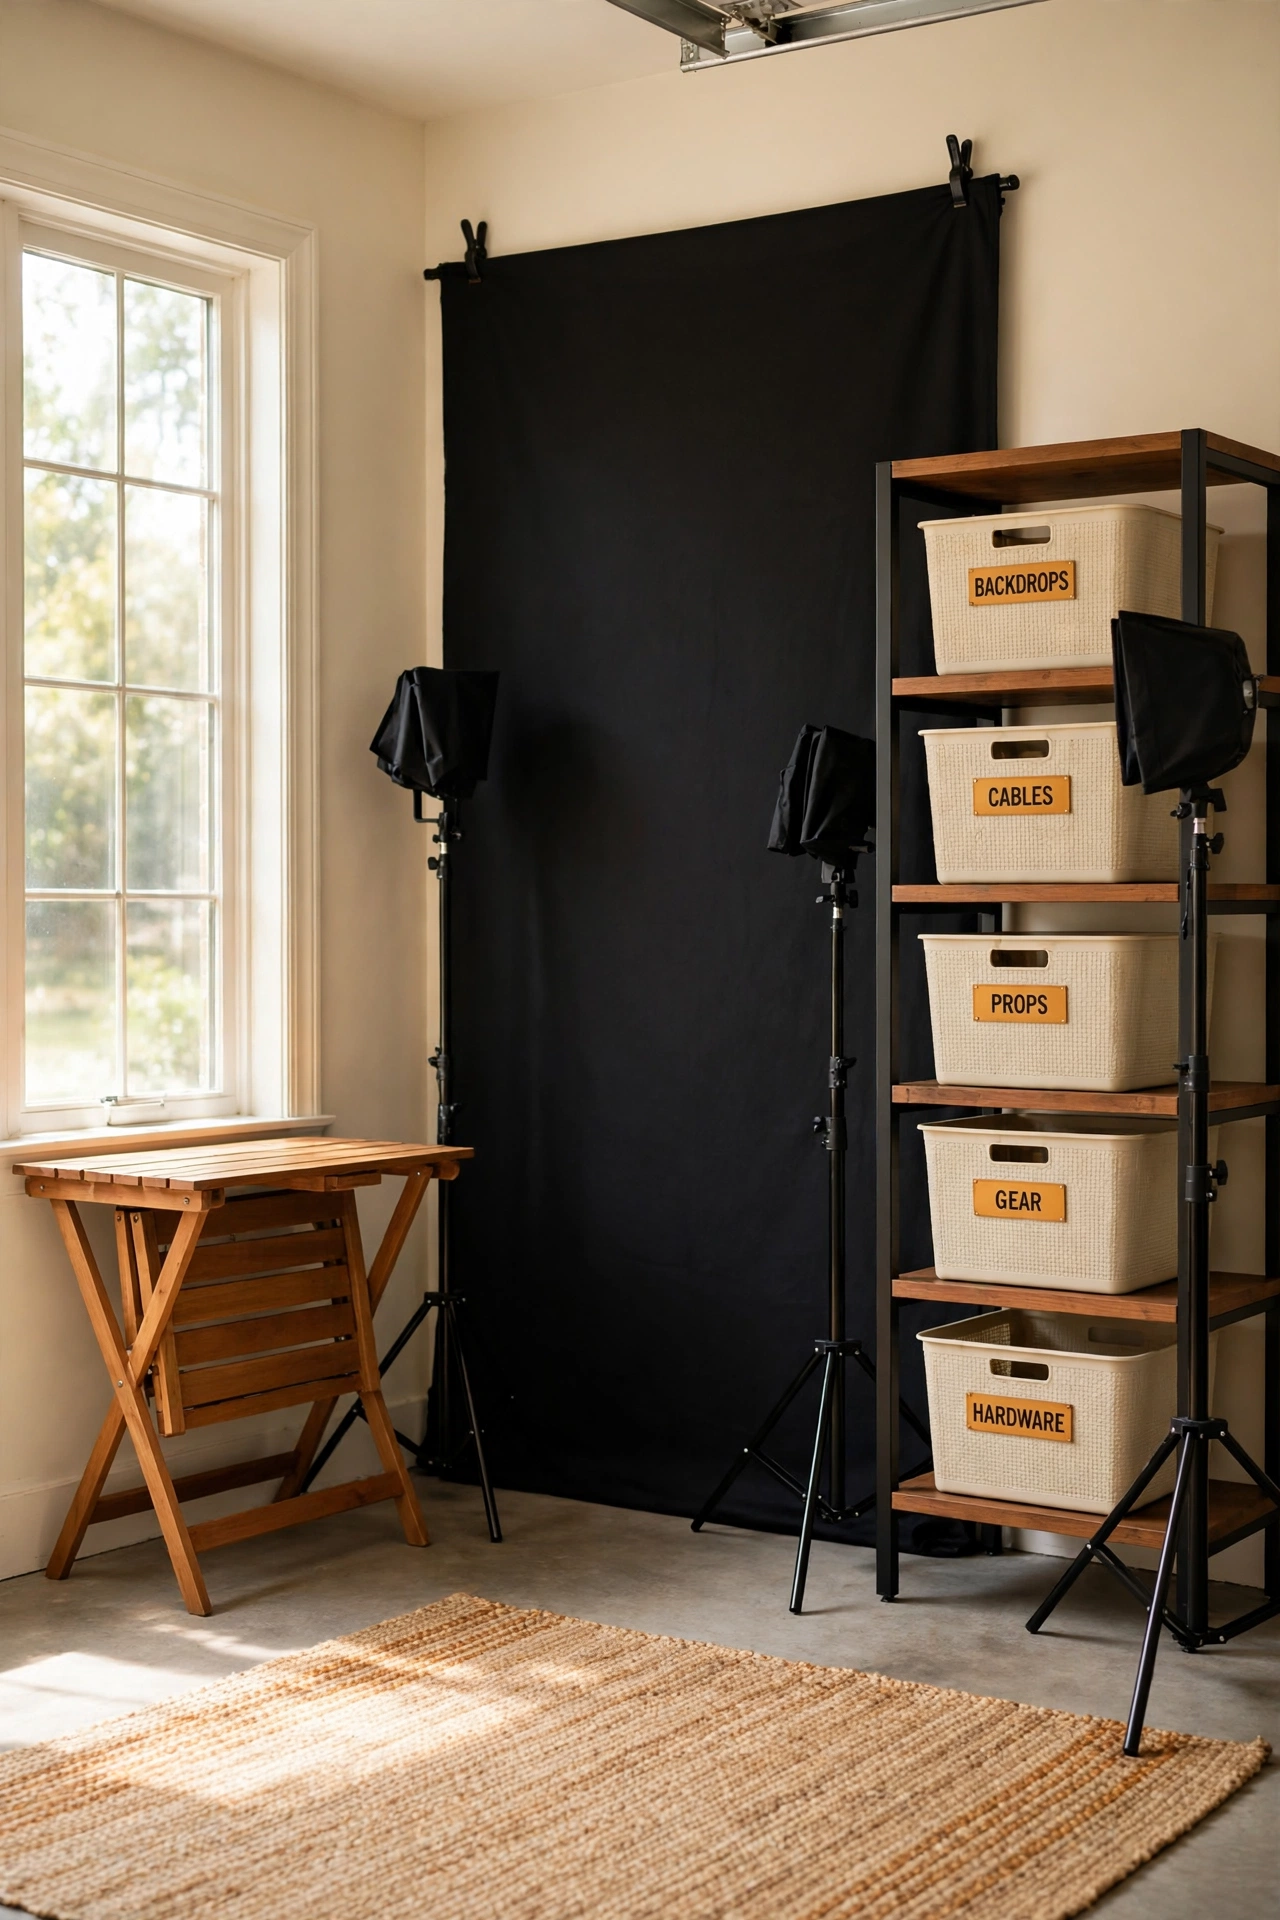
A garage corner offers more space than most spare rooms, and a simple zone setup makes it shoot ready. Sweep the floor clean, lay down a rug or foam mats, and hang a dark backdrop on one wall for dramatic portraits and product shots. Two light stands and a folding table complete the working area.
Use sturdy shelves along the wall for storage bins, props, and backup gear. A portable heater or fan keeps the space comfortable through the seasons. The garage gives you room to step back for full-length shots, which is hard to do in a small bedroom studio.
14. Create a White Curved Backdrop Corner
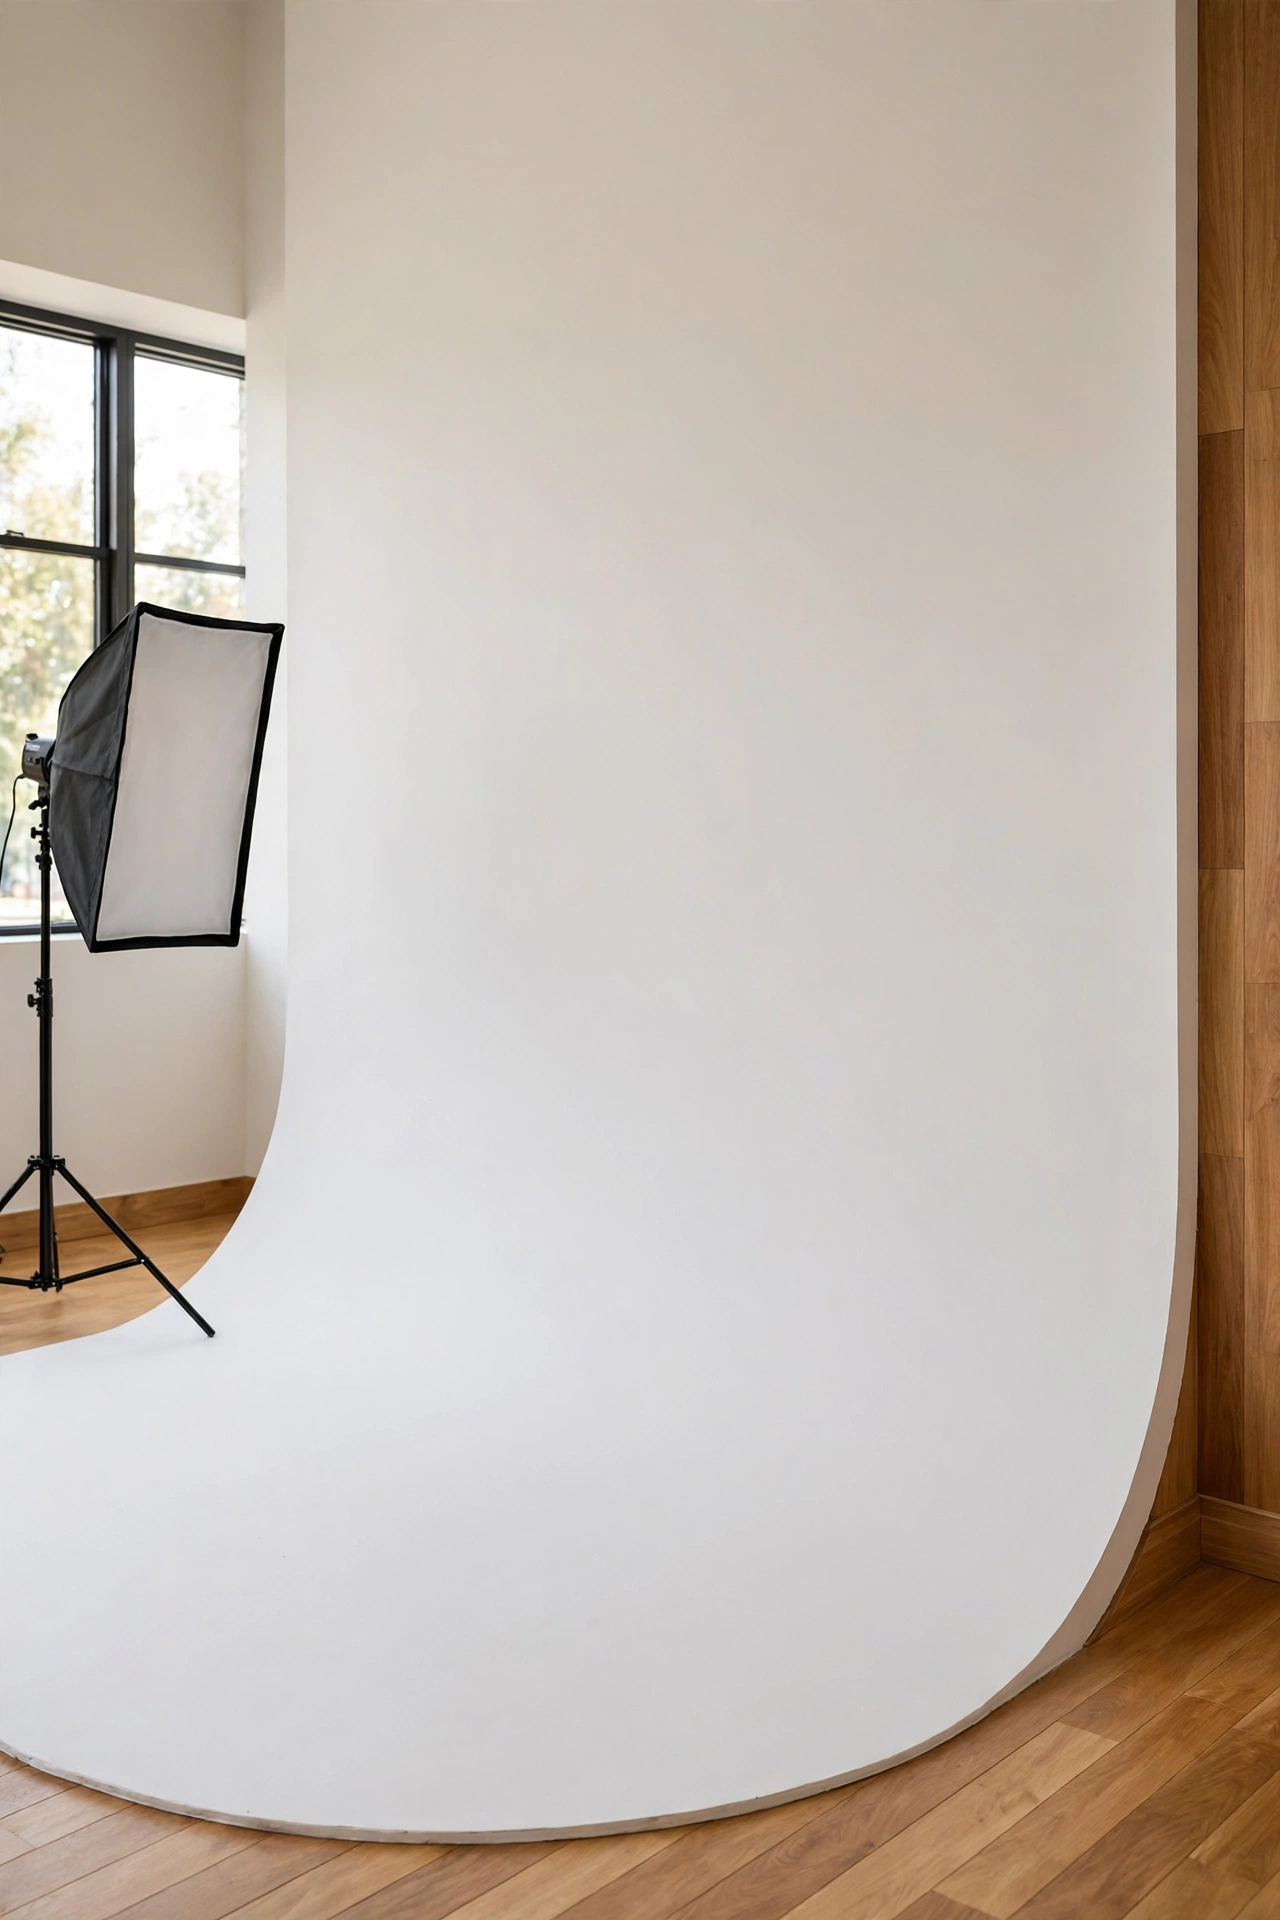
A curved backdrop corner, often called a cyclorama wall, removes the hard line where the wall meets the floor and creates a floating, endless white background. You can build a small version with curved plywood or flexible paneling in one corner of the room. Paint it matte white and light it evenly for a seamless look.
This corner is ideal for fashion shoots, product videos, and clean commercial work. It needs a little more floor space than a paper roll, but the result looks polished and high end. Keep the curve clean and touch up the paint between shoots so the white stays bright.
15. Arrange a Corner Backdrop With Curtain Tracks
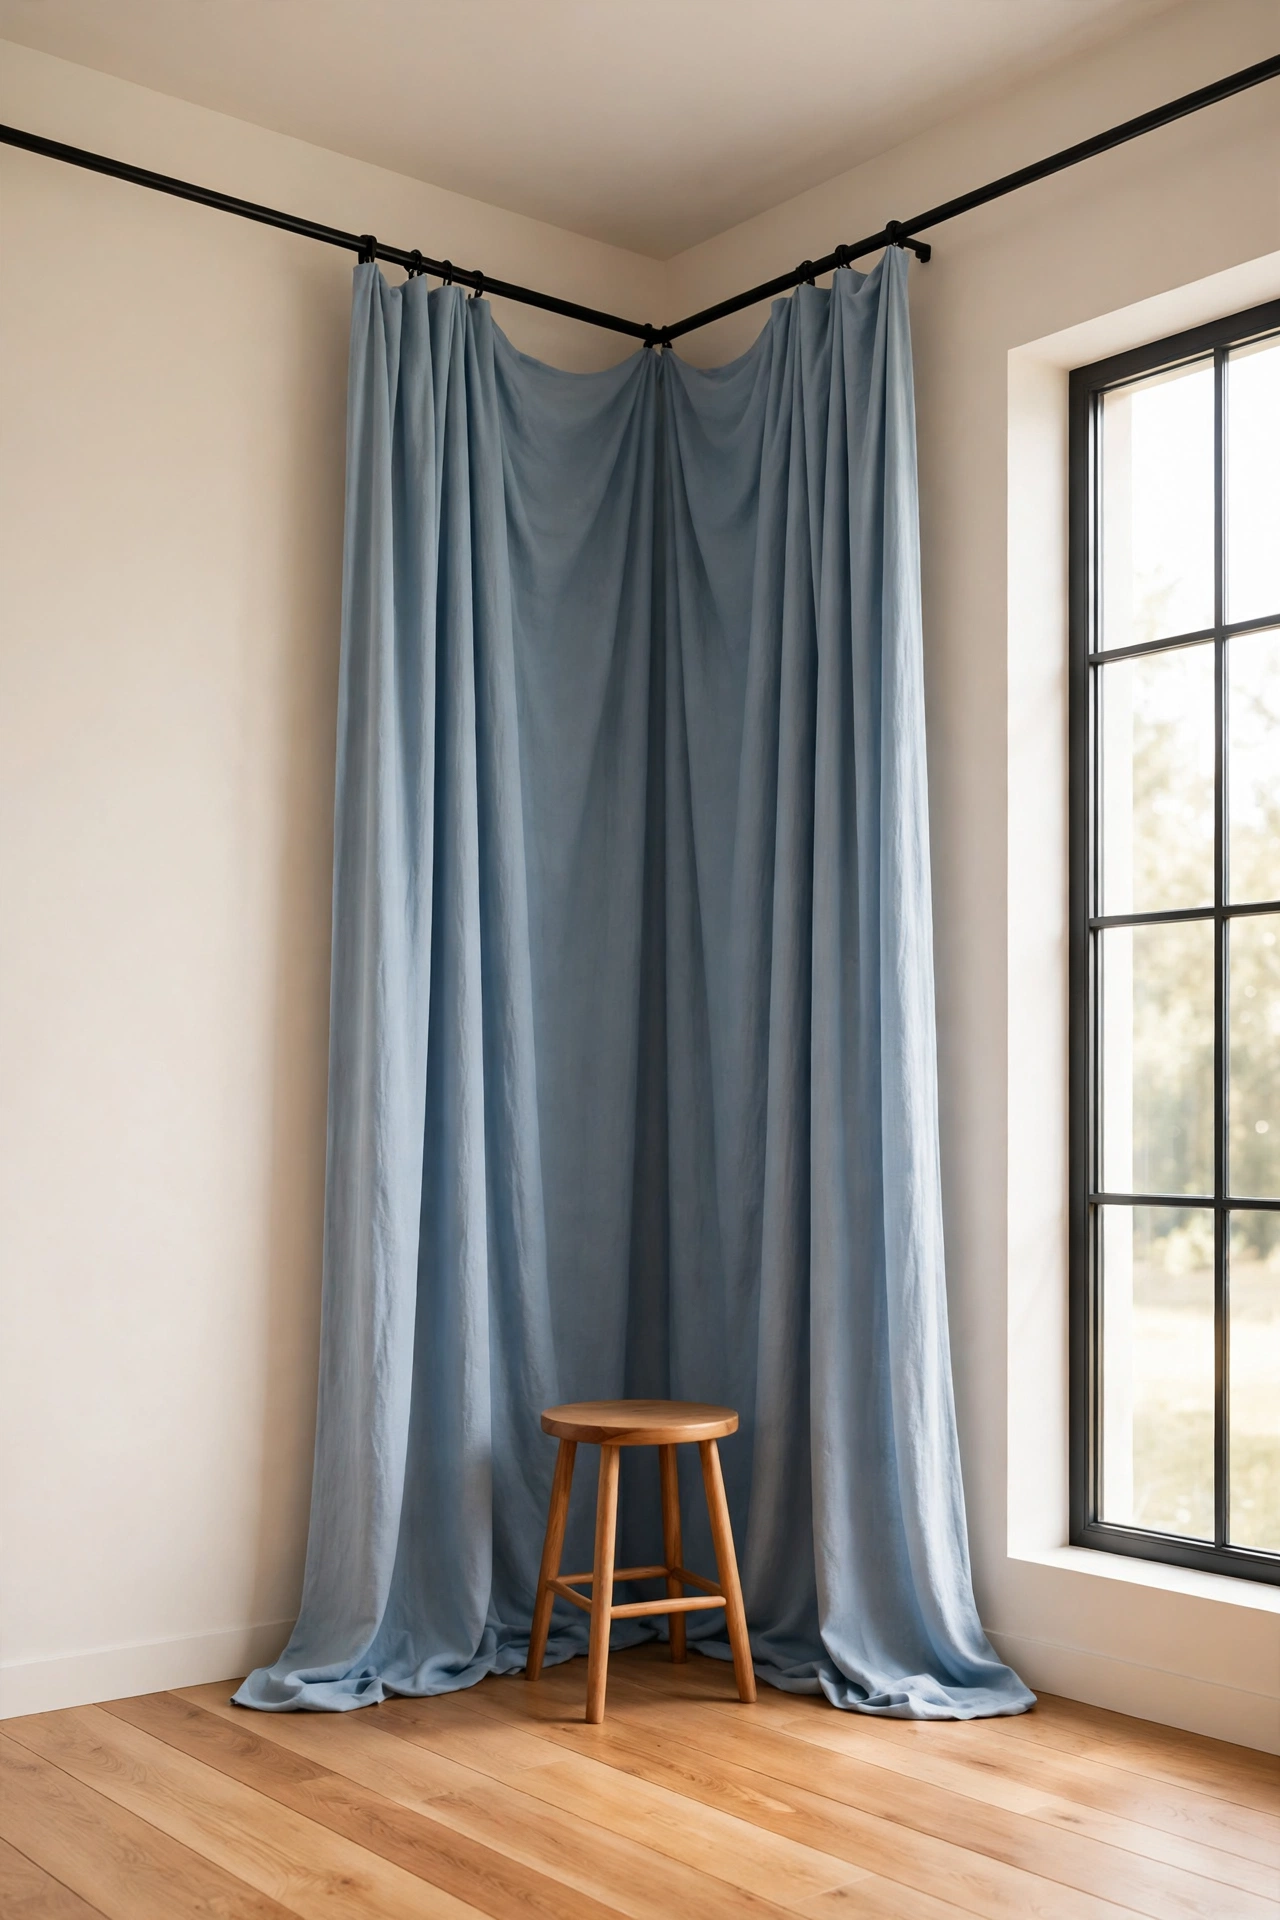
Ceiling curtain tracks let you hang fabric backdrops that glide open and closed like curtains. Mount an L-shaped track in one corner and hang soft blue, cream, or gray fabric panels from it. Pull the fabric closed for a soft draped background, or open it to reveal the wall behind.
Fabric backdrops add texture and movement that paper cannot match, and they fold away neatly when you need the room back. Steam the fabric before each shoot to remove creases. This layout suits portrait and lifestyle photographers who want a softer, more romantic background.
16. Set Up a Tethered Shooting Desk Station
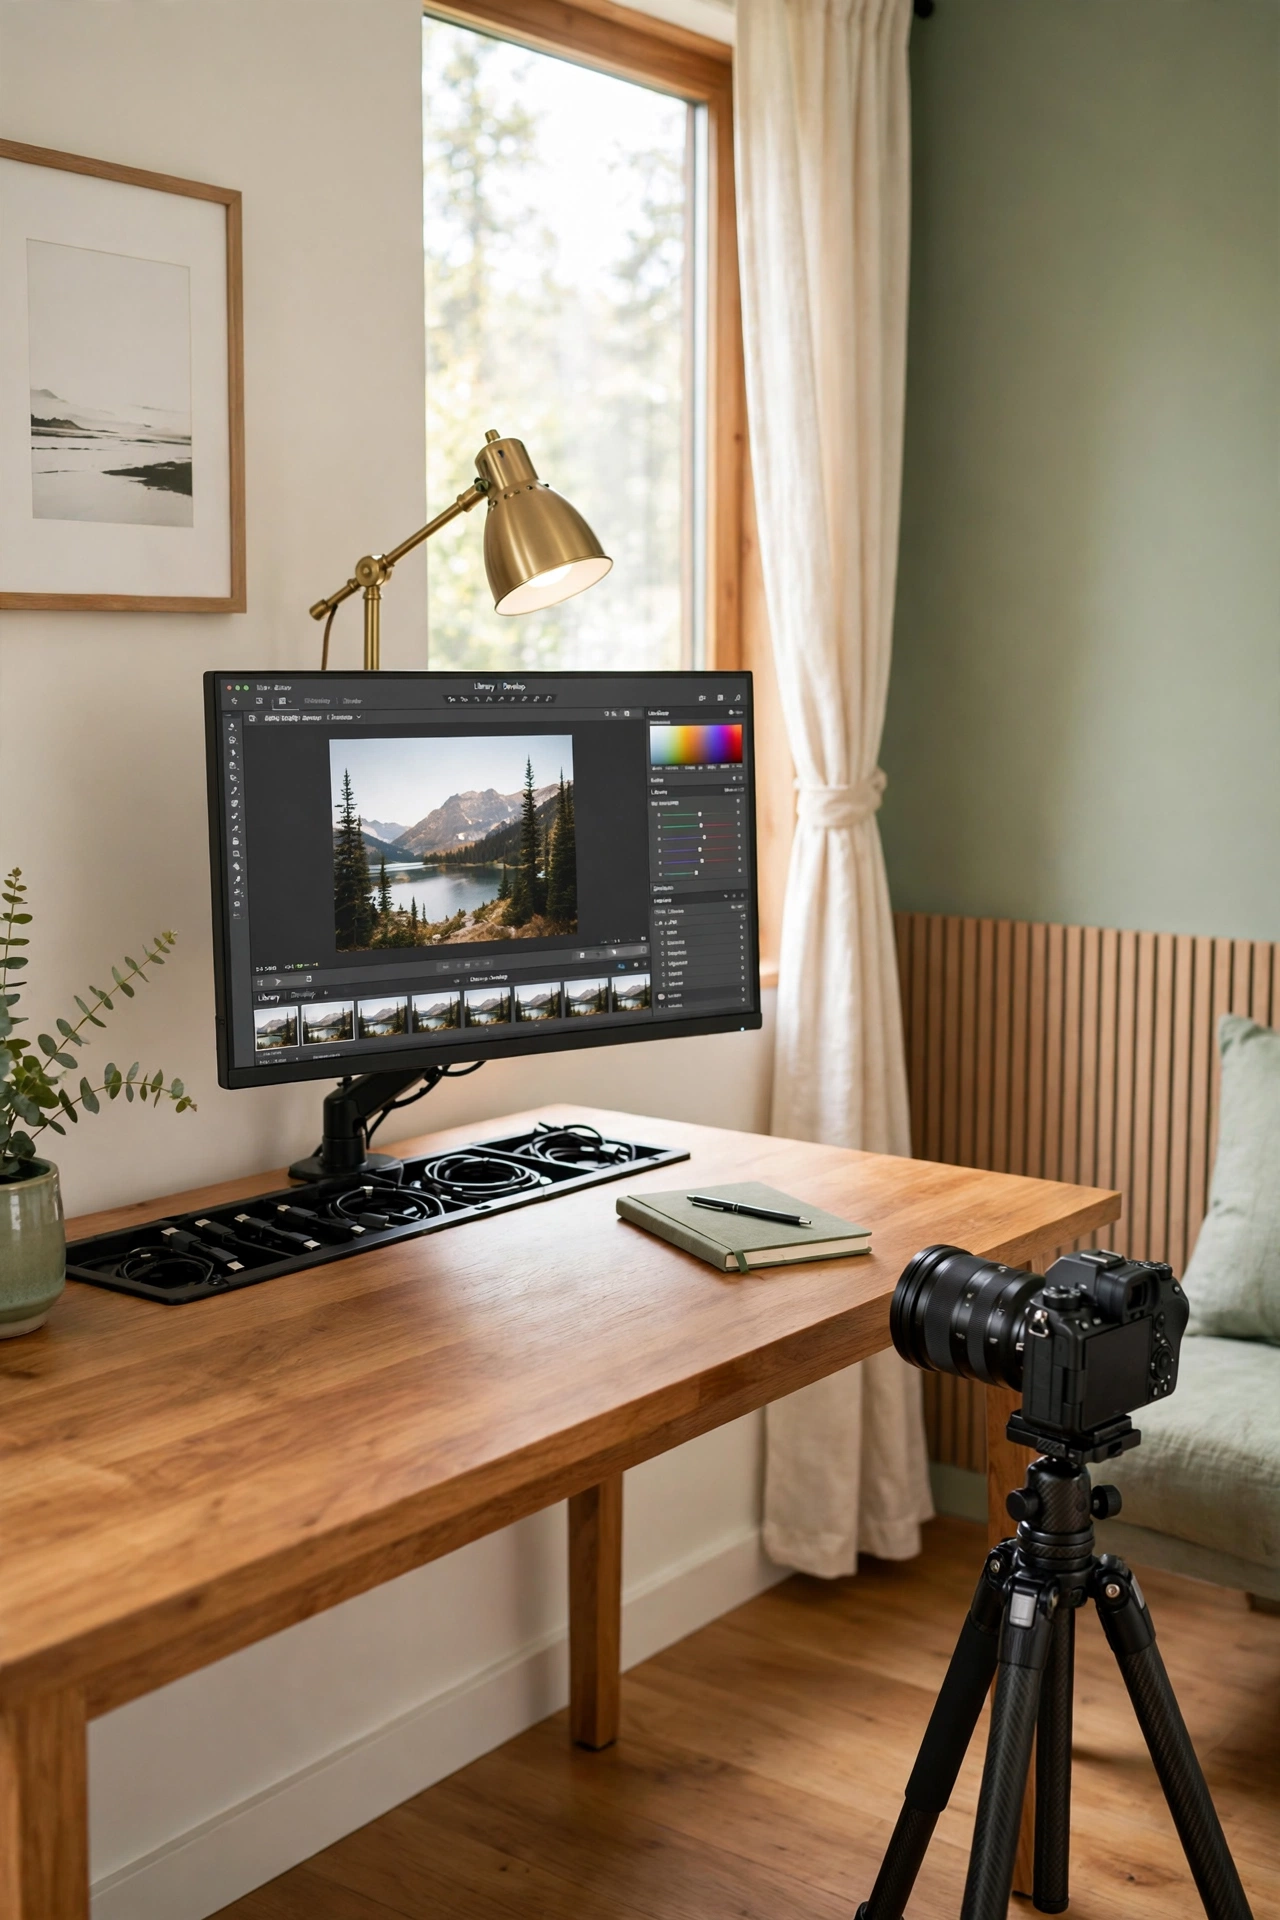
Tethered shooting connects your camera to a computer so you can see each photo large on screen the moment you take it. Set up a desk near your shooting area with a monitor, a laptop stand, and a cable tray to keep cords tidy. A tripod beside the desk holds your camera at the right height.
Good desk organization matters here, because loose cables slow you down and create trip hazards. These computer desk organization ideas will help you keep cords, drives, and memory cards in order. With a tidy tethered station, you can check focus and exposure instantly and fix problems before the shoot moves on.
17. Build a Prop Wall With Open Shelving
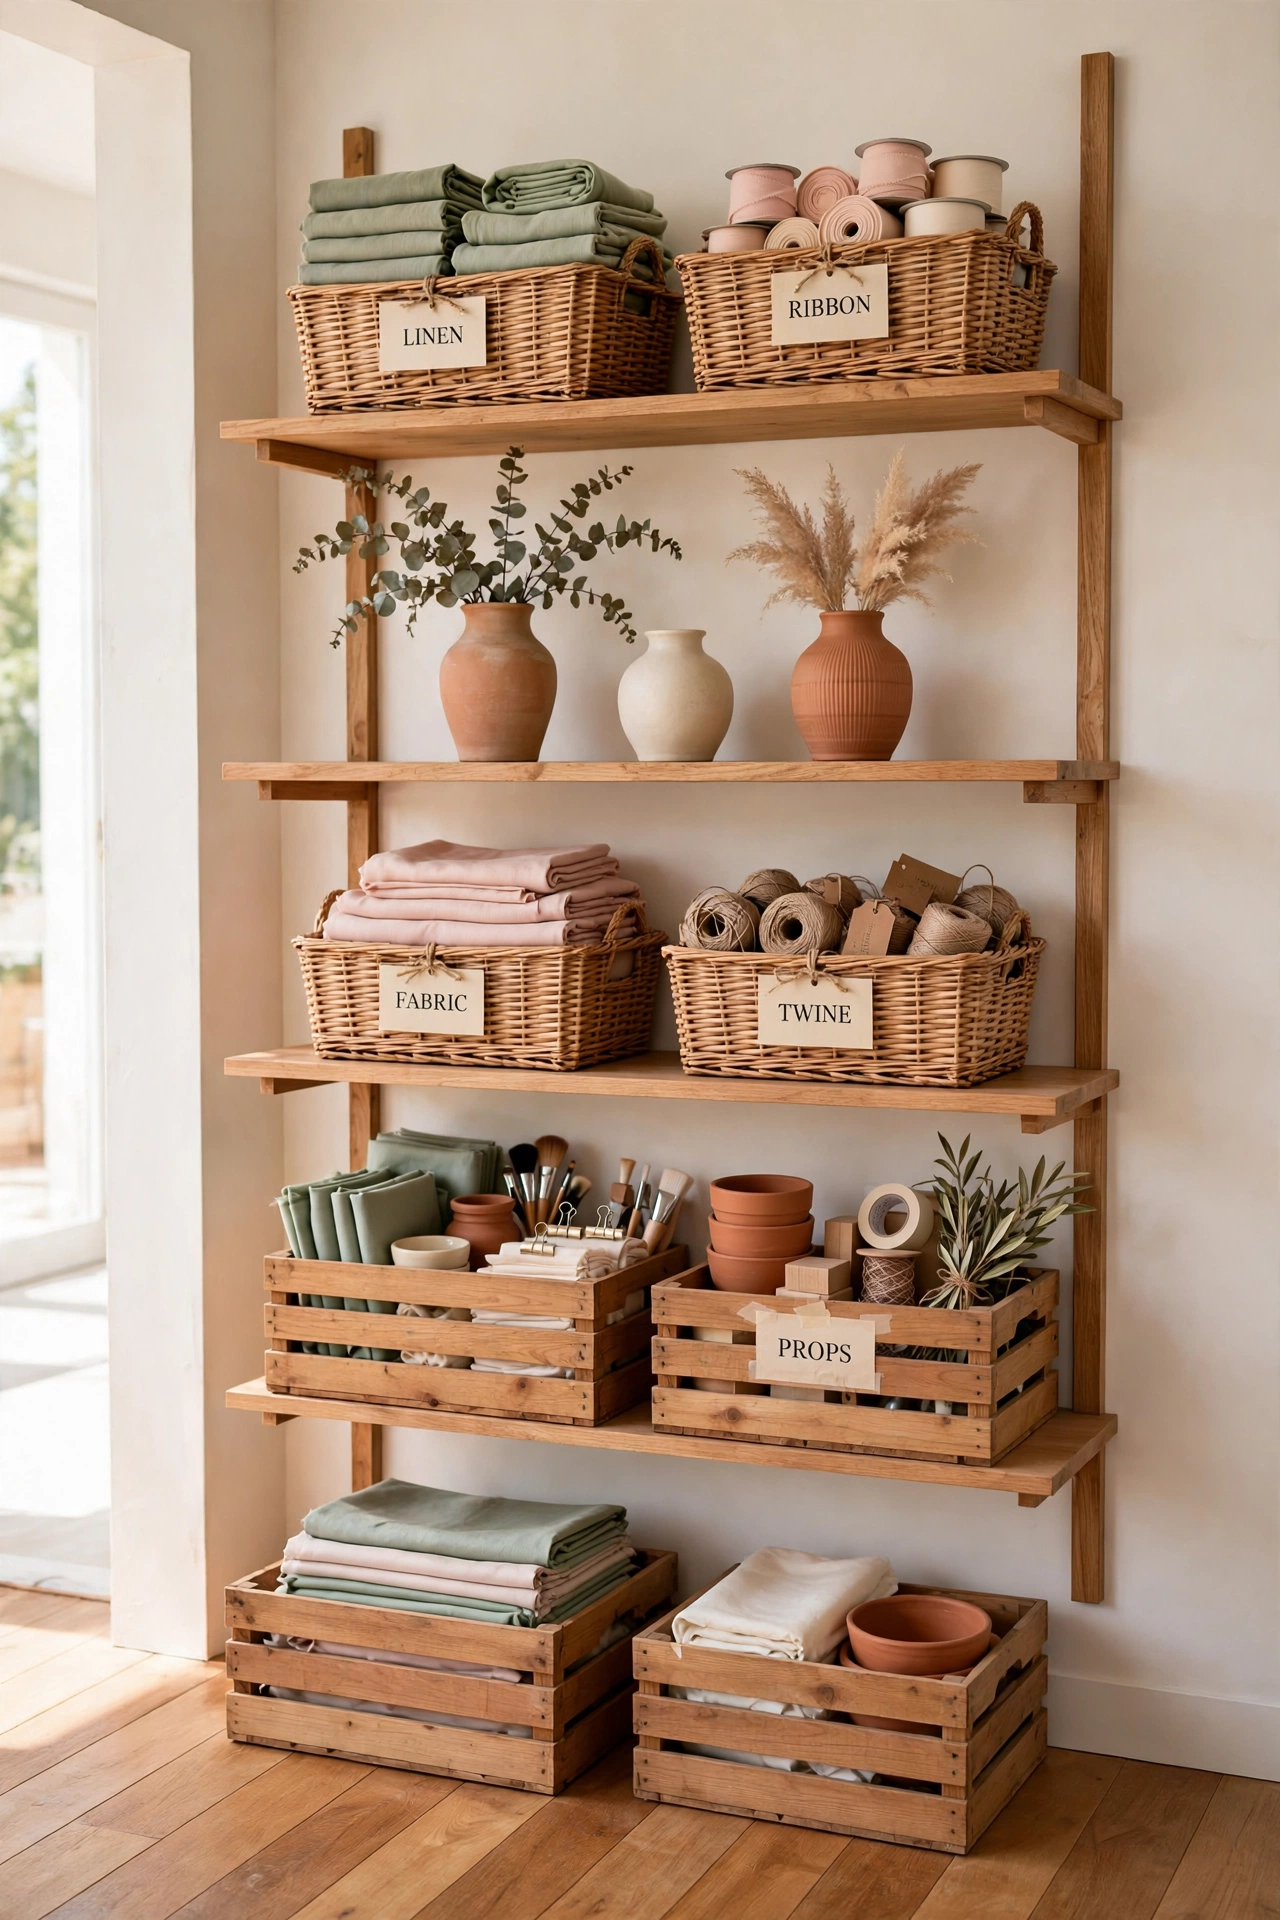
Props make or break styled shoots, and an open shelving wall keeps them visible, organized, and easy to grab. Arrange baskets, ceramic vases, folded fabric backdrops, and wooden crates on sturdy shelves along one wall. Label each basket so you can find ribbons, stands, and small objects in seconds.
Group props by color or theme so you can pull a full styling kit for one shoot at a time. This kind of creative storage borrows smart ideas from craft spaces, and these small craft room layout ideas show how open shelving can hold a lot without looking messy. A tidy prop wall also doubles as an inspiring backdrop for behind the scenes content.
18. Design a Color Backdrop Library on One Wall
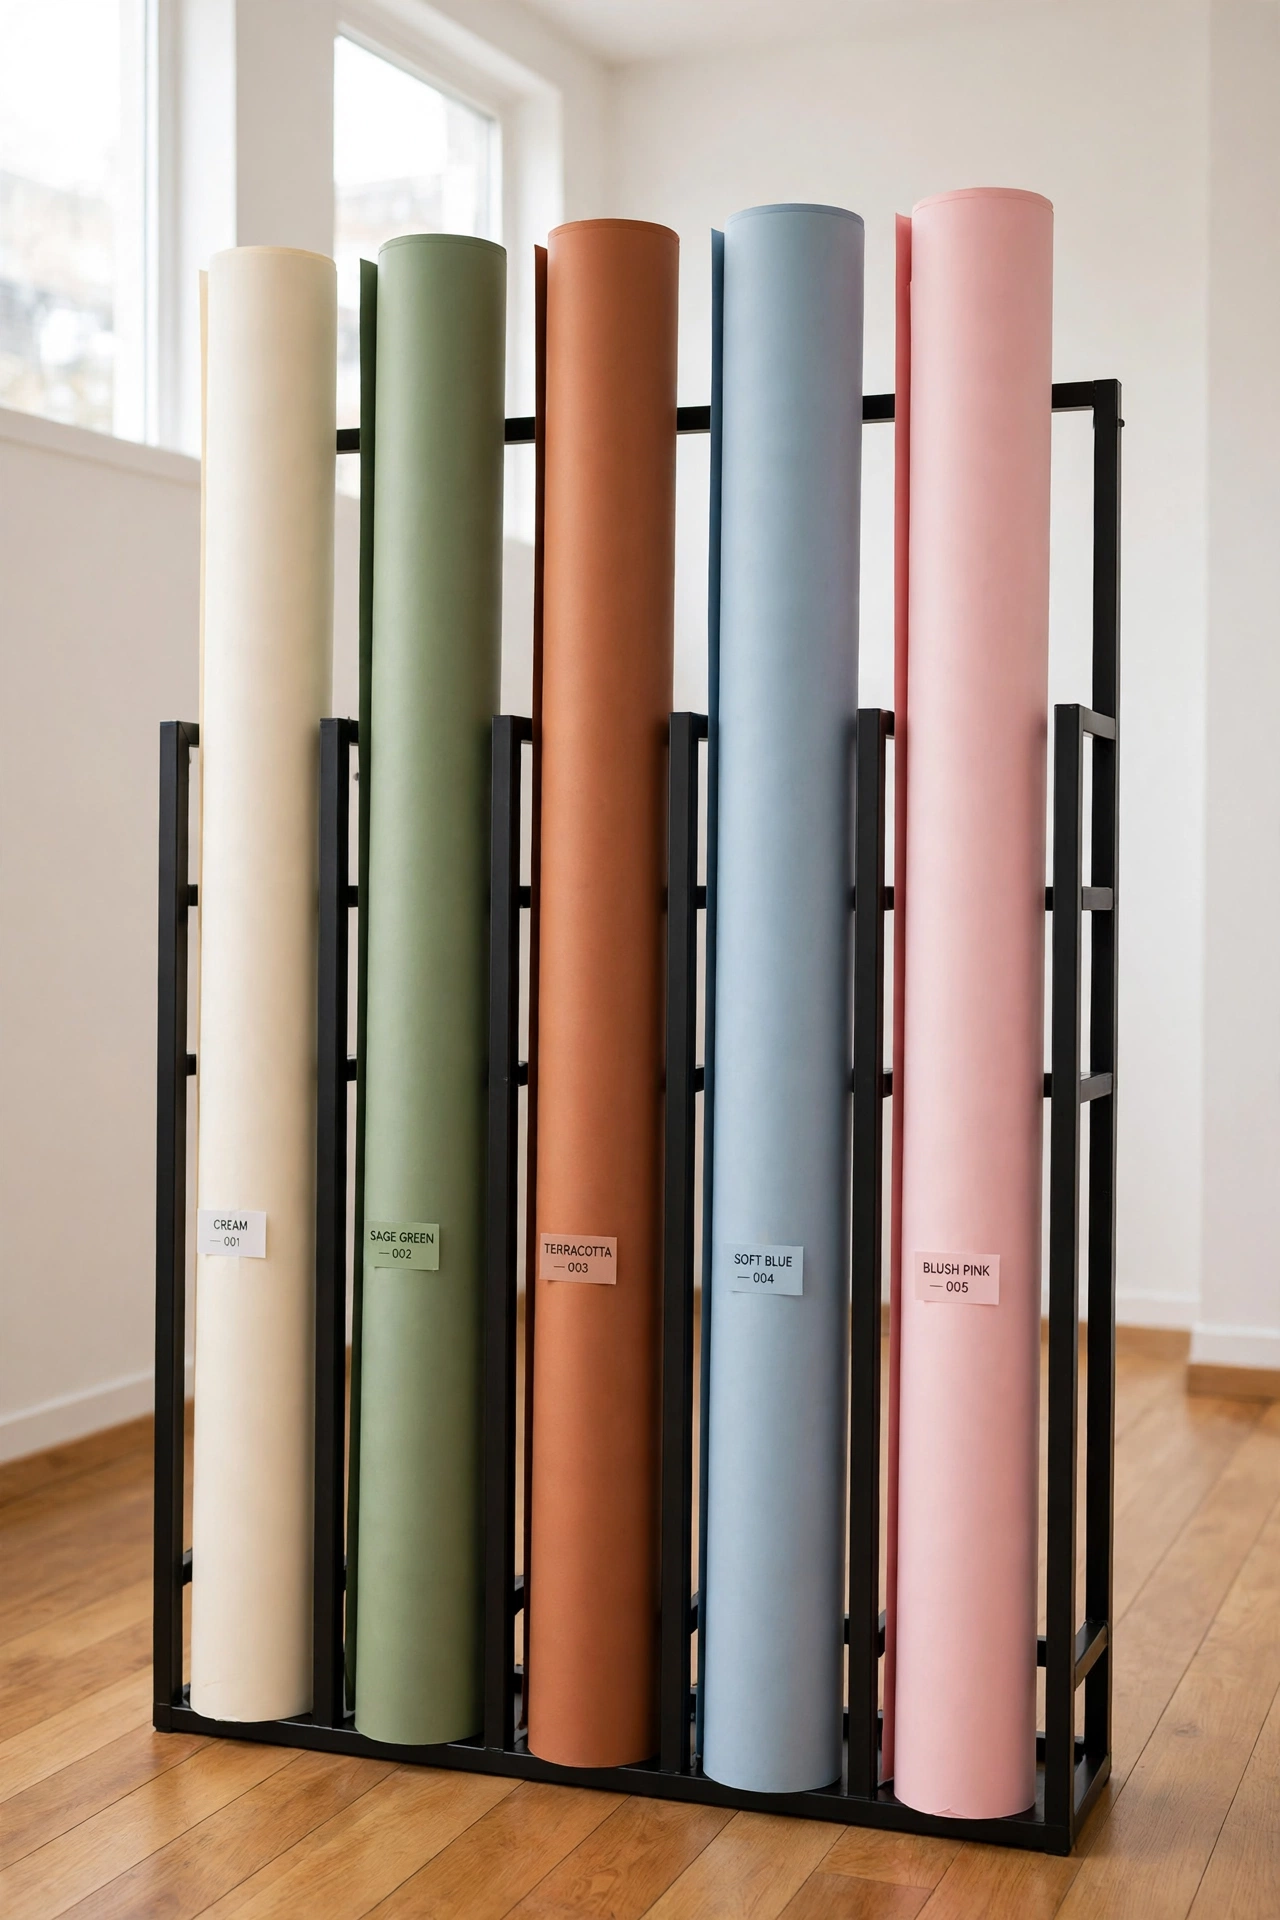
A backdrop library stores rolled or folded backdrops in every color you own, organized like books on a shelf. Use vertical holders, tall bins, or wall-mounted tubes to keep each roll separate and upright. Arrange the colors in a gradient from cream to sage, terracotta, soft blue, and blush.
Label each holder with the color name and material so you can pick the right backdrop without unrolling three wrong ones. A color library encourages you to experiment, because every option is visible at a glance. Over time you will learn which colors flatter your style and which ones you can retire.
19. Create a Small Food Photography Corner
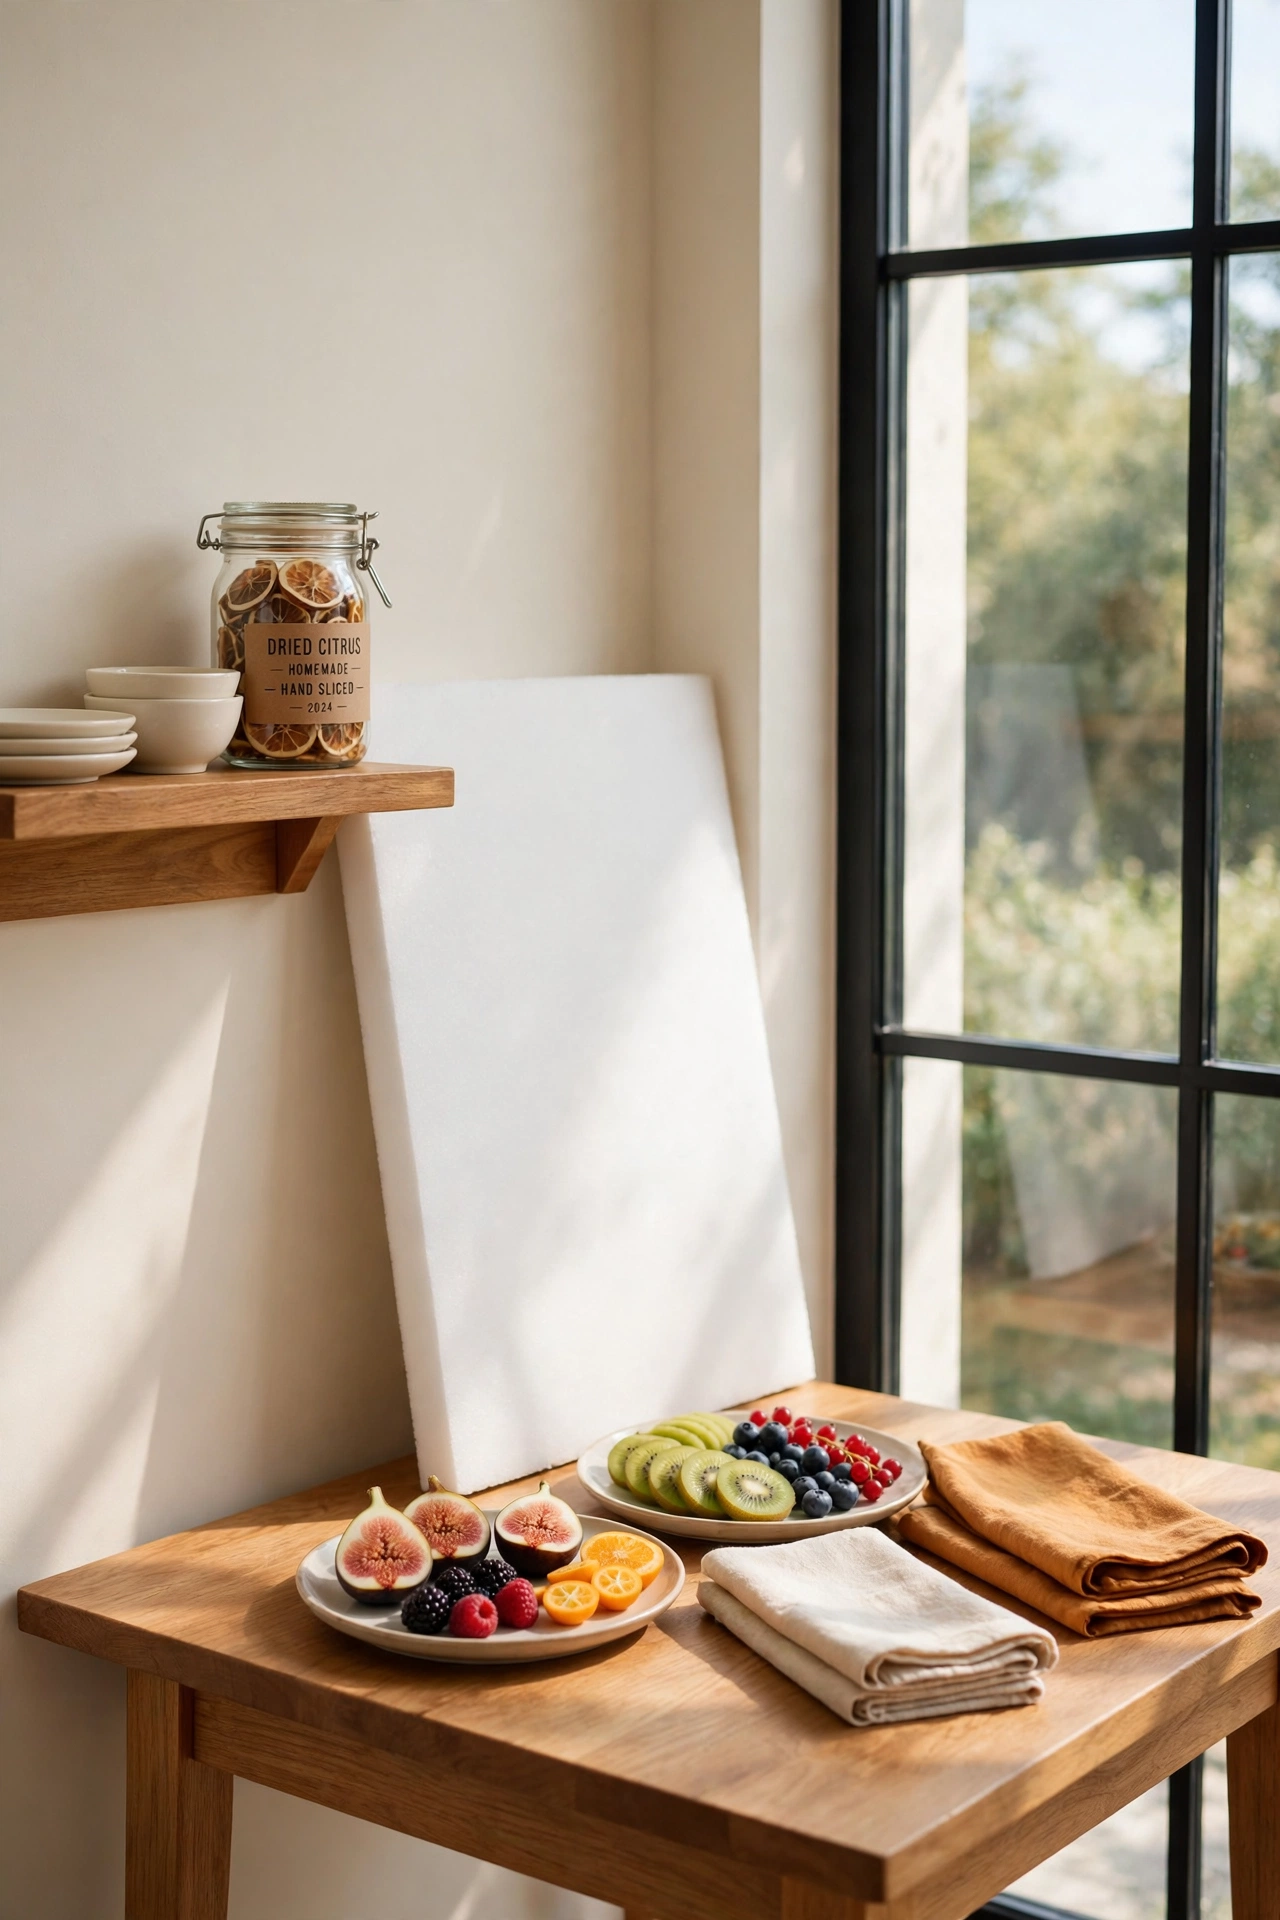
Food photography needs a table, a window, and a styling surface, so a small corner can serve as a complete food studio. Place a wooden table beside a large window and style it with plates, linen napkins, and fresh fruit. A white foam board on the shadow side bounces light back and keeps the food looking fresh.
Keep a small shelf nearby for dishes, cutlery, and garnish bowls so you can style quickly while the food still looks its best. Shoot in natural light whenever possible, because it makes colors look honest and appetizing. A dedicated food corner lets you shoot recipes the moment they leave the kitchen.
20. Set Up a Tripod Zone With Marked Floor Spots
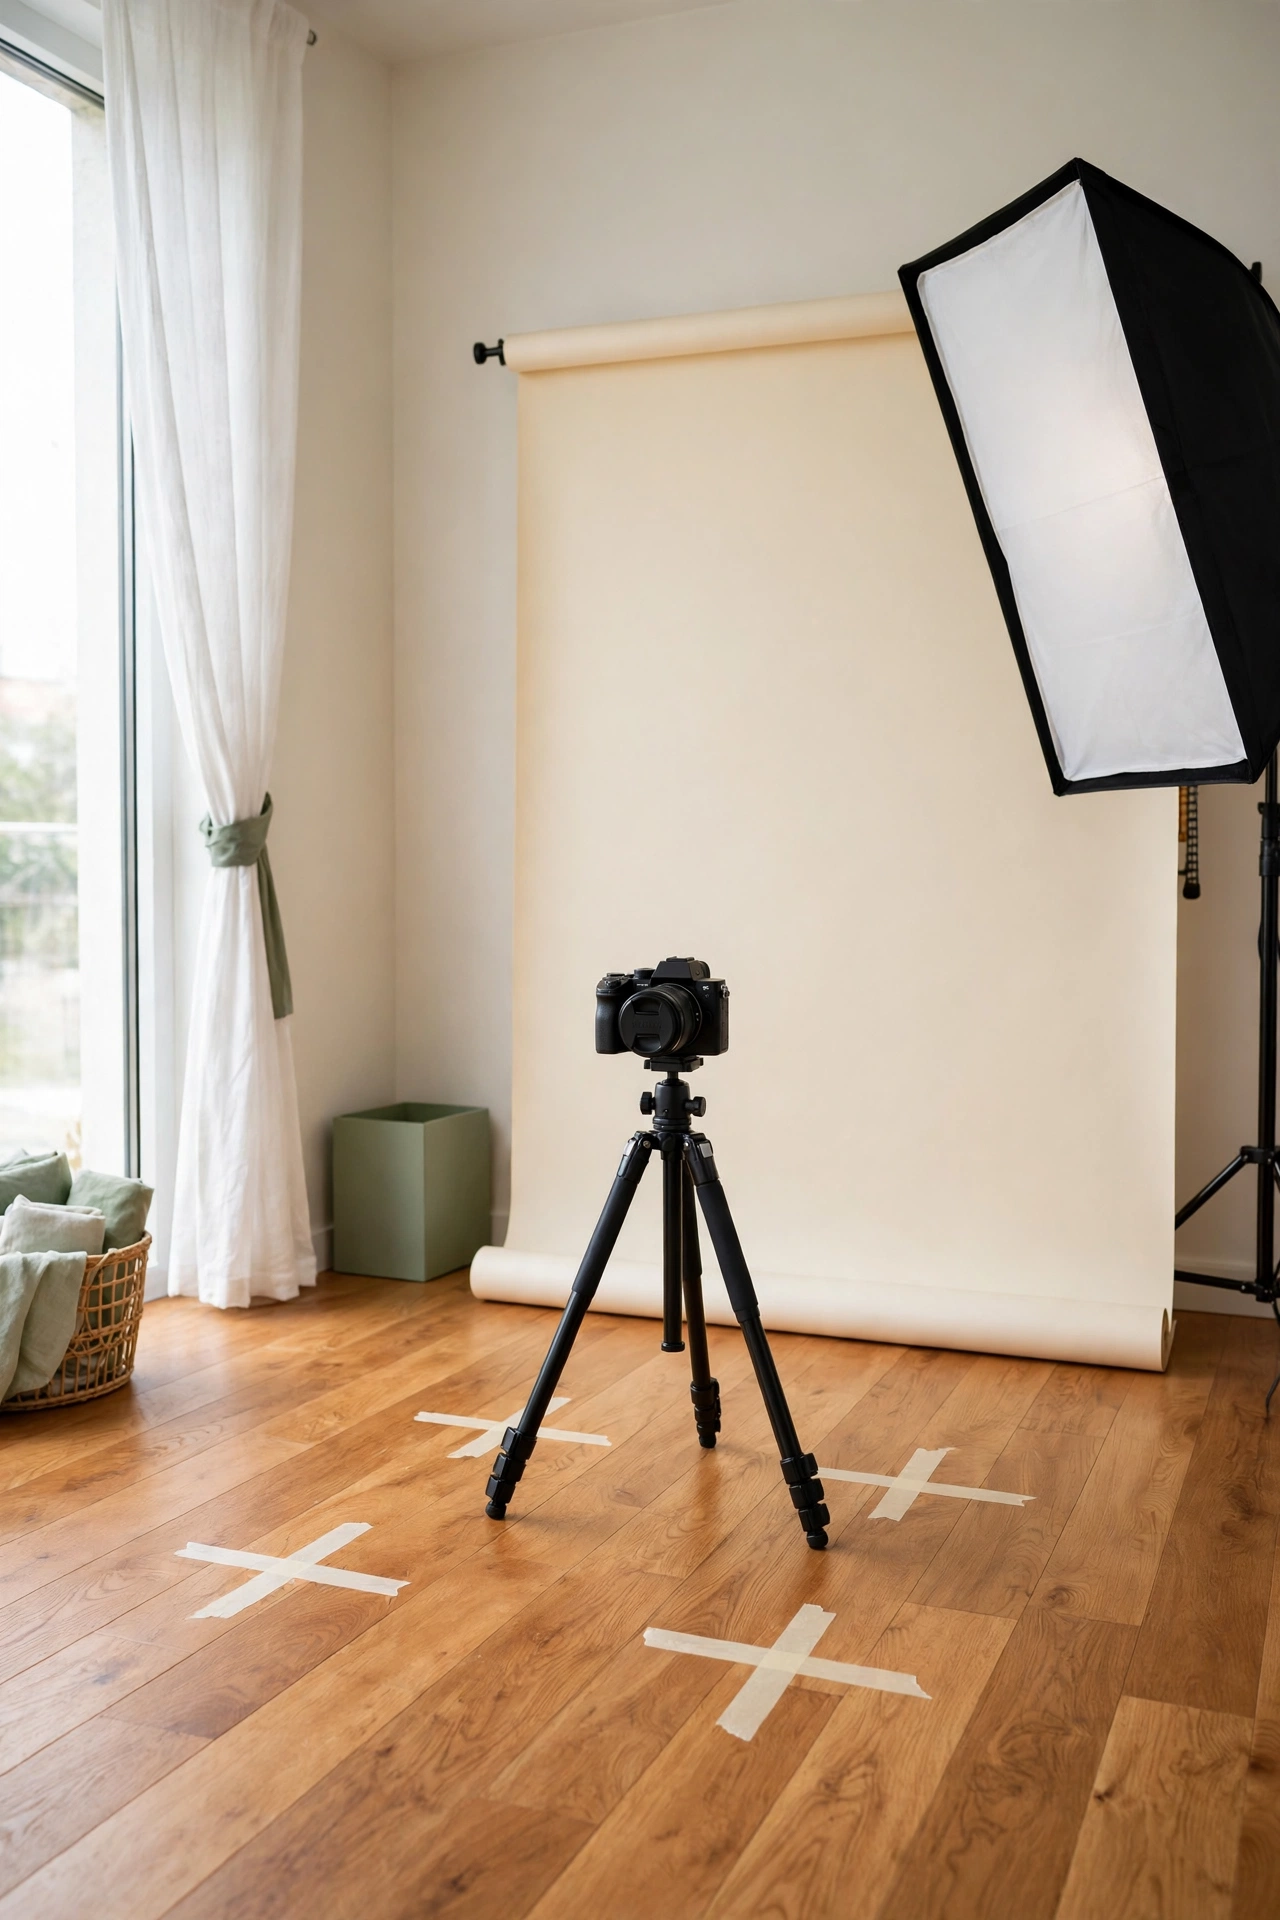
Consistency matters when you shoot the same type of subject again and again, and marked floor spots make your setup repeatable. Place small tape marks on the floor for your tripod legs, your light stands, and your subject position. Each shoot starts from the same layout, so your results stay uniform.
This zone works well for headshots, product series, and stop motion work where the camera must not move between frames. Keep the floor clear and the marks visible, and note your light settings in a small notebook on the wall. Repeatable layouts save setup time and build a recognizable style.
21. Turn a Sunroom Into a Bright Day Studio
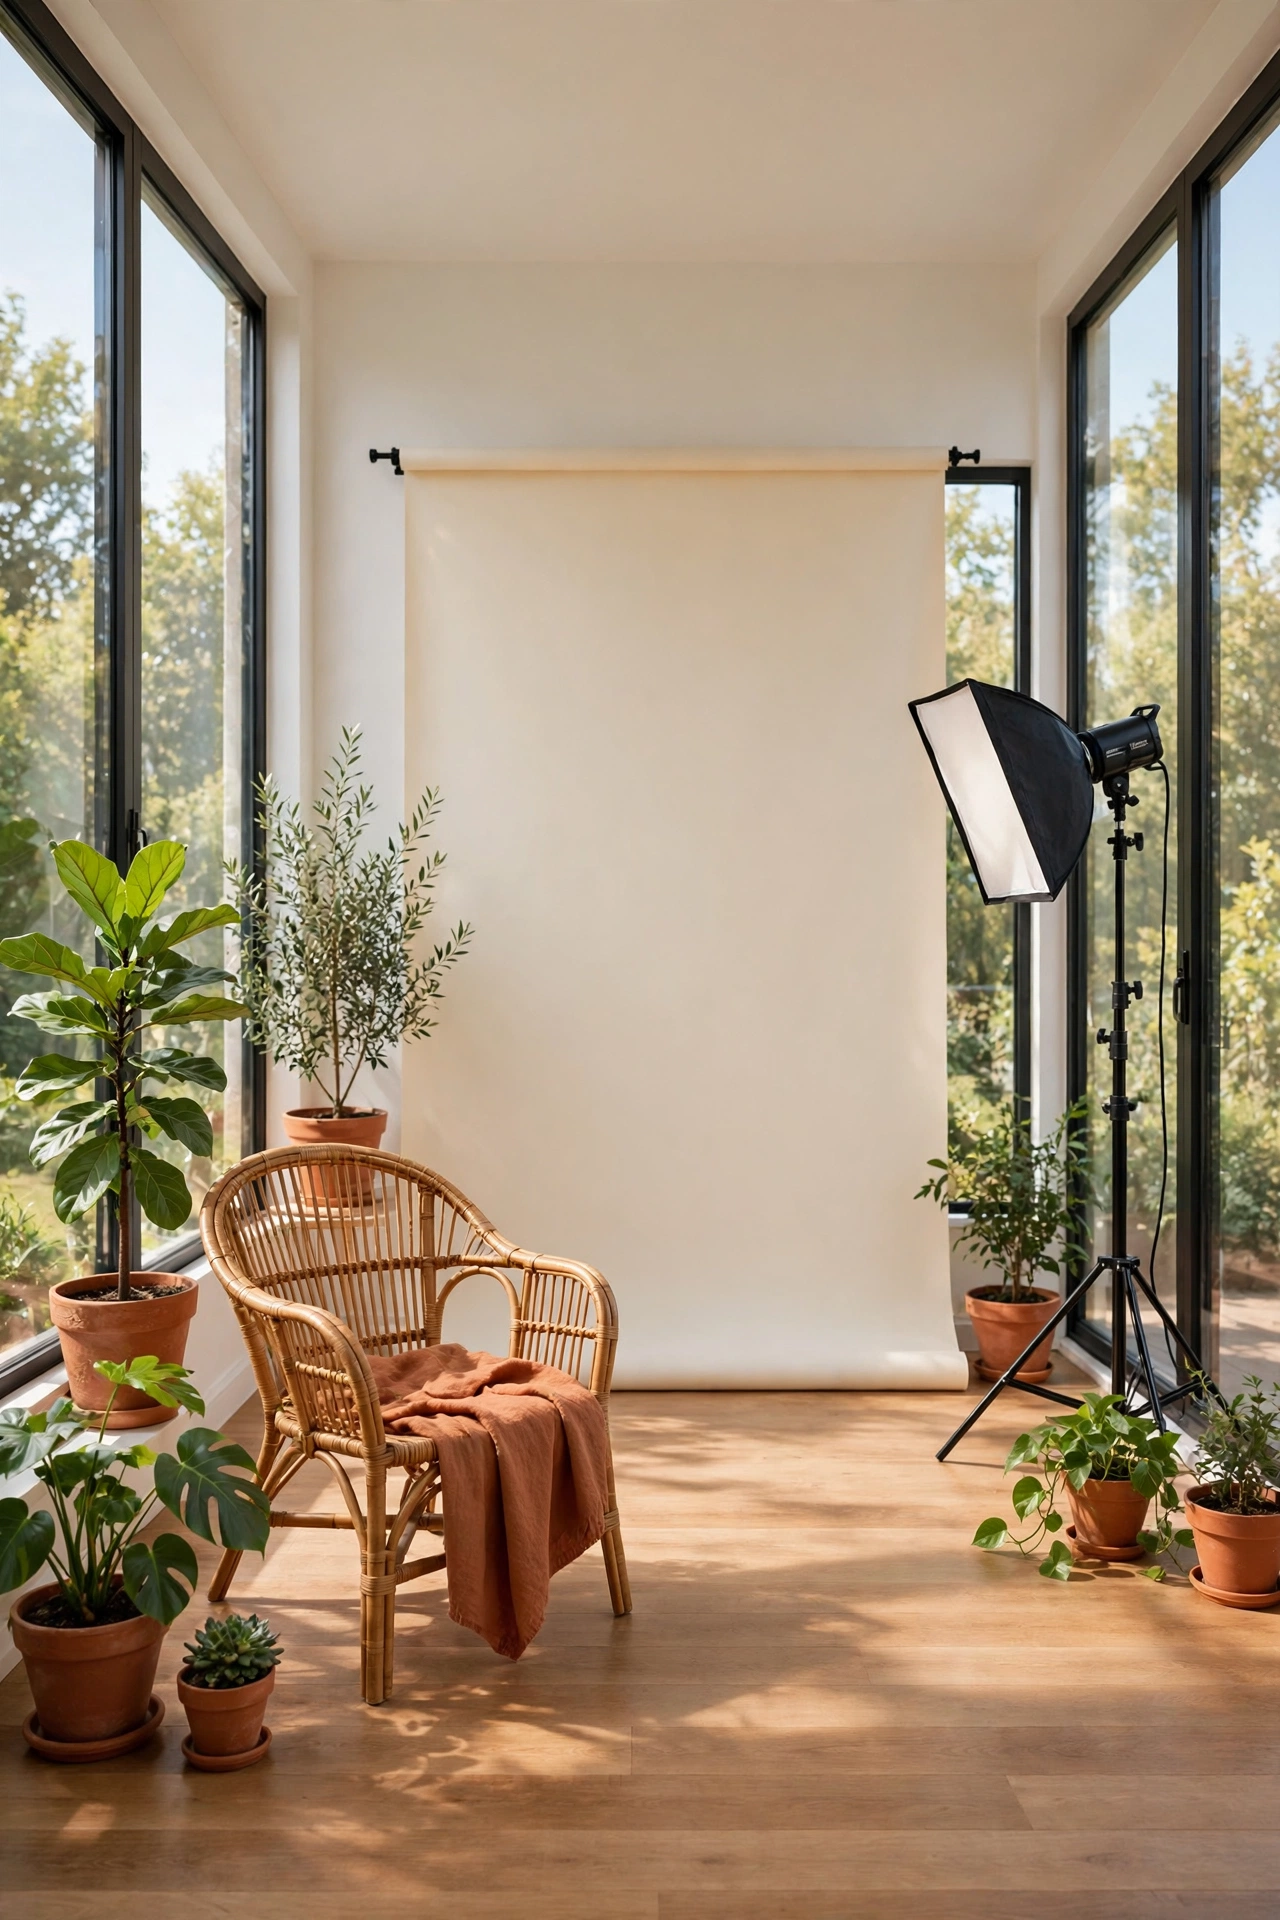
A sunroom is a ready-made studio, because glass on three sides floods the space with soft natural light. Place a cream backdrop on one wall, add a rattan chair for portraits, and use potted plants to soften the corners. A single light stand fills in shadows on cloudy days.
Watch the light through the day and note the hours when it is softest, usually morning and late afternoon. Sheer curtains or diffuser panels tame harsh midday sun. A sunroom studio feels airy and relaxed, which helps subjects feel comfortable in front of the camera.
22. Build a Fold-Away Studio Cabinet
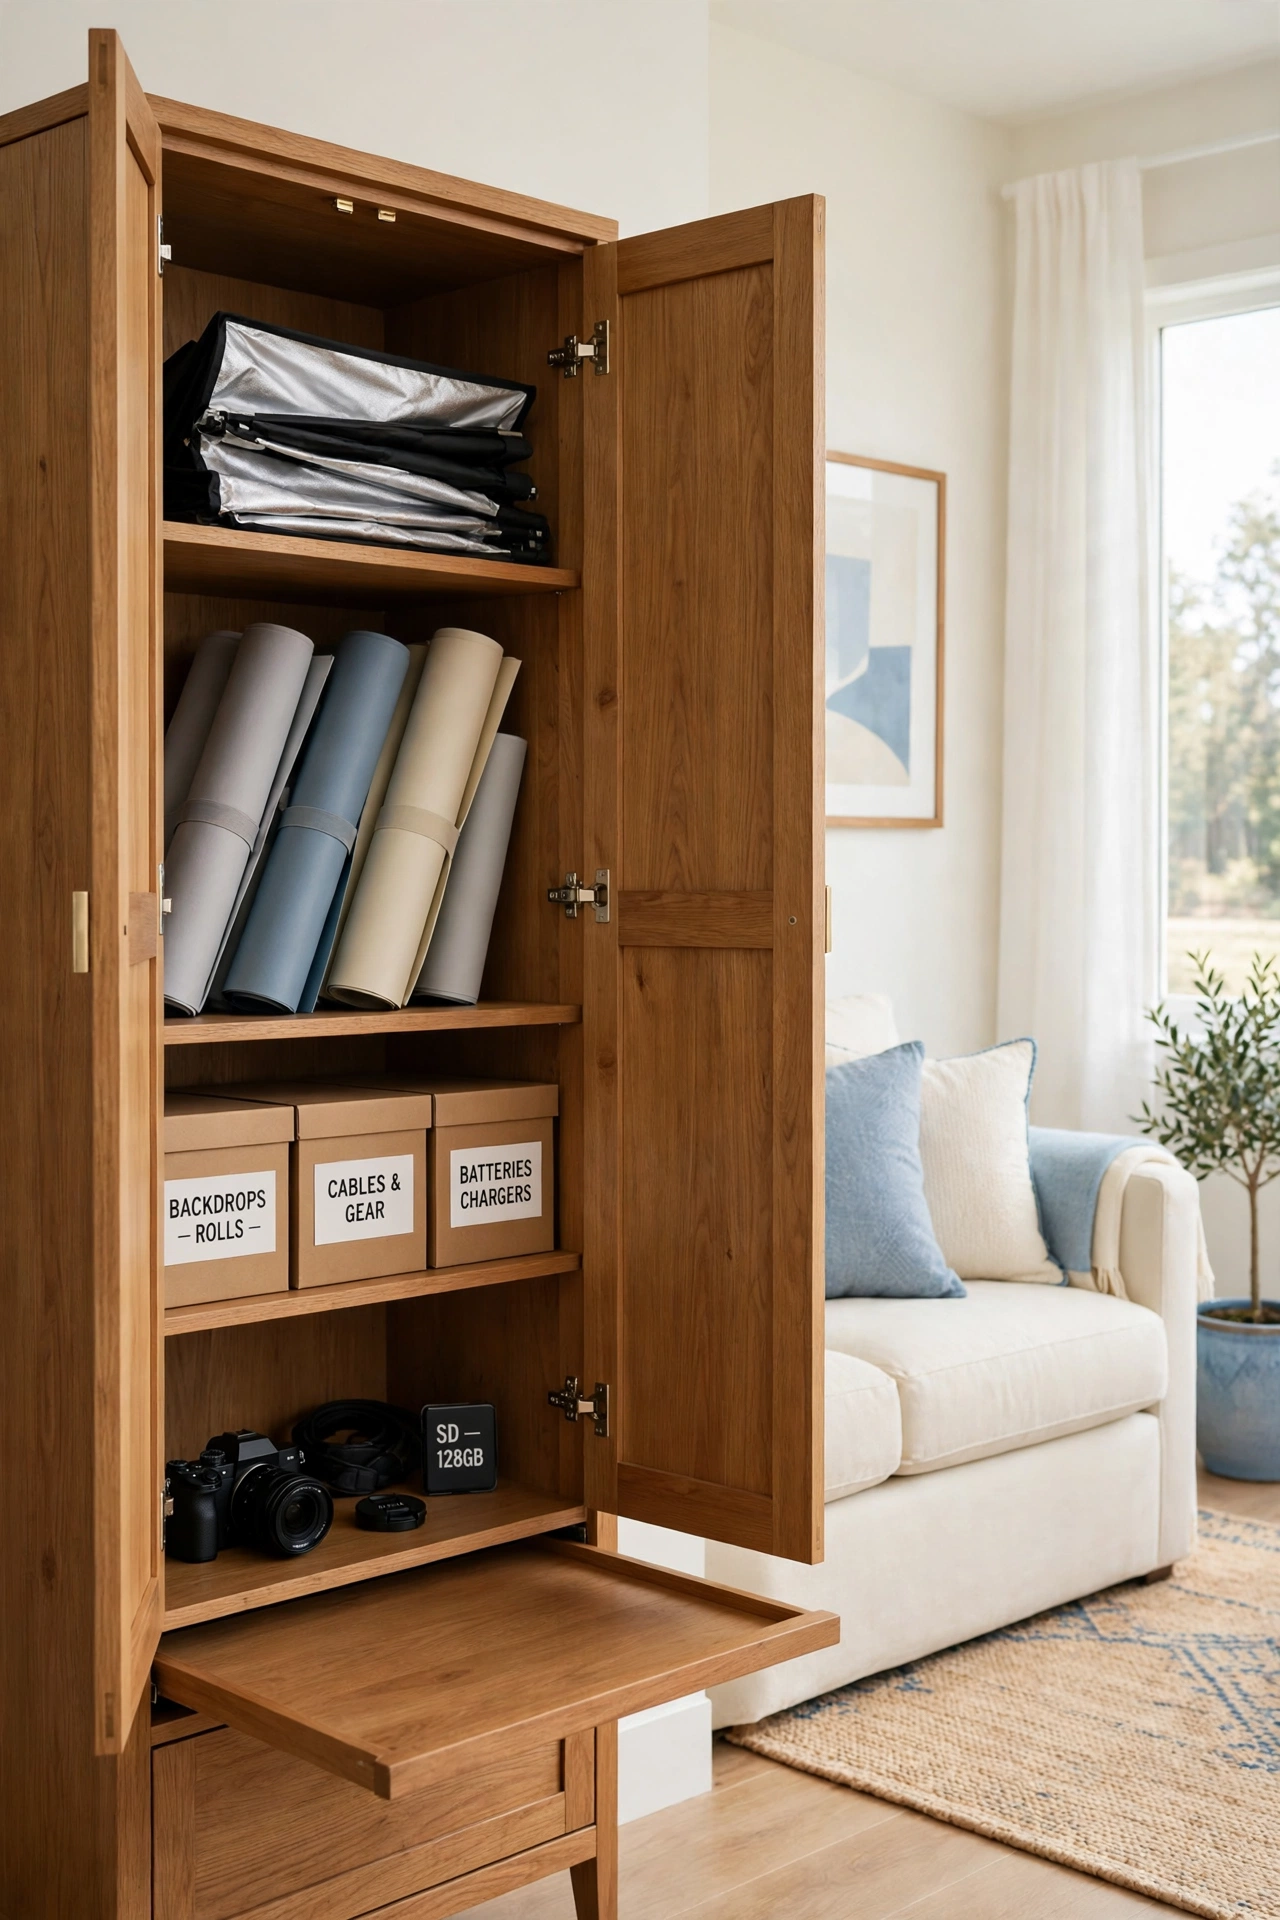
A fold-away cabinet hides your entire studio inside a piece of furniture that looks like an ordinary armoire. Open the doors to reveal shelves for lights, folded backdrops, and camera gear, with a pull-out work surface for small product shoots. Close the doors and the studio vanishes.
This layout is ideal for creators who share their living space with family or roommates. Build or buy a deep cabinet with strong shelves, and add hooks inside the doors for cables and small modifiers. A hidden studio keeps your gear safe, dust free, and always ready to open and use.
23. Create a Two-Zone Studio for Shooting and Editing
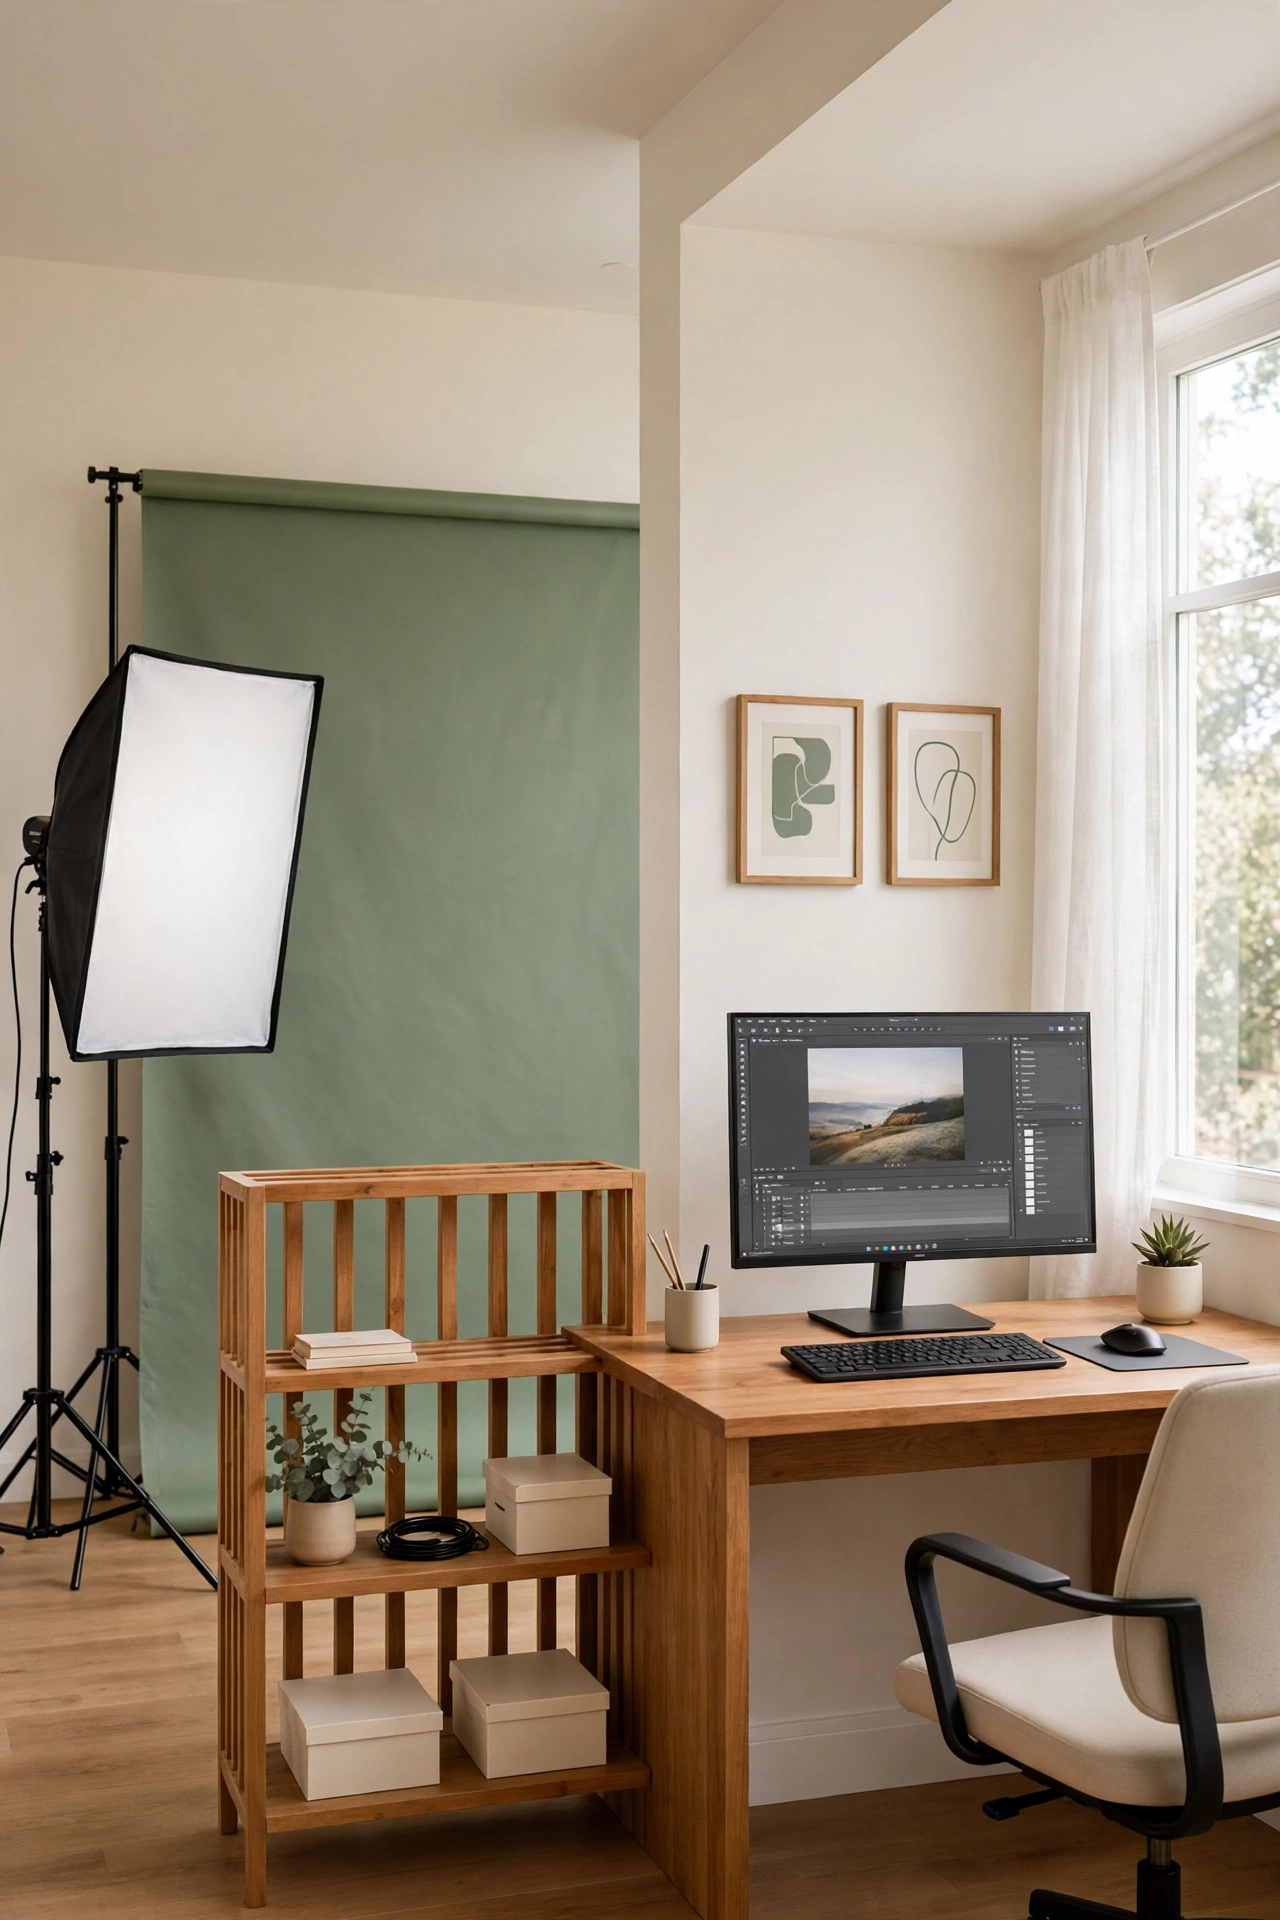
Dividing one room into two zones keeps your creative work organized and your workflow smooth. Put the shooting area with the backdrop and lights on one side of the room, and an editing desk with a monitor and a comfortable chair on the other side. A rug or a low shelf marks the boundary between the zones.
Shoot in the morning, then move to the desk to select and edit in the afternoon without packing anything away. Keep the editing zone free of gear so your mind can switch from shooting mode to editing mode. Two clear zones in one room give a small studio the feel of a professional workspace.
24. Design a Ceiling-Mounted Light Grid
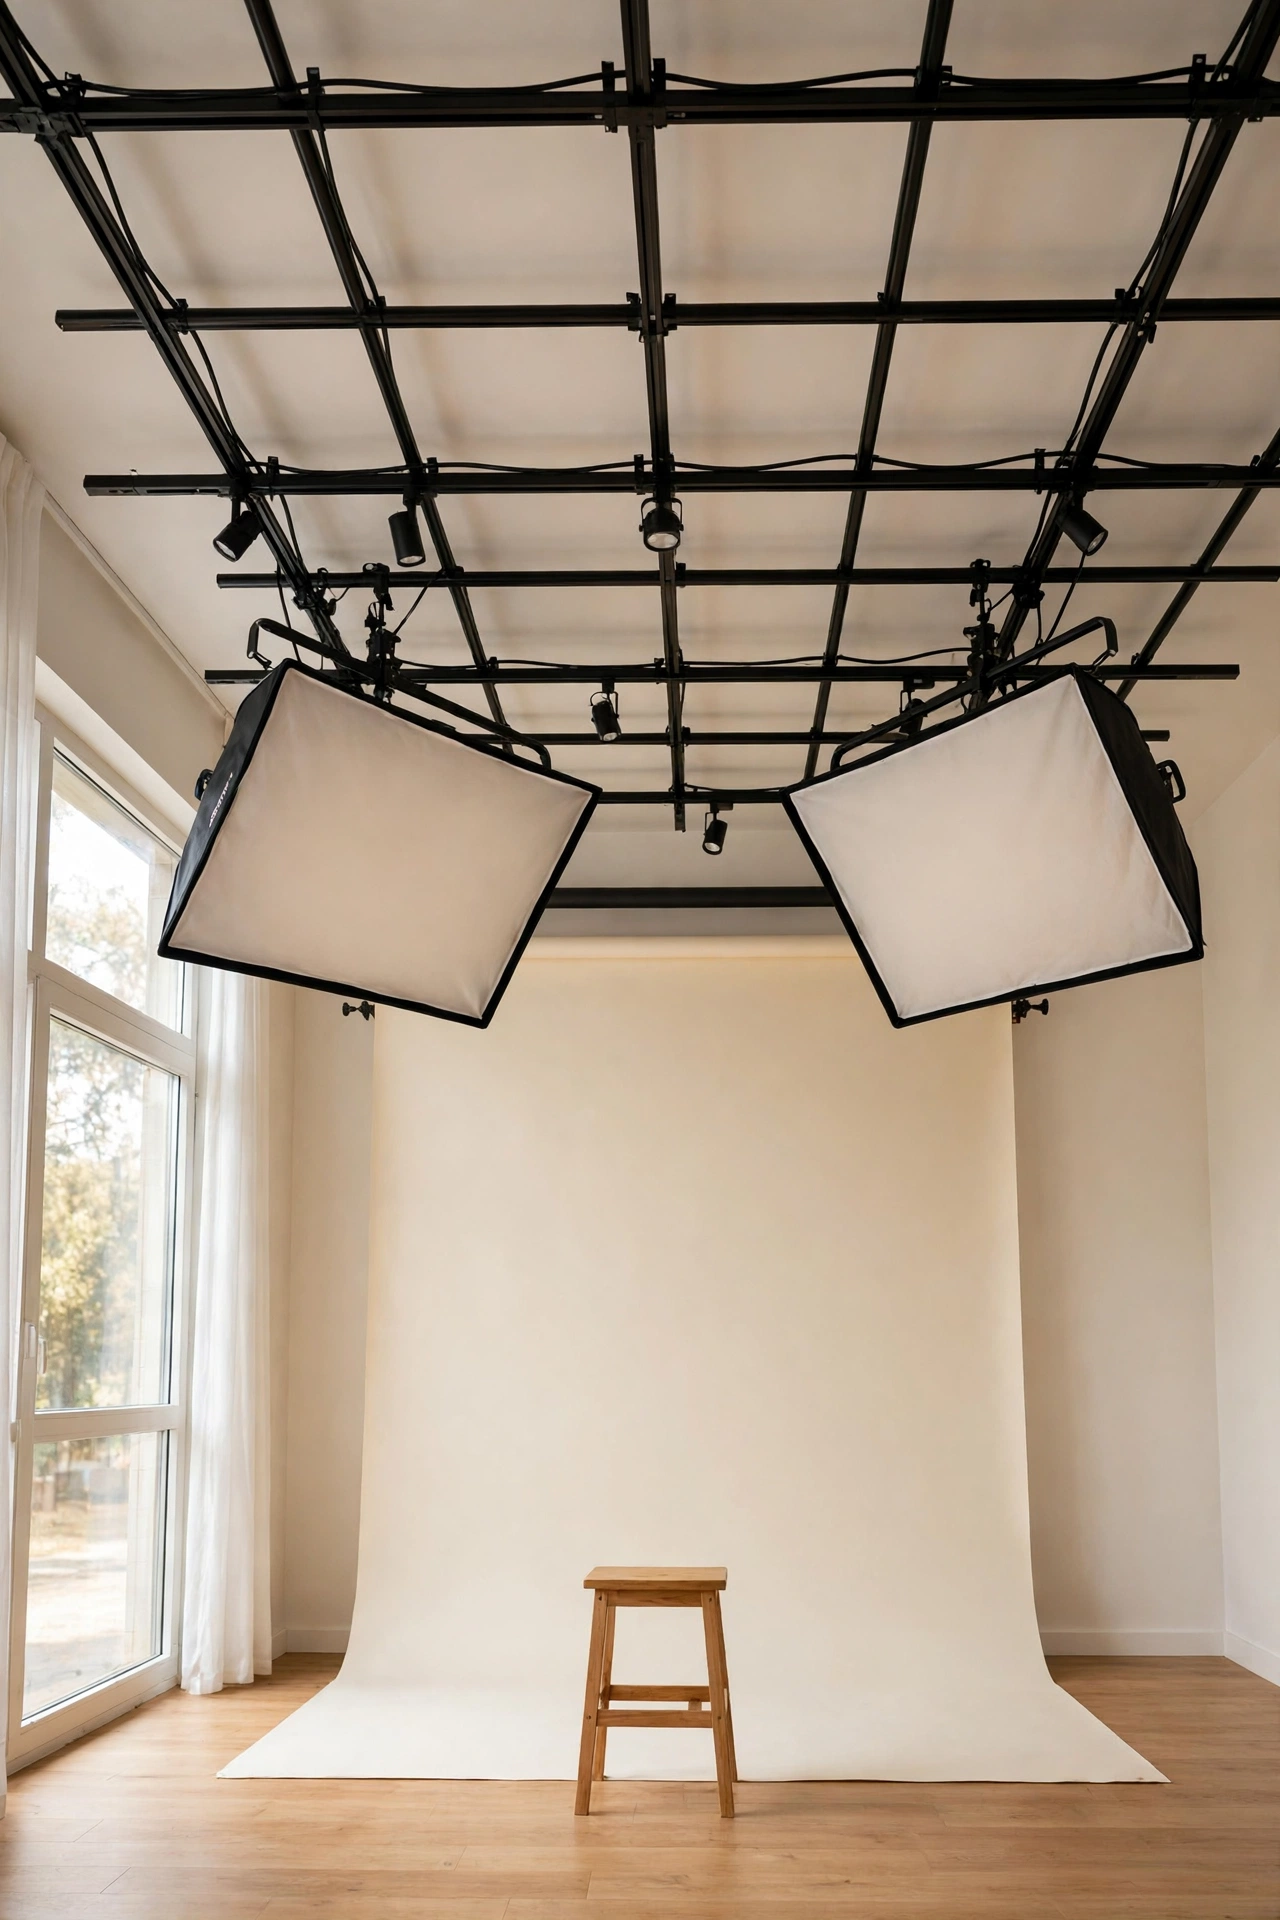
Ceiling-mounted lights free up your floor space and give you flexible overhead lighting for any setup. Install a track or a simple grid of rails on the ceiling, then hang softbox panels or small spotlights from sliding mounts. You can reposition each light in seconds without moving a single stand.
Plan your cable runs carefully so cords stay neat and safe overhead. These cable management ideas will help you route power cleanly and keep the ceiling grid looking tidy. An overhead grid is a bigger project than floor stands, but it transforms a small room into a flexible studio that adapts to every shoot.
25. Set Up a Pet Portrait Corner With Props
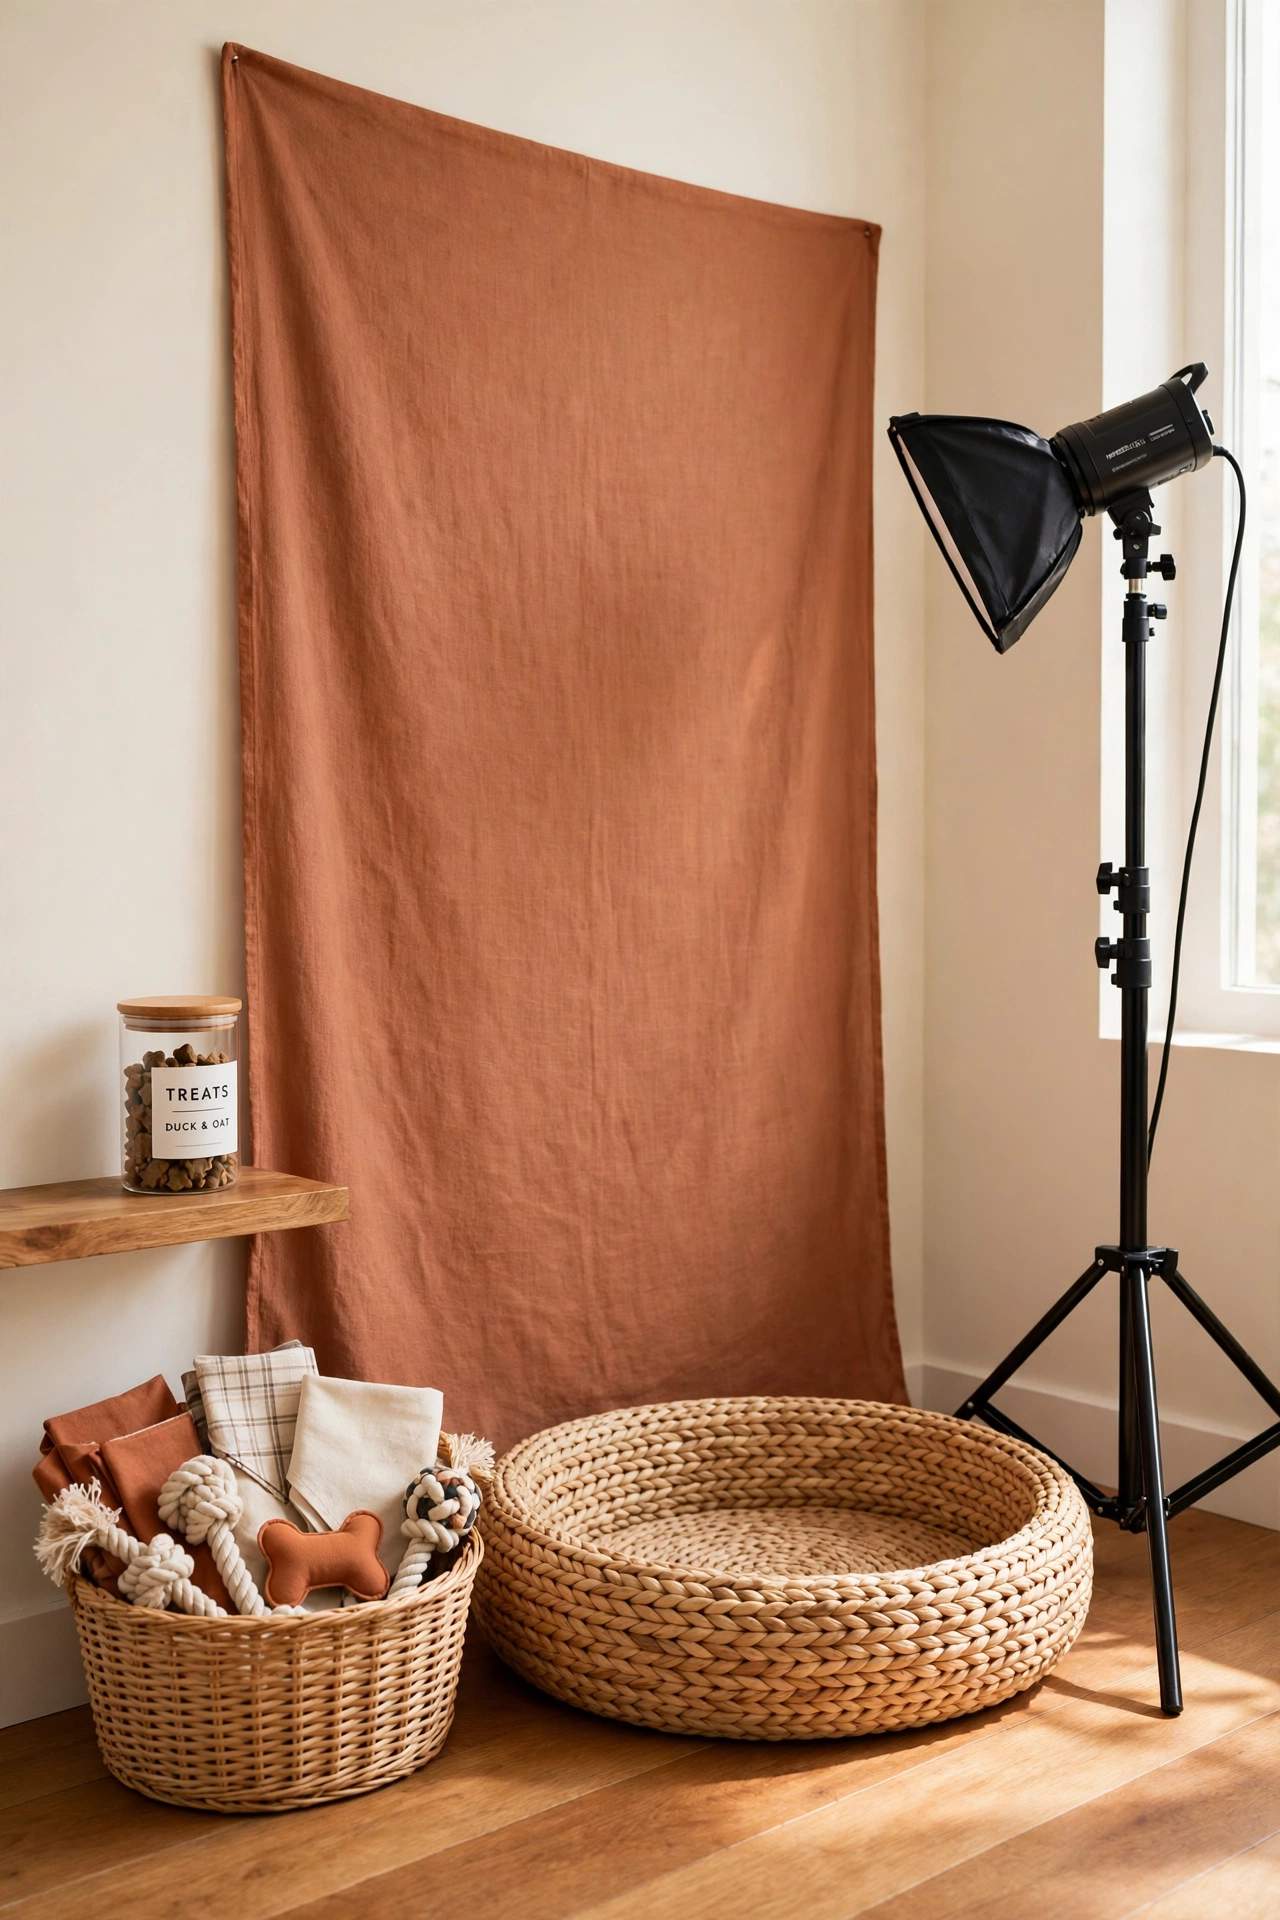
Pet portraits are joyful shoots, and a dedicated corner with props makes them easier and more fun. Set a terracotta or sage backdrop behind a pet bed, add a basket of toys and bandanas, and keep treats in a labeled jar on a nearby shelf. A low shooting position at the floor level captures pets at their own eye level.
Keep the corner easy to clean, with washable flooring and a lint roller in the prop basket. Good window light or one softbox is enough for most pet portraits. A ready pet corner means you can catch a good mood the moment it happens instead of setting up from scratch.
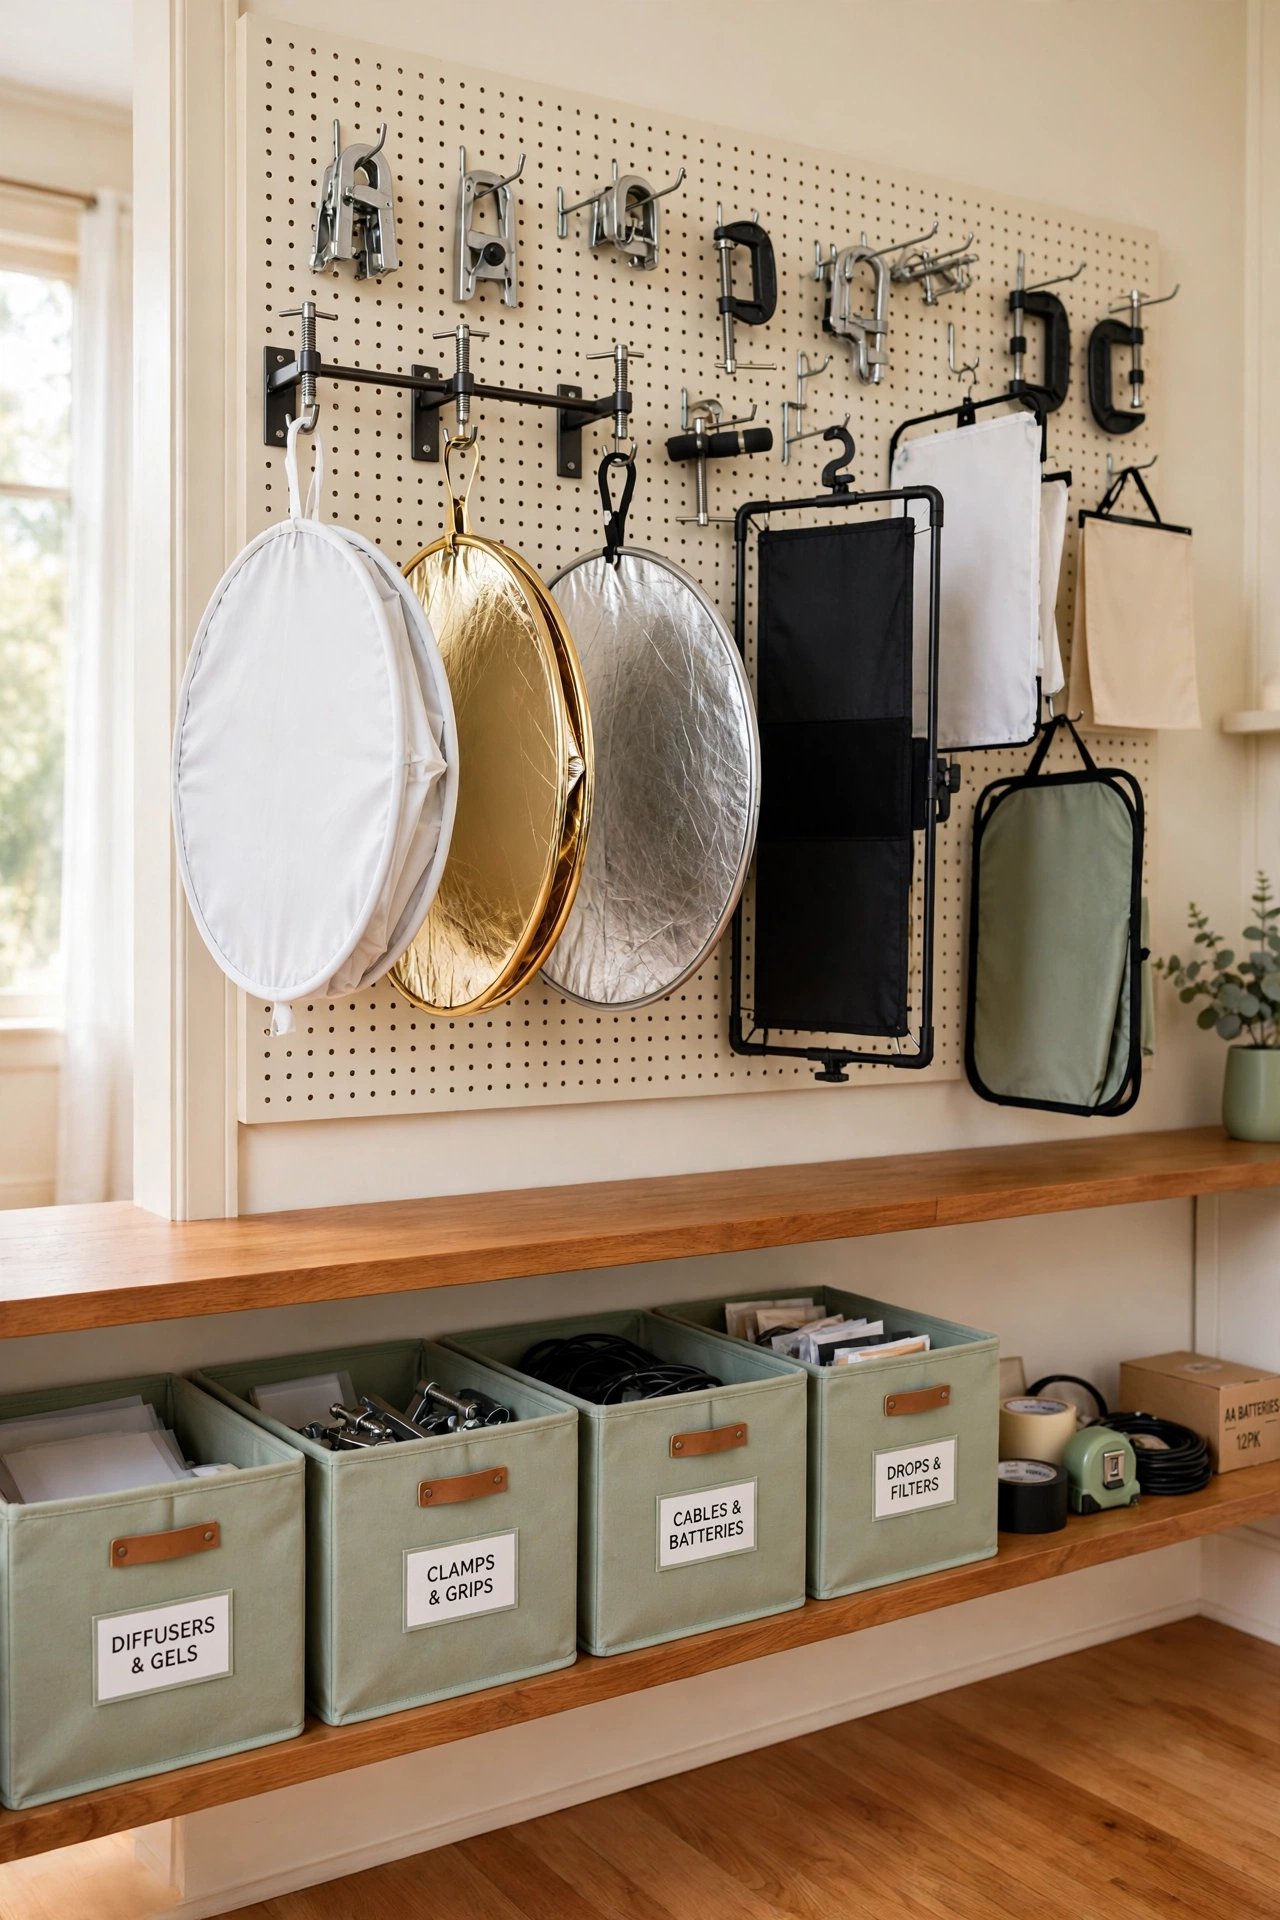
26. Build a Reflector and Diffuser Storage Wall
Reflectors and diffusers are awkward to store, but a wall of hooks turns them into organized, visible tools. Mount strong hooks or pegboard panels on one wall and hang each reflector, diffuser, and flag by its handle or loop. Sort them by size so the large panels hang high and the small ones stay within reach.
Label the wall sections so you can grab a gold reflector or a scrim without unfolding three others first. This storage wall keeps delicate surfaces flat and clean, which extends the life of your modifiers. Everything visible means everything gets used.
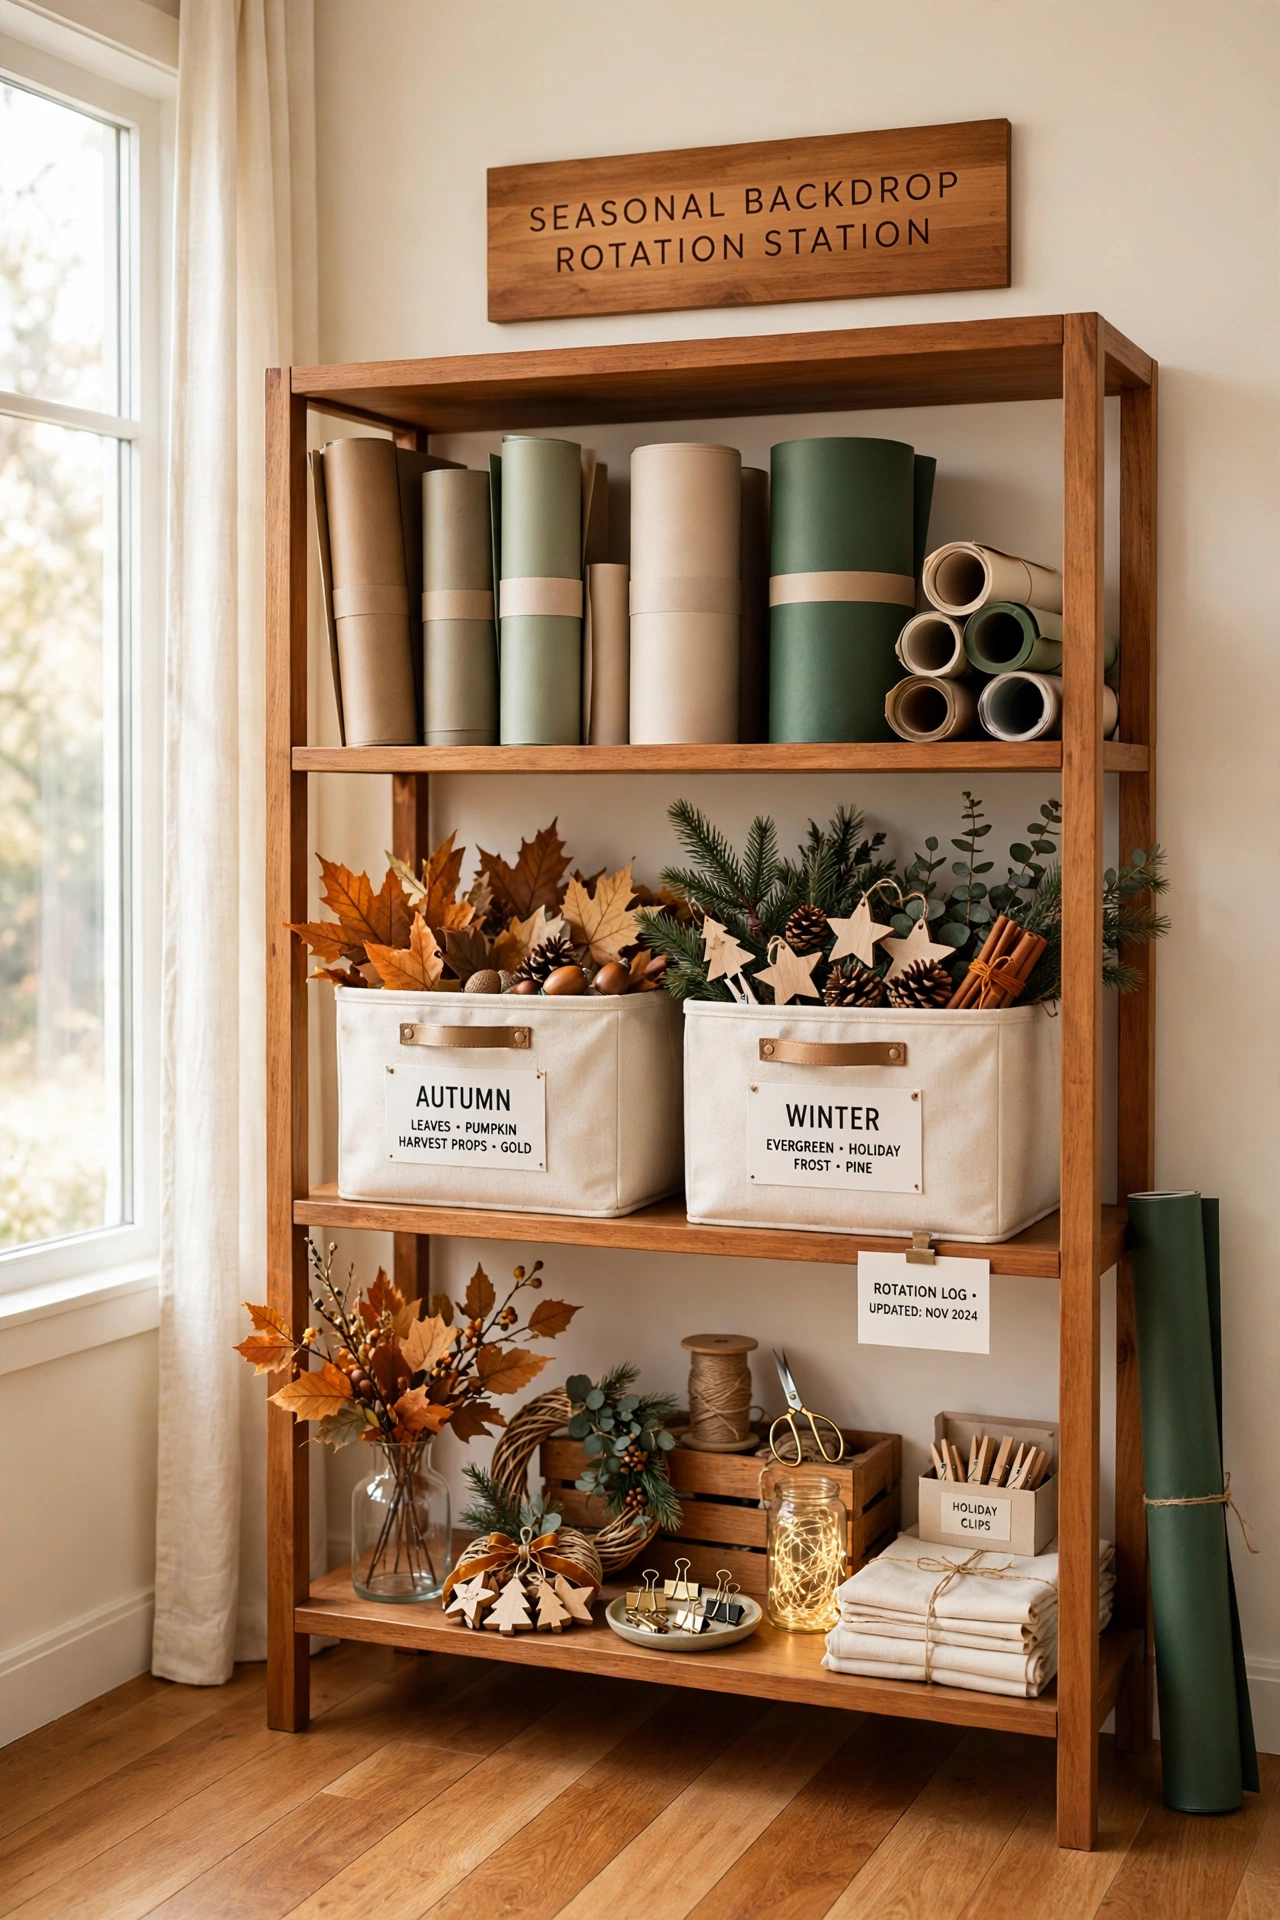
27. Create a Seasonal Backdrop Rotation Station
Seasonal shoots need quick backdrop changes, and a rotation station keeps each season ready to go. Dedicate one shelf unit to seasonal backdrops and props: autumn leaves and warm tones for fall, evergreen branches and cream paper for winter, fresh florals for spring. Swap the active backdrop in minutes.
Store each season in a labeled bin with its props packed together, so nothing gets lost between shoots. A rotation station keeps your studio feeling fresh all year and helps you plan content ahead of each season. Clients love a studio that always looks current and ready.
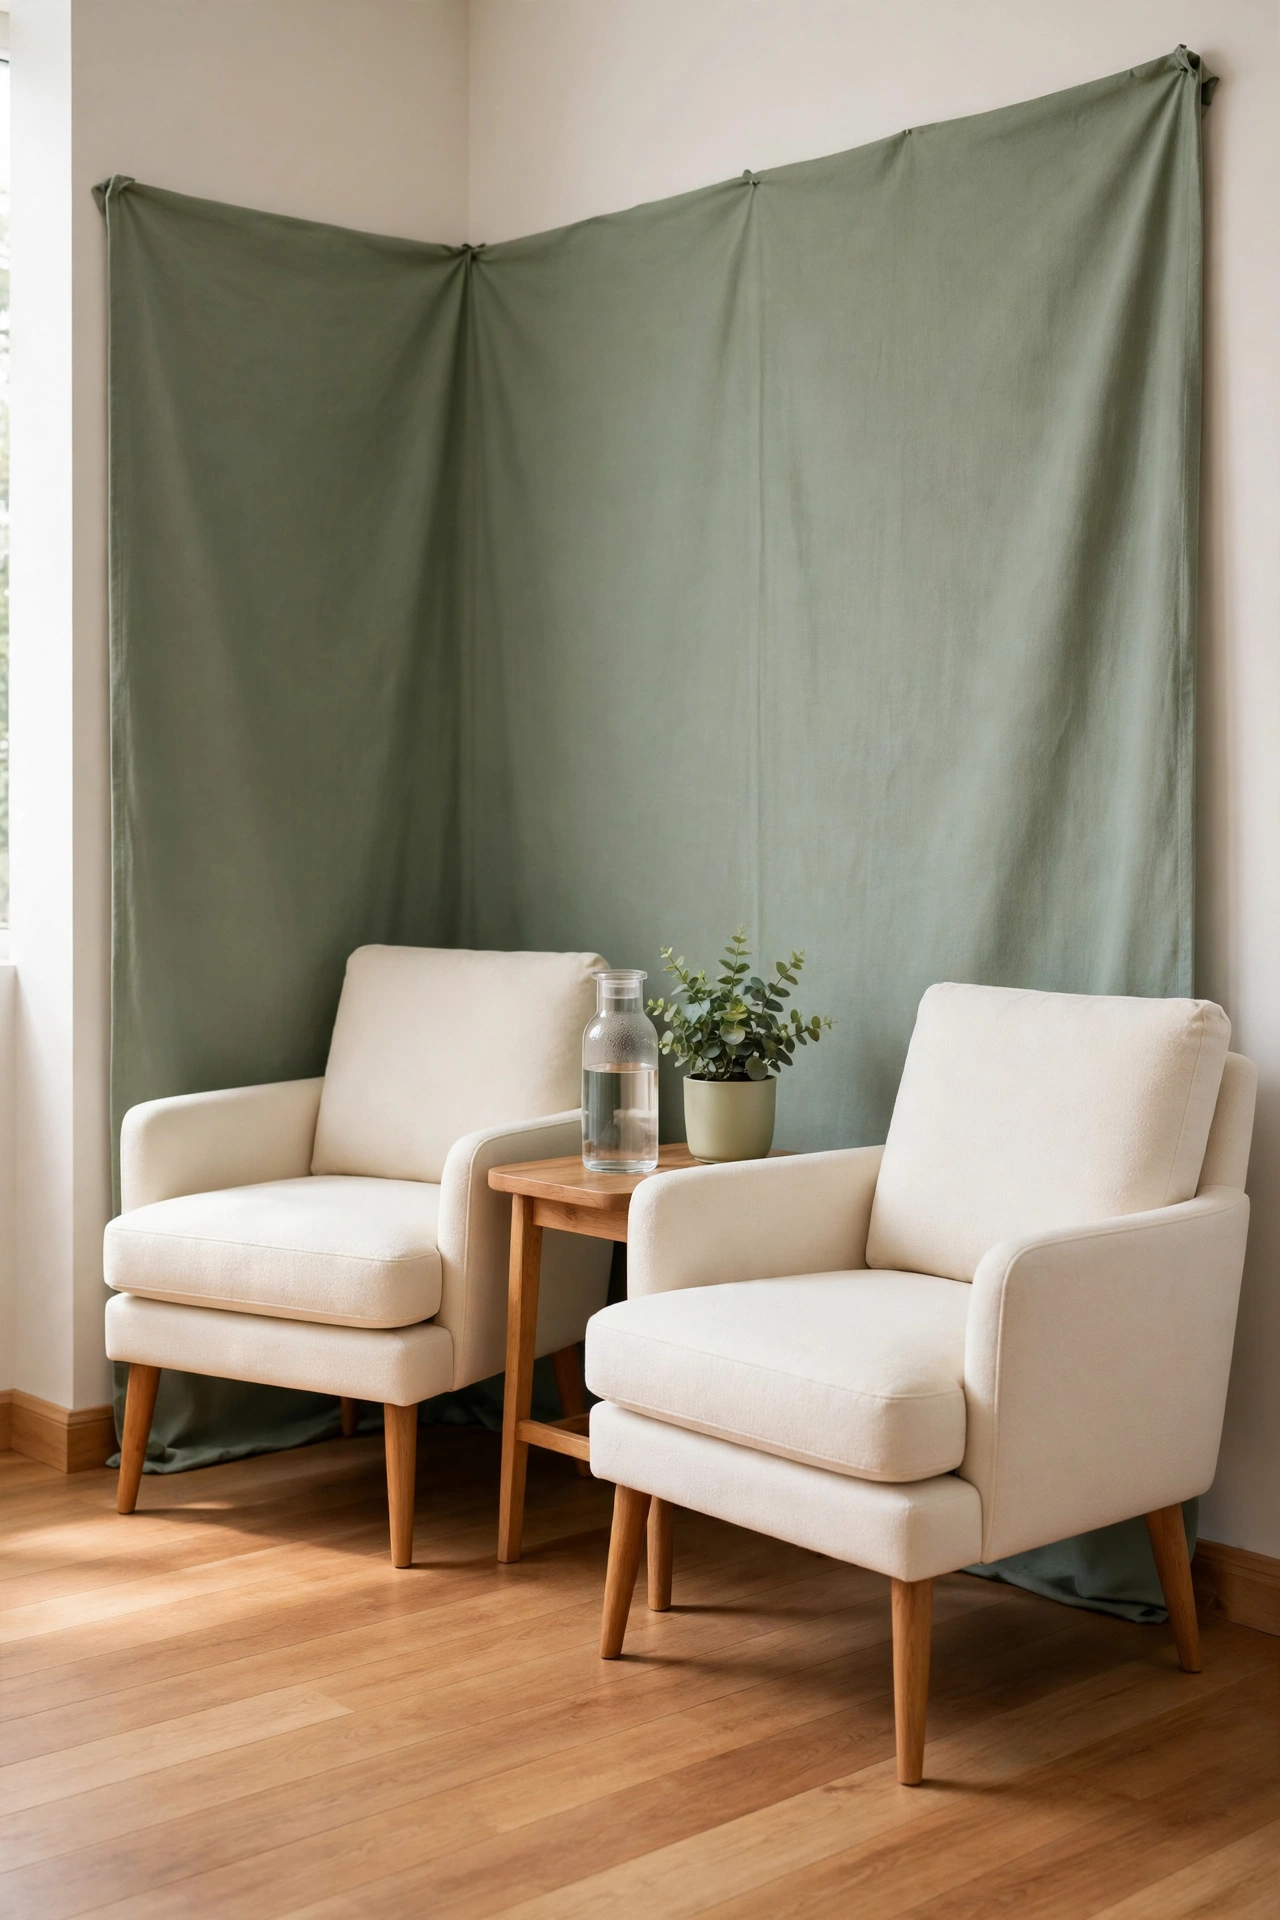
28. Design a Studio Corner With a Client Seating Nook
A small seating nook makes clients feel welcome while you set up or review photos together. Place two cream chairs and a side table in a corner near the shooting area, with a sage green backdrop behind them for quick casual shots. A carafe of water and a small plant make the nook feel thoughtful.
Keep the nook tidy and separate from your gear storage so it reads as a lounge, not a workbench. Clients who feel comfortable relax faster, and relaxed subjects photograph better. Even a tiny seating nook lifts a home studio from hobby space to professional business.
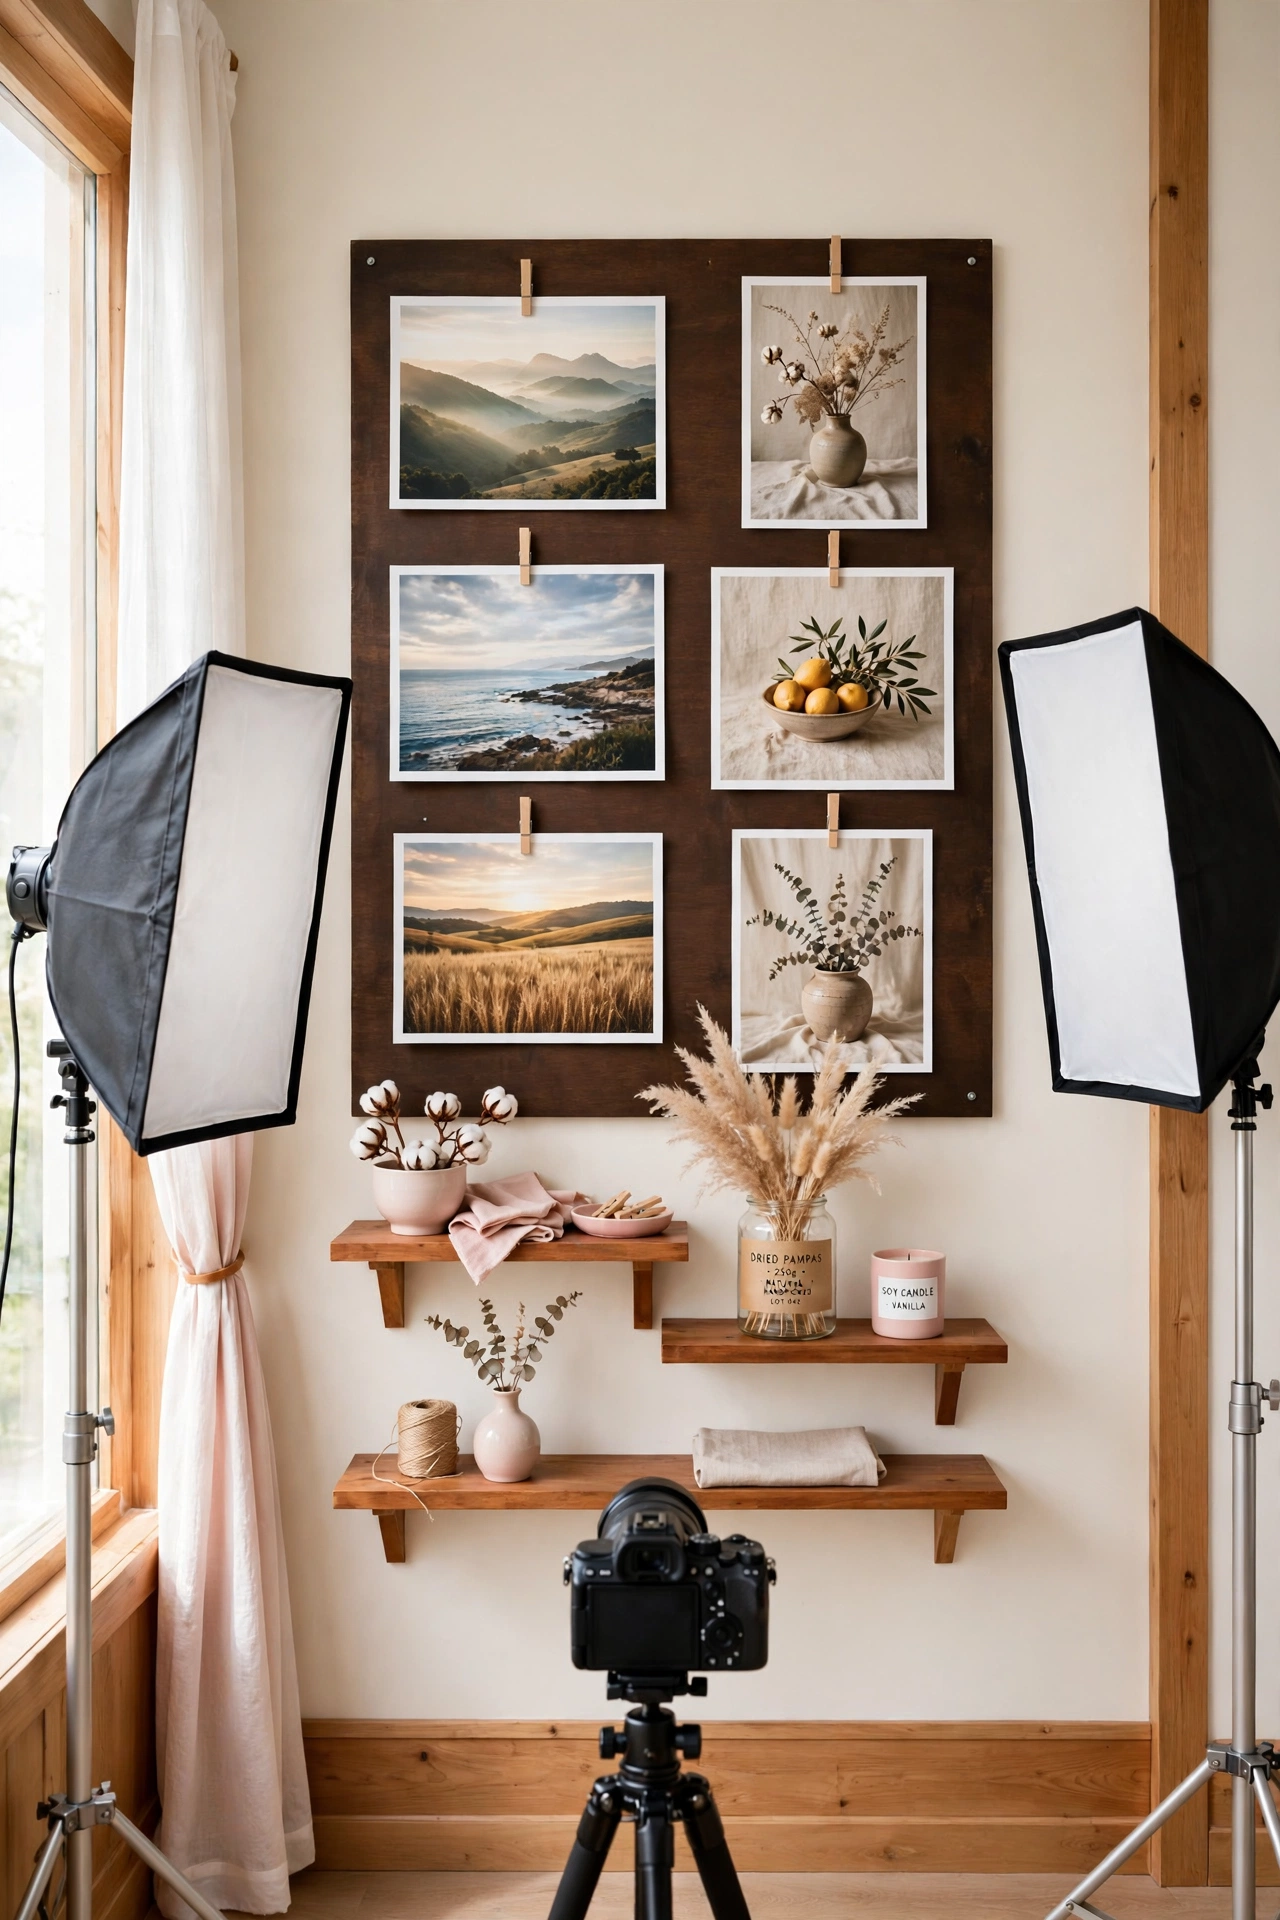
29. Set Up a Vertical Wall Shooting Station
Some subjects look best shot straight on against a wall, from artwork and prints to flat products and mood boards. Mount a large board or a magnetic panel on one wall, add small shelves below for styling objects, and position your tripod square to the wall. Clips and pins hold prints and cards in place.
This vertical station is perfect for creators who photograph their own work, like painters, designers, and makers. Even lighting from two softboxes, one on each side, prevents glare and shadows. A wall station uses almost no floor space and keeps your display ready between shoots.
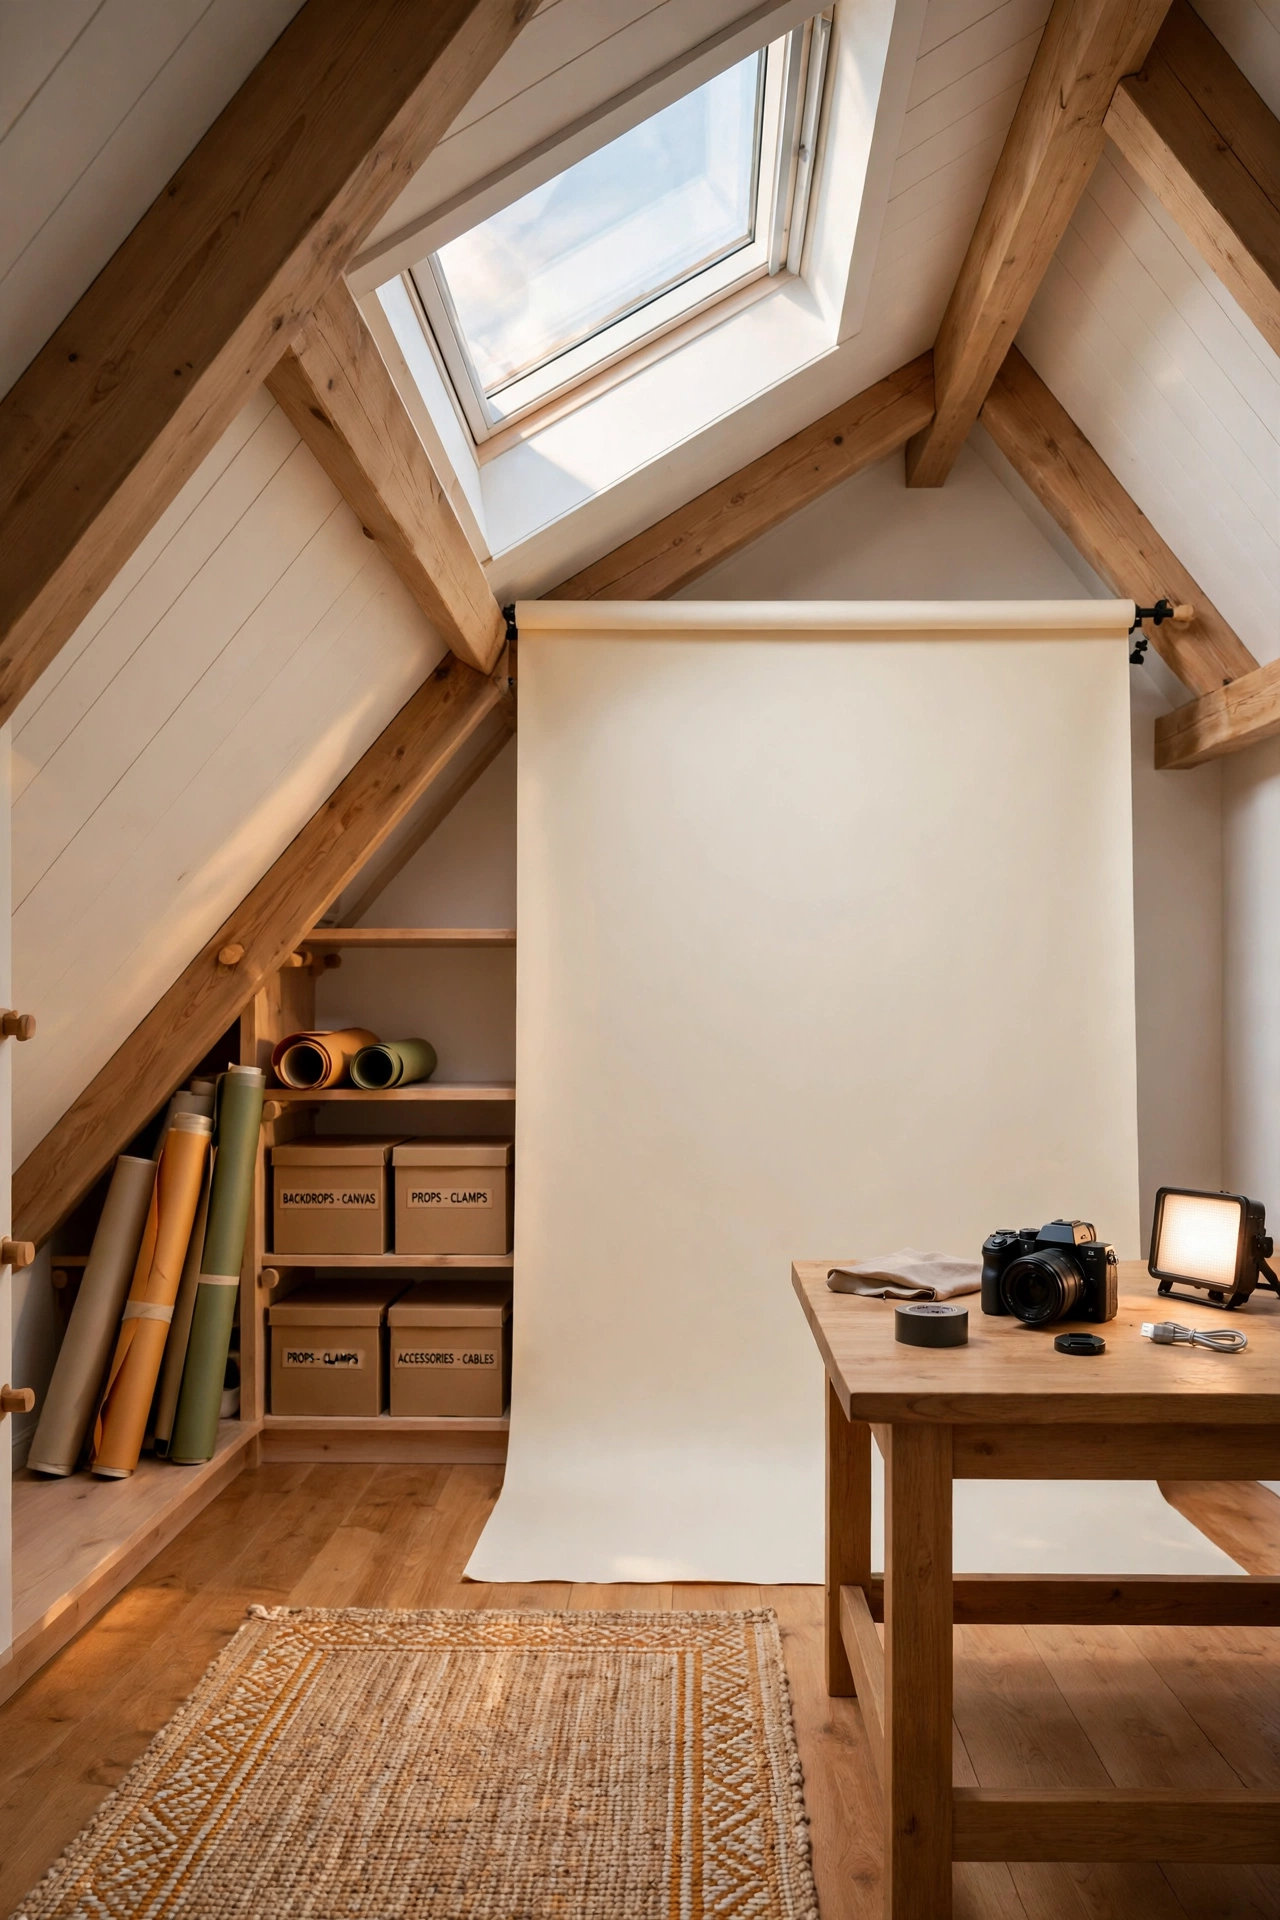
30. Turn an Attic Nook Into a Cozy Studio
An attic nook with slanted ceilings and a skylight can become a charming, private studio away from the rest of the house. Place a cream backdrop on the tallest wall, add a wooden table for gear, and let the skylight pour soft light into the space. Low shelves tucked under the eaves hold props and backdrops.
Check headroom before you plan the layout, and keep the shooting area where the ceiling is highest. A rug softens the floor and a small heater keeps the nook comfortable in winter. An attic studio feels like a creative hideaway, which is a wonderful place to make your best work.
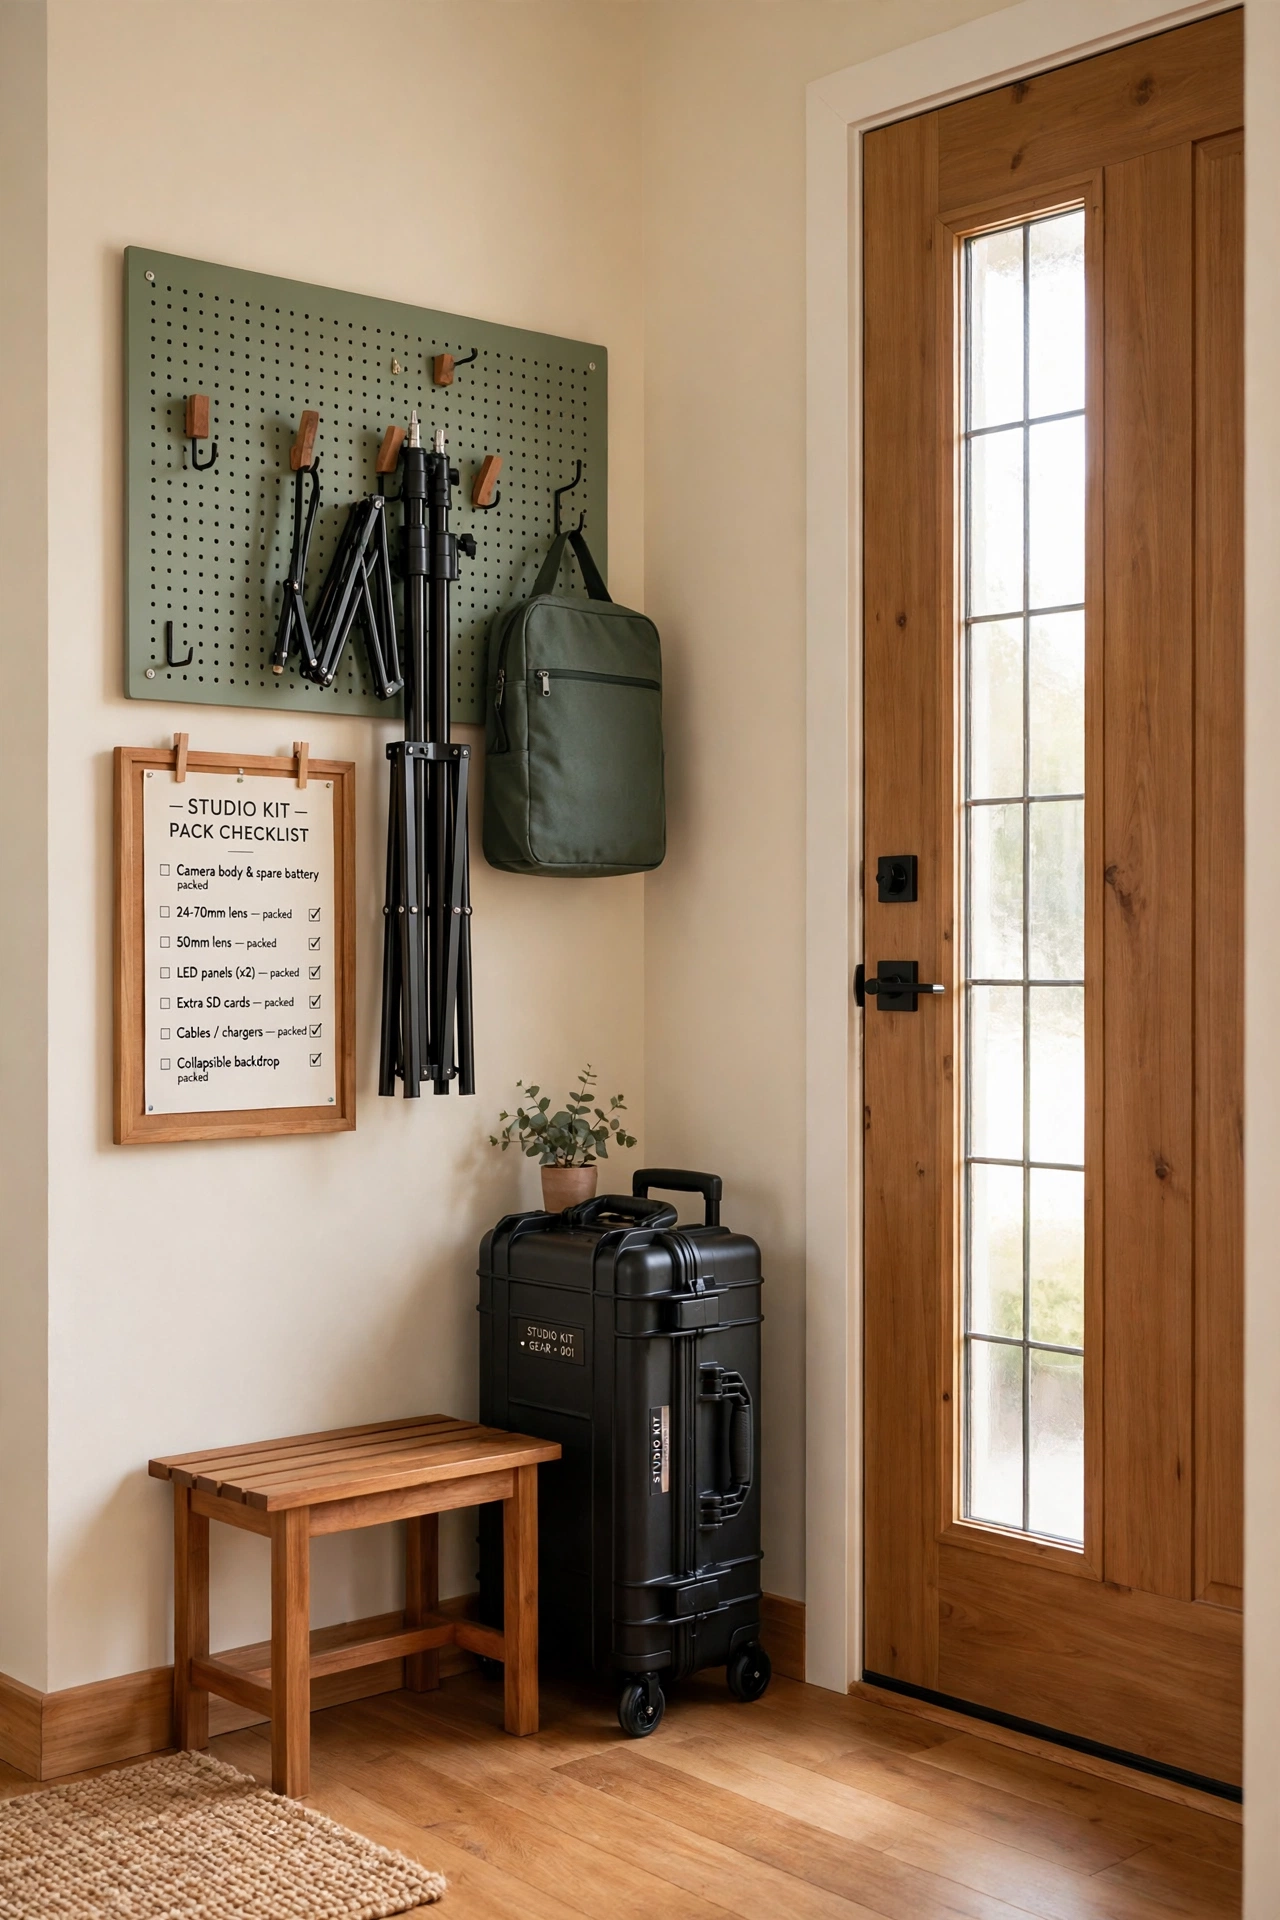
31. Build a Mobile Studio Kit Station by the Door
If you shoot on location as well as at home, a kit station by the door keeps your mobile gear packed and ready. Store a rolling case, folded light stands, and a backdrop bag on hooks or a slim shelf near the entrance. A checklist pinned on the wall helps you pack without forgetting a battery or a memory card.
Repack the kit after every location shoot so it is always ready for the next call. Keep chargers and spare cards in a labeled pouch inside the case. A grab-and-go station means you never miss a shoot because your gear was scattered across the house.
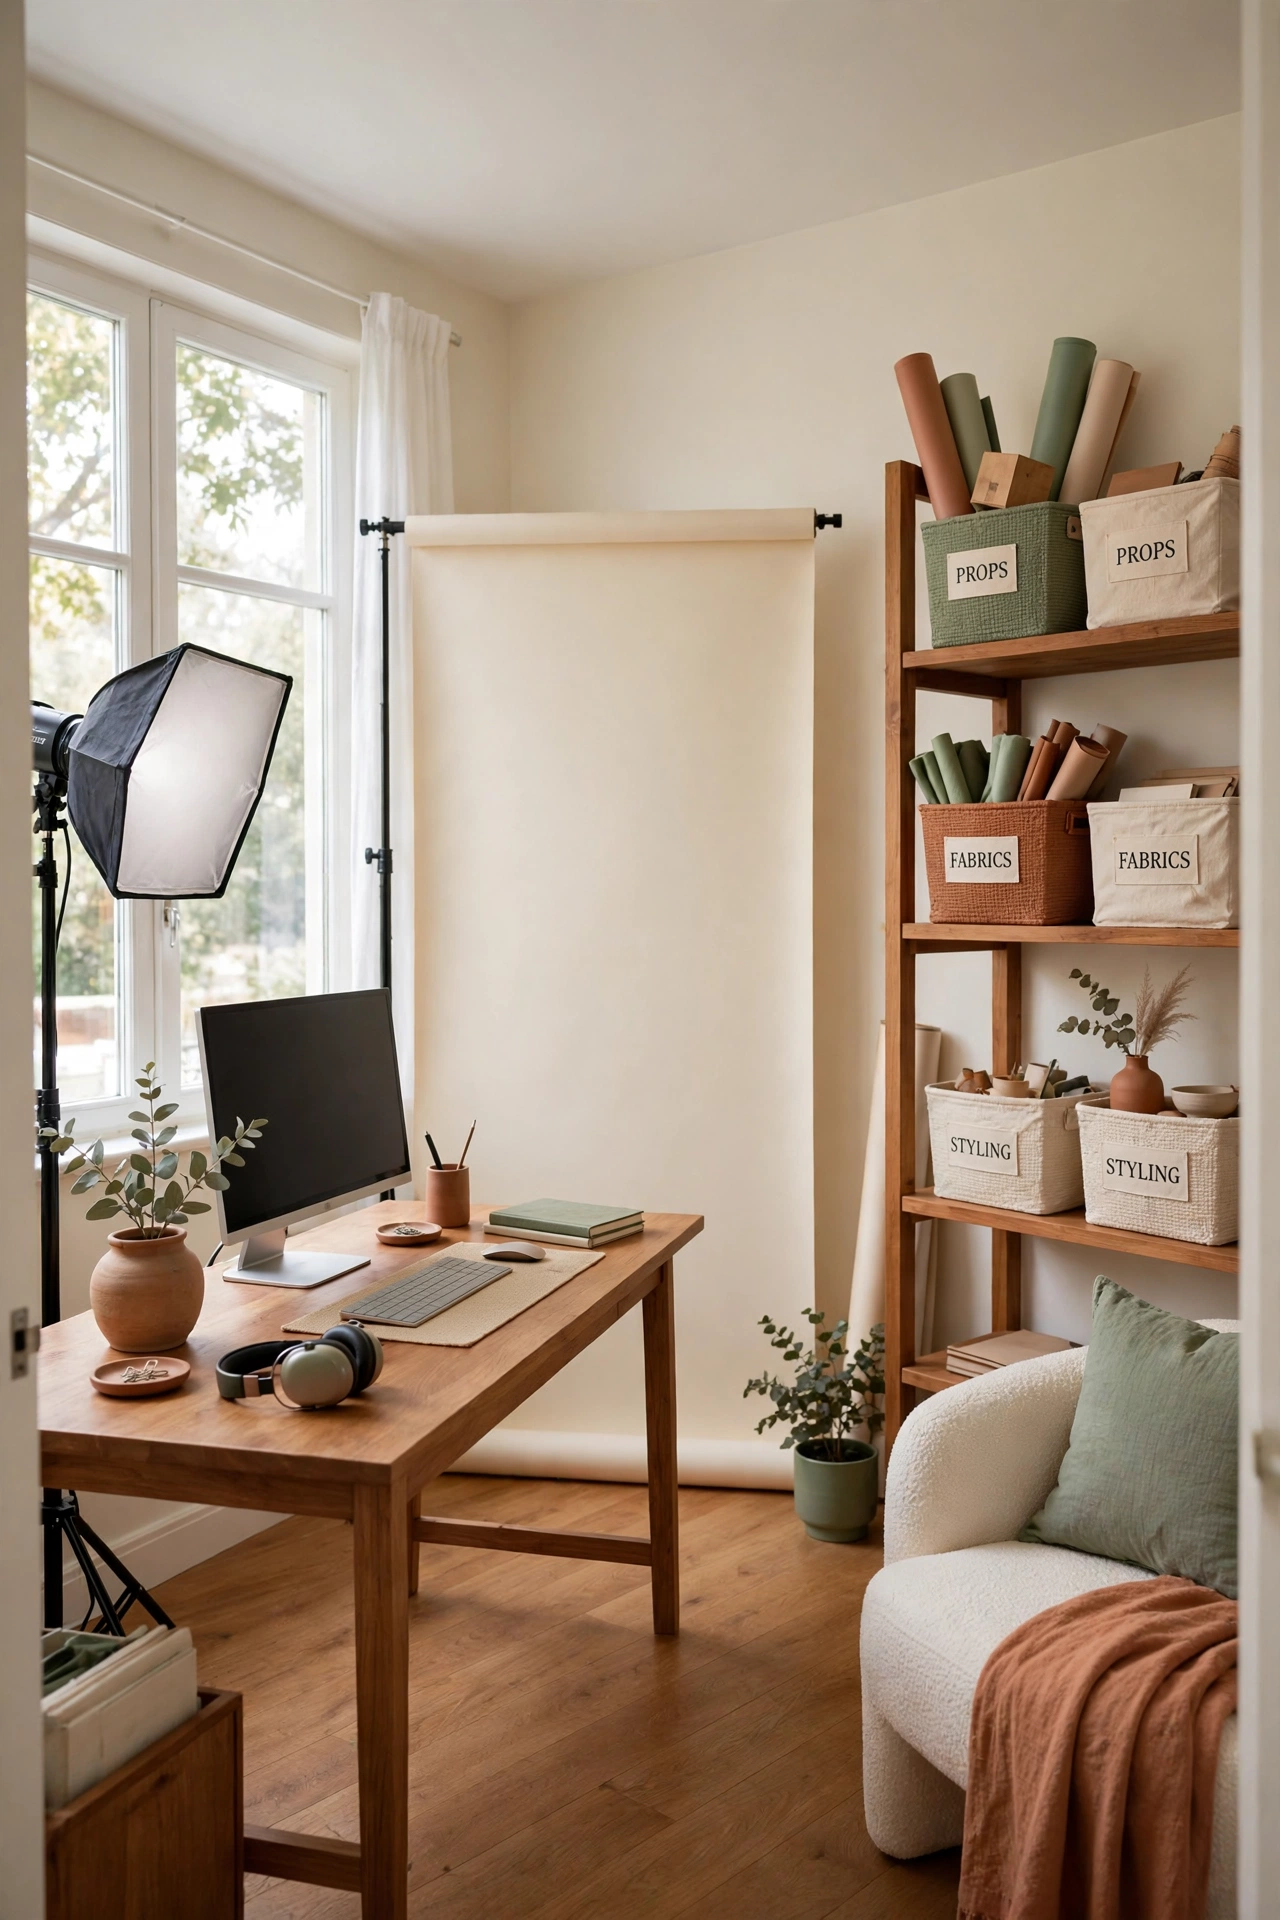
32. Design a Complete One-Room Creator Studio
A complete one-room studio brings every zone together: a backdrop wall, two lights, an editing desk, prop shelves, and a small seating spot, all in one well-planned room. Arrange the backdrop on the longest wall, the desk near a window for editing light, and storage along the remaining walls. Keep the center of the room open so you can move freely.
Start with the zones you use most and add the rest over time as your budget allows. A single room that serves every part of your creative work saves time, keeps your gear in one place, and helps you build a consistent style. Your one-room studio is not a compromise; it is a complete creative business in a small footprint.
Conclusion
A small home studio is built one smart layout at a time. From a window light corner and a paper backdrop wall to a prop library and a tidy editing desk, each idea in this list helps you make more of the space you already have. You do not need a large room to create beautiful work; you need a layout that fits your subjects, your light, and your workflow.
Pick the one or two layouts that match the shoots you do most, set them up this week, and let your studio grow from there. If your studio shares space with the rest of your home, these studio apartment layout ideas with a home office show how a small space can hold a full creative setup without losing its homey feel. Your best work starts in the corner you already own.
Frequently Asked Questions About Small Photography Studio Layout Ideas for Home Creators
How much space do you need for a home photography studio?
A corner of about eight by ten feet is enough for portraits and product work with one backdrop and two lights. Full-length portraits need a little more depth, around twelve to fifteen feet from the backdrop to the camera. Many creators start in a spare bedroom corner and expand as their work grows.
What is the best lighting for a small home studio?
Soft natural window light is the best free option, and one large softbox gives you reliable light on cloudy days or at night. Two lights offer more control: a main softbox and a smaller fill light. Start with one good light and learn to shape it before you buy more gear.
Can you run a photography studio in a rented apartment?
Yes, if you choose renter friendly setups like freestanding backdrop stands, curtain tracks that mount with removable hooks, and rolling carts instead of fixed builds. Keep your gear portable and avoid drilling into walls. A fold-down backdrop station and a rolling light cart let you set up and pack away without leaving a mark.
What backdrop color should a beginner choose first?
White seamless paper is the best first backdrop because it works for portraits, products, and video, and you can light it to look white, gray, or softly colored. A warm gray or cream paper is a good second choice for a softer, more natural look. Add accent colors like sage or blush once you know your style.
How do you store studio gear in a small room?
Use vertical storage: wall hooks for reflectors, tall bins for rolled backdrops, and open shelves for props and small gear. A rolling cart holds lights and modifiers in one mobile unit, and a closet or cabinet hides everything between shoots. Label every bin so setup takes minutes instead of half an hour.

Hi, I’m Emily! I turn messy corners into cozy, organized spots. DreamNestDecor is where I share simple, practical home ideas — decor, organization, and small-space solutions that work in real life, not just in photos. Every idea here is carefully researched before it’s shared.