
Lena had fabric stacked on her dining table and paint tubes on the kitchen counter. Her love of making things had taken over her small home. She dreamed of one tidy corner where creativity could live.
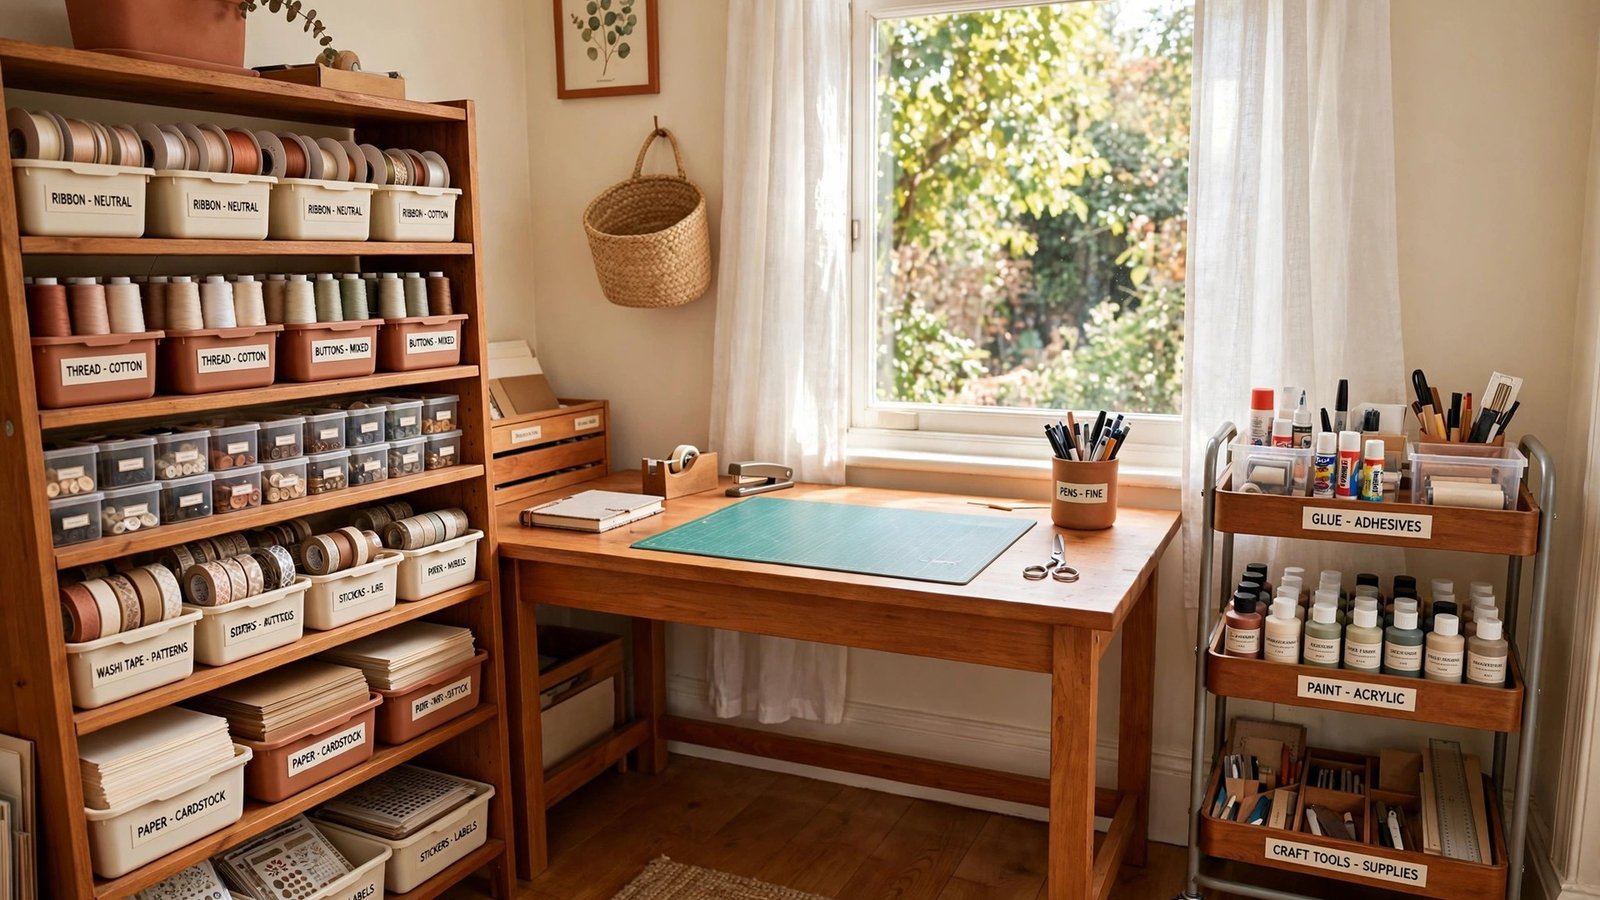
She claimed a quiet nook by the window and planned it like a real studio. A 24 inch deep work surface, an 800 lumen task lamp, and labeled bins by project turned chaos into flow. Now she crafts daily instead of cleaning up first.
Your creative corner is closer than you think. These 16 small craft room layout ideas give you work surface depths, lighting specs, and sorting systems that make every inch of your space count.
1. Daylight-First Craft Layout
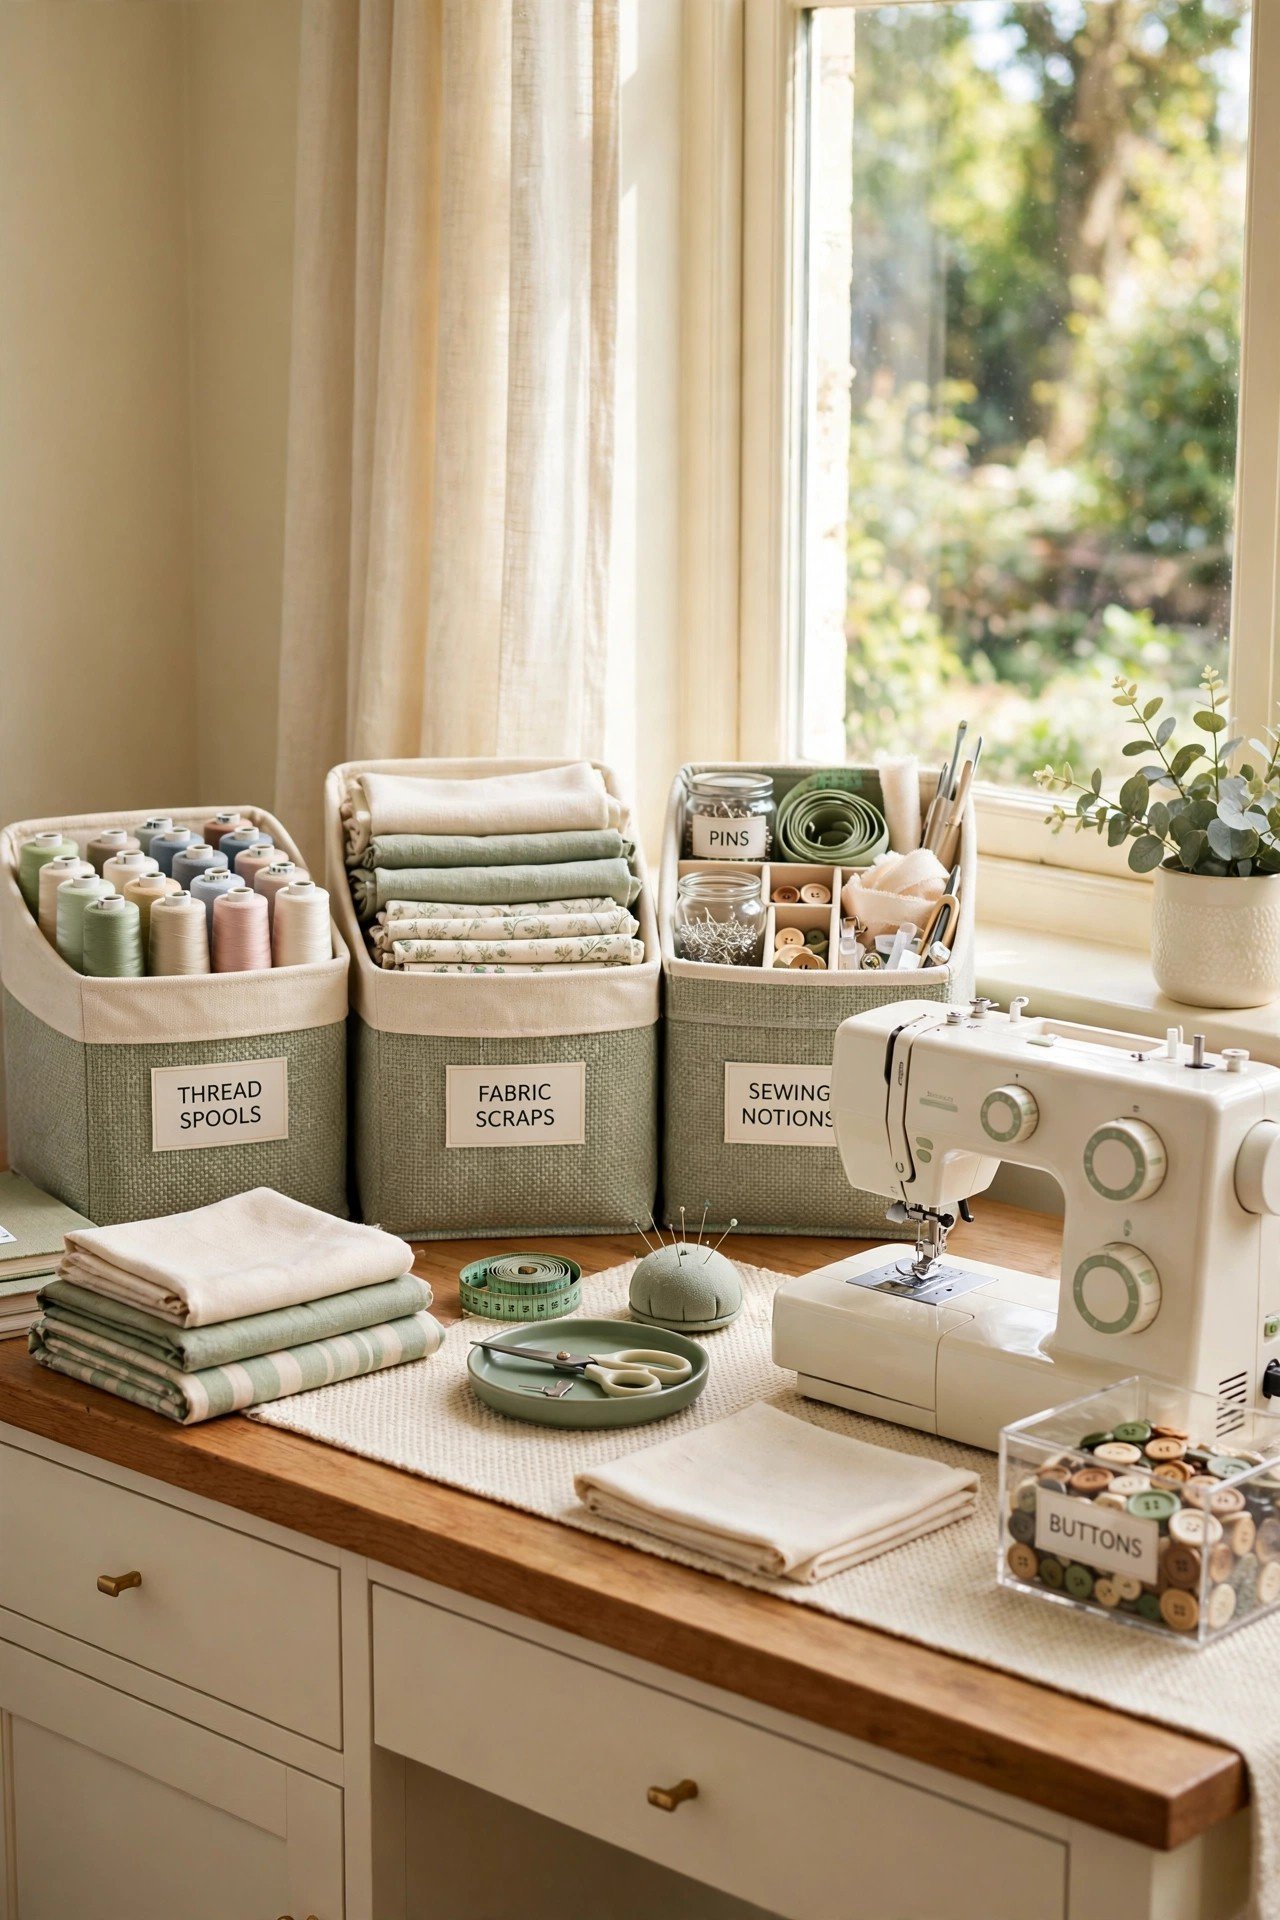
Place your desk perpendicular to the brightest window so light falls over your shoulder without glare. North-facing light stays most consistent through the day, which helps with color matching. Aim for about 500 lux at the work surface, which a window plus a task lamp easily provides.
Keep the wall beside the window free so daylight reaches deep into the room. If your only window is small, paint surrounding walls bright white to bounce every ray. True color judgment starts with honest light.
2. Tall Vertical Shelving Wall
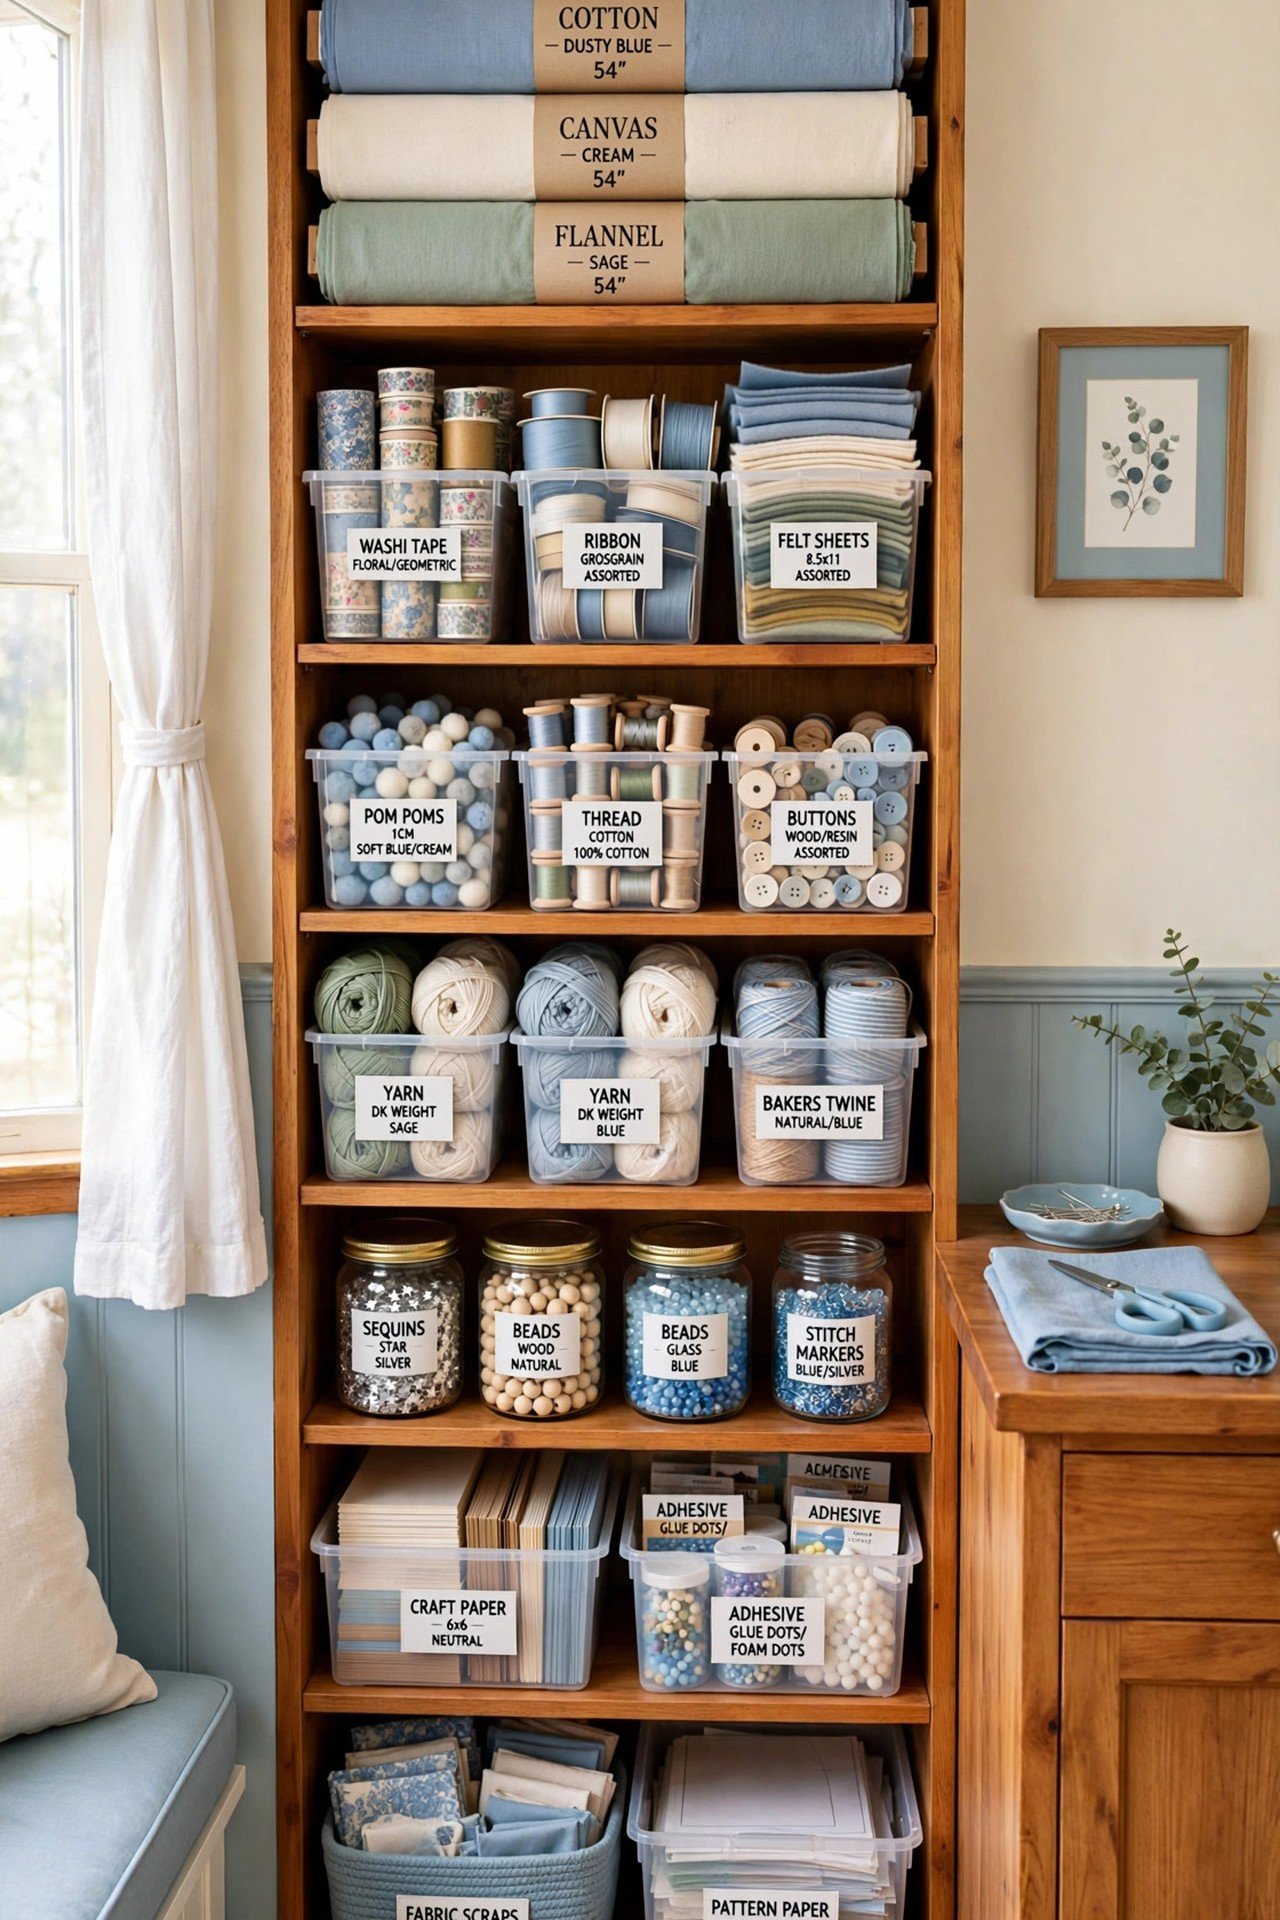
Install 12 inch deep shelves with 15 inch vertical spacing to fit fabric bolts, jars, and books. Label every bin on the front edge so you find supplies without pulling each one out. Keep daily tools between waist and eye height, and push rarely used stock to the top shelf.
Anchor tall units to studs, since loaded craft shelves get heavy fast. A full shelving wall turns storage into a visual inventory of your stash. You will stop buying duplicates once you can see everything you own.
3. Fold-Down Work Table
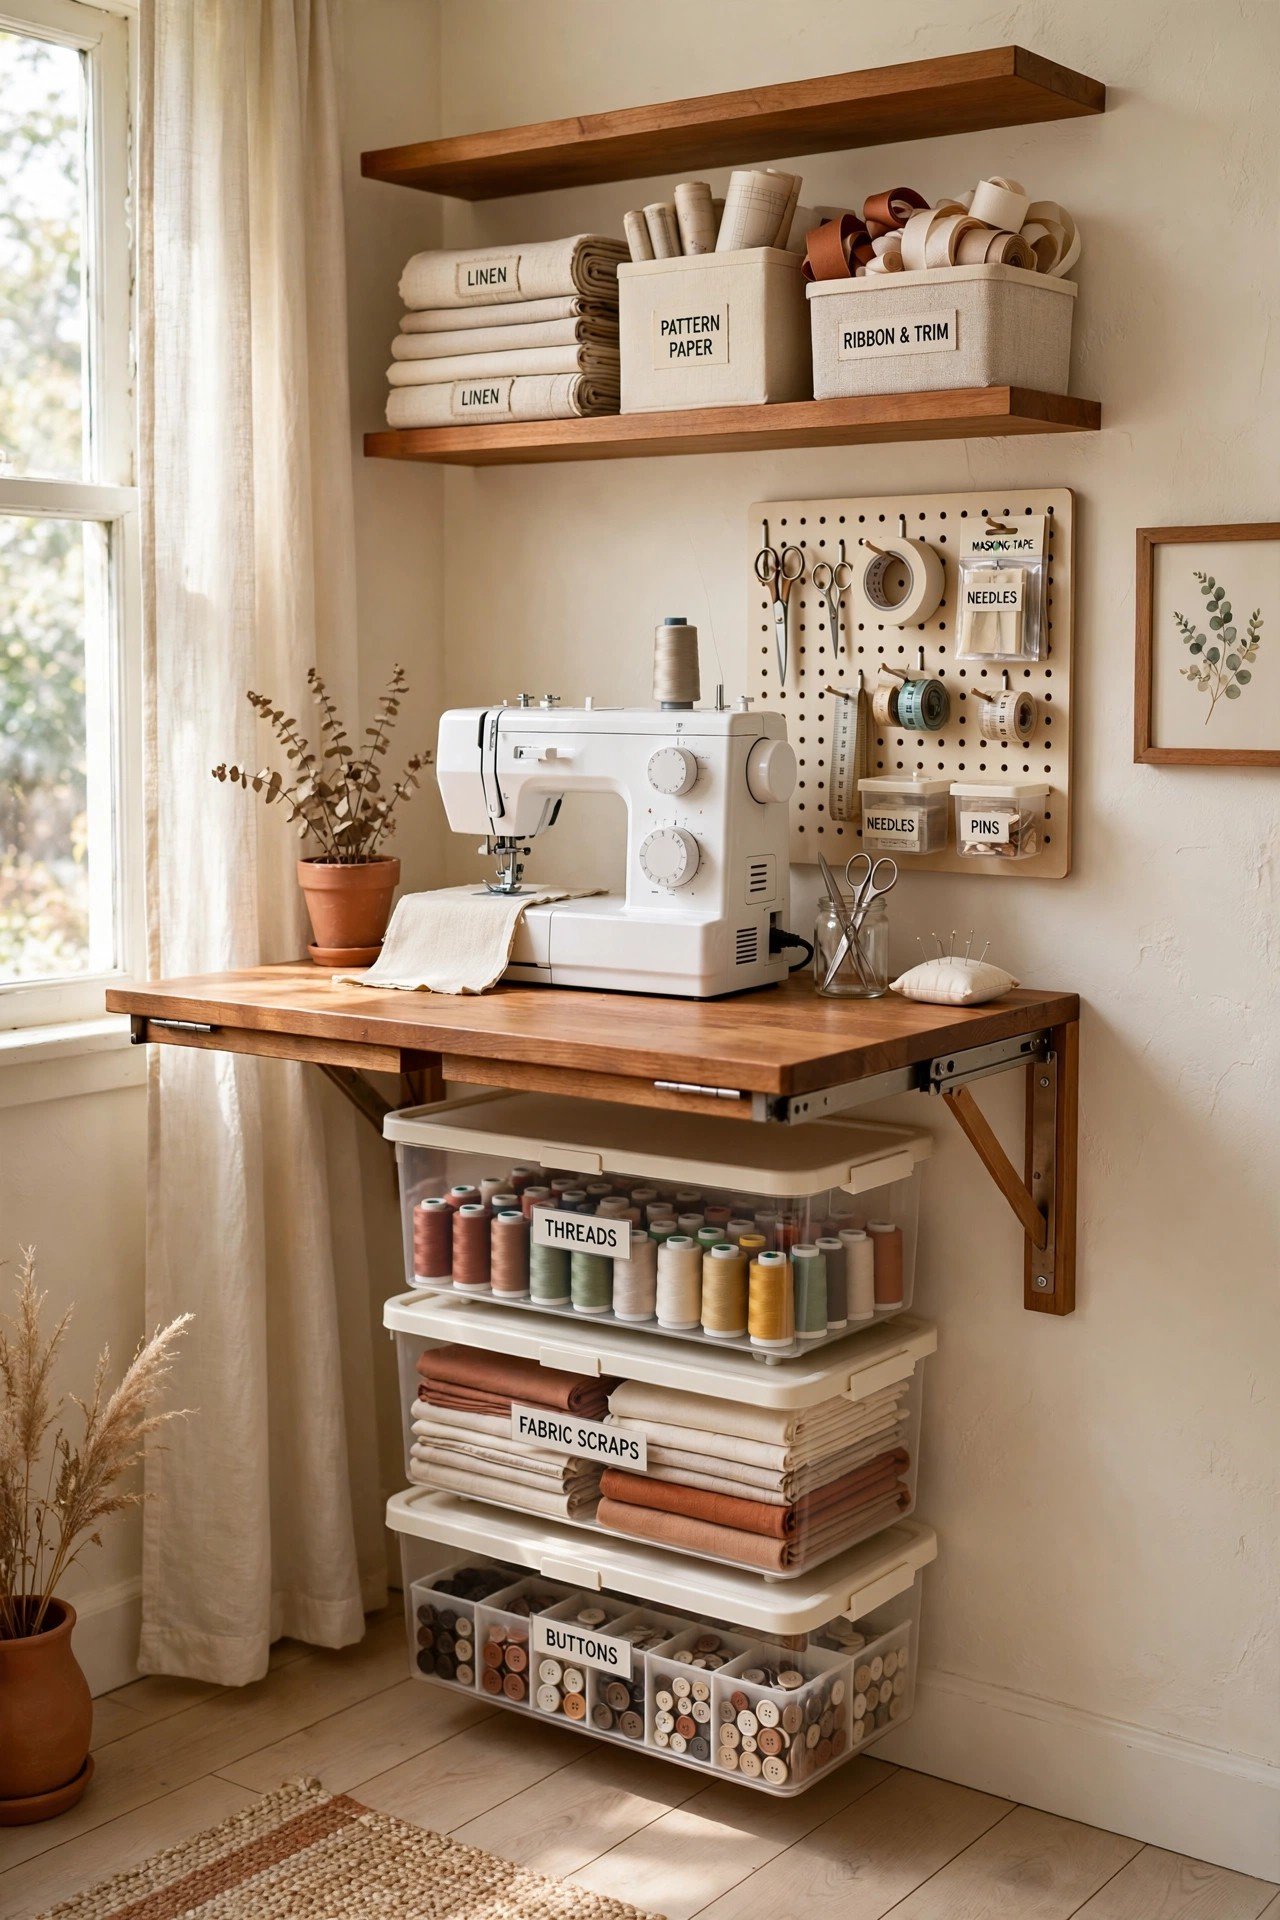
Mount a 24 by 48 inch table on wall brackets rated for at least 100 pounds. That depth fits a sewing machine with room to guide fabric, while the length holds a cutting mat beside it. When folded, the table shrinks to 4 inches deep against the wall.
Pair it with a folding chair that hangs on a wall hook. This setup suits renters since it needs only a few screws. Your room stays flexible for guests while your studio waits behind one quick flip.
4. Rolling Supply Cart
Dedicate each tier of a 3-tier cart to one craft, so sewing lives on top, paper crafts in the middle, and tools below. The cart parks in a 2 foot gap beside your desk and rolls to the window when you want better light. Locking casters keep it still during precise work.
Keep only the active project on the cart and return the rest to shelves. When guests arrive, roll the whole studio into a closet. Mobile storage means your craft room follows your mood instead of chaining you to one spot.

5. Closet Turned Craft Nook
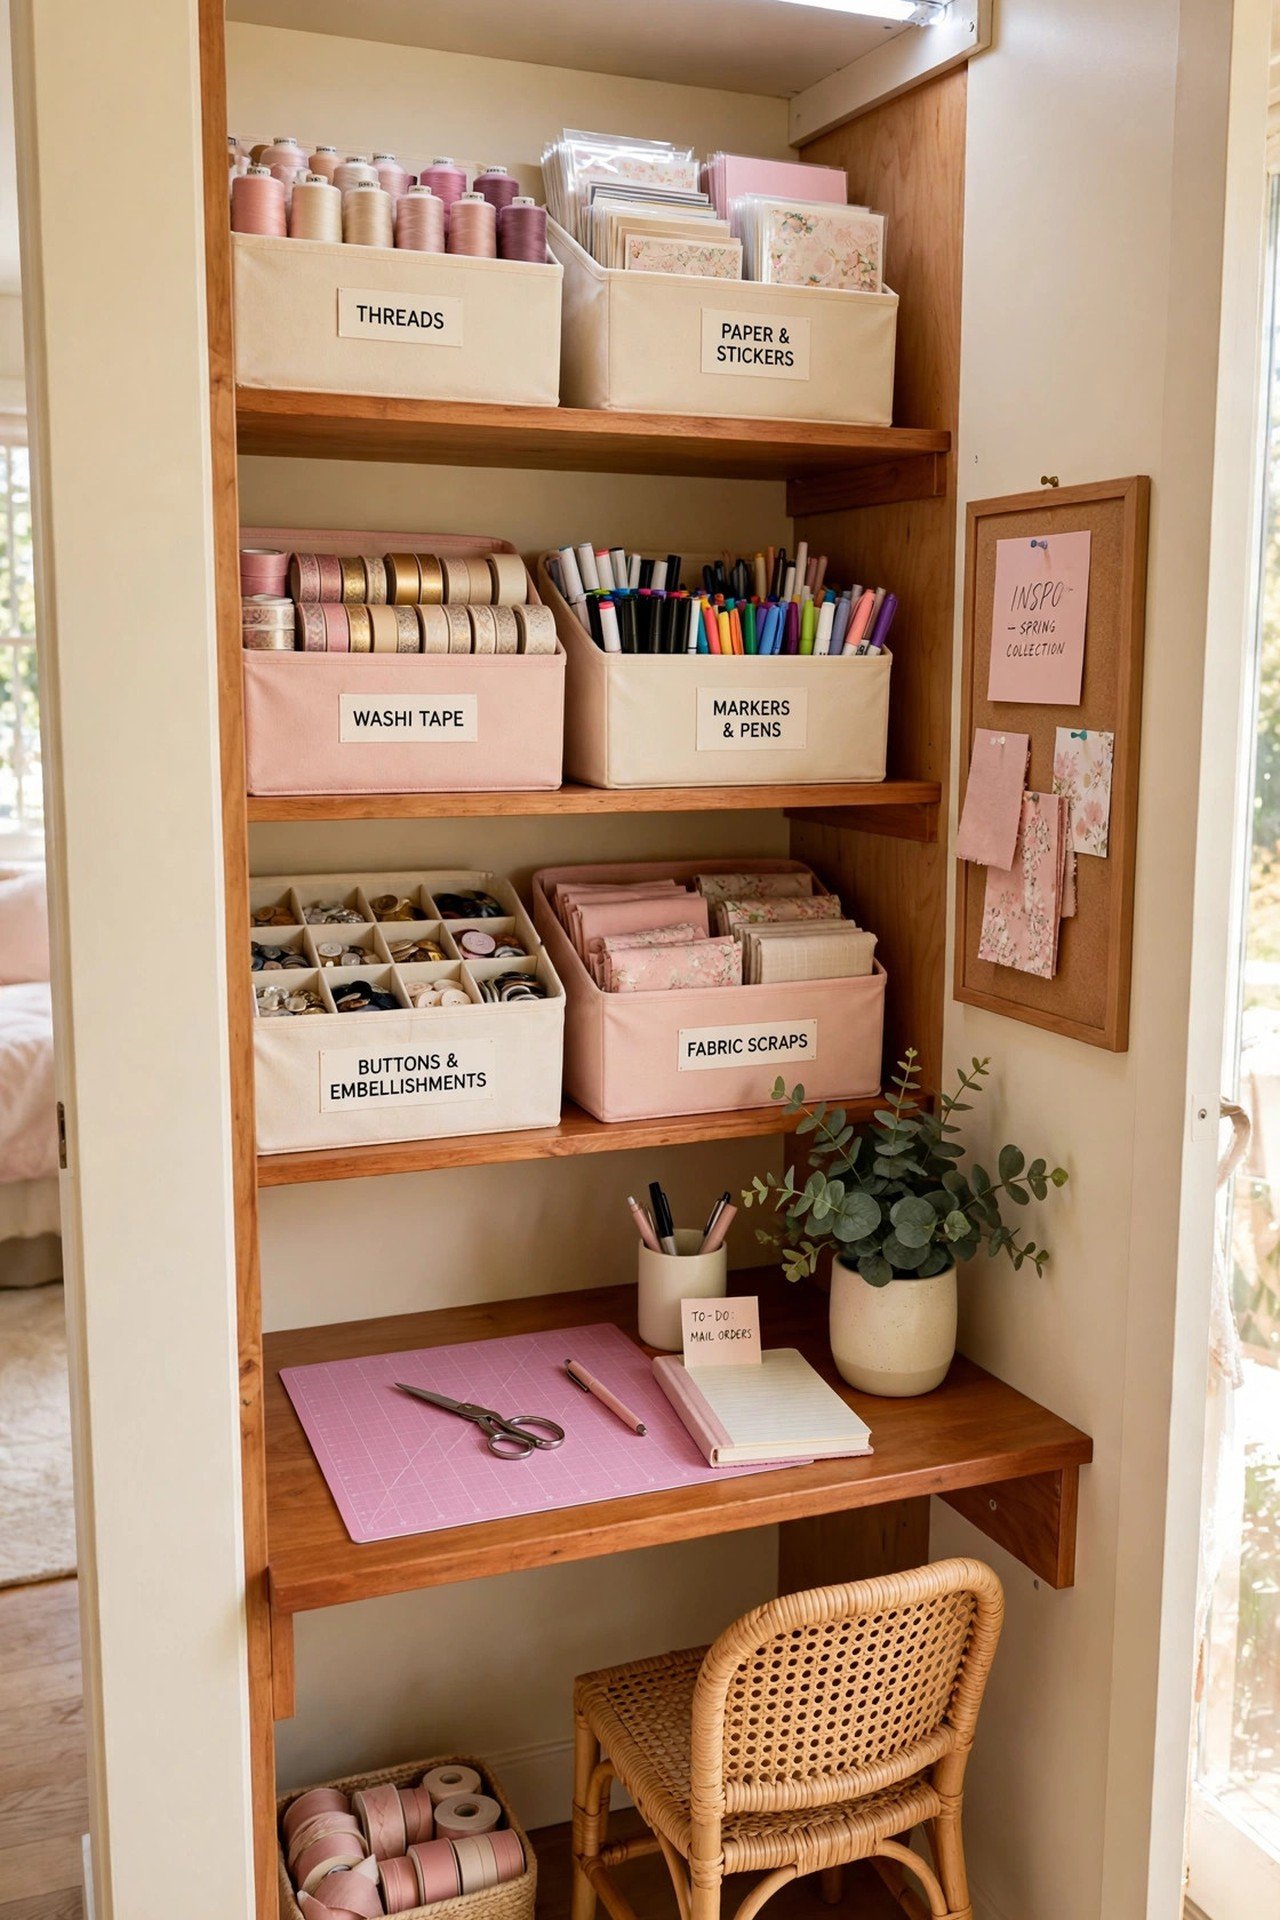
A 24 inch deep reach-in closet fits a 20 inch deep desk with 4 inches to spare for cables. Run a power strip along the back wall for your machine, lamp, and charger. Stick an LED strip under the top shelf since closets have no natural light.
A cheerful paint from these limewash wall paint ideas brightens the small interior beautifully. Close the doors to hide works in progress from dust and curious pets. Measure your chair width against the closet opening before you commit.
6. Under-Window Craft Desk
A 16 inch deep desk slides under most windowsills without blocking light or the view. This slim surface suits sketching, hand sewing, and jewelry work. Tuck a backless stool fully underneath when you finish.
Use the sill itself as a display ledge for current inspiration. Keep supplies in a caddy that lifts off in one motion. Under-window desks turn the brightest strip of your room into your favorite seat.
7. Adjustable Task Lighting
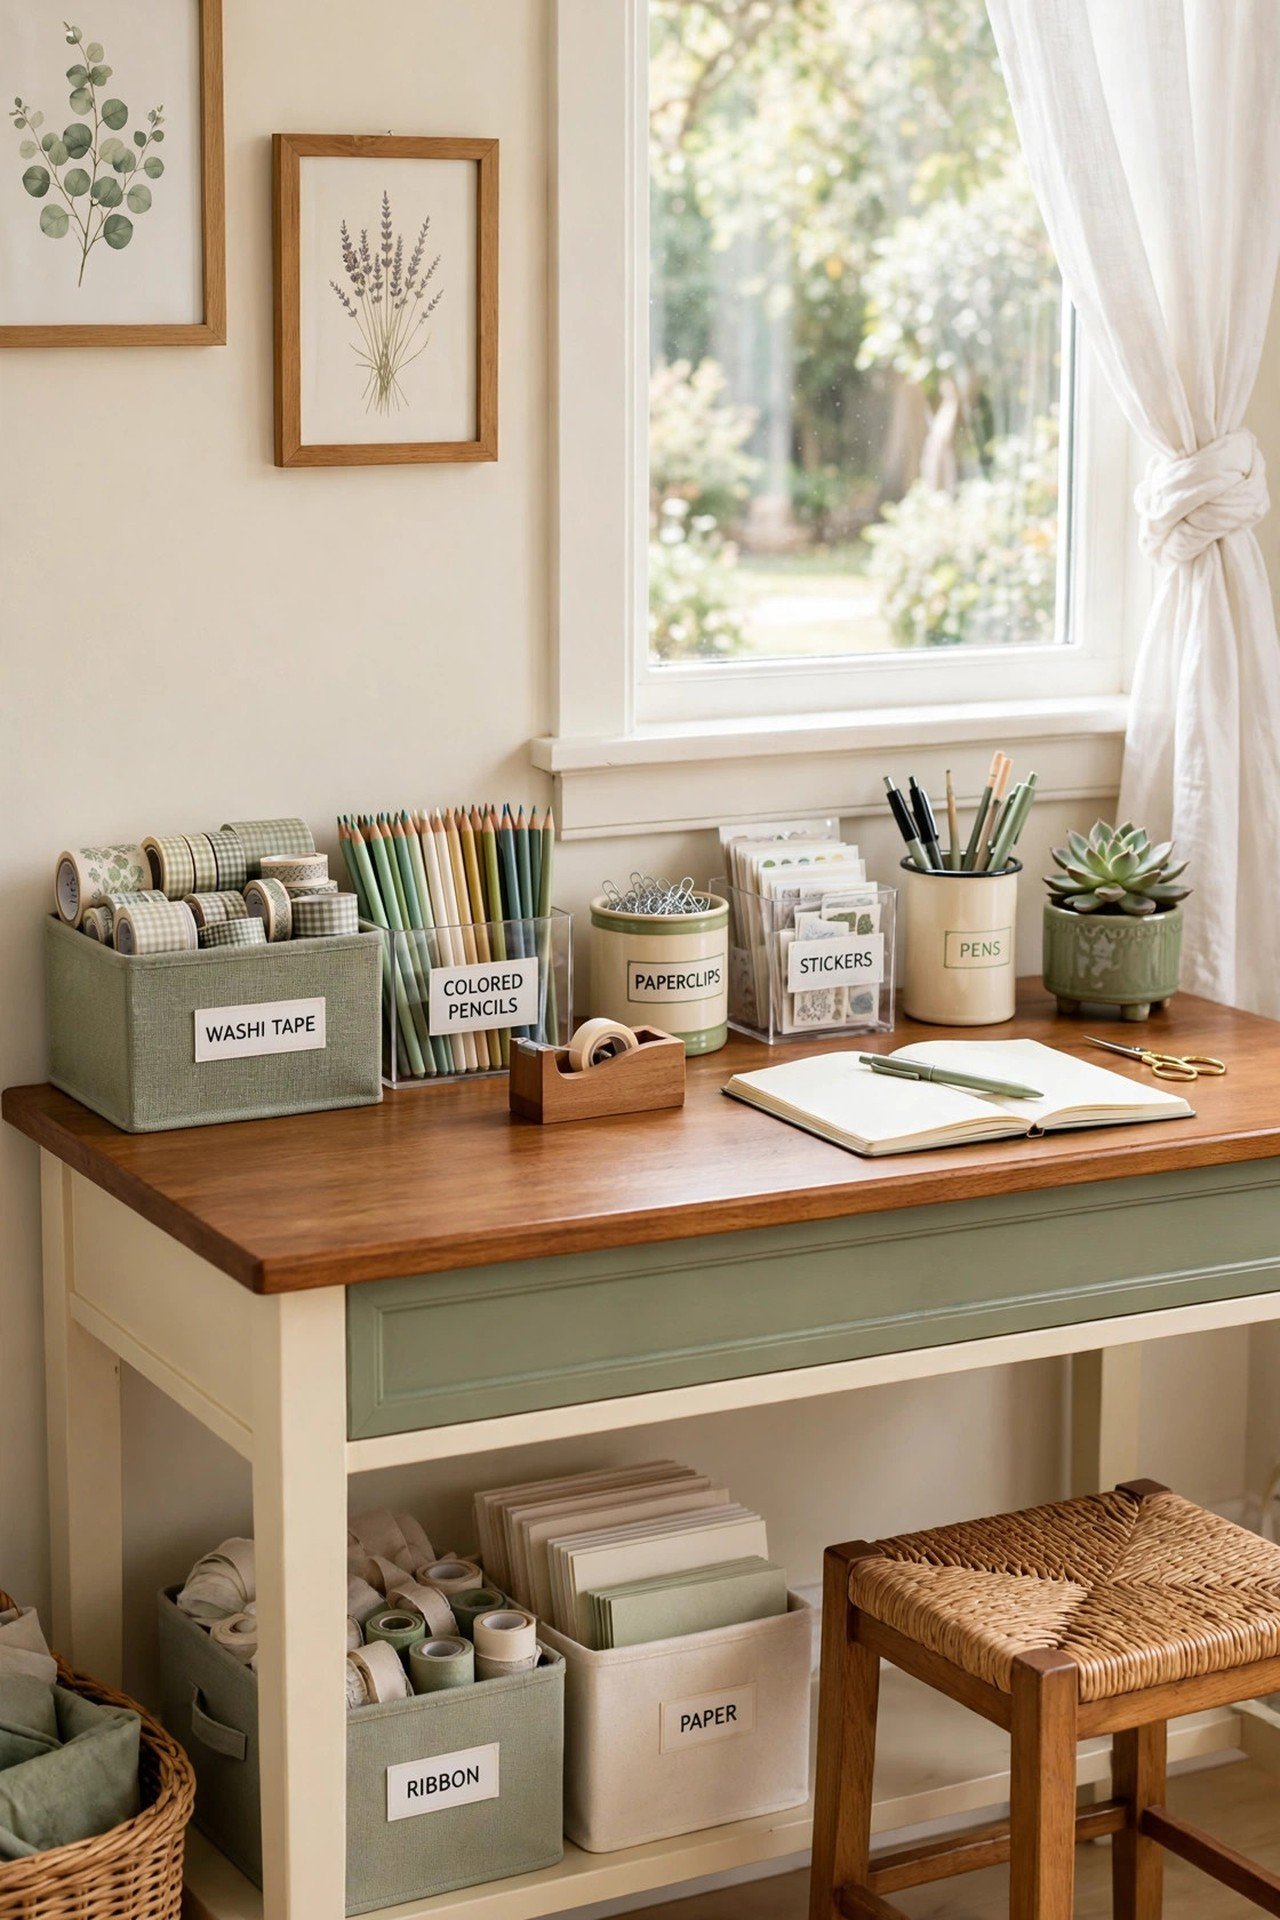
Choose a lamp with at least 800 lumens and a 4000K bulb for true color rendering. An articulated arm with 30 inches of reach aims light exactly where your hands work. Clip-on models save precious desk depth in tiny rooms.
Layer the task lamp with a ceiling fixture from these ceiling design ideas so the whole nook glows evenly. Position the lamp opposite your dominant hand to kill shadows. Good light prevents eye strain during long evening sessions.
8. Portable Pack-Away Craft Station
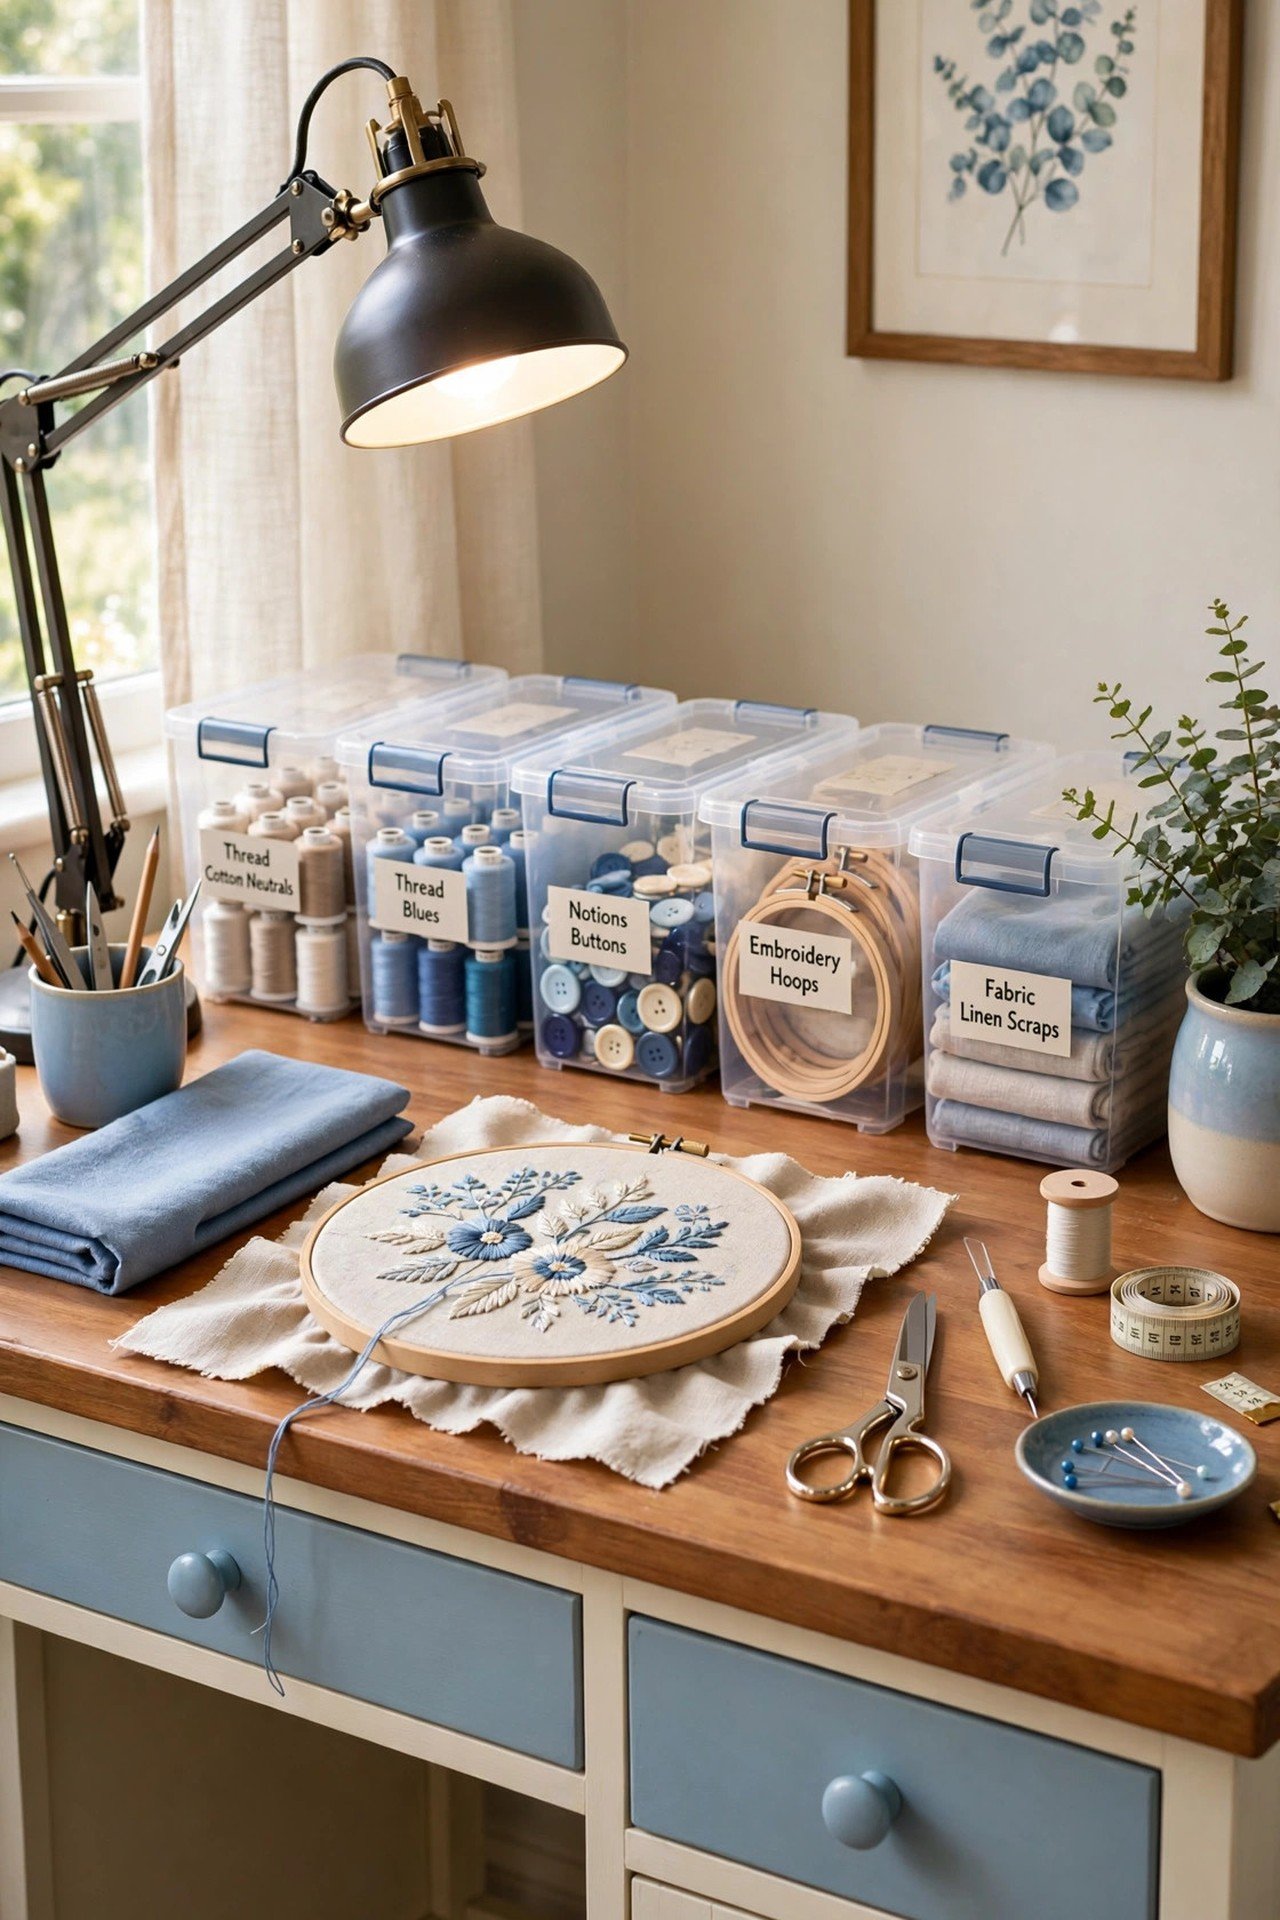
Build each station on a 16 by 20 inch tray that holds one complete project. Stackable trays slide under a table or into a 12 inch closet gap. When you finish for the day, the whole project disappears in one lift.
Label each tray with the project name and the next step, so you resume without rethinking. This system suits shared dining tables perfectly. Portable stations let you craft anywhere and tidy everywhere.
9. Magnetic Tool Board
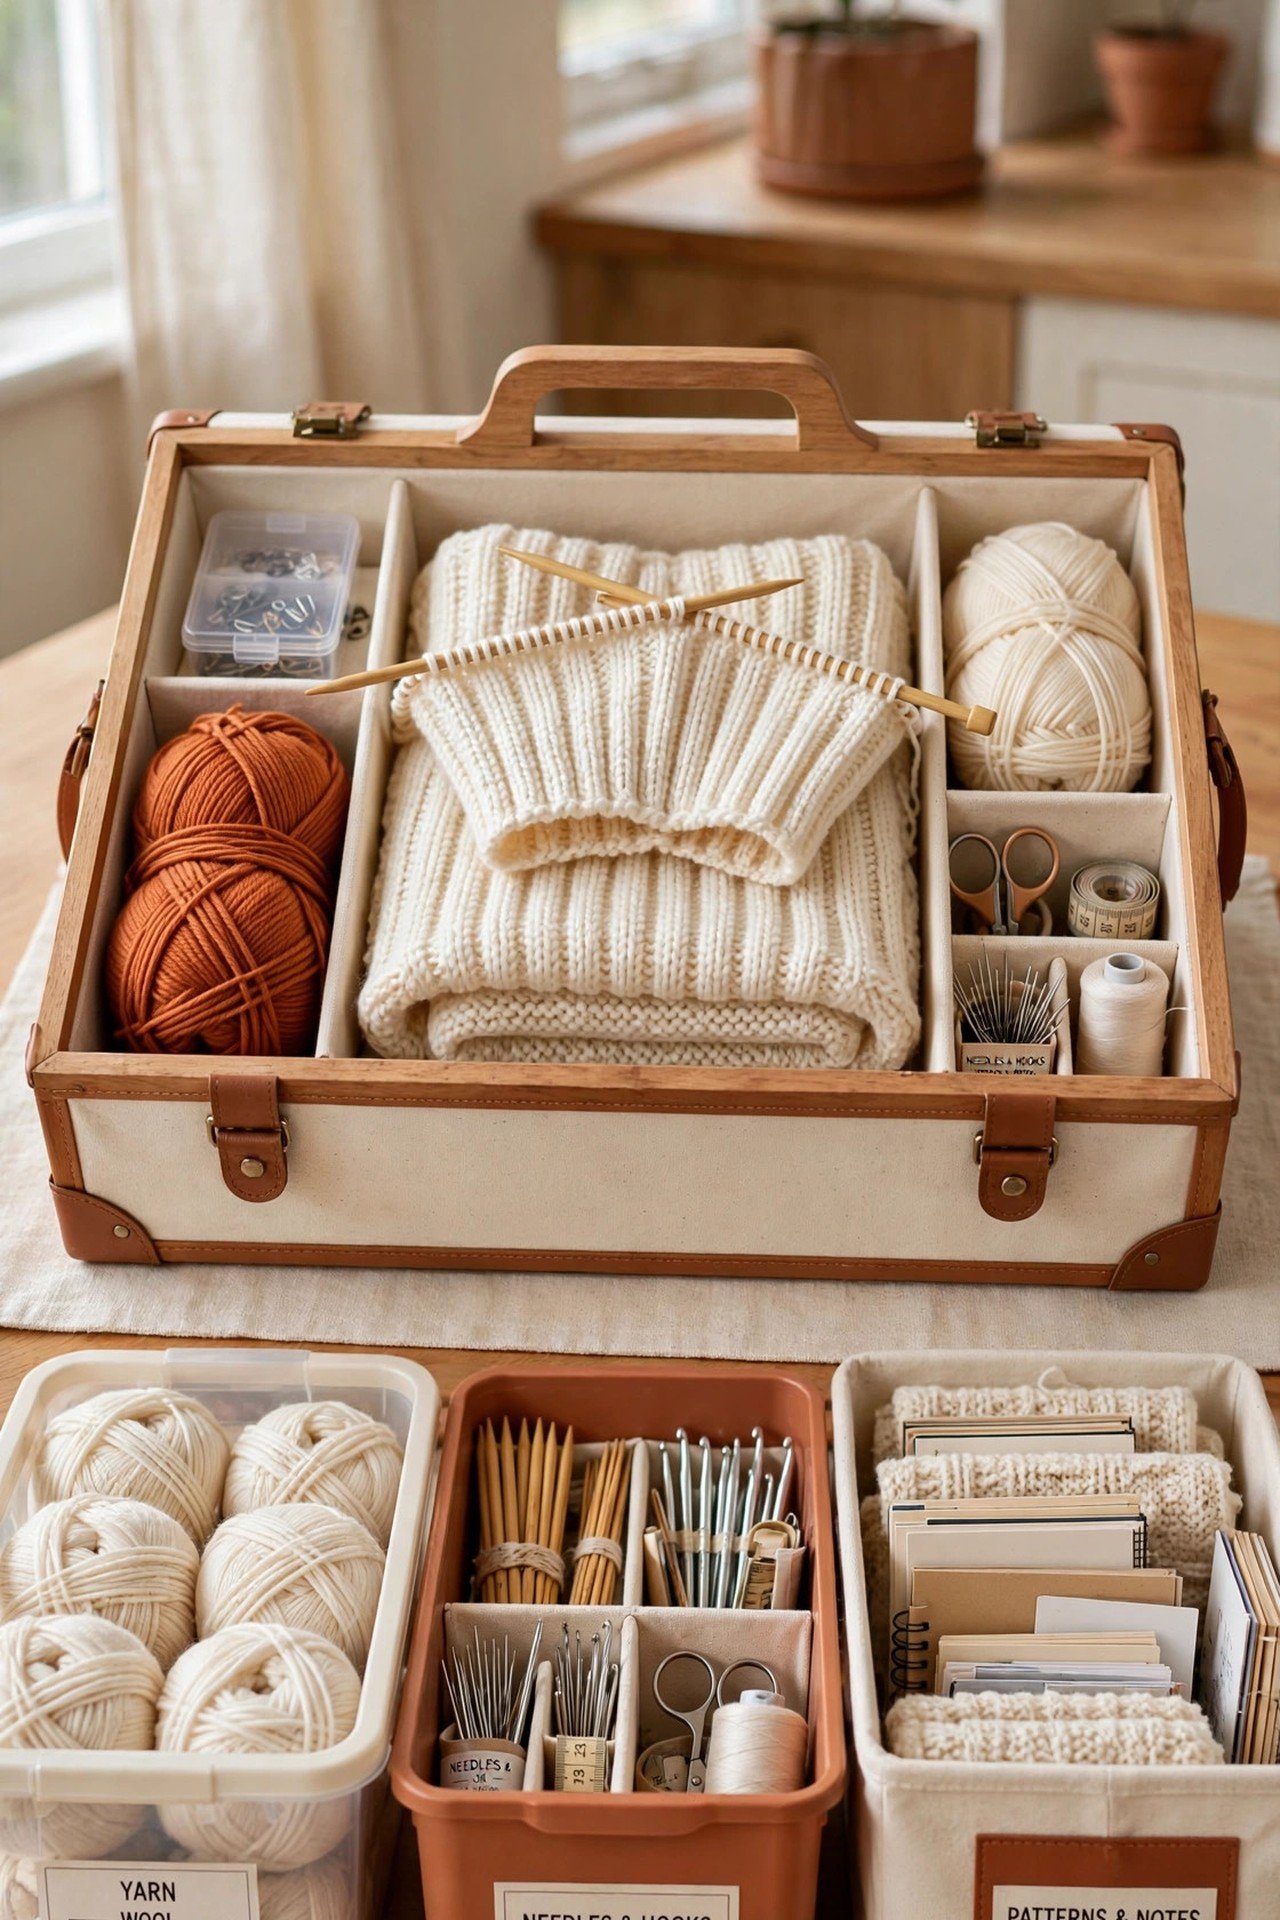
Mount a 24 by 36 inch steel board at eye level above your desk. Strong magnets hold scissors, rulers, and metal rulers in visible rows. You grab tools without opening a single drawer.
Outline each tool spot with a marker so missing items stand out instantly. Add small magnetic cups for pins and clips. This wall keeps your most-used tools in sight and your drawers free for bulk supplies.

10. Separate Zones for Each Craft
Give each craft a minimum 4 by 4 foot zone marked by its own rug or shelf unit. Sewing needs the machine zone, paper crafts need a clean cutting zone, and painting needs a washable zone. Physical separation stops glue from meeting good fabric.
Roll a narrow cart between zones as a shared supply bridge. Even in one small room, zones keep your brain in the right mode. You will finish more projects when each one has a proper home.
11. Clear Stackable Supply Bins
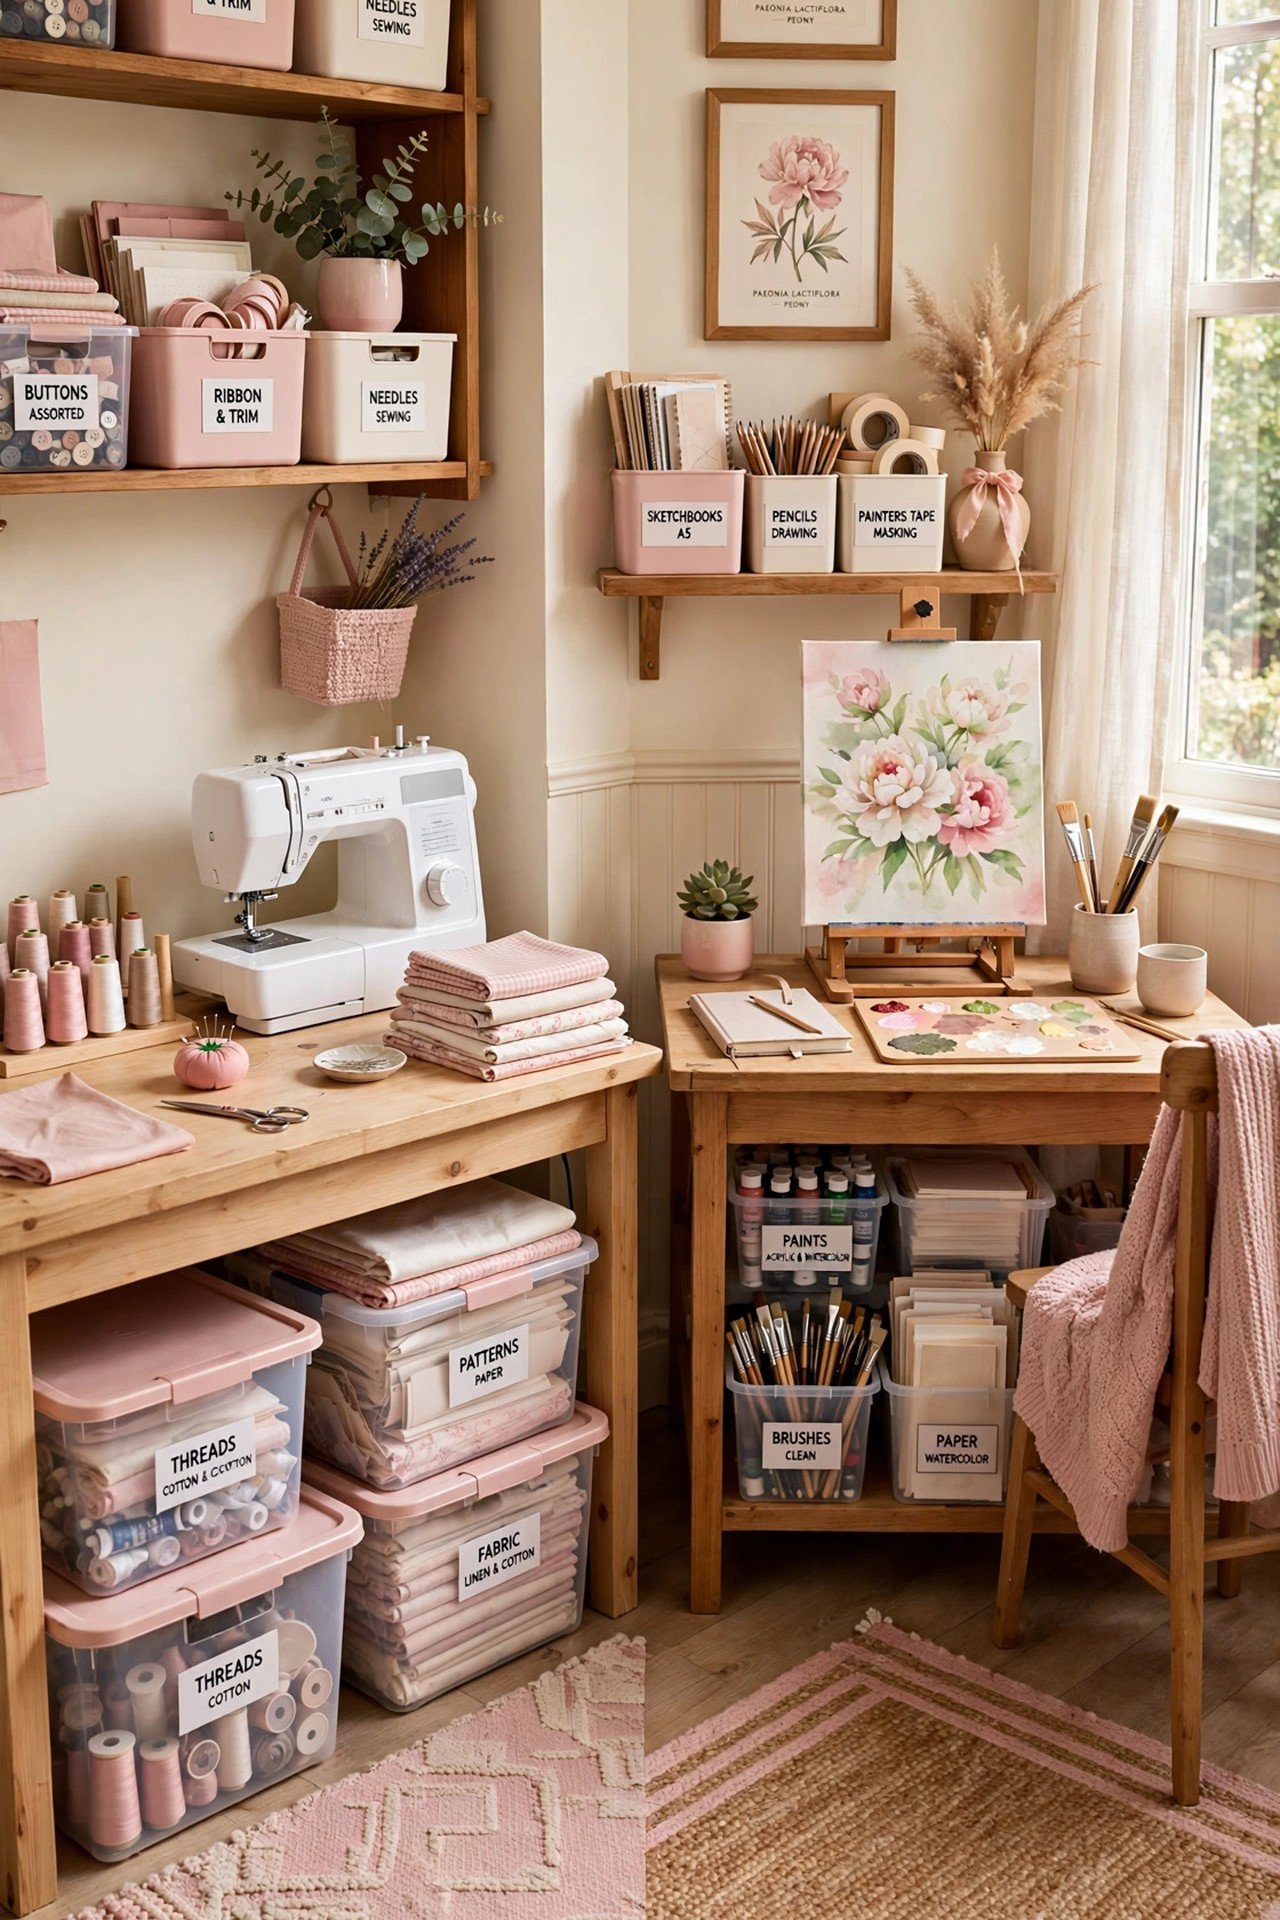
Use 6-quart bins for small notions and 16-quart bins for fabric, stacking no more than 3 high for safe lifting. Clear walls show inventory at a glance, which ends duplicate buying. Color-code the lids by craft for even faster sorting.
Store bins with the label facing out on 12 inch deep shelves. Do a 10 minute purge monthly and donate what you have not touched in a year. Clear storage turns a chaotic stash into a working library.

12. Vintage Desk with Modern Shelves
A vintage desk with a 24 inch knee hole fits most chairs and hides deep drawers for tools. Add a power grommet through the back for machine and lamp cords. Pair it with sleek 12 inch modern shelves above for the supplies you grab daily.
Dress the desk front with trim from these decorative molding ideas for a custom furniture feel. Old wood brings warmth that flat-pack rooms lack. The mix gives your studio character and serious function.

13. Clutter-Free Minimal Craft Space
Keep only the active project on your desk and store everything else behind closed doors. Run a weekly 15 minute reset where each tool returns to its labeled home. A clear surface invites you to start, while a crowded one invites delay.
Limit open supplies to what fits in one caddy. Minimalism does not mean owning less, it means showing less. Your creativity flows better when your eyes rest on calm surfaces.
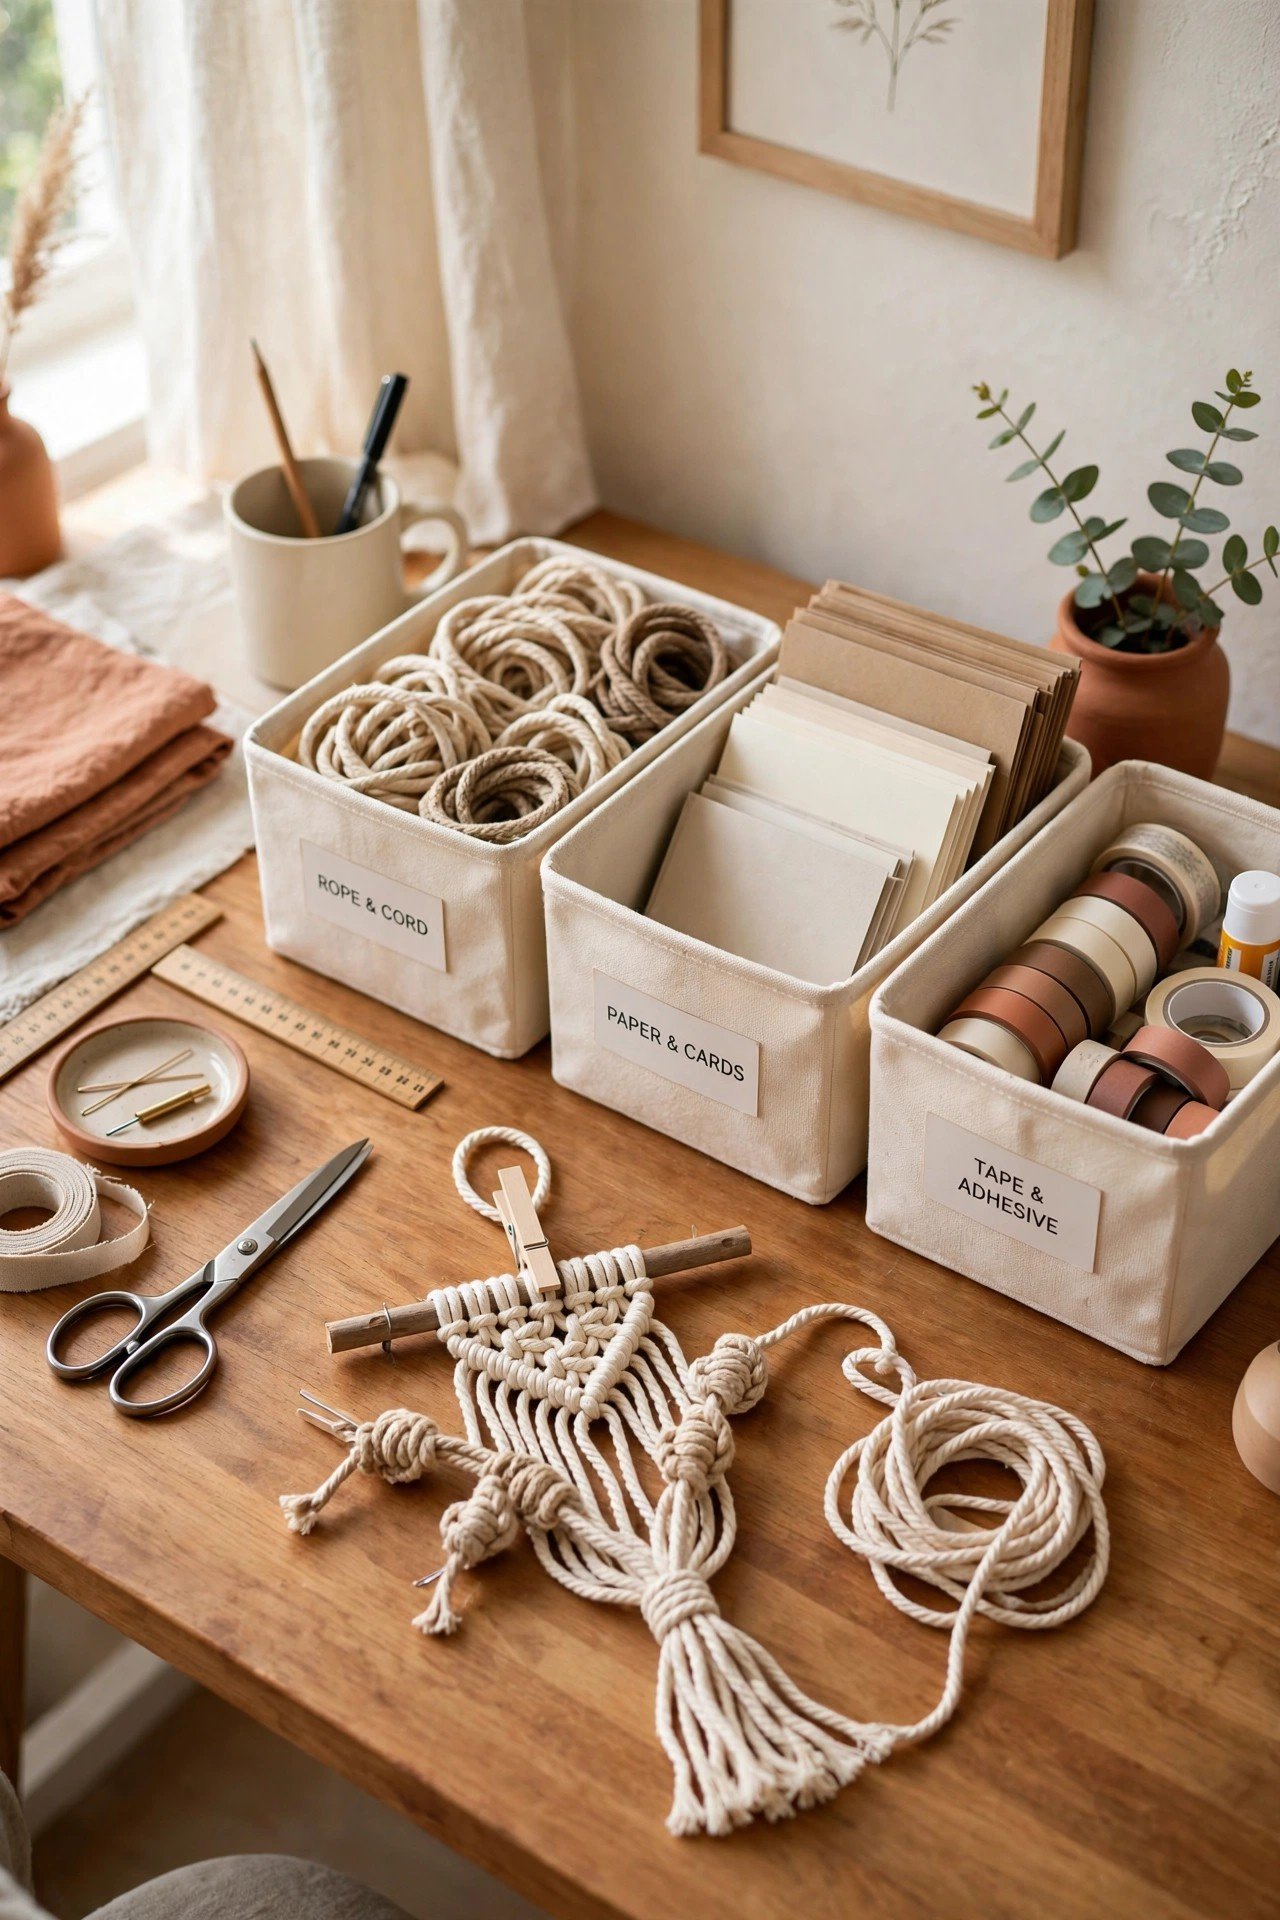
14. Wall-Mounted Fabric Rack
Mount 36 inch wooden dowels on wall brackets and slide fabric bolts on vertically. Sort by color so you can pull the exact shade in seconds. Rolled fabric stays wrinkle-free and doubles as colorful wall decor.
Place the rack above your sewing station within arm reach. Keep a small step stool nearby for the top dowel. This vertical fix frees entire drawers for notions and patterns.

15. Modular Furniture That Adapts
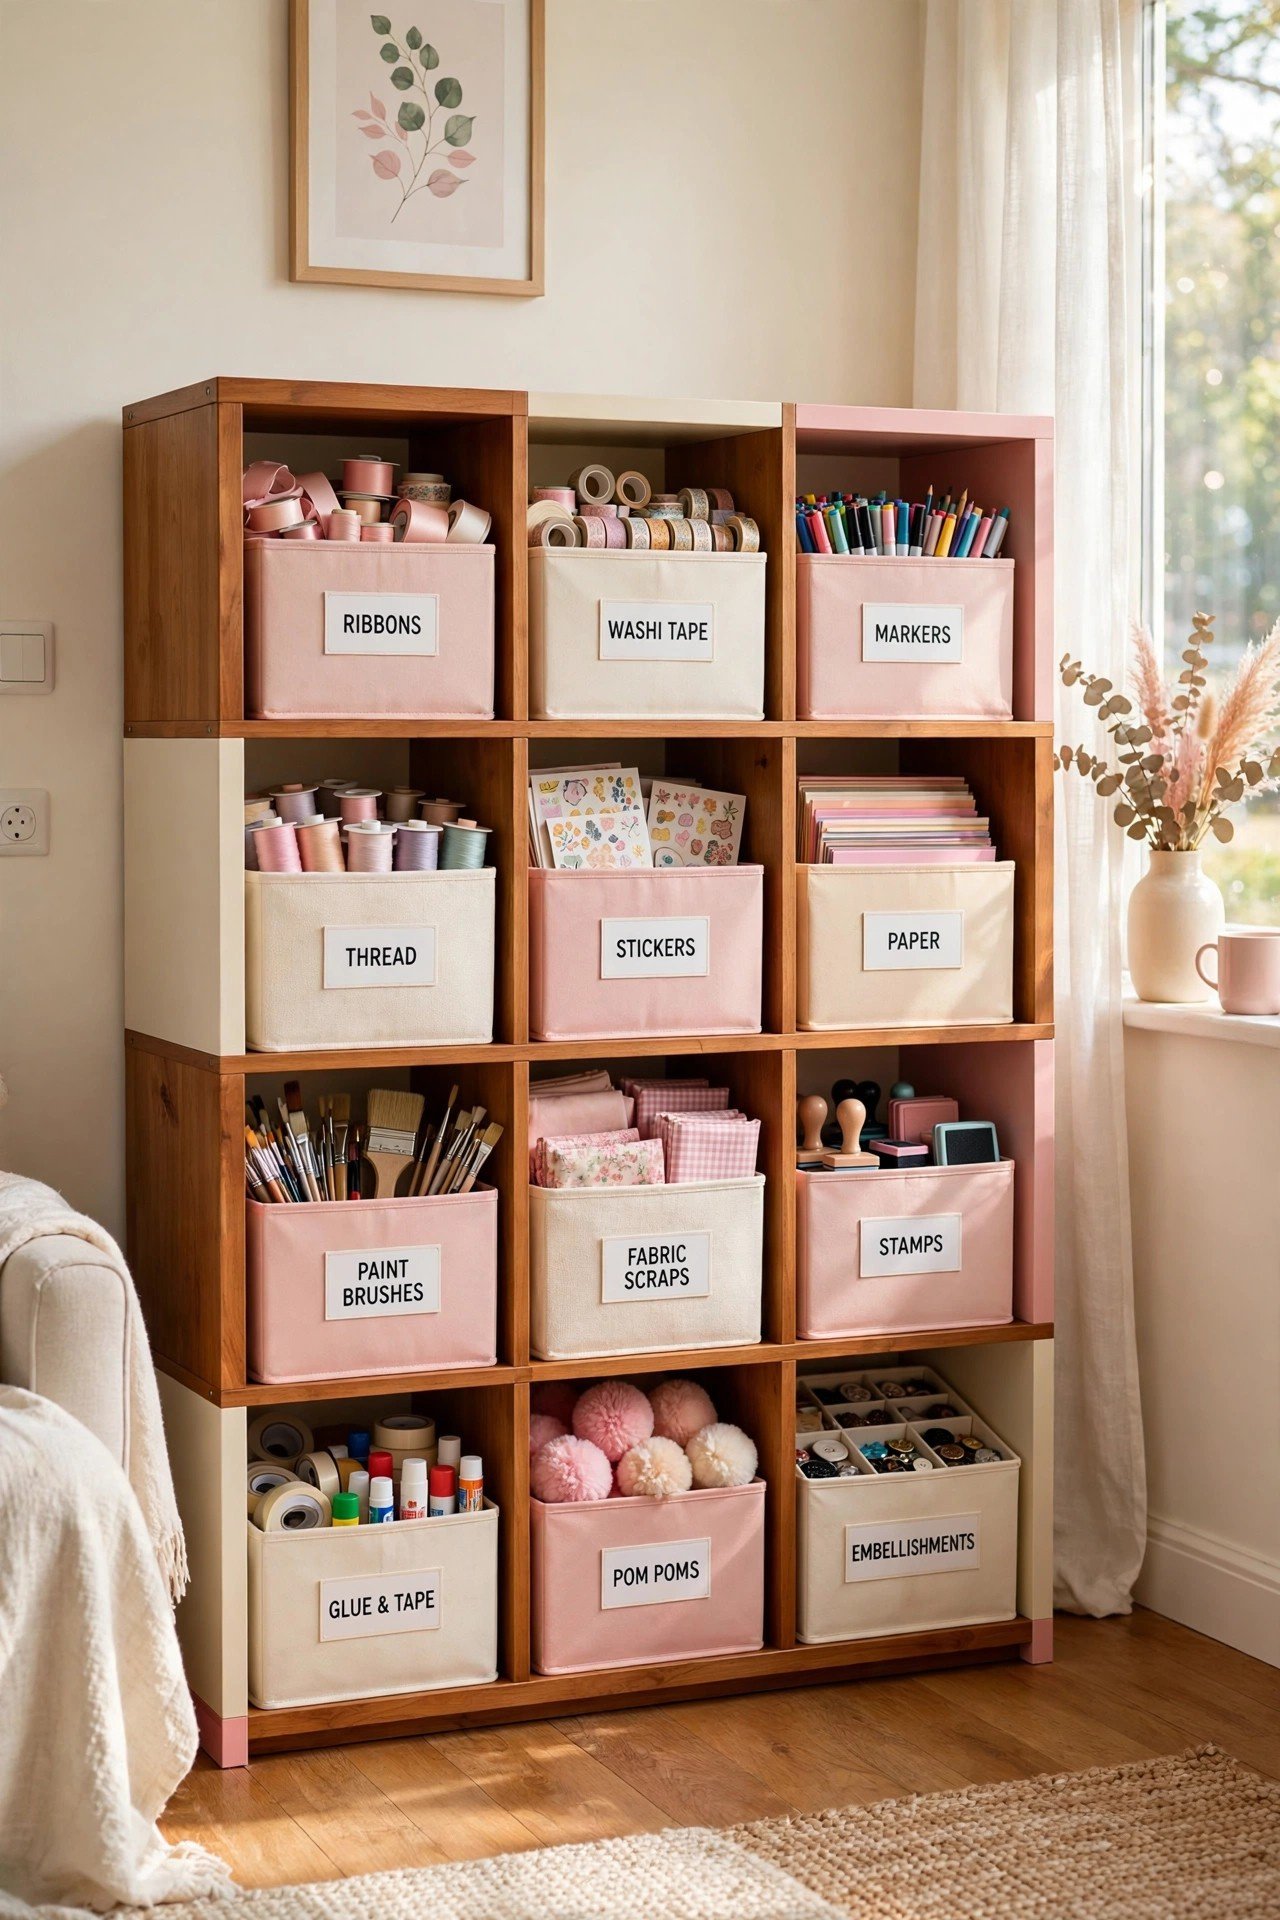
Build storage from 14 inch cubes that restack as your hobbies change. Put heavy units on locking casters so one person can rearrange the room. Reconfigure quarterly to match your current obsession.
Ground the setup with a textured accent from these board and batten wall ideas so the room still feels designed. Modular pieces prevent costly makeovers. Your studio evolves as fast as your skills do.
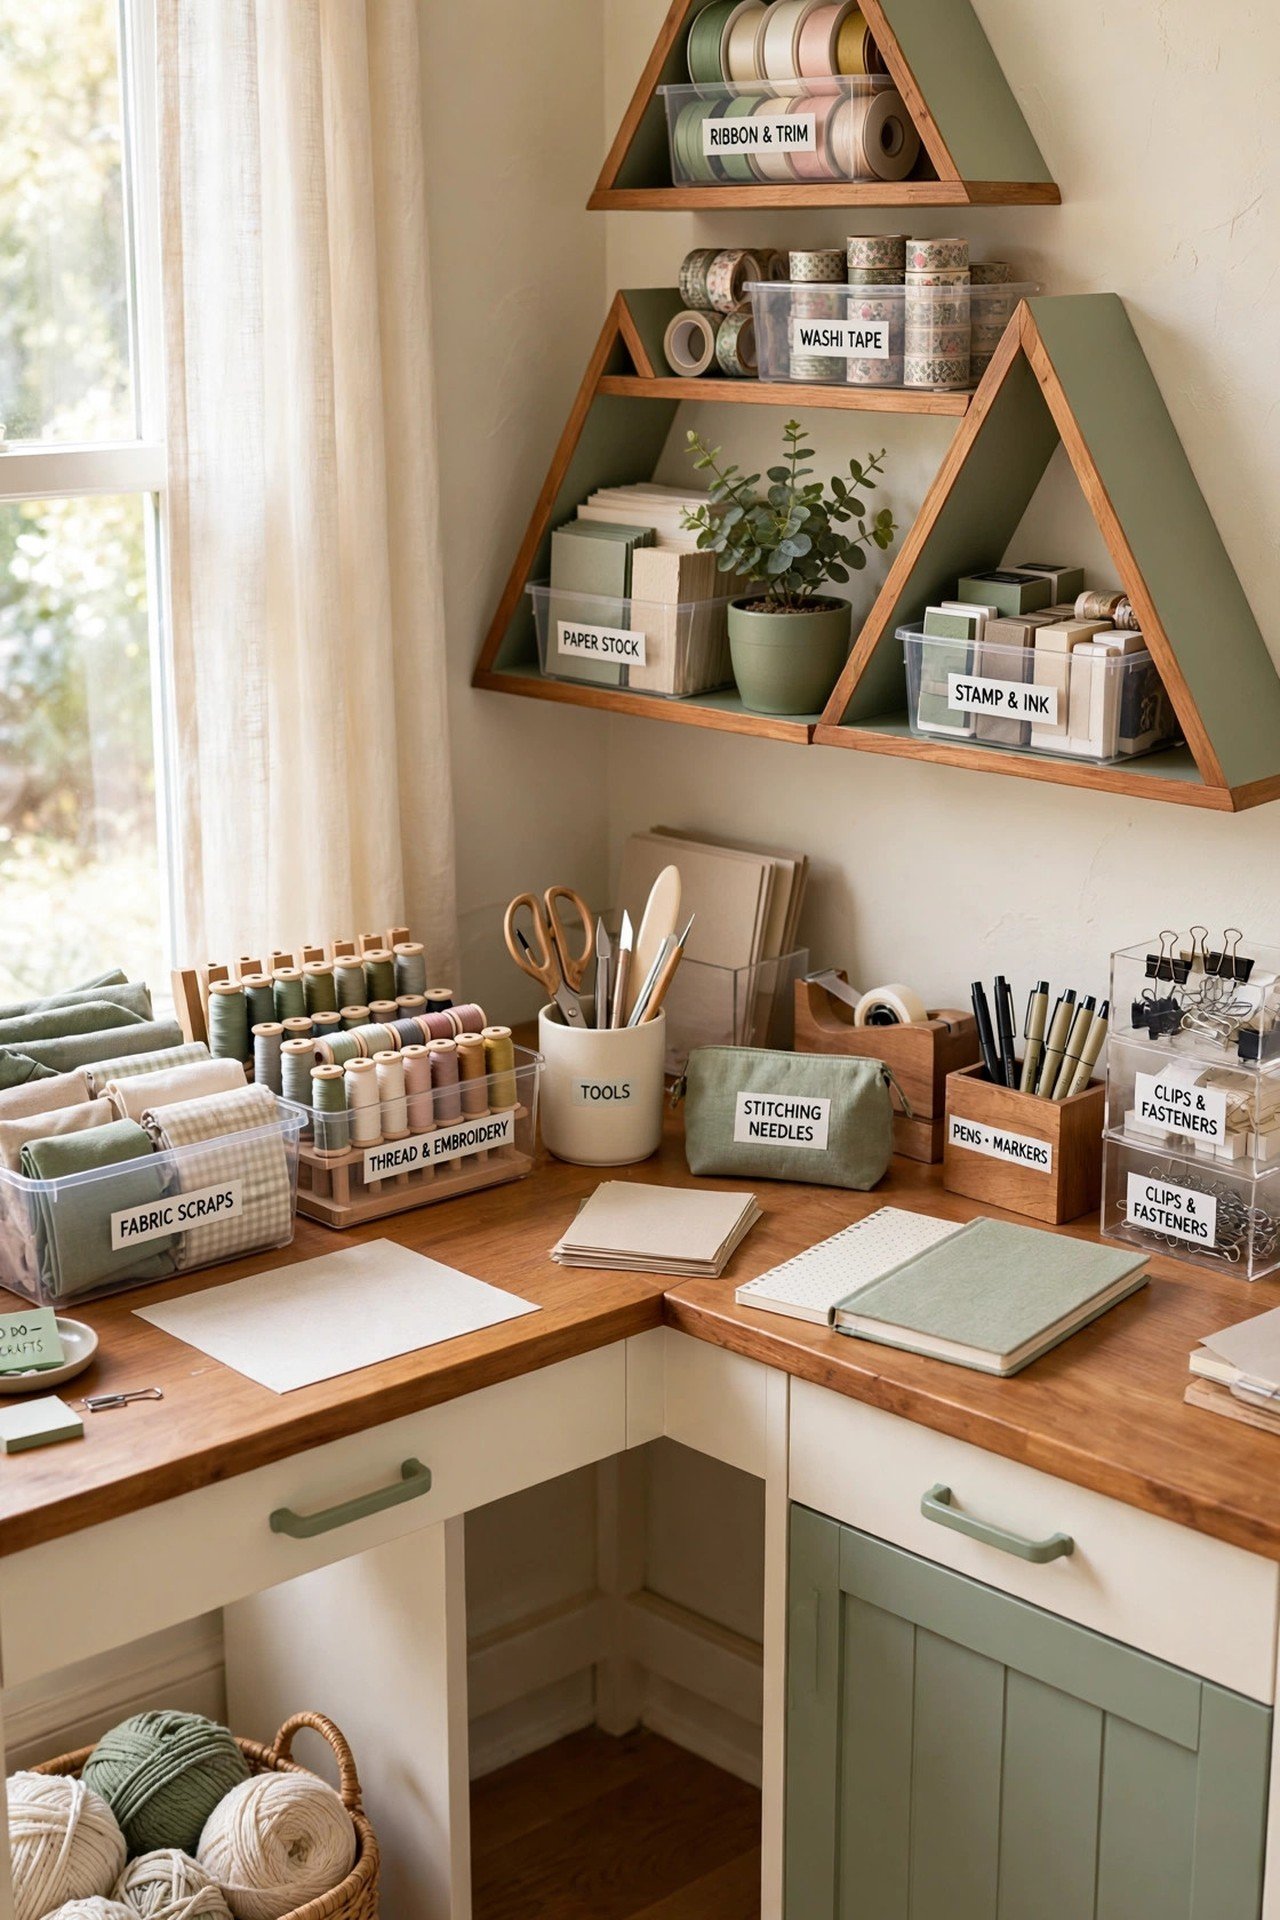
16. Corner Angled Work Desk
Fit an L-shaped desk with 48 inch arms into the corner to double your surface. Add triangular corner shelves above for jars and books. The angle keeps everything within a seated reach of 24 inches.
Frame the corner with a pattern from these wallpaper accent wall ideas to make it feel intentional. Corners hold more than you expect when you plan them. One angled desk can anchor your entire studio.
Conclusion
A creative corner needs smart specs more than square footage. Right-sized surfaces, honest light, and labeled systems turn any nook into a studio that works. Your crafts deserve a setup built for how you actually make things.
Pick two ideas from this list and install them this weekend. Small measured changes bring daily joy to makers. Your most creative chapter starts in the corner you already own.
Frequently Asked Questions
How do I set up a craft room in a very small space?
Start with a fold-down table and a rolling cart for mobile storage. Use wall shelves and pegboards to keep the floor clear. One bright corner is enough to begin.
What lighting is best for detailed craft work?
Place your desk near a window for natural daylight first. Add an adjustable task lamp with daylight bulbs for evenings. Good lighting reduces eye strain and shows true colors.
How can I store fabric in a small craft room?
Roll fabric bolts and store them on a wall-mounted rack. Clear bins sorted by color keep scraps visible and tidy. Vertical storage saves precious drawer space.
How do I keep a craft room from looking messy?
Give every supply a labeled home and reset the space after each session. Portable trays let you pack projects away fast. Closed bins hide the bulk of the clutter.
Can a craft room share space with a guest room?
Yes, use a fold-down desk and rolling storage that tucks away. A daybed or sleeper sofa keeps the room guest-ready. Dual-purpose rooms work well with furniture that adapts.

Hi, I’m Emily! I turn messy corners into cozy, organized spots. DreamNestDecor is where I share simple, practical home ideas — decor, organization, and small-space solutions that work in real life, not just in photos. Every idea here is carefully researched before it’s shared.