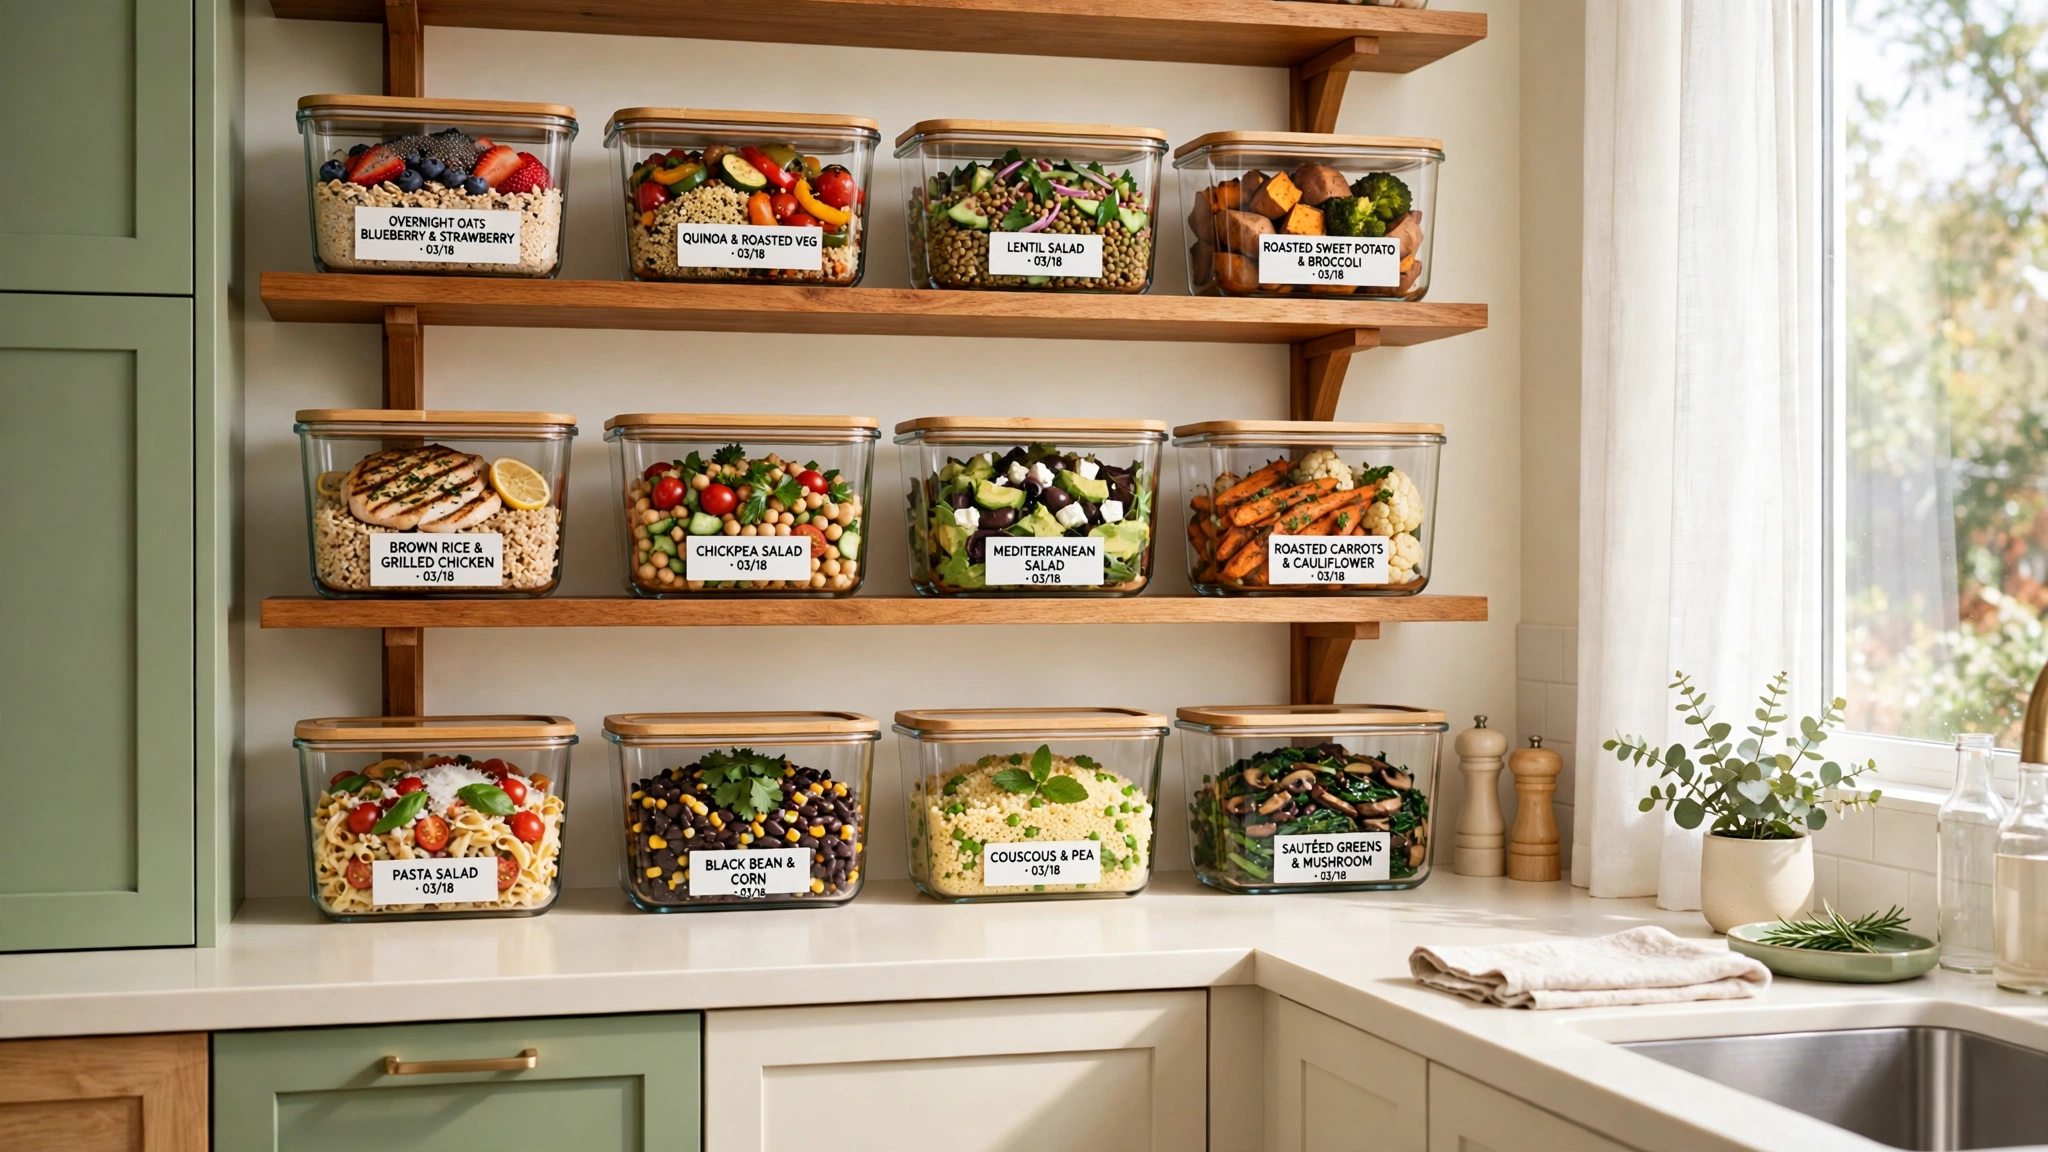
Picture this: Sunday evening arrives, and your fridge holds a full week of meals in neat, labeled containers. No more digging past mystery leftovers, no more lids lost in a drawer, no more guessing what is inside each box. That calm feeling is exactly what smart meal prep container organization gives you every single week.
You do not need a bigger kitchen or expensive storage systems to get there. All you need is the right spot for each container and a simple routine to keep it that way. These 17 meal prep container organization ideas will help you keep every container tidy, visible, and ready for weekly cooking.
1. Sort Containers by Size Before You Store Them
Before you buy a single organizer, pull every meal prep container out of the cabinets and sort them by size. Group the large family-size boxes together, then the medium lunch boxes, then the small snack cups. Toss any container with a cracked lid, a missing match, or a stain that will not wash out.
A clear count shows you exactly how many containers you really own and which sizes you use most. Keep only the sizes that fit your weekly cooking, and store the rest elsewhere. This fresh start takes twenty minutes and makes every other idea work better.
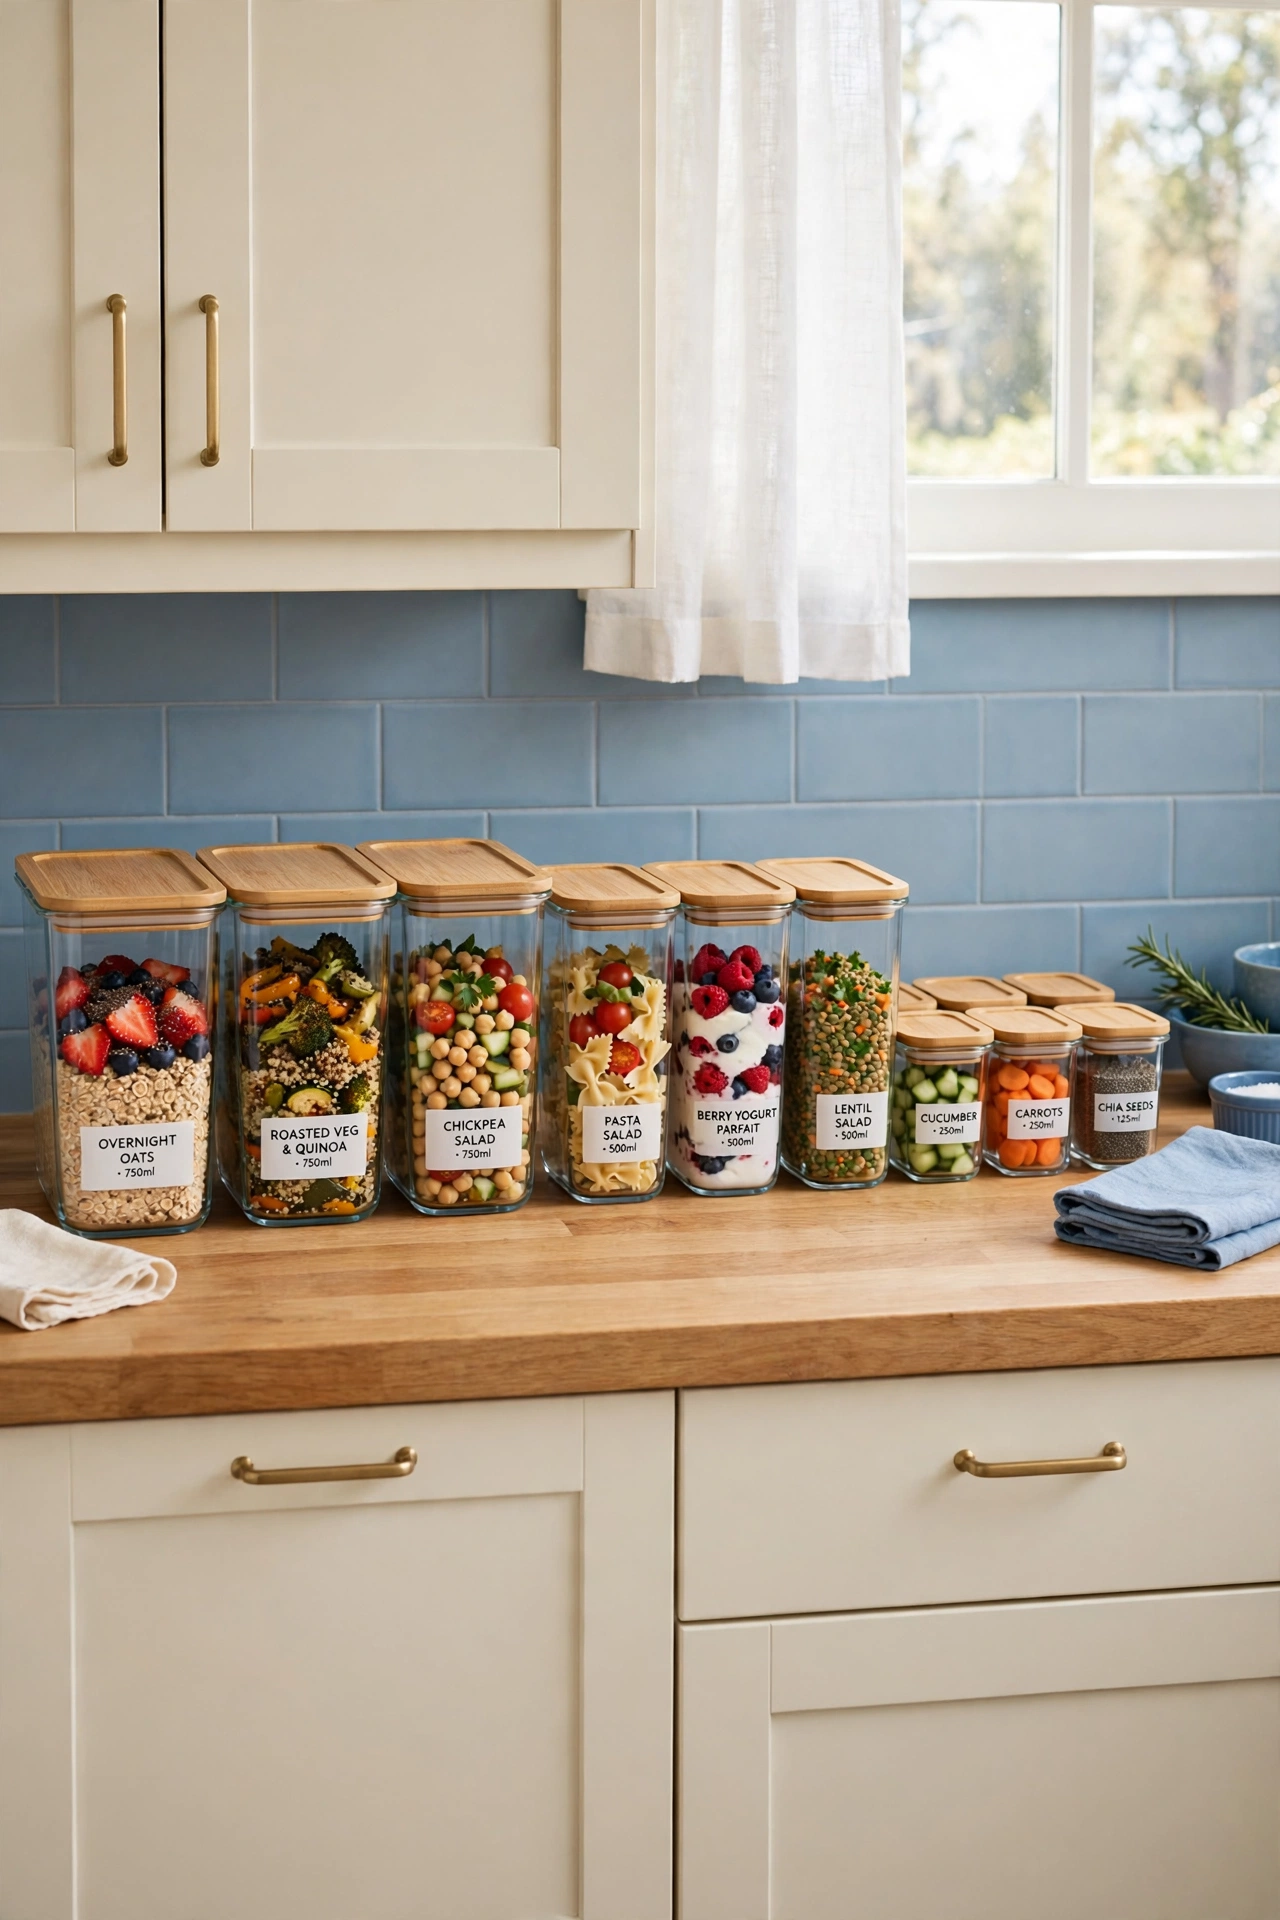
2. Stack Containers with Their Lids On
Stacking containers with their lids on keeps each set together and stops lids from wandering off. Place the largest container at the bottom and stack smaller ones on top in a neat tower. A tower of lidded containers slides onto a shelf as one tidy unit.
This method works best for containers you use every week, since the full set is ready to grab in one motion. Keep the stacks short enough to lift safely, and leave a little space between towers so you can pull one out without toppling the rest.
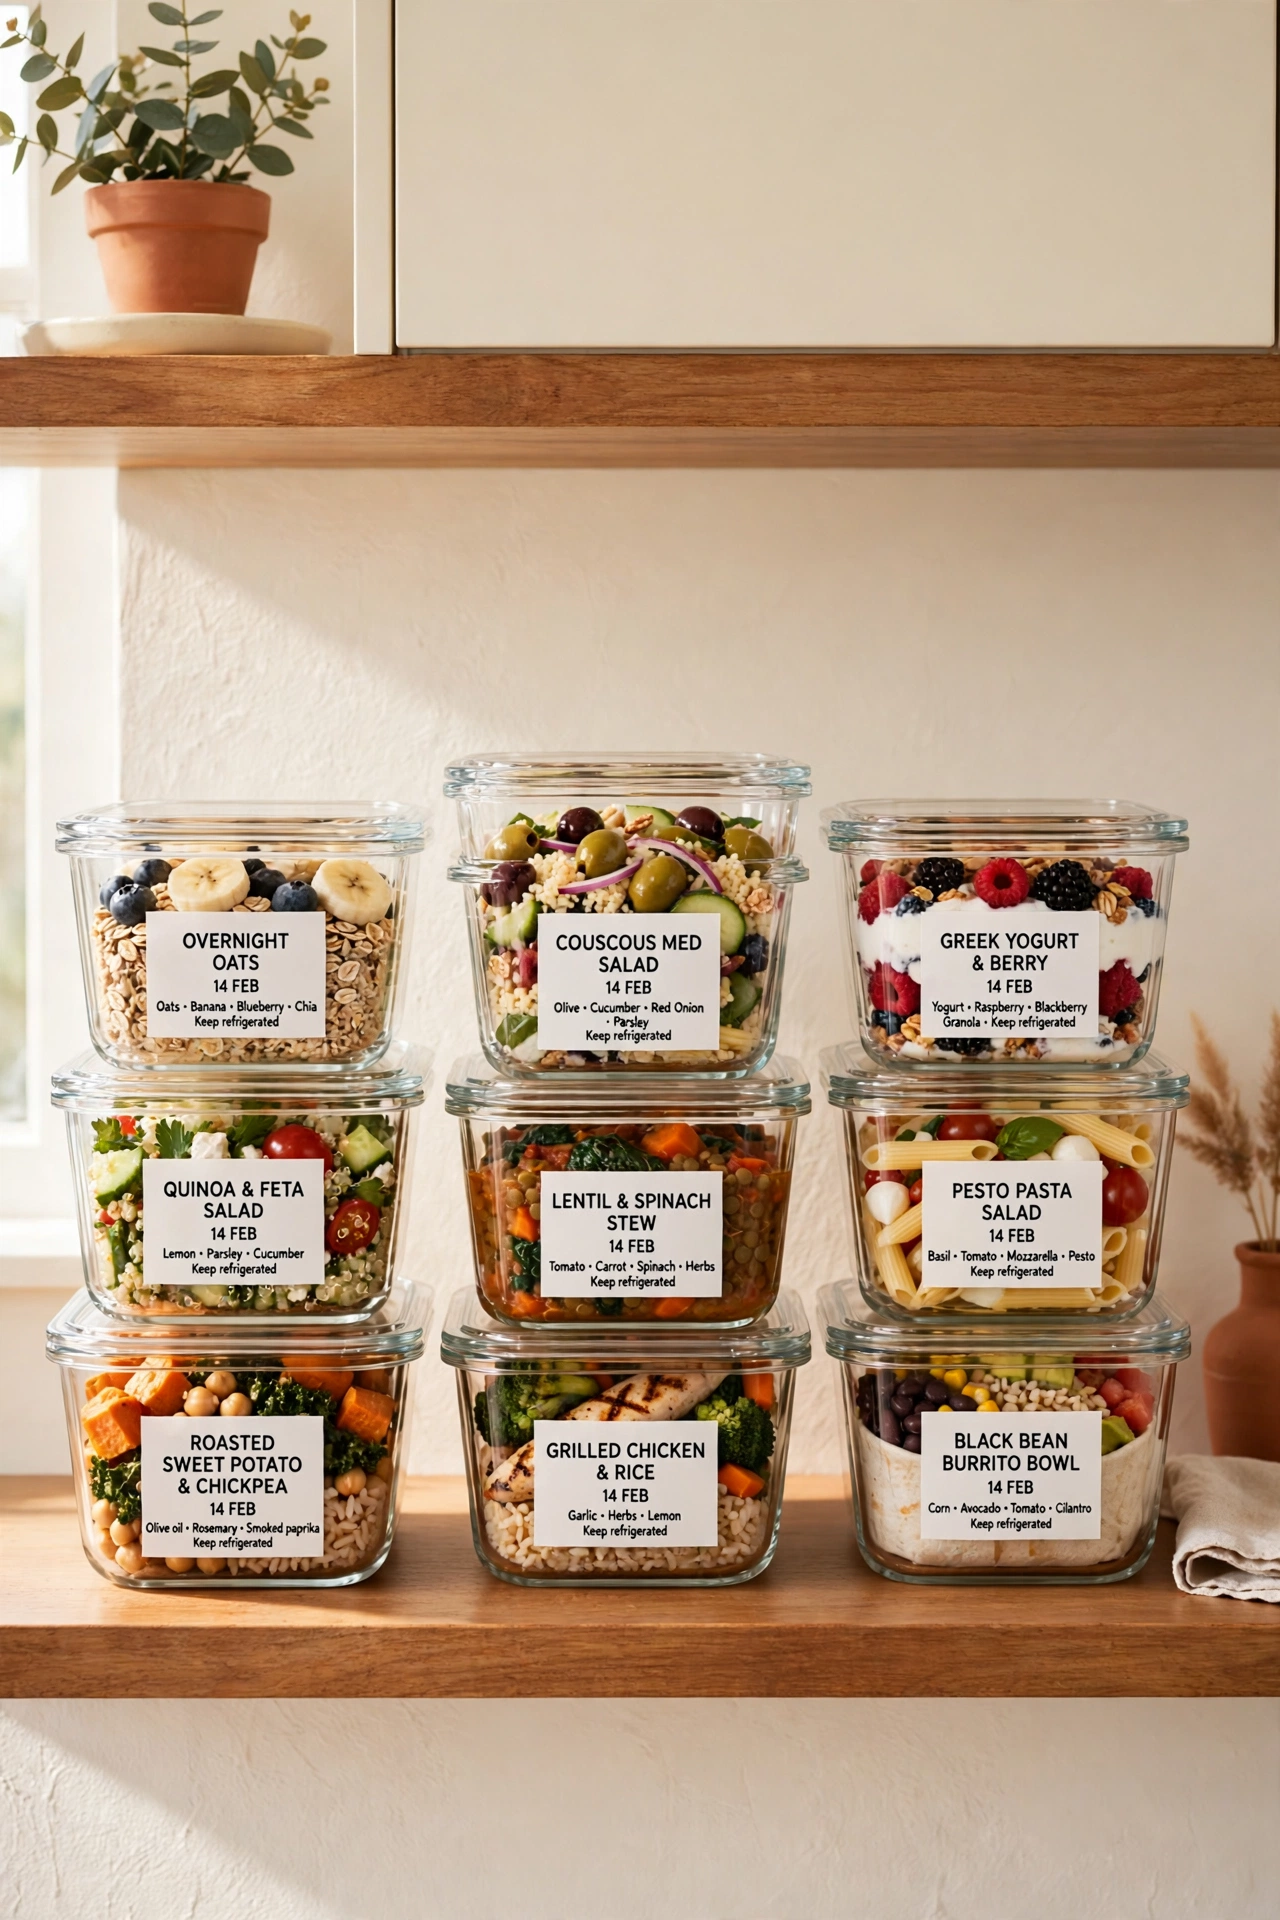
3. Store Lids Upright in a File Organizer
Lids are the hardest part of container storage, because they slide around and disappear under other items. Stand them upright in a file organizer or a small dish rack, sorted by size from large to small. Each lid gets its own slot, so you can see every size at a glance.
Place the file organizer in the same cabinet as the containers, so the lid you need is always within reach. This trick turns a messy pile into a tidy row in seconds. Choose a sturdy metal or bamboo organizer that will not tip over when you pull a lid out.
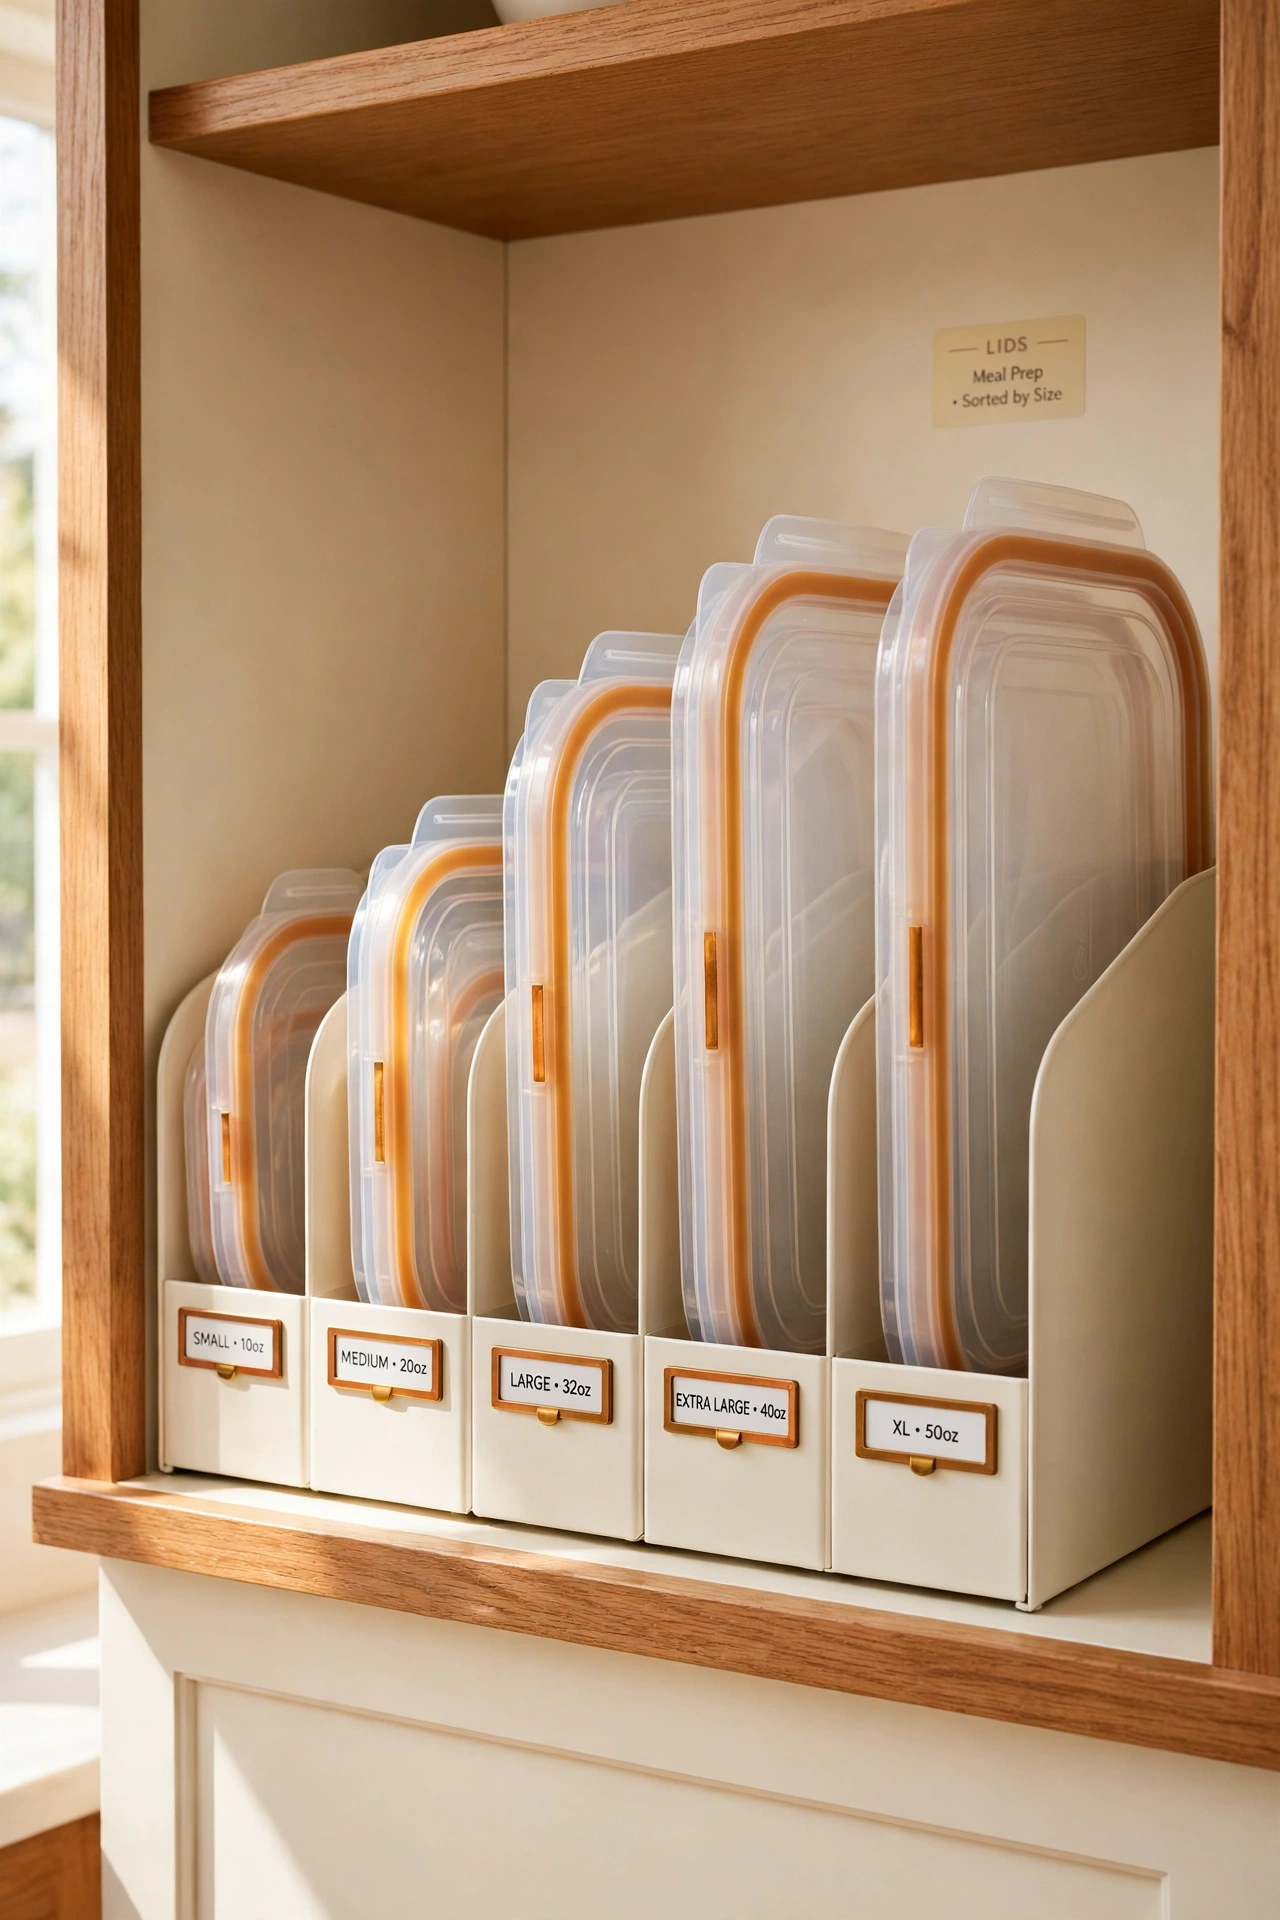
4. Nest Smaller Containers Inside Larger Ones
Nesting is the simplest way to shrink a pile of containers. Slip the small snack cups inside the medium lunch boxes, then slide those inside the largest family-size containers. A whole set of containers takes up the space of just one large box.
Keep the lids in a separate row beside the nested stack, so the whole set stays together in one spot. Make sure every container is clean and fully dry before you nest it, so nothing smells musty later. This method works especially well in deep cabinets with limited shelf space.
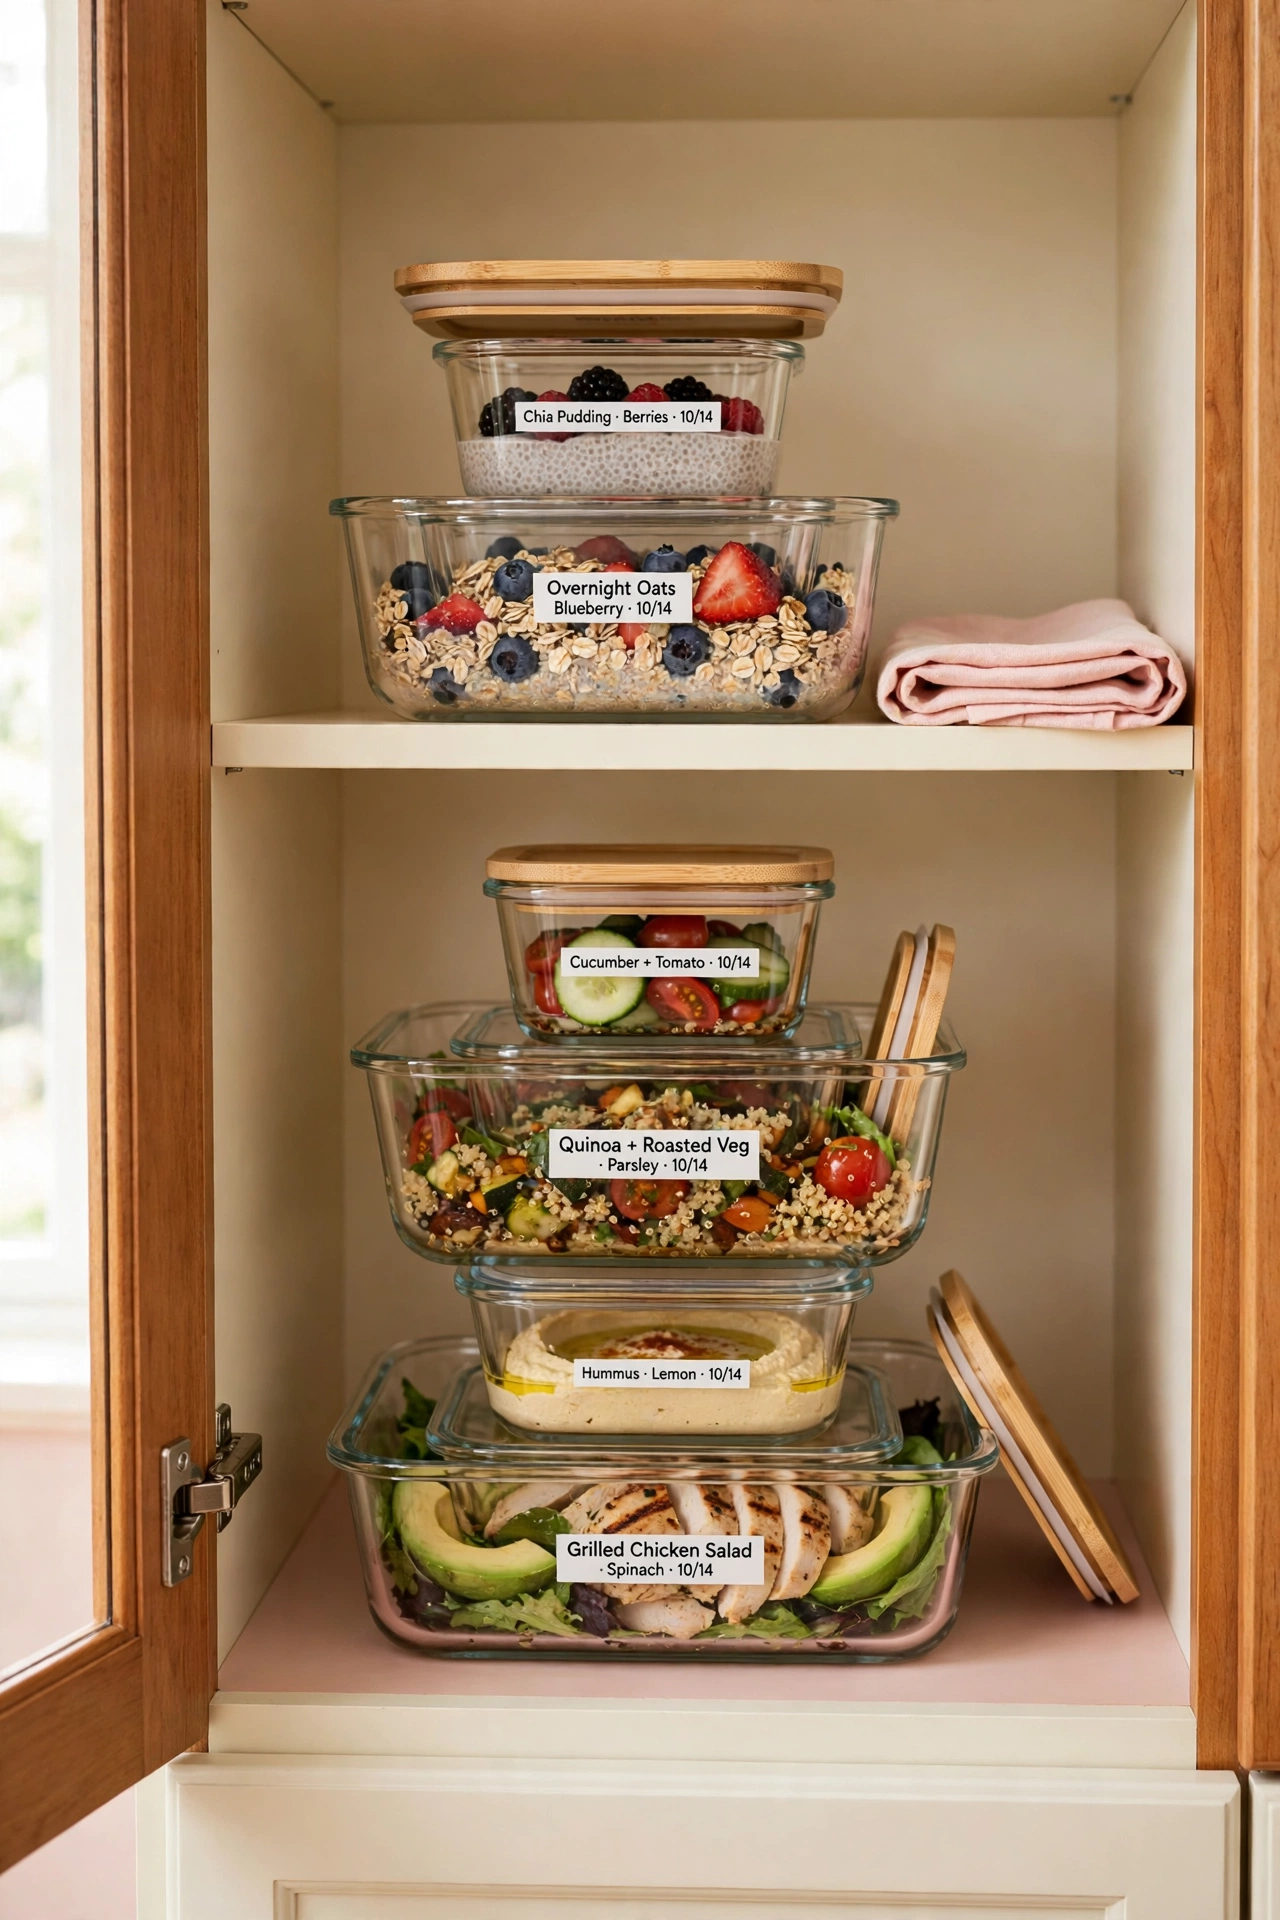
5. Give Daily Containers a Deep Kitchen Drawer
A deep drawer is the perfect home for the containers you reach for every day. Line the bottom with a non-slip mat, then stand the containers upright or stack them in two neat rows. The drawer keeps them out of sight but only a pull away from the counter.
Use dividers or small bins inside the drawer to stop the stacks from sliding when you open and close it. Put the lids in a slim tray at the back of the same drawer. This setup turns a junk drawer into a proper meal prep station.
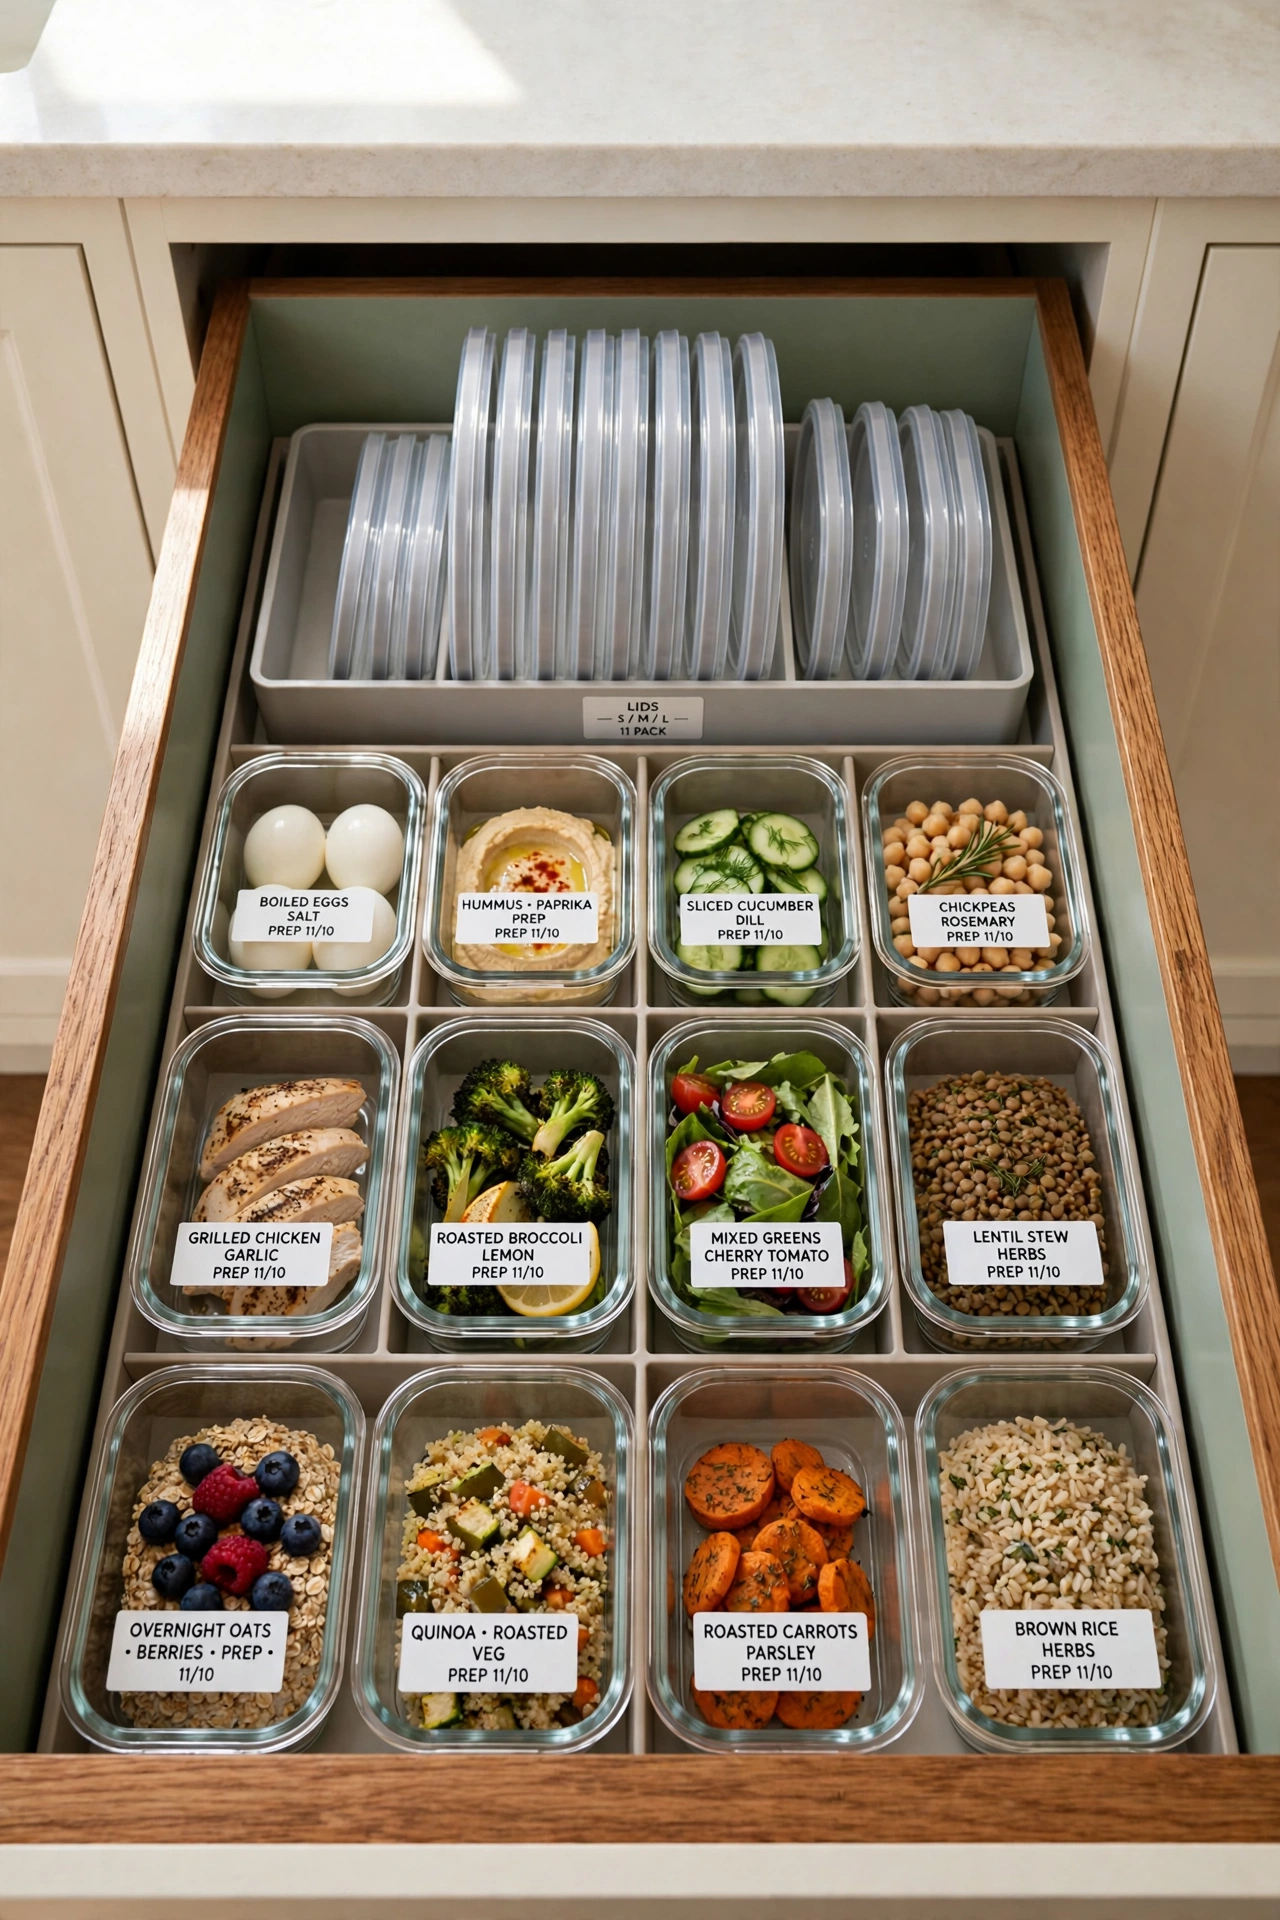
6. Label Every Container with Contents and Date
Labels end the guessing game of what is inside each container and when you cooked it. Stick a small label on the lid with the name of the dish and the date you made it. A quick glance tells you which meal to eat first and which one needs to go.
Use masking tape and a marker for a cheap solution, or reusable chalk labels for a tidier look. Keep the labels short and easy to read, and place them where they do not cover the seal. Clear labels are a tiny change that keeps your whole week on track.
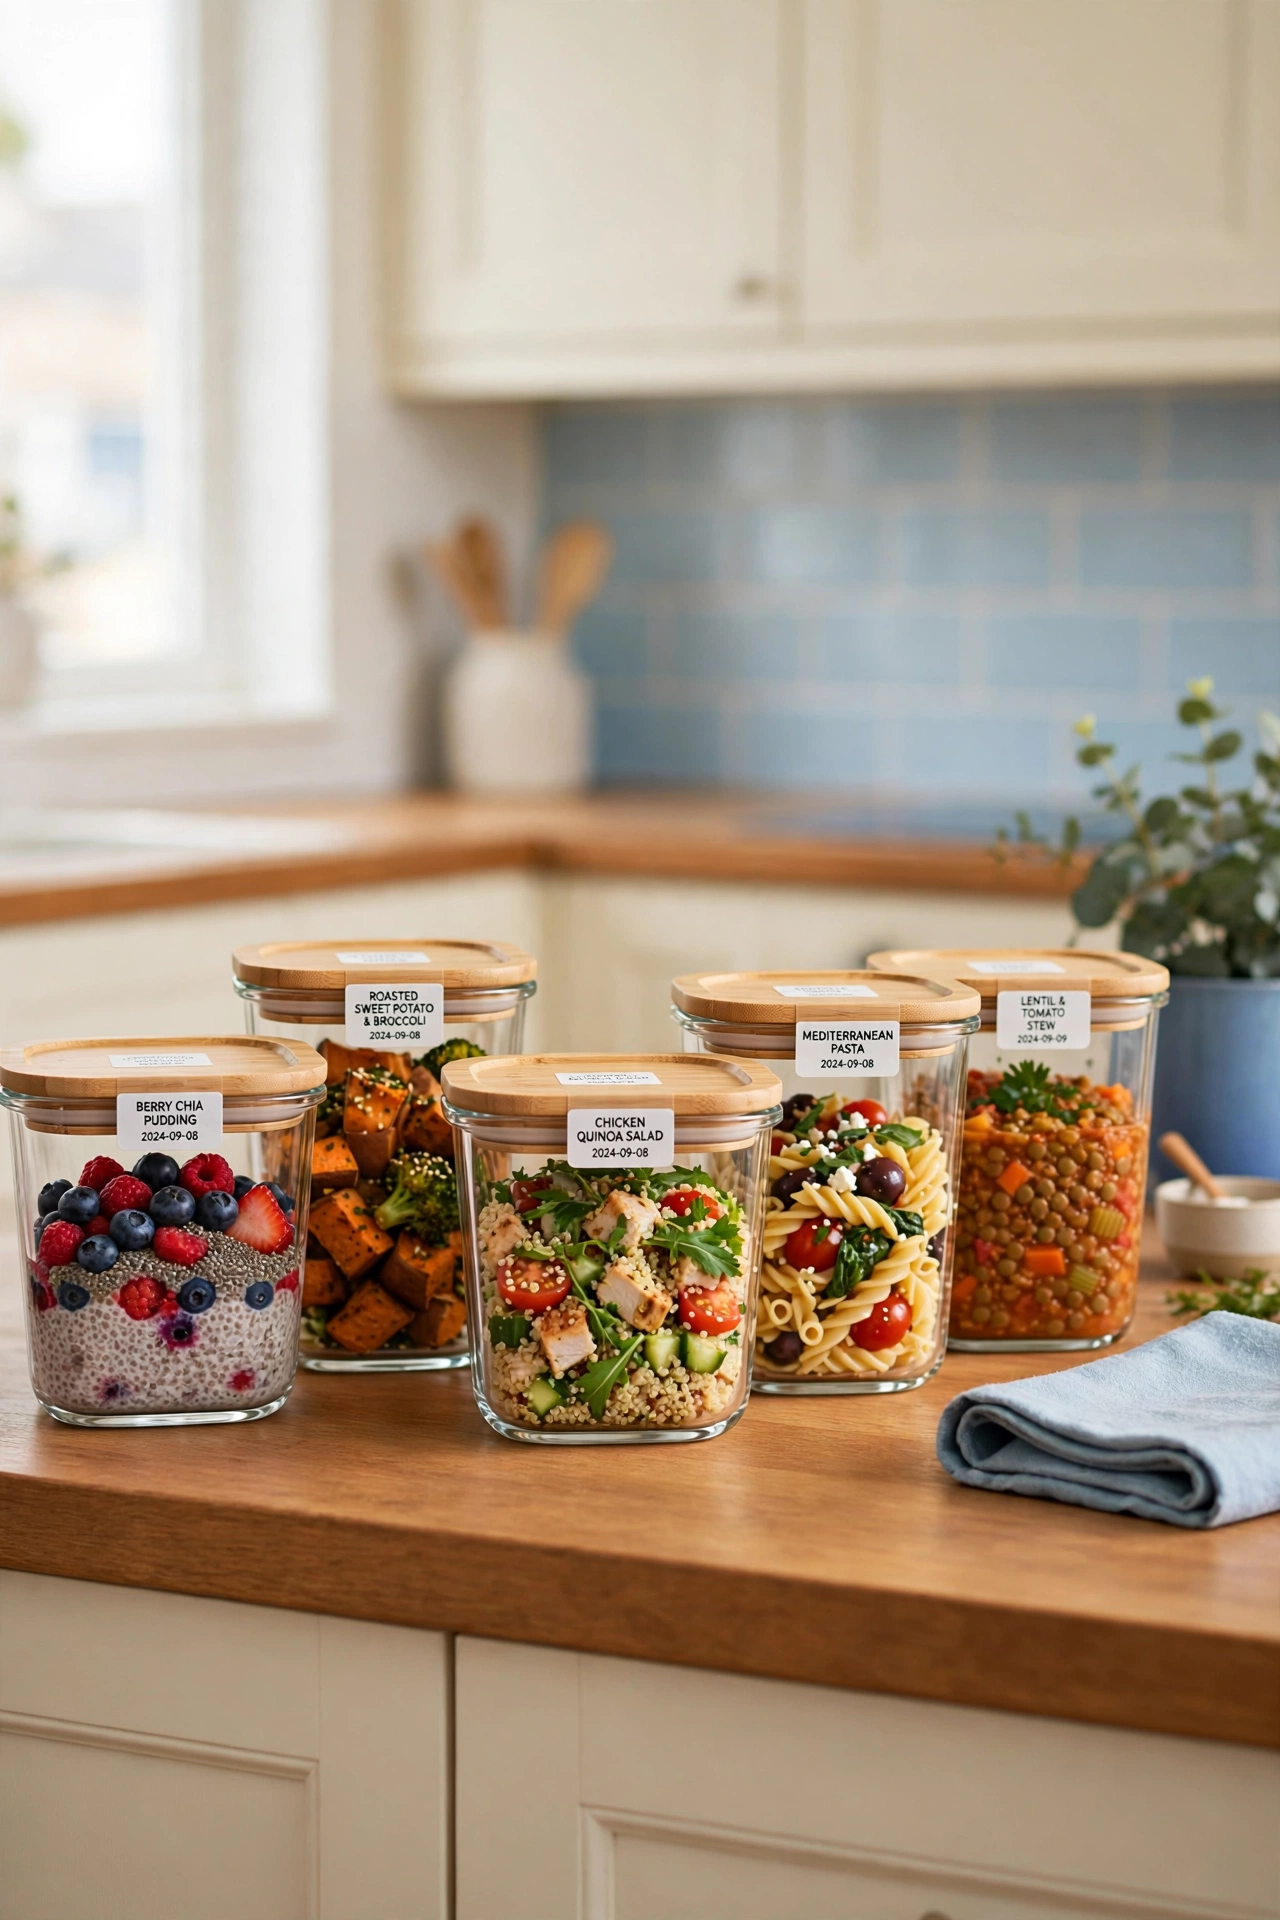
7. Keep a Weekly Meal Prep Shelf in the Fridge
Give your prepared meals one dedicated shelf in the fridge, so the whole week sits in a single row. Place Monday meals at the front and Friday meals at the back, so you always grab the oldest meal first. The shelf becomes a visual calendar of your week.
Keep drinks, sauces, and snacks on other shelves, so the prep shelf holds only finished meals. For more ideas on keeping fridge shelves tidy, see these refrigerator shelf organization ideas. A dedicated shelf stops prepared meals from getting lost behind other food.
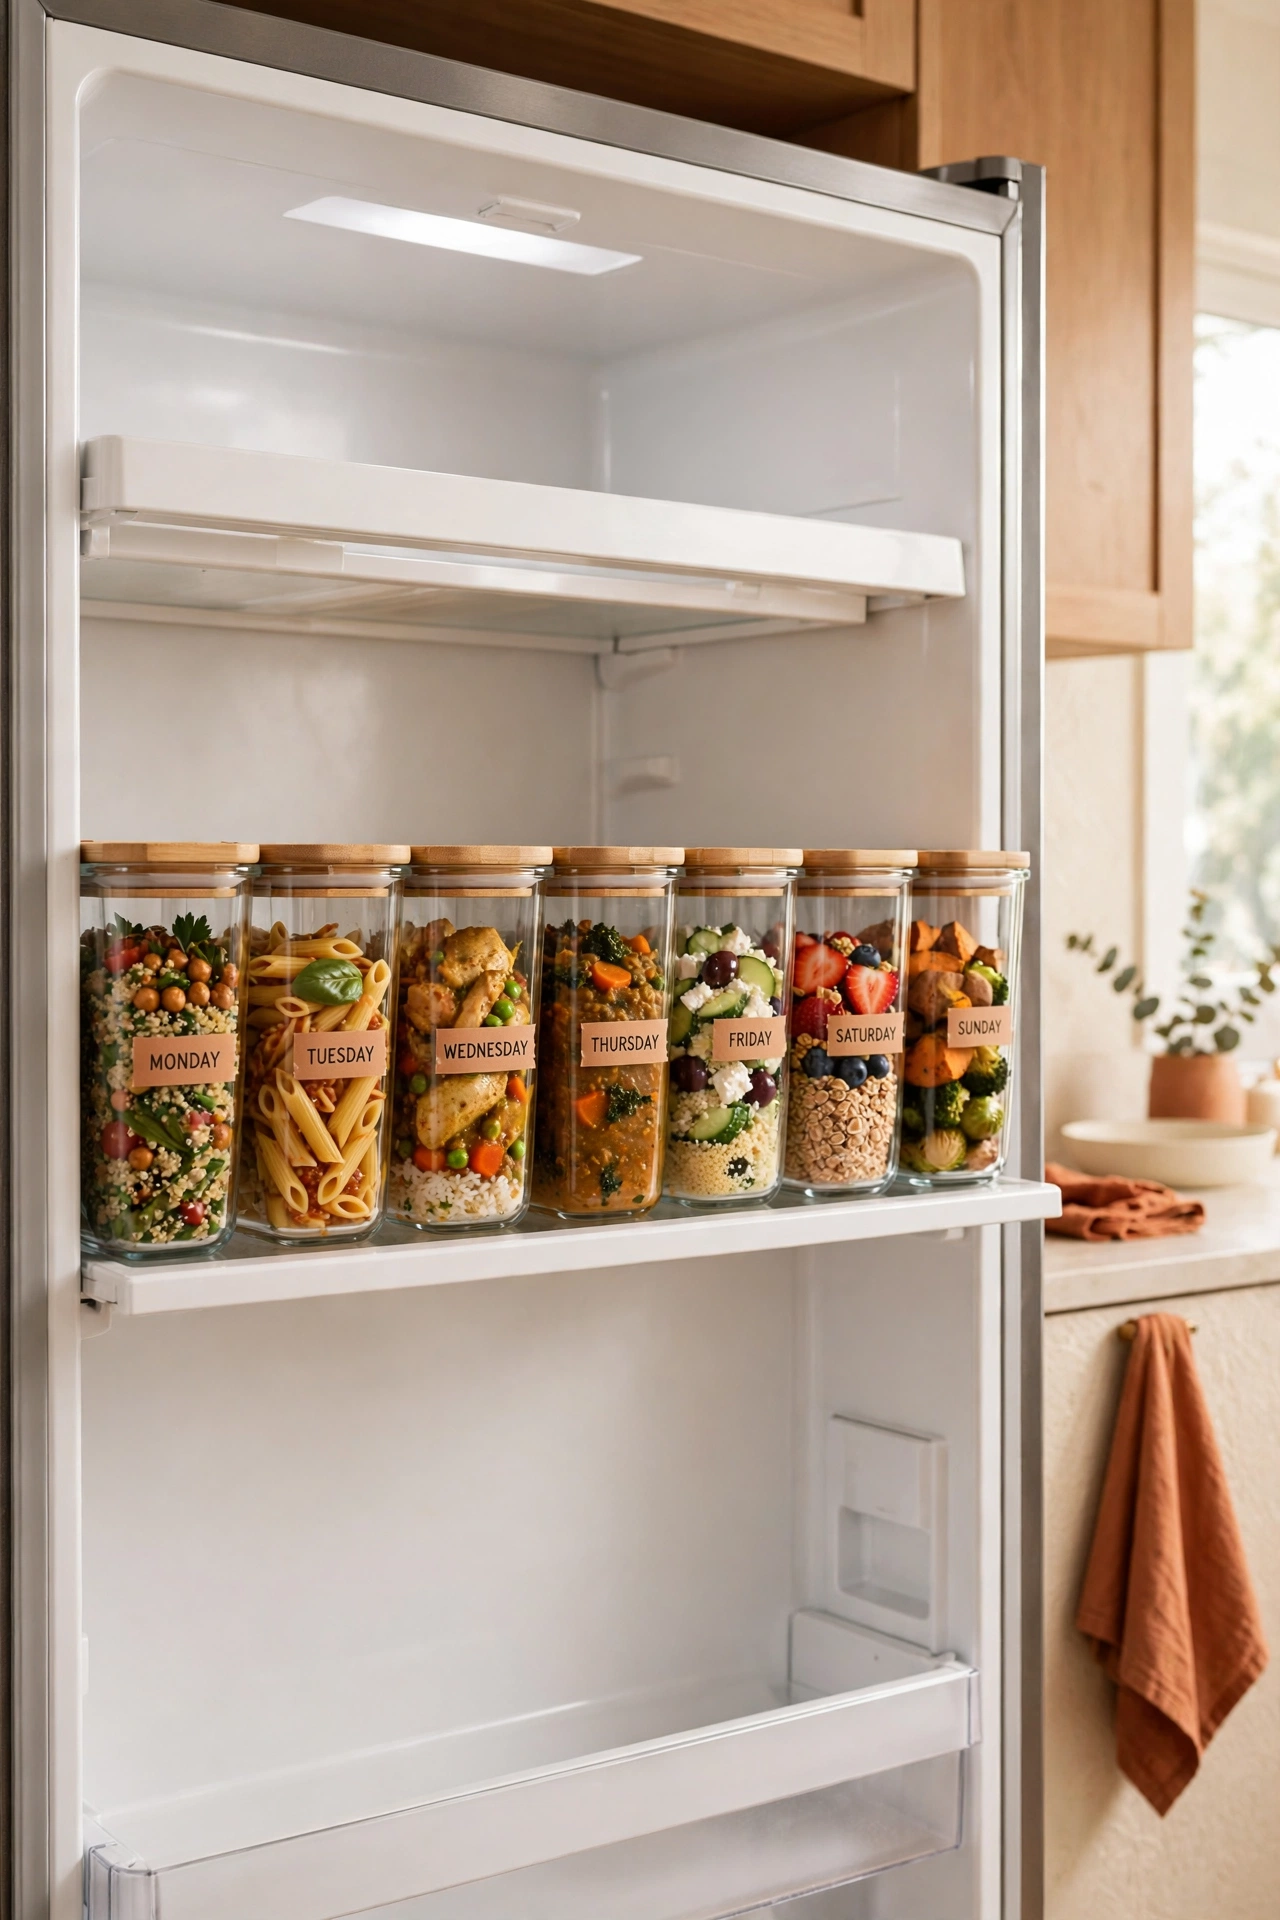
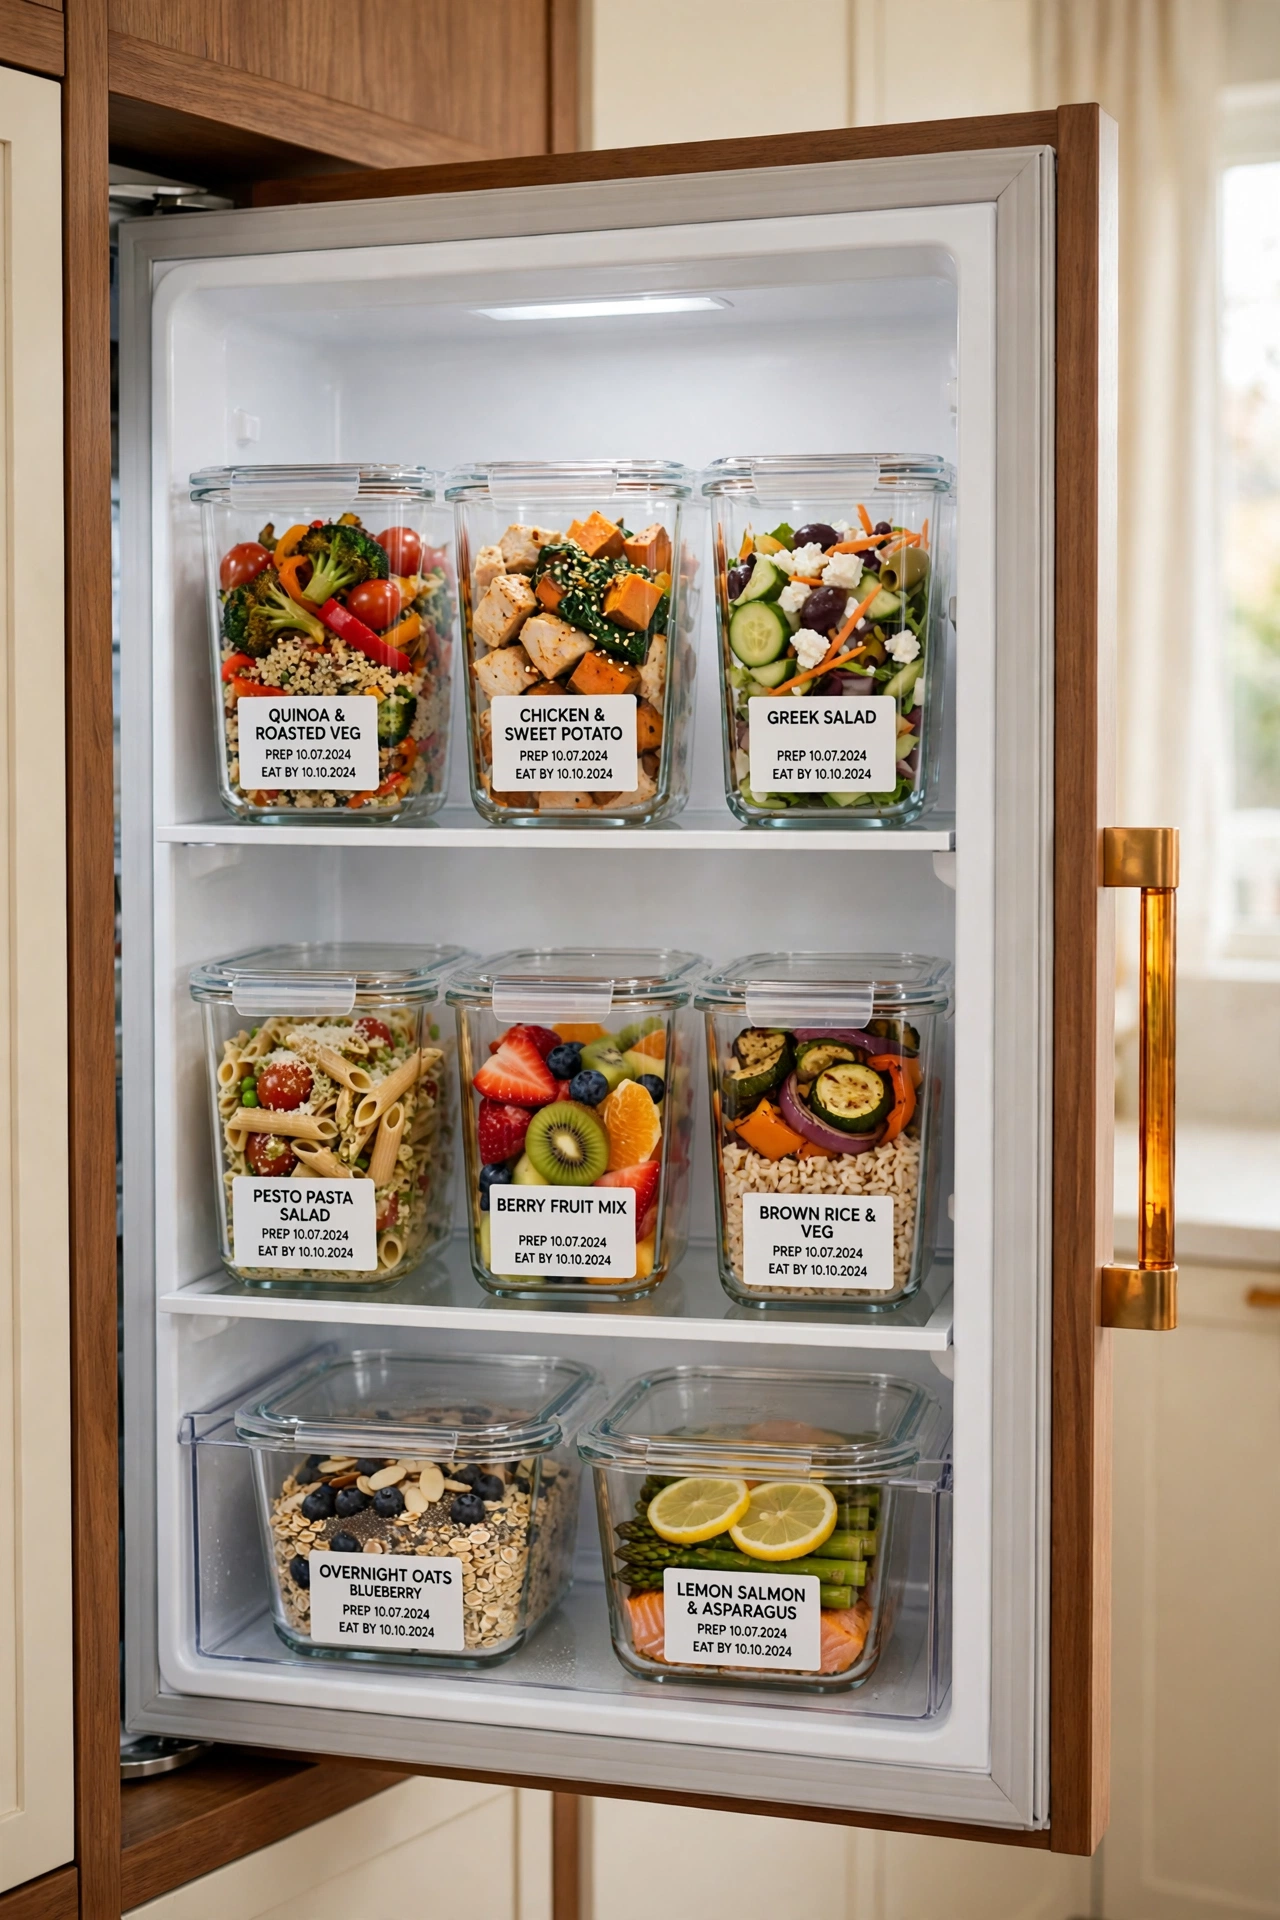
8. Use Clear Containers So Food Stays Visible
Clear glass containers let you see exactly what is inside without opening a single lid. You can spot the chicken stir fry, the rice bowls, and the salads at a glance, which saves time on busy mornings. Visible food also gets eaten faster, so less of it goes to waste.
Choose glass containers with locking lids for a tight seal that keeps food fresh all week. Stack them in the fridge with the labels facing out, so every meal is easy to find. Clear containers turn a full fridge into an organized menu you can read at a glance.
9. Store Glass Containers on an Open Pantry Shelf
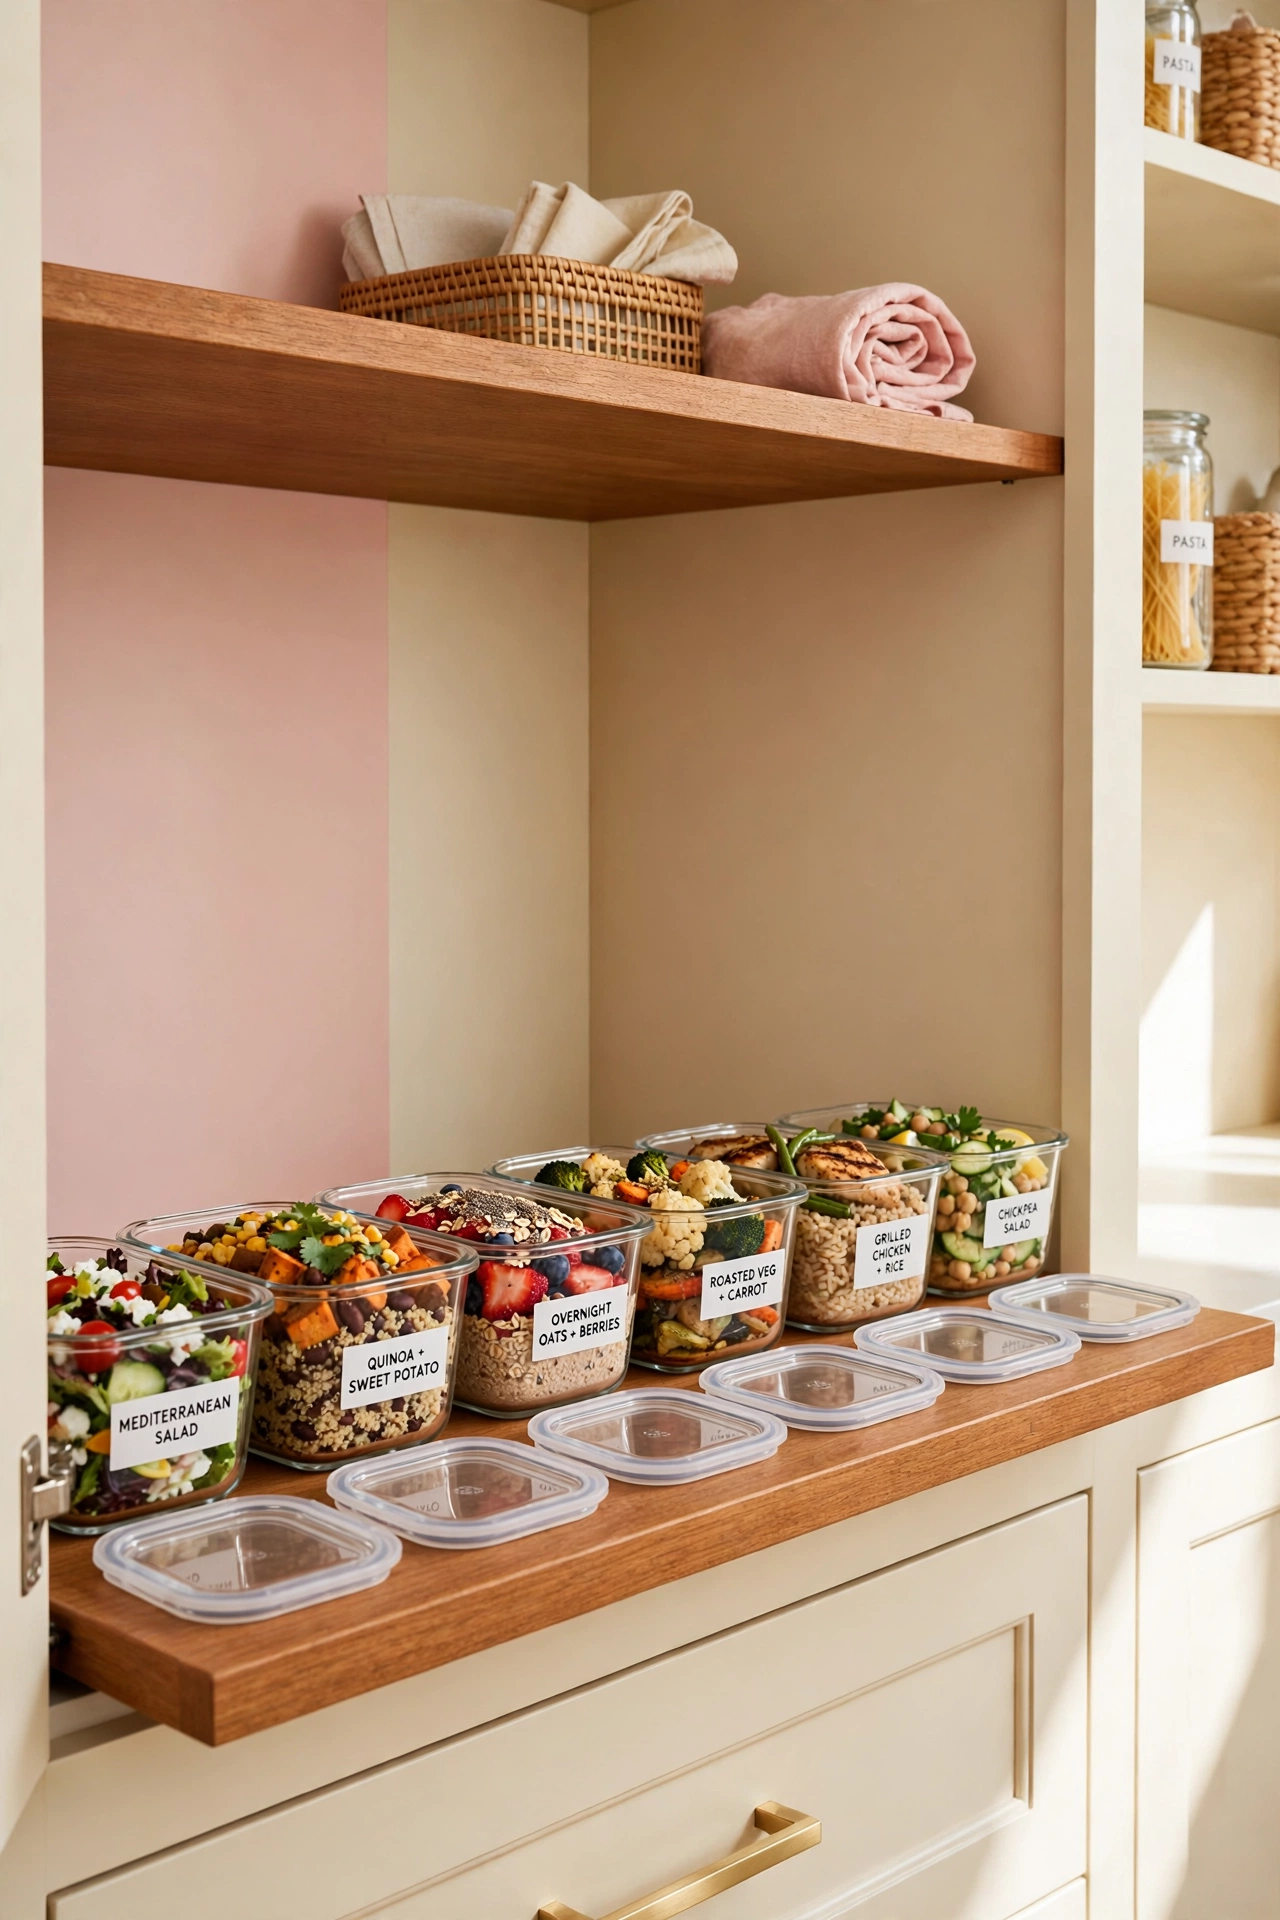
Open shelves give your glass containers a home that is easy to reach and easy to admire. Line the containers up in a row with the lids beside them, and the shelf looks like a tidy display instead of clutter. This works best for the sets you use most often.
Keep the heavier glass containers on lower shelves so they are safe to lift. For more ways to keep dry goods and storage tidy, see these pantry can organization ideas. An open shelf keeps containers visible, so you always know what you own.
10. Use a Pull-Out Organizer for Lids and Small Parts
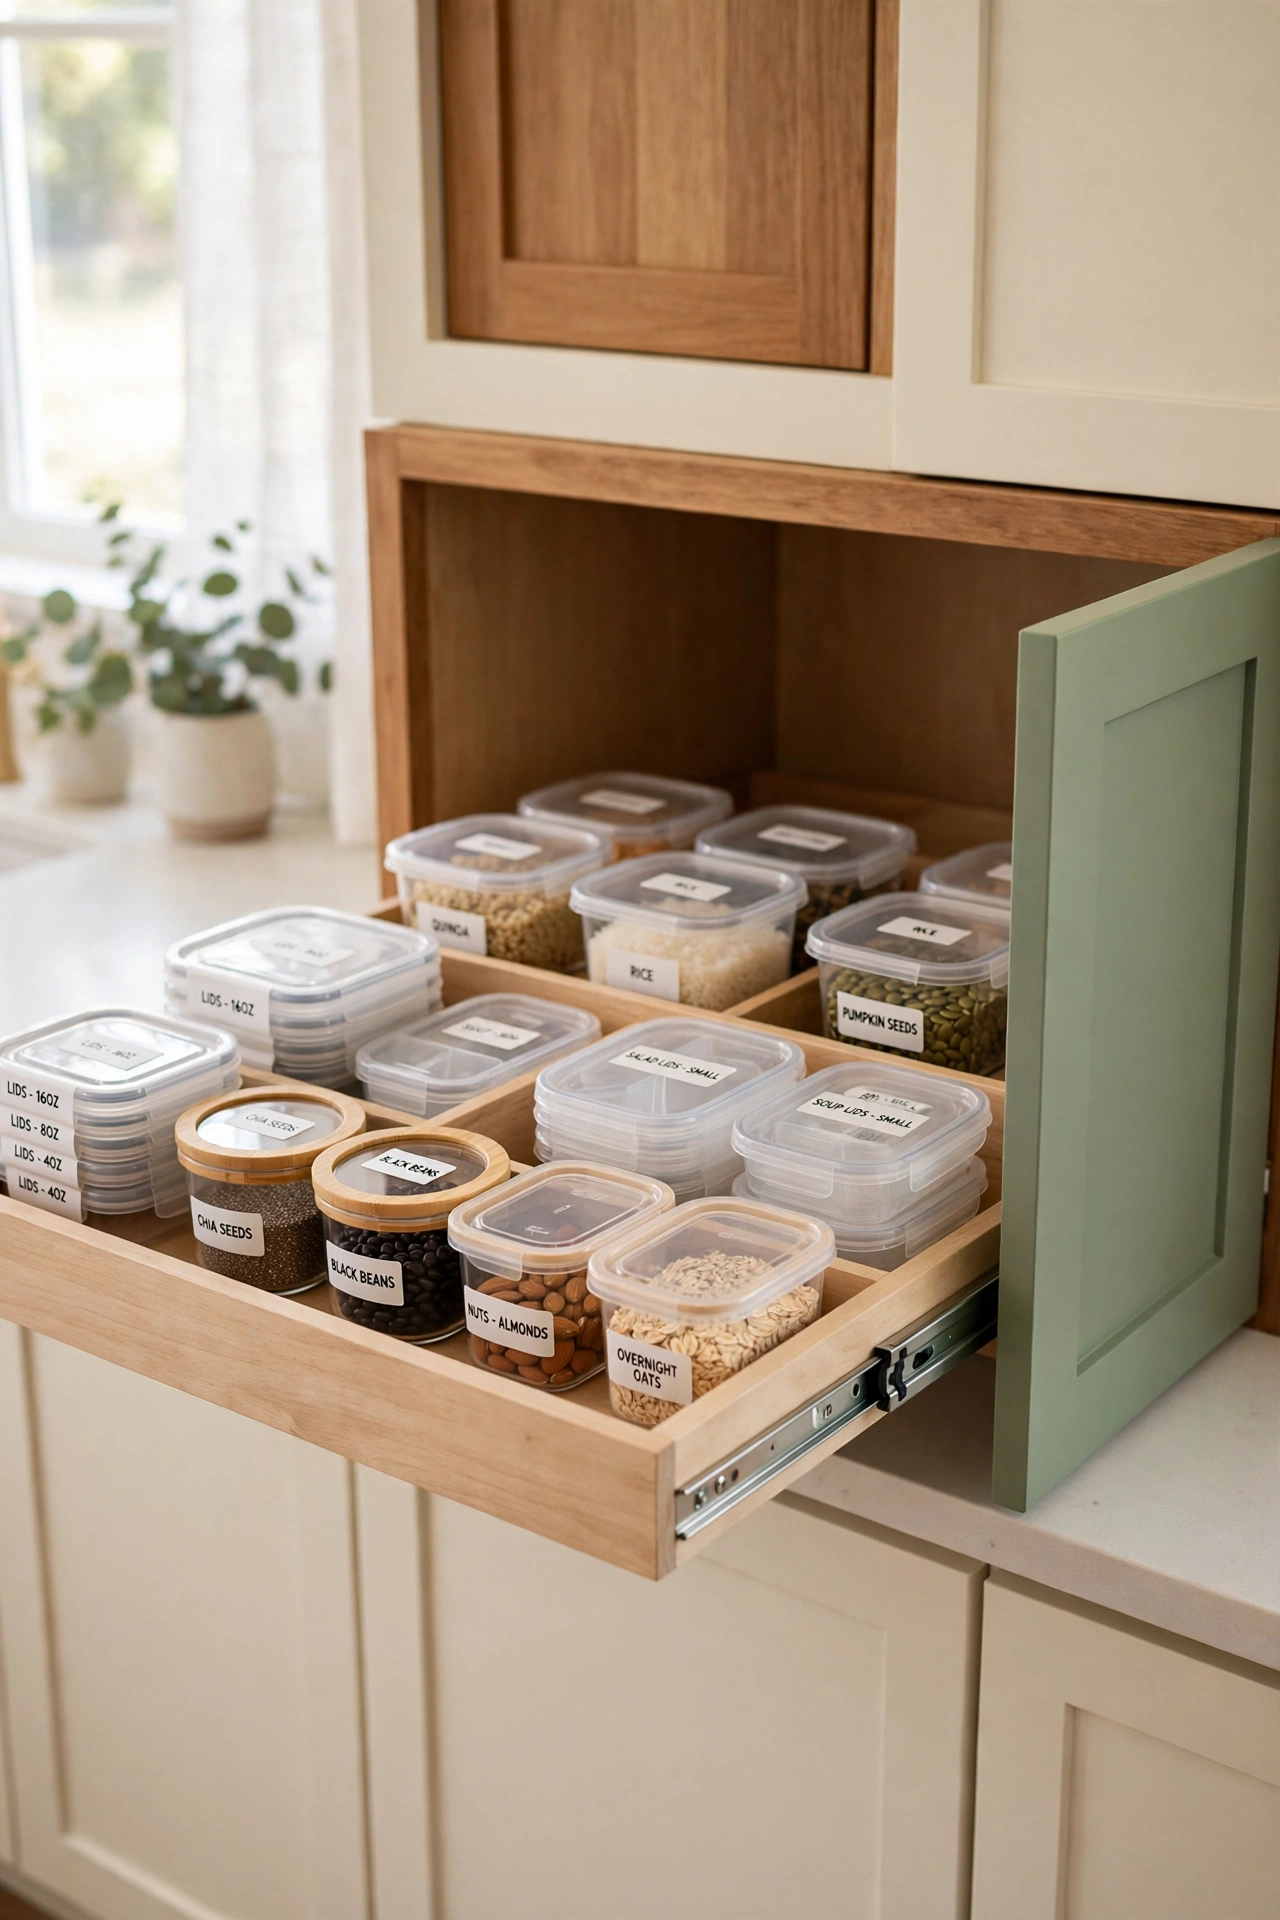
A pull-out organizer inside a cabinet turns a dark corner into useful storage for lids, seals, and small containers. Slide the tray out, grab the lid you need, and slide it back in. Nothing gets buried at the back of the cabinet again.
Measure your cabinet before you buy, so the organizer fits the width and depth of the space. Many pull-out trays install with just a few screws, and some simply sit on the shelf. This is a smart fix for deep cabinets where small items always disappear.
11. Build a Grab-and-Go Lunch Station
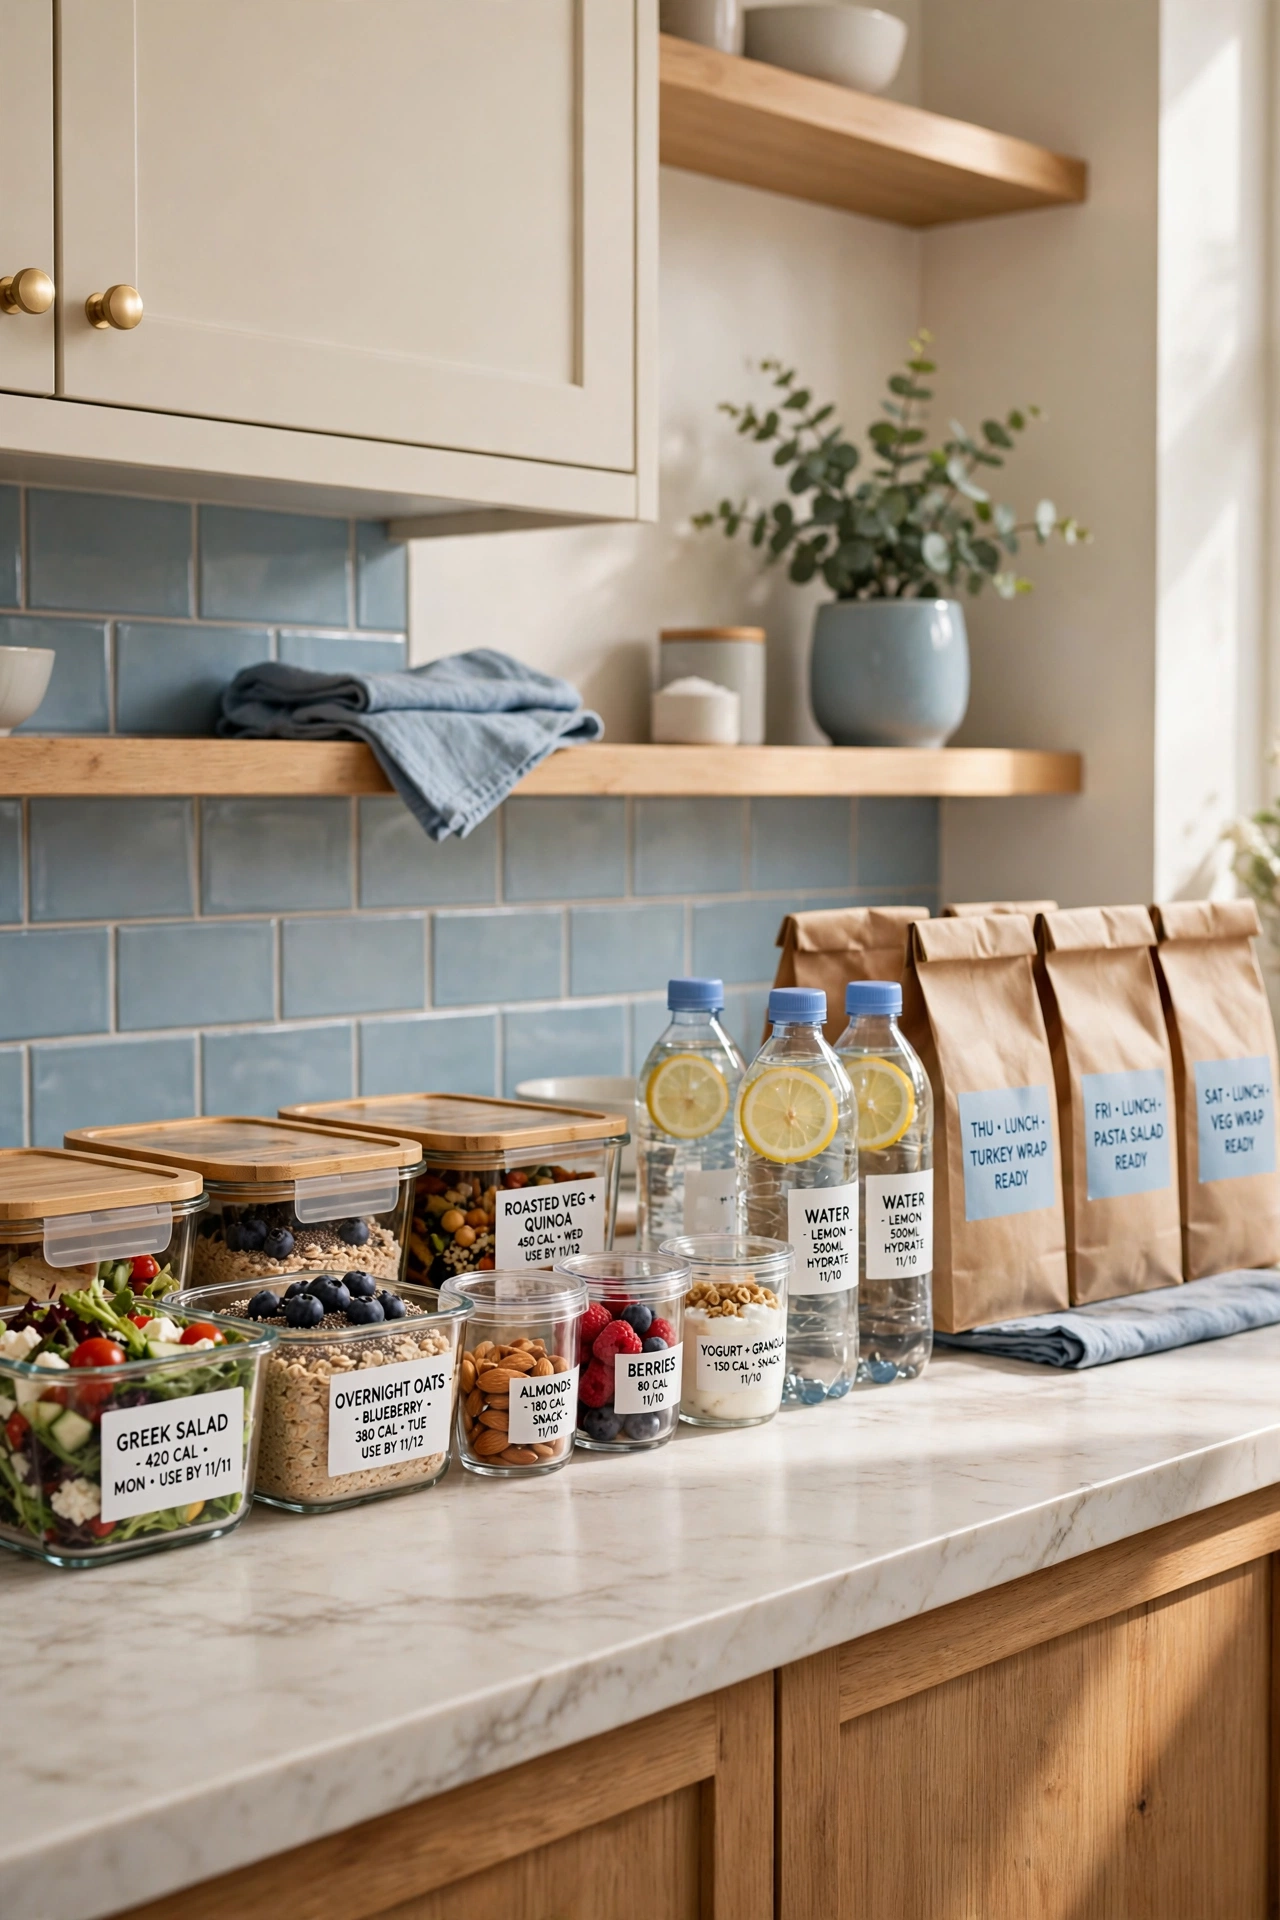
A grab-and-go lunch station puts the whole lunch routine in one spot. Set a shelf or a section of the counter with packed lunches, snack cups, water bottles, and napkins, so everyone can grab lunch and go. The station makes school and work mornings much calmer.
Pack the lunches the night before and line them up in the order they will be taken. Keep a small basket beside the station for lunch bags and ice packs. When every lunch has a home, nobody hunts through the fridge at the last minute.
12. Freeze Soups and Stews in Flat Stackable Containers
Flat stackable containers are the best way to freeze soups, stews, and sauces for later in the week. Fill each container only three quarters full, lay it flat in the freezer, and stack the frozen blocks like books on a shelf. You can see every meal and pull one out without moving the rest.
Label each frozen container with the dish name and the date, so nothing stays in the freezer too long. For more ways to keep frozen meals tidy, see these freezer organization ideas. Flat freezing saves space and makes thawing much faster.
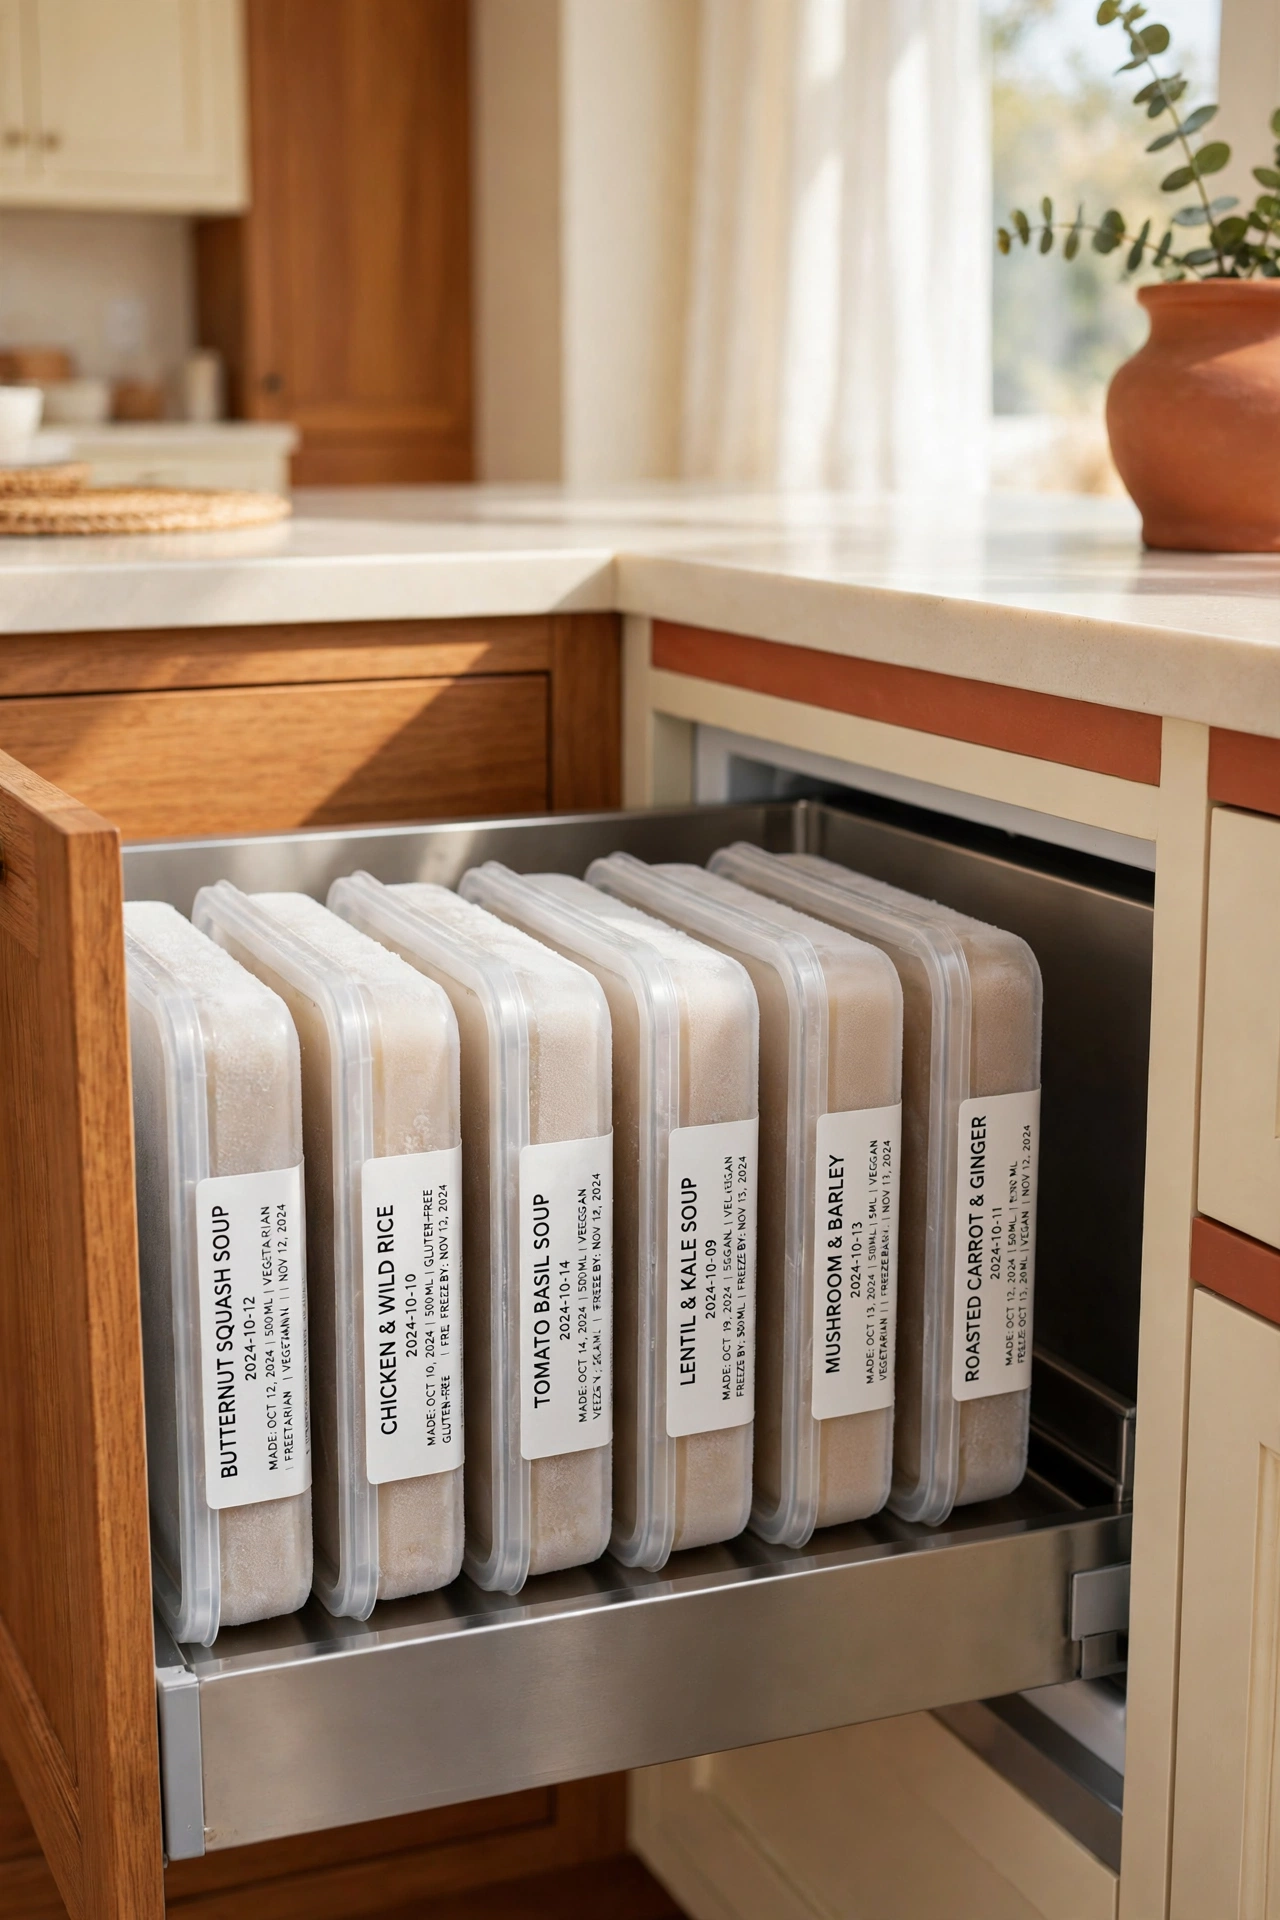
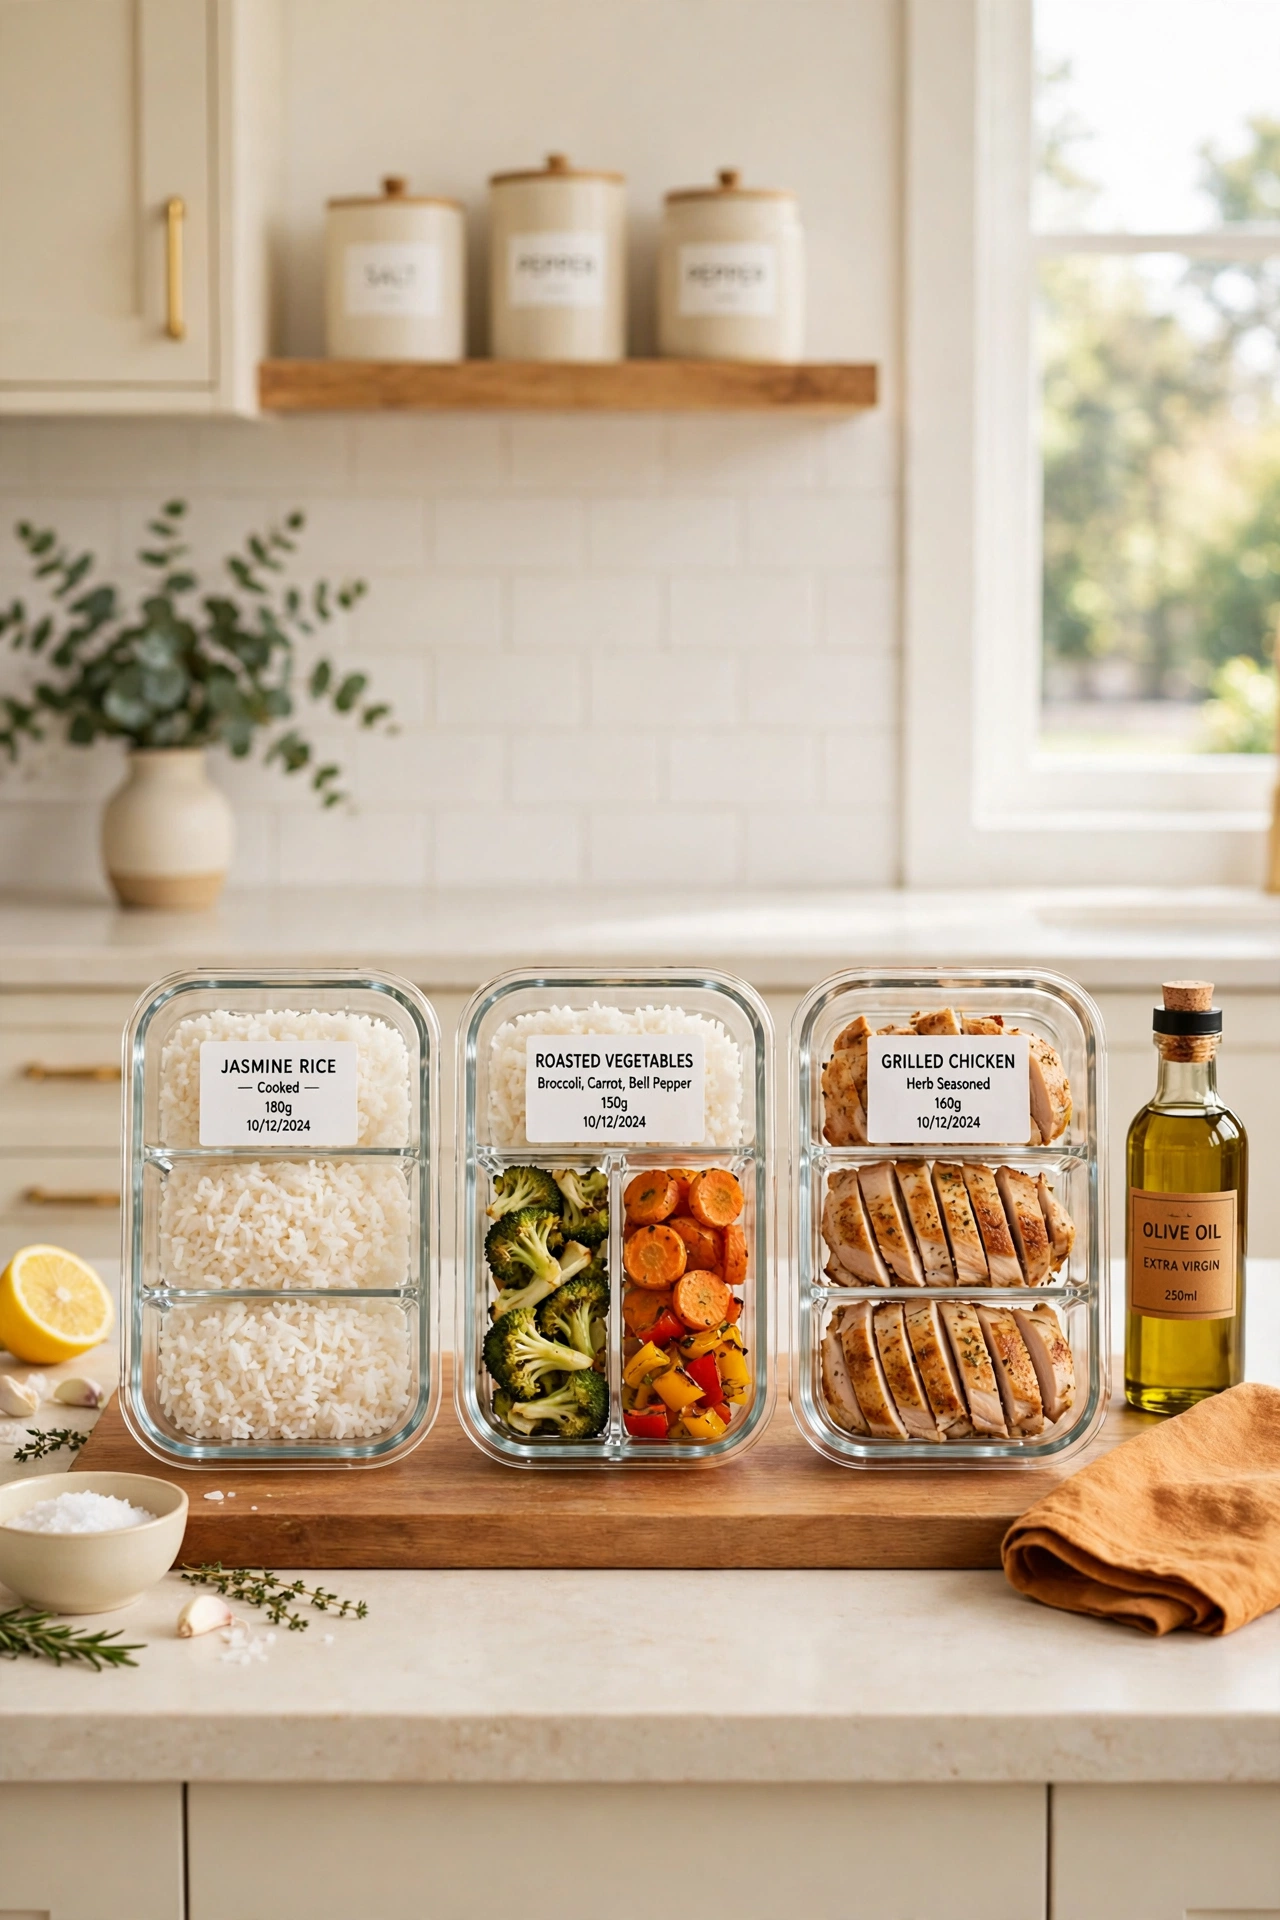
13. Use Divided Containers for Balanced Meals
Divided containers keep each part of a meal separate, so rice stays away from salad and sauce stays away from bread. The compartments also help with portion sizes, since each section holds just the right amount. One container carries a full balanced meal with no extra dishes.
Choose divided containers with strong seals between sections, so nothing leaks during the day. They work well for work lunches, school meals, and picnic food. A divided container means lunch is packed, portioned, and ready in one box.
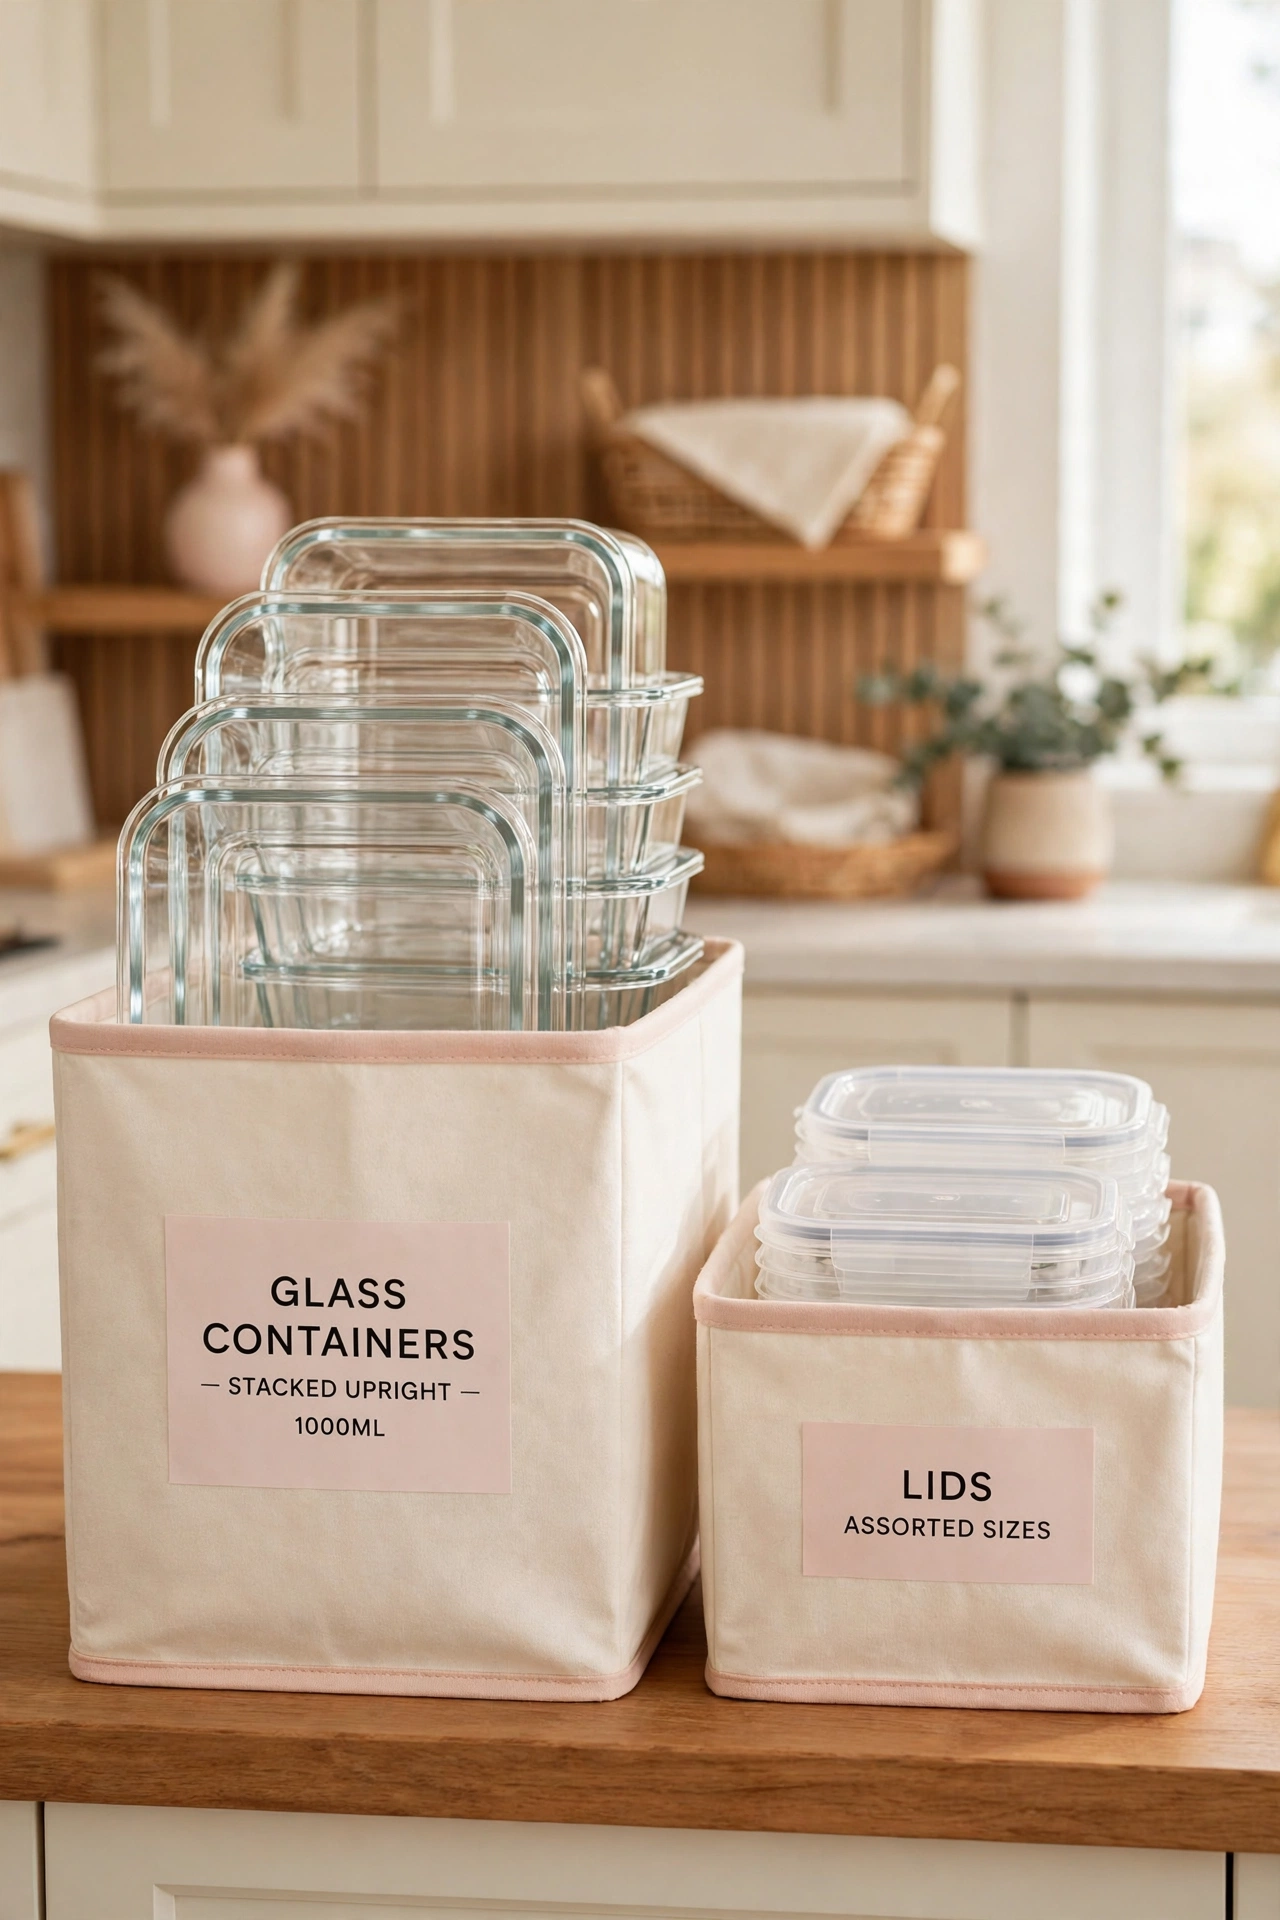
14. Store Empty Containers in a Tall Bin
A tall bin in the pantry or a lower cabinet gives empty containers one clear home. Drop the empty boxes into the bin after washing, and they stay together instead of spreading across every shelf. When it is time to pack meals, you pull from one spot.
Use one bin for containers and a second smaller bin for lids, so the two never mix into a jumble. Label each bin so everyone in the family knows where empties go. This simple system keeps the whole kitchen calmer between cooking days.
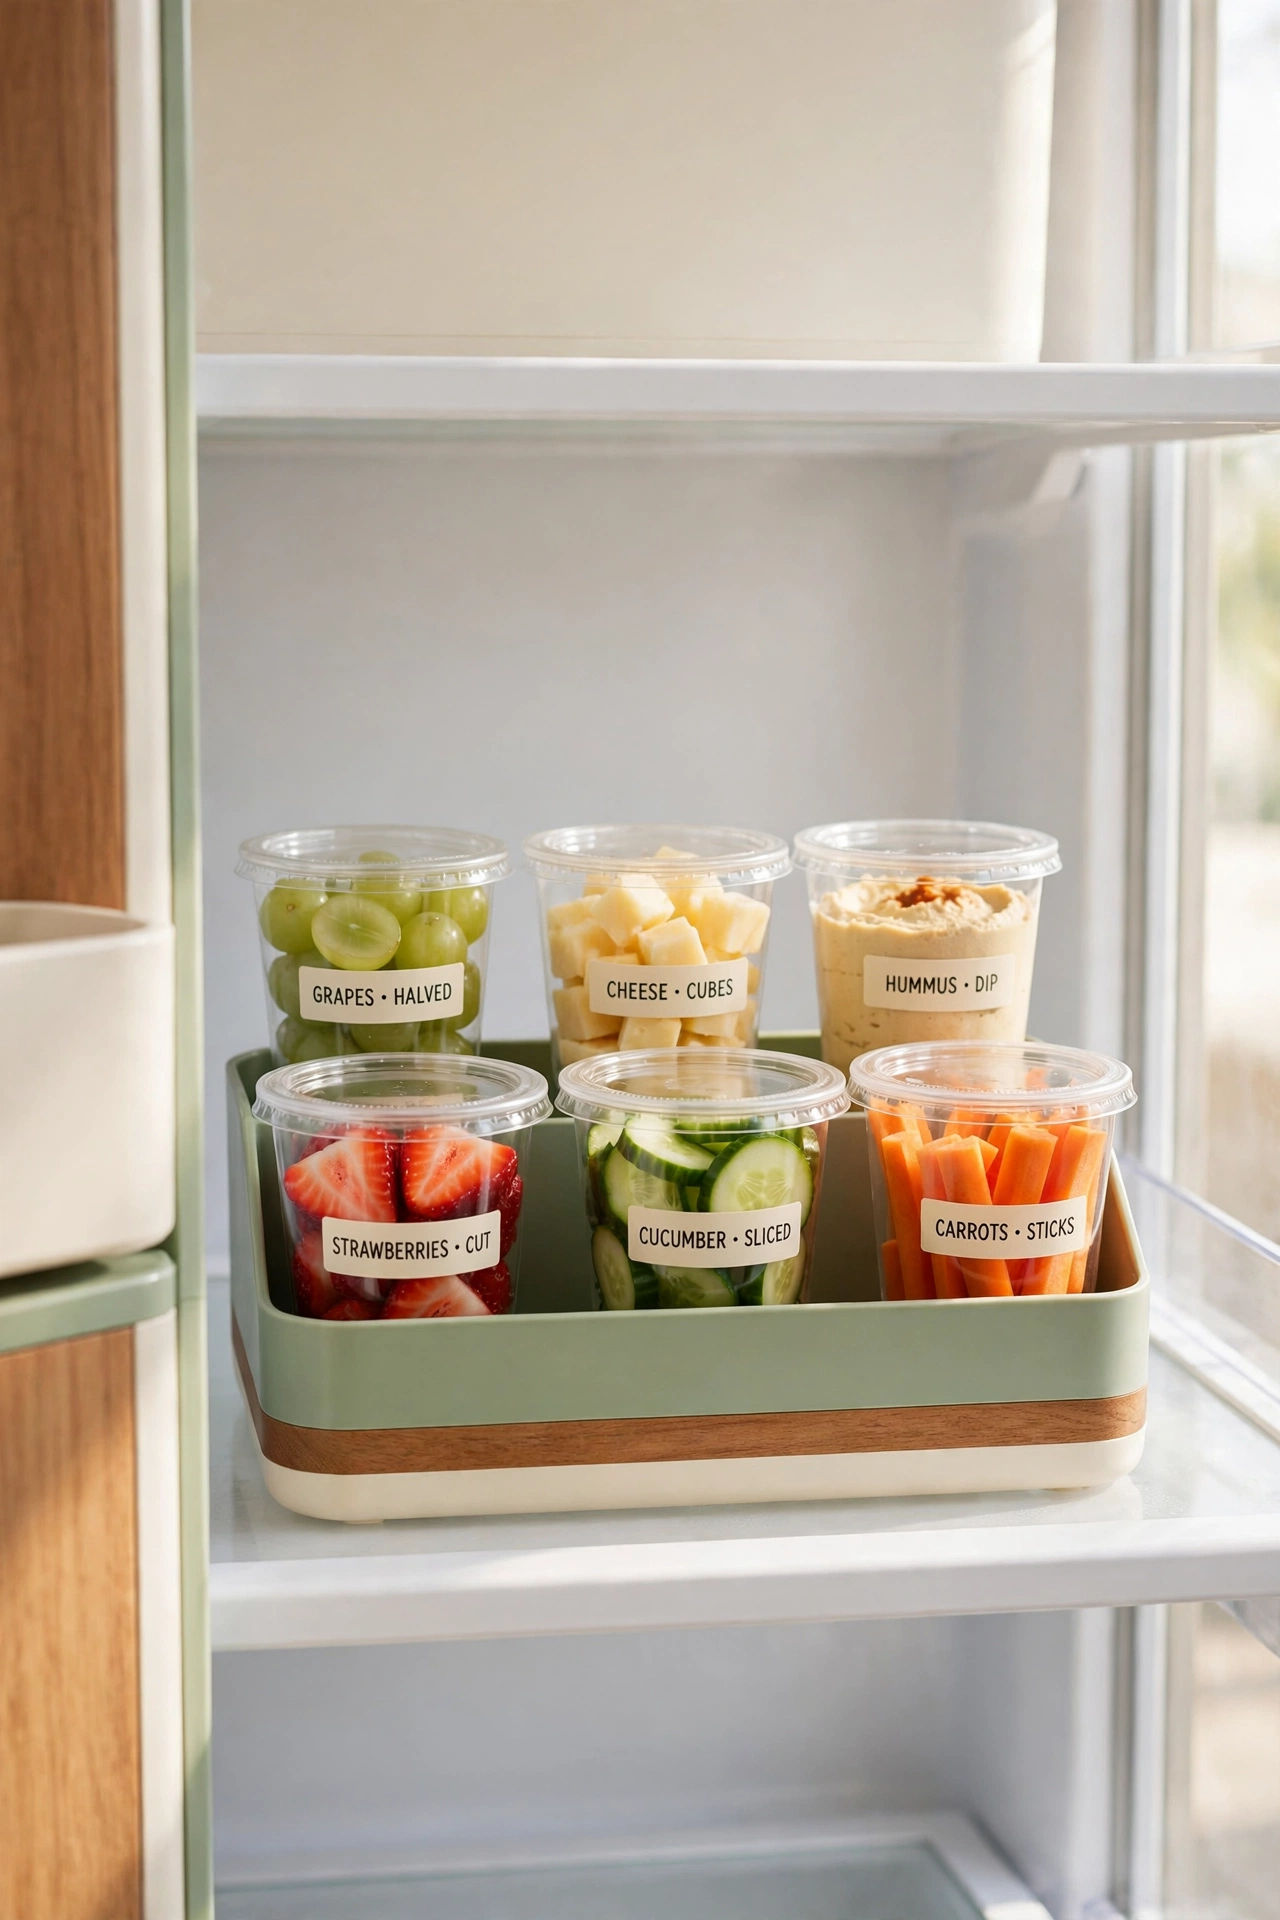
15. Keep a Small Bin for Snacks and Sides
A small bin just for snacks and side dishes keeps the little extras from getting lost among full meals. Fill it with fruit cups, cut vegetables, dips, and cheese portions, all in matching small containers. The bin lives on one fridge shelf and goes to the table at meal time.
Refill the snack bin during your weekly prep, so it is always stocked and ready. For more ideas on keeping small snacks tidy, see these snack drawer organization ideas. One small bin turns snack time into a quick grab instead of a search.
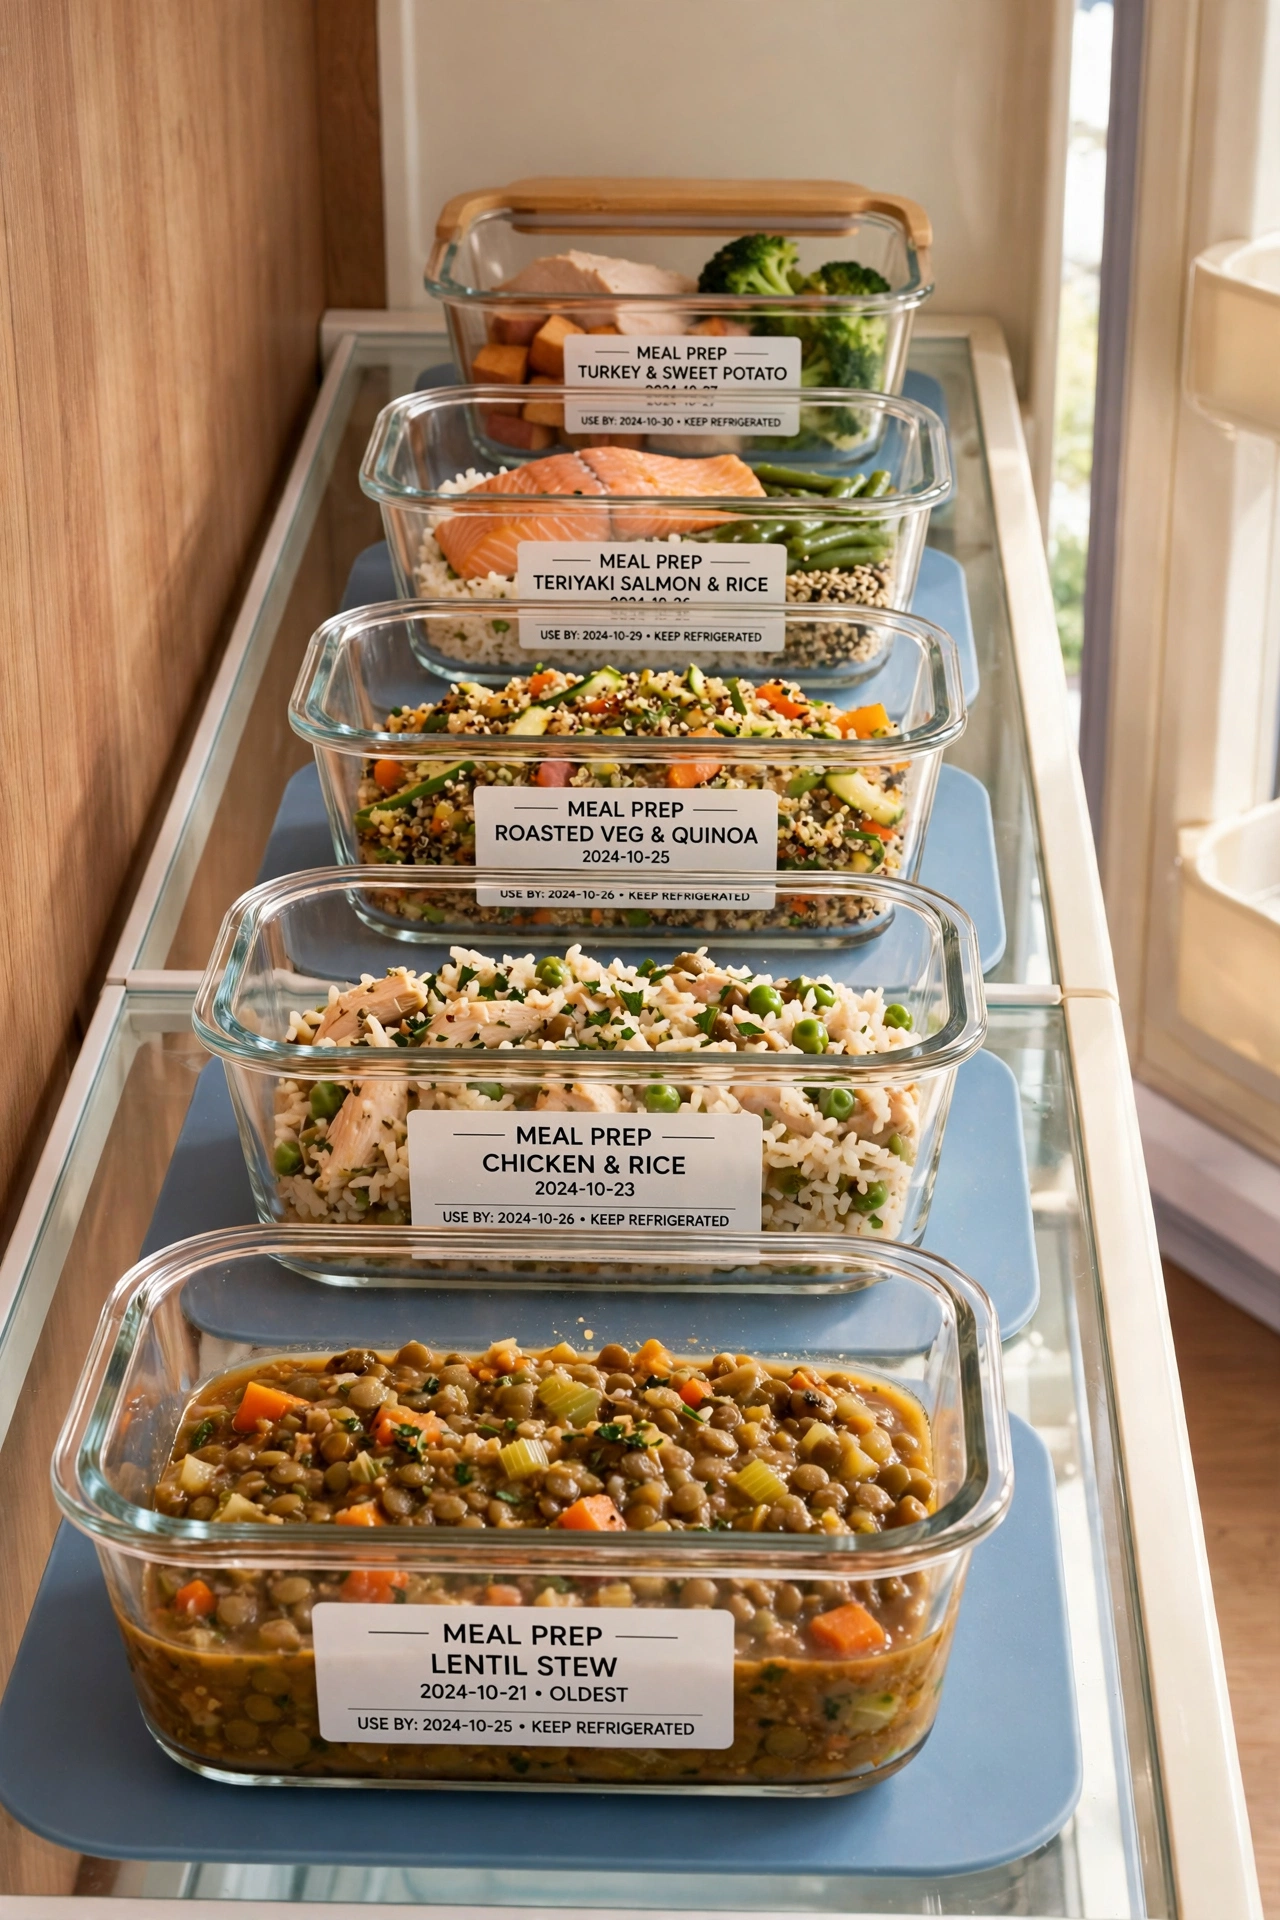
16. Rotate Containers So the Oldest Meal Gets Used First
Rotation is the habit that stops food from going bad at the back of the fridge. Each time you add fresh meals, move the older containers to the front of the shelf. The oldest meal is always the first one you see, so it gets eaten first.
Make rotation part of your Sunday prep routine, and it takes less than a minute. Check the dates on the labels as you rotate, and toss anything past its safe date. A simple front-to-back system keeps every meal fresh and nothing wasted.
17. Wash and Dry Containers Right After Use
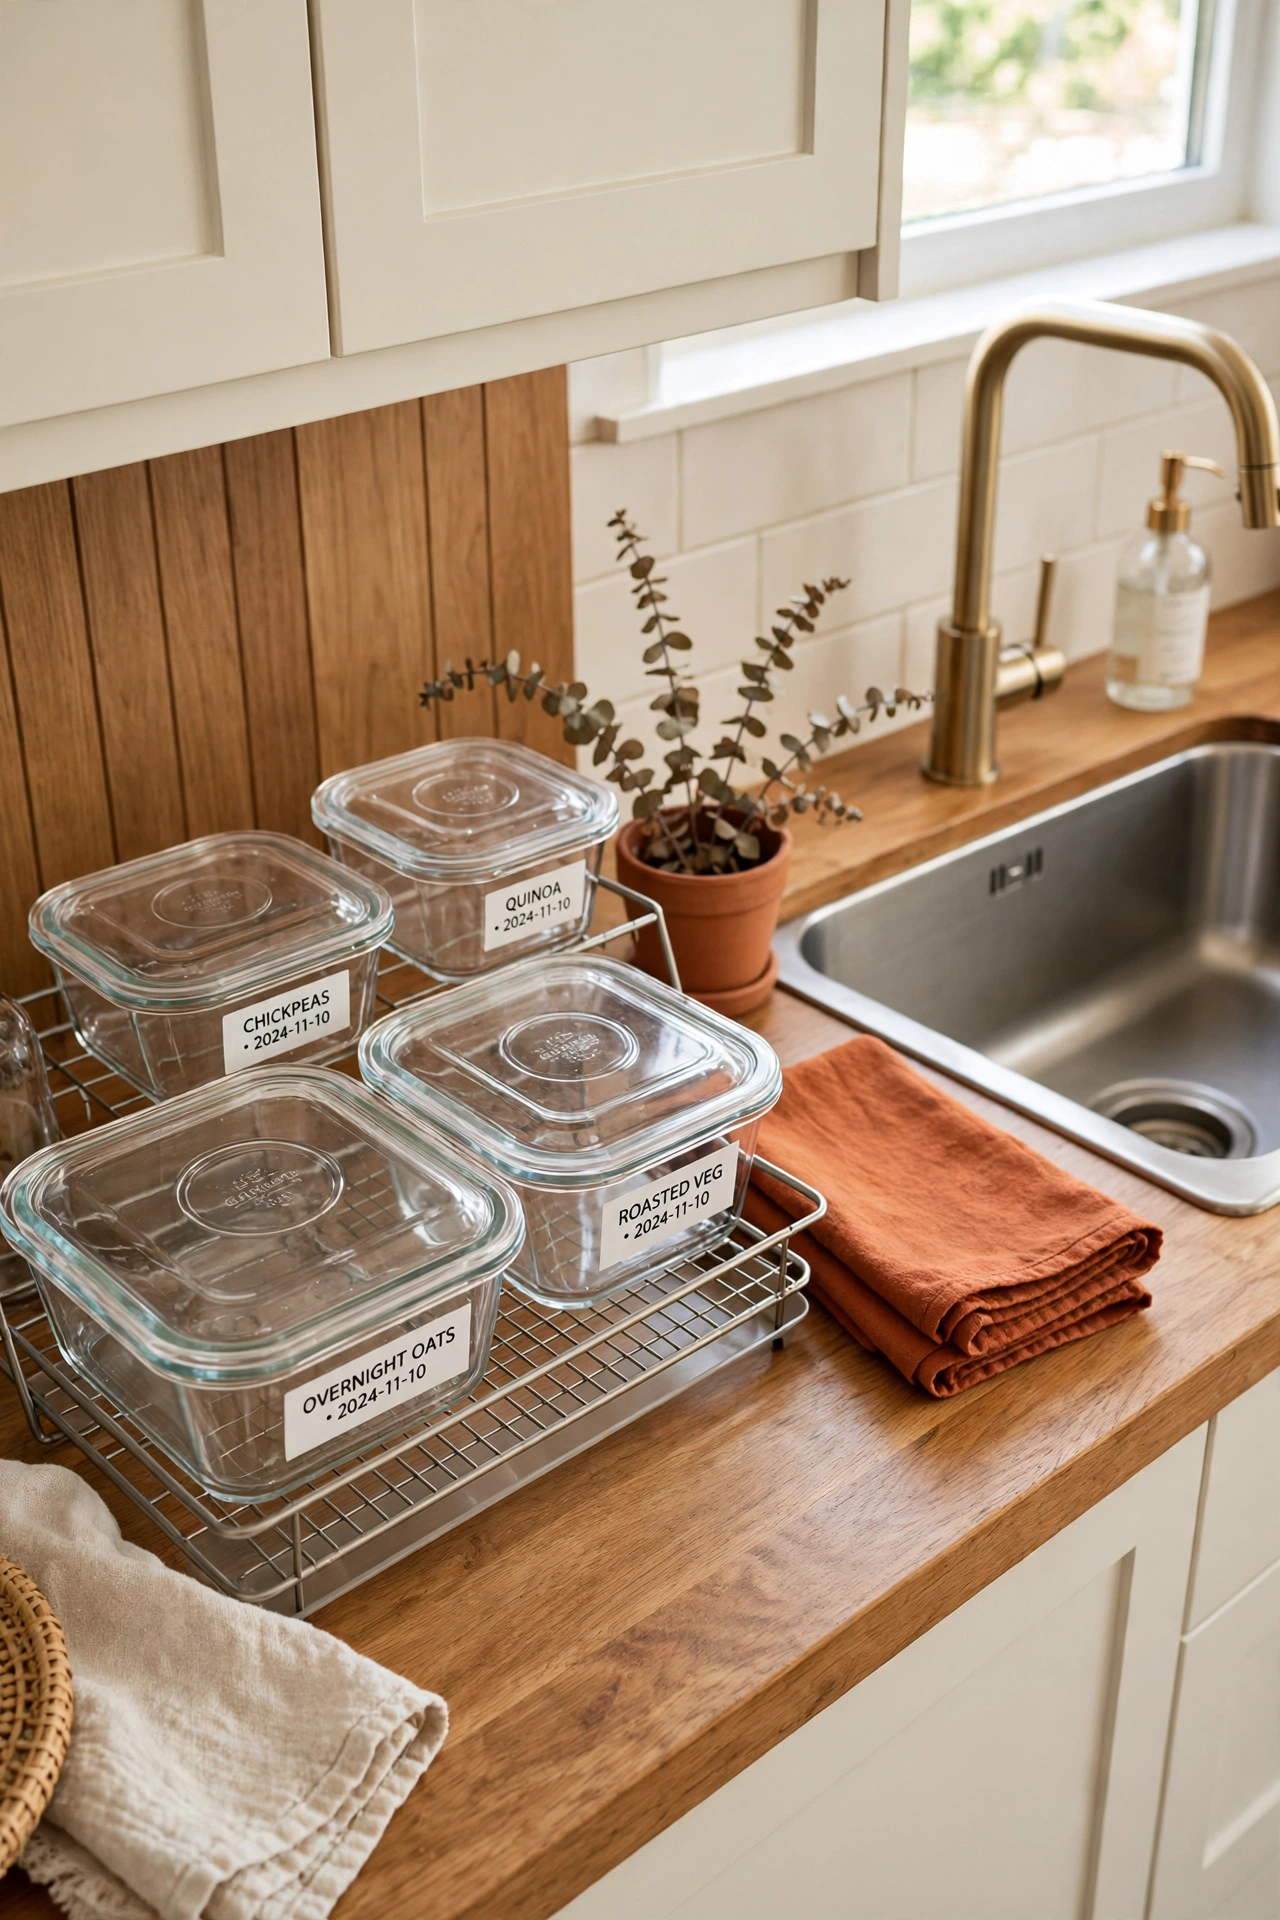
The final step is also the simplest one. Wash each container right after you finish a meal, dry it fully, and return it to its home. Clean containers are ready for the next prep day, and no dirty pile ever builds up in the sink.
Keep a drying rack beside the sink just for containers and lids, so they air dry fast. Check the seals and lids as you wash, and replace any that no longer close tightly. A clean container routine keeps your whole meal prep system working week after week.
Conclusion
Meal prep container organization does not have to be complicated or expensive. From a simple file organizer for lids to a dedicated fridge shelf for the whole week, there is an idea here for every kitchen and every family. The best system is the one you will actually use every single week.
Pick one or two ideas that fit your kitchen and start today. Sort your containers, label every meal, and give each box a home. For a calm home beyond the kitchen, these nightly reset routine ideas will help you keep every room organized with just a few minutes each evening.
Frequently Asked Questions About Meal Prep Container Organization Ideas for Weekly Cooking
What is the best container material for meal prep?
Glass containers with locking lids are the best choice for most families. Glass does not stain, it heats food evenly in the microwave, and you can see what is inside without opening the lid. Plastic containers are lighter and cheaper, but they stain and warp over time.
How long does meal prep food last in the fridge?
Most cooked meals stay fresh for three to four days in the fridge when stored in sealed containers. Soups and stews can last up to five days. Label every container with the cooking date, and freeze anything you will not eat within four days.
How do I stop meal prep container lids from getting lost?
Store lids upright in a file organizer or a small dish rack, in the same cabinet as the containers. Keep one lid with each container when you stack them, so the set stays together. A pull-out organizer also works well for lids in deep cabinets.
Can I freeze meals in glass containers?
Yes, if you use freezer-safe glass containers and leave space at the top for the food to expand. Fill each container only three quarters full and let hot food cool before you seal the lid. Flat stackable containers freeze faster and stack neatly in the freezer.
How many meal prep containers do I need for a week?
Most families need ten to fifteen containers for a full week of lunches and dinners. Keep one container per meal per person, plus a few small cups for snacks and sides. Start with the sizes you use most, and add more only when you run out.

Hi, I’m Emily! I turn messy corners into cozy, organized spots. DreamNestDecor is where I share simple, practical home ideas — decor, organization, and small-space solutions that work in real life, not just in photos. Every idea here is carefully researched before it’s shared.