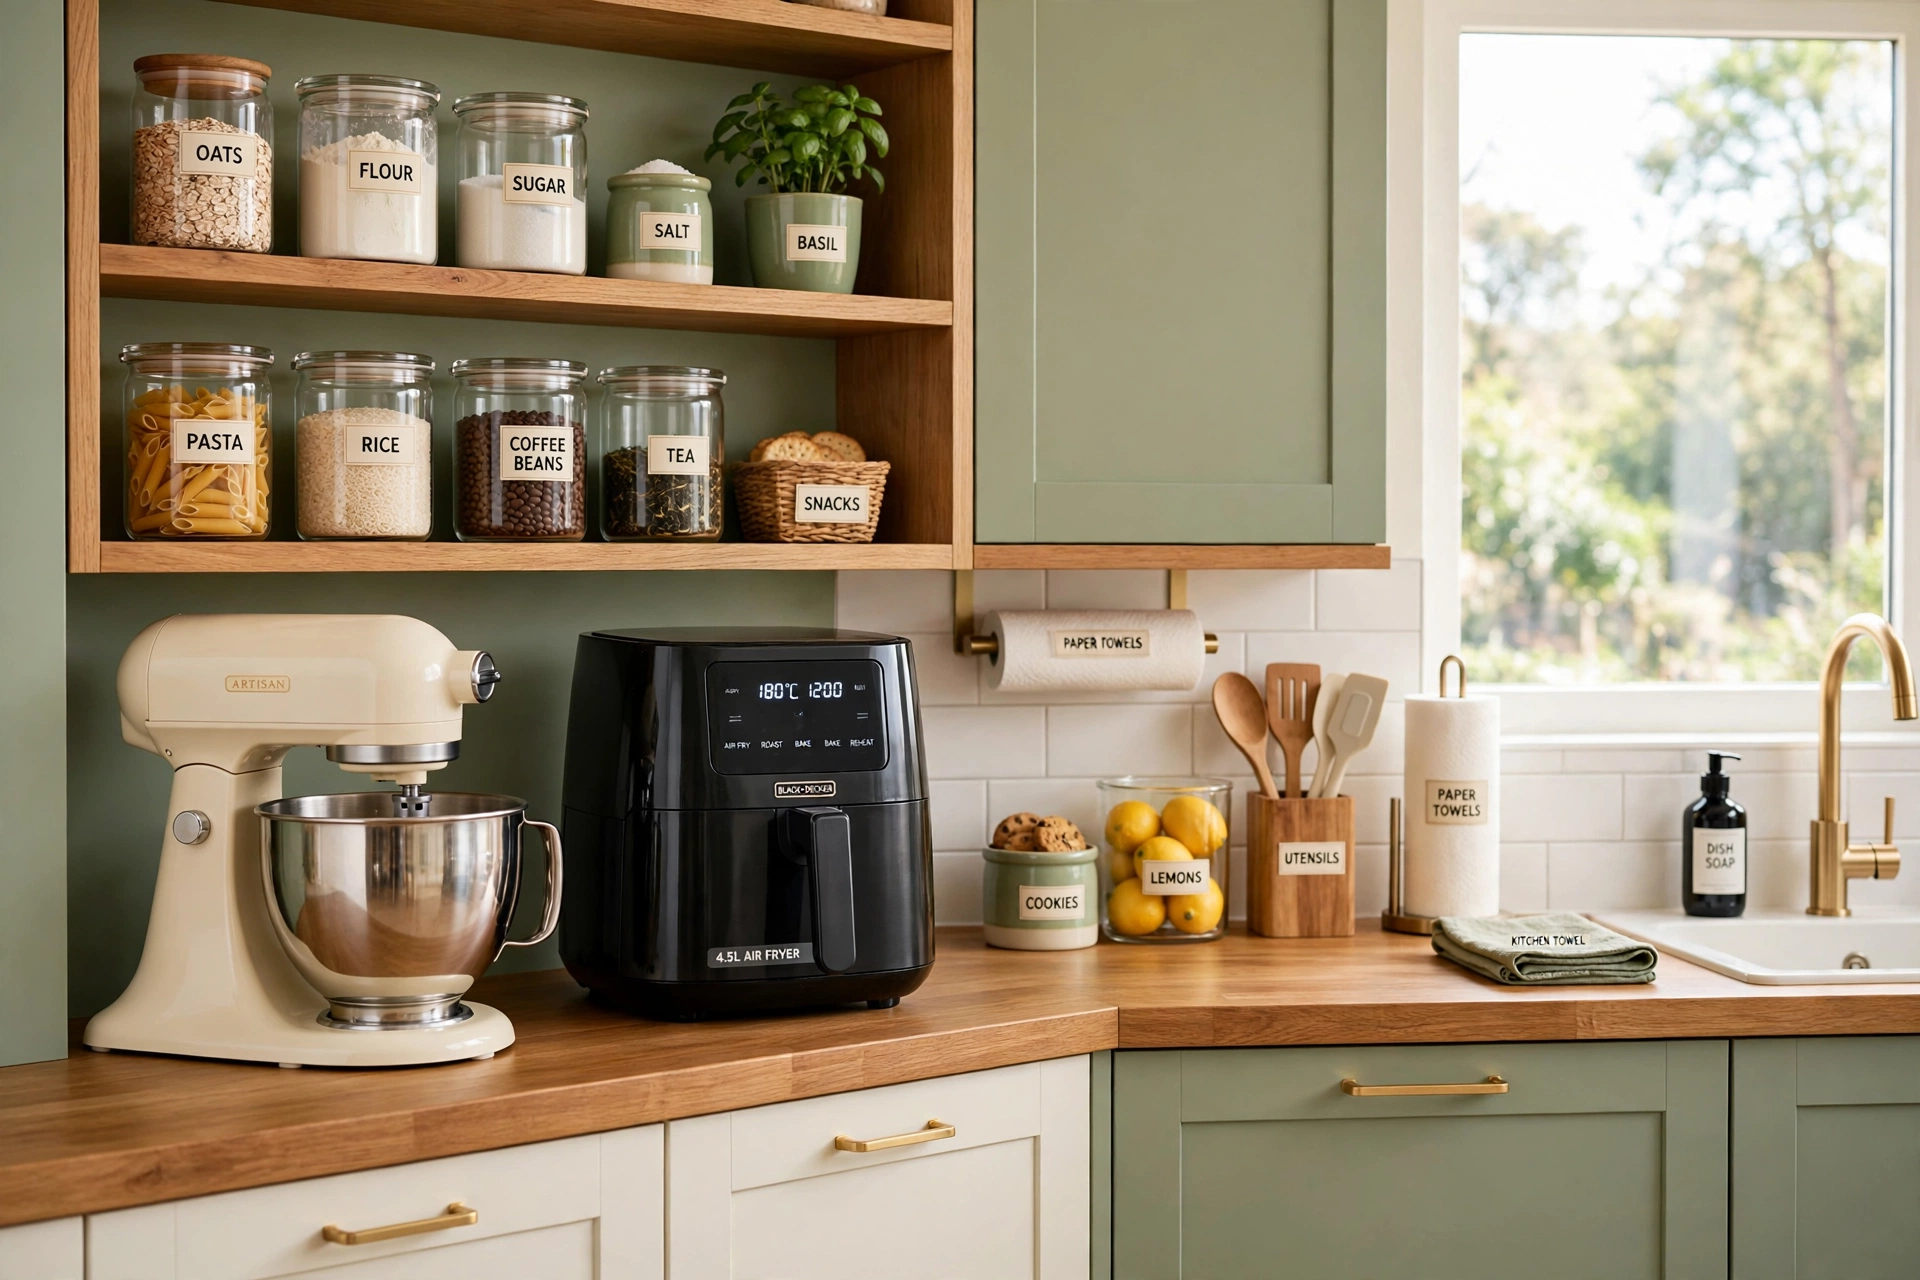
Picture this: you walk into the kitchen to bake a batch of cookies, and your stand mixer is right there waiting, while the air fryer sits in its own tidy spot instead of crowding the counter. No more dragging a heavy machine out of a deep cabinet, no more moving three small appliances just to reach the one you need. That small moment of ease is exactly what smart kitchen appliance organization gives you every single day.
You do not need a bigger kitchen or expensive custom cabinets to get there. All you need is the right home for each appliance, from the stand mixer you use every weekend to the air fryer you reach for on busy weeknights. These 21 kitchen appliance organization ideas will help you keep every machine tidy, protected, and ready to use whenever you need it.
1. Give Your Daily Appliance One Permanent Counter Spot
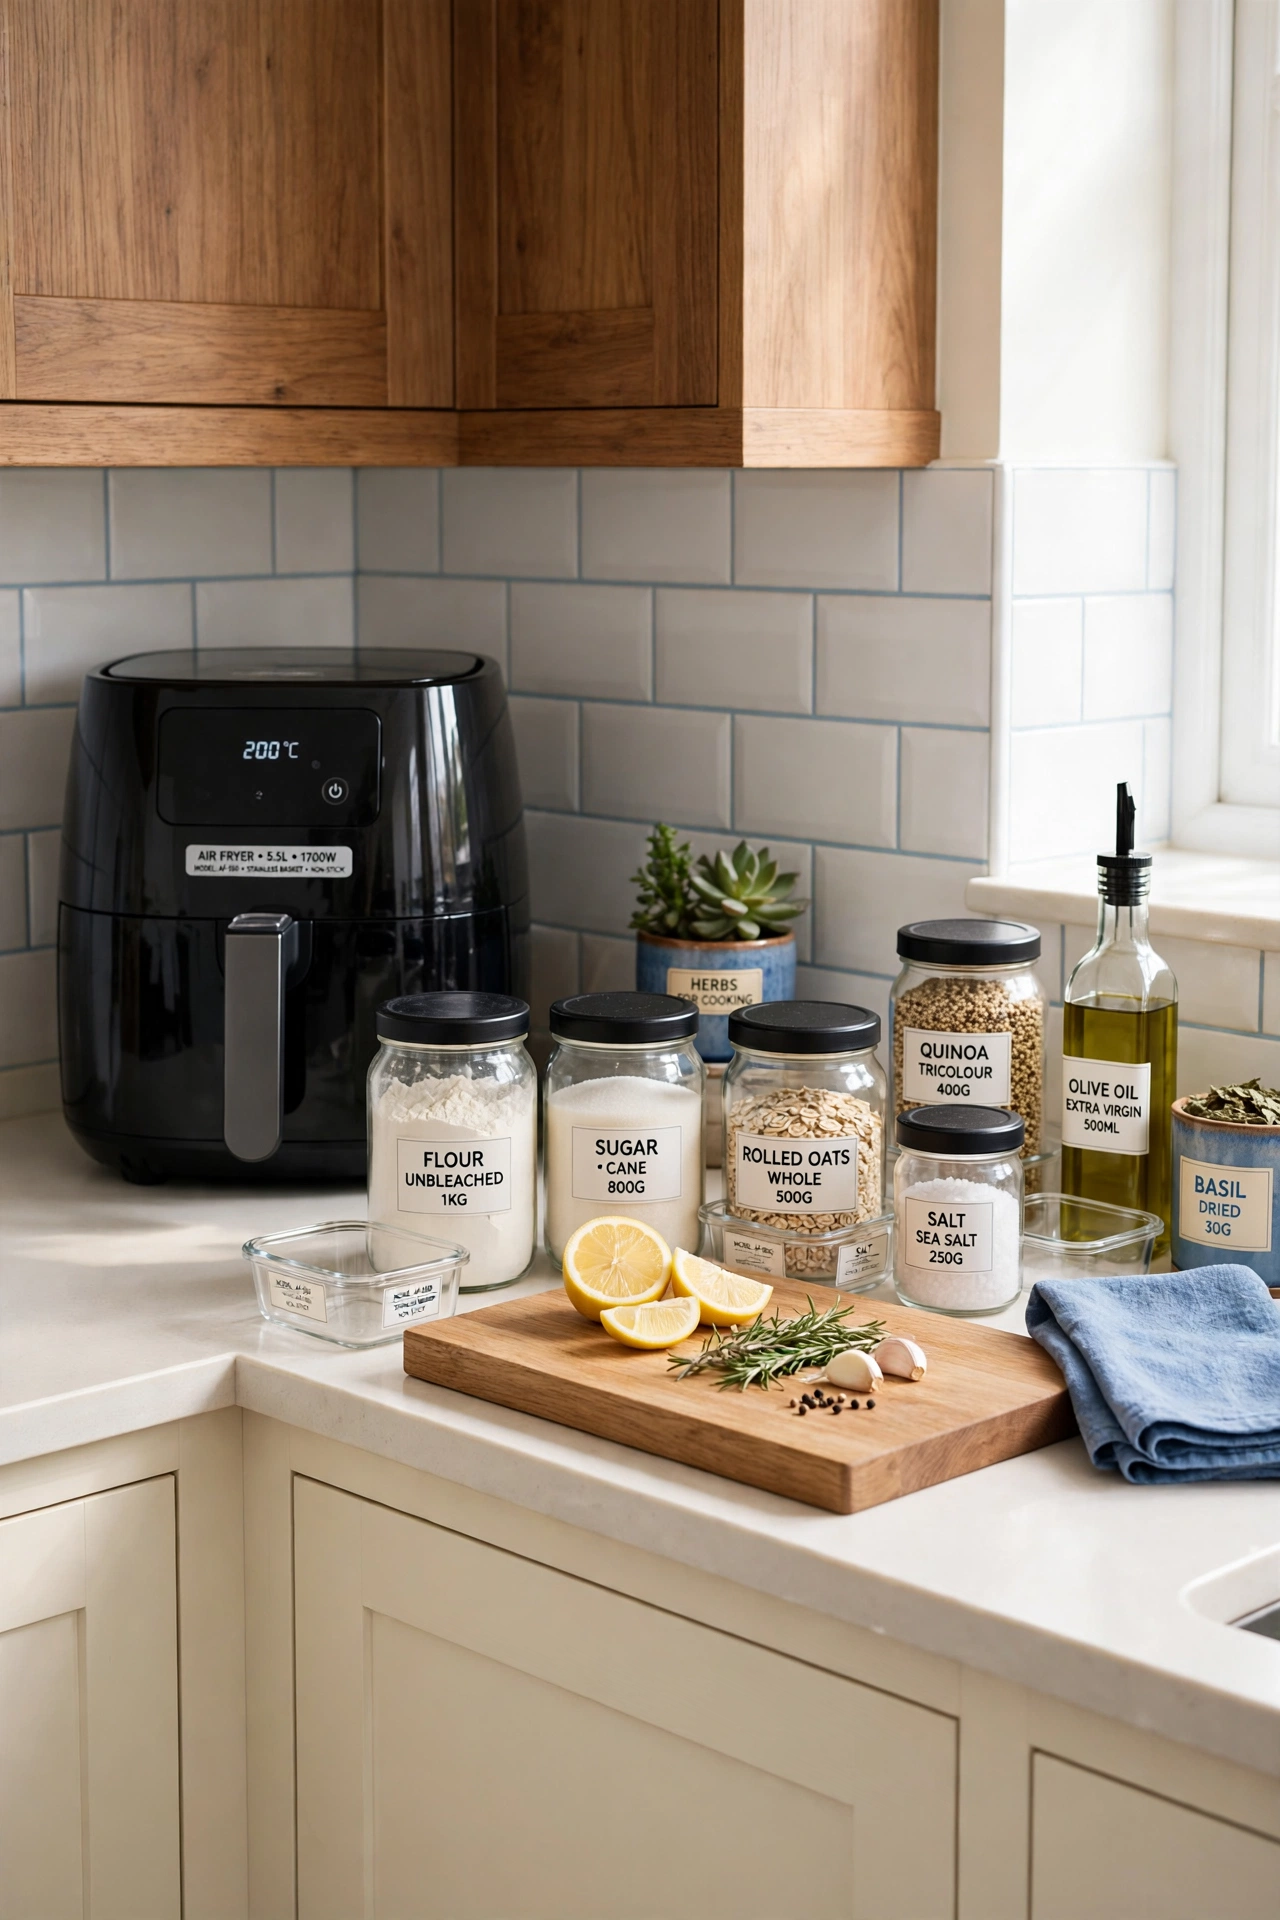
The appliance you use every day deserves one fixed spot on the counter, not a new home each morning. If your air fryer runs every night for dinner, give it a deliberate corner near the stove where it can stay put. A permanent spot saves you from lifting a warm machine in and out of a cabinet after every use.
Choose the spot with care and keep the area around it clear for food preparation. Check the heat, steam, and ventilation needs of the appliance before you settle on a place. A counter that holds only the daily appliance stays useful, while a counter that collects every machine quickly turns into a parking lot.
2. Keep Weekly Appliances in One Reachable Cabinet
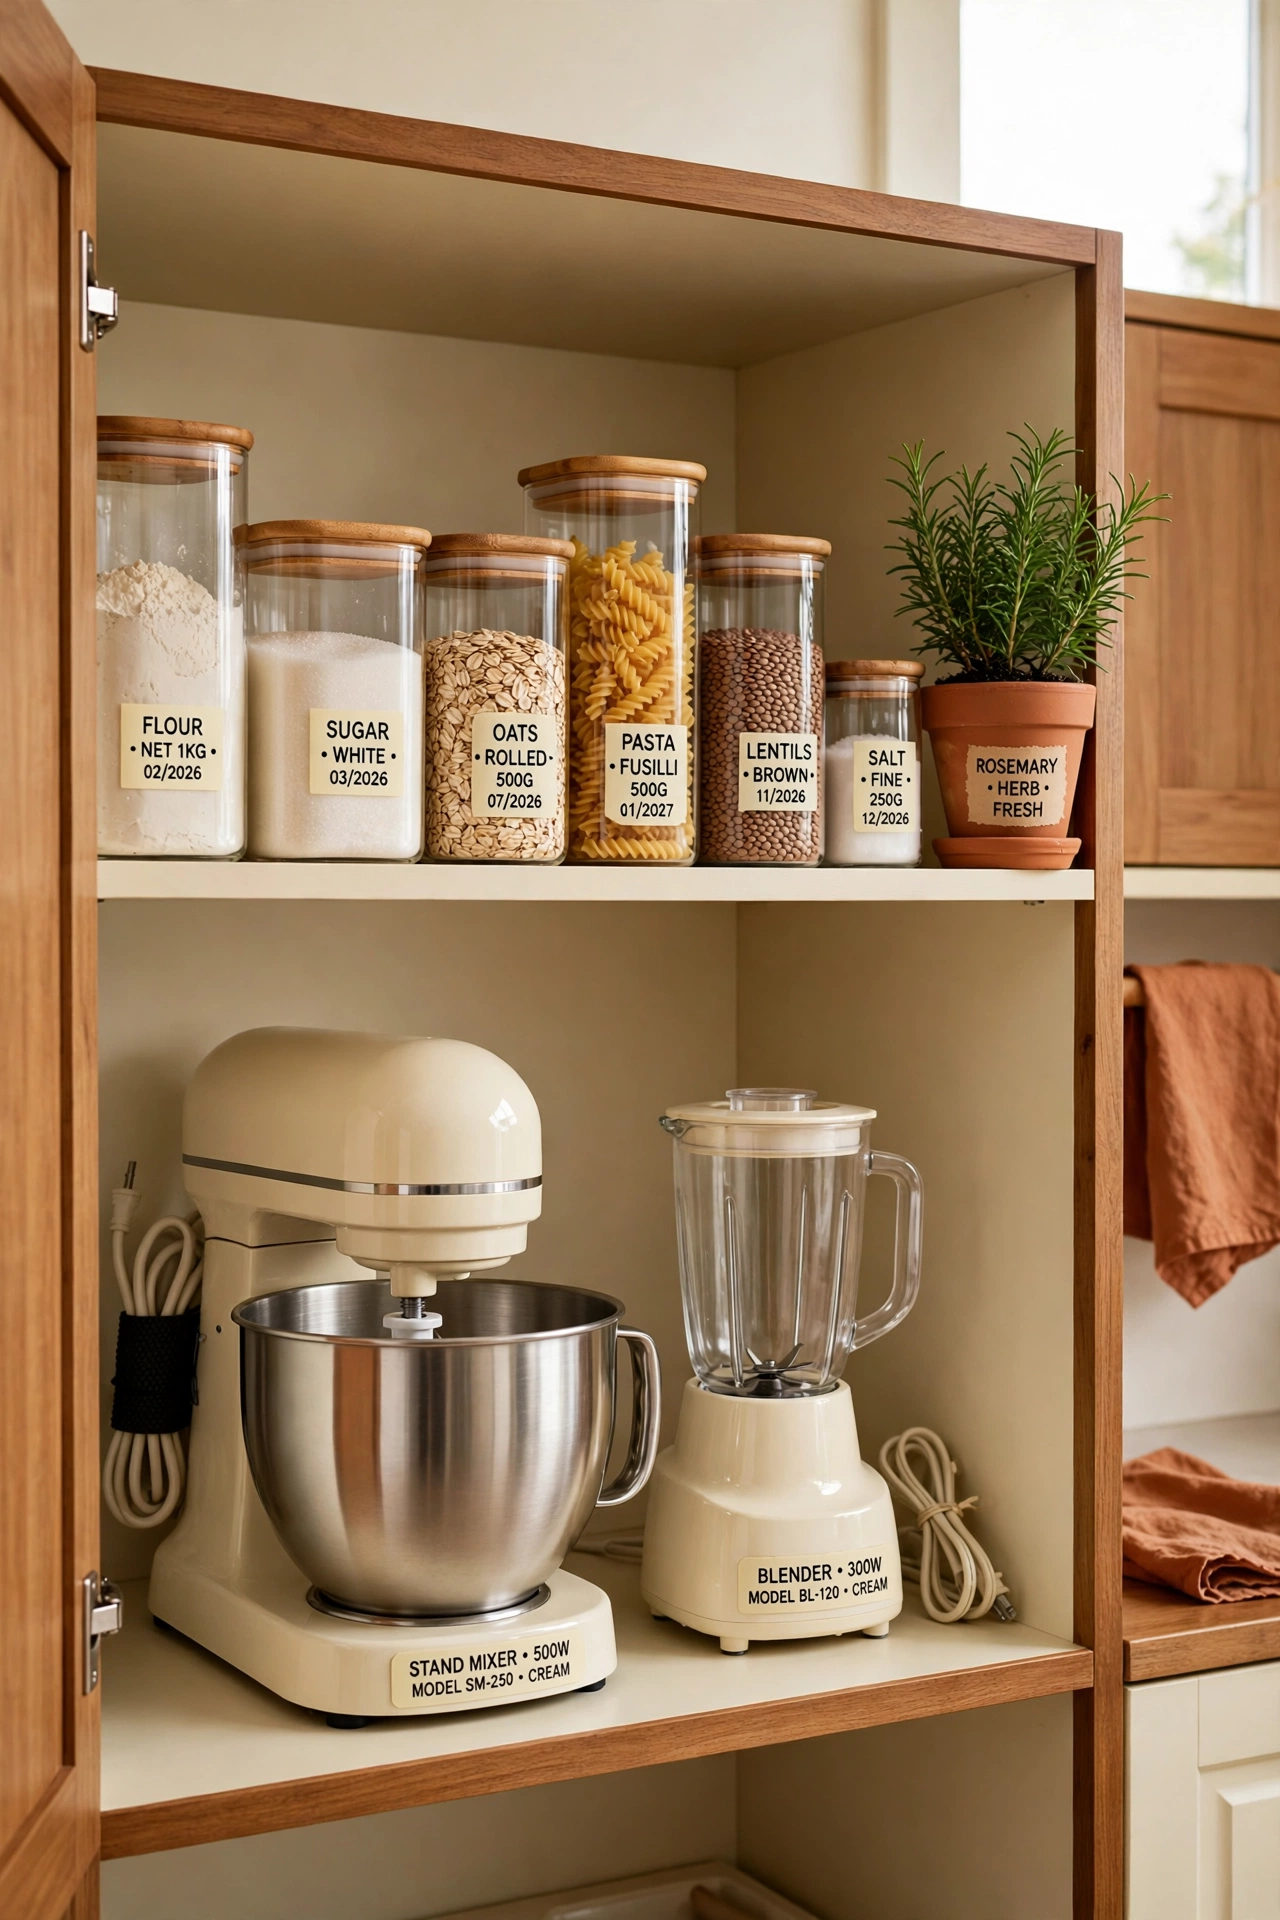
Appliances you use a few times a week belong in one cabinet near the counter where you operate them. A stand mixer, a blender, and a hand mixer can share a cabinet if each one sits at the front with its cord contained and enough space to grip its body. Nothing should hide behind another machine that must be lifted out first.
Use this cabinet for cool, dry, unplugged storage only, and bring each appliance to a suitable surface when you use it. Grouping weekly machines together means you always know where to look, and you never have to search through three different cupboards before you start cooking.
3. Park a Heavy Stand Mixer at a Comfortable Lifting Height
A heavy stand mixer may deserve a sturdy counter or an accessible shelf even if you do not use it daily. The goal is a position that avoids lifting overhead, reaching across a deep shelf, or twisting with the load. A mixer that lives too high or too deep will stay unused, no matter how much you love to bake.
Choose a spot at waist or counter height where you can slide the mixer forward instead of lifting it. Check that the furniture can carry the weight before you move the machine. A comfortable lifting height turns a heavy appliance into a tool you actually reach for on a regular basis.
4. Use a Load Rated Appliance Cart for Bulky Machines
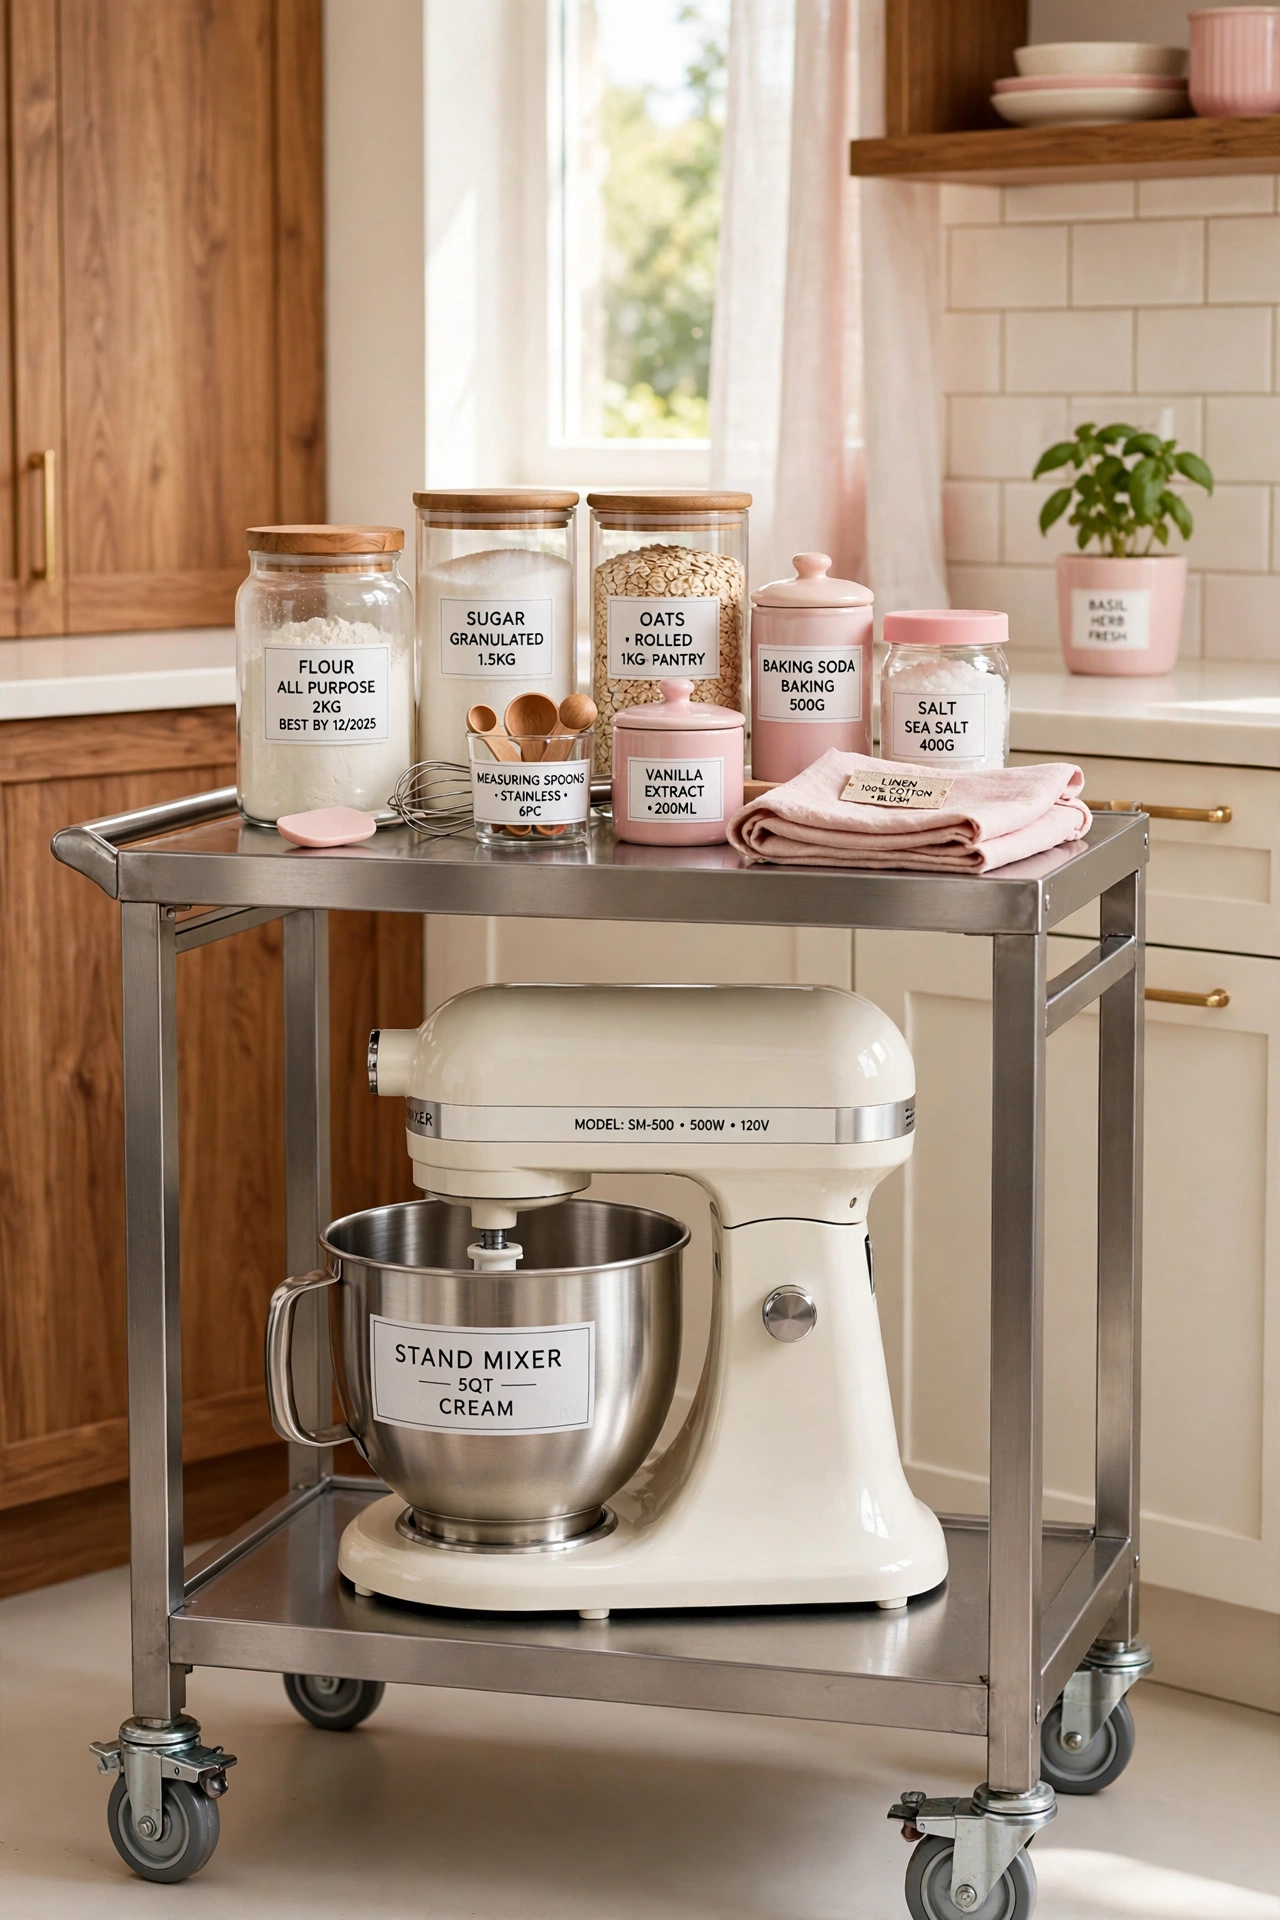
A sturdy cart can hold occasional machines when it has enough shelf depth and a suitable load rating. Store the heavier unit low, keep every foot on the shelf, and lock the wheels while the cart is parked. A cart works well for a large air fryer or a spare stand mixer that does not fit in the kitchen cabinets.
Leave the kitchen aisle and the appliance doors clear, and treat the cart as storage unless both the cart and the appliance instructions permit operation there. Roll the cart out when you need a machine, then roll it back to its parking spot. This is a flexible solution for kitchens with little built in storage.
5. Move Occasional Machines Into a Dining Sideboard
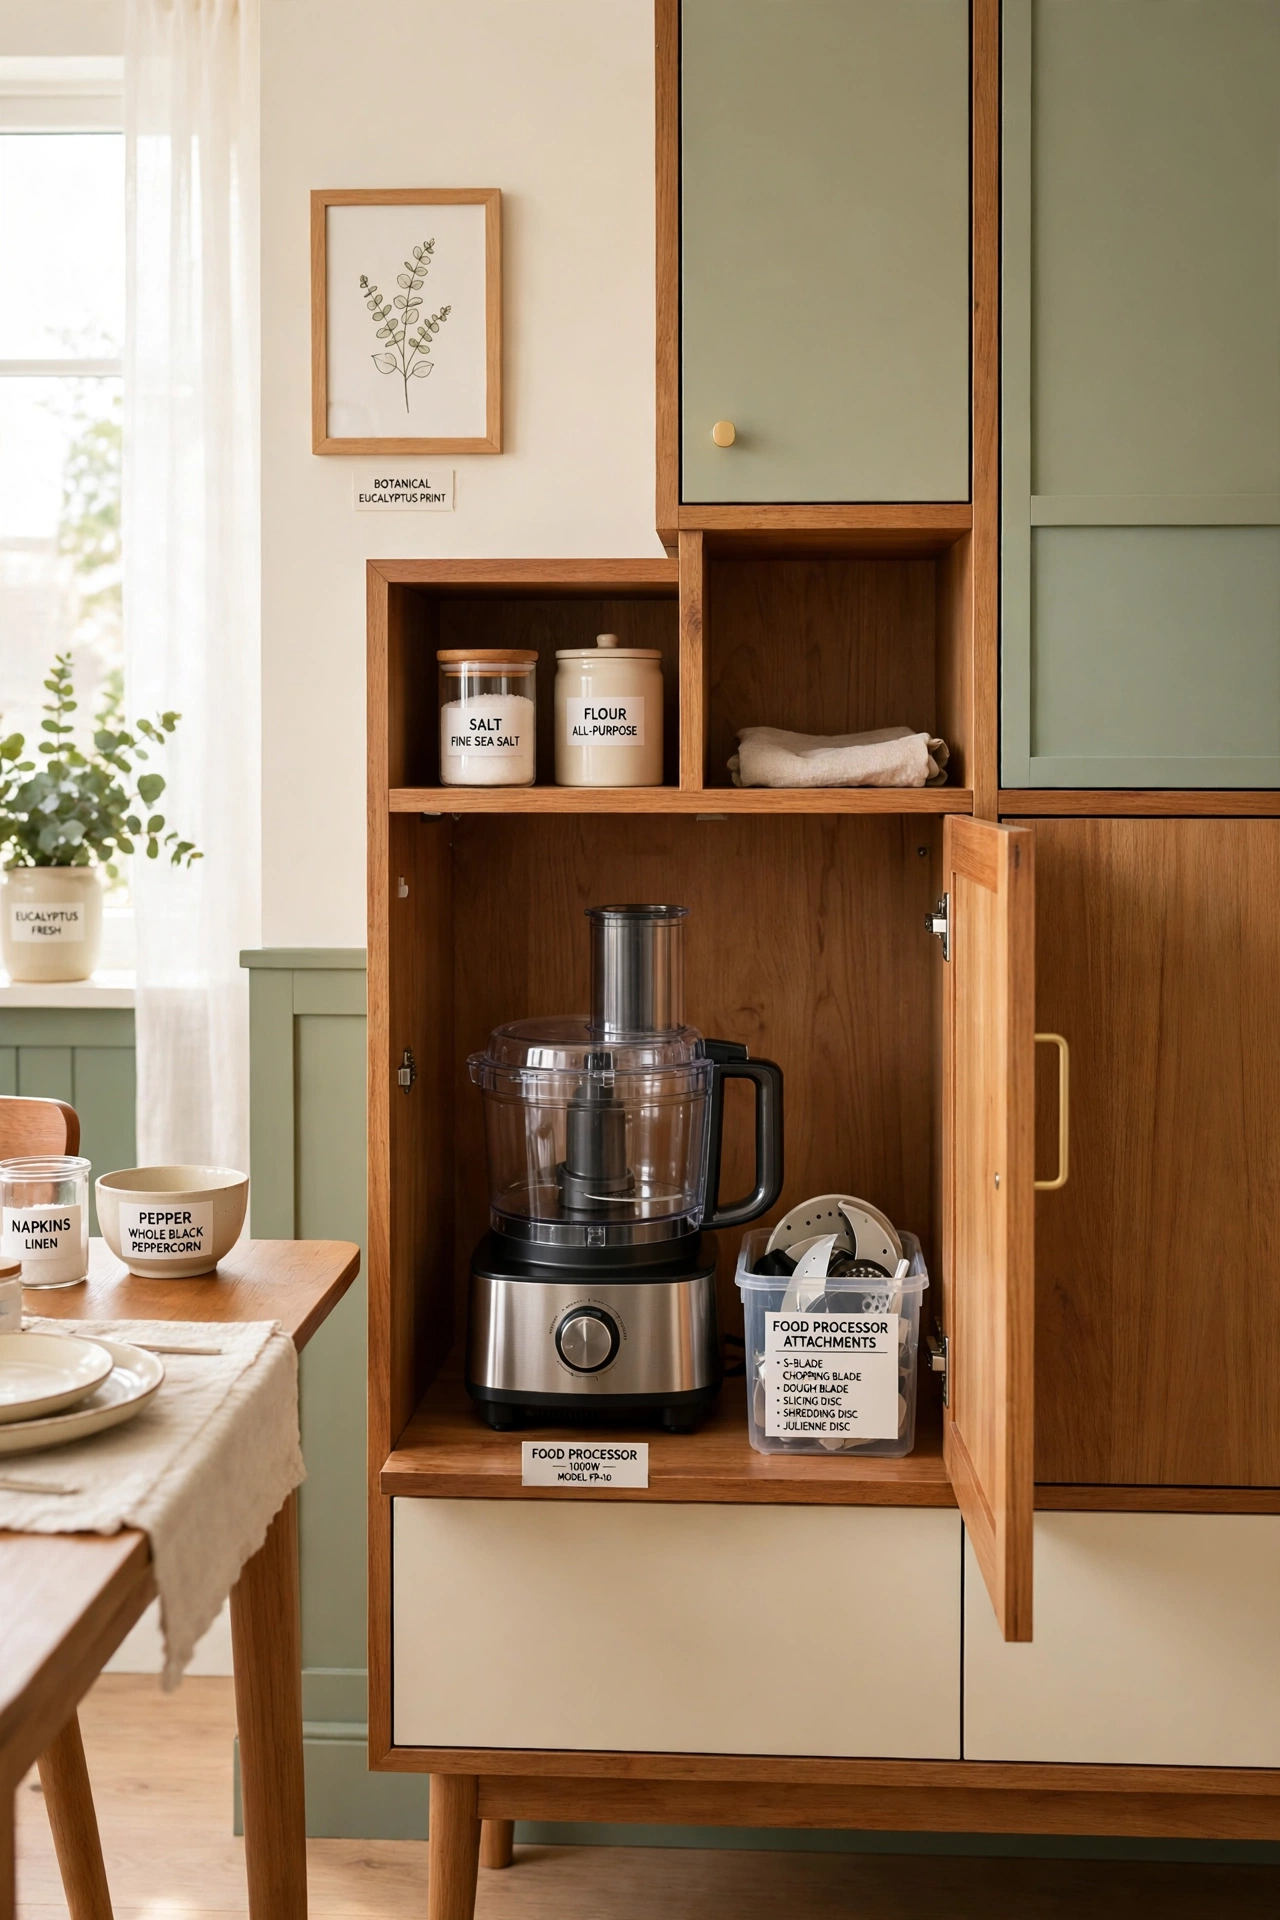
A nearby sideboard can house a blender or a food processor that does not need a permanent counter position. Measure the opening, the shelf depth, and the available lifting room before you relocate the machine. Keep the appliance unplugged and dry, with its attachments beside it in a small container.
Follow the furniture stability instructions and preserve a clear walking route around the sideboard. Never run a heat producing appliance inside the furniture. A sideboard in the dining room keeps occasional machines close to the kitchen without stealing counter space from your daily cooking.
6. Adjust a Pantry Shelf to Fit Your Tallest Appliance
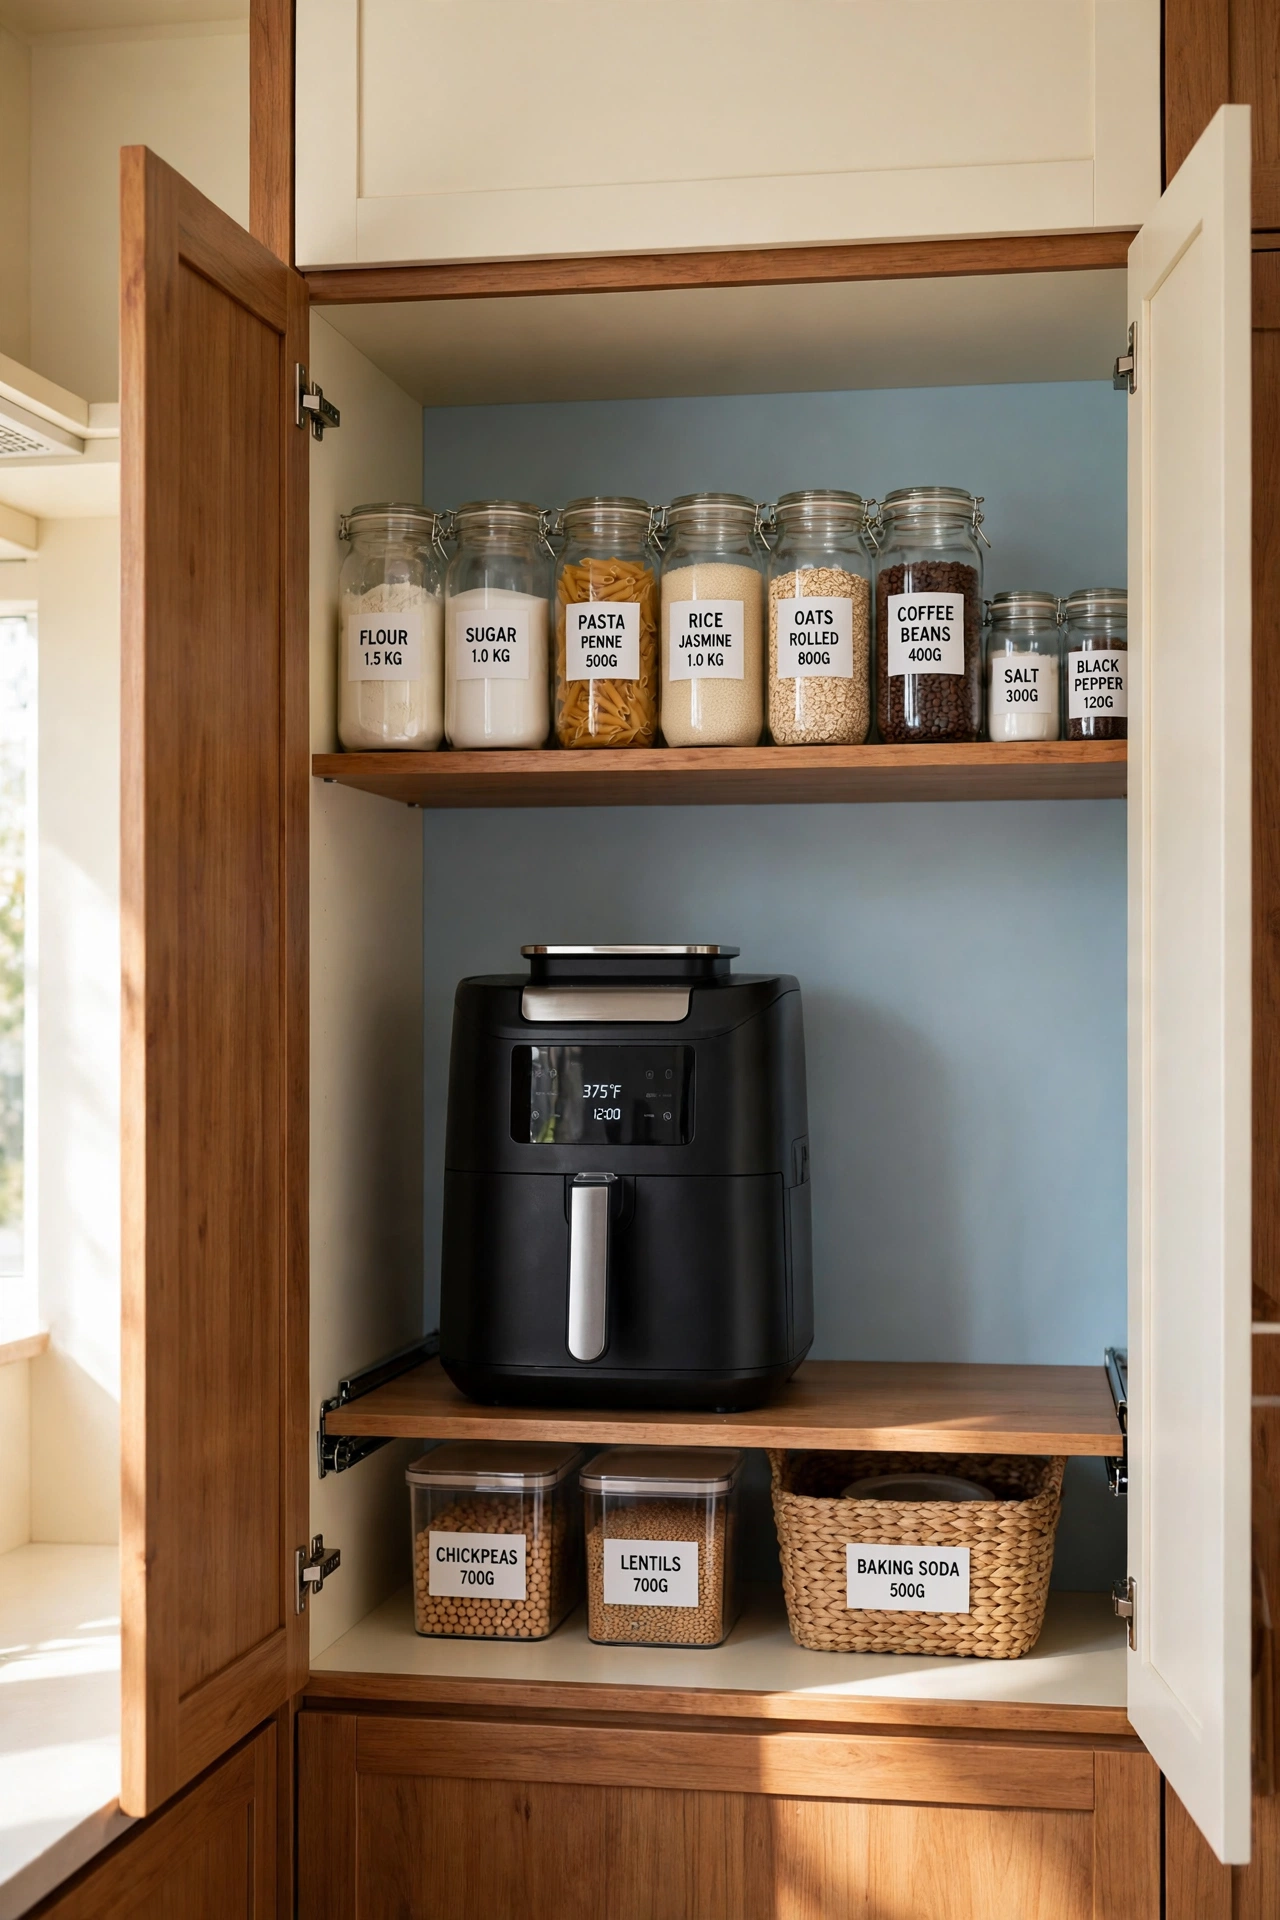
An adjustable pantry shelf can make a tall machine fit without wasting the whole section above it. Check the shelf and support ratings for the actual load, then leave room to lift the appliance rather than fitting it tightly against the next shelf. Put the most frequently used machine at the easier reach level.
A tall air fryer or a stand mixer with its bowl attached needs more height than a standard shelf gives. Moving one shelf up by a few inches can create the exact space the machine needs. For more ways to use pantry space well, see these pantry can organization ideas. Small shelf adjustments often solve the biggest storage problems in a kitchen.
7. Fit a Sturdy Riser Over a Small Stored Appliance
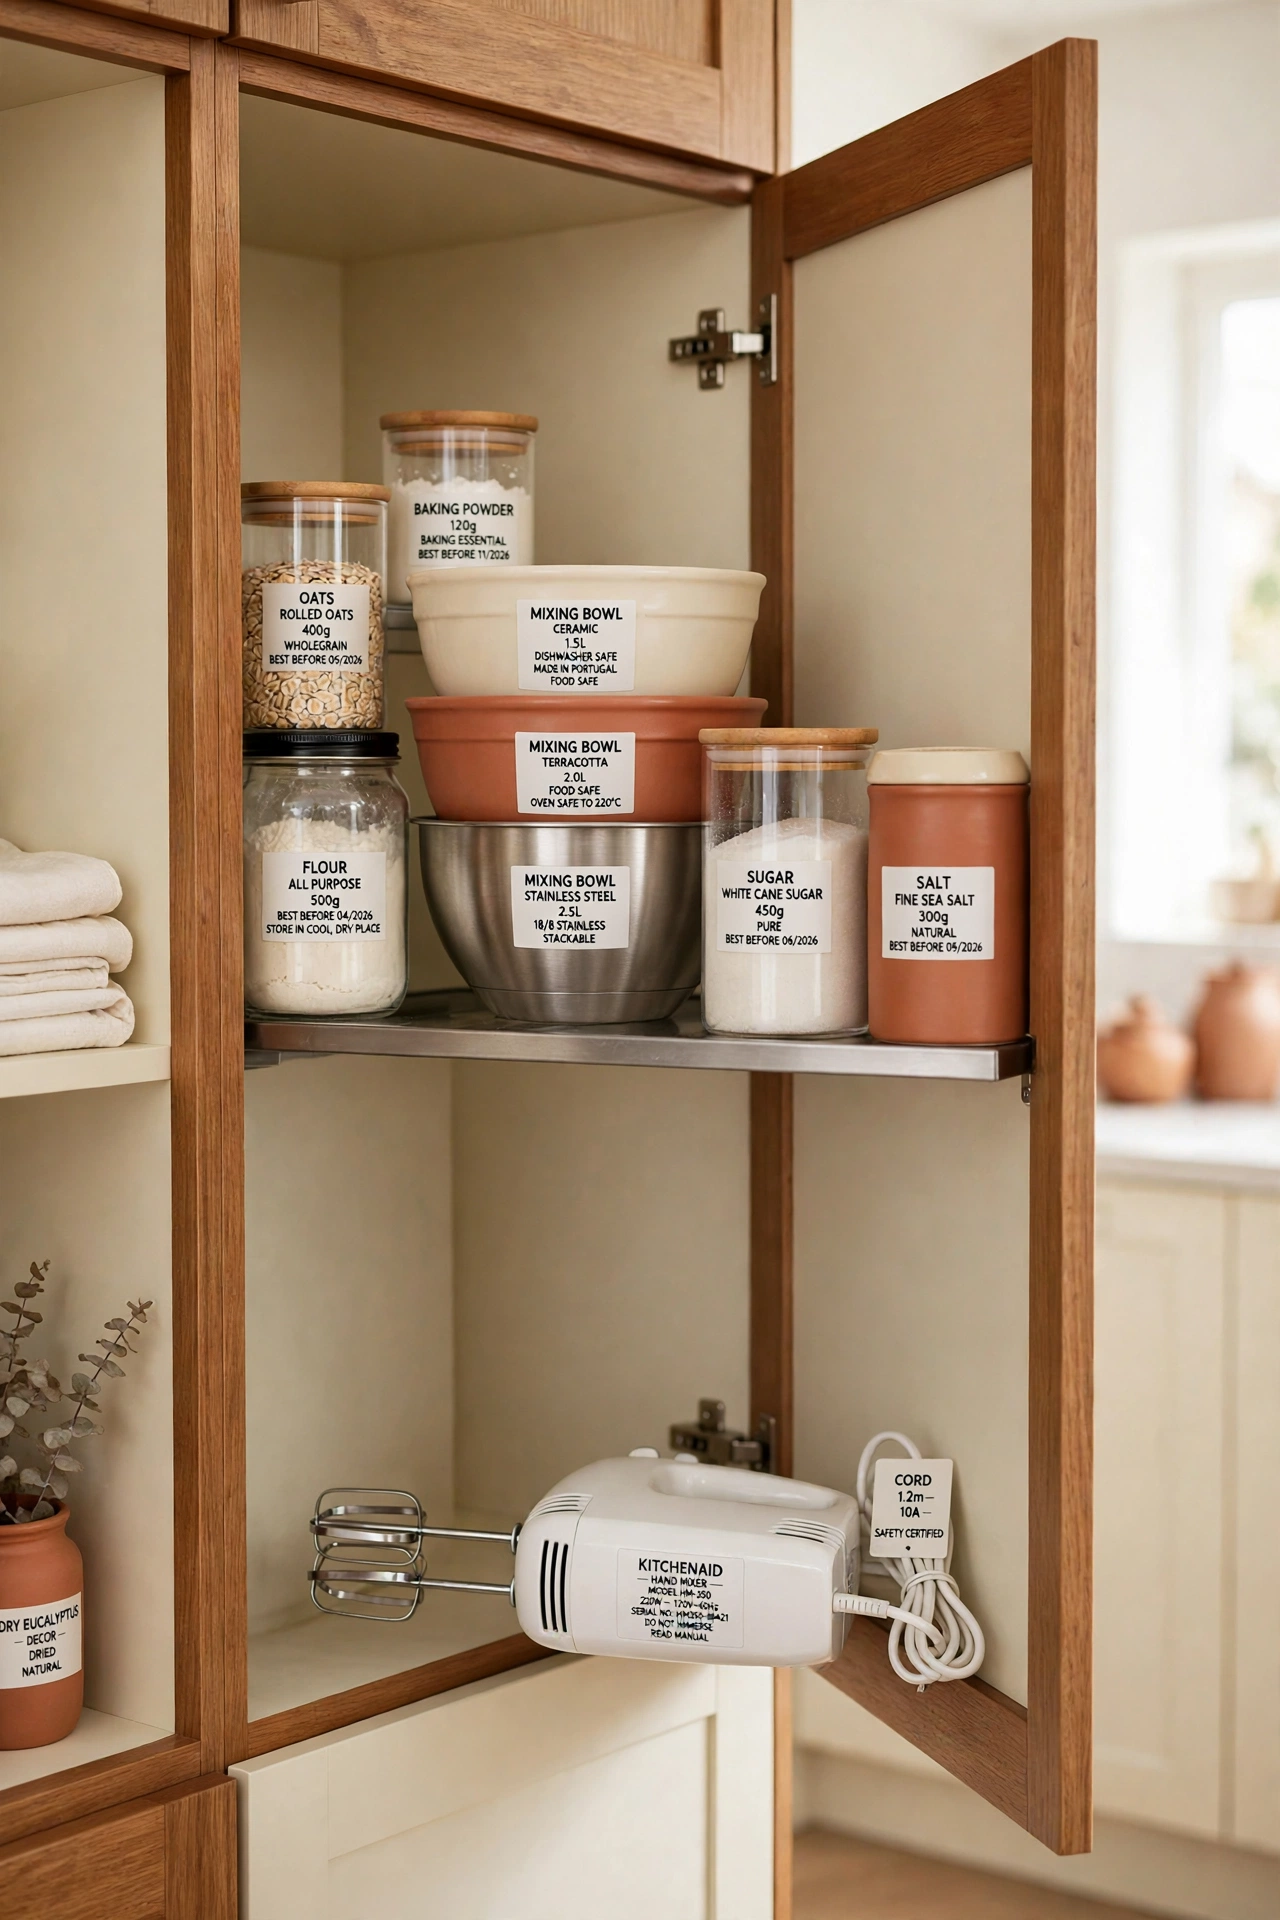
A properly rated freestanding shelf insert can use the height above a small, cool stored appliance. Choose a stable unit whose legs and platform do not interfere with the appliance or its removal. Keep the upper load modest and place nothing directly on the machine.
Remove the appliance from this storage arrangement before you use it, and never operate a machine while it sits under a riser. A riser doubles the usable space on one shelf, which is a smart trick when a small cabinet must hold both a hand mixer and a stack of mixing bowls.
8. Store a Waffle Maker Upright Only When the Manual Allows It
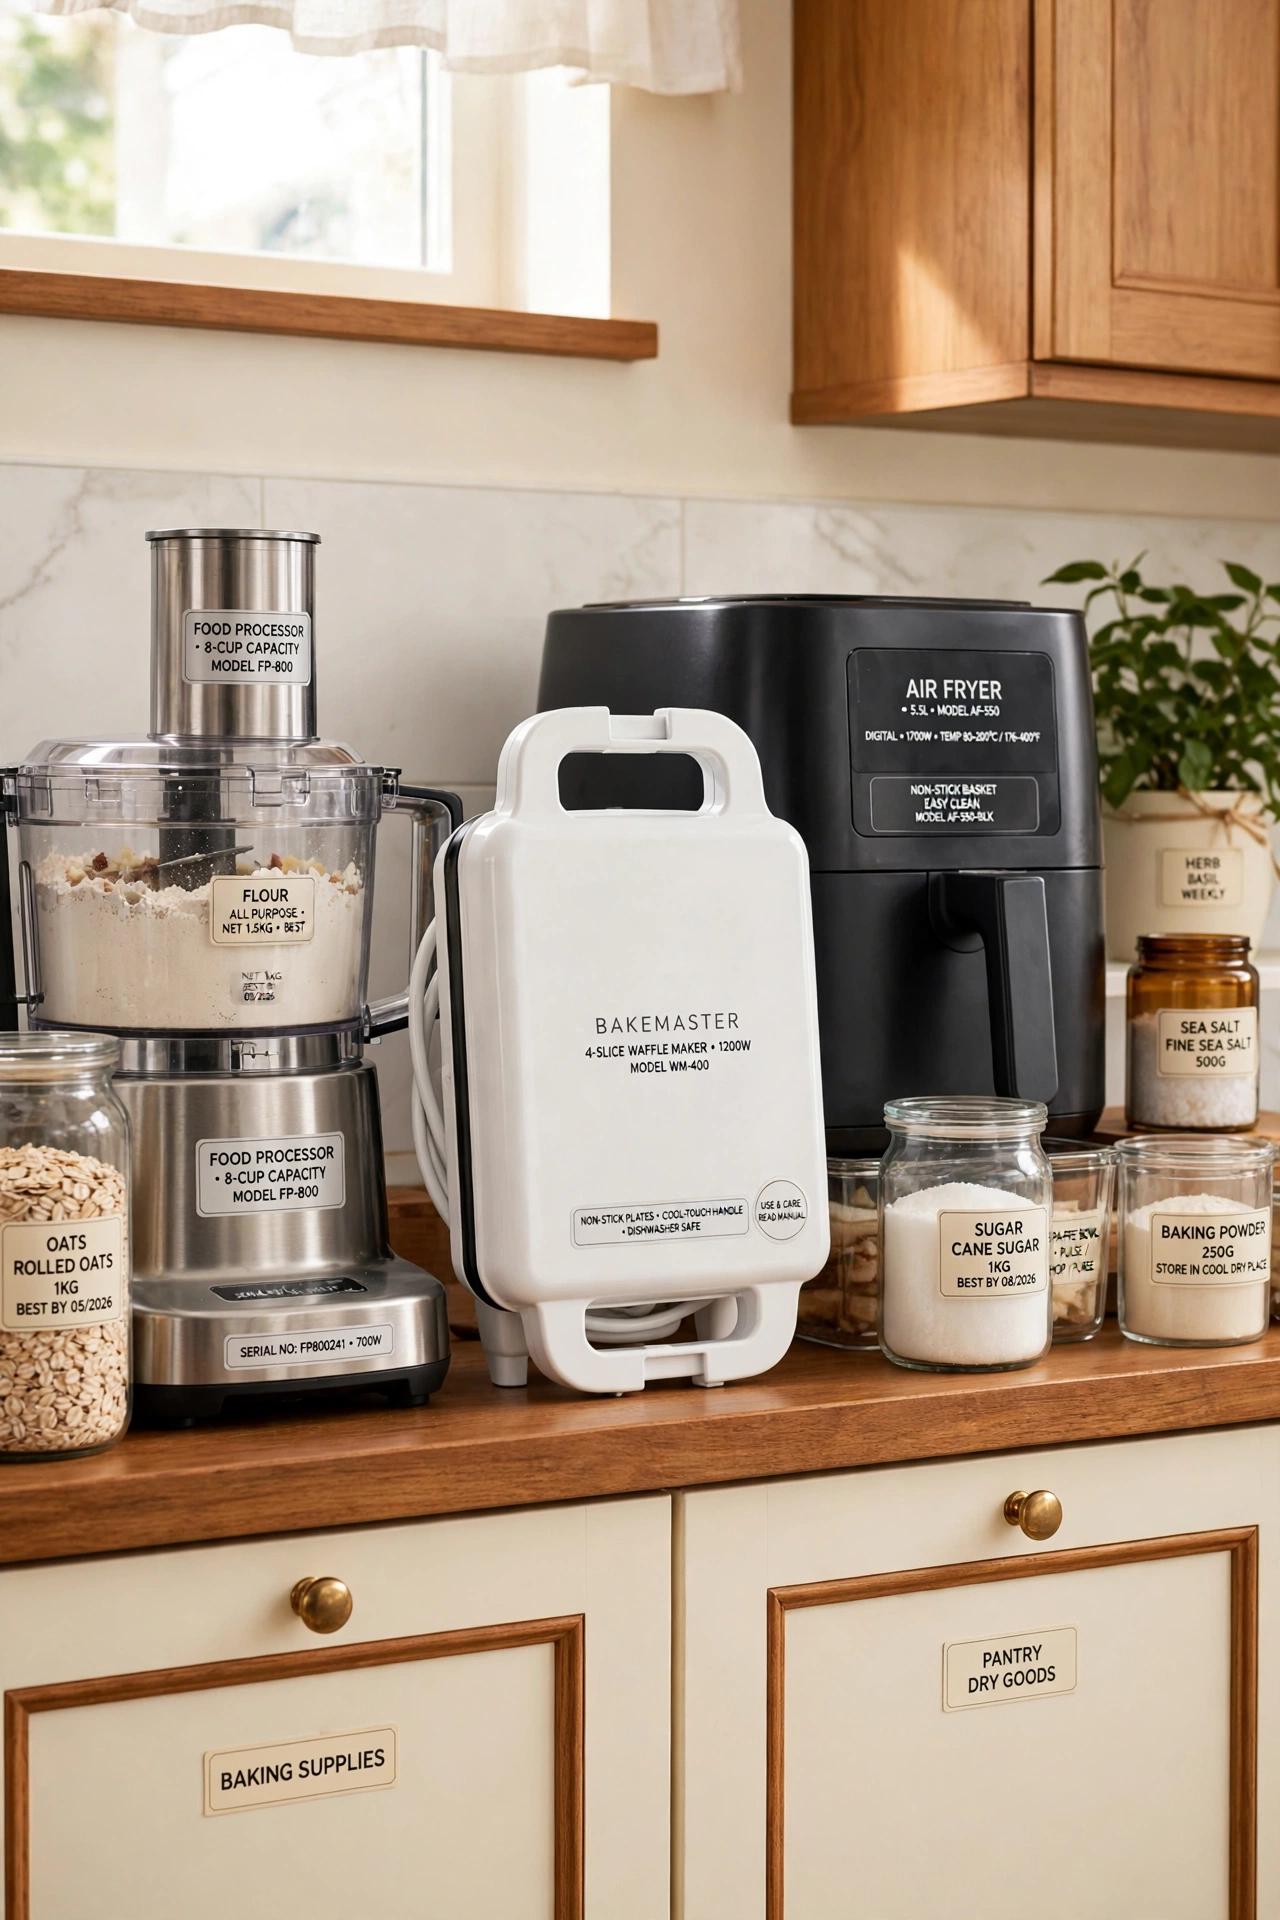
Some waffle makers have a specified upright storage position that reduces their footprint on a shelf. Use that position only if the manual permits it and the unit has cooled completely. Secure any latch or cord arrangement as directed, then stand it where it cannot topple onto dishes or trap your fingers.
An upright waffle maker slides into a narrow gap between larger appliances, which frees a whole shelf for the air fryer or the stand mixer. Never force a machine upright if the maker does not design it for that position. The manual is the only guide that matters here.
9. Keep a Slow Cooker and Its Insert Together
Give a slow cooker a shelf that supports its full base and allows a two handed lift. Keep the clean dry insert and lid in the positions the maker recommends, without using the lid as a shelf for other equipment. Leave a small gap around the handles so the machine can be removed without shifting neighboring objects.
A lower reachable shelf often works better than a deep high cupboard for a heavy slow cooker. When the base, the insert, and the lid live together, you never waste time hunting for a missing part before dinner. One complete unit on one shelf is the simplest system.
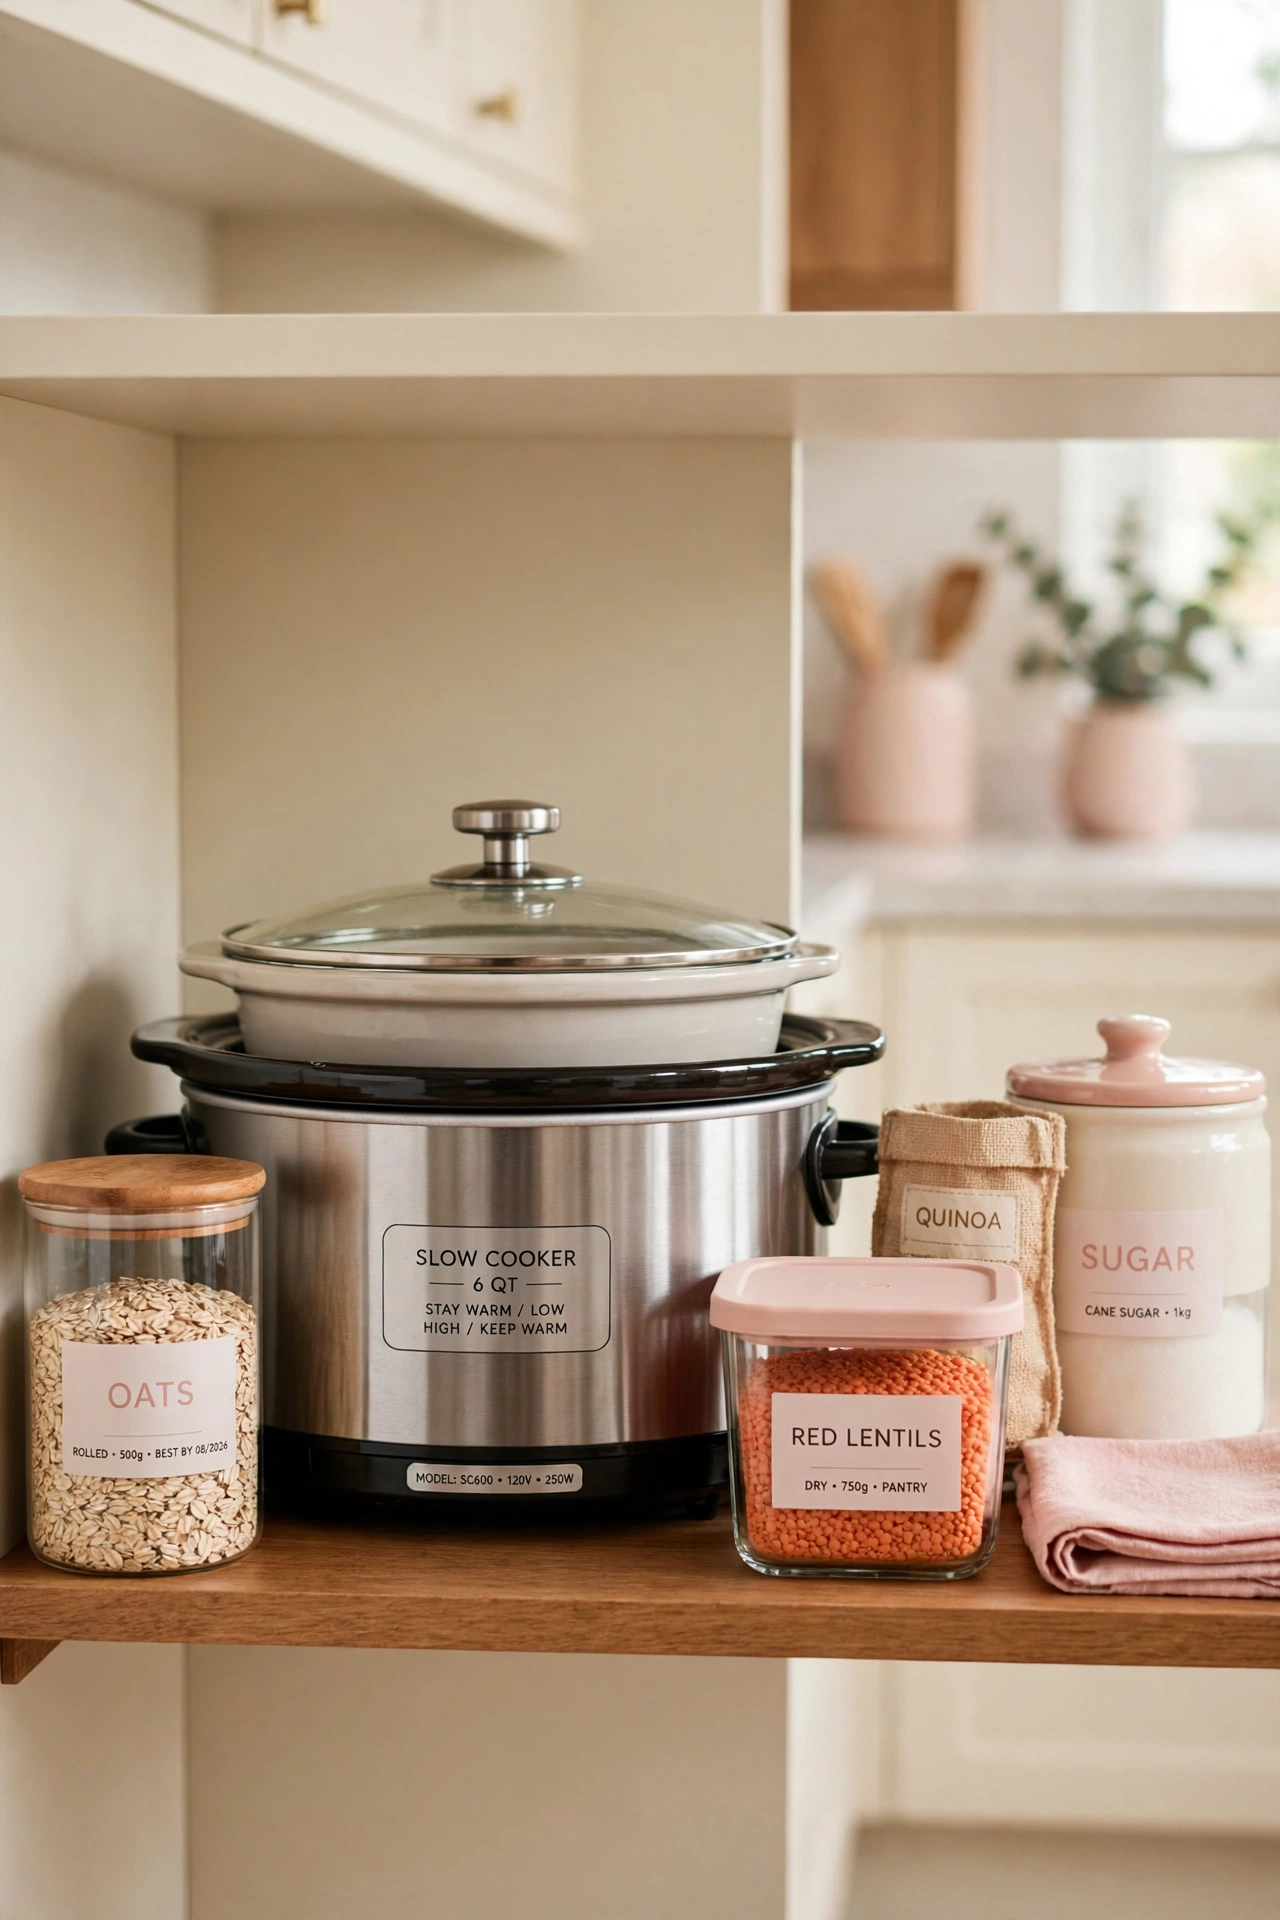
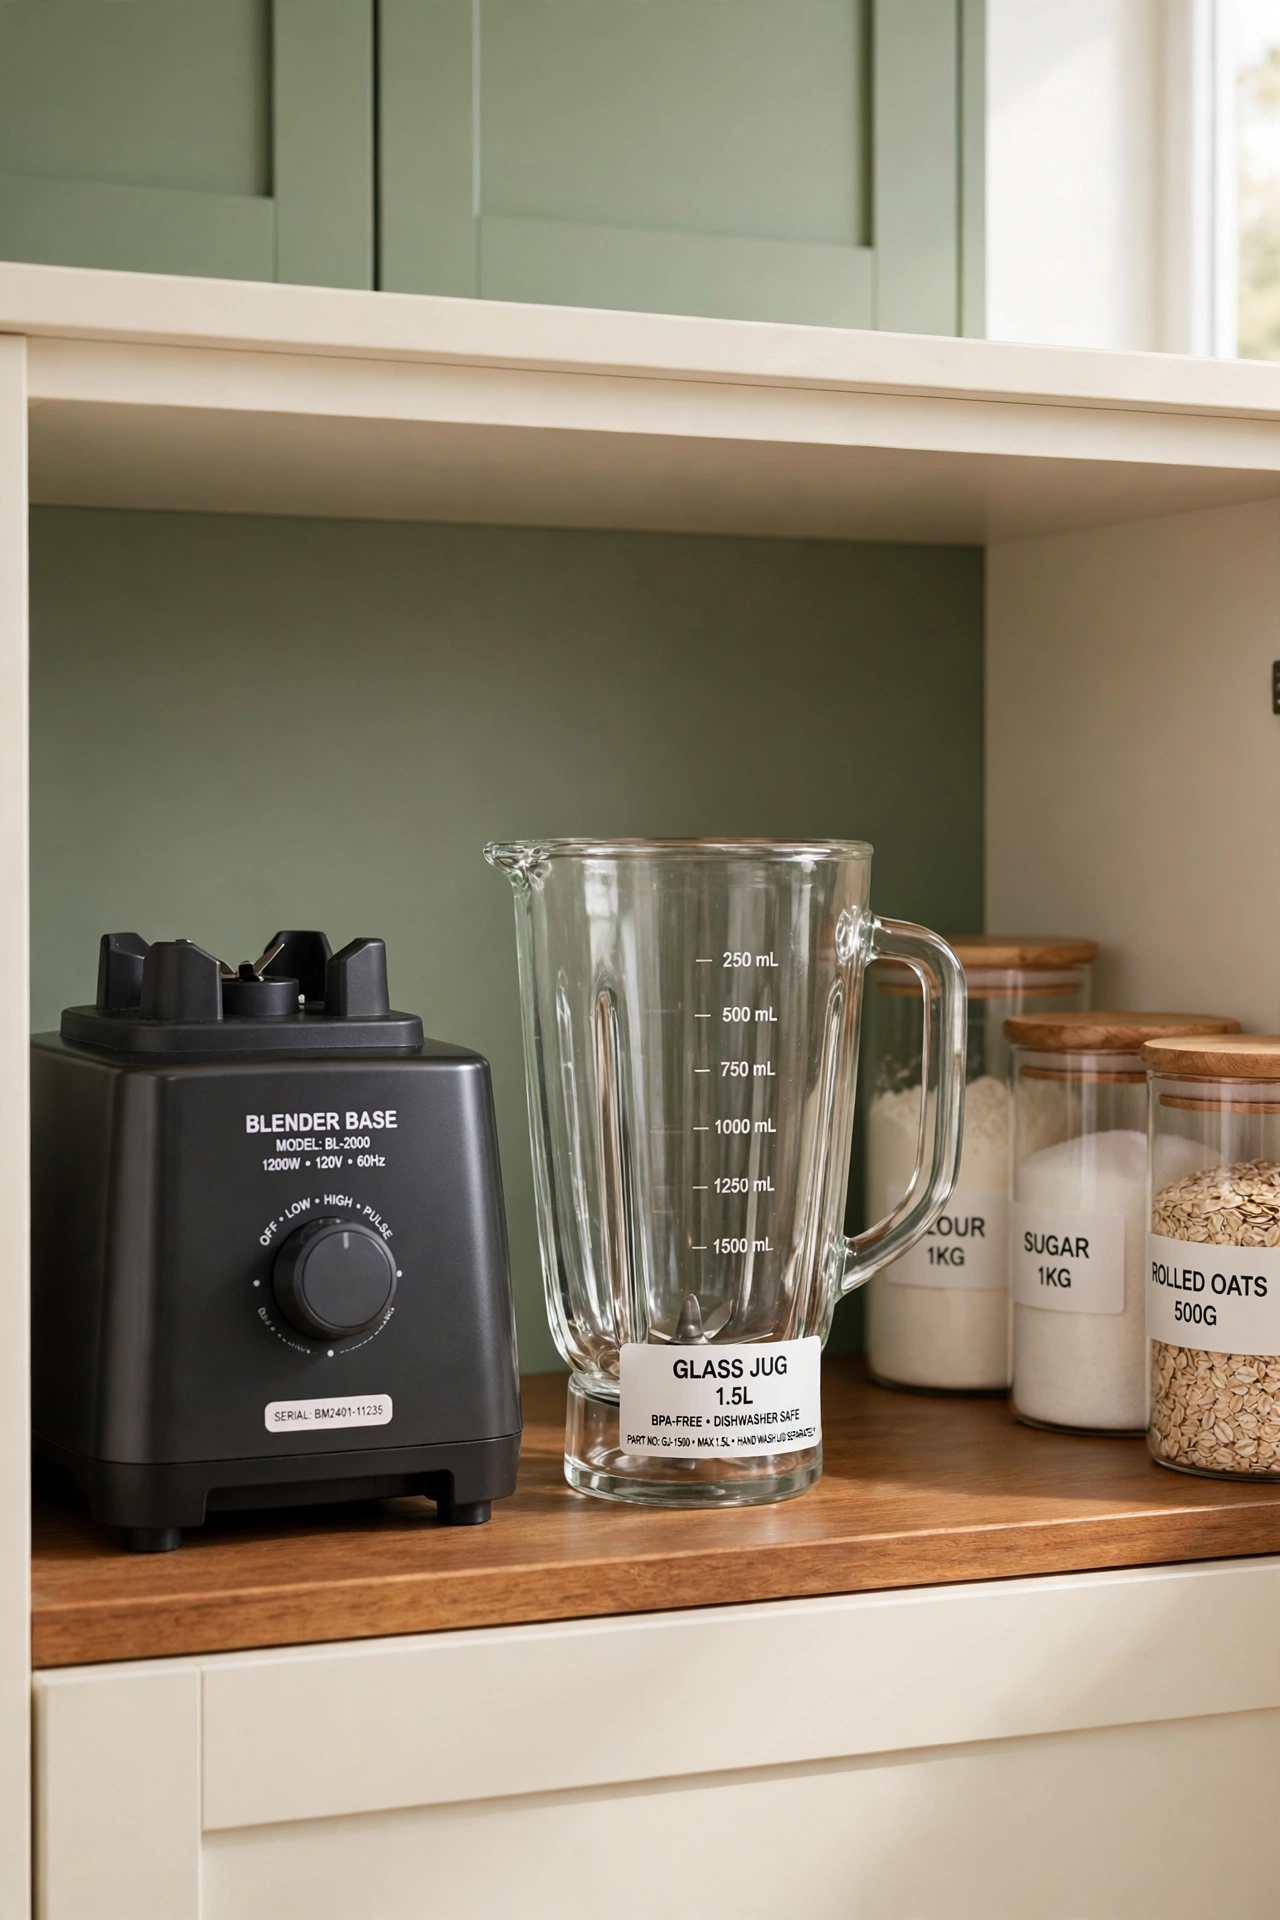
10. Store a Blender Base and Jug Side by Side
If the blender manual allows the jug to be removed for storage, place the base and the clean dry jug beside each other. This can fit a lower shelf without forcing the assembled machine under it. Protect any exposed blade assembly as directed, and never leave sharp parts loose.
Check that the extra width still leaves both pieces easy to retrieve, and keep the jug upright so it does not roll. Separating the two parts turns one tall machine into two short pieces that fit shelves a full blender never could. This trick also works well for a food processor base and its work bowl.
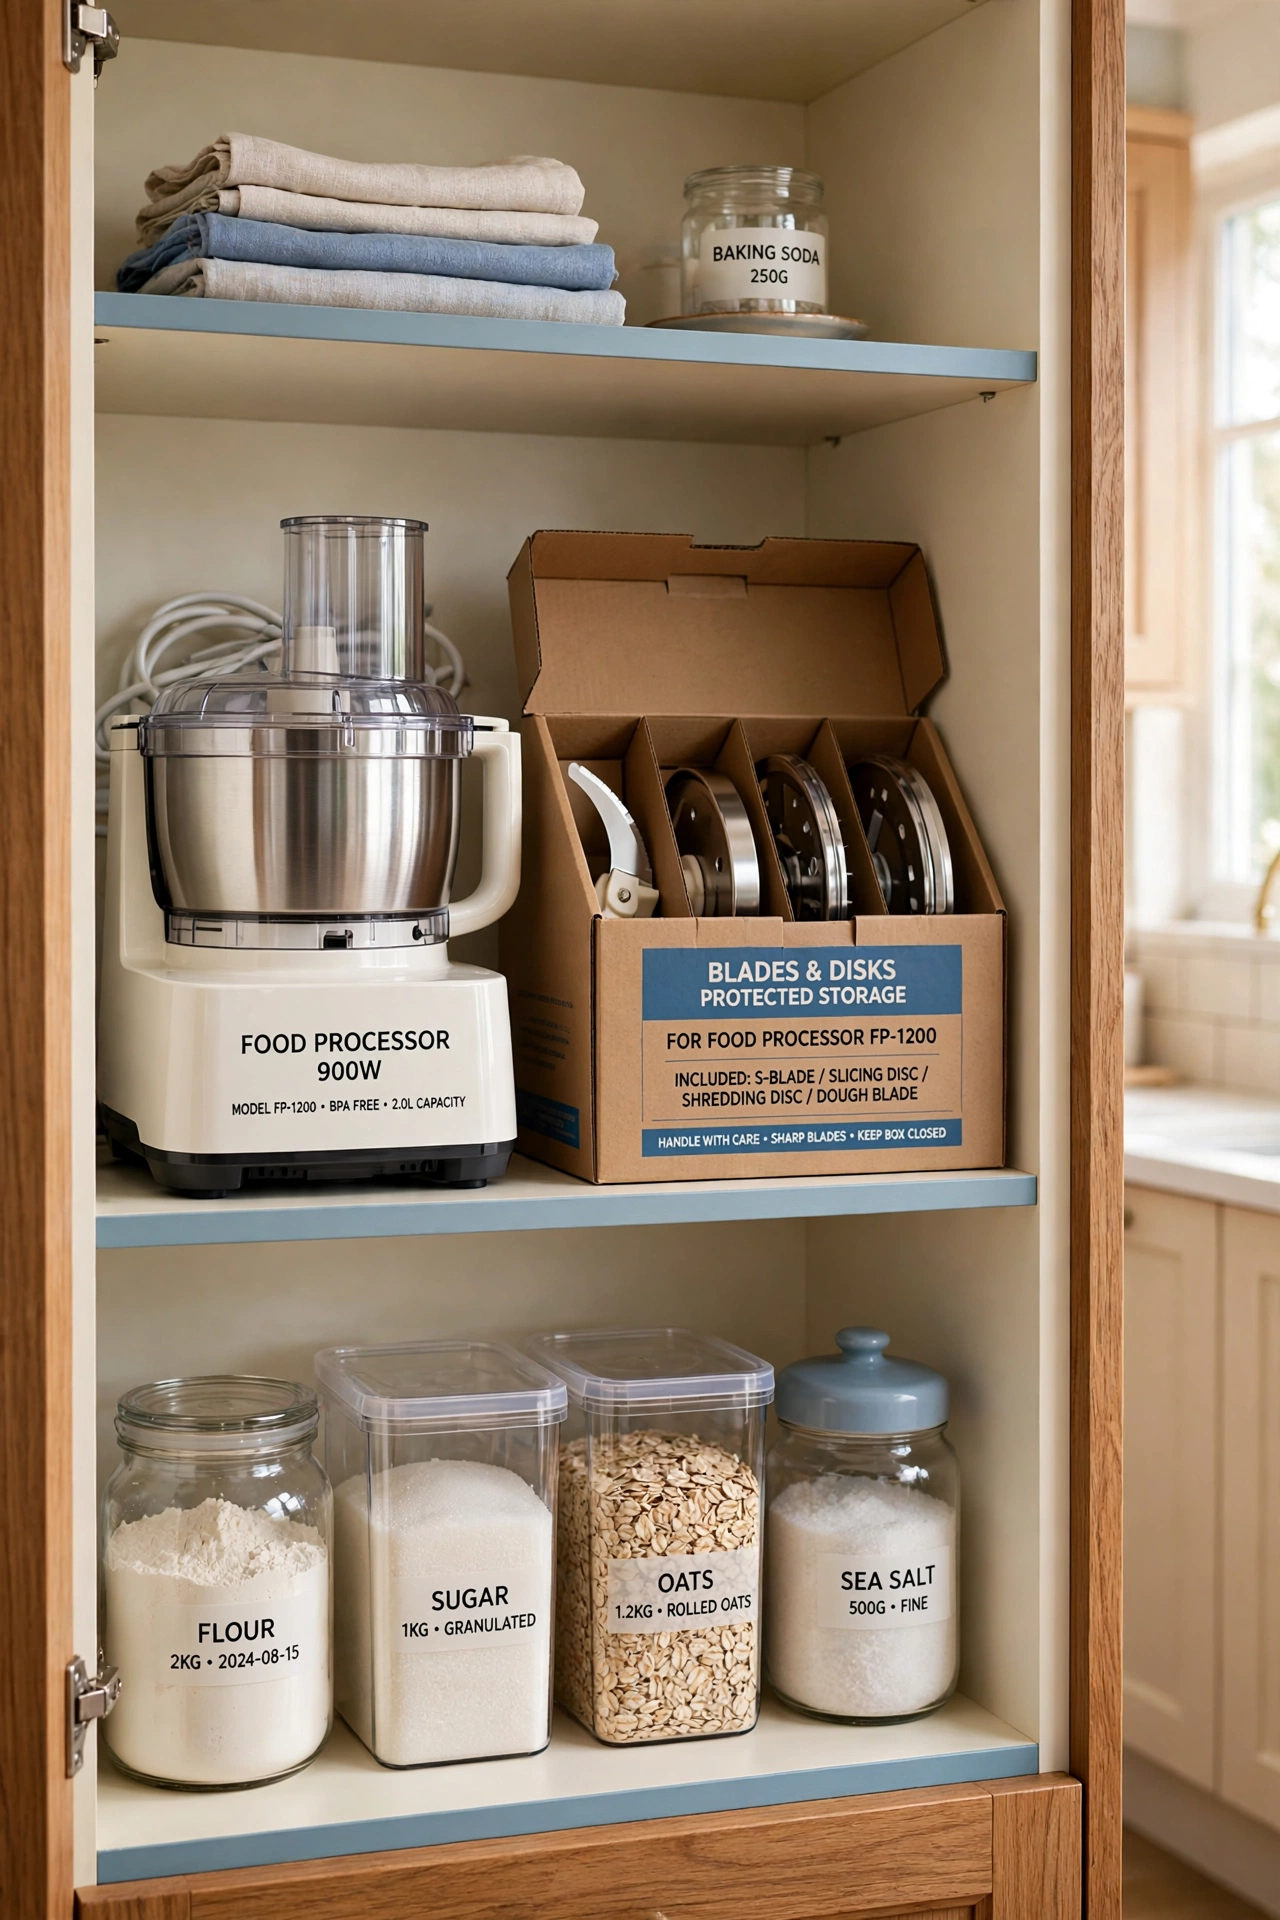
11. Give Food Processor Attachments a Protected Companion Box
Food processor disks and blades need their own protected storage, ideally the fitted holder from the maker. Keep that holder next to the processor so the machine remains usable without a search through several cupboards. Never drop sharp attachments into a loose basket or hide them under a cloth.
Allow enough room to remove the protected holder without tipping it, and label the box if several sets of blades look alike. A small labeled box beside the processor keeps every disk safe and every blade sharp. This is a safety habit as much as an organization habit.
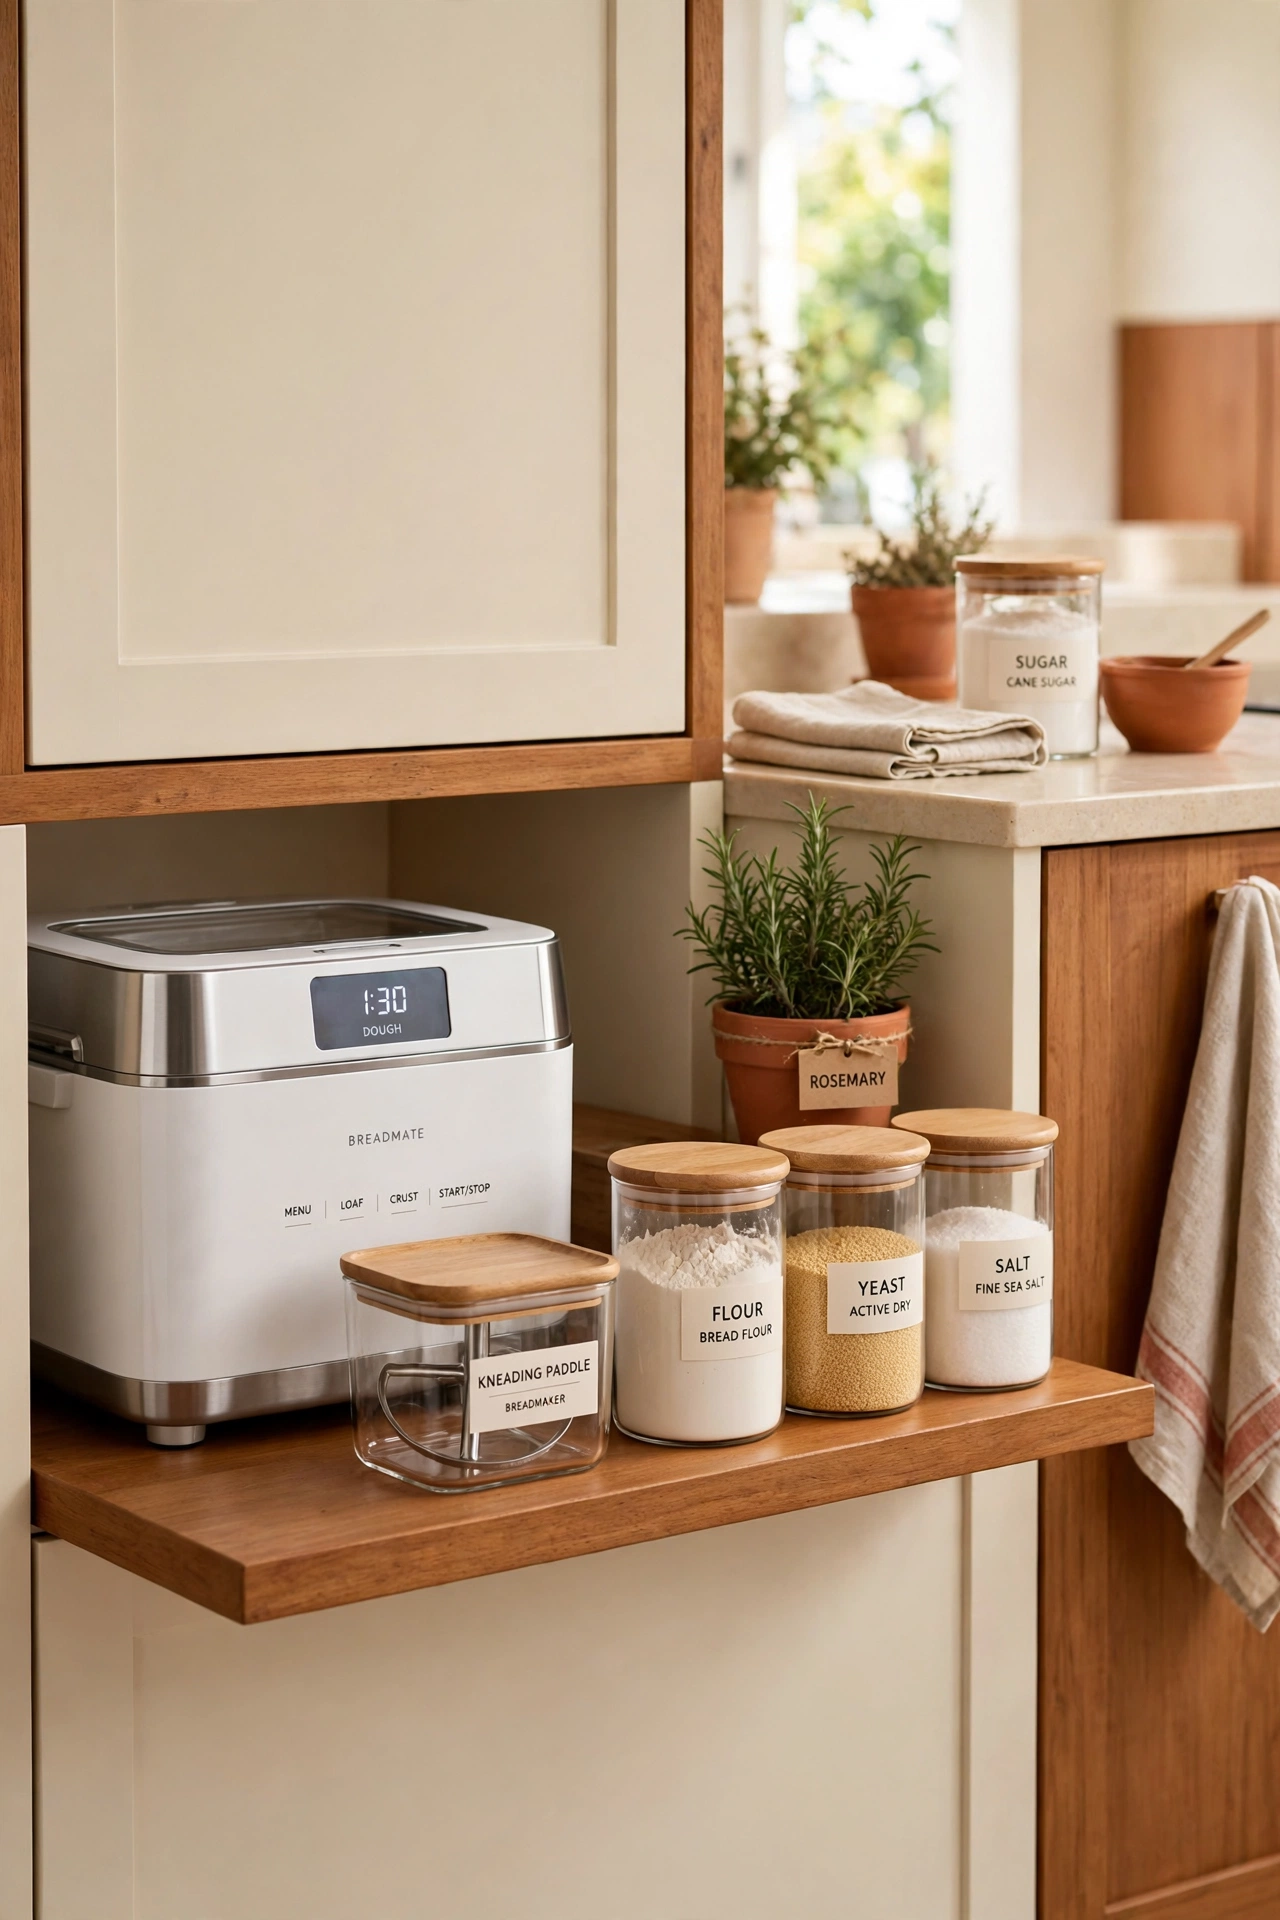
12. Use a Low Open Shelf for a Bread Maker
A bread maker can occupy a sturdy low shelf when its size makes upper cabinets awkward. Confirm the shelf depth, the weight capacity, and a comfortable grip before you load it. Store the kneading paddle in its proper place or a small nearby container.
Move the cool unplugged machine to a suitable clear counter before you operate it, and never run it on the shelf itself. A low open shelf keeps a heavy bread maker within easy reach and out of the way of your daily air fryer and stand mixer. The open design also lets you see the machine at a glance.
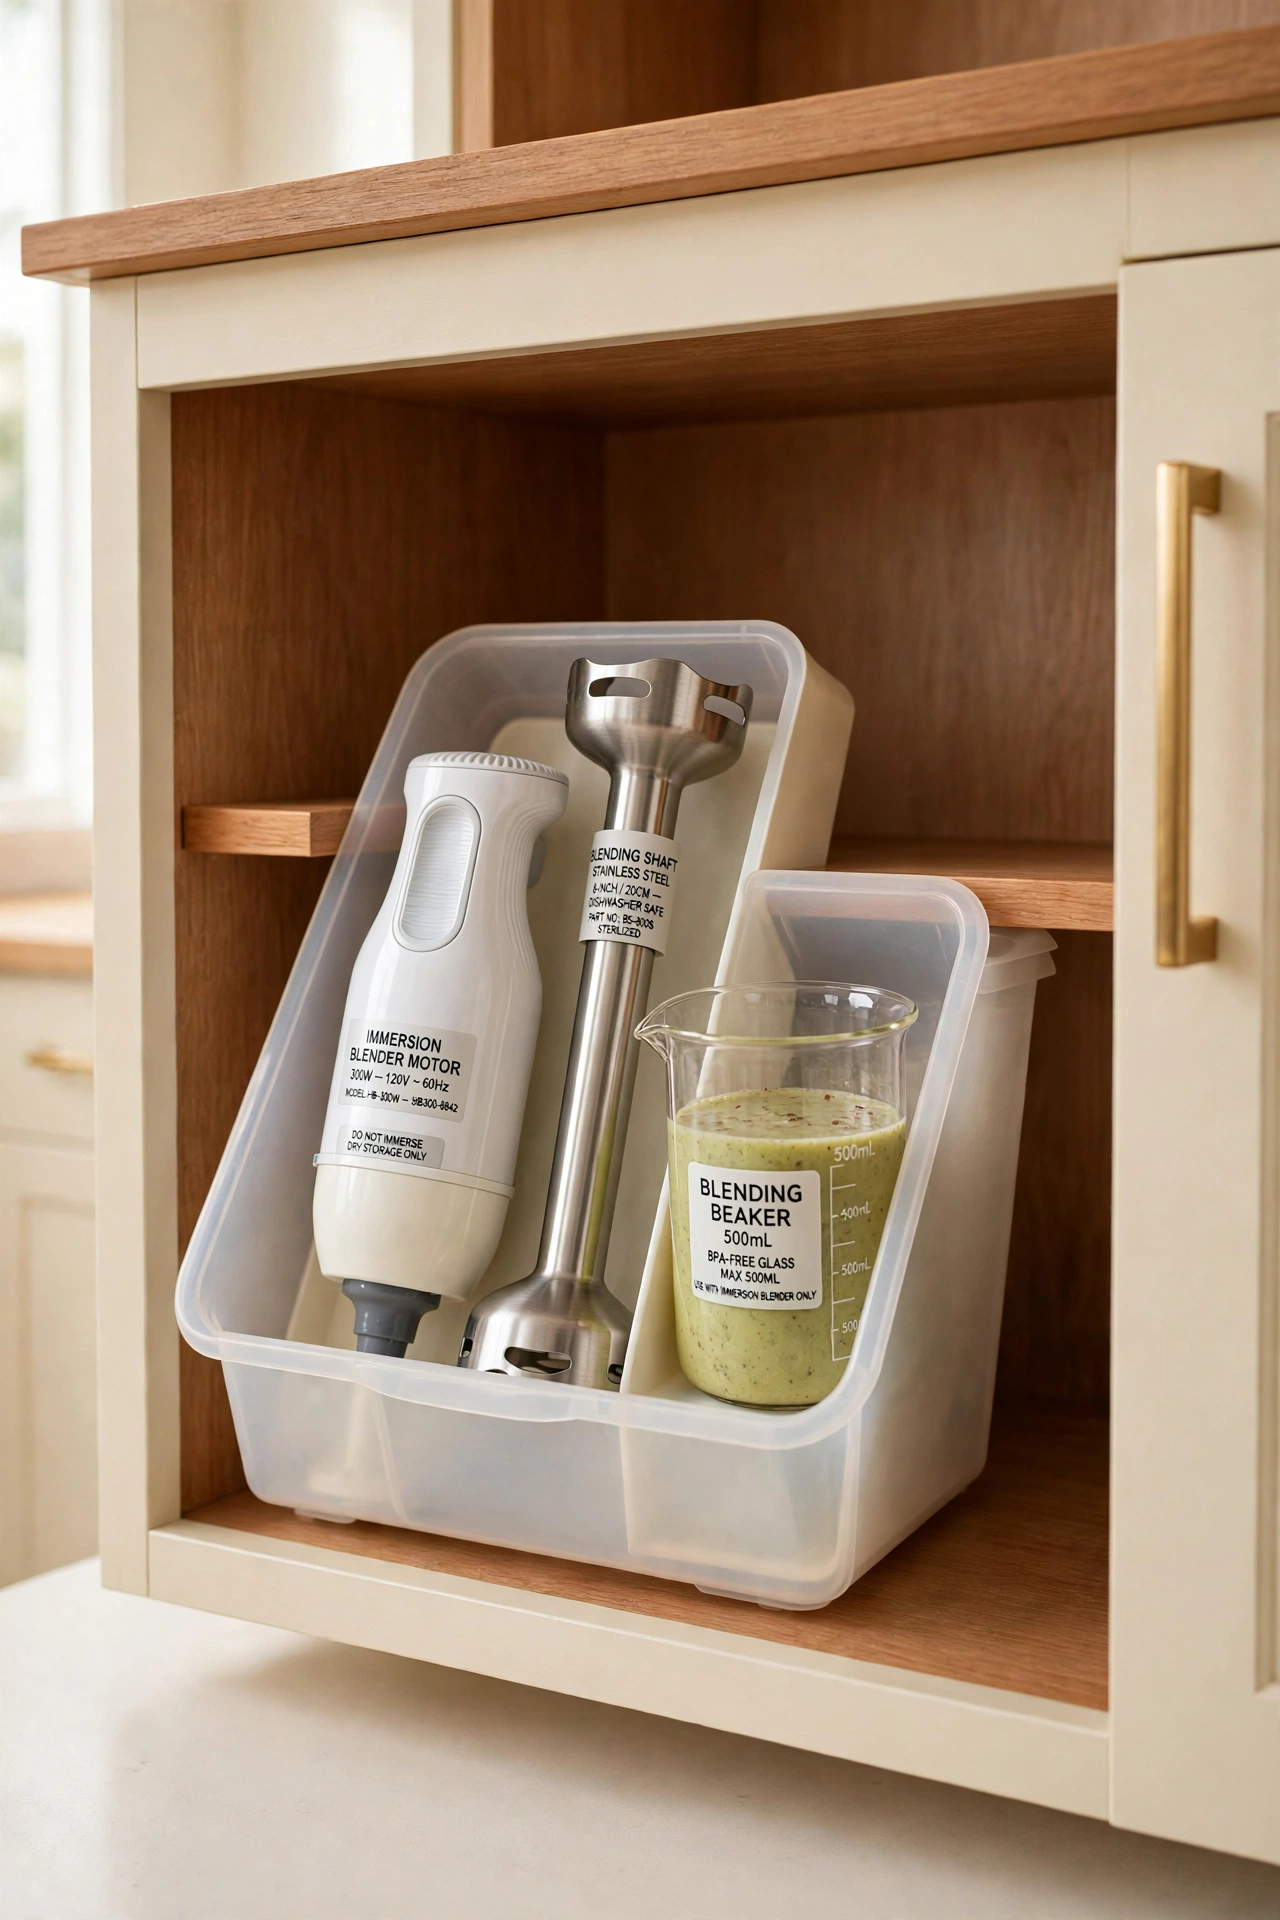
13. Put an Immersion Blender Set in a Shallow Bin
A shallow bin can hold an immersion blender motor, its clean dry shaft, and a small blending beaker as one group. Protect the blade end with the supplied guard or another maker approved arrangement. Choose a bin that lifts out easily and does not force the cord into a tight bend.
Grouping the whole set in one bin means you grab a single container instead of three separate pieces from three different spots. Label the bin if your cabinet holds several small appliance sets. This is one of the easiest wins for a crowded kitchen drawer or shelf.
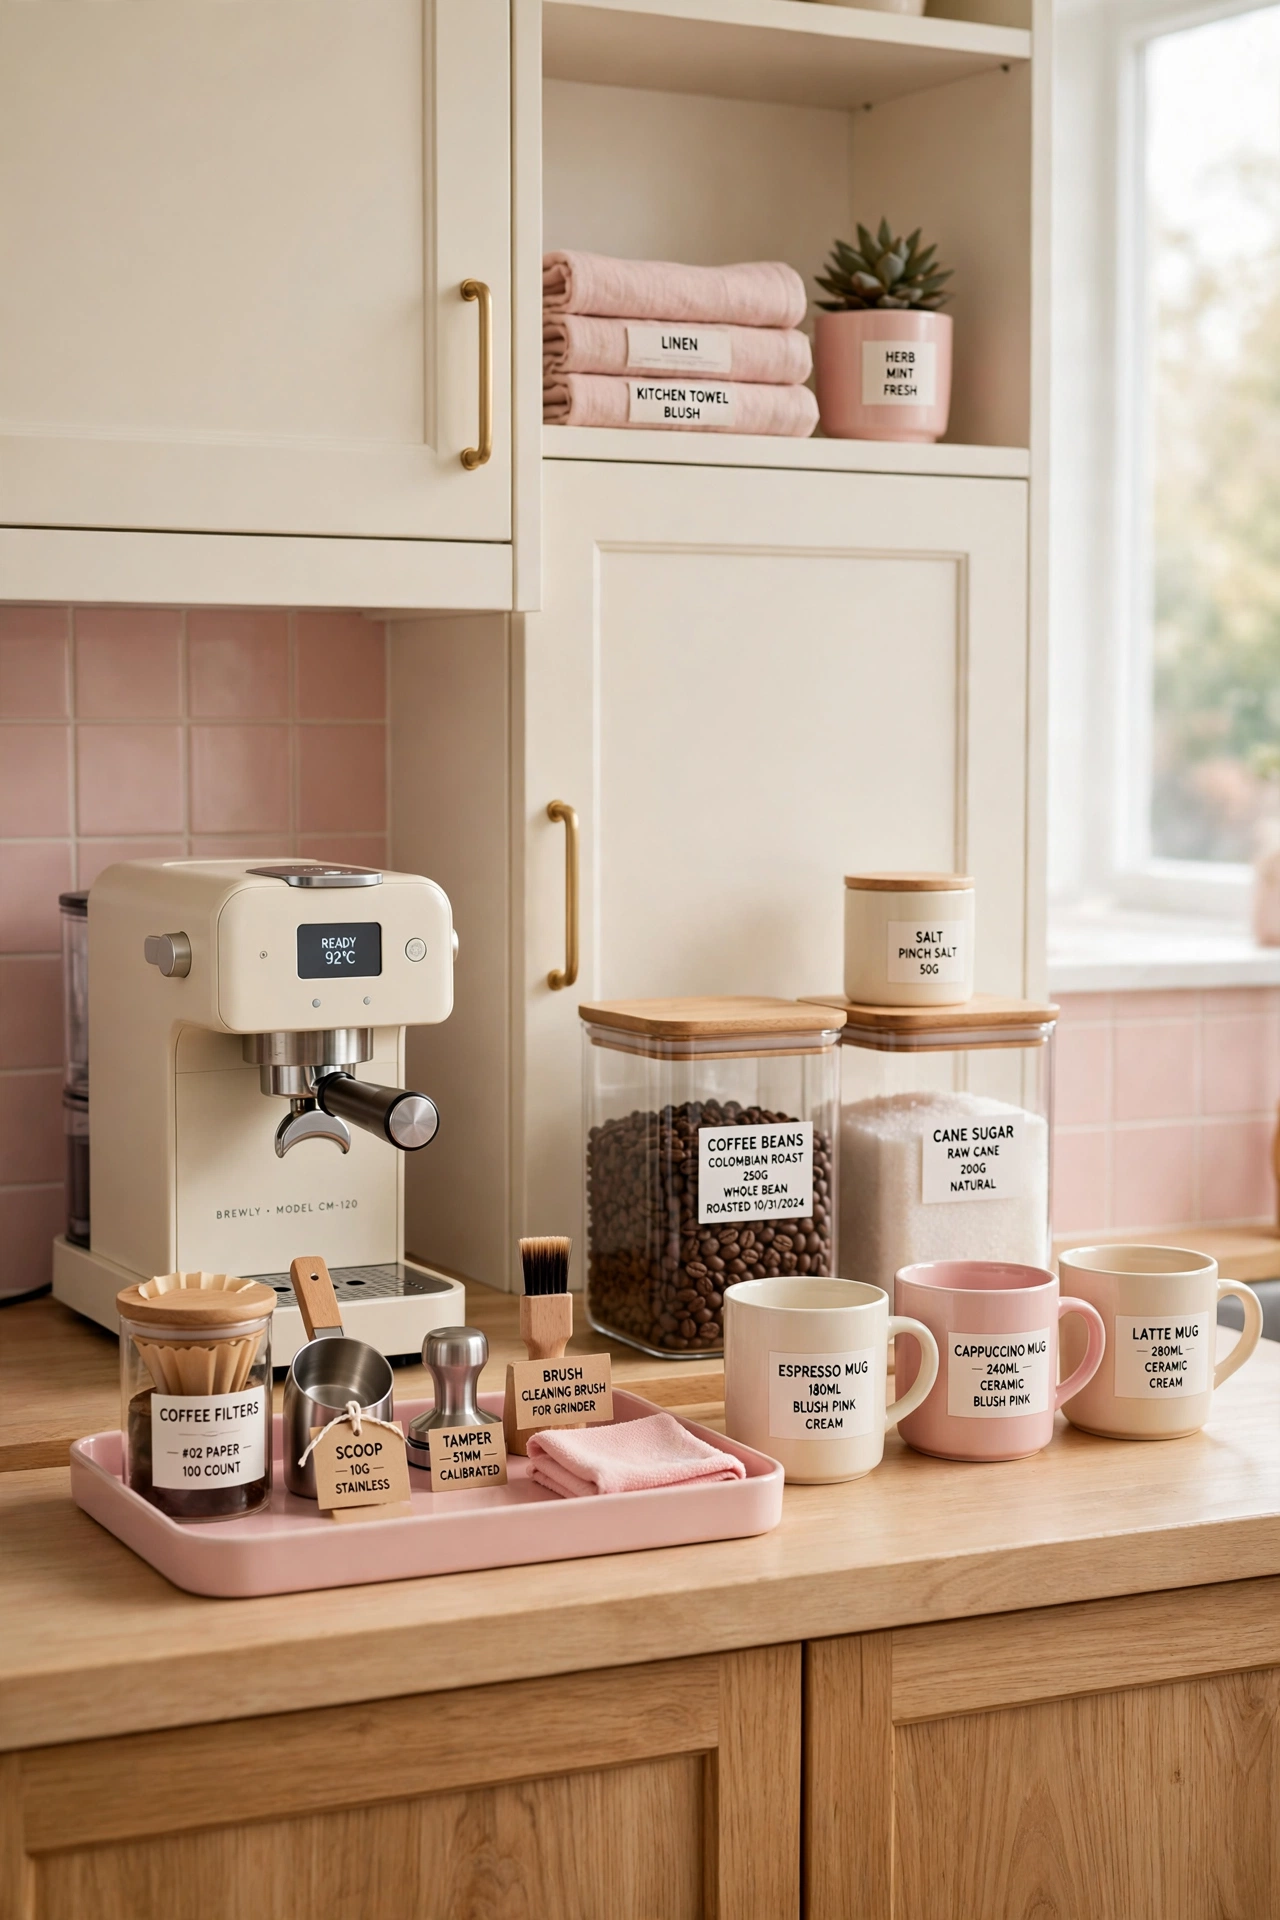
14. Consolidate Coffee Accessories Around One Machine
A small coffee setup becomes crowded when spare filters, scoops, mugs, and the machine all spread into separate areas. Store backup supplies in a cupboard and keep only the daily accessories beside the appliance. Use a small accessory tray if it helps move those loose pieces together.
Give the machine its own stable operating position with the clearances and the electrical connection its instructions require. For more ideas on setting up a tidy coffee corner, see these coffee station organization ideas. One compact coffee zone keeps the rest of the counter free for cooking.
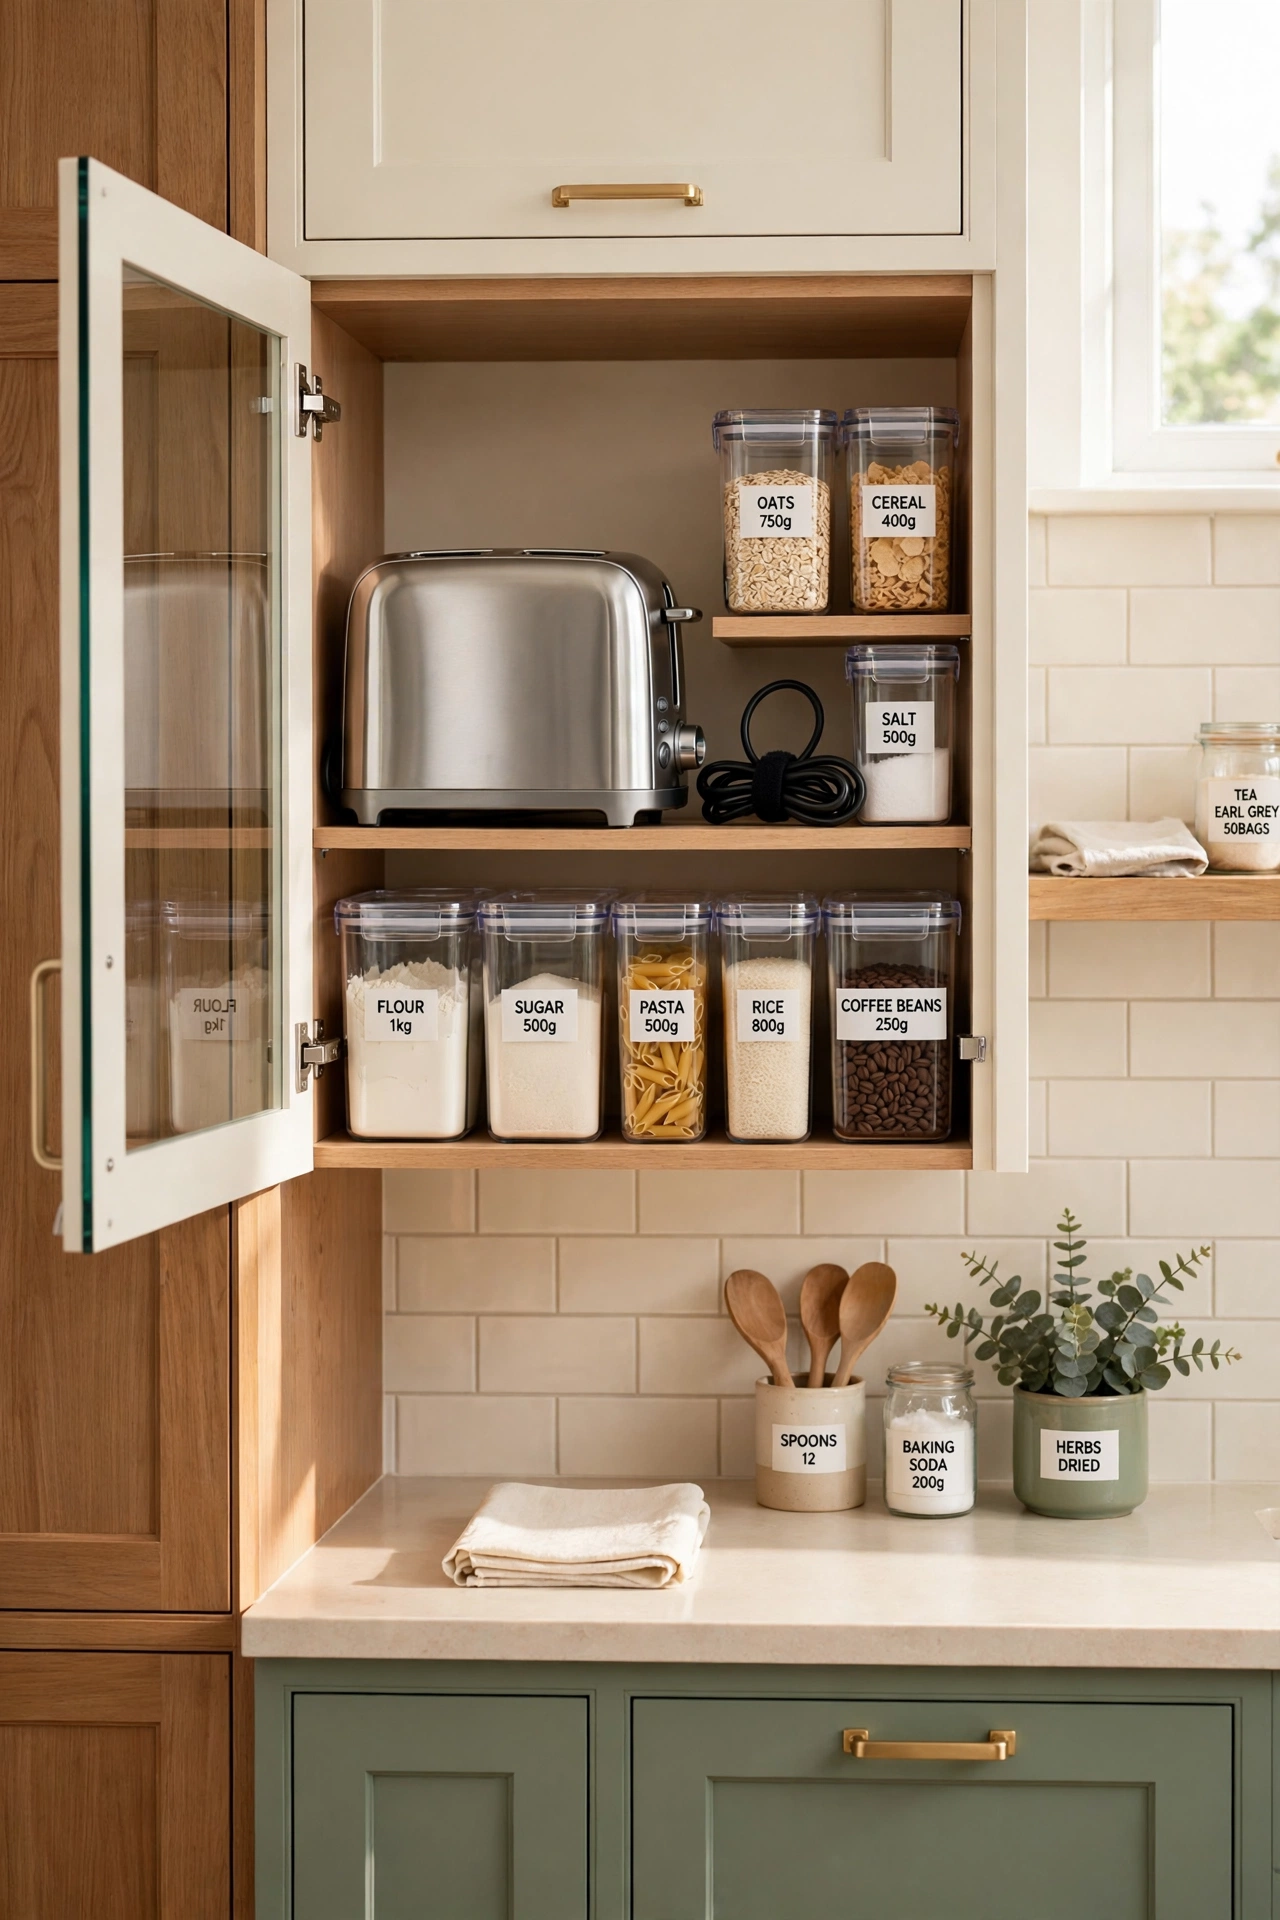
15. Return the Toaster to Its Shelf Only After It Cools
A toaster can live in a nearby cupboard if you can lift it comfortably and return it after it has cooled completely. Unplug it, clean out crumbs as directed, and keep the cord from catching under its feet. Never operate it in the cupboard or cover a warm toaster to make it look tidy.
Waiting for the toaster to cool protects the shelf and the neighboring appliances from heat damage. Make the cooling step part of your cleanup routine, and the toaster will always be safe to store. This small habit keeps a hot appliance from becoming a fire risk in a closed cabinet.
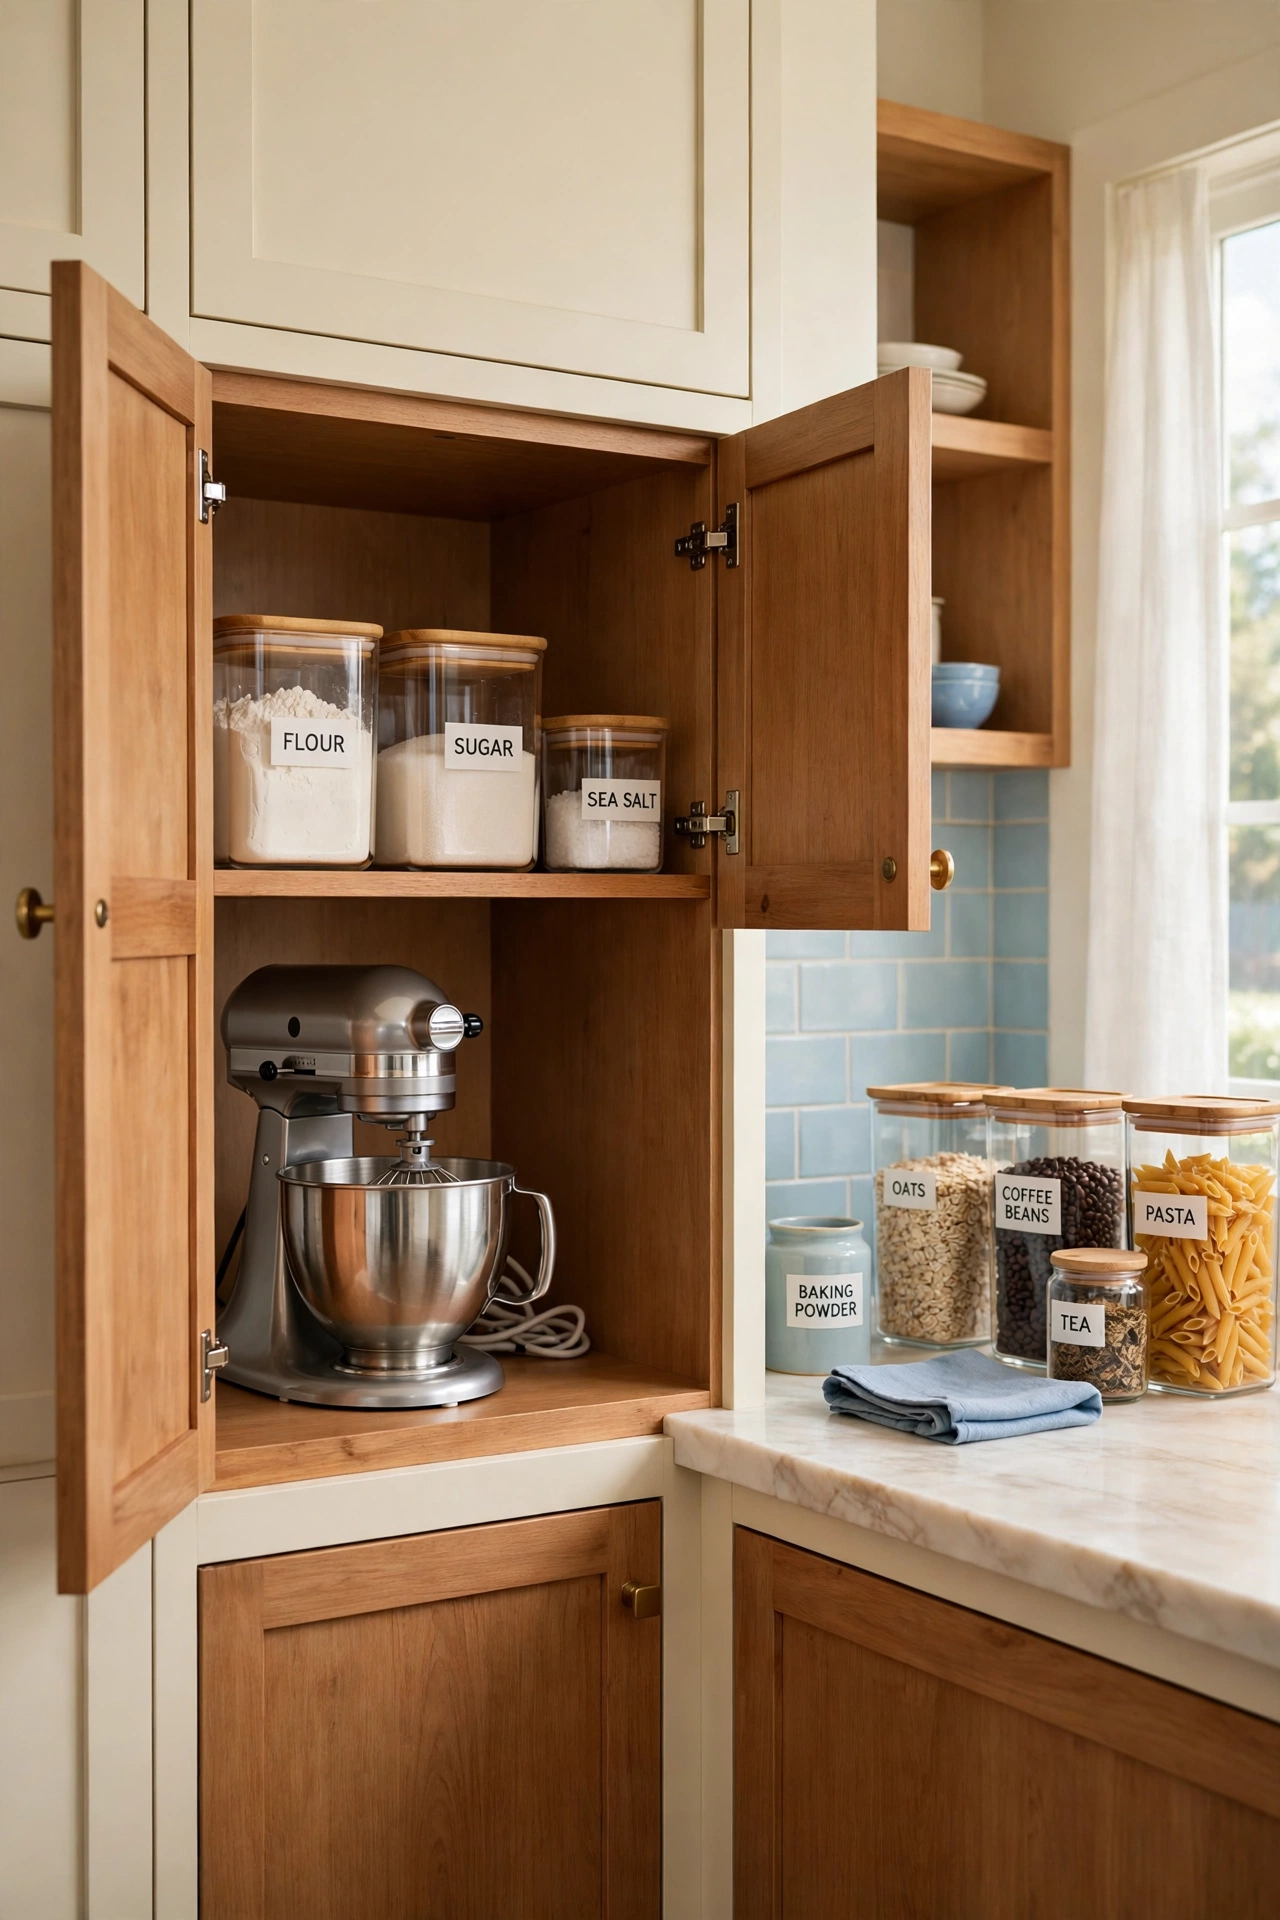
16. Treat an Appliance Garage as Storage Only
A counter cabinet can hide appliances between uses, but it does not automatically provide a safe place to run them. Compare its dimensions and door travel with the appliance instructions, including heat and steam clearance. Plan a suitable counter position outside the enclosure for operation unless the complete installation is expressly designed and approved for use inside.
An appliance garage is excellent storage for a stand mixer or an air fryer between uses, since the doors close and the counter looks clear. Ask a qualified professional about any electrical changes before you alter the setup. Storage and operation are two different jobs, and the garage handles the first one well.
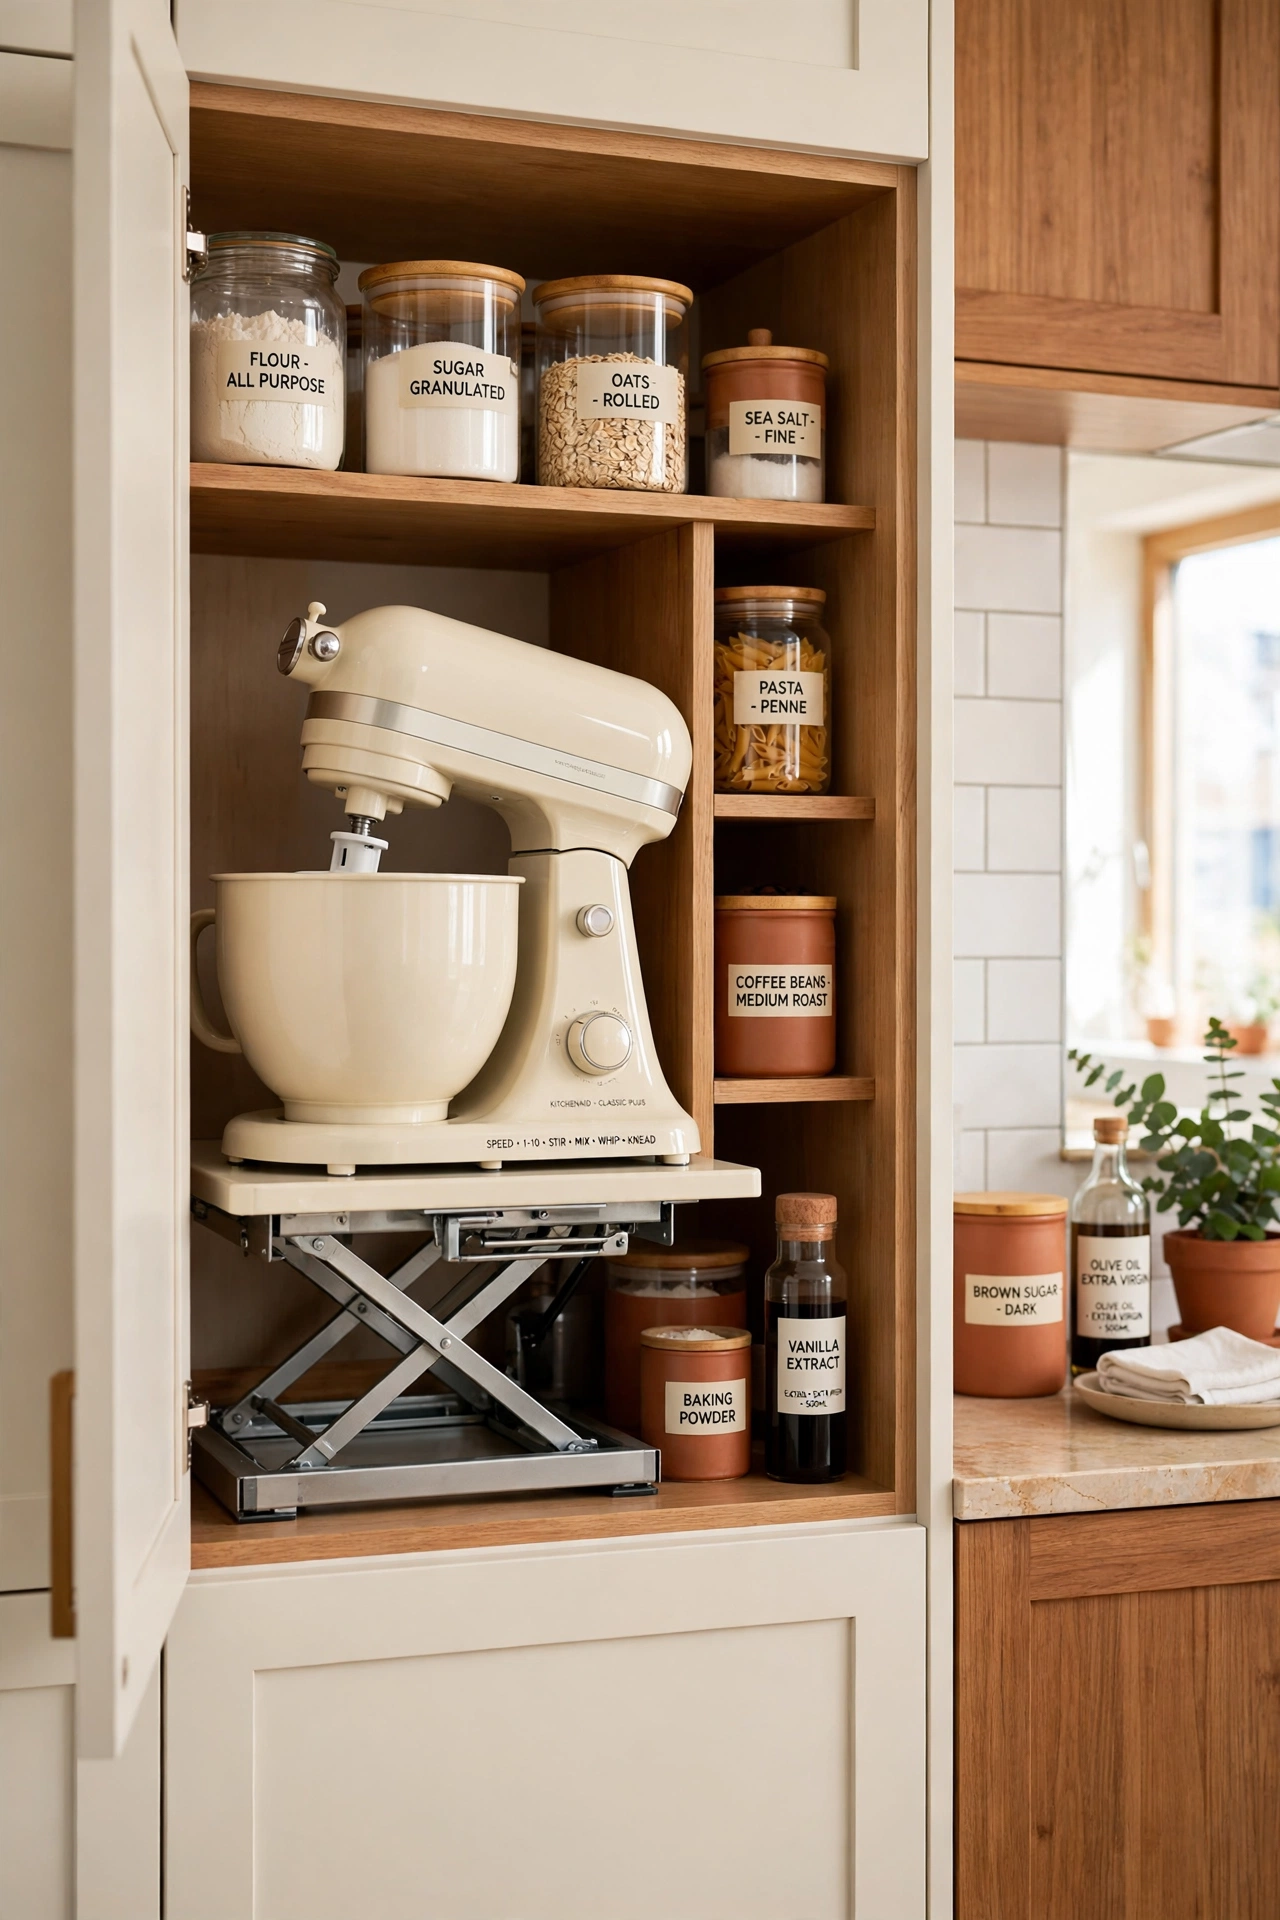
17. Consider a Fitted Lift for a Heavy Stand Mixer
A purpose made appliance lift can reduce repeated lifting if the cabinet and the machine are compatible. Check the mechanism rated load, the platform size, the locking position, and the installation requirements with its maker. A qualified installer can assess the cabinet structure and the available travel.
Never treat a general pullout shelf as an equivalent lift, and confirm whether operation on the platform is permitted before you use the mixer there. A fitted lift is a bigger investment than a cart or a shelf, but for a heavy stand mixer it can be the difference between baking often and never baking at all.
18. Slide an Appliance Forward on a Rated Pullout Shelf
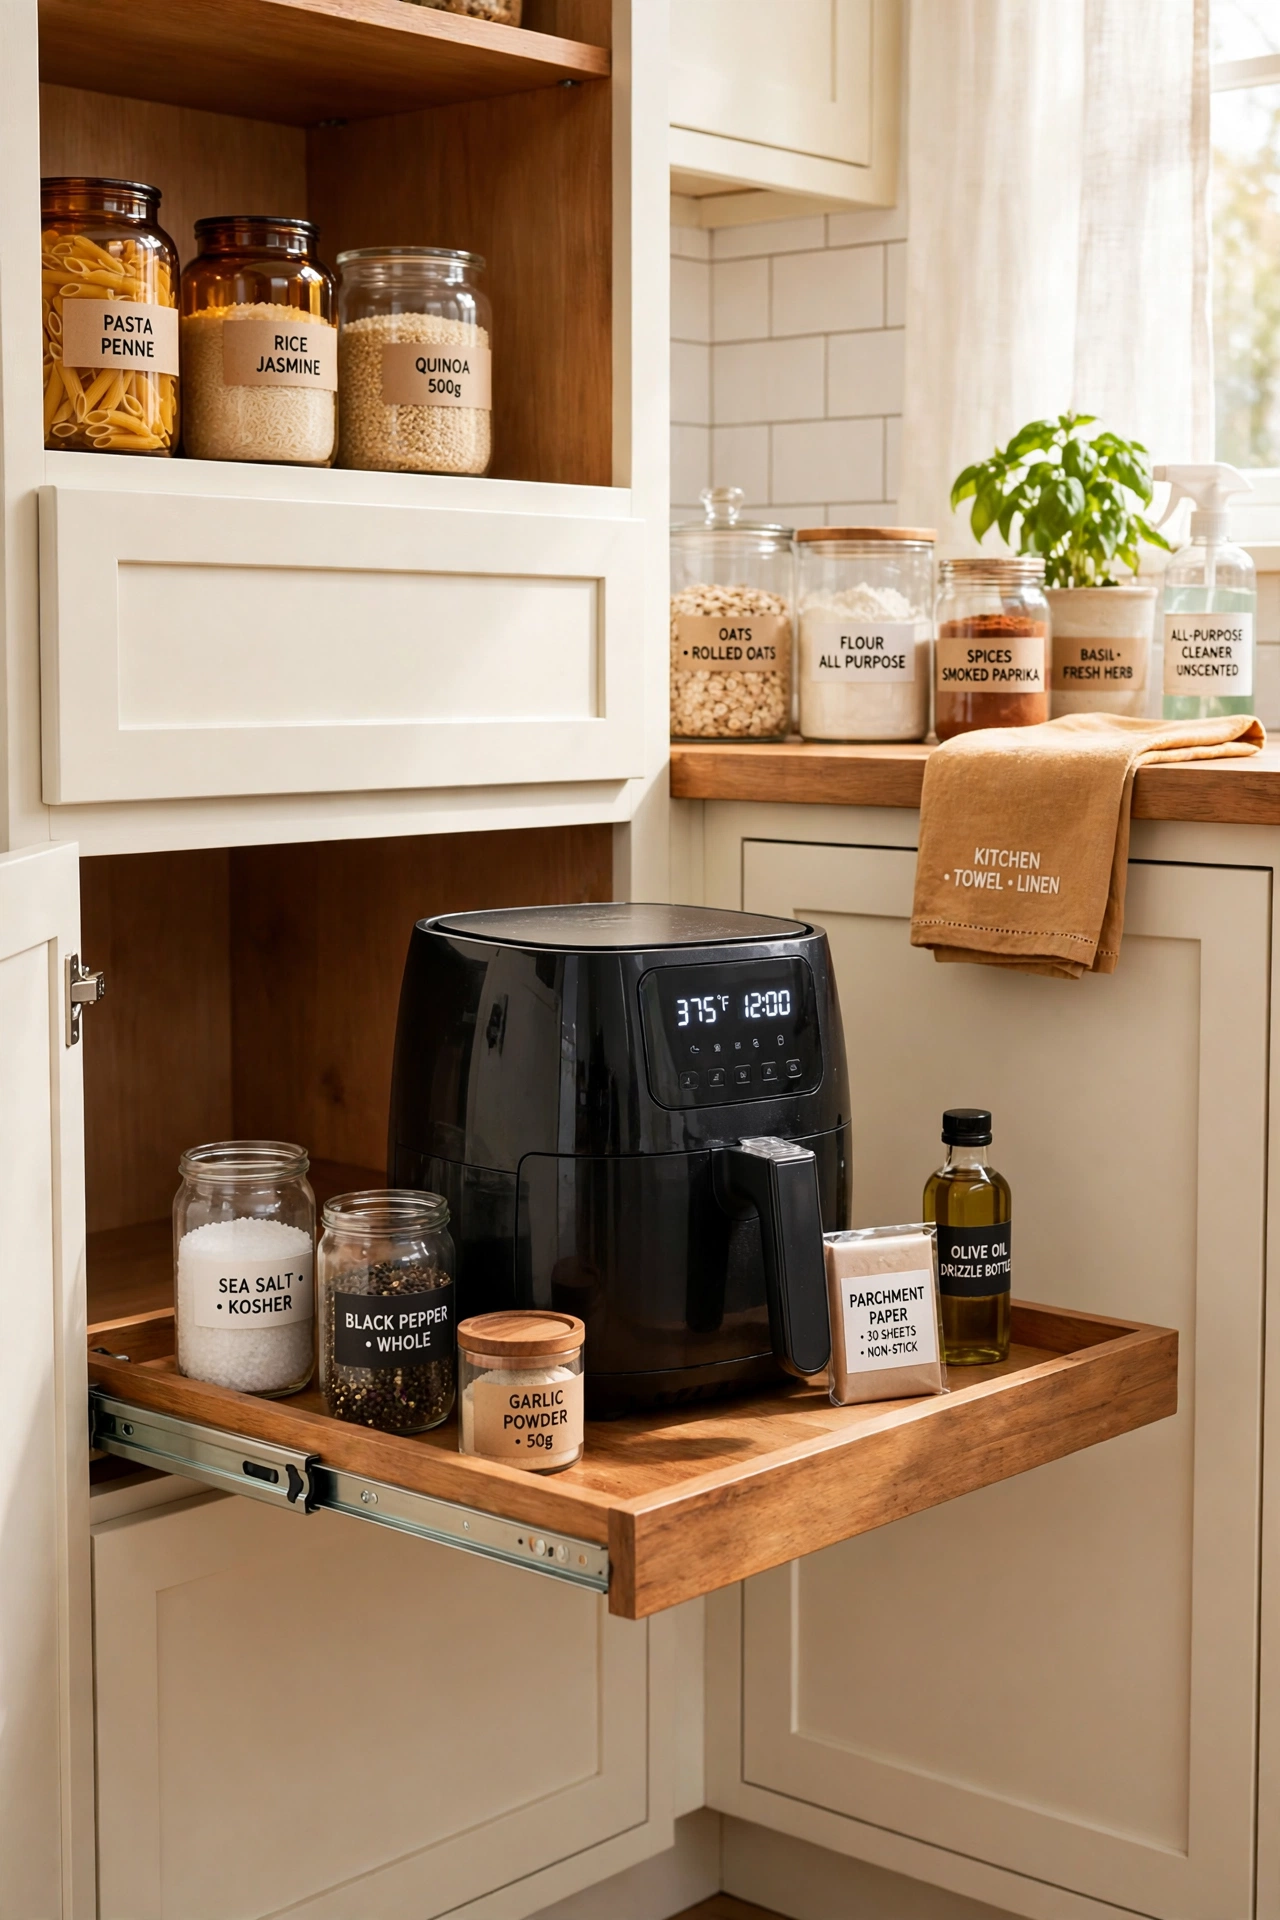
A fitted pullout can make a deep storage position easier to reach. Choose hardware rated for the full appliance load and install it into suitable cabinet structure. Check that the shelf clears hinges and neighboring handles at full extension.
Bring the appliance to its proper operating surface unless the complete setup is approved for use on the shelf. A pullout shelf turns a deep corner cabinet into usable space for an air fryer or a stand mixer. For more ideas on making corner cabinets work harder, see these corner kitchen cabinet organization ideas. The machine glides out to meet you instead of hiding at the back of a dark cabinet.
19. Use a Dry Hall Cupboard for Seasonal Equipment
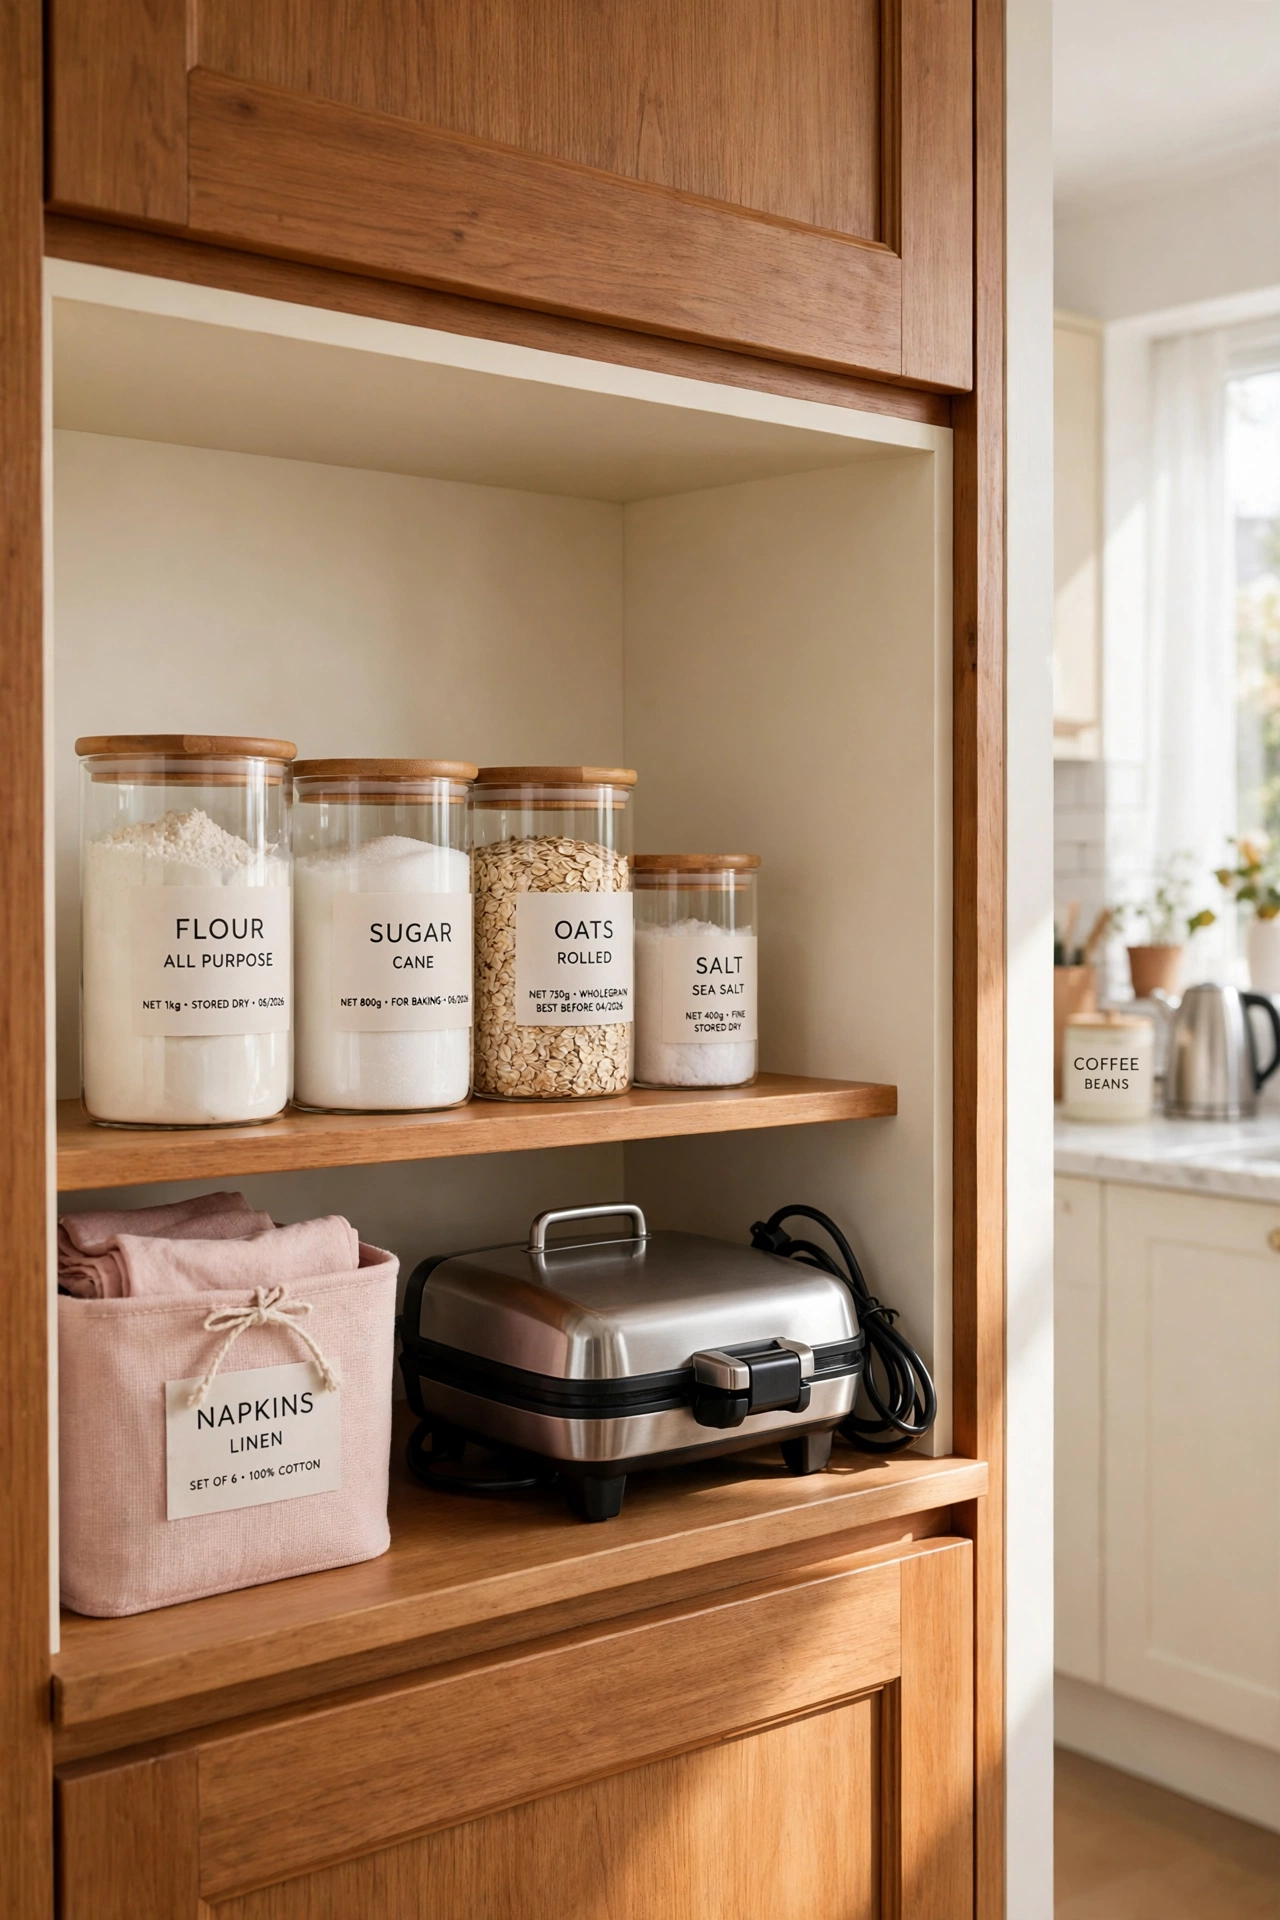
A waffle maker used for occasional gatherings can live outside the daily kitchen work area. Choose a dry accessible shelf and keep the machine cool, clean, and unplugged before you store it. Avoid heavy equipment on high shelves or a remote position that requires an awkward carry down stairs.
A hall cupboard near the kitchen is ideal for seasonal appliances, since it frees kitchen shelves for the stand mixer and the air fryer you use every week. Label the shelf so everyone in the family knows where the waffle maker lives. Out of the kitchen does not mean out of reach.
20. Create a Baking Station on Existing Sturdy Furniture
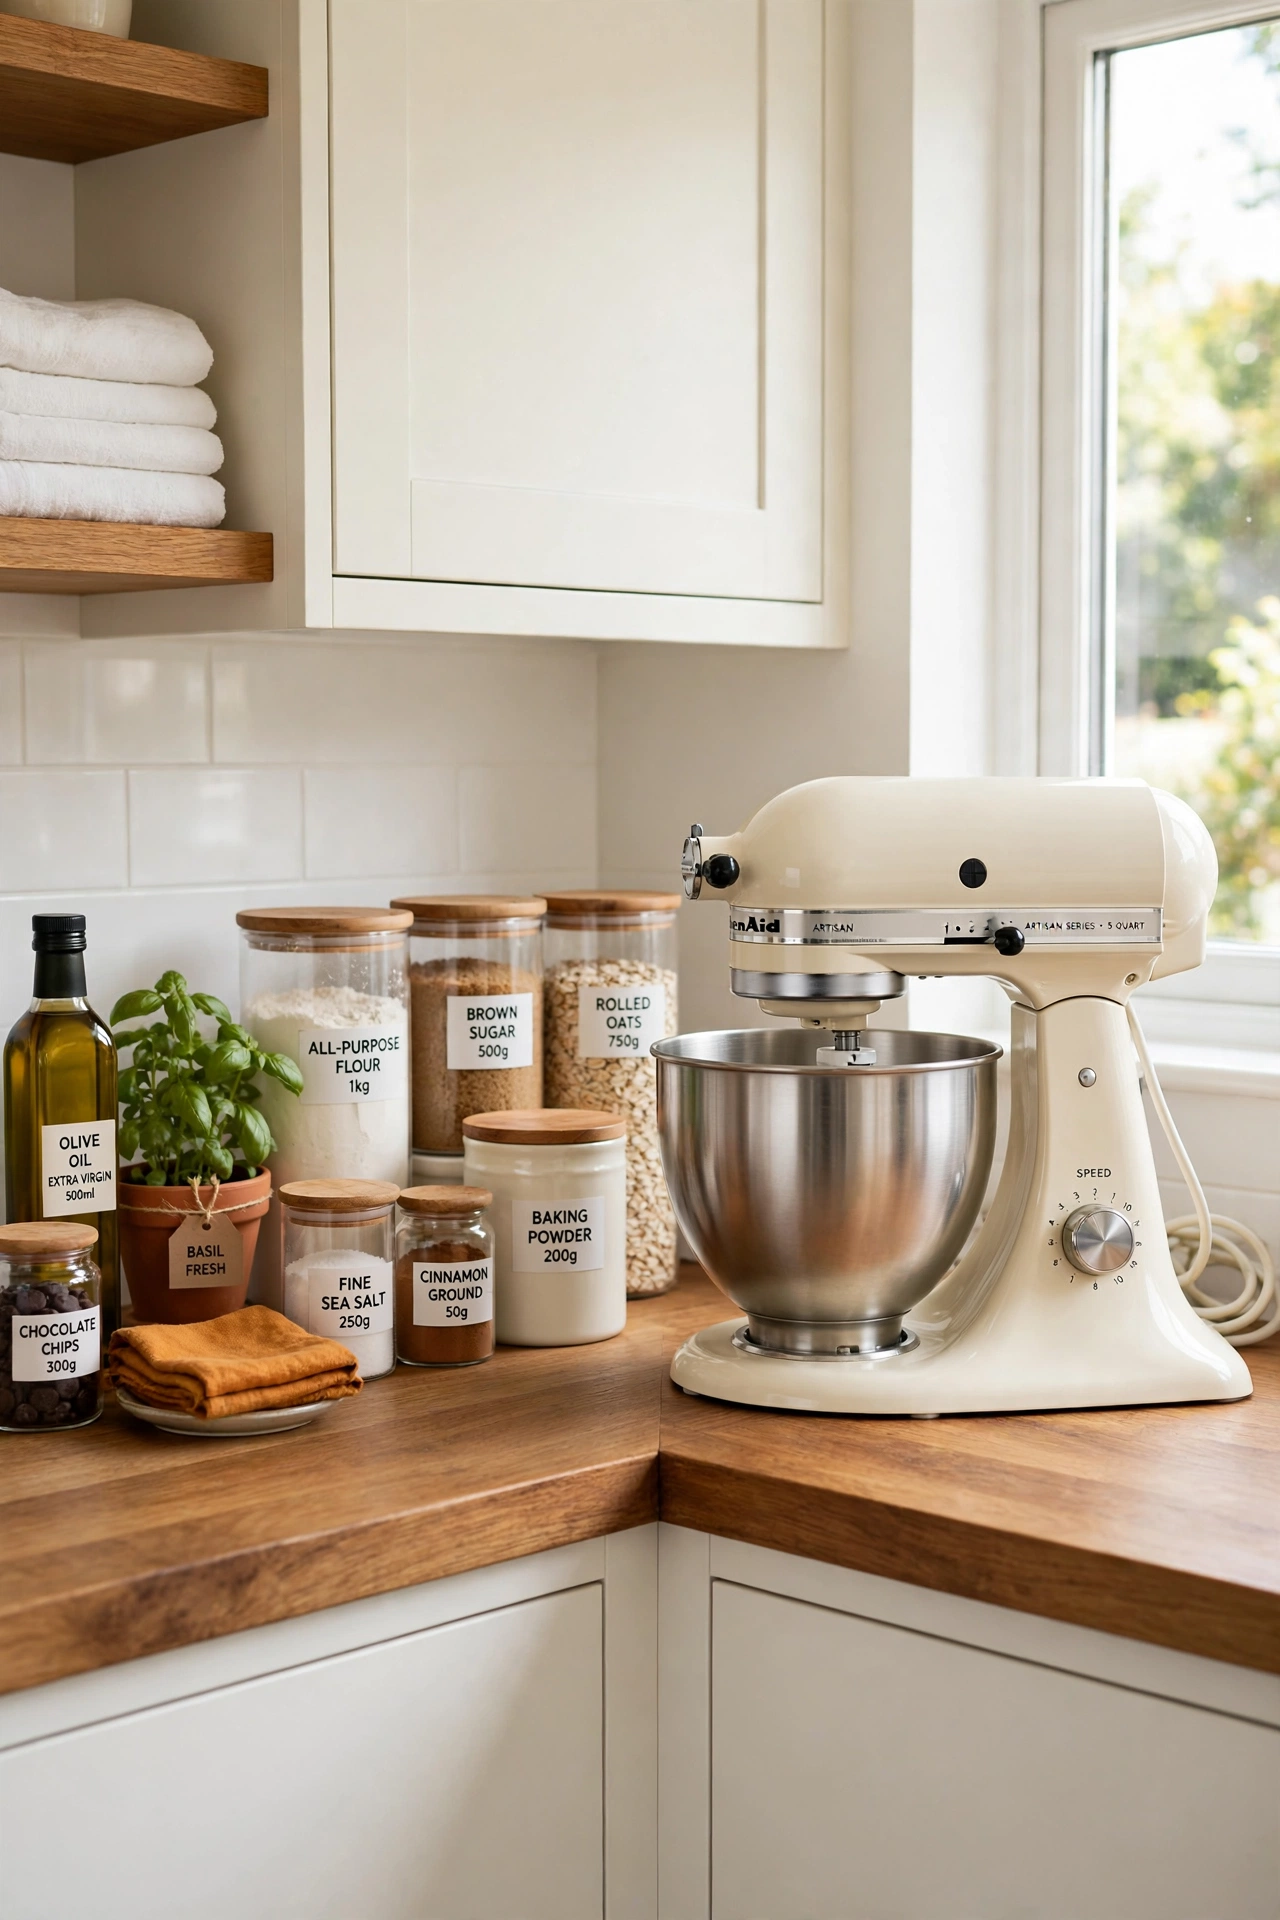
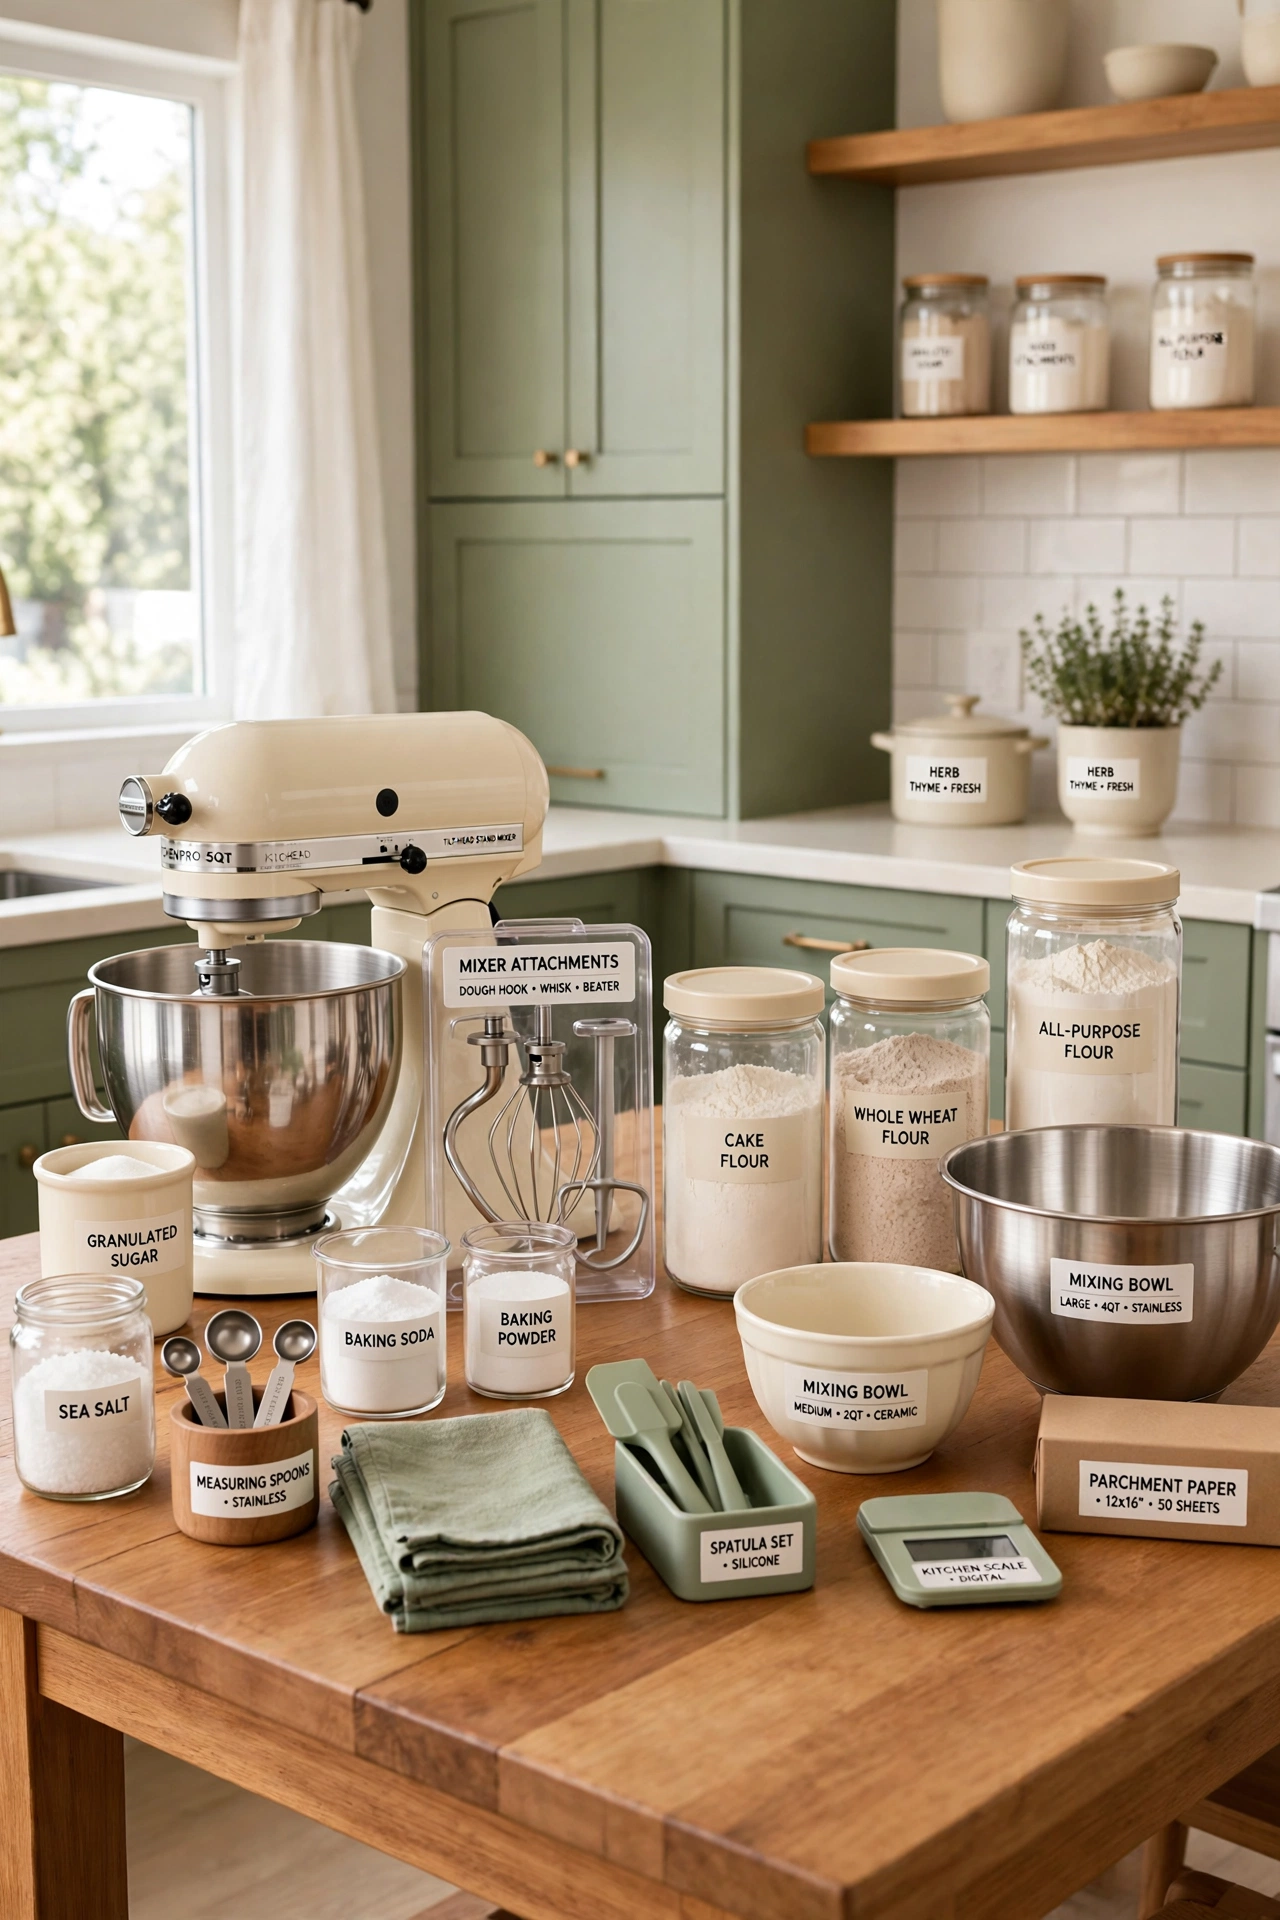
An existing sturdy table or cabinet near the kitchen can group a stand mixer and its protected accessories for storage. Check its load capacity and stability rather than assuming a decorative console can support the machine. Keep the top clear around the base and the electrical cord contained.
If you plan to operate the mixer there, confirm the furniture and the location meet the machine instructions. For more ideas on keeping baking tools together, see these baking supplies organization ideas. A dedicated baking station turns one corner of the kitchen into a small bakery that is always ready.
21. Contain Cords Without Tightening Them
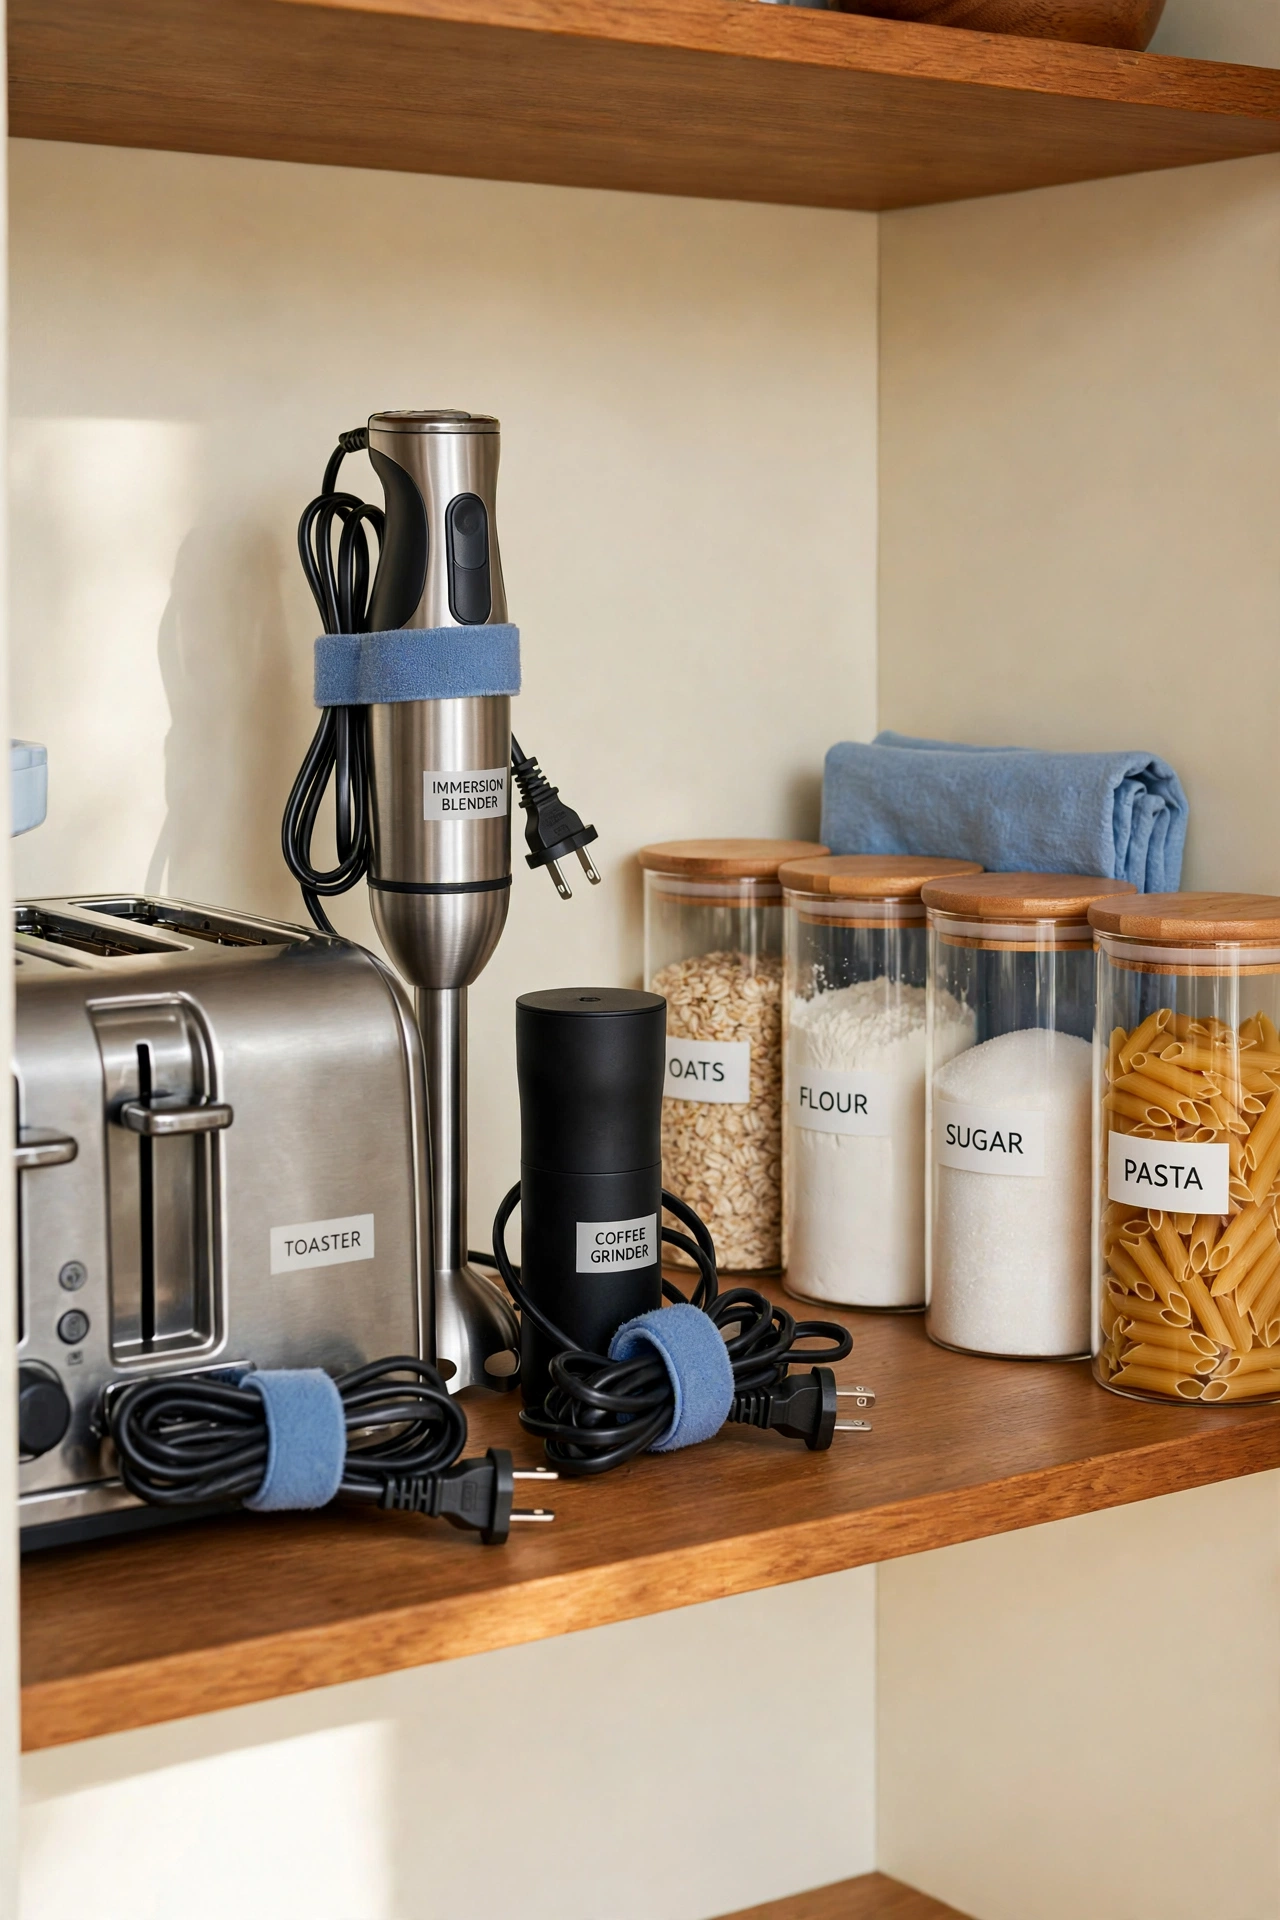
A loose reusable cord strap can keep an unplugged appliance cable from spreading across its shelf. Follow the maker cord storage instructions and avoid sharp bends, crushing the plug, or wrapping a cable around a still warm body. Leave the plug visible enough that you can confirm the machine is unplugged before you move it.
Tidy cords make every shelf safer and every appliance easier to lift out without a tangle. Check each cord when you return an appliance to its home, and replace a strap that has stretched out. This final detail is what separates a truly organized kitchen from one that only looks organized at first glance.
Conclusion
Kitchen appliance organization does not have to be complicated or expensive. From a permanent counter spot for your air fryer to a fitted lift for your heavy stand mixer, there is an idea here for every kitchen and every budget. The best solution is the one that fits your space and makes you reach for your appliances more often.
Pick one or two ideas that fit your kitchen and start today. Give every appliance a home, keep its cord tidy, and enjoy a counter that stays clear for cooking. For a calm home beyond the kitchen, these nightly reset routine ideas will help you keep every room organized with just a few minutes each evening.
Frequently Asked Questions About Kitchen Appliance Organization Ideas for Stand Mixers and Air Fryers
Where should I store a heavy stand mixer?
Store a heavy stand mixer at a comfortable lifting height, such as a sturdy counter corner, a low cabinet shelf, or a fitted lift inside a cabinet. Avoid high shelves and deep cabinets that force you to lift overhead or reach across a long distance. If you use the mixer often, a permanent counter spot is the easiest option.
Can I leave my air fryer on the counter all the time?
Yes, if you use it every day, a permanent counter spot is the best home for an air fryer. Keep the area around it clear and check the heat and steam clearance in the manual. If you use it only once a week, store it in a reachable cabinet and bring it out when you need it.
How do I keep appliance cords from tangling in a cabinet?
Use a loose reusable cord strap on each appliance and keep the plug visible so you can confirm the machine is unplugged. Avoid wrapping cords tightly around a warm appliance body or forcing them into sharp bends. A small labeled hook inside the cabinet can hold spare cords out of the way.
Is an appliance garage safe for a stand mixer and air fryer?
An appliance garage is safe for storage, but it is not automatically safe for running a machine inside. Check the heat and steam clearance in the appliance manual before you operate anything in an enclosed space. For most kitchens, the garage hides the appliance between uses, and you pull it out to a clear counter to run it.
What is the best way to organize small kitchen appliances in a small kitchen?
Keep only the daily appliance on the counter and store the rest in one reachable cabinet, a pantry shelf, or a sturdy cart. Use pullout shelves and risers to double the usable space inside cabinets. A clear return spot for each machine is what keeps a small kitchen organized over time.

Hi, I’m Emily! I turn messy corners into cozy, organized spots. DreamNestDecor is where I share simple, practical home ideas — decor, organization, and small-space solutions that work in real life, not just in photos. Every idea here is carefully researched before it’s shared.