
You open the freezer to find the chicken, and a bag of peas avalanches onto your foot. Behind the frost you can see shapes, but nothing has a name or a date. Dinner plans fall apart while you dig through the icy layers.
A freezer works best when it behaves like a tiny grocery store with clear aisles. These 25 ideas will help you sort, label, and stack everything so you can find food in seconds instead of minutes.
1. Sort With Stackable Bins by Food Category
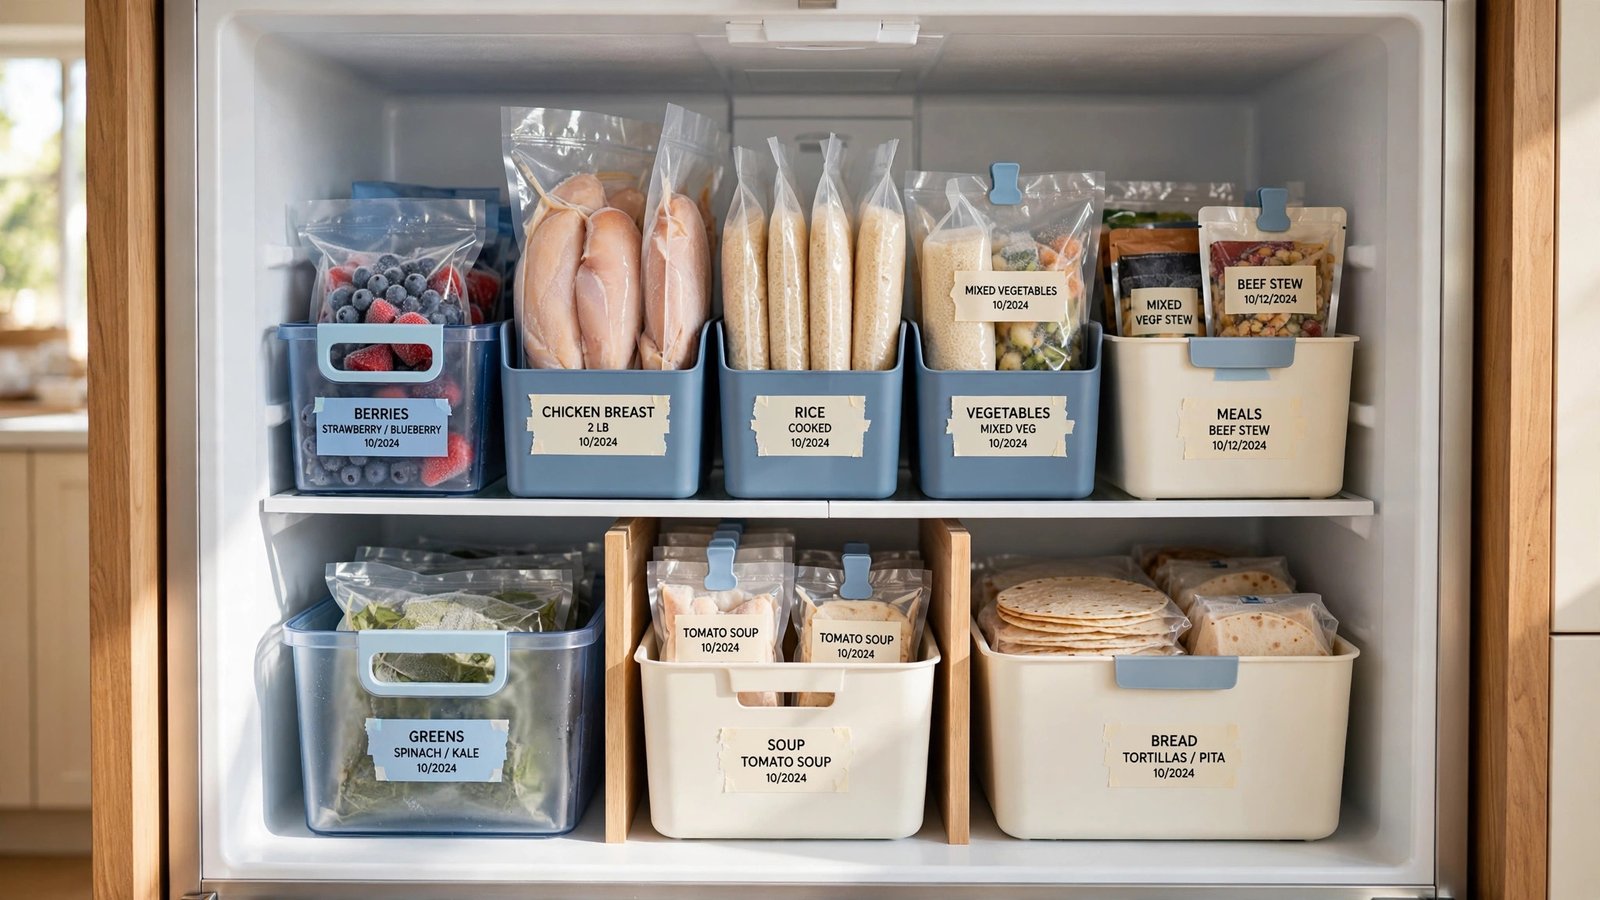
Bins turn a chaotic freezer into neat zones. Assign one bin to meat, one to vegetables, one to bread, and one to ready meals. When every category has a home, nothing drifts into the wrong place.
Choose bins that stack without lids so you can lift one out to reach the layer below. Clear sides help, but printed labels matter more once frost builds up. Measure your shelves first so the bins fit without wasted gaps.
2. Freeze Soups Flat in Zip Bags for Easy Stacking
Round containers waste space and hide what is inside. Pour soups, stews, and sauces into zip bags, press out the air, and freeze them flat on a tray. Once solid, the flat bags stack like books on a shelf.
Fill each bag only three-quarters full so the liquid has room to expand. Label the bag before filling, because writing on a frozen bag is nearly impossible. Flat freezing can double the capacity of a small freezer.

3. Label Every Item With Contents and Date
An unlabeled bag is a mystery you will not solve at dinner time. Write the contents and the freeze date on every bag, box, and container before it goes in. A freezer marker or masking tape label survives frost without smearing.
Add the portion size or the recipe name when it helps, such as four chicken breasts or turkey chili. Dating items lets you rotate older food forward naturally. Clear labels are the single cheapest upgrade your freezer can get.
4. Dedicate One Shelf to Meat and Poultry
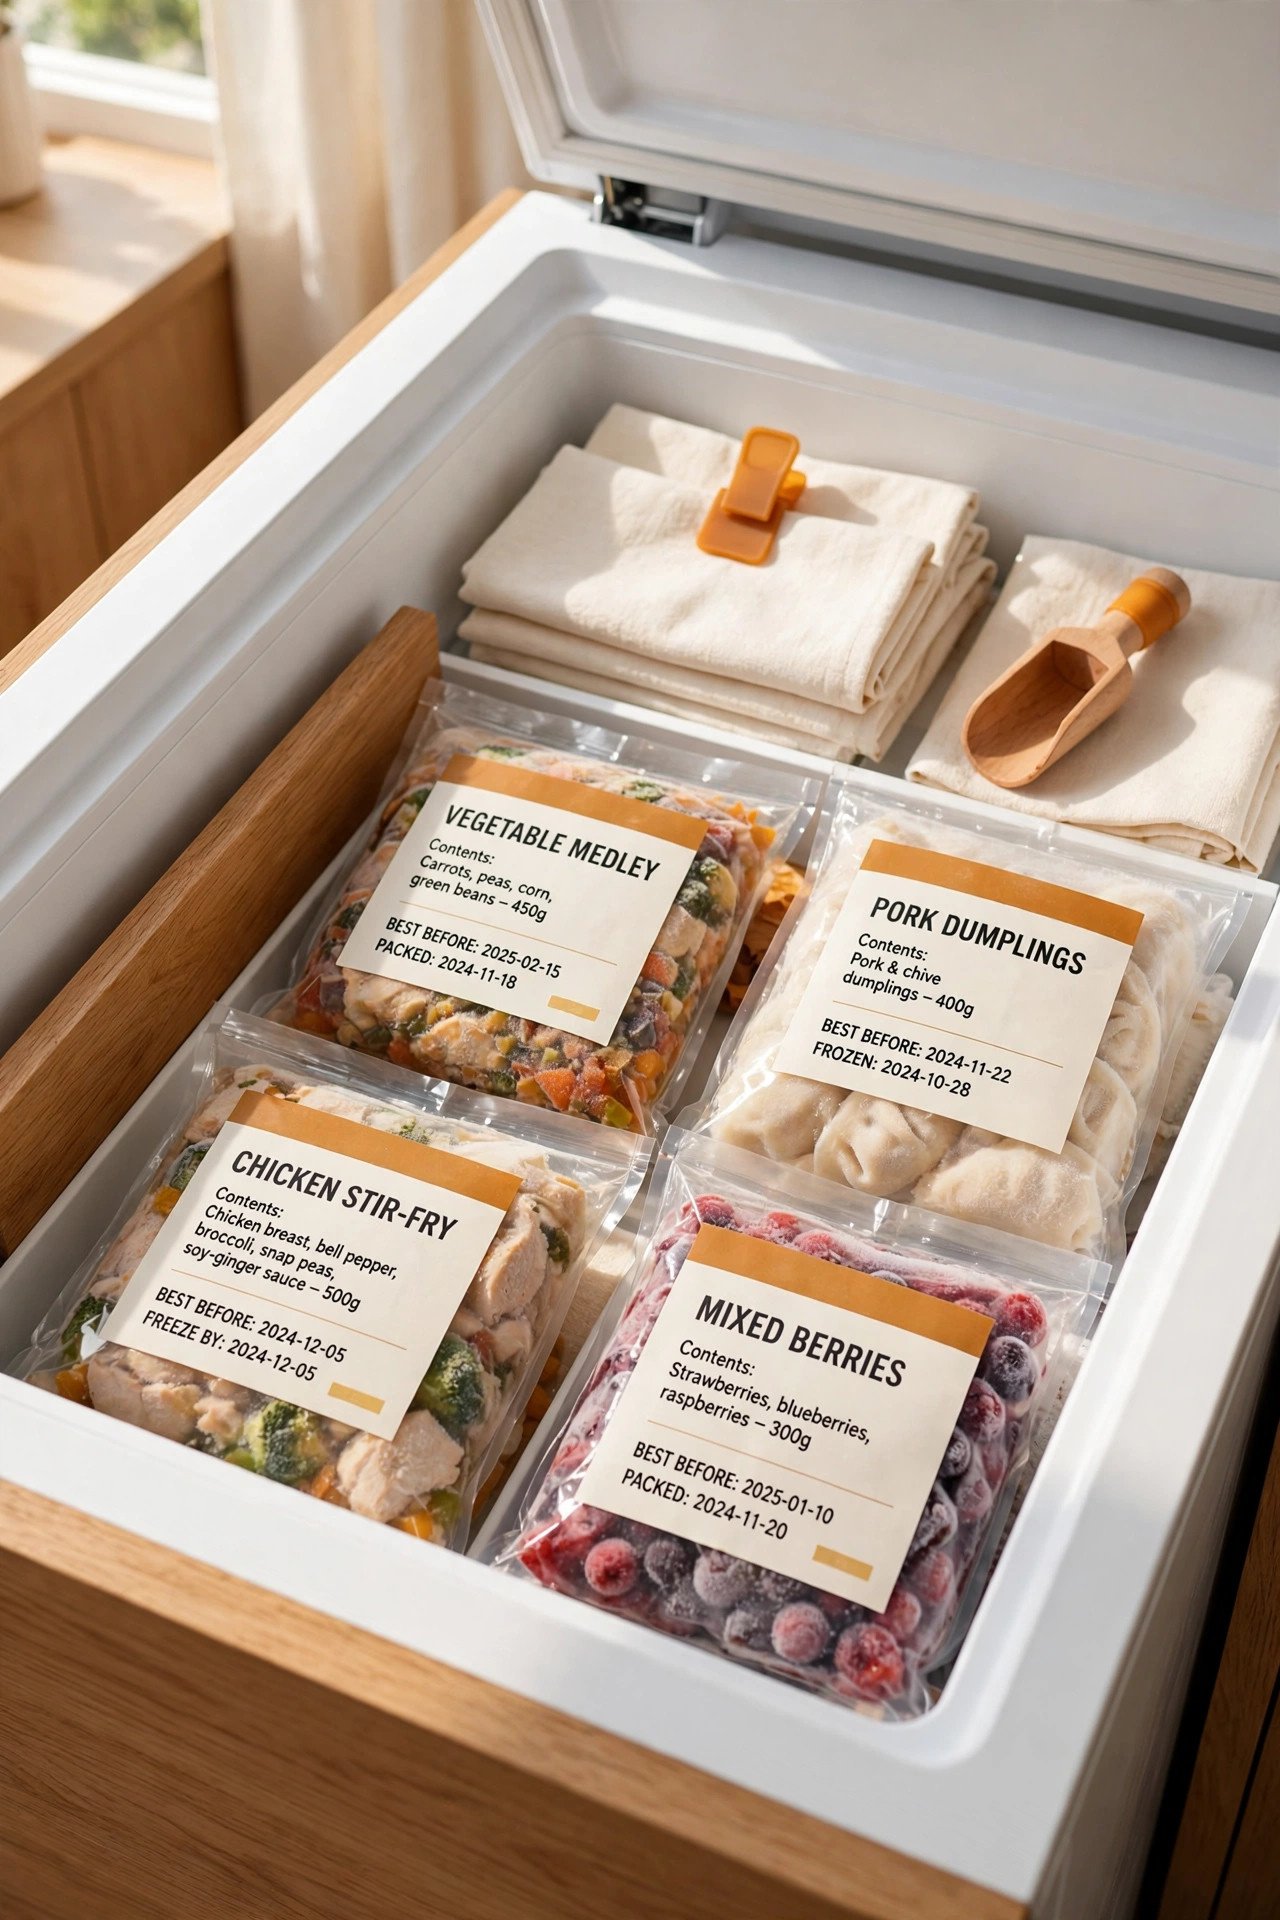
Raw meat should never sit above ready-to-eat food, even in a freezer. Give meat and poultry their own shelf or bin, ideally the lowest one. This keeps everything safer and makes meal planning faster.
Wrap each cut tightly, then group similar items together, such as all chicken in one bin and ground meat in another. Label with the cut and the date so you can plan around what needs using first. One dedicated zone ends the risky shuffling.

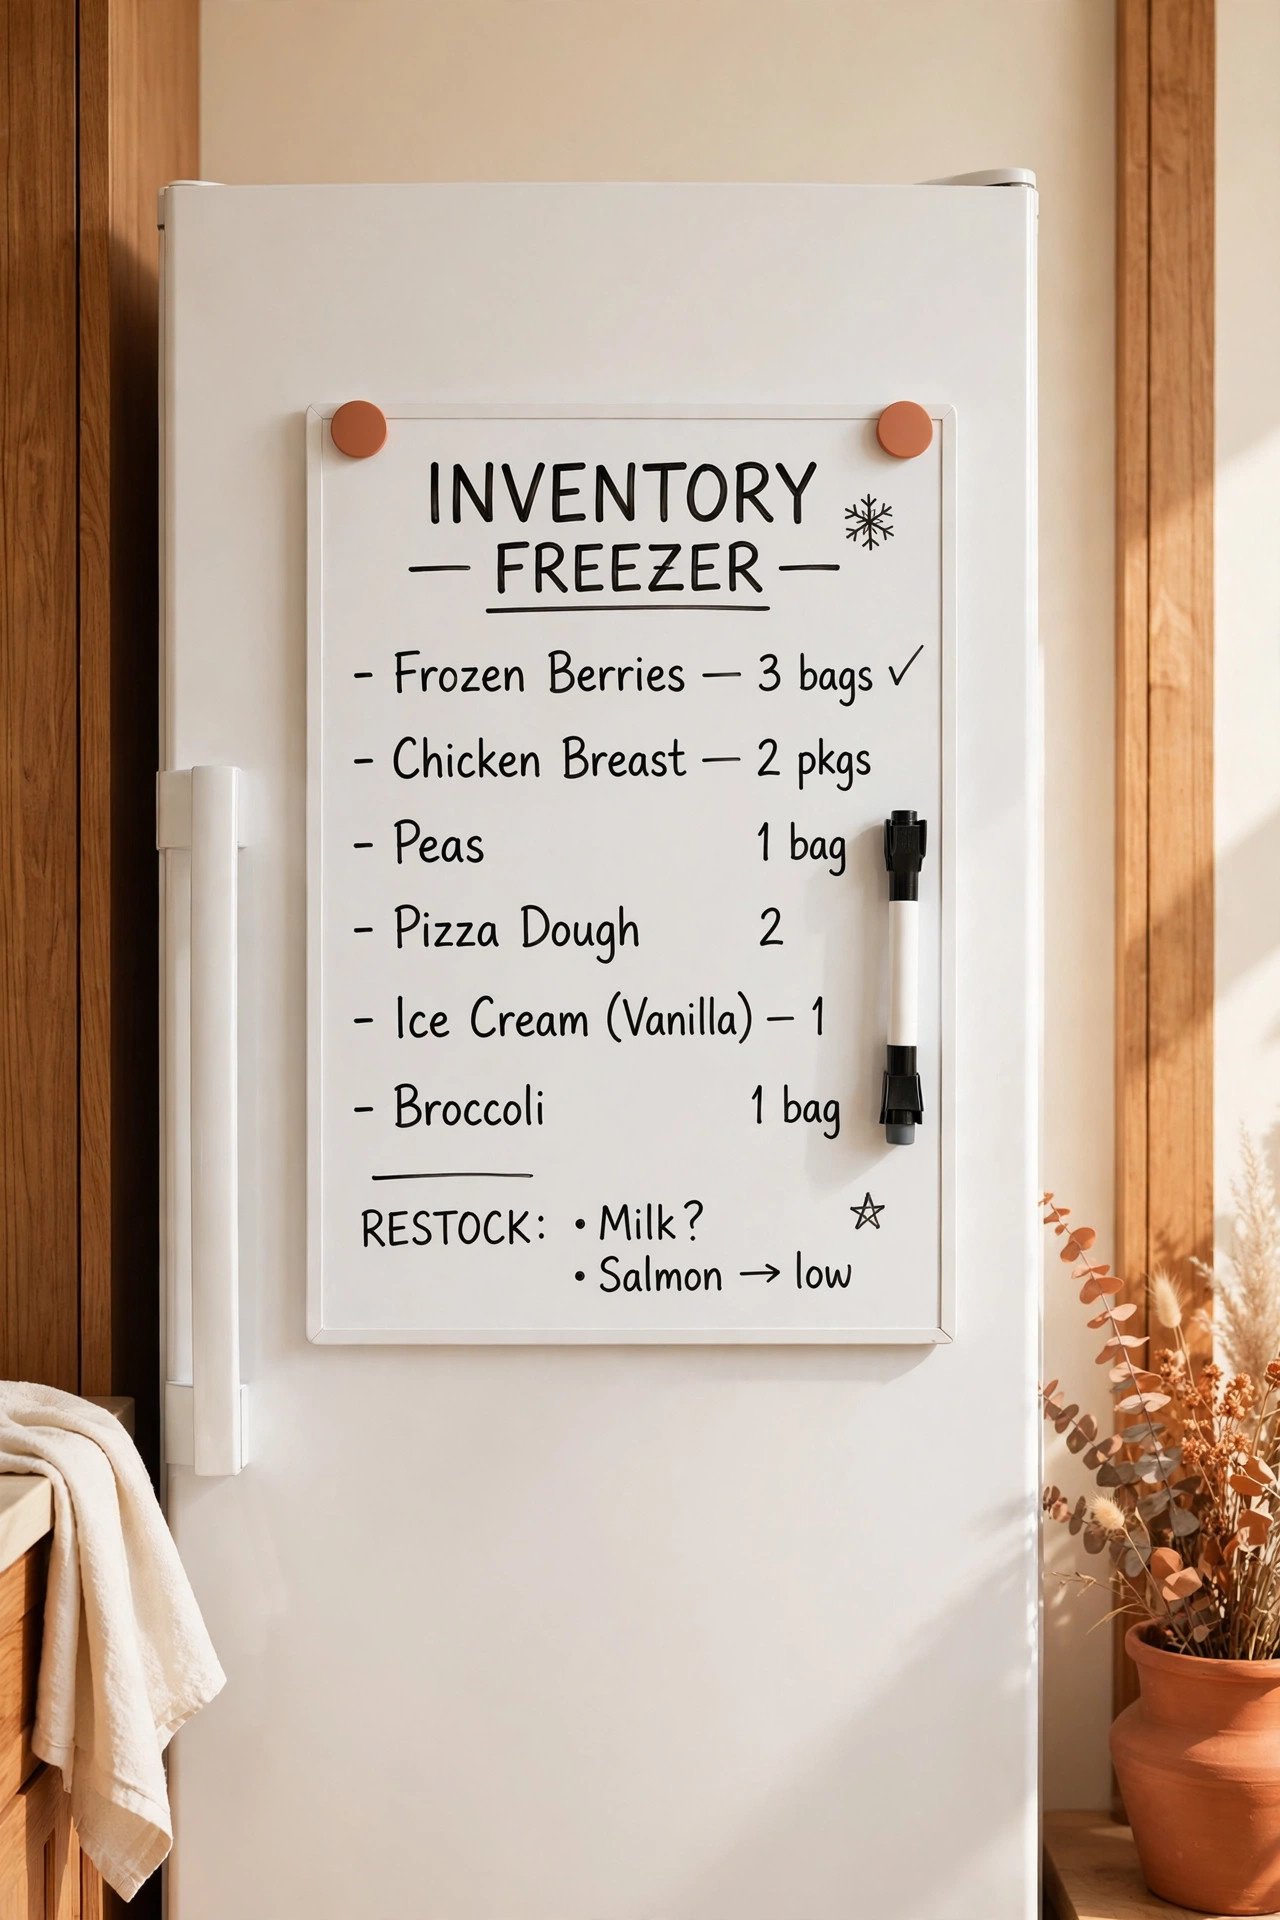
5. Keep a Running Inventory List on the Door
You cannot use what you forget you own. Tape a simple inventory list to the freezer door and update it each time you add or remove something. A quick glance tells you what is available before you shop.
Use a dry-erase board or a printed sheet in a sleeve so updates take seconds. Cross items off as you cook them, and add new ones as they go in. This habit cuts duplicate buying and reduces food waste dramatically.
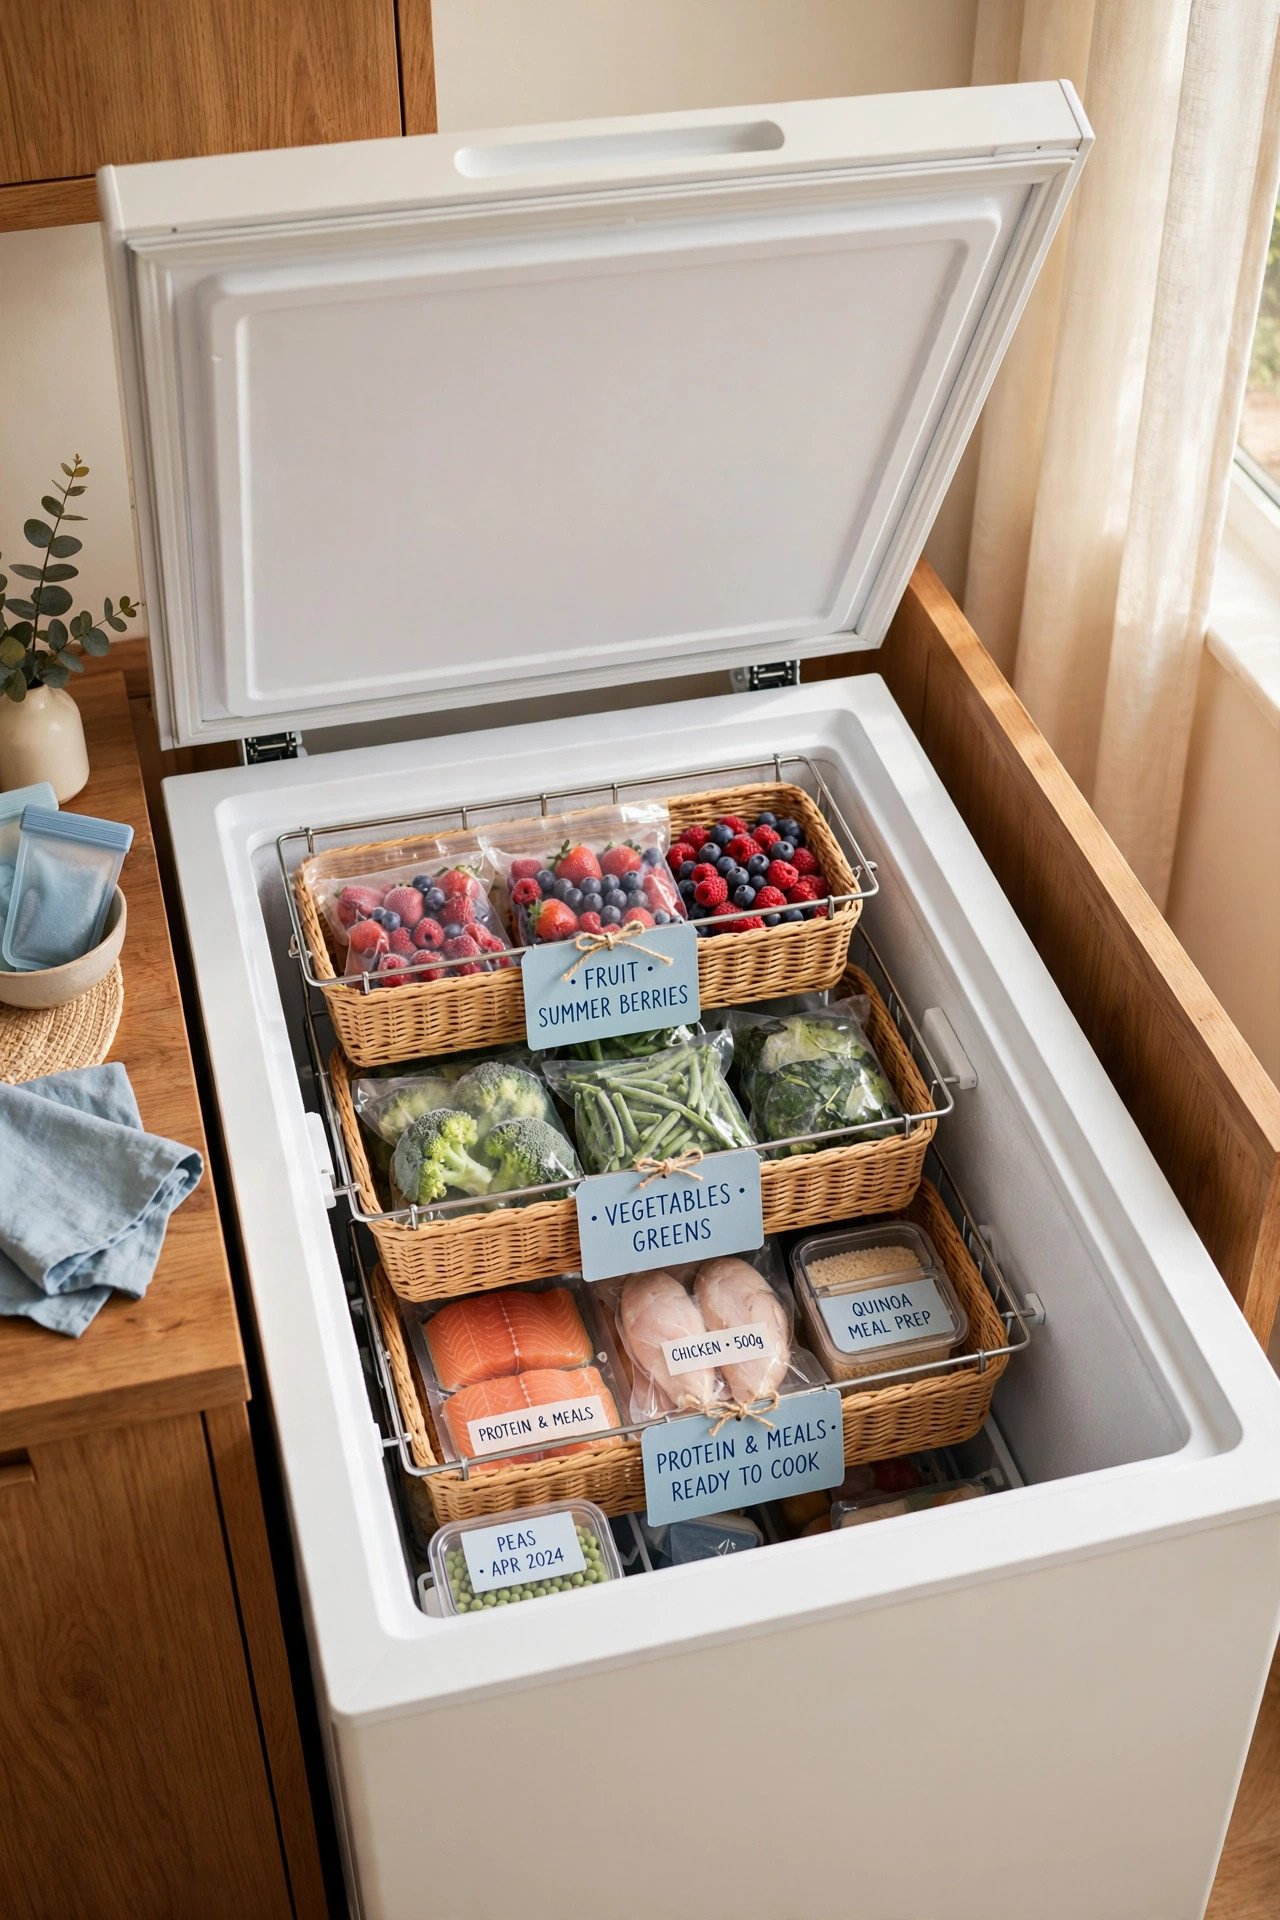
6. Drop Baskets Into a Chest Freezer
Chest freezers swallow food into one deep pit where items vanish for months. Hanging baskets or stackable crates create layers you can lift out. The bottom stops being a forgotten zone.
Assign each basket a category and label the handles so you can read them from above. Lift out the top baskets to reach the lower ones in seconds. This simple layering can rescue a chest freezer from total chaos.
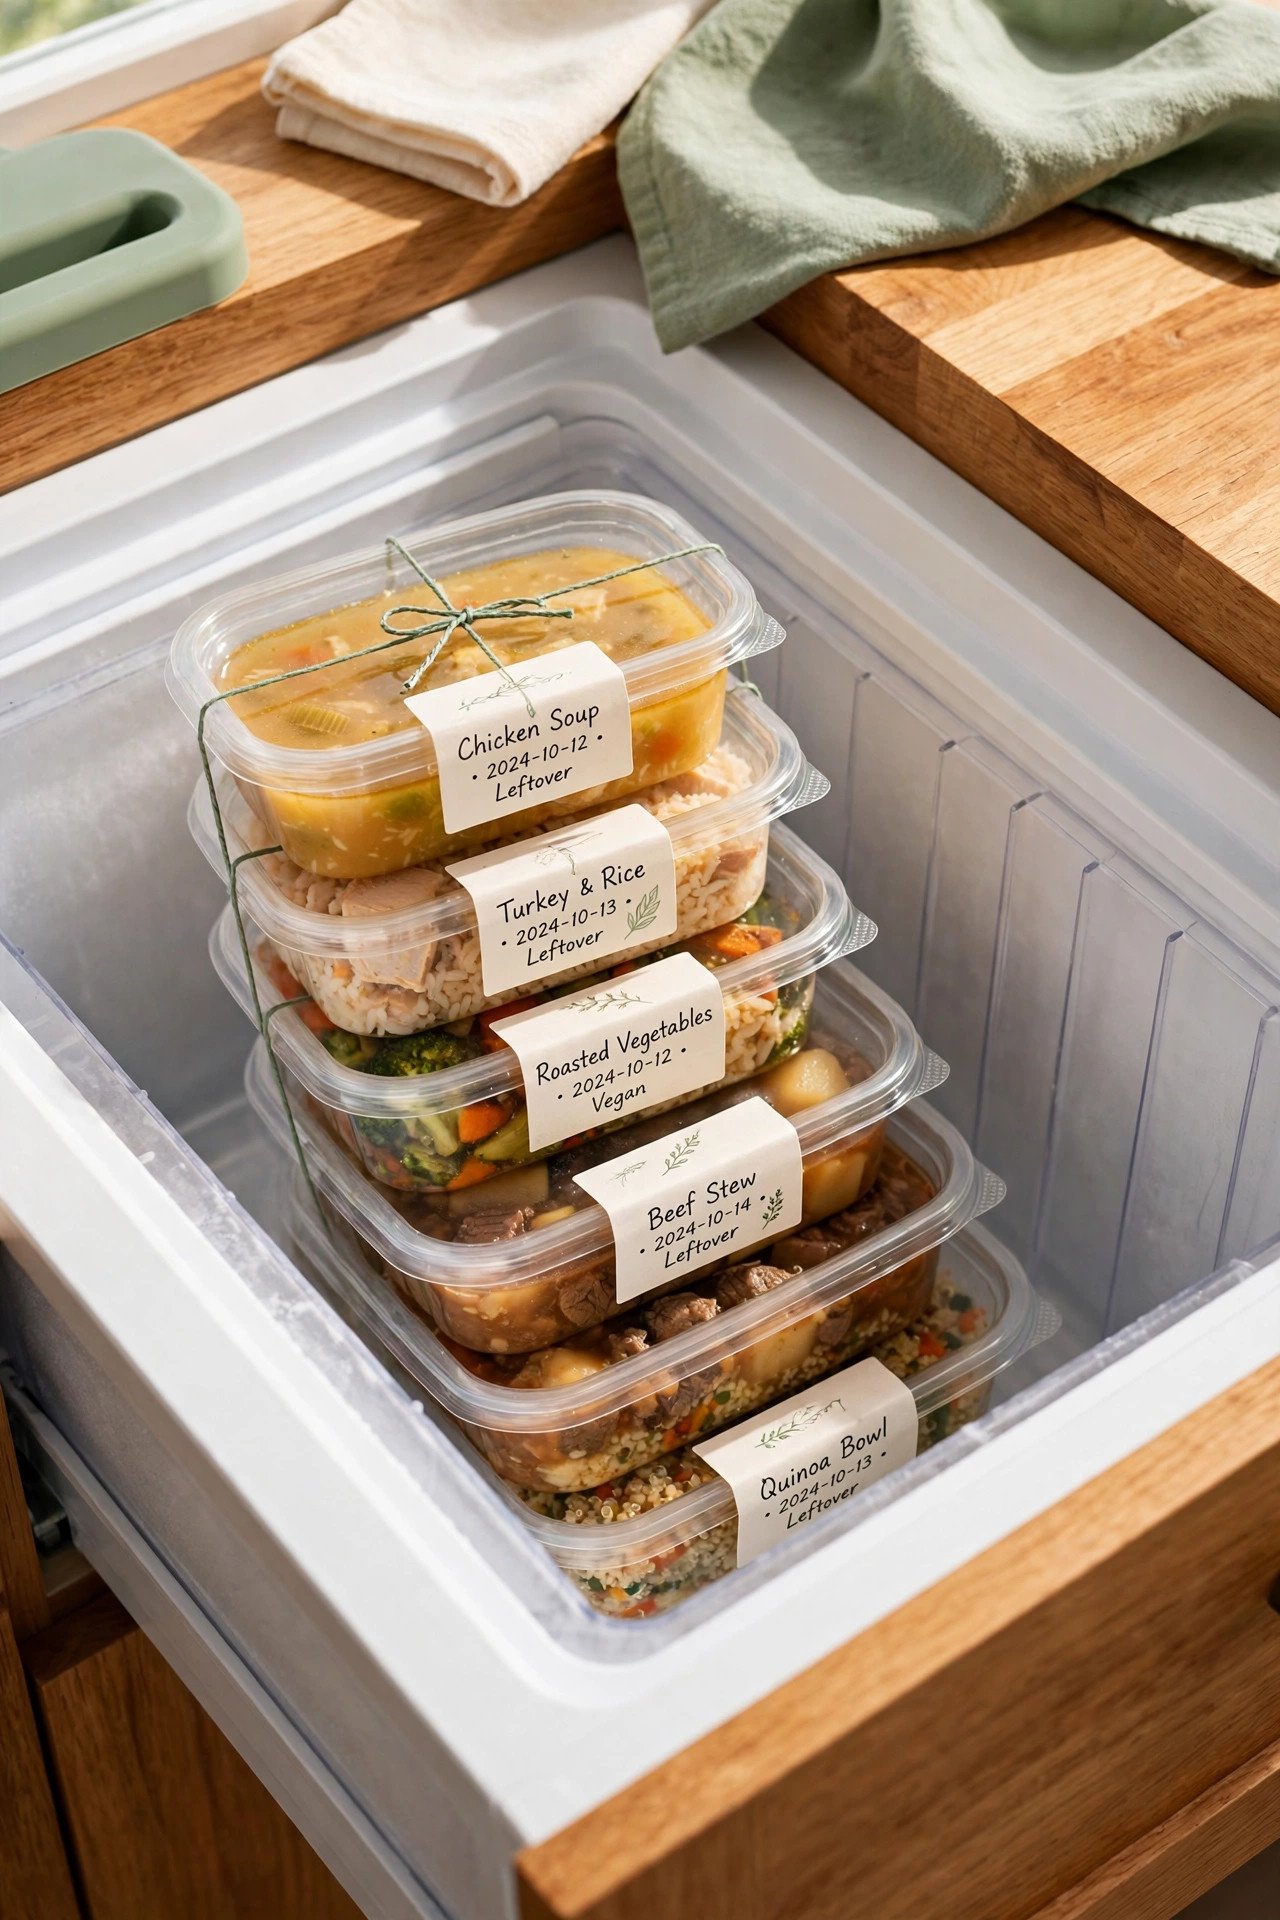
7. Freeze Leftovers in Single-Serve Portions
A giant tub of leftover stew helps no one on a busy night. Divide leftovers into single-serve containers or bags before freezing. Each portion becomes an instant lunch or a quick dinner for one.
Cool food completely before packing so ice crystals stay small. Label each portion with the dish name and date, and stack them in one dedicated leftovers bin. Portion freezing turns extra cooking into future convenience.
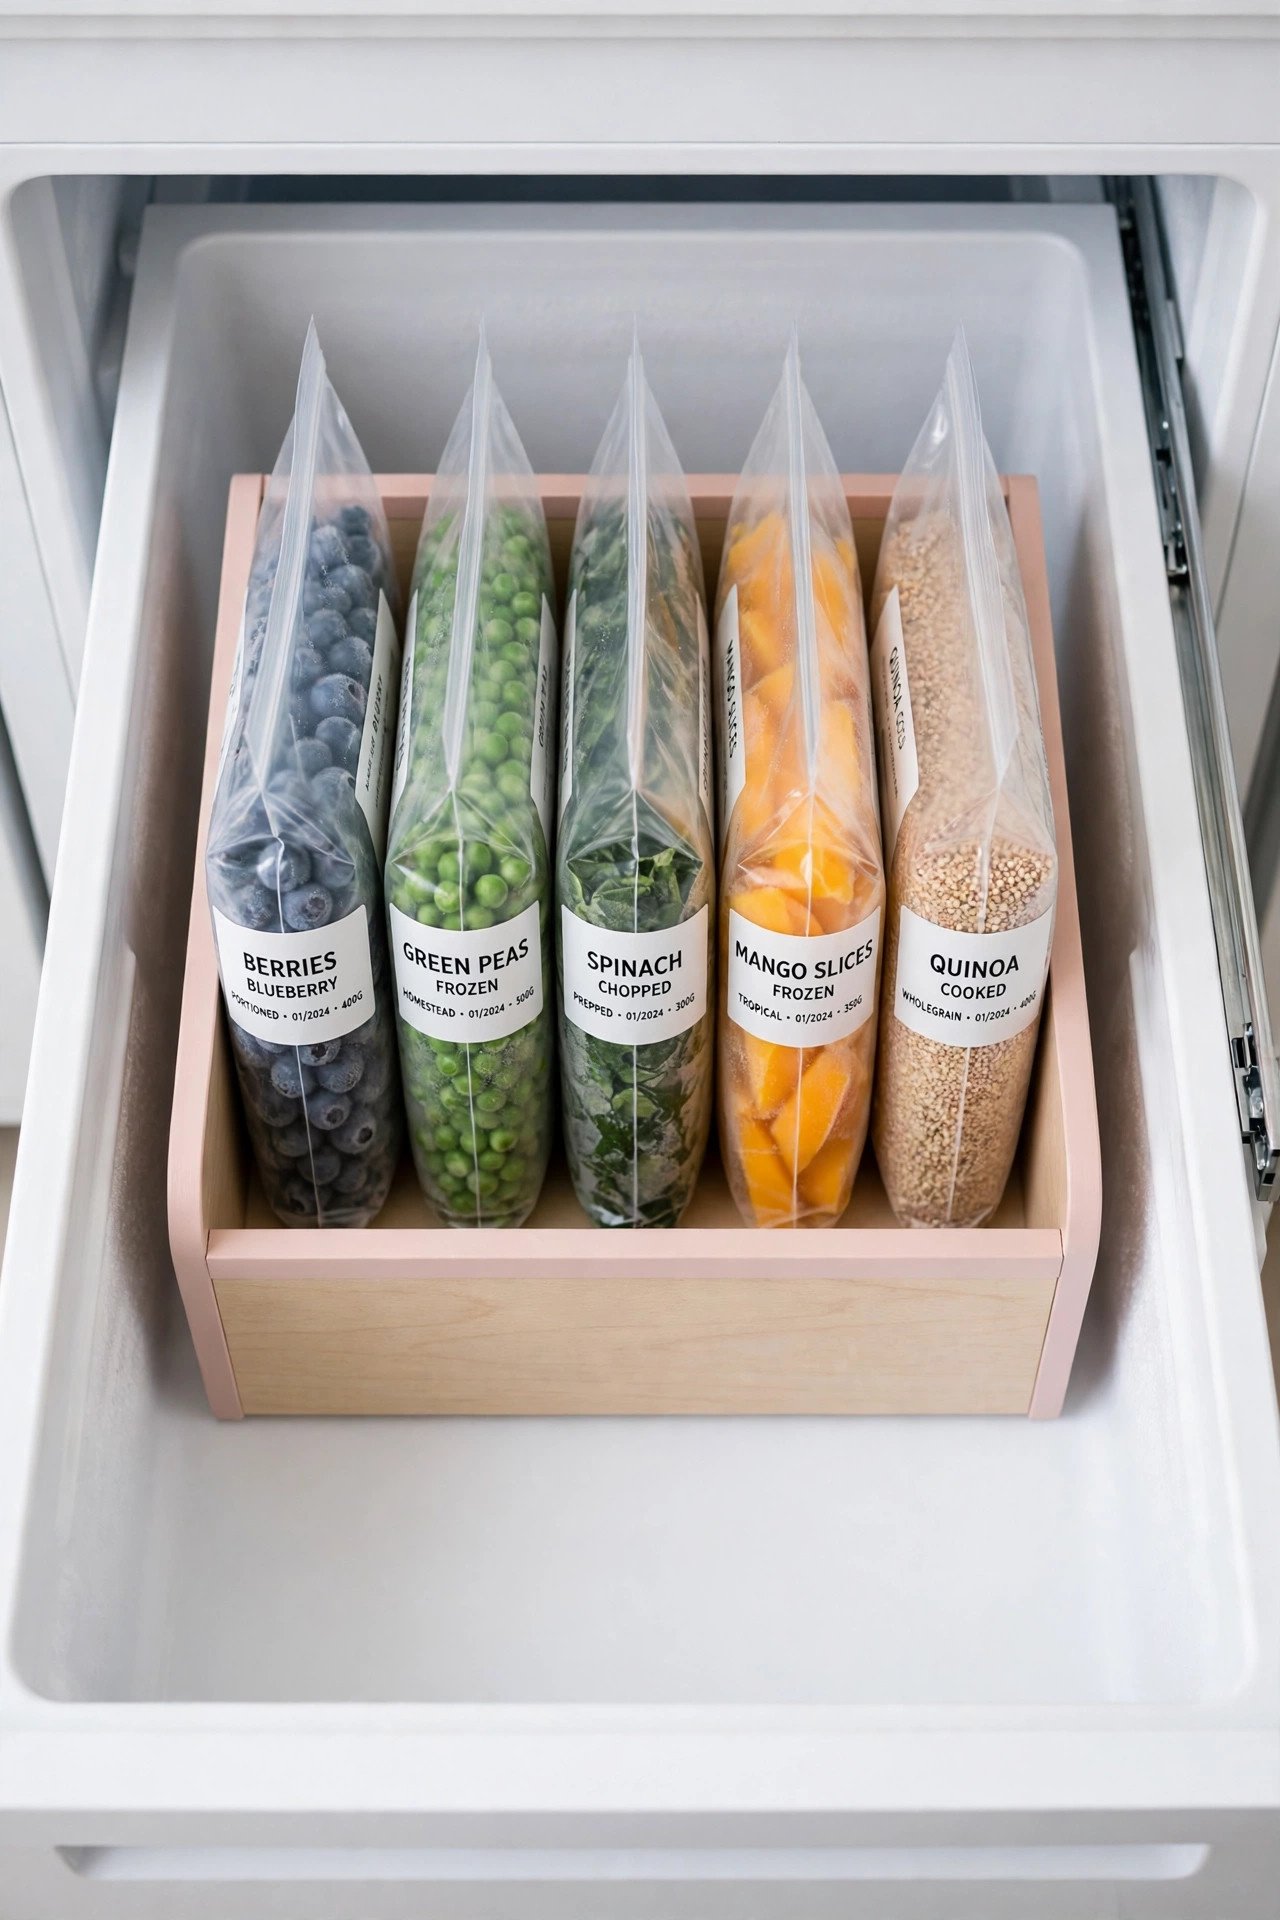
8. File Bags Upright Like Folders
Flat-frozen bags work even better when stored upright. Stand them side by side in a bin like files in a drawer, labels facing out. You can flip through dinner options without lifting a single bag.
Use a bin that is deep enough to keep the bags from toppling. Group the files by type, such as all soups together and all marinated meats together. Filing beats stacking because nothing gets buried at the bottom.

9. Dedicate a Bin to Breakfast Foods
Mornings run smoother when breakfast has its own zone. Keep frozen waffles, berries, breakfast burritos, and bread in one easy-to-reach bin. Everyone in the house learns exactly where to look.
Place this bin at the front of the freezer or on the top shelf for fast access. Restock it once a week so the morning routine never stalls. A breakfast bin is a small change that removes daily friction.
10. Wrap Tightly to Prevent Freezer Burn
Freezer burn ruins texture and flavor, and it starts with loose wrapping. Press plastic wrap directly against the food surface before adding an outer layer of foil or a bag. Removing air is the whole secret.
For odd shapes, use a straw to suck the last air from a zip bag before sealing. Double wrap expensive cuts like steaks for extra protection. Tight wrapping keeps food tasting fresh for months longer.
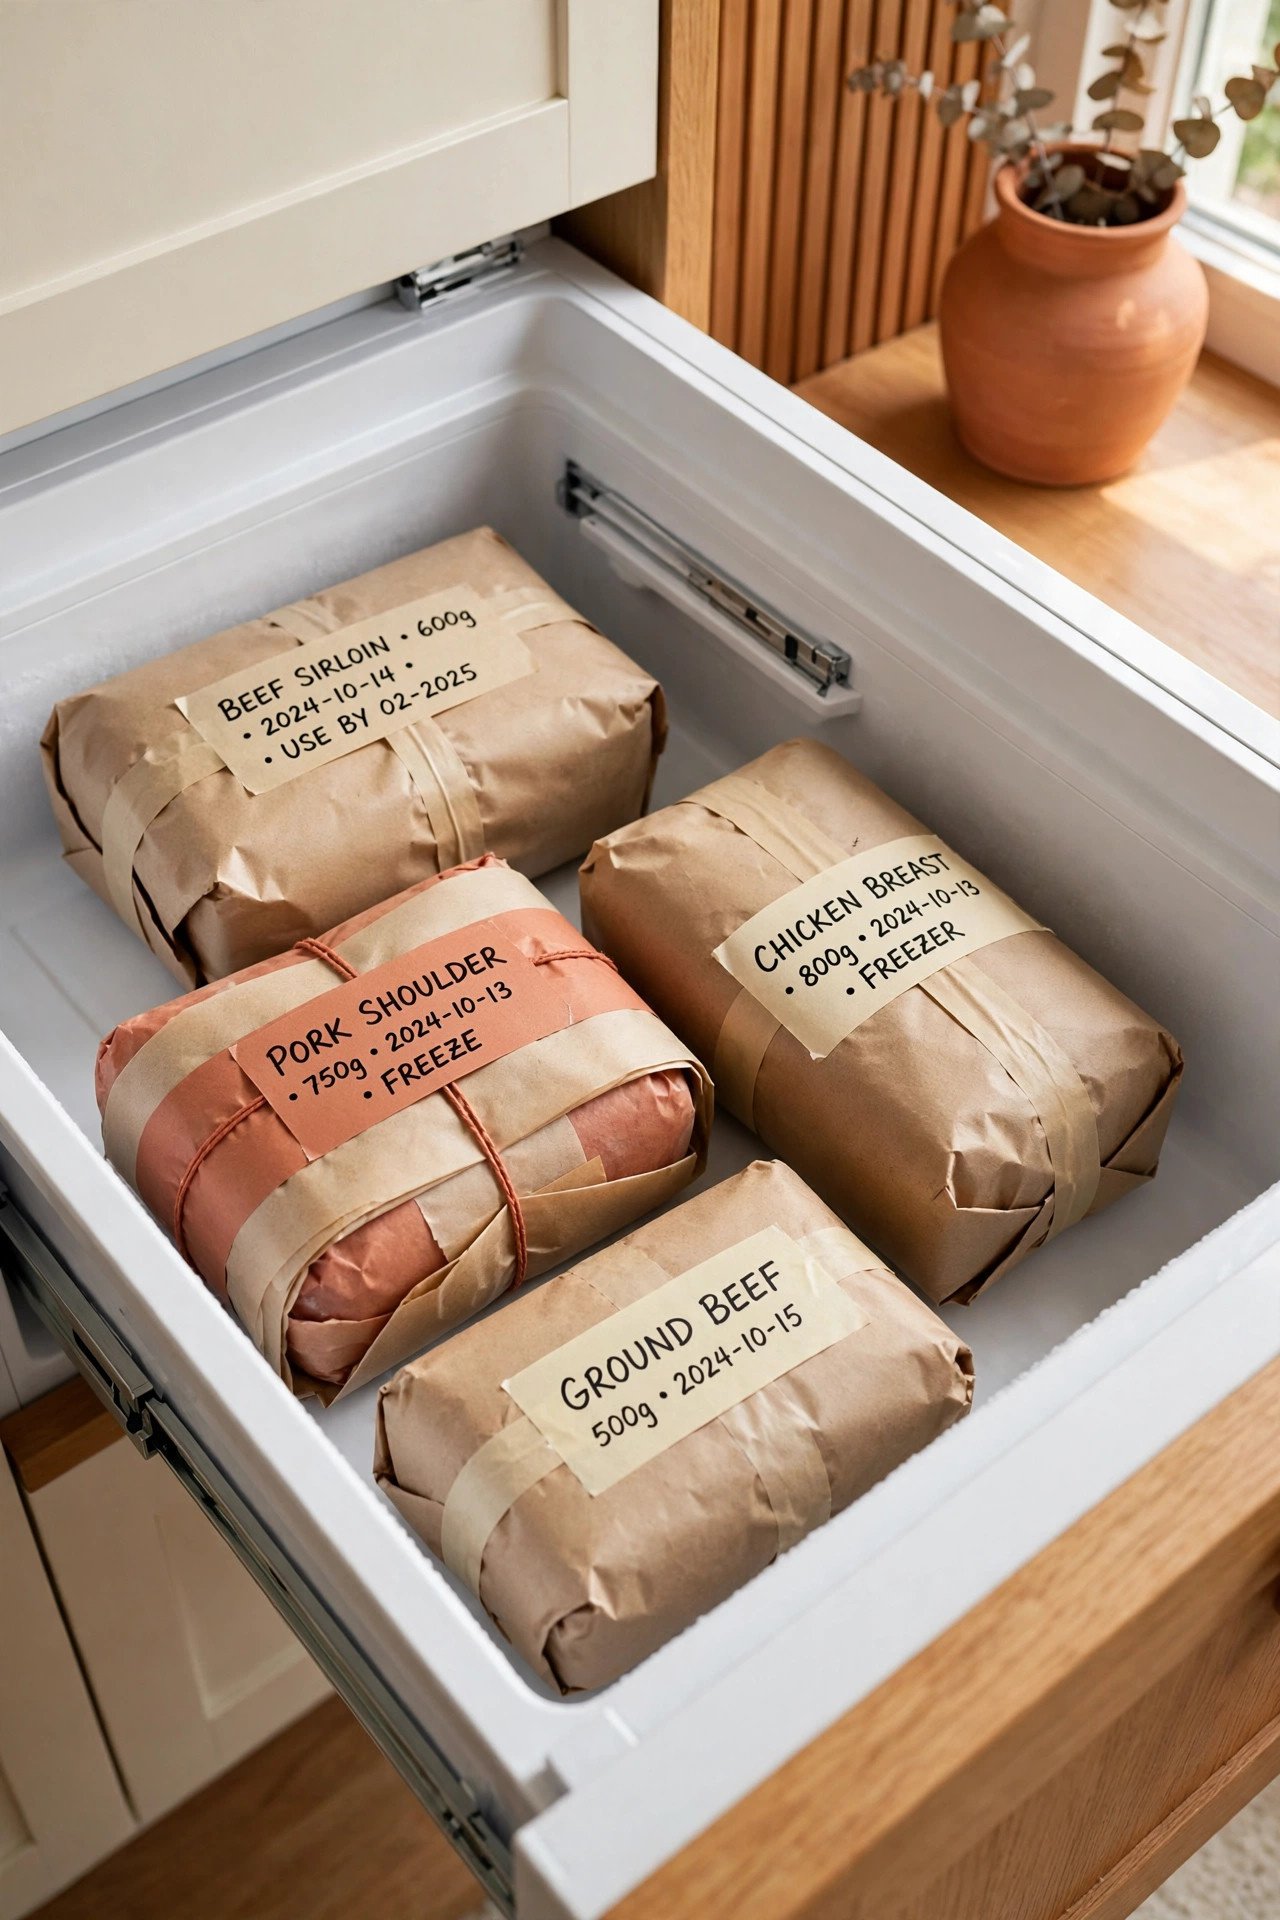
11. Use a Turntable on Deep Freezer Shelves
Deep shelves hide jars and small bags at the back where you cannot reach them. A small turntable spins the whole row into view with one twist. Nothing stays forgotten in the dark corner again.
Choose a turntable with a raised edge so items do not slide off when it spins. Group small items like sauce cups and herb cubes on it. This trick works especially well in a small kitchen where every inch of freezer space counts.
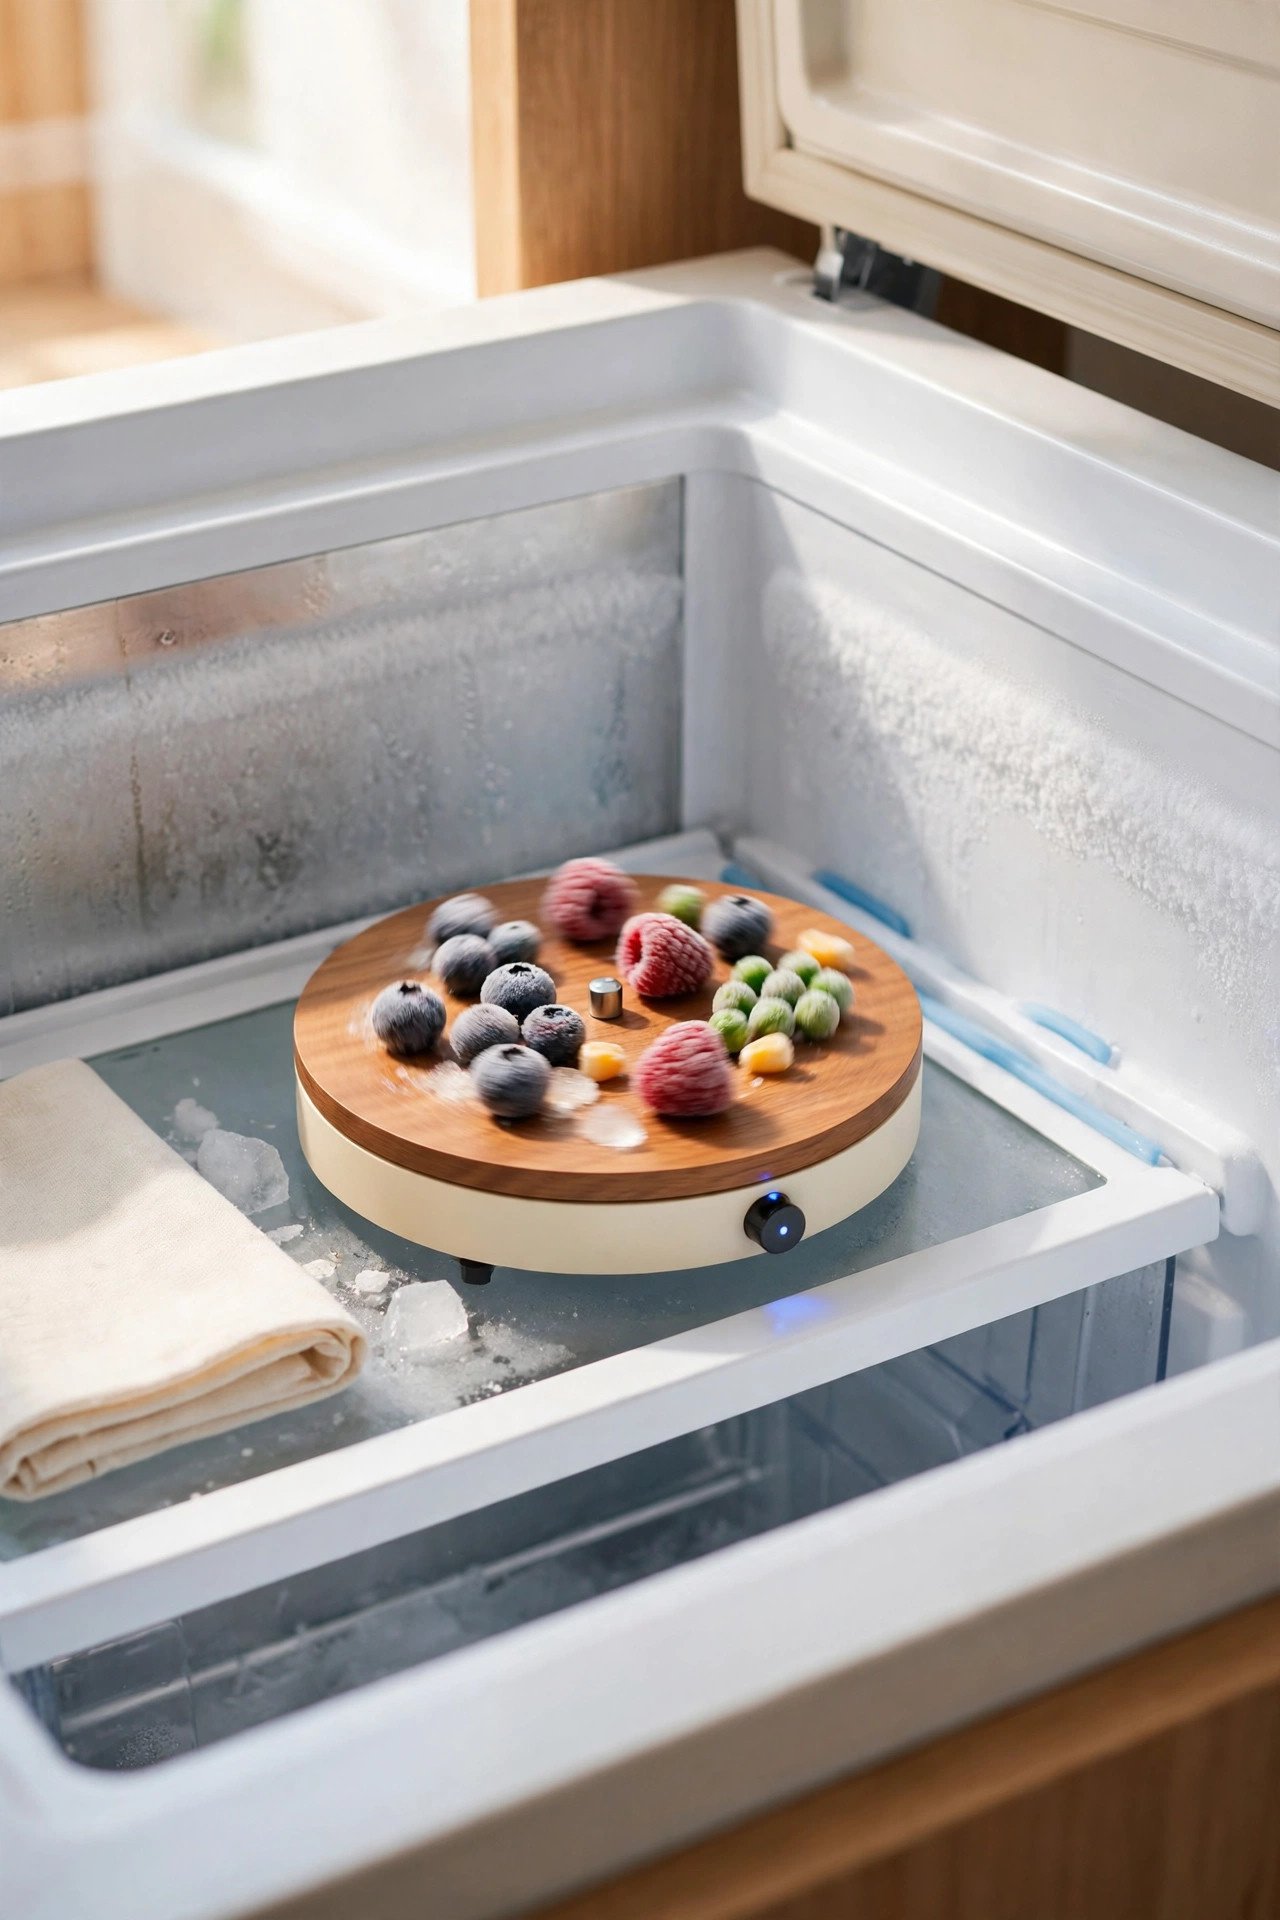
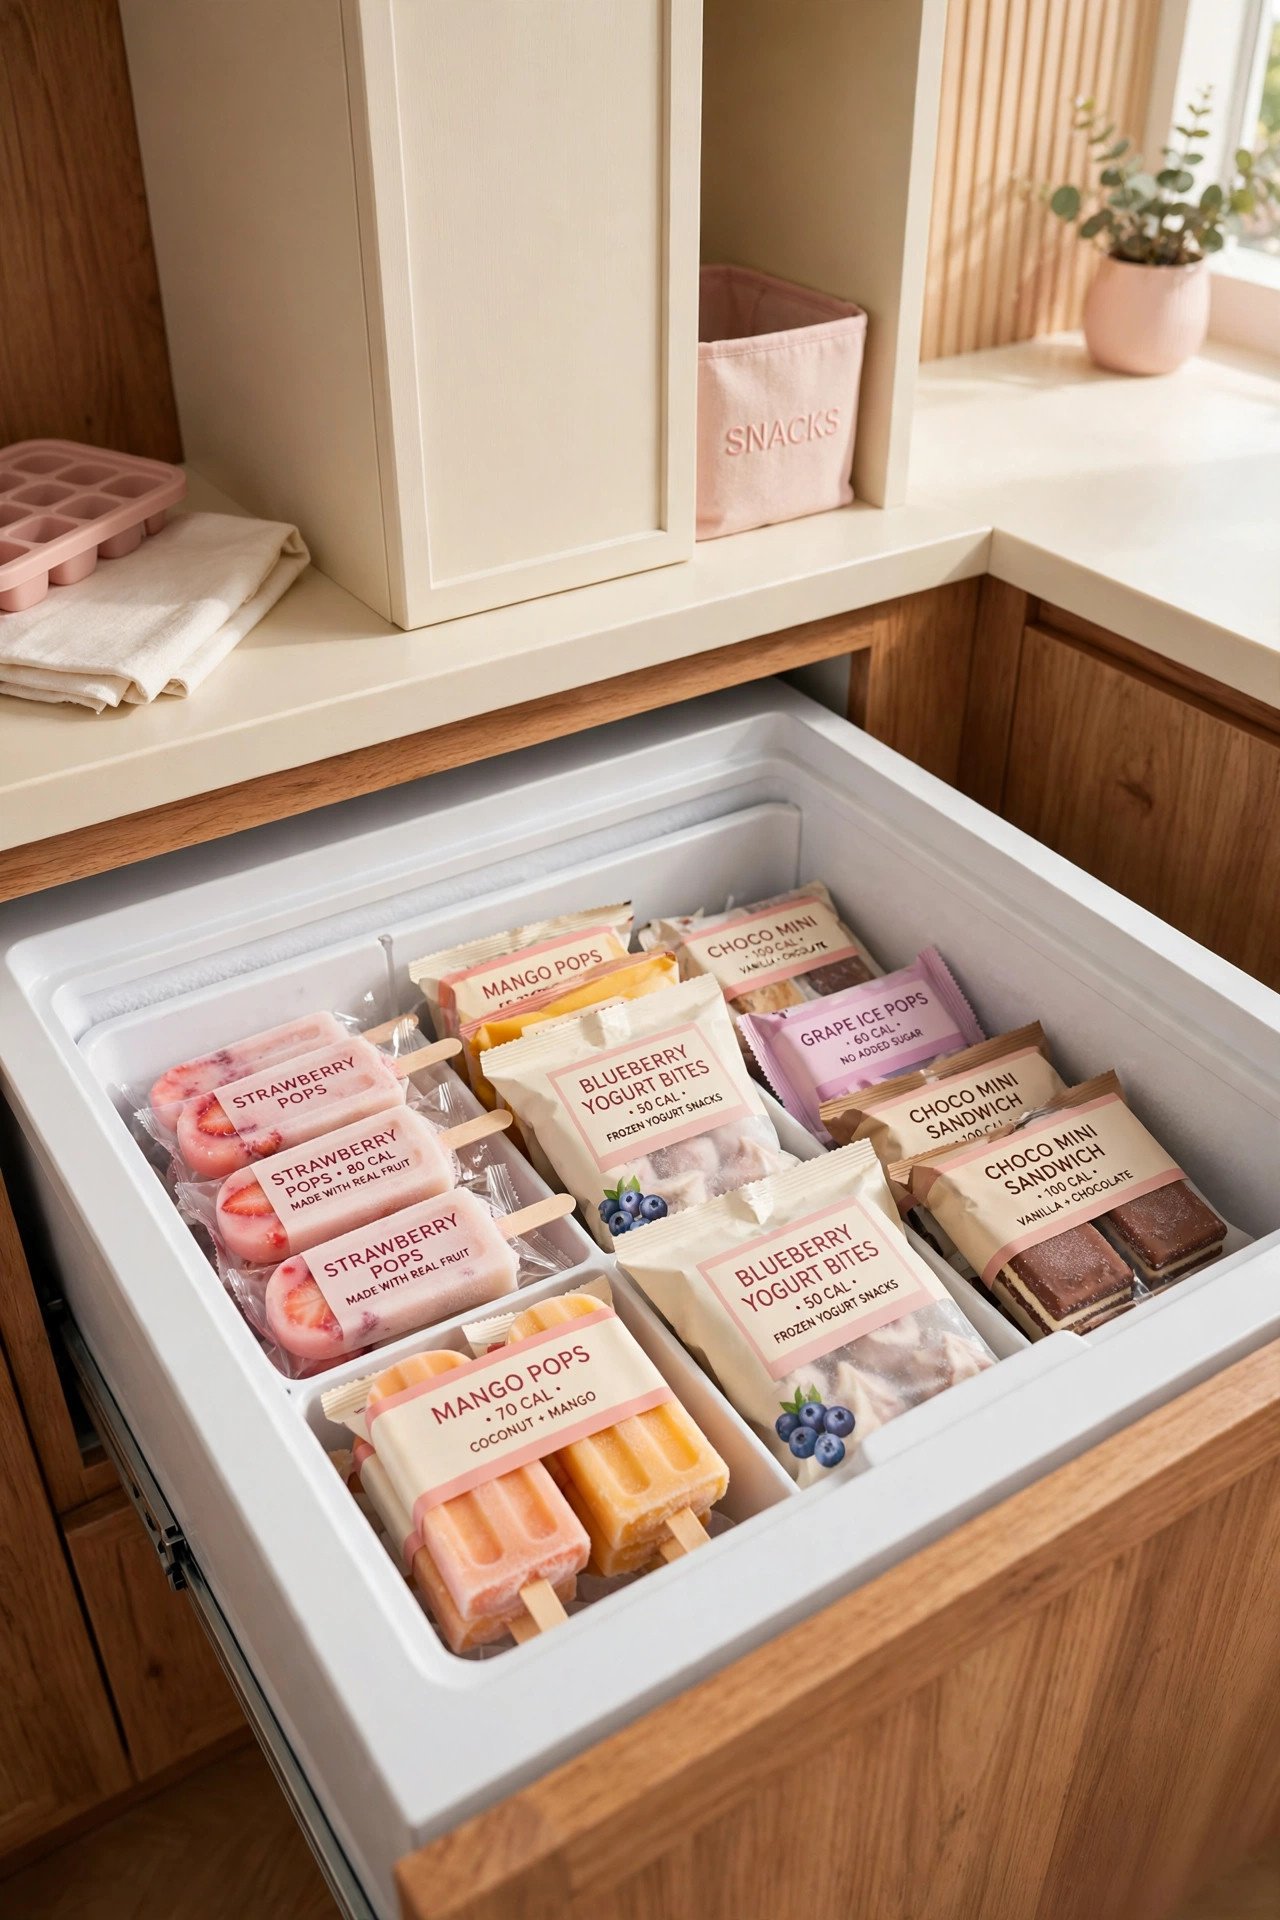
12. Group Kid Snacks in One Easy-Reach Bin
Kids dig through the whole freezer looking for one ice pop. Give snacks their own bin at a height they can reach, filled with popsicles, frozen fruit bars, and yogurt tubes. The digging stops overnight.
Keep the bin stocked but not overstuffed so little hands can see the choices. A printed label helps guests and babysitters too. One snack bin protects the rest of your freezer from curious rummaging.

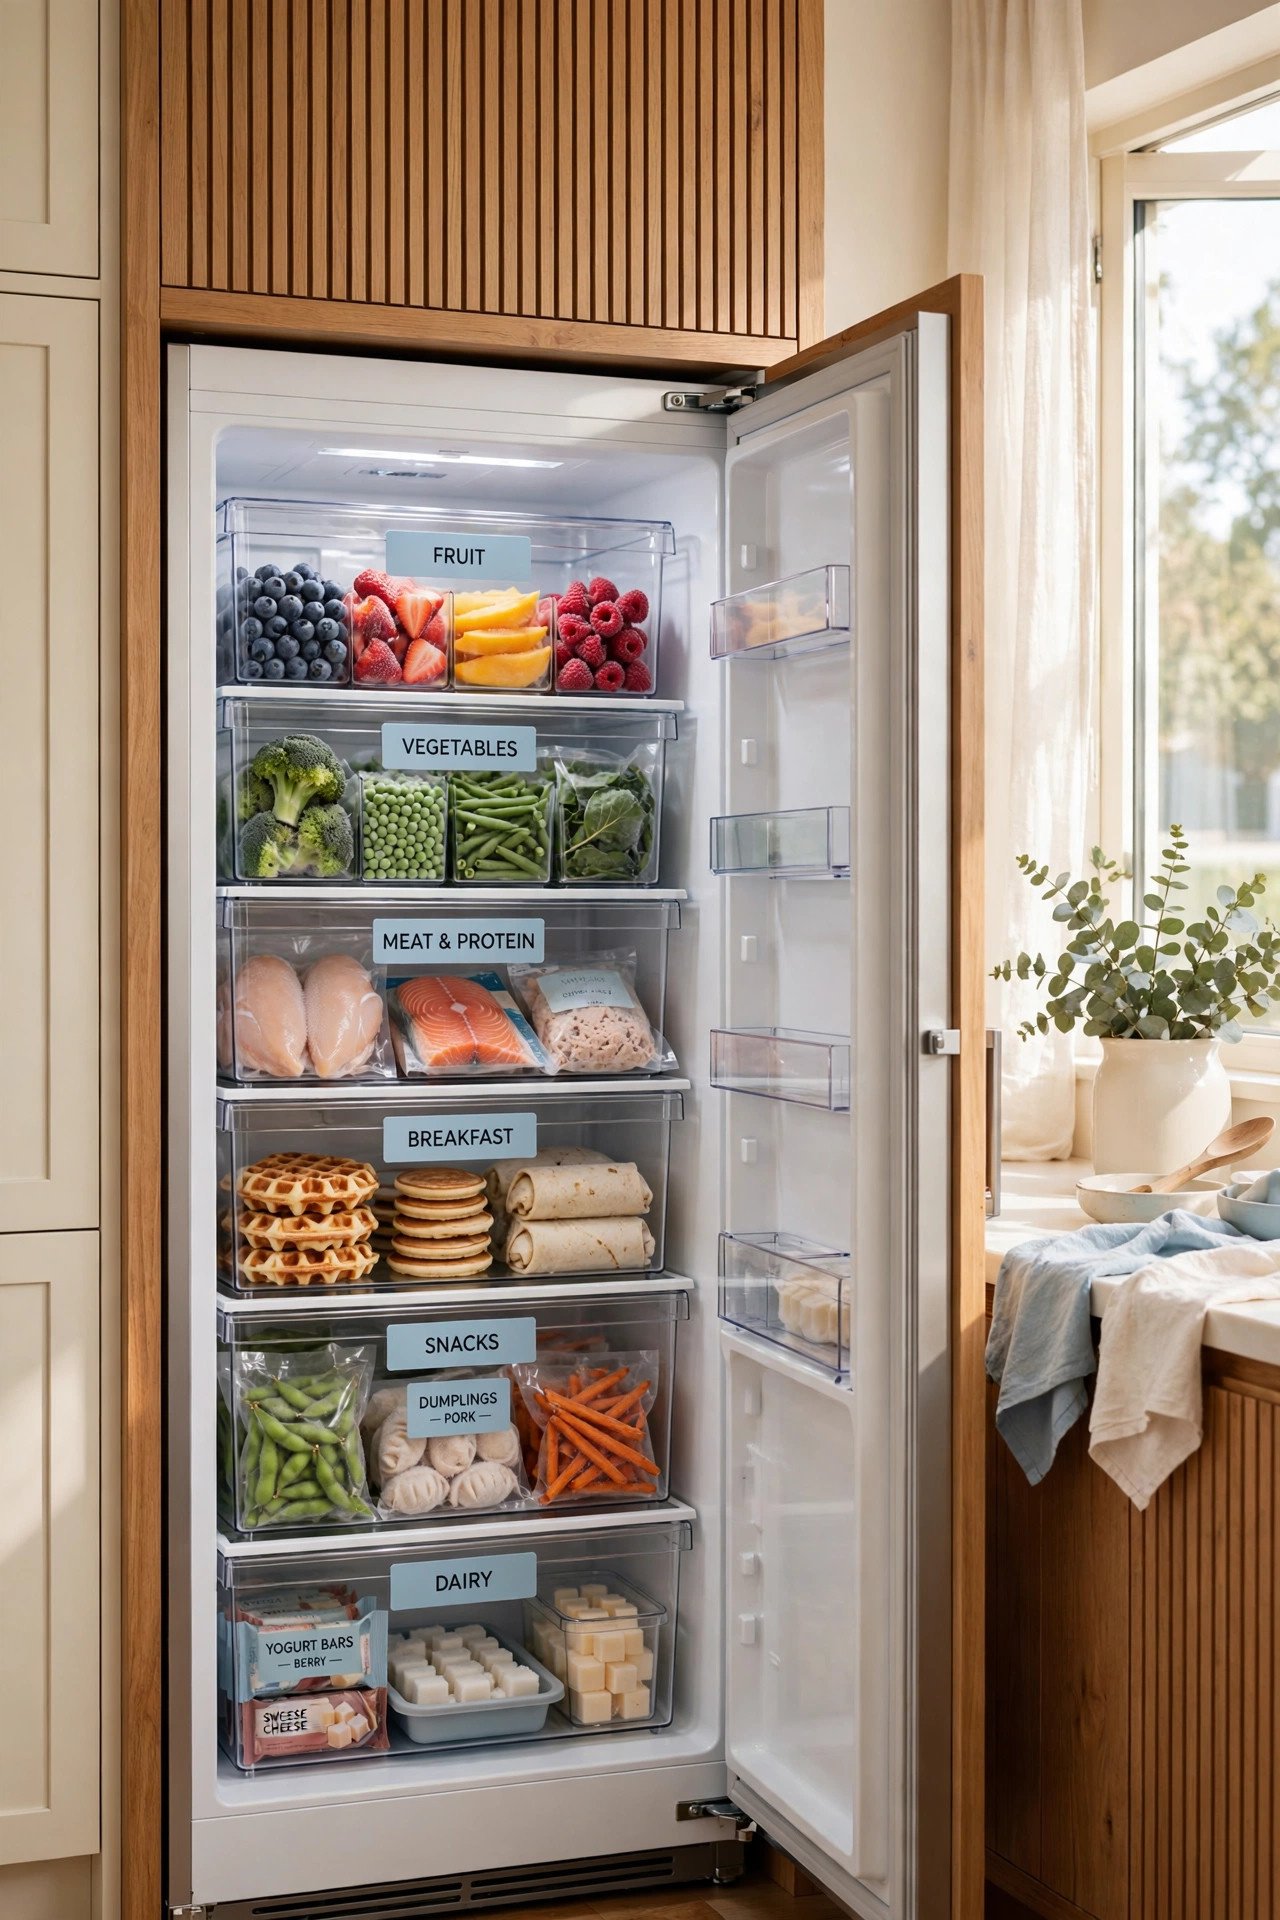
13. Store Vegetables and Fruit in Their Own Zone
Frozen vegetables and fruit get lost among heavier items fast. Give them a dedicated zone, such as one shelf or a wide bin, where bags stay upright and visible. You will actually use the produce you bought.
Group vegetables separately from fruit so sweet and savory never mix. Press bags flat before freezing to save space. A produce zone makes healthy sides as easy to grab as anything else.

14. Freeze Herbs in Oil Using Ice Cube Trays
Fresh herbs wilt in days, but frozen herb cubes last for months. Chop the herbs, pack them into ice cube trays, and cover with olive oil before freezing. Each cube becomes instant flavor for a pan.
Pop the frozen cubes into a labeled bag so the tray stays free for the next batch. Group cubes by herb type, such as basil in one bag and rosemary in another. This method saves herbs that would otherwise go to waste.

15. Seal Open Bags With Color-Coded Clips
Half-used bags of peas or berries spill and dry out without a good seal. Heavy-duty clips in different colors close bags tightly and show the category at a glance. Red for meat, green for vegetables, blue for fruit.
Keep a small cup of clips on top of the freezer so resealing takes two seconds. Squeeze the air out before clipping for the freshest results. Color coding turns a pile of open bags into an organized system.
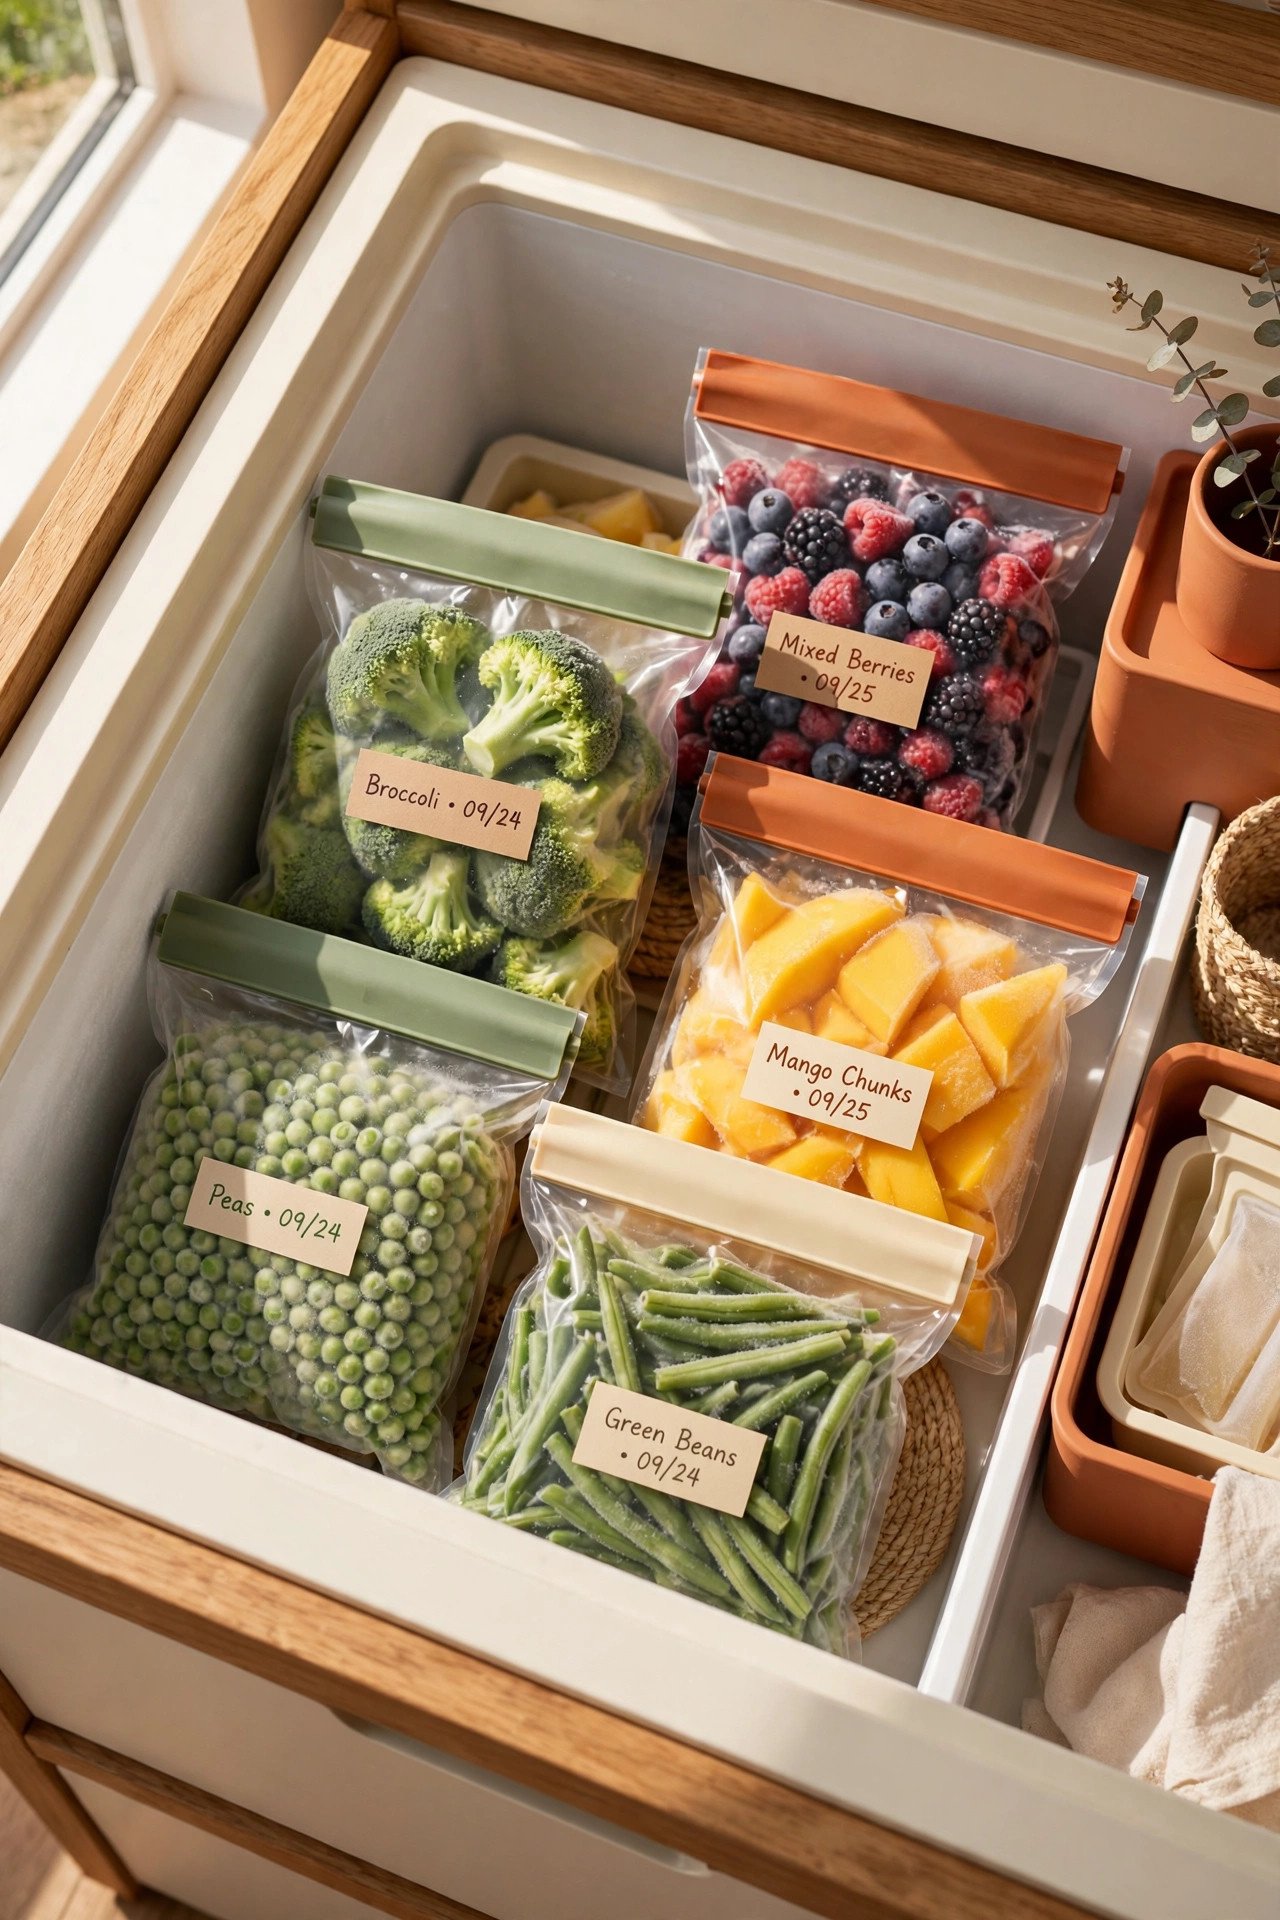
16. Create a “Use First” Bin for Older Items
Every freezer has items drifting toward their best-by date. A bright “use first” bin at the front collects anything that needs cooking soon. Meal planning starts here instead of with a random dig.
Move items into this bin during your weekly check, and cook from it first. A bold label keeps the whole household on board. This one bin does more to cut food waste than any other trick.
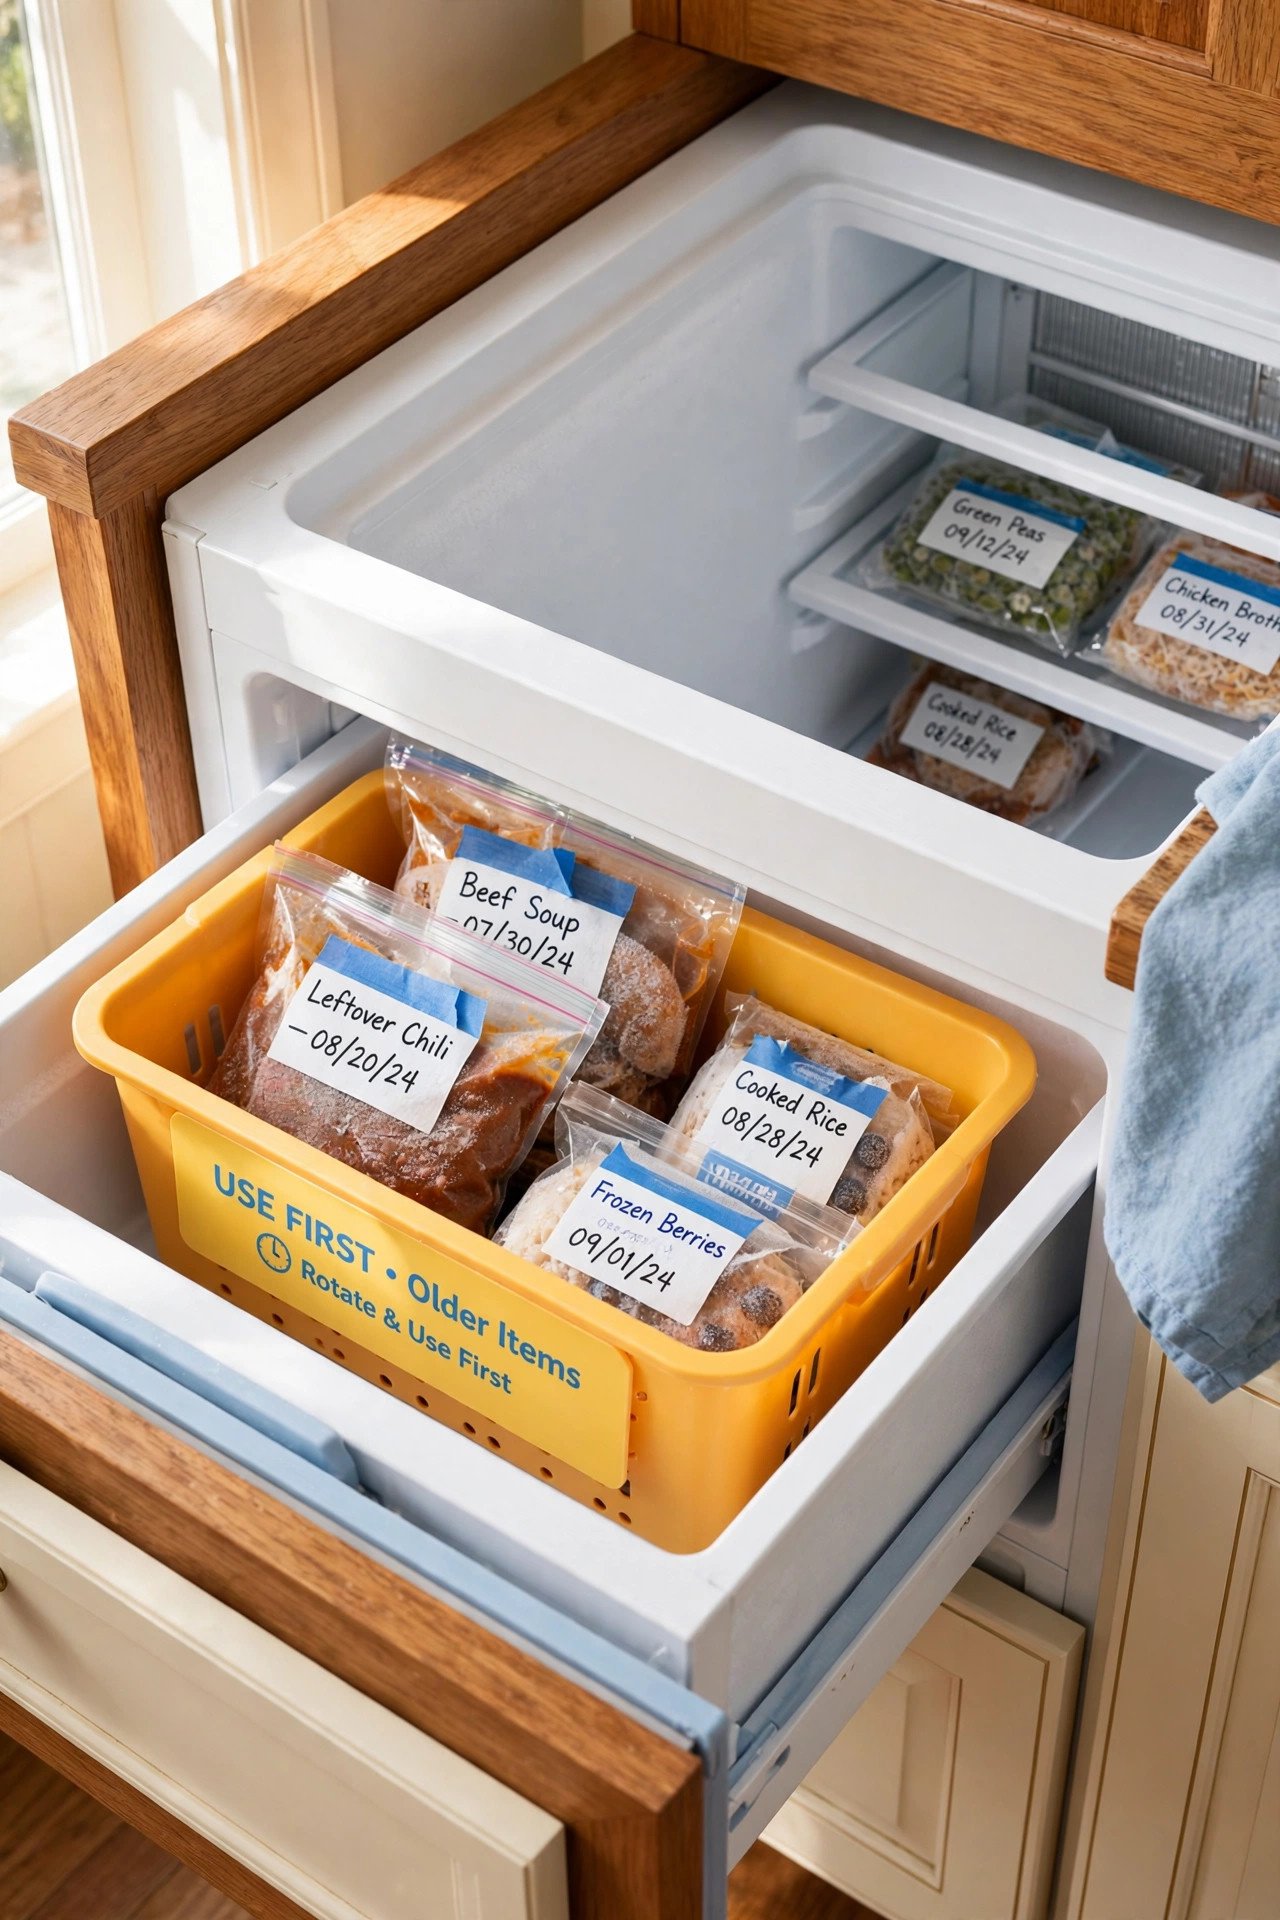
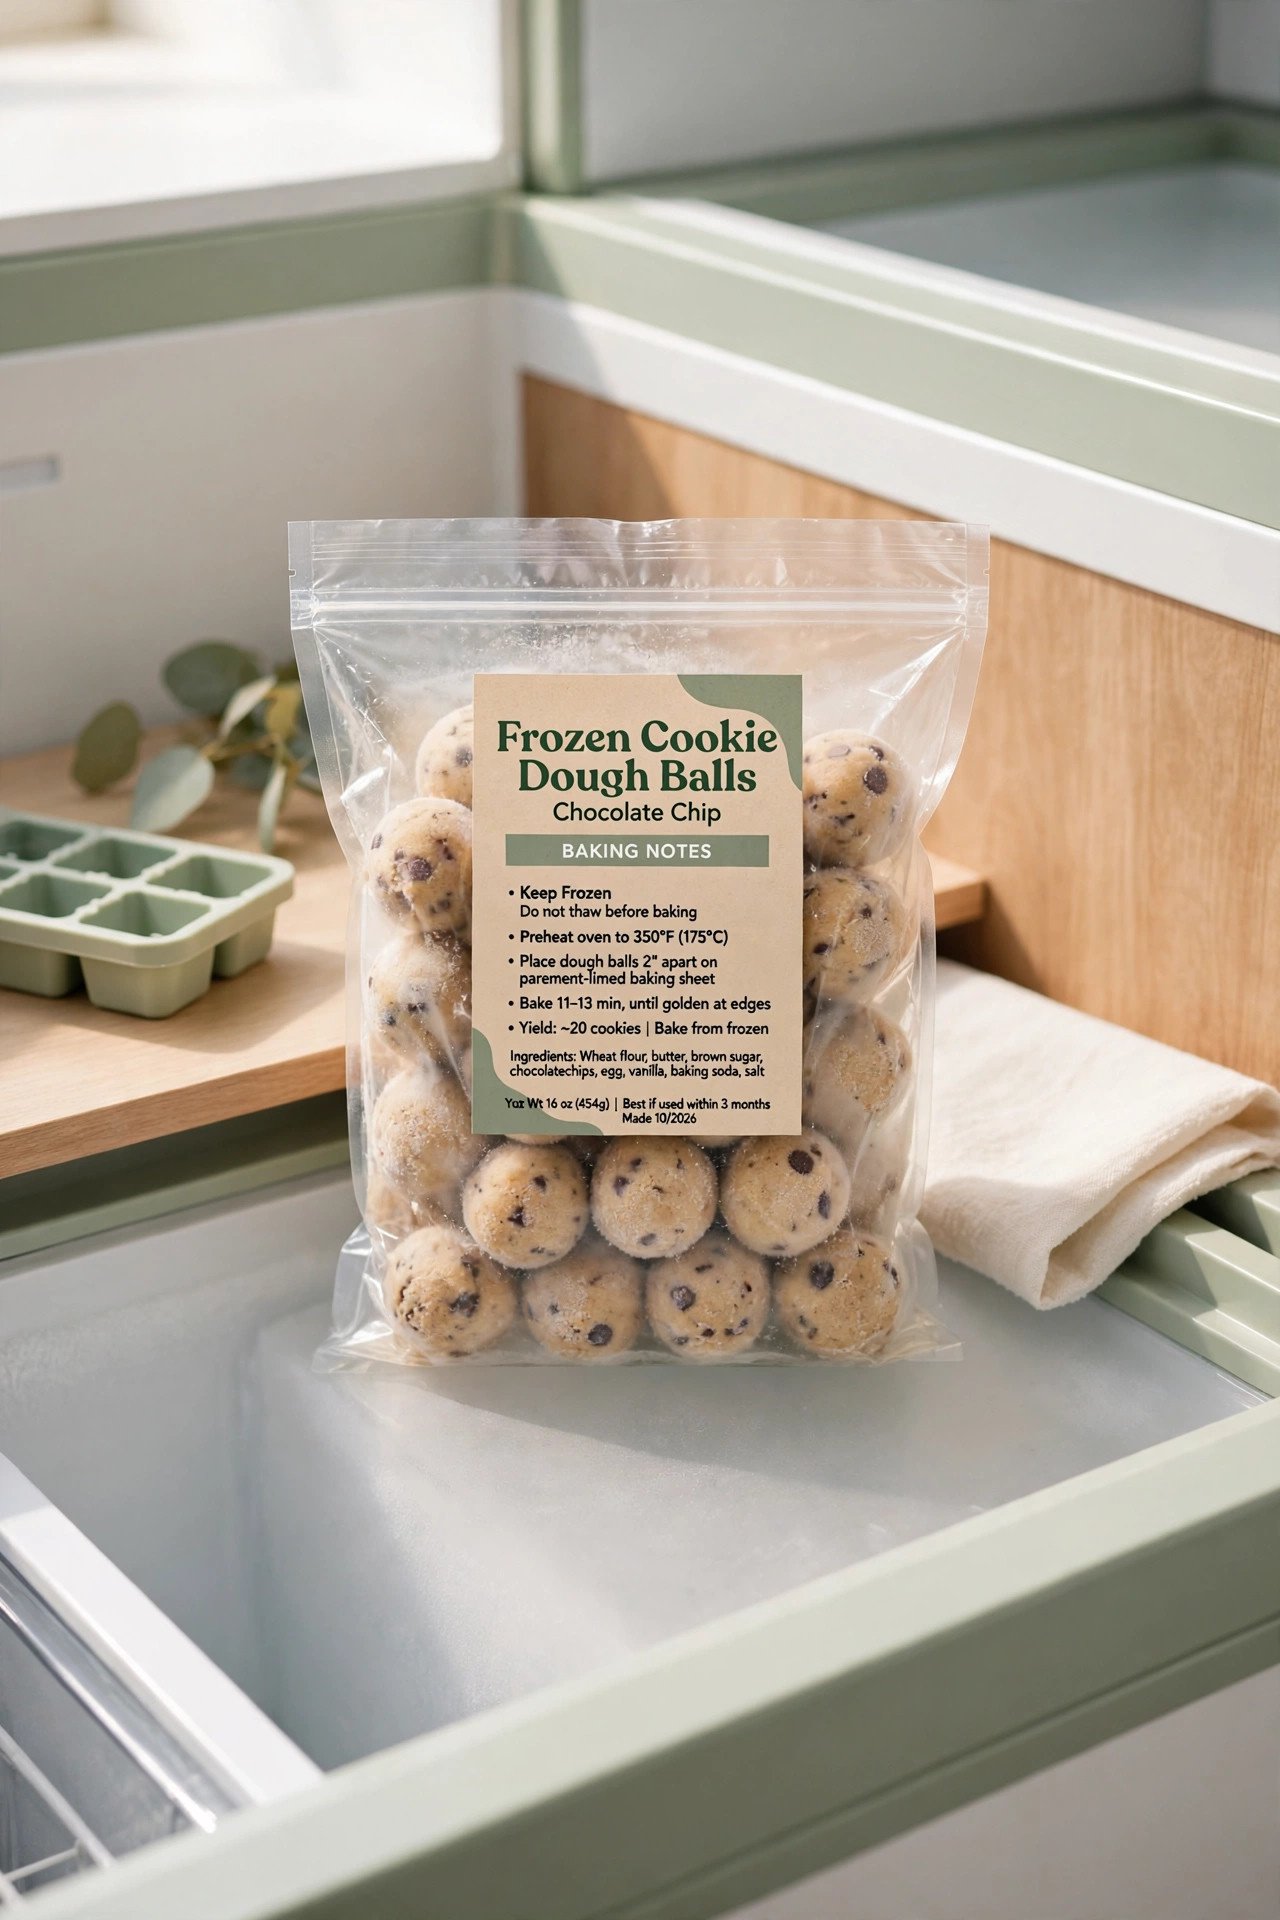
17. Freeze Cookie Dough in Pre-Portioned Balls
Fresh cookies on demand start with frozen dough balls. Scoop your dough into even portions, freeze them on a tray, then move them to a labeled bag. Bake straight from frozen whenever the craving hits.
Note the baking time and temperature on the bag label, adding a minute or two for frozen baking. Flat-freeze the bag so the balls do not crush each other. Portioned dough beats a frozen log you have to thaw and slice.
18. Use Vacuum-Sealed Bags for Long Storage
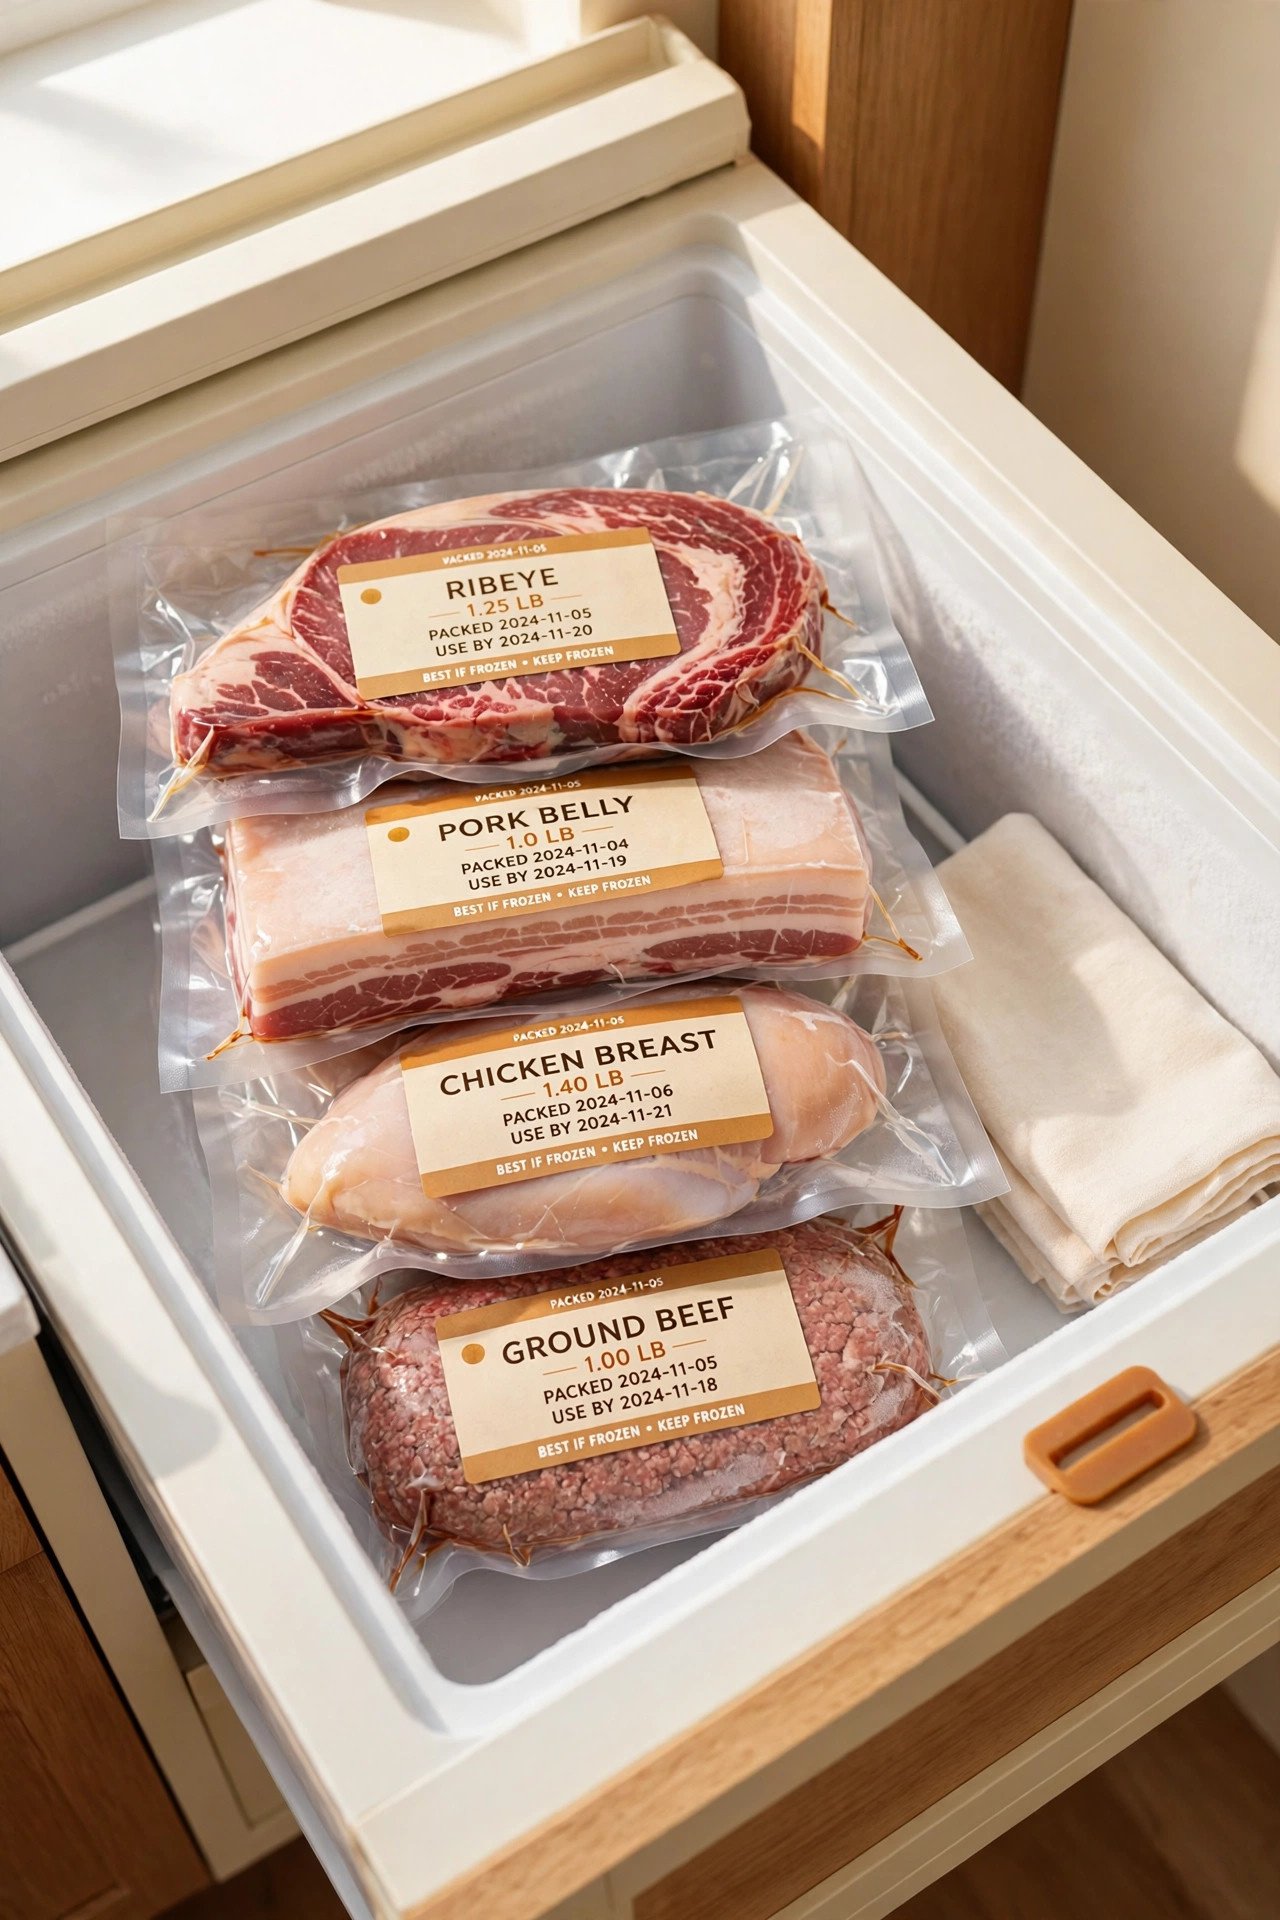
For meat you plan to keep for months, vacuum sealing is worth the effort. Removing nearly all the air prevents freezer burn far better than zip bags alone. Steaks and roasts emerge tasting freshly bought.
Label each sealed bag with the cut, weight, and date before it goes in. Freeze bags flat so they stack neatly in the meat zone. Vacuum sealing is the best defense for bulk buys and seasonal stock-ups.
19. Stand Flat Bags in a Magazine Holder
A sturdy magazine holder is the perfect file rack for flat-frozen bags. Slip it onto a shelf and slide the bags in upright, labels facing forward. Dinner options line up like magazines on a rack.
Use one holder per category, such as soups in one and marinated chicken in another. Plastic holders wipe clean and resist moisture. This cheap office supply solves the toppling-bag problem completely.
20. Dedicate a Bin to Ready-Made Dinners
Busy nights need grab-and-heat options. Keep casseroles, lasagnas, and prepped meal kits in one dedicated dinner bin. When energy runs low, the answer is already waiting.
Label each meal with reheating directions so anyone can cook it. For batch-cooking inspiration, pair this system with our pantry organization ideas for the dry goods side. A dinner bin turns your freezer into a personal takeout counter.

21. Freeze Broth in Silicone Muffin Molds
Broth frozen in a giant tub forces you to thaw more than you need. Pour it into silicone muffin molds so each portion equals about half a cup. Pop out exactly what the recipe calls for.
Once frozen solid, transfer the pucks to a labeled bag to free the molds. Stack the bag flat in the soup zone. Portioned broth also works for stock-based sauces and quick pan deglazing.

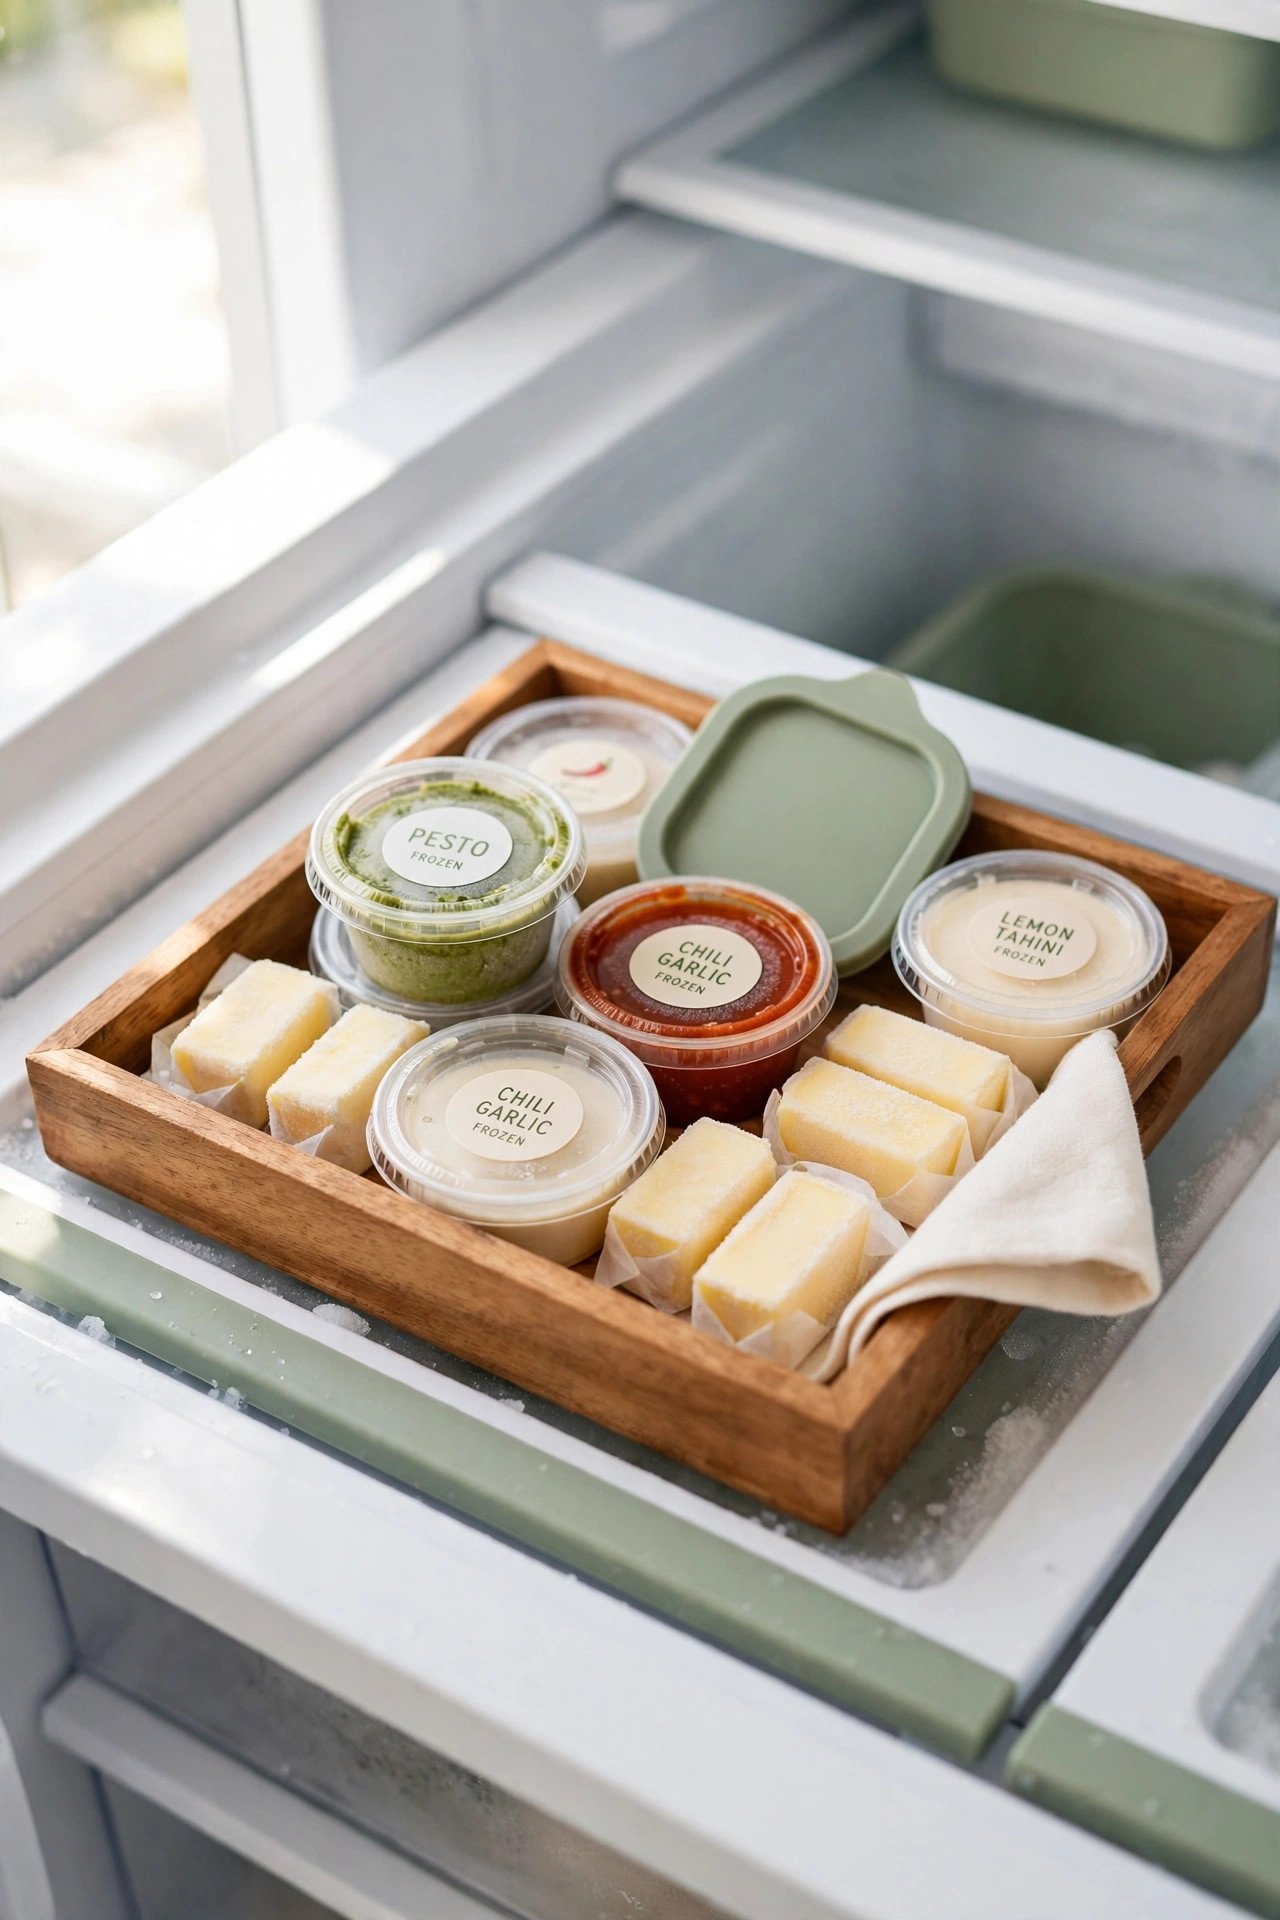
22. Corral Small Loose Items in Shallow Trays
Small items like sauce cups, butter pats, and ginger knobs scatter across shelves. A shallow tray corrals them into one tidy group that slides out for browsing. Tiny things stop disappearing.
Choose a tray with low sides so you can see everything inside. Group similar small items together rather than mixing them. This micro-zone keeps the fiddly bits from undermining the whole system.
23. Keep Ice Cream Together in a Door Bin
Ice cream tubs migrate to every corner of the freezer. Give them one door bin or a top-shelf zone where the whole collection lives together. Dessert decisions happen in one spot.
Store tubs lid-side up so they stack without sliding. If you buy pints often, a narrow bin keeps them from tipping. Keeping ice cream together also stops it from absorbing savory odors from nearby food.

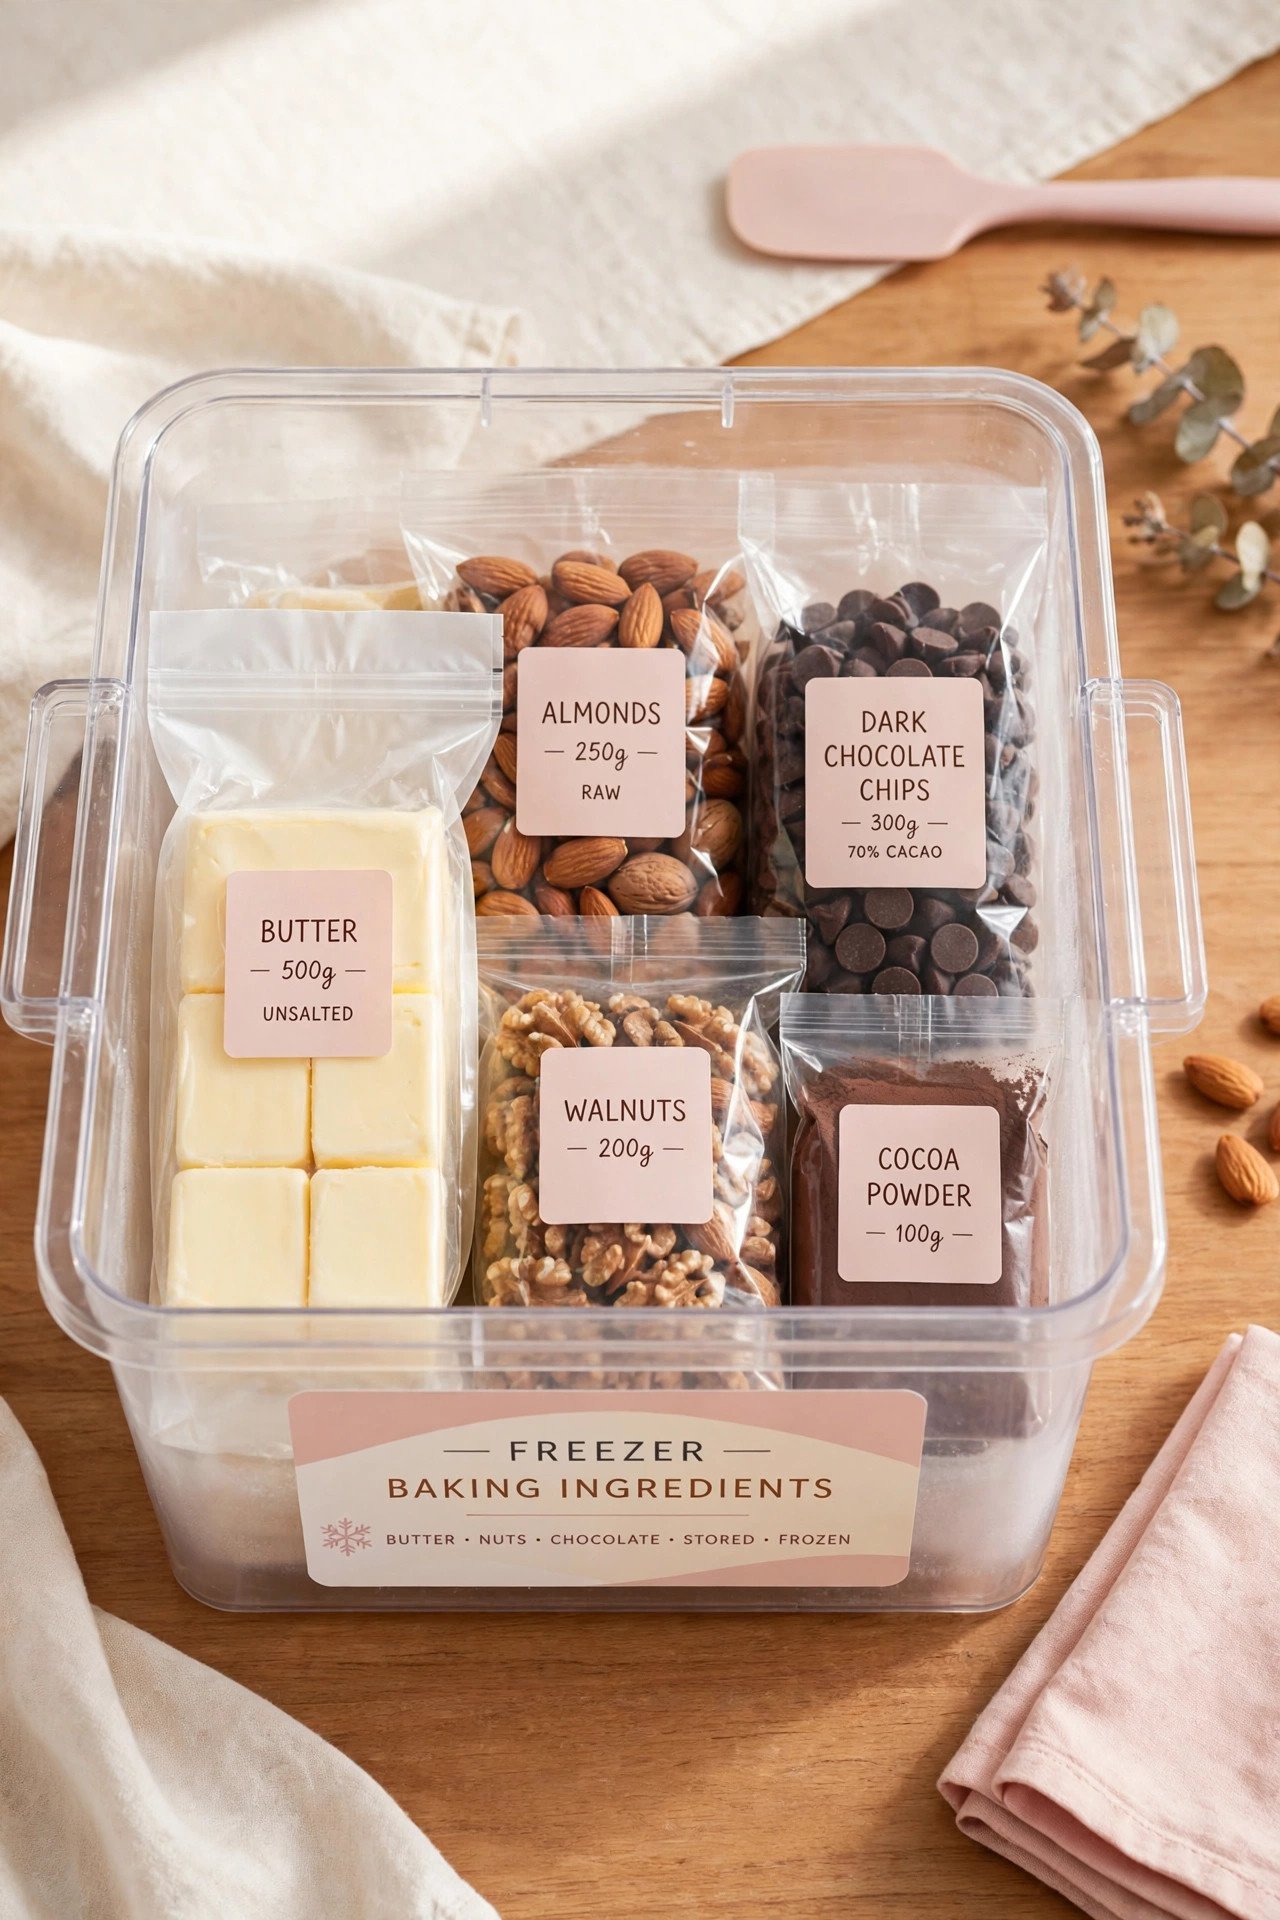
24. Group Freezer Baking Ingredients in One Bin
Butter, nuts, chocolate, and shredded coconut keep best in the freezer, but they scatter easily. One dedicated bin gathers all your baking ingredients where you can find them before a baking day. Nothing hides behind the peas.
Label the bin clearly so it never fills with random leftovers. Keep nuts and chocolate in sealed bags inside the bin to block moisture. A baking bin in the freezer pairs perfectly with an organized baking zone in the kitchen.
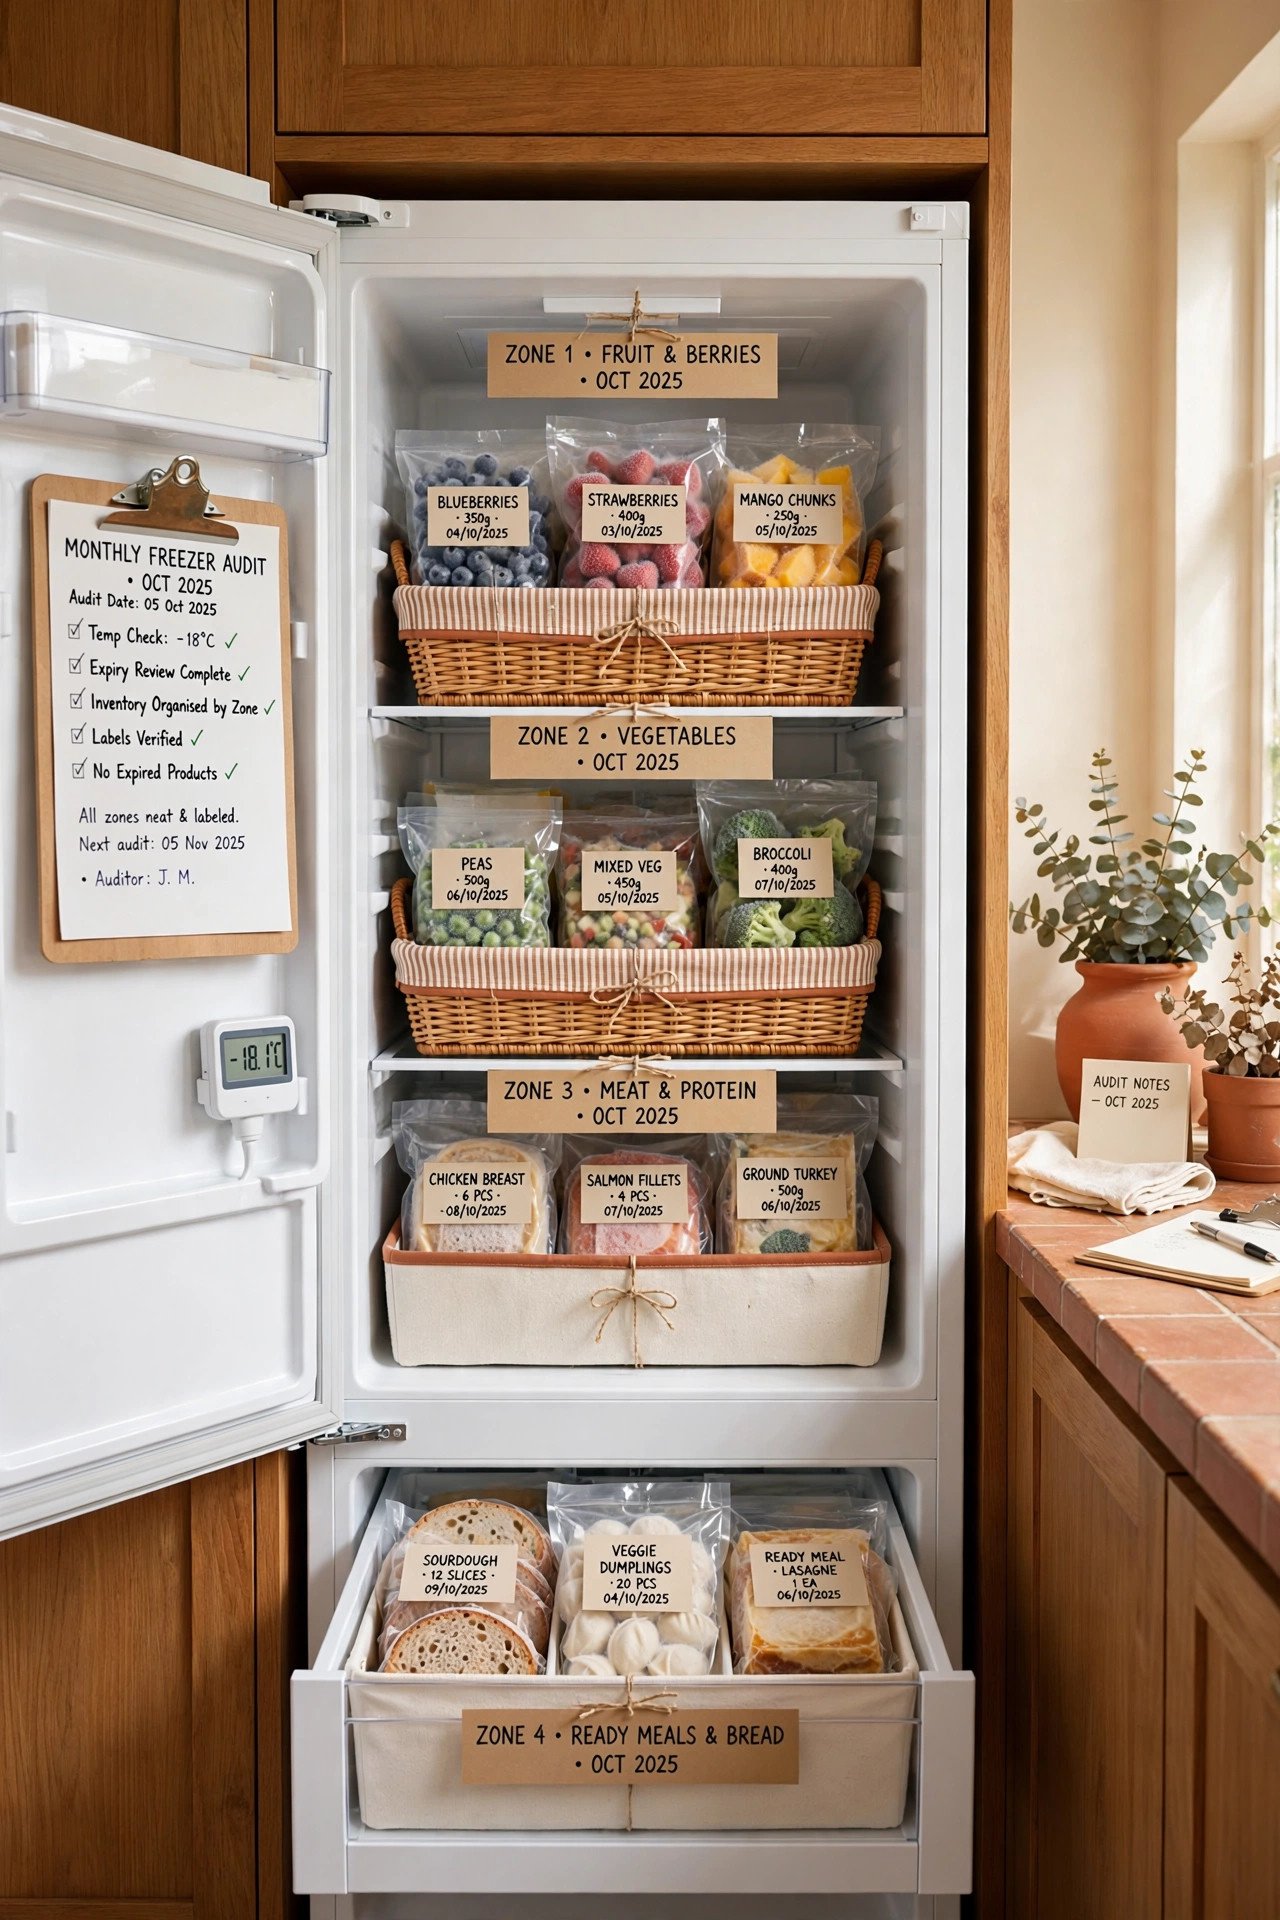
25. Do a Monthly Freezer Audit to Stay on Track
Even the best system drifts over time. Once a month, pull everything out, toss anything past its prime, and update your inventory list. The whole audit takes about twenty minutes.
Wipe the shelves while they are empty, then reload by zone with older items in front. Note what you actually used so your next shopping trip matches real habits. A monthly reset keeps all 24 ideas above working for years.
Conclusion
An organized freezer saves you money, time, and weeknight stress. With labeled zones, flat-frozen bags, and a simple inventory, you will always know what is for dinner before you open the door.
Start with the bins and the labels, since those two changes do most of the work. Your future self will thank you every single time the freezer opens without an avalanche.
Frequently Asked Questions
How do I organize a freezer so I can find food quickly?
Sort food into labeled bins by category, freeze bags flat and file them upright, and keep an inventory list on the door. Grouping like items together and labeling everything with contents and date makes any item findable in seconds.
What is the best way to freeze soup without wasting space?
Pour cooled soup into zip bags, press out the air, and freeze them flat on a tray. Once solid, file the flat bags upright in a bin like folders. Flat freezing stacks neatly and thaws faster than bulky containers.
How do I prevent freezer burn on meat?
Wrap meat tightly with plastic wrap pressed directly against the surface, then add a second layer of foil or a zip bag. For long storage, vacuum-sealed bags work best. Removing air before freezing is the key step that prevents freezer burn.
How should I organize a chest freezer?
Use hanging baskets or stackable crates to create lift-out layers inside a chest freezer. Assign each basket a category and label the handles. Layering stops food from vanishing into one deep pit and makes the bottom reachable.
How often should I clean out my freezer?
Do a quick audit once a month: pull everything out, toss expired items, wipe the shelves, and update your inventory list. Reload by zone with older items in front. A twenty-minute monthly reset keeps the whole system working.

Hi, I’m Emily! I turn messy corners into cozy, organized spots. DreamNestDecor is where I share simple, practical home ideas — decor, organization, and small-space solutions that work in real life, not just in photos. Every idea here is carefully researched before it’s shared.