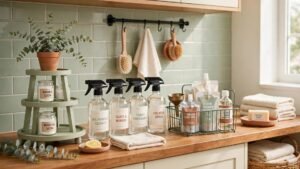


Every spray bottle under your sink tells the same story: a different brand, a different shape, and a different half-empty promise. Buying cleaner after cleaner gets expensive, and the plastic pile grows with every shopping trip.
A DIY cleaning refill station changes the whole equation. You buy concentrated refills once, mix your own solutions in labeled bottles, and cut both waste and clutter. These twelve ideas will help you build a refill station that looks beautiful and works beautifully.
1. Choose the Laundry Room for Your Station
The laundry room is the natural home for a refill station. It already handles water, mess, and supplies, and most homes have an unused stretch of wall or counter there. A dedicated zone keeps mixing supplies away from food areas and curious little hands.
Claim a shelf or a corner counter and define it with a tray or mat. Your laundry room already hosts your washer and dryer, so adding a refill zone makes it the true cleaning headquarters of your home.

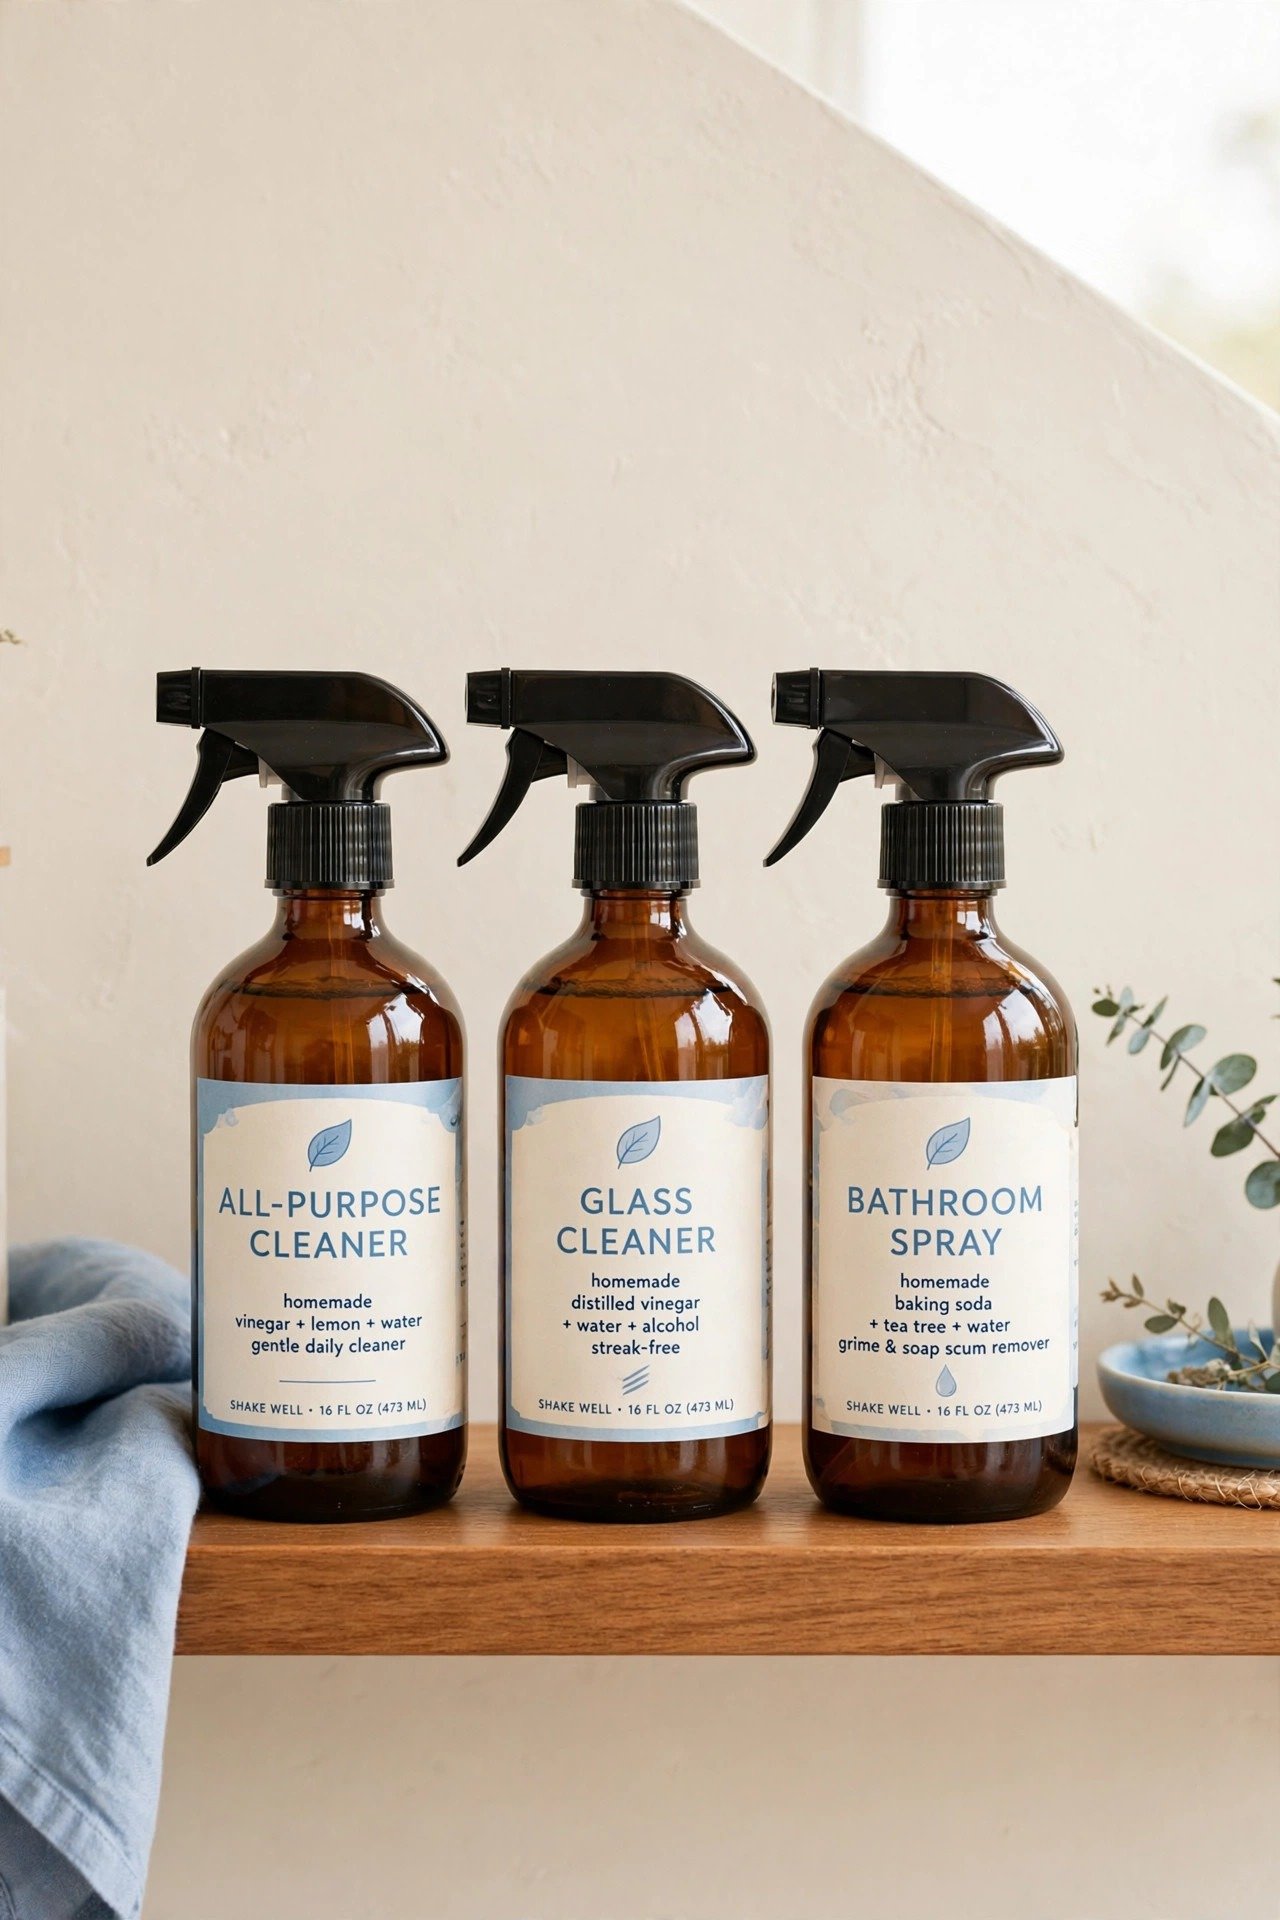
2. Decant Liquids Into Labeled Glass Bottles
Matching glass spray bottles instantly turn a cluttered cabinet into a cohesive station. Decant your all-purpose cleaner, glass cleaner, and bathroom spray into identical bottles with clear printed labels. You will always know what is inside, and the uniform look feels wonderfully calm.
Choose bottles with adjustable spray nozzles so one bottle handles misting and streaming. Amber or frosted glass protects light-sensitive solutions. Readable labels are non-negotiable, especially when homemade mixtures look alike.
3. Mount a Wall Rail for Spray Bottles
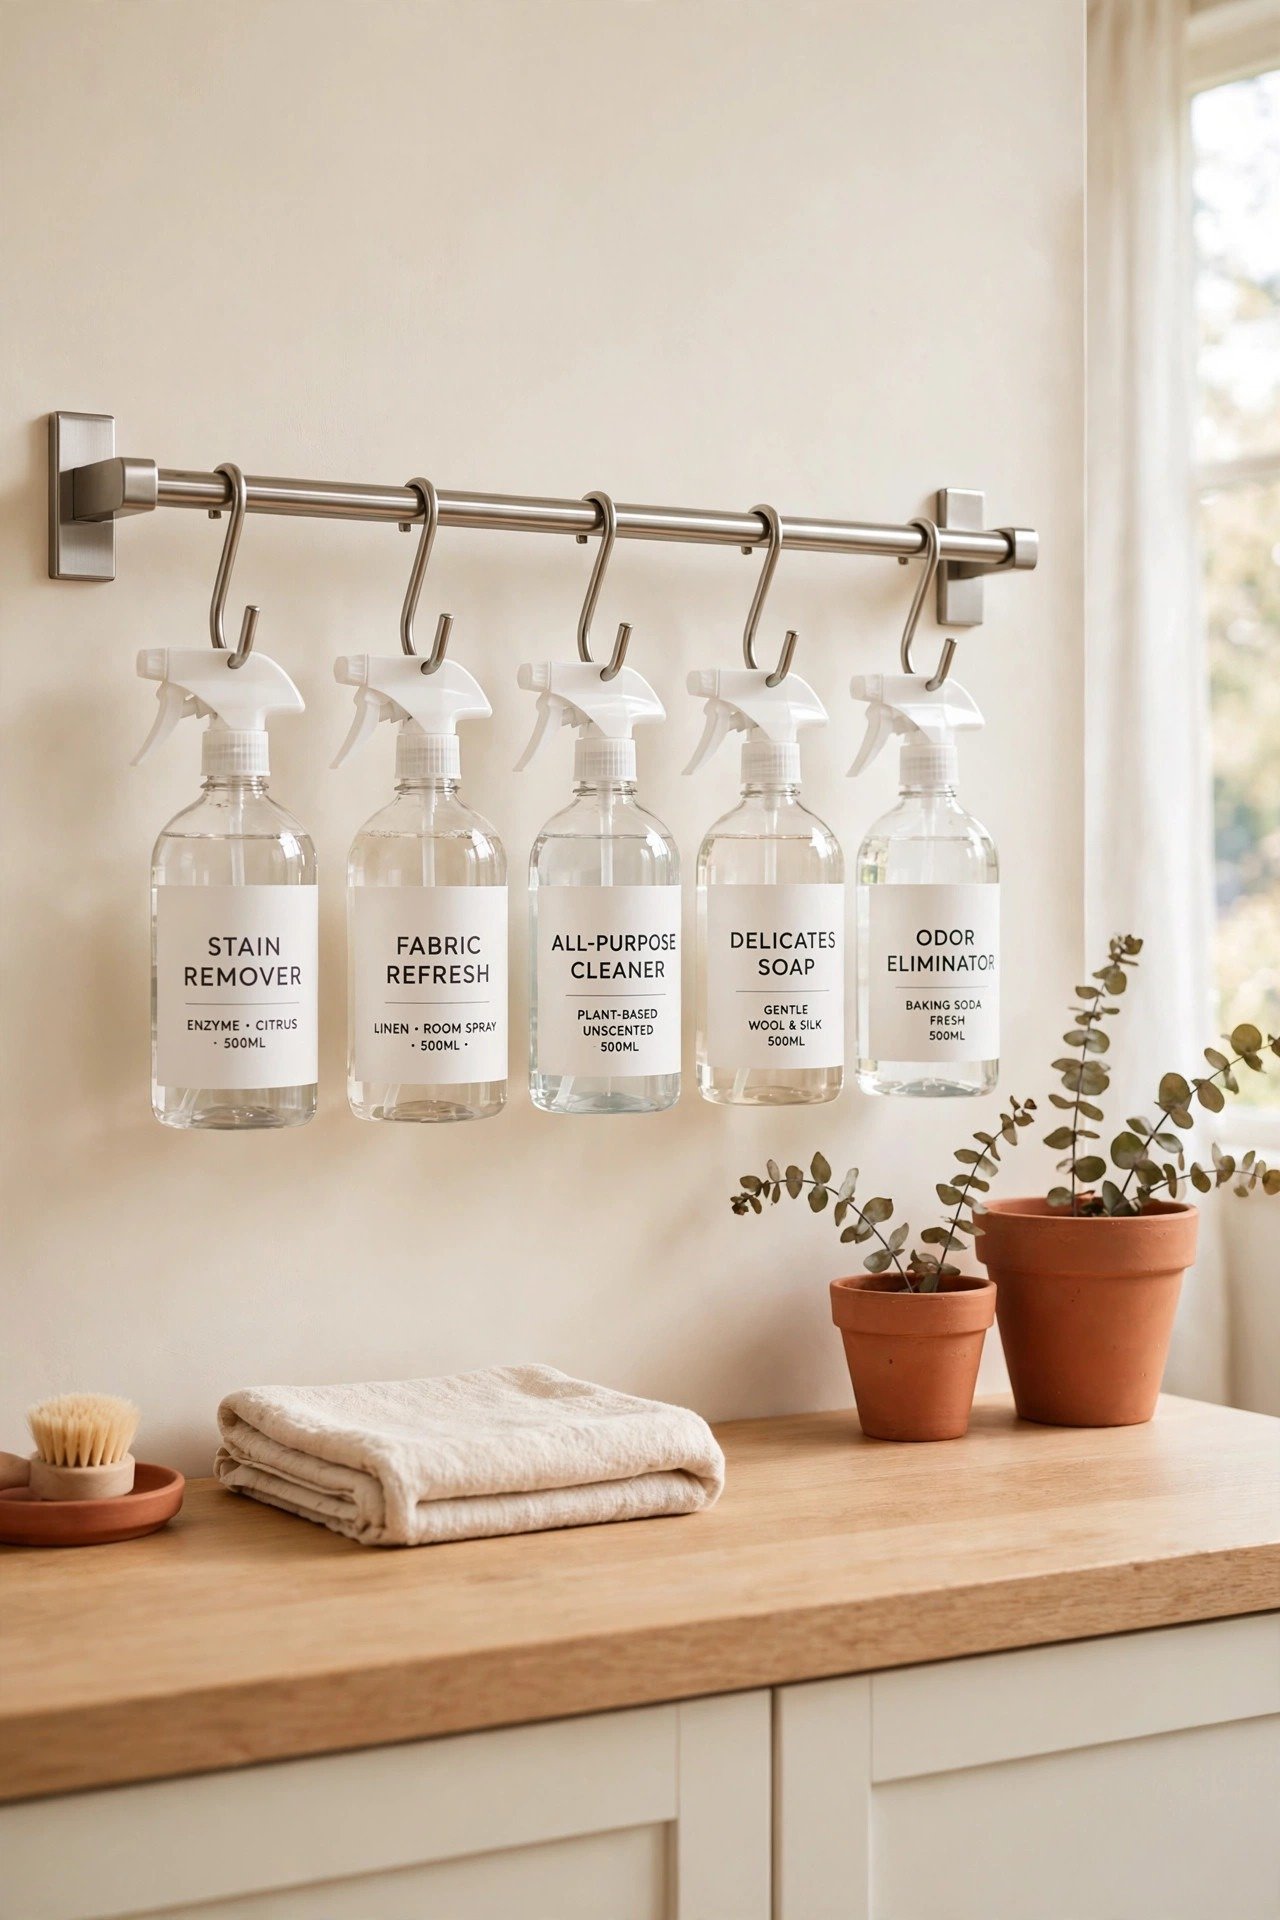
A wall-mounted rail with hooks lifts your spray bottles off the counter and into easy reach. Hang each bottle by its trigger so labels face forward and nothing tips over. The vertical display keeps your mixing surface completely clear.
Install the rail at a comfortable height above your work area. Stainless steel rails handle bathroom humidity well and wipe clean in seconds. This simple addition makes your station feel like a professional cleaning caddy.
4. Keep Concentrates in a Lidded Caddy
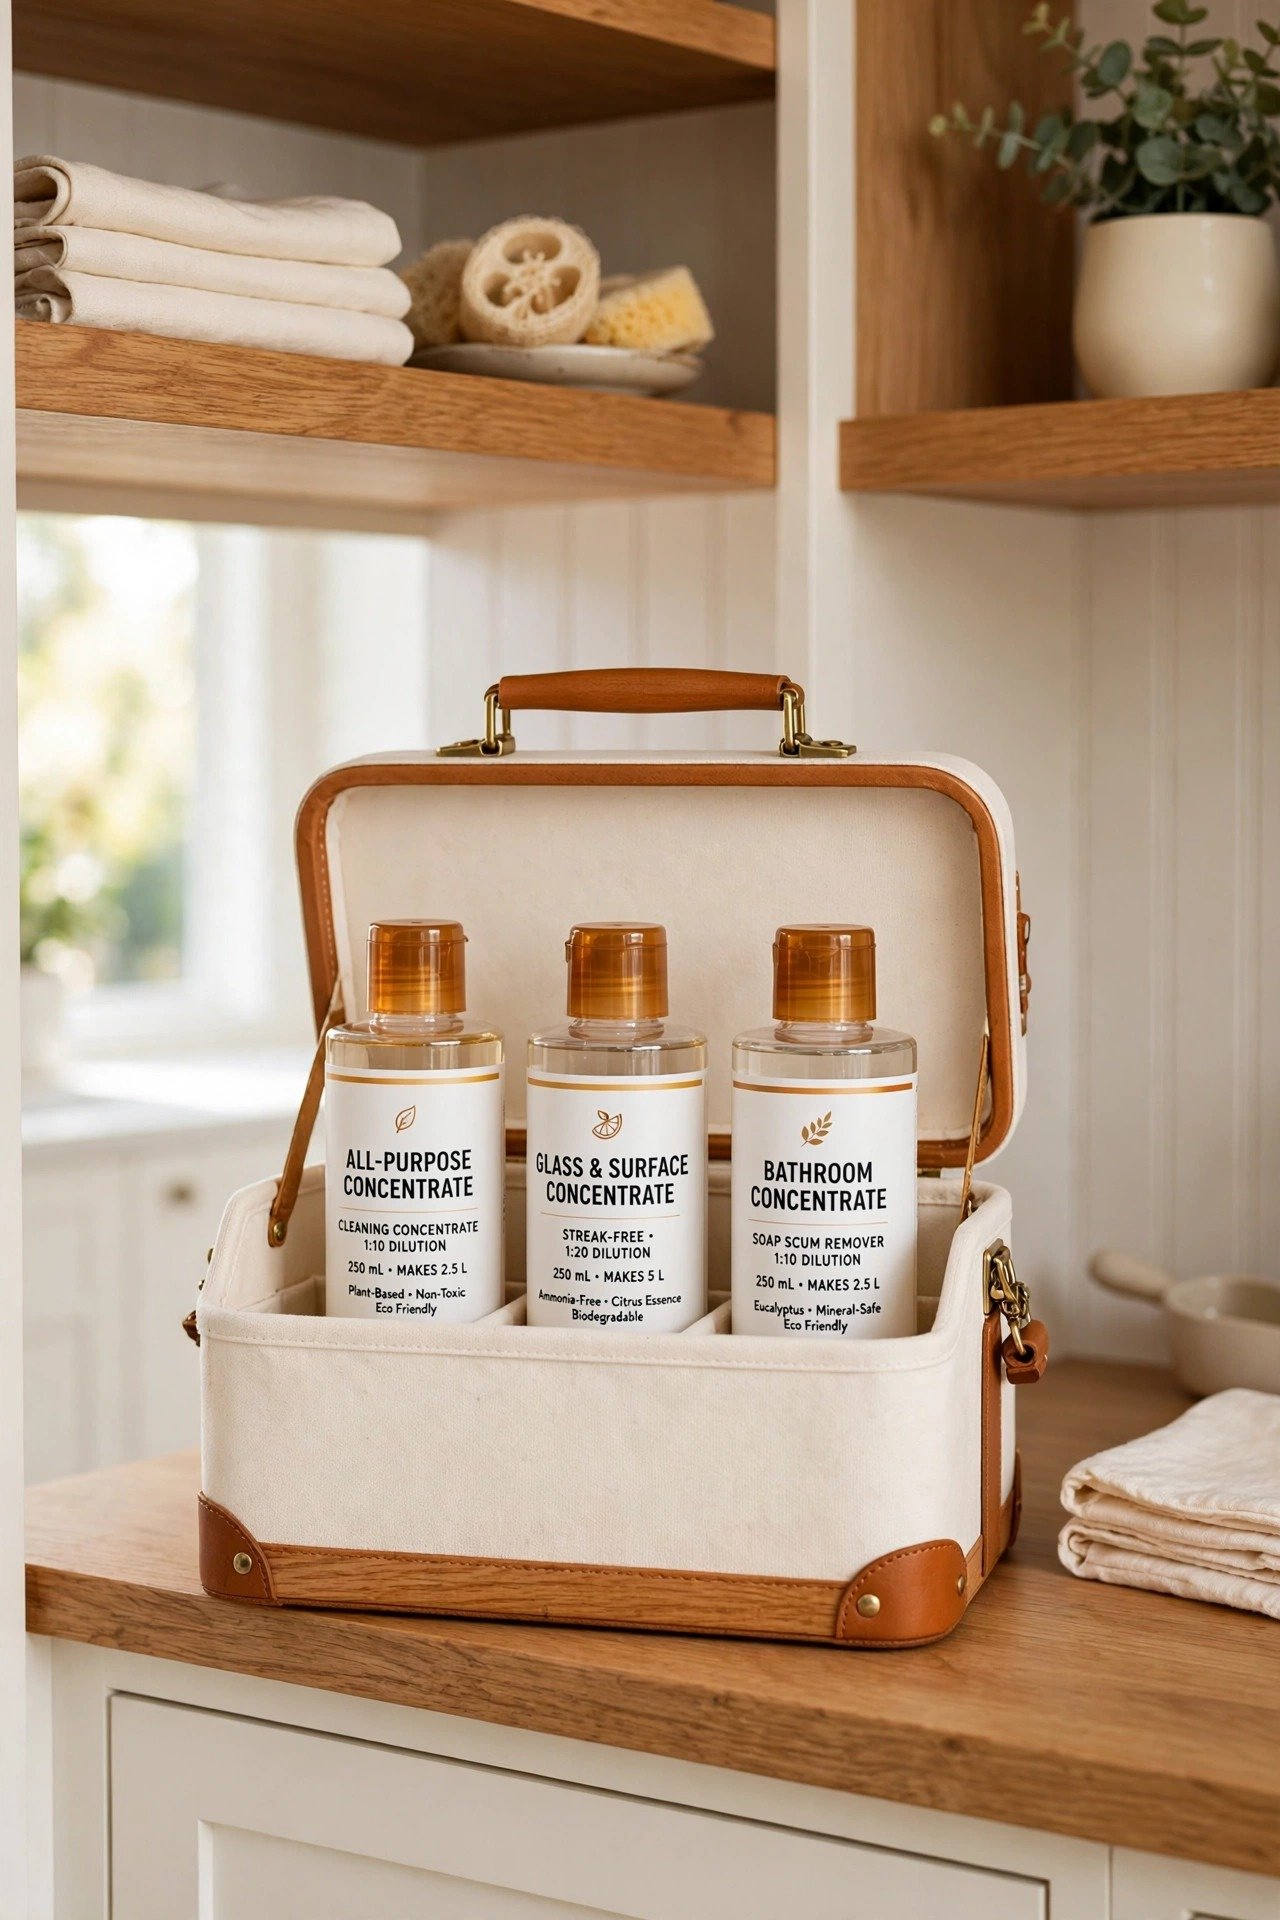
Concentrated refills are the heart of your station, and they deserve a dedicated home. A lidded caddy with a handle holds your concentrate bottles upright and portable. Carry the caddy to the sink when you mix a fresh batch, then return it to its shelf.
The lid keeps dust out and prevents accidental spills between uses. Label the caddy clearly so family members know these are concentrates, not ready-to-use cleaners. One caddy can replace a whole shelf of mismatched store-bought bottles.
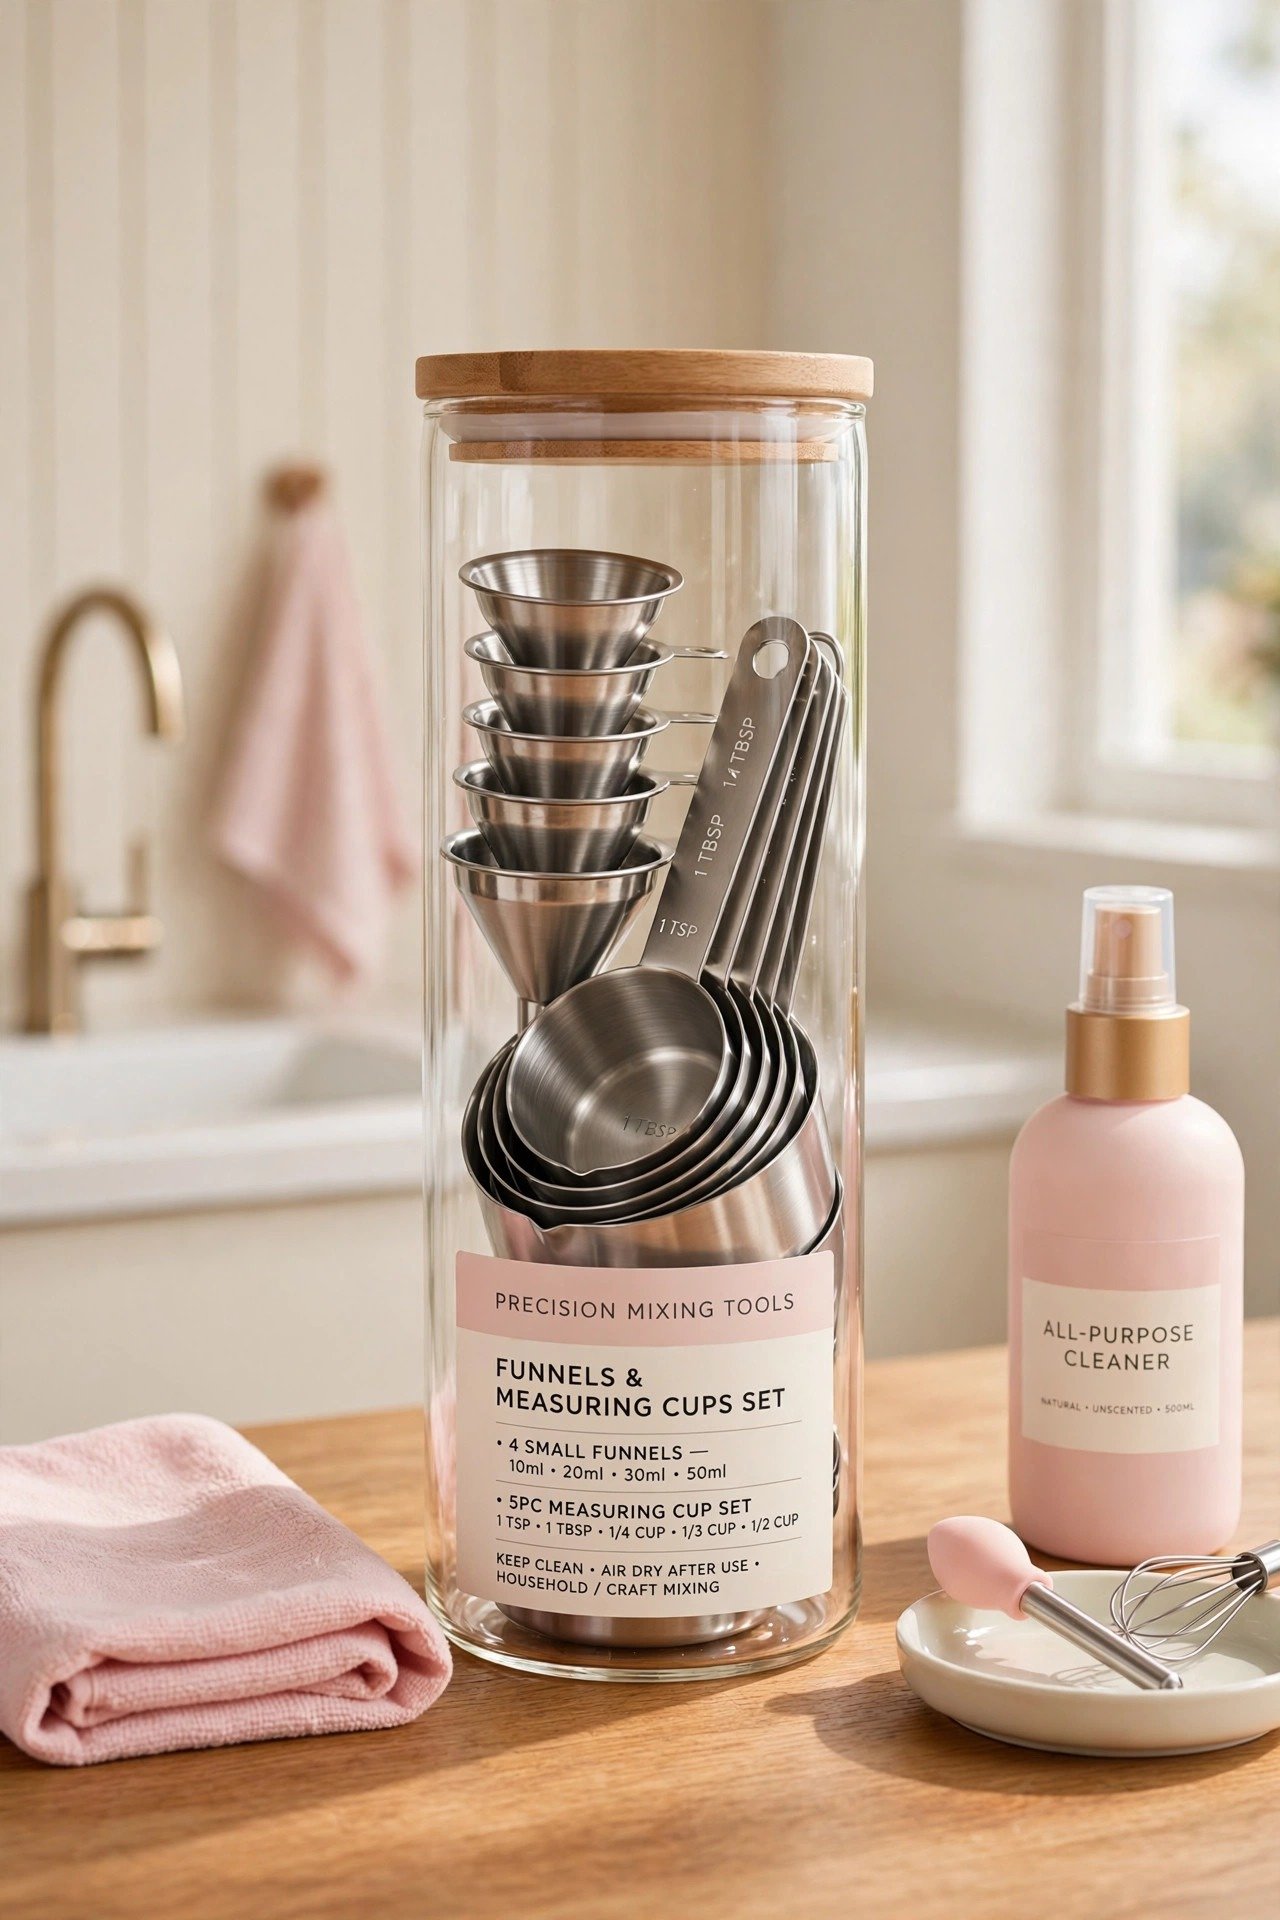
5. Add Funnels and a Measuring Cup Set
Pouring concentrate into a narrow spray bottle without a funnel is a recipe for sticky counters. Keep a dedicated set of small funnels and measuring cups at your station. Precise measurements mean your homemade solutions actually work as intended.
Store the funnels in a tall labeled jar so they stay clean and upright. Rinse them after each use and let them air dry before putting them away. These humble tools are what separate a real refill station from a messy shelf of bottles.
6. Store Cloths in a Labeled Bin
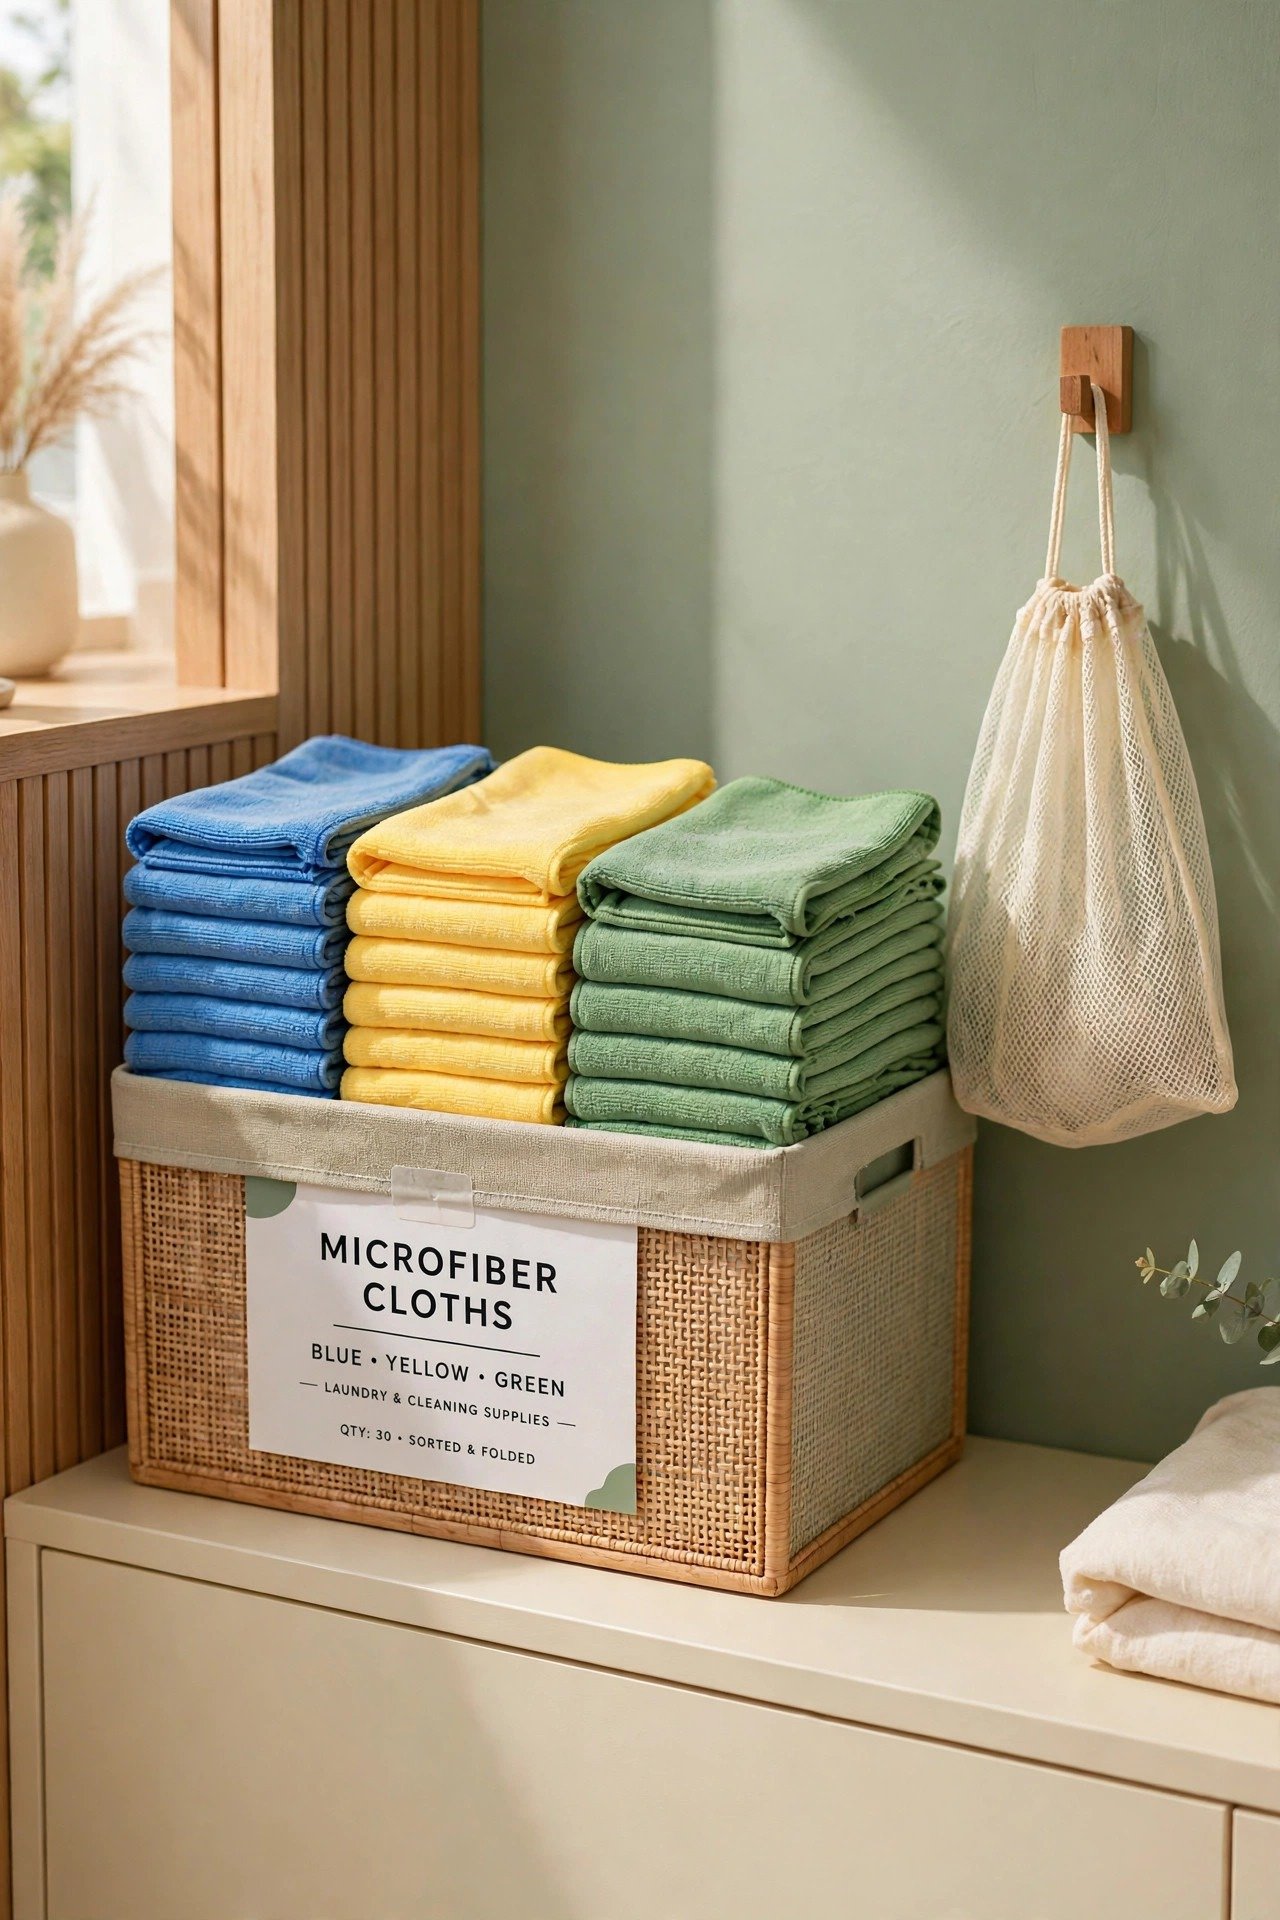
Microfiber cloths are essential partners for your homemade cleaners. Keep a generous stack in a labeled bin right at the station so you never hunt for a clean cloth mid-task. Separate bins for fresh and used cloths keep the system hygienic.
Color-code your cloths by task: blue for glass, yellow for bathrooms, green for kitchens. Toss used cloths into a small laundry bag hanging beside the bin. A well-stocked cloth bin makes your refill station genuinely useful every single day.
7. Hang a Fold-Down Shelf as a Mixing Counter
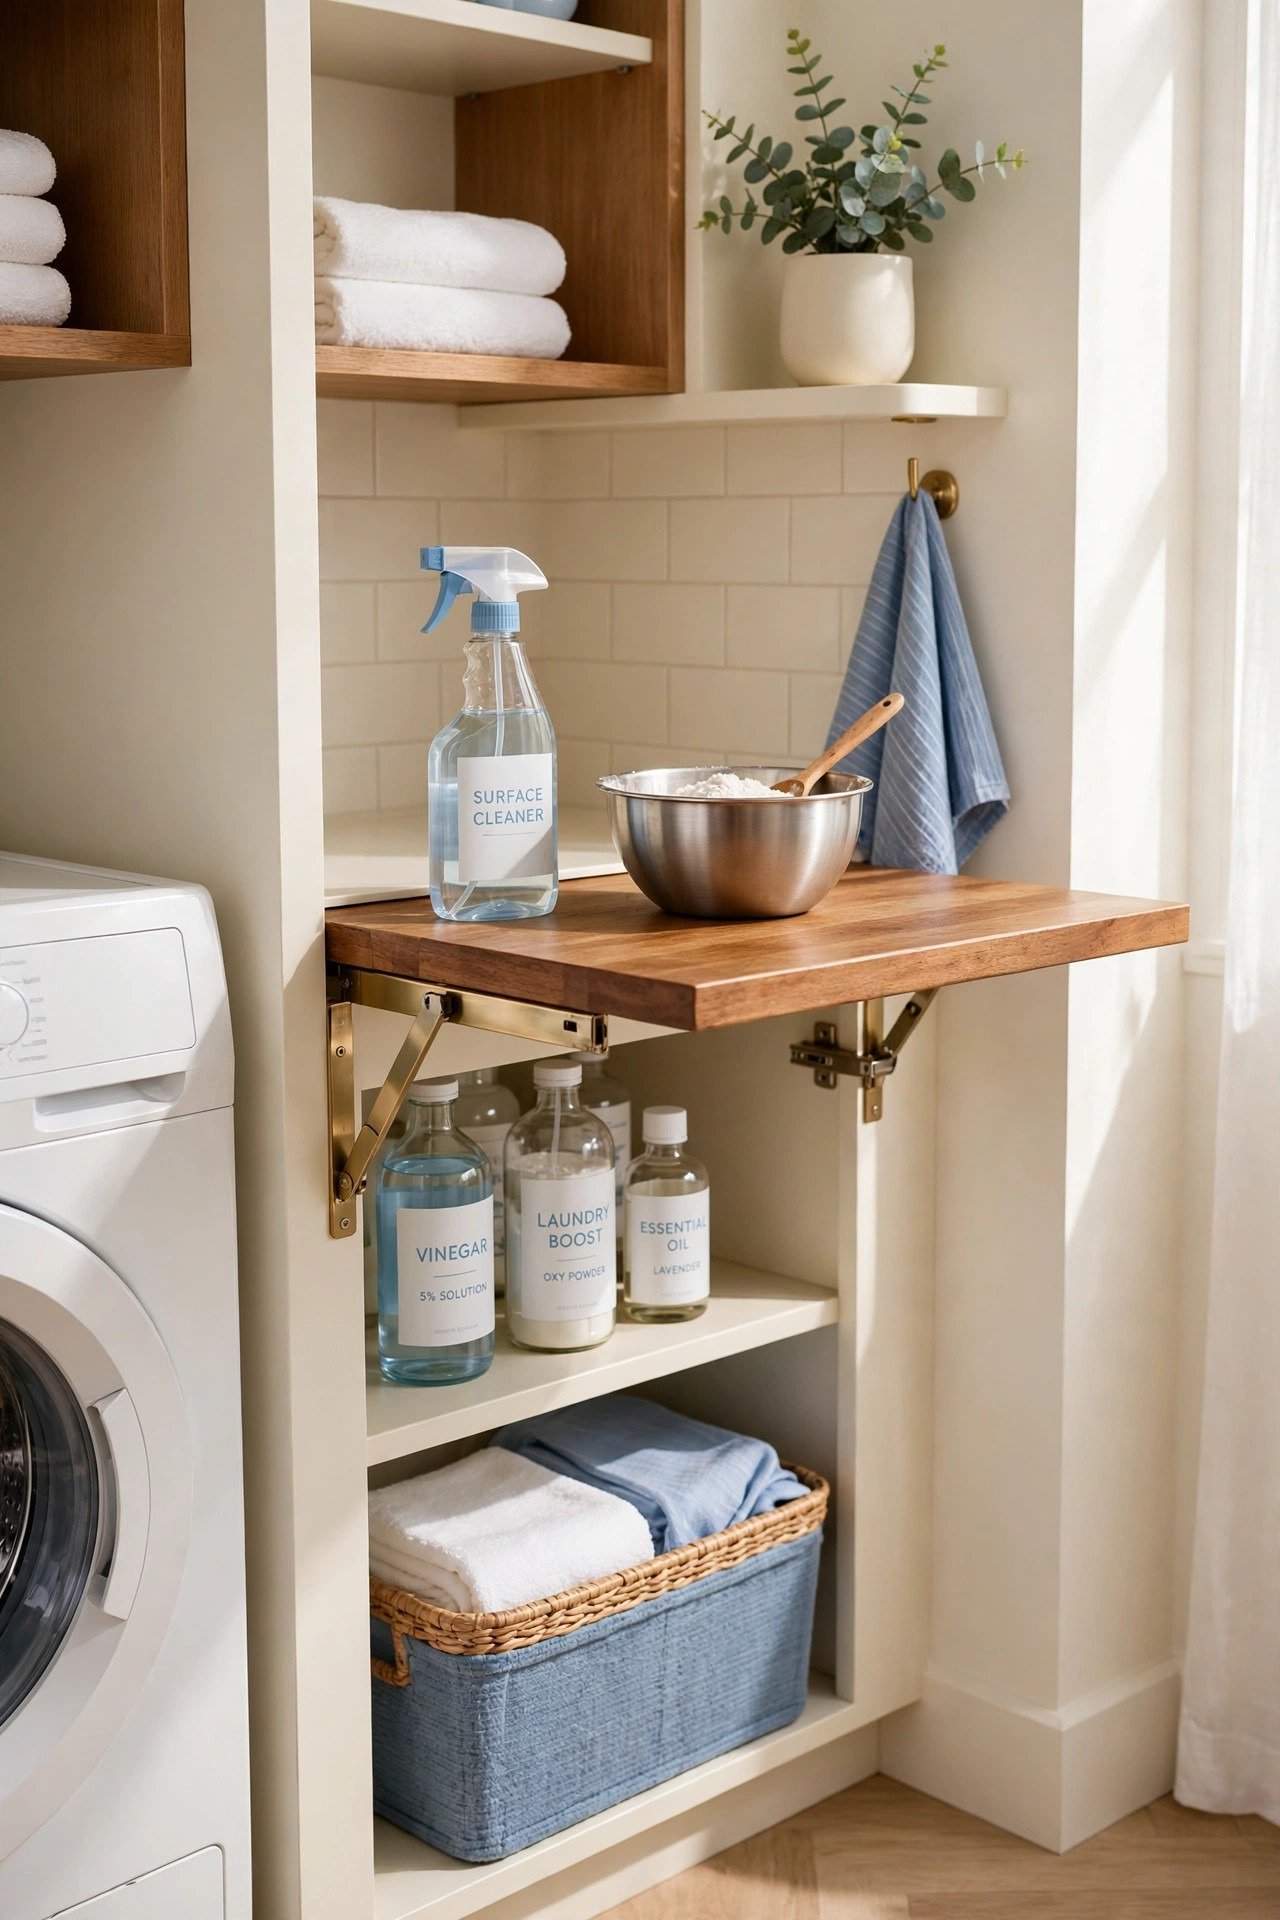
A wall-mounted fold-down shelf gives you a mixing surface exactly when you need it. Fold it up to mix a fresh batch of all-purpose spray, then fold it flat against the wall when you finish. Small laundry rooms gain a work counter without losing any floor space.
Choose a sturdy shelf rated for the weight of full bottles and a mixing bowl. Wipe it down after each mixing session so residue never builds up. This clever surface turns any blank wall into a functional part of your station.
8. Stock Refills in Clear Stackable Canisters
Powdered refills like laundry booster, dishwasher powder, and scrubbing soda need airtight homes. Clear stackable canisters show you exactly how much remains, so you never run out mid-load. The uniform shape stacks neatly on a shelf without wasted space.
Add printed labels with the product name and the scoop ratio for each canister. Keep a dedicated scoop inside each one for fast measuring. Airtight lids protect powders from laundry room humidity, which keeps them clump-free and effective.

9. Track Supplies on a Small Inventory Board
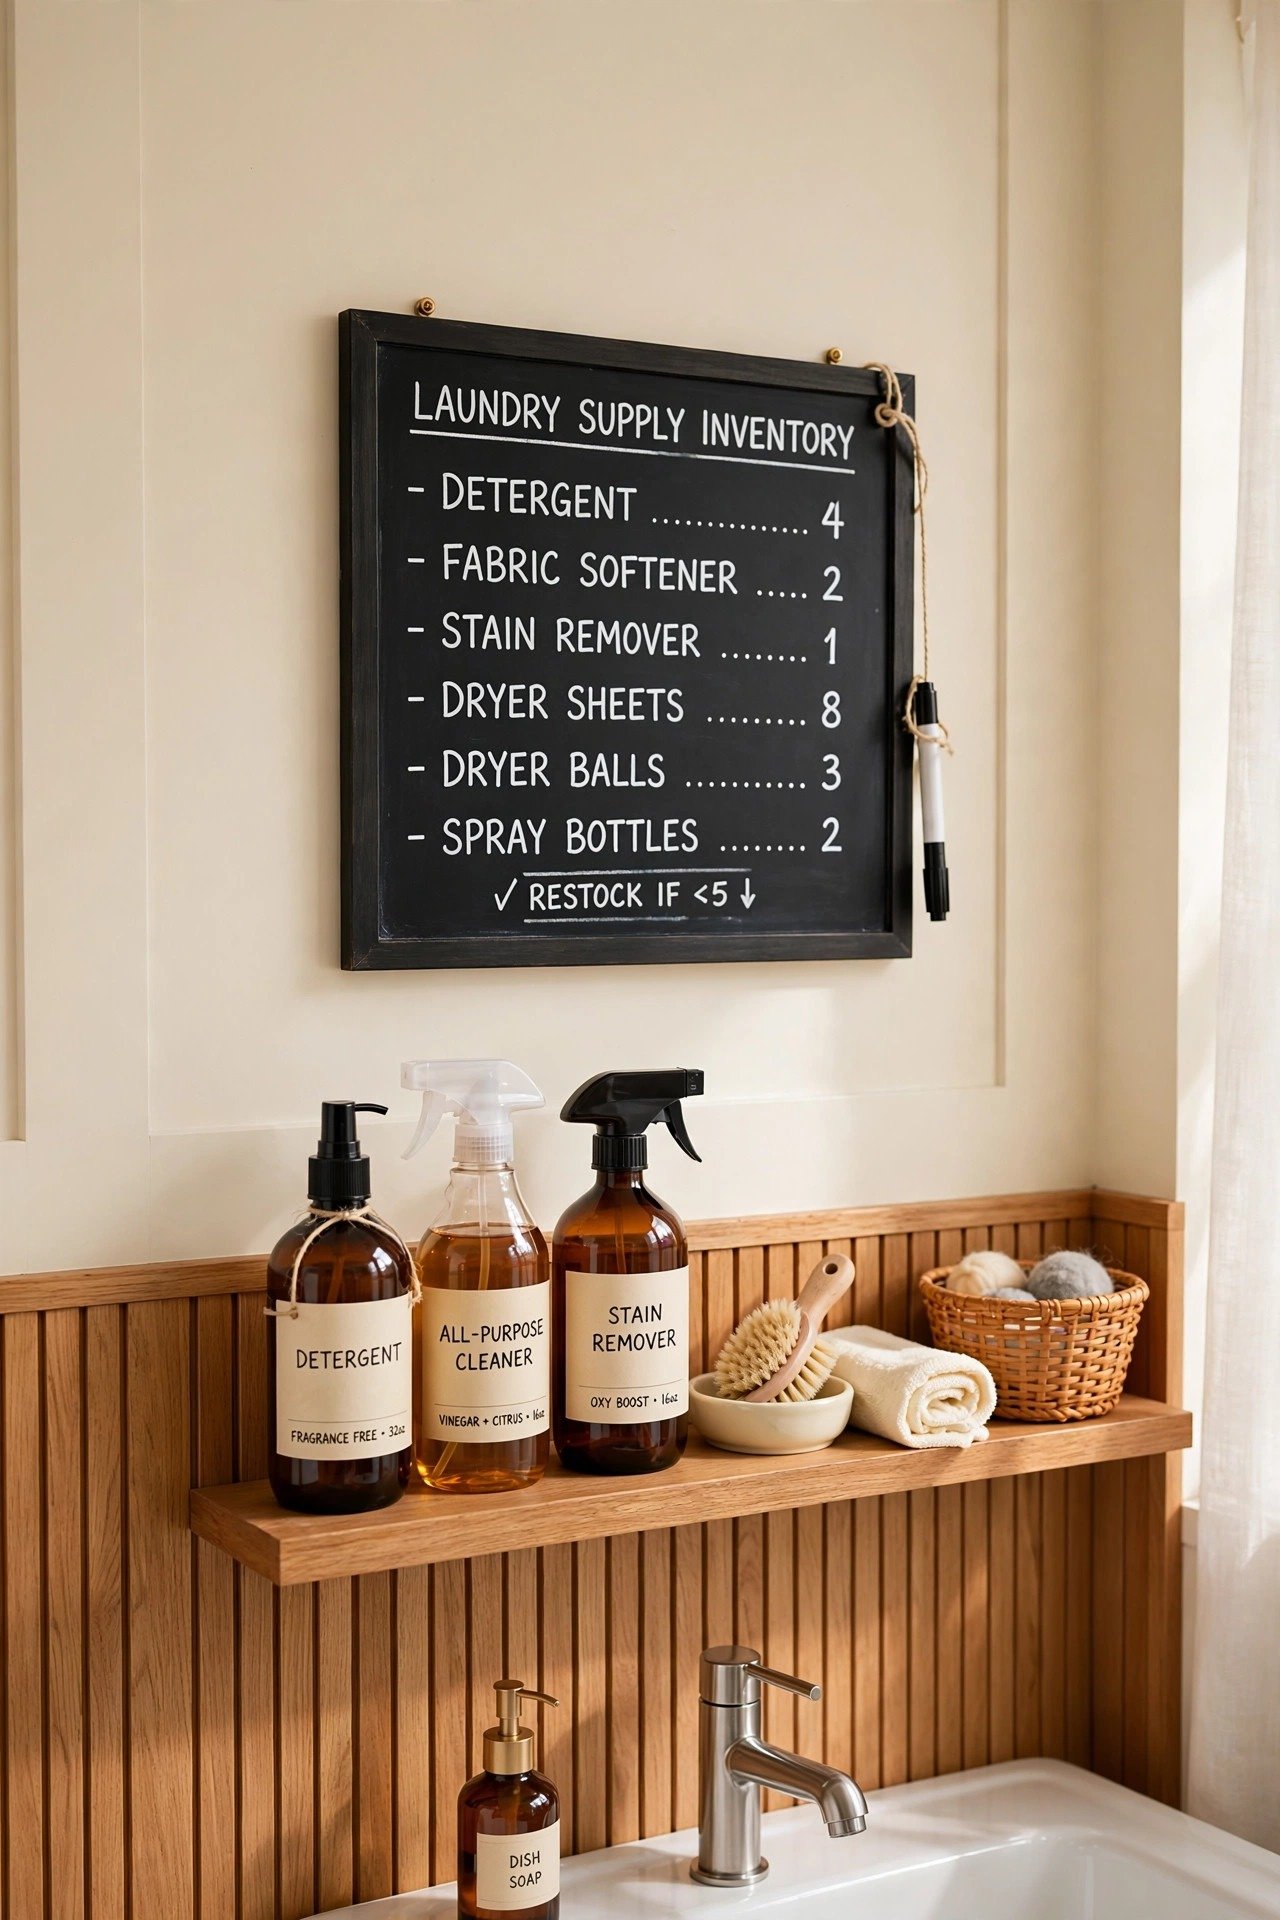
A small chalkboard or whiteboard mounted near your station tracks what is running low. Jot down each concentrate as it dips below half, and snap a photo of the board before shopping trips. You will never buy a third bottle of glass cleaner concentrate again.
Keep a marker attached to the board with a string so it never wanders off. Update the board during your monthly station reset. This simple habit is the difference between a station that saves money and one that quietly duplicates supplies.
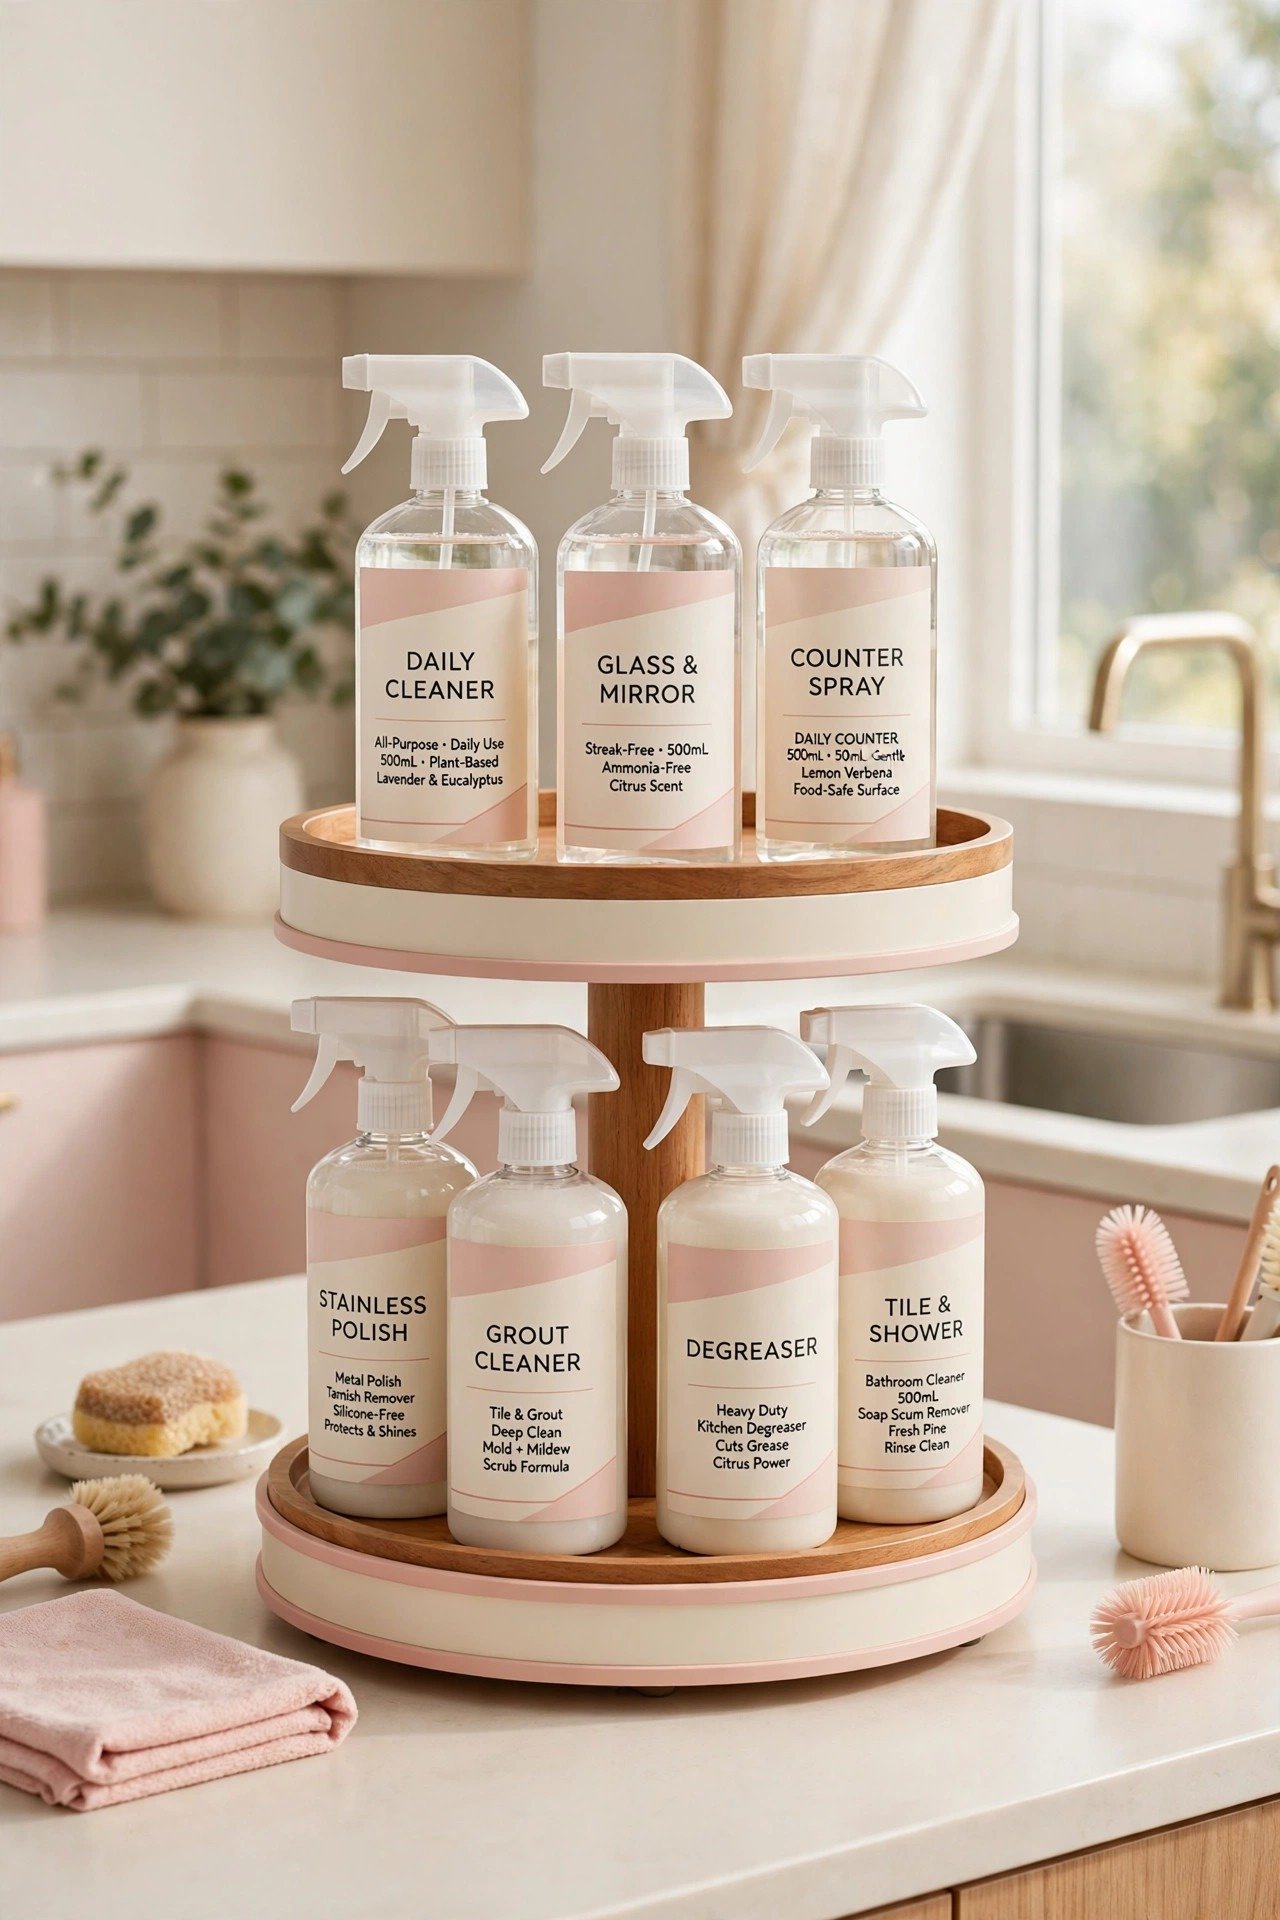
10. Stage Daily Sprays on a Tiered Stand
A two-tier stand holds your most-used daily sprays at grab-and-go height. The all-purpose cleaner, bathroom spray, and glass cleaner you reach for every day live on the top tier. Less-used specialty cleaners wait on the bottom level.
Rotate the stand so labels face forward after each use. A lazy Susan base makes this effortless with one quick spin. Staging daily sprays this way means your station works for quick cleanups, not just deep-cleaning days.
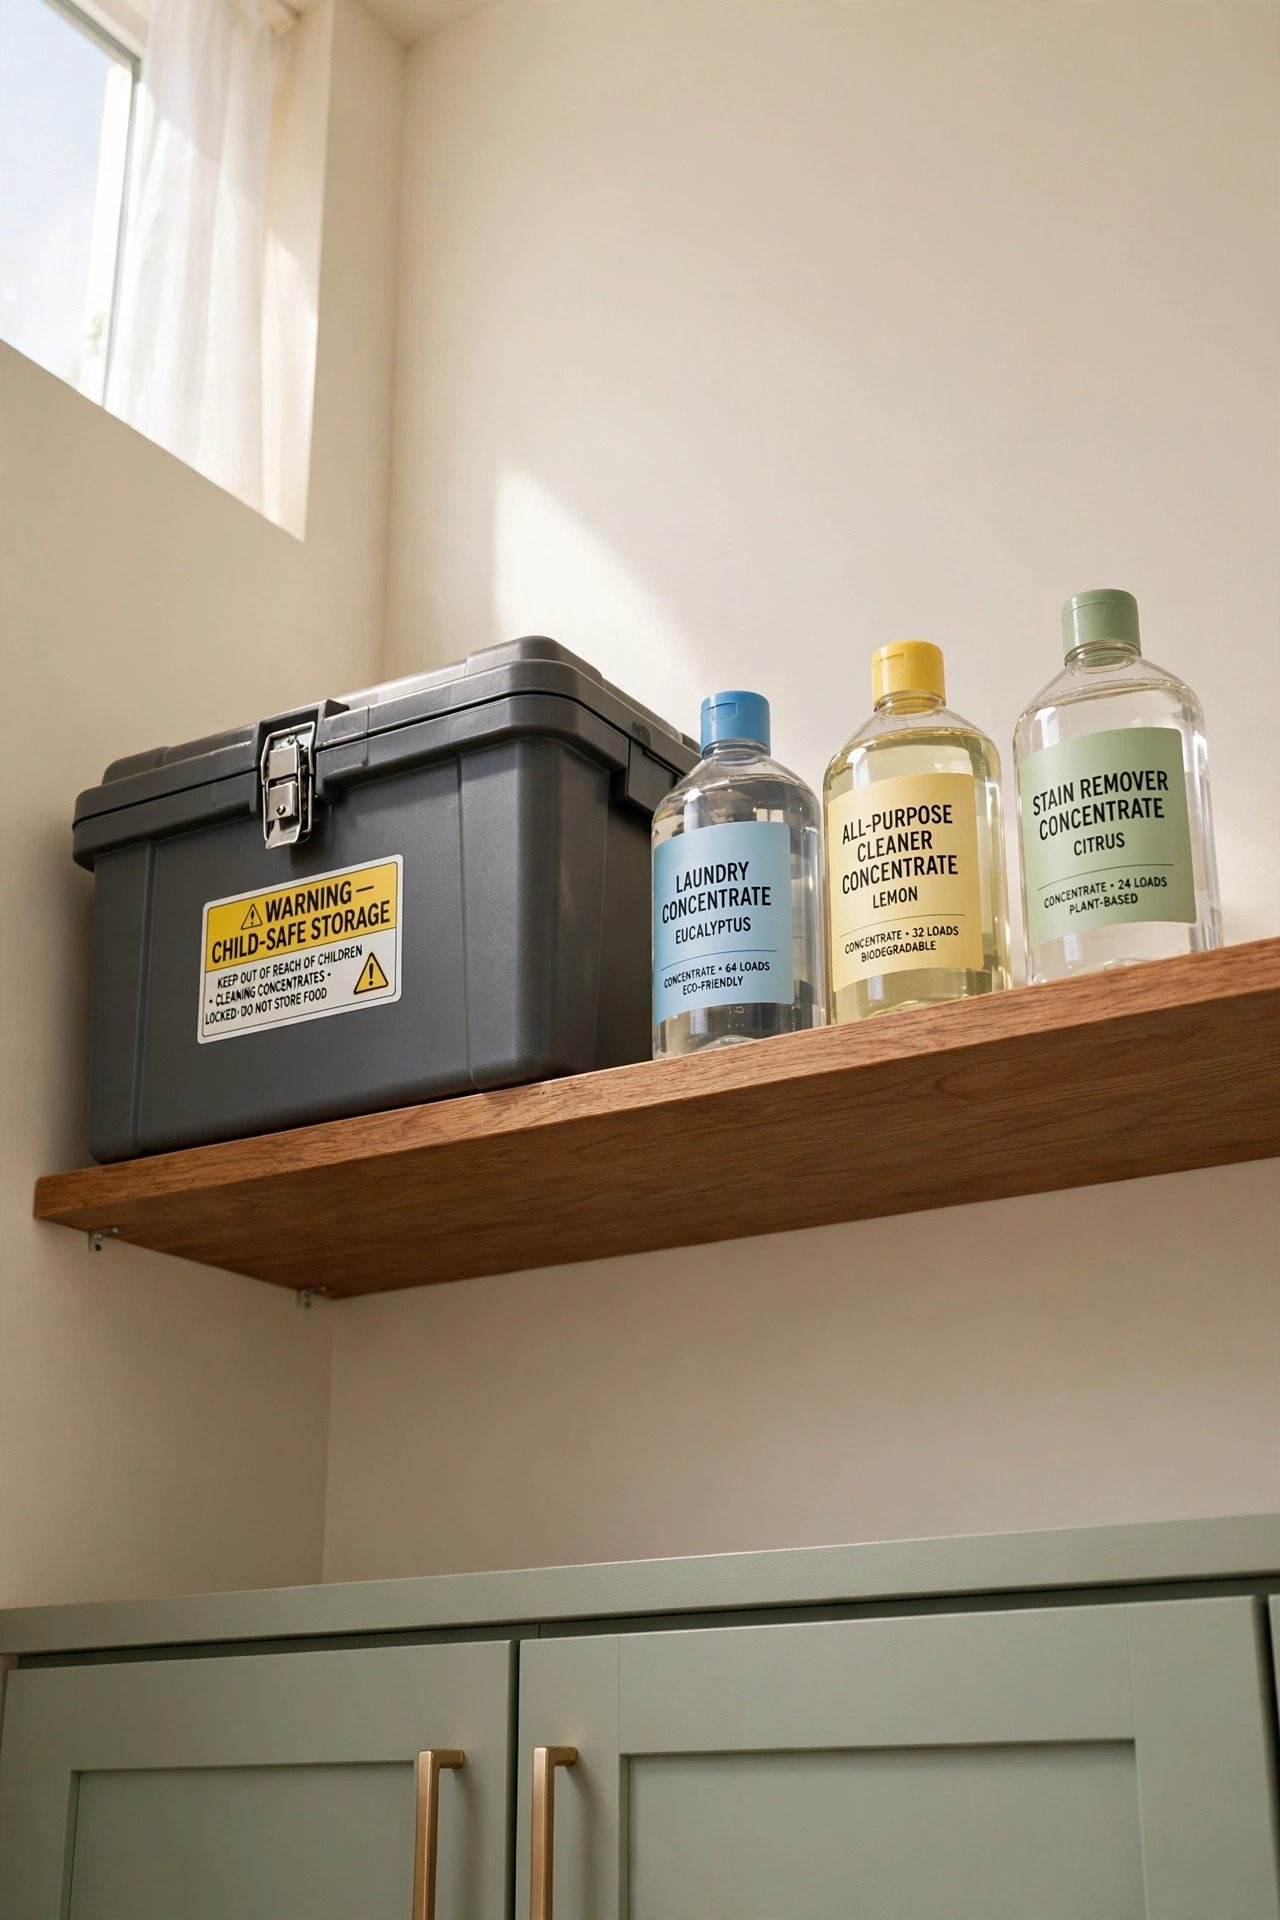
11. Lock Safety Supplies in a Closed Box
Concentrates and mixing ingredients need safe storage, especially in homes with children or pets. A latched box or a small locking cabinet keeps everything secure between uses. Store the box on a high shelf for an extra layer of safety.
Label the box clearly and keep safety data sheets for your concentrates inside the lid. Never mix chemicals in unmarked containers, and always follow the dilution ratios on your concentrate labels. A safe station is a station you can trust.
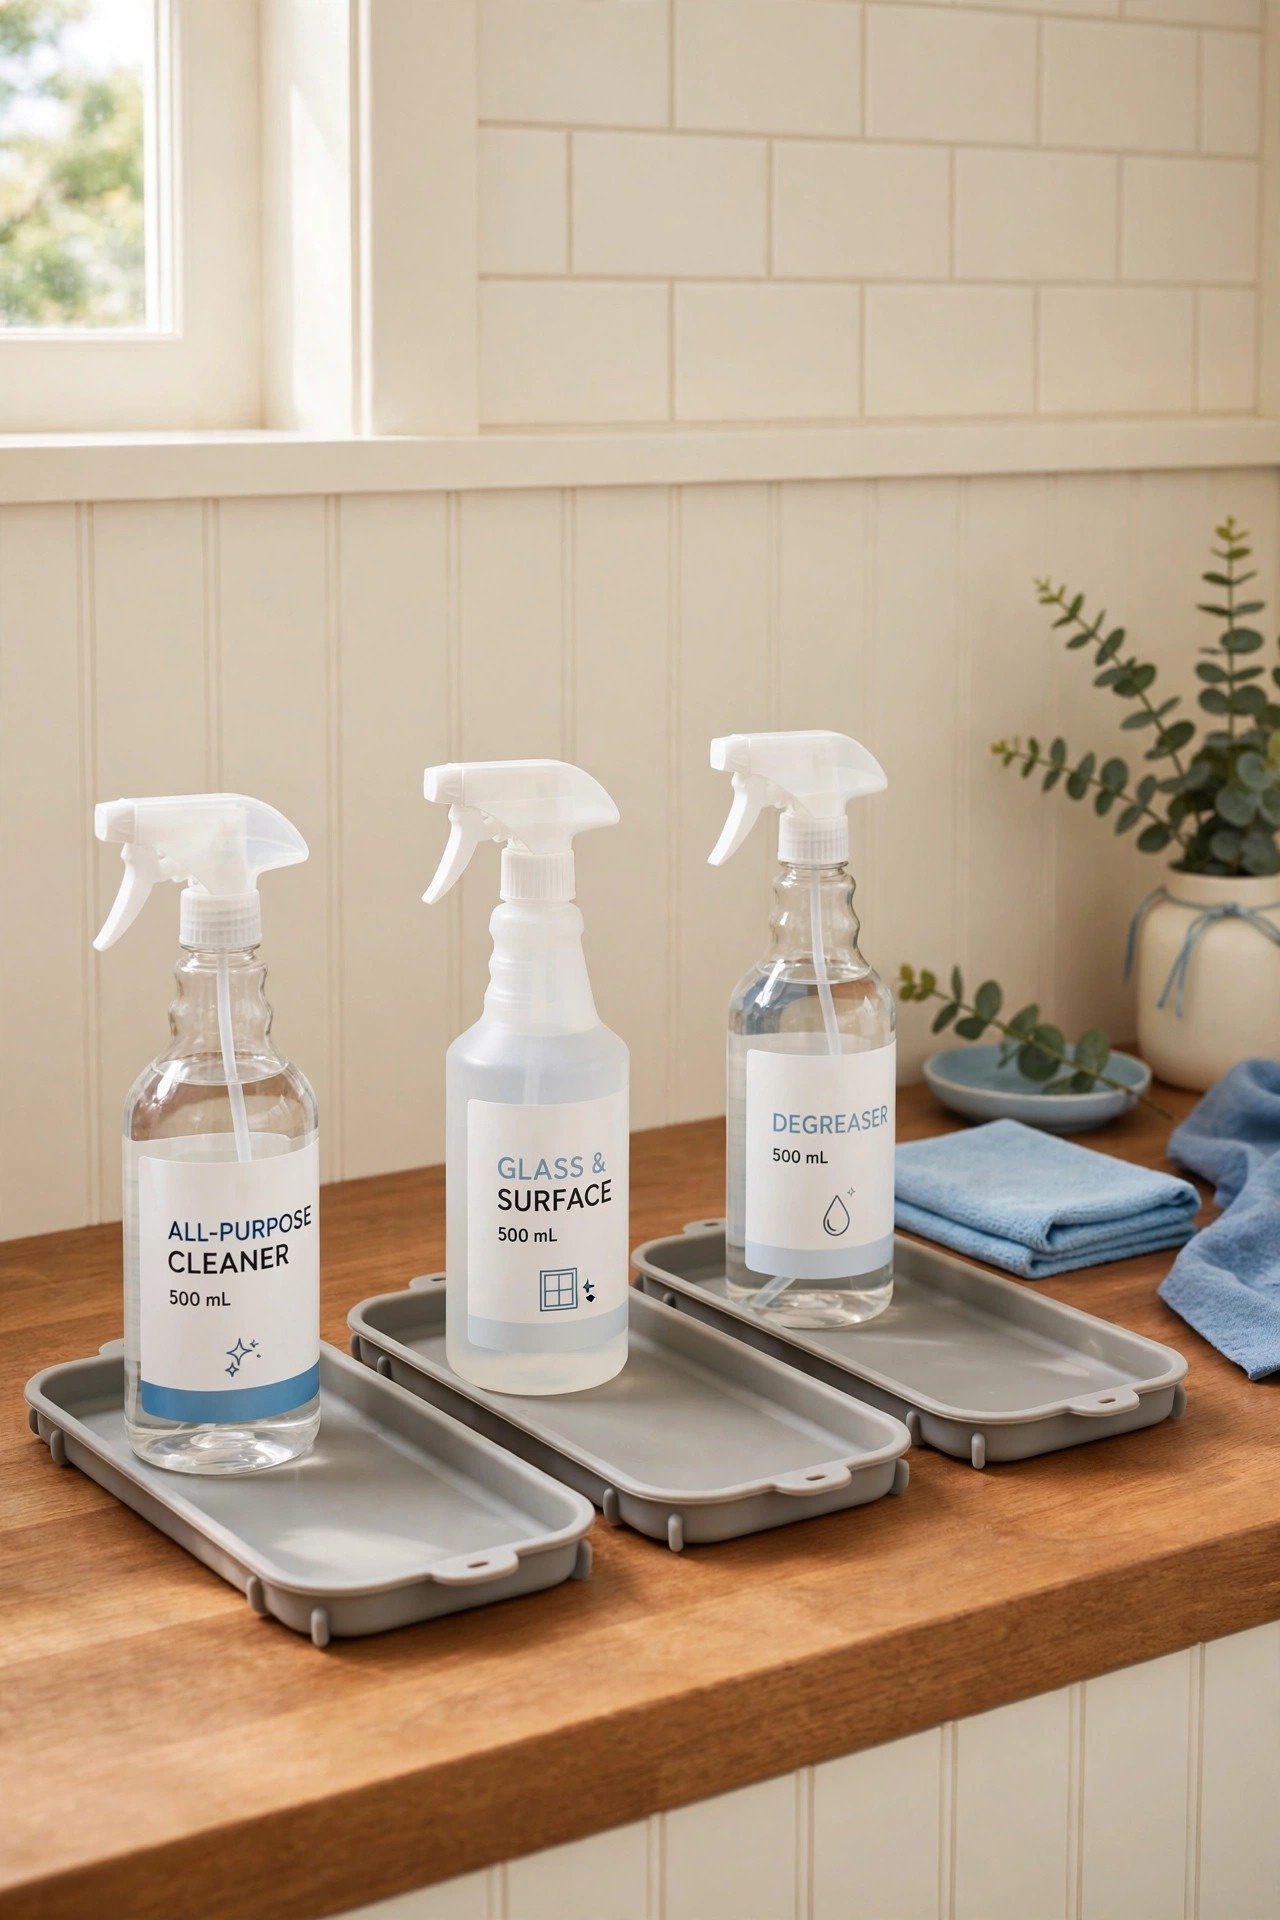
12. Place a Drip Tray Under Every Bottle
Drips happen no matter how careful you are, and a tray catches them before they stain your shelf. Place a shallow tray under your mixing area and another under your daily spray stand. Silicone mats work well because they rinse clean in seconds.
Choose trays with a small lip to contain real spills, not just drips. This protection matters under the kitchen sink and under the bathroom sink too, where leaks can damage cabinets. Clean trays monthly so they never become the mess they were meant to prevent.
Conclusion
A DIY cleaning refill station pays for itself in both money and peace of mind. Fewer plastic bottles, lower costs, and a station that looks as good as it works. You will wonder why you ever bought a separate spray for every single surface.
Start with matching bottles and clear labels, then add the rest of the pieces over time. Mix your first batch this weekend and feel the satisfaction of a cleaner home with a smaller footprint. Your shelves, your wallet, and the planet all benefit.
Frequently Asked Questions About Cleaning Refill Stations
What do I need to start a DIY cleaning refill station?
Start with matching spray bottles, clear printed labels, one or two concentrates, a funnel set, and a tray to define the zone. Add wall rails, canisters, and an inventory board as your system grows. You can build a working station for very little money.
Is it safe to mix my own cleaning solutions?
Yes, when you follow the dilution ratios on your concentrate labels and never mix different chemicals together. Label every bottle with its contents and the mixing date. Store concentrates in a latched box on a high shelf away from children and pets.
How long do homemade cleaning solutions last?
Most diluted sprays stay effective for one to three months. Write the mixing date on each label and discard anything that smells off or looks cloudy. Mixing smaller batches more often keeps every bottle fresh and effective.
Where should I put a cleaning refill station?
The laundry room is ideal because it already handles water and mess. Under-sink cabinets work too if you add drip trays to protect the wood. Choose a spot with a nearby water source and enough light to read your labels.
Do refill stations actually save money?
Yes, concentrates typically cost a fraction of ready-to-use sprays per bottle. One concentrate bottle can make dozens of refills. Track your spending for two months and you will see the savings clearly on your receipts.

Hi, I’m Emily! I turn messy corners into cozy, organized spots. DreamNestDecor is where I share simple, practical home ideas — decor, organization, and small-space solutions that work in real life, not just in photos. Every idea here is carefully researched before it’s shared.