
You open the cabinet and a wave of plastic lids slides toward you. You pull out three containers before you find one with a matching lid, and the lids you do not need clatter to the floor. Packing leftovers takes longer than cooking the meal did.
The problem is not the number of containers you own. It is the lack of a system that keeps lids with their bases. When lids stand upright and bases nest together, you can match a set in seconds instead of minutes.
These fifteen ideas will turn your container chaos into a calm, working system. Each one targets the lid problem first, because lids are always the part that gets away.
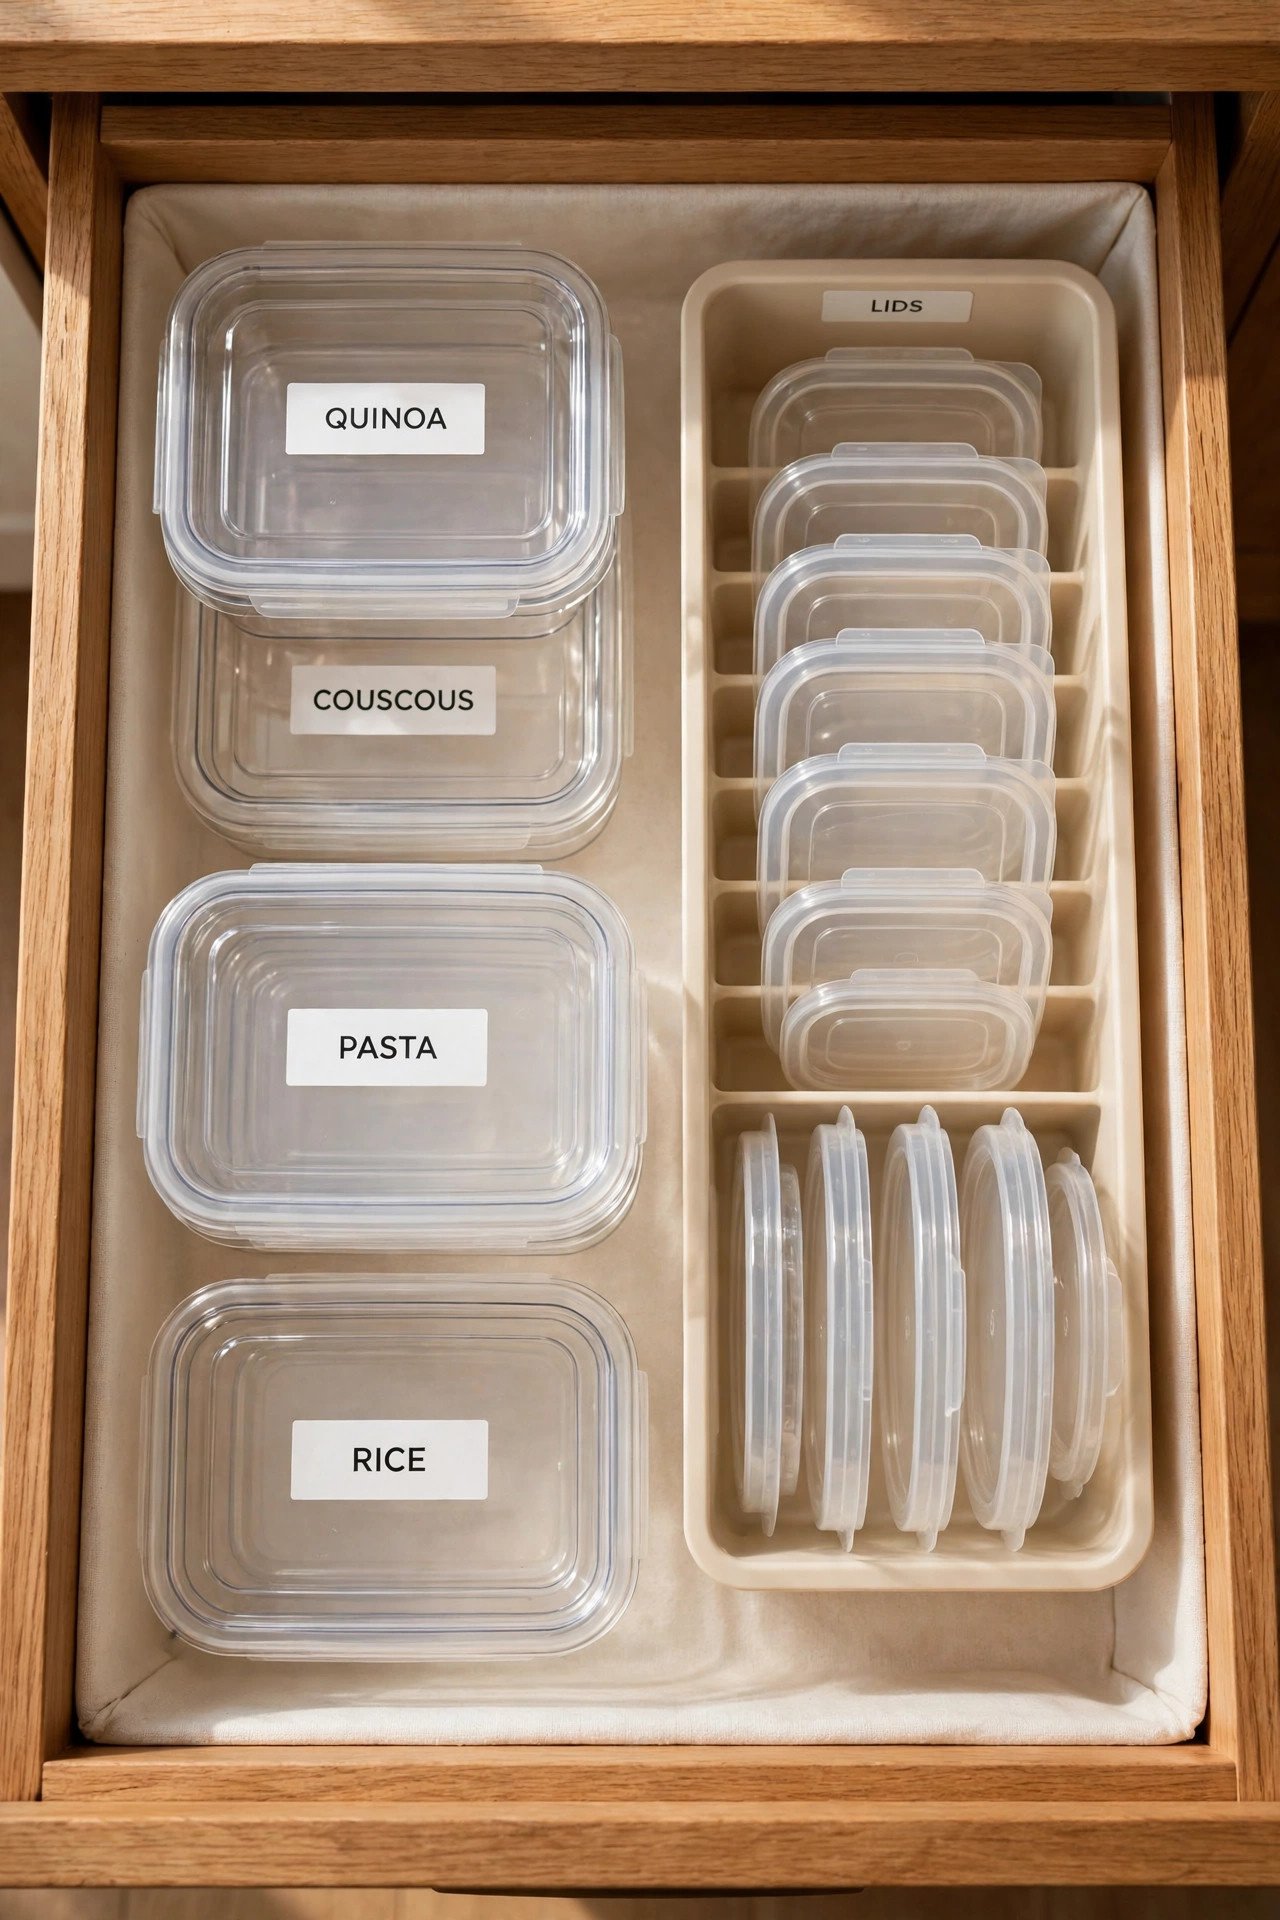
1. Clear Drawer Storage for Full Visibility
Moving your containers into one clear drawer lets you see the whole collection at a glance. Place the bases on one side and stand the lids upright on the other. You stop digging into a dark cabinet and start grabbing what you need in one motion.
Clear the drawer of unrelated junk first so the containers have the full space. This simple move costs nothing and fixes the visibility problem instantly. A drawer you can see into is a drawer you will keep tidy.
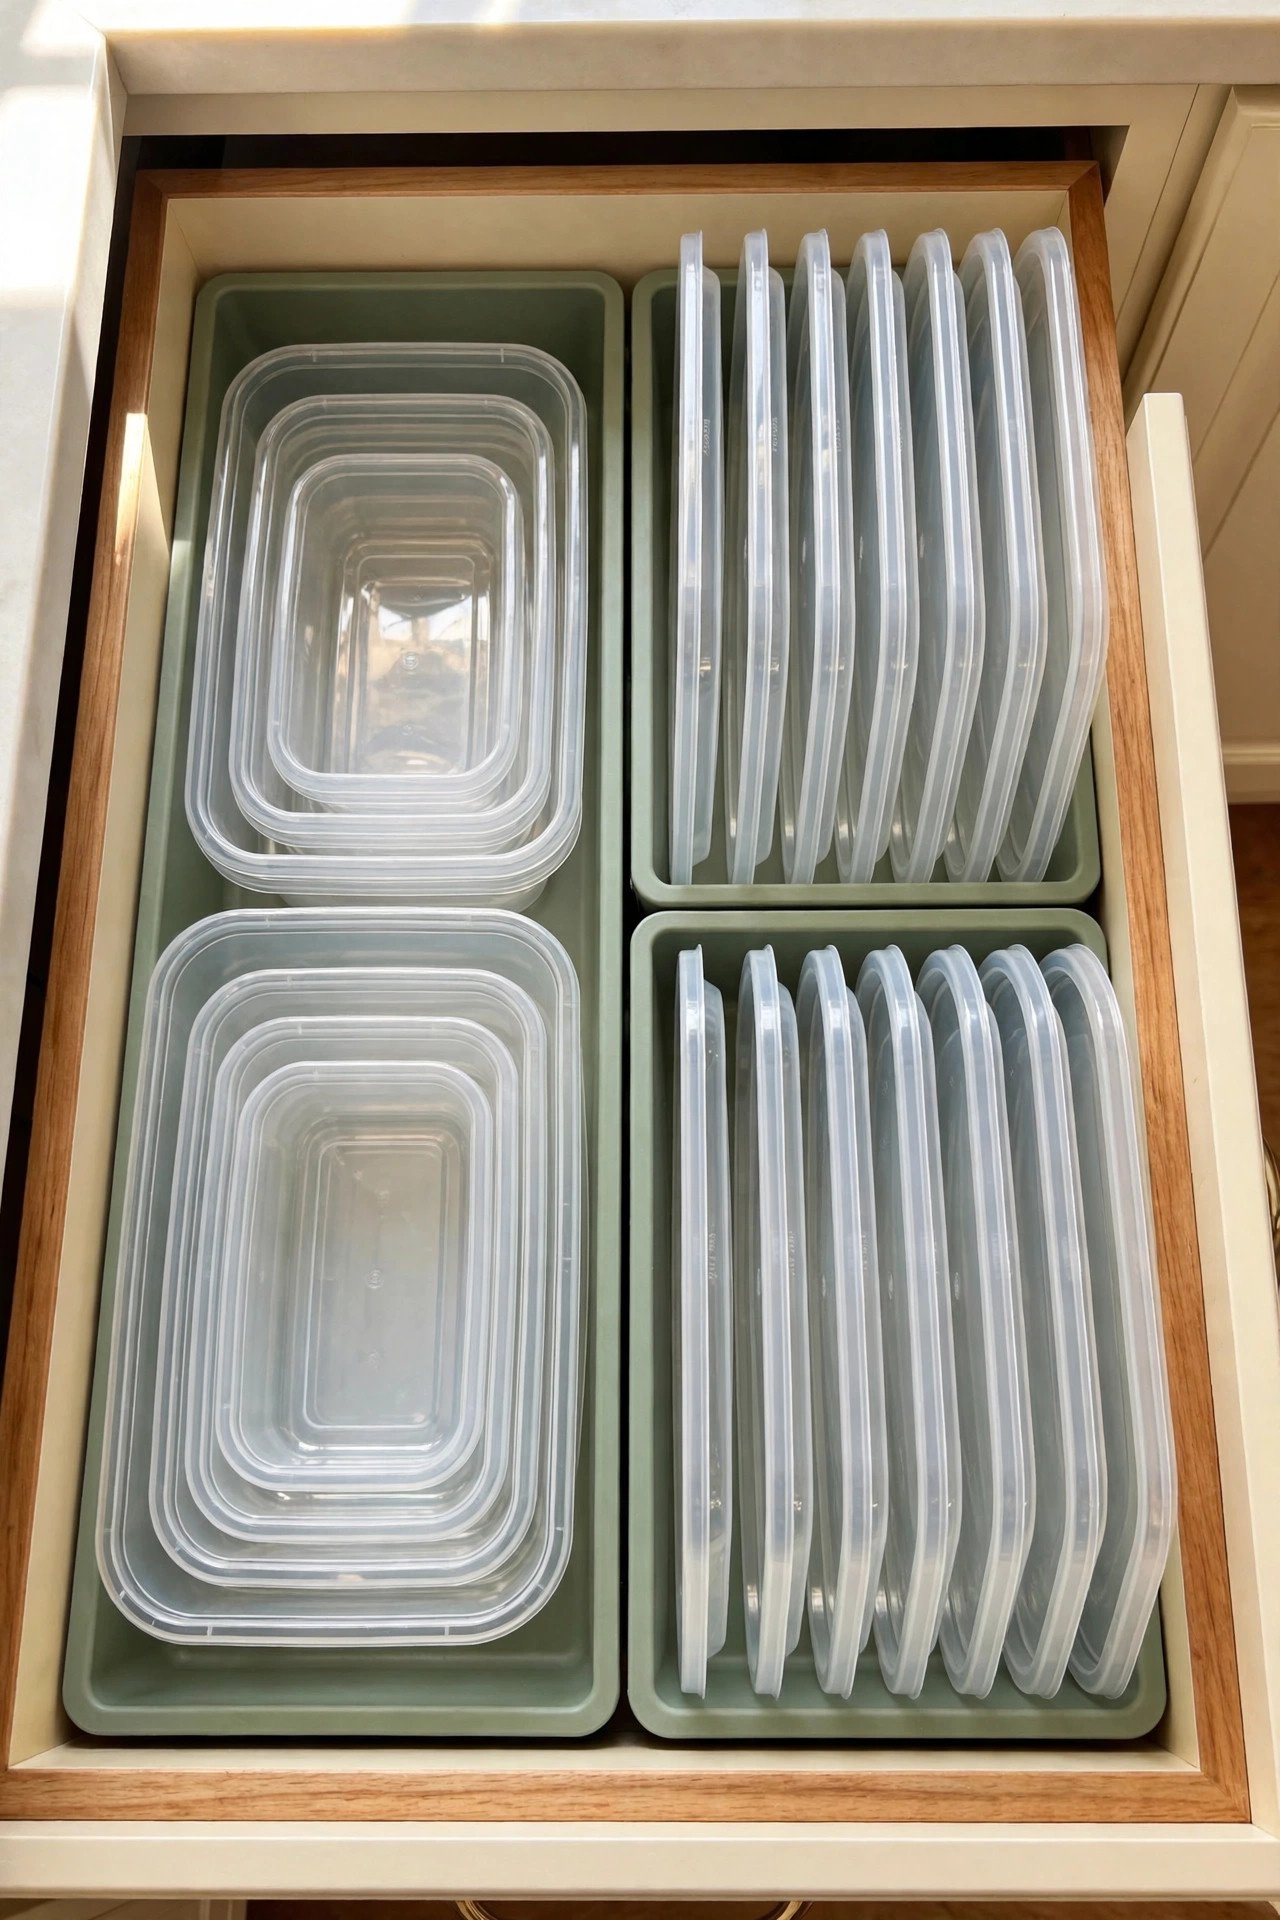
2. Vertical Dividers That File Lids Like Records
Small dividers hold lids upright like records in a crate, so you can flip through and pull the right one. This is the single best fix for the lid avalanche. You read the sizes down the row instead of excavating a pile.
Expandable bamboo dividers fit most drawers and cost very little, working on the same principle as the dividers that tidy a makeup drawer. Sort lids by size so the row reads clearly from front to back. Once you try this, you will never stack lids flat again.
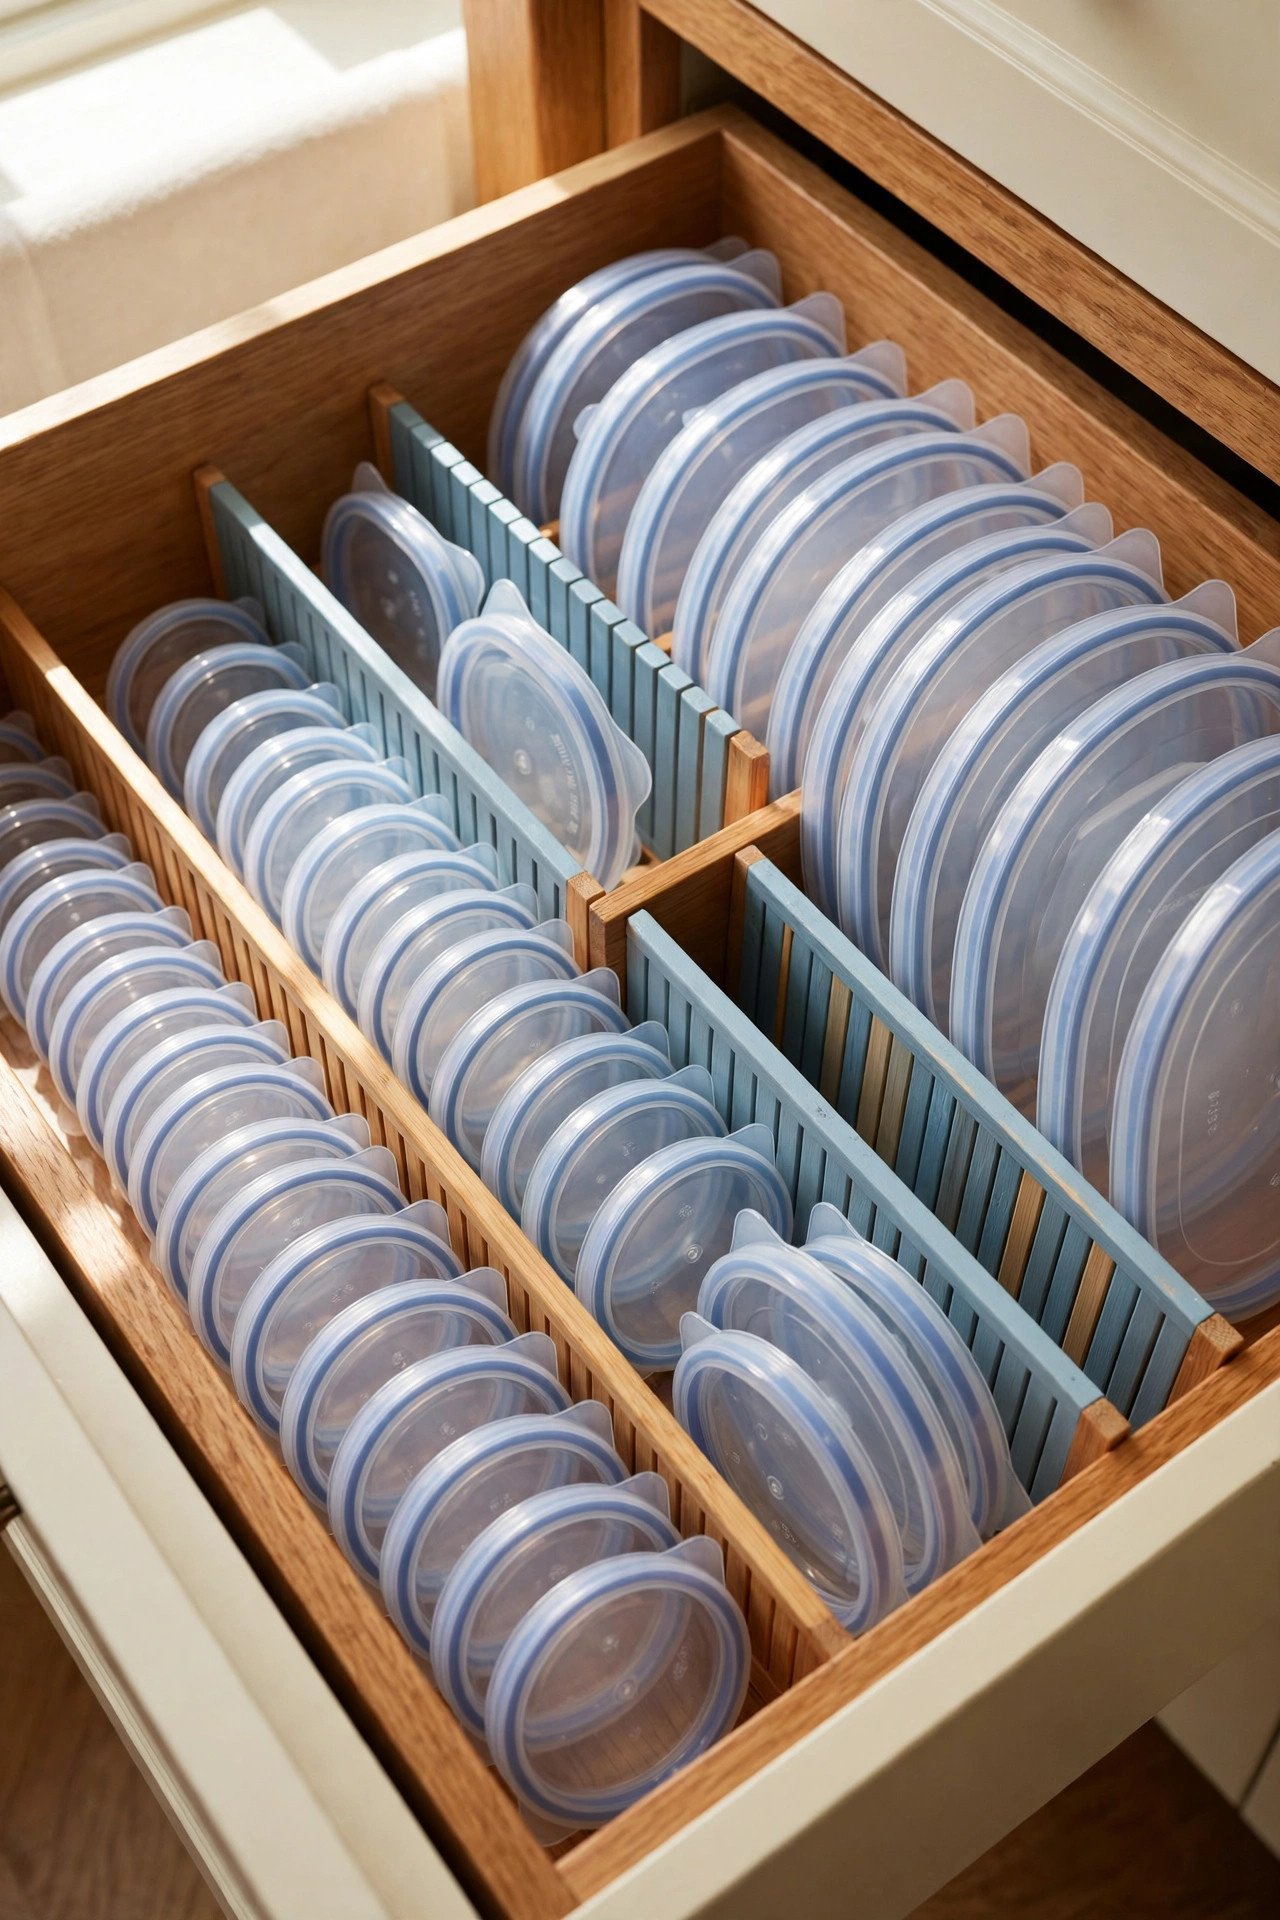
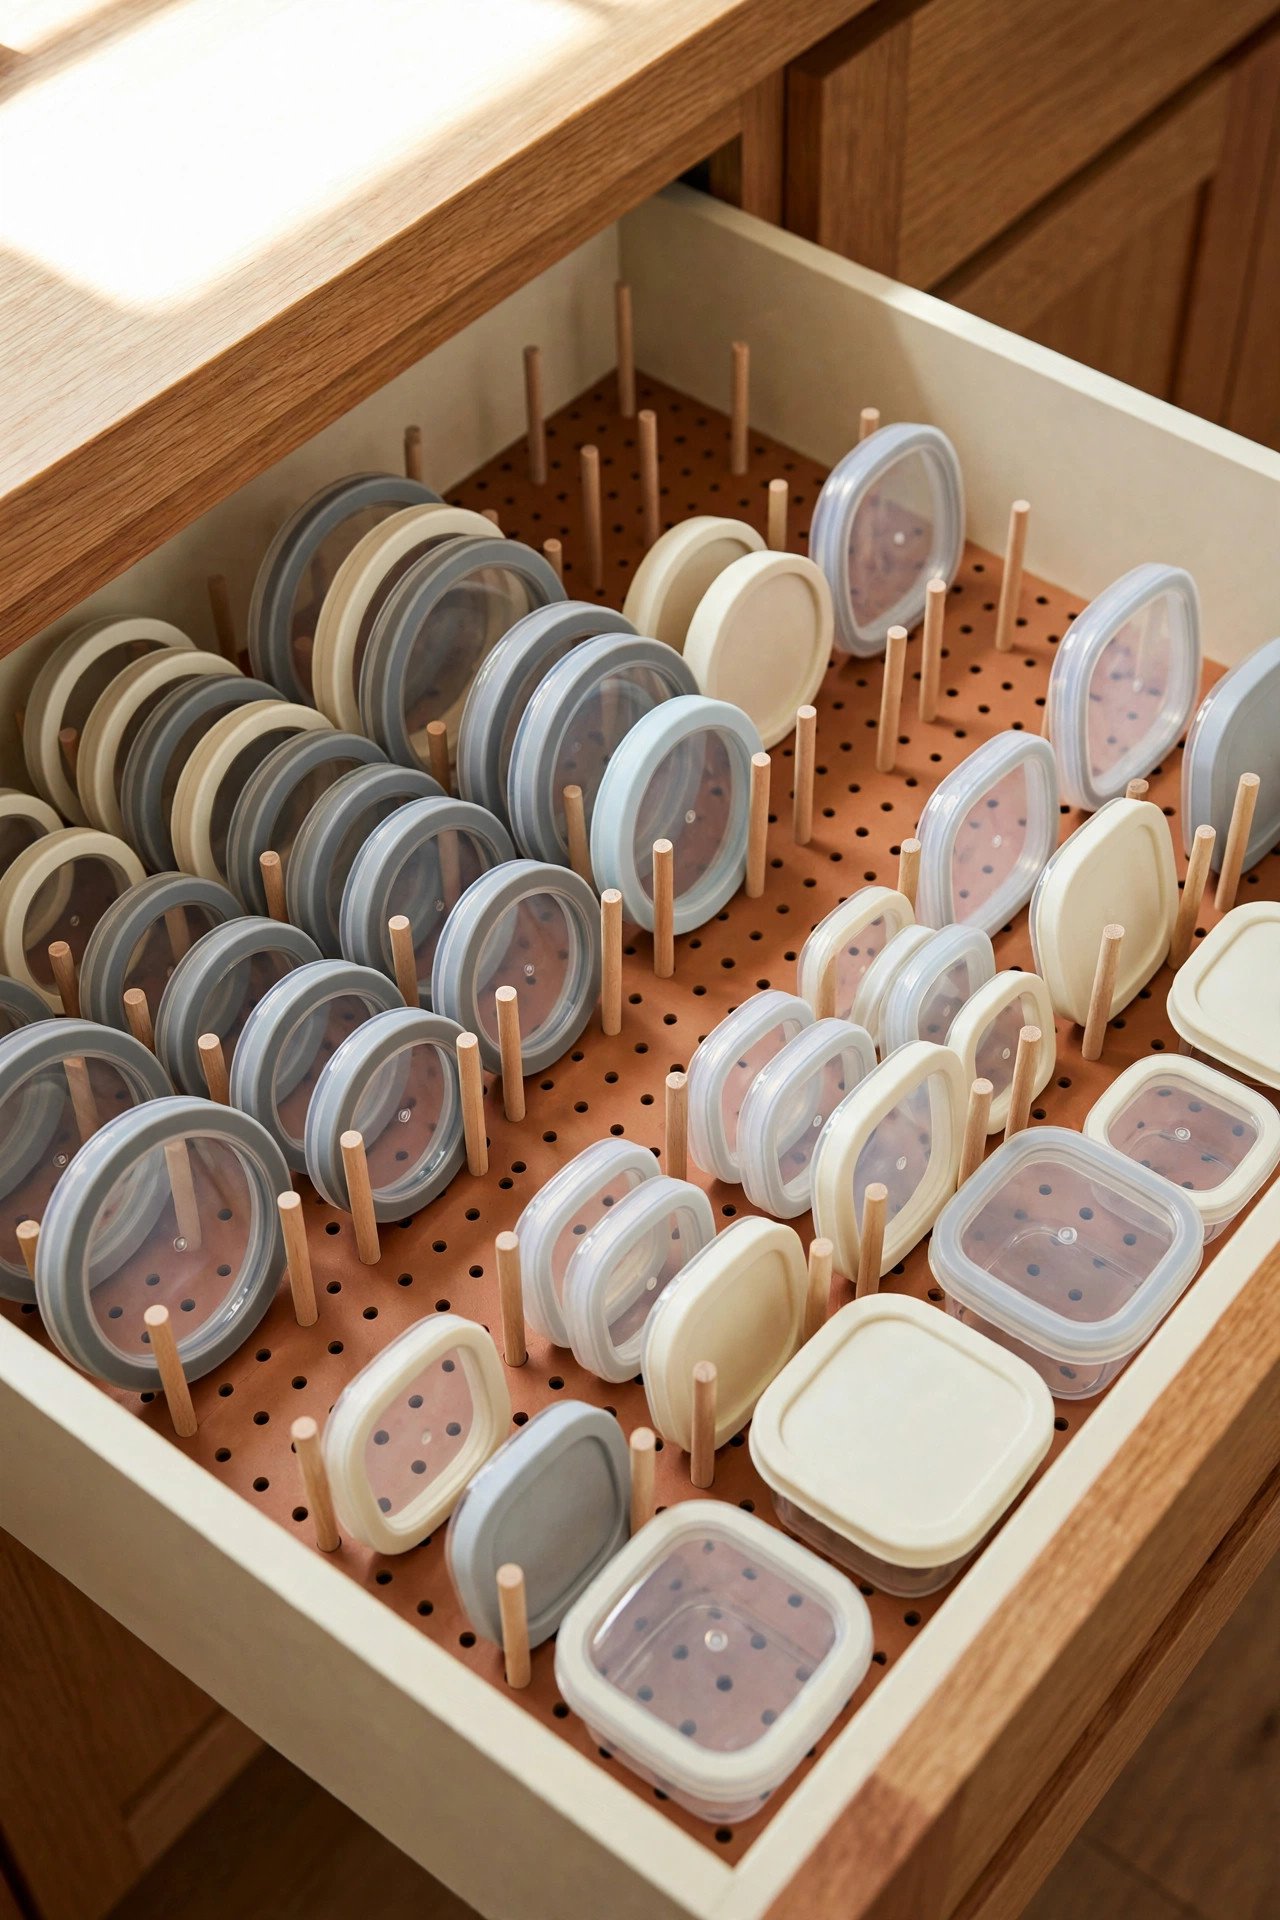
3. Adjustable Pegs in a Deep Lid Drawer
A deep drawer with adjustable pegs lets you build custom slots for every lid size. Slide the pegs to fit round lids in one section and square lids in another. The pegs hold each lid apart so nothing sticks together or warps.
Sort by shape first, because round and square lids never nest well together. This setup turns the drawer into a lid library where every size has a shelf. Your mornings get noticeably faster.
4. Stacked Glass Container Shelf
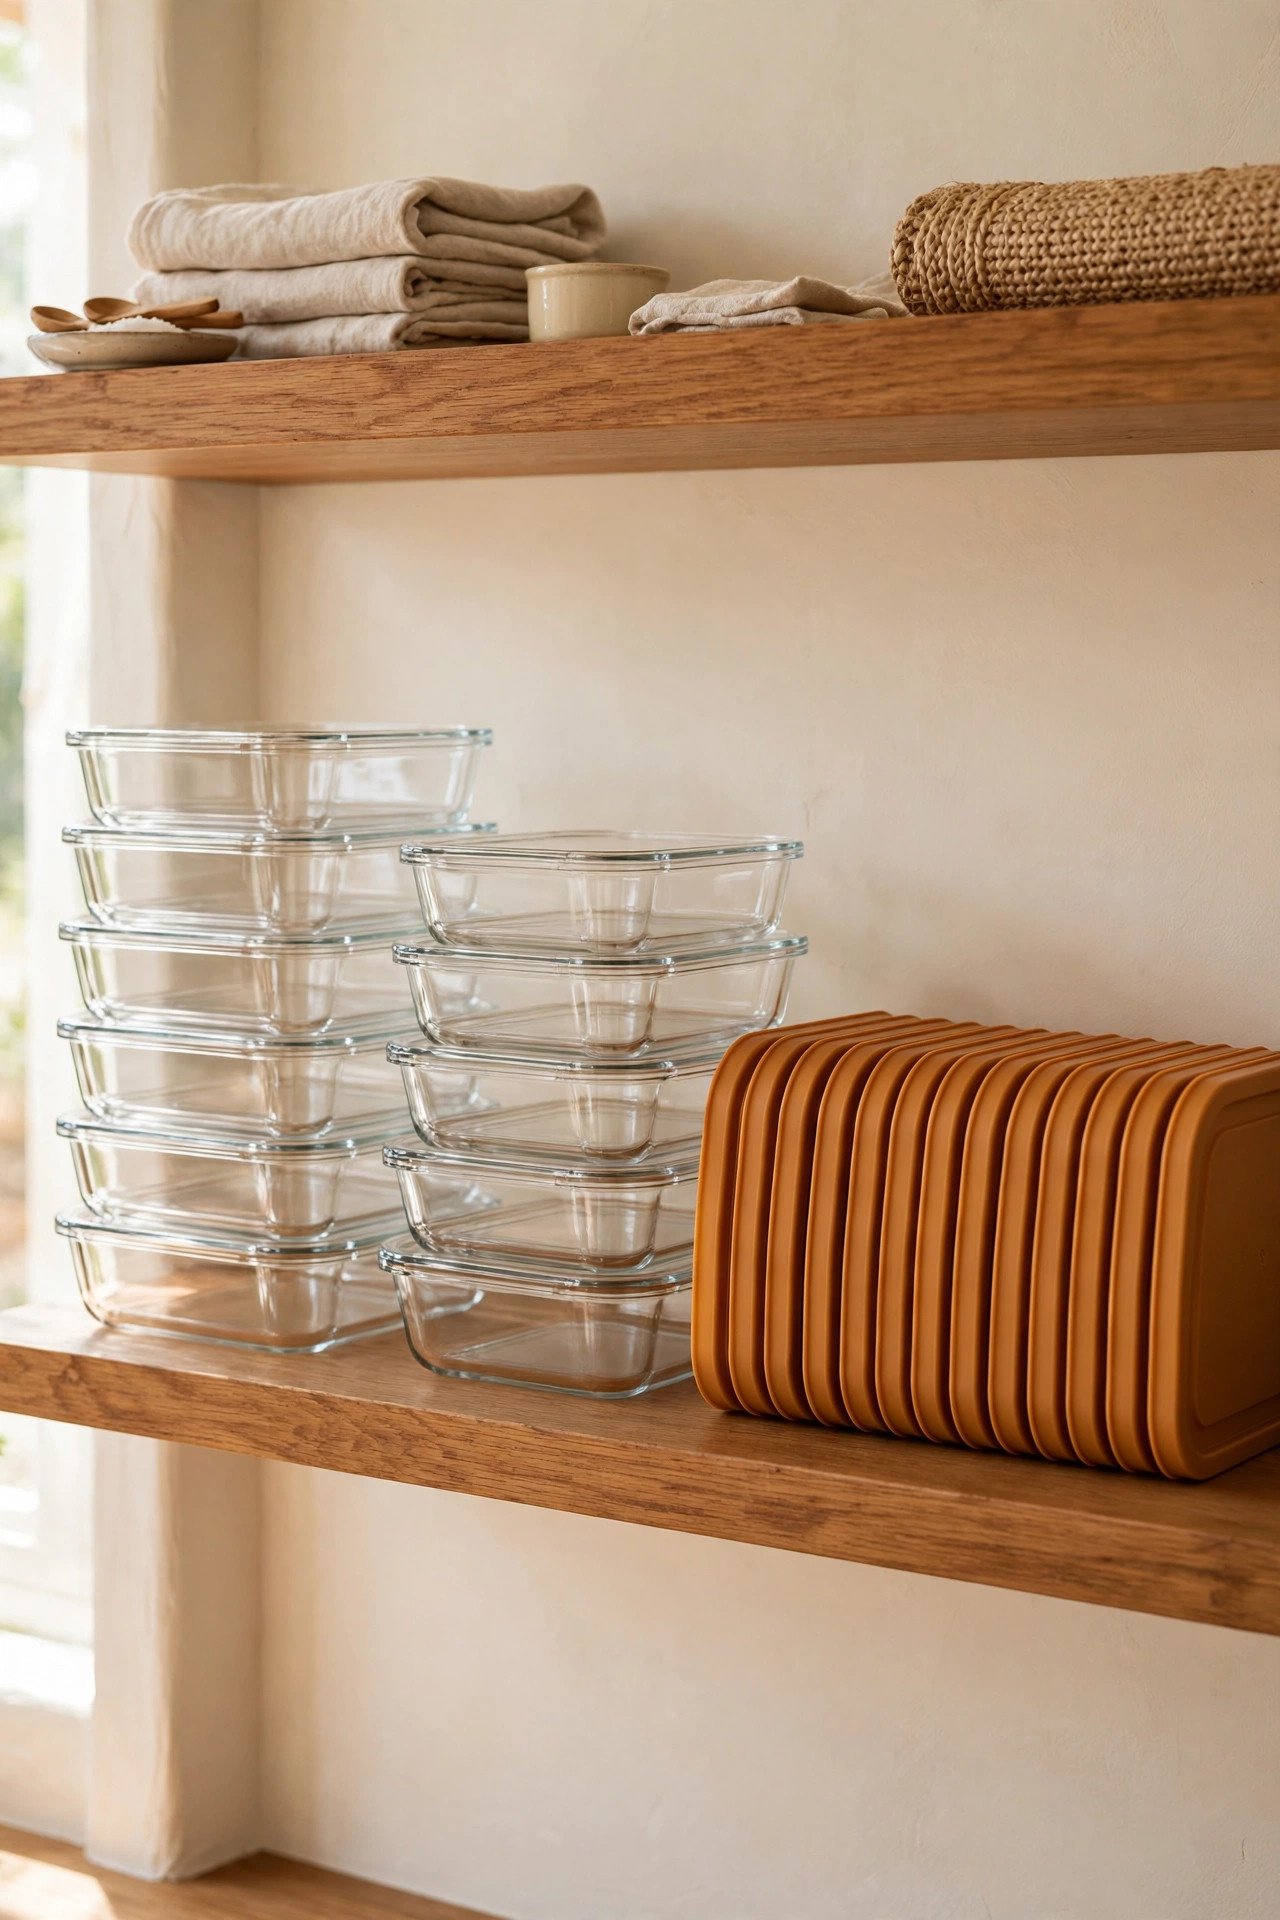
Switching to matching glass containers changes the whole equation. Glass nests neatly, stacks without staining, and survives the microwave without warping. Line the sets up on a shelf and they look tidy enough to leave visible.
Donate the worst of your stained plastic and keep only the pieces that still seal well. A smaller collection of matching glass beats a large collection of mismatched plastic. Your cabinet will feel twice as big.
5. Pull-Out Shelf Inside the Lower Cabinet
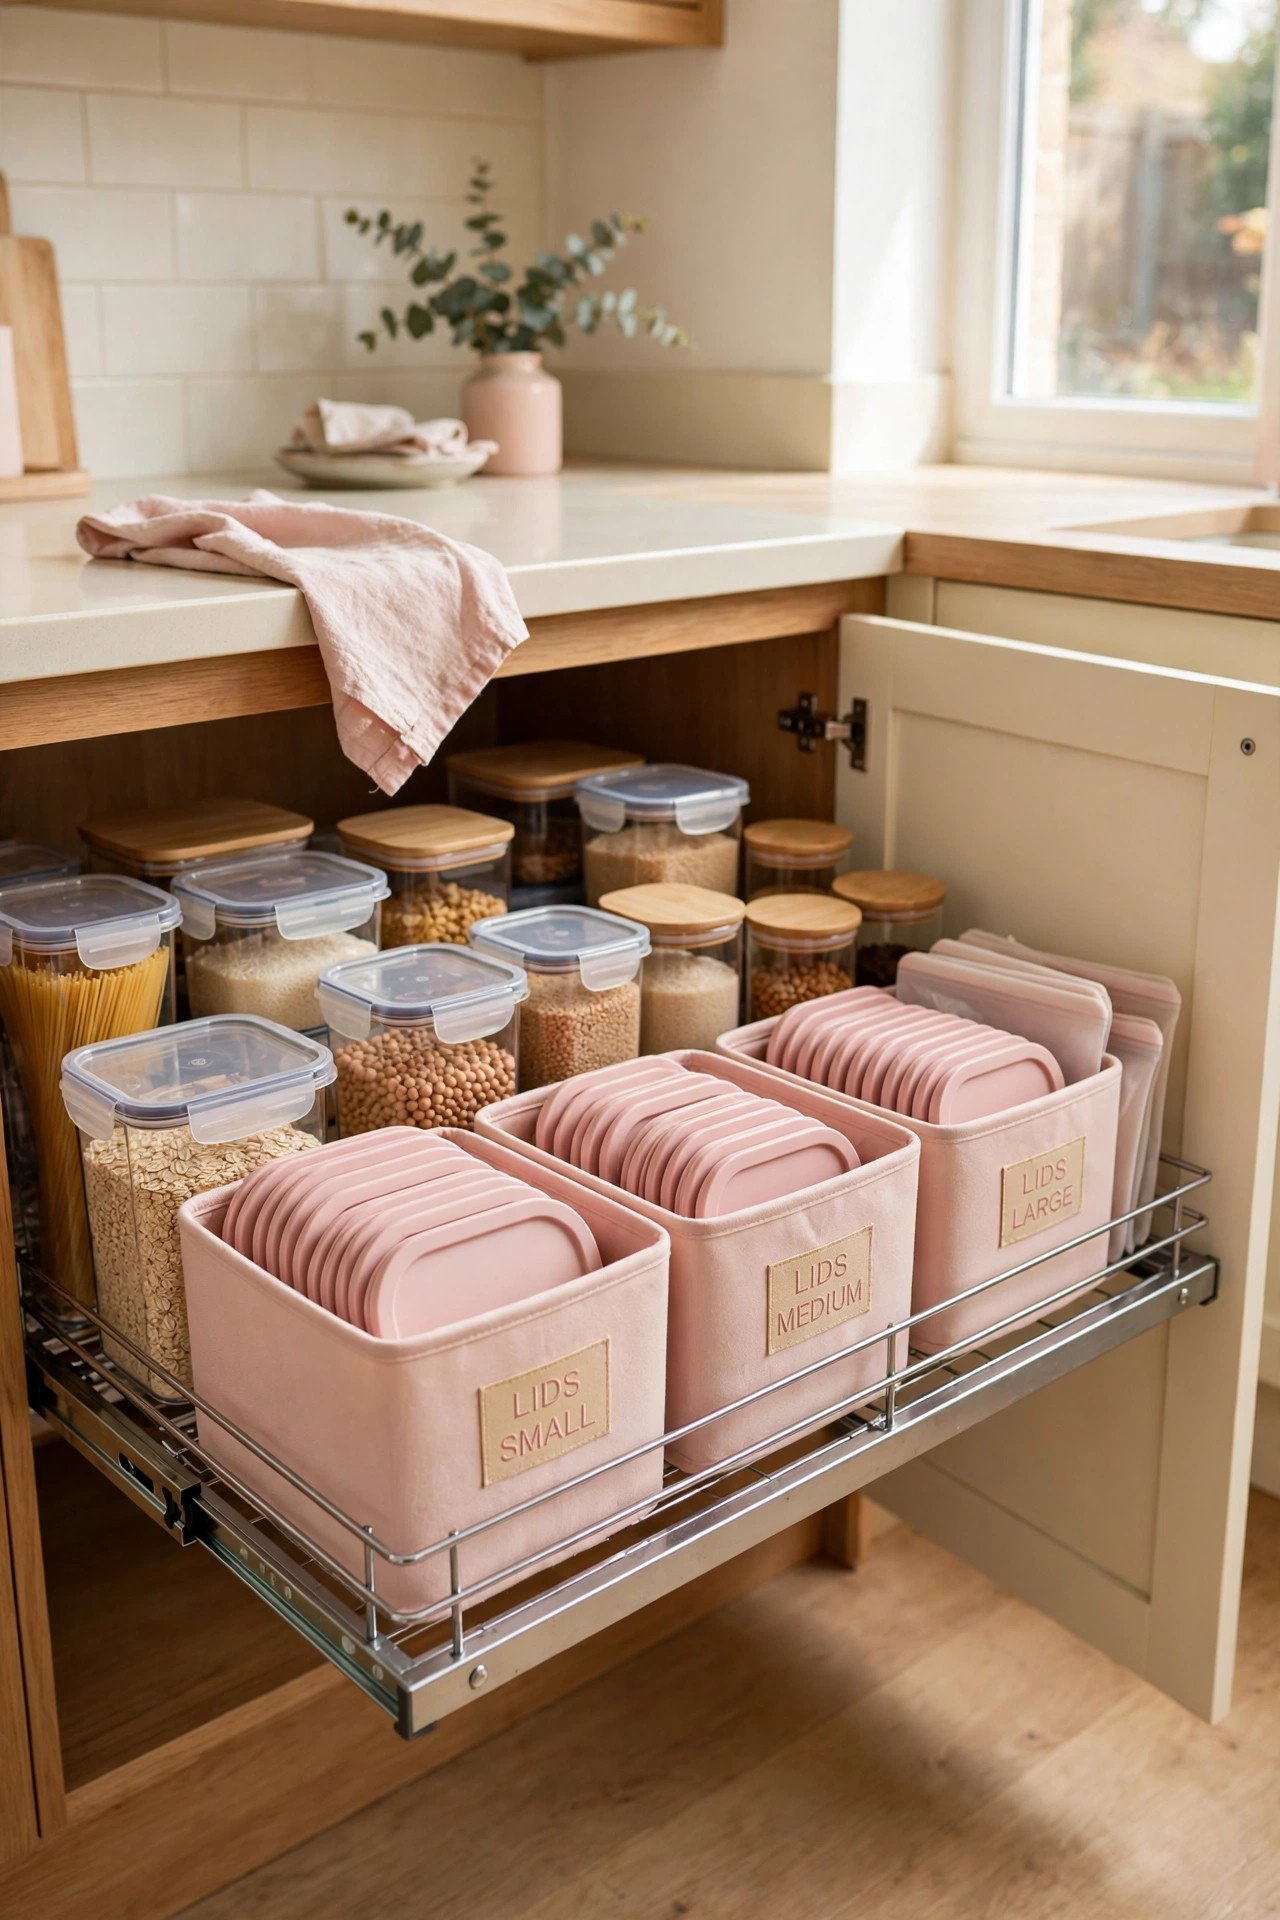
A wire pull-out shelf inside the lower cabinet glides out and shows you every container at once. You stop kneeling on the floor and reaching into the dark back corner. Containers that used to vanish now stay in plain sight.
Measure your cabinet before buying so the shelf glides without catching. Keep the heaviest glass pieces toward the back for balance. This one addition rescues the most frustrating cabinet in the kitchen.
6. File Organizer Turned Lid Holder
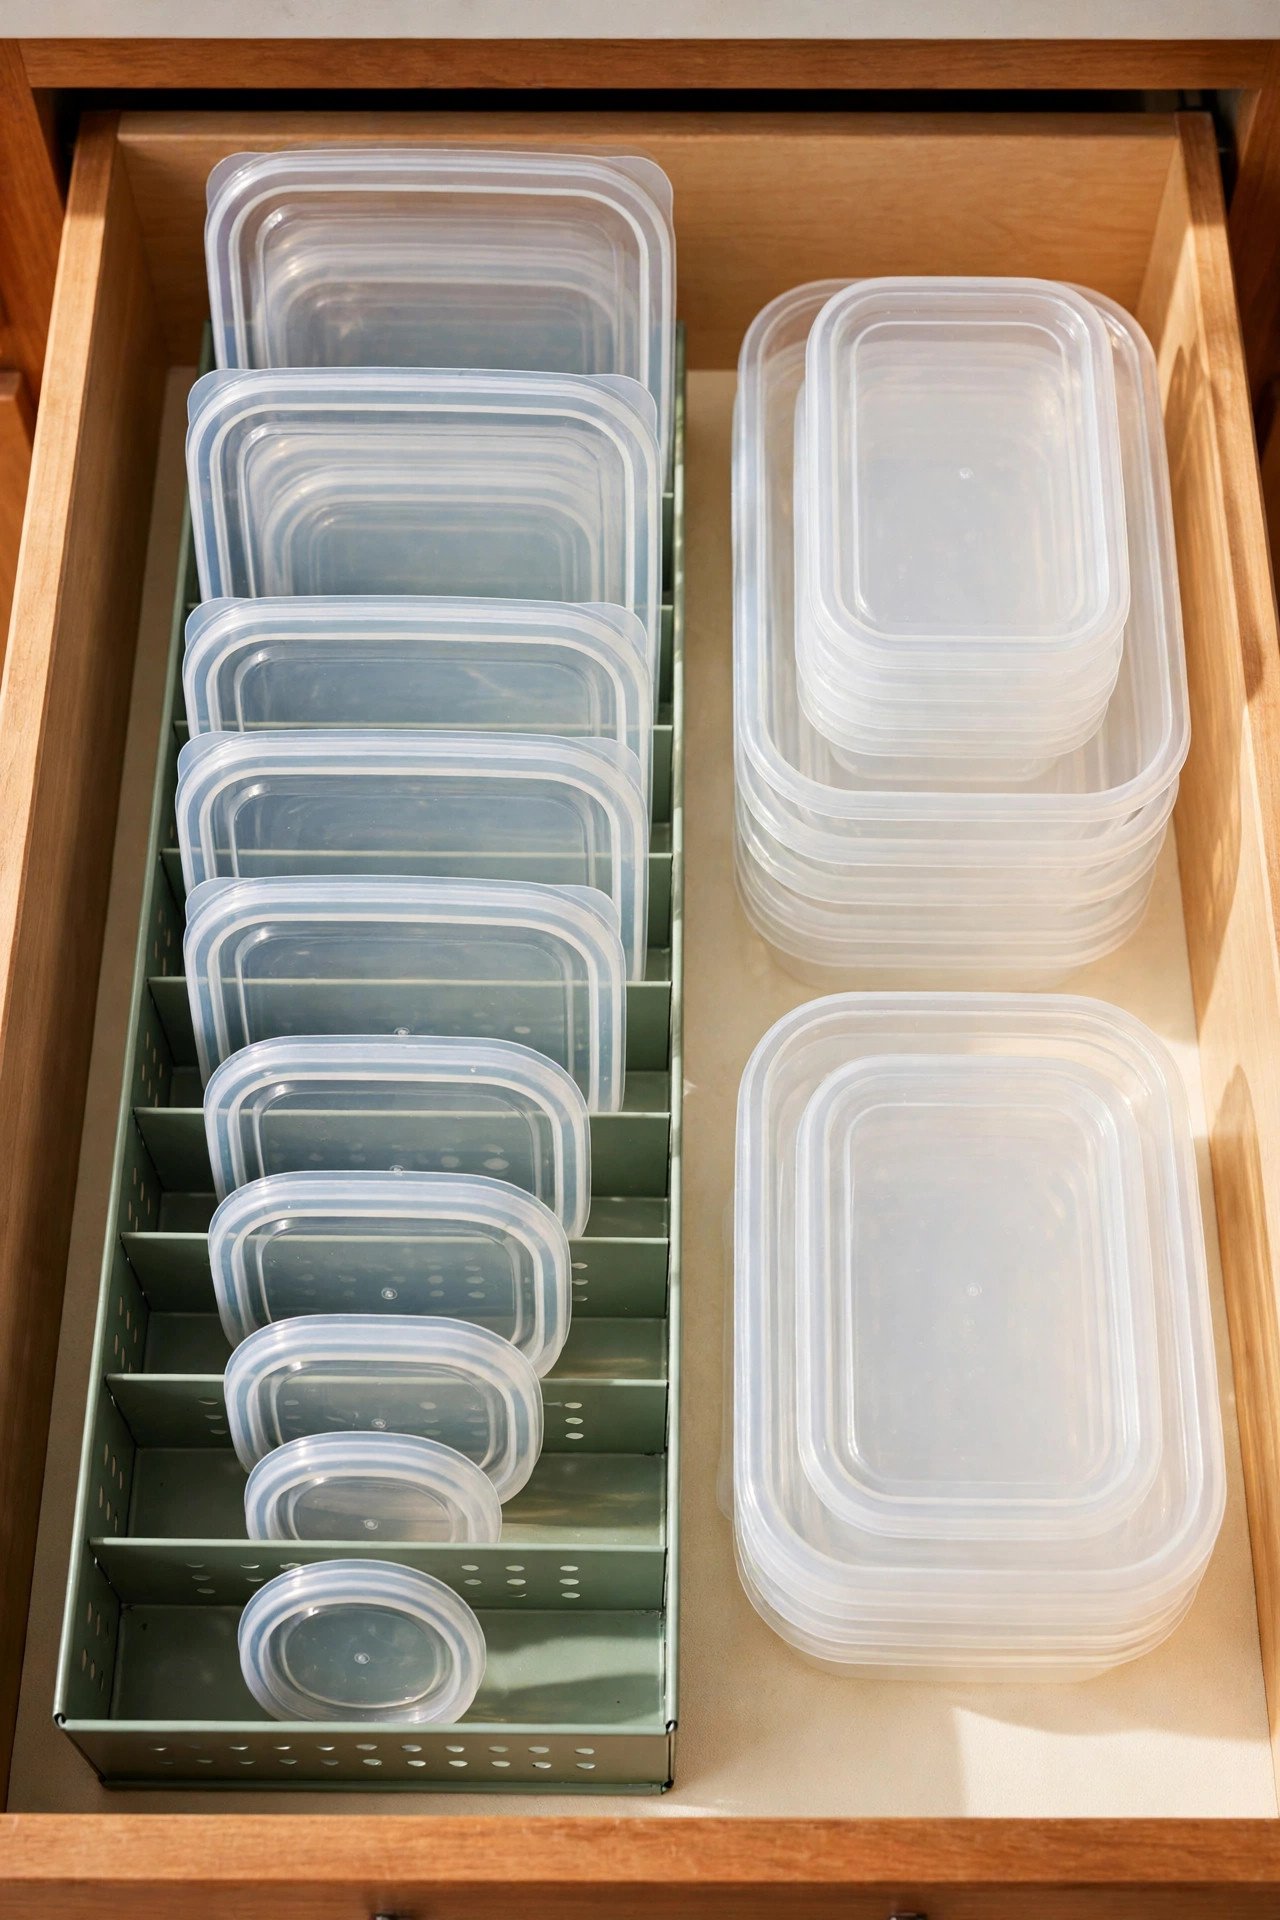
A simple file organizer holds lids on edge like folders in a drawer. You read the sizes down the row and pull the match in two seconds. Keep the organizer right beside the container bases so the pair comes together fast.
Choose a sturdy metal or bamboo file holder that will not tip when full. This trick works in a drawer or on a shelf, wherever your lids live. It is the fastest fix on this list for the least money.
7. One Nesting Set That Stacks Together
A single nesting set from one brand stacks down into one tidy tower instead of forty rogue pieces. Every base fits inside the next, and the lids snap together in a stack. You reclaim a shocking amount of cabinet space.
Commit to one brand so the pieces actually nest as designed. Store the full set together and resist adding random strays. Fewer, matching pieces beat a big, chaotic collection every time.
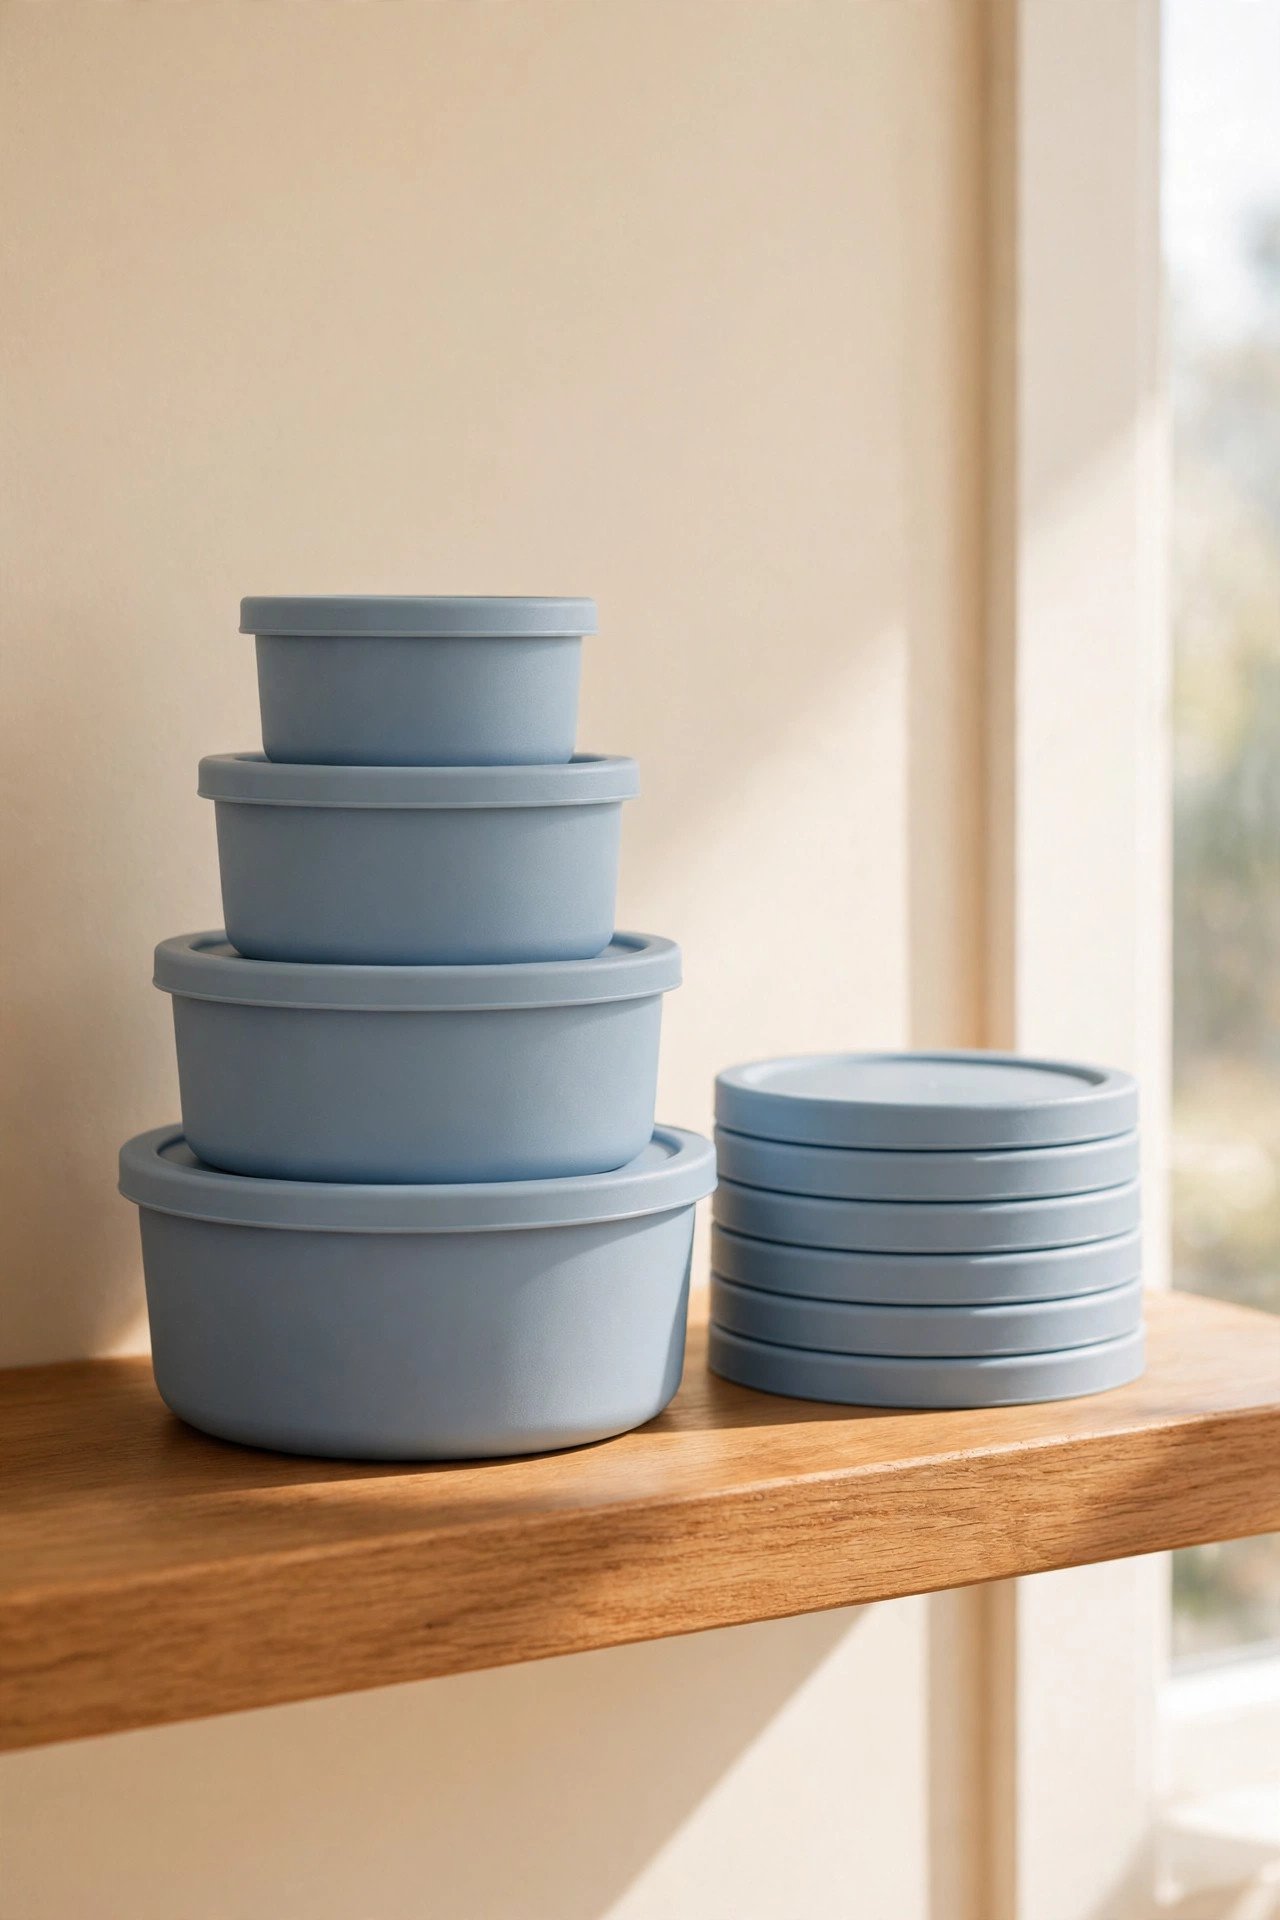
8. Acrylic Bins as Pull-Out Trays
Clear acrylic bins corral your containers into zones that slide out like trays. Use one bin for bases and one for lids, then pull the whole bin to the counter when you pack lunches. The bins keep everything contained yet visible.
Pick bins that fit your shelf depth so they slide without catching. A small bin for kids’ snack pots stops little hands from raiding the good containers. Zones make cleanup a one-minute job.
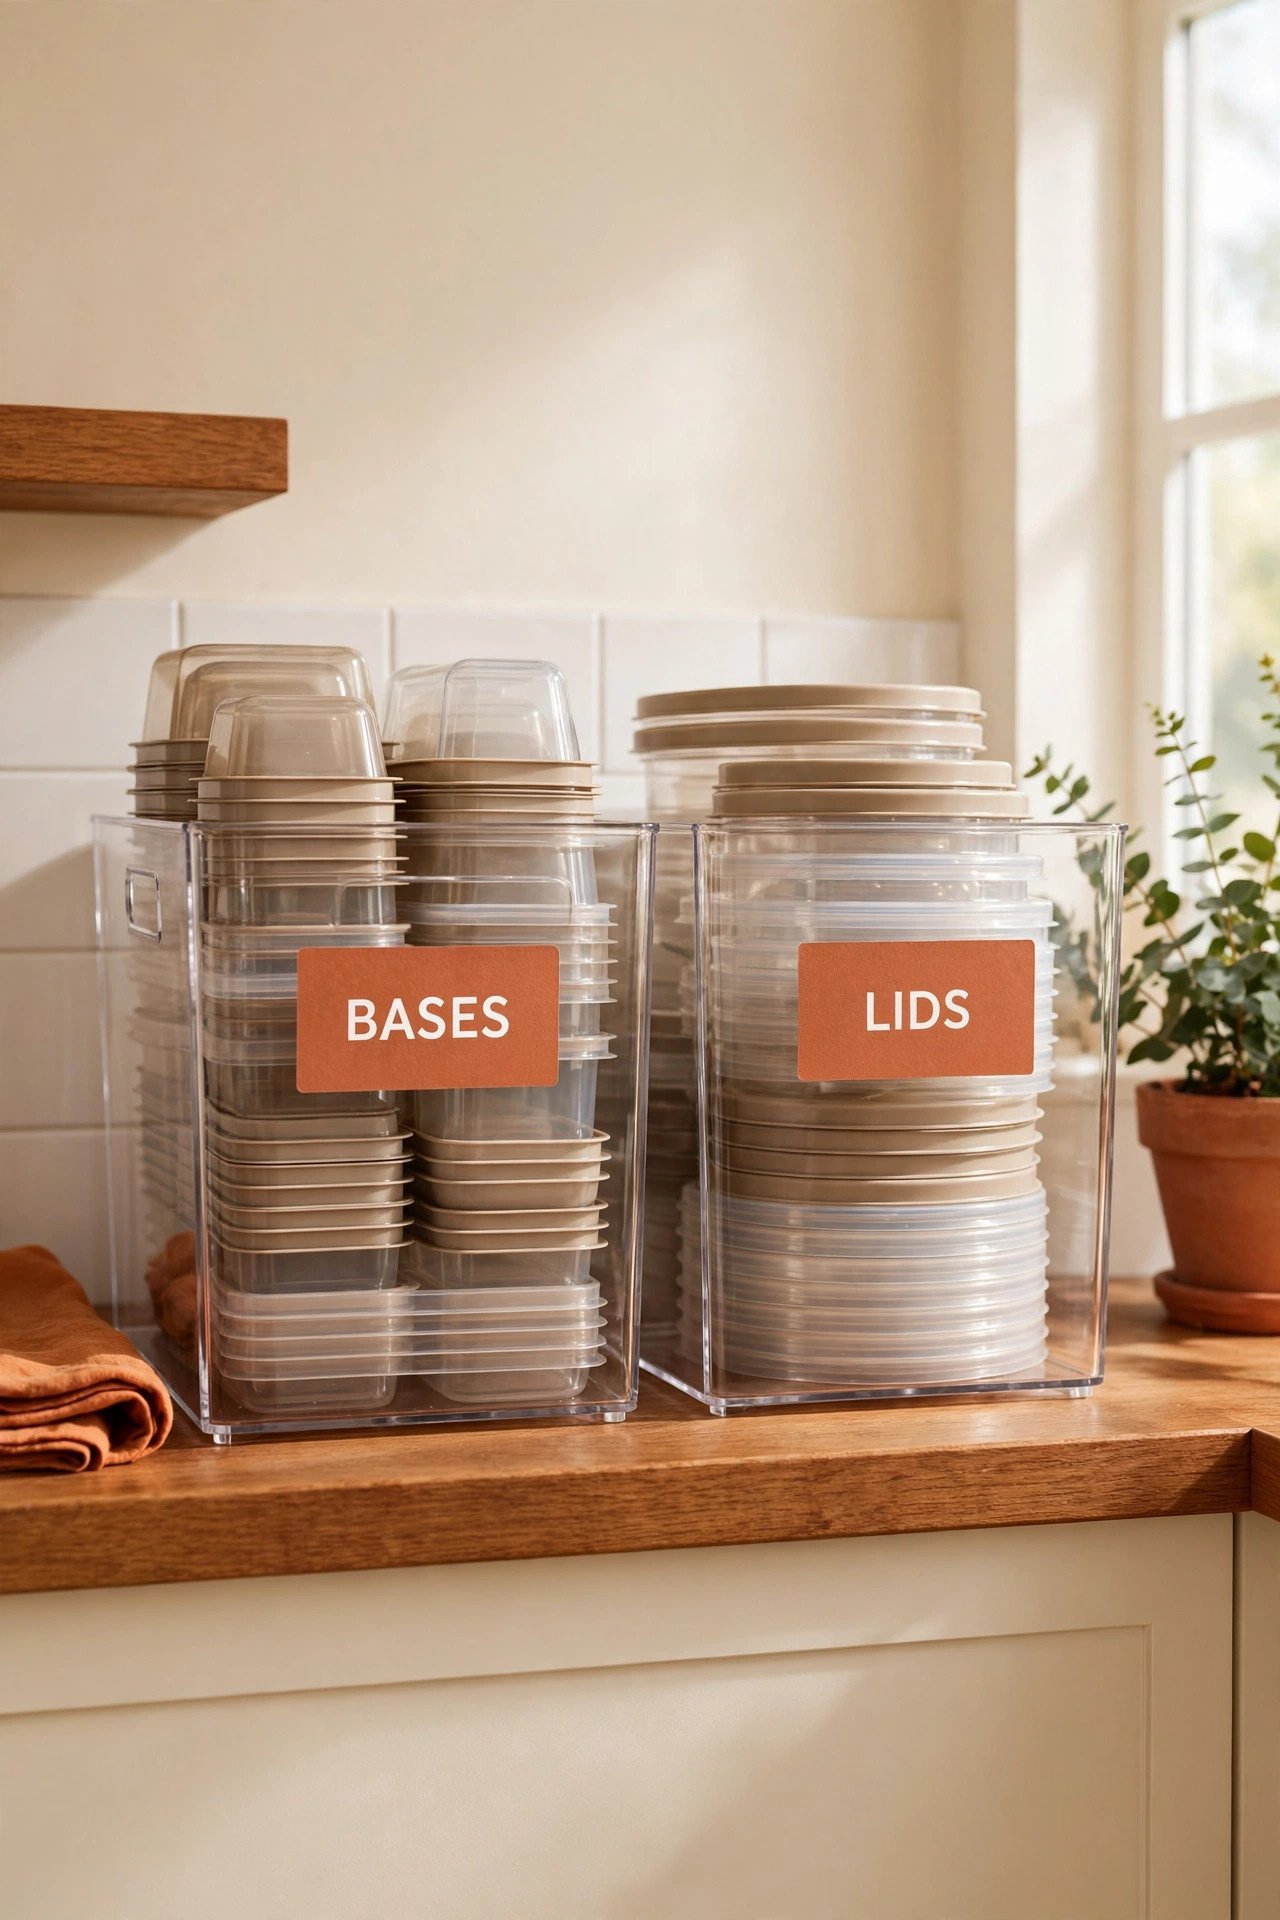
9. Labelled Zones for Every Size
Labelled zones tell every container where it belongs, so things go back to the right spot. Mark one zone for snack sizes, one for meal prep, and one for big batch-cooking pieces. The labels keep the system working after the first week.
Use a label maker or simple tape and marker for the tags. When family members can read the zones, they put things back correctly. A labeled system survives busy weeks that would wreck an unlabeled one.
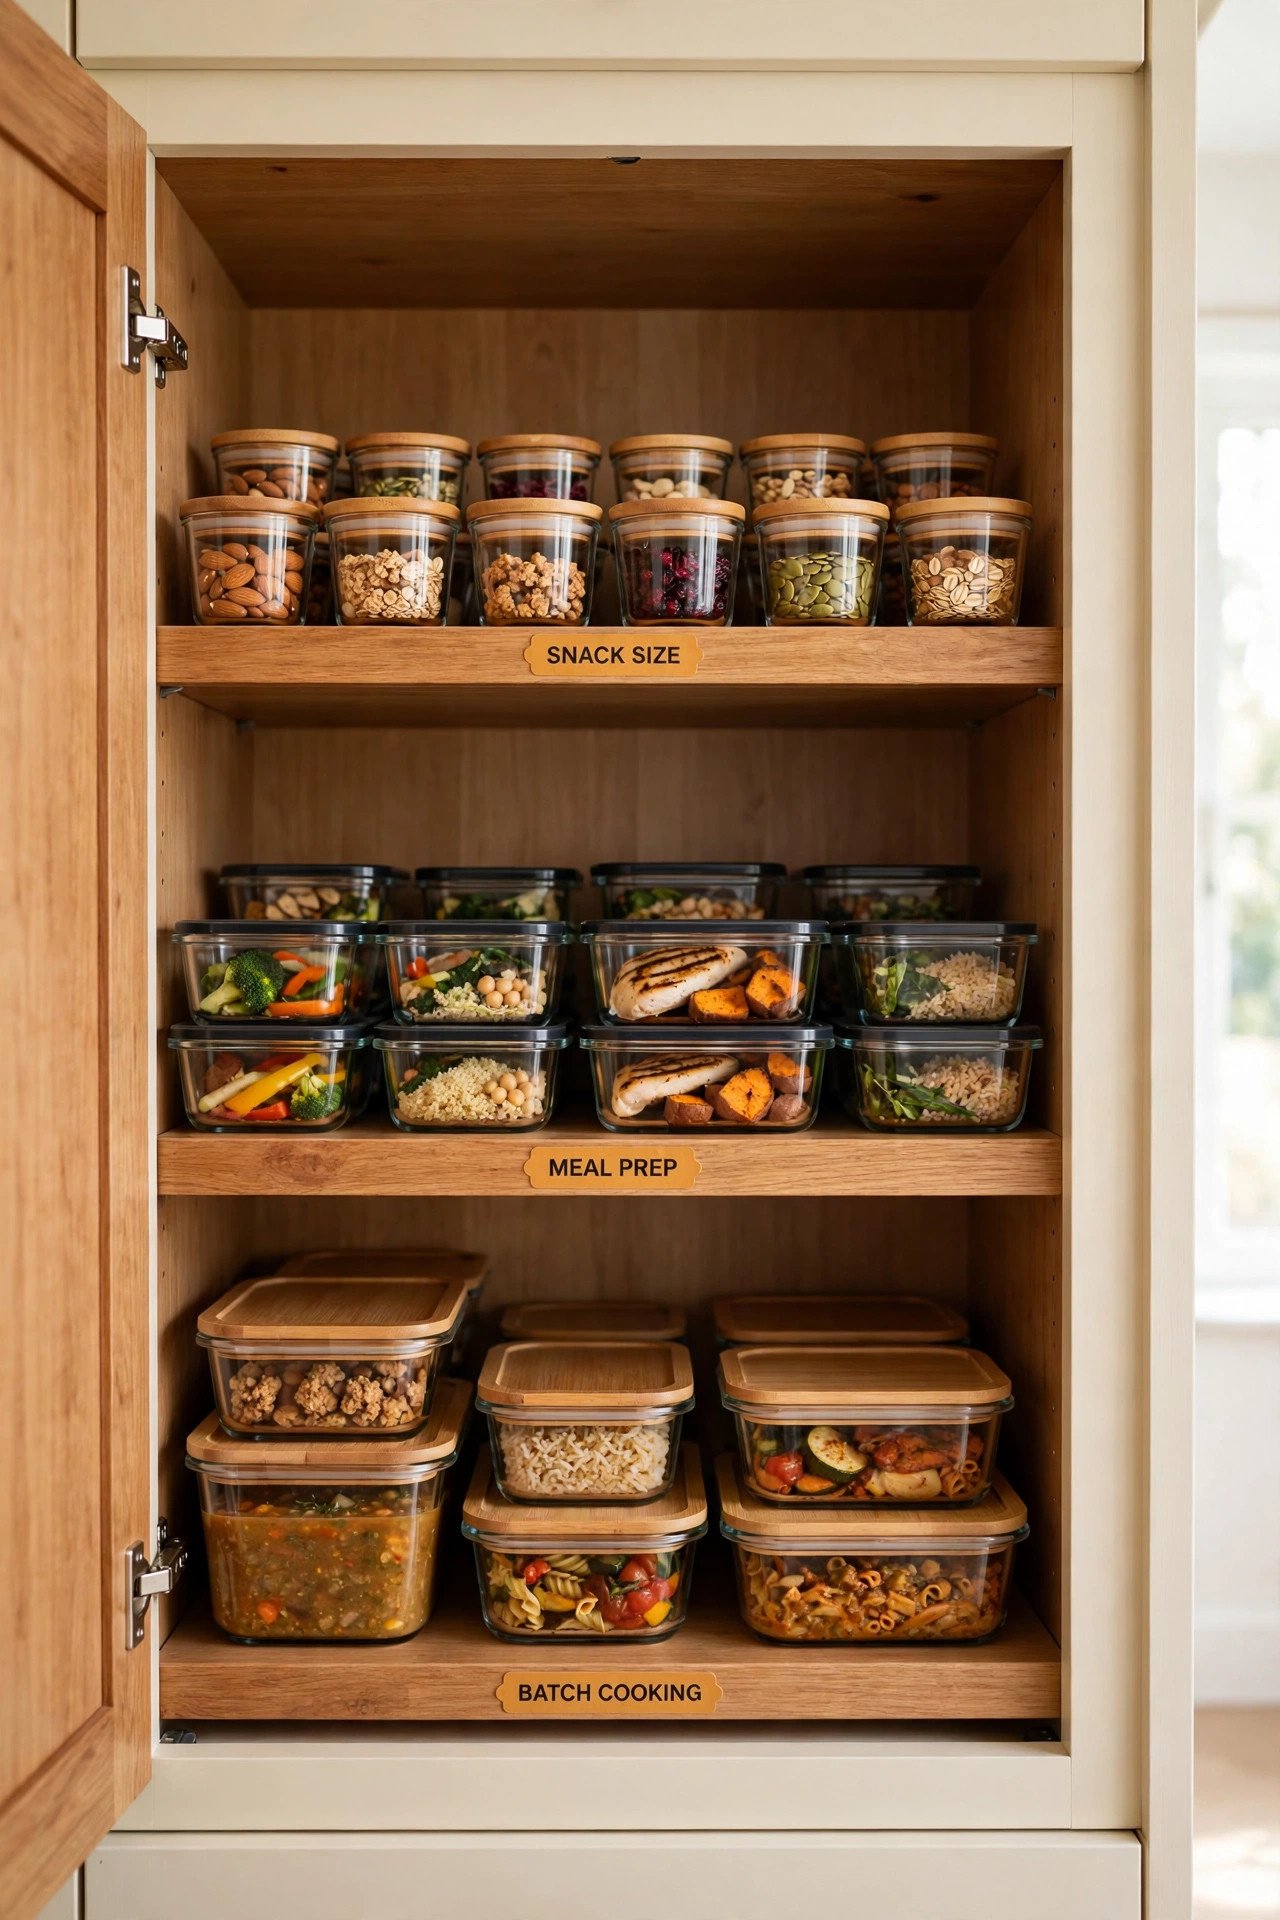
10. Woven Baskets on a Pantry Shelf
If your containers live in the pantry, woven baskets make the jumble look intentional. Tuck the containers inside the baskets and the shelf stays handsome. This works well in small kitchens where the containers have no cabinet to call home.
Choose baskets that fit your shelf depth and can handle daily pulling. This basket approach fits nicely with broader pantry organization ideas for deep shelves. Even a crowded pantry can look calm with the right baskets.
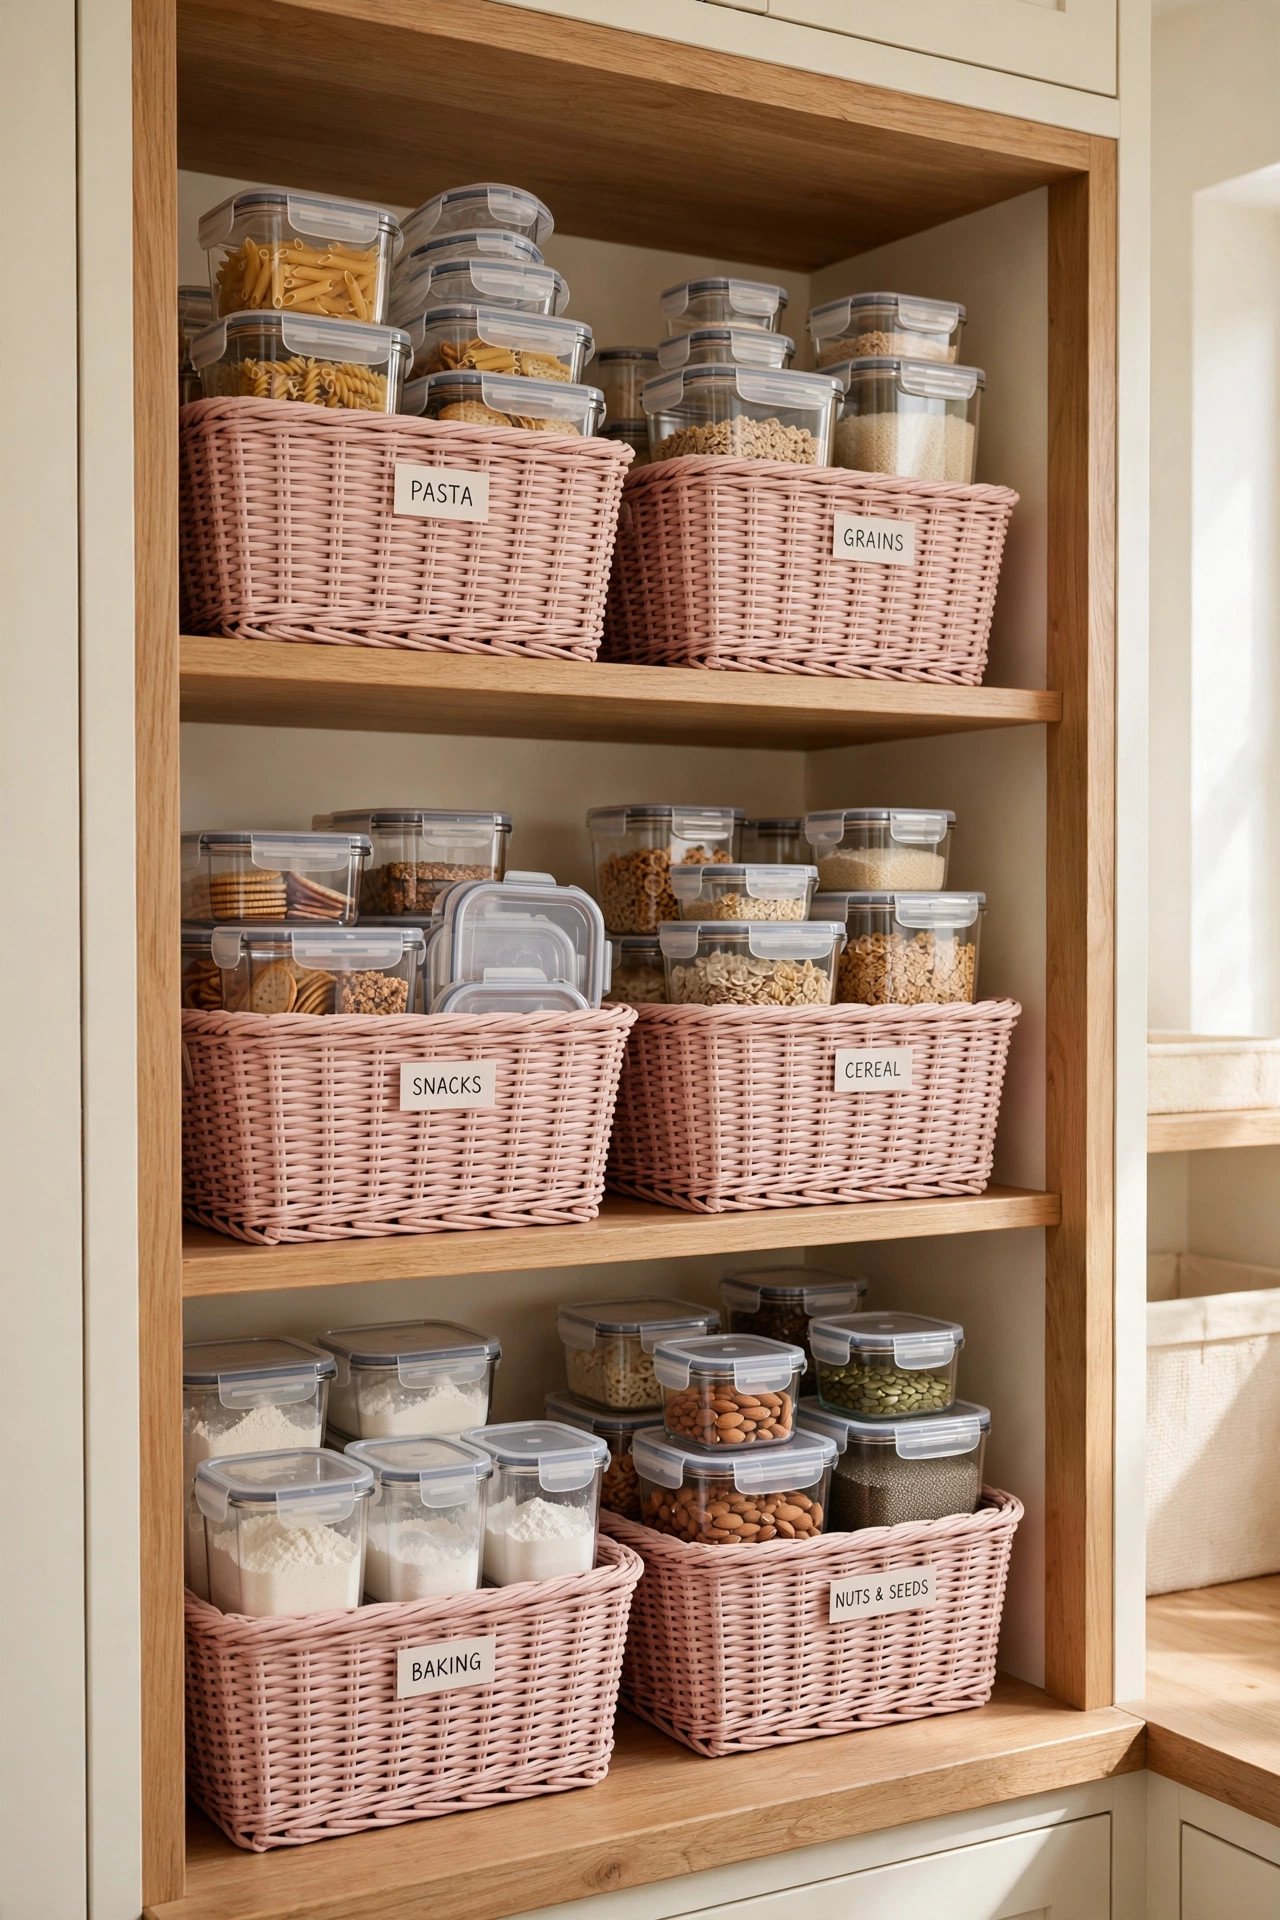
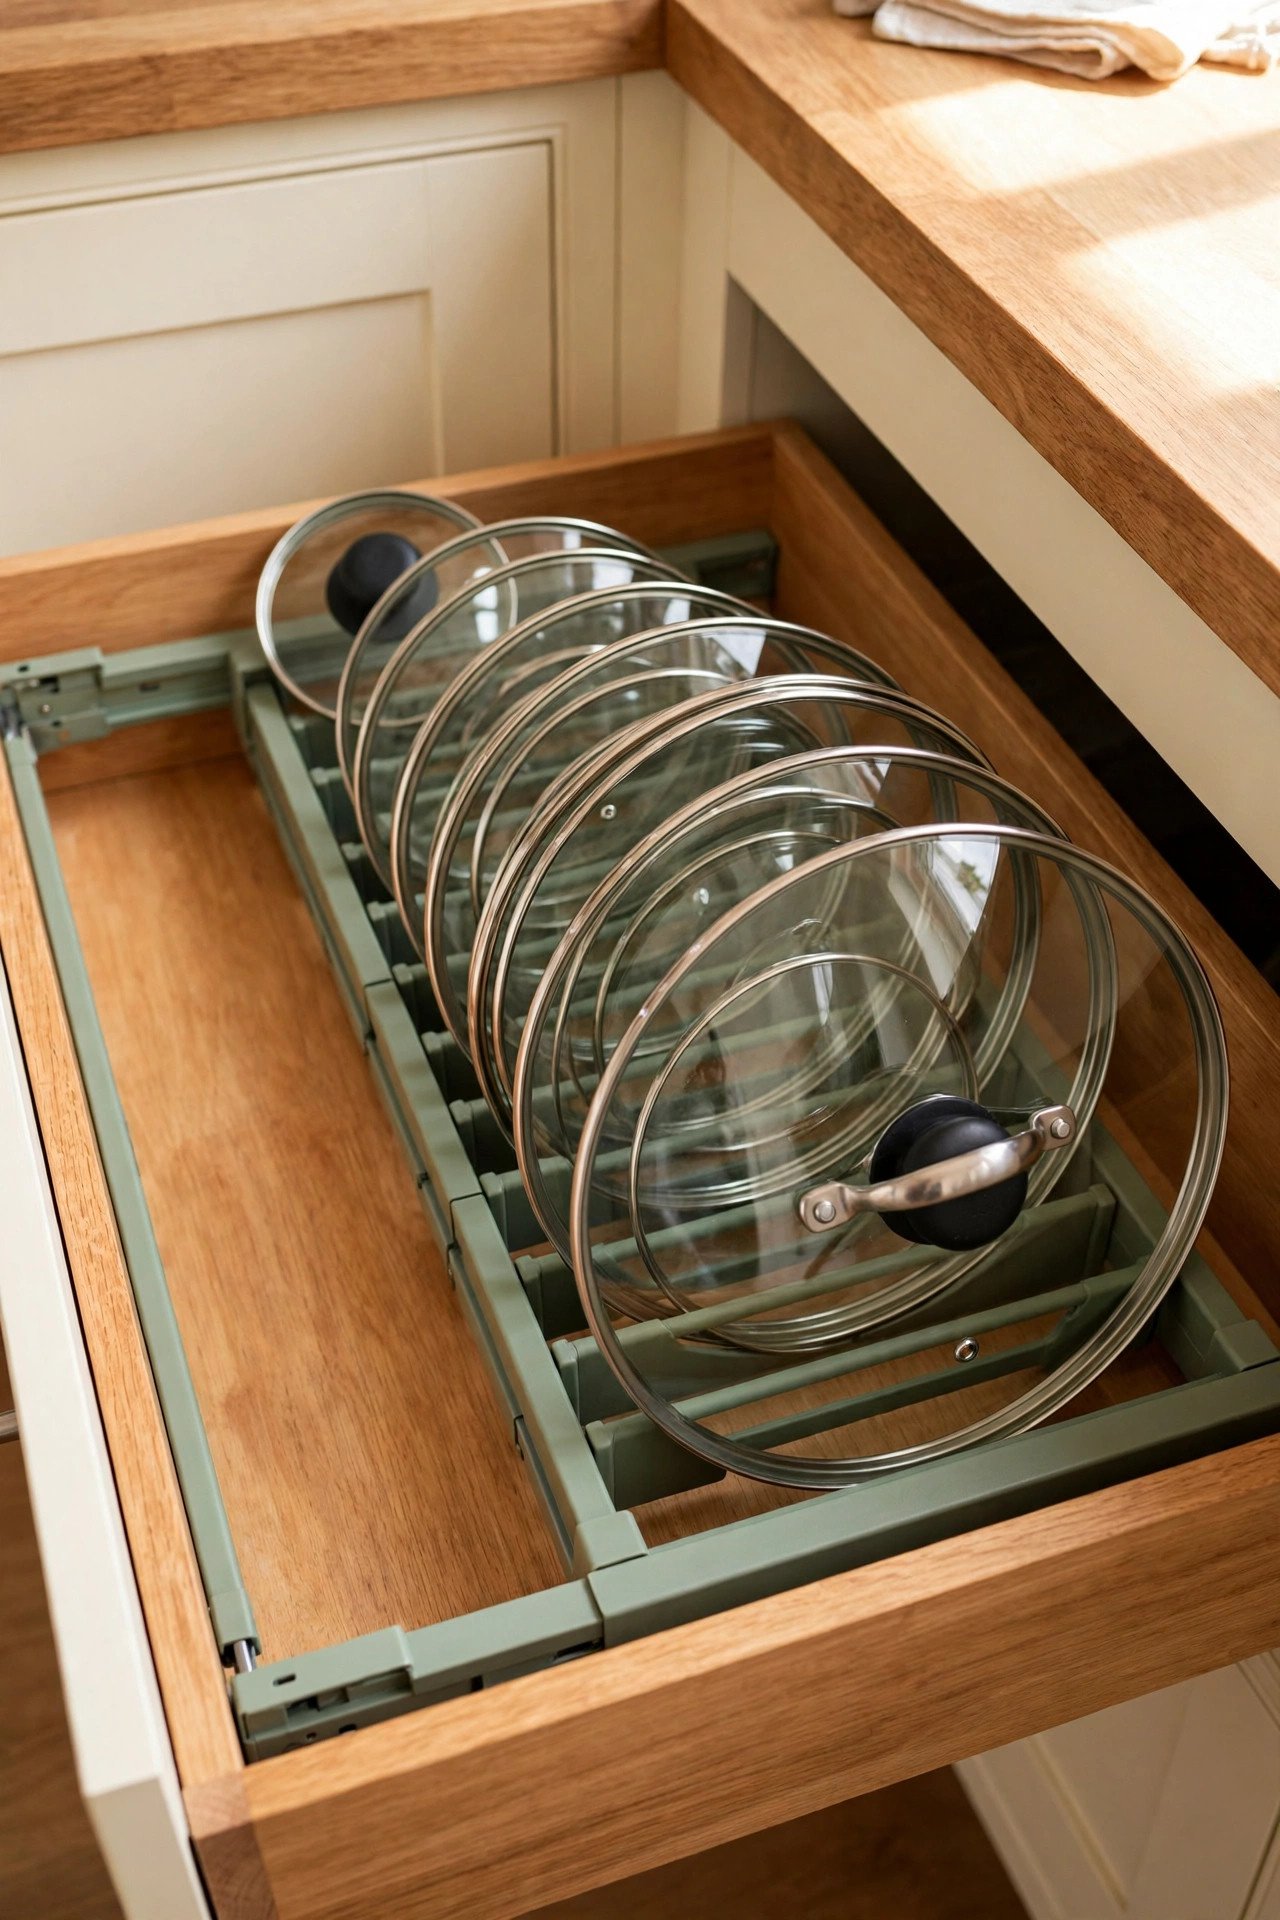
11. Expandable Lid Rack for Growing Collections
An expandable rack stretches to fit your drawer and holds lids in neat slots. The rack grows as your collection grows, which it always seems to do. Lids stay upright, sorted, and visible instead of piled in a wobbling stack.
Adjust the rack to your drawer width before loading the lids. The day you stop stacking lids in a teetering pile is a good day. This rack earns its space in any drawer.
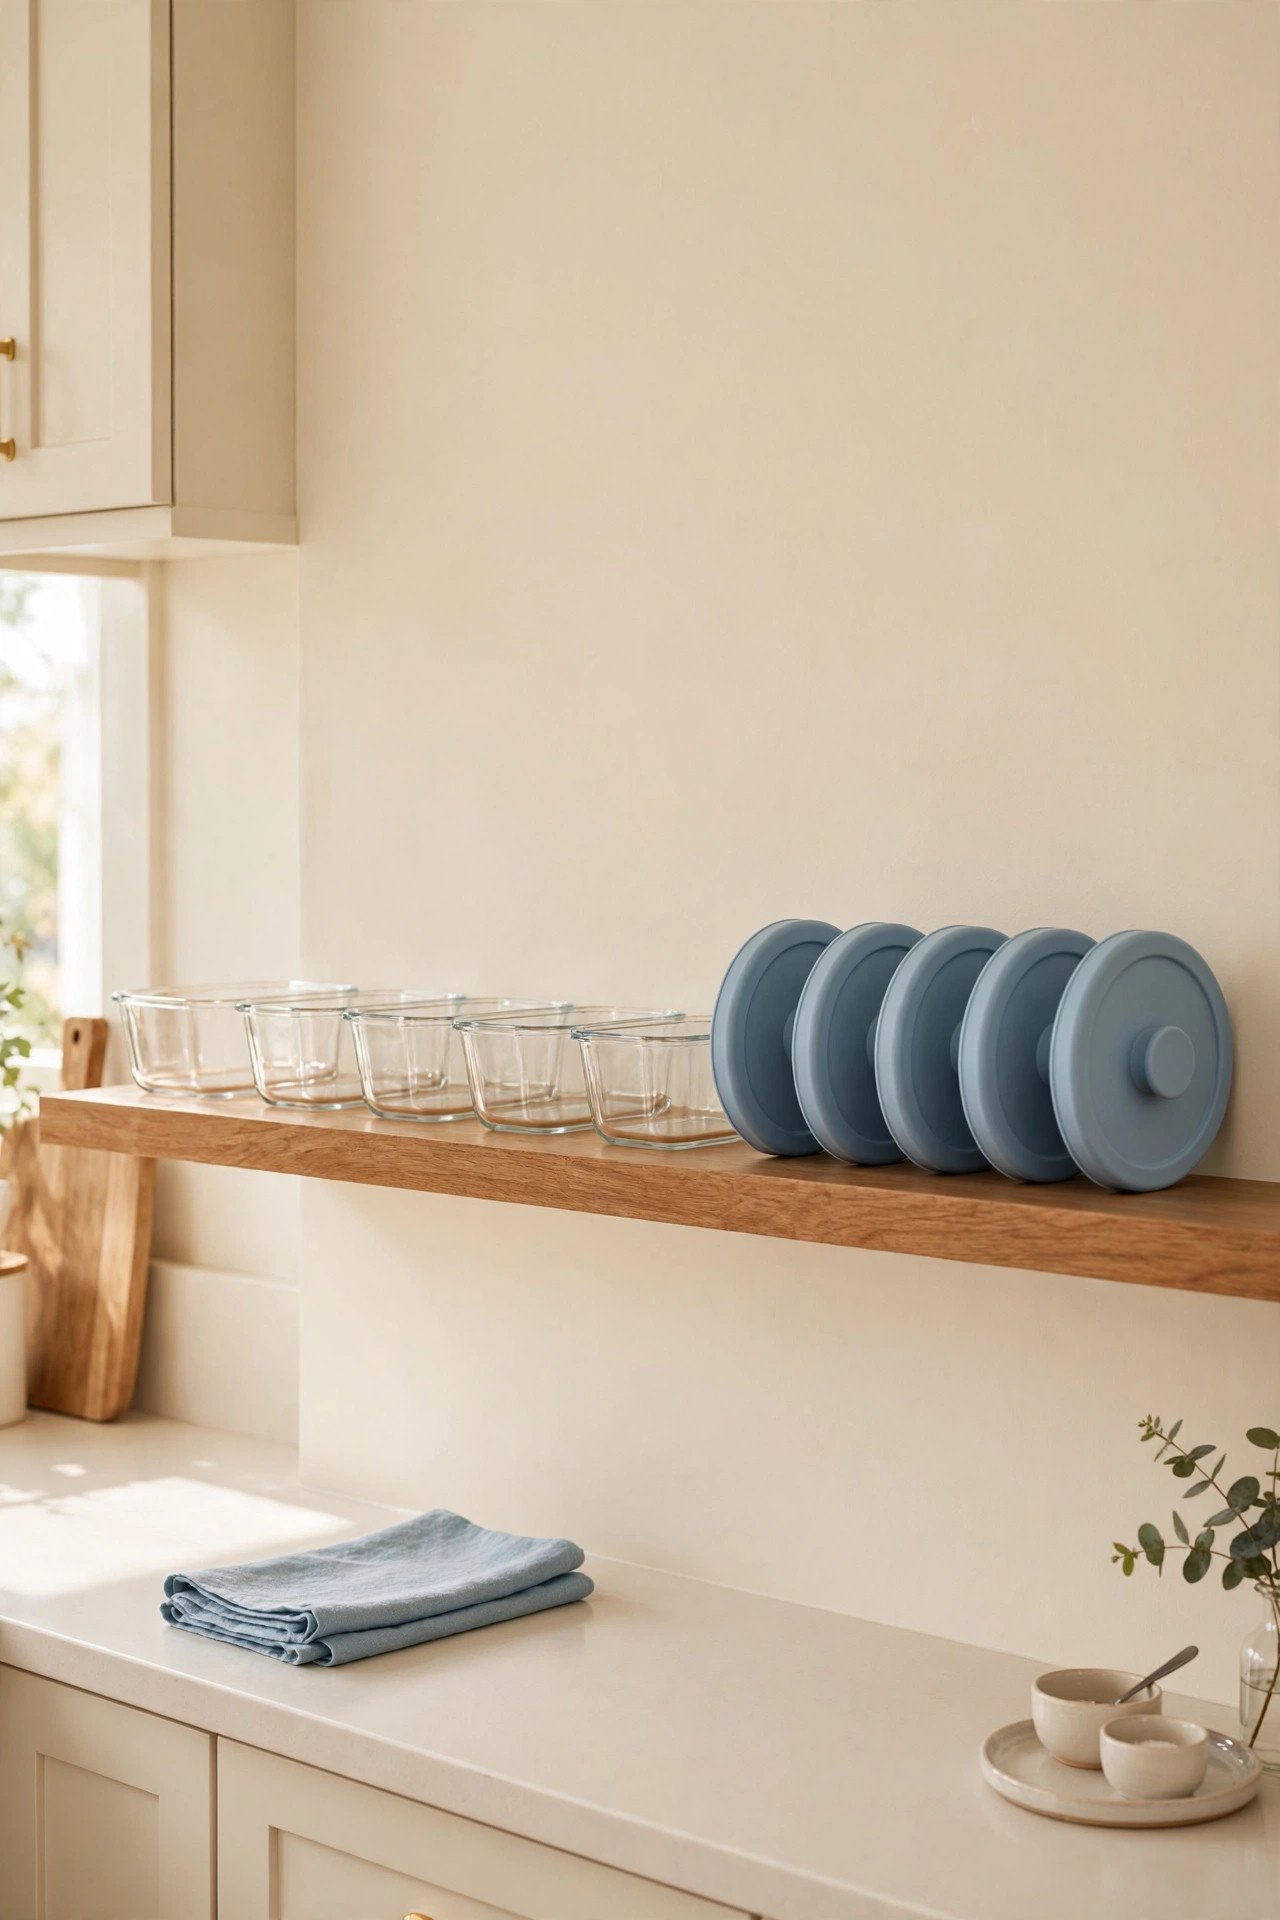
12. Open Shelf Display for Matching Sets
If your containers are matching glass, line them up on an open shelf and let them be decor. This only works when the pieces look good together, so purge the scratched takeout tubs first. A tidy row of glass looks intentional, not cluttered.
Keep the display to one shelf so it stays curated. Dust the shelf monthly since open storage collects more dust. When your containers are this pretty, storage becomes styling.
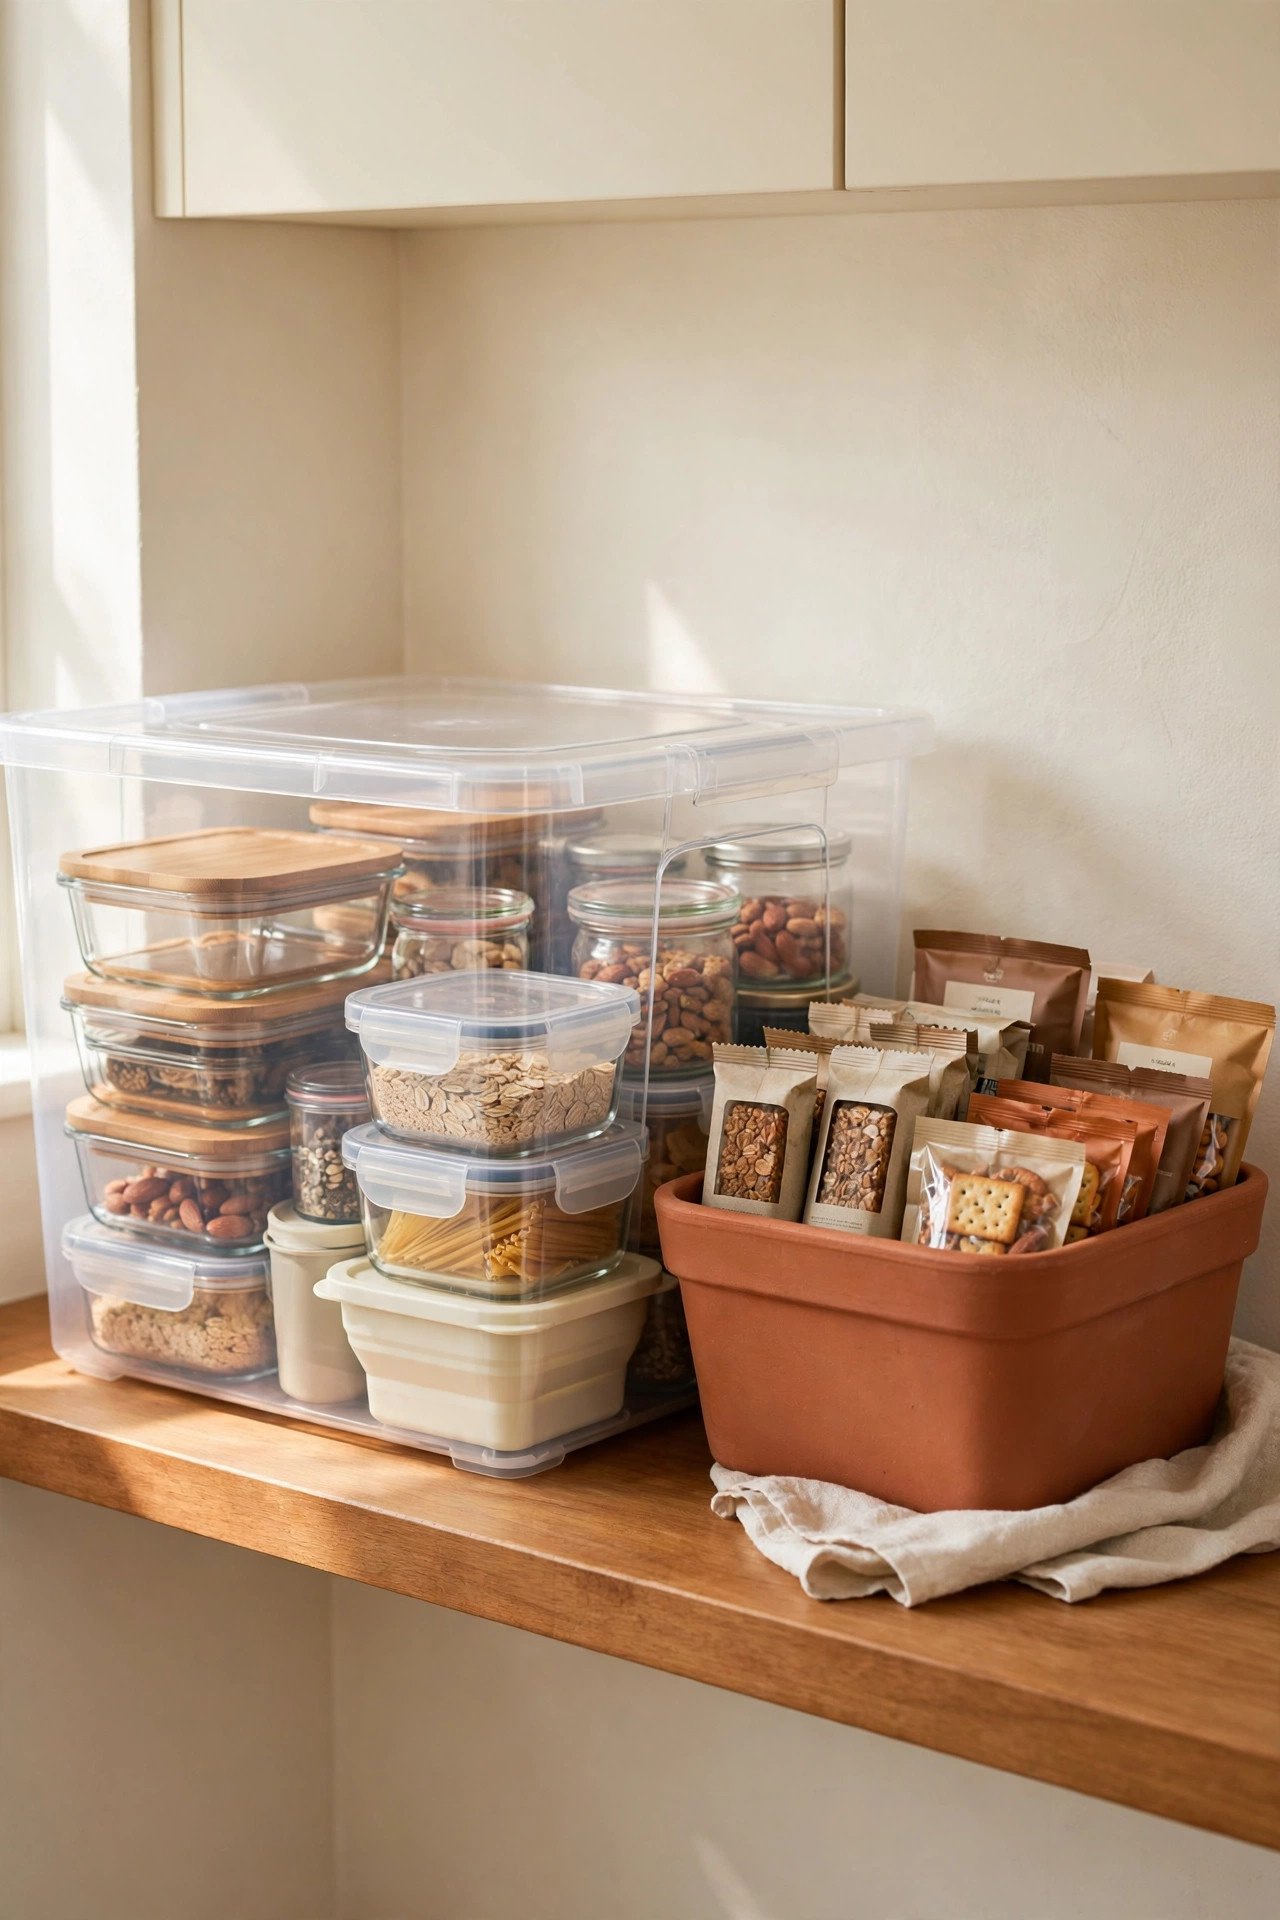
13. One Big Clear Bin for the Whole Collection
The simplest system is one big clear bin that holds everything, lid on, slid onto the shelf. You see the whole collection through the walls and pull the bin down when you need a container. Keep a smaller bin for snack sizes so they do not vanish under the big pieces.
Choose a bin with a secure lid so the stack stays neat on the shelf. Pack leftovers straight from the stove and store them with smart fridge organization so they stay fresh. Two bins and the chaos is gone.
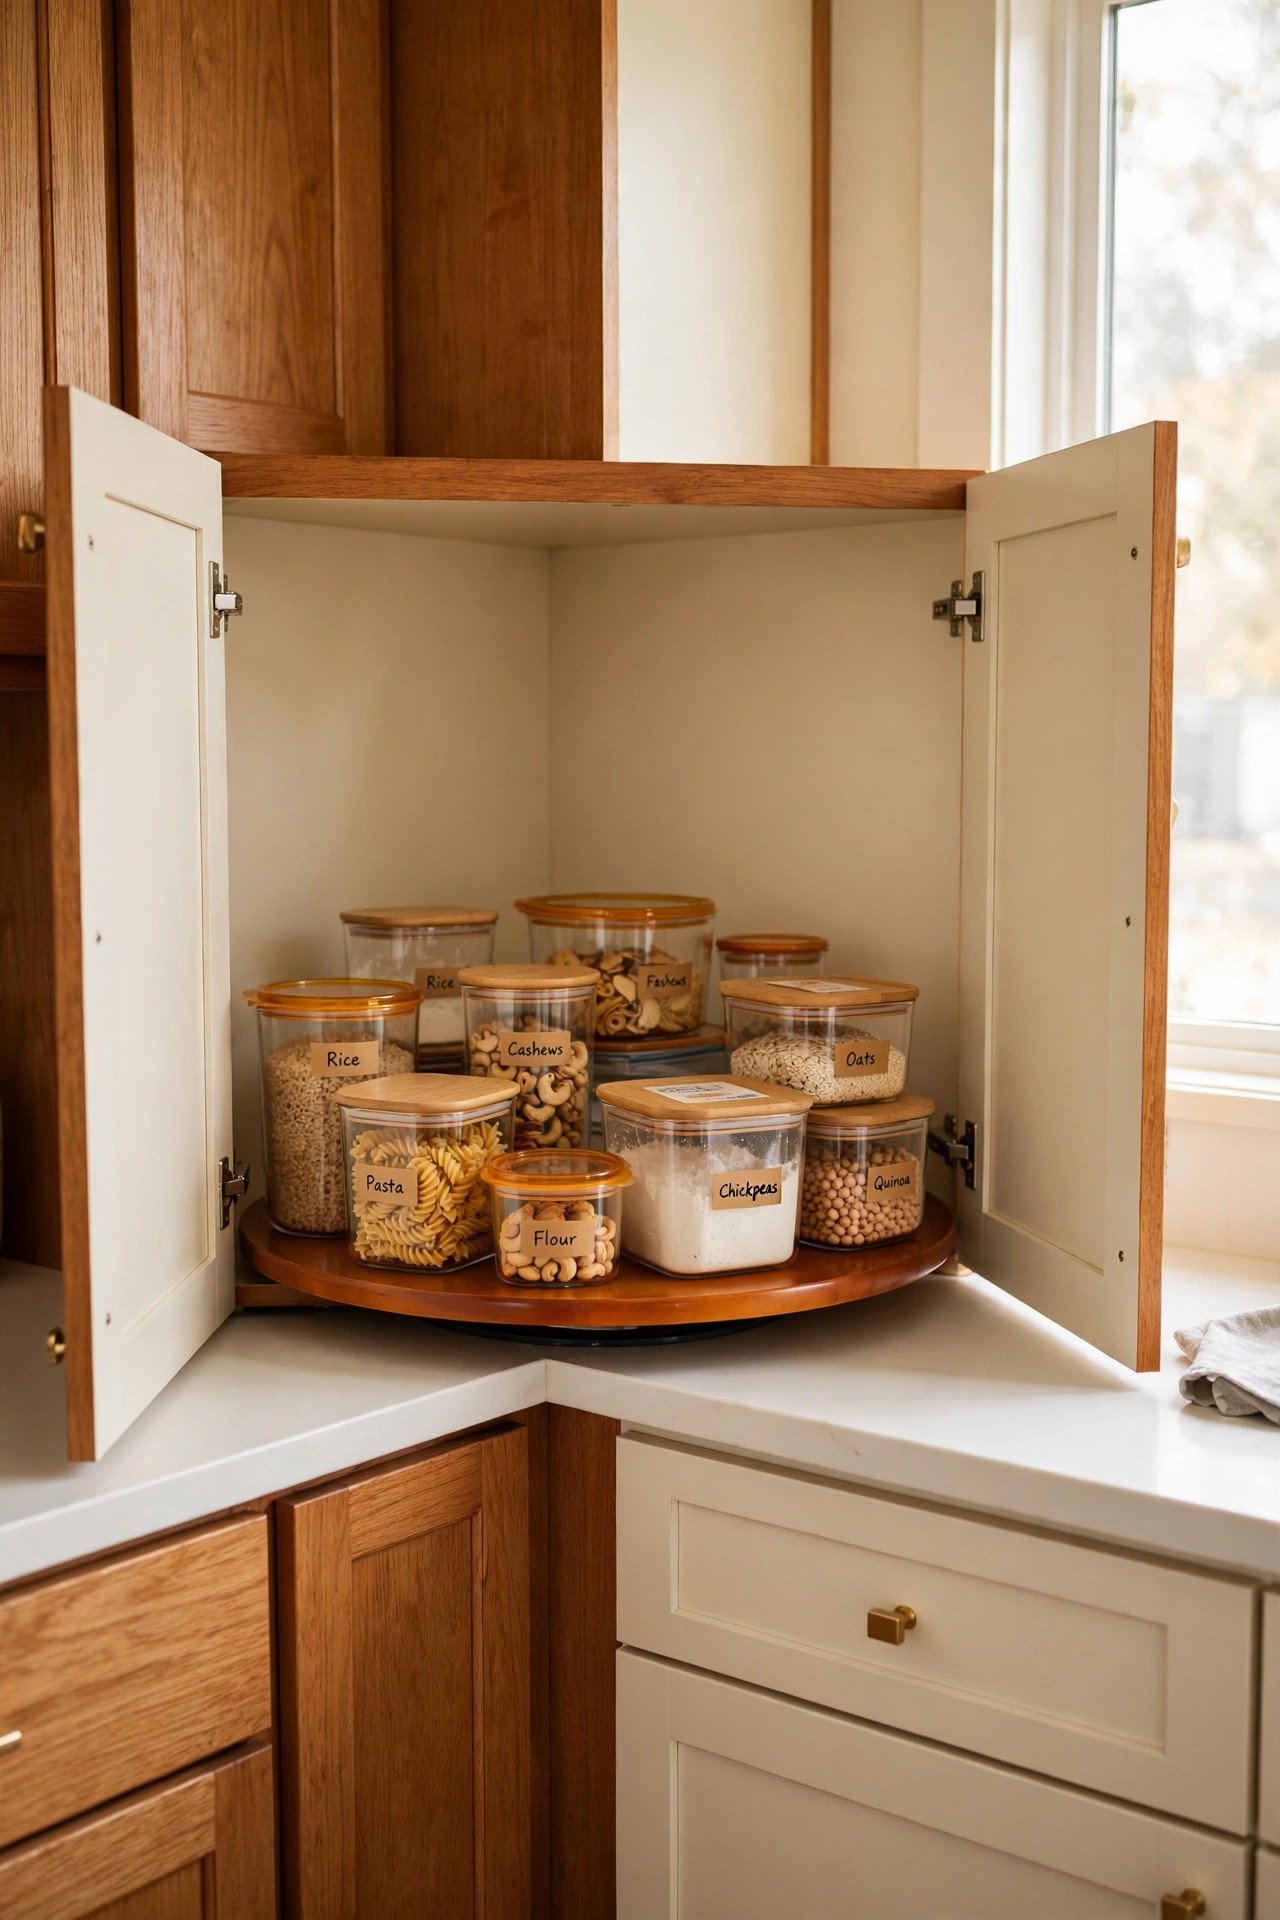
14. Corner Cabinet Lazy Susan Station
The awkward corner cabinet finally gets a job as the container station. A lazy Susan lets you spin to the back instead of climbing in headfirst. Corner cabinets stop being black holes when you can rotate to every corner.
Place the containers you use most on the front half of the turntable. This fifteen-minute upgrade rescues a cabinet most people ignore for years. Spin, grab, and close the door.
15. Slim Rolling Cart for the Gap
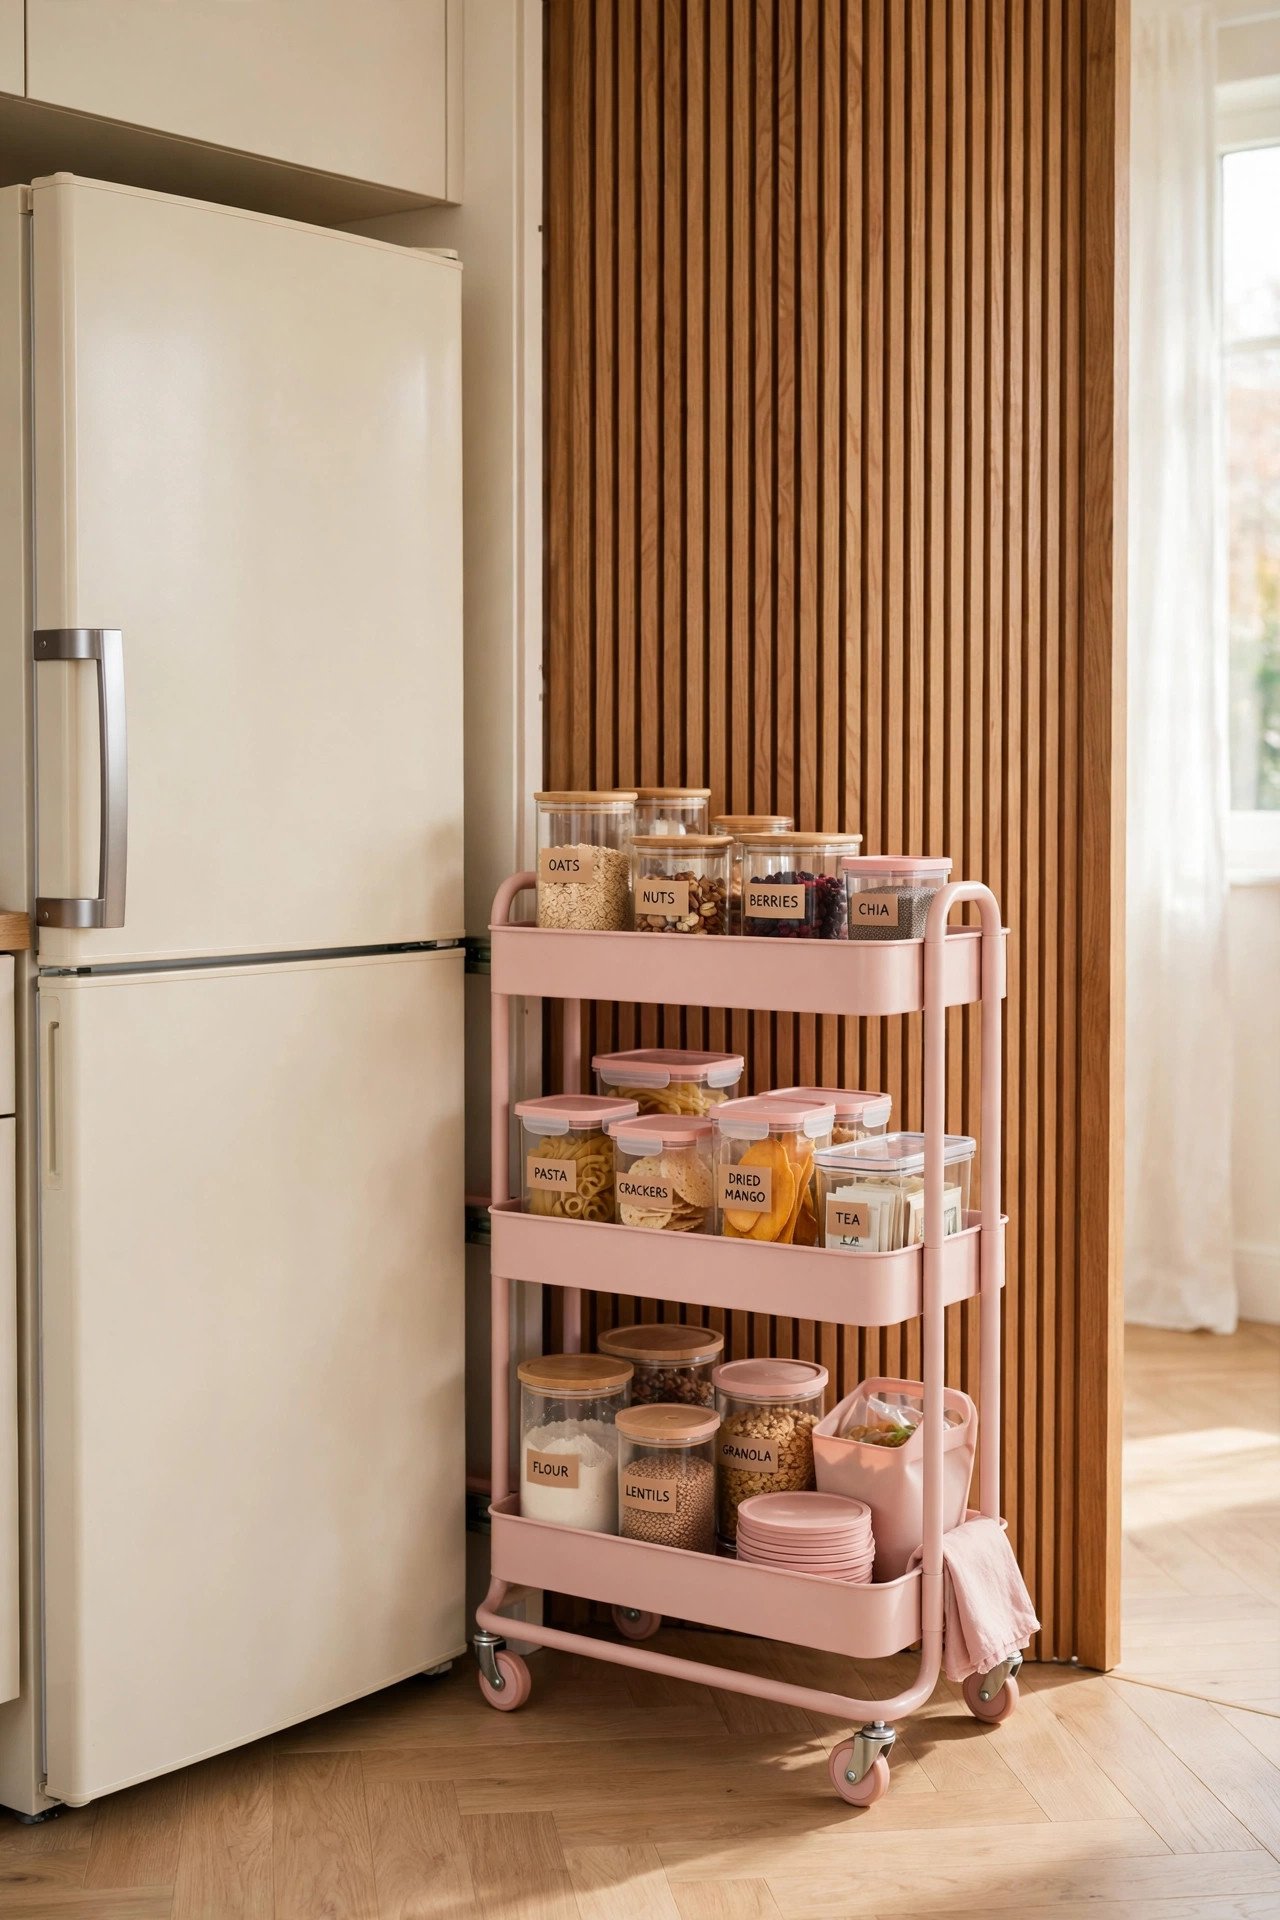
A slim rolling cart tucks into the dead gap between the fridge and the wall and pulls out when you need it. Some of the smartest container storage uses space you forgot you had. Roll it out, grab a container, and roll it back.
Measure the gap before buying so the cart fits on the first try. This is the perfect home for a small, daily-use set. Tiny kitchens need tricks like this.
Conclusion
Lids are the whole battle, and upright storage wins it. Pick the one or two ideas that fit your cabinets and start with the lids. The bases are easy once the lids behave.
You do not need a bigger kitchen to fix this. You need a system where every lid has a slot and every base has a nest. Build that, and packing leftovers becomes the easiest part of dinner.
Tupperware Organization FAQs
How do you keep Tupperware lids organized?
Store lids upright in dividers, a file organizer, or an expandable rack so you can see every size. Never stack lids flat in a pile.
Should you store containers with lids on or off?
Store lids separately but beside their bases. Lids stored upright in slots stay visible, while bases nest together to save space.
How do you organize a small Tupperware cabinet?
Use a pull-out shelf or a lazy Susan so nothing hides at the back. Switch to one nesting set so the whole collection stacks into a small footprint.
Is it better to use glass or plastic containers?
Glass nests neatly, resists stains, and lasts longer. Keep a small set of matching glass containers instead of a large mix of plastic.
How often should you purge food containers?
Check the collection every six months. Recycle lids without matches, warped pieces, and stained containers you no longer reach for.

Hi, I’m Emily! I turn messy corners into cozy, organized spots. DreamNestDecor is where I share simple, practical home ideas — decor, organization, and small-space solutions that work in real life, not just in photos. Every idea here is carefully researched before it’s shared.