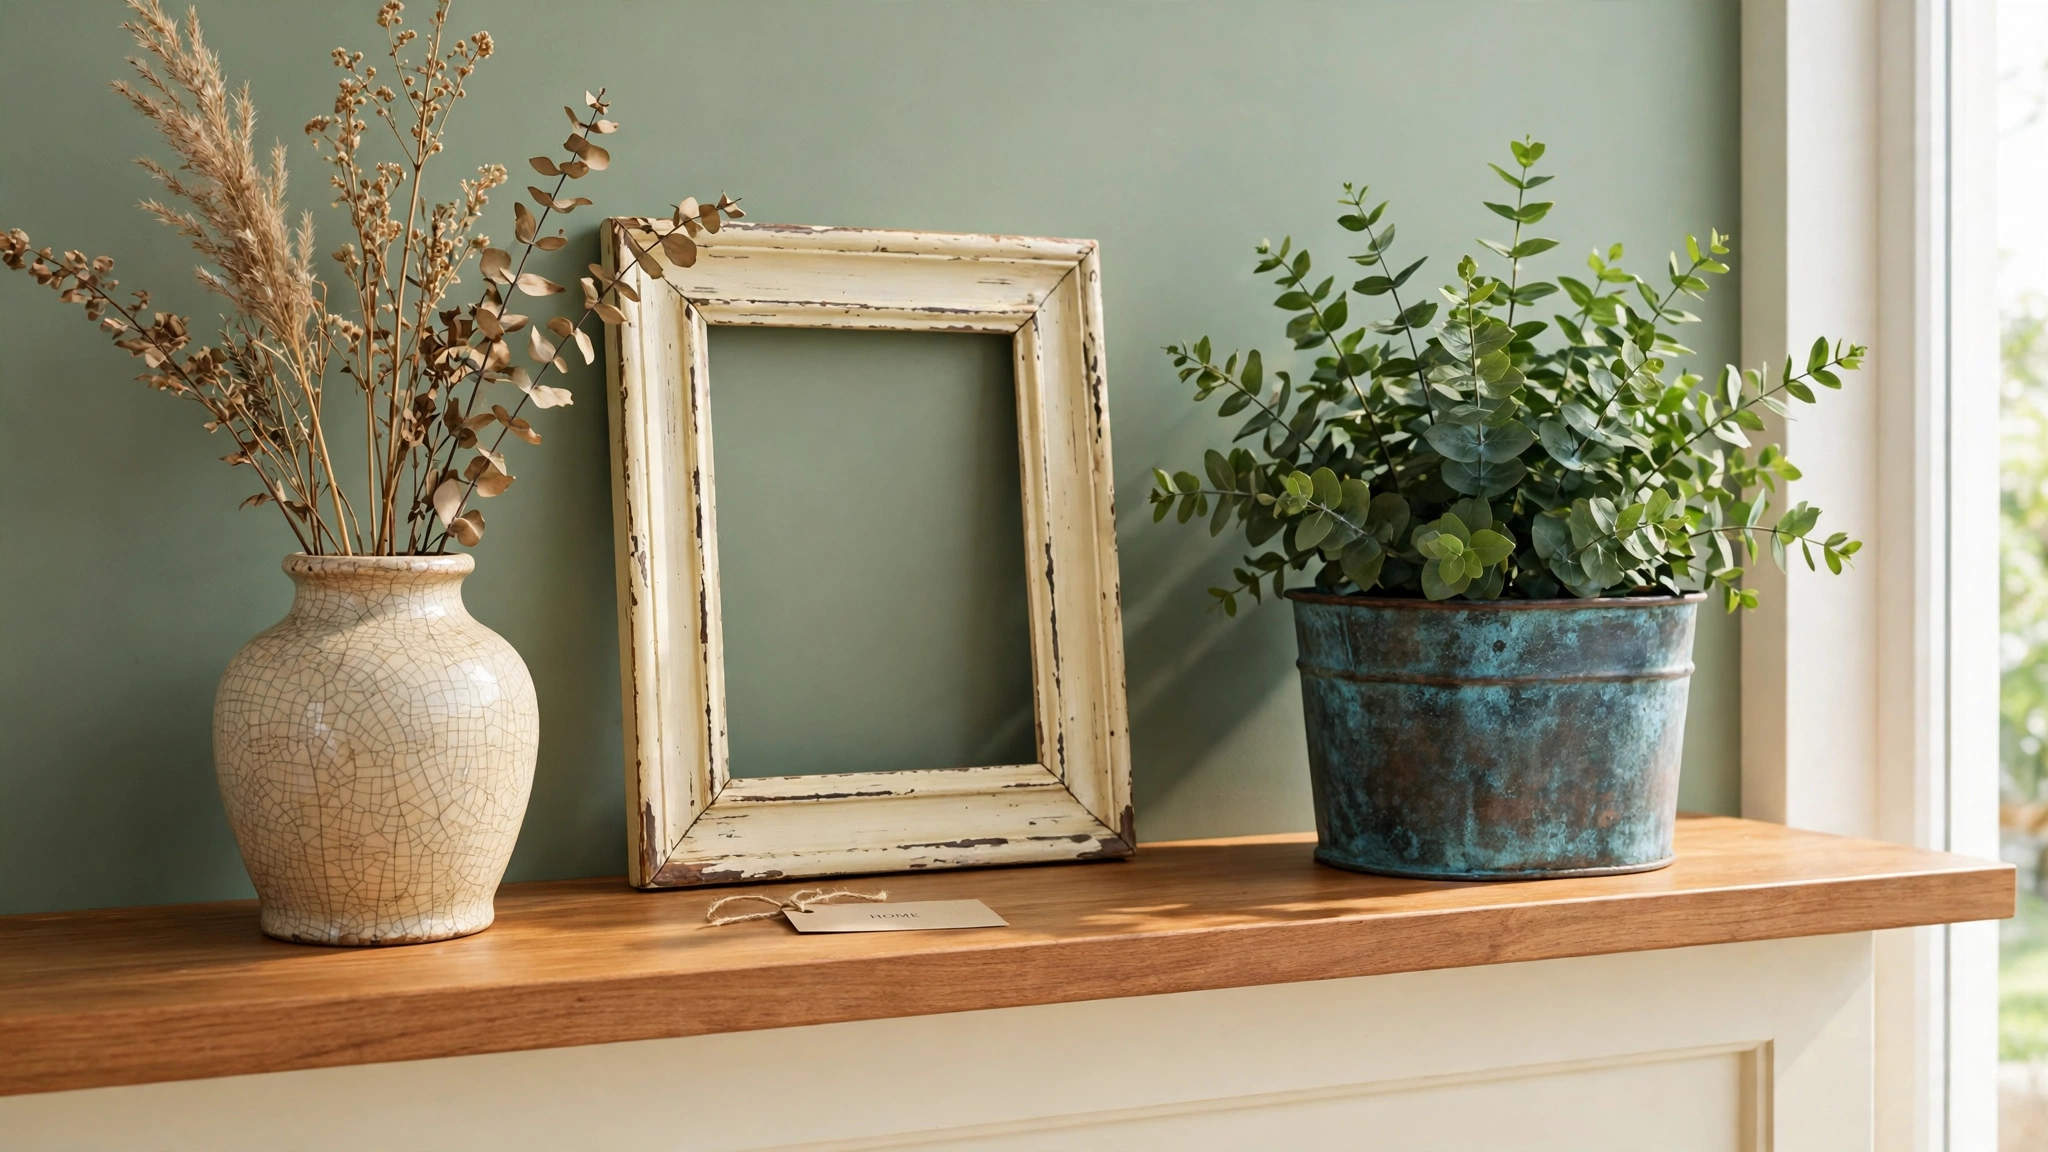
Picture this: an old wooden frame sits on a shelf, plain and forgettable, and a single afternoon of paint, sandpaper, and wax turns it into a piece that looks like it came from a French flea market. That small transformation is the magic of a faux antique finish. With the right technique, ordinary accessories gain the soft wear, gentle cracks, and deep patina that make old objects feel full of stories.
You do not need rare antiques, costly tools, or years of practice to get the look. All you need is an old accessory, a finish that mimics age, and a little patience while layers dry. These 30 diy faux antique finish ideas will show you how to distress, crackle, glaze, gild, and patina your way to accessories that look beautifully old, even when they started out brand new.
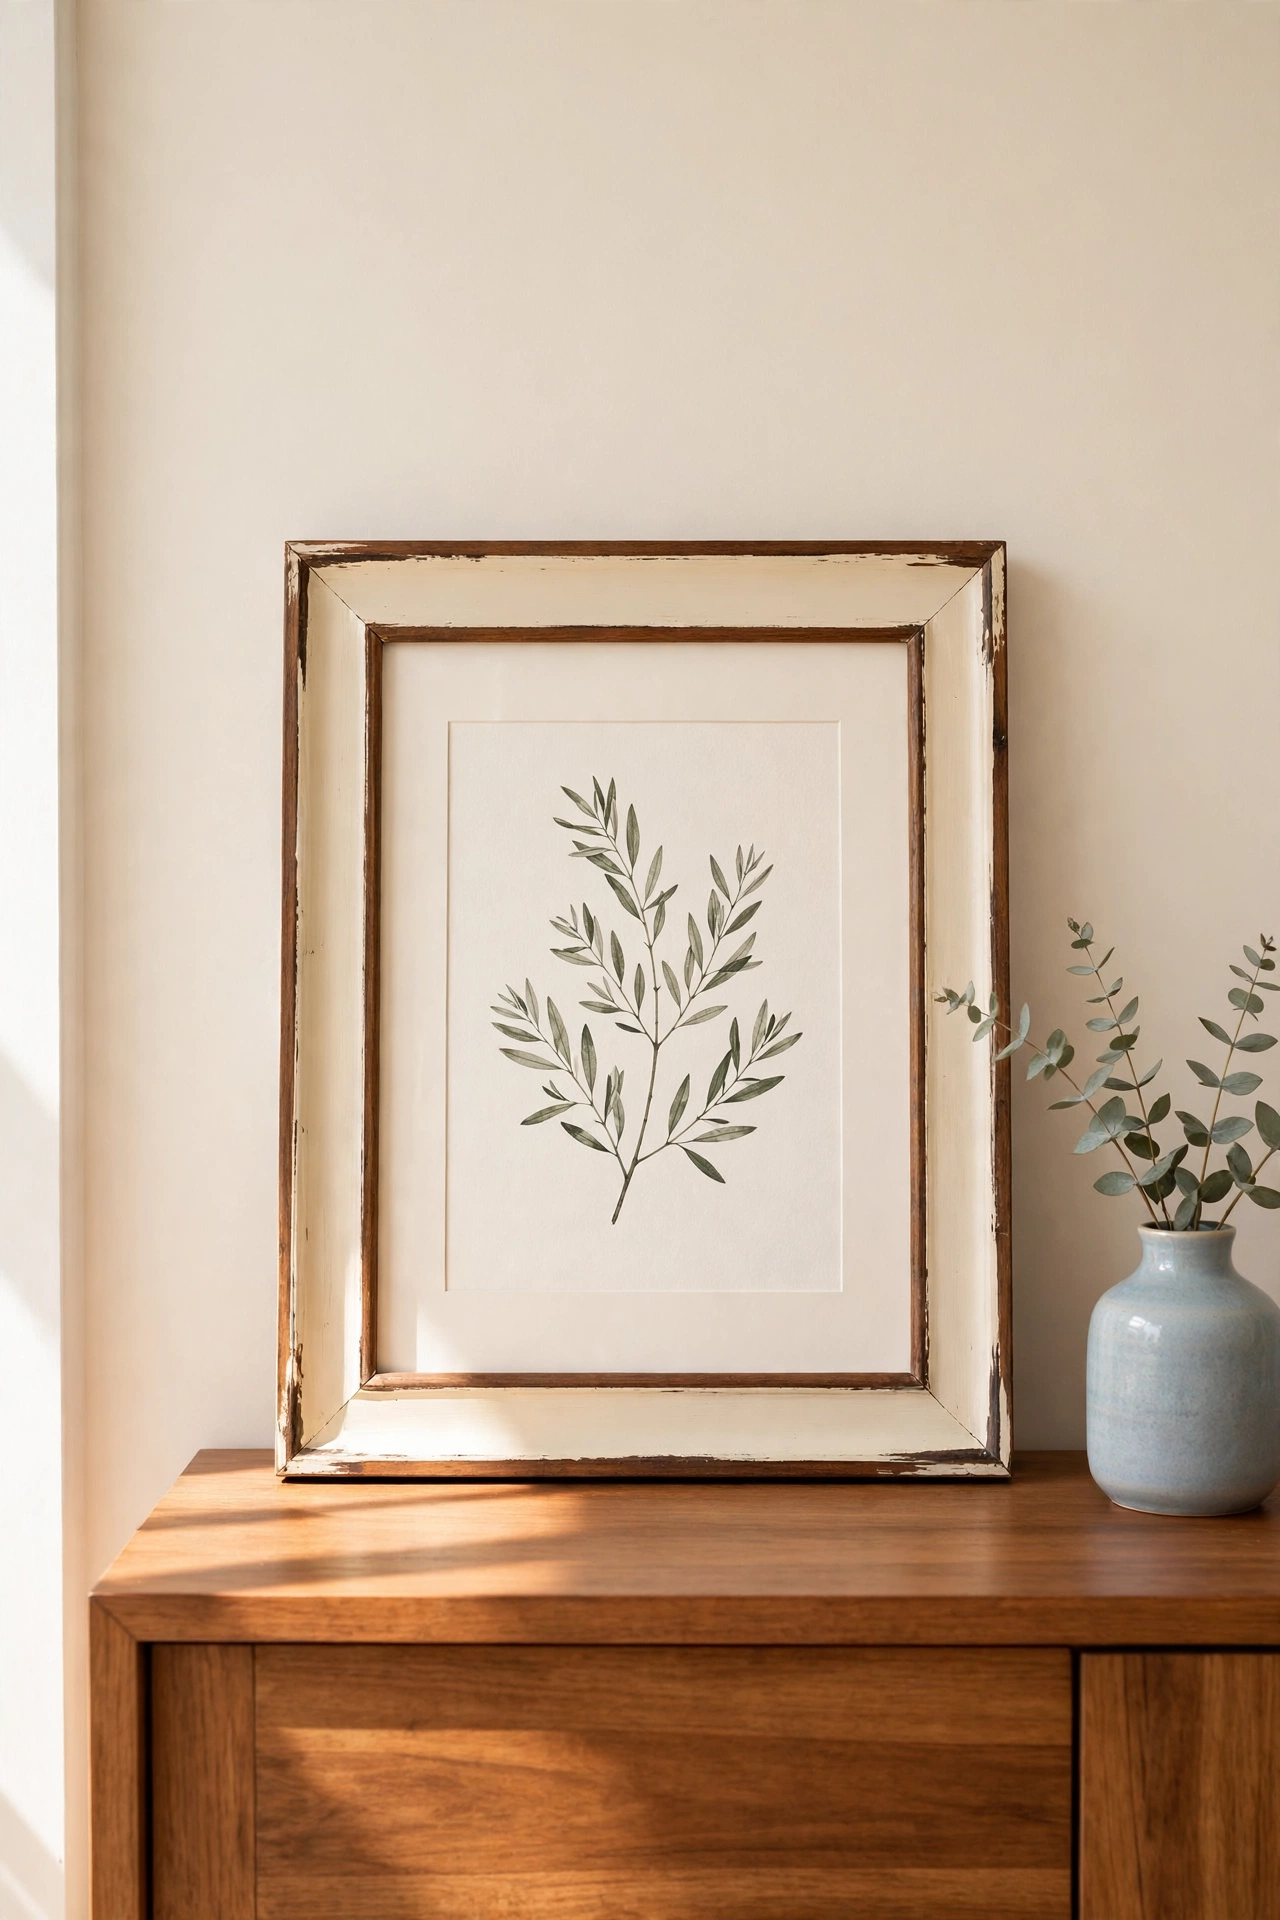
1. Sand Back Layered Paint on a Wooden Picture Frame
Layered paint with sanding is the simplest way to fake decades of wear on a wooden frame. Paint the frame in a dark base color, let it dry fully, then paint a lighter color over the top. Once the top coat is dry, sand the edges and raised details with fine sandpaper until the dark base shows through in the spots where real handling would wear paint away.
Focus the sanding on corners, ridges, and the outer lip, because those are the places age touches first. Keep the middle of each flat side mostly intact so the finish looks natural instead of scratched all over. A coat of clear wax seals the work and gives the frame a soft, hand rubbed glow that suits old photographs and botanical prints.
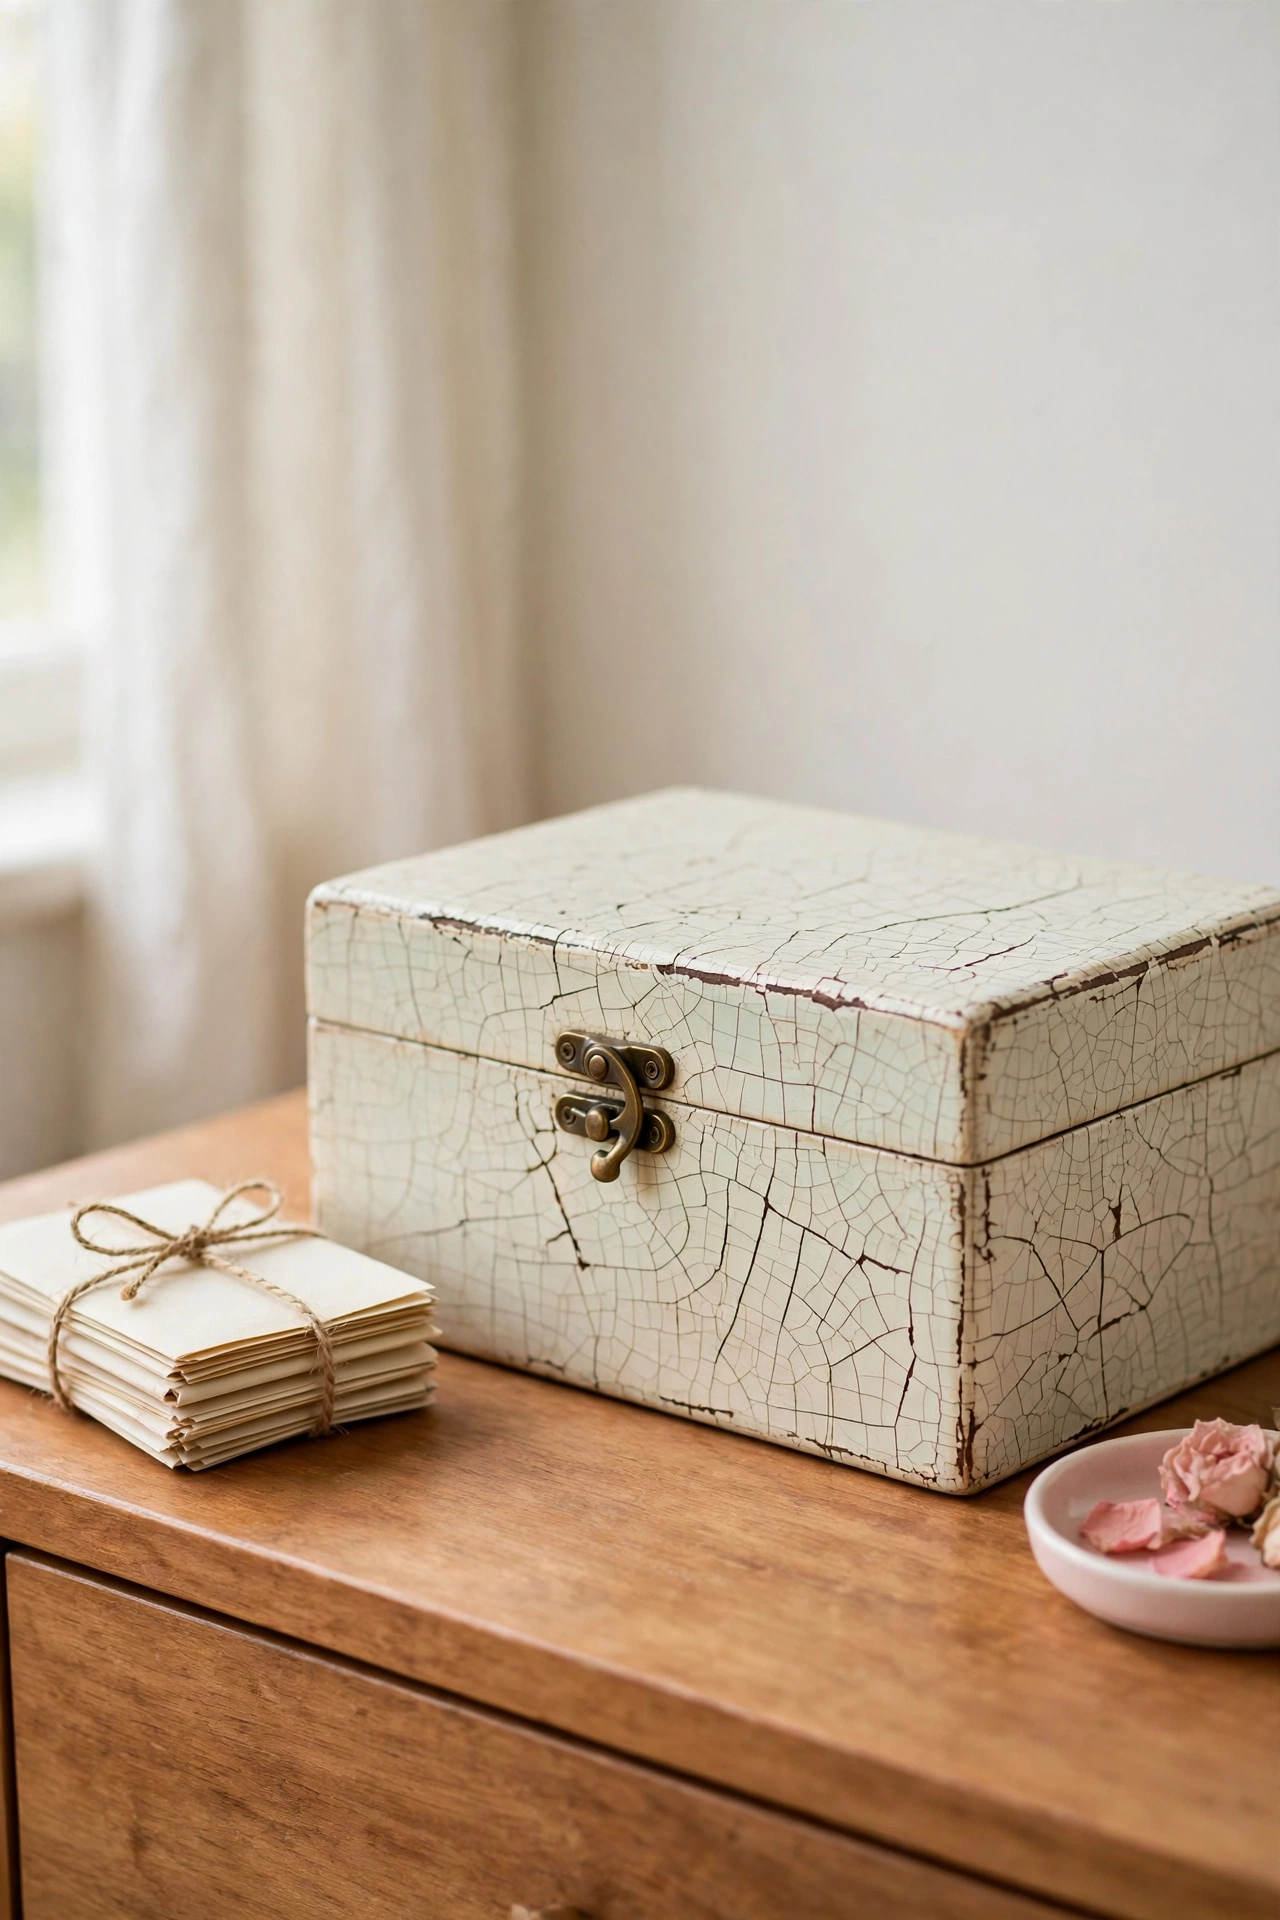
2. Add Crackle Glaze to a Wooden Keepsake Box
Crackle glaze creates a web of fine cracks that looks like old paint drying out over many years. Paint the keepsake box in a base color, brush crackle medium over the surface, and then paint the top color while the medium is still tacky. As the top coat dries, it splits into cracks that reveal the base color underneath.
Thick coats of crackle medium make wide, bold cracks, while thin coats make a fine, delicate pattern. Choose a dark base with a pale top coat for strong contrast, or keep the two colors close for a subtle aged look. Store letters, photos, and small treasures inside, and the box itself becomes as interesting as what it holds.
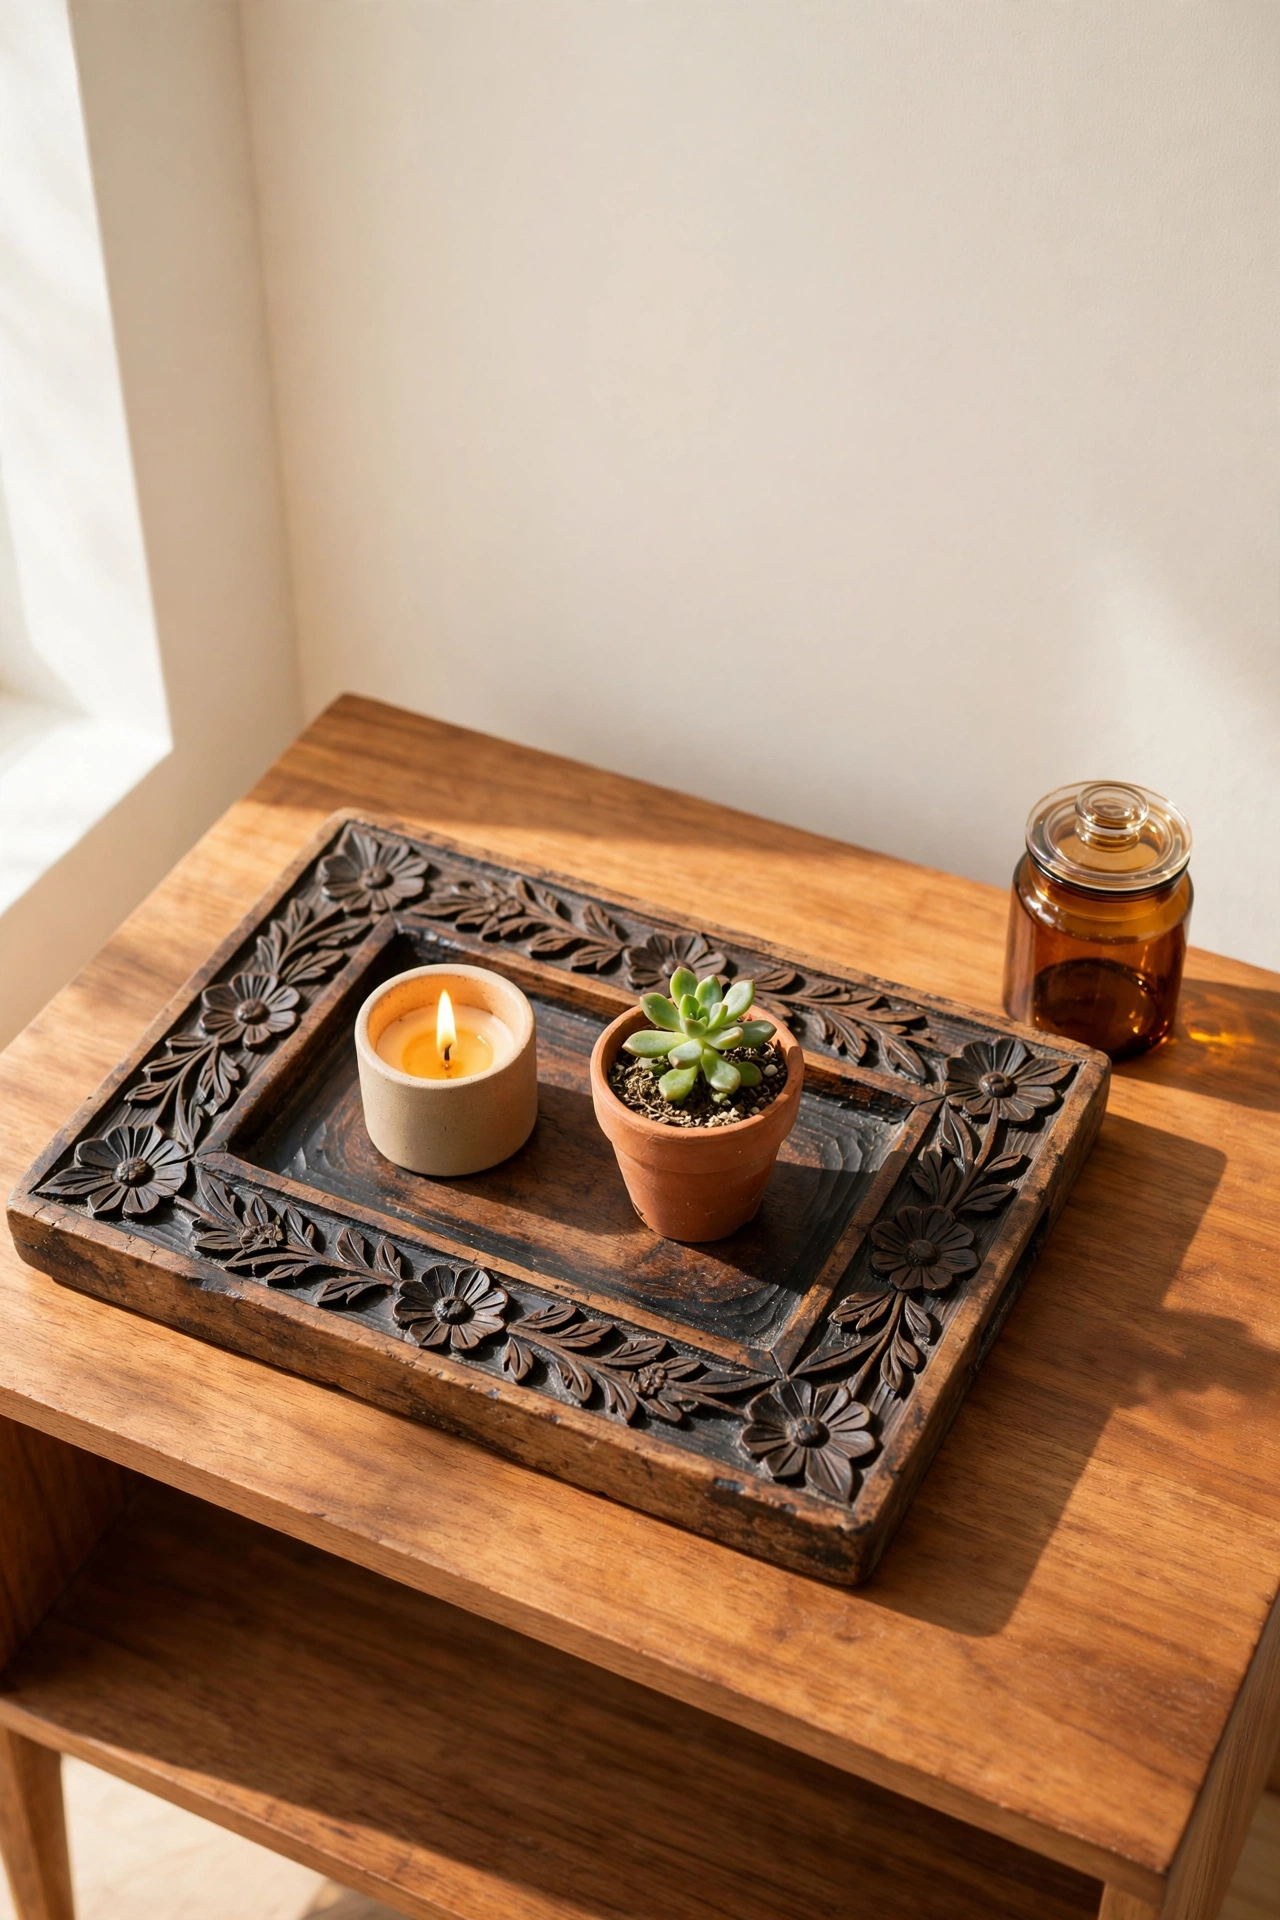
3. Rub Dark Wax Into a Carved Wooden Tray
Dark antiquing wax settles into carvings and corners the way dust and handling darken real antiques over time. Paint or leave the wooden tray in a pale color, then rub dark wax over the whole surface with a soft cloth. Press the wax into grooves and carved details, then buff the flat areas lightly so the dark color stays mostly in the recesses.
The result is instant depth, because the raised areas stay light while the carved details turn rich and shadowed. Use the tray for candles, small plants, or keys near the door, and the wax finish will grow softer and more beautiful with everyday use. Reapply a thin coat of wax once a year to keep the finish protected.
4. Create Chippy Milk Paint on a Wooden Lantern
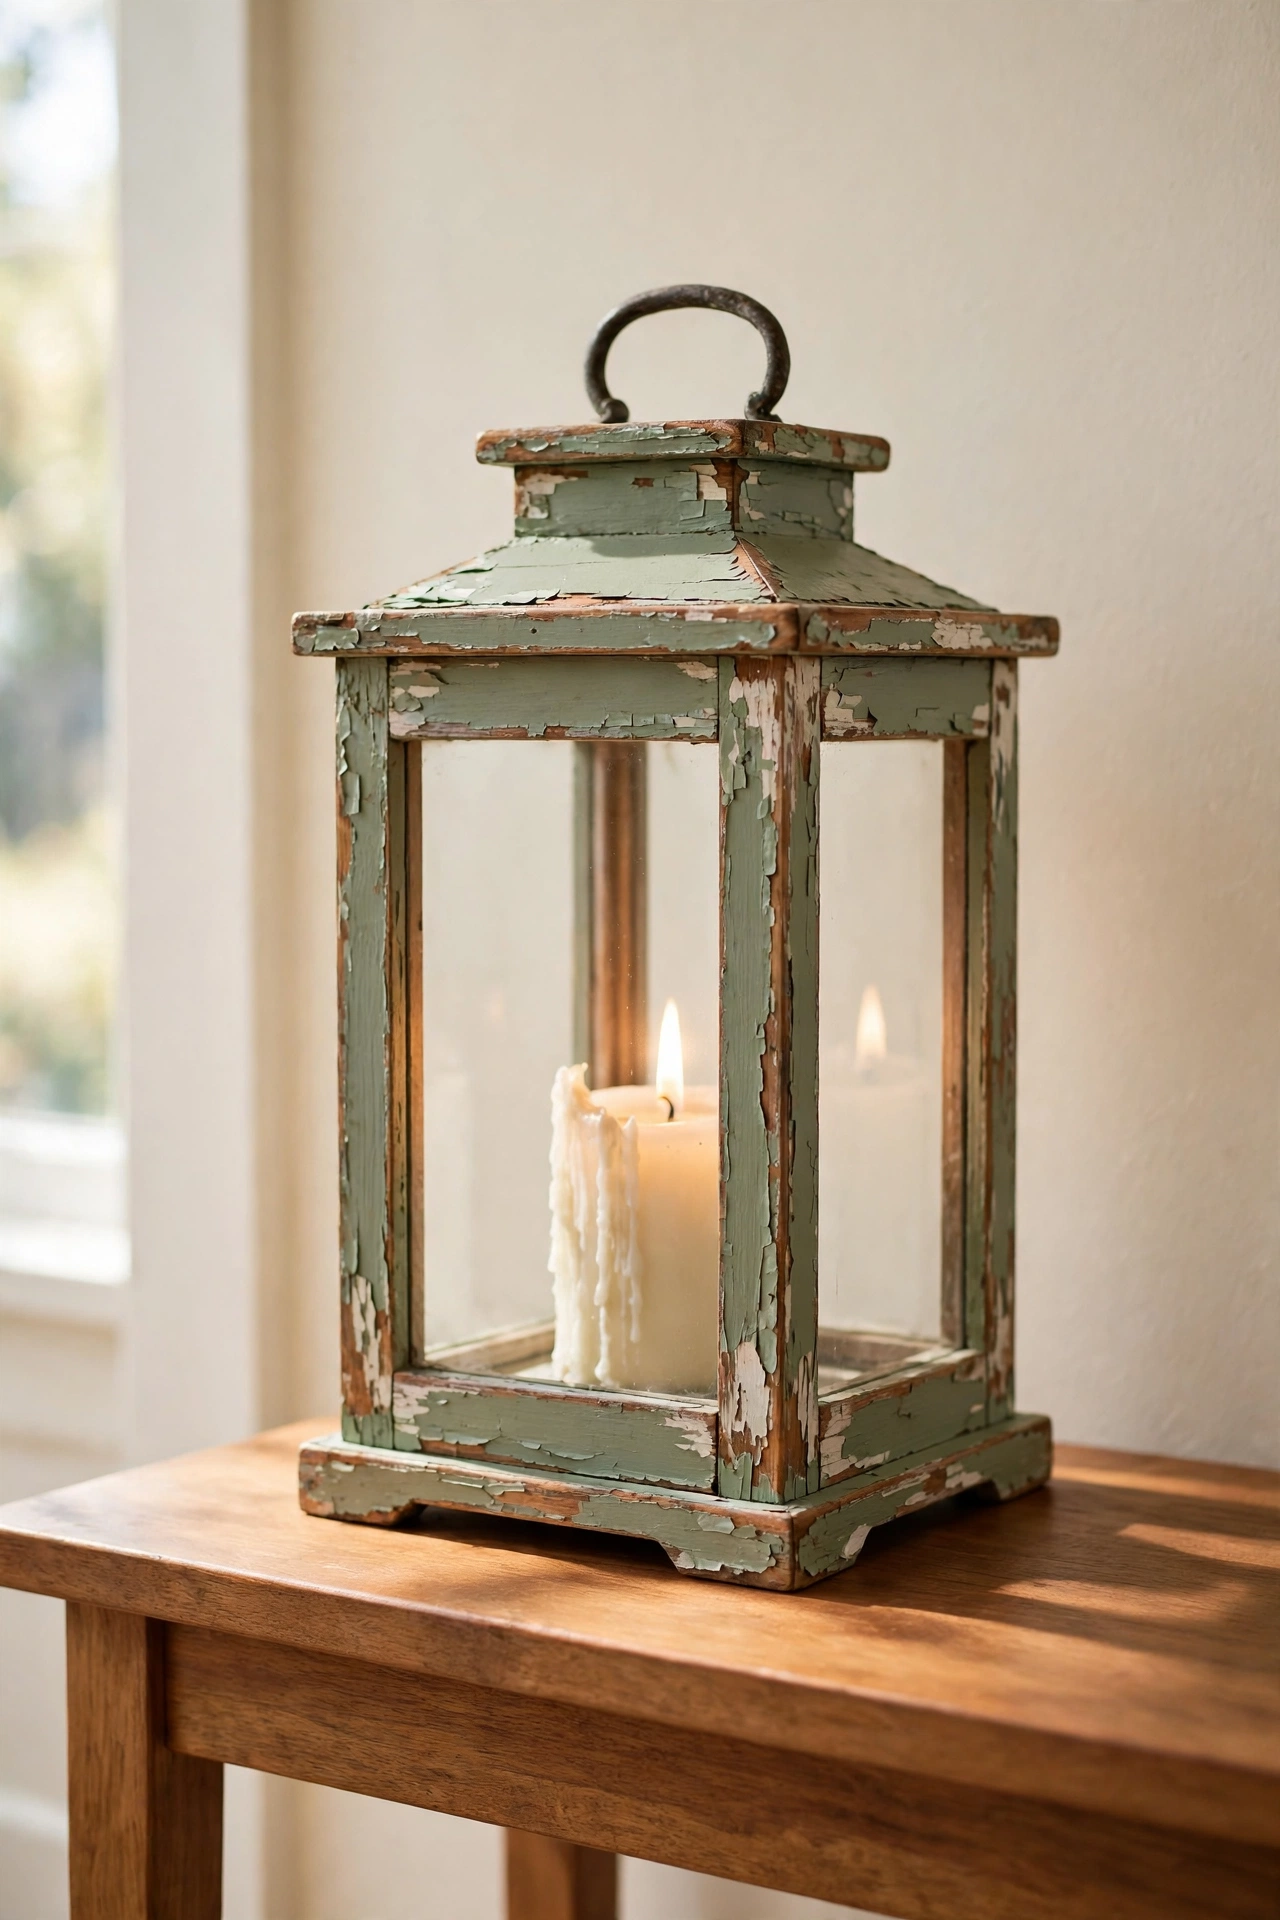
Milk paint chips and flakes in a way that looks like paint giving up after a century on a porch. Brush milk paint onto a wooden lantern in two thin coats, letting each coat dry fully. As the paint cures, it will naturally chip along edges and corners, and you can help the process with light sanding once it is fully dry.
The chipped finish pairs beautifully with a warm candle glow, because the rough paint catches the light in an uneven, lived in way. Choose soft sage, dusty blue, or warm cream for the paint, and let the bare wood show through the chips. Seal the lantern with clear wax so the chipping stops where you want it to stop.
5. Build a Verdigris Patina on a Metal Planter
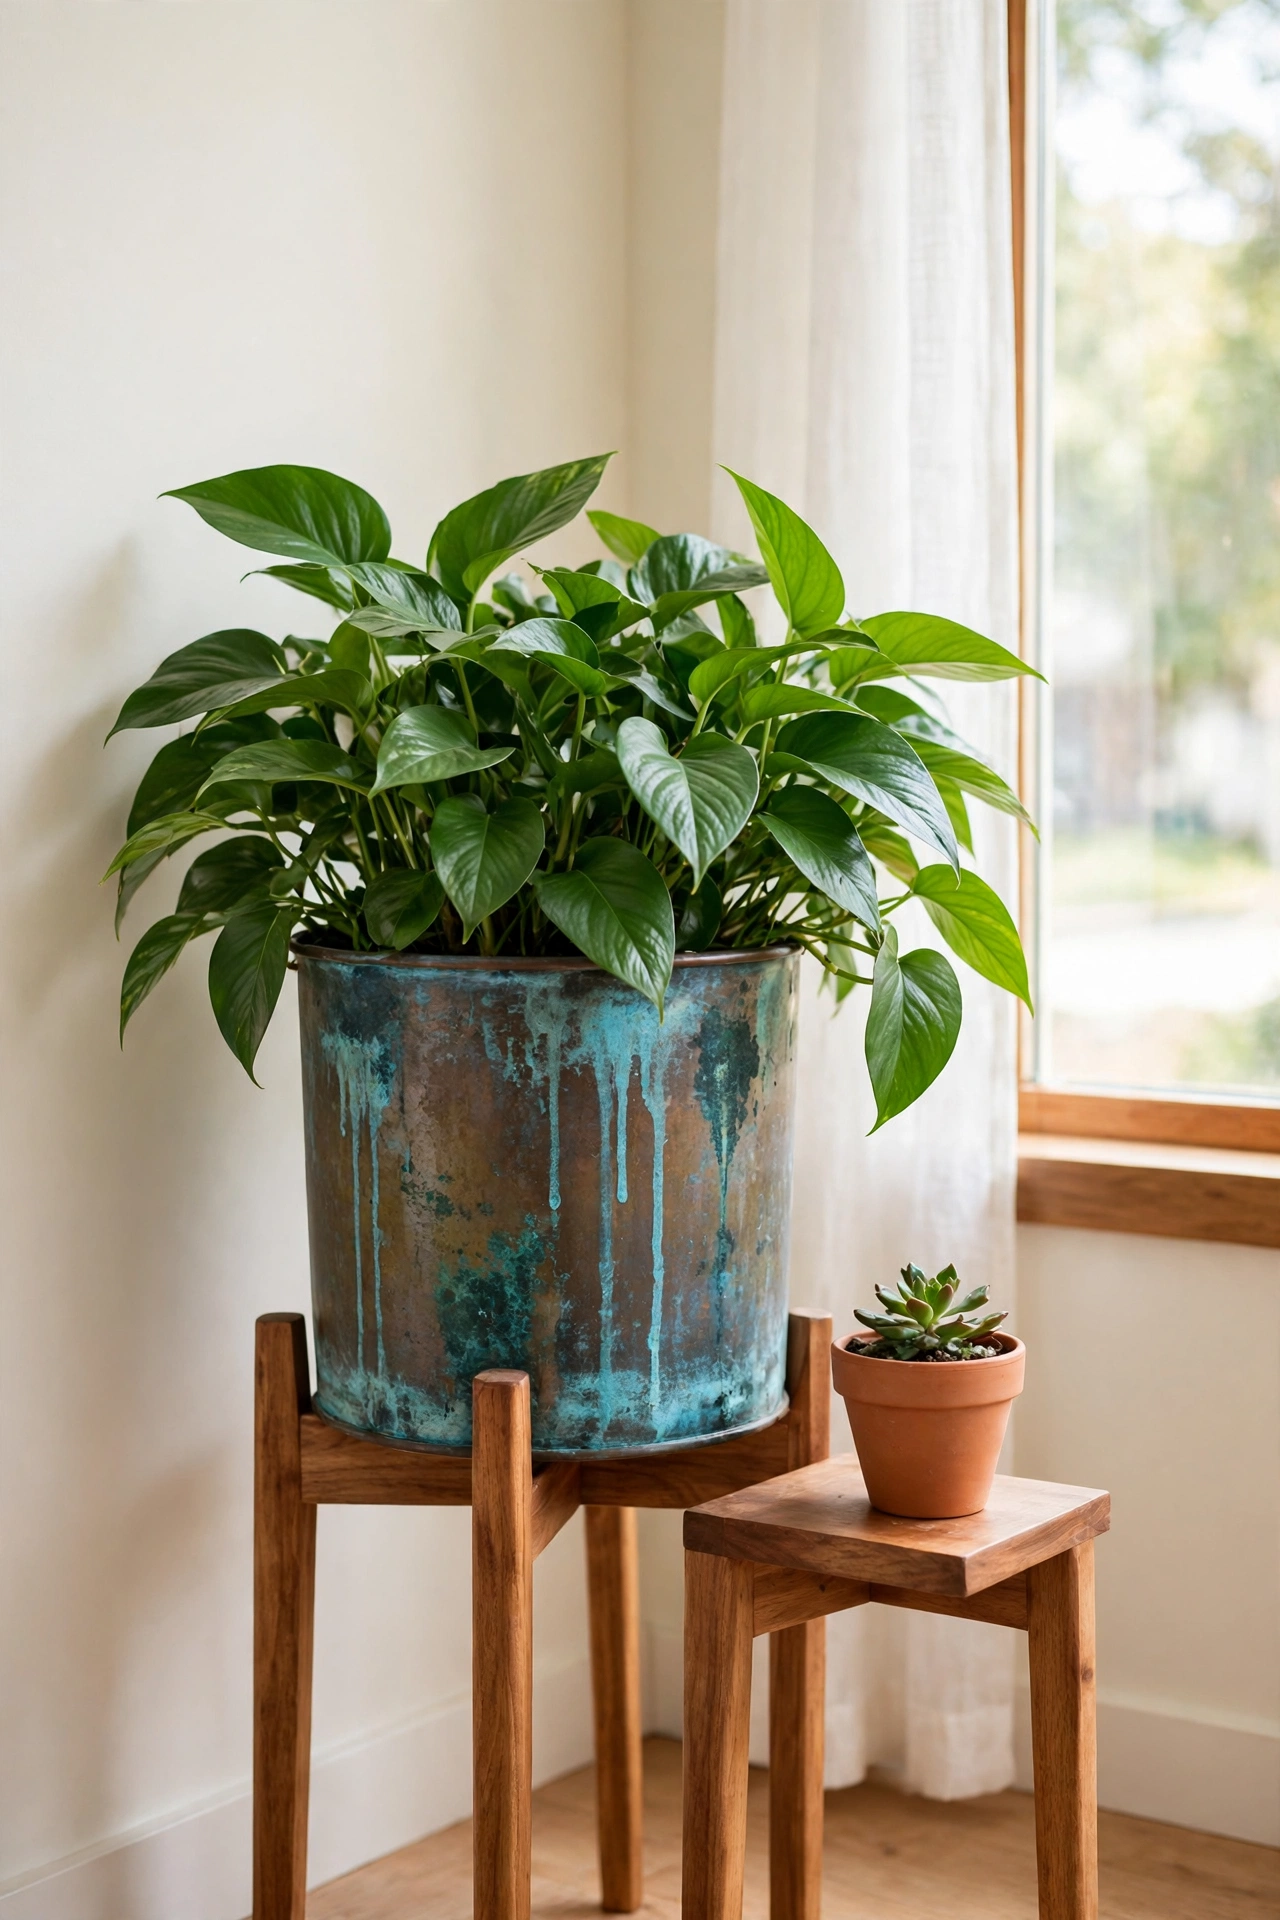
Verdigris is the blue green crust that forms on copper and bronze outdoors, and you can fake it on any metal planter with patina paint. Start with a copper or bronze base coat, then dab on verdigris patina solution or paint in layers, letting each layer dry before adding the next. The green will gather in drips and low spots just like real weathered metal.
Fill the planter with trailing herbs or a full leafy plant, and the green patina will echo the foliage in a lovely way. Old planters are easy to find cheaply, and these thrift store decor ideas show where to hunt for metal pieces with good bones. Keep the planter on a tray indoors, because real patina solutions can stain wood surfaces.
6. Age a Wooden Mirror Frame With Whitewash
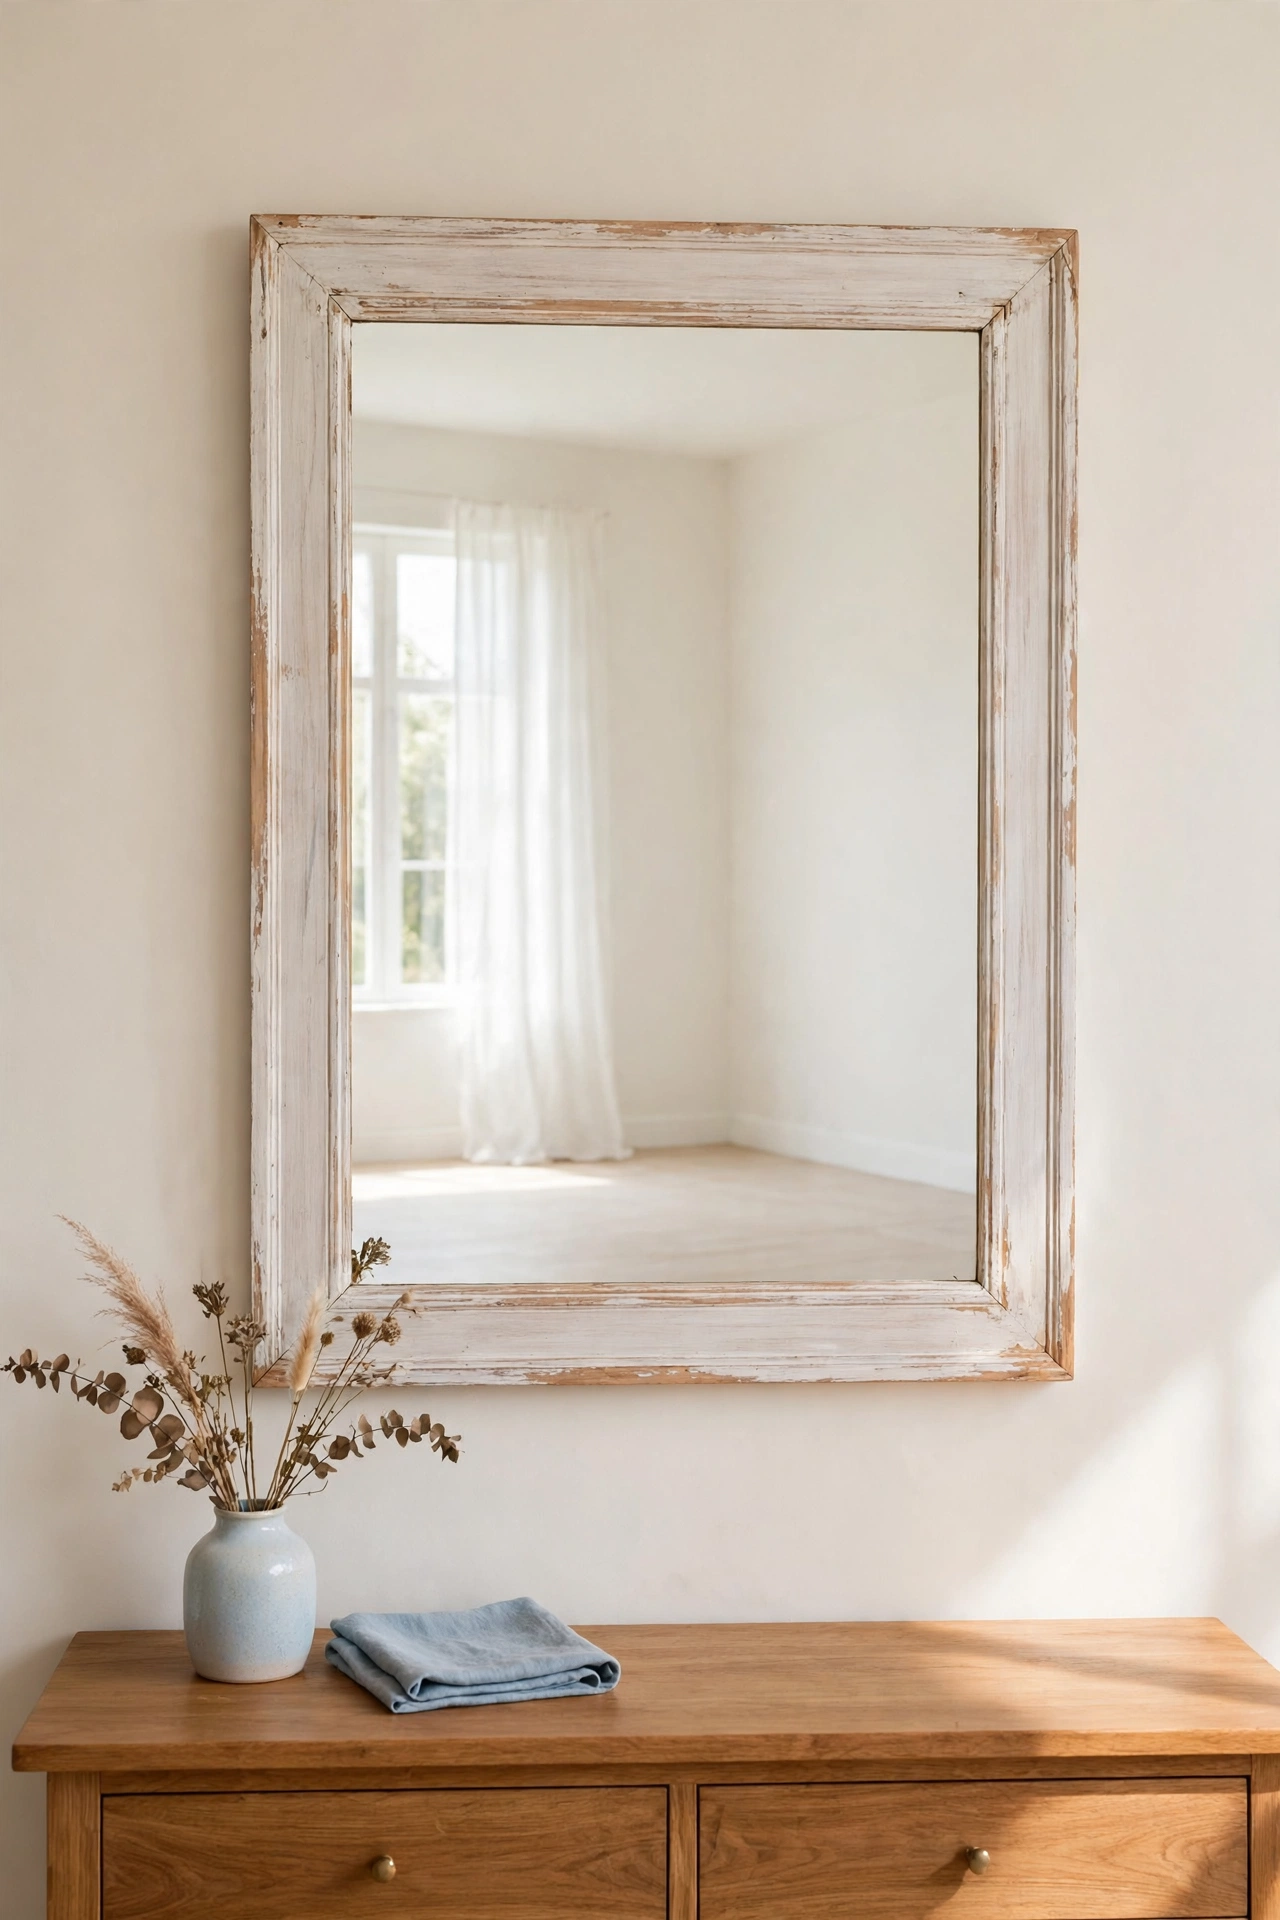
Whitewash thins paint with water so the wood grain shows through a pale, chalky veil, like sun bleached paint on an old cottage mirror. Mix white paint with equal parts water, brush it over the wooden frame, and wipe back the excess with a rag before it dries. The grain stays visible while the whole frame turns soft and pale.
Add a second thin coat if you want a whiter finish, but stop while the wood still reads through the paint. Lightly sand the edges after drying to reveal a little bare wood at the high points. Hang the mirror in an entryway or bathroom, where bright light will show off the gentle, weathered texture of the finish.
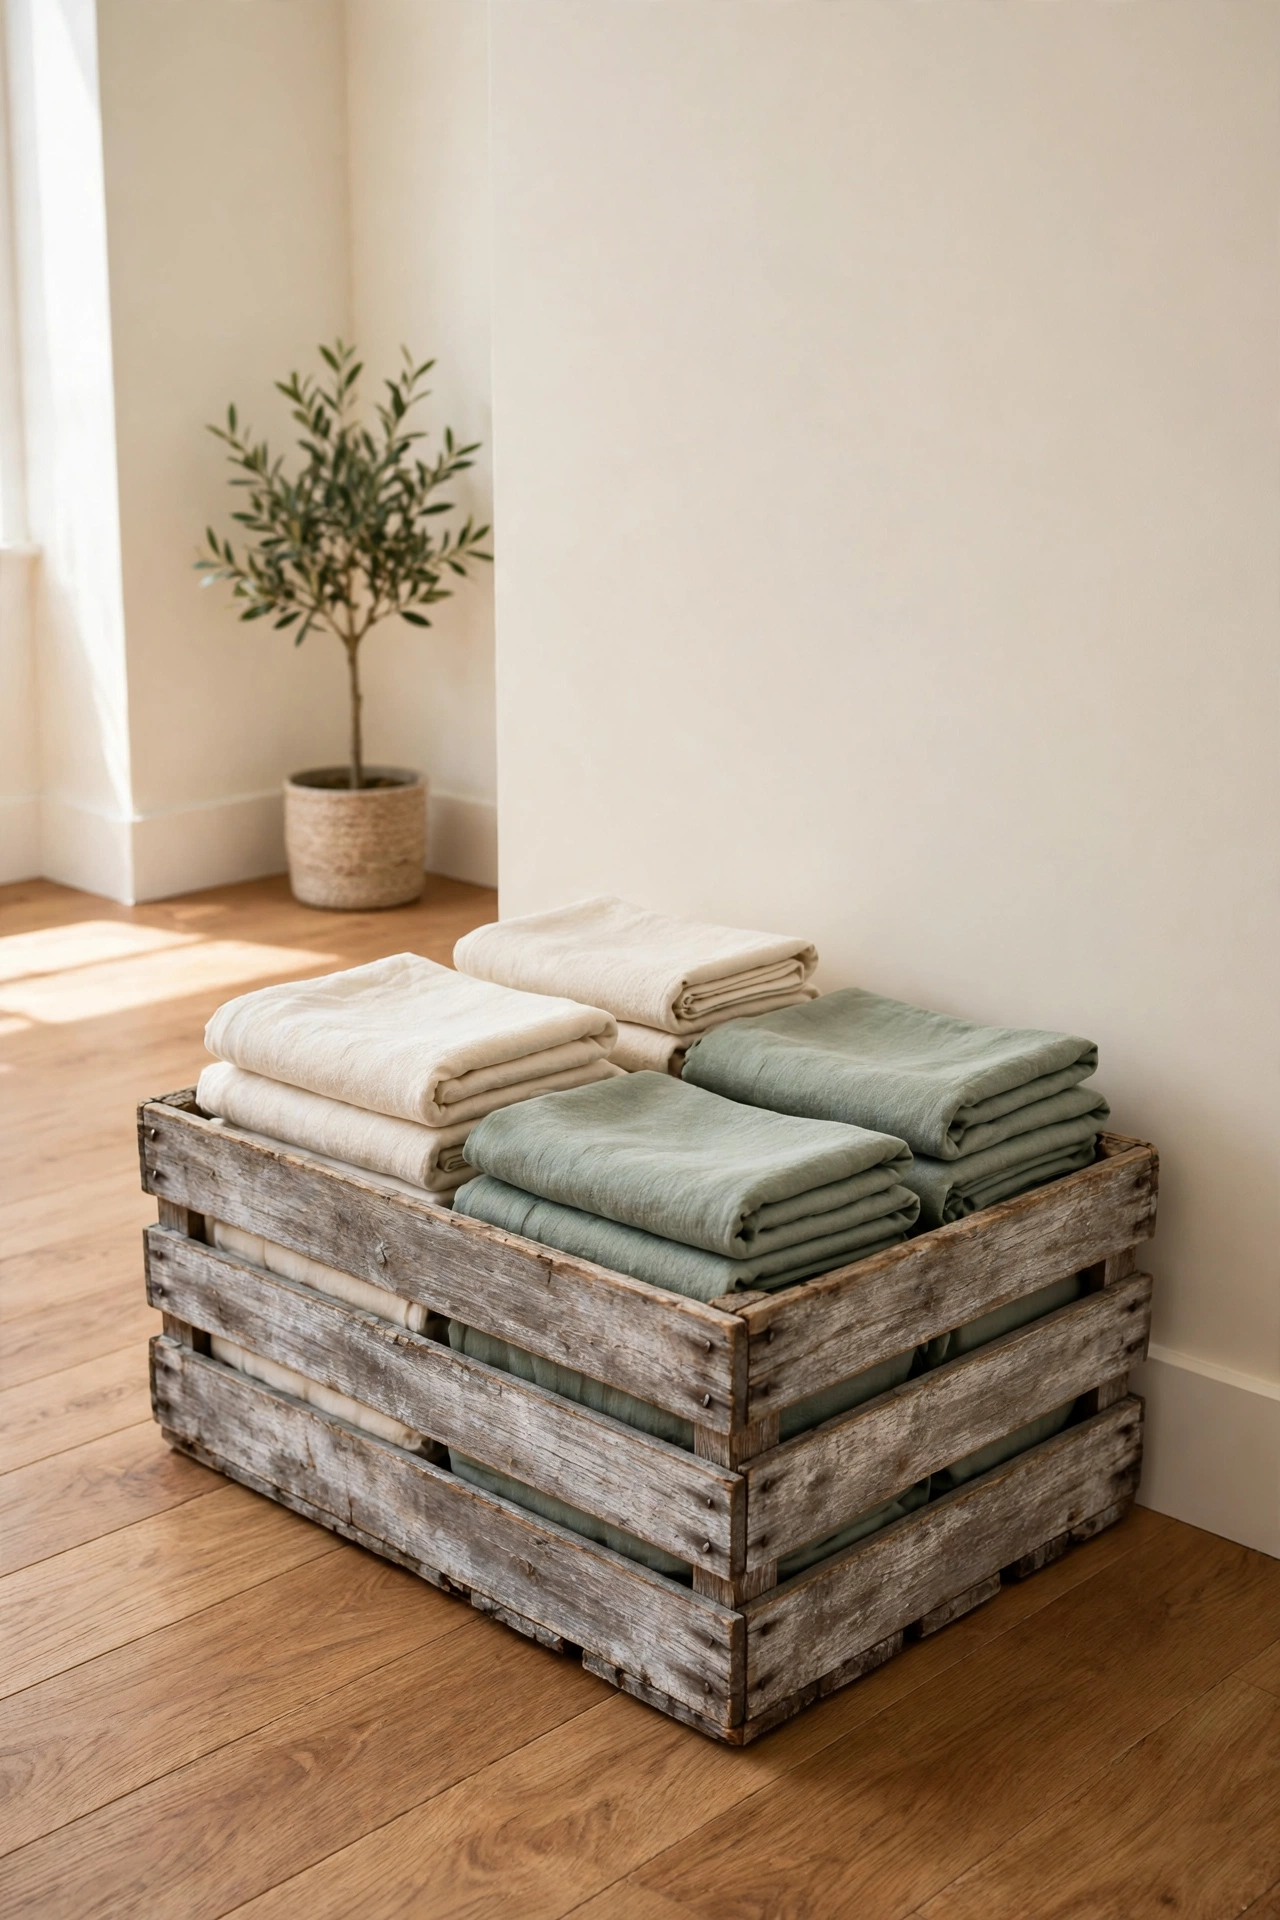
7. Age a Wooden Crate With Vinegar and Steel Wool
Vinegar mixed with steel wool makes a homemade aging solution that turns raw wood silvery gray, like barn wood left out in the weather. Soak a pad of fine steel wool in white vinegar for a day, then brush the liquid over a clean wooden crate. The wood will darken within hours and continue to silver as it dries.
Test the solution on the bottom of the crate first, because different woods react at different speeds. Pine turns gray quickly, while oak goes darker and warmer. This chemical aging is different from staining, and for projects where you want rich wood tones instead of gray age, these diy wood stain projects offer a warmer direction. Seal the crate with matte sealer so the gray finish stays put.
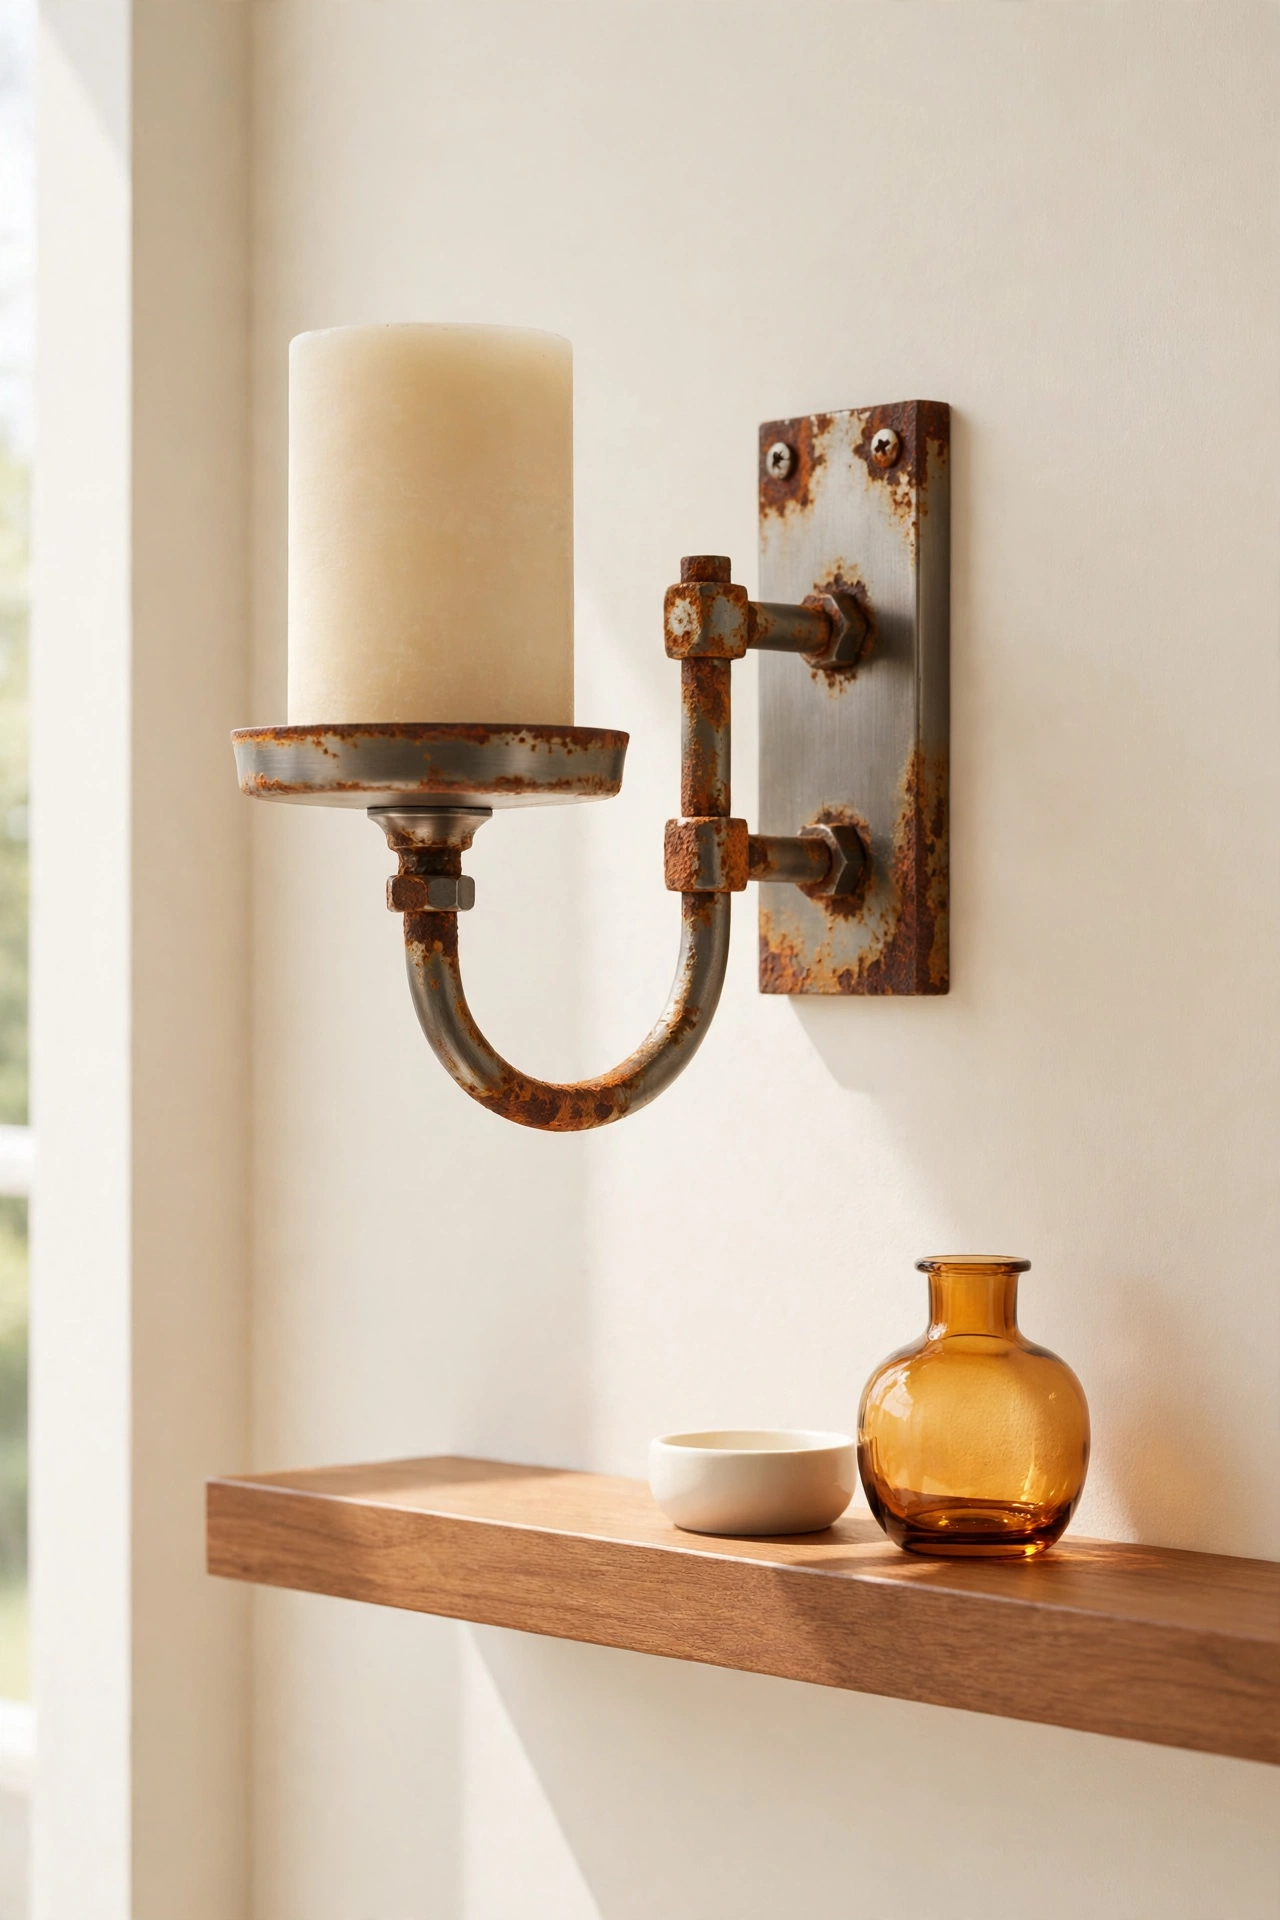
8. Paint a Rust Effect on a Metal Candle Sconce
Rust effect paint turns a shiny new metal sconce into a piece that looks like it spent years on a garden wall. Paint the sconce in a dark brown base, then sponge on layers of orange brown and reddish rust tones, concentrating the color around joints, screws, and lower edges where real rust would start. A final dry brush of dark brown softens the bright spots.
Keep the rust patchy and uneven, because real rust never covers a surface evenly. Place a pillar candle in the sconce and mount it where the warm rust tones can echo wood and leather nearby. The finish is only paint, so it will never stain the wall or flake onto the floor the way real rust would.
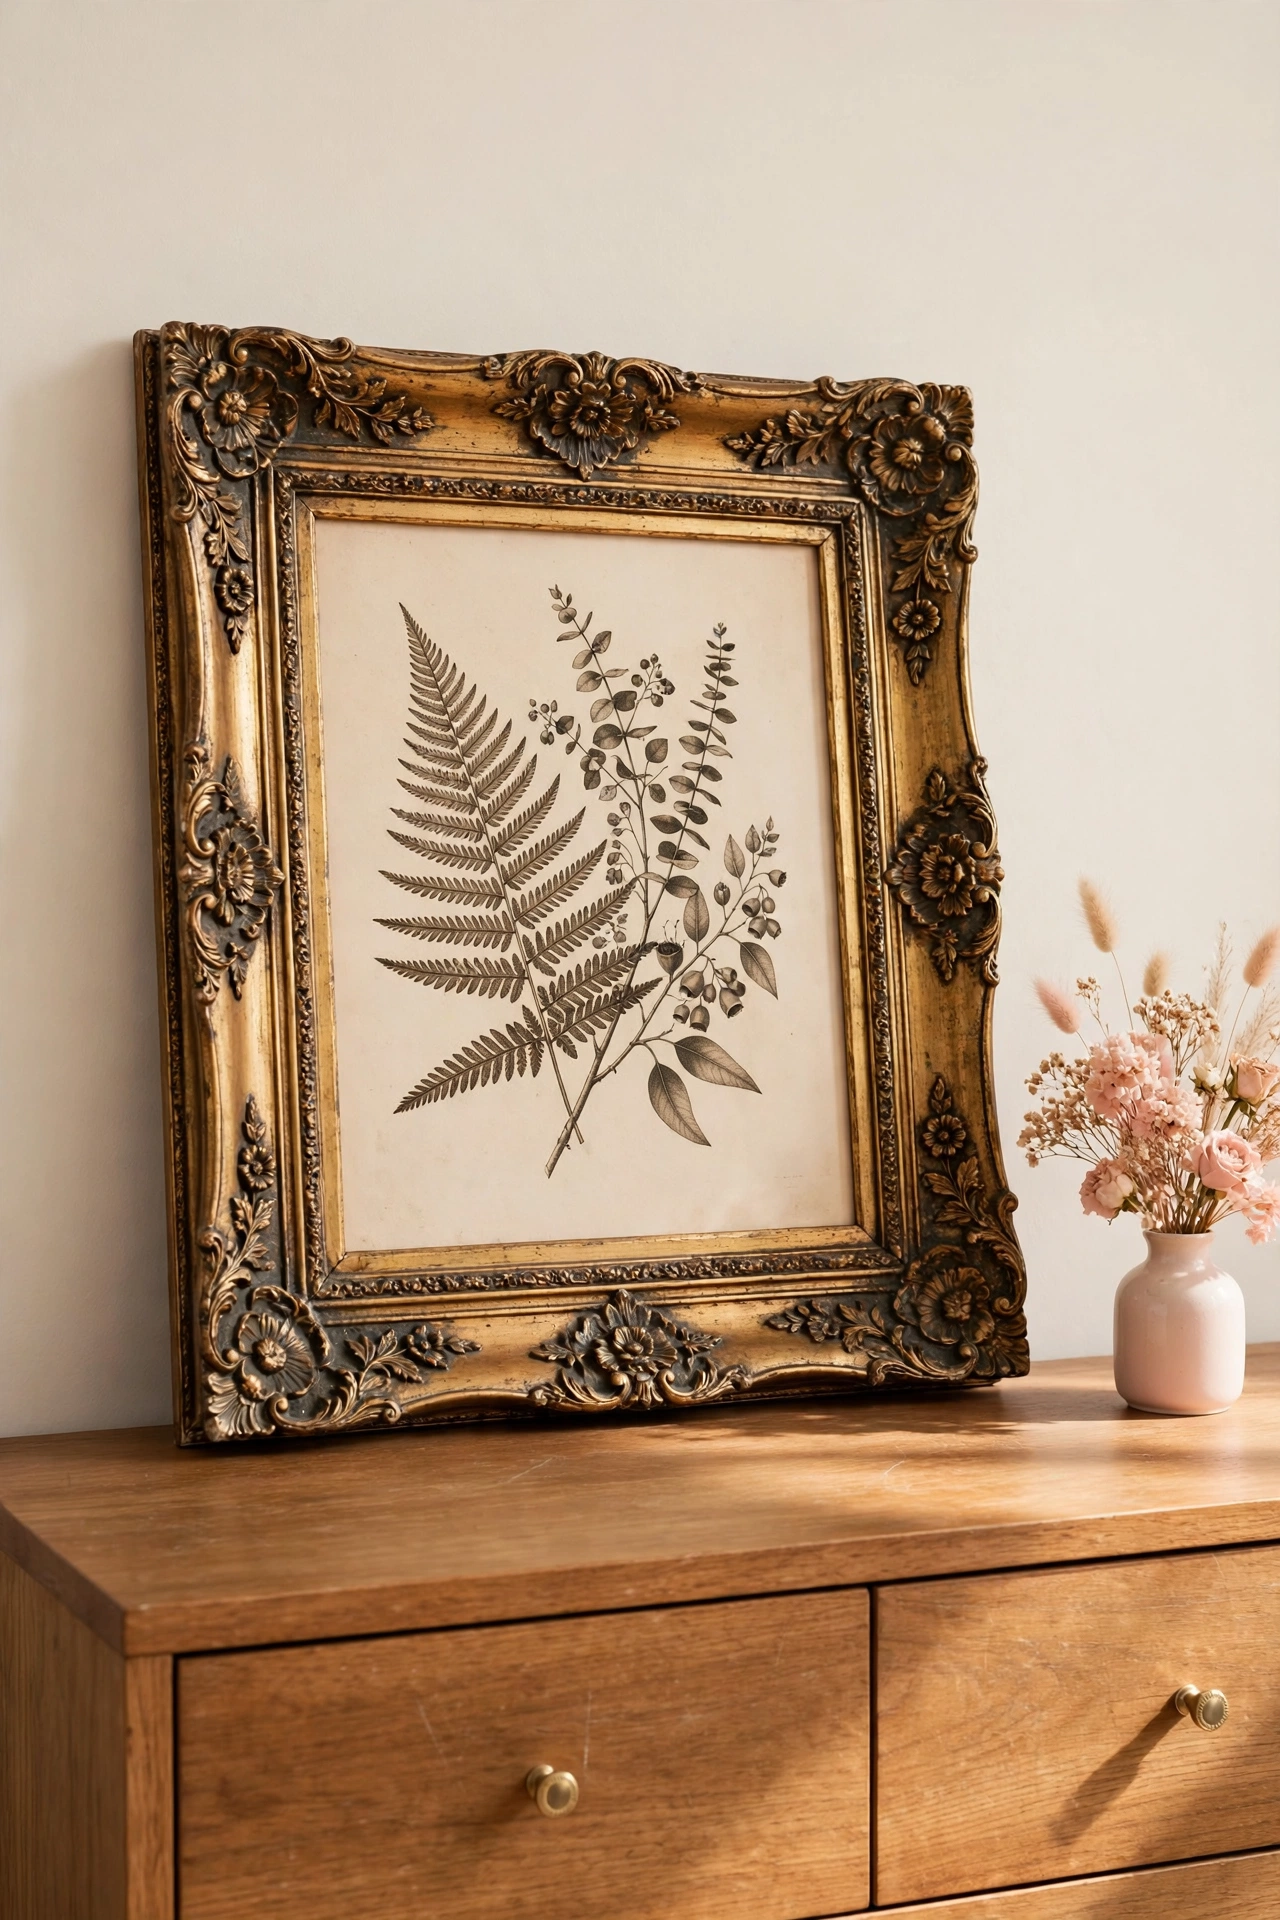
9. Gild and Age a Plaster Picture Frame
Gold leaf with an antiquing glaze gives a plaster frame the look of an old gilded treasure with tarnish in every crevice. Apply gold leaf sheets over adhesive size, pressing them gently into the raised details of the frame. Once the leaf is set, brush dark antiquing glaze over the whole surface and wipe it back from the high points.
The glaze stays in the carvings and makes the gold look aged instead of brassy and new. Small cracks and missing flecks of leaf only add to the antique feeling, so do not chase a perfect finish. Hang the frame with a sepia print or a small oil style painting, and the aged gold will glow softly in warm room light.
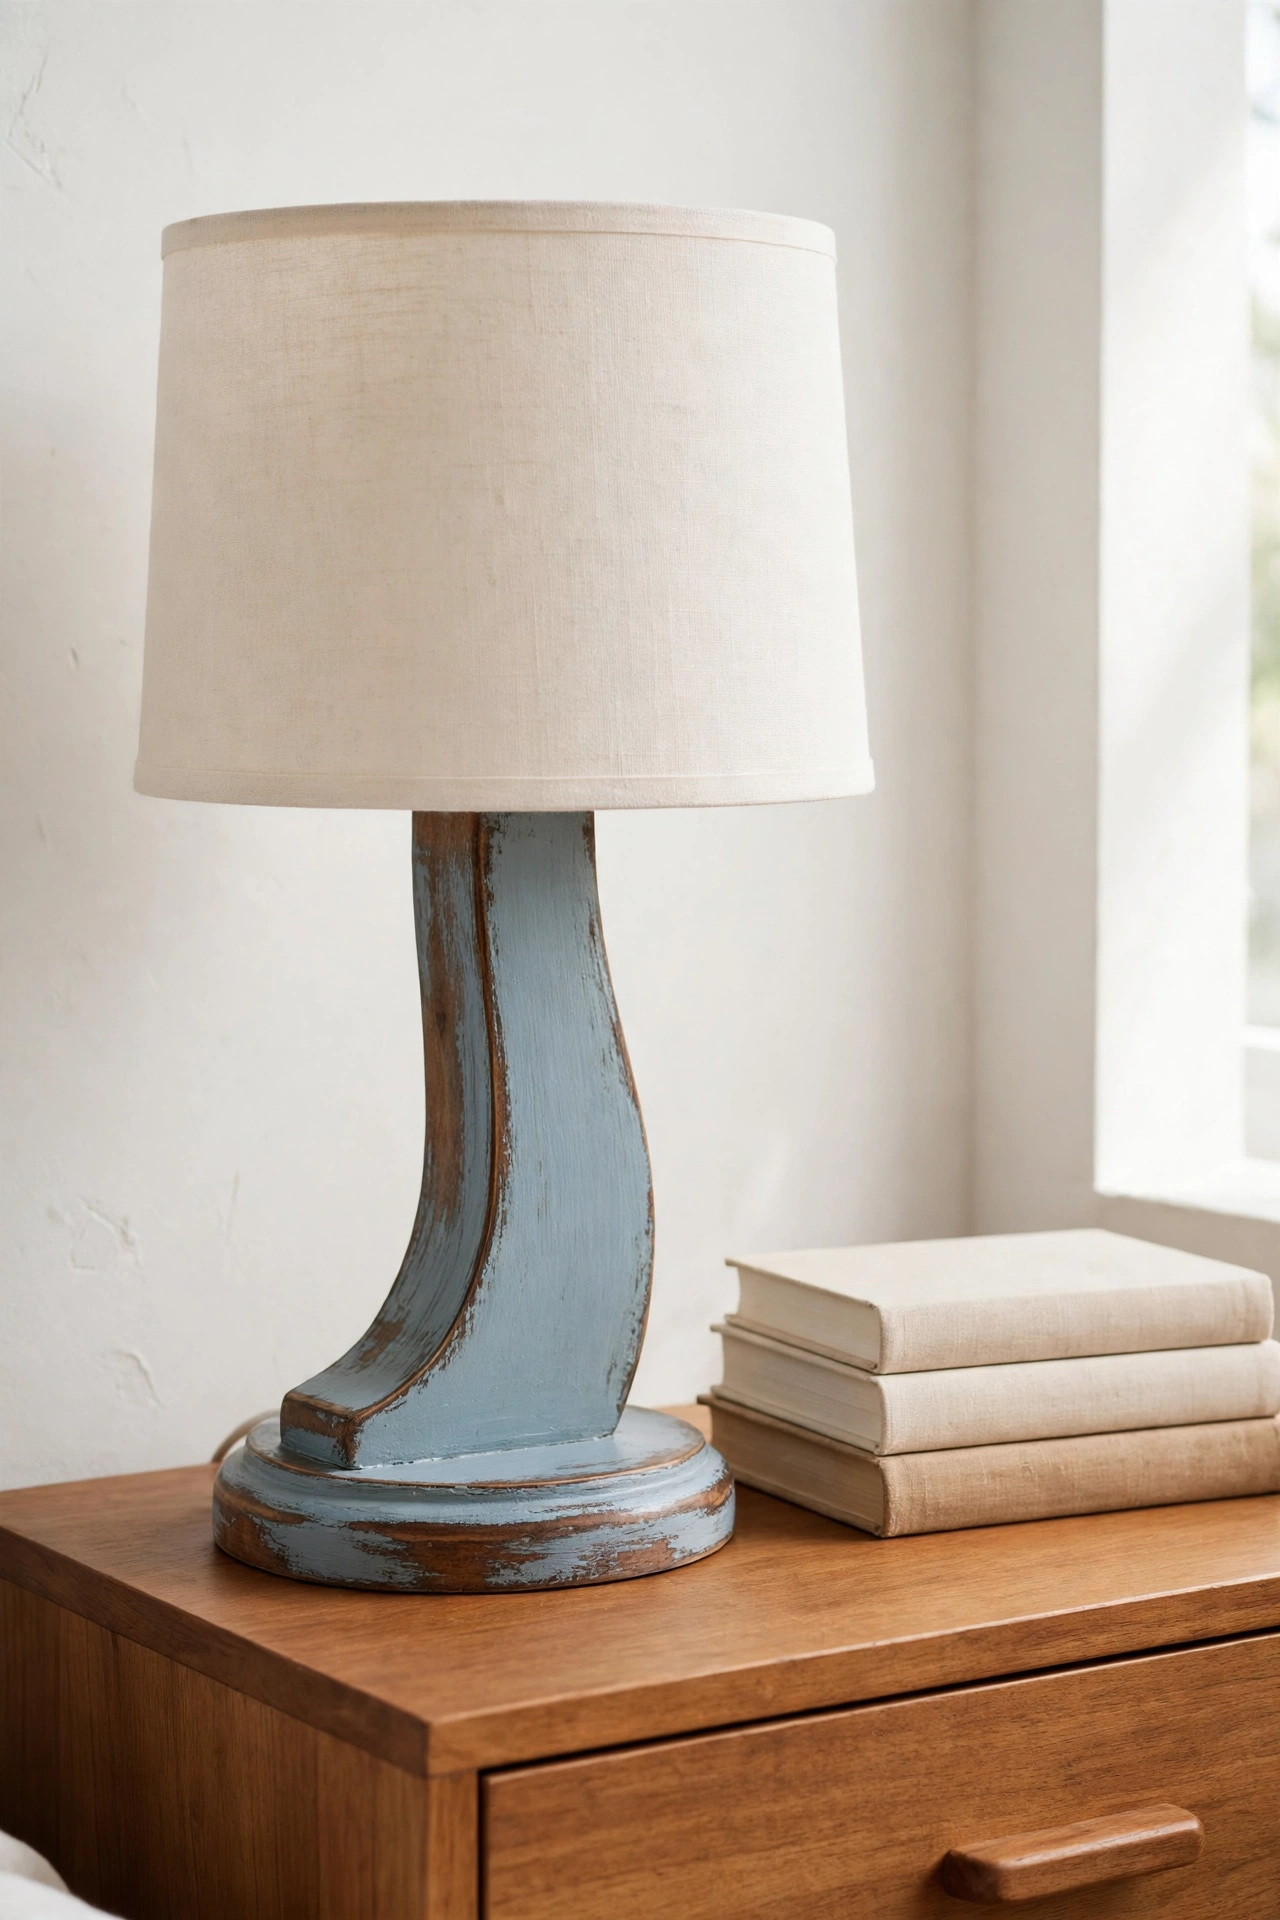
10. Distress Chalk Paint on a Wooden Lamp Base
Chalk paint distresses easily because it sands back to a soft, powdery edge that looks like years of gentle wear. Paint a wooden lamp base in two coats of chalk paint, letting each coat dry fully, then sand the curves, ridges, and base edge until the wood or a darker undercoat peeks through. The matte finish of chalk paint reads as old all on its own.
Choose a muted color like soft blue, warm gray, or blush pink, and pair the base with a simple linen shade. The distressed lamp looks right at home on a nightstand or a reading table, where the soft matte surface will not compete with the warm light it gives off. Seal the base with clear wax to protect the finish from dust and handling.
11. Wash Antiquing Glaze Over a Ceramic Vase
Antiquing glaze can make a plain ceramic vase look like a piece dug up from an old estate sale. Paint the vase in a solid matte color first, then brush dark glaze over the surface and wipe most of it away with a damp rag. The glaze clings to texture, ridges, and the foot of the vase, leaving the smooth areas softly shadowed.
Work in small sections so the glaze does not dry before you wipe it back. A terracotta base with dark brown glaze gives a Mediterranean aged look, while a cream base with gray glaze reads more like old French pottery. Fill the vase with dried stems or fresh eucalyptus, and the aged surface will make even simple stems look arranged with care.
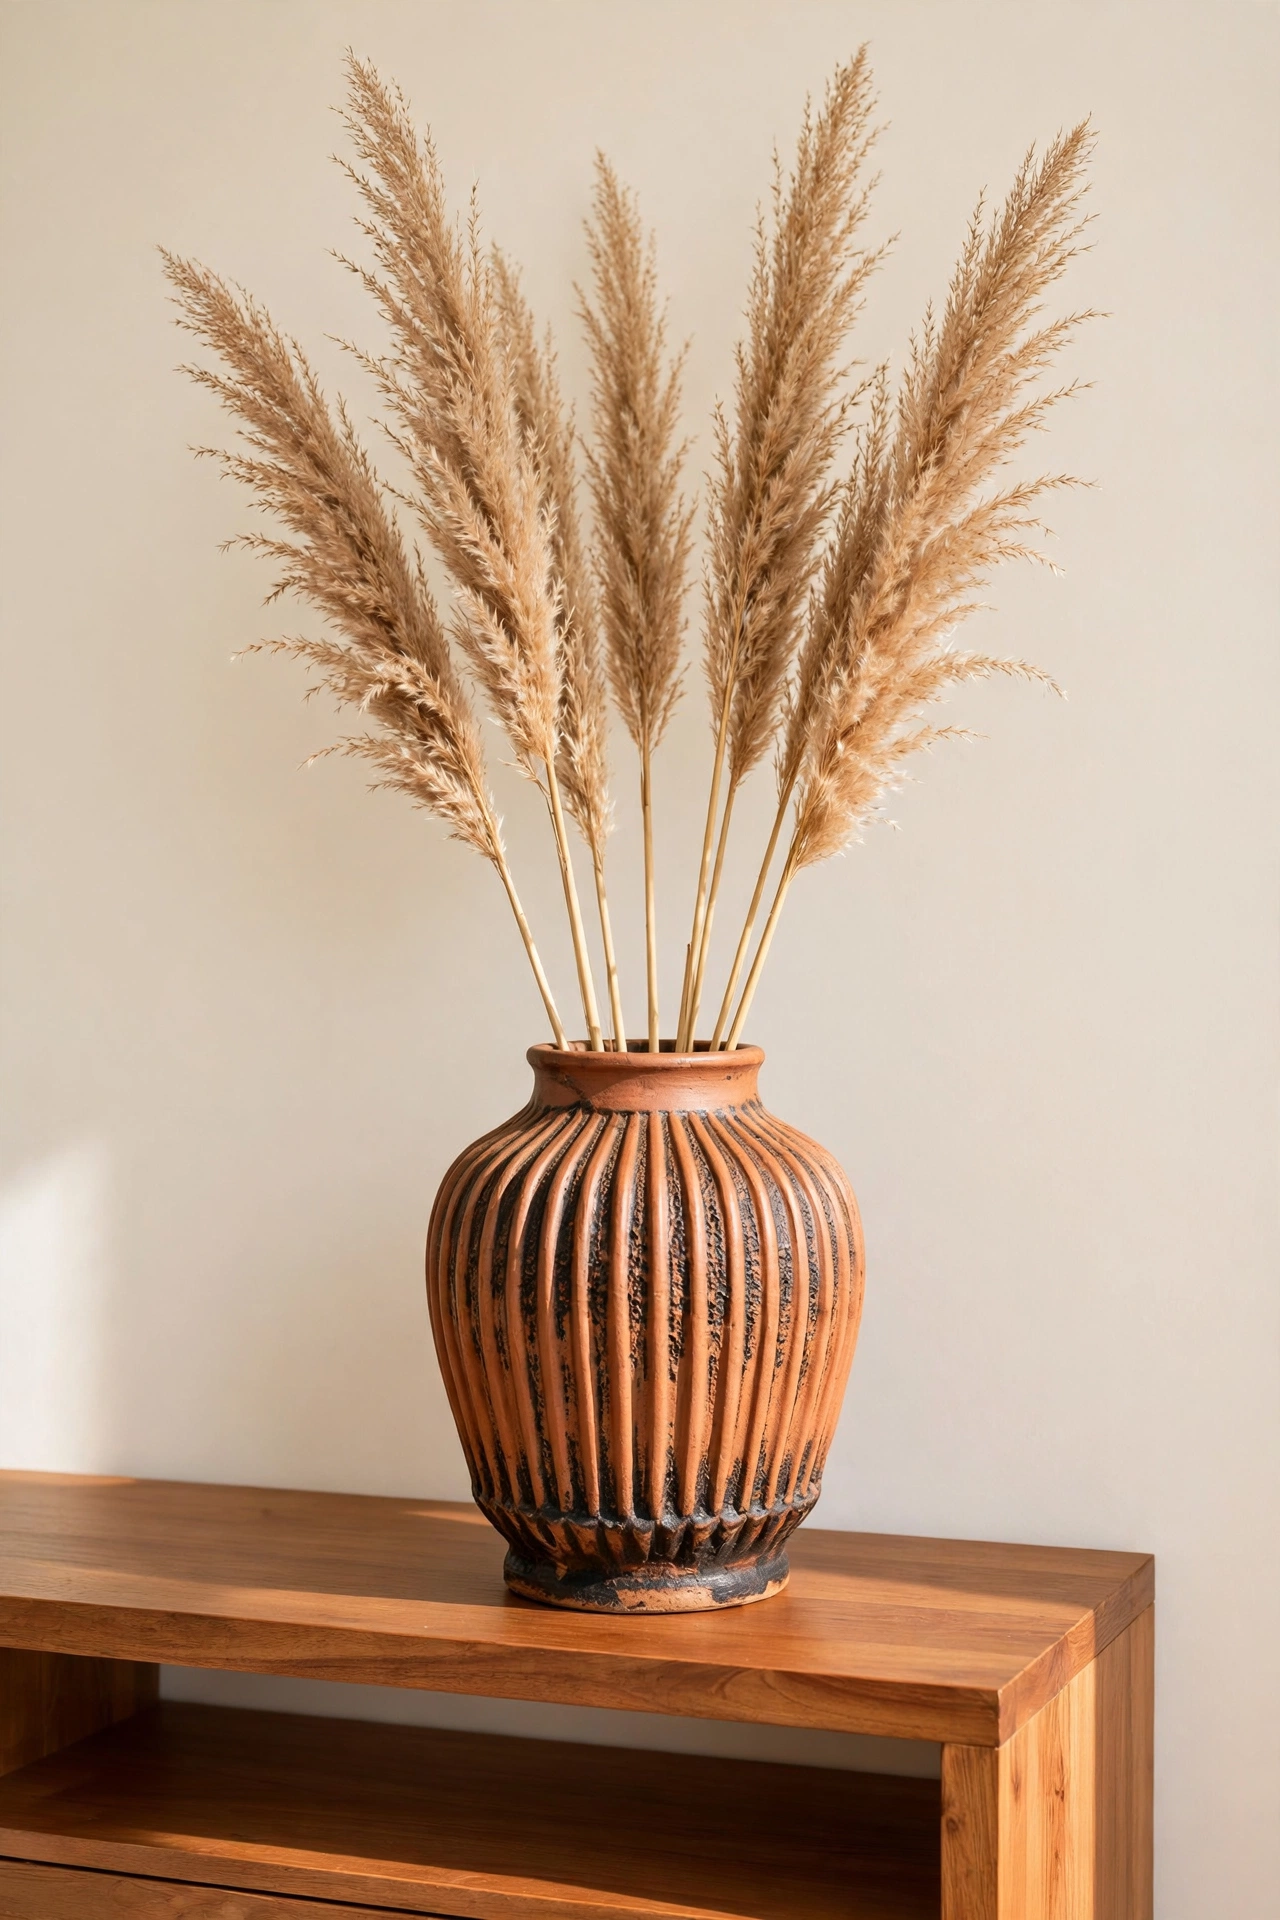
12. Dry Brush Aging on a Wooden Wall Clock
Dry brushing adds a whisper of pale paint over a dark wooden clock, like dust settling into grain over decades. Dip a dry brush in light paint, wipe nearly all of it off on a rag, then drag the brush lightly across the wood so only the raised grain catches color. The dark base stays visible beneath a soft, scratchy veil of pale paint.
Build the effect slowly with several light passes instead of one heavy coat, because dry brushing is easy to add and hard to undo. Keep the clock face clean and readable, and let the aging live on the frame and rim. The finished clock looks like it has hung on the same wall for fifty years, quietly keeping time.
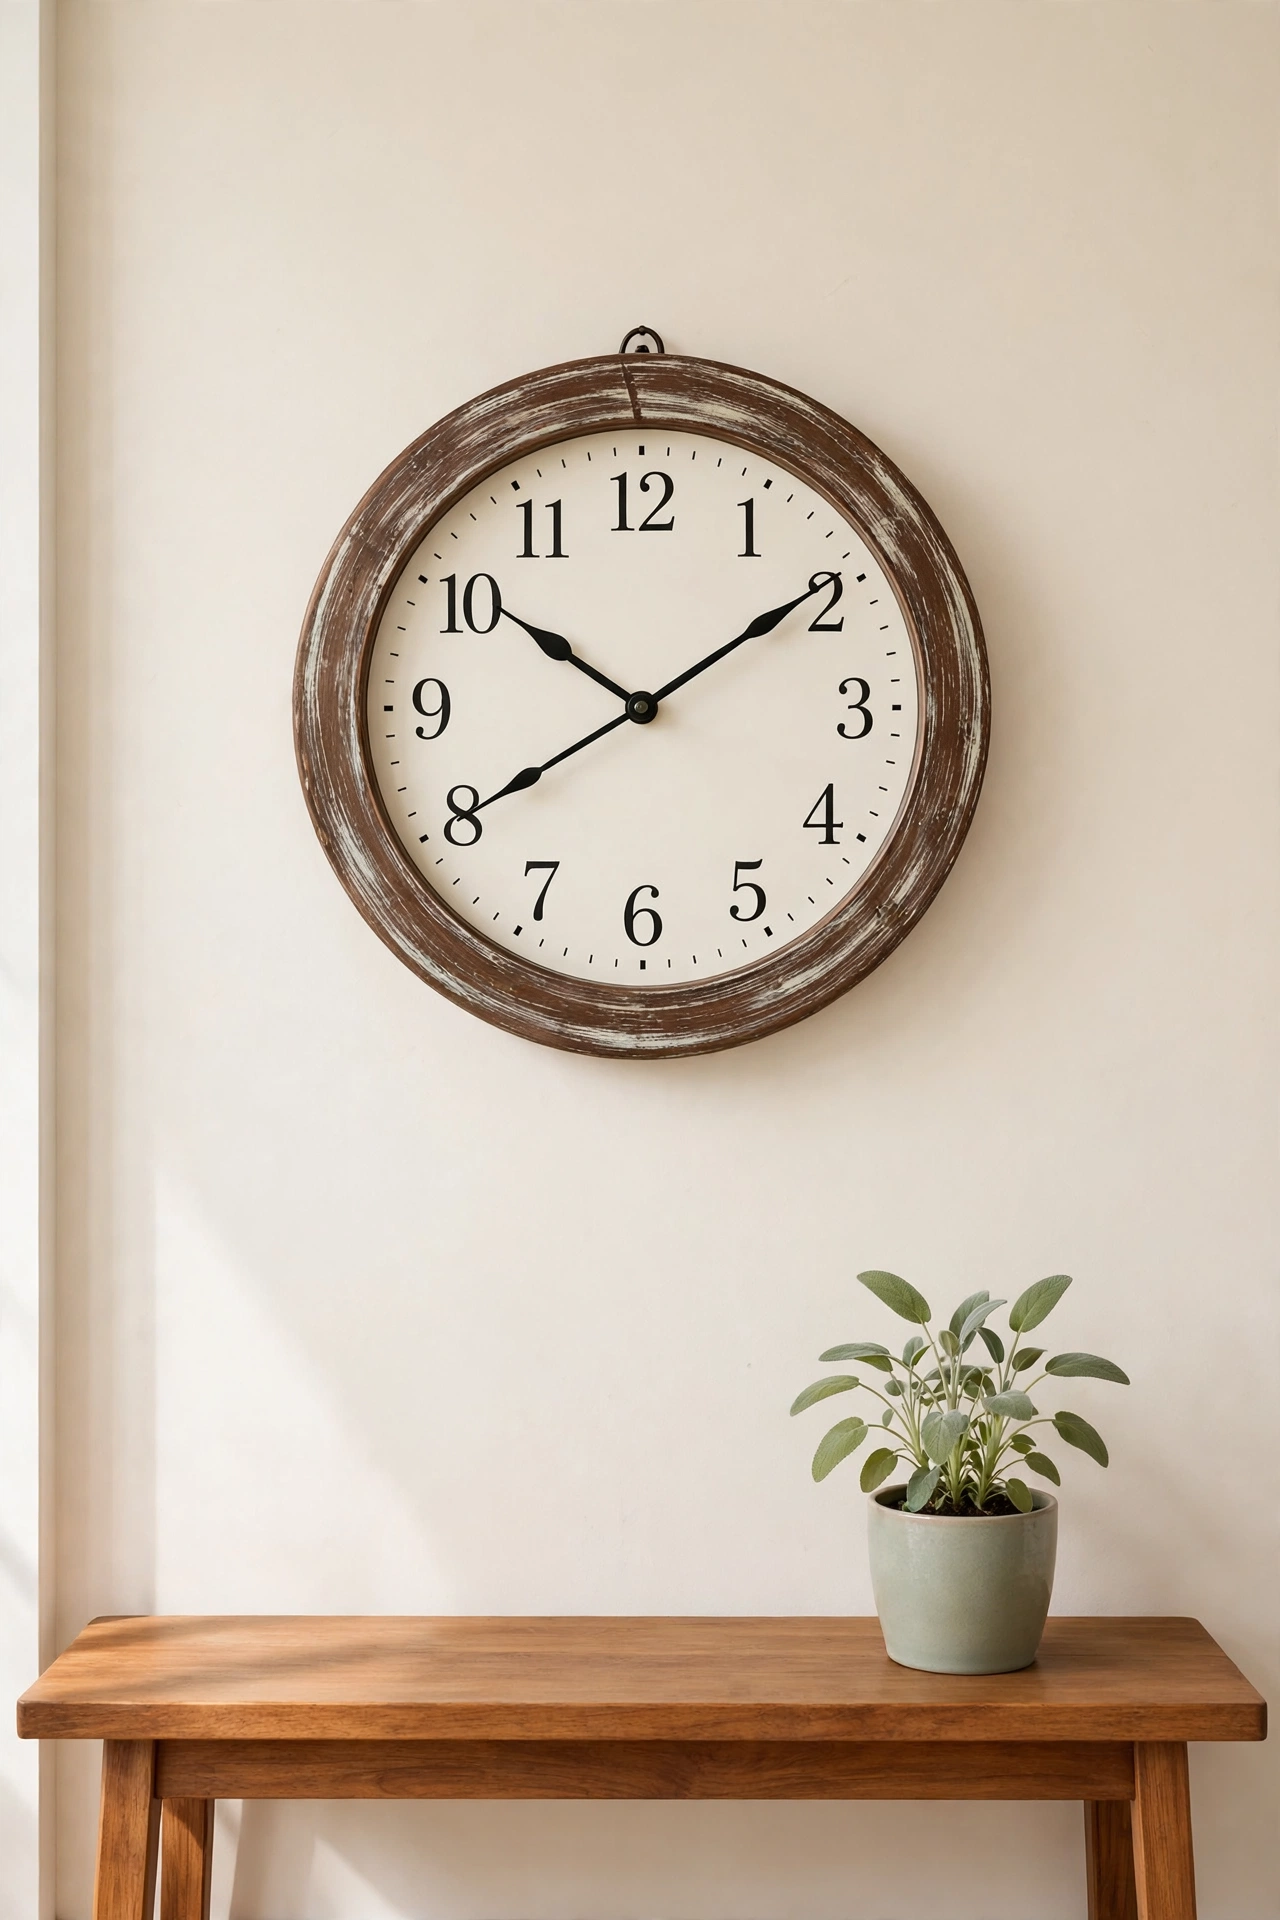
13. Apply a Salt Wash Finish to a Wooden Candle Tray
Salt wash powder mixed into paint creates a thick, chalky texture that mimics old, weathered seaside paint. Stir the powder into matte paint until it thickens, then brush it onto a wooden candle tray in uneven strokes. As it dries, the surface turns rough and pitted, like paint that has faced years of salt air.
Sand the dried finish lightly to smooth the sharpest bumps while keeping the pitted texture. A soft white or pale gray salt wash tray holds pillar candles beautifully, and the rough surface grips the candles so they do not slide. Wipe the tray with a dry cloth to clean it, because the textured finish can hold dust if it gets wet.
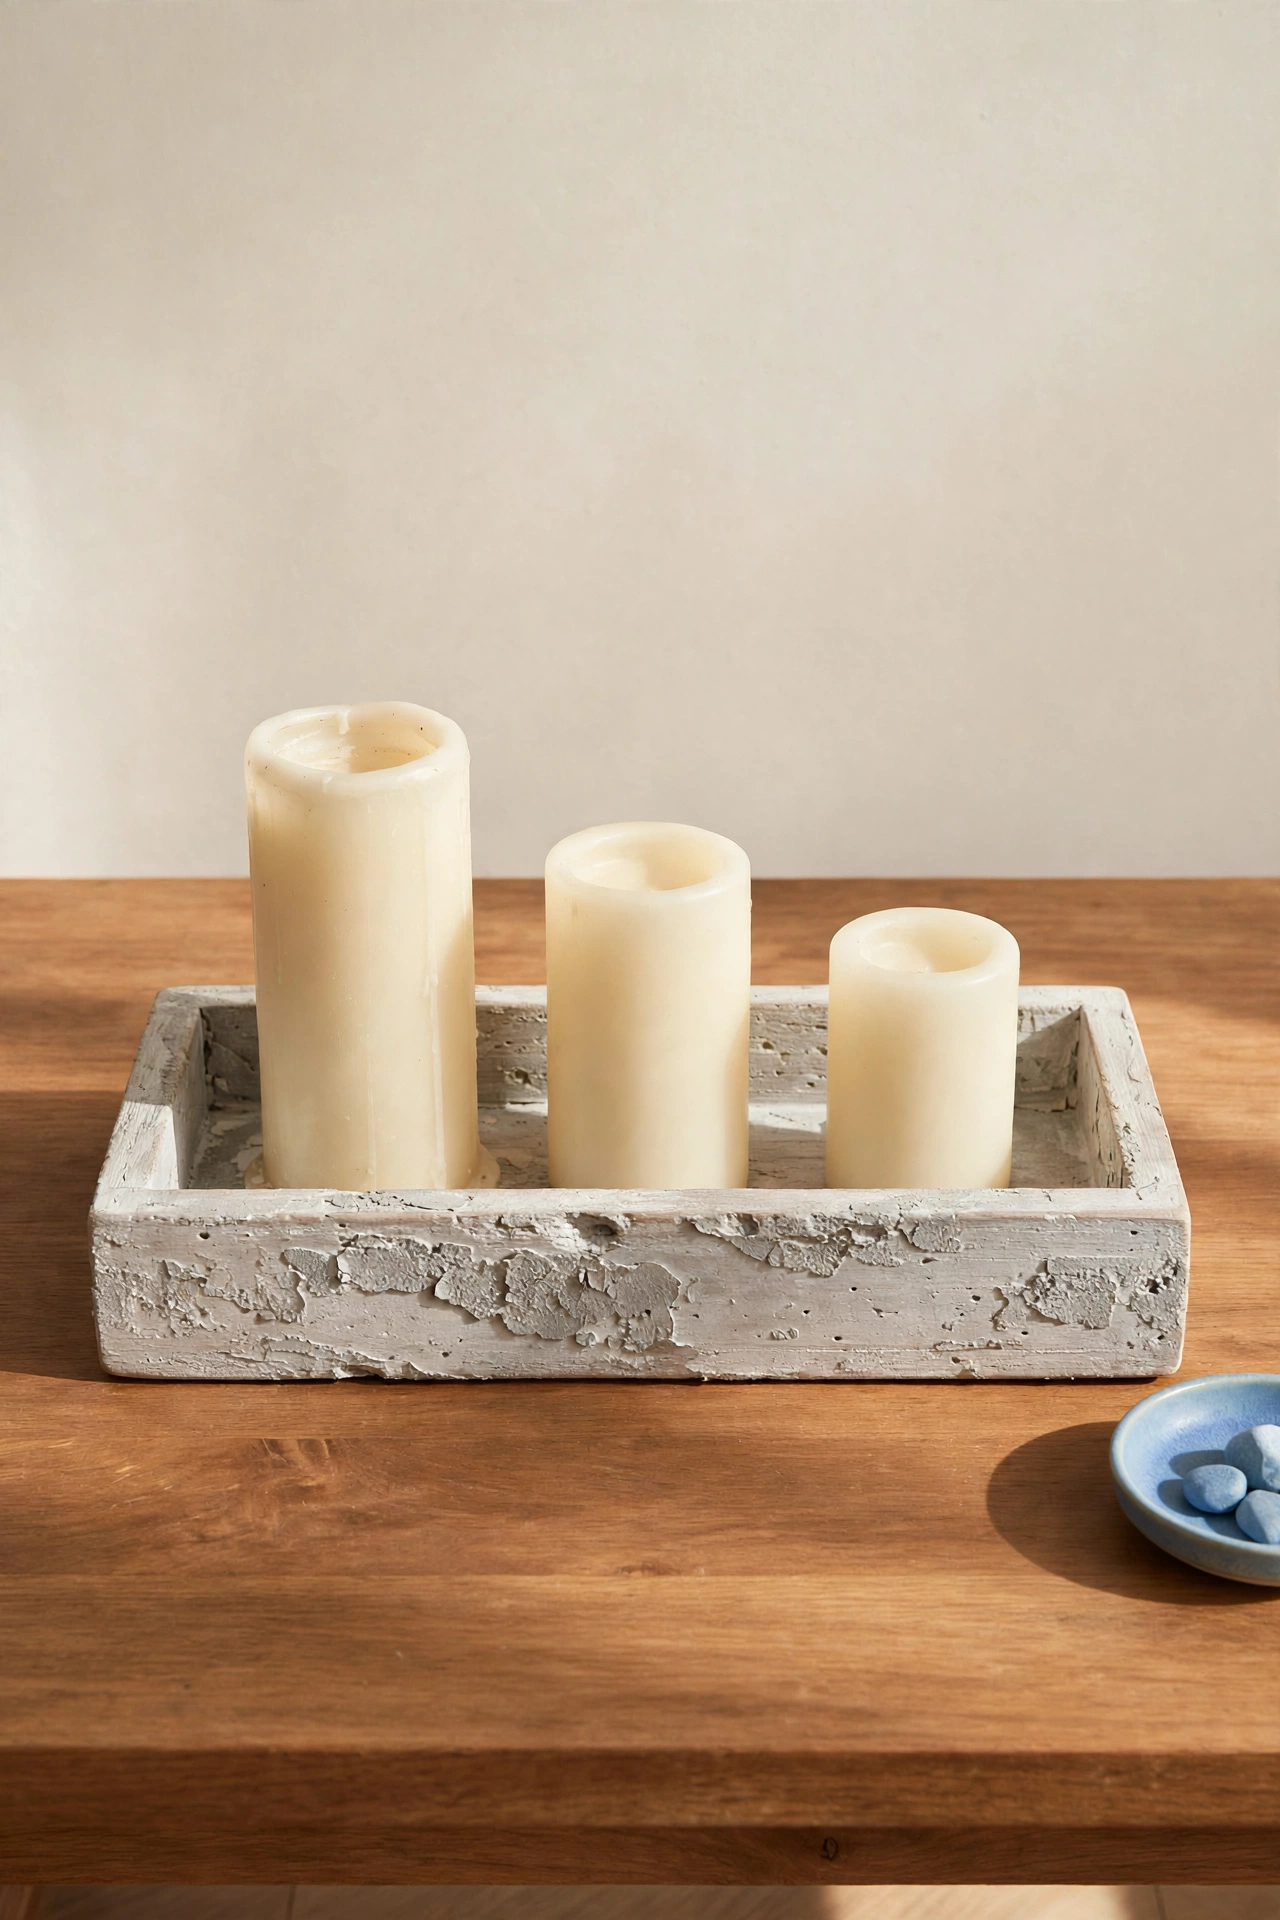
14. Work Dark Wax Into a Carved Wooden Jewelry Box
A carved jewelry box rewards dark wax like no other accessory, because every groove and flower becomes a small shadow. Paint the box in a soft color or leave the wood bare, then press dark wax into the carvings with a stiff brush. Buff the flat top and sides with a soft cloth until only the carved details hold the dark color.
The contrast between the pale surface and the dark carving makes the whole box look hand carved and genuinely old. Line the inside with velvet or soft fabric, and consider new aged hardware for the latch, since these diy decorative hardware makeovers pair beautifully with an aged box. Keep the box on a dresser where the carved details catch the light each morning.
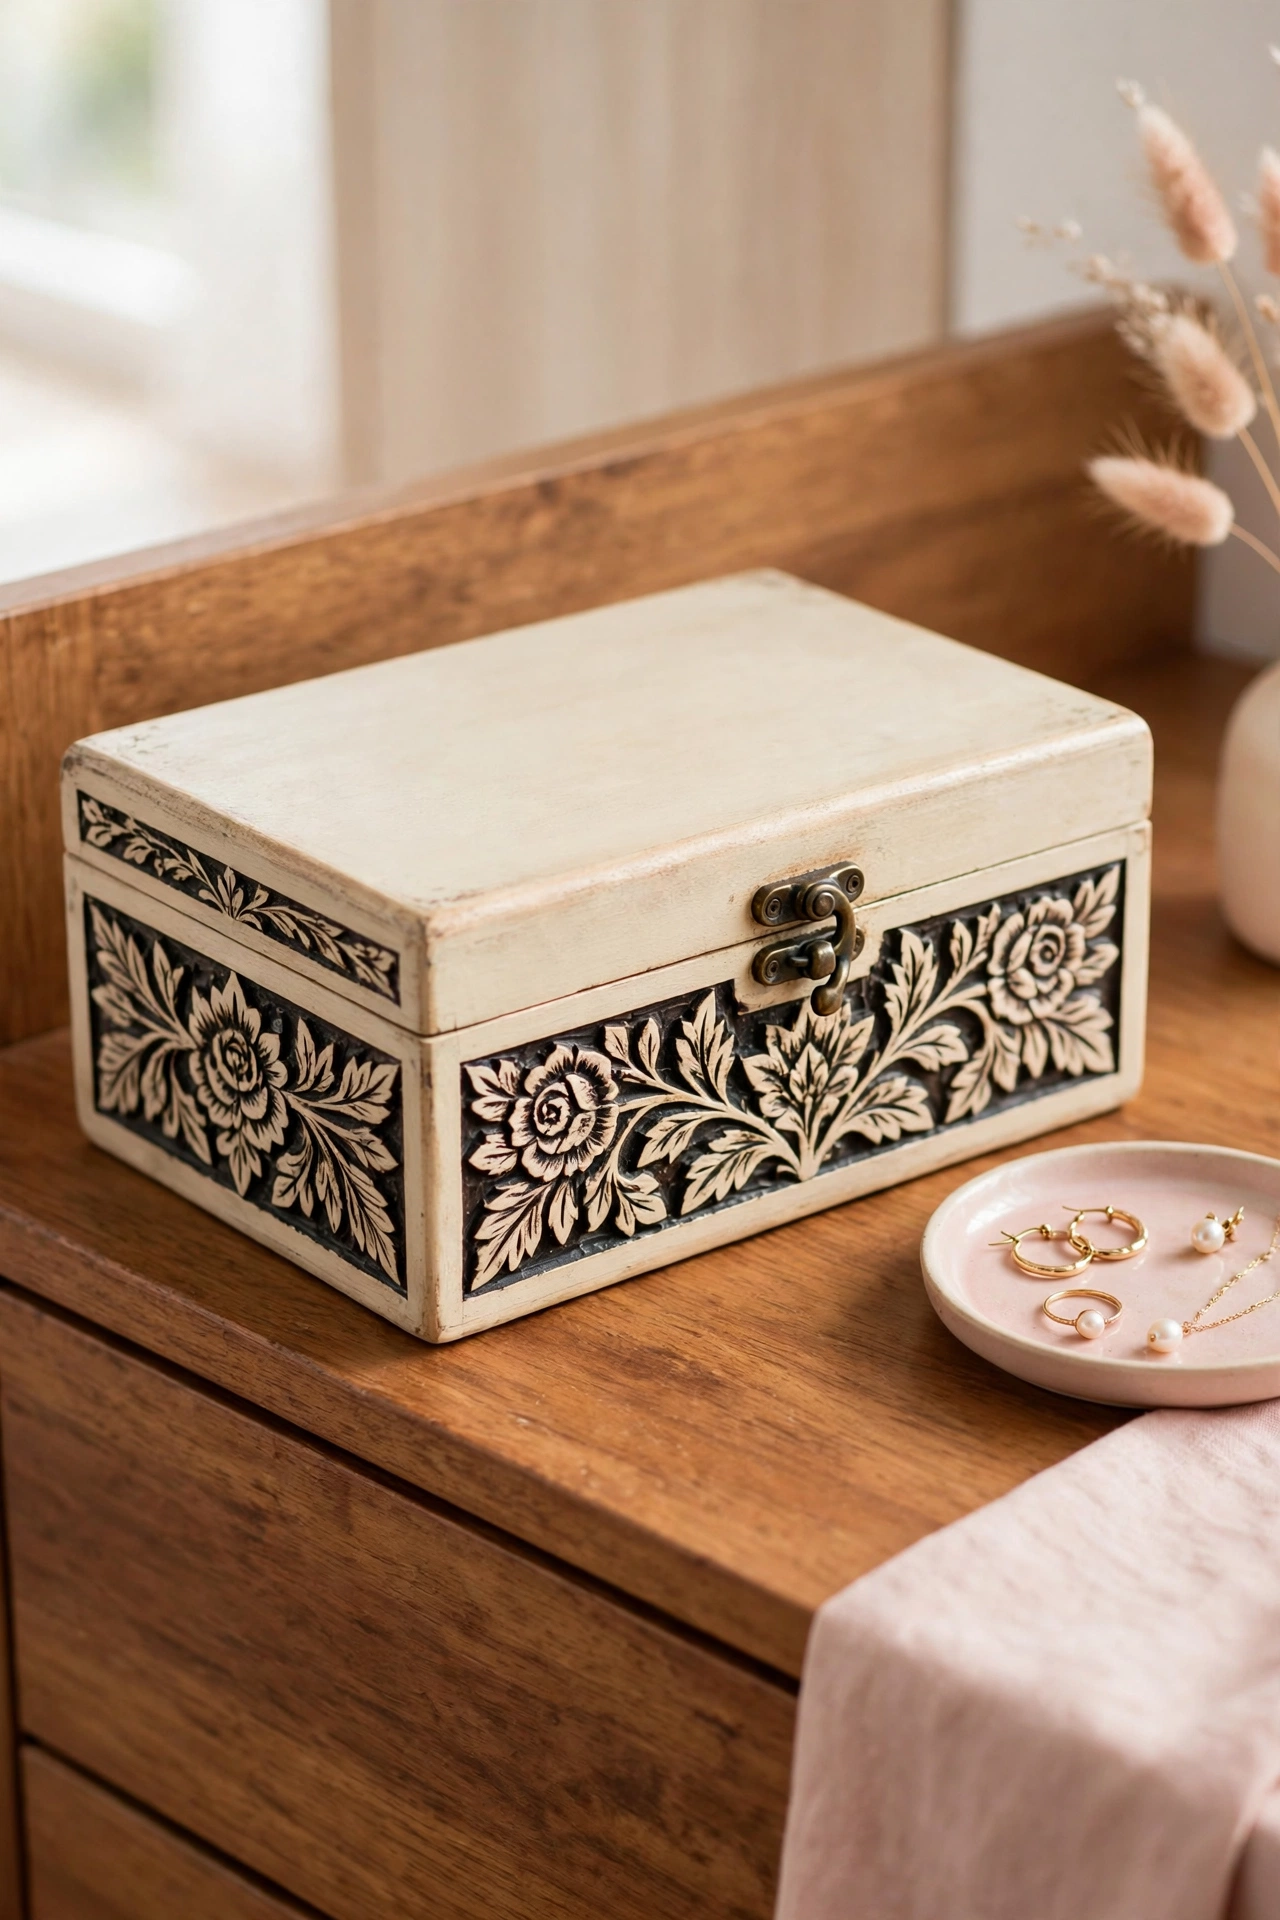
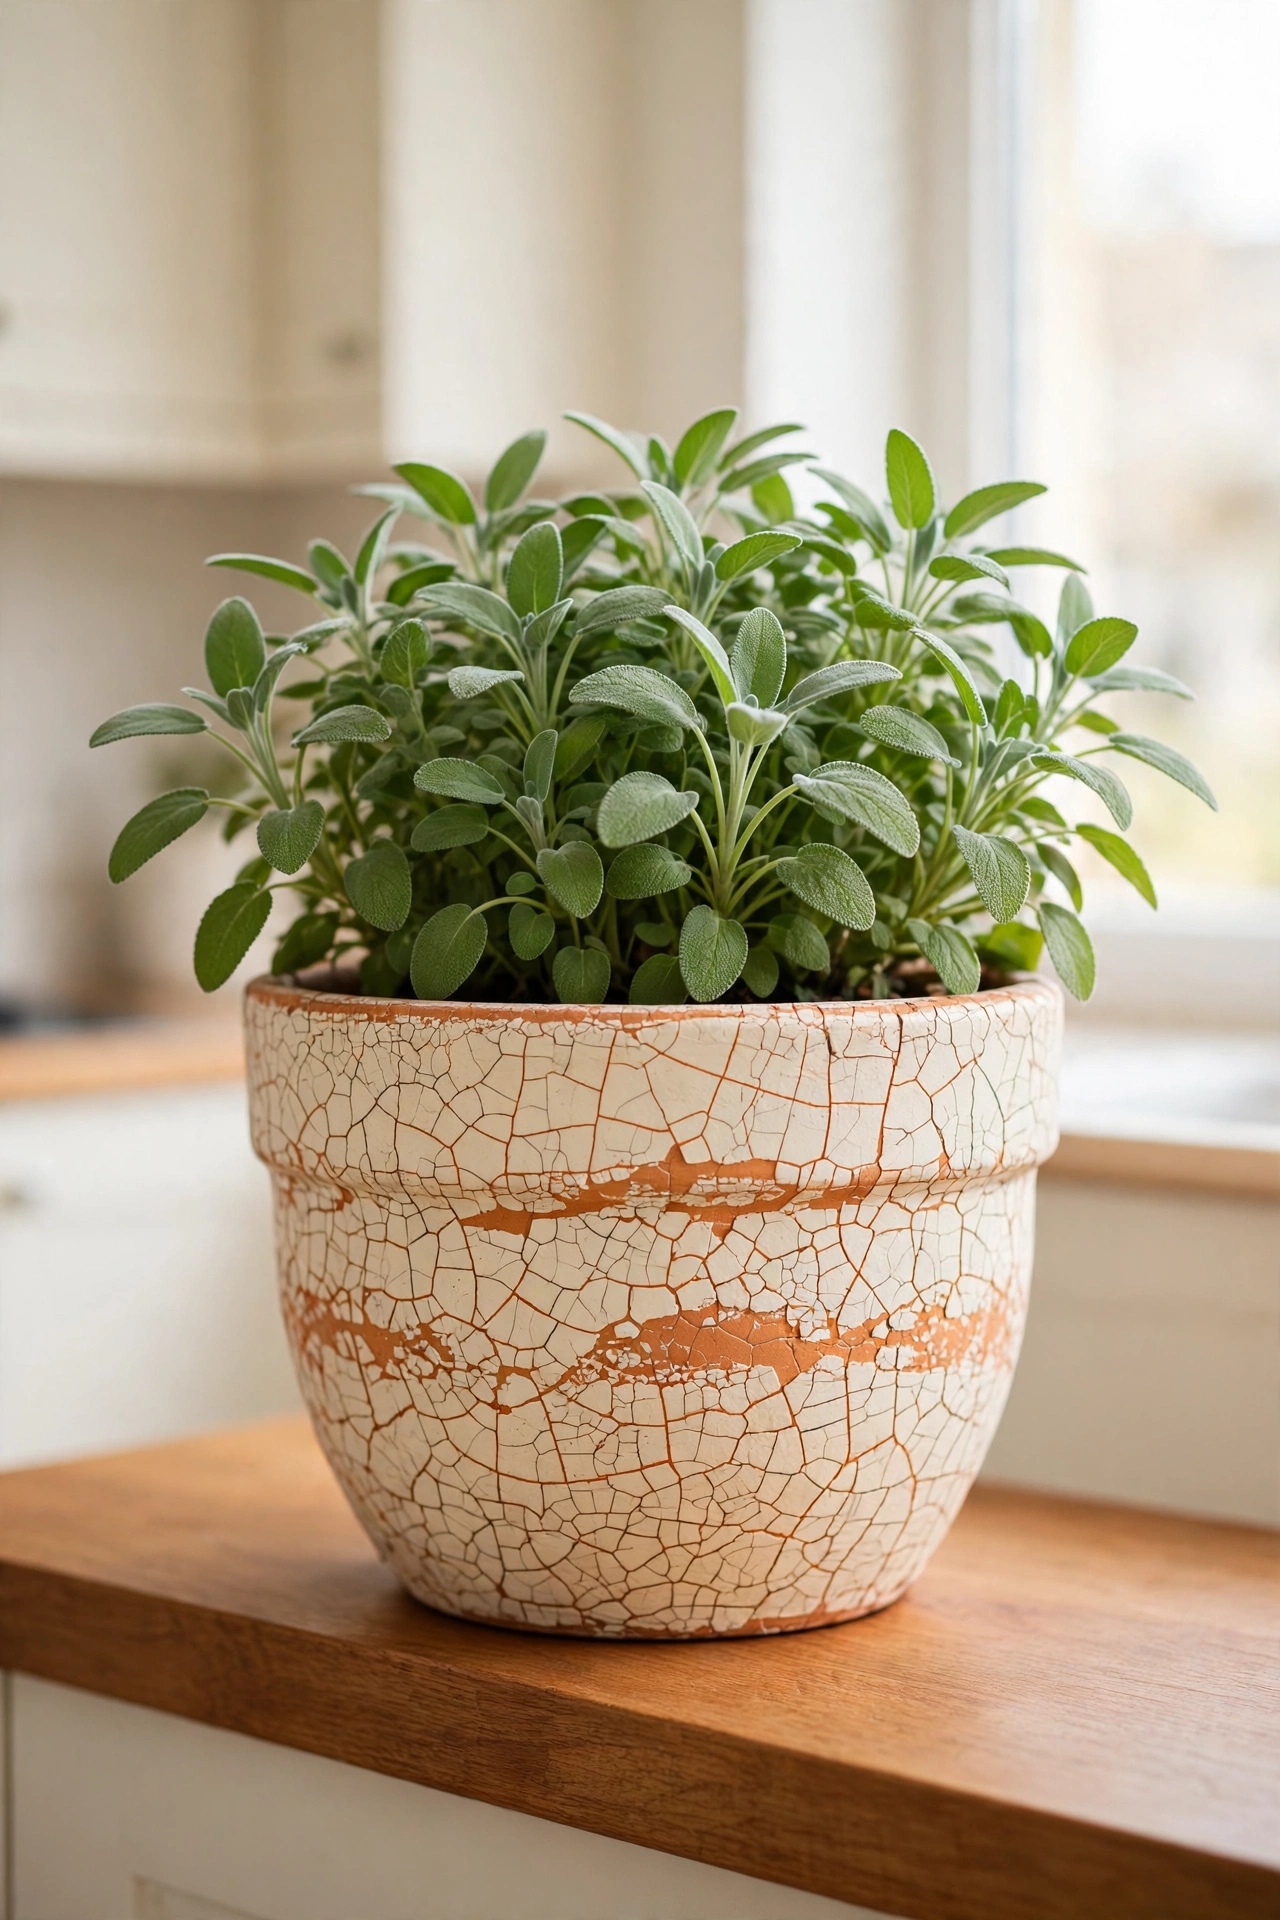
15. Crackle Paint on a Terra Cotta Flower Pot
Crackle paint on terra cotta looks like a pot that has survived many seasons in a greenhouse. Seal the pot first so the paint does not soak straight into the clay, then apply a base color, crackle medium, and a top color in the same way you would on wood. The cracks will open as the top coat dries, revealing the base color in a fine aged pattern.
Choose a cream top coat over a terracotta base so the cracks read as warm clay showing through old paint. Plant herbs or small flowers in the finished pot, and the crackled surface will suit a kitchen windowsill or a sunny shelf. Seal the outside with a clear outdoor sealer if the pot will live on a porch.
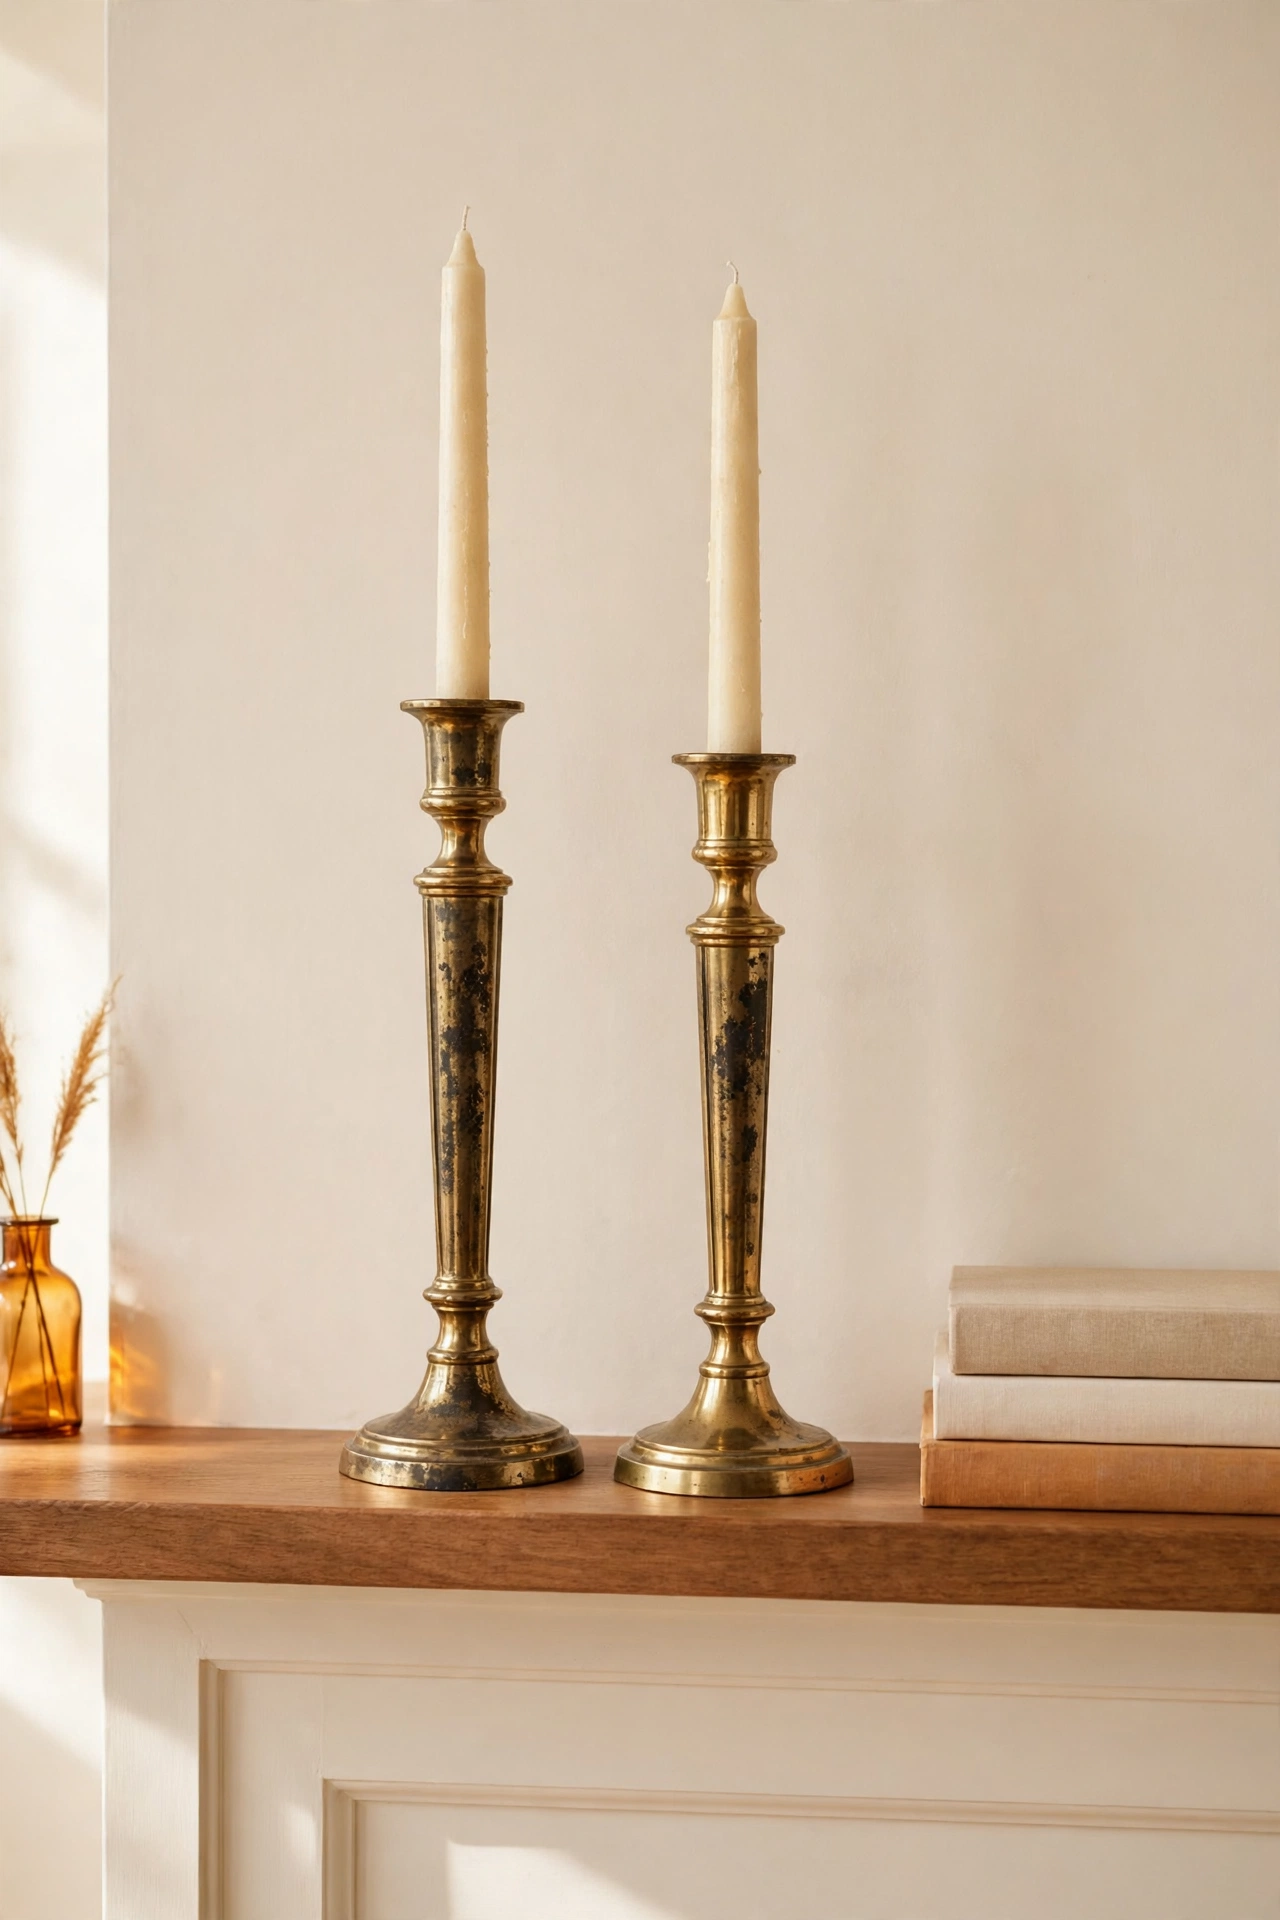
16. Age Brass Candlesticks With a Patina Solution
Brass candlesticks turn dark and mottled with age, and a patina solution can fake that process in a single afternoon. Clean the brass well, then brush on patina solution and watch the metal darken in patches. Let the solution sit longer in the spots you want darkest, and rinse it off when the color looks right.
Buff the raised edges lightly with a soft cloth so a little bright brass shows through, like the shine left by years of polishing and handling. The aged candlesticks look wonderful on a mantel or a dining table, especially in a pair with slightly different heights. Seal them with clear wax if you want to freeze the patina at its current stage.
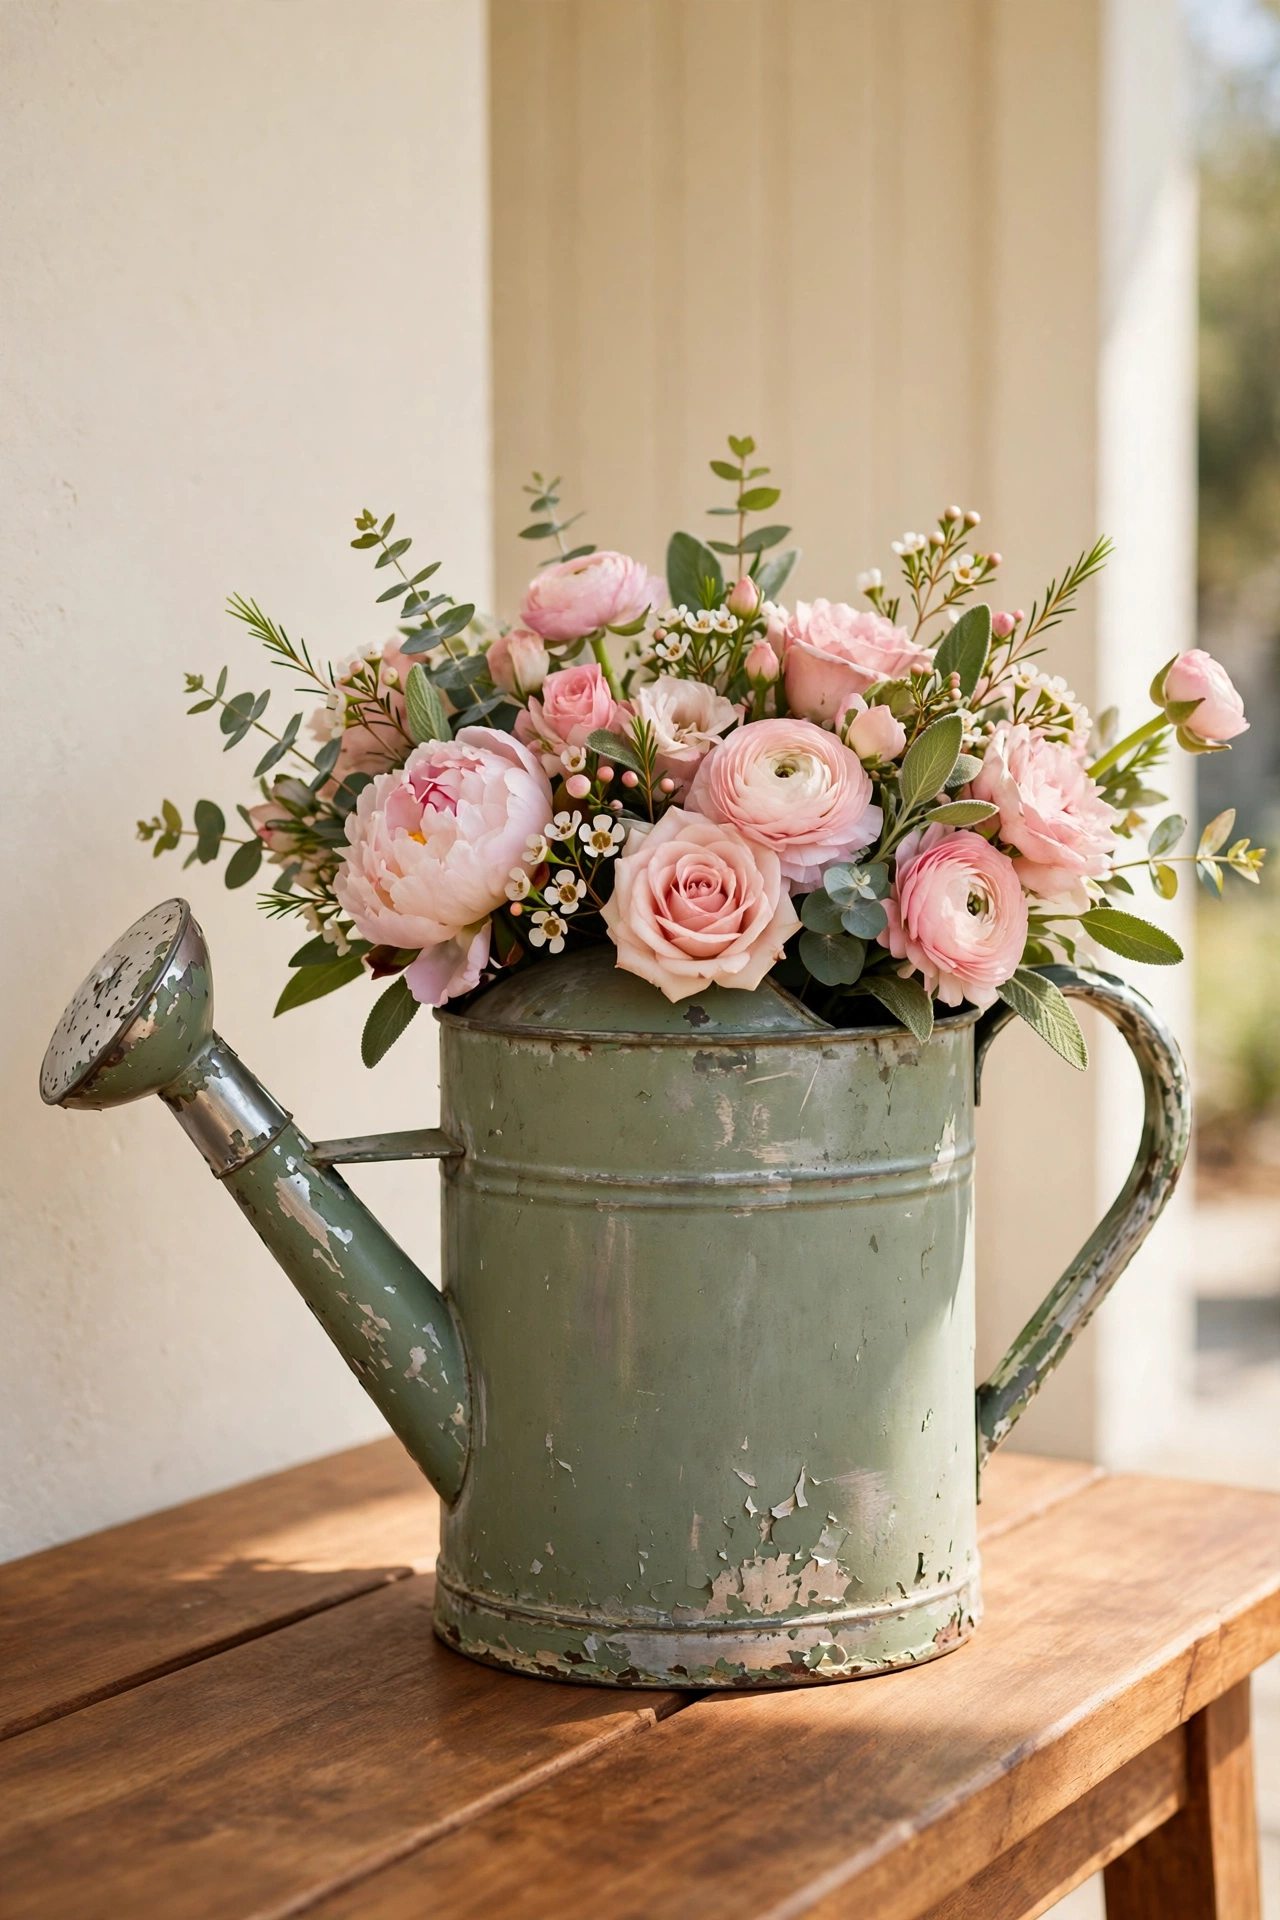
17. Chip Paint on a Metal Watering Can
A metal watering can with chipped paint looks like it has spent years in a potting shed, even if it came from a discount store last week. Paint the can in a bright color like sage green or soft blue, let it dry, then chip the paint with sandpaper and a stiff brush along the spout, handle, and base rim. The bare metal showing through sells the aged story.
Add a few small rust colored paint dabs around the seams for extra age, but keep them subtle so the can still looks loved rather than ruined. Fill the can with fresh flowers instead of water, and set it on a porch table or a kitchen counter. The chipped finish turns a simple tool into a piece of garden decor.
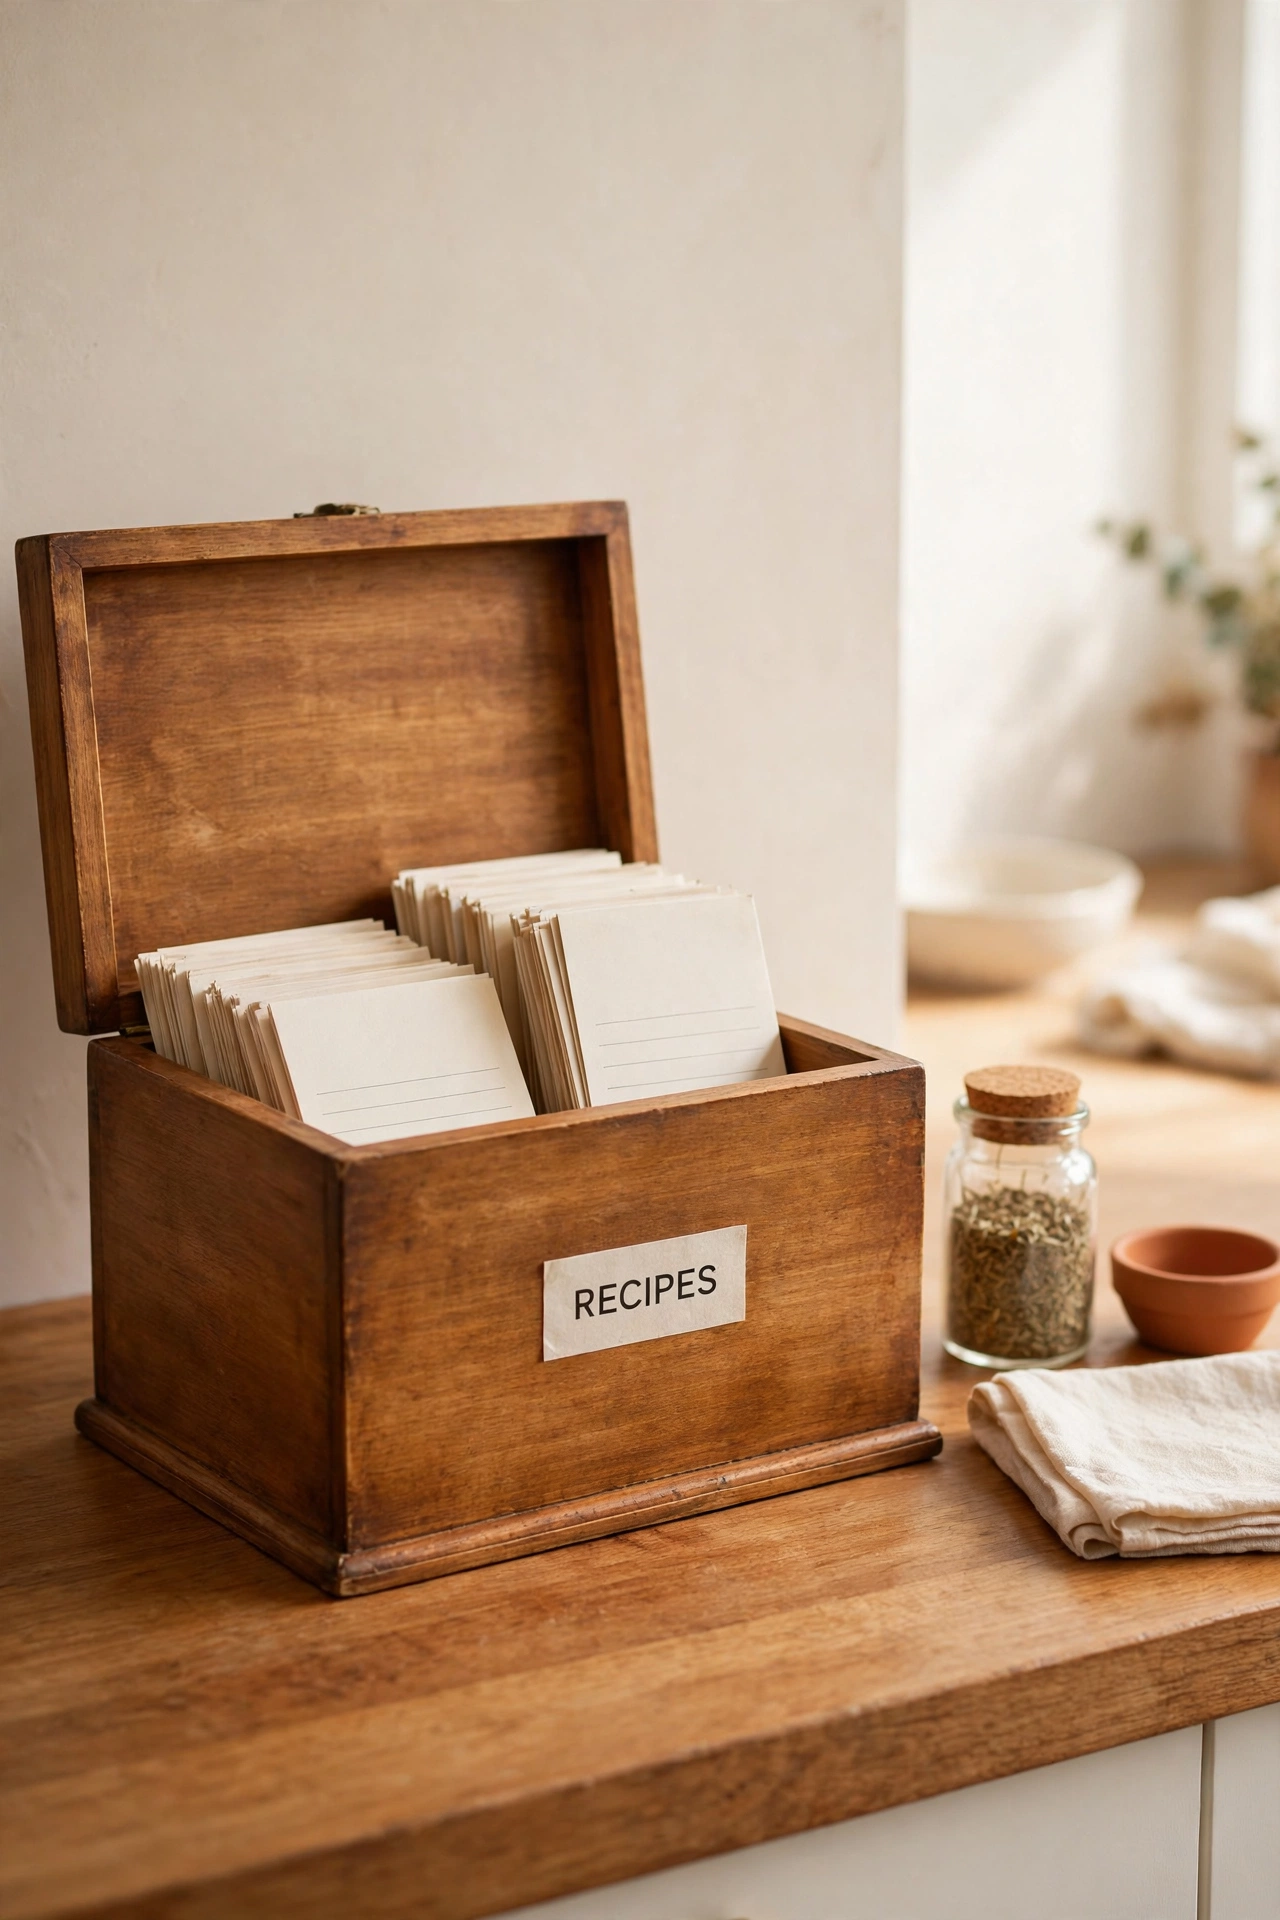
18. Stain a Wooden Recipe Box With Tea
Strong brewed tea stains raw wood a warm honey brown, like a recipe box that has sat in a sunny kitchen for decades. Brew several tea bags in a small pot until the liquid is very dark, let it cool, then brush it over a clean wooden box in even coats. Each coat deepens the color, so stop when the tone looks warm and aged.
Tea stain is gentle and food safe once dry, which makes it ideal for a box that holds recipe cards near the stove. Add a small printed label on the front that reads RECIPES in clear letters, and the box will look like a family heirloom. Seal the stain with a thin coat of clear wax to keep the color from fading.
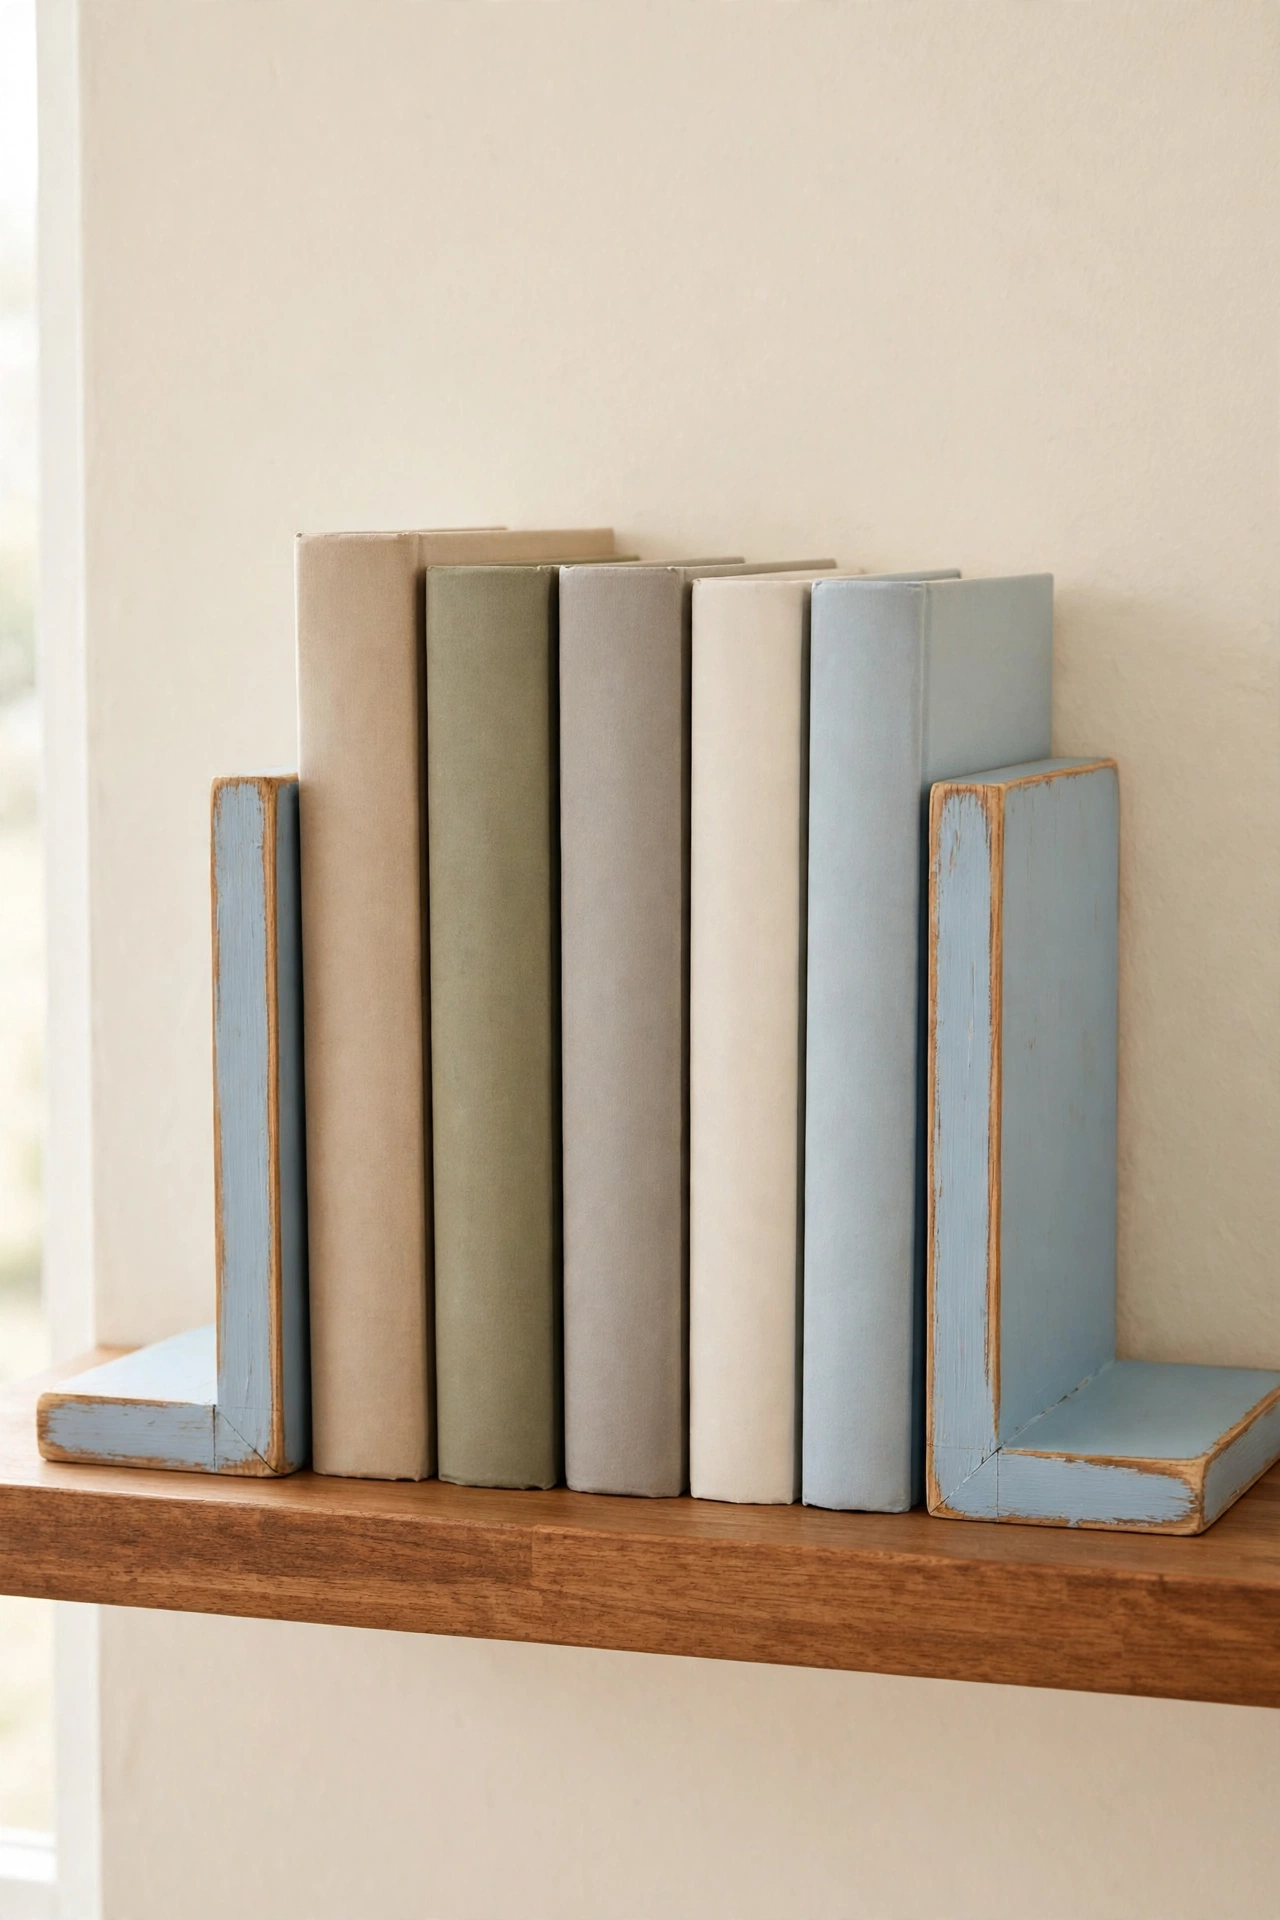
19. Sand the Edges of Painted Wooden Bookends
Simple edge sanding is the fastest antique finish of all, and it works beautifully on painted wooden bookends. Paint the bookends in a solid color, let the paint cure fully, then sand every edge and corner with medium sandpaper until the wood shows through in a thin, even line. The worn edges catch the light and read as years of books sliding in and out.
Keep the sanding even on both bookends so the pair looks matched, and avoid sanding the flat faces where real wear would not reach. Place the bookends on a shelf with a row of well loved books, and the aged edges will make the whole shelf feel collected rather than decorated. A coat of clear wax finishes the job.
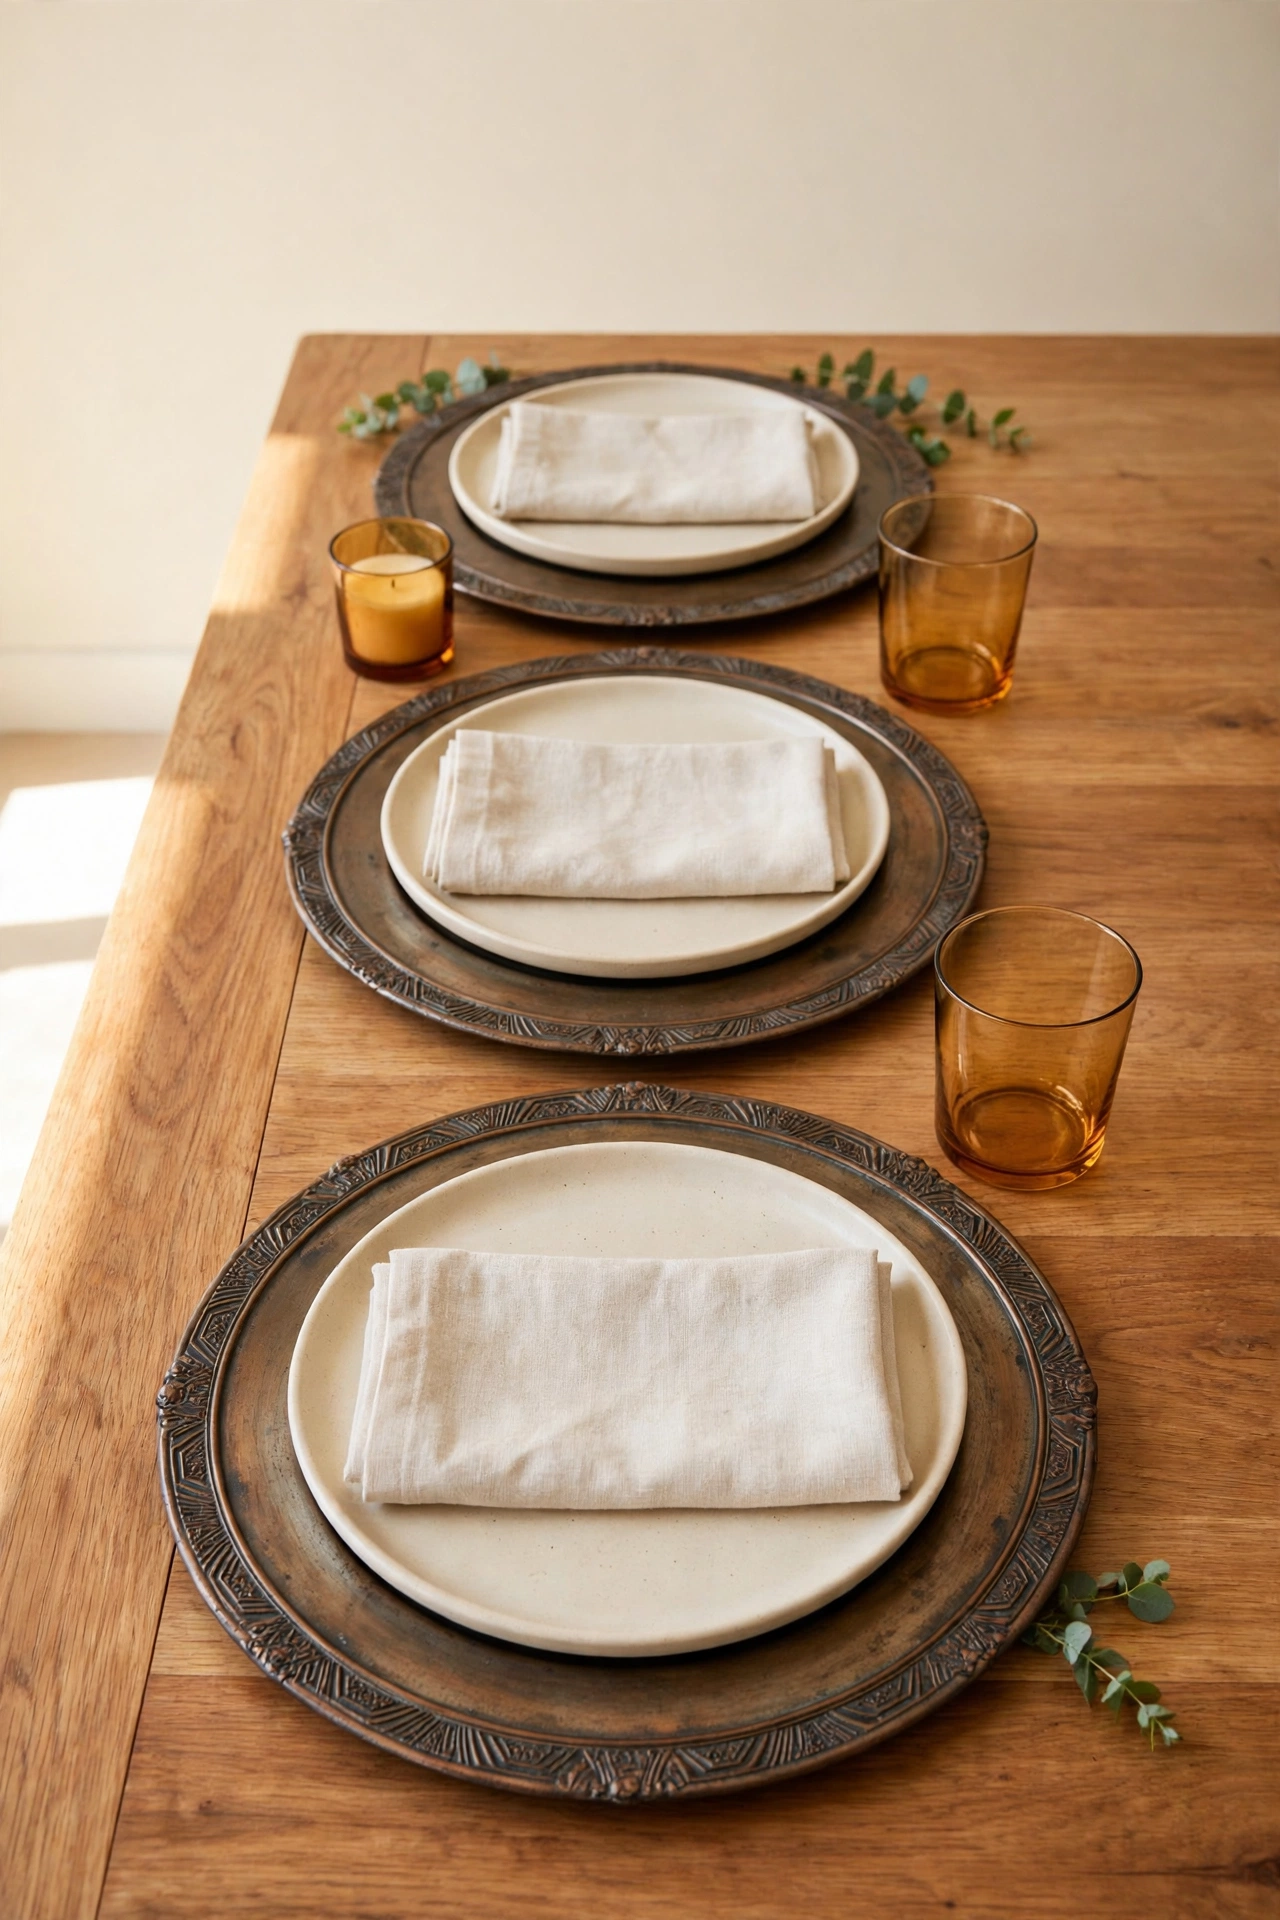
20. Finish Metal Charger Plates With Aged Bronze
Aged bronze paint turns plain metal charger plates into pieces that look like they came from an old European sideboard. Paint the plates in a dark bronze base, then dry brush a lighter bronze over the raised rims and patterns. Finish with a thin dark glaze wiped back from the high points so the details stay shadowed.
Use the chargers under dinner plates for a formal table, or hang one on a wall as a decorative plate. The aged bronze finish pairs well with linen napkins, cream stoneware, and warm wood. Because the finish is paint and glaze, the plates wipe clean with a damp cloth and never need polishing.
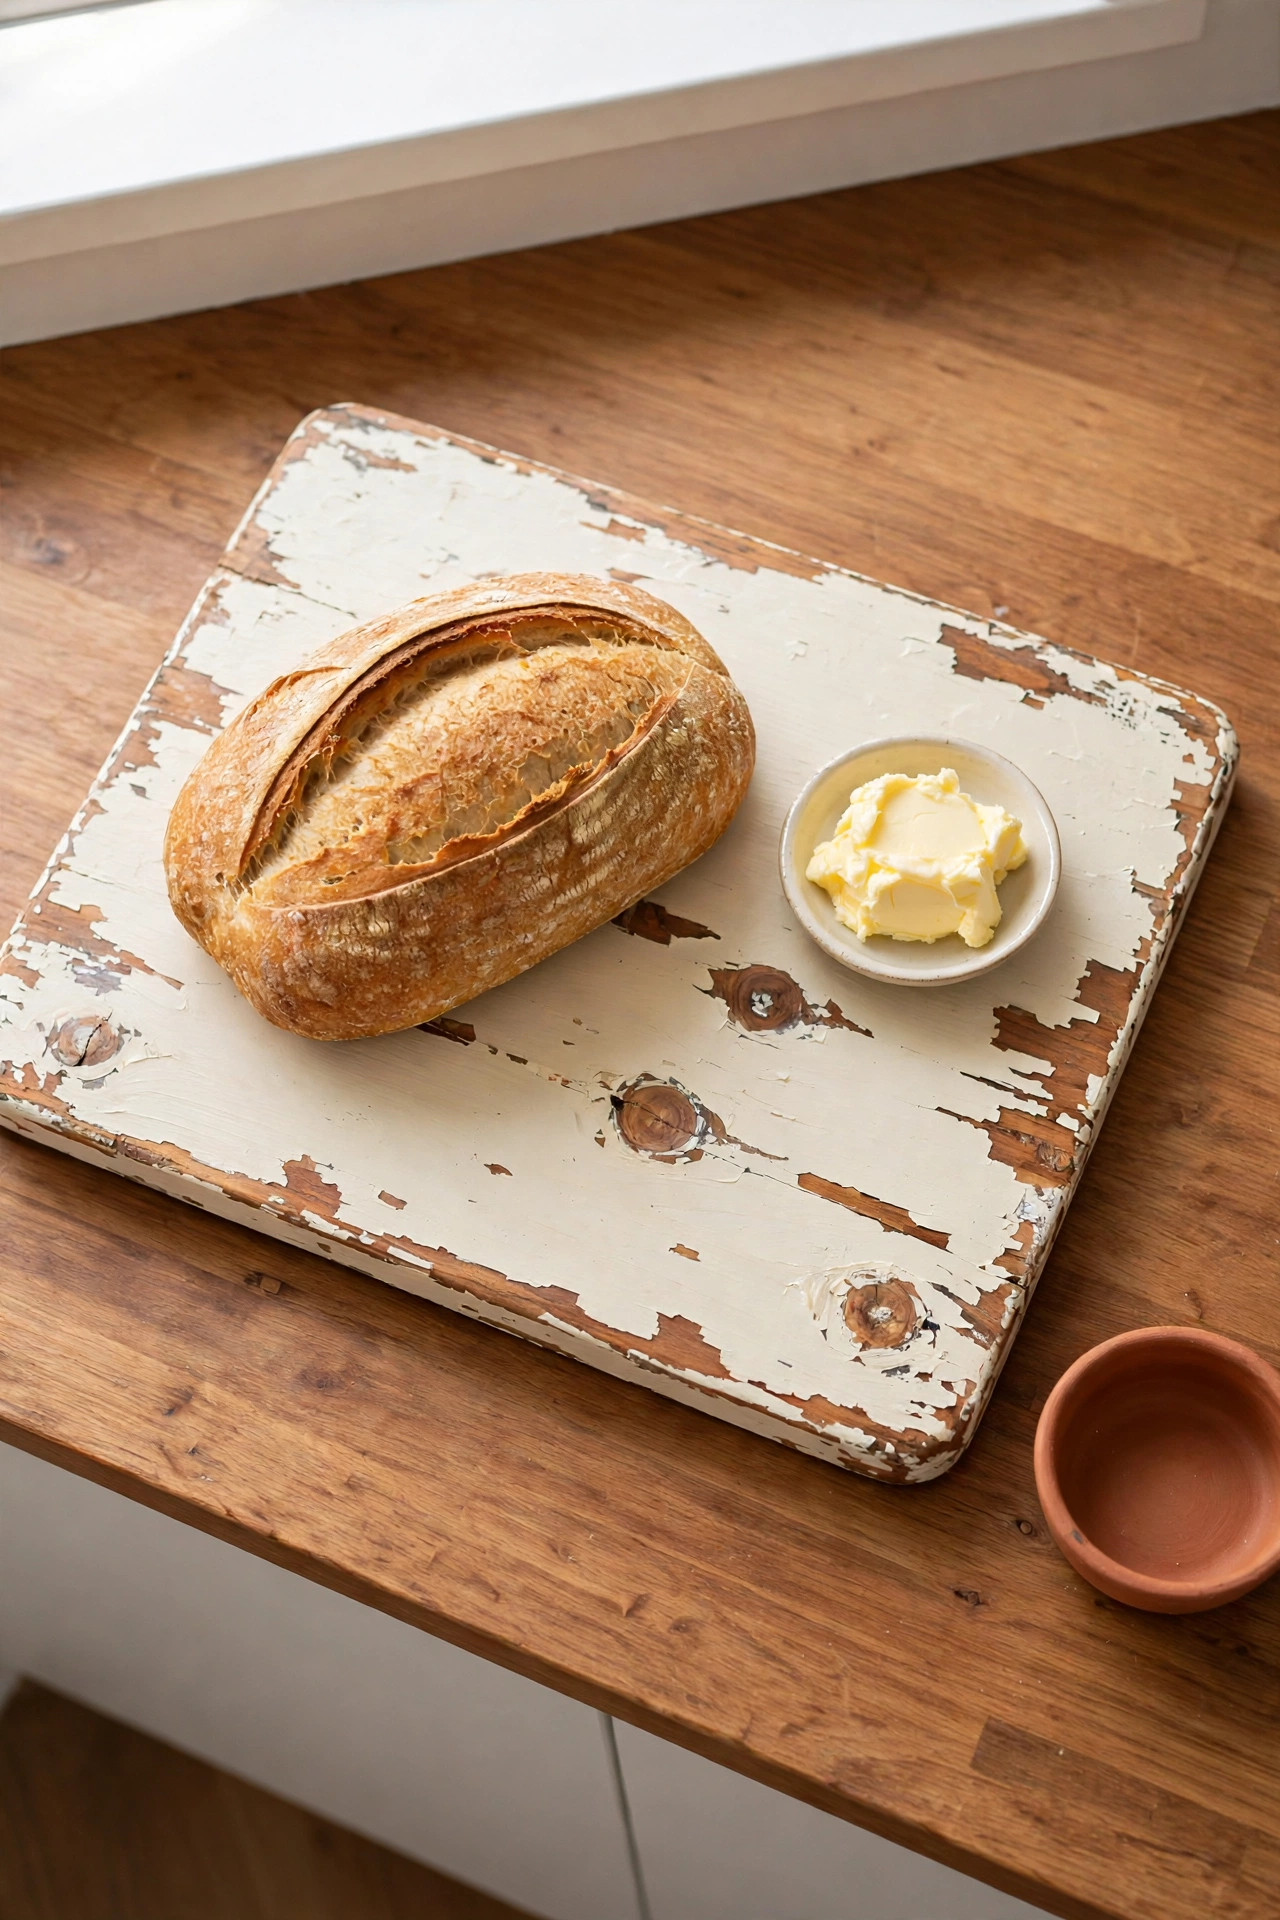
21. Use Wax Resist With Milk Paint on a Wooden Serving Board
Wax resist is a clever trick where you rub candle wax on the wood before painting, and the paint refuses to stick to the waxed spots. Rub a plain candle over the edges and knots of a wooden serving board, then paint over the whole surface with milk paint. Once the paint is dry, sand lightly and the waxed areas release their paint in natural looking chips.
The chips follow the exact pattern of your wax strokes, so you control where the age appears. This technique gives a softer, more random chip pattern than sanding alone. Use the board for serving bread and cheese, or hang it on a kitchen wall as decor, and the chipped paint will look like decades of honest use.
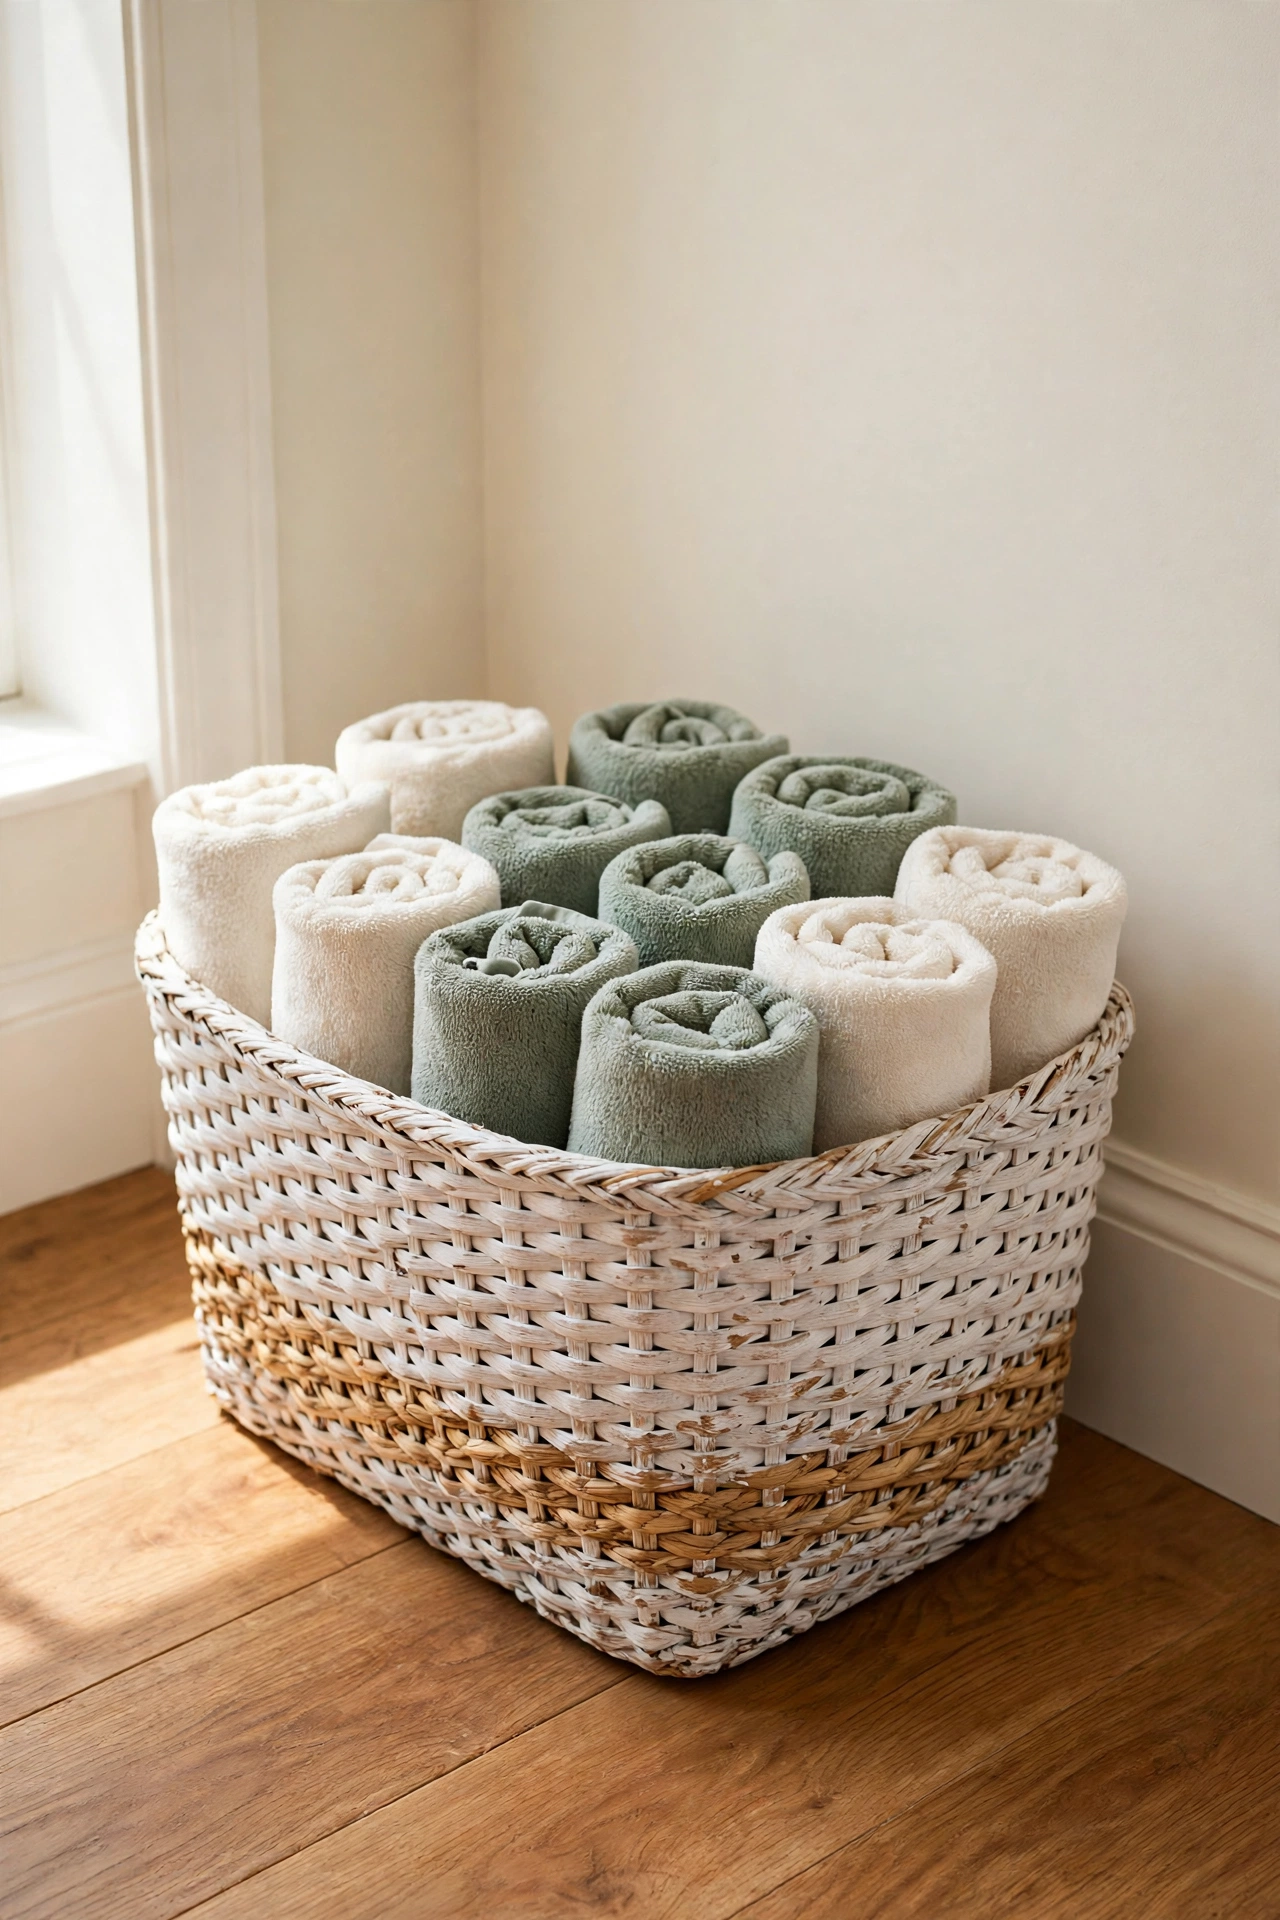
22. Whitewash a Seagrass Storage Basket for an Aged Look
Whitewash is not only for wood. Brushing thinned white paint over a seagrass basket softens its color and gives it the pale, sun faded look of a basket that has lived on a porch for years. Brush the wash on lightly, working it into the weave, then wipe back the excess so the natural seagrass tone still shows through in the low spots.
The aged basket holds rolled towels, folded throws, or firewood with a calm, coastal feeling. Because the wash is thin, the basket keeps its texture and flexibility instead of turning stiff with paint. Set the basket beside a sofa or in a bathroom, where the pale finish will brighten the corner without looking new.
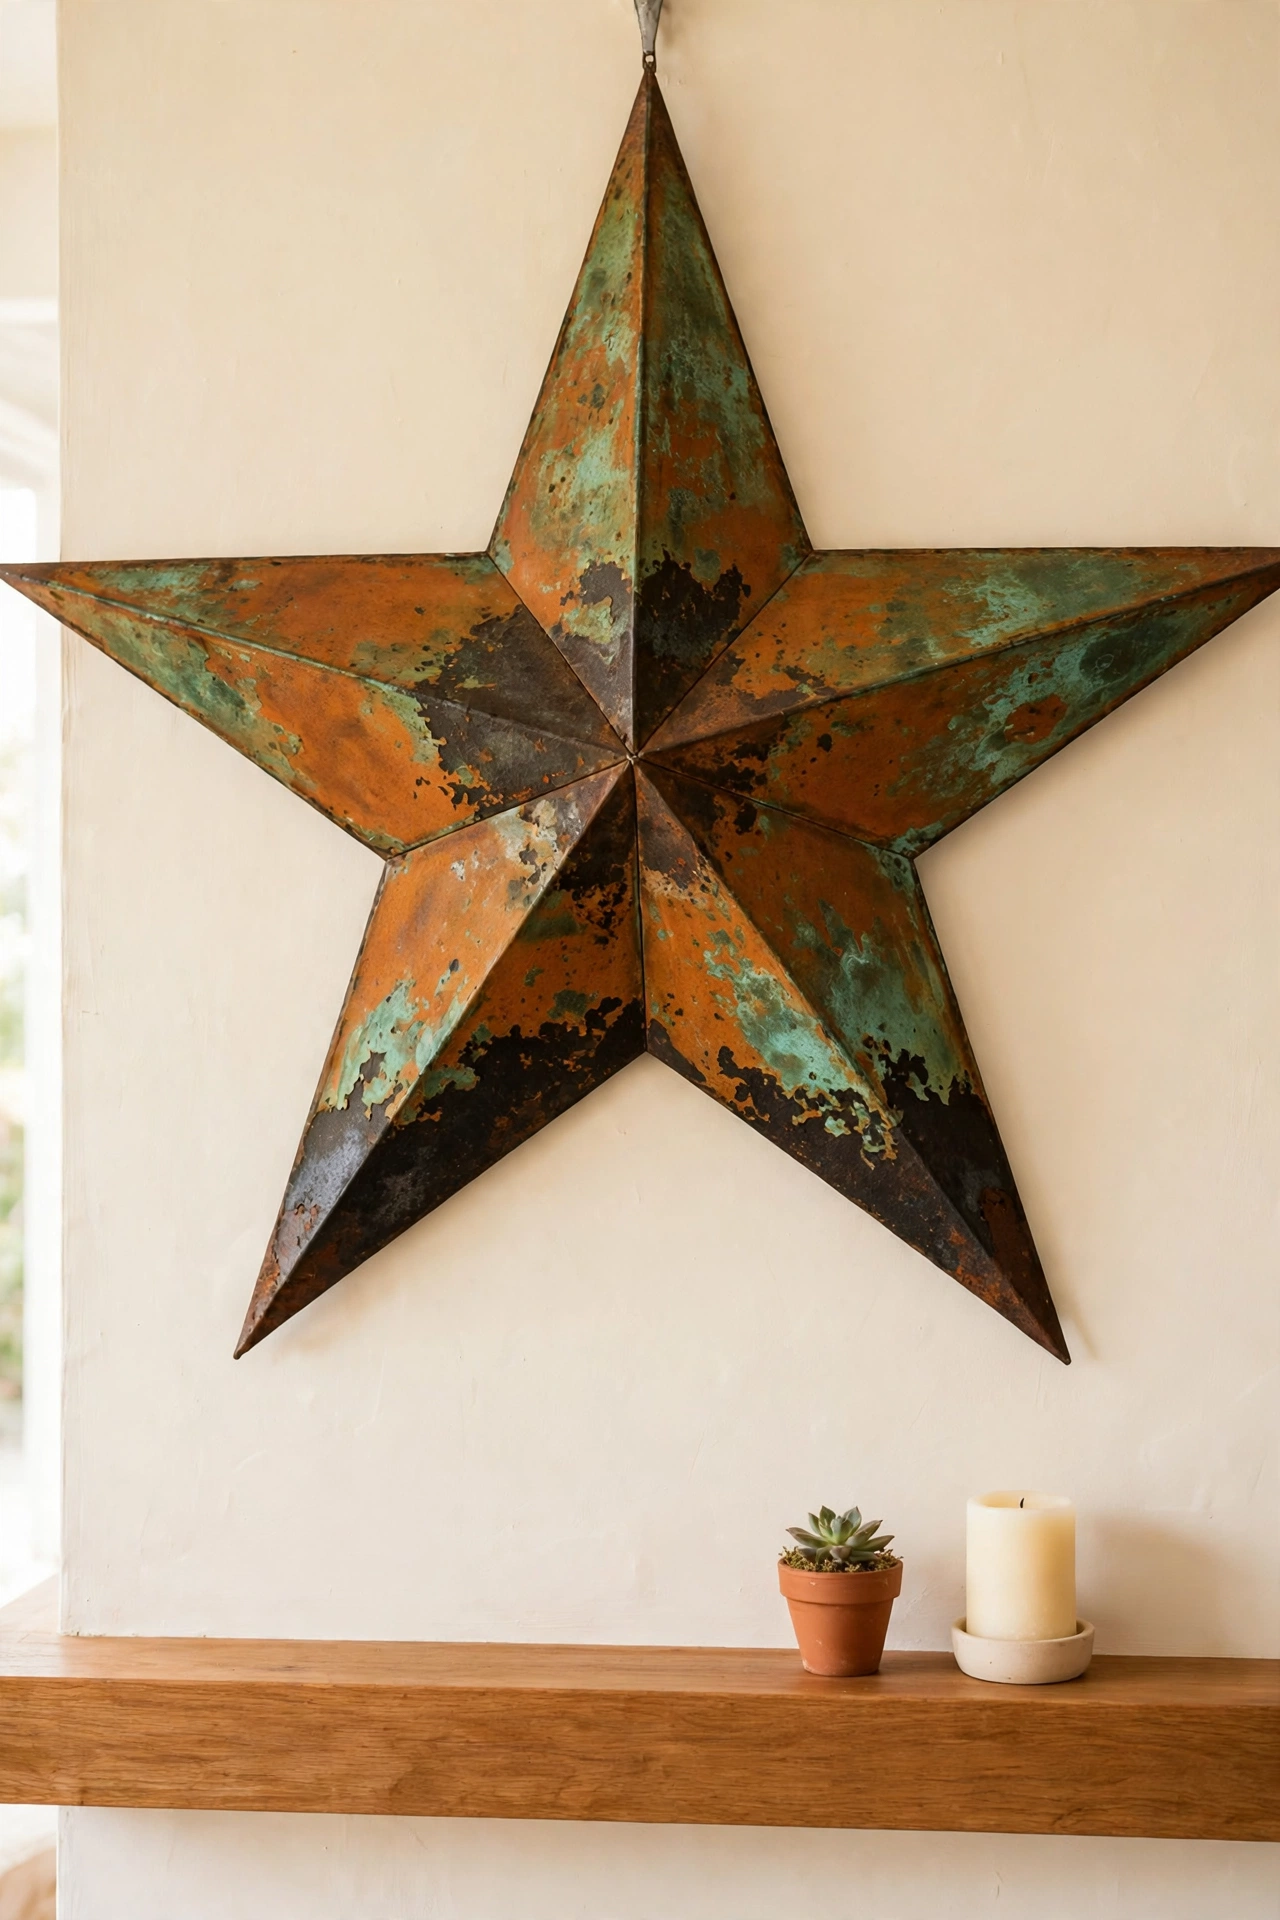
23. Wash Rust and Patina Over a Metal Wall Star
A metal wall star is a simple shape that becomes far more interesting with a rust and patina wash. Paint the star in a dark base, then layer rust tones and a touch of green patina paint with a sponge, letting each layer dry before the next. Concentrate the color in the center and along the lower points, where weather would gather.
Hang the star over a mantel, on a porch wall, or in an entryway, where its aged surface will read as a genuine found object. The mix of rust orange and green patina gives the star a complex, layered age that flat paint cannot match. Seal it with a matte spray sealer so the finish survives outdoor humidity.
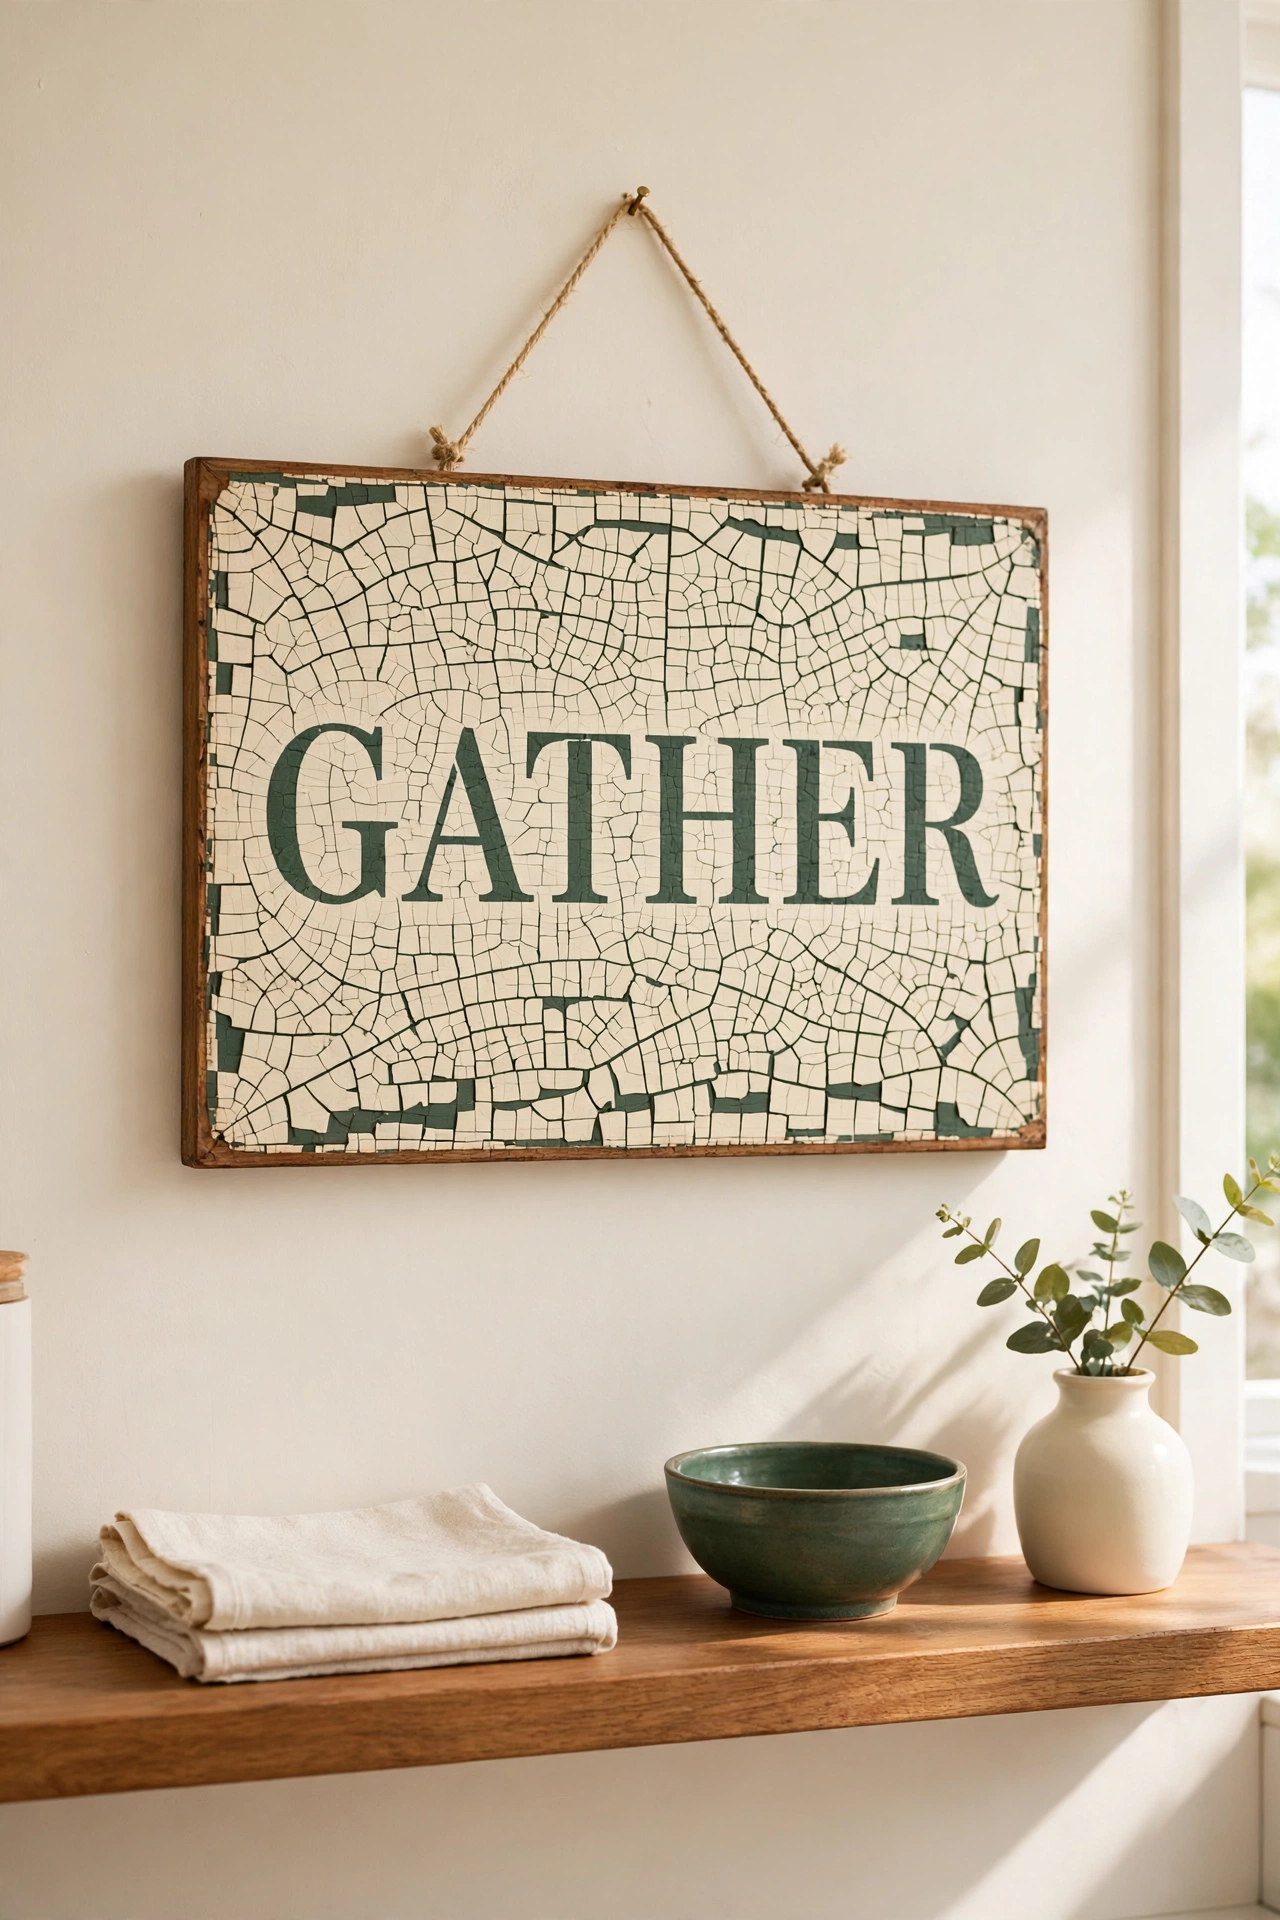
24. Crackle Glaze on a Wooden Wall Plaque
A wooden wall plaque with crackle glaze looks like a painted sign that has hung in a shop window for a century. Paint the plaque in a deep base color, apply crackle medium, then paint the top color with a simple word or pattern stenciled on top. The cracks will open across the whole surface, aging the lettering along with the background.
Choose a single word like GATHER or BLOOM in a classic serif stencil, and keep the lettering large and readable. The crackled surface makes even a new plaque feel like a piece of history. Hang it in a kitchen or hallway where the aged paint can be seen up close and appreciated.
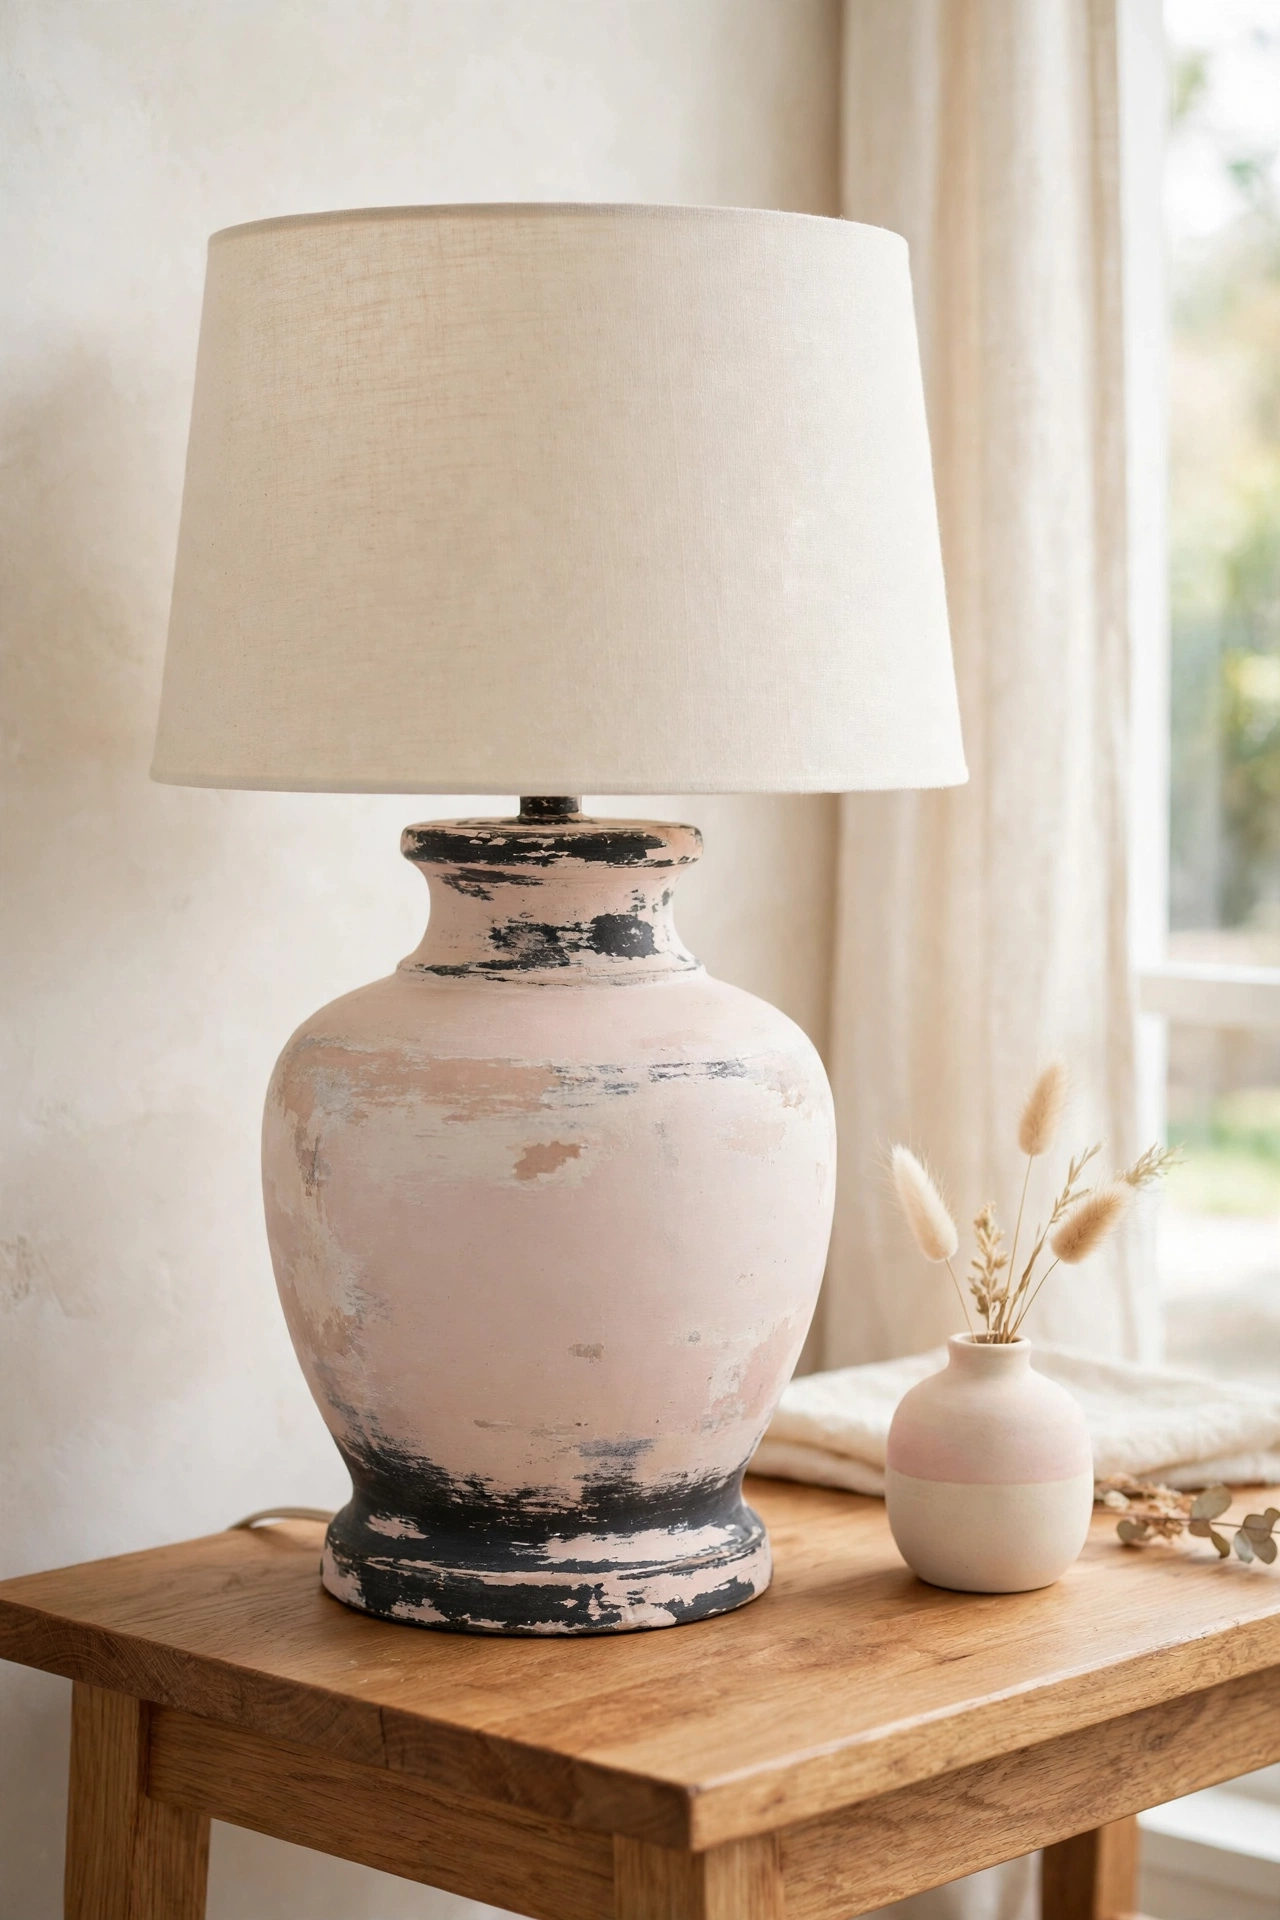
25. Layer and Distress Paint on a Ceramic Table Lamp
Layered paint with distressing gives a ceramic lamp the soft, worn look of a piece passed down through a family. Paint the lamp in a dark base color, add a lighter top coat, then sand the curves, foot, and neck until the dark base shows through in the places hands would touch most. The matte layers read as age rather than damage.
Top the lamp with a plain linen or cotton shade so the aged base stays the star of the piece. The distressed ceramic suits bedrooms, living rooms, and reading corners, where warm light will play across the worn paint. Seal the base with a thin coat of clear matte sealer so the finish stays soft and protected.
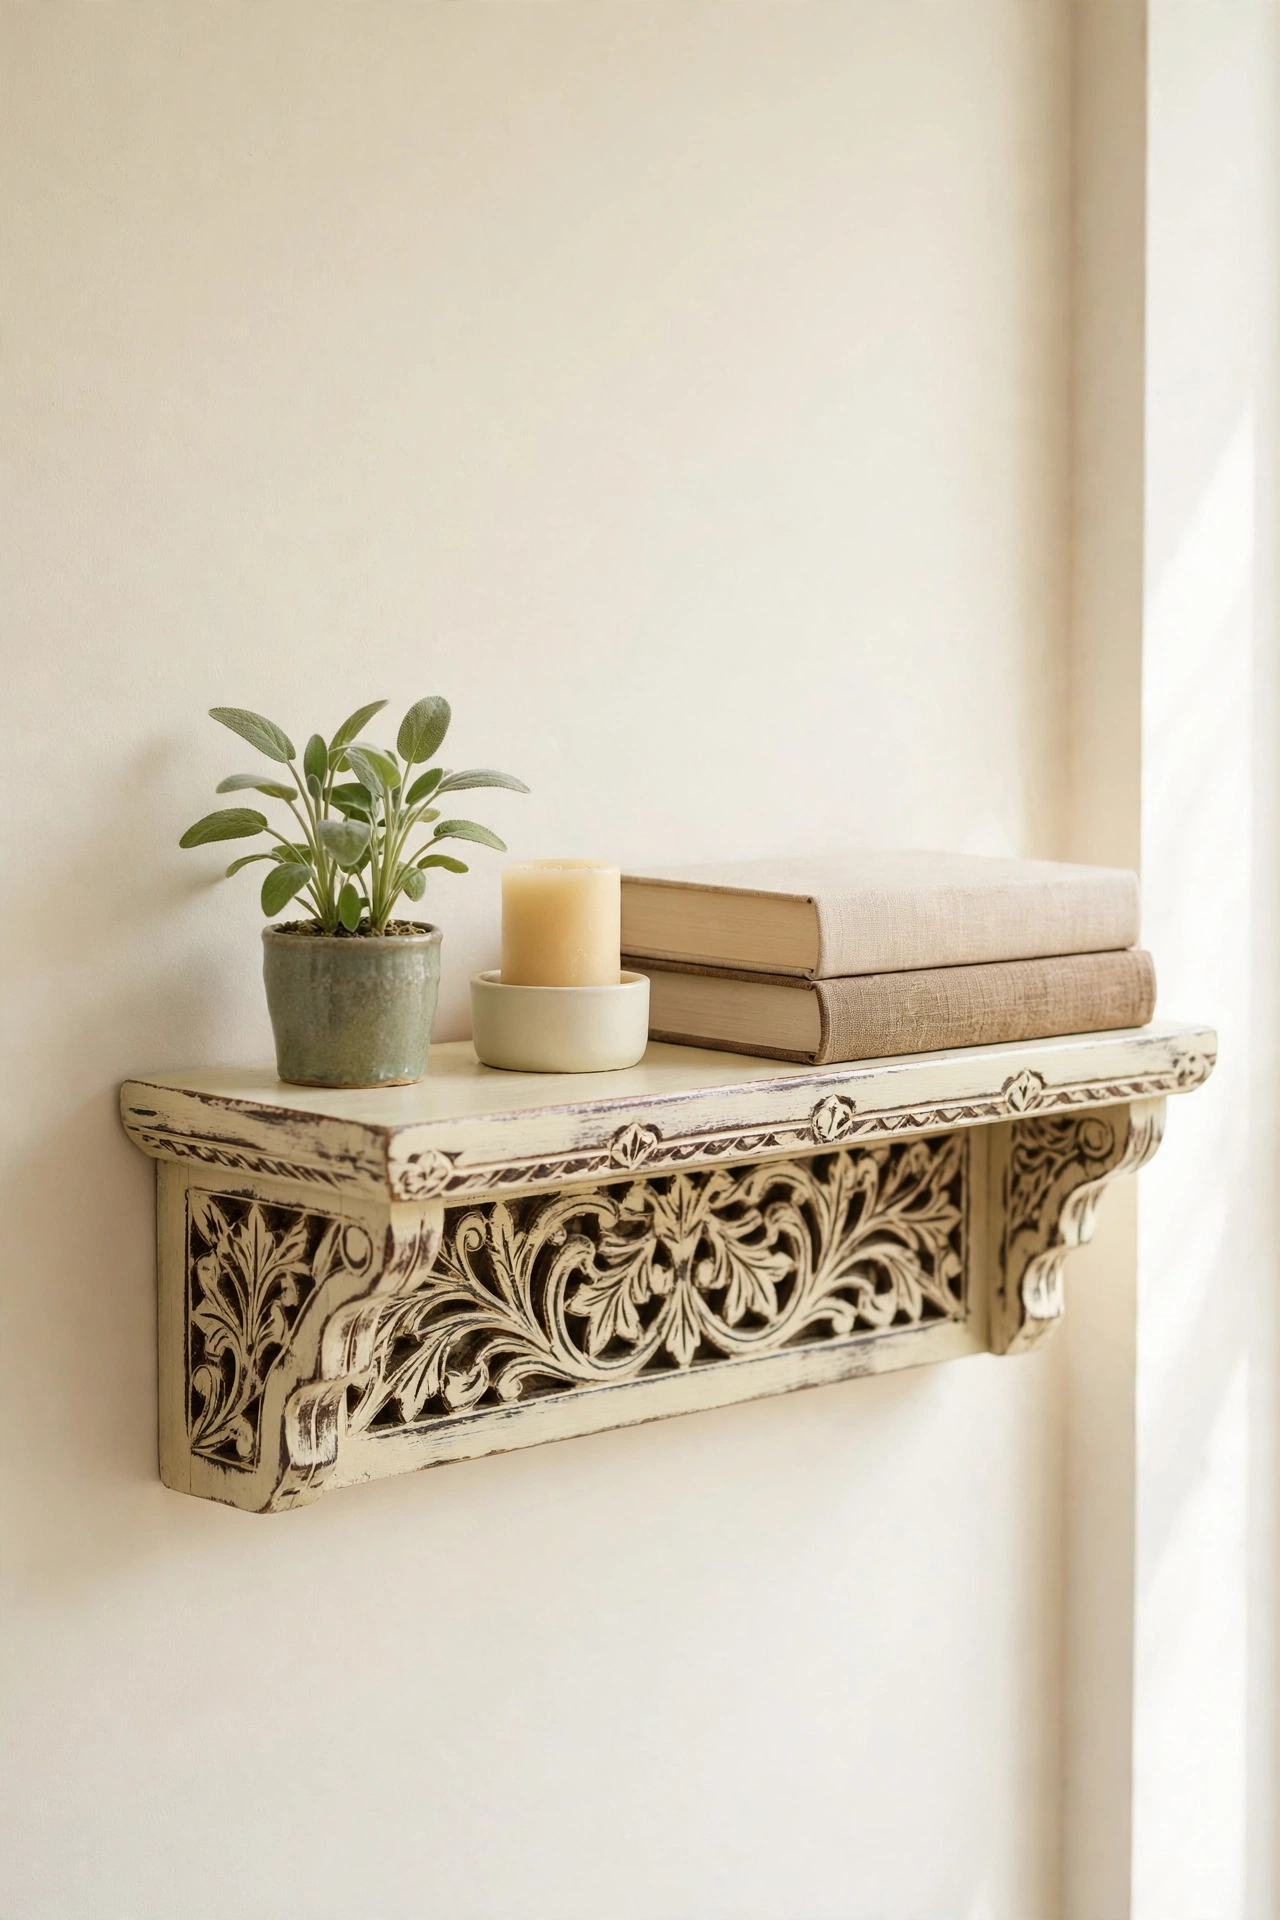
26. Glaze a Carved Wooden Wall Shelf for an Aged Finish
A carved wall shelf holds small treasures, and an antiquing glaze makes the shelf itself look like a treasure too. Paint the shelf in a pale color, then brush dark glaze over the carvings and wipe it back from the flat surfaces. The glaze settles into every groove and makes the carved pattern stand out like an old church carving.
Style the shelf with a few small items only, such as a tiny plant, a candle, and a stack of two books, so the aged carving stays visible. The dark glaze gives the pale shelf a depth that flat paint cannot achieve. Mount it in a hallway or bedroom where the carved details can be admired at eye level.
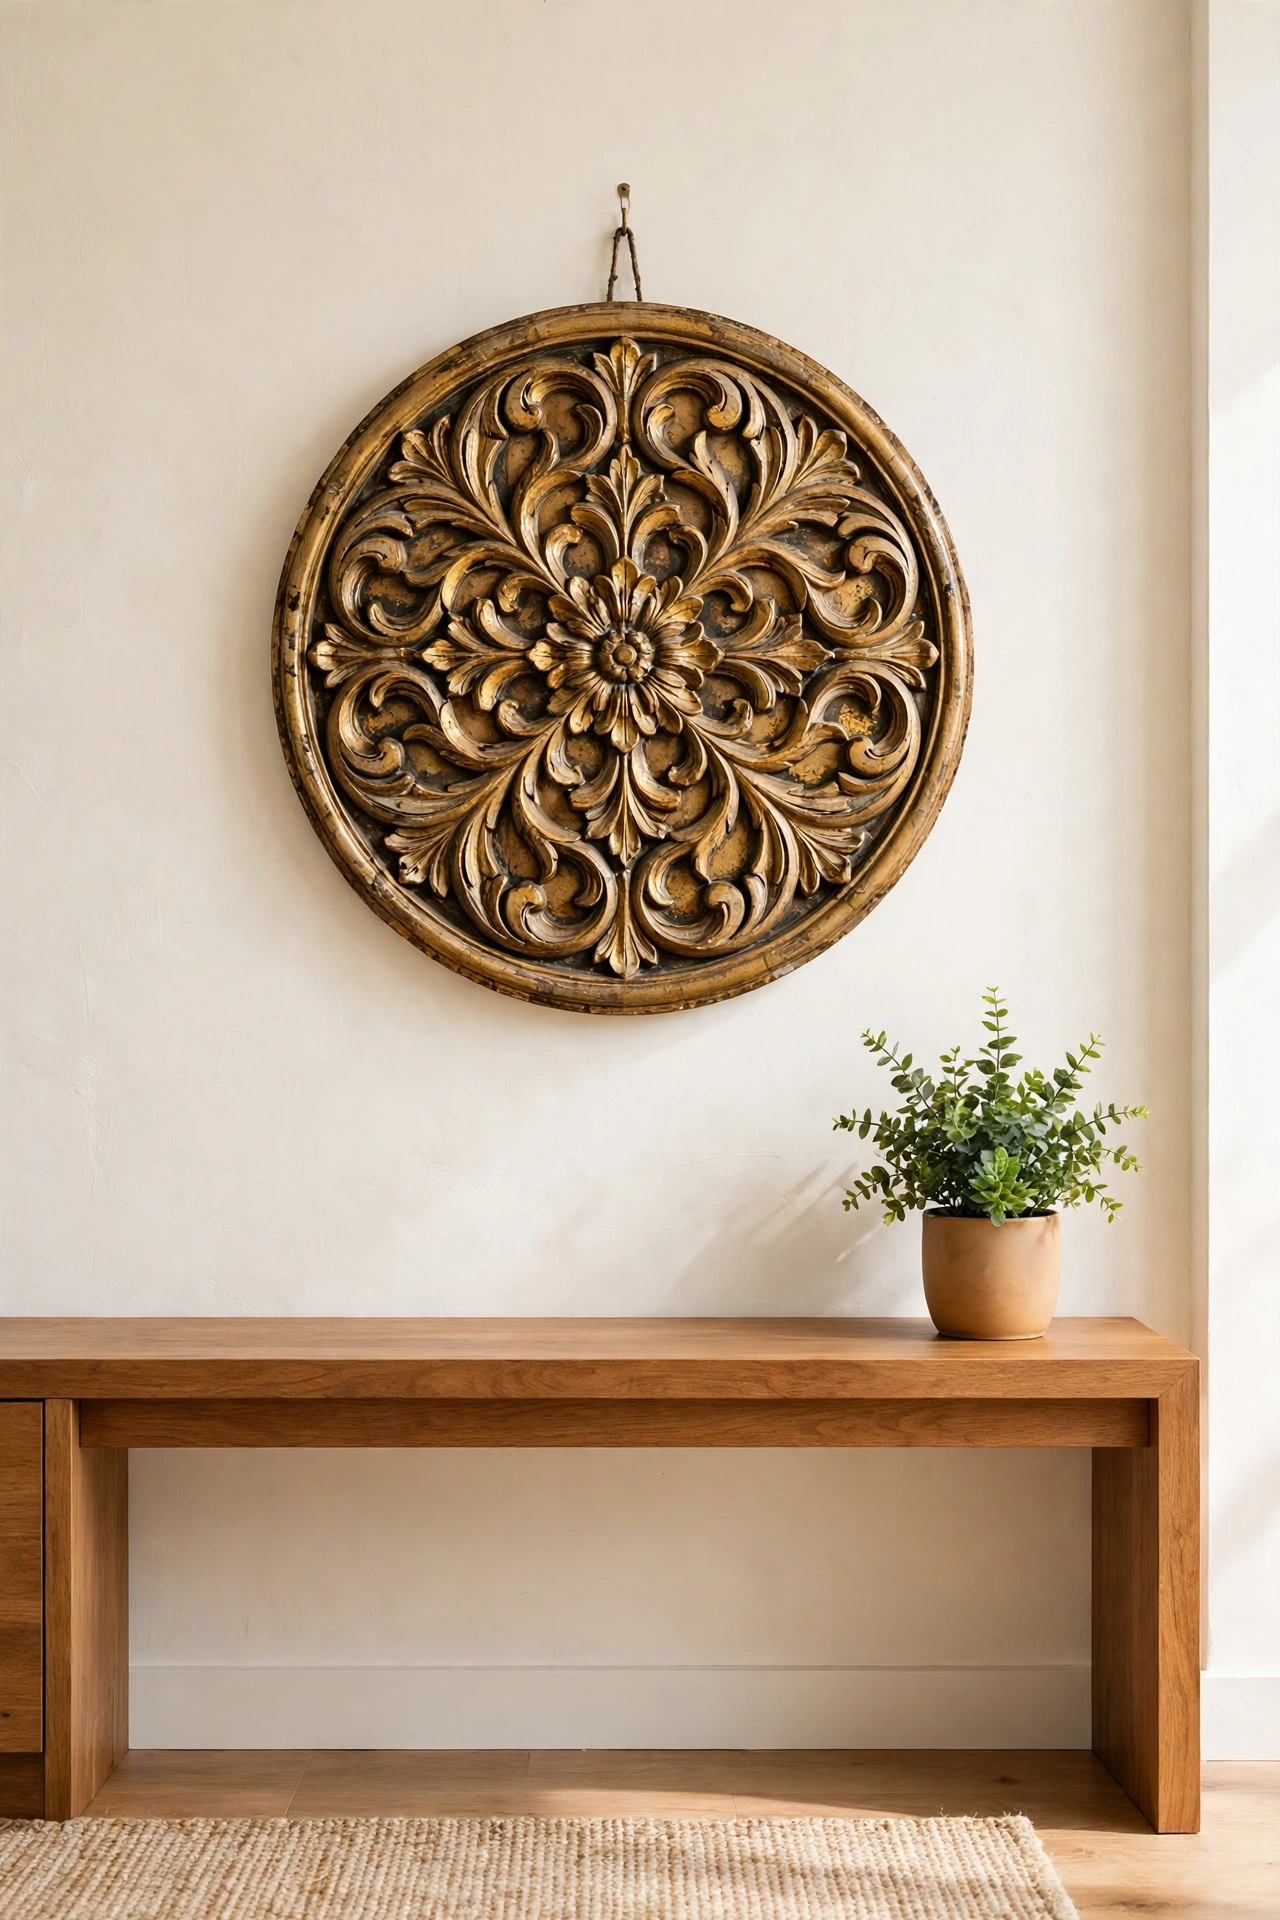
27. Age Gilding on a Wooden Wall Medallion
A wooden wall medallion with aged gilding looks like a fragment saved from an old ceiling or door. Apply gold paint or gold leaf to the raised pattern, then wash dark glaze over the whole medallion and wipe it back from the high points. The gold will look tarnished and old, with dark shadows in every carved curve.
Hang the medallion alone as a statement piece, or group three small medallions in a row for a collected gallery wall. Aged gold pairs well with warm wood, cream walls, and deep green plants. For ideas on mixing aged pieces with real antiques, these antique furniture styling ideas show how to build a collected look that feels intentional rather than random.
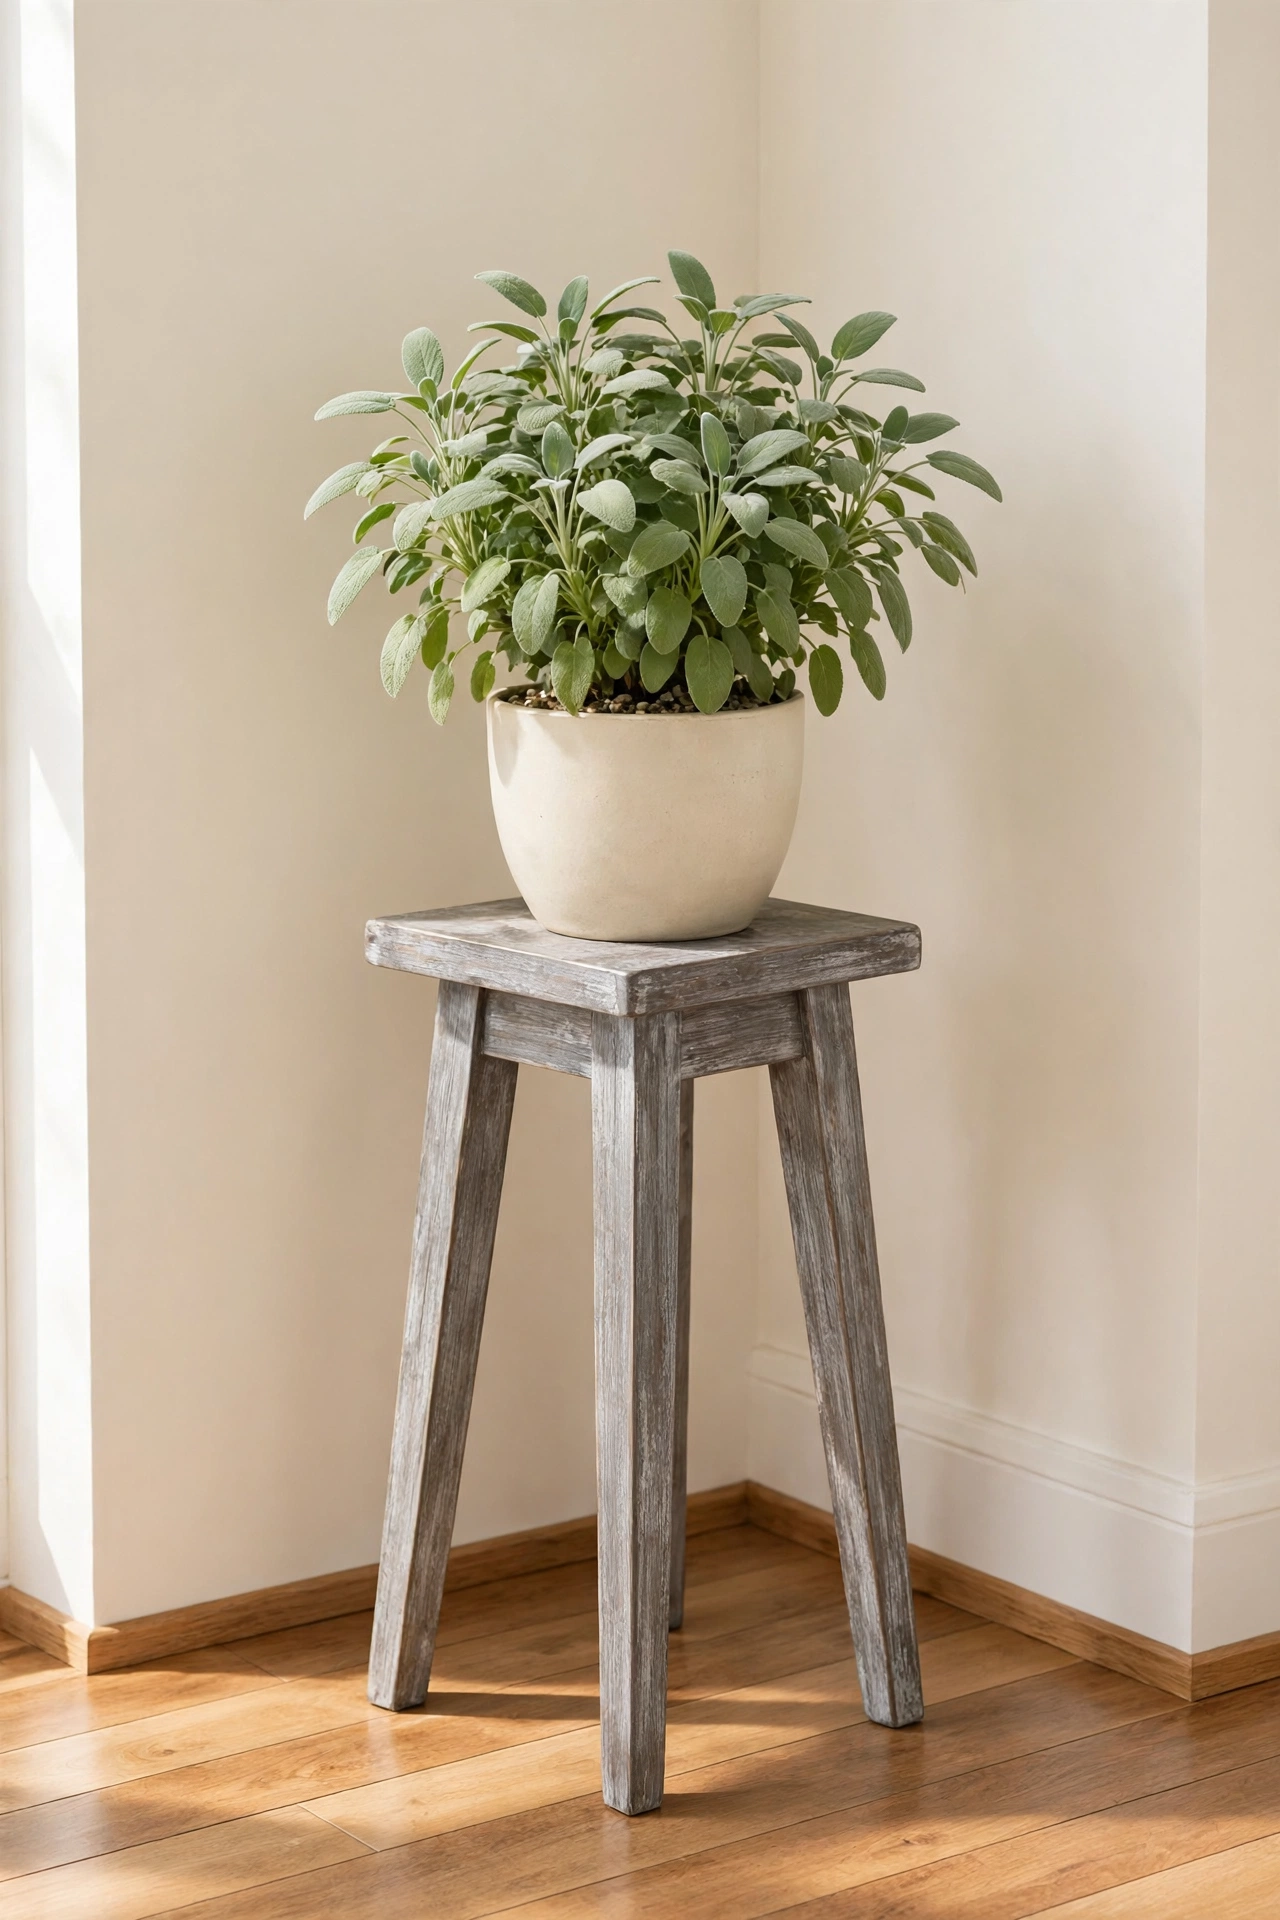
28. Wash a Weathered Gray Finish on a Wooden Plant Stand
A weathered gray wash turns a new wooden plant stand into a piece that looks like it spent years on a shaded porch. Mix gray paint with water until it is thin, brush it over the wood, and wipe back the excess so the grain shows through. The gray will settle into the grain lines and leave the surface looking softly silvered.
Add a second wash if you want a deeper gray, but stop while the wood texture still reads clearly. Set a full potted plant on the stand, and the gray wood will make green leaves look even fresher by contrast. Seal the stand with a matte outdoor sealer if it will hold plants that get watered often.
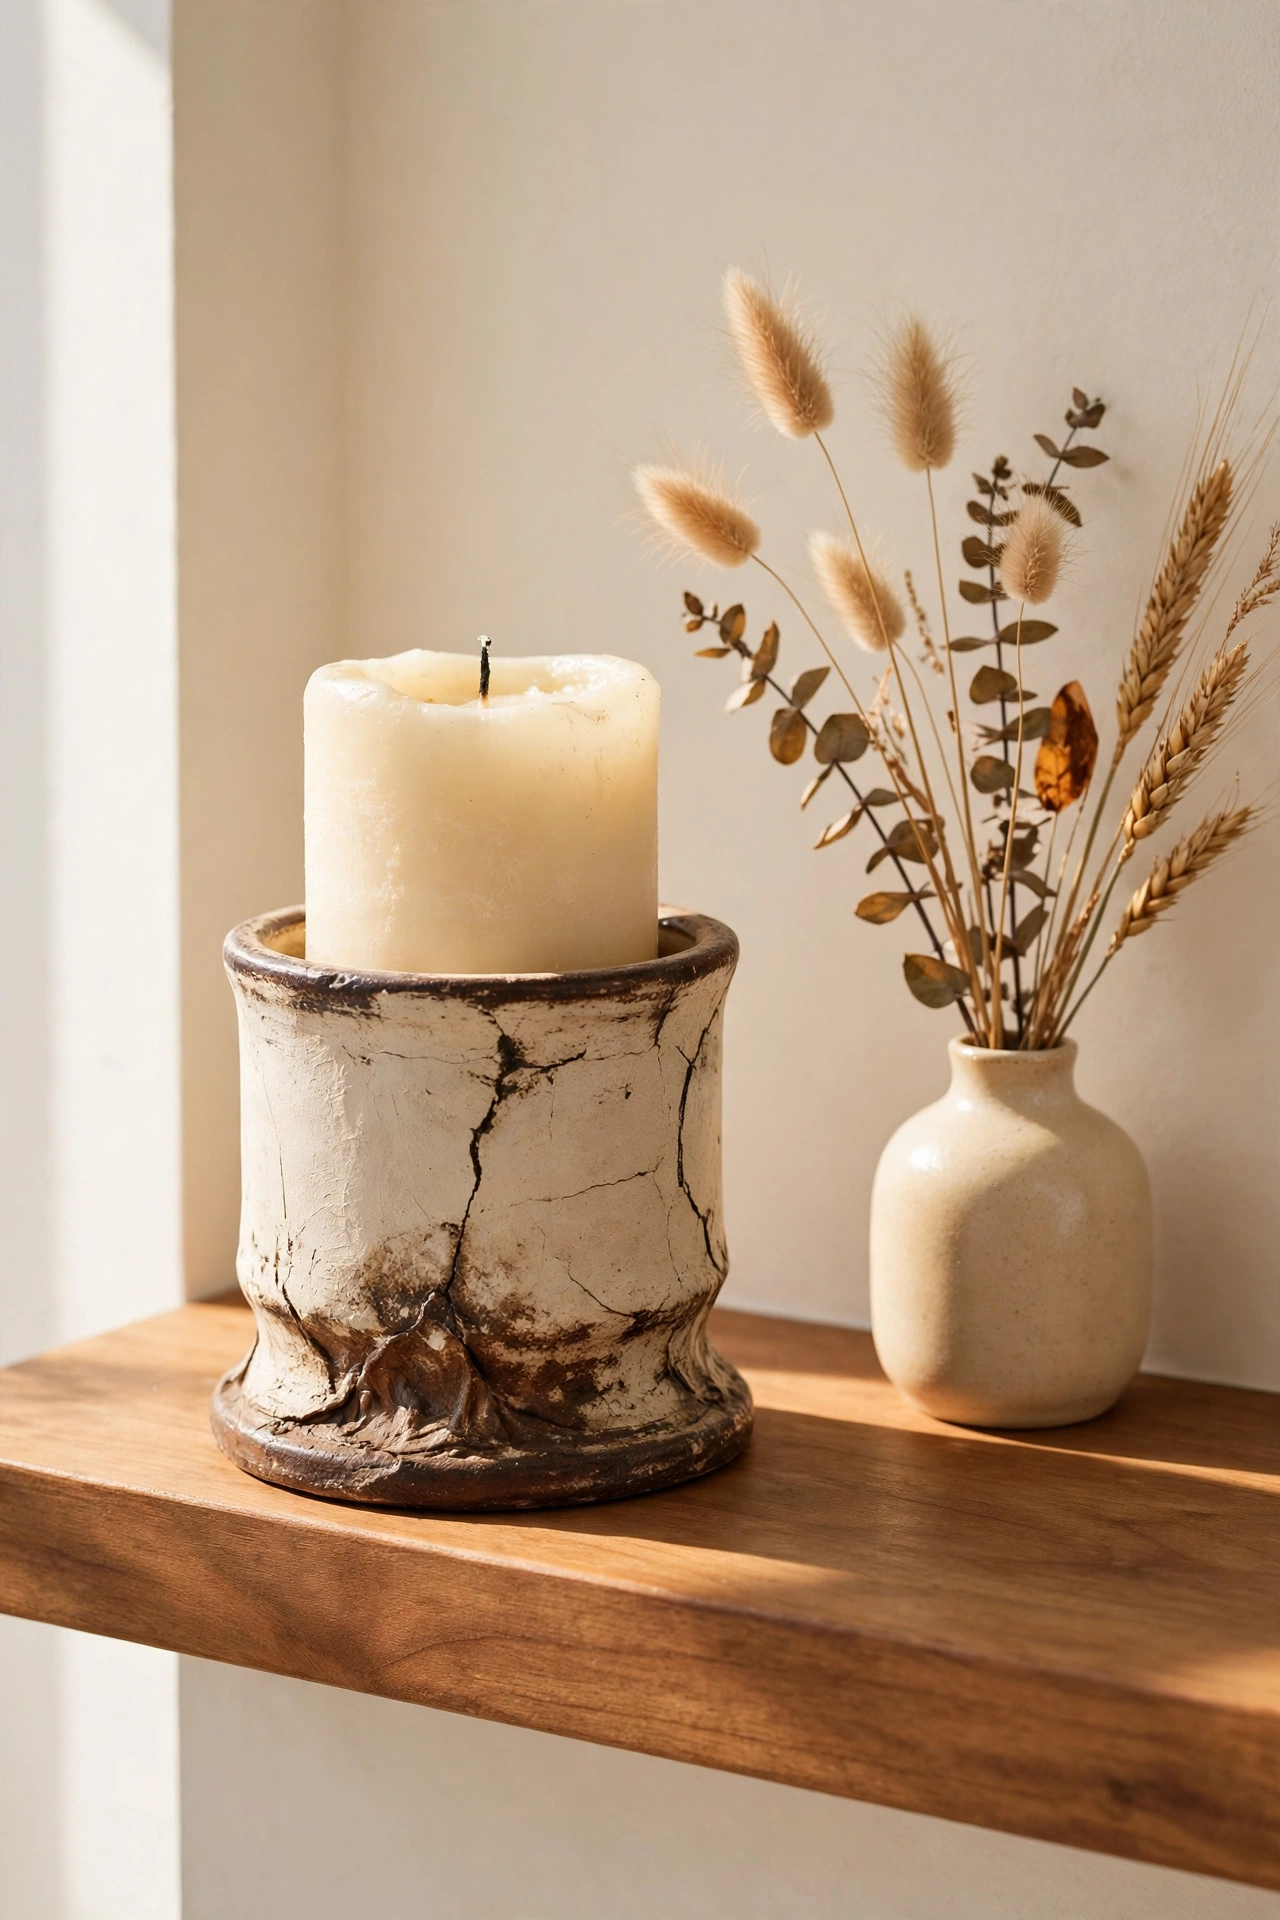
29. Age a Plaster Pillar Candle Holder With Dark Glaze
Dark glaze on plaster creates the look of an old stone candle holder pulled from a country chapel. Paint the plaster holder in warm cream, then brush dark brown glaze over the surface and wipe it back, leaving the glaze in the texture and around the base. The cream will turn softly shadowed, like stone darkened by years of candle smoke.
Place a thick pillar candle in the holder and set it on a mantel or a dining table centerpiece. The aged plaster suits farmhouse, French country, and traditional rooms, where its quiet texture will not compete with brighter decor. Keep the holder dry, because plaster can soften if it sits in water.
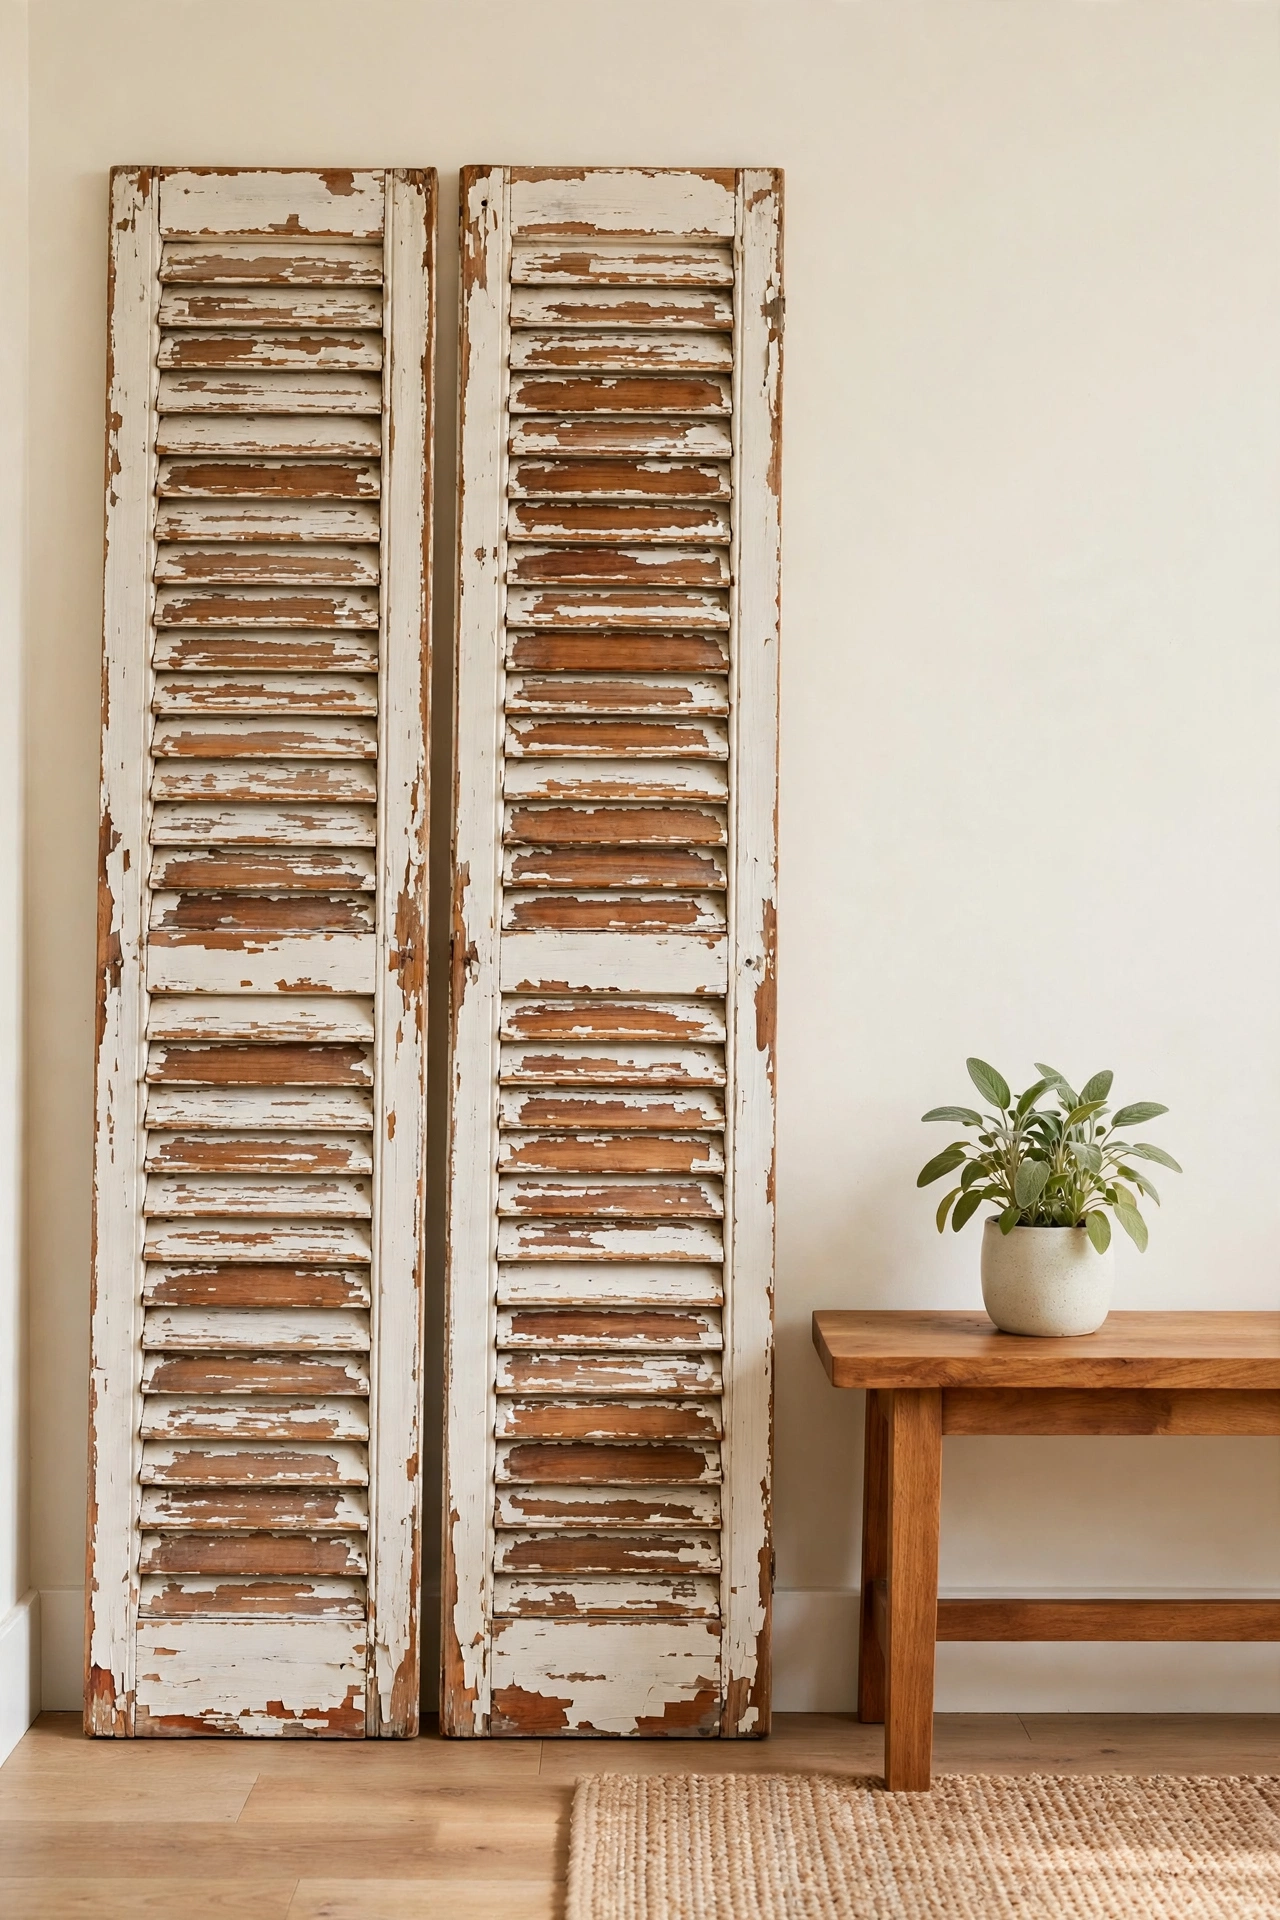
30. Distress Chippy Paint on Wooden Shutters
Old wooden shutters with chippy paint make beautiful wall decor, and you can fake the finish on plain new shutters in one weekend. Paint the shutters in two coats of matte paint, then chip the paint with sandpaper along the slats, edges, and corners. The chips should follow the shape of the shutters, with more wear on the outer frame and less in the protected center.
Lean a pair of shutters against a living room wall, or hang a single shutter in an entryway with small hooks for keys and hats. The chippy paint gives the shutters a salvaged, architectural feeling that new decor rarely achieves. Seal the finish with clear wax so the chipping stays exactly where you placed it.
Conclusion
A faux antique finish is one of the most satisfying budget projects you can try, because the imperfections are the whole point. Every crack, chip, and darkened groove adds character that a perfect new finish cannot match. Whether you start with simple edge sanding or dive into crackle glaze and verdigris, the techniques in this list will turn forgotten accessories into pieces you love to display.
Pick one accessory and one finish, and start this weekend with paint you may already own. Once you see how convincing the aged look can be, you will start seeing old frames, boxes, and trays everywhere as future projects. To complete the aged look across a whole room, these diy cabinet knob makeover ideas will help your cabinets and drawers match the beautifully aged accessories you have just finished.
Frequently Asked Questions About DIY Faux Antique Finish Ideas for Old Home Accessories
What is the easiest faux antique finish for a beginner?
Edge sanding and dark wax are the easiest places to start. Paint an accessory in a solid color, sand the edges until the base shows through, and rub dark wax into any grooves. Both techniques are forgiving, need only basic supplies, and give an instant aged look with very little risk of ruining the piece.
How do I keep an aged finish from looking dirty?
Keep the aging controlled and seal the finished piece. Distress only the edges and raised details where real wear would happen, wipe glaze back from flat surfaces, and finish with clear wax or matte sealer. The accessory should look worn in the right places, while the rest of the piece stays clean and intentional.
Can I use faux antique finishes on metal and ceramic?
Yes, most aging techniques work on metal and ceramic with the right preparation. Clean the surface well, use a primer made for slick surfaces, and let each coat dry fully before the next step. Patina solutions work best on real brass and copper, while paint based rust and verdigris effects work on any metal or ceramic surface.
What supplies do I need to start a faux antique finish?
Start with sandpaper in fine and medium grits, matte paint in two colors, a crackle medium or antiquing glaze, dark wax, soft cloths, and a clear sealer. A stiff brush helps work wax into carvings, and a dry brush is useful for dry brush aging. Most projects need no special tools beyond these basics.
How do I protect a faux antique finish so it lasts?
Seal every finished piece with clear wax or a matte clear sealer, depending on how much handling it will get. Wax gives a soft glow and suits decorative pieces, while a clear sealer protects trays, plant stands, and other accessories that get touched or watered often. Reapply wax once a year on pieces that see daily use.

Hi, I’m Emily! I turn messy corners into cozy, organized spots. DreamNestDecor is where I share simple, practical home ideas — decor, organization, and small-space solutions that work in real life, not just in photos. Every idea here is carefully researched before it’s shared.