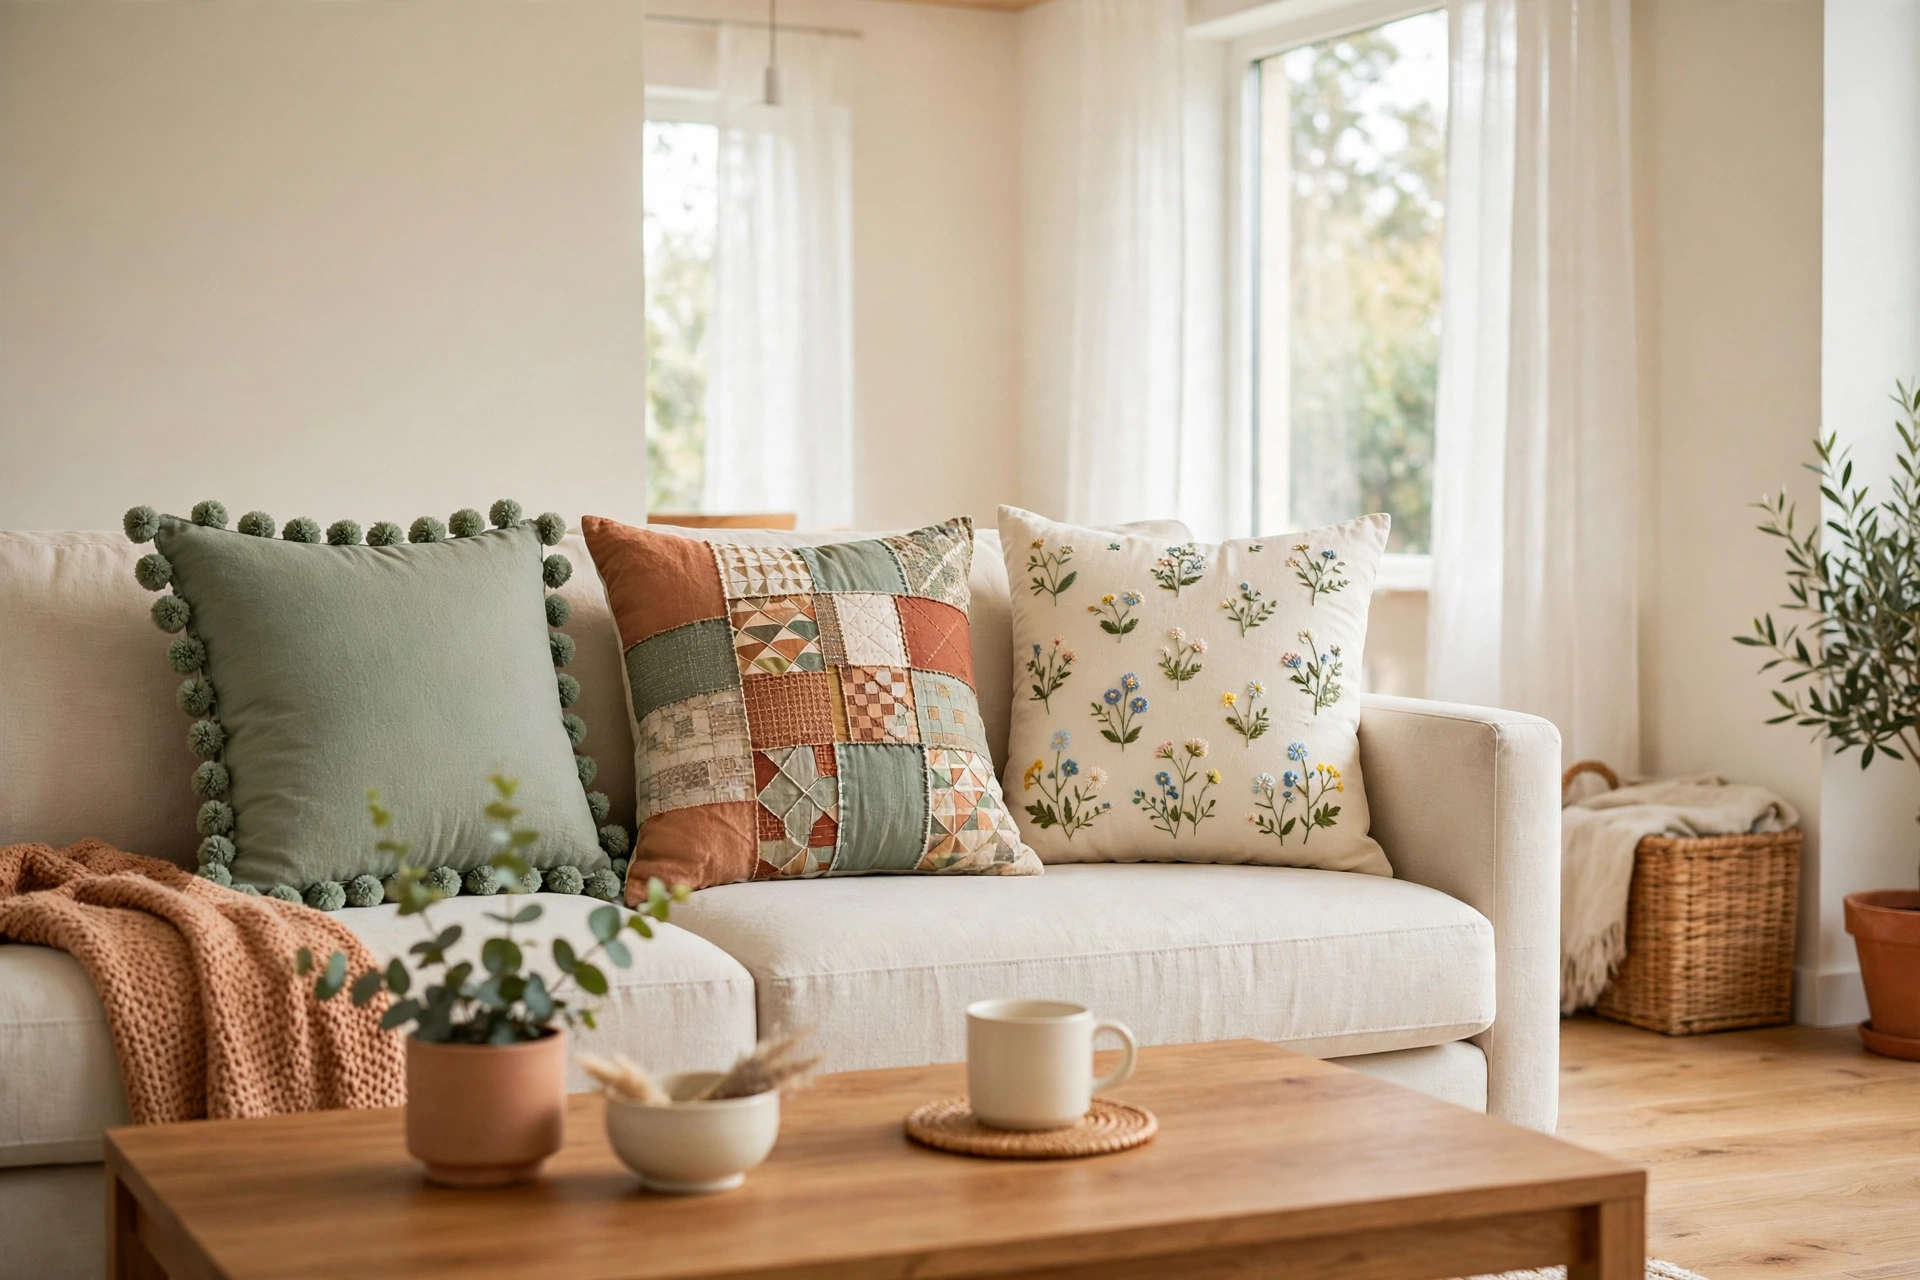
Picture this: you walk into your living room with a cup of tea, and the sofa looks completely different, even though you bought nothing new. A few fresh pillow covers in soft sage and warm terracotta change the whole mood of the room. That small change costs very little, yet it makes the space feel thoughtful and cared for.
You do not need advanced sewing skills or a large budget to make that change yourself. A simple cover can be sewn in one evening, and several covers on this list need no sewing at all. These 22 diy throw pillow cover ideas will show you how to cut, dye, stitch, and trim your way to a fresh look, one cover at a time.
1. Sew a Simple Envelope Pillow Cover
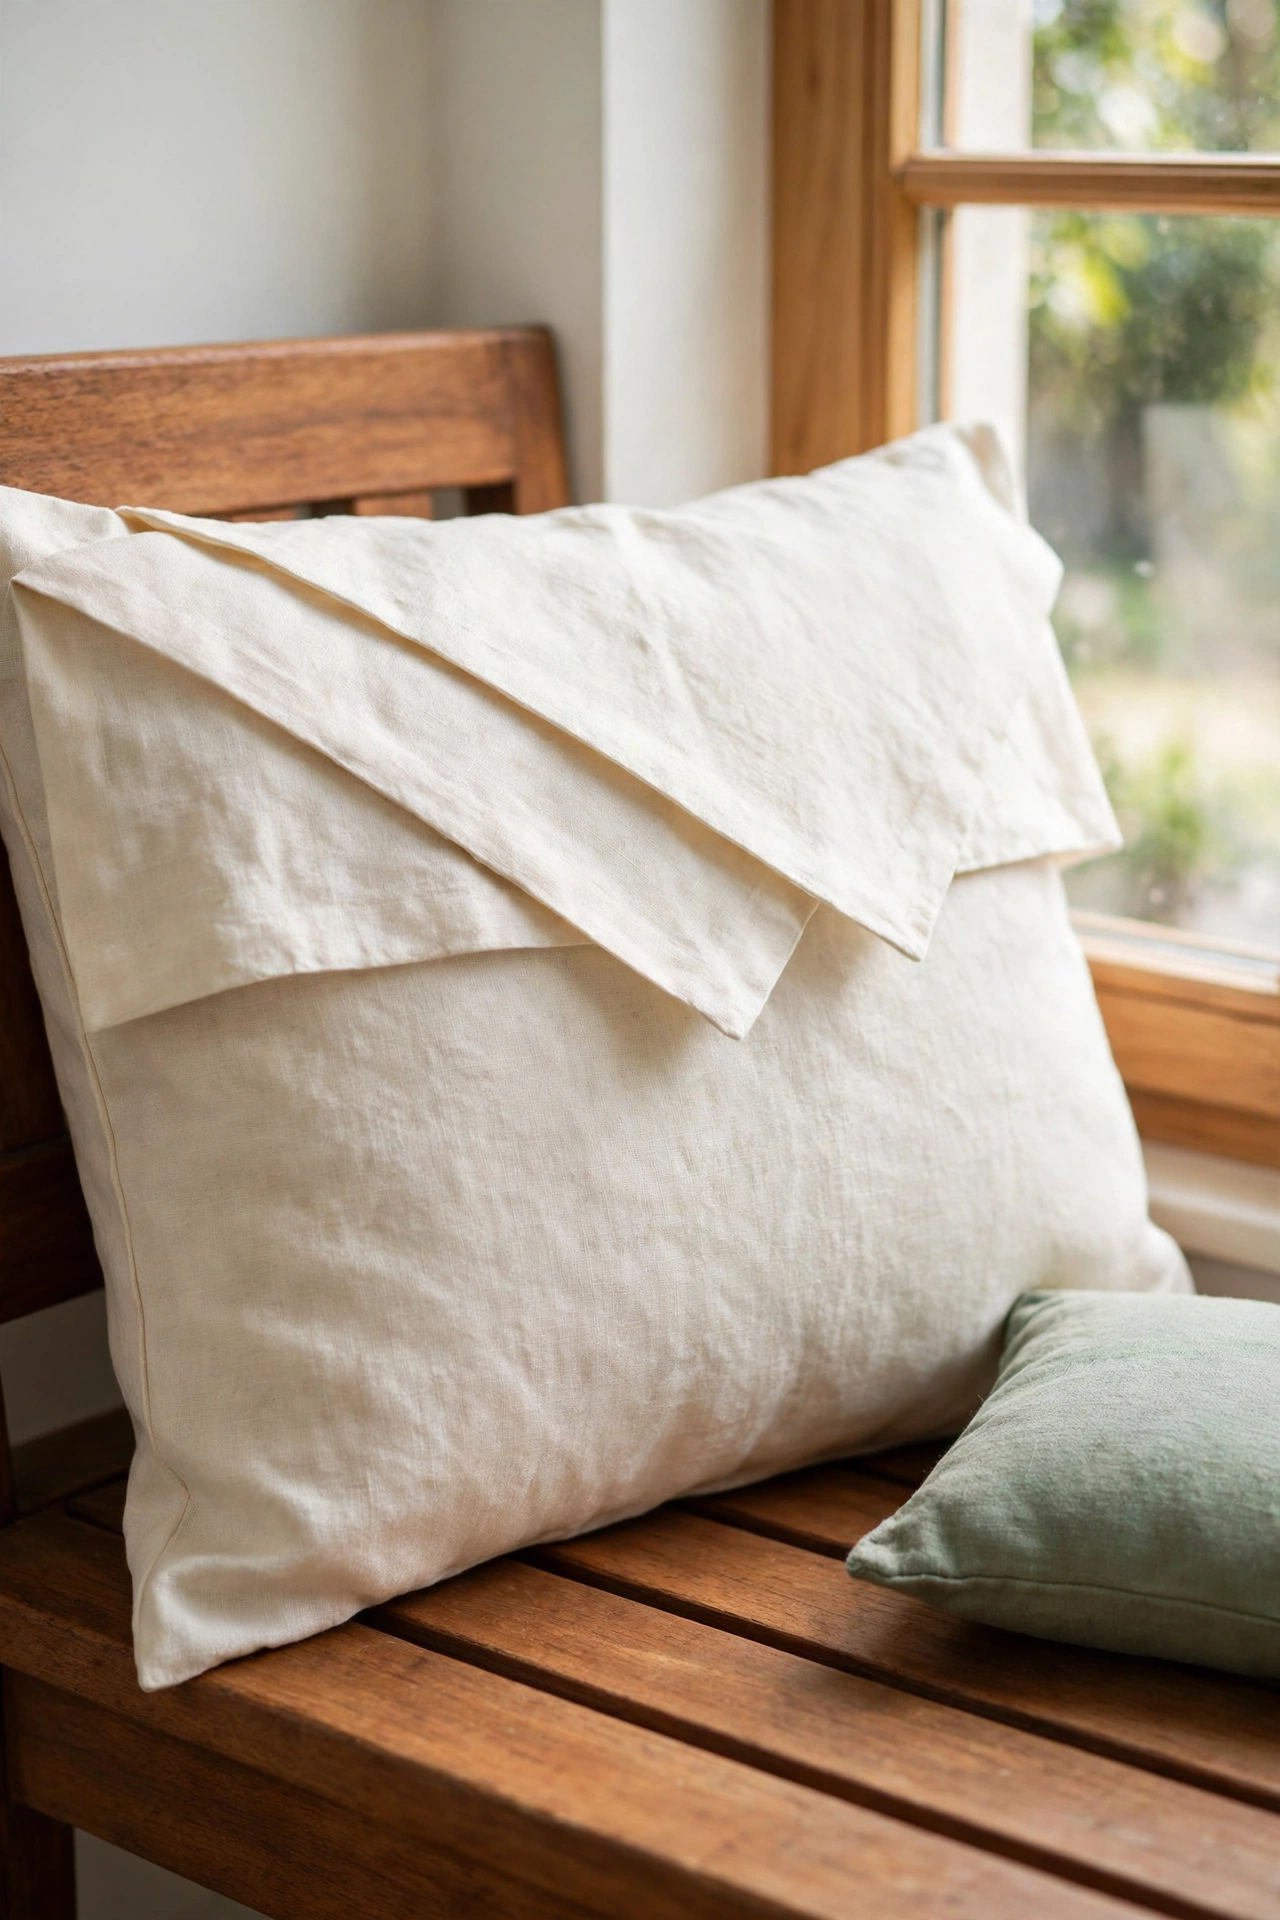
An envelope cover is the easiest sewn cover you can make, and it is the perfect first project for a beginner. You cut one front panel and two overlapping back panels, sew three straight seams, and the cover closes itself with no zipper or buttons. The overlapping flaps hold the pillow form snugly inside and make the cover easy to remove for washing.
Choose a medium weight cotton or linen in a color that suits your room, and press every seam flat before you sew the next one. A crisp press makes the finished cover look store bought, even if your stitches are not perfect. Once you master the envelope style, you can make a fresh set of covers for every season in a single weekend.
2. Make a No-Sew Fleece Tie Cover
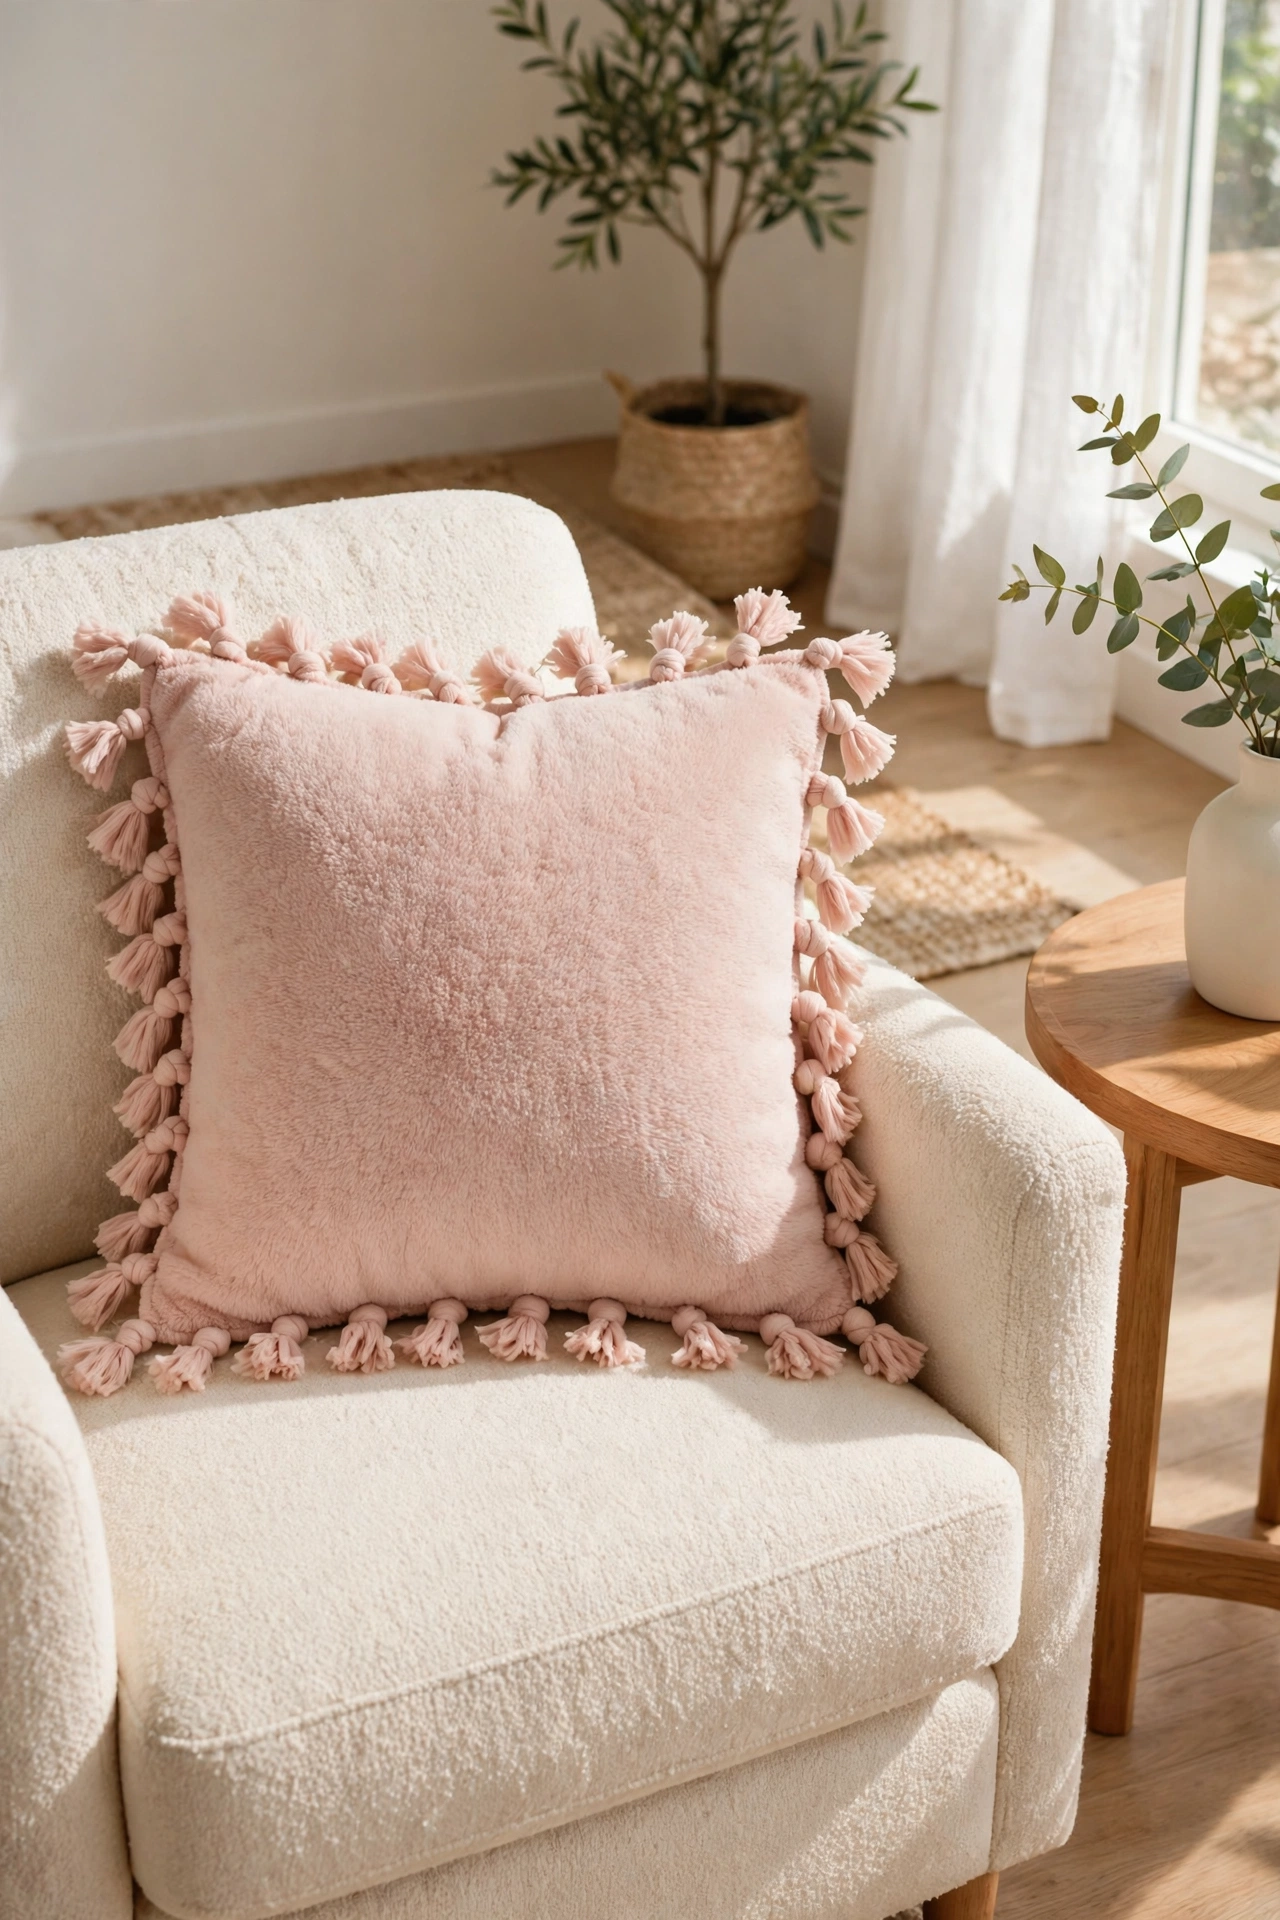
A no-sew fleece cover uses knots instead of stitches, so you can finish it with only scissors and a ruler. Cut two squares of fleece a little larger than the pillow form, cut fringe strips around all four edges, and tie the top and bottom strips together in firm knots. The knotted fringe becomes a soft decorative border all around the cover.
Fleece does not fray, which means the cut edges stay neat without any hemming or glue. Pick two fleece colors that look good together, such as blush pink and cream, and the knotted edge will show both colors at once. This cover is warm, cozy, and ideal for a reading chair or a bedroom bench in the colder months.
3. Dye a Cover With Indigo in a Bucket
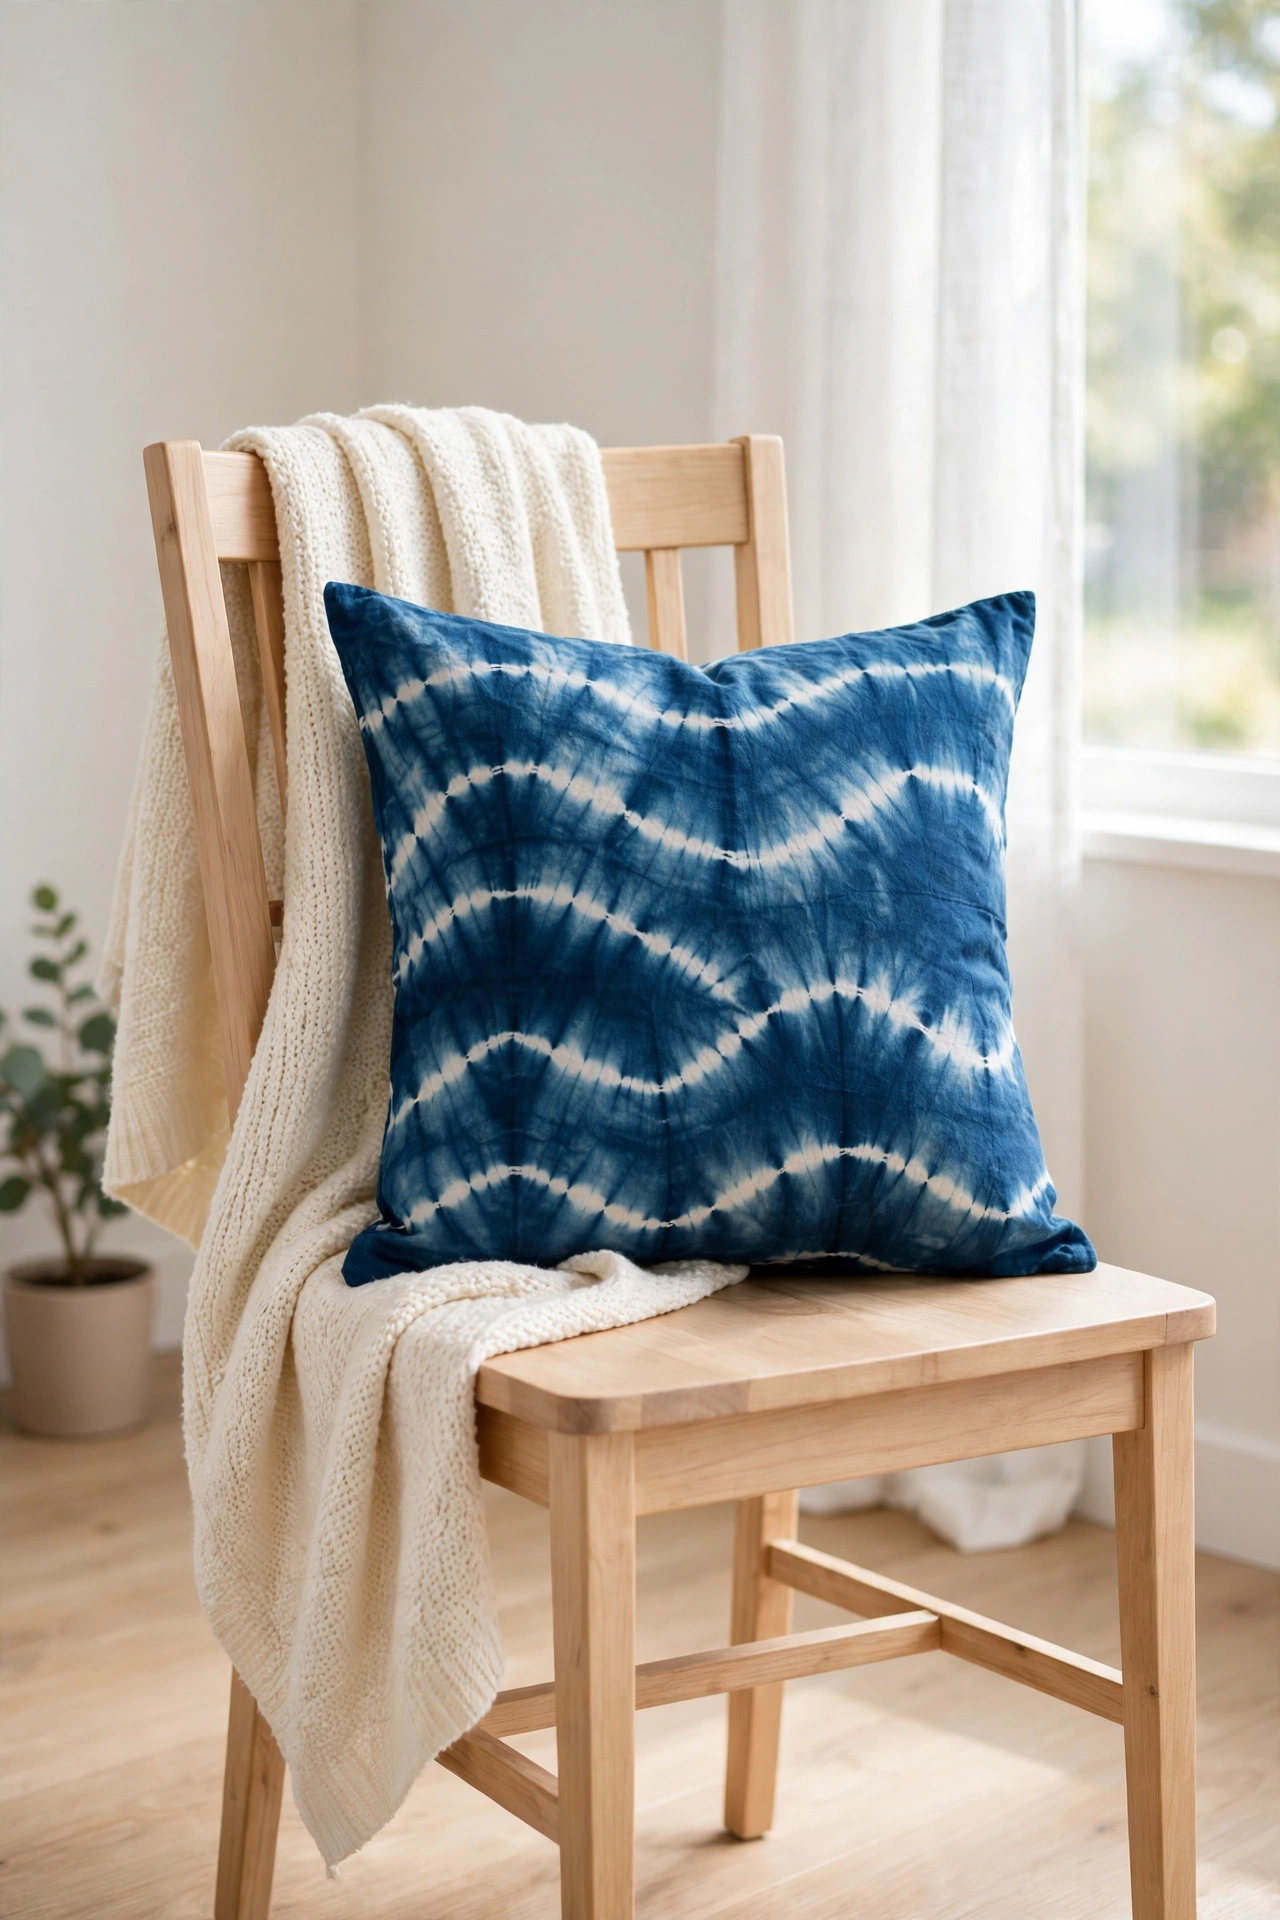
Indigo dye turns a plain white cotton cover into a rich blue piece with beautiful depth and variation. Fill a bucket with water, mix the dye according to the package directions, and dip the cover slowly so the color builds in soft layers. The longer the fabric stays in the dye, the deeper the blue becomes.
Fold or tie the fabric before dipping if you want pale resist patterns to appear where the dye cannot reach. Rinse the cover in clean water until the water runs clear, then hang it to dry in the shade so the color stays even. The finished cover has the calm, handcrafted look of traditional indigo cloth, and no two covers ever come out exactly alike.
4. Stencil a Bold Geometric Pattern
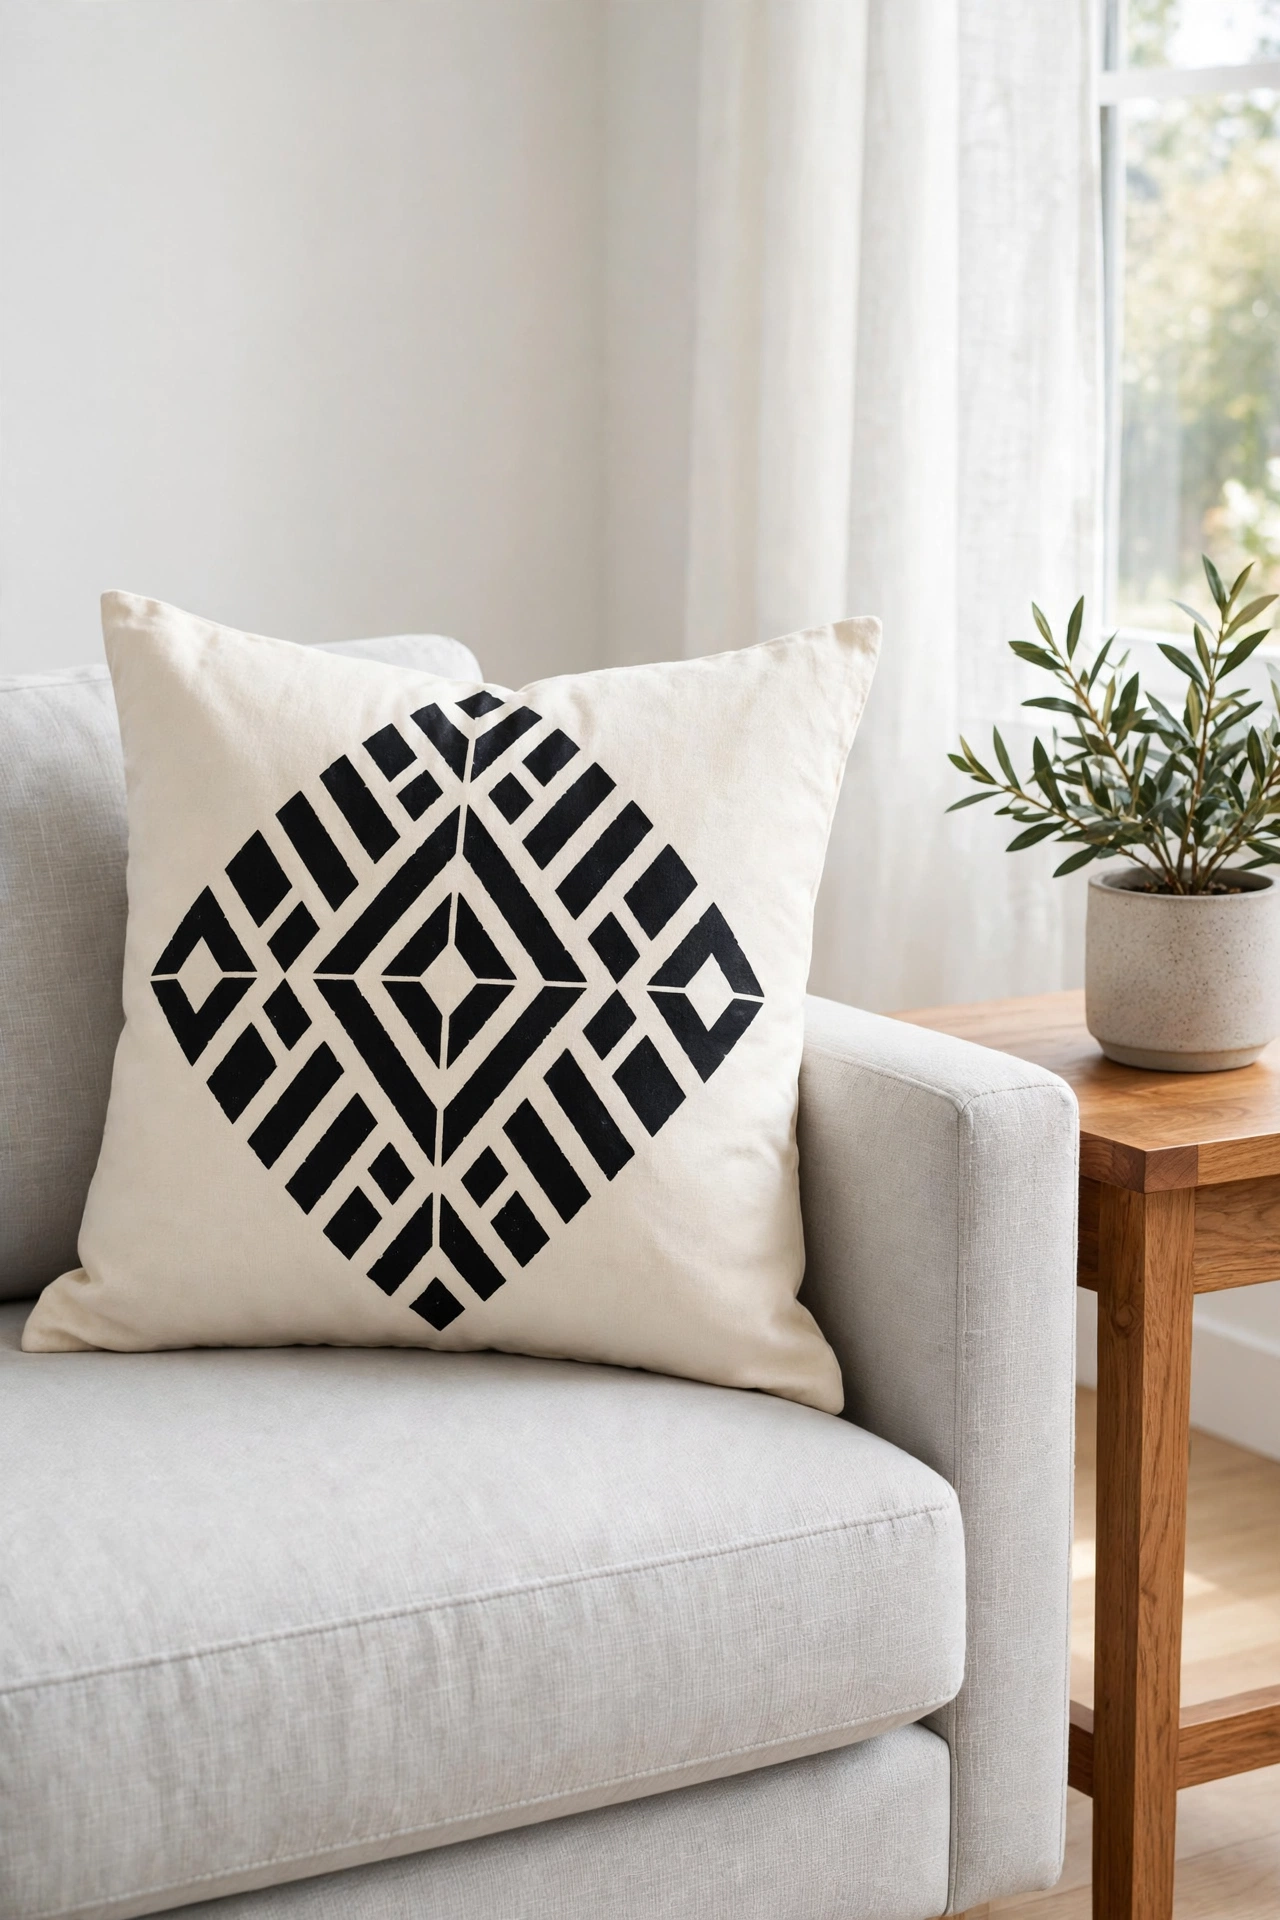
Stenciling lets you paint a crisp pattern on a plain cover without any freehand drawing skill. Tape a geometric stencil flat against the fabric, load a foam brush with a small amount of fabric paint, and dab the paint through the openings with a light, even touch. Peel the stencil away carefully while the paint is still slightly damp.
Repeat the stencil across the front panel, lining up the edges so the pattern flows from one repeat to the next. A black and cream diamond pattern looks sharp and modern, while a soft sage pattern feels calmer and more relaxed. Heat set the paint with an iron before the first wash so the design stays bold through many laundry cycles.
5. Embroider Wildflowers on Linen
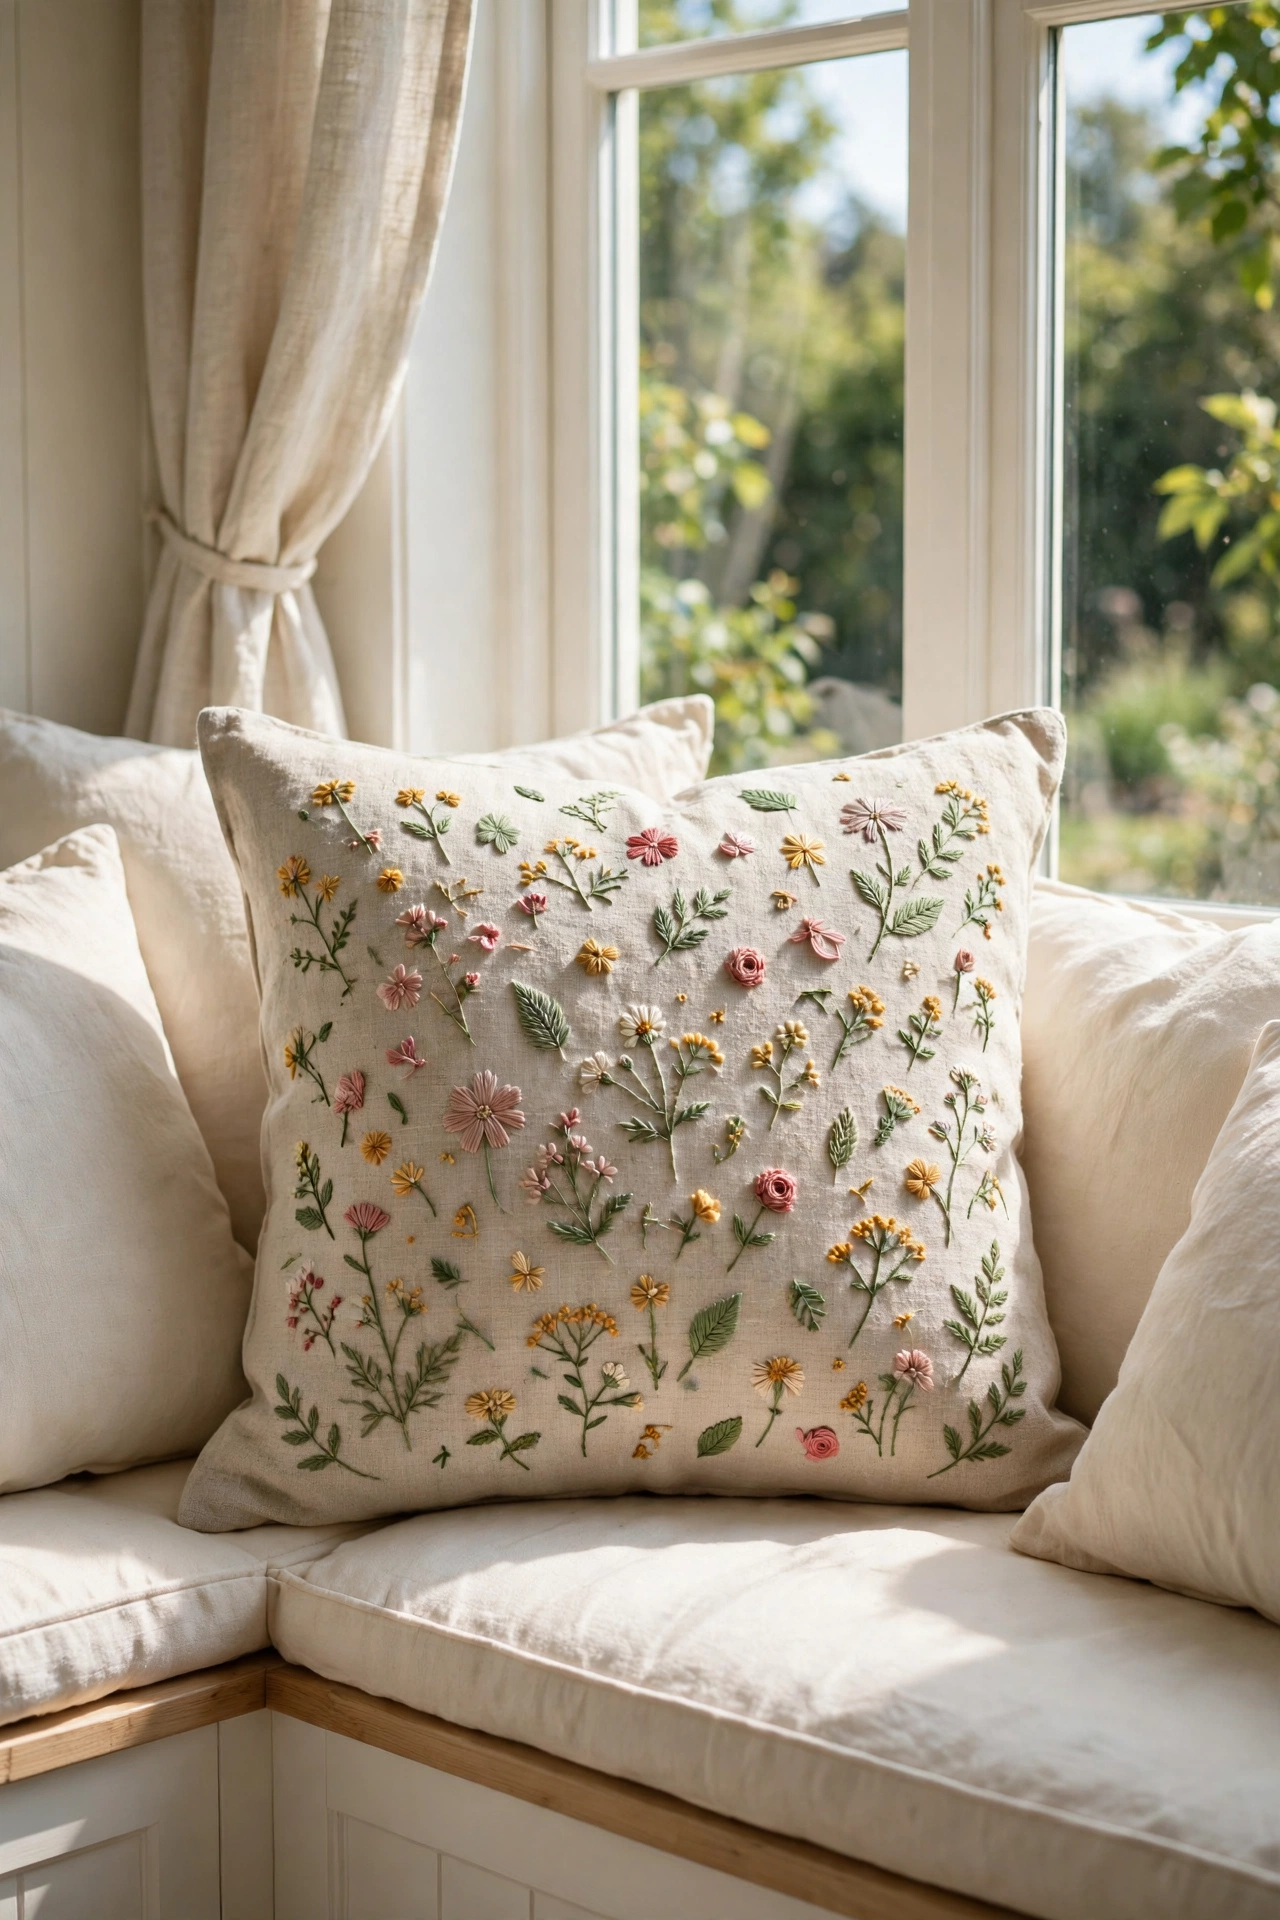
Embroidery adds a handmade touch that no printed fabric can match, and wildflowers are a forgiving subject for a first project. Sketch simple stems, petals, and leaves on a linen cover with a washable fabric marker, then fill in the shapes with basic stitches like the lazy daisy, the French knot, and the backstitch. The stitches build up slowly, and the design grows more charming with every flower.
Use embroidery floss in soft, natural colors such as sage green, dusty rose, and warm gold for a meadow feel. Work inside an embroidery hoop to keep the linen taut, and keep your stitches relaxed so the fabric does not pucker. The finished cover looks like something from a country garden, and it becomes more loved each time it is washed and softened.
6. Applique Felt Leaves on Cotton
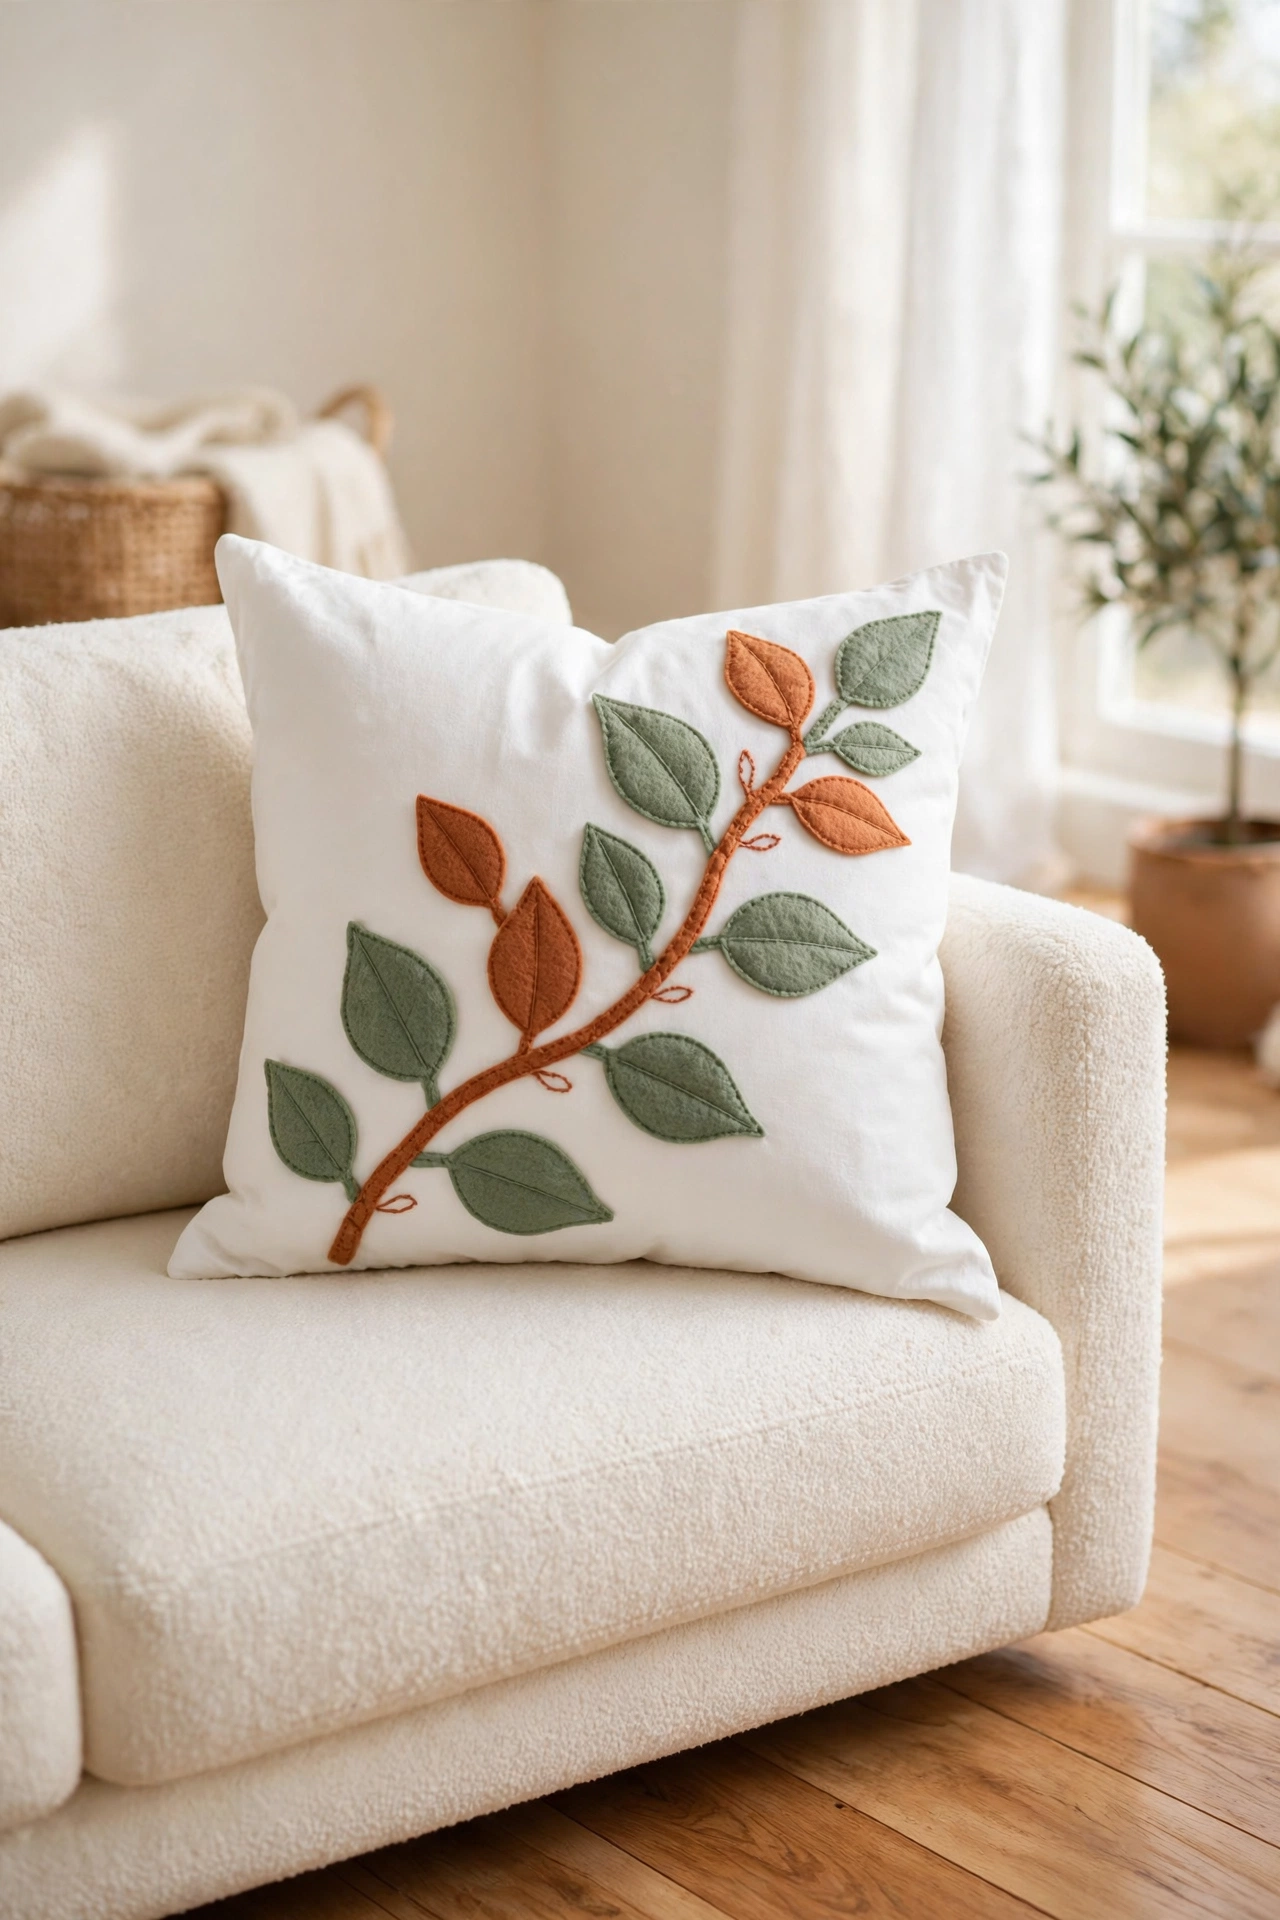
Applique means sewing or gluing fabric shapes onto a cover, and felt leaves are a lovely place to start. Cut leaf shapes from felt in several shades of green and terracotta, arrange them in a climbing vine across the front panel, and stitch around each leaf with a simple blanket stitch. The layered felt gives the cover soft texture and gentle dimension.
Felt does not fray, so the leaf edges stay clean without turning or hemming, which makes this project quick and stress free. You can add small felt berries or buds for extra detail, or keep the vine simple for a calm, modern look. The same layering idea works beautifully on fabric wall pieces, and these diy fabric wall art ideas show how cut fabric shapes can decorate a whole room, not just a pillow.
7. Add Pom-Pom Trim Around the Edges
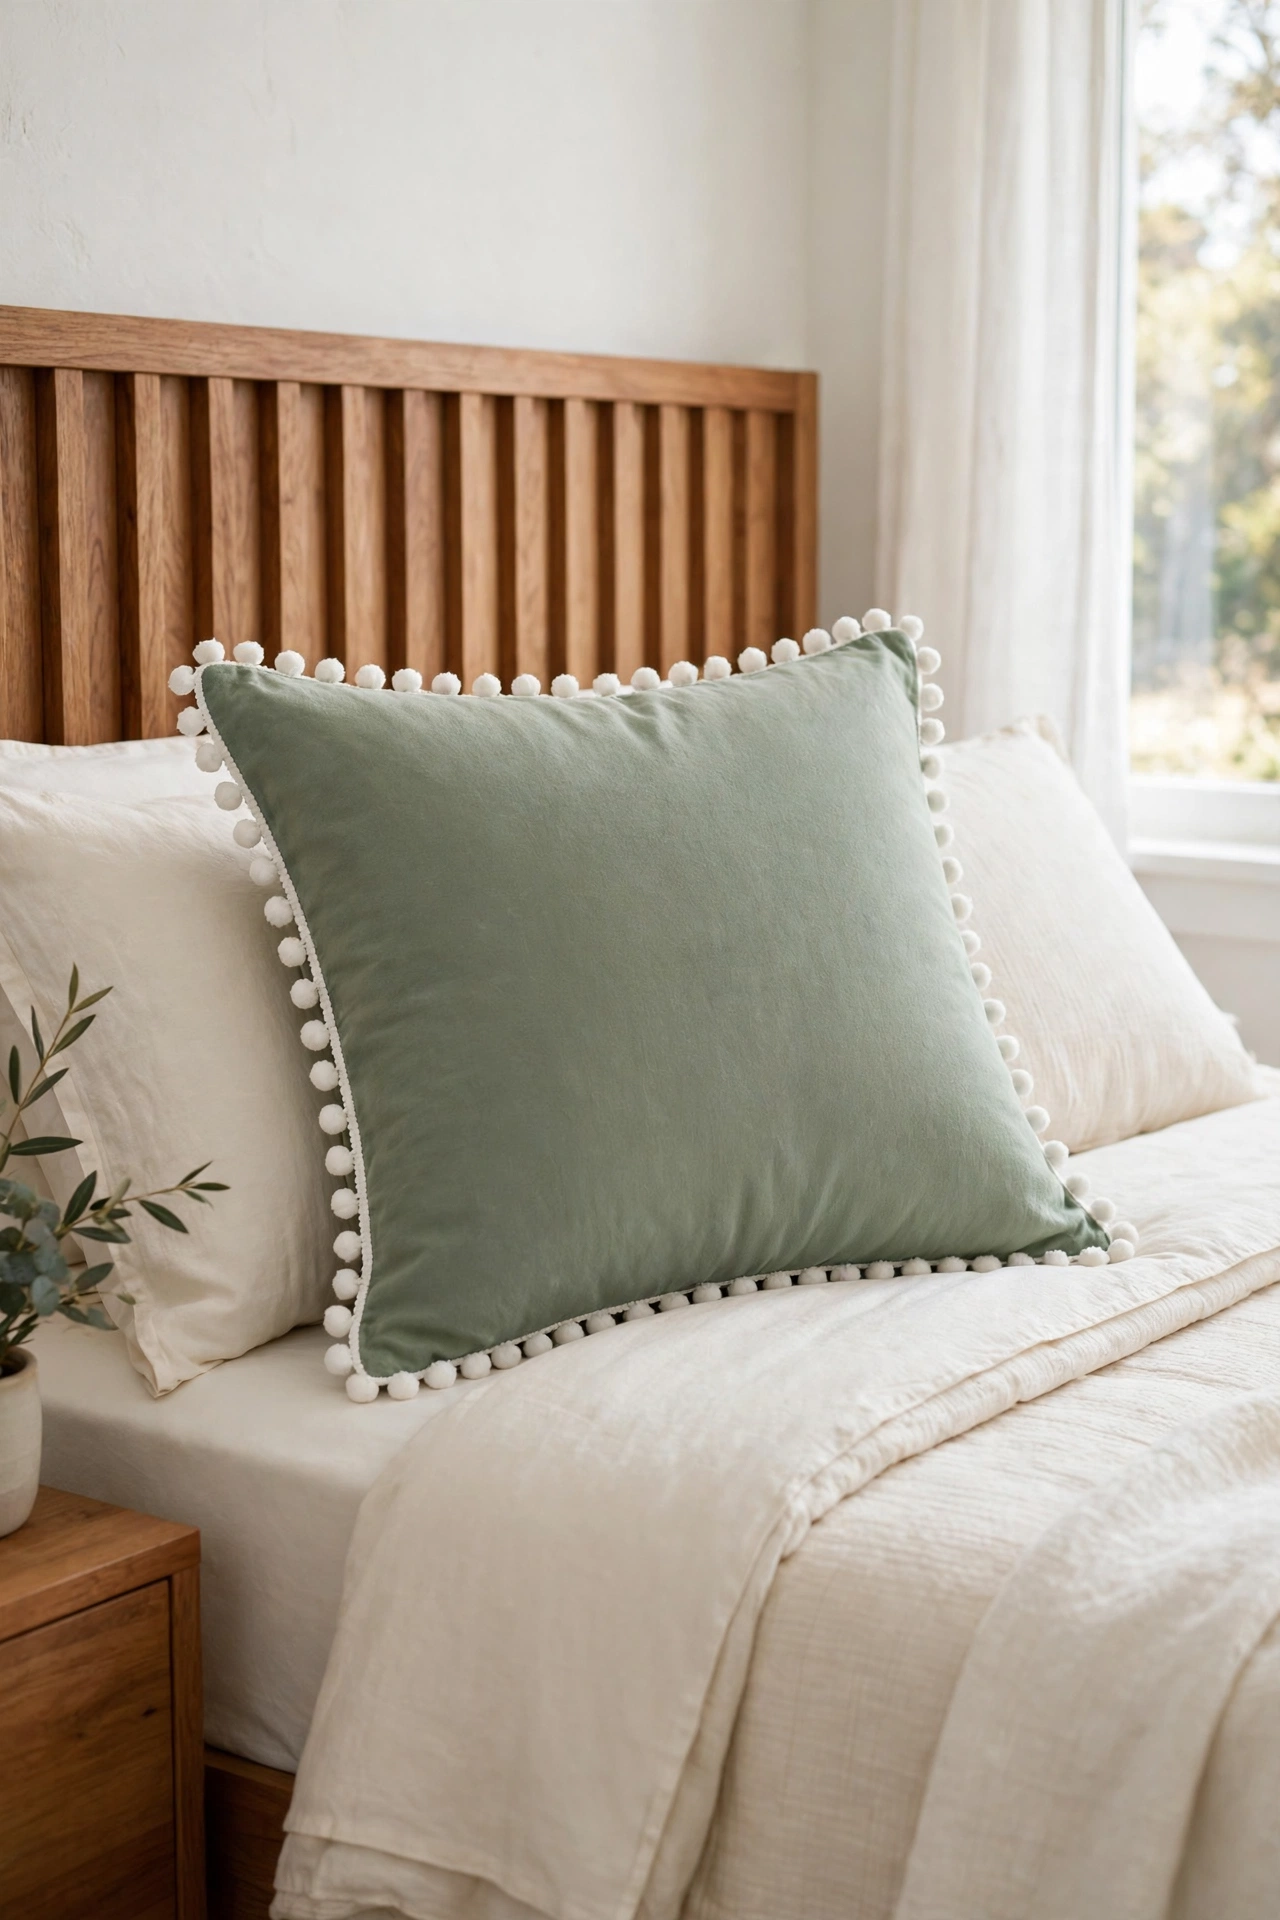
Pom-pom trim turns an ordinary cover into a playful accent with very little work. Buy or make a length of pom-pom trim in a color that pops against the cover fabric, pin it around the front panel with the pom-poms facing inward, and sew the cover closed so the trim peeks out along the seam. The finished edge looks cheerful and full of personality.
Small white pom-poms on a sage cover feel fresh and light, while large amber pom-poms on a cream cover feel warm and bold. Sew the trim slowly so the pom-poms stay evenly spaced and none get caught under the needle. This trim also hides small imperfections along a seam, which makes it a forgiving choice for a first sewing project.
8. Fringe the Seams for a Relaxed Boho Look
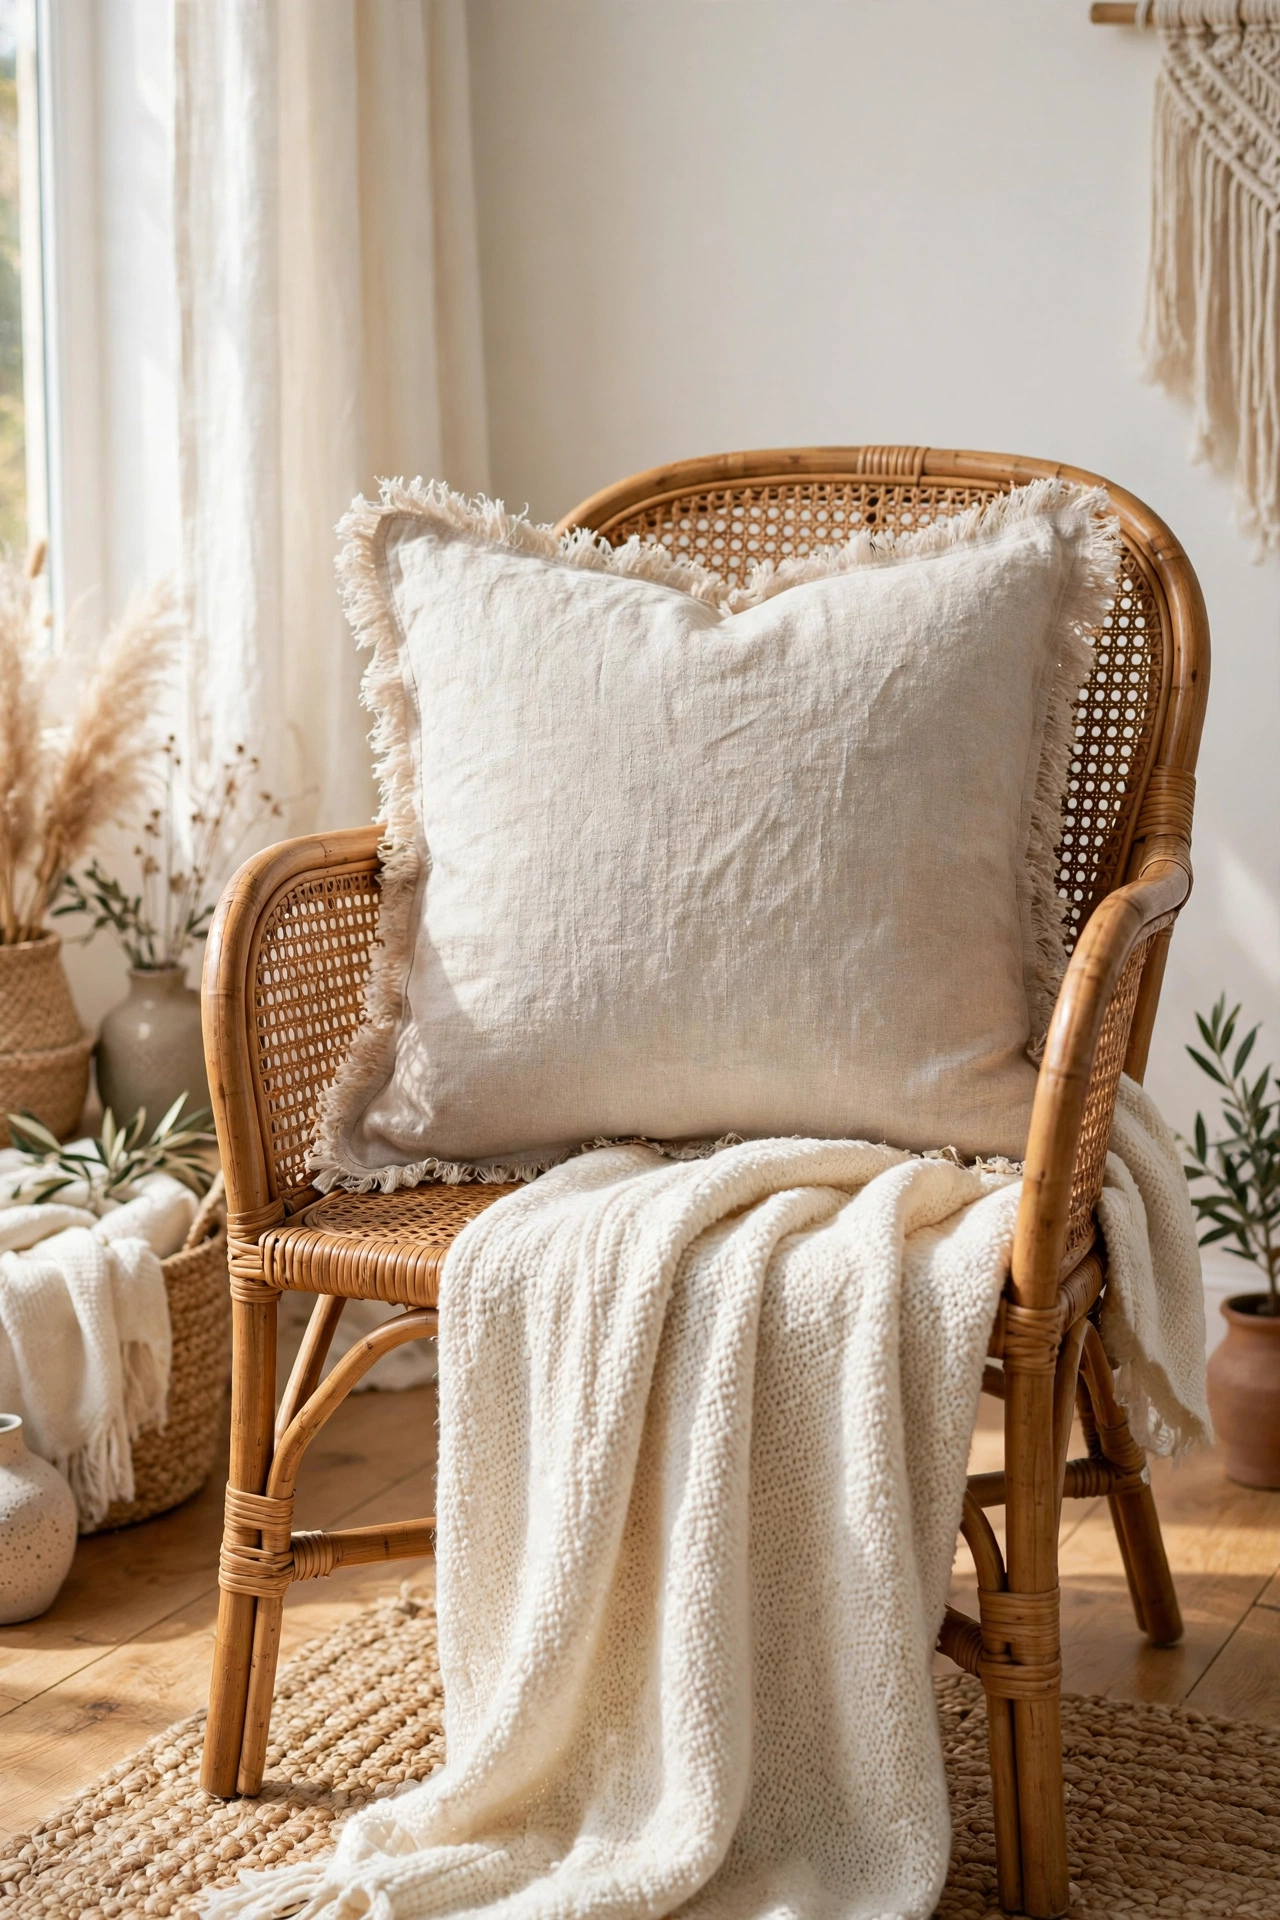
Fringed seams give a cover a soft, undone edge that suits a relaxed boho style. Sew the cover with the seams on the outside, leave a wide seam allowance, and then pull threads from the raw edges until a fluffy fringe forms along each seam. Wash and dry the cover once to help the fringe bloom into a full, soft border.
Natural fabrics like linen and cotton fringe best, because their woven threads separate cleanly and evenly. Keep the fringe short and neat for a tidy look, or let it grow longer for a wilder, more textured finish. The same relaxed, natural texture appears in rope projects, and these diy rope decor ideas pair beautifully with fringed covers in a calm, earthy room.
9. Sew a Cover With a Hidden Zipper
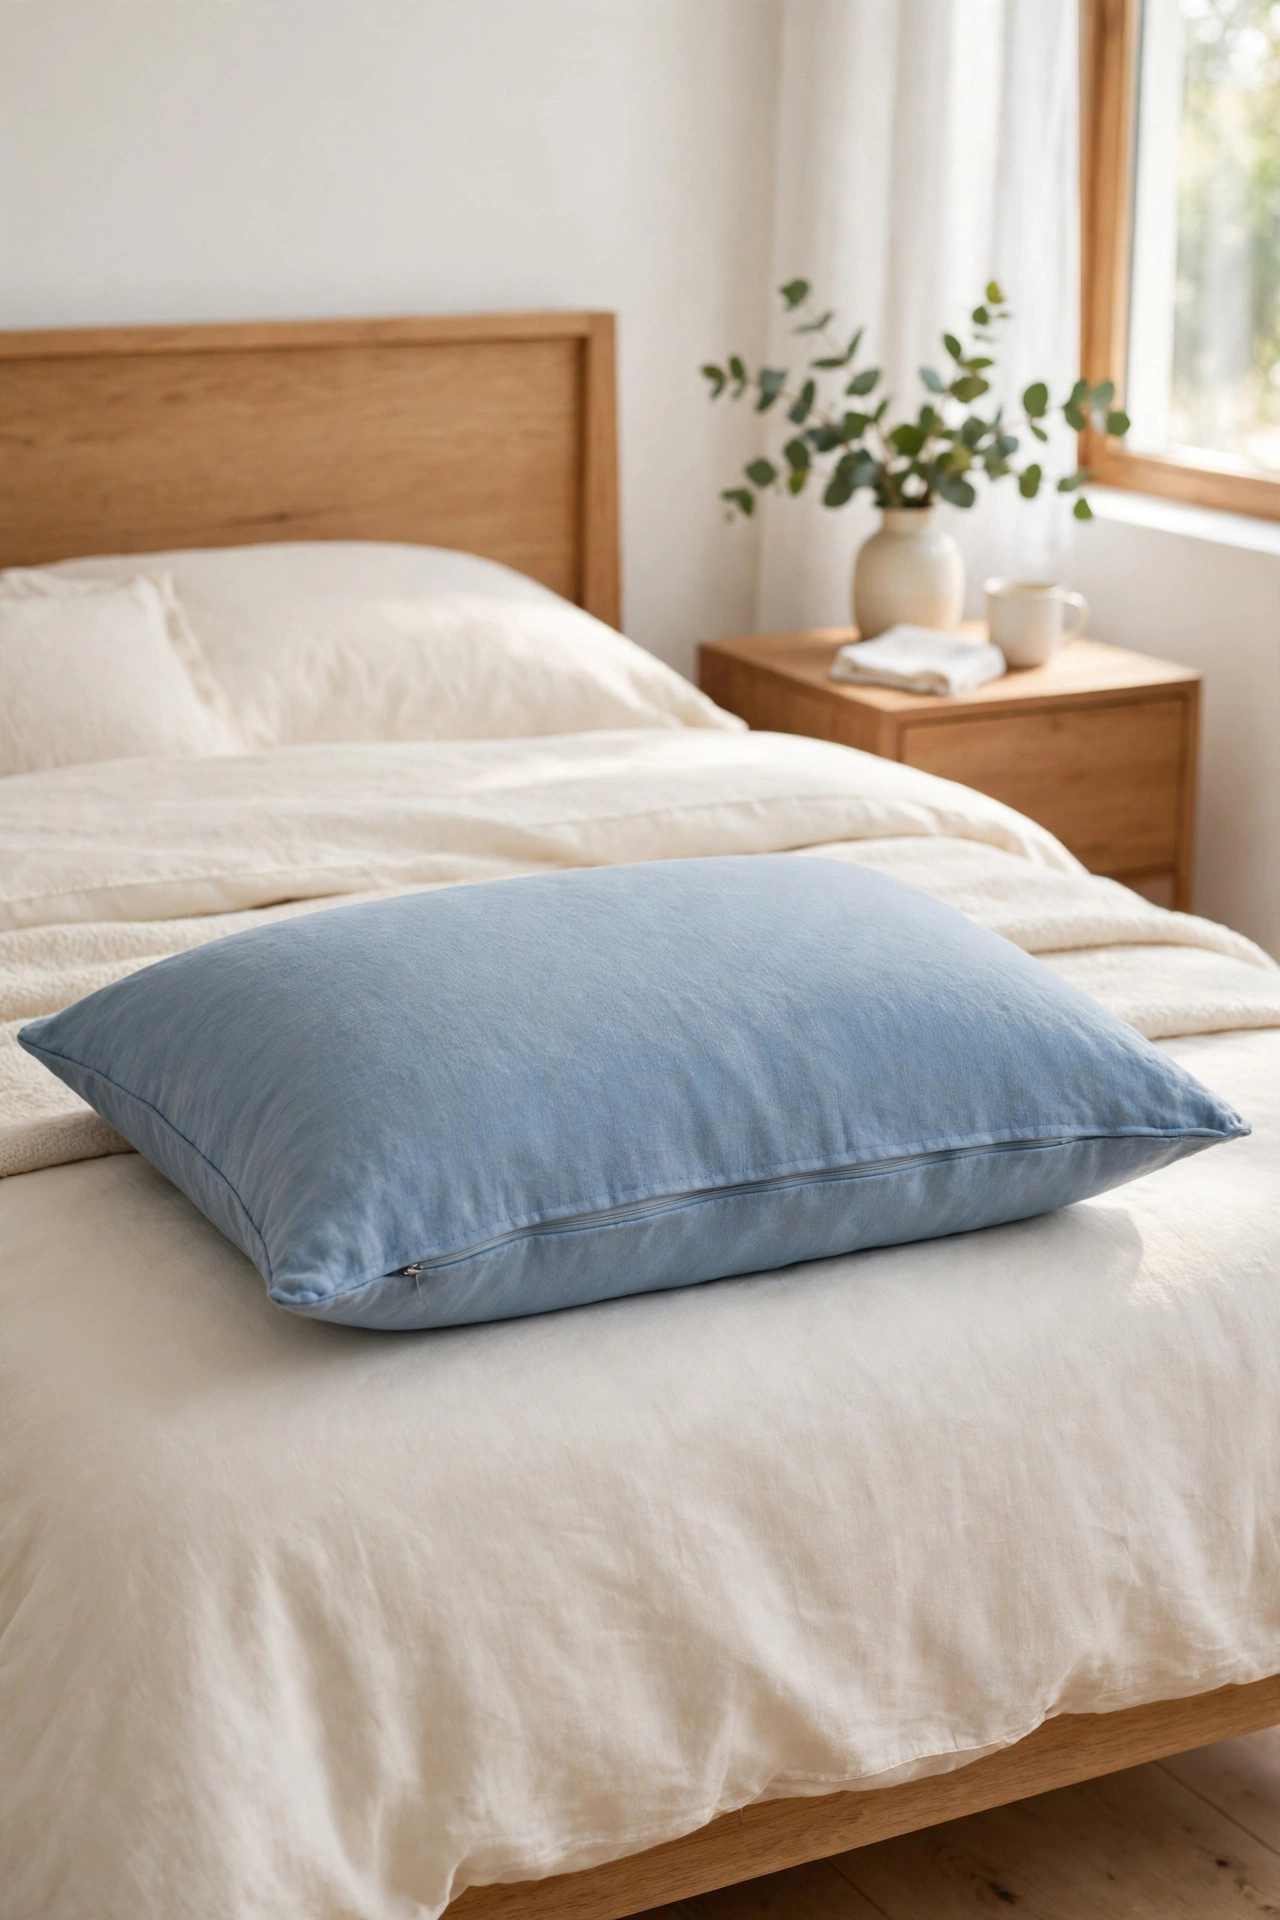
A hidden zipper gives a cover a clean, professional finish with no visible closure. Sew the zipper into the bottom seam of the cover, press the seam allowances open, and topstitch close to the zipper teeth so the fabric folds over and hides them. The result looks neat from every angle, and the cover opens flat for easy washing.
Choose a zipper that matches the fabric color so it disappears into the seam, and use a zipper foot on the sewing machine to stitch close to the teeth. This closure works best on smooth fabrics like cotton twill or velvet, where the fabric lies flat over the zipper. Once you learn the hidden zipper technique, you can use it on every cover you make.
10. Close a Cover With Vintage Buttons
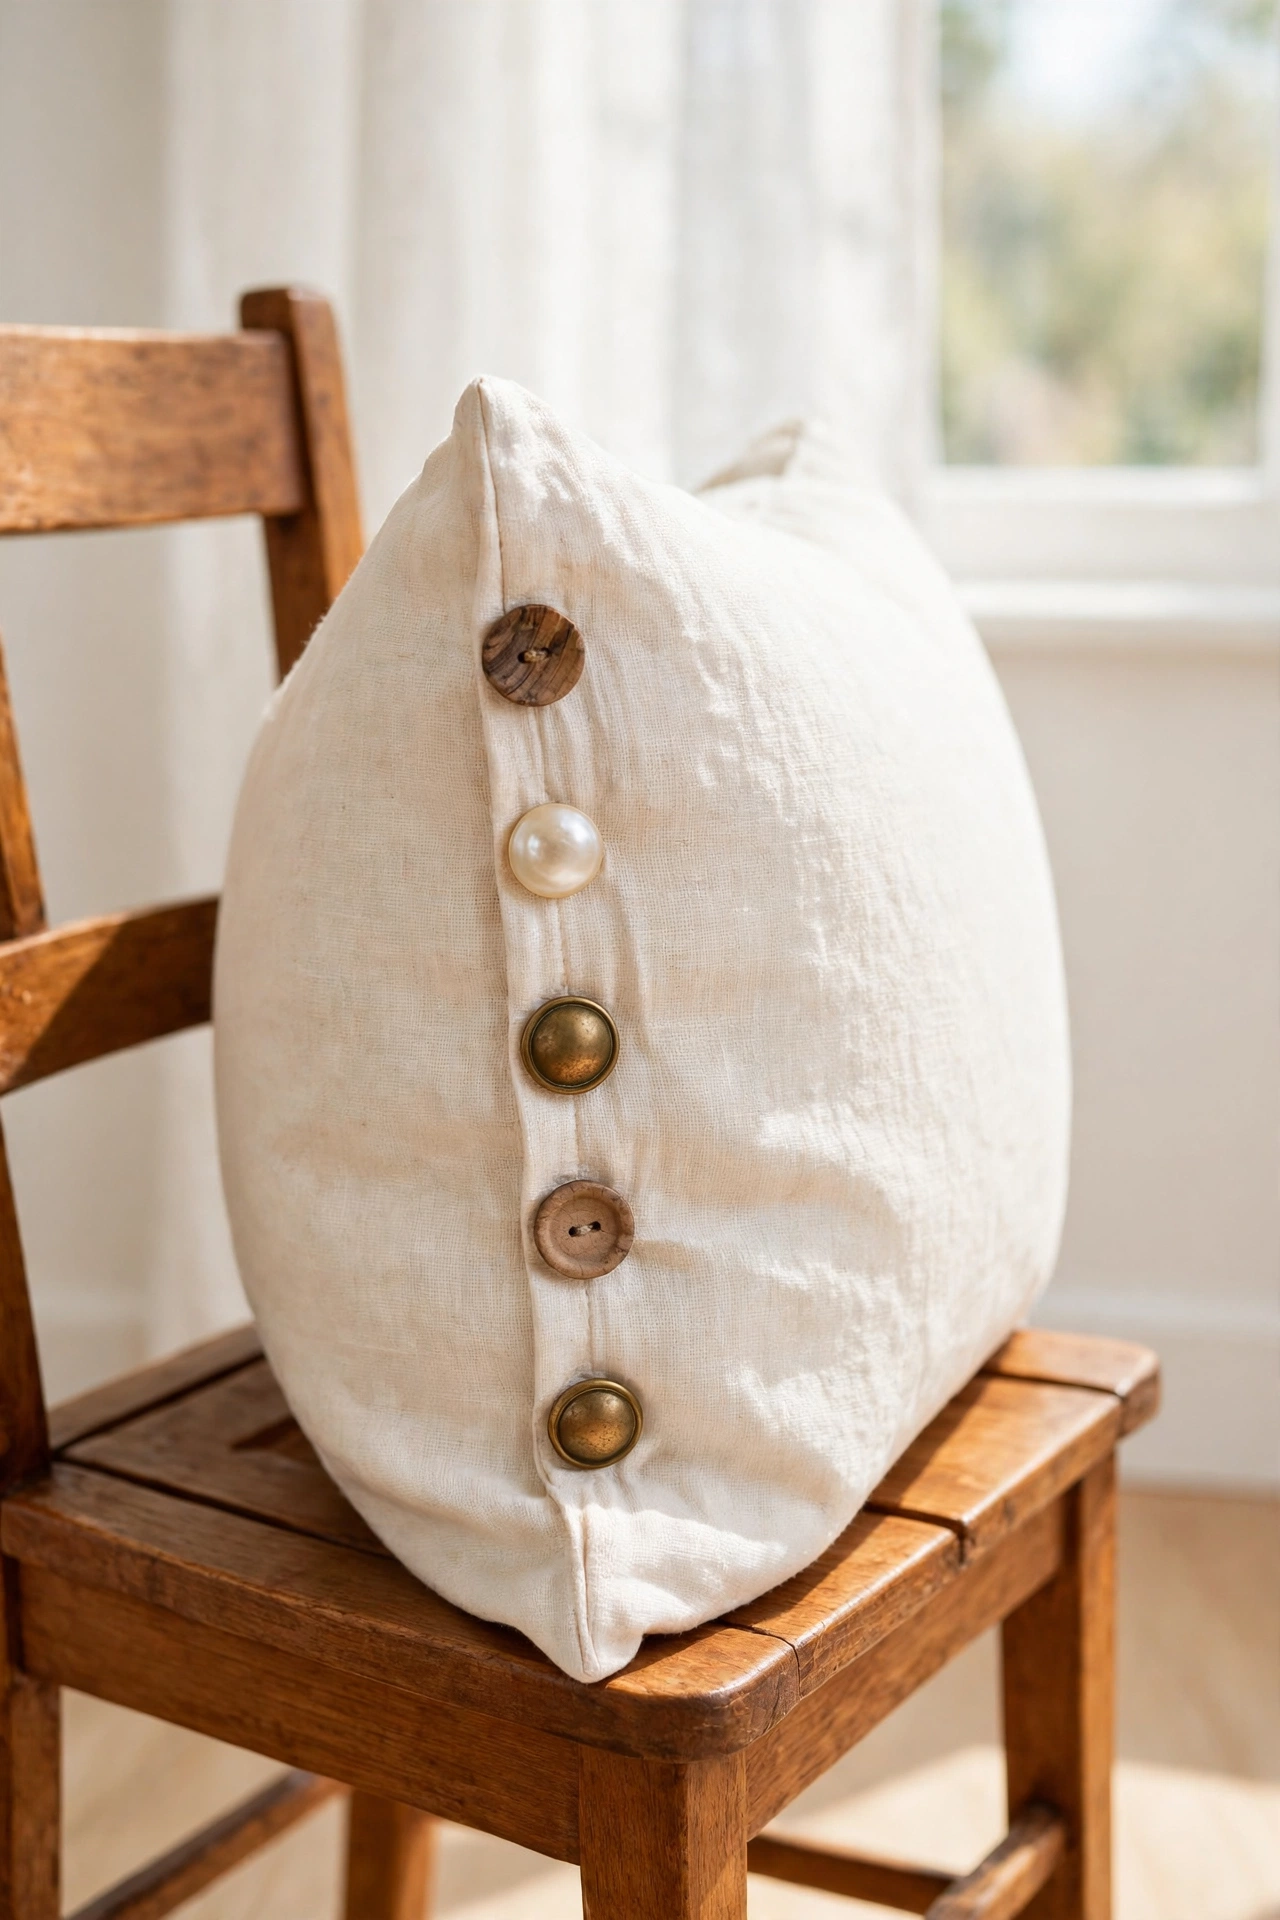
Vintage buttons turn a simple cover closure into a charming design detail. Sew a row of fabric loops along one back panel and a row of mismatched vintage buttons along the other, then fasten the loops over the buttons to close the cover. The buttons become a feature you can see and enjoy, rather than a closure you hide.
Collect buttons from old garments, flea markets, or a button jar passed down through the family, and mix sizes and colors for a collected look. Keep the buttons flat and smooth so they do not snag on furniture, and sew each one on with strong thread and several passes. This closure also makes the cover easy to open and close without any special sewing skills.
11. Patchwork a Cover From Fabric Scraps
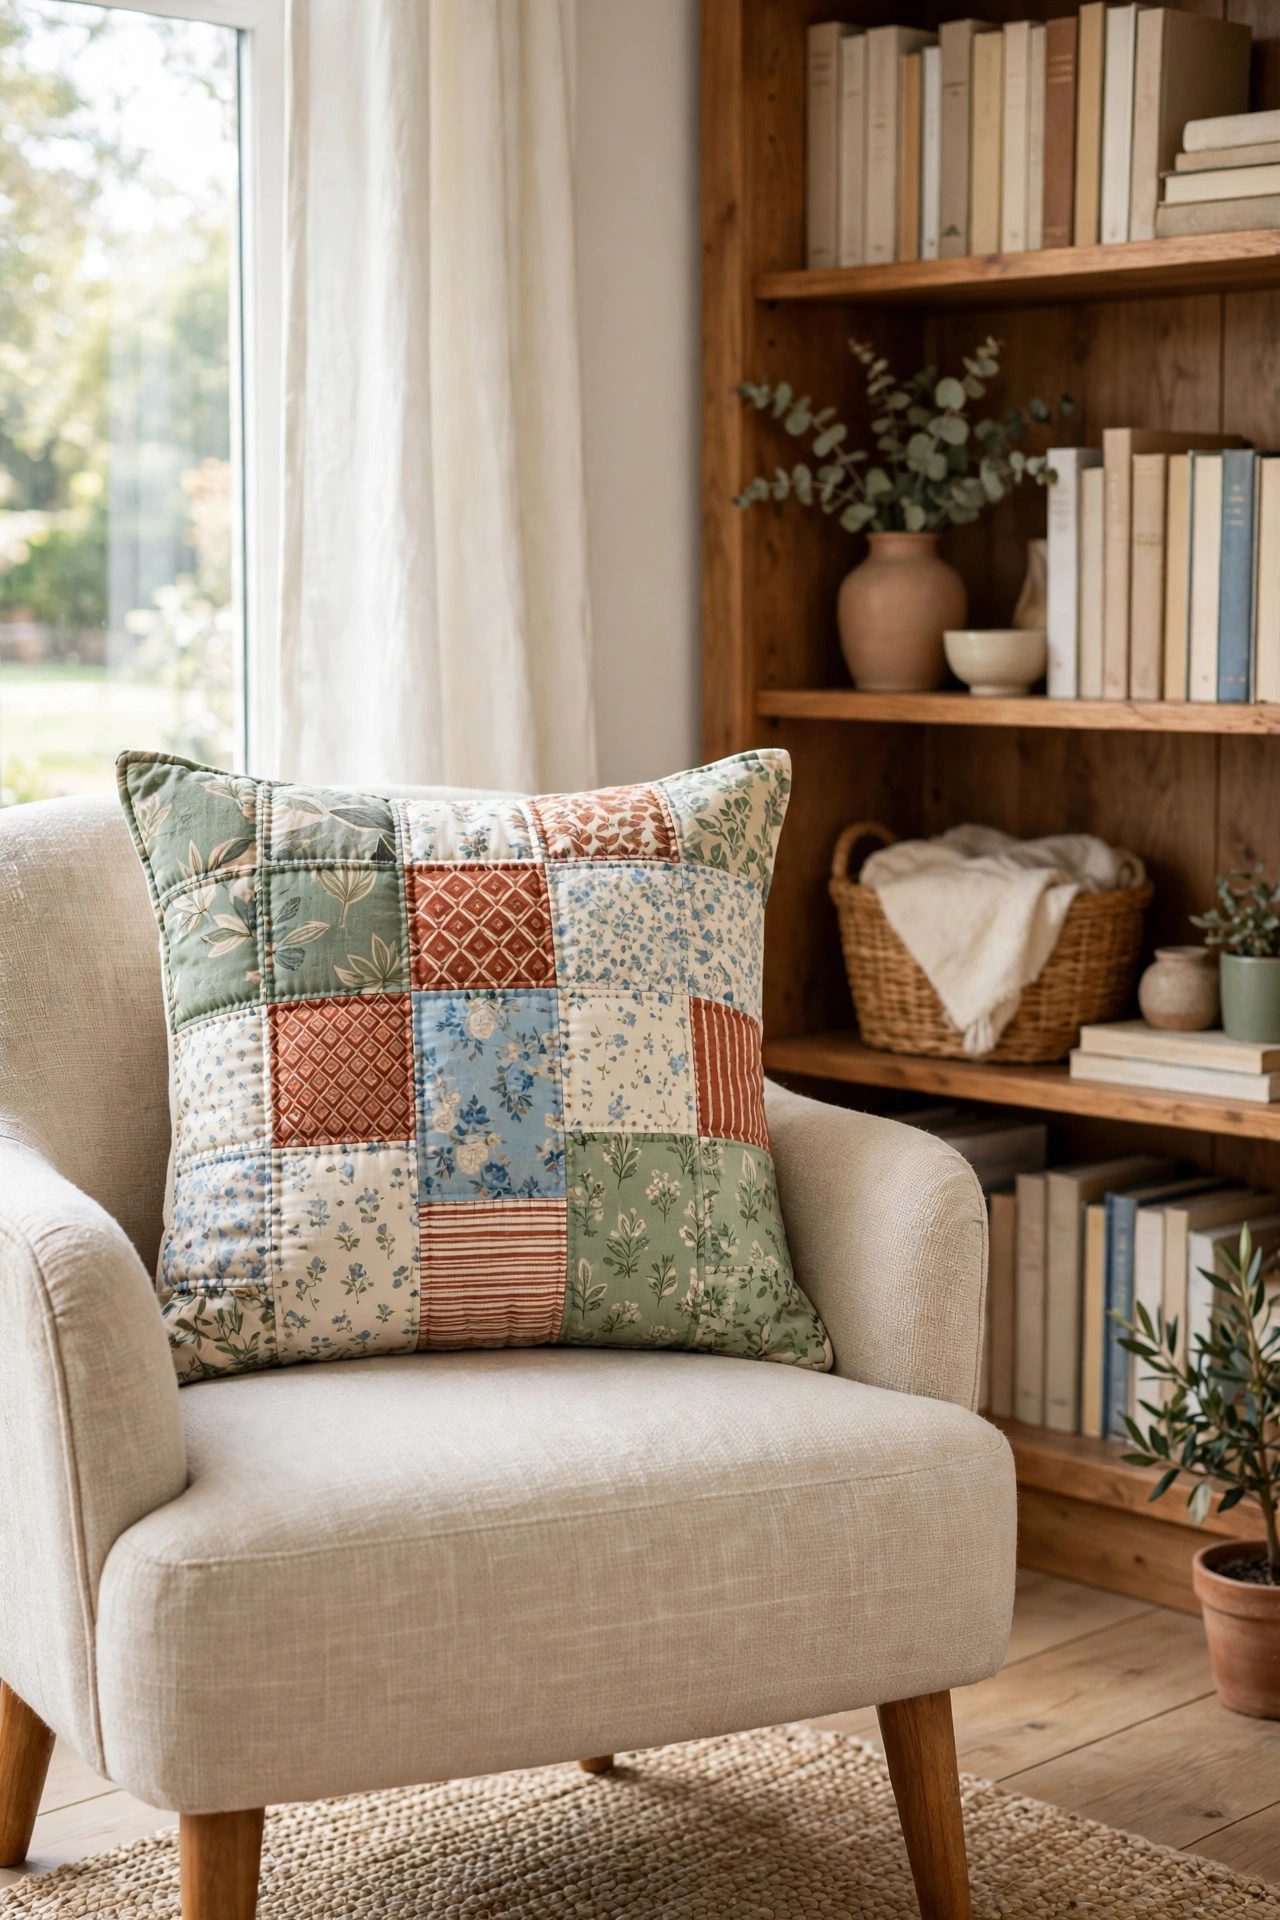
Patchwork is the perfect way to use up fabric scraps, and a pillow cover is the ideal size for a first patchwork project. Cut the scraps into equal squares, arrange them in a pleasing pattern on a table, and sew the squares together row by row until you have a front panel. Press each seam flat as you go so the panel stays smooth and even.
Mix small prints, solids, and textures in one color family for a calm, coordinated look, or mix bold colors for a cheerful, scrappy finish. A patchwork panel made from leftover quilting cotton, old shirts, and curtain scraps tells a story, and no other cover will ever look quite the same. Back the panel with a solid fabric so the cover feels sturdy and balanced.
12. Tuft a Cover With Covered Buttons
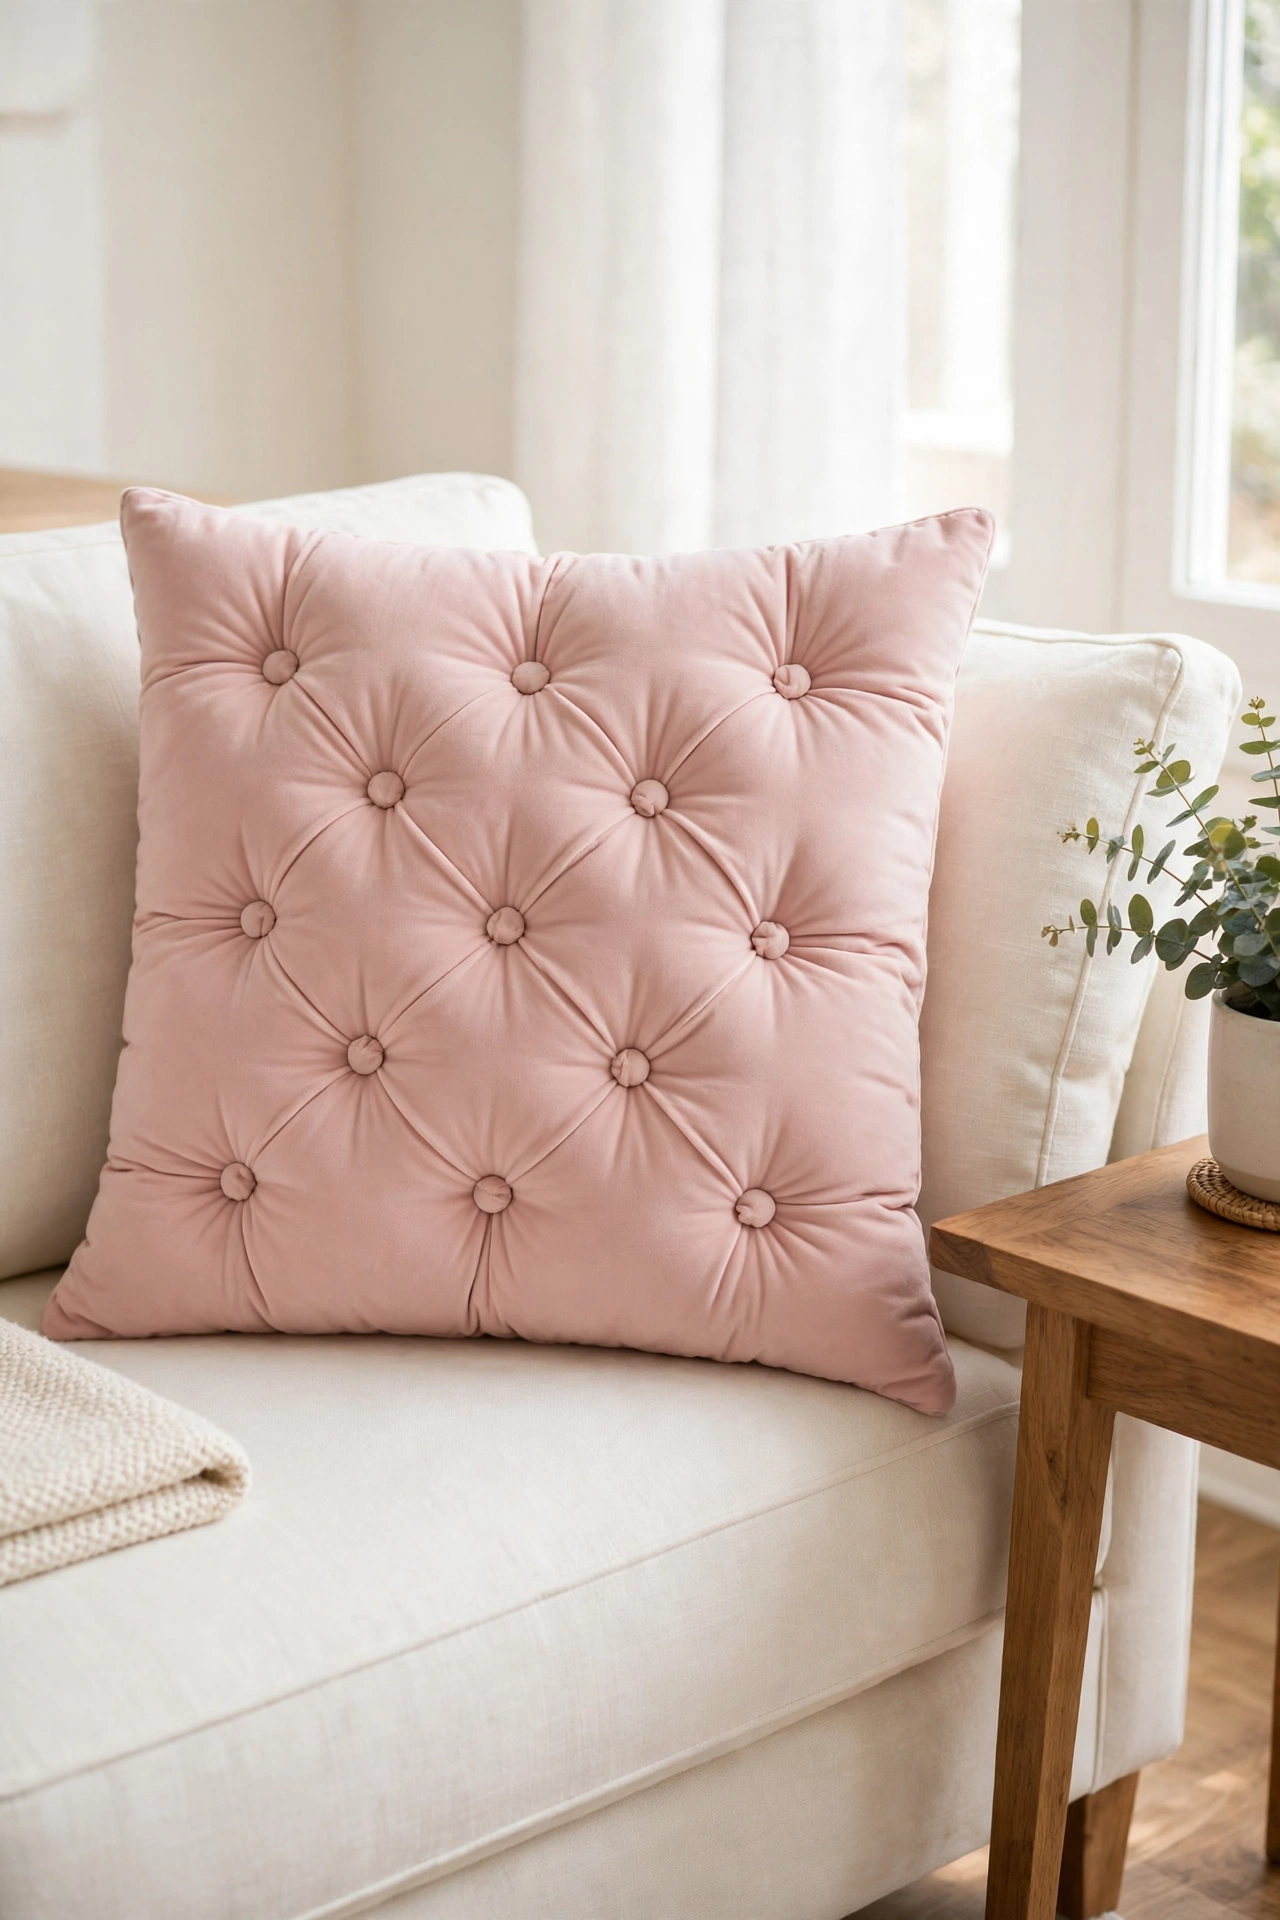
Tufting pulls the cover fabric inward at regular points and creates soft, plump dimples across the surface. Make fabric covered buttons from the same fabric as the cover, then pull a strong thread through the cover at each tufting point and anchor it to a button on the front. The dimples give the cover a tailored, upholstered look.
Space the tufts evenly in a grid or a diamond pattern, and pull each thread to the same tension so the dimples match. This technique works best on smooth, medium weight fabrics like cotton duck or linen, which hold the dimple shape without bunching. A tufted cover in a soft neutral color looks elegant on a formal sofa, while a tufted cover in a bright color adds a fun, retro touch.
13. Gather Ruffles Along the Edges
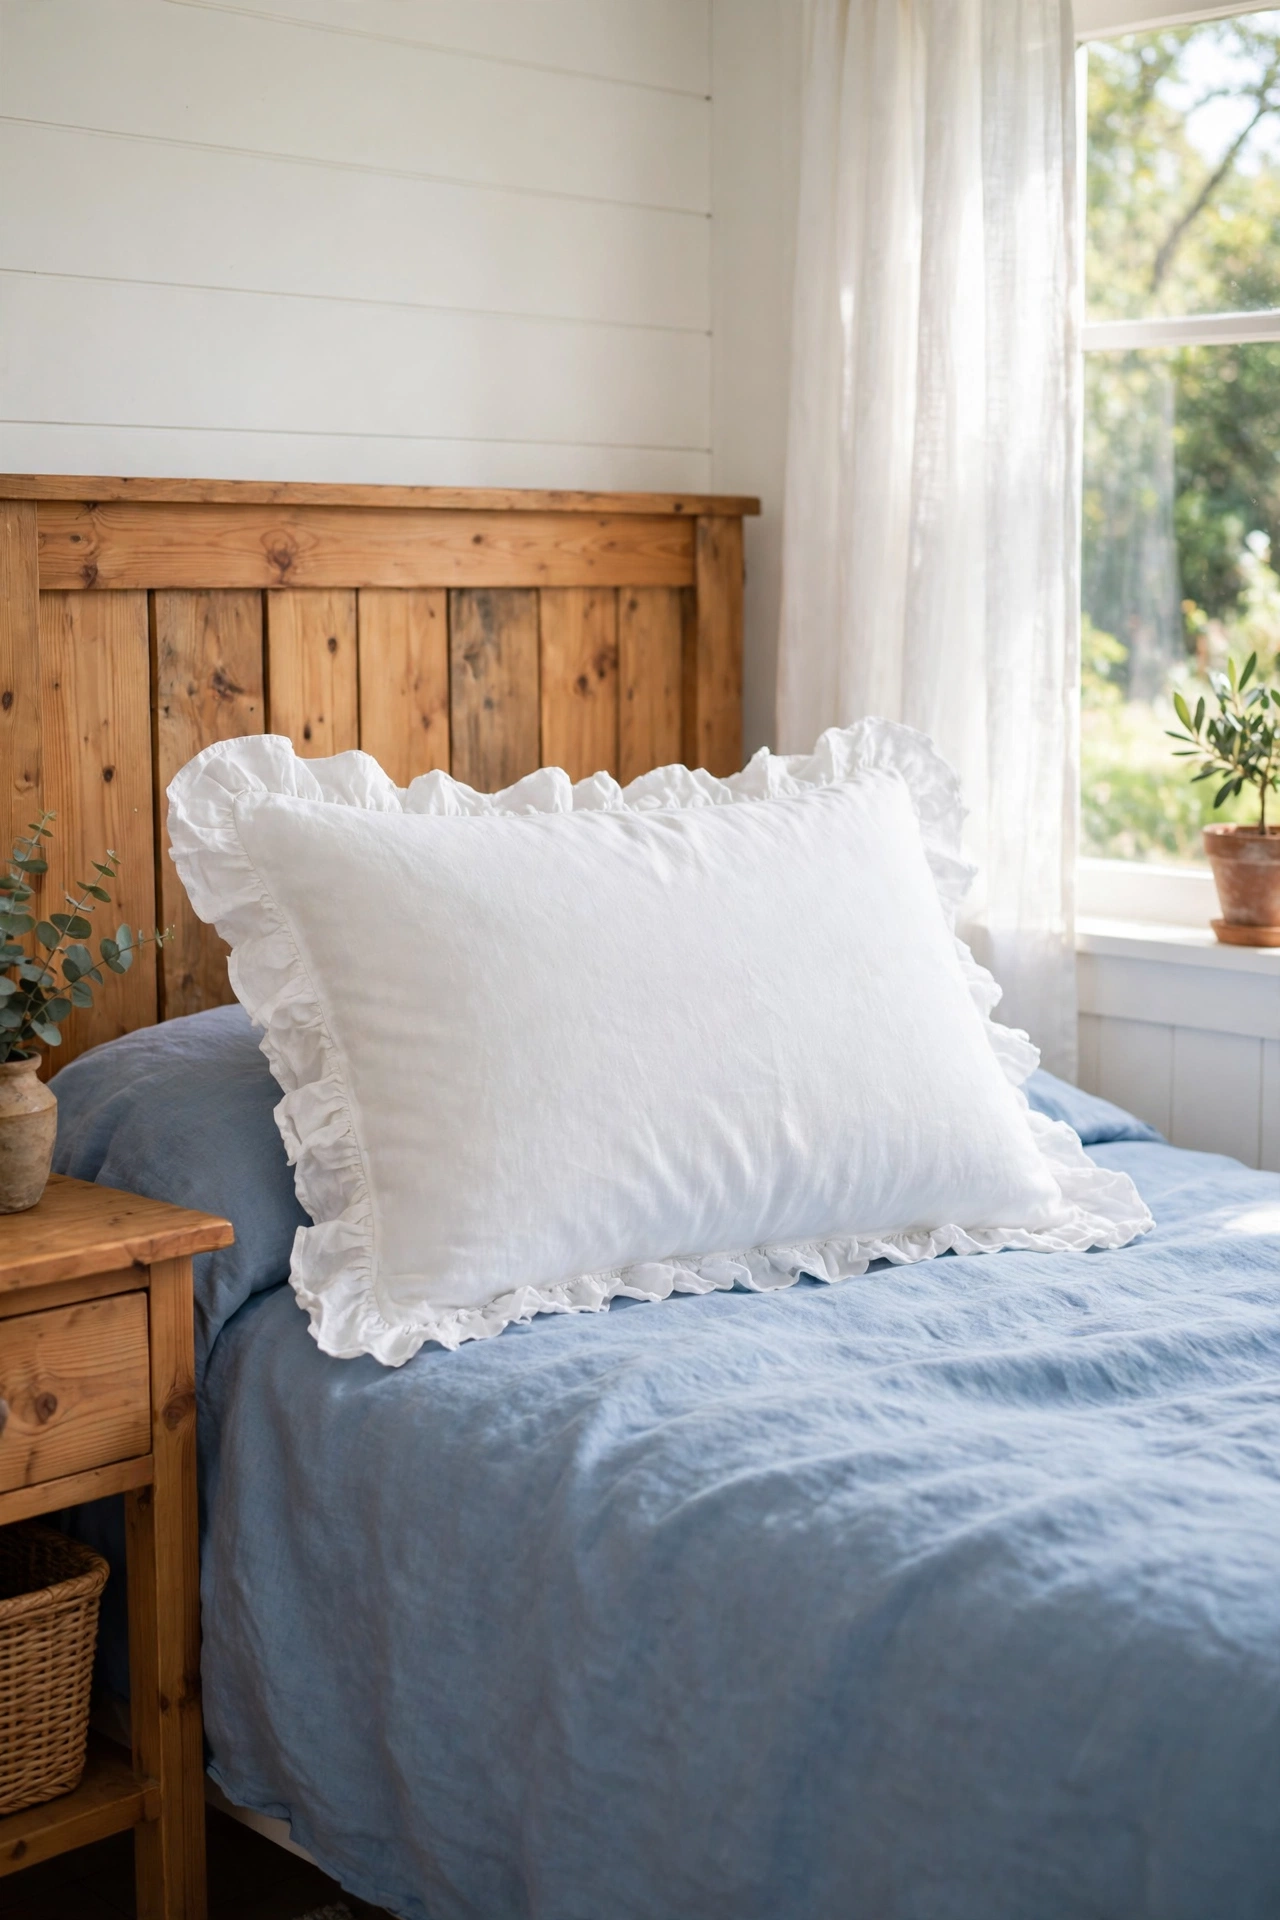
Ruffles add a soft, romantic border to a cover, and they are easier to make than they look. Cut a long strip of fabric, sew a loose gathering stitch down the center of the strip, and pull the thread to gather the fabric into even folds. Pin the gathered strip around the front panel and sew it into the seam so the ruffle frames the whole cover.
A single ruffle in the same fabric as the cover looks classic and calm, while a double ruffle in a contrasting color looks bold and playful. Keep the gathers even and full so the ruffle holds its shape after washing, and press the finished cover gently from the back. Ruffles suit bedrooms and cottage style rooms best, where their softness matches the mood of the space.
14. Tie Tassels to the Four Corners
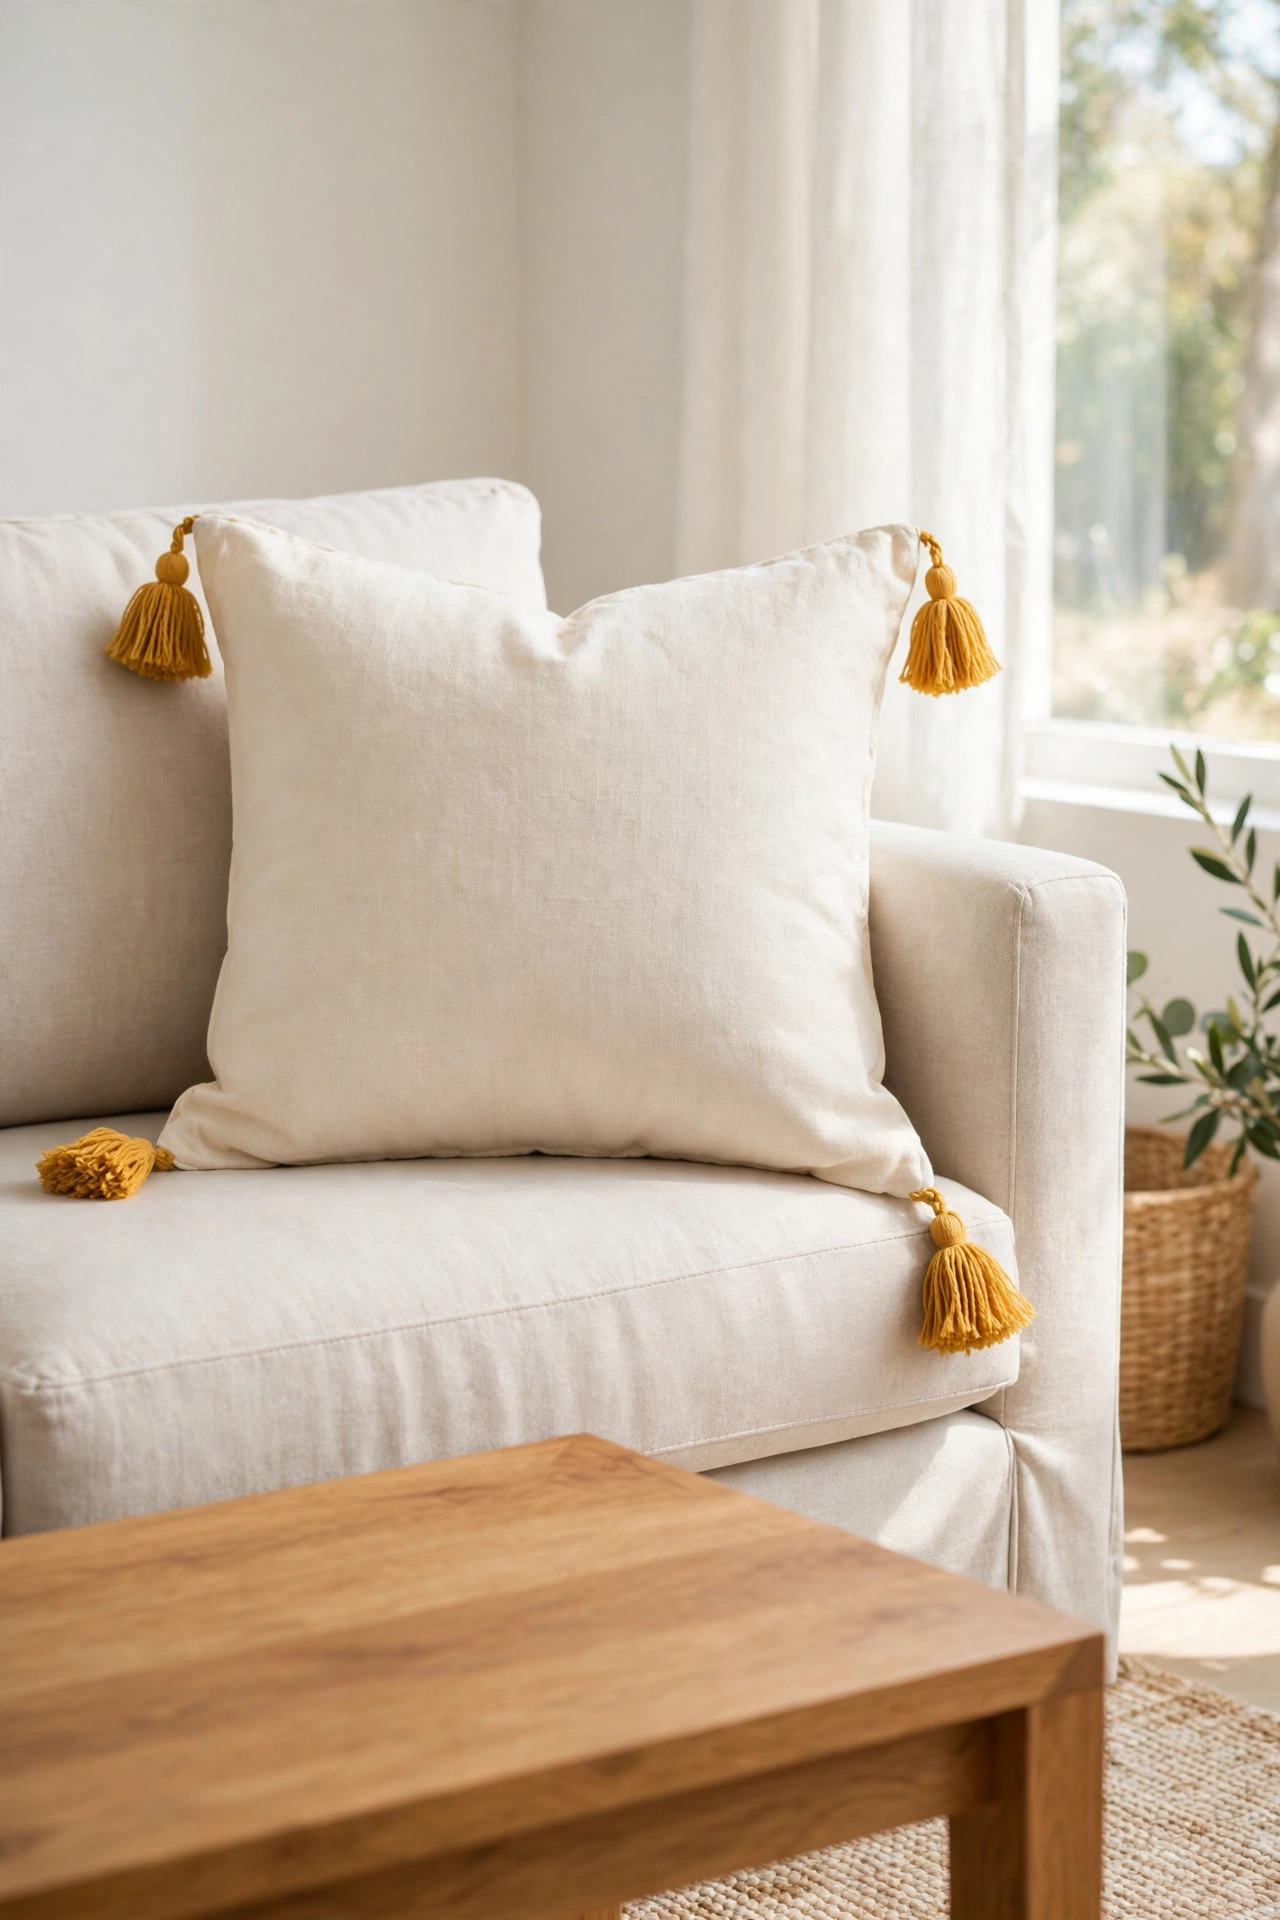
Corner tassels add movement and charm to a cover with almost no sewing at all. Make four tassels from embroidery floss, yarn, or thin cord by wrapping the thread around a small piece of cardboard, tying one end, and cutting the loops at the other end. Sew or tie one tassel to each corner of the finished cover, and the tassels will sway gently whenever the pillow moves.
Match the tassel color to the cover fabric for a subtle, tone on tone look, or choose a contrasting color like mustard on cream for a cheerful pop. Keep the tassels short and full so they hold their shape, and trim the ends evenly with sharp scissors. This small detail makes a plain cover feel finished and thoughtful, and it costs almost nothing to add.
15. Block Print a Cover With a Carved Stamp
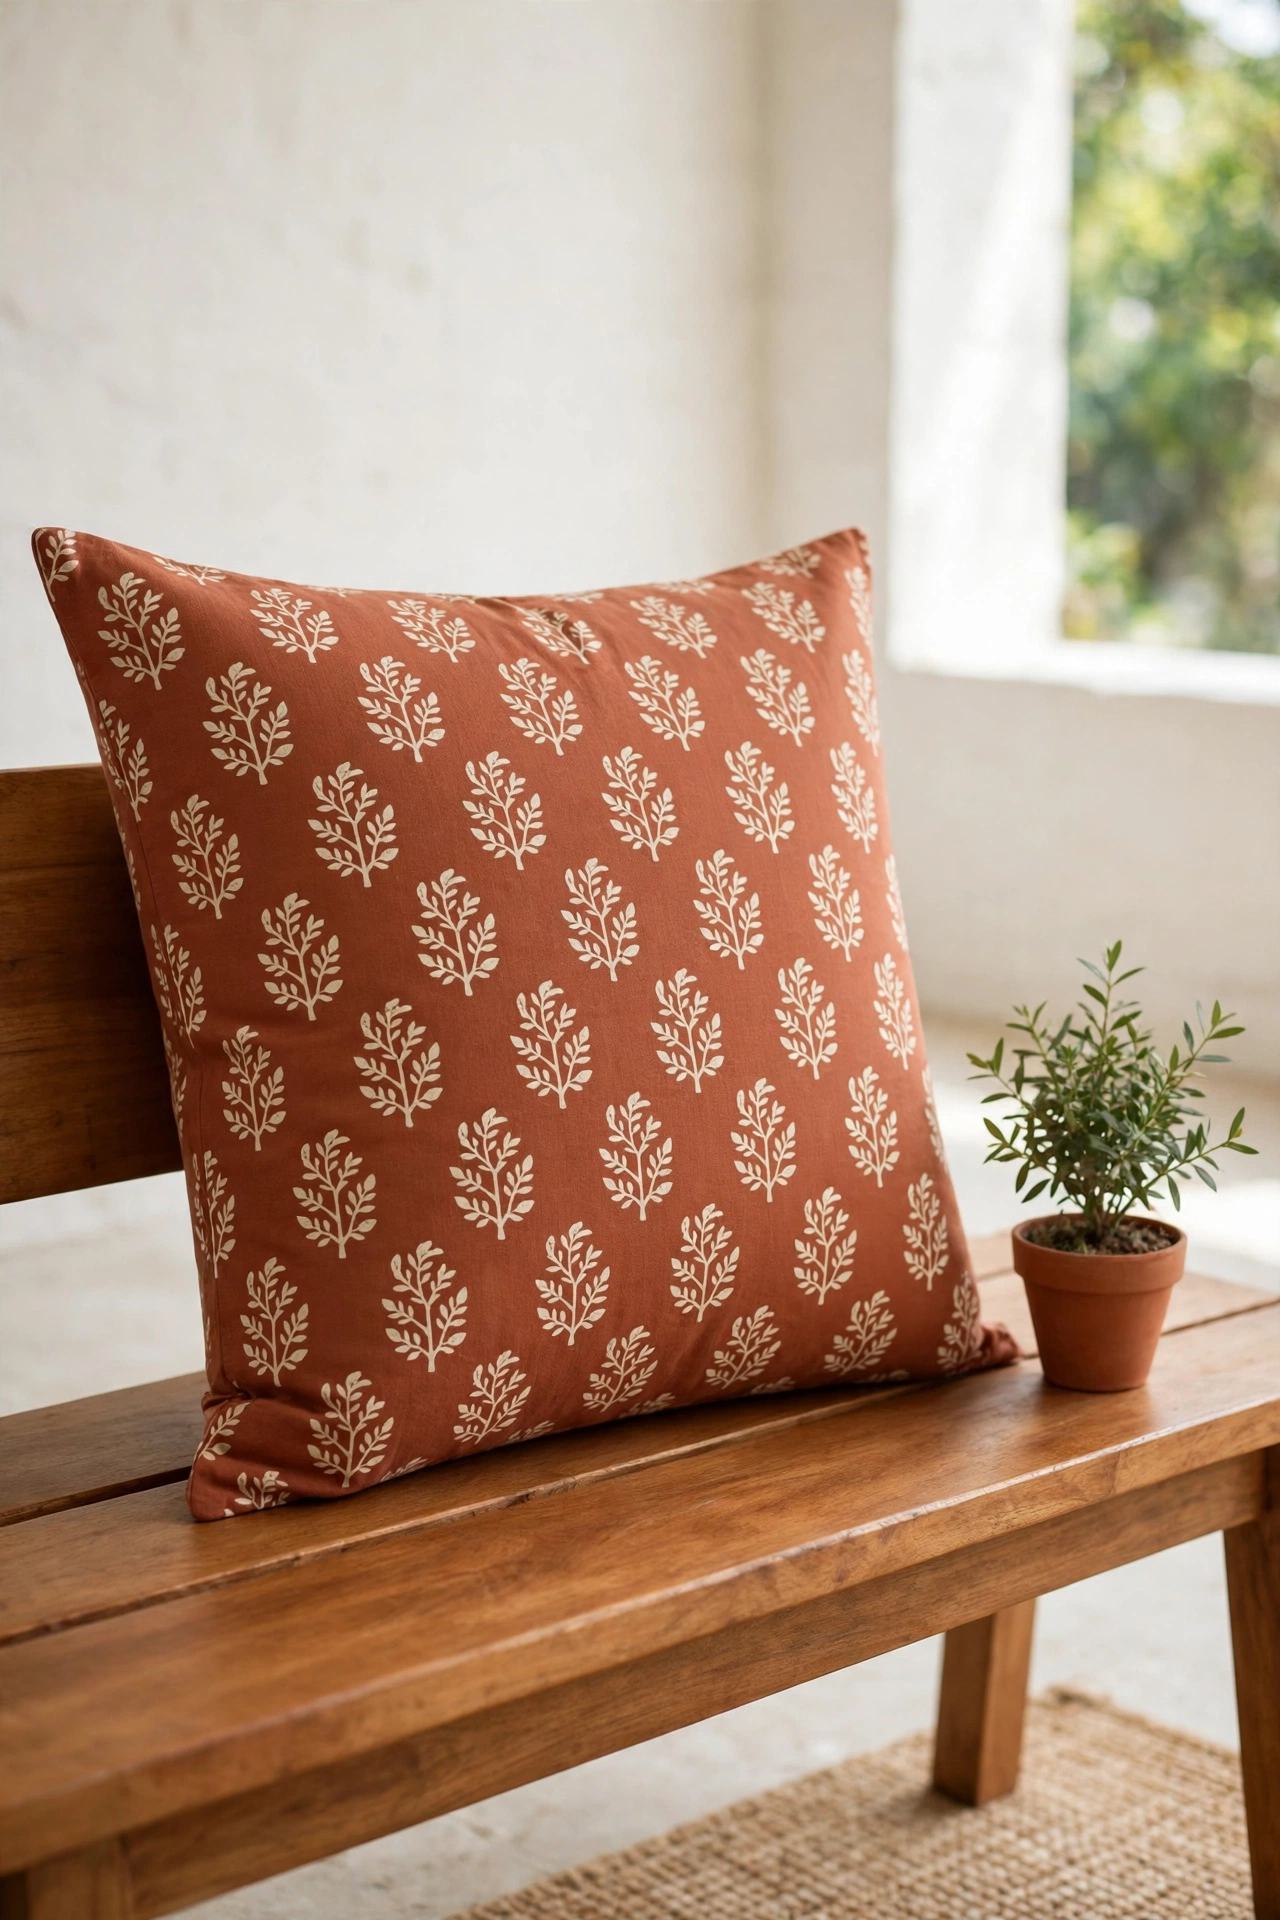
Block printing lets you repeat a hand carved design across a cover with paint and a simple stamp. Carve a leaf, star, or flower shape into a soft carving block with a craft knife, roll fabric paint onto the raised surface, and press the stamp firmly onto the cover. Lift the stamp straight up, re-ink it, and repeat the design in a regular pattern.
Practice on scrap fabric first so you learn how much paint the stamp needs for a crisp print. A single bold motif repeated in a grid looks modern and graphic, while a scattered, uneven repeat looks more organic and handmade. Wash the stamp in warm water after each use so the carved lines stay clean for the next project.
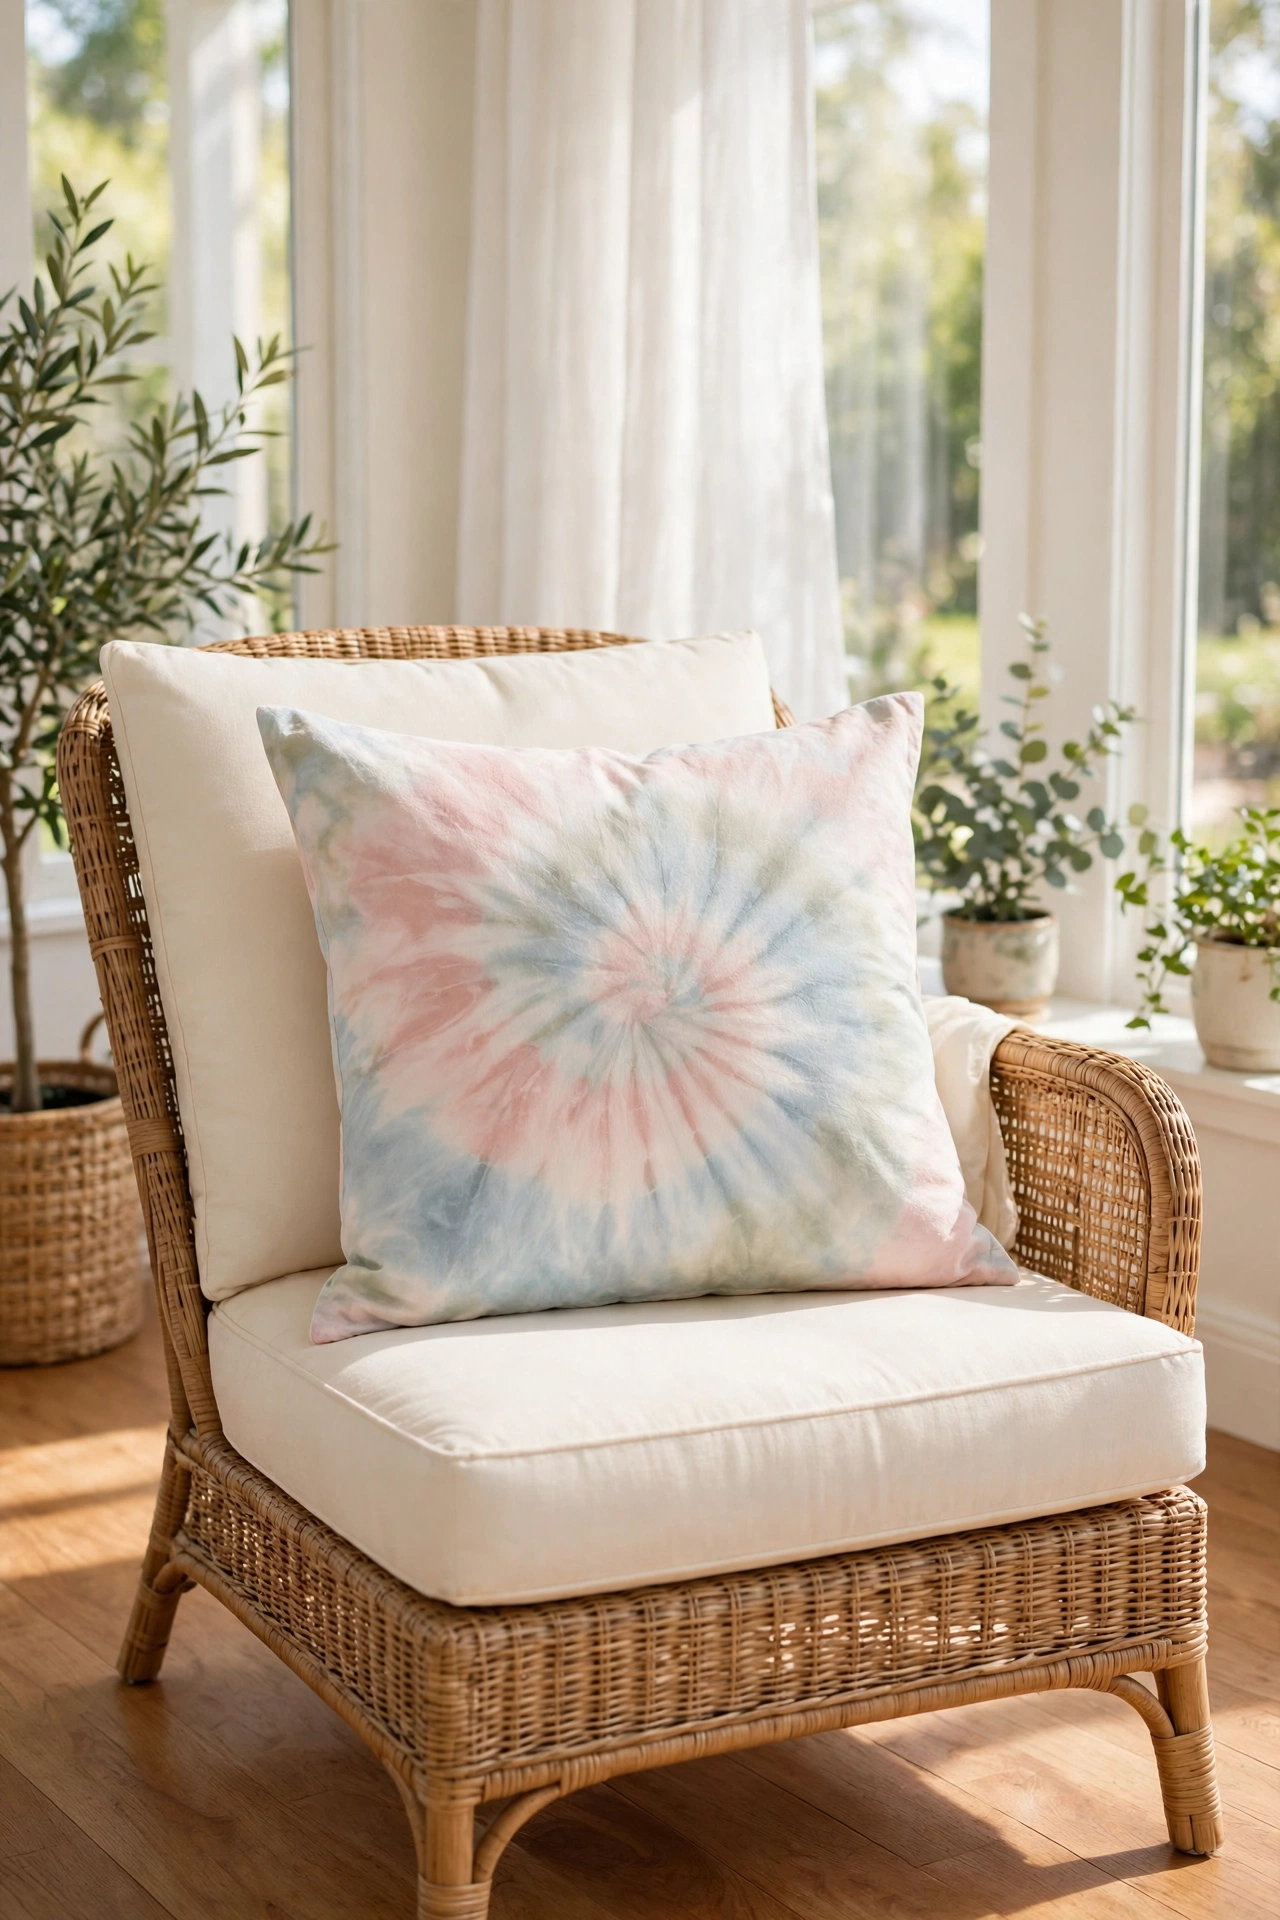
16. Tie-Dye a Cover in Soft Pastel Swirls
Tie-dye is no longer only about bold rainbow swirls, because soft pastel dyes create a dreamy, watercolor effect on a pillow cover. Twist the damp cover into a spiral, secure it with rubber bands, and apply diluted fabric dye in blush pink, soft blue, and pale sage. Let the colors blend gently where they meet for a soft, cloudy finish.
Use much less dye than the package suggests if you want pale, airy colors, and rinse the cover in cool water until the water runs clear. The finished cover has a relaxed, artistic look that suits bedrooms, sunrooms, and casual living spaces. Each cover comes out unique, so a pair of tie-dyed covers will always look like sisters rather than twins.
17. Sew a Velvet Cover With Contrast Piping
Velvet gives a cover a rich, soft surface that catches the light beautifully, and contrast piping defines the edges with a crisp line. Cut the velvet panels with the nap running in the same direction, sew corded piping around the front panel in a contrasting color, and join the front and back with a neat seam. The piping outlines the cover like a frame.
Choose a deep jewel tone velvet like emerald or burgundy with cream piping for a luxurious look, or a soft blush velvet with sage piping for a gentler feel. Sew slowly, because velvet can shift under the presser foot, and use a walking foot if you have one. The finished cover feels expensive and looks polished, yet it costs far less than a store bought velvet pillow.

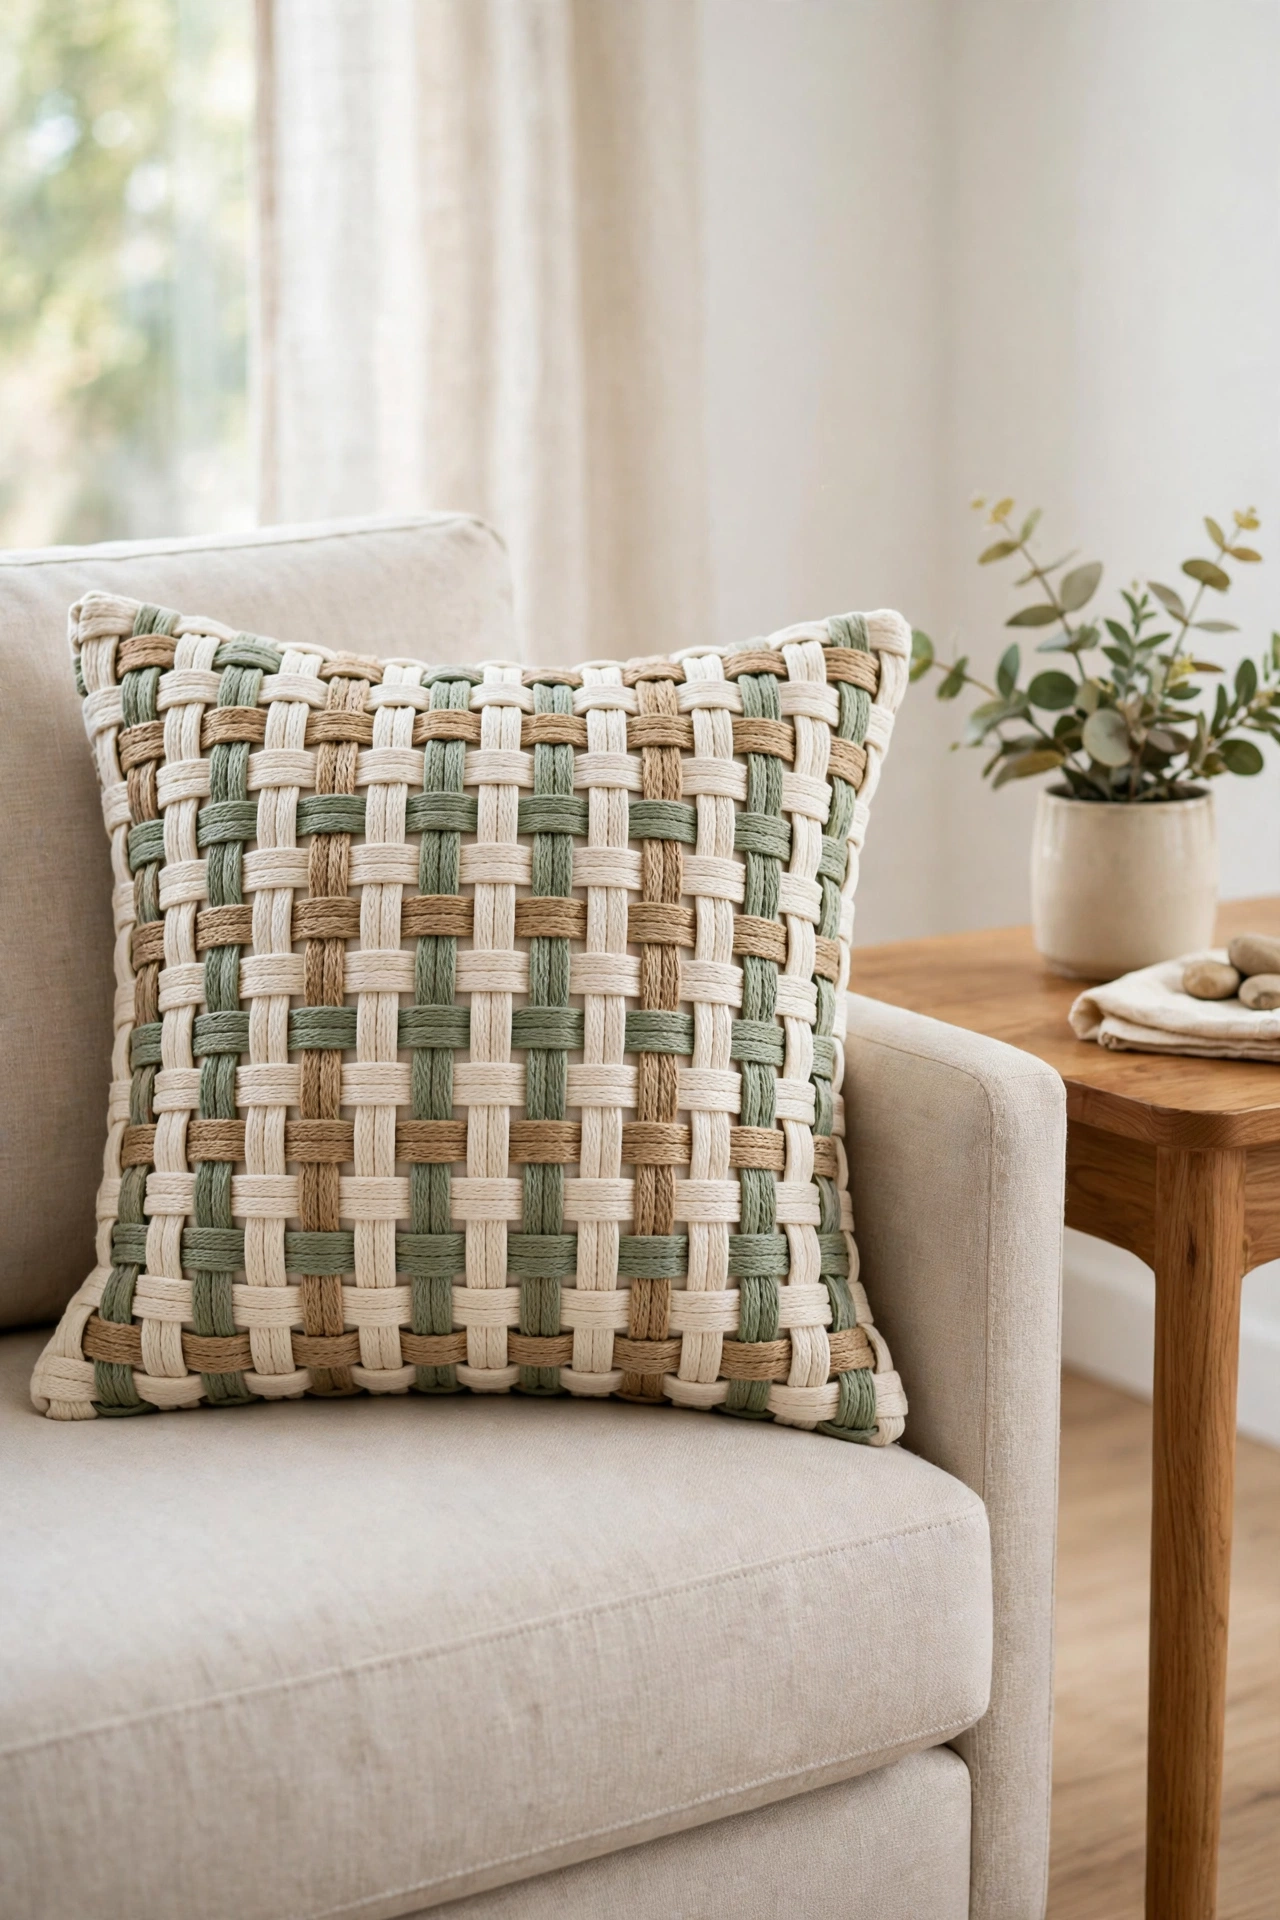
18. Weave a Cover From Strips of Fabric
A woven cover is made by weaving fabric strips over and under each other, and the result is a textured, basket-like surface. Cut long strips of cotton fabric in two or three colors, pin the vertical strips side by side on a flat surface, and weave the horizontal strips through them in an alternating pattern. Stitch around the edges to hold the weave in place, then sew the panel into a cover.
Use strips of equal width for a tidy, even weave, or mix wide and narrow strips for a more organic look. A weave in cream, sage, and natural tan feels calm and earthy, while a weave in bright colors feels playful and modern. The woven texture adds depth to a plain sofa, and the cover becomes a talking point in the room.
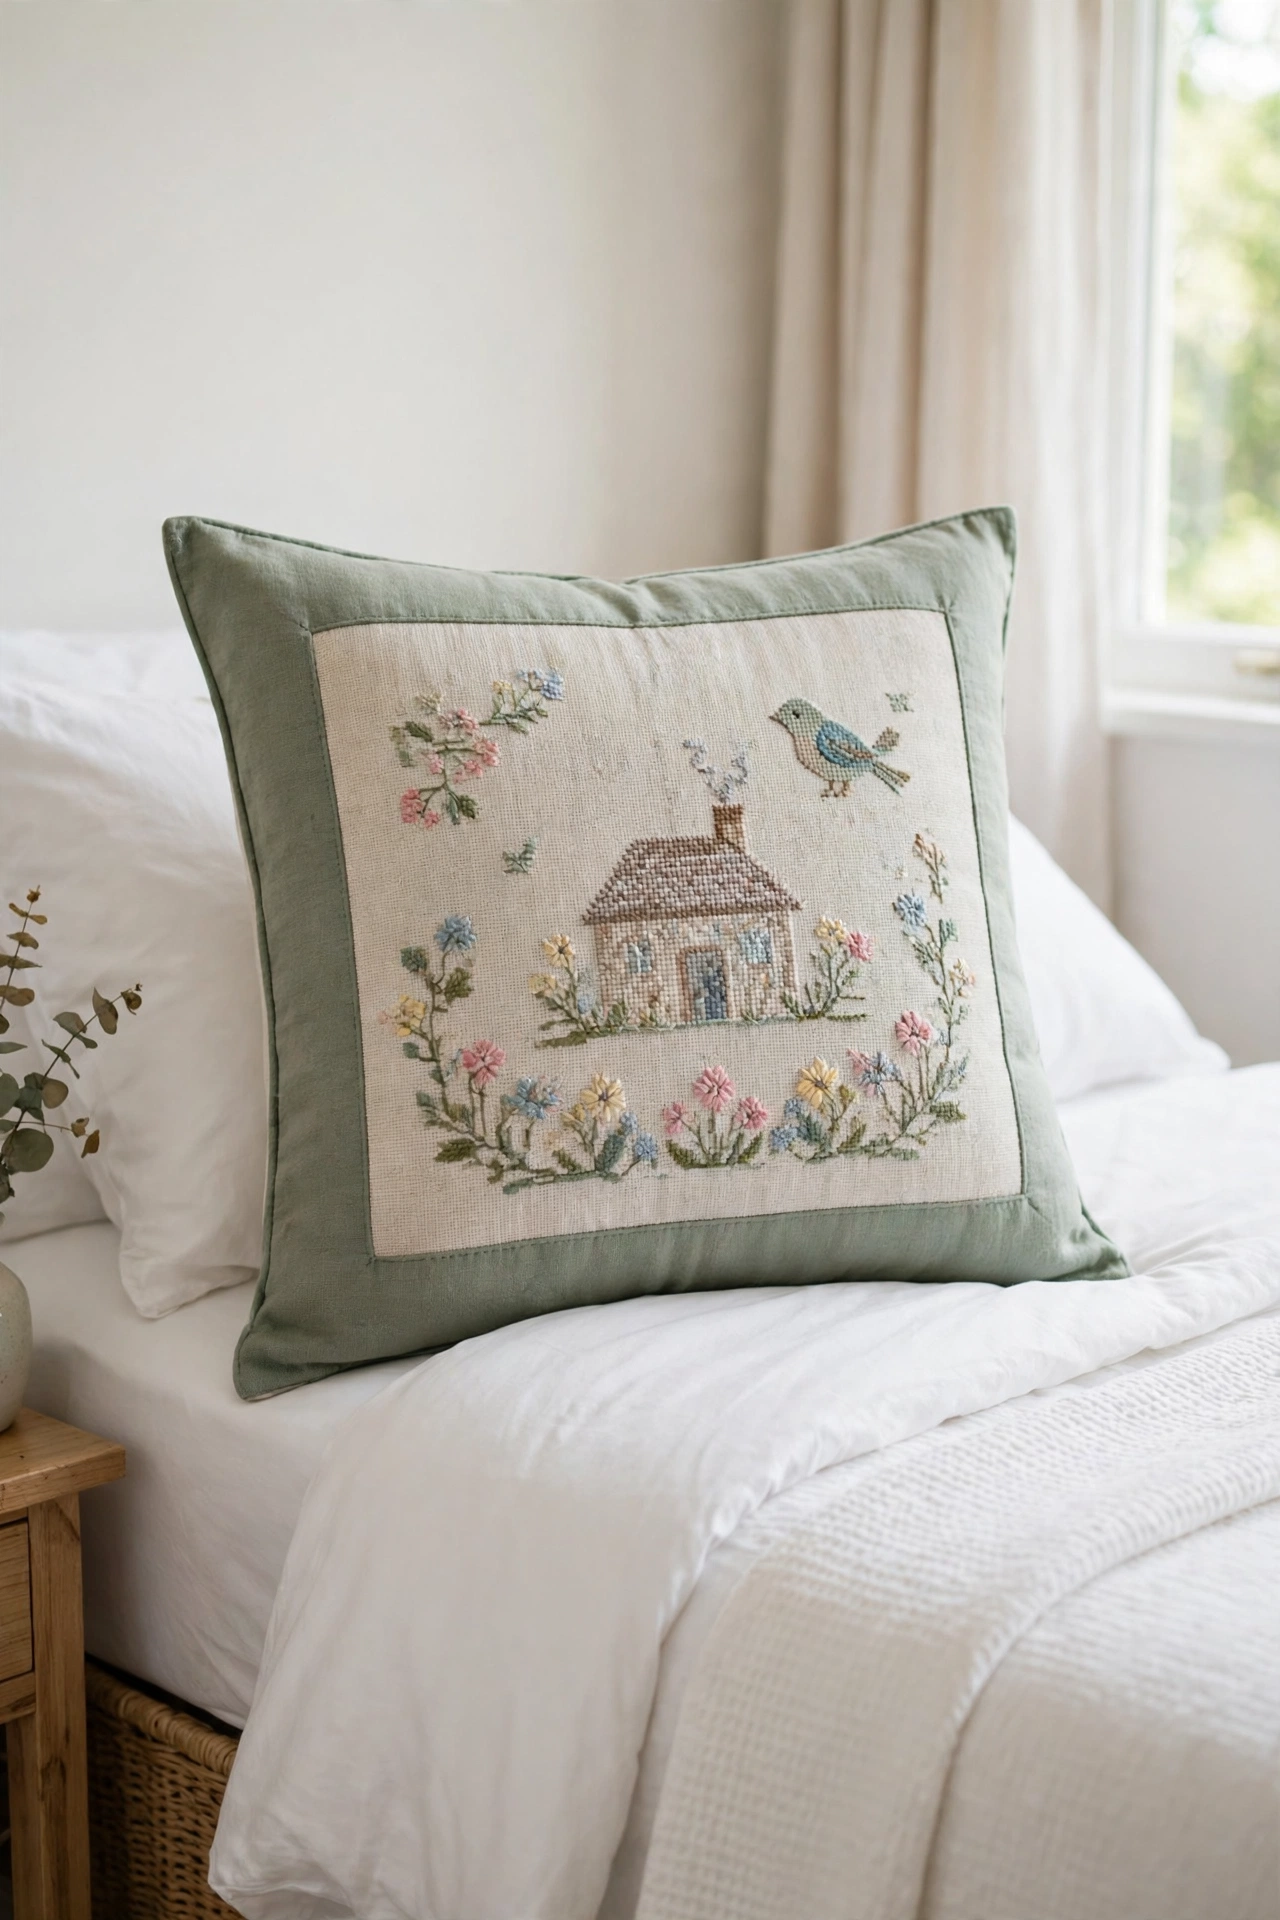
19. Cross-Stitch a Sampler Panel for the Front
Cross-stitch turns the front panel of a cover into a piece of needle art with a charming, old fashioned feel. Stitch a sampler of small motifs, such as houses, flowers, birds, and borders, on a piece of even weave fabric, following a counted chart or your own simple design. Each small cross builds the picture one stitch at a time, and the finished panel feels like a treasure.
Mount the finished stitching as the center panel of the cover, framed by a border of solid fabric in a matching color. Keep the stitching flat and even, and press the panel from the back with a cool iron before you sew it into the cover. A cross-stitched cover suits a bedroom, a guest room, or a quiet reading corner, where its detail can be appreciated up close.
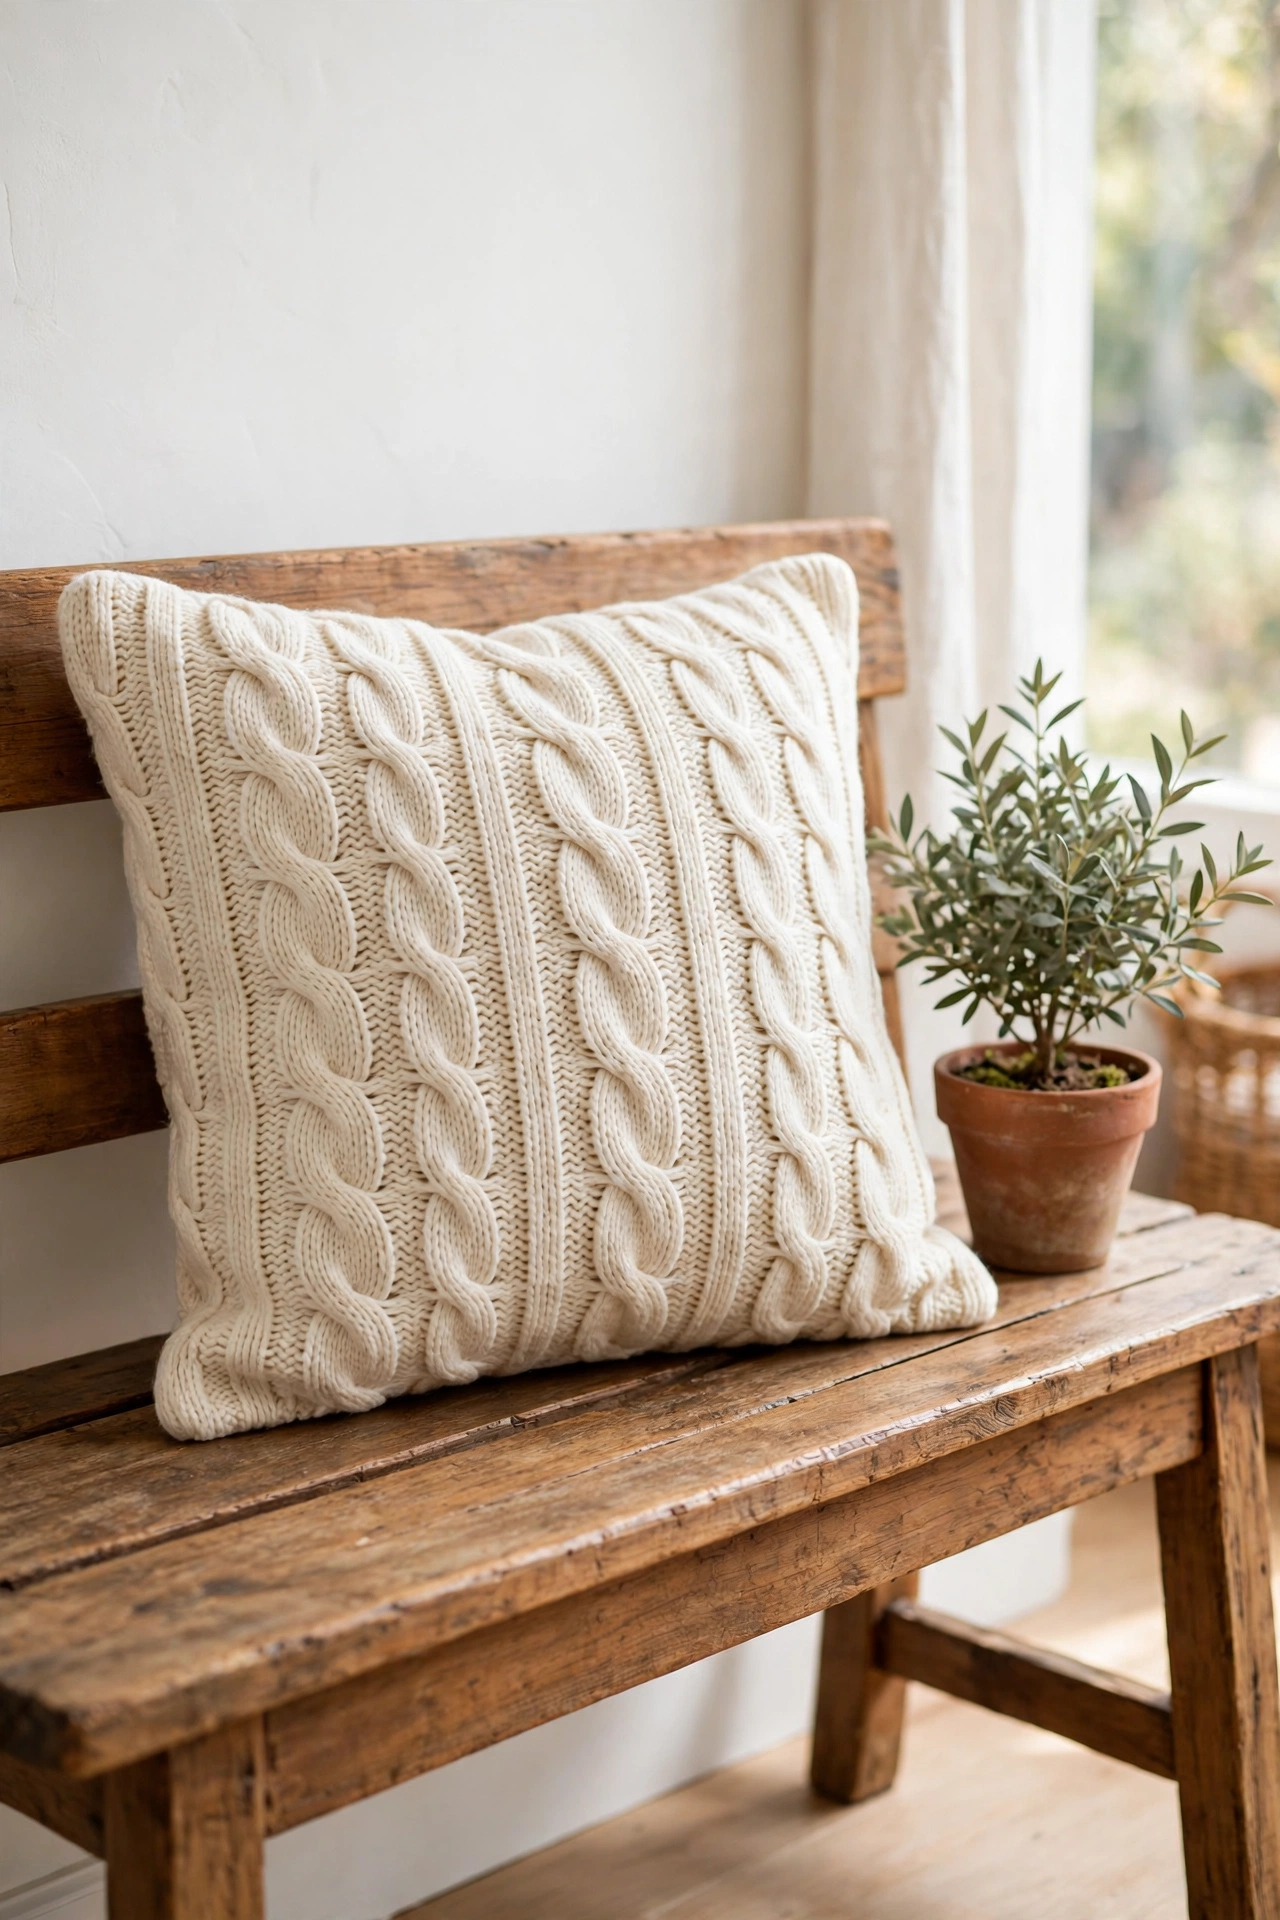
20. Make a Cover From a Thrifted Sweater
An old sweater makes a wonderfully soft pillow cover, and thrift stores are full of sweaters in beautiful knits and colors. Cut the body of the sweater into a front and back panel, taking care to keep the knit from unraveling by sewing a zigzag stitch along each cut edge. Sew the panels together, and the sweater texture becomes the star of the cover.
Cable knit sweaters in cream or oatmeal look cozy and classic, while a fine gauge sweater in a bright color looks fresh and modern. Keep the original sweater buttons or pocket if the sweater has them, because those details make the cover feel unique and storied. Thrifted materials keep the cost very low, and these thrift store decor ideas show how secondhand finds can refresh a whole home, not just one pillow.
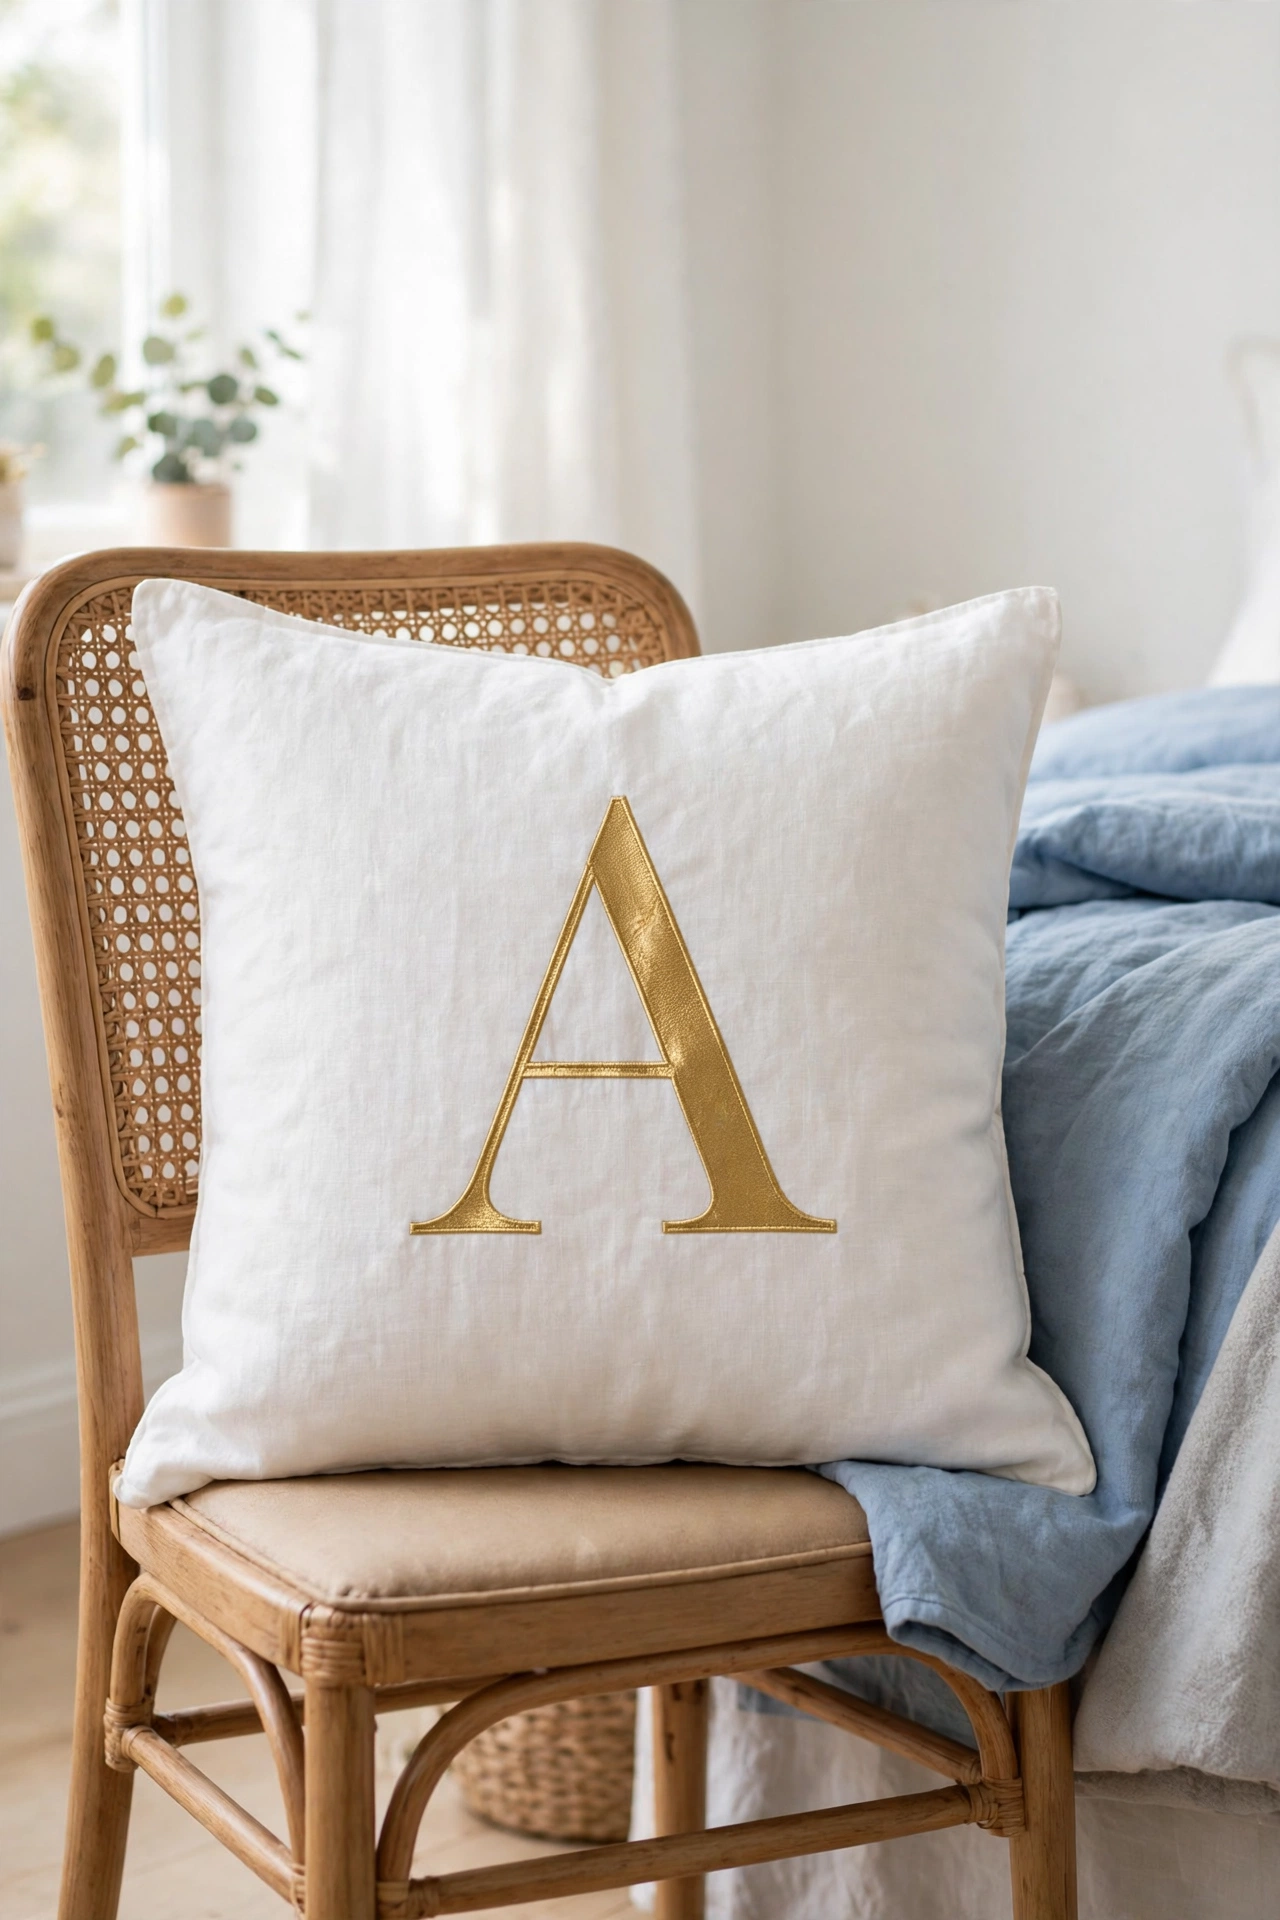
21. Add a Monogram With Iron-On Letters
A monogram makes a cover feel personal and gift worthy, and iron-on letters make the project quick and simple. Choose a letter style that suits the room, such as a classic serif or a playful script, and position the letters in the center of the front panel. Press with a hot iron for the time stated on the package, let the cover cool completely, and peel away the backing sheet.
Use a single large initial for a bold, modern look, or a small three letter monogram in a corner for a subtle, classic touch. Iron-on letters work best on smooth cotton or linen, and they survive washing well if you turn the cover inside out before laundry. A monogrammed cover makes a thoughtful housewarming gift, and it adds a sense of ownership to a shared family room.
22. Sew a Reversible Cover With Two Fabrics
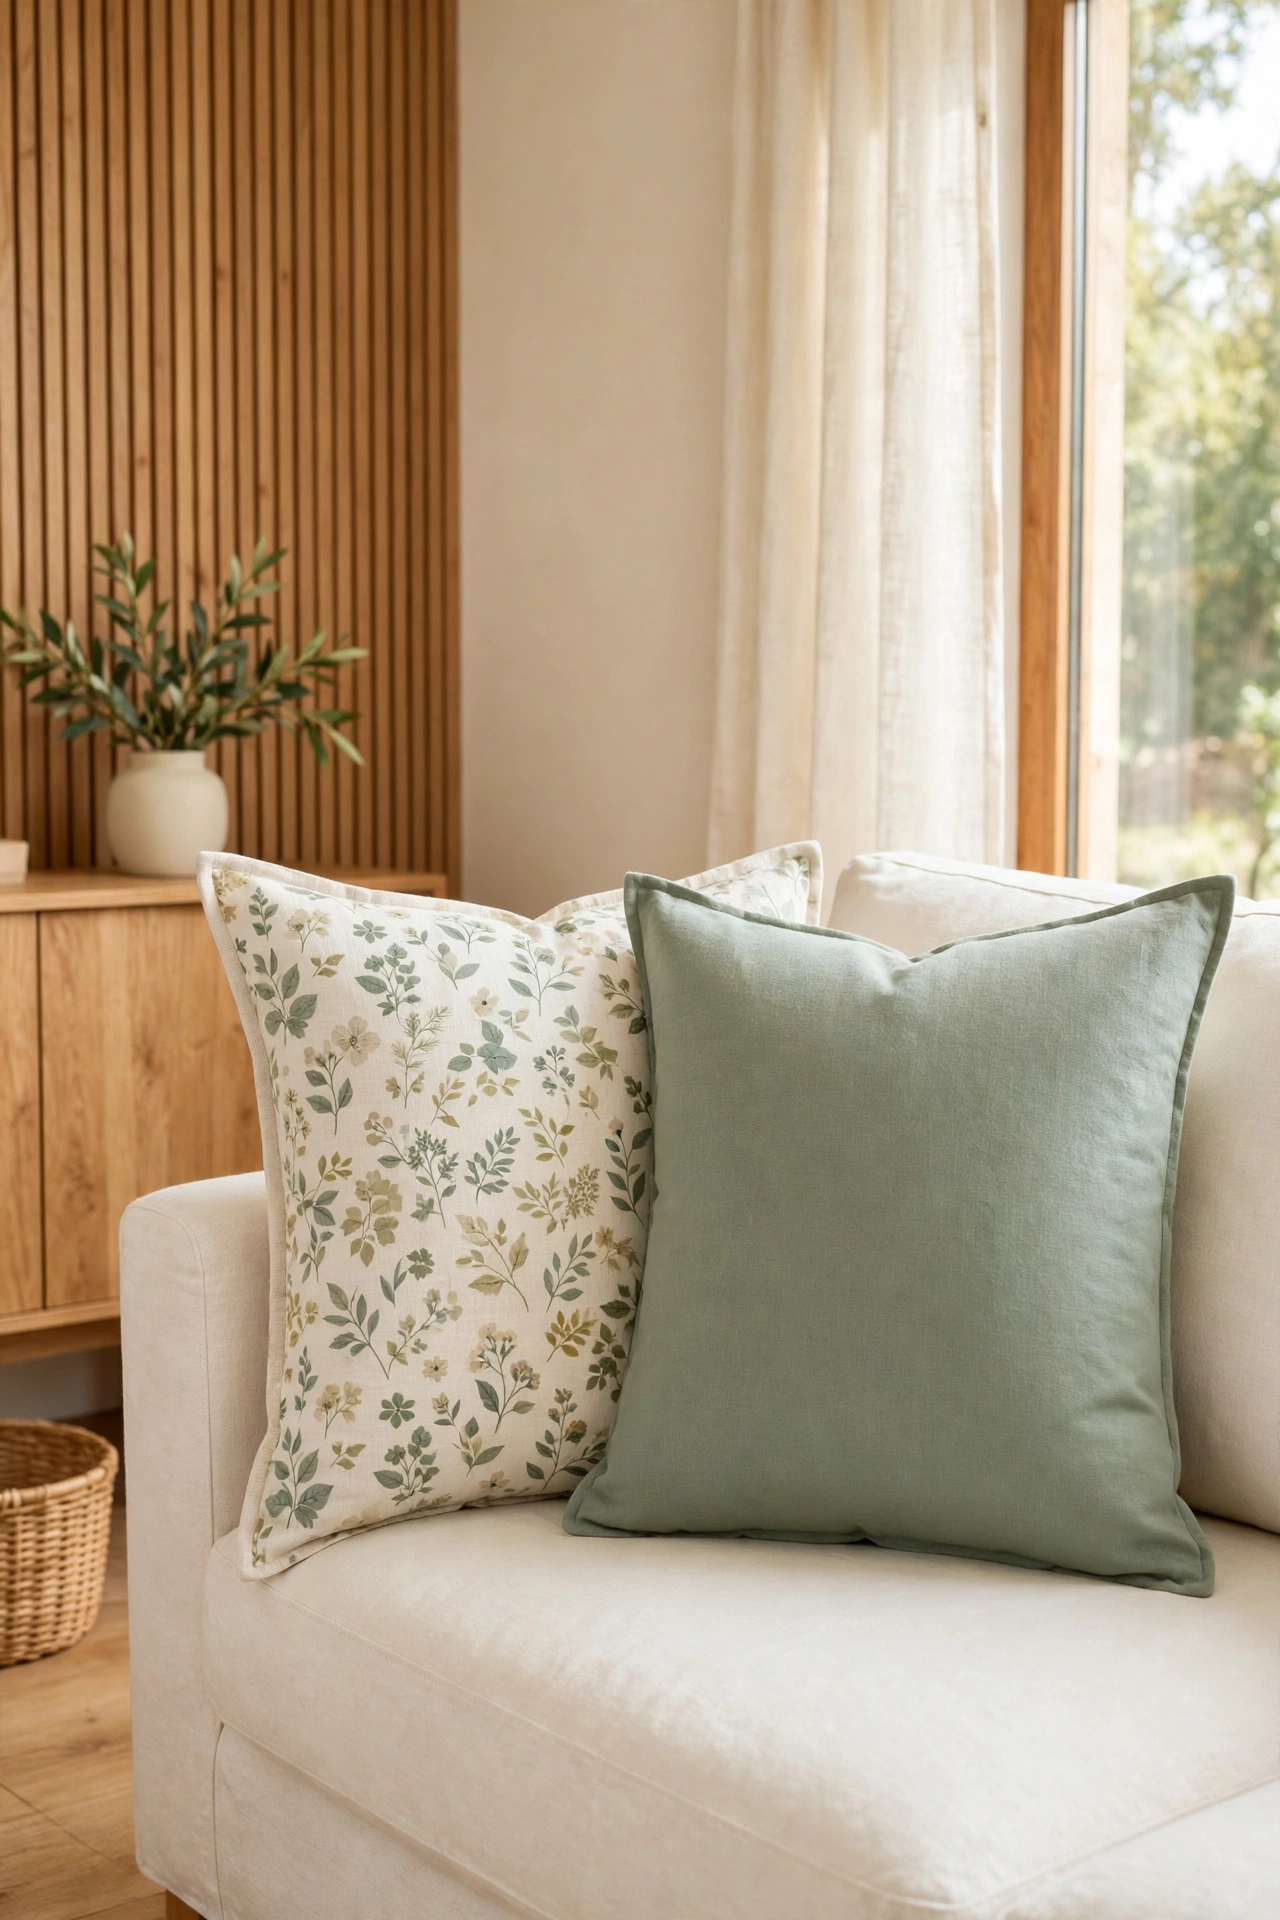
A reversible cover gives you two looks for the effort of one project, because each side uses a different fabric. Sew one side in a bold pattern and the other side in a solid color that matches, join the two panels with a simple seam, and add an envelope opening or a zipper at the bottom. Flip the cover whenever you want a change, with no extra storage needed.
Pick fabrics of similar weight so the cover lies flat on both sides, and press the seam allowances toward the patterned side so the solid side stays smooth. A floral print paired with sage green gives you a lively side and a calm side in one cover, which is perfect for rooms that need to shift from day to evening moods. Reversible covers are also smart for small homes, where every item should earn its place twice.
Conclusion
A handmade pillow cover is a small project with a large effect, because it changes the feel of a whole room for the cost of a little fabric and an evening of work. Whether you sew a crisp envelope cover, knot a no-sew fleece cover, or stitch wildflowers on linen, the result carries your own hand and your own taste. Start with the simplest idea on this list, and let each finished cover give you confidence for the next one.
Once you have a few covers you love, think about the colors around them, because the right palette ties the whole room together. These terracotta color combinations show how warm earthy tones can ground a room and make handmade covers look even more beautiful. Make one cover this week, and enjoy the fresh look it brings to your favorite seat.
Frequently Asked Questions About DIY Throw Pillow Cover Ideas for a Fresh Look
What is the easiest diy throw pillow cover idea for a beginner?
The envelope cover is the easiest sewn option, because it needs only straight seams and no zipper or buttons. If you do not sew at all, the no-sew fleece tie cover is even simpler, because it needs only scissors and knots. Both projects take less than an hour and need very little fabric.
How much fabric do I need for one pillow cover?
A standard 18 inch square pillow cover needs about half a yard of fabric that is at least 45 inches wide, plus a little extra for seam allowances and mistakes. Larger covers, ruffled covers, and patchwork covers need more fabric, so measure your pillow form and add at least one inch on every side for seams before you cut.
Can I wash handmade pillow covers in a machine?
Most cotton, linen, and fleece covers wash well in a machine on a gentle cycle with cool water. Turn covers with embroidery, applique, or iron-on letters inside out before washing, and air dry them flat to protect the stitching and the trim. Velvet and sweater covers need gentler care, so check the fabric label before the first wash.
What fabric works best for a first pillow cover?
Medium weight cotton is the best choice for a first cover, because it is easy to cut, easy to sew, and easy to wash. Linen is a close second for a relaxed look, while quilting cotton offers the widest range of prints. Avoid slippery fabrics like satin and stretchy fabrics like jersey until you have more sewing practice.
How do I style handmade covers with the rest of my room?
Match one color in the cover to something already in the room, such as a rug, a curtain, or a piece of wall art, so the cover feels connected to the space. Mix one patterned cover with one or two solid covers in matching tones, and vary the textures for depth. Framed pieces on the wall can echo the same colors, and these diy decorative window frame ideas show how to build a matching wall display from old frames and simple materials.

Hi, I’m Emily! I turn messy corners into cozy, organized spots. DreamNestDecor is where I share simple, practical home ideas — decor, organization, and small-space solutions that work in real life, not just in photos. Every idea here is carefully researched before it’s shared.