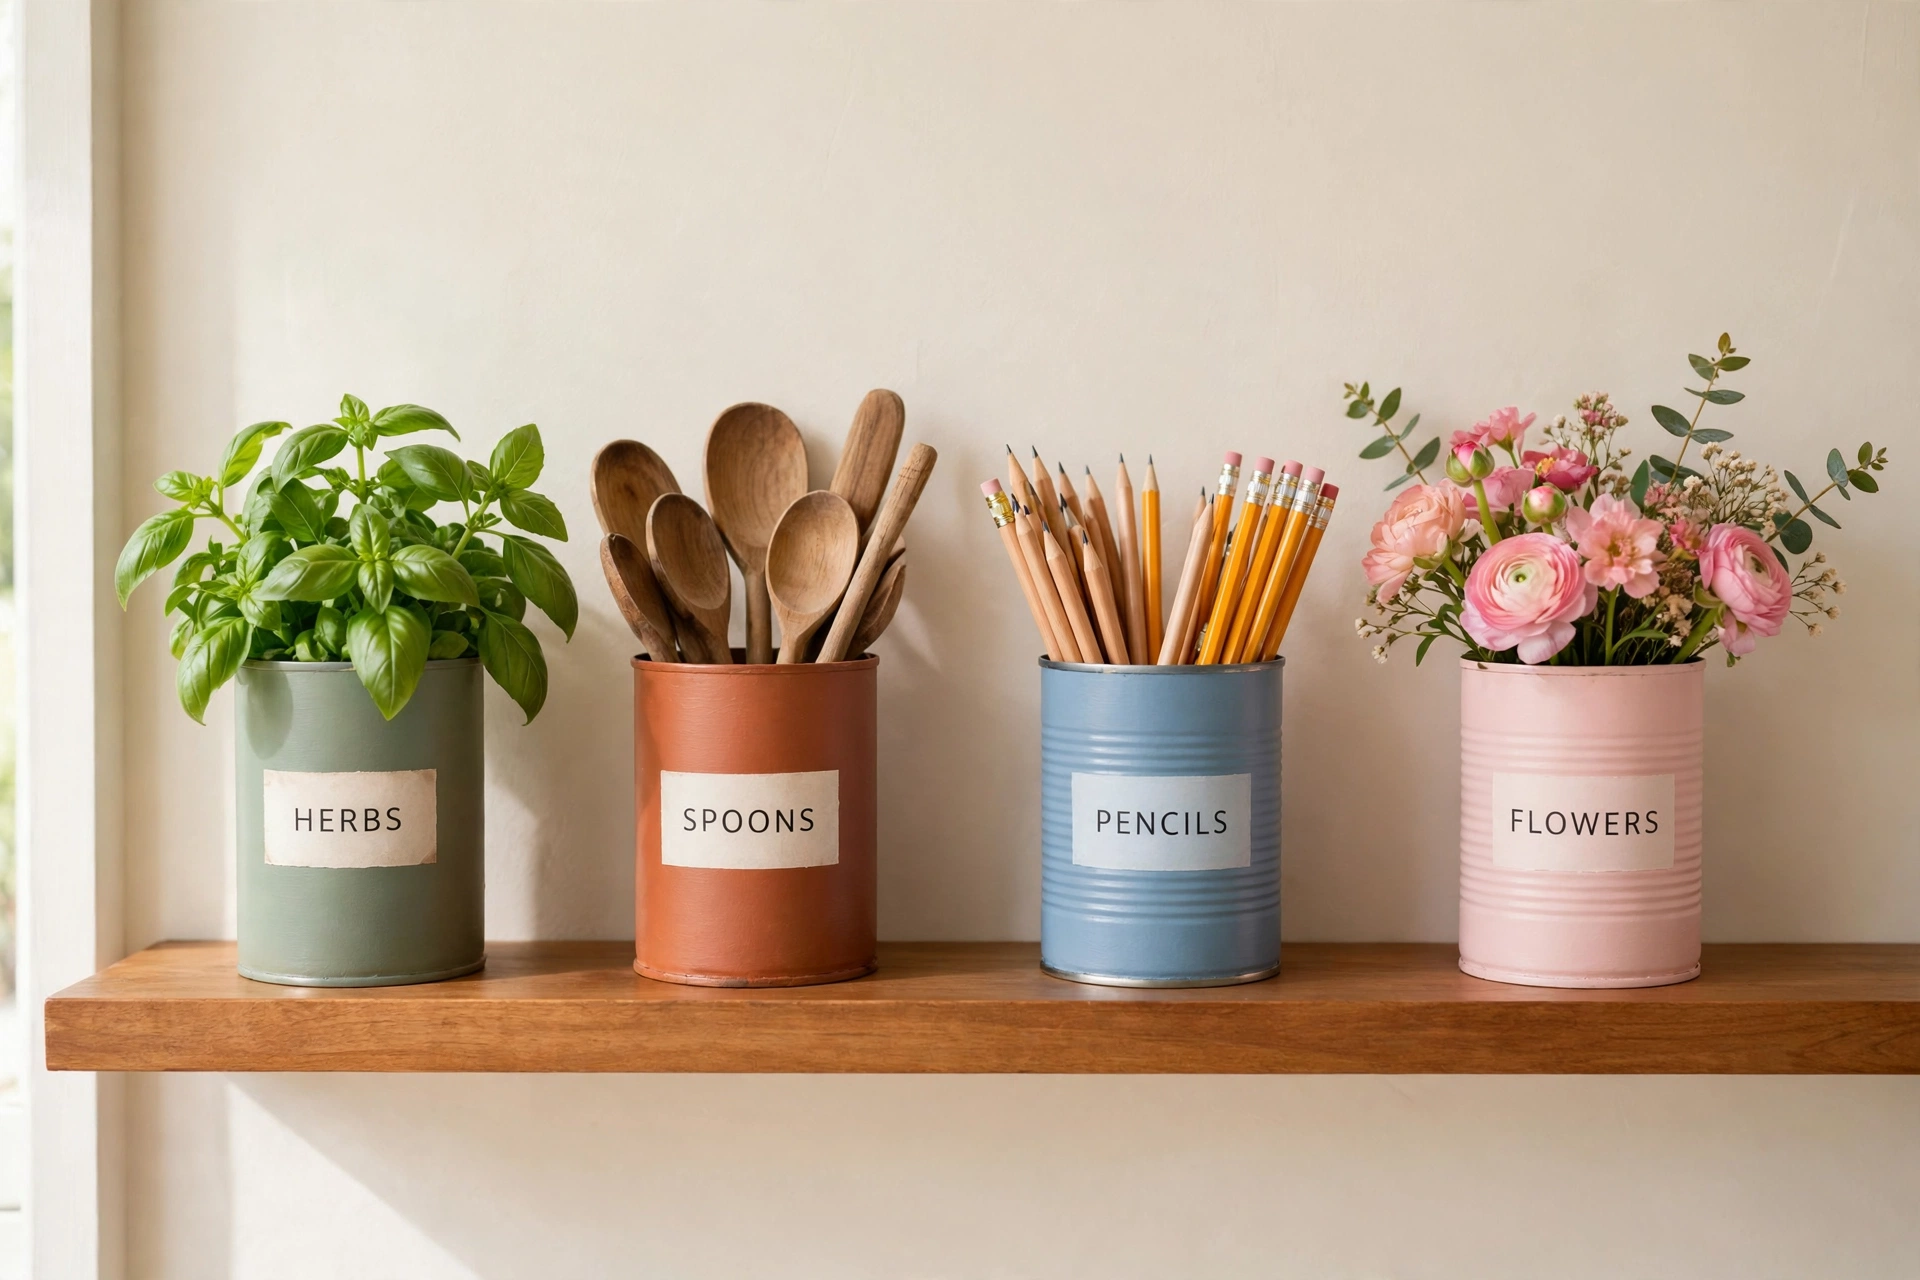
Picture this: you open the pantry, and instead of tossing an empty can into the recycling bin, you see a future herb planter, a pencil holder, or a glowing lantern. That small shift in thinking turns kitchen waste into handmade decor, and it costs almost nothing to start. A tin can is sturdy, easy to paint, and the perfect size for dozens of small projects around the home.
You do not need fancy tools, expensive paint, or craft experience to get beautiful results. All you need is a clean can, a few basic supplies, and an idea that fits your home. These 16 diy decorative tin can projects will help you turn plain cans into planters, organizers, lanterns, and gifts that look thoughtful, tidy, and completely original.
1. Paint Herb Garden Cans for the Kitchen Windowsill
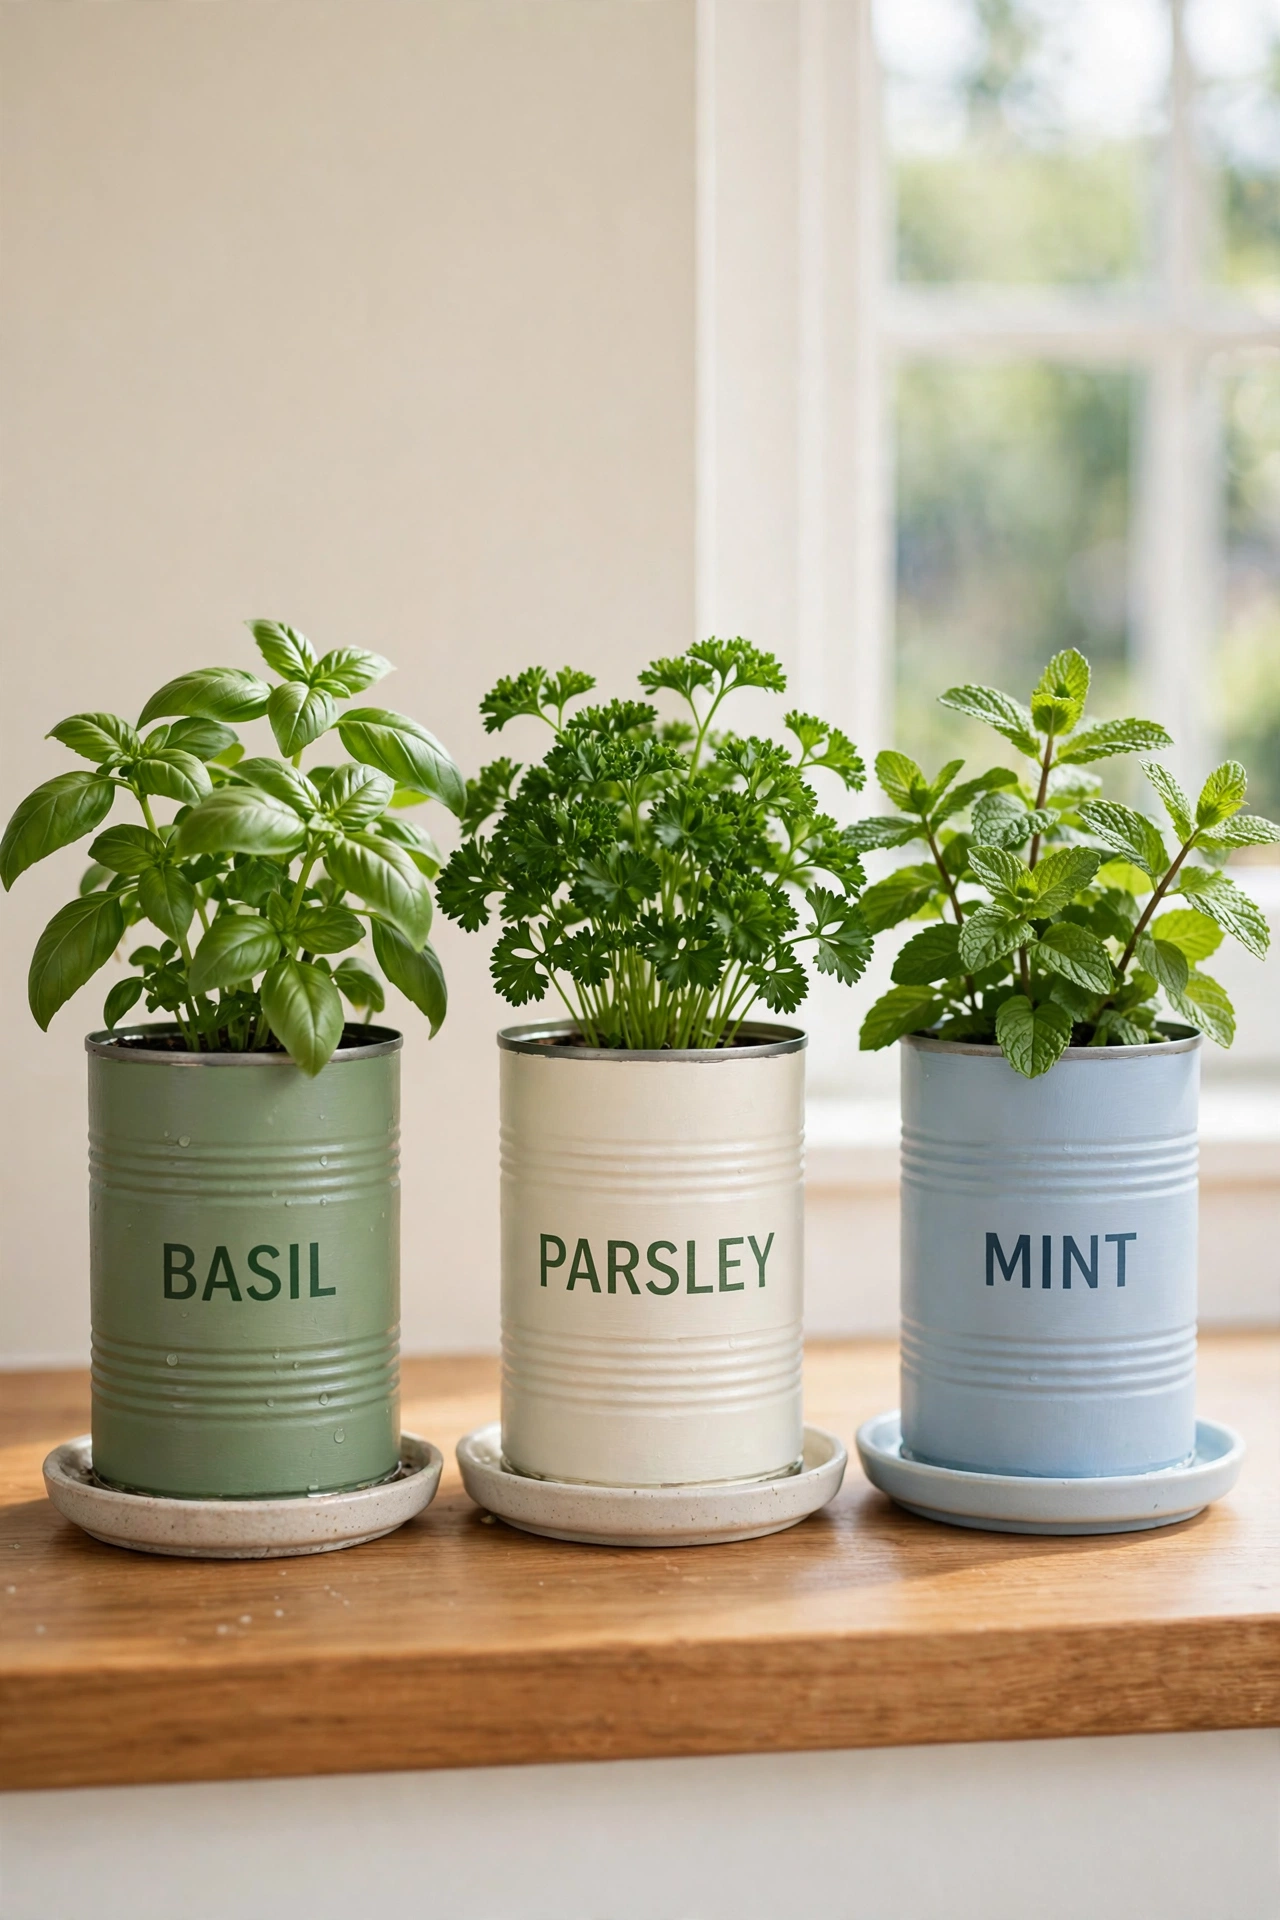
Painted herb cans bring fresh green life to the kitchen windowsill without taking up counter space. Clean each can well, punch a few drainage holes in the bottom, and paint the outside in a soft color that matches your kitchen. Fill the cans with potting soil and plant basil, parsley, mint, or chives for cooking.
Label each can with the herb name in neat printed letters so the row looks intentional and tidy. A small saucer under each can catches extra water and protects the sill. Fresh herbs within reach make everyday cooking feel easier, and the painted cans add a cheerful row of color to a sunny window.
2. Wrap Pencil Holders in Natural Twine
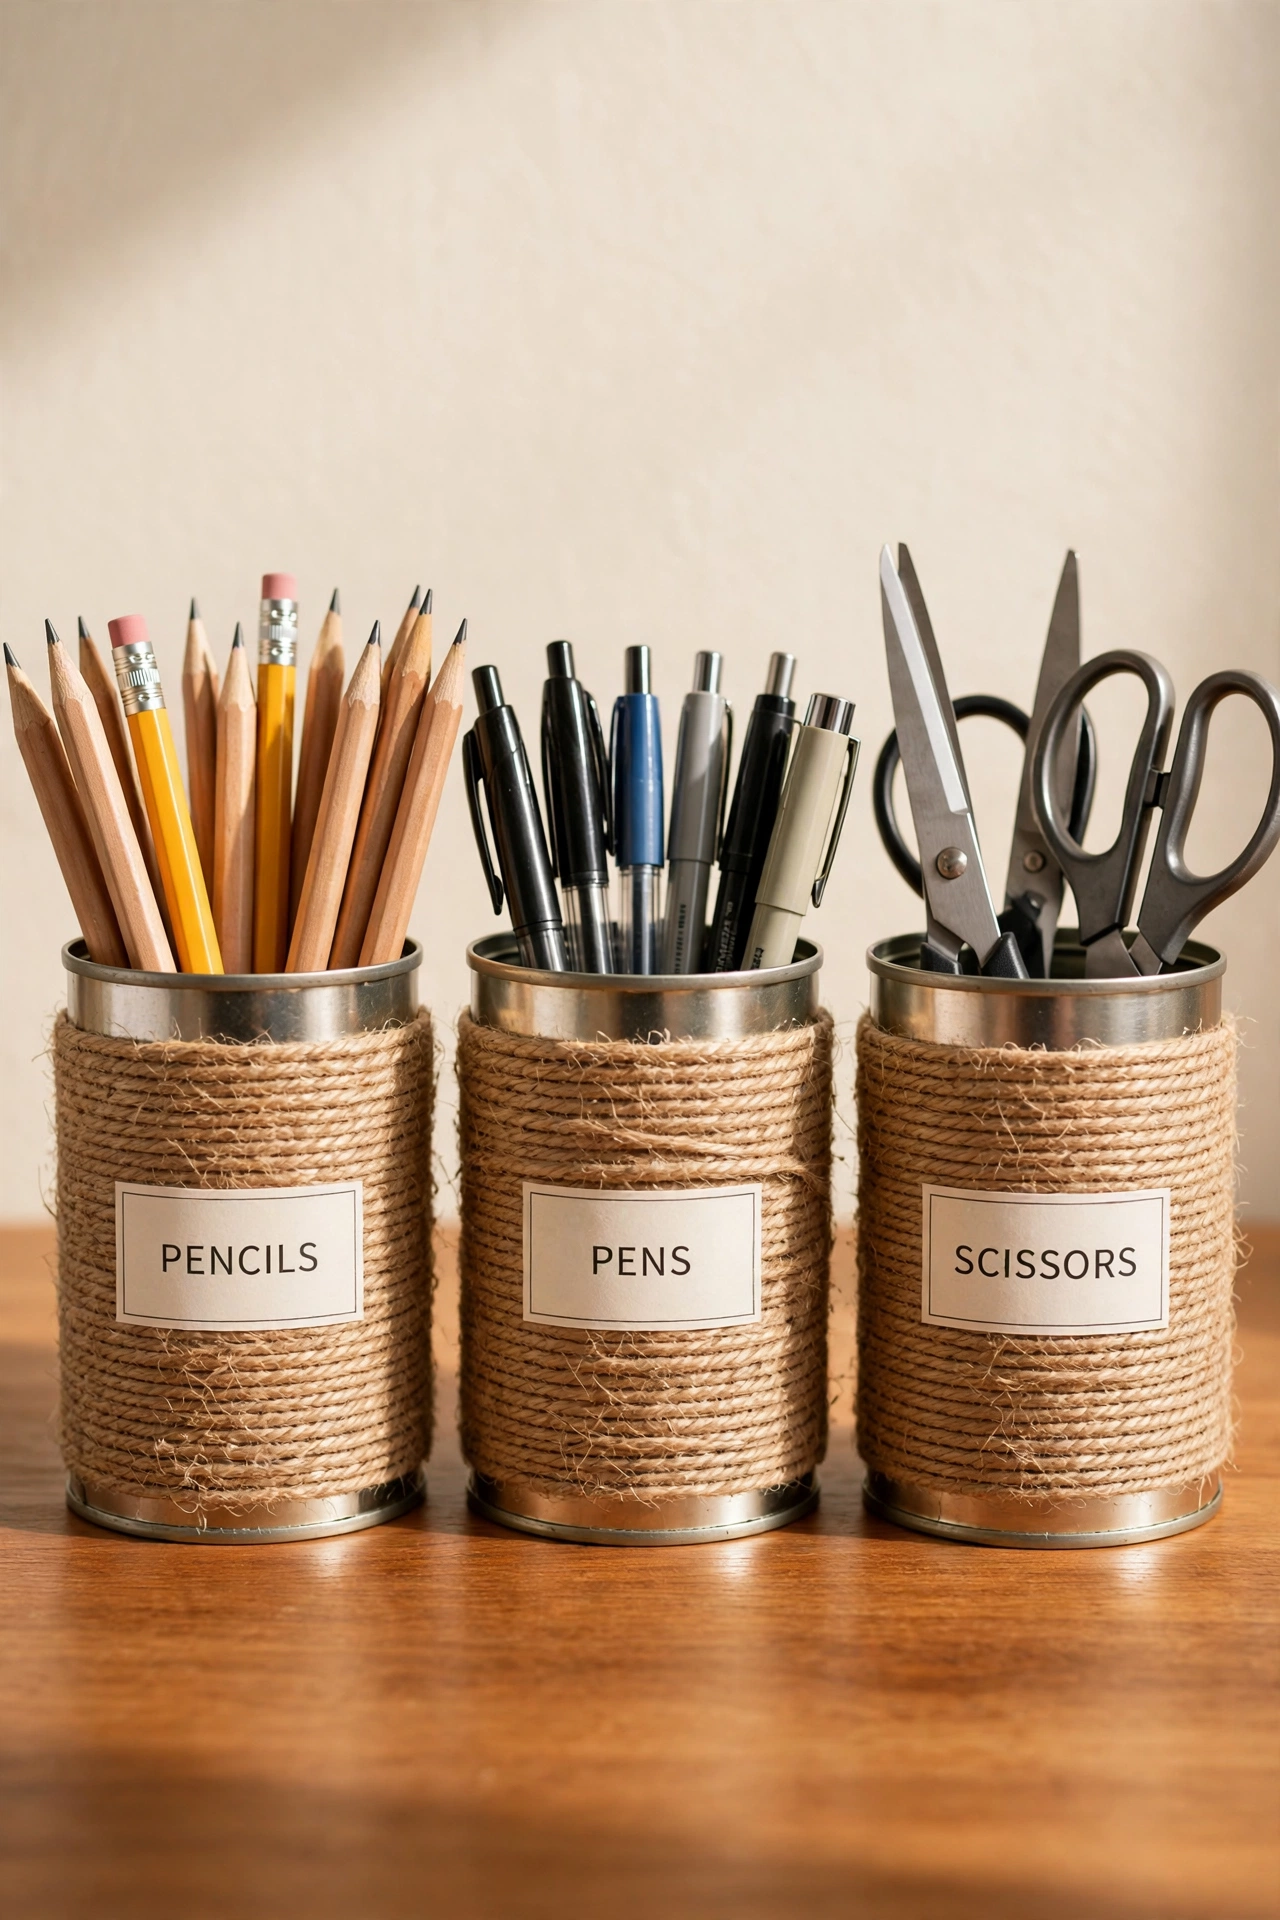
A twine-wrapped tin can makes a warm and sturdy pencil holder for a desk or homework corner. Start at the bottom of the can and wind natural twine tightly upward, adding a dot of glue every few rows to keep it in place. The wrapped texture looks handmade and cozy next to notebooks and books.
Make a matching set in different heights by using cans of different sizes, and group them together for pens, pencils, and scissors. A small printed label on the front tells everyone what belongs inside. For more ways to use the same natural material around the home, these diy rope decor ideas show how twine and rope dress up baskets, jars, and shelves.
3. Punch Tin Can Lanterns for Evening Light
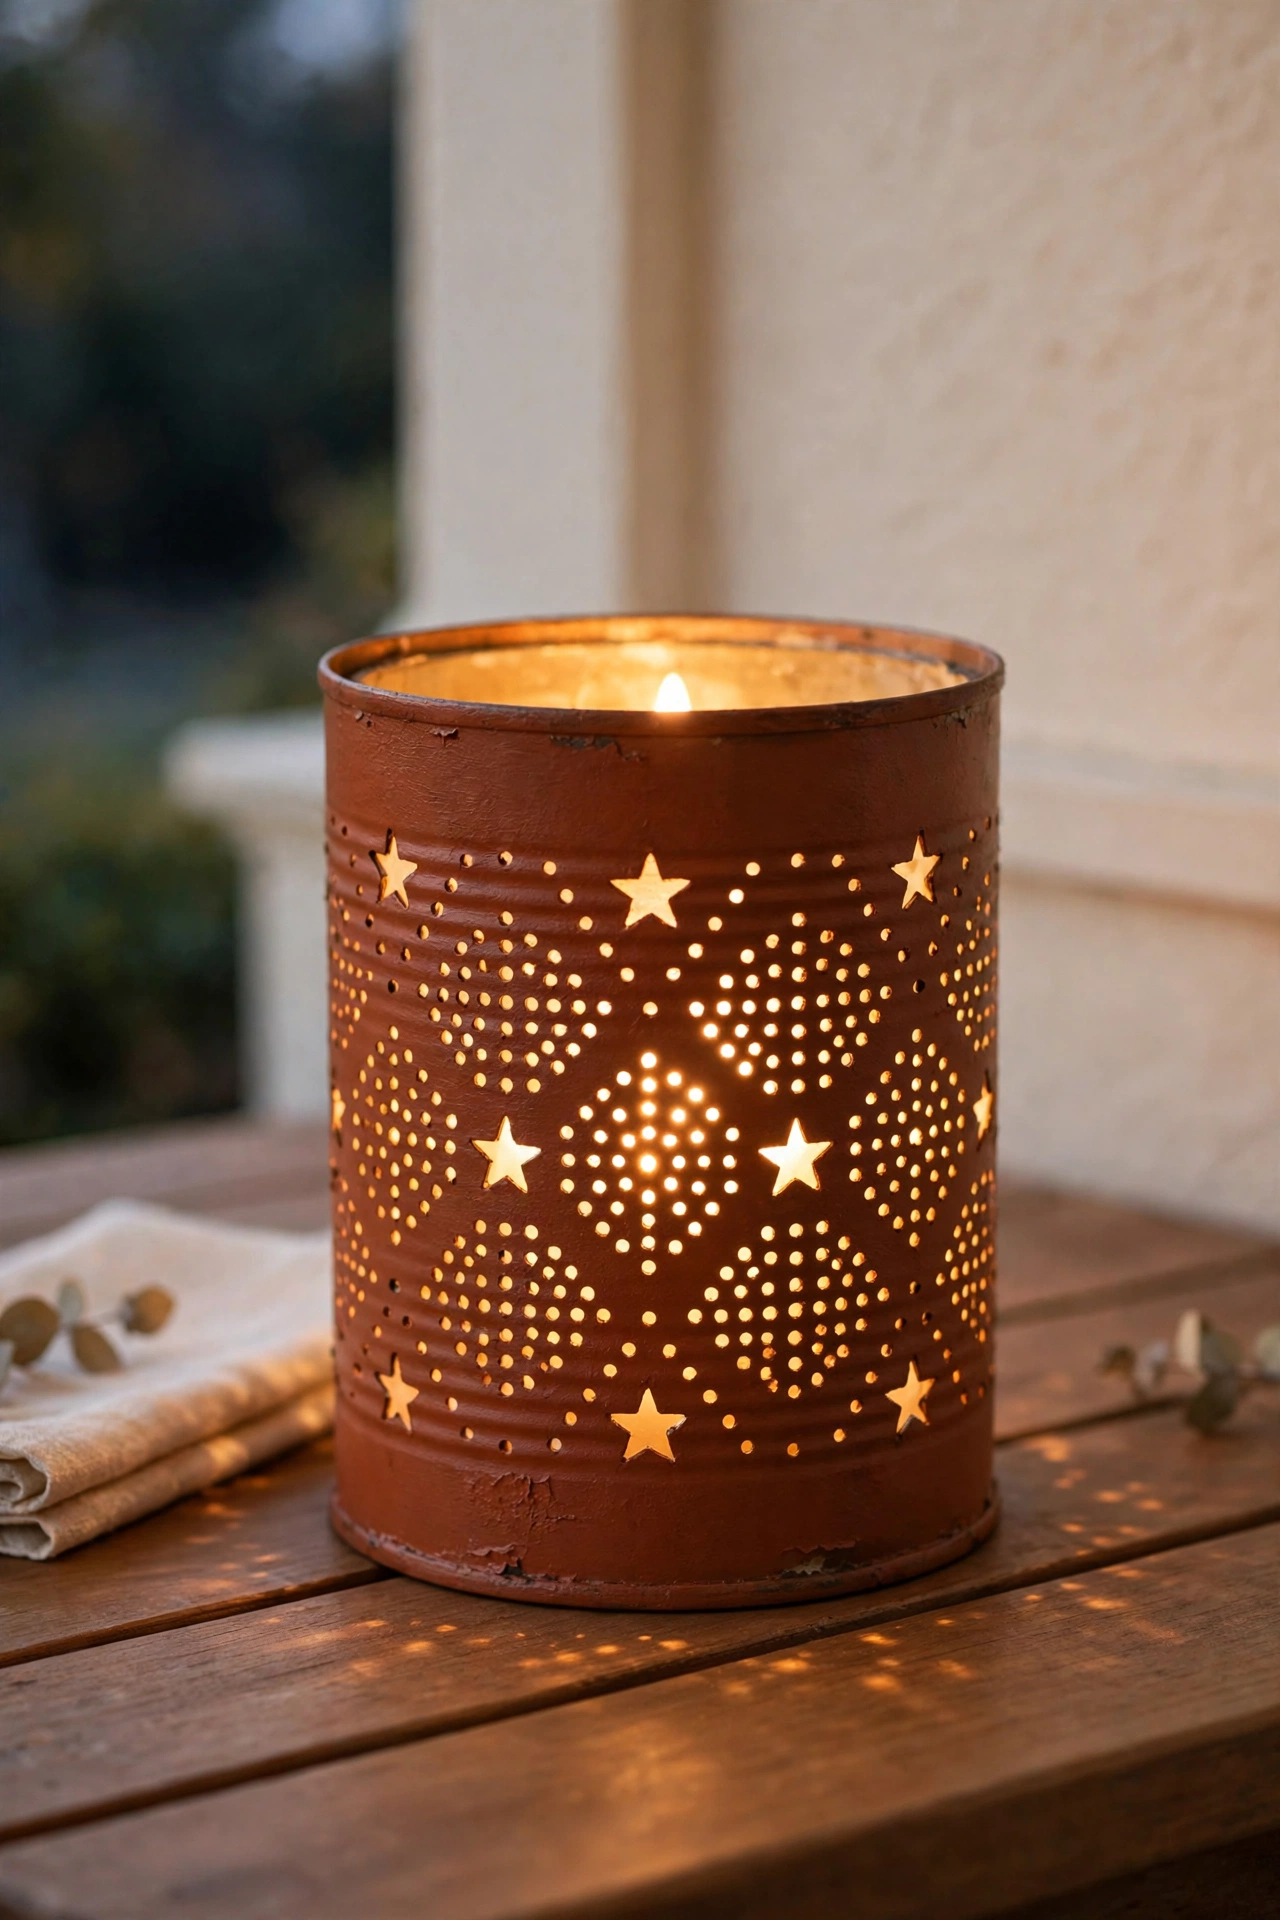
Punched tin can lanterns glow beautifully on a porch table or a living room shelf after dark. Fill the can with water and freeze it solid first, so the ice supports the walls while you punch holes. Tap a nail with a hammer to make a pattern of dots, stars, or simple shapes, then let the ice melt and dry the can.
Place a small battery candle inside and the punched holes cast a soft pattern of light on nearby walls. Paint the outside in a deep color first if you want a stronger contrast when the candle glows. These lanterns cost almost nothing and make an ordinary evening feel calm and special.
4. Label a Utensil Caddy With Chalkboard Paint
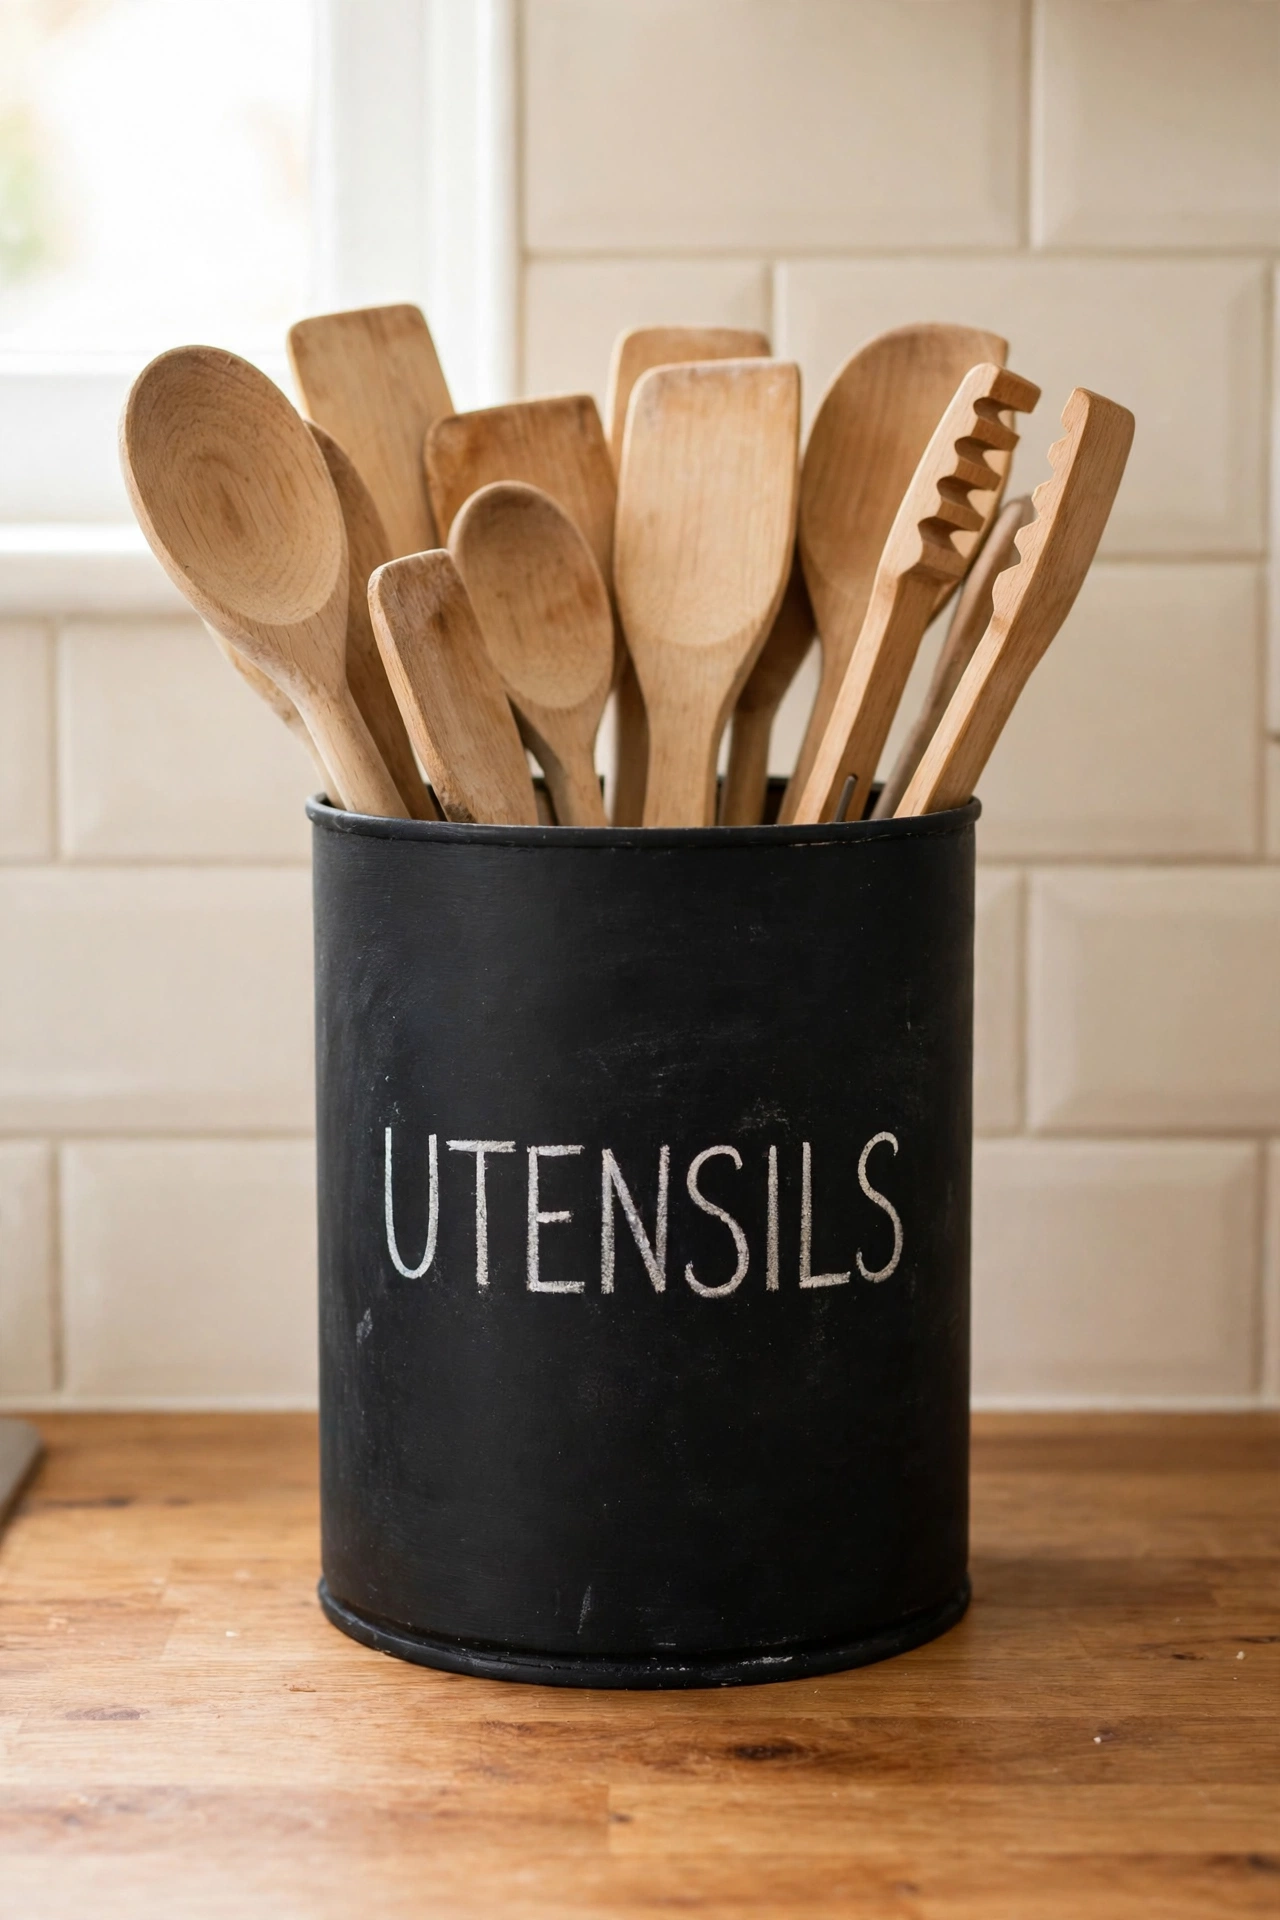
A chalkboard-painted tin can keeps cooking utensils organized and easy to grab beside the stove. Paint the whole can with chalkboard paint, let it dry fully, and write the word UTENSILS on the front in white chalk or a chalk marker. The dark surface looks smart against a warm wood counter and cream tile.
Fill the can with wooden spoons, spatulas, and tongs, and keep it within easy reach of the cooktop. The chalk label wipes clean if you ever want to change the wording. This simple caddy frees up drawer space and turns everyday tools into a tidy display that suits a busy kitchen.
5. Cover Flower Vases in Pretty Fabric
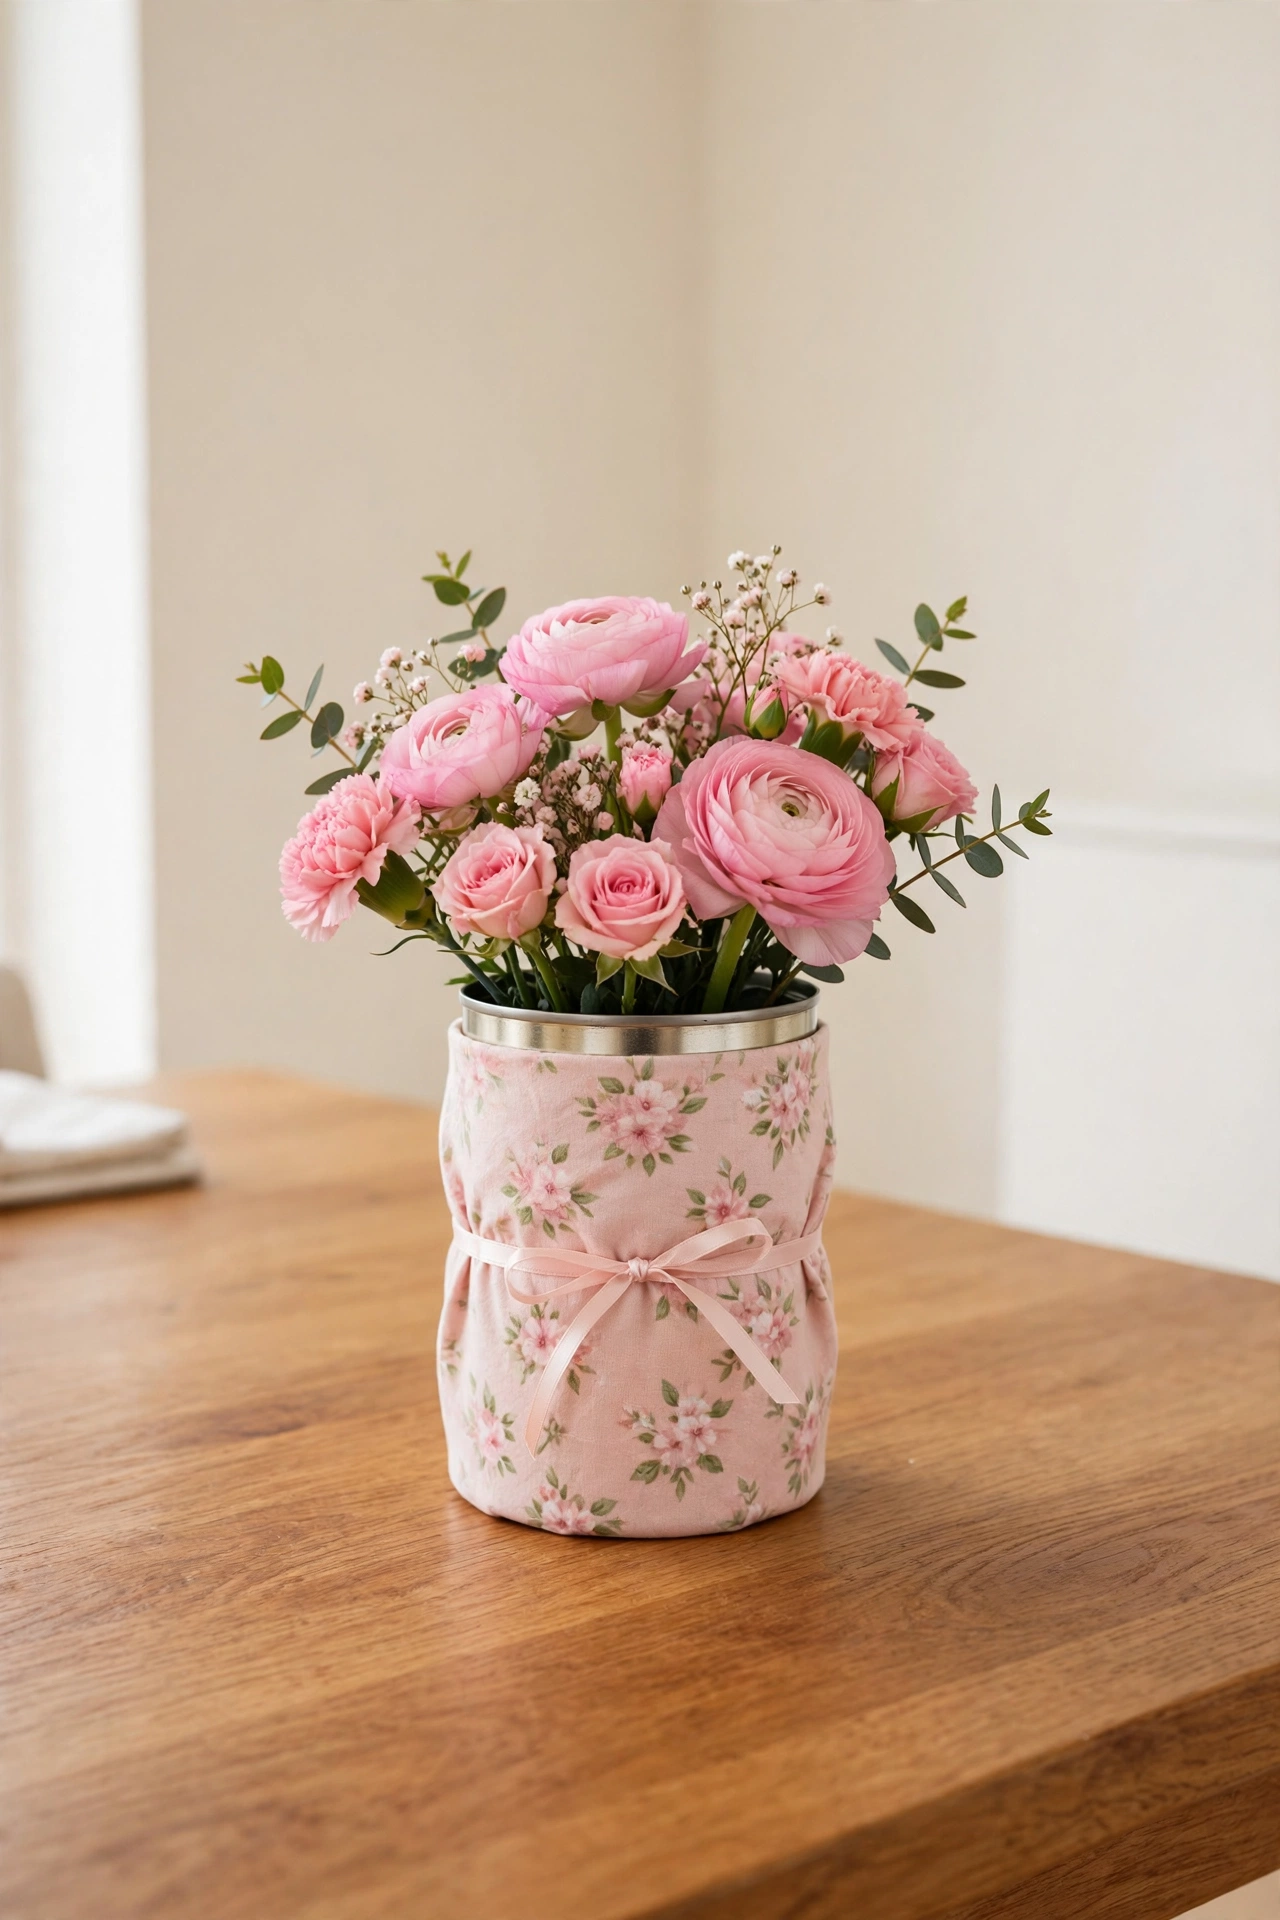
Fabric-covered tin cans make soft, pretty vases for fresh flowers on a dining table or entryway console. Cut a piece of cotton fabric to wrap around the can with a small overlap, then glue it neatly in place and fold the top edge inside. Choose a pattern that matches your table linens for a coordinated look.
Fill the can with water and arrange a small bunch of seasonal stems, keeping the bouquet low and full so the vase stays stable. A ribbon tied around the middle adds a finished touch and hides the seam. These vases are easy to refresh with new fabric each season, so the table always looks fresh.
6. Hang Wall Planters from Sturdy Cans
Hanging tin can planters turn a blank wall into a small vertical garden. Drill two small holes near the top rim of each can, thread sturdy wire or cord through them, and hang the cans from wall hooks at different heights. Paint the cans in matching tones so the group reads as one intentional display.
Fill each can with a trailing plant like pothos or string of pearls, and let the vines spill over the rims. A row of three cans works well beside a window, while a larger grid fills an empty hallway wall. For more wall decoration that you can make by hand, these diy air dry clay wall decor ideas pair nicely with planted cans on the same wall.
7. Decoupage Makeup Brush Holders for the Vanity
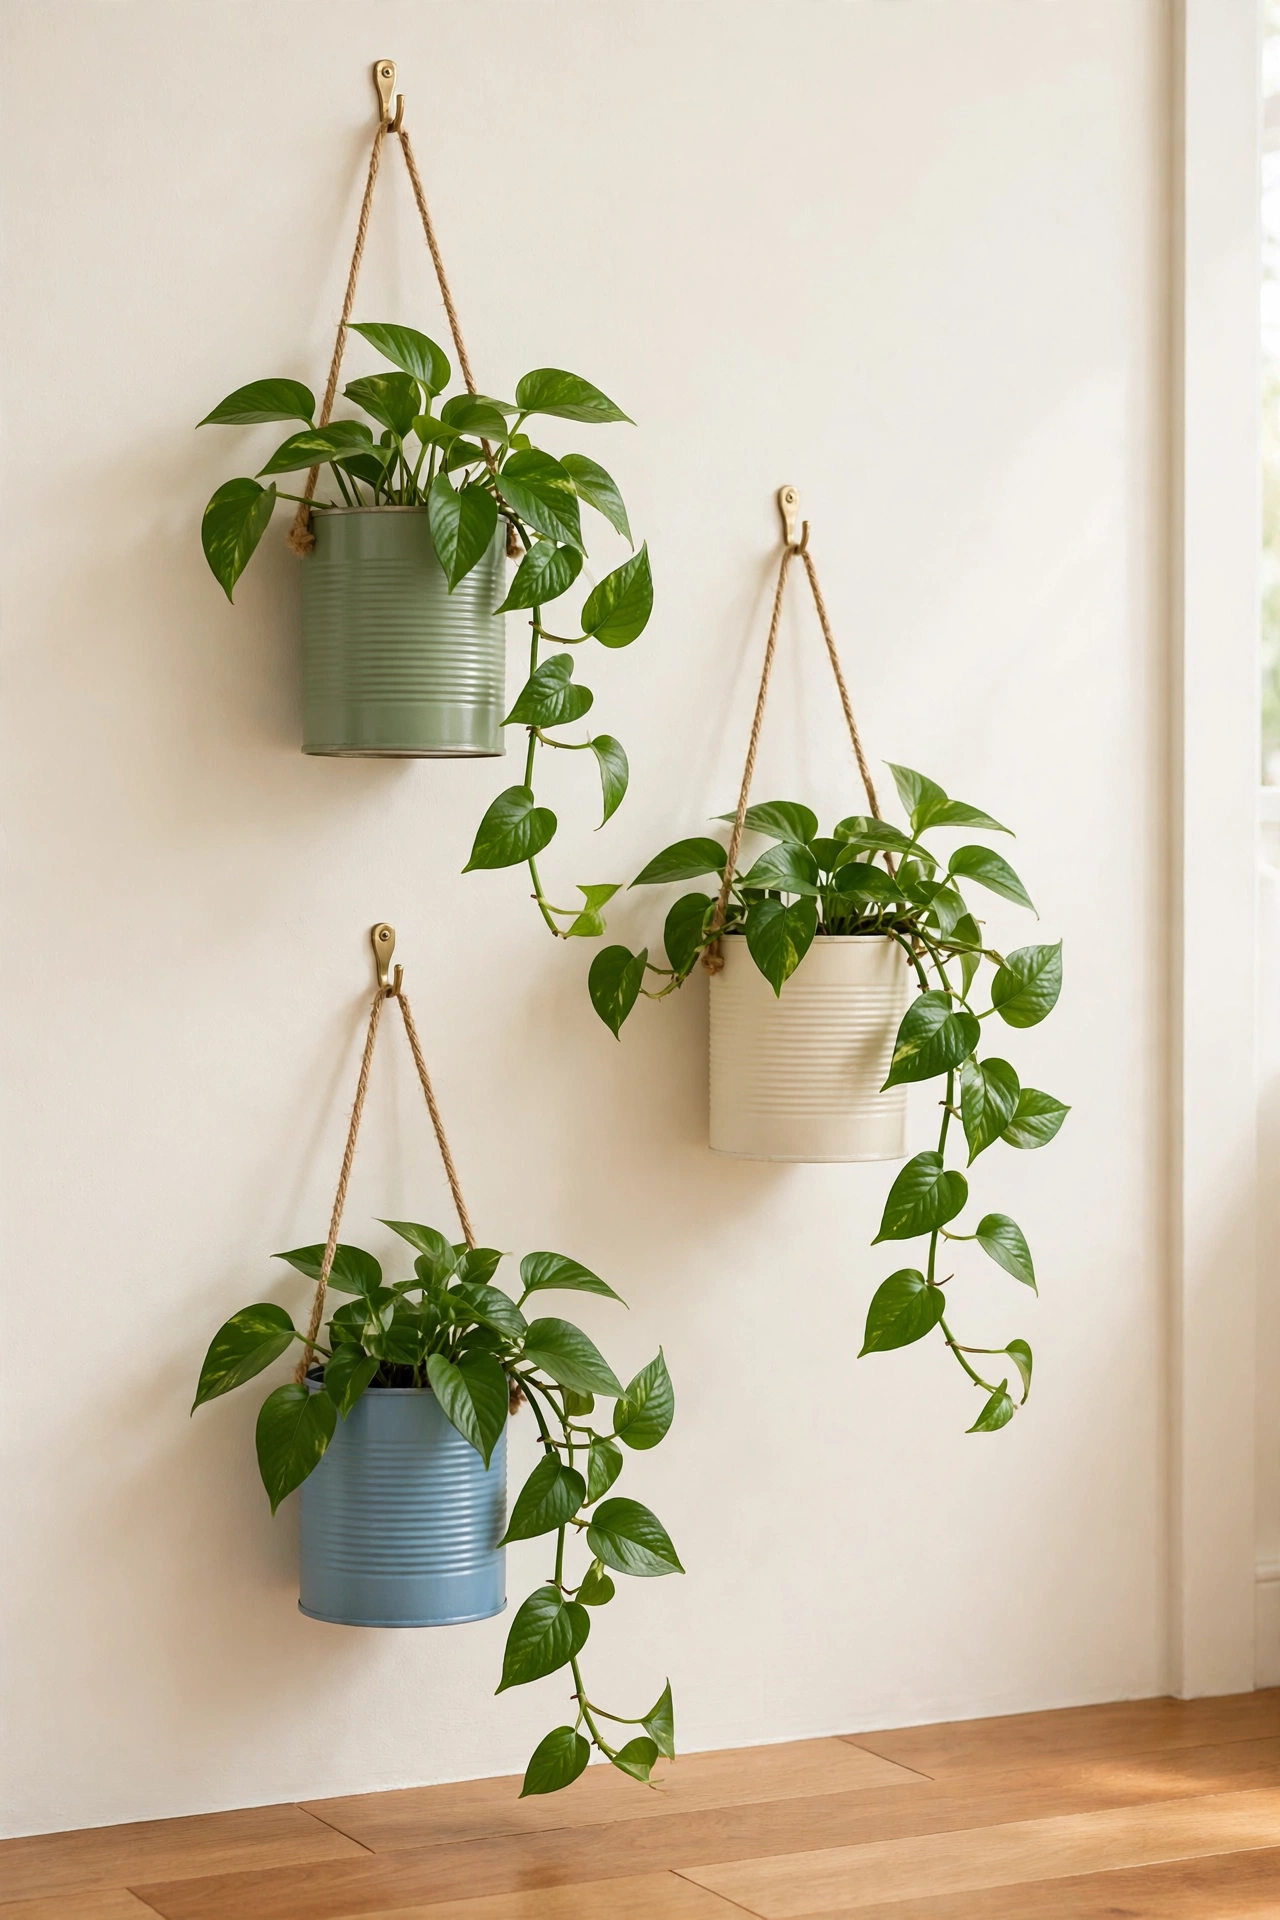
Decoupage turns a plain tin can into a lovely makeup brush holder for a bedroom vanity. Cut pretty paper napkins or craft paper into small pieces, brush glue onto the can, and smooth the pieces into place with a soft brush. Seal the finished surface with a clear coat so it wipes clean.
Stand the holder beside a mirror and fill it with brushes, combs, and pencils, keeping the tallest items at the back. A soft blush or sage pattern keeps the vanity calm and tidy. This project uses scraps you may already own, and the finished holder looks far more expensive than the can it started as.
8. Dip Candle Holders in Gold Paint
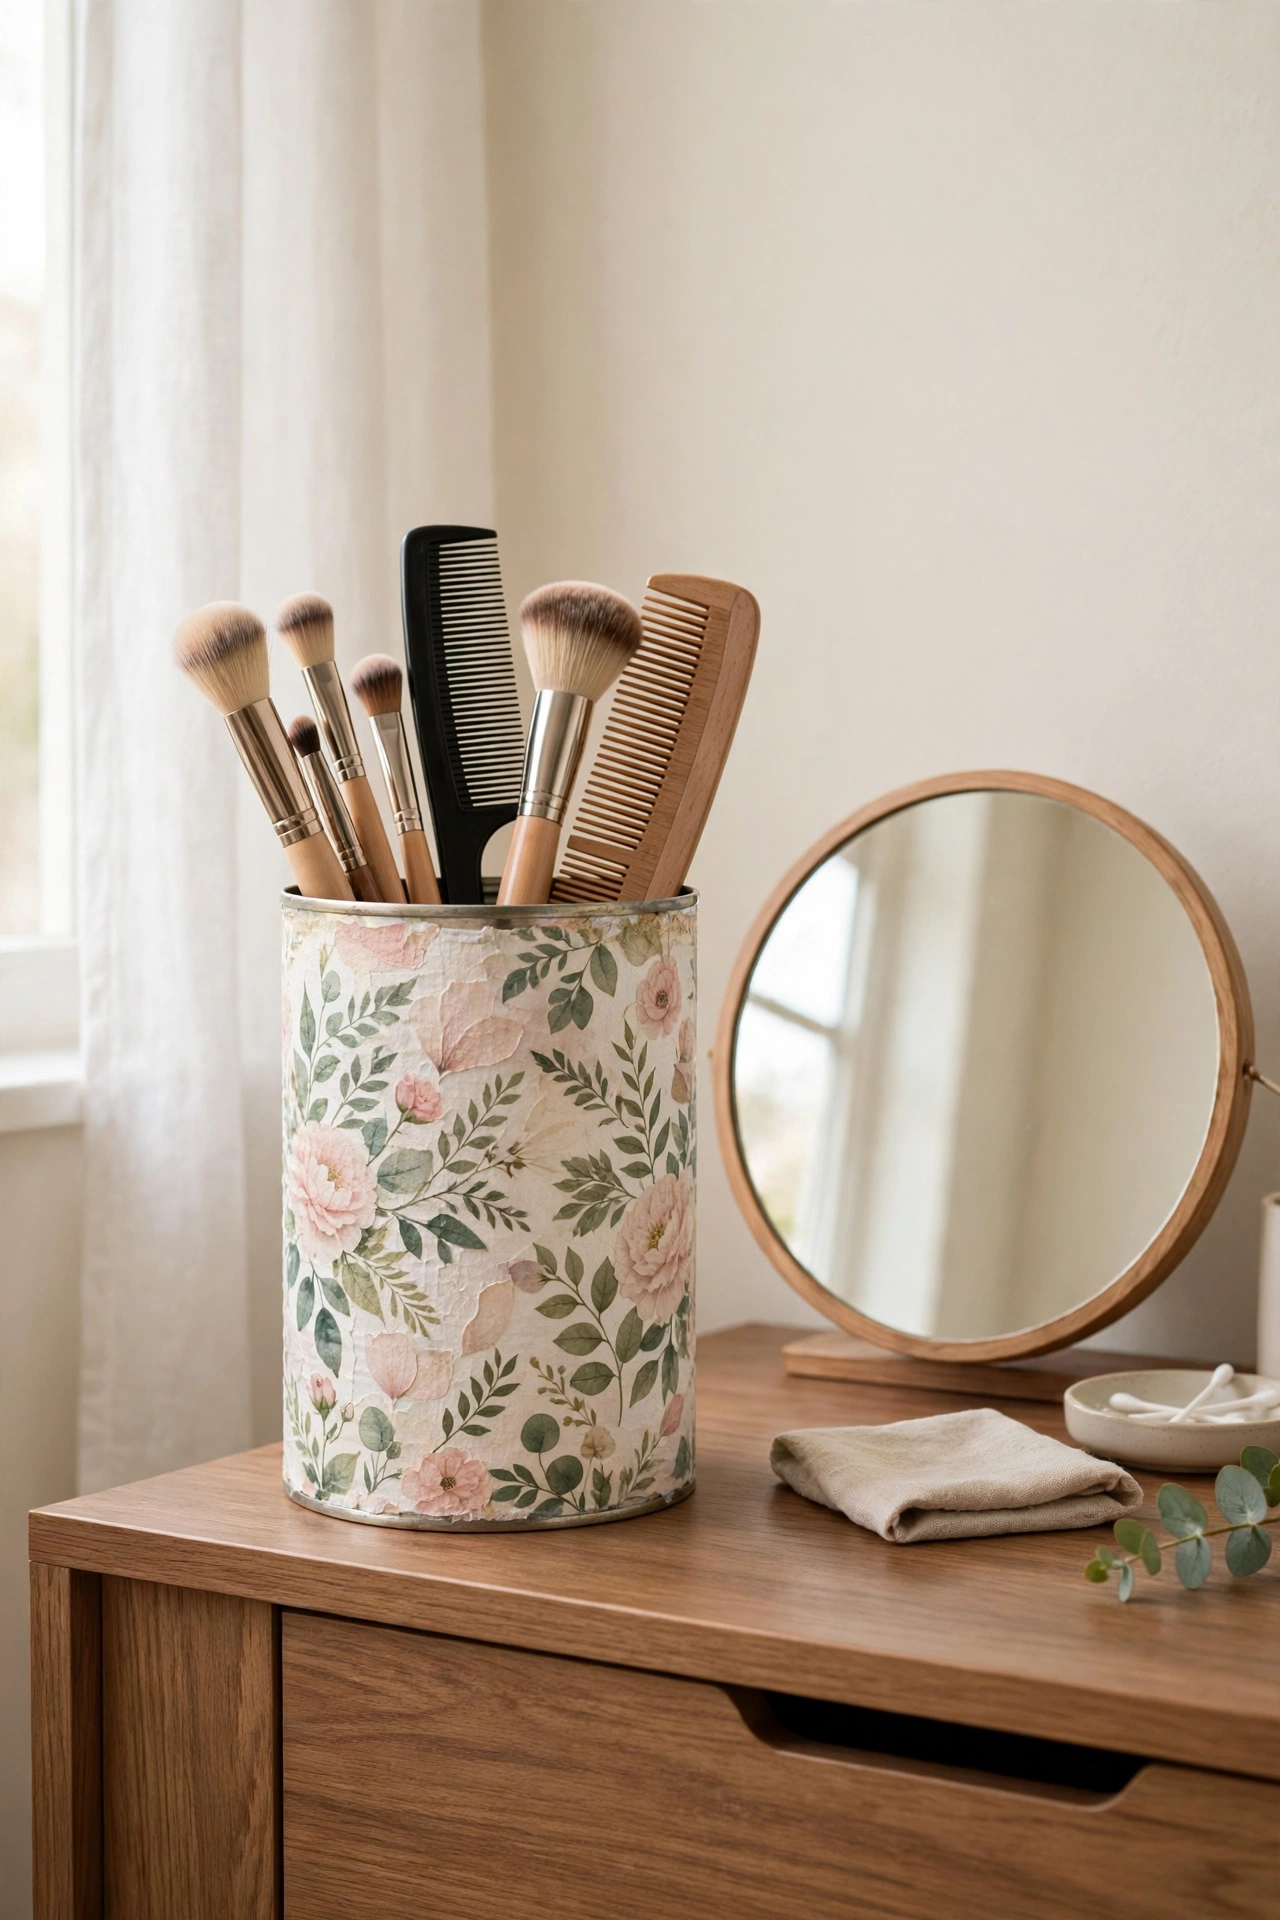
Gold-dipped tin cans make elegant candle holders for a mantel, shelf, or dinner table. Paint the whole can in a soft cream or sage color first, let it dry, then dip or brush the bottom third in metallic gold paint for a clean dipped effect. A neat line of tape gives you a sharp edge between the two colors.
Set a small pillar candle or a jar candle on a heat-safe base inside the wide can, or use a battery candle for a worry-free glow. Group three cans of different heights together for a layered display. For more handmade candle displays, these diy candle holder ideas offer more ways to dress up shelves and tables with warm light.
9. Stack Cans Into a Tiered Desk Organizer
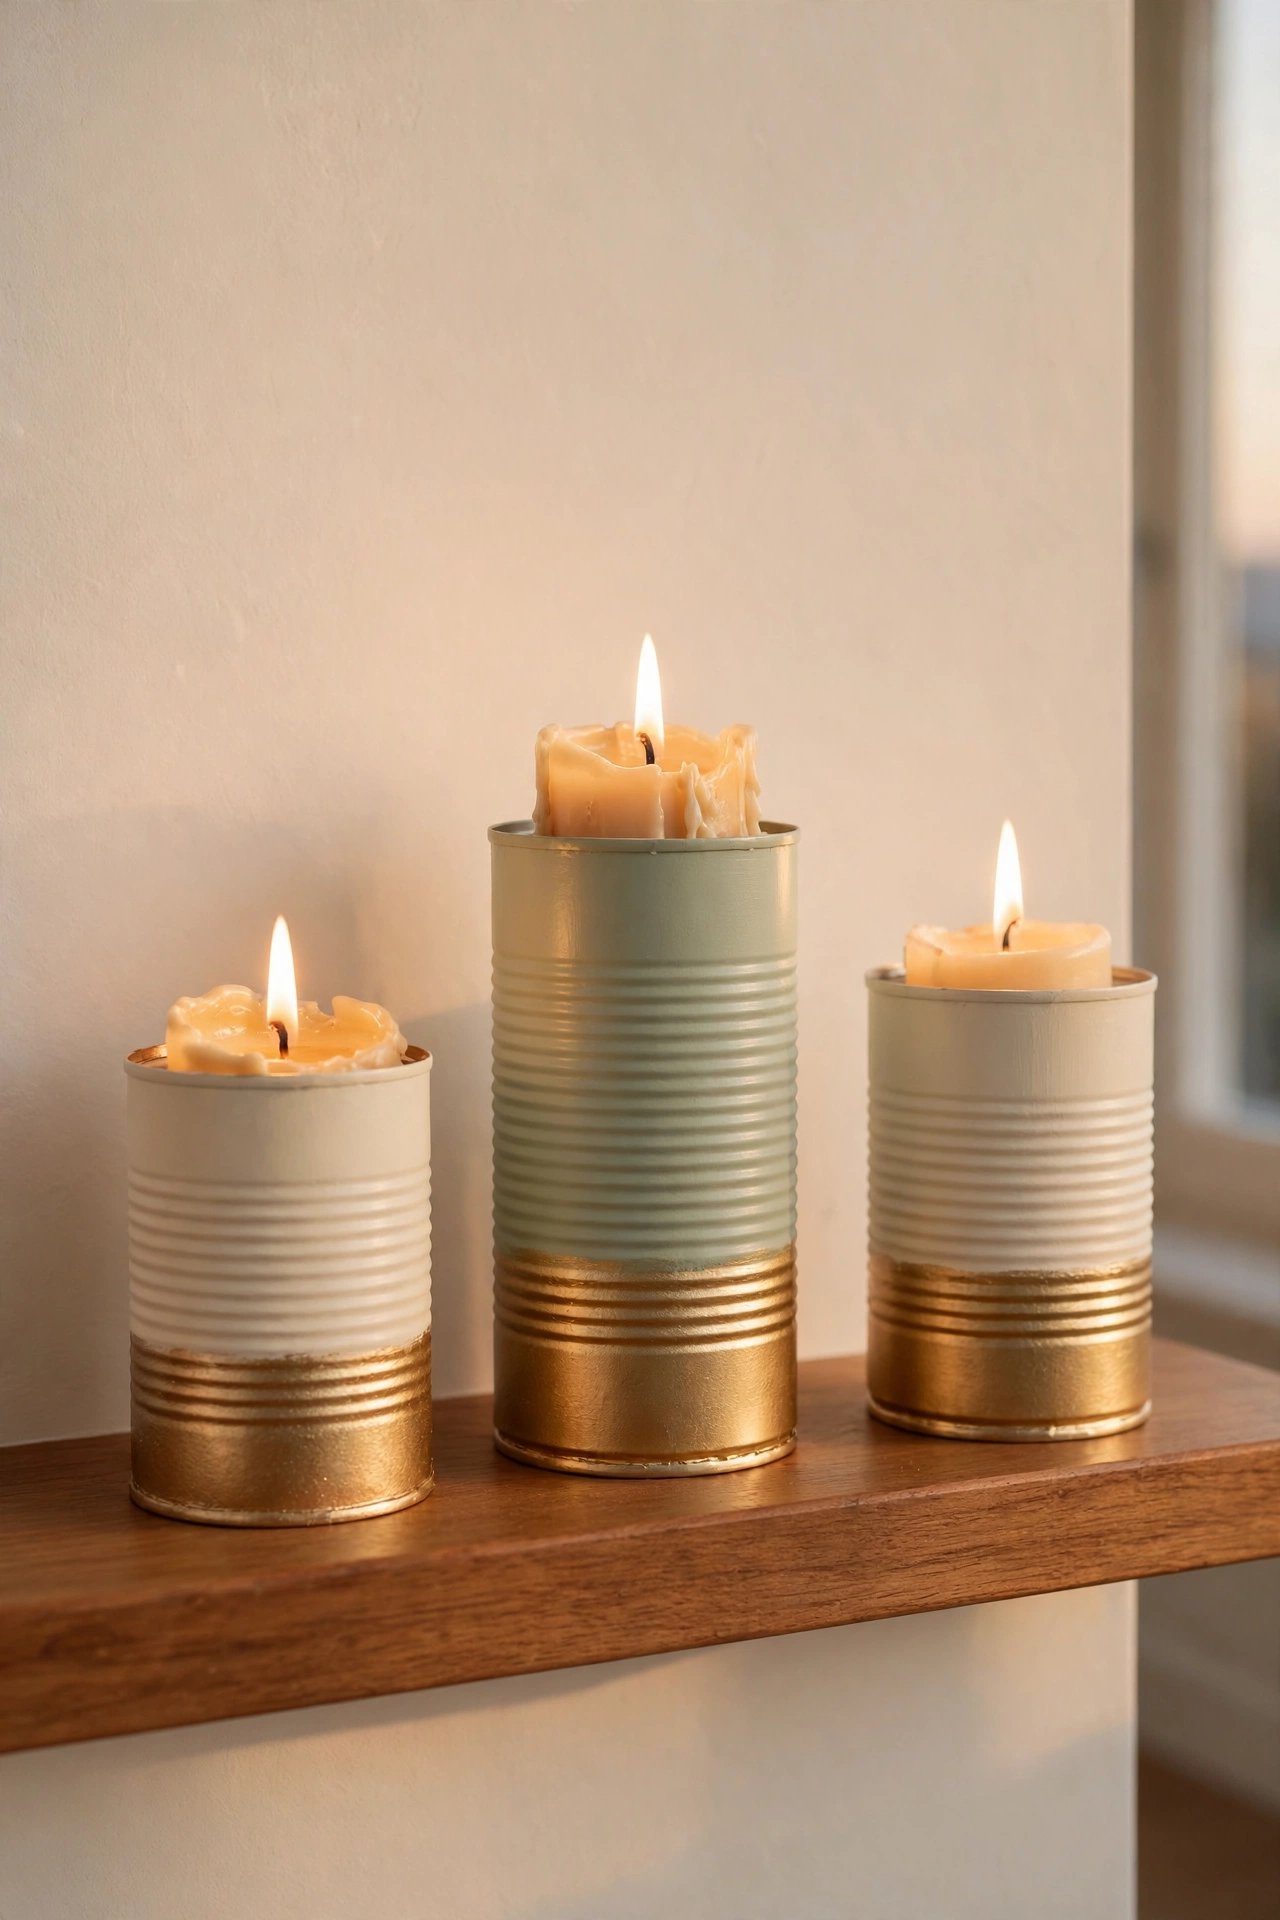
A tiered desk organizer made from stacked tin cans keeps a work surface tidy without buying new storage. Glue three cans together in a triangle for the base, then glue two more on top, and finish with one can at the peak. Paint the whole stack one color so it reads as a single piece.
Assign each can a job: pens in one, sticky notes in another, paper clips and tape in the rest. The stepped shape keeps every compartment visible and easy to reach. This organizer suits a small desk because it uses vertical space instead of spreading supplies across the whole surface.
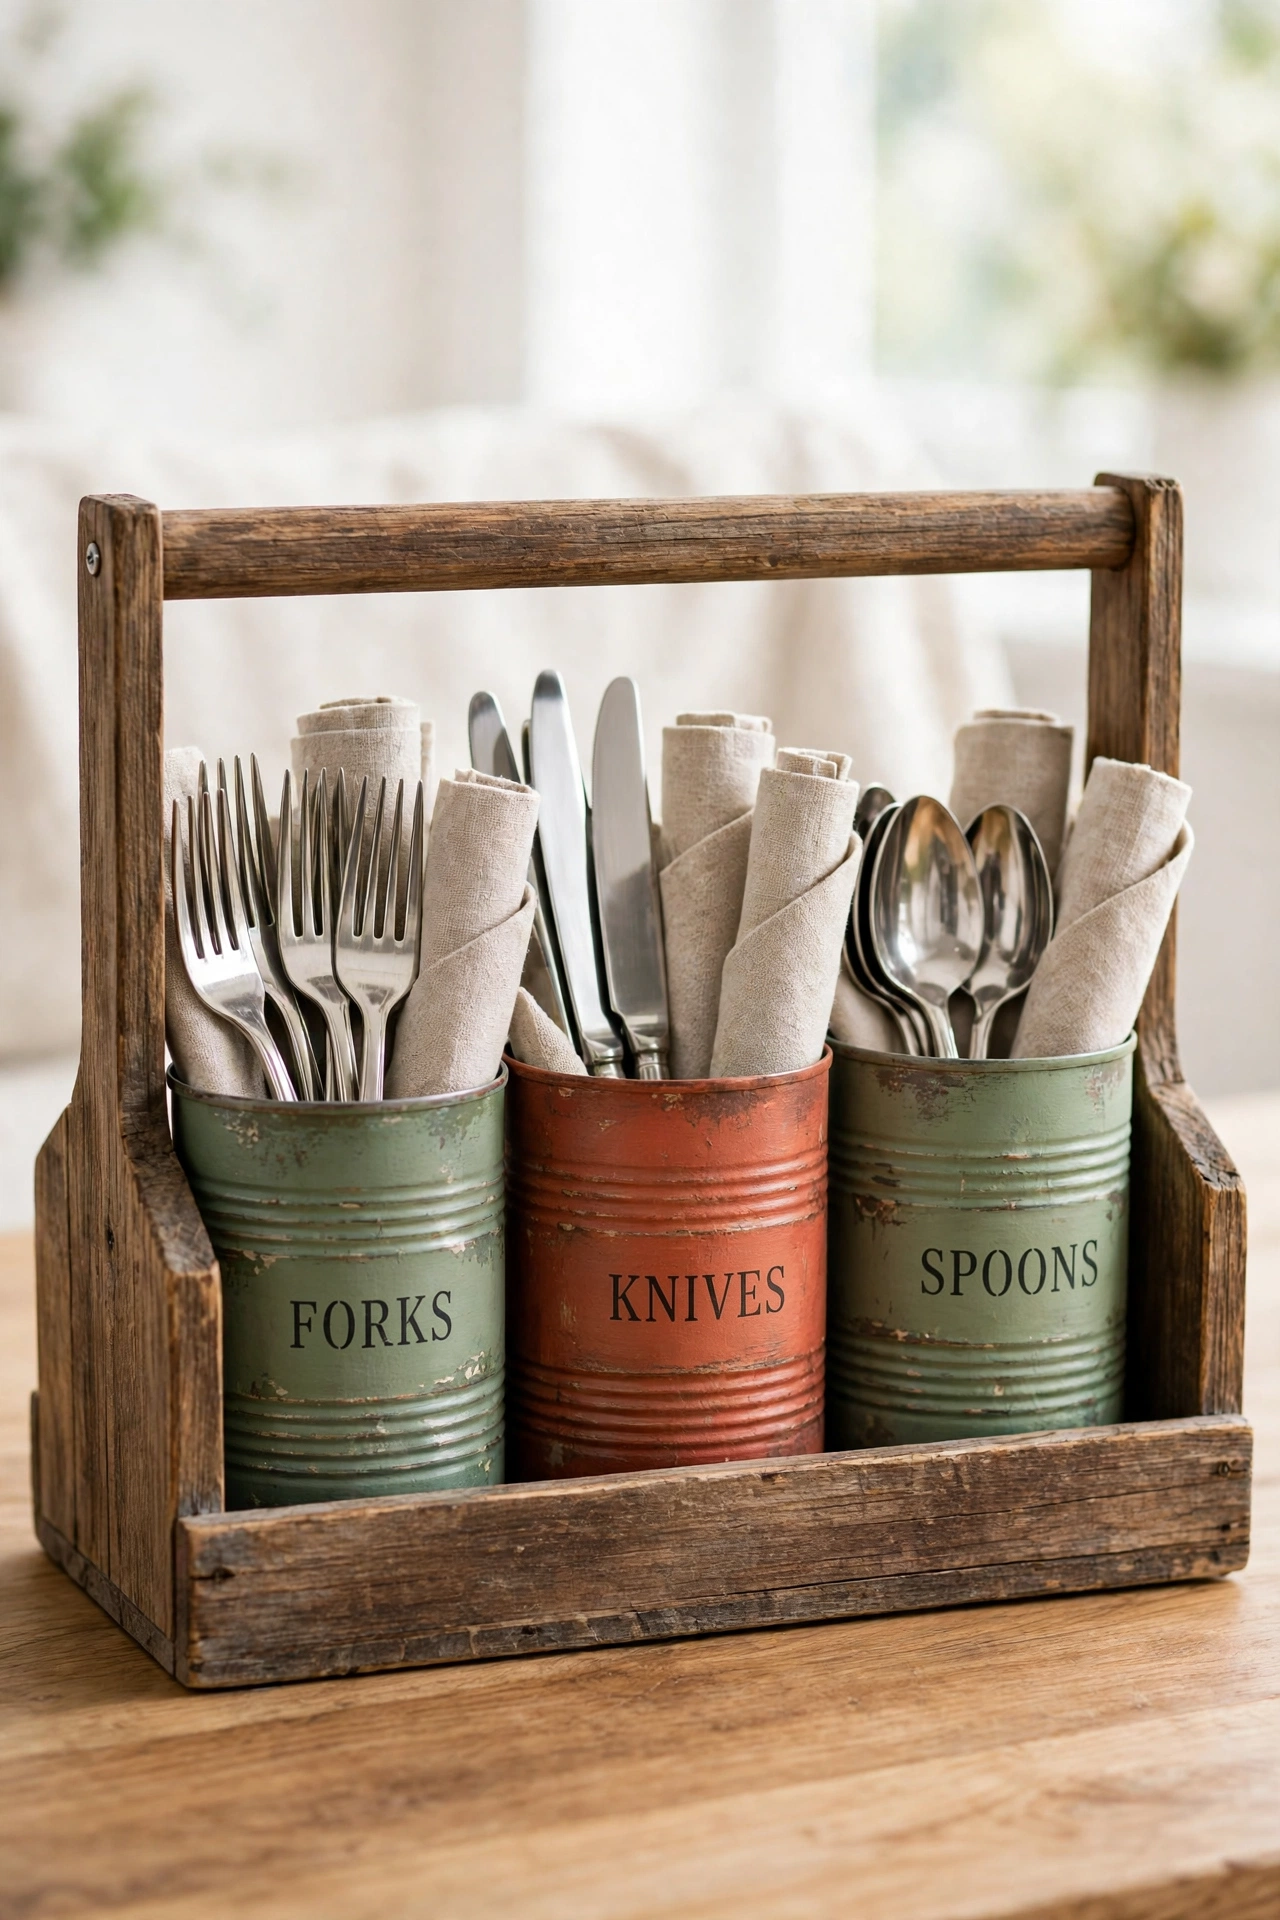
10. Build a Rustic Cutlery Caddy for Gatherings
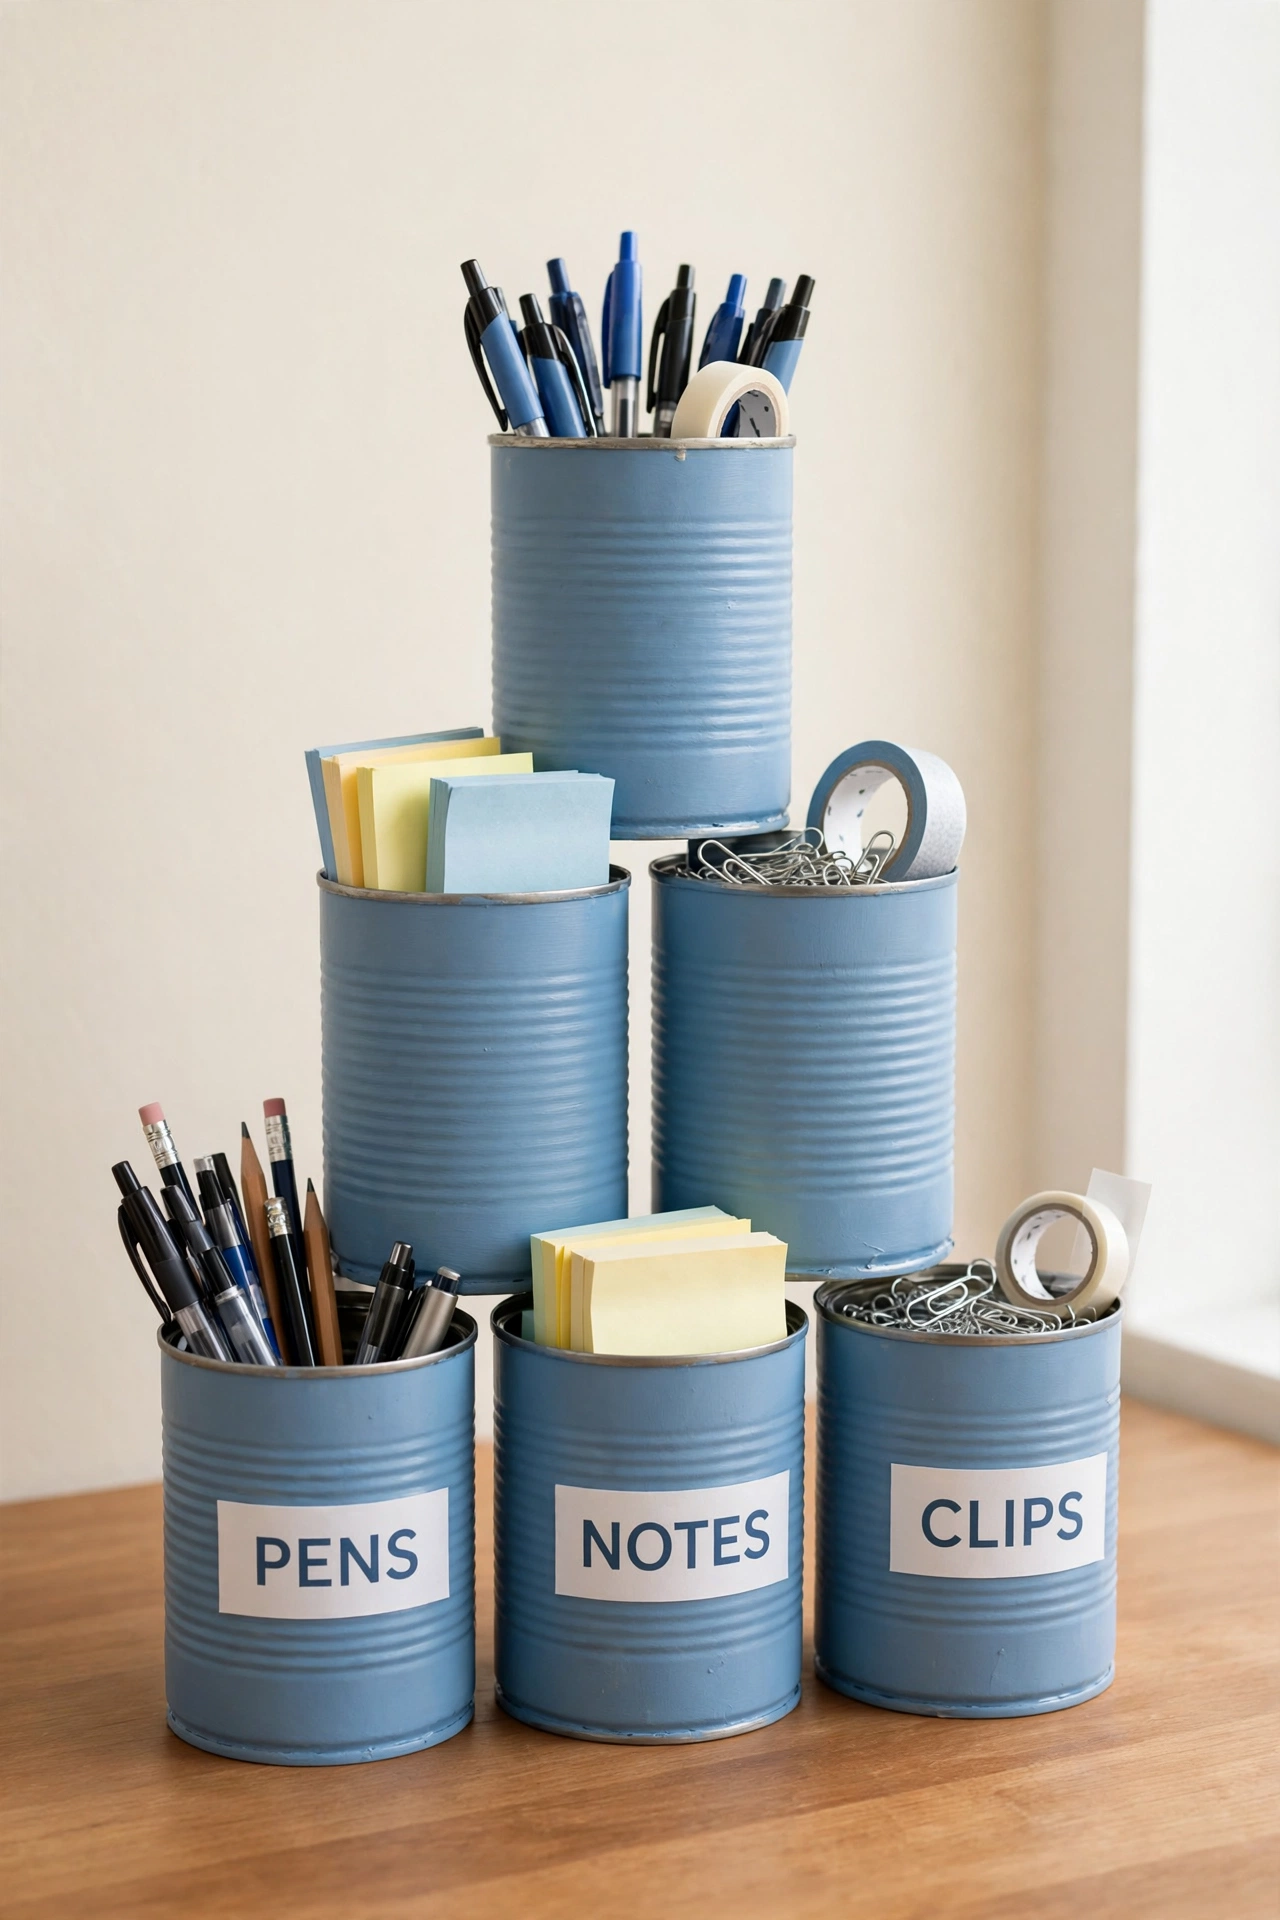
A rustic cutlery caddy made from tin cans keeps forks, knives, and spoons organized at picnics and family dinners. Mount three painted cans side by side on a small wooden board with a handle on top, and label each can for its cutlery type. The handle makes it easy to carry the whole caddy from kitchen to table.
Fill the cans with rolled napkins and cutlery, and set the caddy in the center of the table so everyone can serve themselves. A distressed sage or terracotta finish suits outdoor meals and casual gatherings. After the meal, the caddy goes straight back to a shelf, ready for the next time.
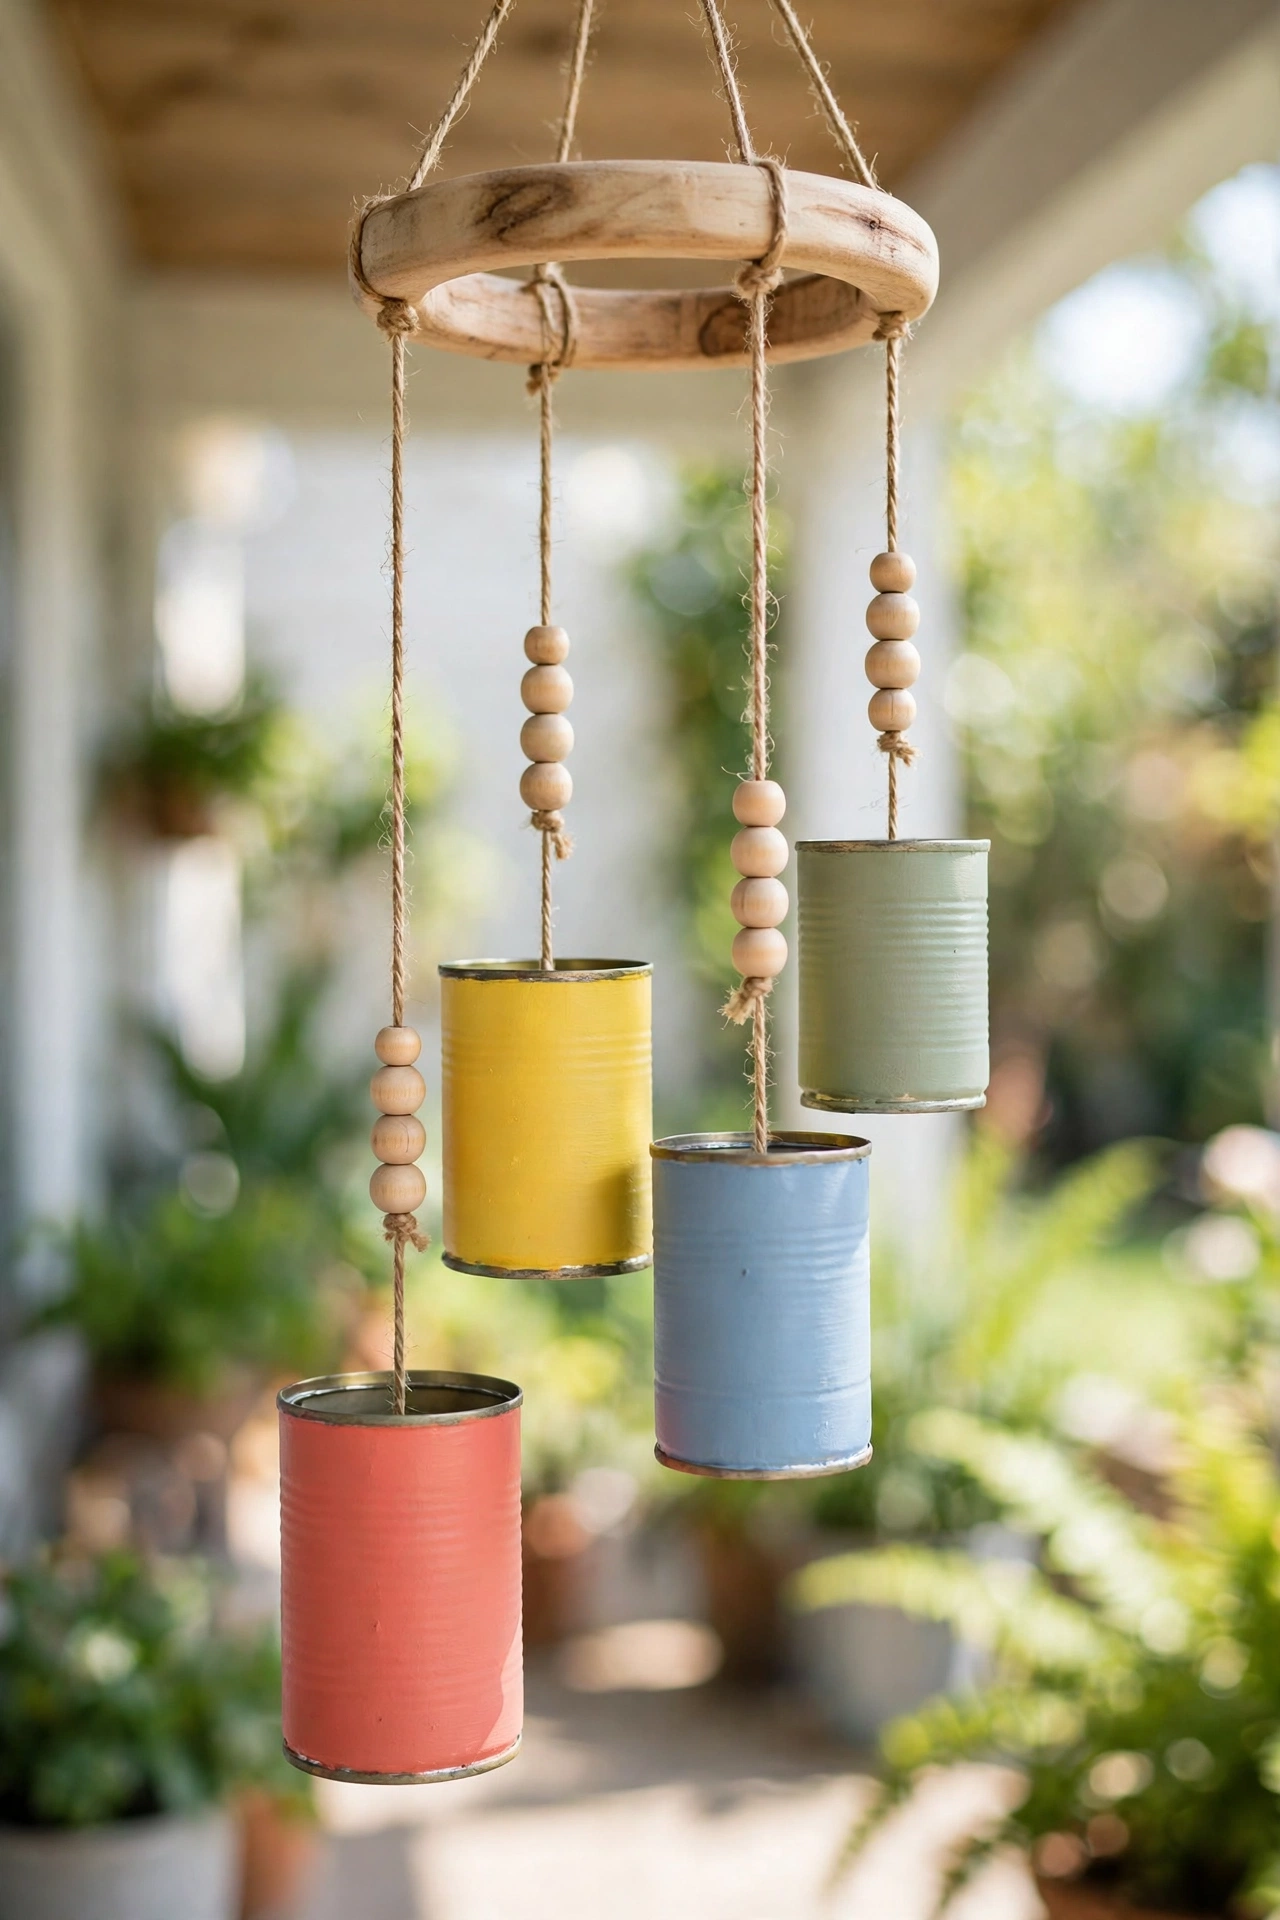
11. Make Wind Chimes from Small Tin Cans
Tin can wind chimes add gentle sound and color to a porch, balcony, or garden branch. Paint small cans in bright cheerful colors, punch a hole in the center of each closed end, and thread them onto cords of different lengths from a wooden ring or a sturdy branch. Add wooden beads above each can for a finished look.
Hang the chime where a light breeze can reach it, and the cans tap softly against each other in the wind. Keep the cords short enough that the cans stay clear of walls and railings. This project turns a handful of cans into a cheerful garden feature that moves and sings all summer long.
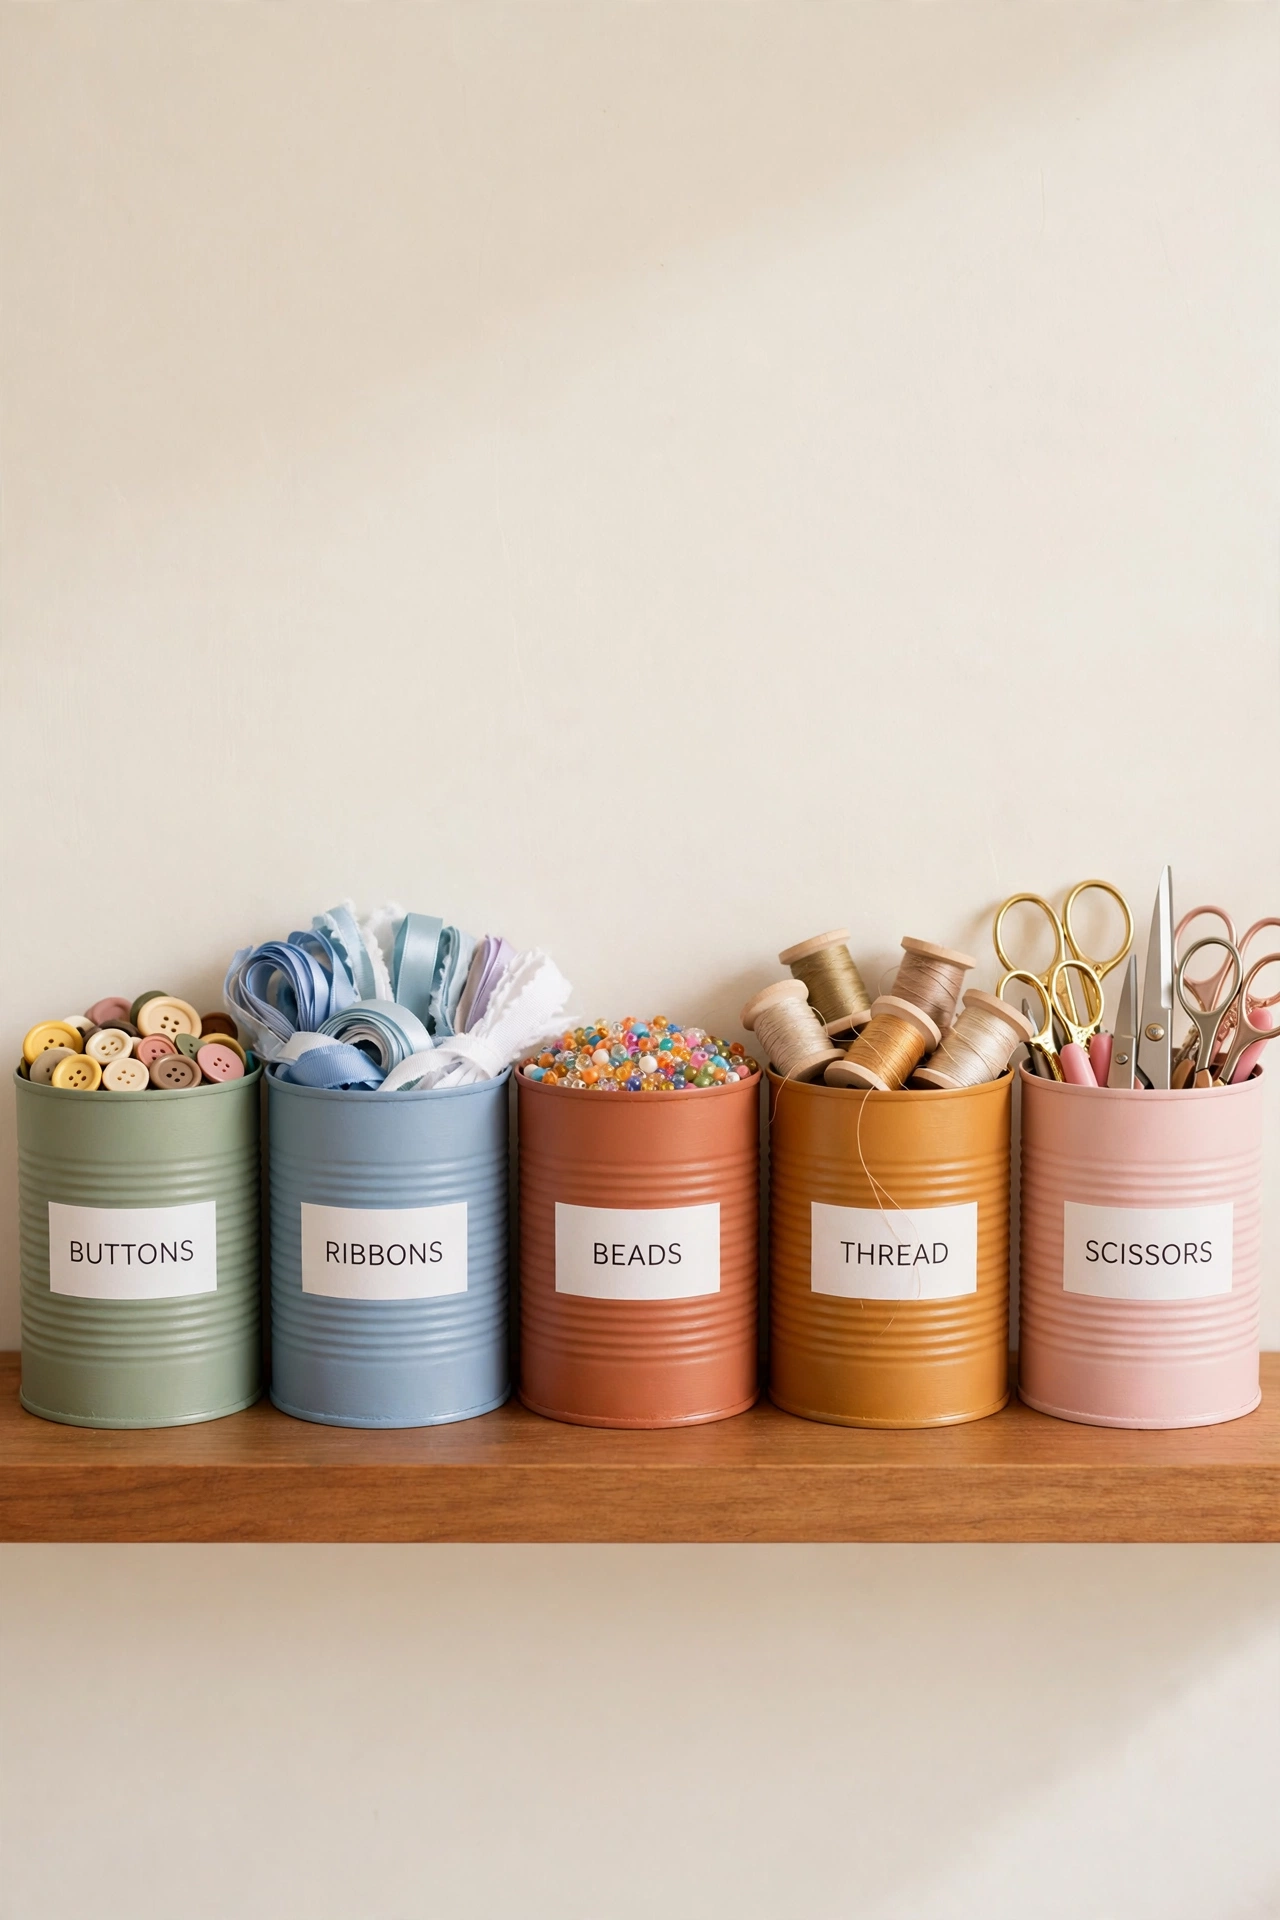
12. Sort Craft Supplies in Labeled Cans
Labeled tin cans keep a craft corner organized without a tangle of bags and boxes. Paint a row of cans in one color family, add neat printed labels for buttons, ribbons, beads, thread, and scissors, and line the cans along a shelf or inside a drawer. Every supply gets a visible home.
Use taller cans for paintbrushes and rulers, and shorter cans for small notions that get lost easily. The labels matter most here, because they turn a row of lookalike cans into a system anyone can use. A tidy craft corner makes starting a project faster and cleaning up far simpler.
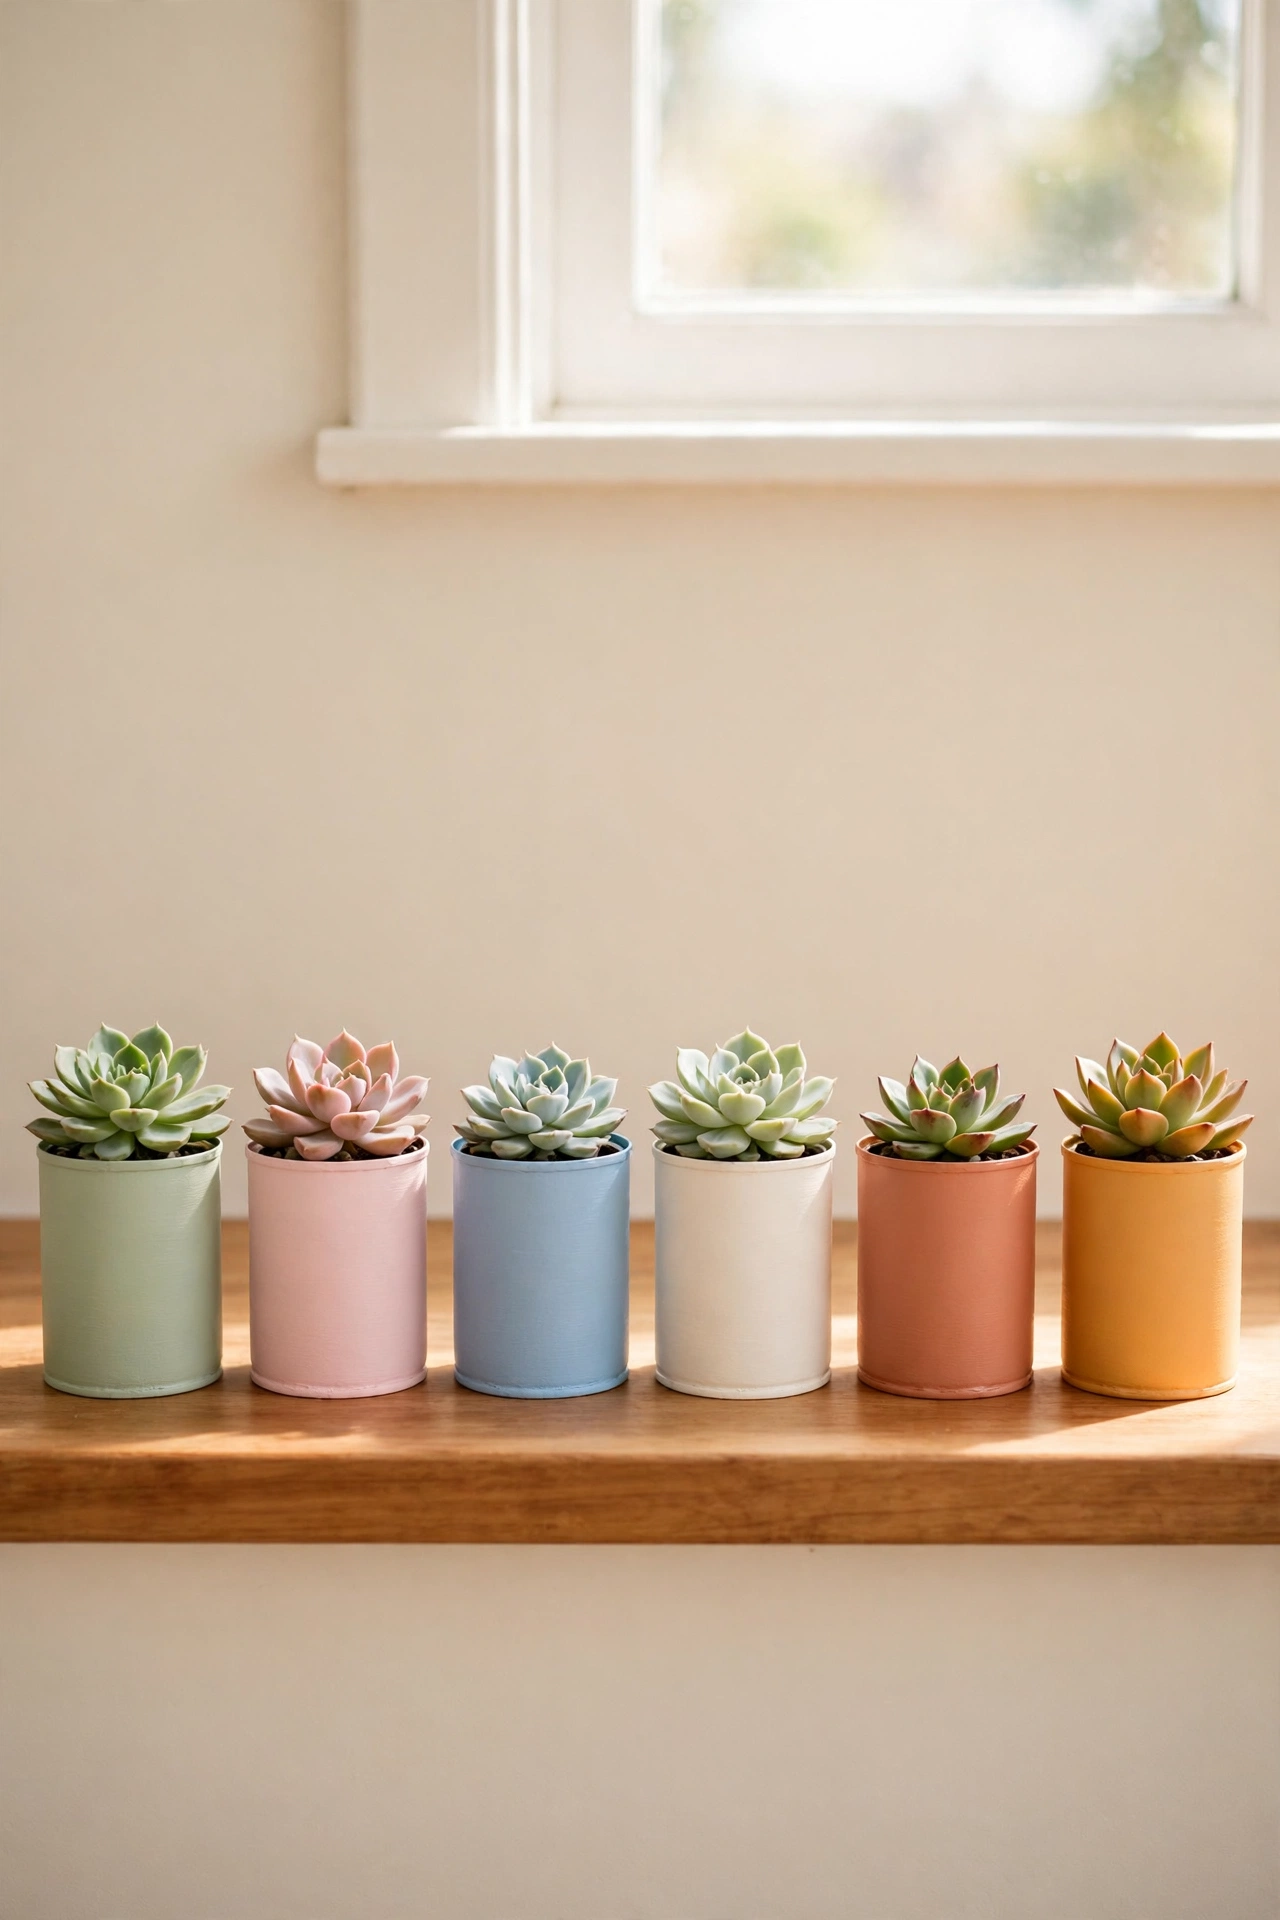
13. Plant Mini Succulents in Small Cans
Small tin cans are the perfect size for mini succulent planters on a windowsill, desk, or bathroom shelf. Punch two or three drainage holes in the bottom of each can, add a layer of small stones, then fill with cactus soil and tuck in a rosette or trailing succulent. The compact size suits plants that stay small.
Paint the cans in soft pastel tones or leave a clean metallic finish for a modern look. A group of five or six cans in a neat row makes a cheerful display that needs very little water. Succulents forgive a busy schedule, so these planters stay pretty even when watering days slip by.
14. Wrap Small Gifts in Decorated Tin Cans
A decorated tin can makes a reusable gift container for small presents, homemade treats, or a gift card. Paint the can in a festive color, add a paper label with the recipient name, and line the inside with tissue paper before tucking the gift inside. A lid cut from cardstock and tied with ribbon finishes the package.
Fill the can with cookies, bath salts, seed packets, or small craft supplies for a personal touch that a plain box cannot match. The recipient keeps the can long after the gift is used, which makes the wrapping part of the present. This idea works for birthdays, holidays, and simple thank-you gifts.

15. Organize Bathroom Essentials in Painted Cans
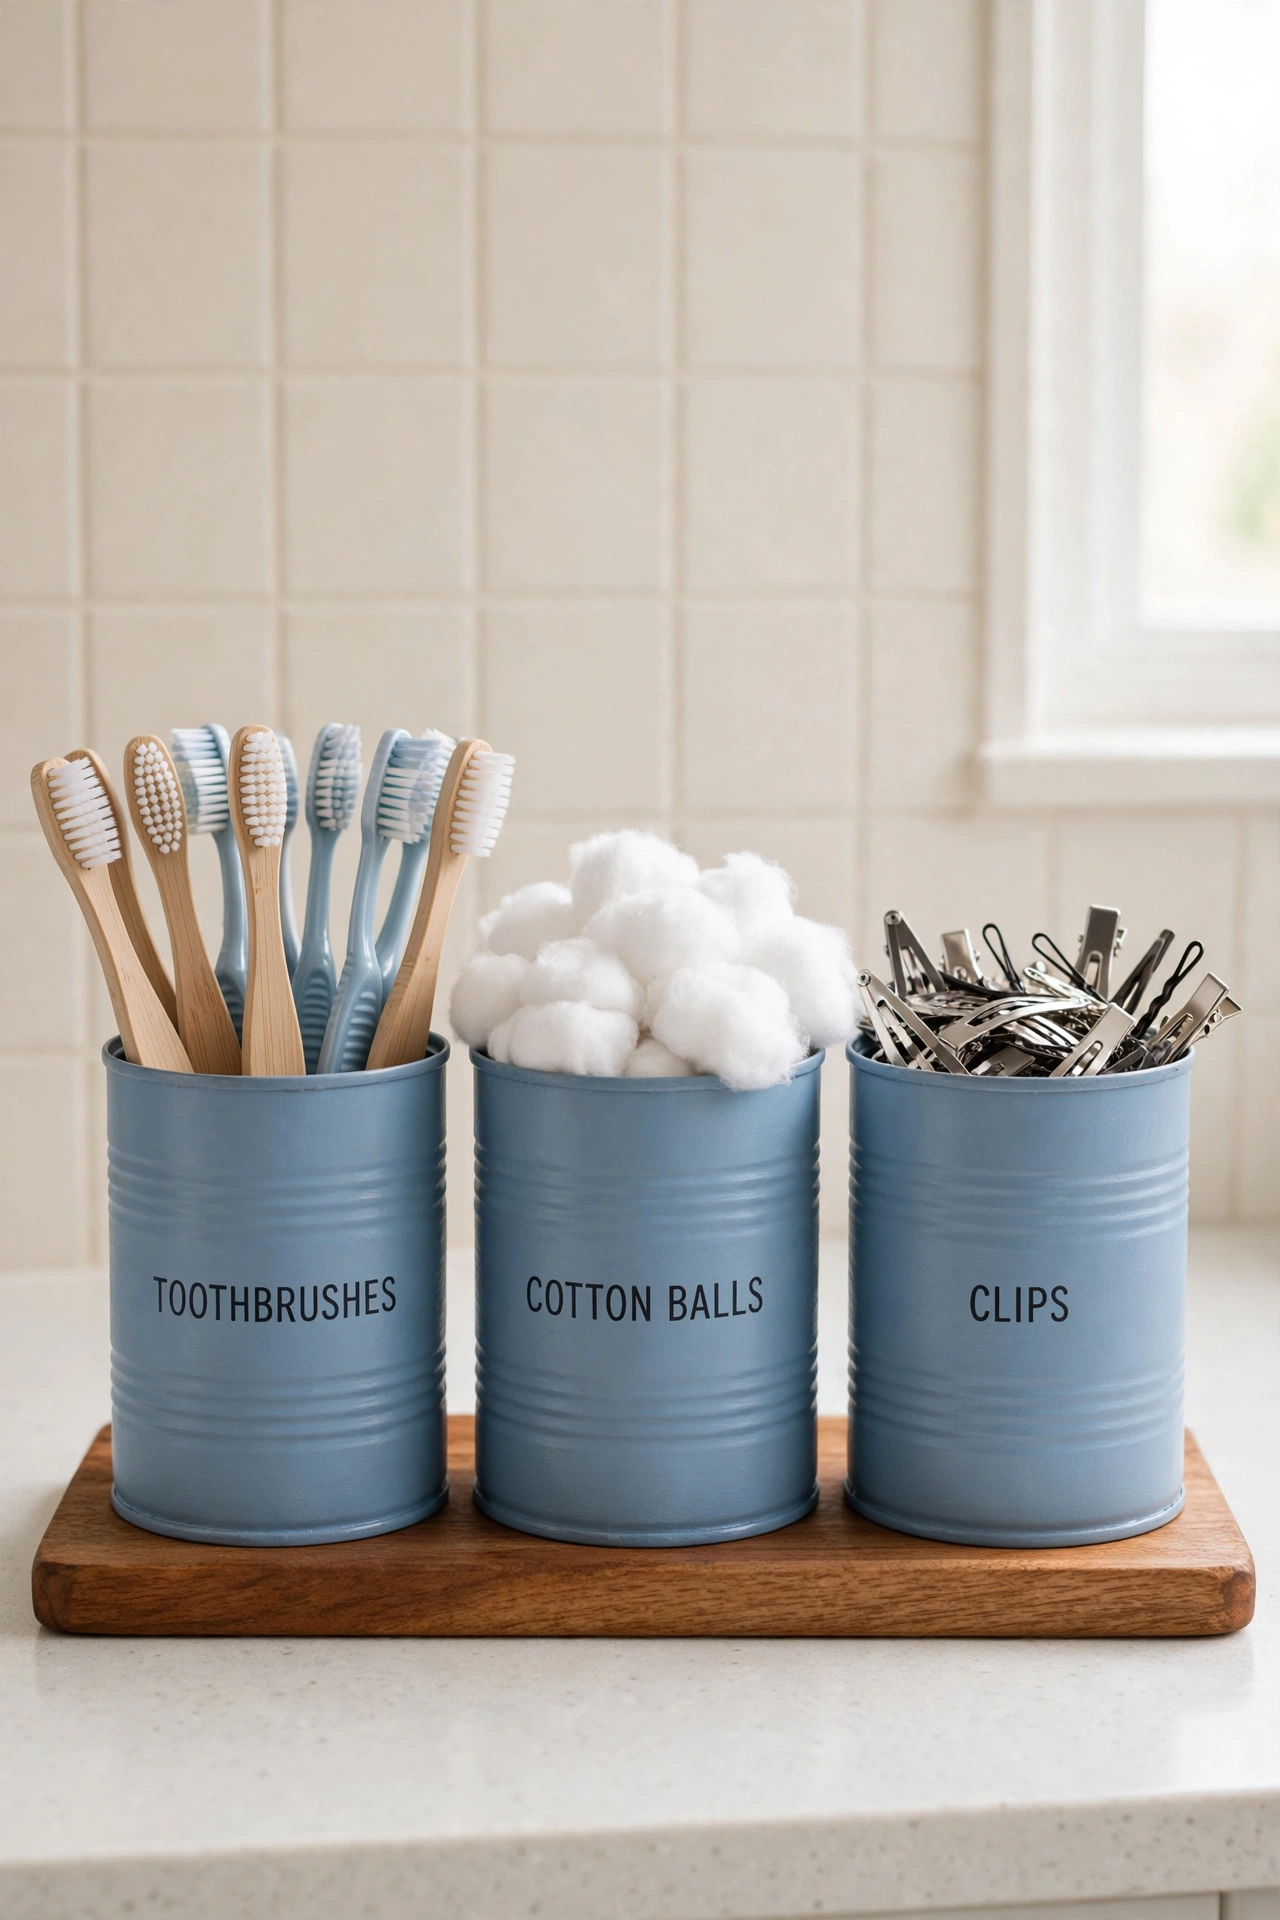
Painted tin cans keep bathroom essentials tidy on a small vanity or shelf. Use one can for toothbrushes, one for cotton balls, and one for cotton swabs or hair clips, painting all three in the same soft blue or sage so the set looks coordinated. Printed labels keep the routine simple for the whole family.
Place the cans on a small wooden tray to catch drips and keep the counter clean. The metal cans wipe dry easily and stand up well to daily splashes. For more small-space bathroom storage that works with a tidy system, these kitchen spice organization ideas show the same label-and-group method applied to jars and small containers.
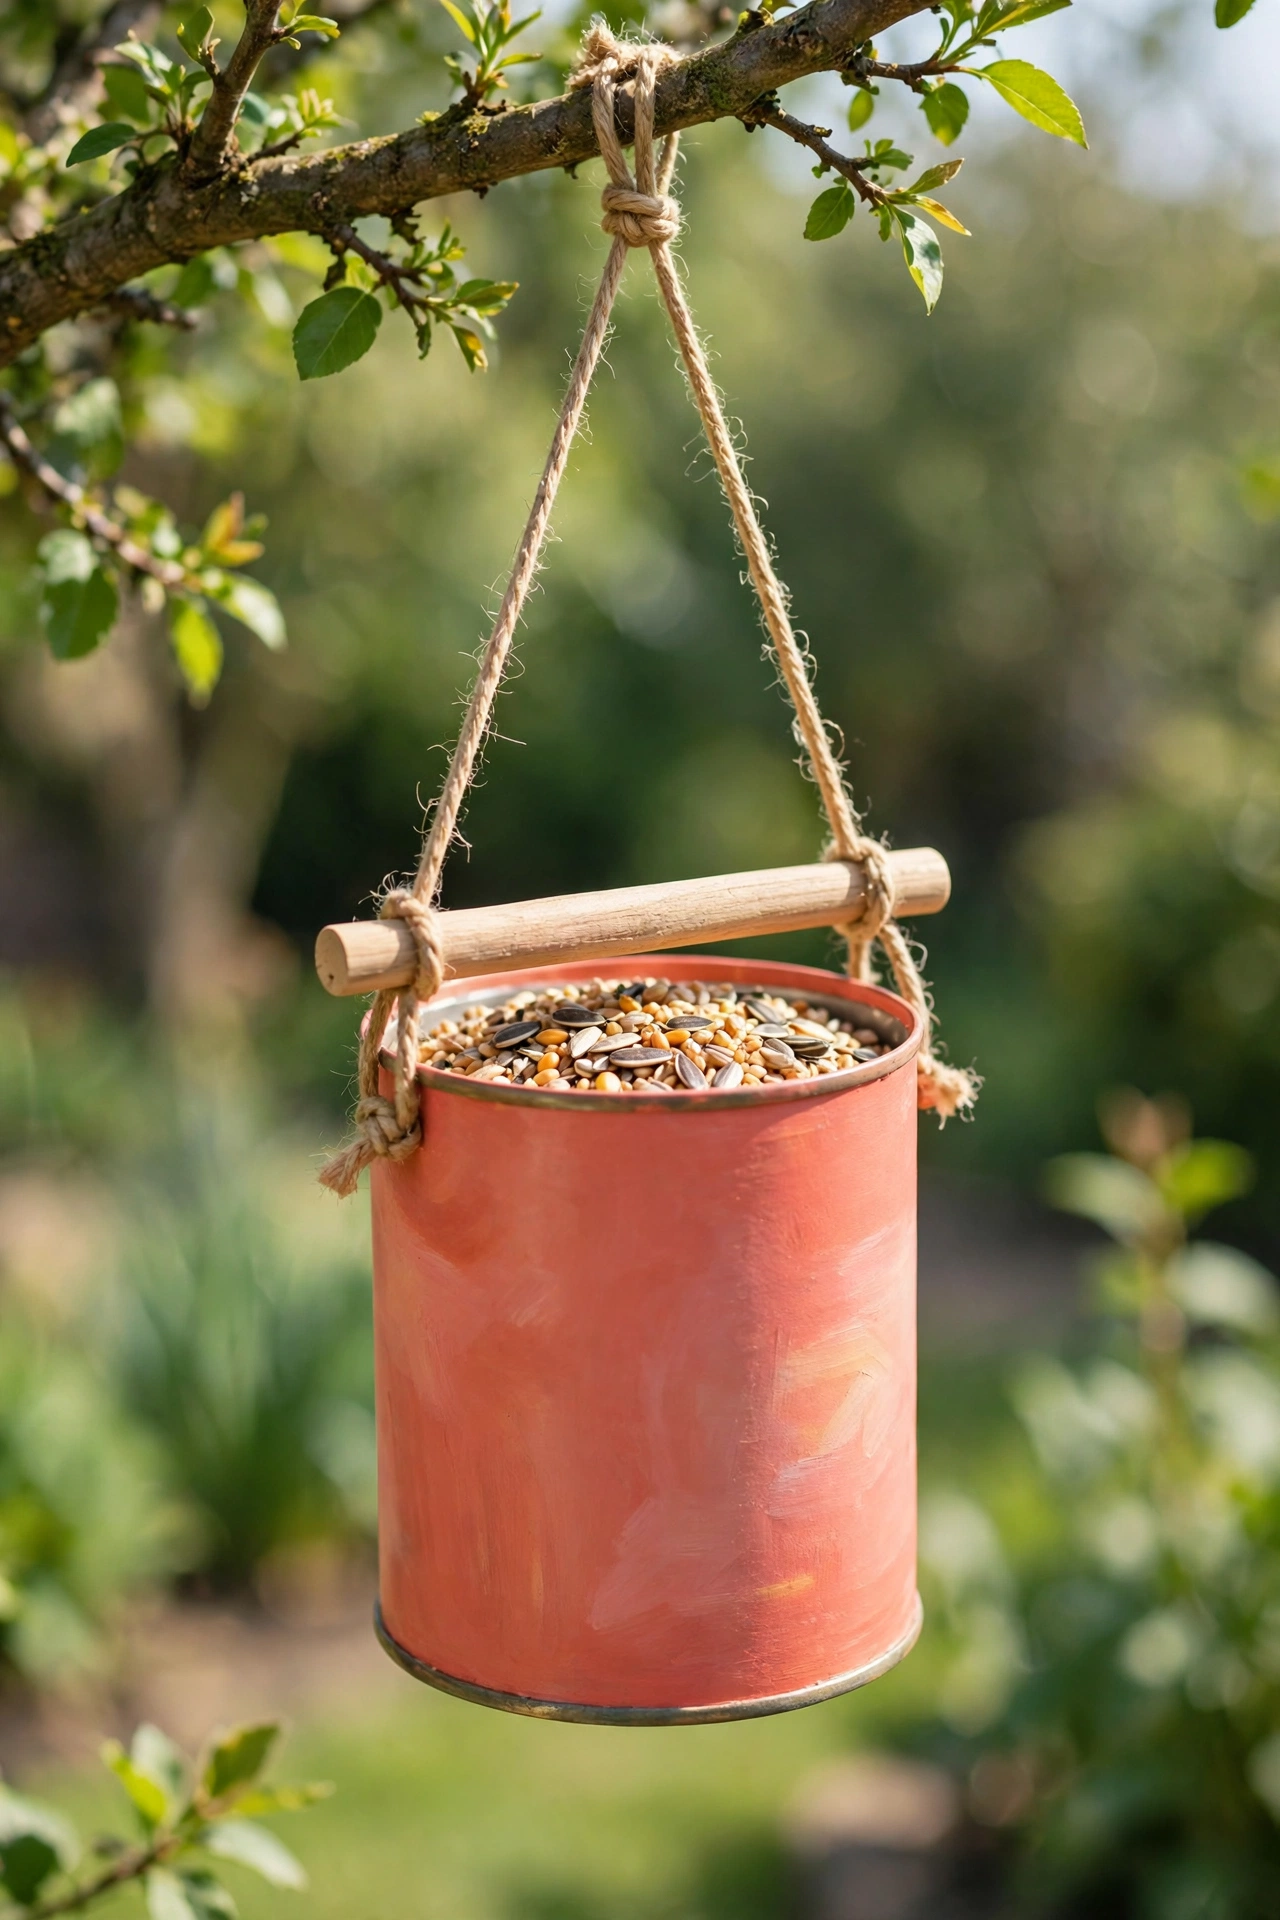
16. Build a Bird Feeder from a Hanging Can
A hanging tin can bird feeder brings birds to the garden and gives an old can a useful second life. Paint the can in a cheerful color, punch two holes near the rim for hanging cord, and glue a small wooden dowel across the open end as a perch. Fill the can with birdseed and hang it from a sturdy branch.
Place the feeder where you can watch from a window, and refill it on a regular schedule so birds learn to visit. A small roof made from a second can half or a wood slice keeps rain off the seed. This simple feeder costs almost nothing and fills the garden with birdsong through the seasons.
Conclusion
Tin cans prove that beautiful home decor does not need a big budget or a craft store trip. From herb planters and pencil holders to lanterns, wind chimes, and gift containers, one plain can can become almost anything with paint, twine, and a little imagination. The best project is the one you will actually finish and use every day.
Start with the cans already in your recycling bin, wash them well, and pick one idea from this list to try today. Once you see how good a finished can looks on a shelf or windowsill, you will never throw one away without thinking first. For more tidy ideas that start at the front door, these entryway organization ideas will help you keep every arrival zone as neat as your new tin can creations.
Frequently Asked Questions About DIY Decorative Tin Can Projects for Creative Homes
How do I clean tin cans before starting a project?
Wash each can with warm soapy water, scrub off any food residue, and dry it fully before painting or gluing. Remove paper labels by soaking the can in warm water for ten minutes, then peel and wipe away glue with a cloth. A clean, dry surface helps paint and glue stick properly.
How do I make tin can edges safe?
Use a smooth-edge can opener when you open the can, which leaves a safe rim with no sharp lip. If the edge feels rough, sand it lightly with fine sandpaper or fold a strip of tape over the rim. Always check the rim by hand before letting children handle a finished project.
What paint works best on tin cans?
Acrylic craft paint sticks well to clean metal and dries quickly, and spray paint gives the smoothest finish on larger cans. A coat of metal primer first helps the color last longer, especially for cans used outdoors. Seal finished cans with a clear coat to protect the paint from water and handling.
Do tin can planters need drainage holes?
Yes, drainage holes stop water from pooling around roots and causing rot. Punch two or three small holes in the bottom with a nail and hammer before adding soil. Set the can on a saucer to protect windowsills and shelves from drips.
Can children help with tin can projects?
Yes, children enjoy painting cans, wrapping twine, and choosing labels, while an adult handles cutting, drilling, and punching holes. Choose simple projects like pencil holders and planters for young helpers. Keep sharp tools and spray paint for adult hands only.

Hi, I’m Emily! I turn messy corners into cozy, organized spots. DreamNestDecor is where I share simple, practical home ideas — decor, organization, and small-space solutions that work in real life, not just in photos. Every idea here is carefully researched before it’s shared.