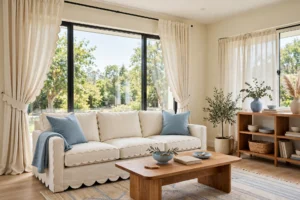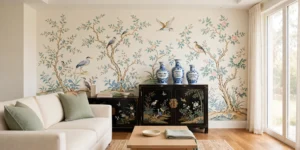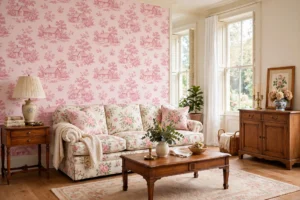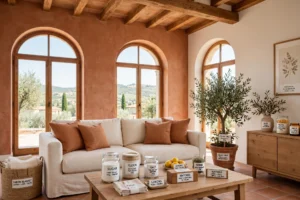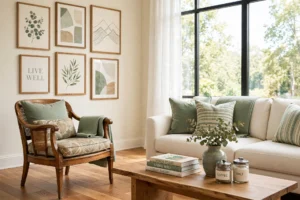
Picture this: you walk into a room and your eyes land on a wall that feels soft, warm, and completely handmade. A clay sun hangs above the sofa, a row of pressed flower plaques lines the hallway, and every piece looks like it was shaped by real hands. That gentle, personal feeling is exactly what air dry clay wall decor brings into a home.
You do not need a kiln, a studio, or any experience to start. Air dry clay is cheap, forgiving, and easy to shape on a kitchen table, and it hardens on its own in a day or two. These 25 DIY air dry clay wall decor ideas for beginners will help you fill every wall with soft handmade texture, one simple project at a time.
1. Shape Simple Clay Wall Hangings
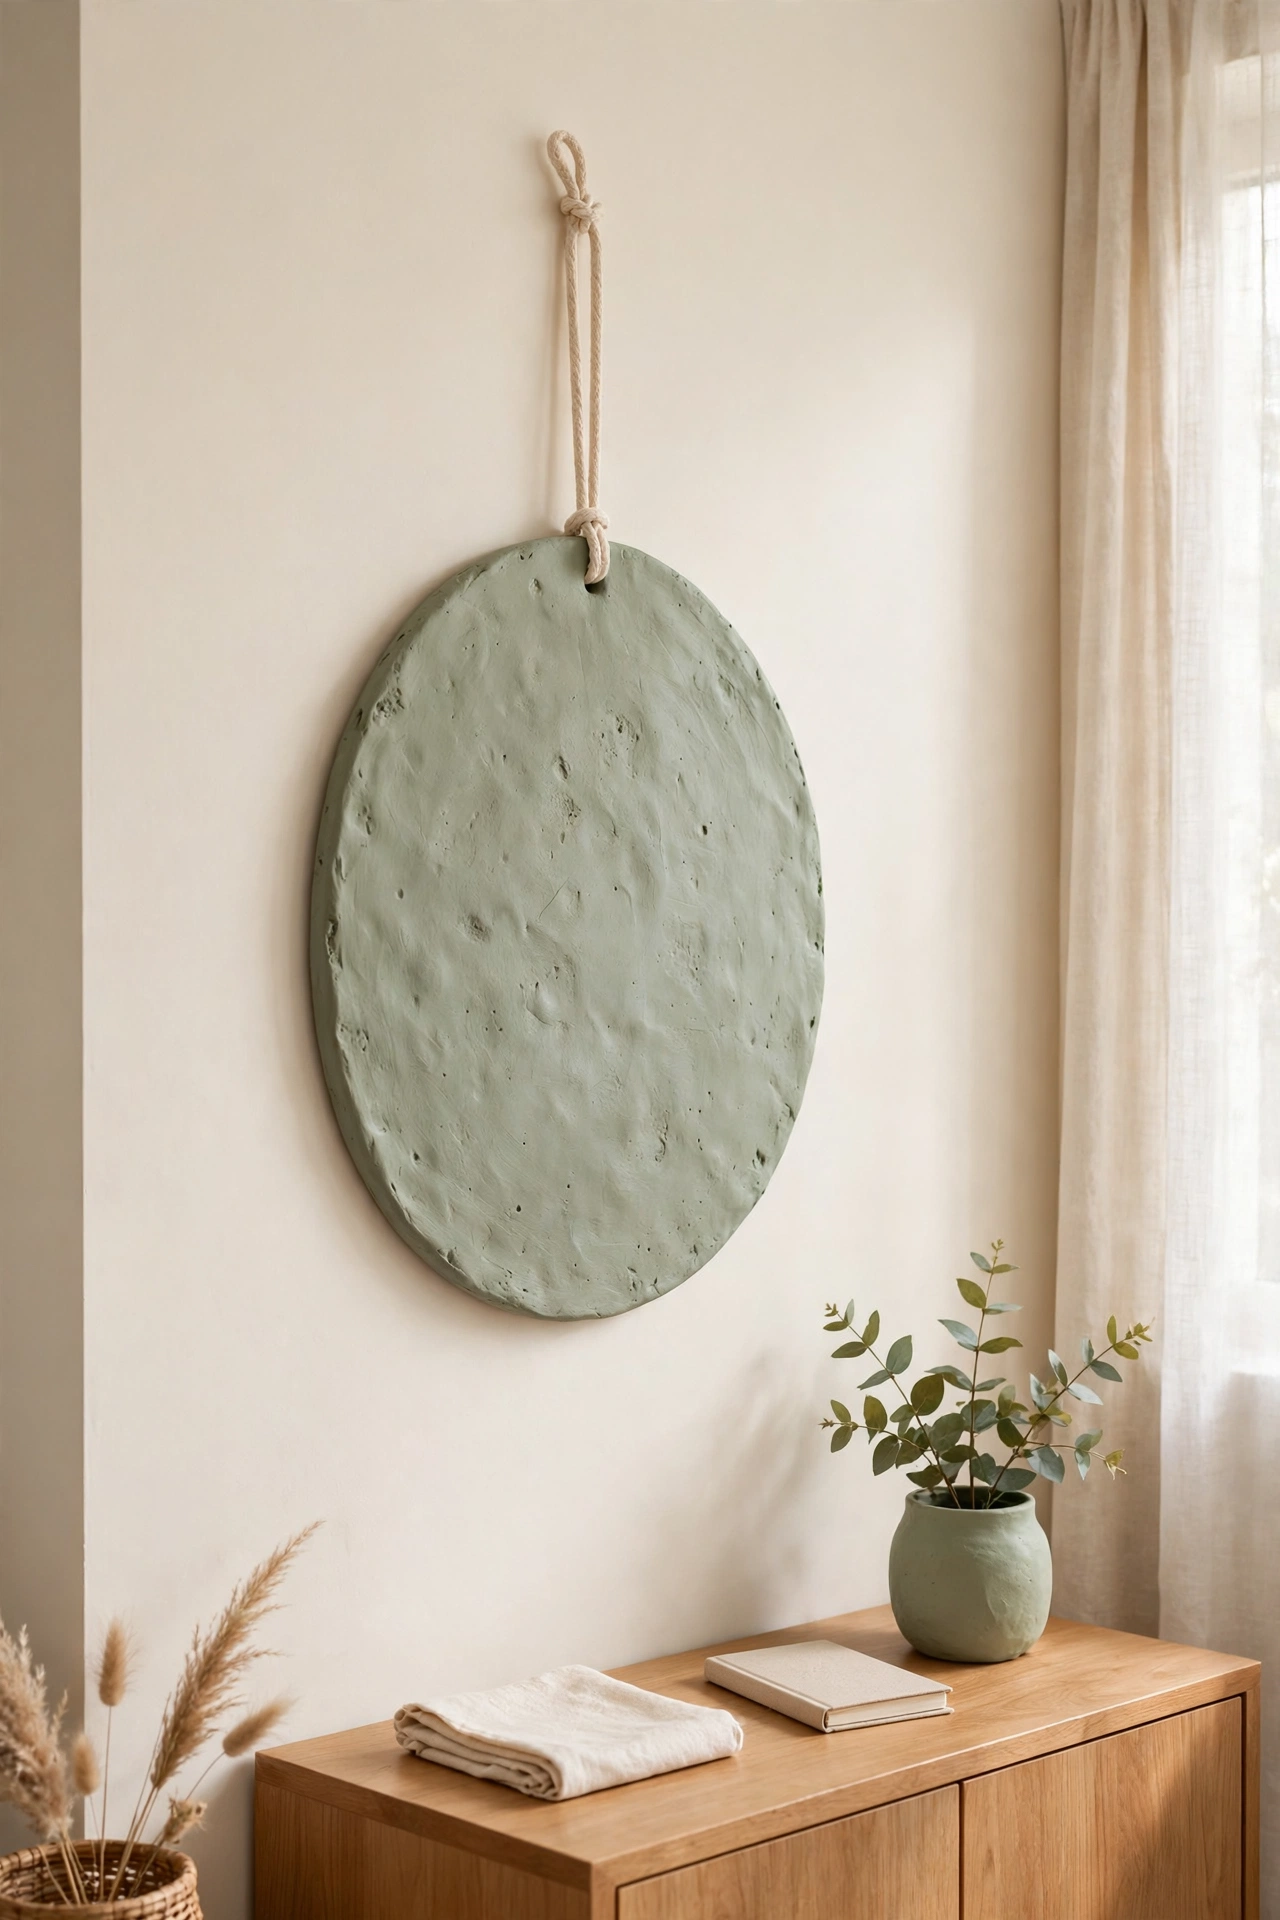
A simple clay wall hanging is the perfect first project for a beginner. Roll the clay flat, cut it into a soft oval or a freeform shape, and add a hole near the top for a cotton cord. Once it dries, paint it in a warm cream or sage tone and hang it on a small nail.
Start with one piece and see how it looks on your wall before you make more. You can add texture with a fork, a leaf stamp, or the tip of a pencil. A single handmade hanging adds more warmth than a store bought print, and it costs almost nothing to make.
2. Make Clay Sun and Moon Wall Art
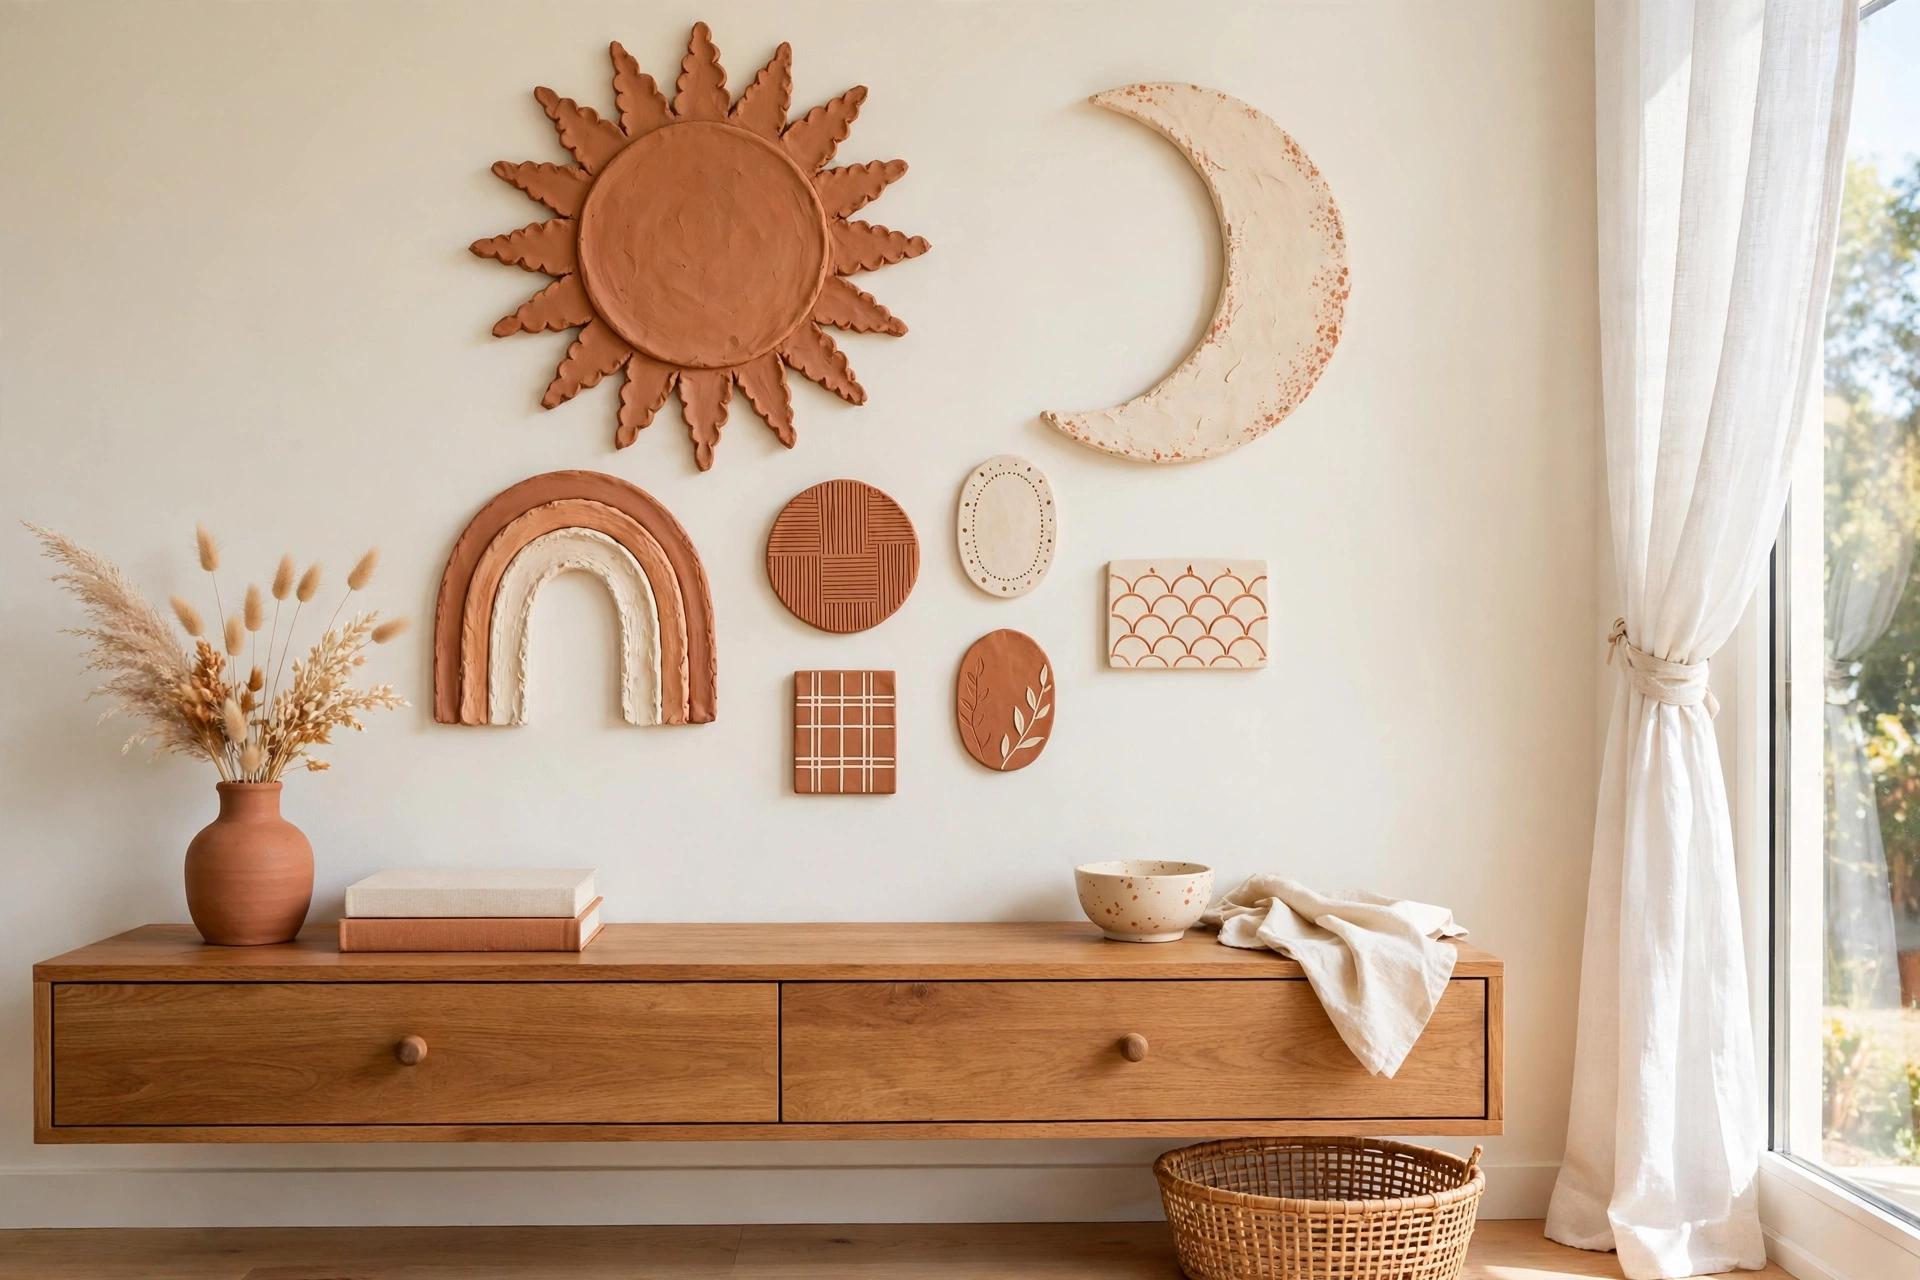
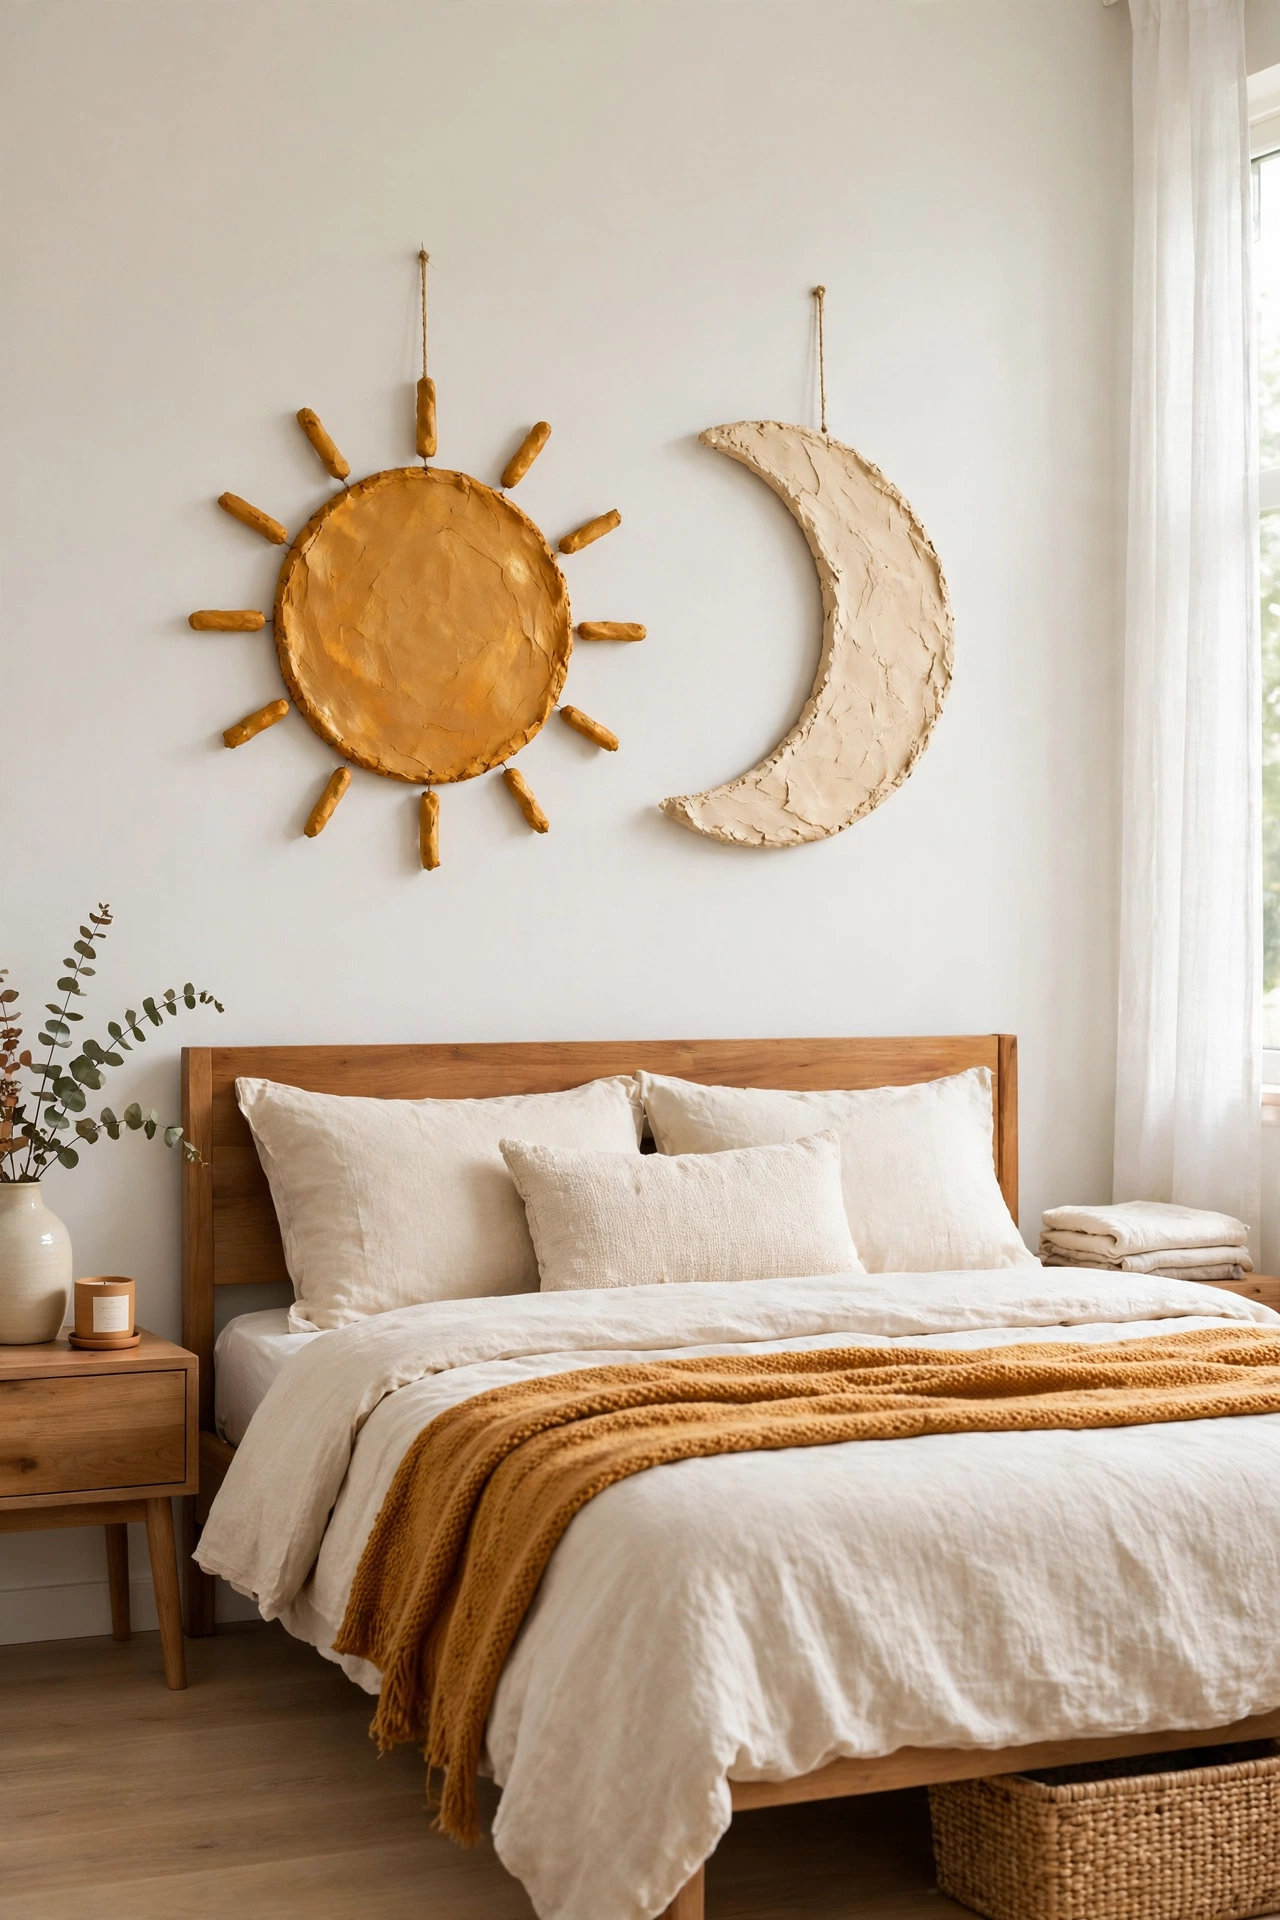
Sun and moon wall art is one of the most loved clay projects for beginners. Shape a round sun with short rays around the edge, then make a crescent moon to hang beside it. The two pieces balance each other and bring a calm, dreamy feeling to a bedroom or nursery wall.
Paint the sun in a soft amber gold and the moon in a pale cream for a gentle contrast. For more handmade pieces that suit this look, see these DIY decorative vase ideas. Hang the pair above a bed or a reading chair where they catch the morning light.
3. Press Clay Floral Wall Plaques
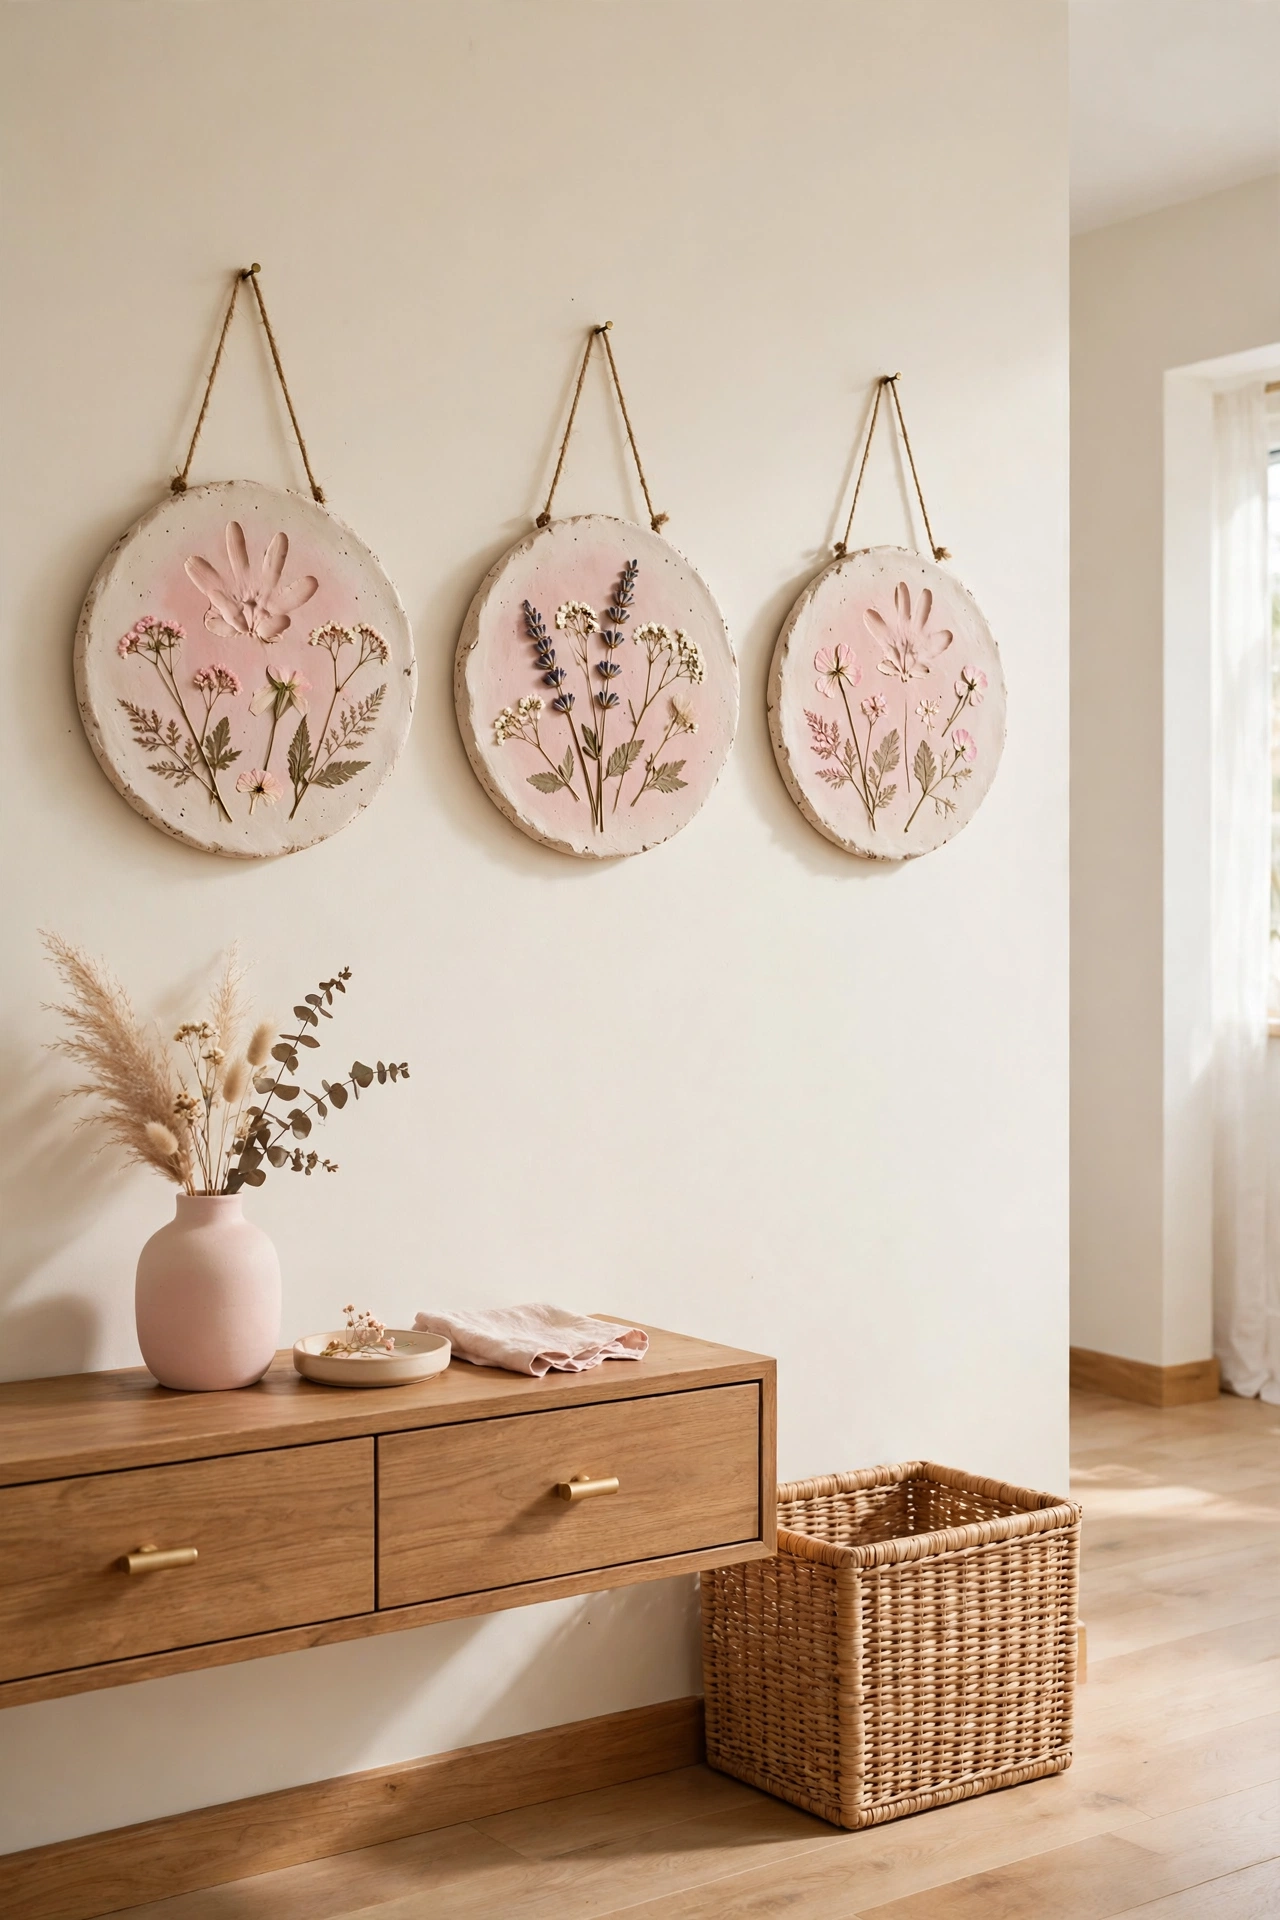
Floral wall plaques turn real flowers into lasting wall art. Roll the clay flat, press a fresh flower or leaf into the surface, and lift it away to leave a delicate imprint. Trim the plaque into a circle or an arch and let it dry slowly so it stays flat.
Paint the imprint with a soft blush wash so the flower shape stands out against the pale clay. These plaques look lovely in a hallway, a bathroom, or above a dressing table. Make a set of three in different sizes for a grouped display.
4. Cut Clay Leaf Wall Art
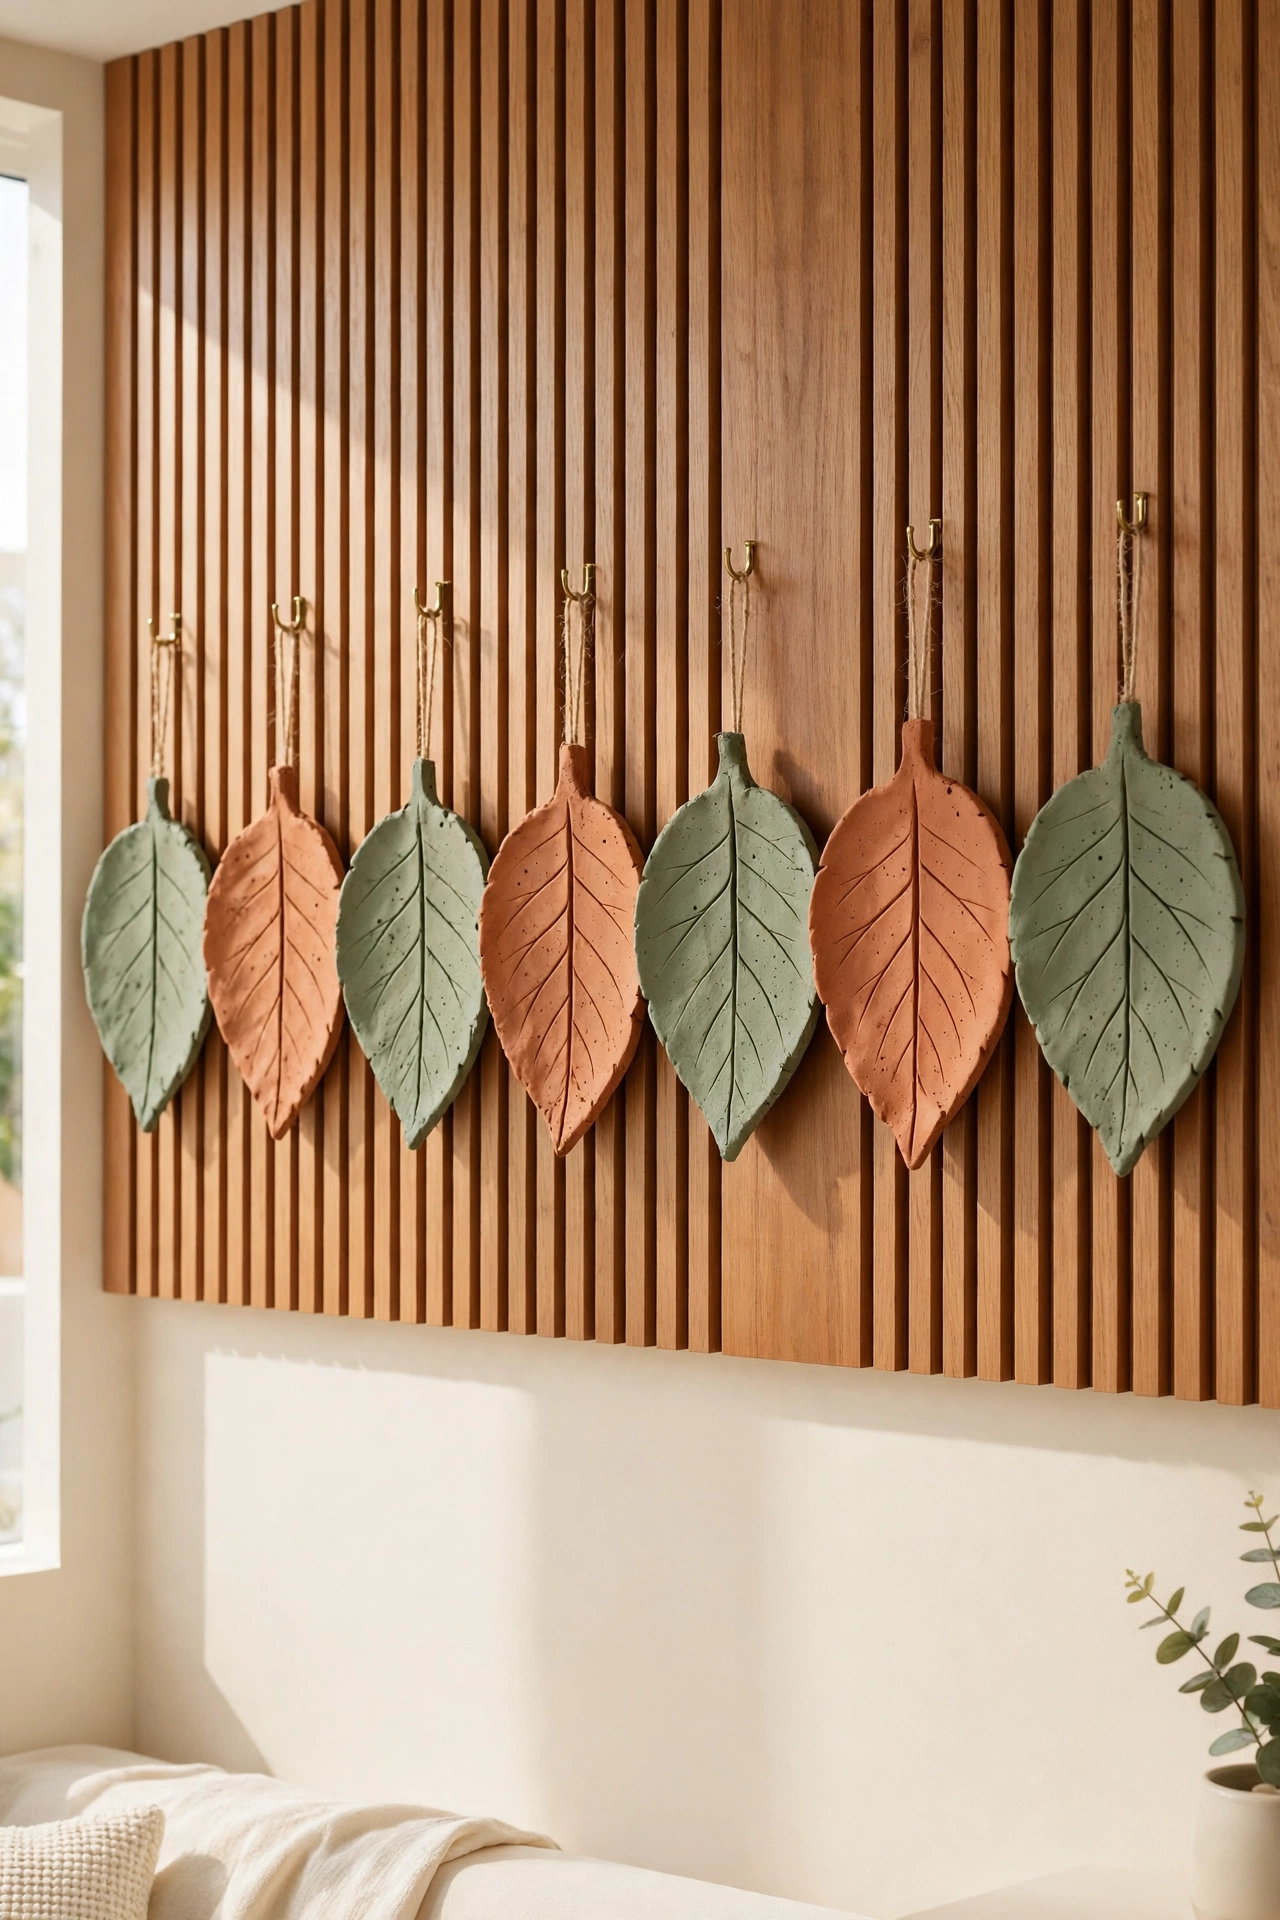
Leaf shapes are easy to cut and instantly recognizable on a wall. Use a real leaf as a template, trace around it on rolled clay, and cut the shape out with a craft knife. Score a center vein with a toothpick and curl the edges slightly for a natural look.
Paint the leaves in shades of sage green and soft terracotta for an autumn feel, or keep them all cream for a calm, modern look. Hang three or four leaves in a row on a narrow wall, or scatter them across a larger space. Each leaf costs pennies and adds organic shape to the room.
5. Build Clay Arch Wall Hangings
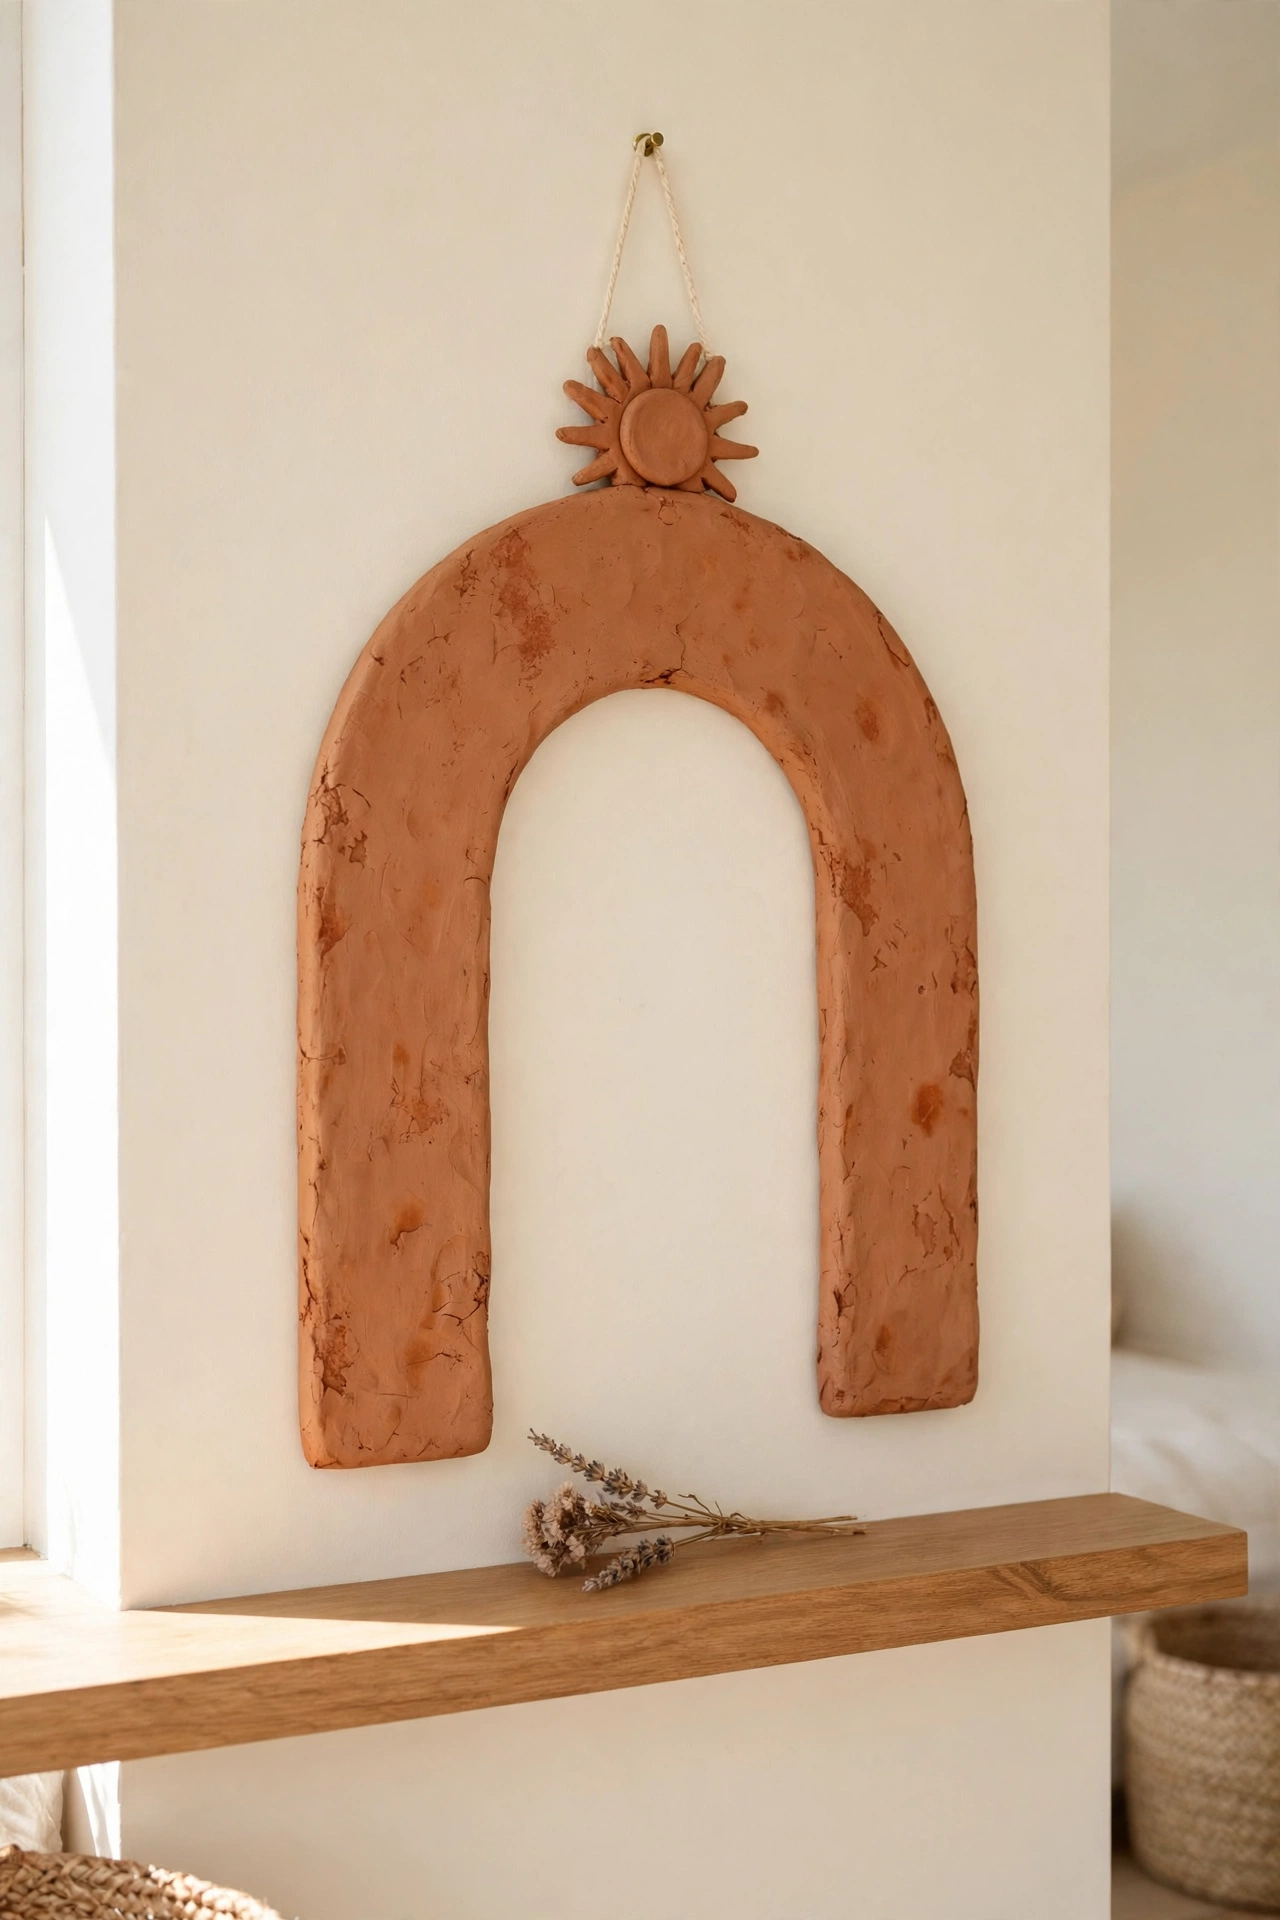
Arches are a classic shape in home decor, and they are simple to make from air dry clay. Roll the clay into a thick slab, cut an arch with a rounded top, and smooth the edges with a little water. Add a small circle or a sun shape at the top for extra detail.
Paint the arch in a warm terracotta tone and hang it on a pale wall so the shape stands out clearly. These arches suit entryways, bedrooms, and living rooms alike. Pair one with a small dried flower tucked at the base for a soft finishing touch.
6. Create Clay Boho Wall Decor
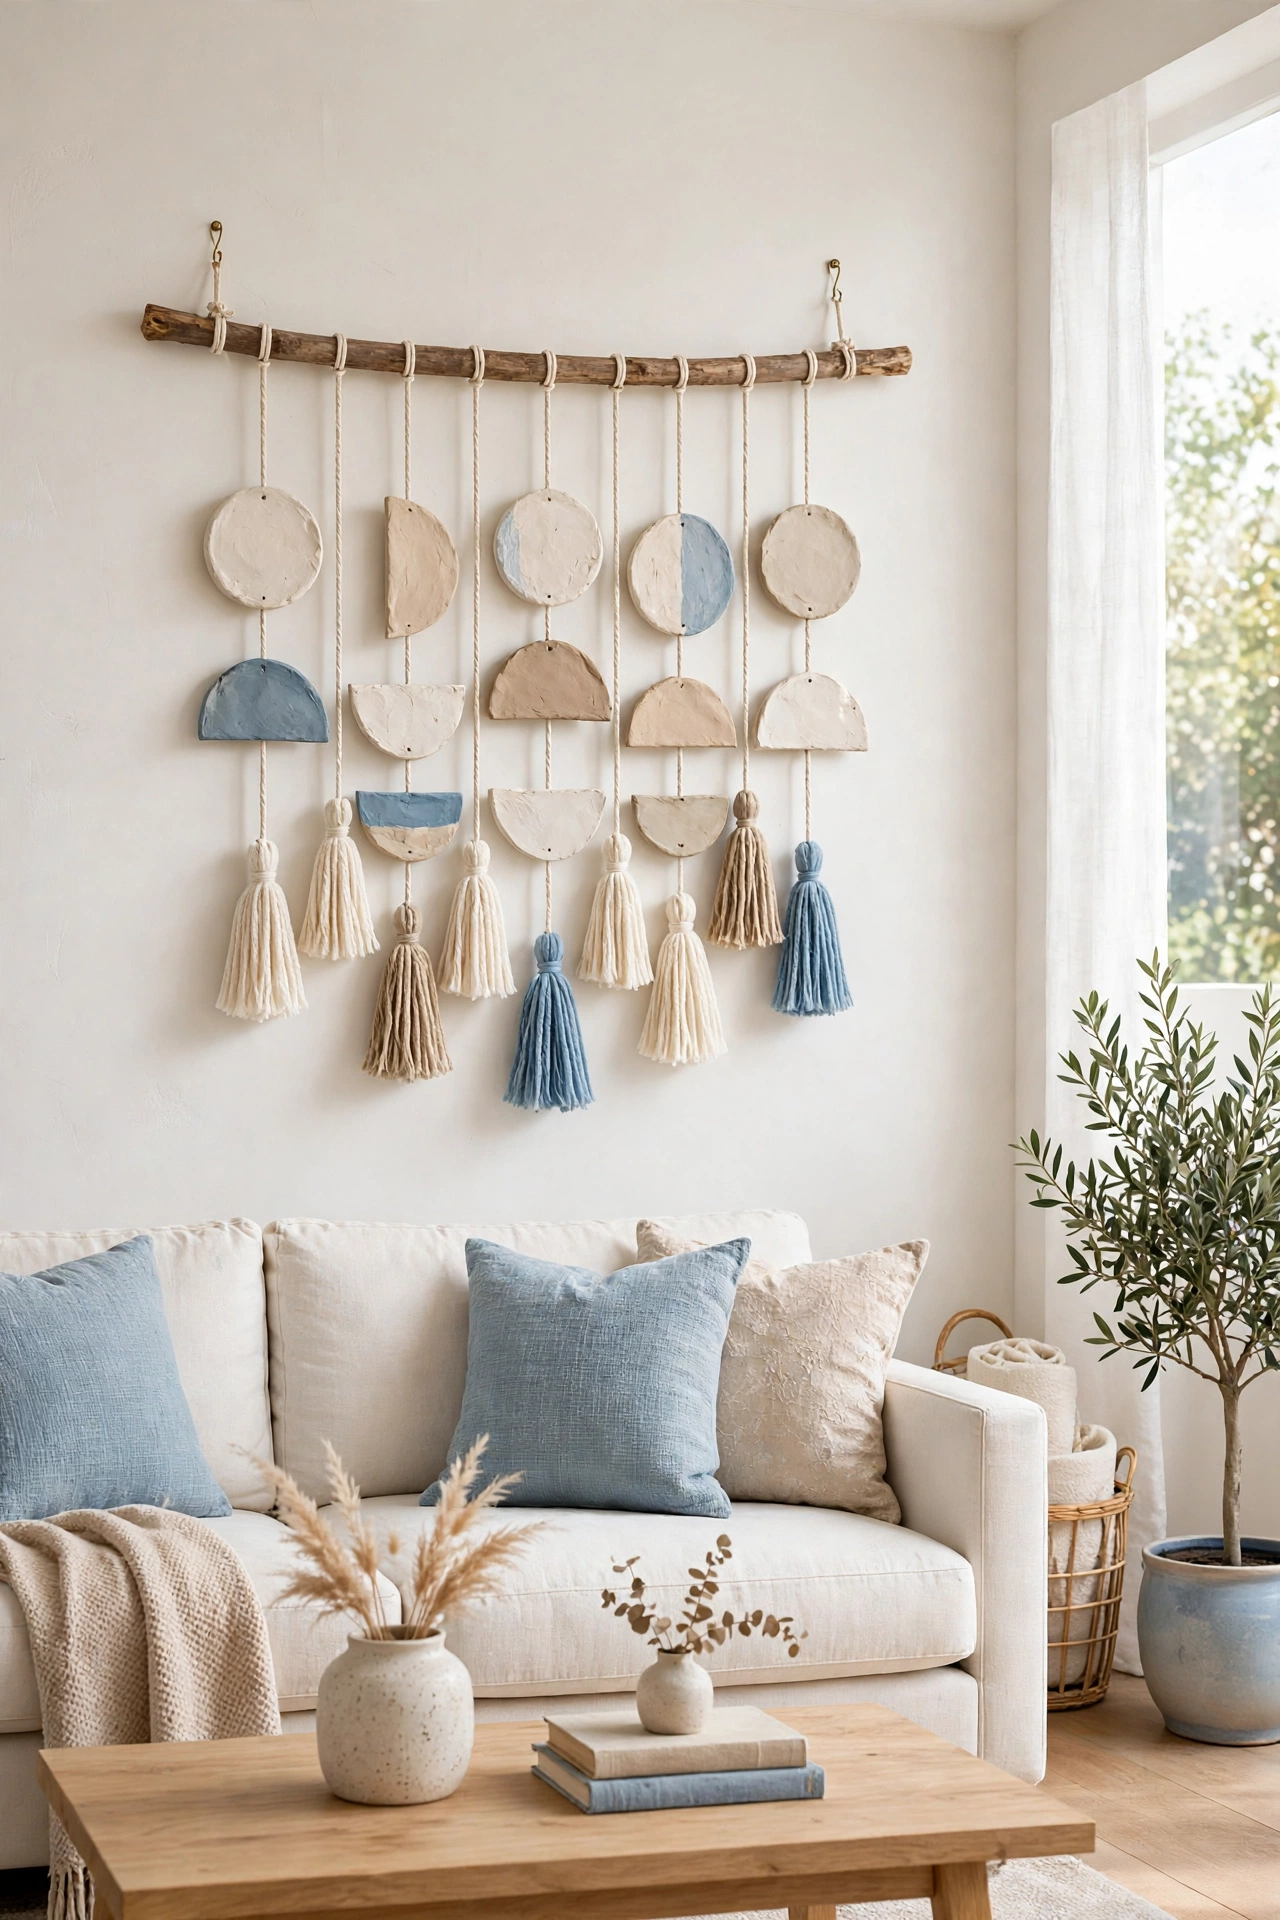
Boho wall decor is all about relaxed shapes and natural textures, which makes it a perfect match for air dry clay. Shape freeform discs, half moons, and tassel-like drops, then string them together on a wooden dowel with cotton cord. The finished piece feels warm, handmade, and easygoing.
Use a mix of cream, sand, and soft blue paint so the piece feels light and airy. For more relaxed handmade style, see these DIY vintage decor ideas. Hang your boho piece above a sofa or a bed where it can soften the whole room.
7. Roll Clay Textured Wall Panels
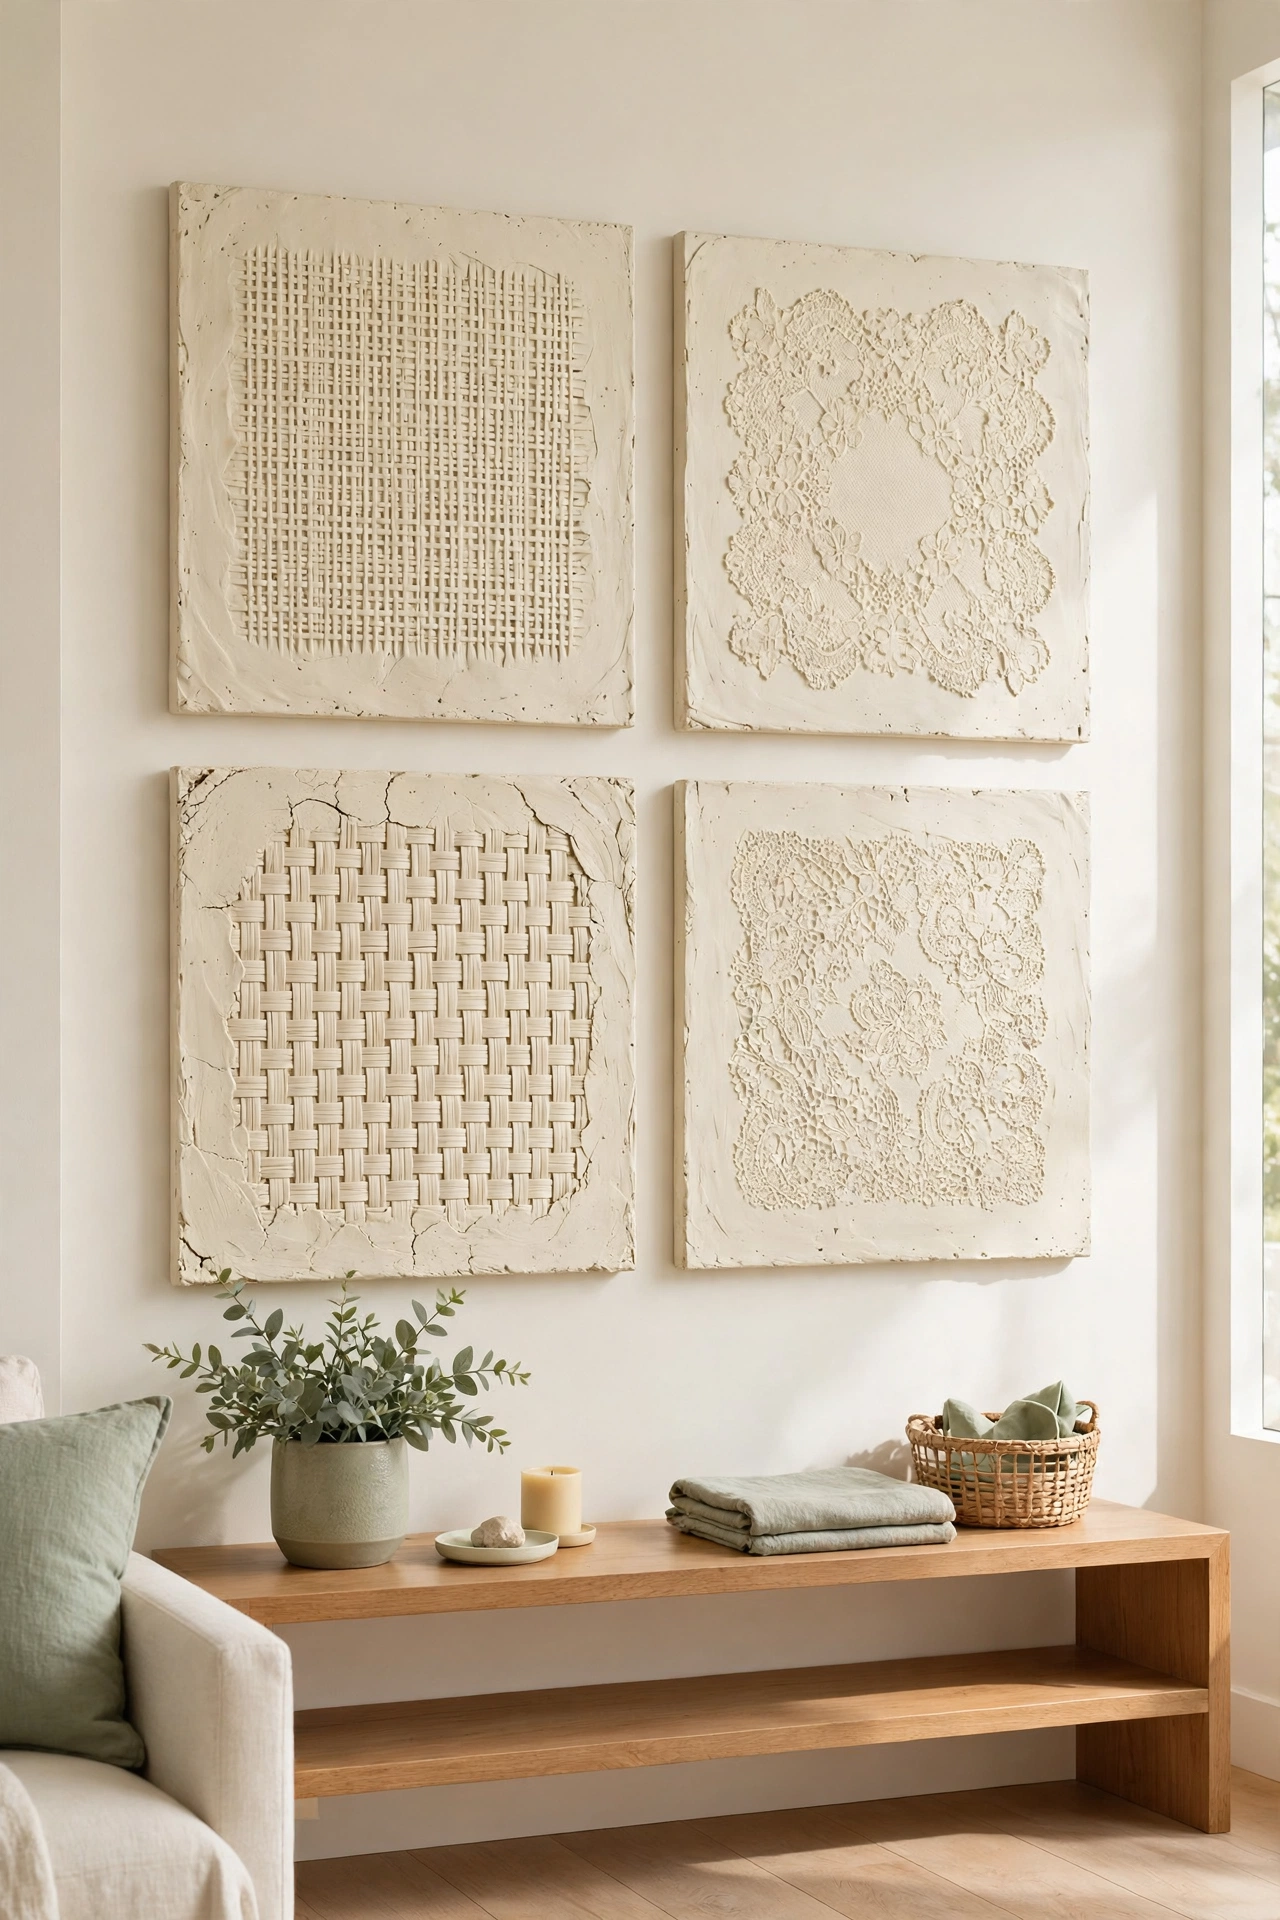
Textured wall panels give a plain wall instant depth without any building work. Roll a slab of clay, press a woven mat, a piece of lace, or a carved stamp into the surface, and cut the slab into even squares or rectangles. Let the panels dry flat under a light book so they stay straight.
Mount three or four panels in a grid on the wall with strong adhesive strips. Keep them all in the same pale cream tone so the texture does the talking. These panels work well in a living room, a hallway, or behind a desk where you want quiet visual interest.
8. Shape Clay Wall Pockets for Dried Flowers
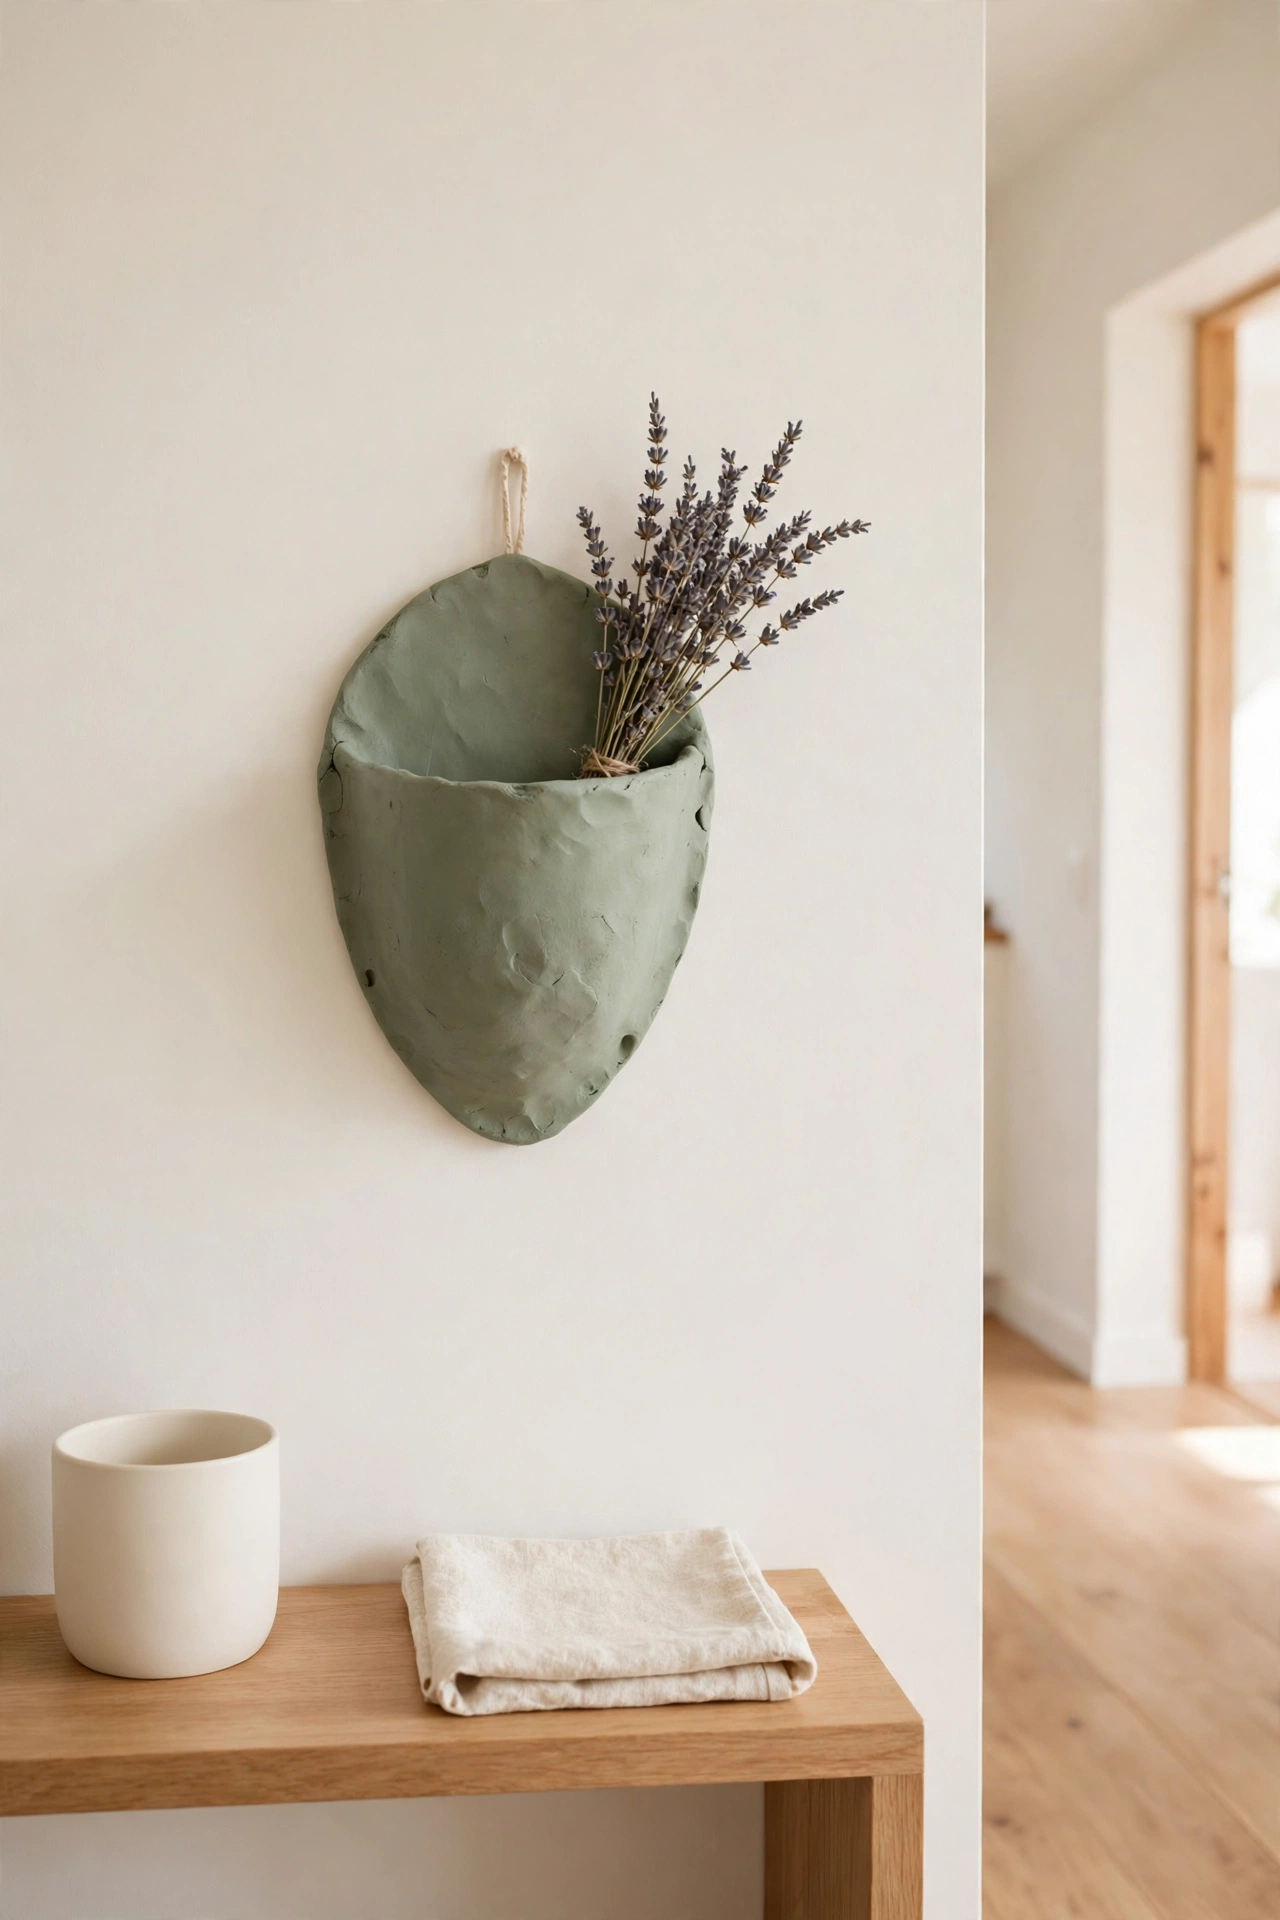
A clay wall pocket holds a small bunch of dried flowers and turns a plain wall into a tiny garden. Shape a half cone or a rounded pocket from a slab of clay, add a hole at the back for hanging, and let it dry fully before you fill it. The pocket is light enough to hang on a single nail.
Fill each pocket with a few stems of dried lavender, wheat, or baby breath. Paint the pocket in a sage green or a soft blush so it blends with the flowers. Hang one by the front door or make a pair for either side of a mirror.
9. Cut Clay Star Wall Art
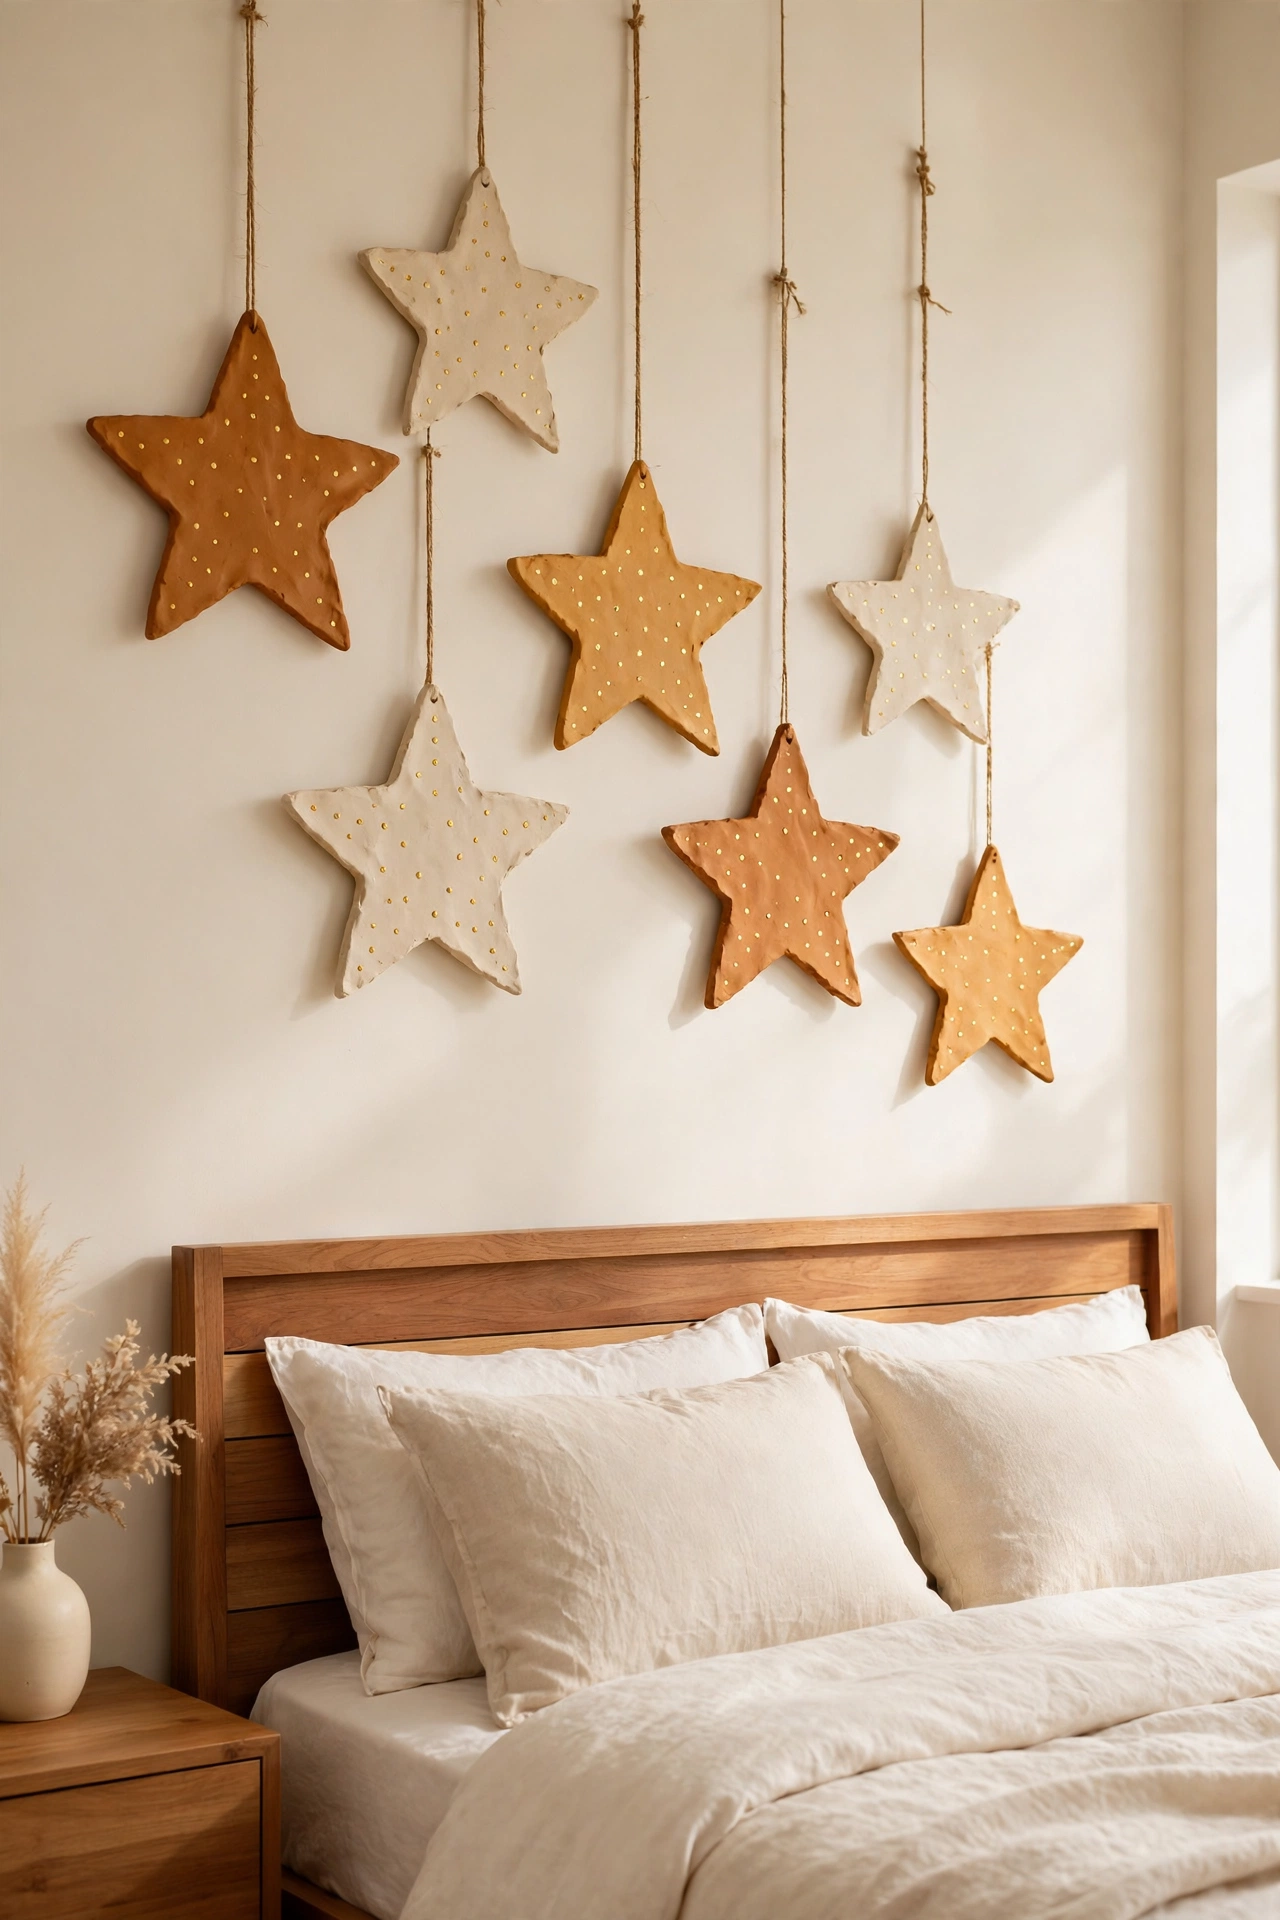
Star shapes are fun to cut and easy to paint, which makes them a great beginner project. Roll the clay flat, cut stars in two or three sizes, and poke a hole in one point of each star for hanging. Smooth the edges with wet fingers so they look soft and finished.
Paint the stars in warm amber and cream, then hang them at different heights on a bedroom or nursery wall. A cluster of stars above a bed feels playful without looking childish. You can also add a few tiny dots of gold paint for a gentle sparkle.
10. Make Clay Heart Wall Hangings
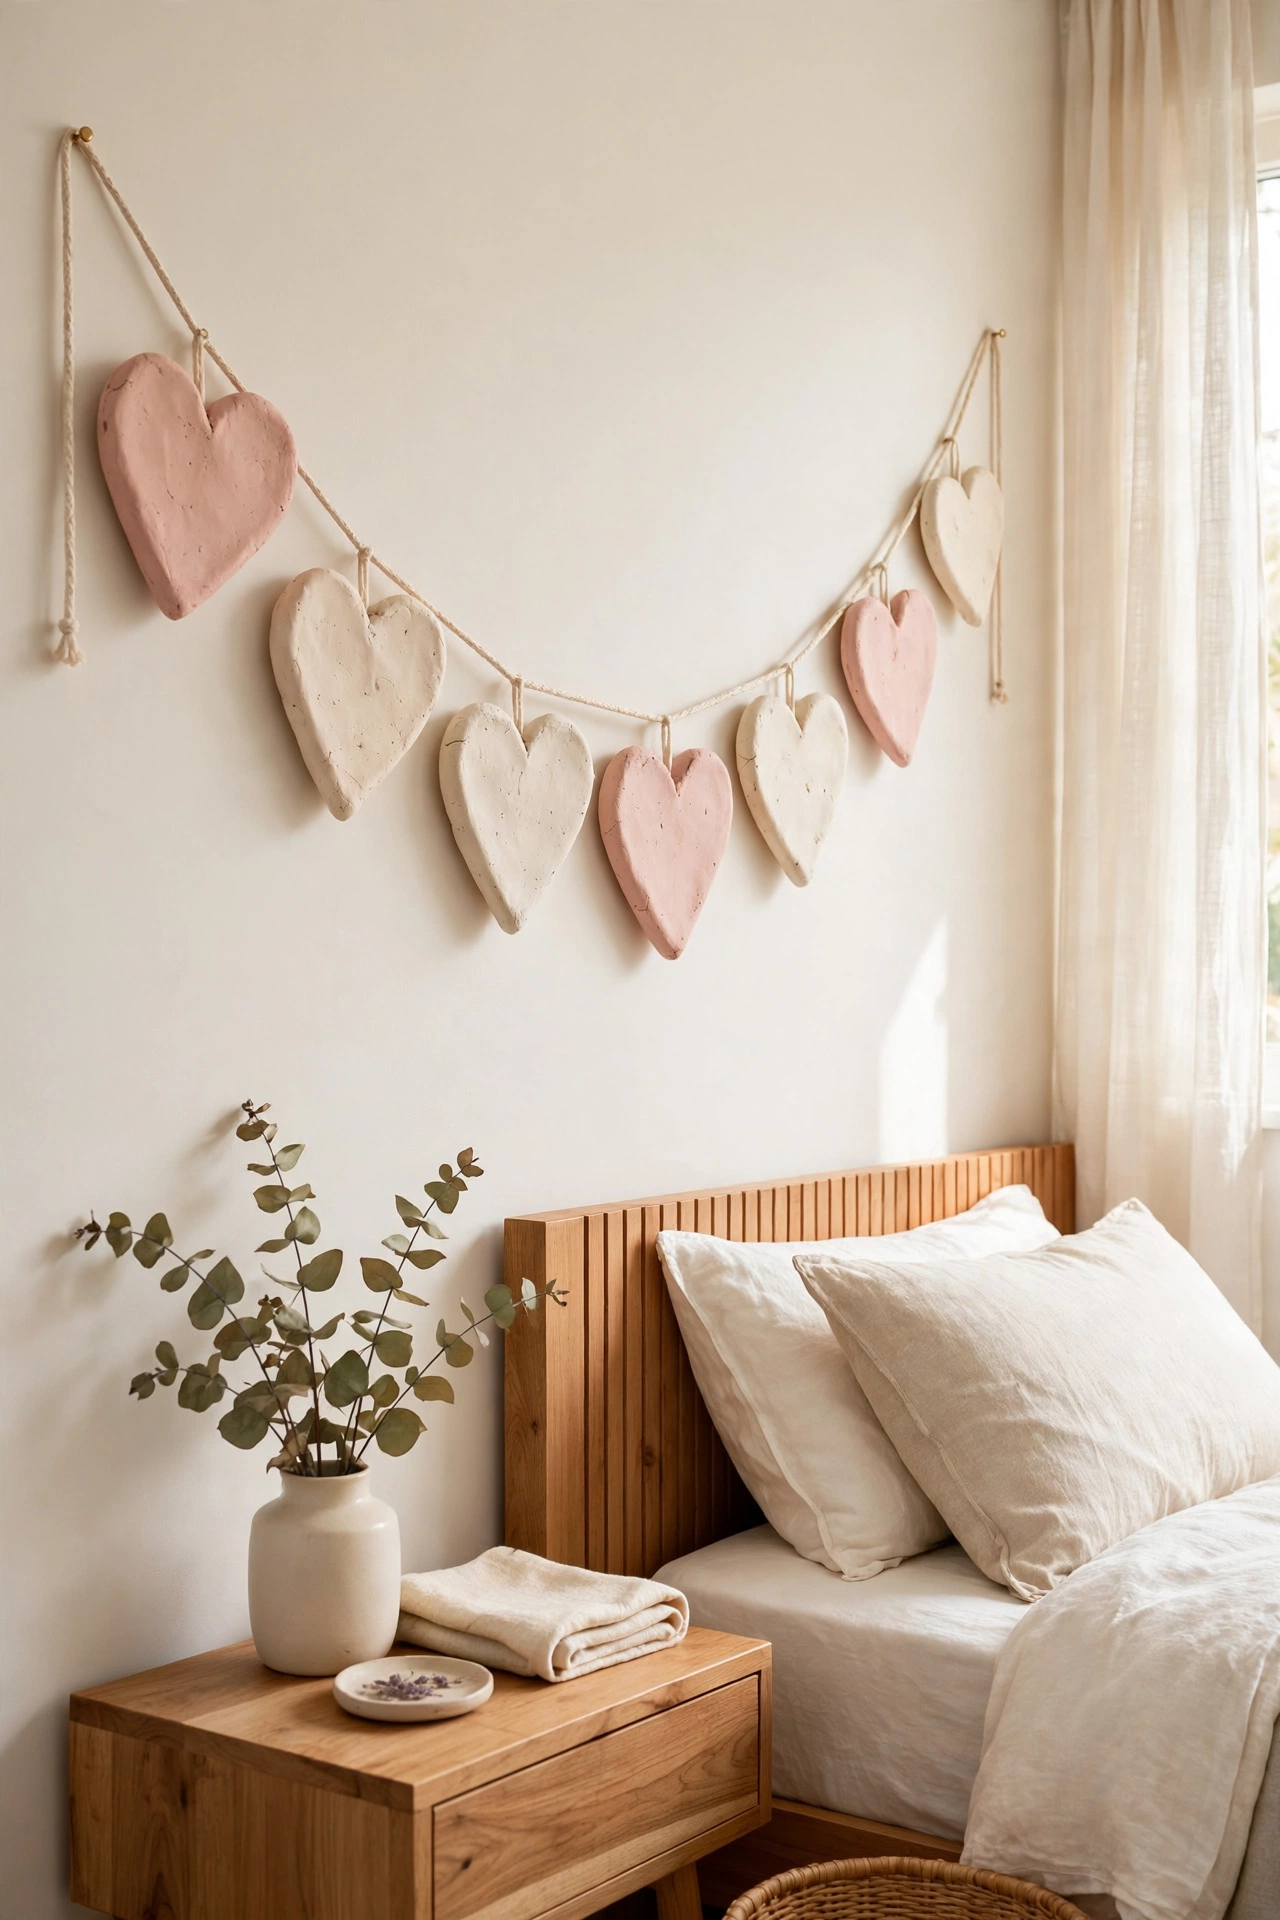
Heart wall hangings are simple, sweet, and quick to make. Cut hearts from rolled clay in a few sizes, add a small hole at the top of each one, and let them dry flat. Once they are hard, paint them in blush pink, cream, or a soft terracotta red.
String several hearts on one cord for a garland, or hang a single large heart as a focal piece. These hangings suit a bedroom, a bathroom, or a cozy reading corner. They also make a thoughtful handmade gift that costs almost nothing.
11. Press Clay Geometric Wall Tiles
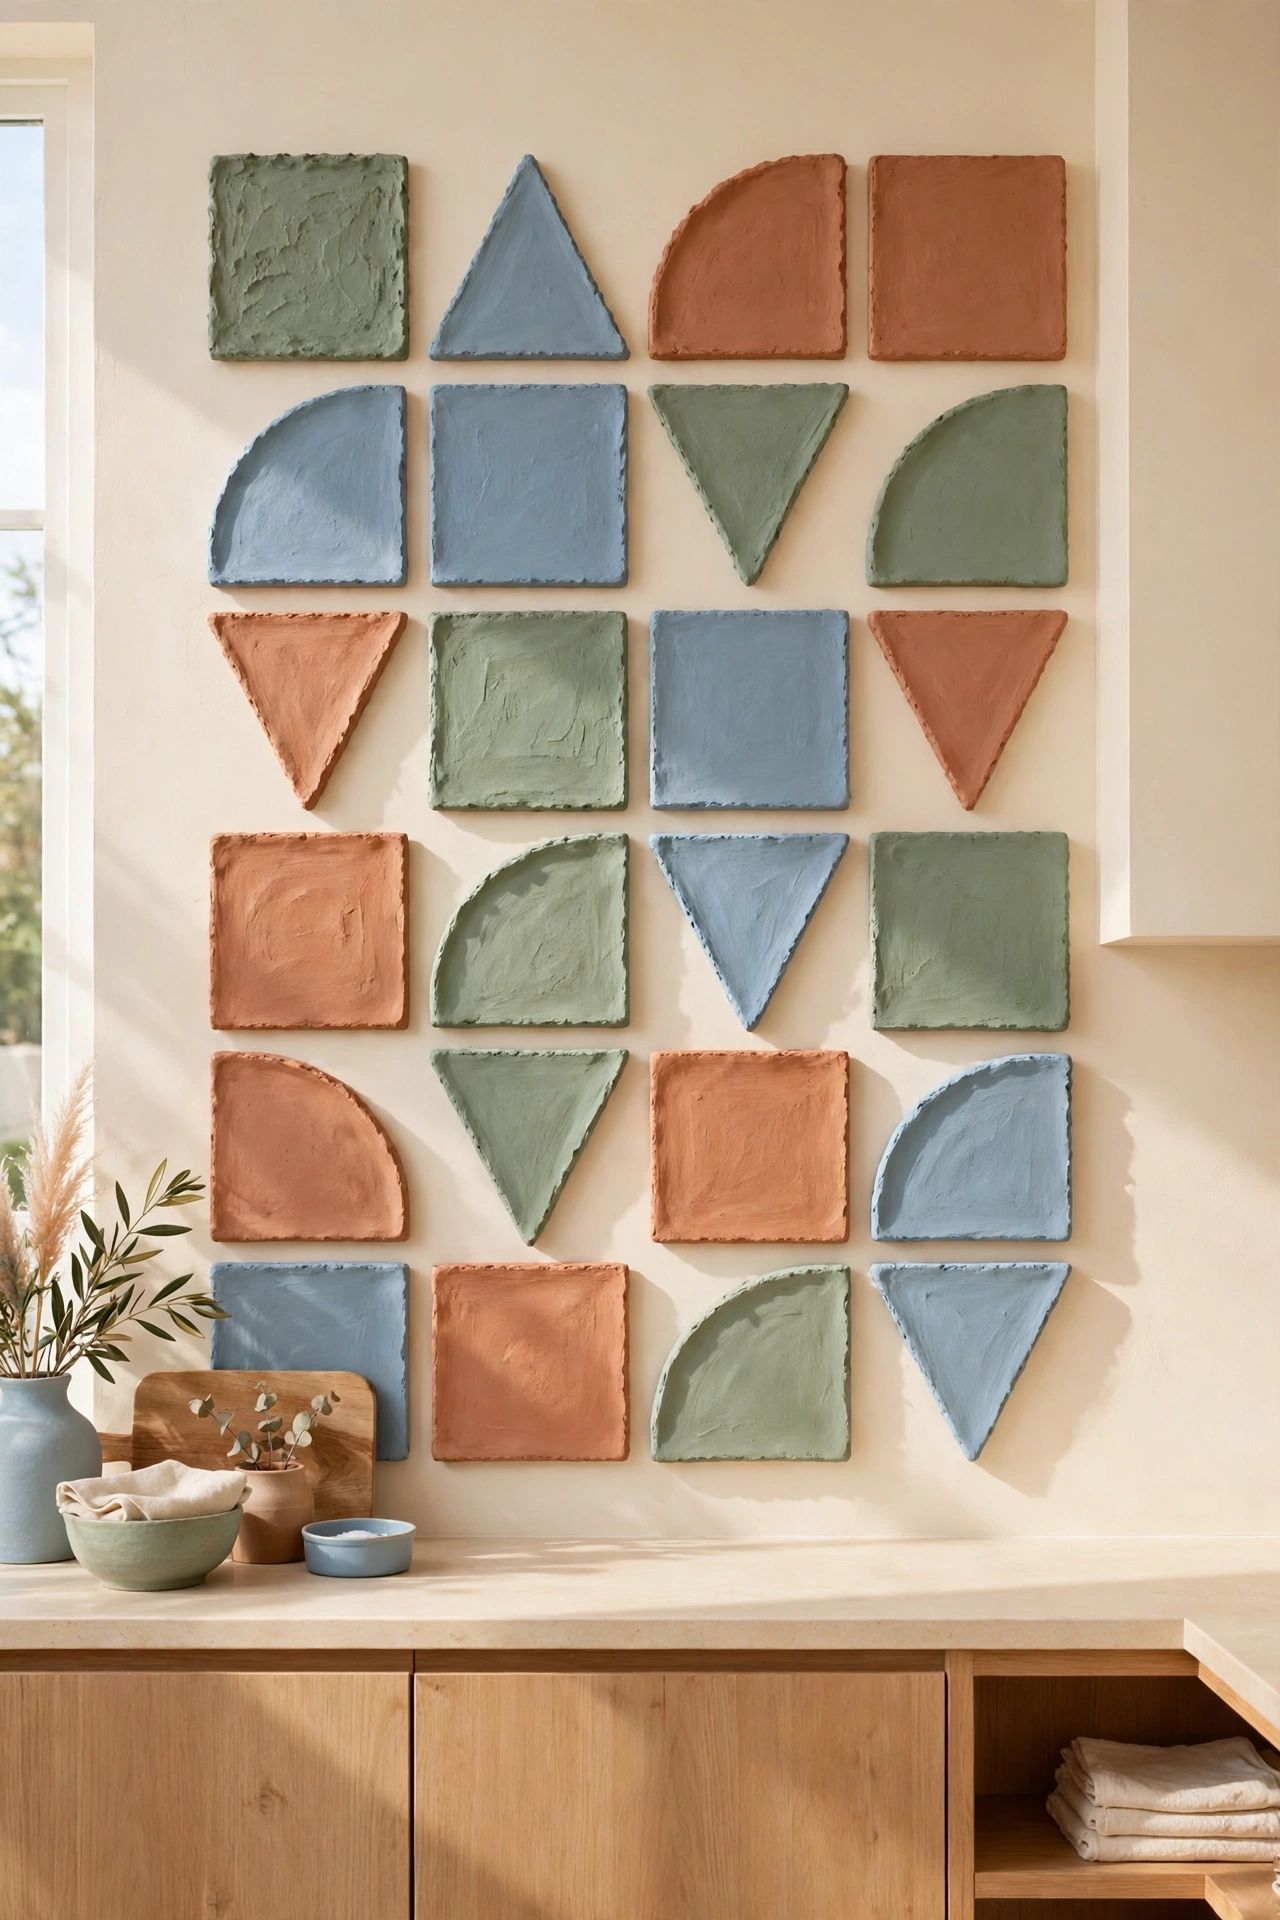
Geometric wall tiles bring a modern, patterned look to any wall. Roll the clay to an even thickness, cut squares, triangles, and half circles, and press a simple line pattern into each one. Dry the tiles flat so they stay perfectly straight for mounting.
Paint each shape in a different accent color, like sage, soft blue, and terracotta, then arrange them in a grid on the wall. The mix of shapes and colors feels playful and modern. These tiles work well in a kitchen, a home office, or a hallway that needs a bold accent.
12. Shape Clay Rainbow Wall Art
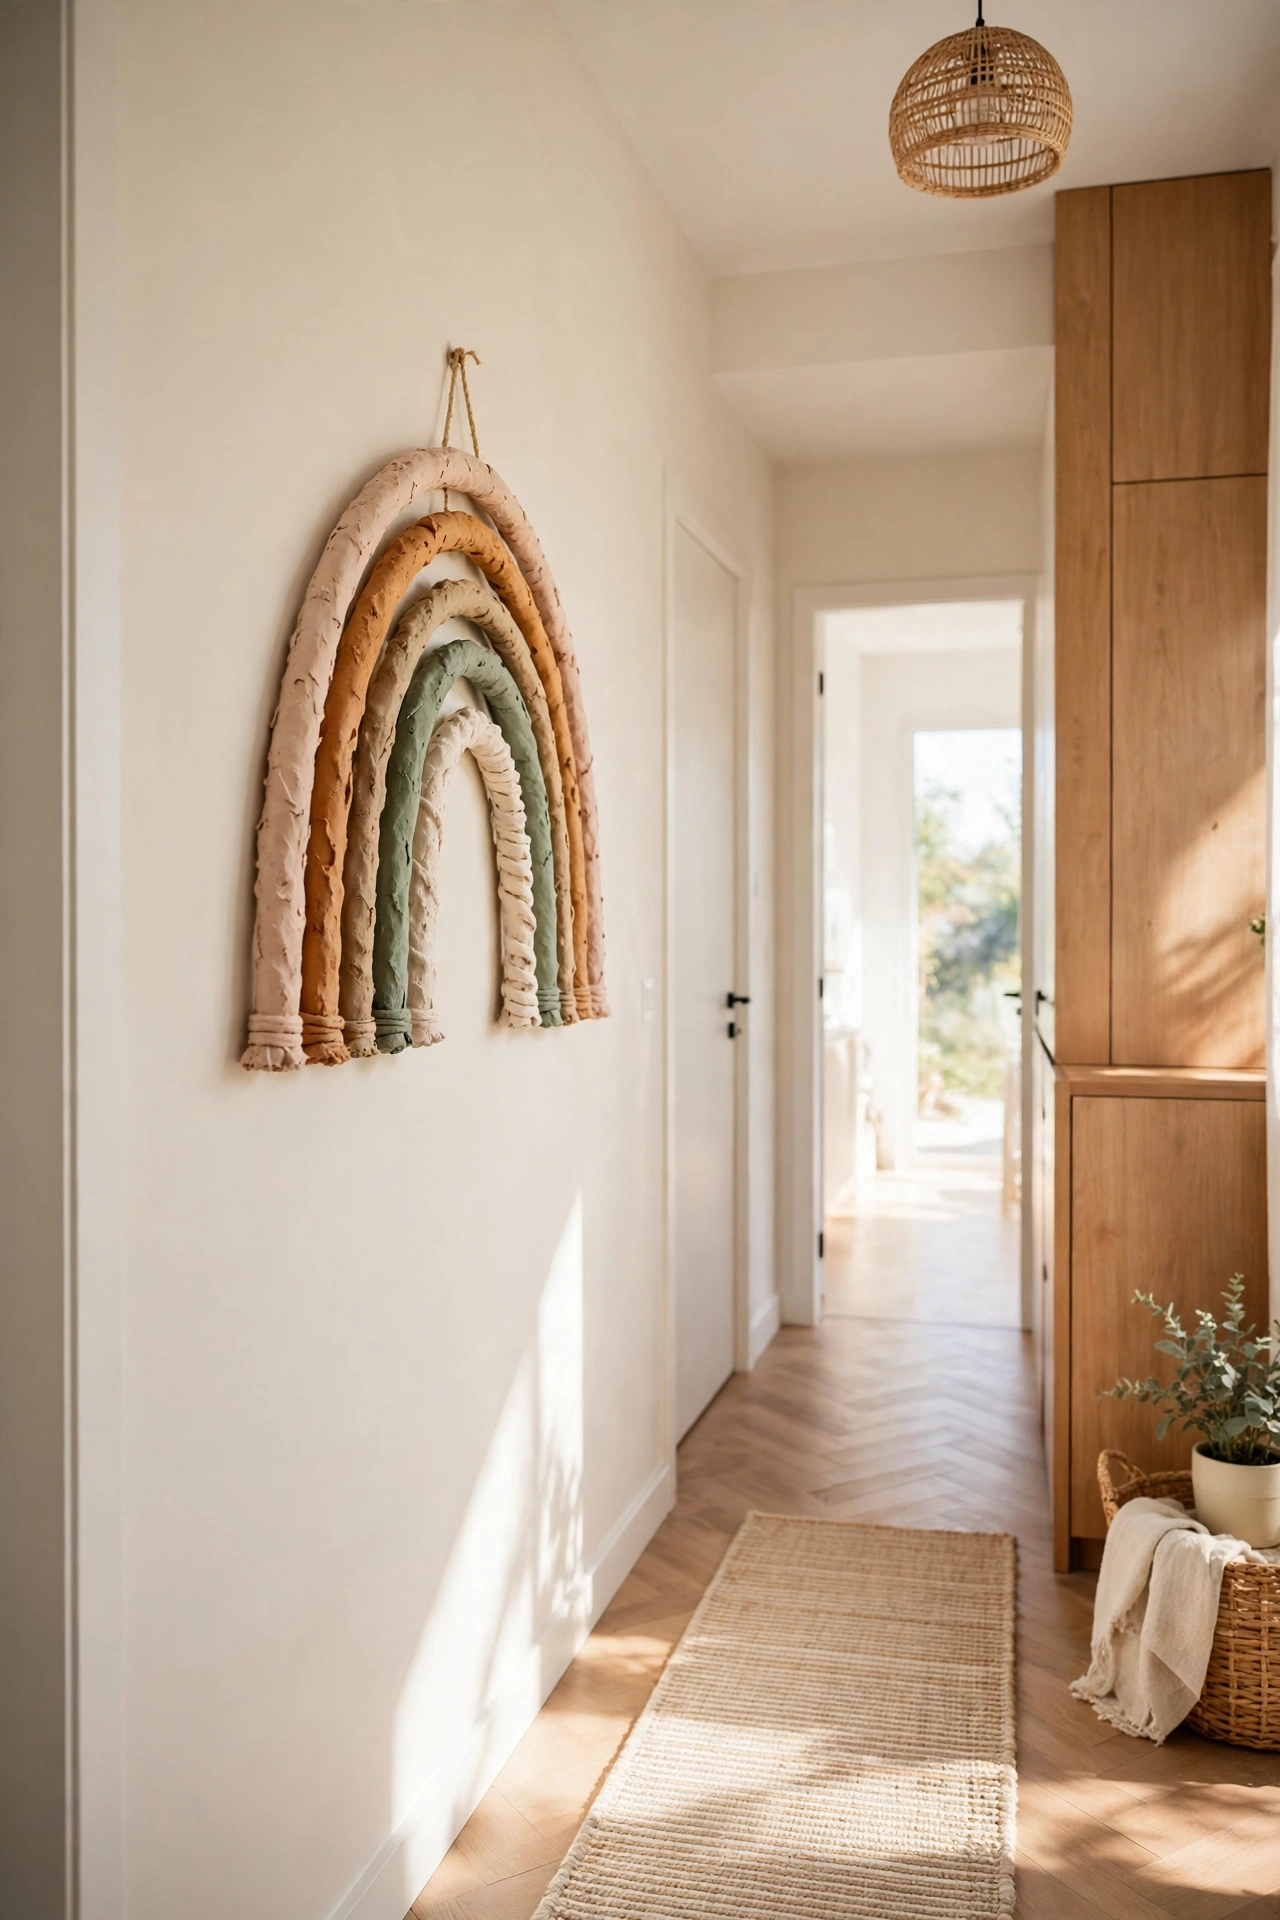
A clay rainbow is a cheerful project that needs only a few simple steps. Roll the clay into long ropes, bend them into arches of decreasing size, and join the ends together on a flat base. Smooth the joints with water and let the piece dry slowly so it does not crack.
Paint each arch in a soft muted color, such as blush, amber, sage, and cream, for a calm rainbow instead of a bright one. Hang it in a nursery, a playroom, or a sunny hallway. This piece adds instant warmth and always makes people smile.
13. Create Clay Botanical Wall Plaques
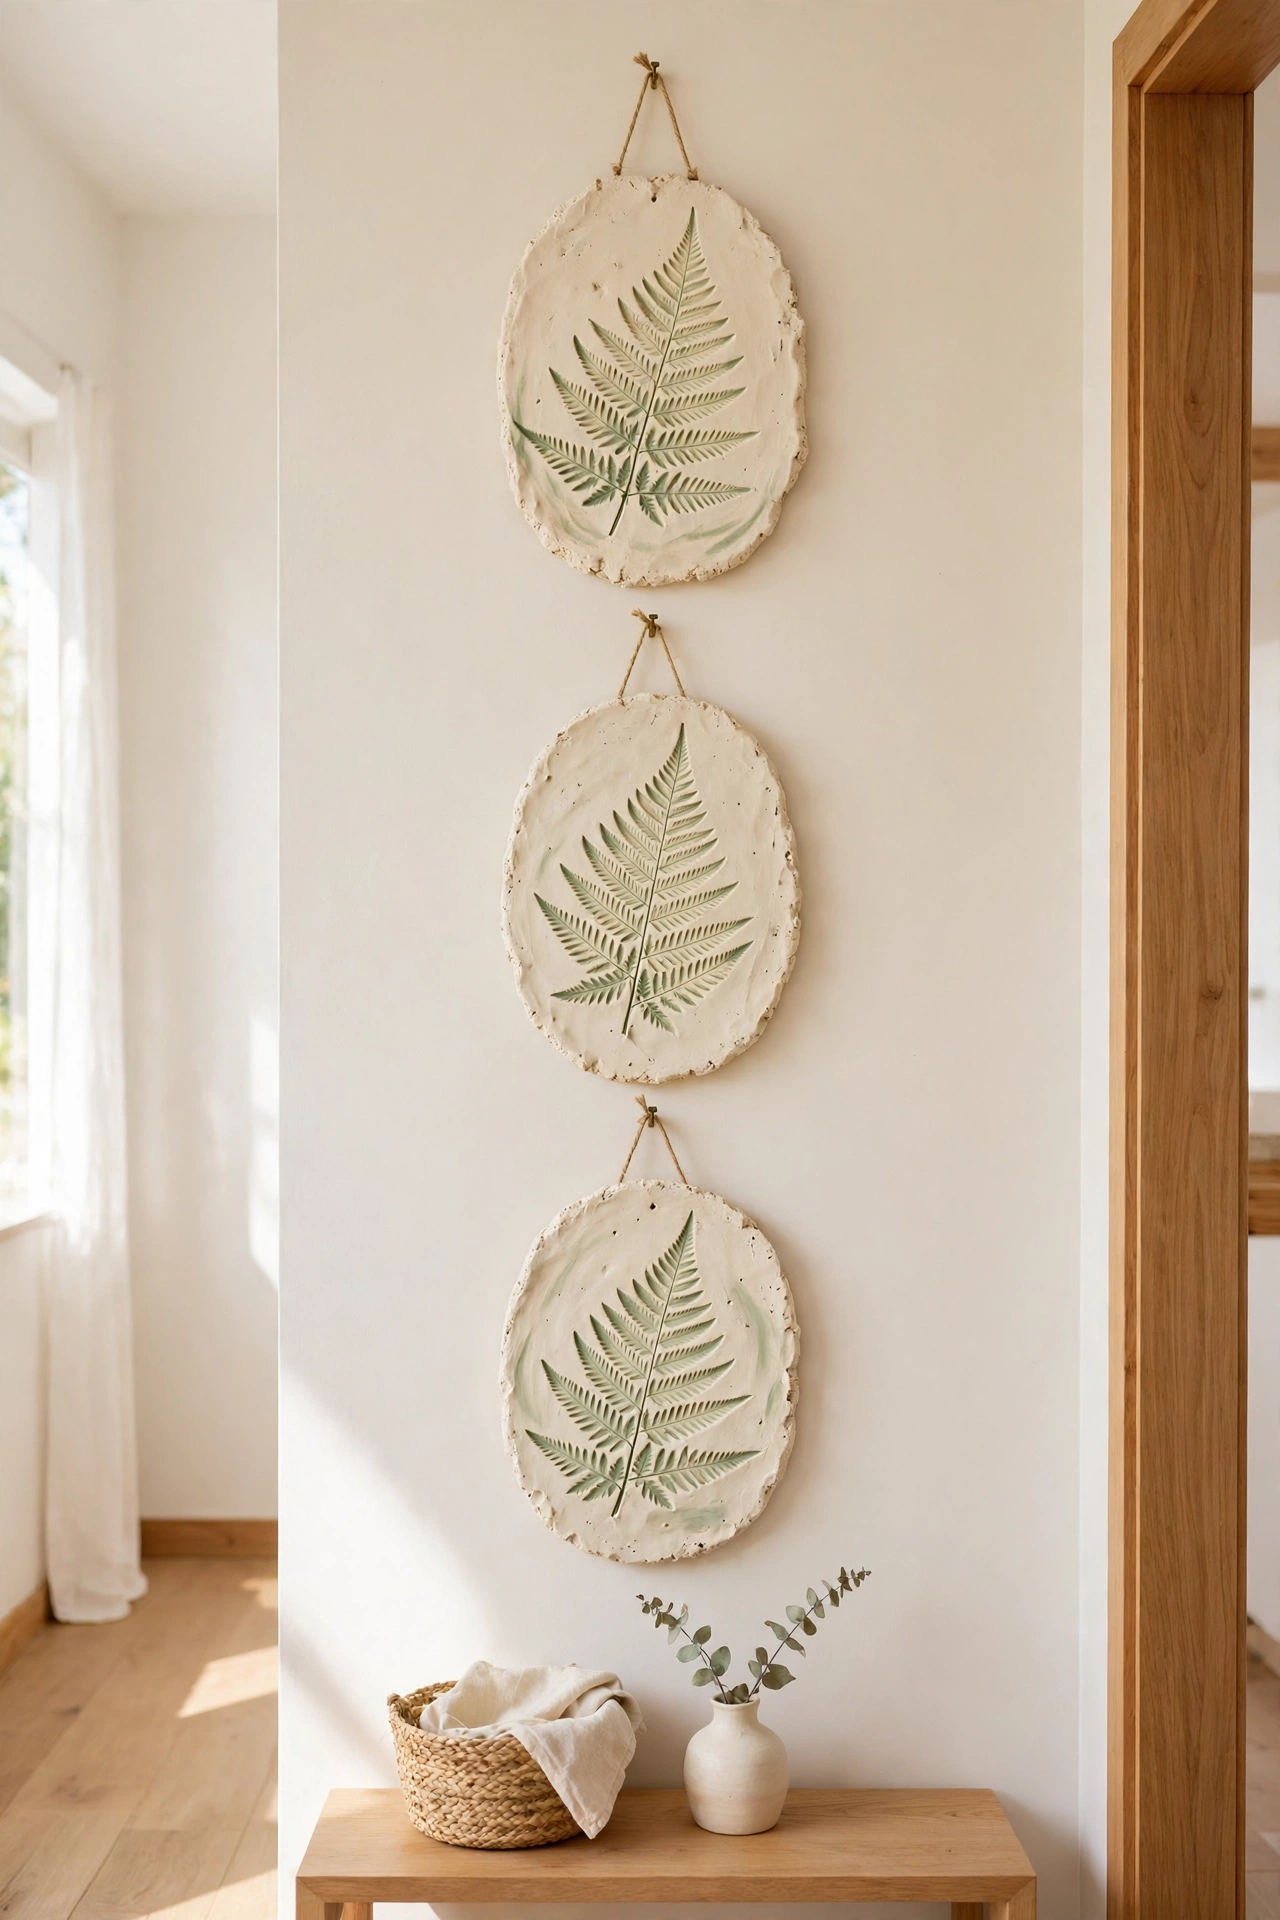
Botanical plaques capture the fine detail of real plants in clay. Roll a slab, lay a fern frond or a eucalyptus stem on top, and press it gently with a rolling pin. Peel the plant away to reveal a crisp, detailed imprint that looks like a fossil.
Leave the plaque in its natural cream color so the imprint stays the star, or brush a thin wash of sage green into the lines. For more nature inspired wall ideas, see these antique gallery wall ideas. Hang a set of botanical plaques in a row for a calm, collected look.
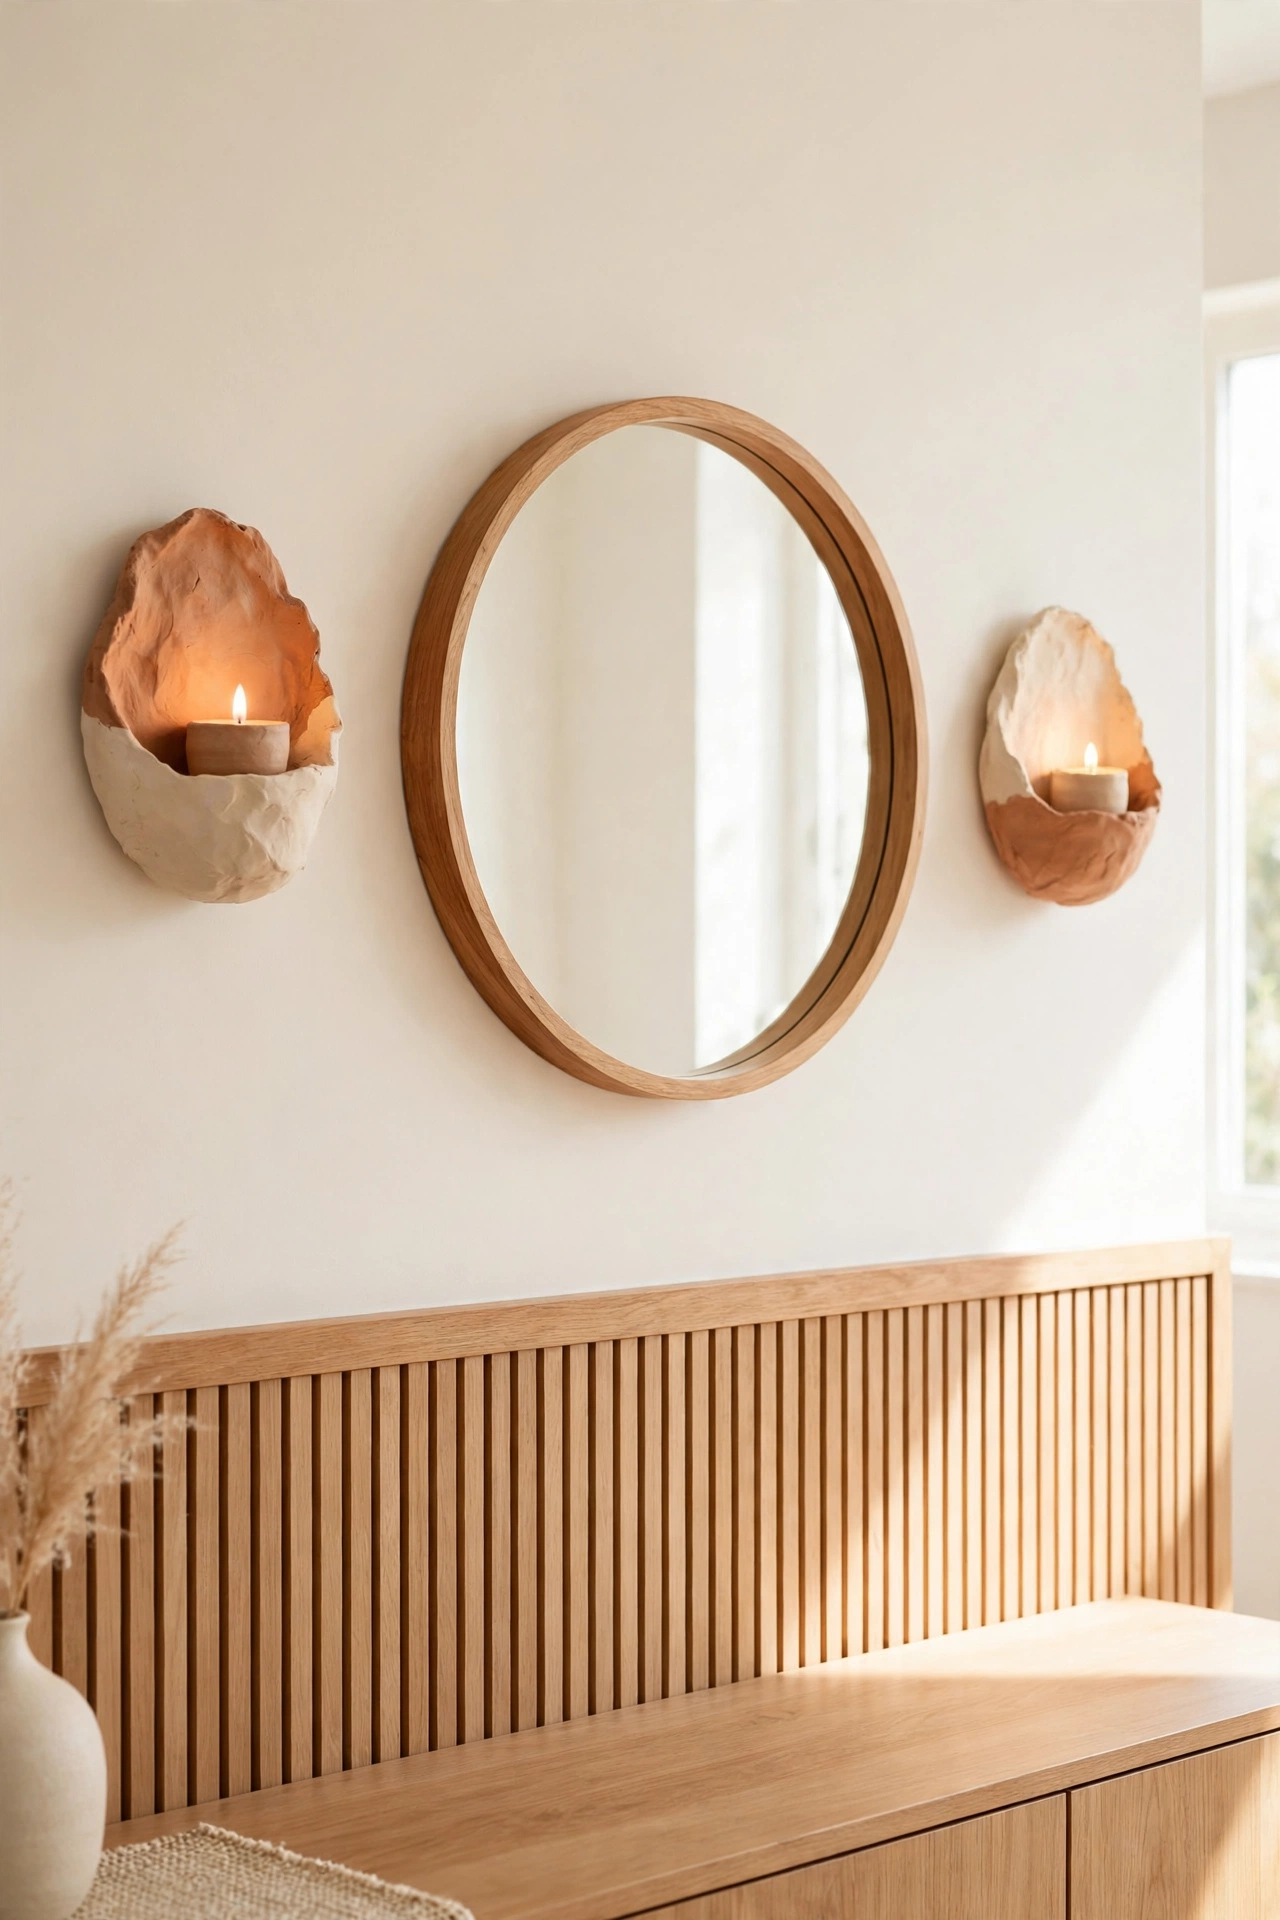
14. Build Clay Wall Sconces
A clay wall sconce holds a small candle or a battery tea light and turns a plain wall into a glowing feature. Shape a small cup or a half bowl from clay, attach a flat back panel, and add a hole for hanging. Make sure the clay is fully dry and sealed before you place any candle inside.
Use battery candles for safety, especially in bedrooms and hallways. Paint the sconce in a warm cream or terracotta tone so the glow feels soft. A pair of sconces on either side of a mirror or a bed adds instant warmth to the room.
15. Frame Clay Wall Art
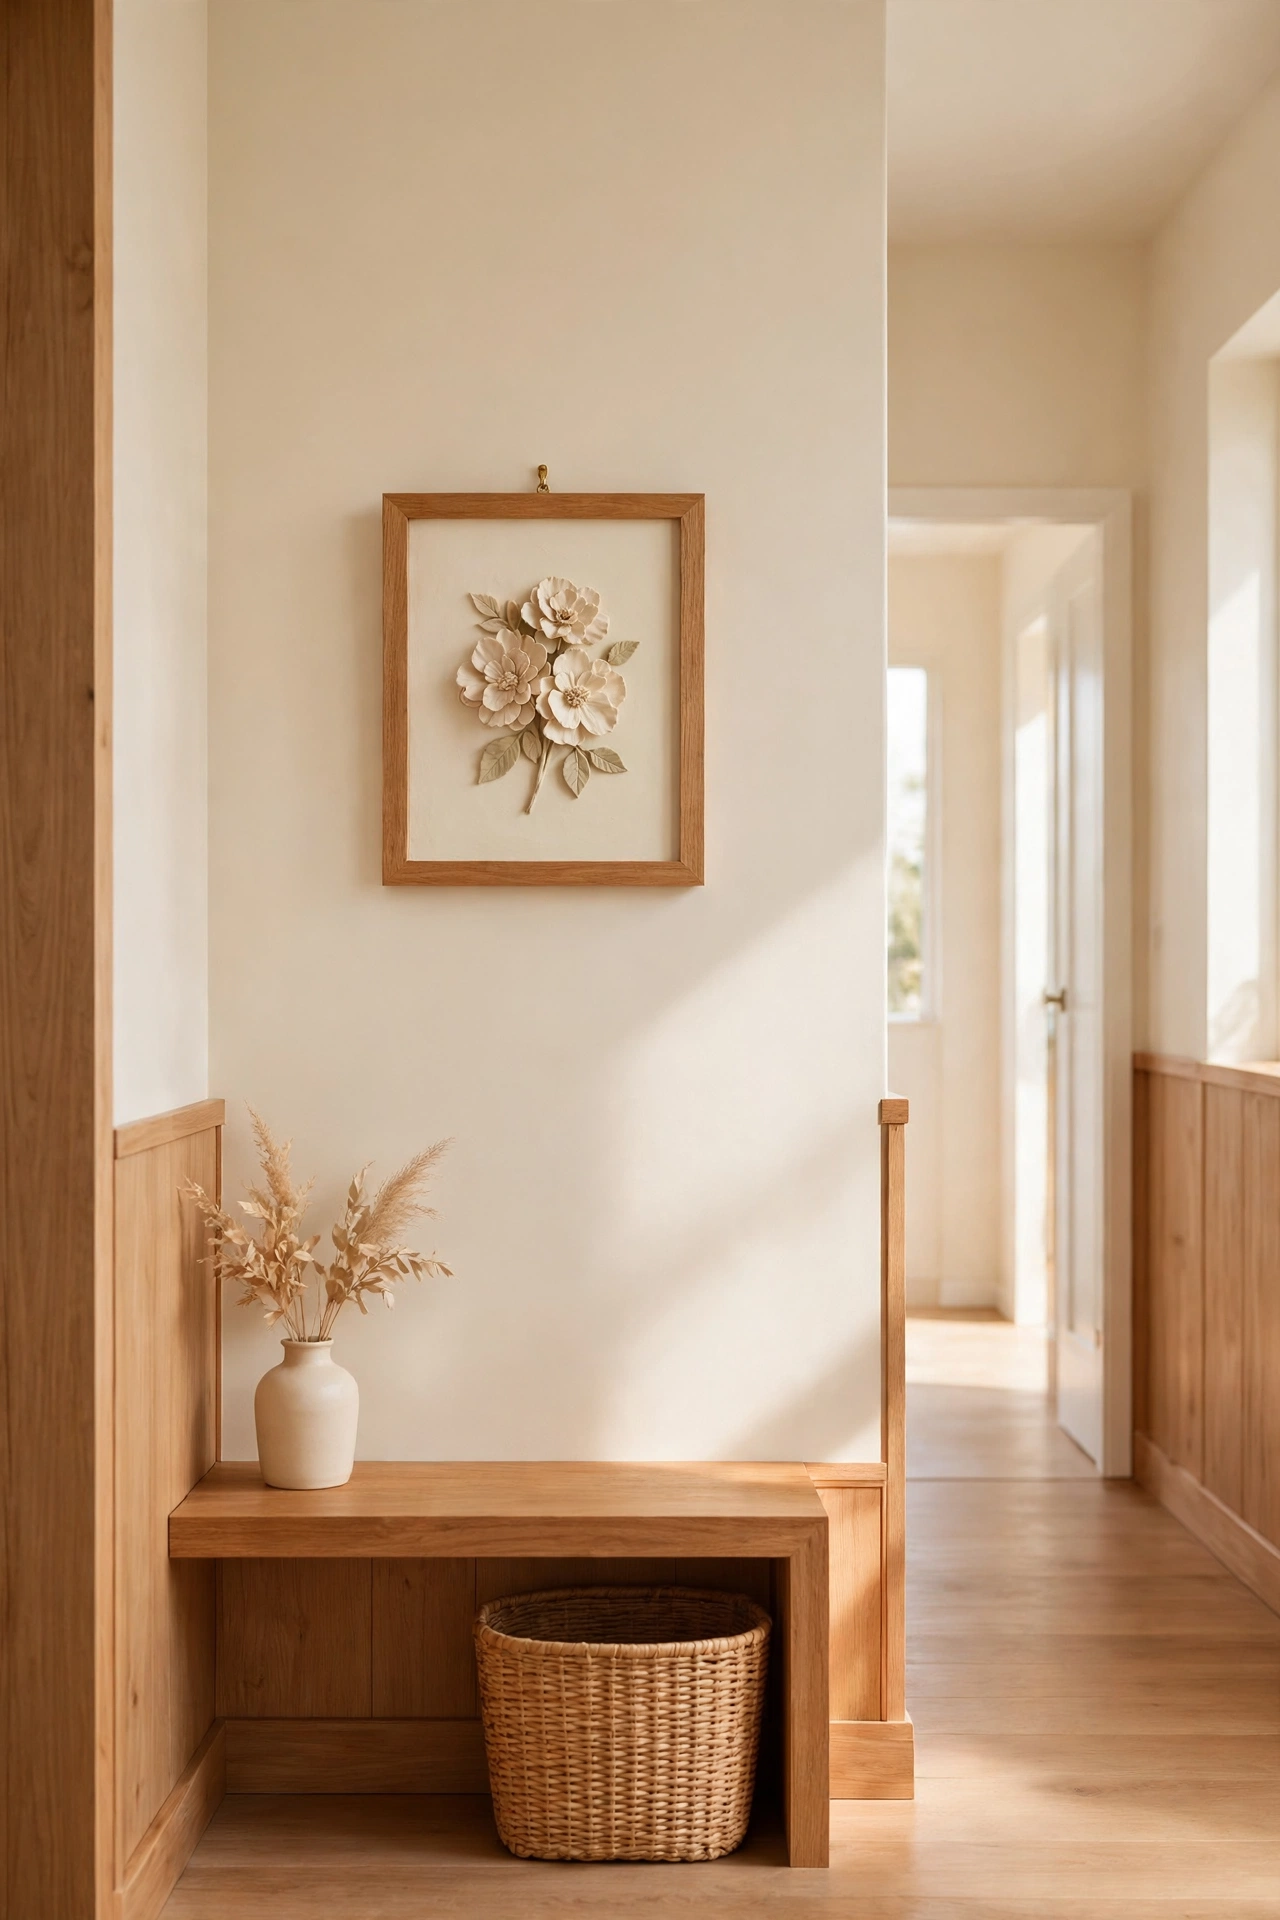
Framing a clay piece gives it a polished, gallery feel with very little effort. Make a small clay relief, such as a flower, a sun, or an abstract shape, and mount it on a piece of painted board inside a simple wooden frame. The frame turns a beginner project into a finished piece of art.
Choose a frame in warm wood or plain white to match the room. Hang the framed piece in a hallway, a bathroom, or above a desk where it gets noticed. This is a great way to display a first clay project with pride.
16. Shape Clay Mushroom Wall Hangings
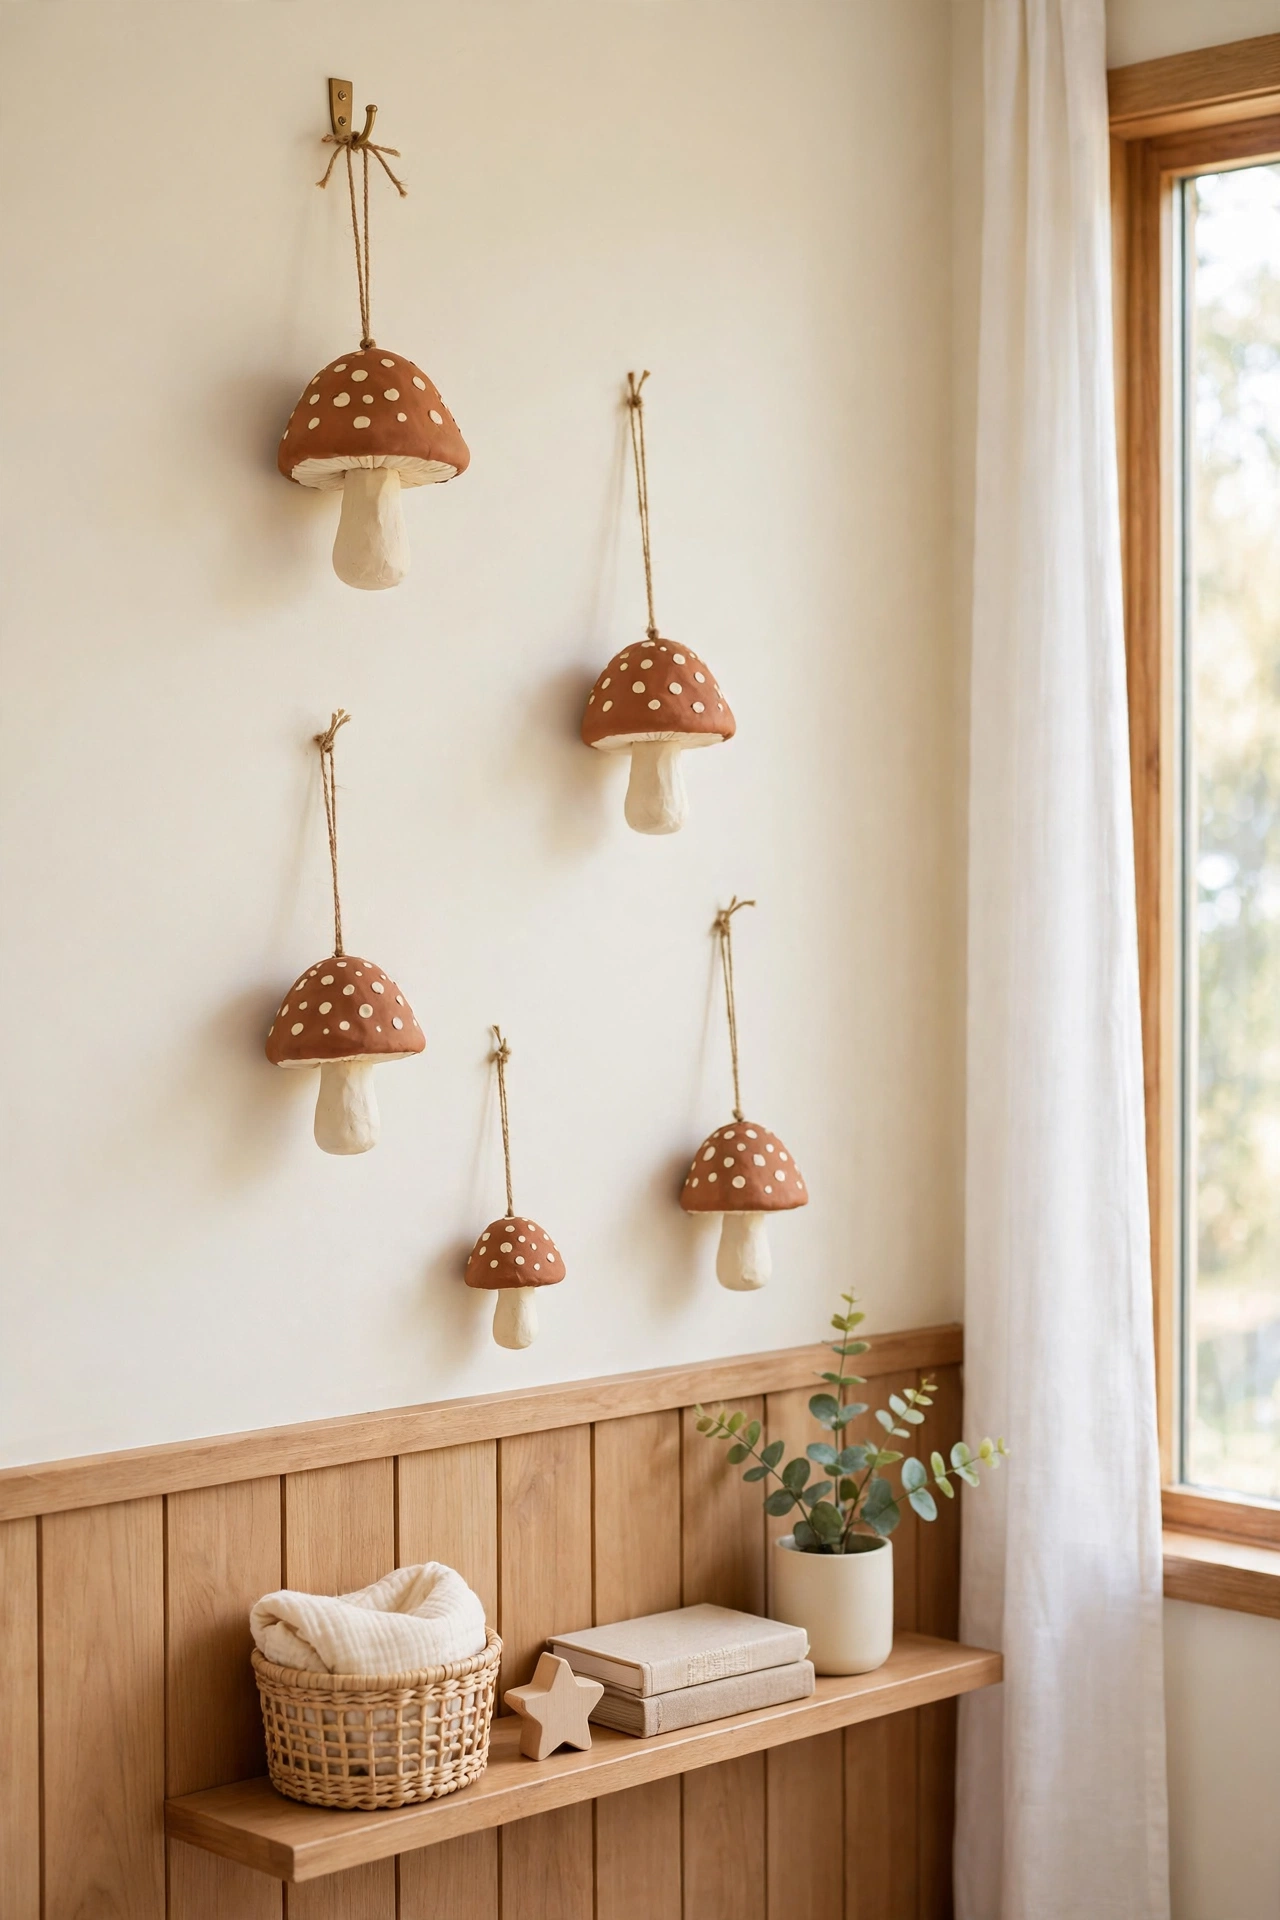
Mushroom wall hangings are charming and surprisingly easy to shape. Roll a small stem and a rounded cap, join them with a little water, and add tiny dots on the cap with the tip of a pencil. Let the piece dry fully before you paint it.
Paint the caps in soft terracotta or blush with cream dots, and keep the stems pale. Hang two or three mushrooms at different heights on a kitchen or nursery wall. They add a playful woodland touch that feels handmade and warm.
17. Make Clay Celestial Wall Art
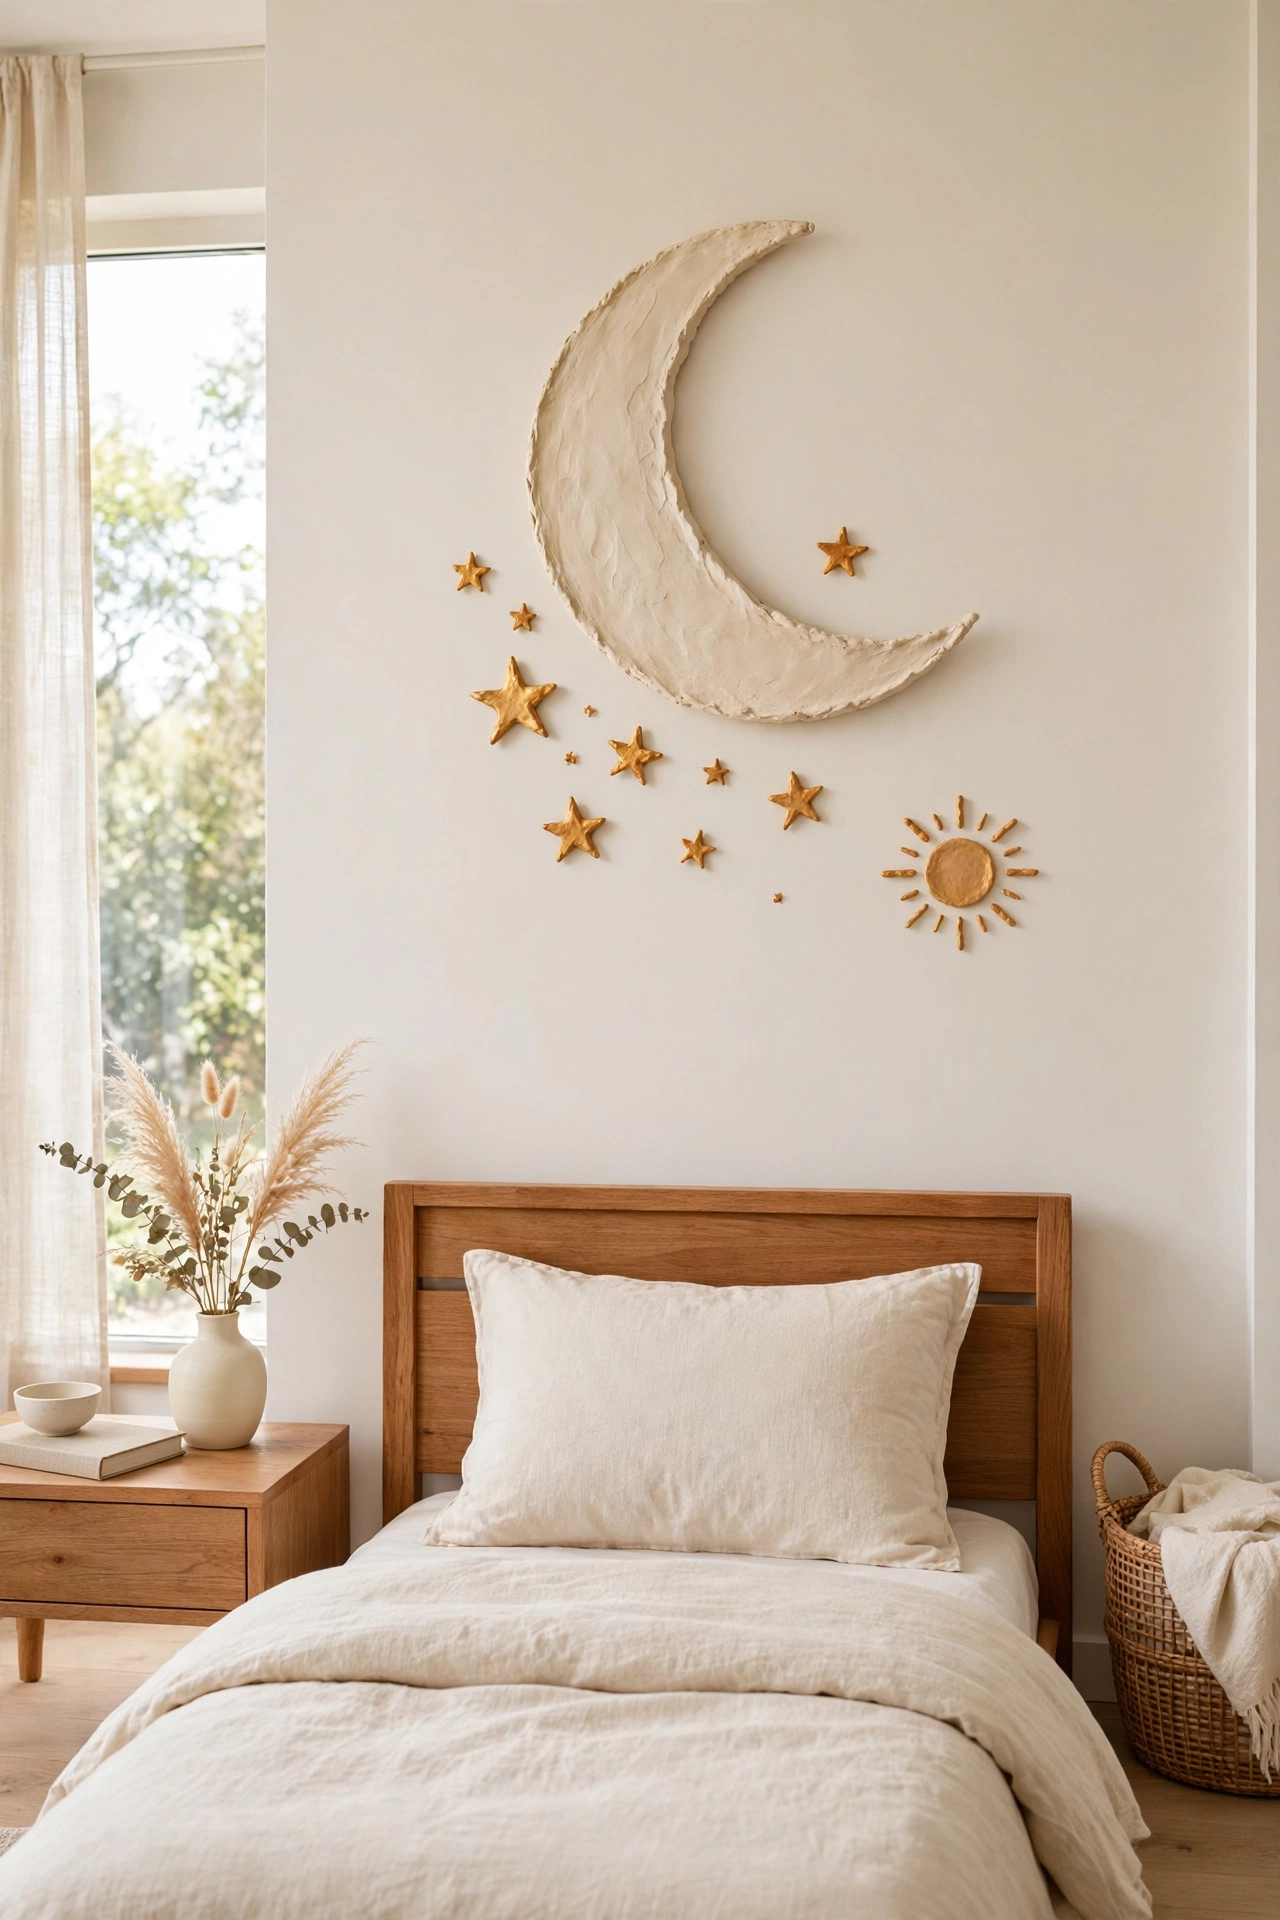
Celestial wall art combines moons, stars, and suns into one dreamy display. Cut a large crescent moon from rolled clay, then add small stars and a tiny sun around it. Arrange the pieces on the wall in a loose cluster so they feel like a night sky.
Paint the moon in pale cream and the stars in soft amber gold for a gentle glow. This display suits a bedroom ceiling corner or a reading nook where you want a calm, magical feeling. Keep the pieces small so the cluster feels delicate rather than heavy.
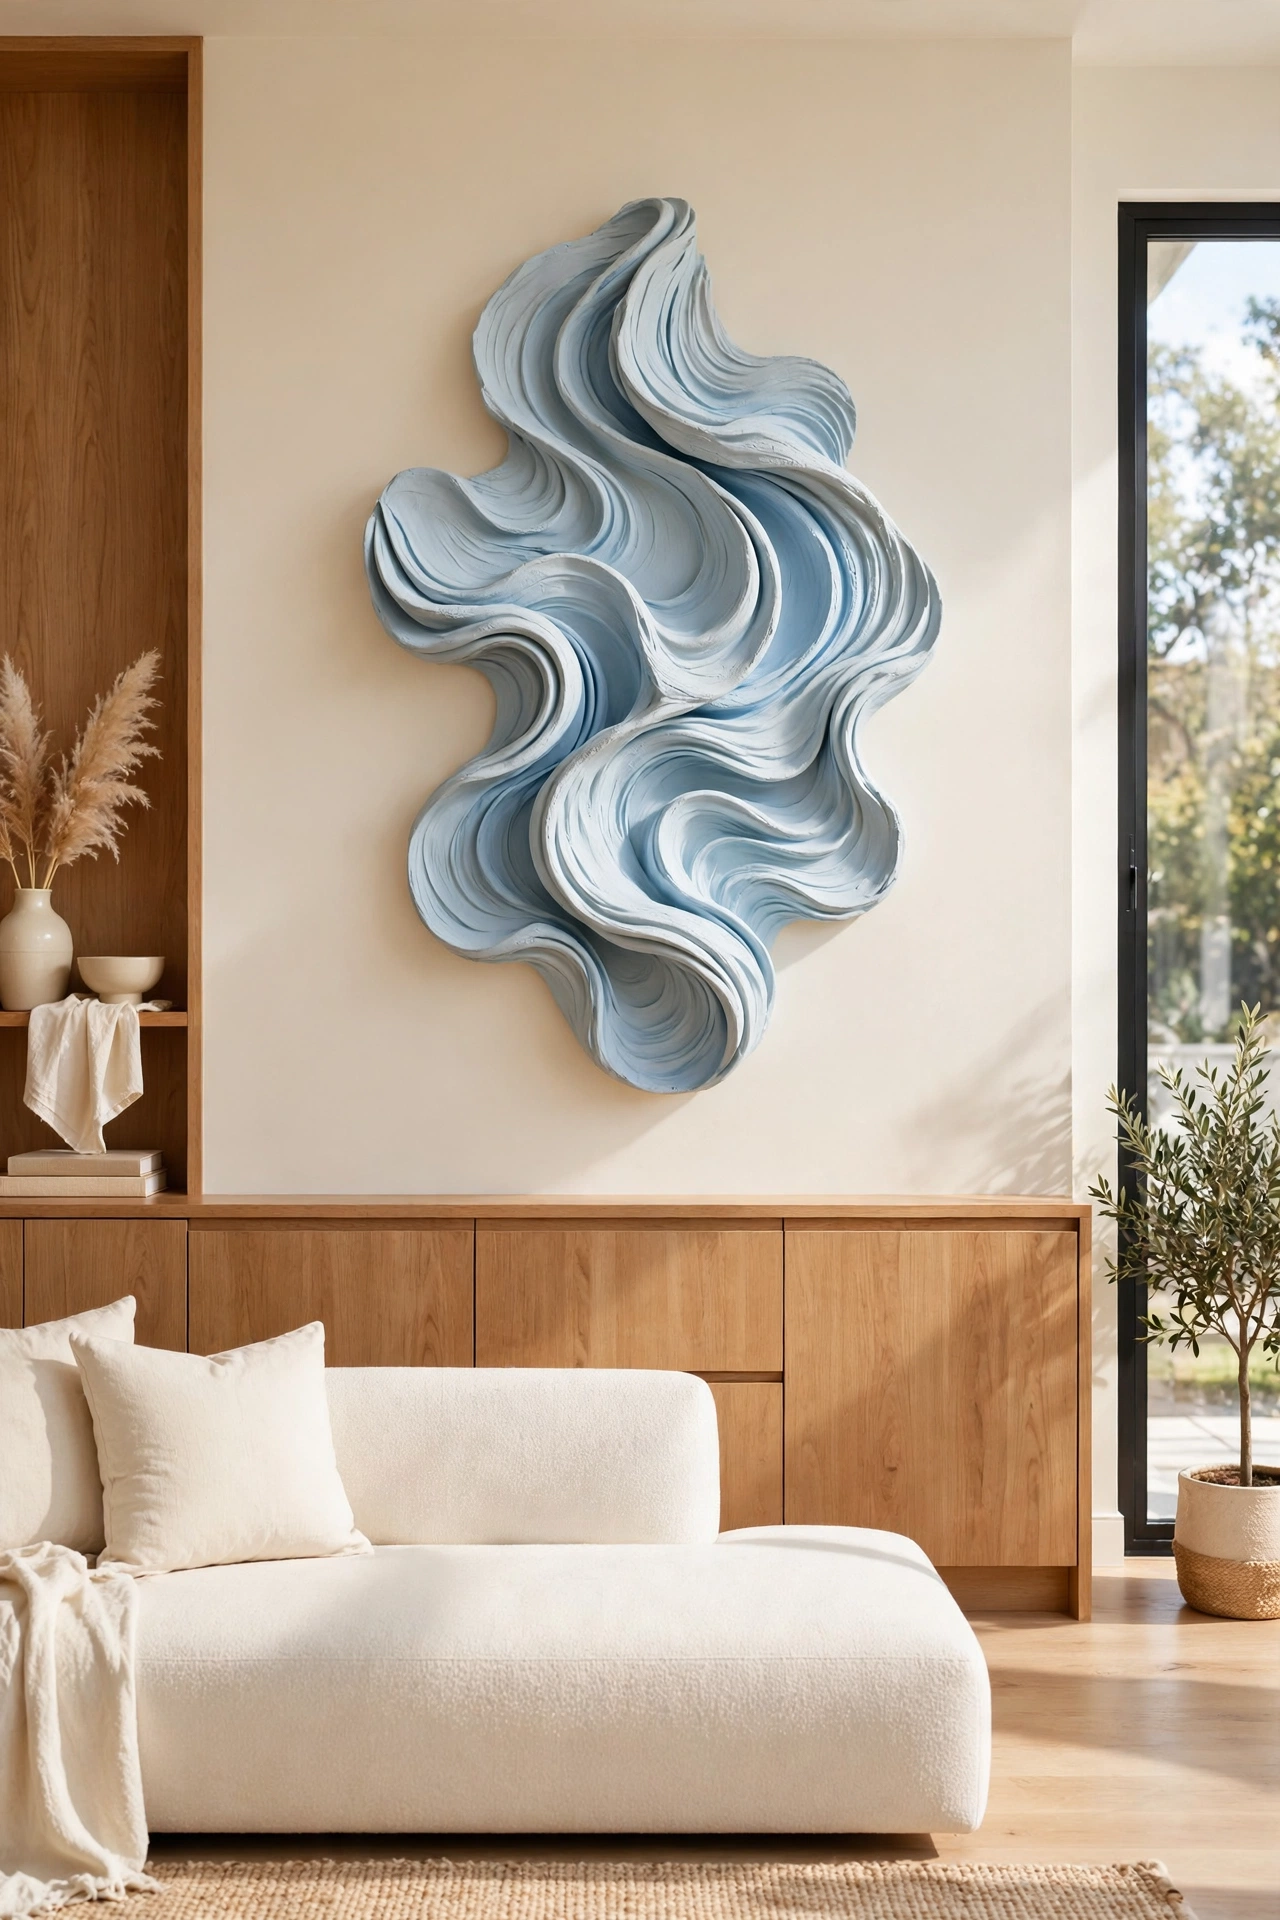
18. Sculpt Clay Abstract Wall Sculptures
Abstract wall sculptures let you play with shape and shadow without following any pattern. Roll, twist, and fold the clay into flowing curves, waves, and folds, then flatten the back so the piece sits close to the wall. Dry it slowly under a light cover so it keeps its shape.
Paint the sculpture in a single color, like soft blue or warm cream, so the shadows from its curves create the interest. Hang one large abstract piece as a focal point, or group three small ones together. This is a great project once you feel confident with the basics.
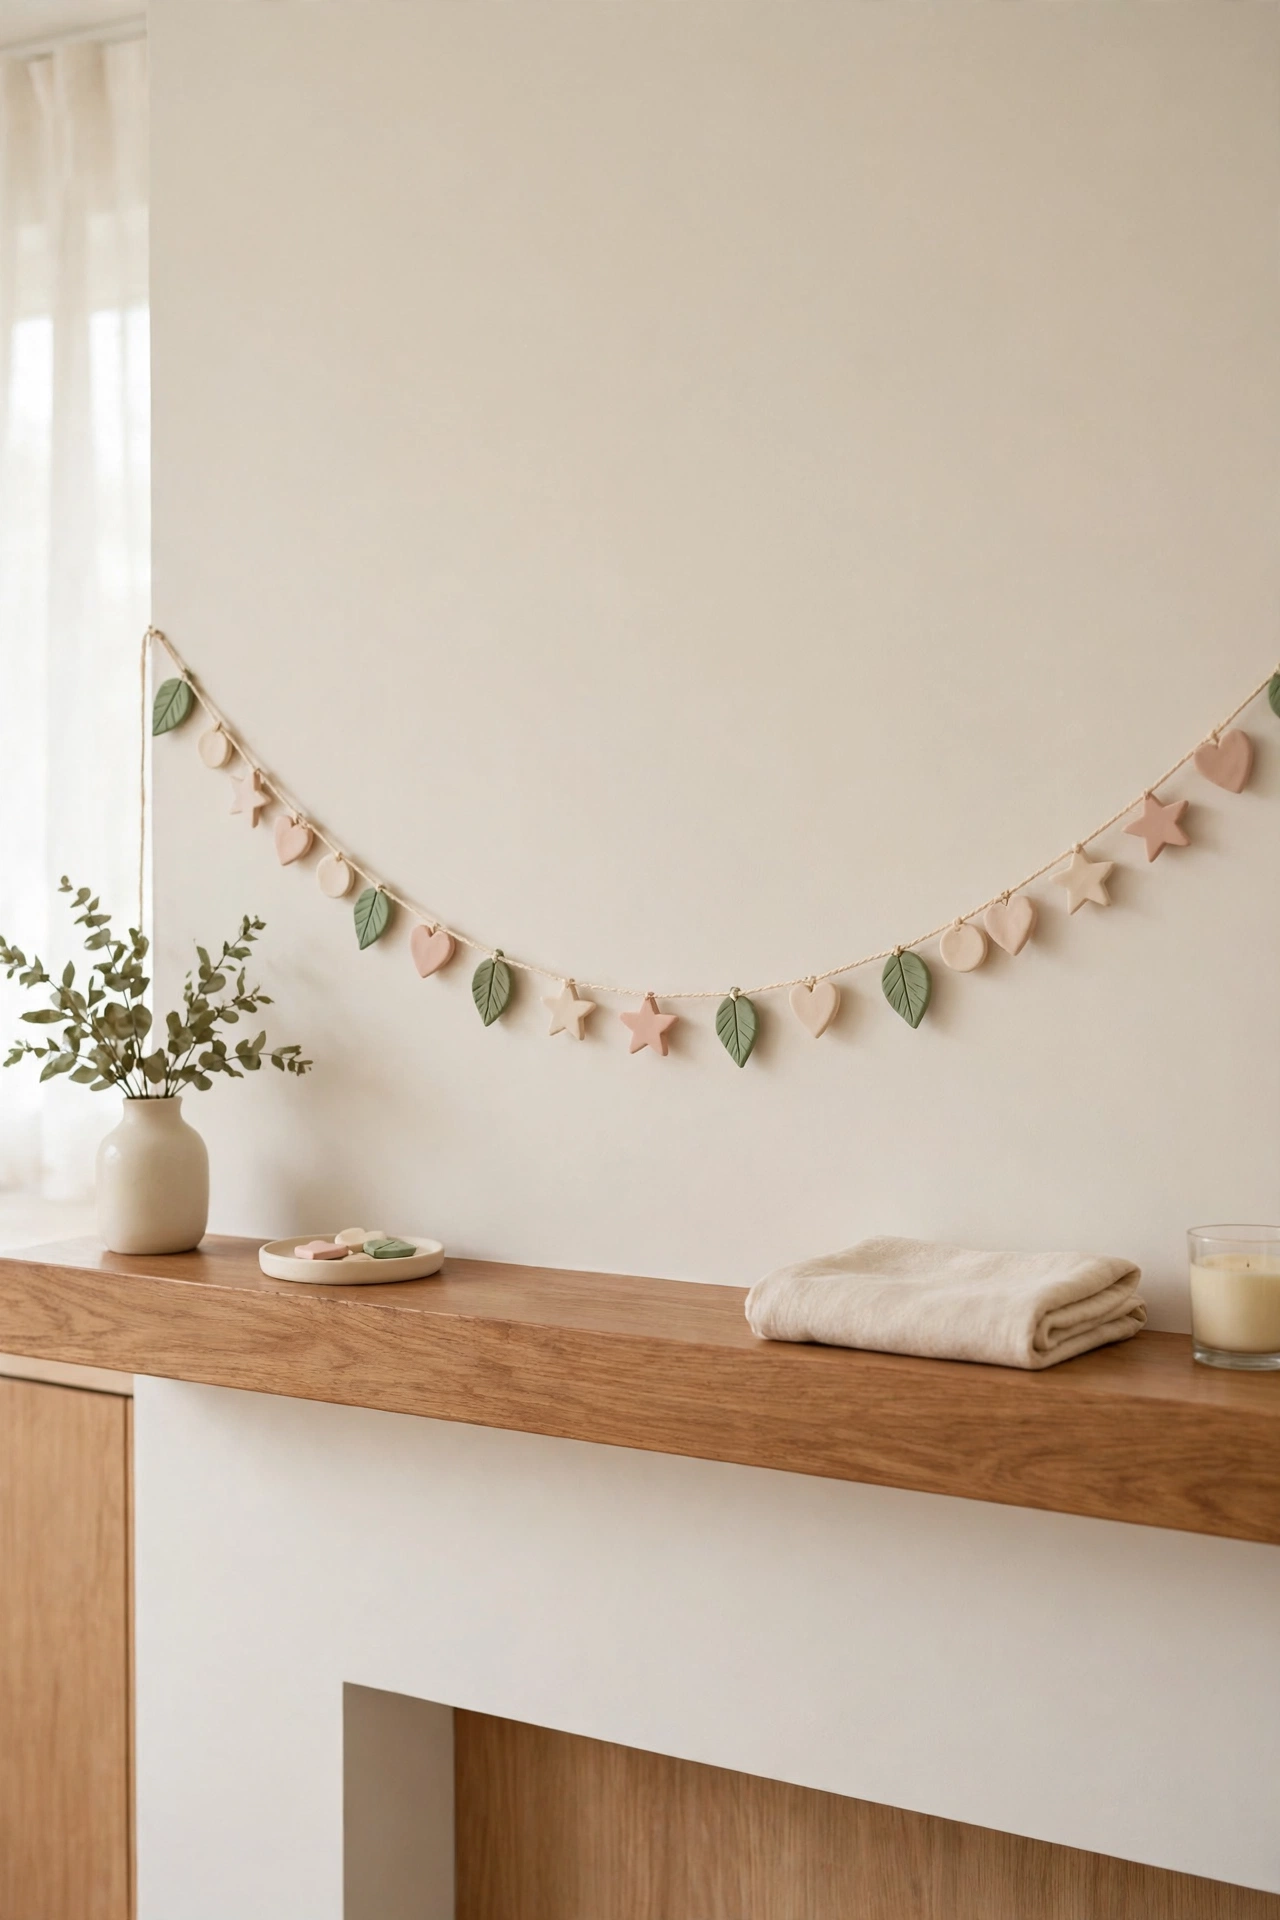
19. String Clay Wall Garlands
A clay wall garland strings many small shapes together on one cord. Cut tiny leaves, circles, stars, and hearts from rolled clay, poke a hole in each one, and dry them flat. Once they are painted, thread them onto cotton cord with a small knot between each piece.
Mix cream, sage, and blush pieces for a soft garland that suits any season. For more ideas on styling handmade pieces, see these DIY decorative tray ideas. Hang the garland across a mantel, a doorway, or a headboard for instant handmade charm.
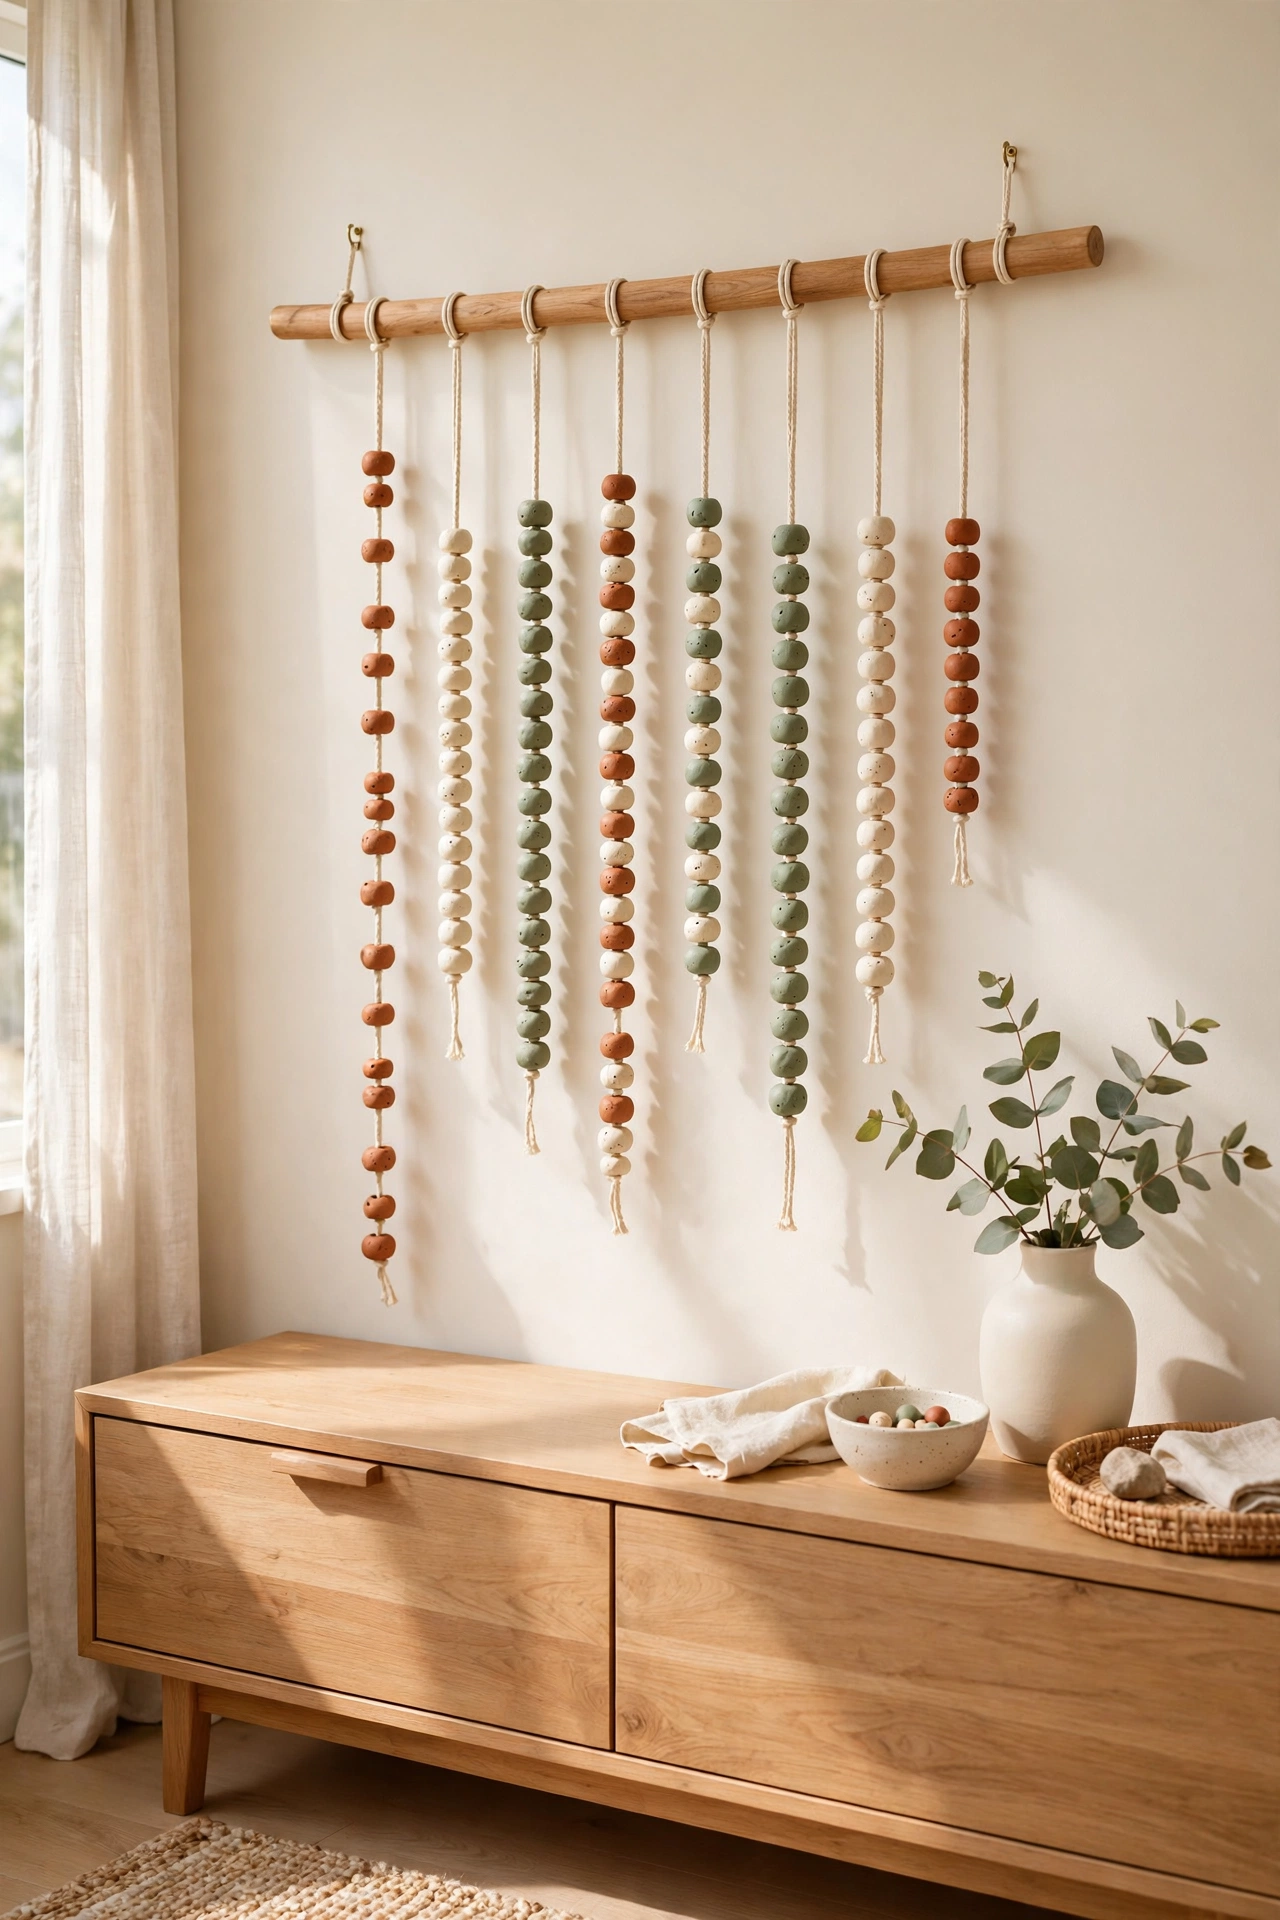
20. Thread Clay Bead Wall Hangings
Clay beads are small, simple, and satisfying to make. Roll small balls of clay, poke a hole through the center of each one with a skewer, and let them dry on the skewer so the holes stay open. Paint the beads in a mix of terracotta, cream, and sage.
Thread the beads onto cotton cord in a pattern you like, and hang several strands from a wooden dowel at different lengths. The finished hanging moves gently and adds soft texture to a wall. It suits a bedroom, a hallway, or a boho style living room.
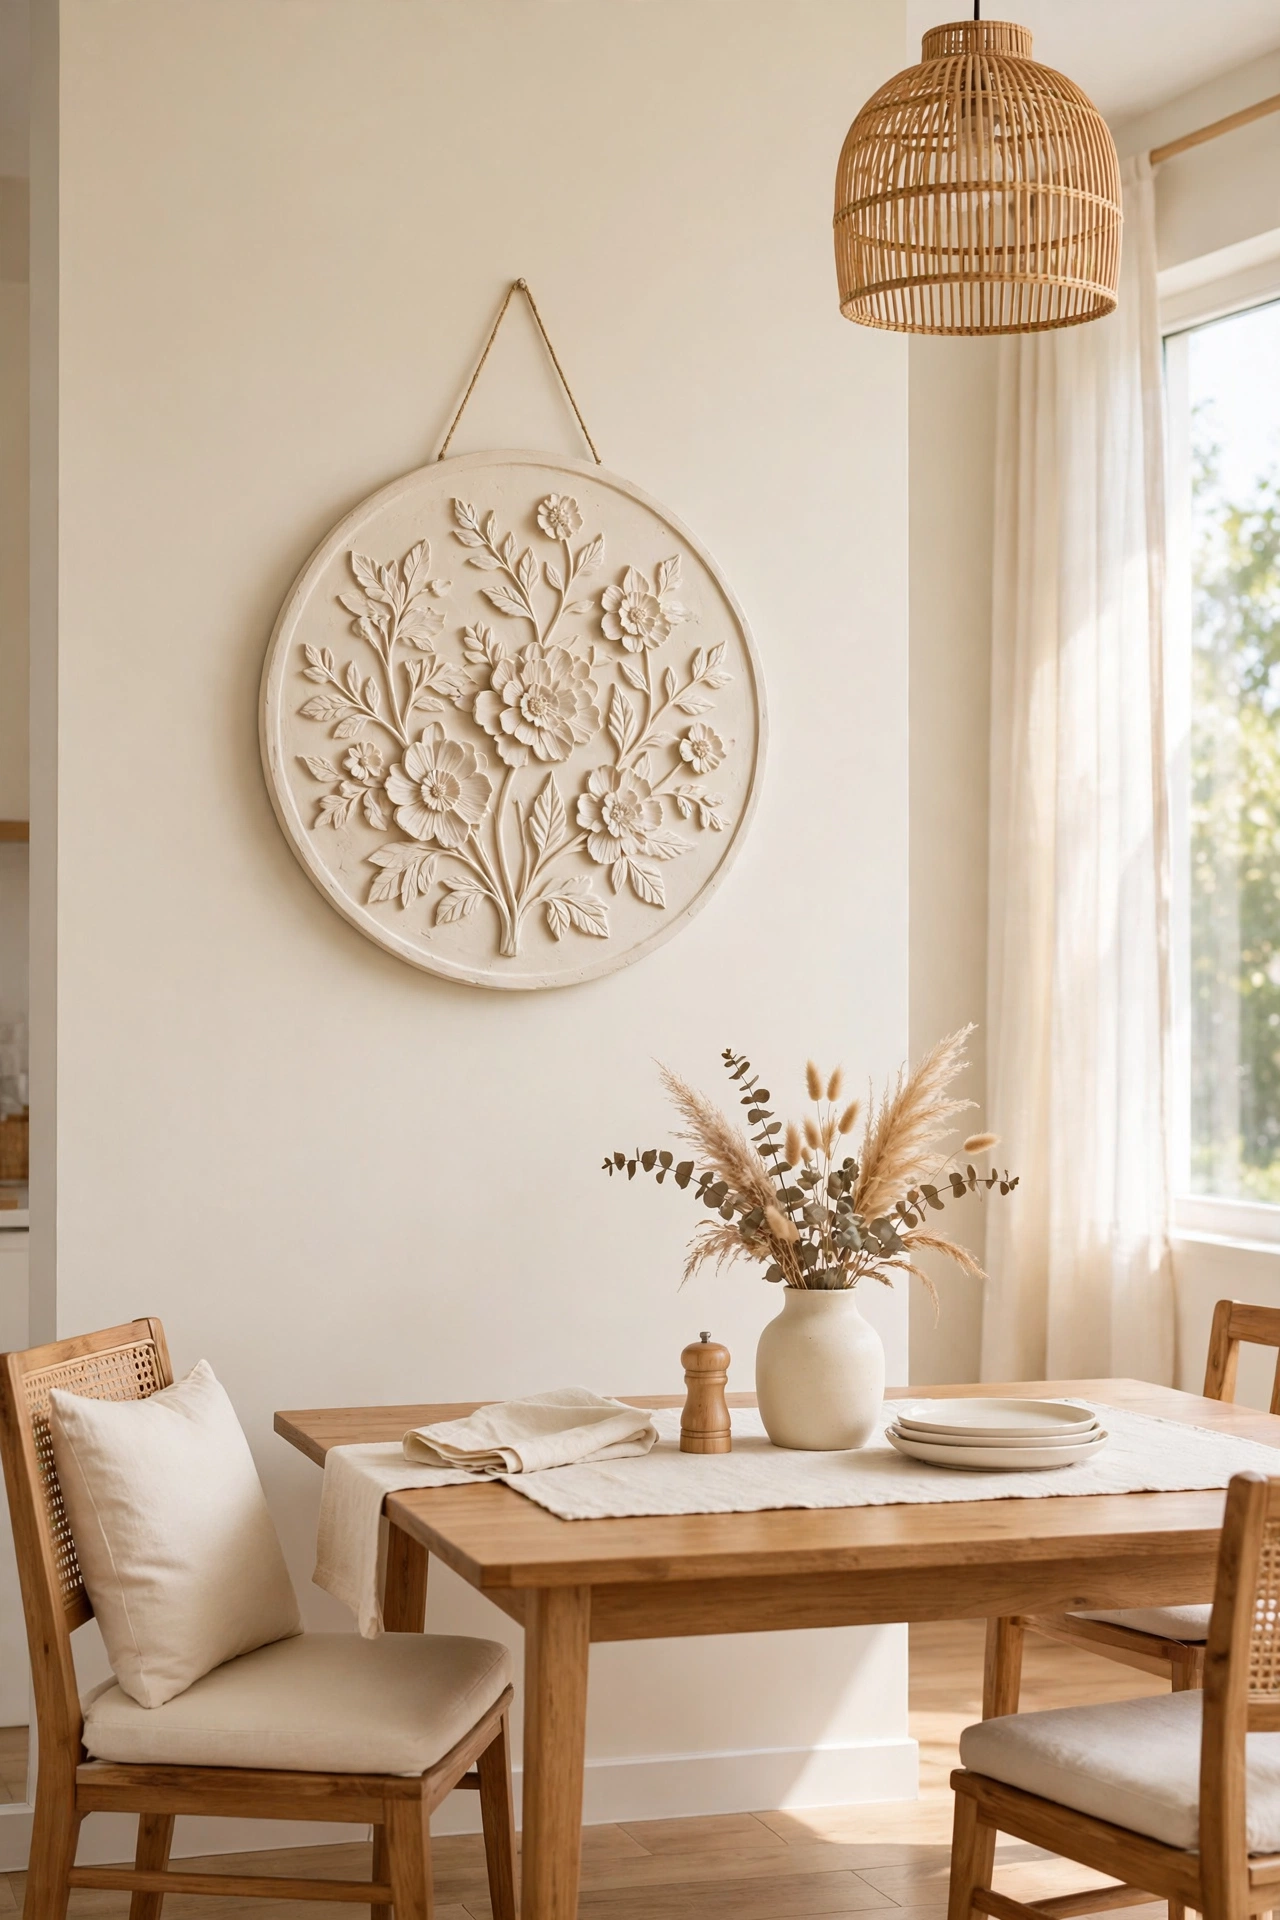
21. Press Clay Wall Medallions
Wall medallions are round, detailed discs that look like carved plaster. Press a clay disc into a patterned mold or stamp it with a carved wooden block, then trim the edge into a clean circle. Smooth the back flat so the medallion sits neatly on the wall.
Paint the medallion in plain cream and let the raised pattern catch the light and shadow. Hang one large medallion as a centerpiece, or arrange three small ones in a row. These pieces add an elegant, classic touch to a dining room or an entryway.
22. Make Clay Nature Wall Plaques
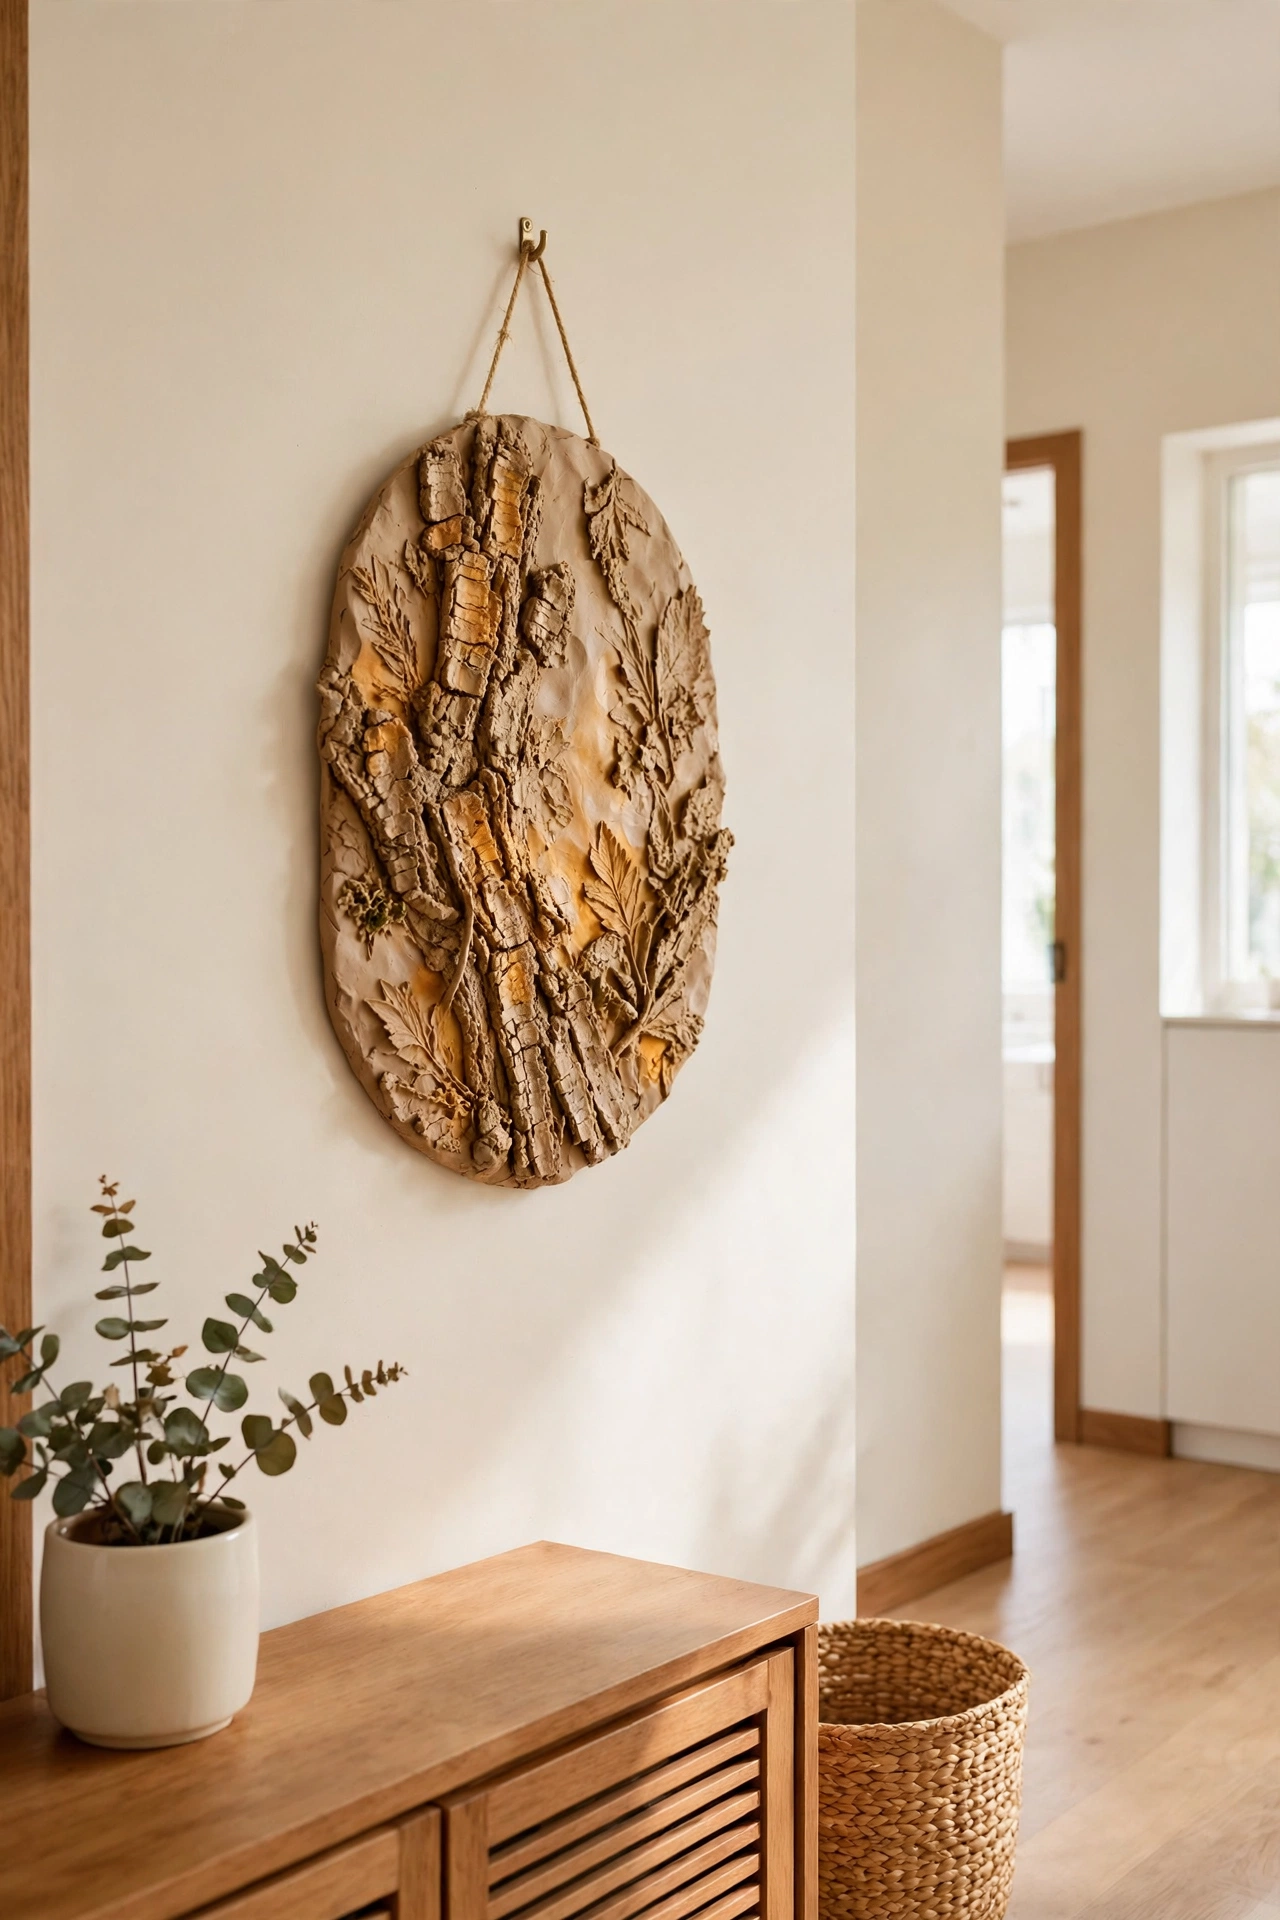
Nature wall plaques celebrate the outdoors with bark, twigs, and seed pods pressed into clay. Roll a slab, press a piece of bark or a pinecone into the surface, and lift it away to leave a rich texture. Trim the plaque into a soft rectangle and dry it flat.
Keep the plaque unpainted so the natural clay color shows off the texture, or add a thin wash of amber to deepen the lines. Hang a nature plaque in a hallway or a home office for a calm, earthy accent. Each plaque is unique because no two pieces of bark leave the same mark.
23. Shape Clay Minimalist Wall Art
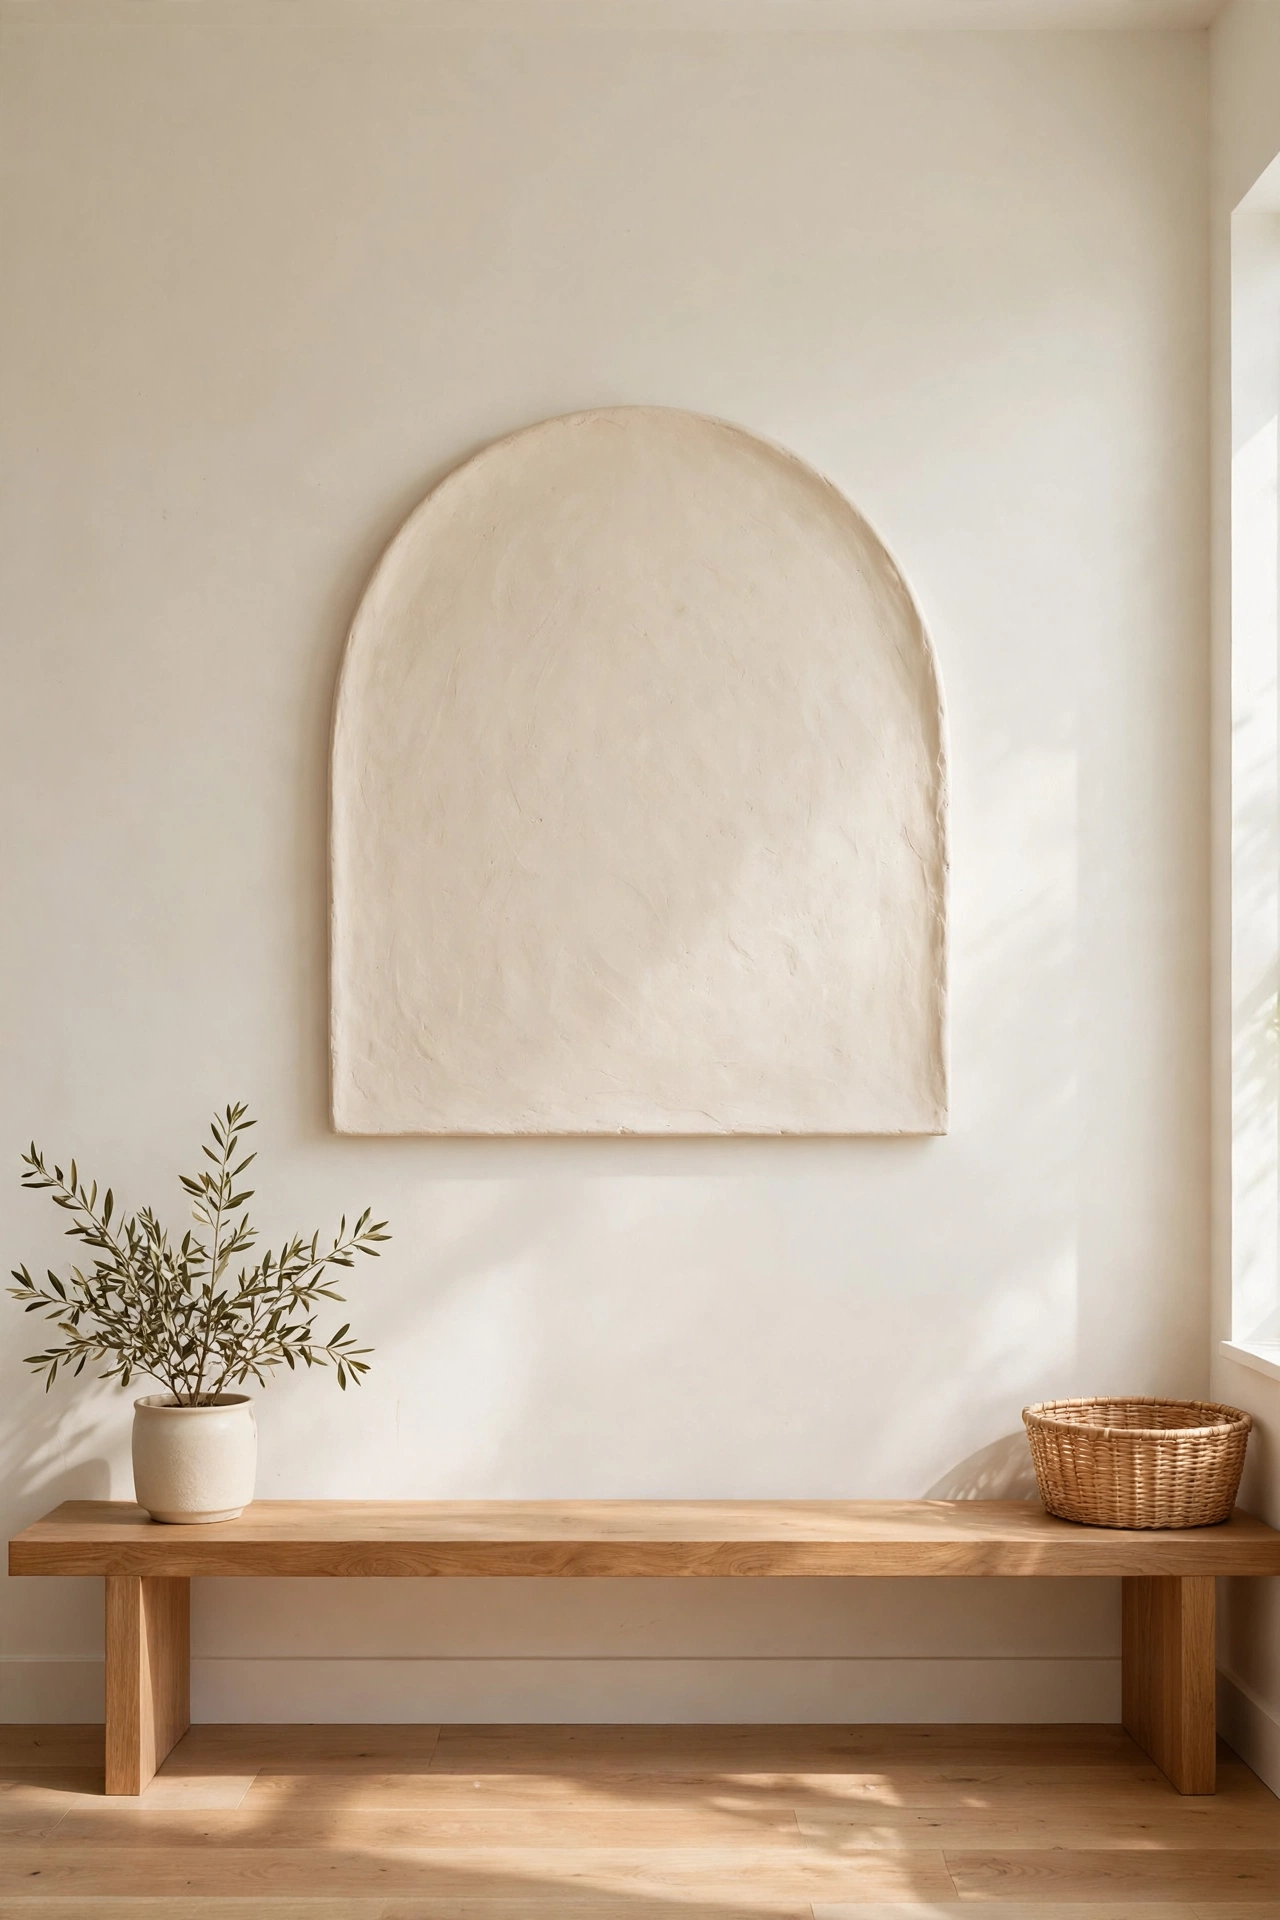
Minimalist wall art proves that one simple shape can be enough. Cut a single large circle, a half moon, or a long arch from rolled clay, smooth the edges, and let it dry flat. Paint it in one soft color, such as cream, sage, or pale blush.
Hang the piece alone on a pale wall with plenty of empty space around it. The quiet shape and soft color bring calm to a busy room. This is the easiest project in the whole list and one of the most stylish.
24. Cut Clay Terracotta Wall Discs
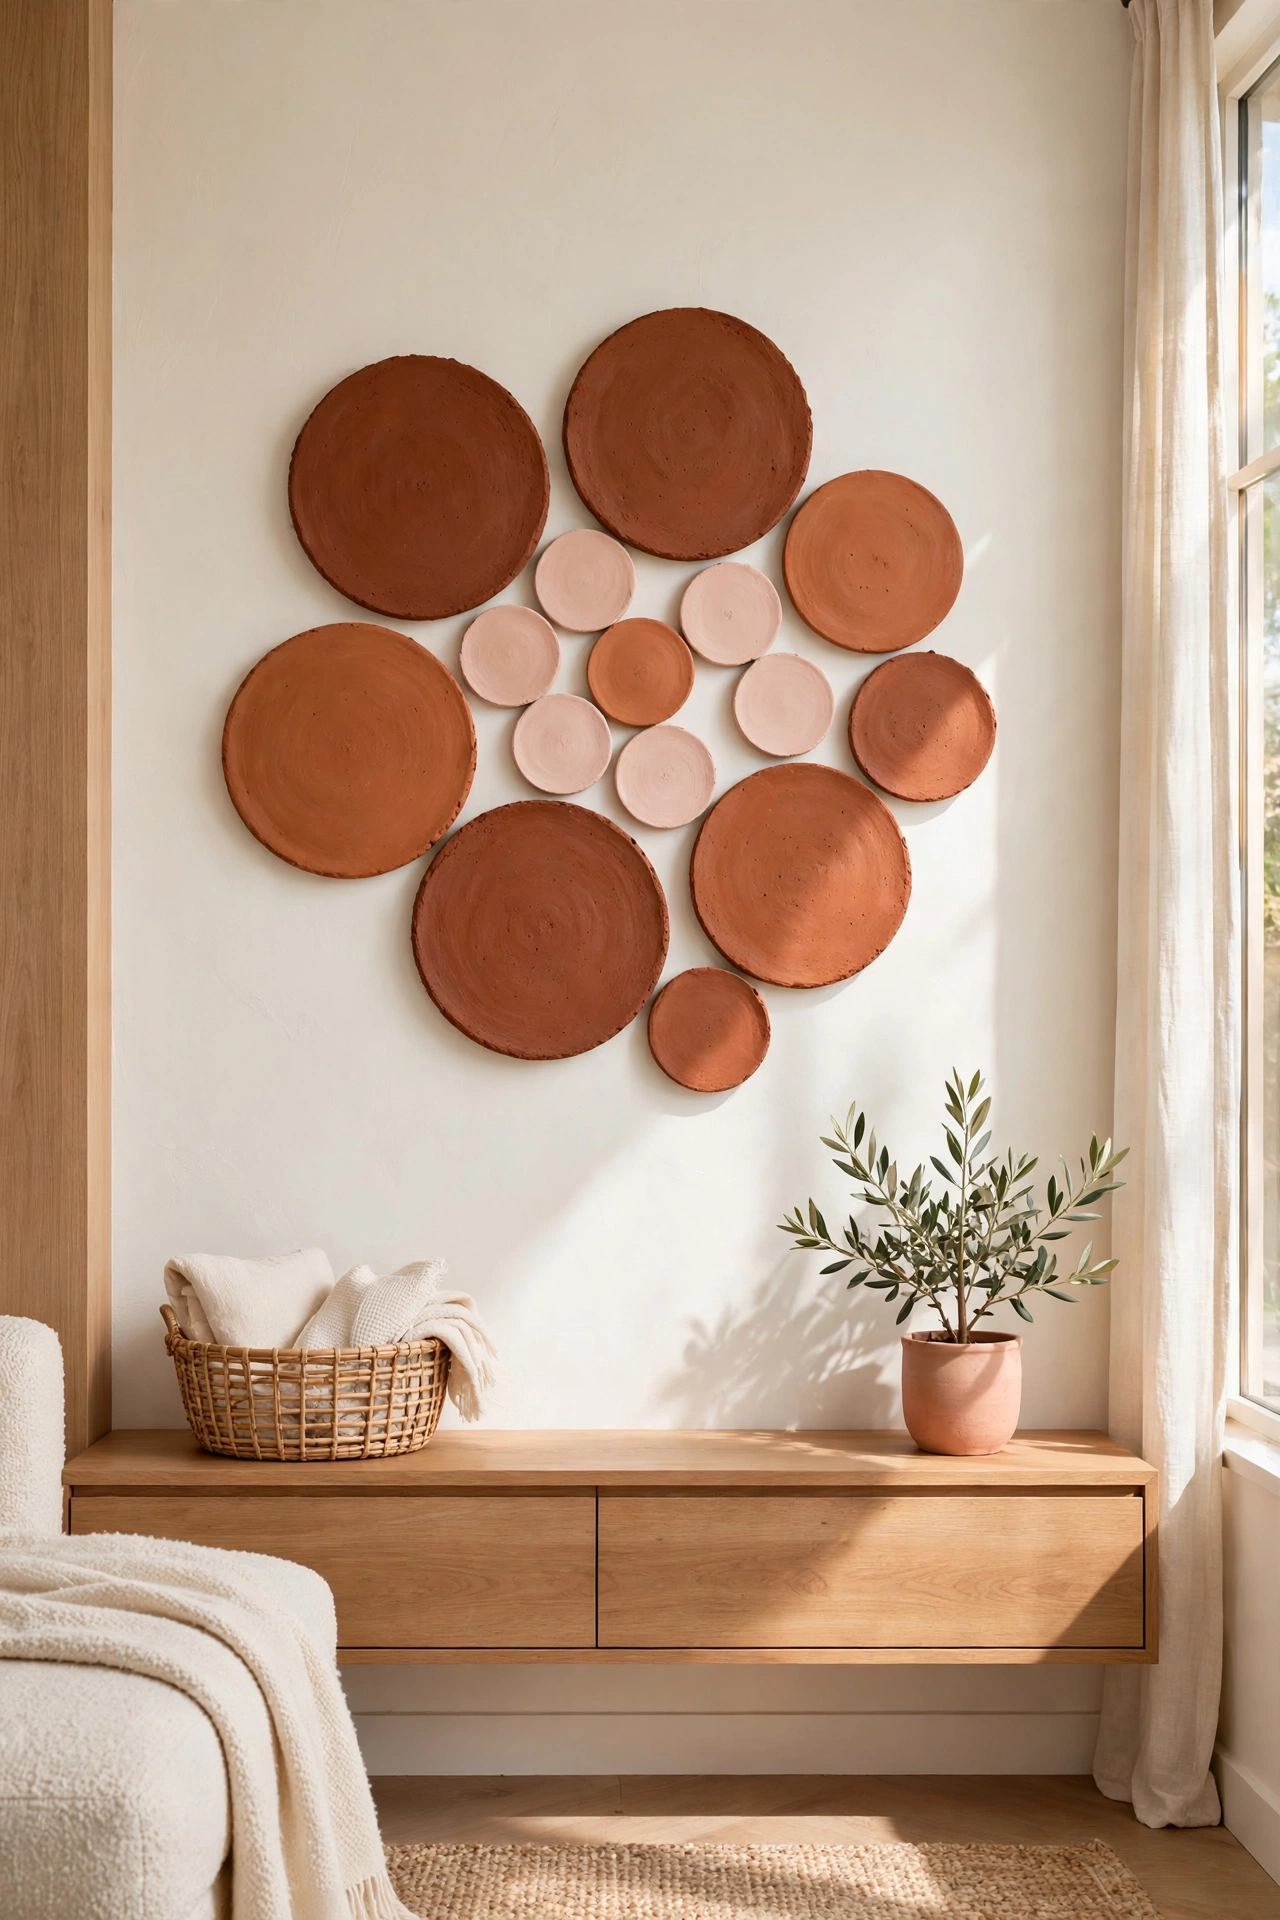
Terracotta wall discs bring warm earthy color to a wall in the simplest way. Roll the clay into a flat slab, cut circles in three sizes, and paint them in shades of terracotta, rust, and soft clay pink. Dry them flat so they hang straight.
Arrange the discs in a loose cluster on a living room or dining room wall, mixing the sizes for a natural look. The warm tones pair beautifully with cream walls and wooden furniture. These discs are quick to make and easy to rearrange whenever you want a fresh look.
25. Add Dried Flowers to Clay Wall Art
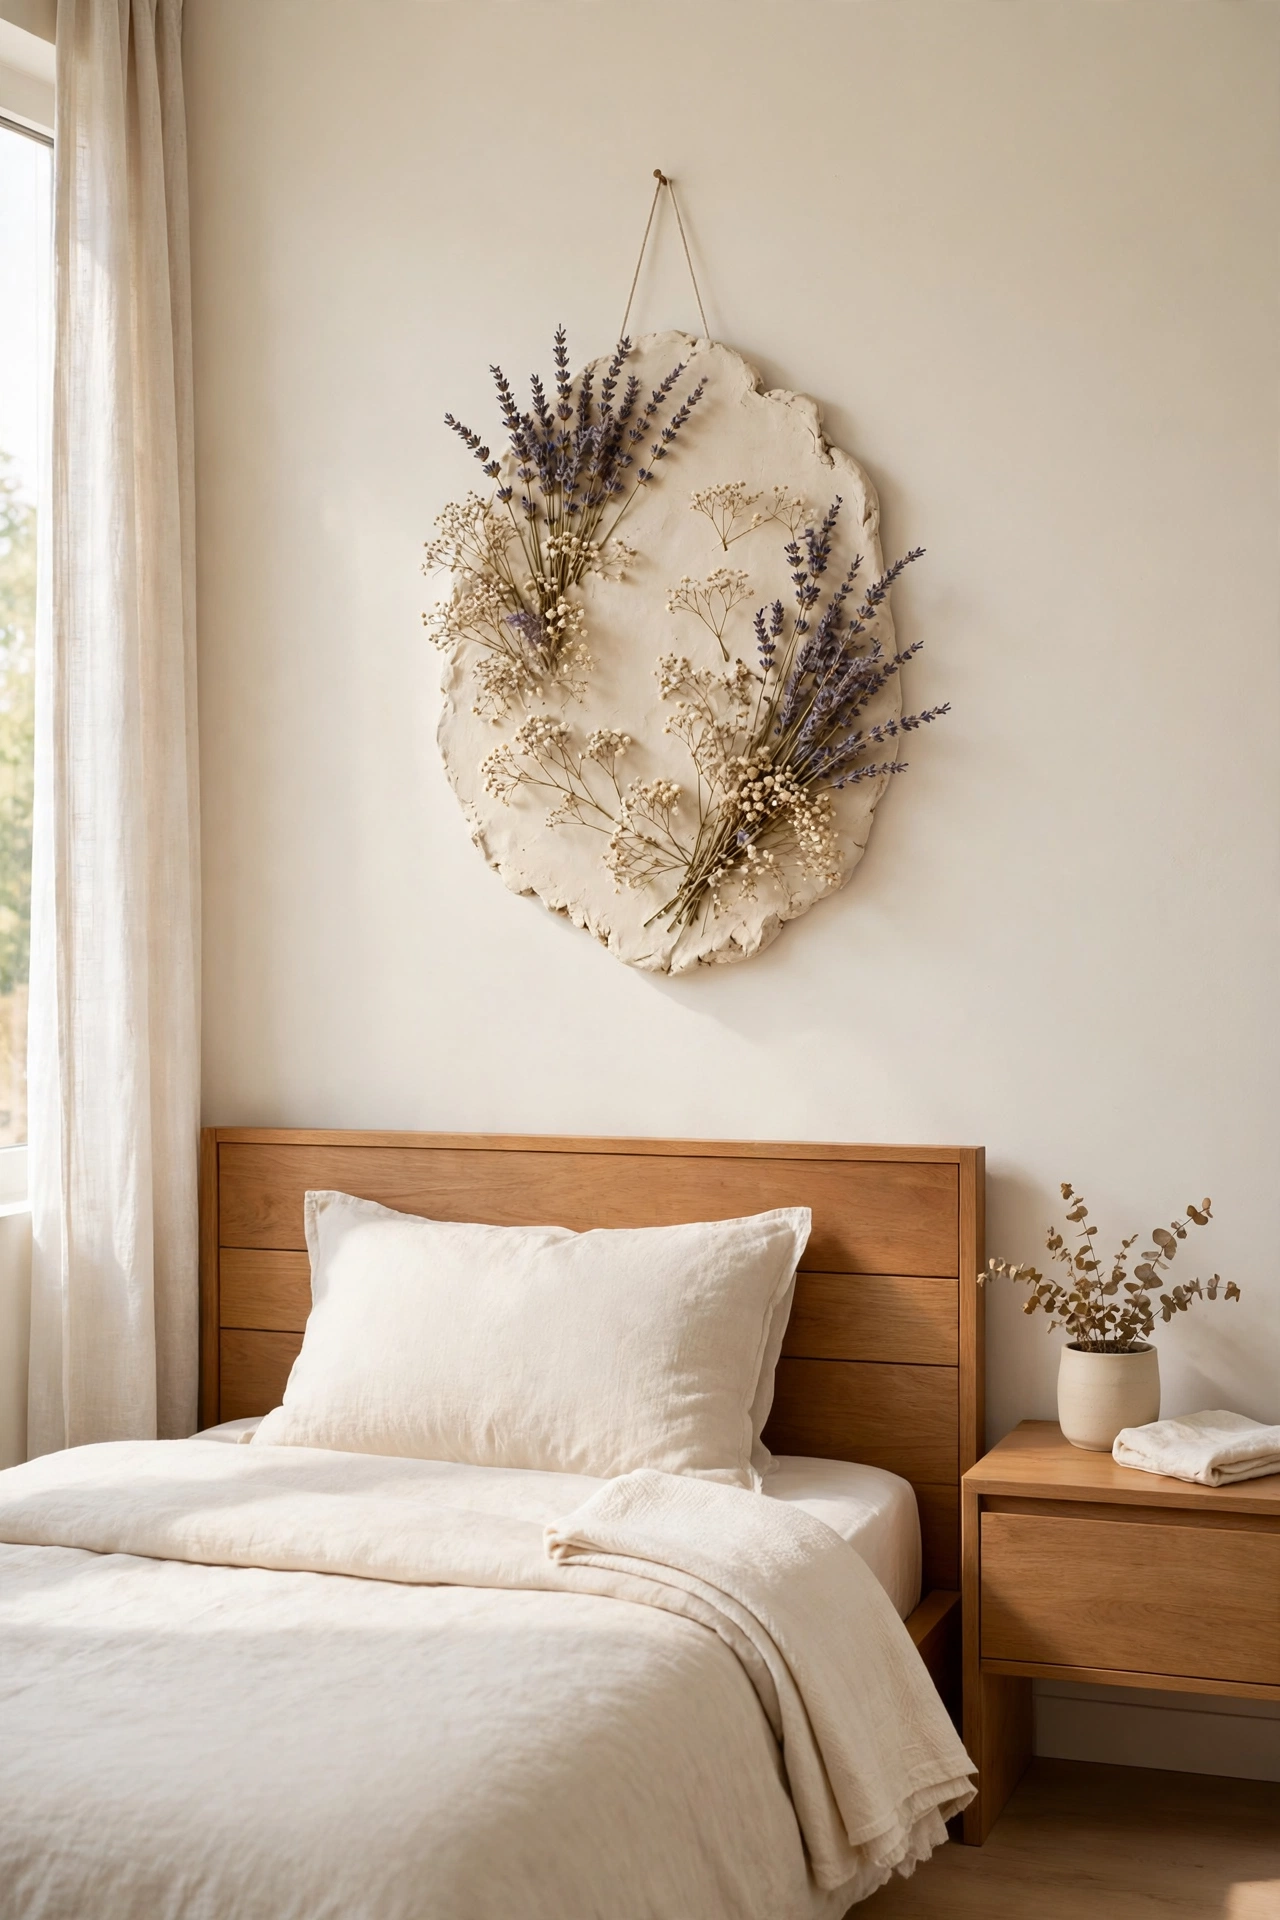
Combining dried flowers with clay wall art gives you the best of both materials. Make a simple clay plaque or a small pocket, then glue a few stems of dried lavender, strawflower, or baby breath onto the surface. Seal the flowers lightly so they stay in place.
Keep the clay in a pale cream tone so the soft colors of the flowers stand out. Hang the finished piece in a bedroom, a bathroom, or an entryway where it brings a touch of nature indoors. This project is a lovely way to finish a collection of clay wall decor.
Conclusion
Air dry clay wall decor does not have to be perfect to look beautiful. From a simple arch or a single leaf to a full cluster of stars and moons, there is an idea here for every skill level and every wall in your home. The best part is that each piece costs very little and carries your own handmade touch.
Pick one or two ideas that fit your home and start today. Roll the clay, shape something simple, and hang it where you can enjoy it every day. For a calm home beyond the walls, these nightly reset routine ideas will help you keep every room organized with just a few minutes each evening.
Frequently Asked Questions About DIY Air Dry Clay Wall Decor Ideas for Beginners
What kind of clay is best for wall decor?
Air dry clay is the best choice for beginners because it needs no kiln and hardens on its own in one to two days. Choose a smooth white or terracotta clay that is easy to roll and cut. Avoid clay that dries too fast, as it can crack while you are still shaping it.
How do I keep air dry clay from cracking?
Roll the clay to an even thickness and dry it slowly away from direct heat or sunlight. Cover the piece loosely with plastic for the first few hours so the surface dries evenly. If a small crack appears, fill it with a little wet clay and smooth it with your finger.
Can I hang air dry clay on the wall without nails?
Yes, small and light clay pieces hang well with strong adhesive strips or hooks. Make sure the back of the piece is flat and the wall is clean and dry before you attach it. For larger or heavier pieces, use a small nail or a picture hook for safety.
What paint works best on air dry clay?
Acrylic paint works best on air dry clay because it dries quickly and sticks well to the surface. Apply a thin coat of white primer first if you want bright colors. Seal the finished piece with a clear matte varnish to protect the paint and the clay.
How long does air dry clay wall decor last?
Air dry clay wall decor lasts for years when it is kept indoors and sealed with varnish. Keep the pieces away from water and damp rooms, as moisture can soften the clay over time. A light sealant and gentle dusting keep your handmade pieces looking fresh.

Hi, I’m Emily! I turn messy corners into cozy, organized spots. DreamNestDecor is where I share simple, practical home ideas — decor, organization, and small-space solutions that work in real life, not just in photos. Every idea here is carefully researched before it’s shared.