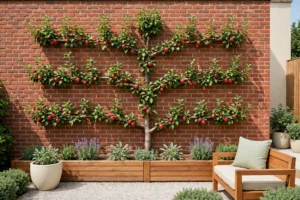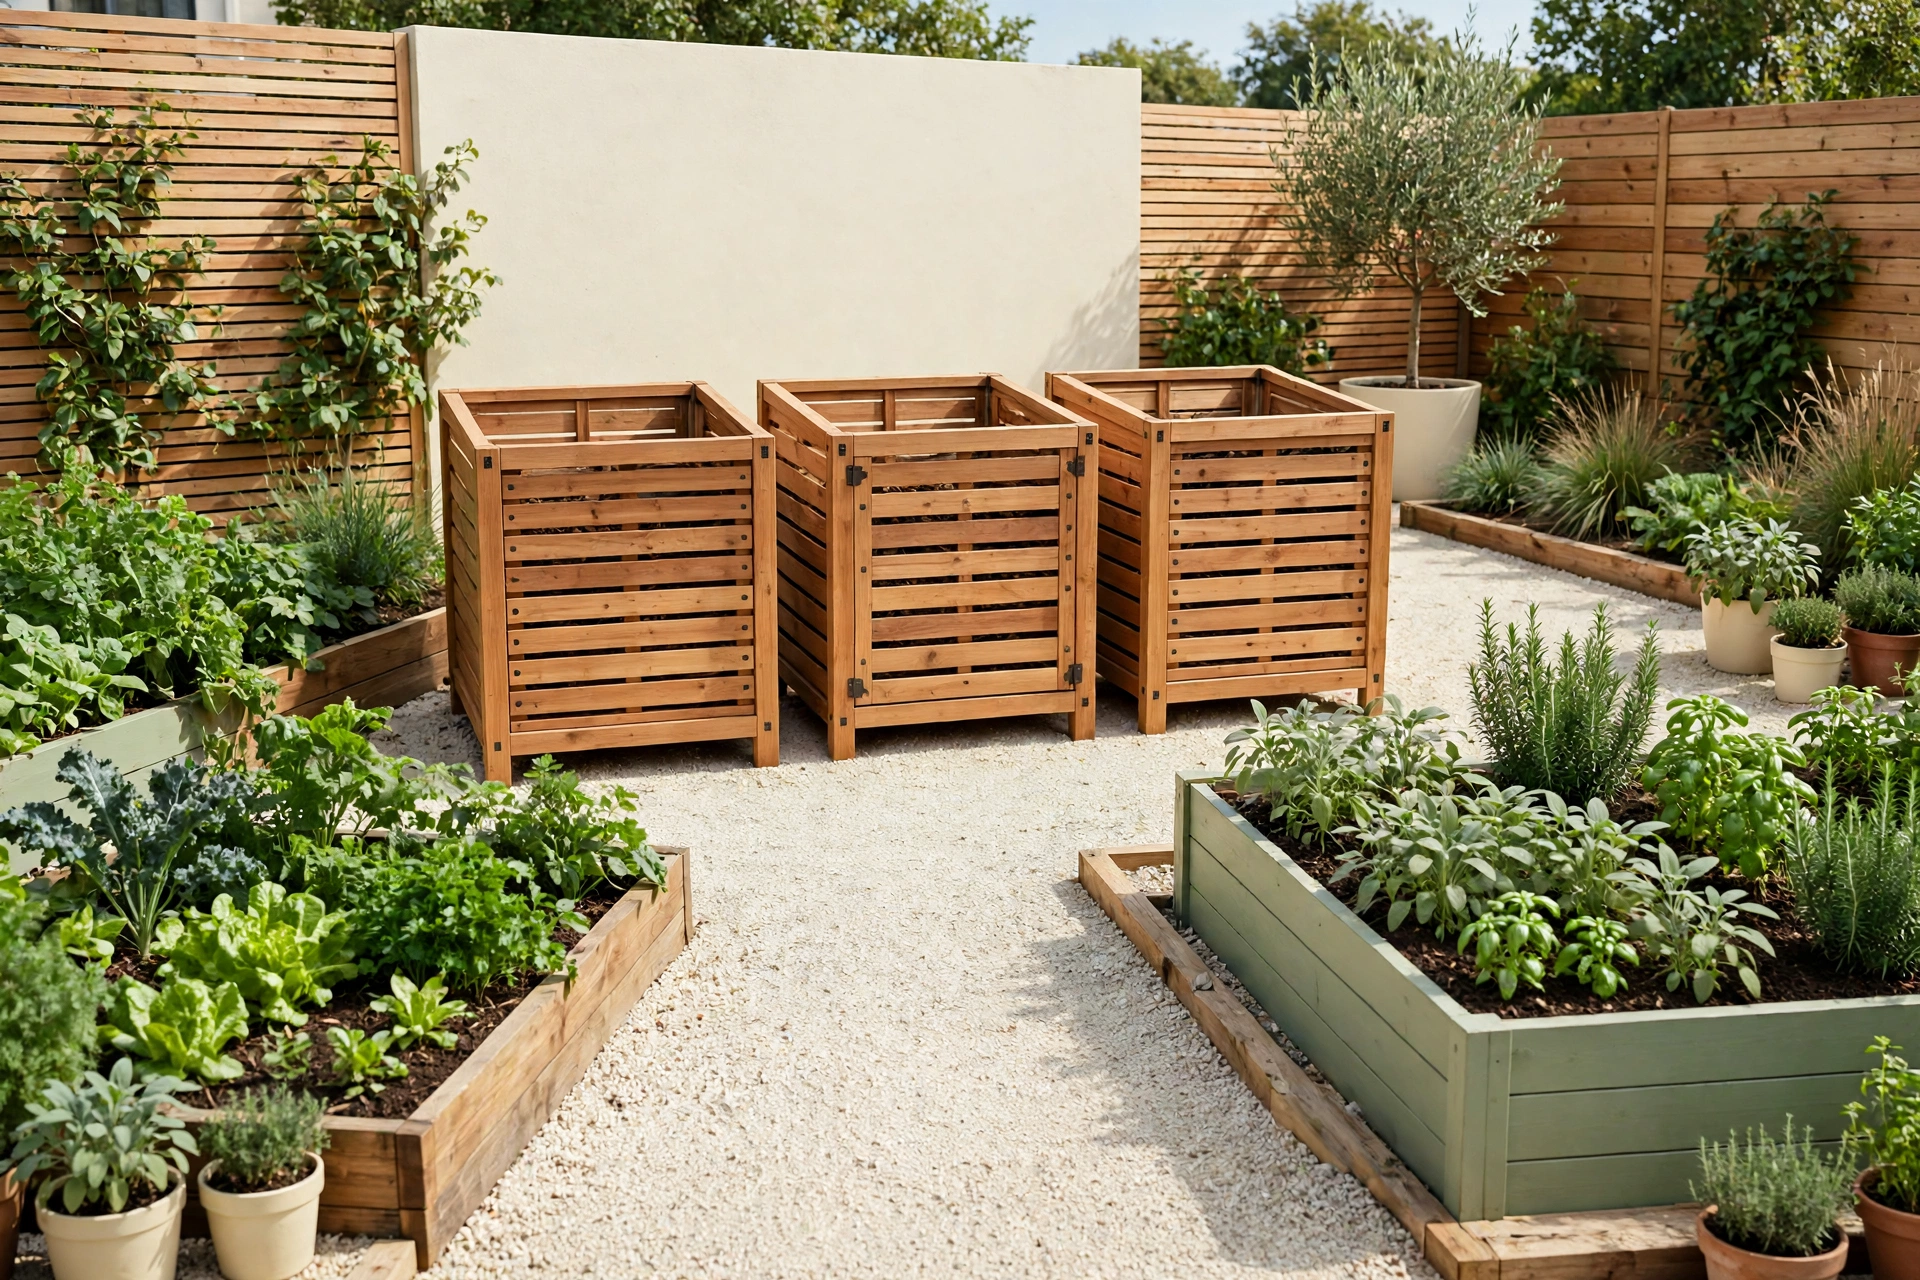
Picture this: you walk to the far corner of your garden with a bucket of vegetable peels and fallen leaves, and instead of a messy heap you find a neat row of wooden bins that looks like it belongs in the garden. The air smells fresh and earthy, the bins are tidy, and you know that every scrap you add today will become rich, dark soil for your plants tomorrow.
You do not need a large yard or expensive equipment to get there. All you need is a clear spot, the right setup for your waste, and a routine you can keep up week after week. These 25 backyard composting area ideas will help you build a composting corner that is tidy, attractive, and hard working, no matter how much garden waste your yard produces.
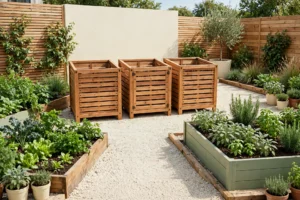
1. Build a Three-Bay Wooden Compost Station
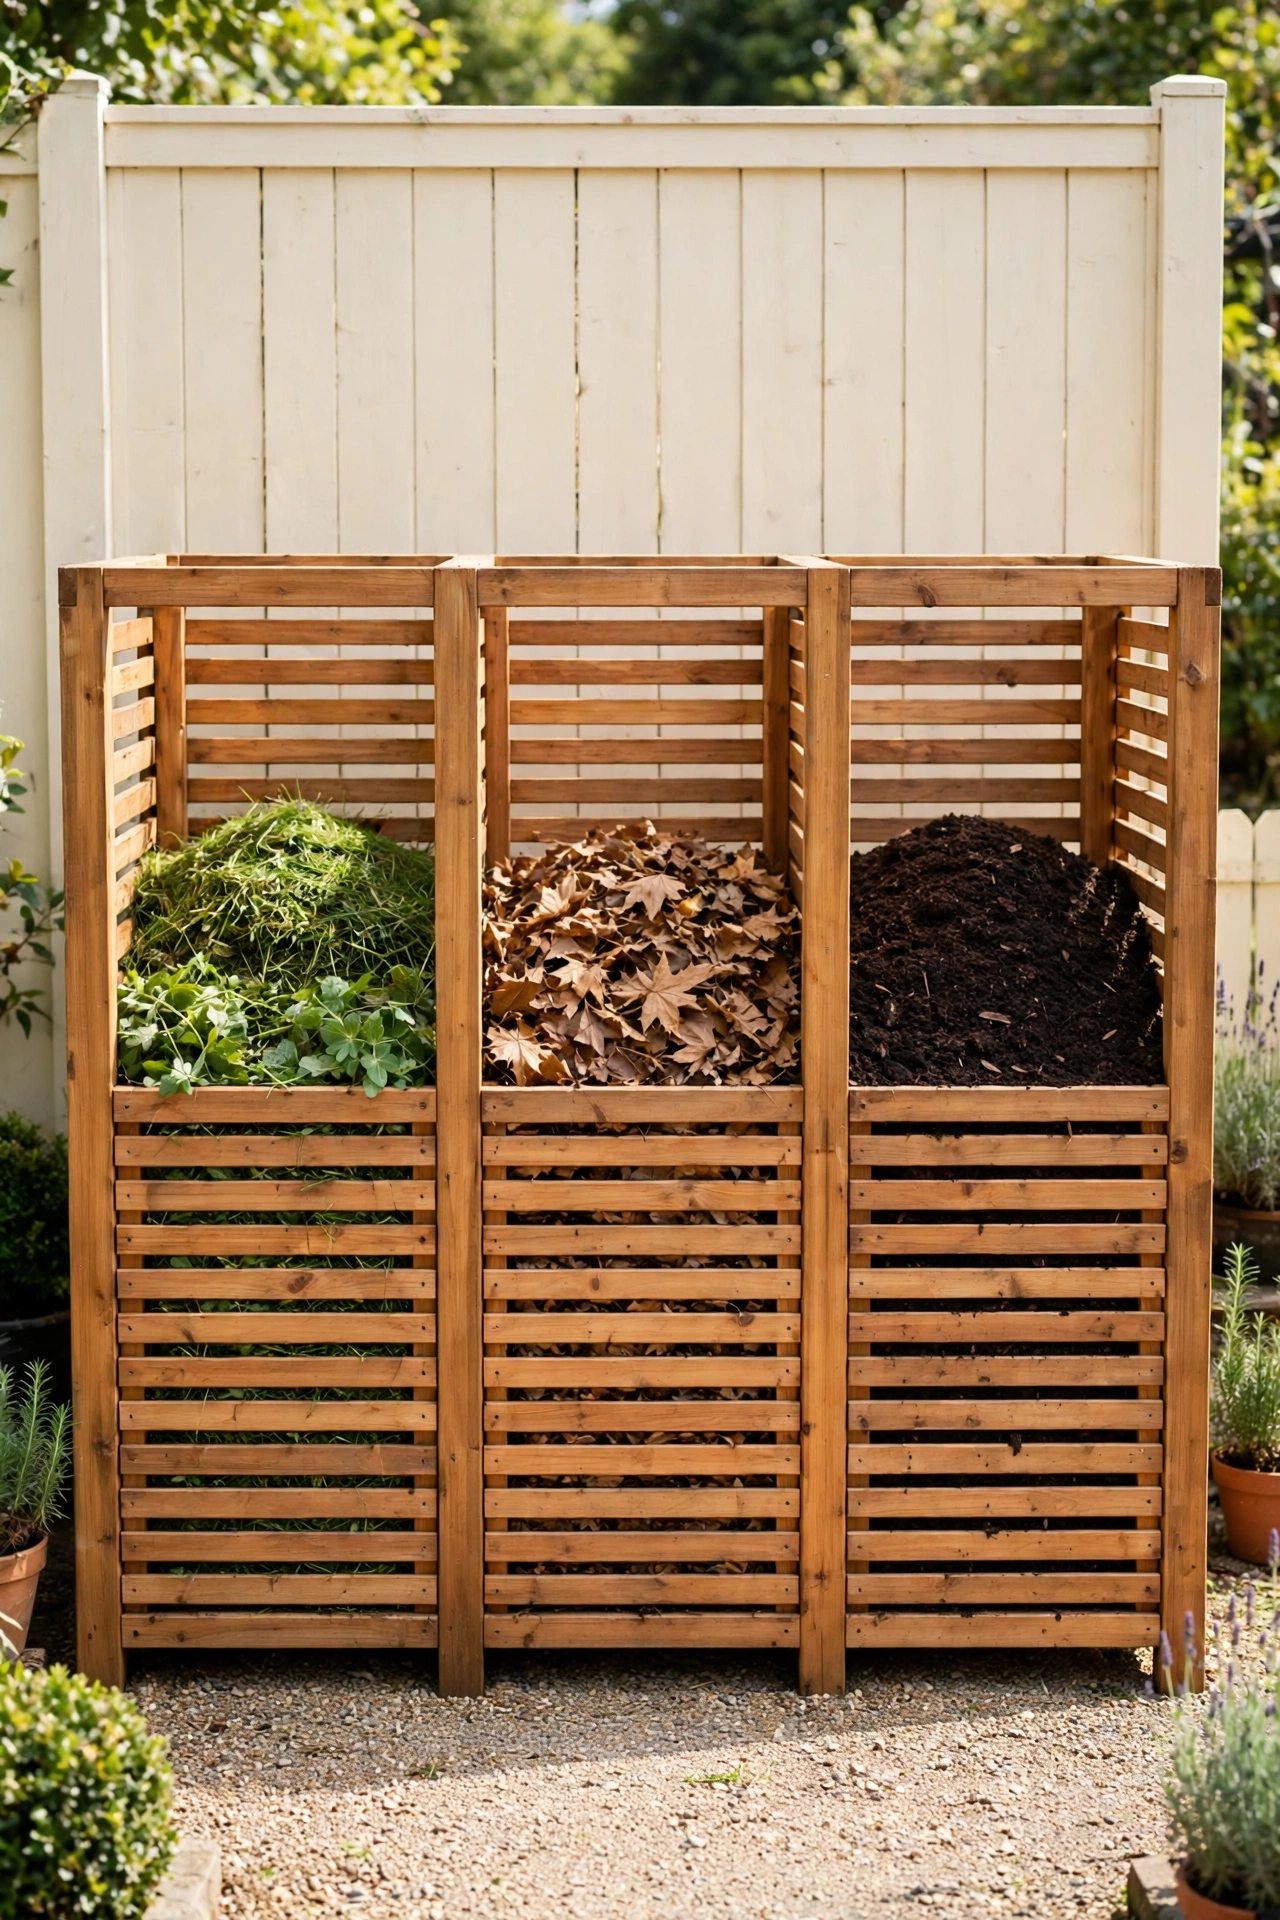
A three-bay station is the classic setup for serious home composting. One bay holds fresh garden waste, the second holds a pile that is actively breaking down, and the third holds finished compost that is ready for the garden. The system keeps every stage separate, so you always know which pile needs turning and which pile is ready to use.
Build the bays from sturdy wooden slats with small gaps between the boards for airflow. A simple roof or open slatted top keeps heavy rain off the piles while letting air move freely. With three bays working in rotation, your garden will never run short of fresh compost.
2. Start With a Simple Single Bin in a Corner
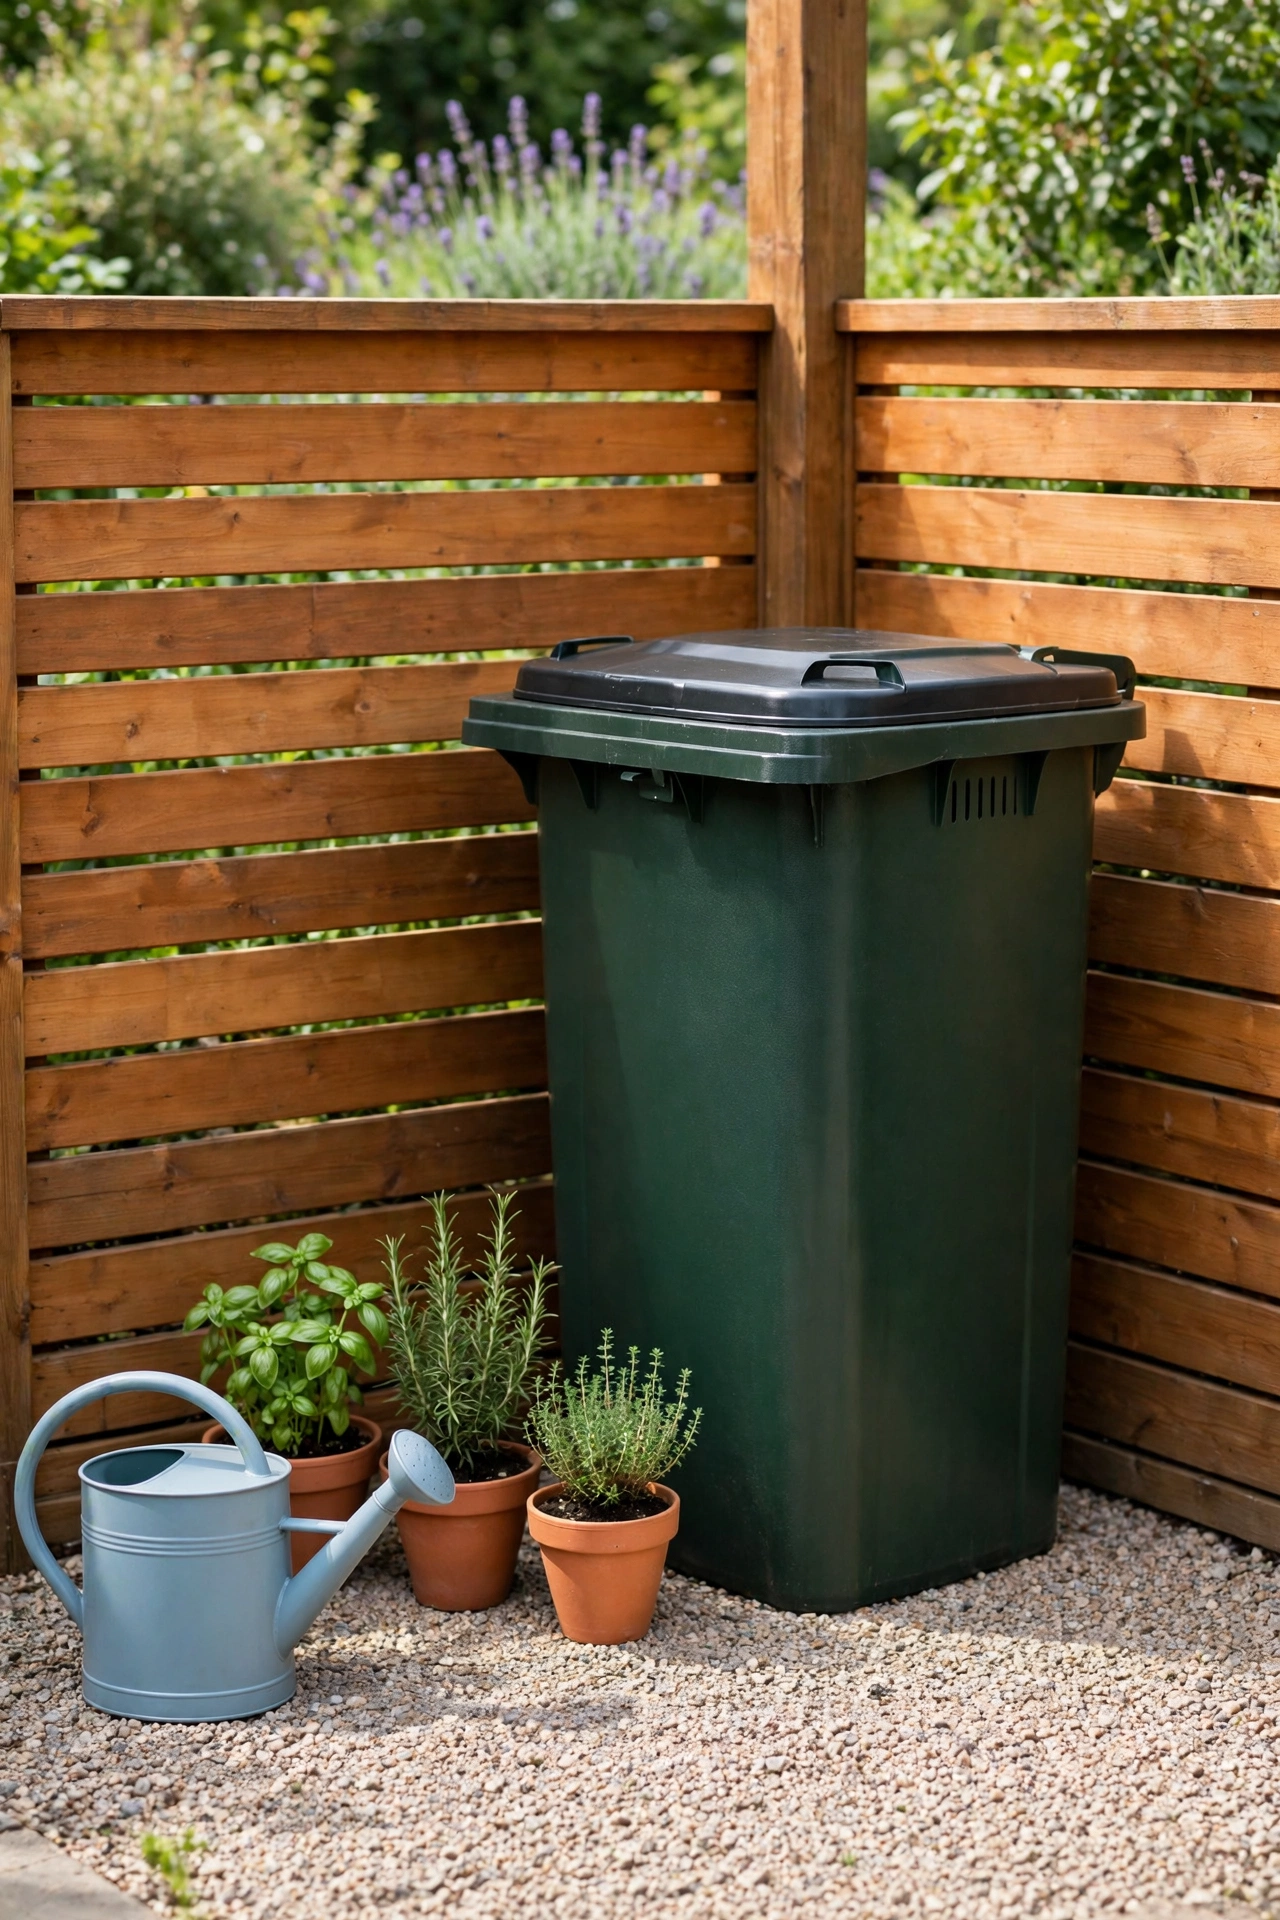
If you are new to composting, a single bin in a quiet corner is the easiest place to start. Choose a sturdy bin with a lid, set it on level ground, and begin adding kitchen scraps and garden trimmings a little at a time. A single bin takes up very little space and asks for almost no building work.
Place the bin where you can reach it easily from both the kitchen door and the garden beds. A corner near a fence works well because the fence gives the bin shelter from strong winds. Even one small bin can turn a surprising amount of household waste into useful soil over a season.
3. Use a Tumbling Composter for Faster Results
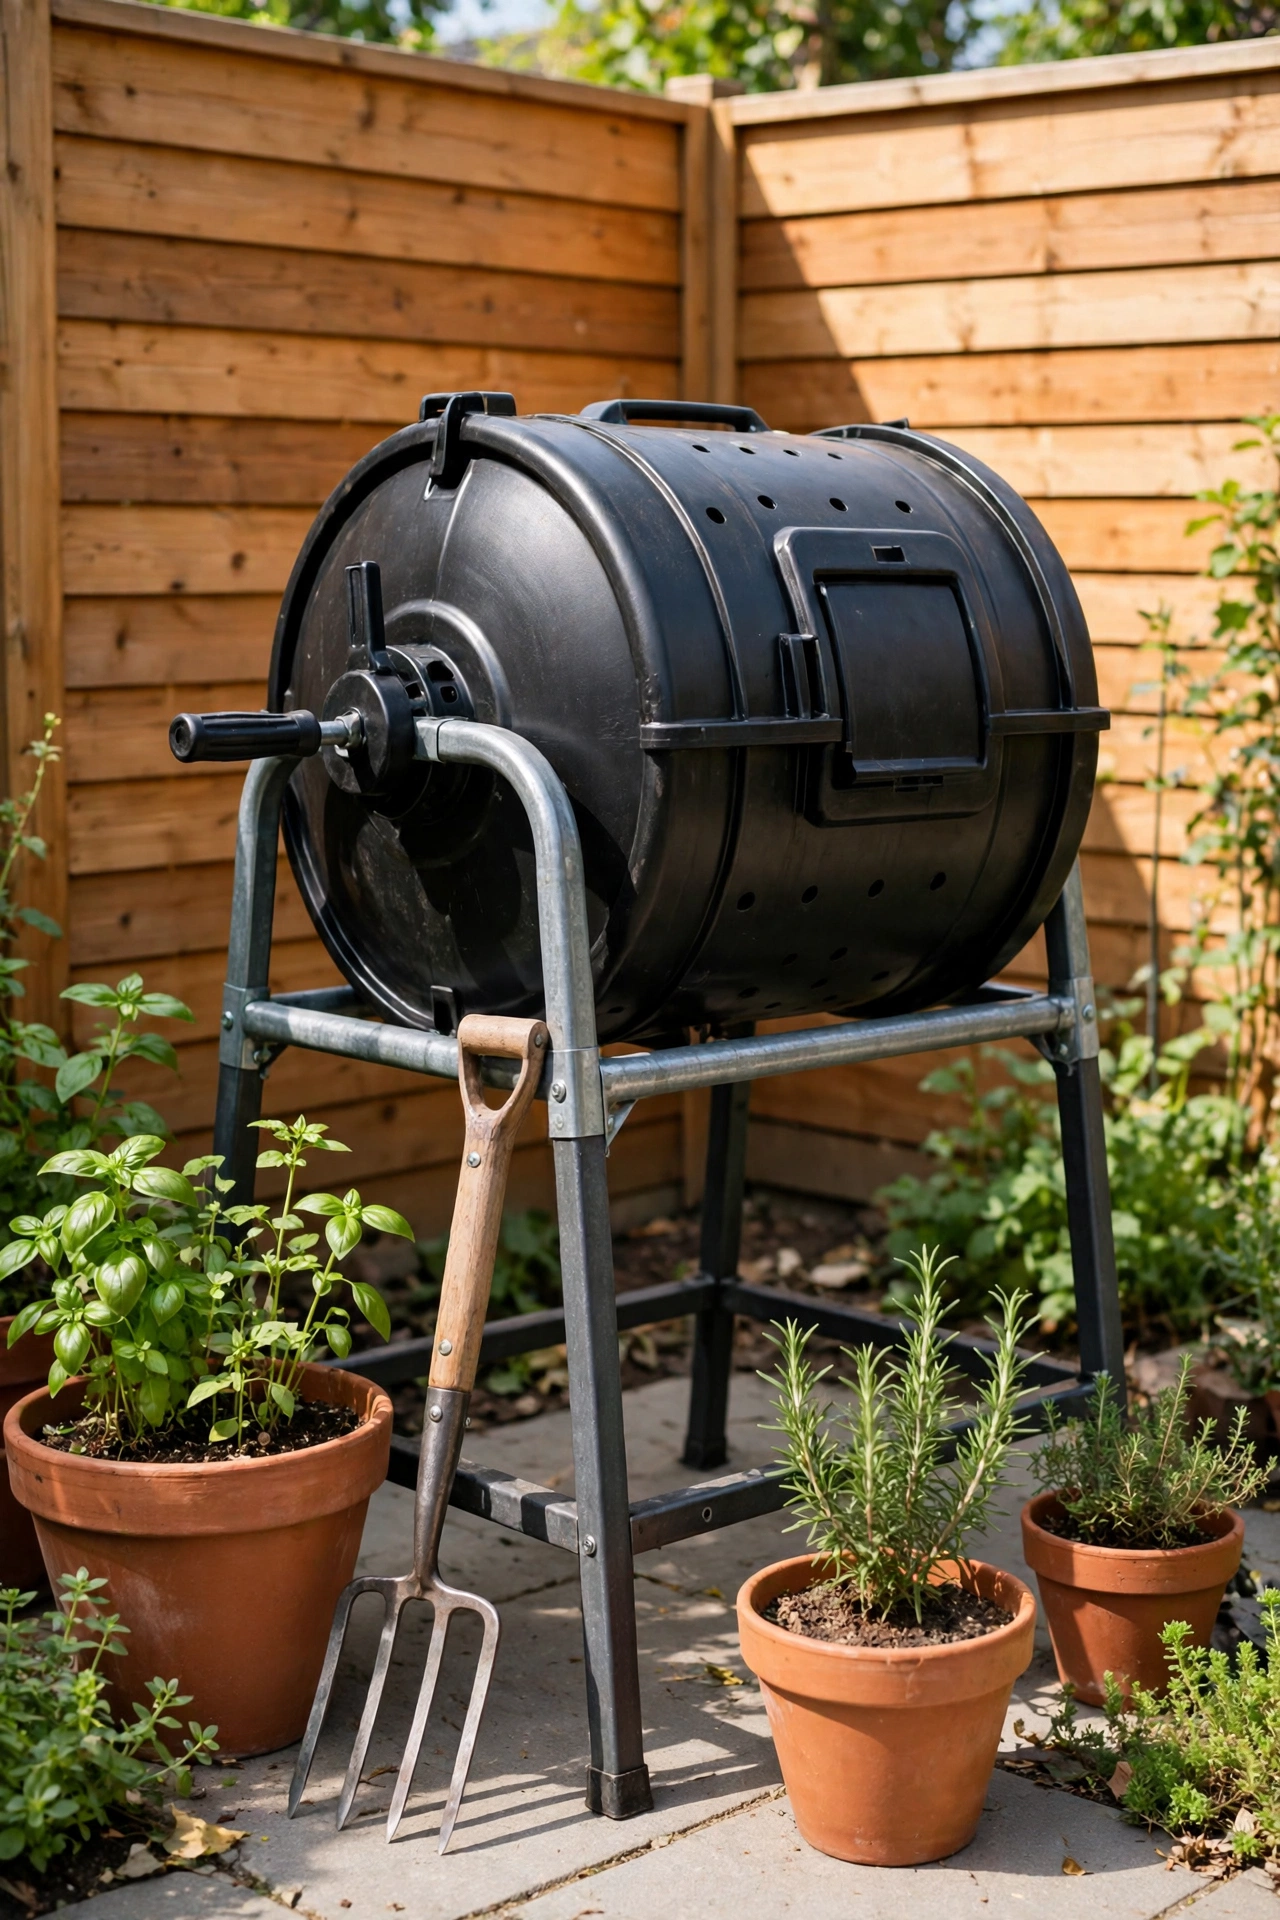
A tumbling composter is a sealed drum mounted on a stand that you spin with a handle. Each turn mixes the contents and adds fresh air, which speeds up the whole process. Many gardeners get finished compost in a matter of weeks instead of months with a tumbler.
Set the tumbler on a flat, sunny spot where you can reach the handle easily. Because the drum sits off the ground, it keeps pests out and keeps the area underneath clean. A tumbler is a tidy choice for small yards where an open pile would look out of place.
4. Hide the Bins Behind a Slatted Wood Screen
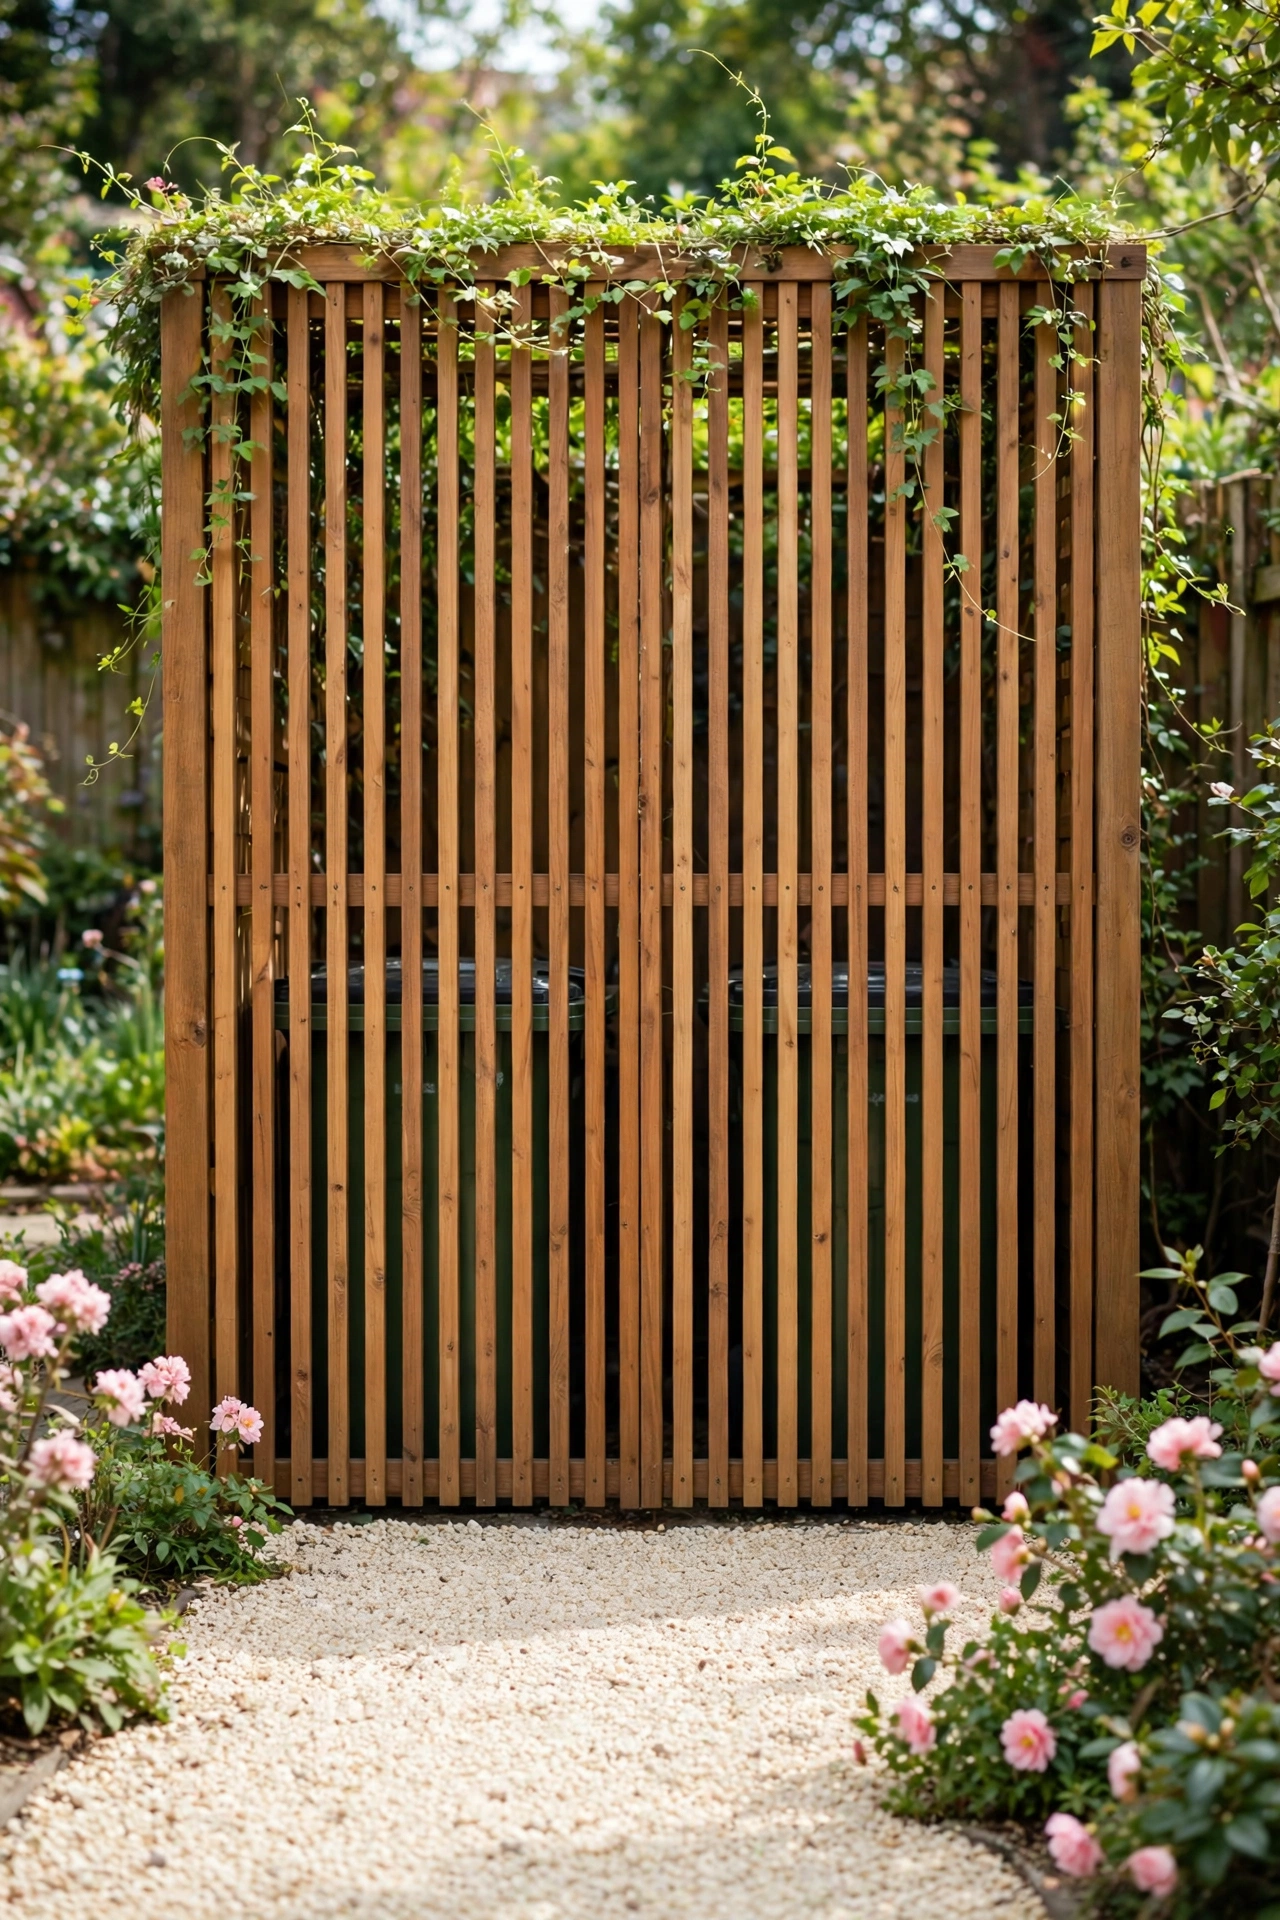
A slatted wood screen turns a working compost area into a feature that looks at home in a cared-for garden. The screen hides the bins from the main seating area while still letting air flow through the gaps. From the patio, you see warm wood and trailing plants instead of compost bins.
Build the screen from the same wood as your fence or garden beds so the whole corner feels like one planned design. Leave one side open or fit a simple gate so you can still wheel a barrow in and out. A good screen makes composting feel like part of the garden, not an afterthought.
5. Create a Compost Corner With a Gravel Base
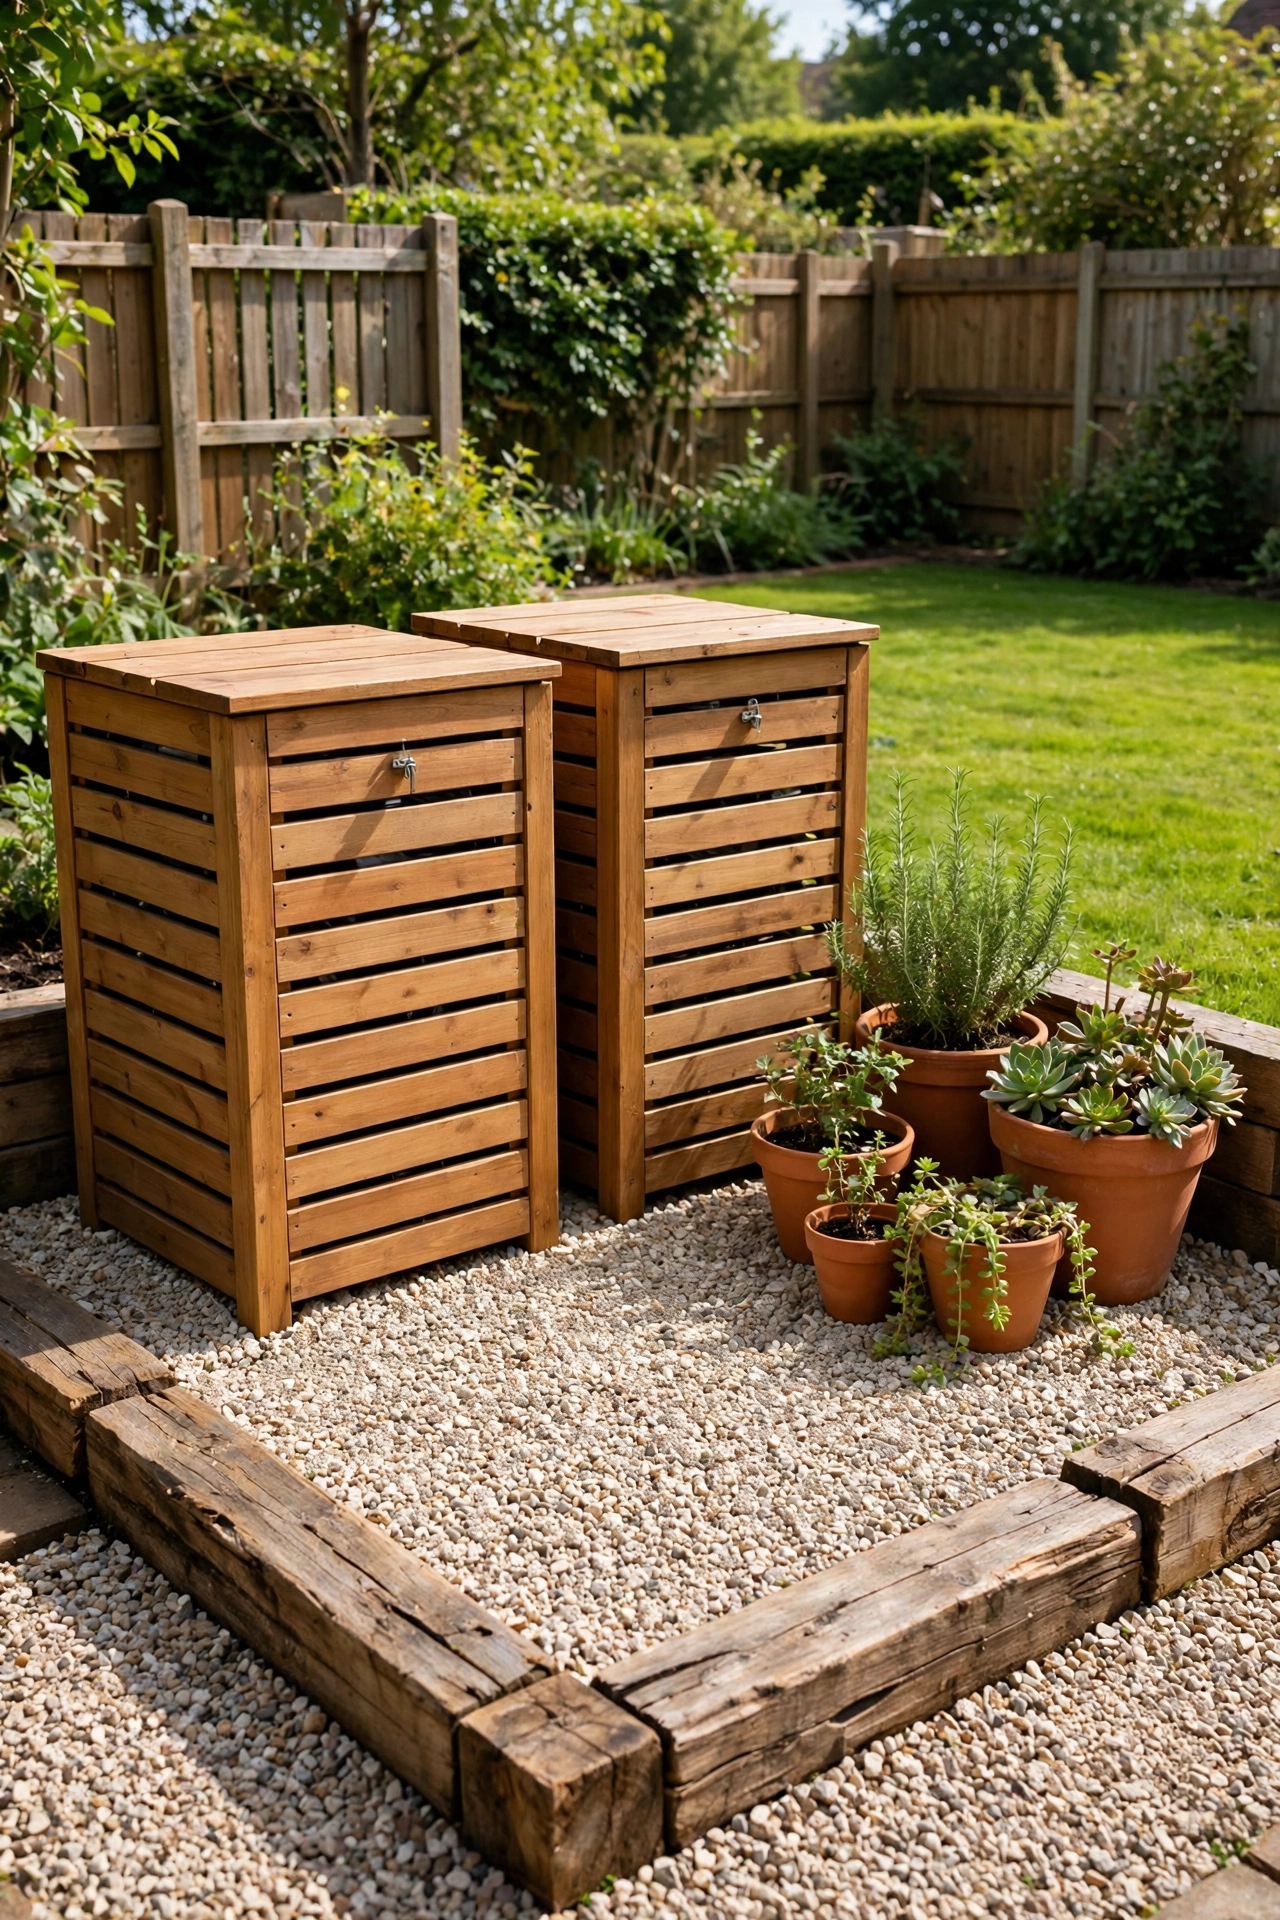
A gravel base under your compost area keeps the ground clean, dry, and easy to walk on in every season. The gravel drains rainwater away from the bins and stops the ground from turning muddy after a storm. It also gives the whole corner a finished, intentional look.
Spread a layer of compacted gravel over a weed barrier, then set your bins on top and level them carefully. Edge the gravel with timber or stone to stop it from spreading into the lawn. A clean gravel floor makes turning, watering, and harvesting compost far more pleasant.
6. Set Up a Worm Farm Bin Beside the Beds
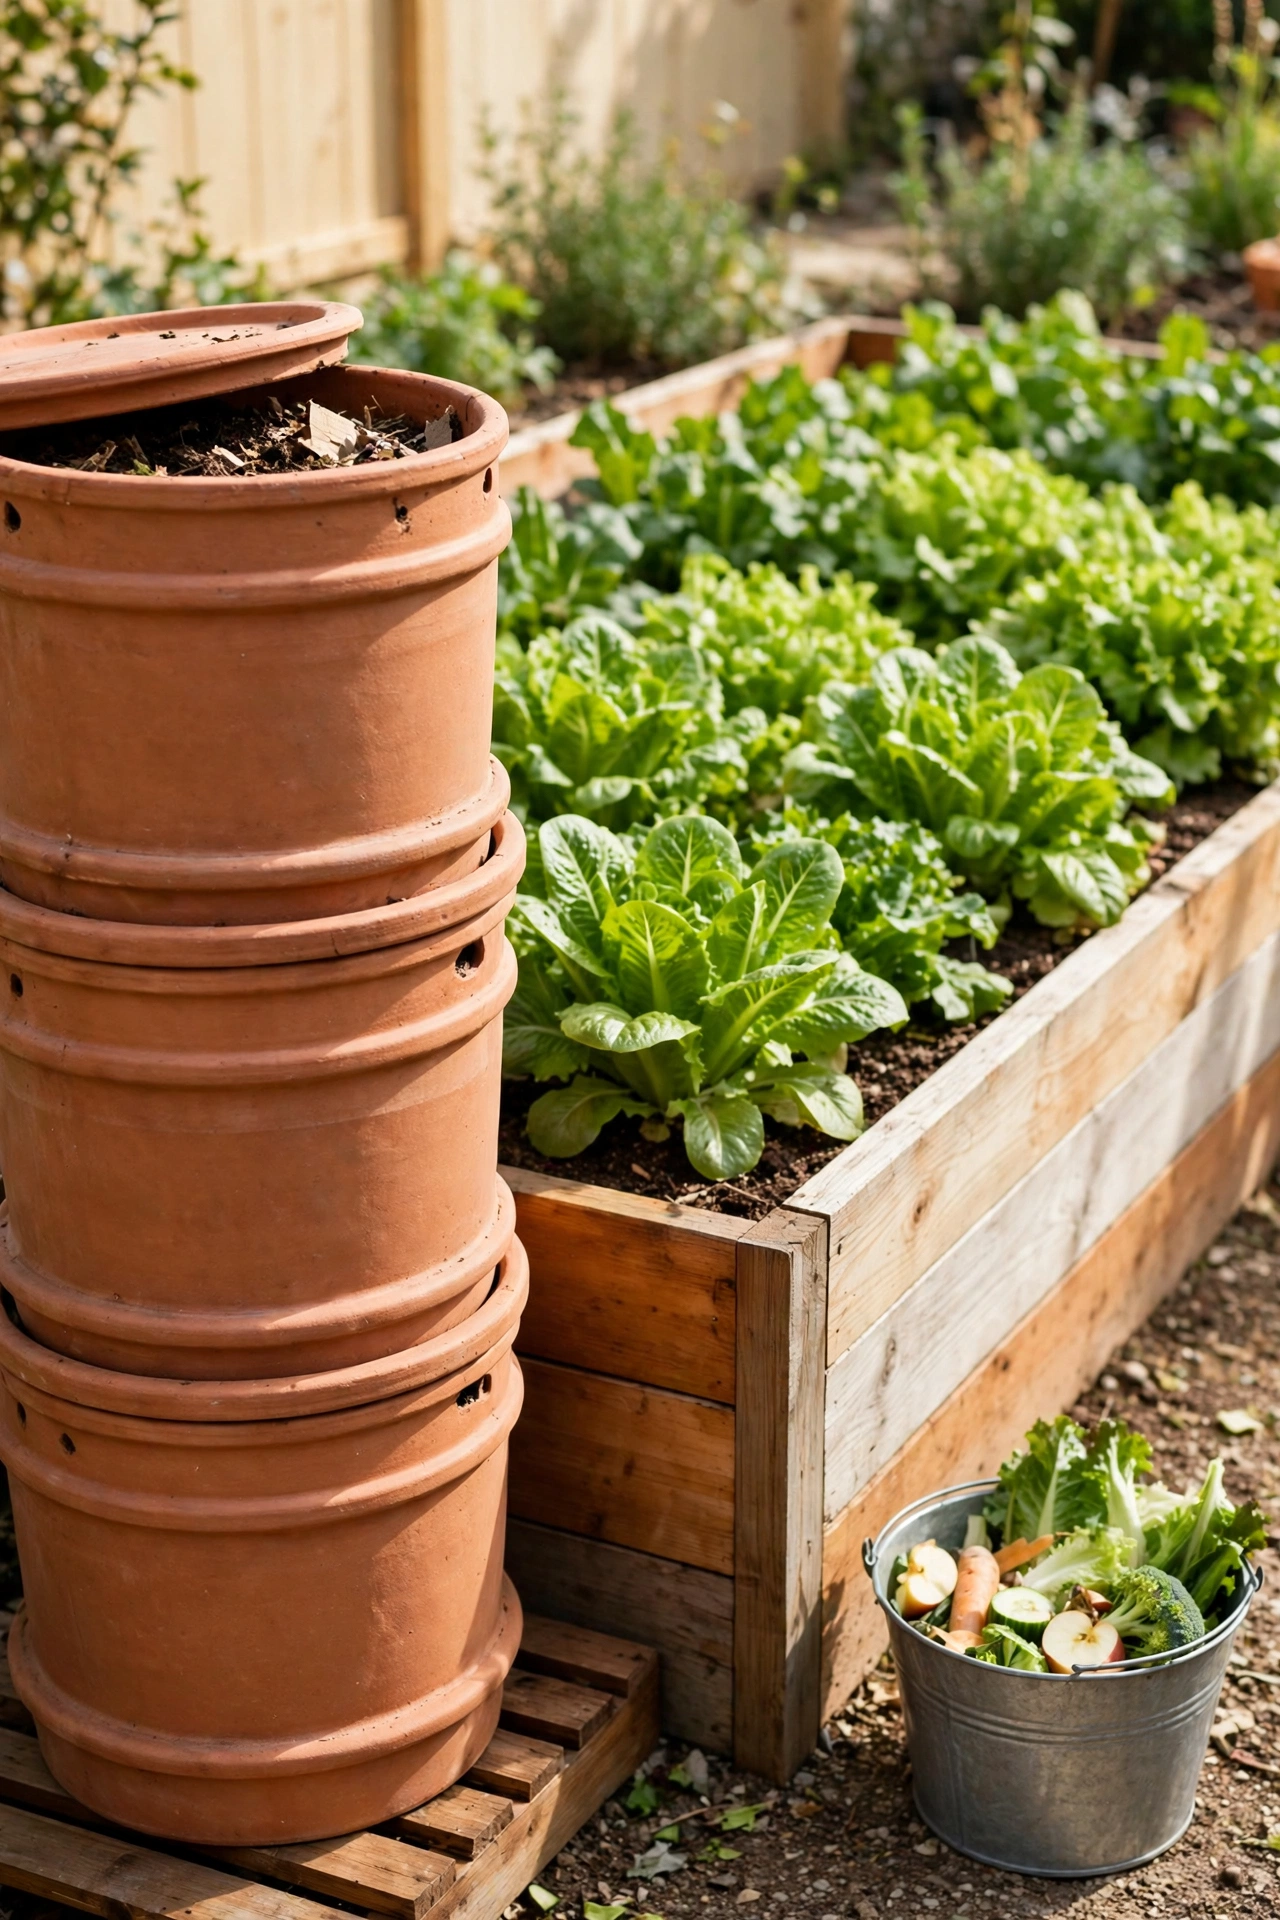
A worm farm is a stacked bin system where red worms turn kitchen scraps into rich, dark worm castings. The bins are compact, quiet, and odor free when they are fed correctly, so they work well right beside the vegetable beds. Worm castings are one of the finest soil boosters a gardener can make at home.
Keep the worm farm in a shaded spot so the worms stay cool and moist. Feed them fruit and vegetable scraps, torn paper, and crushed eggshells, and avoid meat, dairy, and oily foods. With a little care, your worms will quietly turn daily kitchen waste into garden gold.
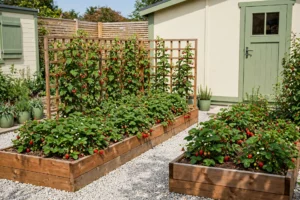
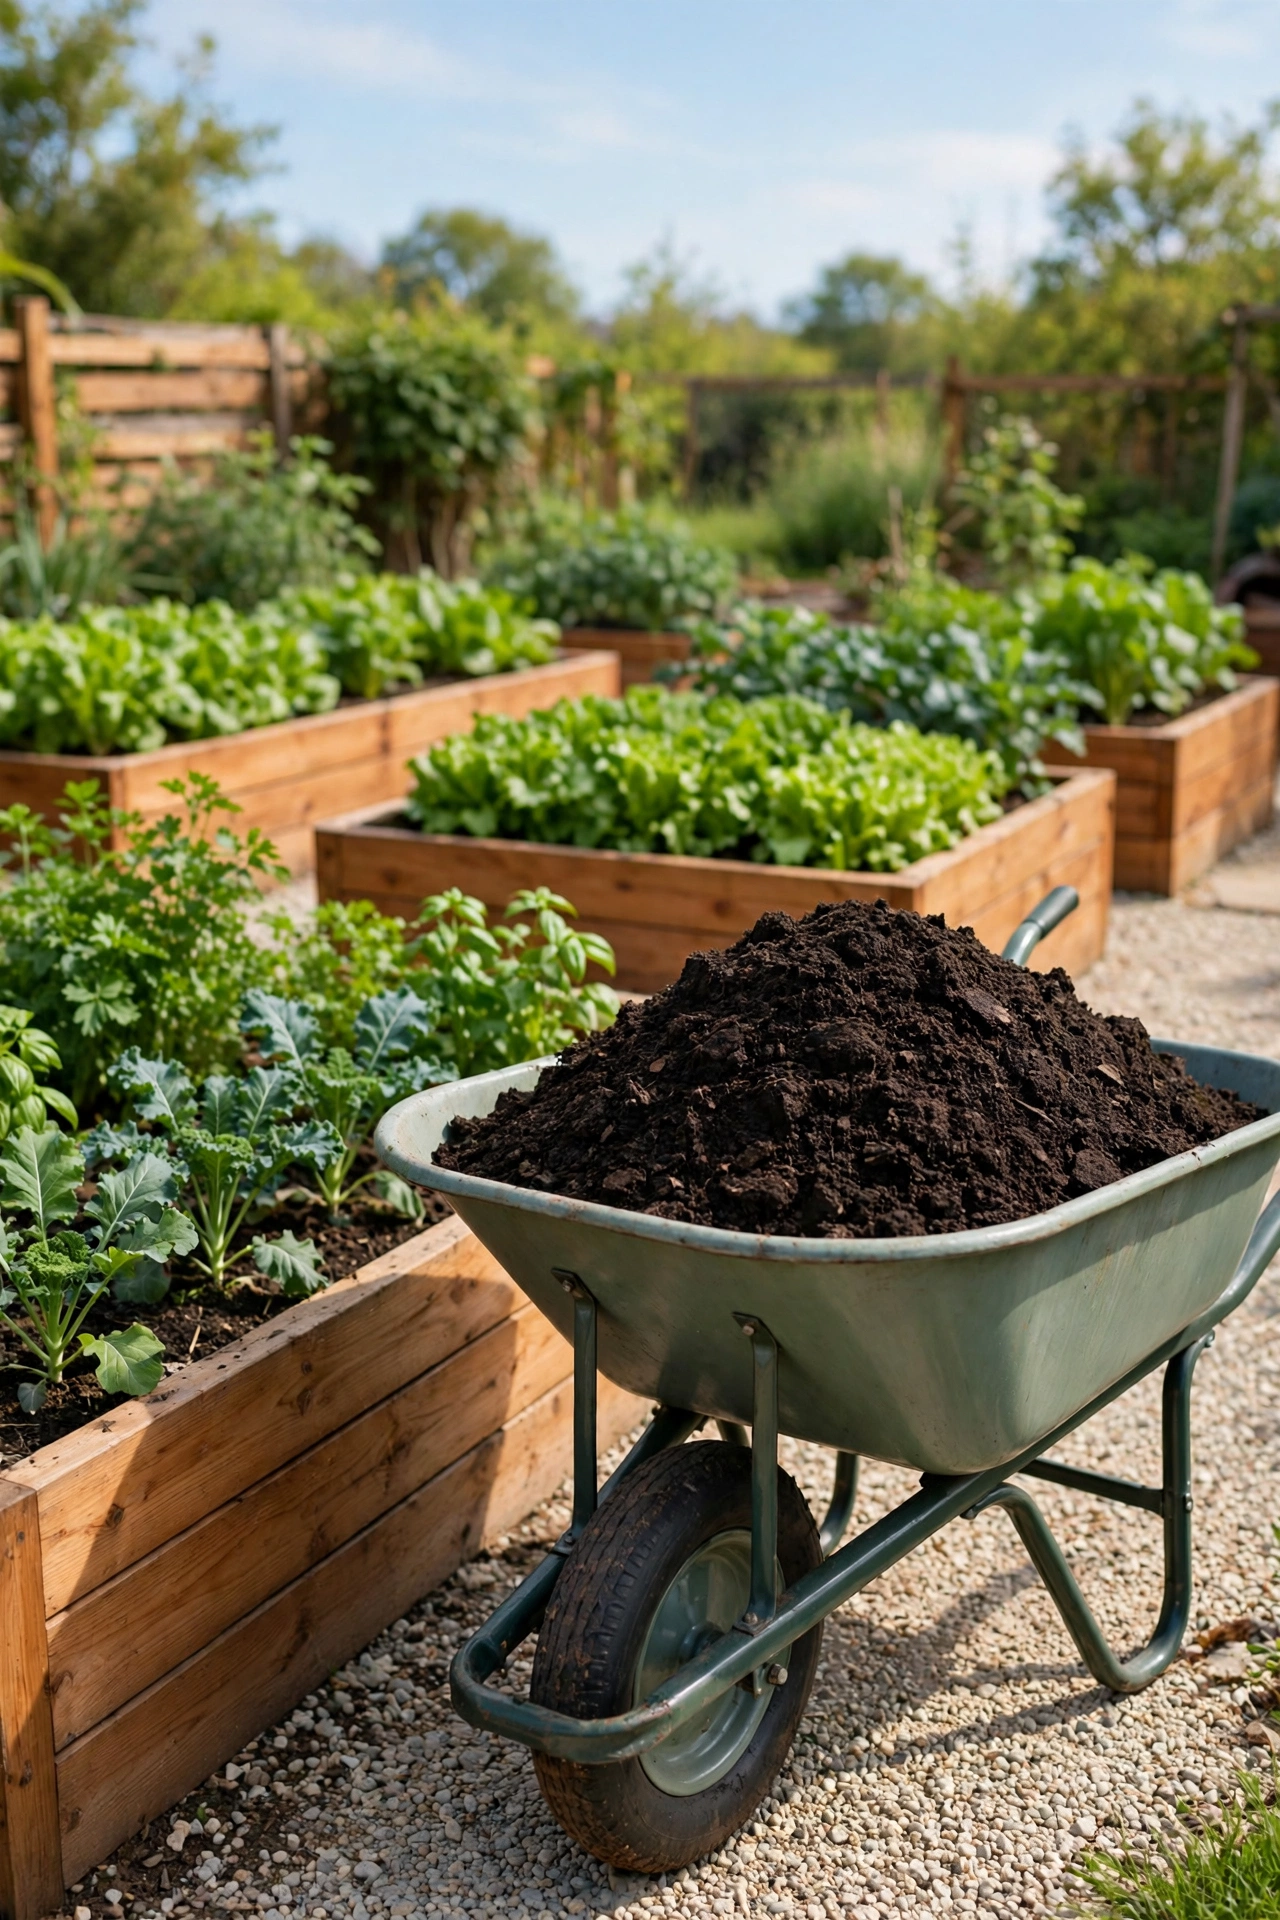
7. Feed Raised Beds With Finished Compost
Finished compost is at its best when it goes straight onto the garden beds that need it most. Place your compost area close to your raised beds so you can carry the dark, crumbly compost a few steps instead of hauling it across the yard. A short trip means you will actually use the compost instead of letting it pile up.
Spread a layer of finished compost over the beds each spring and gently work it into the top few inches of soil. Your plants will reward you with stronger growth and healthier leaves. If you are still planning your growing space, these raised garden bed layout ideas will help you place beds and bins in a layout that makes composting easy.
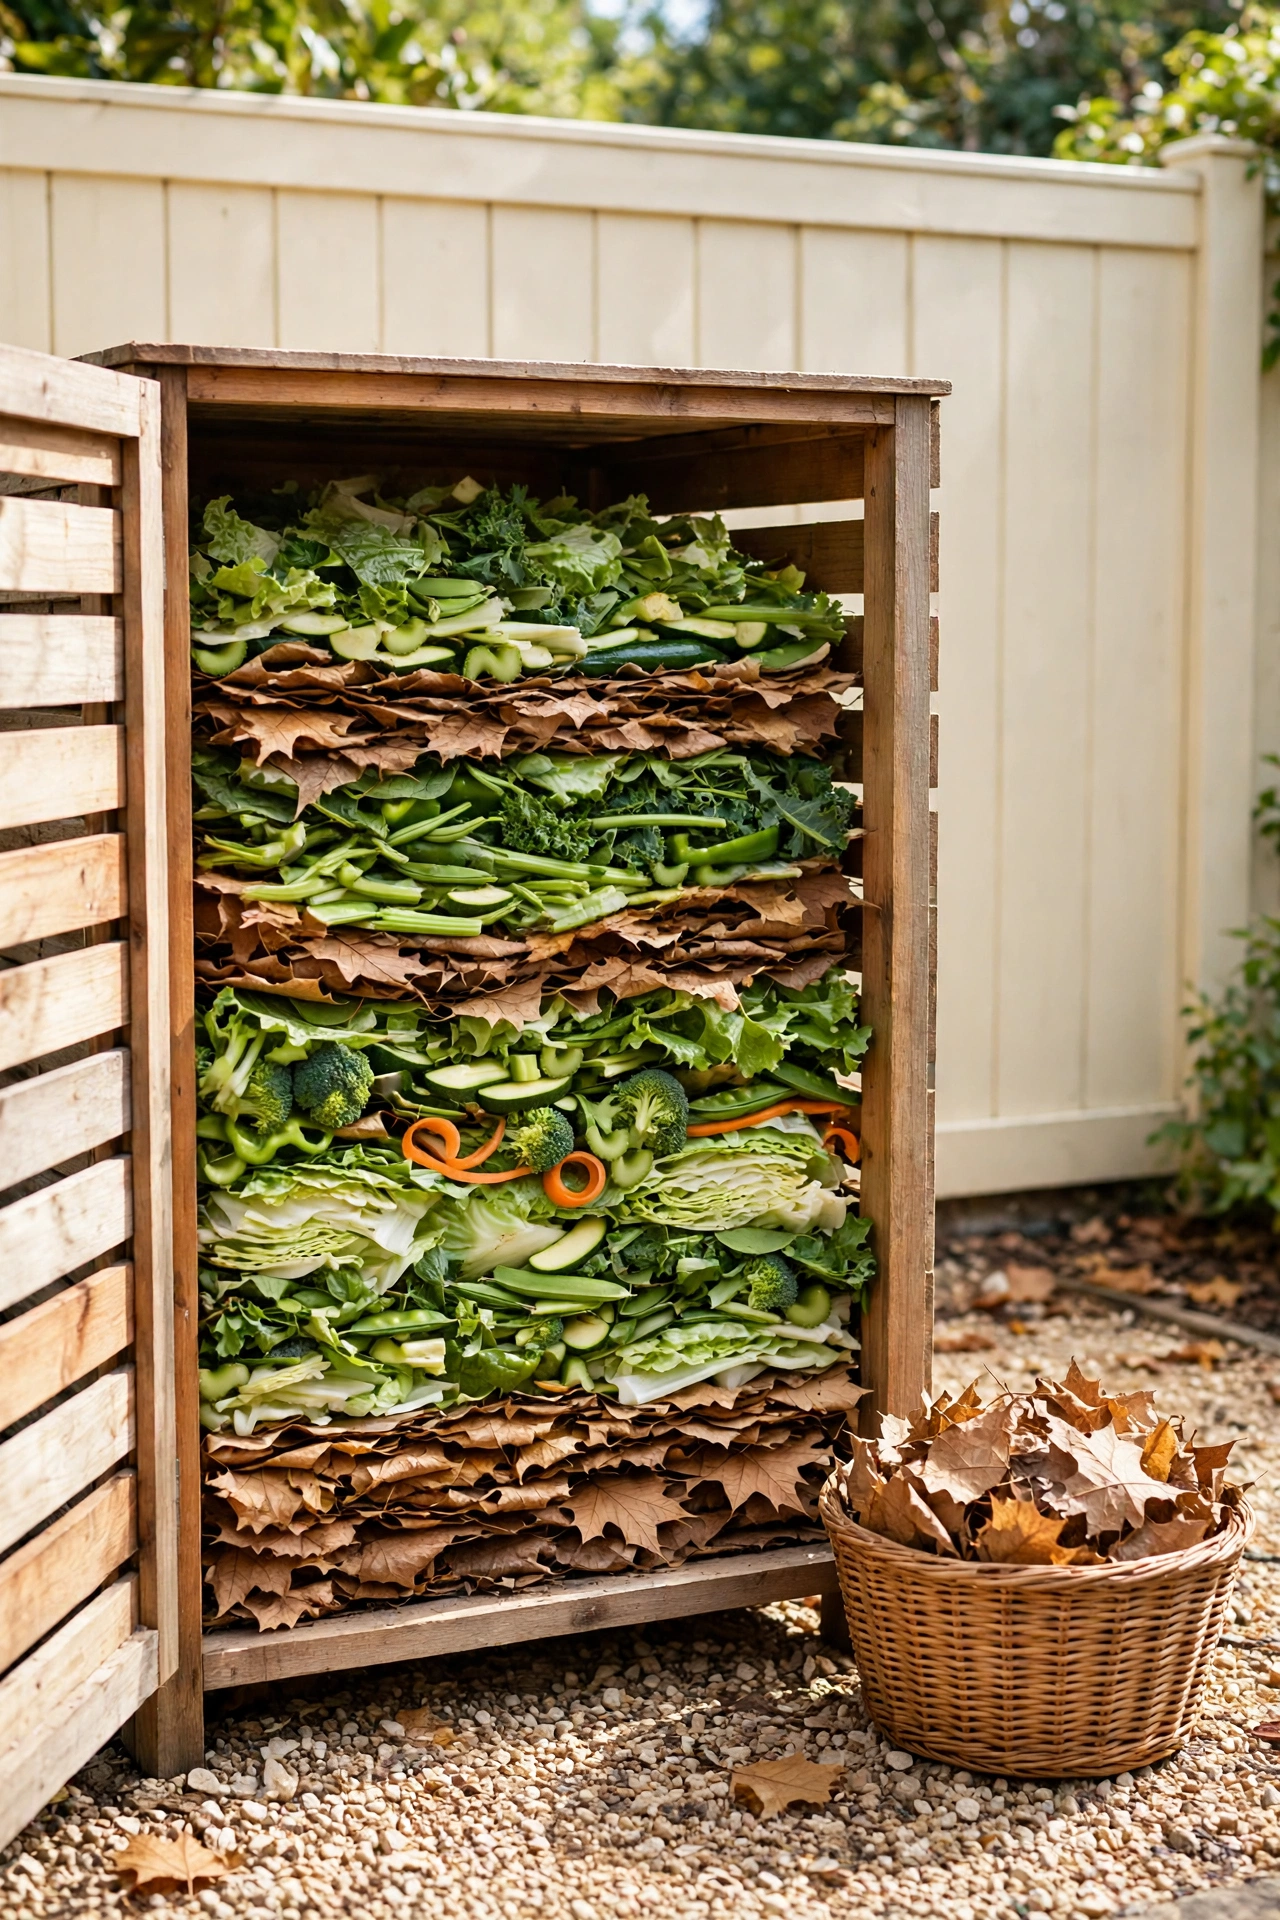
8. Layer Greens and Browns in a Neat Lasagna Stack
The lasagna method builds a compost pile in alternating layers, just like the dish it is named after. A layer of green waste like fresh grass clippings and vegetable scraps goes down, then a layer of brown waste like dry leaves and shredded cardboard. The layers balance nitrogen and carbon, which keeps the pile working well.
Keep a small stack of dry brown material beside the bin so you can cover every addition of green waste right away. A covered pile stays tidy, holds moisture, and avoids smells. This simple layering habit is the secret behind a compost area that always looks neat and never causes complaints.
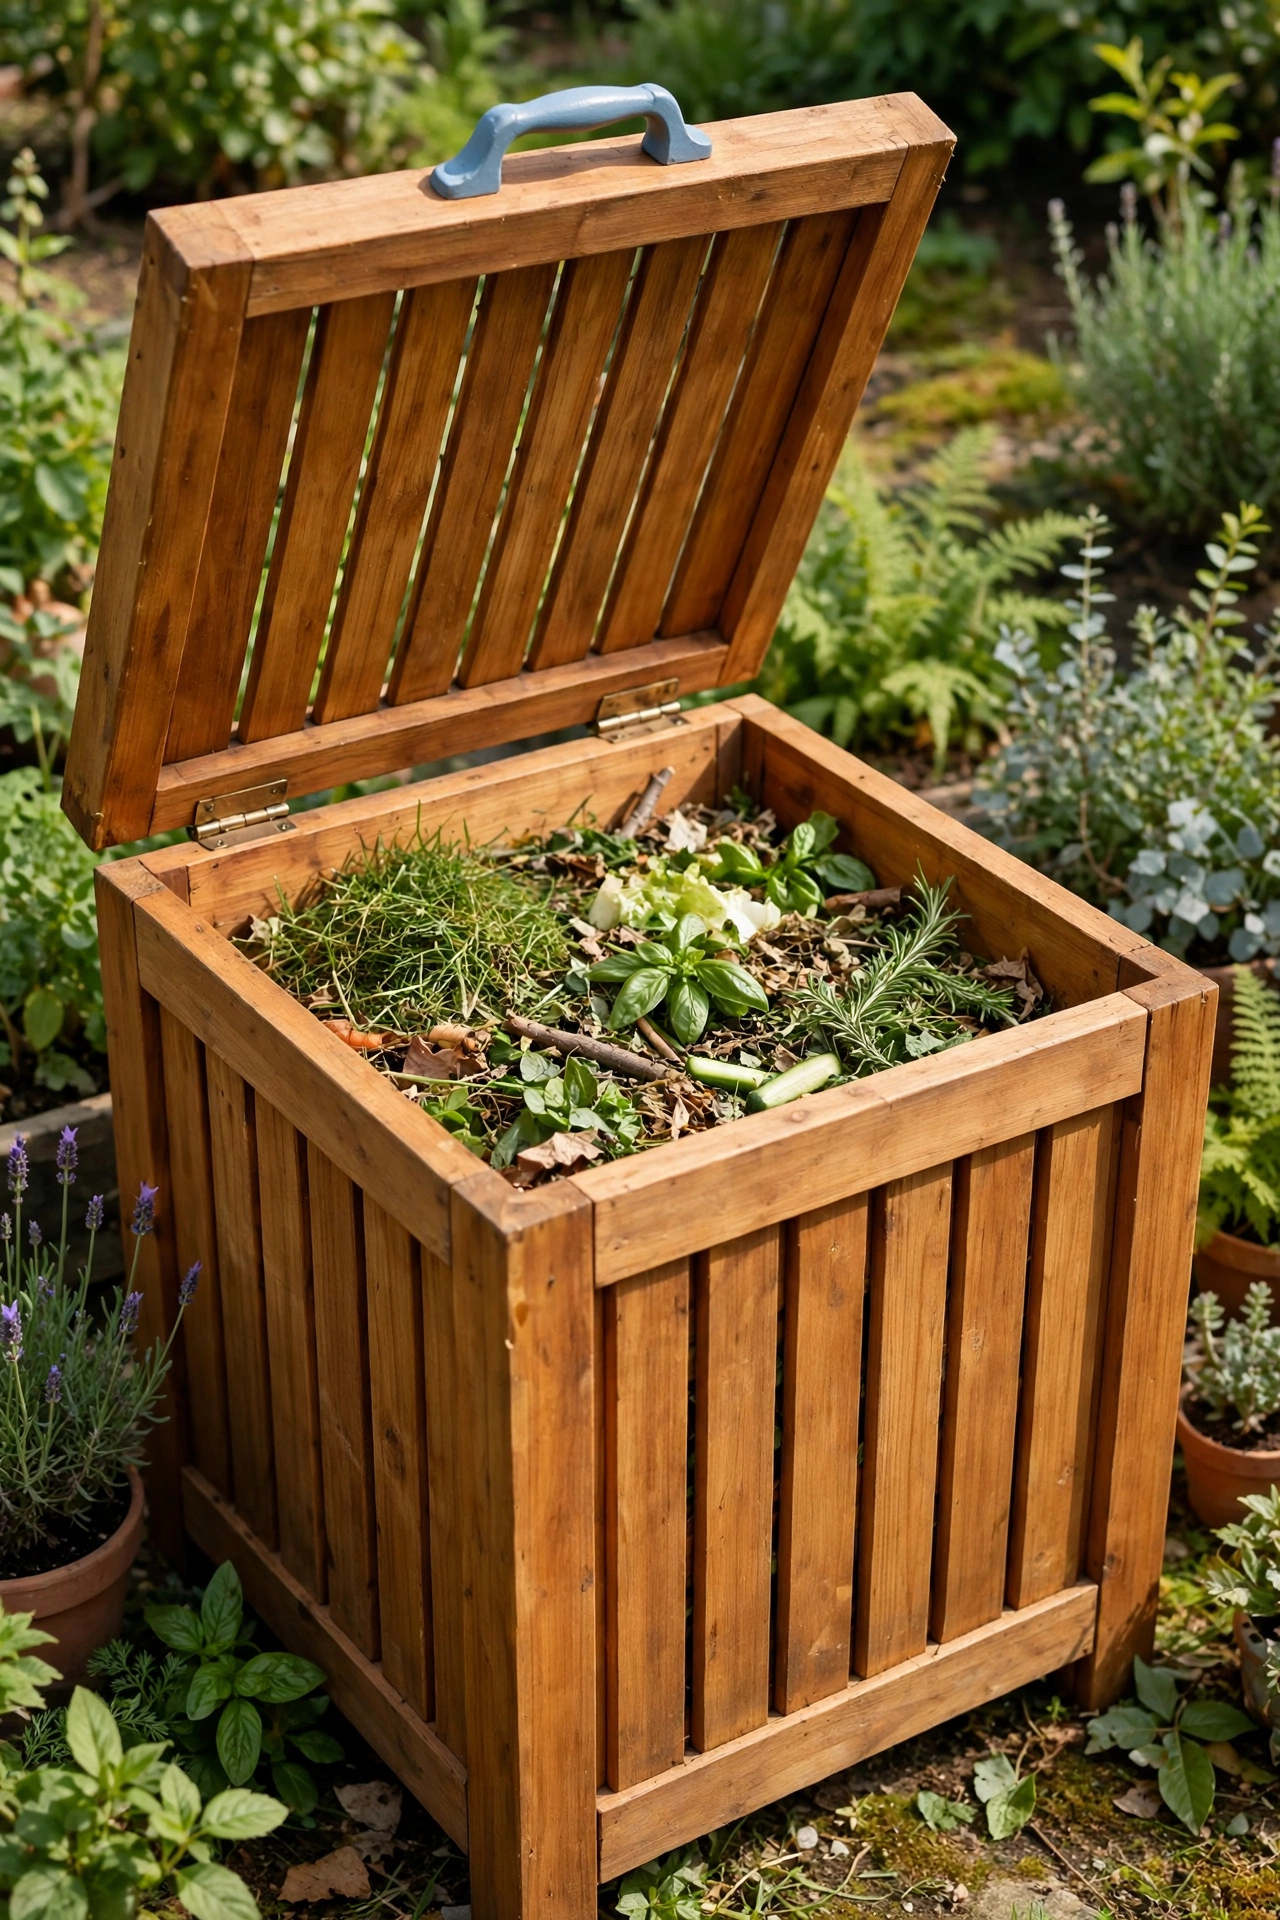
9. Add a Hinged Lid to Keep Rain Out
A hinged lid is a small upgrade that makes a big difference to a compost bin. The lid keeps heavy rain from soaking the pile, which stops the contents from turning cold and slimy. It also keeps curious animals out and holds in warmth on cool nights.
Build the lid from the same slatted wood as the bin and fit it with simple hinges so it opens with one hand. A handle on the front makes it easy to lift while you hold a bucket of scraps. Your compost area will look tidier with lids closed, and the pile inside will break down faster.
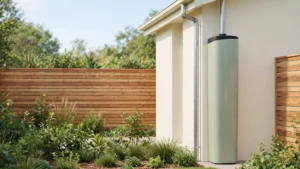
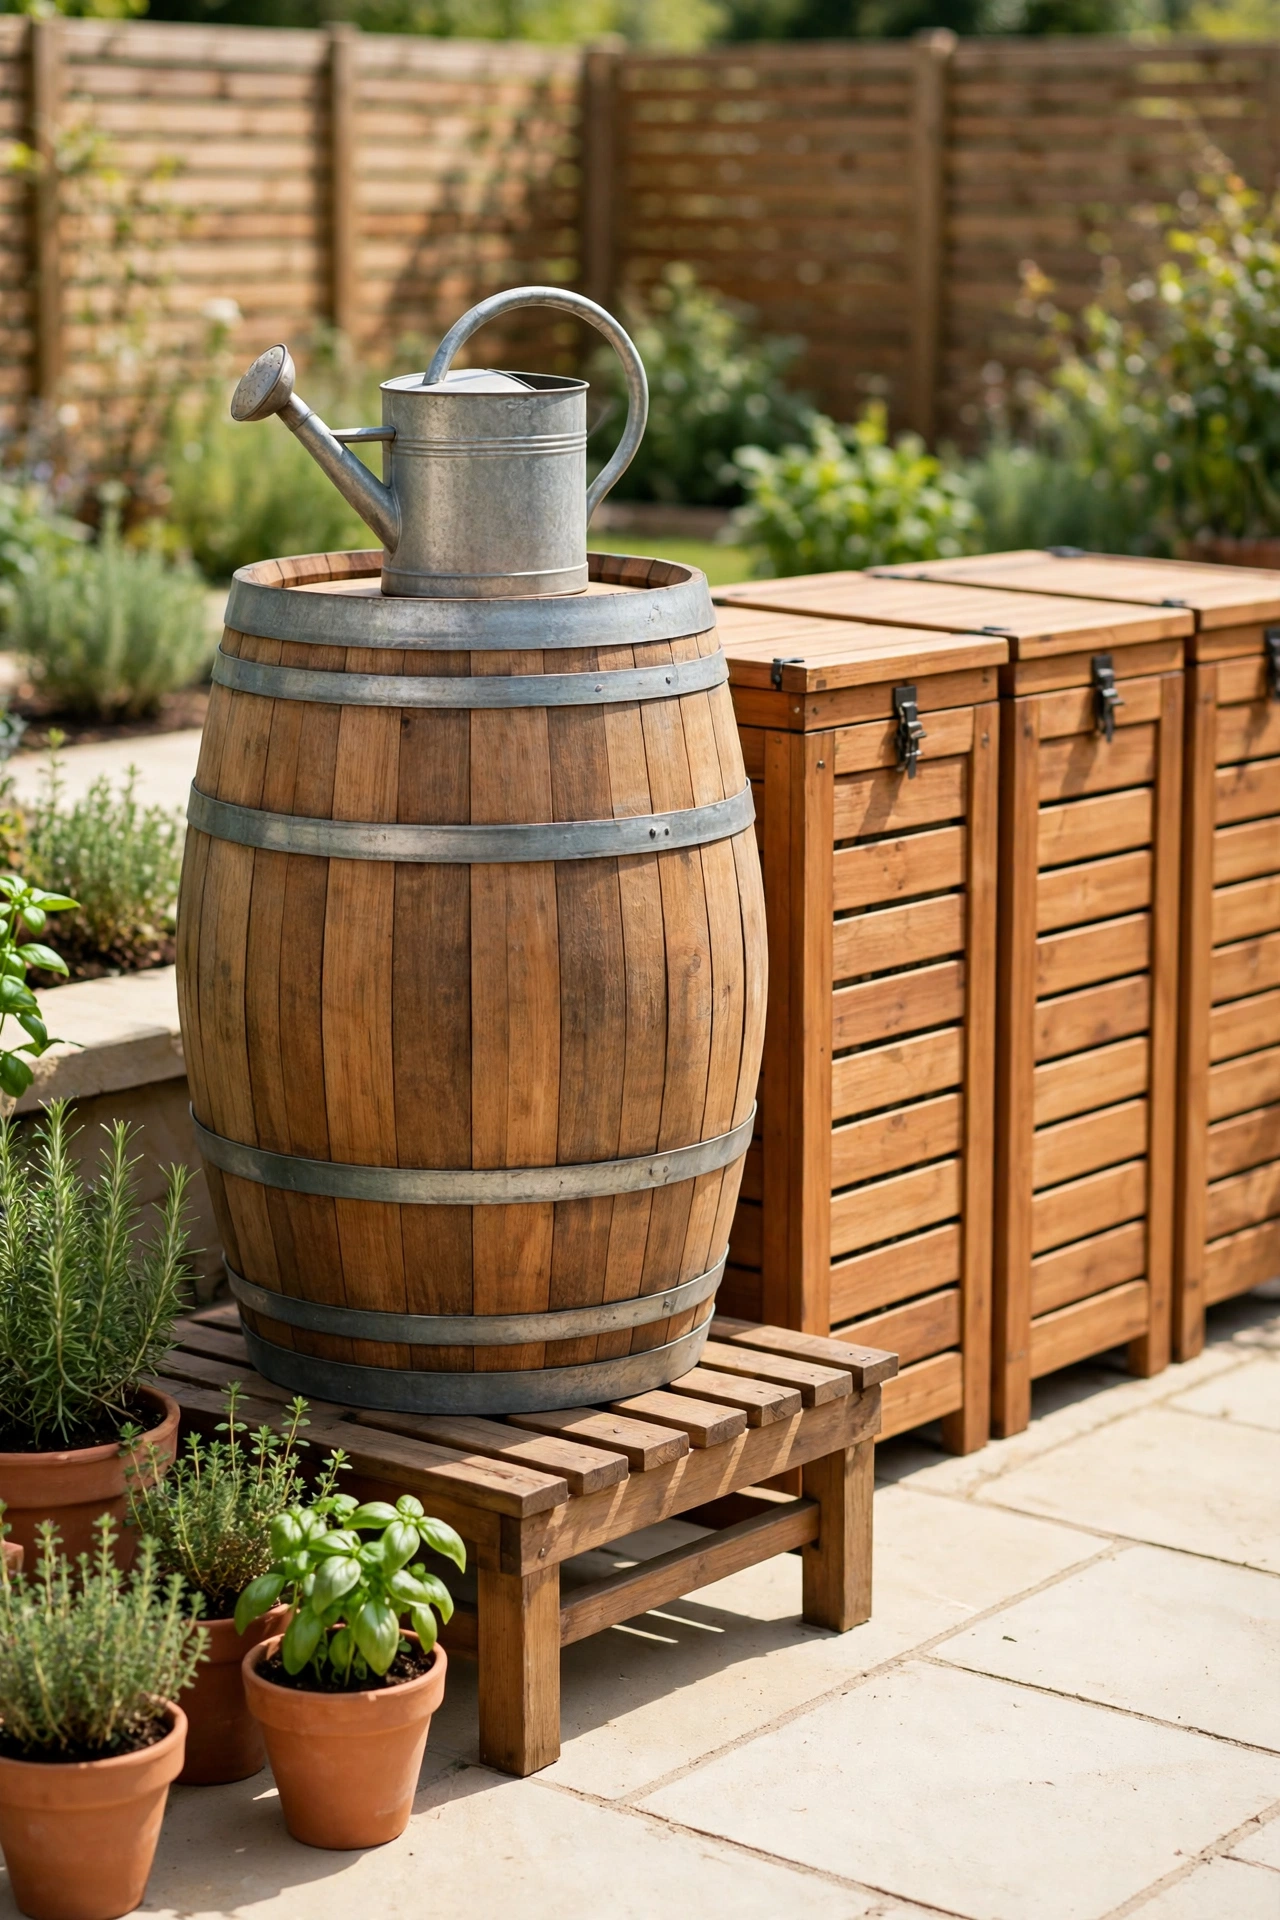
10. Keep a Rain Barrel Nearby for Moisture Control
A compost pile needs steady moisture to break down well, and a rain barrel beside the bins puts soft, chemical free water right where you need it. When the pile feels dry, you can sprinkle it with a watering can filled from the barrel in seconds. Rainwater is gentler on the helpful microbes than treated tap water.
Place the barrel on a raised stand so the tap sits above the height of your watering can. A short hose or a simple spout makes watering the pile quick and spill free. For a barrel that suits your garden style, these DIY rain barrel ideas show barrels that look good and work hard beside any compost area.
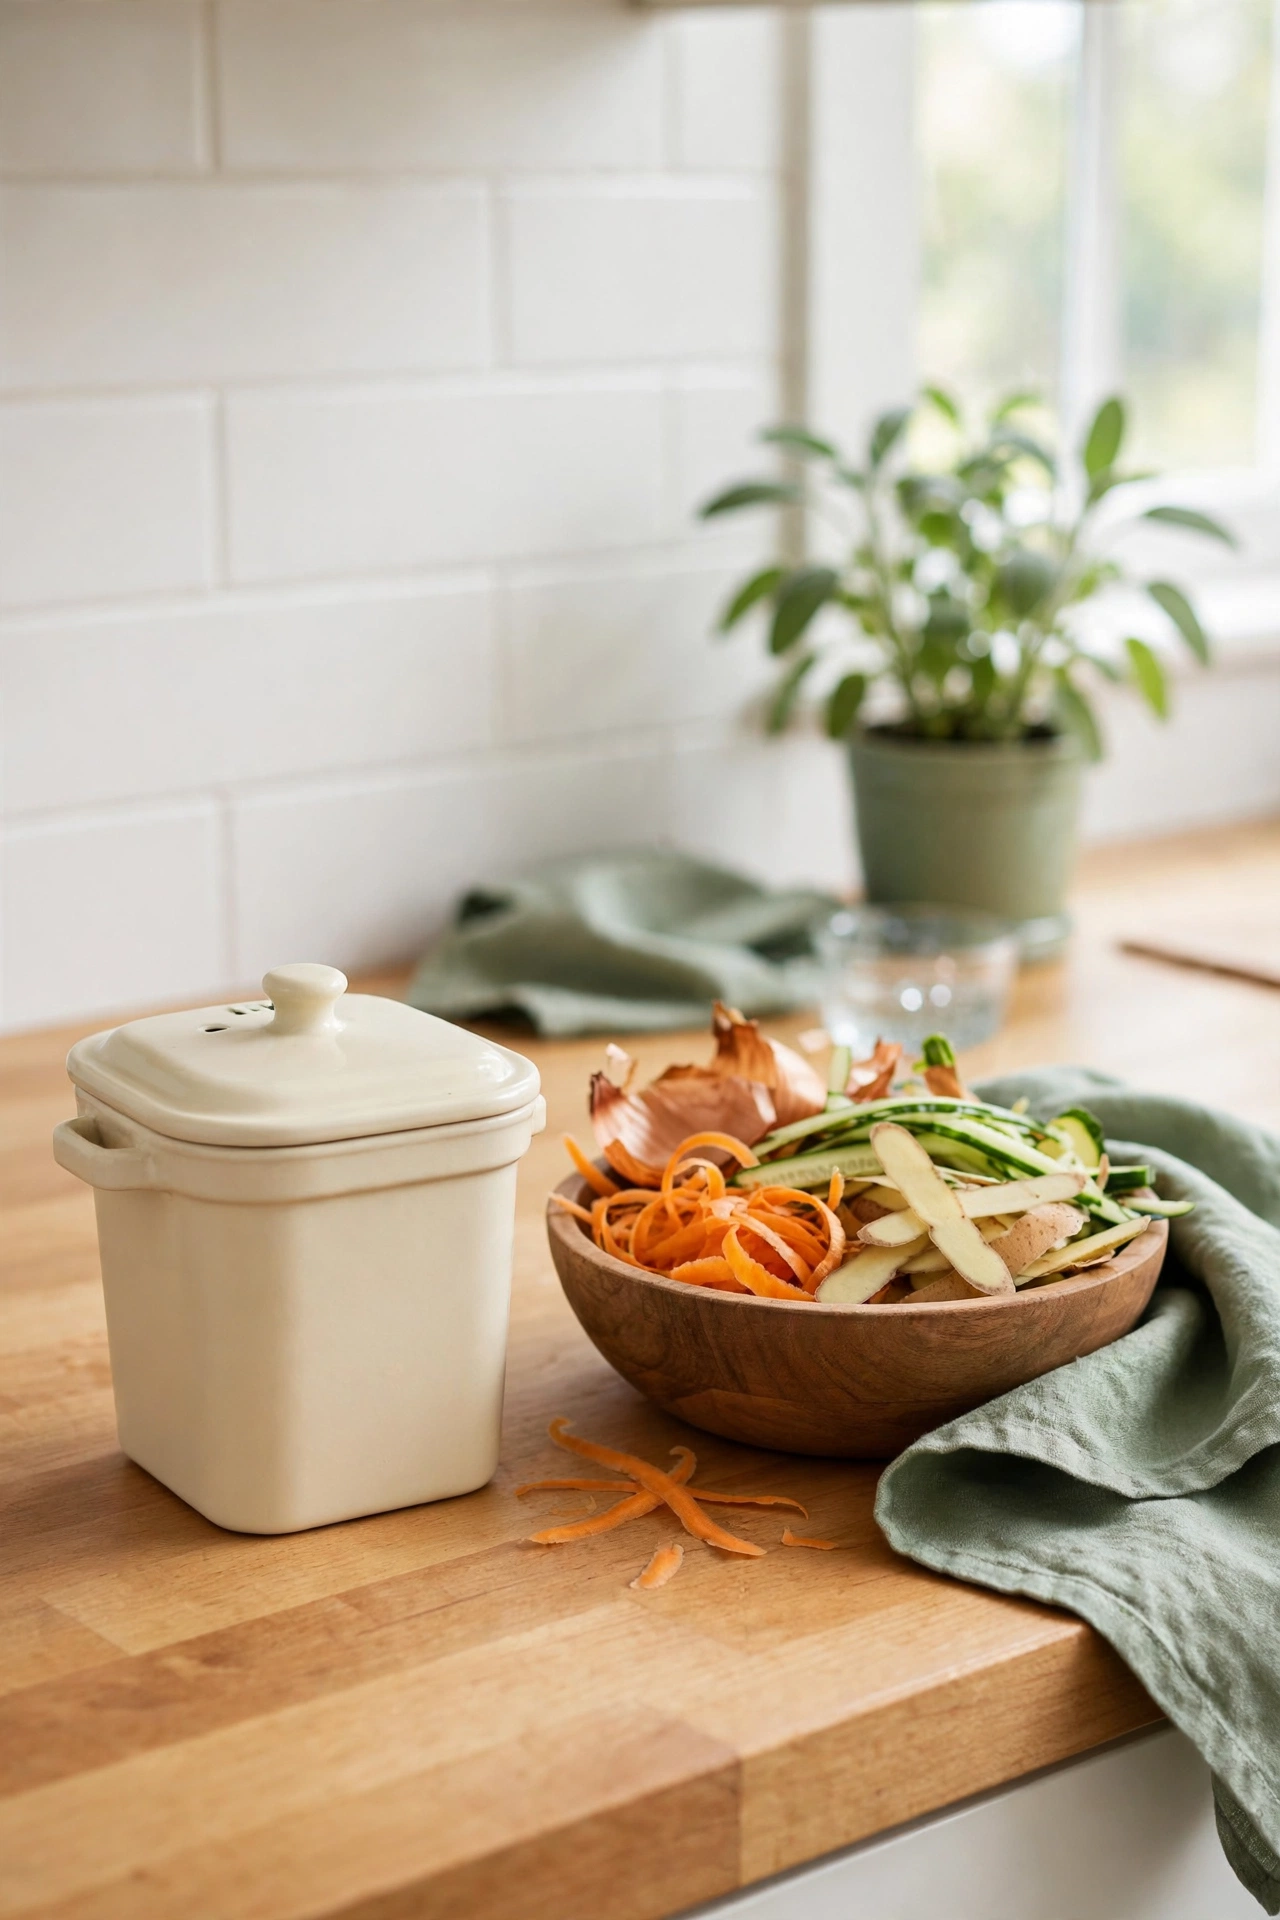
11. Sort Kitchen Scraps in a Countertop Caddy
A countertop caddy is a small lidded container that lives in the kitchen and collects scraps as you cook. Vegetable peels, coffee grounds, and eggshells go straight into the caddy instead of the trash. When the caddy is full, you carry it out to the compost bin in one trip.
Choose a caddy with a tight lid and a washable liner so it stays fresh and easy to clean. Empty it every day or two so scraps never sit long enough to smell. This small kitchen habit is what keeps a backyard compost area fed on a regular schedule.
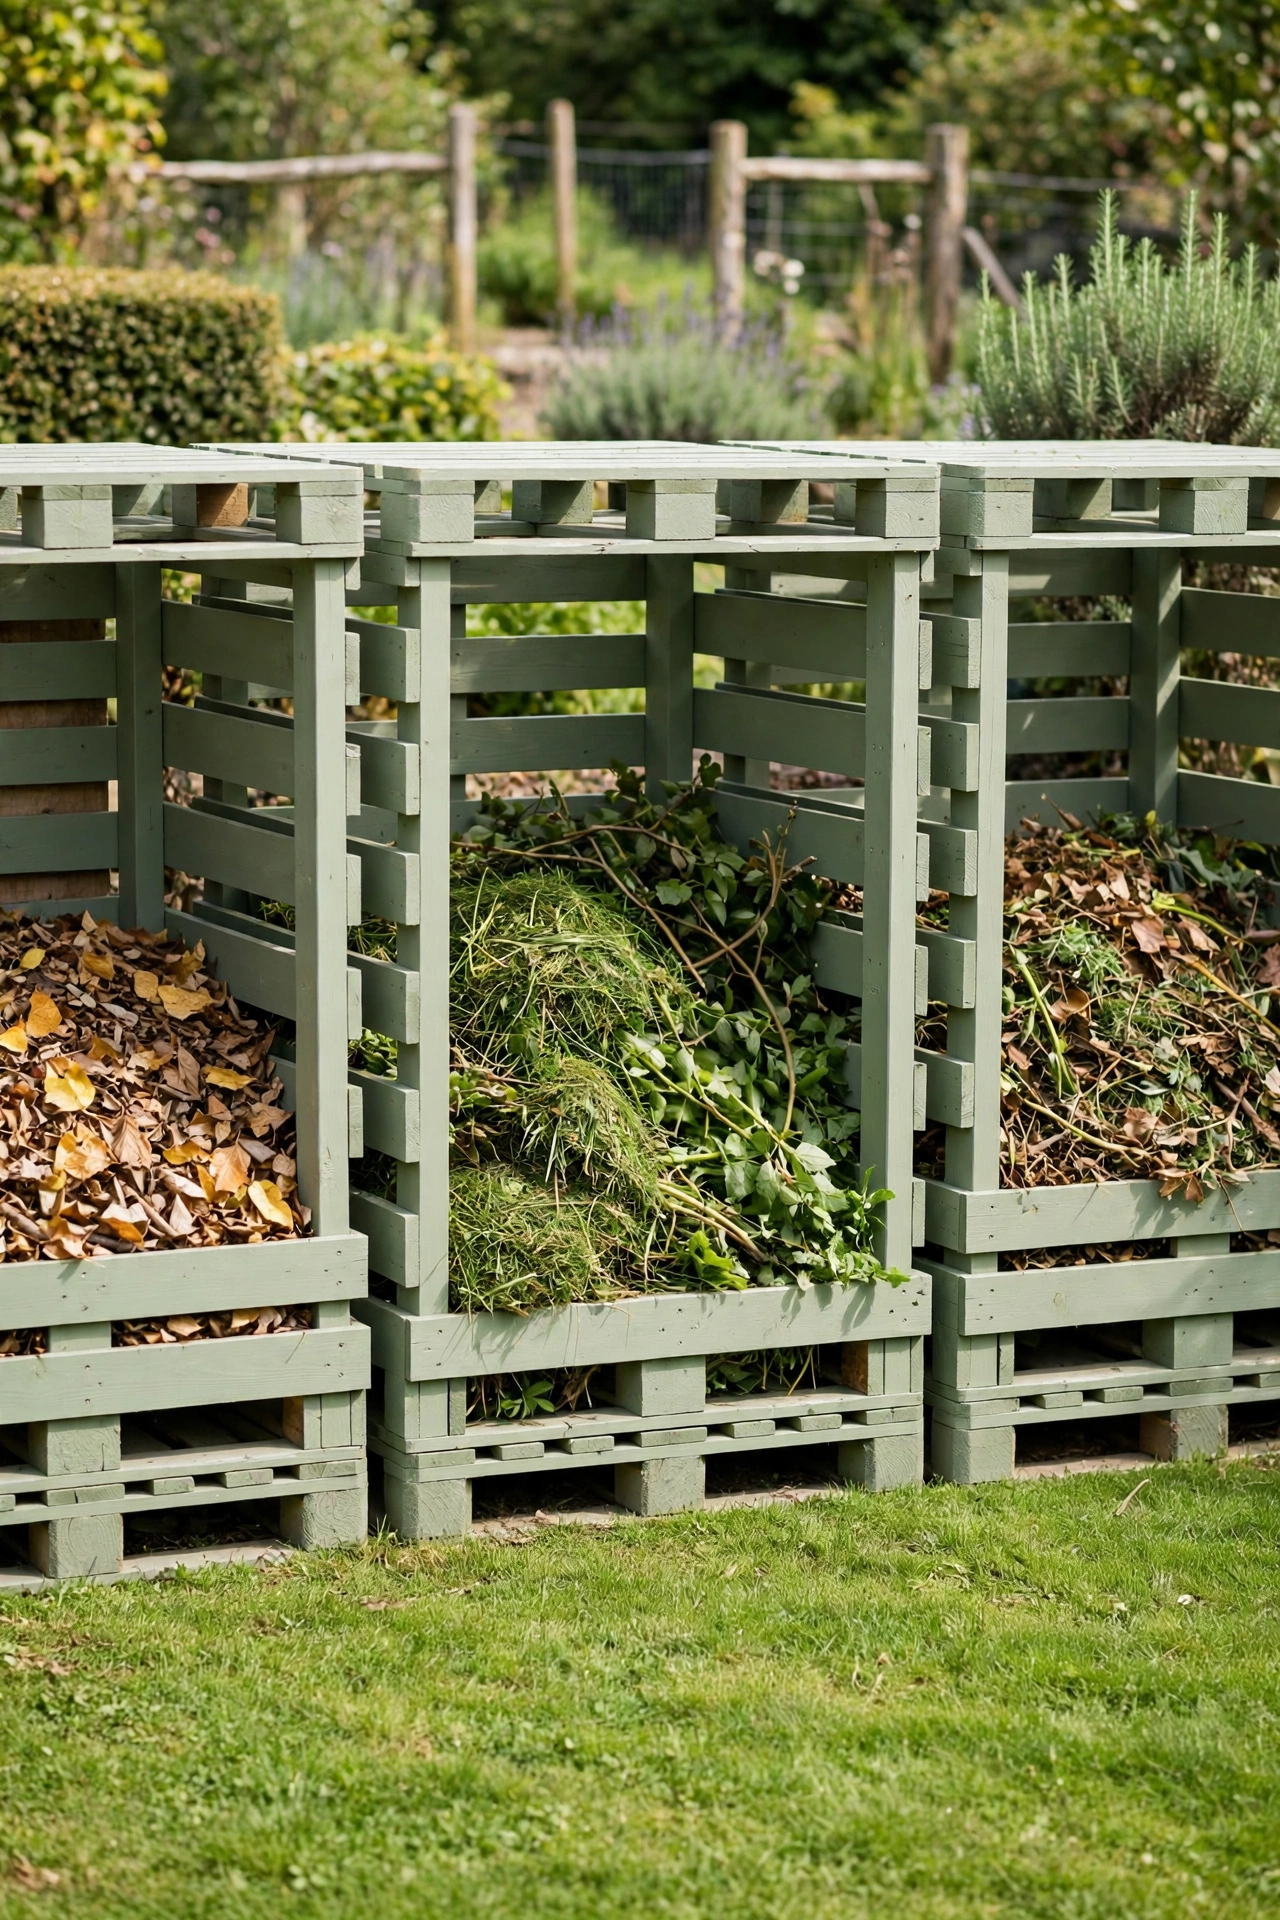
12. Build Pallet Bays on a Budget
Wooden pallets make excellent compost bays for almost no money. Stand three pallets on edge to form a U shape, fix them together at the corners, and leave the front open for easy access. The gaps between the pallet boards give the pile all the airflow it needs.
Line the inside with a layer of cardboard for the first few weeks to hold small scraps in place while the pile settles. Paint or stain the pallets in a soft sage or warm wood tone to match the rest of the garden. Pallet bays prove that a good compost area does not need a big budget.
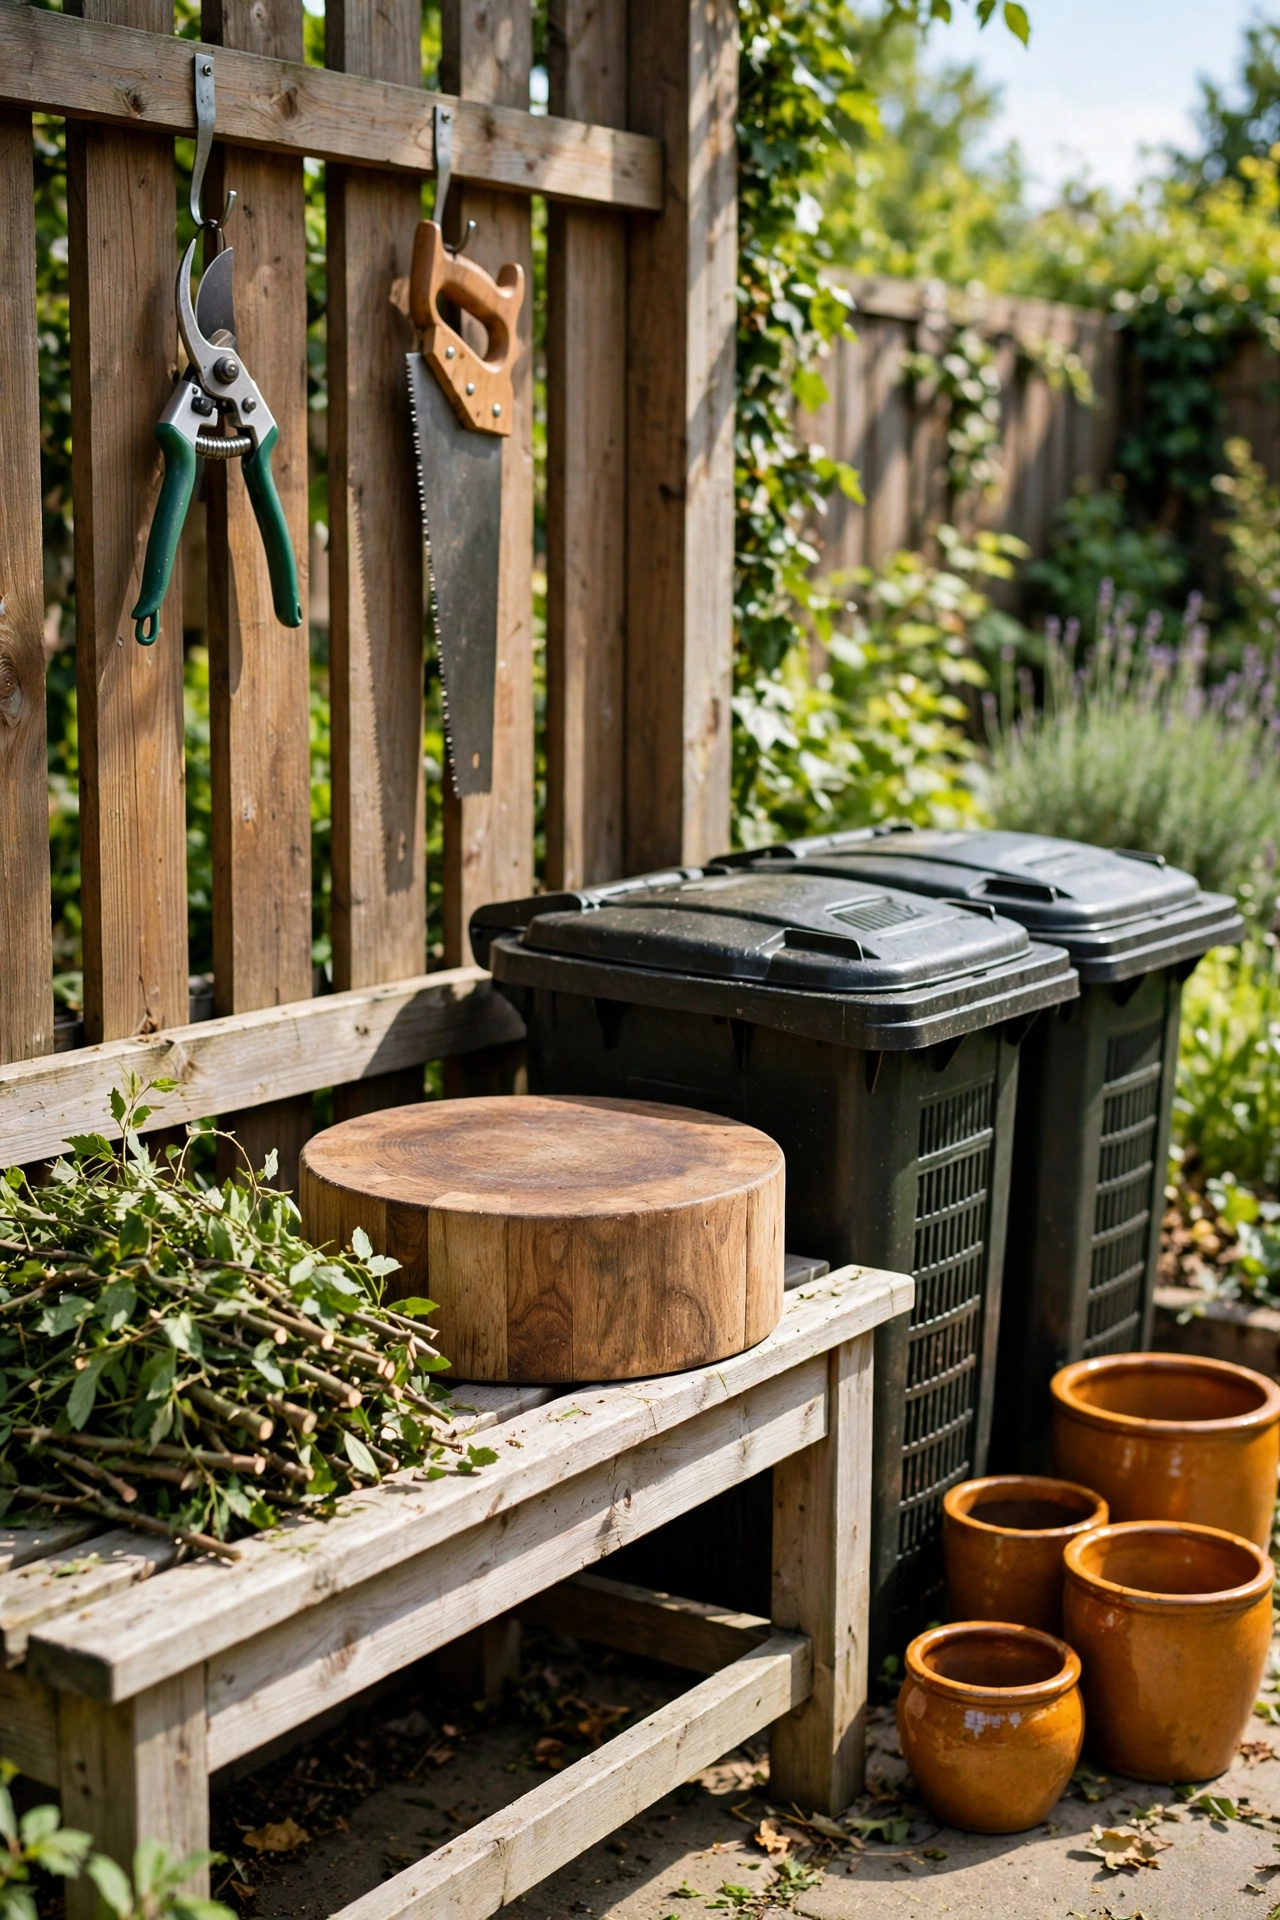
13. Add a Chopping Station for Bulky Garden Waste
Long branches, thick stems, and large leaves break down slowly unless they are cut into smaller pieces first. A chopping station beside the bins gives you a firm surface and a safe place to cut bulky waste down to size before it goes into the pile. Smaller pieces rot faster and pack more neatly.
Set a sturdy chopping block on a low bench and keep a pair of sharp pruning shears and a small saw hanging on hooks nearby. Sweep cuttings straight into the bin so nothing litters the ground. A tidy chopping station turns pruning day into a quick and satisfying job.
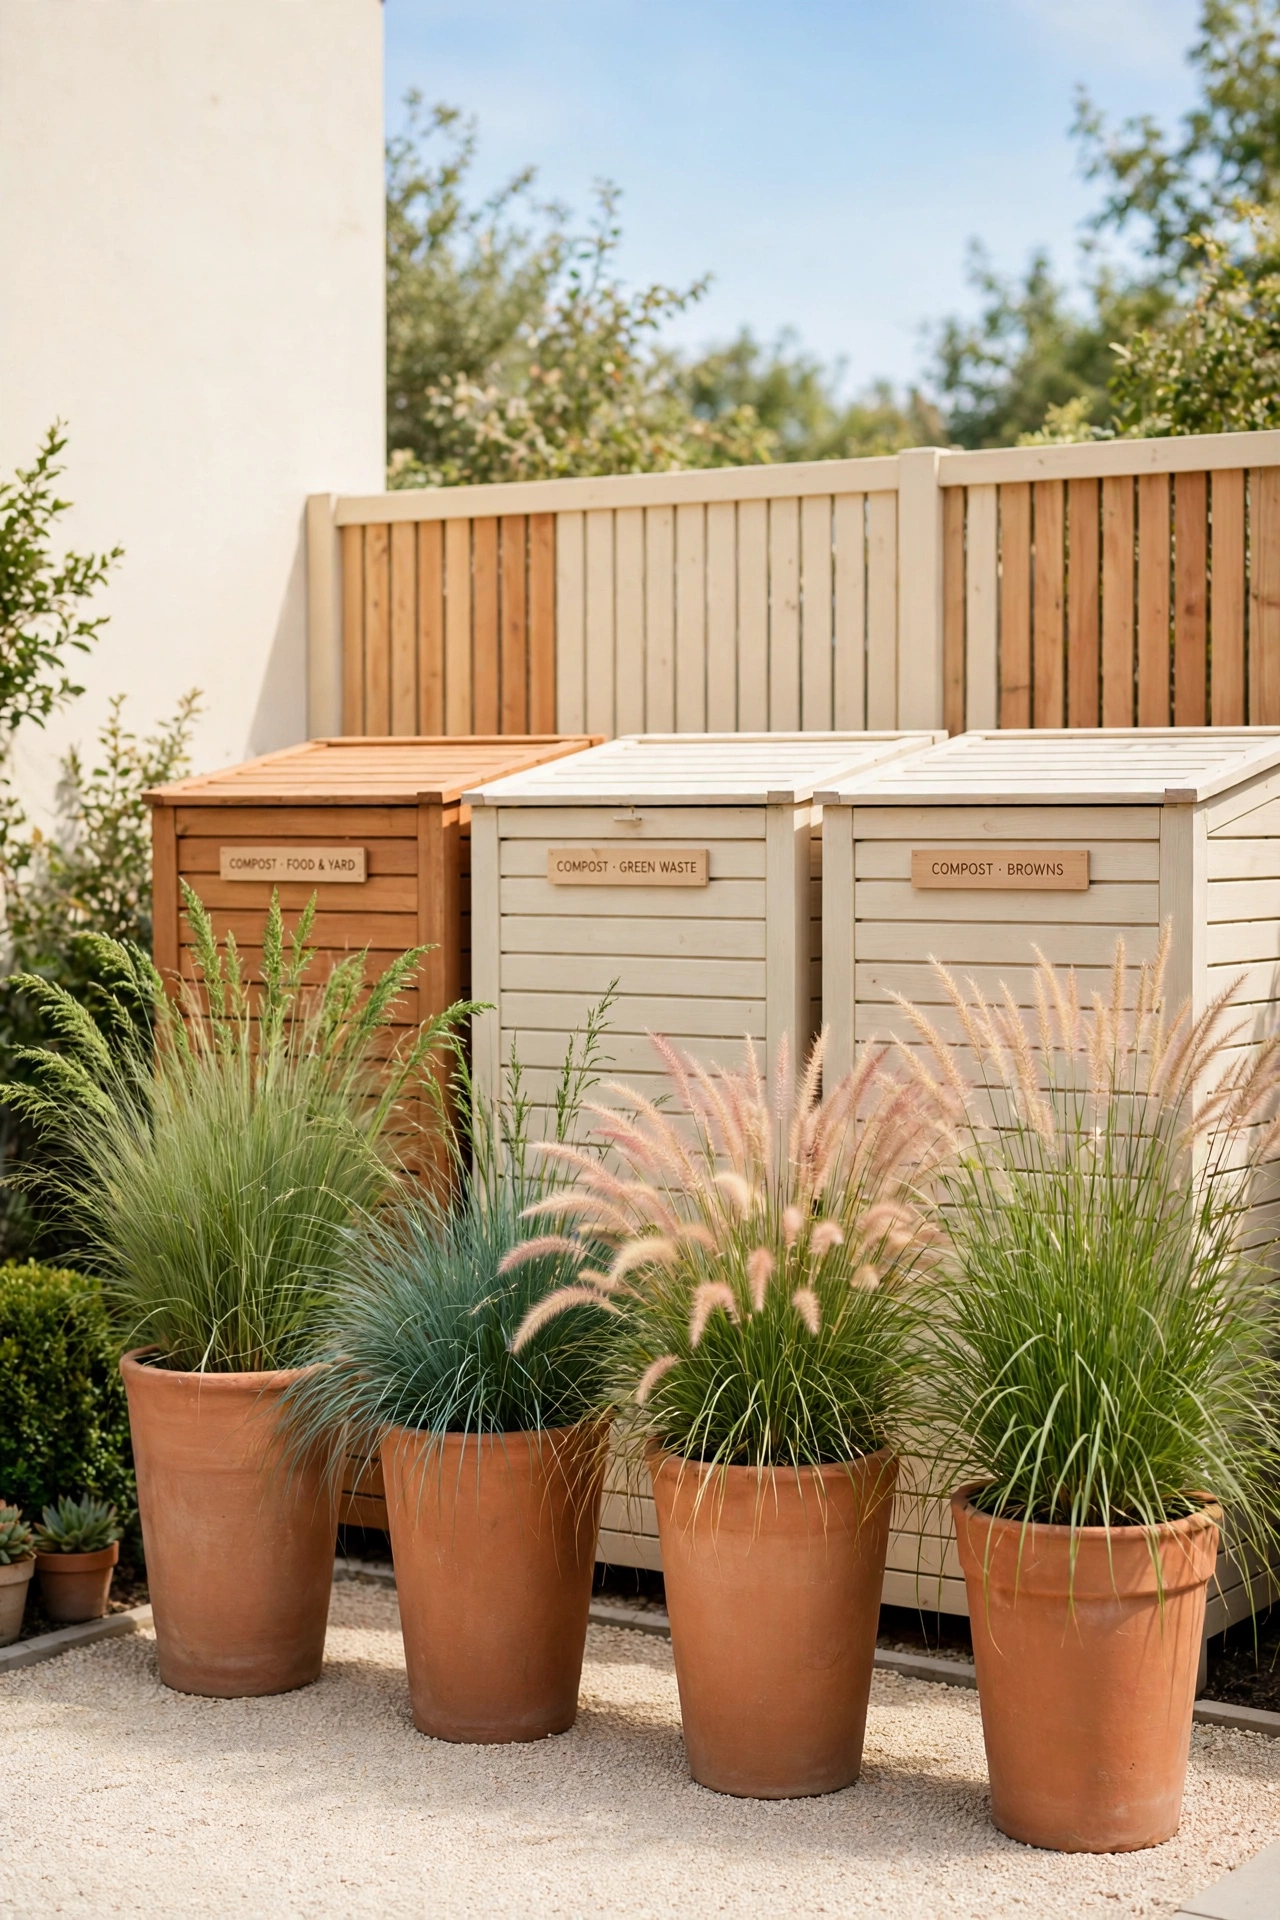
14. Screen the Area With Tall Planters
Tall planters filled with ornamental grasses or flowering shrubs make a living screen around a compost area. The plants soften the hard lines of the bins and draw the eye to color and movement instead of to the working corner. The screen also shelters the pile from drying winds.
Choose planters in warm wood or terracotta and fill them with plants that suit the light in that part of the yard. Leave a clear gap for access and keep the planters on casters if you want to move them for big cleanups. A green screen keeps the compost area private and pretty all year.
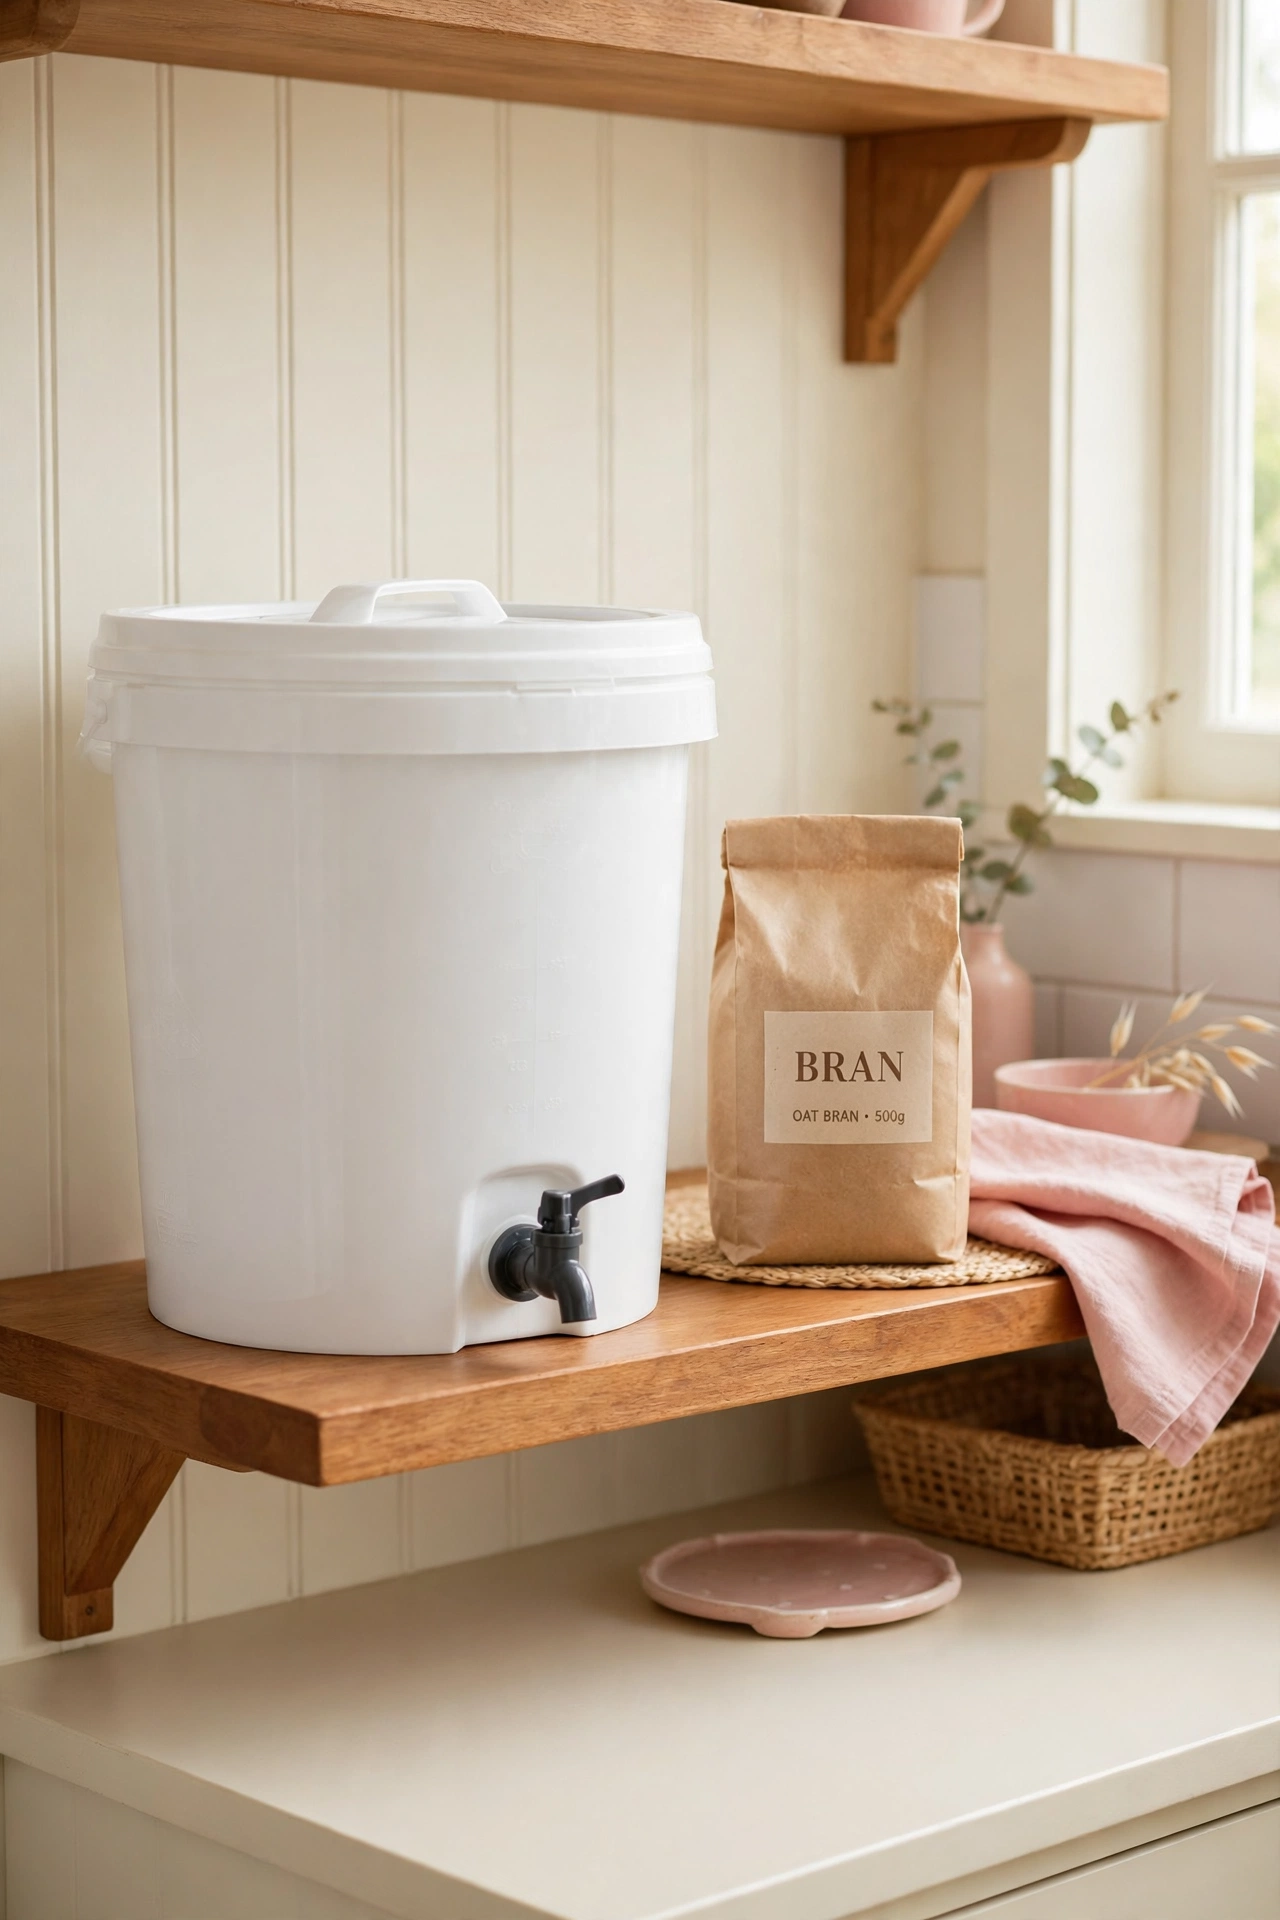
15. Use a Bokashi Bucket for Kitchen Waste
A bokashi bucket ferments kitchen waste with a special bran before it ever reaches the compost pile. The sealed bucket handles cooked food, meat scraps, and dairy that a normal bin cannot take, so almost nothing from the kitchen goes to waste. After two weeks of fermenting, the contents break down very quickly in the soil or the pile.
Keep the bucket under the sink or in a utility corner and press each layer of scraps down firmly. Drain the liquid every few days and dilute it as a feed for pot plants. Bokashi is a clean, compact way to compost the scraps that other systems leave behind.
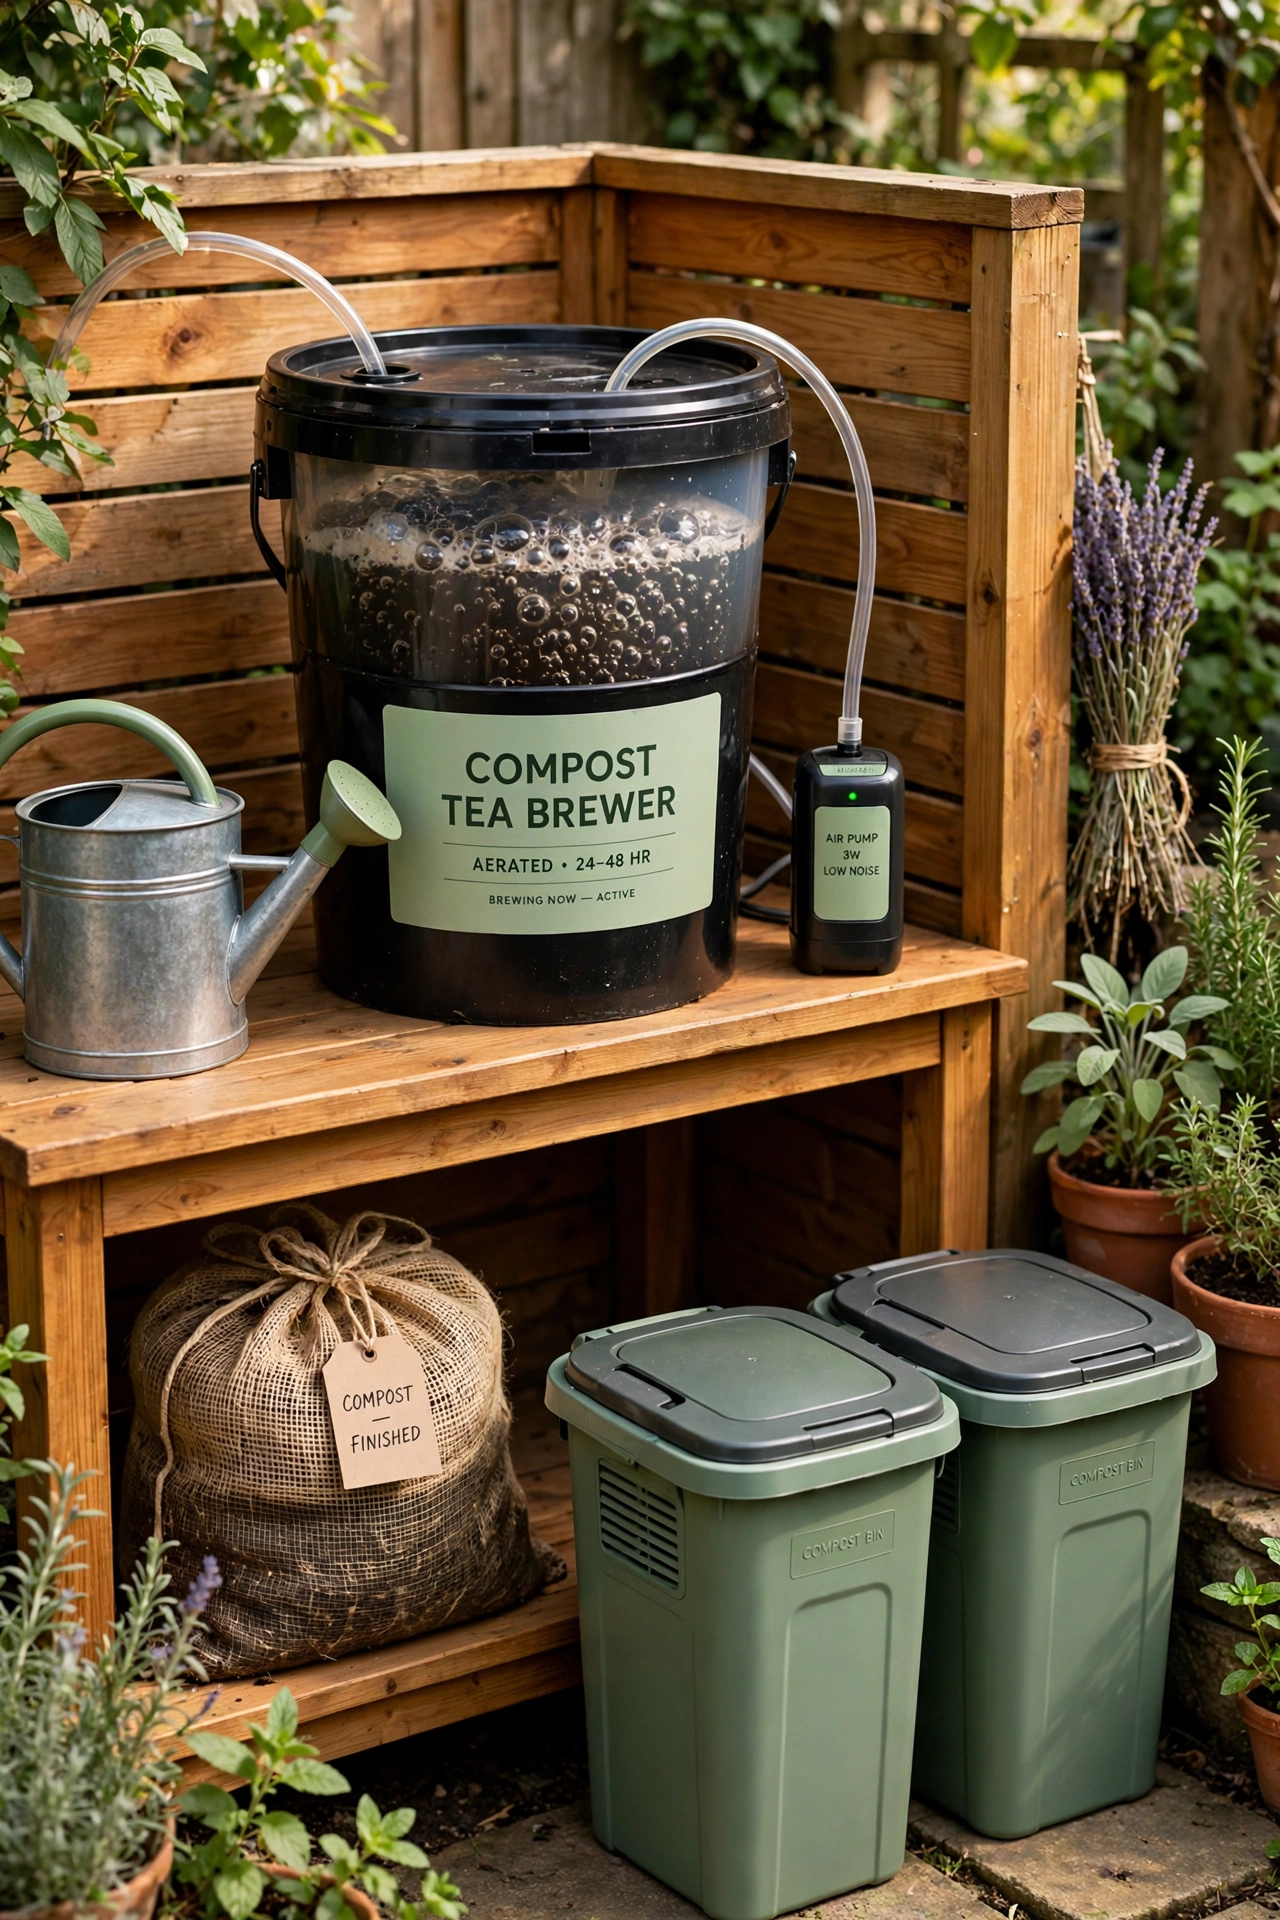
16. Brew Compost Tea in a Corner Brewer
Compost tea is a liquid feed made by soaking finished compost in water with air bubbling through it. The result is a gentle, nutrient rich drink for your plants that you can pour around the roots or spray on the leaves. A small brewer tucked into the corner of the compost area keeps the whole process in one tidy place.
Set a bucket with an air pump on a low shelf, add a bag of finished compost, and let it brew for a day. Strain the tea and use it within a few hours for the best effect. Herbs respond especially well to a regular drink of compost tea, and these herb spiral garden ideas show a compact bed that makes the most of every drop.
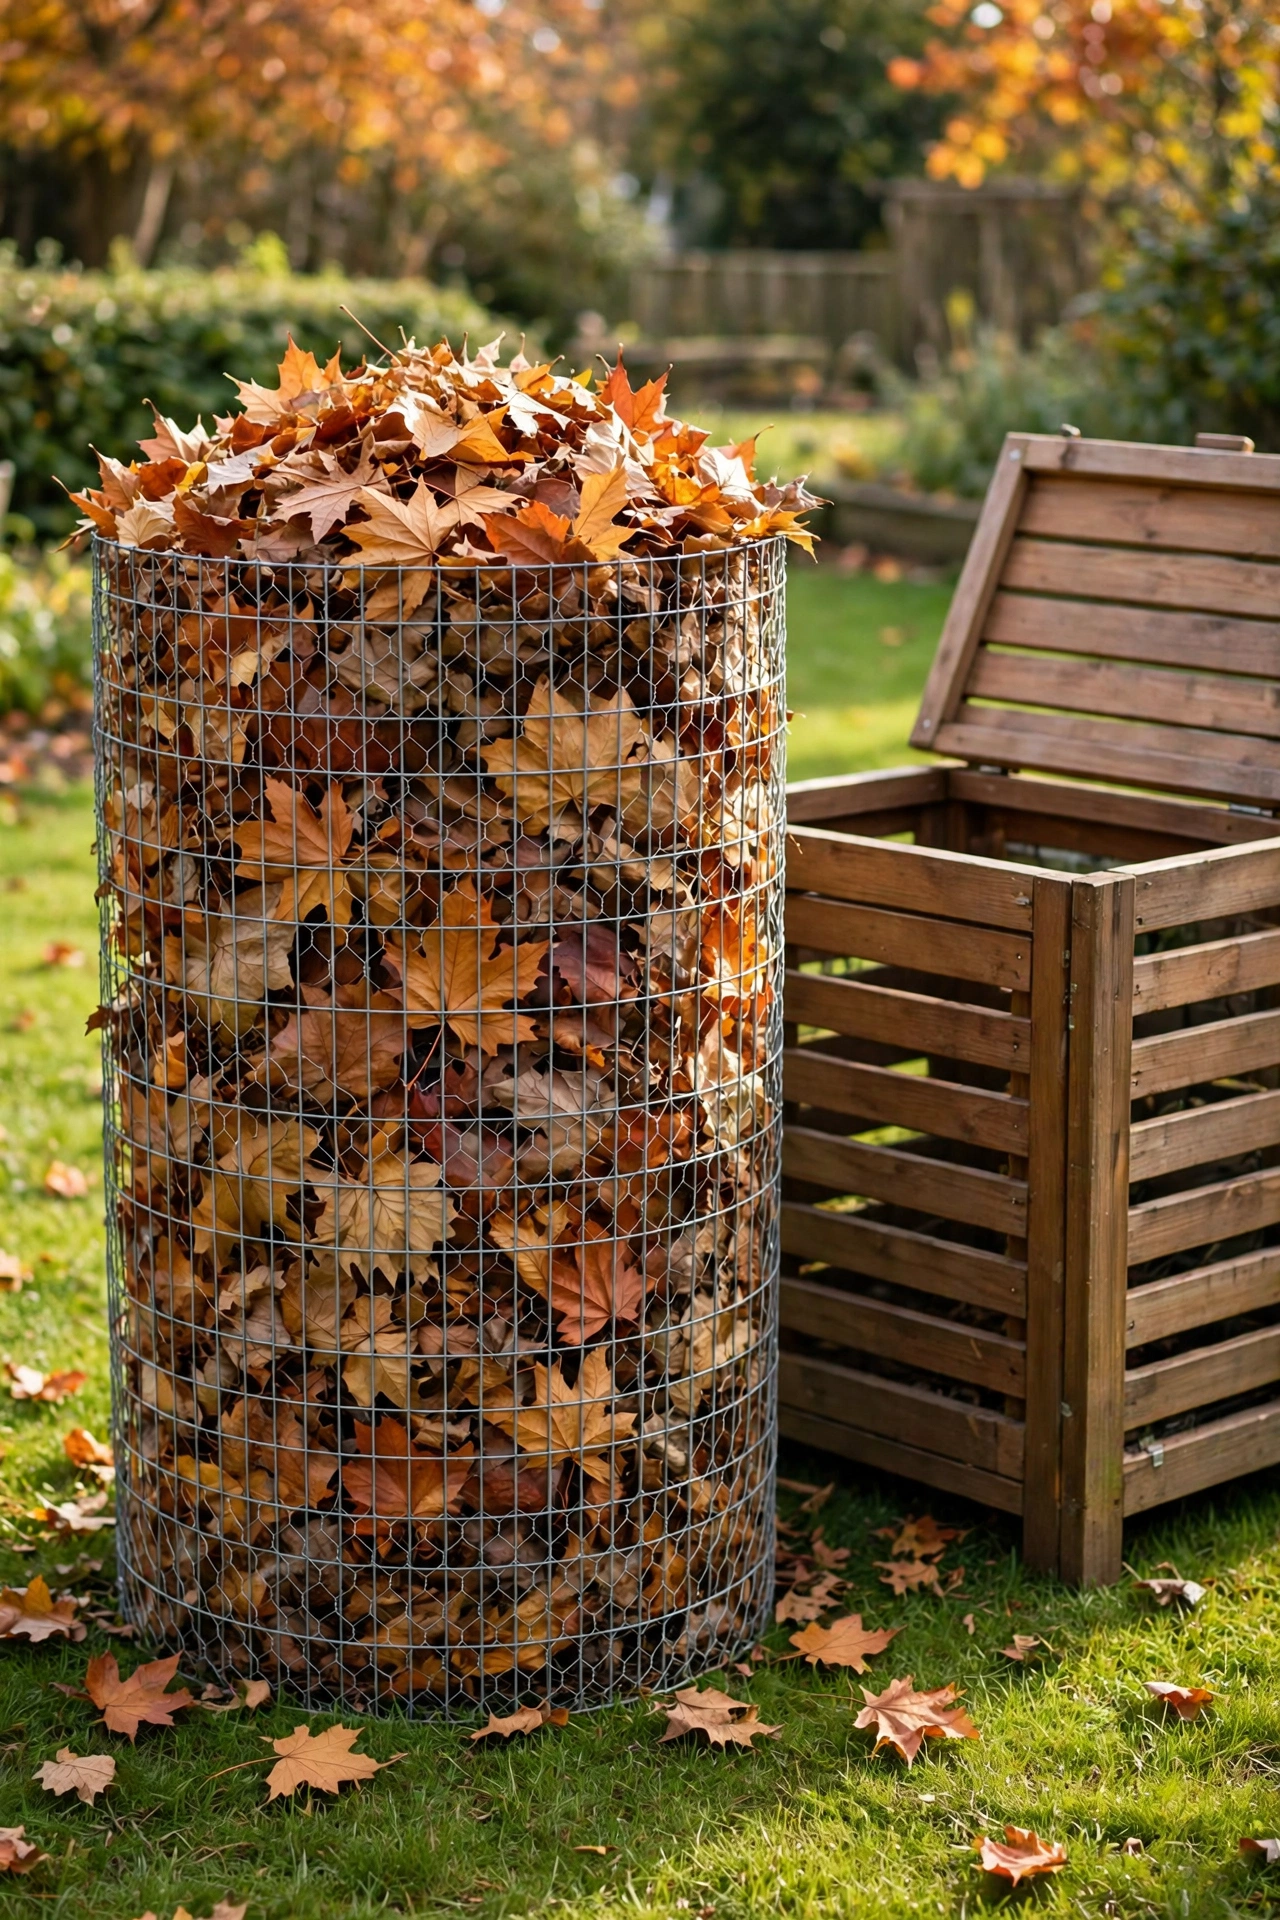
17. Store Dry Leaves in a Wire Leaf Cage
Dry leaves are the best brown material for a compost pile, and autumn brings more of them than any pile can use at once. A wire leaf cage stores the surplus in a tidy upright bin until you need it through the year. The open mesh lets air flow through so the leaves stay dry and loose.
Form the cage from a circle of wire mesh held with three stakes, and fill it with shredded leaves each fall. Scoop out a bucket of leaves whenever you add green waste to the pile. A full leaf cage means you will never run short of brown material in the middle of summer.
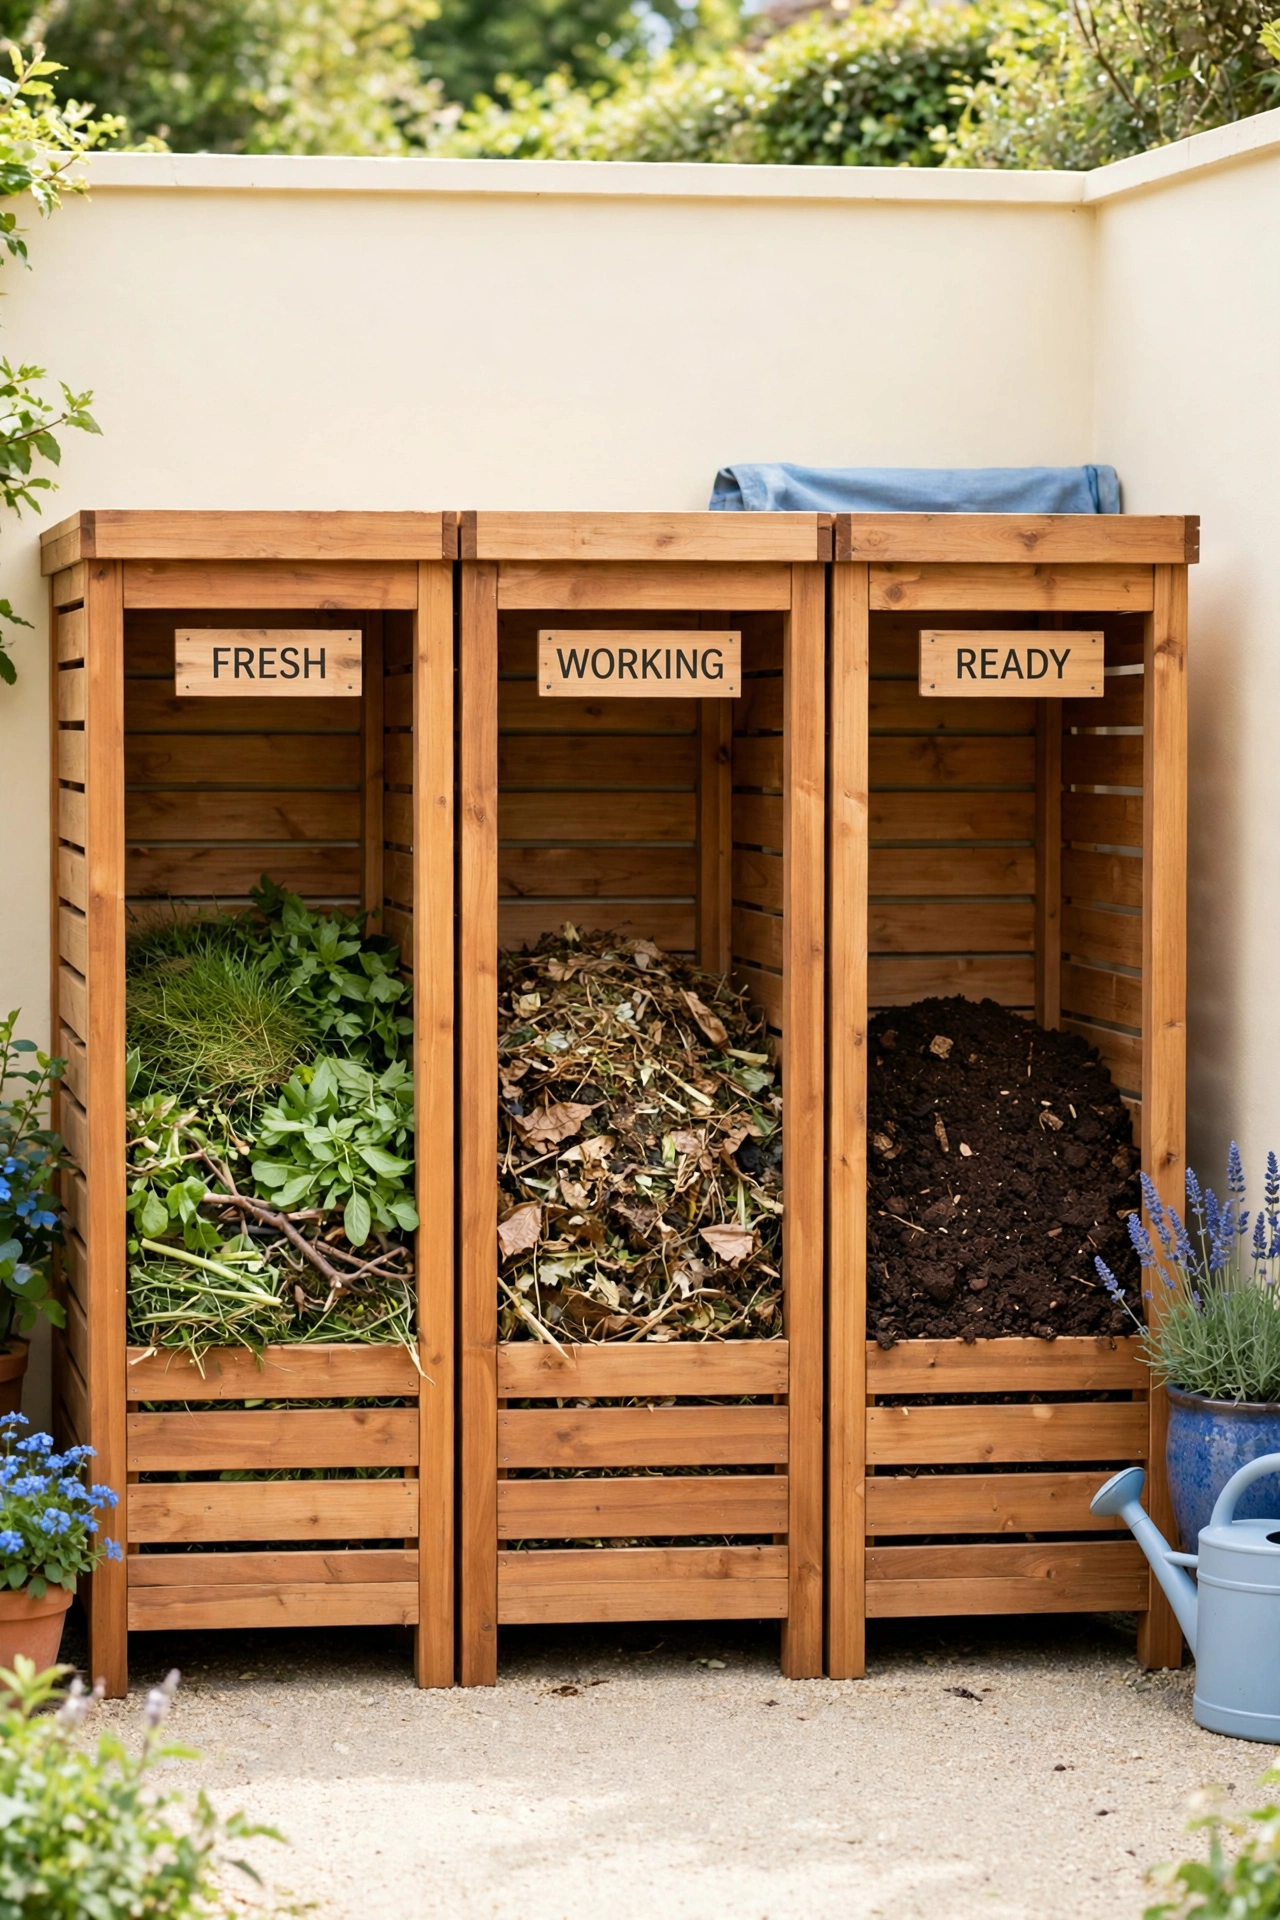
18. Label Each Bay for Each Stage
Clear labels take the guesswork out of a multi-bay compost system. A small printed sign on each bay tells everyone in the household what goes where: fresh waste in bay one, working pile in bay two, and finished compost in bay three. Labels stop finished compost from being mixed back in with fresh scraps.
Use weatherproof labels with large, readable lettering fixed to the front of each bay. Painted wooden tags or simple chalkboard signs both work well and add charm to the setup. When every bay has a clear job, the whole system runs itself with very little thought.
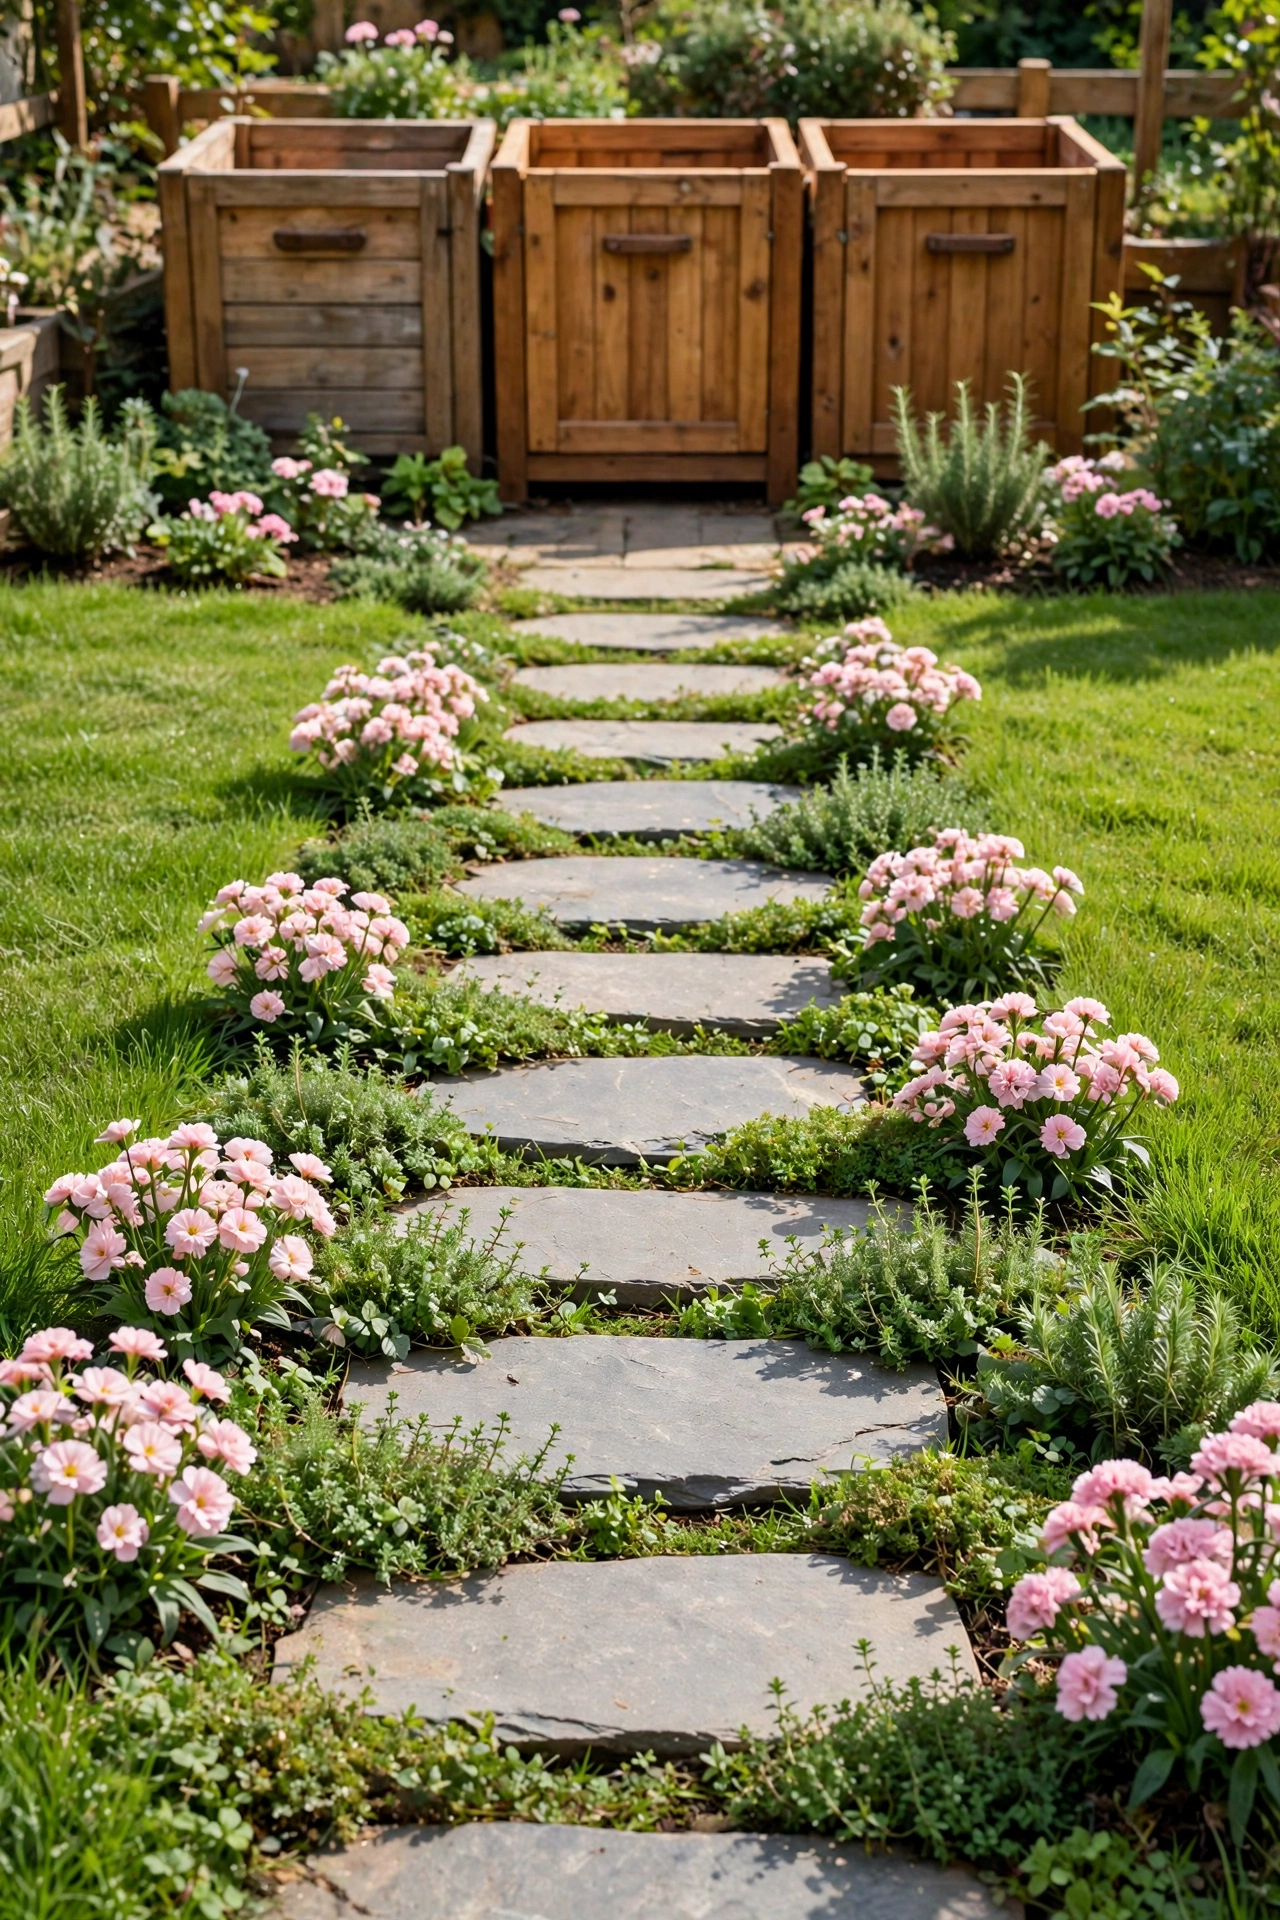
19. Add a Path of Stepping Stones to the Bins
A path of flat stepping stones makes the trip to the compost bins easy in every kind of weather. The stones keep your shoes clean on wet days and give the working corner a clear, welcoming route from the kitchen door. A good path means you will visit the bins more often.
Lay the stones on a level bed of sand with small gaps for low ground cover plants to grow between them. Keep the path wide enough for a wheelbarrow so heavy loads roll smoothly. A stone path turns a chore into a pleasant walk through the garden.
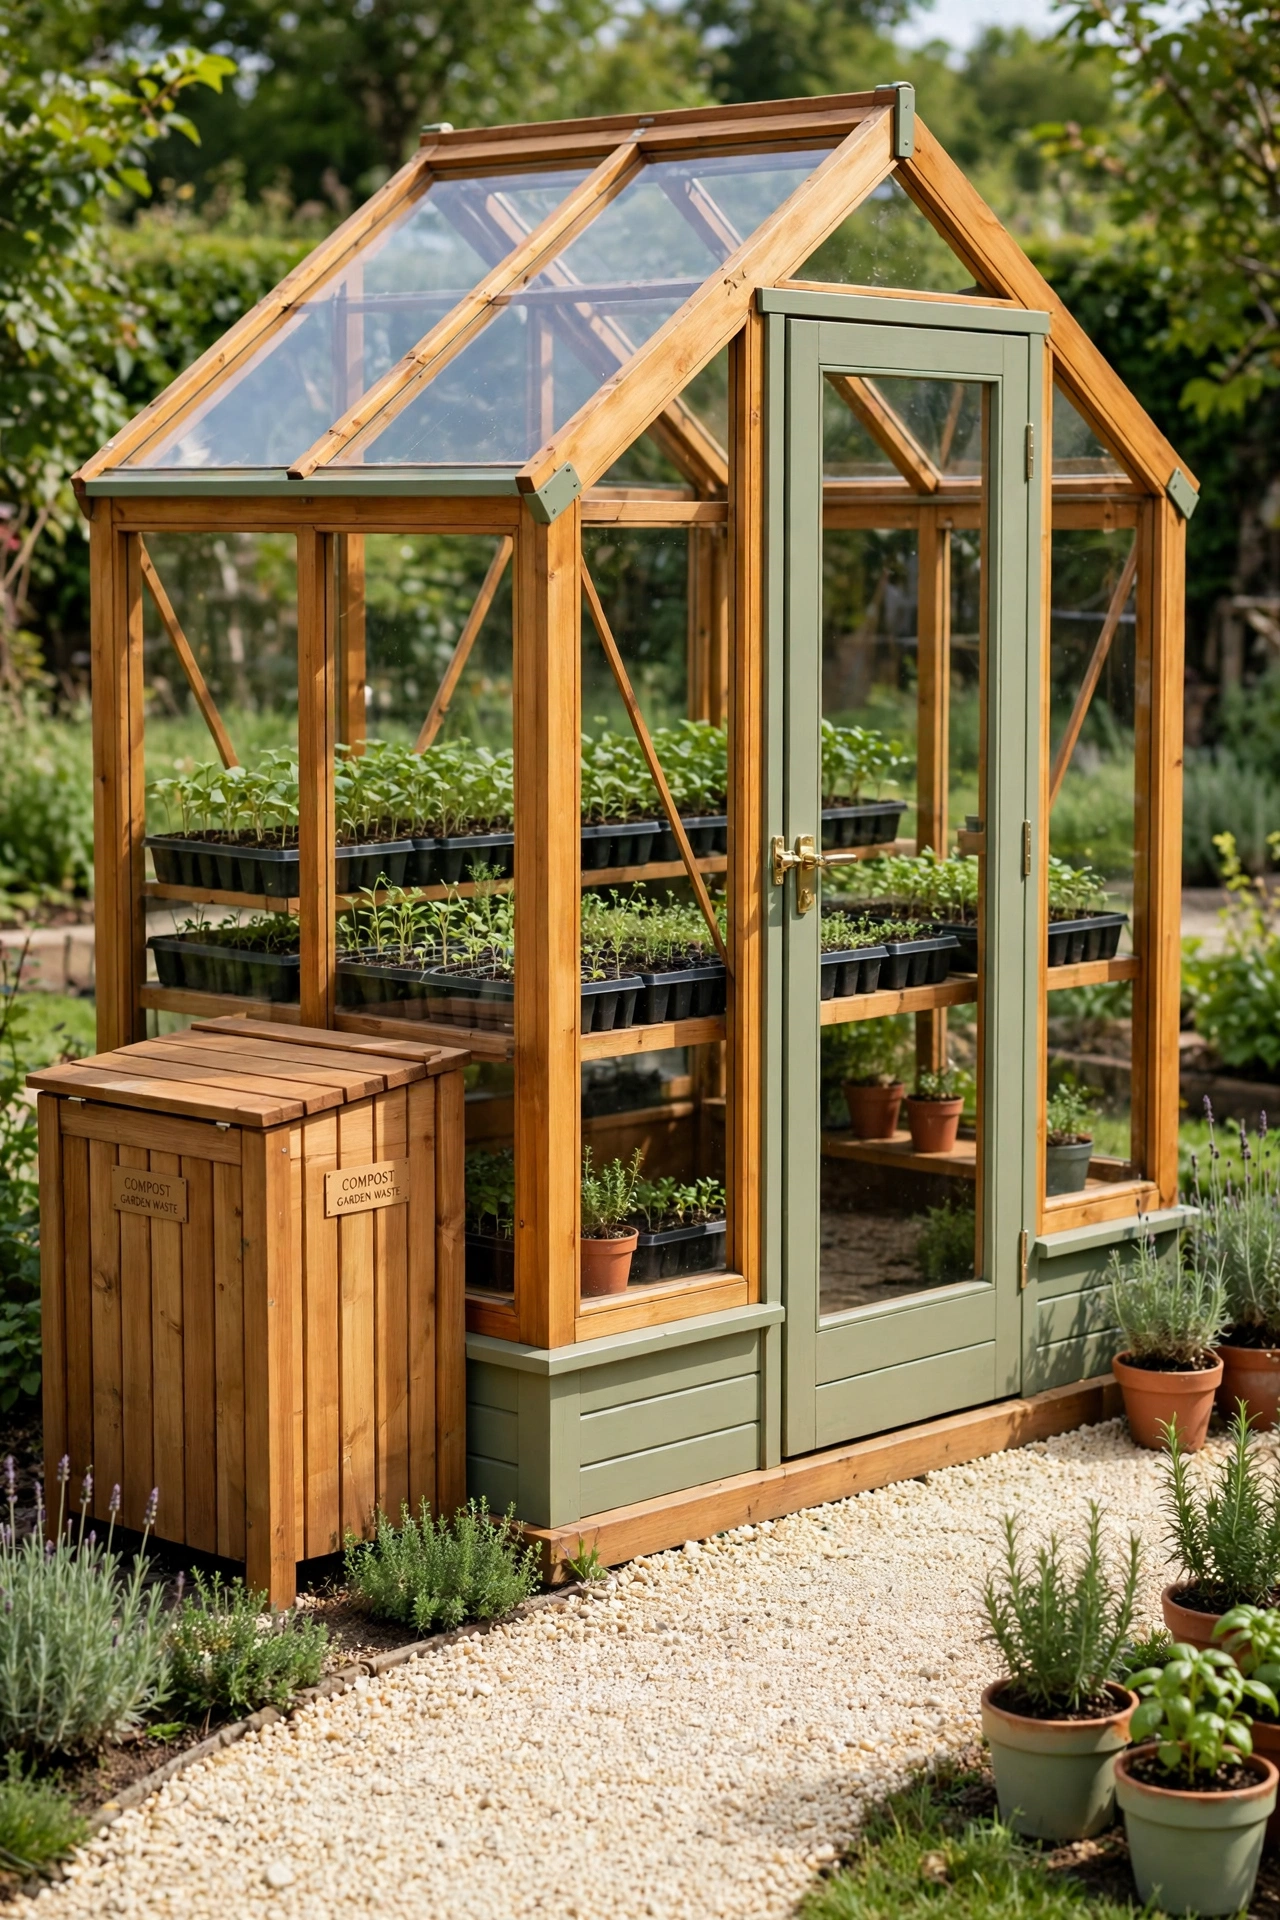
20. Warm a Greenhouse Corner With a Hot Pile
A hot compost pile gives off gentle warmth as it breaks down, and a pile placed against the wall of a greenhouse can take the chill off the coldest corner. The warmth helps tender seedlings through cool nights, and the greenhouse protects the pile from heavy rain at the same time. It is a partnership that benefits both sides.
Build the pile in a bin with good airflow and turn it weekly to keep the heat going through the cold months. Keep a thermometer in the pile so you can watch the temperature rise and fall. If a greenhouse is on your wish list, these backyard greenhouse ideas will help you plan a structure that pairs beautifully with a compost corner.
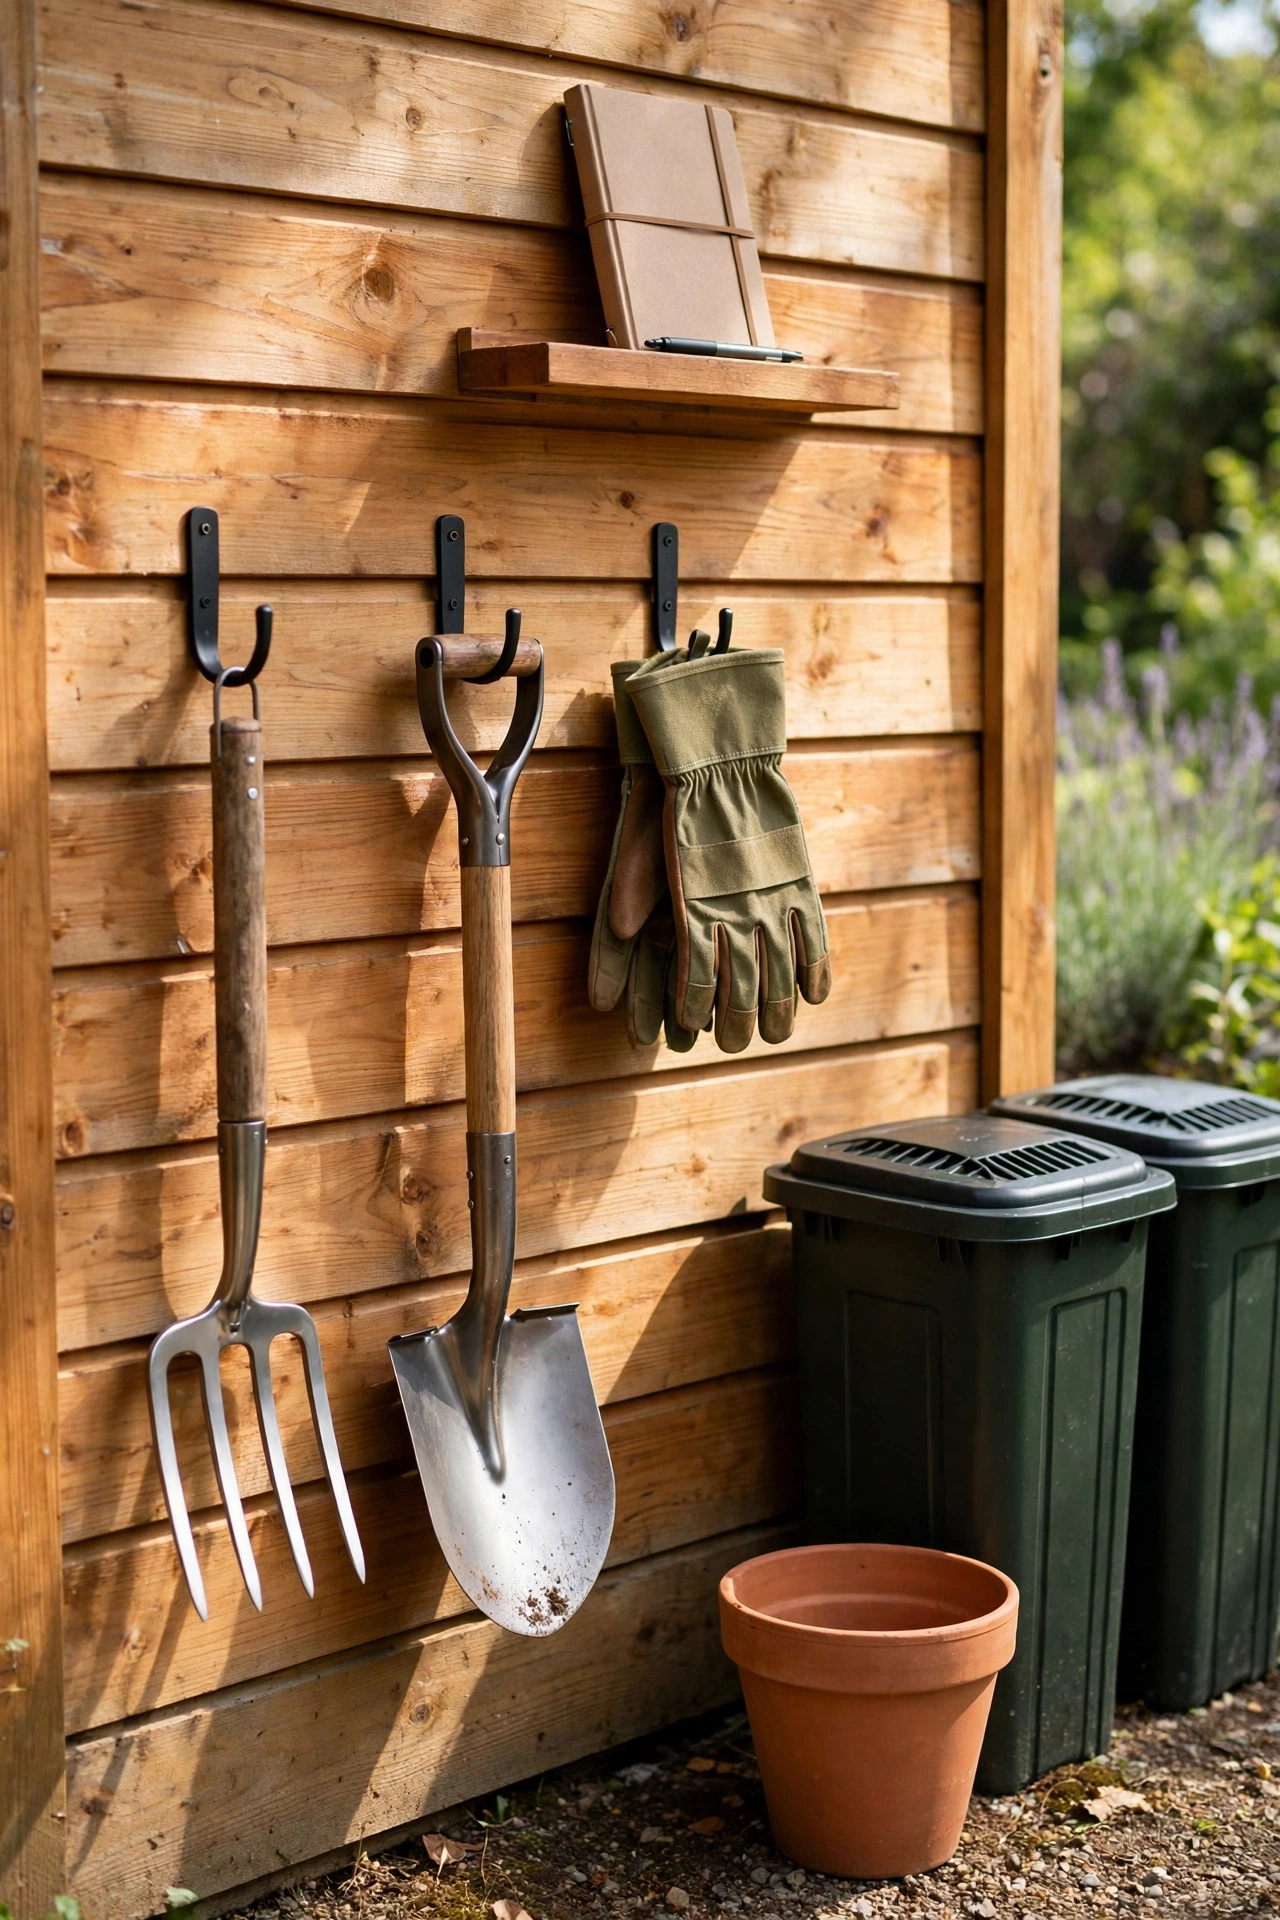
21. Keep Tools on Hooks Beside the Bins
Composting is easier when the tools you need are always within arm’s reach. A row of sturdy hooks on the fence or the bin frame holds your fork, shovel, thermometer, and gloves right beside the pile. You never have to hunt through the shed before you can turn the compost.
Hang each tool in the same spot every time so the row stays tidy and you notice at once if something is missing. A small shelf above the hooks holds a notebook for tracking what went into the pile and when. Good tool storage turns a five minute job into a two minute job.
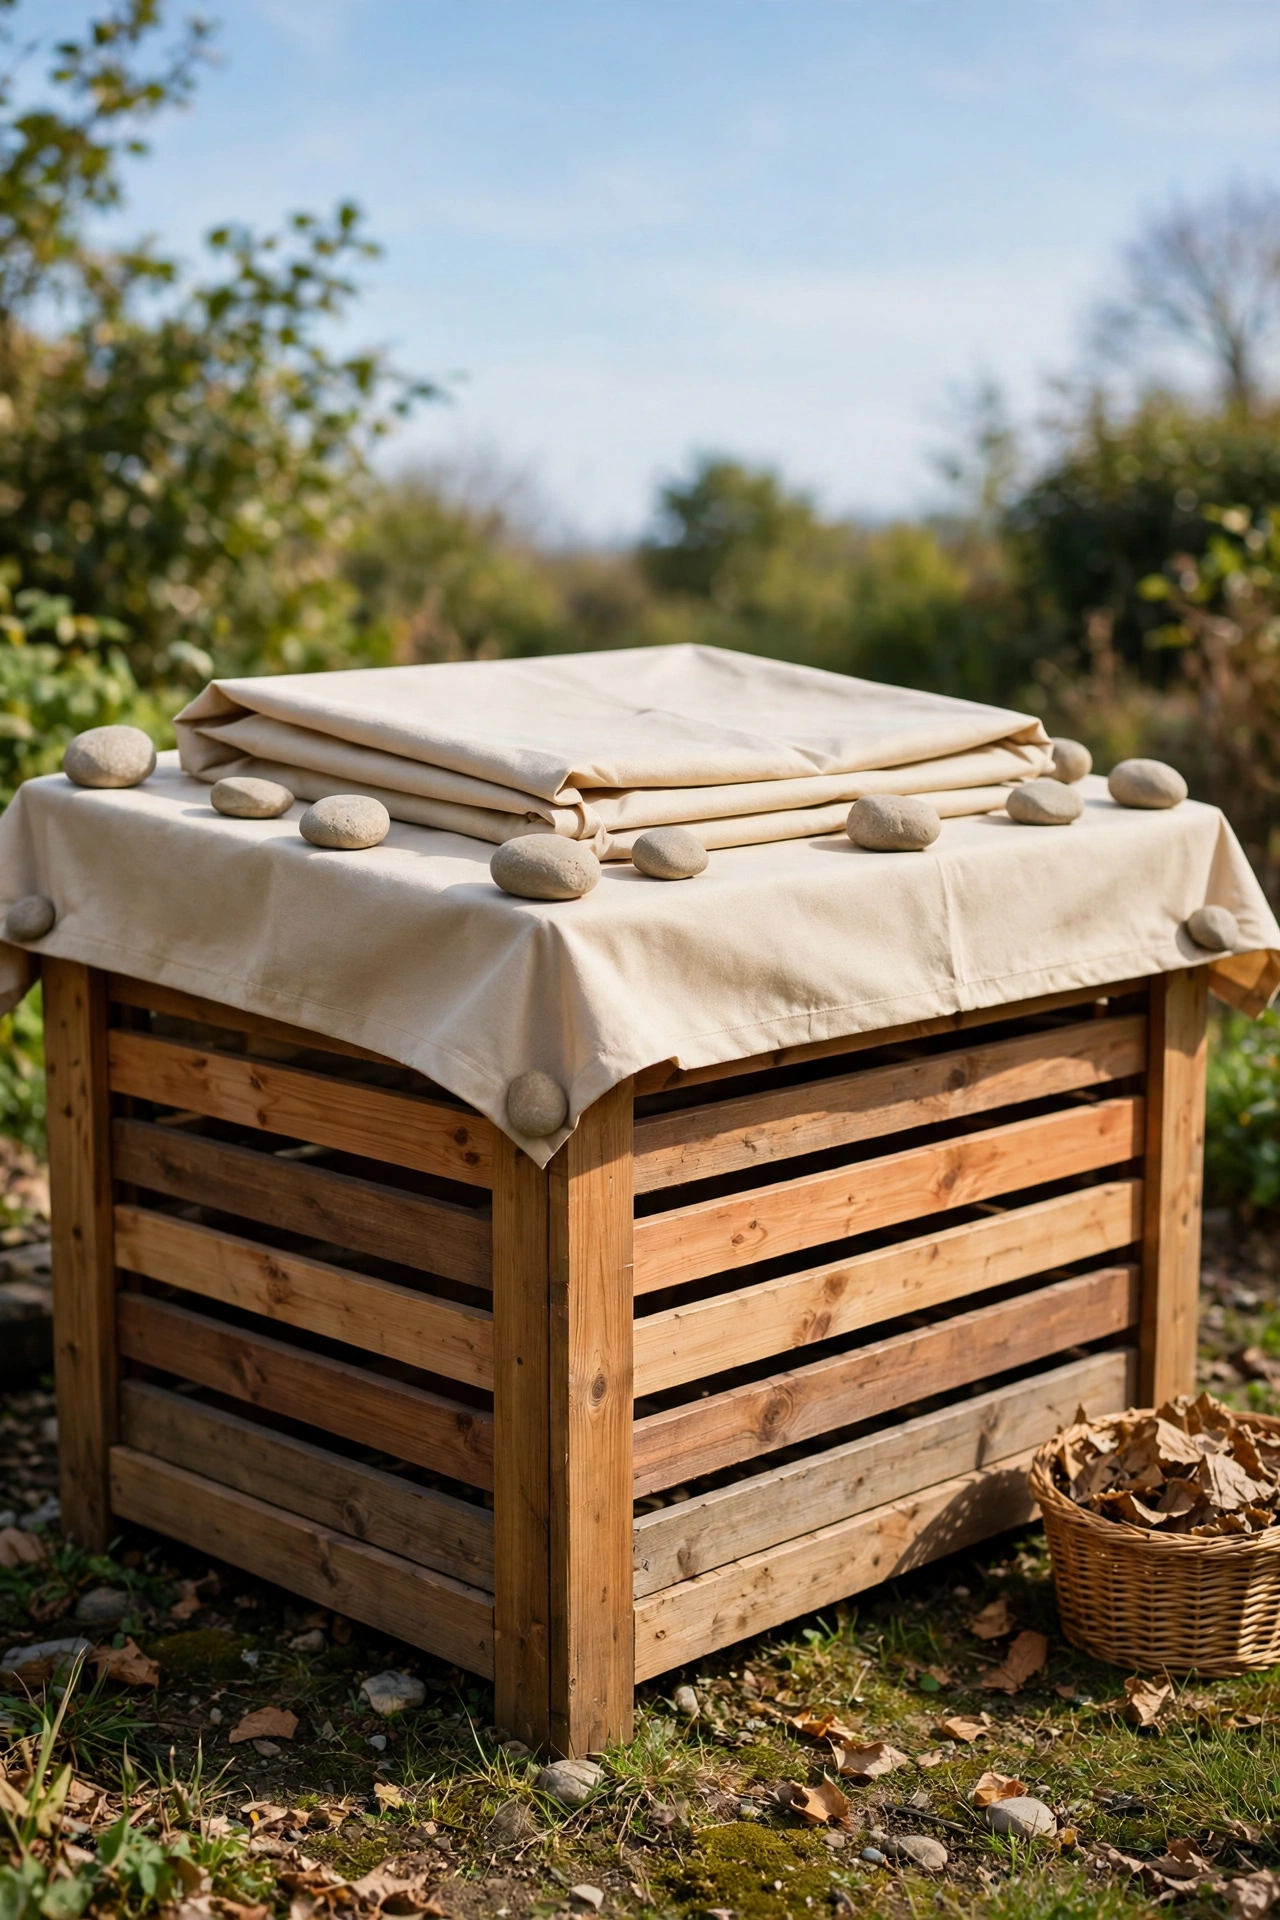
22. Cover the Pile With a Breathable Tarp
A breathable tarp over an open pile keeps rain off while still letting air reach the contents. Heavy rain can soak a pile and slow it down, but a simple cover keeps the moisture level steady through wet weeks. The tarp also stops wind from scattering light material across the garden.
Choose a woven tarp that lets air pass through and weigh the edges down with smooth stones or timber offcuts. Fold the tarp back when you add new material, then smooth it over again. A covered pile stays tidy, warm, and active in weather that would stall an open heap.
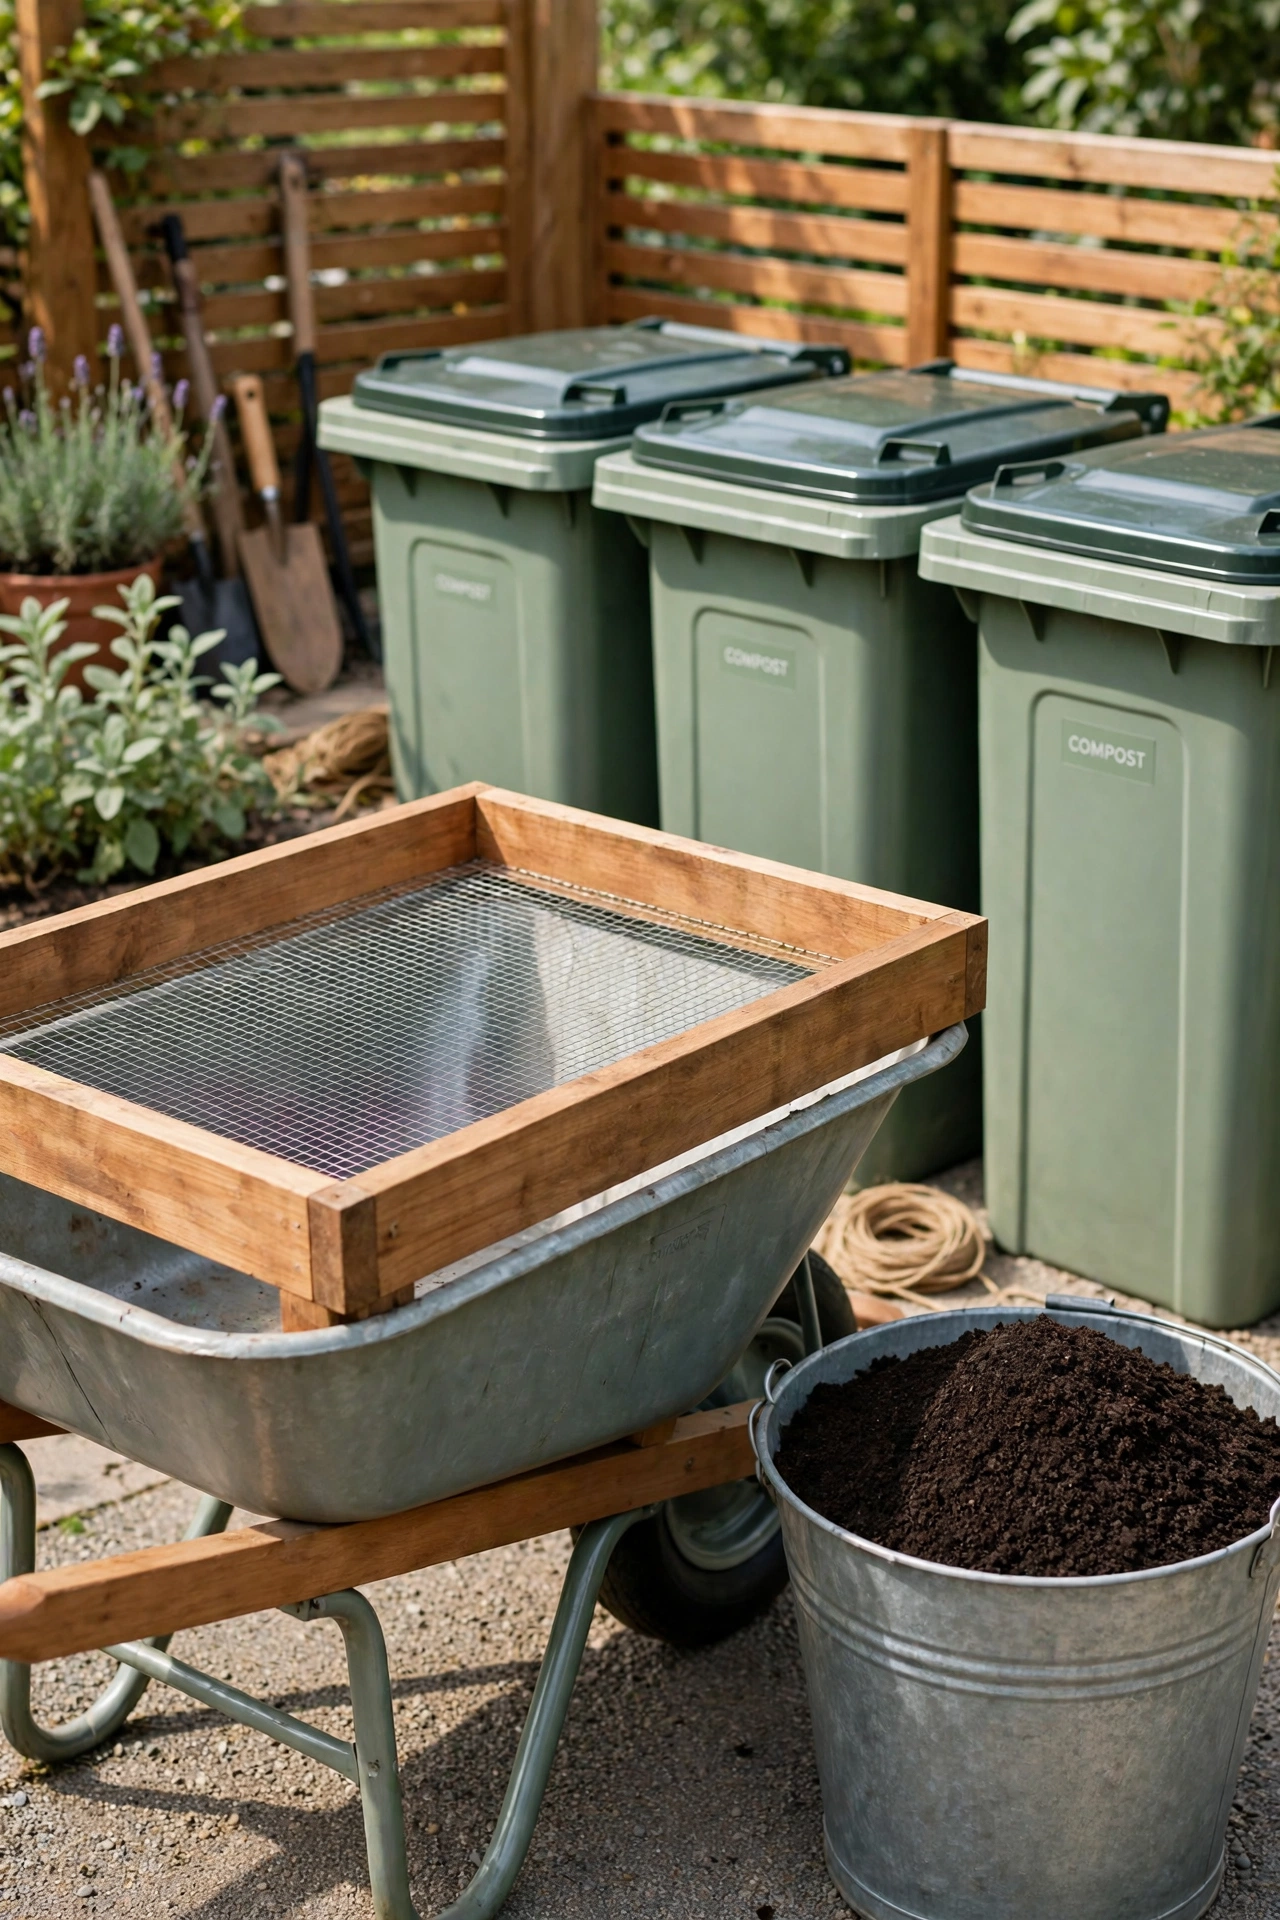
23. Add a Sifting Station for Finished Compost
A sifting station turns rough finished compost into fine, even material that spreads beautifully on beds and pots. A simple wooden frame with wire mesh sits over a wheelbarrow, and you rub the compost through the mesh with gloved hands. Lumps and unrotted pieces stay on top and go back into the working pile.
Mount the frame at a comfortable height on legs so you can work standing up. Keep a bucket nearby for the fine compost and a second bin for the coarse leftovers. Sifting takes only a few minutes and gives you a polished result that looks like bought soil.
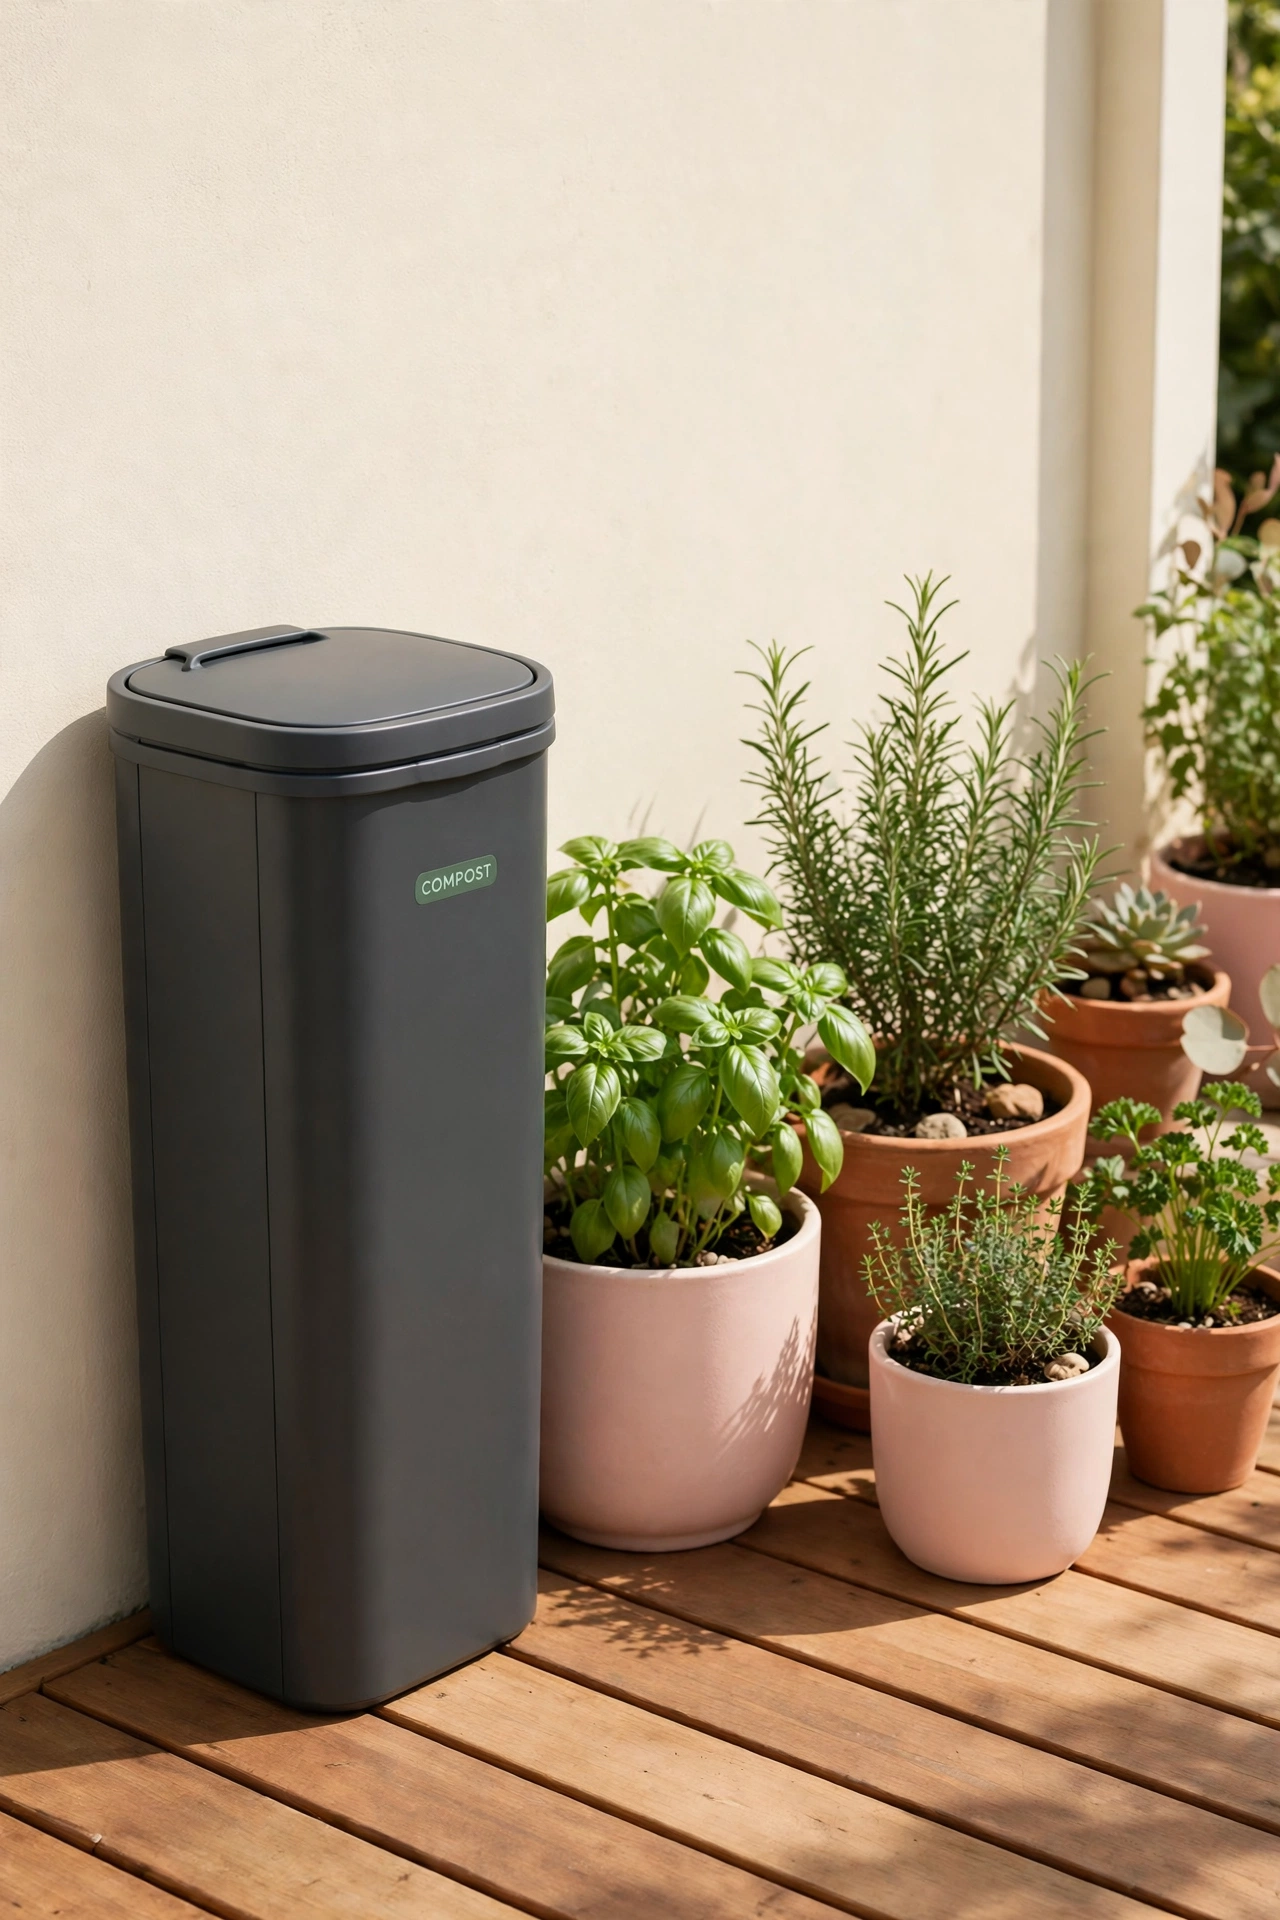
24. Tuck a Compact Bin on a Small Patio
A small patio can still host a compost bin if you choose a compact model with a sealed lid. Slim bins fit against a wall or beside a planter, and a good seal keeps smells in and pests out. Even a tiny outdoor space can turn kitchen scraps into soil for pots and planters.
Pick a bin in a color that matches your patio furniture so it blends into the space instead of standing out. Empty it into a larger community bin or a garden bed when it fills up. A patio bin proves that composting is not only for big backyards.
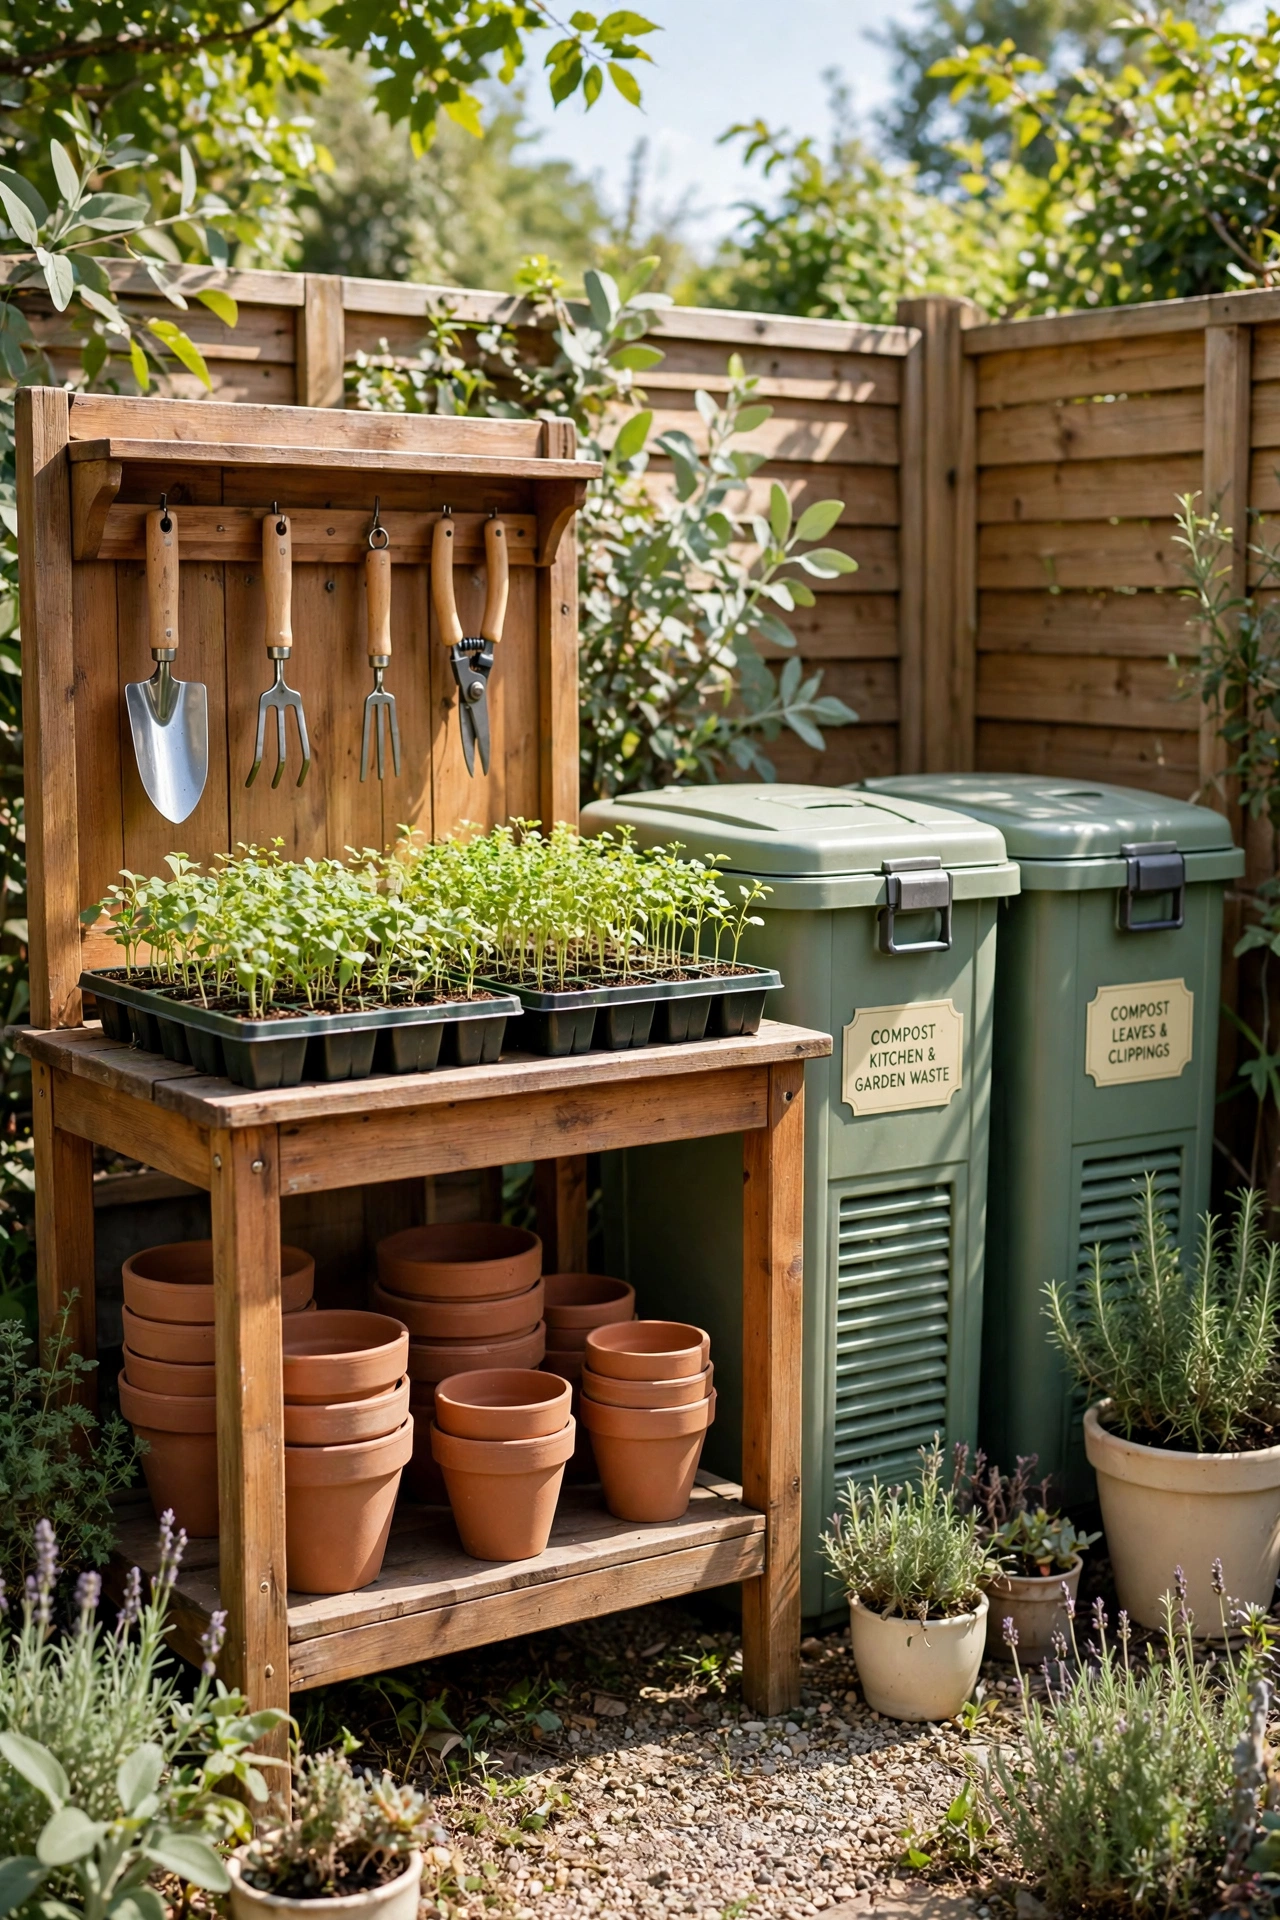
25. Create a Compost Hub With a Potting Bench
A compost hub combines the bins, a potting bench, and tool storage into one hard working garden corner. The bench gives you a surface for potting up seedlings in fresh compost, mixing soil blends, and sorting cuttings before they go into the pile. Everything you need for garden care lives in one place.
Build the bench from warm wood with a lower shelf for pots and a small rack for hand tools. Keep the finished compost bay closest to the bench so filling pots takes only a few steps. A well planned hub makes the compost area the busiest and most useful corner of the whole garden.
Conclusion
A backyard composting area does not need to be large, expensive, or hidden away in shame. From a single tidy bin in a corner to a full three-bay station with a potting bench, there is a setup here for every yard and every level of ambition. The best system is the one you will use every single week.
Pick the idea that fits your space and start this weekend. Set up the bin, add your first layer of greens and browns, and let nature do the rest. Before long you will have dark, rich compost to feed every plant you grow, and these edible flower garden ideas will show you one beautiful way to put that compost to delicious use.
Frequently Asked Questions About Backyard Composting Area Ideas for Garden Waste
Where is the best place to put a compost area in a backyard?
A level, well drained spot with partial shade works best for most compost setups. Keep the area close enough to the kitchen and the garden beds that you will use it daily, but far enough from seating areas that smells and flies never bother guests. Good airflow and easy water access matter more than full sun.
How do I keep a compost area from smelling bad?
Cover every addition of green waste with a layer of dry brown material like leaves or shredded cardboard. Turn the pile every week or two to add air, and keep it as moist as a wrung-out sponge. If a pile smells sour, it usually needs more brown material and more air.
What garden waste should not go in a compost pile?
Keep out diseased plants, weeds that have gone to seed, and thick woody branches that rot too slowly. Meat, dairy, and oily foods attract pests and cause smells in an open pile. Avoid glossy paper, charcoal ash, and any material treated with chemicals.
How long does garden waste take to become compost?
A well managed pile can produce finished compost in two to three months in warm weather. A slow, untended pile may take six months to a year. Turning the pile often, keeping it moist, and cutting waste into small pieces all speed up the process.
Can I compost in a small yard with close neighbors?
Yes, a sealed bin or a tumbler keeps smells and pests under control in a small yard. A screen or tall planters hide the setup from view, and a tidy routine keeps the area clean. Talk to your neighbors about your plans and keep the area neat, and composting will cause no trouble at all.

Hi, I’m Emily! I turn messy corners into cozy, organized spots. DreamNestDecor is where I share simple, practical home ideas — decor, organization, and small-space solutions that work in real life, not just in photos. Every idea here is carefully researched before it’s shared.