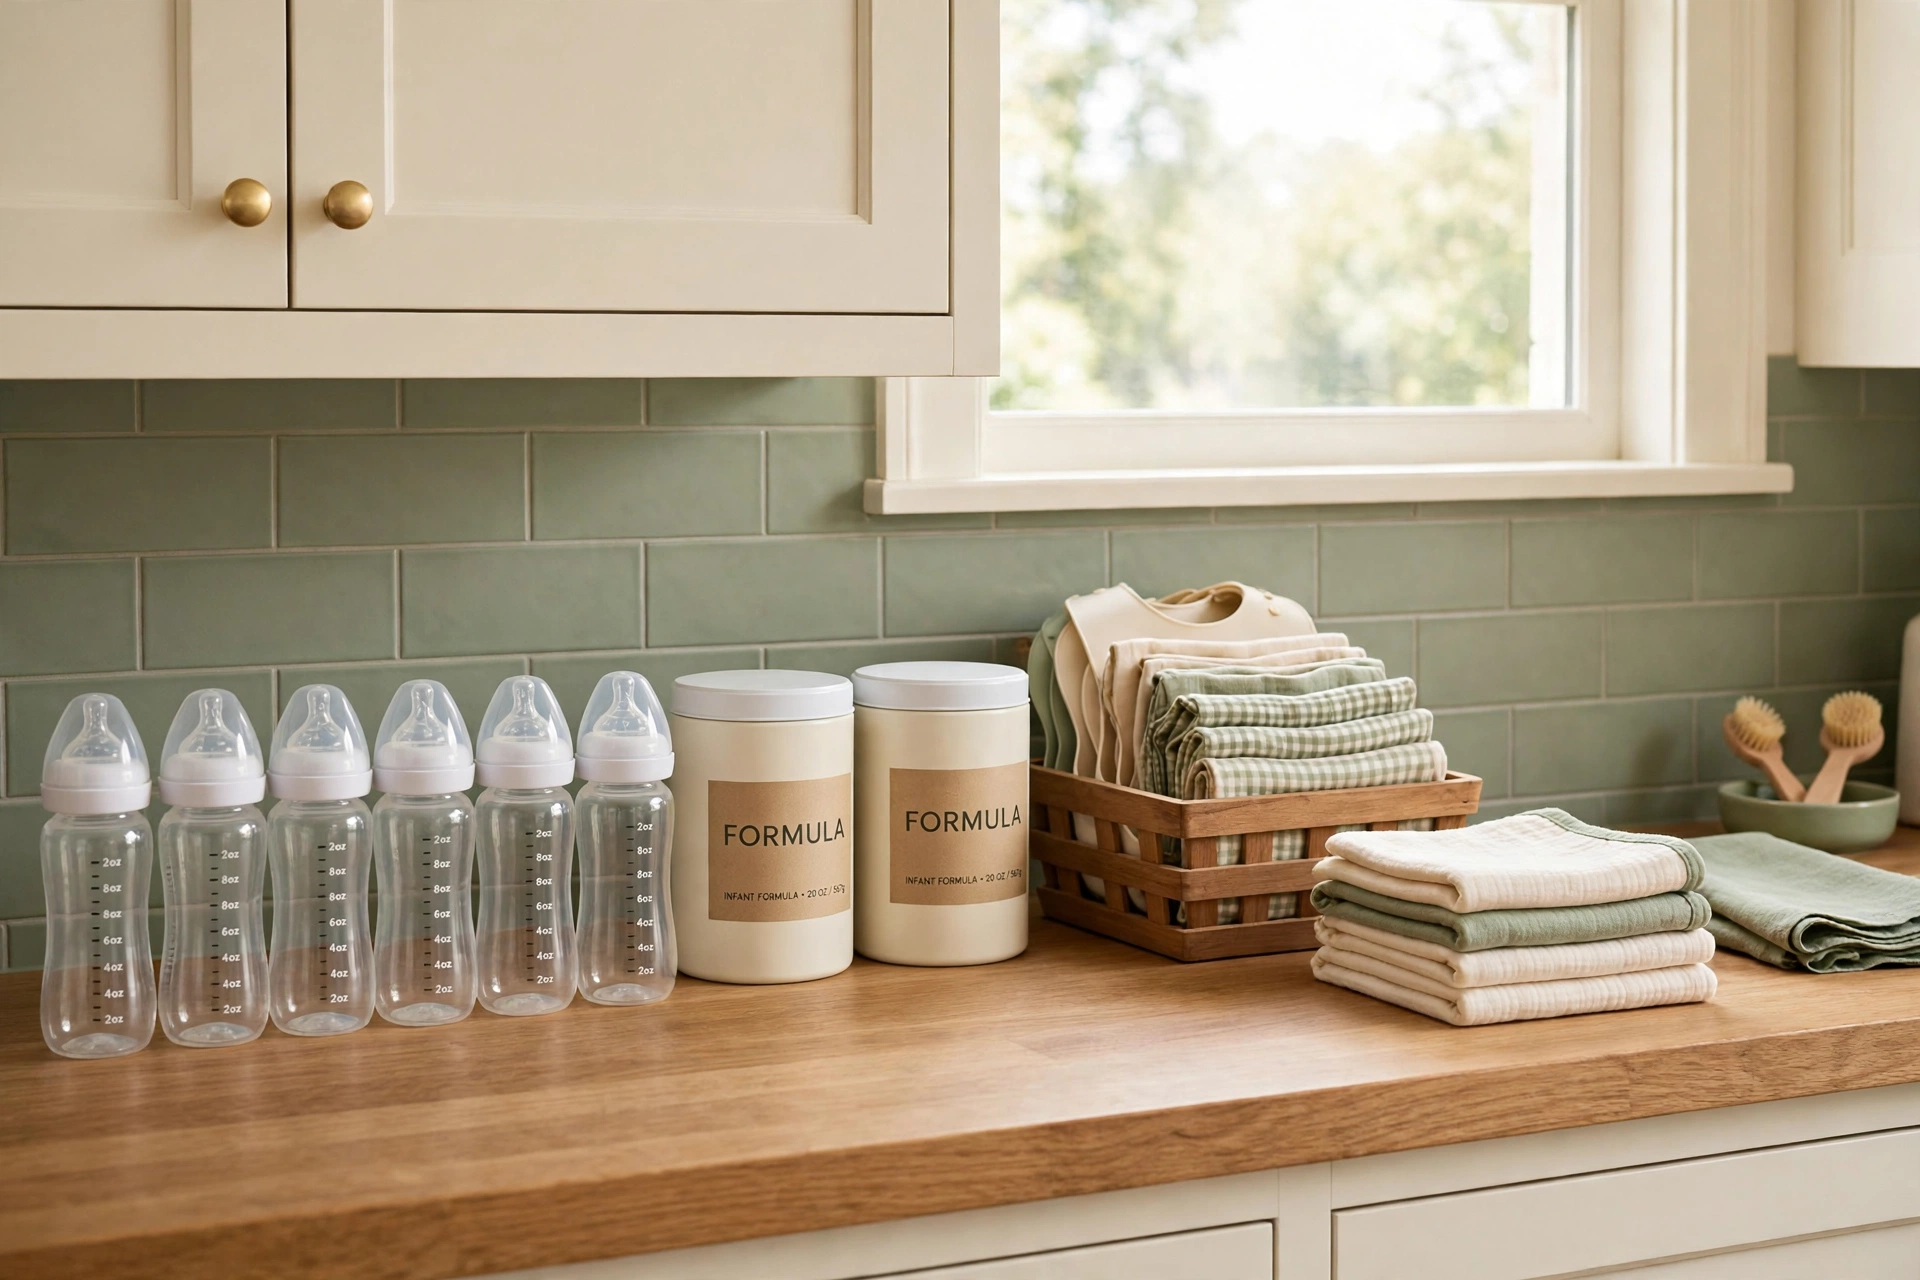
Picture this: it is 2 a.m., the baby is crying, and you are fumbling through a cluttered kitchen drawer for a clean bottle nipple in the dark. That stressful moment is one every new parent knows well. When feeding supplies are scattered across drawers, counters, and bags, every feeding feels harder than it needs to be.
You do not need a bigger kitchen or expensive systems to fix it. All you need is a clear home for every bottle, nipple, jar, and bib. These 18 baby feeding supply organization ideas will help you set up simple stations that make day feeds and night feeds calmer, faster, and far less messy.
1. Give Feeding Supplies Their Own Kitchen Drawer
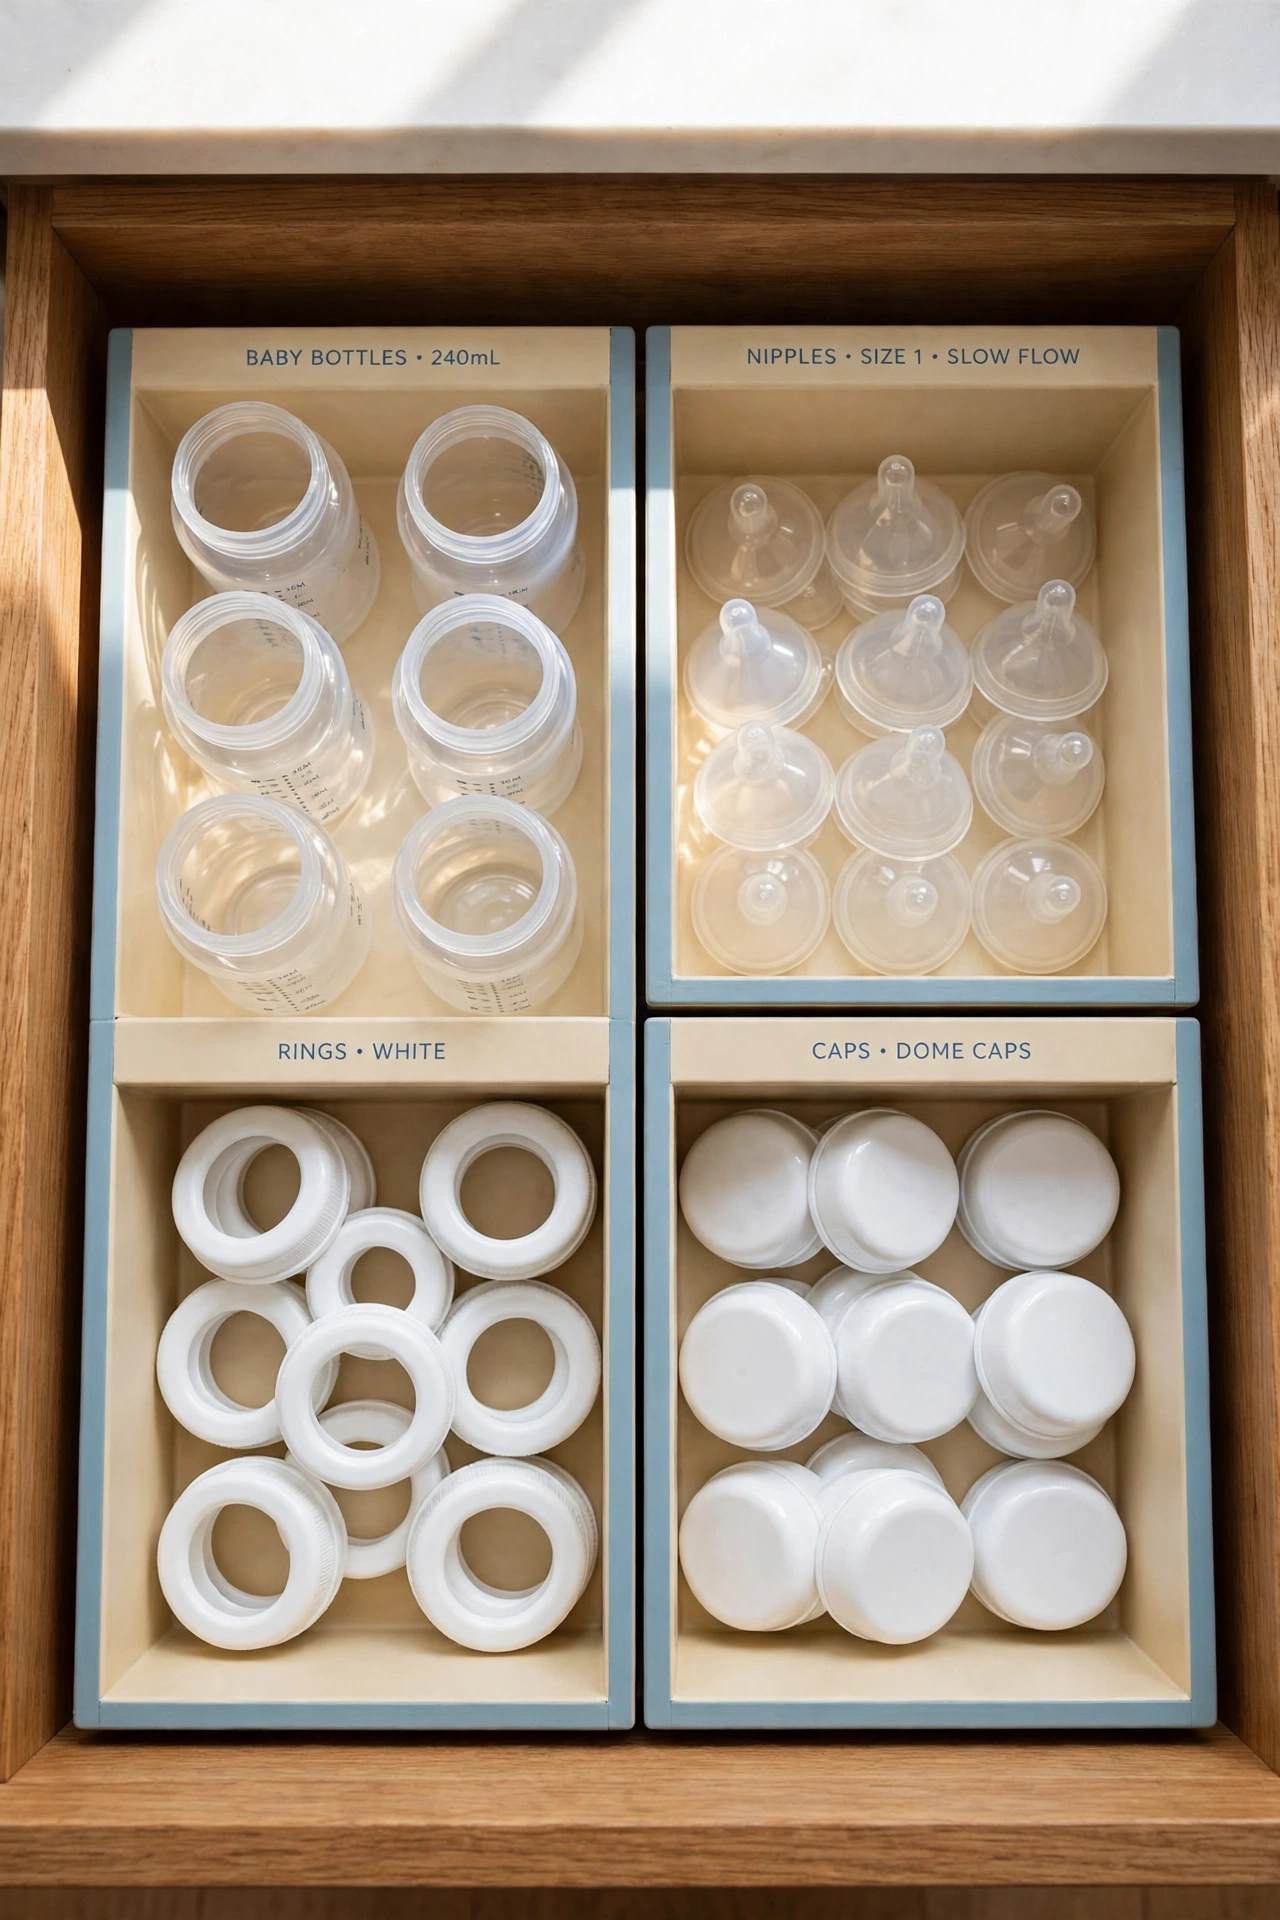
A single dedicated drawer changes everything. When bottles, nipples, rings, and caps all live in one place, you stop hunting through the kitchen at every feeding. Choose a drawer close to the sink so clean parts go straight from washing to storage without a trip across the room.
Add small dividers or shallow trays inside the drawer so each type of part has its own section. Nipples stay in one compartment, rings in another, and caps in a third. For more ways to tame crowded drawers, these kitchen utensil drawer organization ideas show how dividers turn one messy drawer into a tidy system. Keep the drawer closed and dust free, and restock it right after every wash cycle.
2. Roll a Feeding Station Cart Wherever You Need It
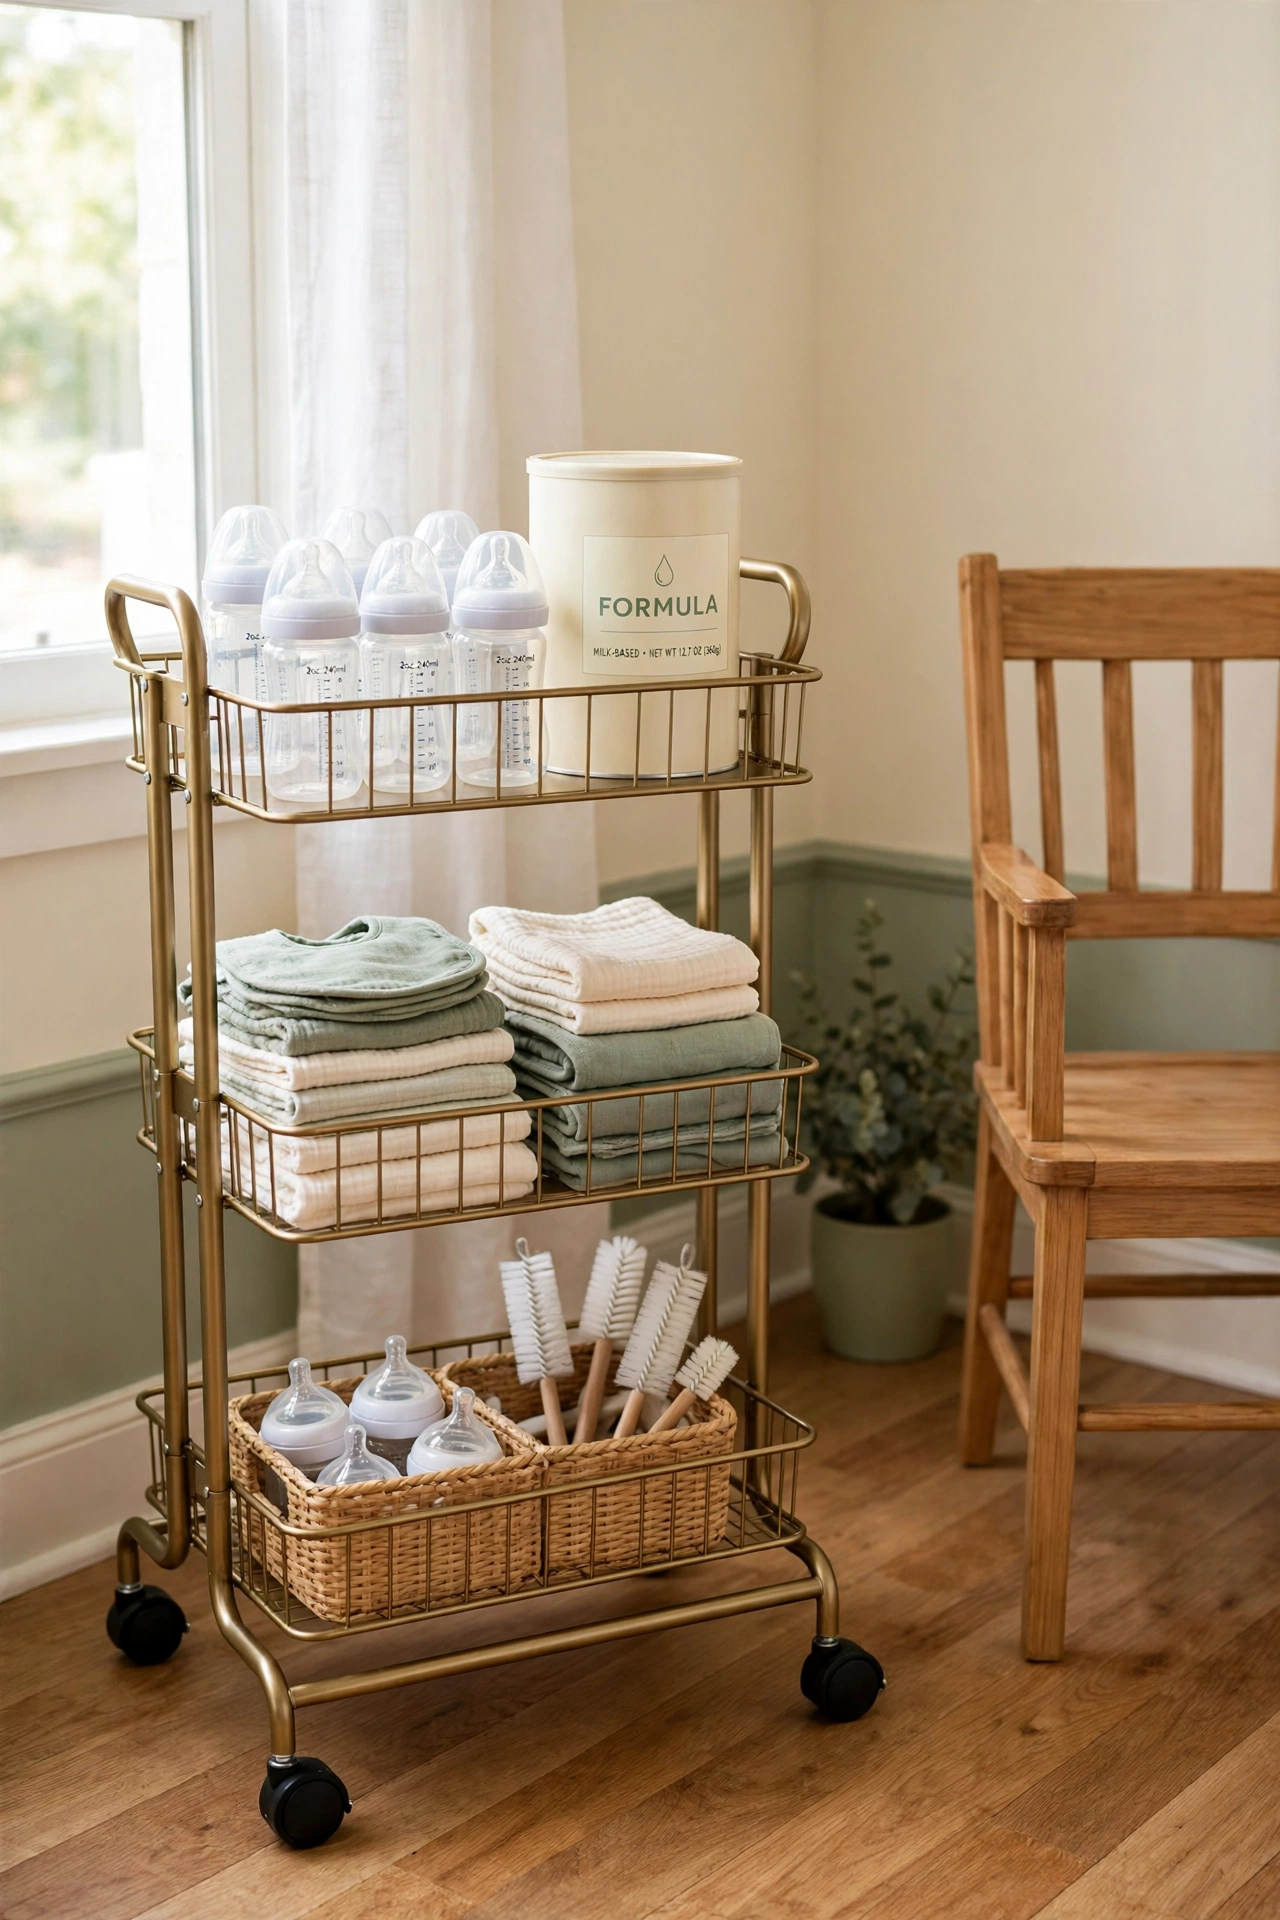
A small rolling cart works like a portable feeding station that follows you from room to room. Stock the top tier with bottles and formula, the middle tier with bibs and burp cloths, and the bottom tier with extra nipples and cleaning brushes. When feeding time arrives, wheel the cart to your chair and everything is within reach.
Choose a cart with smooth wheels that lock in place so it stays steady while you work. Keep the cart stocked at all times so you never have to gather supplies while holding a hungry baby. At night, park it beside your nursing chair, and in the morning, roll it back to the kitchen for washing and restocking.
3. Sort Bottles by Size in Labeled Bins
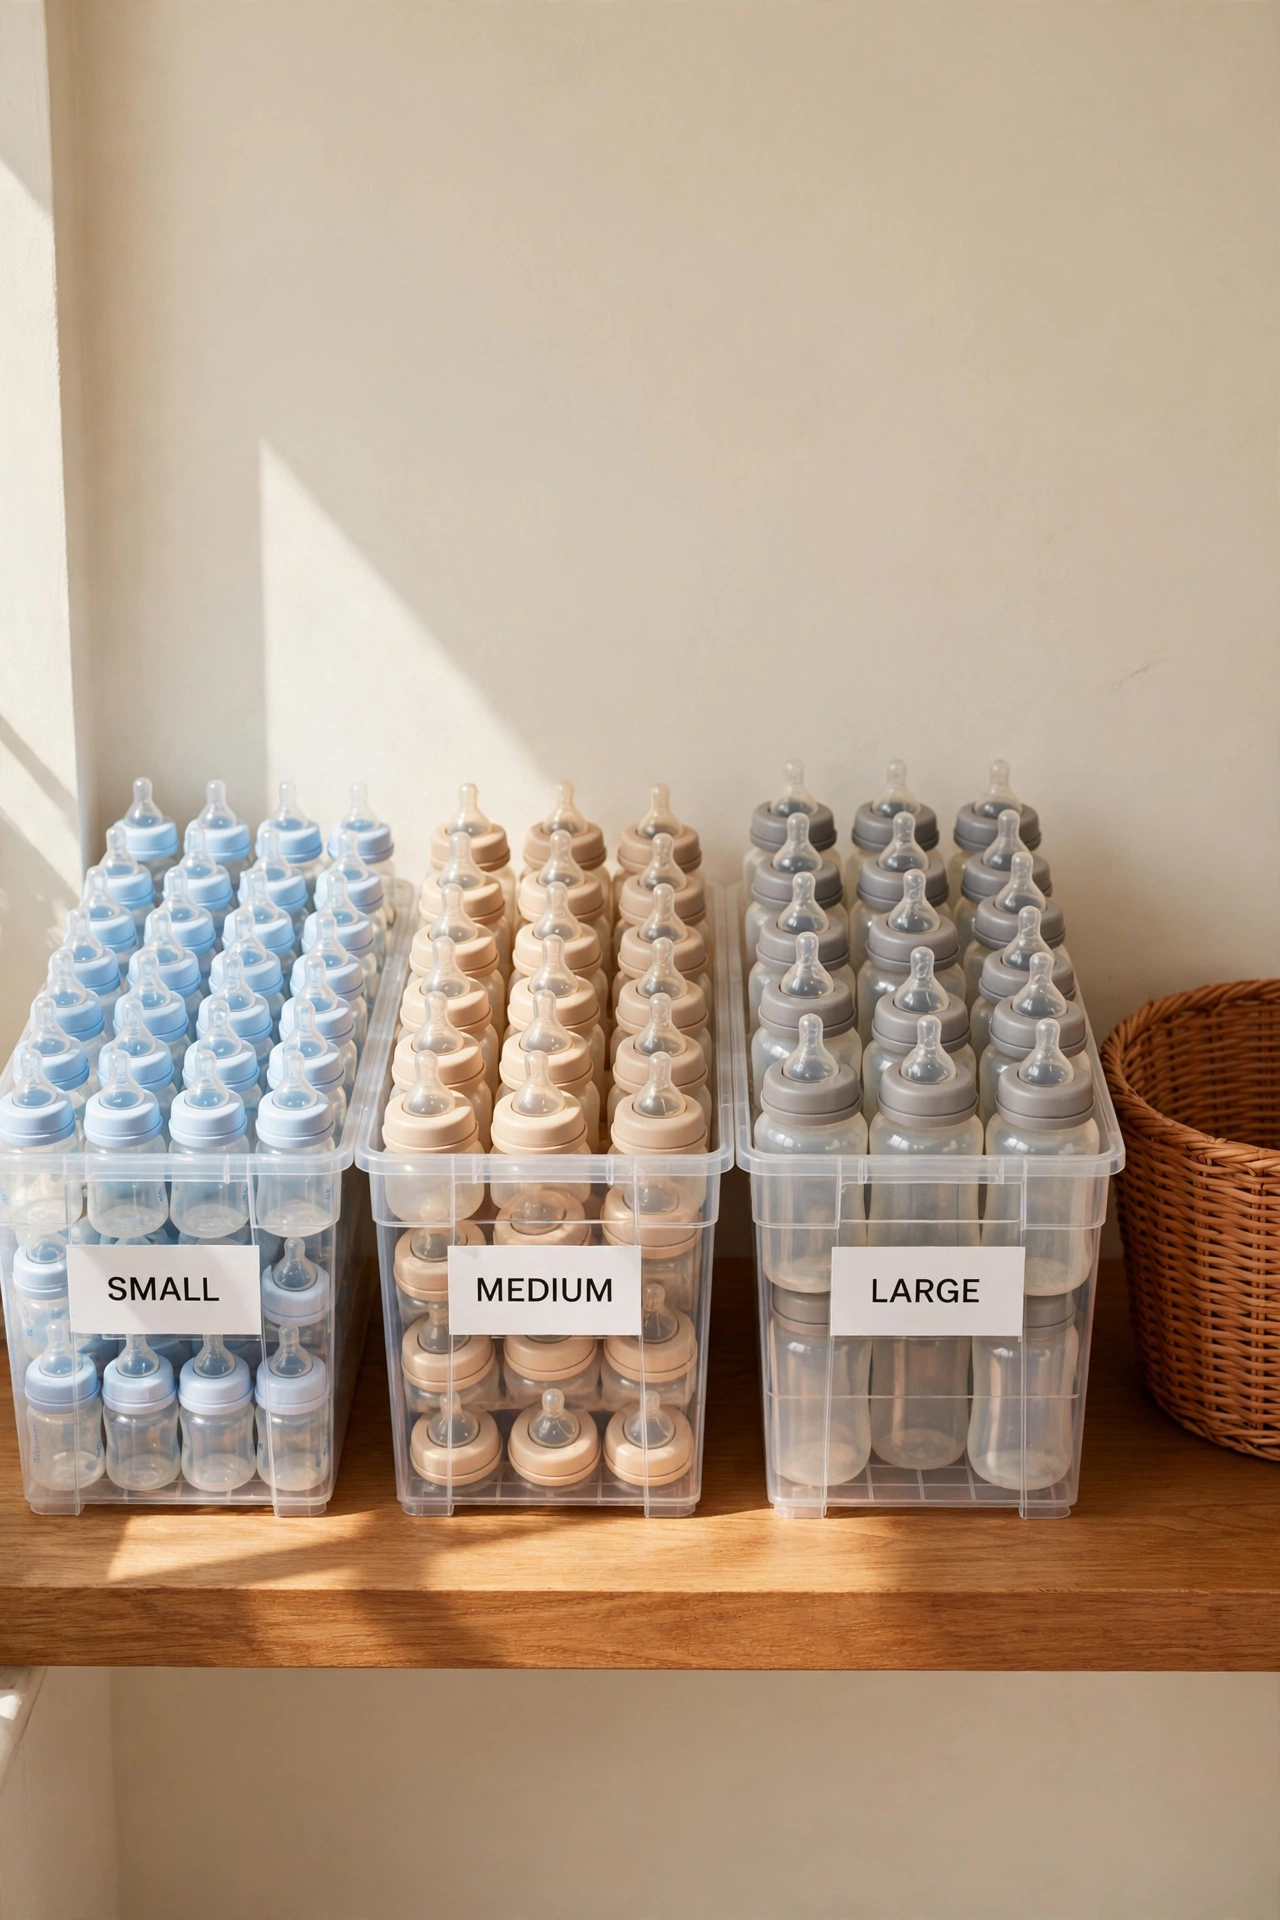
Bottles come in different sizes for different stages, and mixing them together leads to grabbing the wrong one in a rush. Sort bottles by size into separate labeled bins so small newborn bottles never get buried under larger ones. Clear bins work best because you can see the contents at a glance.
Place the bins on one shelf or inside one cabinet so the whole bottle collection lives in a single zone. Label each bin with the bottle size and the stage it suits, using large readable letters. As your baby grows, move the outgrown bottles to a storage bin and promote the next size to the front of the shelf.
4. Store Formula in Airtight Labeled Canisters
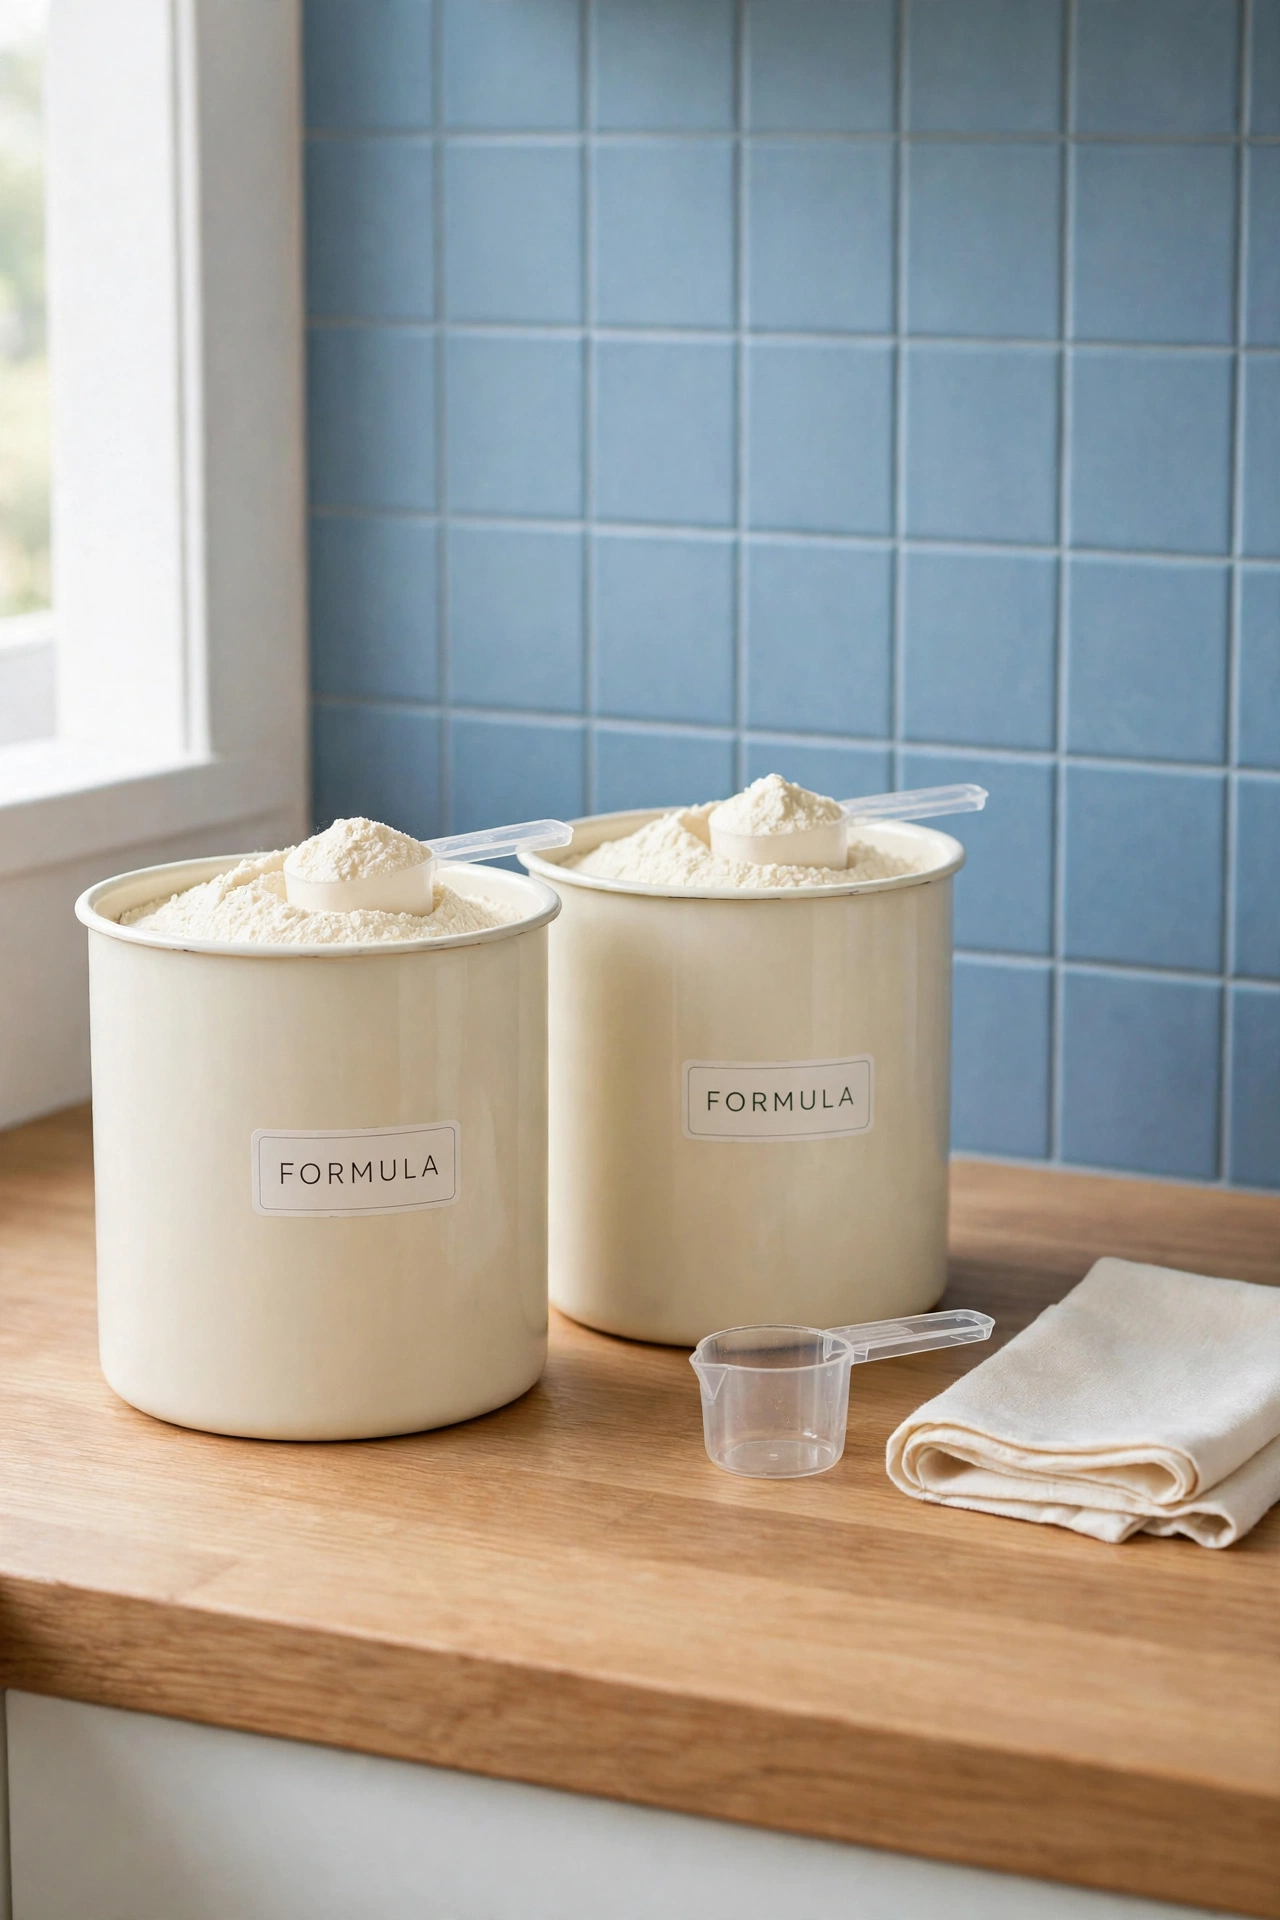
Formula stays fresher and scoops more accurately when it moves out of the box and into an airtight canister. A wide mouth canister with a tight lid keeps moisture out and lets you scoop easily with one hand. Label the canister clearly with the formula name and the date you opened it.
Keep the canister on the counter or on a low shelf near your bottle prep area, never tucked away in a high cabinet. A matching set of canisters also keeps the counter looking calm instead of cluttered. Wash and dry the canister fully before each refill so old powder never mixes with fresh formula.
5. Keep Pump Parts Together in One Zippered Pouch
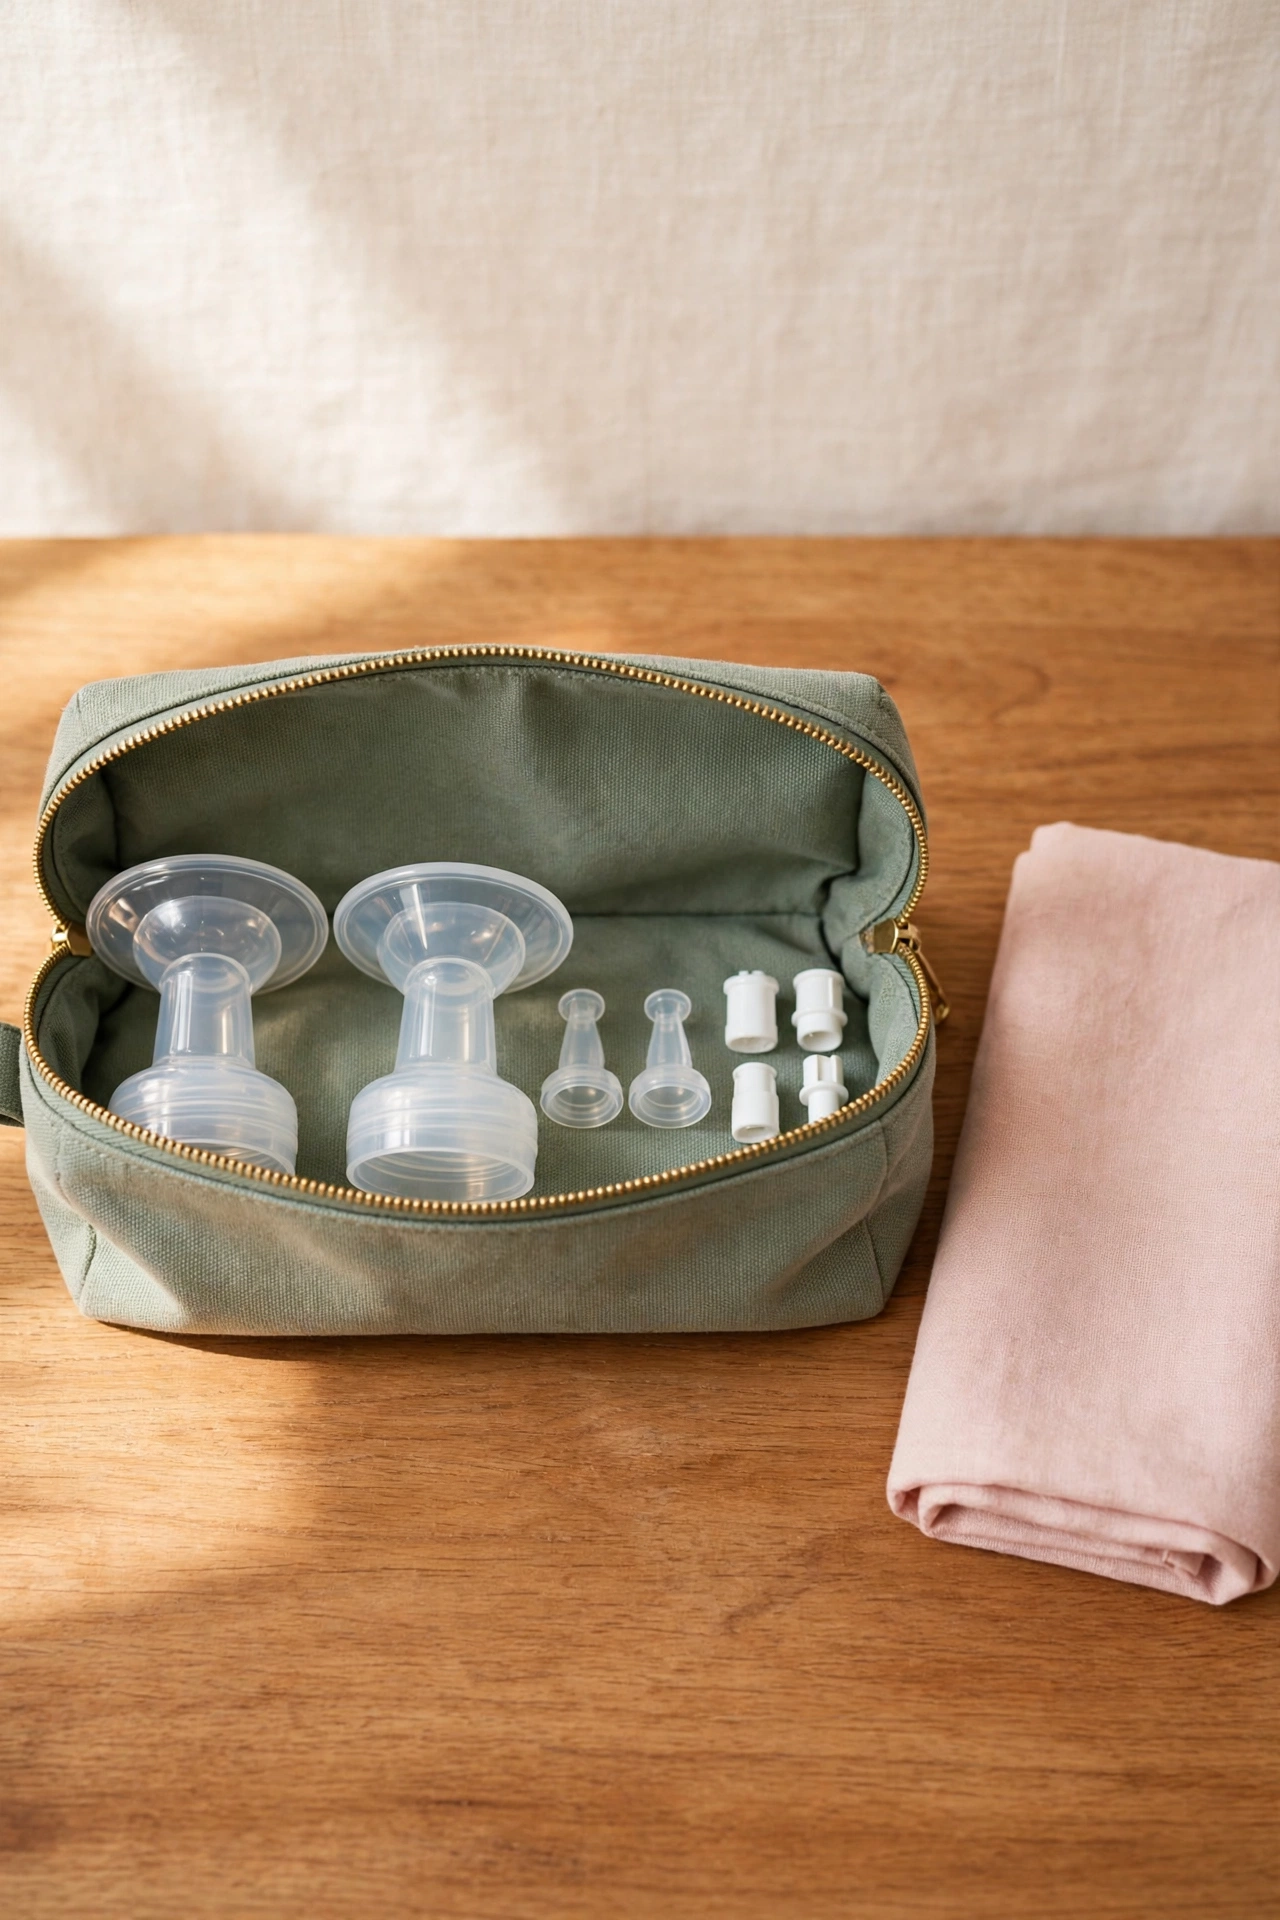
Breast pump parts are small, numerous, and easy to lose. Flanges, valves, membranes, and connectors scattered across drawers turn every pumping session into a scavenger hunt. A single zippered pouch that holds the full set keeps every part together between uses.
Choose a pouch large enough to hold the parts flat without bending the soft valves. After washing and drying, return every part to the pouch right away so the set is always complete. Keep the pouch in the same spot every time, such as the feeding drawer or the pump bag, so you can grab it without thinking.
6. Set Up a Drying Rack Station Beside the Sink
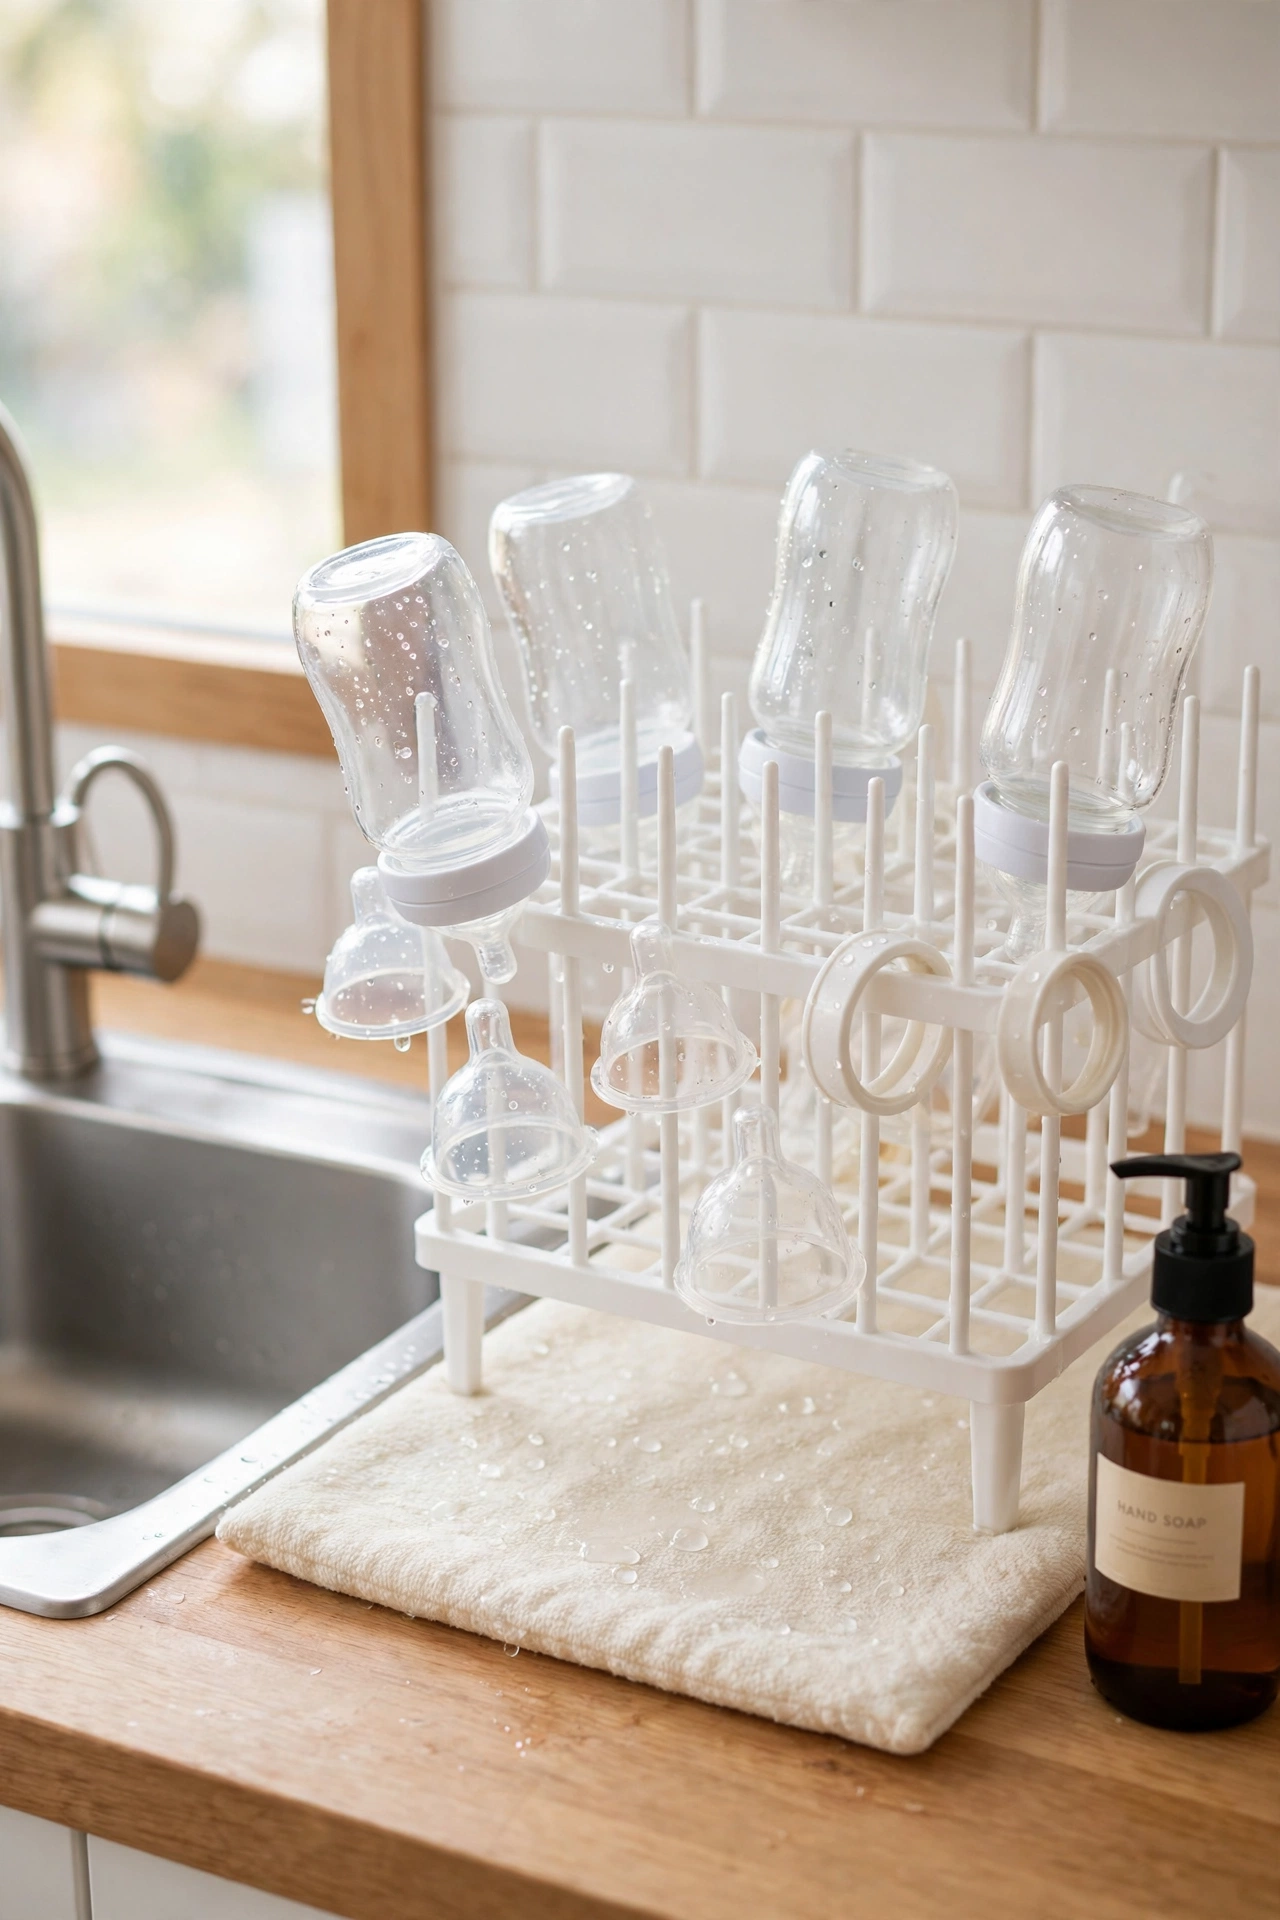
Washed bottles and parts need a clean place to air dry, and a dedicated drying rack keeps them off the counter and out of the dish pile. Place a bottle drying rack right beside the sink so washed parts travel the shortest possible distance. A rack with upright pegs holds bottles, nipples, and rings without them touching each other.
Put a clean absorbent mat under the rack to catch drips and protect the counter. Let parts dry fully before they go into storage, since trapped moisture can cause odors. Once dry, move everything straight to its home in the drawer or bin so the rack stays clear for the next wash.
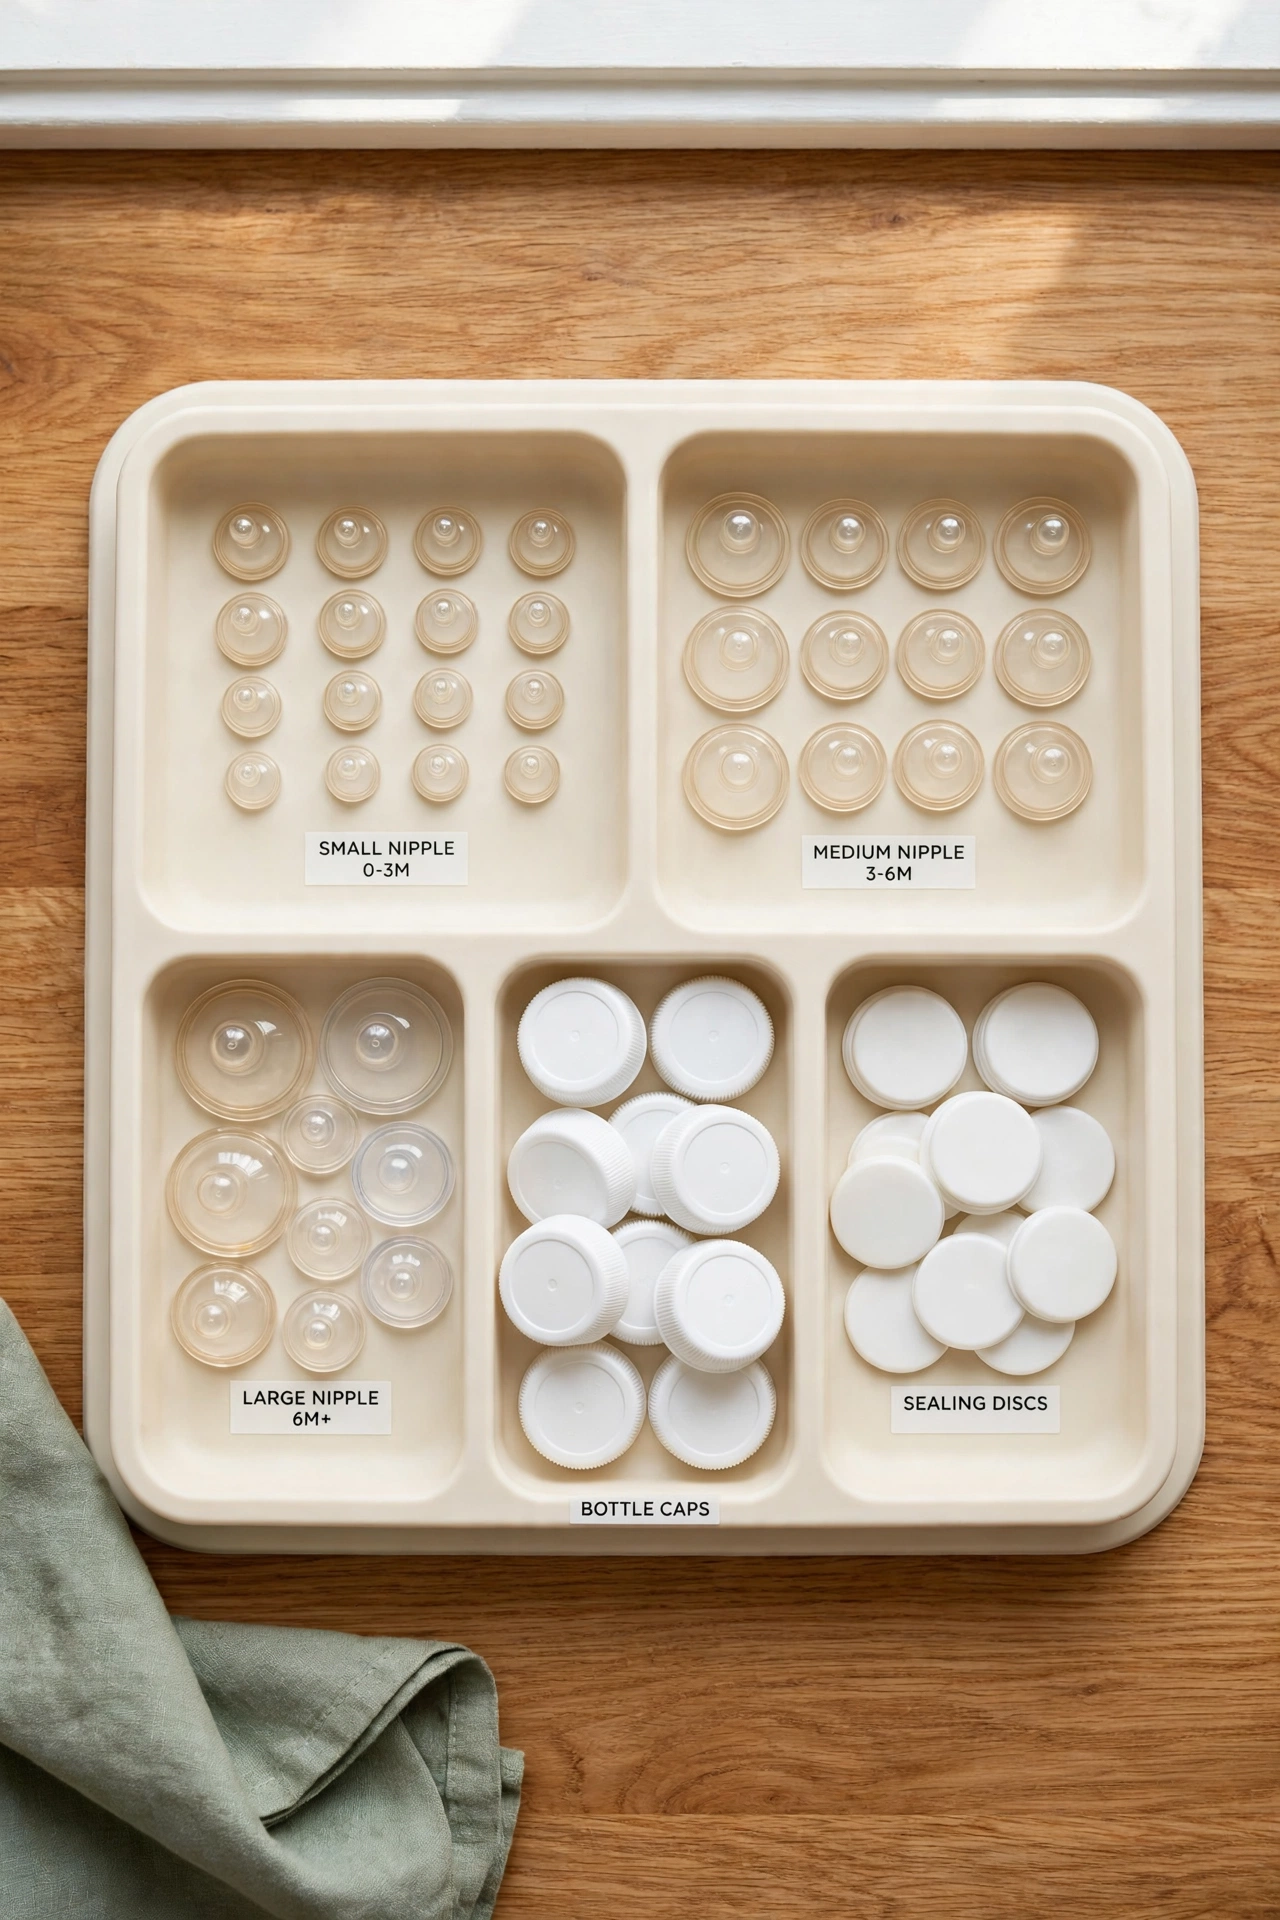
7. Corral Nipples and Caps in a Divided Tray
Nipples, caps, and sealing discs are the smallest feeding supplies and the easiest to lose. A divided tray with small compartments keeps each type separated and visible. Place the tray inside the feeding drawer or on a shelf near the bottle prep area.
Sort nipples by flow size so you always grab the right one for your baby’s stage. Keep spare caps and discs in their own compartment so lids never go missing at packing time. A quick glance at the tray tells you when stock is running low, long before you run out mid-feed.
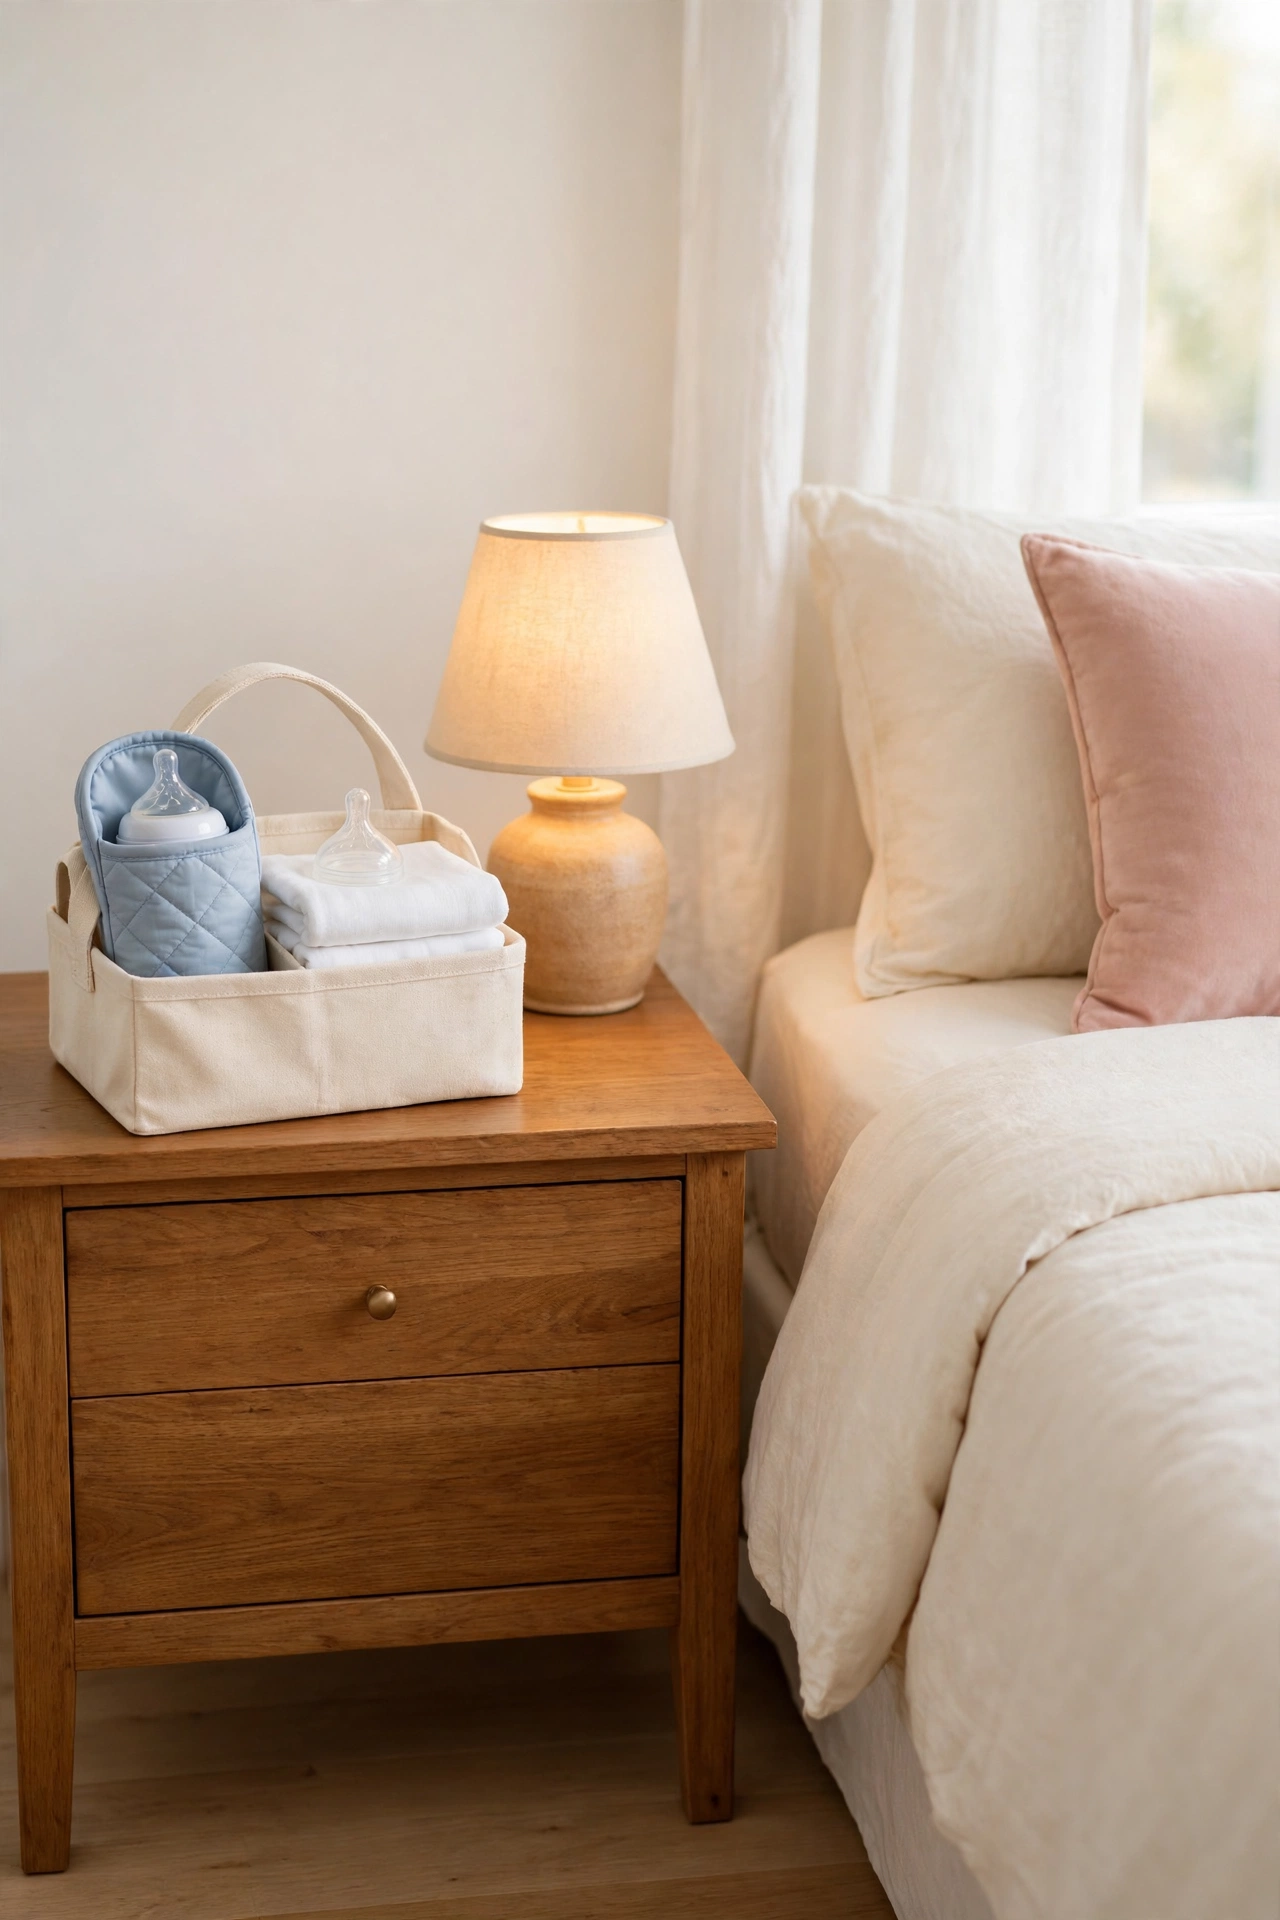
8. Keep a Night Feeding Caddy Beside the Bed
Night feeds are hard enough without a trip to the kitchen. A small caddy beside the bed holds everything for one or two feeds: a prepared bottle in an insulated sleeve, a spare nipple, burp cloths, and a pacifier. You can feed, burp, and settle the baby without leaving the room.
Restock the caddy every evening as part of your wind down routine, and return used bottles to the kitchen in the morning. Choose a caddy with a handle so you can carry it easily with one hand. Keep the caddy compact so it fits on a nightstand without crowding your lamp and water glass.
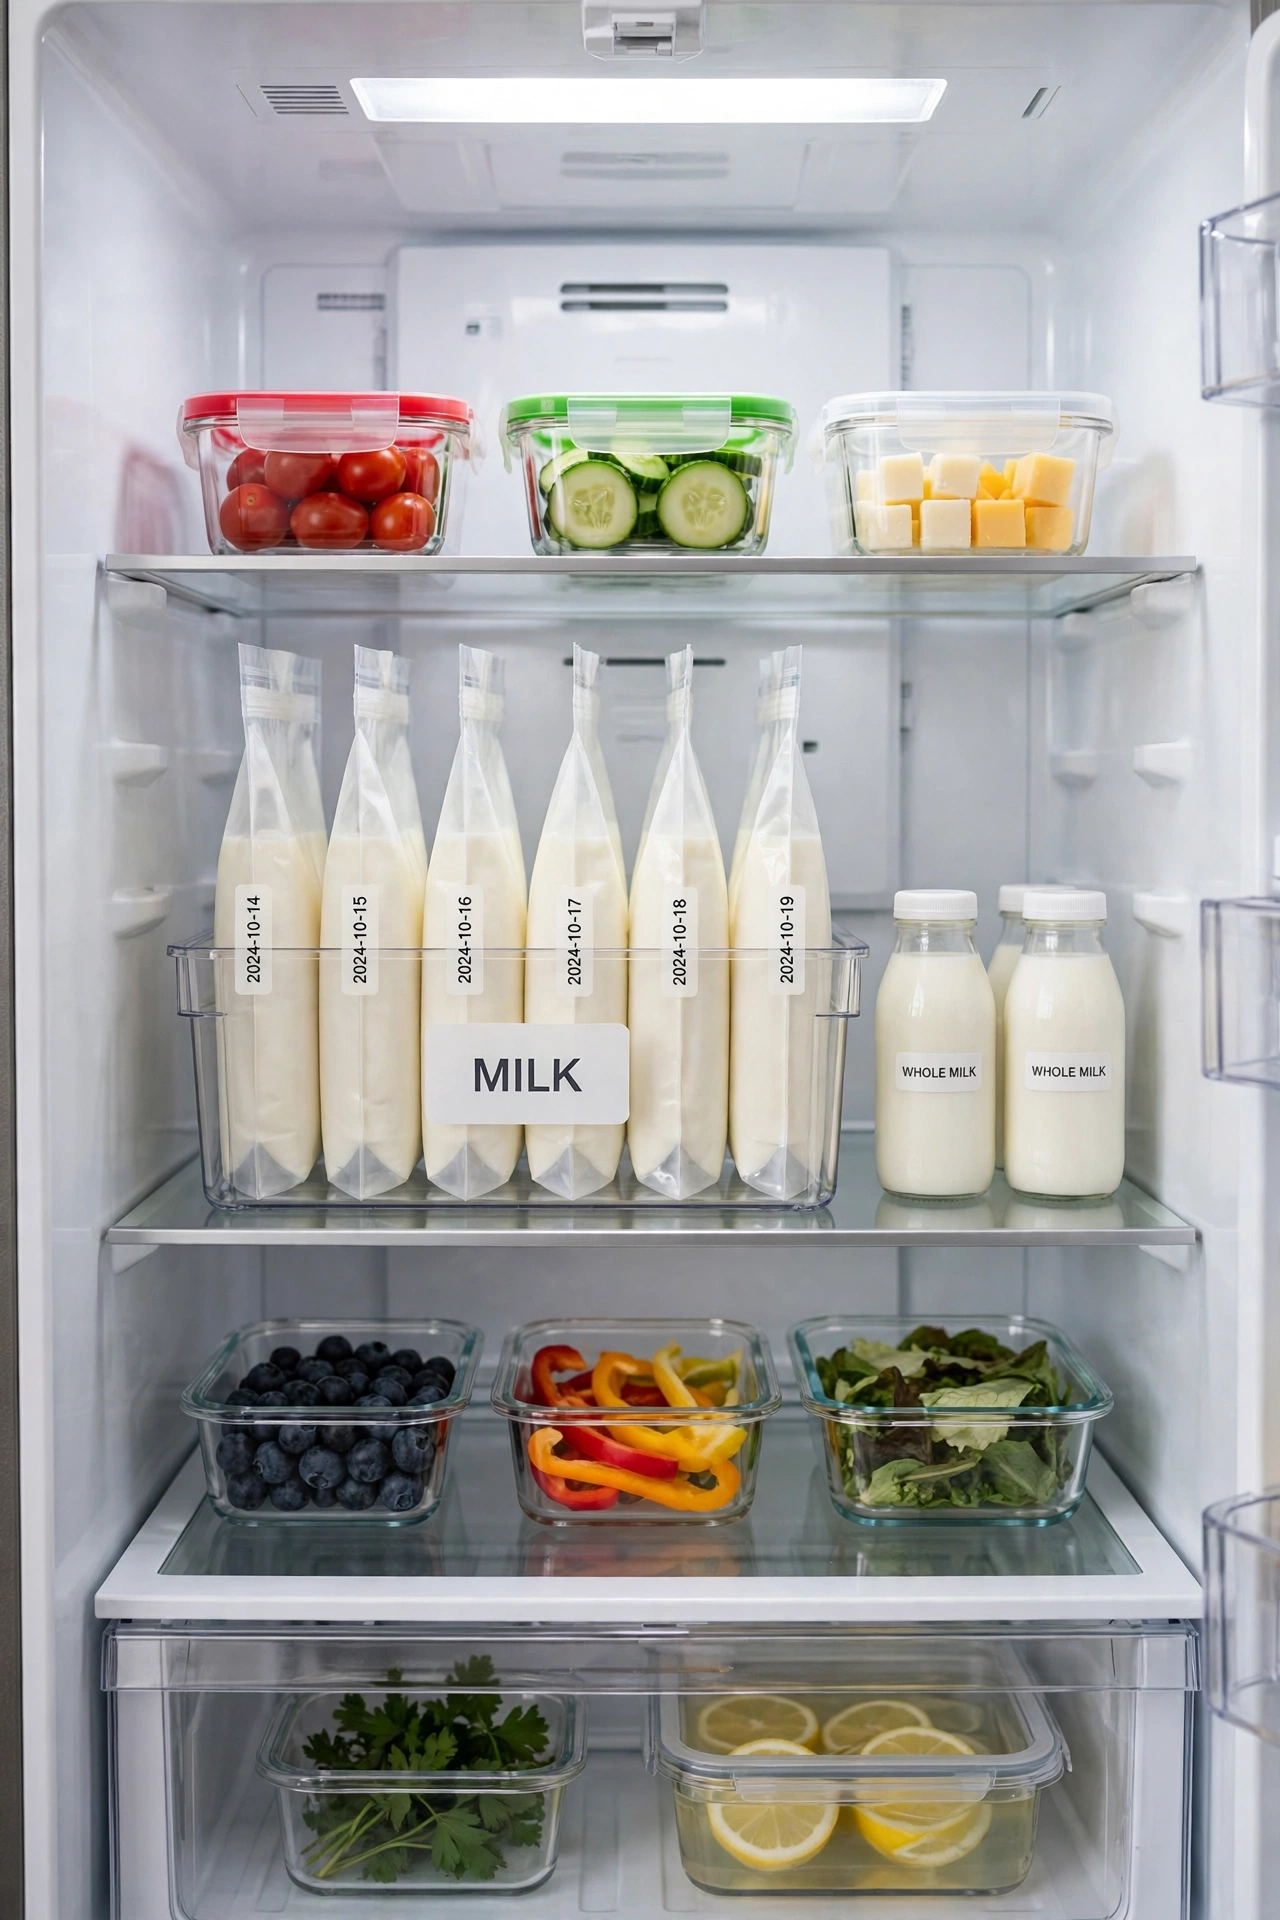
9. Reserve a Fridge Shelf for Pumped Milk
Pumped milk needs its own clearly marked shelf in the refrigerator, away from raw foods and strong smelling leftovers. A dedicated shelf keeps milk bags and bottles upright, visible, and easy to reach. Use a small bin on the shelf to hold the bags in date order, oldest at the front.
Label every bag with the date and the amount before it goes into the fridge so you always use the oldest milk first. For more ways to give every food its own zone, these refrigerator shelf organization ideas show how labeled bins keep a busy fridge calm and easy to read. Wipe the shelf weekly and check dates daily so nothing expires unnoticed.
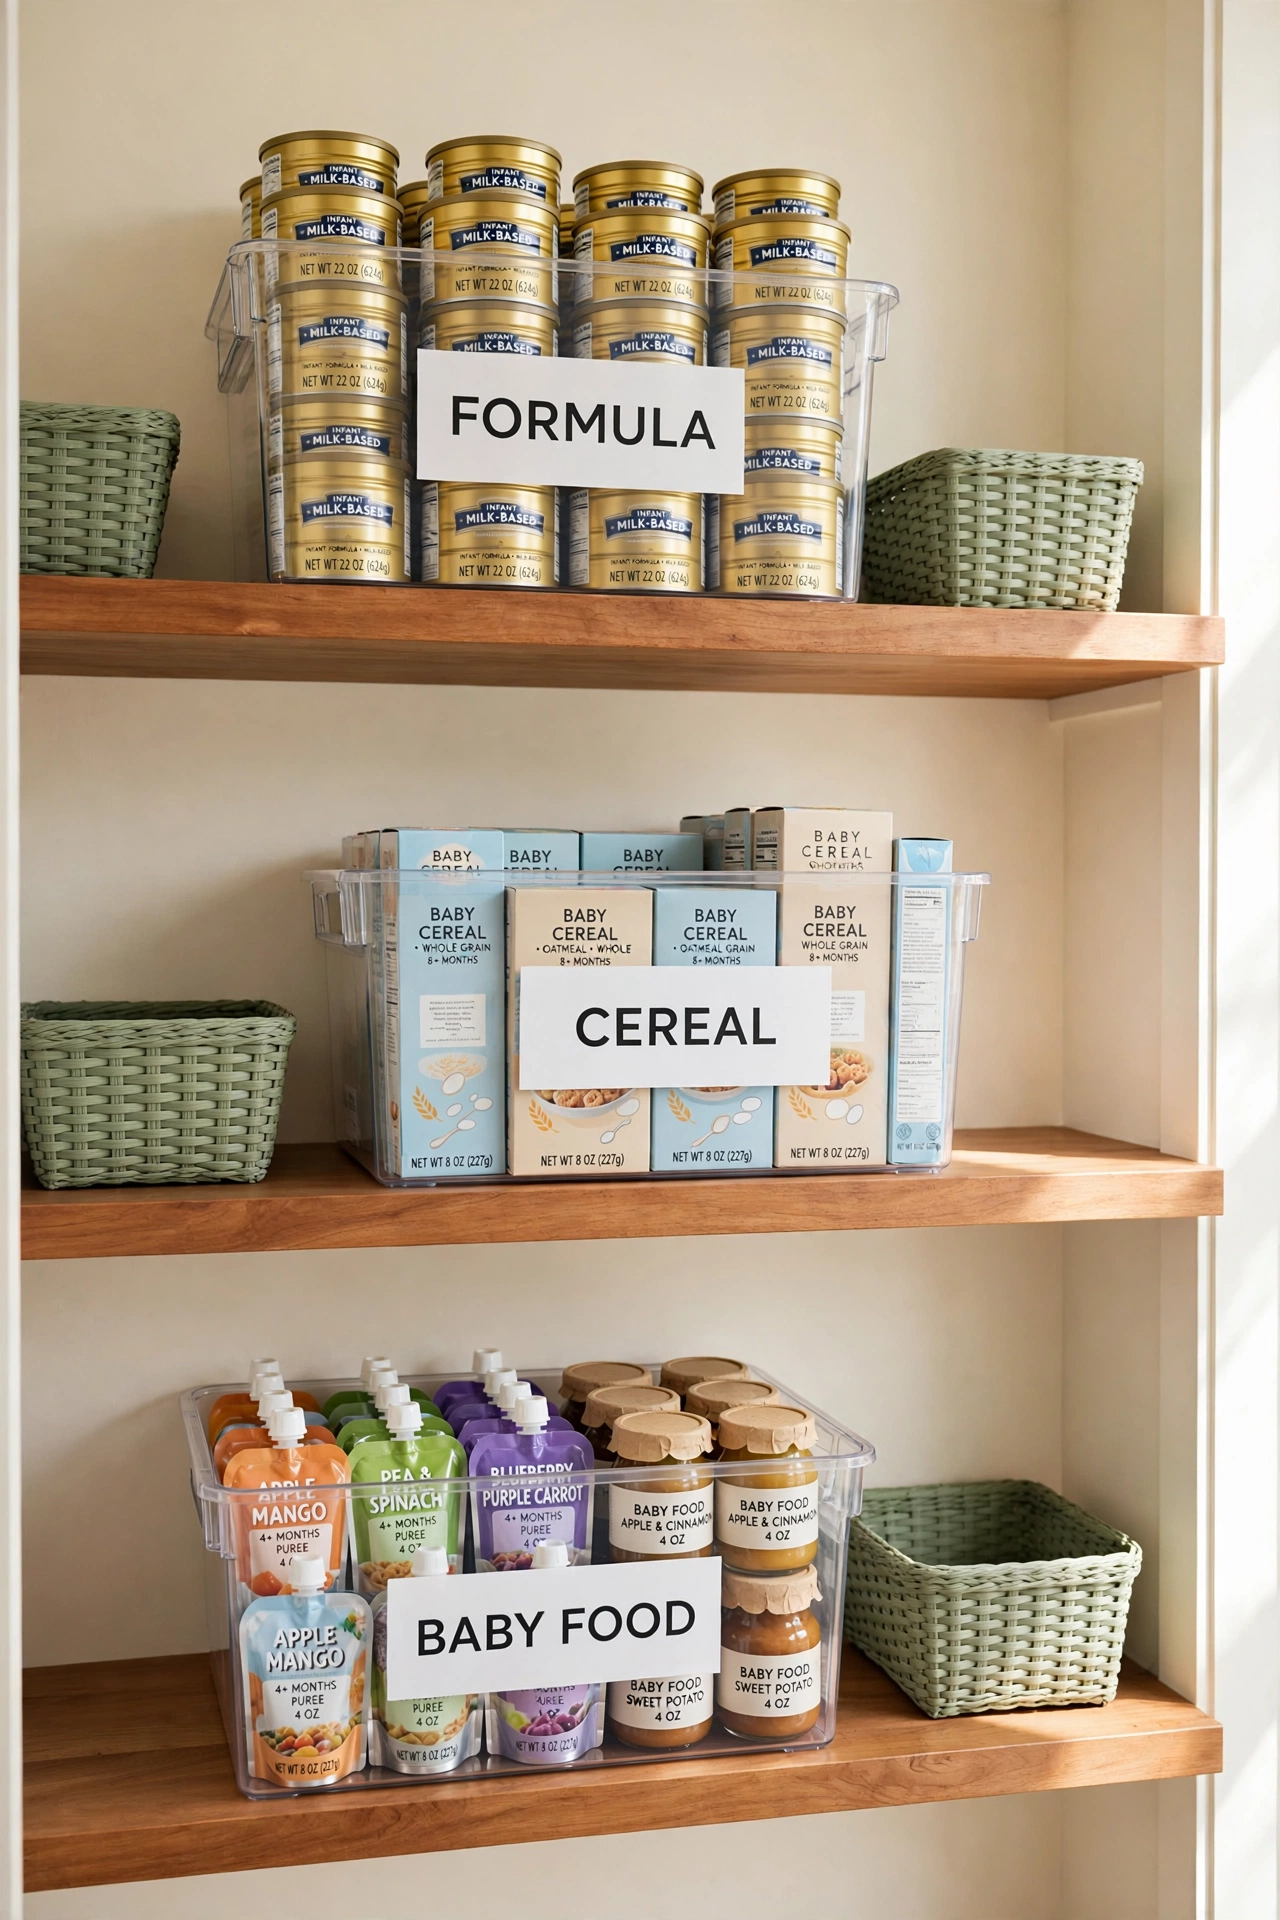
10. Use Clear Pantry Bins for Formula and Baby Food
The pantry is the natural home for backup formula, baby cereal, and shelf stable baby food. Clear bins keep these supplies grouped and visible so you can see stock levels without pulling everything off the shelf. One bin for formula, one for cereal, and one for pouches and jars keeps the categories separate.
Place the bins at eye level or lower so heavy formula cans are easy to lift. Rotate stock so the earliest expiry dates sit at the front of each bin. These pantry organization ideas for deep shelves will help you plan bin sizes that reach the back of deep pantry shelves without losing items behind. A quick weekly glance at the bins tells you what to add to the shopping list.
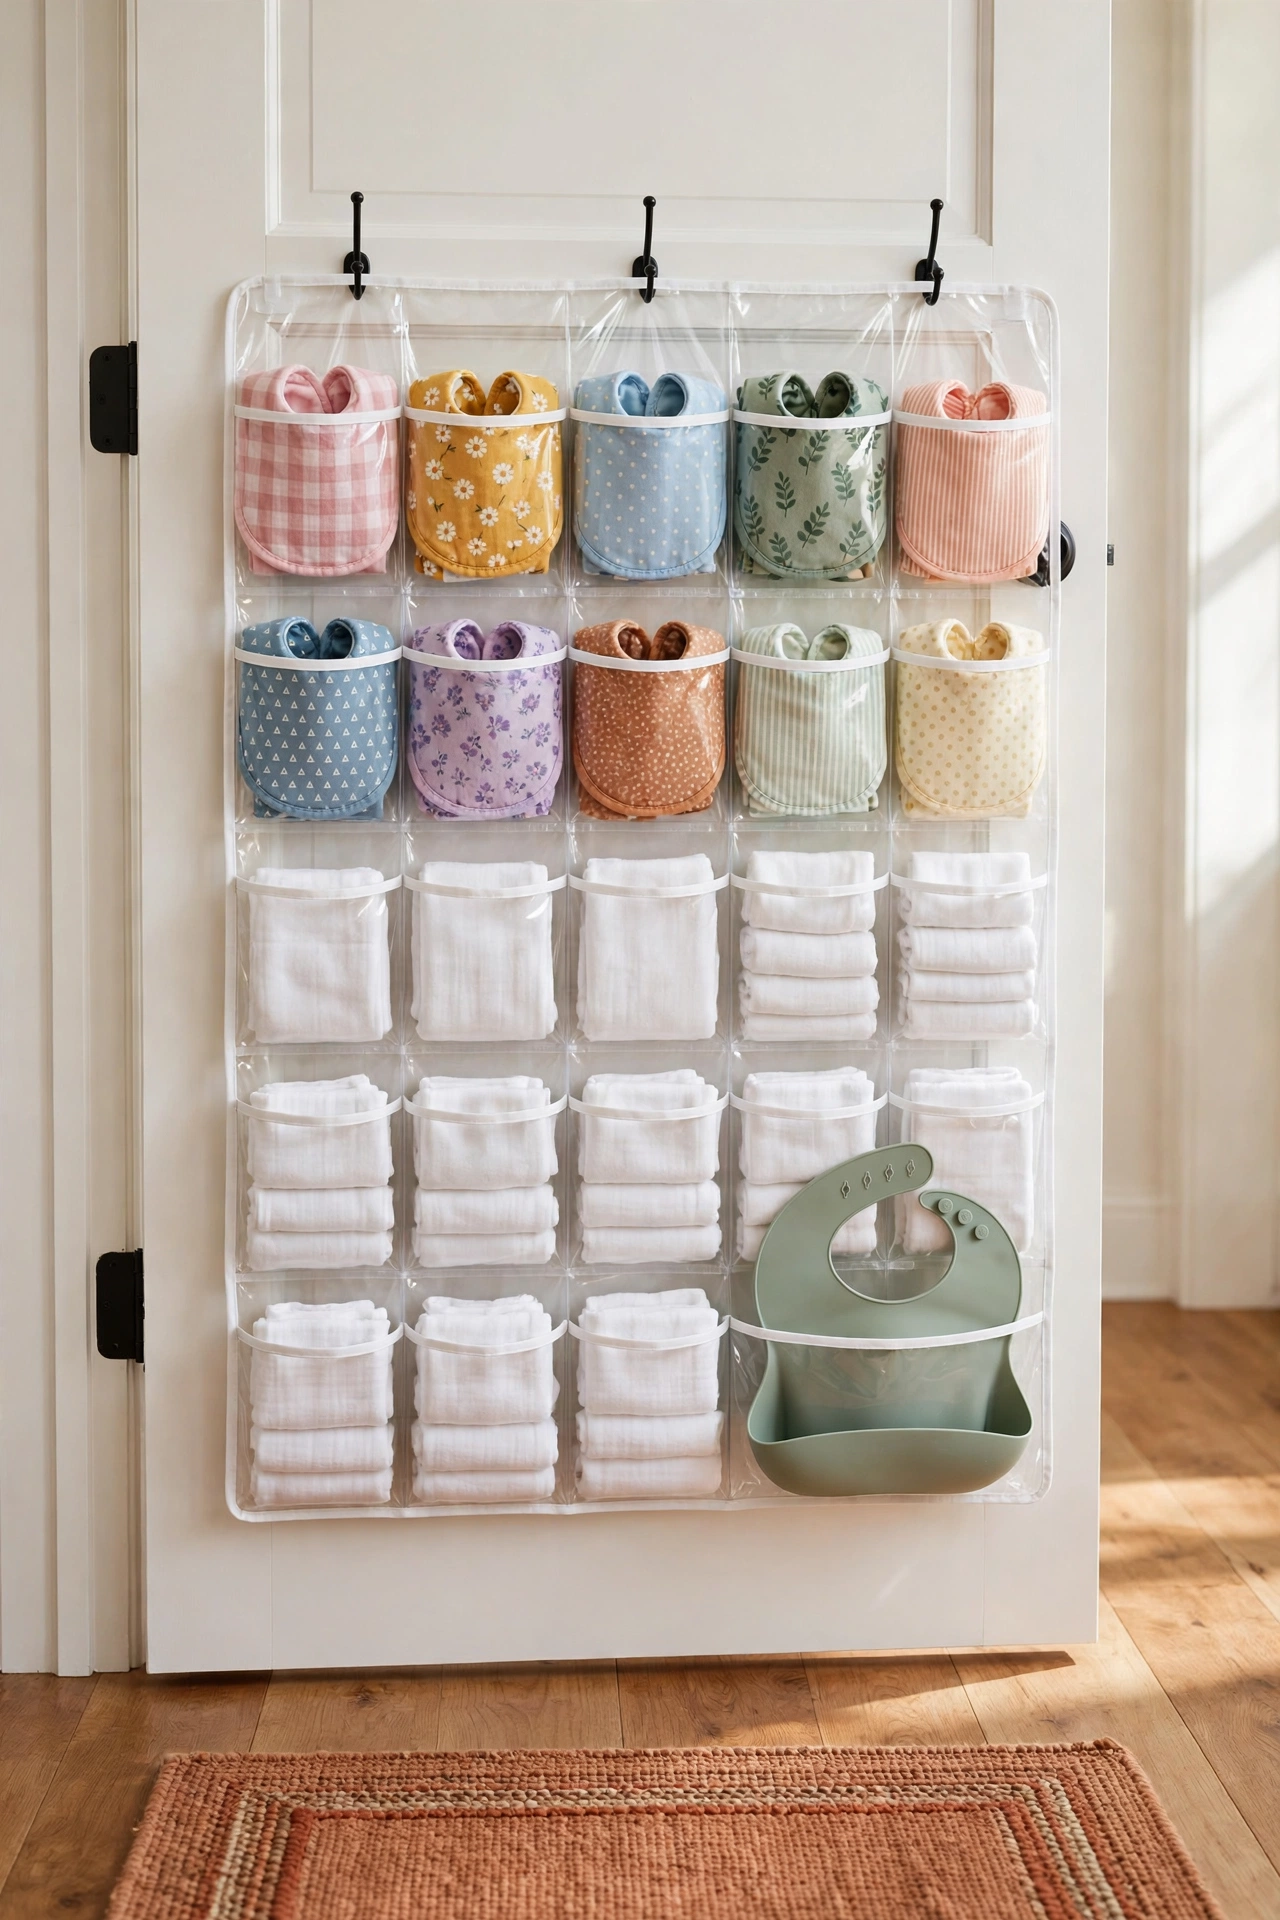
11. Hang Bibs and Burp Cloths on a Door Organizer
Bibs and burp cloths multiply fast, and stuffing them into a drawer creates a wrinkled pile that is hard to sort. A clear over-the-door organizer with pockets gives every bib and cloth its own slot. Hang it inside a pantry door or a closet door near the feeding area.
Sort the pockets by type: everyday bibs in one row, silicone bibs in another, and burp cloths in a third. The clear pockets let you grab the right item without unfolding a stack. Laundered items go straight back into their pockets, so the system resets itself after every wash.
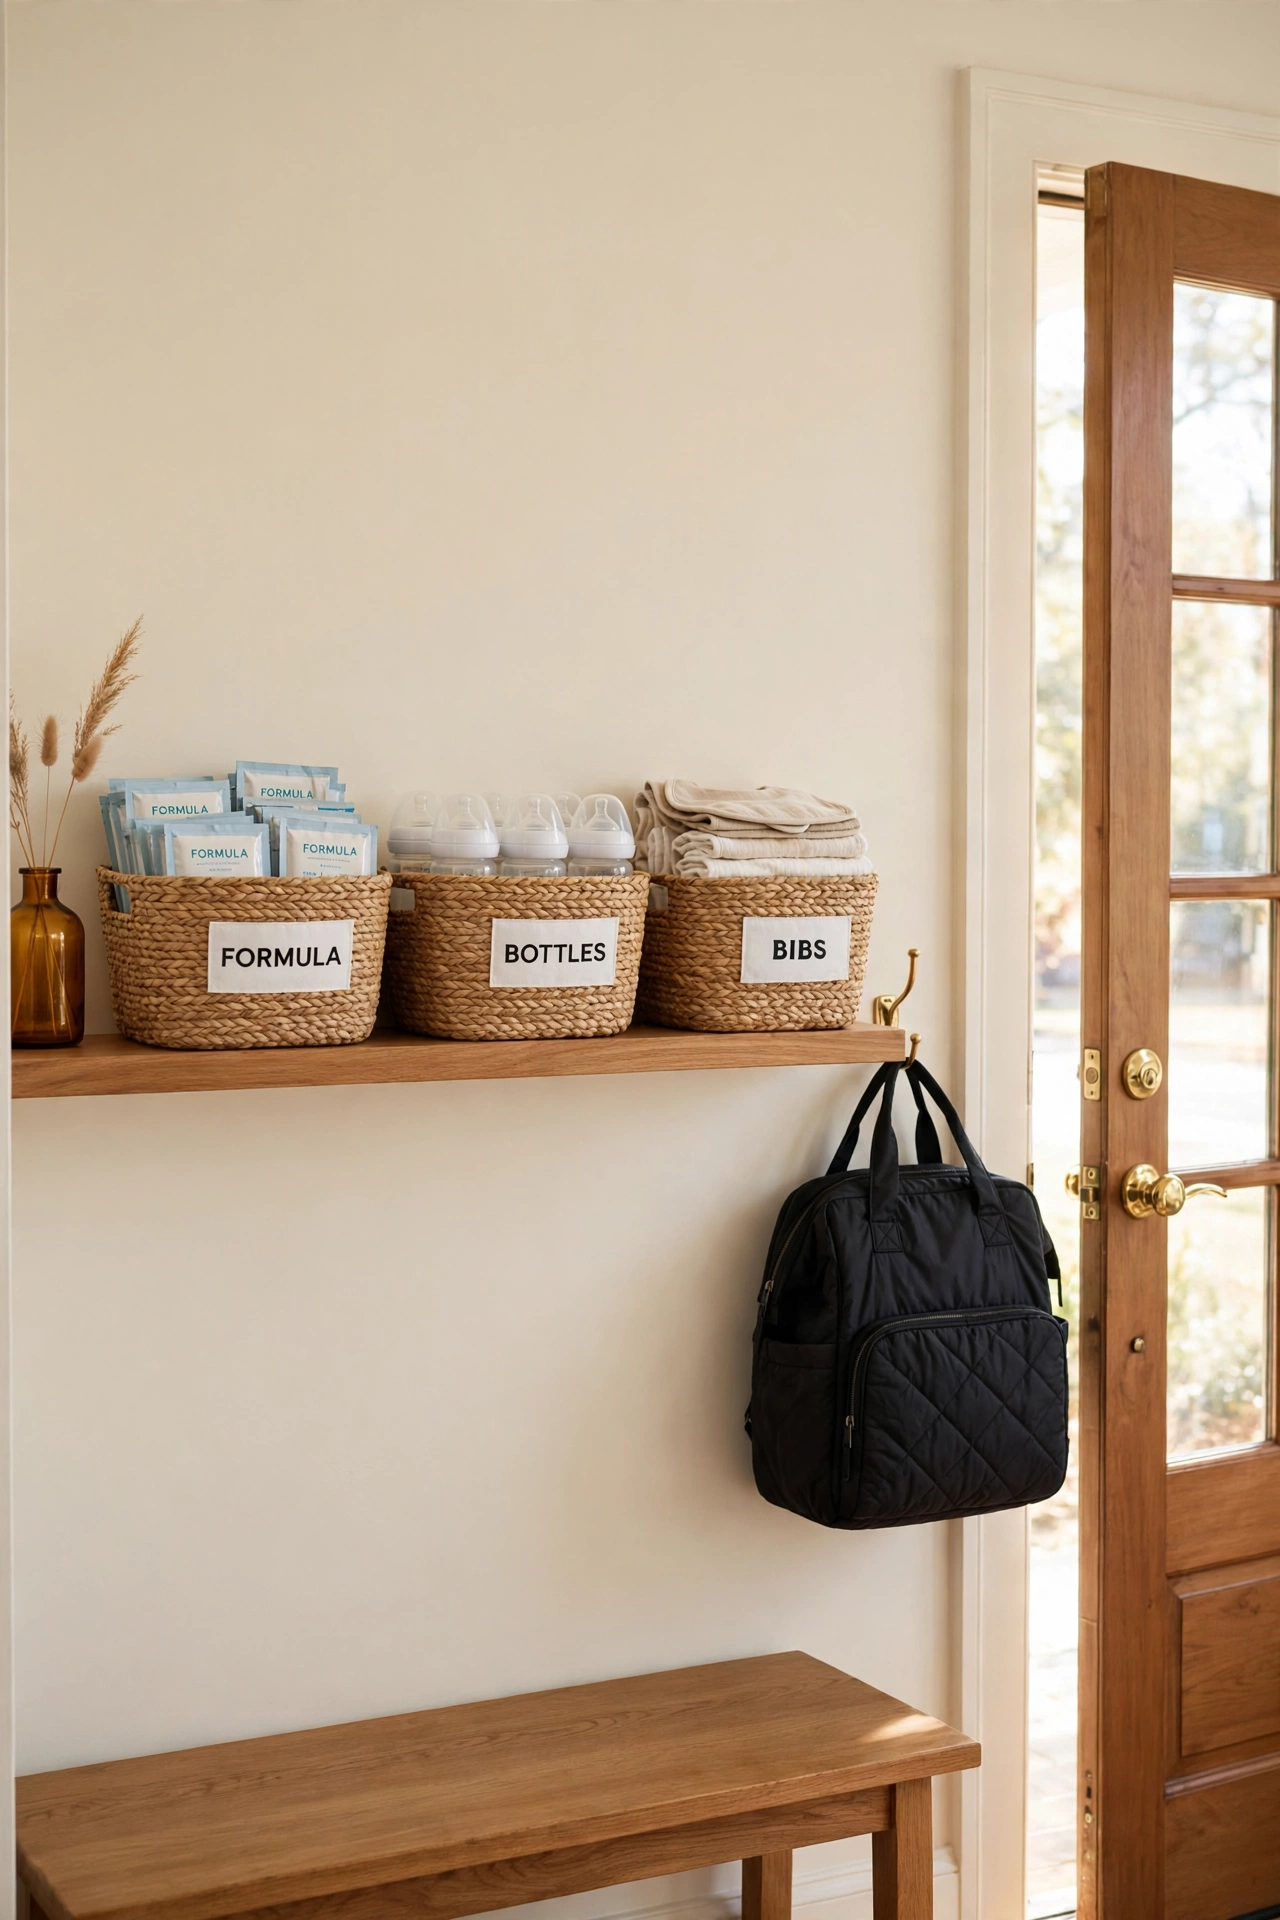
12. Create a Diaper Bag Restock Station by the Door
Leaving the house with a baby means packing bottles, formula, diapers, and spare clothes, and forgetting one item can ruin an outing. A restock station by the door holds backup supplies in labeled baskets so you can refill the diaper bag in one stop. Stock it with formula packets, clean bottles, bibs, and spare pacifiers.
Place the station on a small shelf or inside a hall closet right beside the door you use most. After every outing, return the bag to the station and restock it immediately so it is ready for the next trip. This habit means the bag is always packed, even when you leave in a hurry.
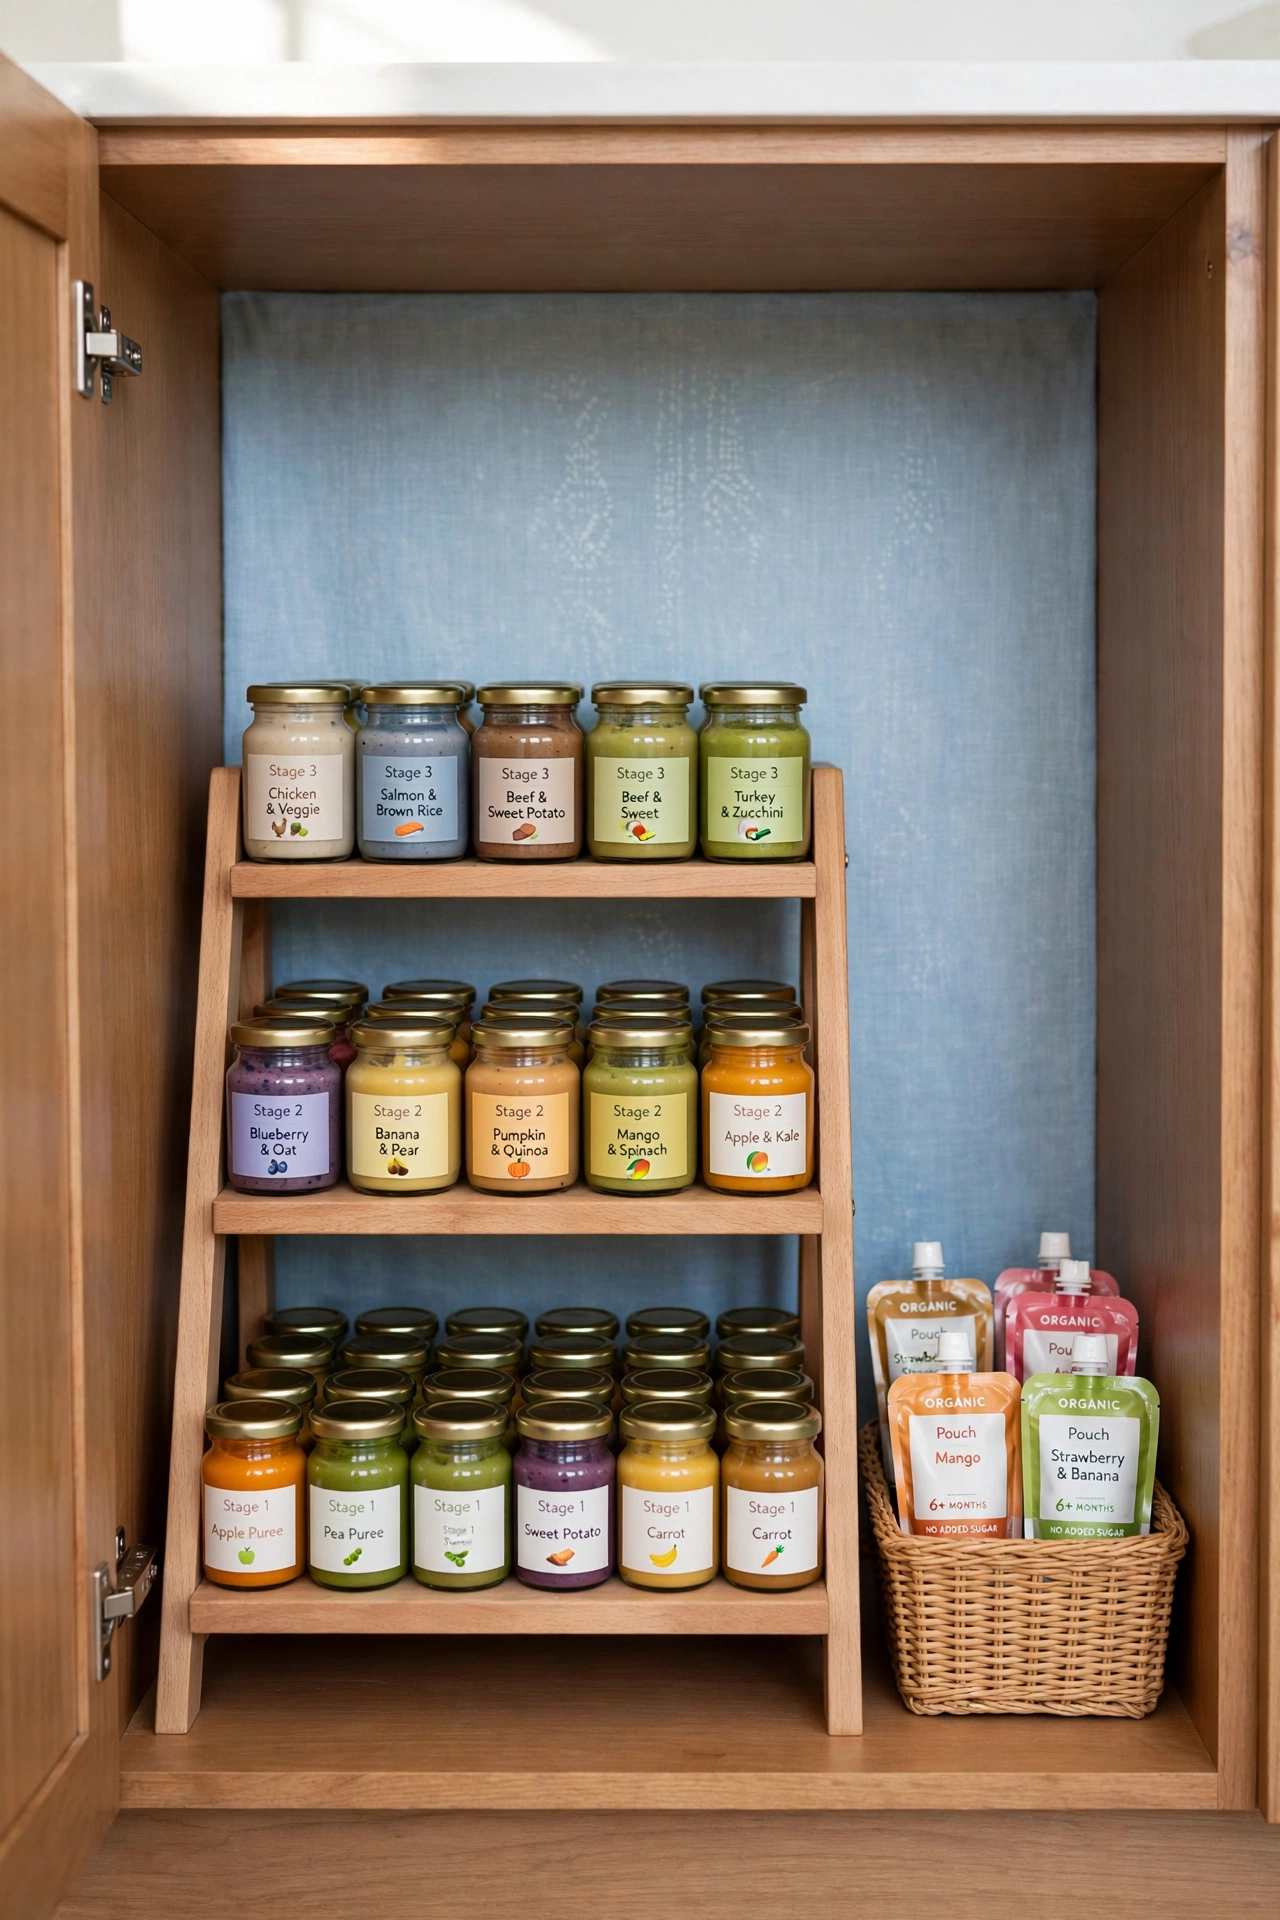
13. Store Baby Food Jars on a Tiered Rack
Small jars of baby food disappear to the back of cabinets and expire unnoticed. A tiered rack lifts each row above the one in front so every jar stays visible. Sort the jars by stage or flavor, with the earliest expiry dates on the top tier where you see them first.
A tiered rack fits inside a cabinet or on a pantry shelf, and it doubles the usable space of a single shelf. Keep a small basket beside the rack for pouches and squeeze packs that do not stand well. For more ideas on keeping small food containers tidy, these meal prep container organization ideas show how grouped storage keeps every container easy to find. Check the rack weekly and move soon to expire jars to the front.
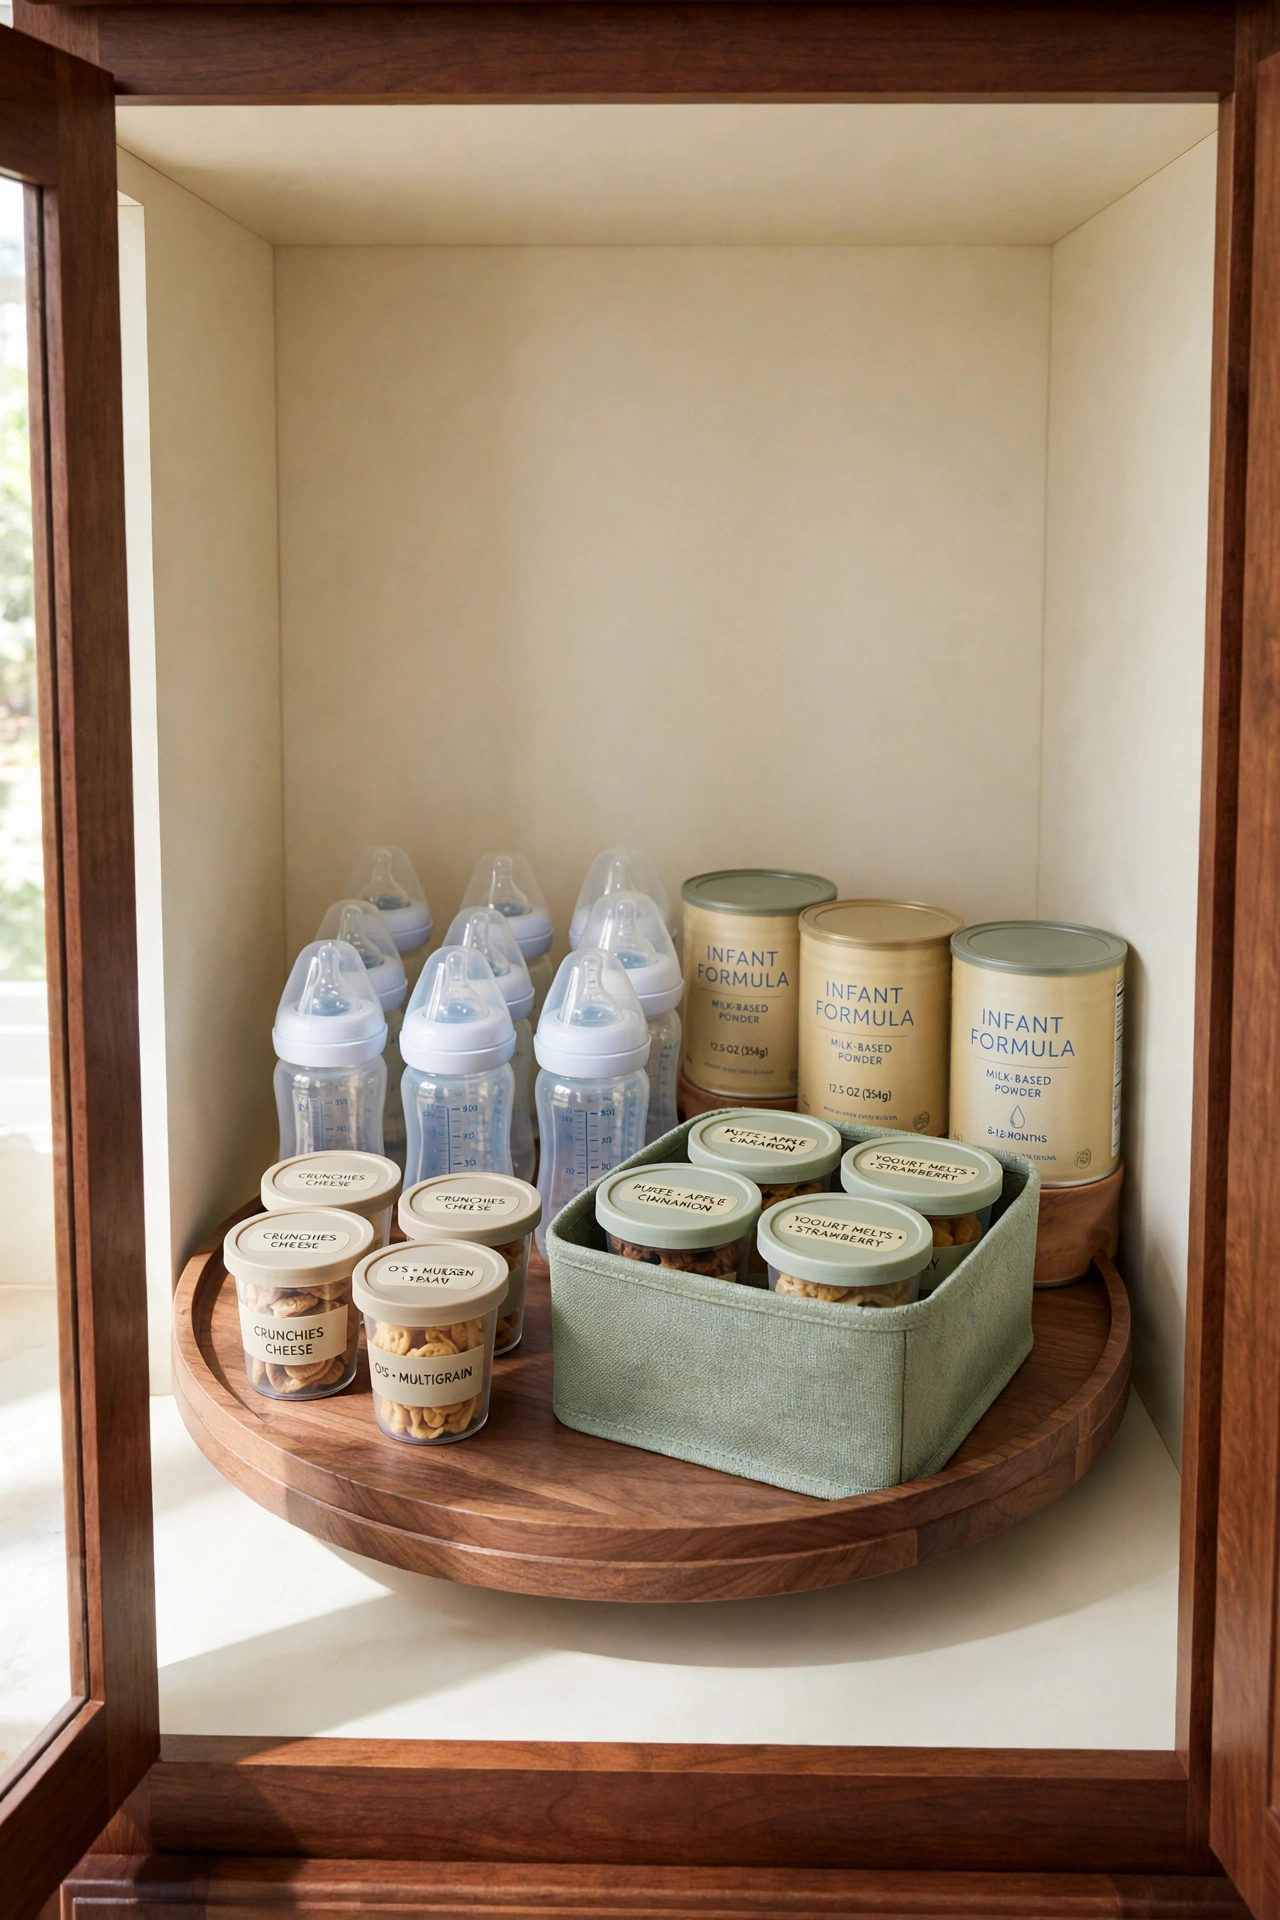
14. Spin a Lazy Susan in a Deep Cabinet
Deep cabinets swallow small feeding supplies, and items pushed to the back stay forgotten for months. A lazy Susan turntable brings the back of the cabinet to you with one spin. Place bottles, formula cans, and snack cups on the turntable so nothing hides in the dark corners.
Choose a turntable with a raised edge so tall bottles do not slide off as it turns. Group similar items together on one side of the turntable and give each group a small labeled bin for extra order. One spin before each feeding shows you the full inventory in seconds.
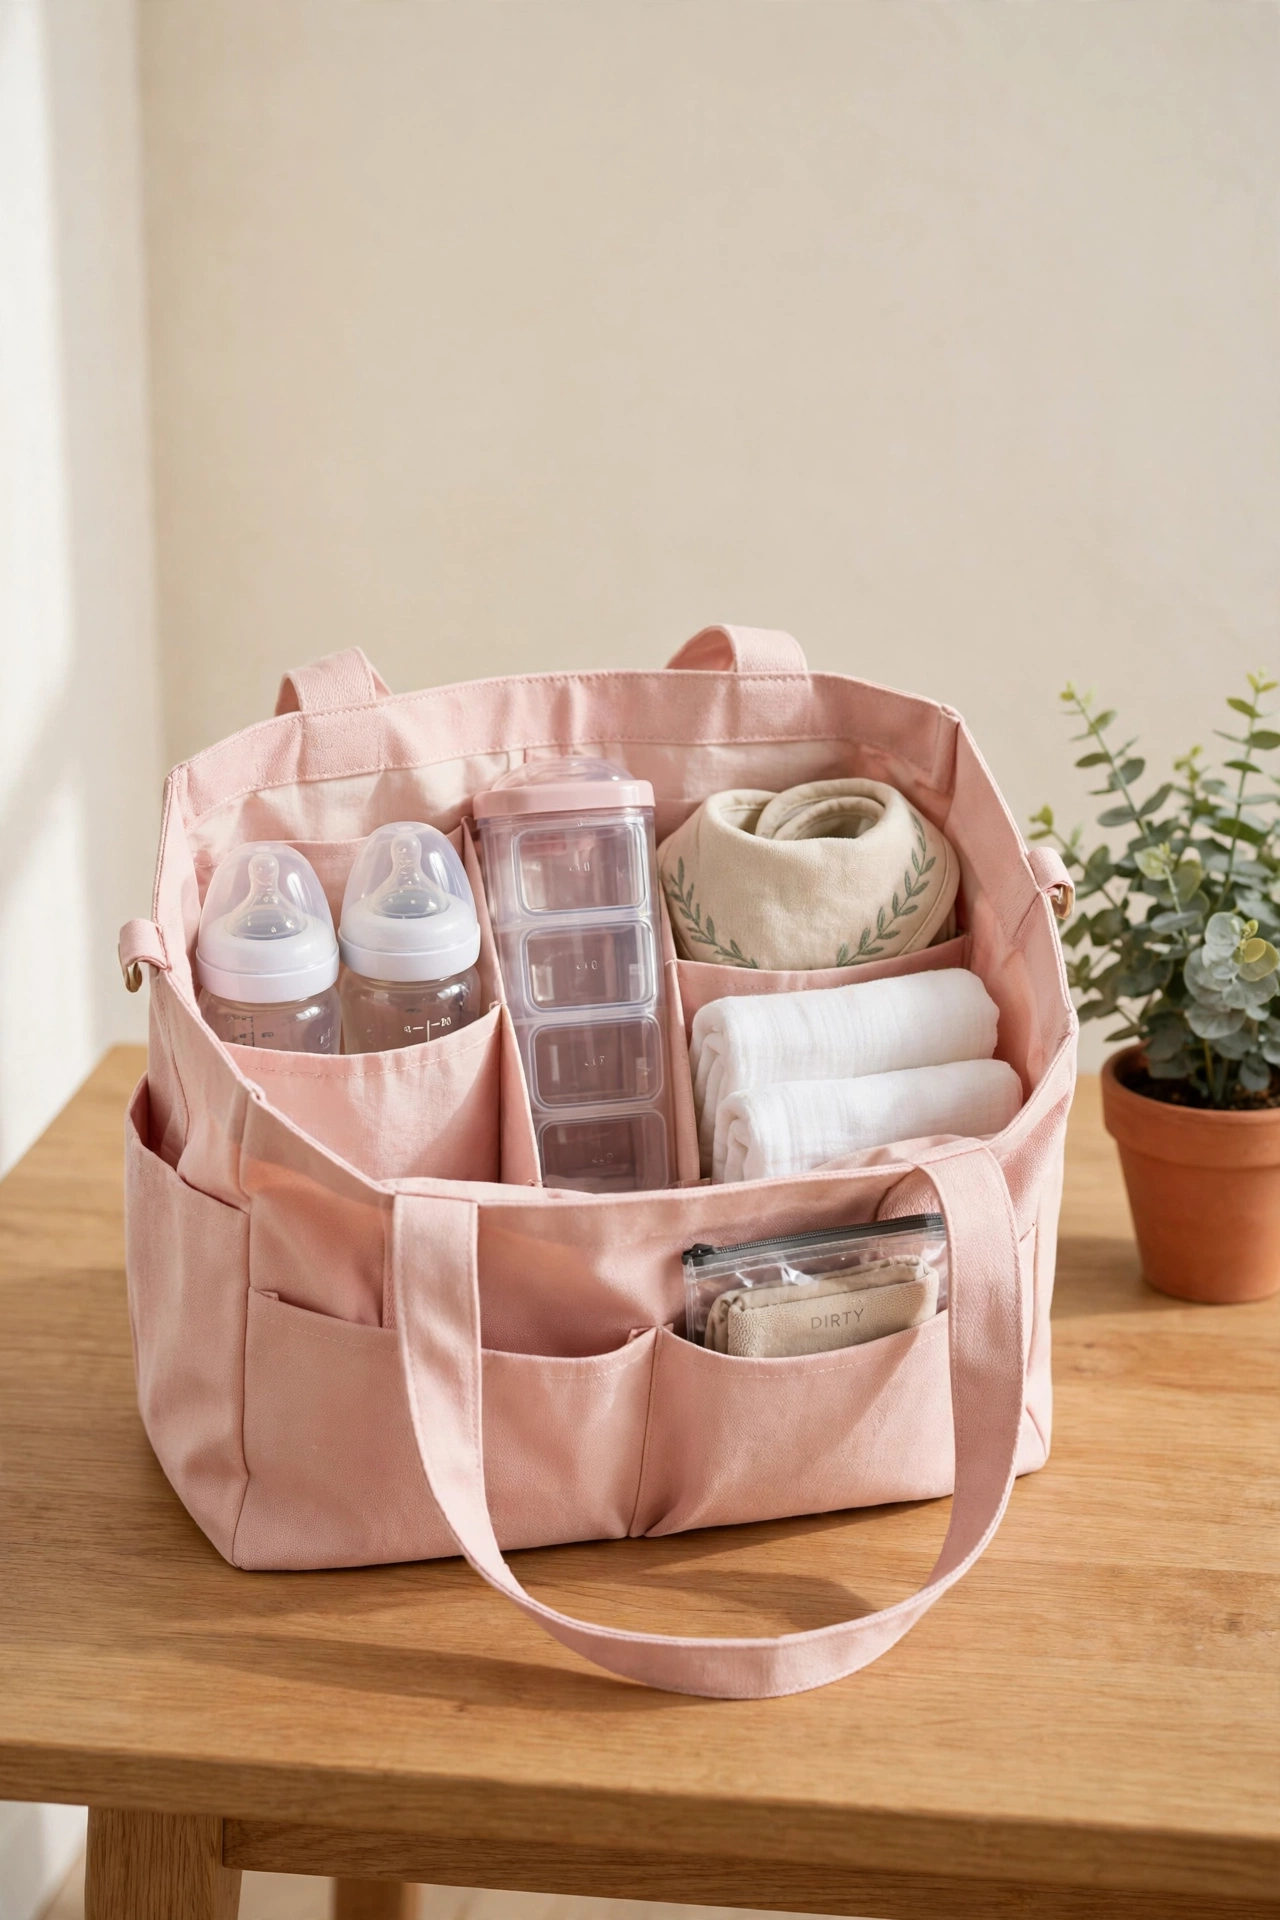
15. Pack a Portable Feeding Tote for Outings
A portable feeding tote lives packed and ready, separate from the diaper bag, so outings never start with a packing scramble. Fill it with two clean bottles, formula portions in a dispenser, a bib, burp cloths, and a small bag for dirty items. Grab the tote and go, knowing every feeding essential is inside.
Choose a tote with inside pockets and a wipe clean lining, since spills are part of life with a baby. After each outing, wash the used items and repack the tote the same evening. Keeping the tote packed means you are always ready for an unplanned visit or a longer than expected errand.
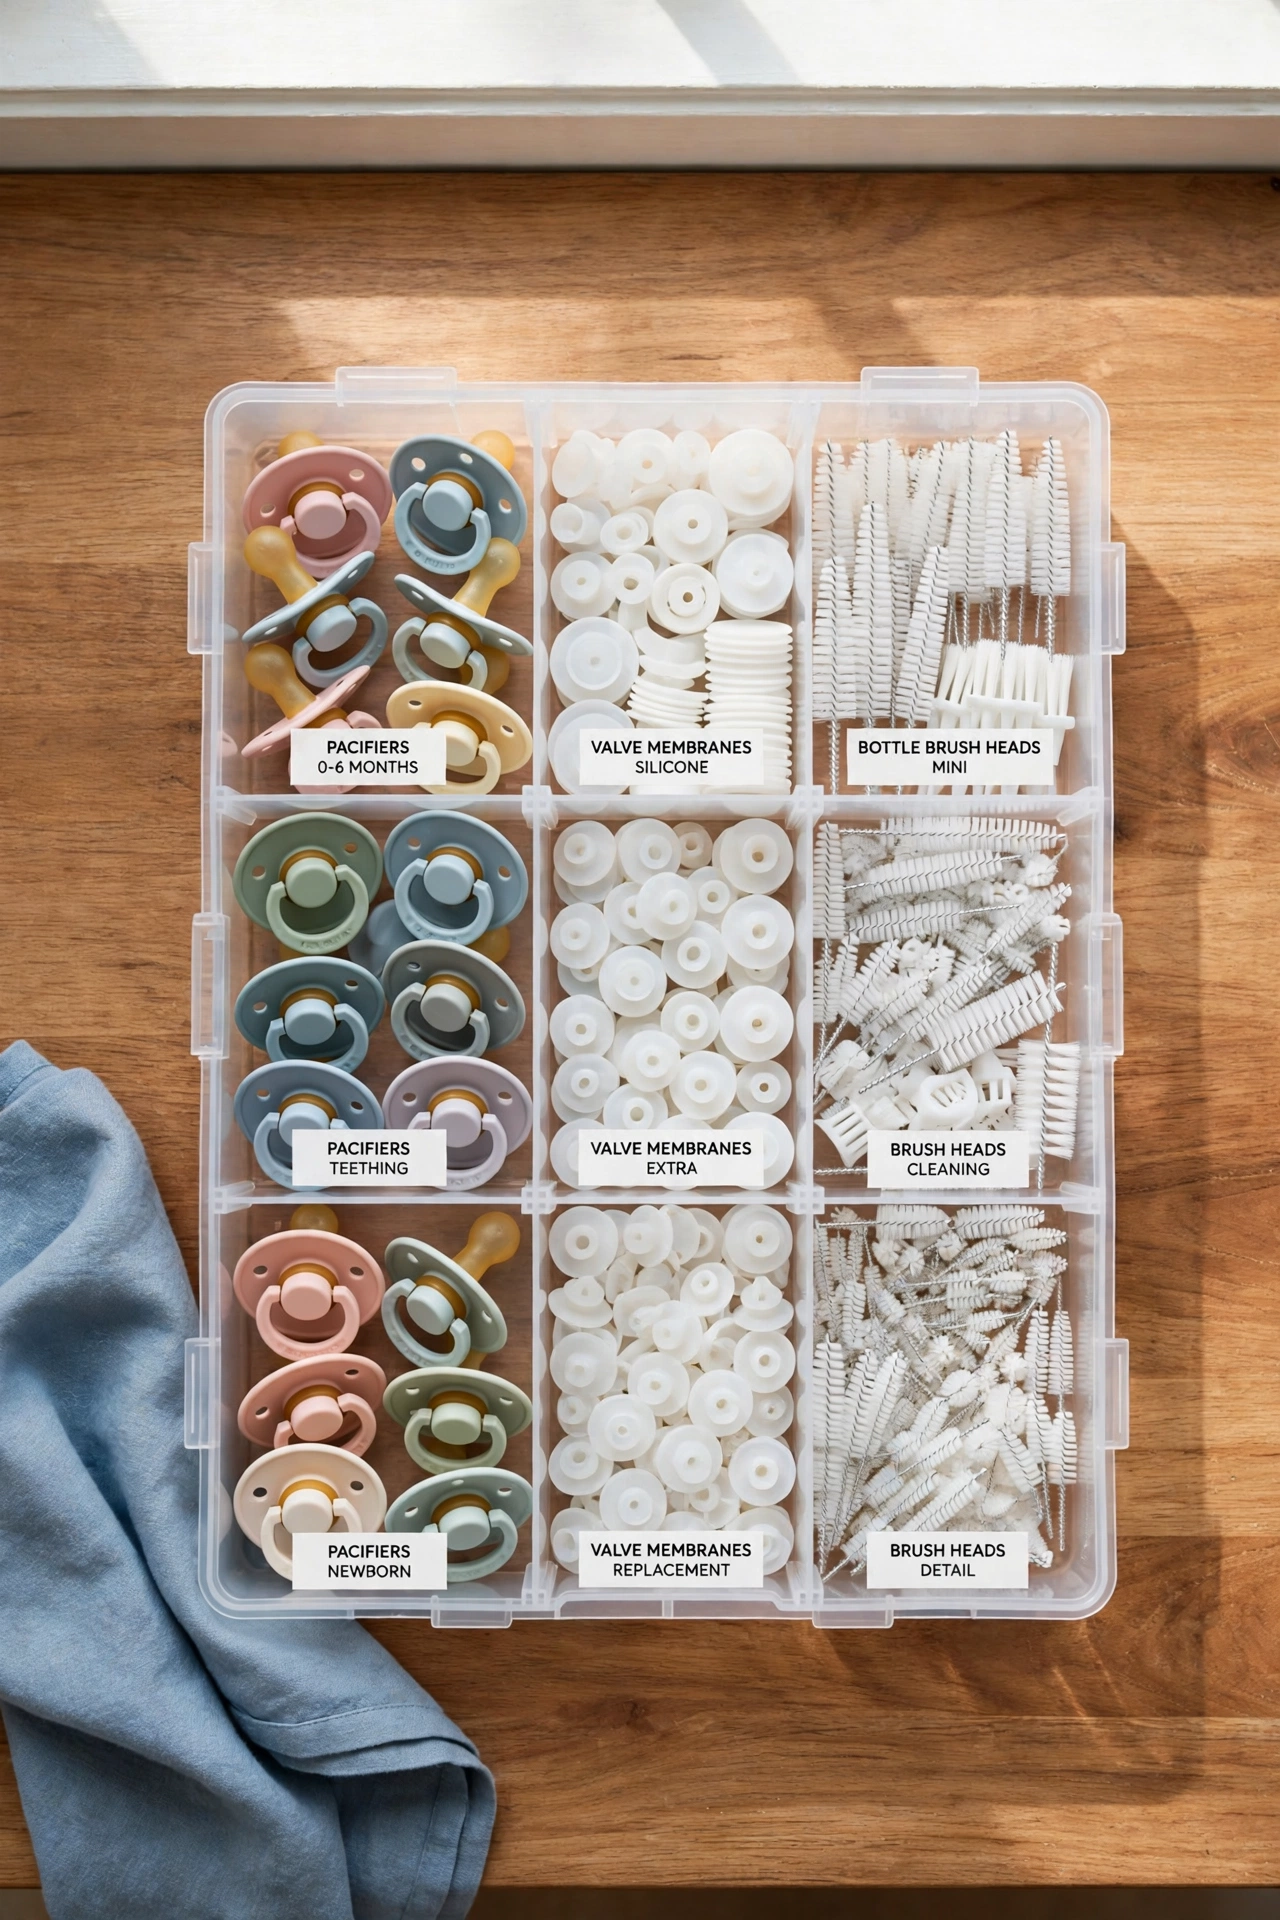
16. Sort Pacifiers and Small Parts in a Craft Box
Pacifiers, valve membranes, and bottle brush heads are tiny and vanish into drawers. A craft box with adjustable dividers gives each small item a compartment sized to fit. One box holds the whole collection of little parts in a single grabbable case.
Label each compartment or use a different colored divider for each category so sorting stays obvious. Keep the box in the feeding drawer or on the counter beside the bottle station. Wash the box regularly and replace pacifiers on schedule so the case always holds only clean, current supplies.
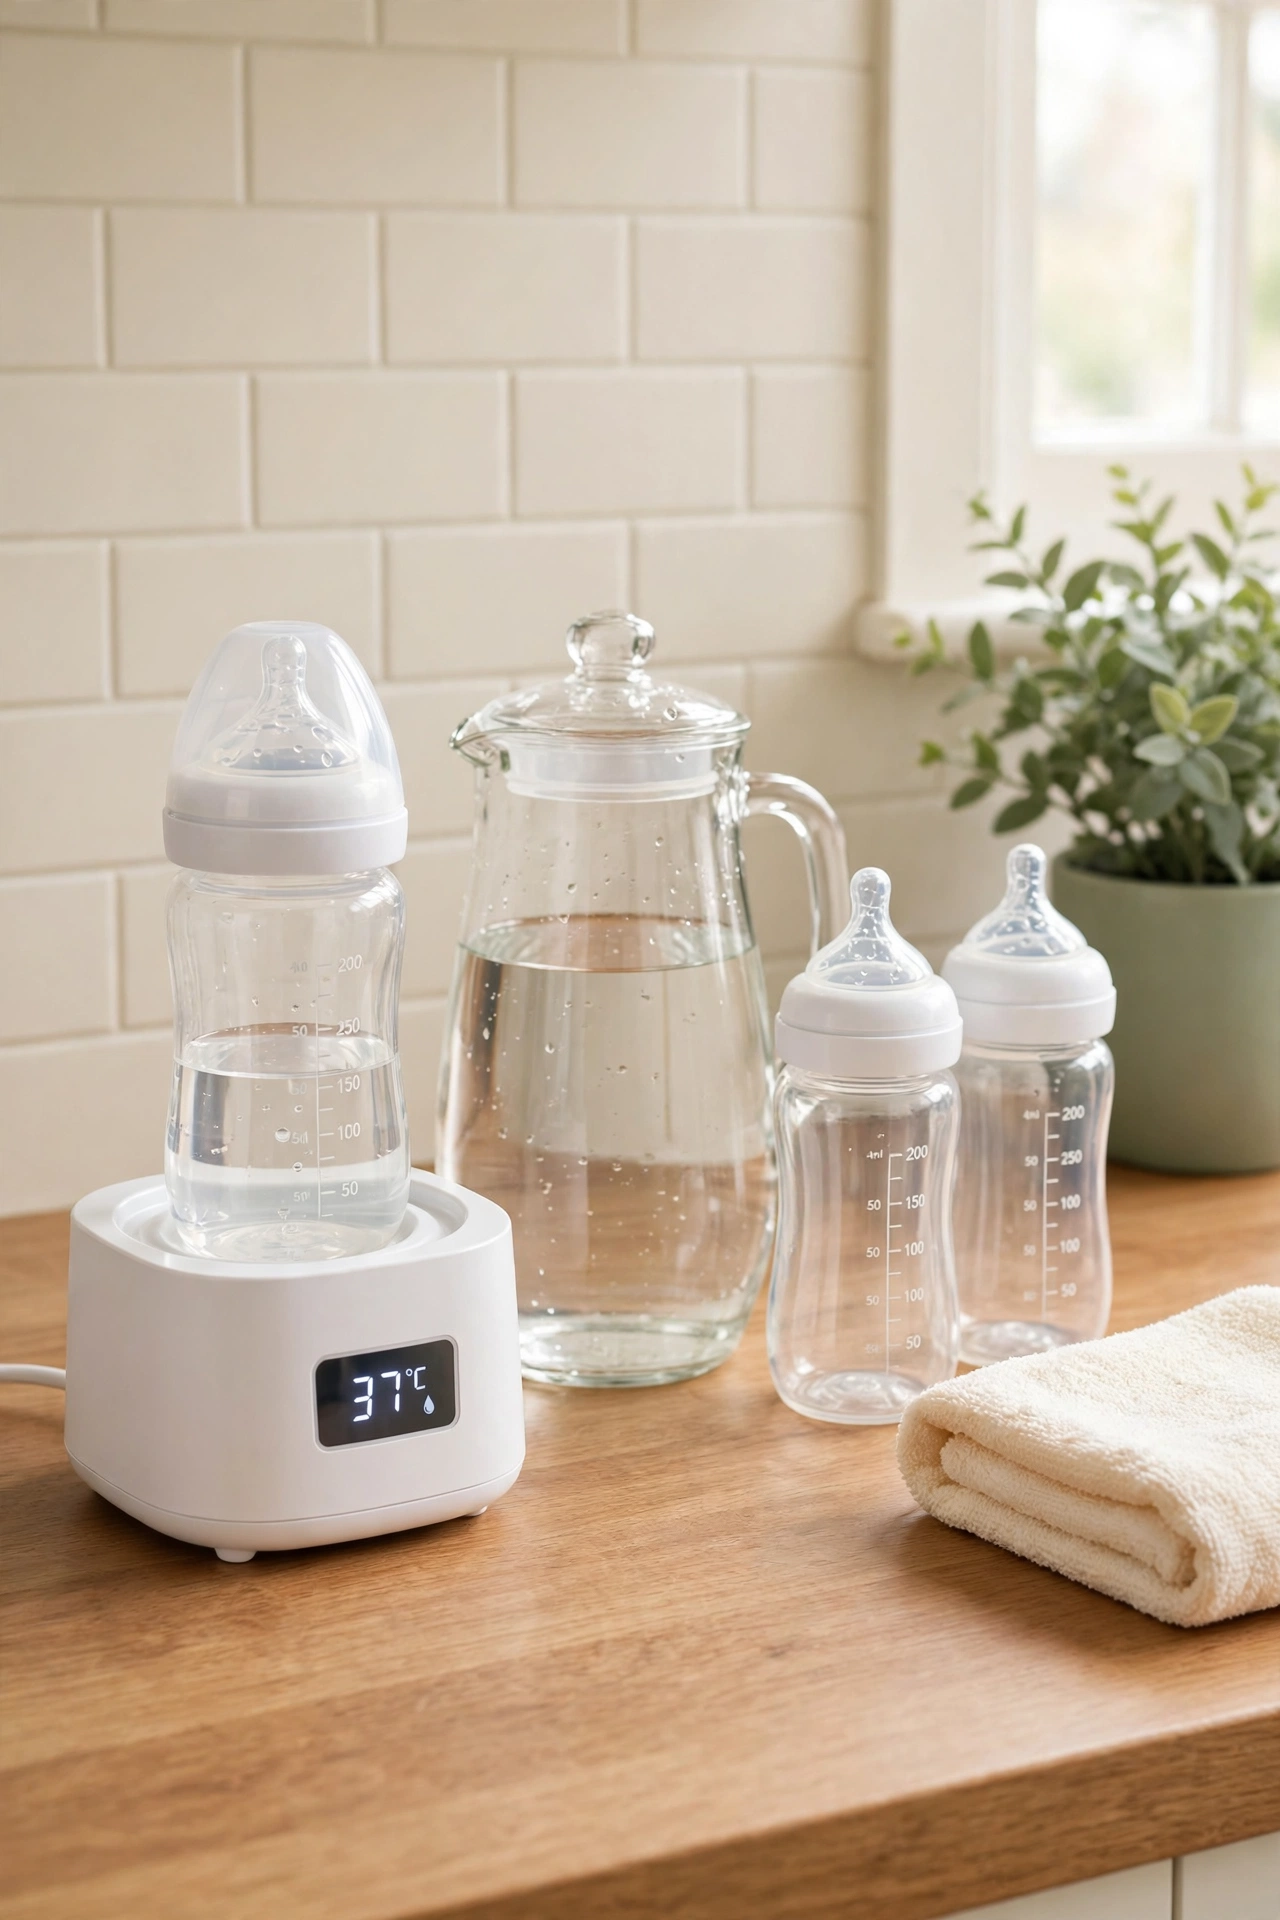
17. Build a Bottle Warming Station on the Counter
A bottle warmer used daily deserves a permanent home instead of living in a cabinet. Set up a small counter station with the warmer, a water pitcher, clean bottles, and a folded towel for drips. Everything for a warm bottle sits in one compact zone, ready in seconds.
Keep the station near an outlet and away from the edge of the counter for safety. Wipe the station daily and descale the warmer on schedule so it works reliably at 2 a.m. For more ways to give hard working appliances a tidy home, these kitchen appliance organization ideas show how to keep counters calm while keeping essentials within reach. A tidy warming station turns a fussy task into a one minute routine.
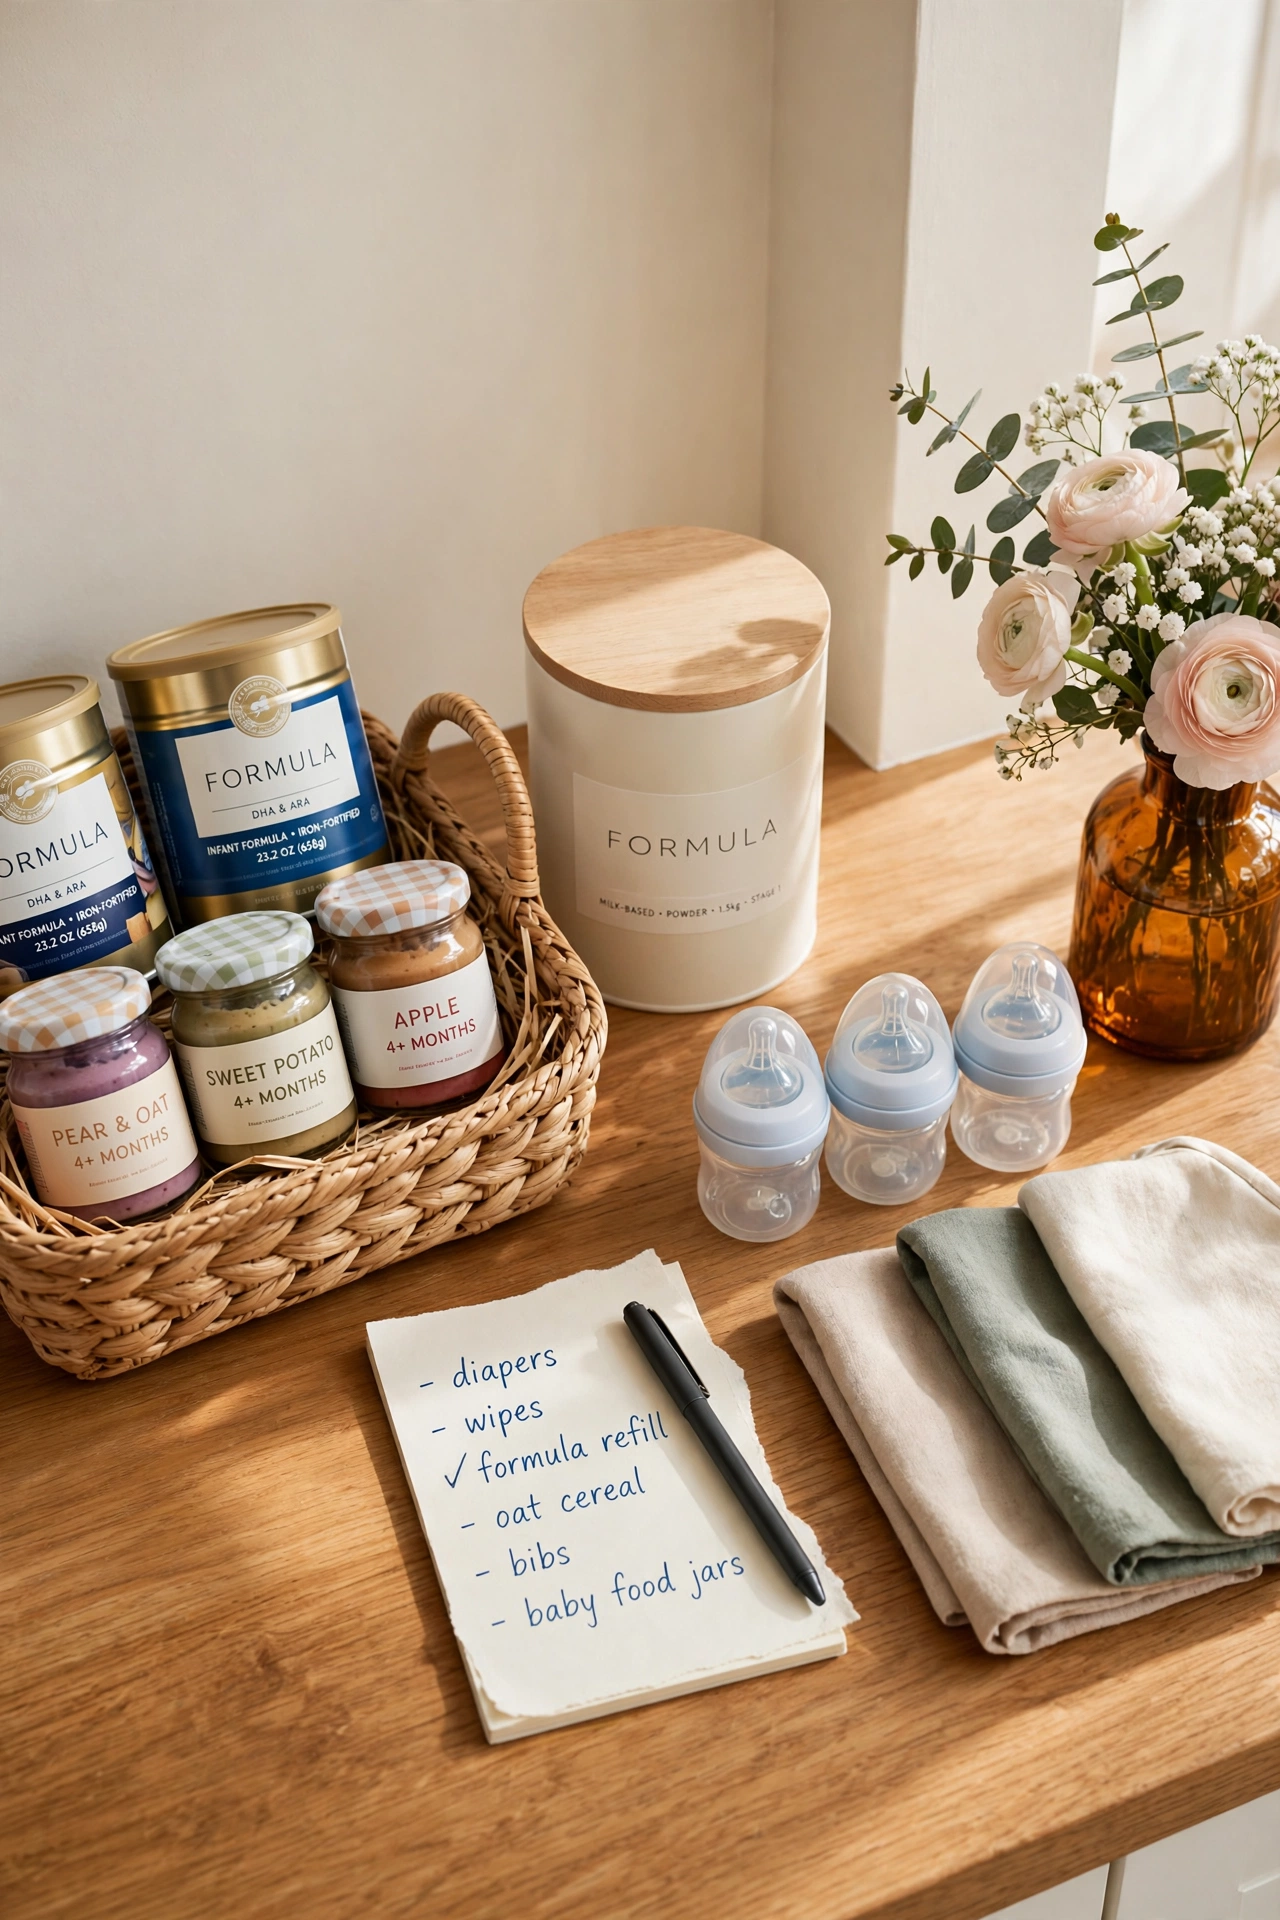
18. Run a Weekly Restock and Rotation Routine
Even the best system drifts into chaos without a weekly reset. Pick one evening a week to restock every station: refill the formula canister, check fridge milk dates, rotate pantry bins, and wash the drying rack. Fifteen minutes once a week keeps the whole system working.
Keep a small notepad or a list on the fridge where you note low stock as you notice it during the week. At restock time, the list tells you exactly what to buy or prepare. This simple routine prevents the 2 a.m. discovery that the formula is empty or the clean nipples are gone.
Conclusion
Feeding a new baby is demanding enough without hunting for supplies at every meal. A dedicated drawer, a rolling cart, a night caddy, and a weekly restock routine turn feeding chaos into a calm system that works around the clock. The best part is that none of these ideas needs a renovation or a large budget.
Start with the two or three ideas that solve your biggest daily frustrations, such as the feeding drawer and the night caddy, and add more stations as your routine settles. In a few weeks, every bottle, nipple, and bib will have a home, and you will spend feeding time holding your baby instead of searching the kitchen.
Frequently Asked Questions About Baby Feeding Supply Organization Ideas for New Parents
How many baby bottles do new parents need?
Most new parents need six to eight bottles if they bottle feed full time, and three to four bottles if they combine breast and bottle feeding. More bottles mean fewer wash cycles each day. Start with six and add more if you find yourself washing bottles more than twice a day.
Where should I store baby bottles and feeding supplies?
Store clean bottles and parts in a dedicated drawer or cabinet close to the sink, where washing and storage happen in one short trip. Keep formula in airtight canisters on the counter or in the pantry, and pumped milk on its own labeled fridge shelf. A night caddy beside the bed covers feeds after dark.
How long can prepared formula sit out at room temperature?
Prepared formula should be used within two hours at room temperature, and within one hour once a feeding has started. Discard any leftover formula in the bottle after a feed. Store unopened formula in a cool, dry place and follow the date printed on the can.
How do I keep bottle nipples organized by size?
Sort nipples by flow size into separate compartments of a divided tray, and label each compartment with the size. Keep the tray in the feeding drawer so the right nipple is always easy to find. Move up a flow size when your baby finishes feeds faster or seems frustrated by a slow flow.
What is the best way to organize a small kitchen for baby feeding?
Use vertical space with a rolling cart, a door organizer, and a tiered rack inside cabinets. Give feeding supplies one drawer and one counter station, and keep backup stock in labeled pantry bins. A weekly restock routine keeps the small system working without clutter building up.

Hi, I’m Emily! I turn messy corners into cozy, organized spots. DreamNestDecor is where I share simple, practical home ideas — decor, organization, and small-space solutions that work in real life, not just in photos. Every idea here is carefully researched before it’s shared.