
You open the drawer and hear the familiar clatter. Spatulas tangle with whisks, the potato masher hides under a pile of spoons, and the tool you need is always at the very bottom.
A busy cook needs tools that appear in seconds, not minutes. When every utensil has a clear home, dinner prep feels calm and fast, even on the busiest weeknights.
These 28 kitchen utensil drawer organization ideas show you how to sort, divide, and zone your drawer so everything stays tidy. Pick the ones that fit your drawer and start today.
1. Empty and Clean the Drawer First
Take everything out of the drawer before you buy a single organizer. This fresh start shows you what you actually own and how much space you really have.
Wipe the drawer clean with warm soapy water and let it dry fully. A clean base makes every divider and tray sit flat and stay put.
2. Measure the Drawer Before You Shop
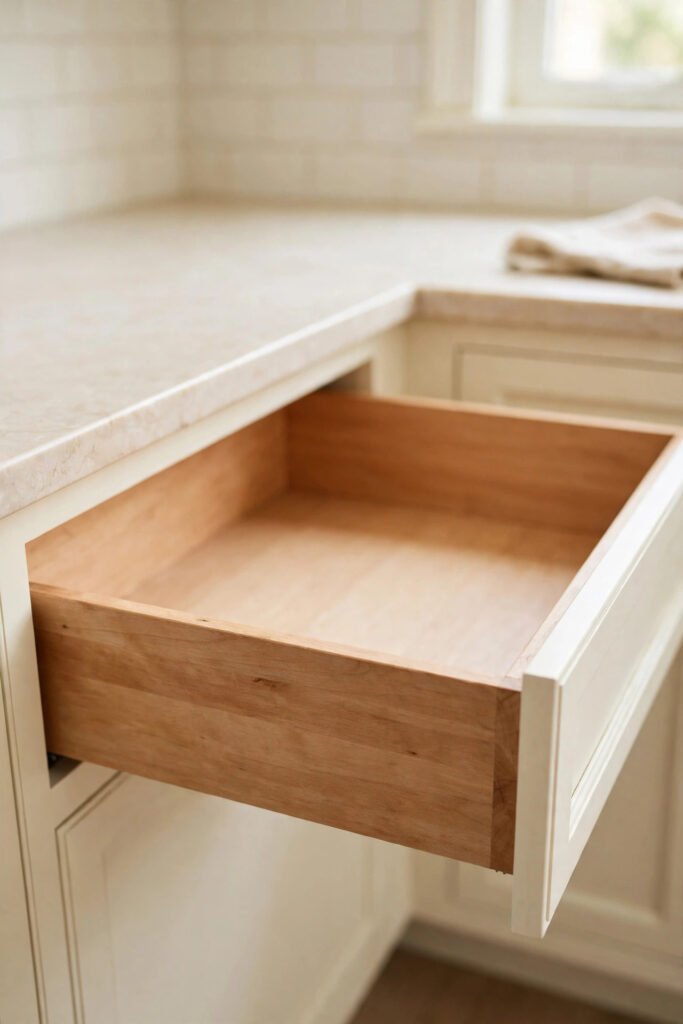
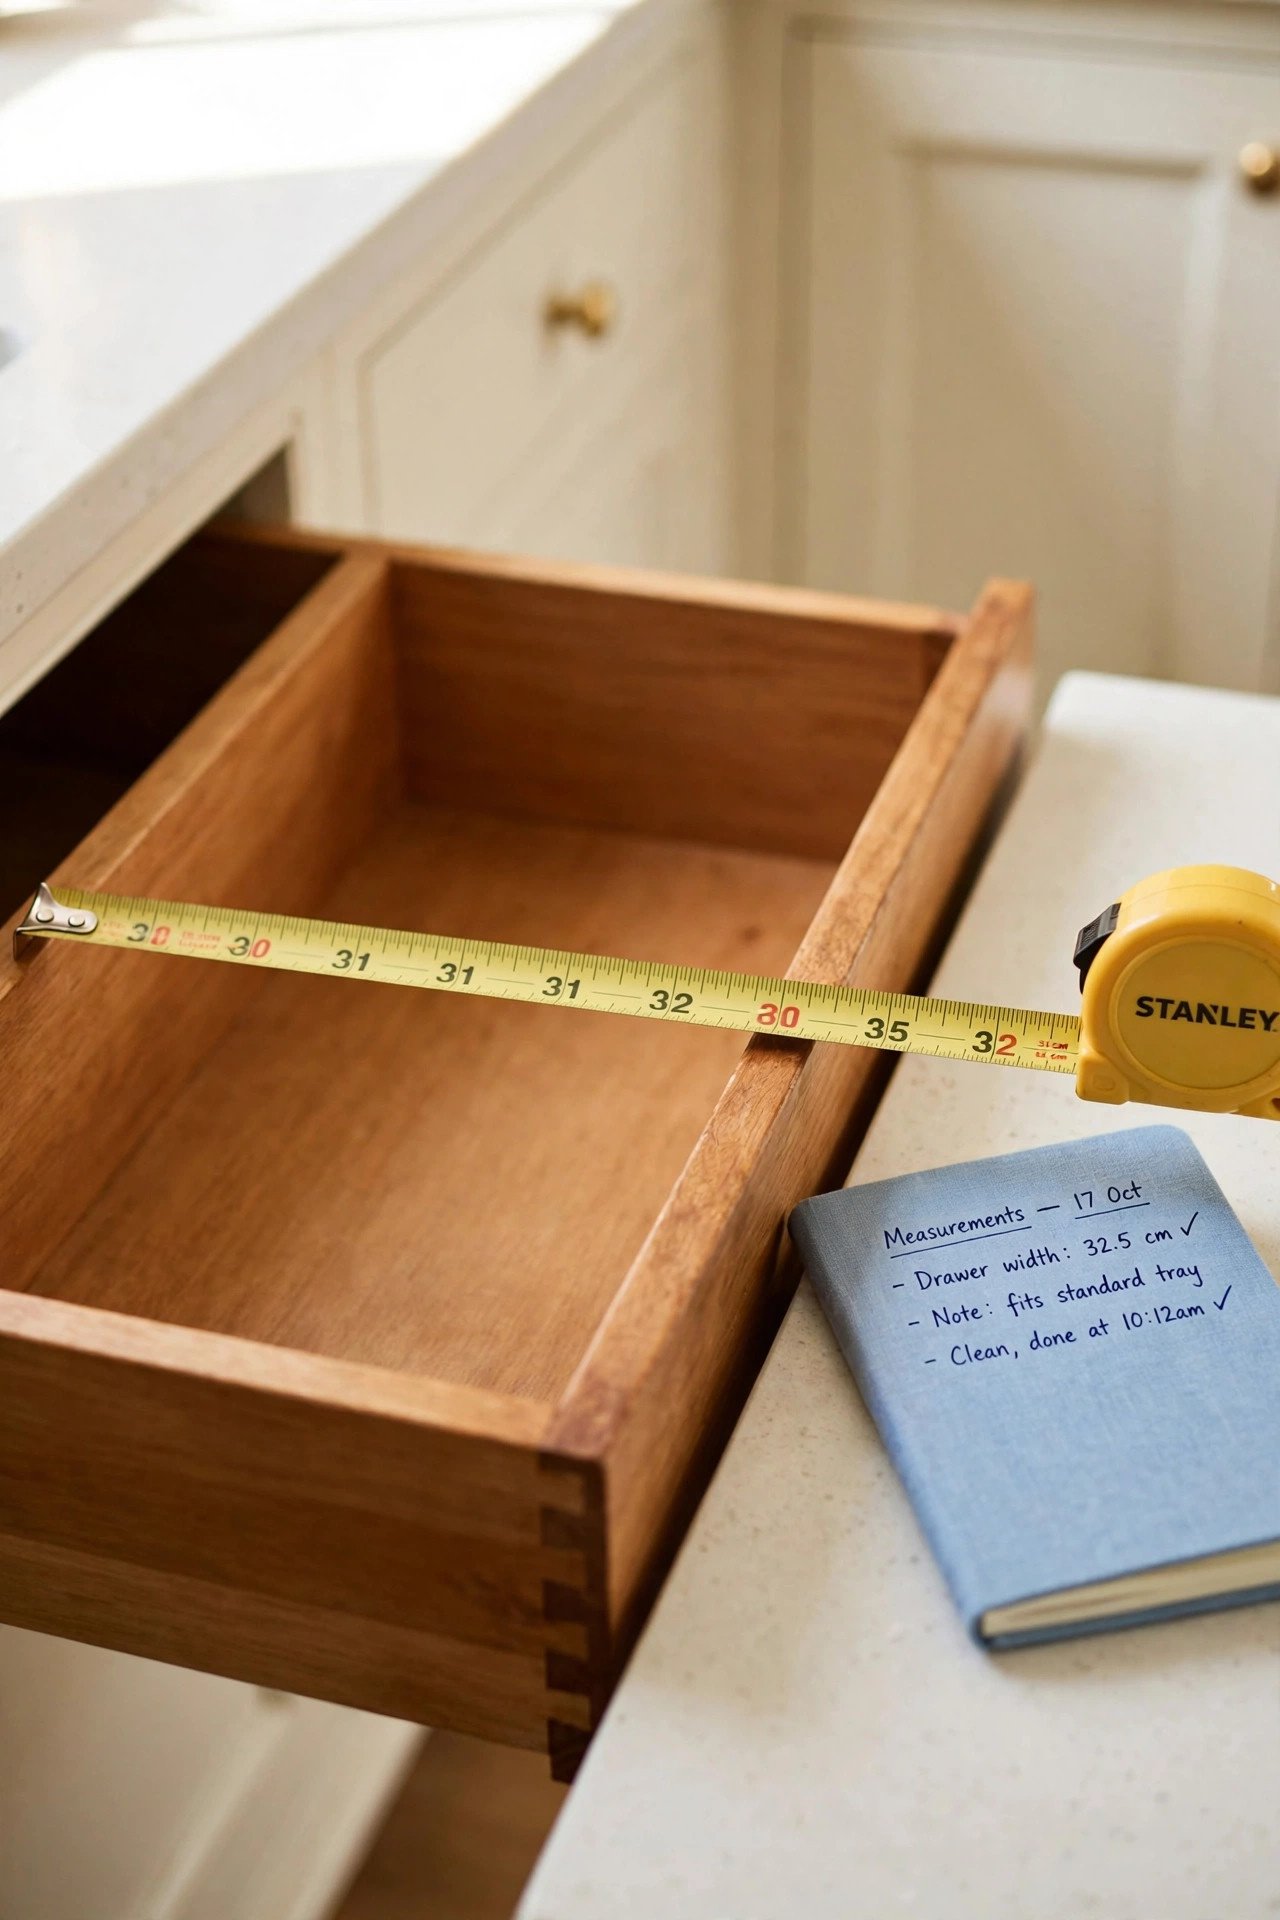
Grab a tape measure and write down the length, width, and depth of your drawer. These three numbers save you from buying organizers that almost fit.
Measure twice, especially the depth, because deep drawers can hold stacked trays while shallow ones cannot. Keep the numbers on your phone for store trips.
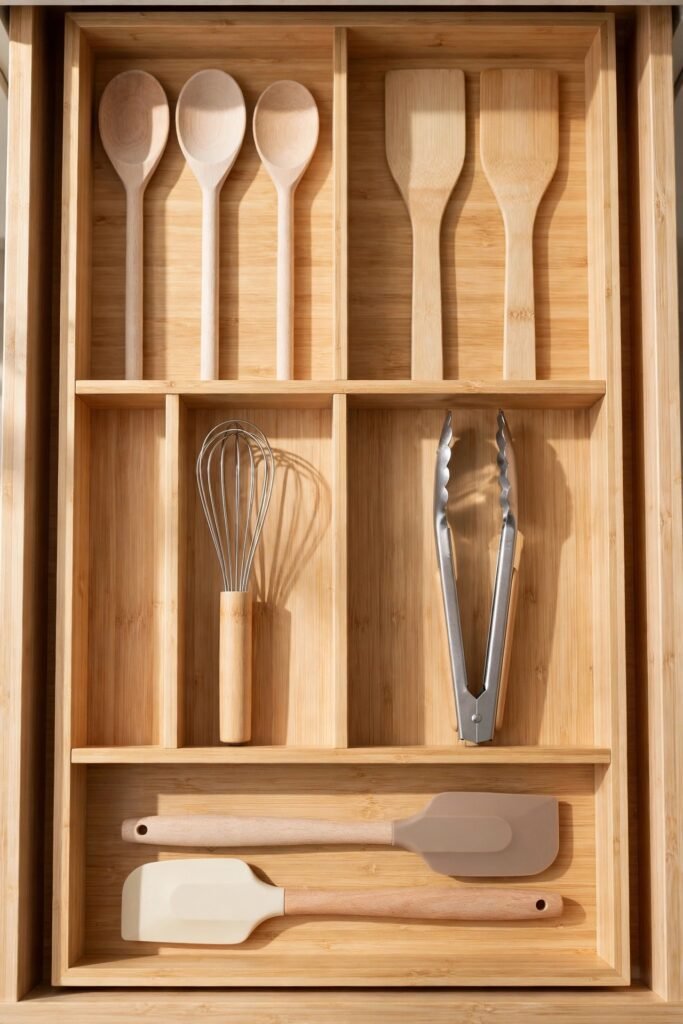
3. Adjustable Bamboo Dividers
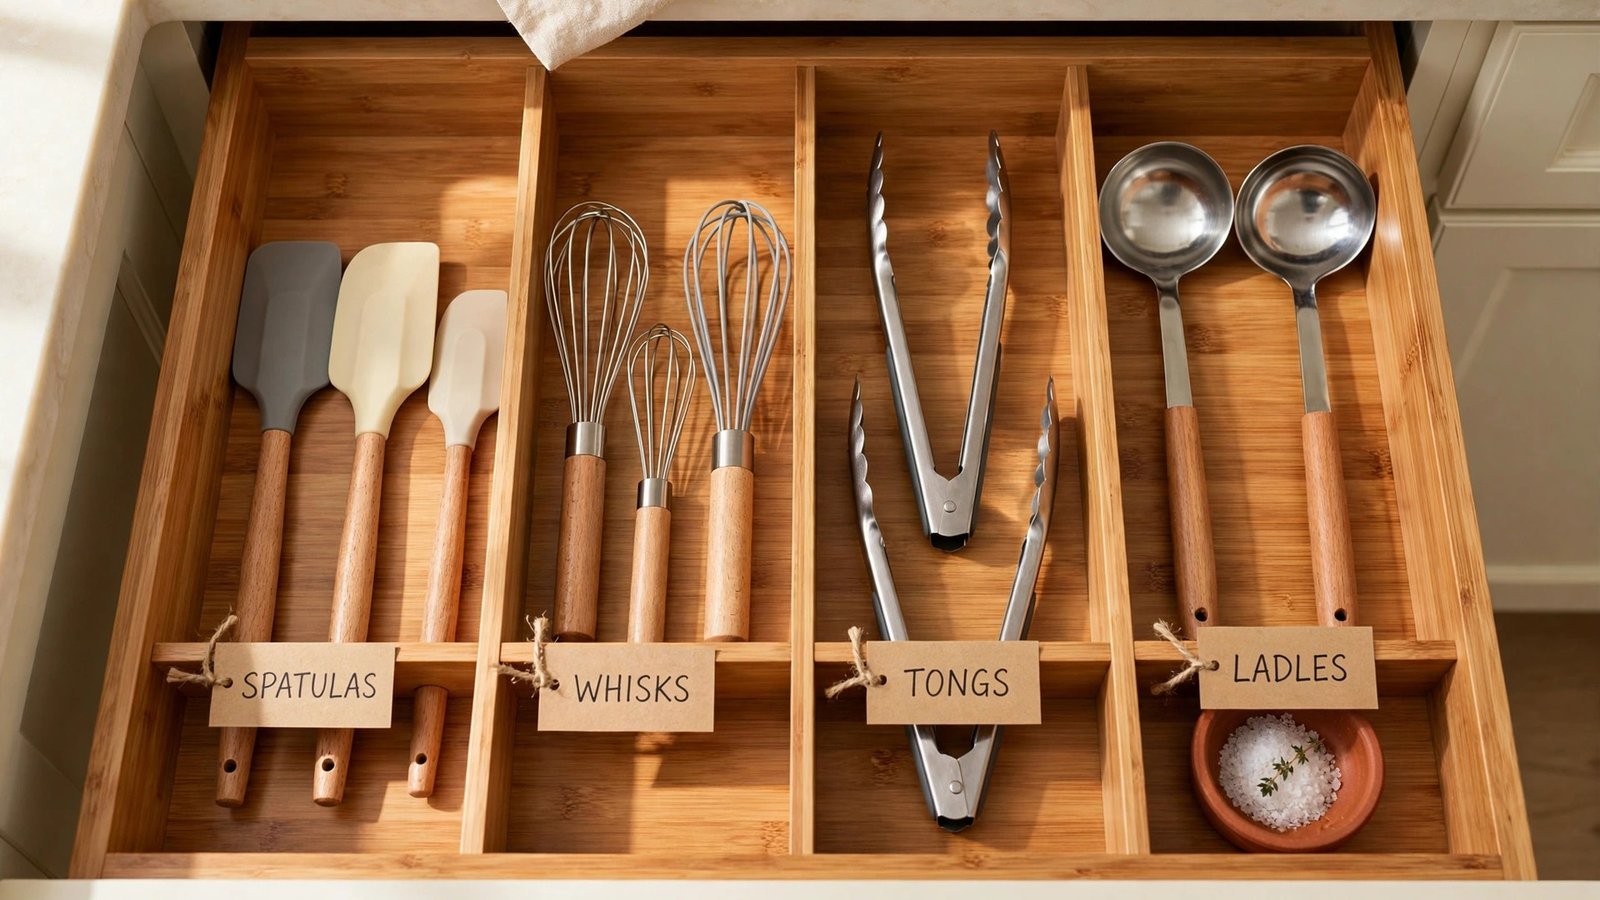
Bamboo dividers stretch to fit your exact drawer width and lock in place with spring tension. You can create wide bays for spatulas and narrow slots for tongs in seconds.
Bamboo looks warm and natural, and it wipes clean with a damp cloth. Choose dividers with soft grips so they never scratch the drawer sides.
4. Expandable Tray for Odd Drawer Widths
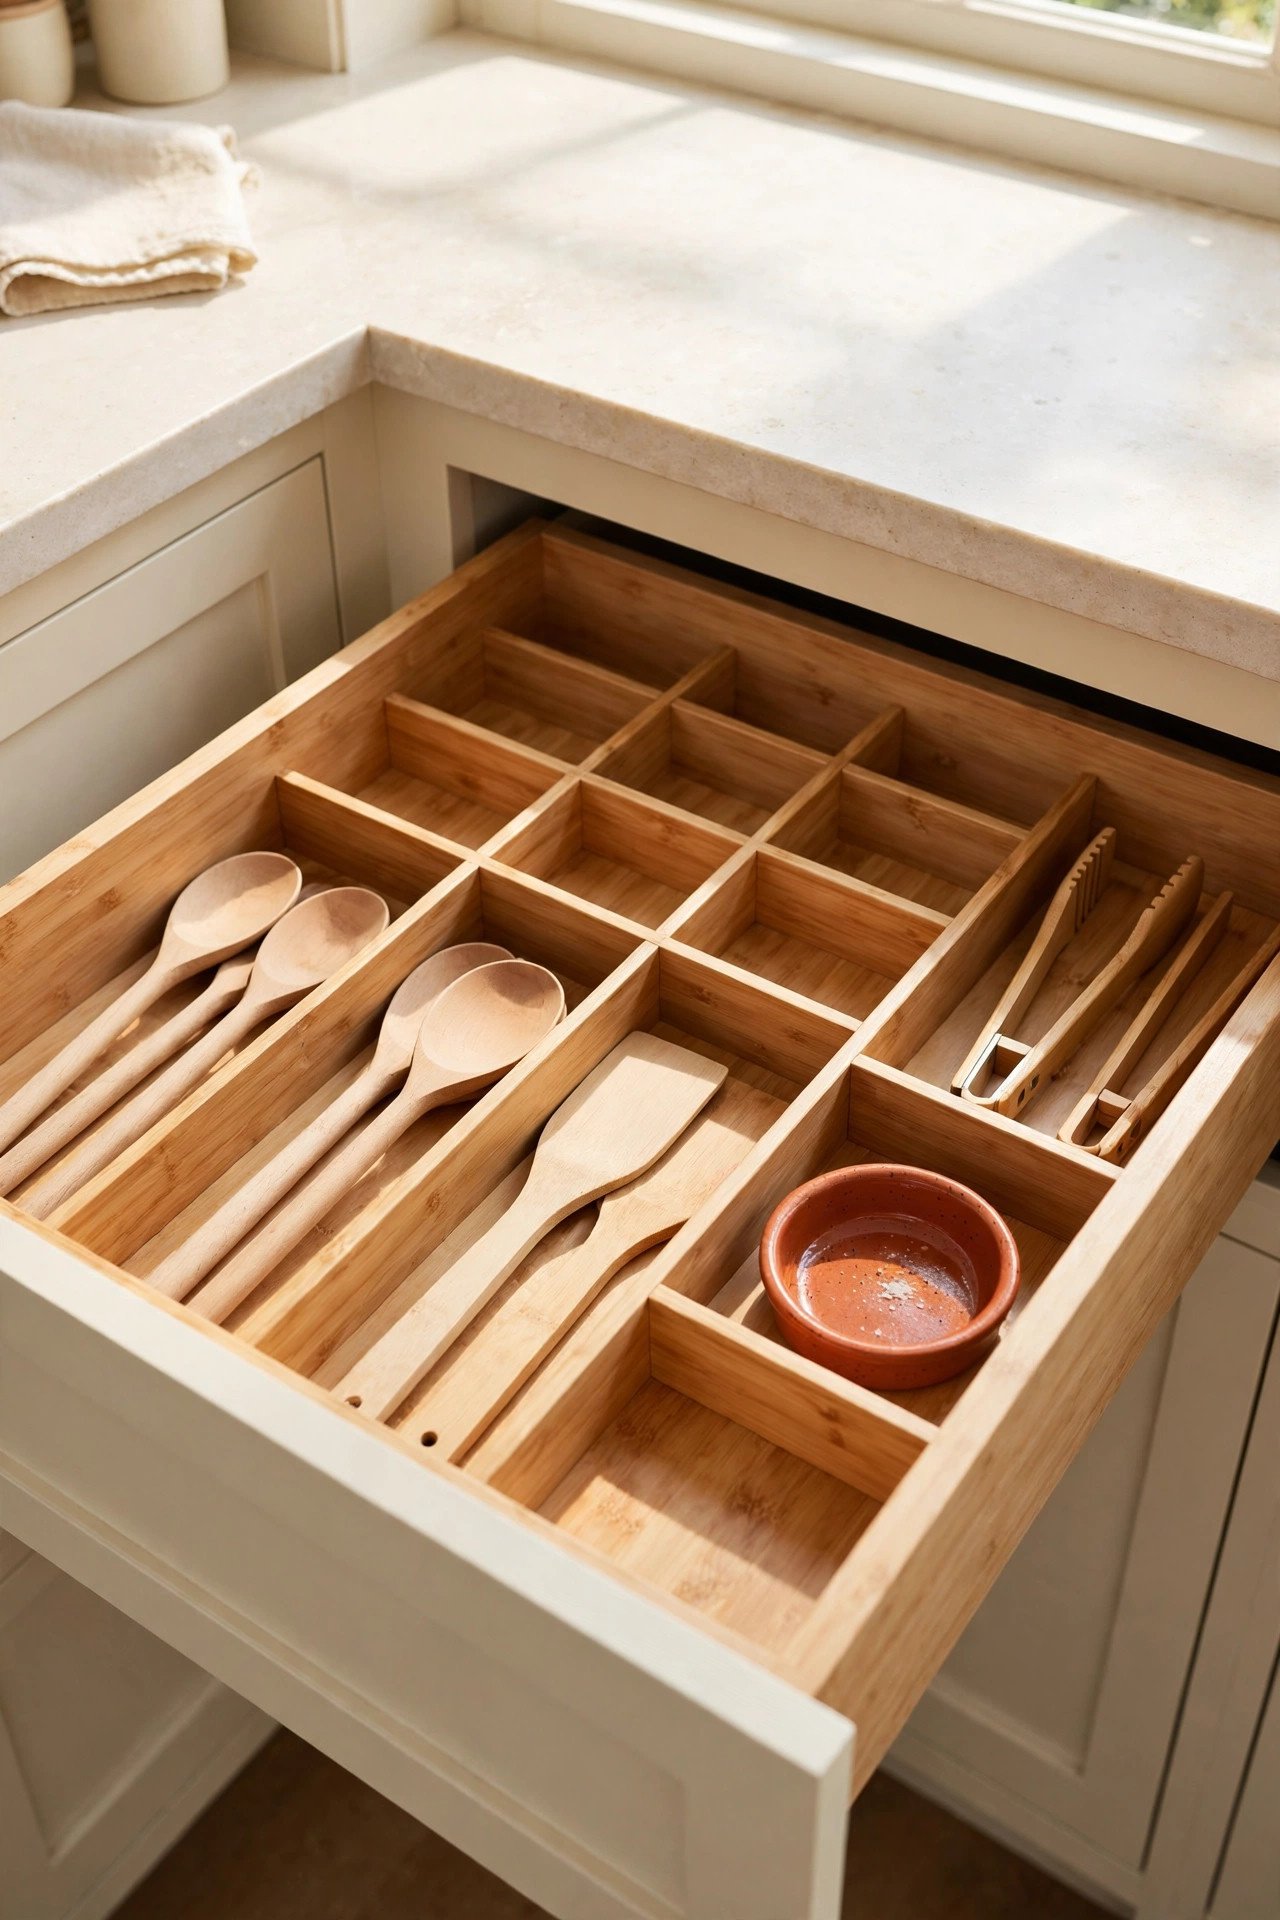
Expandable trays slide wider or narrower to fill drawers that standard trays leave half empty. No wasted gap means no tools sliding into dead corners.
Look for a tray with at least five compartments in different sizes. The adjustable sides keep the tray snug even when you yank the drawer open fast.
5. Diagonal Organizer for Long Tools
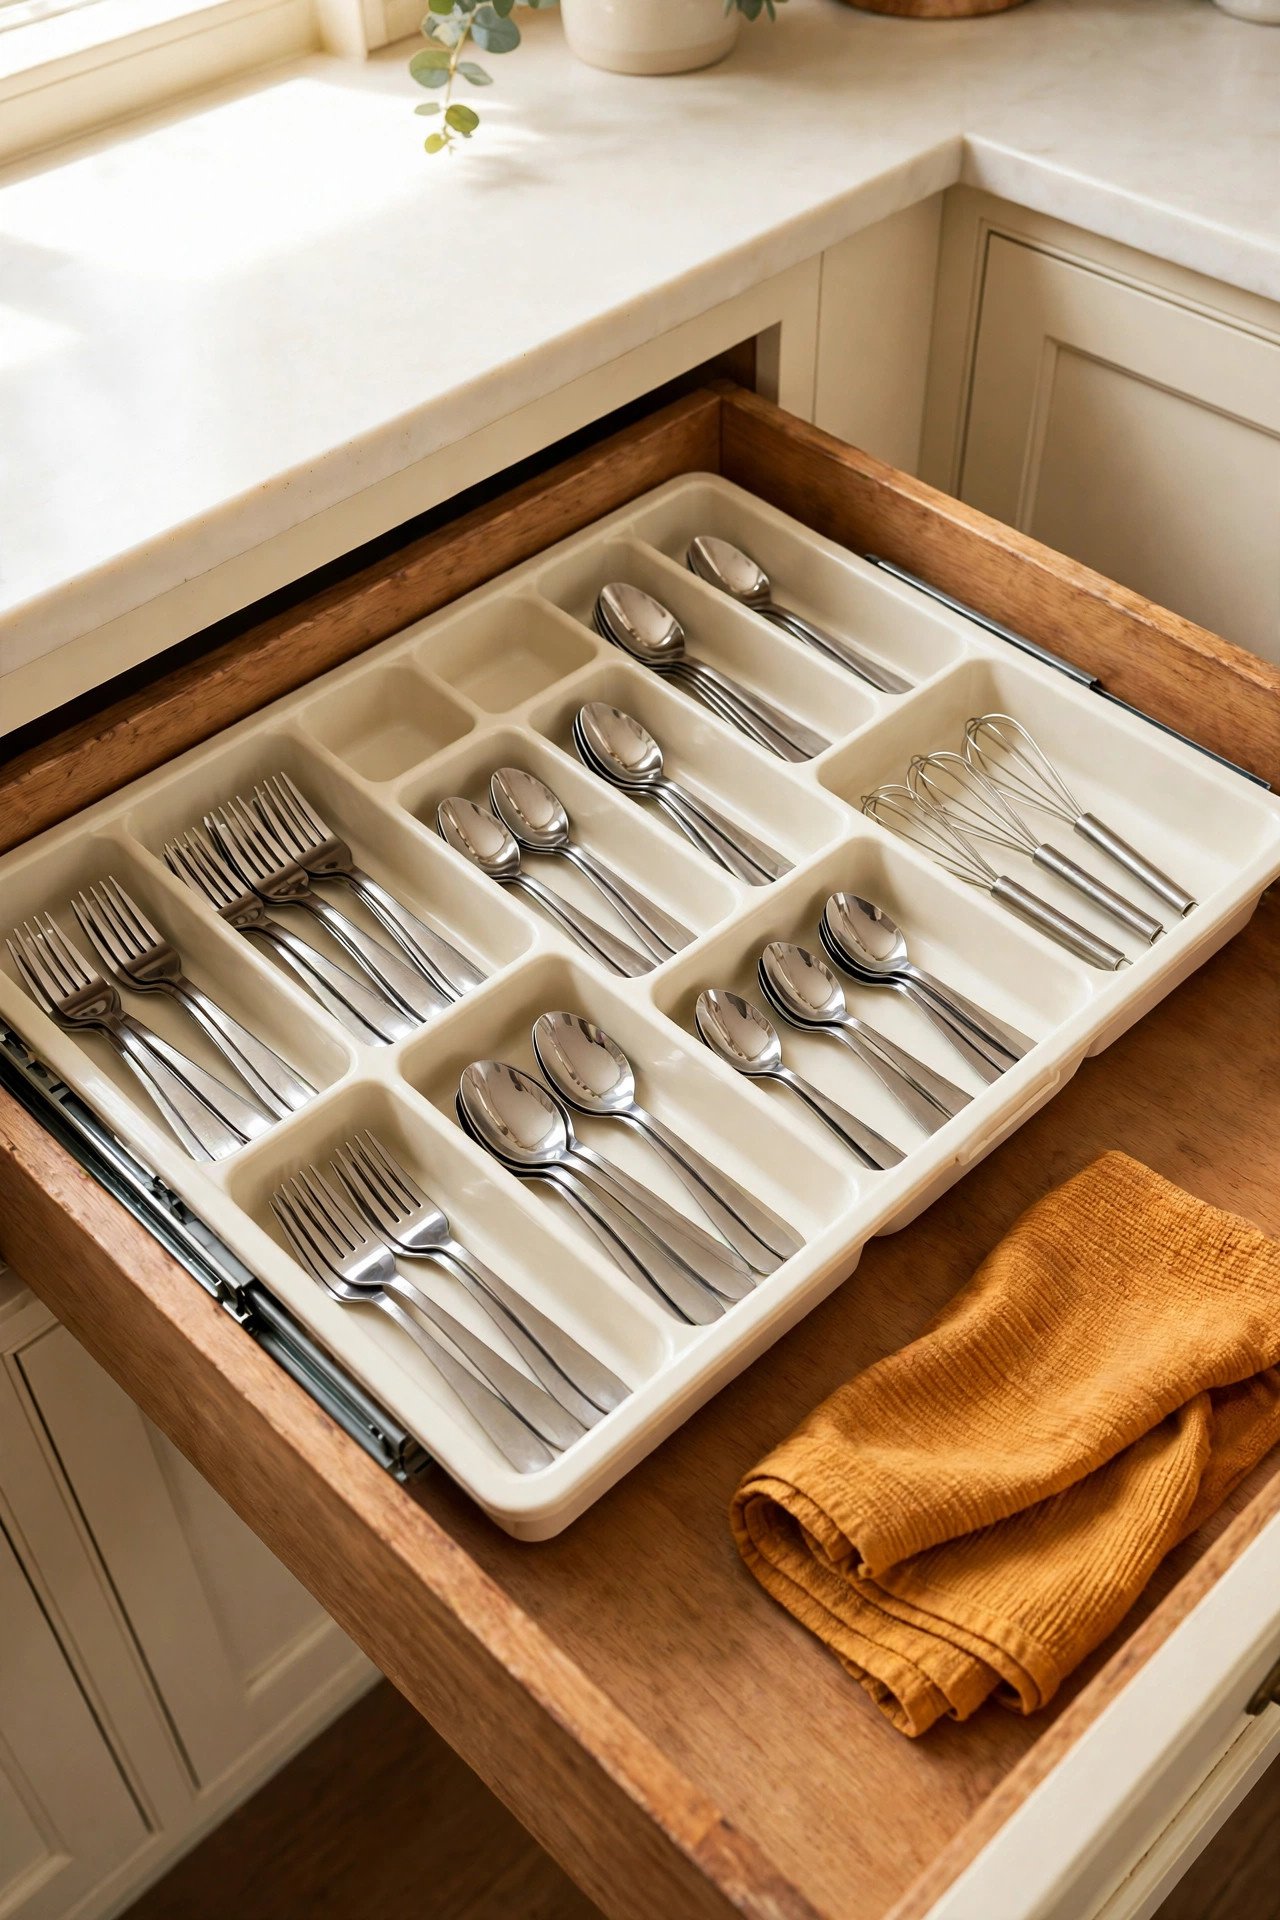
A diagonal organizer sits at an angle so long spatulas, whisks, and ladles fit in a standard drawer. The slanted slots use corner space that straight trays waste.
This single change often solves the classic problem of tools that stick out or jam the drawer shut. Your longest tools finally lie flat and quiet.
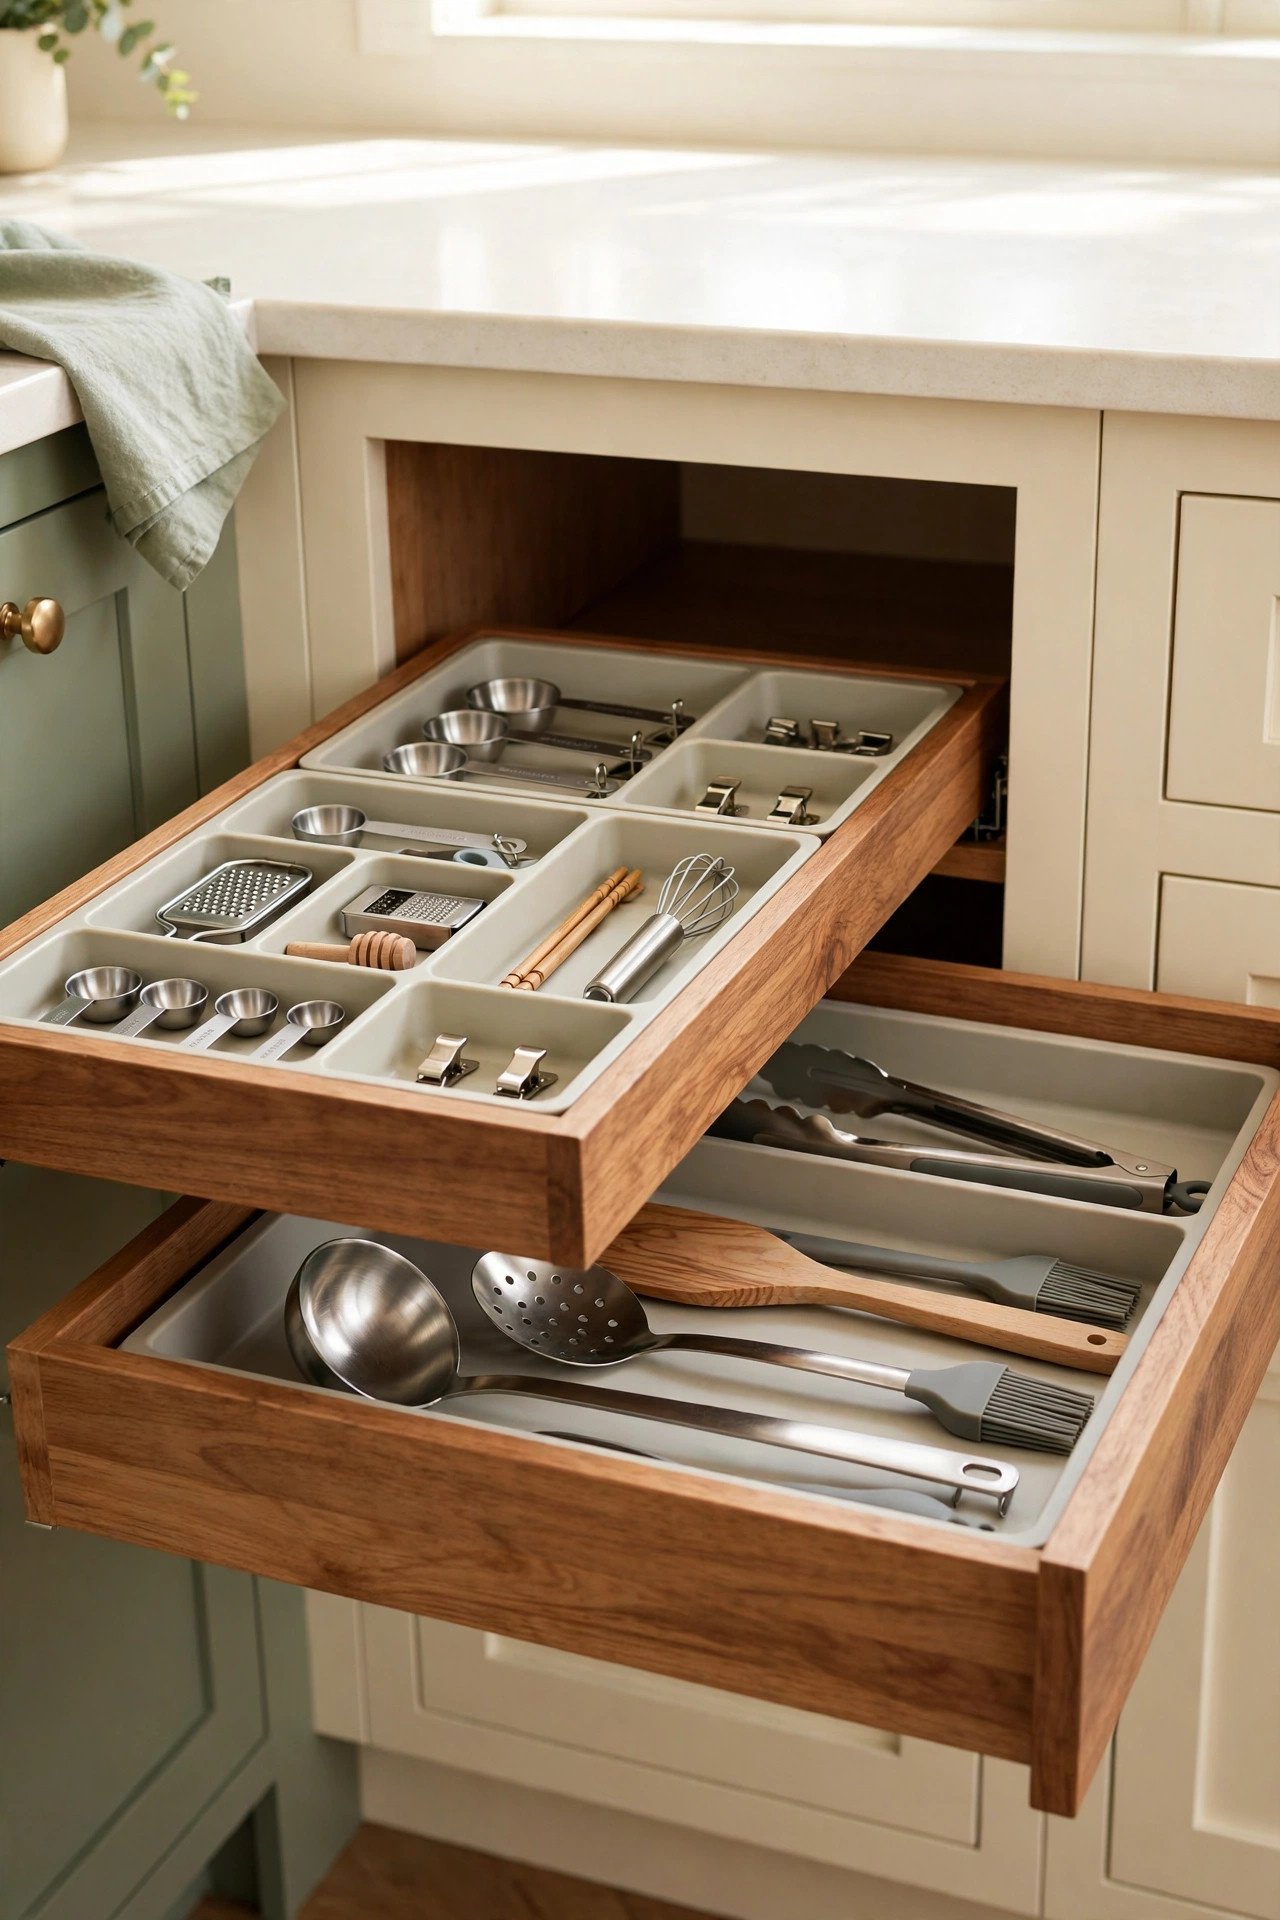
6. Two-Tier Trays for Double Storage
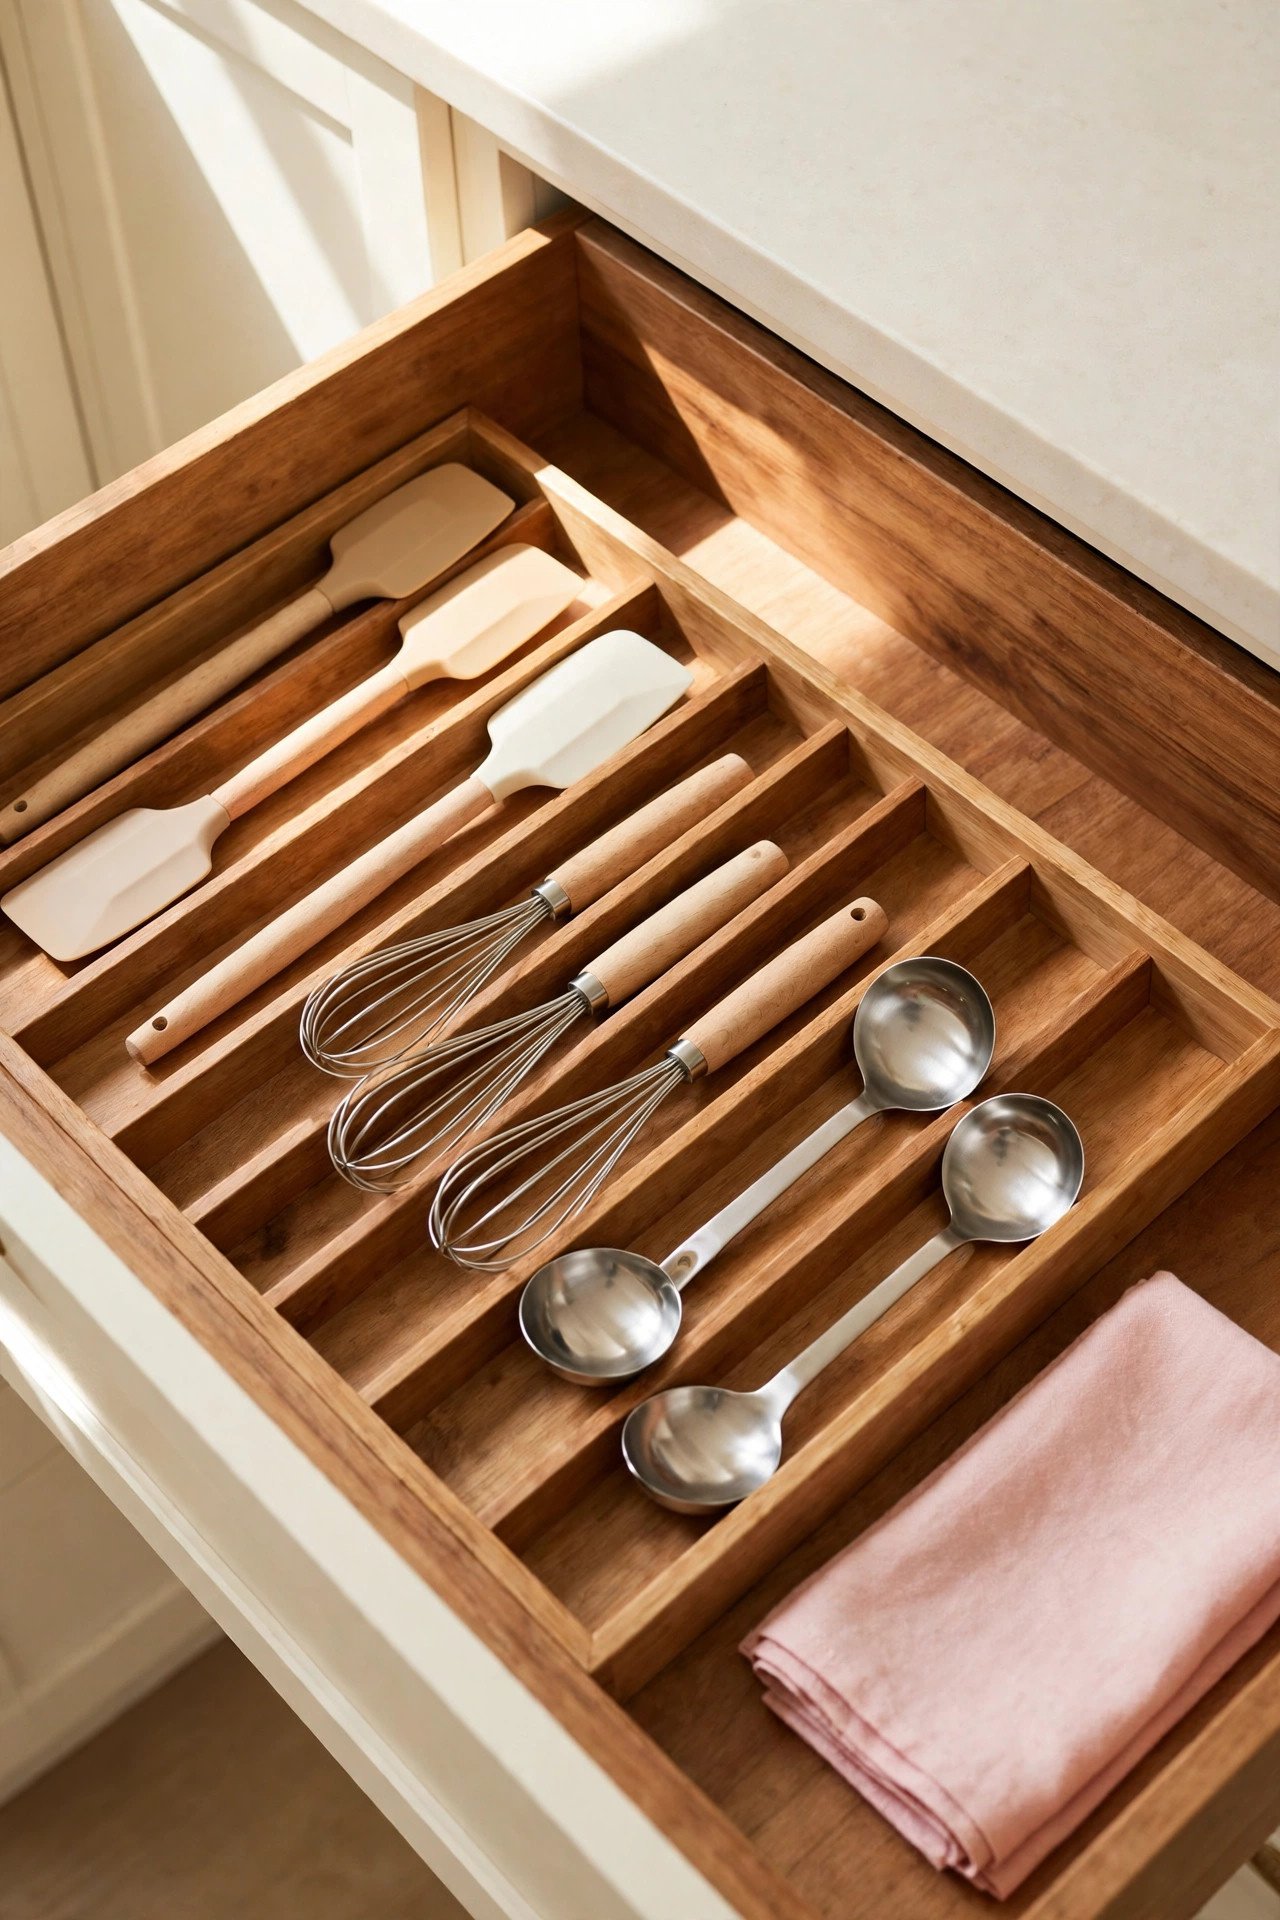
Two-tier trays add a sliding upper level that doubles the storage of one drawer. Small tools live on top while larger ones rest below.
The top tier glides aside with one hand, so you reach the bottom layer without lifting anything out. It is perfect for shallow drawers packed with gadgets.
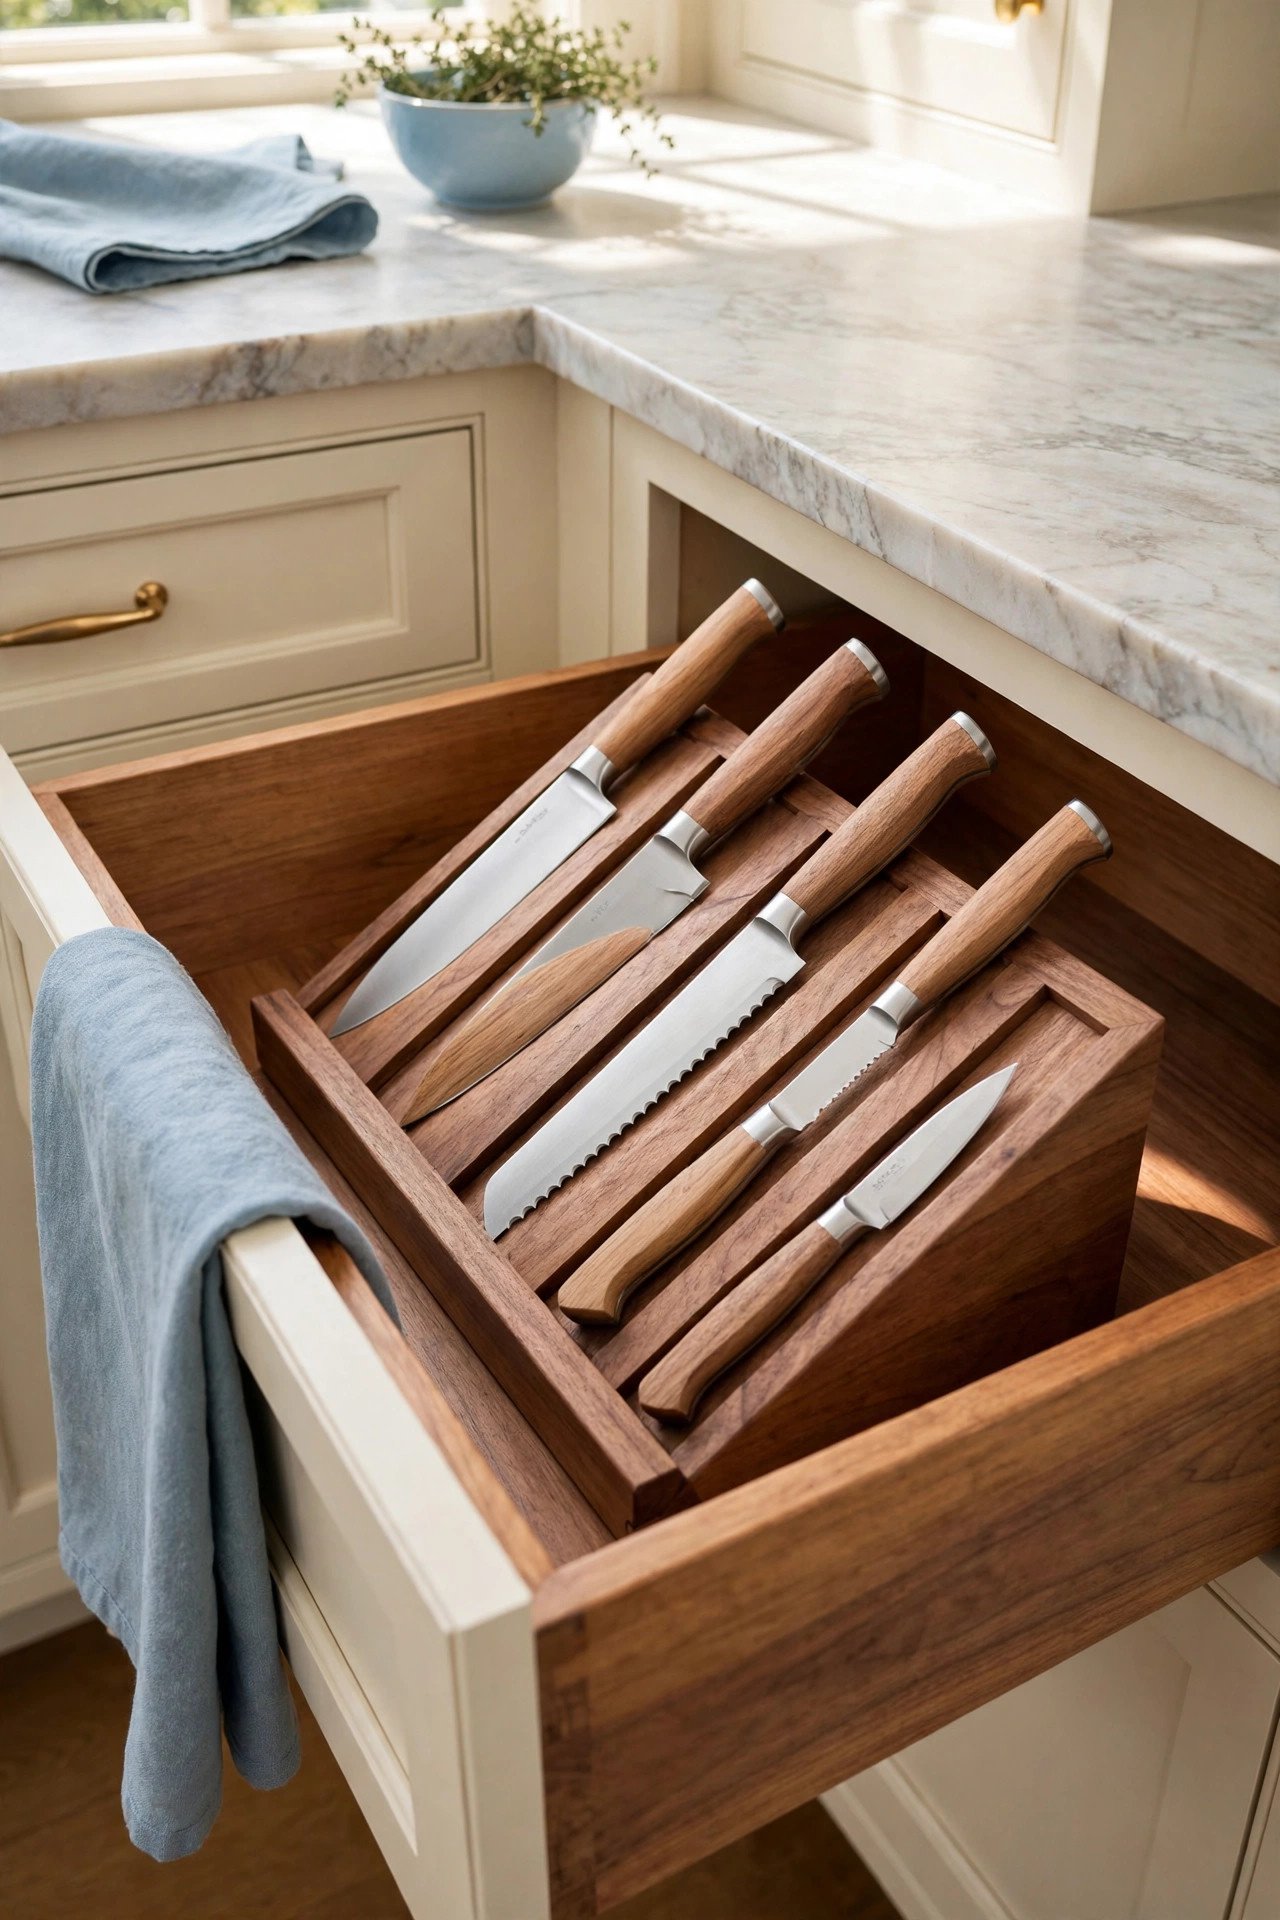
7. In-Drawer Knife Block
An in-drawer knife block holds each knife in its own slot, edge protected and handle up. Your blades stay sharp and your fingers stay safe.
Choose a block with angled slots that fit your drawer depth. It keeps the whole knife set inside the drawer instead of crowding the counter.
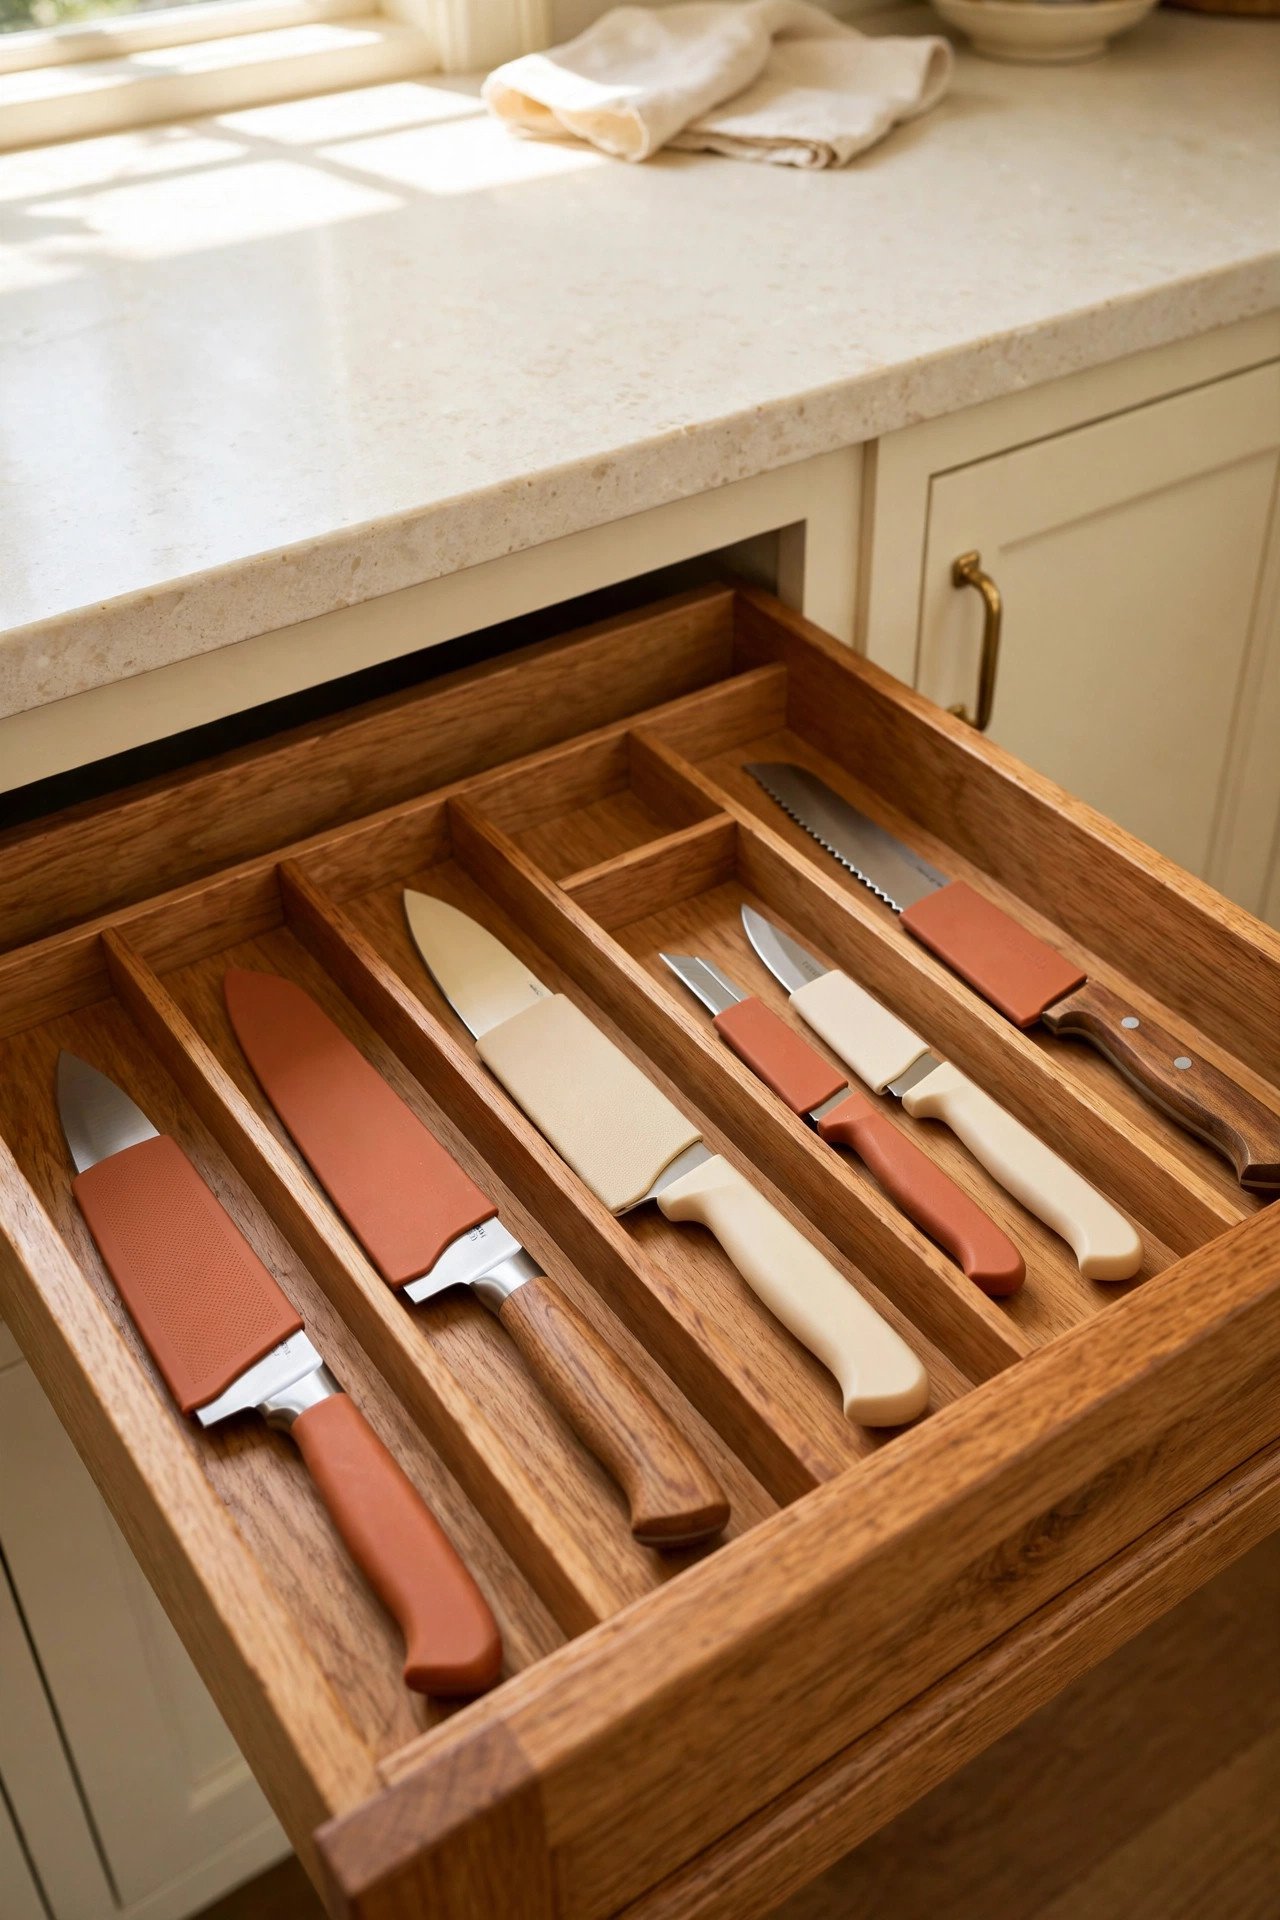
8. Blade Guards for Loose Knives
If a full block feels too bulky, slide a simple blade guard onto each loose knife. The guards protect edges and stop blades from scratching other tools.
Guards are cheap, washable, and come in bright colors you can see at a glance. Pair them with a divided section so knives never touch each other.
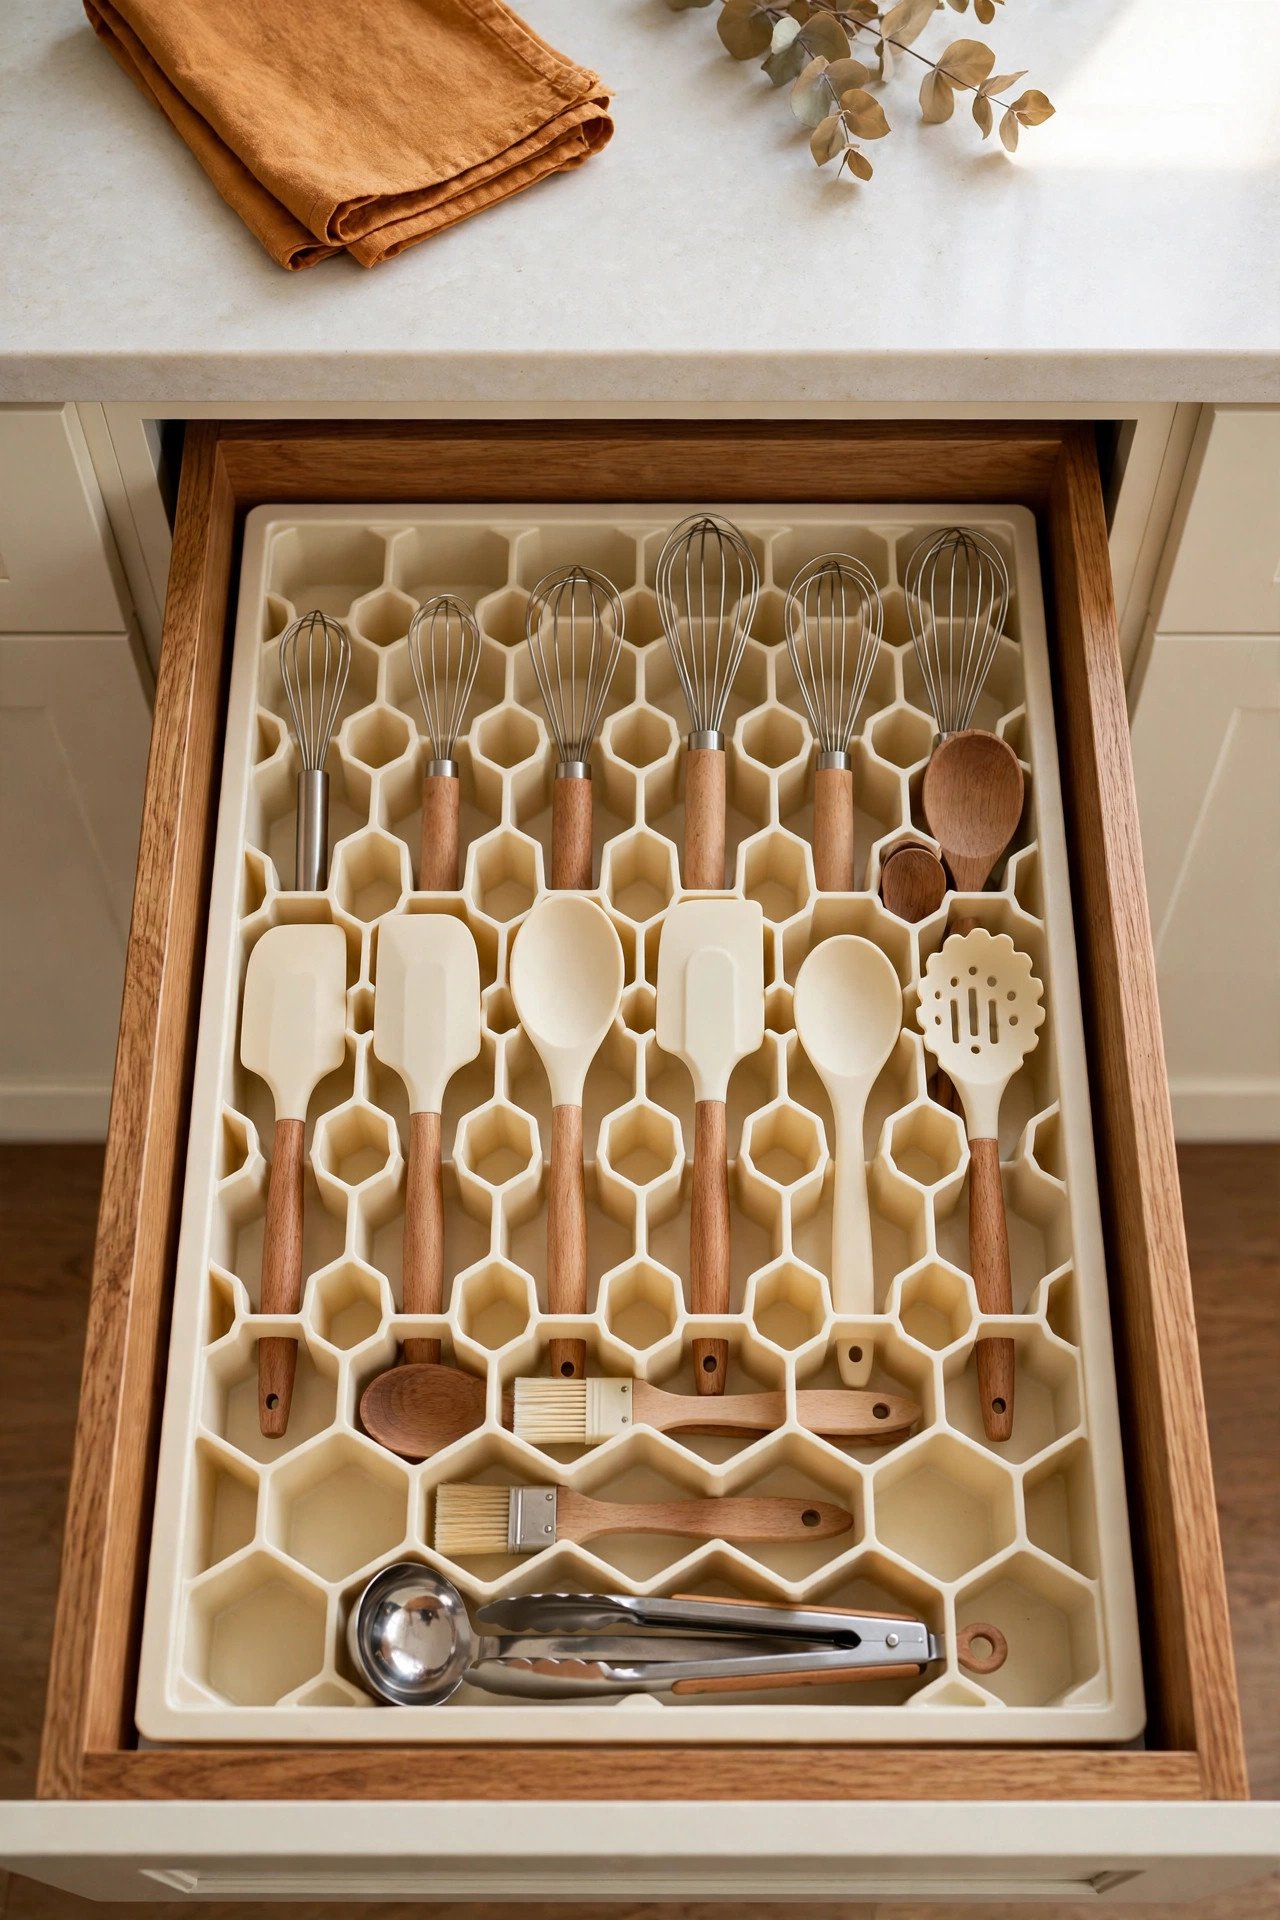
9. Cut-to-Fit Grid Inserts
Cut-to-fit inserts trim with scissors to match your drawer exactly, edge to edge. The honeycomb grid lets you reshape compartments whenever your tools change.
These inserts grip the drawer floor so nothing slides when the drawer moves. They are a fast fix for drawers with unusual shapes.
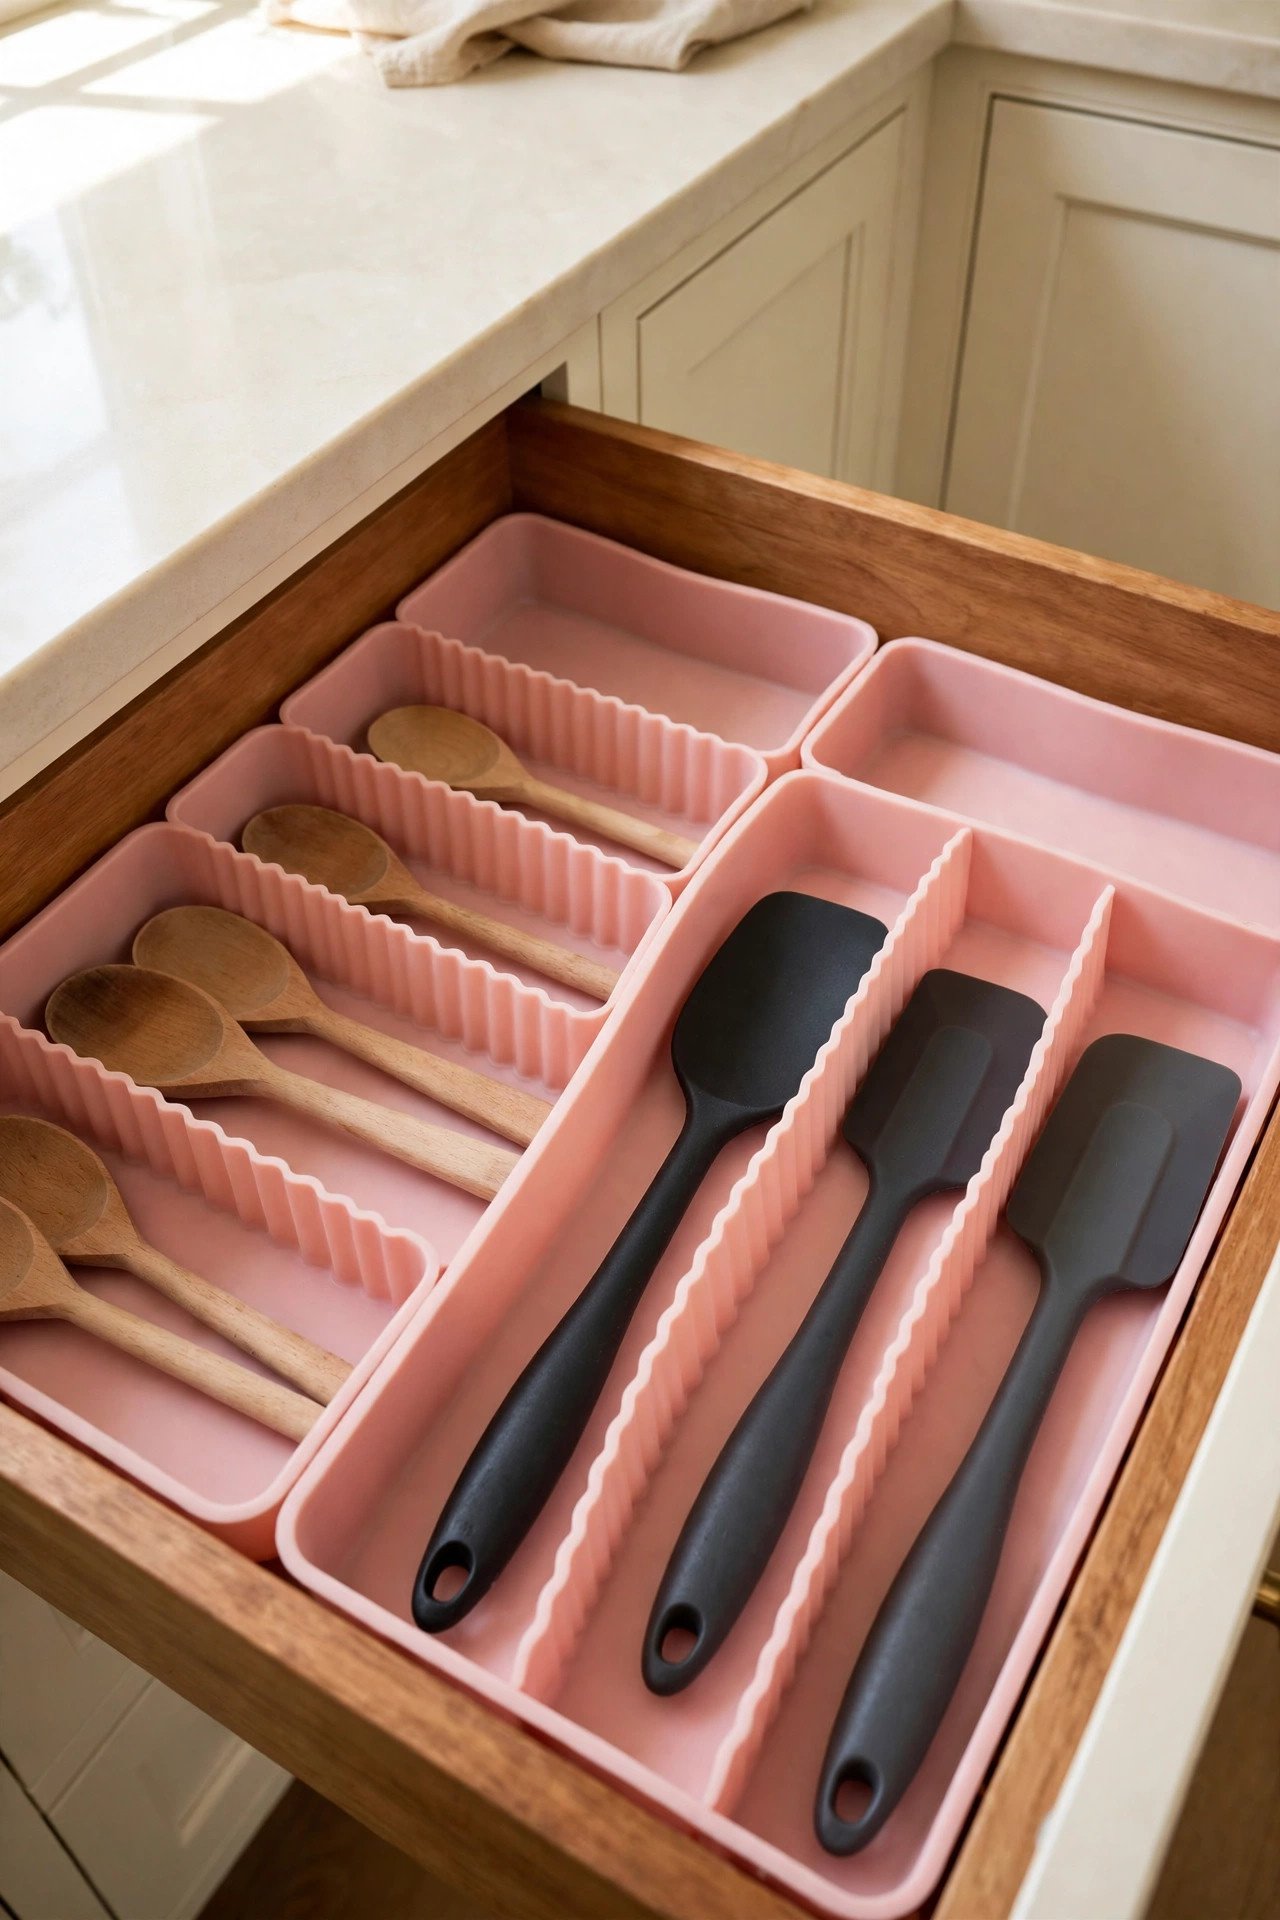
10. Flexible Silicone Dividers
Silicone dividers bend slightly to wedge between tools without scratching them. They are gentle on nonstick coatings and wooden handles.
The soft material also dampens noise, so the drawer closes with a hush instead of a rattle. Wash them in the sink and they look new again.
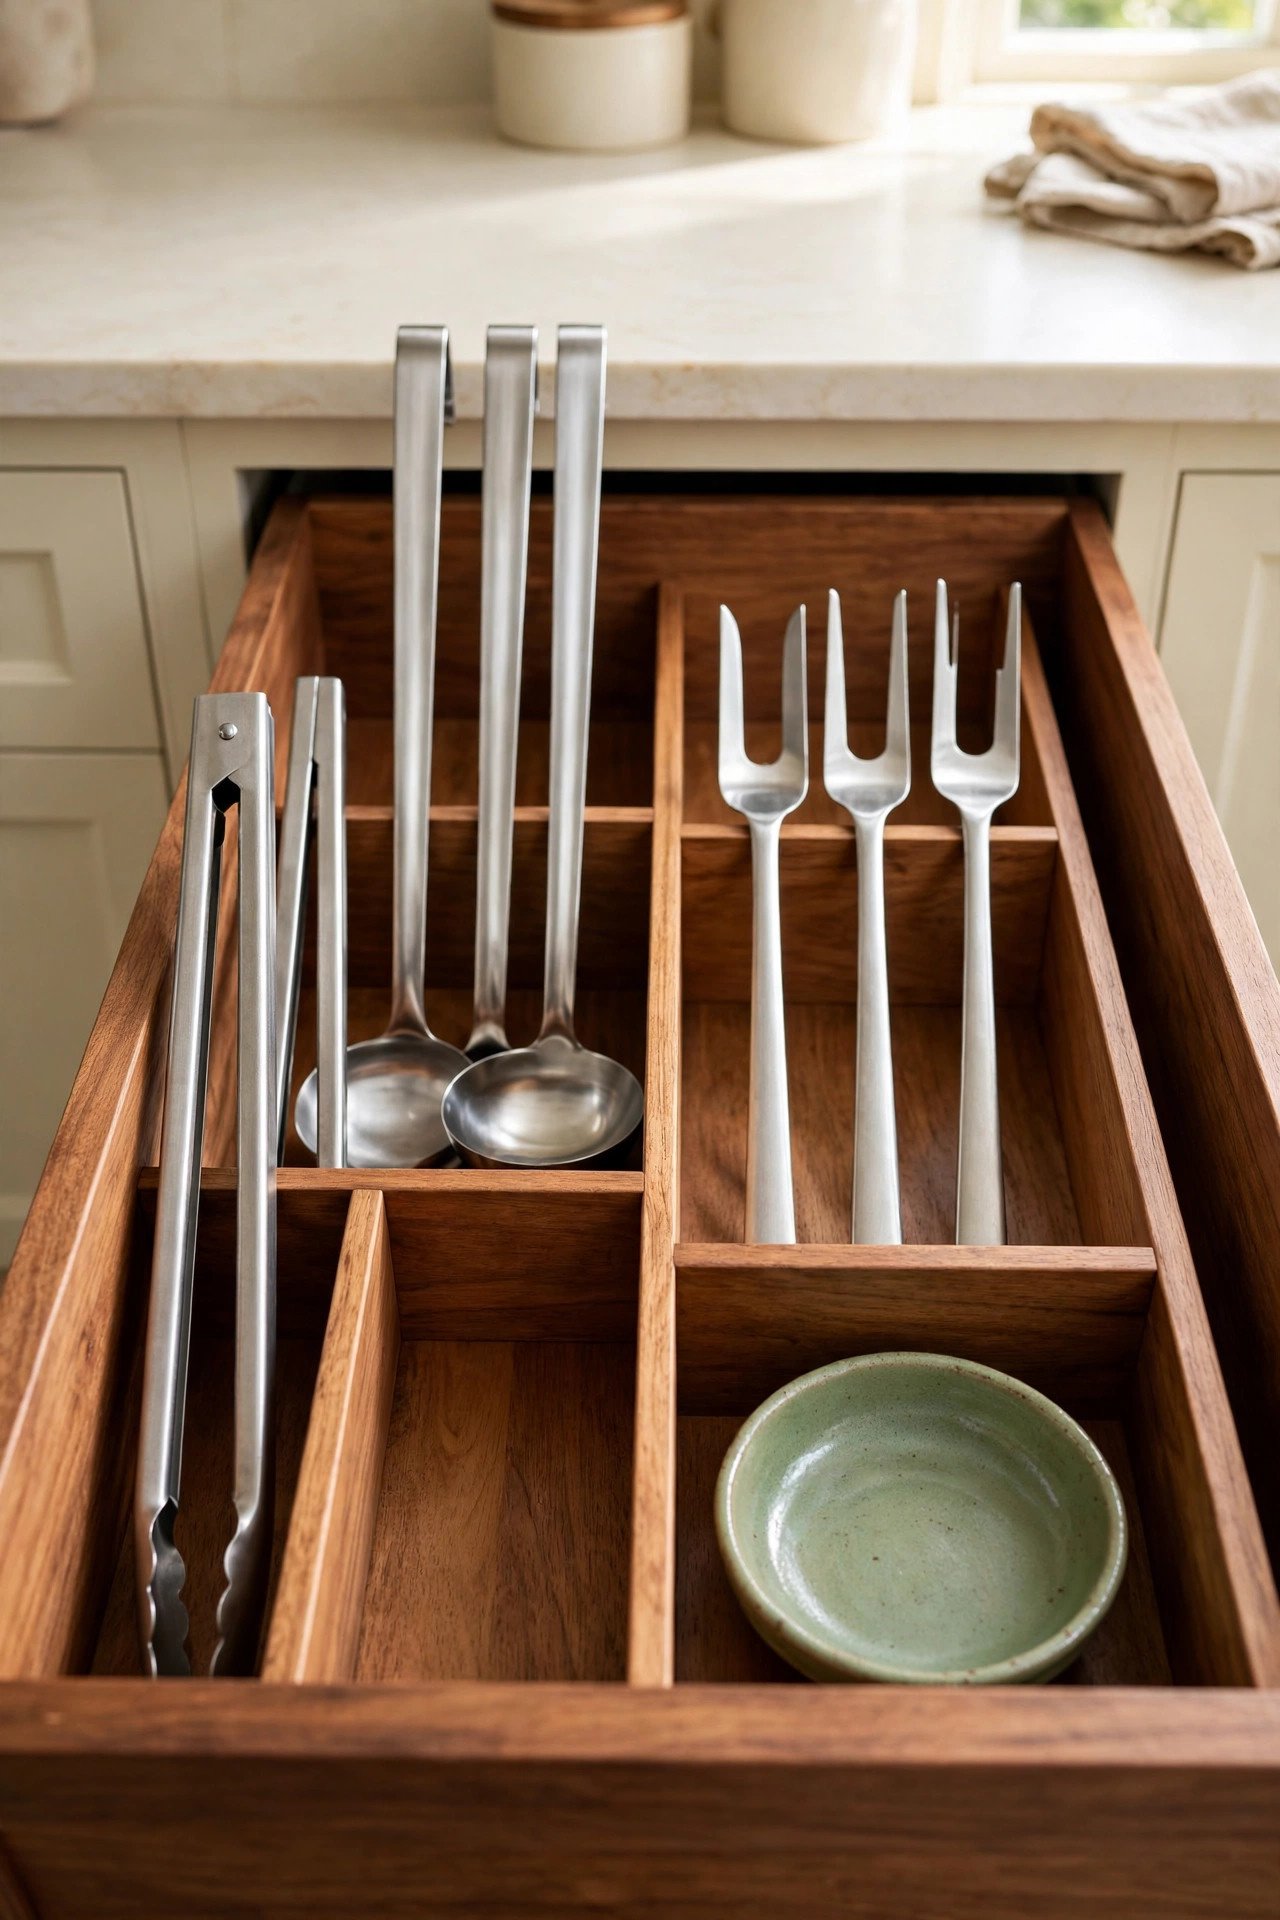
11. Deep Divided Bins for Tongs and Ladles
Tall tools like tongs, ladles, and pasta forks need deep divided bins that hold them without tangling. Wide compartments stop handles from crossing over each other.
Place these bins at the back of a deep drawer where height is no problem. Everything stays separated and lifts out without a fight.
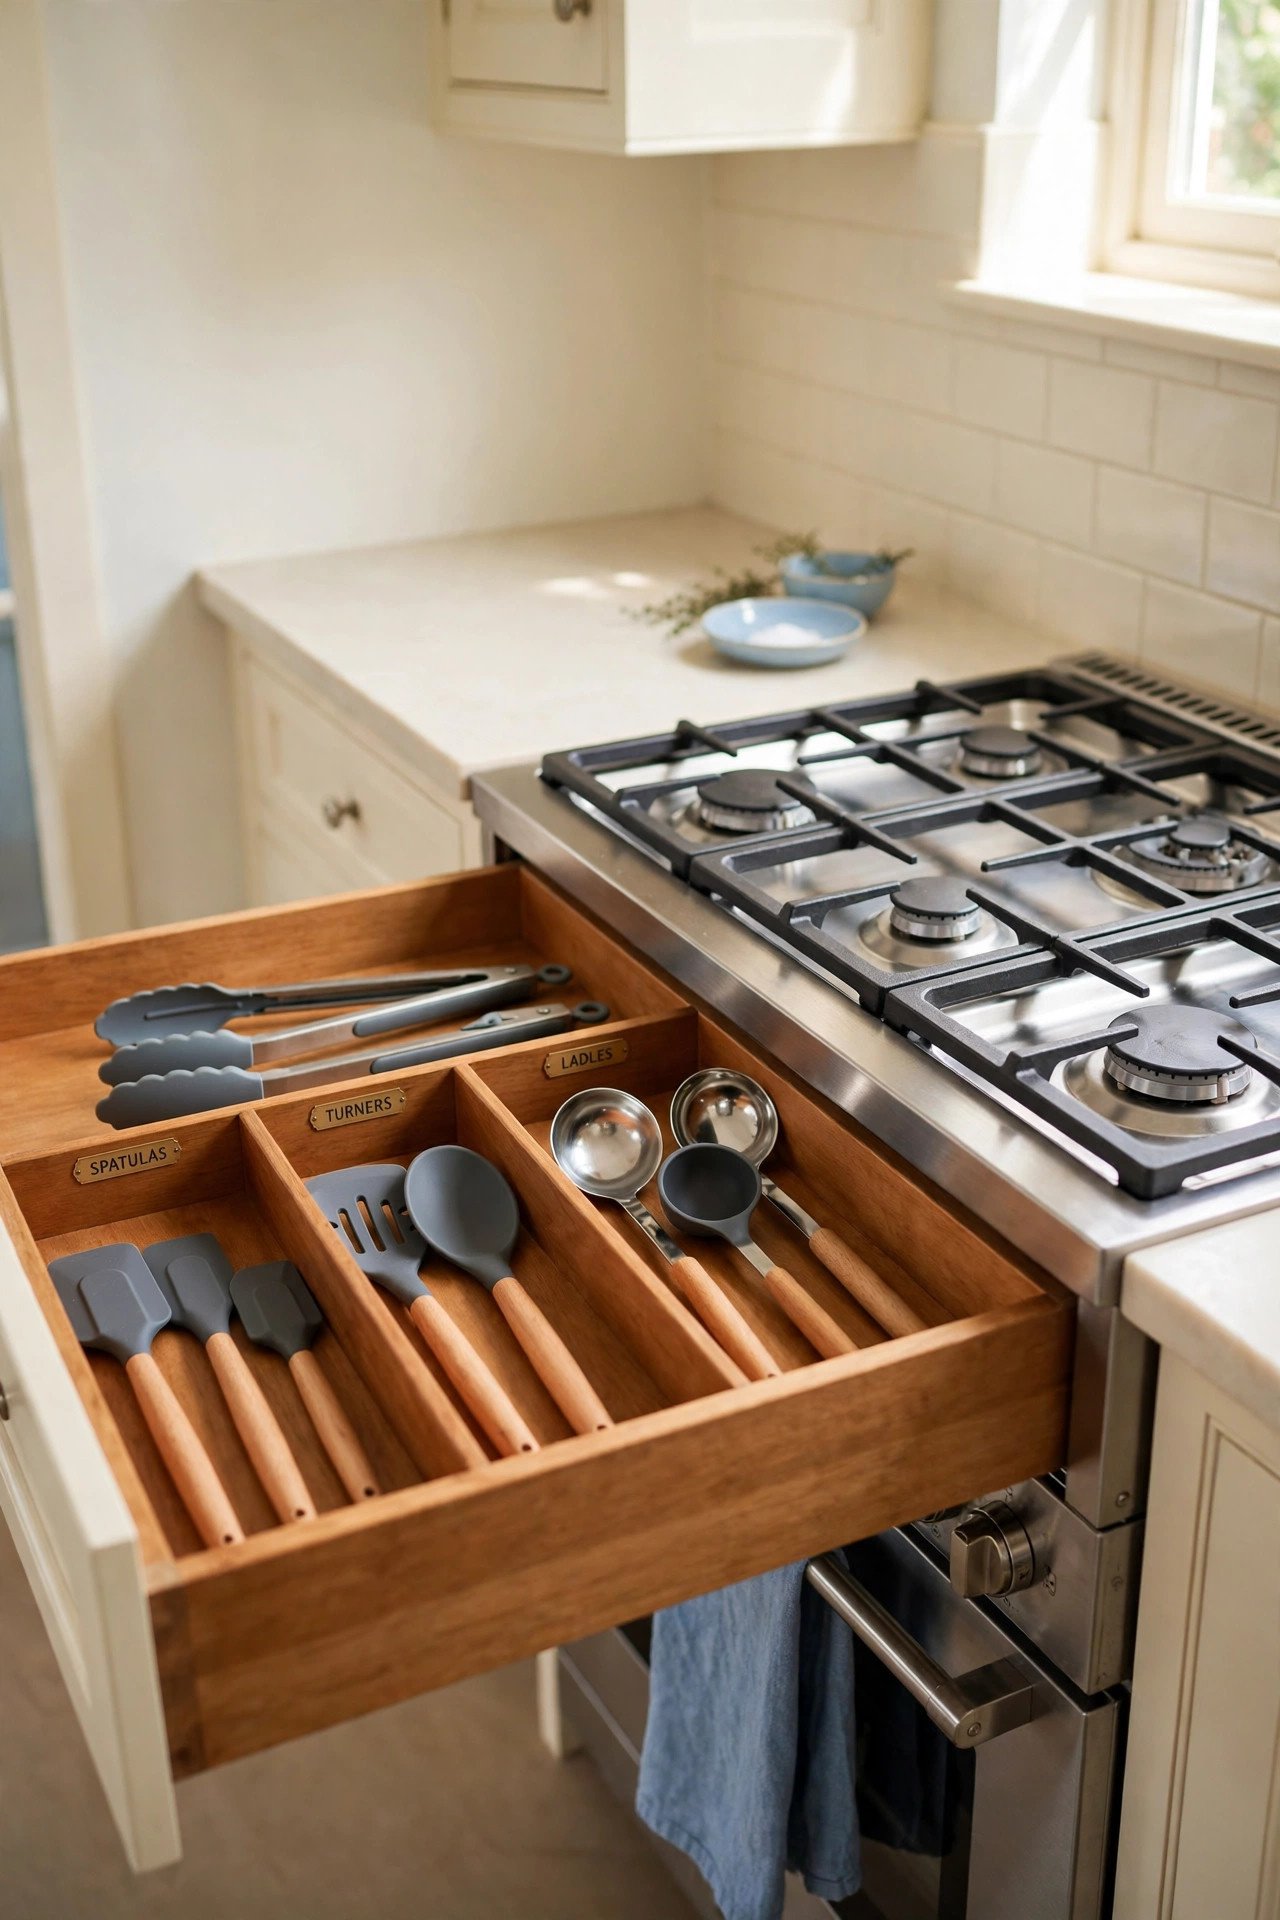
12. Create a Cooking Zone
Group your stove tools together in one zone: spatulas, turners, tongs, and ladles. When you cook, you open the drawer and grab from one spot.
Put this zone in the drawer closest to the stove for the shortest walk. Cooking feels faster when your tools wait right where the heat is.
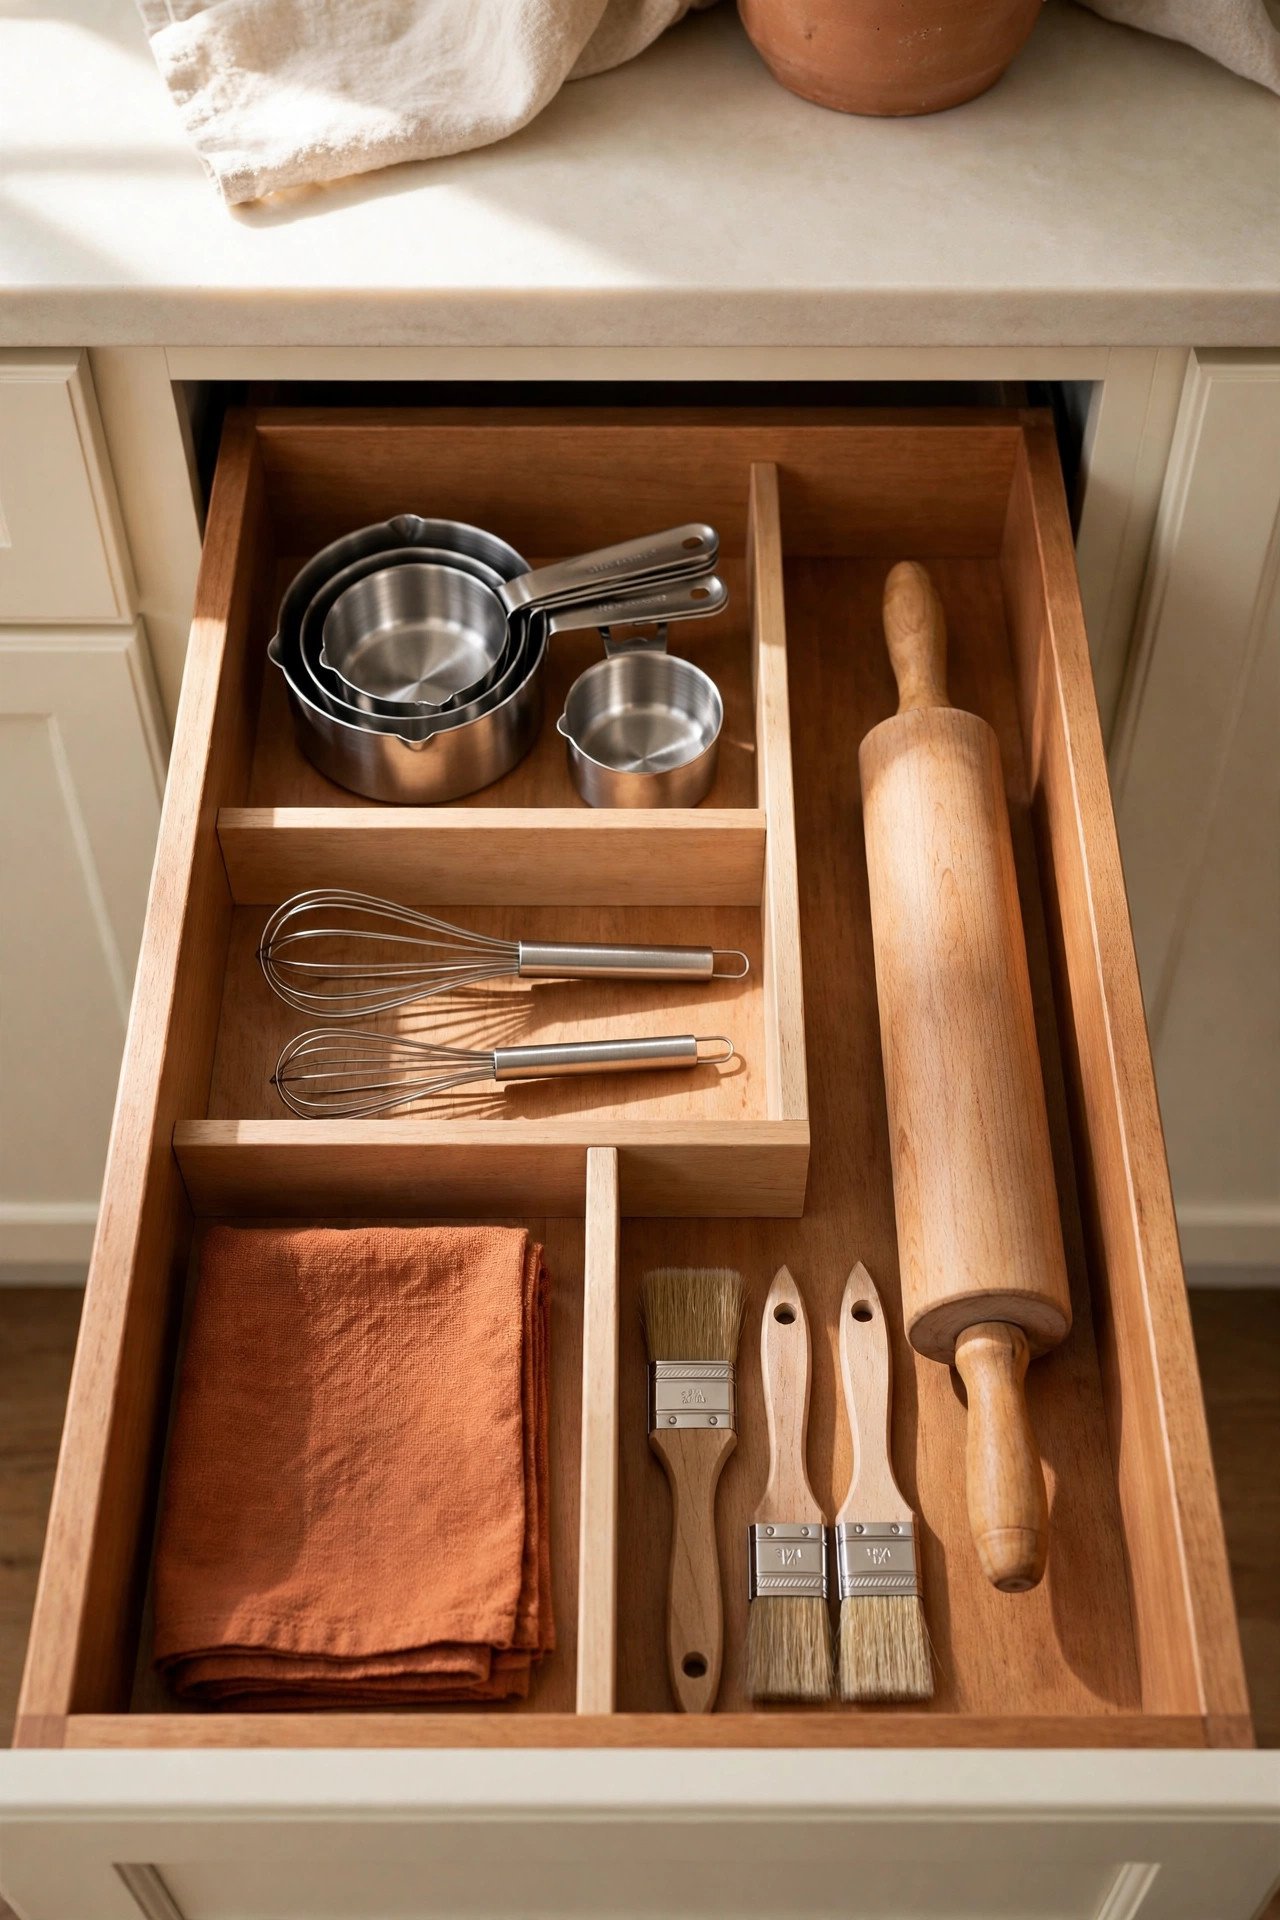
13. Create a Baking Zone
Give baking its own zone with measuring cups, whisks, a rolling pin, and pastry brushes. Bakers stop hunting through cooking tools for the one whisk they need.
Keep this zone in a drawer near the oven or the counter where you roll dough. Your baking sessions start calm instead of chaotic.
14. Create a Prep Zone
A prep zone holds peelers, paring knives, tongs, and small cutting tools near your cutting board. Chopping and peeling flow without extra trips across the kitchen.
Place this zone in the drawer beside your main prep counter. You will notice how much smoother weeknight dinners feel.
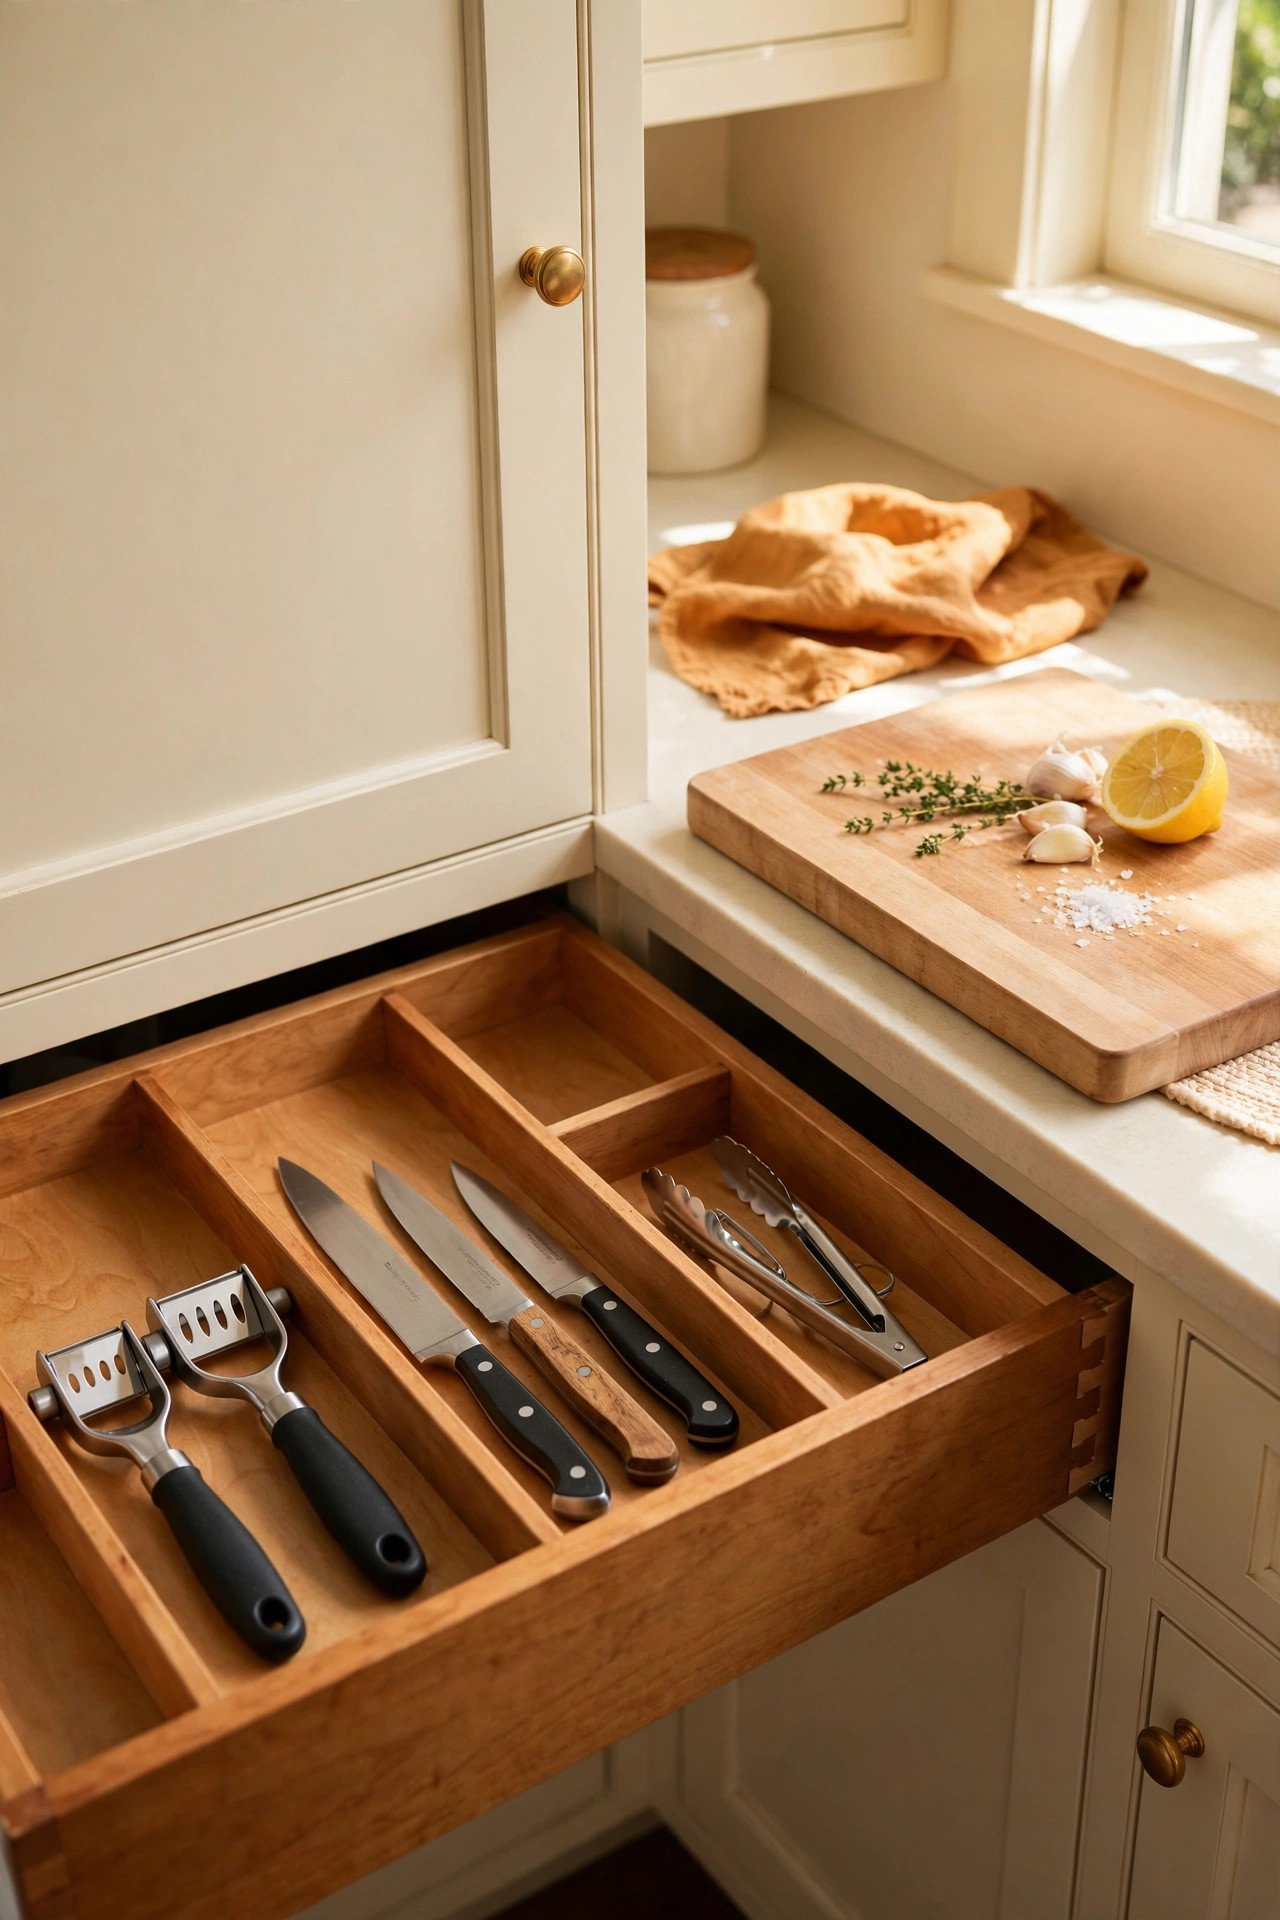
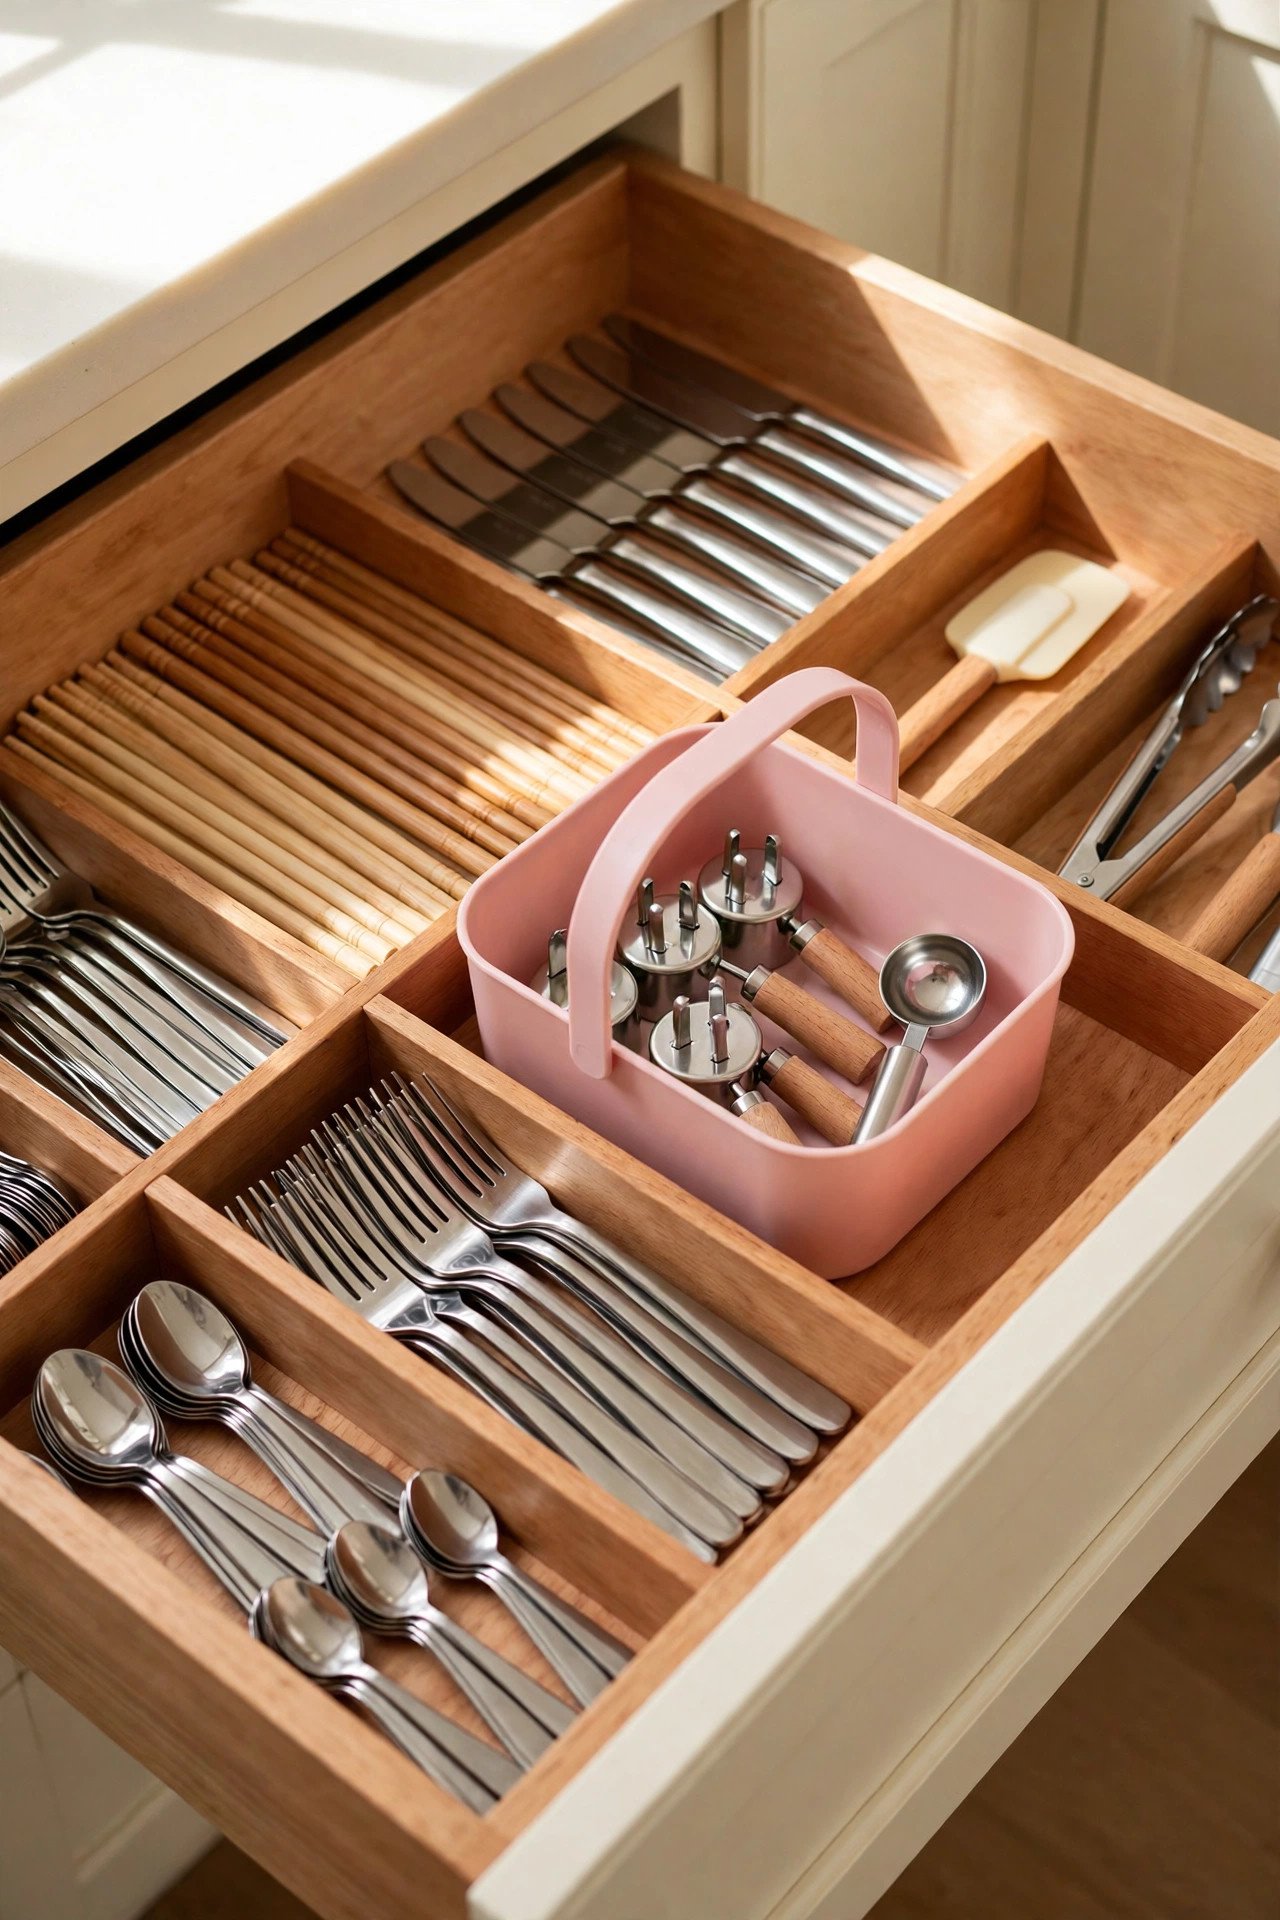
15. Corral Small Gadgets in One Bin
Tiny gadgets like corn holders, melon ballers, and strawberry hullers vanish in big compartments. One small bin keeps them together where you can see them.
A bin with a handle lifts out for parties or big cooking days. Small tools stop migrating to the junk drawer when they have a clear home.
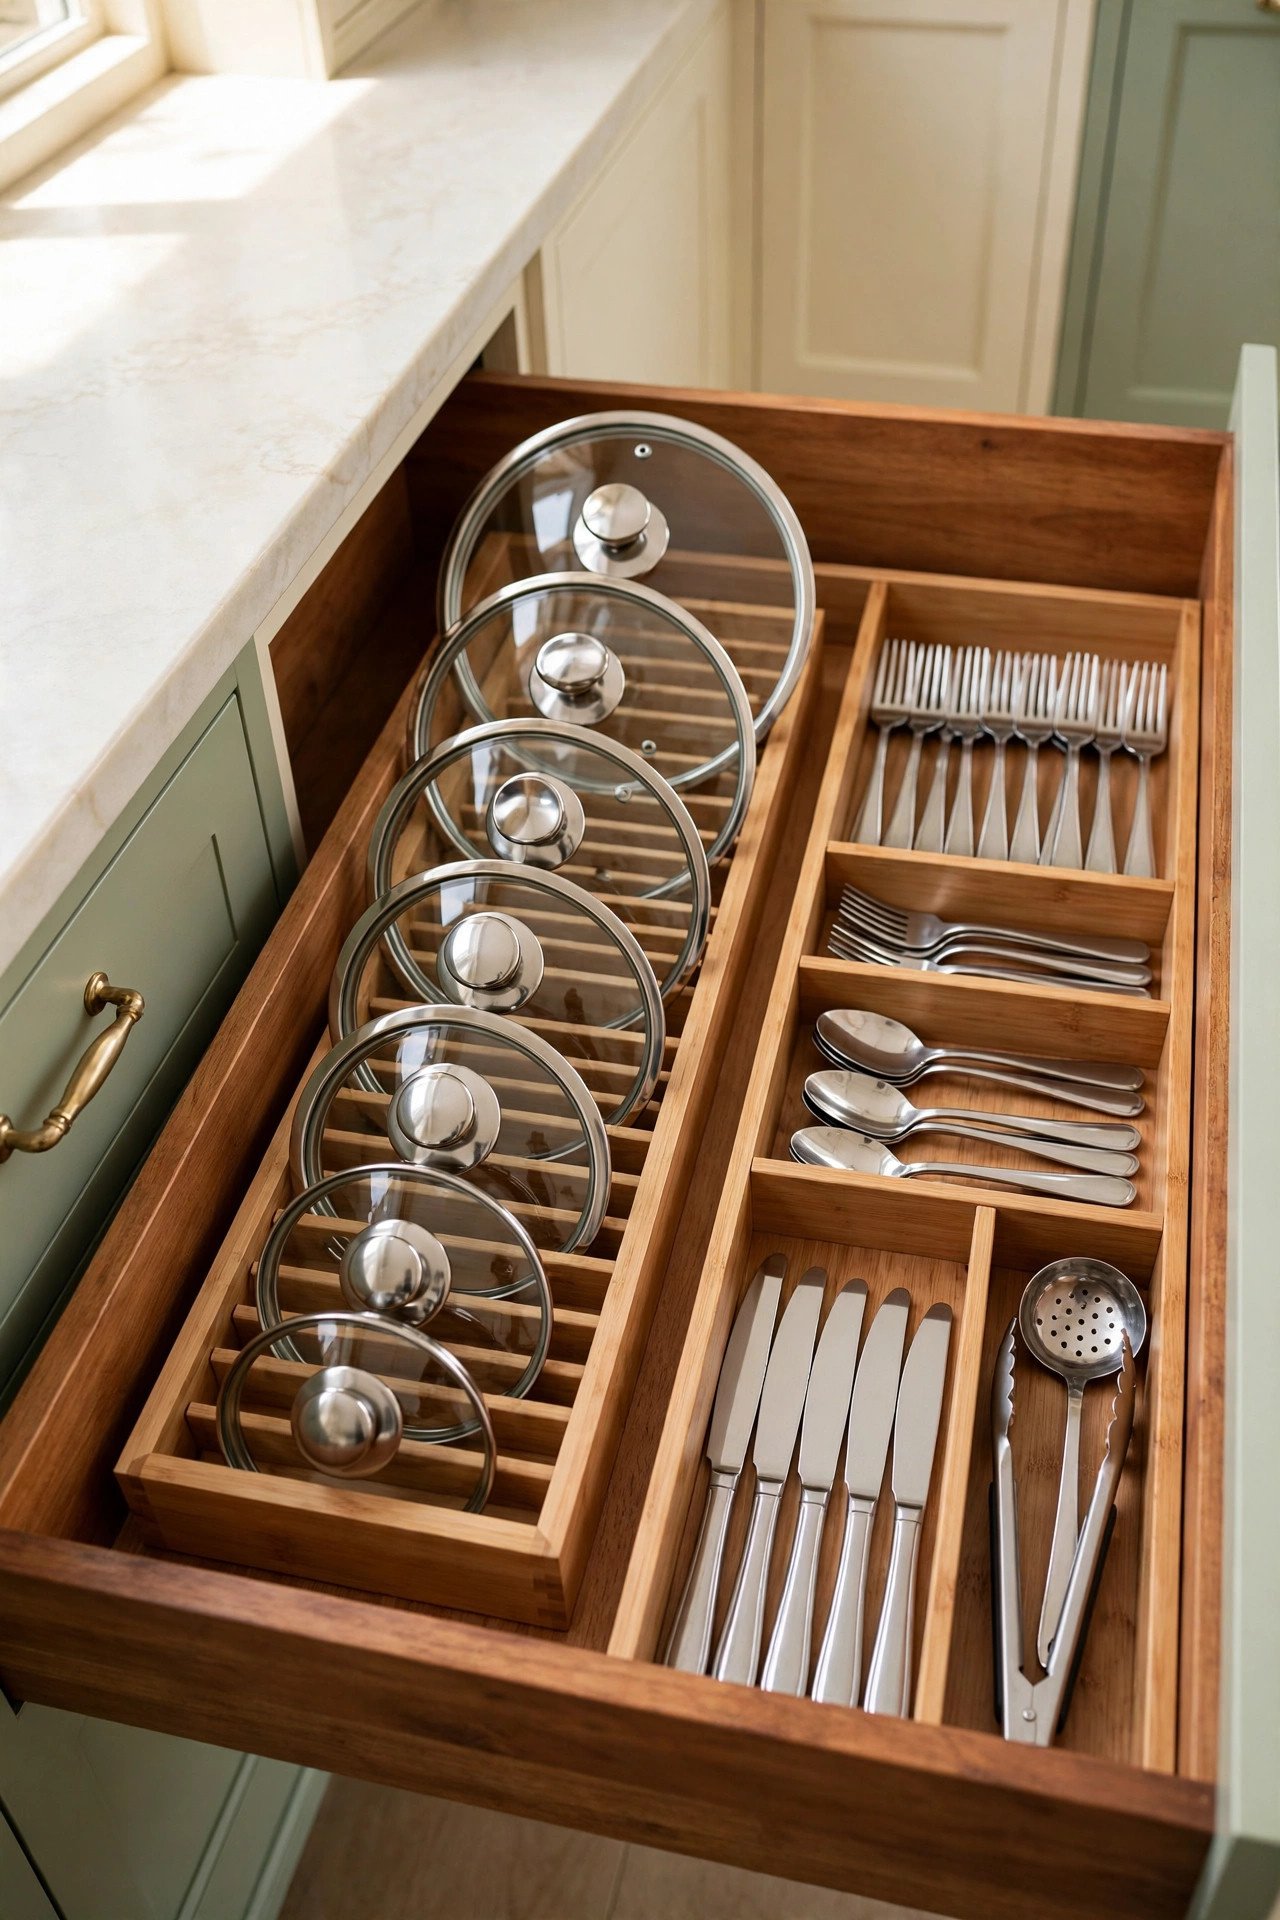
16. Add an In-Drawer Lid Rack
A low in-drawer lid rack stores pot lids upright in slots instead of stacked flat. You can see each lid size and grab it without unstacking.
This works best in a deep drawer beside the pots and pans. Lids stop clattering and the drawer closes smoothly every time.
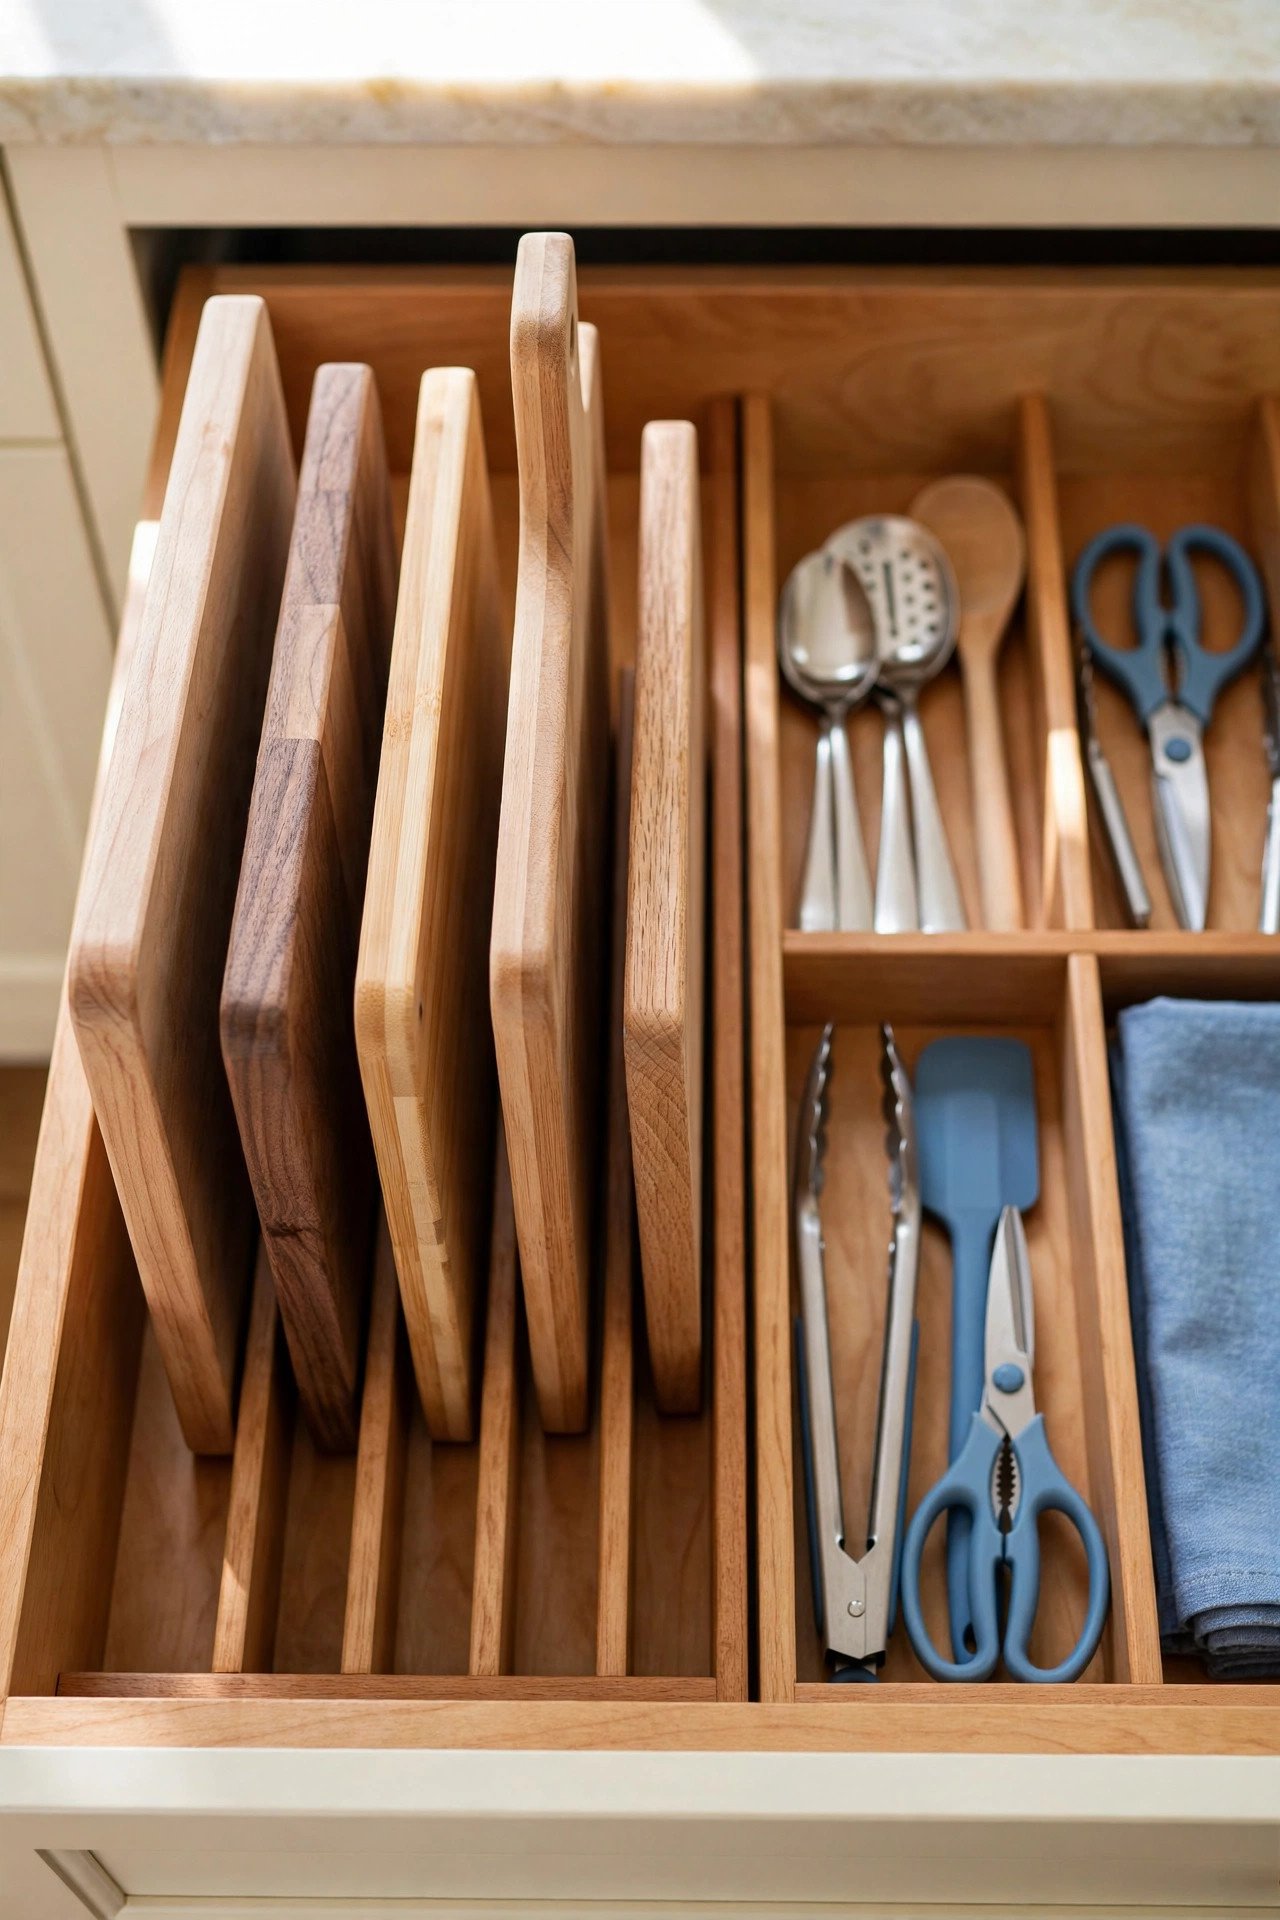
17. Store Cutting Boards in Slot Dividers
Slim slot dividers hold cutting boards upright like files in a folder. Each board slides out alone instead of the whole stack shifting.
Keep the slots in the drawer under or beside your prep zone. Boards stay easy to reach and the drawer stays neat.
18. Label Every Compartment
Small printed labels on each compartment tell the whole family where things belong. Labels turn a tidy drawer into a system everyone can keep.
Use a label maker or neat handwritten tags on washable tape. Re-label whenever you rearrange, so the system never goes stale.
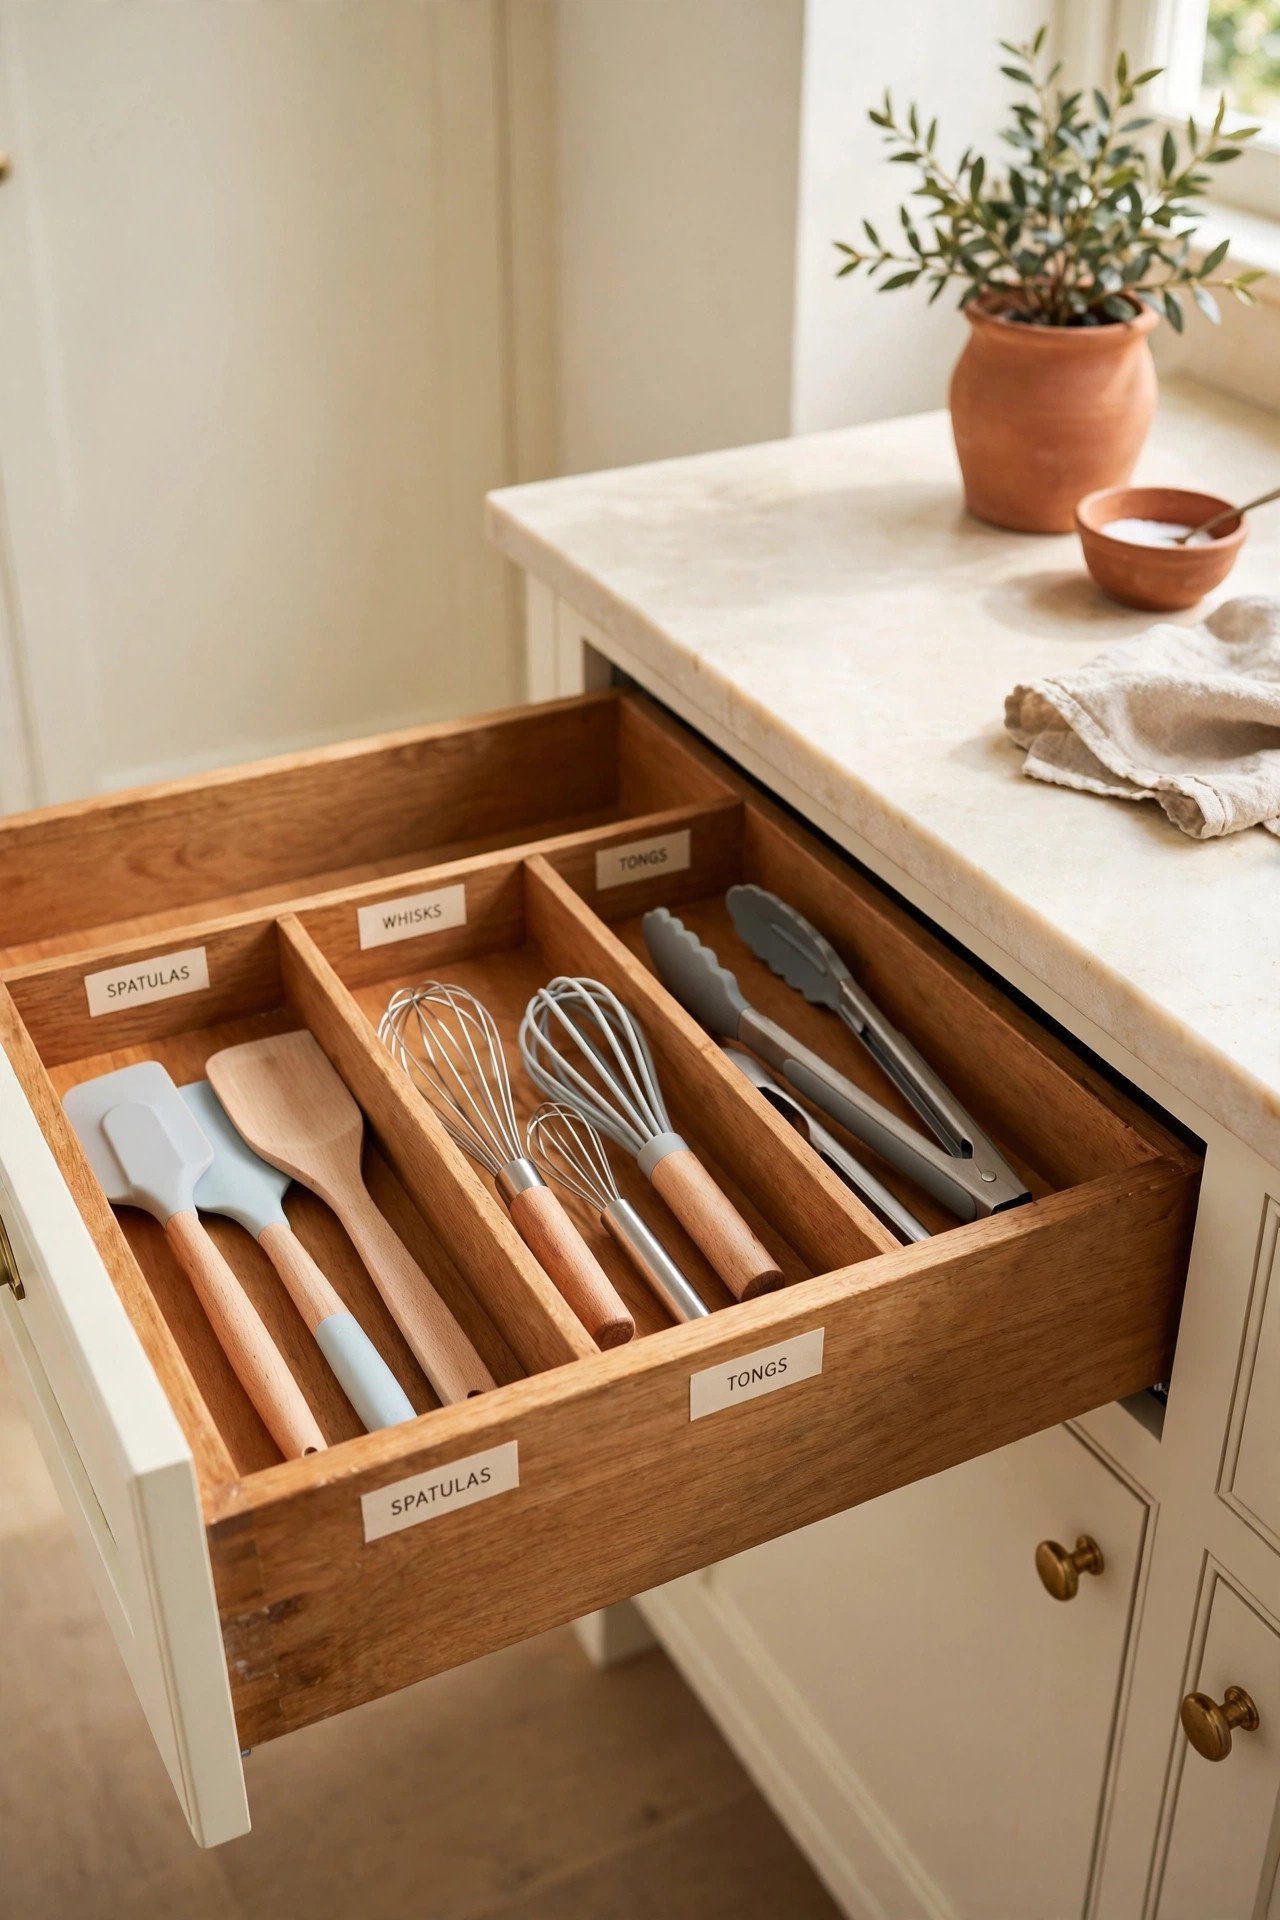
19. Keep Everyday Tools at the Front
The front of the drawer should hold the tools you grab daily: your favorite spatula, wooden spoon, and tongs. Prime real estate belongs to daily players.
Reserve the back for specialty tools you use once a month. This simple front-to-back order cuts your search time to zero.
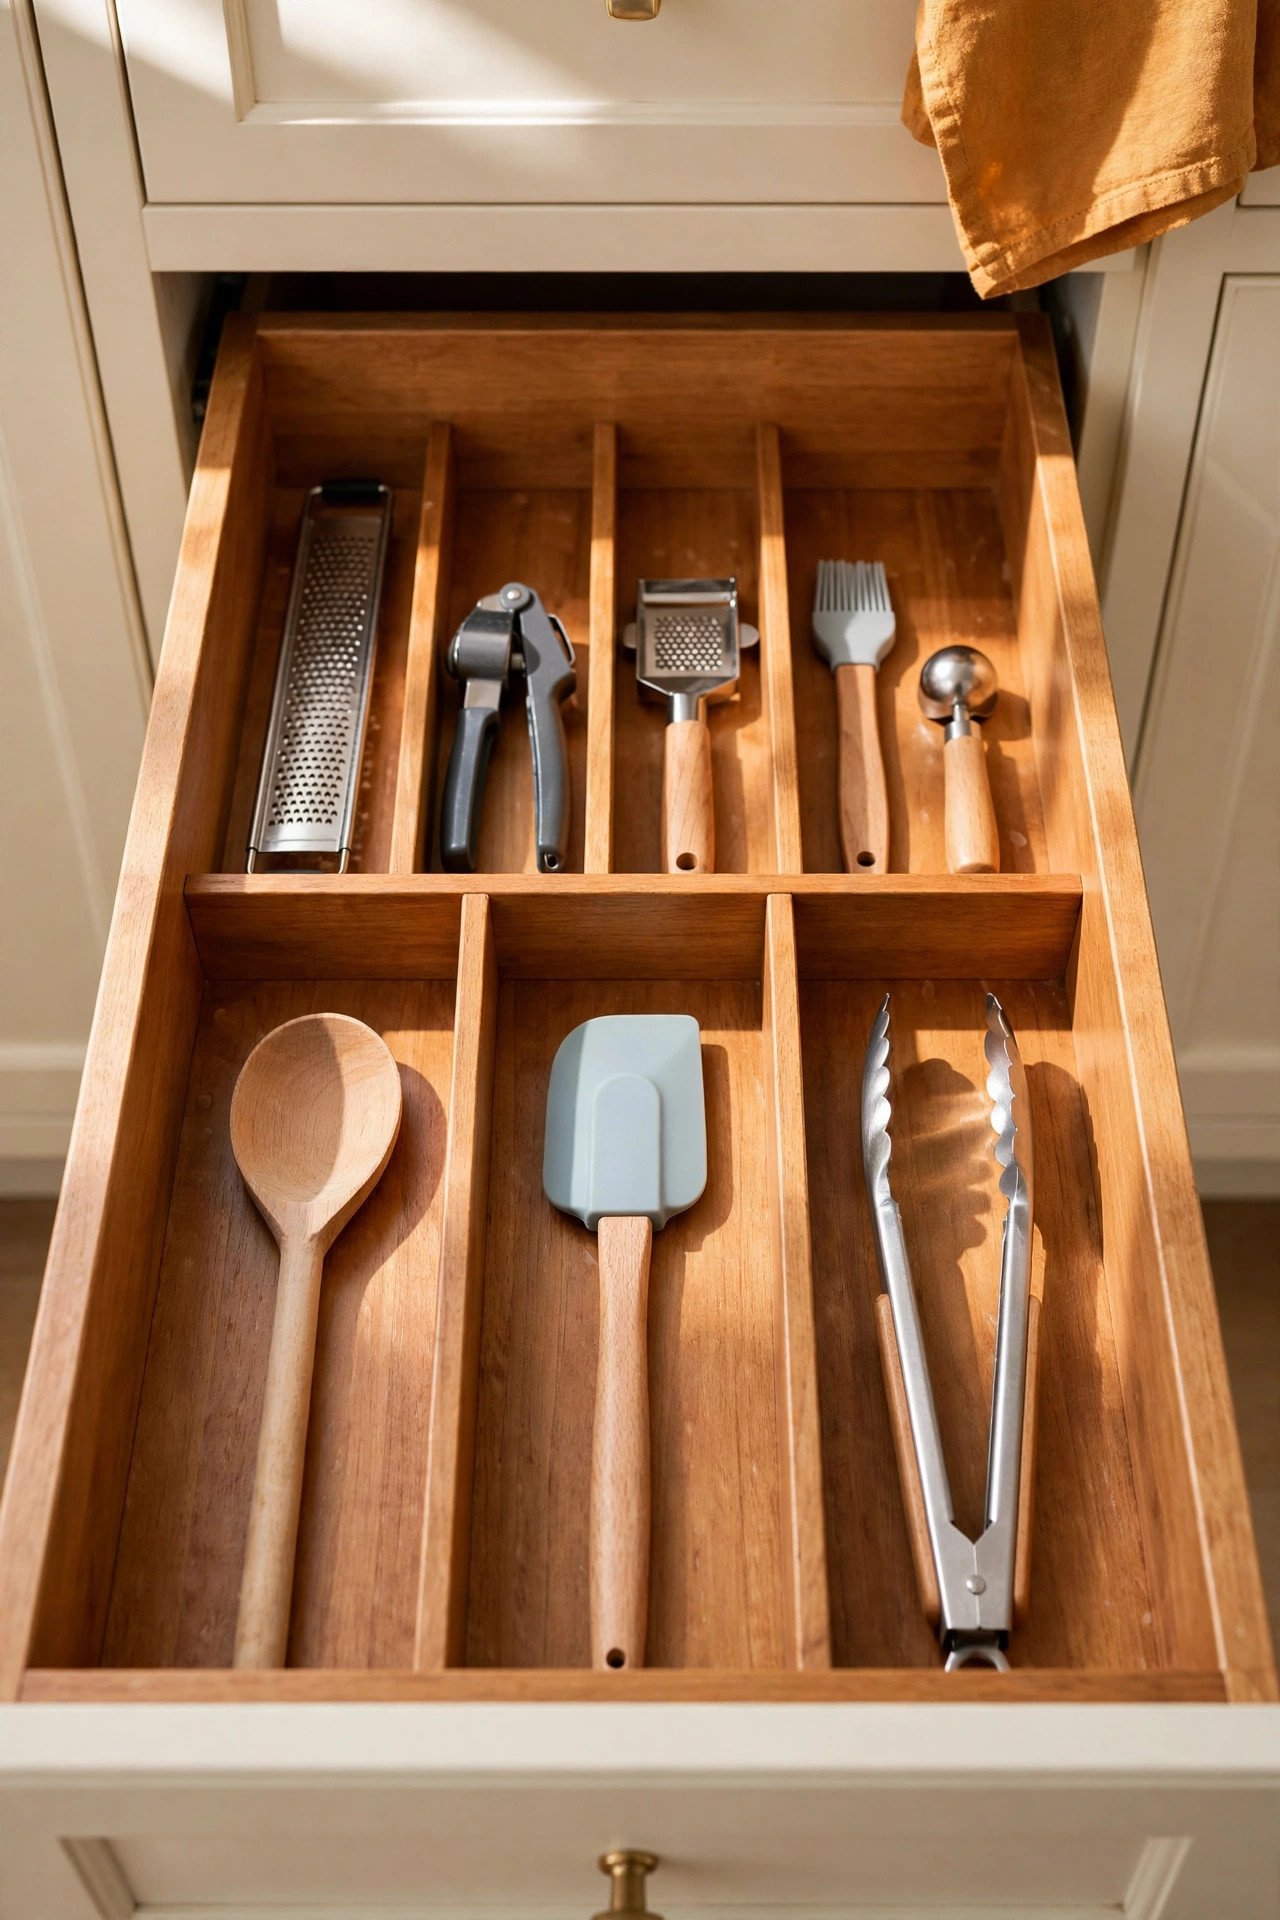
20. Move Rare Tools to the Back
Turkey basters, melon ballers, and fondue forks do not need front-row seats. Slide them to the back of the drawer where they wait quietly.
If you have not touched a tool in a year, consider letting it go. The back of the drawer should never become a graveyard.
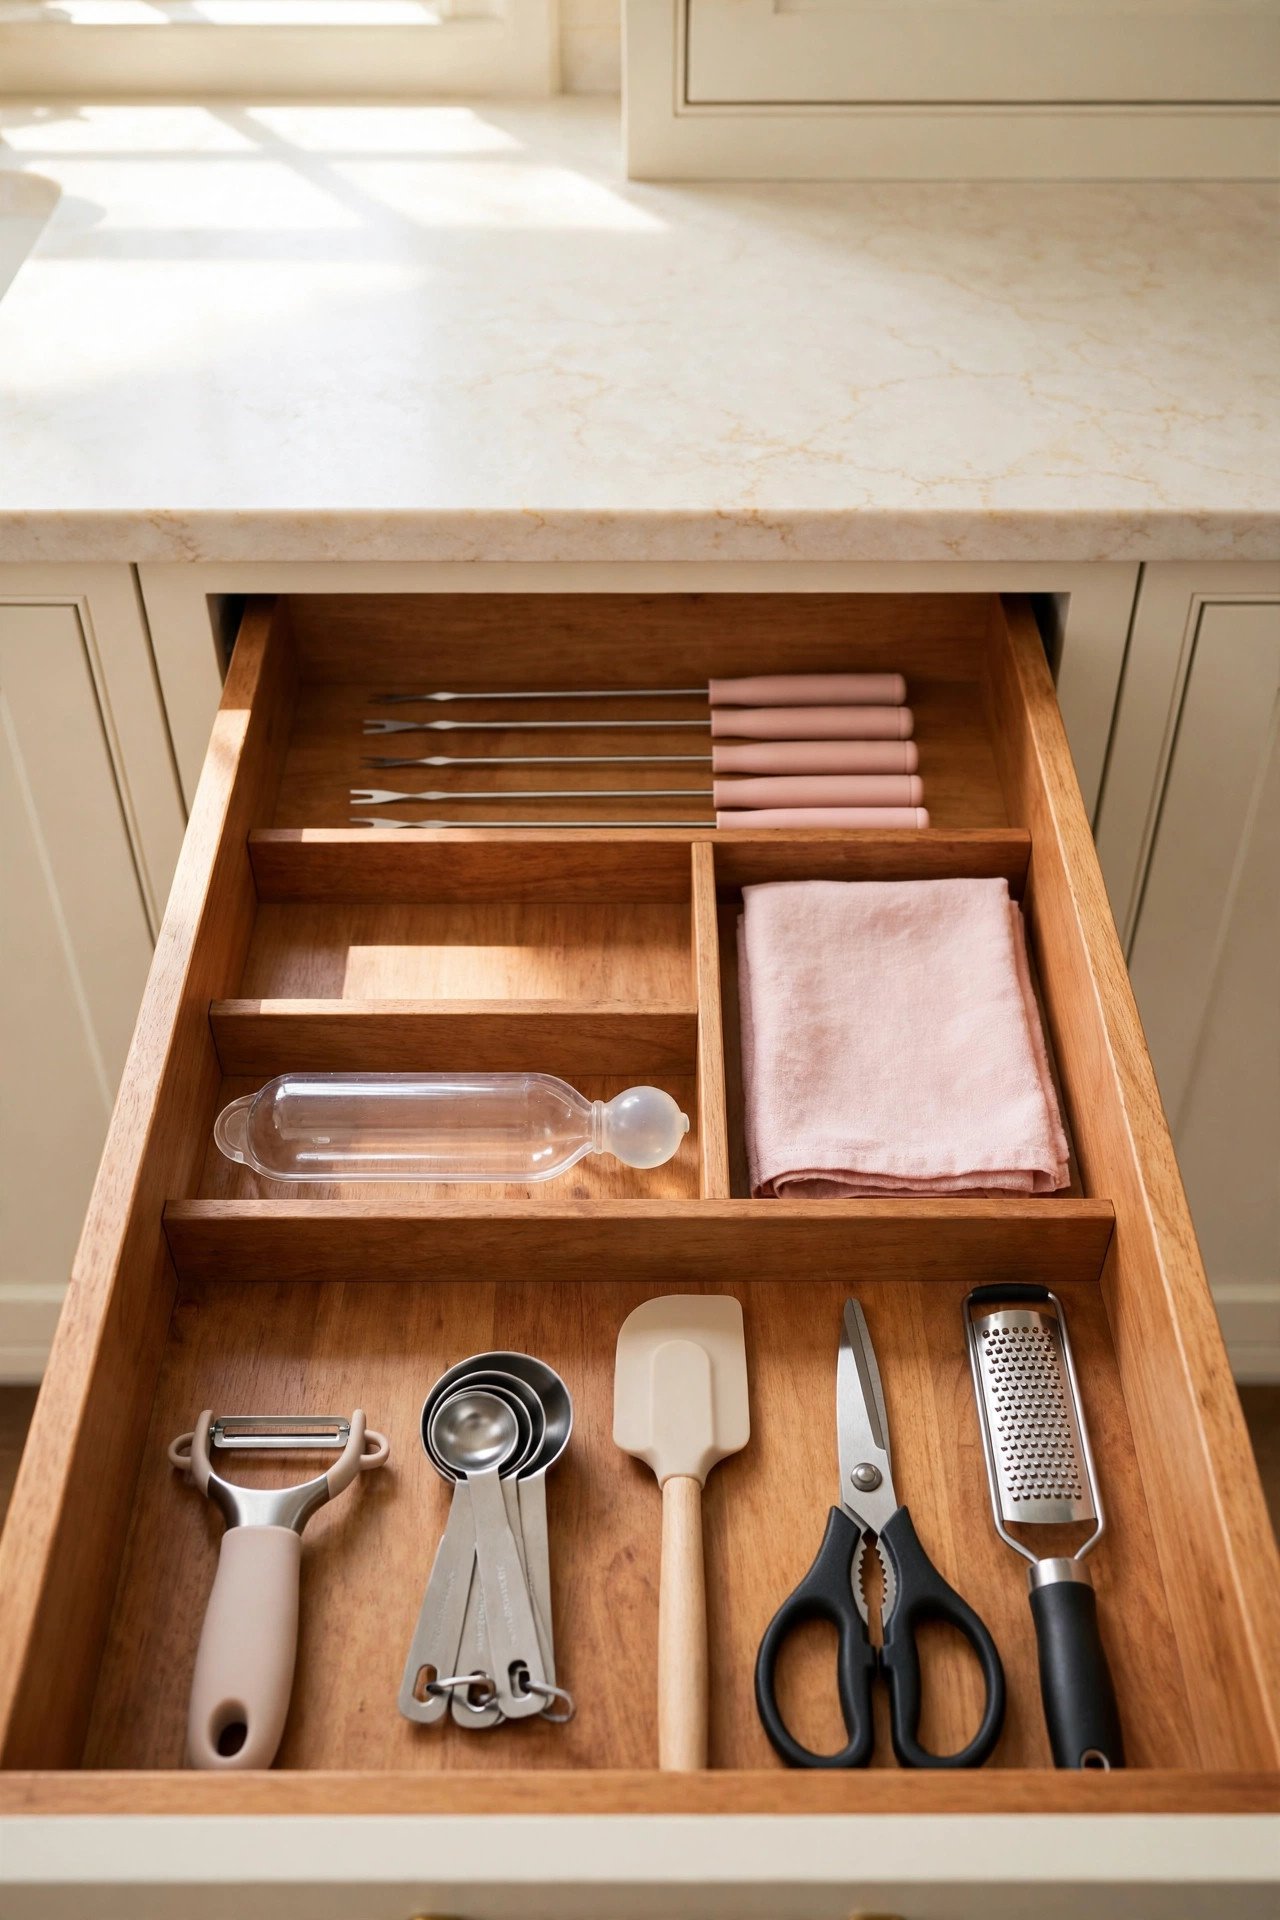
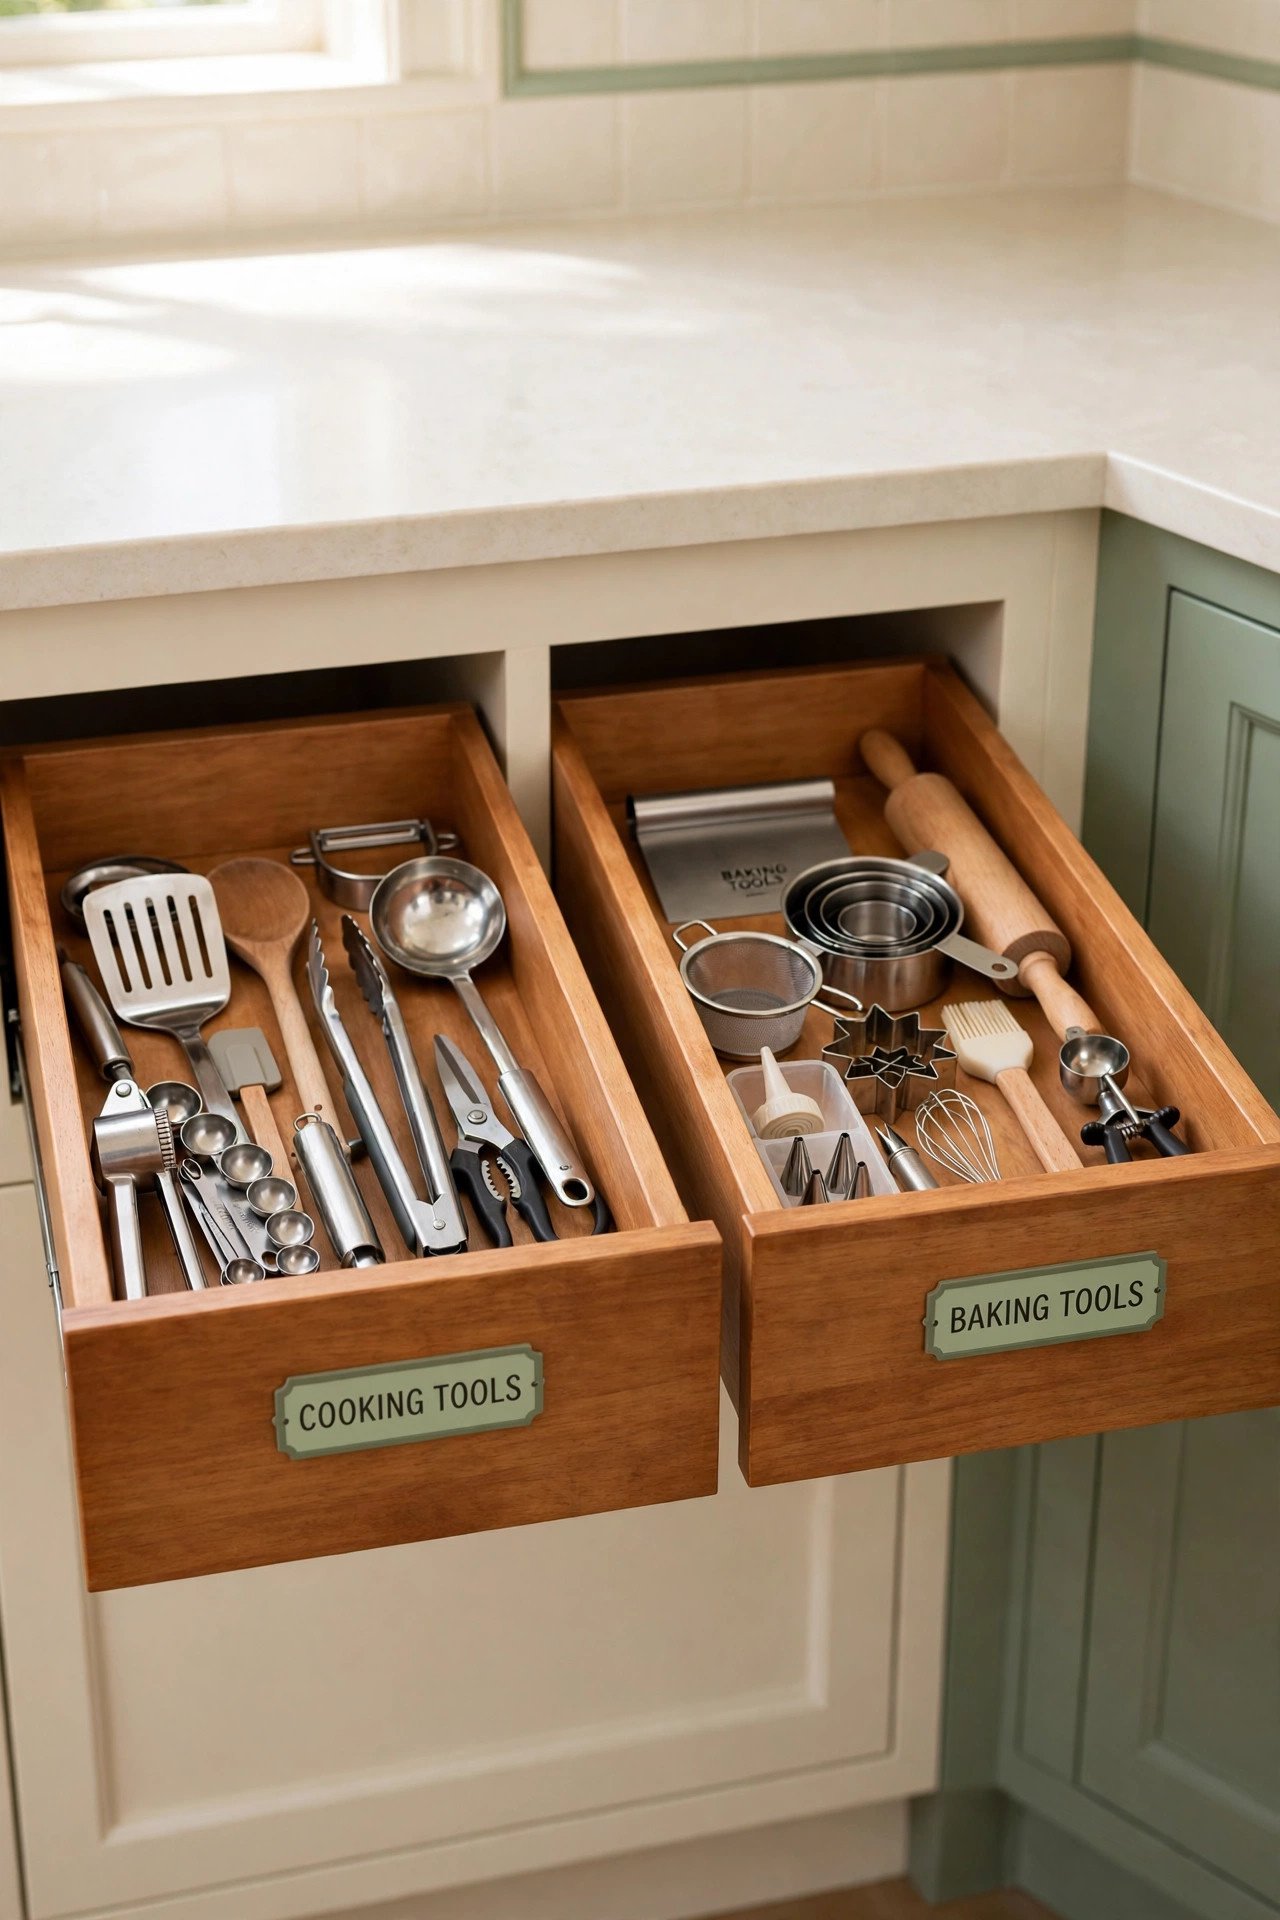
21. Give Each Category Its Own Drawer
When one drawer overflows, split categories across two drawers instead of cramming. Cooking tools in one, baking tools in the other.
Two organized drawers beat one stuffed drawer every time. You will open each one less often and find things faster.
22. Add Non-Slip Liner Under Trays
A sheet of non-slip liner under your trays stops them from sliding when the drawer opens. Trays stay aligned even with a hard yank.
Cut the liner slightly smaller than the drawer so edges never curl up. It also cushions the drawer floor from scratches.
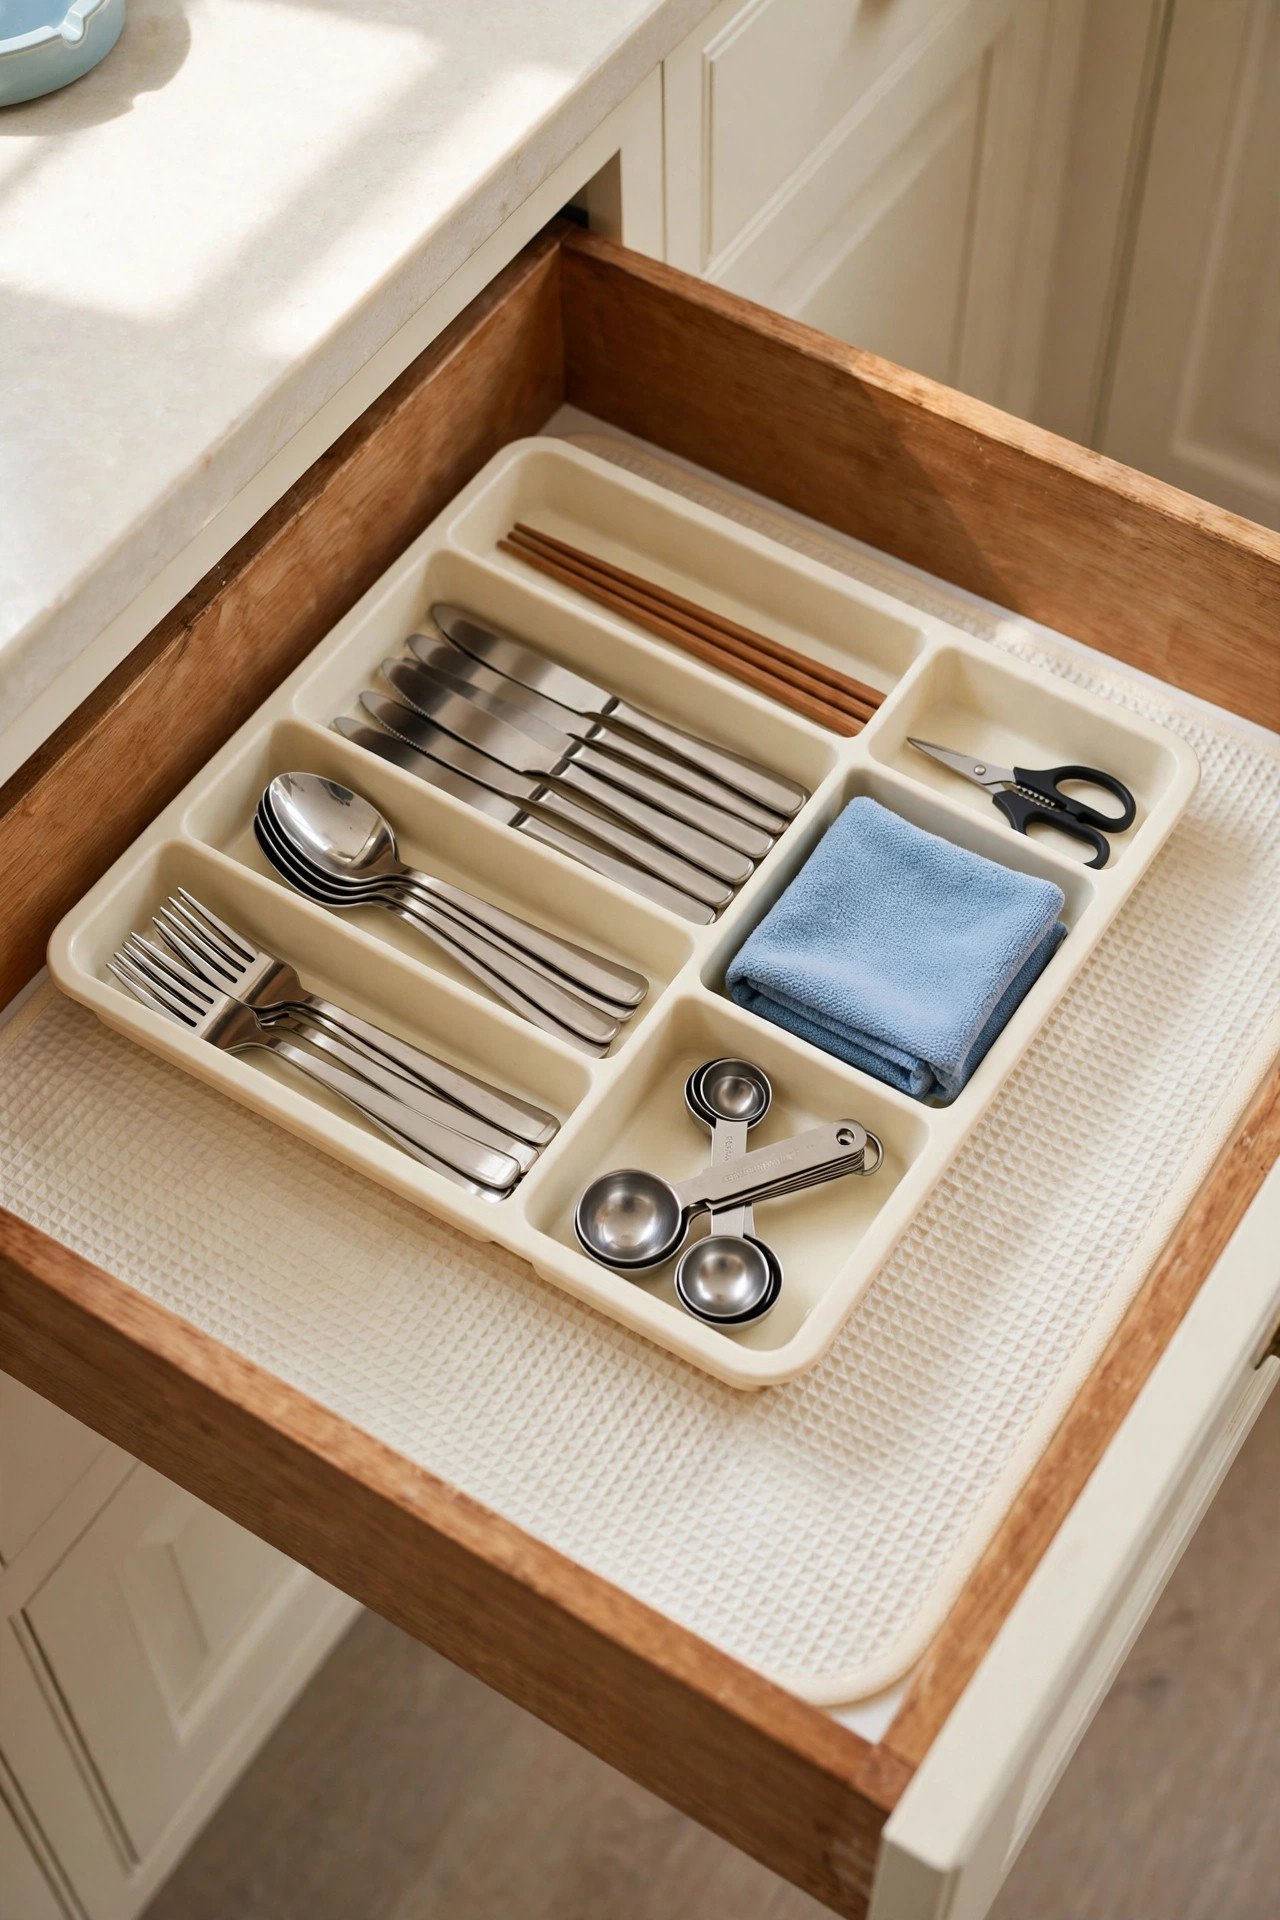
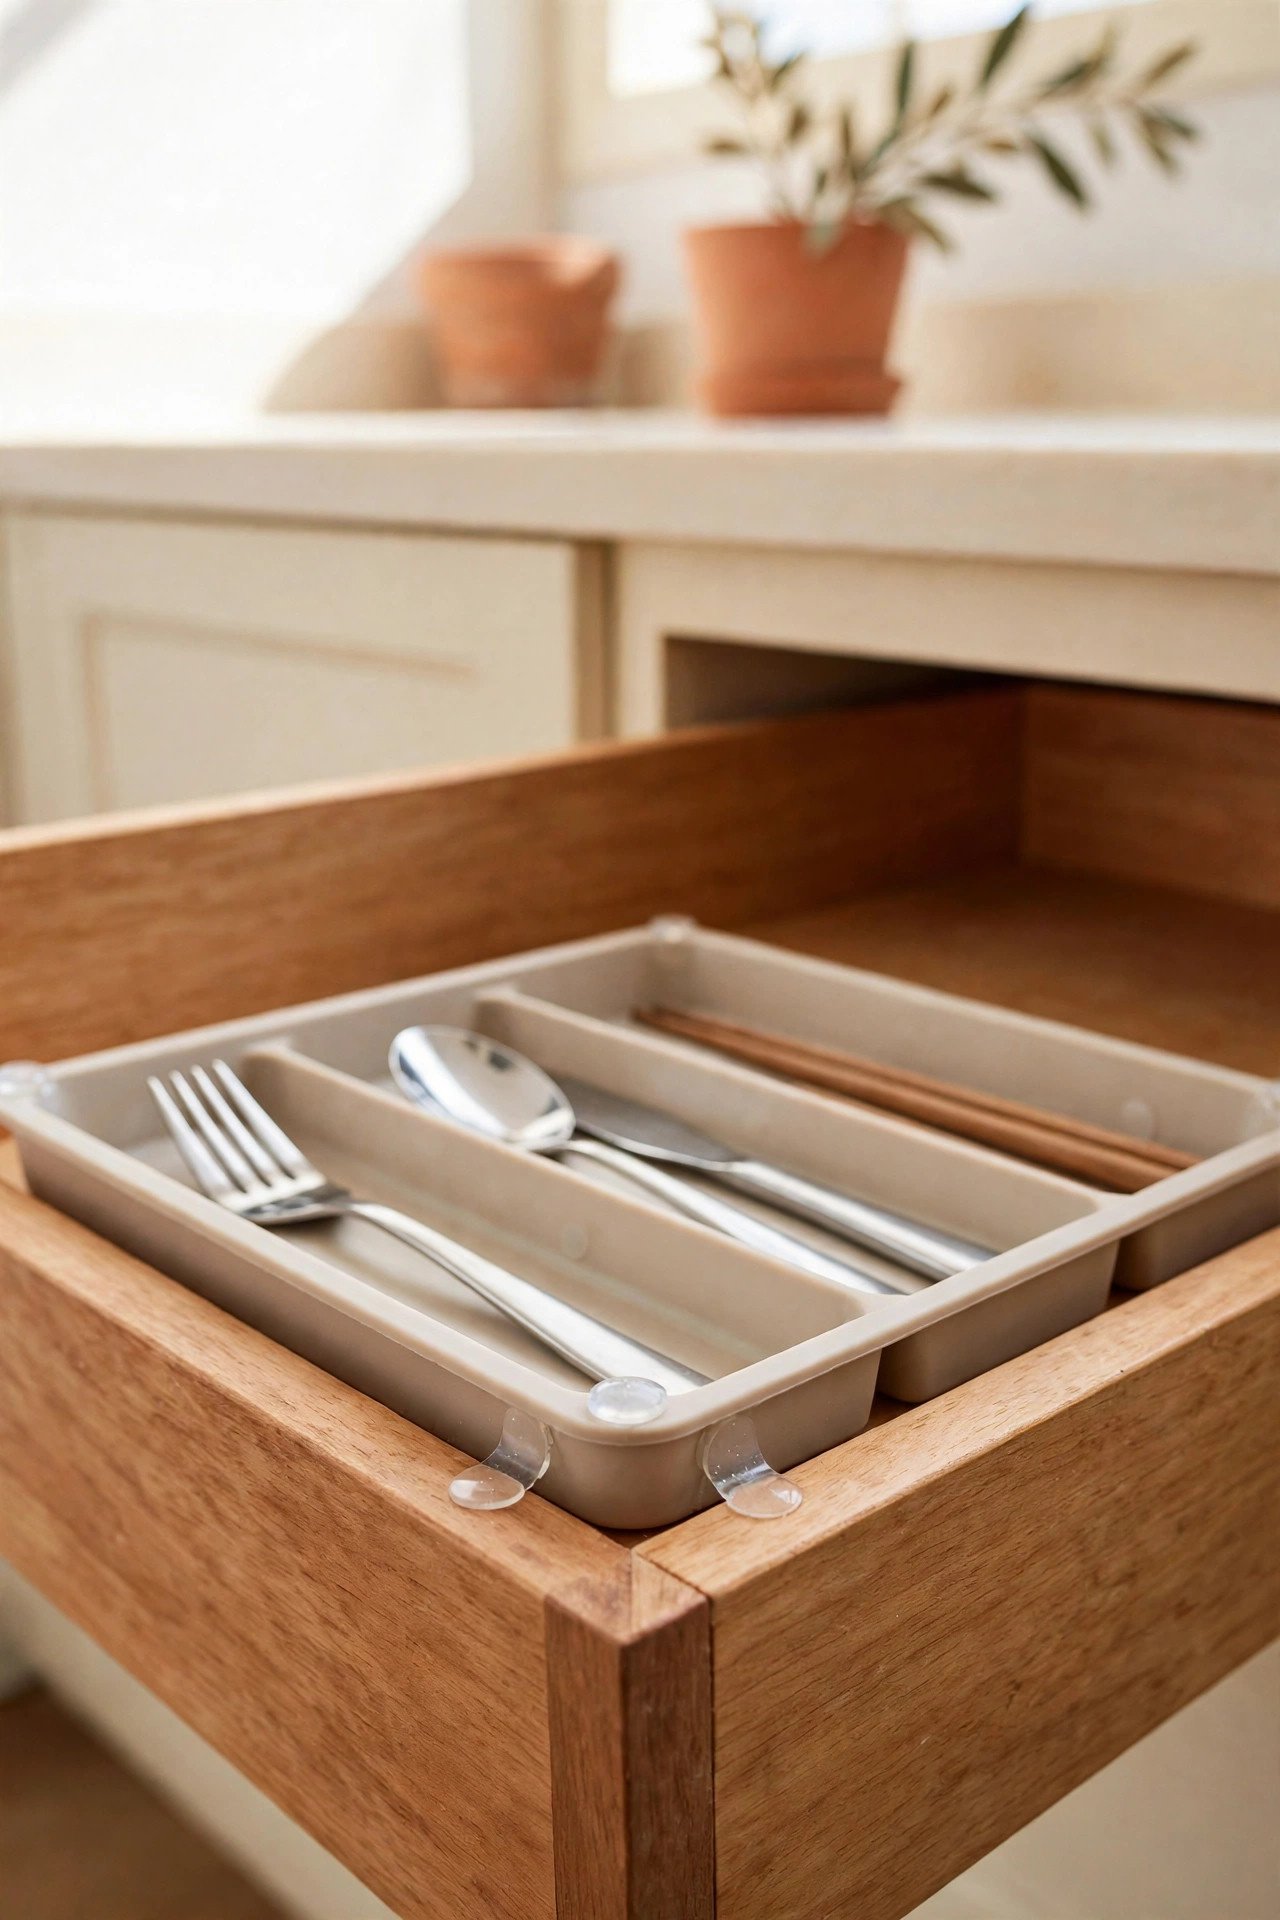
23. Stop Trays From Sliding With Bumpers
Small adhesive bumpers on tray corners grip the drawer walls and stop sideways drift. They are invisible once the tray sits in place.
Replace bumpers once a year when the stickiness fades. It is a two-minute job that keeps the whole system steady.
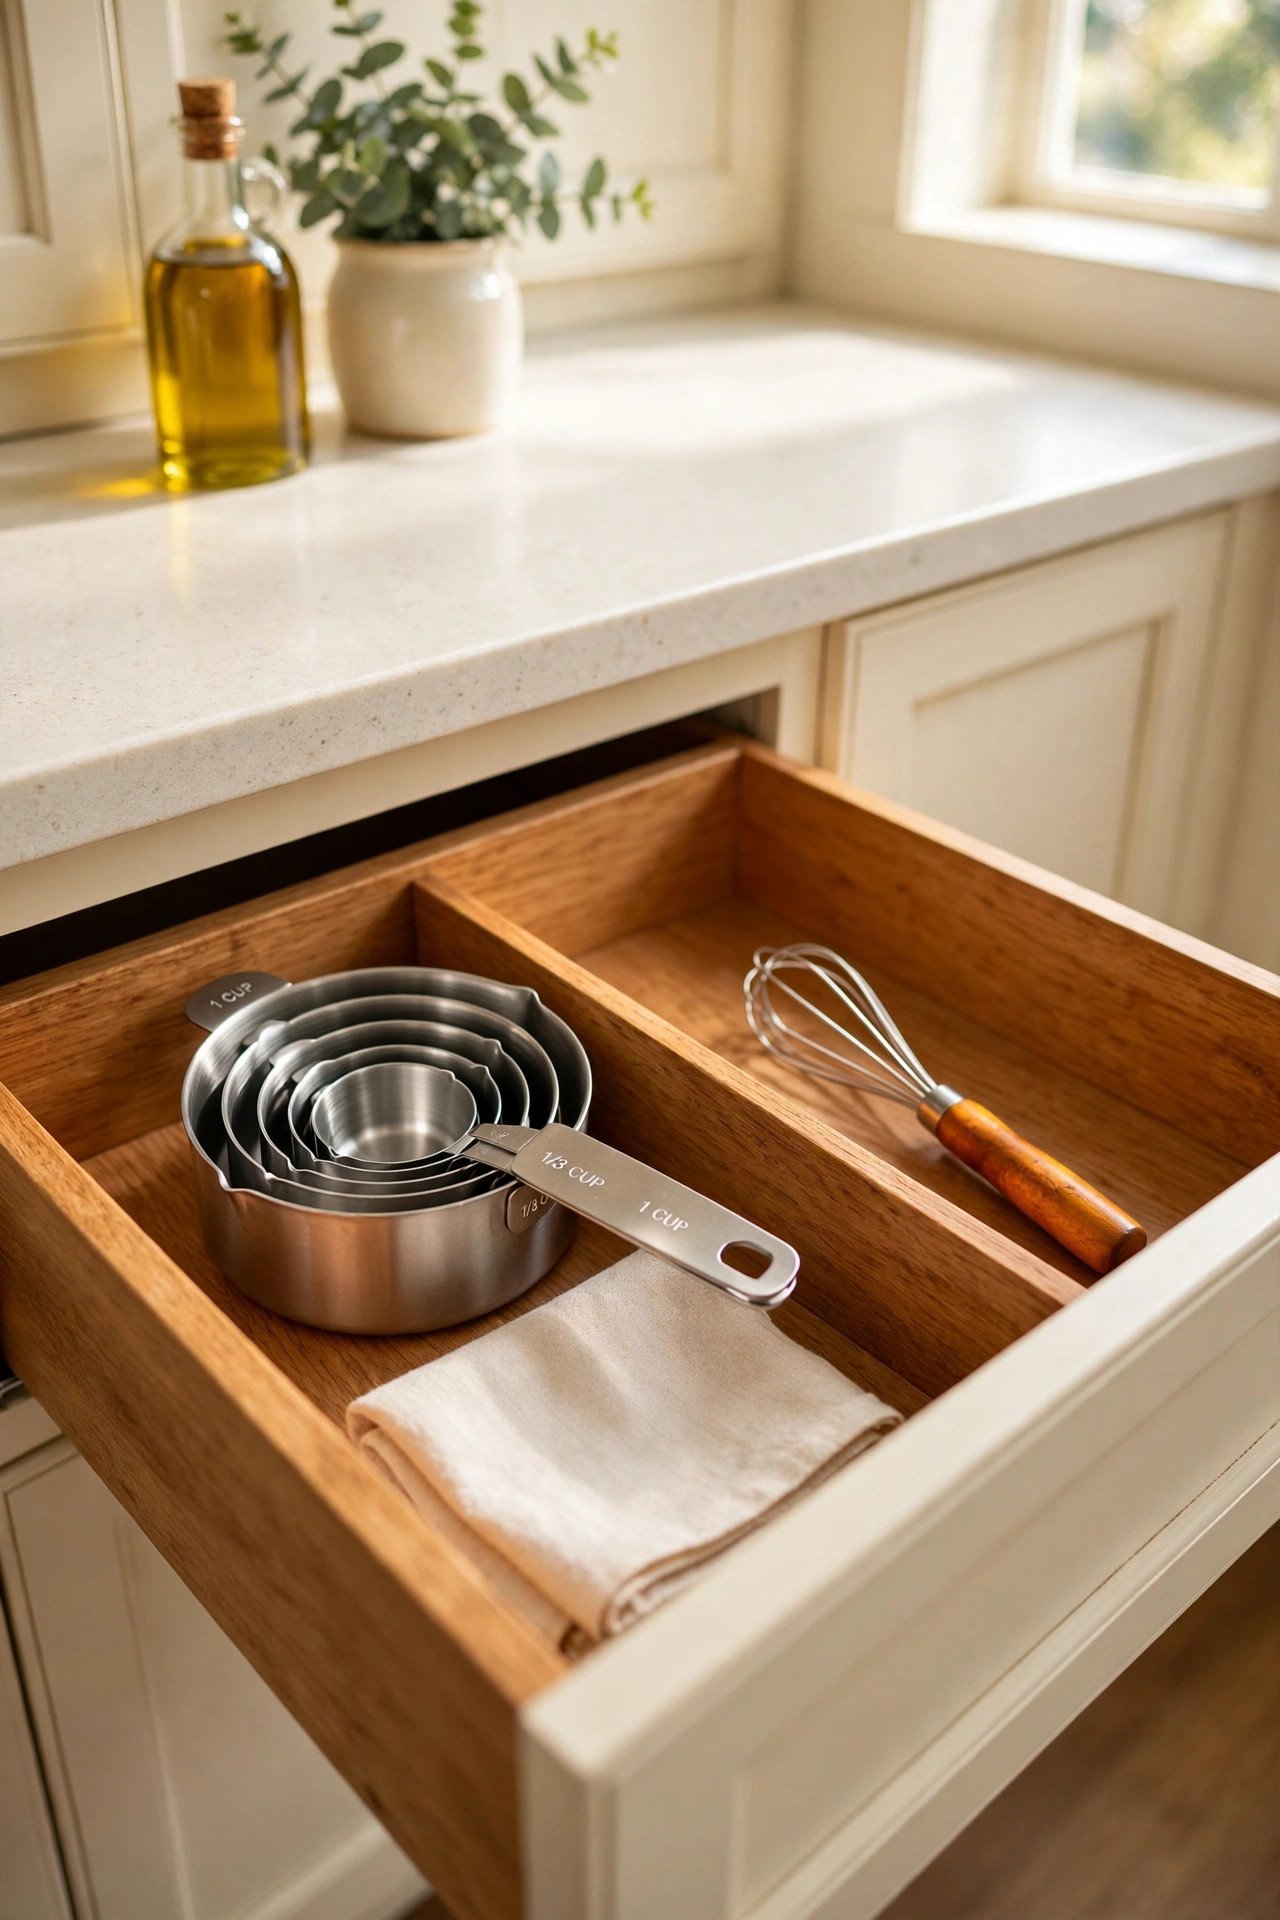
24. Nest Measuring Cups Together
Keep nested measuring cup sets together instead of scattering them across compartments. They stack into one tidy unit that fits a single slot.
Hang the nested set in a medium compartment near your baking zone. You will grab the full set in one motion.
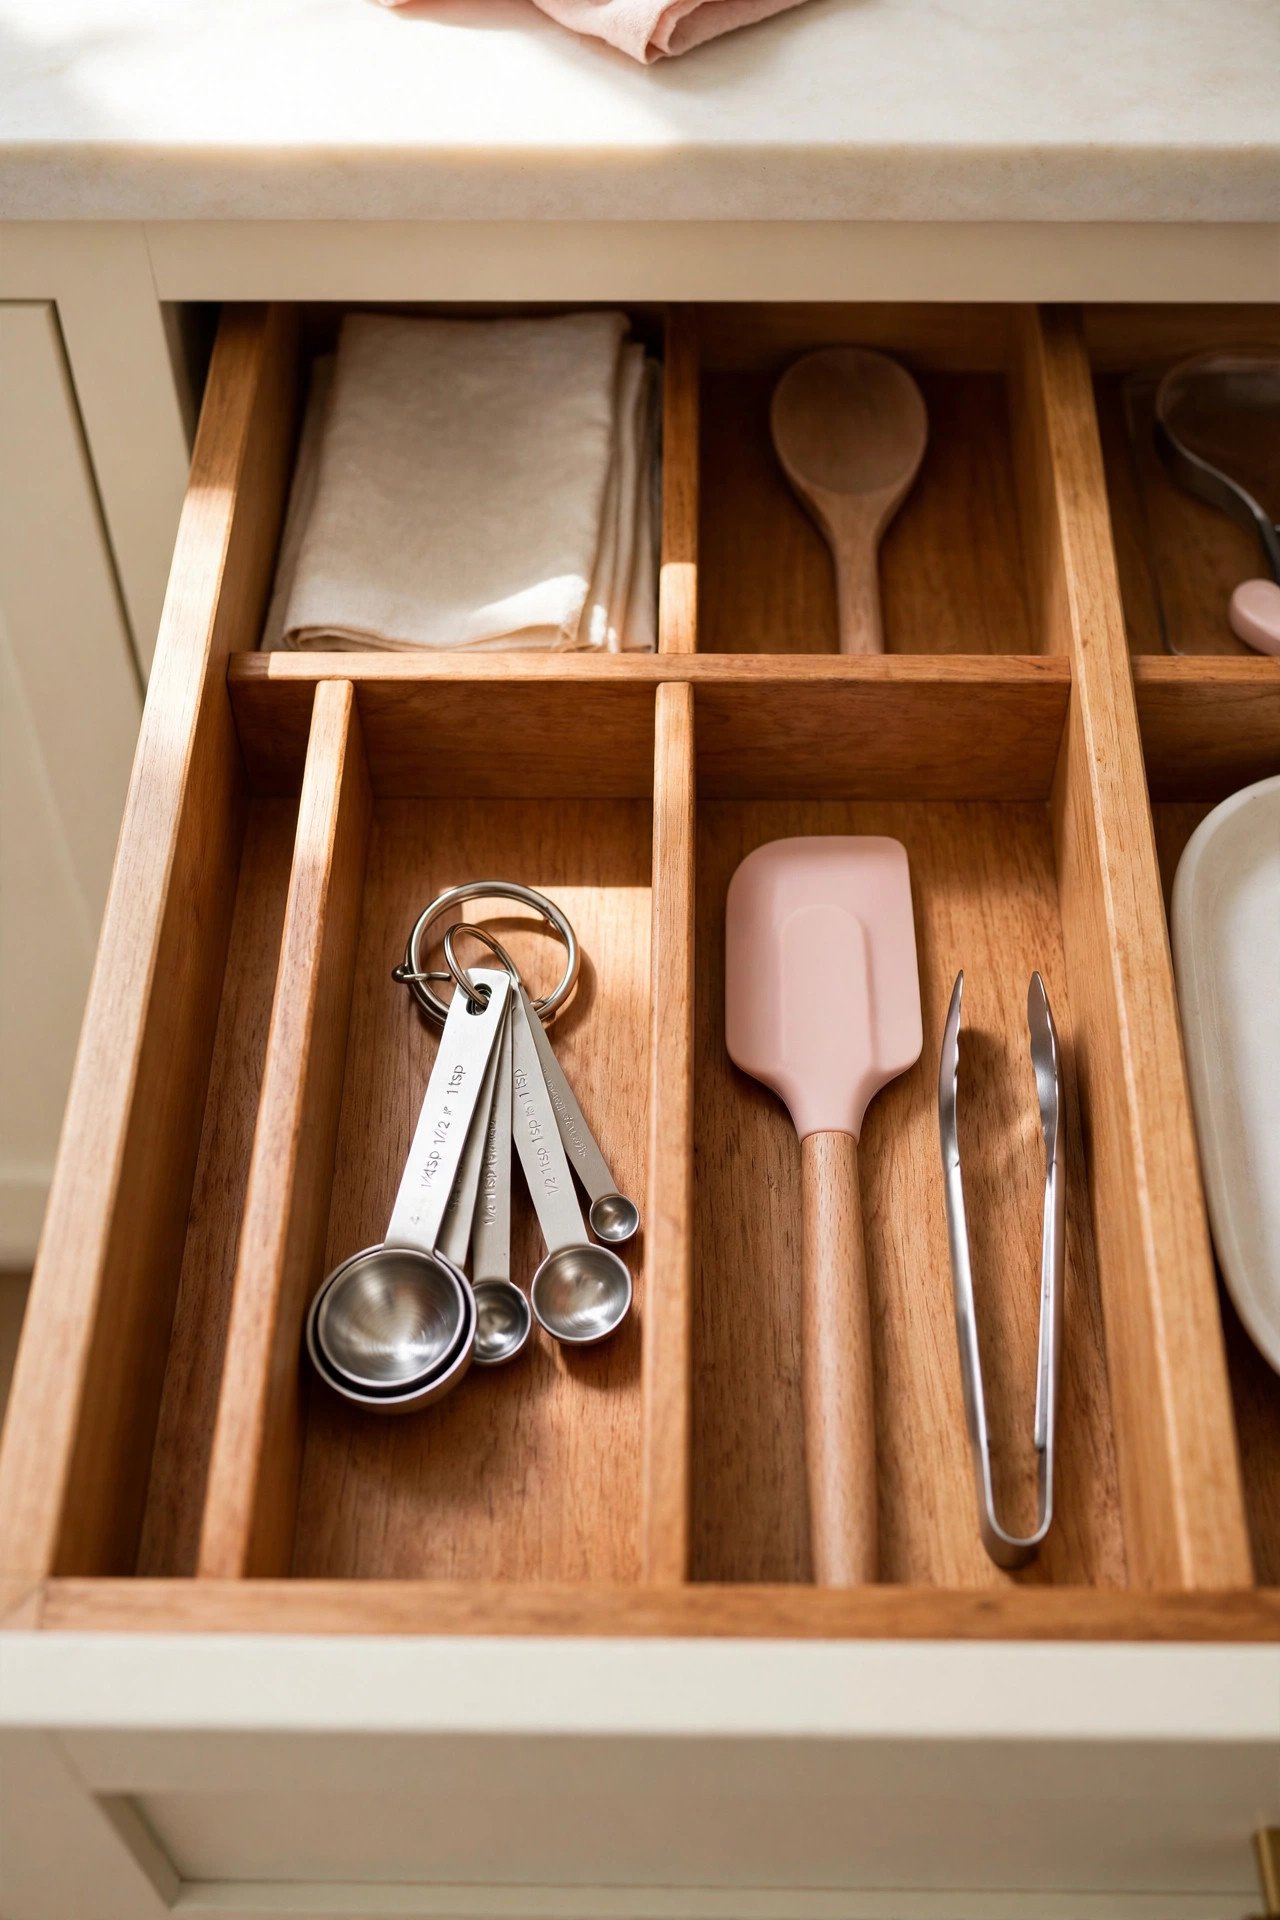
25. Ring Your Measuring Spoons
Thread measuring spoons onto a small metal ring so the set never separates. The ring keeps them in order from smallest to largest.
Lay the ringed set flat in a narrow compartment. No more digging for the missing half teaspoon.
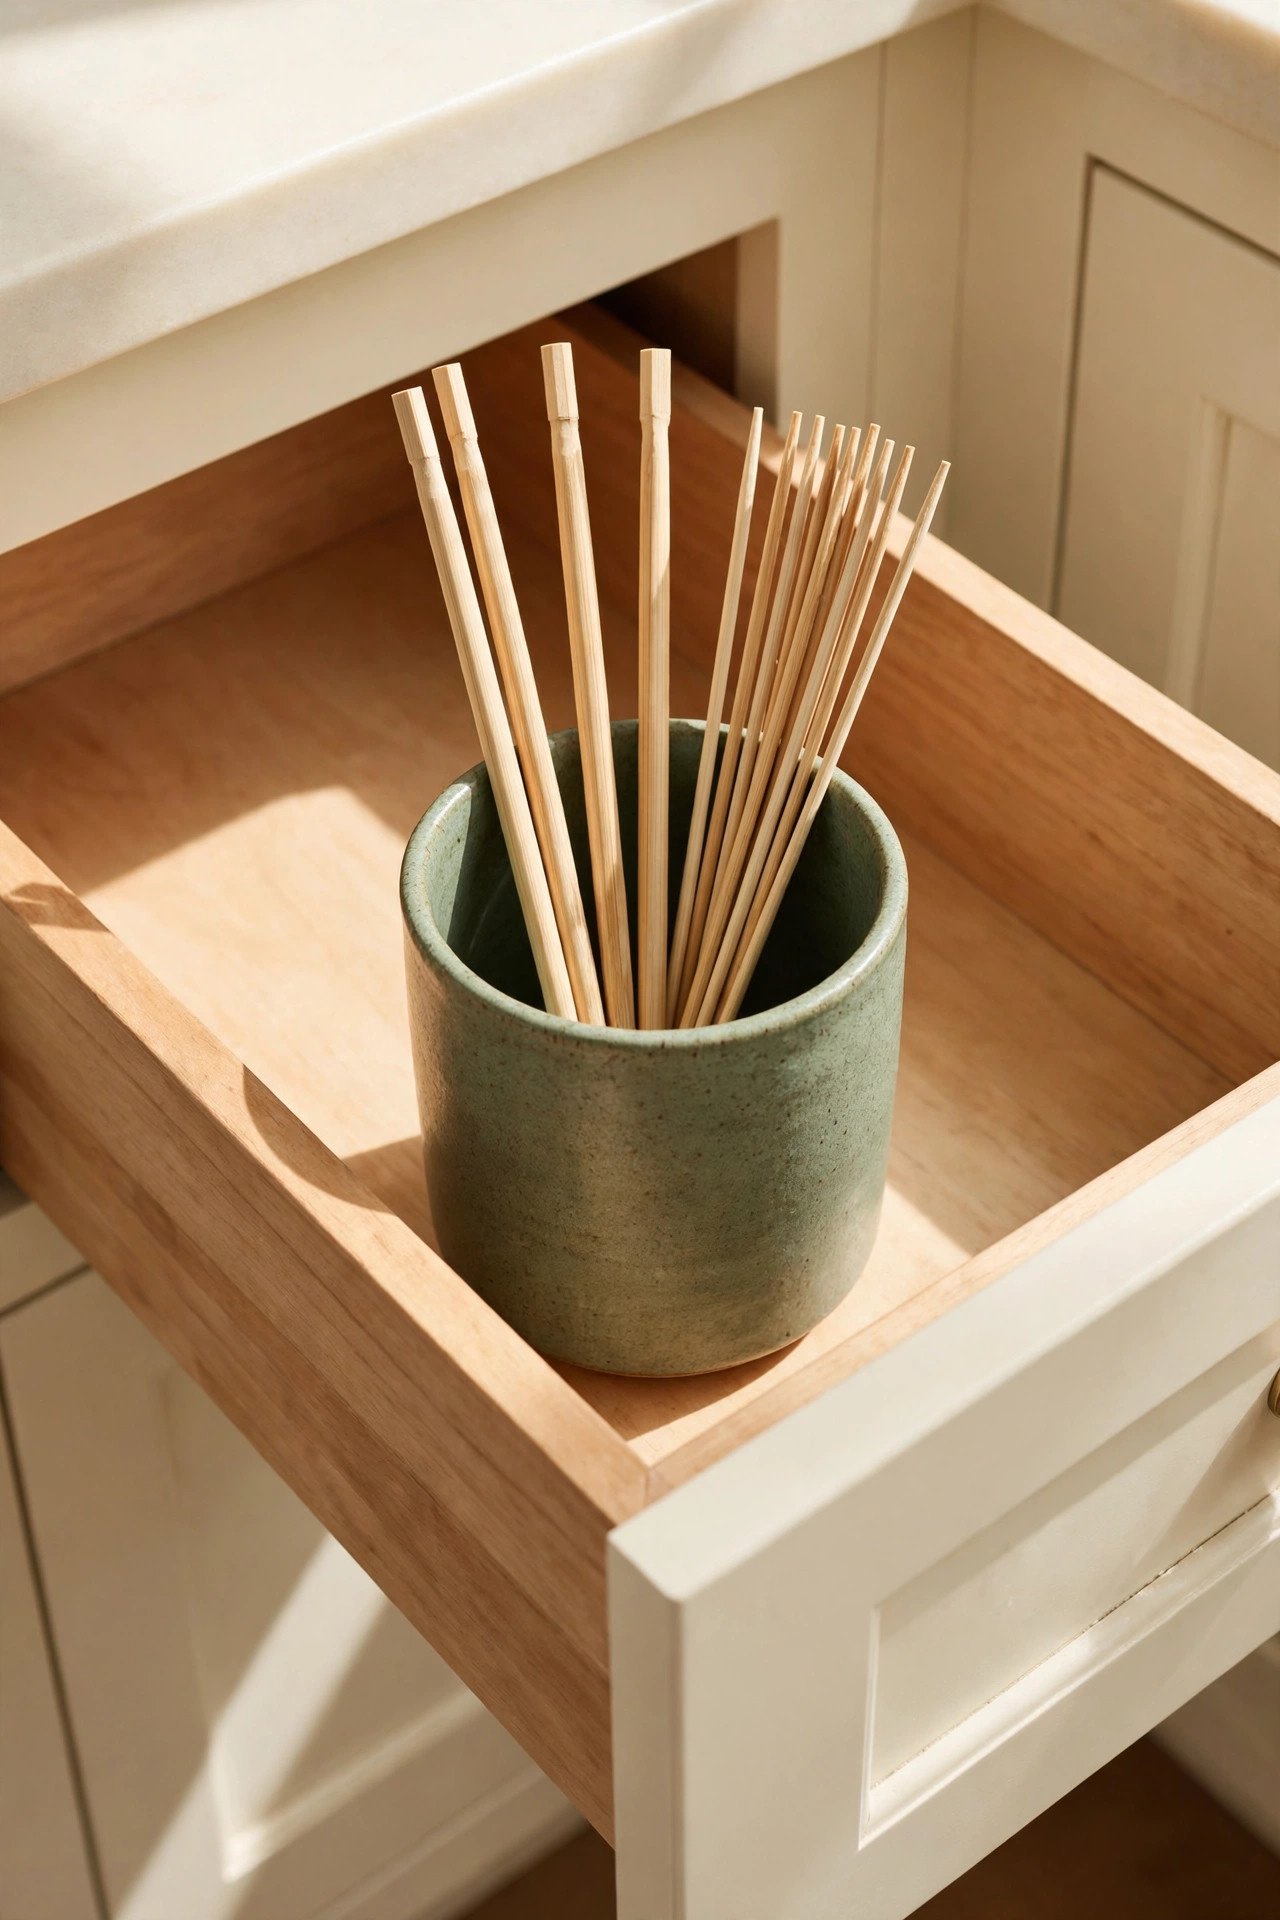
26. Cup Your Chopsticks and Skewers
Stand chopsticks, skewers, and straws upright in a tall cup or jar inside the drawer. Vertical storage stops long thin tools from sliding everywhere.
A heavy ceramic cup works well because it will not tip when the drawer moves. Everything stays visible and easy to grab.
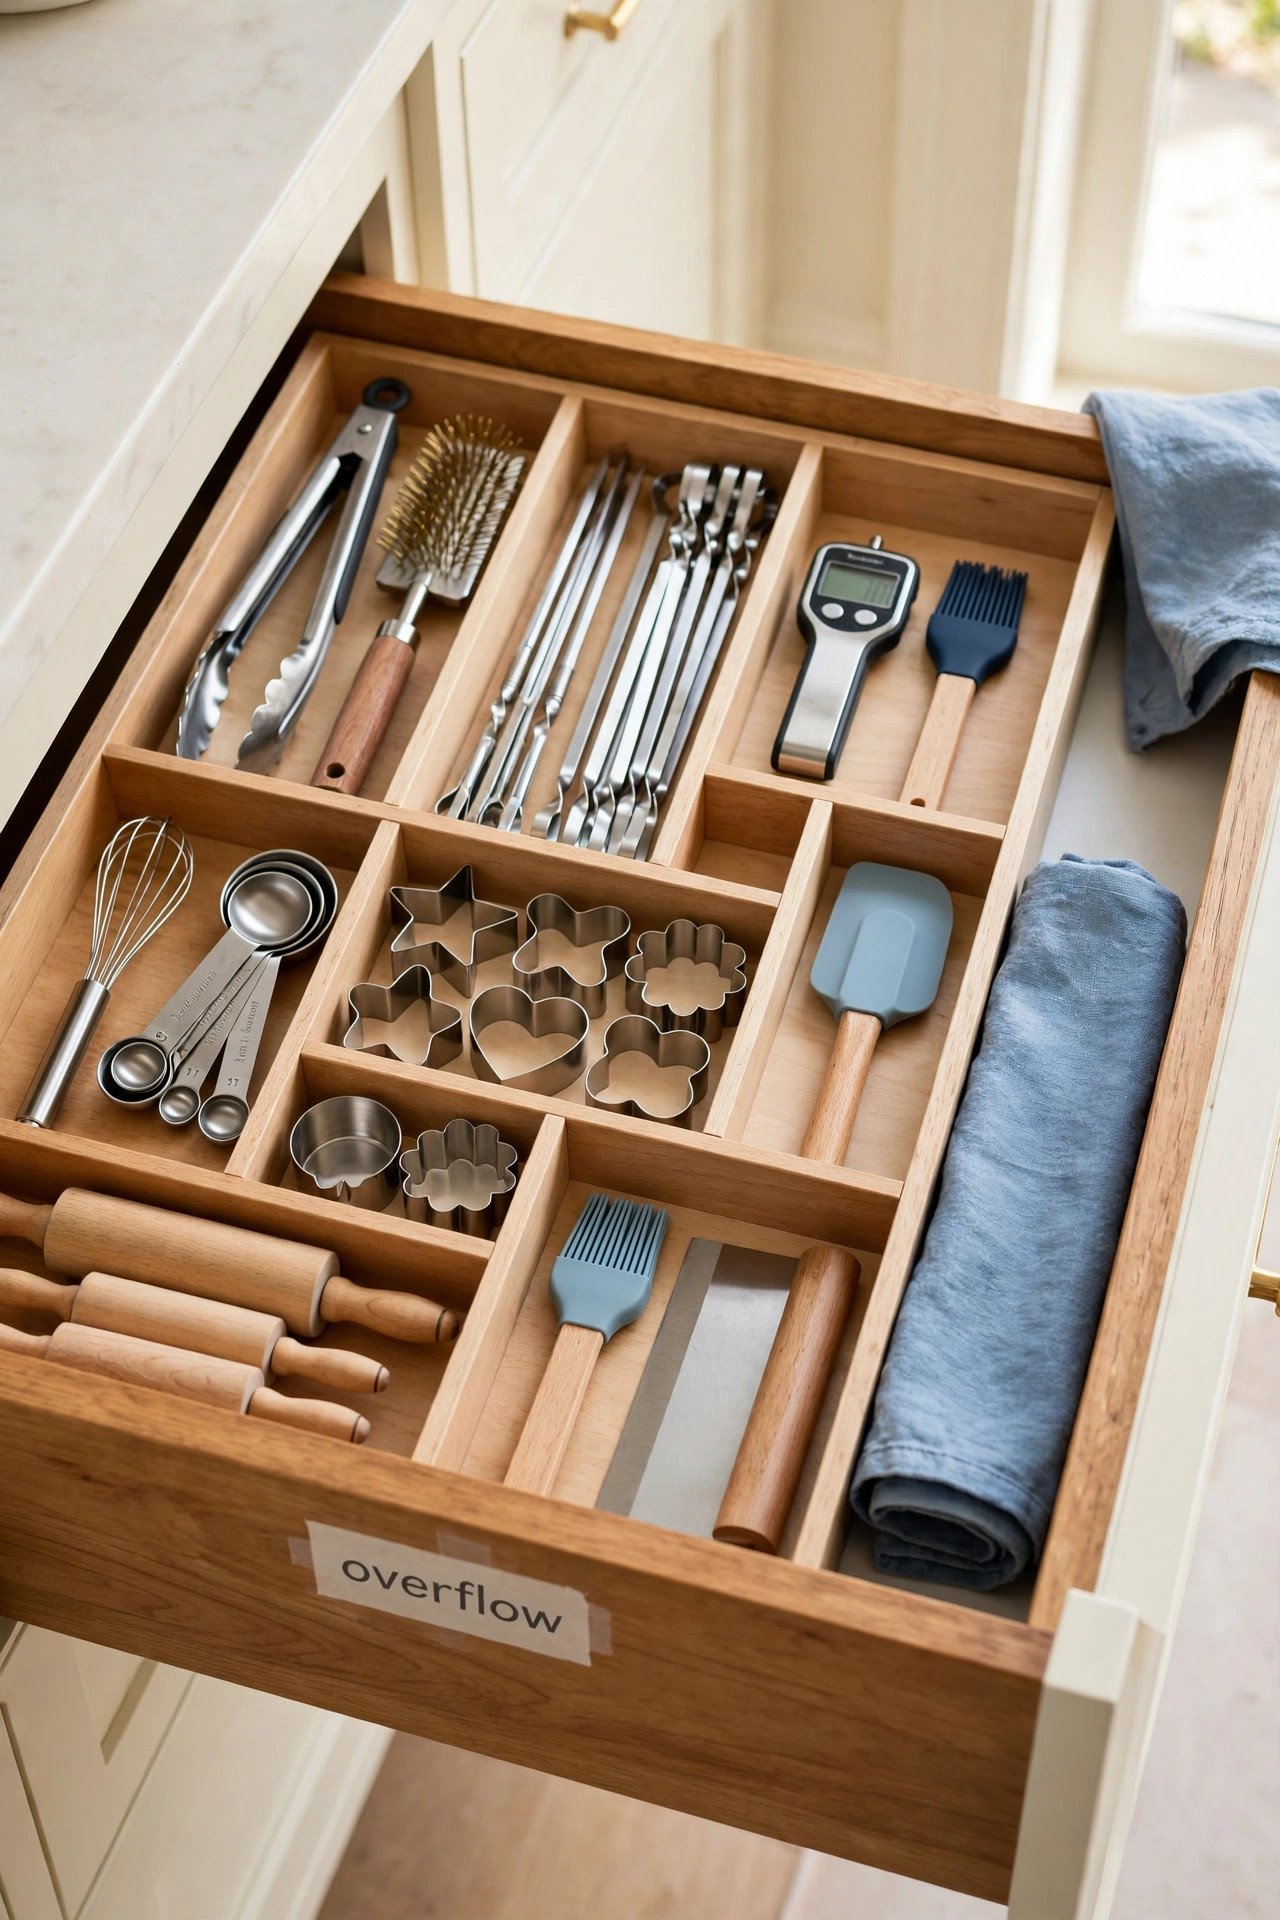
27. Add a Second Drawer for Overflow
If your main drawer still bursts after organizing, claim a second drawer for overflow. Move baking or grilling tools into their own space.
Label the second drawer clearly so family members learn the new home. Overflow stops being chaos when it has a name.
28. Do a Monthly Ten-Minute Reset
Once a month, pull the drawer open and spend ten minutes putting strays back in place. Small drifts are easy to fix before they become messes.
Toss broken tools and wipe the trays while you are at it. This tiny habit keeps all 28 ideas working for years.
Conclusion
An organized utensil drawer changes how your whole kitchen feels. When every spatula, whisk, and tong has a home, cooking stops feeling like a treasure hunt.
Start with just two or three ideas from this list and build from there. Your future self, mid-dinner-rush, will thank you for every minute you spend today.
Frequently Asked Questions About Kitchen Utensil Drawer Organization
What is the best way to organize a kitchen utensil drawer?
Start by emptying the drawer completely and measuring it. Then add adjustable dividers or an expandable tray, group tools by cooking task into zones, and keep everyday tools at the front. Labels help the whole family keep the system tidy.
How do you store knives safely in a drawer?
Use an in-drawer knife block with angled slots that hold each blade separately, or slide blade guards onto loose knives and store them in a divided section. Both options protect the sharp edges and keep your fingers safe when you reach into the drawer.
What size drawer dividers do I need?
Measure the length, width, and depth of your drawer first. Adjustable bamboo dividers and expandable trays fit most standard drawers, while cut-to-fit grid inserts trim to match unusual sizes exactly. Depth matters most for stacked or two-tier trays.
How do I stop drawer organizers from sliding around?
Line the drawer with non-slip liner cut slightly smaller than the base, and add small adhesive bumpers to the corners of your trays. Spring-tension dividers and snug expandable trays also lock themselves in place.
How often should I reorganize my utensil drawer?
Do a quick ten-minute reset once a month to return strays and wipe the trays. A full reorganization once or twice a year is enough for most kitchens, or sooner if you buy new tools.

Hi, I’m Emily! I turn messy corners into cozy, organized spots. DreamNestDecor is where I share simple, practical home ideas — decor, organization, and small-space solutions that work in real life, not just in photos. Every idea here is carefully researched before it’s shared.