Picture this: you walk into a kitchen and a hand painted sign above the stove reads FRESH BREAD in soft faded letters, and the whole room suddenly feels warmer and more storied. That sign did not come from an expensive boutique. It came from a spare board, a brush, and an afternoon of patient work, and it carries a charm no mass produced decor can match.
You do not need professional tools or a workshop to make signs that look beautifully aged. All you need is a surface, some paint, and a lettering method that suits your skill level. These 17 diy vintage sign making ideas will show you how to turn plain boards, scrap metal, and old pallets into character filled signs for every room in your home.
1. Paint a Distressed Wood Board Sign
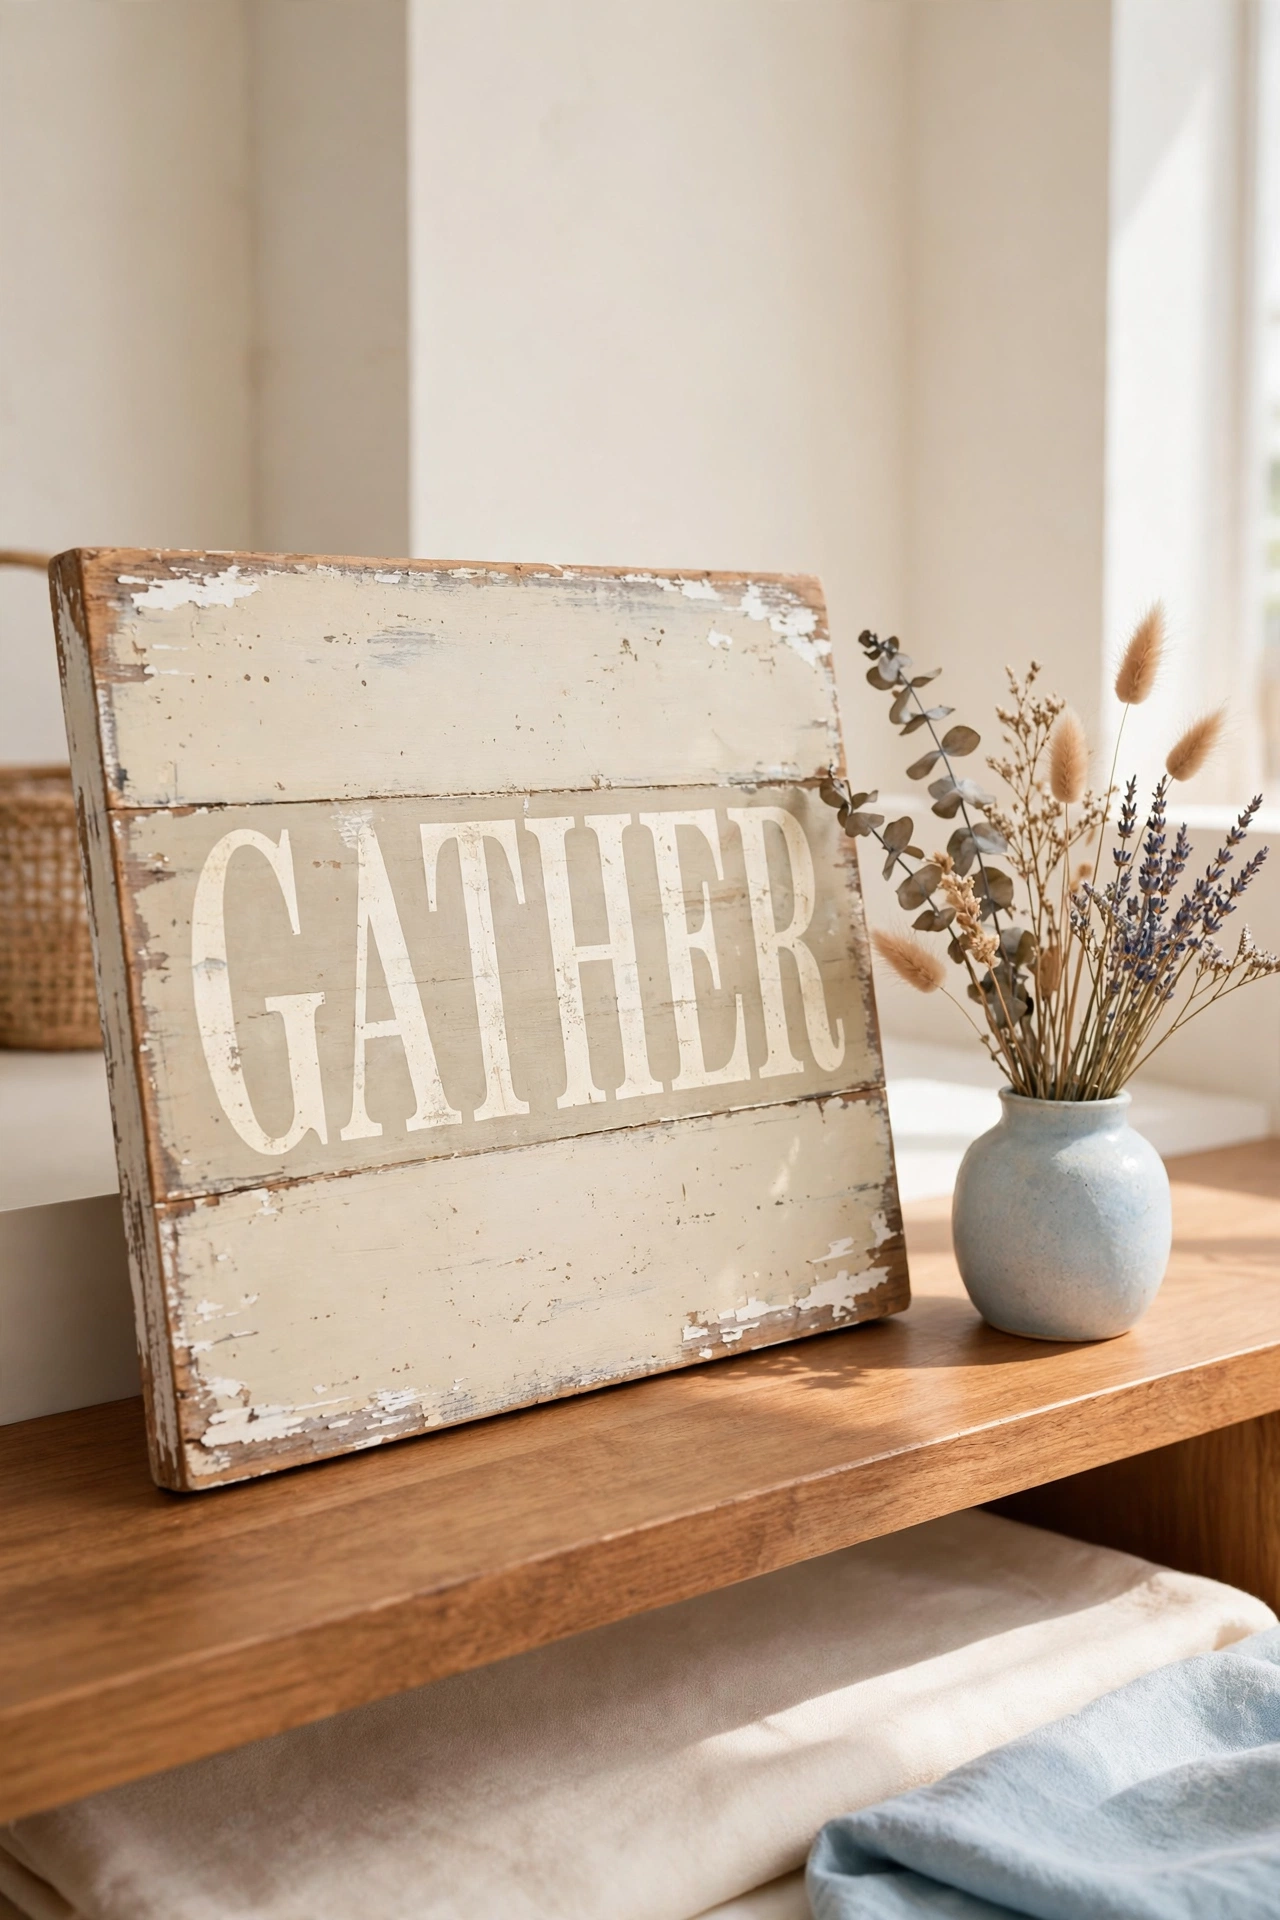
A distressed wood board sign is the classic starting point for vintage sign making. Begin with a plain pine board from the hardware store, paint it in a soft cream or sage color, and add your chosen word or short phrase in a contrasting shade. Once the paint is dry, sand the edges and raised areas lightly so the wood shows through in a natural worn pattern.
The sanding step is what makes the sign look decades old instead of freshly made. Focus on corners, edges, and any spots that would naturally wear with handling. For a richer base color under the paint, these diy wood stain projects show how stain adds depth to old wood before the top coat goes on.
2. Stencil a Farmhouse Quote Sign
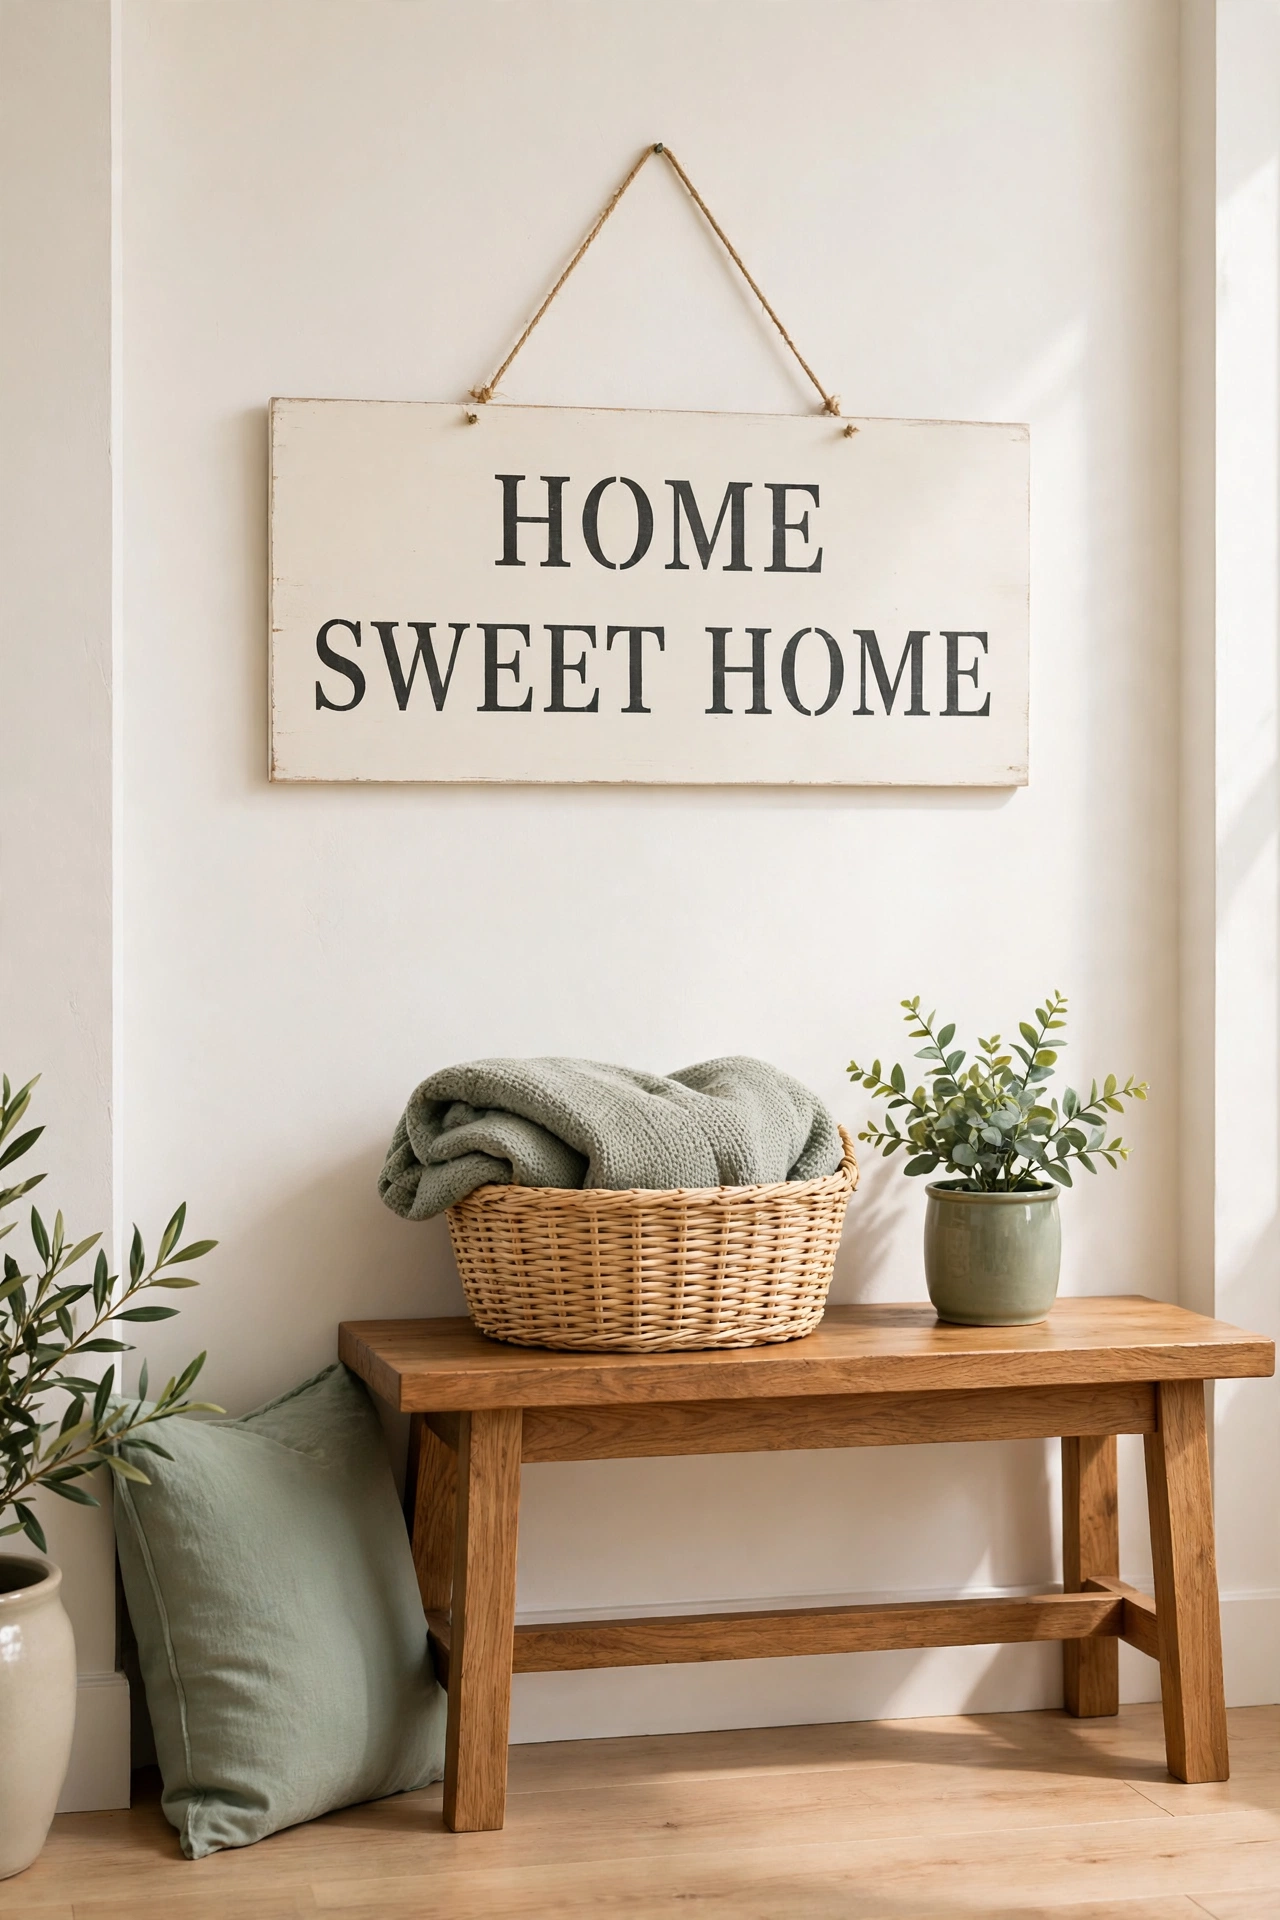
Stencils take the pressure out of freehand lettering and give you crisp even letters every time. Choose a short farmhouse quote, secure a reusable stencil to a painted board with painter tape, and dab paint through the openings with a nearly dry stencil brush. Peel the stencil away slowly to reveal clean sharp lettering.
After the paint dries, distress the surface gently with fine sandpaper so the quote looks softened by time. A light coat of clear wax protects the finish and adds a subtle sheen. This method works beautifully for entryways, kitchens, and bedrooms where a welcoming message sets the tone.
3. Make a Rusted Metal Letter Sign
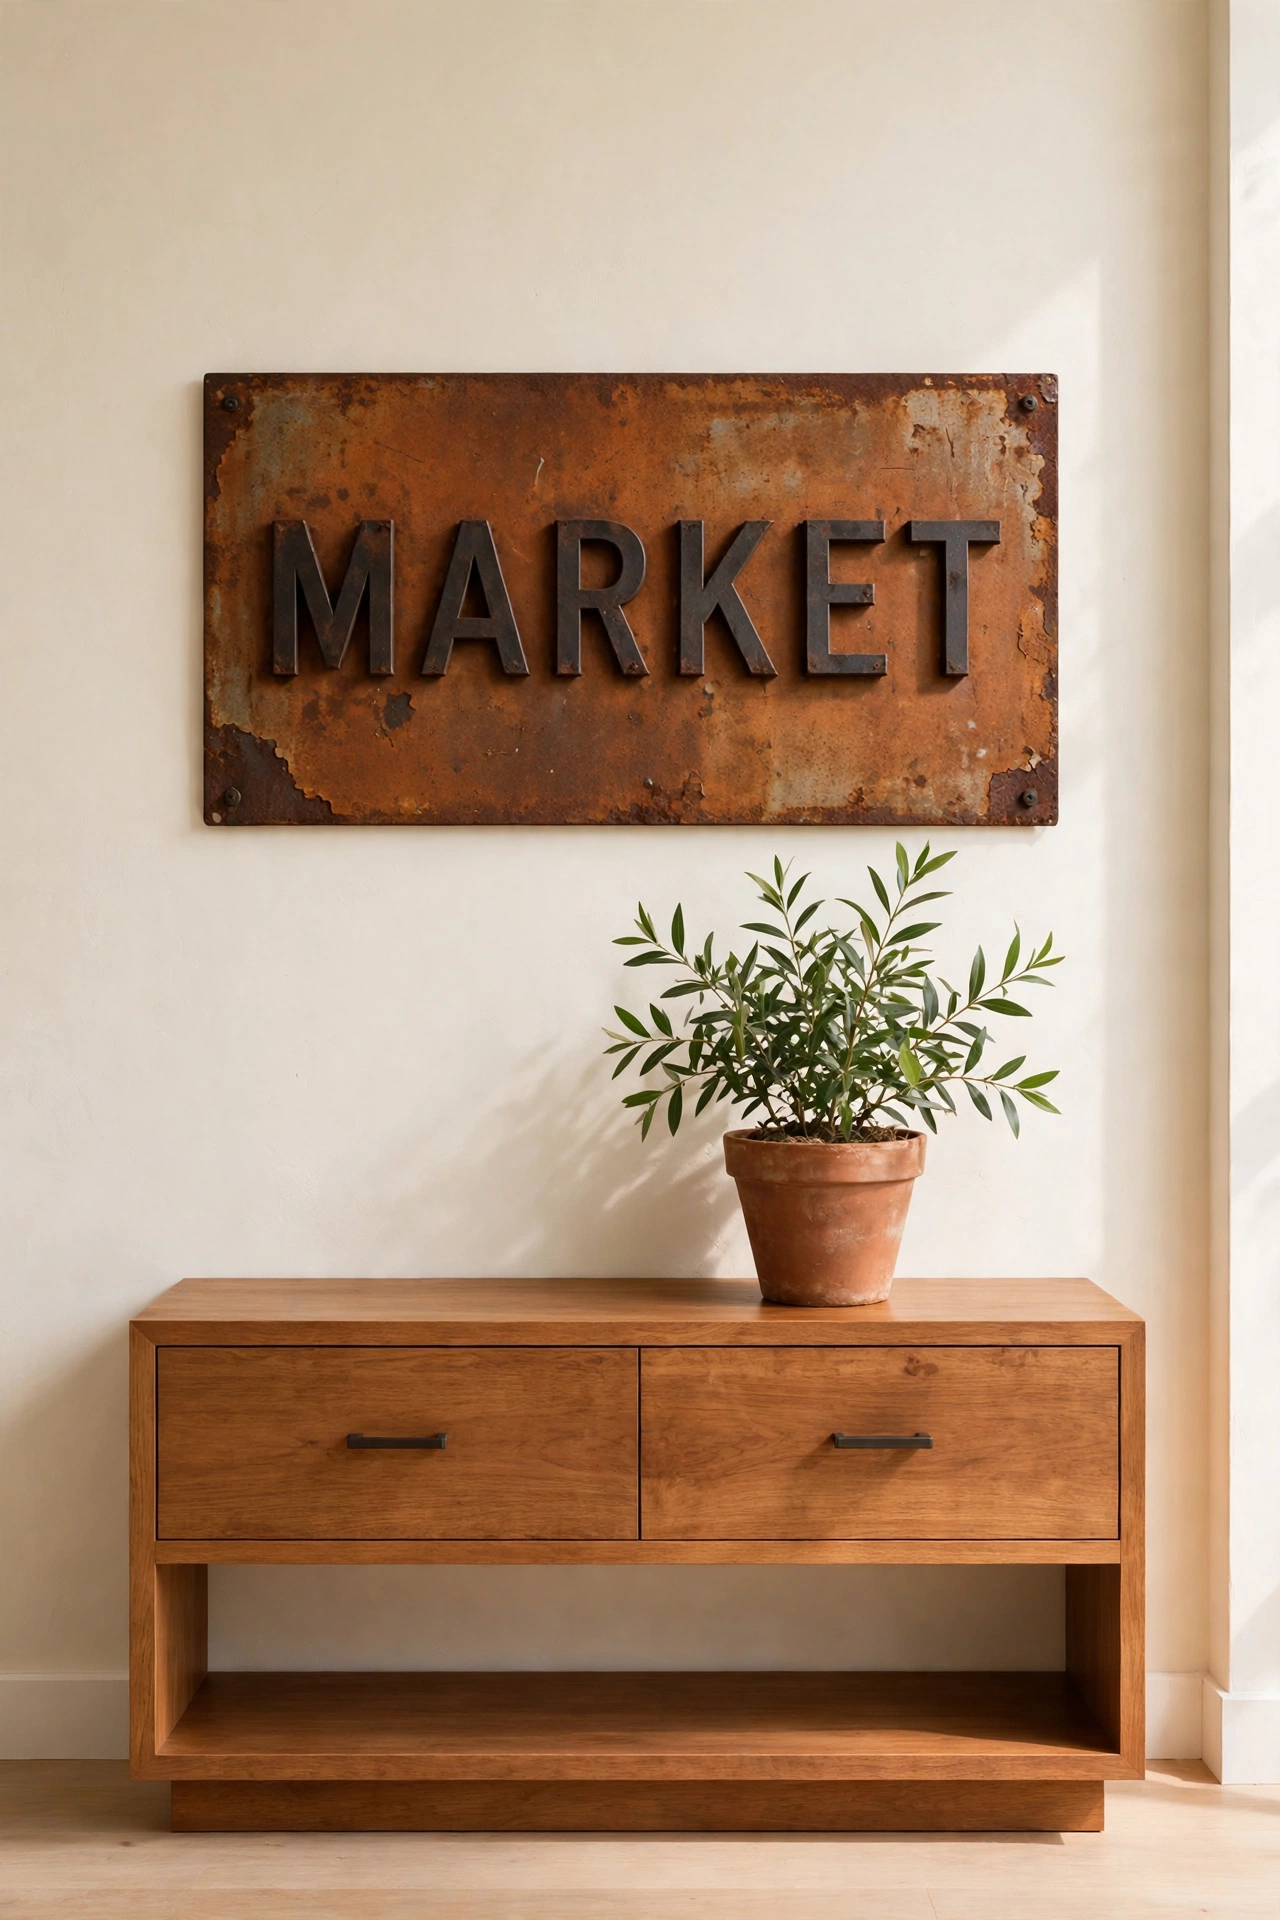
Rusted metal gives a sign an authentic industrial vintage look that paint alone cannot copy. Cut or buy thin metal sheeting, shape it into a rectangle or arch, and use a rusting solution or a vinegar and salt mixture to age the surface. Individual metal letters can be attached with small screws or strong adhesive once the rust pattern looks right.
Seal the finished sign with a clear matte coat so the rust stays put and does not stain the wall. The warm orange brown tones pair beautifully with wood, leather, and cream walls. Hang it in a hallway or above a mantel where the textured surface catches the light.
4. Create a Chalkboard Style Kitchen Sign
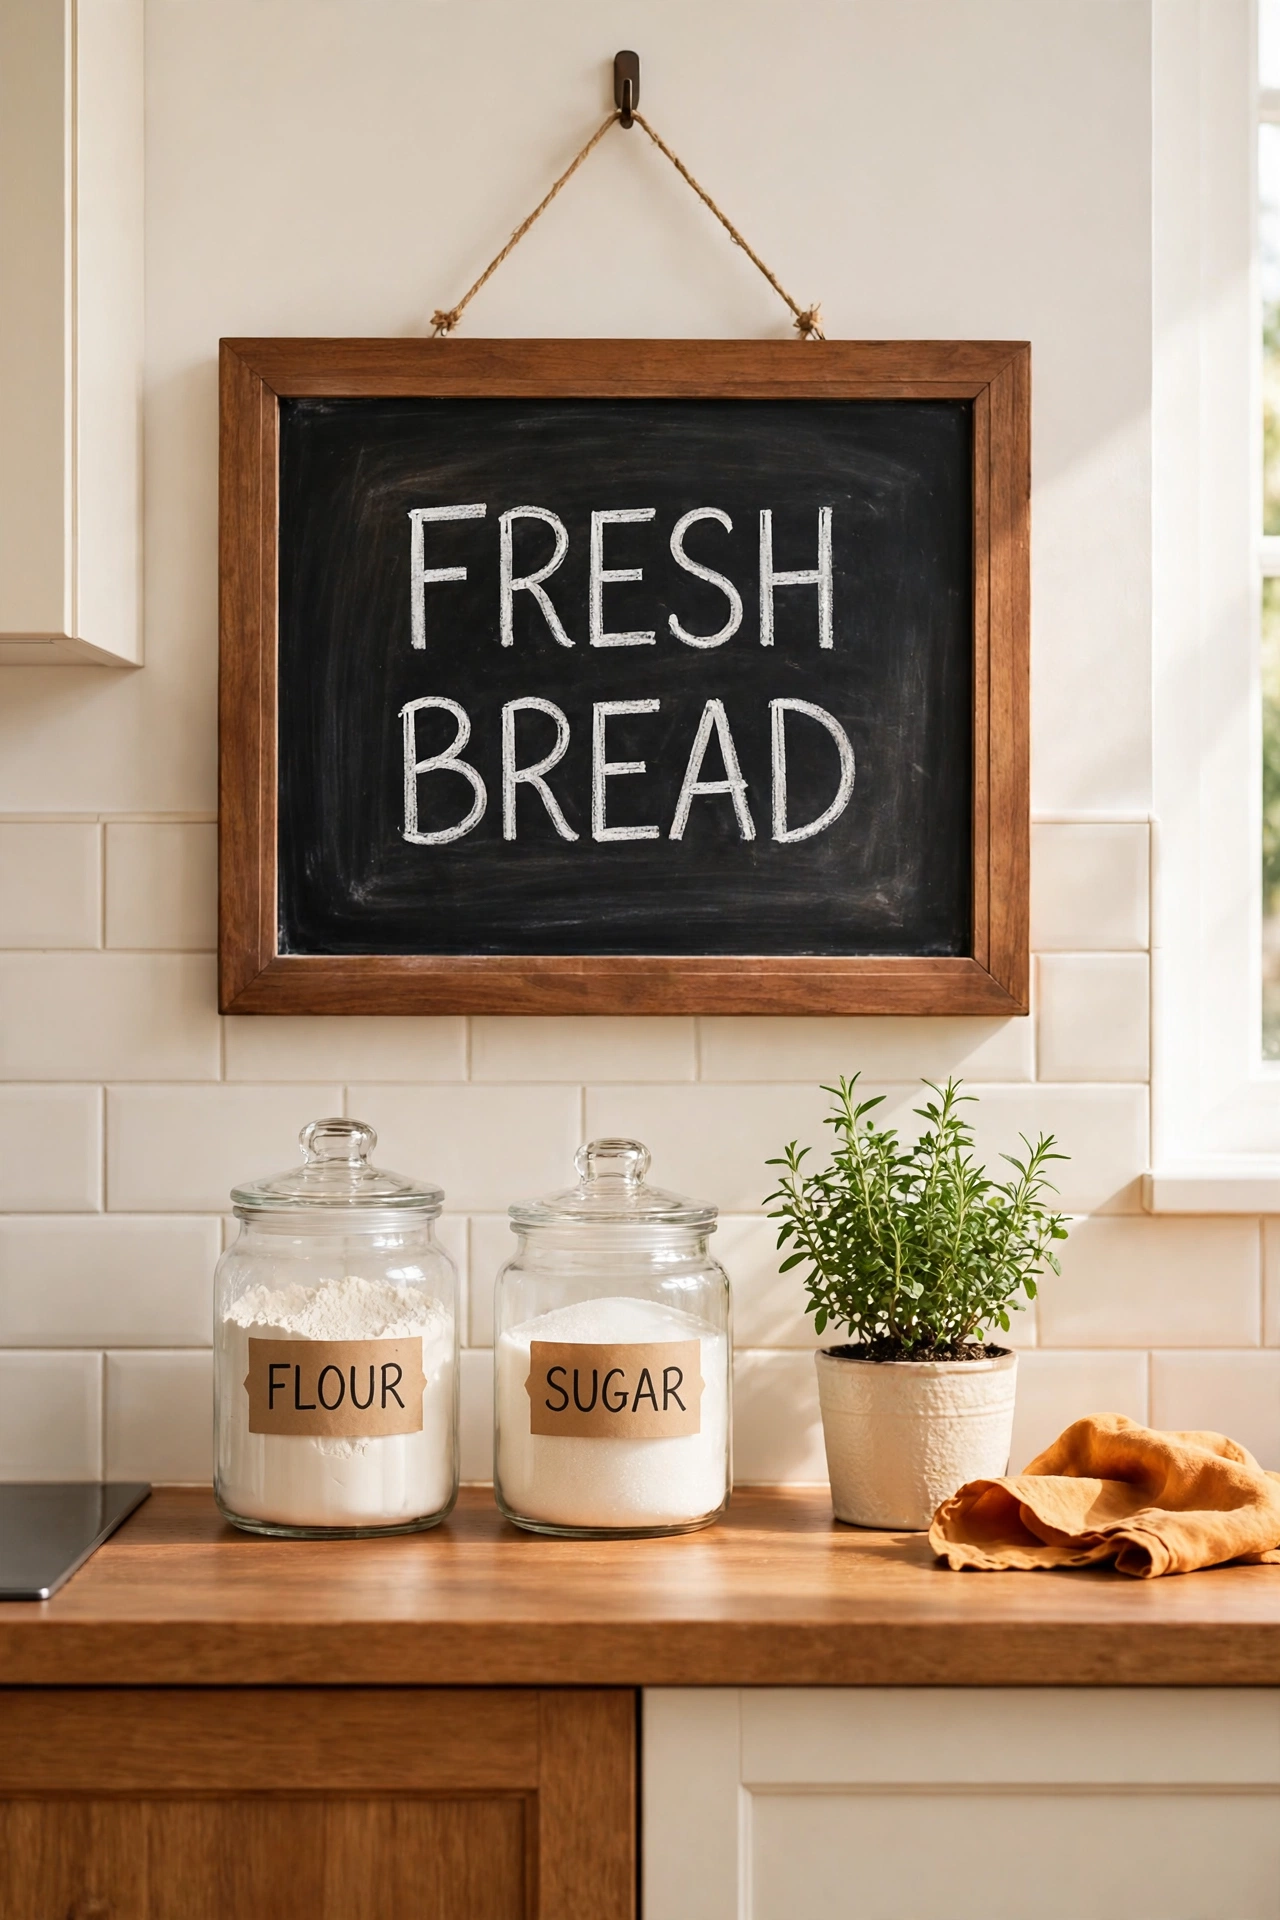
A chalkboard style sign brings the feel of an old country cafe into your kitchen. Paint a board with chalkboard paint, let it cure fully, and then write your menu or message with chalk markers that look like real chalk but do not smudge. A wood frame stained in warm walnut completes the vintage cafe look.
The beauty of this sign is that the message can change with the seasons. Write a weekly menu, a favorite recipe title, or a warm greeting for guests. Keep a damp cloth nearby for updates, and the board stays fresh and useful all year long.
5. Transfer Vintage Typography Onto Reclaimed Wood
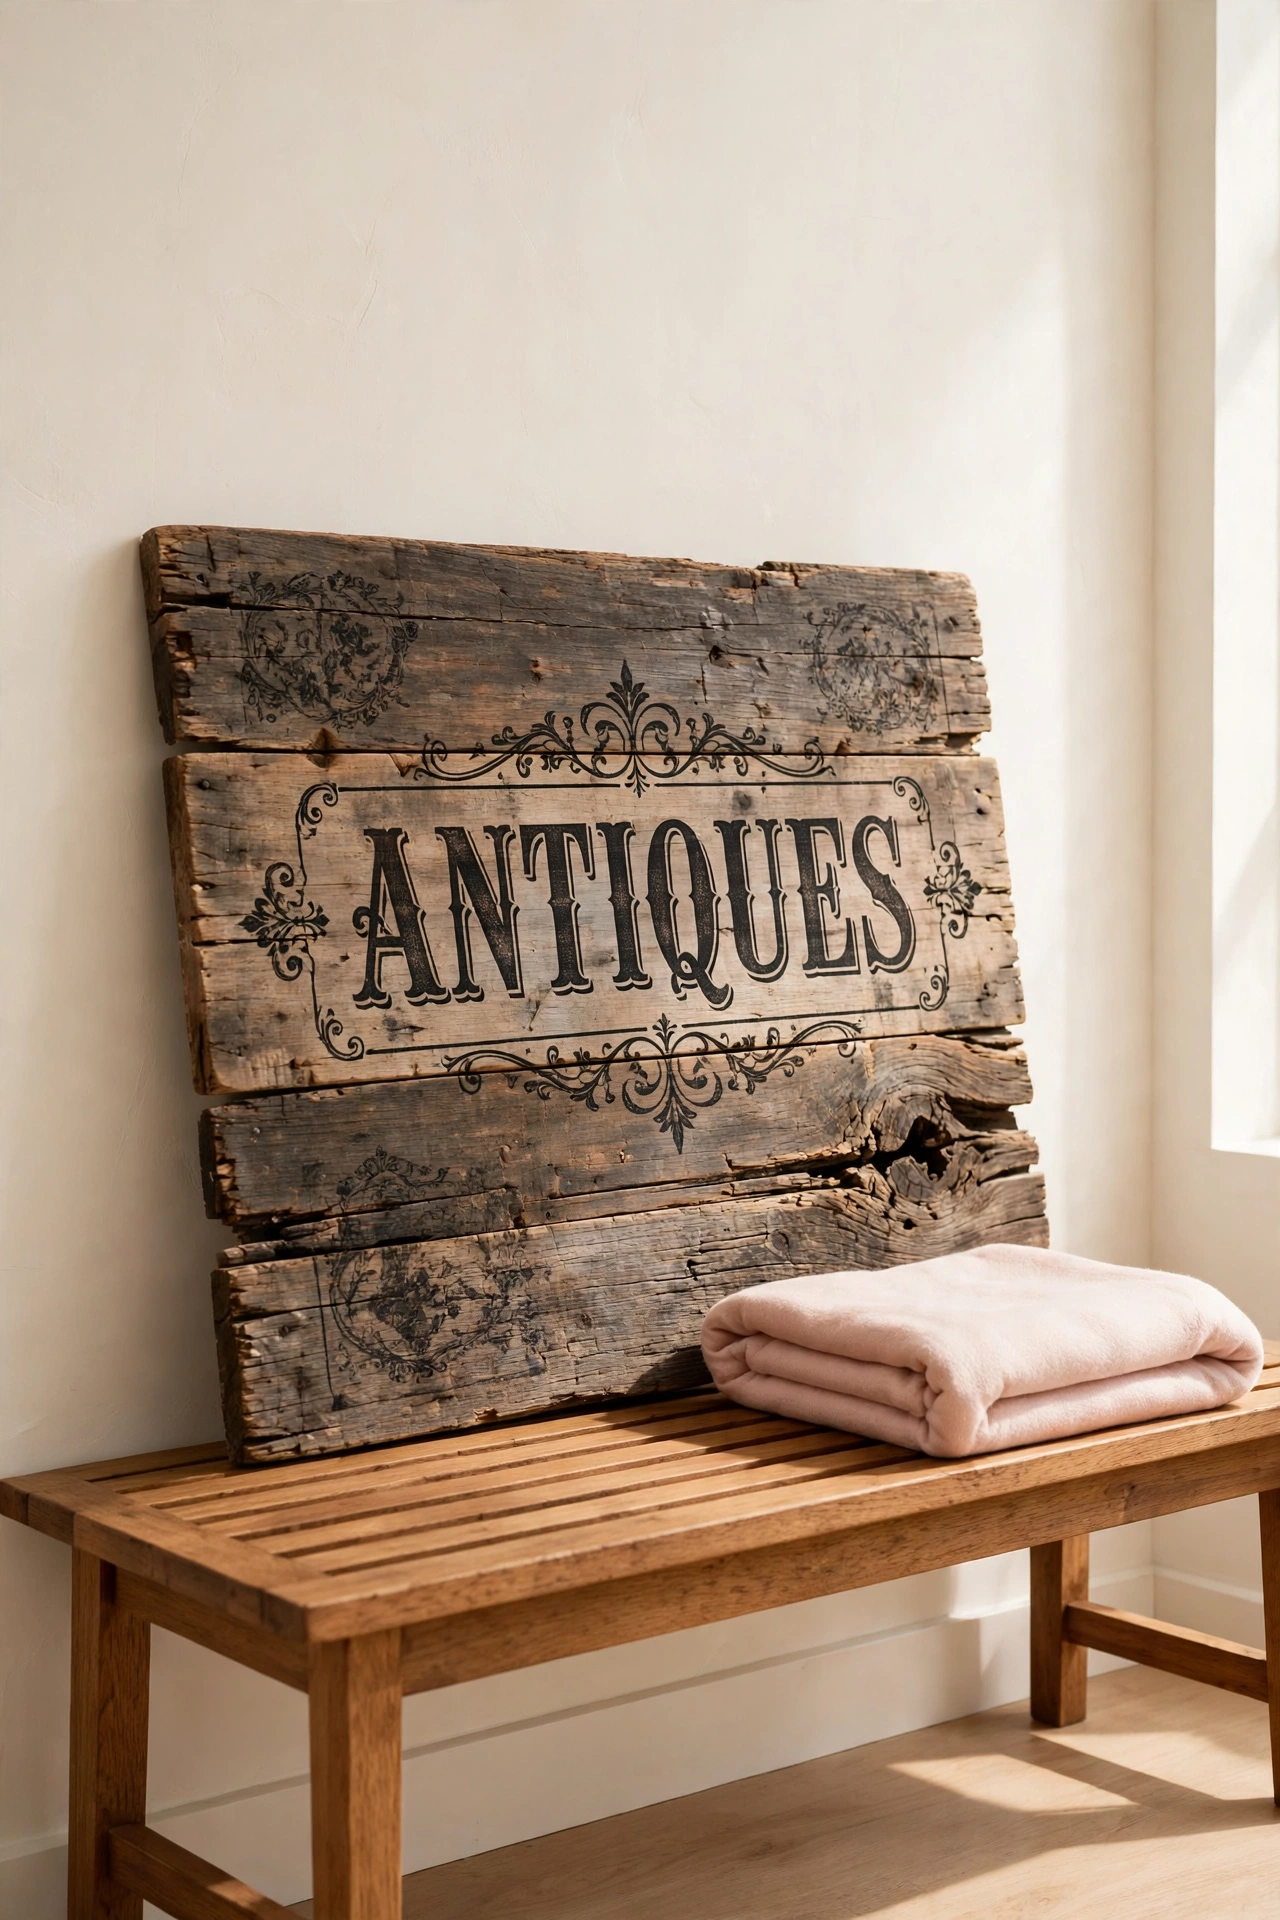
Image transfer lets you place beautiful vintage typography onto reclaimed wood without hand lettering a single stroke. Print your chosen design in reverse on transfer paper, apply transfer medium to the wood, and press the paper face down. After it dries, dampen the paper and rub it away gently to reveal the design embedded in the wood grain.
Reclaimed wood adds instant history because every knot and nail hole shows through the transferred letters. Choose old fashioned fonts with serifs and flourishes for the most authentic result. This technique suits long quotes and ornate lettering that would be hard to paint by hand.
6. Build a Shiplap Welcome Sign
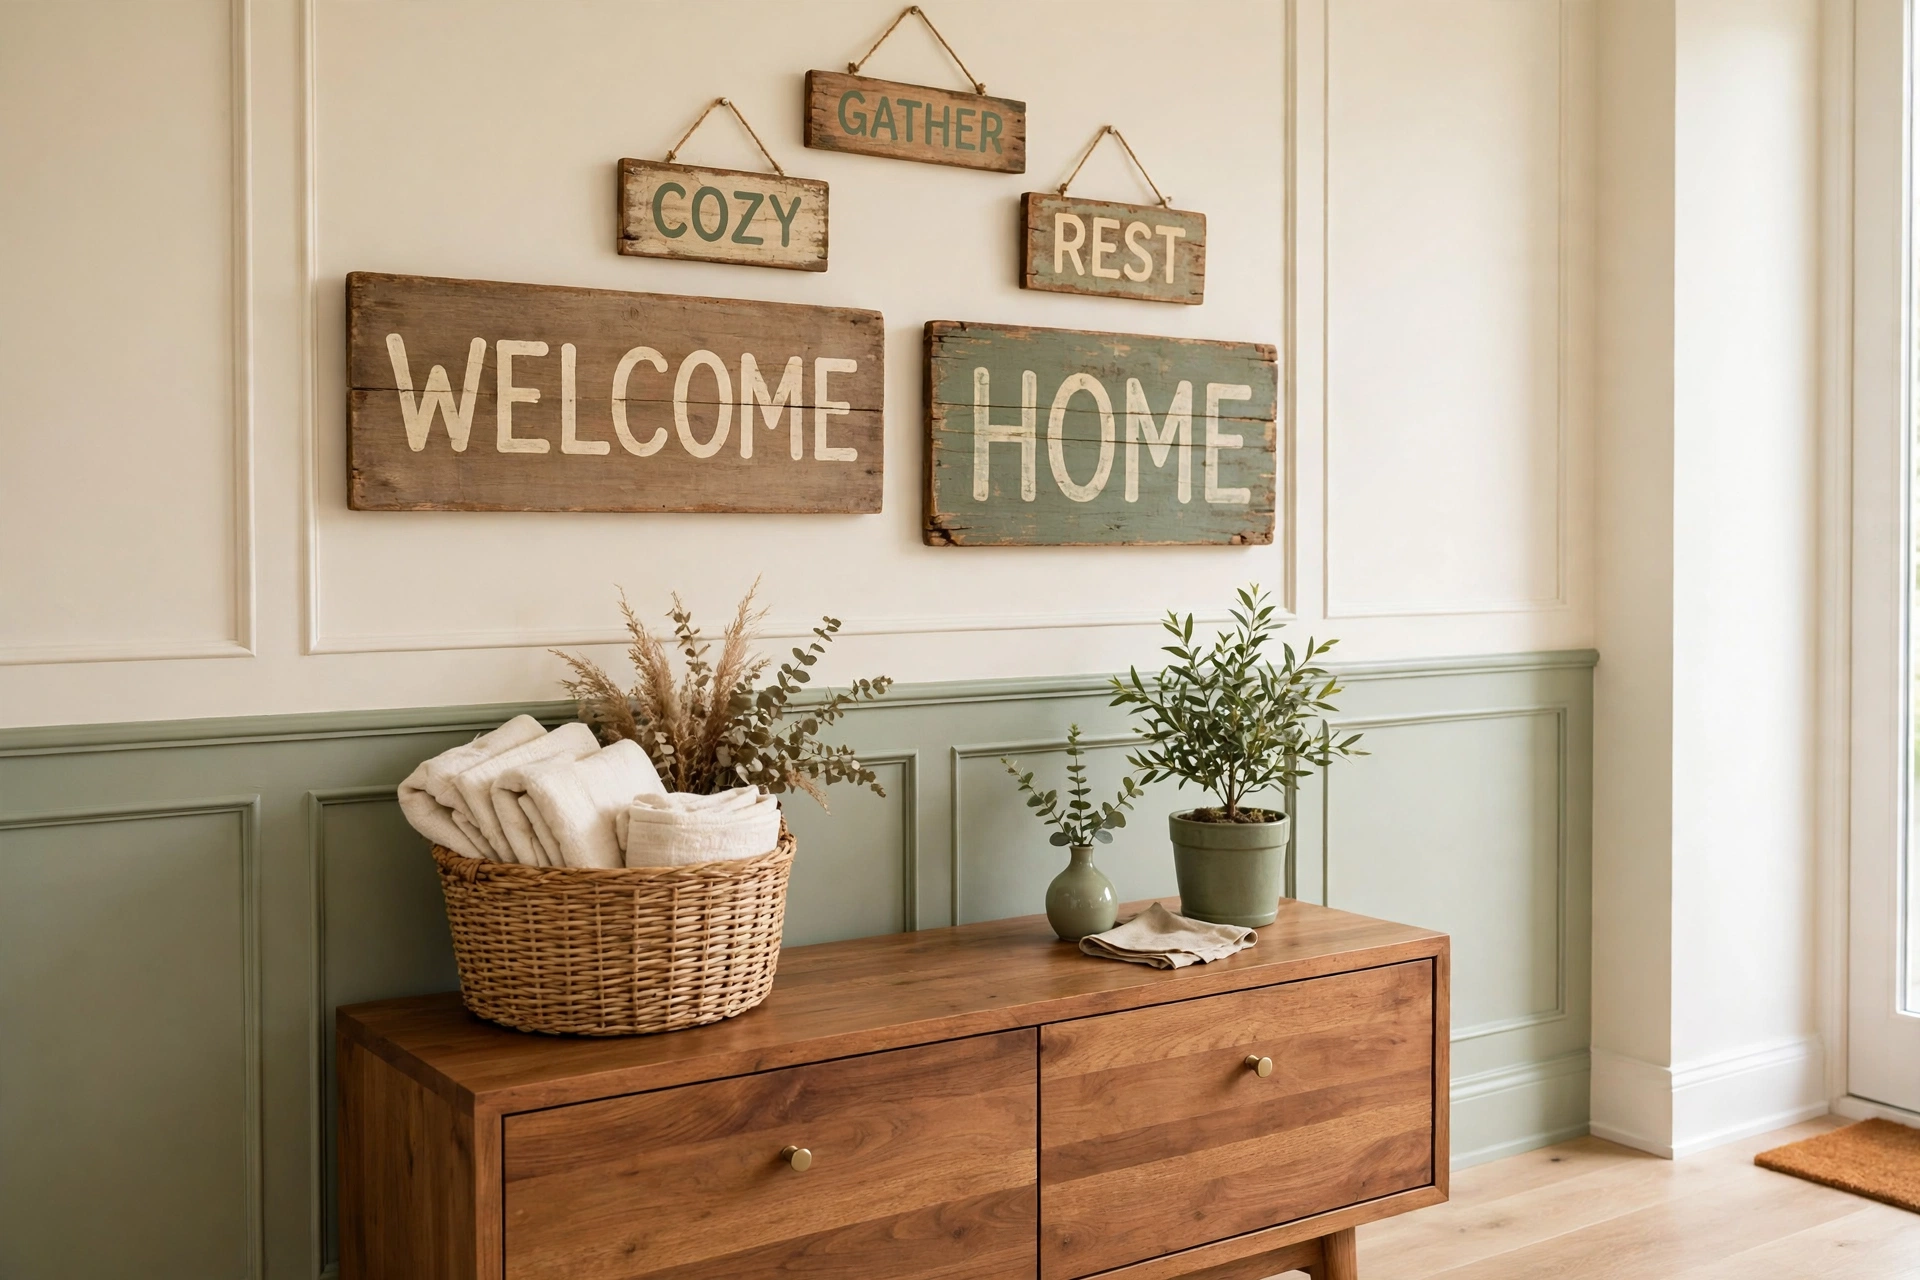
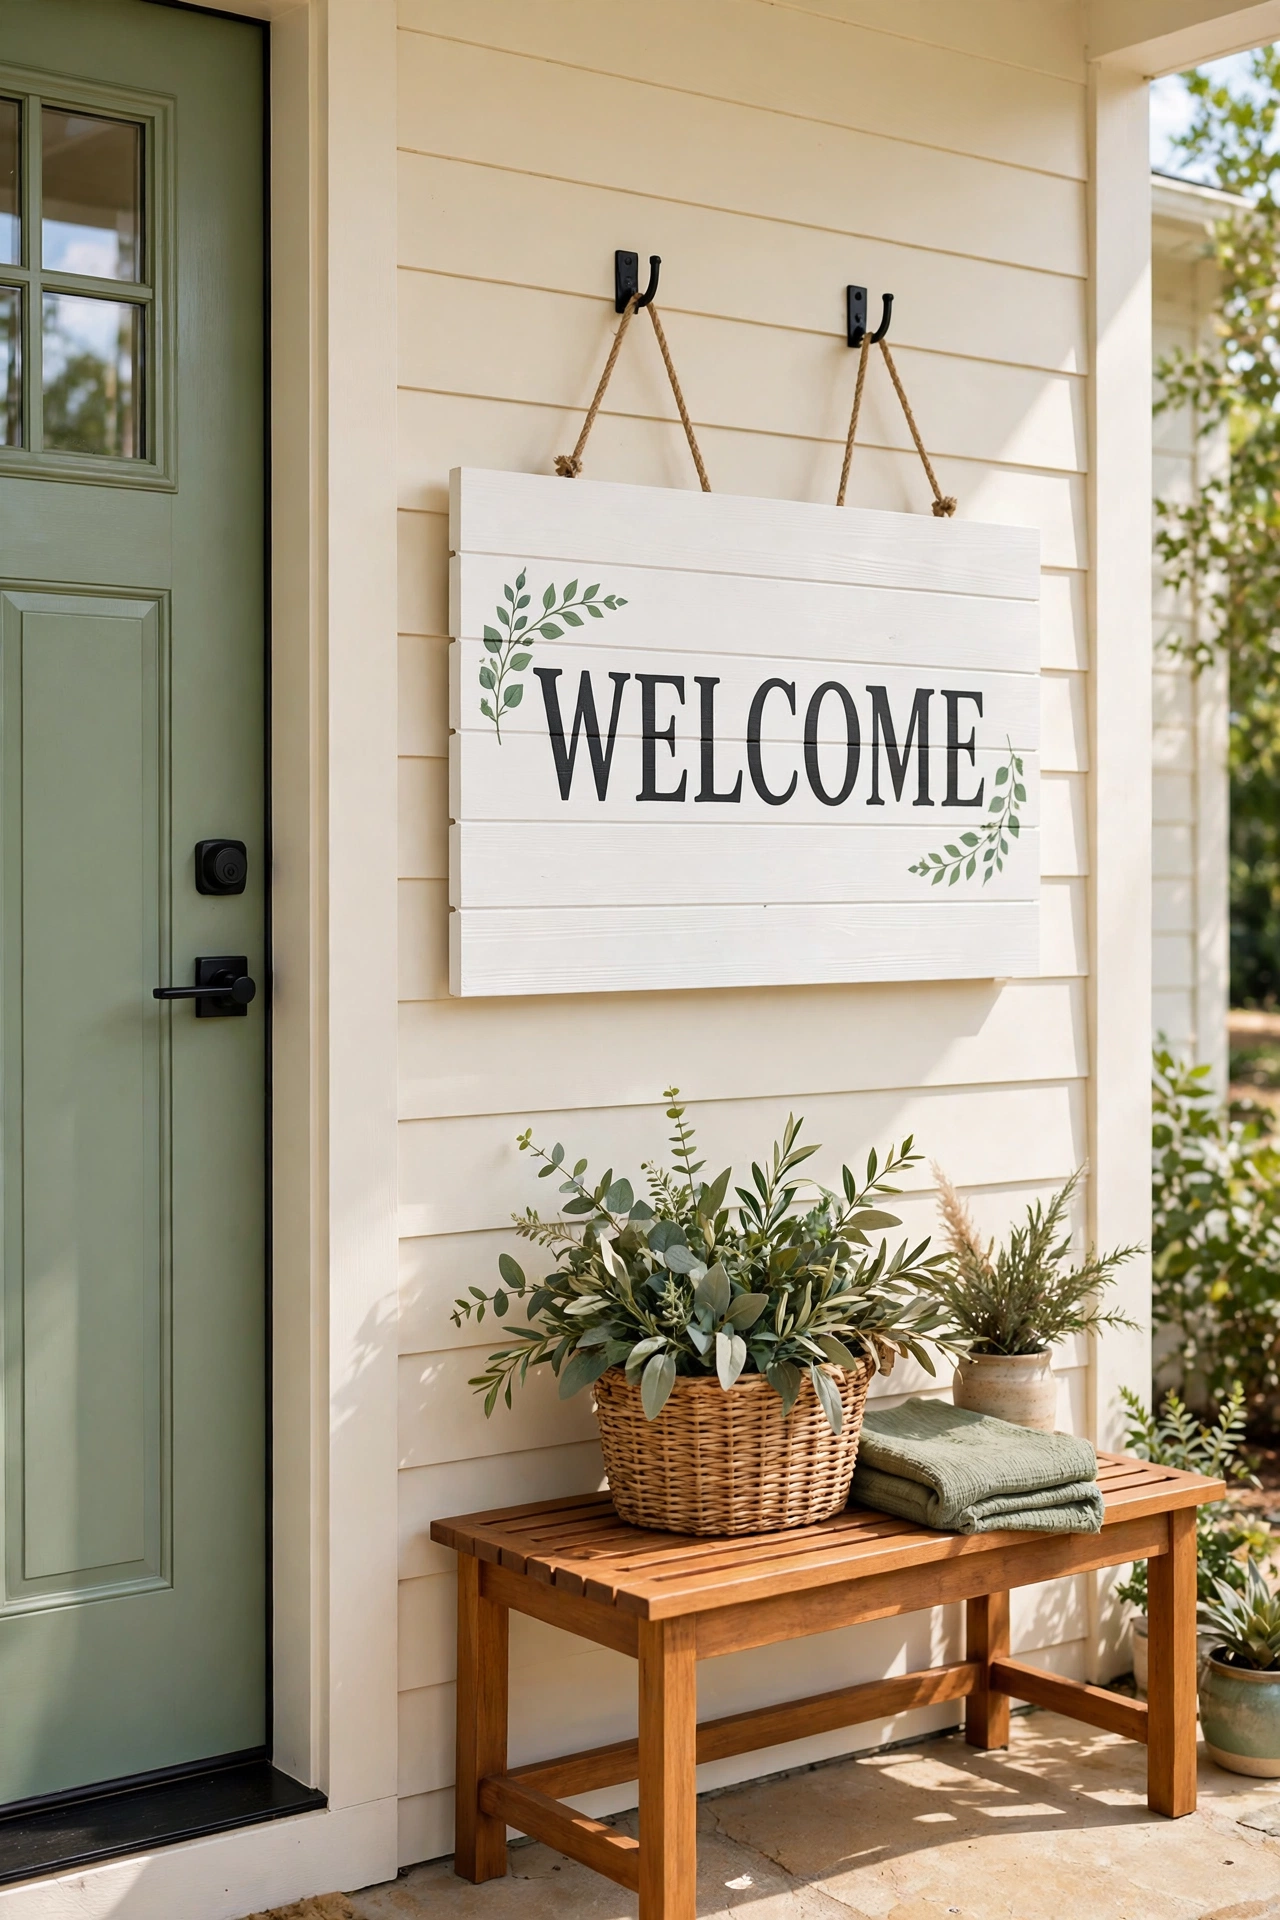
A shiplap welcome sign combines two farmhouse favorites into one charming piece. Join three or four narrow shiplap boards with battens on the back, paint the whole panel in soft white, and add the word WELCOME in large dark letters across the center. Small painted greenery sprigs on either side soften the design.
Hang the sign beside the front door or in the entryway where guests see it first. The horizontal grooves between boards catch shadows and give the sign real dimension. For a tidy entry that matches the sign, these entryway organization ideas show how to keep the space around it calm and welcoming.
7. Paint a Retro Floral Market Sign
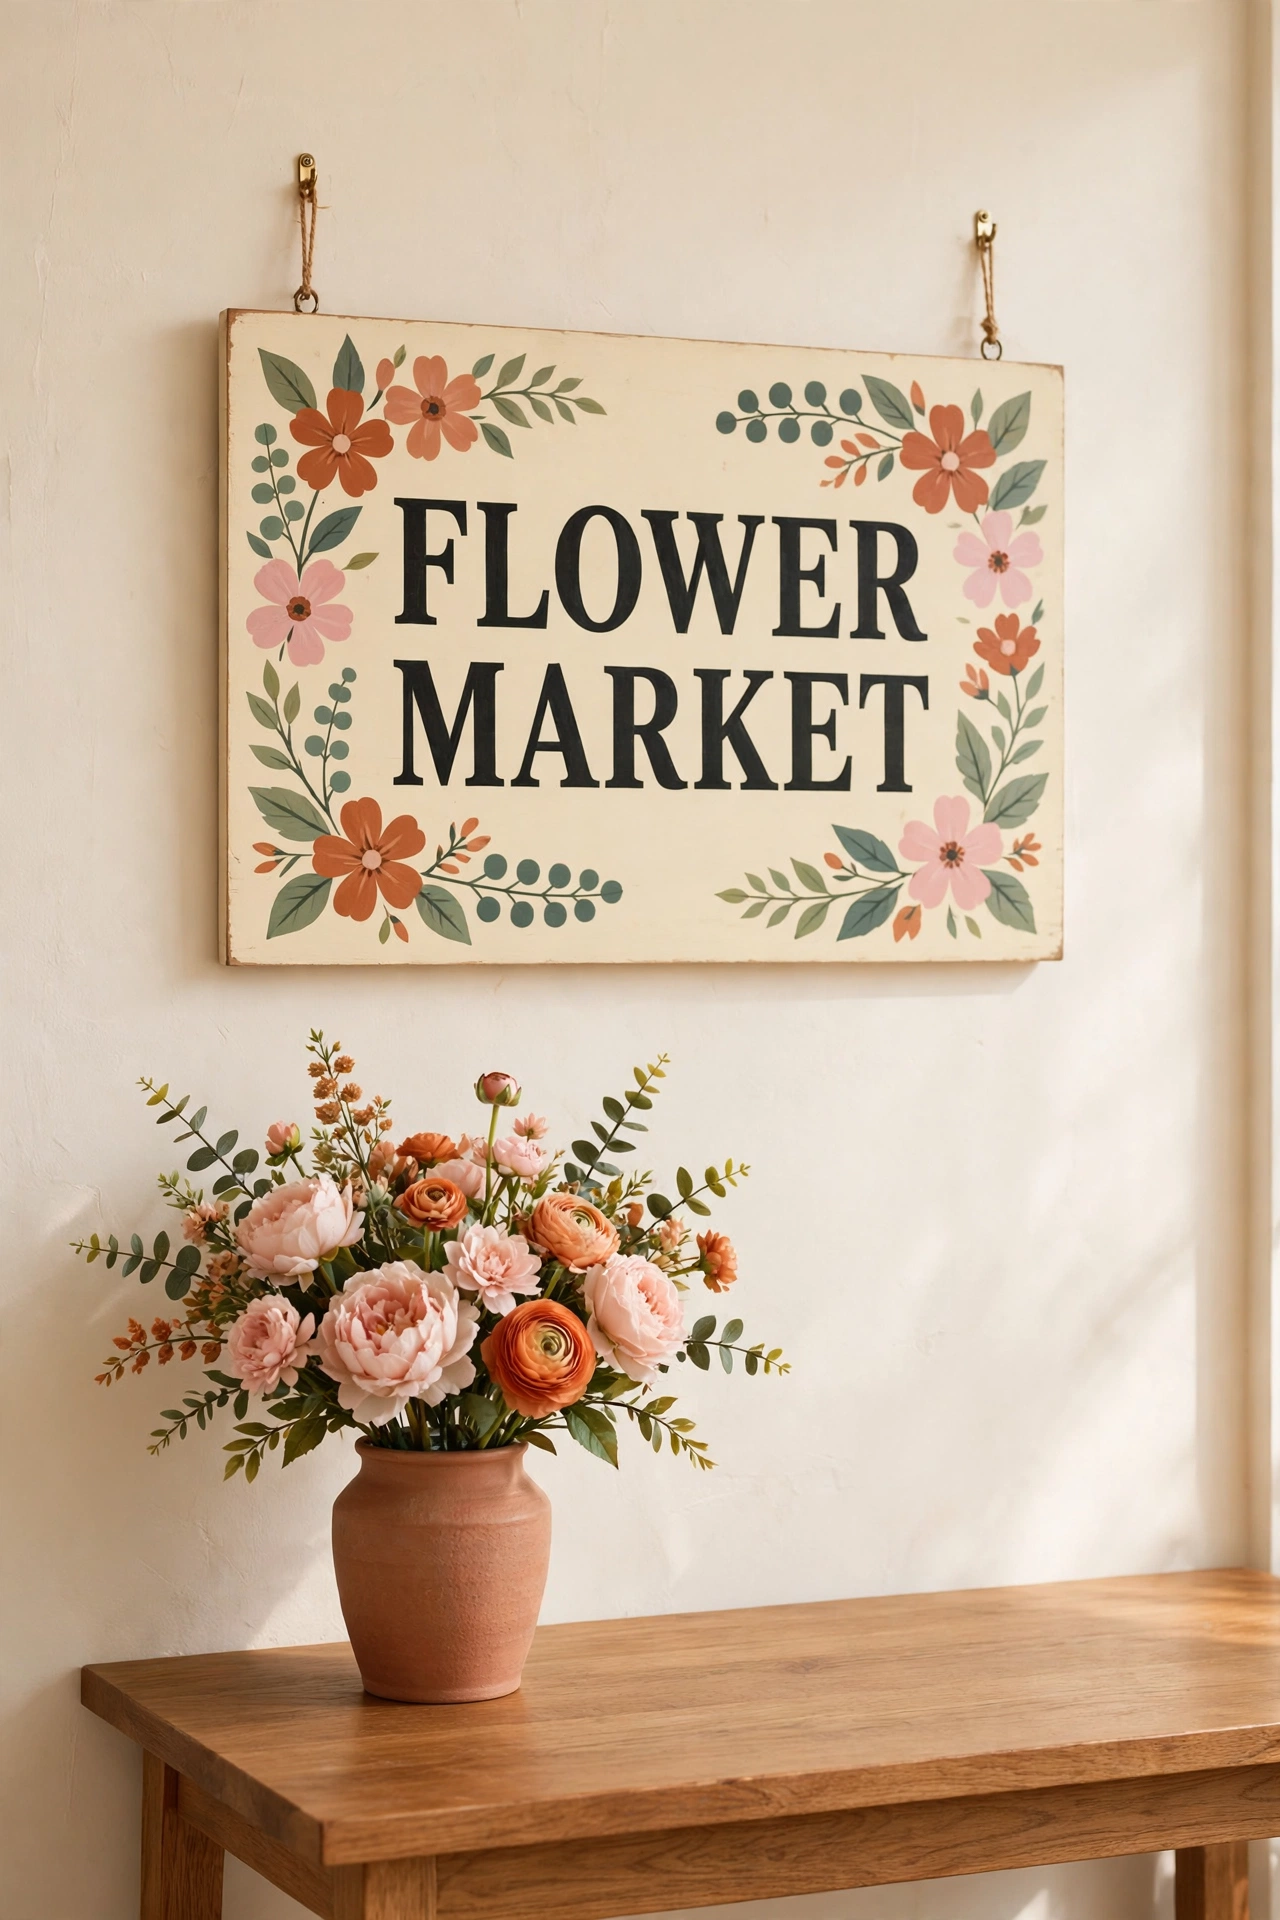
Retro floral market signs borrow the look of old flower shop advertising with bold color and simple flower shapes. Paint a board in a warm cream base, then add the name of a flower shop in large retro letters and paint simple blooms in terracotta, blush, and sage around the edges. Keep the flower shapes flat and simple for a true vintage print feel.
This sign shines in sunrooms, bedrooms, and kitchens where color is welcome. A clear matte sealer keeps the colors true and protects the surface from humidity. The finished piece looks like a treasure from a countryside market stall.
8. Craft a French Script Bakery Sign
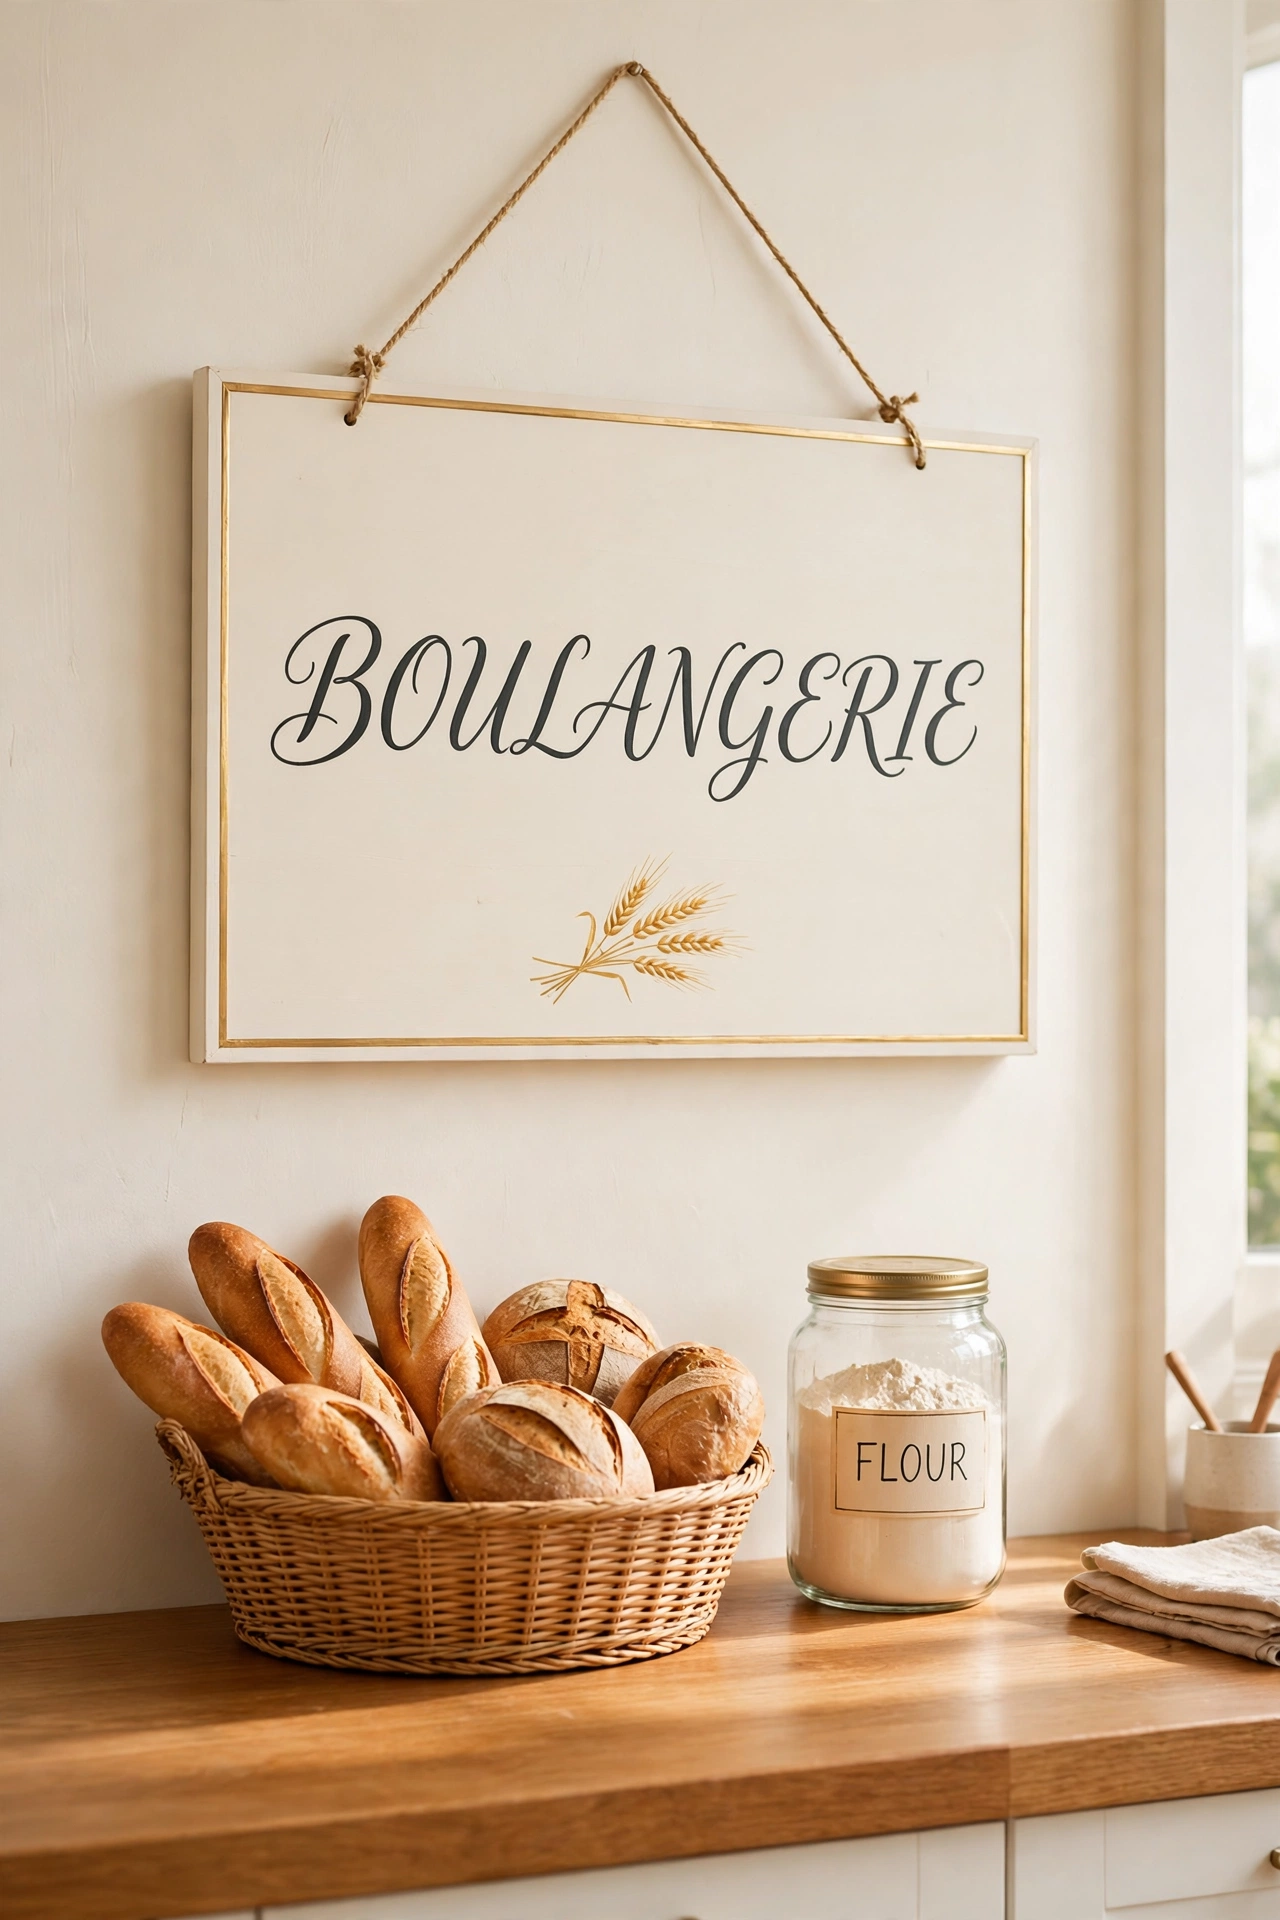
French script brings elegant old world charm to a bakery themed sign. Paint a board in soft ivory, then use a script stencil or a transfer to add words like BOULANGERIE or PATISSERIE in flowing cursive. Small painted flourishes, a wheat sheaf, or a tiny rolling pin motif complete the design.
Distress the edges lightly and add a thin gold or brass painted border for a patisserie window feel. Hang the sign in the kitchen or dining area where it pairs with bread boxes, canisters, and warm wood. The script style makes even a simple board feel refined and storied.
9. Make a Vintage Number House Sign
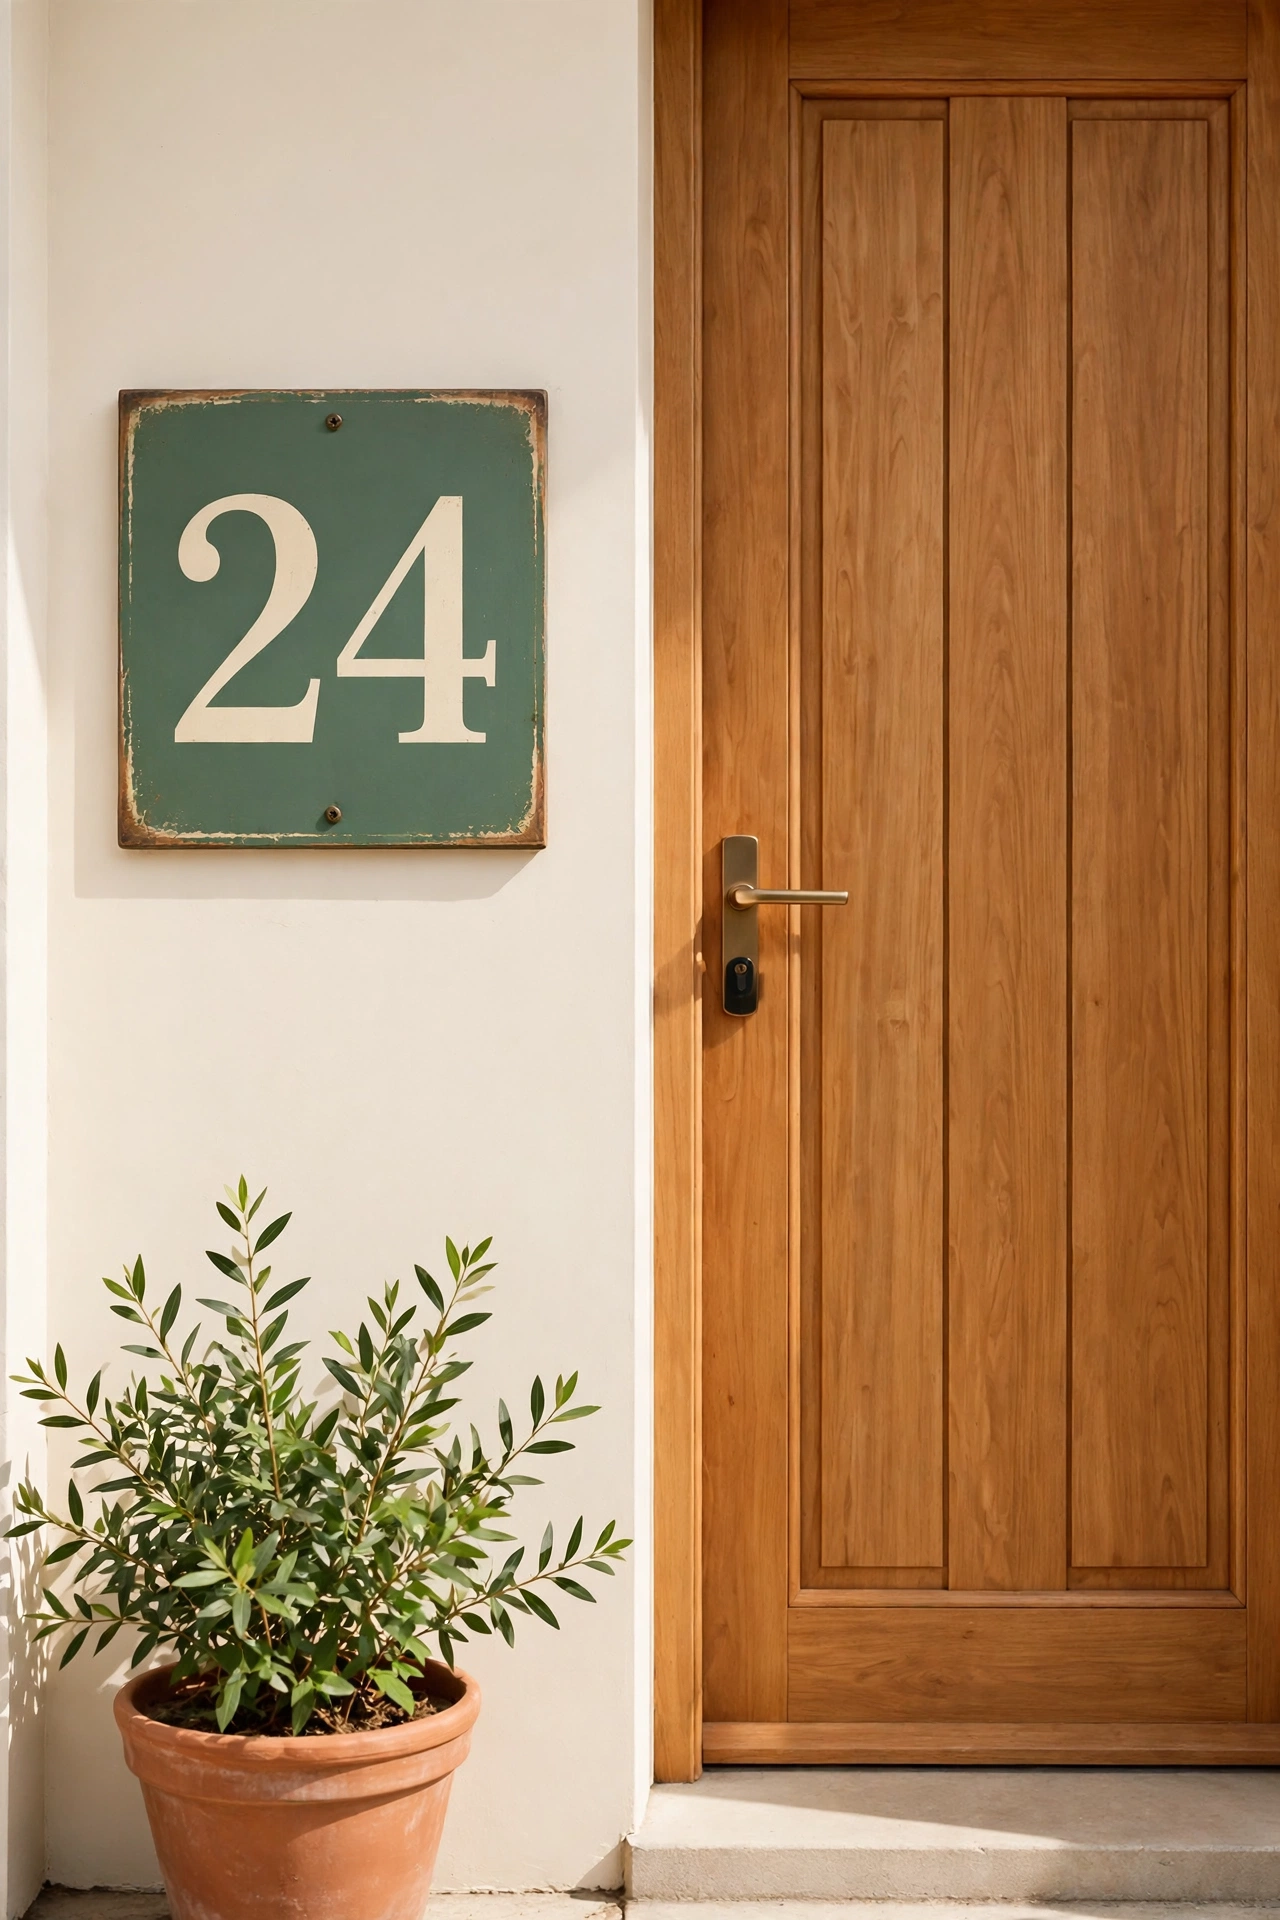
A vintage number sign gives your house number real personality. Paint the numbers large on a wood or metal plaque using an old fashioned serif font, then age the surface with sanding and a dark wax rub. Numbers in cream on a deep sage or navy background read clearly from the street and look wonderfully timeless.
Old house numbers, enamel digits, and salvaged number plates are wonderful starting points if you find them. Secondhand shops often hold exactly the raw materials this project needs, and these thrift store decor ideas show how salvaged finds become beautiful home pieces. Seal the finished sign for outdoor use with exterior varnish.
10. Stencil a Botanical Herb Garden Sign
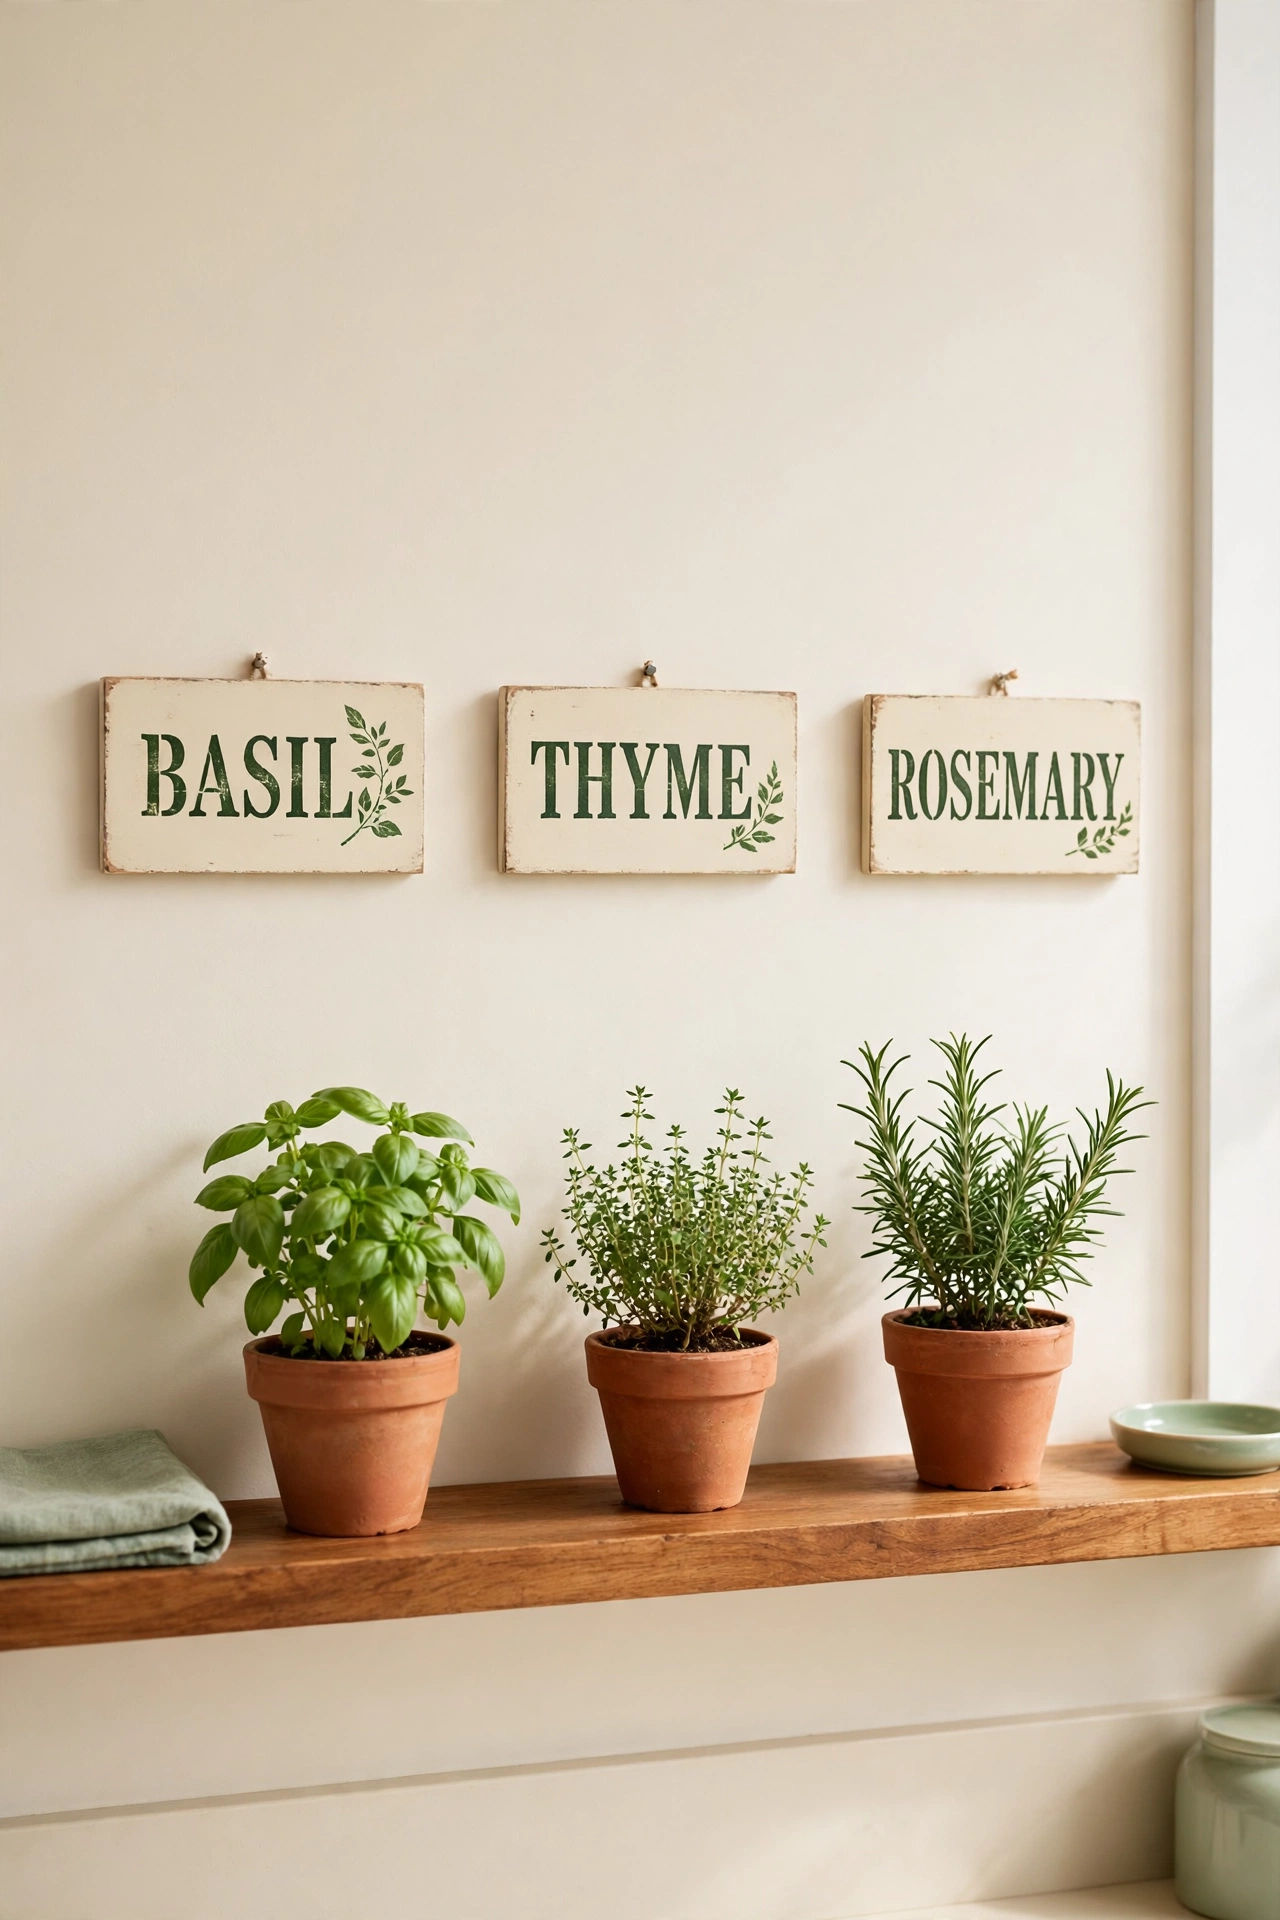
A botanical herb sign pairs plant names with delicate leaf illustrations for a vintage seed packet look. Stencil herb names like BASIL, THYME, and ROSEMARY onto small individual boards, then add a simple painted sprig beside each name. Group the small signs together on a kitchen wall or hang one above each potted herb on a windowsill.
Use muted greens and warm cream tones so the set looks like pages from an old herbal guide. A light distressing pass softens the stencil edges. For more plant themed wall pieces, these diy botanical wall art ideas pair beautifully with herb signs in the same room.
11. Create a Distressed Arrow Directional Sign
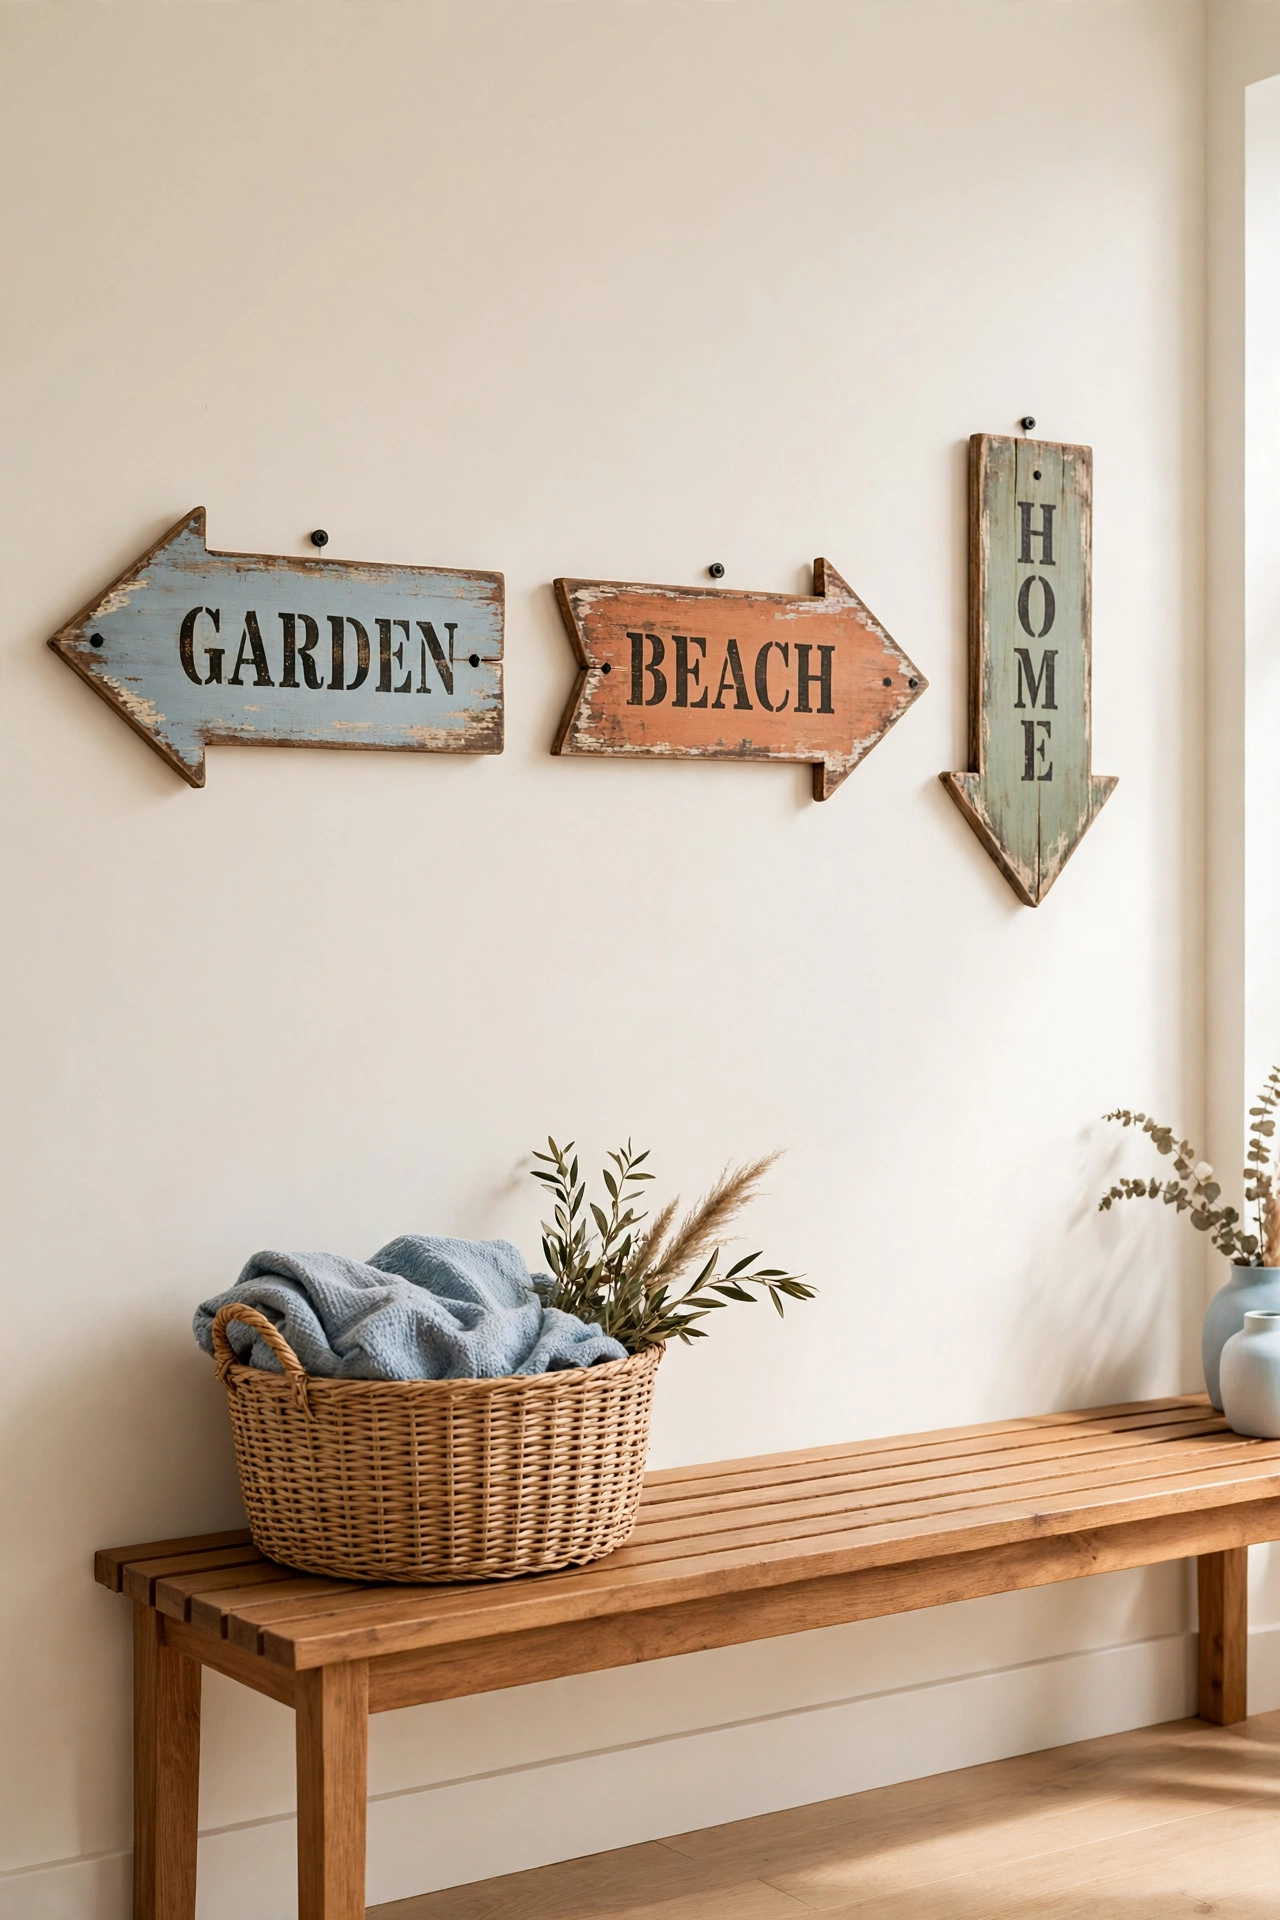
Directional arrow signs bring the charm of old roadside markers indoors. Cut arrow shapes from thin wood, paint each one a different muted color, and stencil a destination word on each arrow, such as GARDEN, BEACH, or HOME. Mount the arrows on a vertical post or stagger them on a wall for a collected look.
Sand the painted arrows well so the colors look sun faded and worn. This sign works beautifully in hallways, mudrooms, and covered porches. Each arrow can point a different way, which gives the whole piece a playful sense of movement.
12. Paint a Vintage Laundry Room Sign
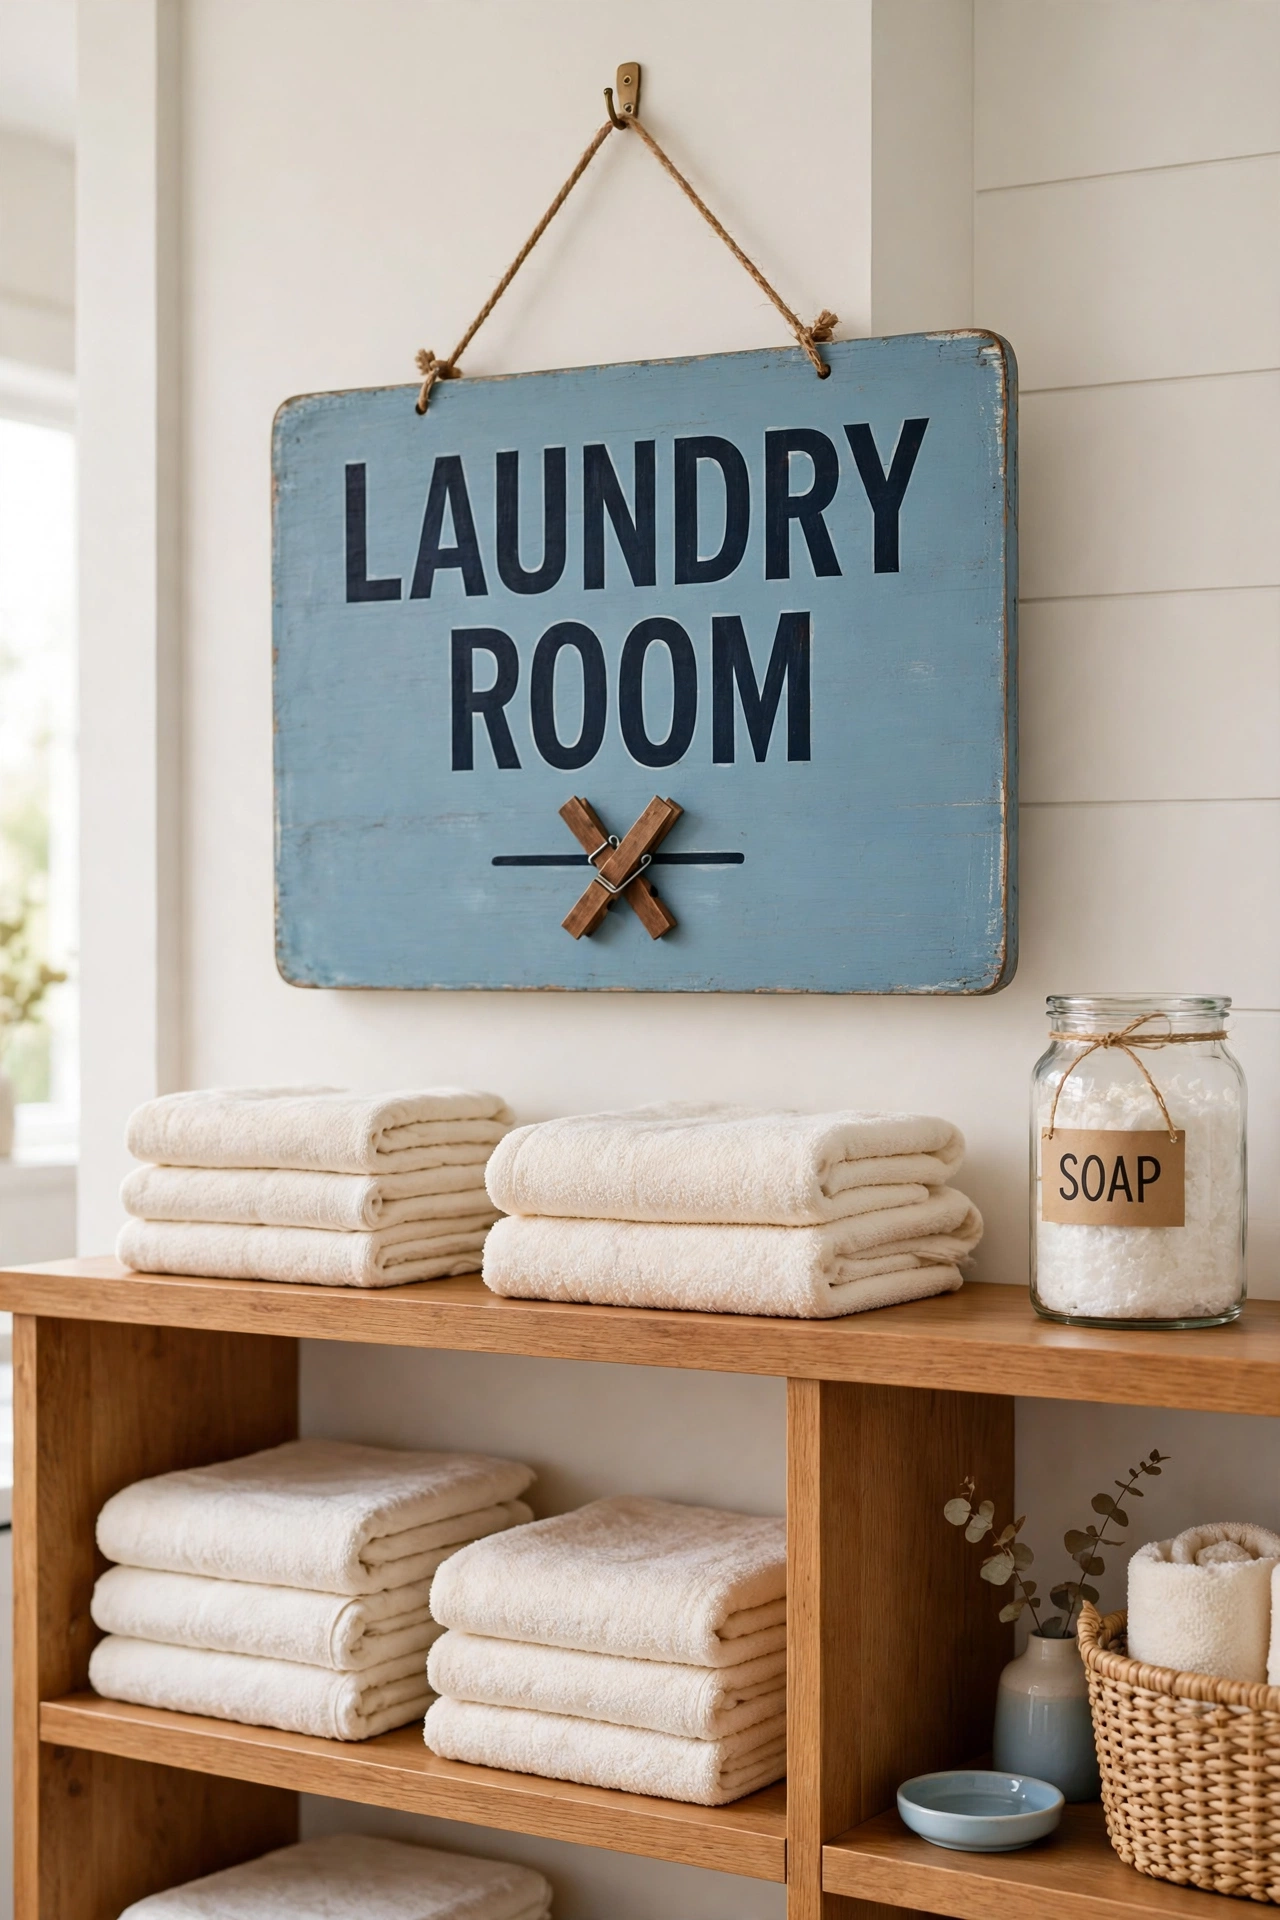
A vintage laundry sign turns a hardworking room into a charming space. Paint a board in soft blue or cream, add the words LAUNDRY ROOM in bold vintage letters, and include a small painted washboard or clothespin motif underneath. Rules style lettering with lines like WASH DRY FOLD adds authentic laundromat character.
Keep the palette soft and the lettering simple so the sign reads clearly above machines. A distressed finish helps the sign blend with wood shelving, woven baskets, and glass jars. It is a small project with a big impact on a plain laundry wall.
13. Make a Tin Tile Letter Sign
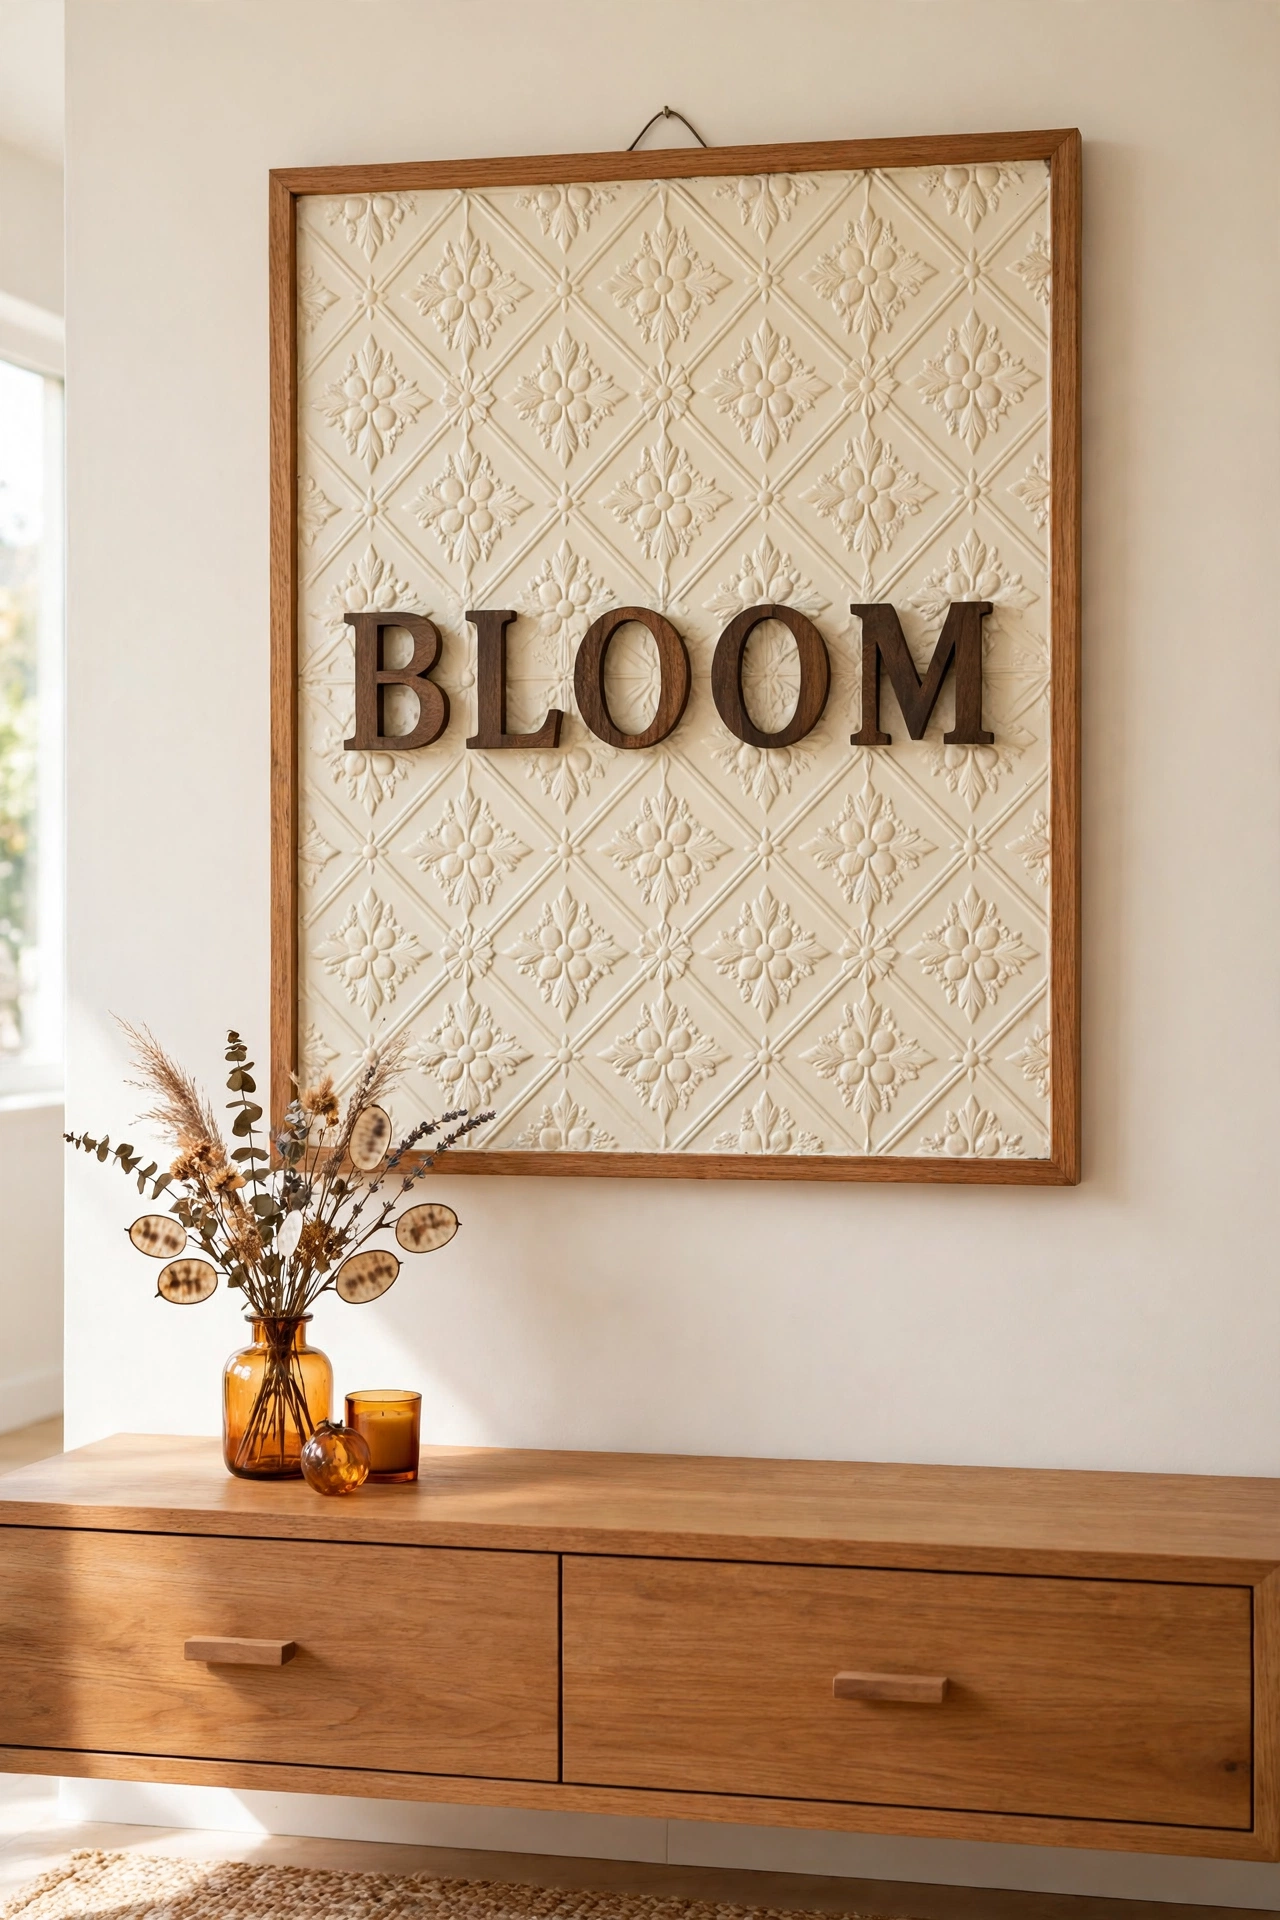
Pressed tin tiles give a sign a gorgeous embossed texture that catches light beautifully. Buy a single decorative tin tile panel, paint it in cream or soft metallic gold, and attach raised wood or metal letters across the center. The raised pattern behind the letters adds depth no flat board can match.
Frame the tile in simple wood trim for a finished look, and seal it so the embossed details stay crisp. Old hardware, hinges, and knobs can become part of the frame design, and these diy decorative hardware makeovers show how salvaged metal pieces get new life. Hang the sign where side light plays across the texture.
14. Craft a Grain Sack Fabric Sign
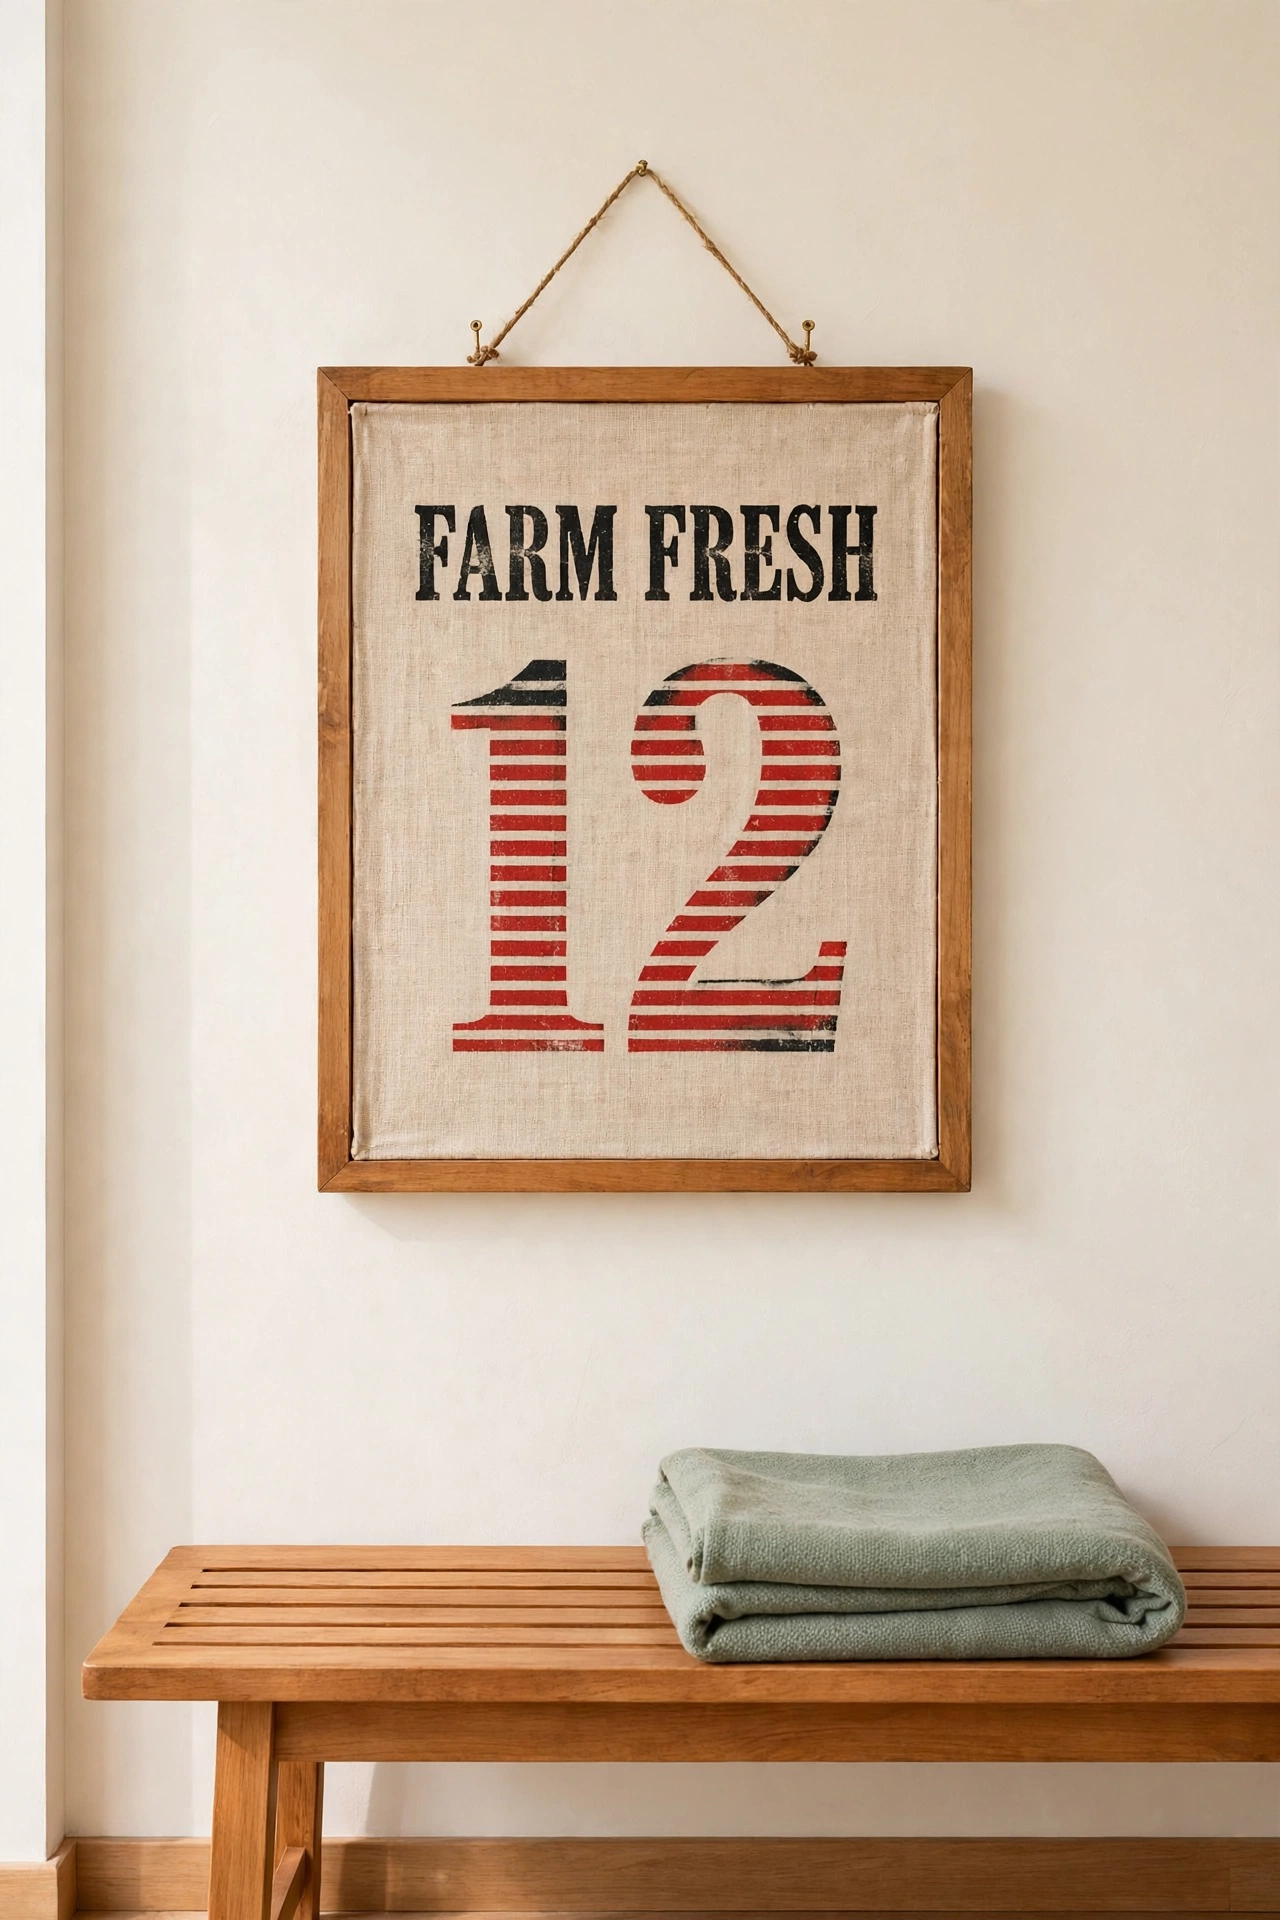
A grain sack fabric sign uses heavy natural linen or cotton canvas stretched over a wood frame. Stencil a vintage grain sack design onto the fabric, including a farm name, a large number, and thin red or blue stripes. The soft texture of fabric gives the sign a warmth that wood alone cannot offer.
Stretch the fabric drum tight and staple it to the back of the frame for a clean gallery look. The neutral linen background suits bedrooms, living rooms, and farmhouse kitchens equally well. Keep the design simple and let the fabric texture do most of the talking.
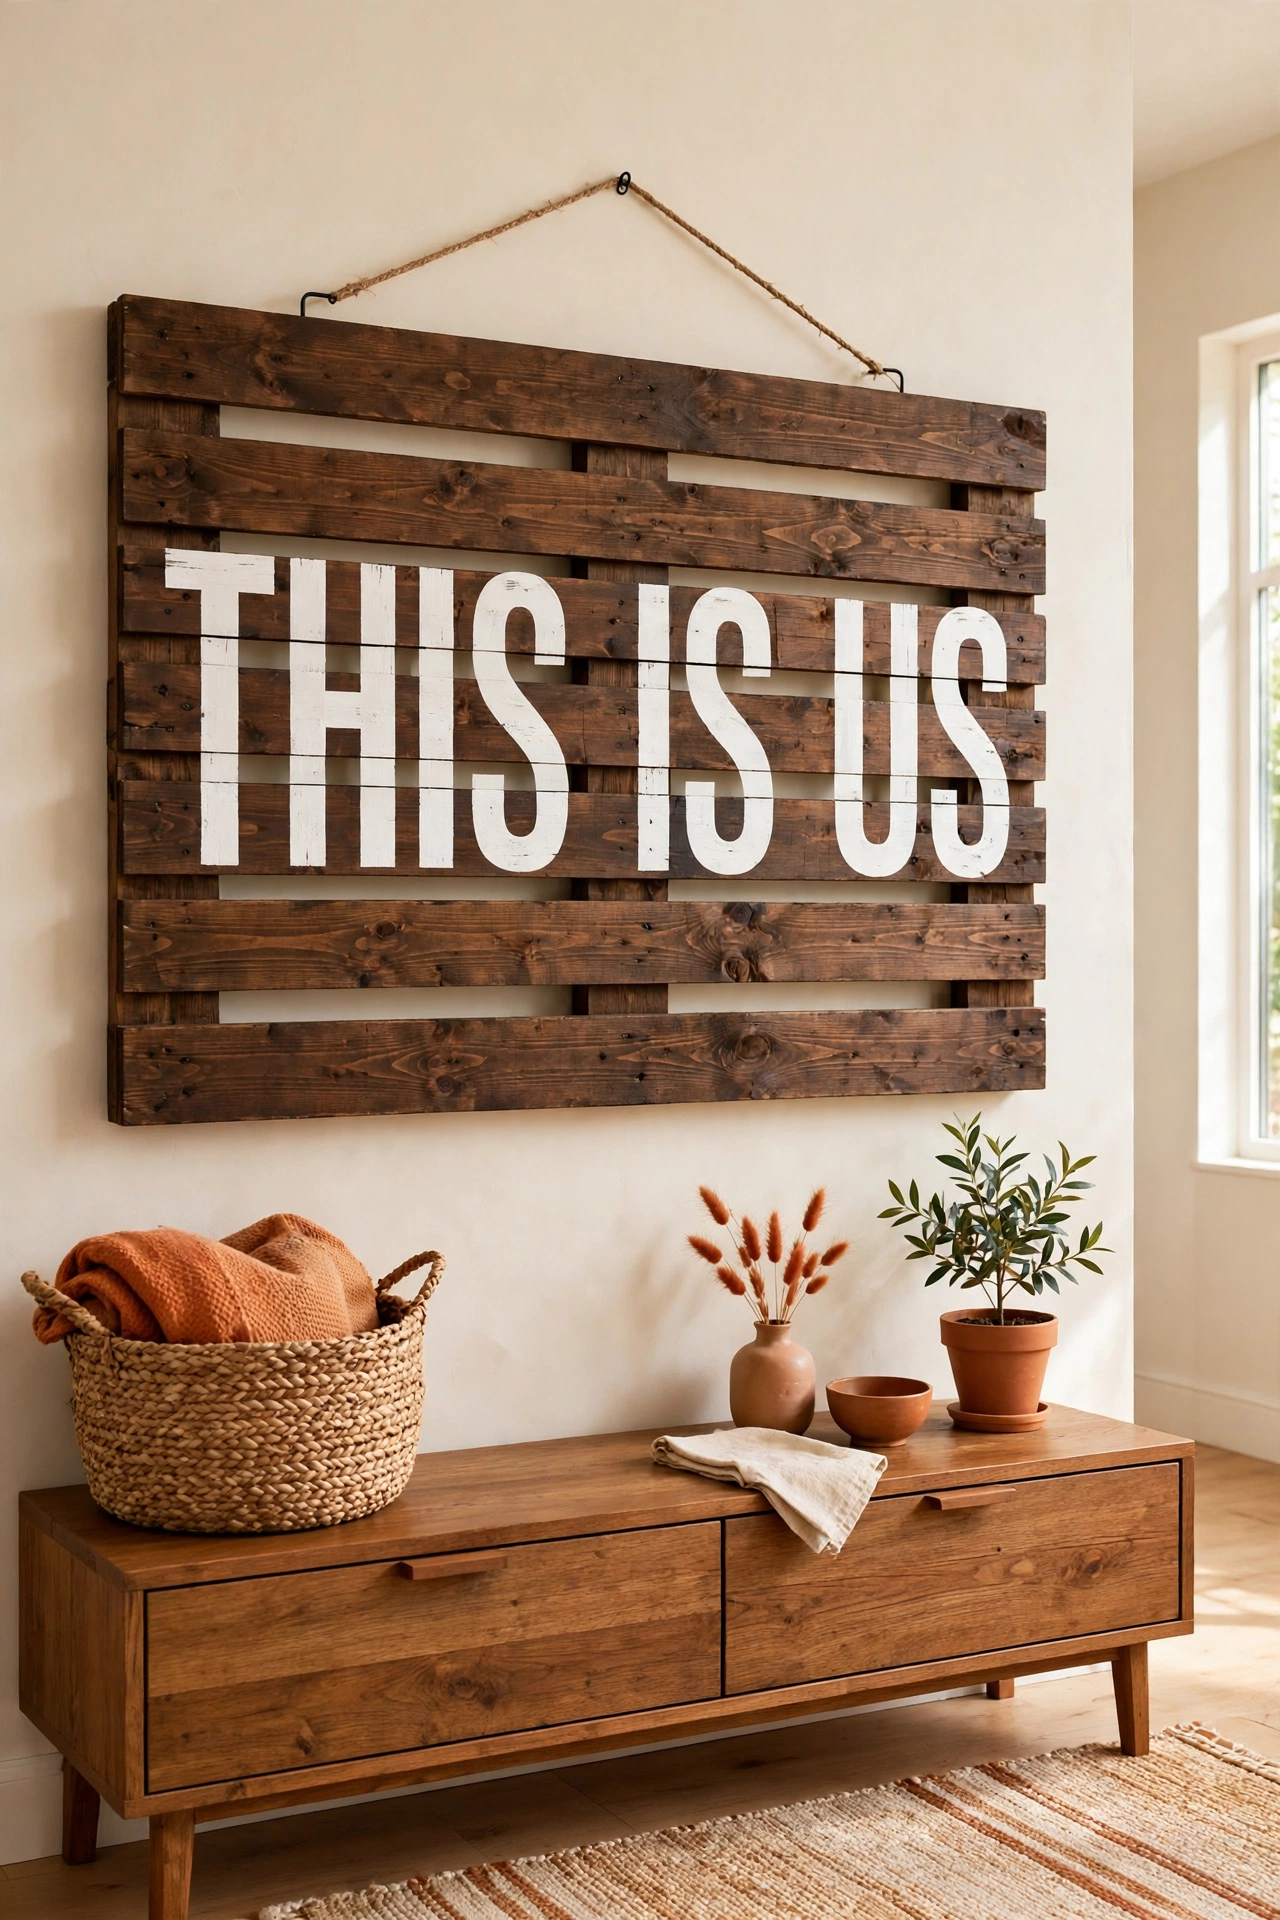
15. Build a Pallet Wood Quote Sign
Pallet wood is free, full of character, and perfect for large quote signs. Break down a clean heat treated pallet, sand the slats smooth, and join them into a wide panel. Paint a favorite quote in large letters across the slats, letting the gaps and grain show through the paint for a rustic layered effect.
Choose pallets marked HT for heat treated and avoid any with chemical stains or strong odors. A dark walnut stain under white lettering gives strong contrast, while whitewash under dark lettering feels softer. This large format sign anchors a living room wall beautifully.
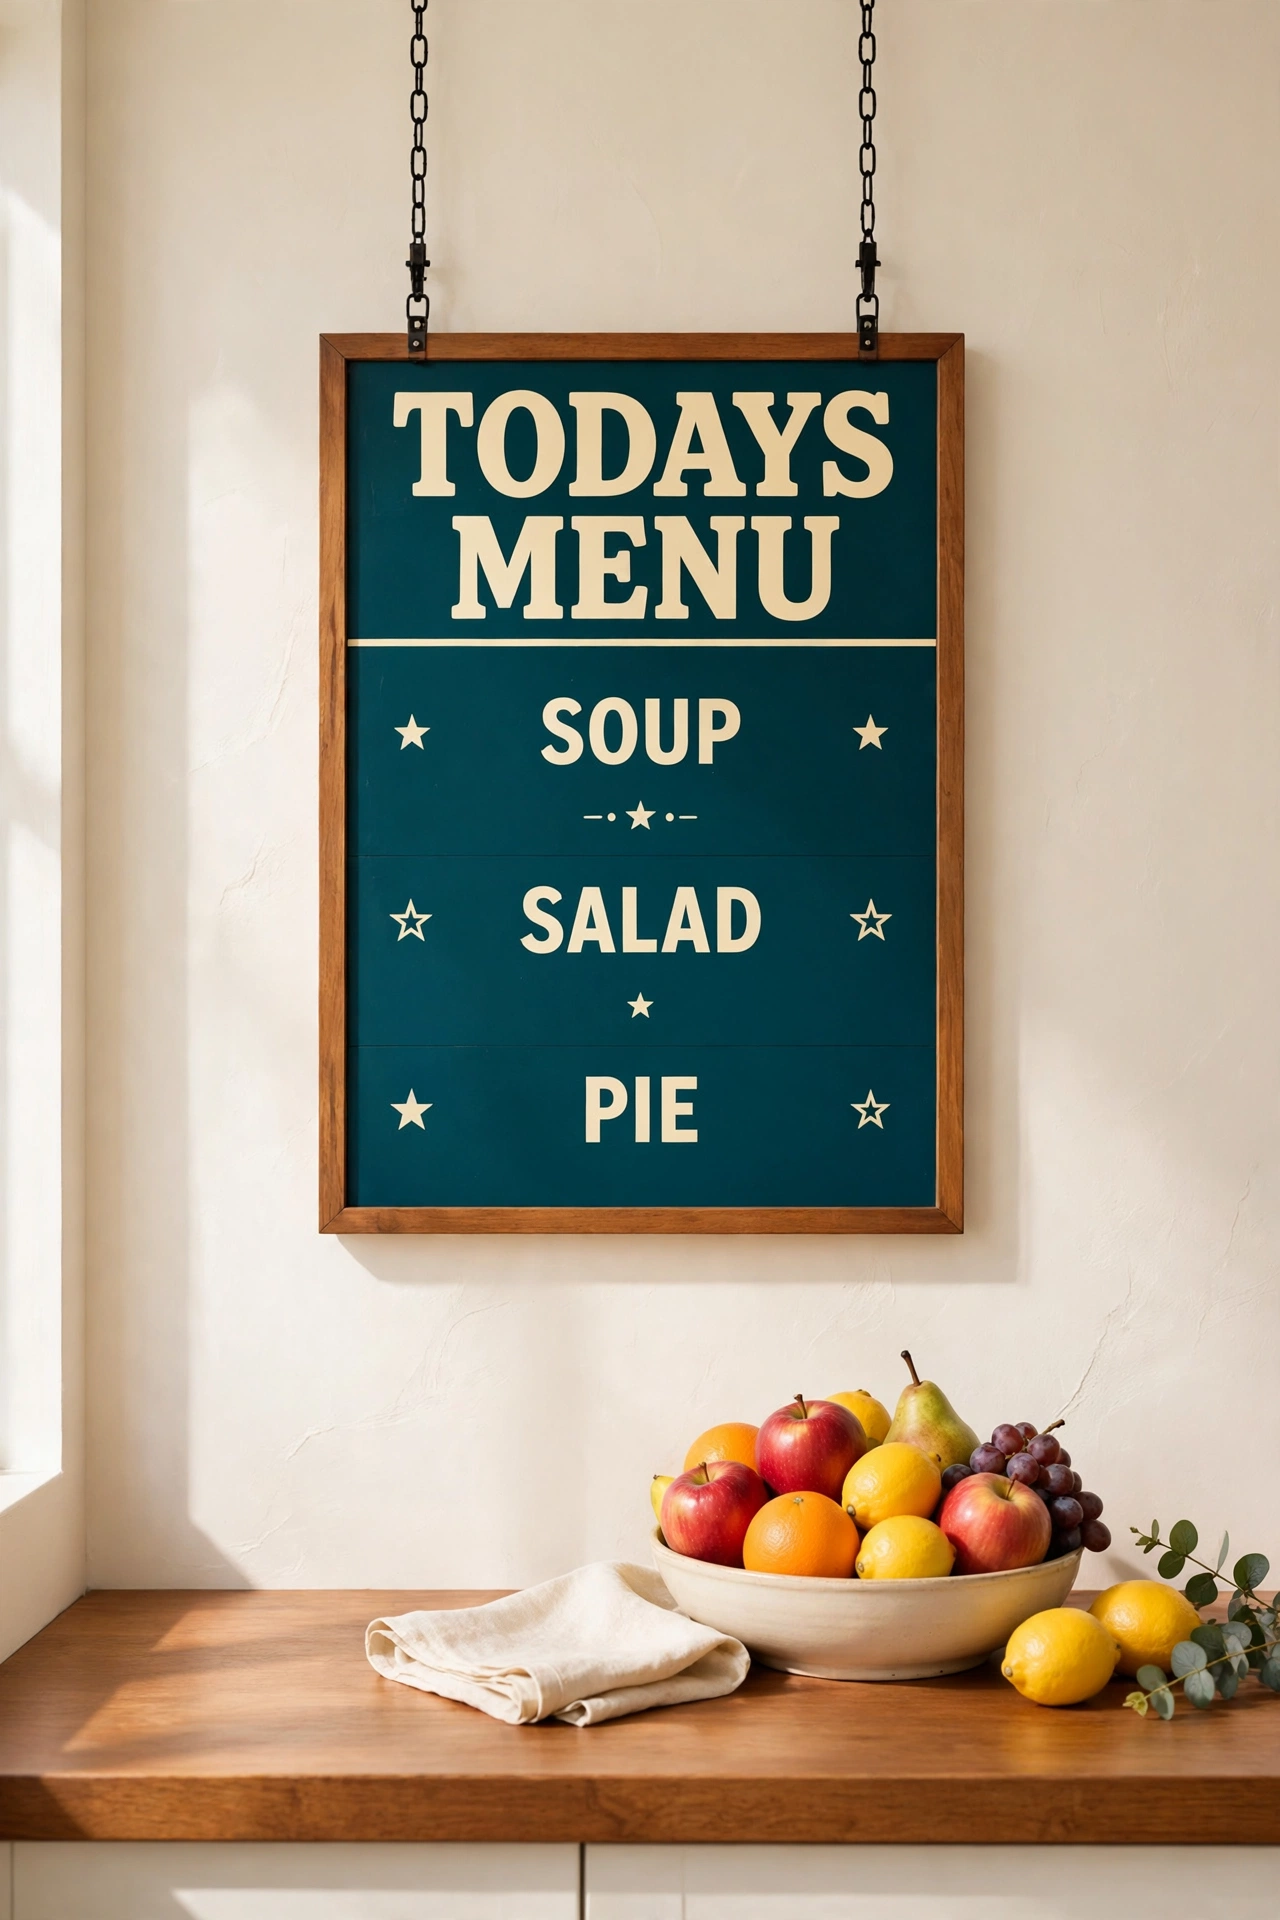
16. Paint a Retro Diner Menu Board Sign
A retro diner menu board brings playful vintage energy to a kitchen or breakfast nook. Paint a large board in deep teal or cherry red, add a header like TODAYS MENU in retro lettering, and list a few favorite foods in neat rows below. Small painted stars and simple dividers between sections complete the diner look.
Use chalk markers on a chalkboard center panel if you want the menu items to change, or paint everything permanently for a fixed display. Rounded corners and a narrow wood ledge for chalk add authentic diner detail. The bold colors make the whole kitchen feel cheerful.
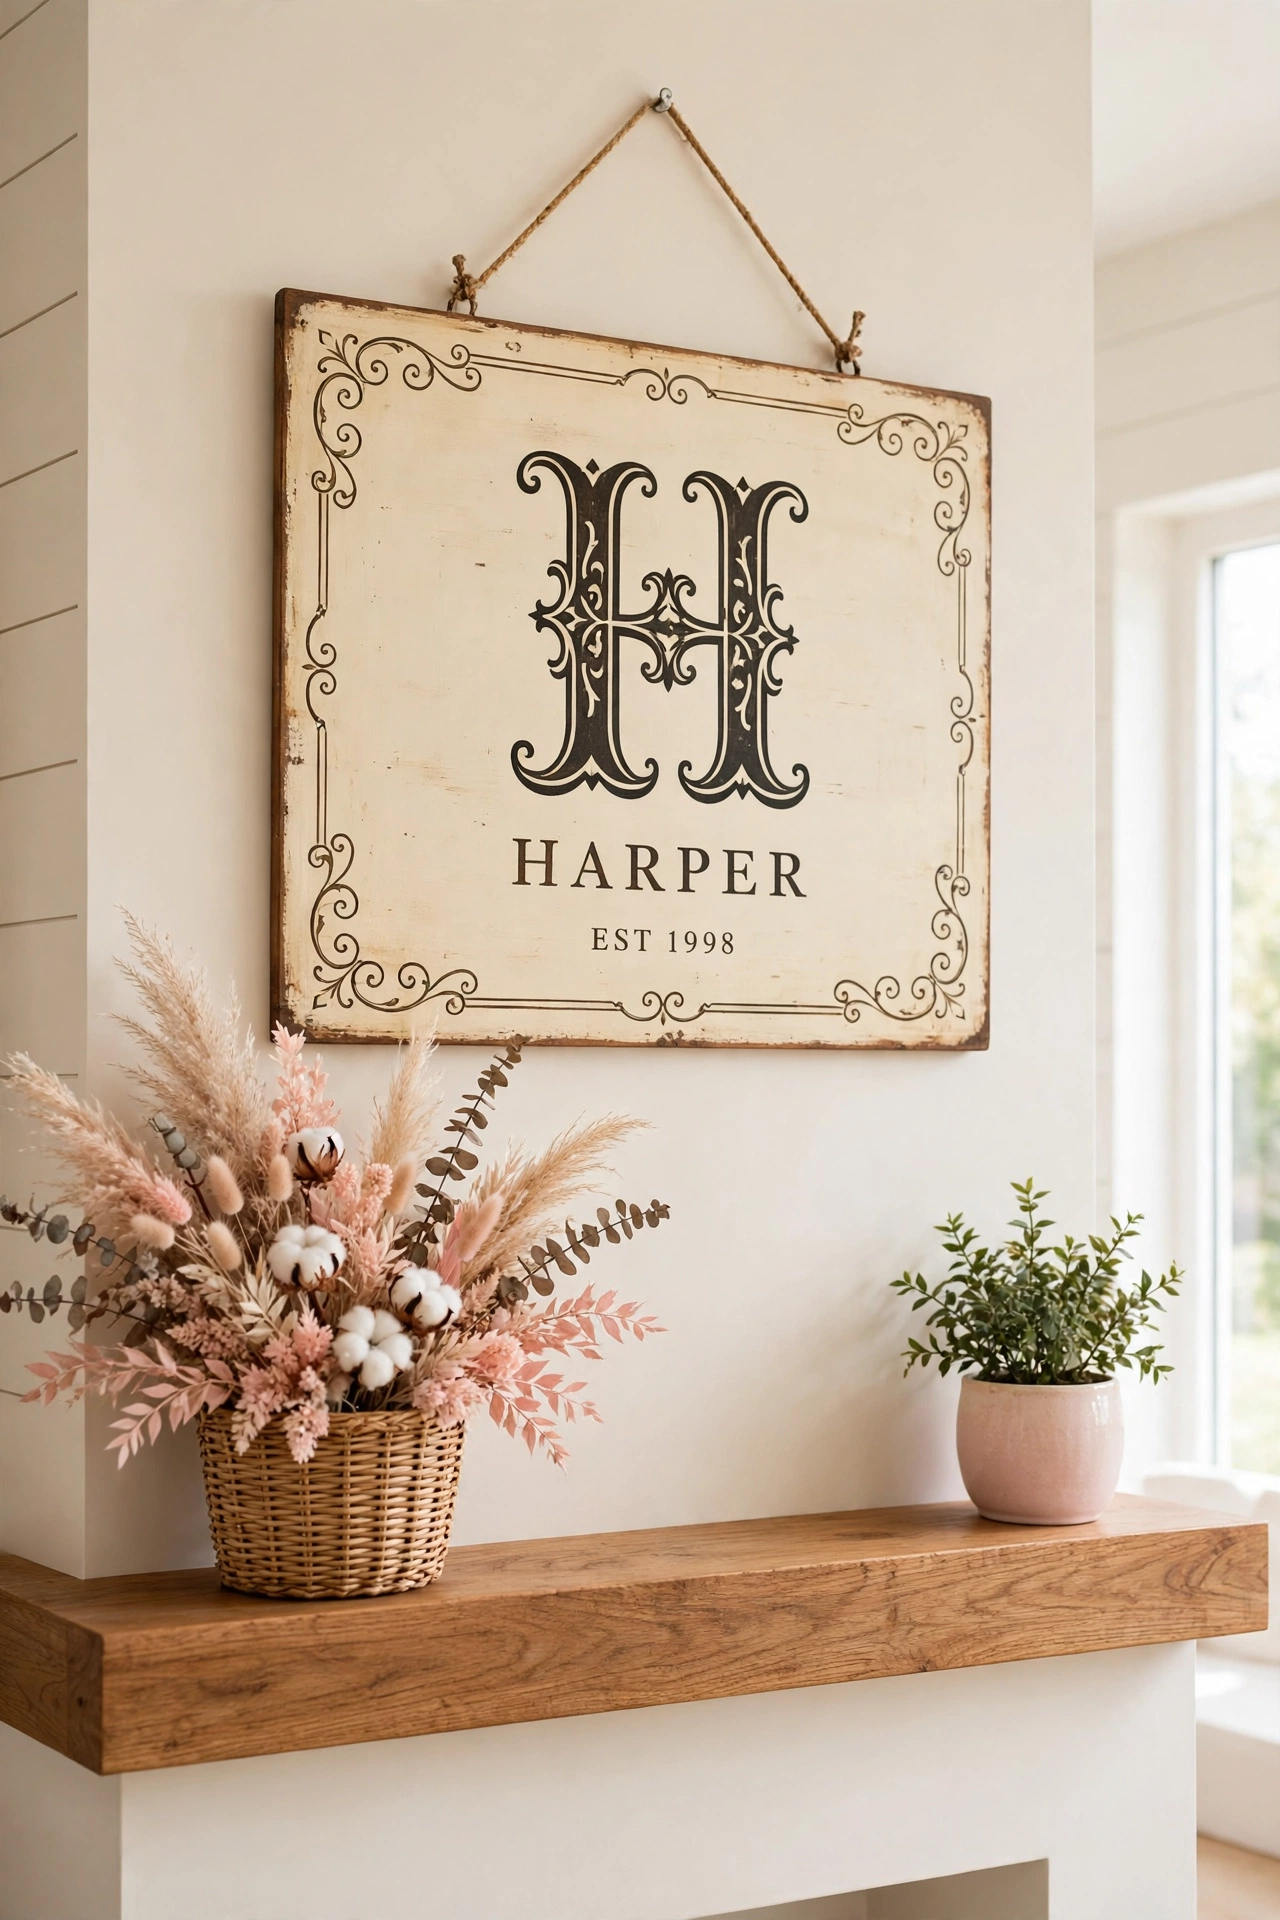
17. Make a Vintage Monogram Family Sign
A monogram family sign turns your initial and family name into a keepsake piece. Paint a large board in cream or soft gray, add a large ornate initial in the center, and place the family name and established year below it in smaller serif letters. A thin painted border or simple scroll flourish frames the design.
This sign makes a thoughtful handmade gift for weddings, anniversaries, and new homes. Keep the colors classic and the layout balanced so the piece feels timeless rather than trendy. Hang it above a mantel or in the entryway where it becomes part of the family story.
Conclusion
Vintage sign making is one of the most satisfying budget projects because a plain board and a little paint become a piece with real history and heart. Whether you stencil a quote, rust a metal panel, or transfer old typography onto reclaimed wood, each sign carries the mark of your own hands. Start with one simple board and let your confidence grow with each project.
Pick the idea that fits your space and your skill level, gather your supplies, and give yourself an afternoon to create. The sign you make today can hang in your home for years and remind you of the day you made it. A home filled with handmade pieces always feels warmer than one filled with store bought decor.
Frequently Asked Questions About DIY Vintage Sign Making Ideas for Home Interiors
What is the easiest method for lettering a vintage sign?
Stencils are the easiest method for clean vintage lettering, because they give you even spacing and consistent letter shapes without freehand skill. Image transfer is the next easiest option for ornate fonts. Freehand painting takes practice, so start with stencils and move to hand lettering once you feel confident.
How do I make a new sign look authentically old?
Sand the edges and raised areas after painting so the base layer shows through in a natural wear pattern. Add a dark wax rub or a thin brown glaze to settle into corners and grain. Layering two paint colors and sanding through the top coat also creates a beautifully aged finish.
What type of paint works best for wood signs?
Acrylic craft paint and chalk paint both work well for wood signs. Chalk paint gives a matte vintage finish and distresses easily, while acrylic paint offers a wider color range and stronger durability. Seal the finished sign with clear wax or matte varnish to protect the lettering.
Can I make vintage signs without power tools?
Yes, most vintage sign projects need only sandpaper, brushes, stencils, and paint. Ask the hardware store to cut boards to size, or use ready made plaques and canvas panels. Hand sanding takes longer than a power sander but gives you more control over the distressed finish.
How do I hang a heavy wood sign safely?
Use wall anchors rated for the weight of the sign, and mount into a stud whenever possible for heavier pieces. D ring hangers and picture wire distribute weight evenly across the back. Always test the hold by pressing gently on the sign before you walk away.

Hi, I’m Emily! I turn messy corners into cozy, organized spots. DreamNestDecor is where I share simple, practical home ideas — decor, organization, and small-space solutions that work in real life, not just in photos. Every idea here is carefully researched before it’s shared.