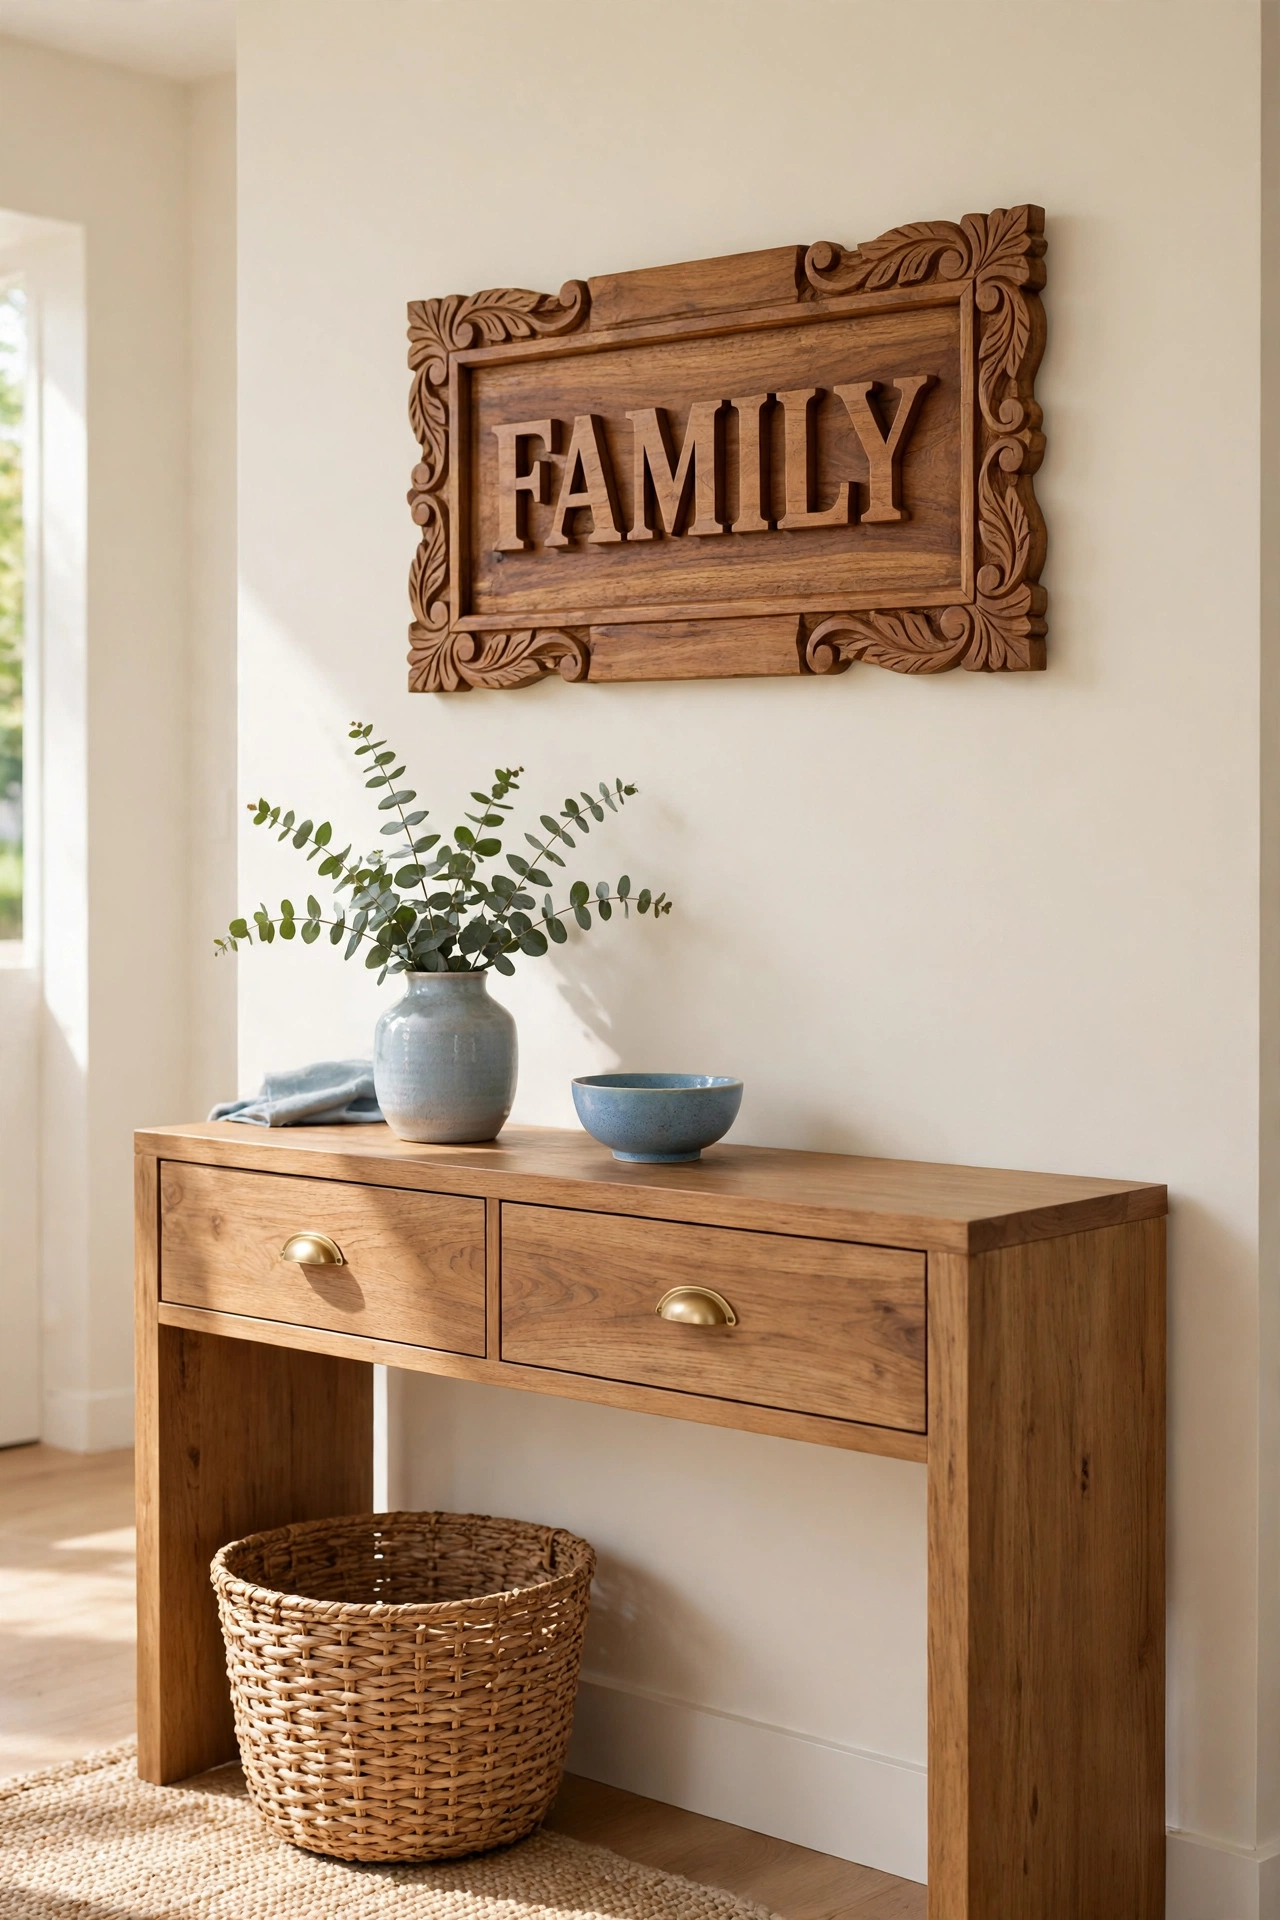
Picture this: you walk into a room and the first thing you notice is a beautiful plaque on the wall with your family name carved into warm wood. It is not a flat print or a poster. It has depth, texture, and shadows that shift as the daylight moves across the room. That single piece turns a plain wall into a personal statement.
You do not need a large budget or professional tools to make that kind of wall decor yourself. All you need is a base material, a personal touch, and a free afternoon. These 28 diy decorative wall plaque ideas will help you create raised, dimensional pieces that carry your name, your story, and your style into every room of your home.
1. Carve a Wooden Name Plaque for the Entryway
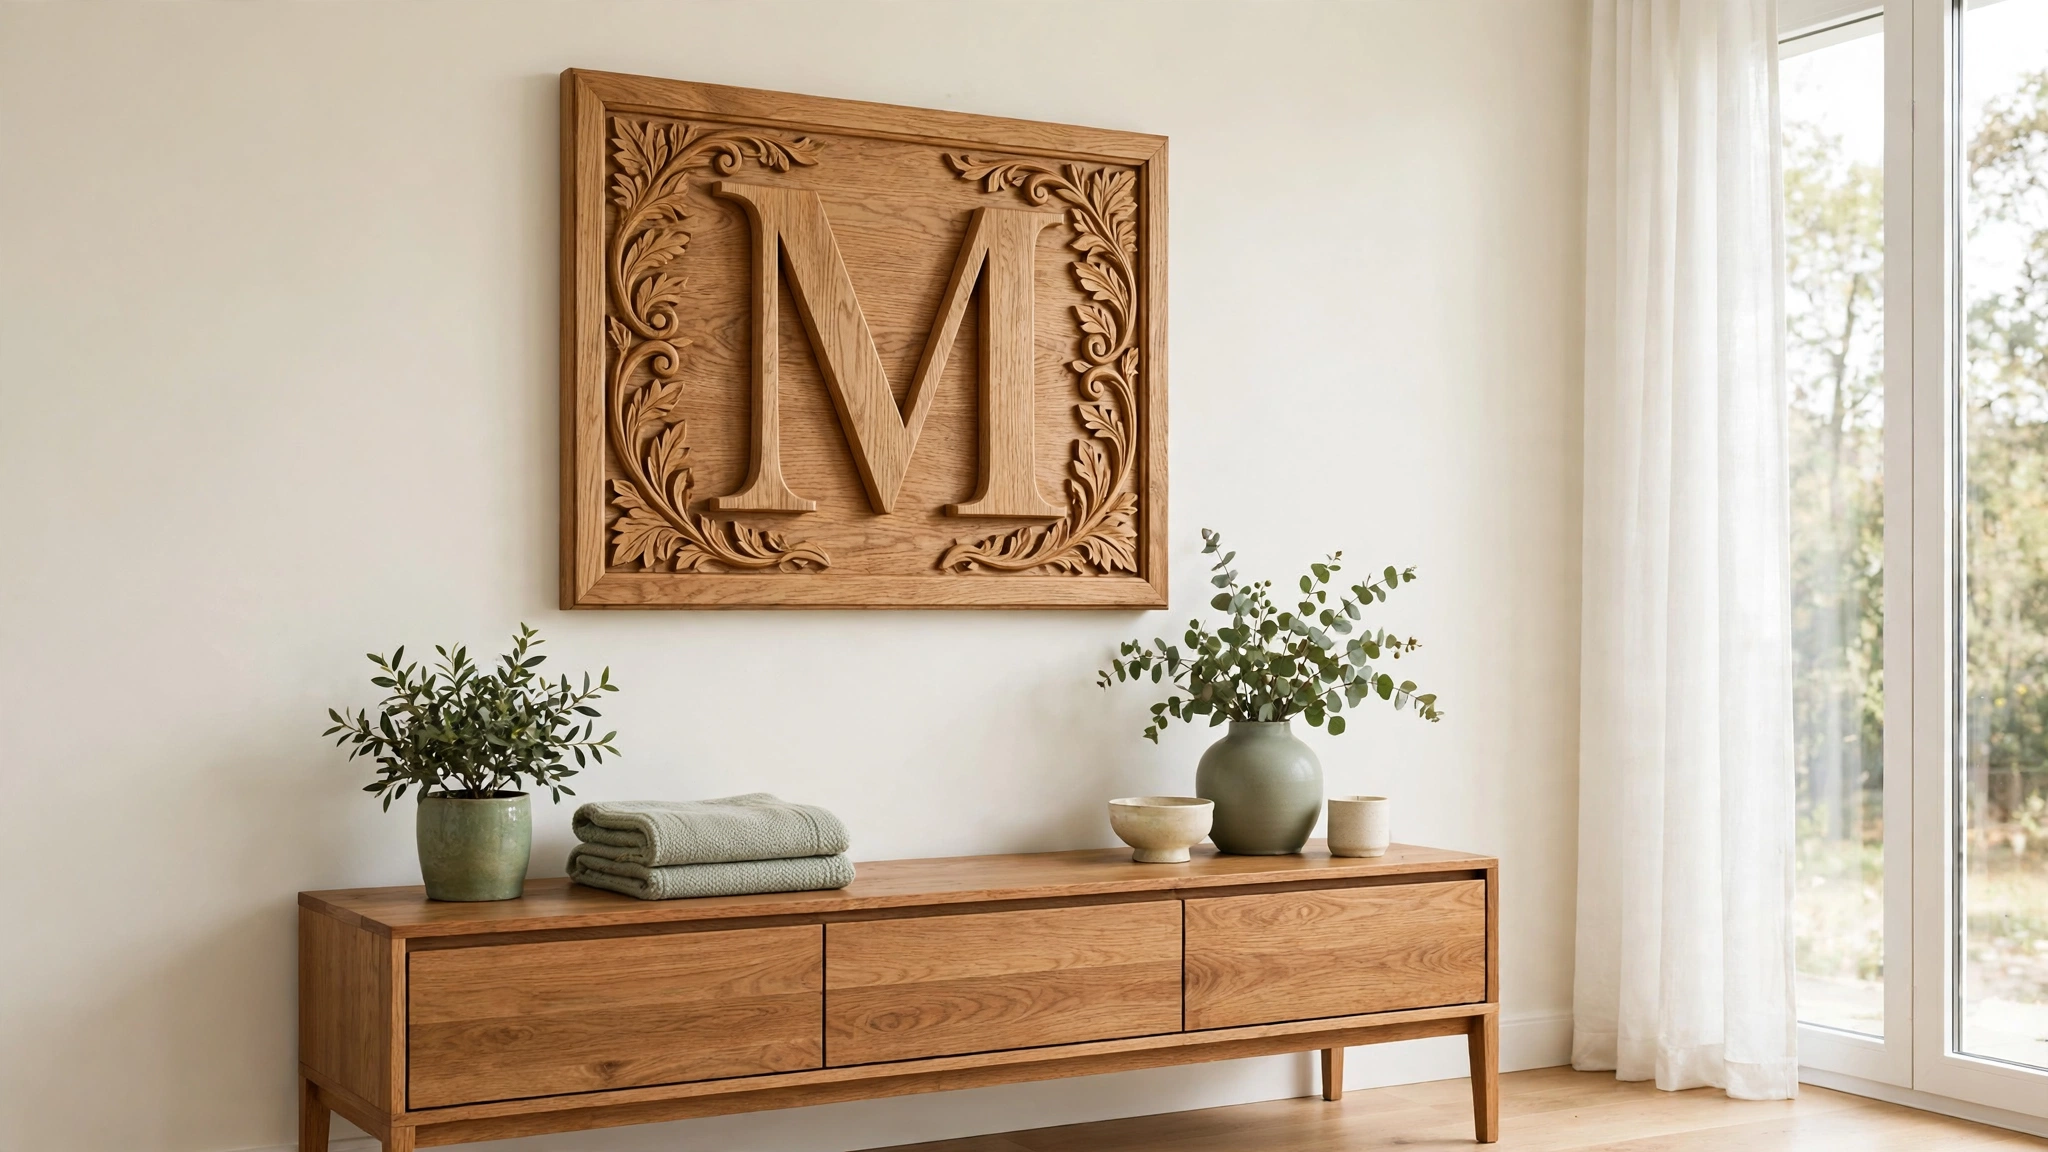
A carved wooden name plaque gives your entryway a warm and personal welcome. Start with a smooth board in oak, pine, or walnut, and sketch your family name lightly in pencil before you carve. A simple set of carving chisels or a rotary tool is enough to cut clean, shallow letters into the surface.
Sand the plaque until it feels silky, then finish it with a clear oil or a soft matte varnish that lets the grain show through. Mount it above a console table or beside the front door with sturdy picture hangers. The raised letters catch the light beautifully and greet every guest by name.
2. Build a Layered Wood Monogram Plaque
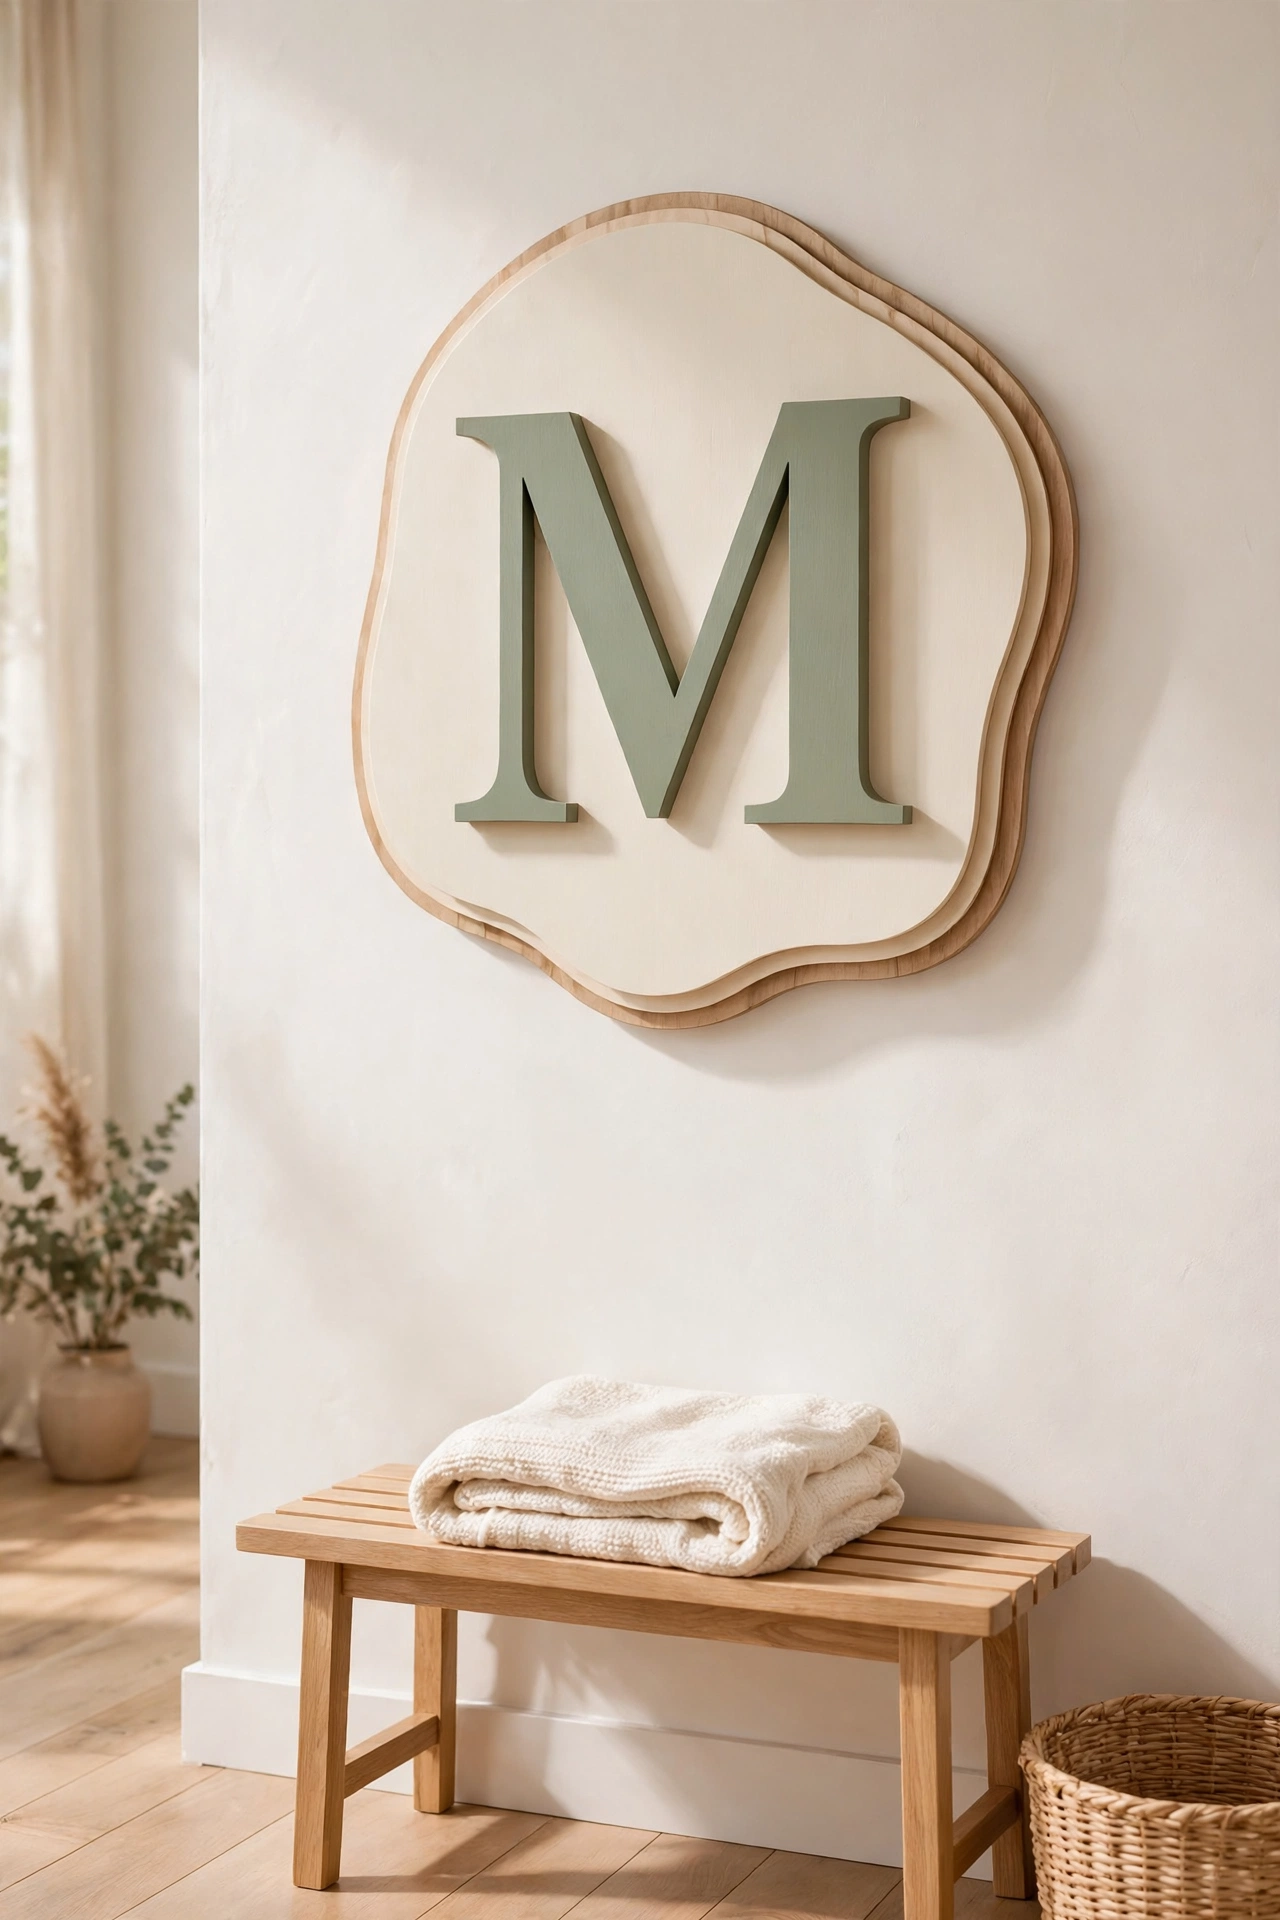
A layered monogram plaque stacks two or three cut wood shapes to create bold depth on the wall. Cut a large initial from plywood, then add a smaller backing shape in a contrasting wood tone behind it. The layers give the letter a sculptural look that a flat sign can never match.
Paint each layer a different color, such as sage green over cream or navy over natural wood, and glue them together with strong wood adhesive. Add a sawtooth hanger on the back and hang the plaque in a bedroom, living room, or home office. The stacked edges cast soft shadows that make the letter stand out.
3. Paint a Ceramic Family Plaque
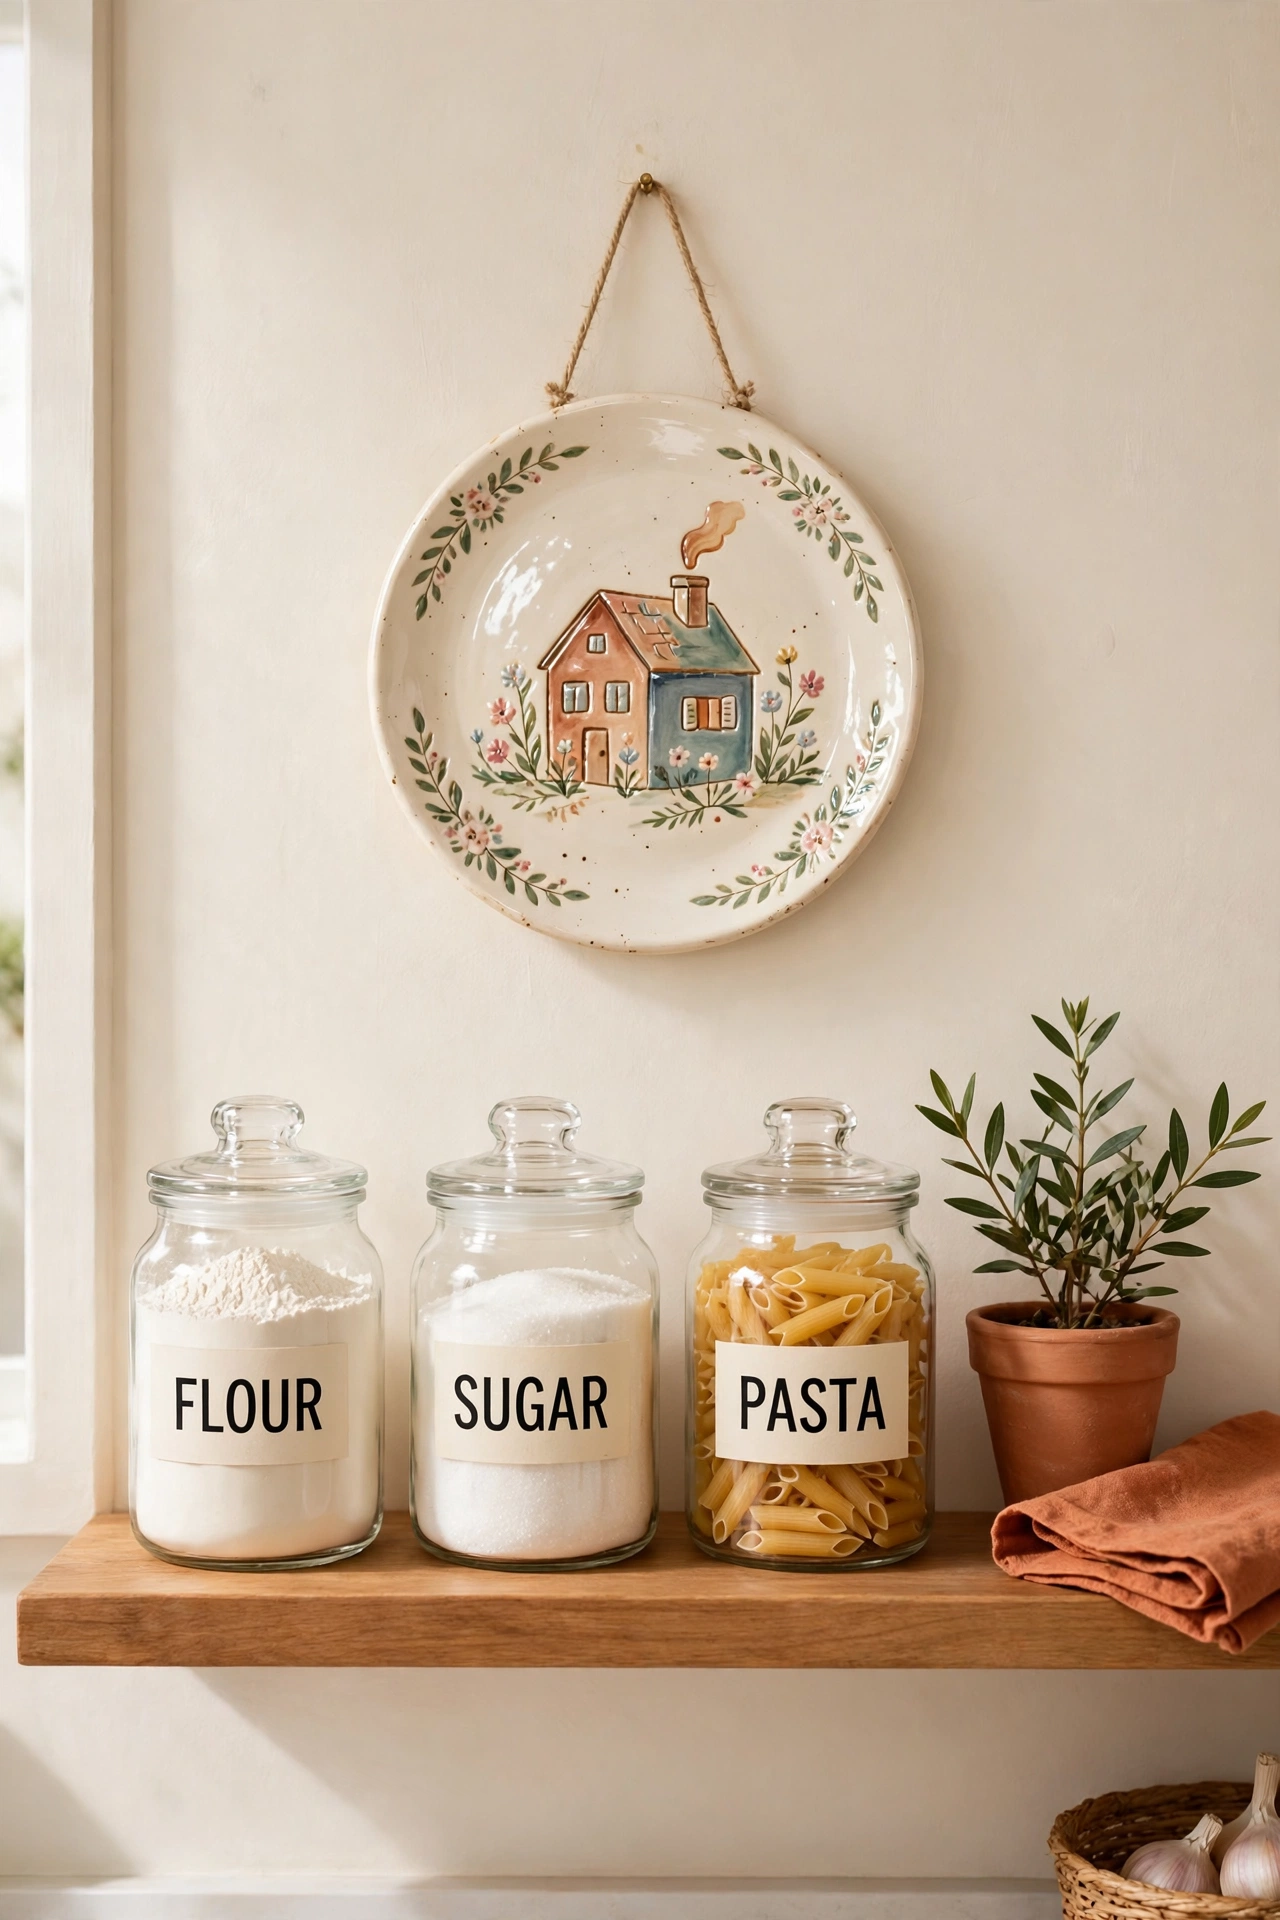
A painted ceramic plaque brings a handcrafted, heirloom feel to a kitchen or dining room. Start with a plain bisque plaque from a craft store, then paint your family name, a small house motif, or a favorite date in the center. Ceramic paints and a few fine brushes are all you need for crisp detail.
Seal the finished plaque with a clear food-safe glaze or a glossy varnish to protect the paint and give it a polished shine. Hang it where it catches the morning light so the glazed surface glows. For more ceramic inspiration, these diy faux ceramic decor ideas show how simple materials can mimic the look of real pottery on a budget.
4. Shape an Air-Dry Clay Botanical Relief Plaque
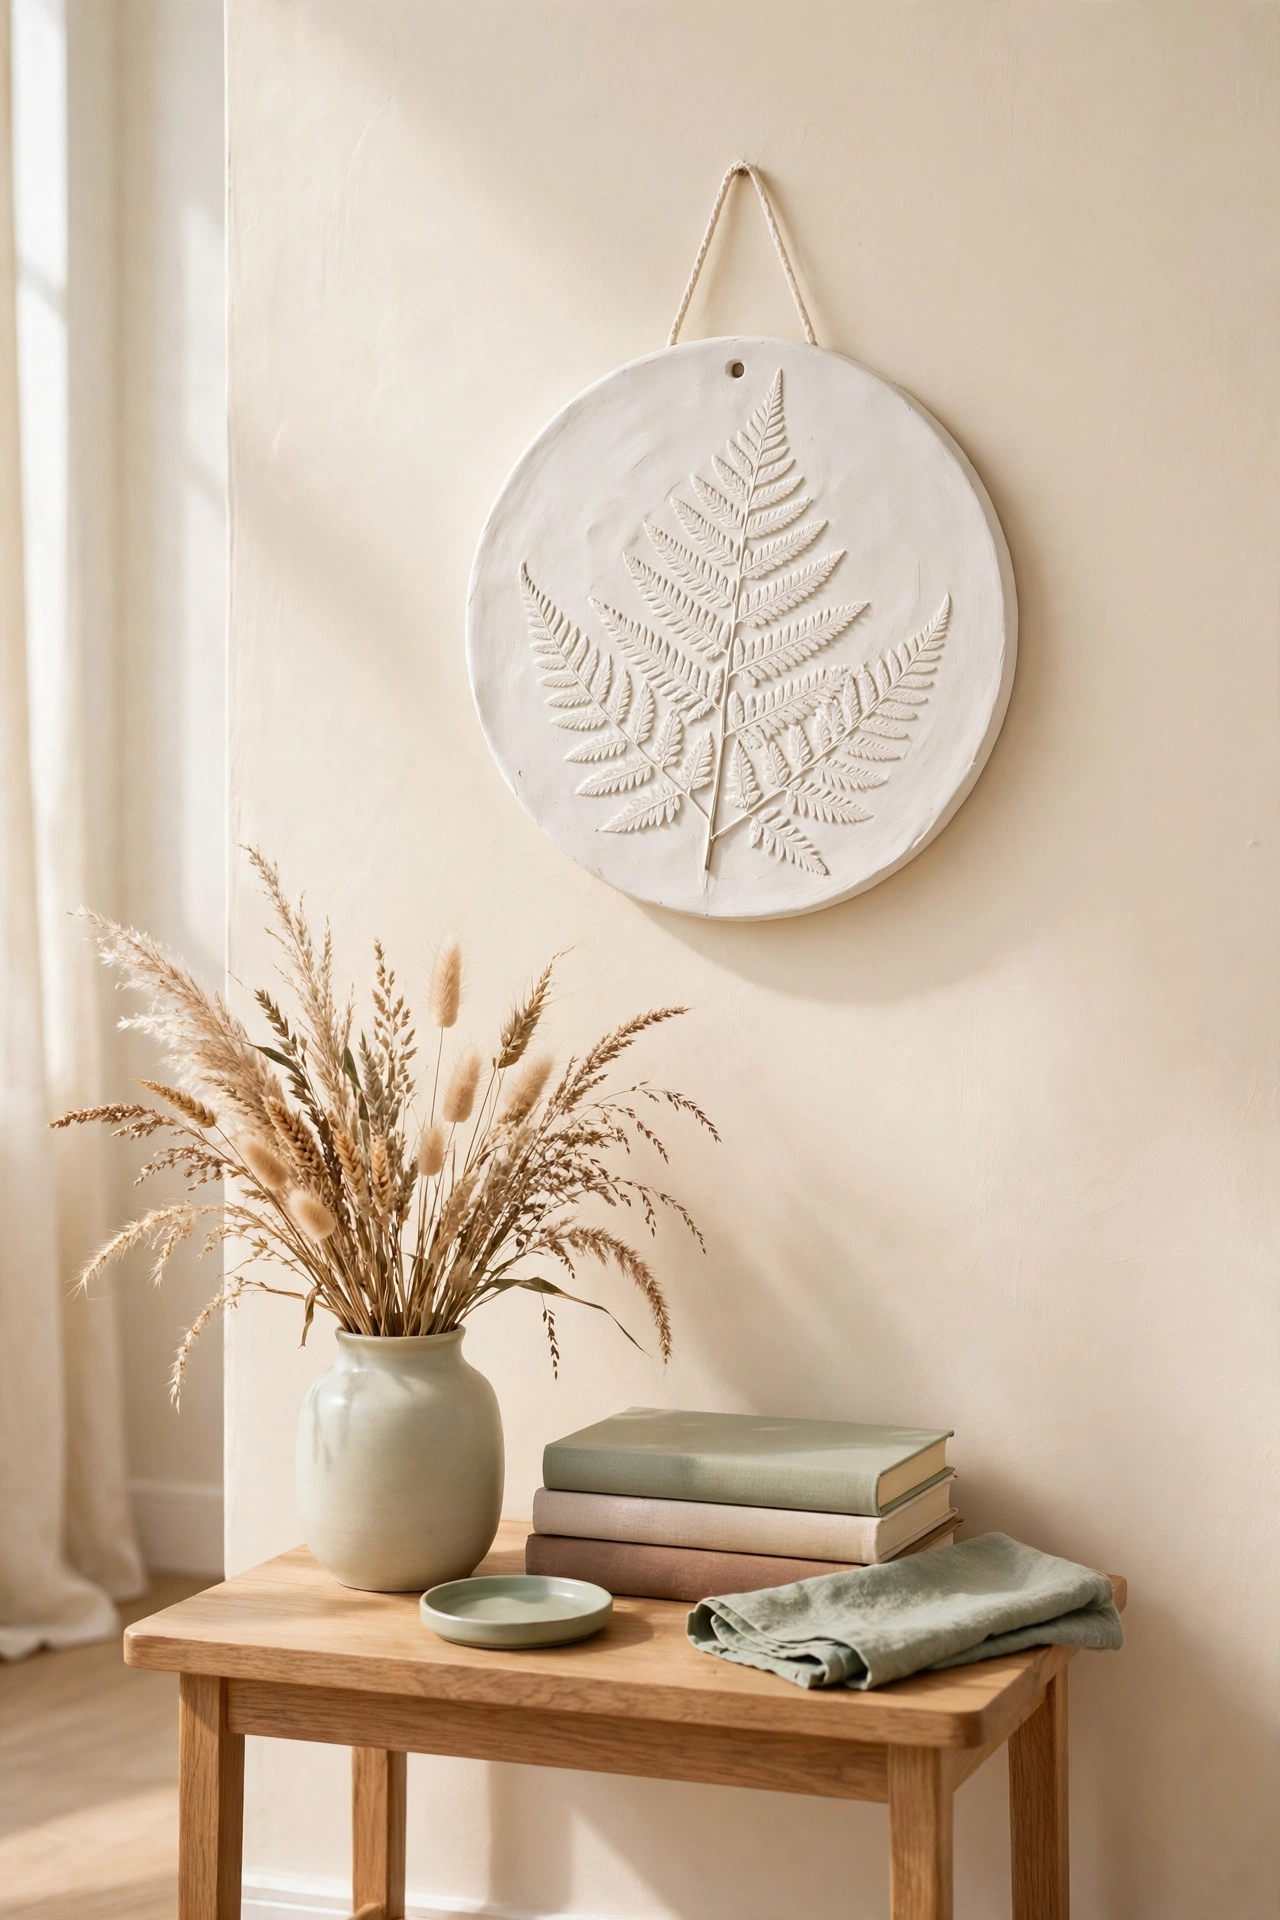
An air-dry clay plaque with pressed leaves and flowers looks like a piece from a high end boutique. Roll out the clay, press real leaves, ferns, or blossoms into the surface, and lift them away to leave a delicate relief. Cut the plaque into a round or oval shape before it dries.
Once the clay is fully dry, paint the relief with soft white or sage and rub a darker wax into the crevices to highlight the botanical detail. Hang it in a bathroom, bedroom, or reading nook where the texture can be admired up close. These diy air dry clay wall decor ideas offer more ways to use this forgiving material for dimensional wall pieces.
5. Hammer a Copper Initial Plaque
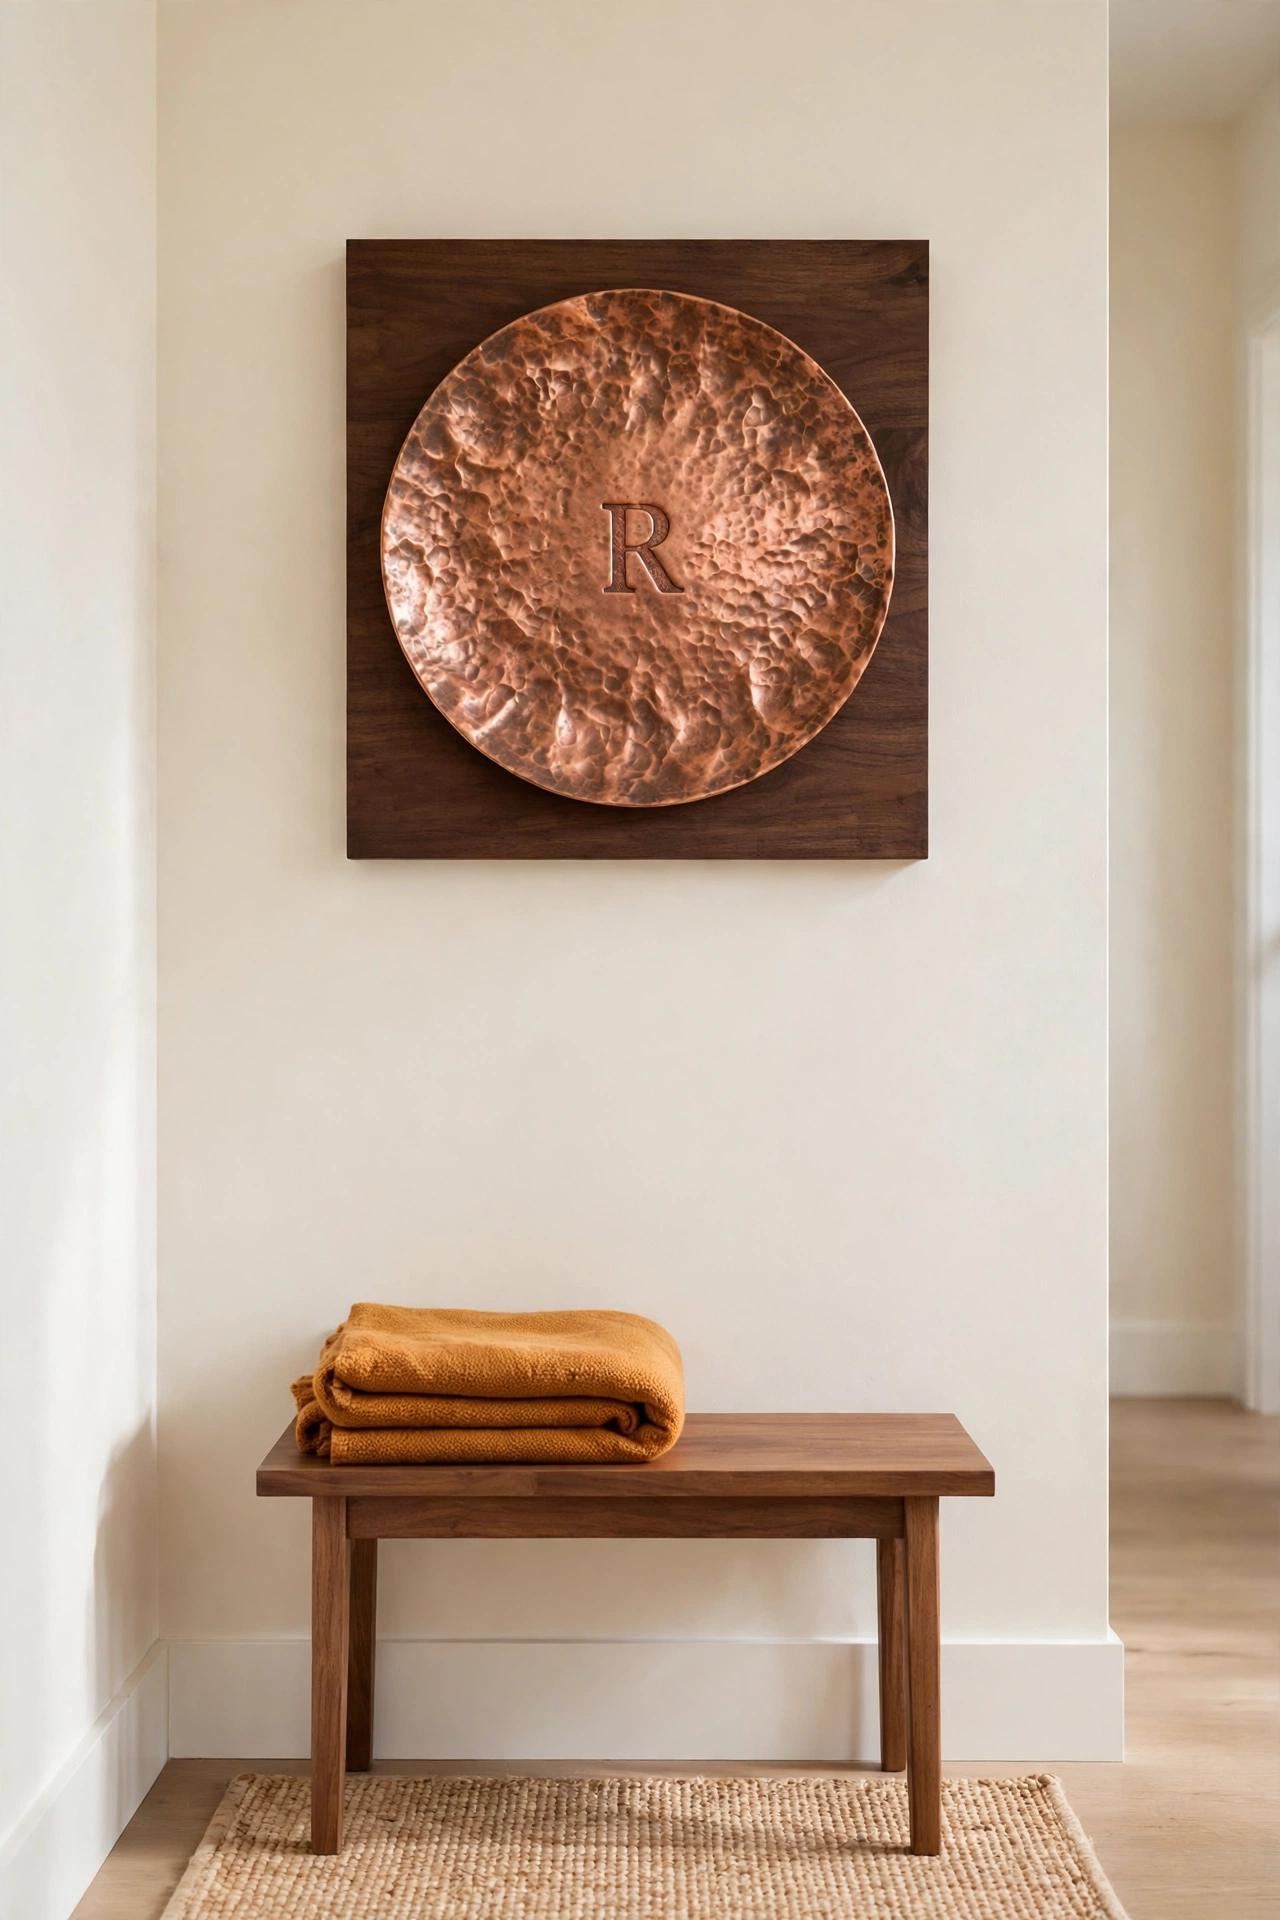
A hammered copper plaque adds warm metallic texture to a hallway or study. Cut a sheet of thin copper to size, then use a ball peen hammer to tap a dimpled pattern across the surface. The tiny dents catch the light from every angle and give the metal a handworked glow.
Stamp or engrave a single initial in the center, then seal the copper with a clear lacquer to slow tarnishing. Mount the plaque on a dark wood backing board so the copper color pops against the wall. The result looks expensive, yet the materials cost very little.
6. Weave a Macrame and Wood Plaque
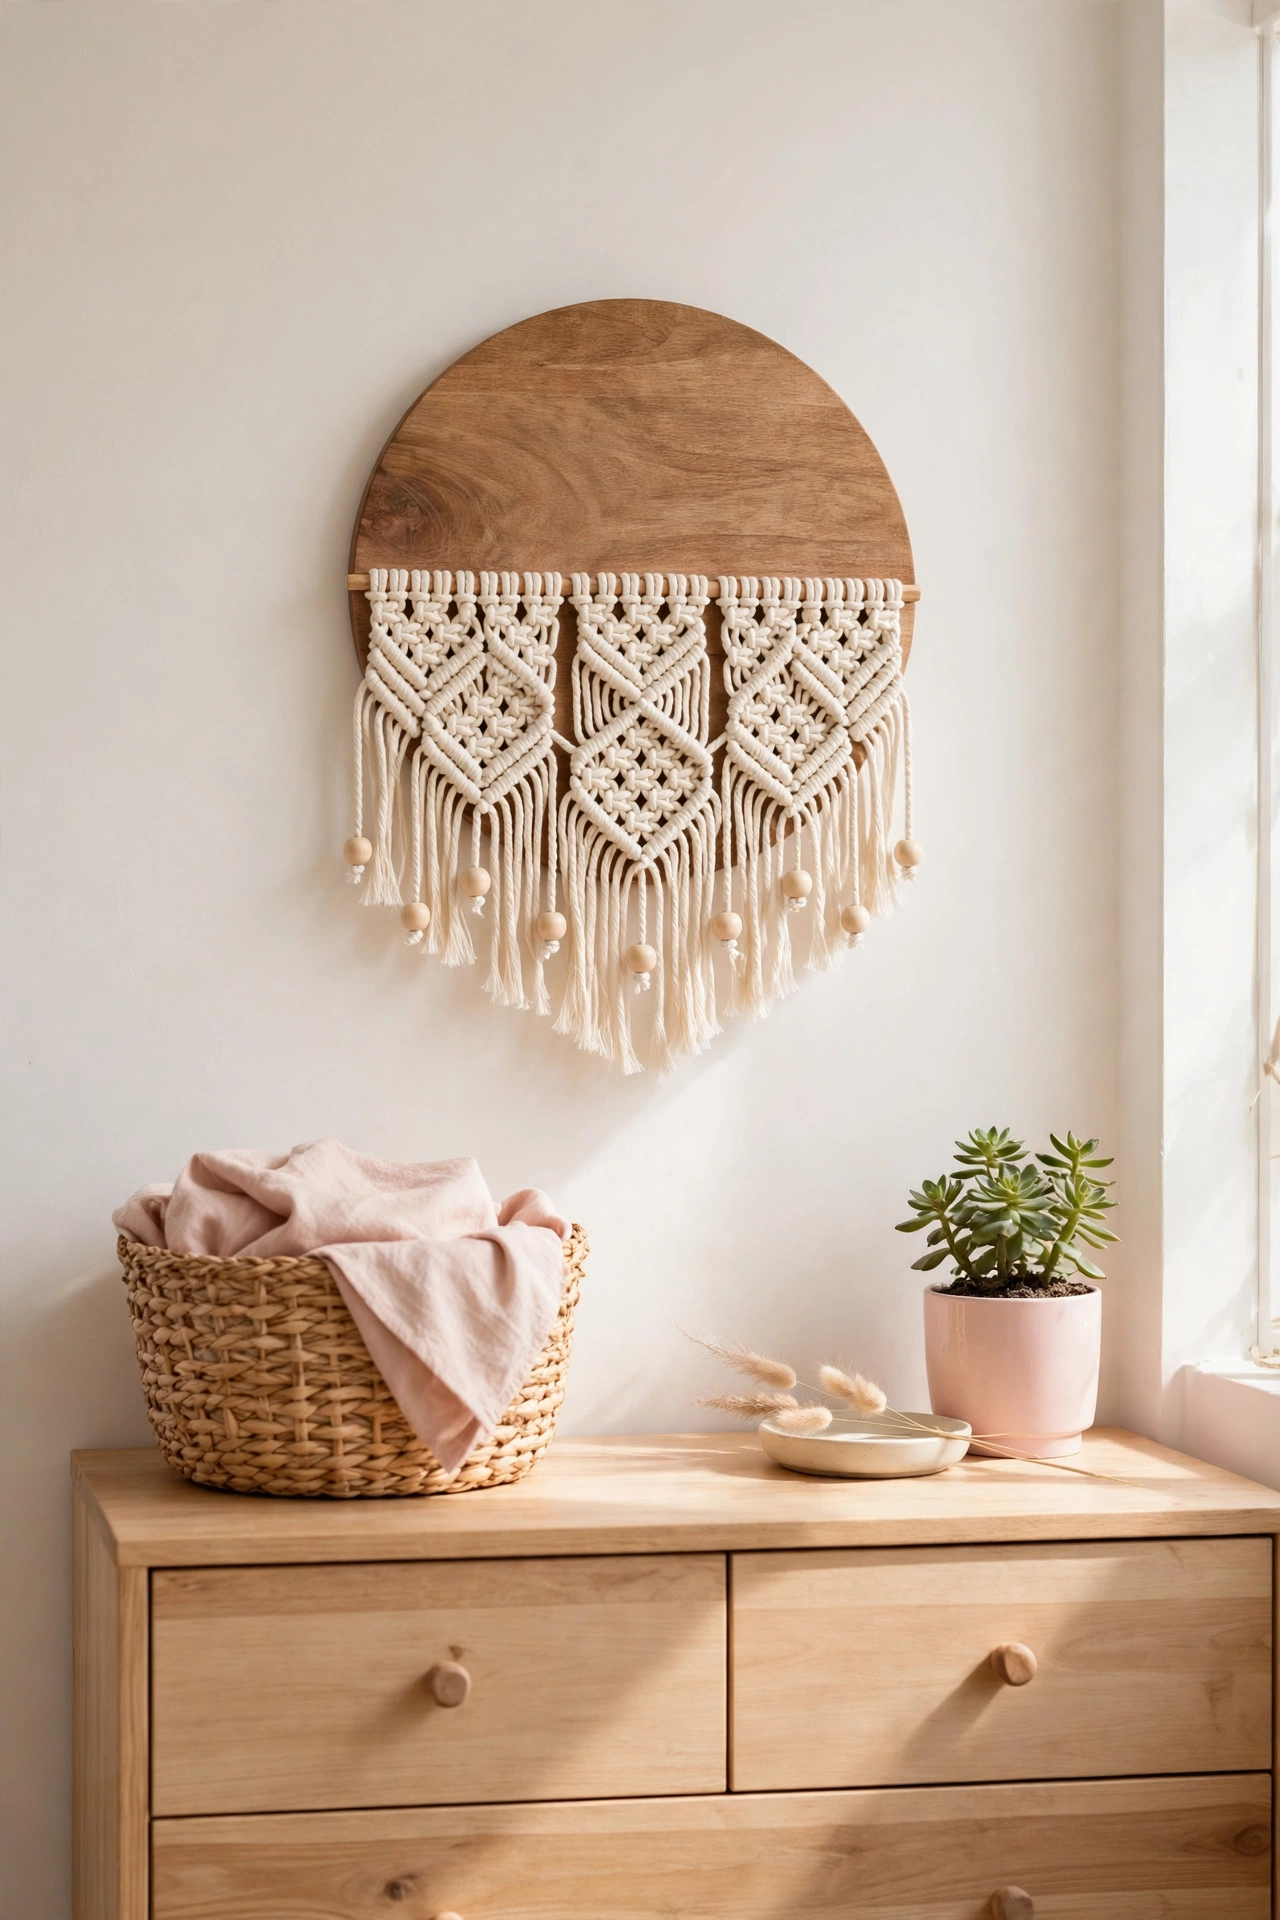
A macrame and wood plaque combines soft knotted cotton with a solid wooden base for a cozy boho look. Start with a round or arched wood slice, then knot a small macrame panel across the lower half using simple square knots and lark head knots. The texture of the cord contrasts beautifully with the smooth wood.
Add wooden beads or a small brass ring to the bottom of the knotted panel for a finished touch. Hang the plaque in a bedroom or living room where the natural fibers soften the wall. This is a forgiving first macrame project because the wood base keeps the shape neat and stable.
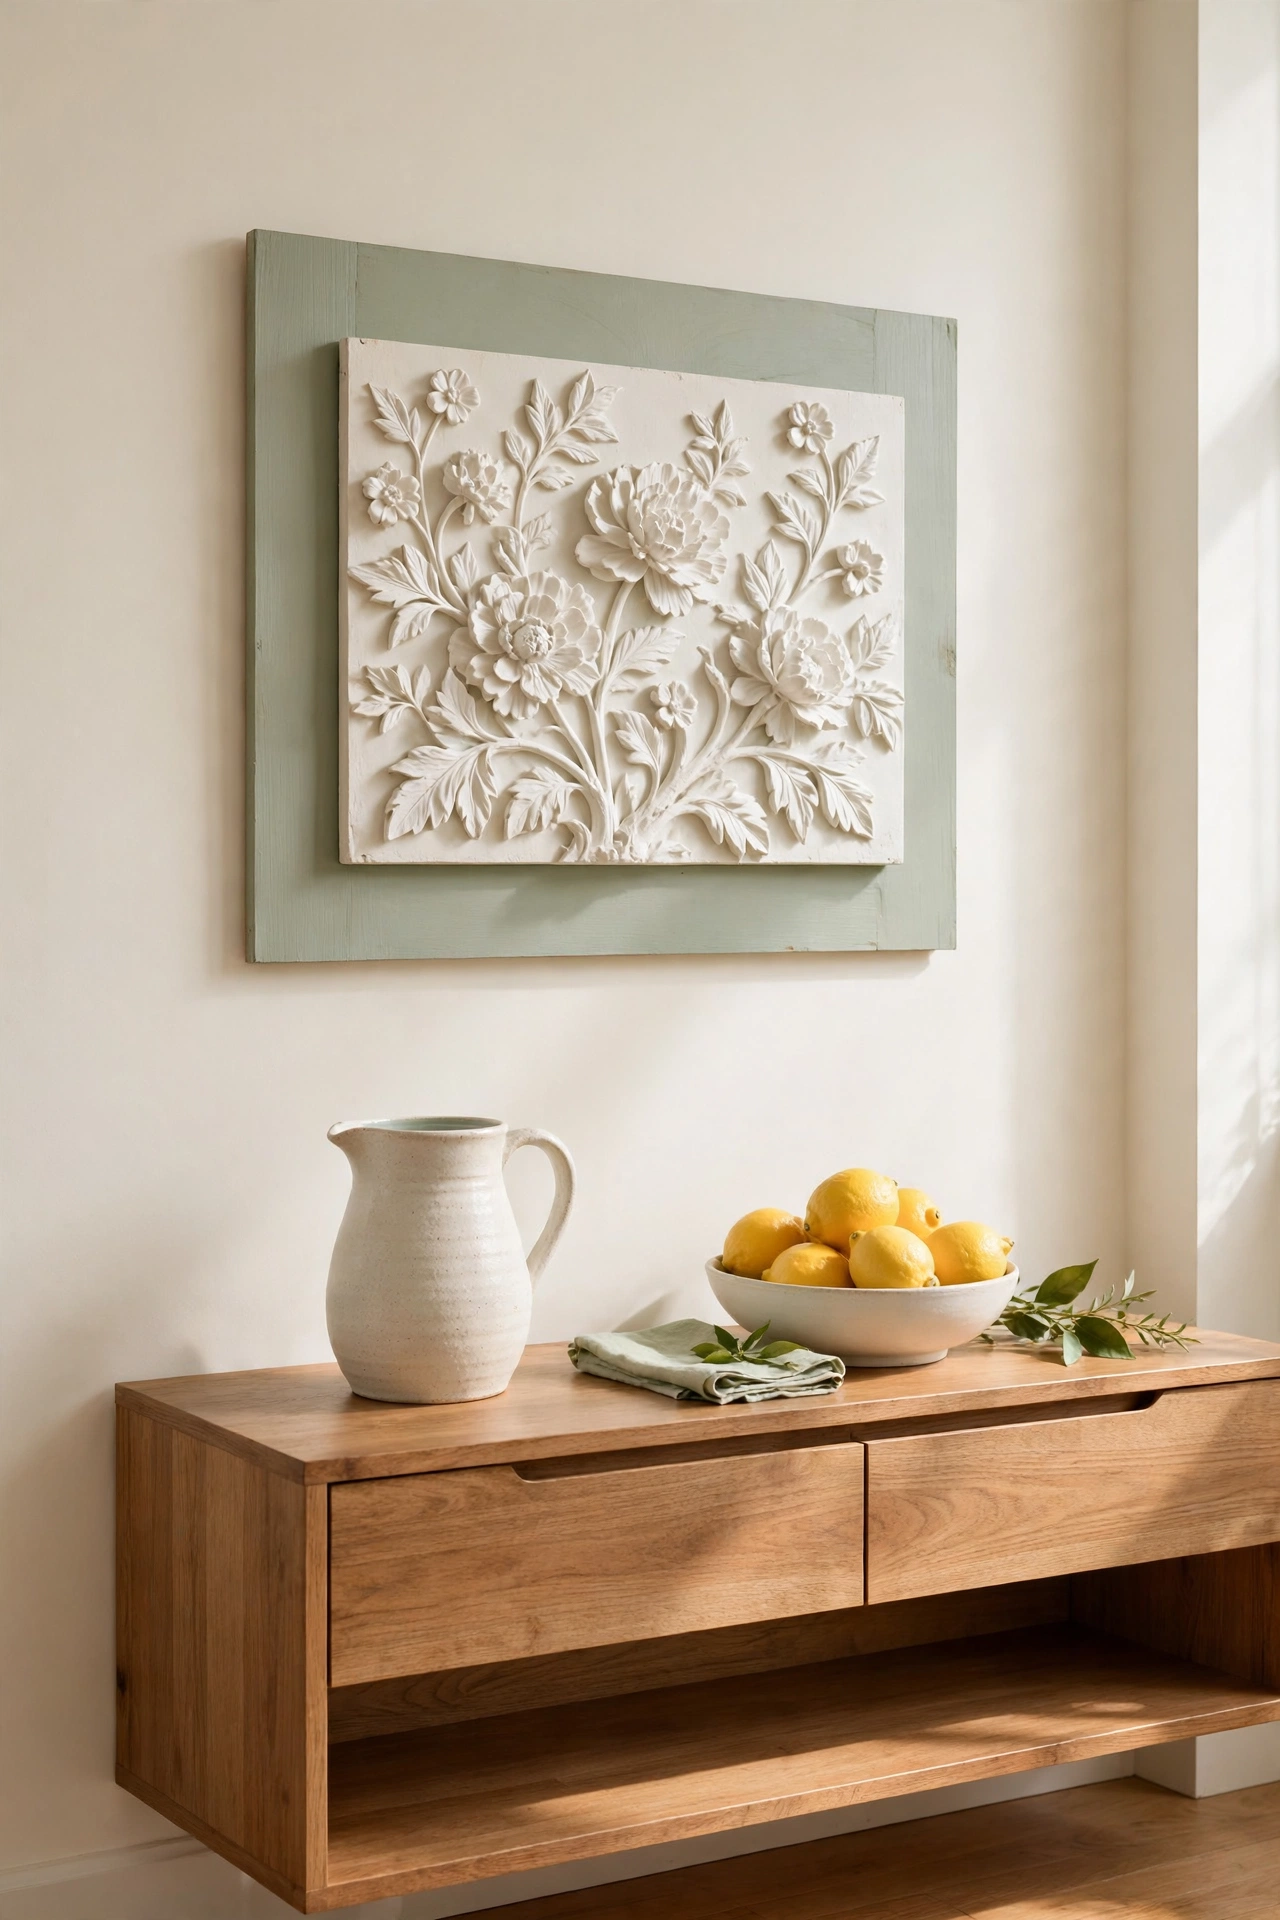
7. Cast a Plaster Relief Floral Plaque
A plaster relief plaque turns simple molding and casting into elegant wall art with real depth. Pour craft plaster into a silicone floral mold, let it set, and pop out a raised flower panel. The fine detail of the petals and leaves gives the plaque a classic, almost antique character.
Paint the dried plaster in a soft chalk white or a muted blush, then add a light antique wax to emphasize the raised edges. Mount the panel on a painted wood backing for strength, and hang it in a dining room or hallway. Plaster is inexpensive, so you can cast a matching pair for a balanced display.
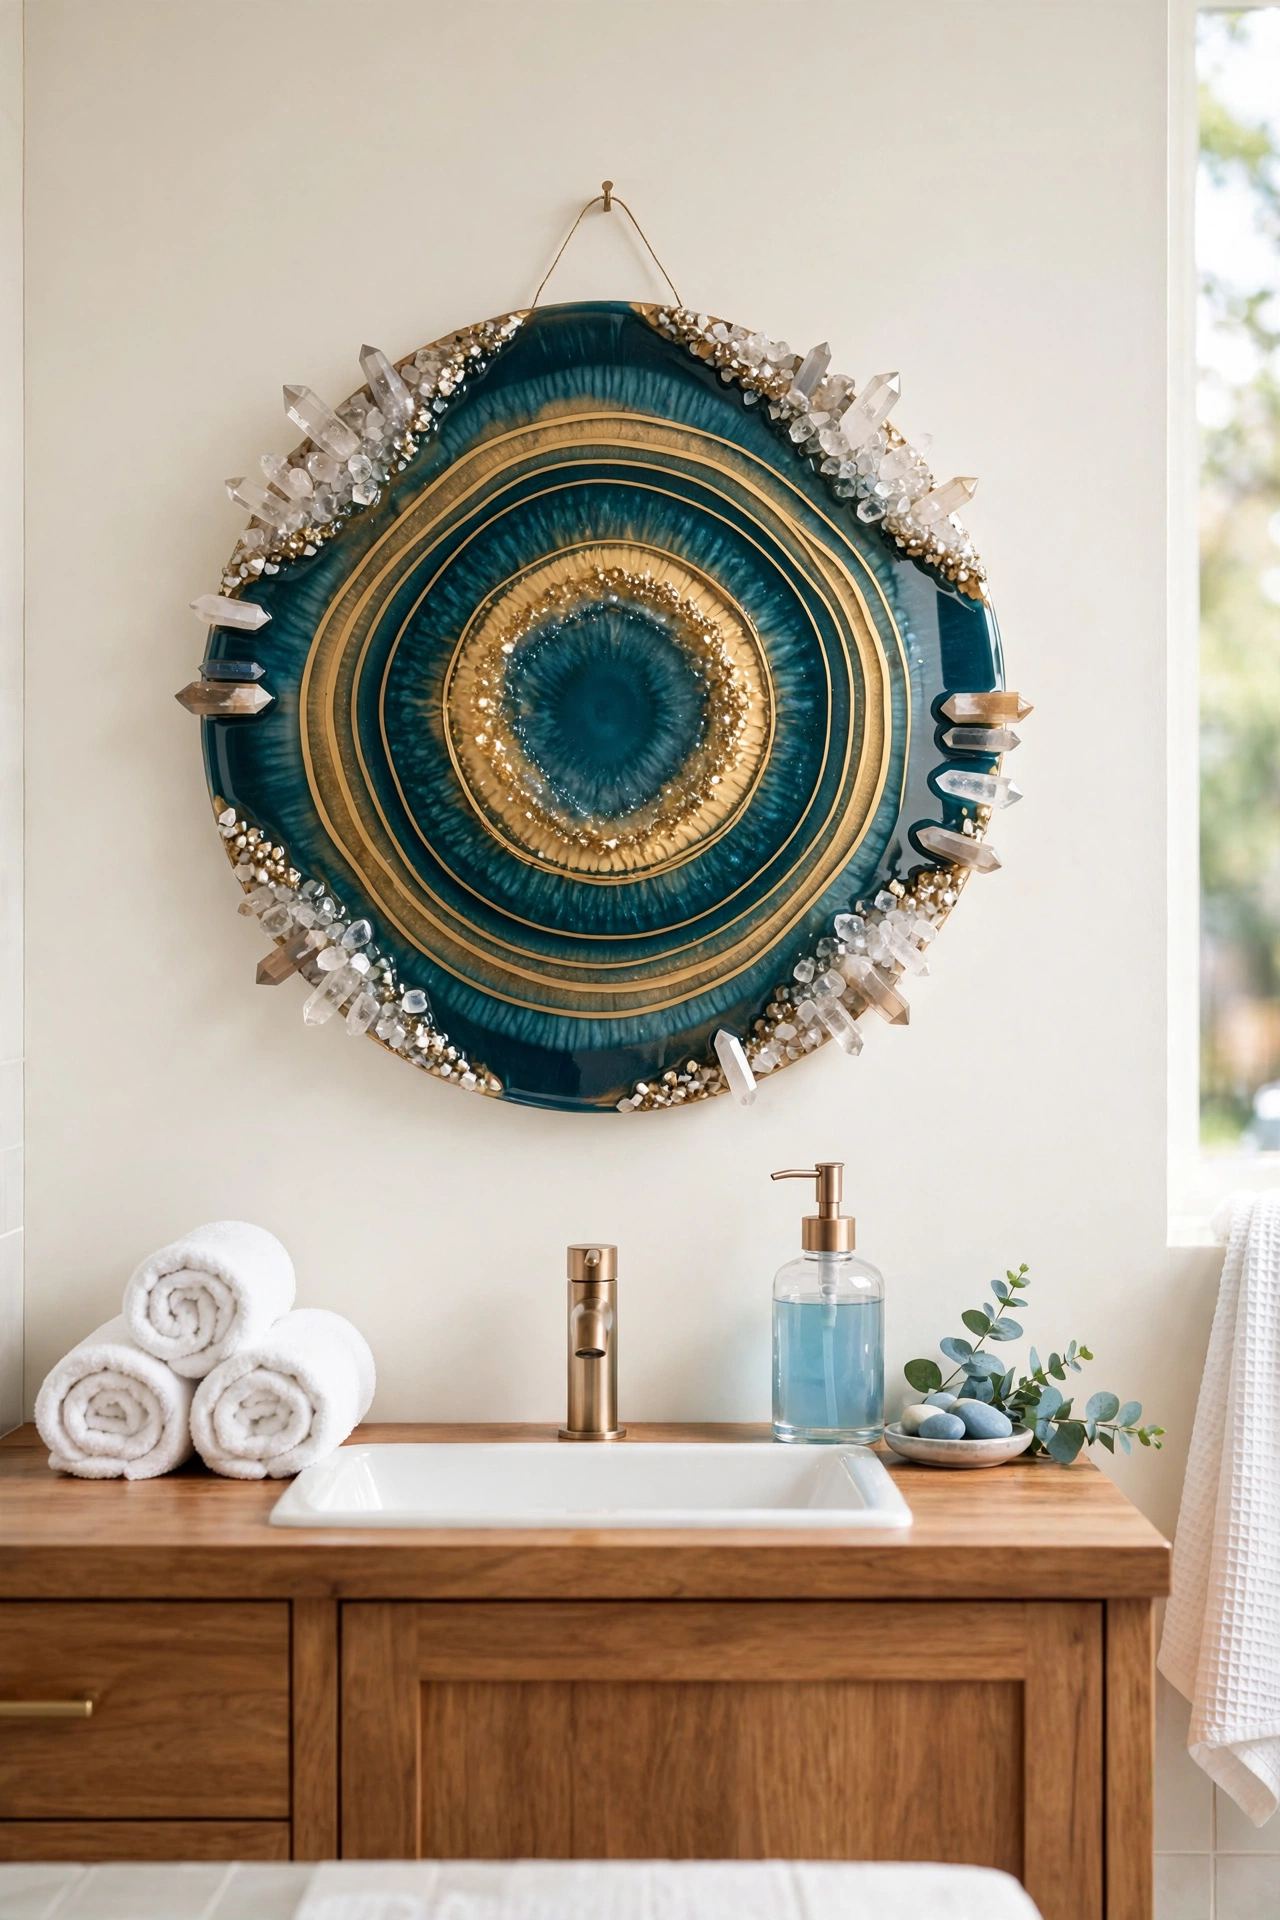
8. Pour a Resin Geode Slice Plaque
A resin geode plaque mimics the sparkling layers of a real crystal slice with bold color and shine. Pour tinted resin in rings onto a round wood base, add glitter and small crystal points along the edges, and let each layer cure before you add the next. The finished surface looks like a cross-section of a gemstone.
Choose colors that match your room, such as deep teal with gold, soft blush with silver, or classic amethyst purple. Hang the plaque in a bathroom or bedroom where the glossy finish catches the light. Work in a ventilated space and wear gloves, because resin is sticky before it cures.
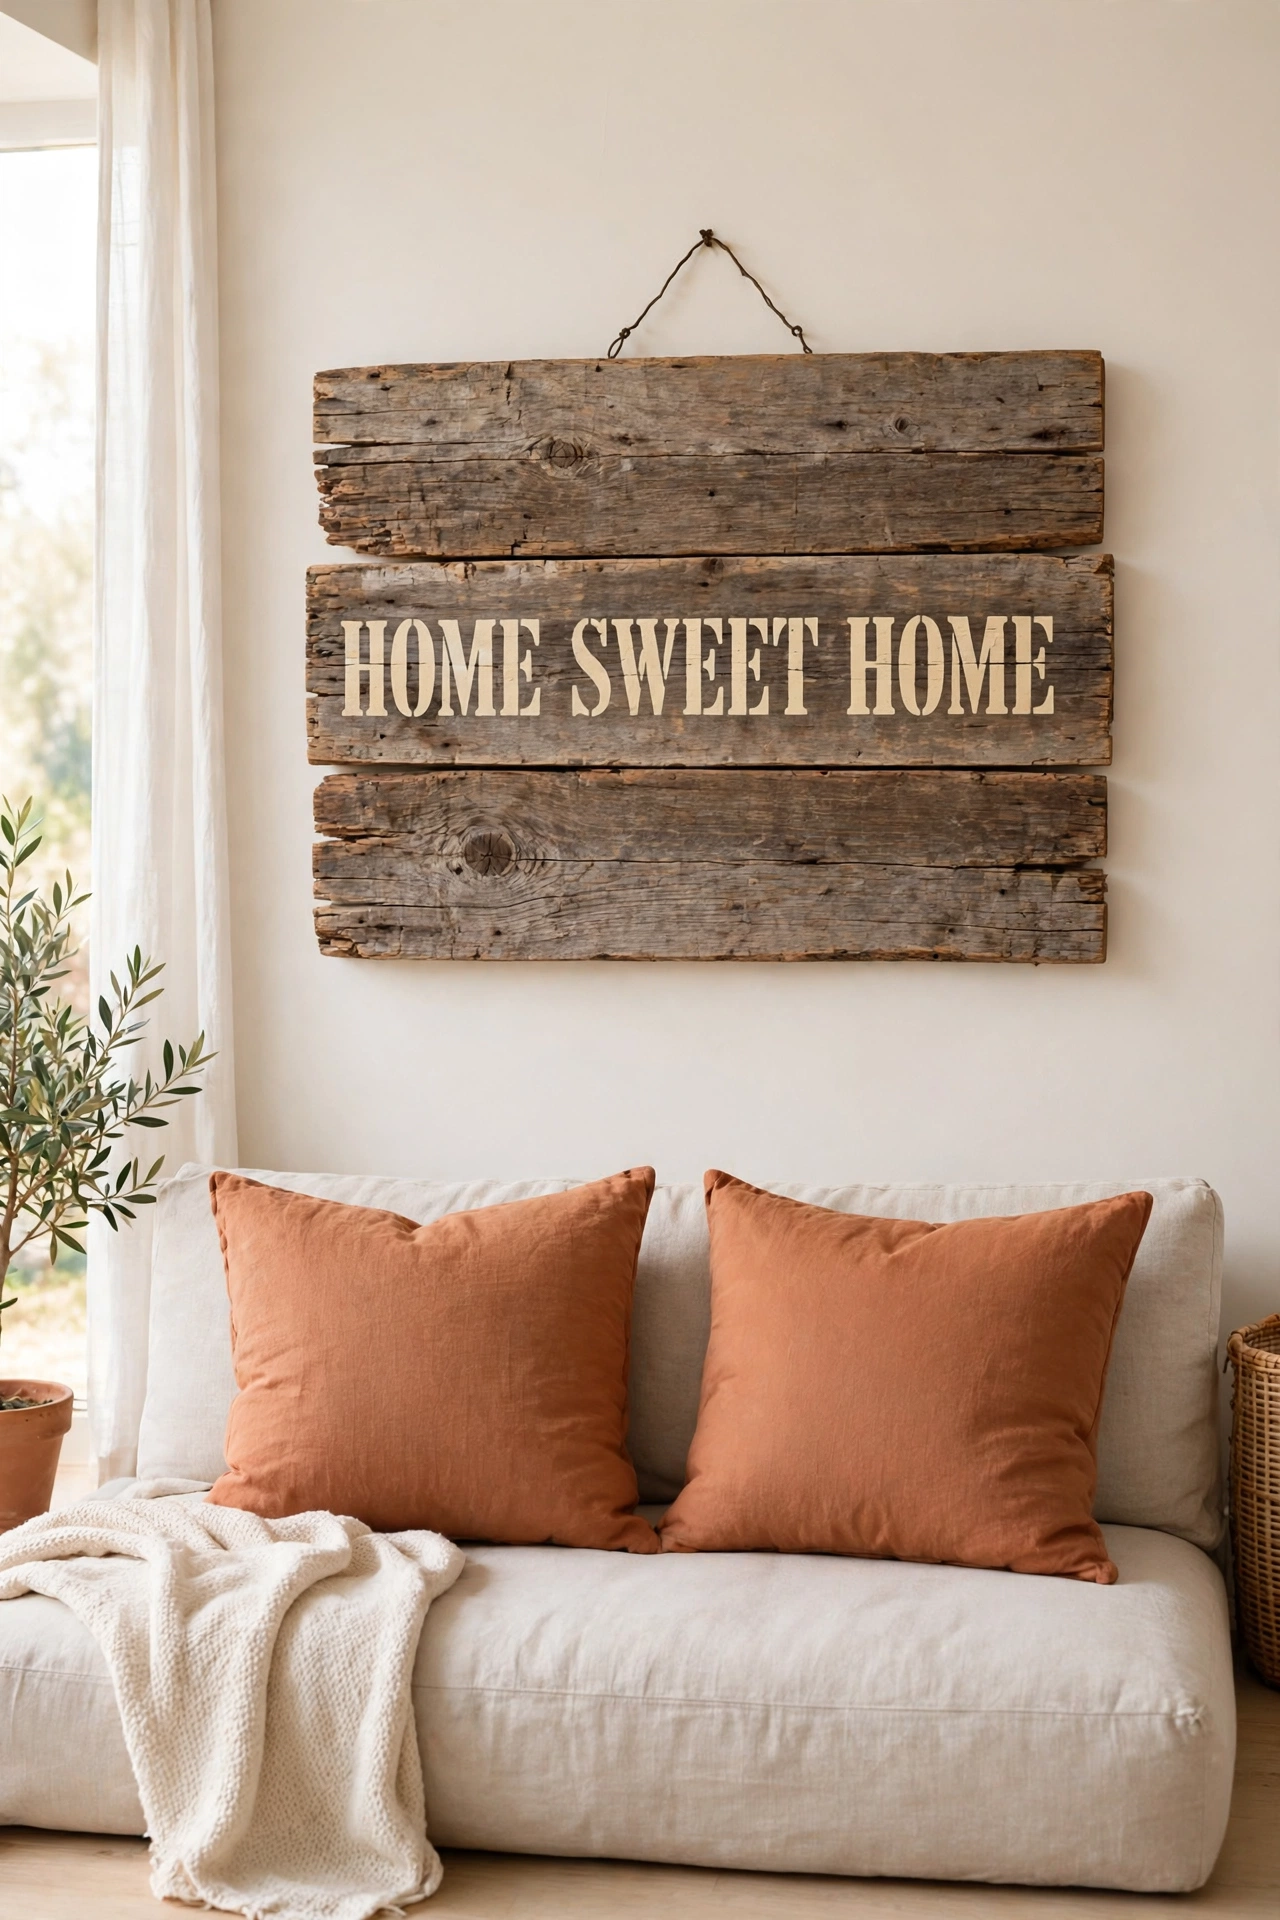
9. Build a Reclaimed Barn Wood Quote Plaque
A reclaimed barn wood plaque carries history in every weathered board. Join two or three salvaged planks with cleats on the back, then stencil or hand paint a favorite quote across the front in cream or white paint. The rough grain and old nail holes give the plaque authentic farmhouse character.
Lightly sand the boards so the plaque is safe to touch, but keep the weathered texture that makes reclaimed wood special. Seal it with a matte finish and hang it above a sofa or a fireplace mantel. The dimensional planks and raised paint create shadows that change through the day.
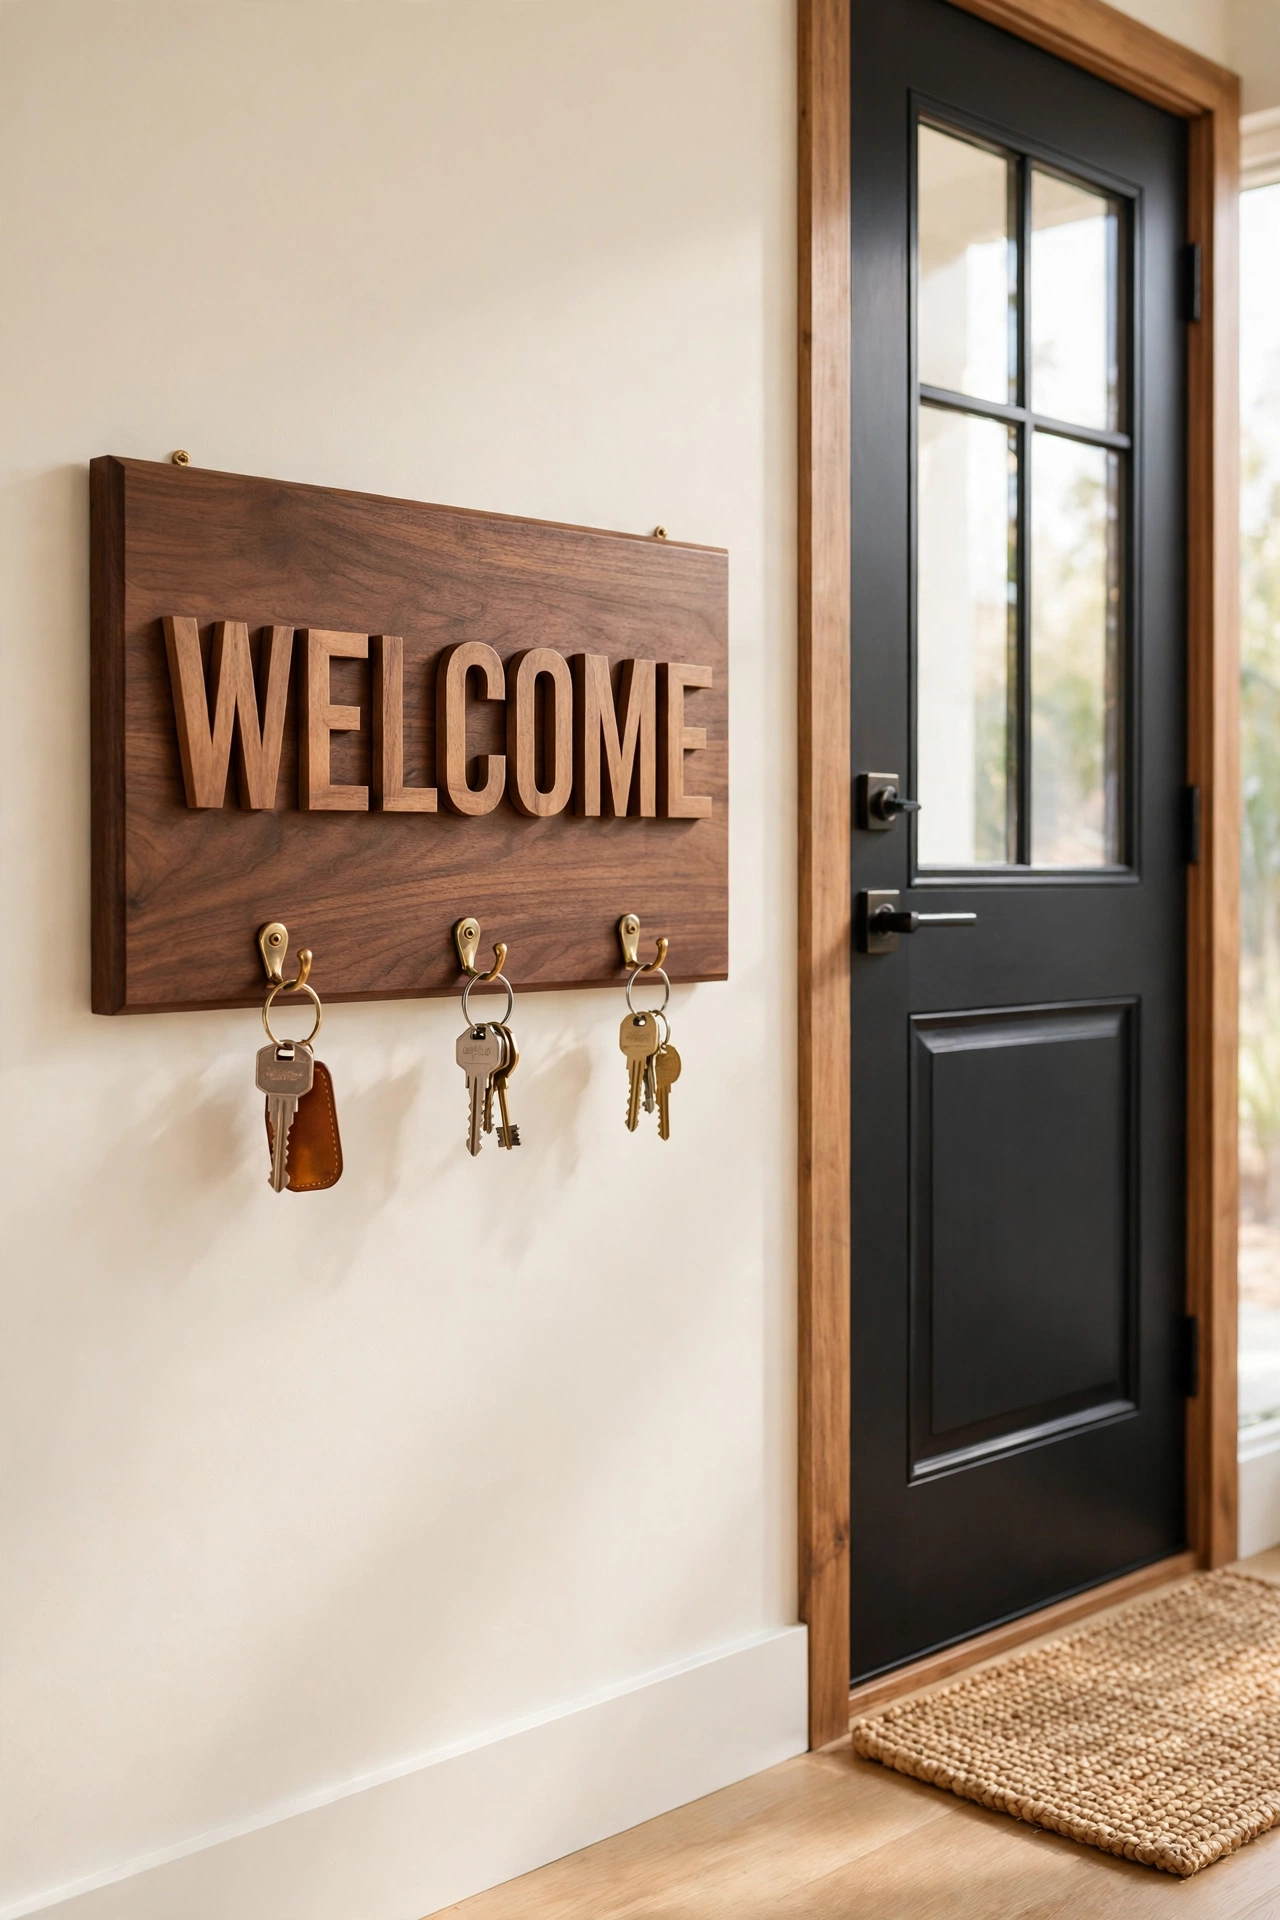
10. Stain a Wood Welcome Plaque
A stained wood welcome plaque is a classic entryway project with endless color options. Cut a board into a rectangle or an arched shape, stain it in walnut, honey, or weathered gray, and add the word welcome in raised wood letters or a hand painted script. The stain lets the natural grain shine through the color.
Add small hooks along the bottom edge so the plaque doubles as a key holder or a leash station. For more staining techniques, these diy wood stain projects show how different stains transform plain wood into rich, finished pieces. Hang the plaque beside the front door where guests see it first.
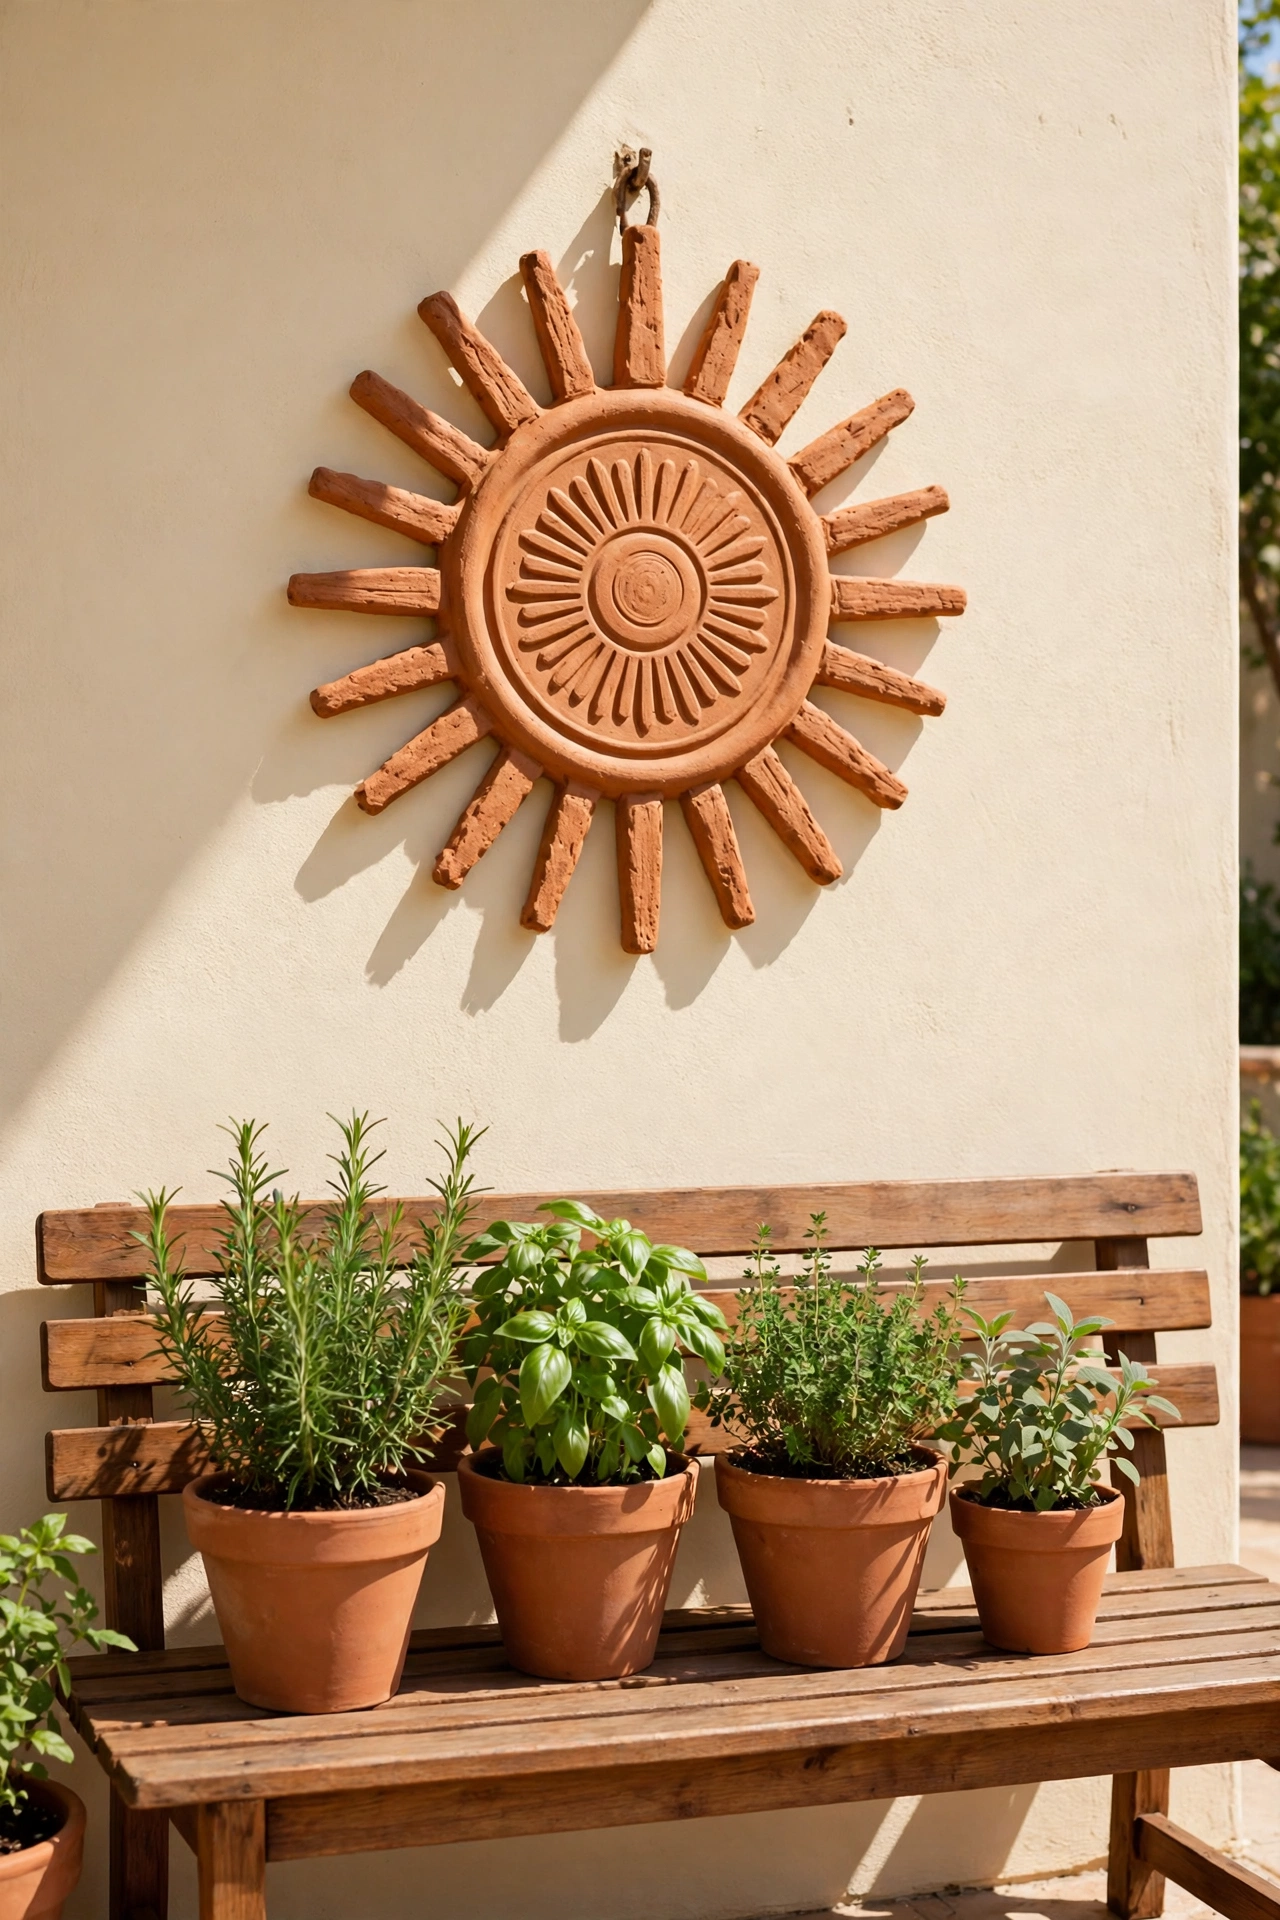
11. Shape a Terracotta Sunburst Plaque
A terracotta sunburst plaque brings warm Mediterranean energy to a patio wall or a sunny kitchen. Form a round terracotta base from air-dry clay or a store bought clay disc, then attach short clay rays around the edge in a sunburst pattern. A small face or a spiral in the center adds a handcrafted touch.
Paint the finished plaque in warm terracotta orange, or leave the natural clay color and add a clear sealant for outdoor use. Hang it where direct sunlight hits it so the rays cast playful shadows on the wall. This plaque also makes a cheerful housewarming gift.
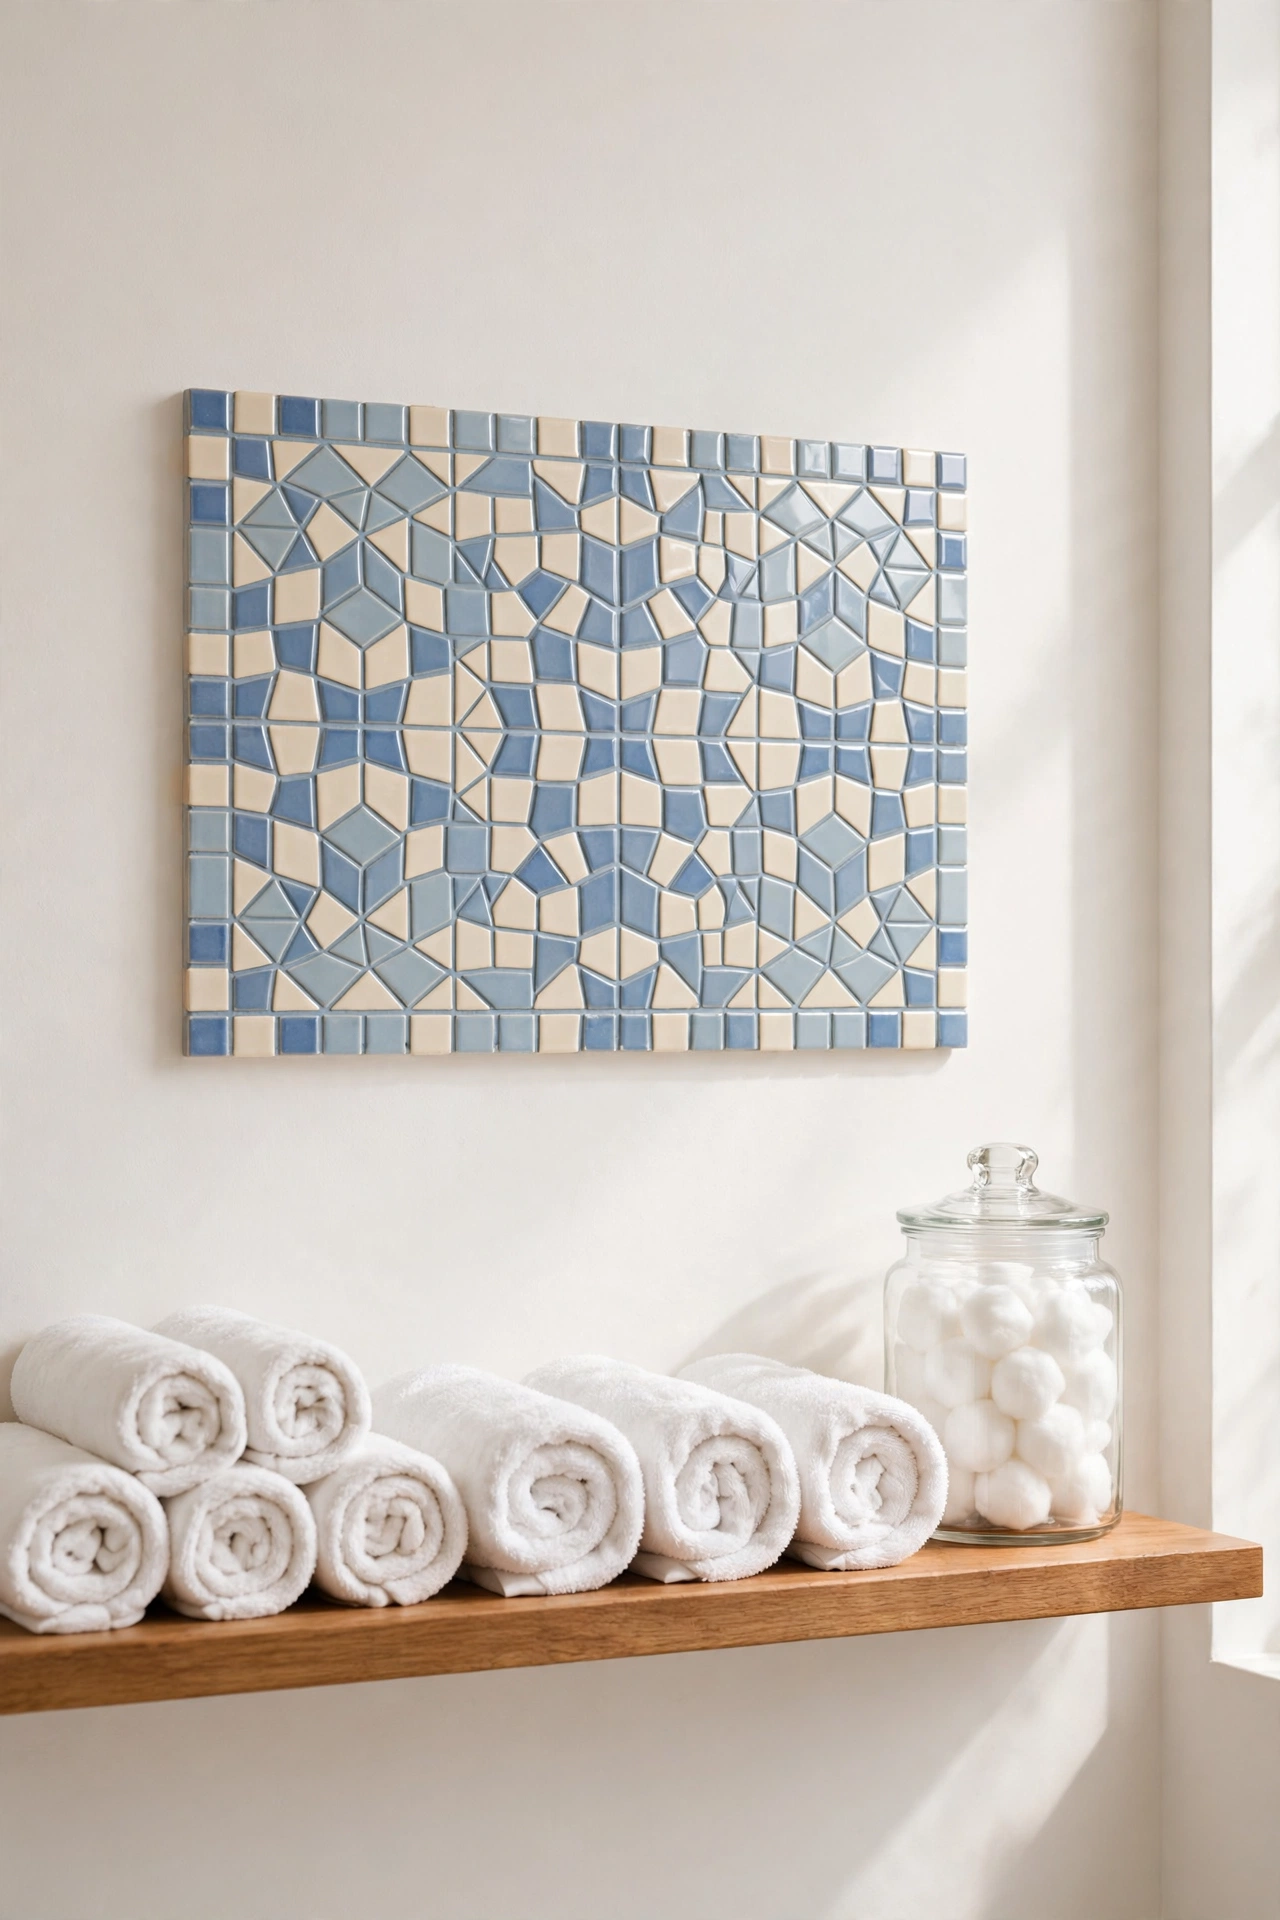
12. Assemble a Mosaic Tile Plaque
A mosaic tile plaque is a small canvas for color, pattern, and texture. Glue broken ceramic tiles, glass gems, or mirror pieces onto a sturdy board in a pattern of your choice, then grout the gaps for a finished, professional look. A simple geometric pattern is a great place to start.
Choose a color palette that matches your room, such as ocean blues for a bathroom or warm earth tones for a kitchen. Seal the grout once it is dry so the plaque stays clean and durable. The raised tiles and glossy grout lines give the wall a tactile, jewel-like focal point.
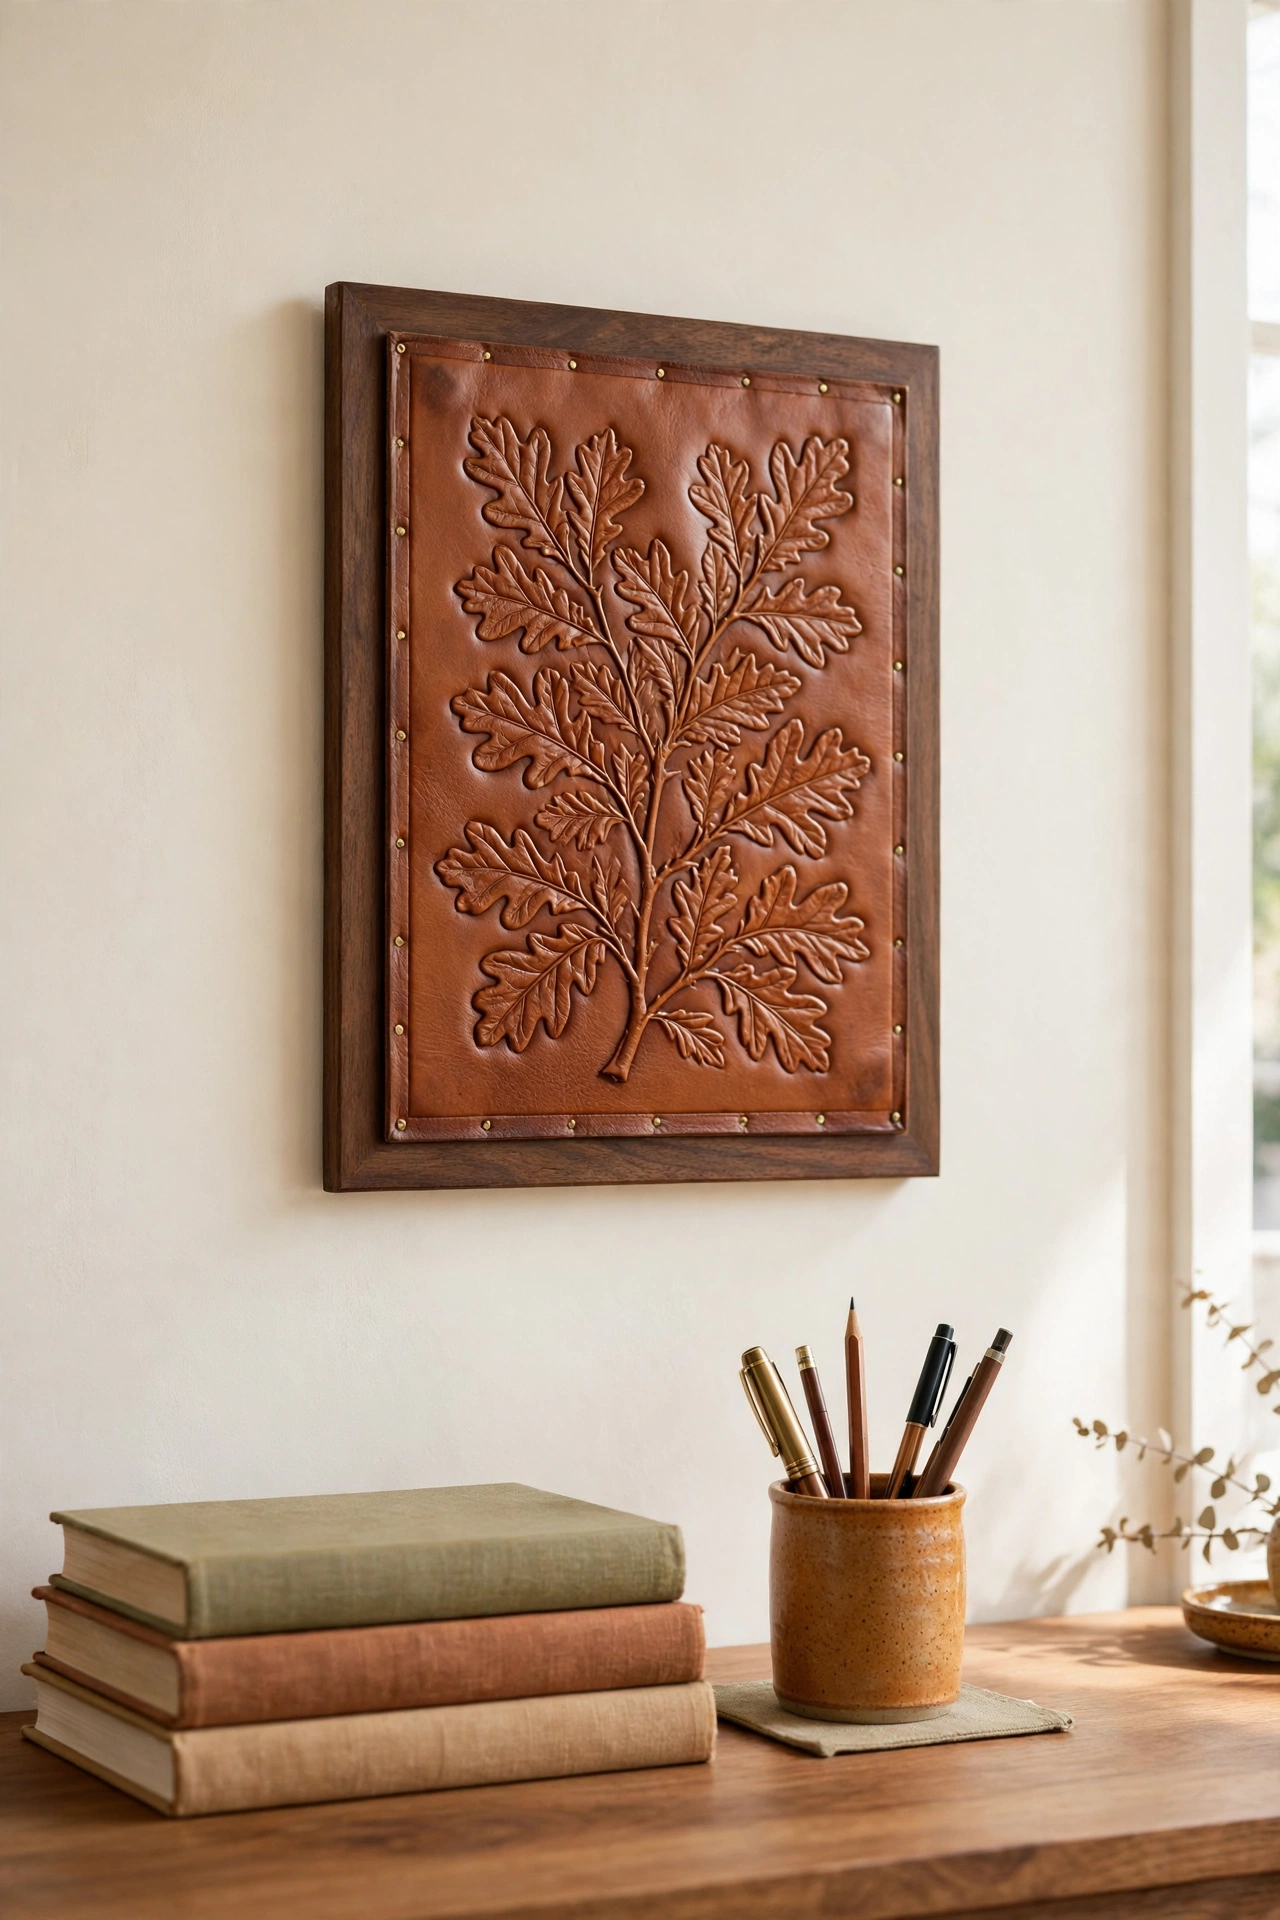
13. Emboss a Leather Plaque
An embossed leather plaque adds rich, tactile luxury to a study or a bedroom wall. Dampen a piece of vegetable tanned leather, then press a design into it with leather stamps, a wooden mallet, and a swivel knife. Simple botanical or geometric patterns look elegant and are easy for beginners.
Dye the leather in a warm cognac, deep brown, or oxblood tone, then mount it on a wood backing board with brass tacks. The raised design and the natural grain of the leather create a plaque that feels as good as it looks. Leather ages beautifully, so the plaque will only get better with time.
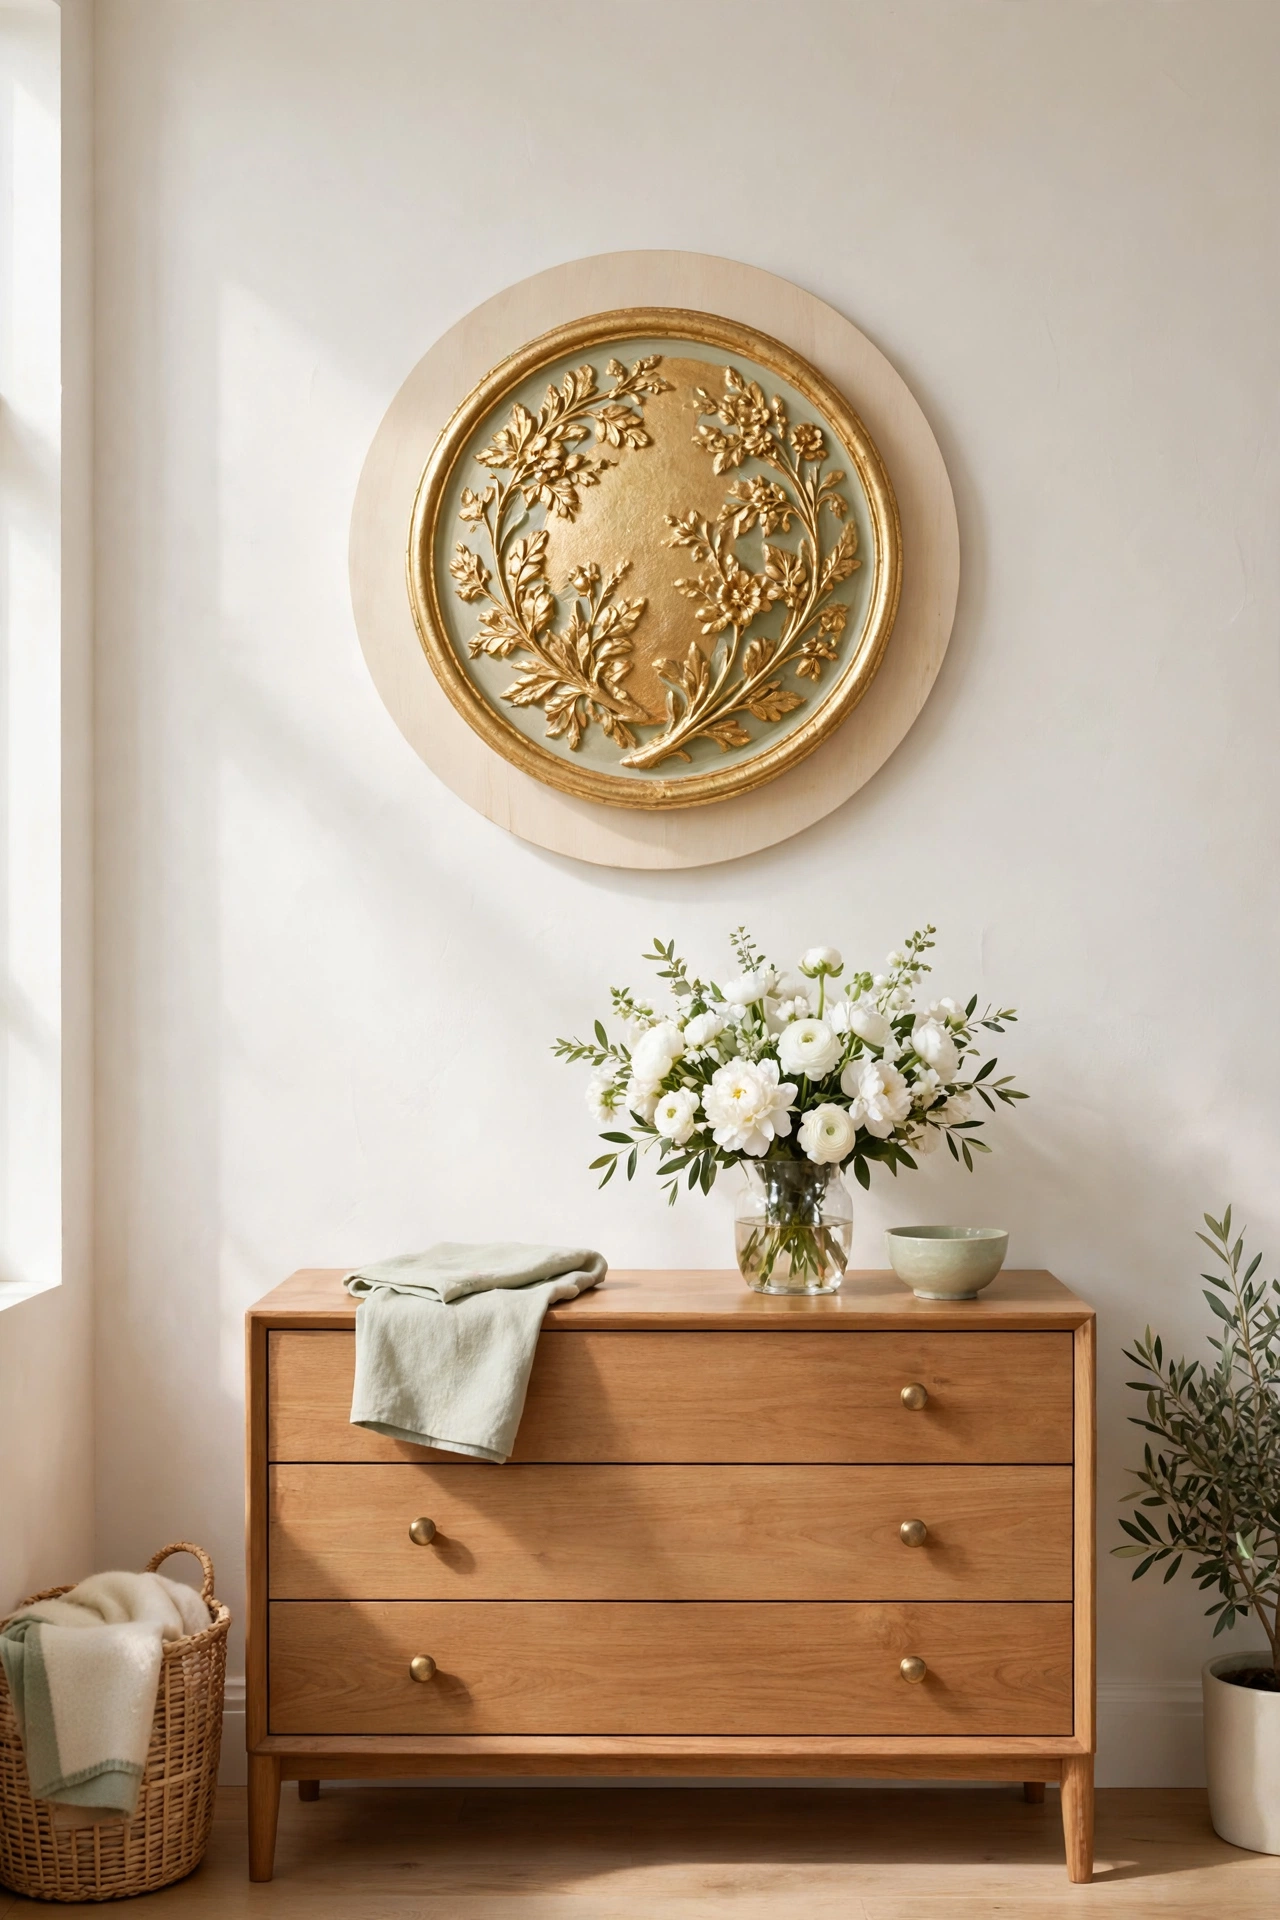
14. Gild a Plaster Medallion Plaque
A gilded plaster medallion plaque brings old world elegance to a bedroom or a formal living room. Cast a round medallion from a decorative silicone mold, then apply gold leaf to the raised details with adhesive size and a soft brush. The gold catches the light and makes the relief design glow.
Paint the recessed areas in a soft cream or pale sage so the gold details stand out clearly. Mount the medallion on a painted wood round for strength, and hang it as a single statement piece or as part of a symmetrical pair. Gold leaf is surprisingly affordable, and a little goes a long way.
15. Wrap a Rope Coastal Plaque
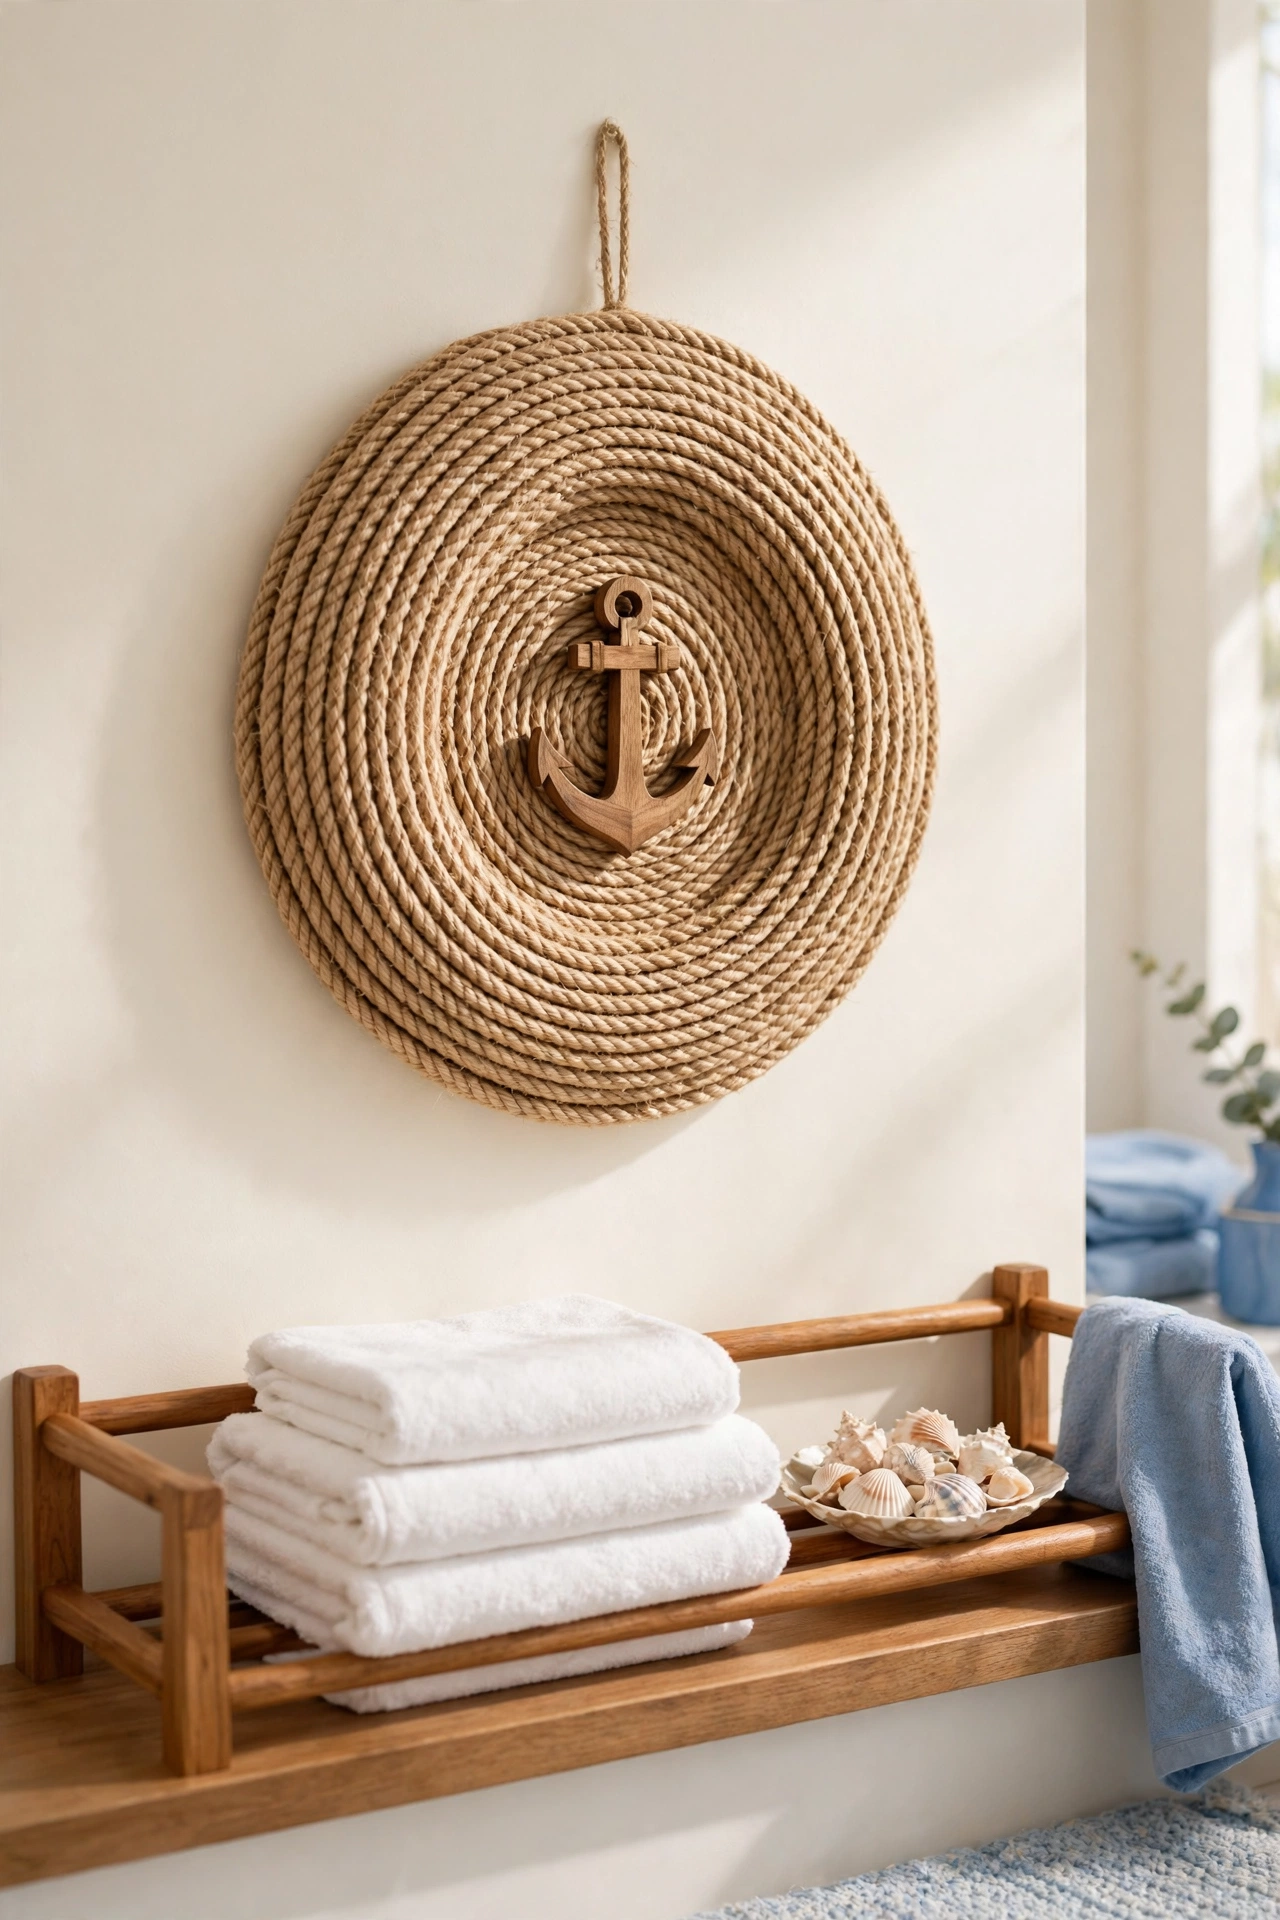
A rope wrapped plaque brings the relaxed feel of the coast to a bathroom or a beach themed bedroom. Wrap thick jute or cotton rope in tight coils around a round wood base, gluing each row as you go. Add a small starfish, a shell, or a wooden anchor in the center for a coastal focal point.
Keep the rope natural for a soft neutral look, or dip dye the outer coils in a pale blue for a gentle ombre effect. The coiled texture gives the plaque a satisfying depth that flat coastal prints cannot match. Hang it above a towel rack or beside a window for a breezy finish.
16. Set Pressed Flowers in a Resin Plaque
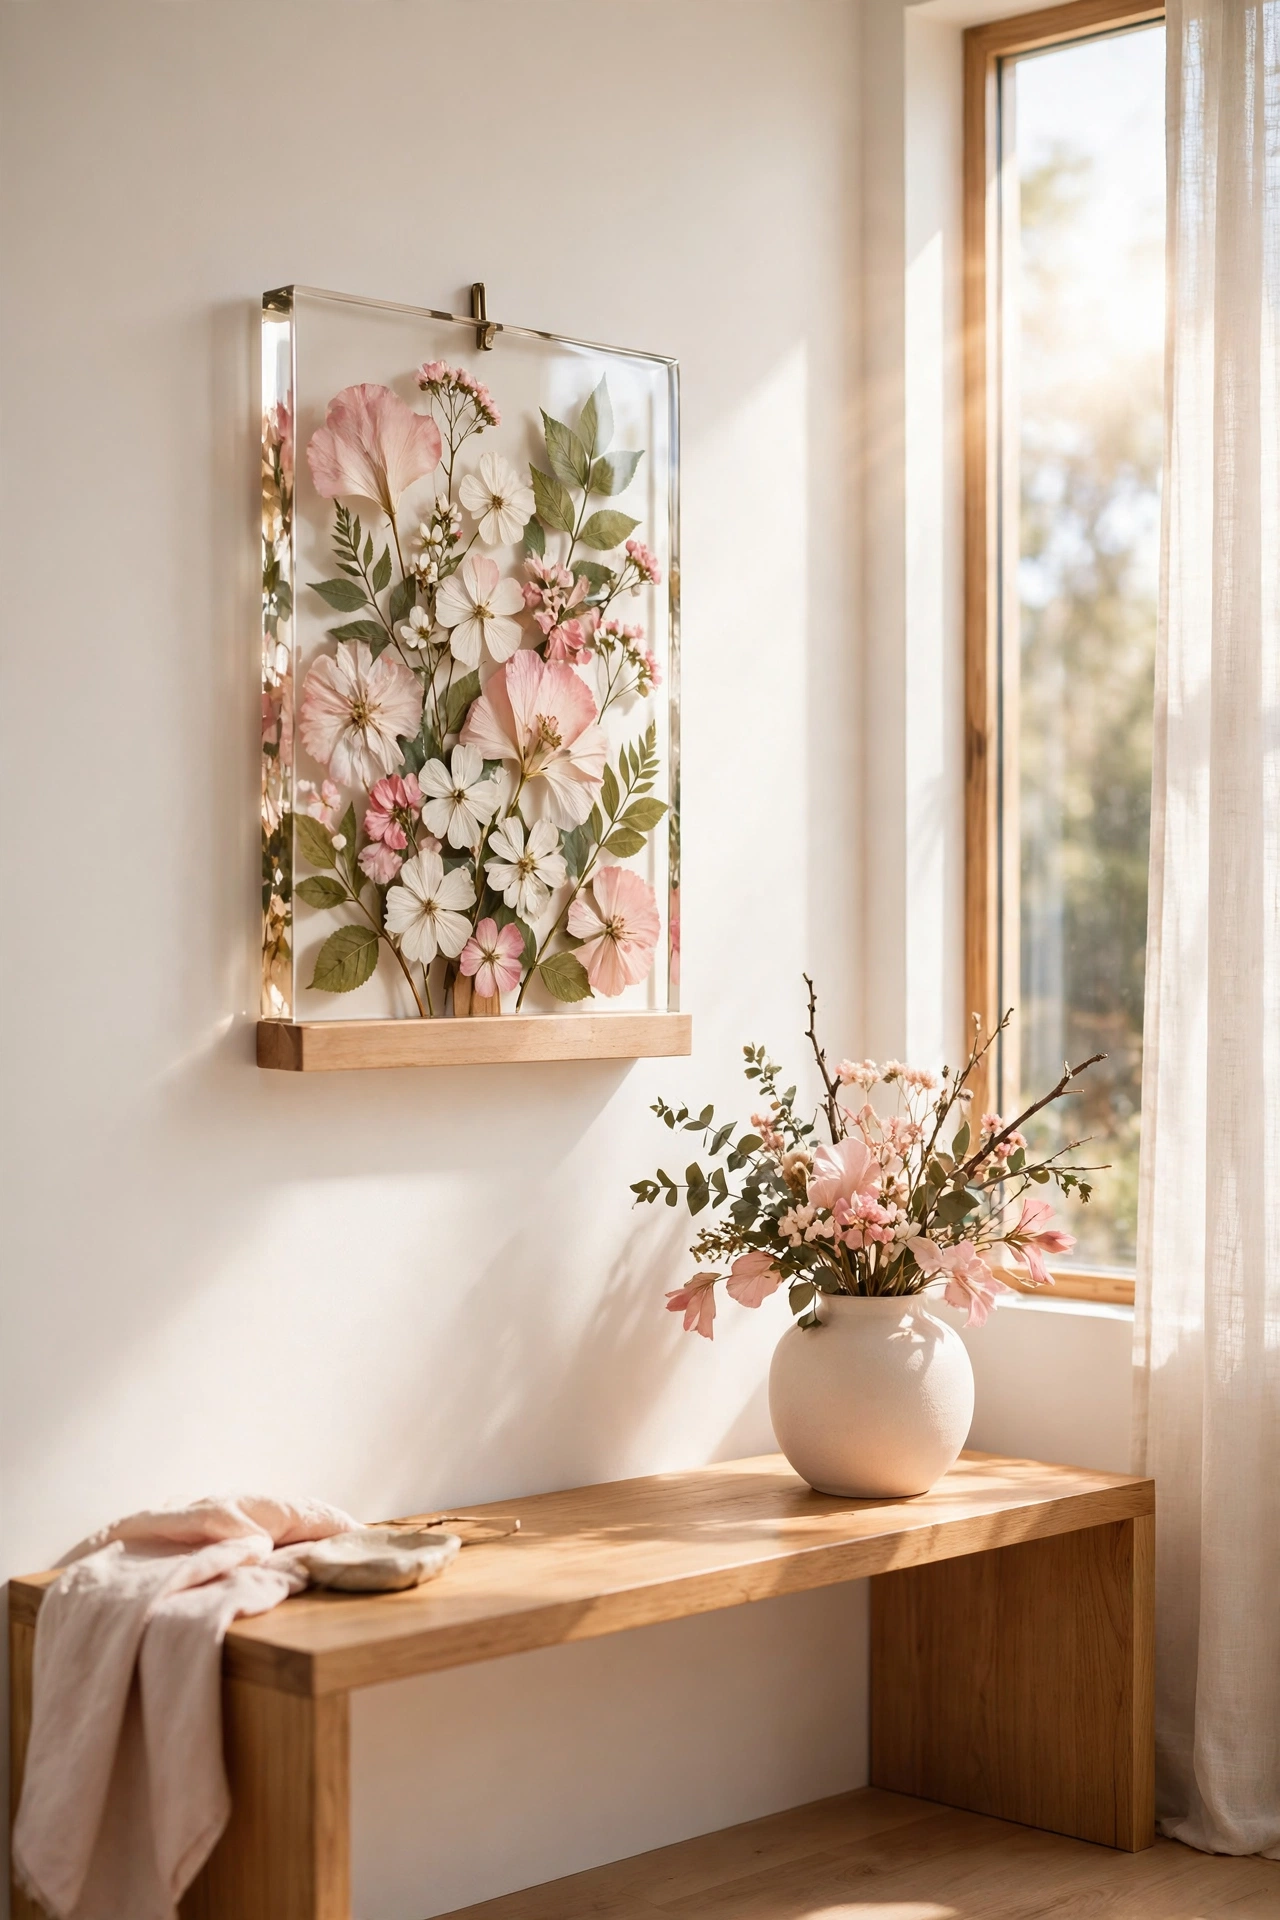
A pressed flower resin plaque preserves real blooms in a clear, glossy panel that looks like captured sunlight. Arrange dried flowers and leaves on a wood or acrylic base, then pour clear resin over them in thin layers until the flowers are fully sealed. Each layer needs time to cure before the next pour.
Choose flowers with personal meaning, such as blooms from your garden or from a special occasion. The clear resin protects the delicate petals and gives the plaque a glass-like depth. Hang it in a bright room where the light shines through the transparent layers.
17. Carve a Wooden Animal Plaque for a Nursery
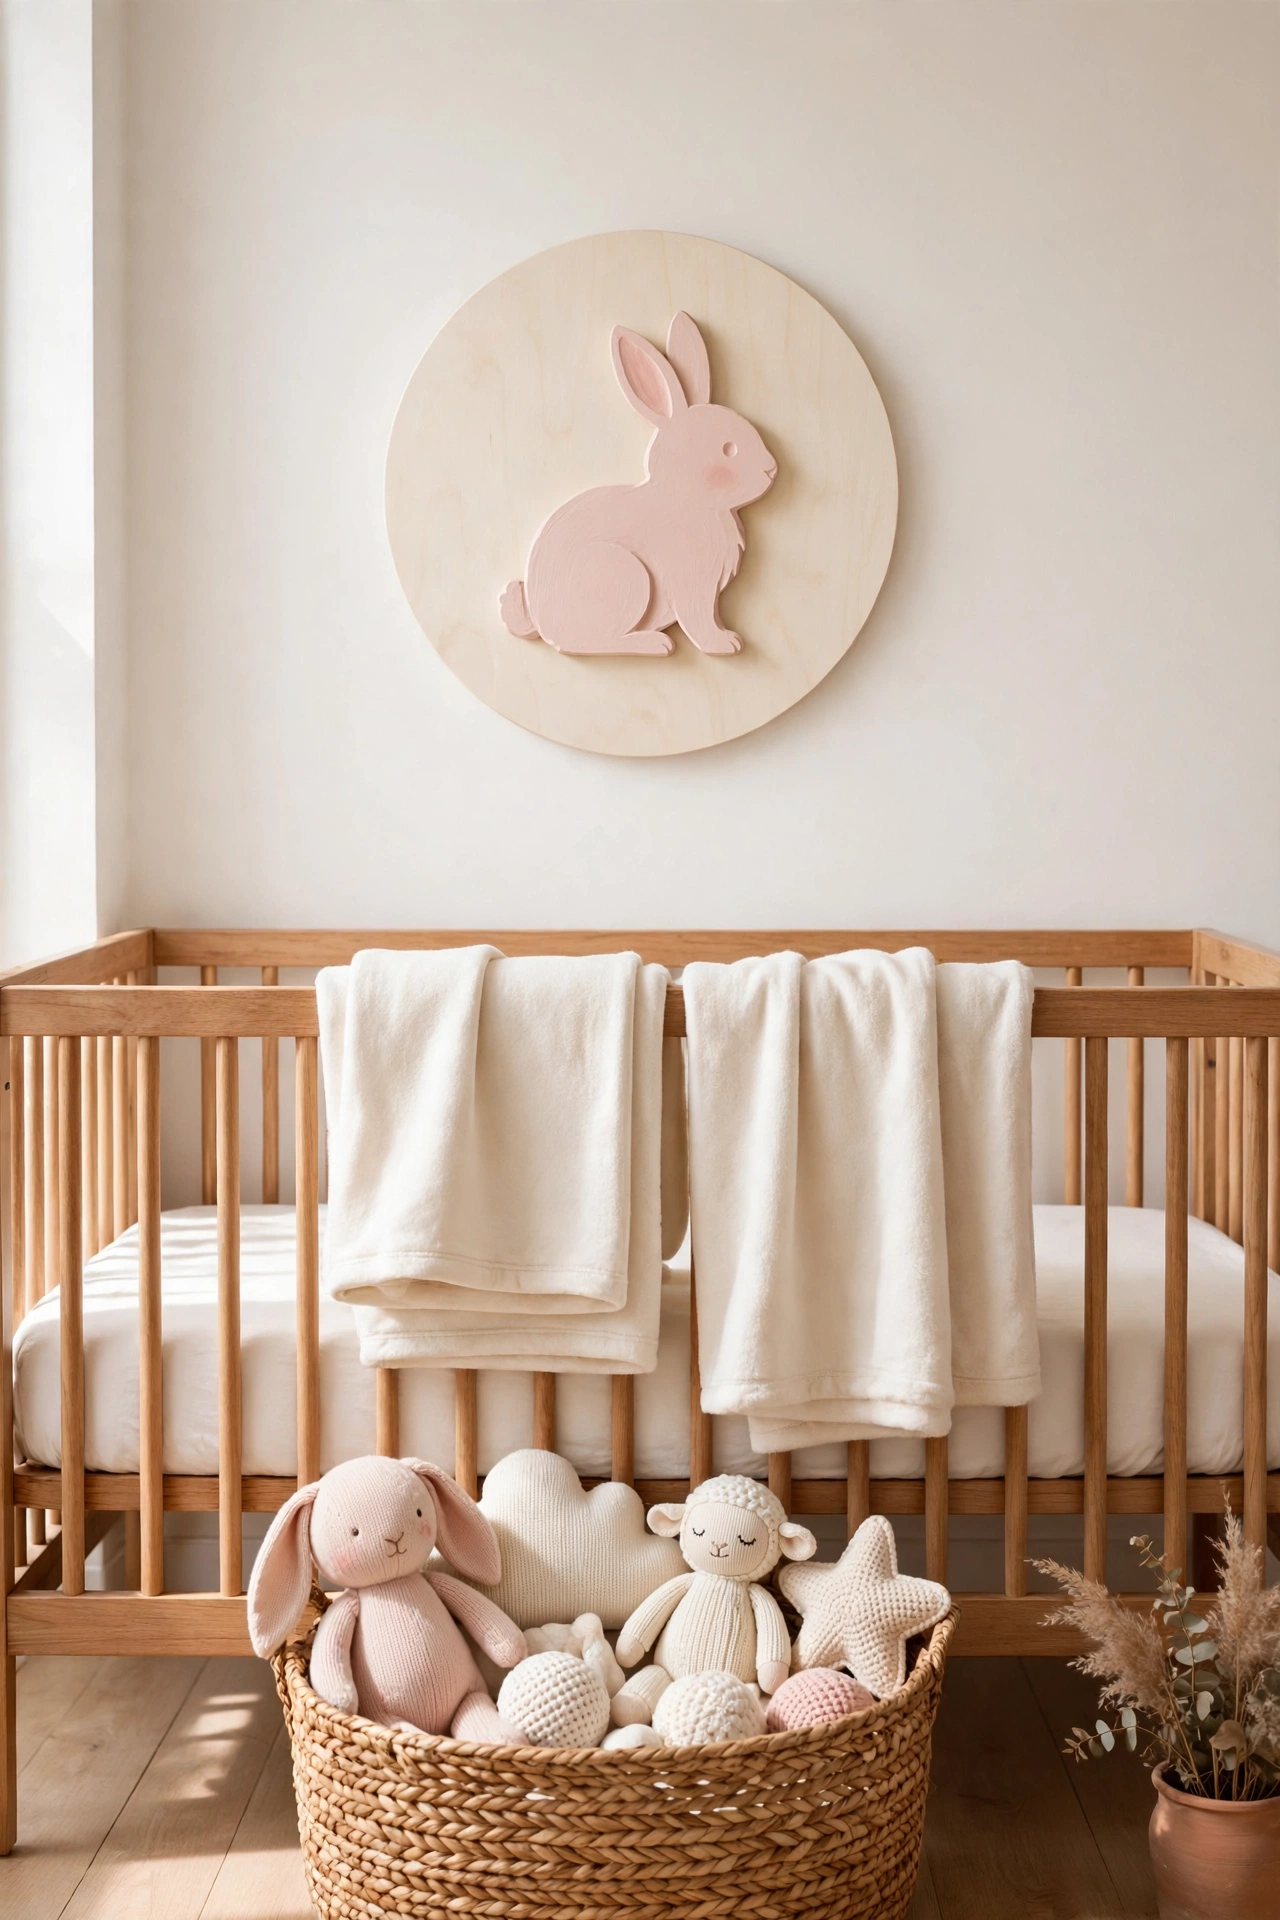
A carved wooden animal plaque is a sweet, timeless addition to a nursery wall. Cut a simple animal silhouette, such as a bear, a bunny, or an elephant, from soft pine with a scroll saw, then sand the edges until they are smooth and safe. Paint the animal in a gentle color that matches the nursery palette.
Mount the animal on a round or cloud shaped backing board so it stands proud of the wall and casts a soft shadow. Add the child name in small painted letters below the animal for a personal touch. This plaque can move from the nursery to a big kid room as the child grows.
18. Build a Chalkboard Message Plaque
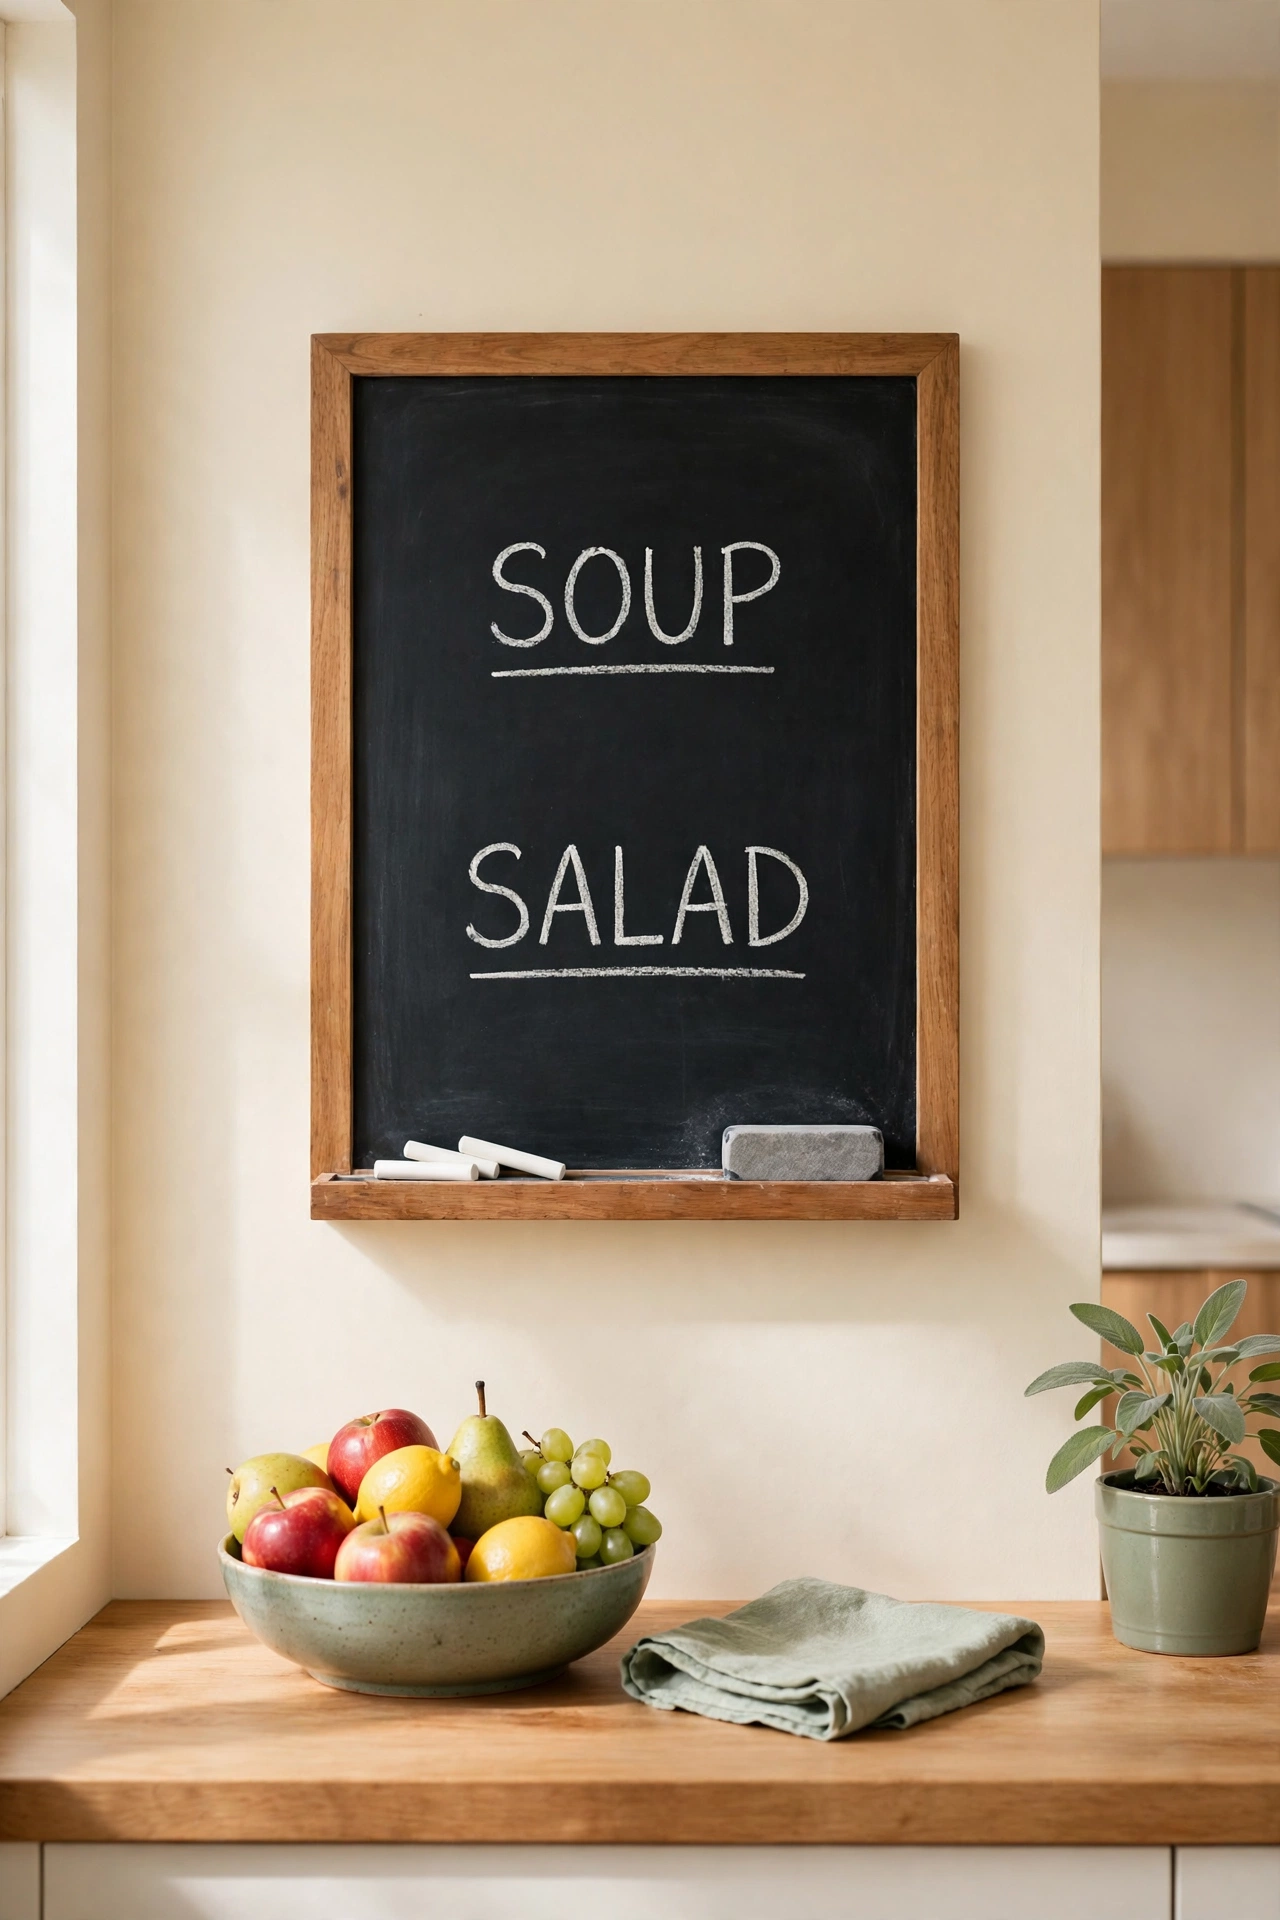
A chalkboard message plaque is a changeable piece of wall decor for a kitchen or a family command center. Paint a wood plaque with several coats of chalkboard paint, sanding lightly between coats for a smooth writing surface. Add a small chalk tray along the bottom edge to hold chalk and an eraser.
Frame the plaque with a simple wood border or a rope trim to give it a finished, dimensional look. Write the menu, a grocery reminder, or an encouraging message, and change it as often as you like. The dark chalk surface contrasts beautifully with light kitchen walls.
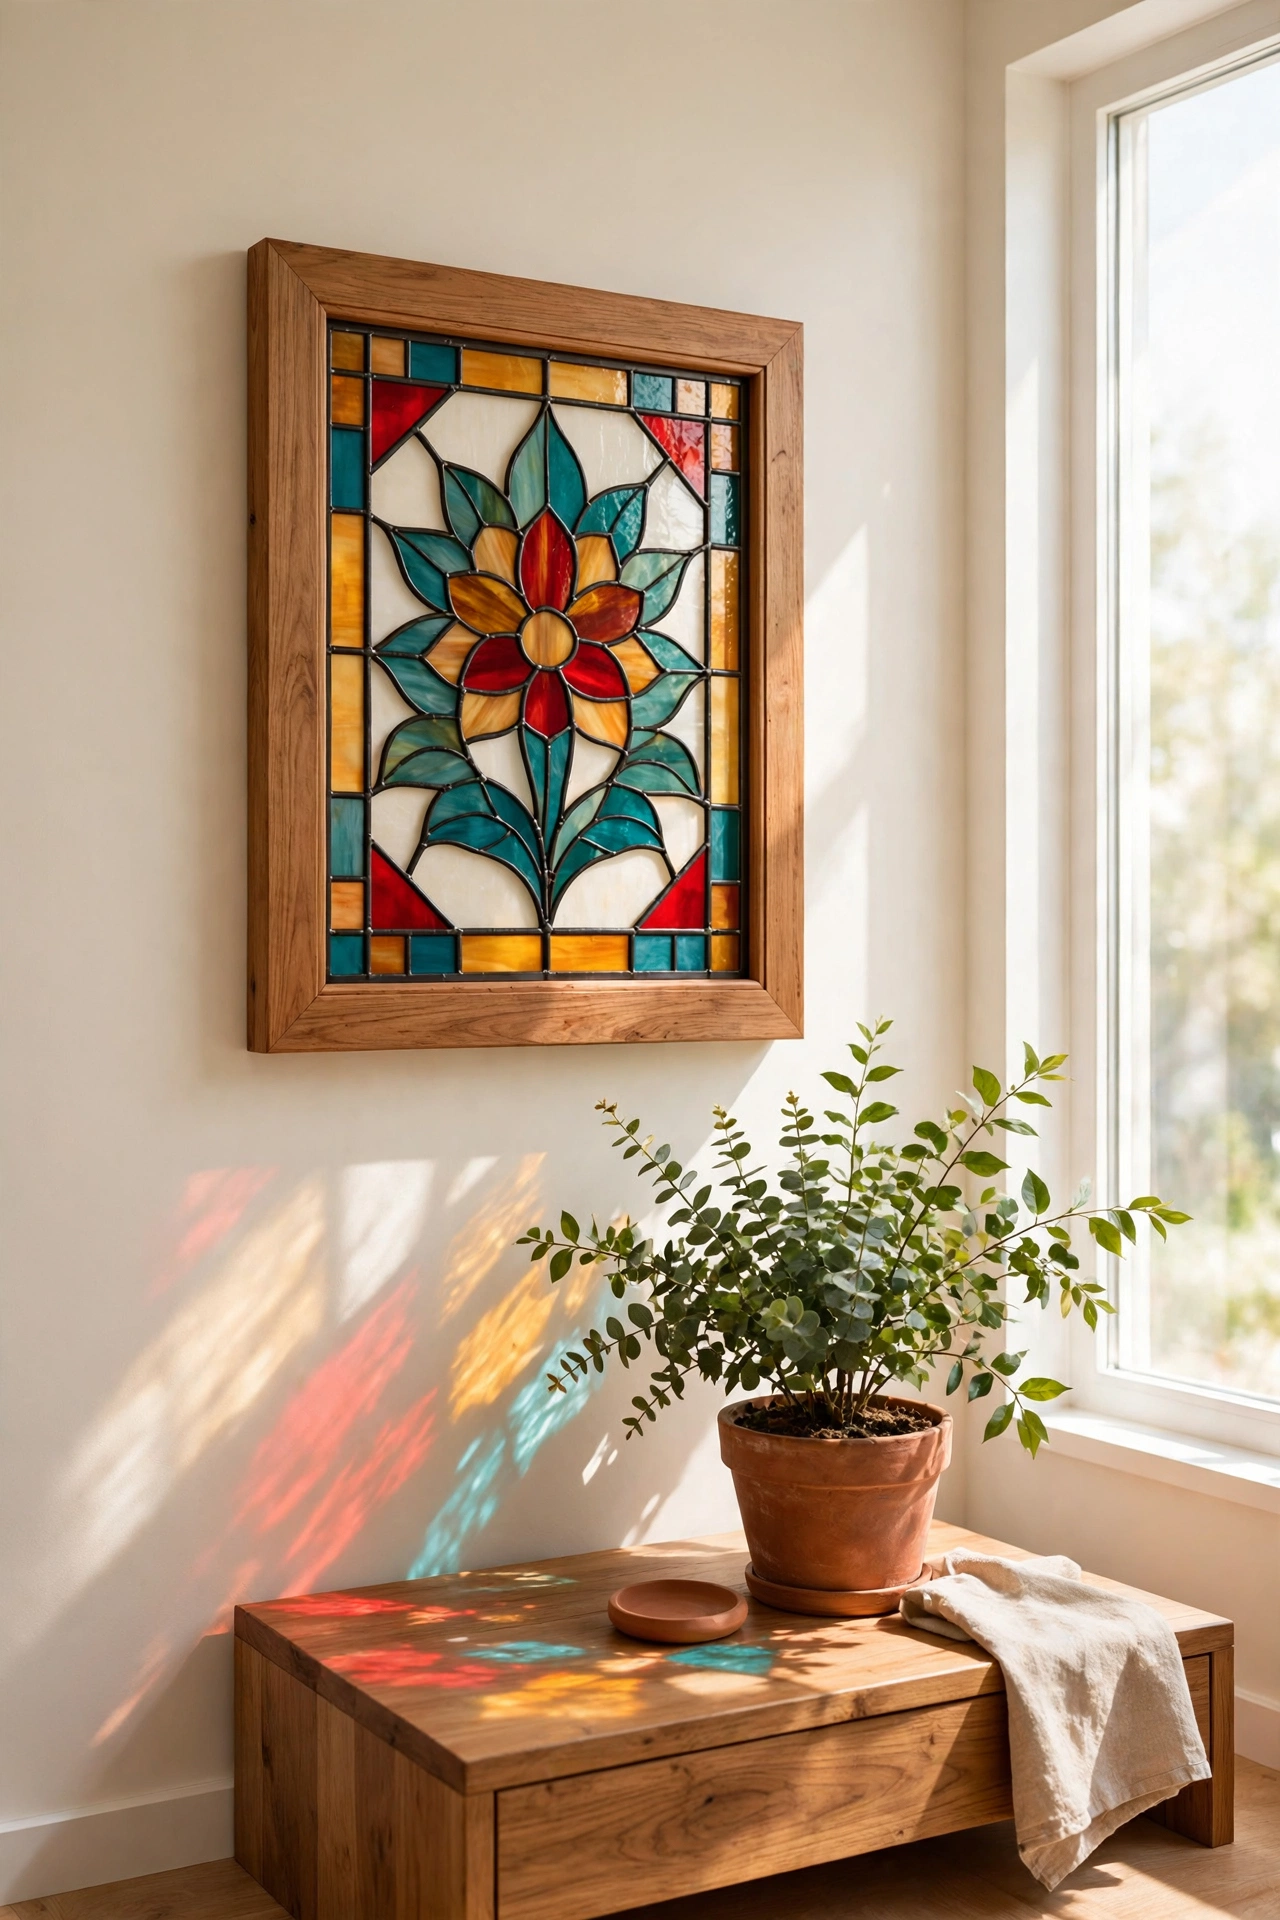
19. Make a Stained Glass Accent Plaque
A stained glass accent plaque fills a room with color when the sun shines through it. Use the copper foil method to join small pieces of colored glass into a simple design, such as a flower, a bird, or a geometric panel. A basic soldering iron and a few practice joints are enough to get started.
Mount the glass panel in a sturdy wood frame so it hangs safely and the frame adds depth to the piece. Hang the plaque in a window or on a wall opposite a window where light passes through the colored glass. The shifting colors turn the plaque into a living piece of art.
20. Layer a Shadow Box Plaque
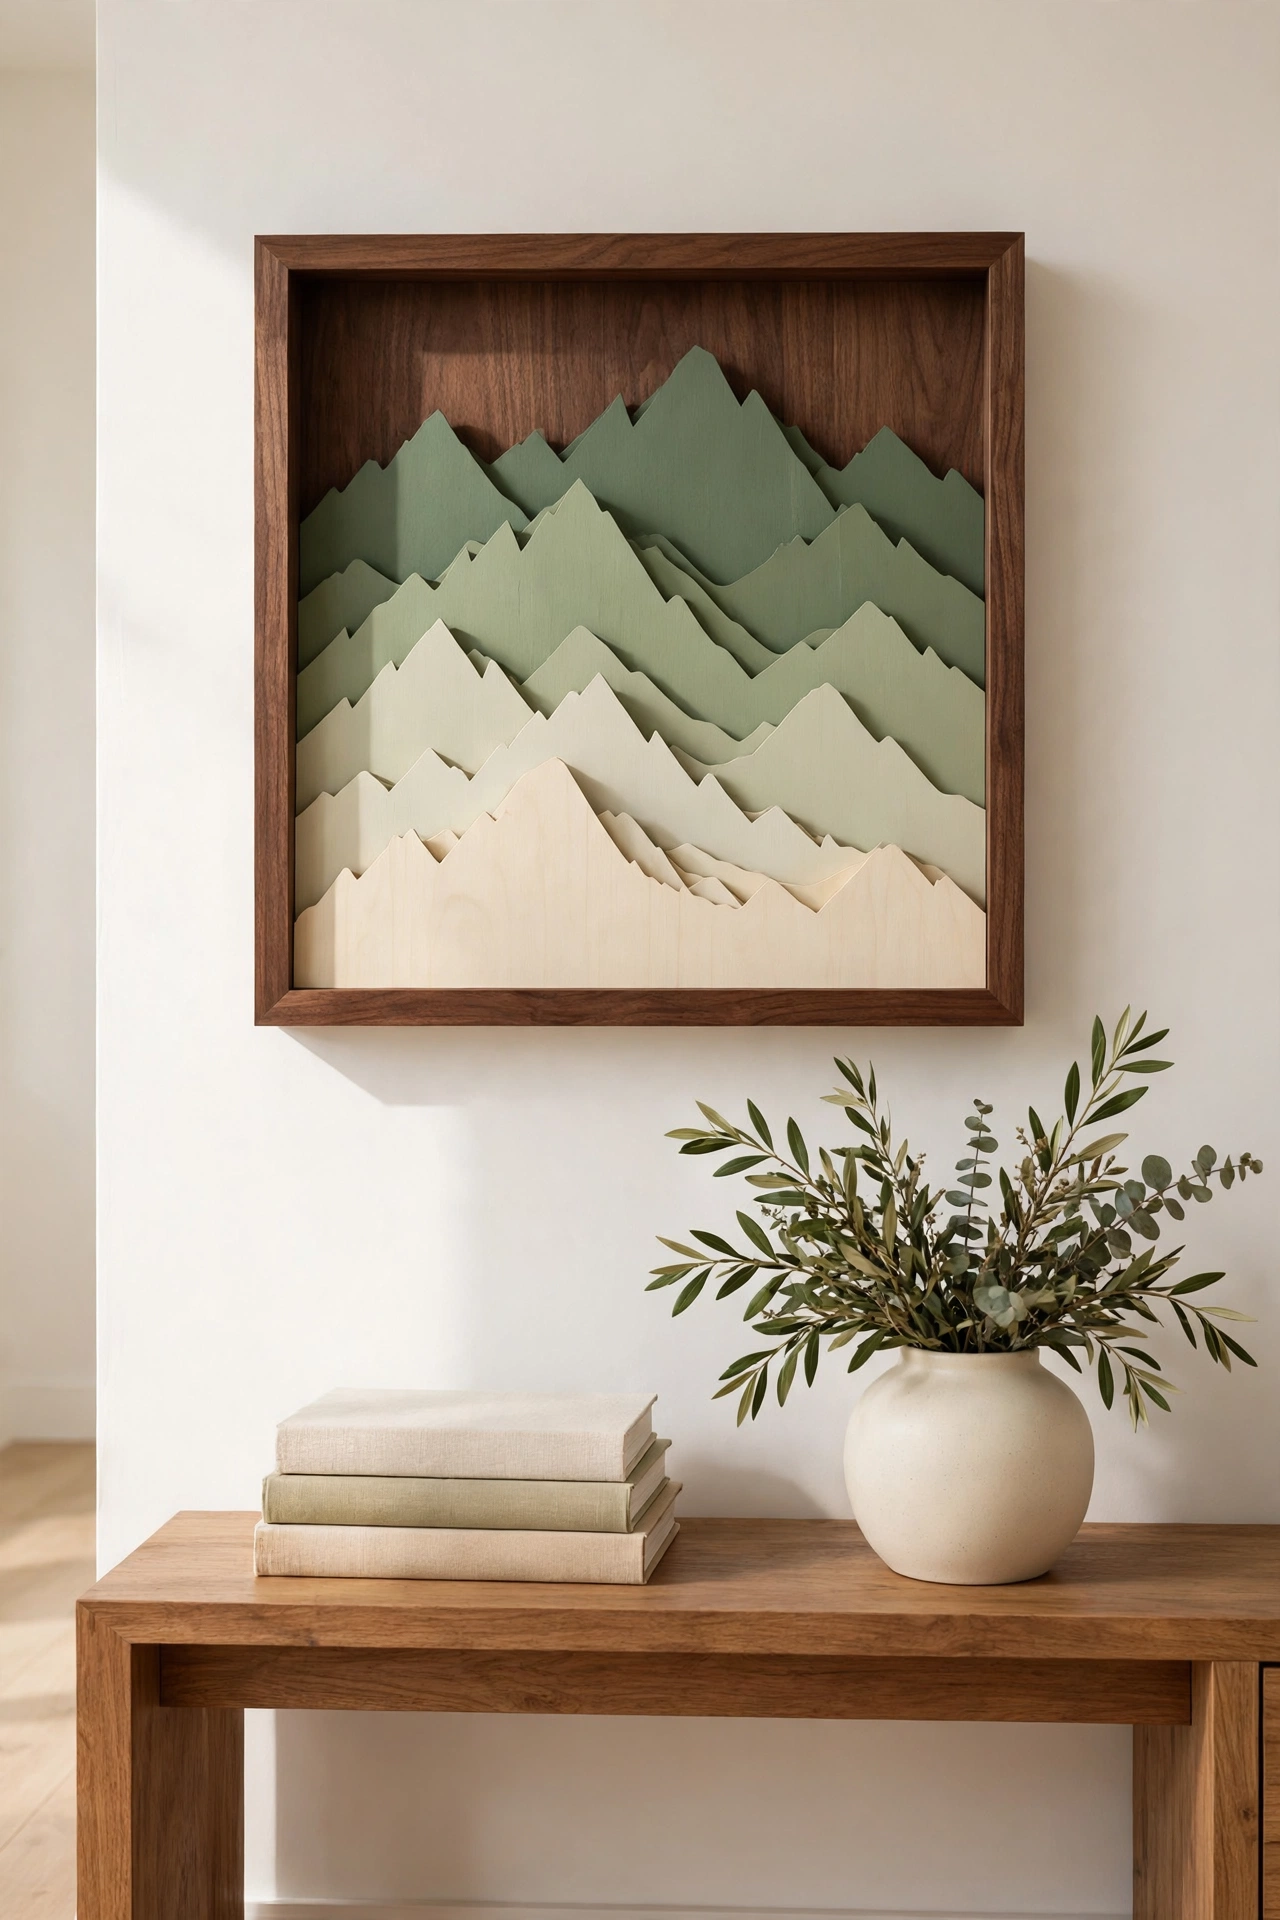
A shadow box plaque uses a deep frame and layered cutouts to create a miniature three dimensional scene. Cut simple shapes from wood veneer, cardstock, or thin plywood, and stack them at different depths inside the box with small spacers. A layered mountain scene, a forest, or a city skyline all work beautifully.
Paint each layer a different shade of one color for a modern ombre effect, or use natural wood tones for a rustic look. The depth of the box makes the scene feel alive as you walk past it. For more dimensional wall projects, these diy 3d wall art ideas show how layered pieces add drama to a plain wall.
21. Create a Beaded Mosaic Plaque
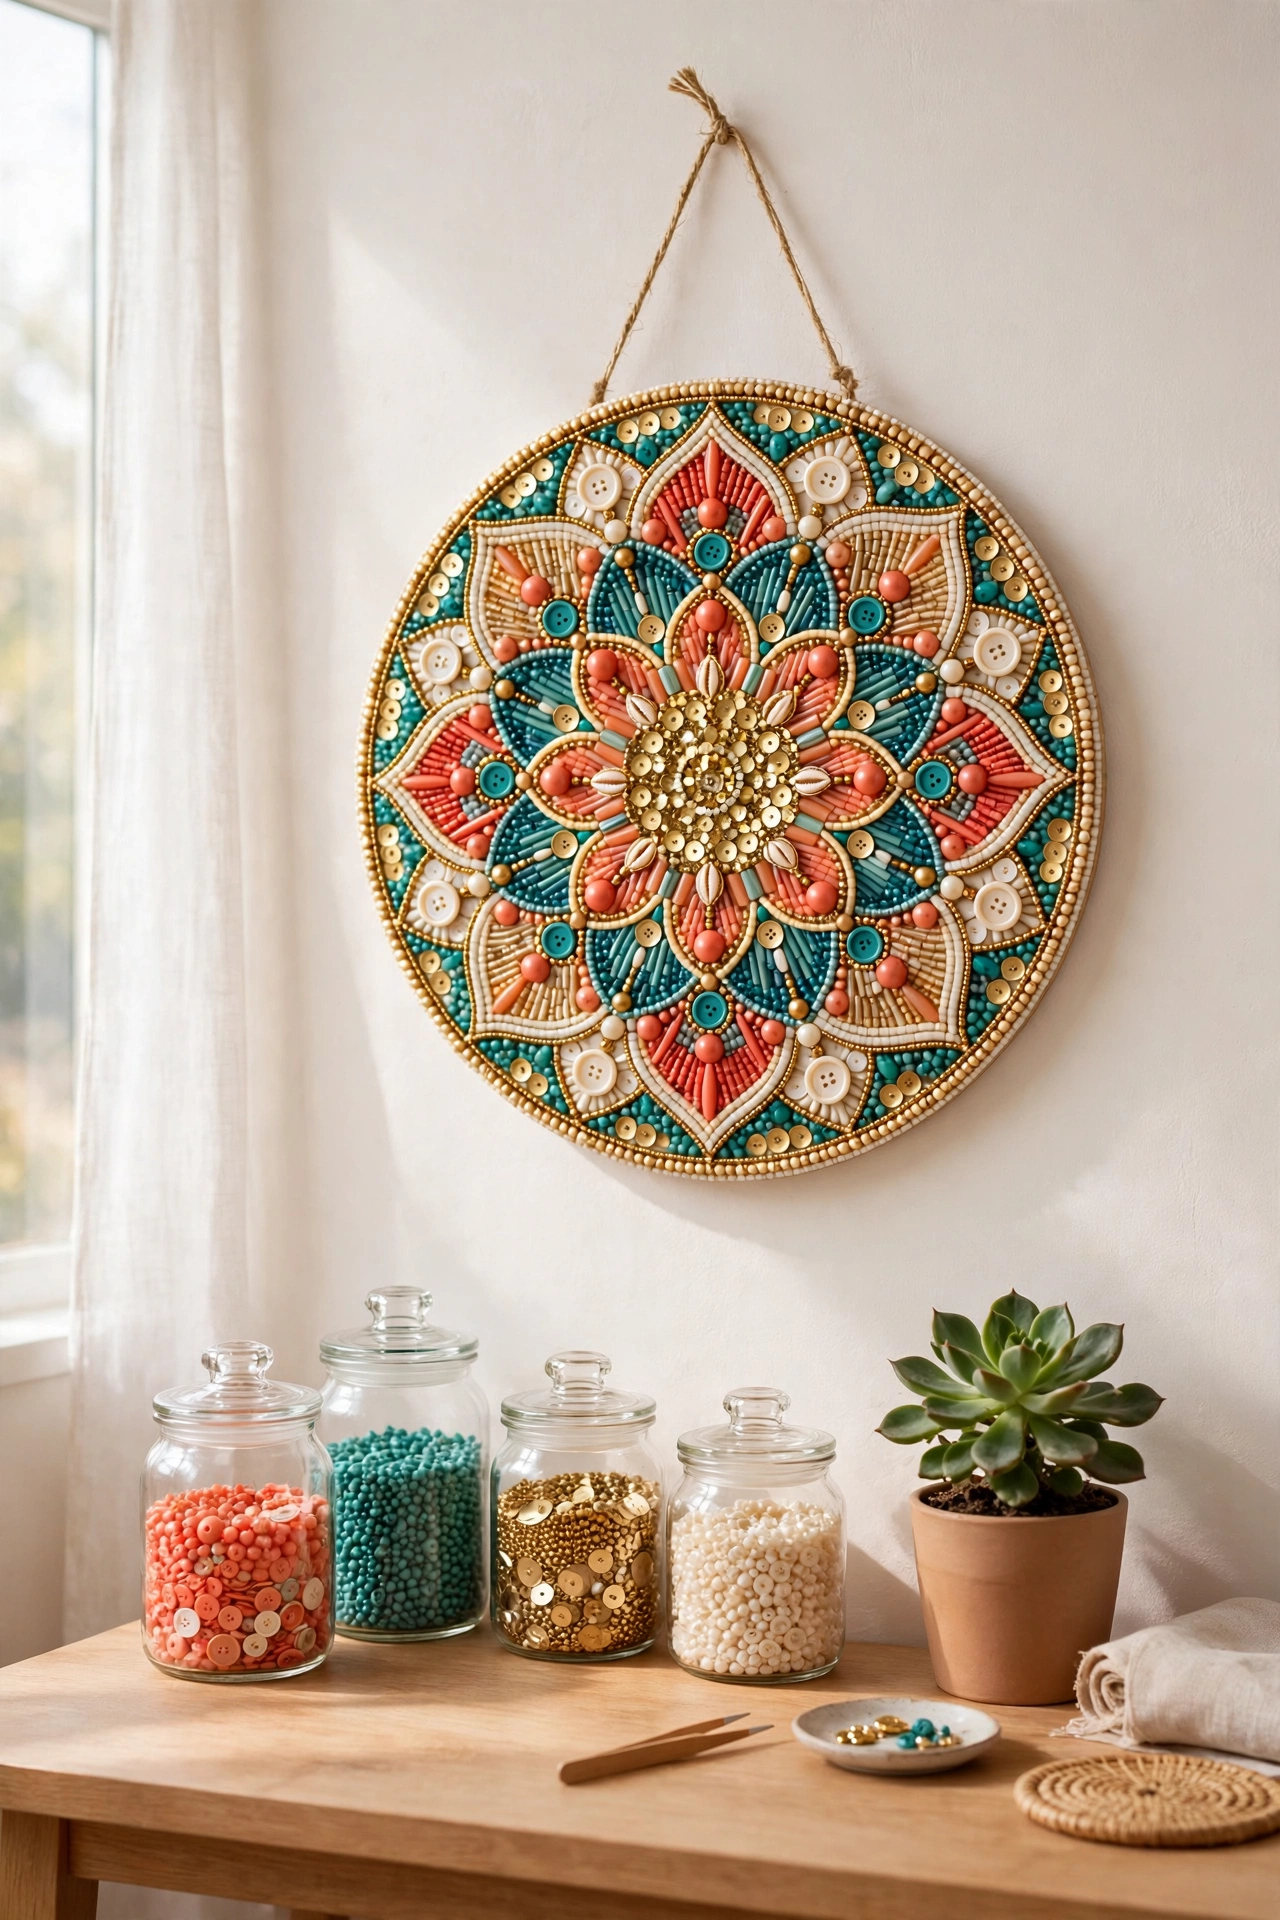
A beaded mosaic plaque turns tiny beads, buttons, and sequins into a sparkling wall jewel. Glue beads onto a sturdy board in a pattern of concentric circles, a mandala, or a simple flower, working from the center outward. Mix bead sizes and finishes for a rich, textured surface.
Use a strong craft adhesive and let each section dry before you move on, so the beads stay exactly where you place them. Seal the finished plaque with a clear spray to keep the beads secure. The raised, glittering surface catches the light and adds a playful touch to a bedroom or a craft room.
22. Cut a Wood Slice House Number Plaque
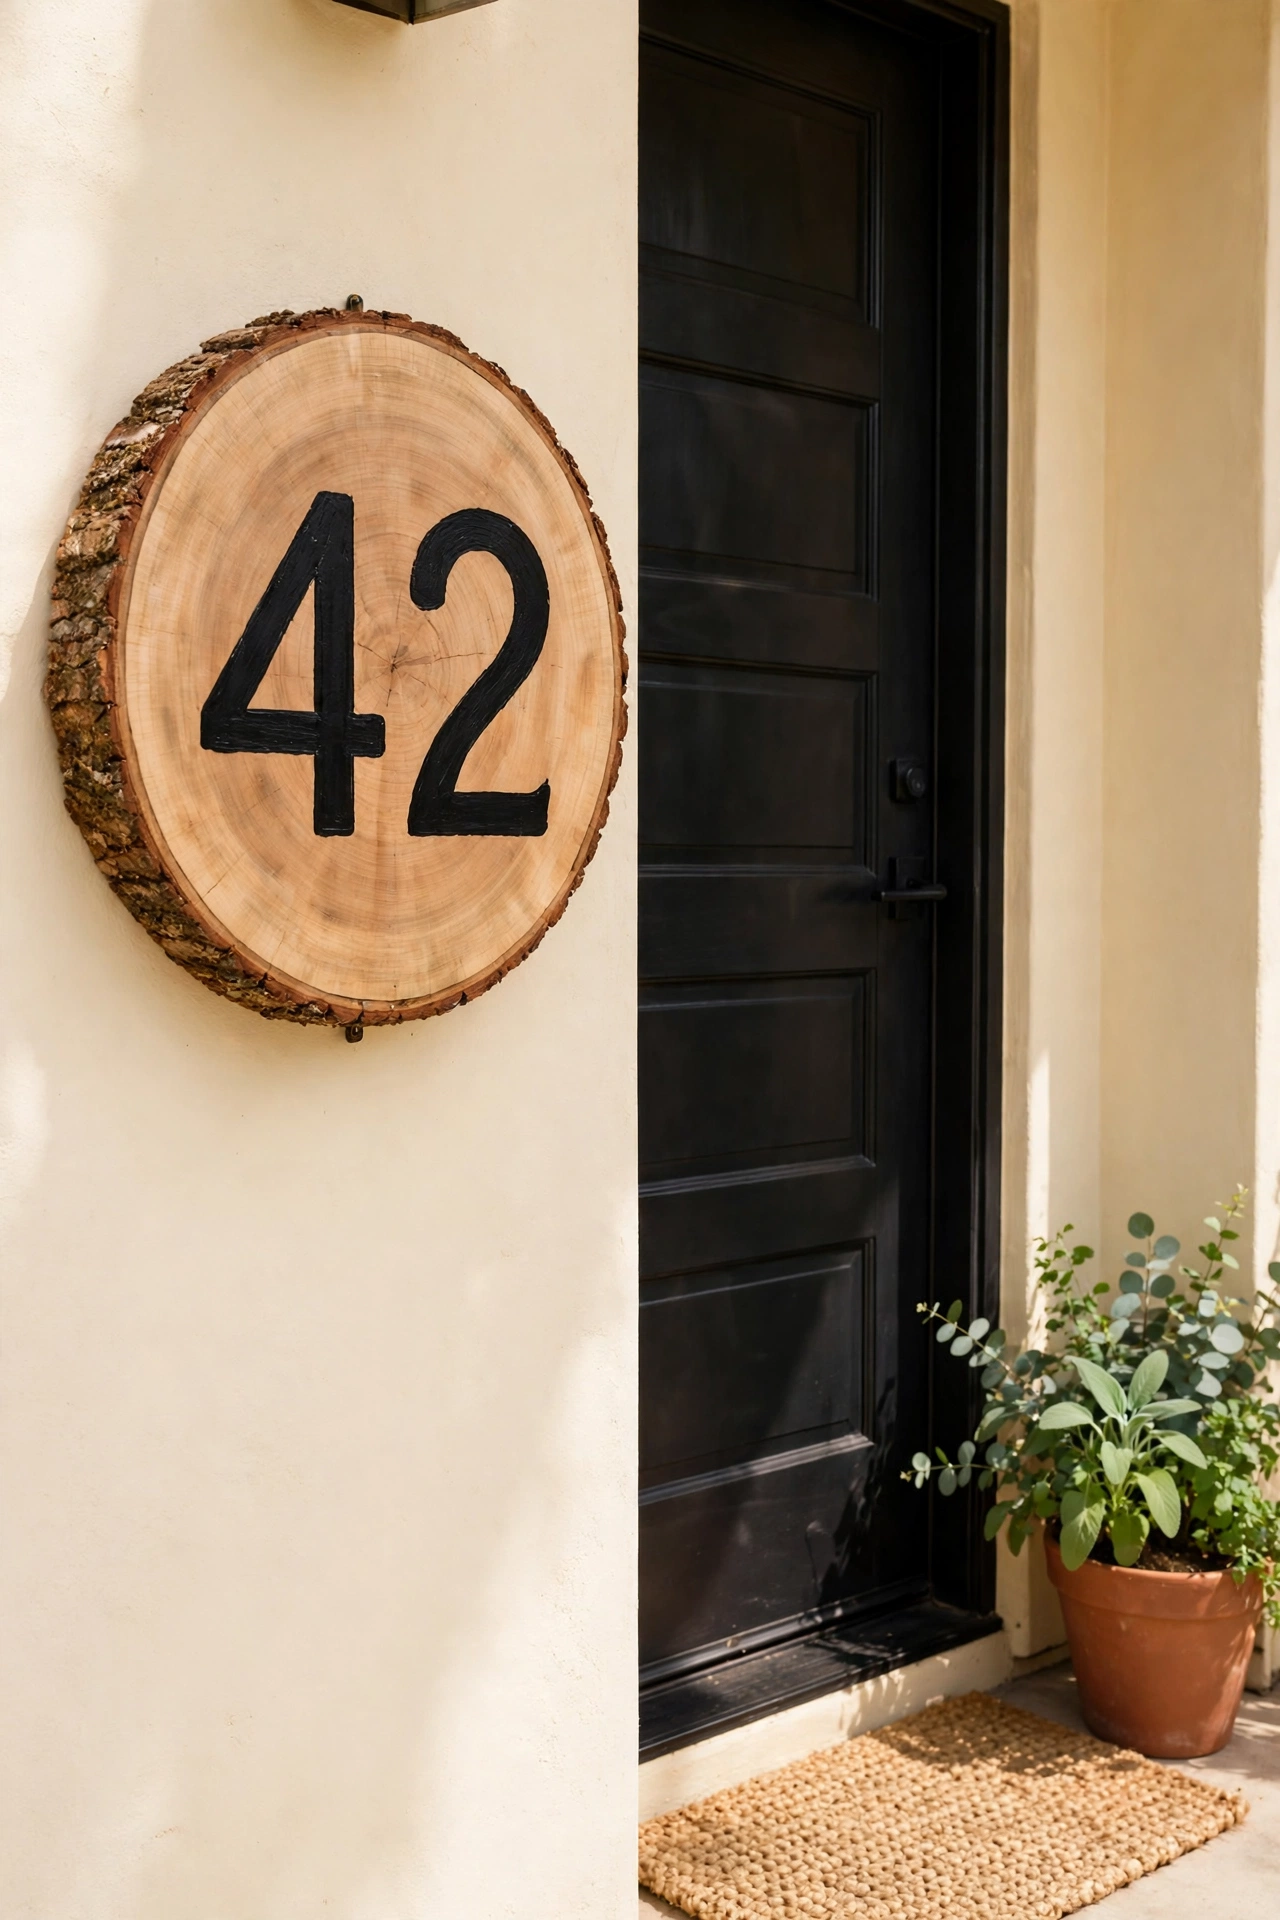
A wood slice house number plaque gives your porch a natural, handcrafted welcome. Cut a thick slice from a fallen log, sand the face smooth, and paint or wood burn your house number in large, clear numerals. The bark edge stays on for a rustic frame that no store bought sign can match.
Seal the plaque with several coats of outdoor polyurethane so it survives rain and sun. Mount it beside the front door at eye level where visitors and delivery drivers can read it easily. The thick slice stands proud of the wall and adds real dimension to your entry.
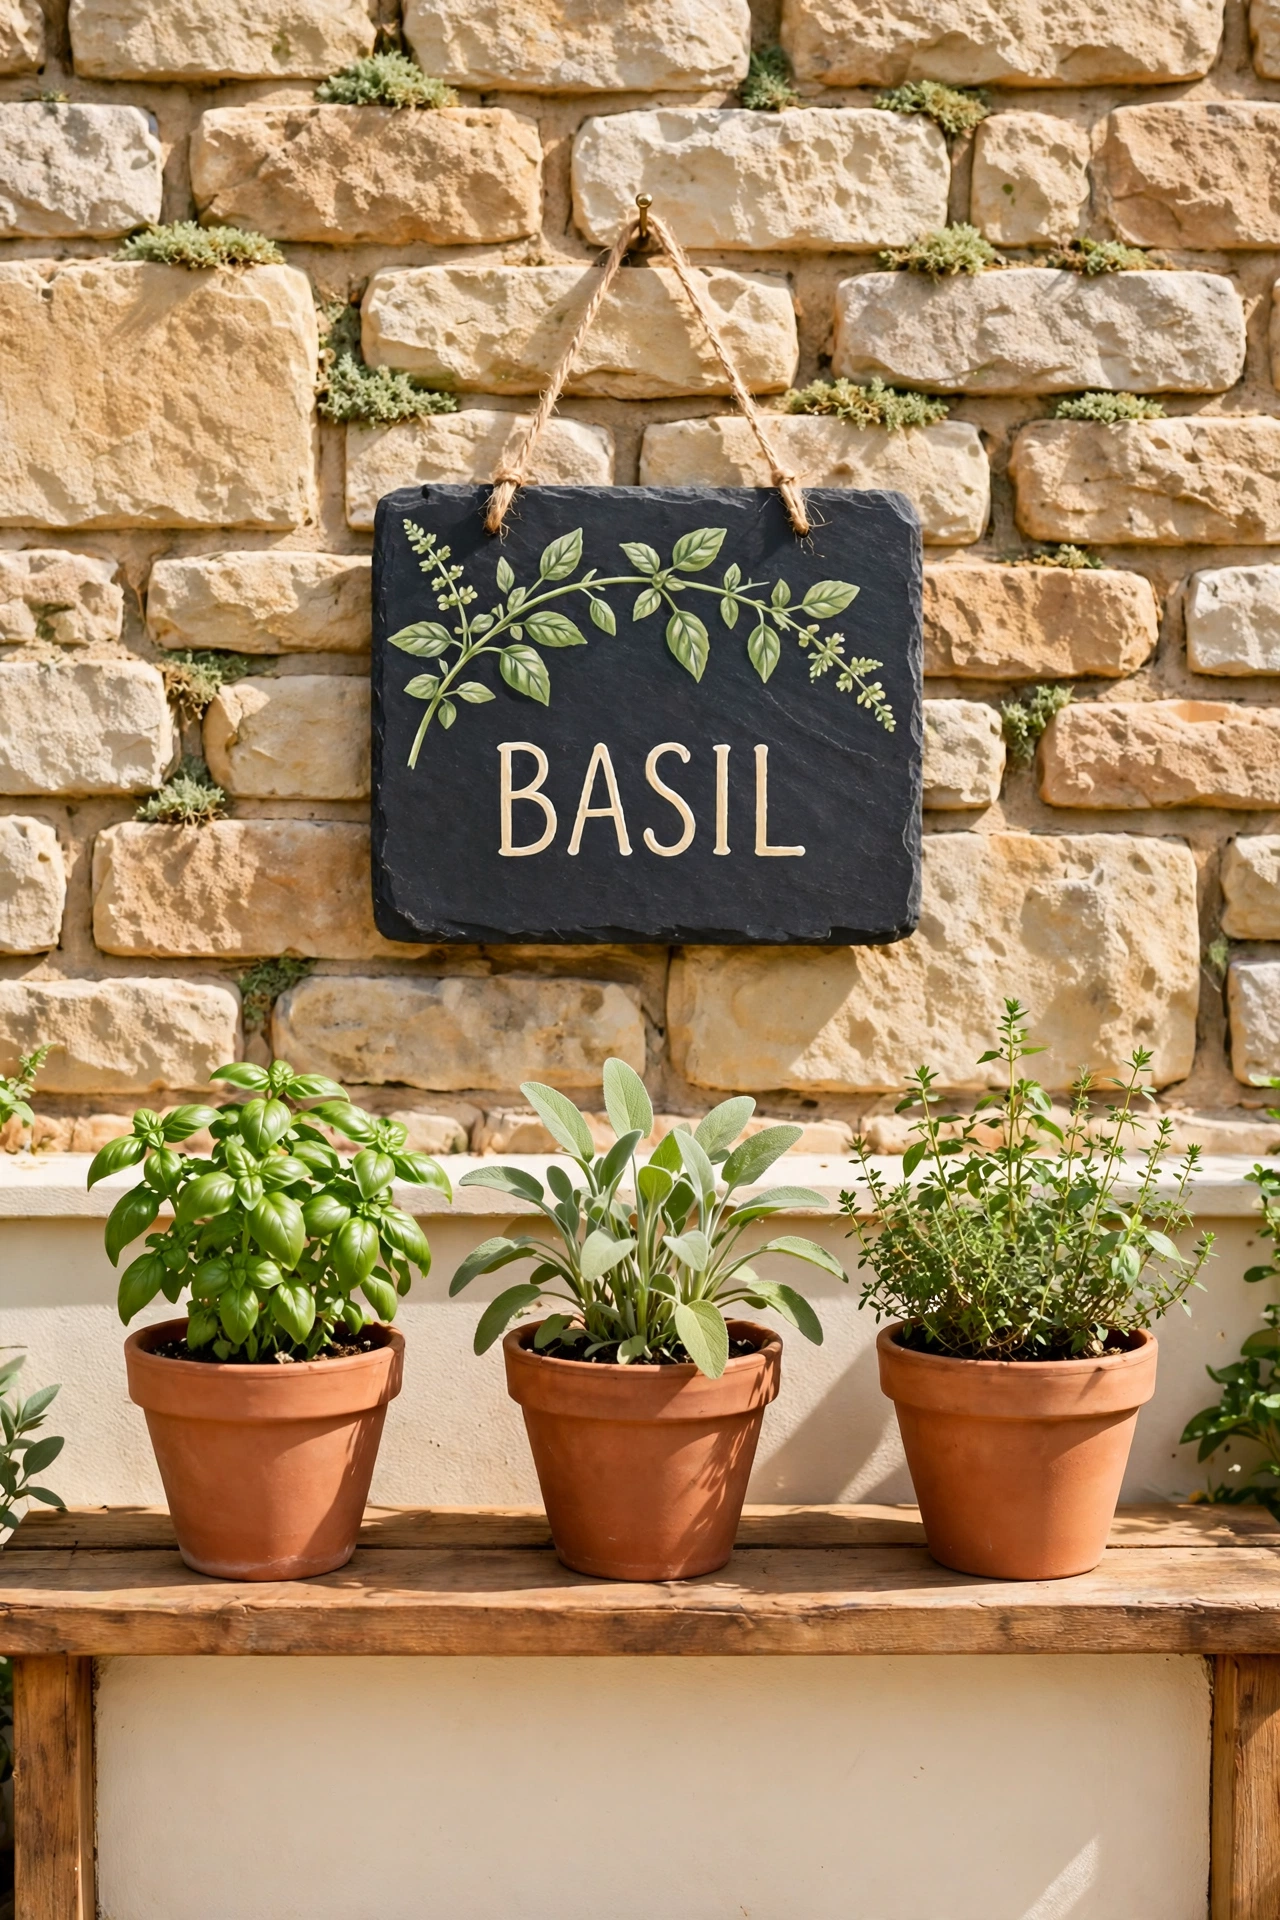
23. Paint a Slate Garden Plaque
A painted slate plaque is a durable, weatherproof piece for a garden wall or a covered porch. Start with a flat piece of roofing slate, clean it thoroughly, and paint a design such as a herb label, a bird, or a welcome message in outdoor acrylic paint. The dark stone makes bright colors pop.
Seal the finished plaque with an outdoor stone sealer so the paint stays vivid through rain and frost. Drill two small holes at the top and hang it with a loop of wire or sturdy twine. The natural weight and texture of slate give the plaque a grounded, timeless feel.
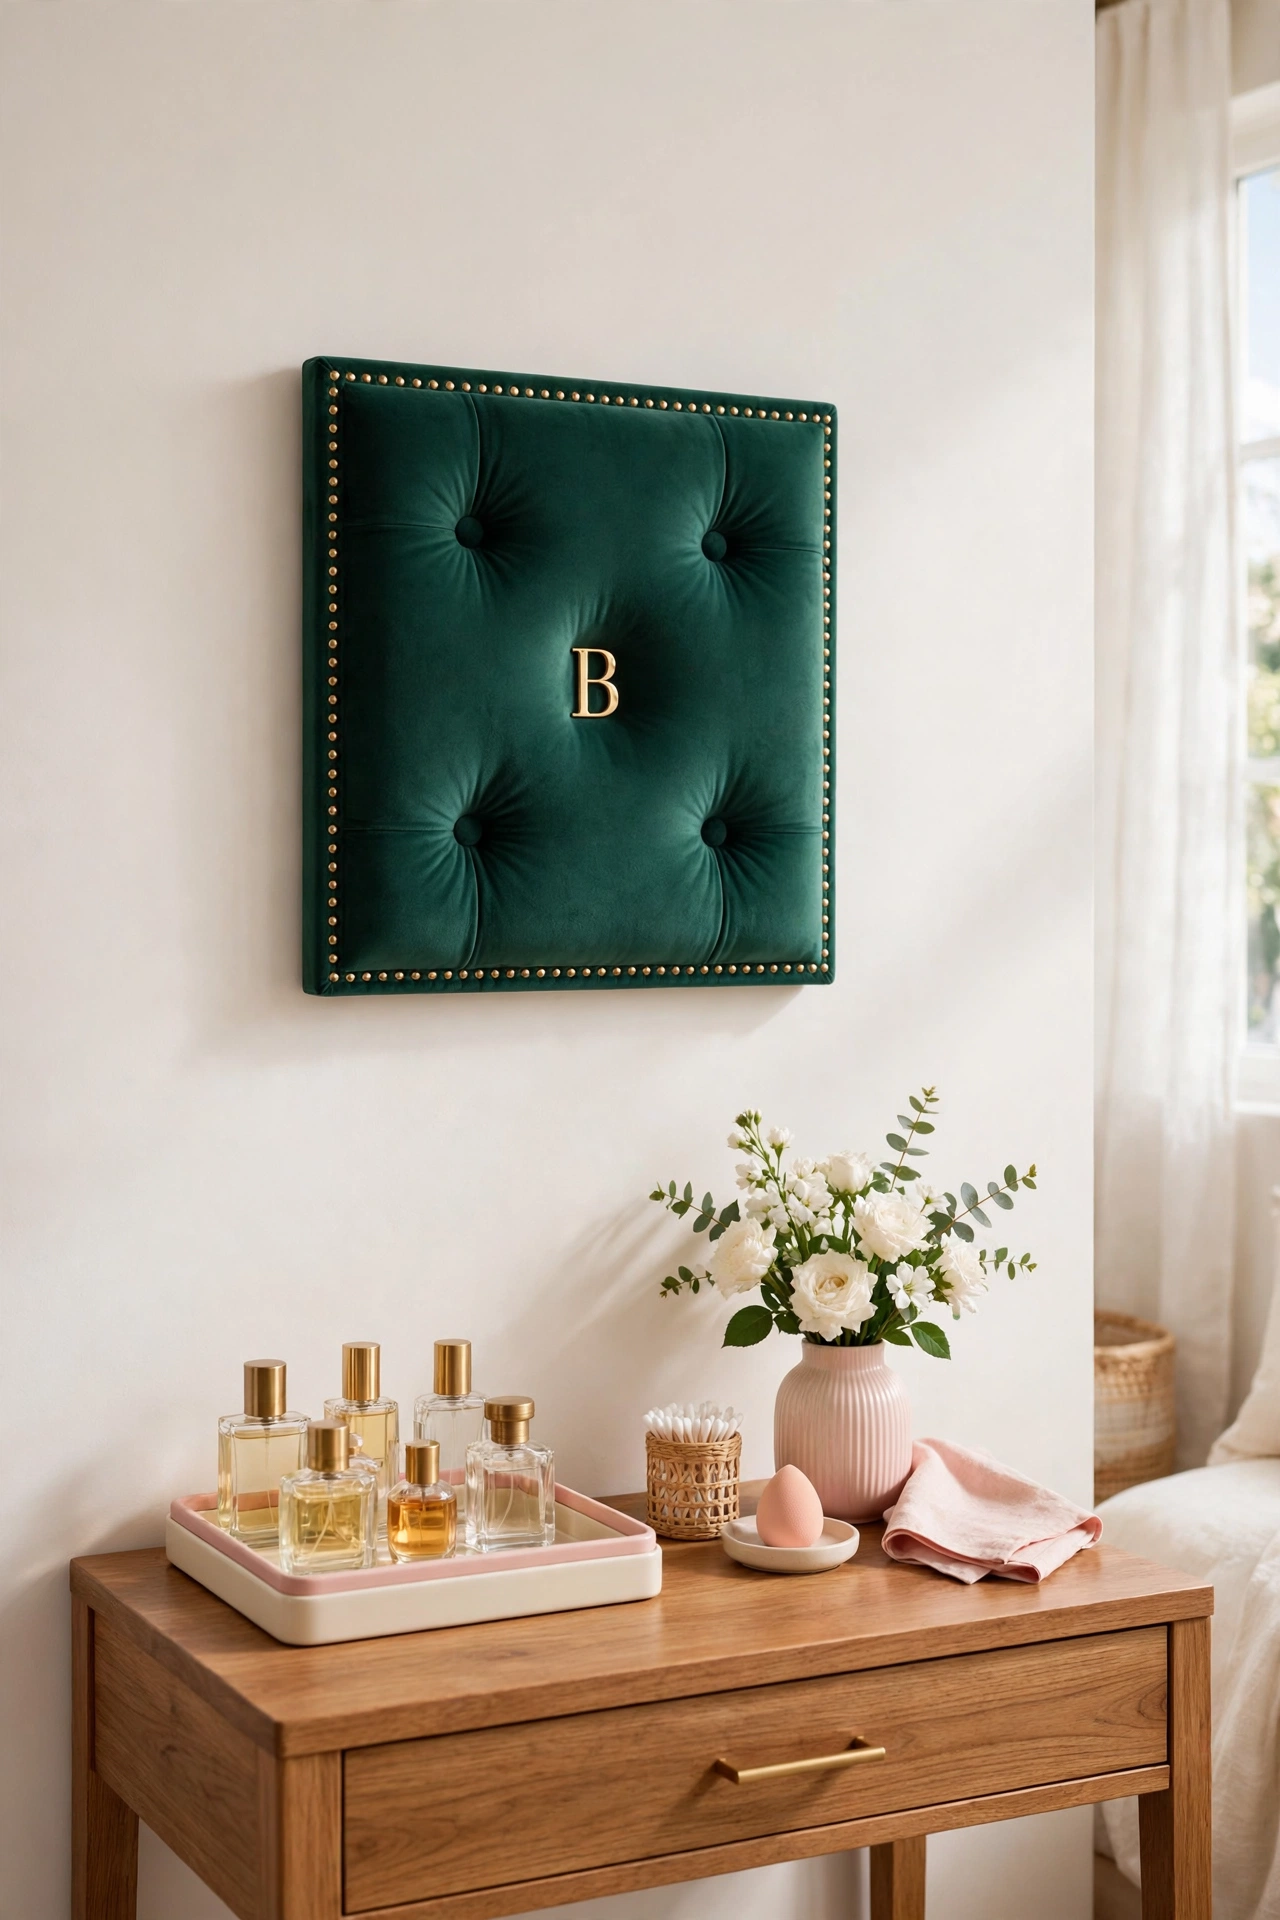
24. Upholster a Velvet Plaque with Brass Trim
An upholstered velvet plaque adds softness and quiet luxury to a bedroom or a dressing room wall. Wrap a padded wood panel in rich velvet, pulling the fabric tight and stapling it on the back, then add brass nailhead trim around the edge for a polished finish. The padded surface gives the plaque a plush, dimensional feel.
Choose a deep jewel tone such as emerald, burgundy, or navy, and add a small brass monogram or a decorative key in the center. Hang the plaque above a vanity or a reading chair where the velvet texture invites a closer look. This project needs no sewing, only careful stapling and trimming.
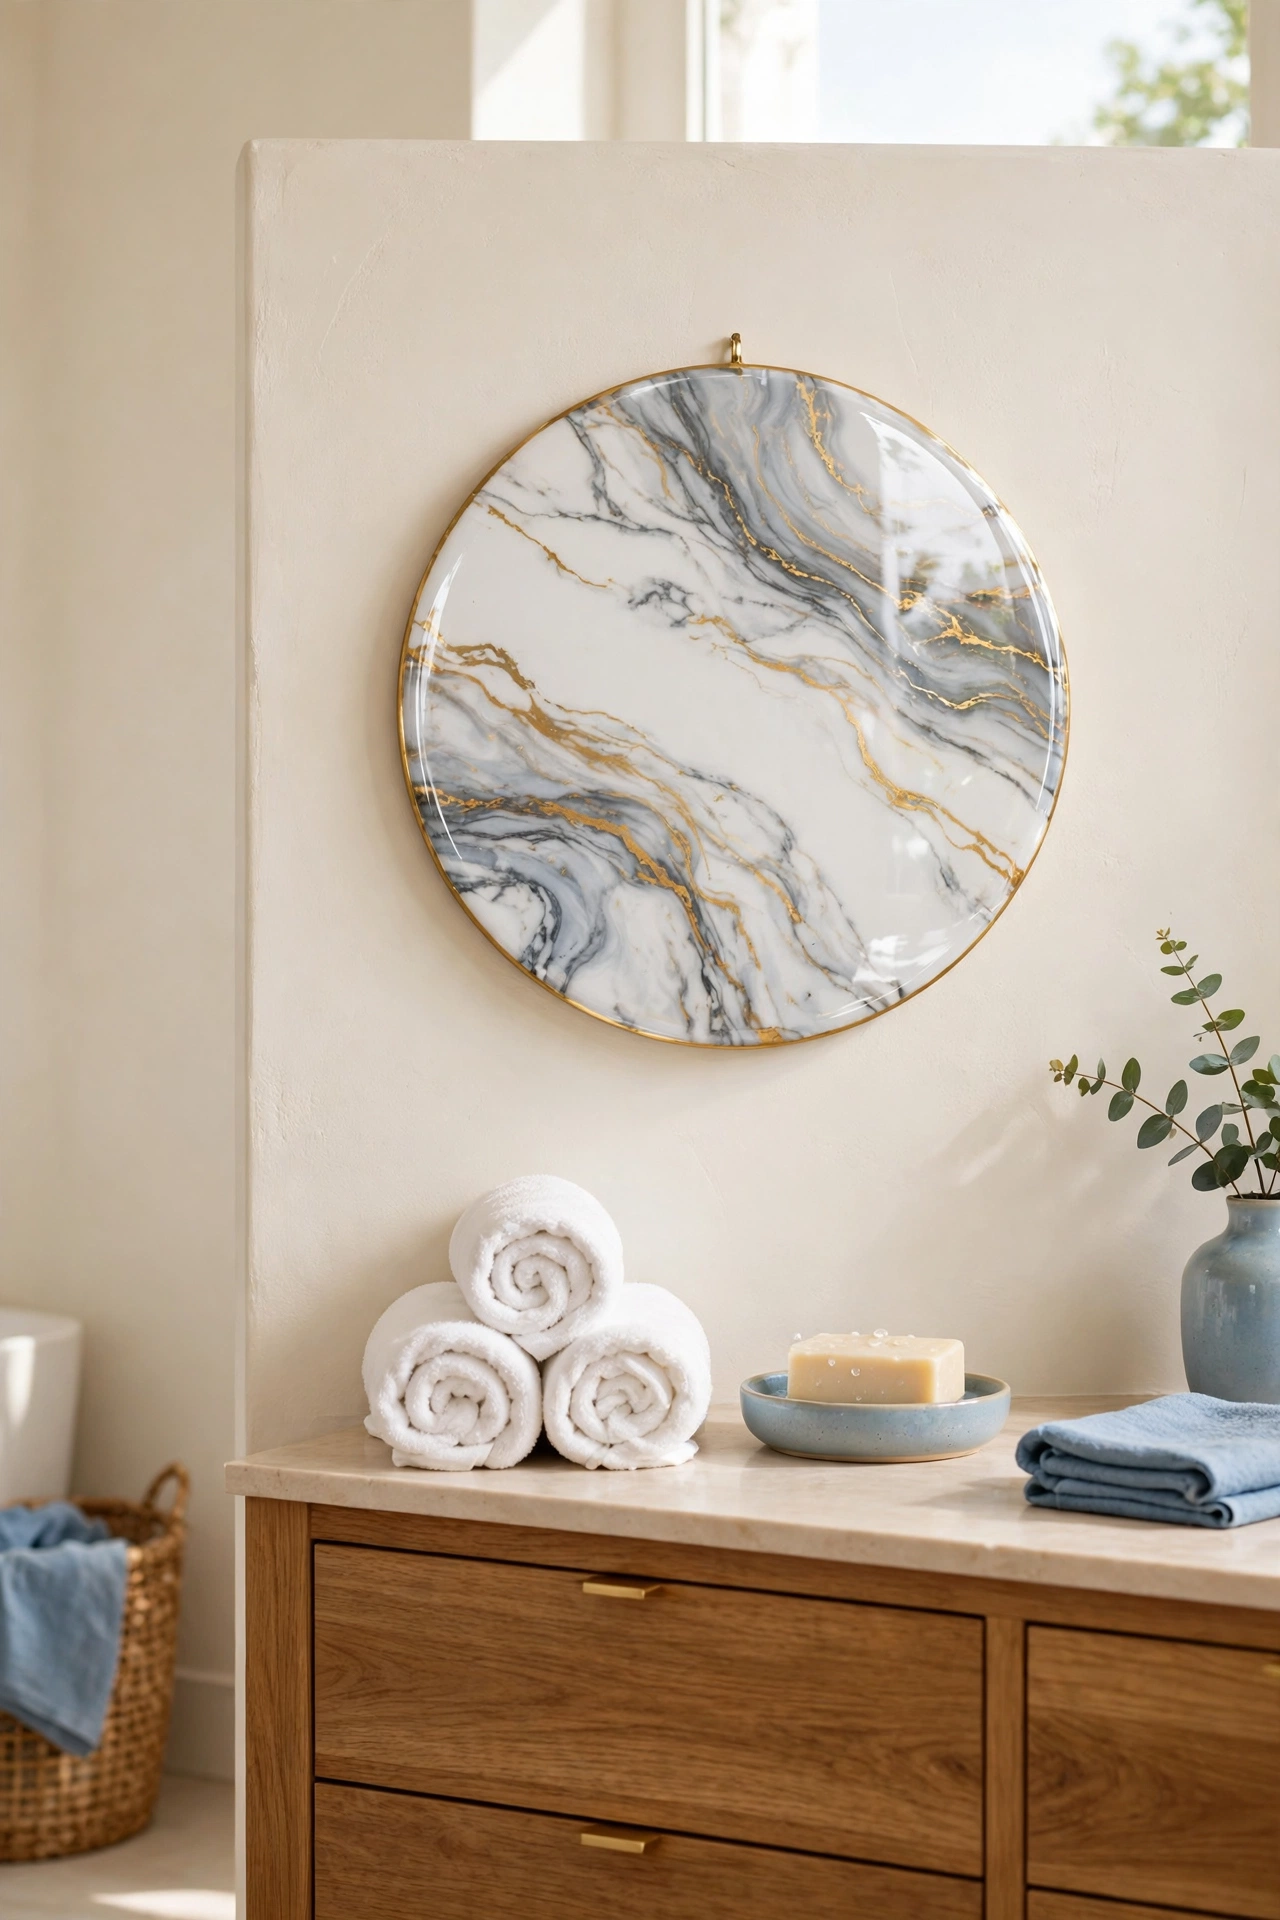
25. Pour a Faux Marble Resin Plaque
A faux marble resin plaque mimics the elegant veining of real stone at a fraction of the cost. Pour white resin onto a round or oval base, then drag thin lines of gray and gold pigment through it with a toothpick or a skewer to create natural looking veins. The glossy cured surface looks remarkably like polished marble.
Add a gold painted edge or a thin brass rim to finish the plaque like a piece of fine decor. Hang it in a bathroom or an entryway where the stone look adds a touch of elegance. Resin work needs a level surface and patience, but the result is worth every minute of curing time.
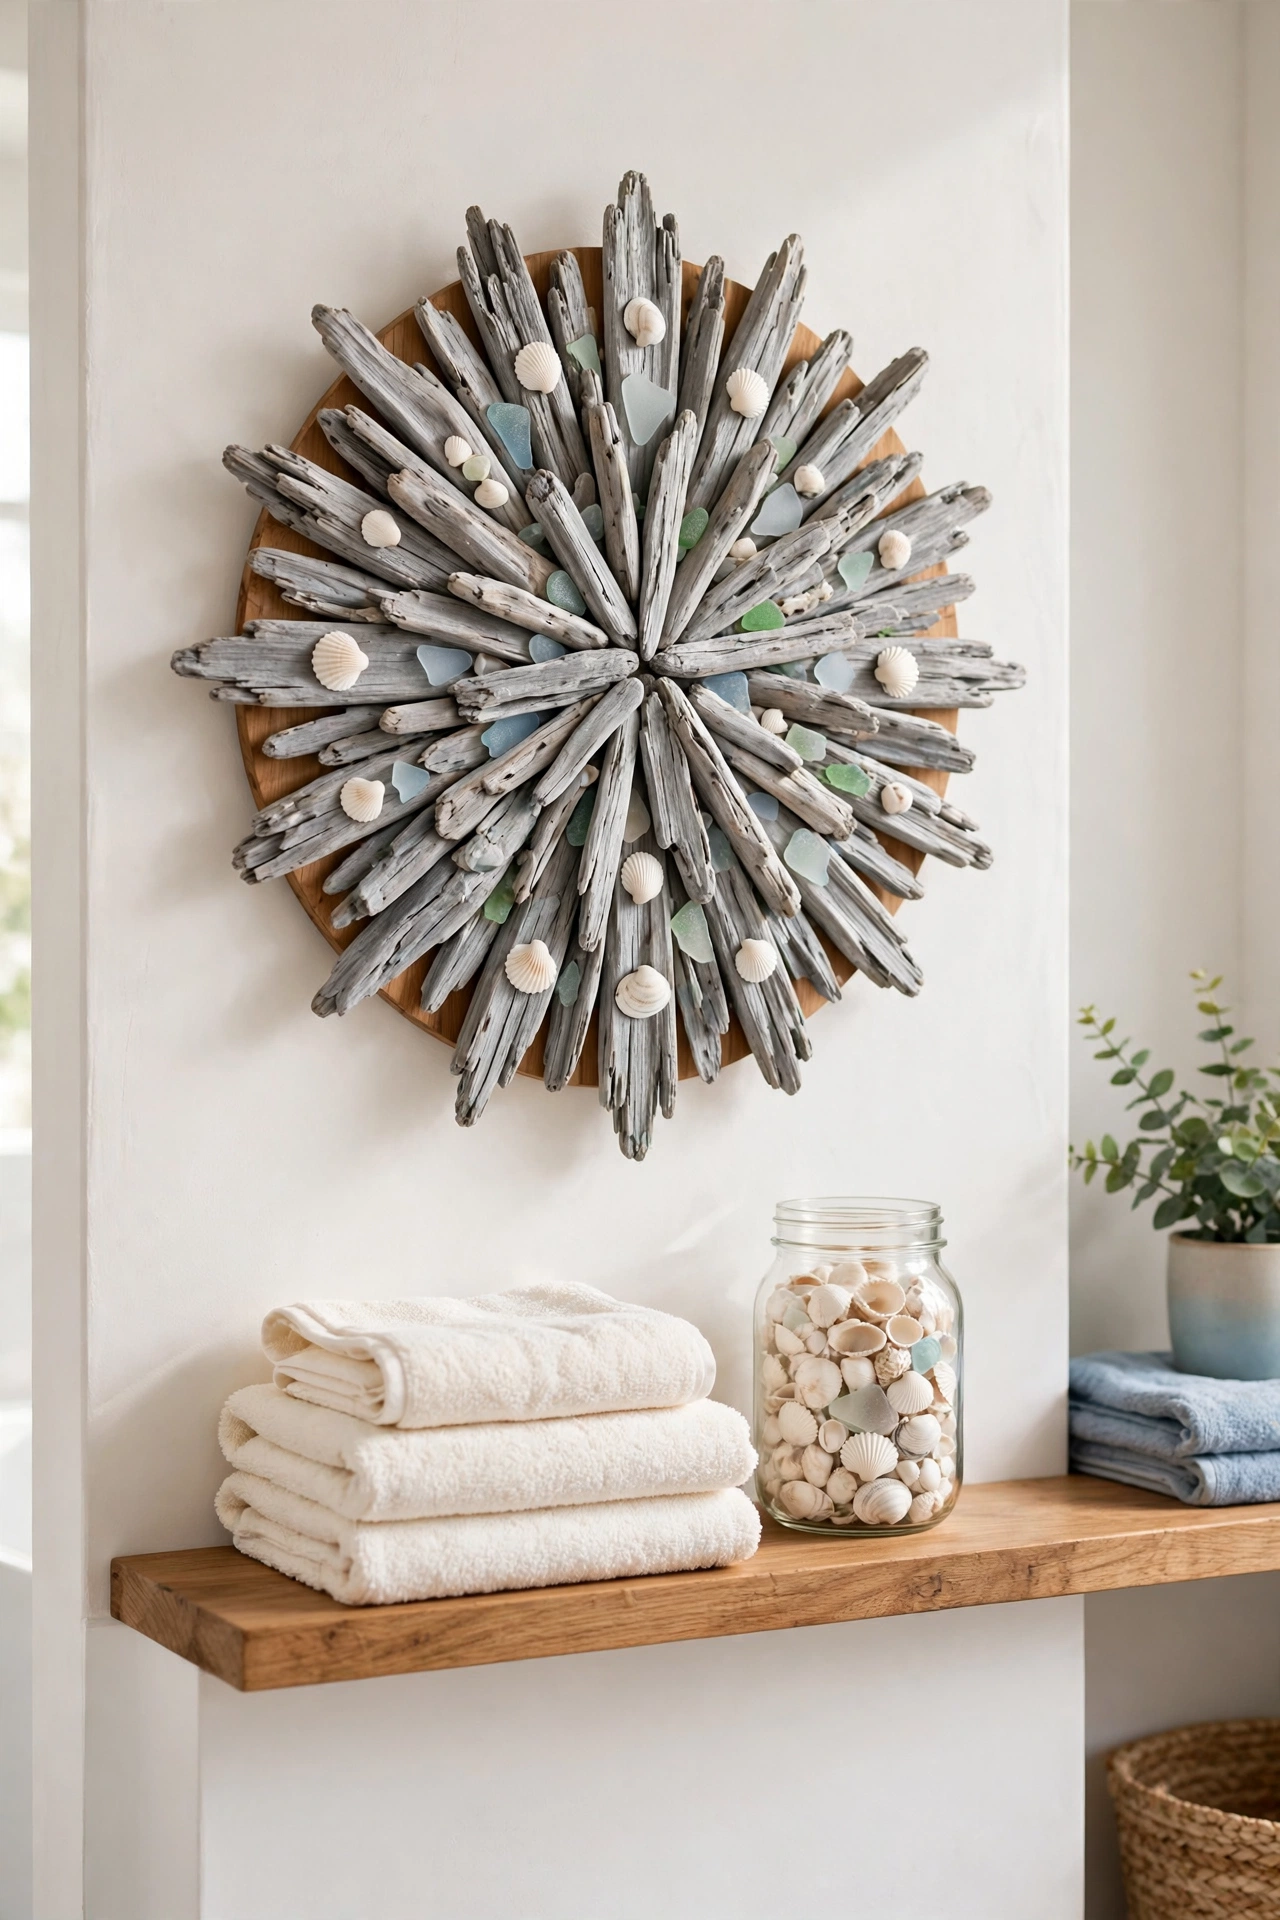
26. Assemble a Driftwood Beach Plaque
A driftwood beach plaque turns found wood into a piece of coastal art with real texture. Arrange pieces of driftwood in a sunburst, a heart, or a simple horizontal pattern on a backing board, and glue each piece securely in place. Add shells, sea glass, or a small rope loop for a seaside finish.
Leave the driftwood in its natural silvery gray tones, or whitewash it lightly for a brighter look. Hang the plaque in a bathroom, a hallway, or a beach themed bedroom where the layered wood creates gentle shadows. Every piece of driftwood is unique, so no two plaques will ever look the same.
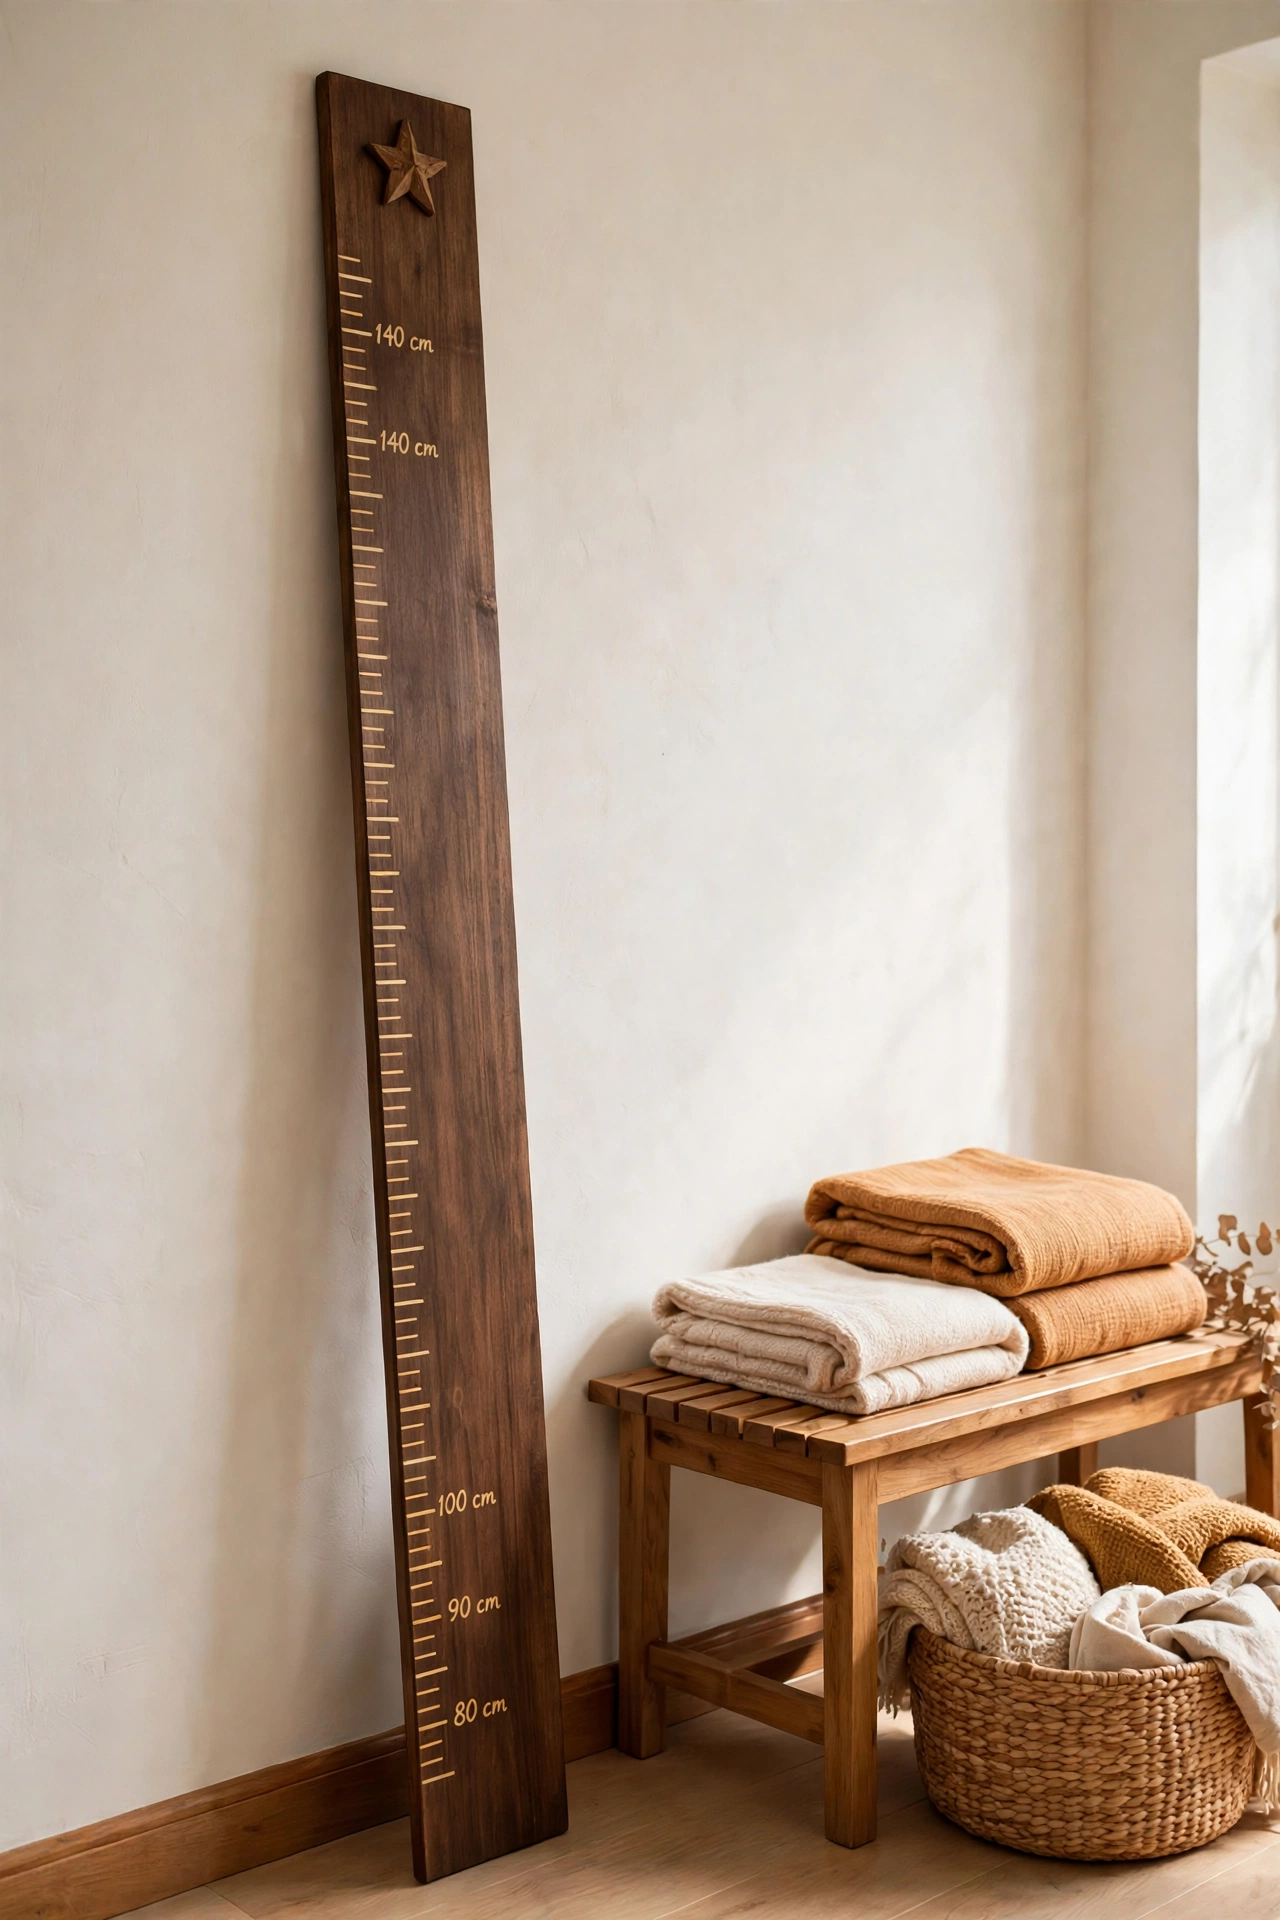
27. Make a Wooden Growth Chart Plaque
A wooden growth chart plaque turns a plain board into a family keepsake that records years of memories. Stain a tall, narrow board, then mark height lines and numbers along one edge with paint or a wood burning tool. Add your family name at the top and small decorative motifs along the side.
Mount the plaque on the wall at floor level so you can mark each child height with a pencil or a small painted dot. Unlike marks on a doorframe, a plaque moves with you when you change homes. The raised numbers and stained finish make it a piece of decor in its own right.
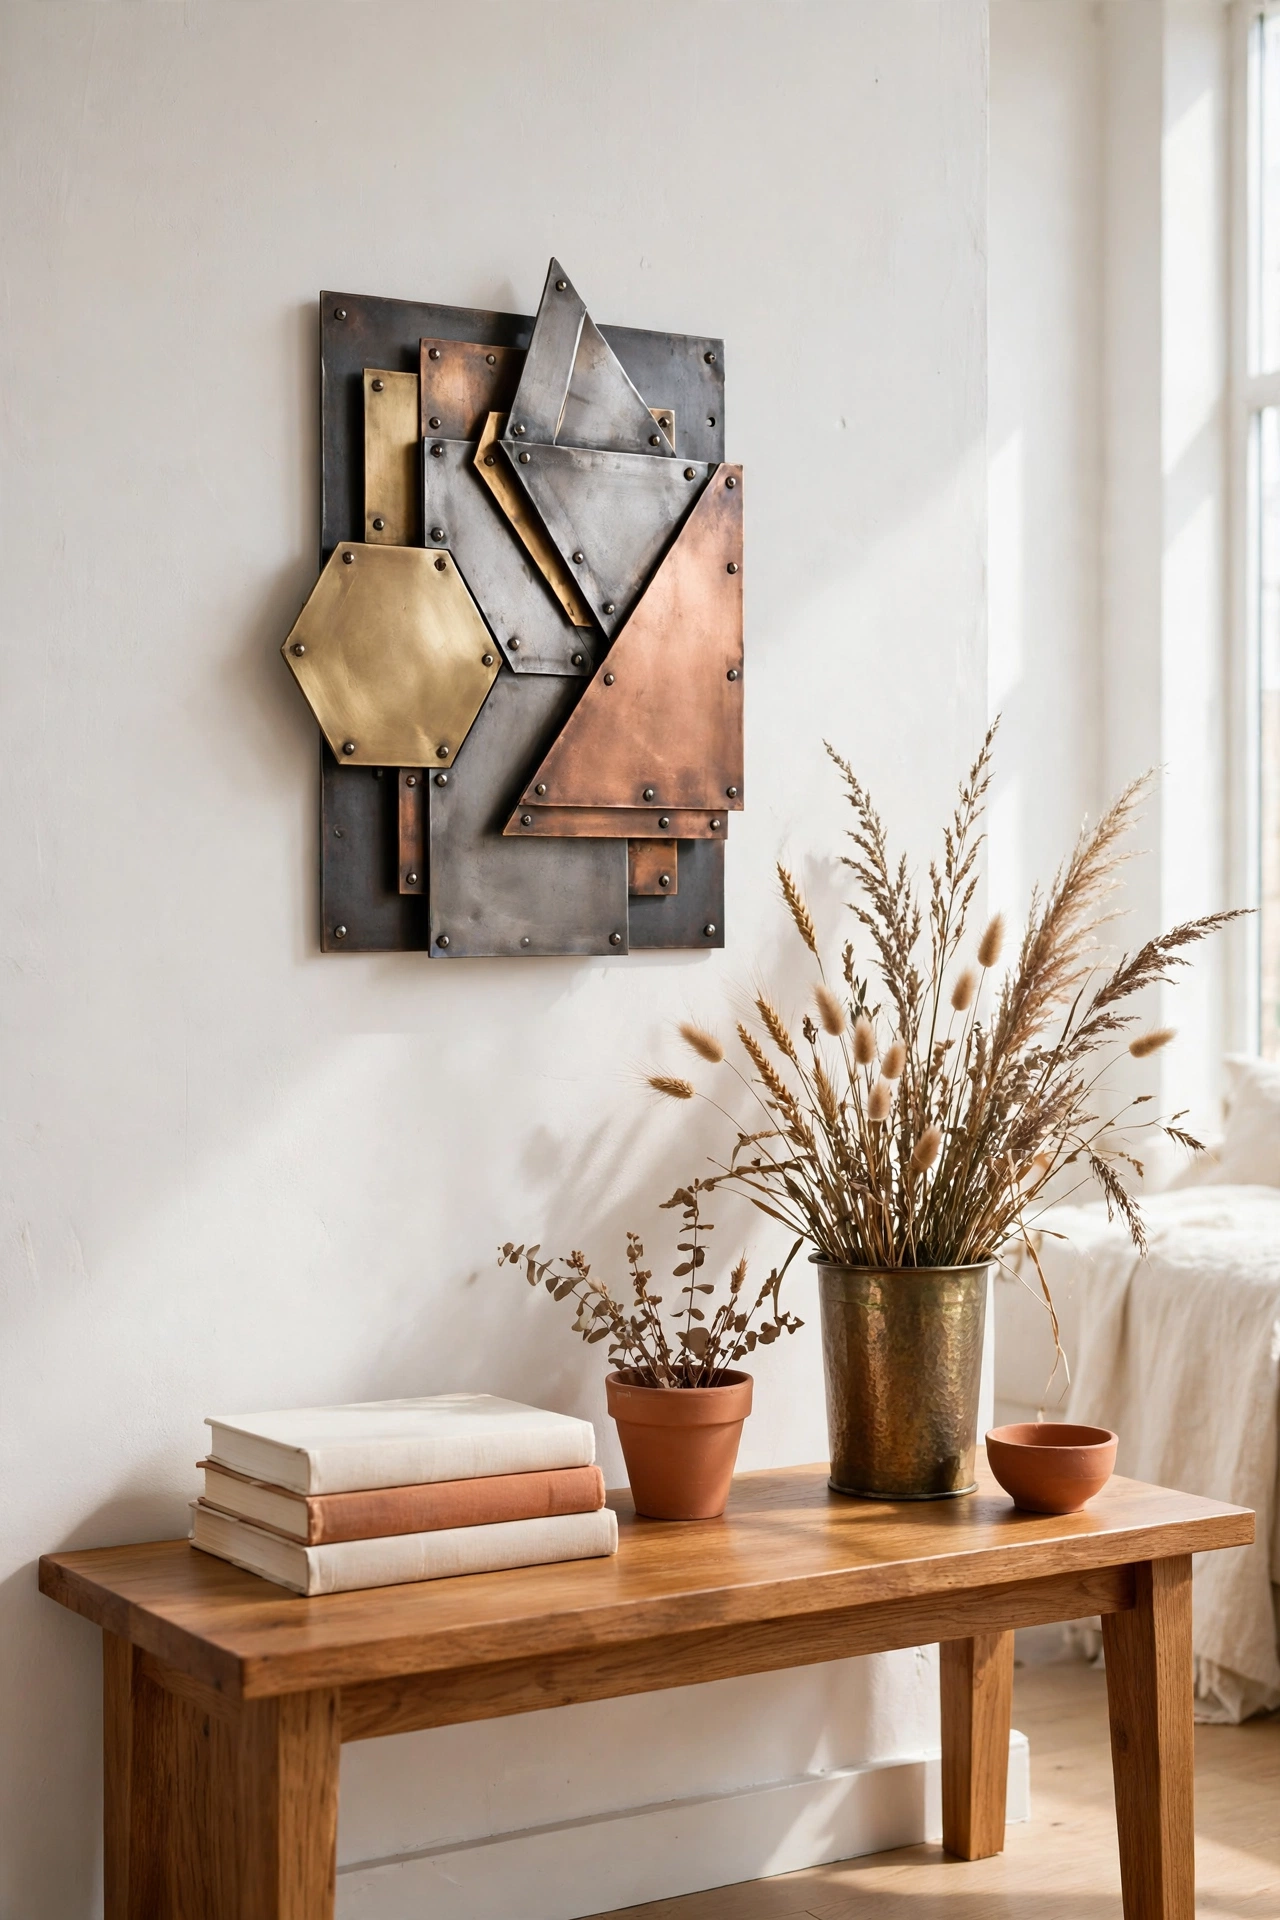
28. Forge a Mixed Metal Industrial Plaque
A mixed metal industrial plaque combines steel, brass, and copper into a bold statement piece for a loft or a modern living room. Cut metal shapes with tin snips, layer them on a steel backing plate, and join them with rivets or strong metal adhesive. Gears, arrows, and abstract shapes all suit the industrial style.
Leave the metals in their natural finishes so the contrast between warm brass, cool steel, and rich copper does the talking. Seal the plaque with a clear metal lacquer to prevent tarnish. The layered metal and visible rivets give the wall a workshop inspired edge that feels both rugged and refined.
Conclusion
A wall plaque does more than fill an empty wall. It carries your name, your memories, and your handiwork into the rooms where you live every day. Whether you carve wood, cast plaster, pour resin, or stitch leather, the dimensional depth of a plaque makes it feel special in a way that flat prints rarely do.
Start with one plaque for the room you use most, and let that first success inspire the next one. Before long, your walls will tell your story in wood, metal, clay, and color. For more wall projects with shape and depth, these diy geometric wall art ideas pair beautifully with the plaque styles in this list.
Frequently Asked Questions About DIY Decorative Wall Plaque Ideas for Personalized Rooms
What is the difference between a wall plaque and wall art?
A wall plaque is a raised, dimensional object mounted on the wall, such as a carved wood panel, a cast plaster relief, or a mosaic tile board. Wall art is usually flat, like a print, a poster, or a canvas. Plaques add texture, shadow, and depth that flat art cannot match.
What is the easiest material for a beginner wall plaque?
Wood and air-dry clay are the most forgiving materials for beginners. Wood boards are easy to cut, sand, stain, and paint, while air-dry clay needs no kiln and can be shaped, pressed, and painted with basic tools. Both materials are affordable and widely available.
How do I hang a heavy wall plaque safely?
Use hardware rated for the weight of your plaque, such as D-ring hangers with wall anchors or a French cleat for heavier pieces. Always anchor into a wall stud when possible, or use toggle bolts in drywall. Test the hold by pressing down gently on the mounted plaque before you step away.
Can I make wall plaques for outdoor use?
Yes, if you choose weatherproof materials and sealants. Slate, terracotta, sealed wood, and outdoor resin plaques hold up well outside. Apply several coats of outdoor polyurethane or stone sealer, and hang the plaque under a covered porch or eave when possible to extend its life.
How do I personalize a wall plaque for a gift?
Add a family name, a meaningful date, a favorite quote, or a monogram in the center of the plaque. Choose colors and materials that match the home of the person receiving the gift. A personalized plaque feels thoughtful because it is made for one specific person and one specific home.

Hi, I’m Emily! I turn messy corners into cozy, organized spots. DreamNestDecor is where I share simple, practical home ideas — decor, organization, and small-space solutions that work in real life, not just in photos. Every idea here is carefully researched before it’s shared.