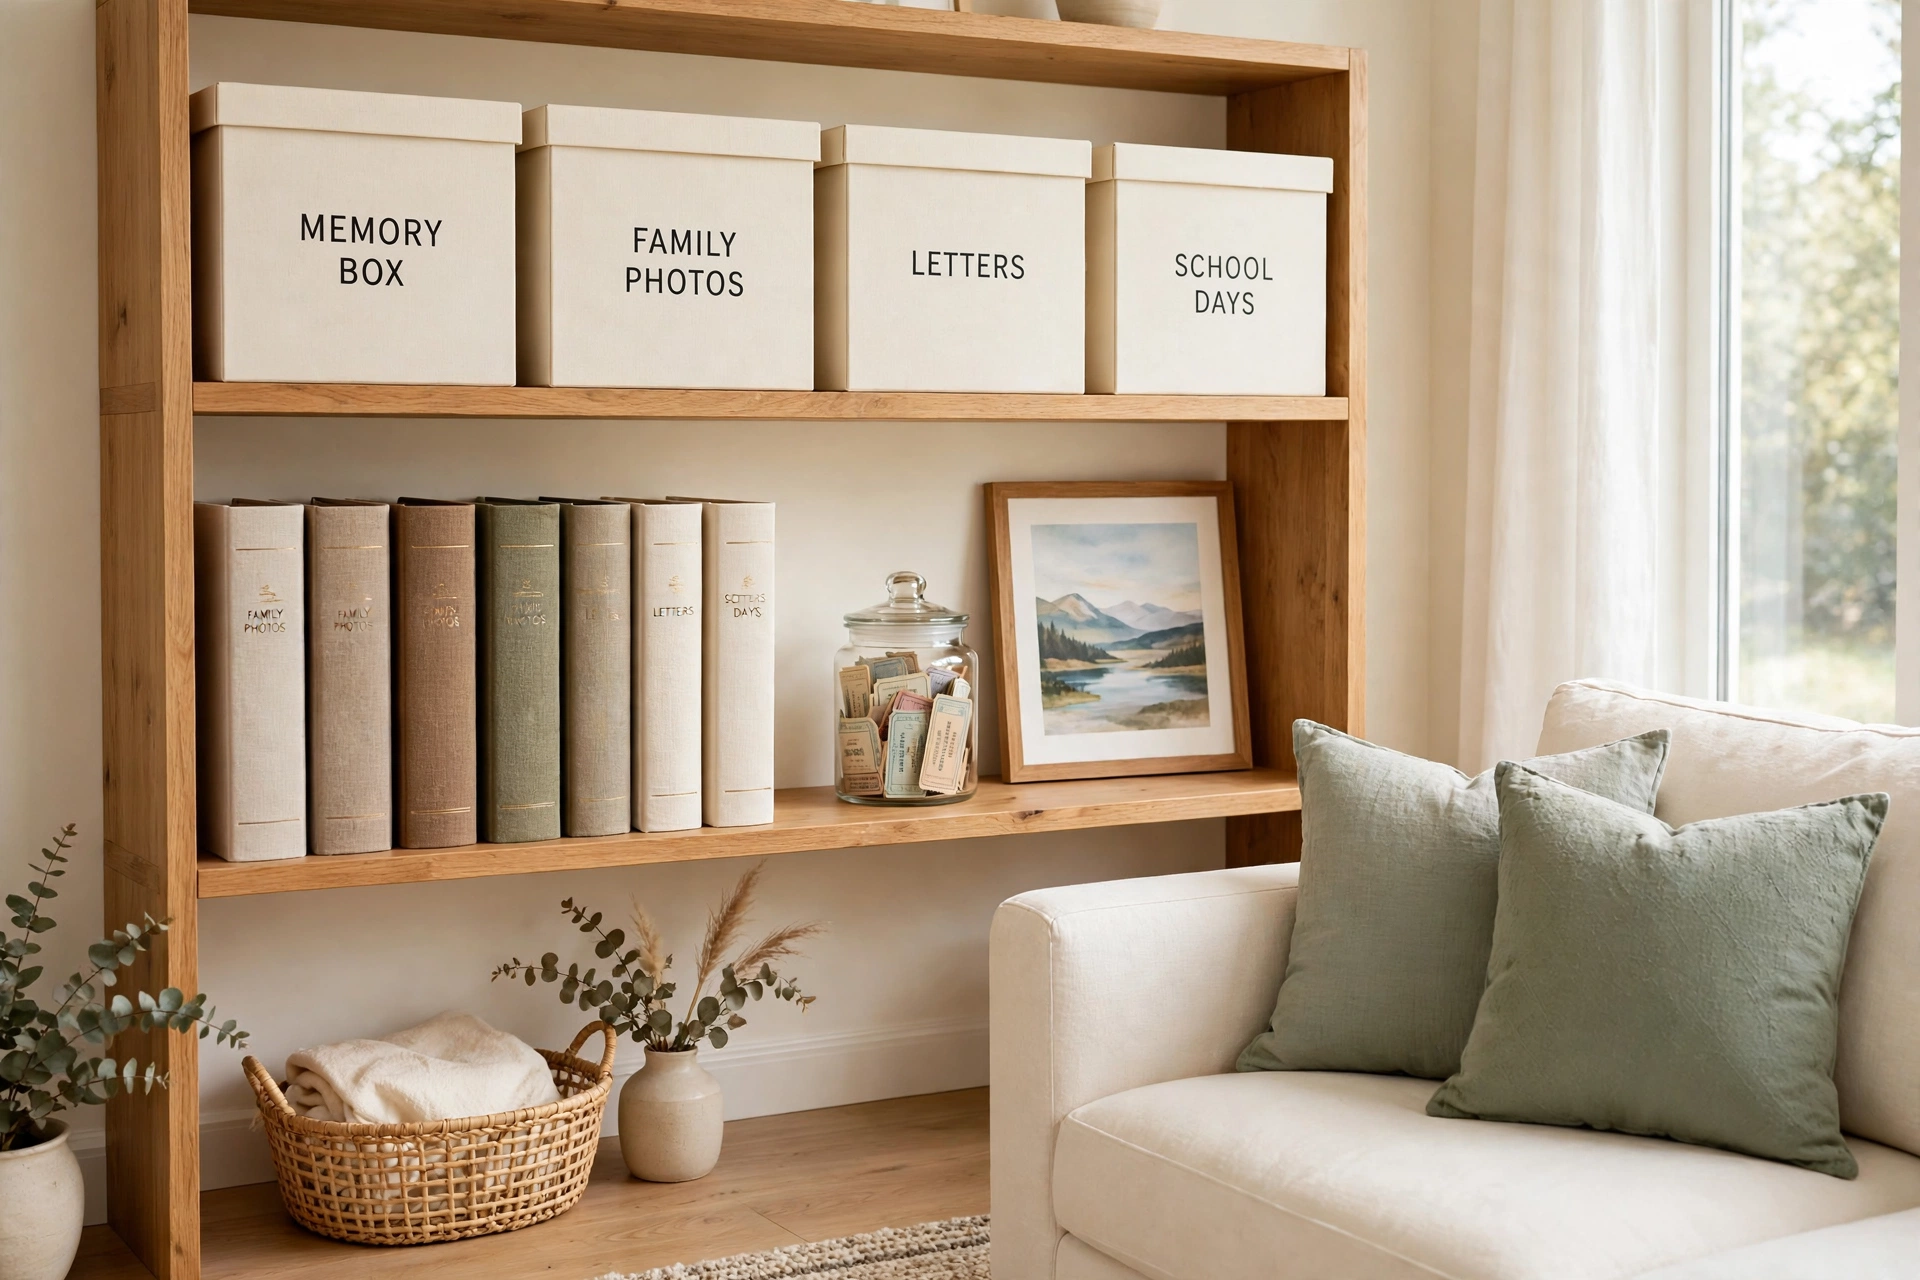
You open an old box in the closet and time slows down. Inside you find your first school photo with a missing tooth smile, a birthday card in your grandmother’s handwriting, and a tiny hospital bracelet from the day your child was born. These small objects hold the biggest stories of your family, yet they often end up scattered in drawers, closets, and shopping bags where no one can enjoy them.
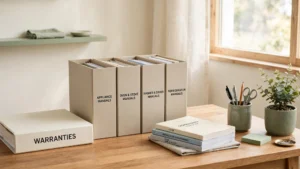
A family memory box system changes all of that. When every keepsake has a labeled home, you can find any memory in minutes and share it with the people you love. These 24 family memory box organization ideas will help you sort, protect, and display the special keepsakes that tell your family’s story.
1. Start One Box Per Family Member
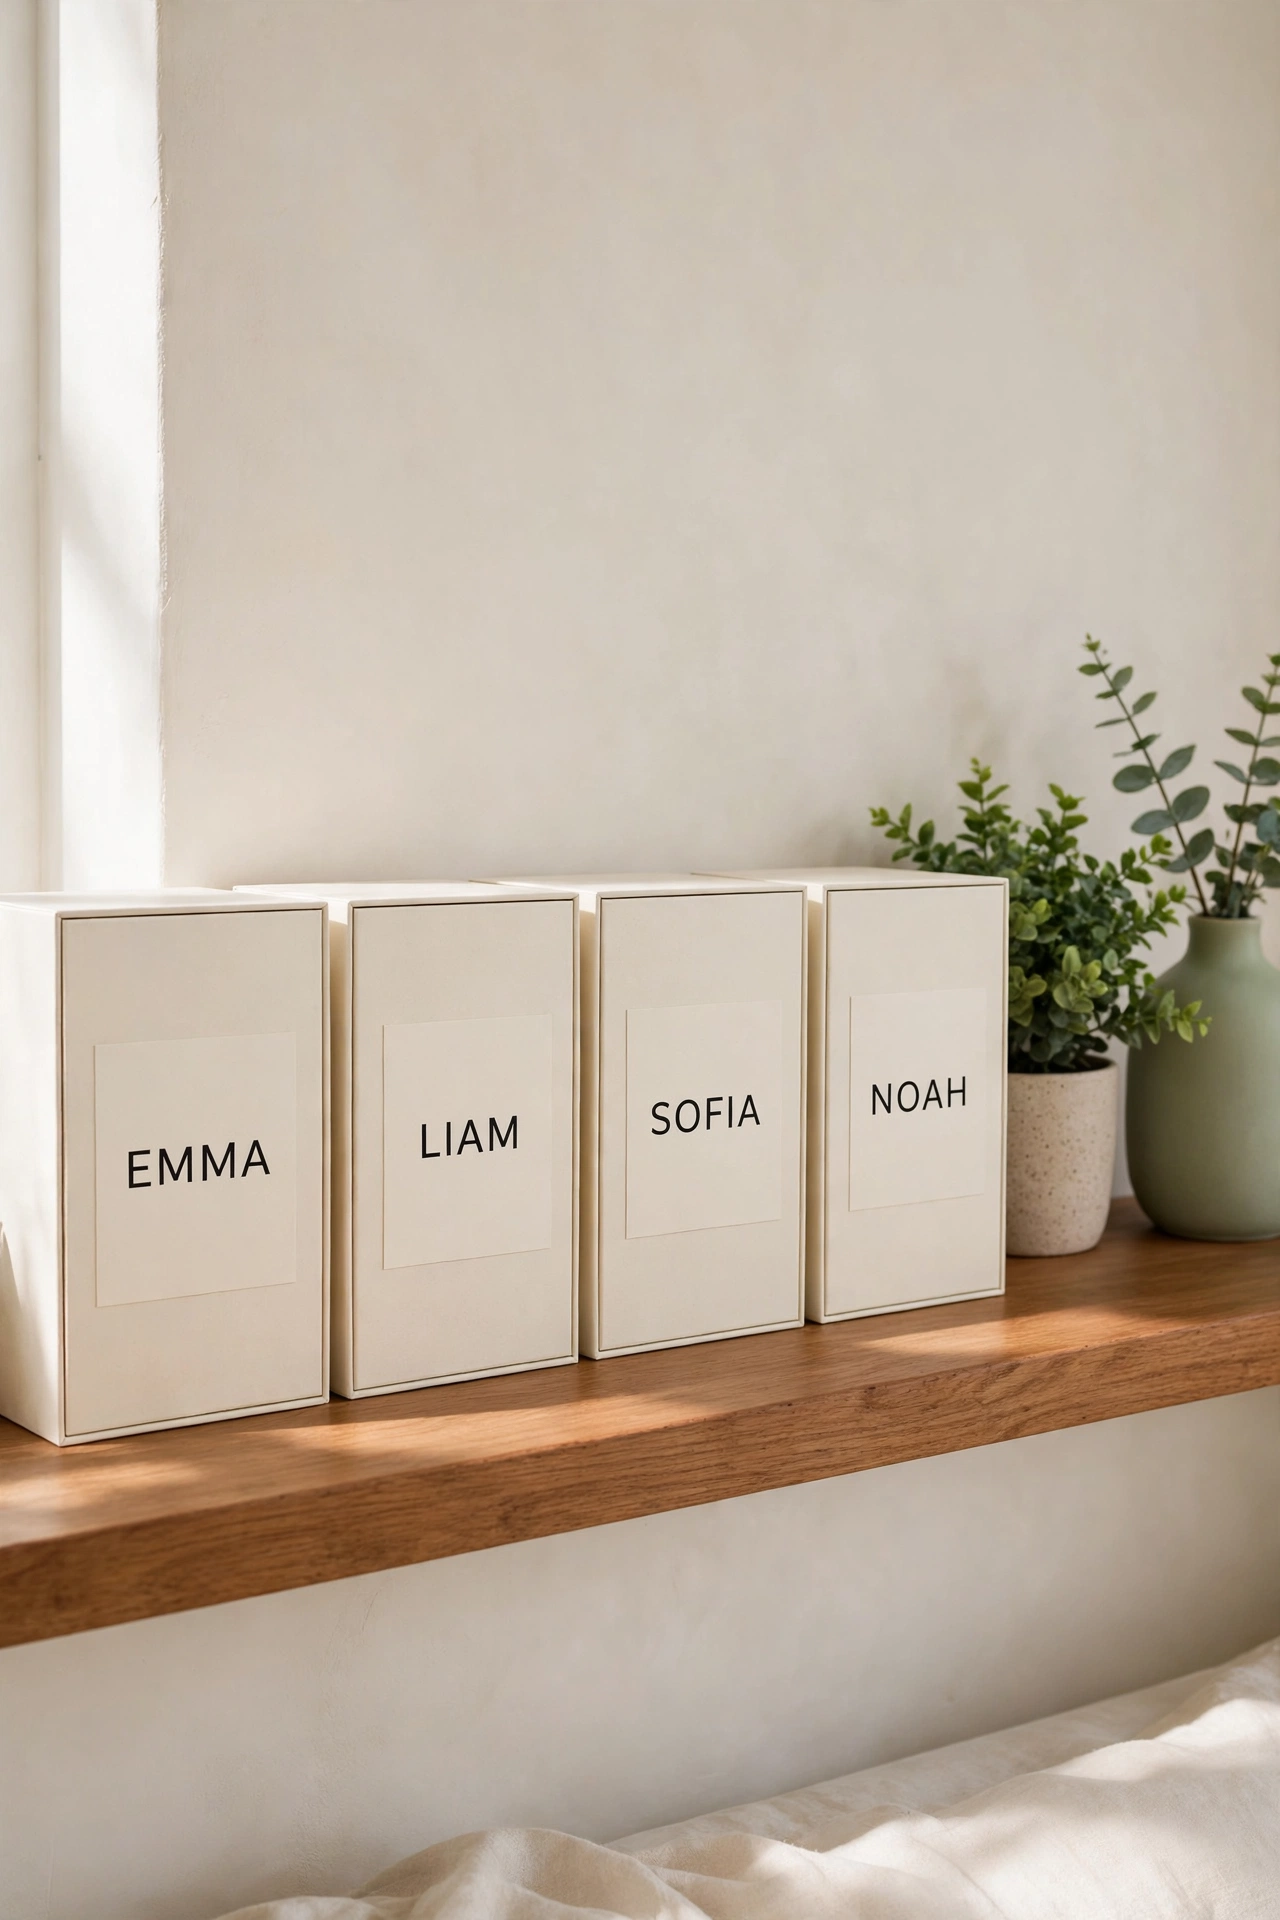
Give each person in your family a box of their own. When keepsakes are mixed together, one person’s school awards end up buried under another person’s baby clothes, and nothing is easy to find. A personal box keeps each life story separate and simple to browse.
Choose sturdy boxes in one matching style so the shelf looks calm and tidy. Add a name label to the front of each box in large, clear print. As new keepsakes arrive, they go straight into the right person’s box instead of piling up on a counter.
2. Label Every Box With a Name and Year Range
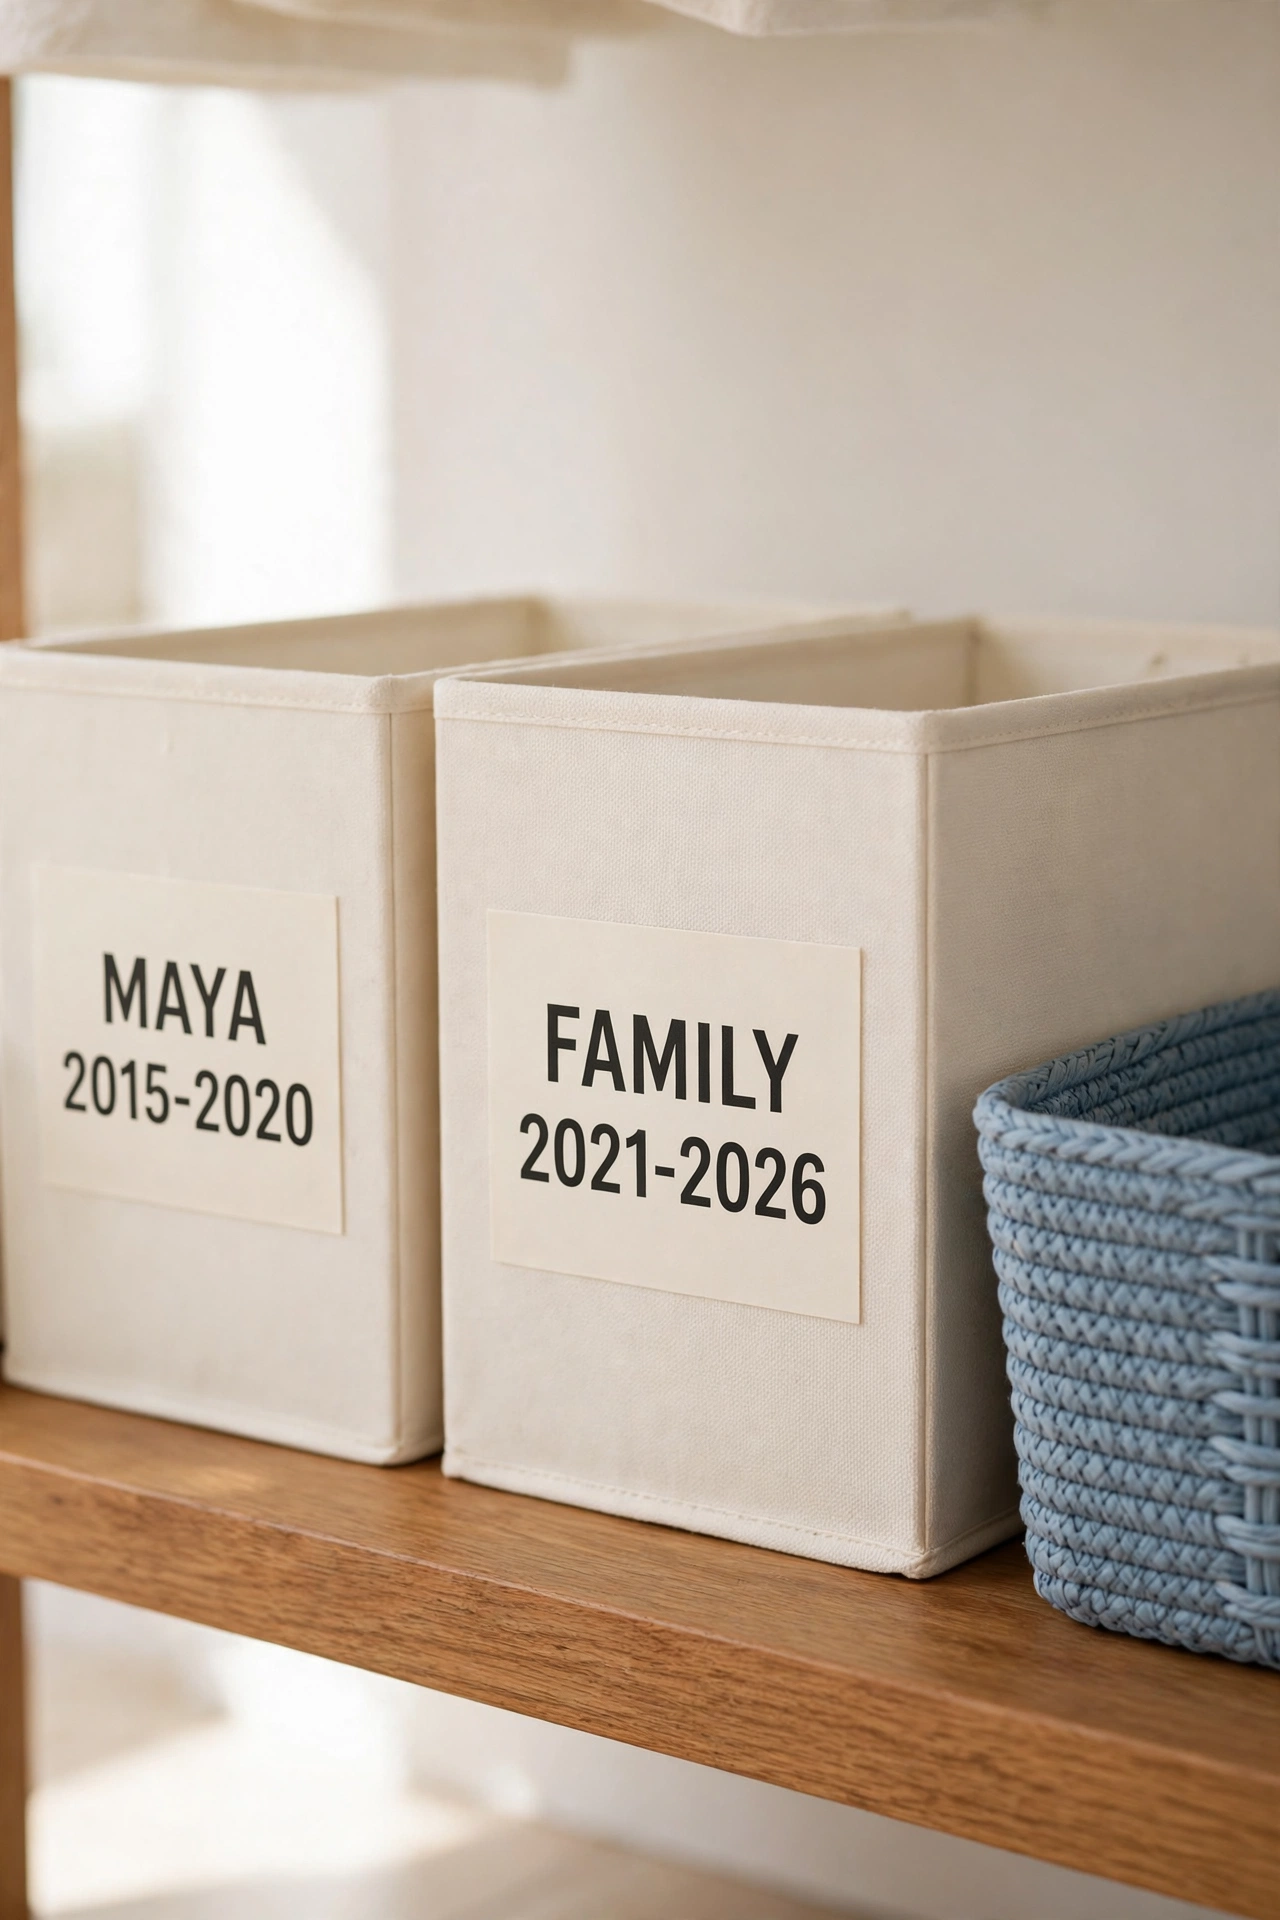
A label turns a plain box into a filing system. Write the person’s name and the years covered on the front of the box, such as “Maya 2015 to 2020.” You will know exactly what is inside before you lift the lid.
Use printed labels or neat handwriting on white card stock so the labels stay readable for years. Place the label in the same spot on every box so your eye can scan a whole shelf in seconds. Update the year range when a box fills up and a new one begins.
3. Sort Keepsakes Into Clear Category Dividers
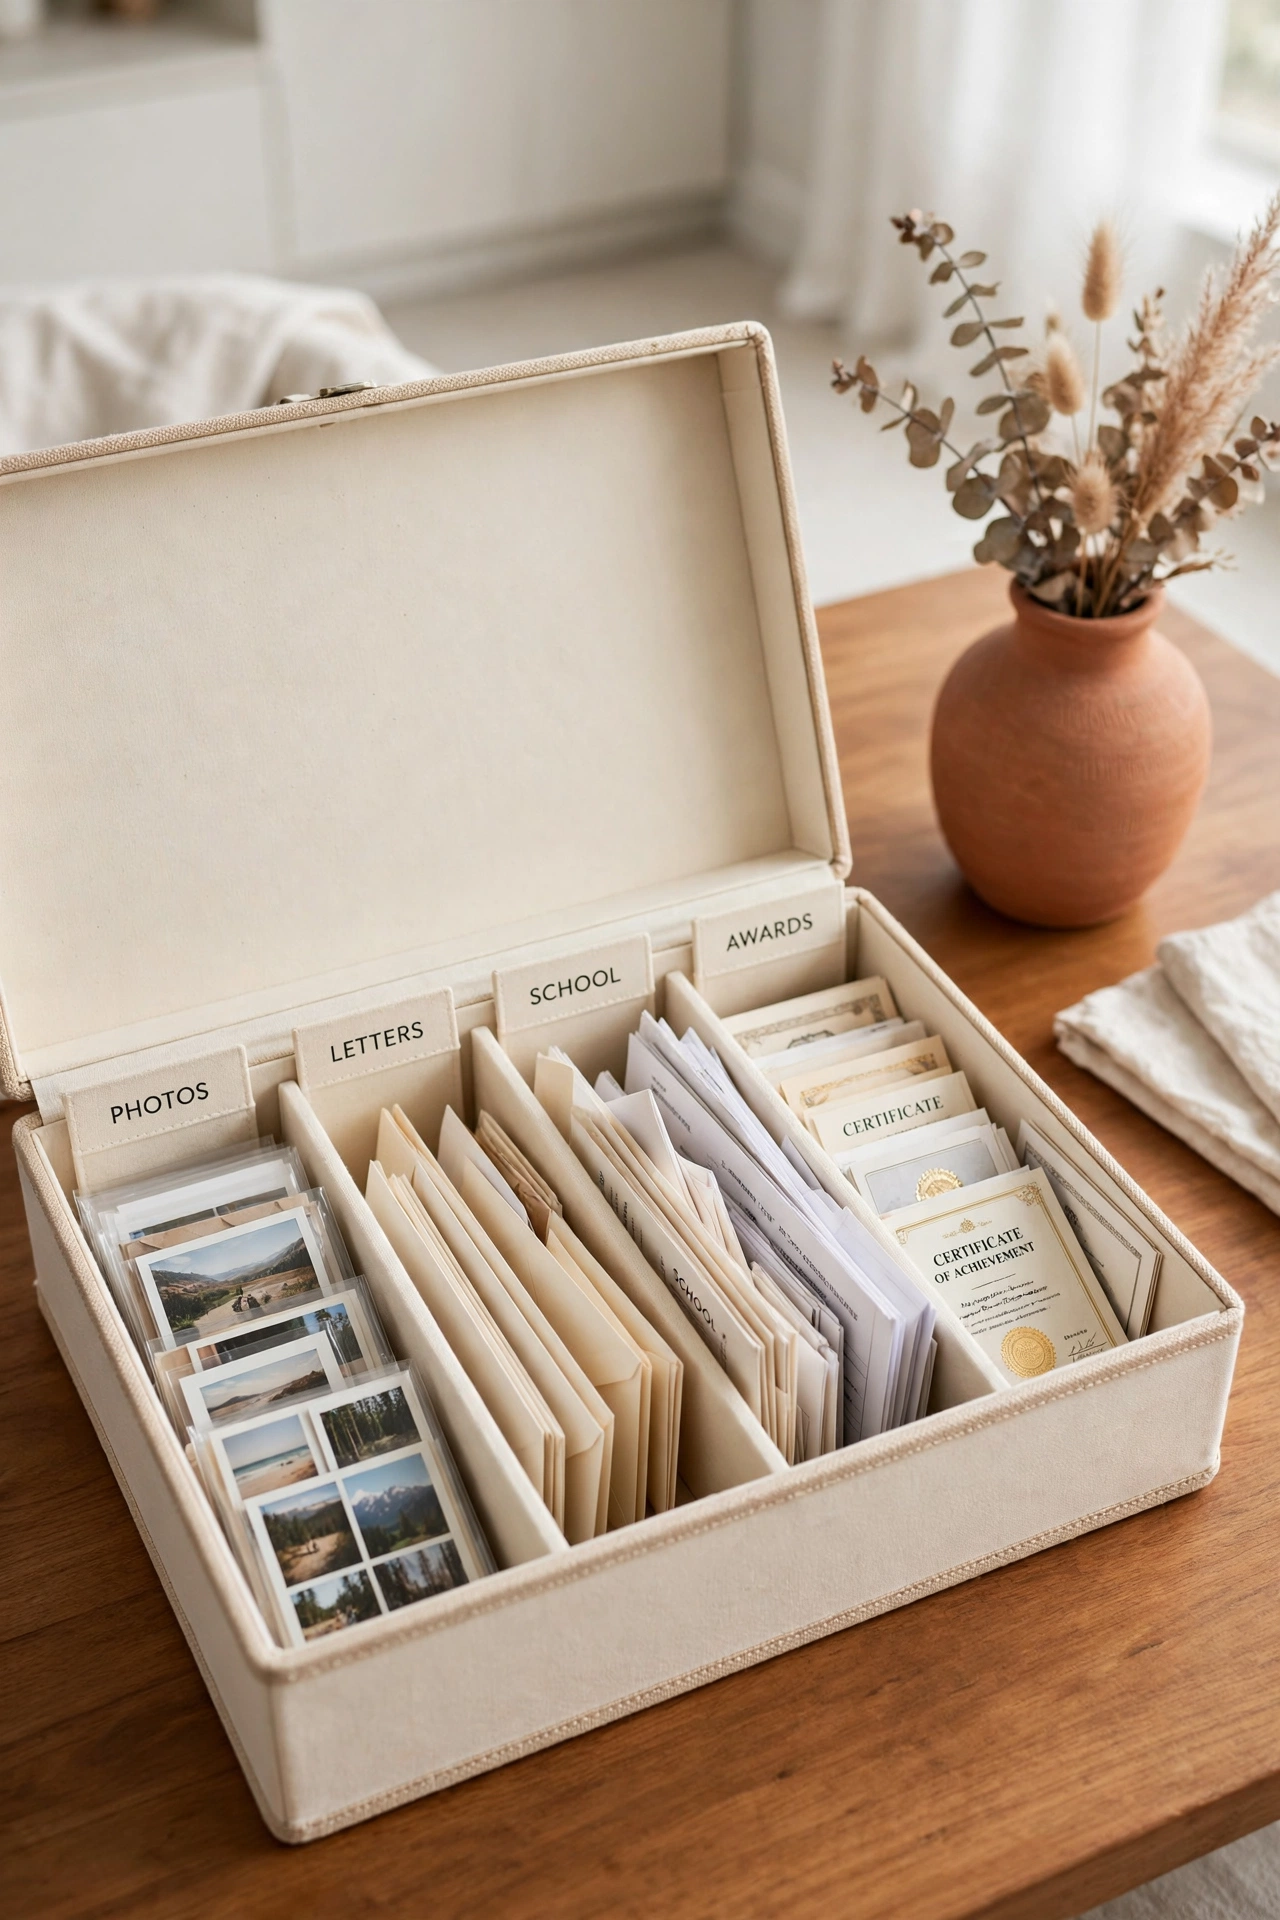
Inside each memory box, dividers keep different kinds of keepsakes from turning into a jumble. Set up sections for photos, letters, school work, awards, and small objects. Each section holds only one kind of treasure.
You can make dividers from stiff card stock or buy tabbed dividers made for storage boxes. Label each divider tab with a single clear word. When you want to find a birthday card or a school report, you open the box and go straight to the right section.
4. Archive Printed Photos in Acid-Free Sleeves
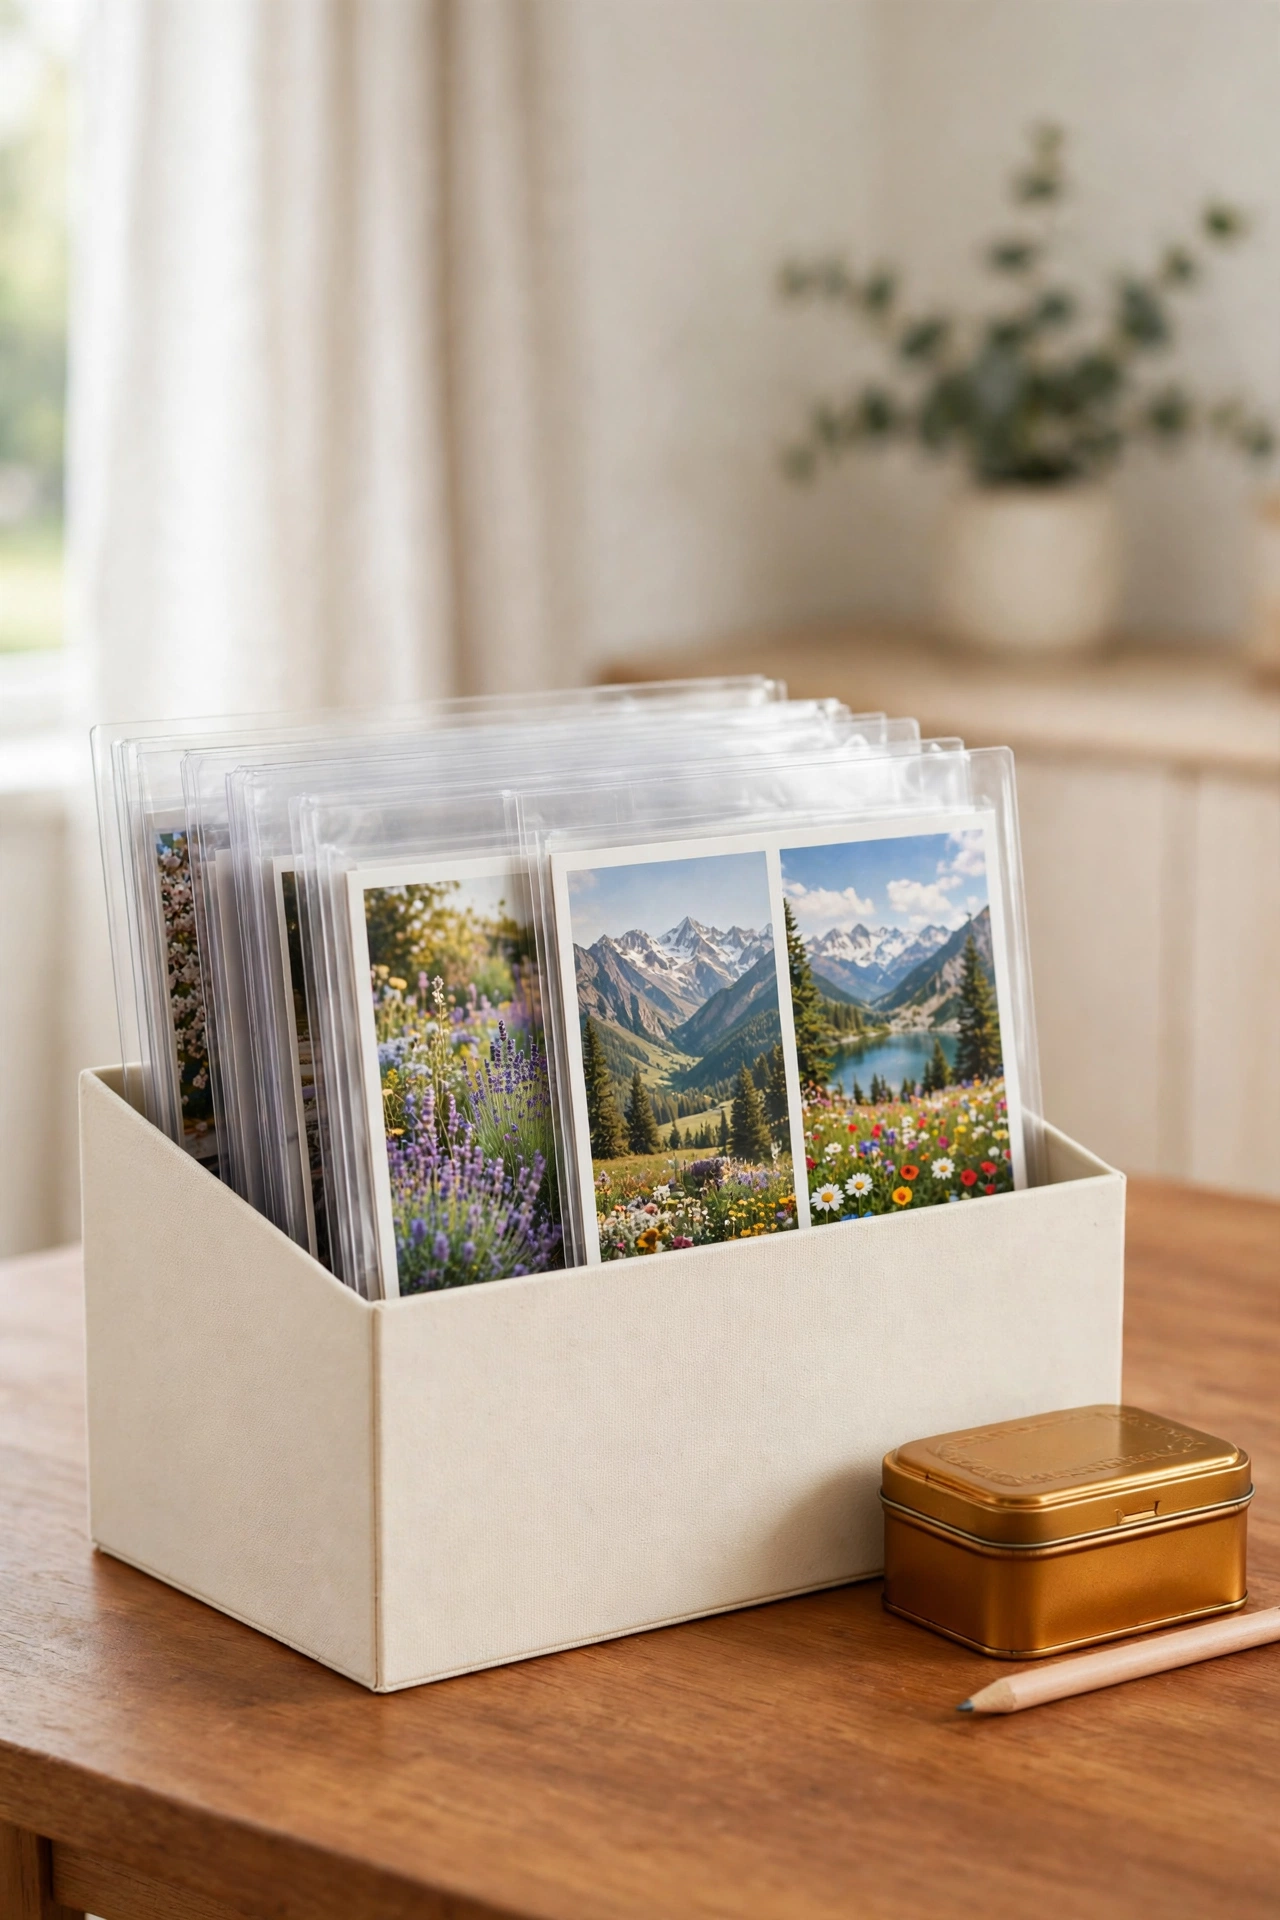
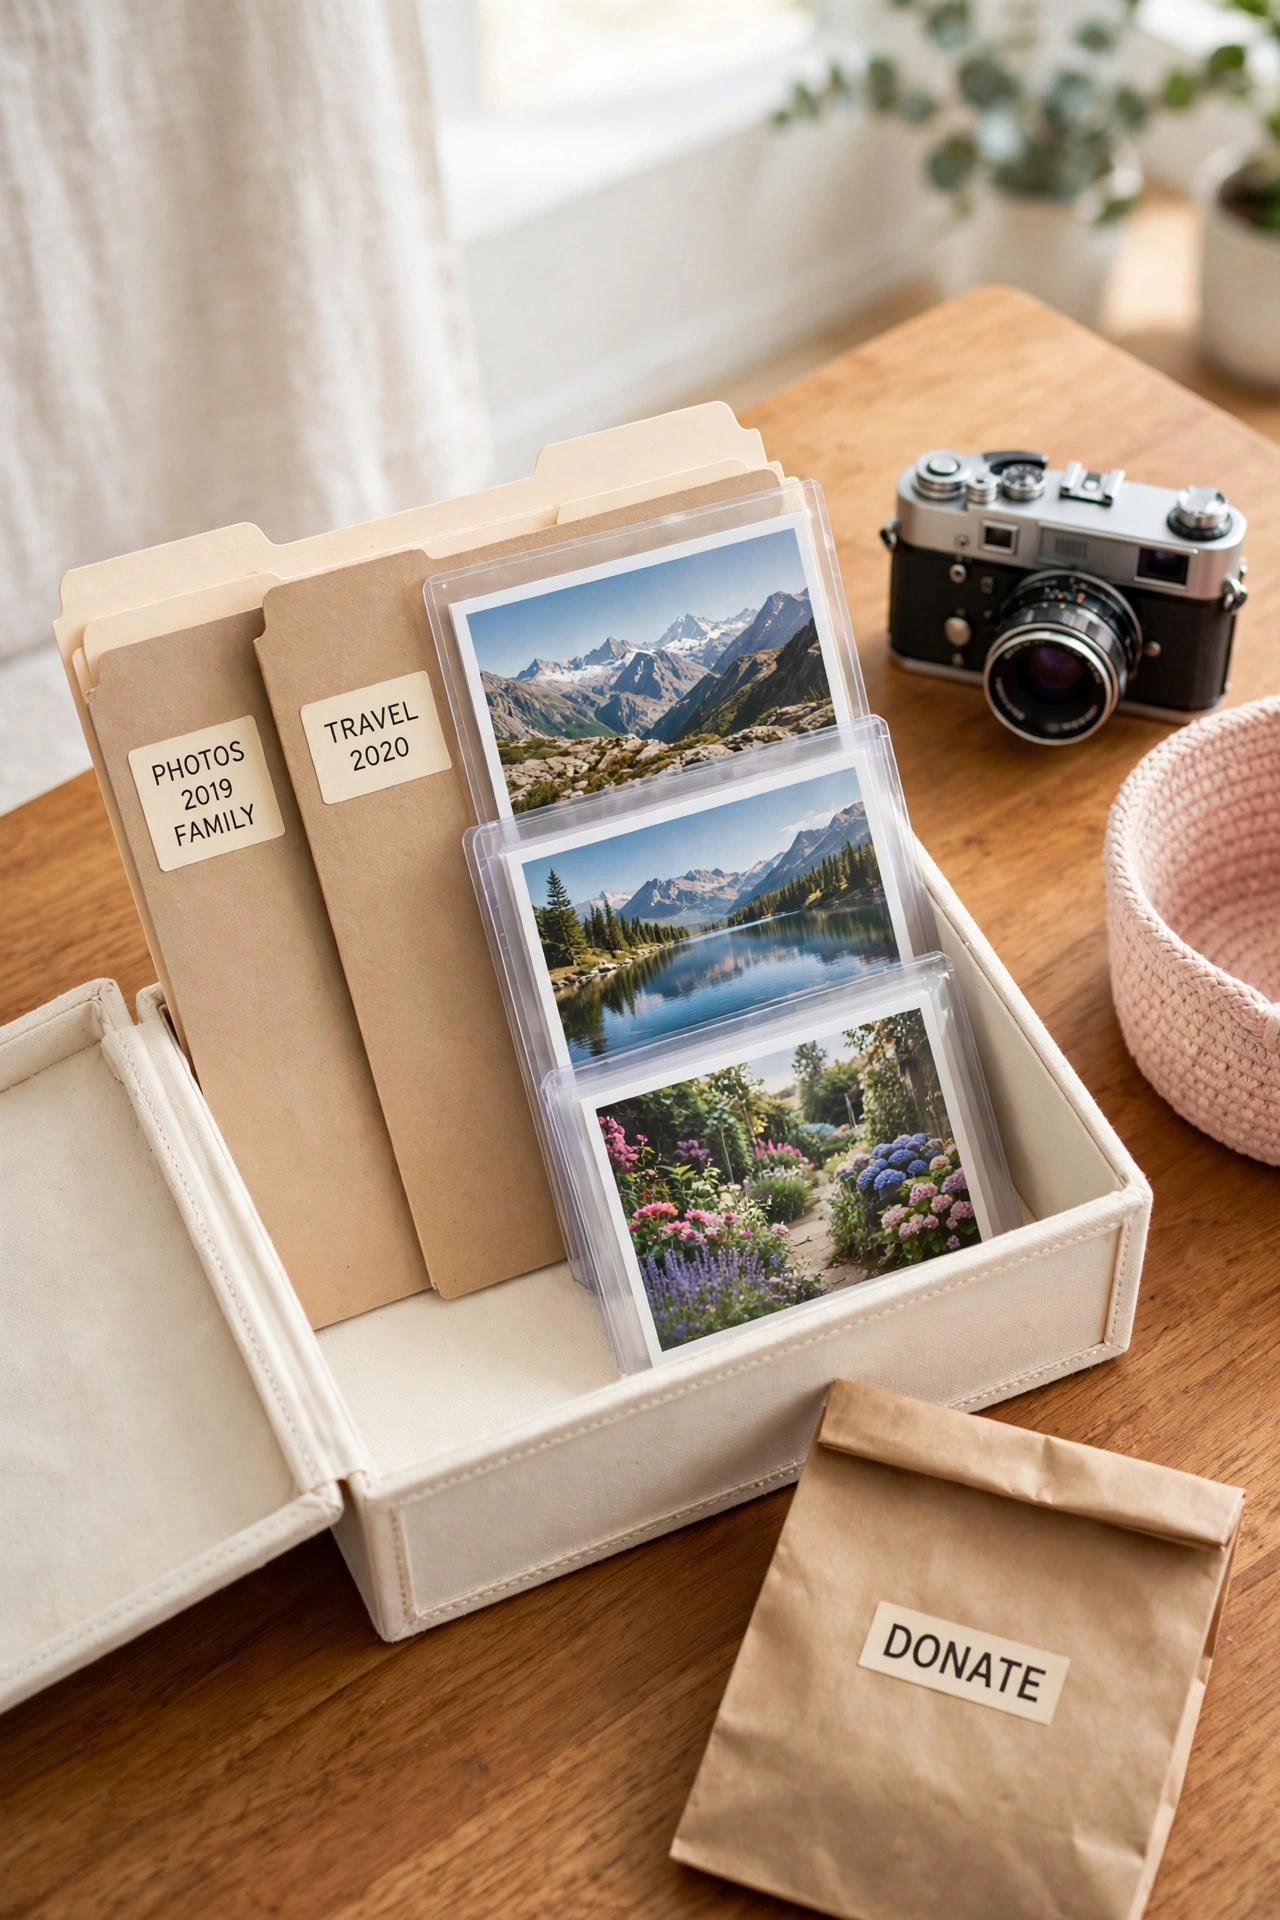
Printed photos fade and stick together when they sit loose in a box. Acid-free sleeves protect each photo from fingerprints, dust, and yellowing over time. Slip one photo into each sleeve and stand the sleeves upright like files.
Write the date and the names of the people in the photo on the sleeve with a soft pencil. Keep the sleeves in a photo-safe box away from sunlight and damp air. Your prints will stay bright and crisp for the next generation to enjoy.
5. Scan Old Photos Before You Store Them
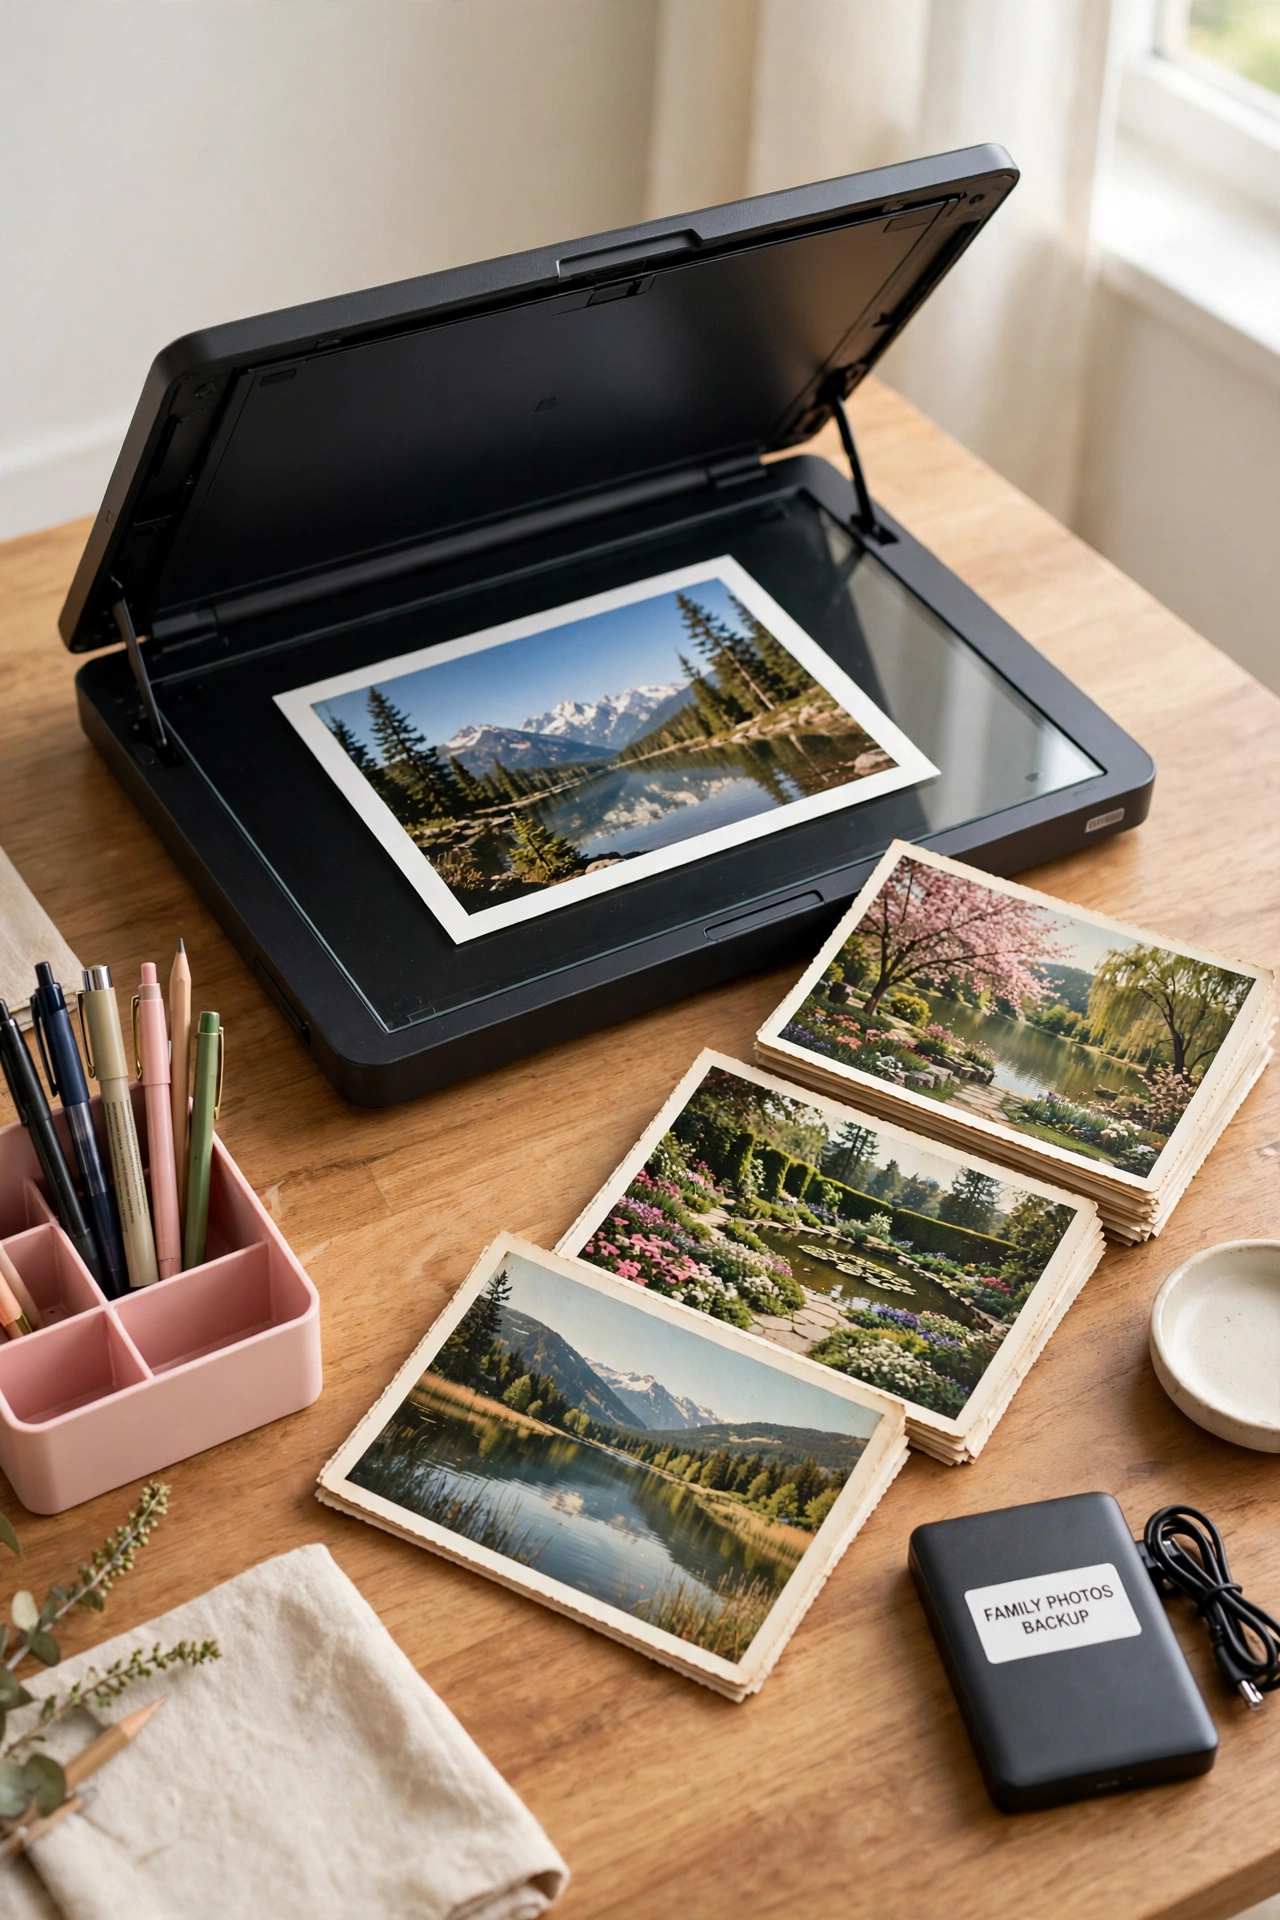
Scanning gives every printed photo a digital safety net. If a print fades, tears, or is lost in a move, the scanned copy keeps the memory safe. Scan at a high resolution so the digital file stays sharp when you print it again.
Name each scanned file with the year and event, such as “2018-beach-vacation,” so you can search for it later. For a full plan to sort thousands of pictures, see these digital photo organization ideas. Store the originals in sleeves and keep the scans backed up in two places.
6. Keep Handwritten Letters in Labeled Envelopes
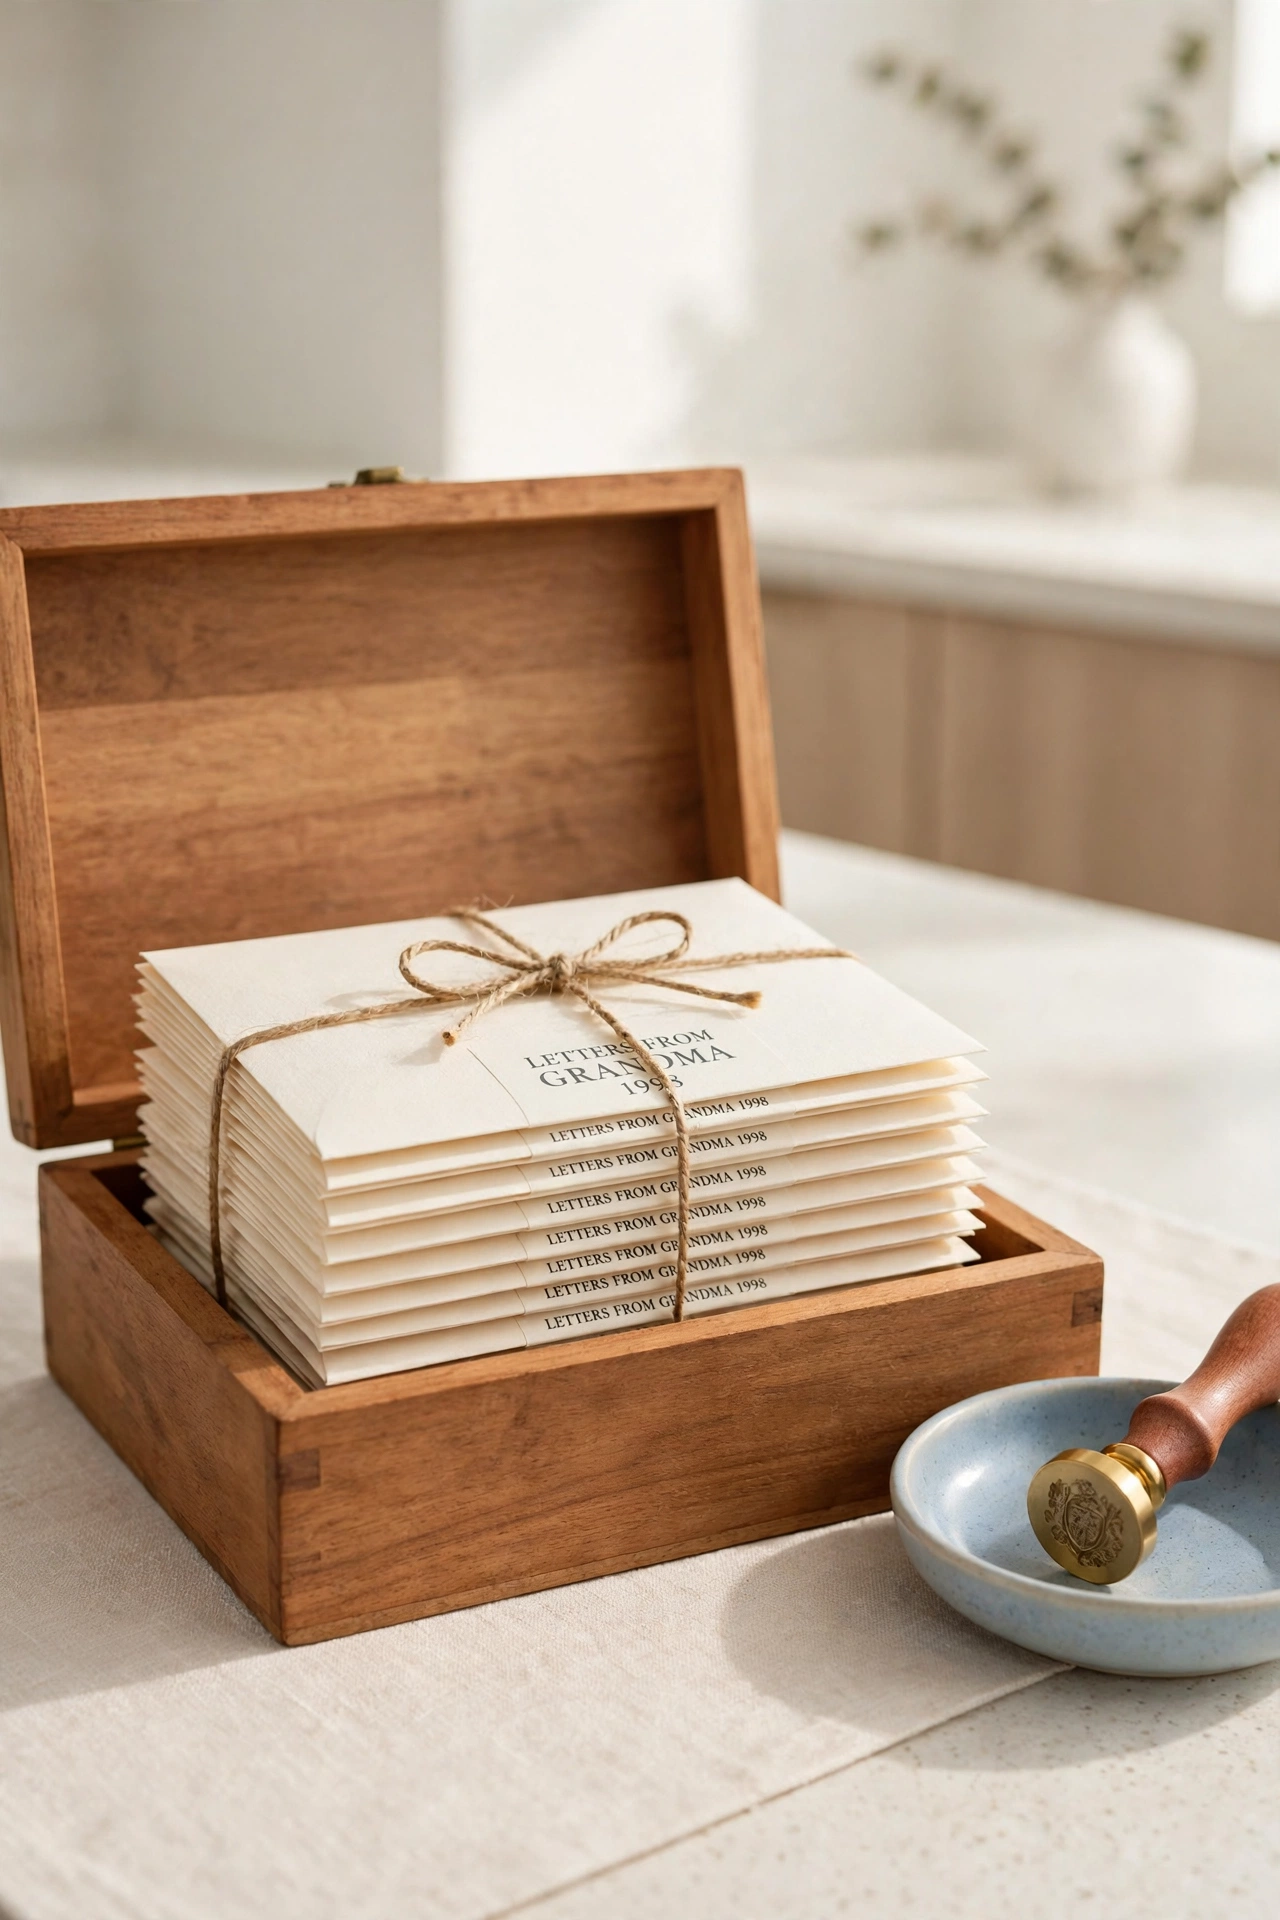
Handwritten letters are fragile, and folds can crack over time. Place each letter in its own envelope made from acid-free paper and write the sender, the date, and the occasion on the outside. The envelope protects the paper and tells you what is inside at a glance.
Stand the envelopes upright in a section of the memory box, oldest in front. Keep them away from direct sunlight so ink does not fade. Reading a letter years later feels like hearing the voice of the person who wrote it, and careful storage keeps that gift intact.
7. File School Work by Grade in Hanging Folders
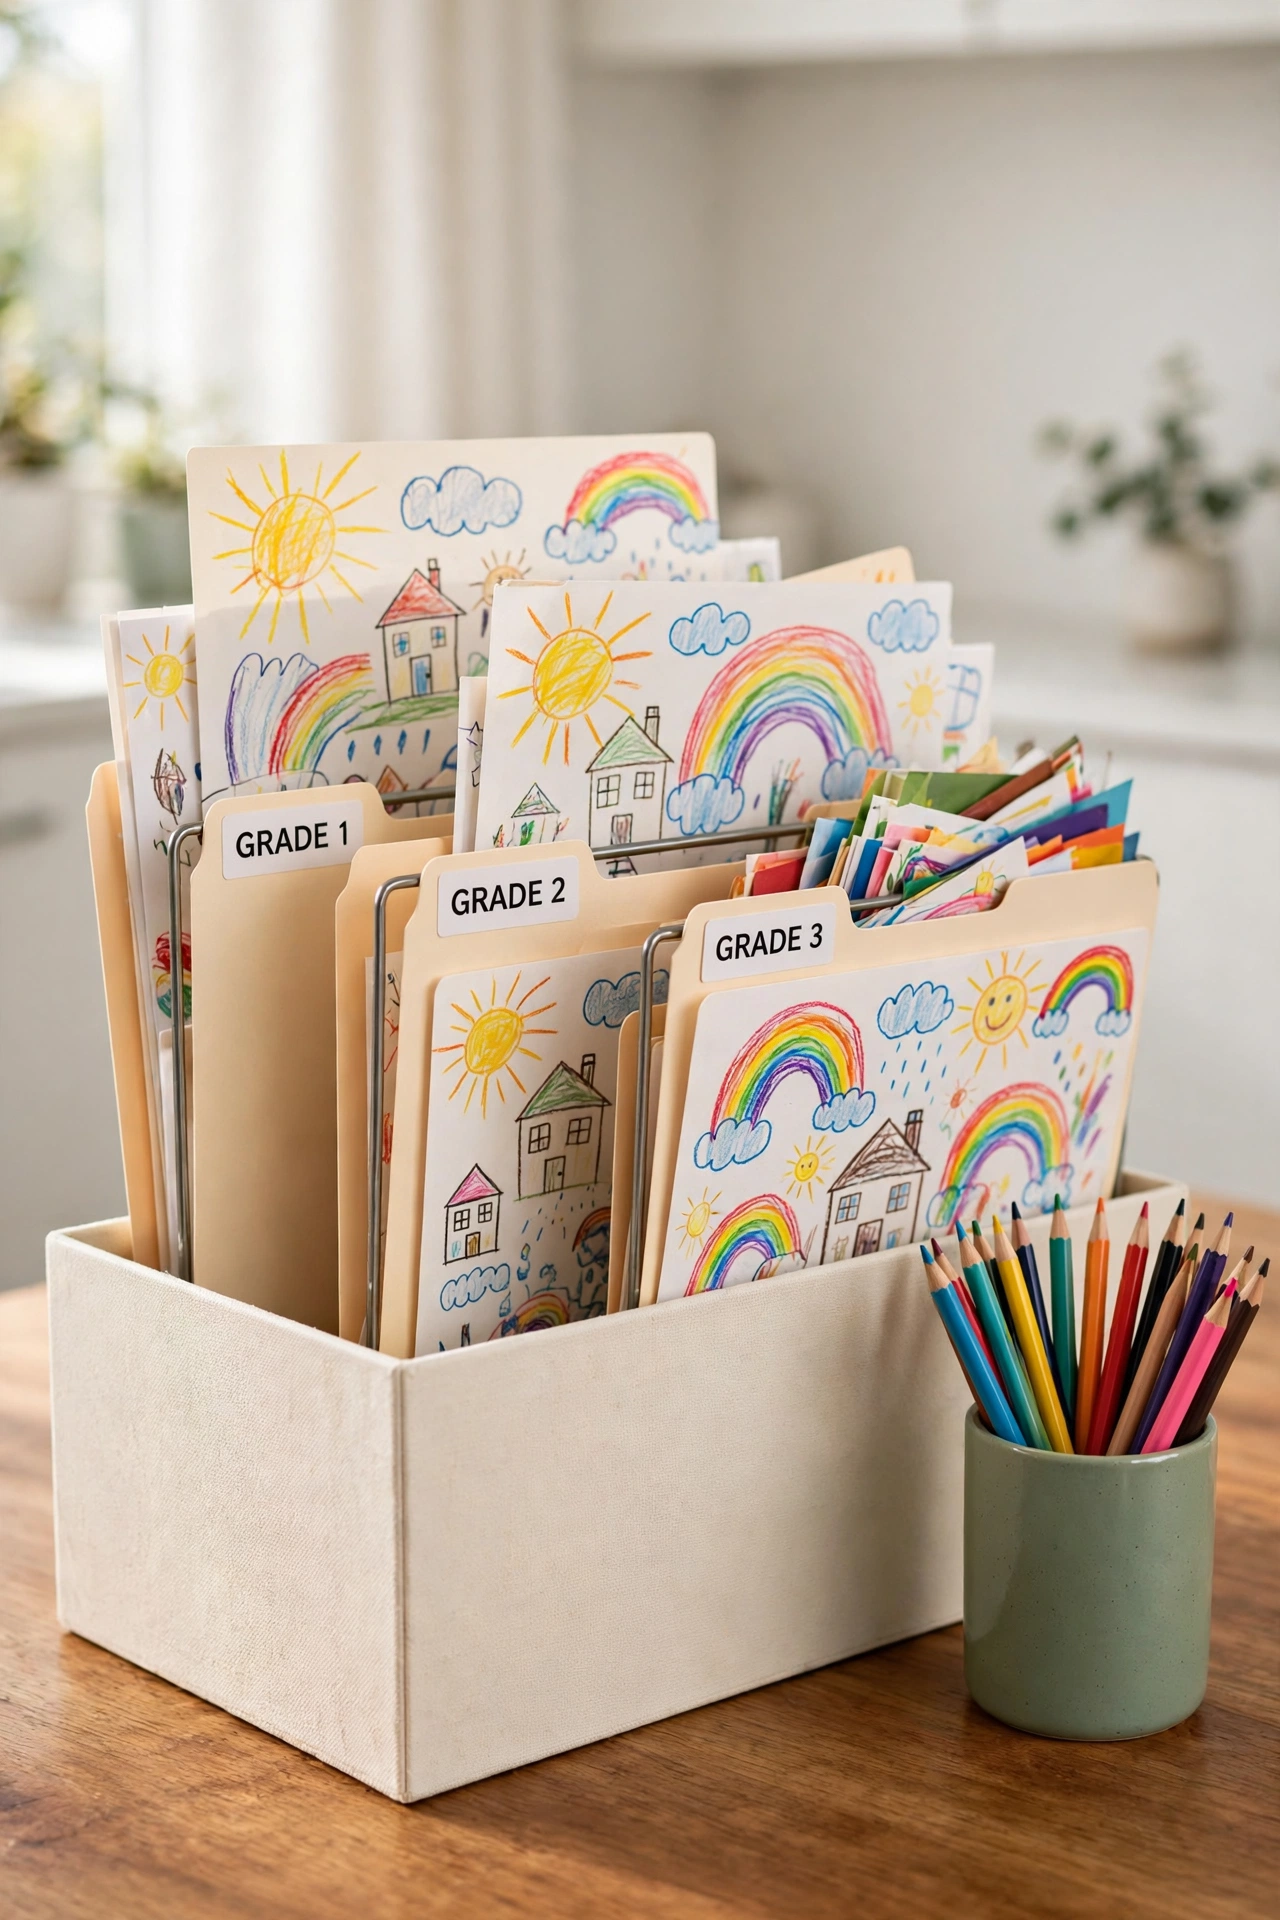
School papers multiply fast, and a single school year can fill a whole drawer. Give each grade its own hanging folder and keep only the best pieces: one proud essay, one art project, one report card. The folder holds the highlights of the year, not every worksheet.
Label each folder with the grade and school year, then hang the folders in order inside a file box. For more ways to tame the paper flood, see these school paper organization ideas. At the end of each school year, spend ten minutes choosing what earns a place in the folder.
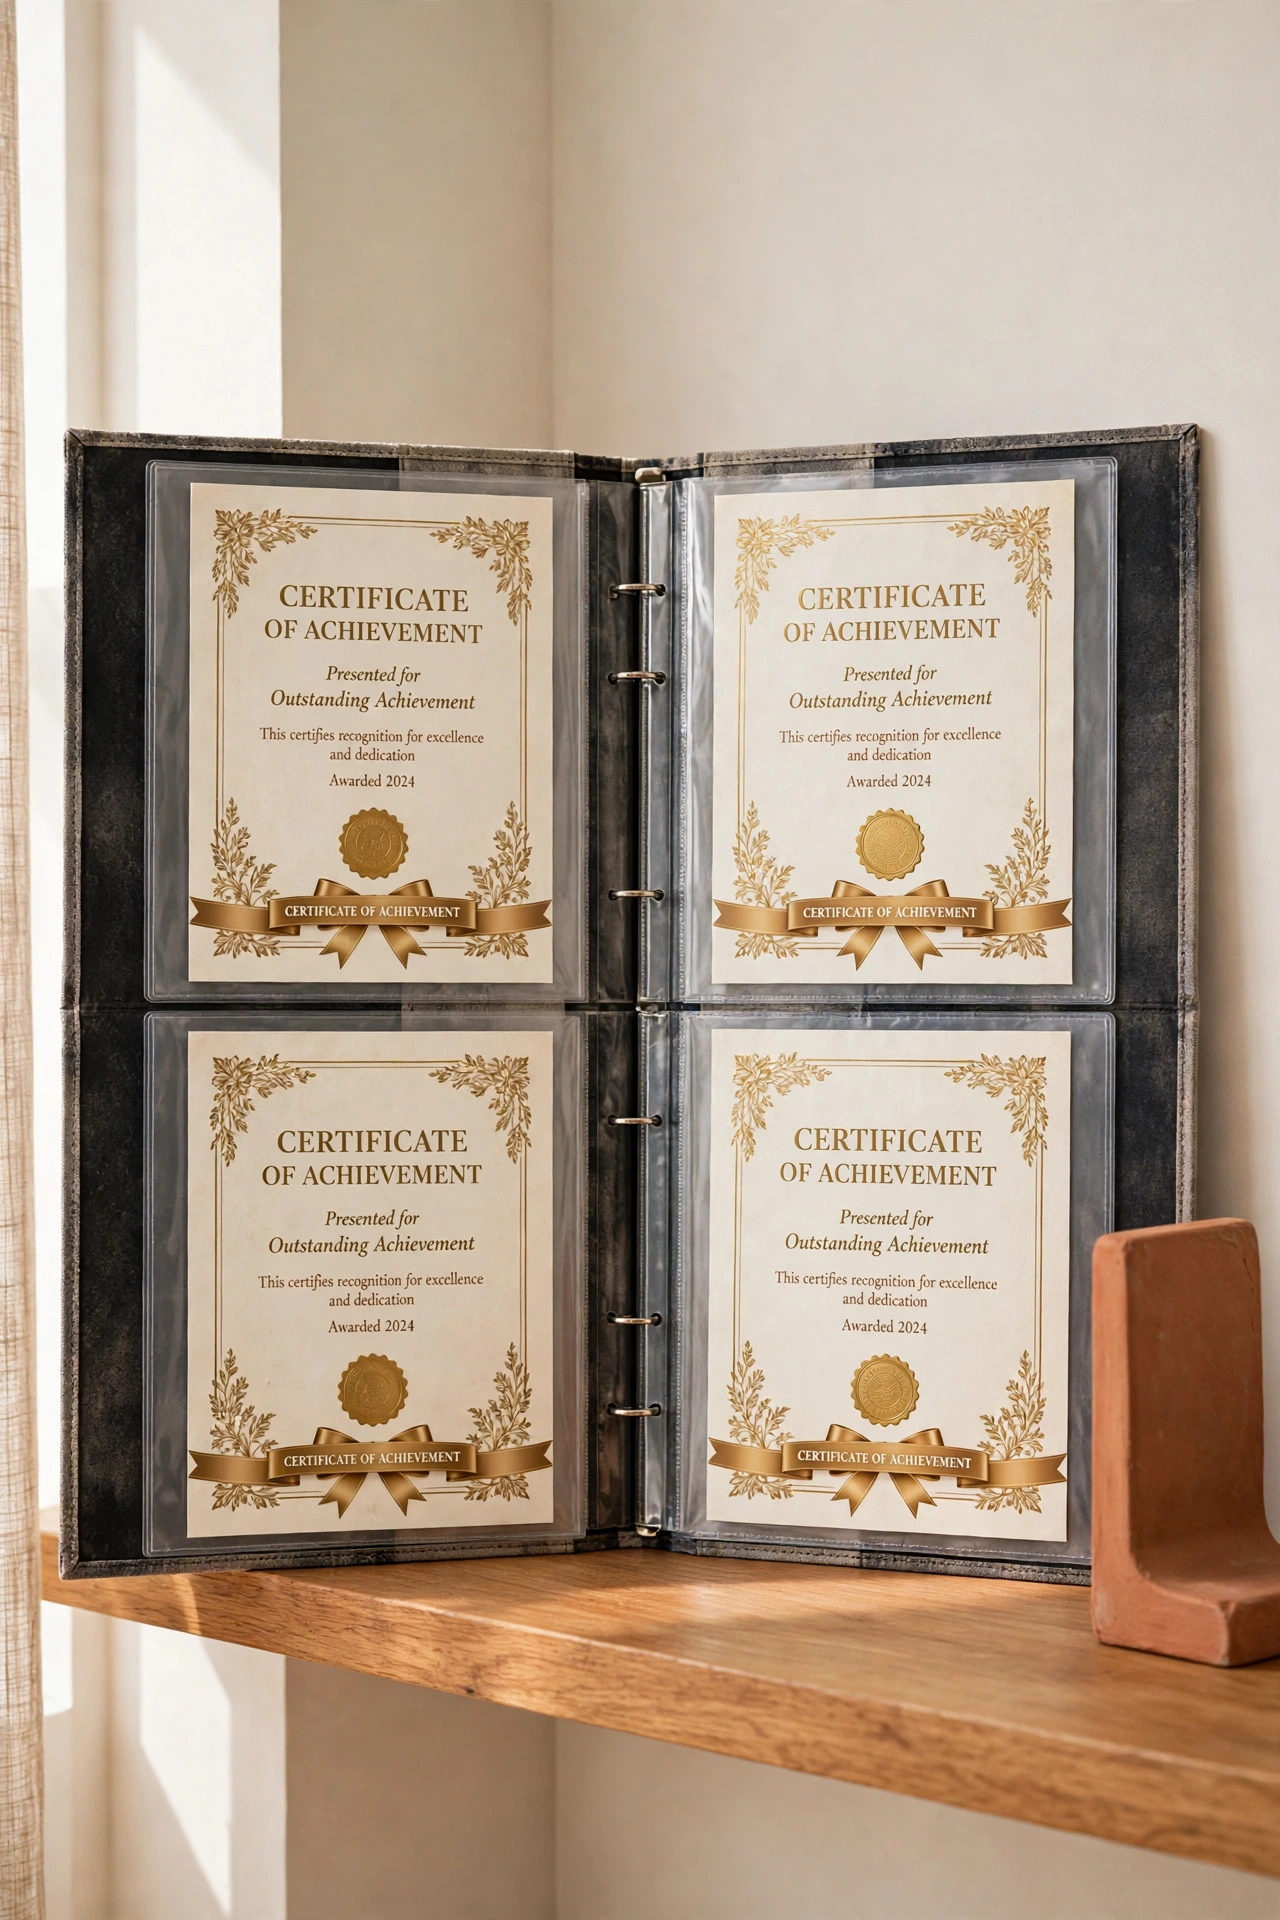
8. Store Awards and Certificates Flat in a Portfolio
Rolled certificates curl and crease, and framed awards take up wall space you may not have. A flat art portfolio with clear sleeves keeps certificates smooth, visible, and protected. Slide one award into each sleeve and you can flip through years of achievements like a book.
Sort the sleeves by year or by family member, whichever feels natural to you. Keep the portfolio on a shelf where it stays dry and out of sunlight. When a new certificate arrives, it takes only a minute to add it to the right sleeve.
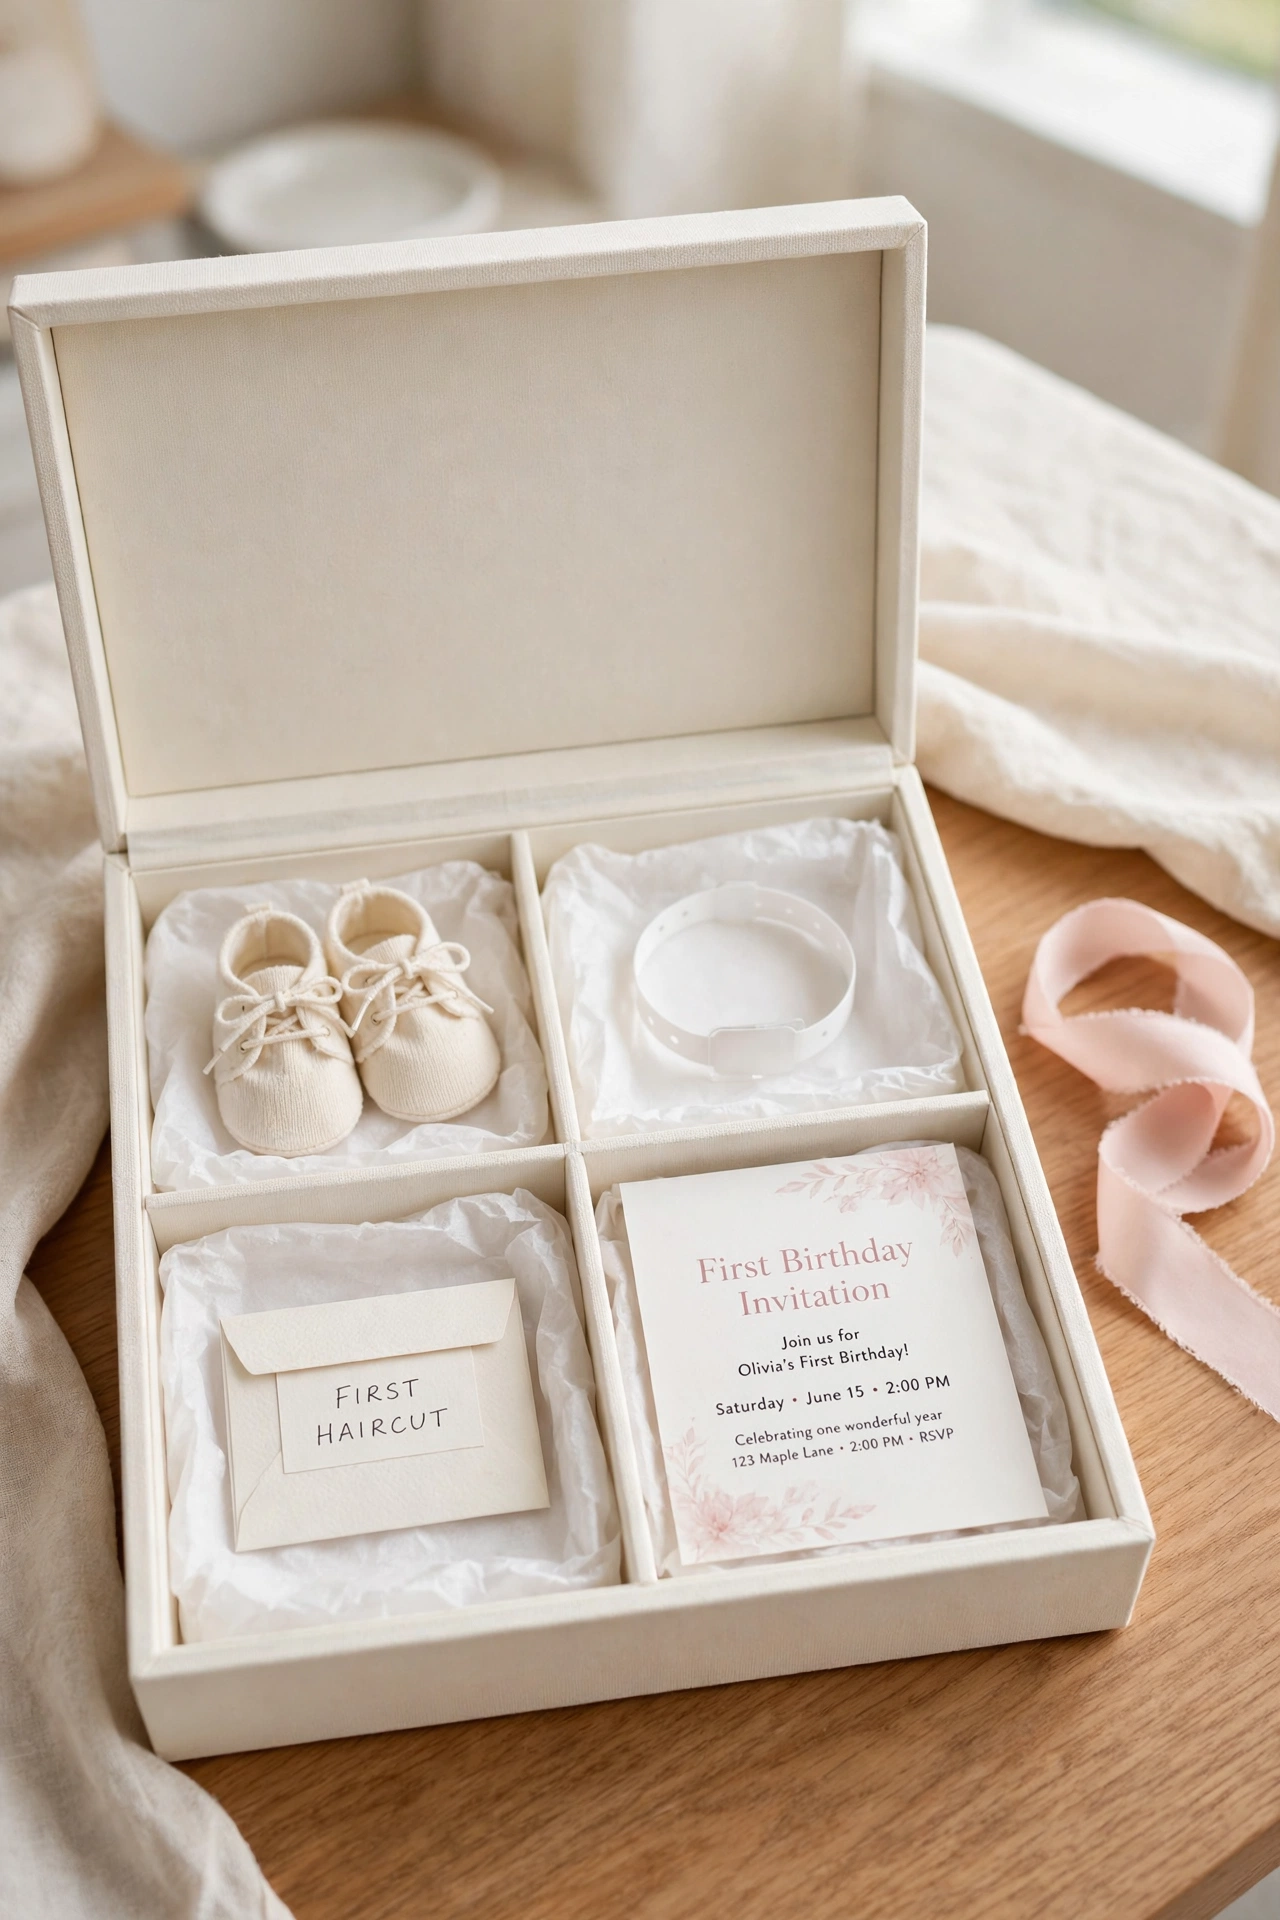
9. Save Baby Firsts in a Dedicated Keepsake Box
Baby keepsakes deserve a box of their own because they are small, delicate, and deeply precious. A hospital bracelet, a first lock of hair, a first pair of shoes, and the first birthday invitation all belong together in one protected place. A dedicated box keeps these firsts from being lost among everyday clutter.
Line the box with soft acid-free tissue and nestle each item in its own small compartment or pouch. Add a card that records the date and story behind each item while the memory is fresh. Years from now, that card will matter as much as the keepsake itself.
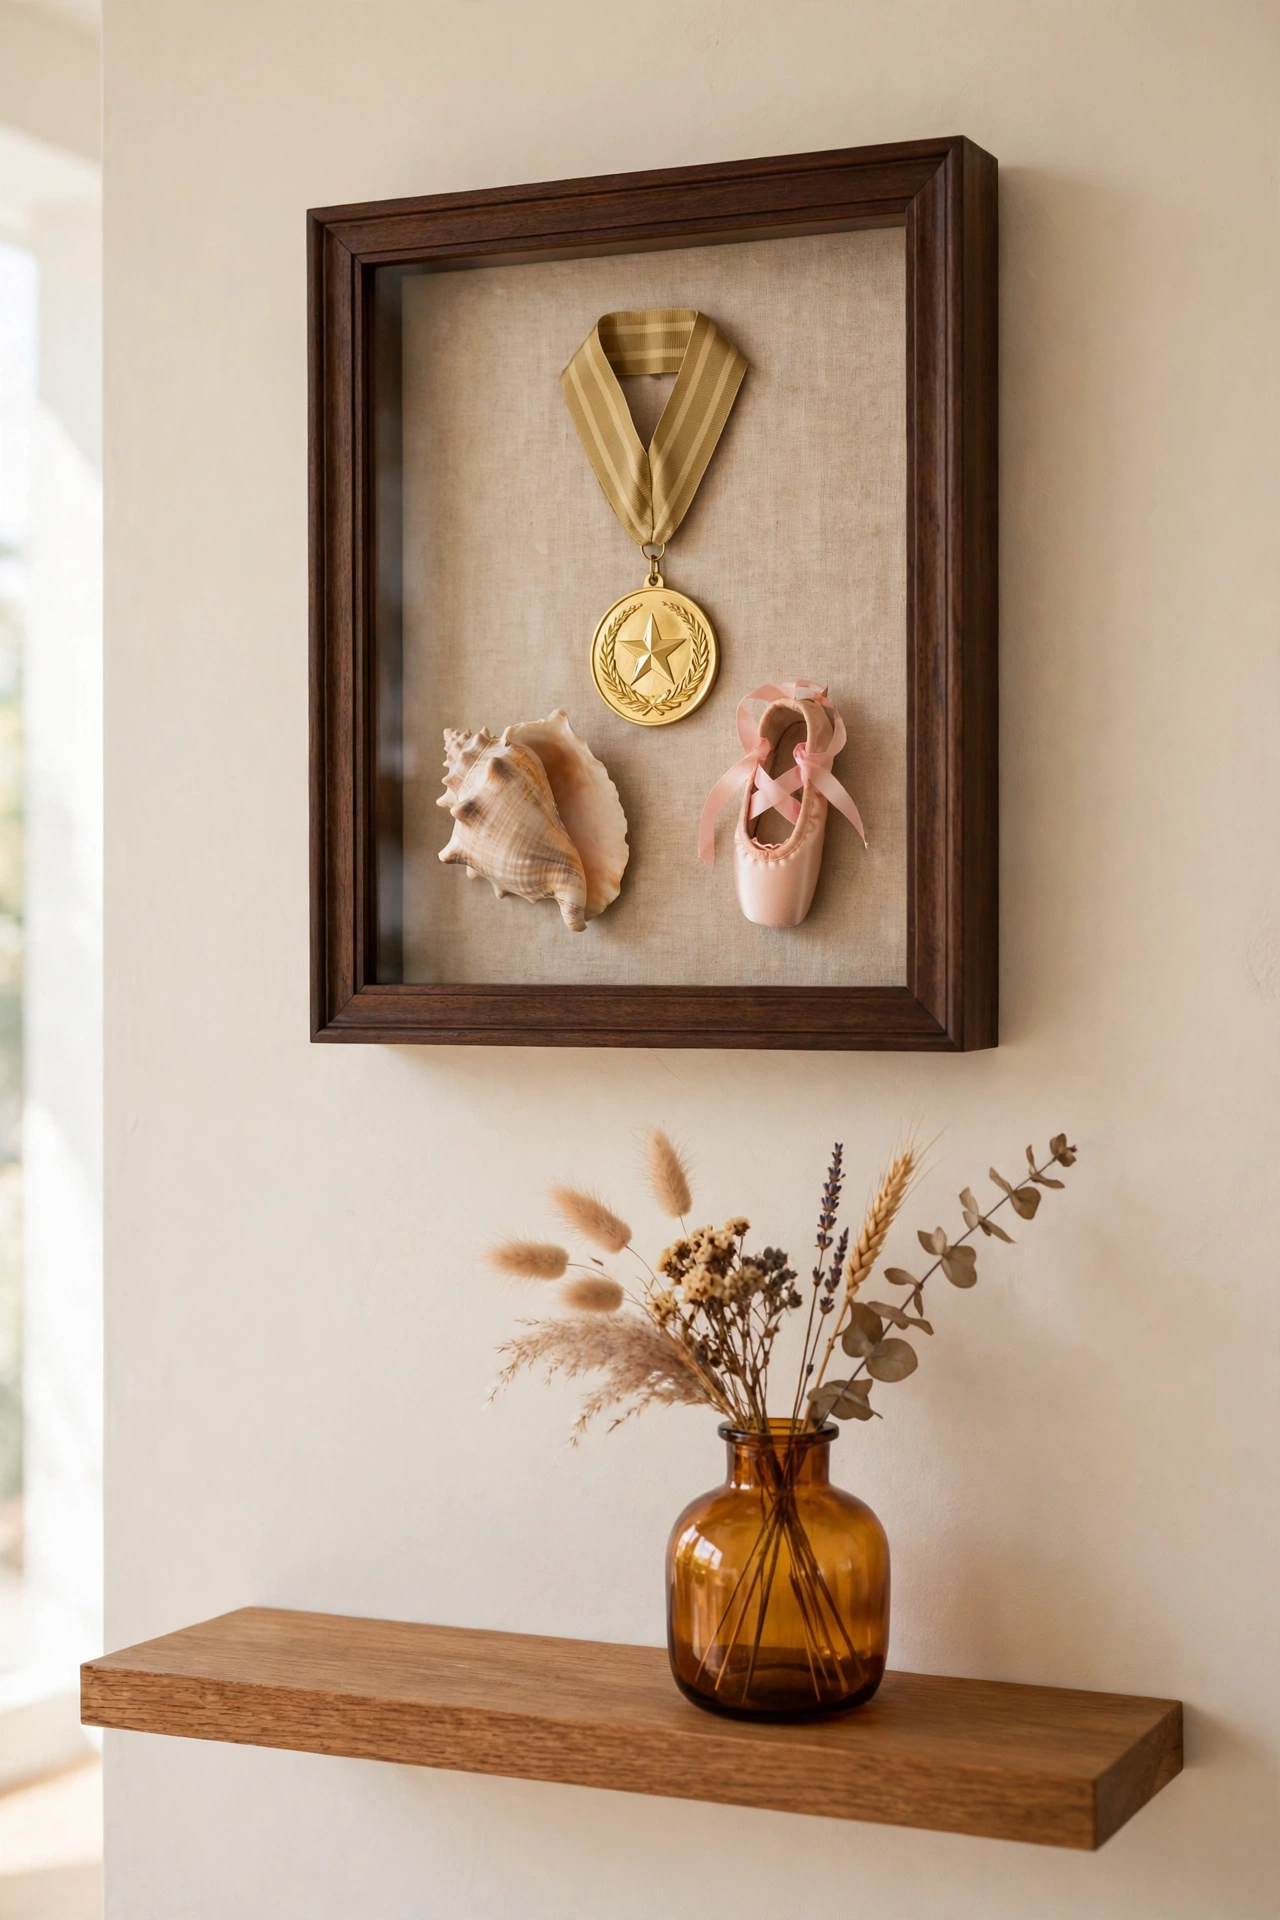
10. Use a Shadow Box for Three-Dimensional Treasures
Some keepsakes are too bulky for a flat box: a championship medal, a seashell from a family trip, a tiny pair of ballet shoes. A shadow box gives these objects a deep frame where they can sit safely on display. The glass front keeps dust away while the treasure stays visible.
Arrange two or three related items in each shadow box so the display tells one clear story. Hang the box on a wall or stand it on a shelf where it can be admired. A shadow box turns storage into decor and keeps the memory part of daily life.
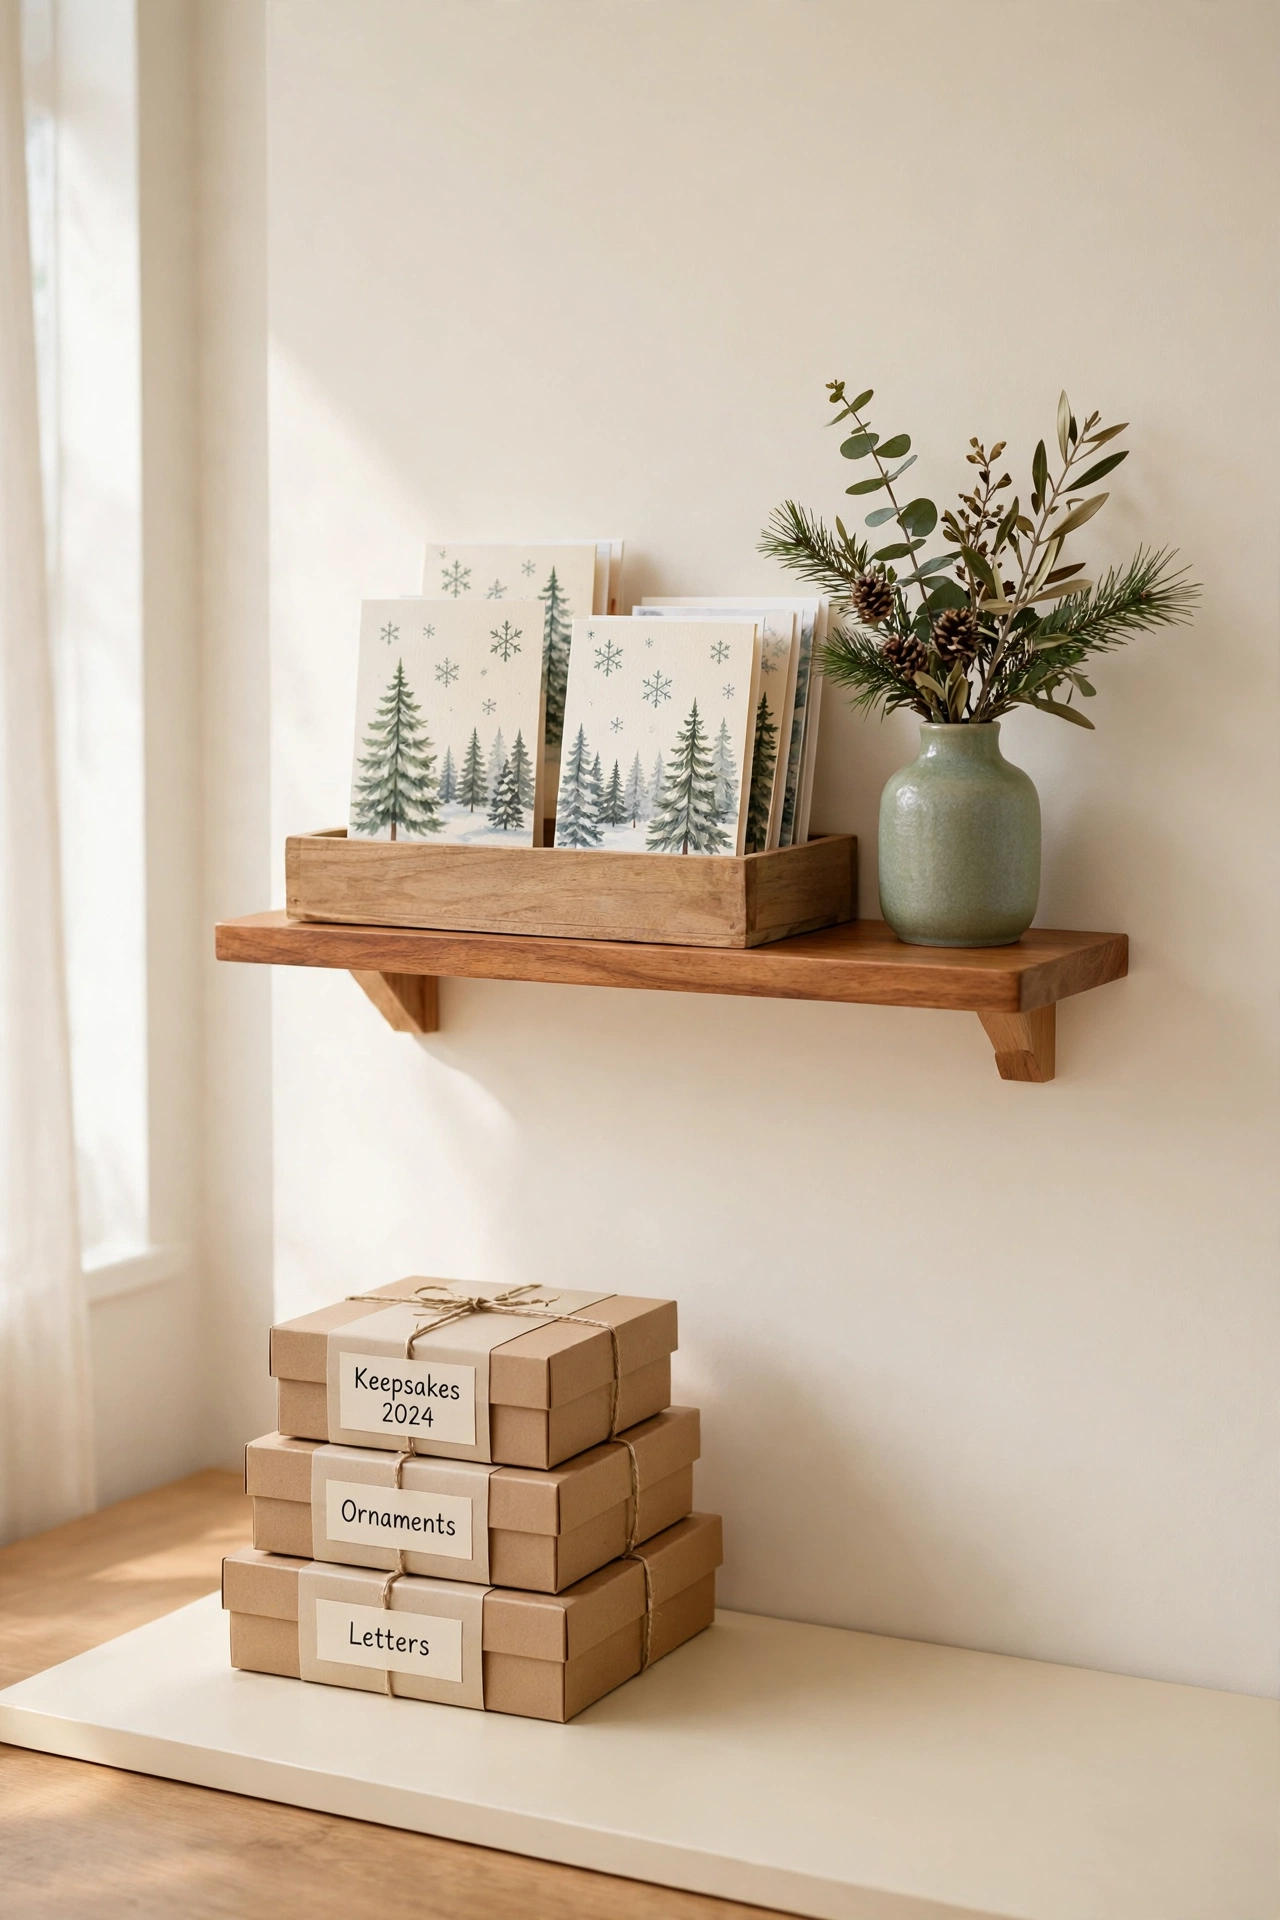
11. Rotate Displayed Keepsakes With the Seasons
You do not need to display every keepsake at once. Choose a small shelf or tray as your display spot and change the featured items four times a year. Winter can show holiday cards, spring can show school art, and summer can show travel treasures.
Keep the items that are not on display in their labeled boxes, ready for their turn. Rotation keeps the display fresh and gives every keepsake a moment in the spotlight. For creative ways to show children’s work, see these kids art display ideas. Your home stays tidy while your memories stay visible.
12. Create a Family Timeline Shelf
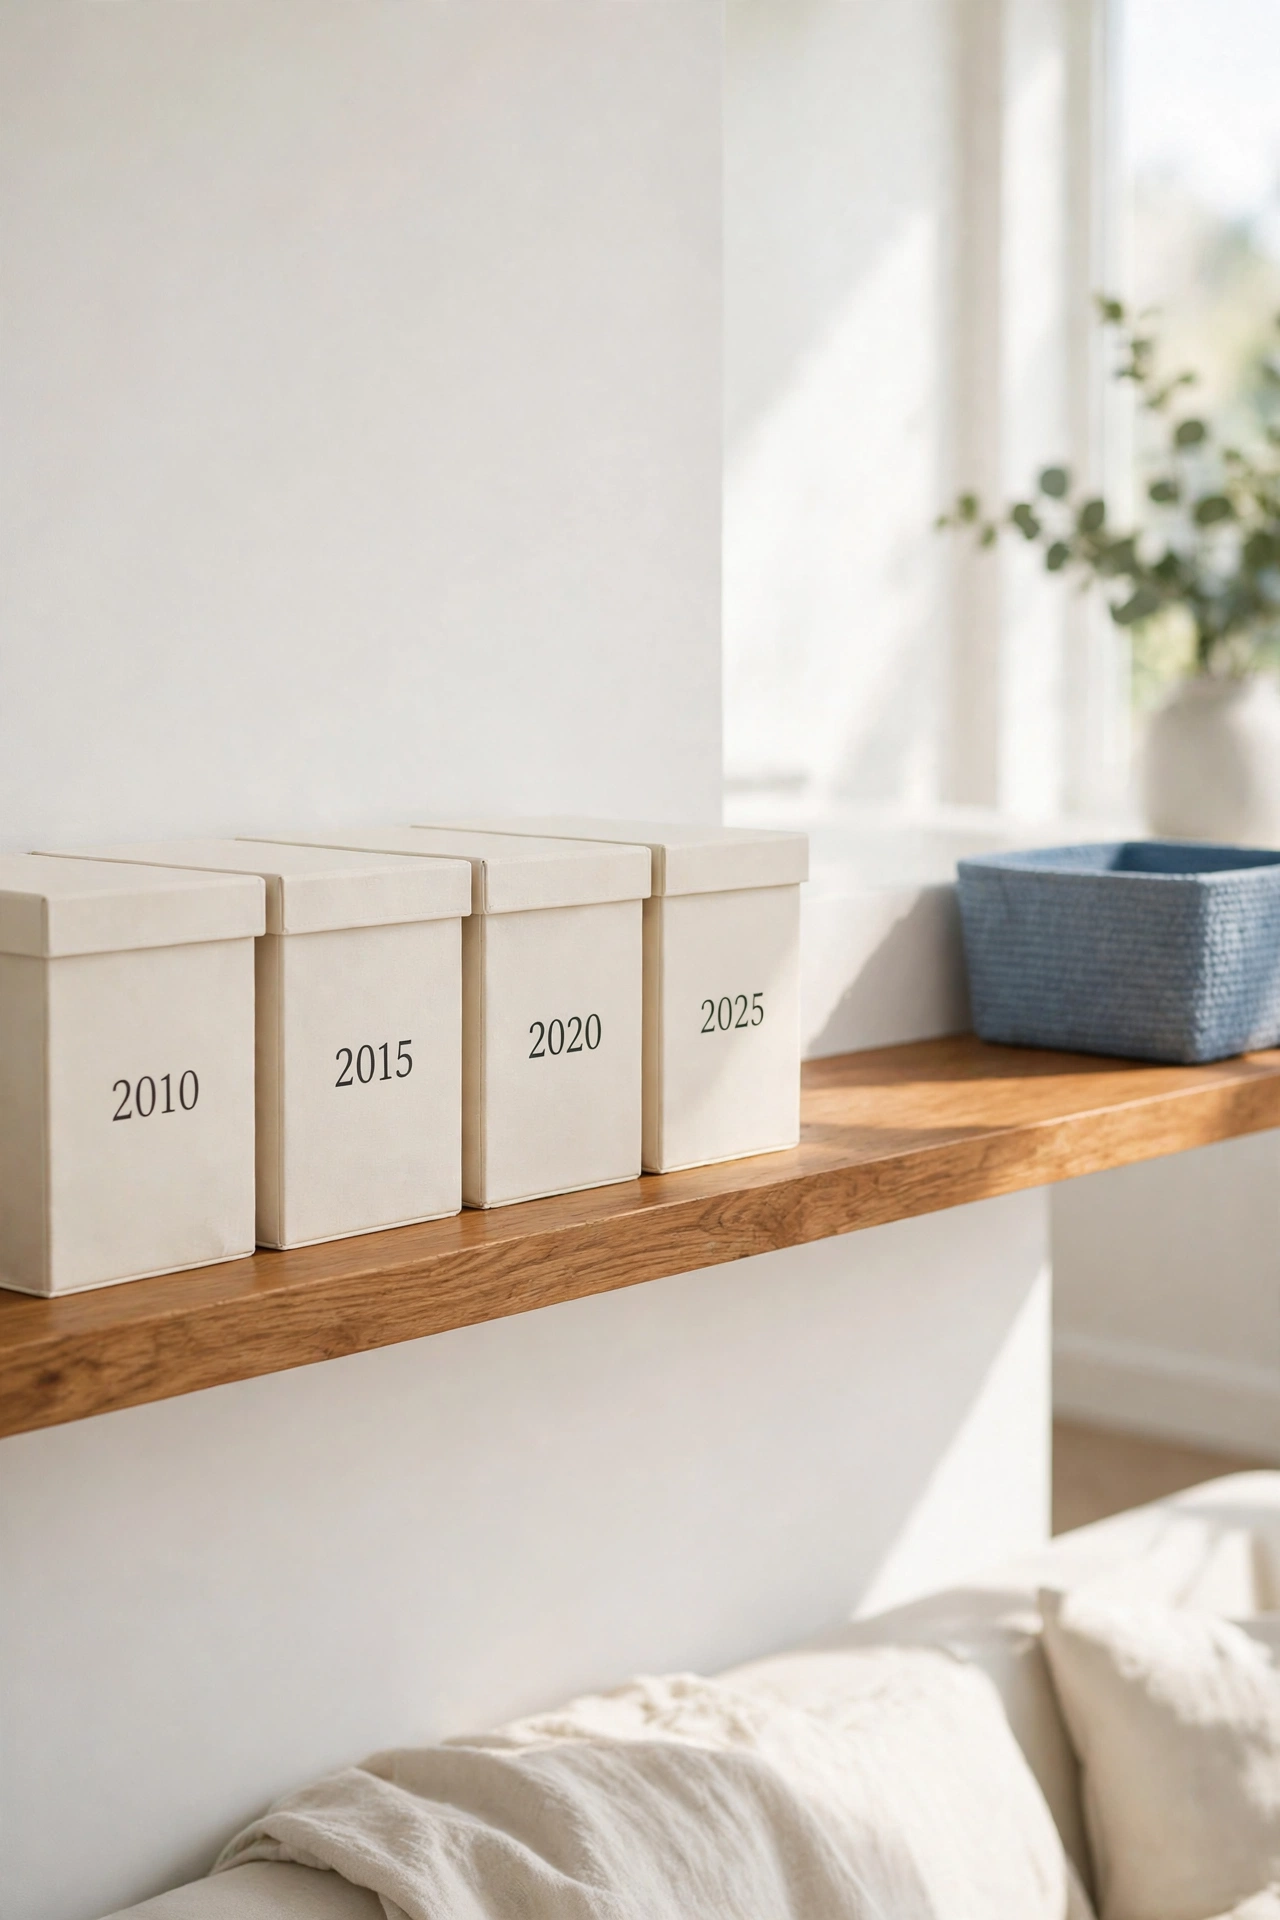
A timeline shelf turns a row of memory boxes into the story of your family. Arrange the boxes from left to right in year order, starting with the oldest memories and ending with the newest. The shelf becomes a visual journey through the years.
Add a small year label to the front of each box so the order is clear. Leave a little space at the end of the shelf for the next box in the story. Guests and grandchildren can walk along the shelf and watch your family grow.
13. Store Holiday Cards in a Bound Keepsake Binder
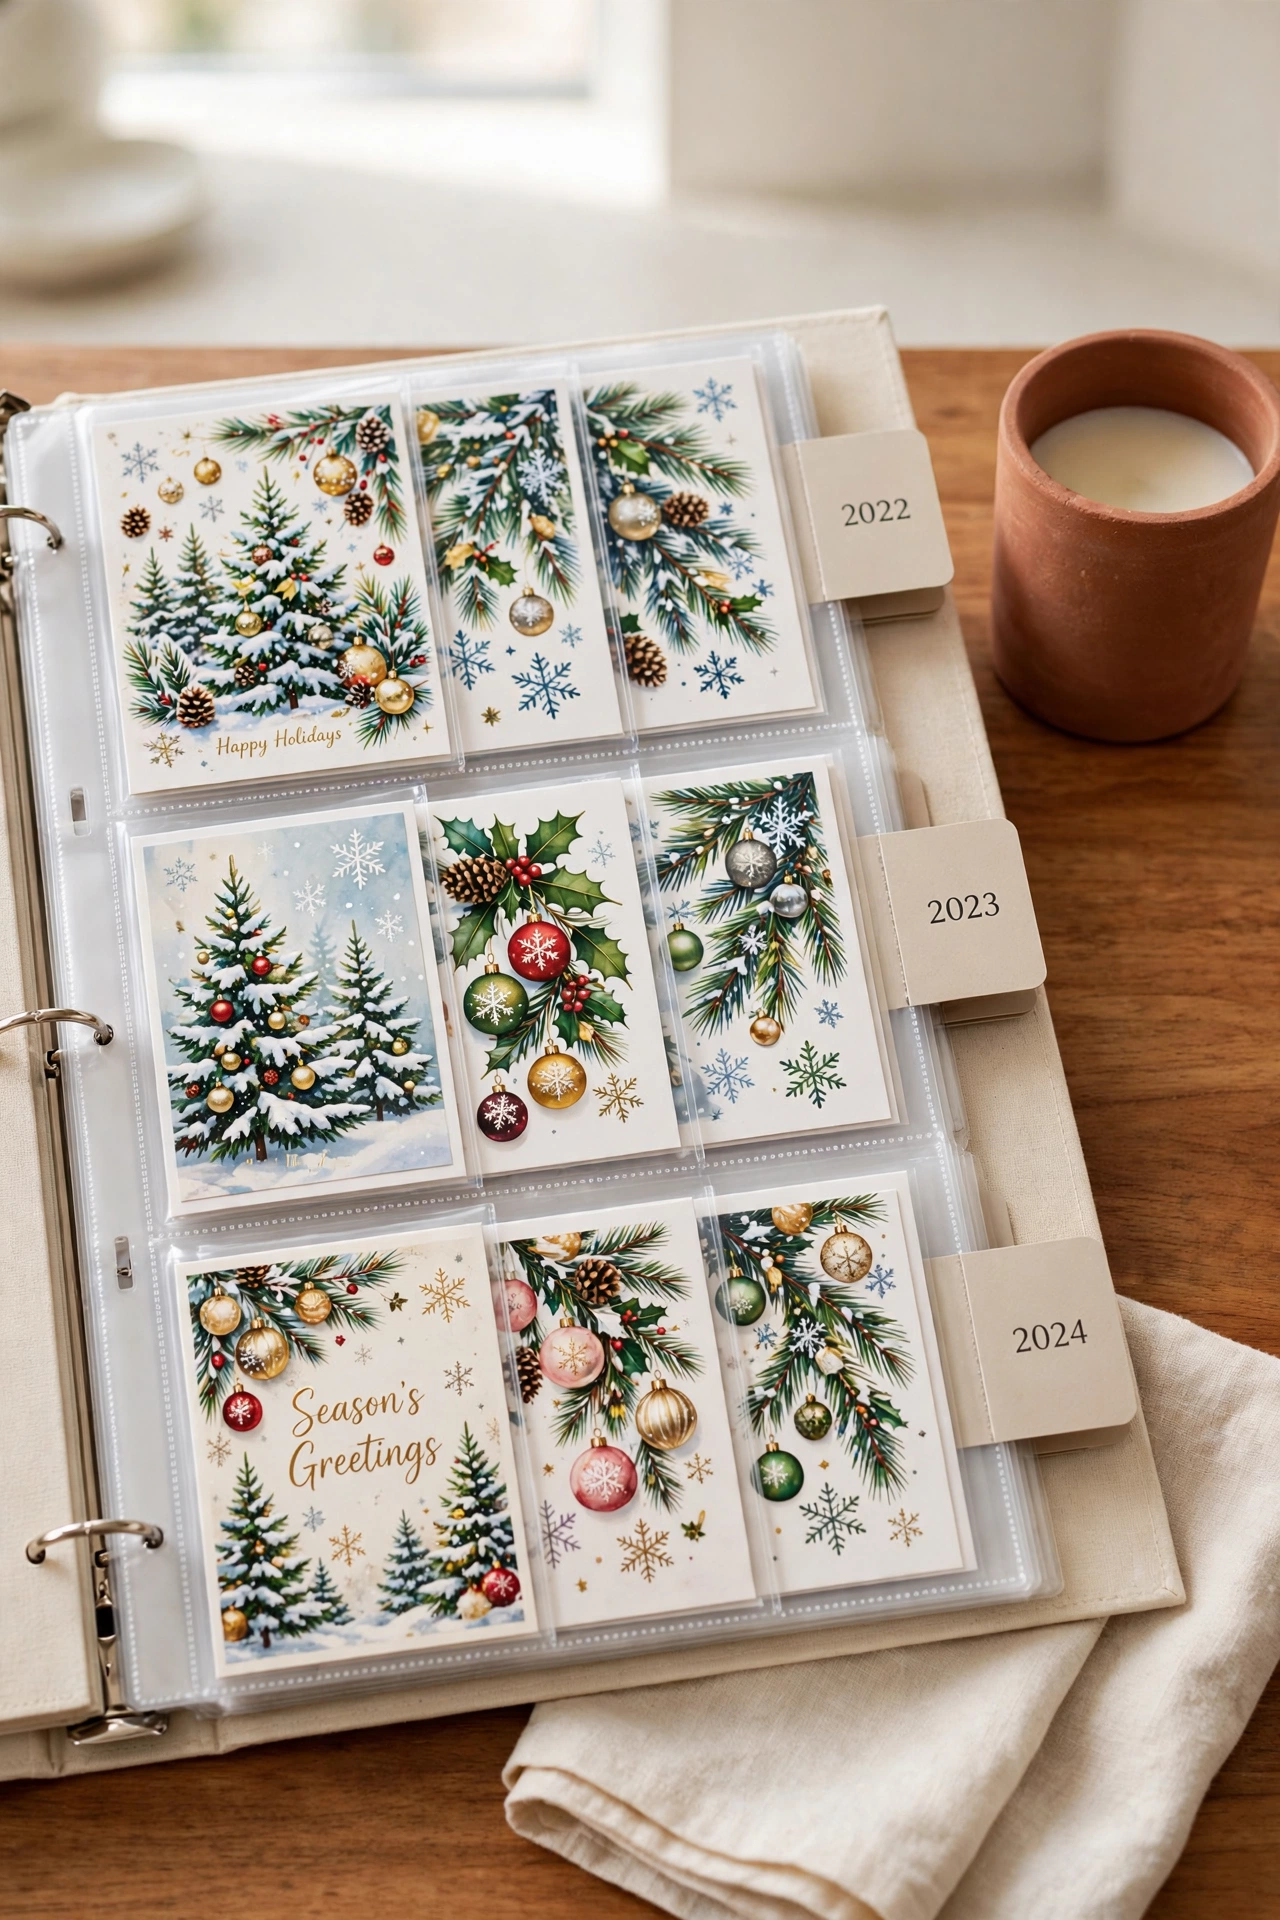
Holiday cards arrive every year and pile up in drawers if they have no home. A binder with clear pocket pages holds one card per pocket and keeps the whole collection in order. You can flip through decades of holiday greetings in a few minutes.
Sort the cards by year, with the newest year at the back of the binder. Write the year on a divider tab so you can jump to any season. The binder protects the cards from bending and fading while keeping them easy to share at family gatherings.
14. Keep a Written Inventory Card Inside Each Lid
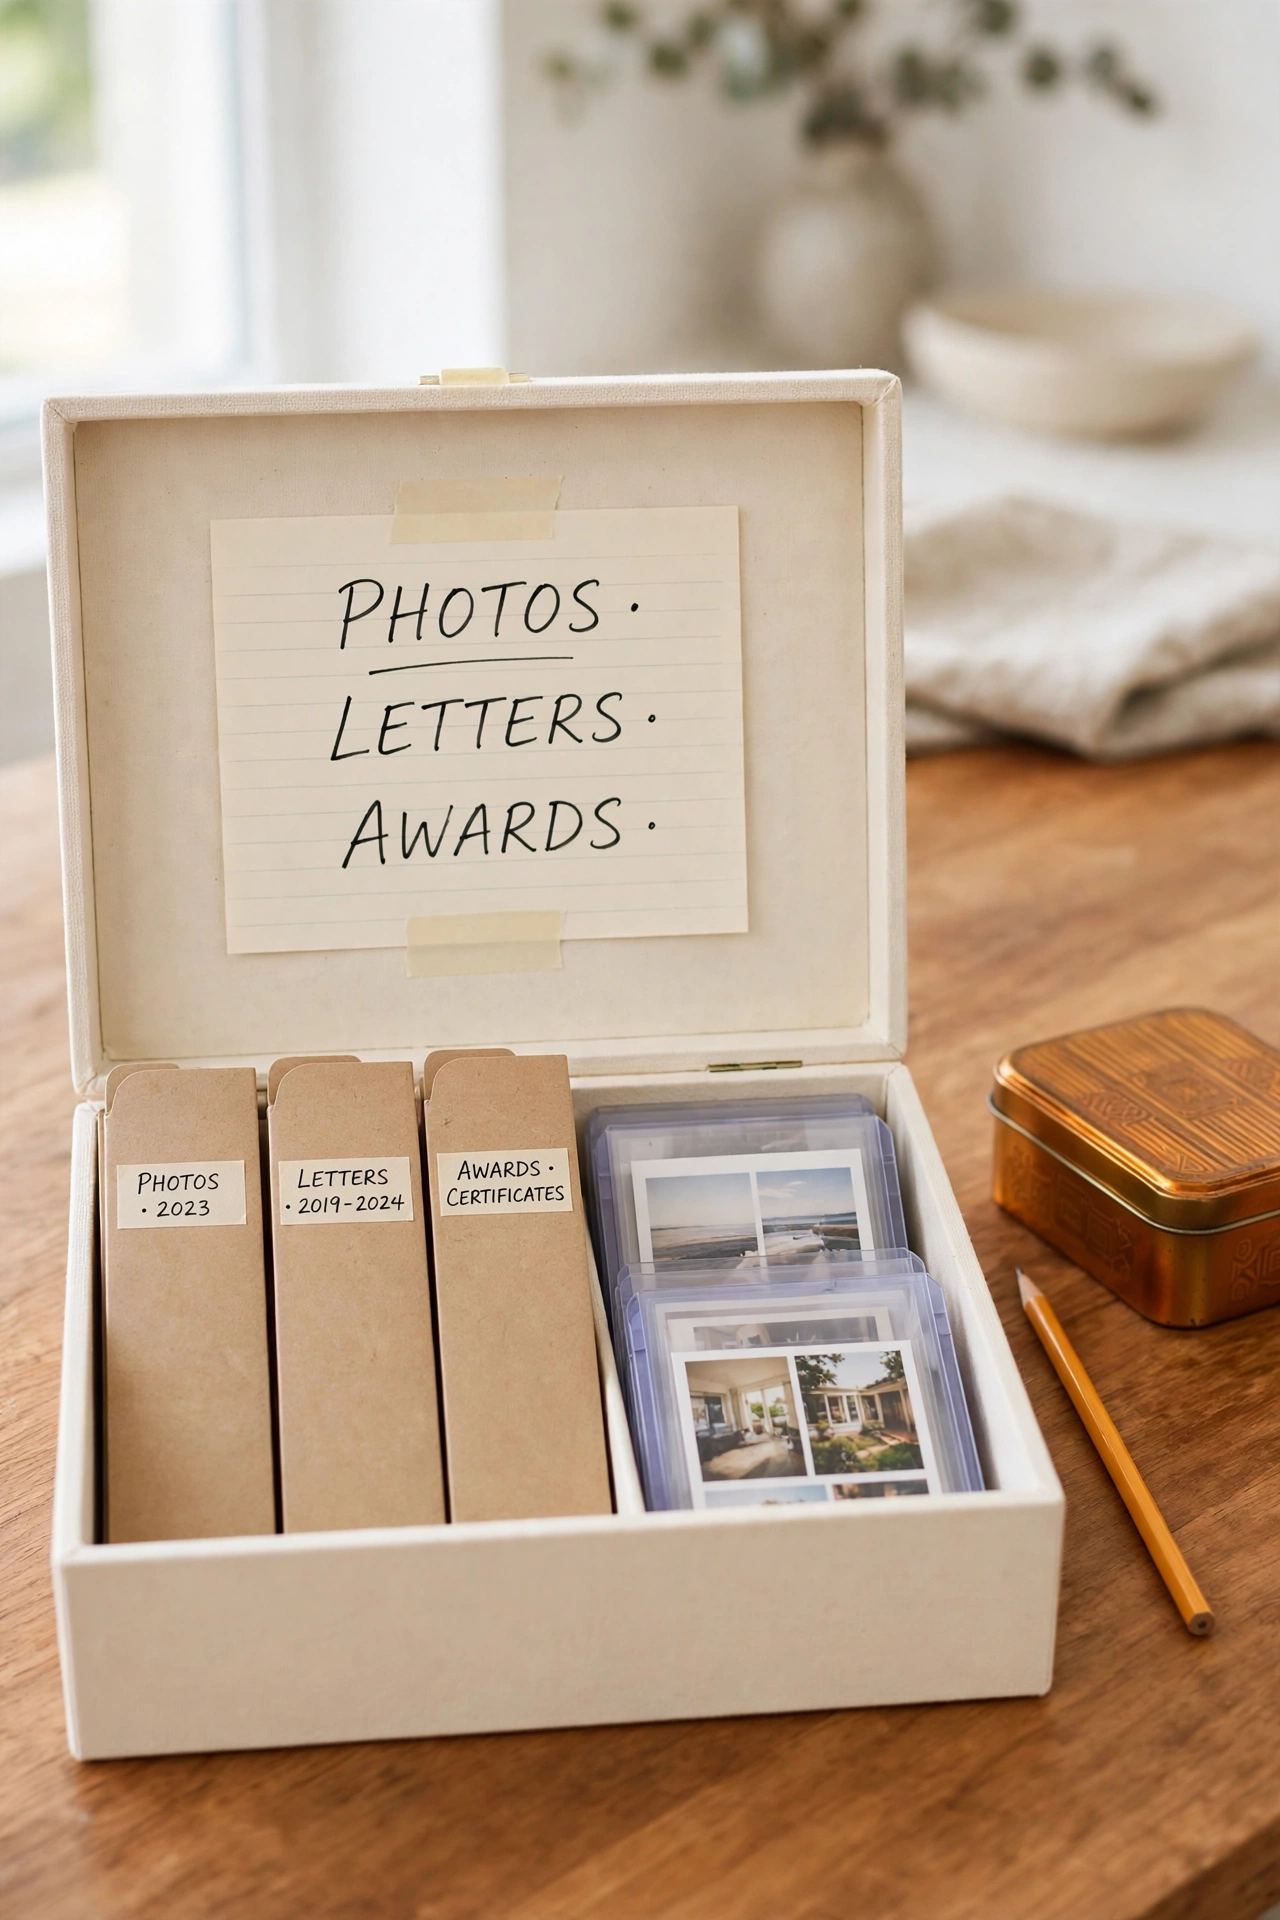
An inventory card taped inside the lid tells you what is in the box without opening it. List the main sections and a few standout items on a simple index card. The card saves you from opening five boxes to find one keepsake.
Update the card whenever you add or remove something important. Use a pencil so changes are easy to make. A good inventory card turns a shelf of identical boxes into a library you can search with your eyes.
15. Use Clear Bins So You Can See Every Treasure
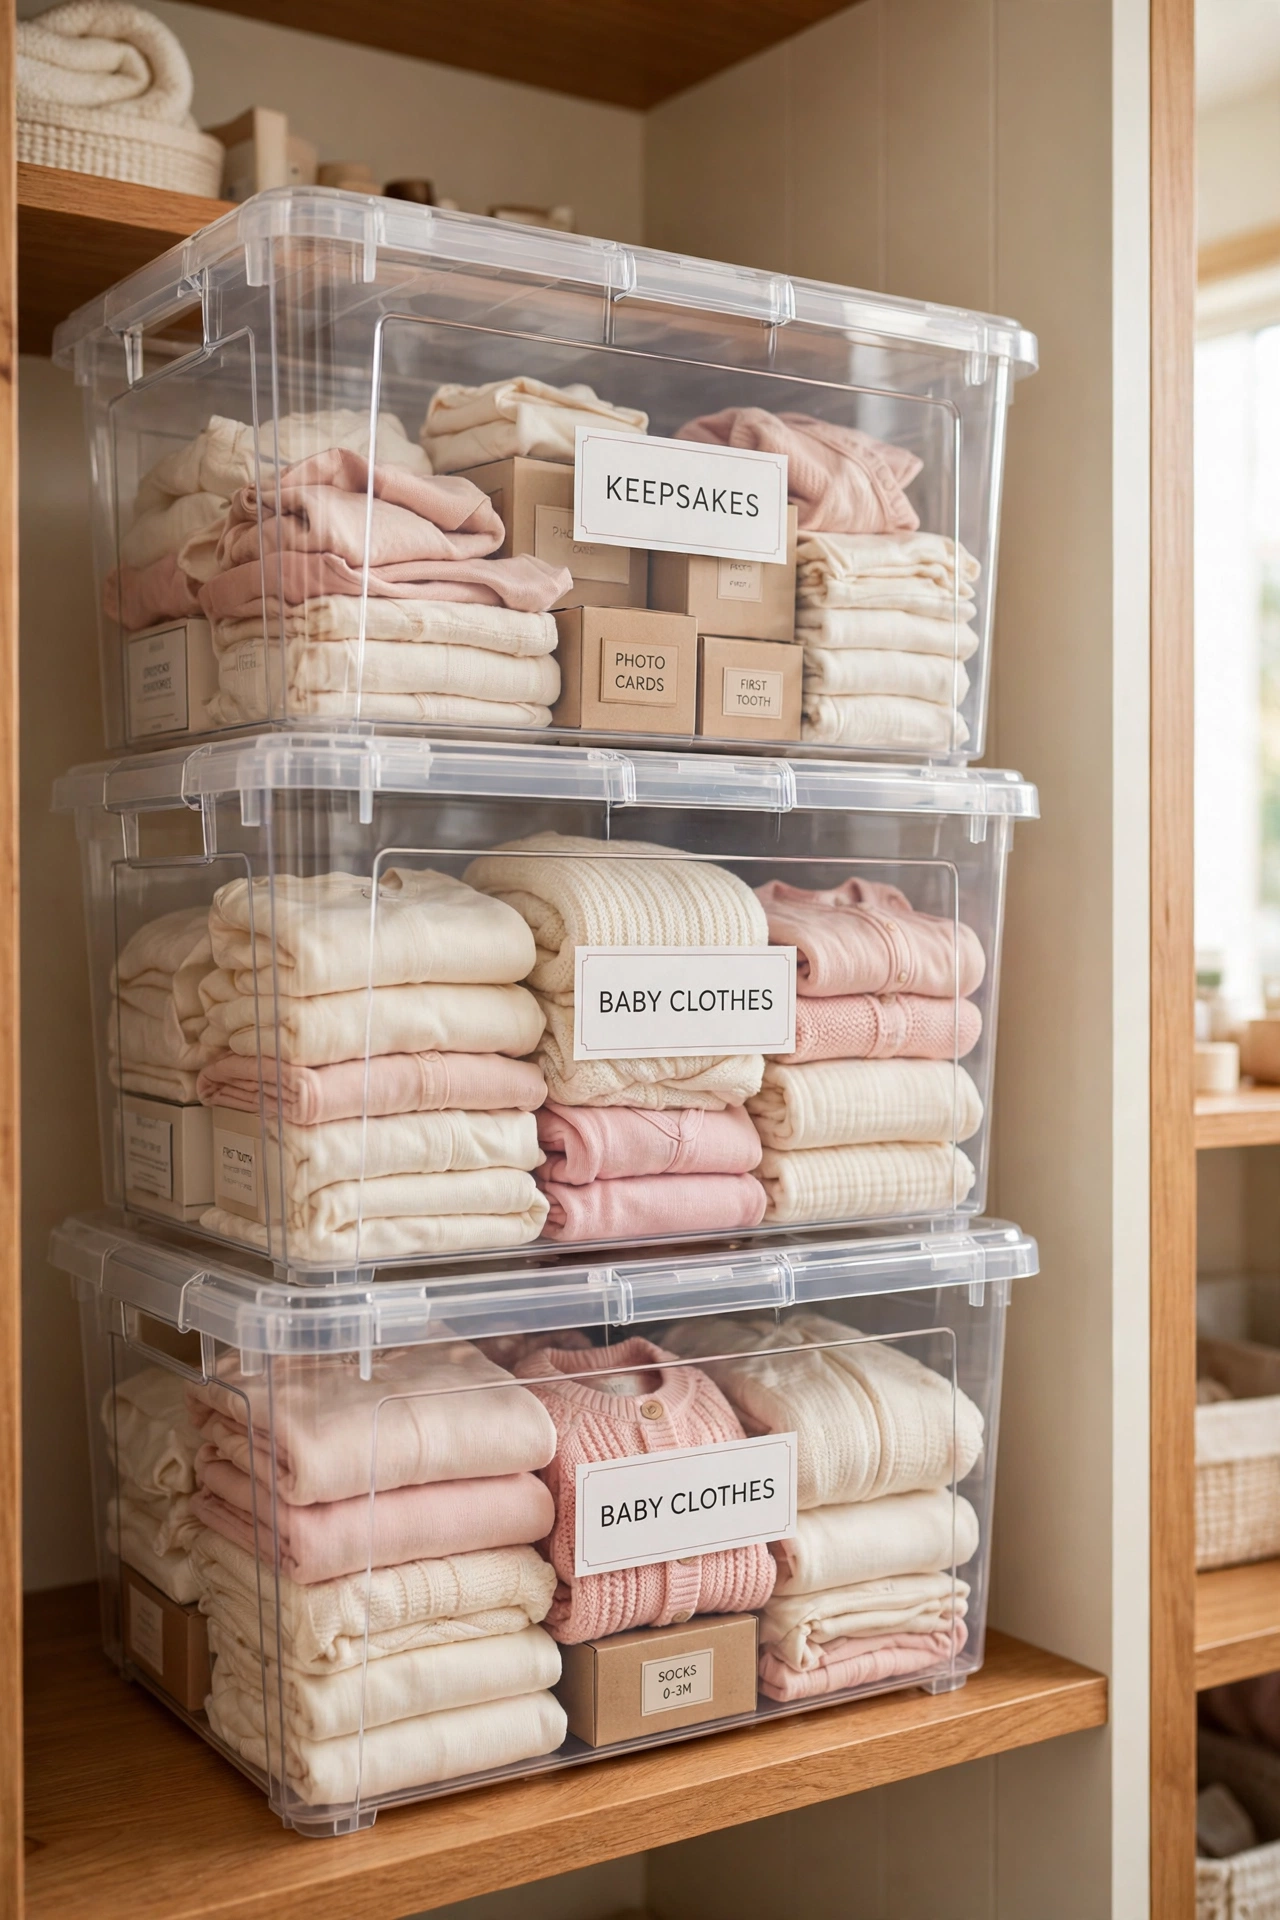
Clear bins let you see the contents of a memory box without lifting the lid. This is a real advantage when several boxes sit on a high shelf. You can spot the box with the photo albums or the box with the baby clothes from across the room.
Choose sturdy clear bins with tight lids that keep out dust and moisture. Add a label to the front even though the bin is clear, because labels make searching faster. Clear bins work best for items that are not sensitive to light, so keep photo boxes in opaque containers instead.
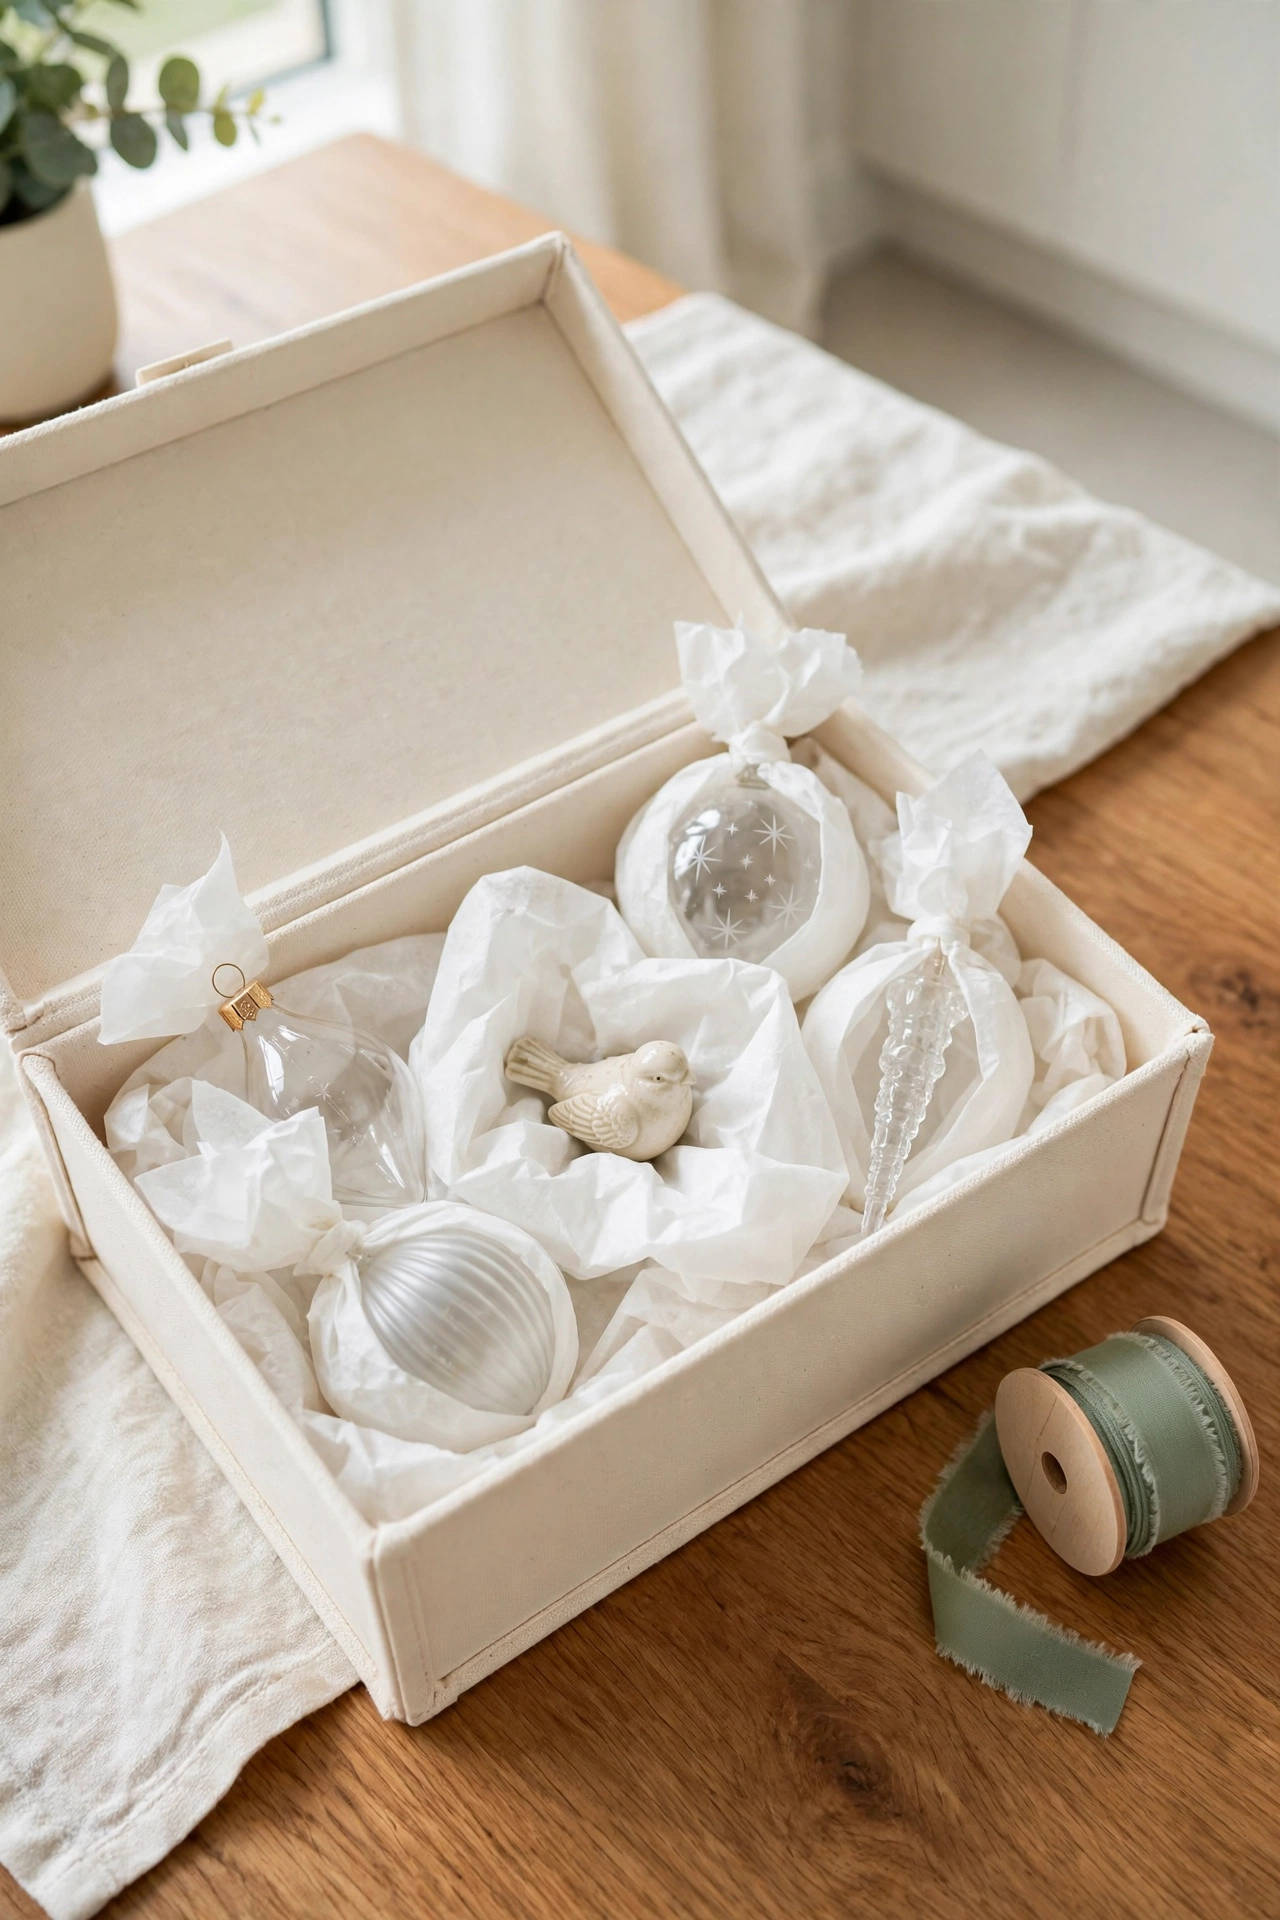
16. Protect Fragile Items With Soft Tissue Wrapping
Fragile keepsakes like ornaments, china figurines, and delicate crafts need a cushion between them and the world. Wrap each item in a sheet of soft acid-free tissue paper before it goes into the box. The tissue absorbs bumps and keeps surfaces from scratching each other.
Place a layer of tissue at the bottom of the box and between each layer of items. Do not stack heavy items on top of fragile ones. When you unwrap a fragile keepsake years later and find it perfect, you will be glad you took the extra minute.
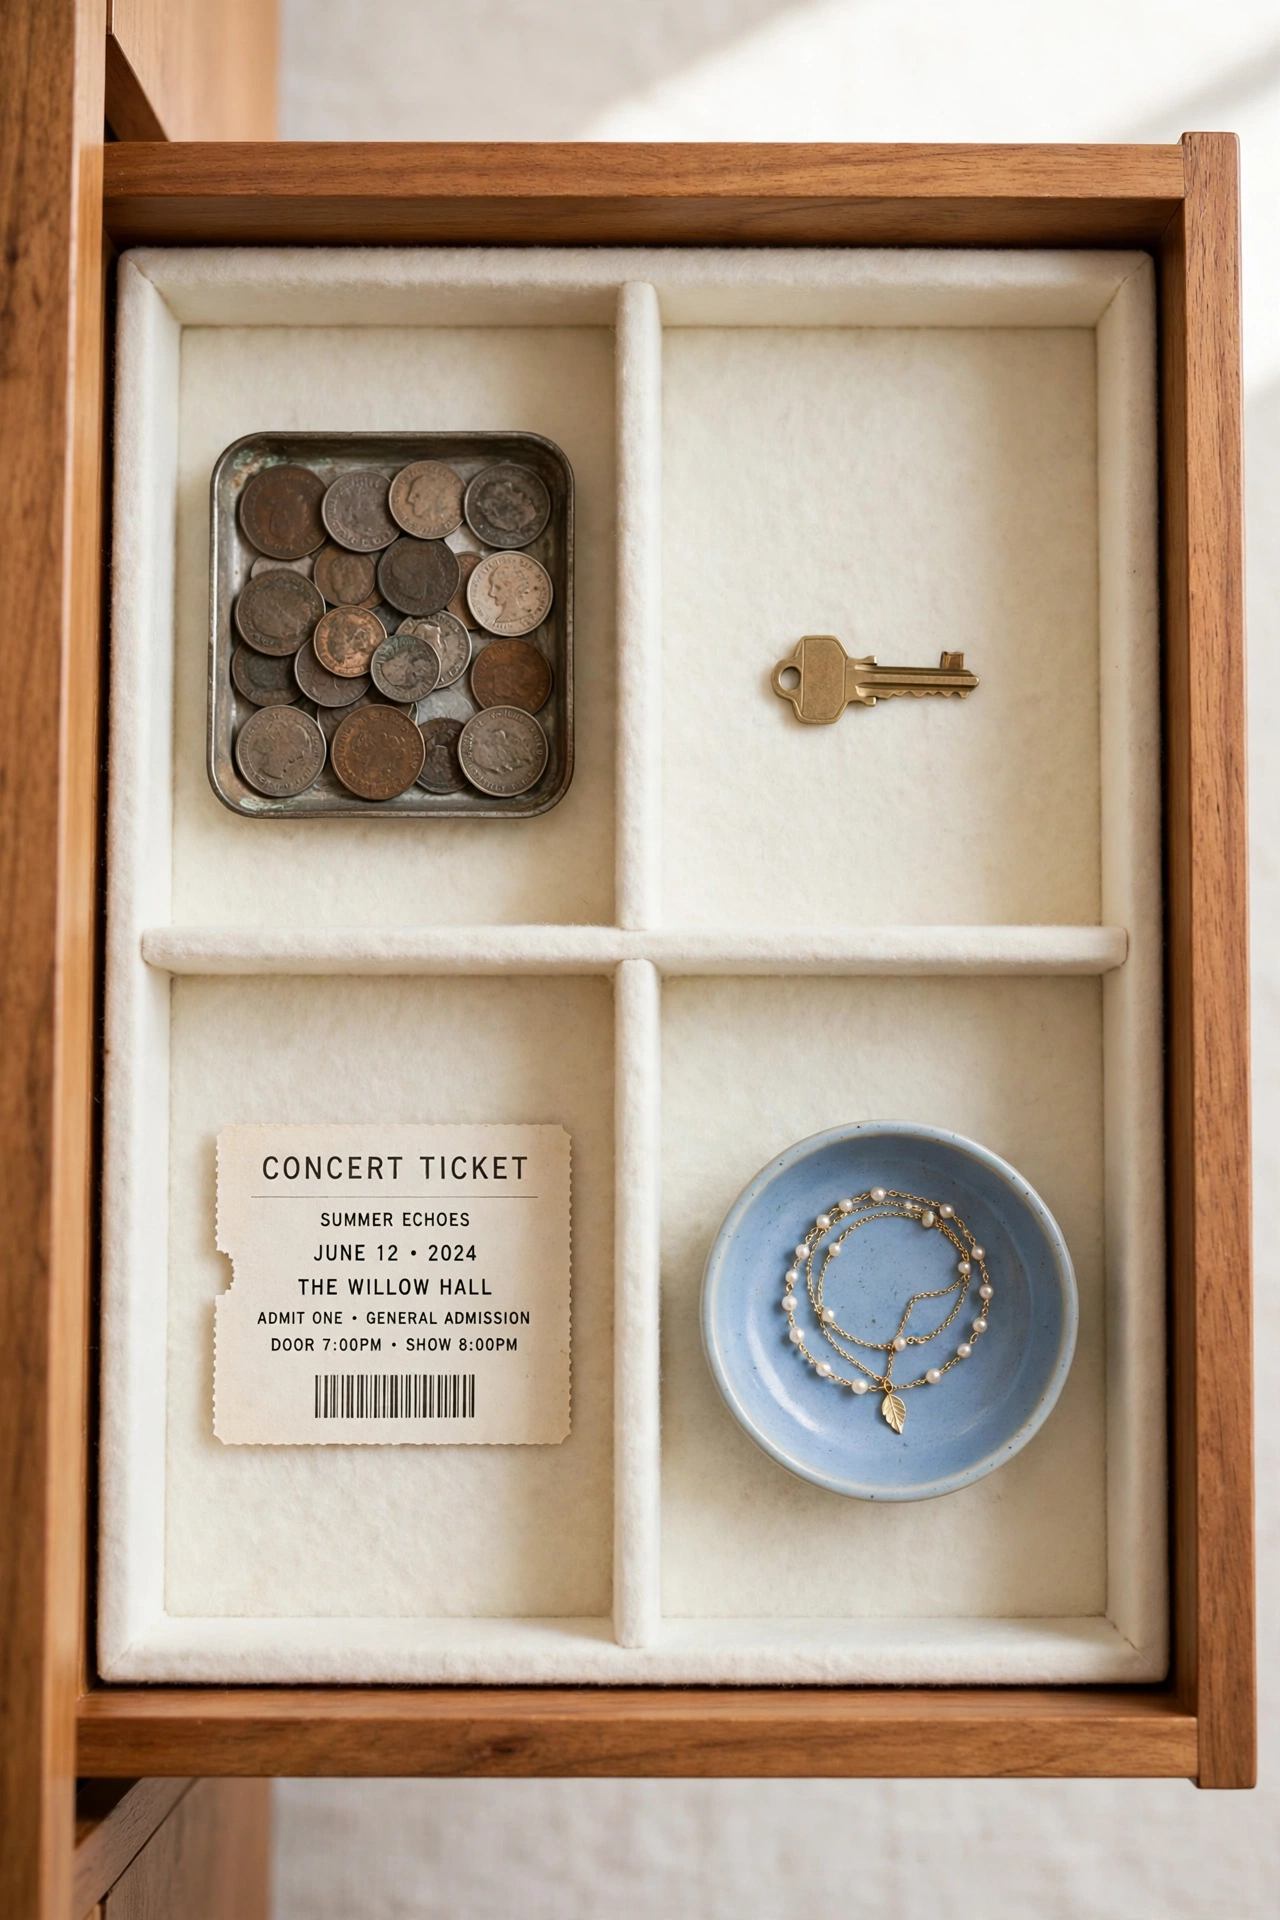
17. Dedicate a Drawer to Small Sentimental Objects
Small keepsakes are the easiest to lose: a lucky coin, a concert ticket, a key from a first home. A single dedicated drawer with small dividers gives every tiny treasure a parking spot. The drawer keeps small items together instead of scattered through the house.
Line the drawer with felt or soft fabric so items do not slide around. Use small trays or cups inside the drawer to separate coins, jewelry, and paper items. Open the drawer once a season and enjoy a miniature museum of your family’s life.
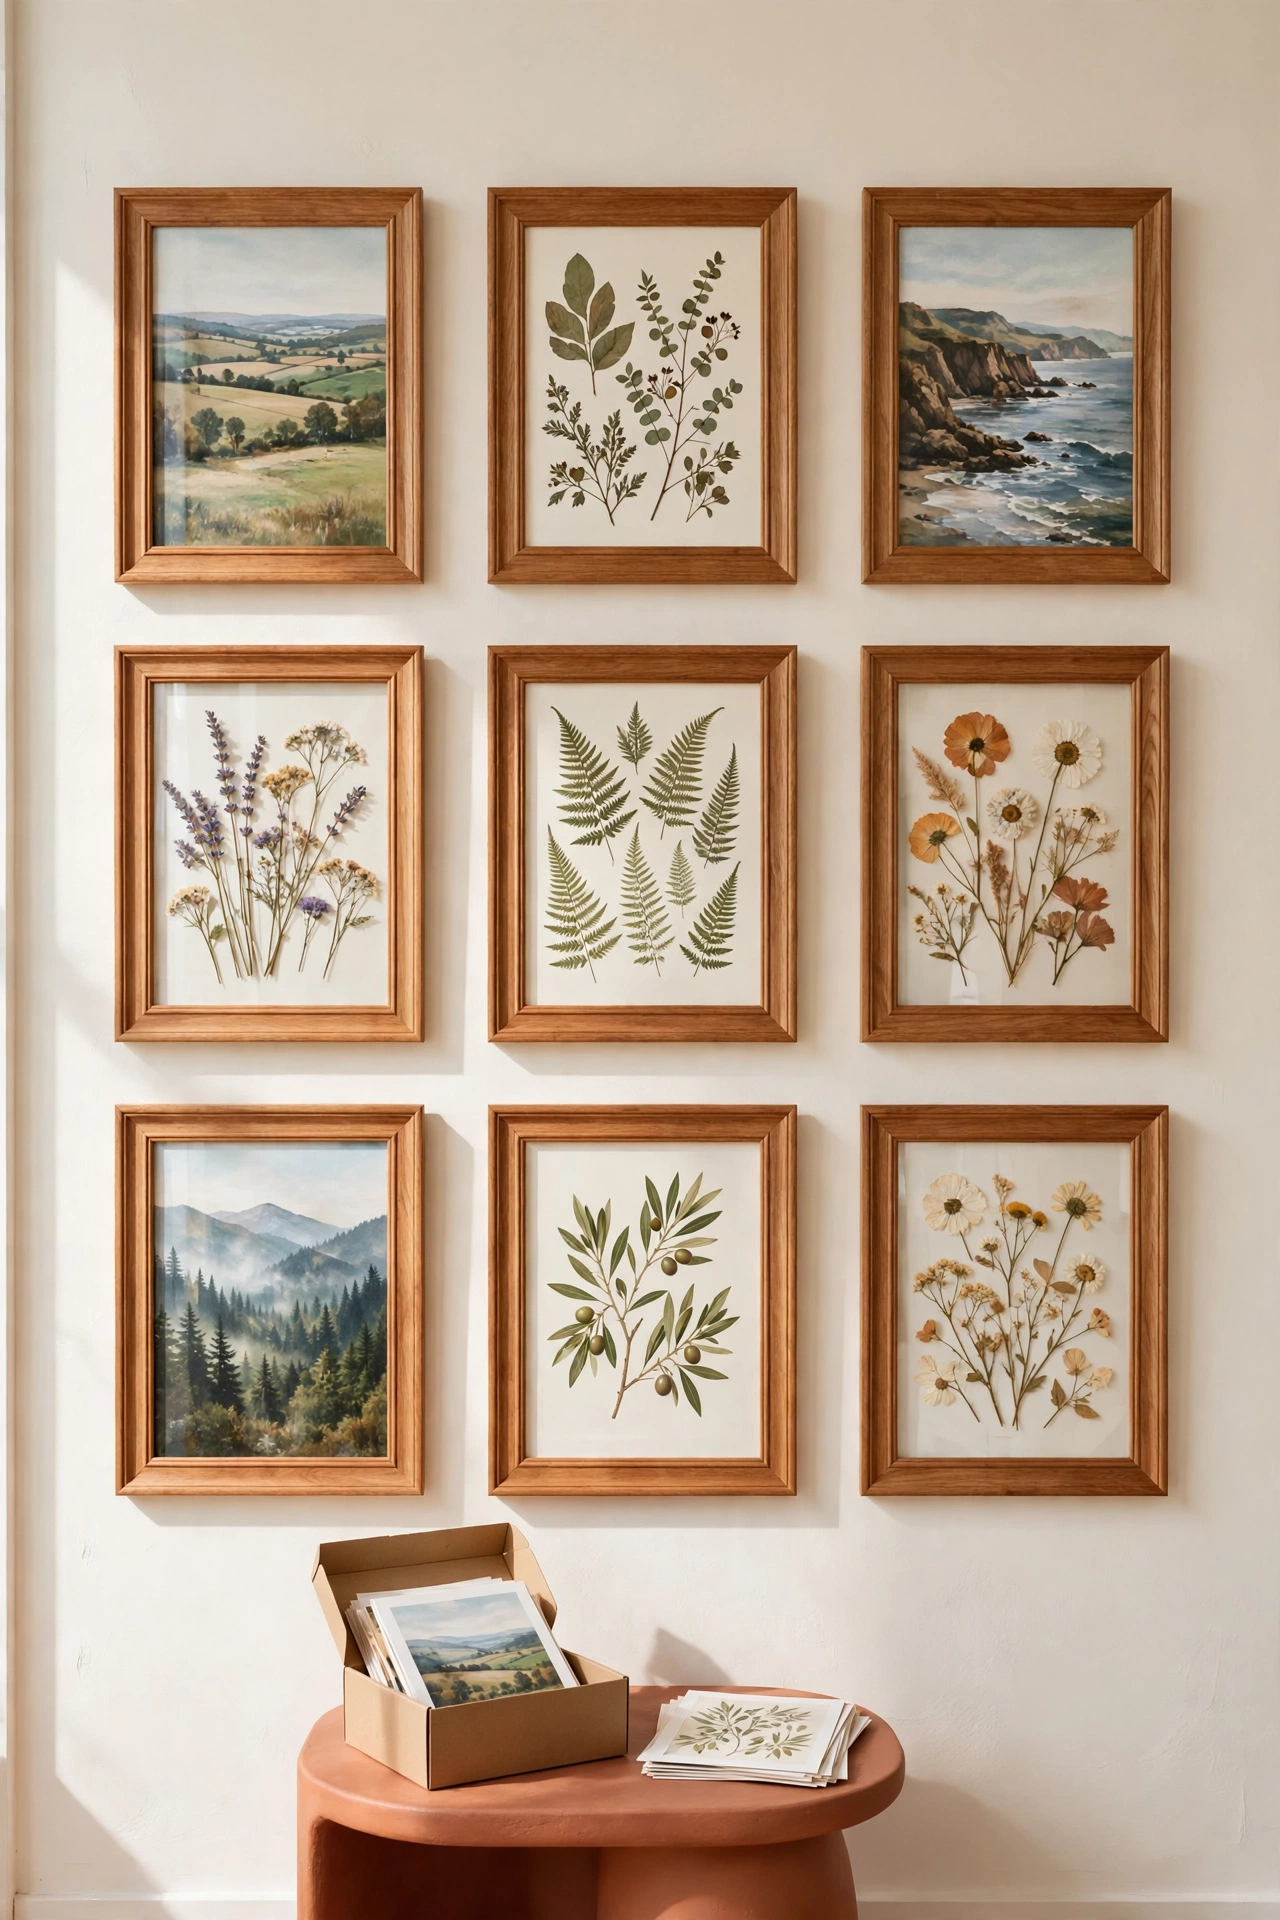
18. Build a Memory Wall With Changeable Frames
A memory wall with frames that open from the front lets you swap photos and keepsakes in seconds. Choose matching frames in one size and hang them in a neat grid. The wall becomes a gallery that grows and changes with your family.
Keep a small stash of printed photos and flat keepsakes in a nearby box, ready for the next swap. Change one or two frames each month so the wall always feels fresh. A memory wall keeps your favorite moments in view instead of hidden in a box.
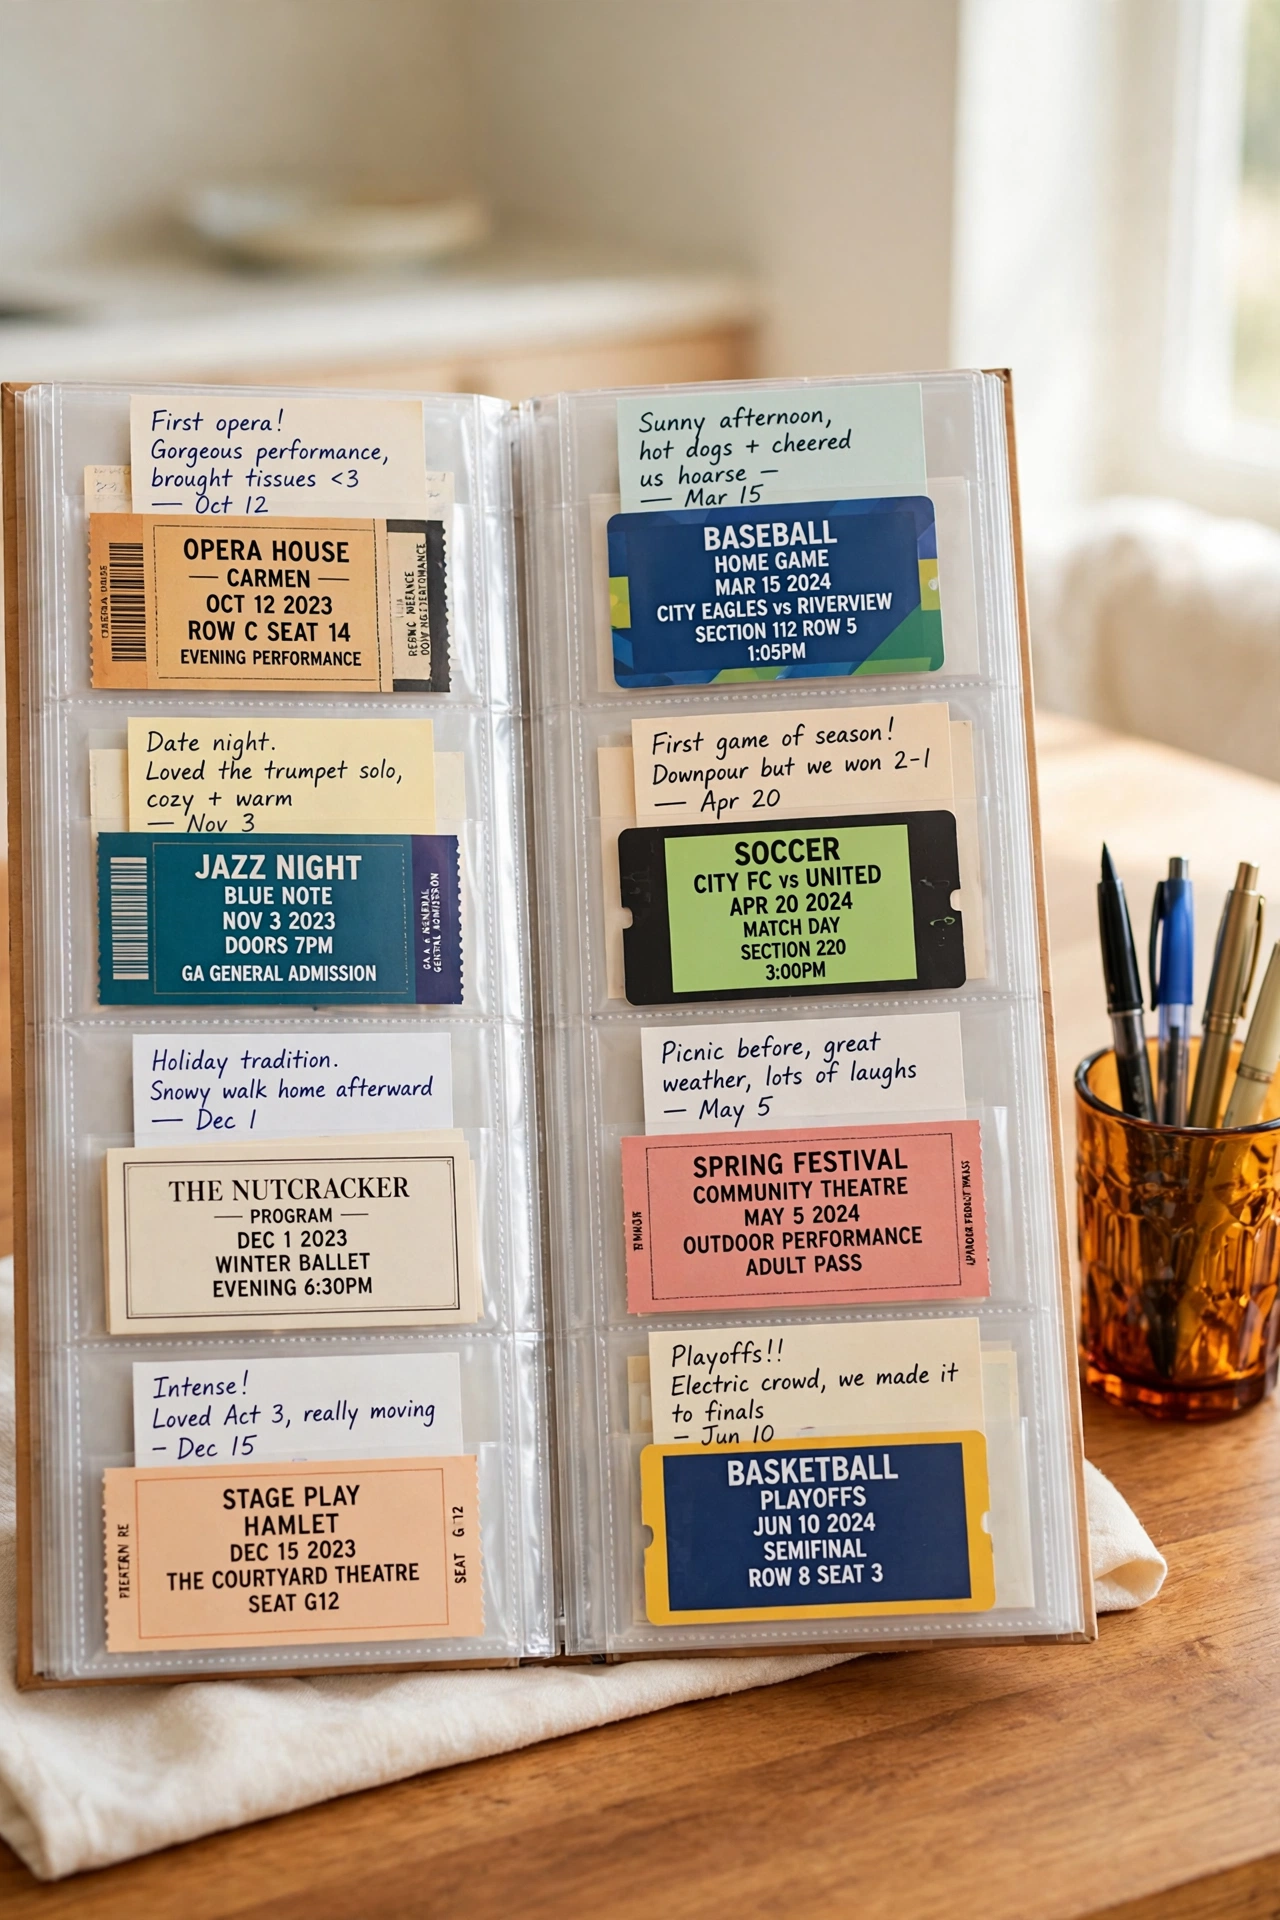
19. Save Ticket Stubs and Programs in Pocket Pages
Ticket stubs, theater programs, and sports passes are flat, light, and easy to store in pocket pages. A binder or album with clear pockets holds dozens of stubs in date order. Each pocket protects the paper from tearing and fading.
Write a one-line memory on a small card slipped behind each stub: who went, what you saw, and why it mattered. Those notes turn a pile of paper into a diary of shared adventures. The binder is slim enough to store on any bookshelf.
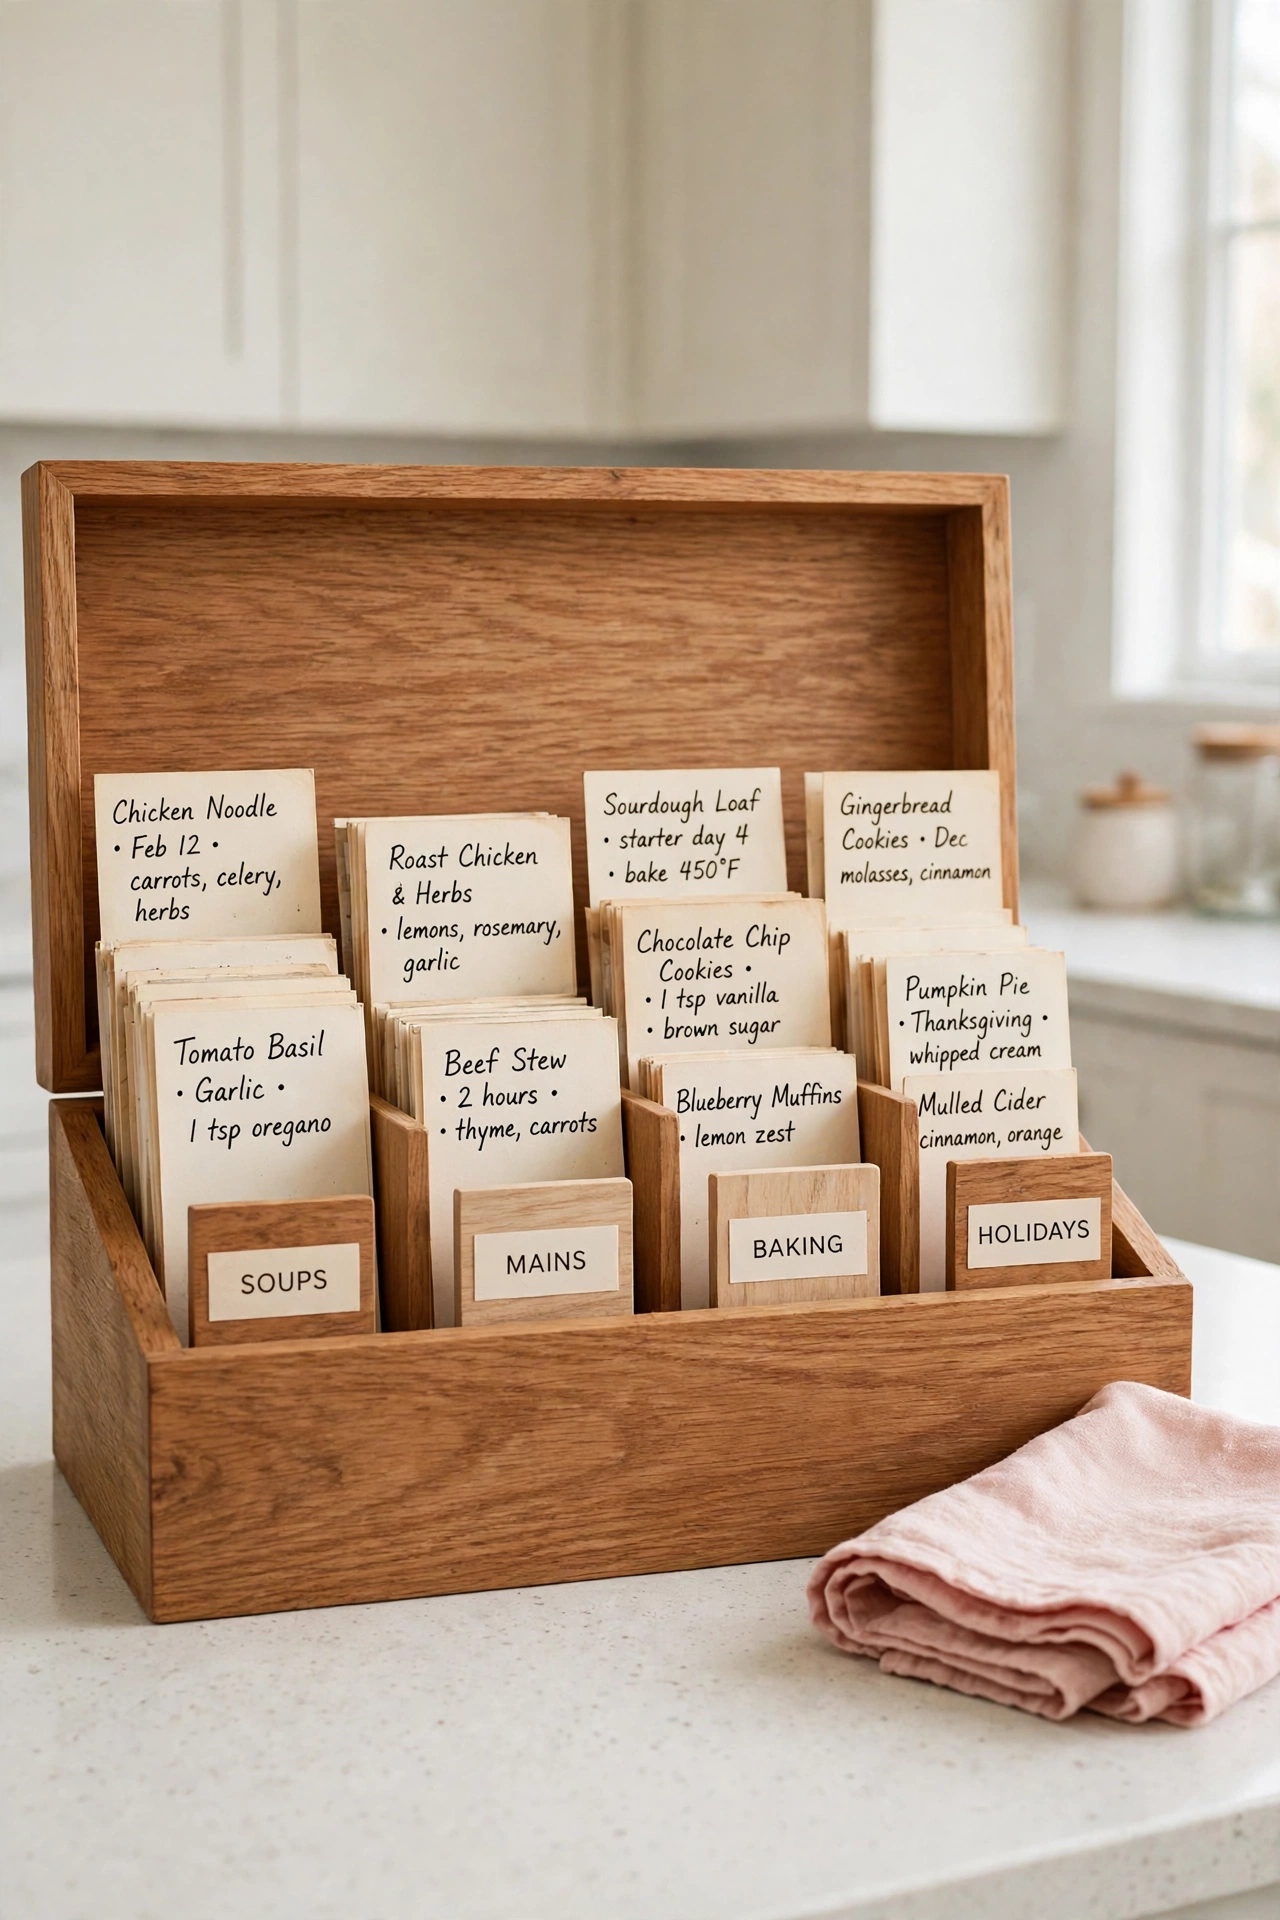
20. Keep Family Recipe Cards in a Labeled Card Box
Handwritten recipe cards carry the flavors and handwriting of family cooks who came before you. A labeled card box with dividers for soups, mains, baking, and holidays keeps every card safe and easy to find. The box protects the cards from kitchen splashes and wear.
Scan or photograph each card as a backup before you file it away. For a complete system to organize printed and handwritten recipes, see these recipe binder organization ideas. Cooking from a card your grandmother wrote turns an ordinary dinner into a family celebration.
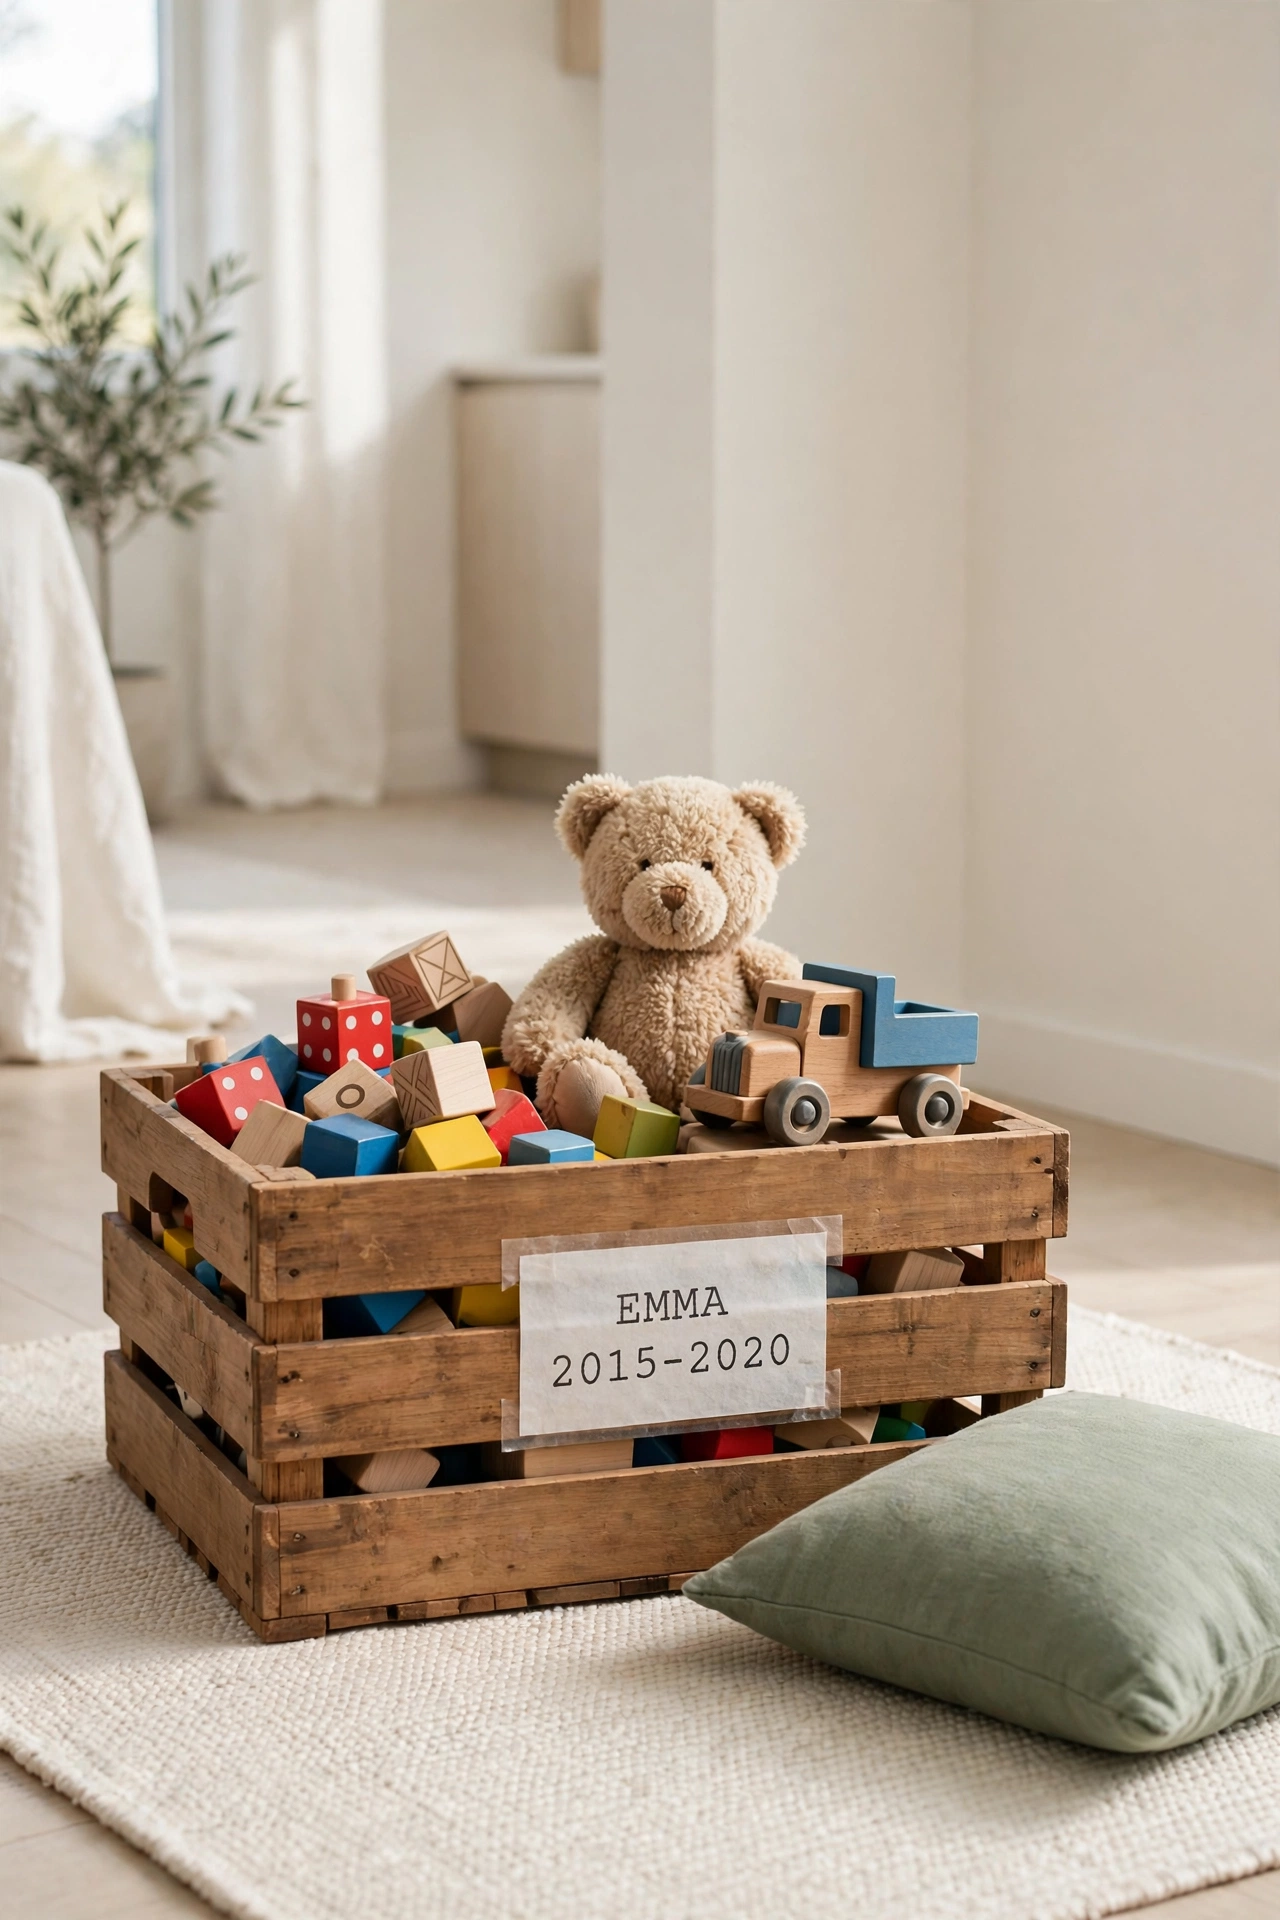
21. Store Childhood Toys in a Labeled Keepsake Crate
A few beloved toys earn a permanent place in the family story, even after a child outgrows them. Choose one sturdy crate for these special toys: a favorite stuffed animal, a first building set, a well-loved doll. The crate keeps them clean and protected.
Label the crate with the child’s name and the years the toys belong to. Store it somewhere dry, off the floor, and away from sunlight so colors stay bright. When the toys come out years later, they bring a flood of happy memories, and a clean crate keeps them ready for the next generation.
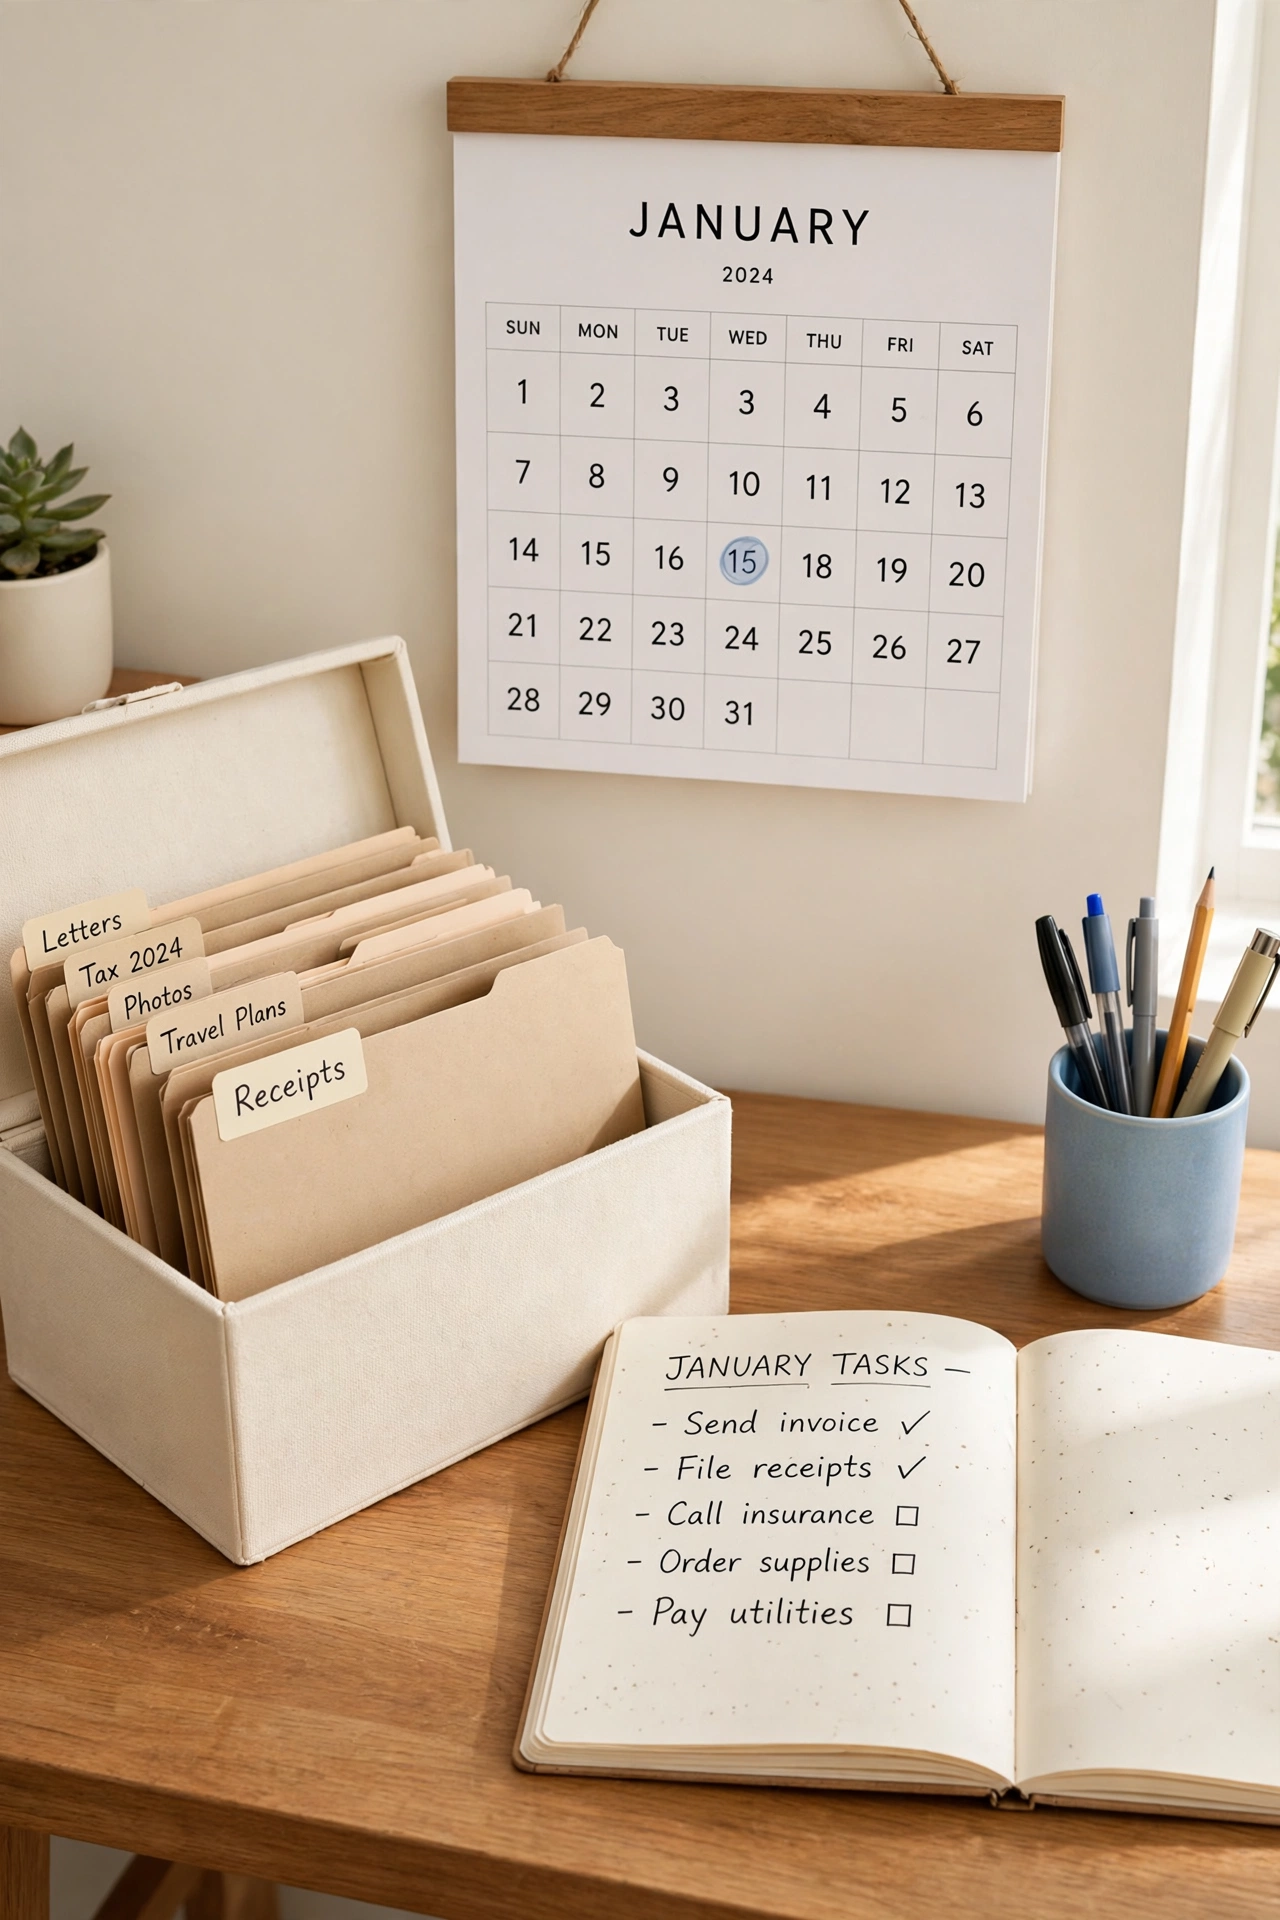
22. Set a Yearly Keepsake Review Date
Memory boxes grow over time, and a yearly review keeps them from overflowing. Pick one date each year, such as the first weekend of January, and spend an hour with your boxes. Check labels, replace worn tissue, and confirm that every item still earns its place.
During the review, move items that no longer feel special to a donate or recycle pile, and make room for the new memories of the coming year. A yearly habit keeps the system working instead of turning into another cluttered closet. You will look forward to the annual walk through your family’s story.
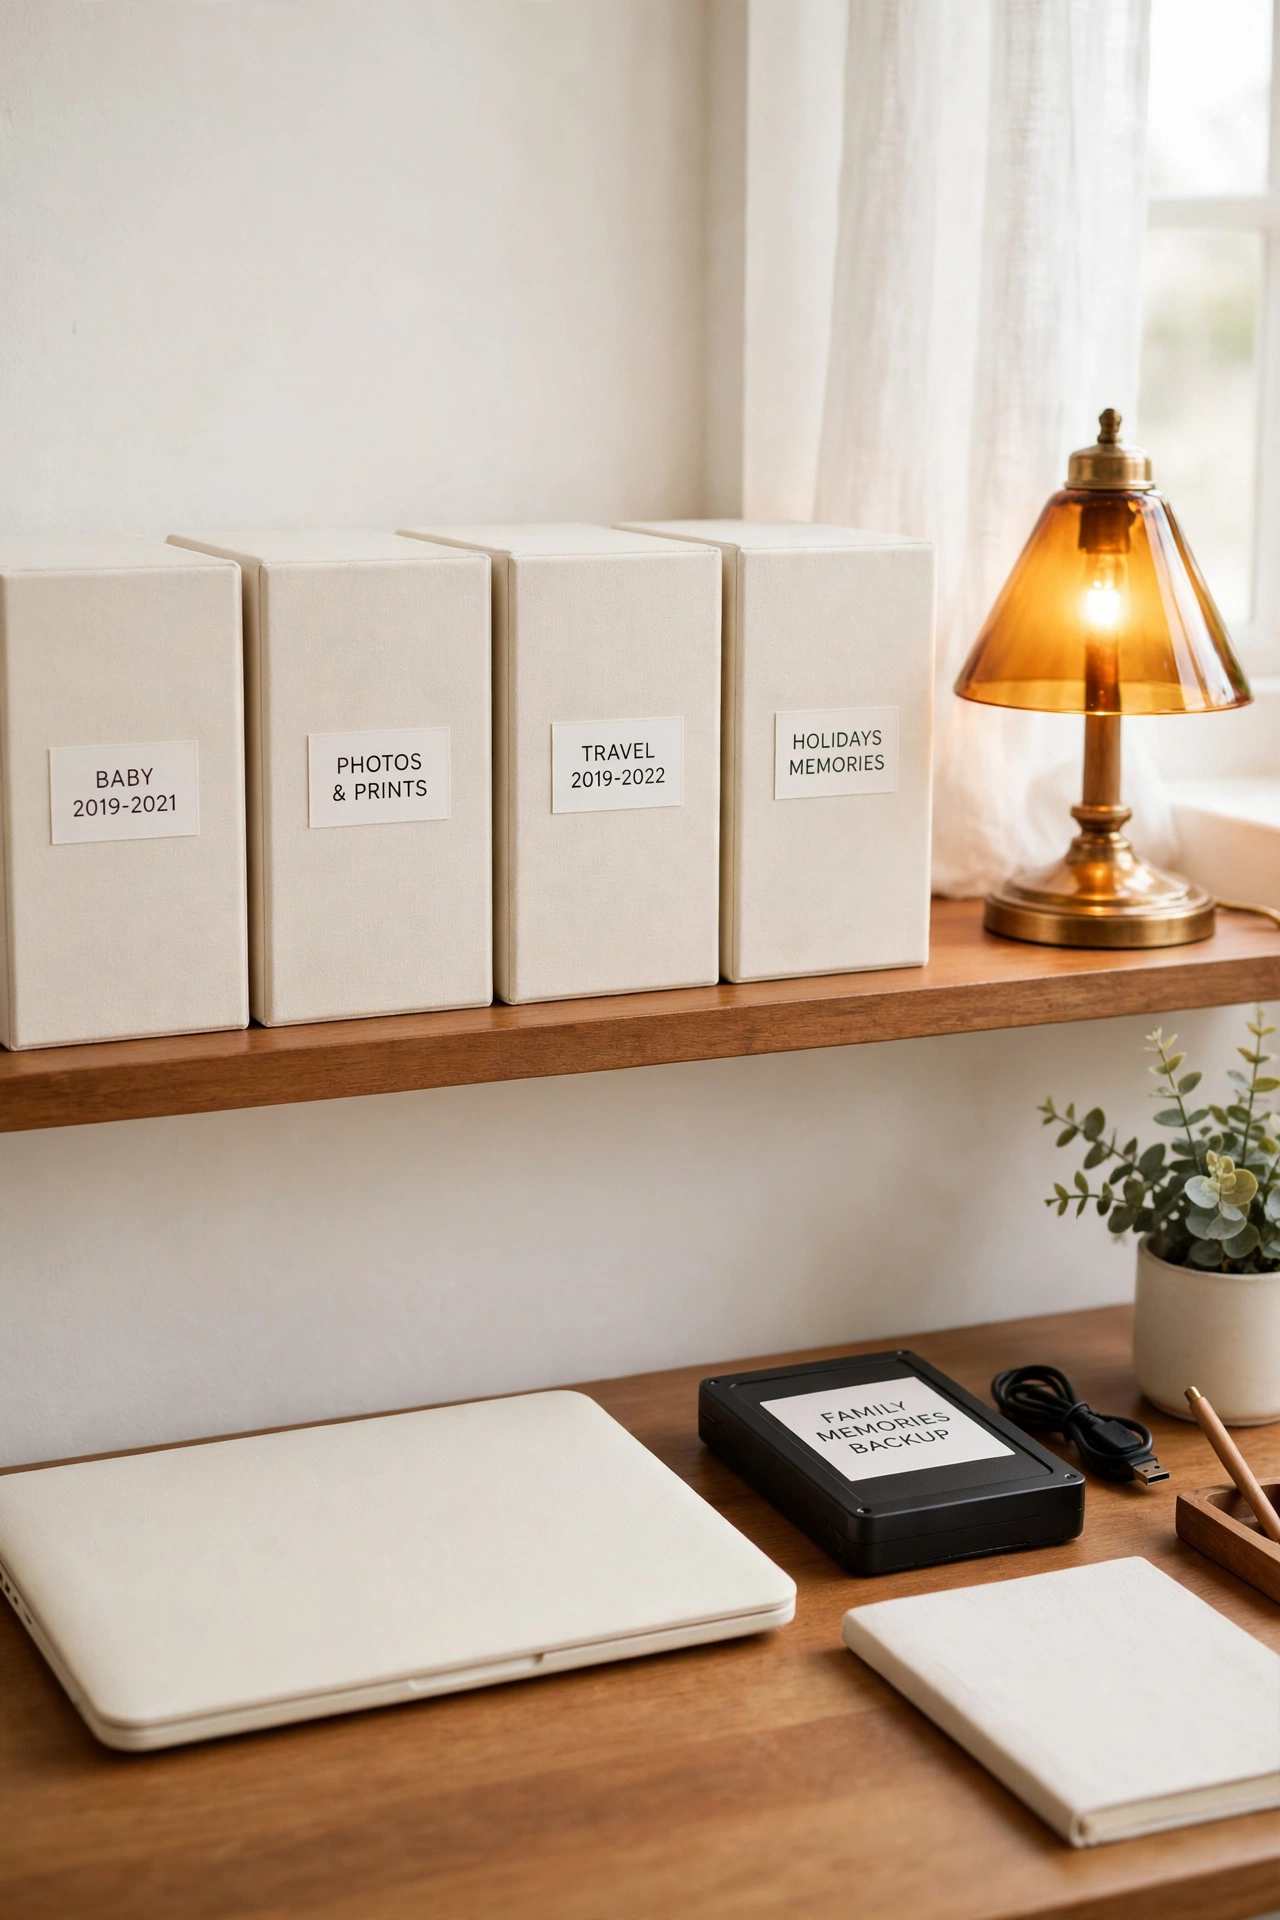
23. Label Digital Backups to Match Physical Boxes
Digital keepsakes need the same labels as physical boxes or they become impossible to find. Name your folders to match your boxes: one folder per person, with subfolders for photos, letters, and school work. The digital system mirrors the shelf, so you always know where a file lives.
Use the same year ranges in folder names that you use on box labels. Back up the folders to an external drive and a cloud service so one failure cannot erase your memories. A matching system means you can find a keepsake in seconds, whether it is paper or pixels.
24. Keep a “One In, One Out” Rule for New Keepsakes
A memory box system only works if it has limits. When a new keepsake arrives, choose one item to photograph and let go, or move it to a secondary archive box. The rule keeps every box at a comfortable size and forces thoughtful choices about what truly matters.
The rule is kindest when you apply it gently. Photograph items before they leave so the memory survives even when the object does not. A box that stays manageable is a box you will keep using for decades.
Conclusion
Family keepsakes are the evidence of a life well lived, and they deserve better than a forgotten pile in the attic. With labeled boxes, clear sections, and a little regular care, every photo, letter, and award stays safe and ready to enjoy. The system does not need to be fancy; it only needs to be used.
Start with one box, one label, and one afternoon of sorting. The memories you organize today become the stories your family tells for years to come. For a central spot to manage family schedules, papers, and daily life alongside your keepsakes, see these family command center organization ideas.
Frequently Asked Questions About Family Memory Box Organization Ideas for Special Keepsakes
What should go in a family memory box?
Keep items that tell a story: photos, letters, awards, school highlights, baby firsts, ticket stubs, and small objects with strong memories attached. Leave out duplicates, everyday paperwork, and items with no story. If an object makes you smile and you can say why it matters, it earns a place in the box.
How do I protect old photos and letters from damage?
Store photos in acid-free sleeves and letters in acid-free envelopes, away from sunlight, heat, and damp air. Handle prints by the edges and keep boxes in a closet rather than a hot attic or damp basement. Scan everything important so a digital copy survives even if the original is damaged.
How many memory boxes does a family need?
Start with one box per family member plus one shared box for family-wide memories like holidays and trips. Add a new box when one fills up, and label it with the next year range. Most families find that three to six boxes hold a lifetime of keepsakes comfortably.
What is the best container for keepsakes?
Sturdy acid-free boxes with tight lids are best for paper and photos, while clear bins work well for sturdy objects you want to see at a glance. Avoid cardboard boxes from the grocery store, because they can attract pests and break down over time. Choose containers that fit your shelf and stack neatly.
How often should I sort through memory boxes?
Review your boxes once a year to check labels, replace worn wrapping, and make room for new keepsakes. A short annual review keeps the system tidy and gives you a happy reason to revisit old memories. If a box starts to overflow between reviews, that is your sign to sort it sooner.

Hi, I’m Emily! I turn messy corners into cozy, organized spots. DreamNestDecor is where I share simple, practical home ideas — decor, organization, and small-space solutions that work in real life, not just in photos. Every idea here is carefully researched before it’s shared.