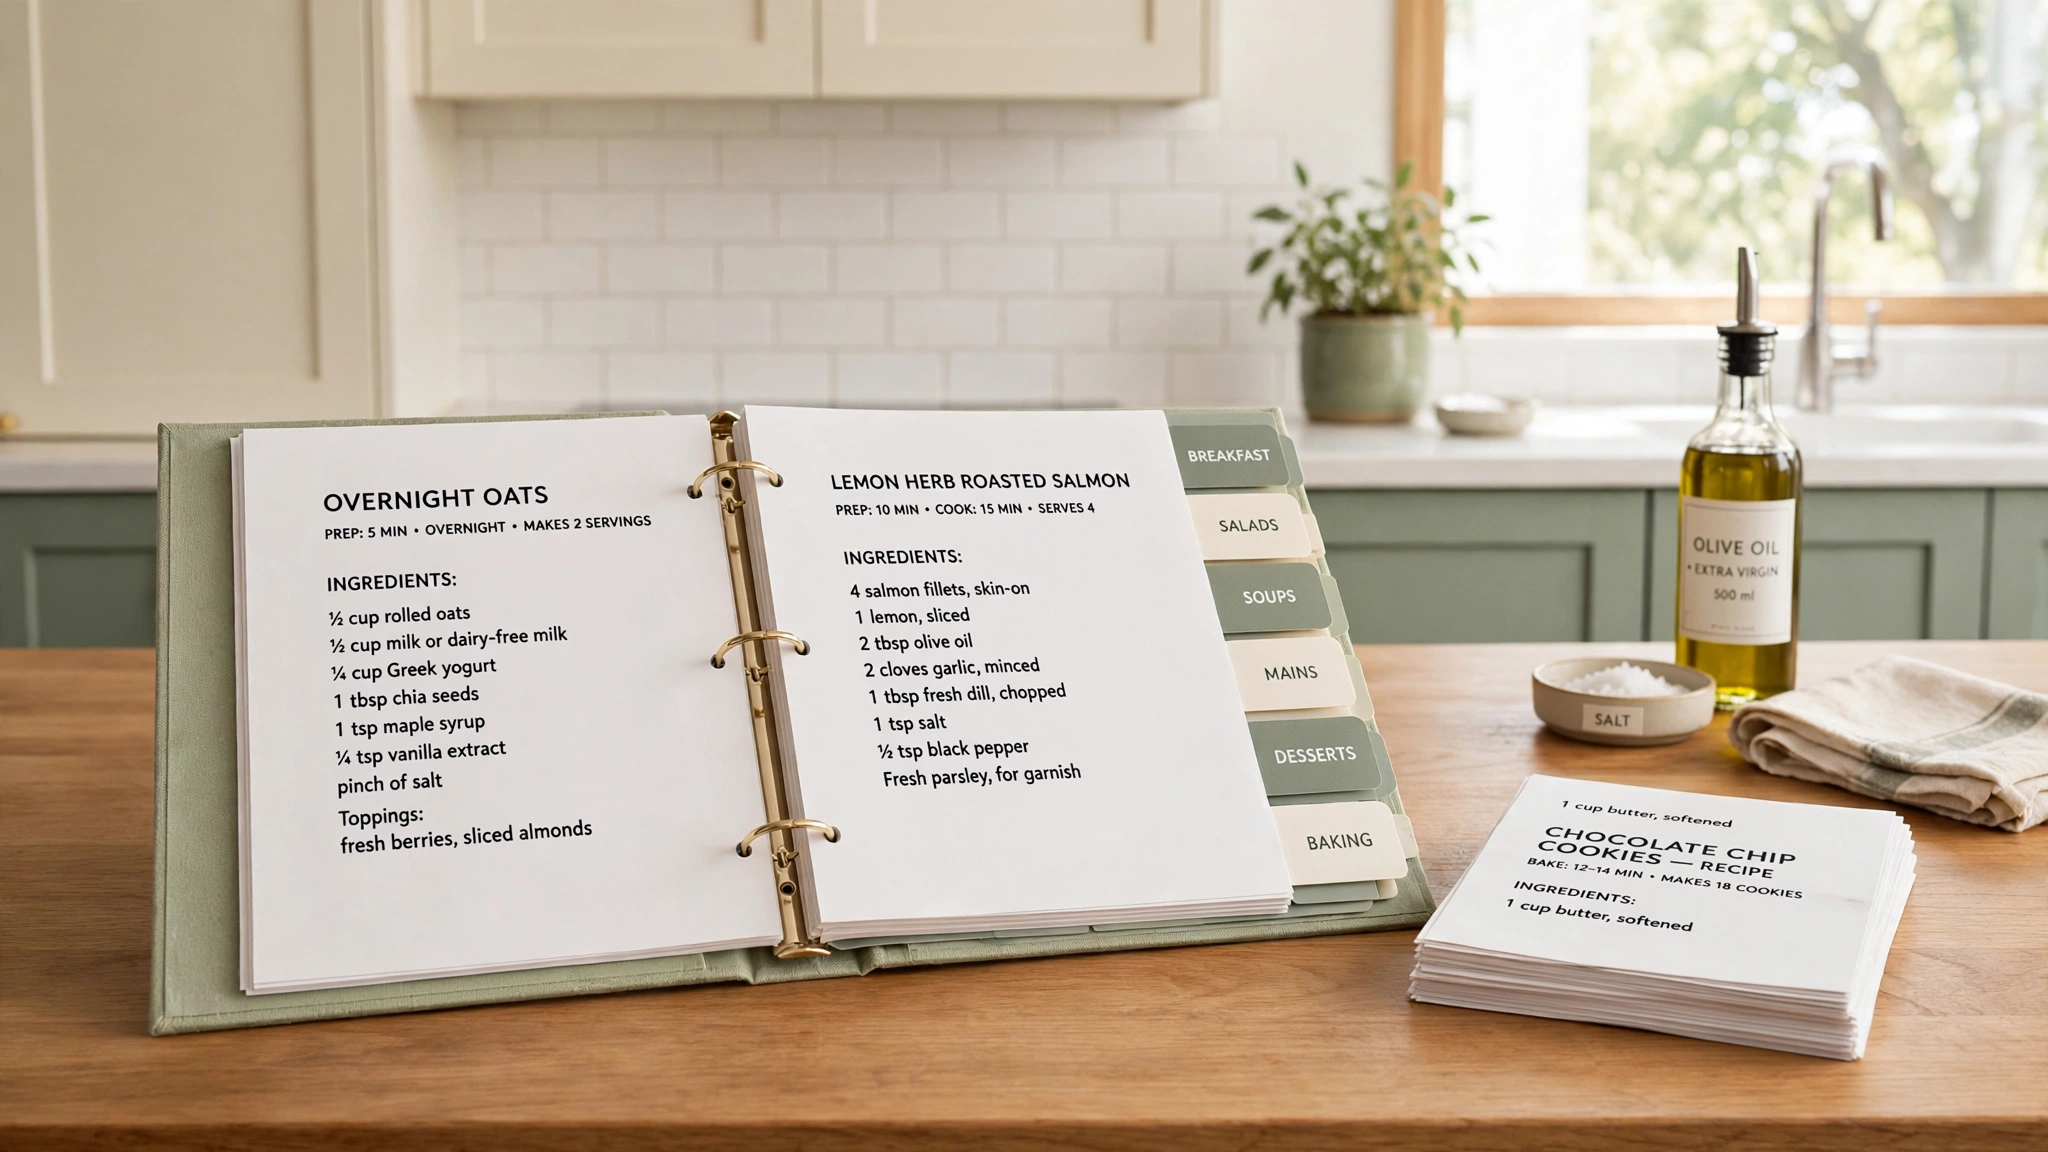
Picture this: dinner time arrives, you open the kitchen cabinet, and every recipe you love sits in one tidy binder with a clear label on every tab. No more loose papers, no more searching through drawers, and no more guessing which version of a recipe is the right one. That calm feeling is exactly what a well organized recipe binder gives to a home cook.
You do not need fancy supplies or a large budget to build one. All you need is a sturdy binder, a few dividers, and a simple system that fits the way you cook. These 34 recipe binder organization ideas for home cooks will help you turn a pile of loose recipes into a collection you can use with ease every single day.
1. Sort Recipes by Course
Sorting recipes by course is the simplest way to bring order to a binder. Group appetizers, soups, main dishes, side dishes, and desserts into their own sections so you can flip straight to the type of dish you need. This system works well because it matches the way most people plan a meal.
Start by gathering every recipe you own and sorting the pile into course groups on the kitchen table. You will quickly see which groups are large and which ones need more recipes. A binder sorted by course turns dinner planning from a search into a quick flip through familiar pages.
2. Use Tabbed Dividers for Each Category
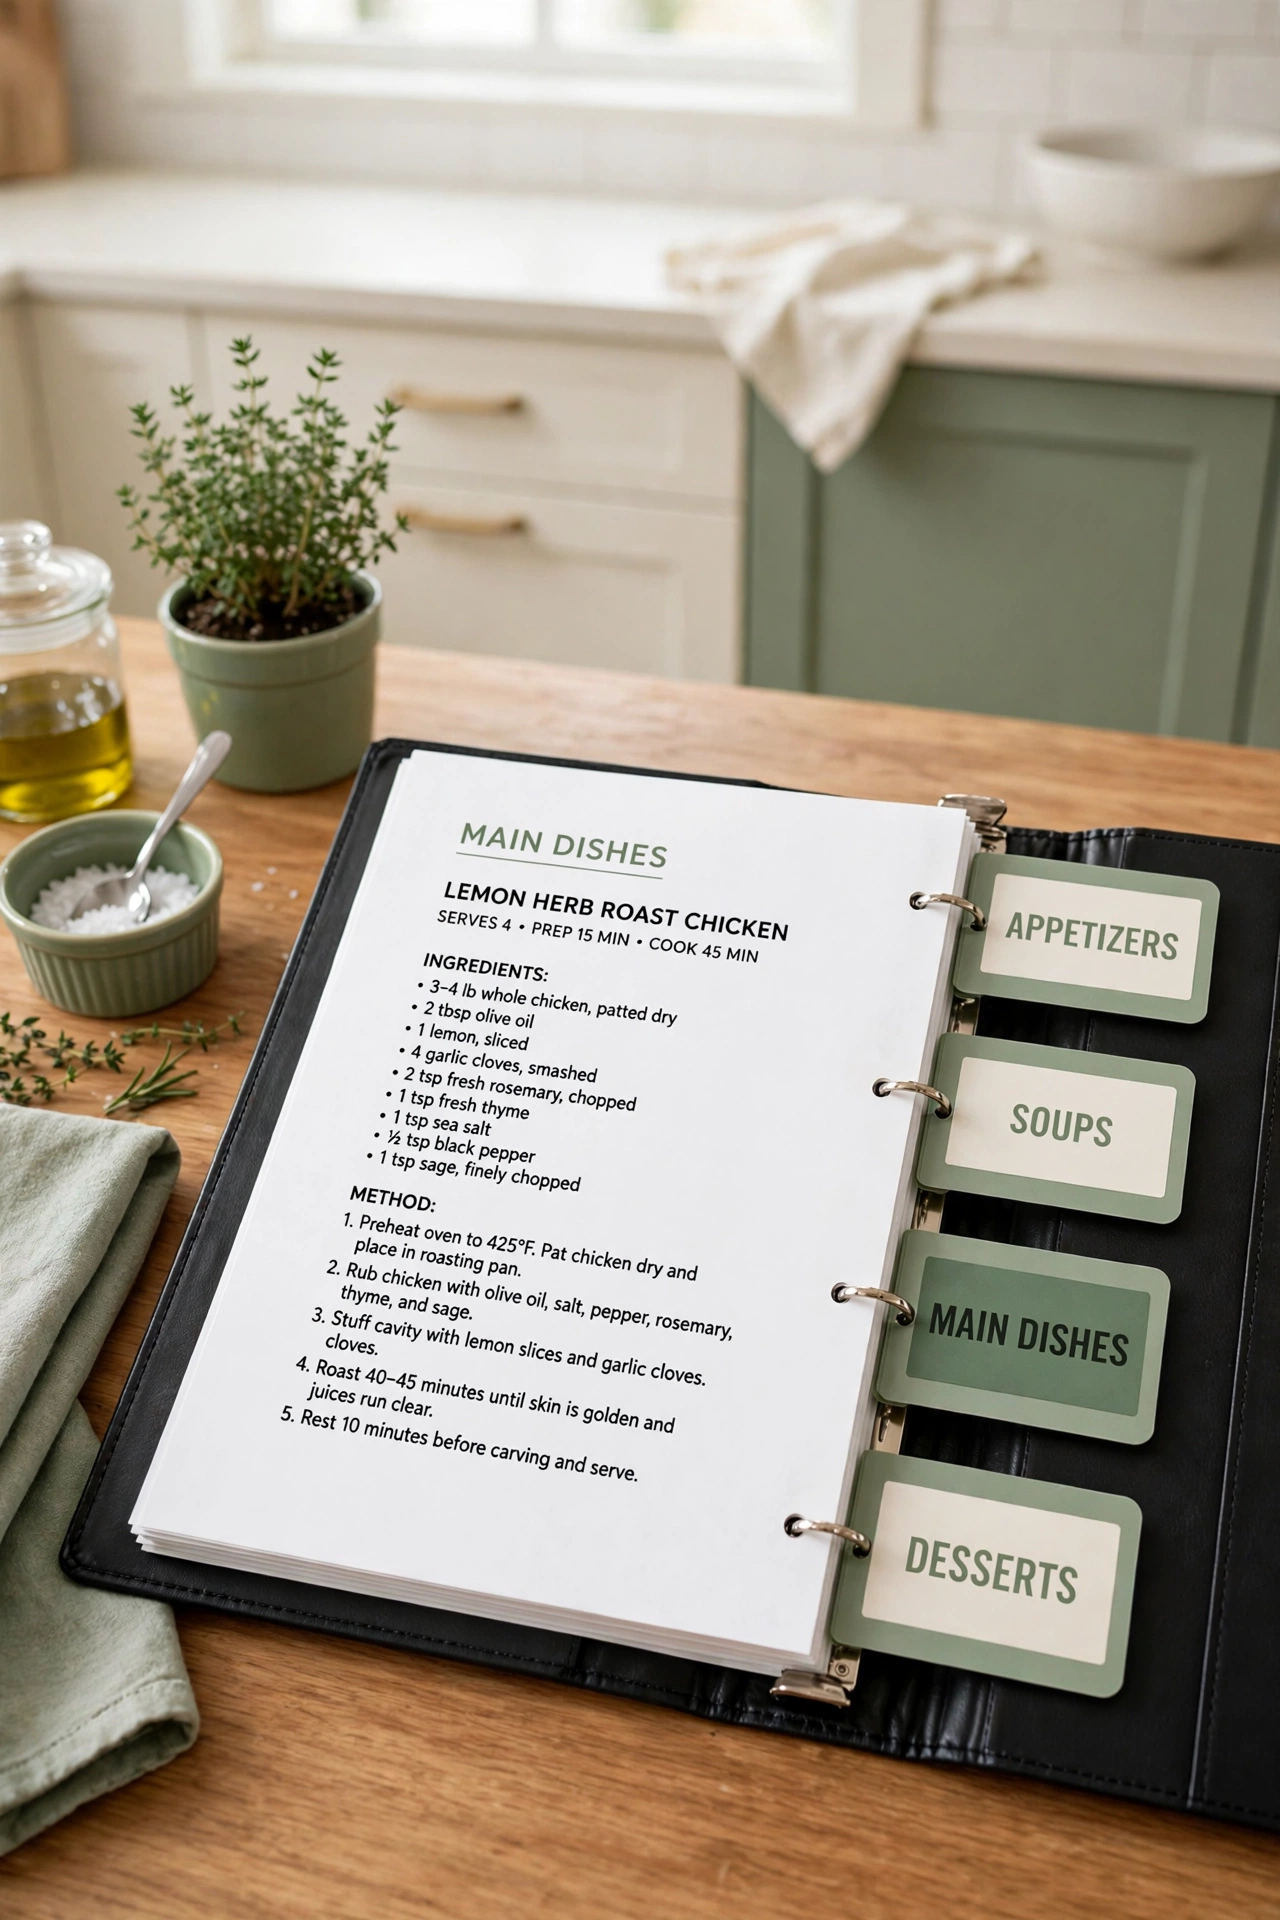
Tabbed dividers turn a thick binder into a set of small, easy sections. Each divider marks the start of a category with a tab that sticks out past the page edge, so you can find any section at a glance. Sturdy plastic dividers last longer than paper ones and wipe clean after kitchen use.
Label each tab with a clear printed label rather than handwriting, so every label looks neat and stays easy to read. For more ways to keep printed recipes tidy and easy to find, see these kitchen recipe organization ideas. Tabs make the binder feel like a real cookbook instead of a random pile of papers.
3. Print Recipes in a Matching Format
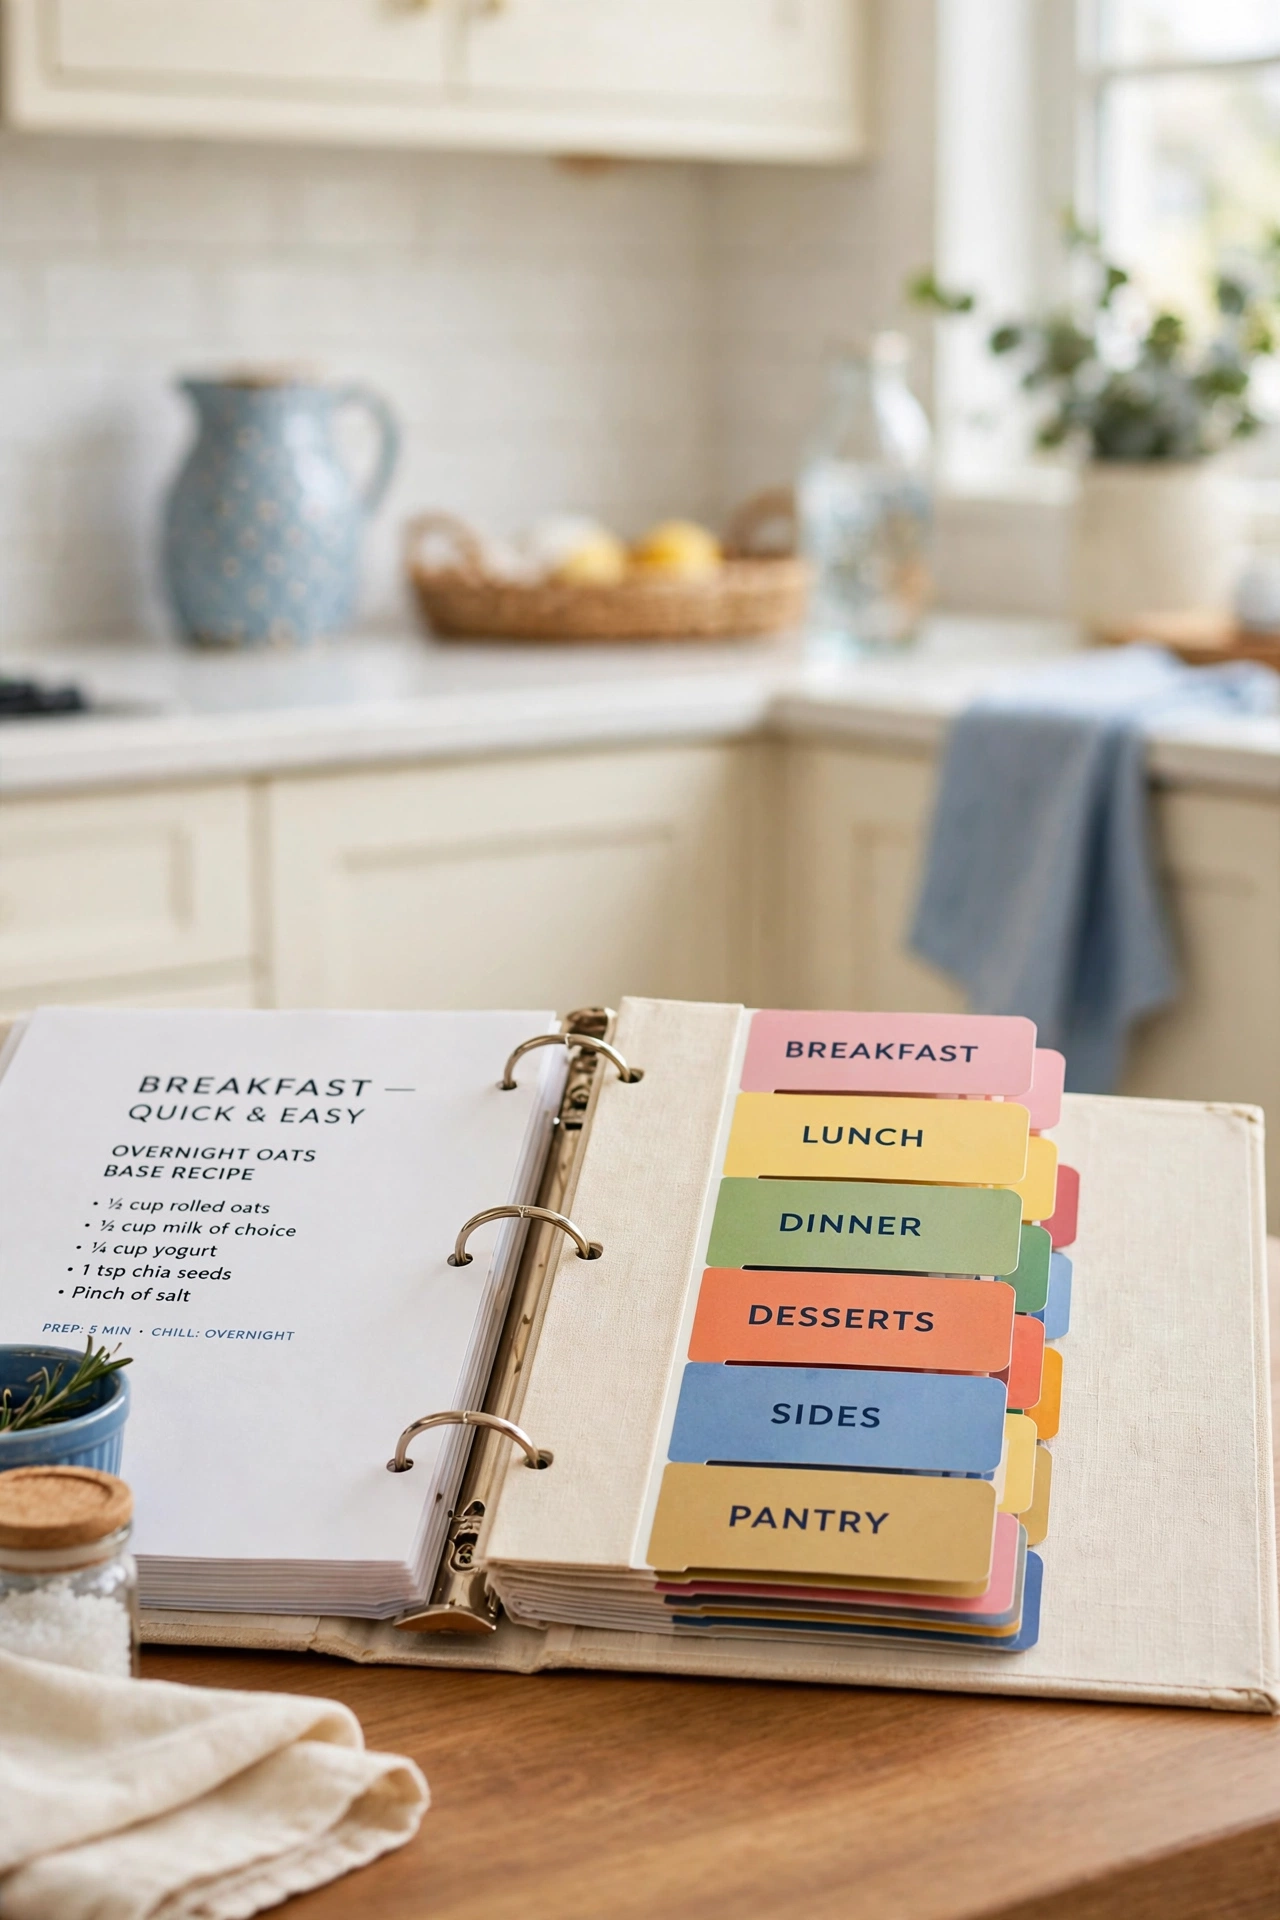
Printing every recipe in the same format gives the binder a clean, consistent look. Use the same font, the same font size, and the same layout for every page, with the title at the top, the ingredients in one column, and the steps in clear numbered order. A matching format also makes recipes faster to read while you cook.
Choose a font size of at least twelve points so the text stays readable from across the counter. Leave wide margins so your fingers never cover the words while you hold the page. When every recipe looks the same, your binder feels calm and professional instead of messy.
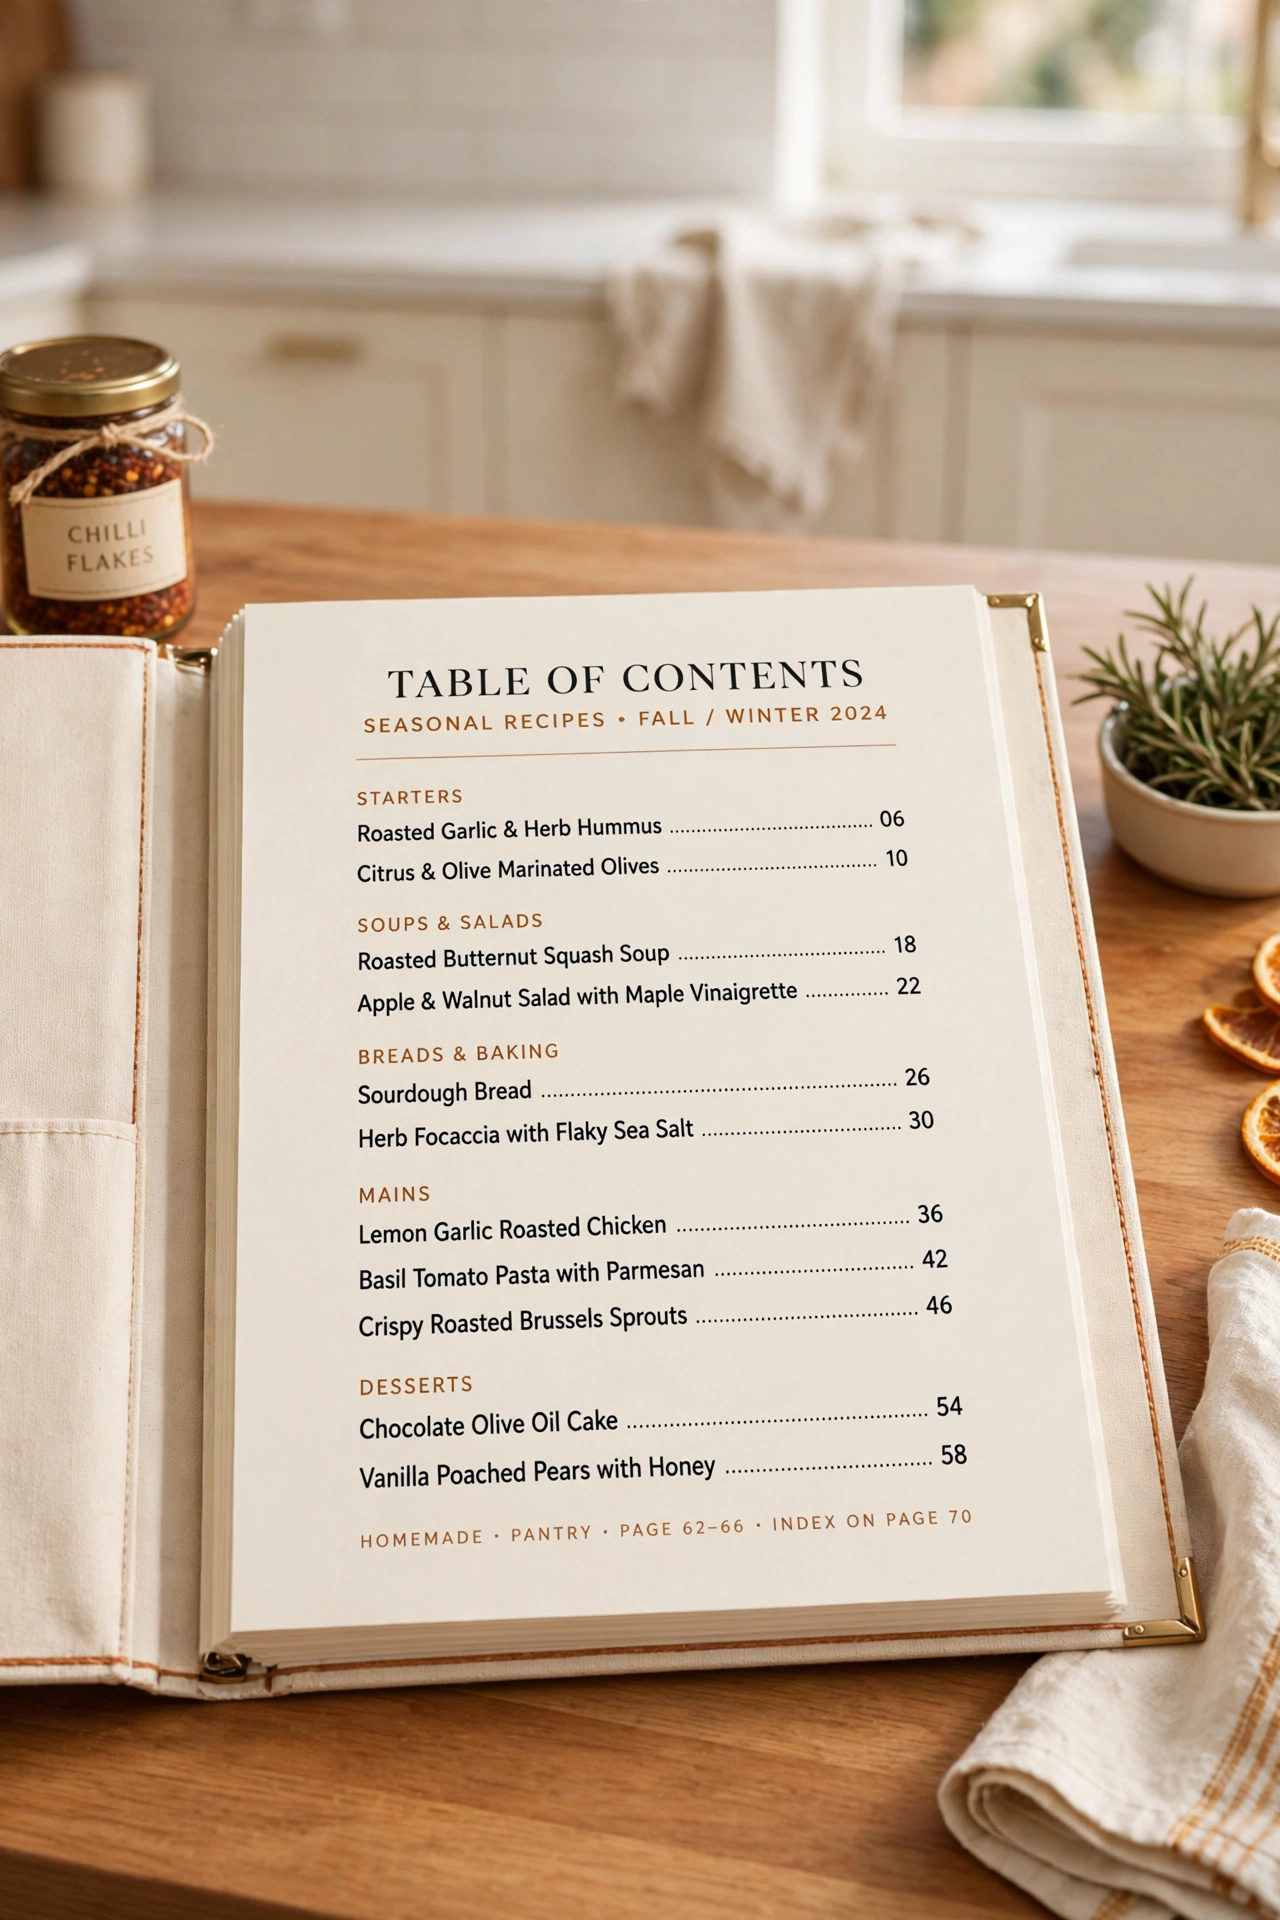
4. Add a Table of Contents at the Front
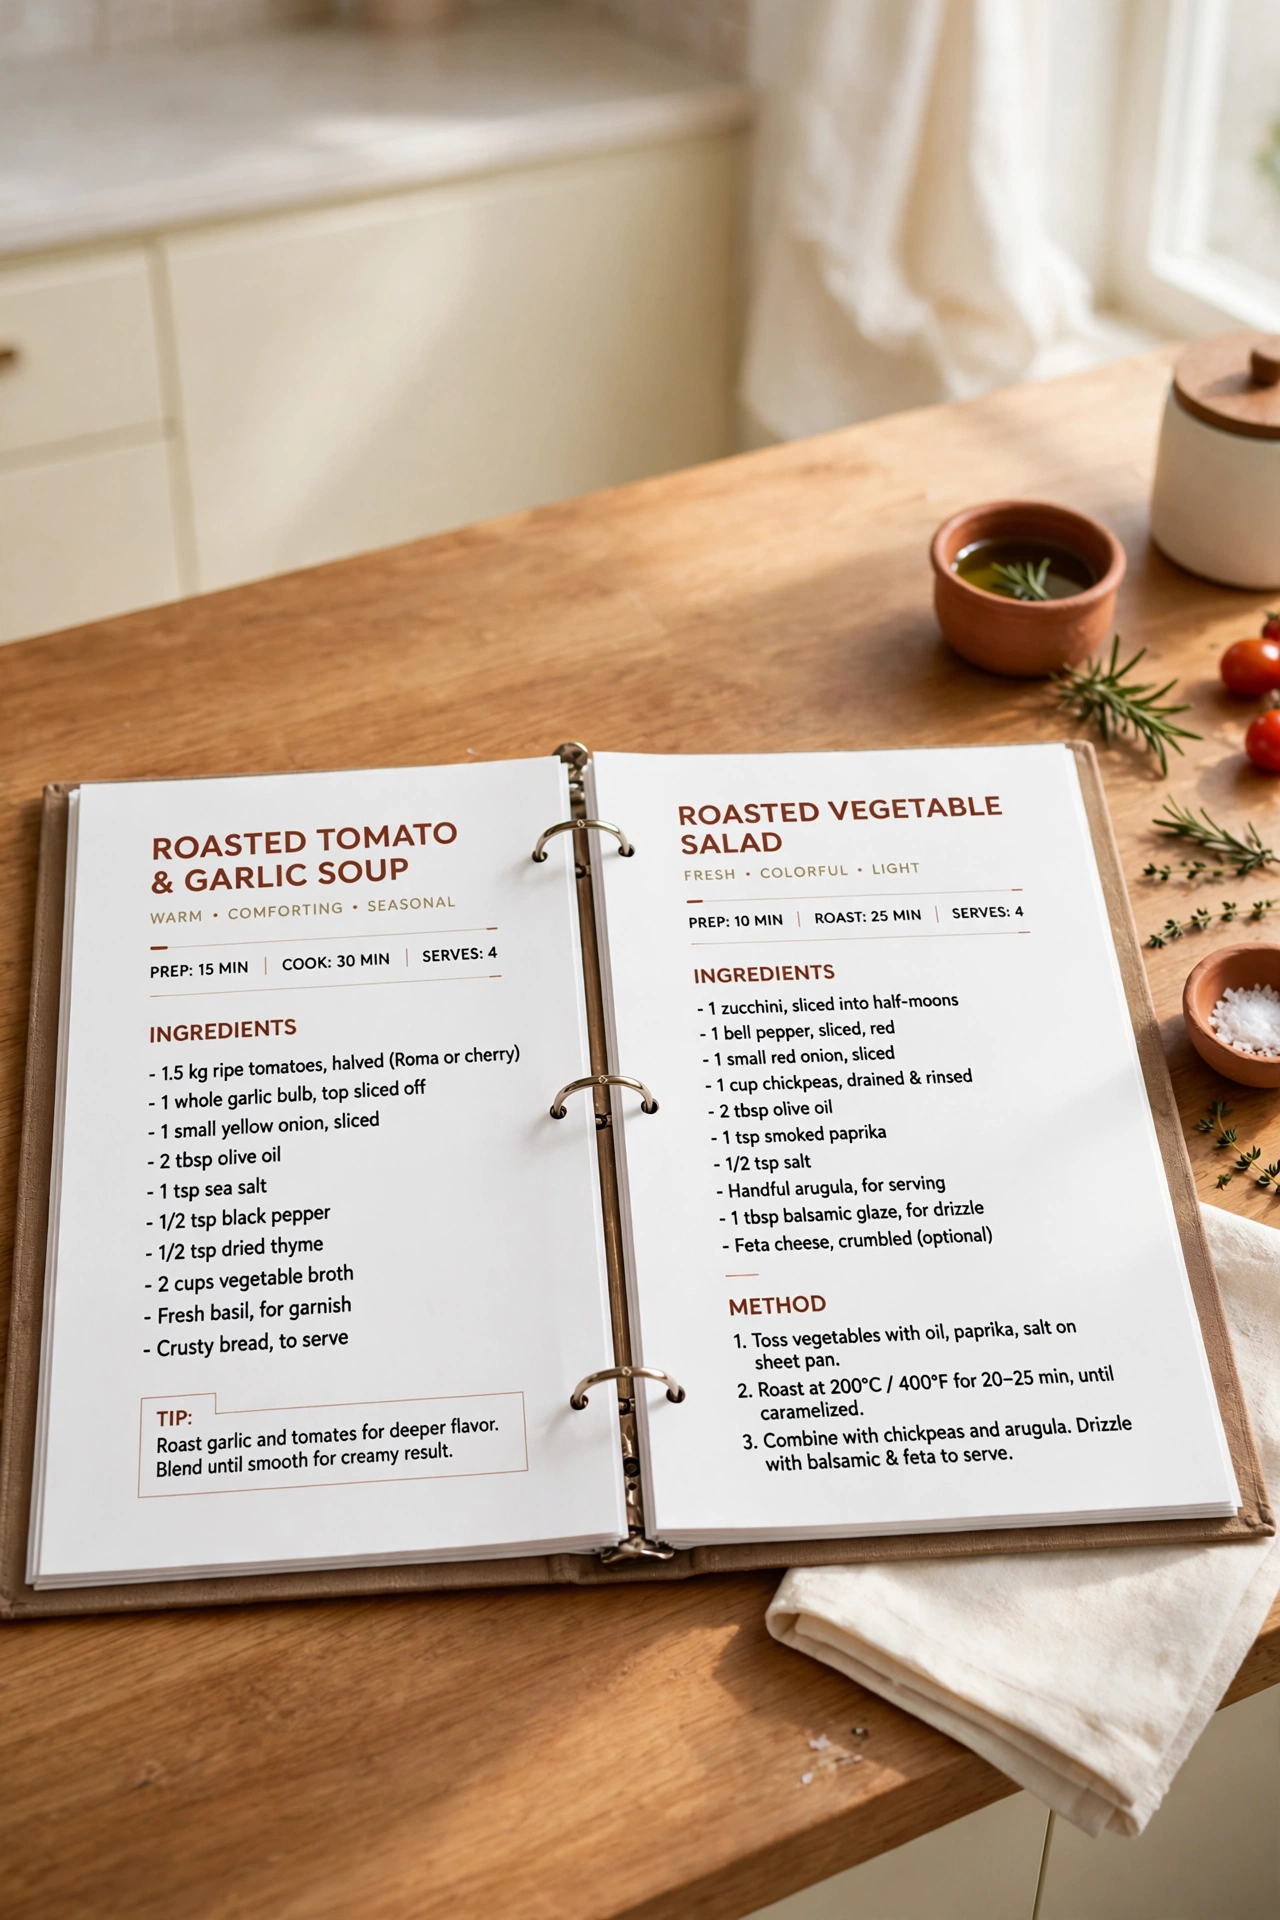
A table of contents at the front of the binder lists every recipe with its page number. This single page saves you from flipping through the whole binder when you know exactly which dish you want. Update the list each time you add a new recipe so it always matches the binder.
Write the table of contents by hand in neat print or type it on a computer and print it out. Group the entries by category with a small heading for each group. A good table of contents turns a thick binder into a book you can navigate in seconds.
5. Use Clear Sheet Protectors for Every Page
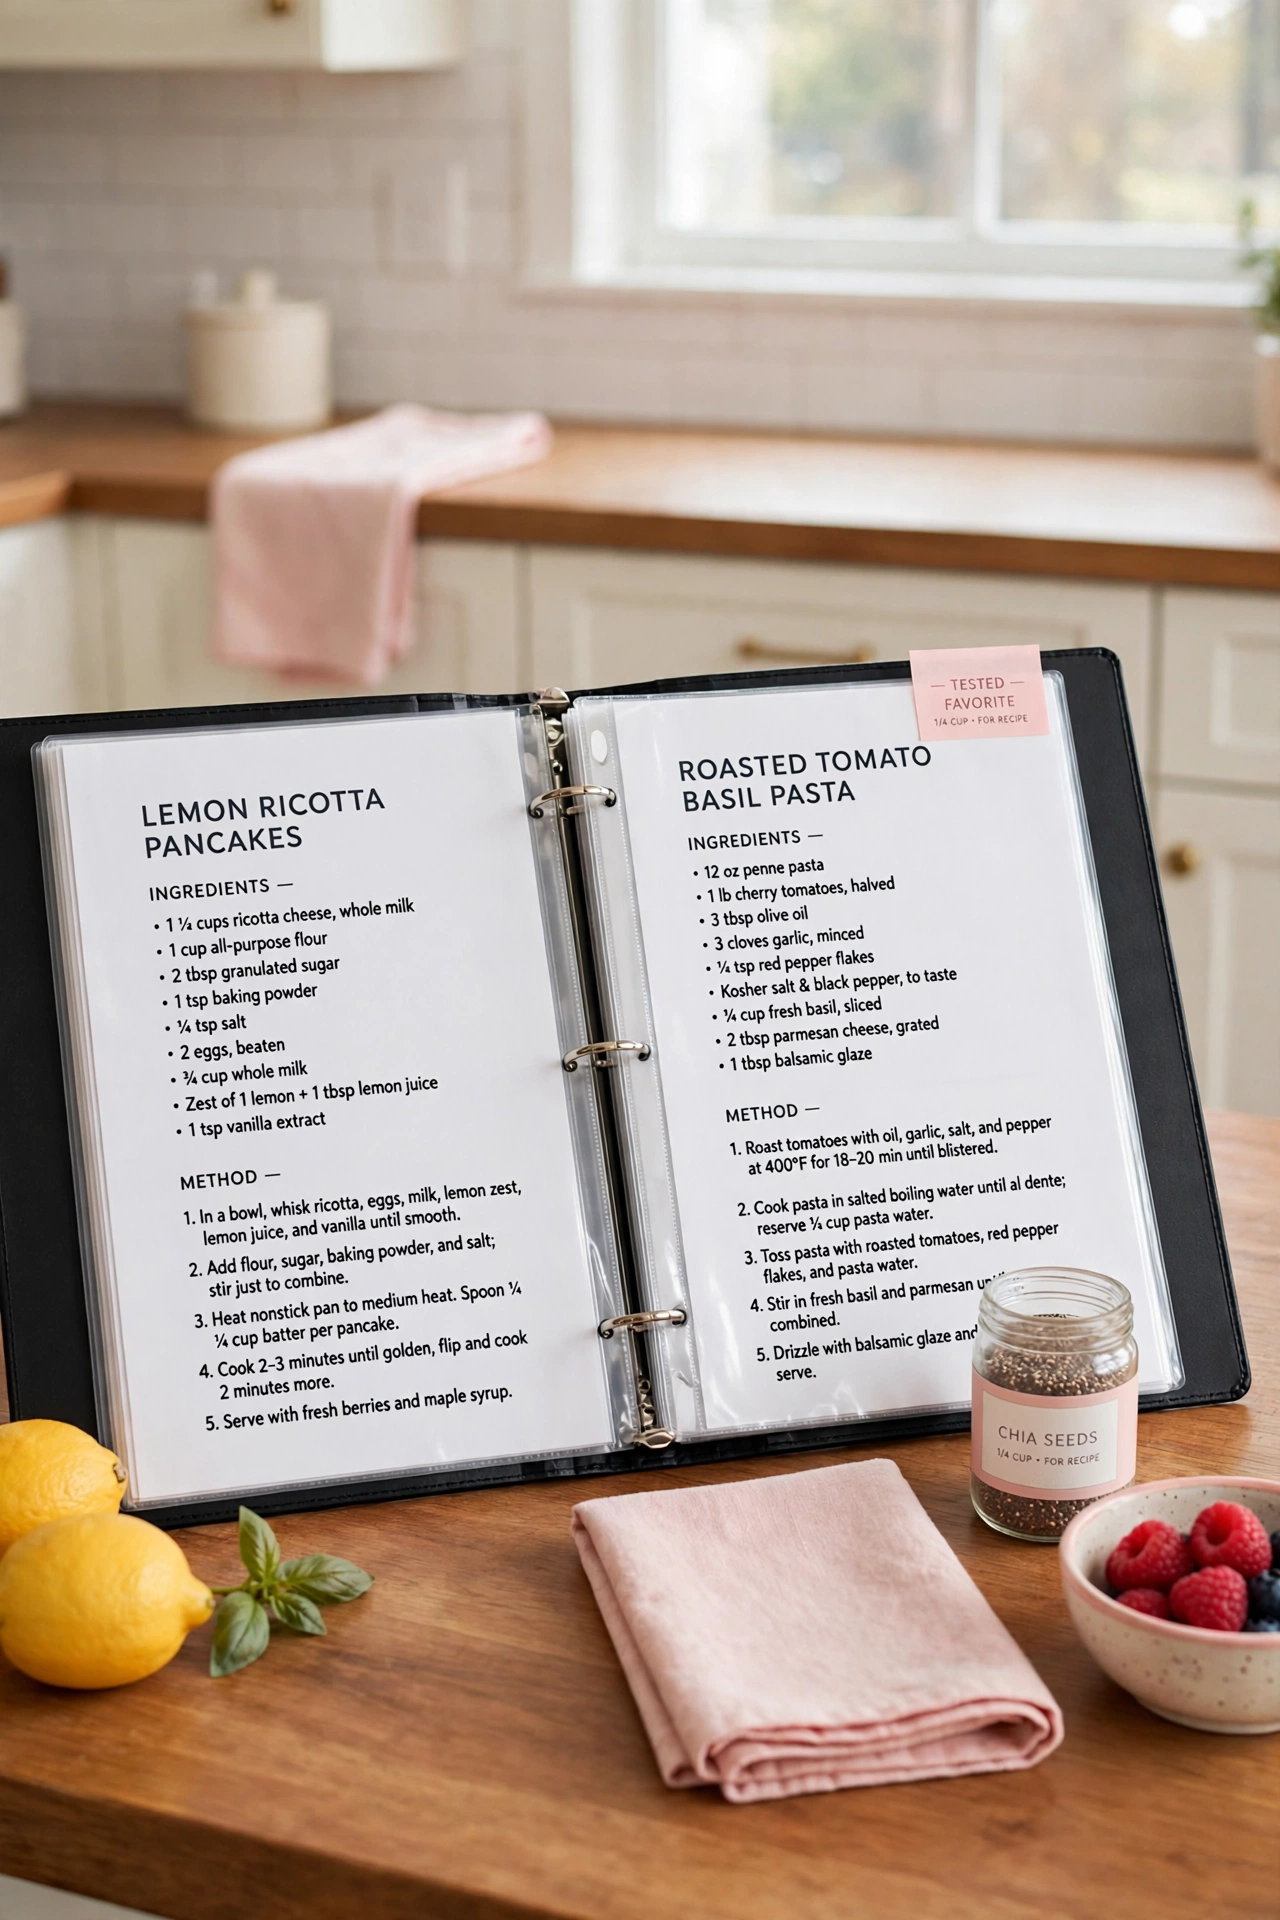
Clear sheet protectors keep recipe pages safe from splashes, flour dust, and sticky fingers. Slide each printed recipe into a protector before you file it, and the page stays clean even after years of kitchen use. Protectors also make pages stiffer, so they turn more easily and never tear at the holes.
Choose heavyweight protectors that do not wrinkle or stick together in a warm kitchen. Wipe a splashed protector clean with a damp cloth and the recipe underneath stays perfect. Sheet protectors are the cheapest insurance you can buy for a recipe collection.
6. Color Code by Meal Type
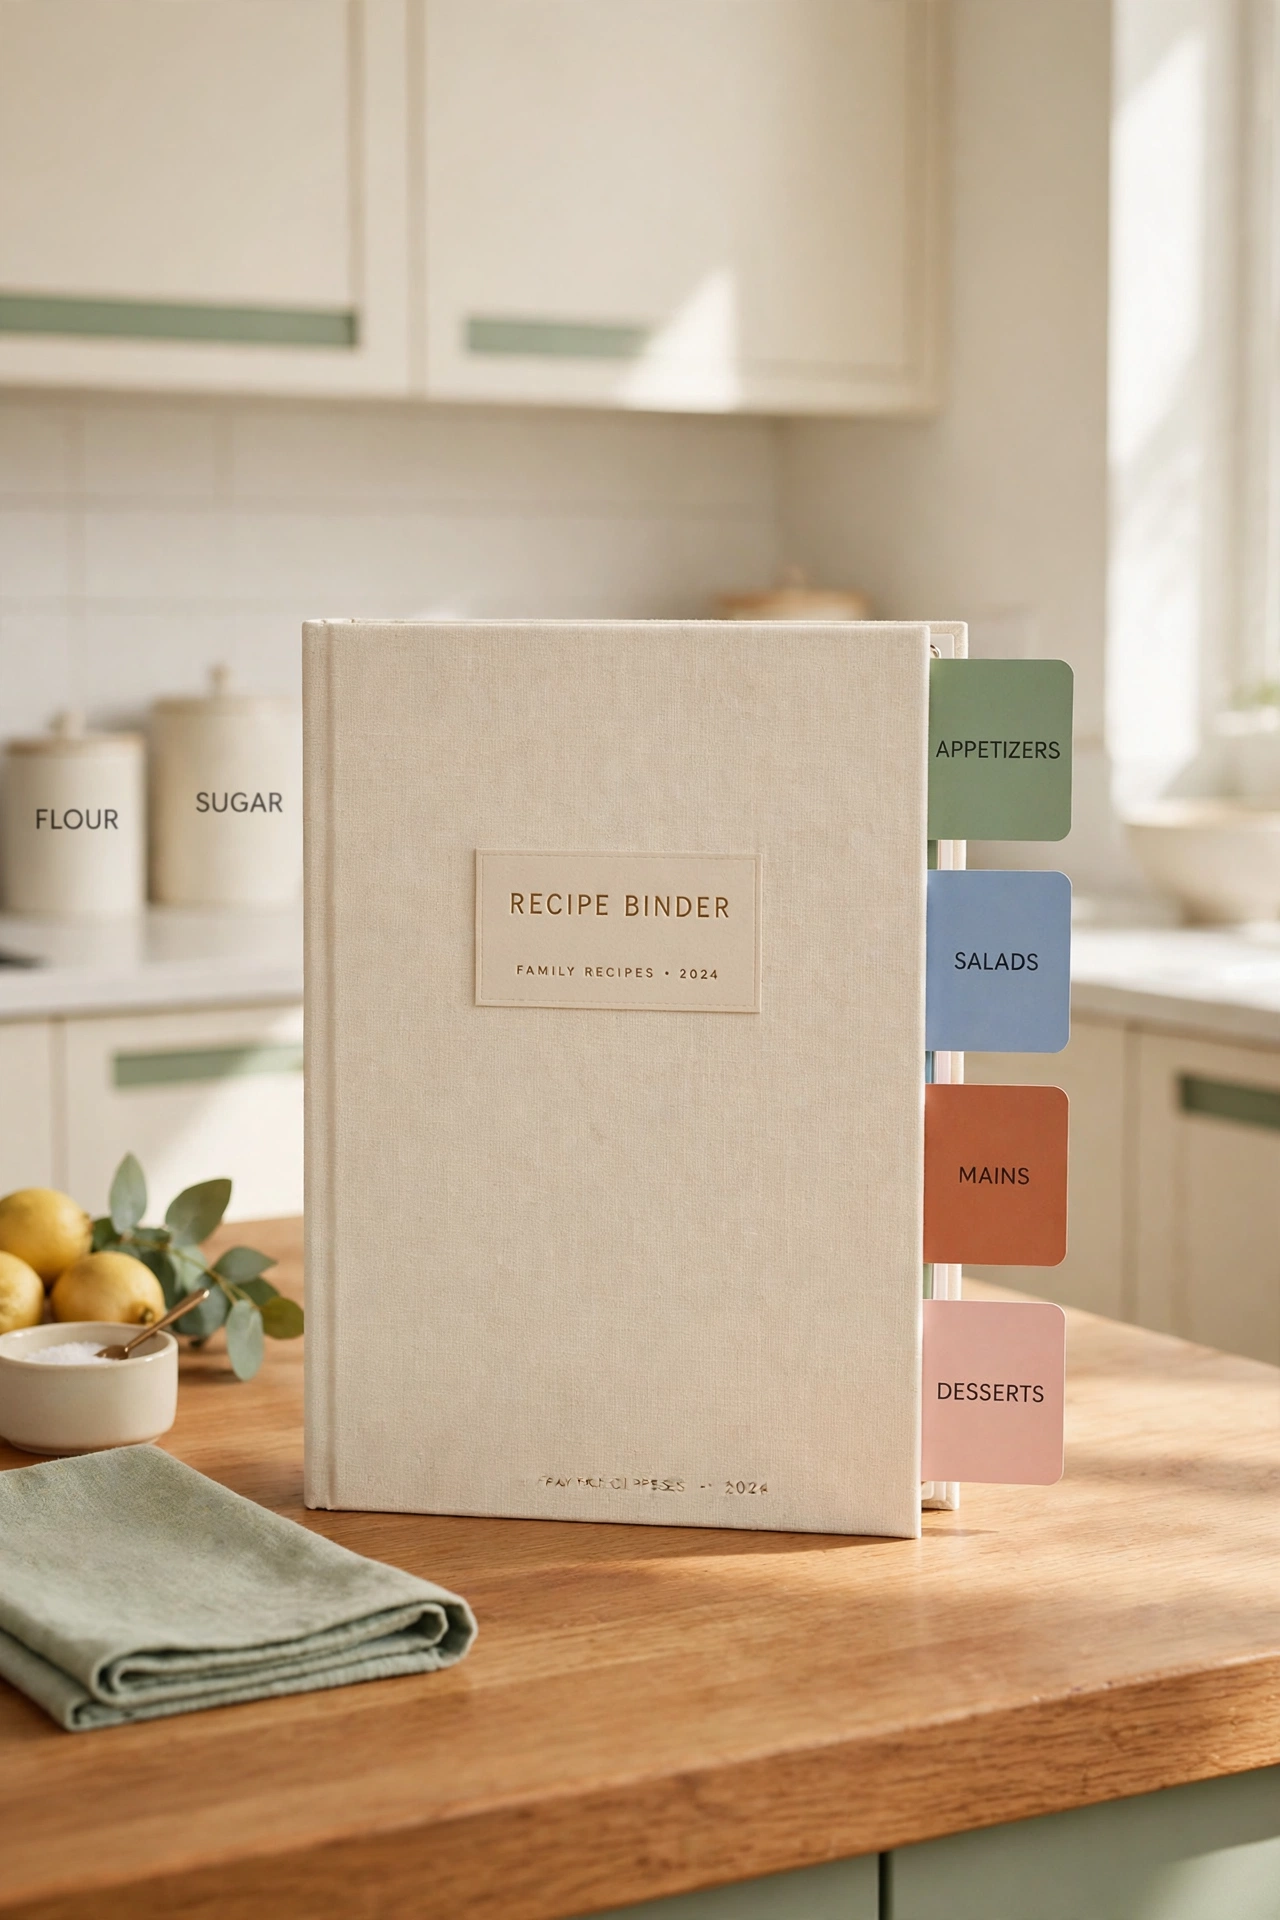
Color coding gives every meal type its own color so you can spot the right section without reading a single label. Use sage green tabs for salads, soft blue for soups, terracotta for main dishes, and blush pink for desserts. The colors act like a visual map of the whole binder.
Keep the color system simple with no more than five colors, so the code stays easy to remember. Write the color key on the inside front cover so family members can follow it too. A color coded binder is faster to use and much prettier to open.
7. Create a Weekly Favorites Section
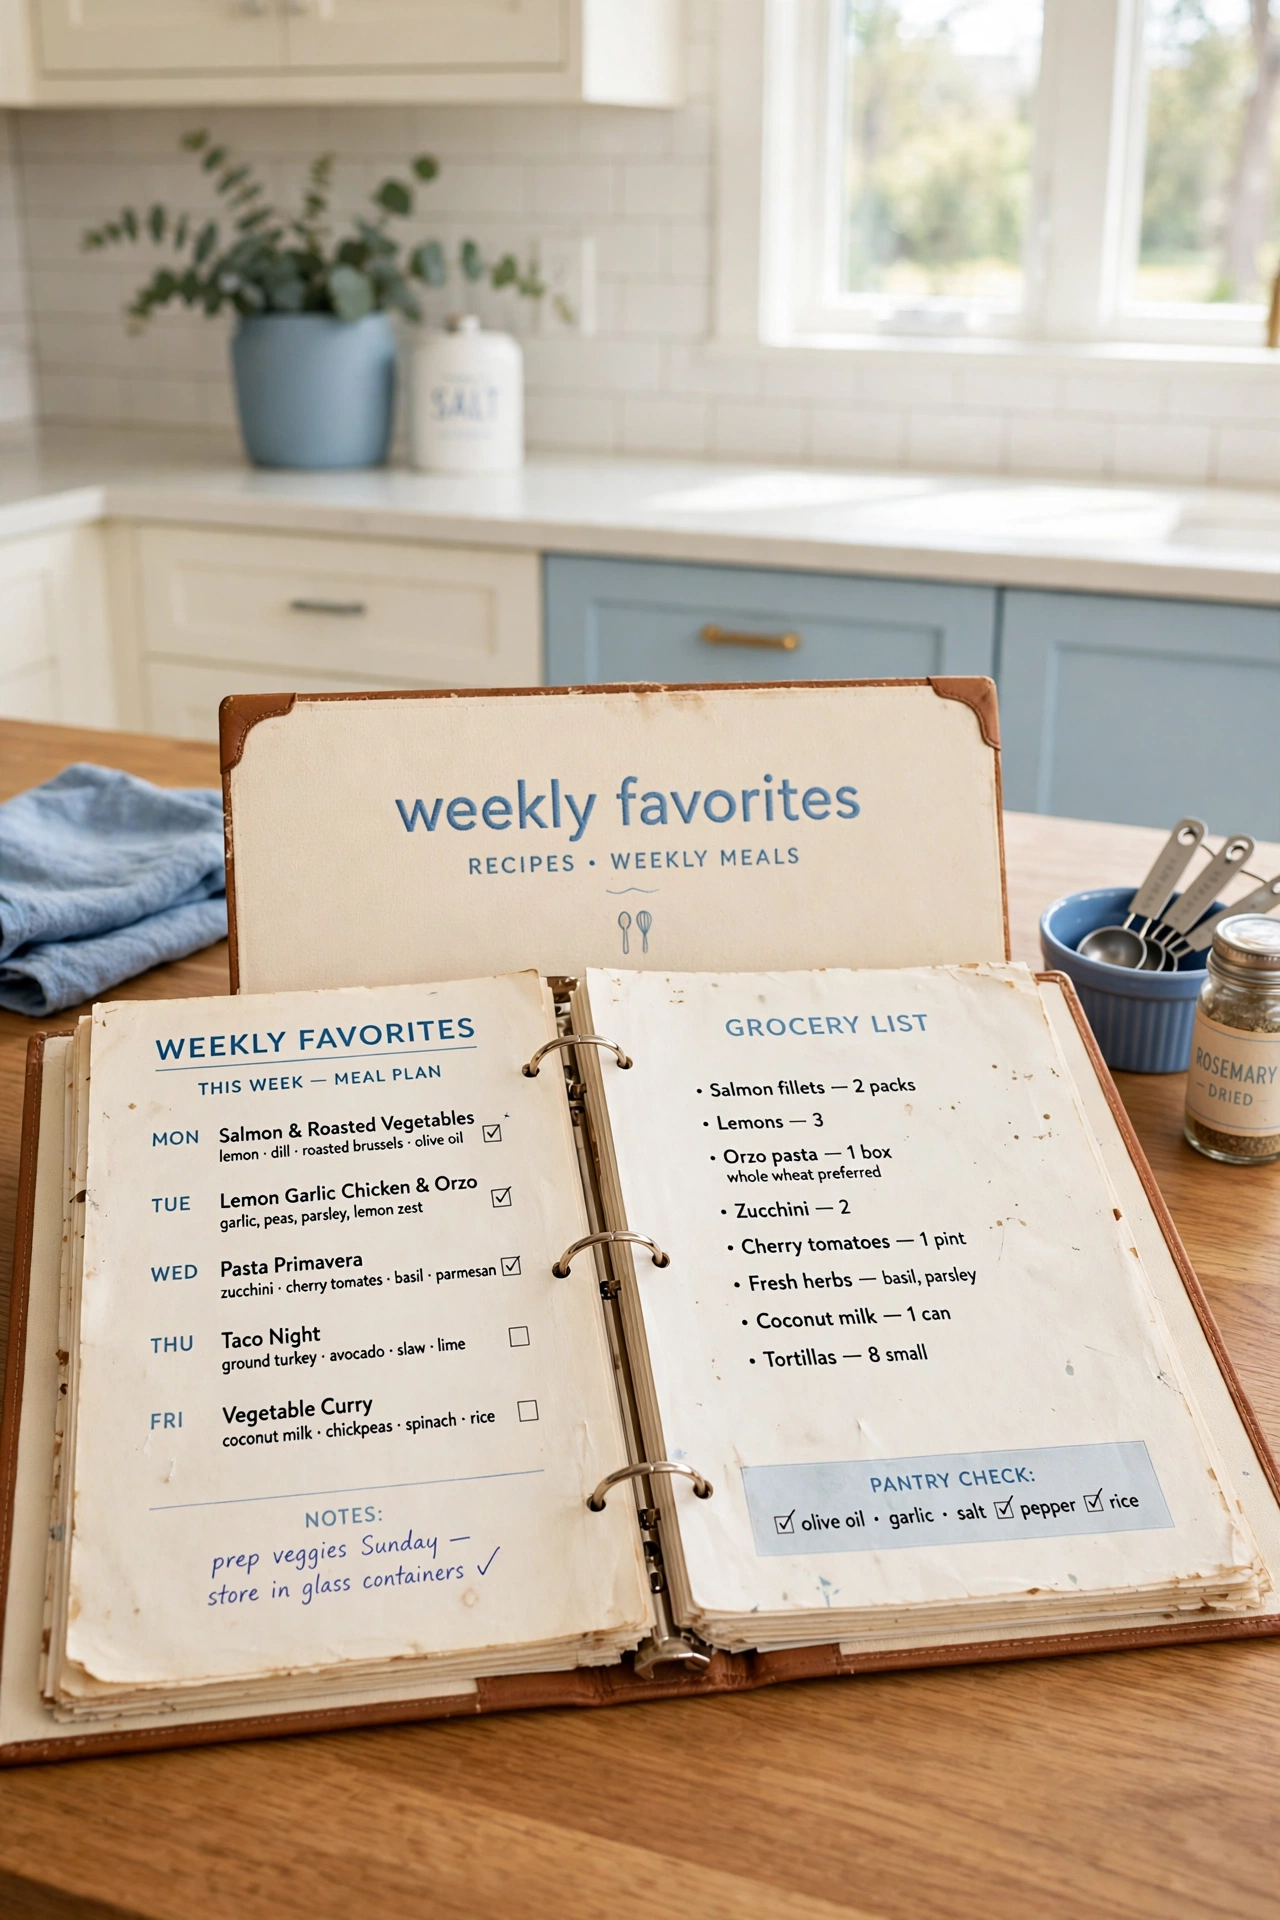
A weekly favorites section holds the recipes your family asks for again and again. Keep your ten or twelve most cooked meals in this front section so the dishes you make every week are always within reach. This section saves time on busy nights when you need a reliable meal fast.
Review the favorites section every few months and swap out recipes your family has grown tired of. Move the old favorites back into their regular category and promote new winners to the front. A living favorites section keeps weeknight cooking fresh without any extra effort.
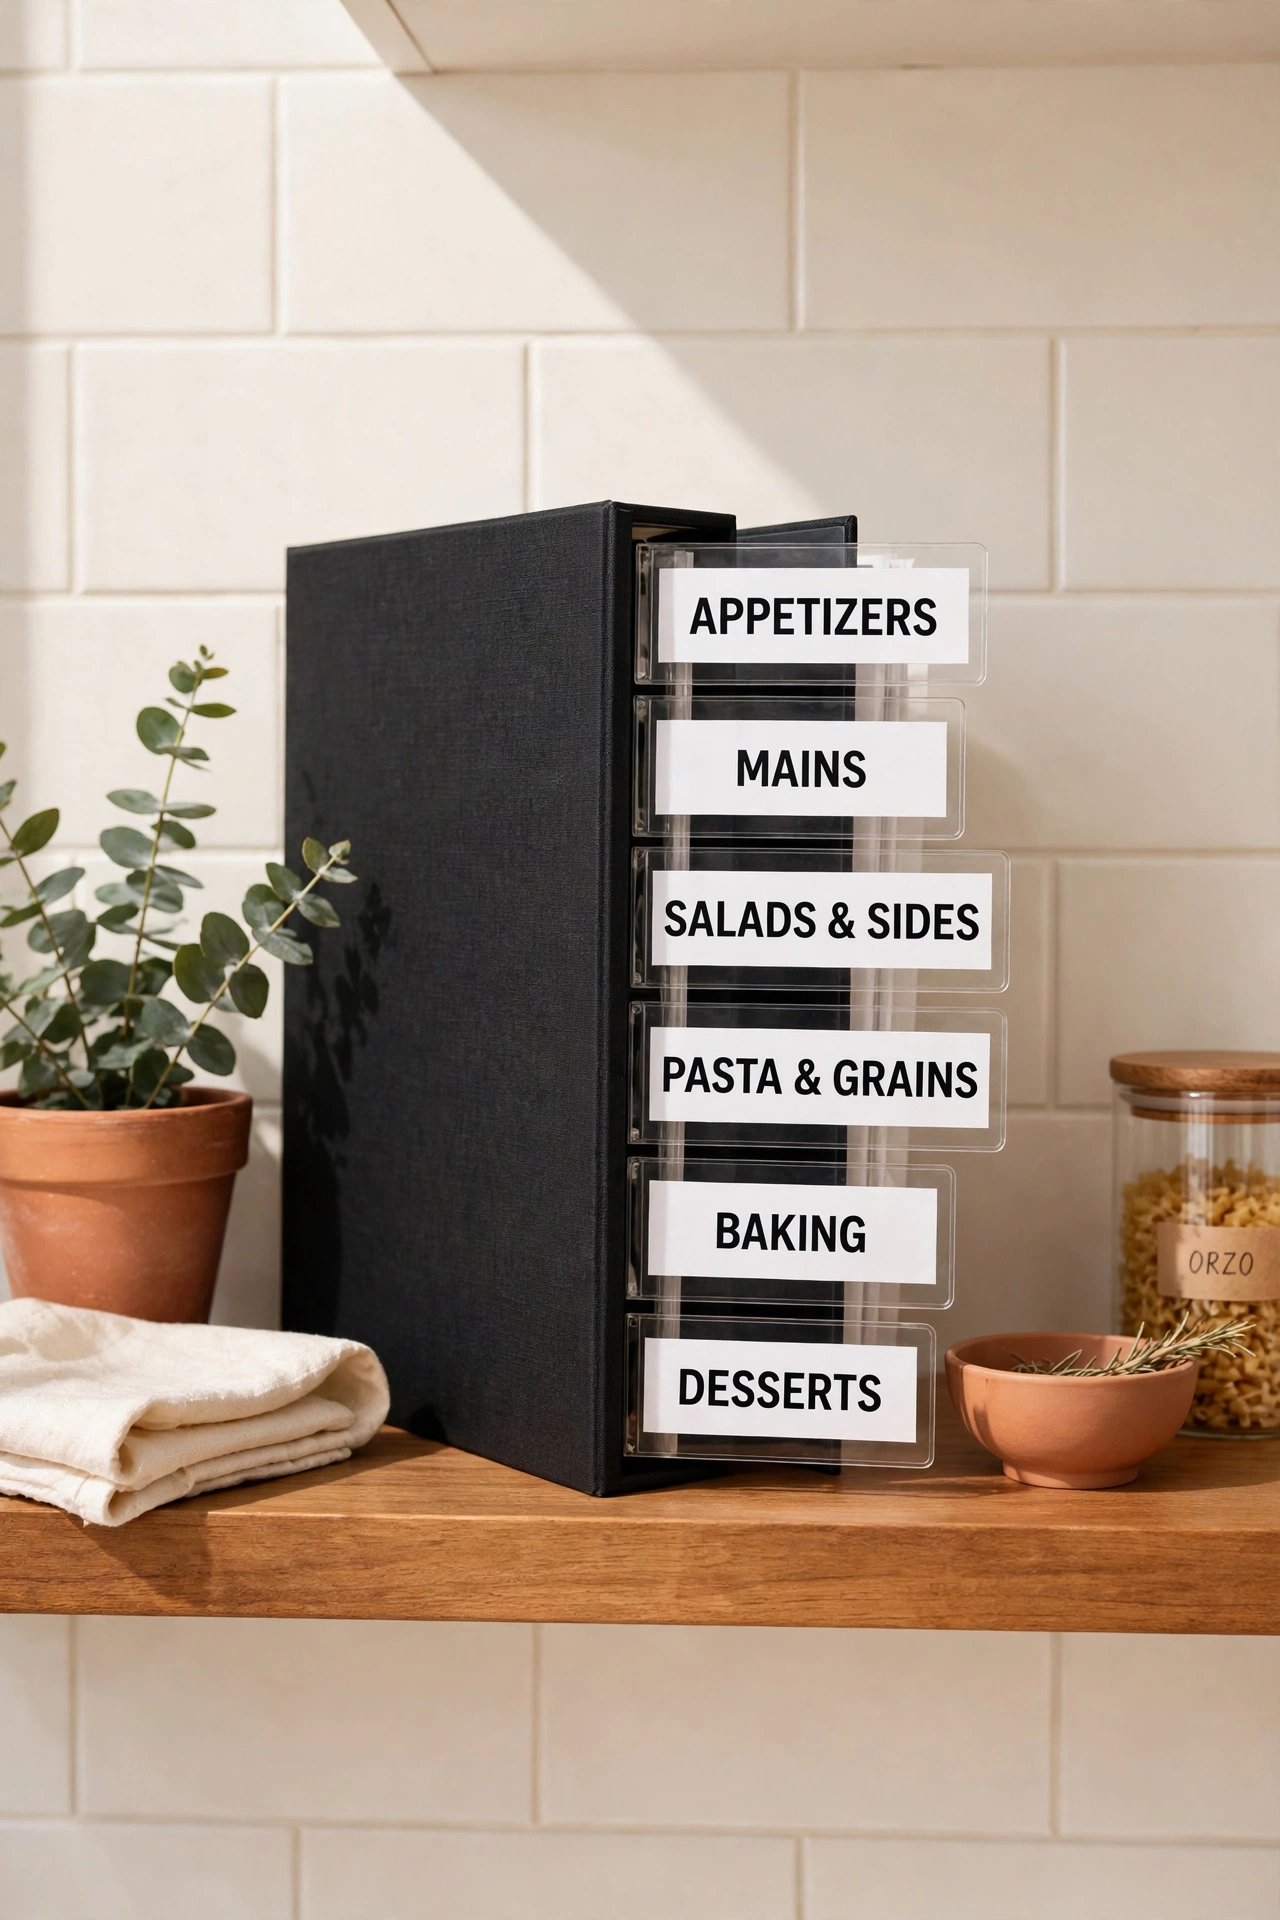
8. Label Every Divider with Printed Tabs
Printed labels on every divider tab keep the binder looking neat and professional. Use a label maker or print labels on a computer, then stick them firmly to each tab. Clear printed labels are easier to read than handwriting, especially in a busy kitchen.
Choose a large, bold font for tab labels so you can read them from arm’s length. Keep the words short, with one or two words per tab at most. Neat labels make the binder easy for everyone in the house to use, including guests who help in the kitchen.
9. Keep a Master Index of All Recipes
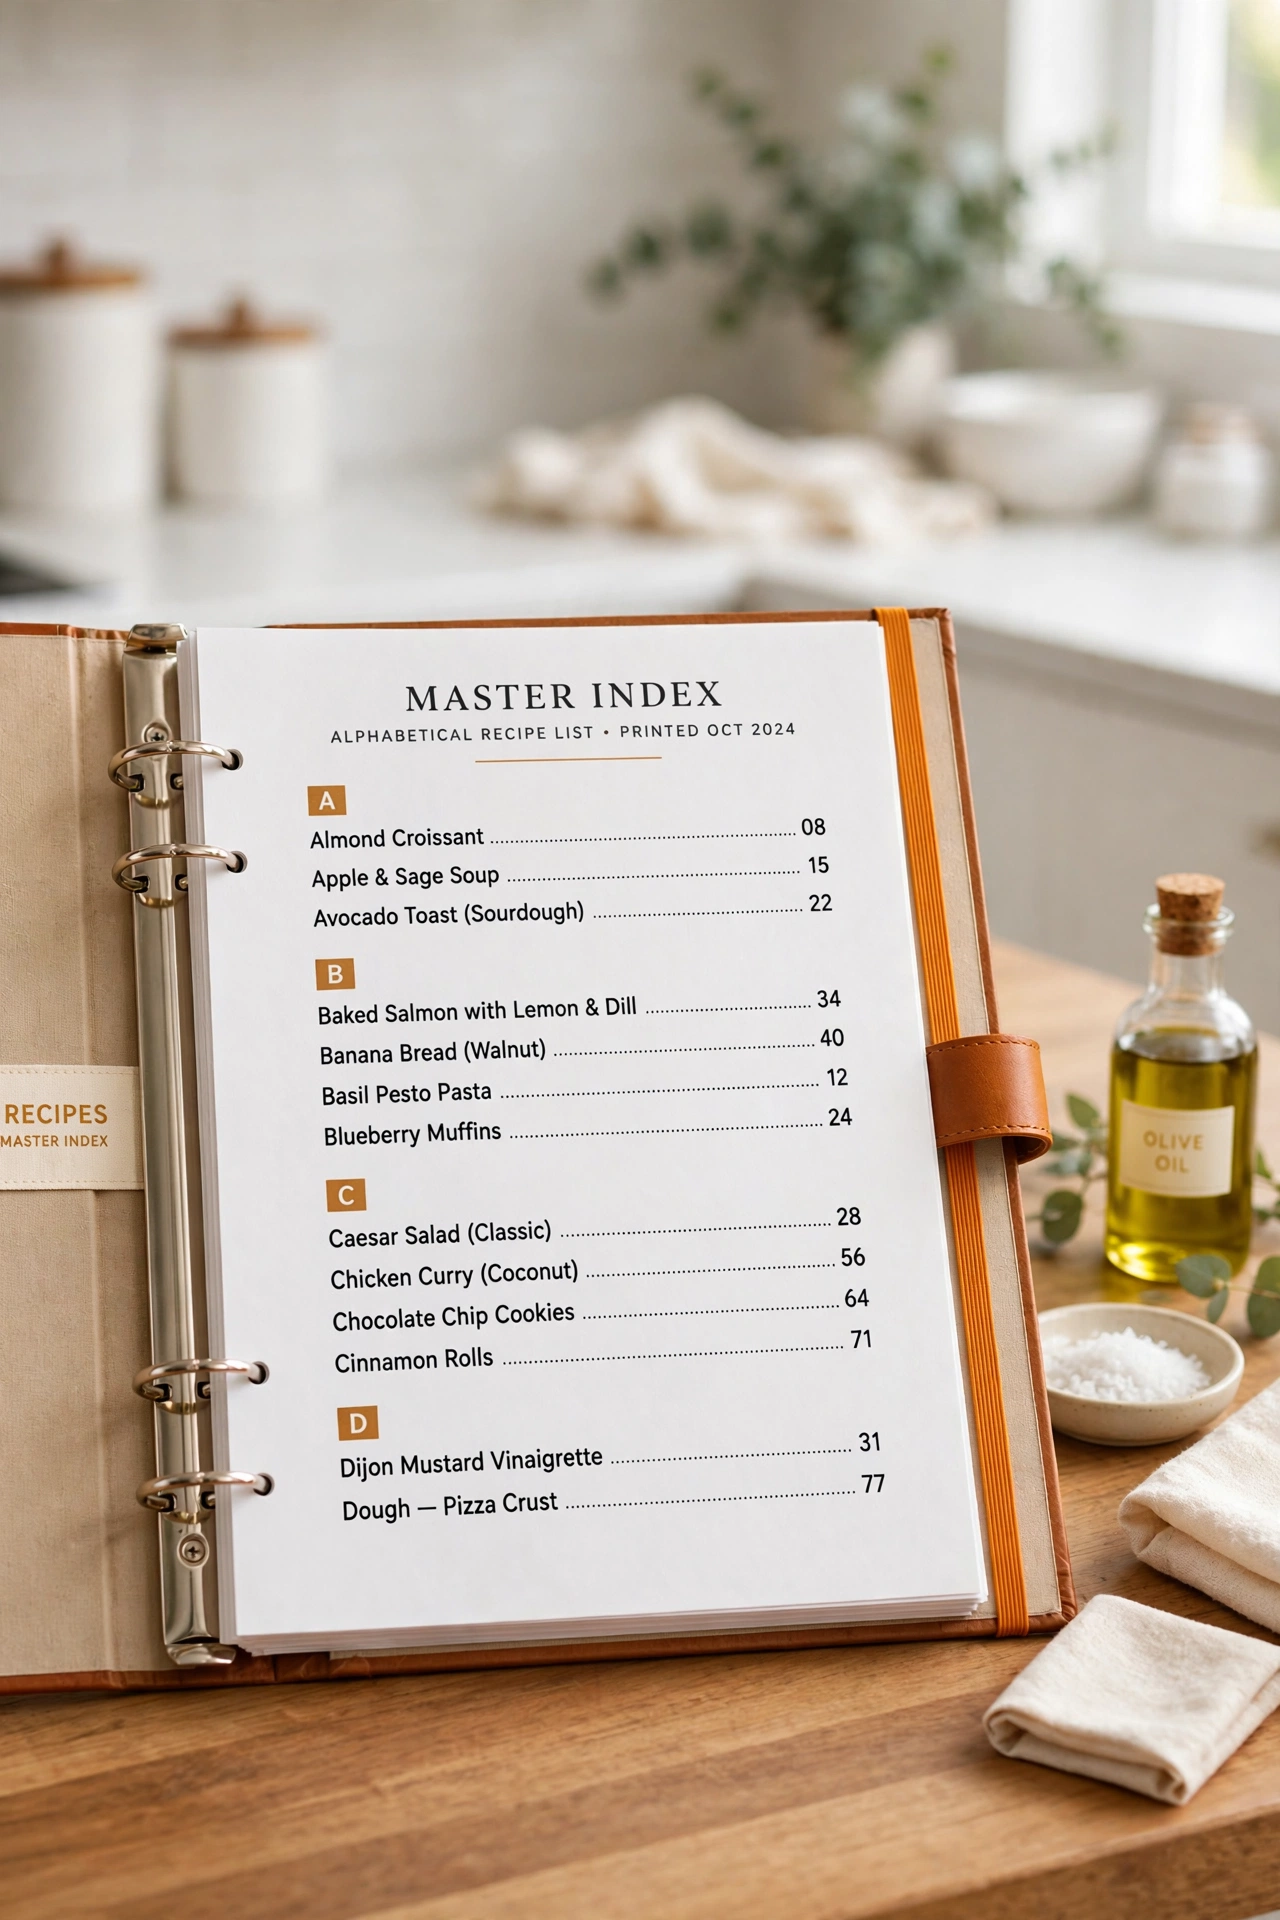
A master index lists every recipe in the binder in alphabetical order with its page number. Unlike a table of contents grouped by category, the index helps you find a recipe when you remember its name but not its category. Keep the index at the very front for fast access.
Update the index each time you add or remove a recipe, and rewrite the page when it starts to look messy. A clean index is the backbone of an organized binder. Without one, even a well sorted binder can feel slow to search.
10. Store Tried and True Recipes Up Front
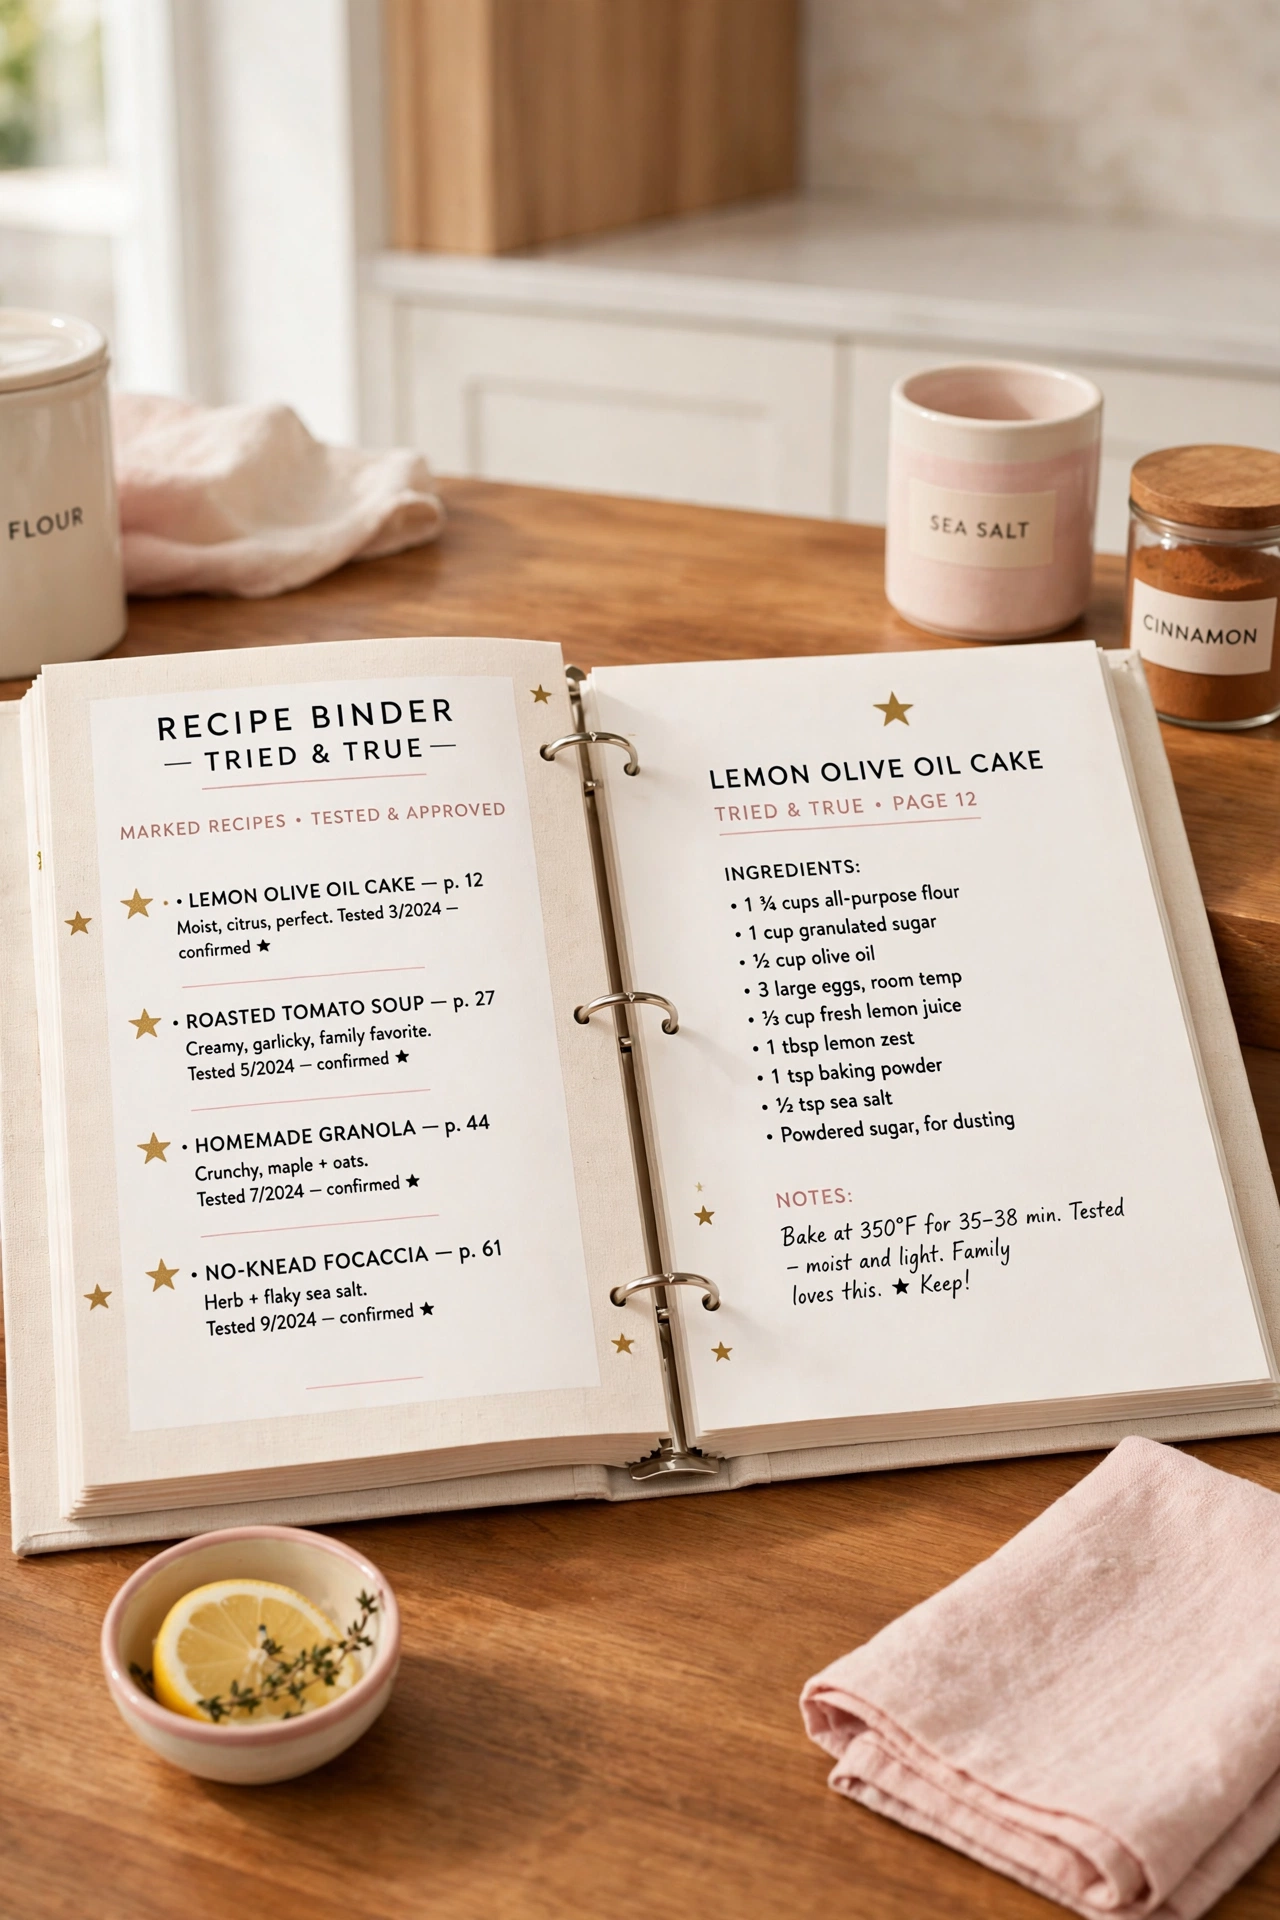
Recipes you have cooked many times and trust completely deserve a spot at the front of the binder. These tried and true dishes are the ones you reach for when guests arrive or when time is short. Keeping them up front means you never have to hunt for a proven winner.
Mark each trusted recipe with a small star sticker on the top corner so it stands out even inside its category section. Limit the front section to your best fifteen or twenty recipes so it stays quick to scan. A binder that leads with your best dishes makes every meal feel easier.
11. Add a Notes Page After Each Recipe
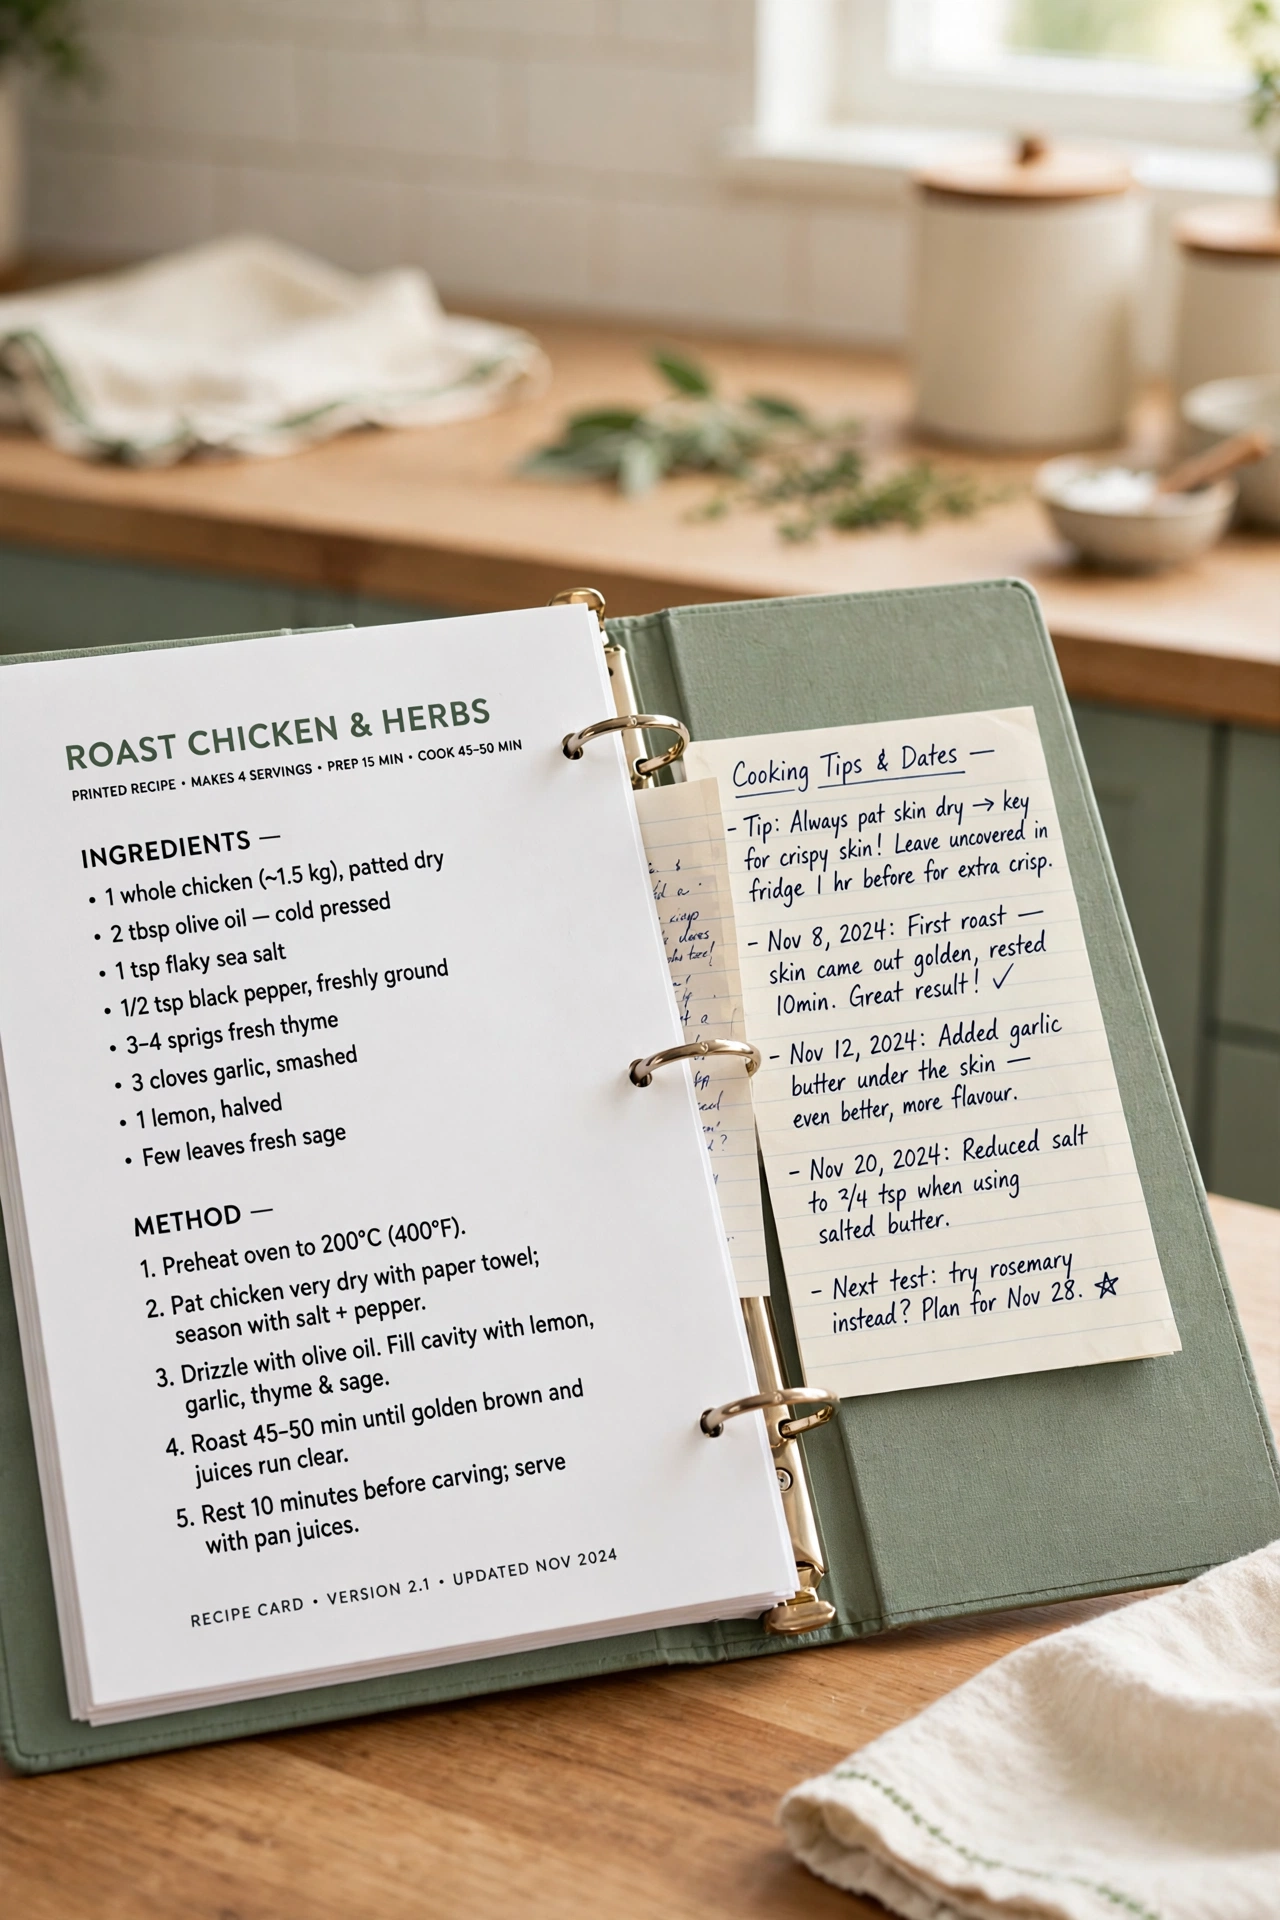
A blank notes page after each recipe gives you space to record what worked and what needs to change. Write down swaps you tried, cooking times that worked better, and comments from family members. These notes turn a printed recipe into a personal record of your cooking.
Use lined paper for the notes pages so your writing stays tidy. Date each note so you can see how the recipe changed over time. Notes pages make the binder more useful with every meal you cook from it.
12. Use a Three Ring Binder with a Wide Spine
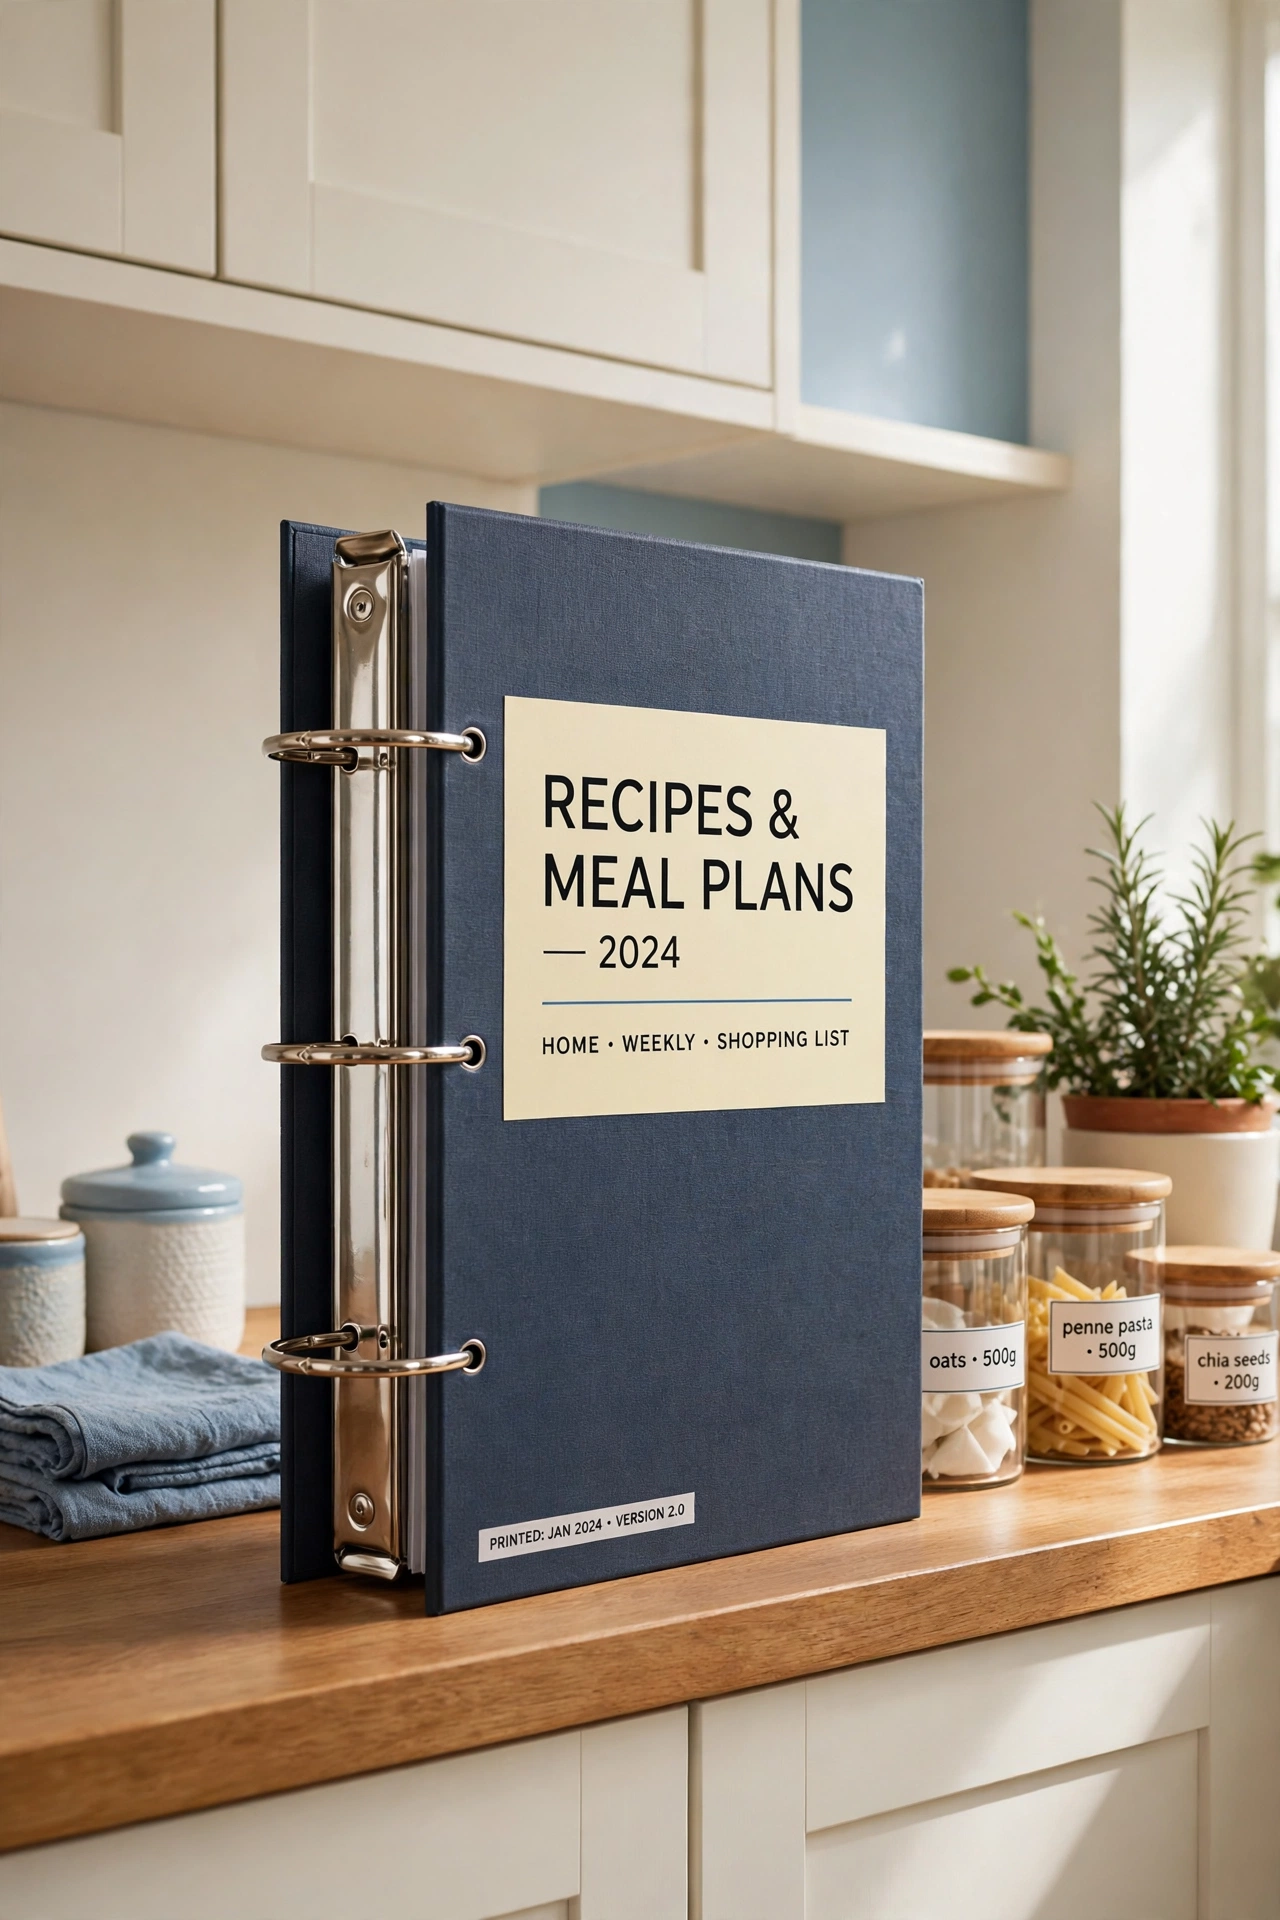
A three ring binder with a wide spine holds a large collection without bursting at the seams. Look for a binder at least three inches wide with strong metal rings that close flat. Wide spines also give you room for a large label on the outside edge.
Test the rings before you buy by opening and closing them several times to check that they align perfectly. Rings that do not align will tear page holes over time. For ideas on keeping meal ingredients just as tidy, see these meal prep container organization ideas. A strong binder is the foundation of the whole system.
13. Photocopy Handwritten Family Recipes
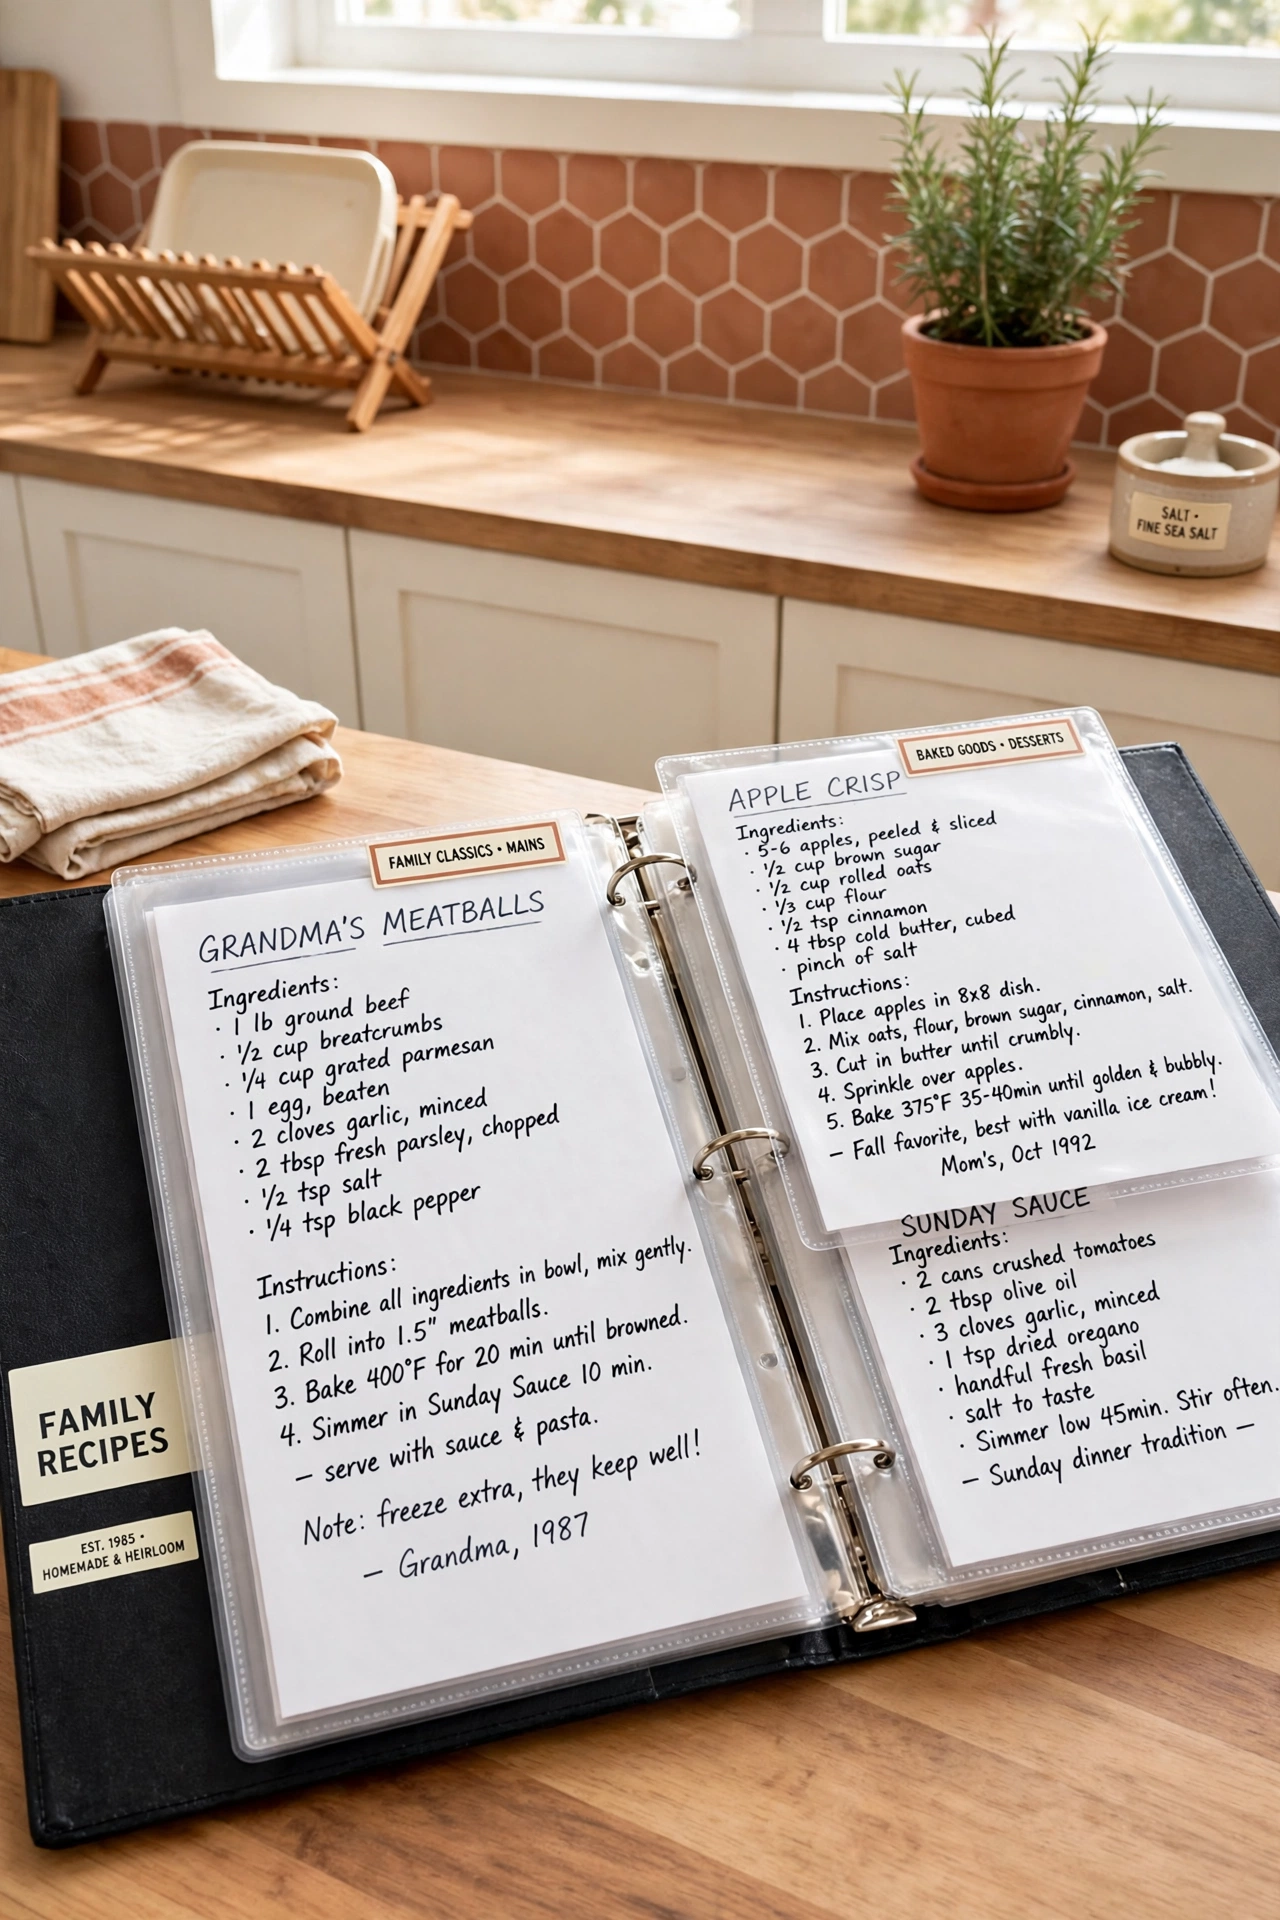
Handwritten family recipes are precious, but the original cards can fade, stain, or tear with use. Photocopy each card and file the copy in the binder while the original stays safe in a storage box. The copy lets you cook from the family recipe without risking the original.
Copy the card at full size so the handwriting stays easy to read. Add a small note on the copy with the name of the family member who wrote it and the year it was written. Photocopies protect family history while keeping it part of everyday cooking.
14. Add Plastic Pockets for Loose Clippings
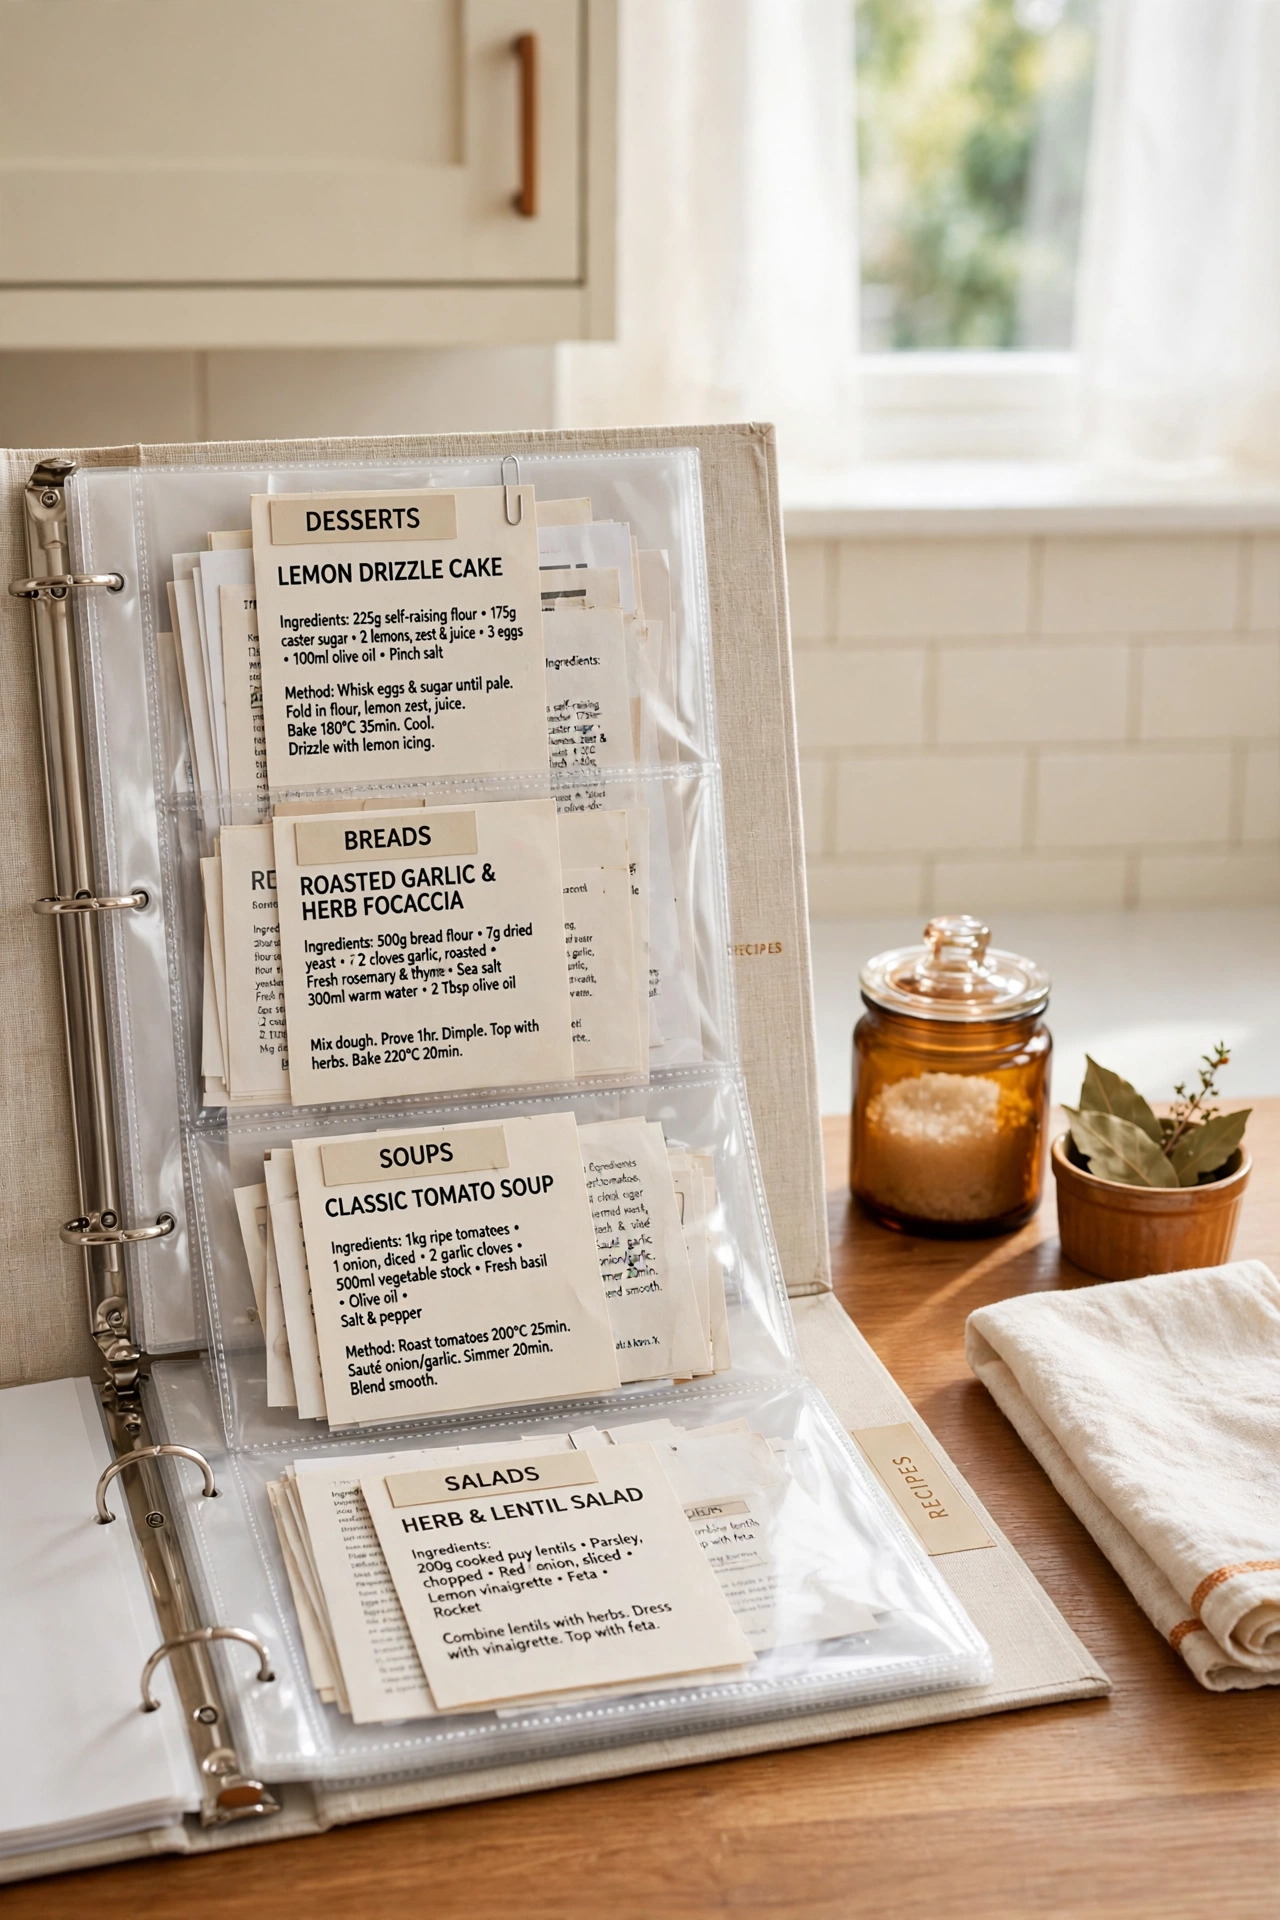
Plastic pockets with a top opening hold loose clippings, magazine pages, and printed recipes you have not yet filed. Keep two or three pockets at the back of the binder as a waiting area for new recipes. This stops loose papers from piling up on the kitchen counter.
Sort through the pockets once a month and file the recipes you love into their proper sections. Throw away the ones you will never cook. Pockets give new recipes a home without forcing you to file them the same day they arrive.
15. Sort Desserts by Occasion
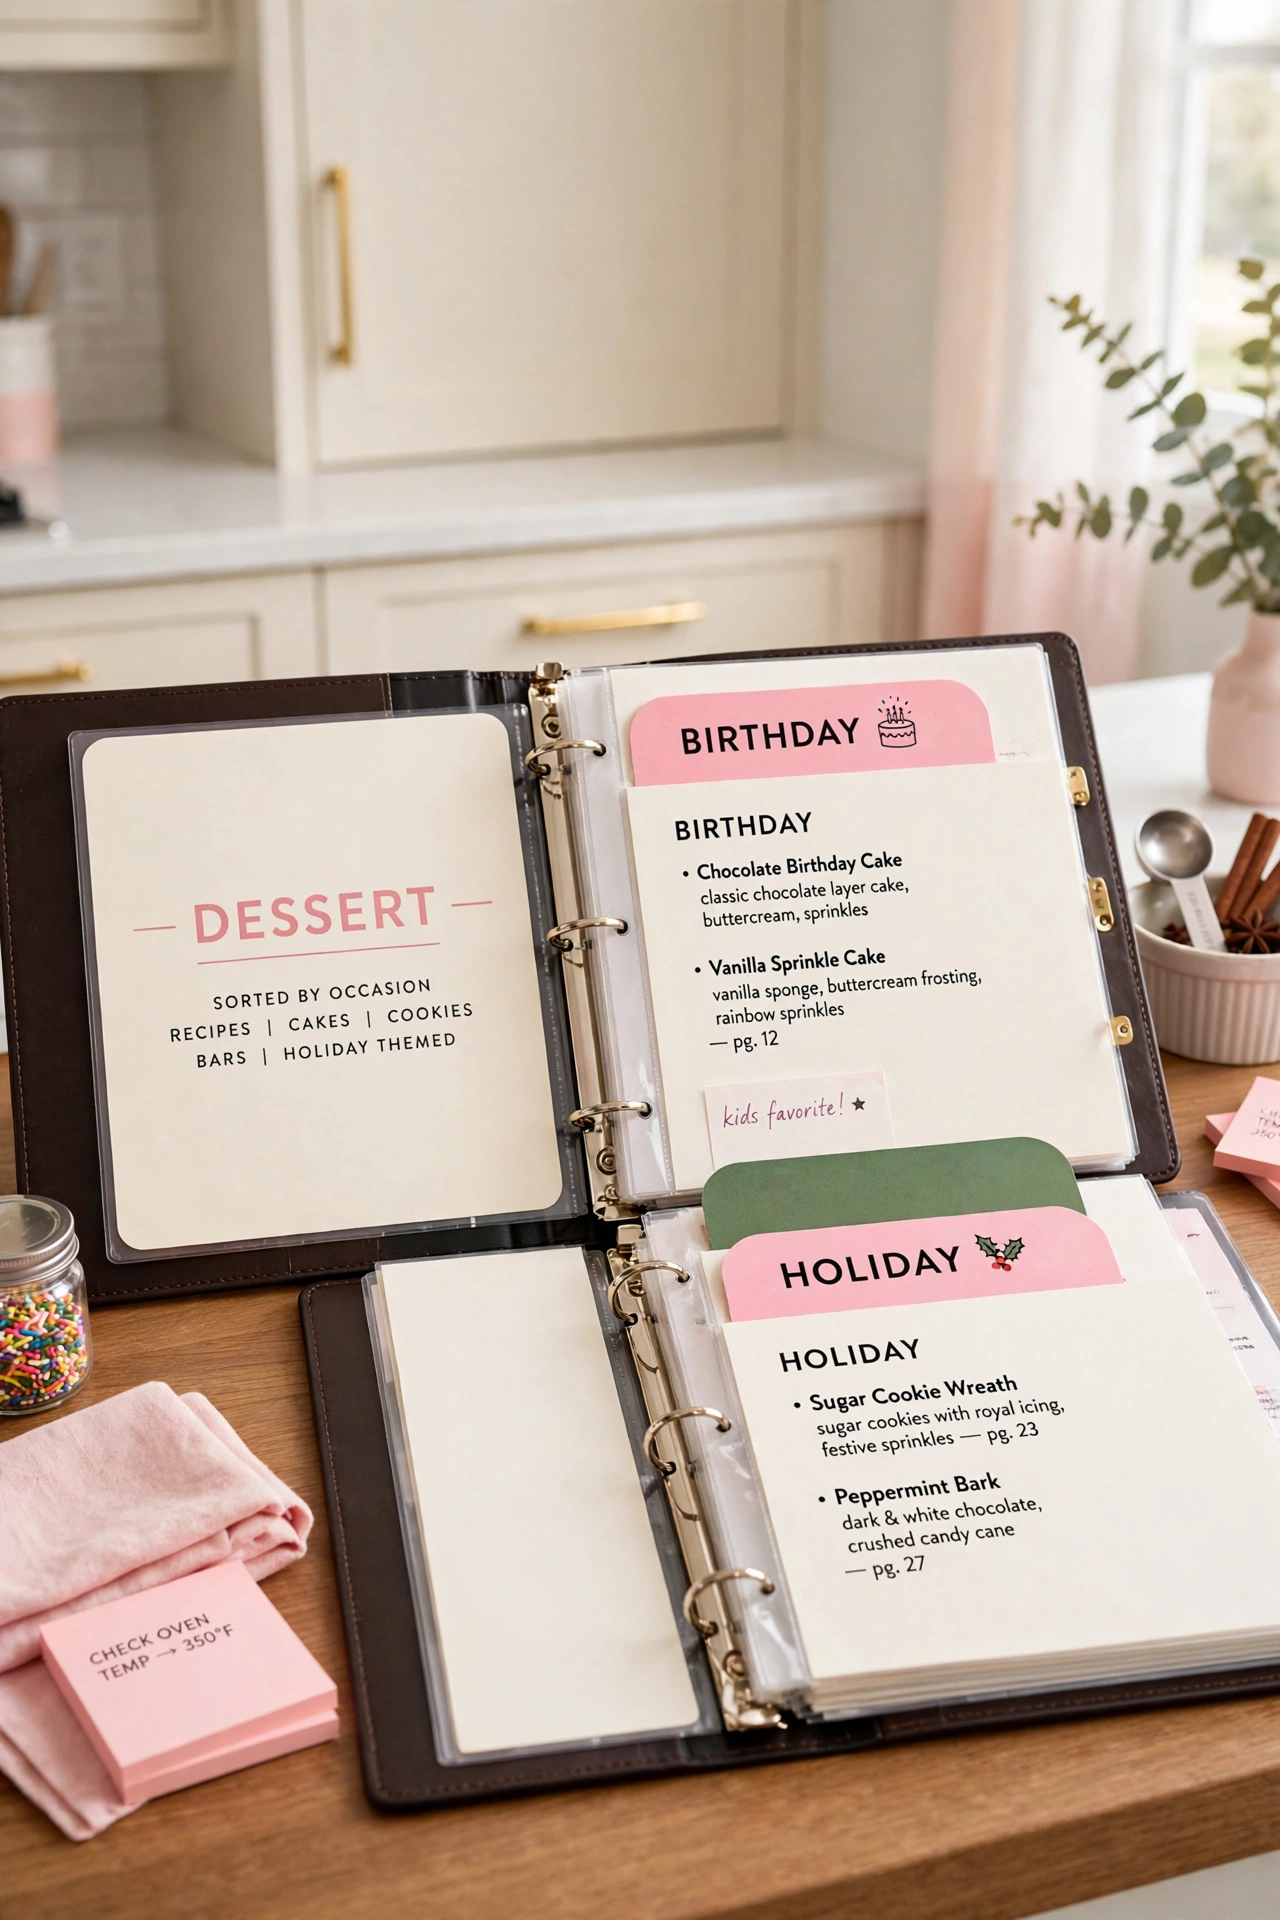
Desserts are easier to find when you sort them by occasion instead of lumping them together. Create groups for birthdays, holidays, everyday treats, and special dinners. When a birthday arrives, you can flip straight to the birthday group and pick a cake in seconds.
Use small sub dividers inside the dessert section so each occasion has its own tab. Keep the everyday treats at the front of the dessert section since you use them most often. Sorting by occasion turns the dessert section into a party planning tool.
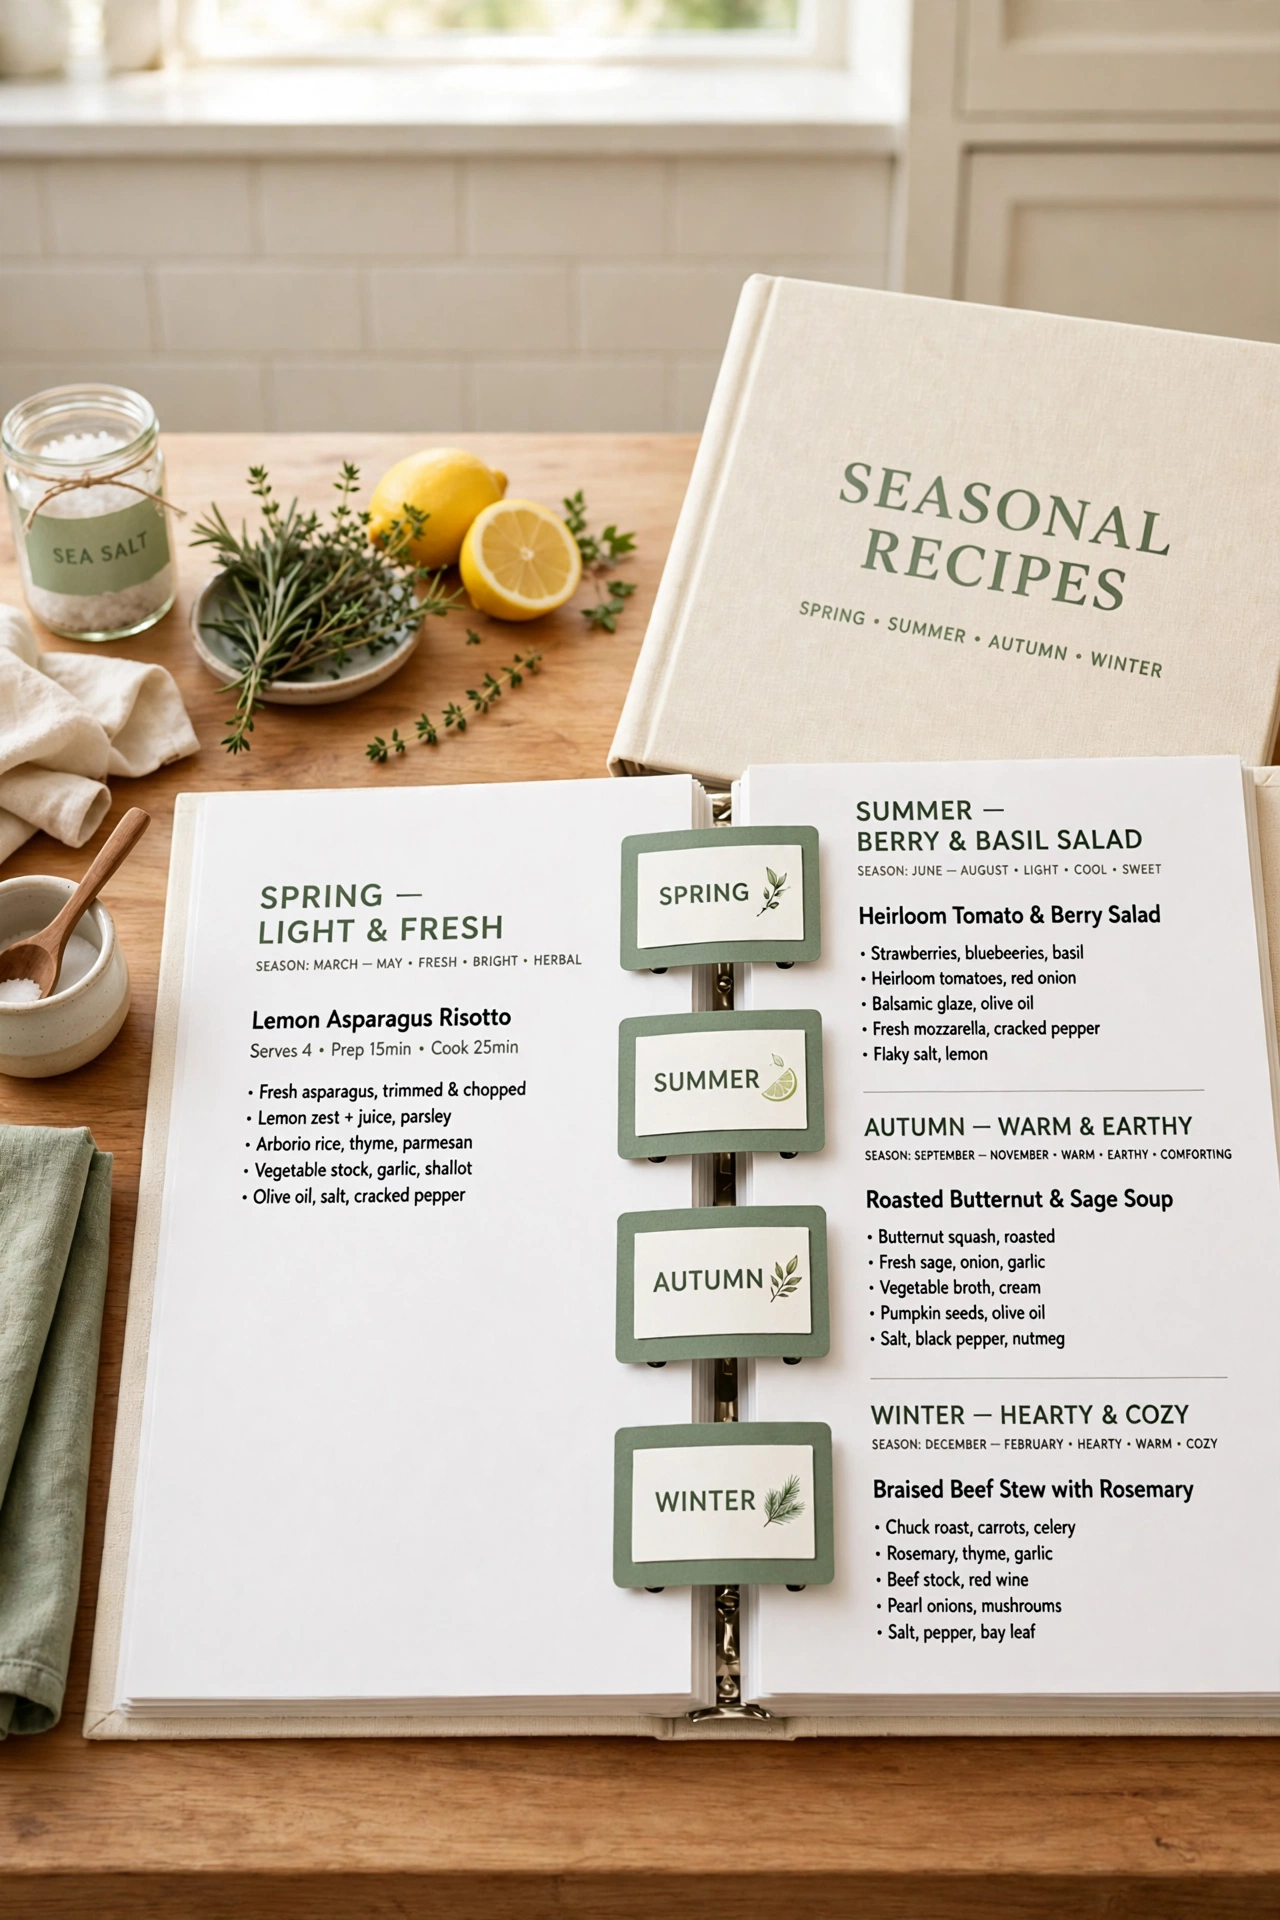
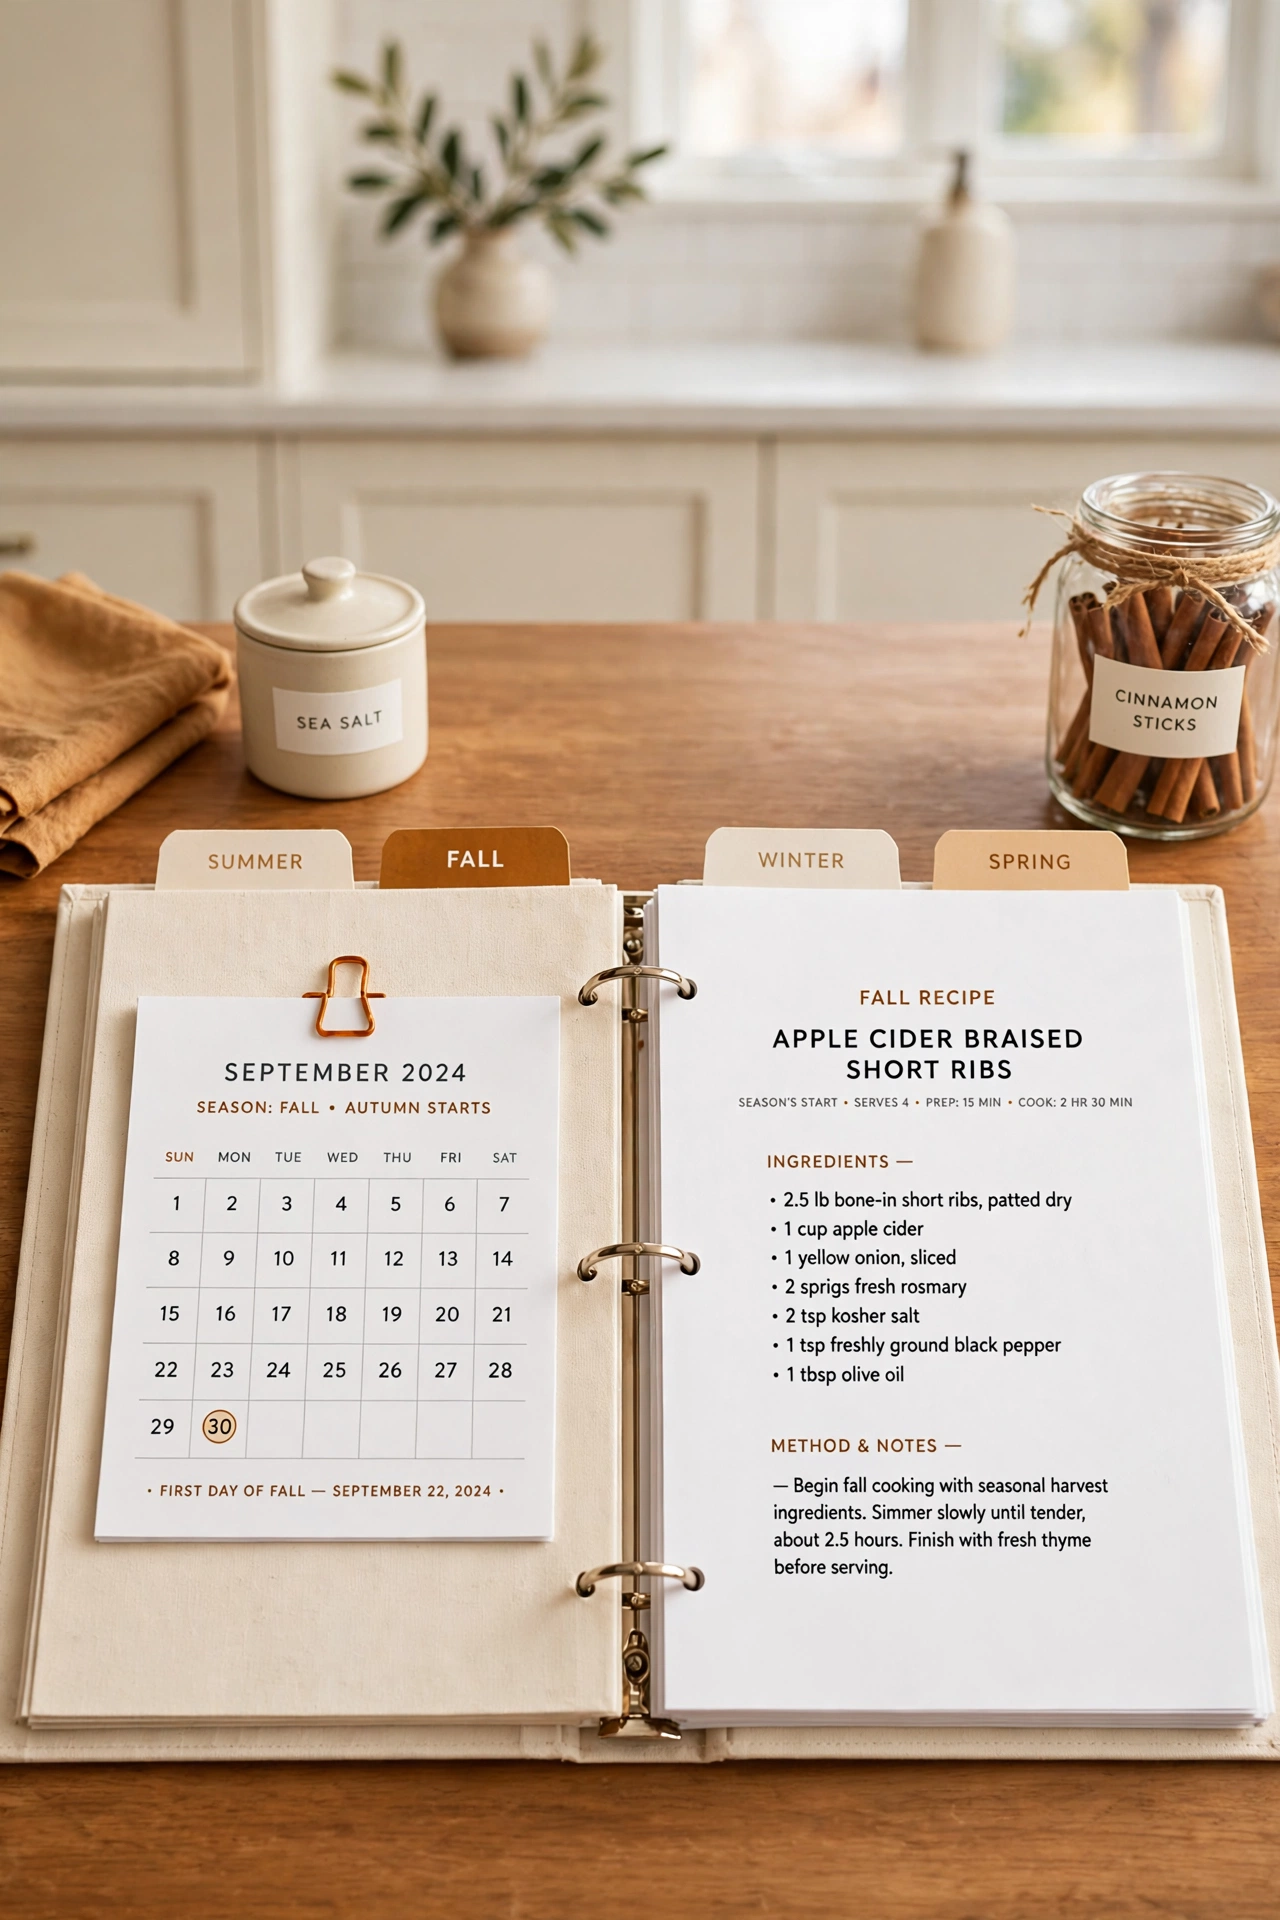
16. Keep a Seasonal Recipes Section
A seasonal section groups recipes by the time of year when their ingredients taste best. Spring salads, summer grills, autumn soups, and winter bakes each get their own group inside the section. Cooking with the seasons means fresher food and lower grocery bills.
Move recipes into the seasonal section as their season arrives and move them back when it passes, or keep copies in both places. Mark each seasonal recipe with a small colored dot for its season. A seasonal section helps you cook what is fresh right now.
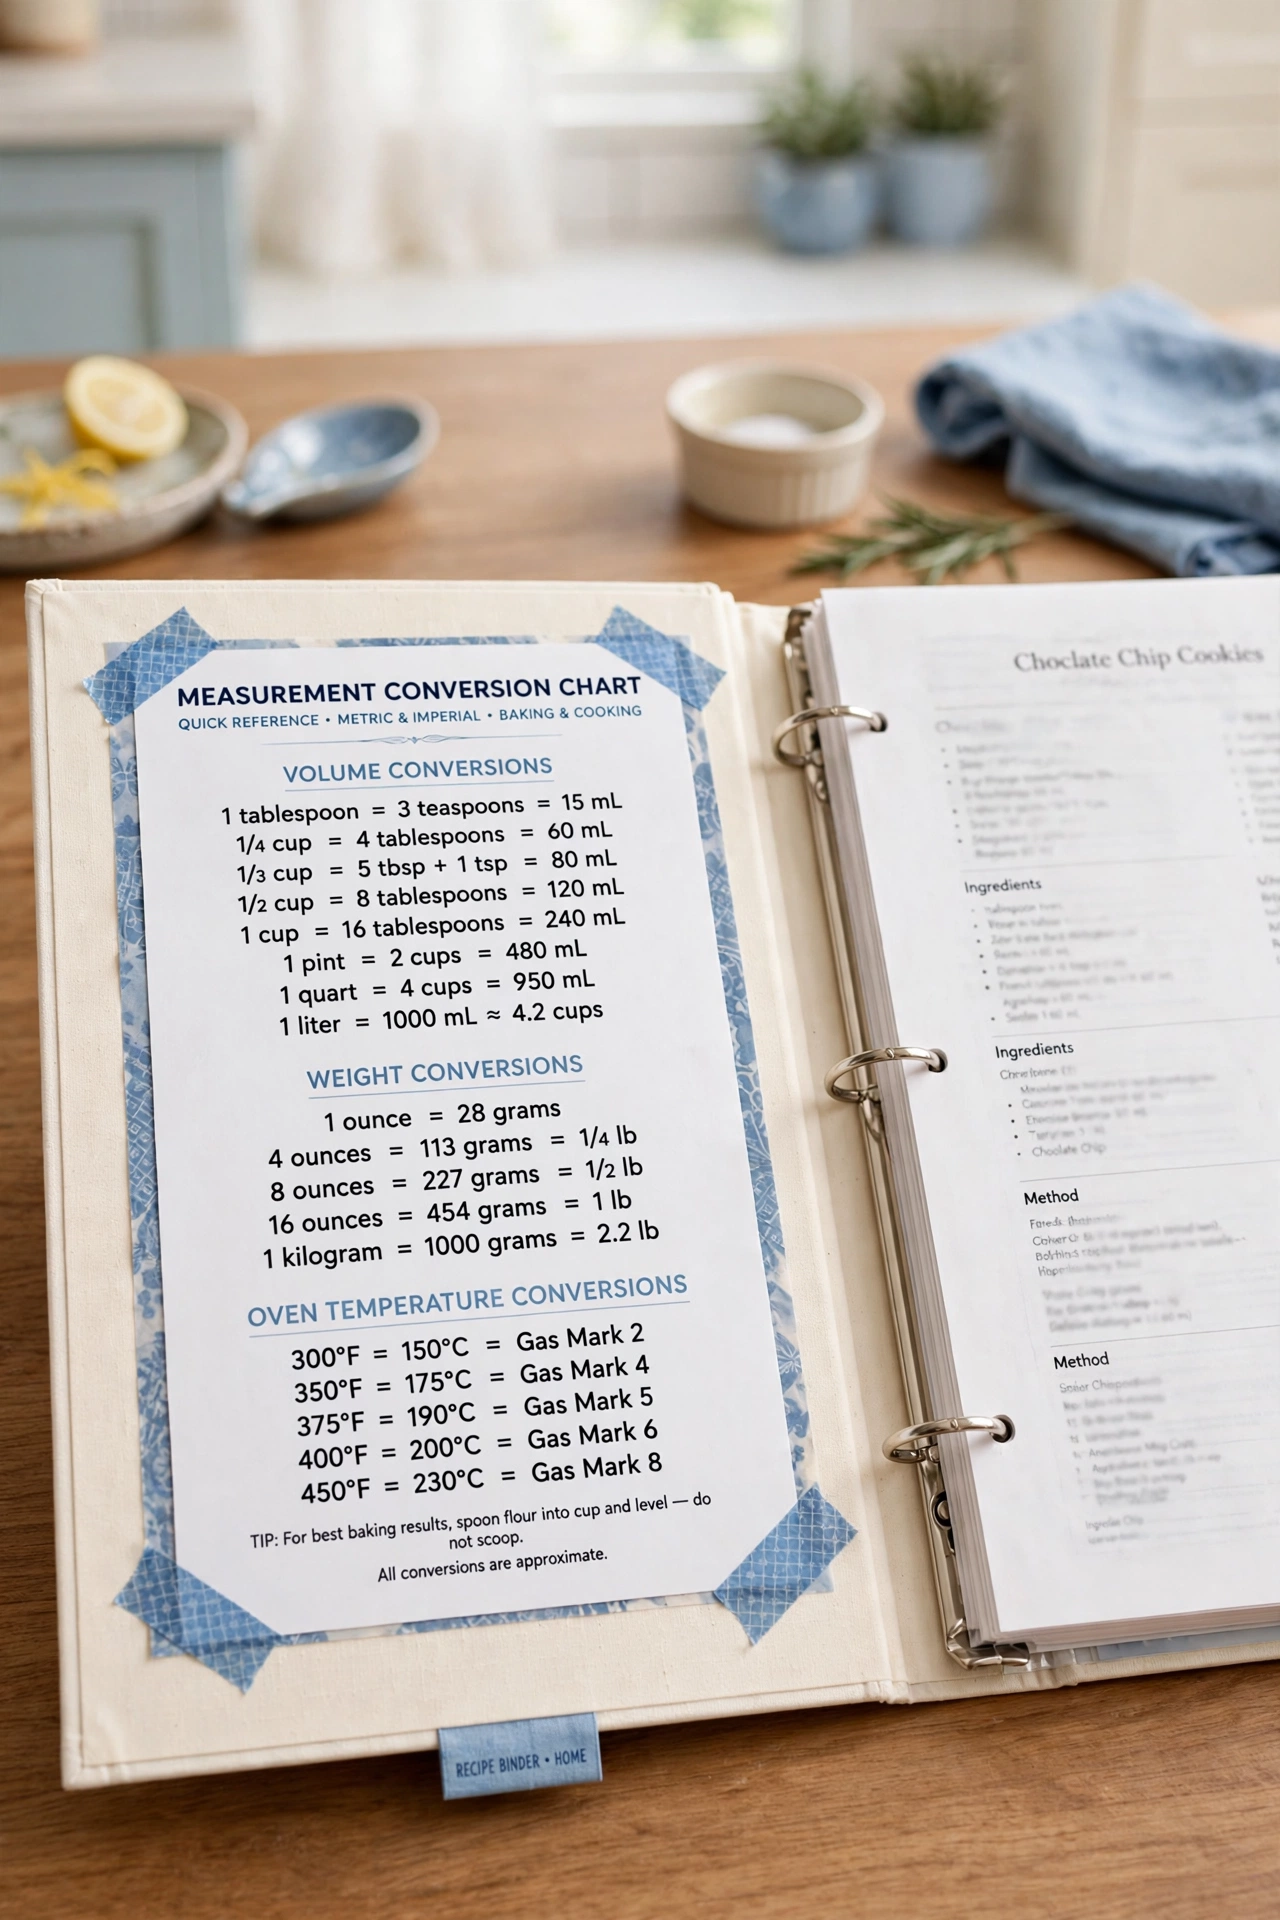
17. Add Conversion Charts Inside the Front Cover
Conversion charts inside the front cover save you from searching online every time a recipe uses cups and your scale uses grams. Tape or glue a chart for volume, weight, and oven temperature inside the front cover where it is always within reach. The chart turns the binder into a complete kitchen reference.
Include common conversions for butter, flour, sugar, and liquids, plus a temperature chart for ovens in both Celsius and Fahrenheit. Print the chart in a large, clear font so you can read it while your hands are busy. A front cover chart is a small addition that you will use every single day.
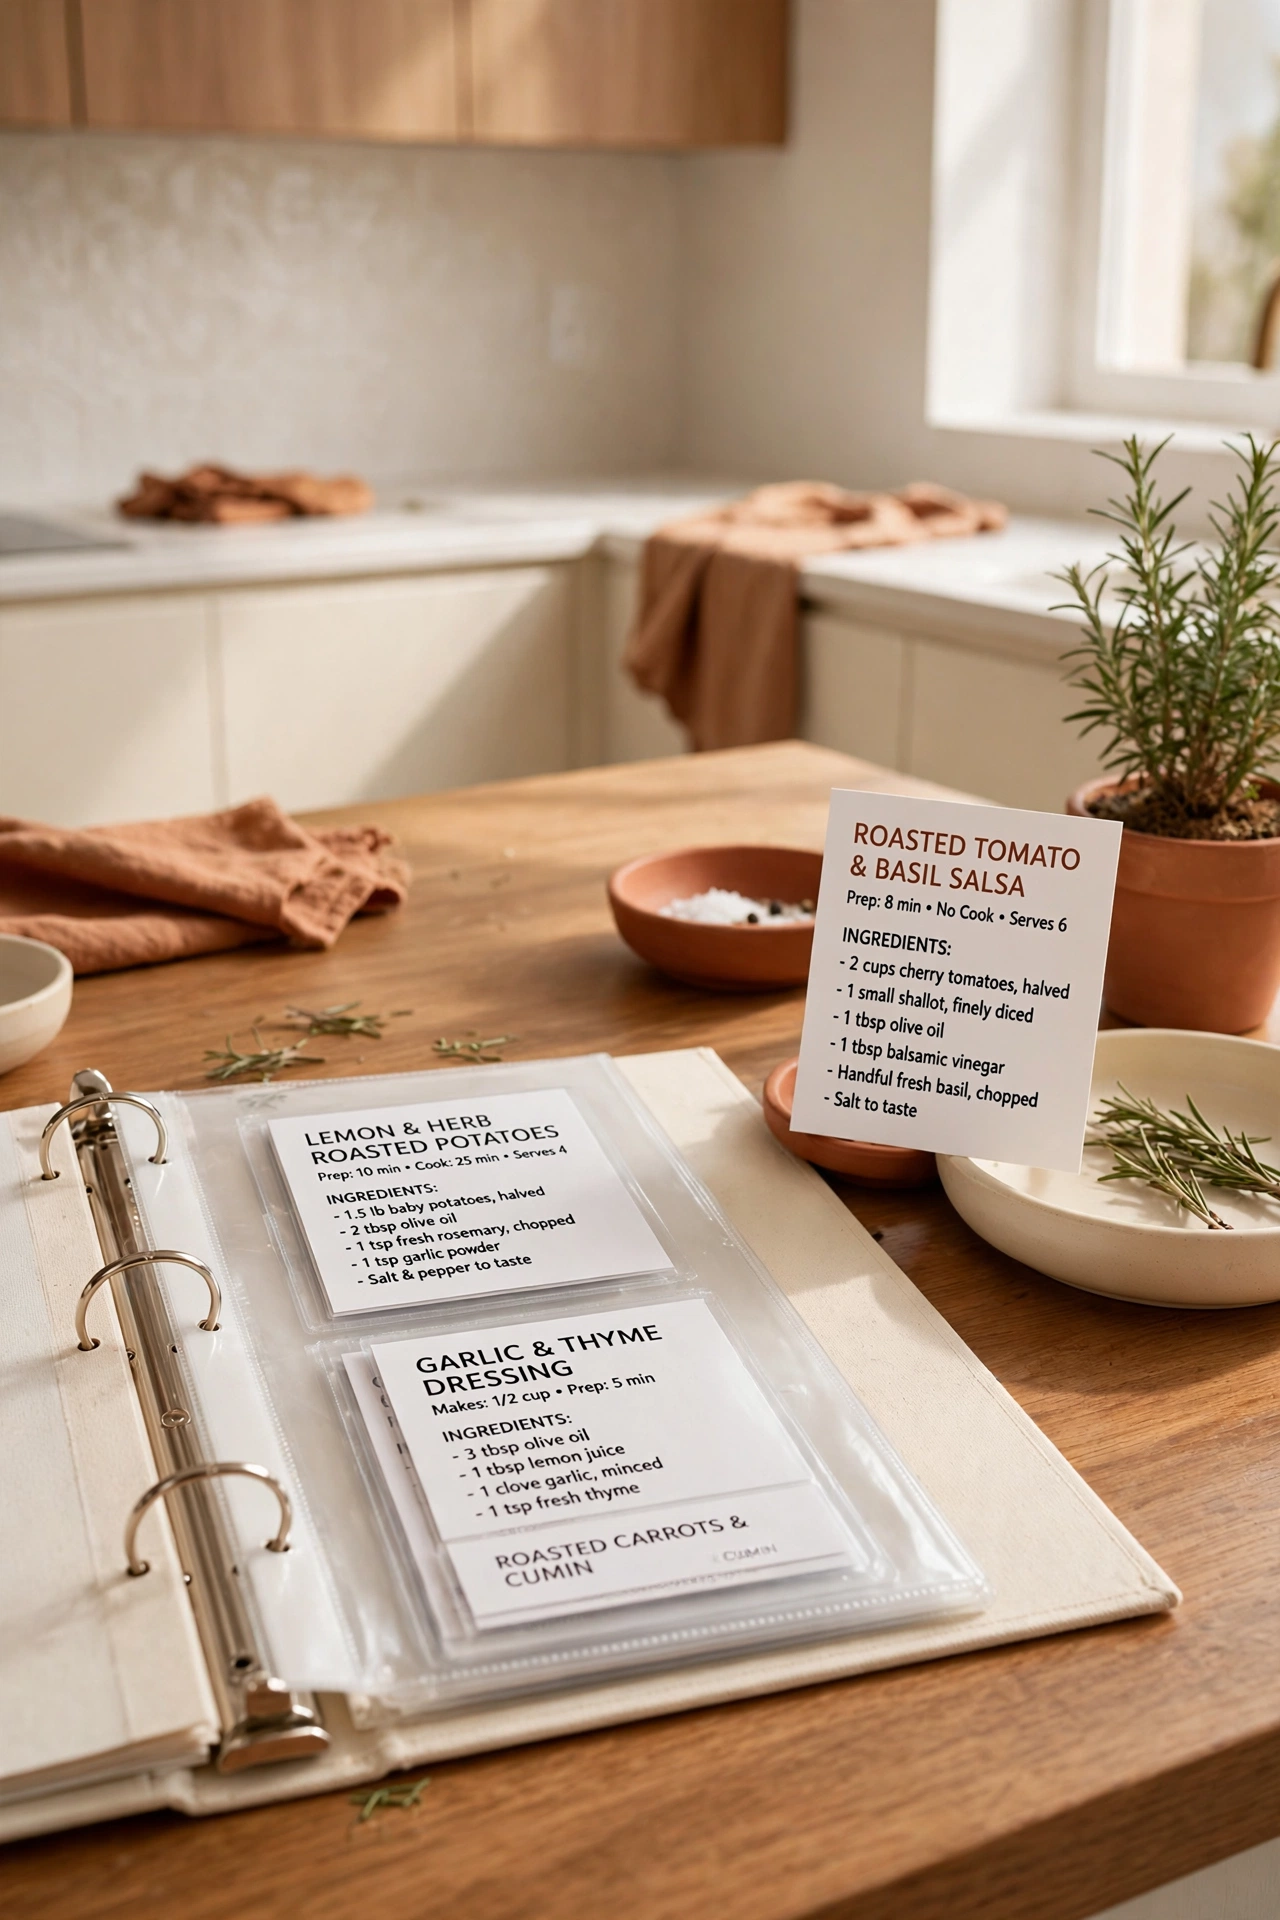
18. Use Recipe Cards for Quick Meals
Recipe cards are small, sturdy cards that hold one quick recipe each. They are perfect for weeknight meals because the whole recipe fits on a single card you can prop up on the counter. File the cards in card sleeves at the front of the binder for fast access.
Write each card in the same layout with the title, the ingredients, and short steps. Use thick card stock so the cards stand up on their own and survive splashes. Recipe cards make quick meals feel quick from the first step to the last.
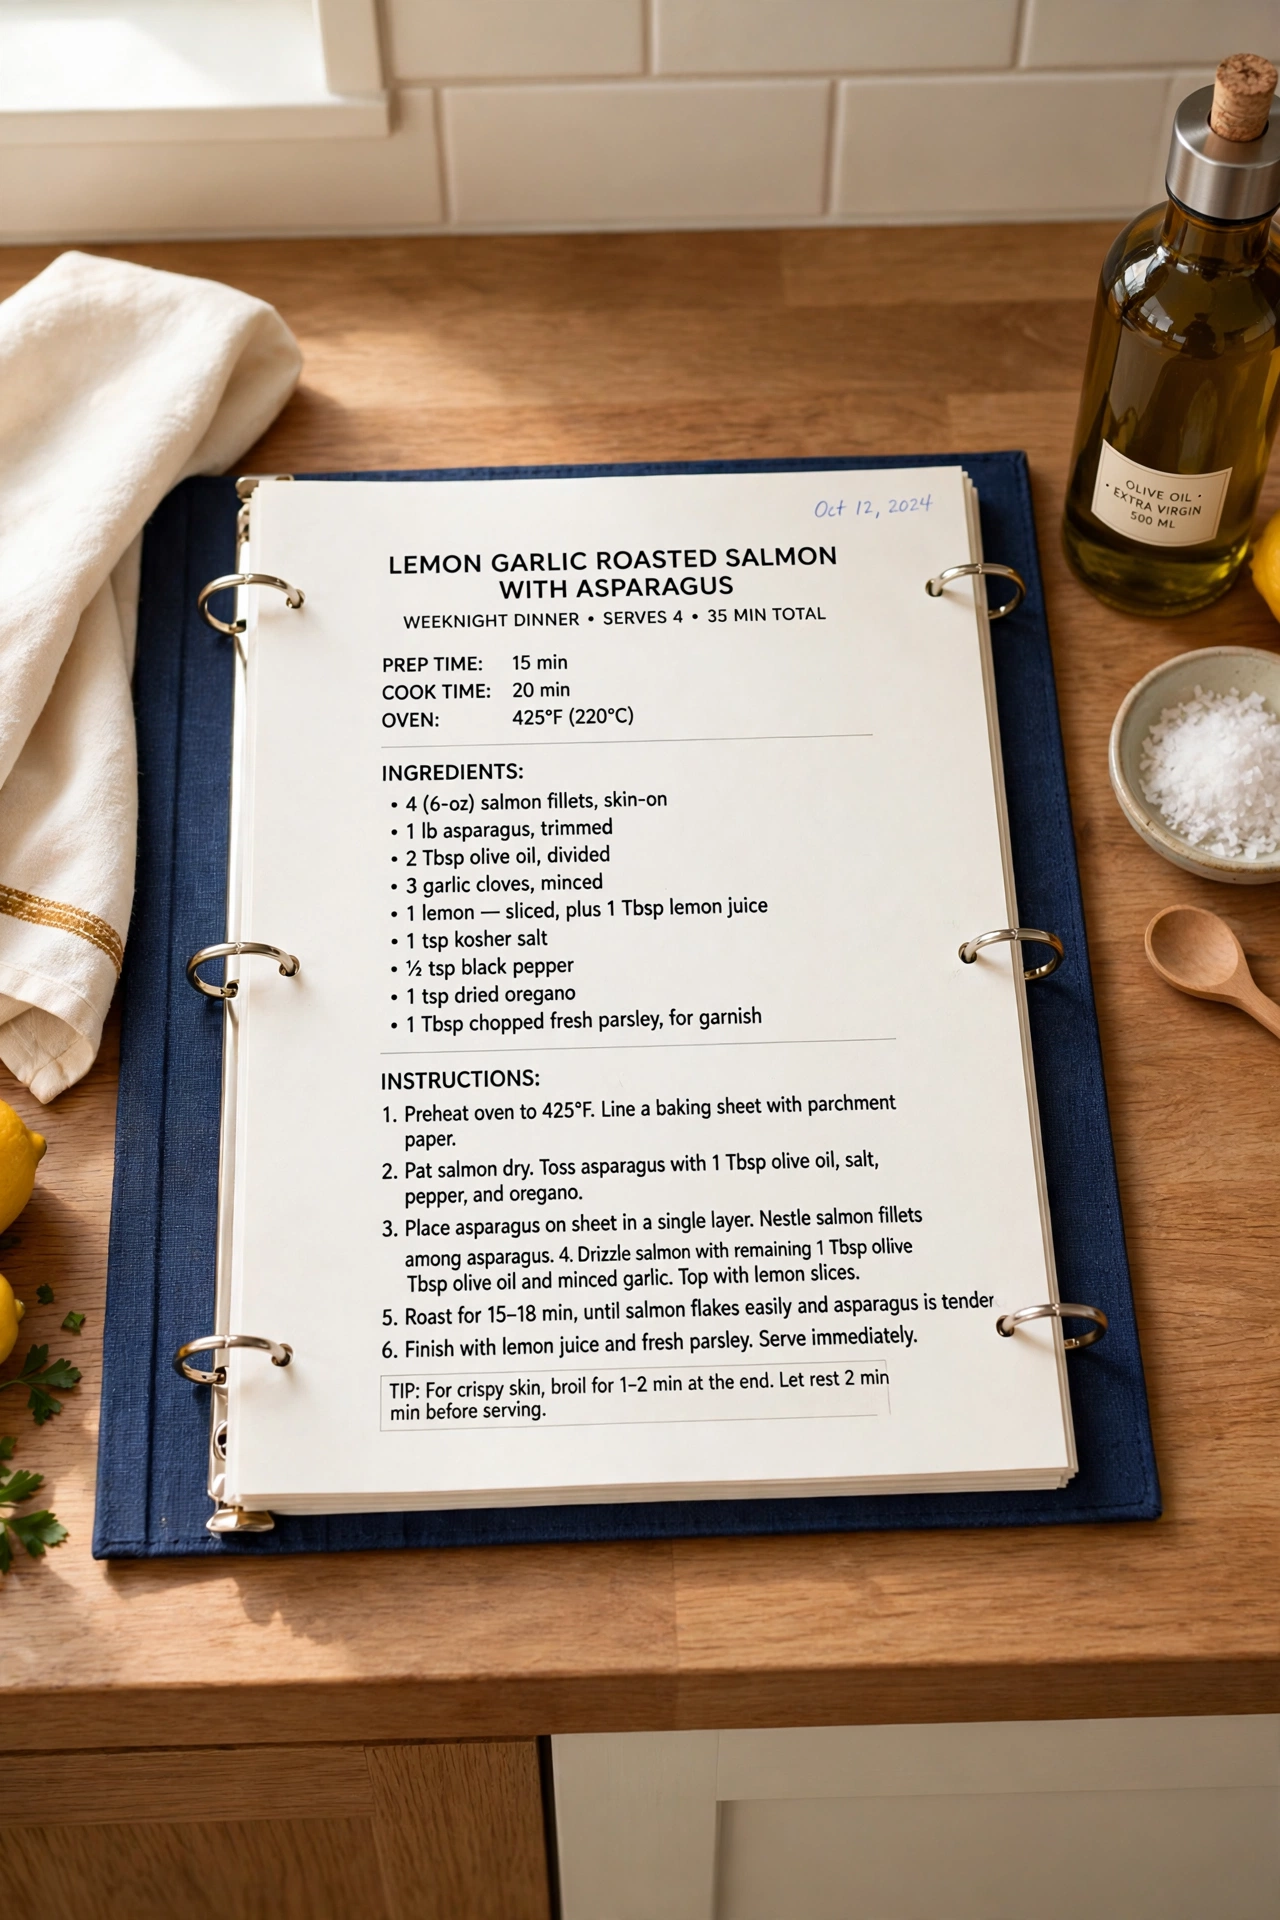
19. Date Every Recipe You Add
Writing the date on every recipe you add helps you track how long it has been in the binder. A date in the top corner tells you at a glance whether a recipe is a recent find or an old favorite. Dates also help you spot recipes that have sat unused for years.
When you review the binder each season, use the dates to decide which recipes to keep and which to remove. Recipes with no date and no use for two years can leave the binder. Dating every recipe keeps the collection fresh and honest.
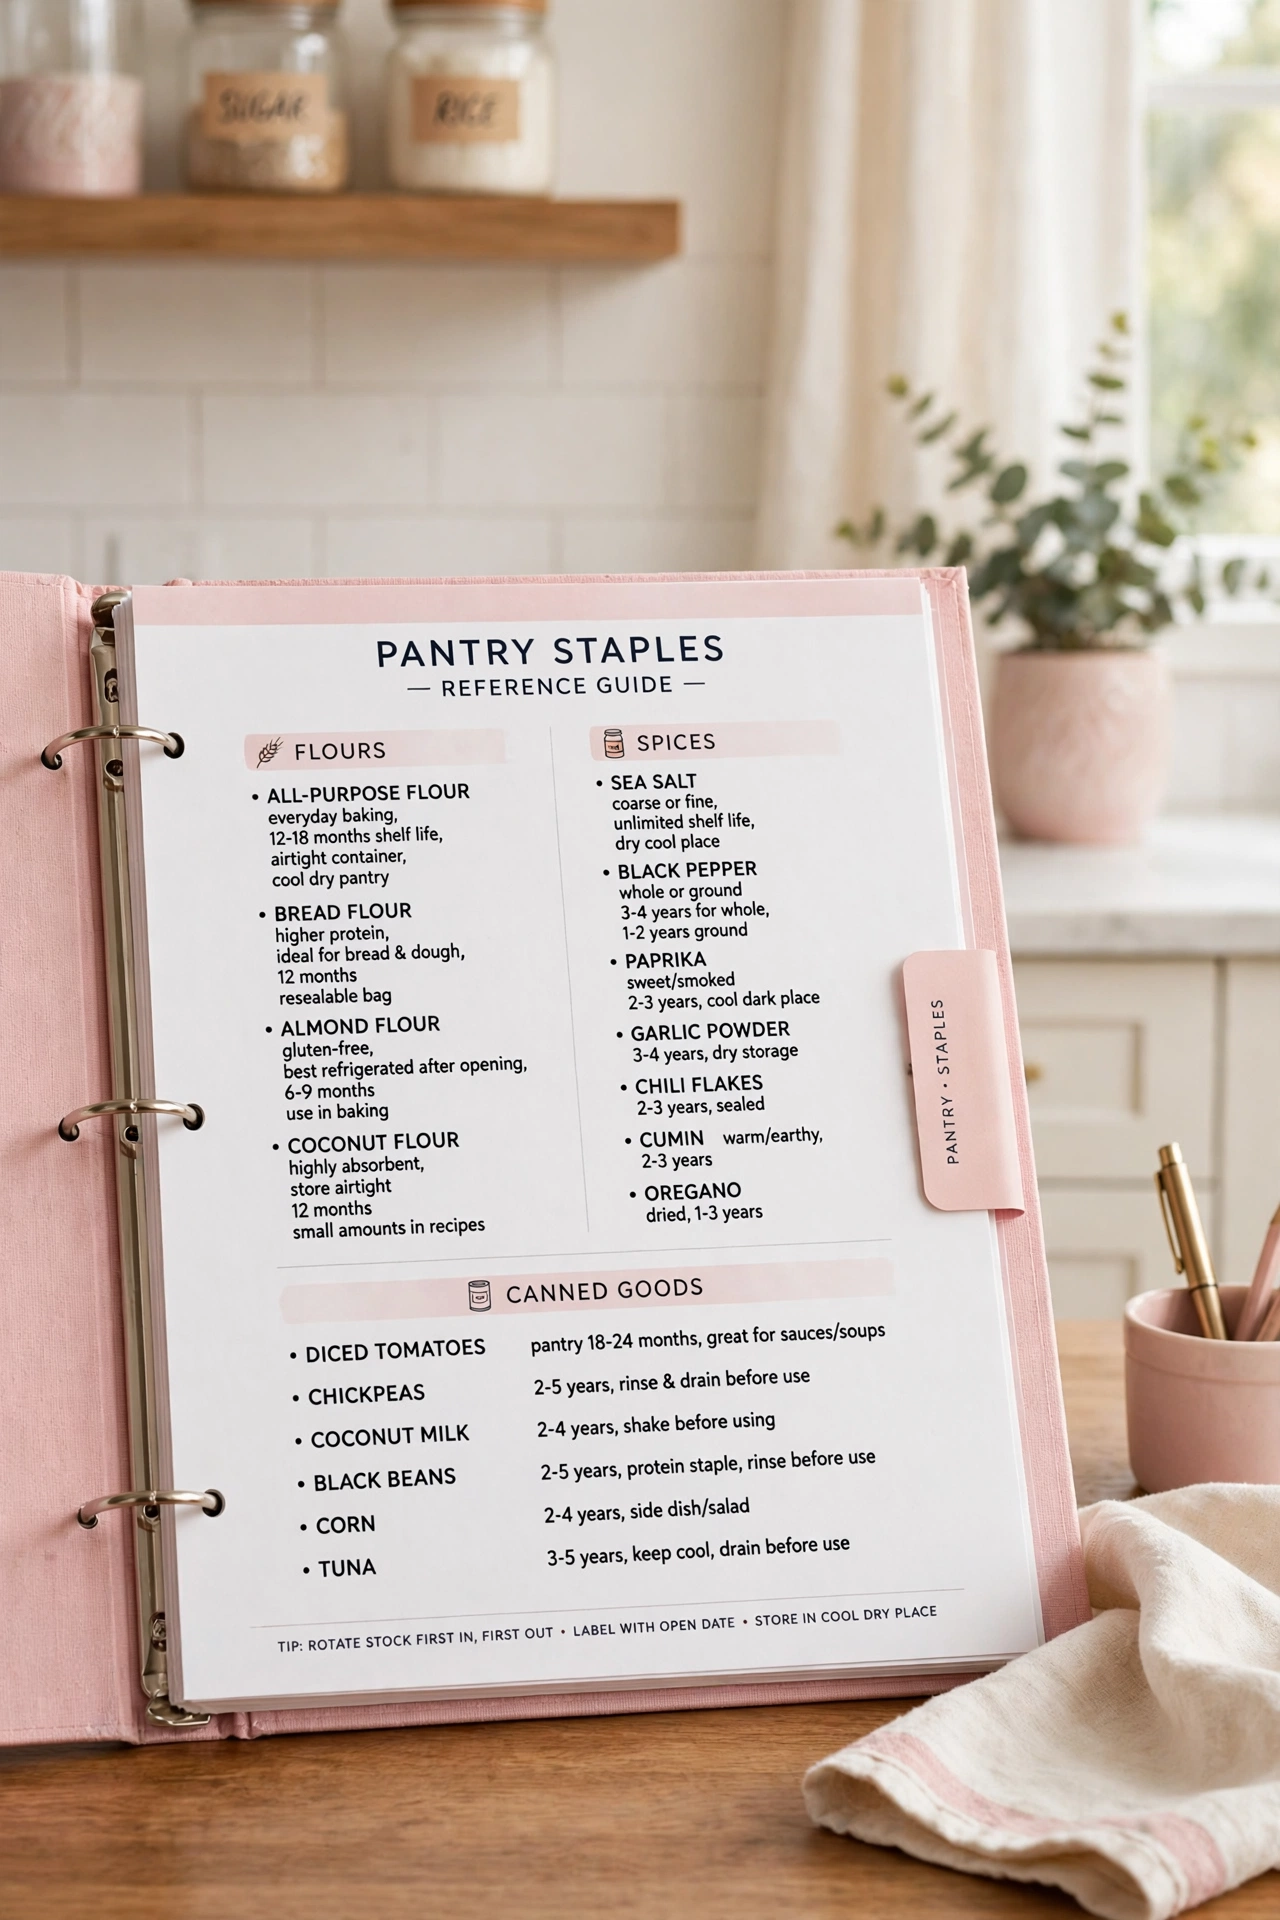
20. Create a Pantry Staples Reference Page
A pantry staples reference page lists the ingredients you always keep on hand, from flour and rice to canned tomatoes and dried herbs. Keep the list at the front of the binder so you can check it before you shop. The page stops you from buying a third bag of something you already own.
Organize the staples list by shelf or by category so it matches your pantry layout. Update the list when you change brands or add a new staple. For more ideas on keeping pantry items in order, see these kitchen spice organization ideas. A staples page links your binder to your pantry in one simple step.
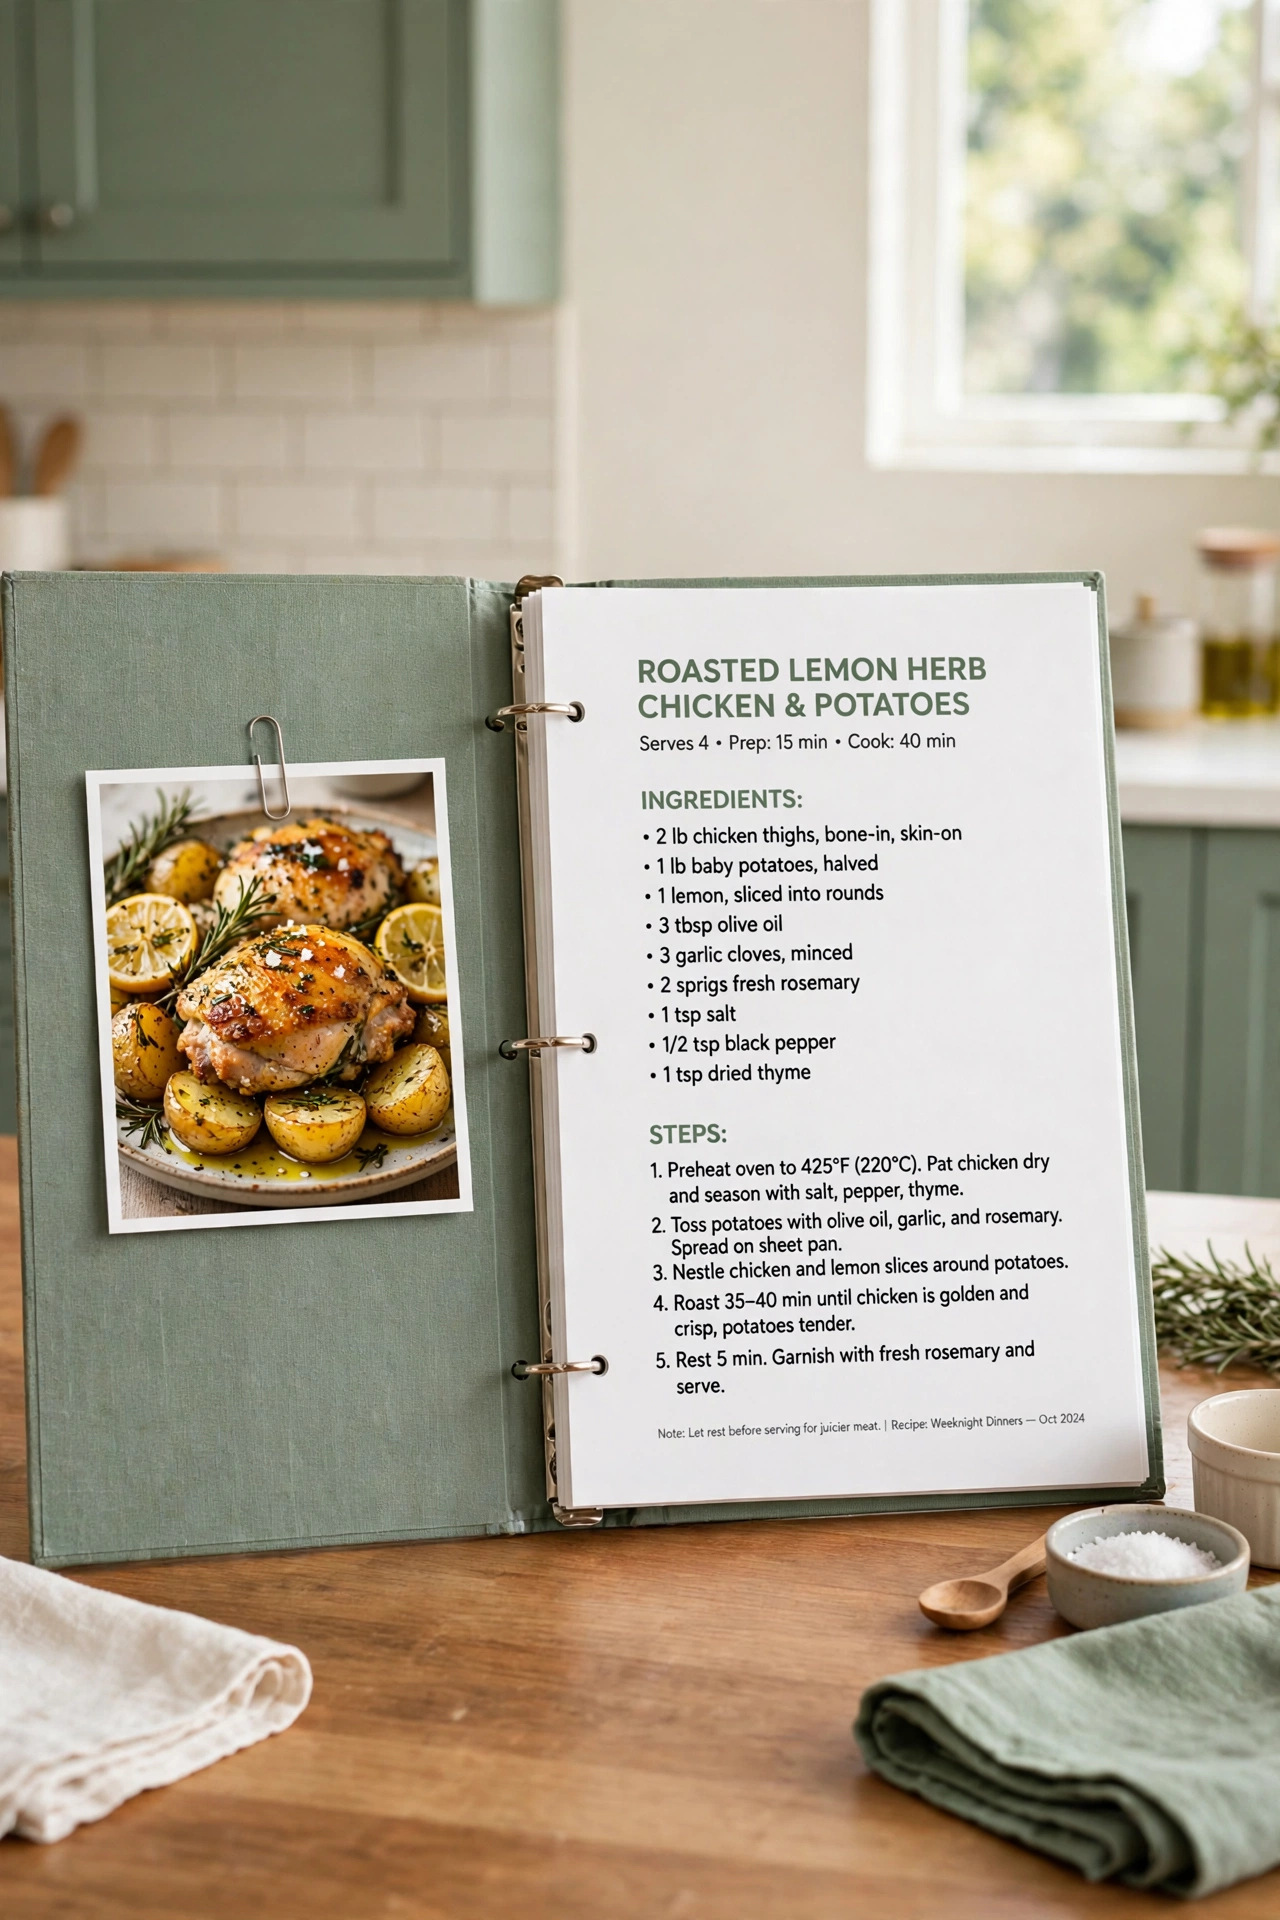
21. Add Photos of Finished Dishes
A photo of the finished dish next to each recipe helps you remember what the meal should look like. Print small photos on plain paper and slip them into the sheet protector with the recipe. Photos also help family members choose dinner when they flip through the binder.
Take the photo in natural light on a clean plate so the dish looks its best. Keep the photo small, about the size of a playing card, so it never covers the recipe text. A binder with photos feels like a real cookbook made just for your family.
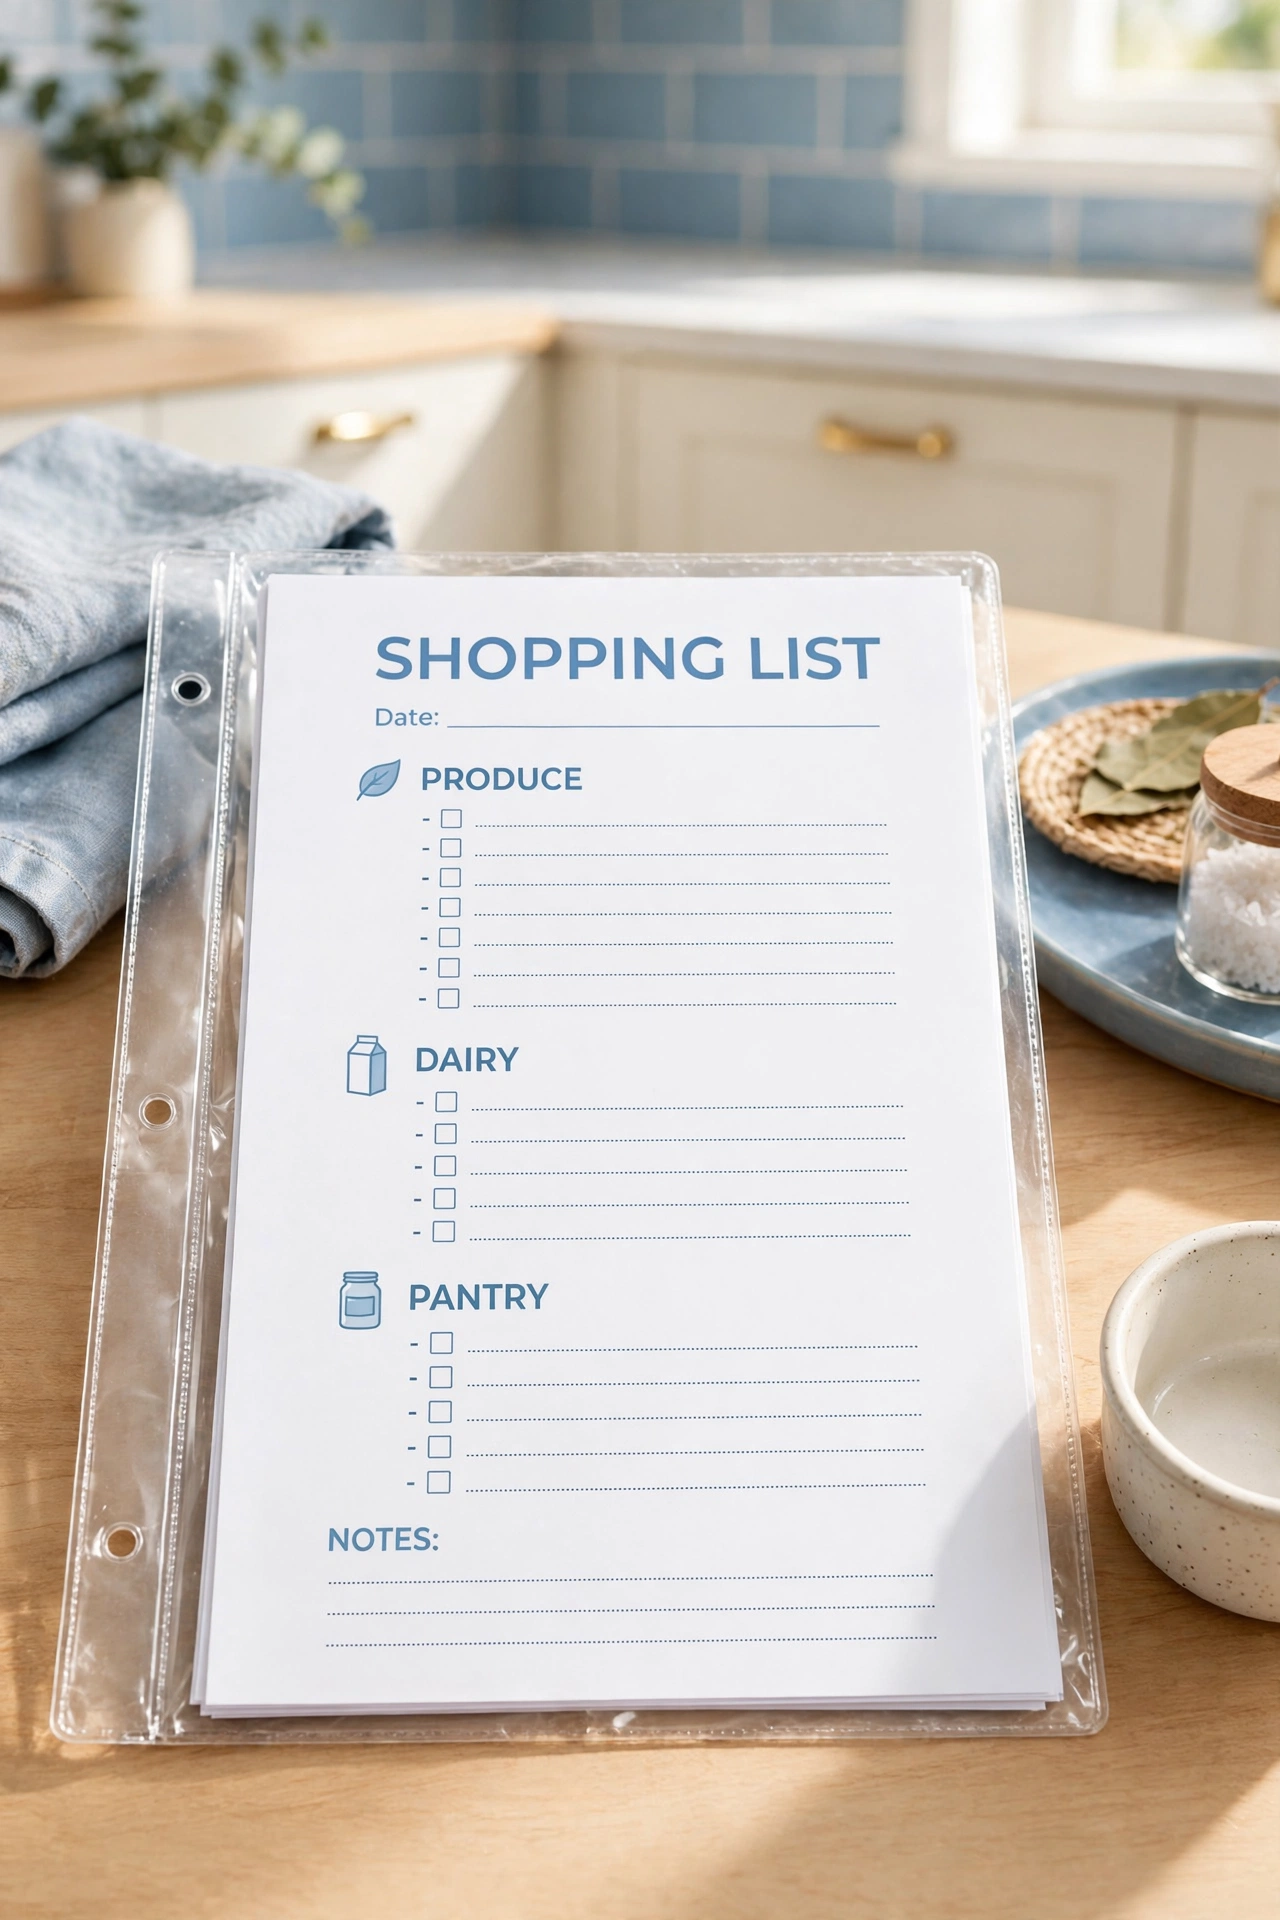
22. Keep a Shopping List Template in the Binder
A shopping list template in the binder lets you build your grocery list from the recipes you plan to cook. Keep a stack of blank templates in a pocket at the back of the binder and pull one out each week. The template lists common categories like produce, dairy, meat, and pantry so nothing gets missed.
Fill in the template while you flip through the binder choosing meals for the week. Check off items you already own before you leave the house. A template in the binder connects meal planning and shopping in one smooth step.
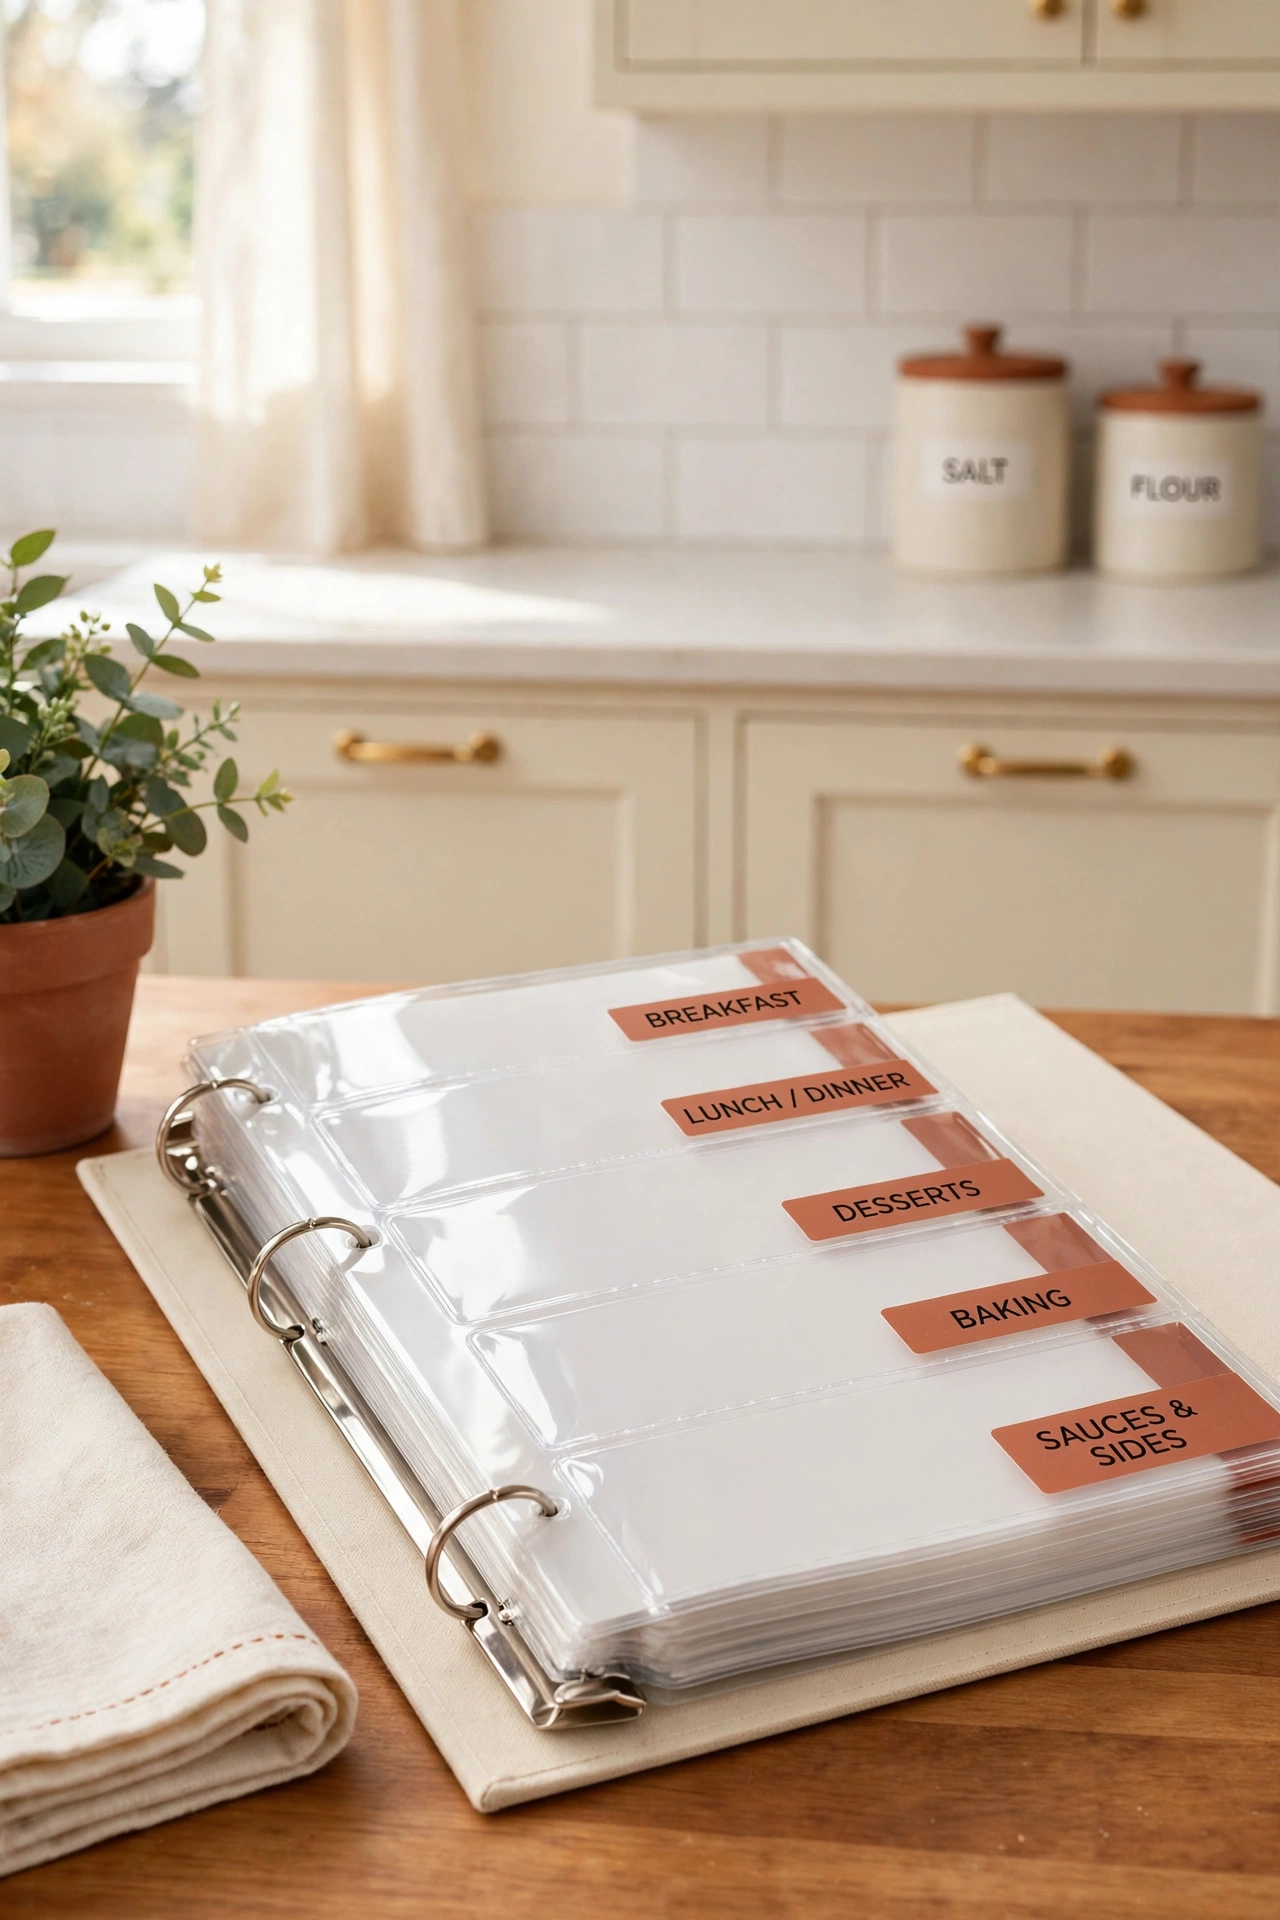
23. Use Washable Dividers for Messy Sections
Washable plastic dividers are the best choice for sections you touch with messy hands, like baking and sauces. Unlike paper dividers, plastic ones wipe clean with a damp cloth and never absorb stains. They also last for years without tearing at the holes.
Choose dividers with a smooth, glossy finish so flour and sauce wipe off easily. Label them with removable labels so you can change a category name without buying new dividers. Washable dividers keep the messiest sections looking tidy.
24. Store Holiday Recipes in a Separate Section
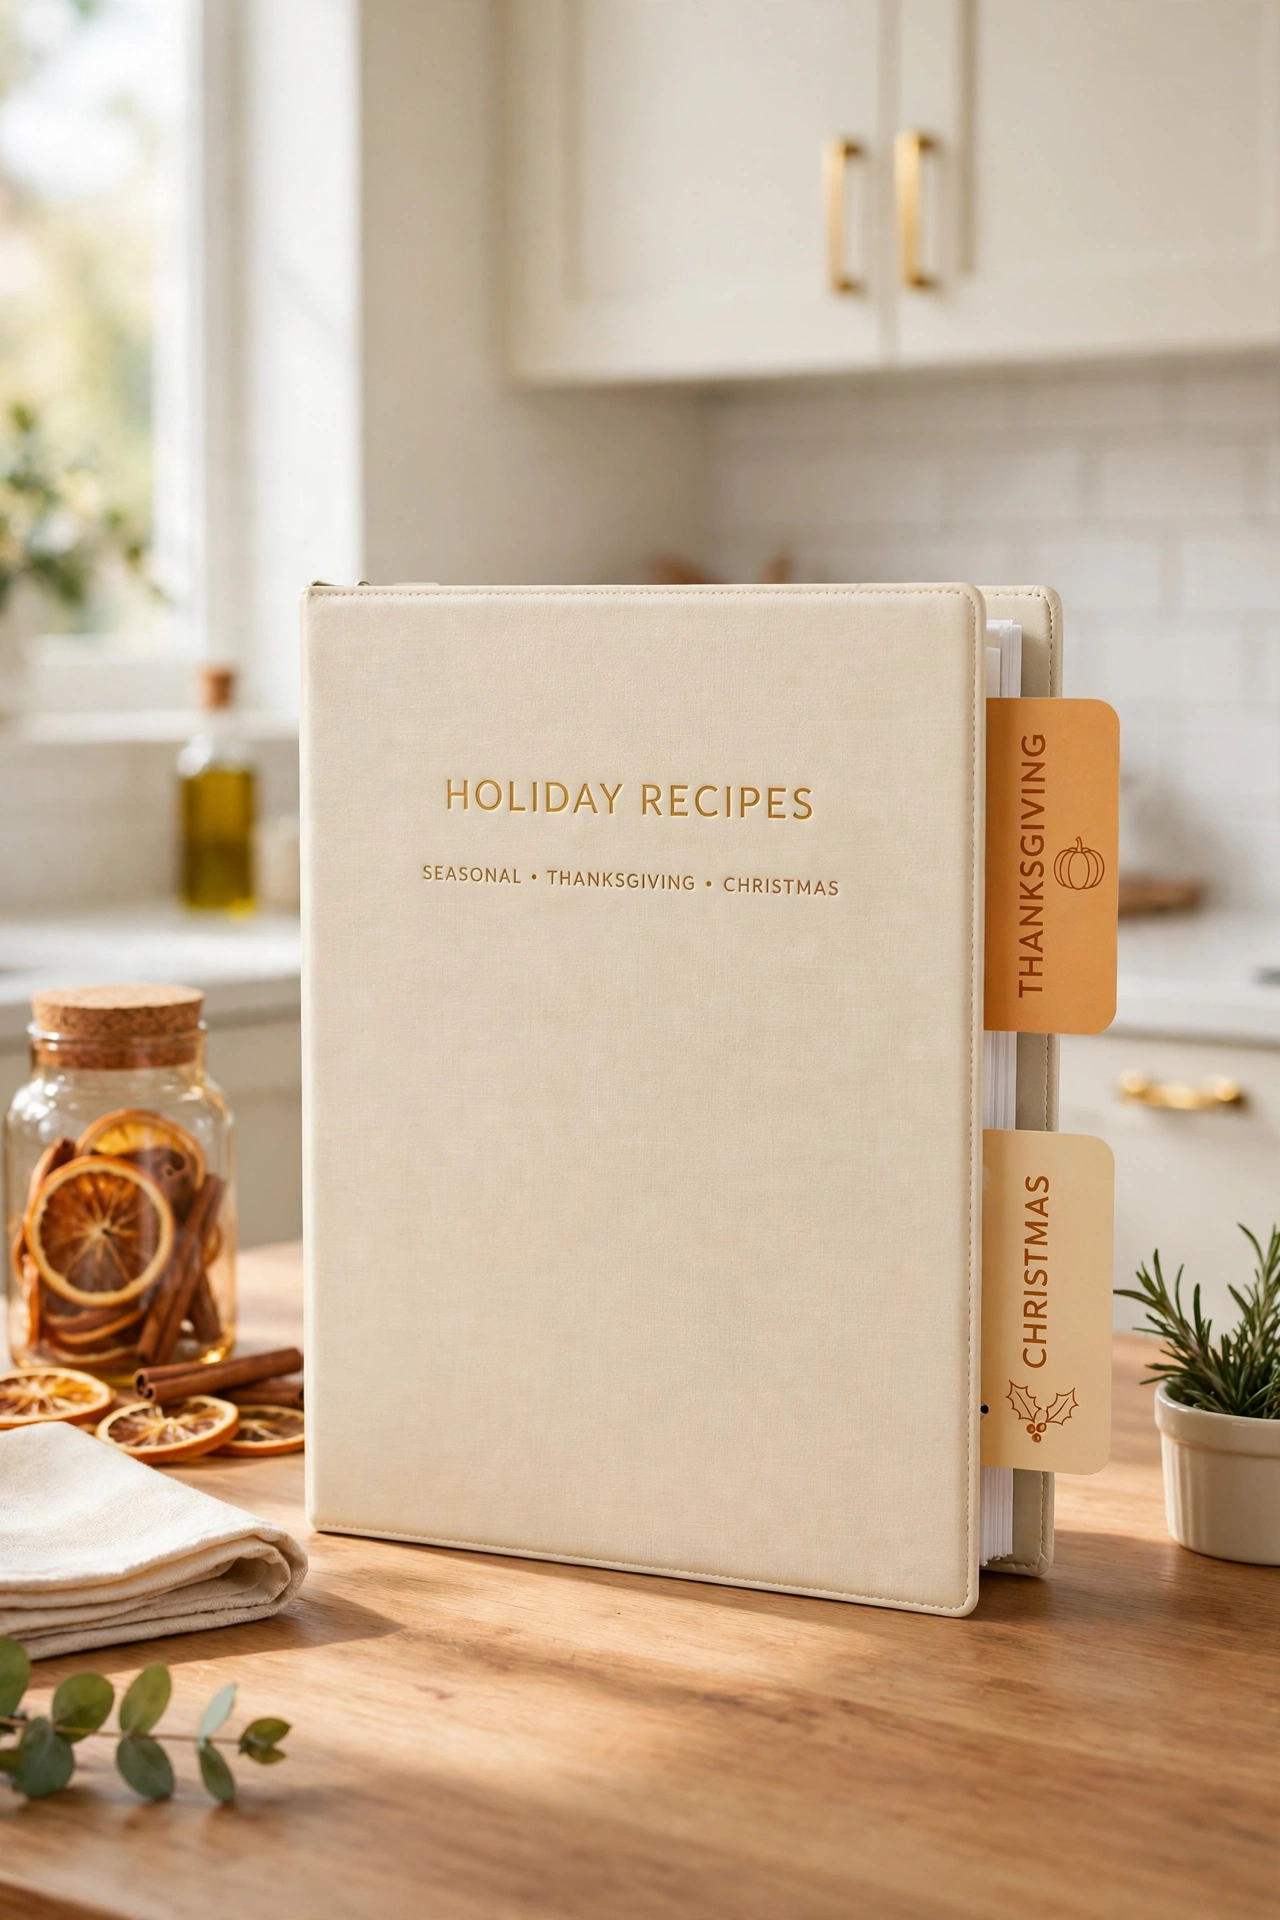
Holiday recipes deserve their own section because you only need them a few times a year. Group Thanksgiving, Christmas, and other holiday dishes together at the back of the binder. When the holiday arrives, the whole menu sits in one place.
Add a small planning page at the start of the holiday section with space for the menu, the guest count, and the shopping list. Update the plan each year with notes about what worked. A holiday section turns stressful holiday cooking into a calm, organized plan.
25. Add a Recipe Rating System
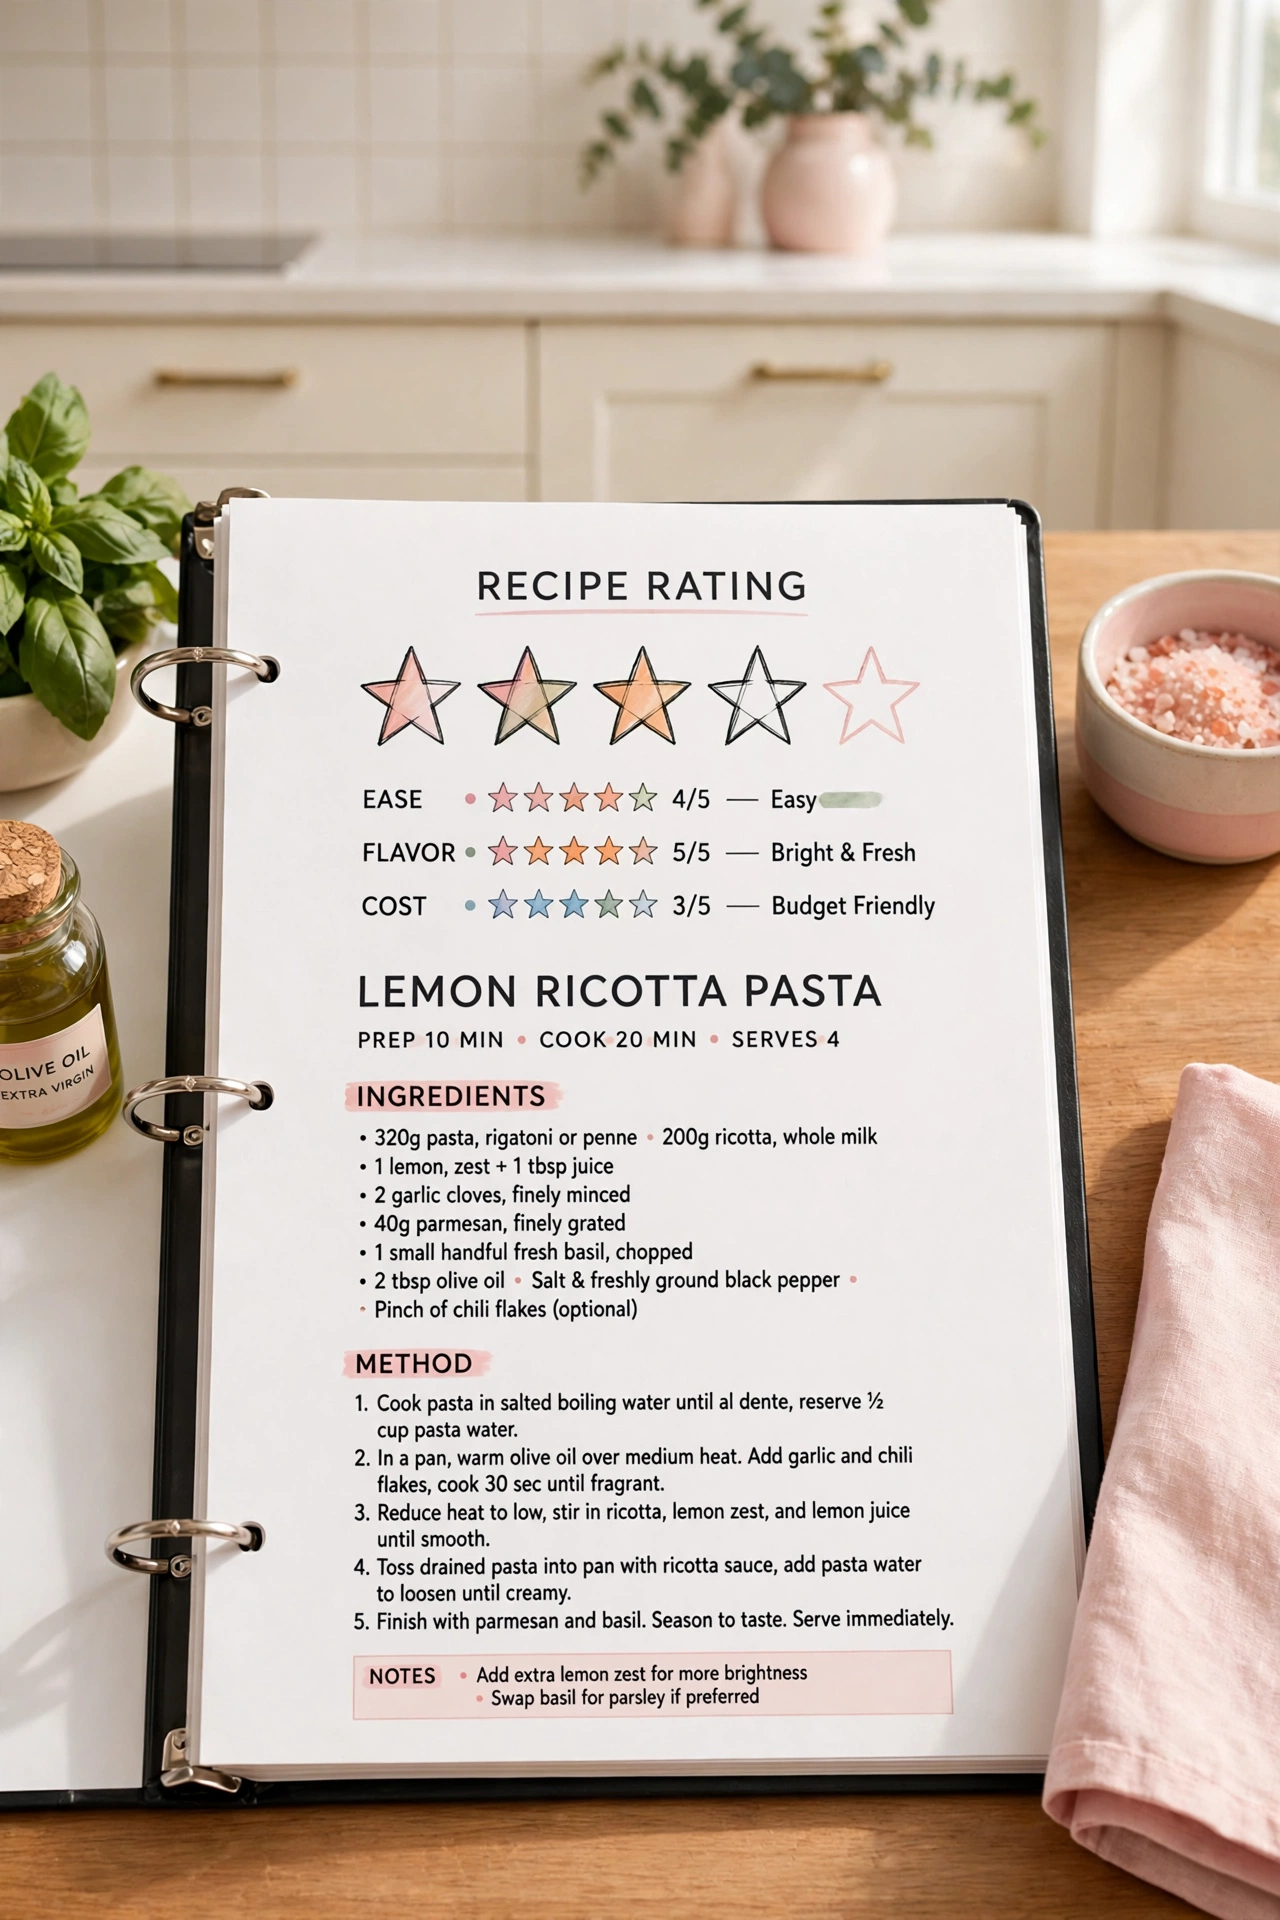
A simple rating system helps you remember which recipes your family loved and which ones fell flat. Draw five small stars at the top of each recipe and color in the stars after you cook it. A five star recipe earns a spot in the favorites section, while a one star recipe can leave the binder.
Let every family member add their own rating with a different colored pen so you can see who loved what. Review the ratings each season and remove the lowest rated recipes. Ratings turn the binder into a record of your family taste.
26. Keep a Binder for Each Family Member’s Favorites
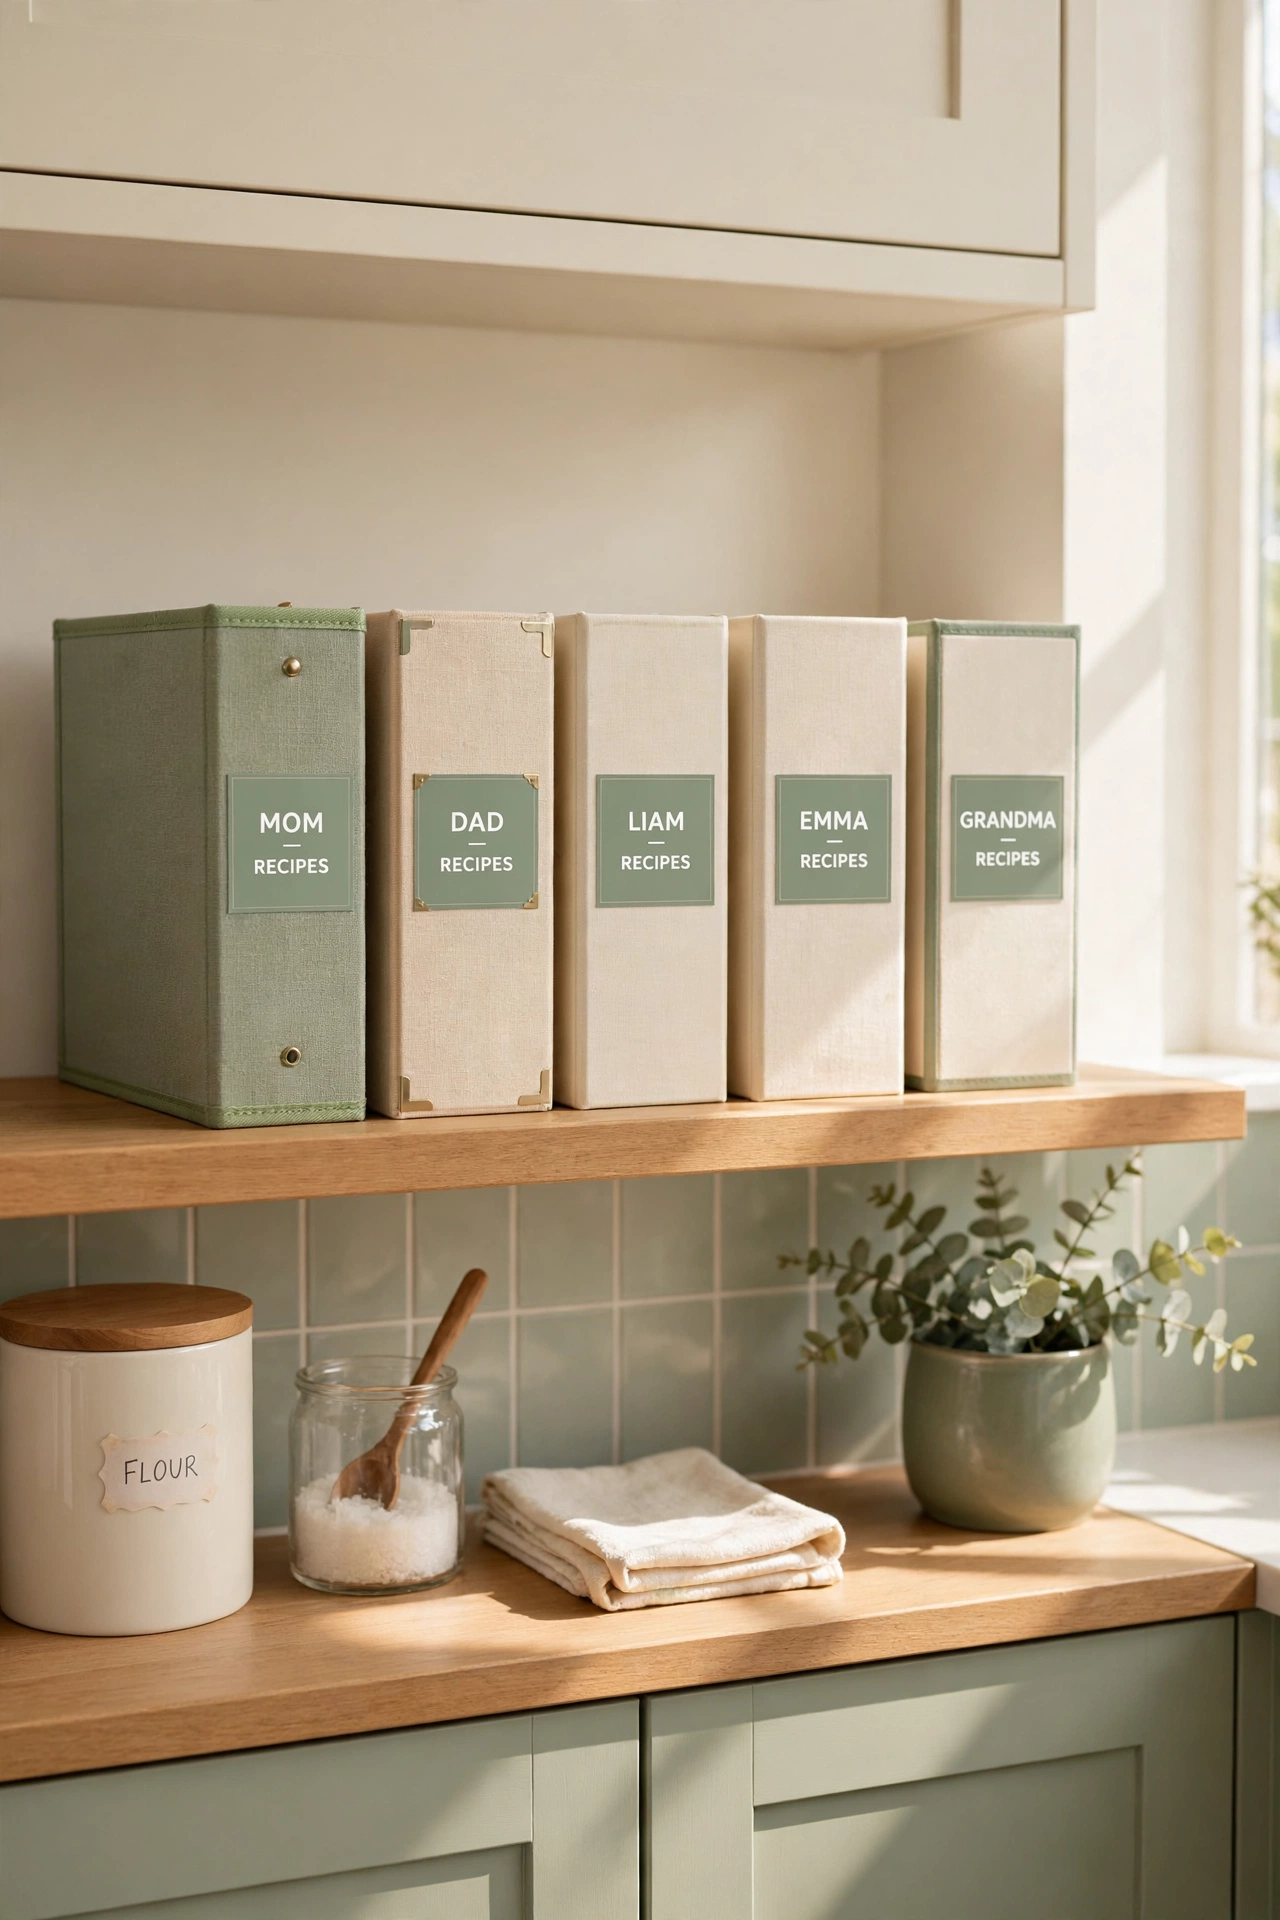
If several people in the house cook, give each person a small binder for their own favorite recipes. A personal binder lets each cook keep the dishes they love without mixing them into the main family binder. The small binders sit neatly beside the big one on the shelf.
Label each personal binder with the cook name in large letters on the spine. Keep the personal binders slim so they stay easy to carry to the counter. Personal binders give every cook in the house a collection of their own.
27. Use a Zipper Pouch for Small Tools and Markers
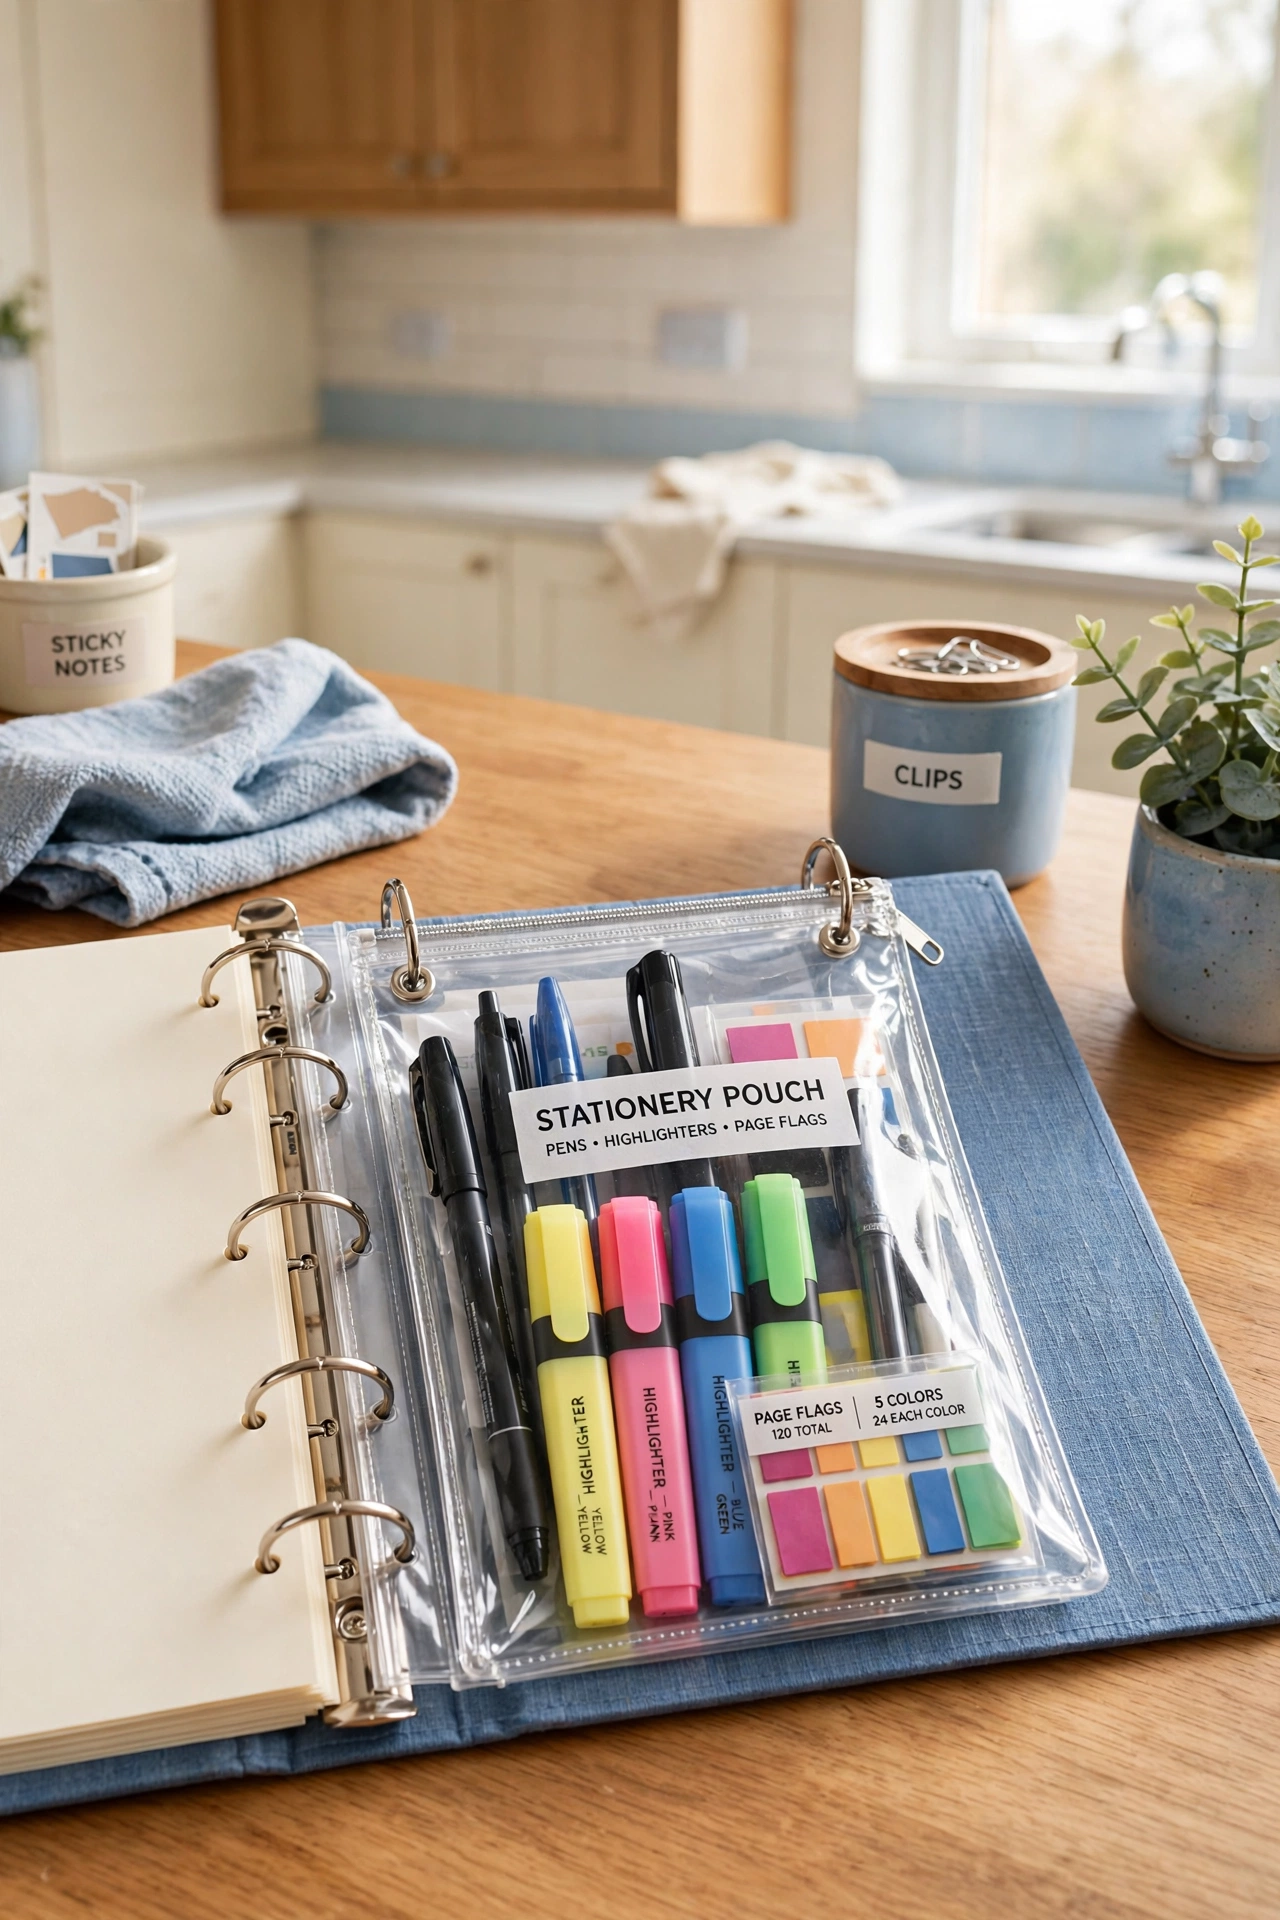
A zipper pouch clipped into the binder rings holds the small tools you use while cooking from recipes. Keep a pen, a highlighter, page flags, and a small timer in the pouch so they are always with the binder. The pouch stops these small items from getting lost in a kitchen drawer.
Choose a clear pouch so you can see the contents without opening it. Refill the pouch each week with fresh page flags and a working pen. For ideas on keeping the pantry shelves just as tidy, see these pantry can organization ideas. A pouch turns the binder into a complete cooking kit.
28. Add a Meal Planning Page Each Week
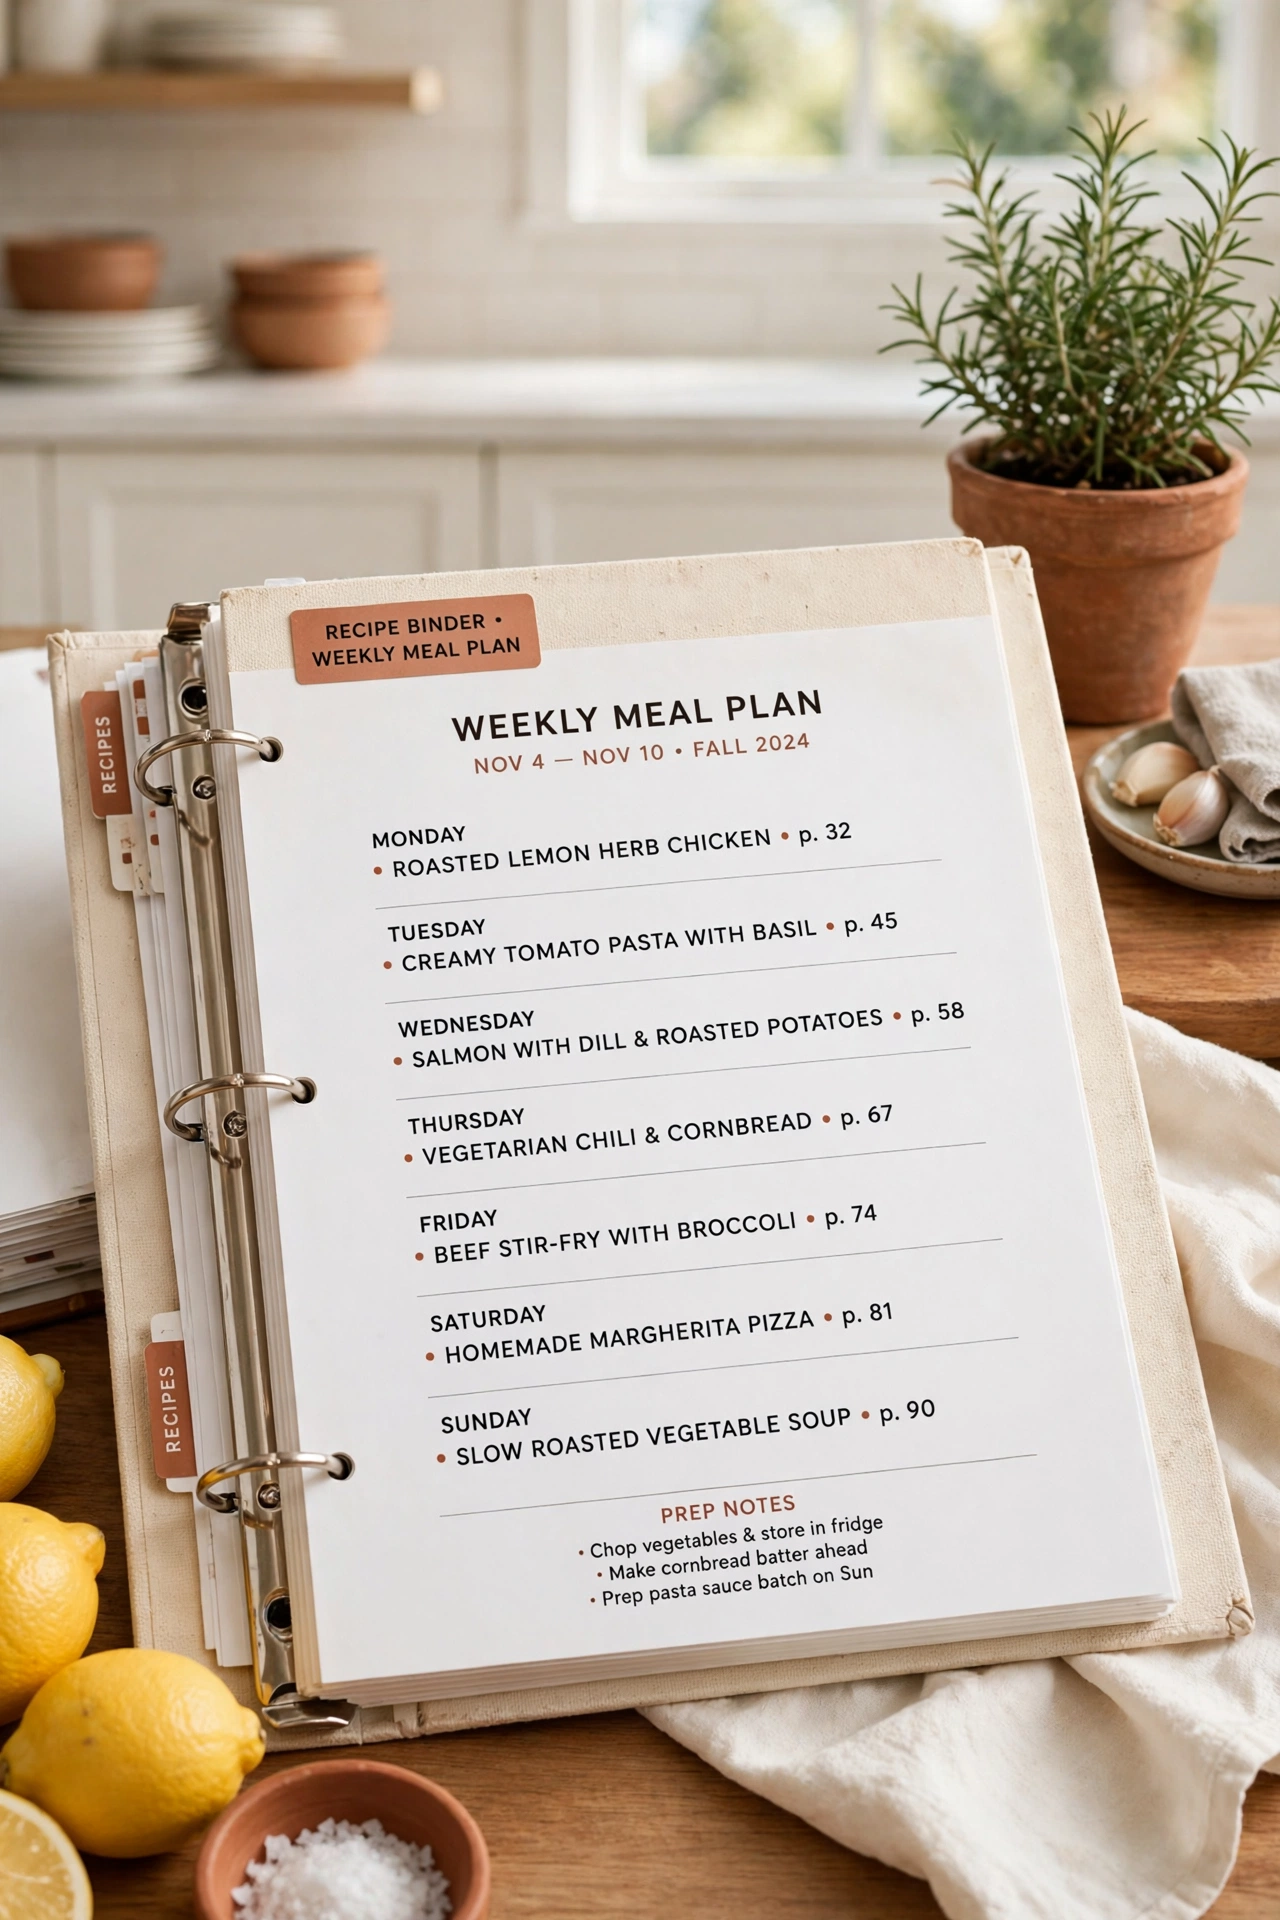
A meal planning page at the front of the binder holds the plan for the current week. Write the seven dinners in a simple grid with a space for the recipe page number beside each meal. The page tells you at a glance what to cook and where to find the recipe.
Replace the planning page each Sunday and file the old one in a pocket at the back if you want to reuse a good week. Planning from the binder means every meal has a recipe ready to follow. A weekly plan page turns the binder into the center of your kitchen routine.
29. Keep a Backup Copy in a Second Binder
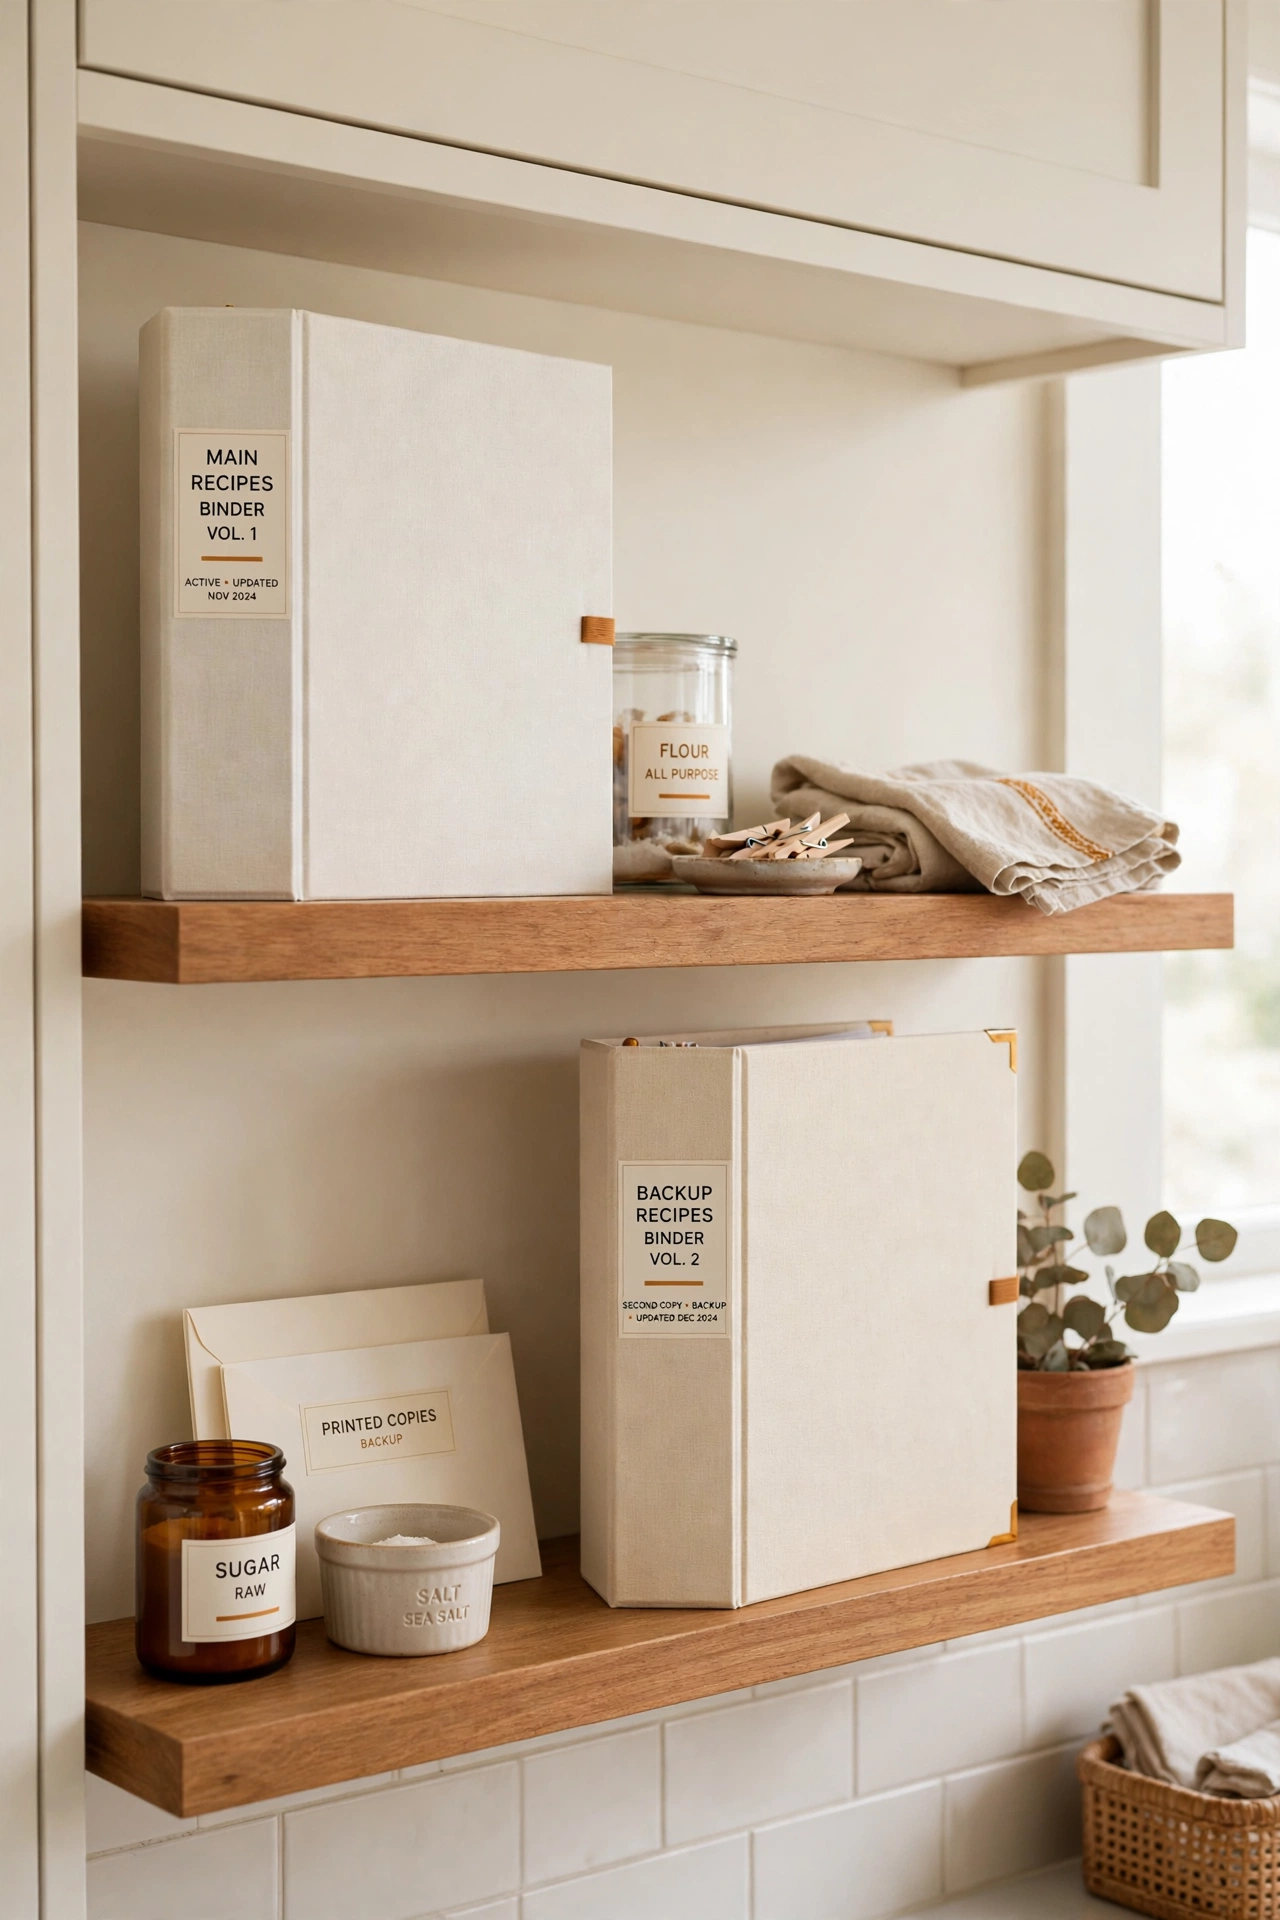
A backup copy of your best recipes protects the collection from spills, loss, or damage. Photocopy your twenty or thirty most important recipes and store them in a second binder on a different shelf. If the main binder ever gets ruined, the backup saves your family favorites.
Update the backup binder twice a year when you review the main one. Keep the backup in a dry spot away from the stove and the sink. A second binder is a small effort that protects years of collected recipes.
30. Use Page Flags to Mark Recipes to Try
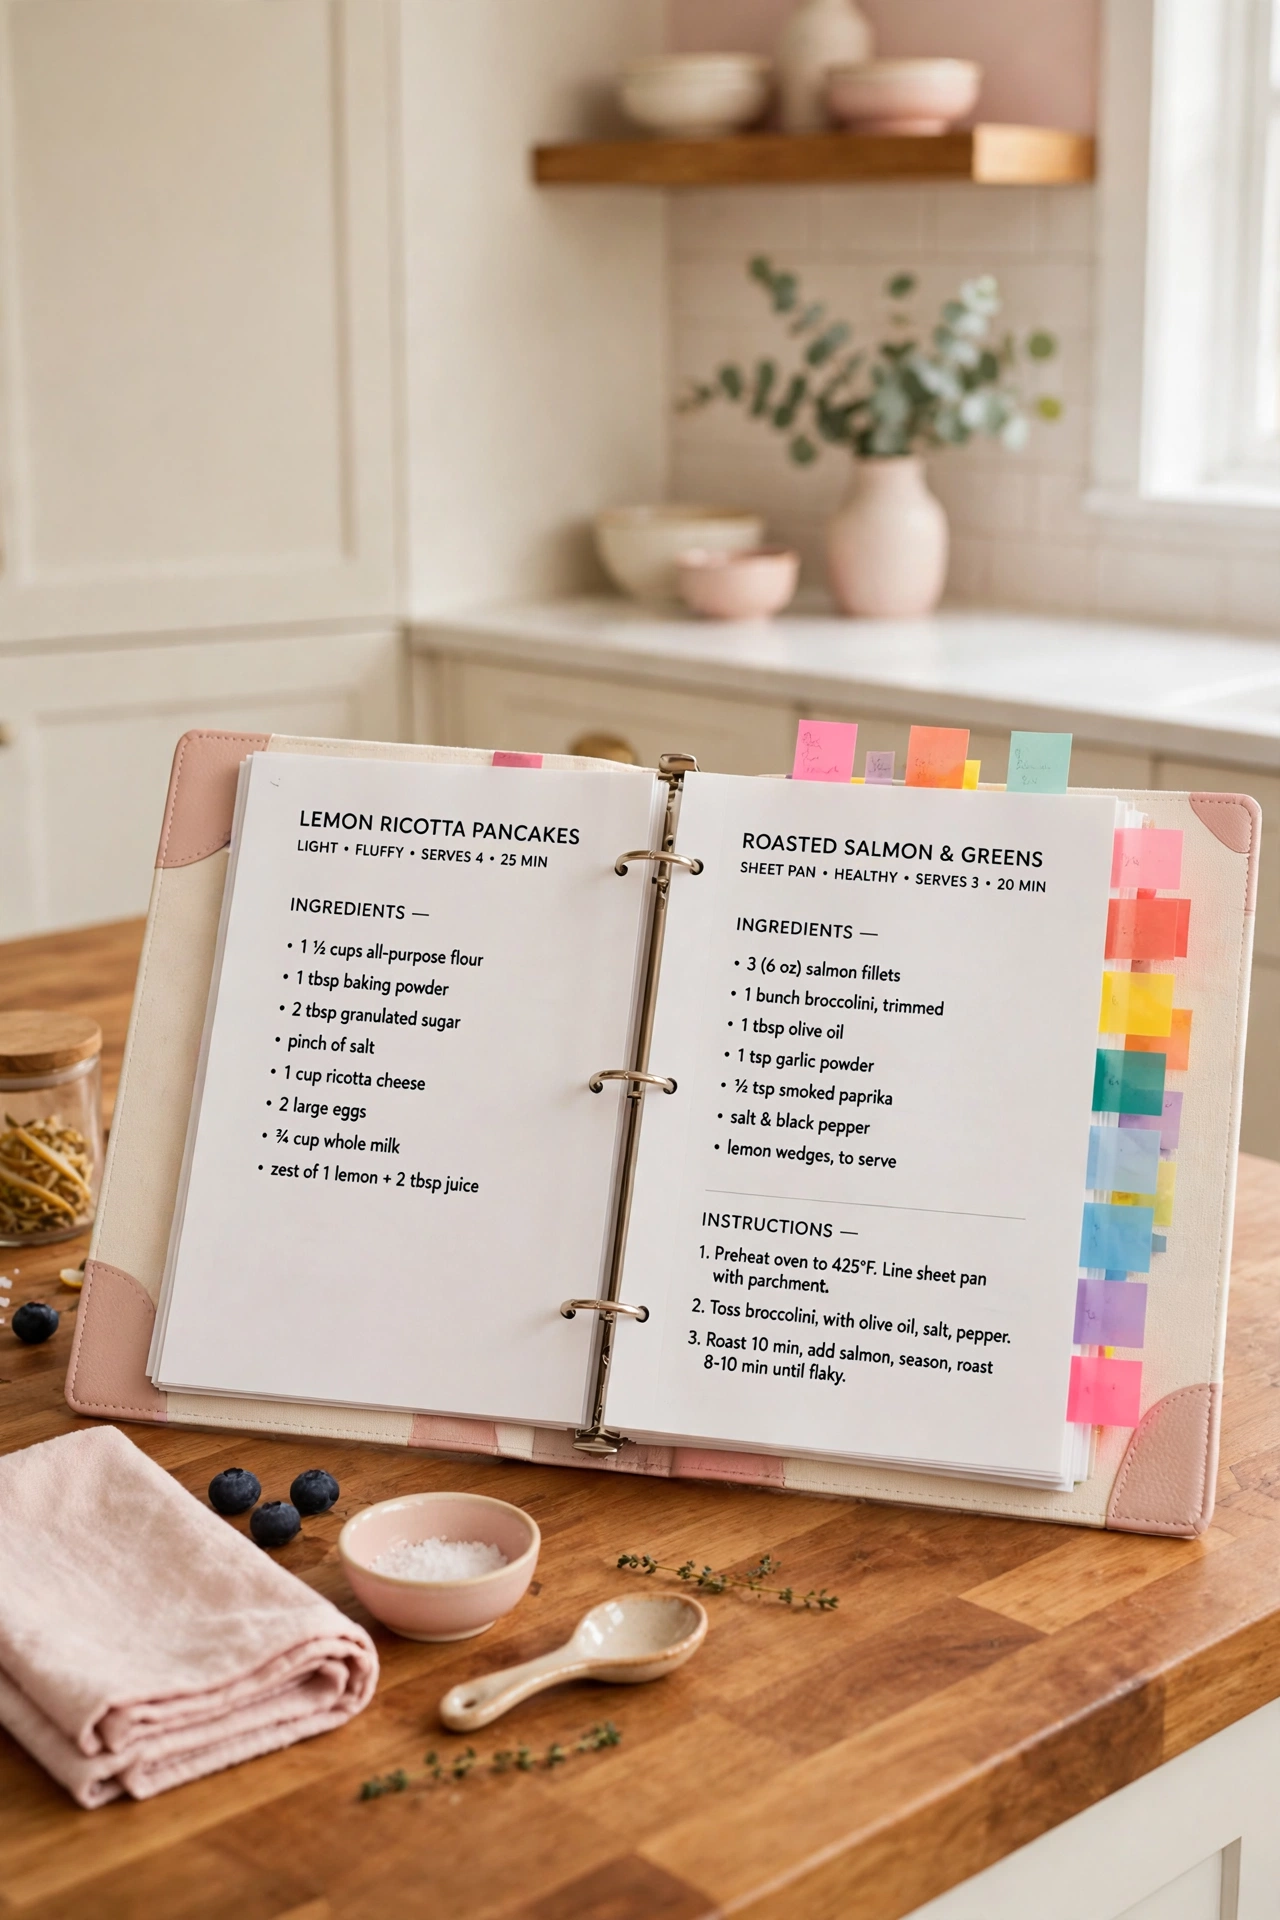
Colored page flags mark the recipes you want to try soon. Stick a bright flag on the edge of each new recipe so it stands out when you flip through the binder. Flags turn a list of untried recipes into a visible to-do list for your cooking.
Remove the flag once you cook the recipe and move it to the next untried one. Keep a small supply of flags in the zipper pouch so they are always at hand. Page flags keep new recipes from getting buried and forgotten.
31. Add a Substitutions Guide at the Back
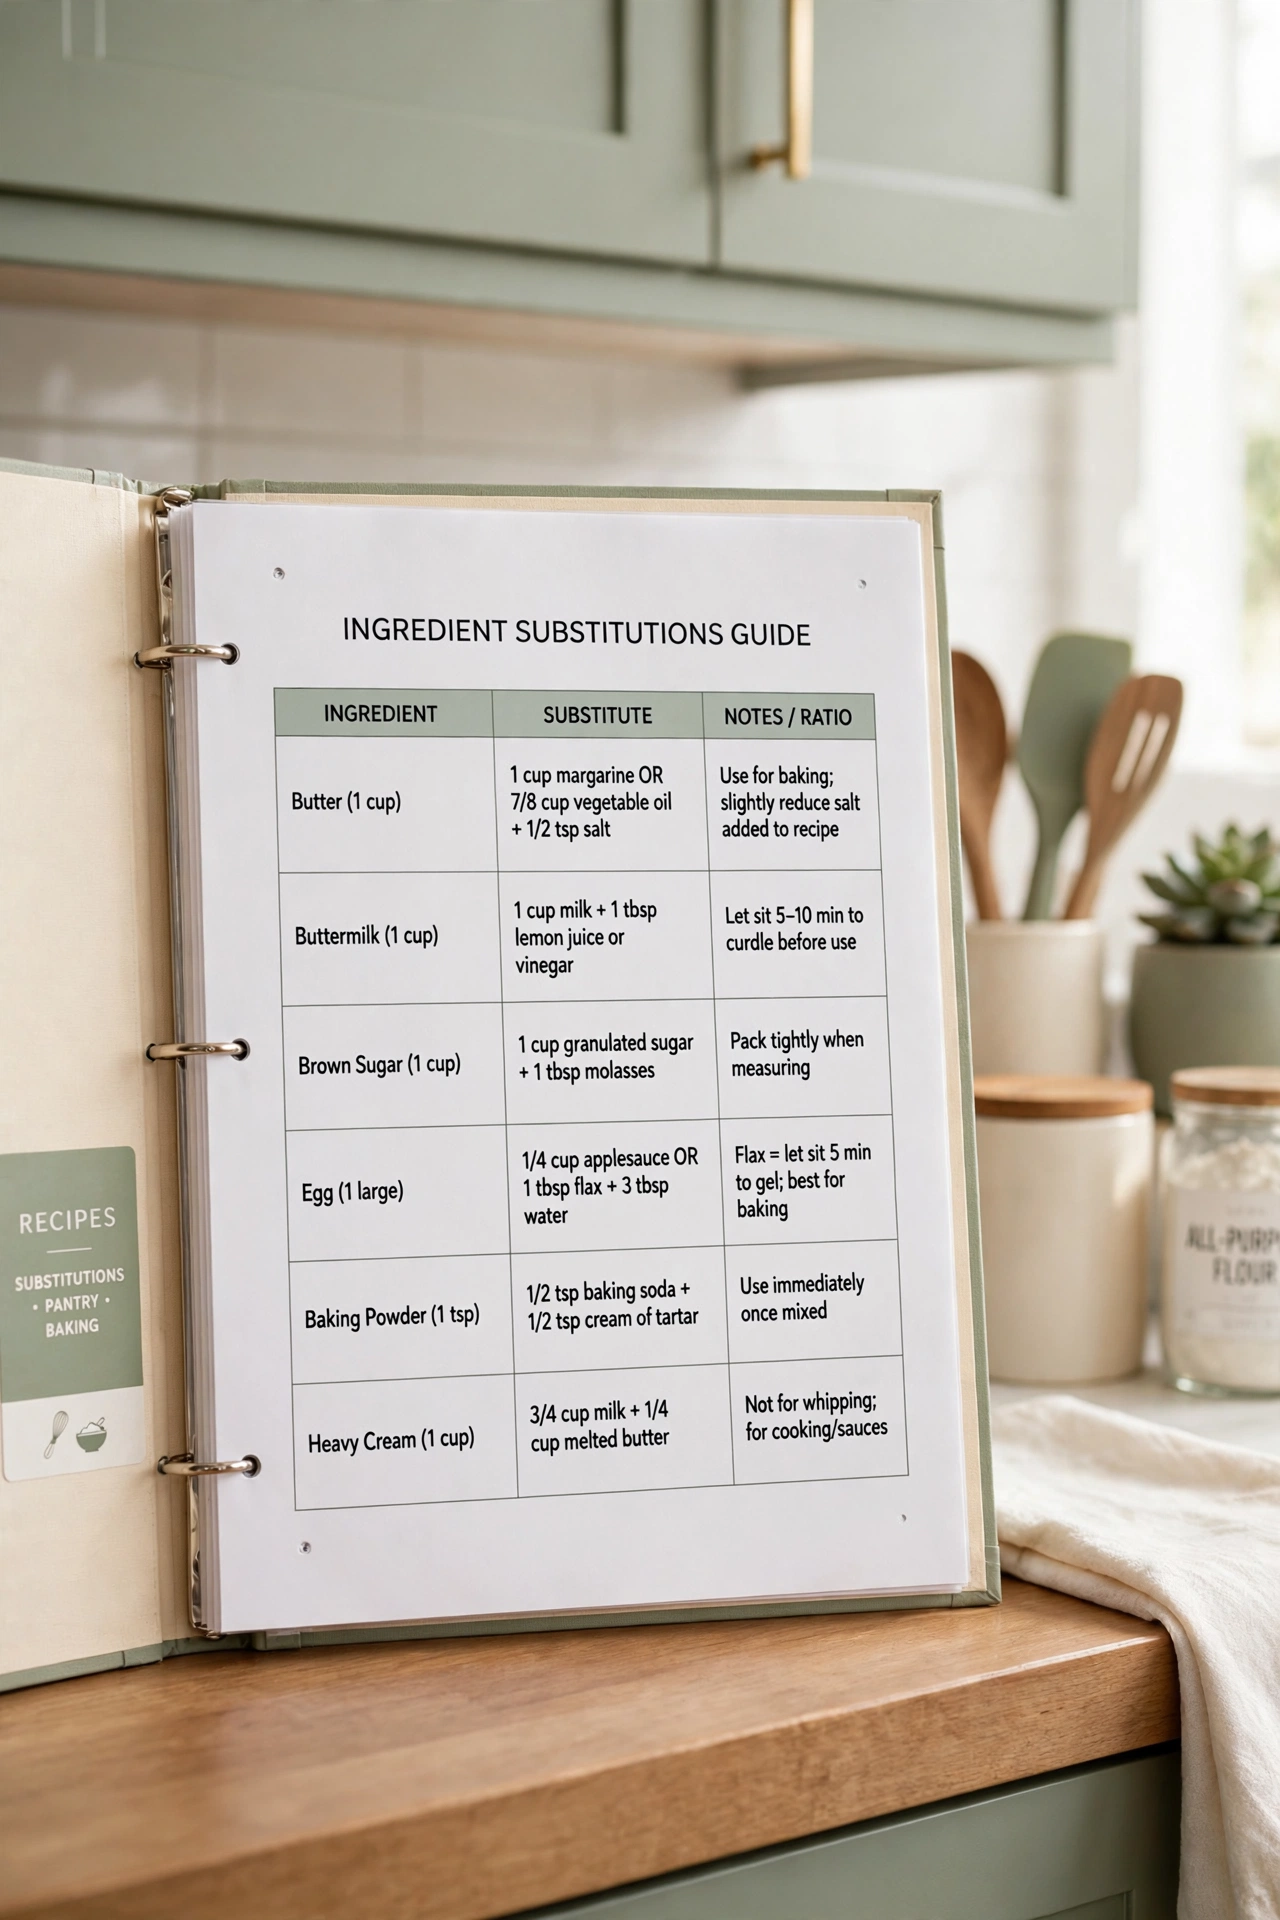
A substitutions guide at the back of the binder lists what to use when an ingredient runs out. Butter, eggs, milk, and flour each have simple swaps that work in most recipes. The guide saves a trip to the store when you are missing one small item.
Print the guide in a clear table with the original ingredient on the left and the substitute on the right. Add your own swaps as you discover them in your cooking. A substitutions guide makes the binder useful even when the pantry is not full.
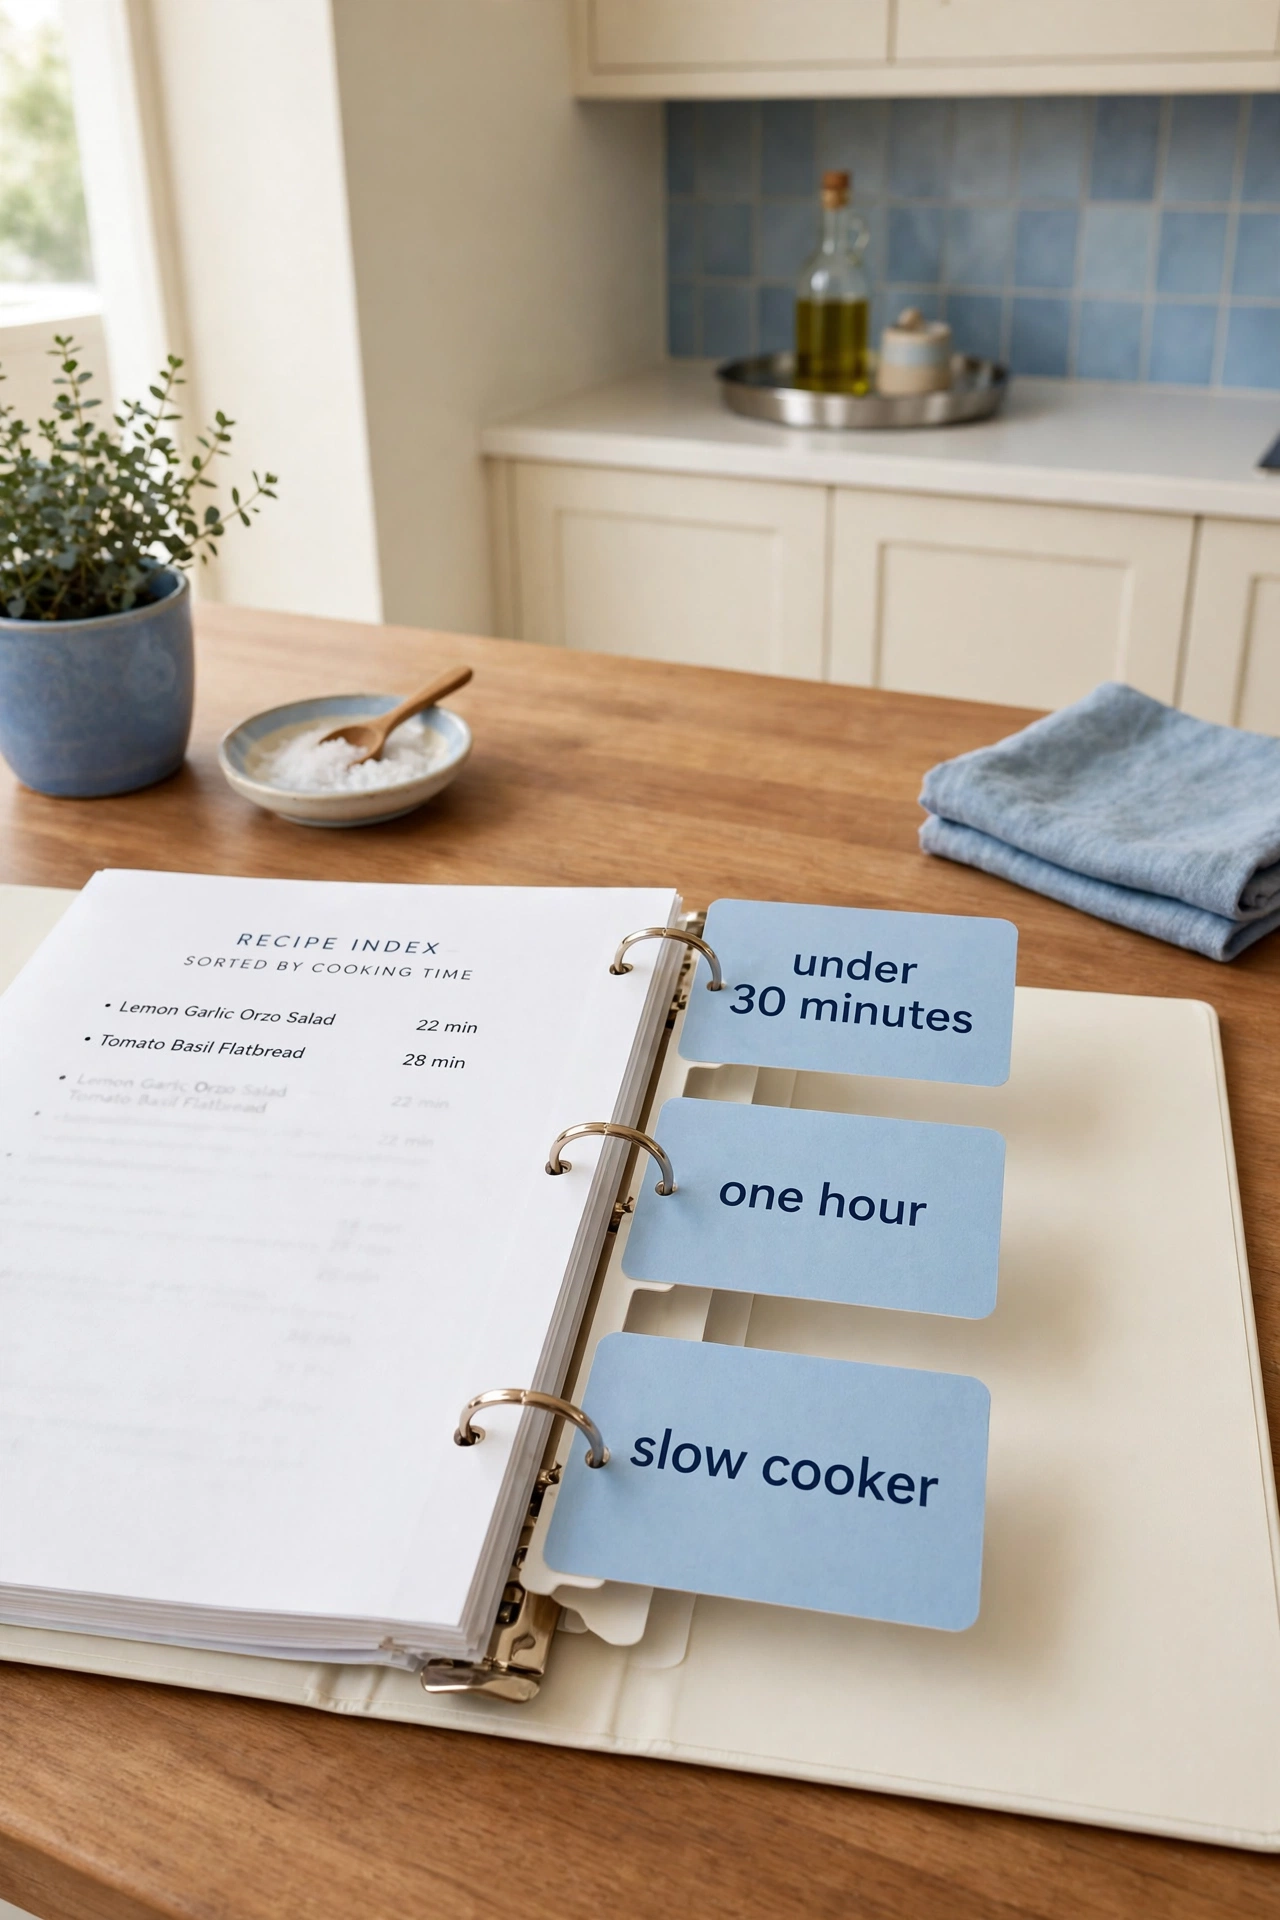
32. Sort Recipes by Cooking Time
Sorting recipes by cooking time helps you pick the right dish for the time you have. Create groups for under thirty minutes, under one hour, and slow cooked meals. On a busy evening, you can flip straight to the fast group and find dinner in seconds.
Write the cooking time in large numbers at the top of each recipe so the groups are easy to keep straight. Move a recipe to a different time group if you find a faster way to cook it. Time based sorting makes the binder work with your schedule.
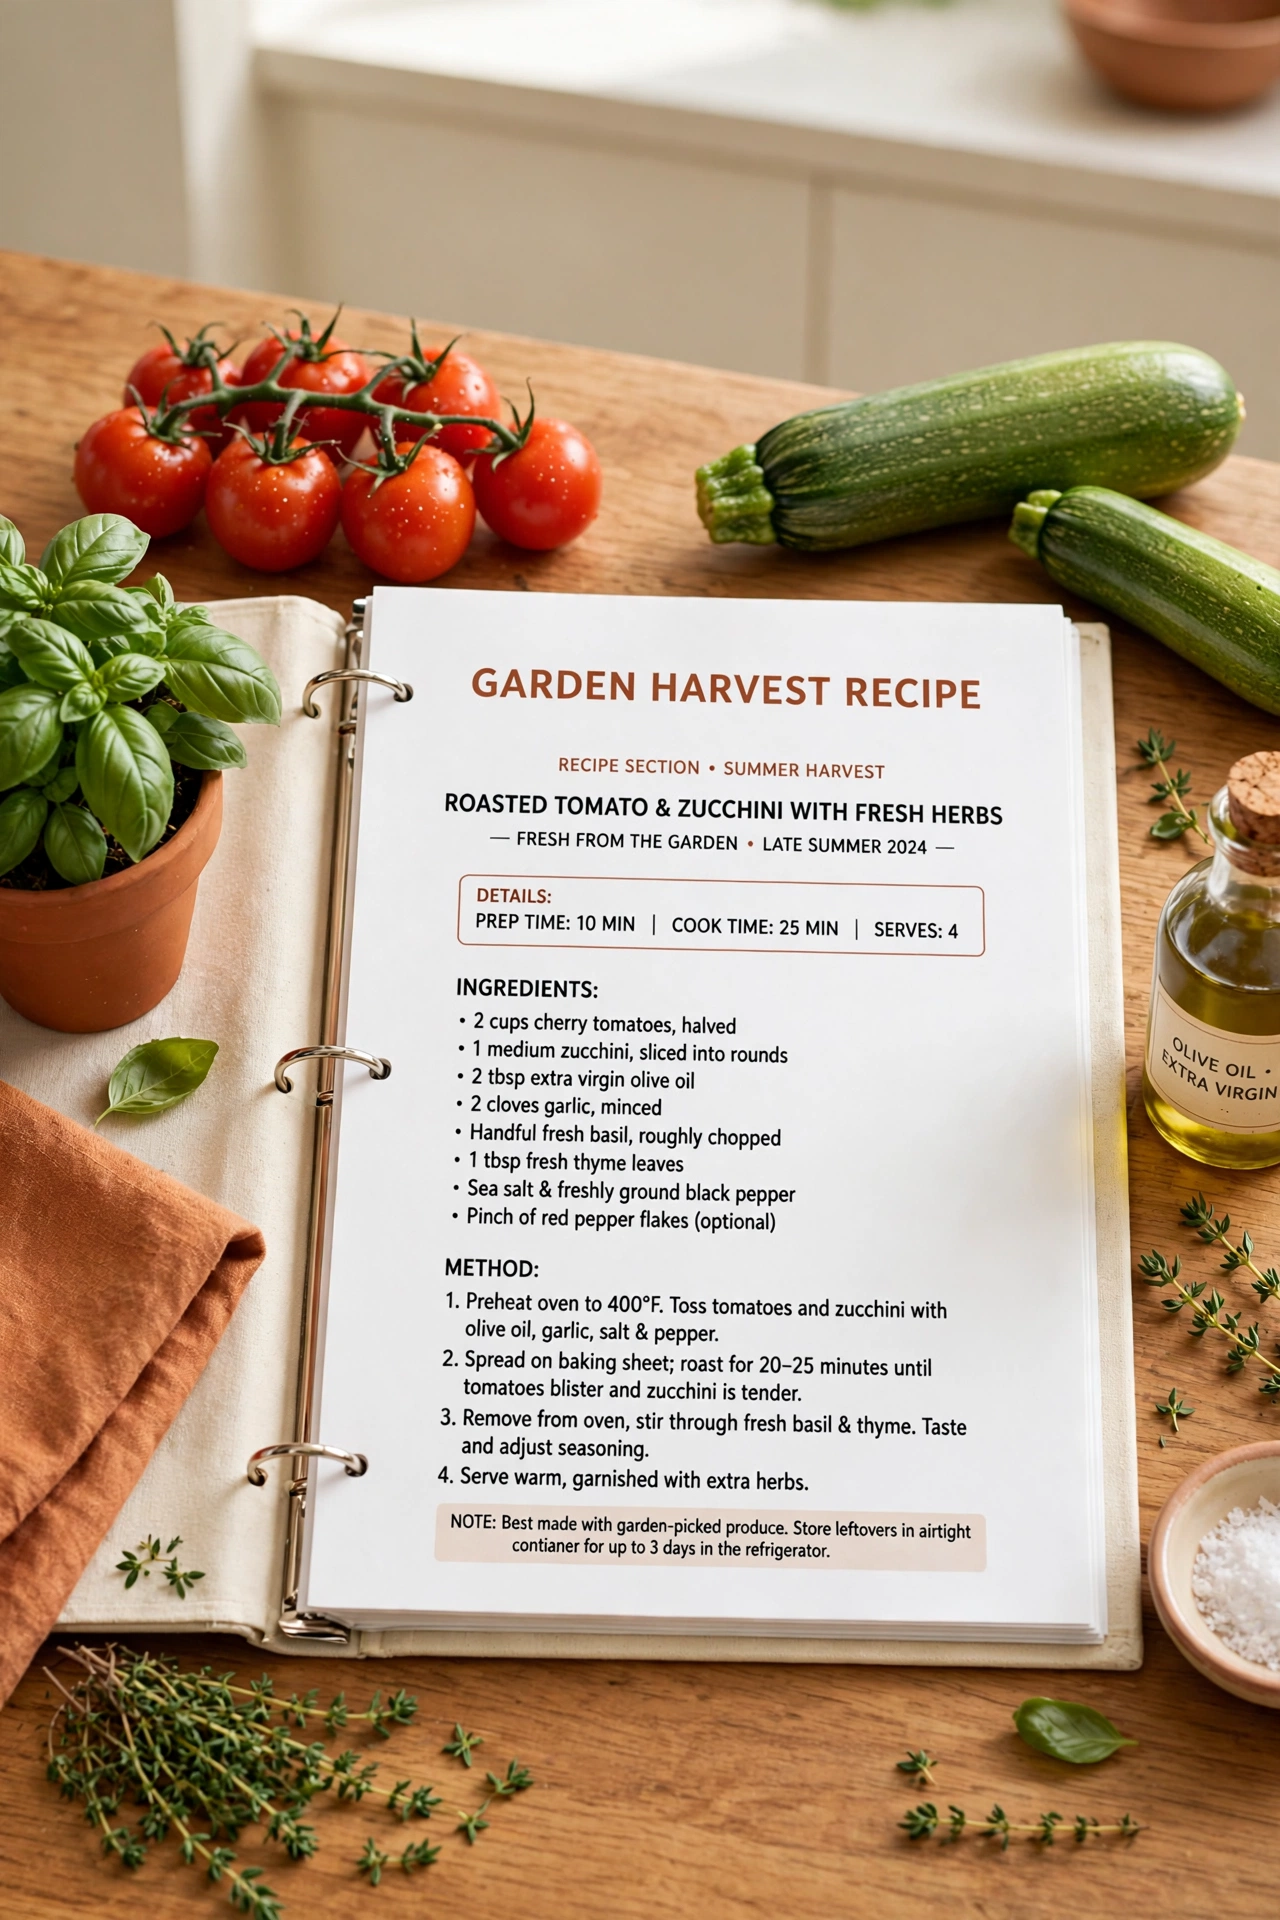
33. Keep a Garden Harvest Recipes Section
A garden harvest section holds recipes that use the vegetables and herbs from your own garden. Group the recipes by vegetable so you can find a use for a basket of tomatoes or a pile of zucchini in seconds. The section turns a big harvest into a set of meals instead of a problem.
Add new recipes to the section as the garden produces each crop through the season. Note the harvest month on each recipe so you know when to expect the ingredients. A harvest section connects the garden and the kitchen in one tidy place.
34. Review and Refresh the Binder Every Season
A seasonal review keeps the binder useful year after year. Every three months, flip through the whole binder and remove recipes nobody cooks, fix torn pages, and add new favorites. A review takes less than an hour and keeps the collection from turning into clutter.
Use the review to check that the table of contents and the index still match the pages. Replace worn sheet protectors and relabel any faded tabs. A binder that gets a regular refresh stays as helpful in its fifth year as it was on the first day.
Conclusion
A recipe binder does not need to be fancy or expensive to work well. From tabbed dividers and sheet protectors to a simple rating system and a seasonal review, each idea here adds one more layer of order to your collection. The best binder is the one that fits the way you cook and the recipes your family loves.
Pick one or two ideas that fit your kitchen and start today. Sort a small pile of recipes, label a few dividers, and watch the binder take shape. For a calm home beyond the kitchen, these nightly reset routine ideas will help you keep every room organized with just a few minutes each evening.
Frequently Asked Questions About Recipe Binder Organization Ideas for Home Cooks
What size binder works best for recipes?
A three inch binder works best for most home cooks because it holds a large collection without bursting. Start with a two inch binder if your collection is small, and move up to a three inch binder as it grows. A binder that is too small will damage pages, while one that is too large feels heavy to carry.
Should I use sheet protectors or print on card stock?
Sheet protectors are the better choice for most recipes because they guard against splashes and let you wipe the page clean. Card stock is sturdier than plain paper but it still absorbs moisture. Use sheet protectors for recipes you cook often and card stock for cards you rarely use.
How do I organize recipes I find online?
Print online recipes in your matching format and file them in the binder the same day you find them. Bookmark the original page on your phone as a backup, but keep the printed copy as your working version. A recipe that stays only online is easy to lose when a website changes or closes.
How often should I clean out my recipe binder?
Review the binder once every season and remove recipes your family did not enjoy or has not cooked in a year. A regular review keeps the binder slim and useful. Check the table of contents and the index during the same review so both still match the pages.
Can I mix handwritten and printed recipes in one binder?
Yes, handwritten and printed recipes work well together in one binder as long as each page sits in a sheet protector. Photocopy handwritten cards you want to protect and file the copy for daily use. A mix of old family handwriting and clean printed pages gives the binder a personal touch.

Hi, I’m Emily! I turn messy corners into cozy, organized spots. DreamNestDecor is where I share simple, practical home ideas — decor, organization, and small-space solutions that work in real life, not just in photos. Every idea here is carefully researched before it’s shared.