Picture this: the power goes out on a stormy night and you reach for a flashlight without a second of panic. You know exactly where it is, the batteries are fresh, and every supply your family needs sits in one tidy spot. That calm feeling is exactly what a well organized emergency kit gives you when it matters most.
You do not need a big budget or a whole spare room to get there. All you need is one shelf, a few labeled bins, and a simple routine to keep everything ready. These 23 flashlight and emergency supply organization ideas will help you build a kit your whole family can find and use with confidence.
1. Clear a Shelf and Sort First
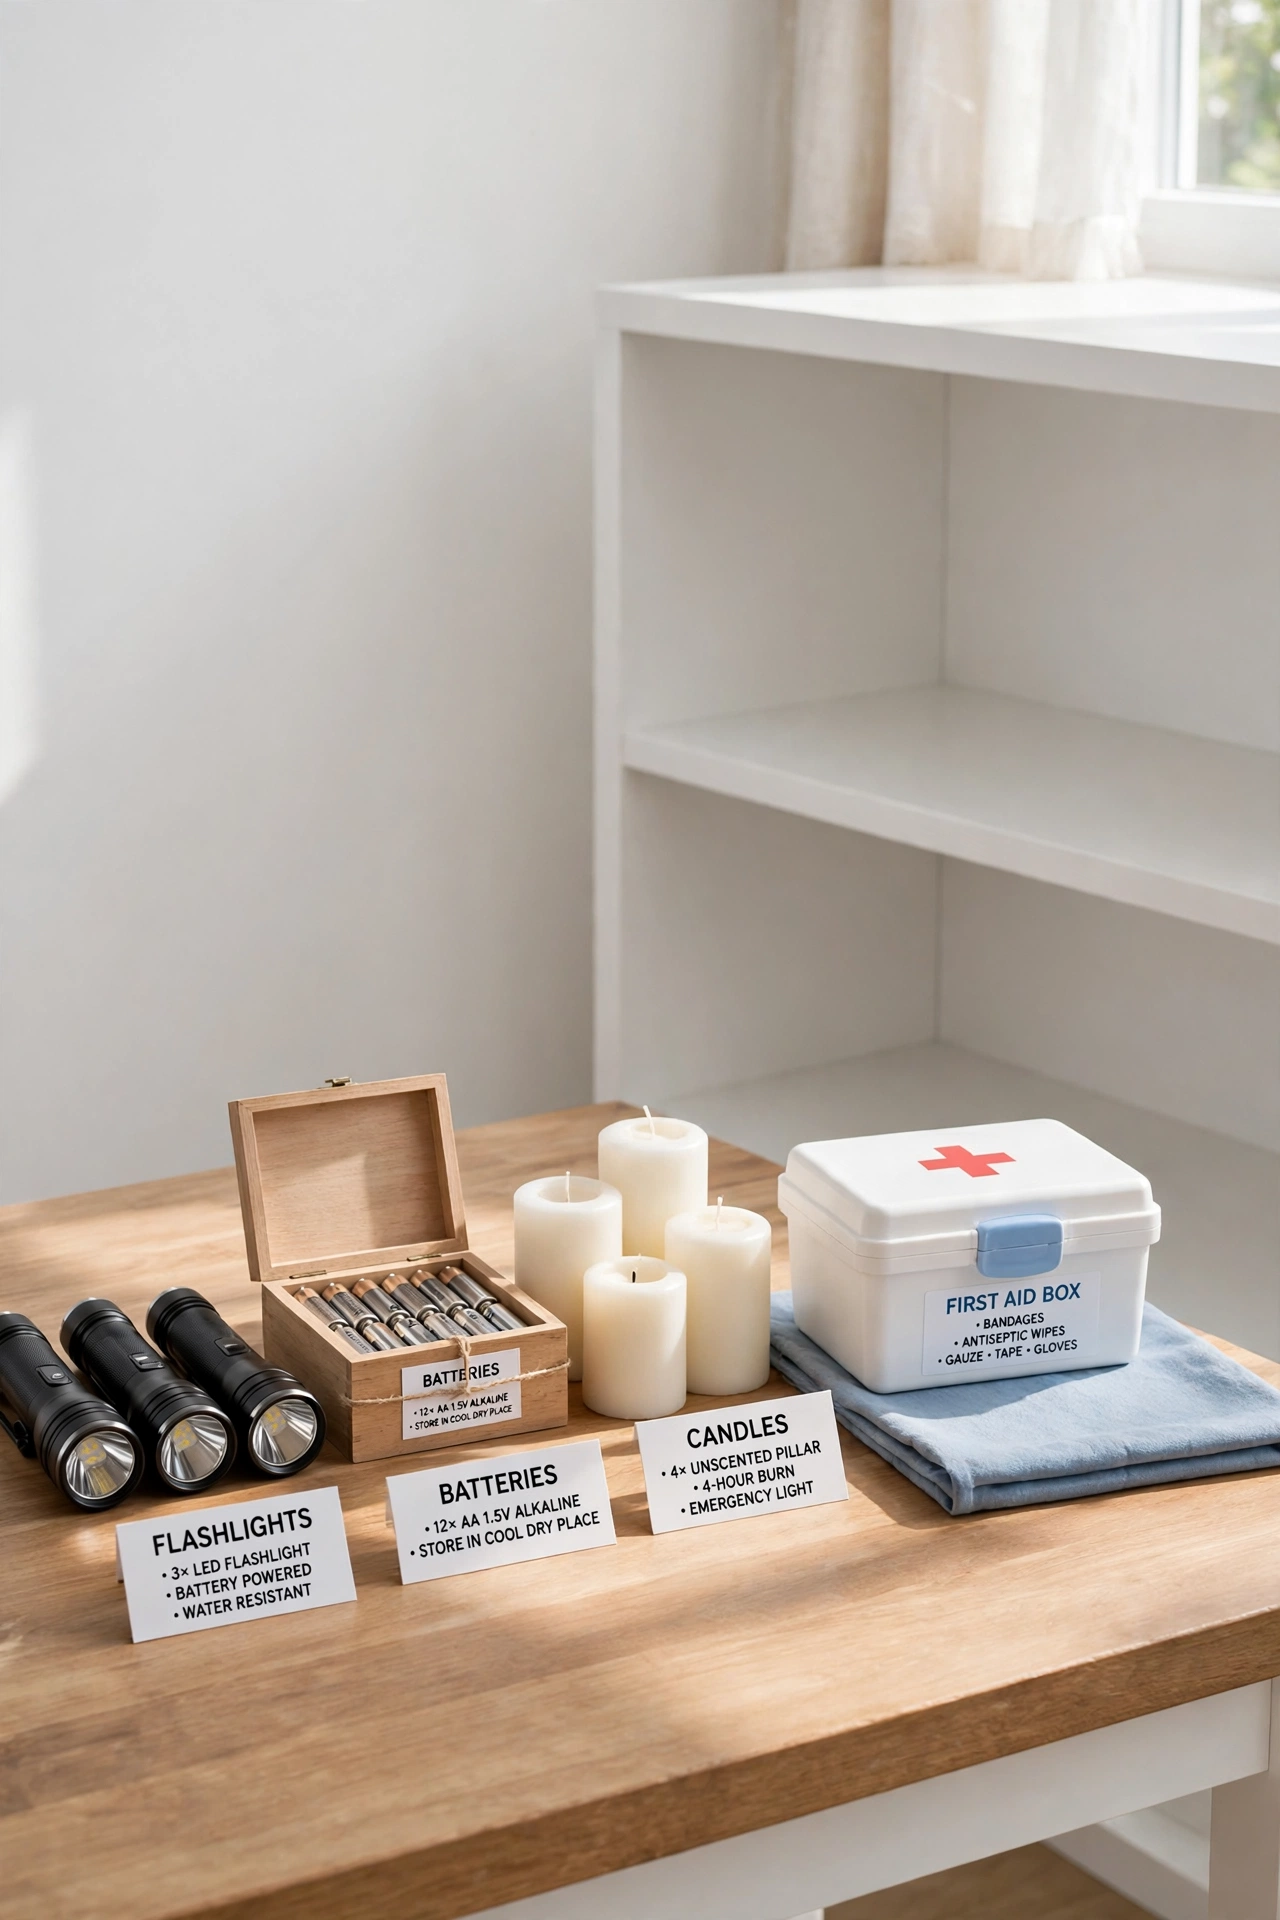
Before you buy a single bin, pick one shelf in a closet or hallway and empty it completely. Lay out every flashlight, battery, candle, and first aid item you already own on a table and sort them into groups. This quick sort shows you what you have, what is missing, and how much space the kit really needs.
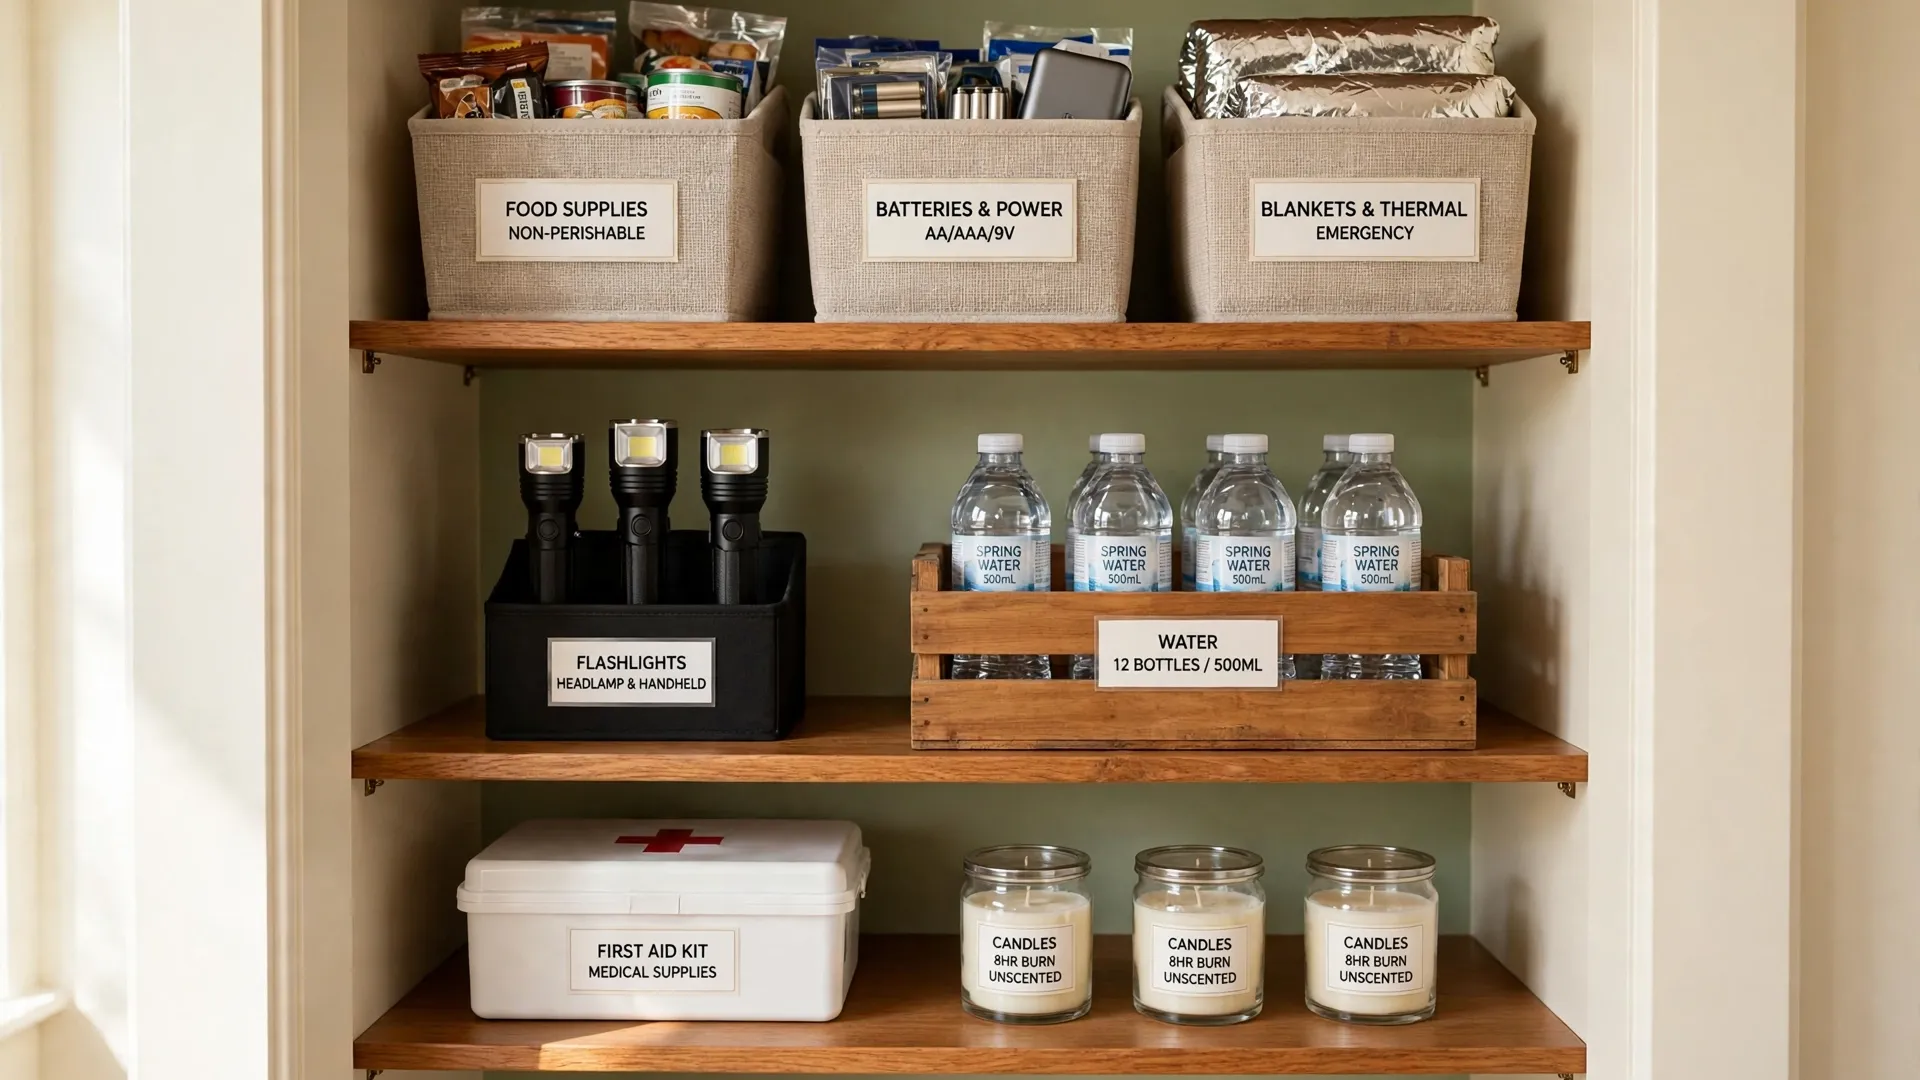
Once the shelf is empty, wipe it clean and decide which items belong on it. Keep only emergency supplies on this shelf so nothing else creeps in over time. A dedicated shelf with a clear purpose is the foundation every other idea in this list builds on.
2. A Flashlight for Every Room
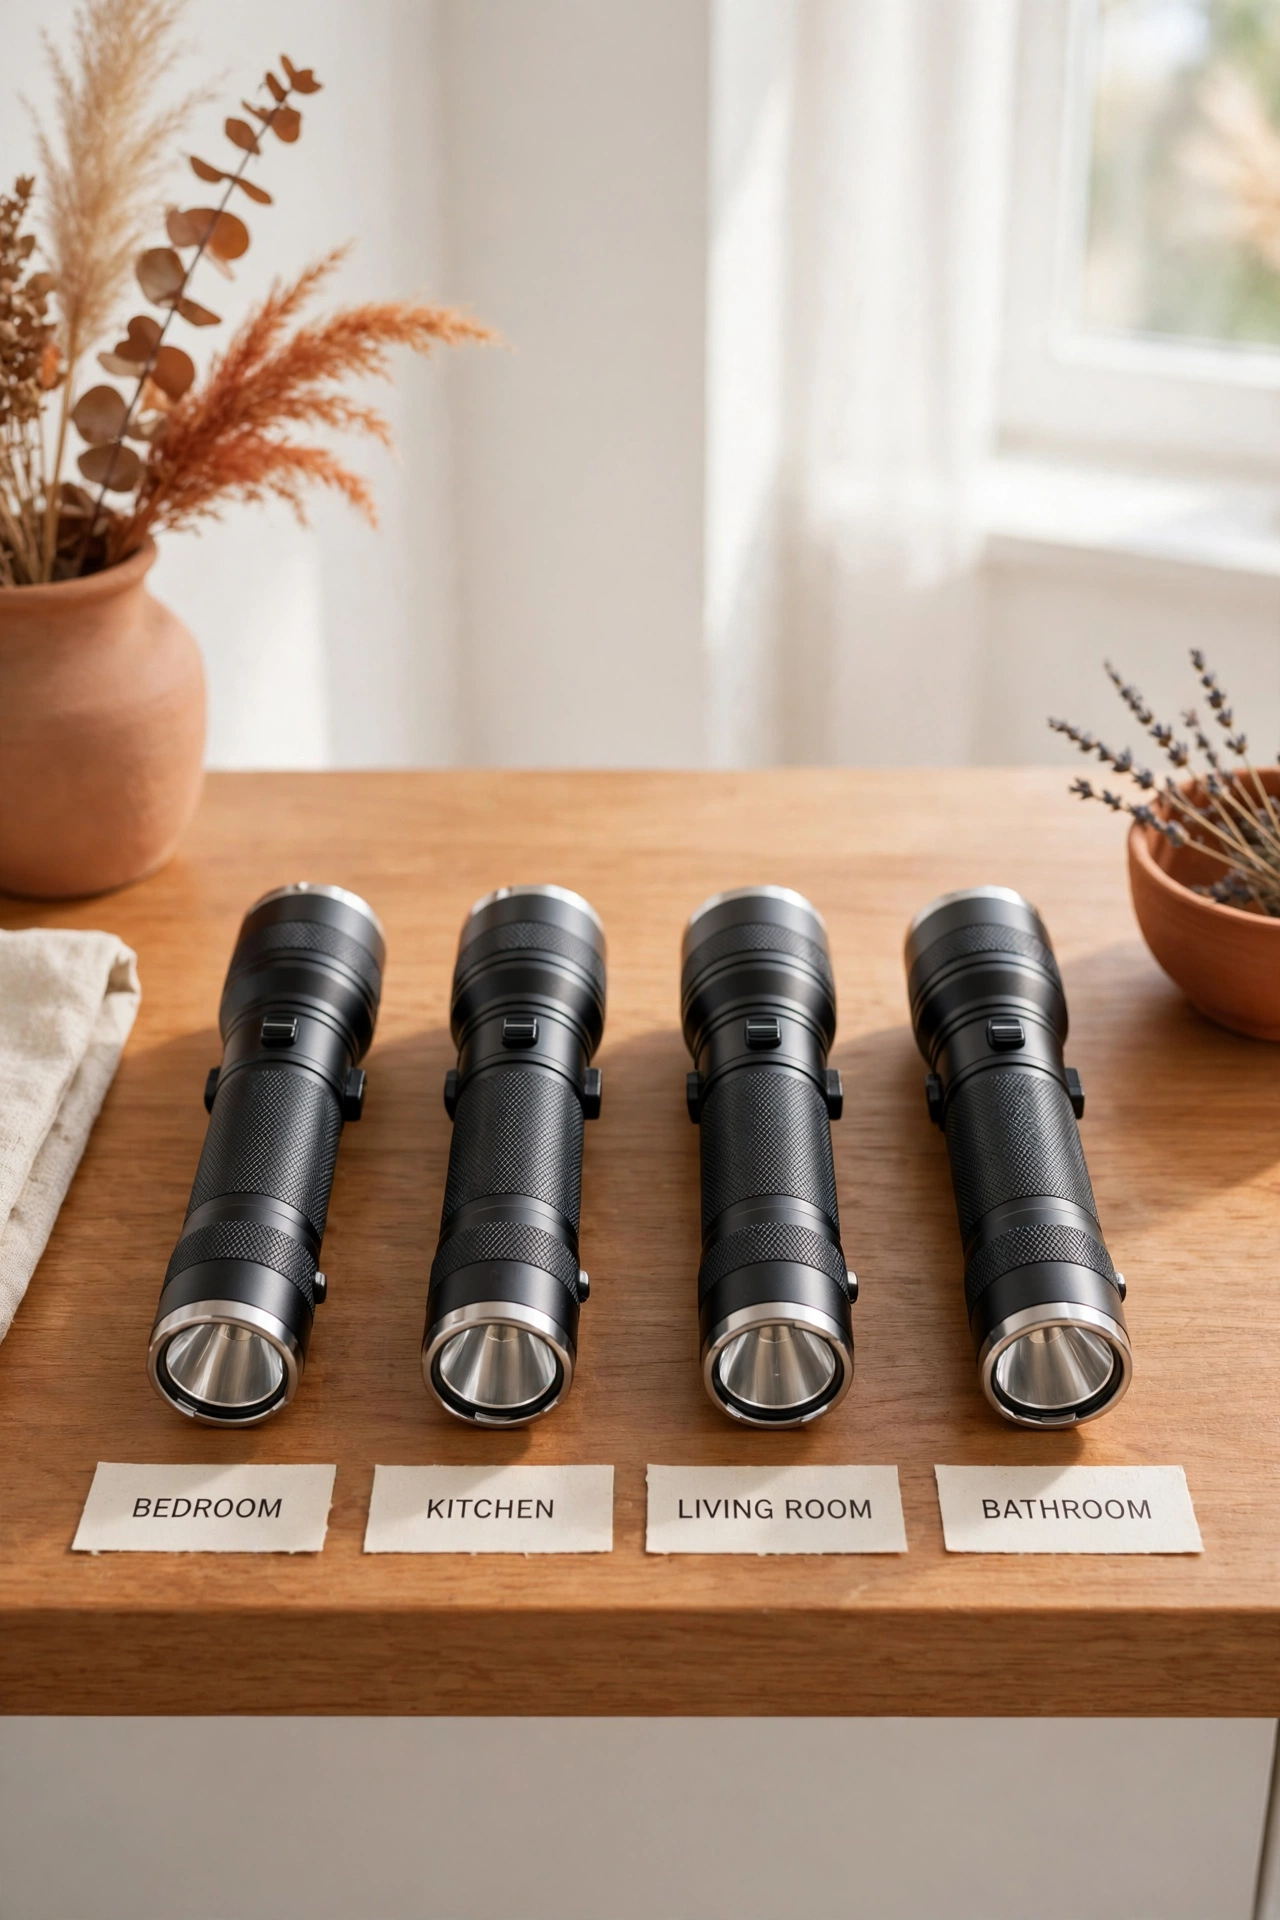
One flashlight in the house is never enough when the lights go out. Keep one in the bedroom, one in the kitchen, one in the living room, and one in the bathroom so nobody has to walk through the dark to find light. Each flashlight should have a fixed spot, like a drawer, a hook, or a small tray.
Choose simple flashlights that are easy to switch on, even for children. Check the batteries in each one every few months so they are always ready. When every room has its own light, a power cut becomes a small inconvenience instead of a scramble in the dark.
3. Hang Flashlights by the Door
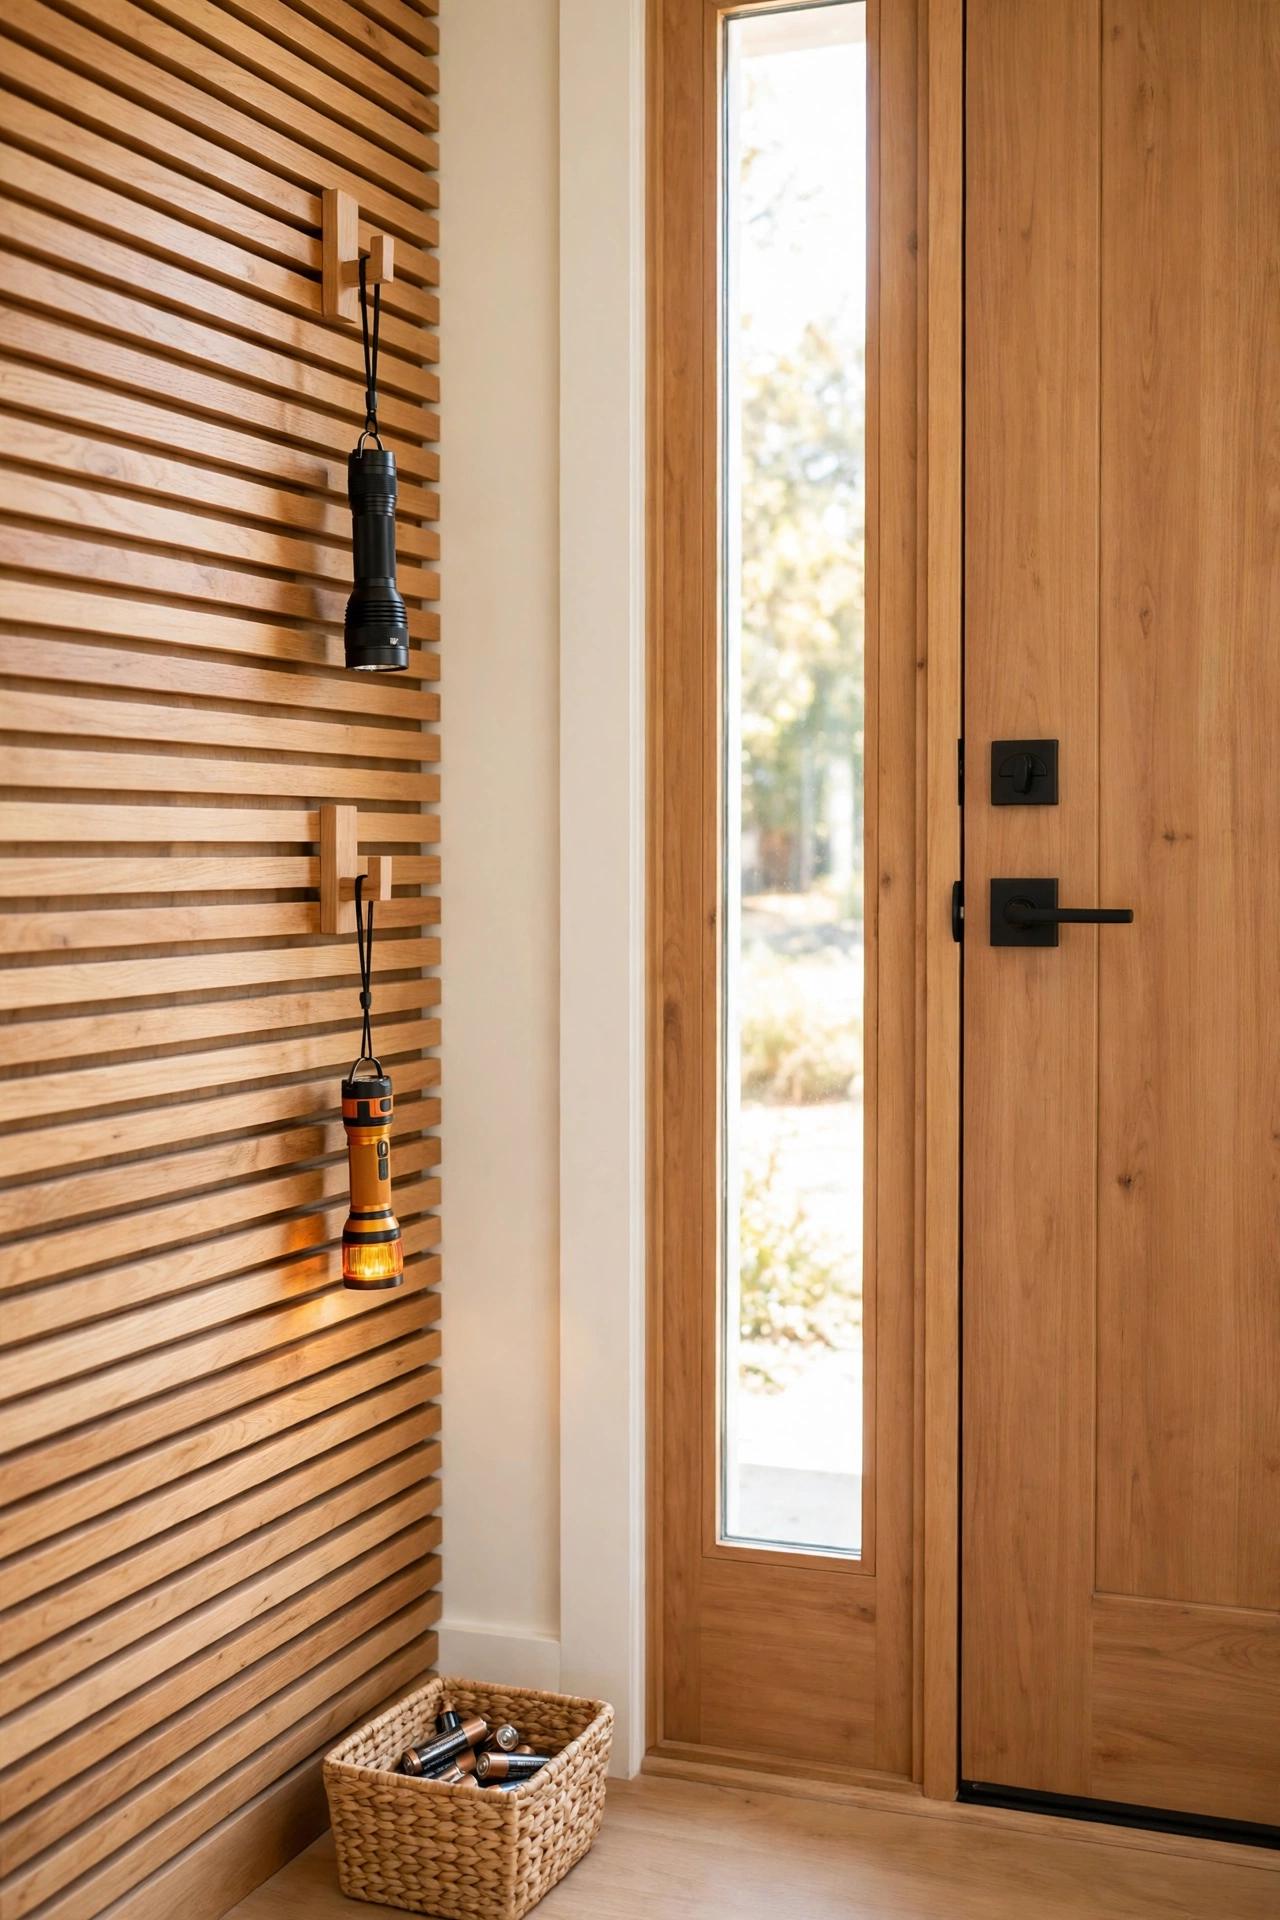
The front door is the best place for a flashlight you grab on the way out. Mount two or three sturdy hooks beside the door and hang a flashlight on each one. This spot works for evening walks, car trouble, and sudden trips outside after dark.
Keep a small basket below the hooks for spare batteries and a spare bulb if your flashlight needs one. For more ways to keep the entry tidy and useful, see these entryway organization ideas. A flashlight by the door is one of the easiest habits to build and one of the most useful in a real emergency.
4. Keep Spare Batteries with Every Flashlight
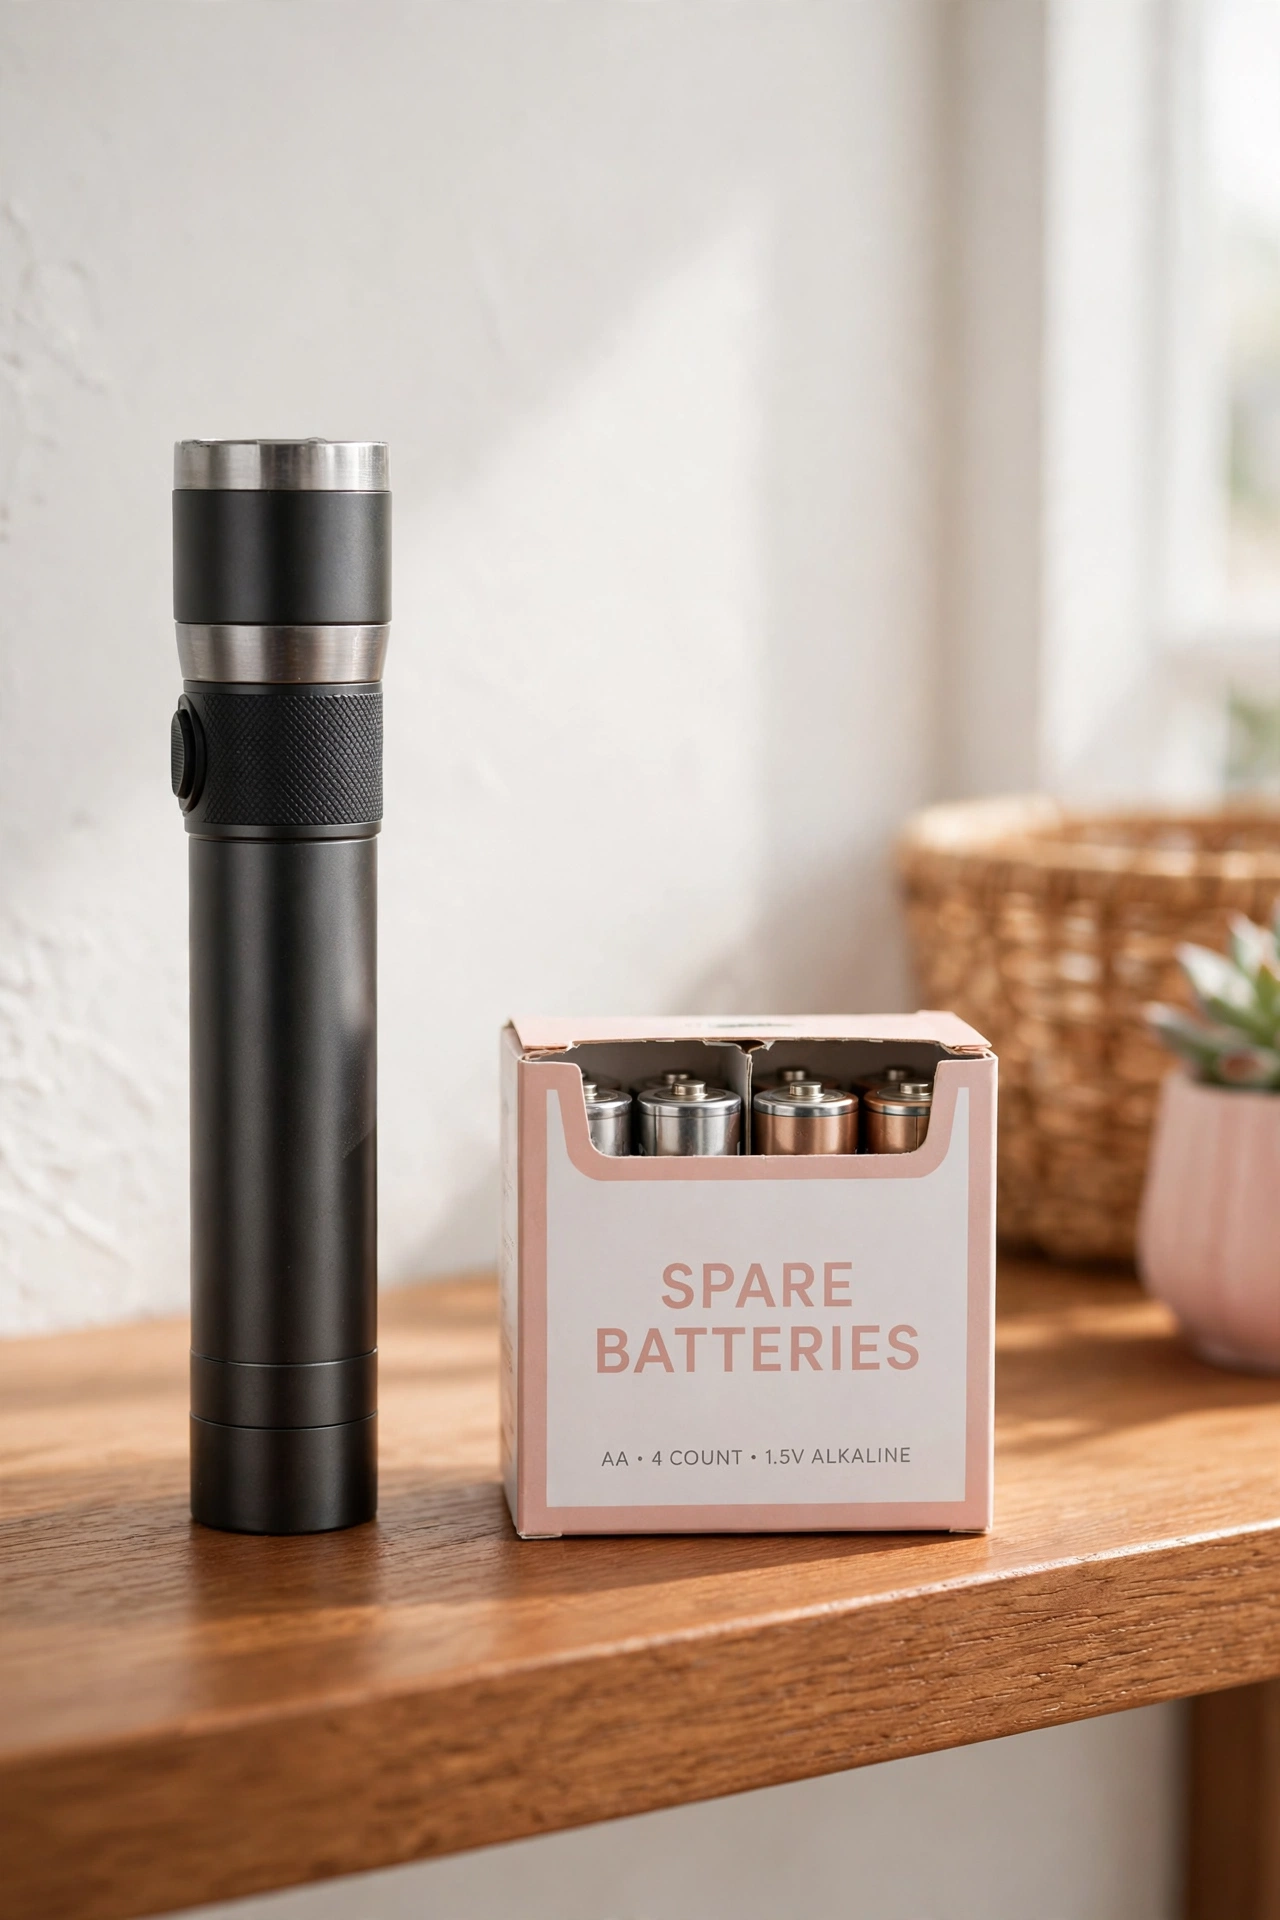
A flashlight with dead batteries is just a paperweight, so store spare batteries right beside each flashlight. Tuck a small labeled pouch or a tiny box of batteries into the same drawer or onto the same hook. This way you never have to hunt through another room when a flashlight goes dim.
Match the battery size to the flashlight and label the pouch clearly so anyone in the family can find the right ones. Replace used batteries the same day so the spares are always full. Keeping batteries with the flashlight turns a two-step search into one simple grab.
5. A Labeled Bin for Emergency Supplies
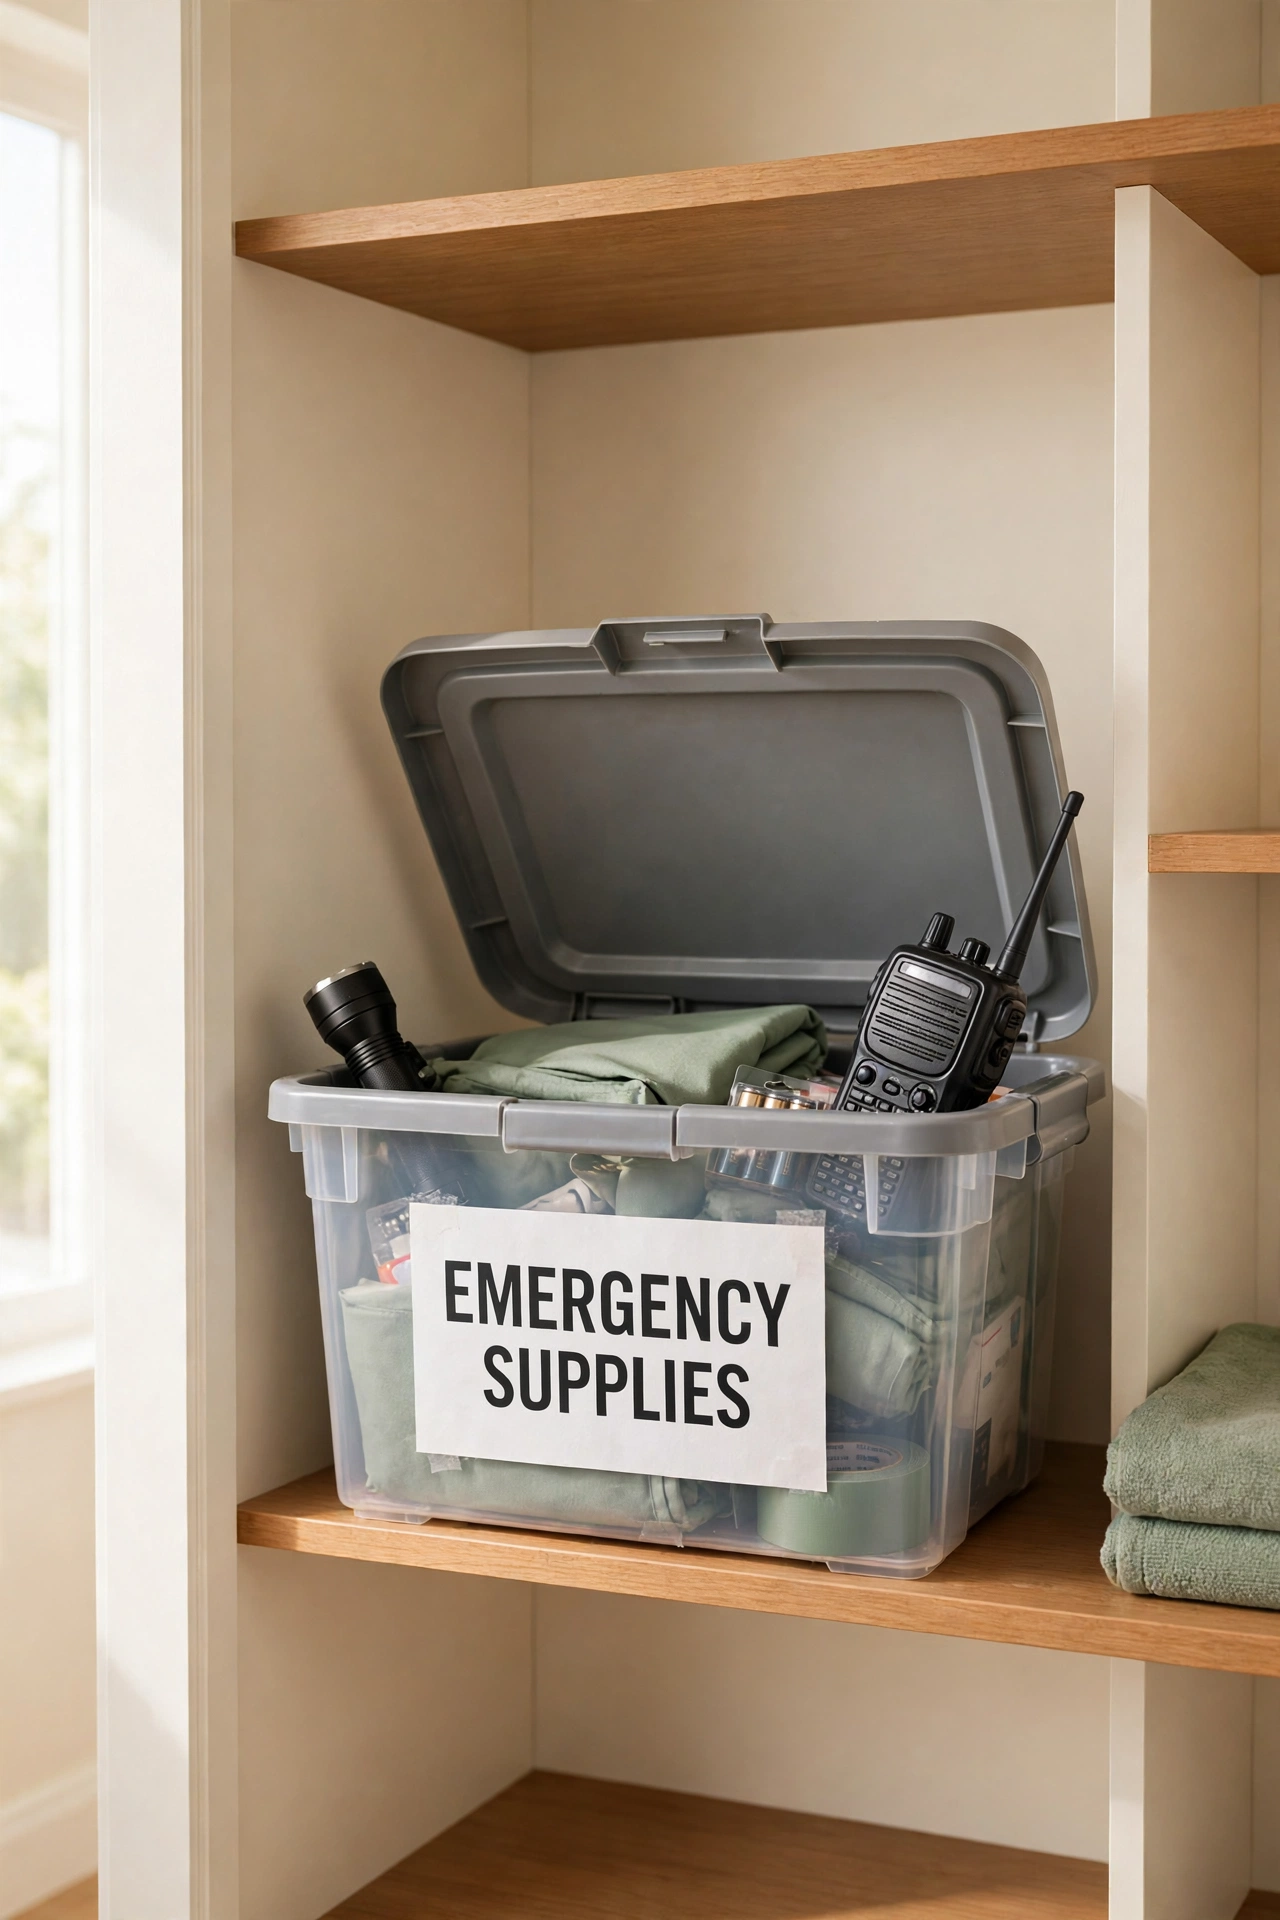
One clearly labeled bin holds the heart of your emergency kit. Choose a sturdy bin with a lid and label it in big letters so it is easy to spot in a dark closet. Fill it with the items you reach for first, like a flashlight, a radio, candles, and a first aid kit.
Keep the bin on your cleared shelf at a height everyone in the family can reach. A single bin is easier to carry than a pile of loose items if you ever need to move the kit in a hurry. When the bin has a label and a home, the whole family knows where the emergency supplies live.
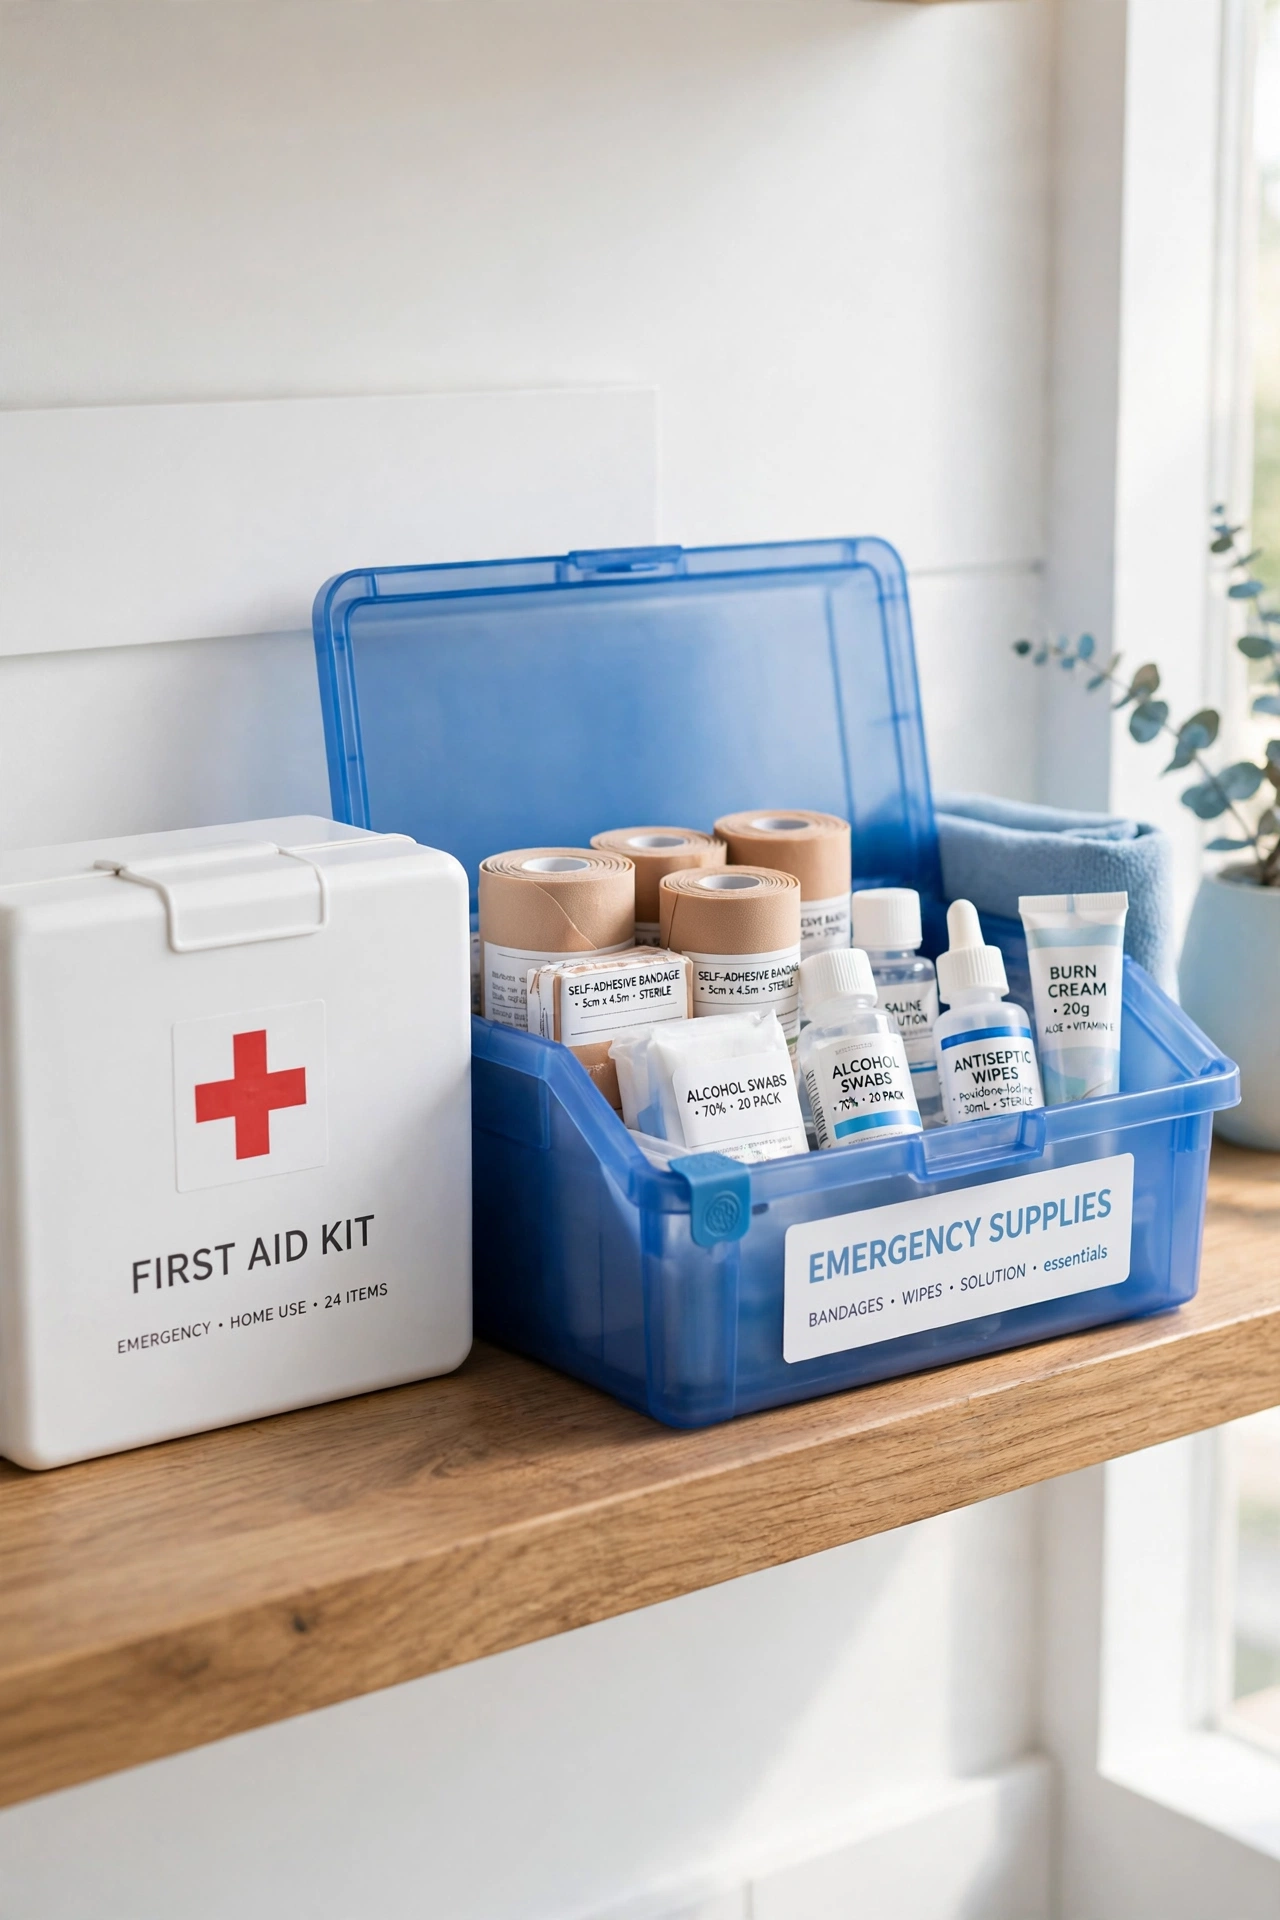
6. Store a First Aid Kit Nearby
Your first aid kit belongs right next to your emergency bin, not buried in a bathroom cabinet. Place it on the same shelf so bandages, antiseptic, and medicine are all within arm’s reach when someone gets hurt. A visible kit gets used faster and restocked sooner than a hidden one.
Check the kit every few months and replace anything that is used up or past its date. Keep a small list of what belongs inside taped to the lid so restocking takes only a few minutes. A first aid kit that sits beside your emergency supplies is ready for scrapes, cuts, and small accidents any day of the week.
7. Keep a Battery-Powered Radio Ready
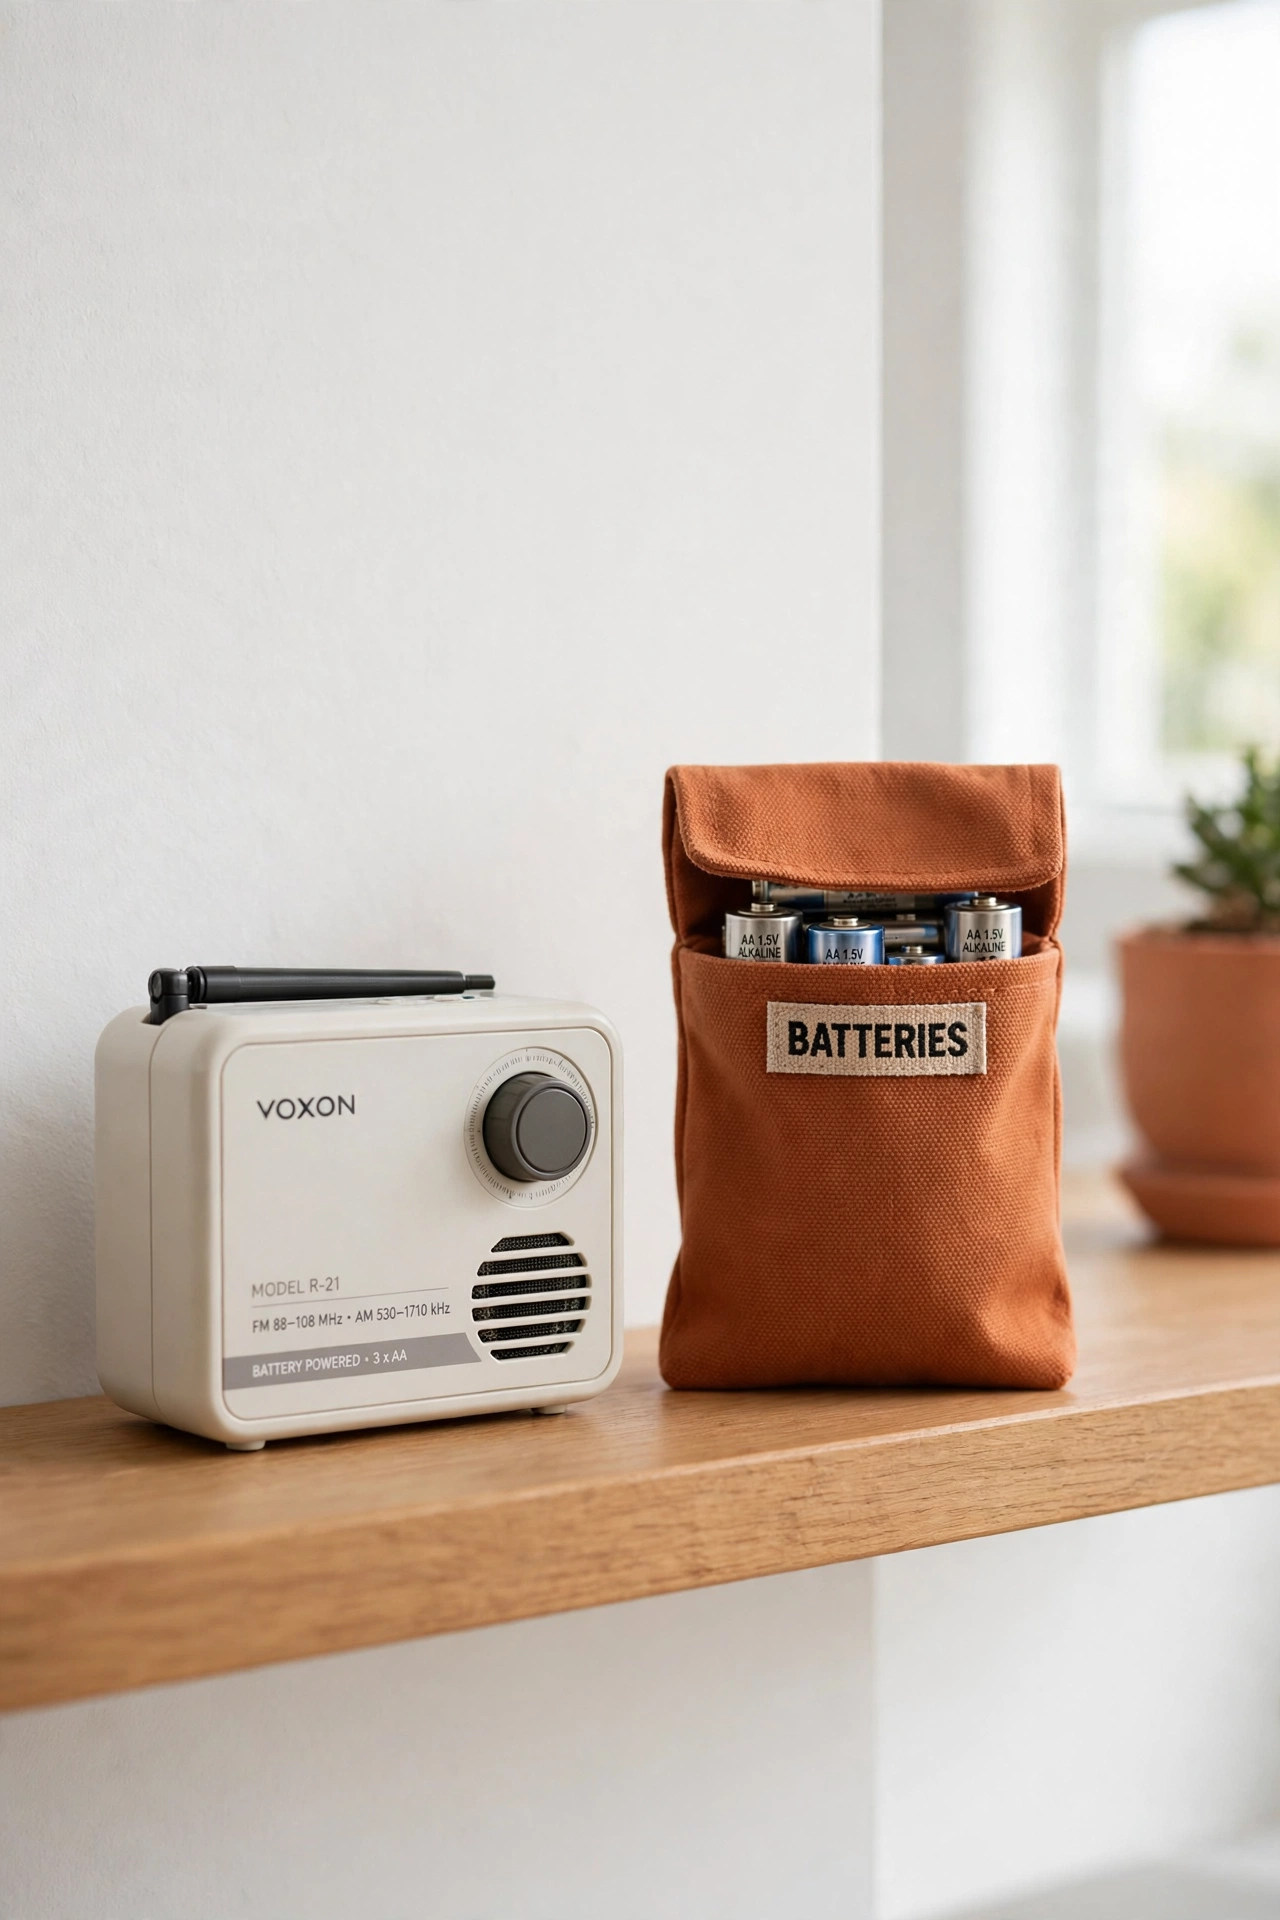
When the power and the internet go down, a battery-powered radio is your link to weather updates and local news. Store it on your emergency shelf with fresh batteries inside and a spare set in a pouch beside it. Tune it to your local station once so it is ready to switch on in seconds.
Choose a small radio with a clear speaker and a simple dial that anyone can use. Test it once a month to make sure it still works and the batteries still hold a charge. A working radio turns a long, quiet blackout into a situation your family can follow and plan around.
8. A Shelf for Candles and Matches
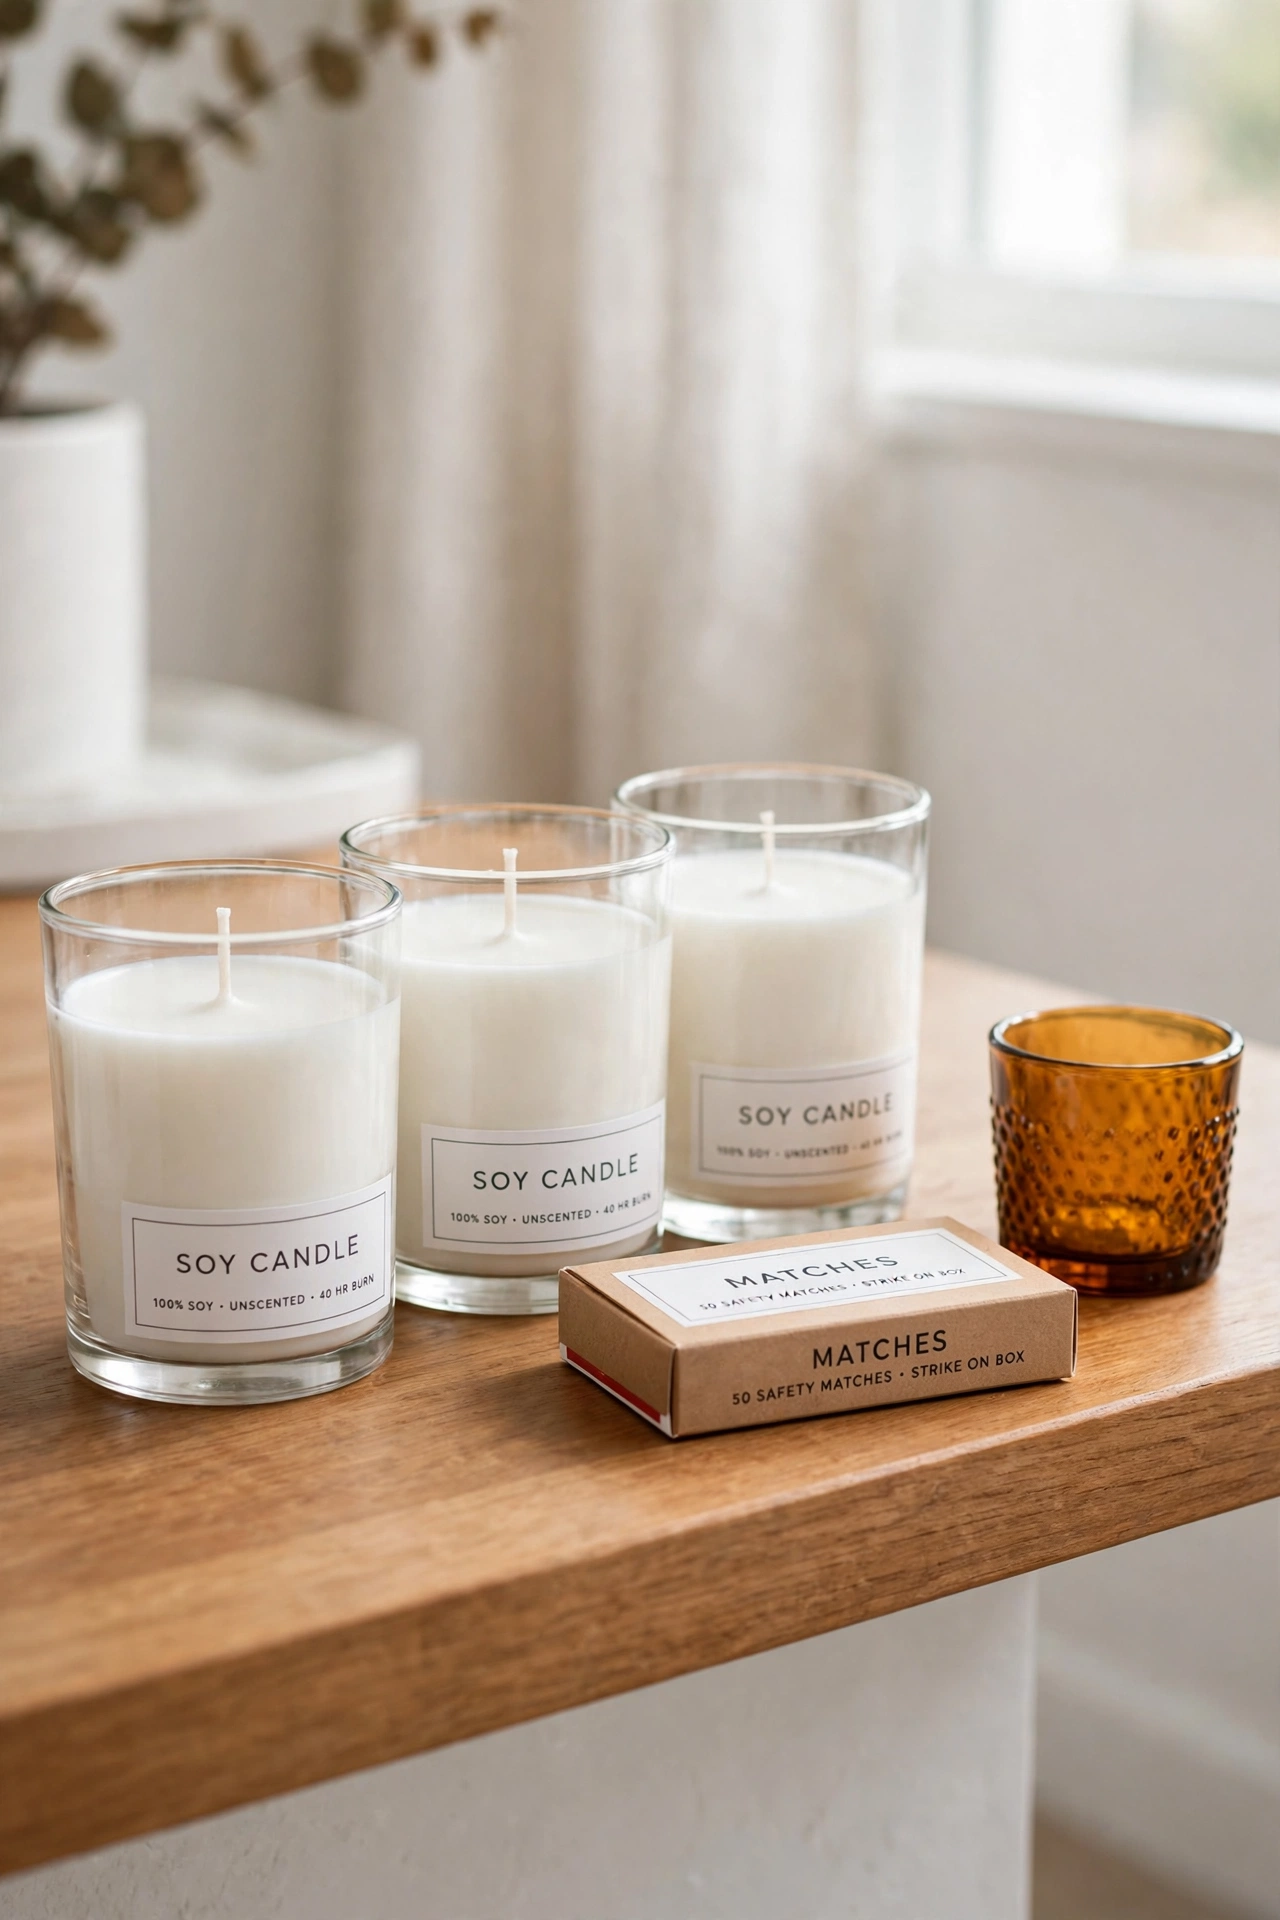
Candles give soft, steady light during a long power cut, but only if you can find them in the dark. Dedicate one small section of your emergency shelf to candles and matches. Store the candles upright in a jar or a box so they stay clean and unbroken, and keep the matches in a sealed container to keep them dry.
Place a candle holder and a lighter in the same spot so the whole setup is ready to use. Keep candles away from curtains and papers, and always place them on a flat, stable surface when lit. A tidy candle shelf gives you calm, warm light without any last minute searching.
9. Keep a Multi-Tool in the Kit
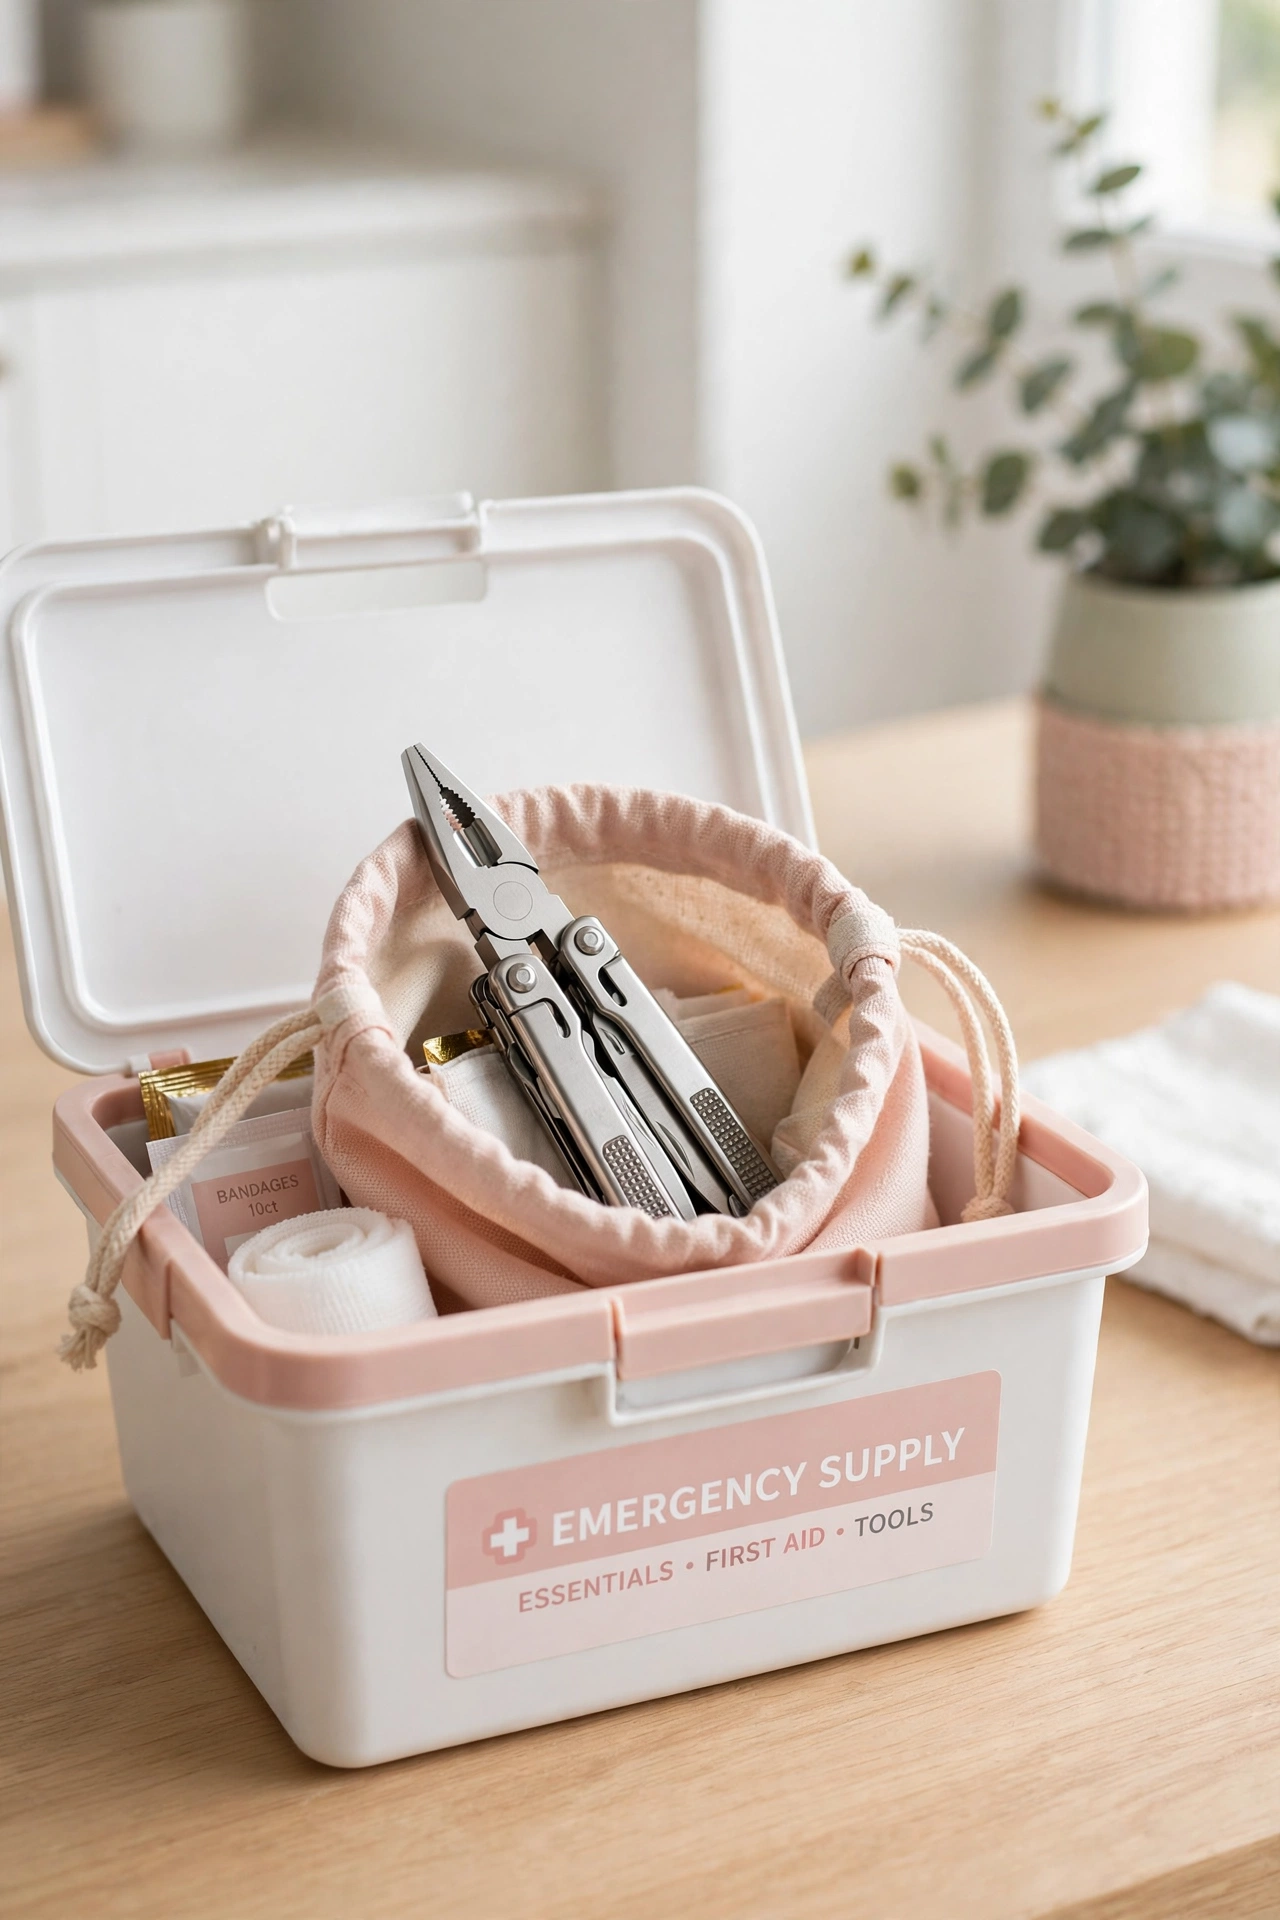
A multi-tool packs a knife, pliers, screwdrivers, and scissors into one small handle, which makes it perfect for an emergency kit. Slip it into a small pouch inside your labeled bin so it is always with the rest of your supplies. A multi-tool can open a stuck window, cut a cord, or tighten a loose screw when no other tool is near.
Choose a sturdy multi-tool with a comfortable grip and keep it clean and dry after each use. Show every adult in the family where it lives so nobody has to ask in a hurry. One small tool that does many jobs saves space and solves problems you cannot always predict.
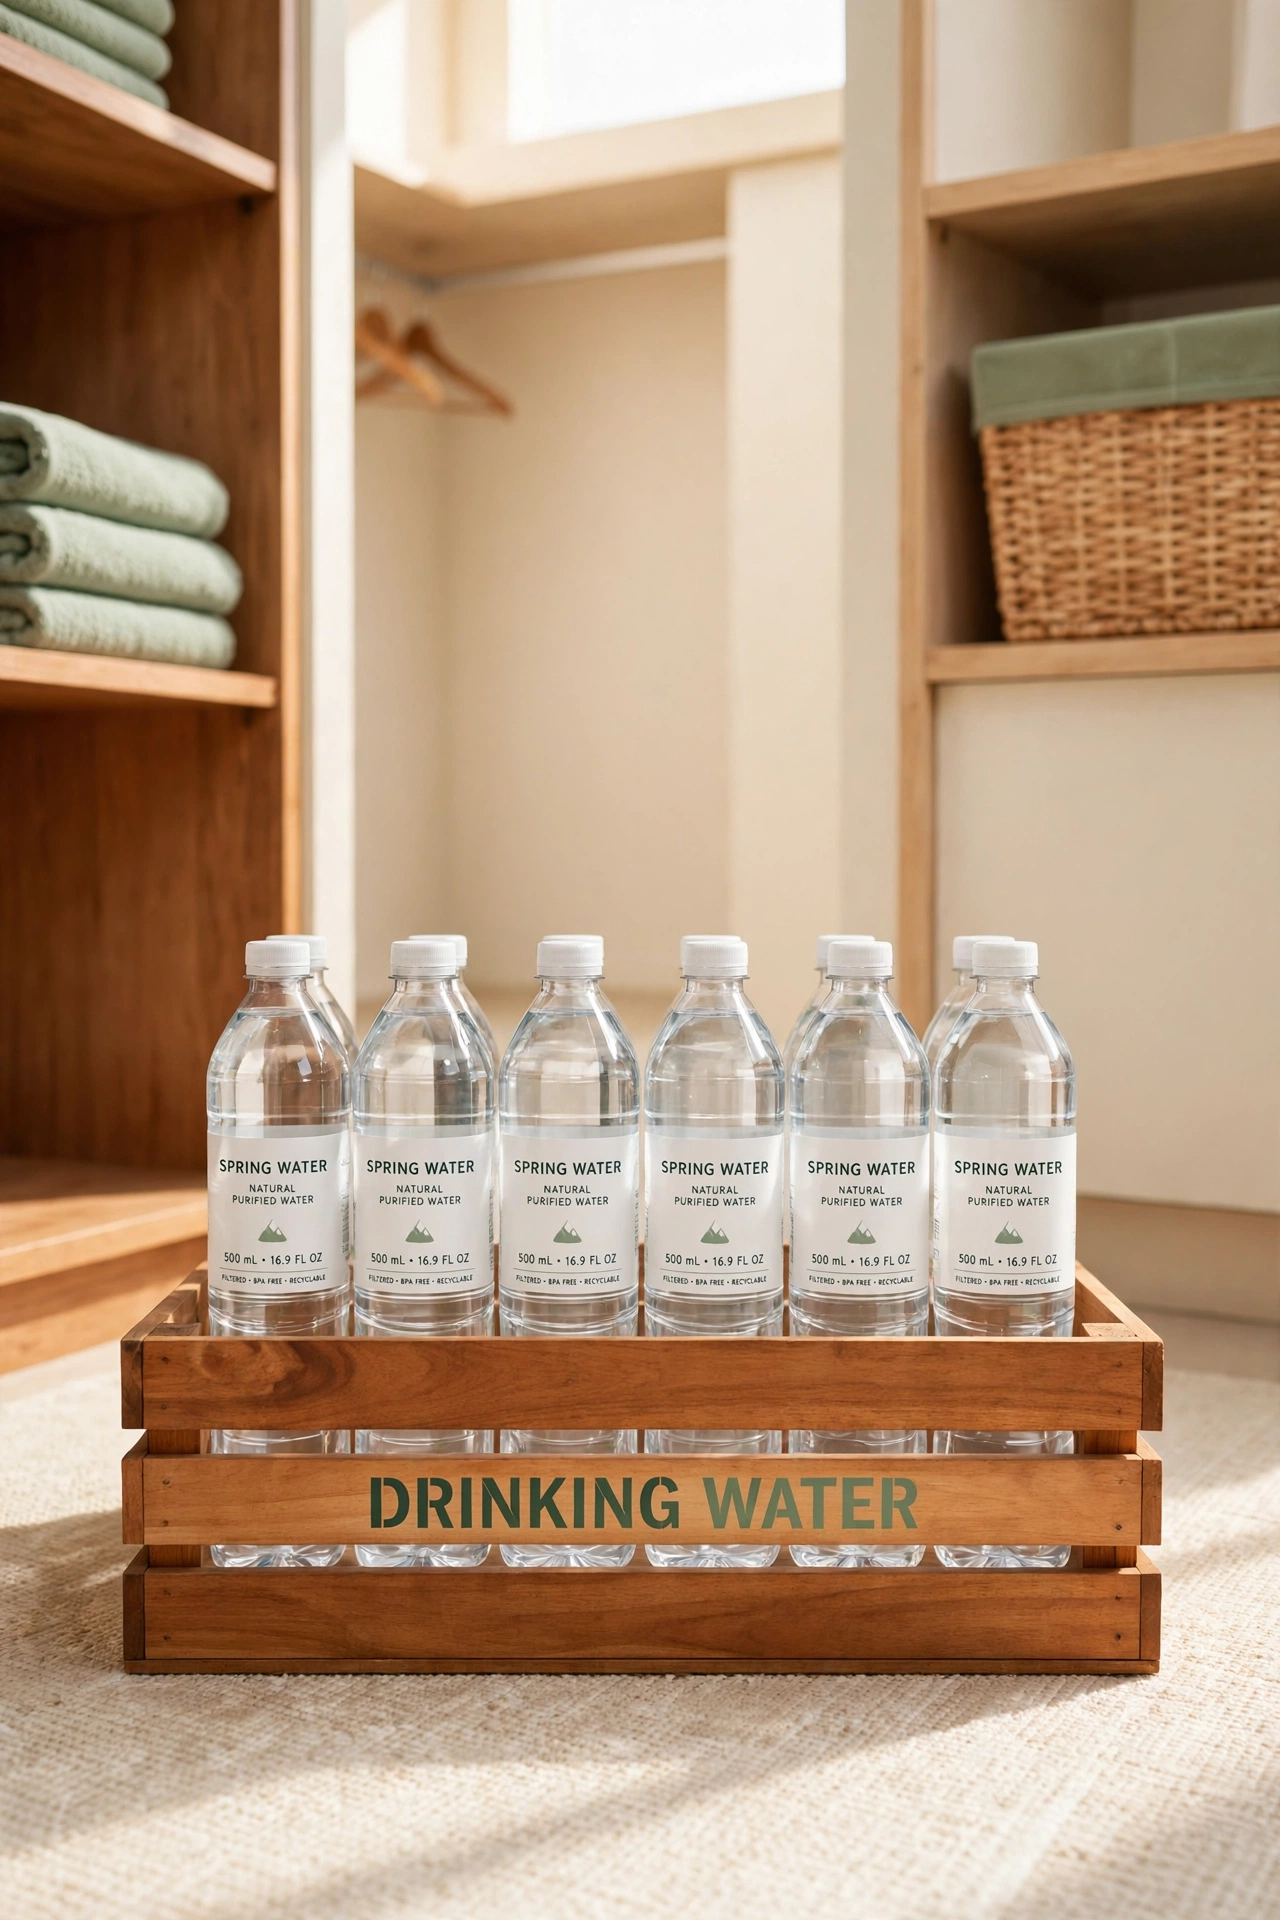
10. Store Bottled Water in One Spot
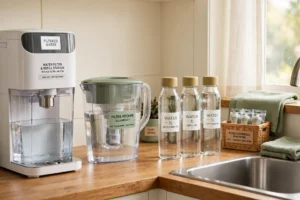
Clean drinking water is the most important supply in any emergency, so store bottled water in one dedicated spot. Use a low crate or a sturdy box on the floor of your emergency closet and fill it with enough bottles for every person in the family. Label the crate with the date you filled it so you know when to rotate the stock.
Keep the crate off the floor on a low shelf if your storage area ever gets damp. Replace the water every six months and use the old bottles for everyday drinking so nothing goes to waste. A single, labeled water spot means nobody has to guess where the drinking water is when the taps stop working.
11. A Go-Bag by the Door
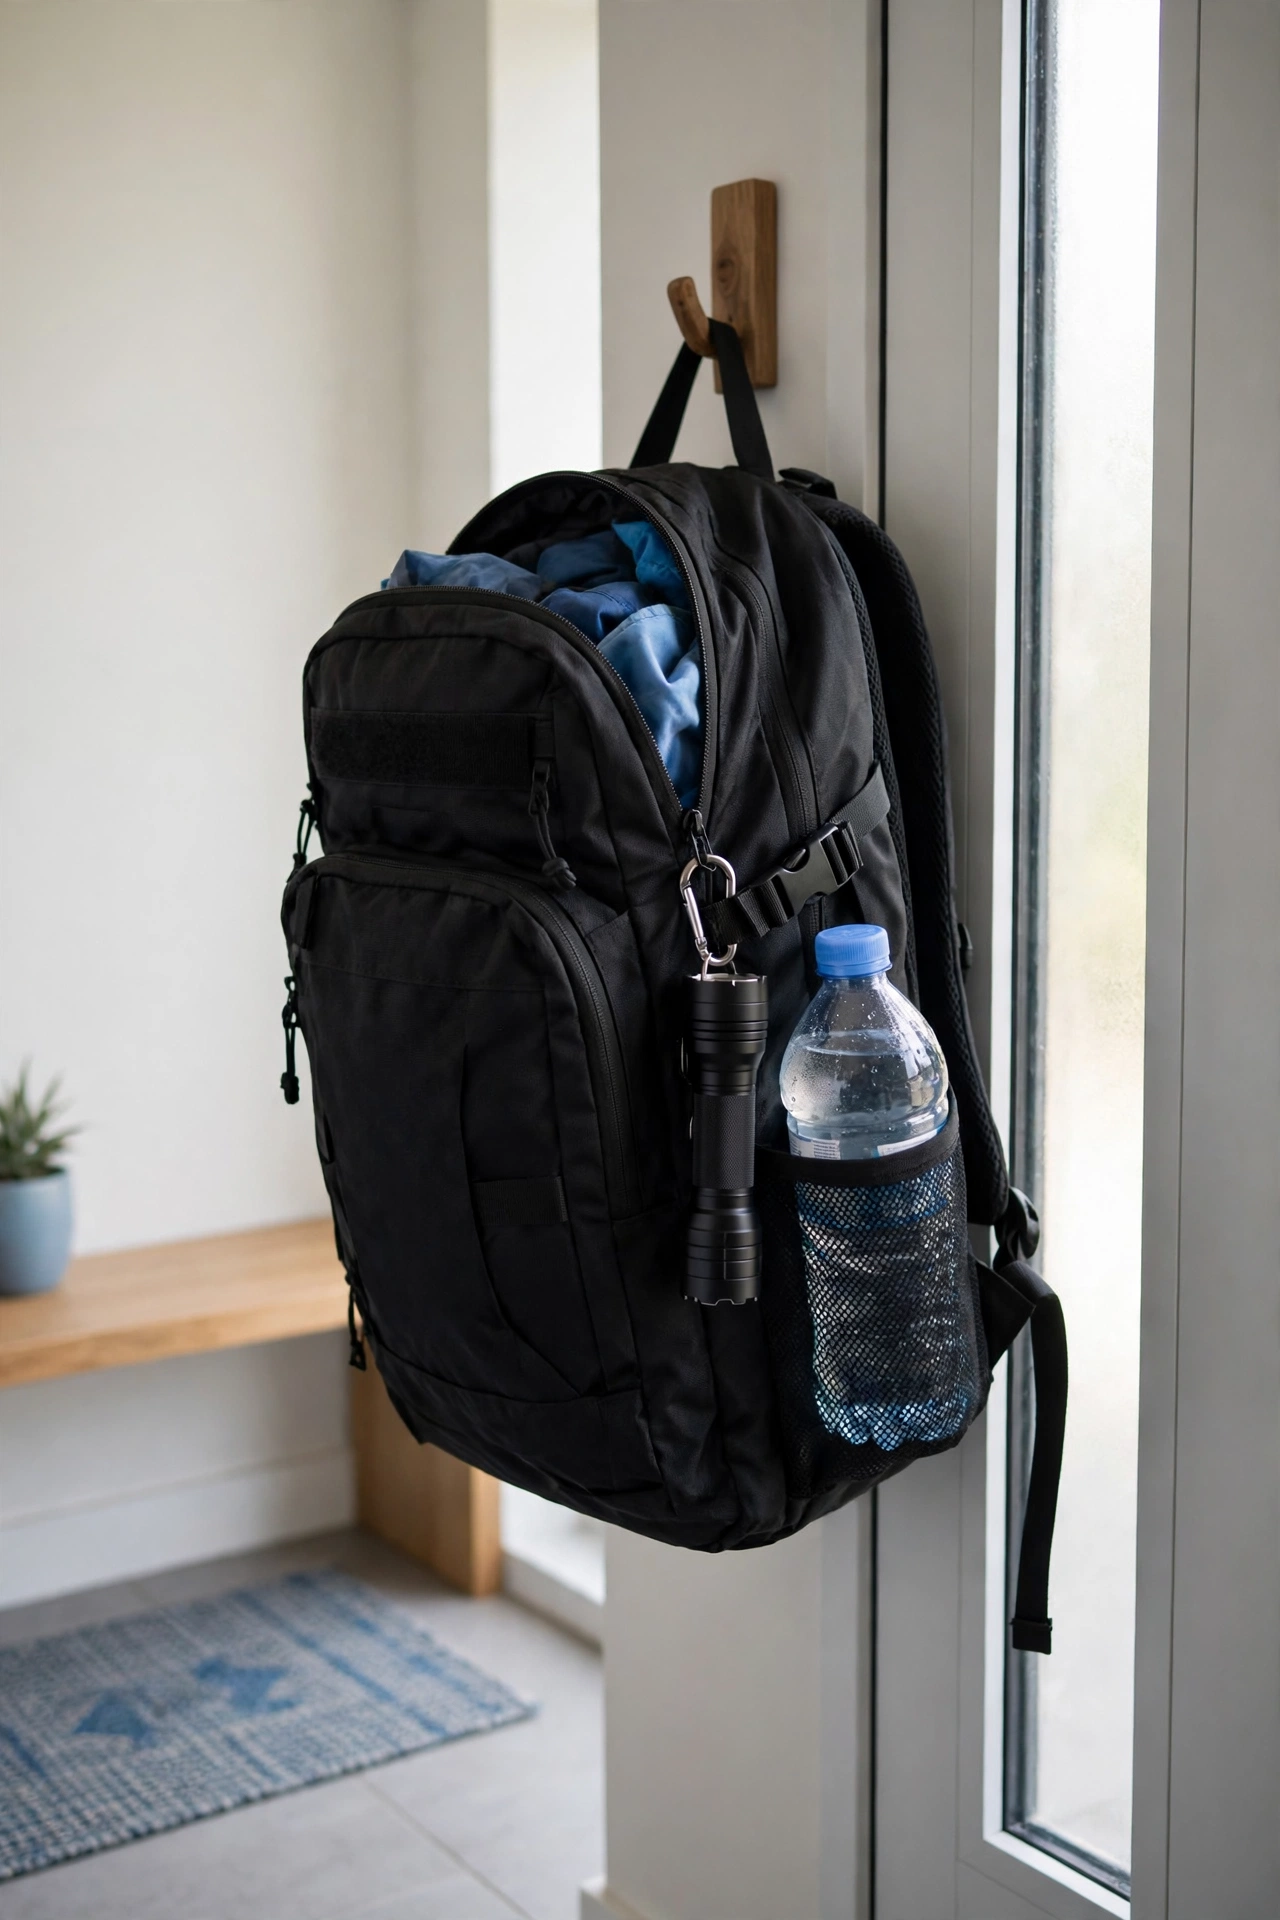
A go-bag is a small backpack packed with the essentials you would grab if you had to leave home in a hurry. Fill it with a flashlight, spare batteries, a bottle of water, a few snacks, a first aid pouch, and copies of important documents. Hang it on a hook by the front door so it is ready to grab and go.
Check the go-bag every season and swap out expired food, dead batteries, and outgrown clothes for the children. Keep the bag light enough for one person to carry comfortably. A packed go-bag by the door turns a stressful evacuation into a calm walk out with everything you need already in hand.
12. Keep Important Documents in a Waterproof Pouch
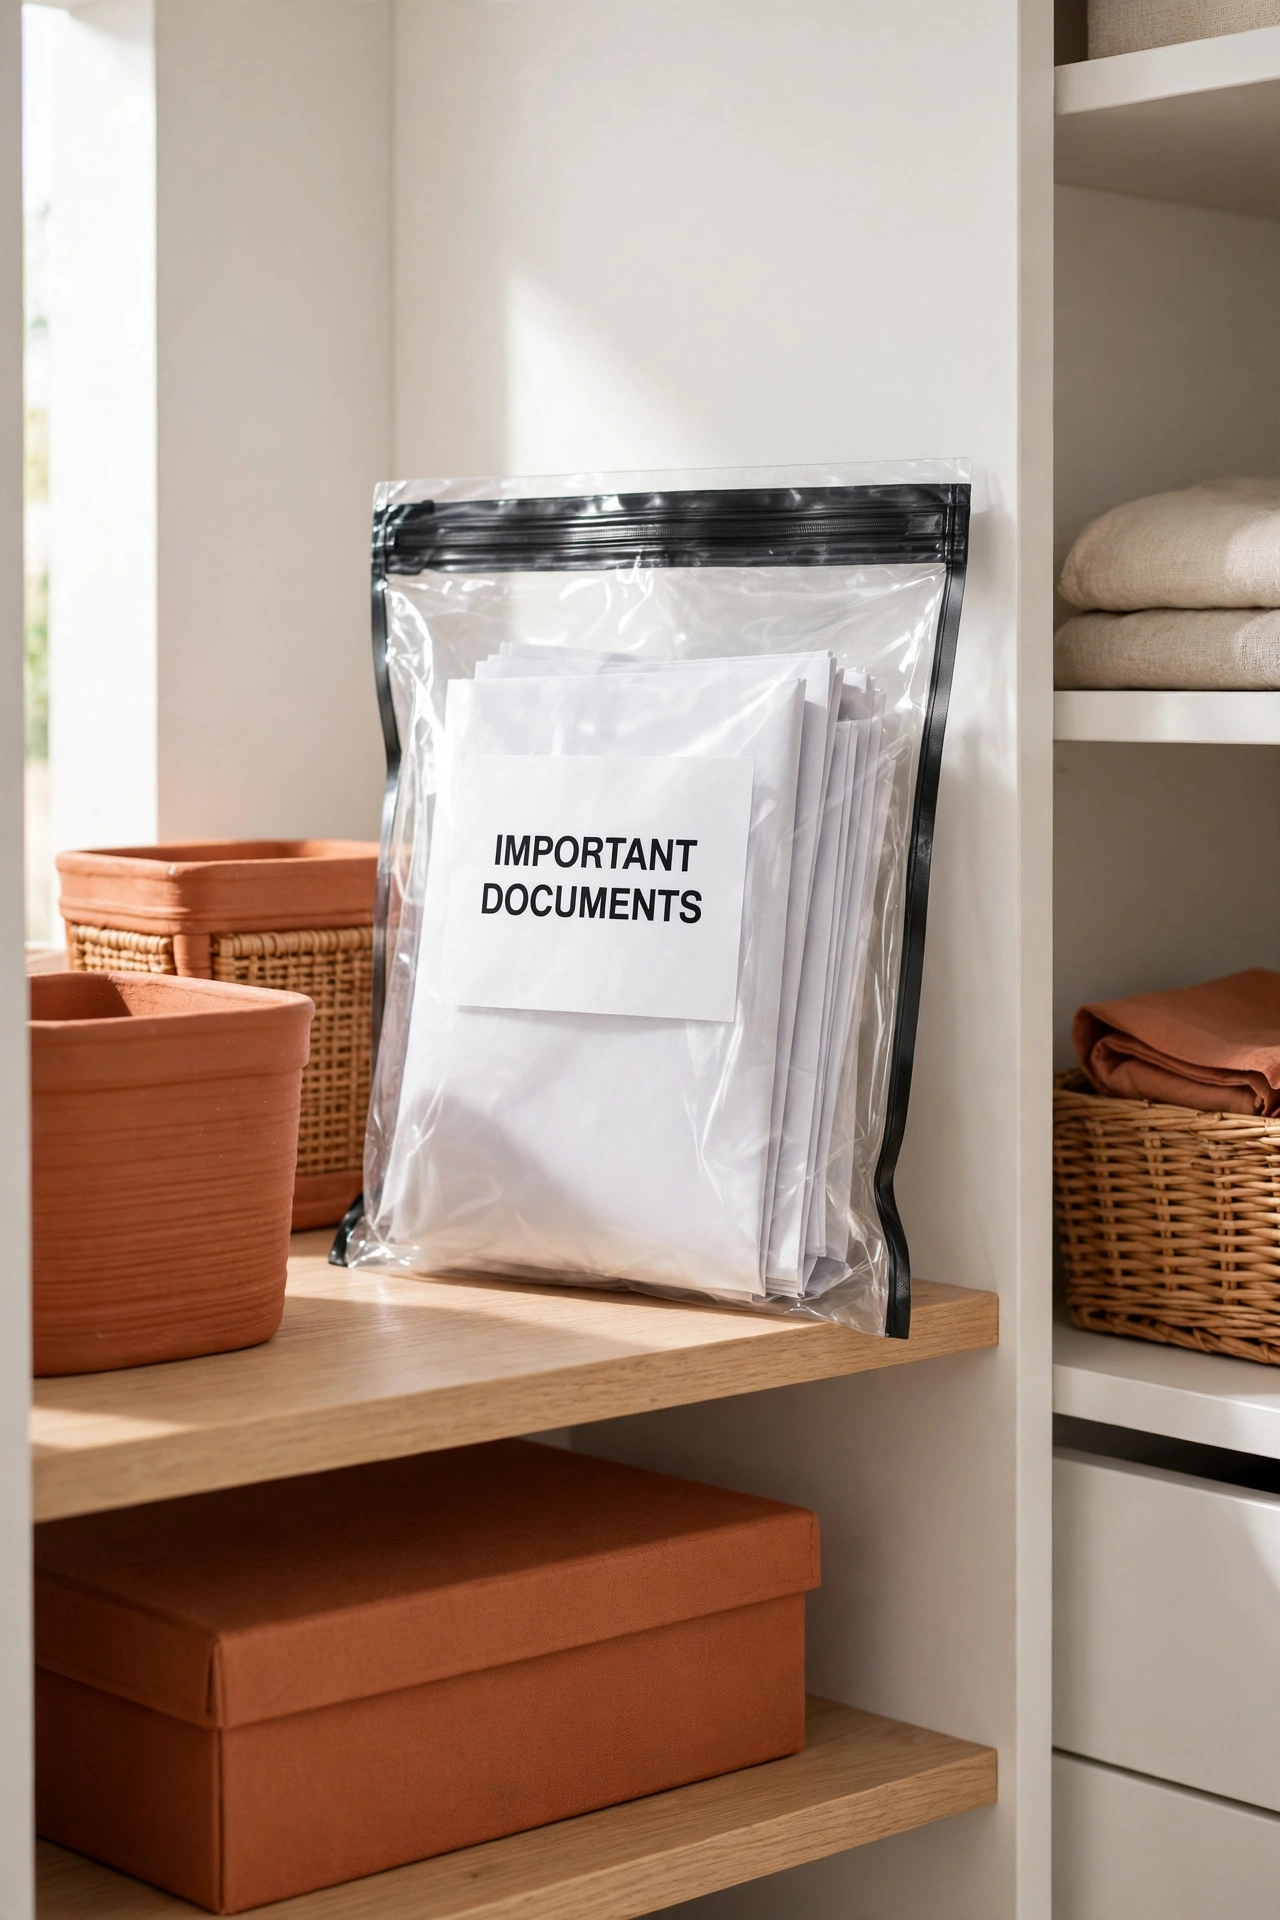
Birth certificates, passports, insurance papers, and medical records need protection from water and damage. Slide copies of each document into a waterproof pouch and store it inside your emergency bin or your go-bag. A sealed pouch keeps paper safe even if the kit gets wet during a storm or a flood.
Label the pouch clearly and keep the originals in a separate safe place. Update the copies once a year or whenever a document changes. A waterproof pouch is a small, cheap step that protects the papers your family cannot easily replace.
13. A List of Emergency Numbers on the Fridge
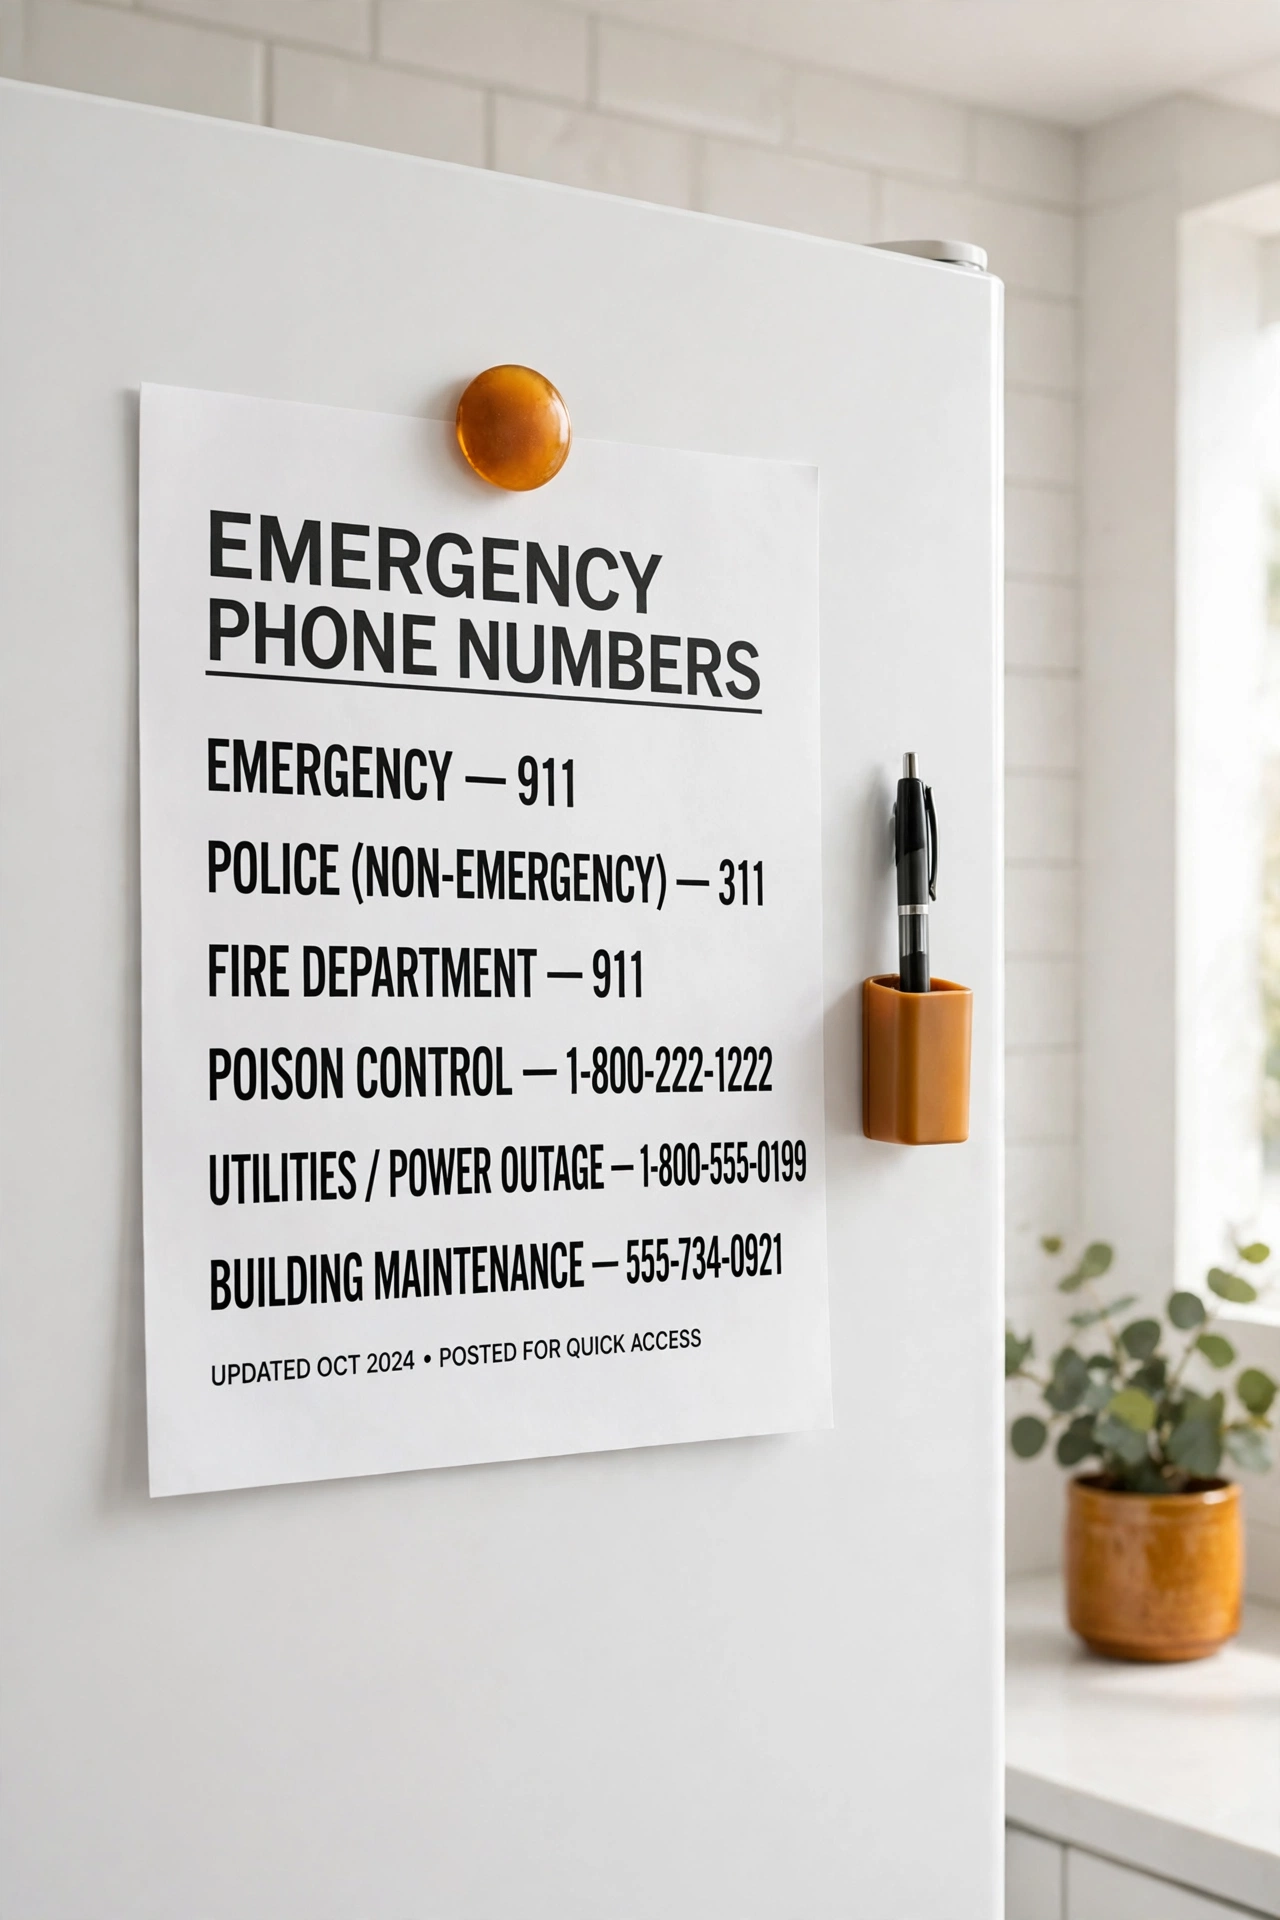
A printed list of emergency numbers on the fridge is a lifeline when phones die or panic sets in. Write down the numbers for police, fire, ambulance, poison control, your doctor, and a trusted neighbor. Use large, clear print so anyone can read it quickly, even a child or a guest.
Stick the list at eye level with a strong magnet and keep a pen nearby for updates. Review the numbers once a year to make sure they are still correct. A paper list on the fridge works even when every screen in the house is dark.
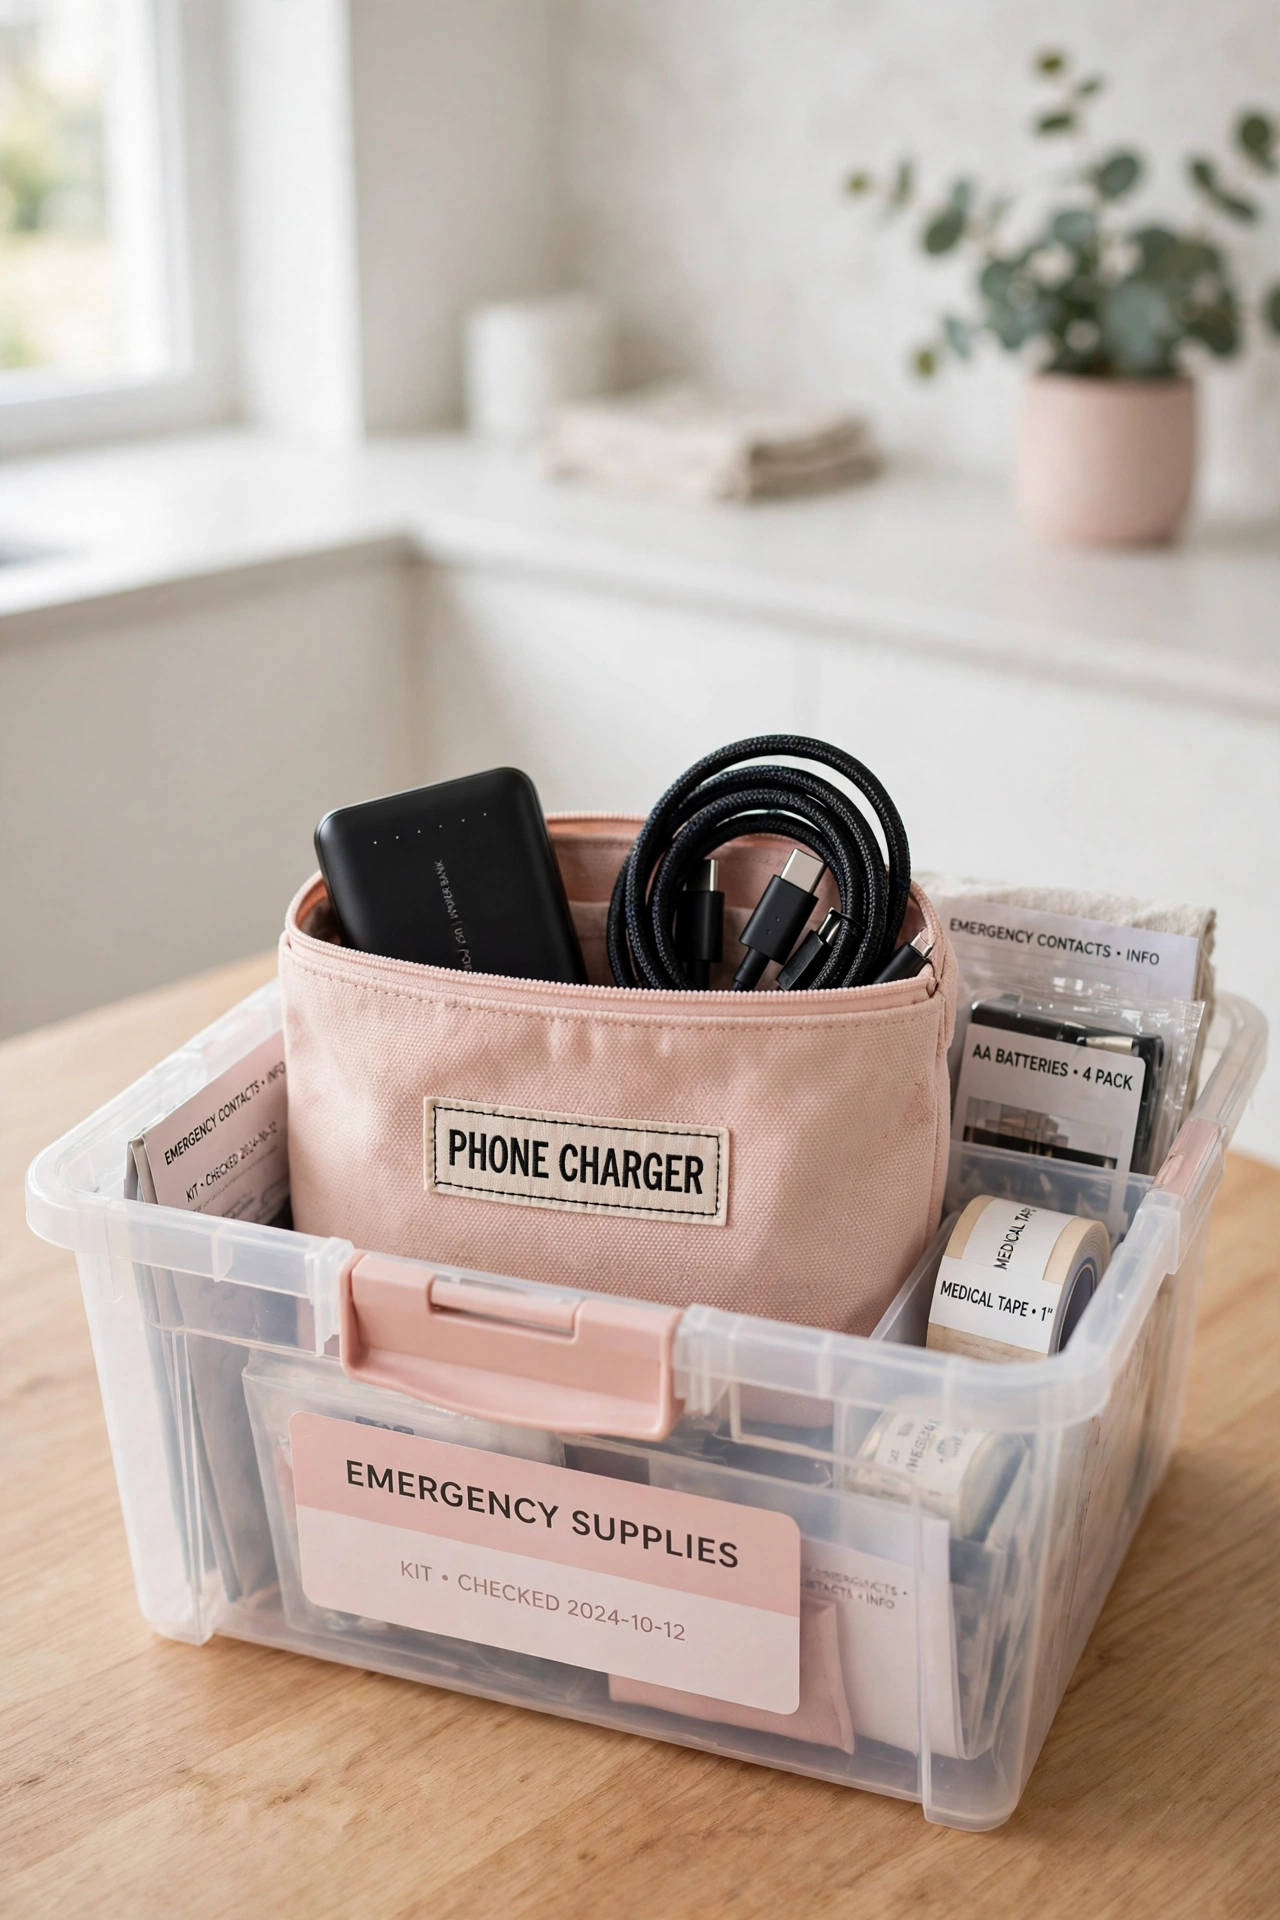
14. Keep a Phone Charger in the Kit
A charged phone is your way to call for help and check on family, so keep a phone charger in your emergency kit. Store a power bank and a charging cable in a small labeled pouch inside your bin, and keep the power bank fully charged. A power bank can charge a phone two or three times without any wall power.
Check the power bank once a month and recharge it if the charge has dropped. Keep a cable that fits every phone in the house so nobody is left without a way to charge. A ready charger in the kit keeps your family connected when the power is out for hours.
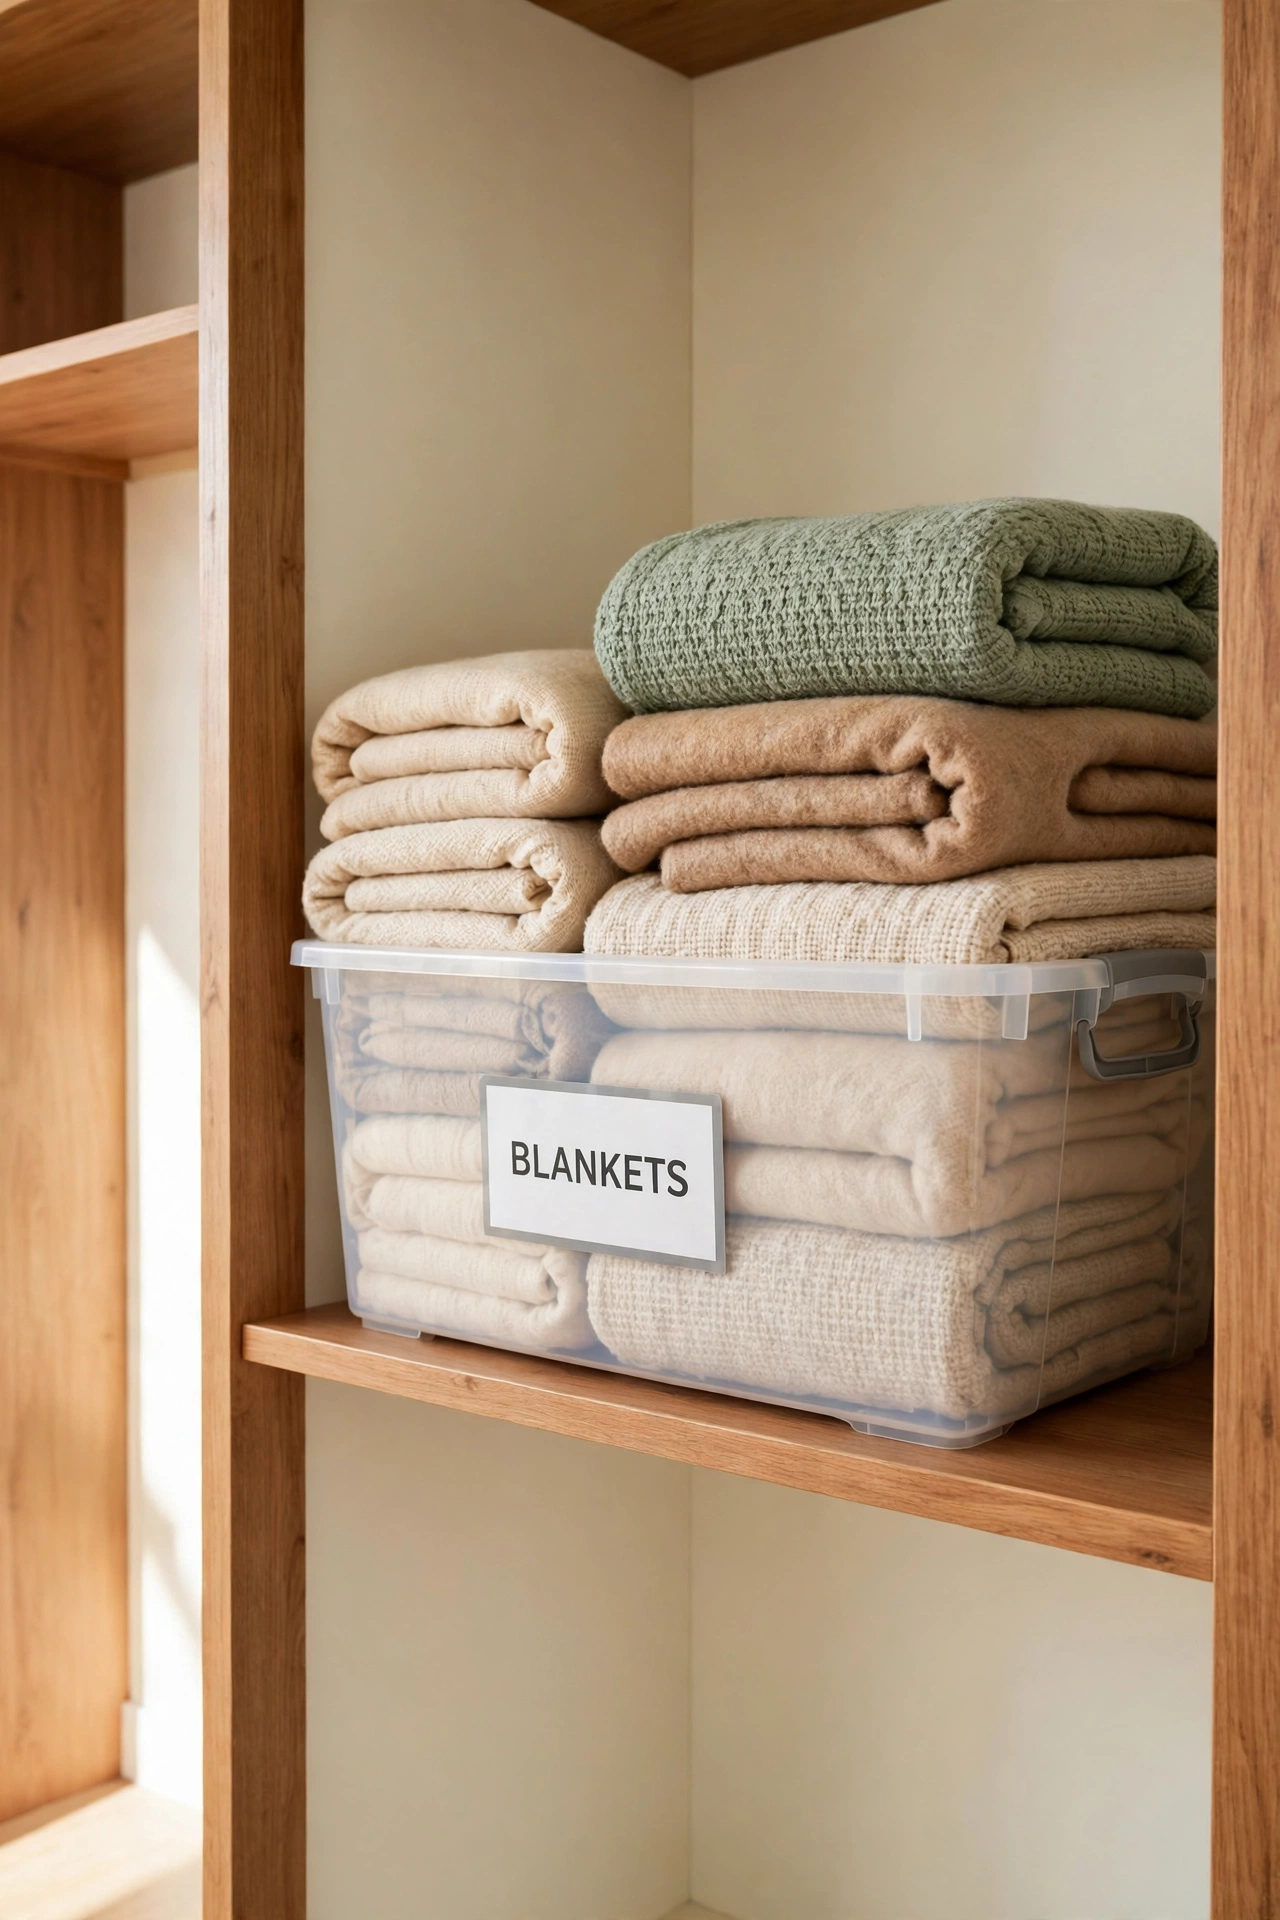
15. Store Blankets in a Labeled Bin
Warm blankets matter during a winter power cut when the heating stops working. Fold two or three blankets and store them in a large labeled bin on your emergency shelf or in the closet below it. A bin keeps the blankets clean, dry, and easy to find when the house turns cold.
Choose lightweight blankets that fold small but still keep you warm. For more ways to keep bedding tidy and ready, see these linen closet organization ideas. A labeled blanket bin is a simple comfort that makes a cold night much easier for the whole family.
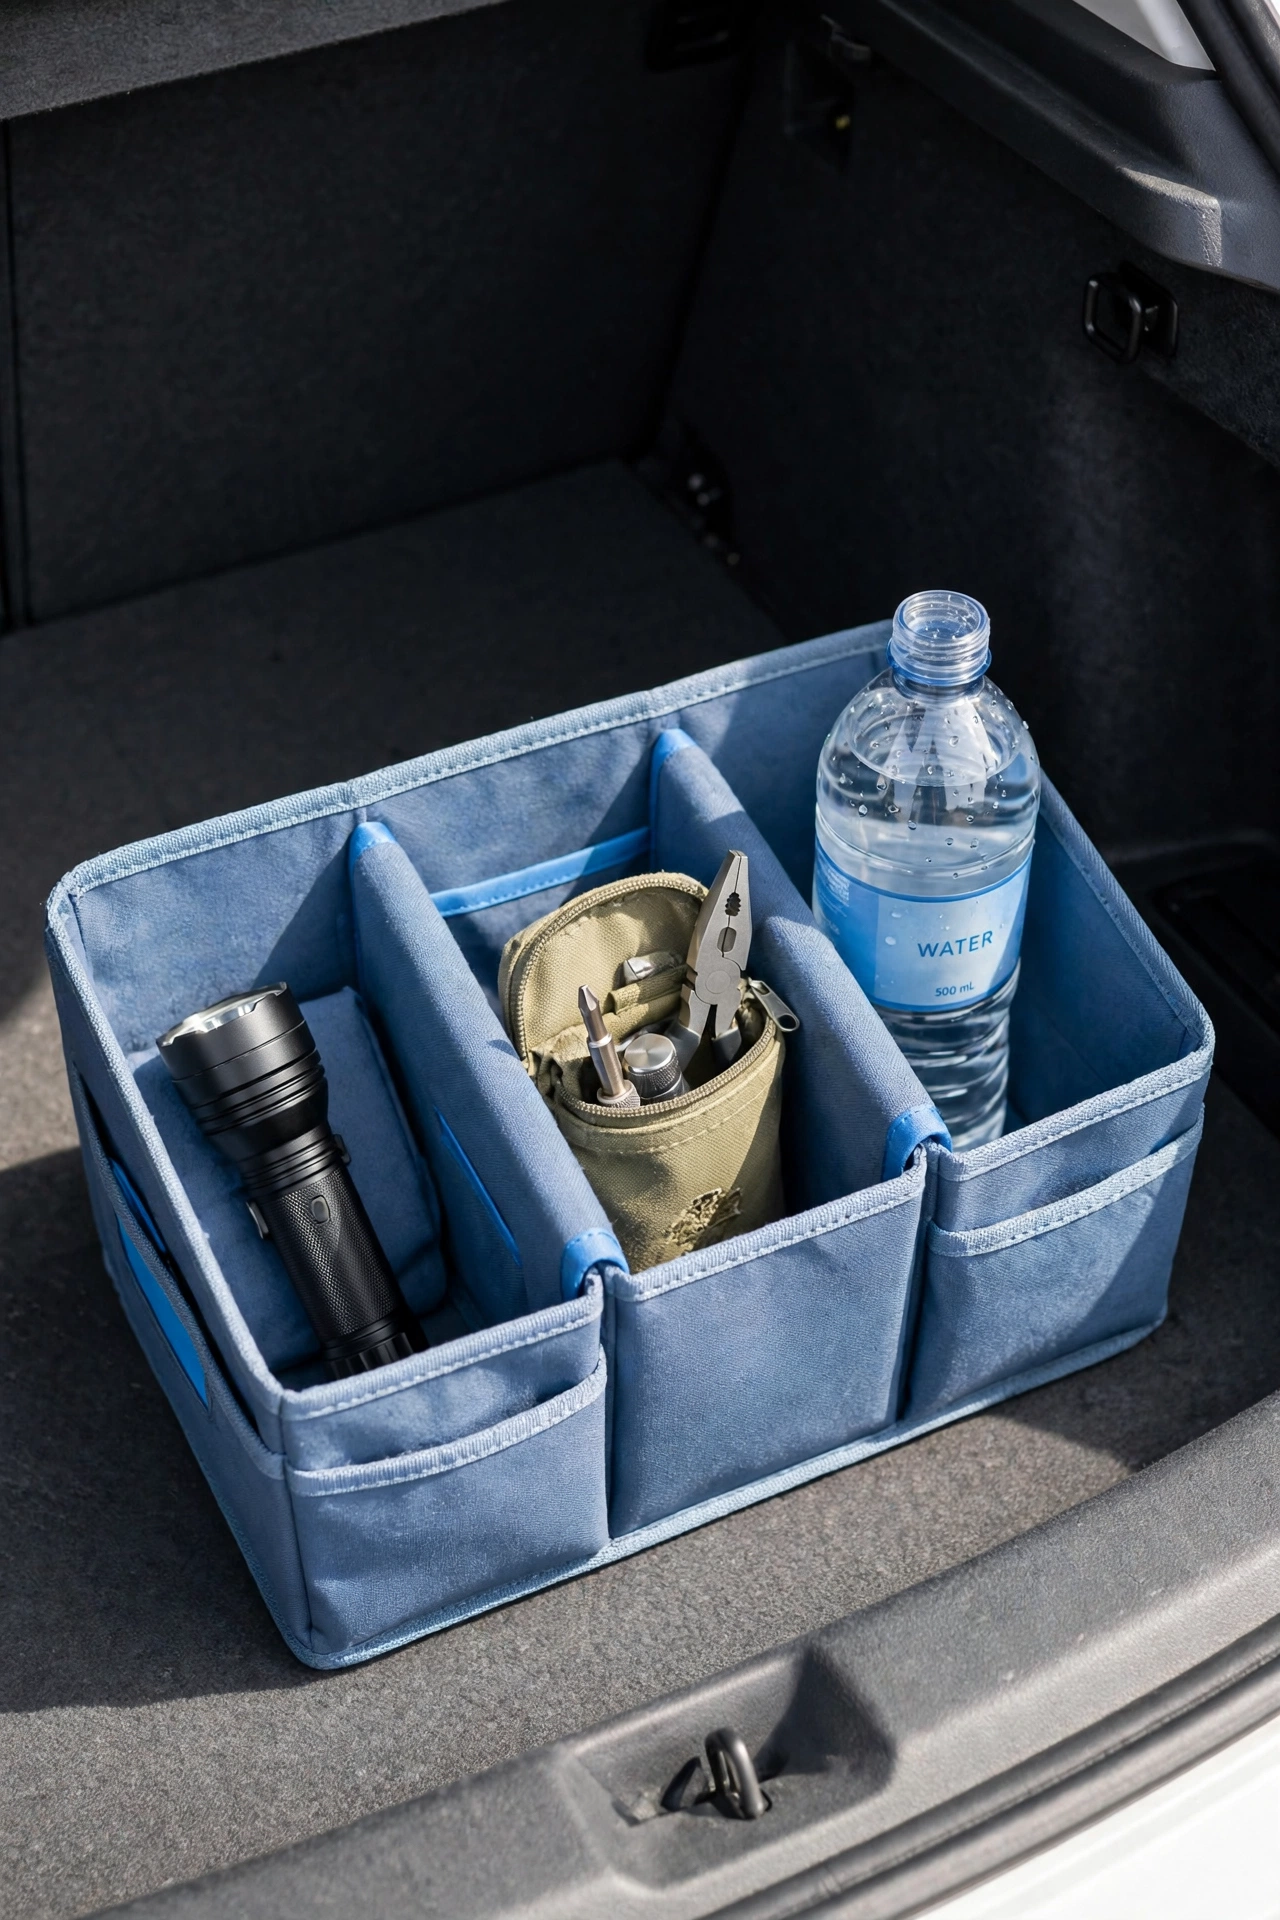
16. A Flashlight in Every Car
Every car in the family needs its own flashlight for night breakdowns, flat tires, and roadside checks. Store it in the glove box or in a small organizer in the trunk where it cannot roll around. A flashlight in the car also helps you read a map, check under the hood, or signal for help after dark.
Check the car flashlight batteries every season, since heat and cold drain batteries faster in a vehicle. For more ways to keep the trunk tidy and ready, see these car trunk organization ideas. A flashlight that lives in the car is ready the moment you need it on the road.
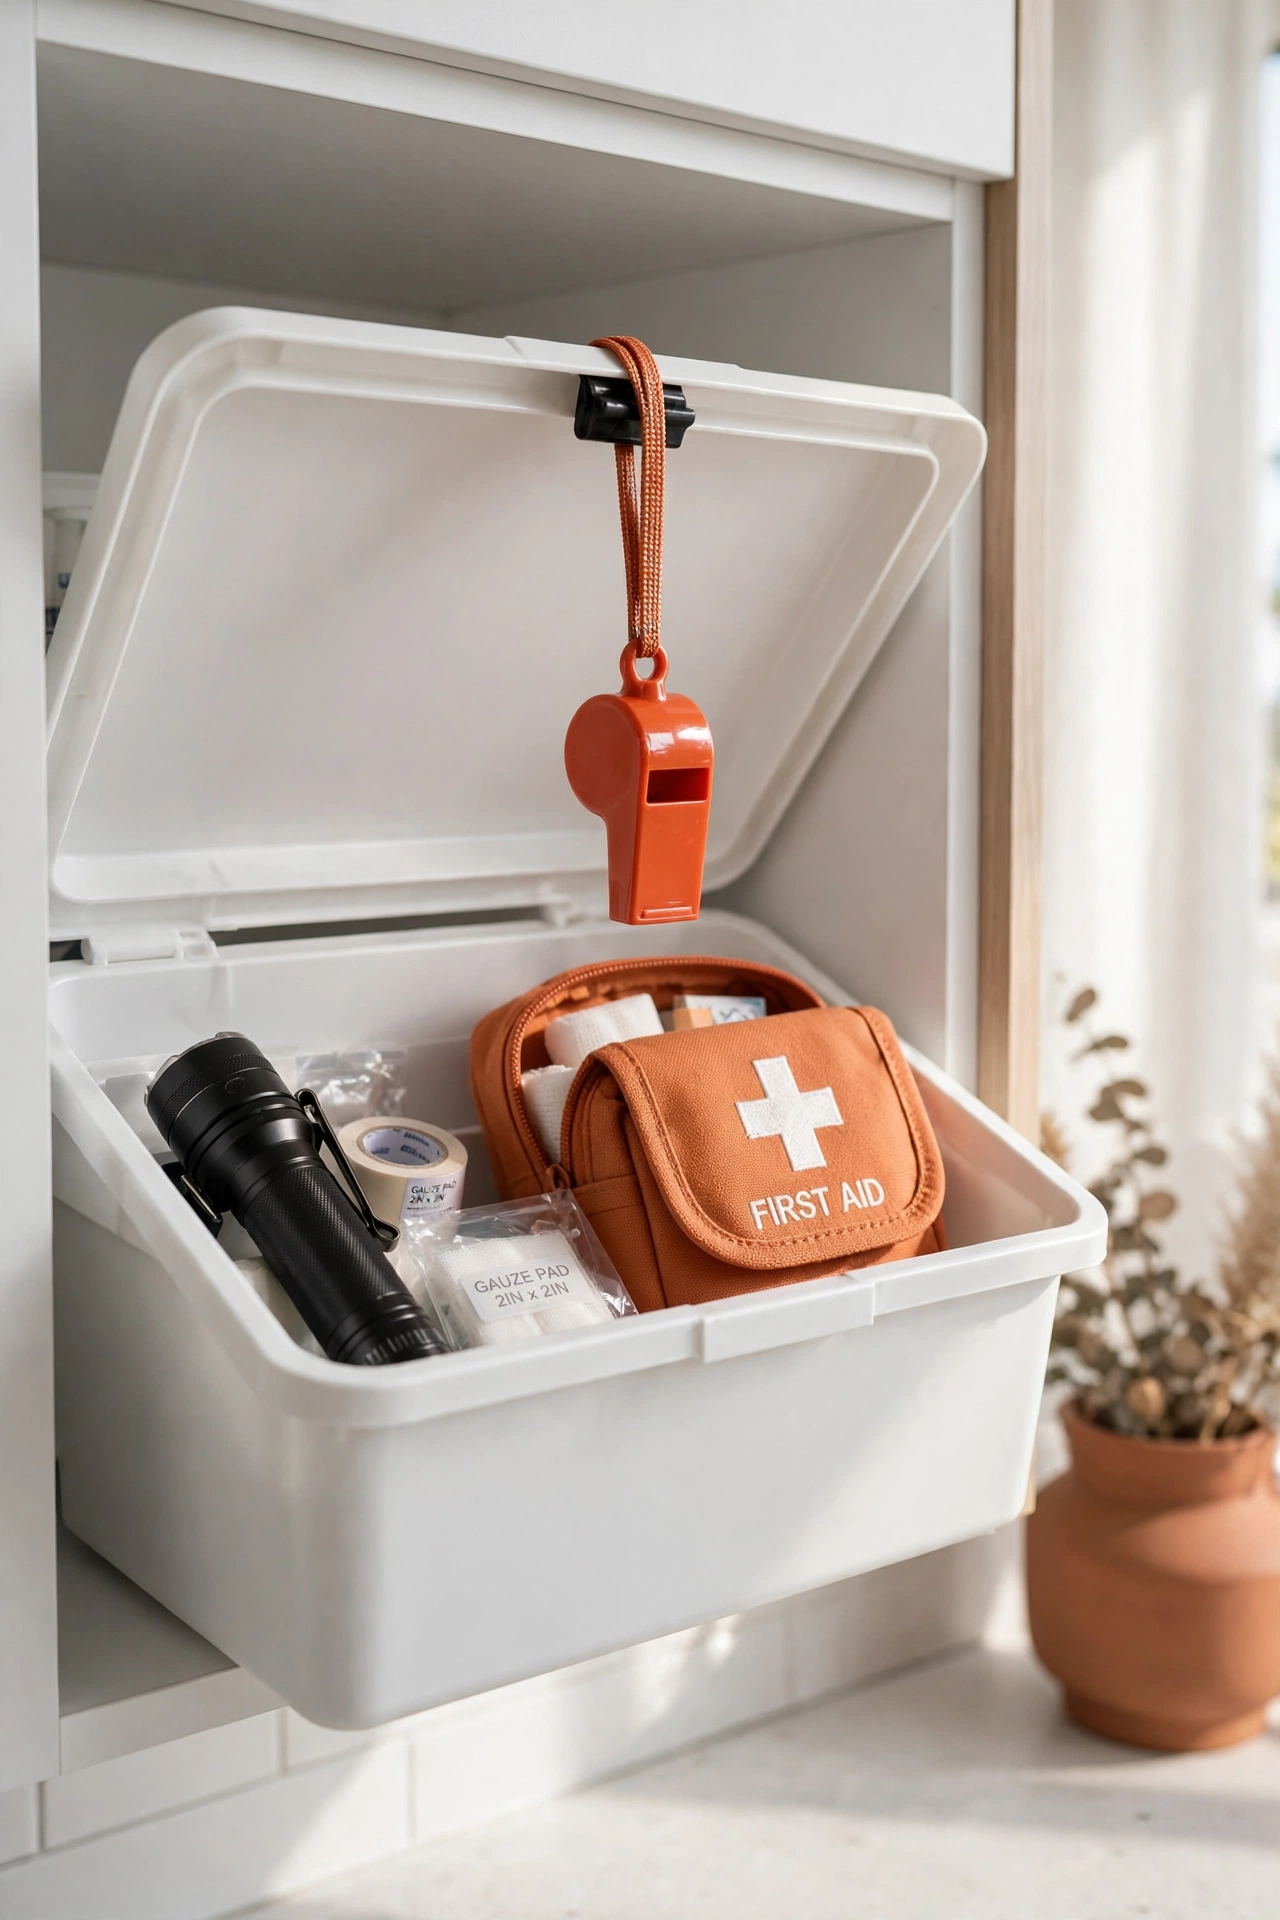
17. Keep a Whistle in the Kit
A whistle is a tiny tool with a big job in an emergency. If someone is trapped, lost, or too tired to shout, three sharp blasts on a whistle carry much farther than a voice. Clip a whistle to the inside of your emergency bin or tie one to each go-bag so it is always within reach.
Choose a loud plastic whistle that works even when wet. Show every member of the family how to use it and agree on the signal for help. A whistle costs almost nothing, takes up no space, and can call rescuers to you when nothing else works.
18. Store Extra Batteries in a Labeled Case
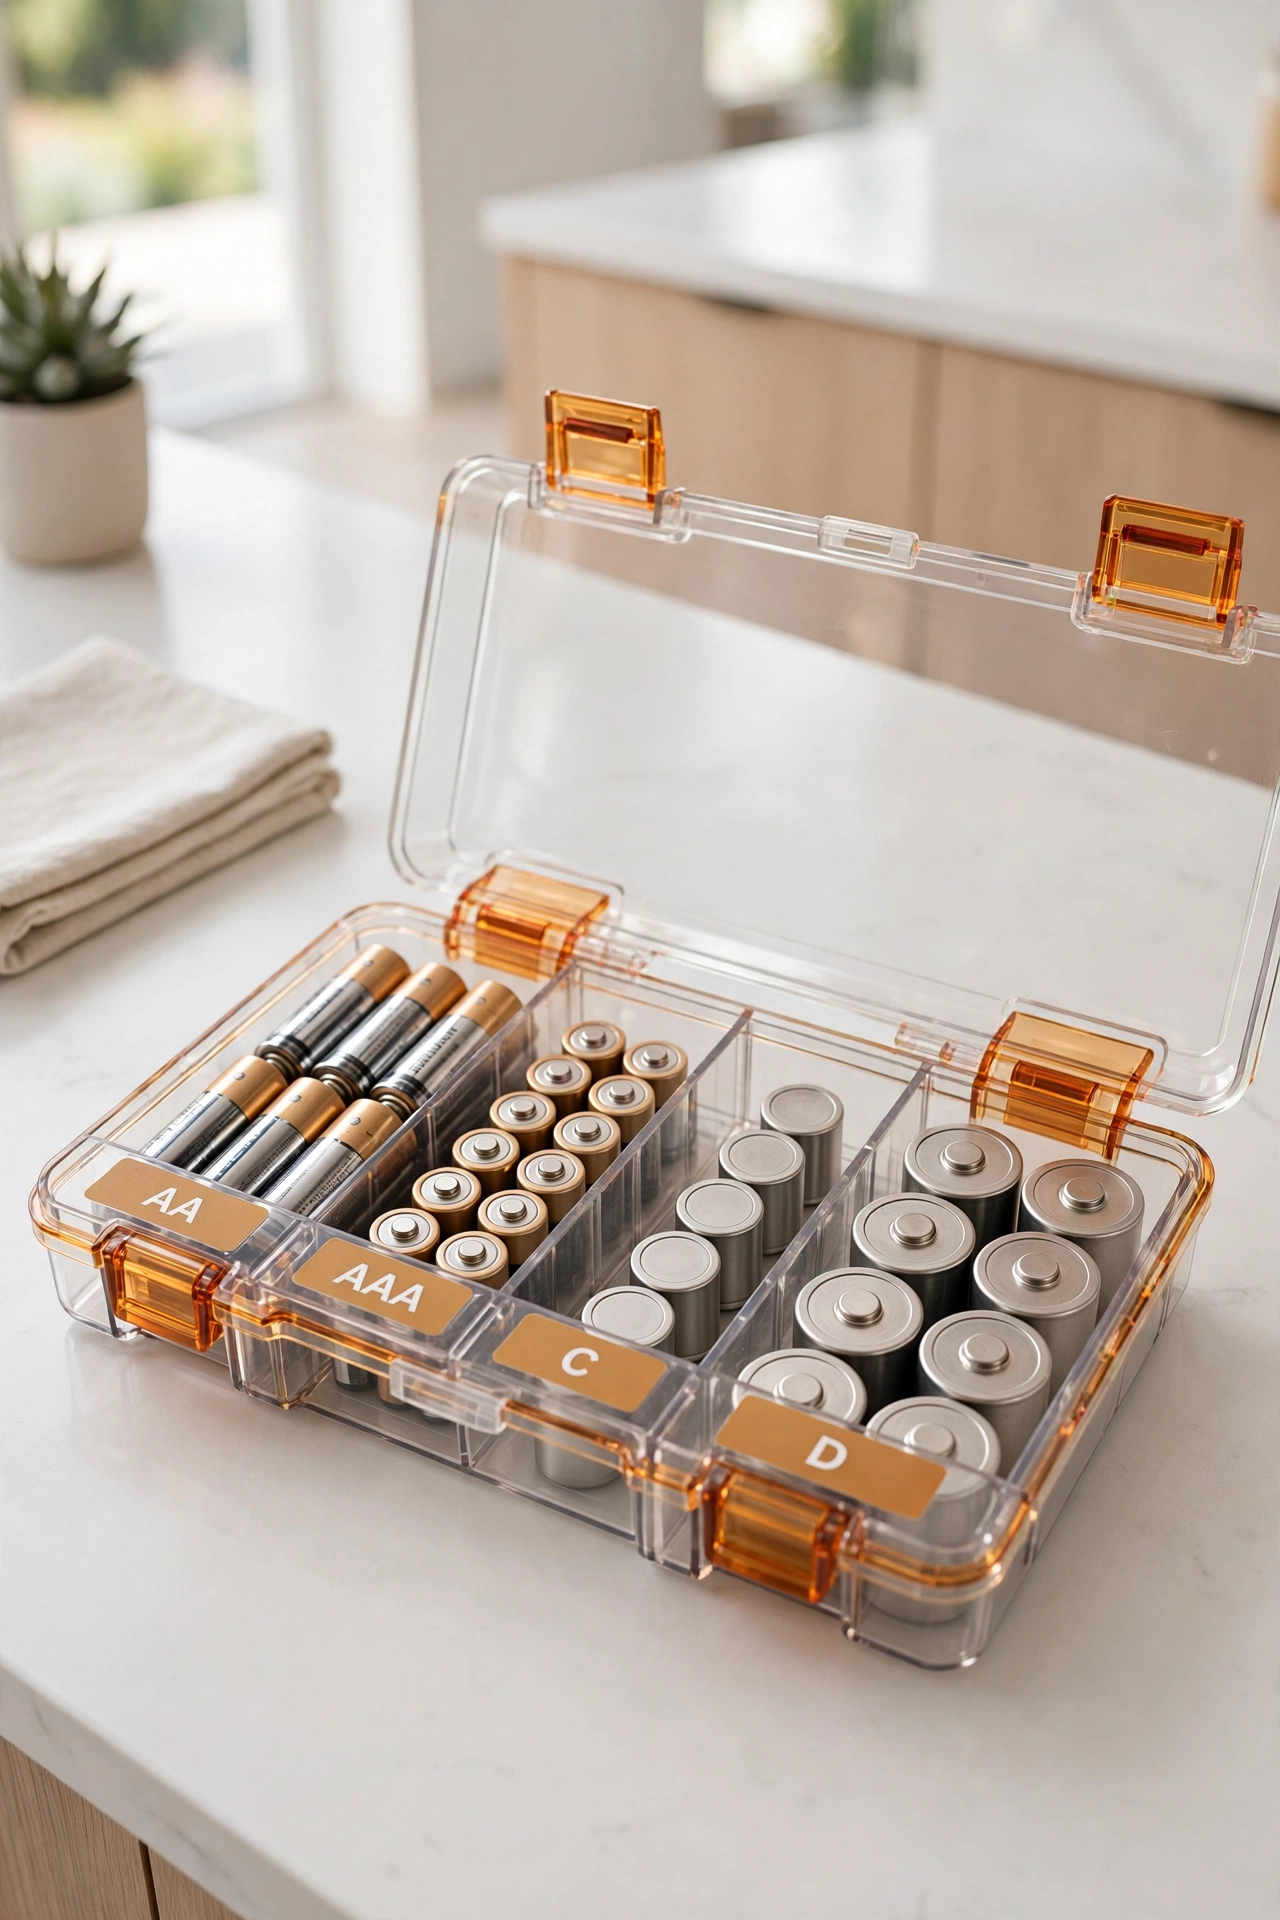
Loose batteries rolling around a drawer are easy to lose and hard to sort when you need them. Store all your spare batteries in one labeled case with separate sections for each size. A clear case lets you see at a glance which sizes you have and which ones are running low.
Keep the case on your emergency shelf next to the flashlights and the radio. Test old batteries before you store them and throw away any that are leaking or swollen. A labeled battery case turns a messy drawer into a tidy supply you can count on.
19. A Monthly Check of Expiry Dates
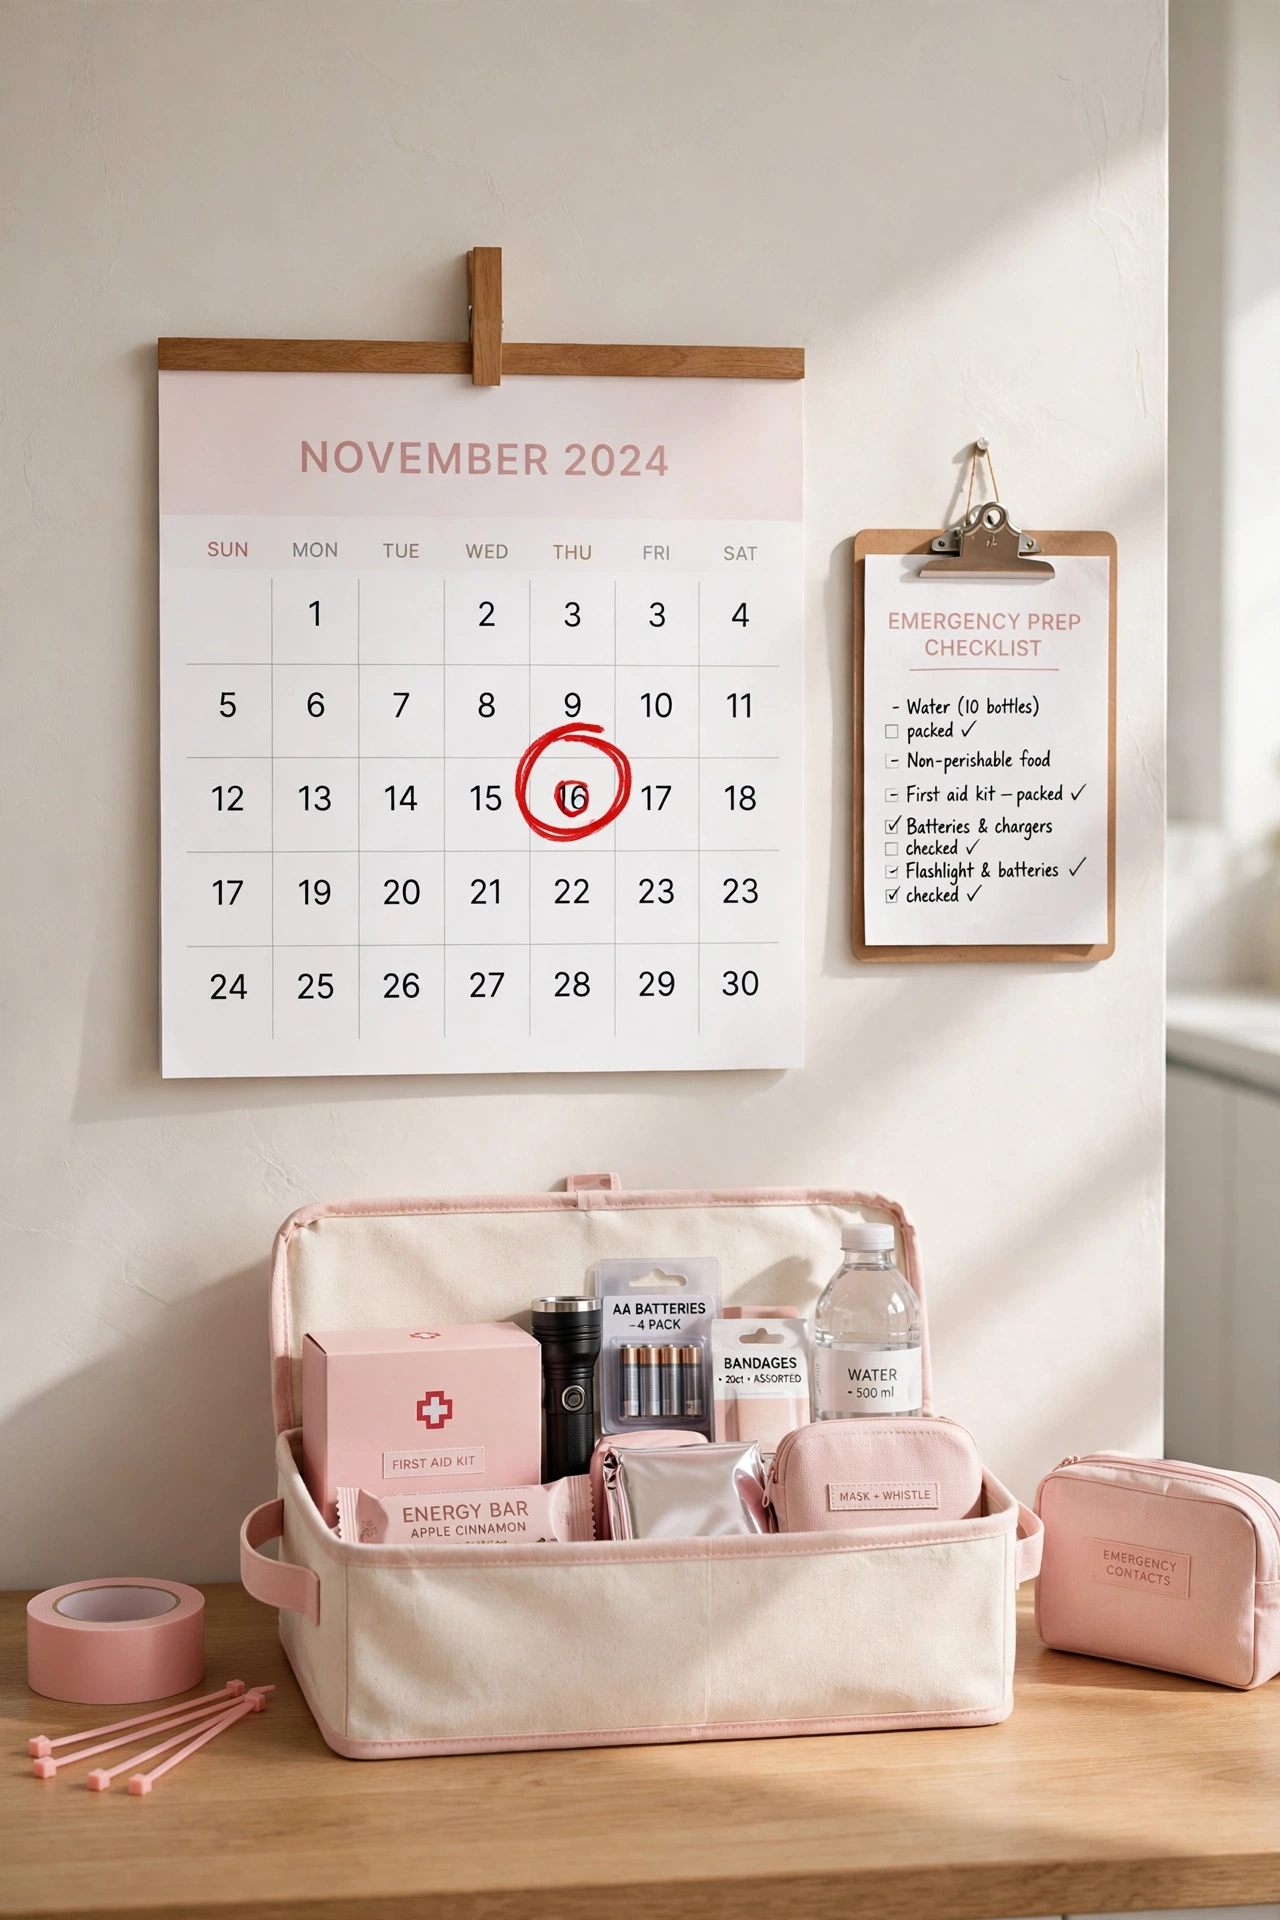
Emergency supplies only help if they are still good when you need them. Pick one day each month to check the expiry dates on food, medicine, batteries, and bottled water in your kit. A simple calendar reminder keeps the habit alive without any extra effort.
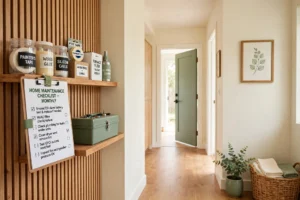
Move anything close to its date into everyday use and replace it with a fresh item the same day. Keep a small checklist taped inside the closet door so the monthly check takes only a few minutes. A regular expiry check means your kit is never full of items that stopped working months ago.
20. Keep a Small Tool Kit Together
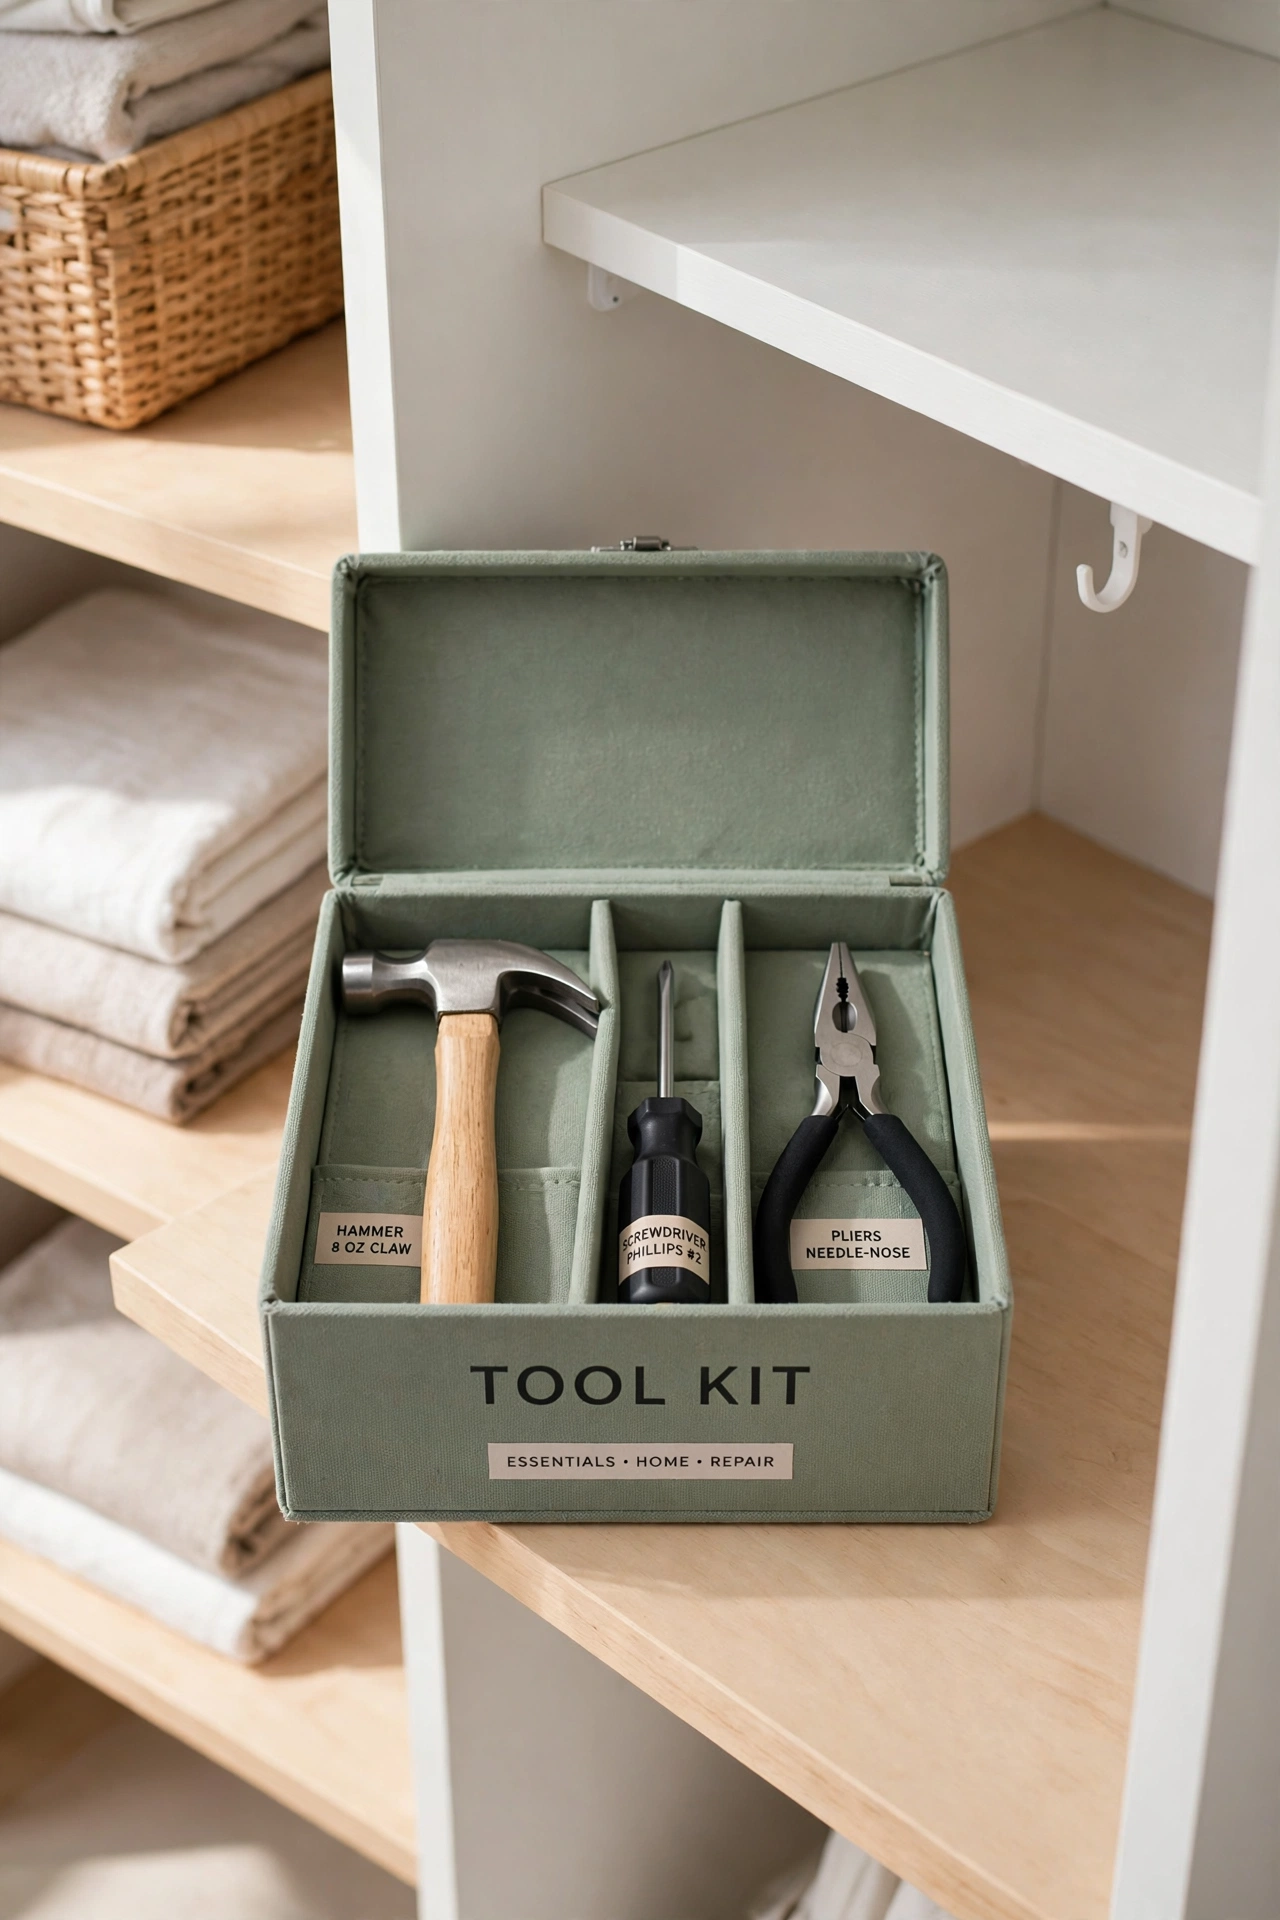
A small tool kit with a hammer, a screwdriver, pliers, and a wrench handles most quick fixes during a storm or a power cut. Store the tools in one compact box on the lower shelf of your emergency closet so the box is easy to lift and carry. A tool kit that lives in one place is always ready, while tools scattered around the house are not.
Label the box and keep a short list of its contents on the lid. For more ways to keep a work area tidy, see these garage workbench organization ideas. A small, complete tool kit gives you the power to fix a loose hinge, board a window, or shut off a valve without searching the whole house.
21. Store Snacks and Energy Bars
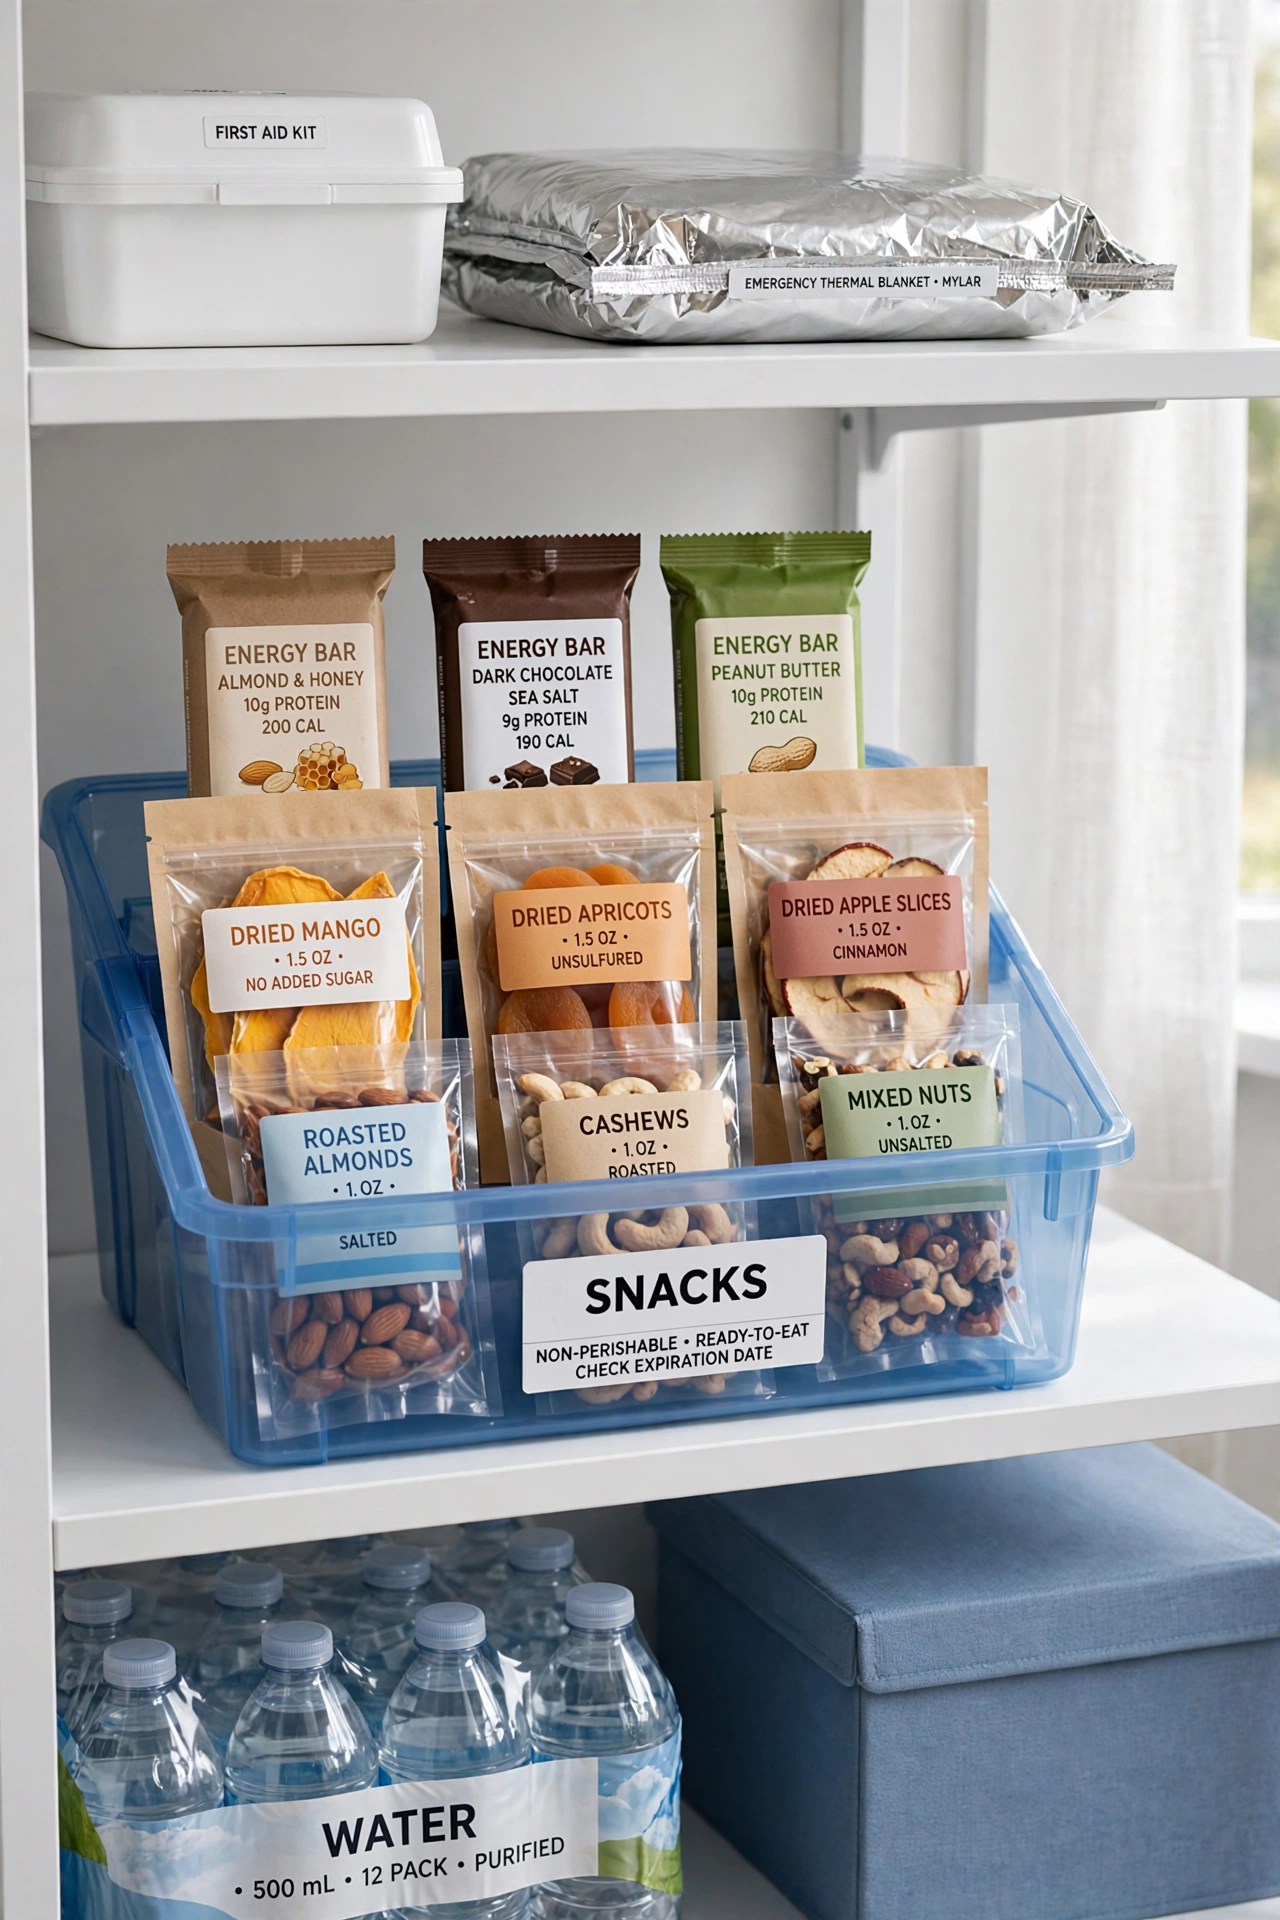
Energy bars, dried fruit, and nuts keep everyone fed during a long blackout when the fridge is off and shops are closed. Store a small supply in a labeled bin on your emergency shelf, and choose foods that need no cooking and no refrigeration. A few bars per person cover a full day of waiting for the power to return.
Rotate the snacks every few months and eat the older ones as everyday treats so nothing expires in the bin. Keep the bin out of reach of small children so the emergency food stays put until it is needed. A tidy snack bin is a small comfort that keeps energy up when the house is dark and quiet.
22. Teach the Family Where Everything Is
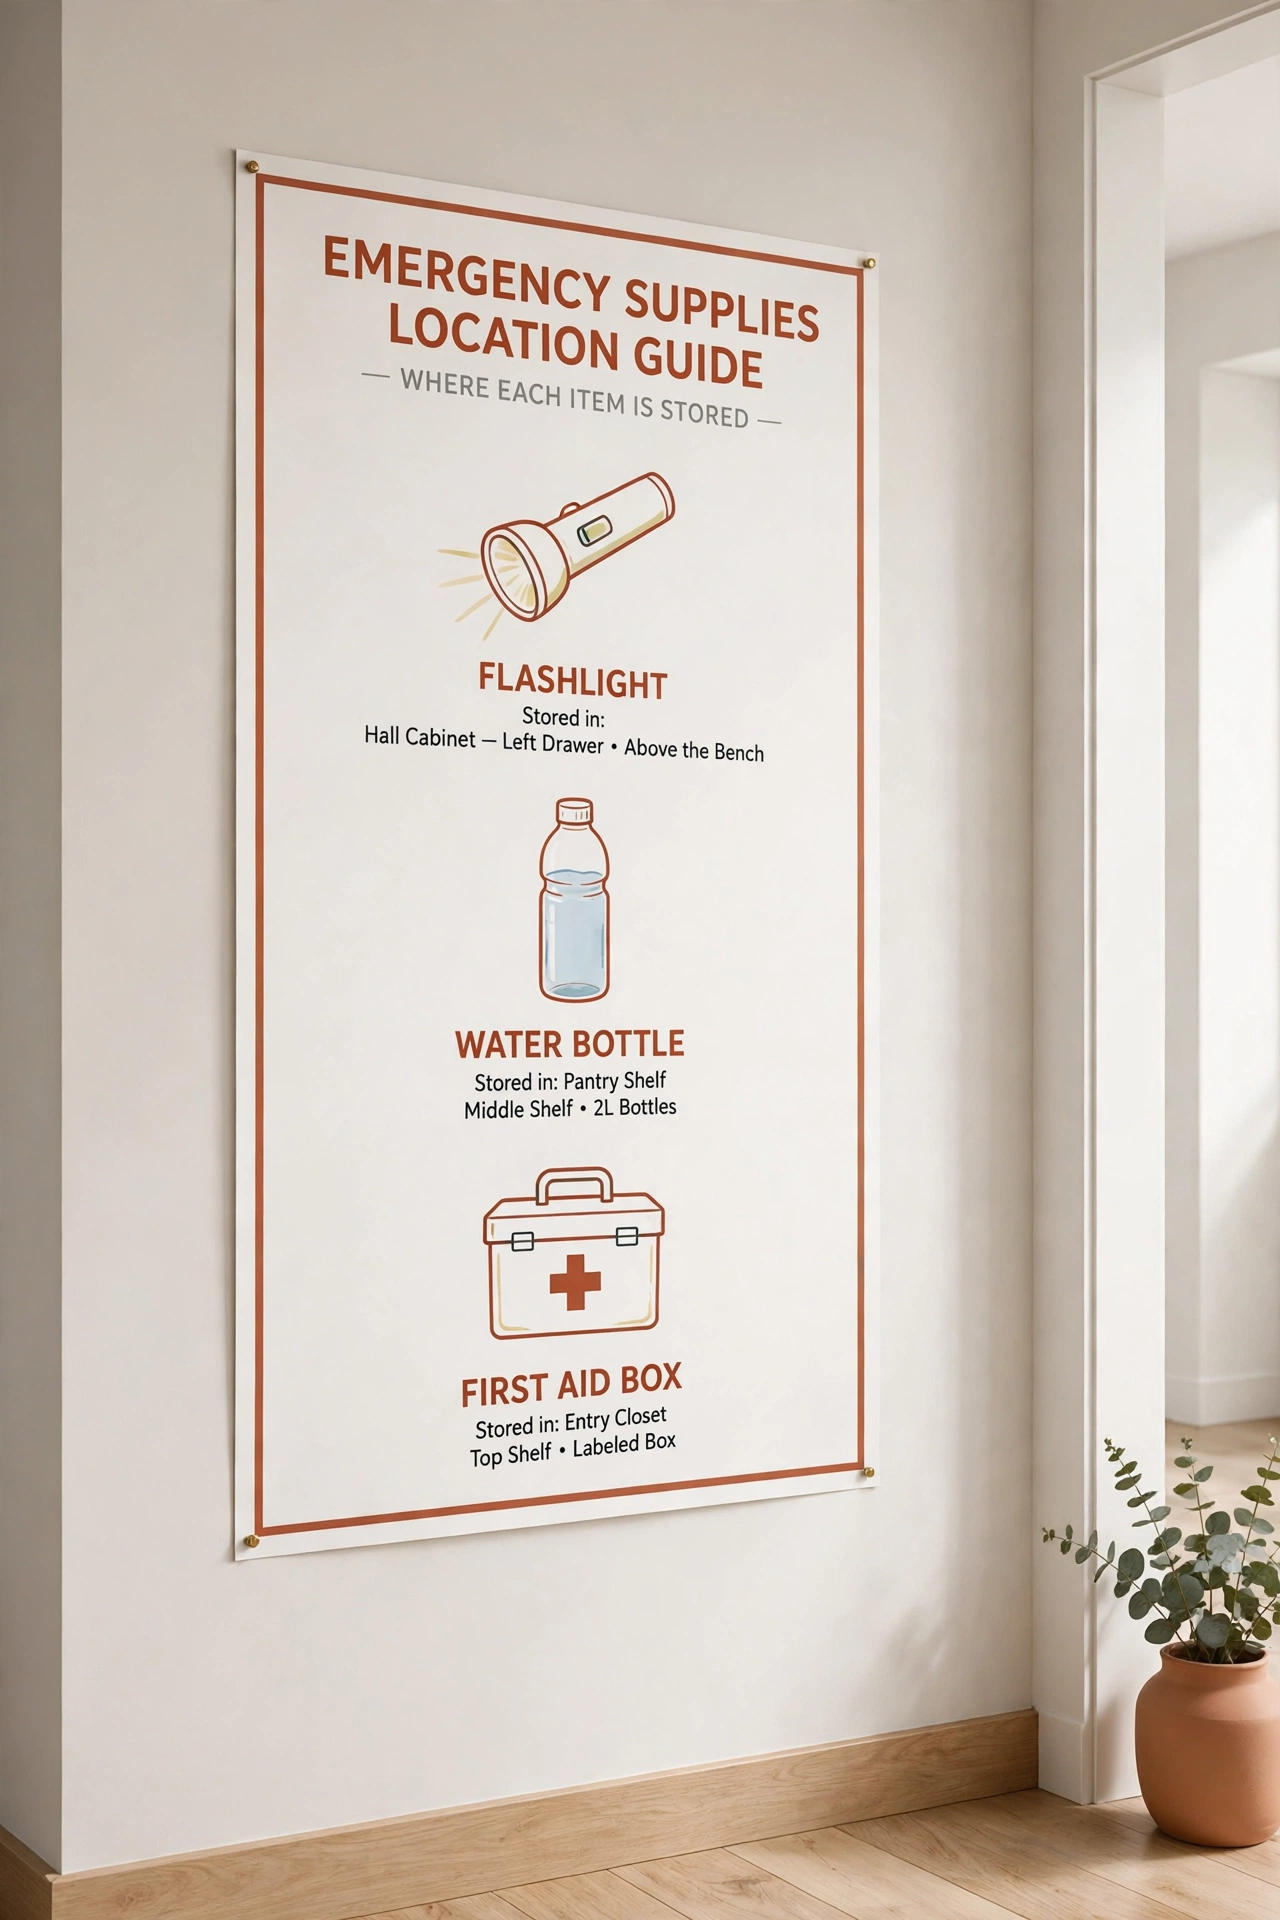
The best organized kit in the world fails if only one person knows where it is. Walk the whole family through your emergency shelf once, and show each person where the flashlights, the bin, the water, and the go-bag live. Let children open the bin and hold the flashlight so the kit feels familiar, not scary.
Repeat the walk-through twice a year so the locations stay fresh in every mind. A simple wall chart with pictures of each supply and its spot helps younger children find things on their own. When everyone knows where everything is, the family acts fast instead of freezing in a real emergency.
23. A Seasonal Review of the Whole Kit
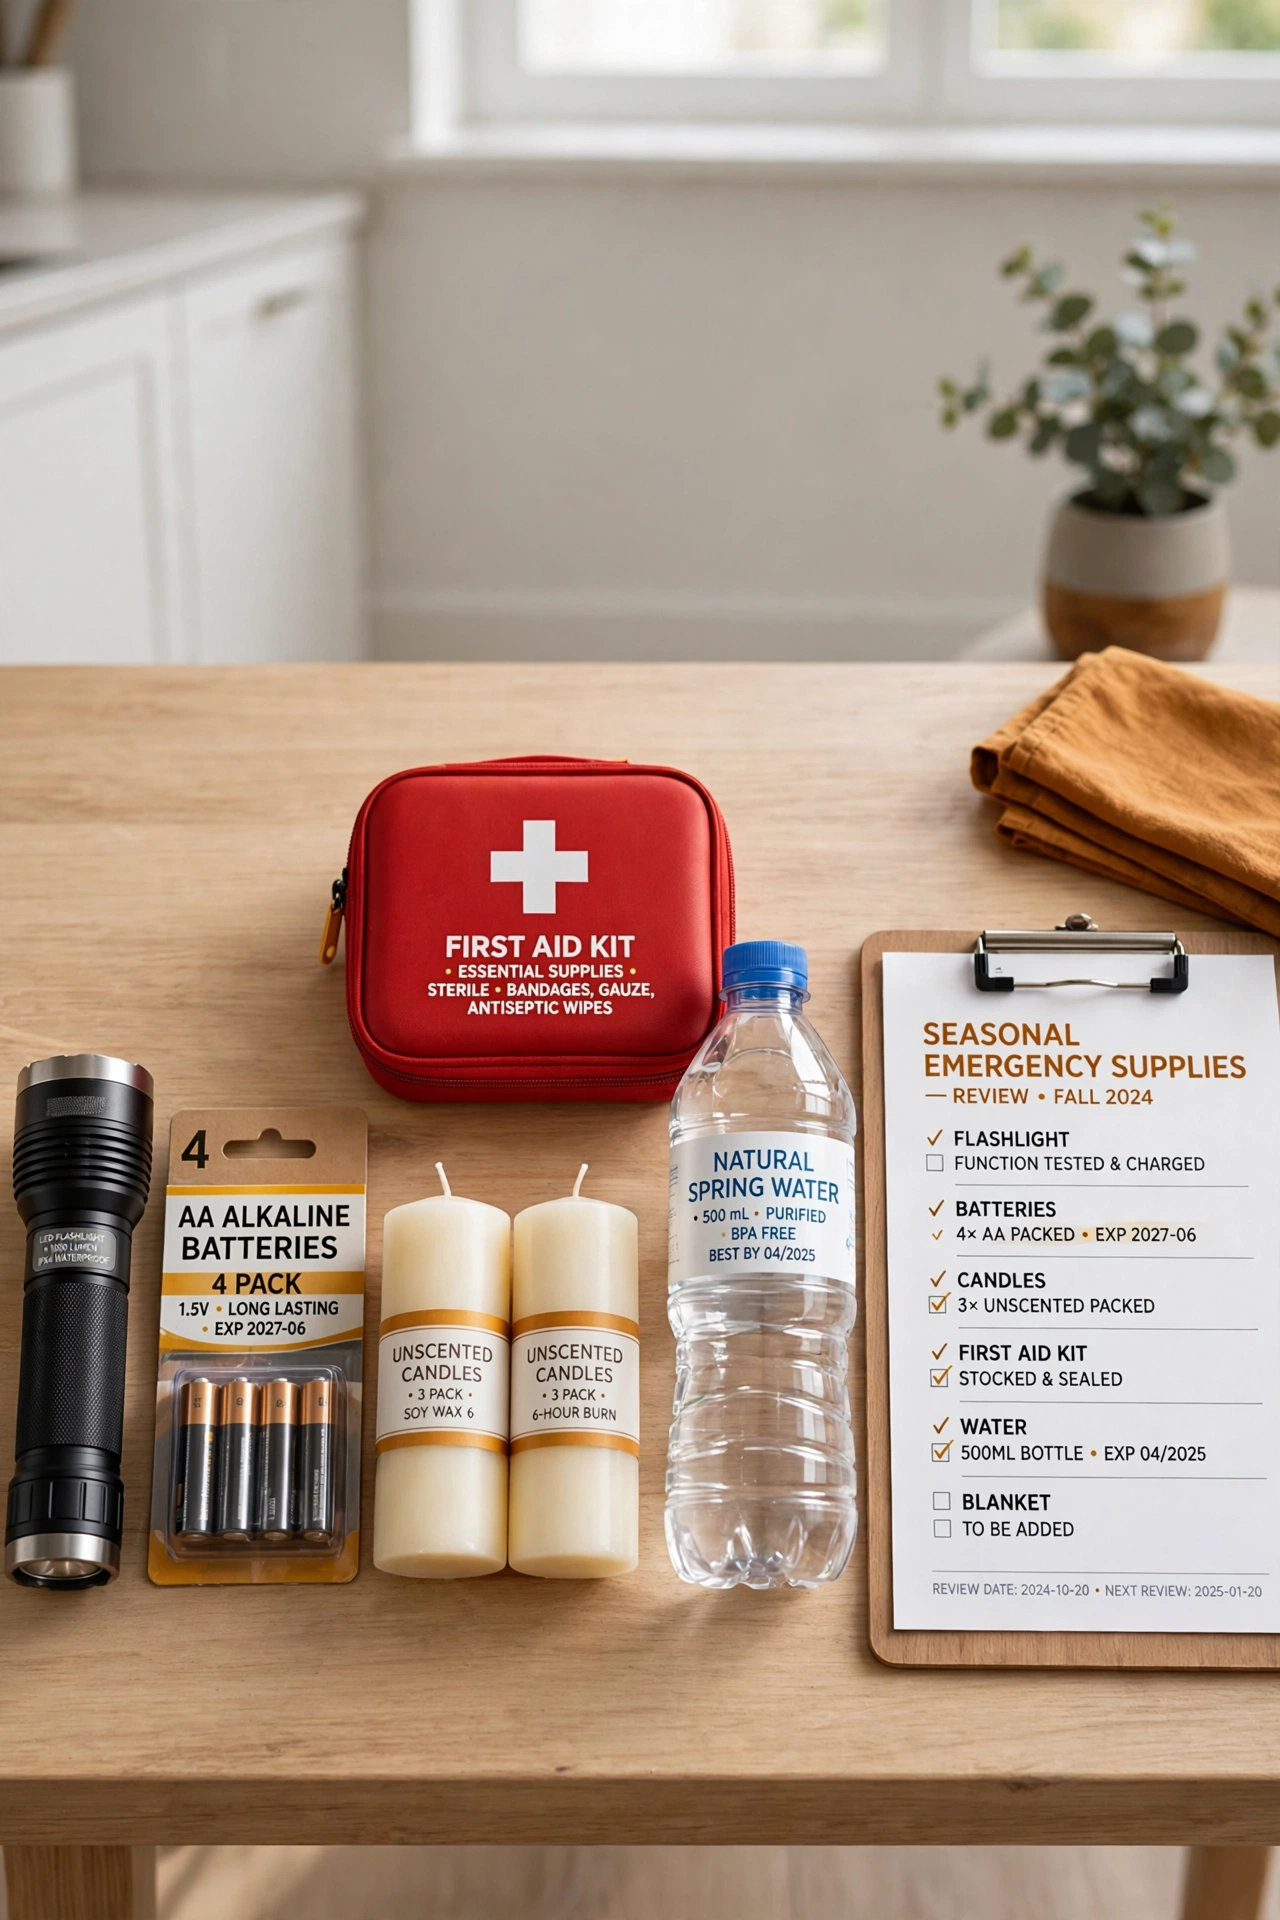
Every season brings different risks, so review the whole kit four times a year. In winter, add extra blankets and check the heating supplies. In summer, add more water and check the batteries, since heat drains them faster. A seasonal review keeps the kit matched to the weather outside.
Use a simple checklist for each review and note what you added, replaced, or moved. A seasonal habit takes less than an hour and keeps the kit fresh all year. A kit that gets reviewed every season is a kit your family can trust in any month of the year.
Conclusion
Flashlight and emergency supply organization does not have to be complicated or expensive. From one labeled bin to a go-bag by the door, there is an idea here for every home and every budget. The best kit is the one your whole family can find and use without thinking twice.
Pick one or two ideas that fit your home and start today. Clear a shelf, label a bin, and check your flashlights. For a calm home beyond the emergency shelf, these nightly reset routine ideas will help you keep every room tidy with just a few minutes each evening.
Frequently Asked Questions About Flashlight and Emergency Supply Organization Ideas
Where is the best place to store emergency supplies?
A closet shelf near the front door or in a central hallway works best, since everyone in the family can reach it fast. Keep the supplies on one dedicated shelf in labeled bins so nothing gets mixed in with everyday items. The spot should be dry, easy to reach, and known to every person in the house.
How many flashlights should a family keep?
Keep at least one flashlight in every bedroom, one in the kitchen, one by the front door, and one in each car. A family of four usually needs six to eight flashlights in total. Store spare batteries with each one so a dead flashlight never leaves you in the dark.
How often should I check my emergency kit?
Check expiry dates once a month and review the whole kit once every season. A monthly check catches expired food, medicine, and batteries early, while a seasonal review matches the kit to the weather. A full review takes less than an hour four times a year.
What should go in a go-bag?
Pack a flashlight, spare batteries, a bottle of water, a few snacks, a first aid pouch, a phone charger, and copies of important documents. Add a change of clothes and any medicine your family needs daily. Keep the bag light enough for one person to carry and hang it by the front door.
How long does bottled water last in storage?
Sealed bottled water stays safe for about six months in a cool, dark place. Label each crate with the date you stored it and rotate the bottles into everyday use before the date passes. Replace the stock twice a year so your emergency water is always fresh.

Hi, I’m Emily! I turn messy corners into cozy, organized spots. DreamNestDecor is where I share simple, practical home ideas — decor, organization, and small-space solutions that work in real life, not just in photos. Every idea here is carefully researched before it’s shared.