
Picture yourself stepping out your back door on a Saturday morning, coffee in hand, and following a path that actually leads somewhere beautiful. You do not need a big budget or a landscaping crew to get that feeling. A few bags of gravel, some salvaged brick, or a stack of simple stepping stones can turn a muddy shortcut into a walkway you love.
These 20 garden pathway ideas using stone and gravel show you how to build paths that look finished and intentional. You will find ideas for sunny beds, shady corners, narrow side yards, and wide garden entrances, all using affordable materials you can handle yourself.
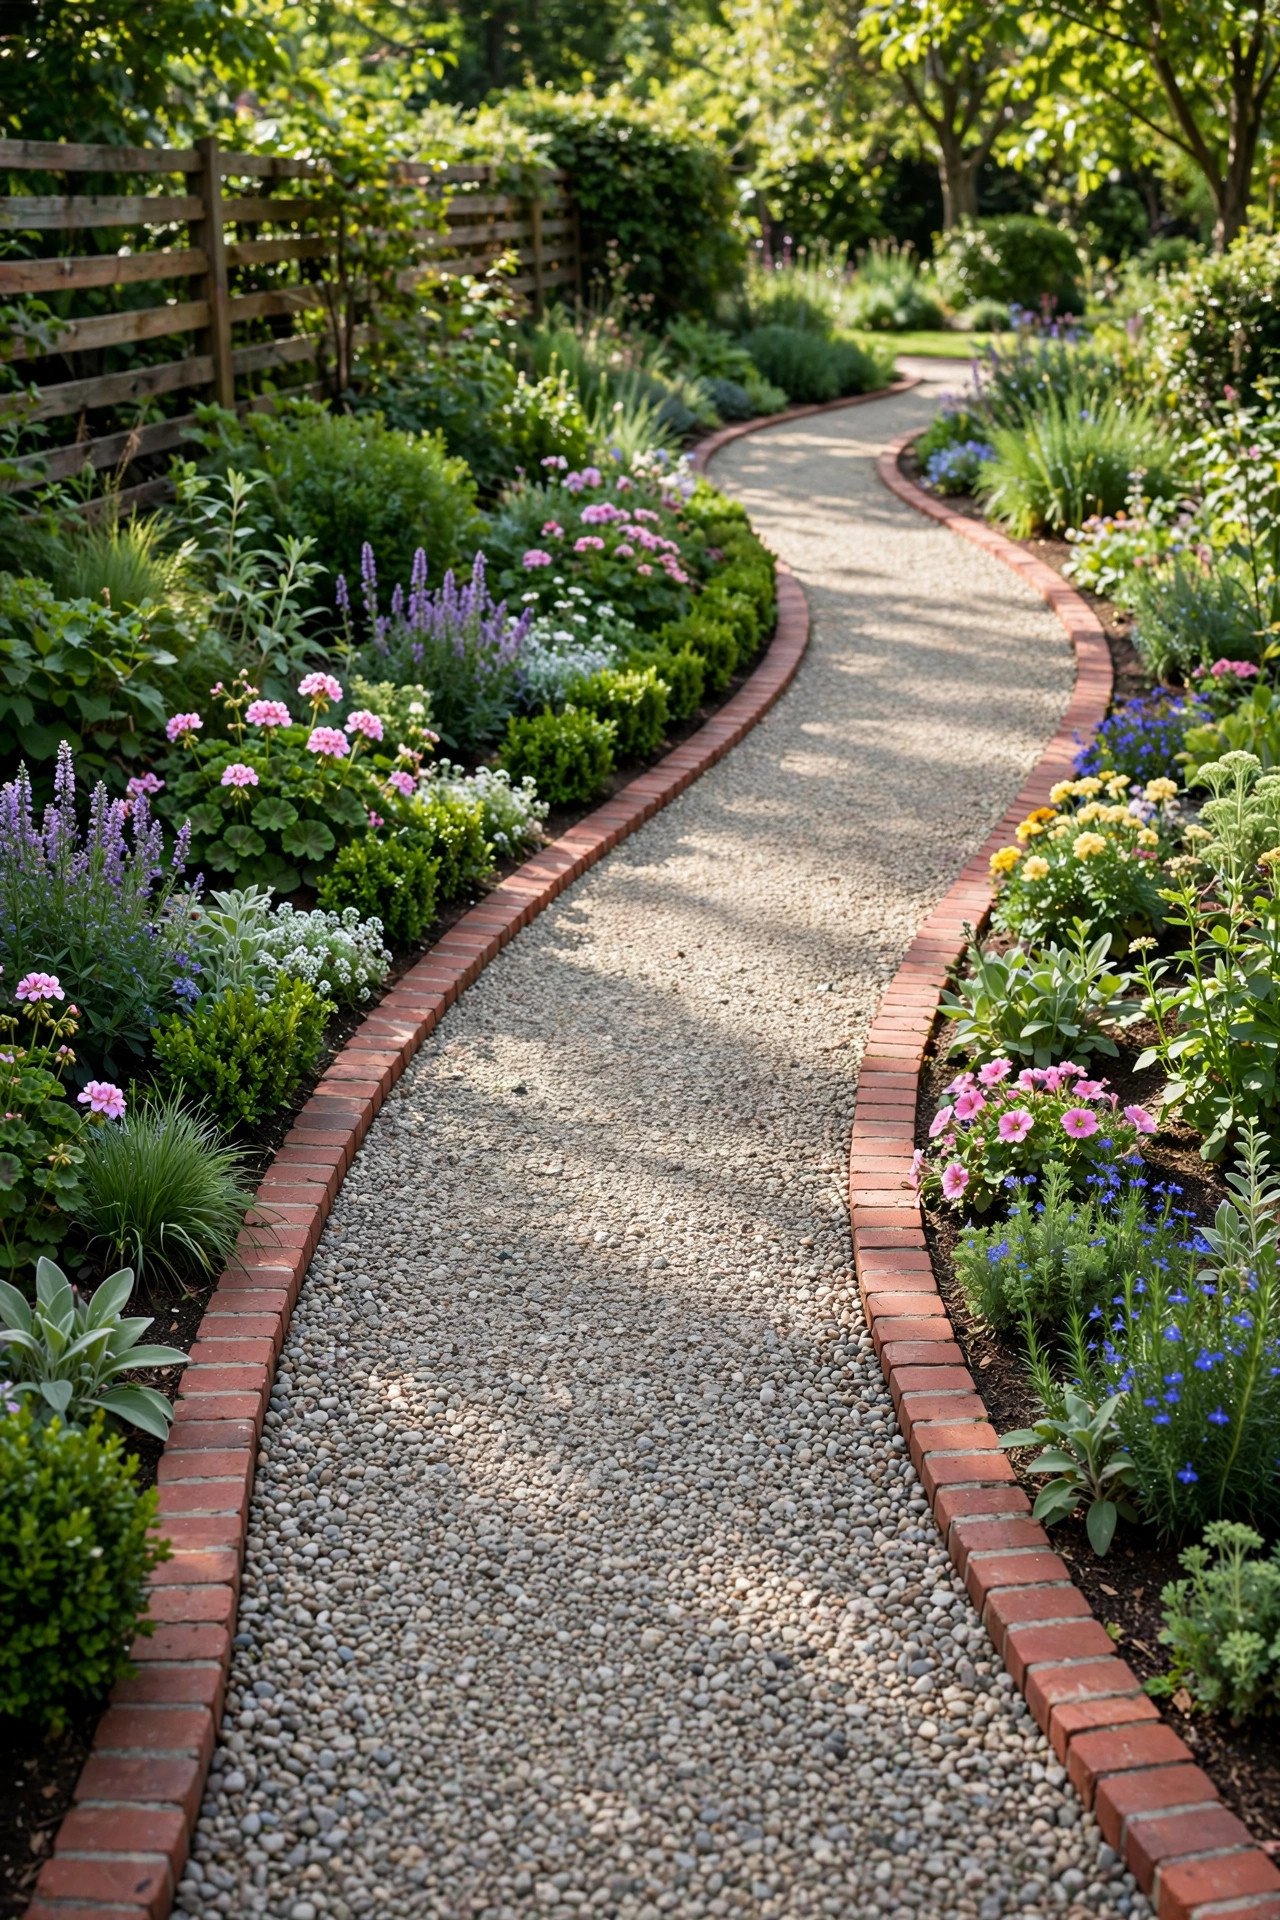
1. Pea Gravel Path Edged With Brick
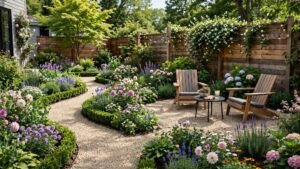
Pea gravel is one of the cheapest ways to cover a long stretch of path, and a brick border keeps it looking neat instead of messy. Lay the bricks on their sides along both edges of the route, then fill the middle with two to three inches of pea gravel over landscape fabric. The tidy brick line stops the loose stones from wandering into your flower beds after every rain.
Curve the path gently instead of running it straight, because a soft bend makes even a small yard feel larger. Rake the gravel smooth once a month and top it up once a year, and this path will look freshly made for seasons to come.
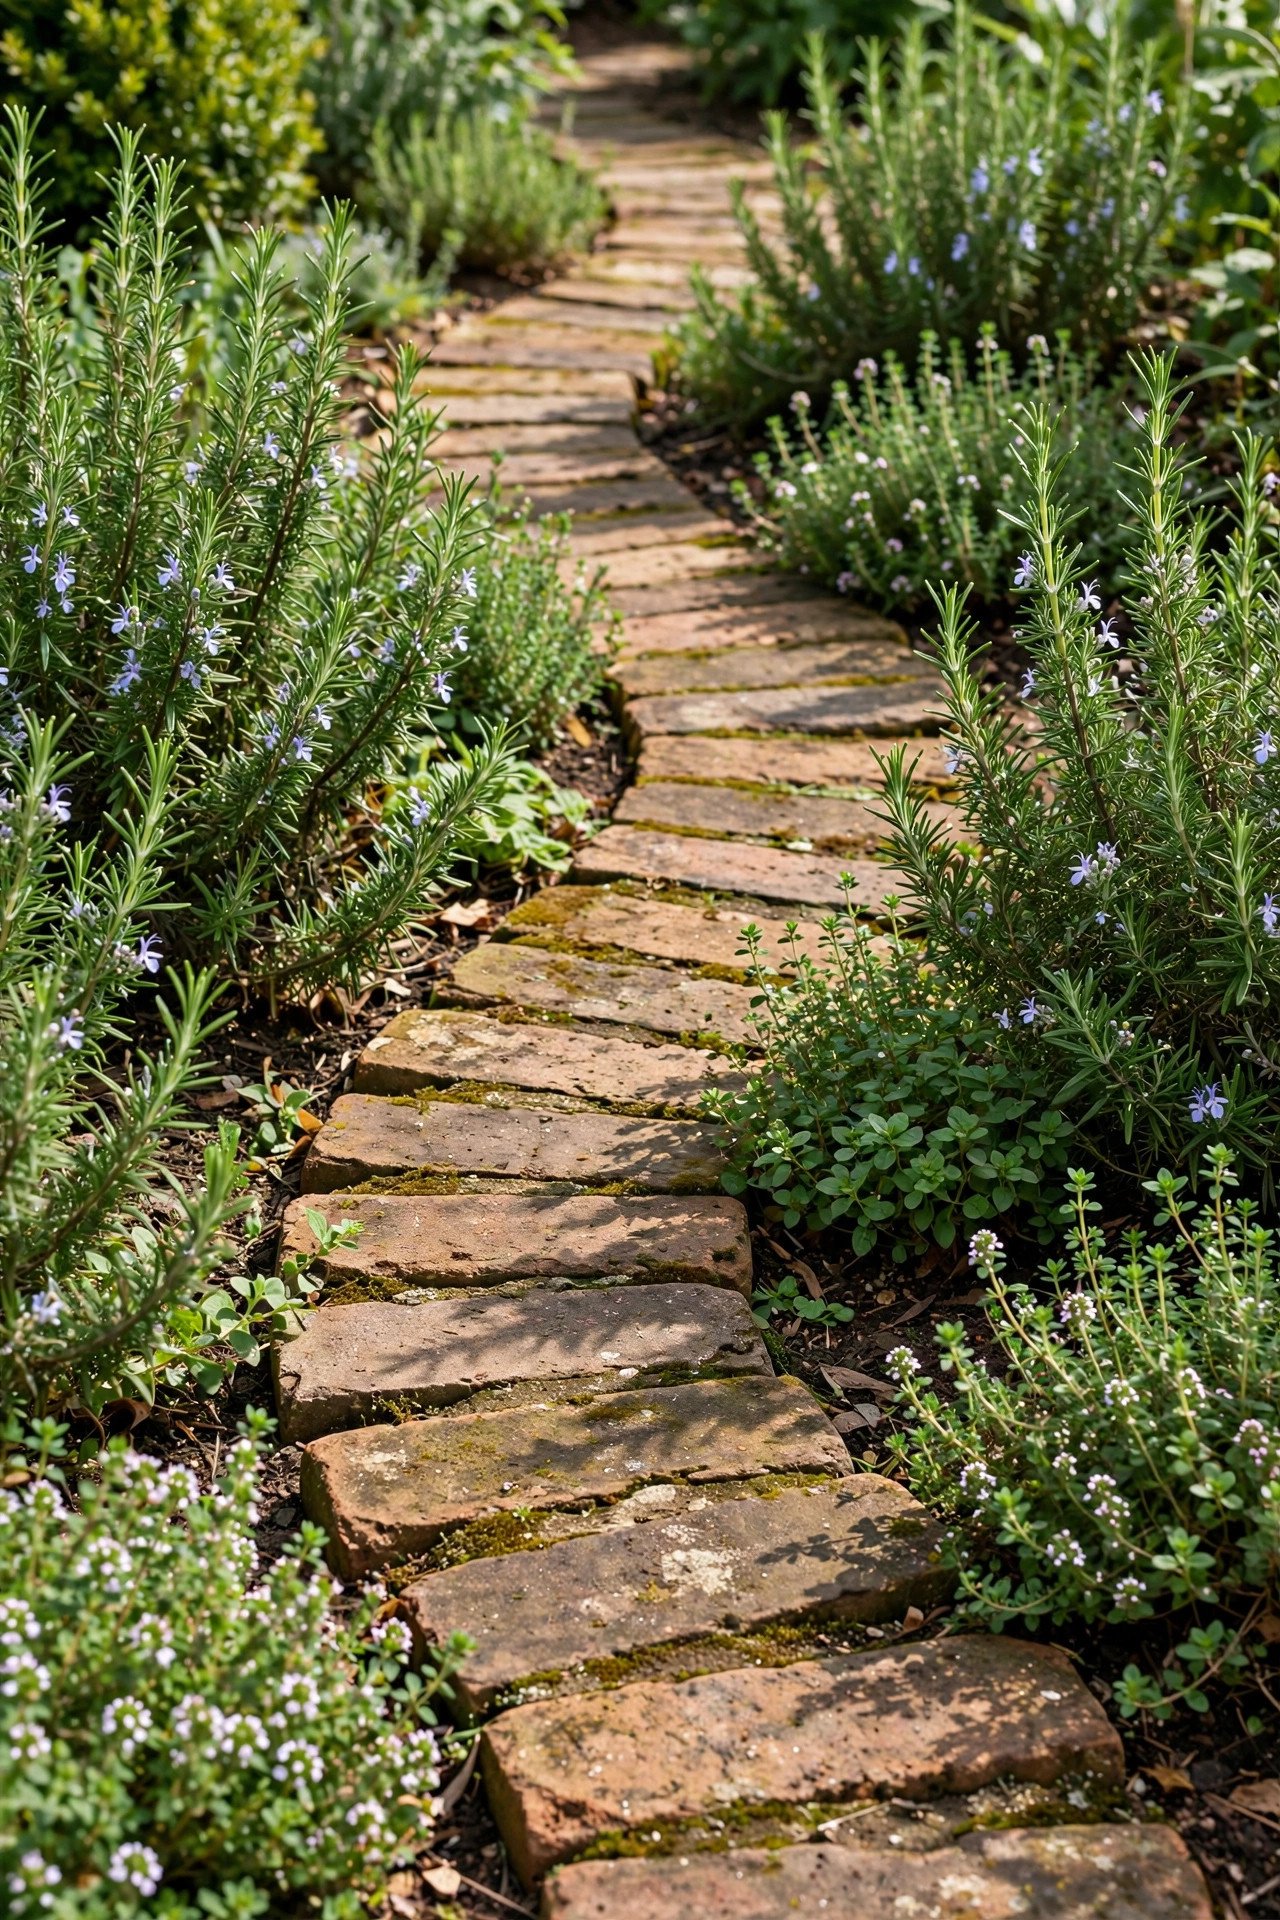
2. Salvaged Brick Steps Winding Through Herbs
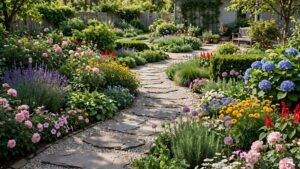
Old bricks have a warmth that new pavers cannot copy, and they sit beautifully between herbs like rosemary and thyme. Set the bricks with narrow gaps so you use fewer of them, and let low herbs spill over the edges to soften every uneven line. Check salvage yards and demolition sites for affordable batches of weathered brick.
Lay each brick on a bed of packed sand so the surface stays level underfoot. The herbs will release their scent every time you brush past, which turns a simple walk to the garden into a small daily pleasure.
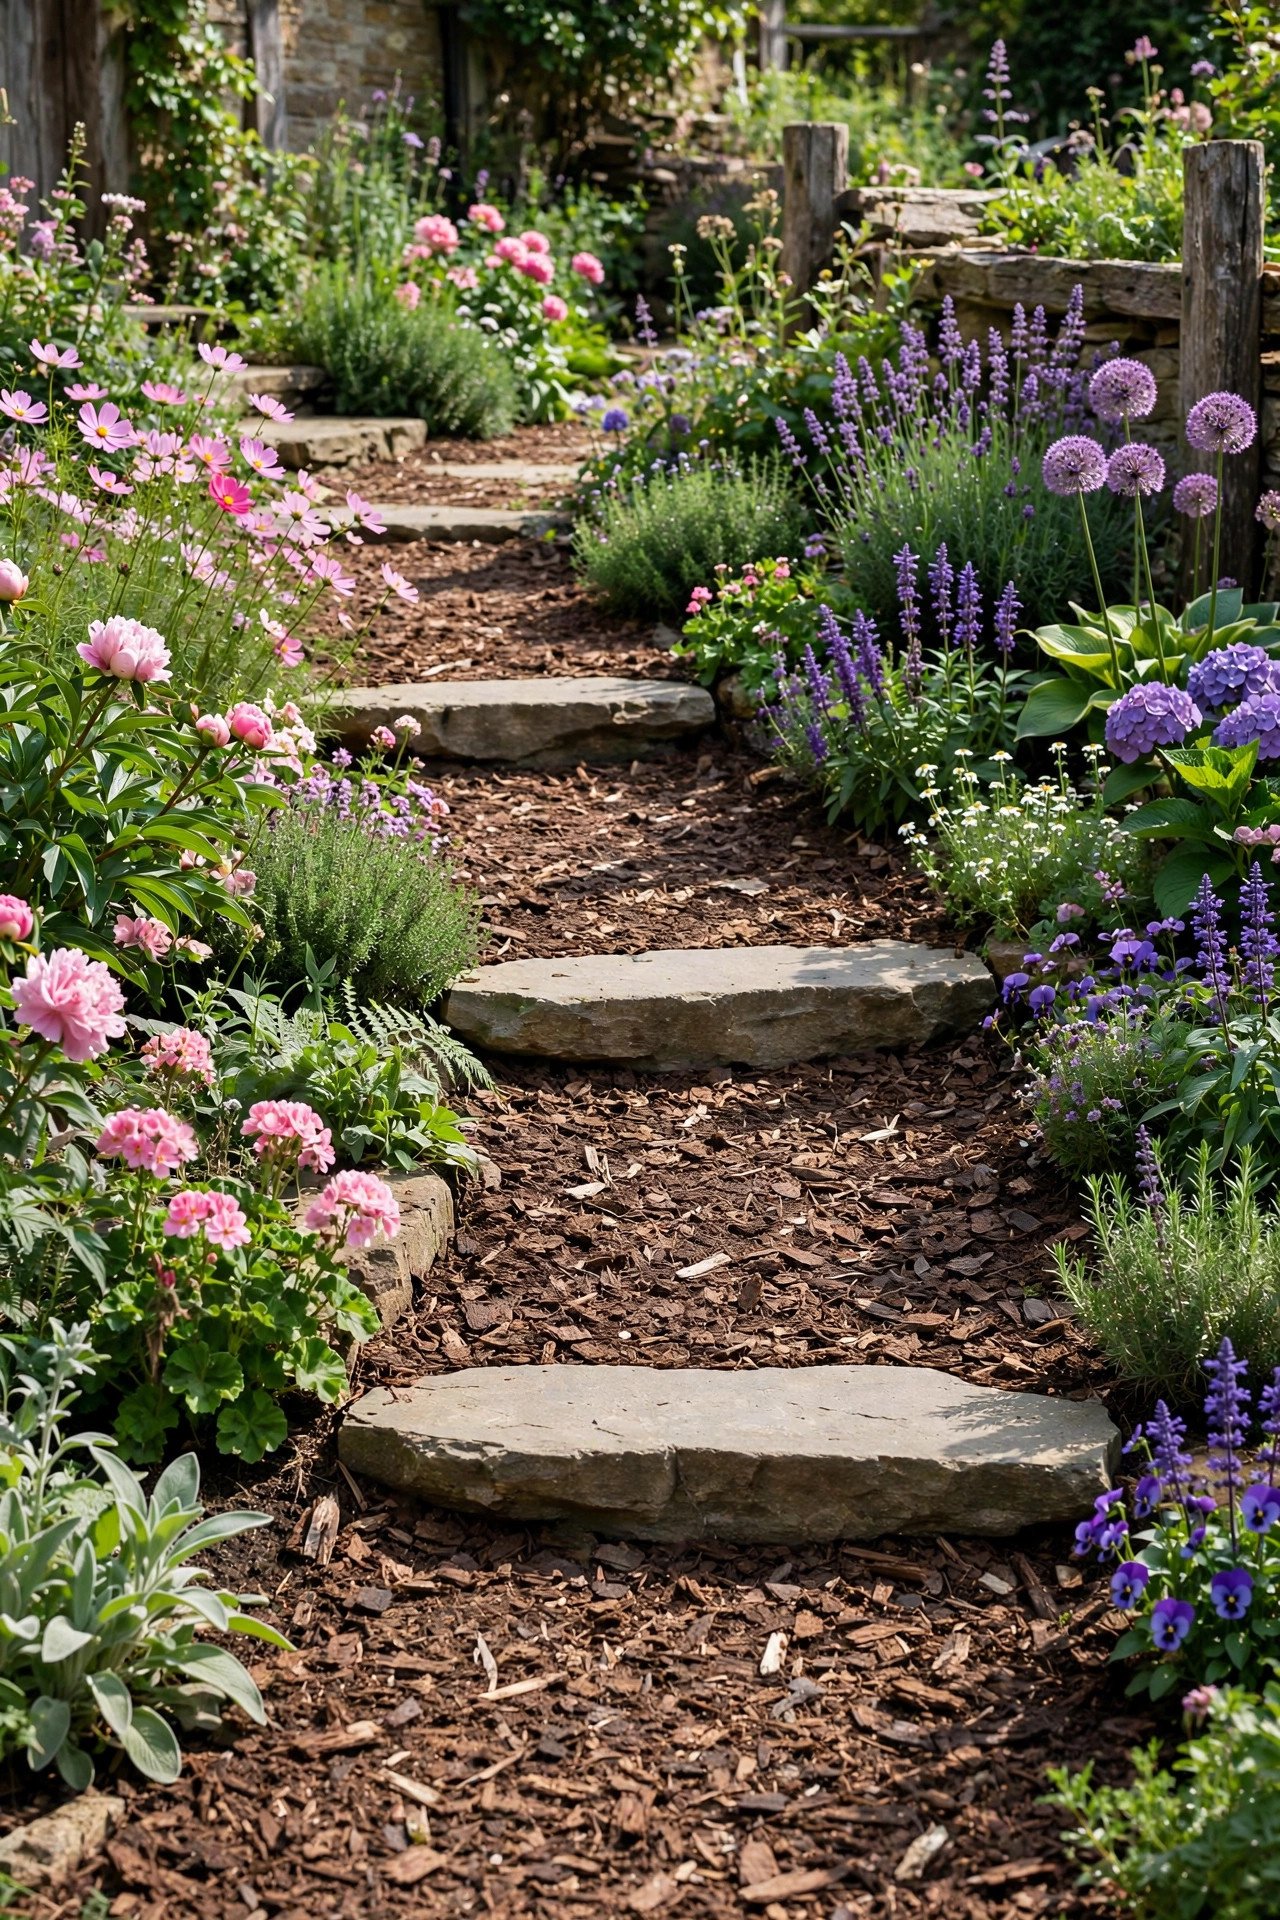
3. Mulch Walkway With Flat Stone Landings
Mulch handles the long stretches of a garden walk for very little money, and flat stones give your feet a firm place to land. Spread bark mulch three to four inches deep over the whole route, then set large flat stones only where you naturally step. When the mulch wears thin, you simply top it up a bag at a time.
This combination works especially well in a relaxed cottage style garden where a formal paved path would feel too stiff. For more ways to keep that soft romantic feeling through the whole yard, these romantic garden styling ideas pair beautifully with a mulch and stone walkway.
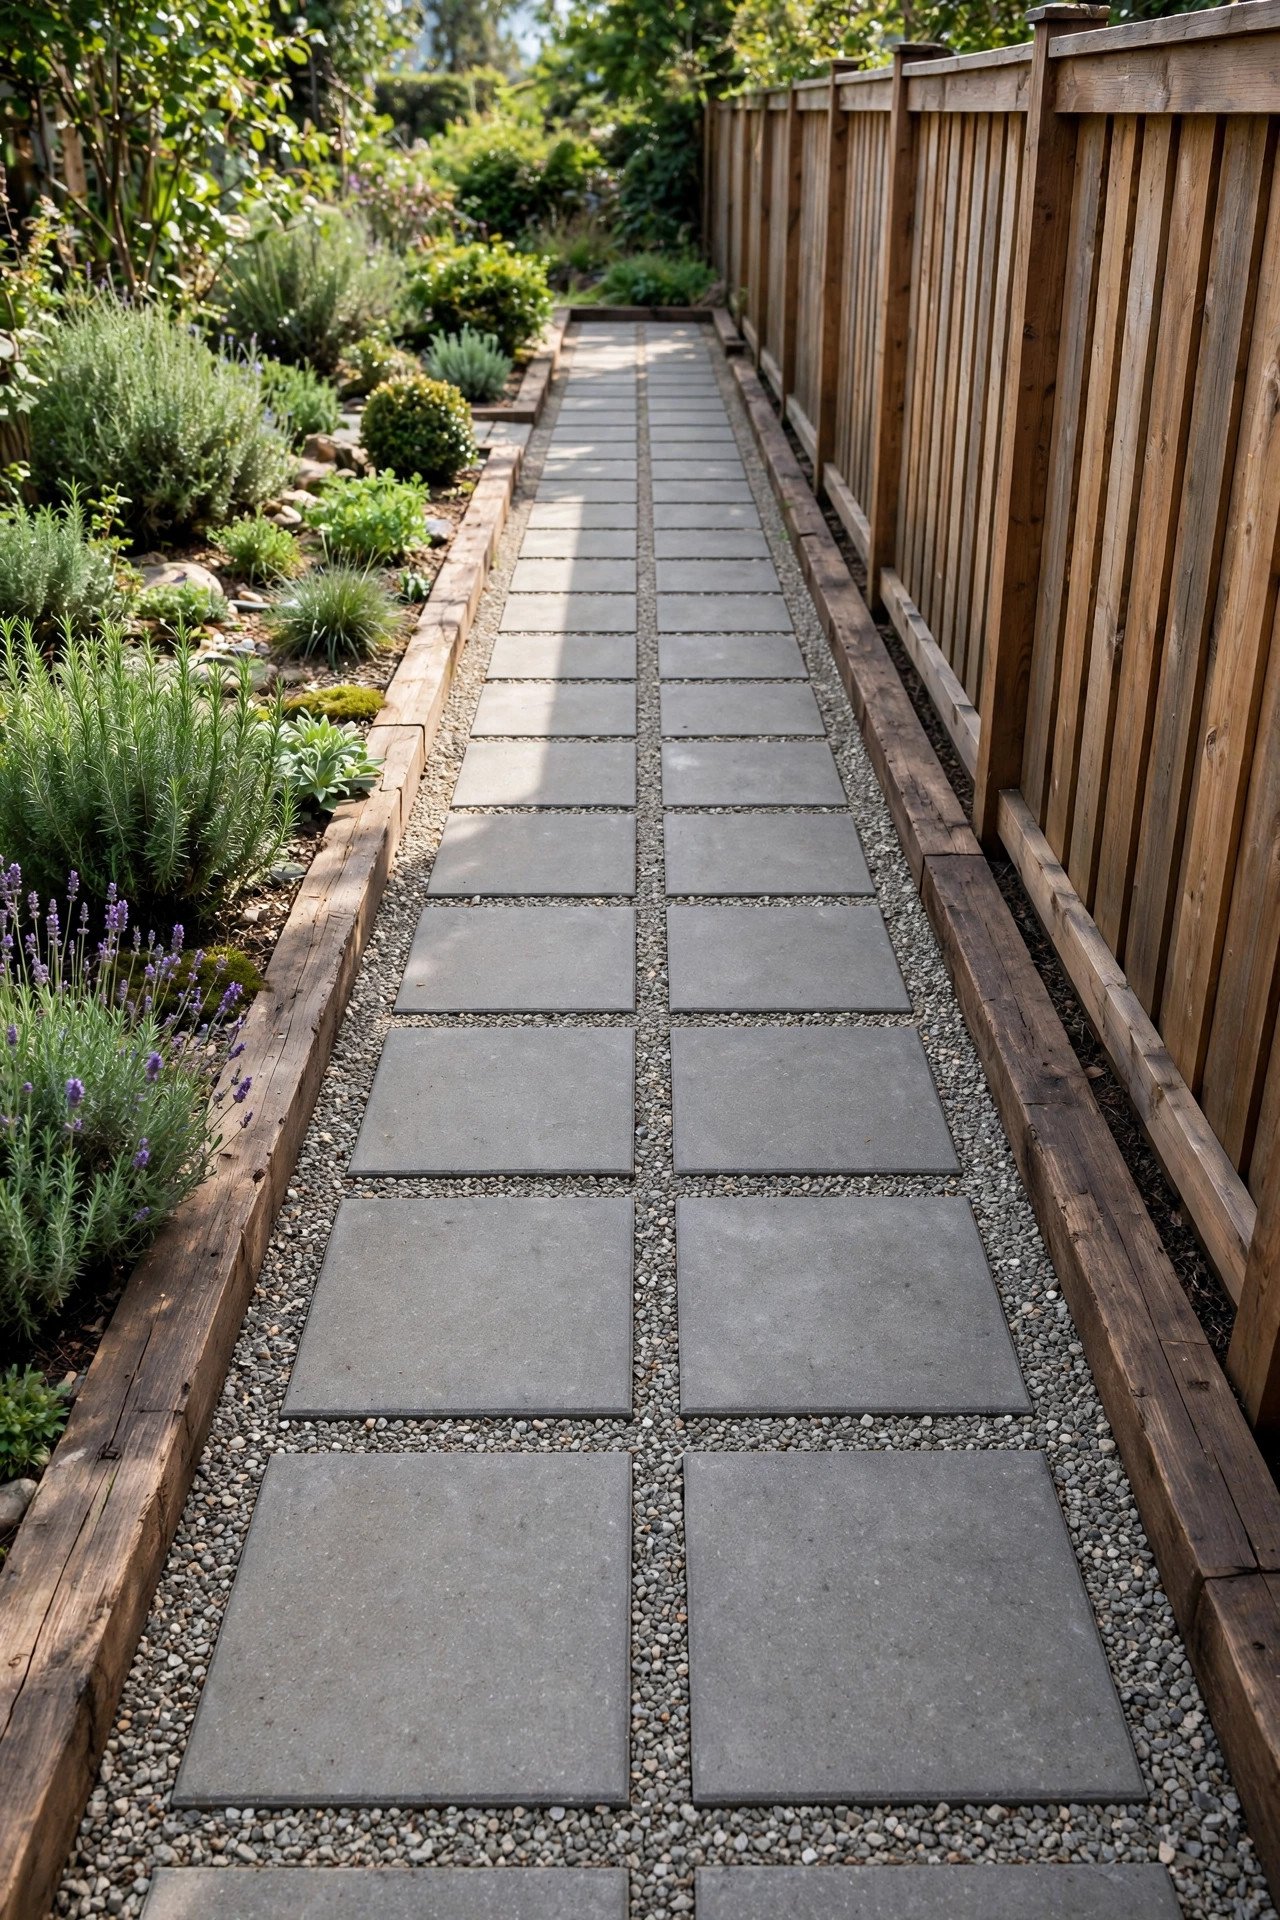
4. Concrete Pavers Set With Gravel Joints
Large concrete squares give a narrow passage a steady walking line without the cost of a solid poured slab. Space the pavers a few inches apart and fill the joints with gravel, which drains rainwater instead of letting it pool. A straight timber or metal edge keeps soil and weeds from creeping across the surface.
Choose pavers with a slightly textured face so they do not get slippery when wet. This clean grid pattern suits modern homes and looks sharp running alongside a fence or the side of the house.
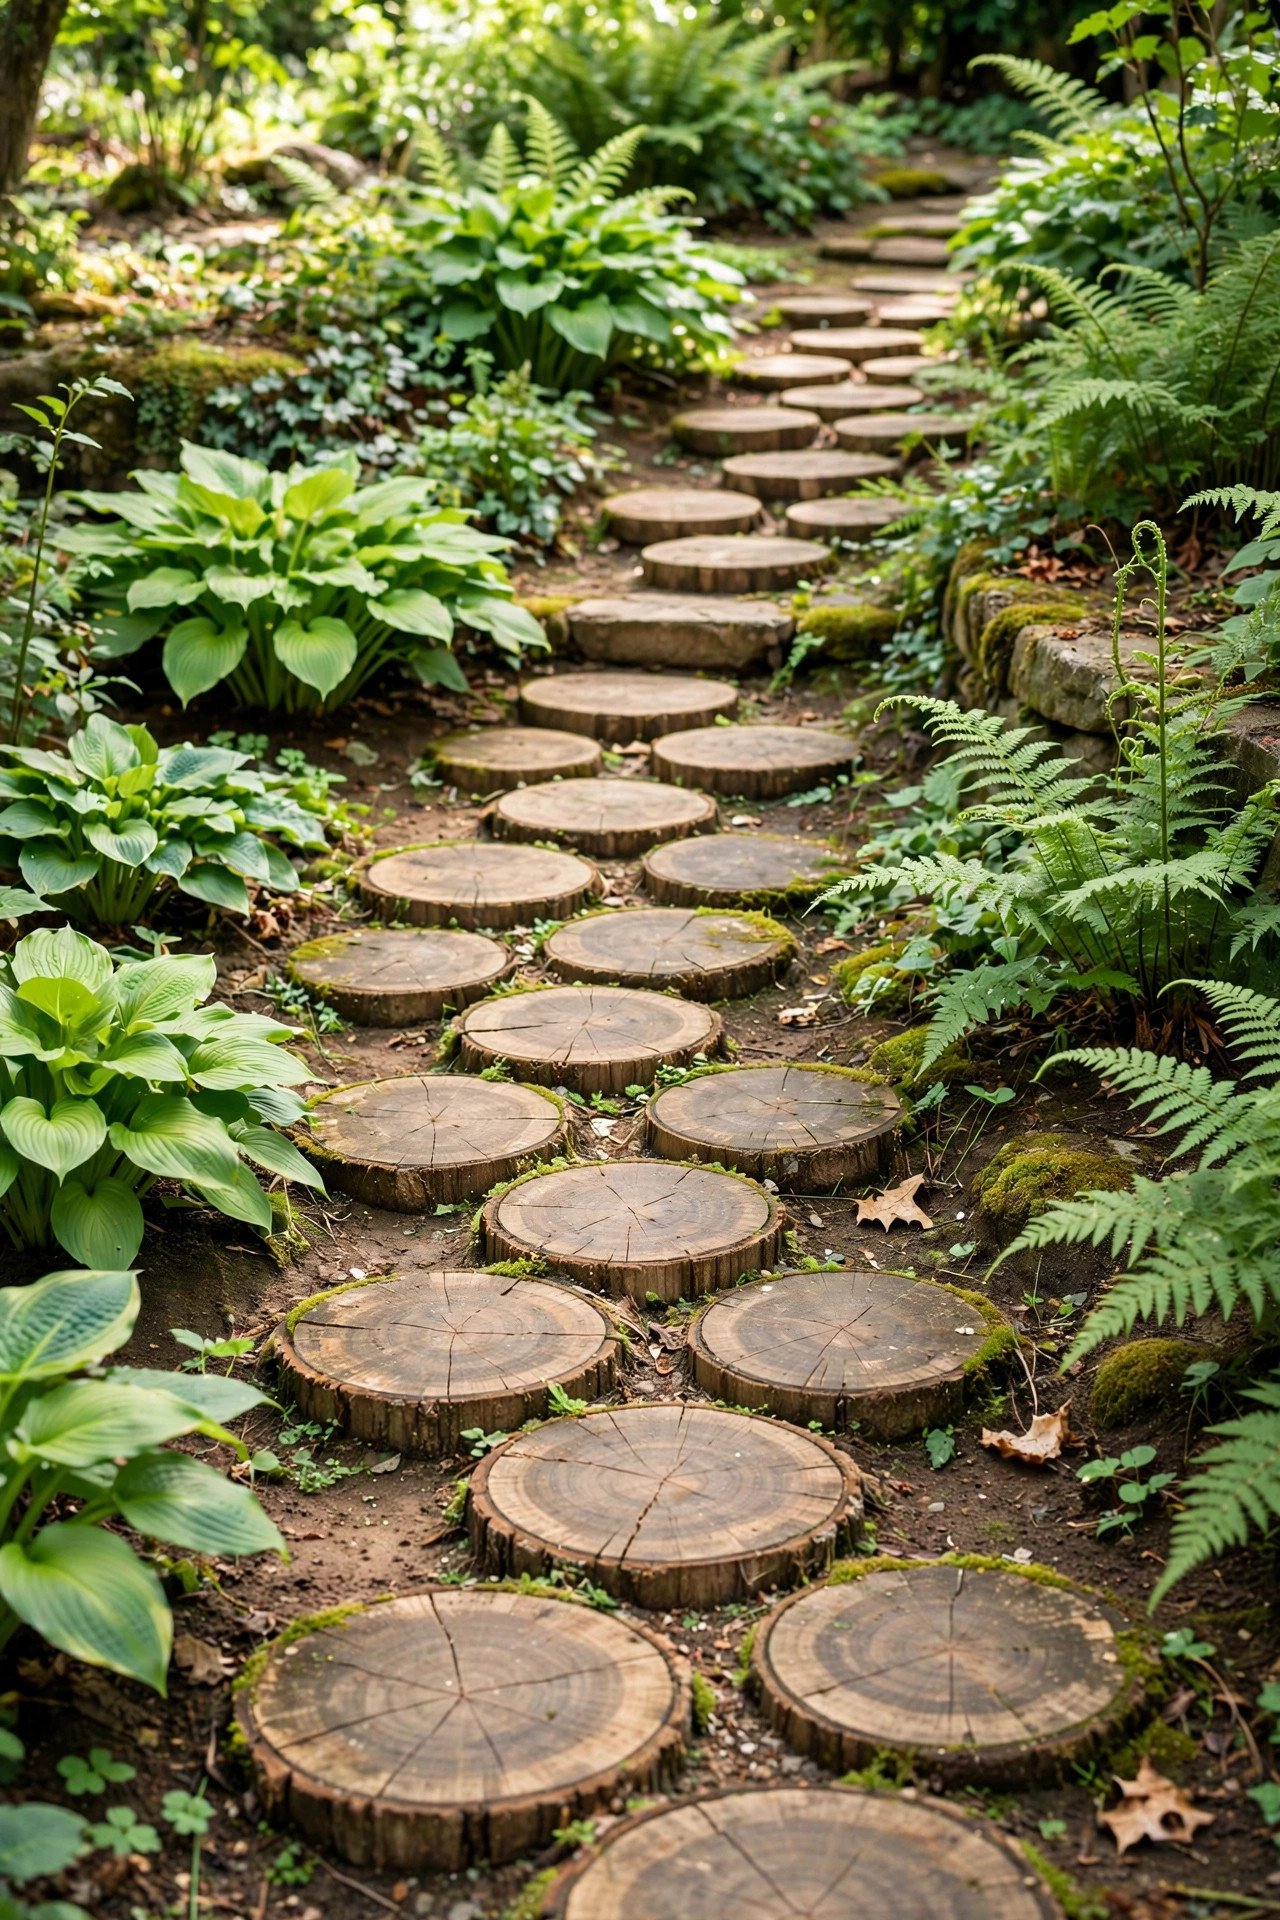
5. Wood Slice Stepping Path In A Shady Corner
Round wood slices bring a playful woodland feel to a shady corner where grass refuses to grow. Use thick slices cut from a fallen log, seal them well against moisture, and set them over a compacted gravel base so they stay stable after rain. The gravel underneath is the detail that keeps the wood from rotting.
Space the slices at a comfortable stride and fill around them with bark or shade-loving groundcover. This is a lovely way to give an unused dark corner of the yard a purpose without spending much at all.
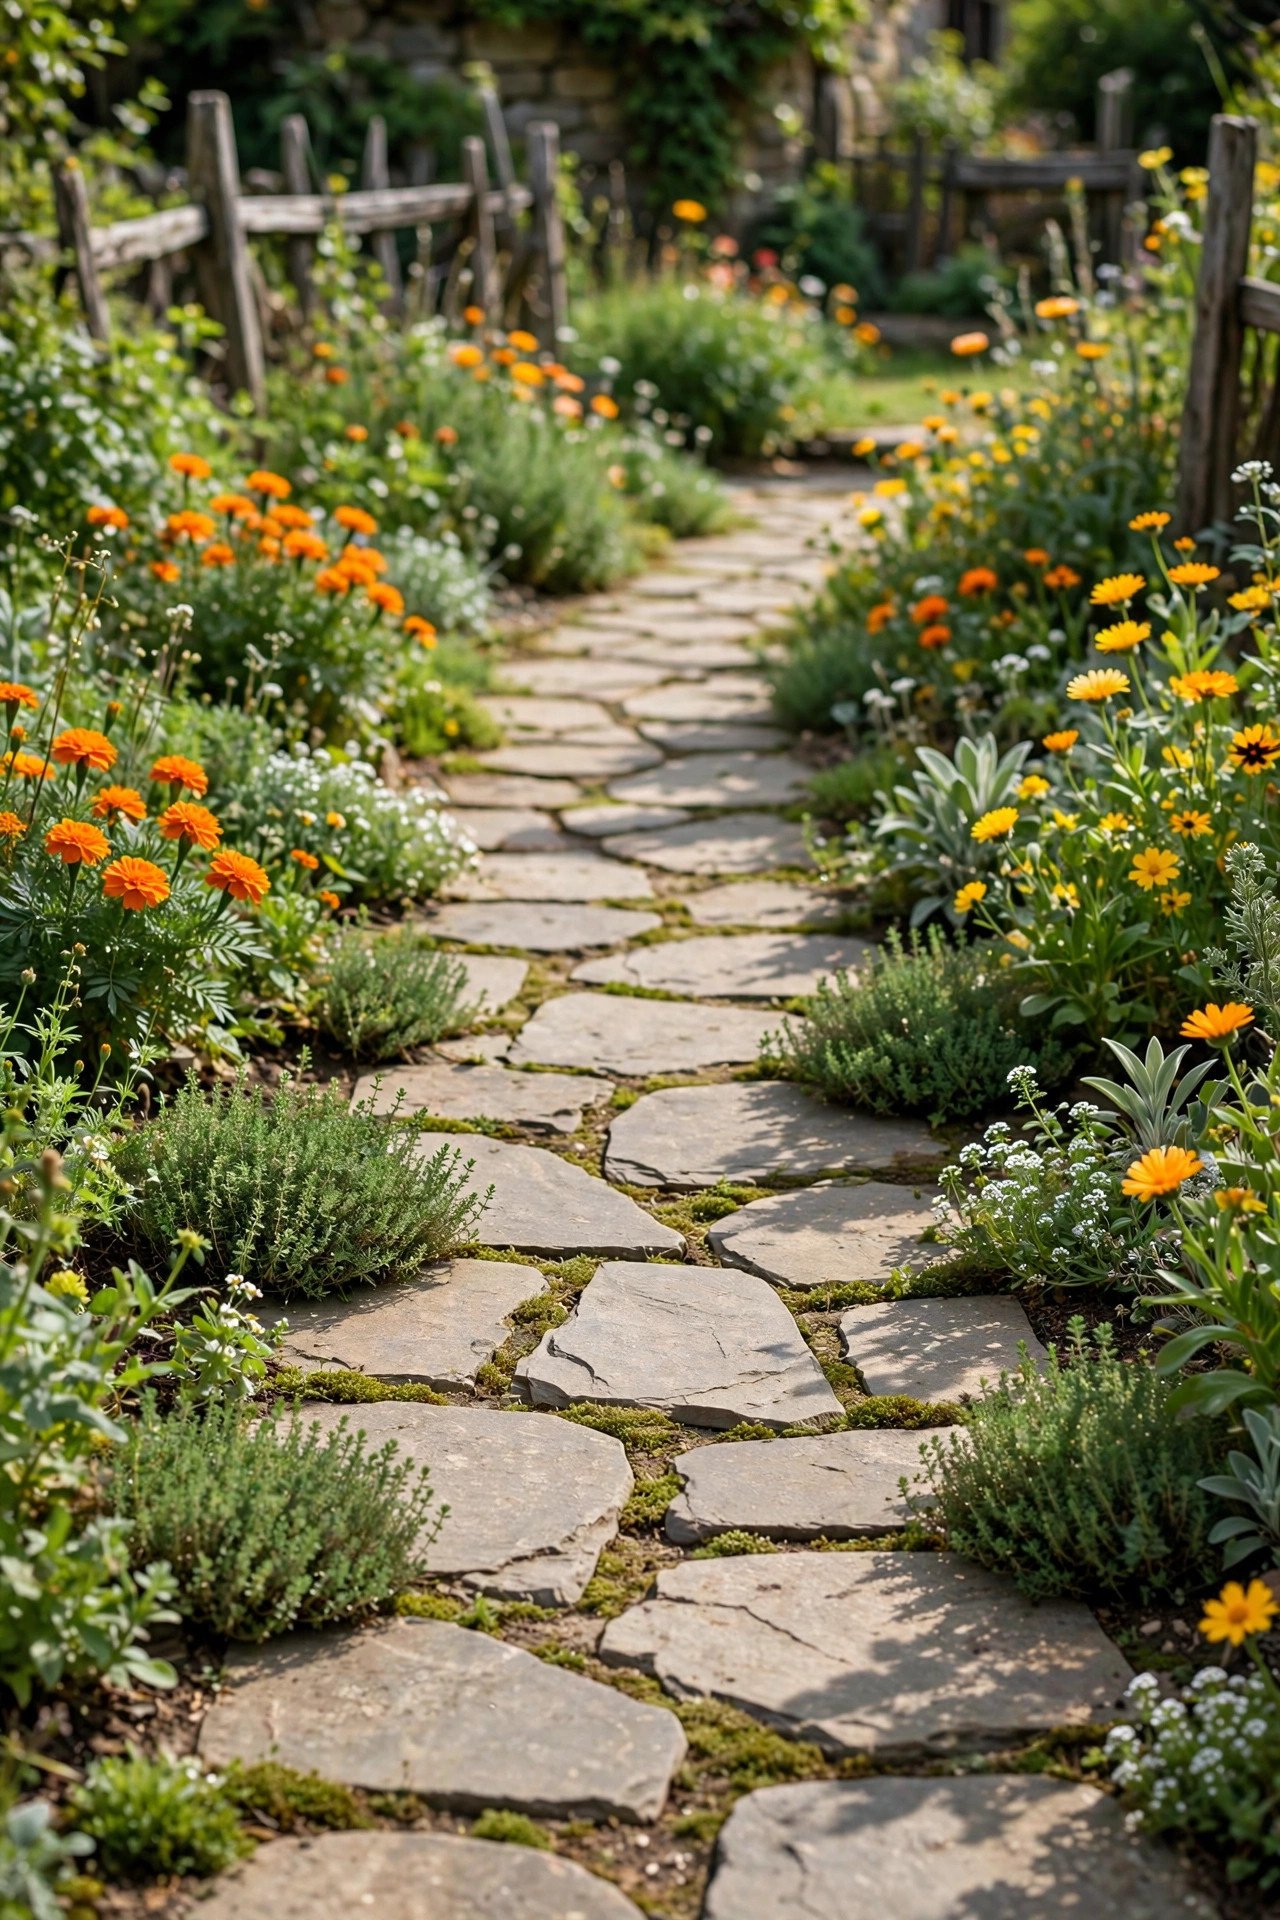
6. Reclaimed Flagstone Softened By Creeping Thyme
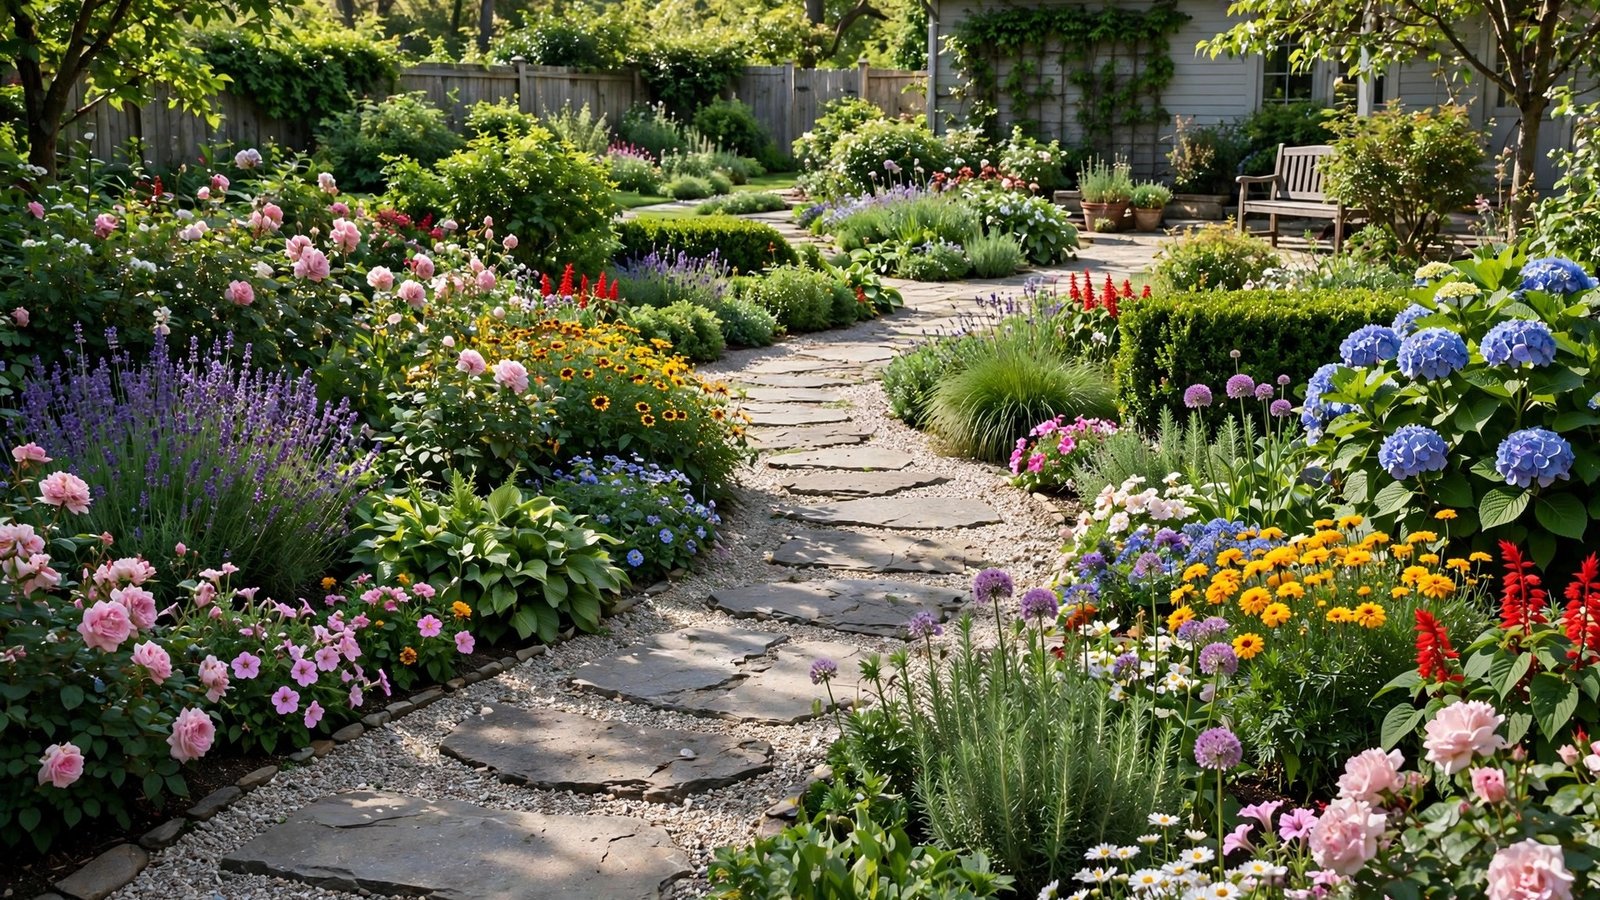
Irregular flagstone looks best when you stop trying to make it perfect. Lay the stones with loose, generous joints and plant creeping thyme in the gaps, which fills the awkward pockets with green and releases scent when stepped on. Leftover and broken pieces work fine, so ask stone yards about their offcut piles.
The thyme needs sun and sharp drainage to thrive between stones, so this path shines in an open sunny spot. An aged stone path like this also looks wonderful near vintage pieces, and these European garden antique accents show how to style the beds around it.
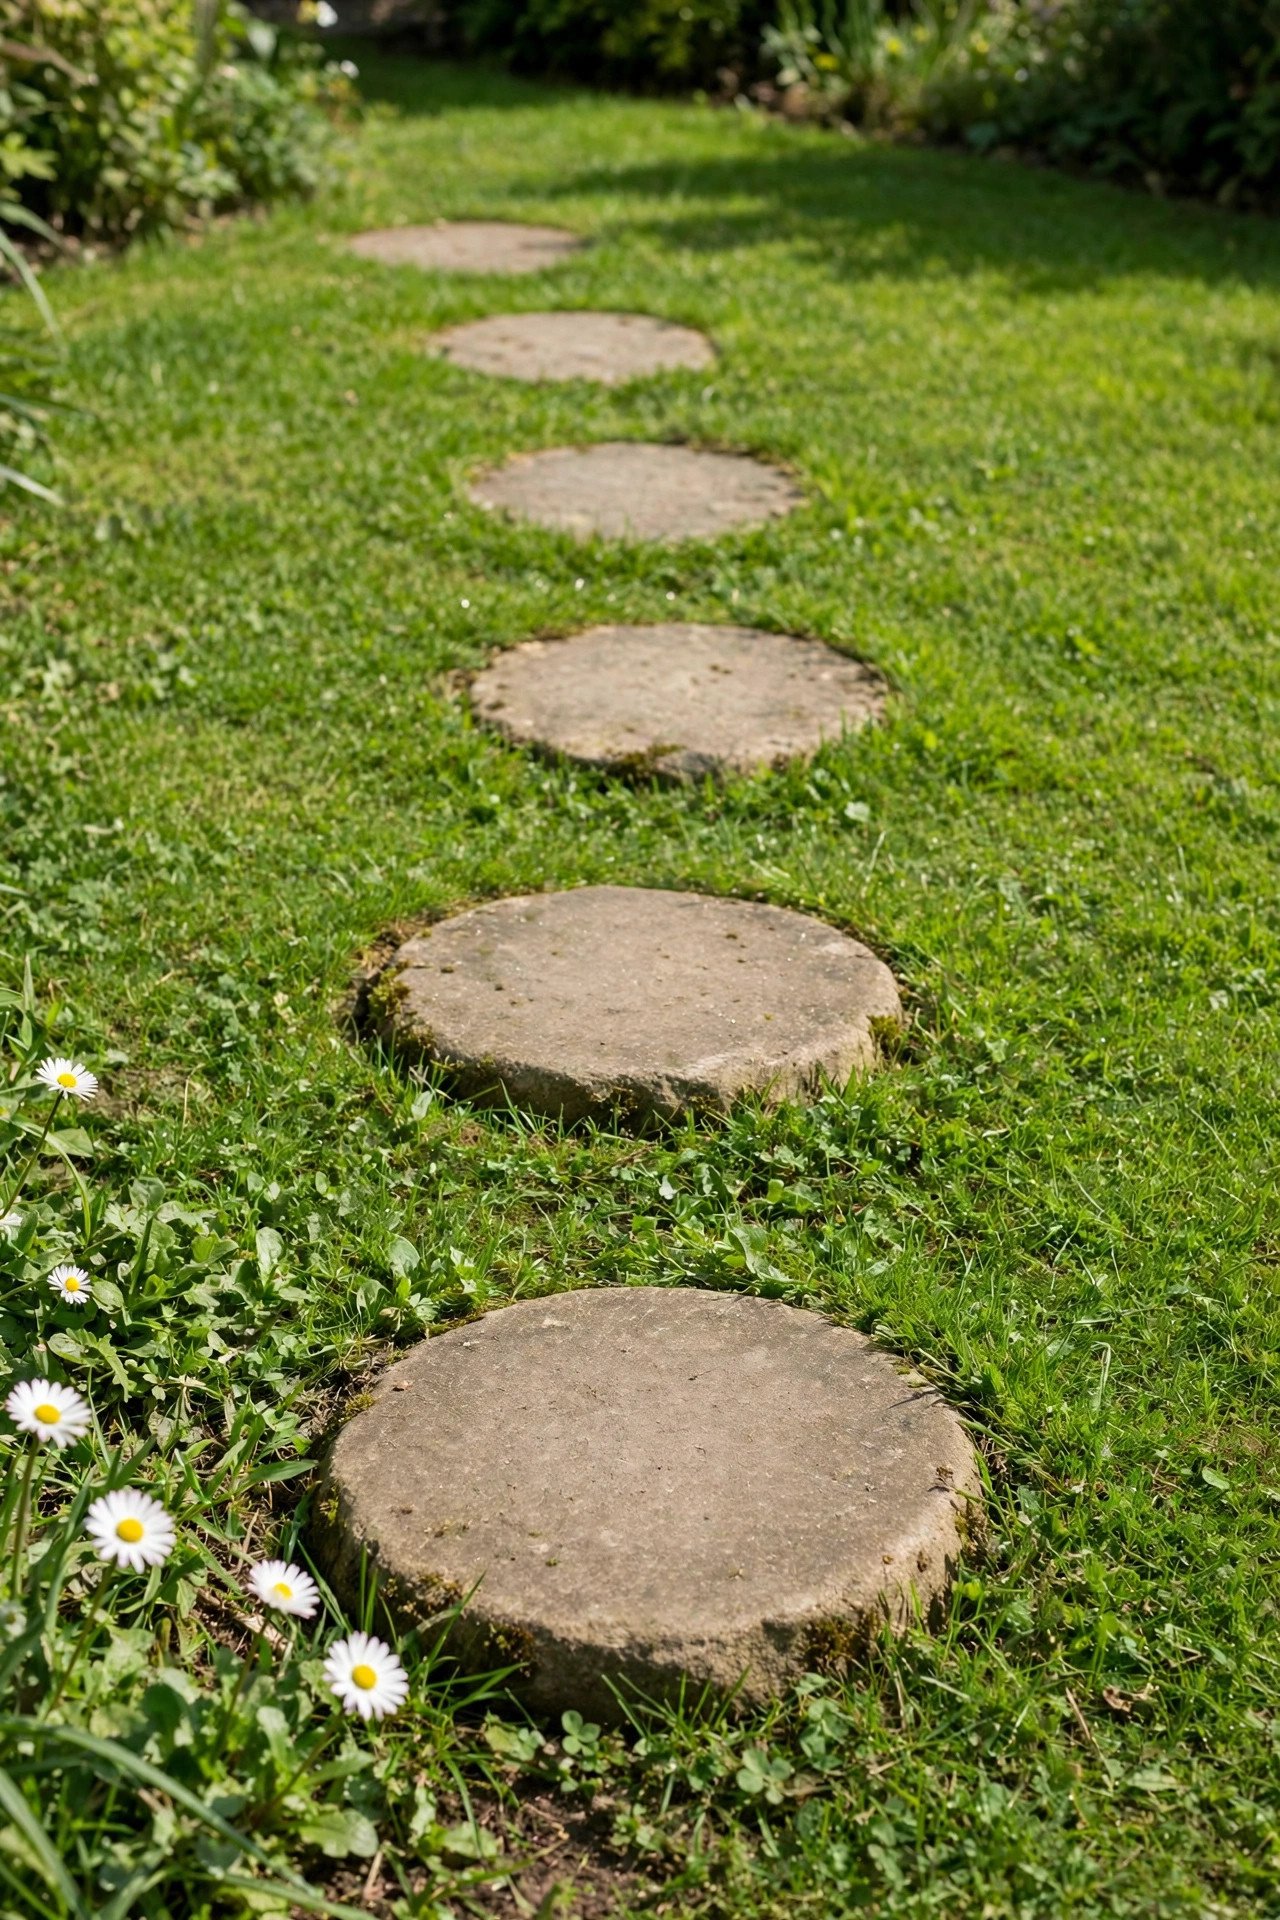
7. Simple Stepping Stones Sunk Into The Lawn
When your route crosses the grass, individual stepping stones are the simplest answer. Set them at your natural stride length and sink each one level with the soil so the mower glides right over. Wide spacing keeps the material count low while still protecting the lawn from wearing into a dirt track.
Choose stones at least 16 inches wide so each foot lands fully on solid surface. This is a one-afternoon project that instantly makes the yard feel more walkable and cared for.
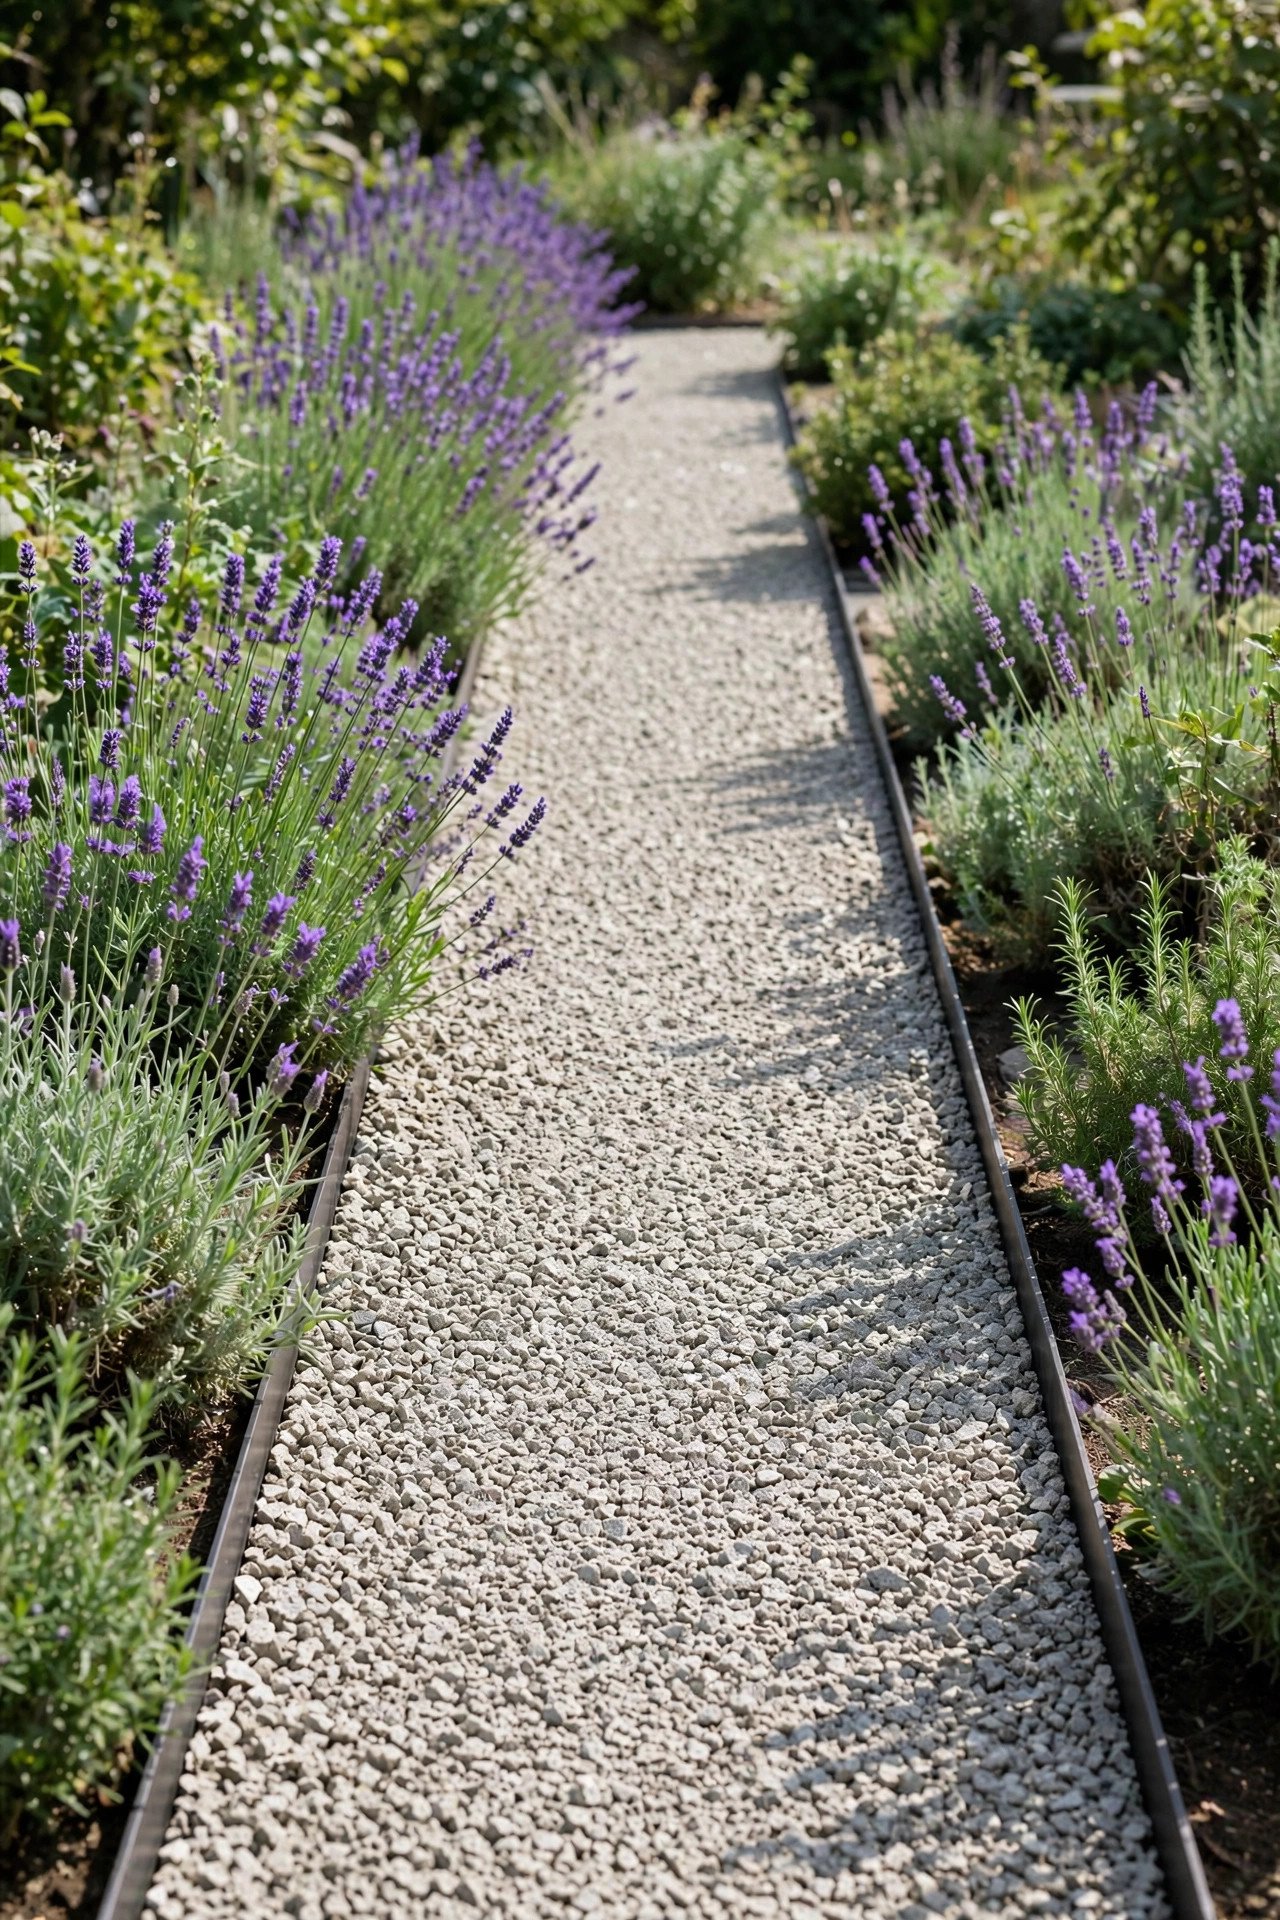
8. Crushed Granite Path With Slim Metal Edging
Crushed granite packs down into a smoother, firmer surface than chunky gravel, and it still costs far less than full paving. Edge it with slim steel strips that nearly disappear, so the clean curve of the path and the planting beside it do all the visual work. The fine particles lock together well underfoot.
This material suits a Mediterranean or modern planting scheme with lavender, grasses, and olive tones. Water the surface lightly after spreading to help it settle, then compact it for a firm finish.
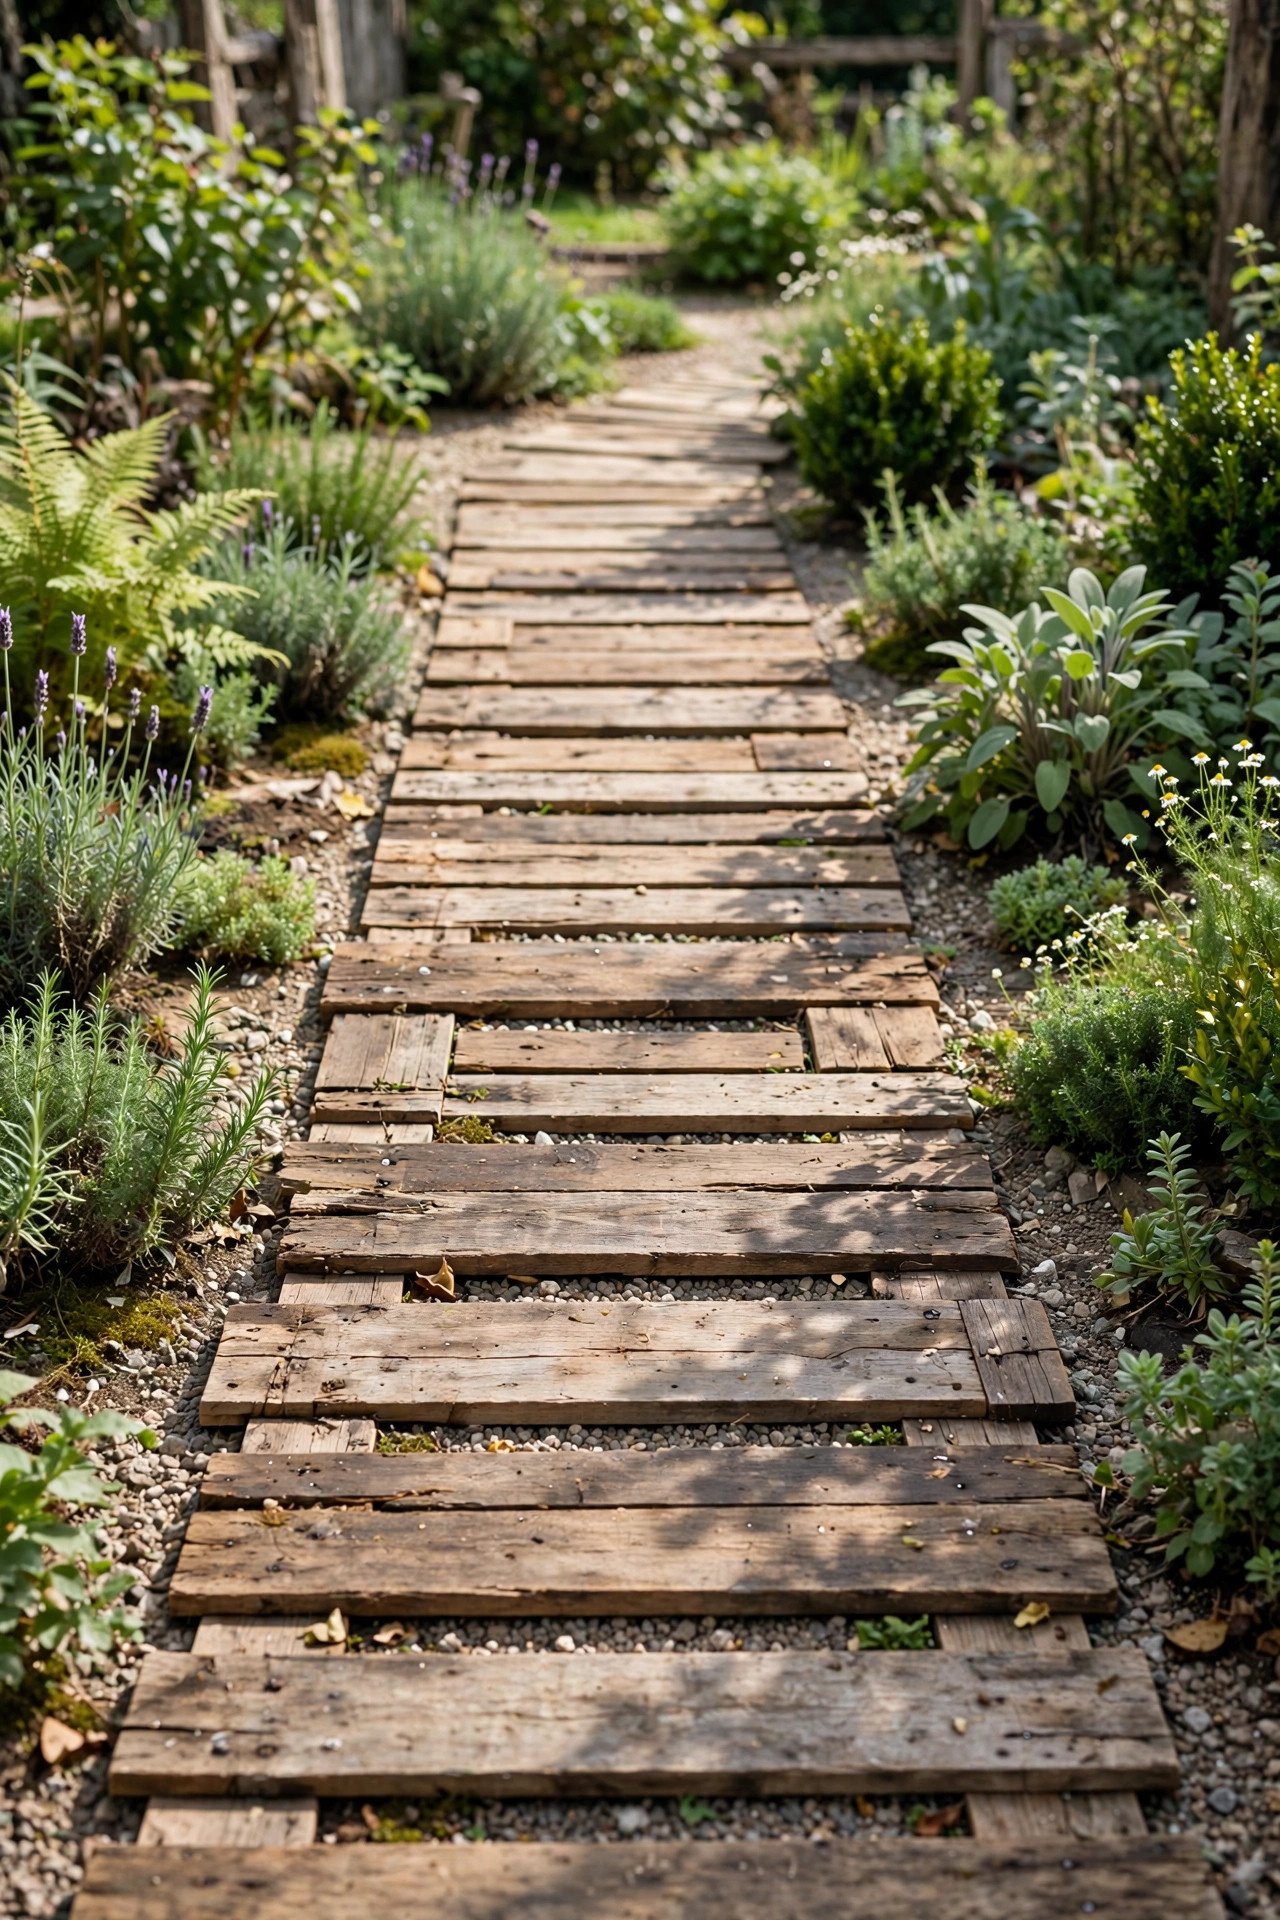
9. Pallet Board Walkway Laid Over Gravel
Reclaimed boards give a damp or uneven section of yard an easy boardwalk feeling. Lay a gravel bed first to support the timber and improve drainage, then screw the boards down with small gaps between them. The gravel base is what keeps the whole thing from looking like boards dropped on mud.
Sand the tops of the boards and seal them with exterior oil so they stay safe to walk on. This is a smart fix for that soggy stretch of garden that never quite dries out.
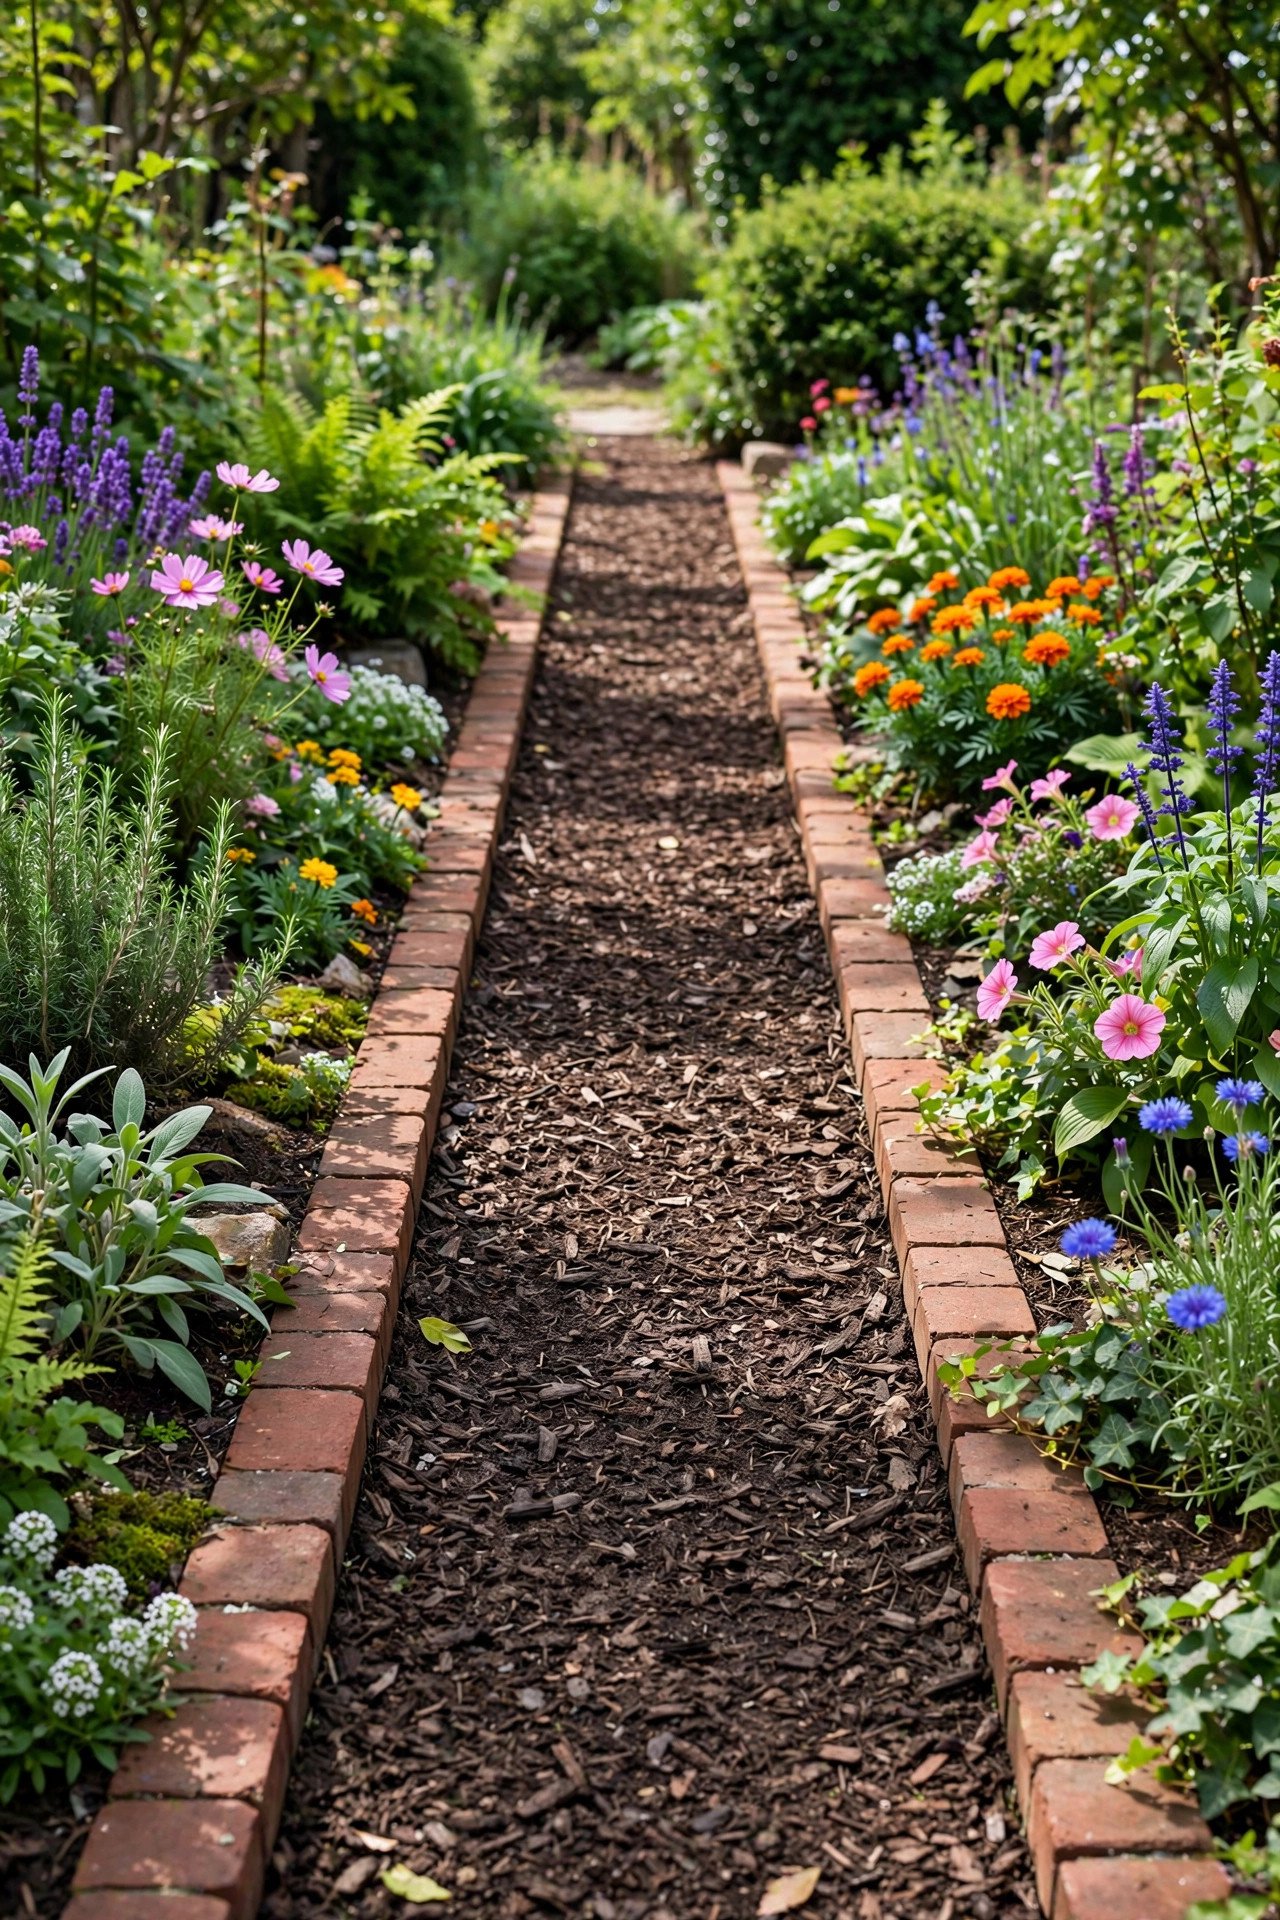
10. Brick Border Framing A Mulch Center
You only need brick for the edges, which stretches a small salvaged pile much farther than paving the whole path. Stand or lay bricks in a crisp line on both sides, then fill the middle with bark mulch that is easy to refresh. The firm border stops the mulch from spilling into the flowers after every storm.
Keep the brick line perfectly level by setting it on packed sand and checking with a long straight board. The contrast between the warm brick and dark mulch gives the path a finished look for very little money.
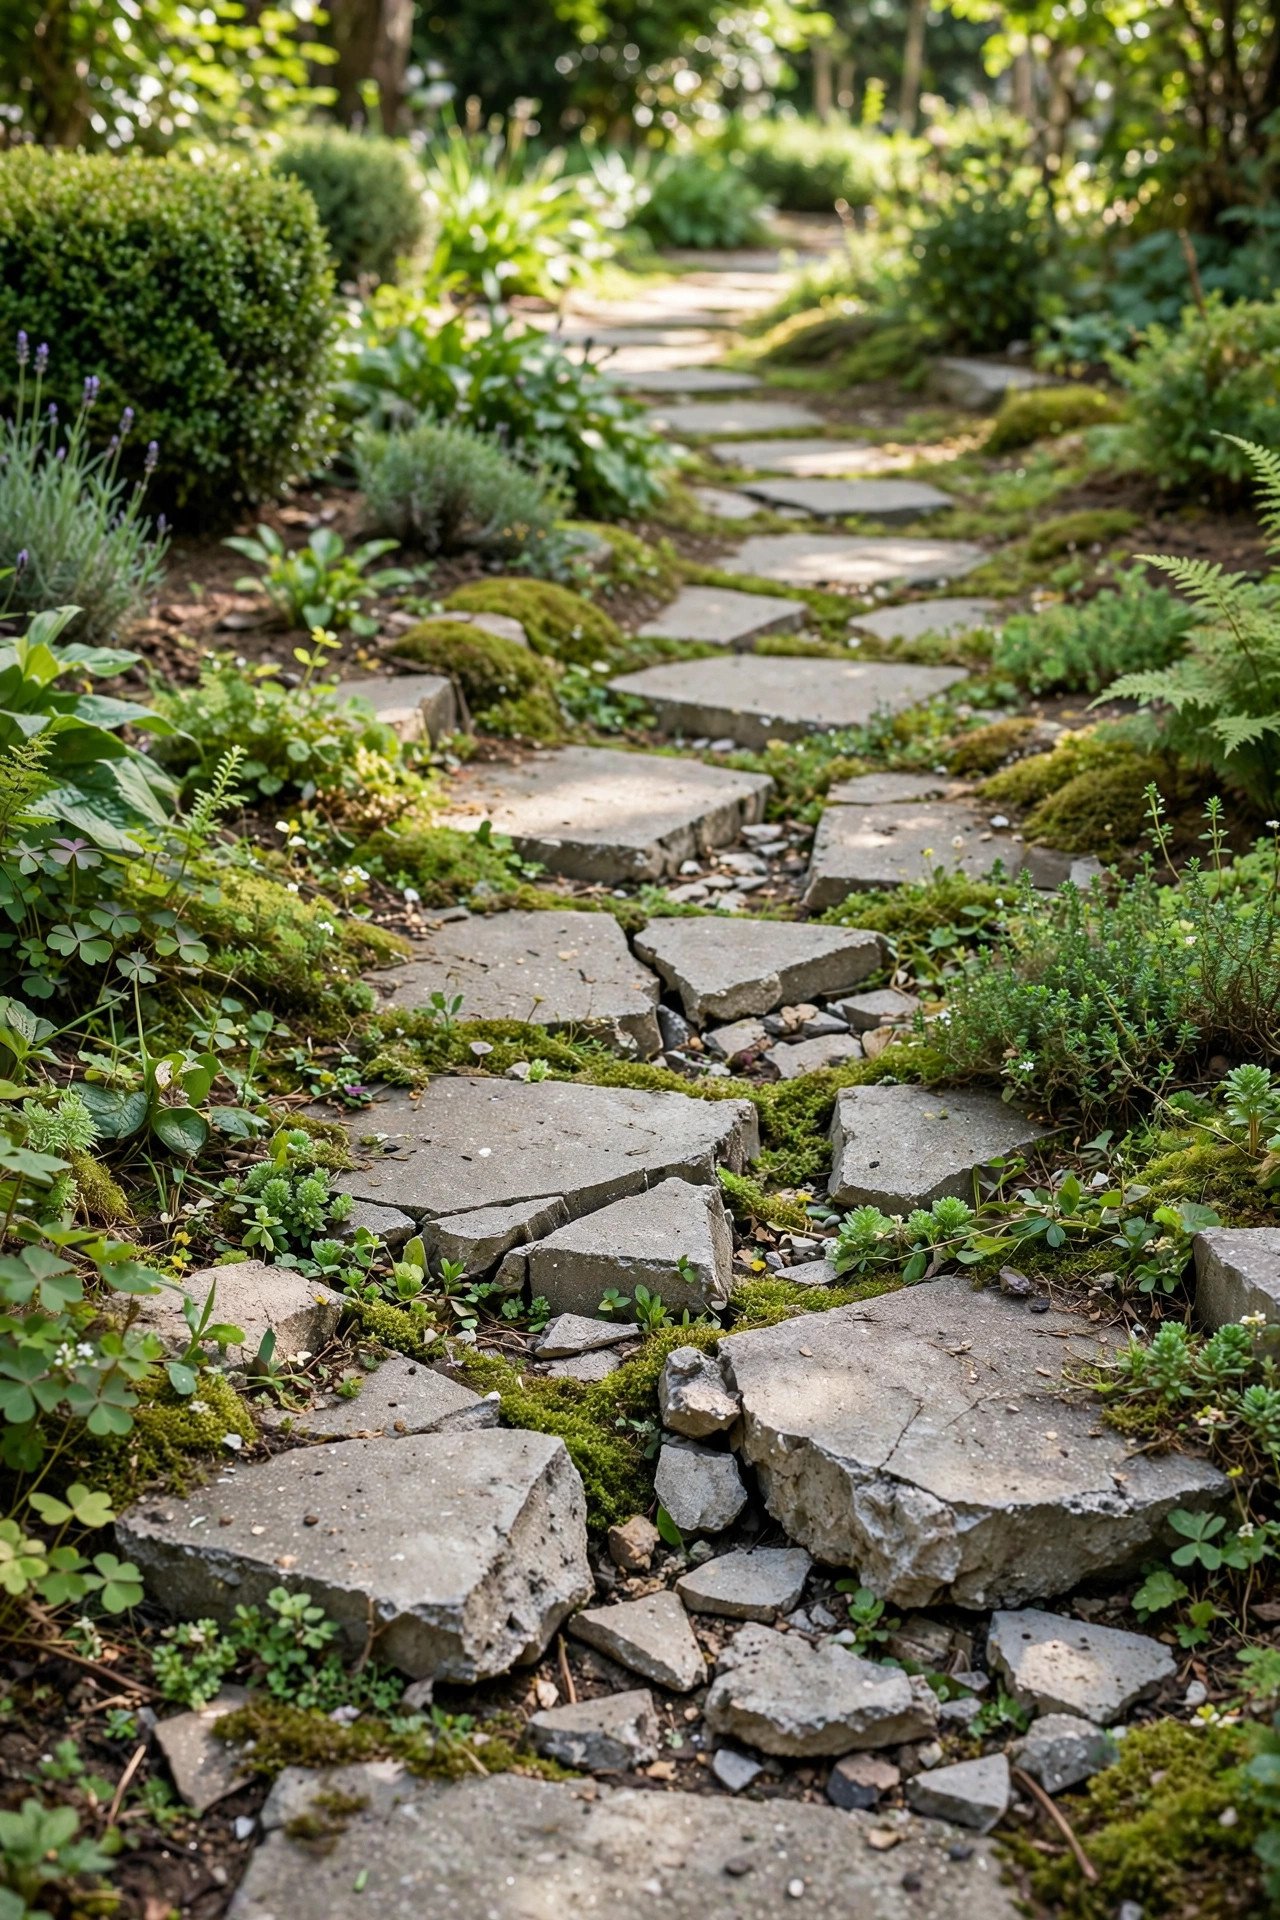
11. Broken Concrete Path With Planted Joints
Broken concrete, sometimes called urbanite, becomes a convincing stepping stone when the pieces get enough breathing room. Lay the chunks with wide joints and plant low groundcover between them, which hides the roughest edges and gives demolition leftovers a deliberate second life. Check with local contractors for free or cheap broken slabs.
Choose pieces with at least one flat face and set that face up for comfortable walking. The planted joints soften the hard gray and make the path look like it has been there for years.
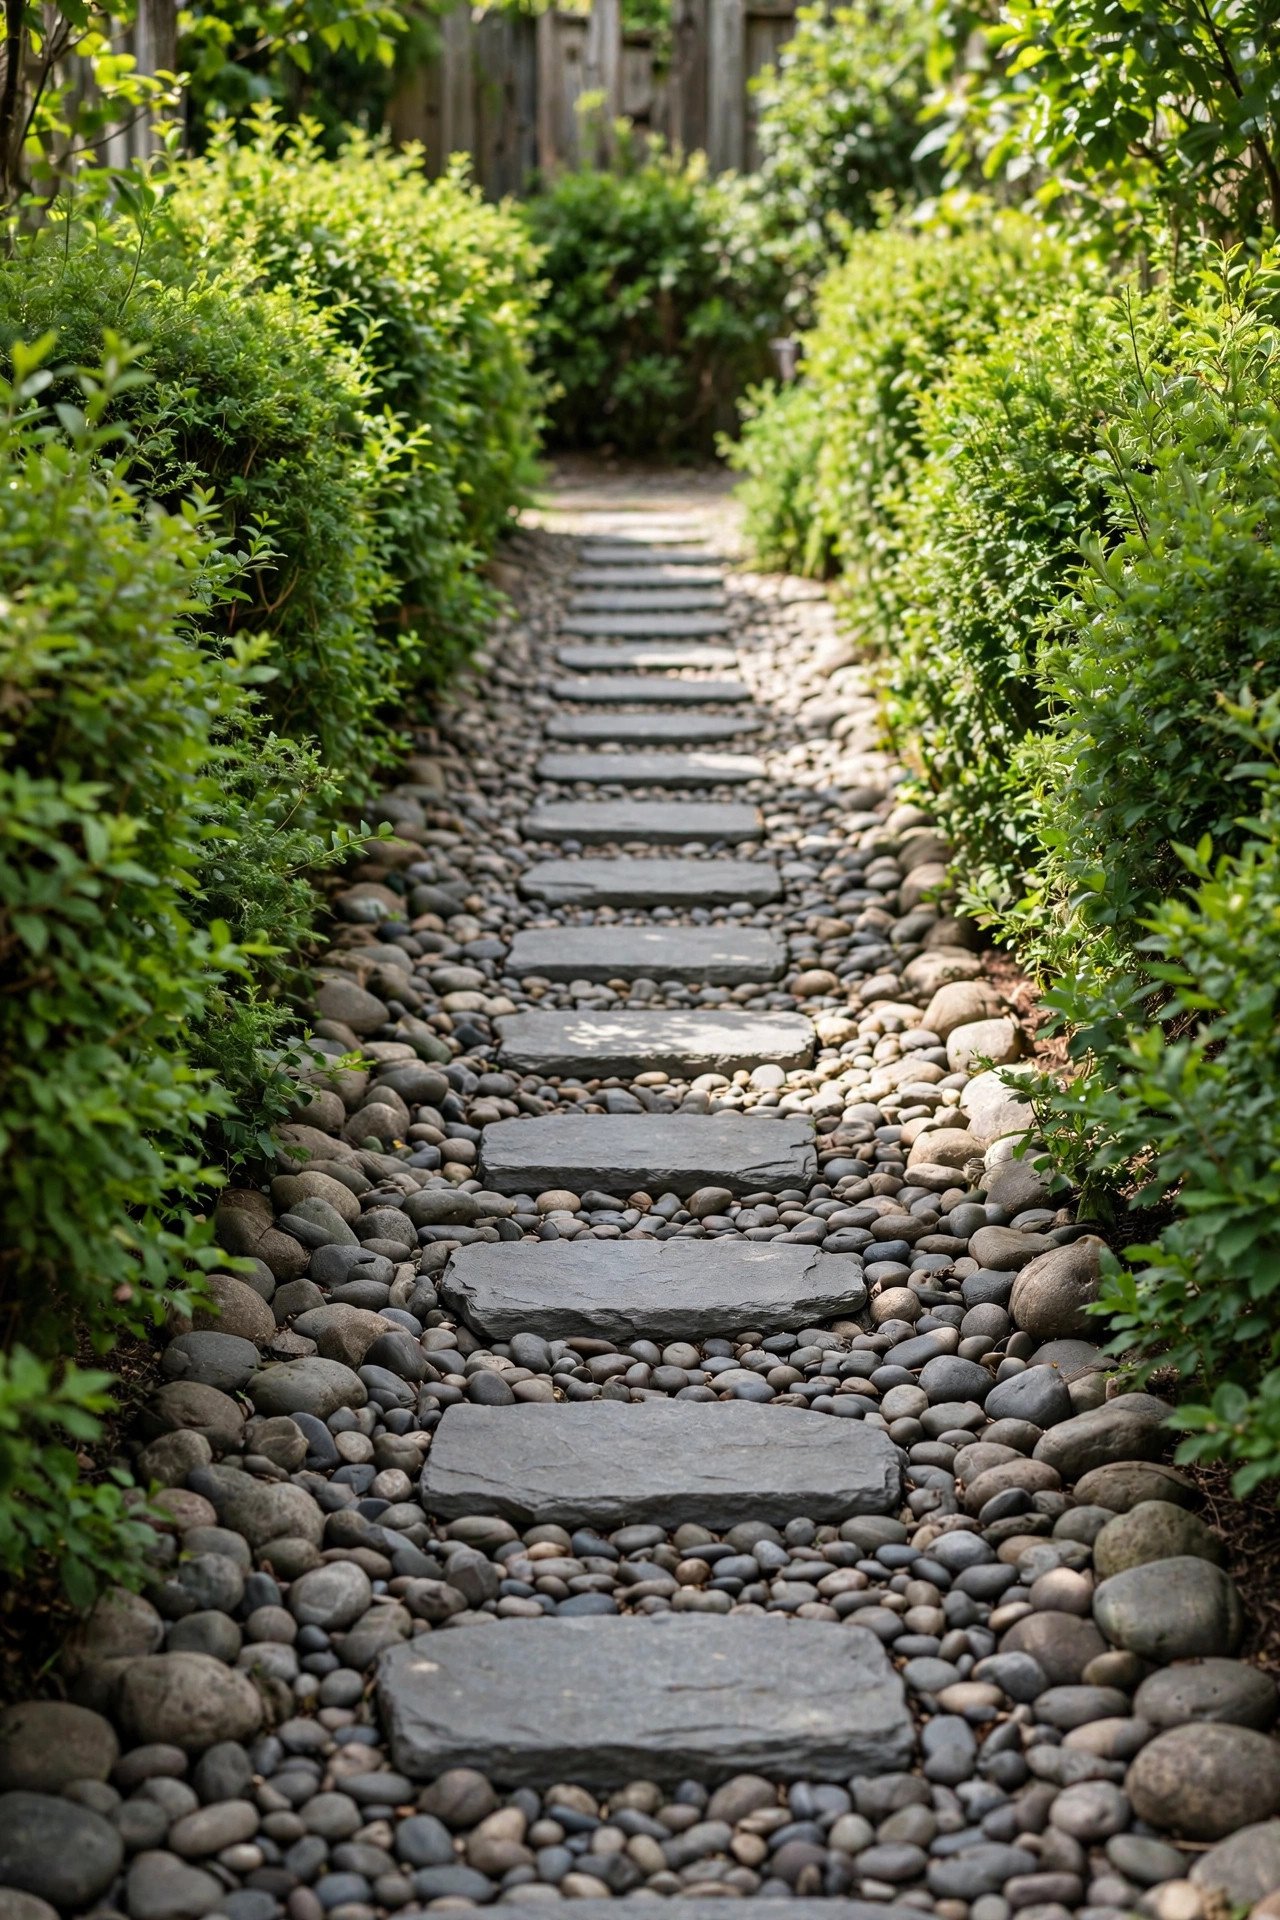
12. River Rock Bed With Flat Stepping Stones
Smooth river rock fills a narrow side path beautifully, but walking on loose rounded pebbles is uncomfortable. The fix is simple: set flat stepping stones down the center for your stride and let the river rock fill the rest. You get excellent drainage and rich texture without the wobble.
Line the bed with landscape fabric first so weeds do not push through the stones. This combination also works well beside a house foundation where you want water to drain away quickly.
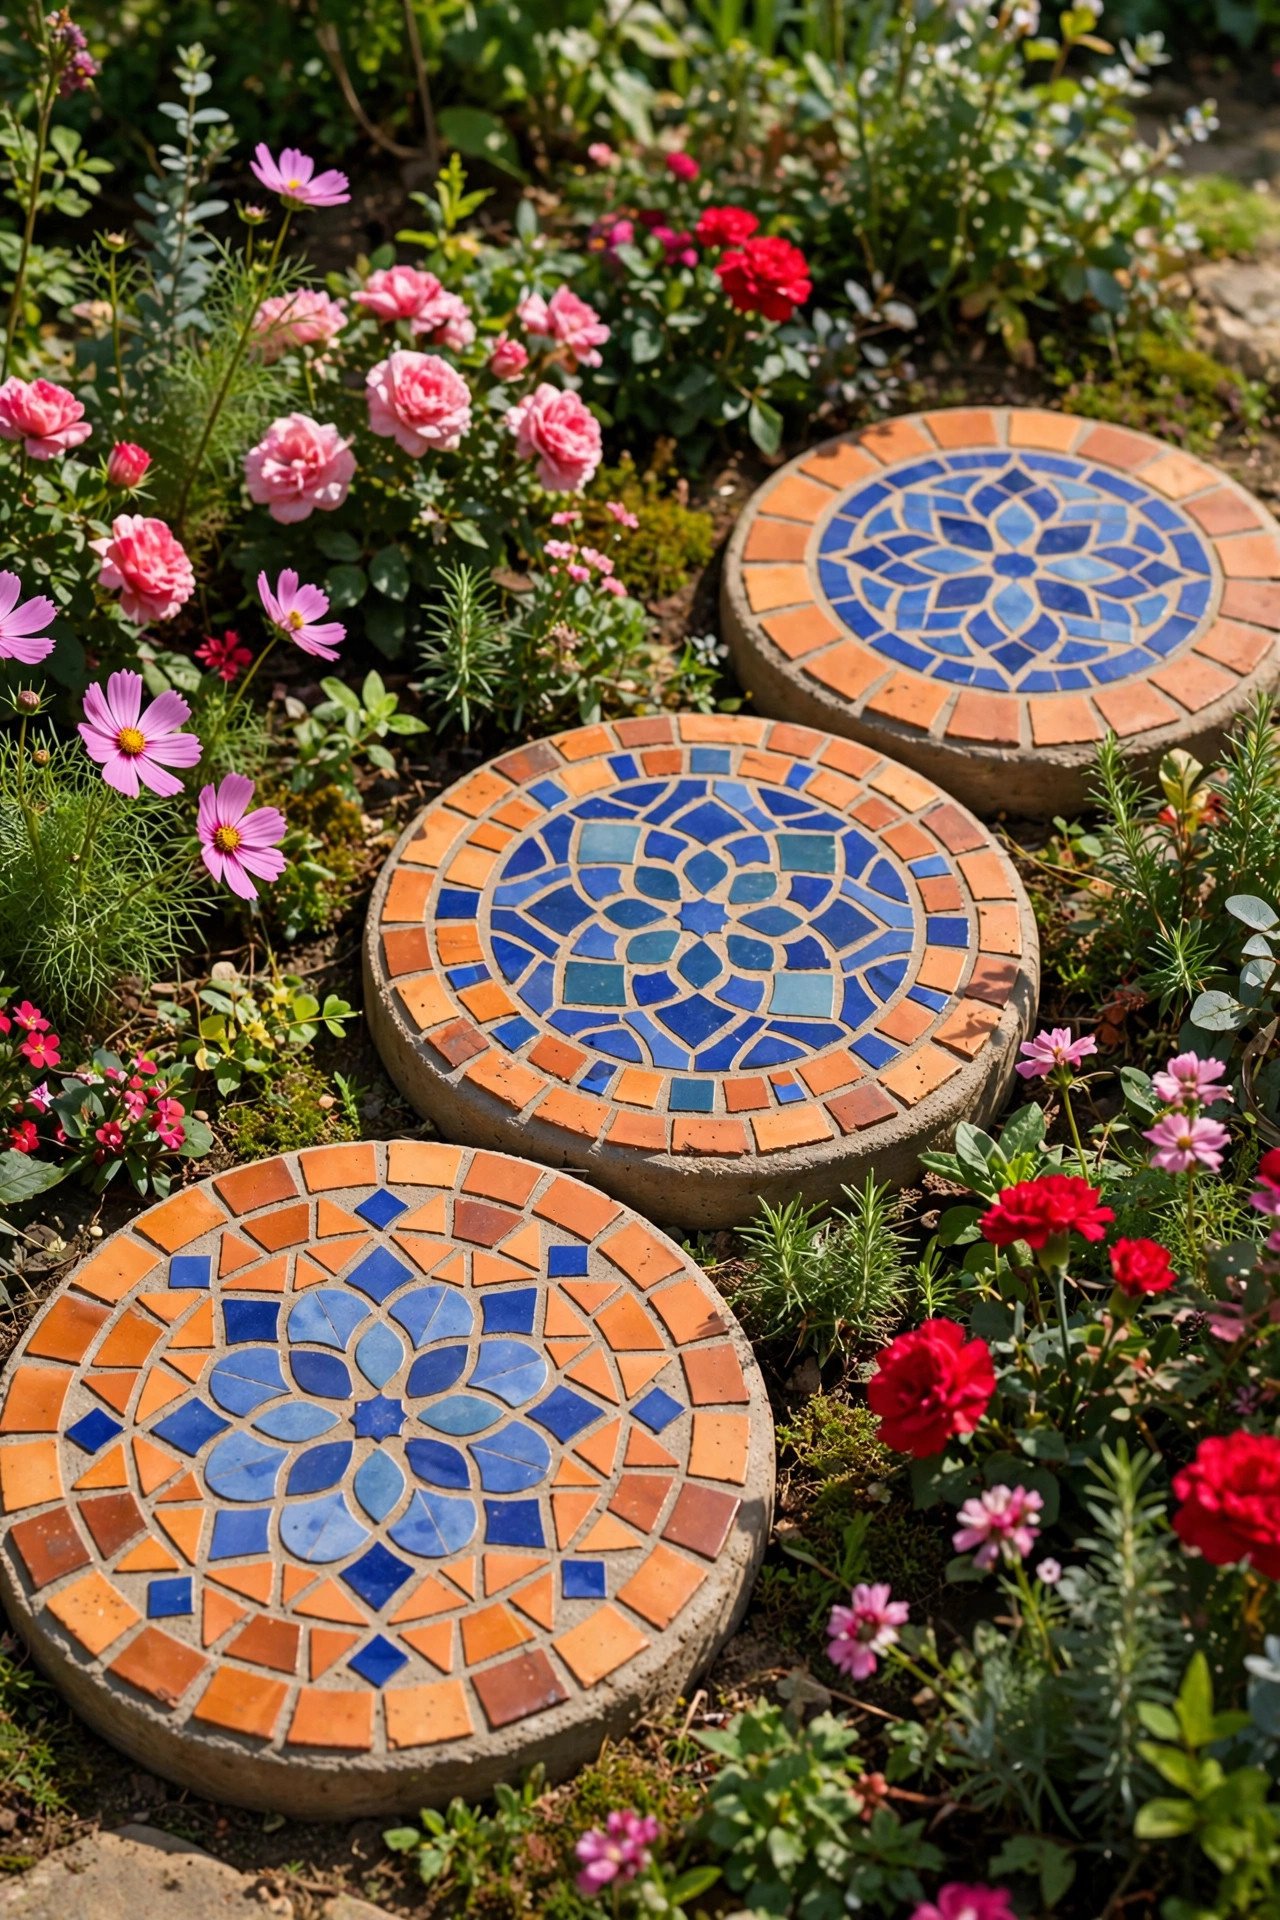
13. Terracotta Mosaic Stepping Stones
Small terracotta offcuts can become the feature instead of the waste. Set broken pieces into wet concrete rounds to make mosaic stepping stones with warm, handmade character. Repeating two or three simple patterns keeps the pieces from feeling too busy across the whole path.
Seal the finished stones so the terracotta survives frost and rain. These colorful rounds look especially happy winding through a cutting garden or a bed of bright annuals.
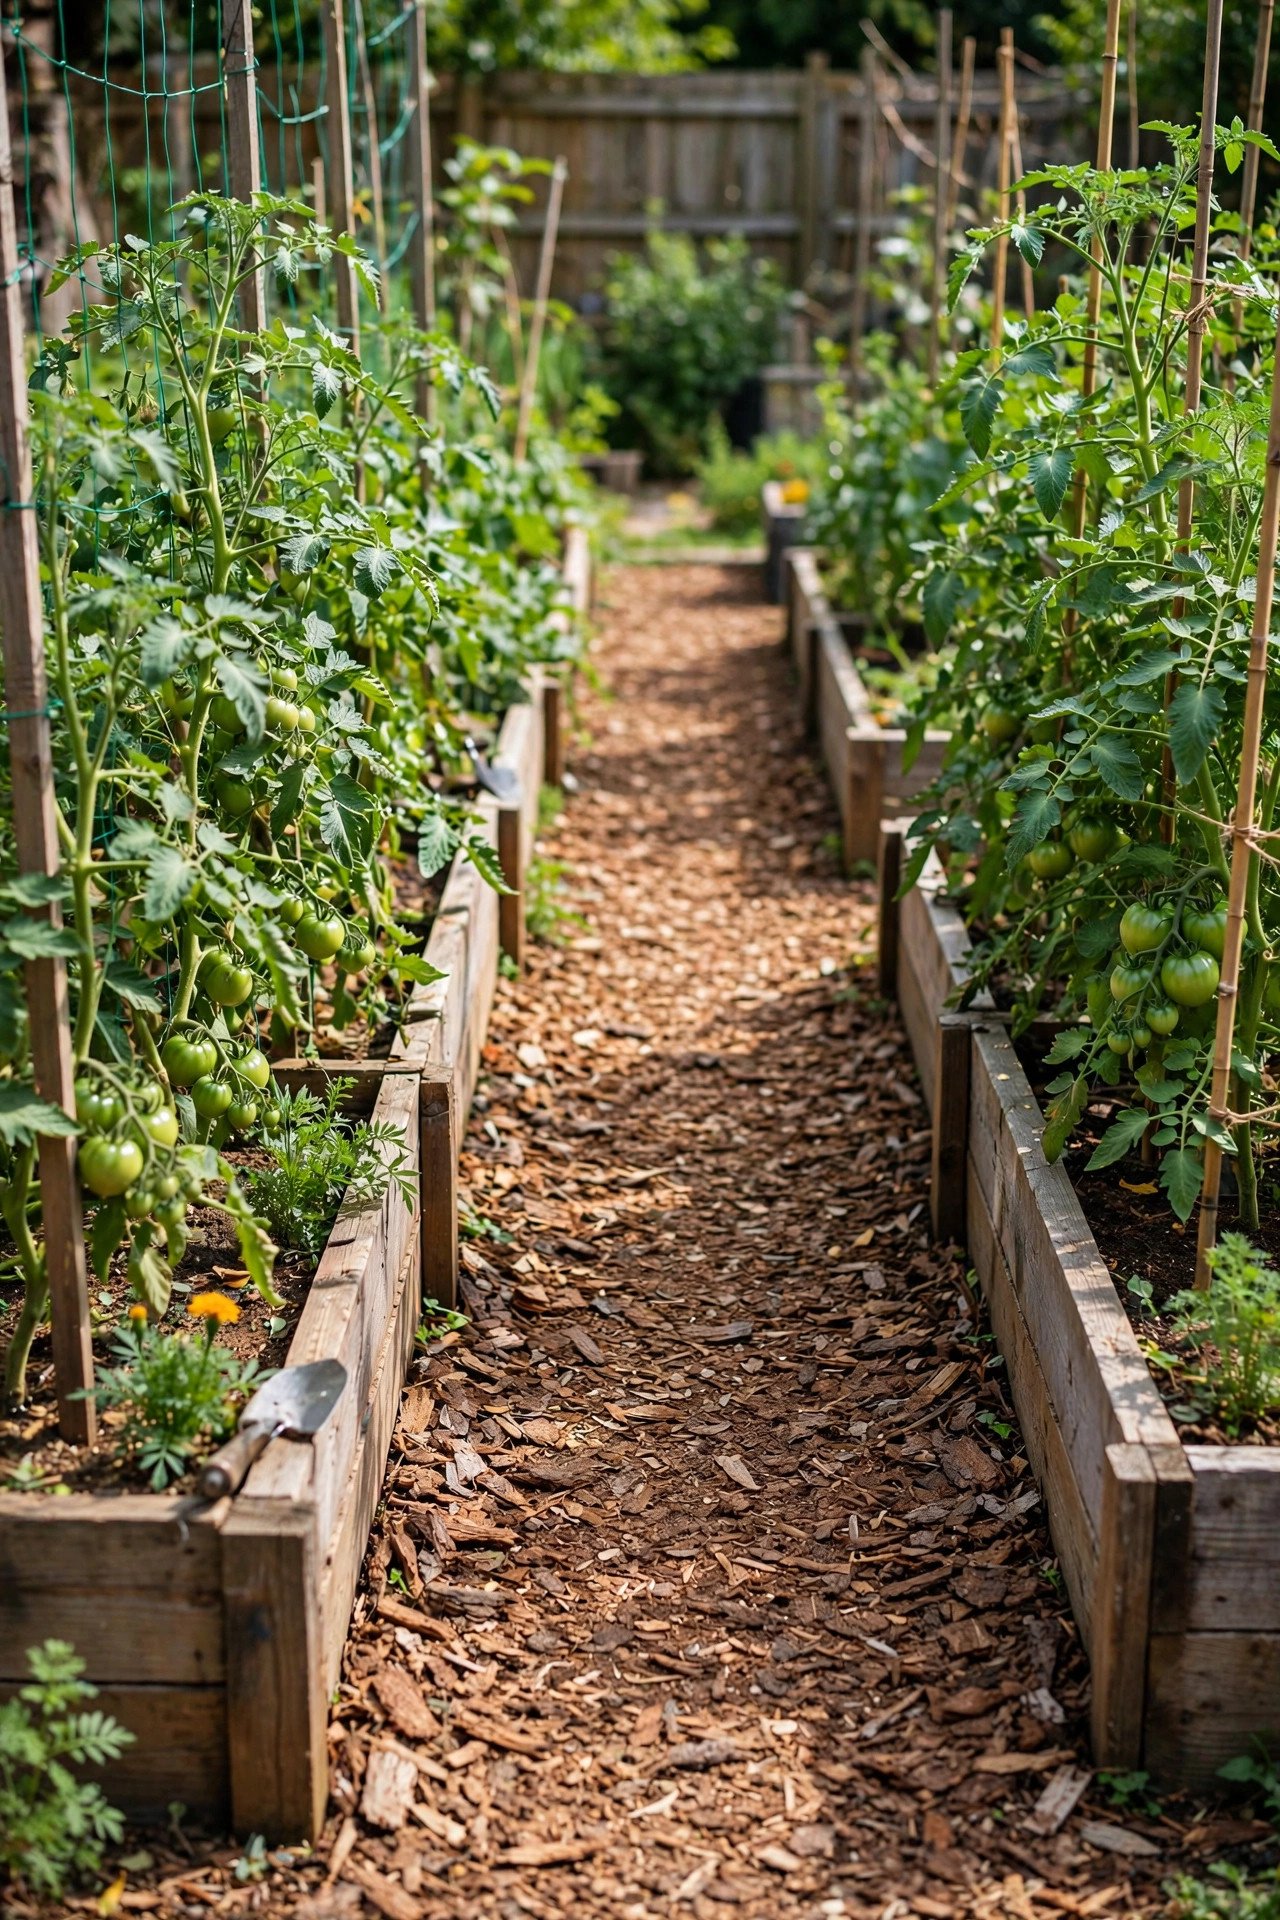
14. Bark Chip Path Running Between Raised Beds
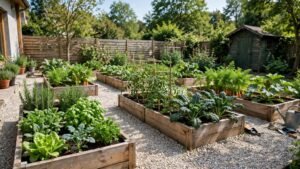
A thick layer of bark chips is the practical choice between raised beds because it is forgiving underfoot and easy to rake back into place. Make the path wide enough for a wheelbarrow, since hauling soil and harvest matters more here than a polished finish. The soft surface is also kind to knees during long planting sessions.
Refresh the chips each spring before the growing season starts. Deep bark paths also help keep weeds down around the beds, which saves you weeding time all summer.
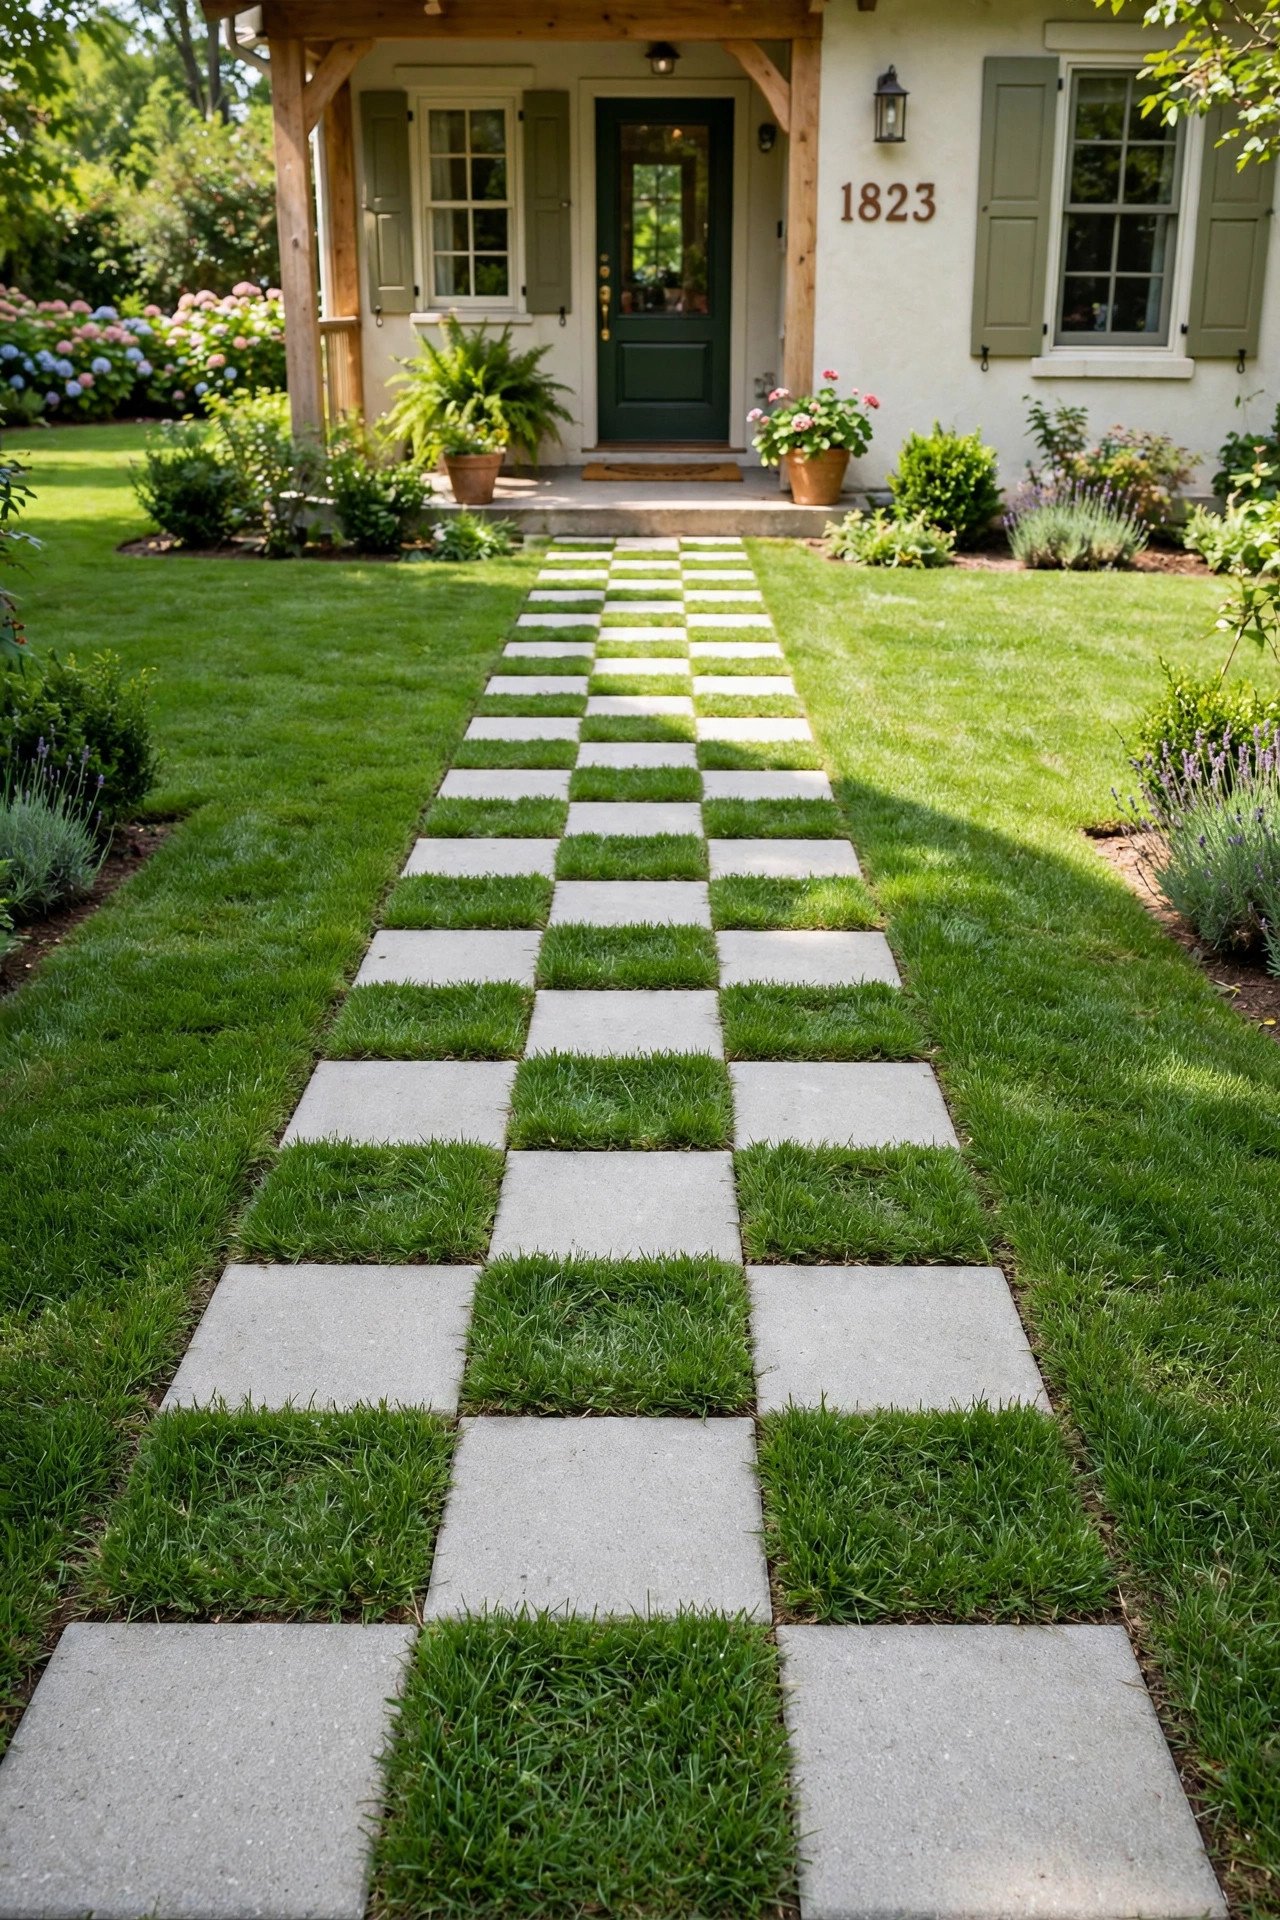
15. Checkerboard Pavers Alternating With Grass
Alternating concrete squares with grass cuts the amount of paving you need while keeping the route crisp and readable. This pattern works best on a level, sunny patch where the planted squares get enough light to stay thick and green. Keep the grass squares trimmed so the checkerboard stays sharp.
Set every paver perfectly level with its neighbors so no one trips on a raised corner. The graphic pattern makes a strong first impression leading from the driveway to the front door.
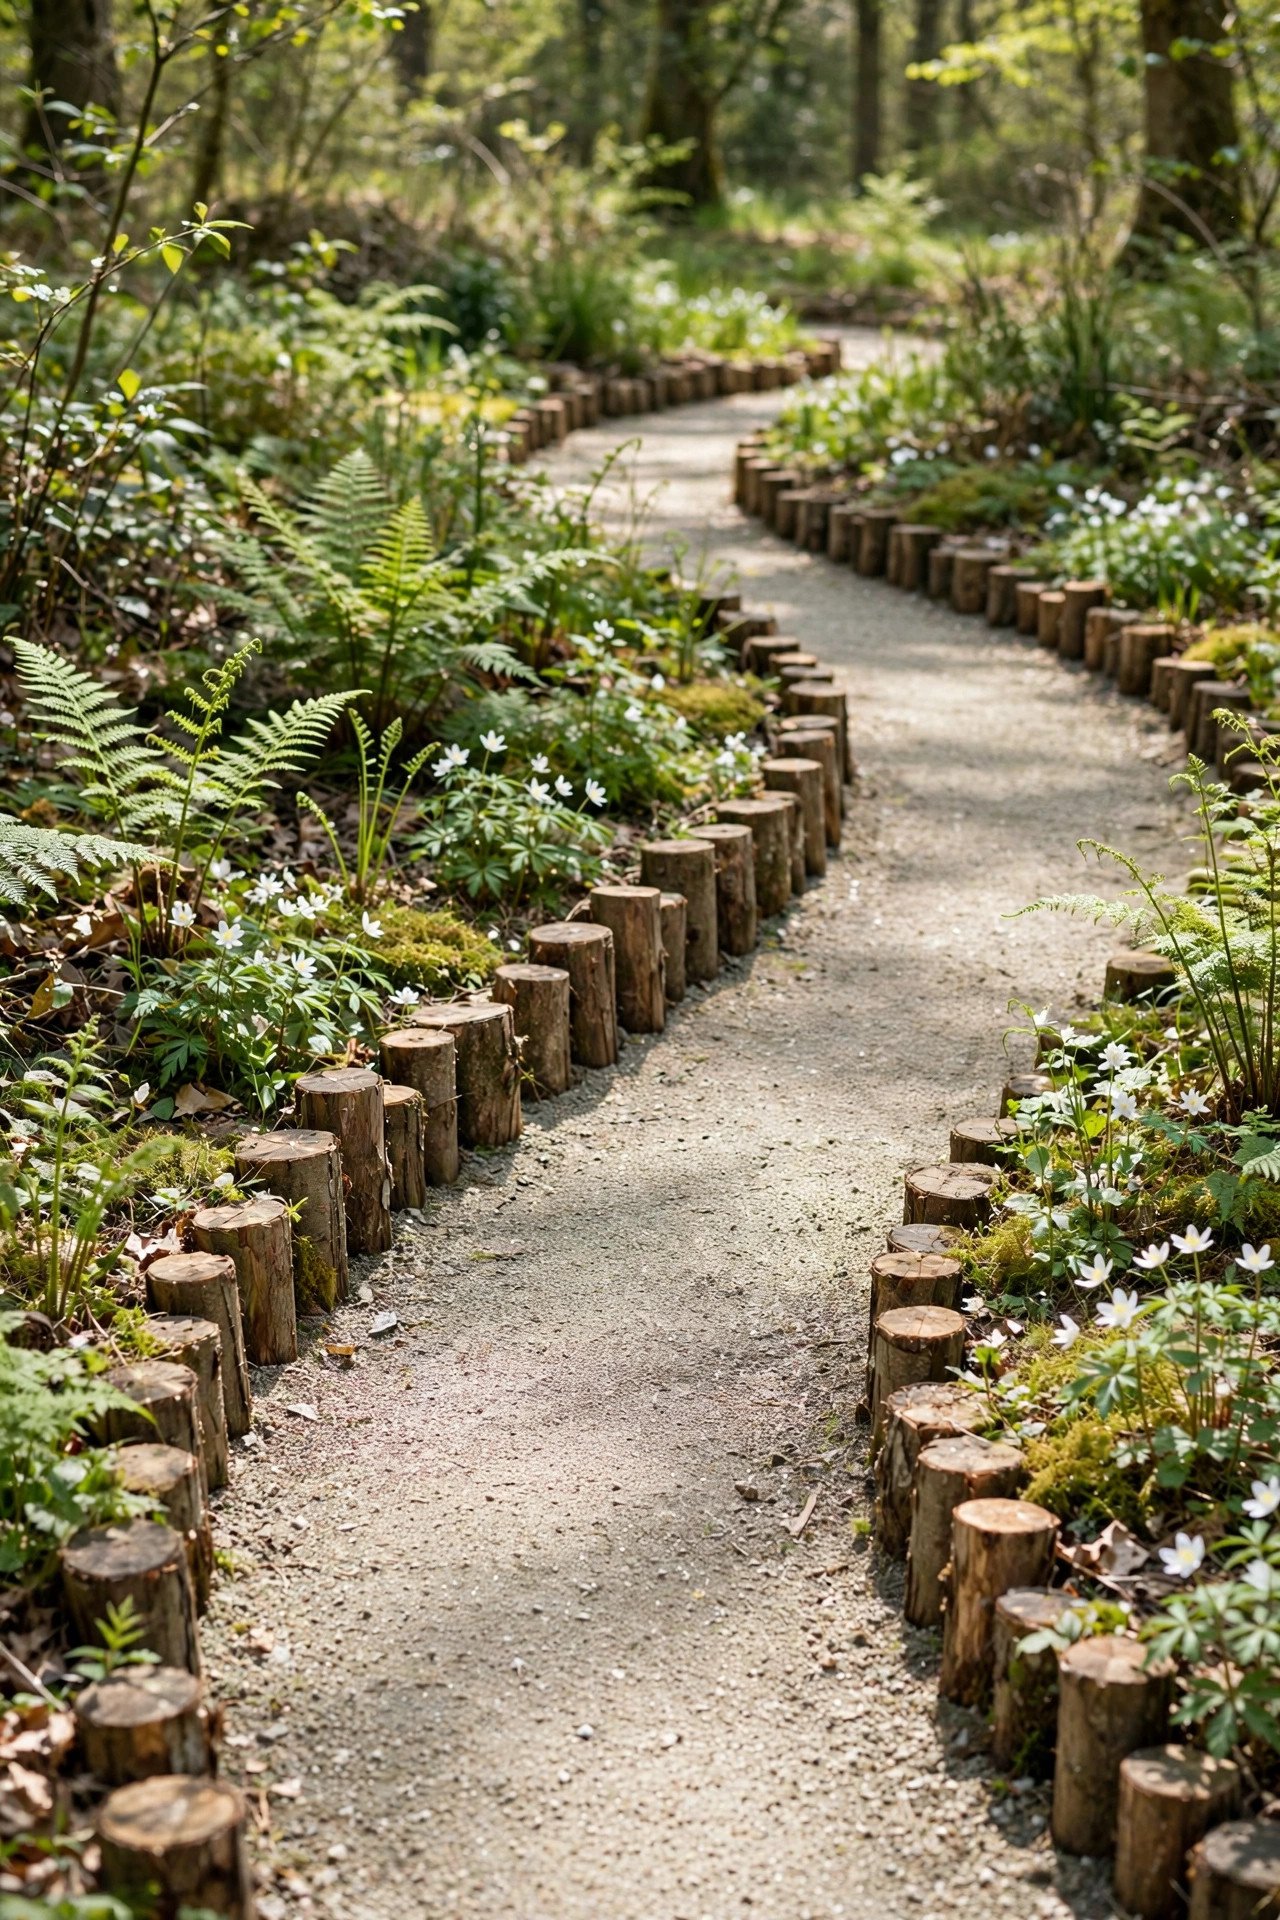
16. Curved Gravel Path Edged With Logs
Short log sections make a rustic edge from material that might already be sitting in your yard. Stand them upright or lay them along the bend to hold the gravel in place, and keep the planting low and woodland-like so the path feels relaxed rather than overly landscaped. This is a wonderful use for branches cleared from the property.
Choose logs of similar thickness for a tidy look, and replace any that start to rot. The natural wood edge suits a garden with ferns, hostas, and native wildflowers.
17. Painted Stepping Stones Tucked Among Flowers
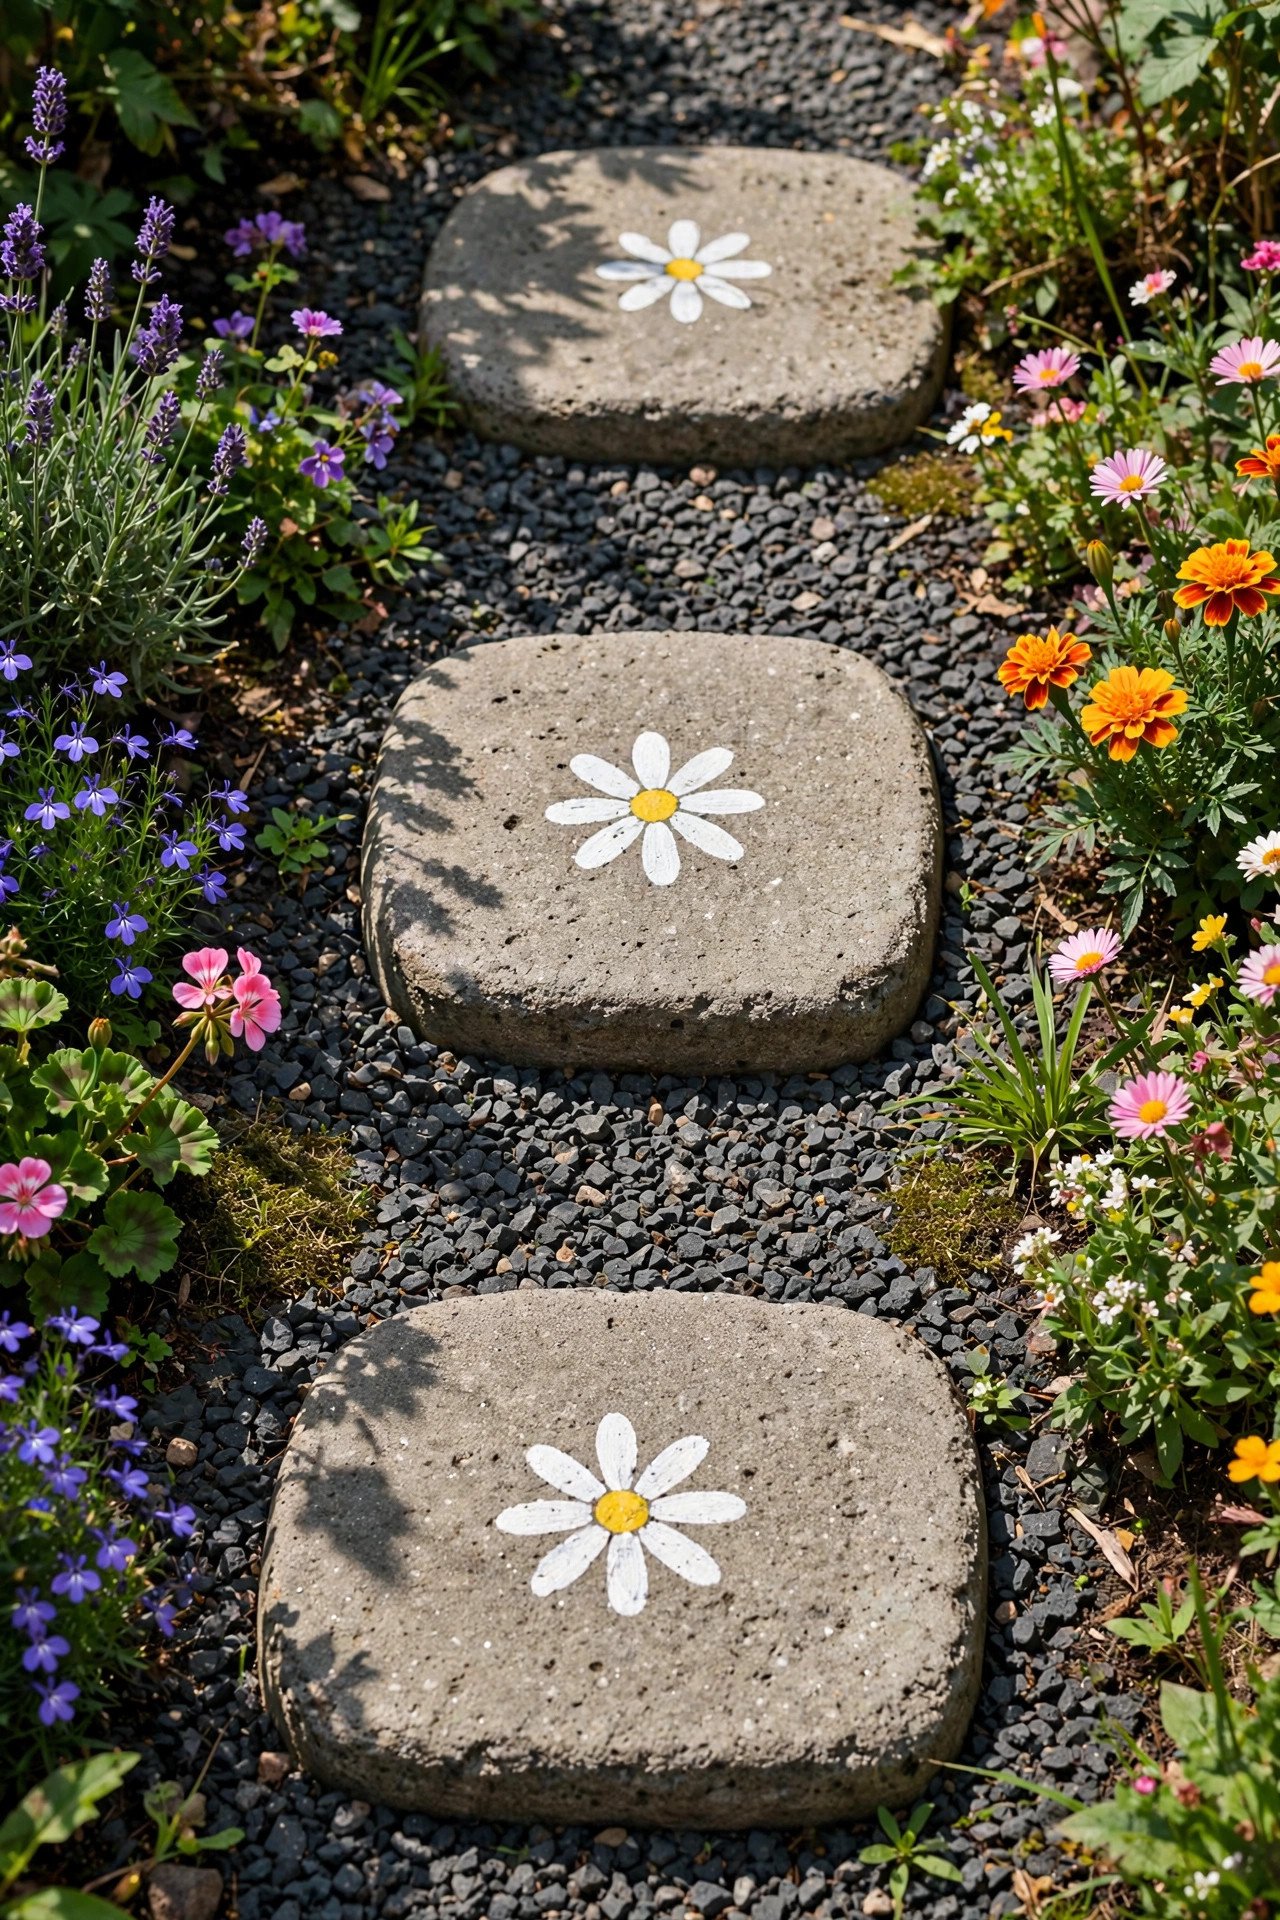
A few painted concrete rounds add personality without turning the whole garden into a craft project. Keep the motifs simple, like daisies or dots, and space the stones through darker gravel so each piece reads clearly. Let kids help paint them for a personal touch the whole family enjoys.
Use exterior acrylic paint and a clear sealer so the designs last through rain and sun. In autumn you can surround them with seasonal color, and these pumpkin decorating ideas show how to style the beds around the path for fall.
18. Side Yard Gravel Path With Paver Pads
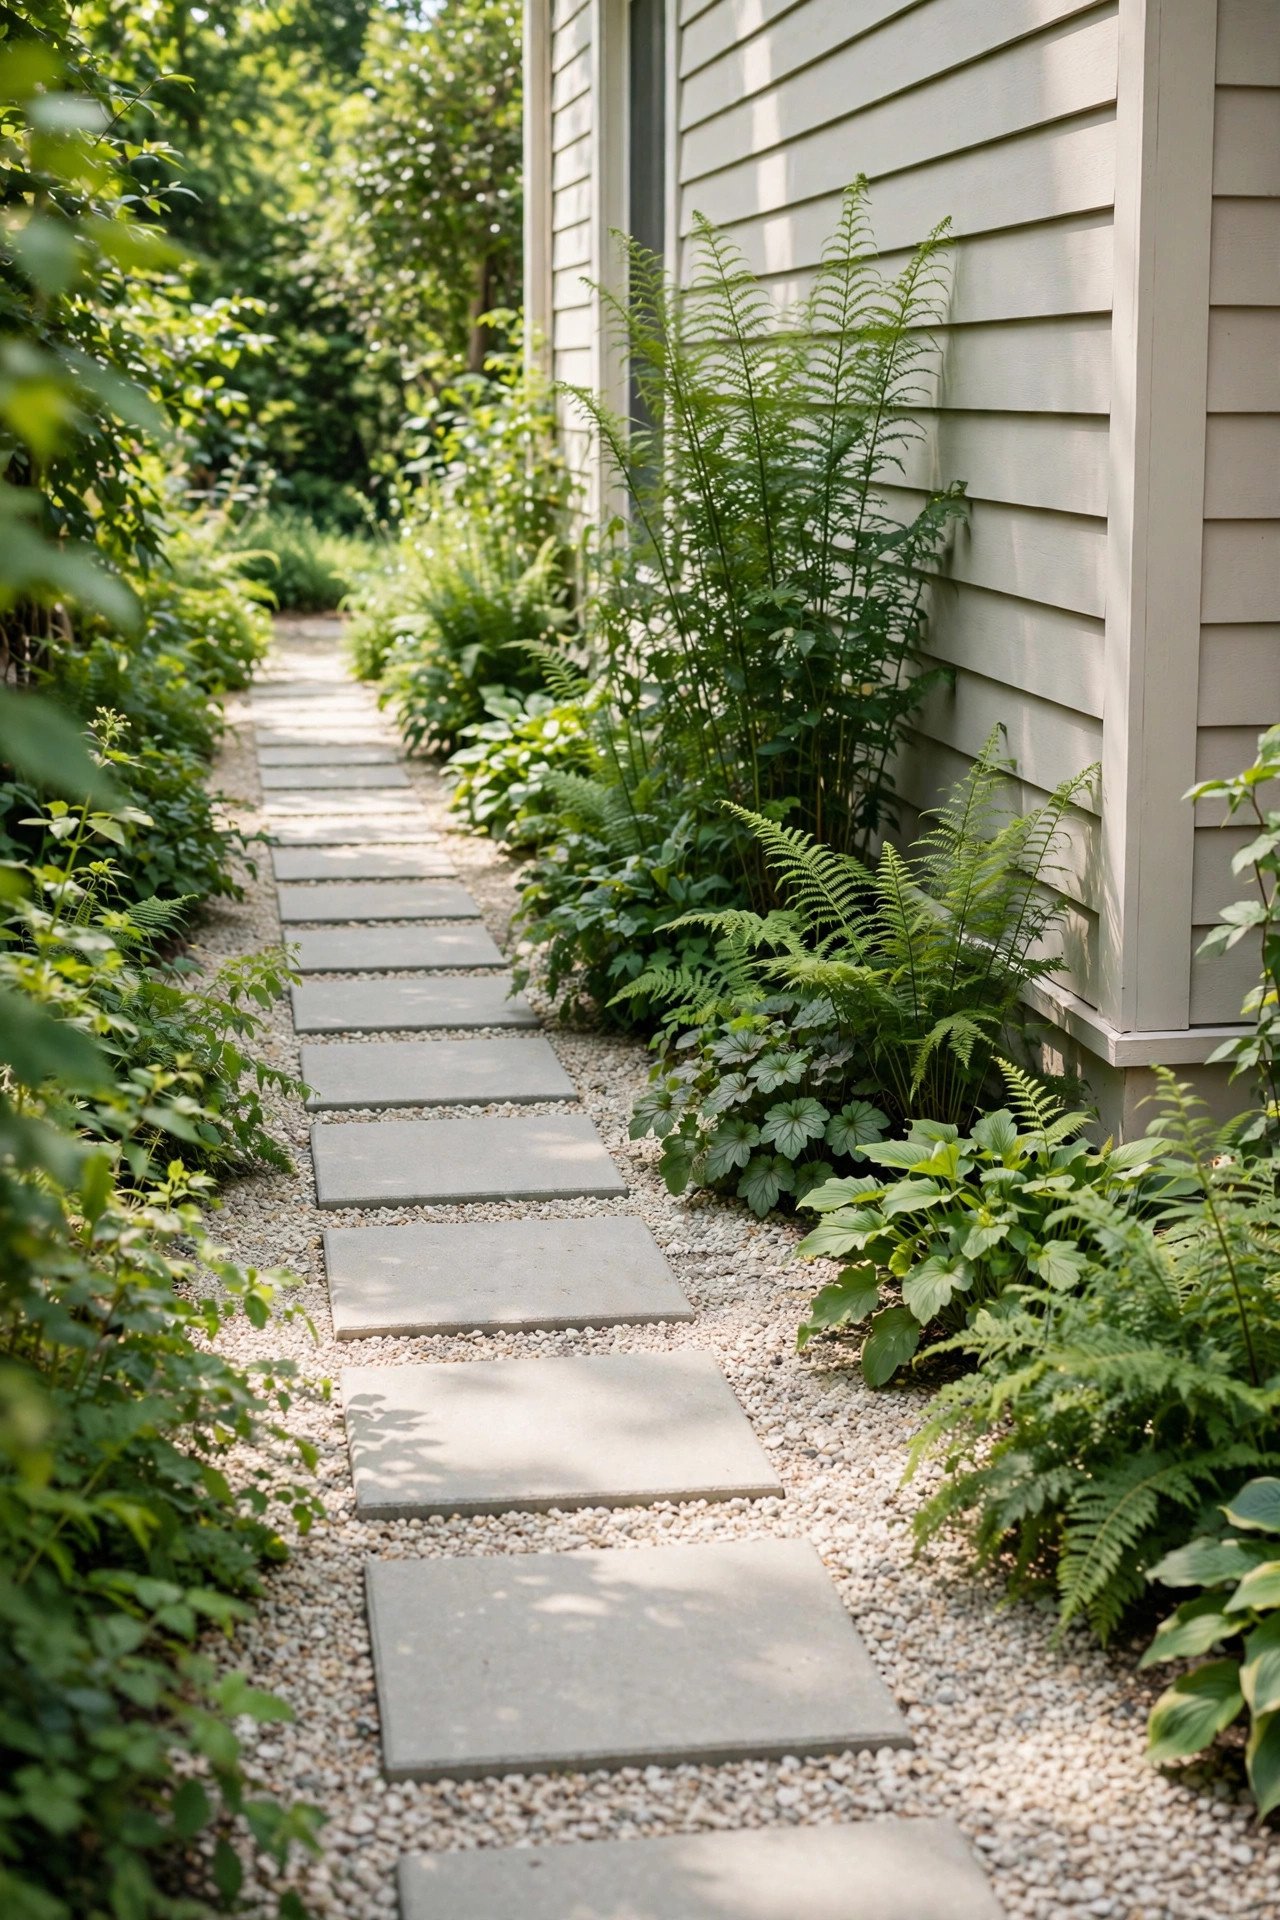
Narrow side yards are often ignored, but a simple gravel path with square paver pads turns that strip into a useful route. Place pavers only at the main footfalls and fill everything else with gravel, which leaves planting room along both sides. The result is a dry, walkable passage where a full patio would feel heavy.
Plant shade-tolerant perennials along the edges if the strip sits between houses. Even a slim side yard can become a pleasant walk when the ground underfoot is clean and firm.
19. Herringbone Brick Entry On A Budget
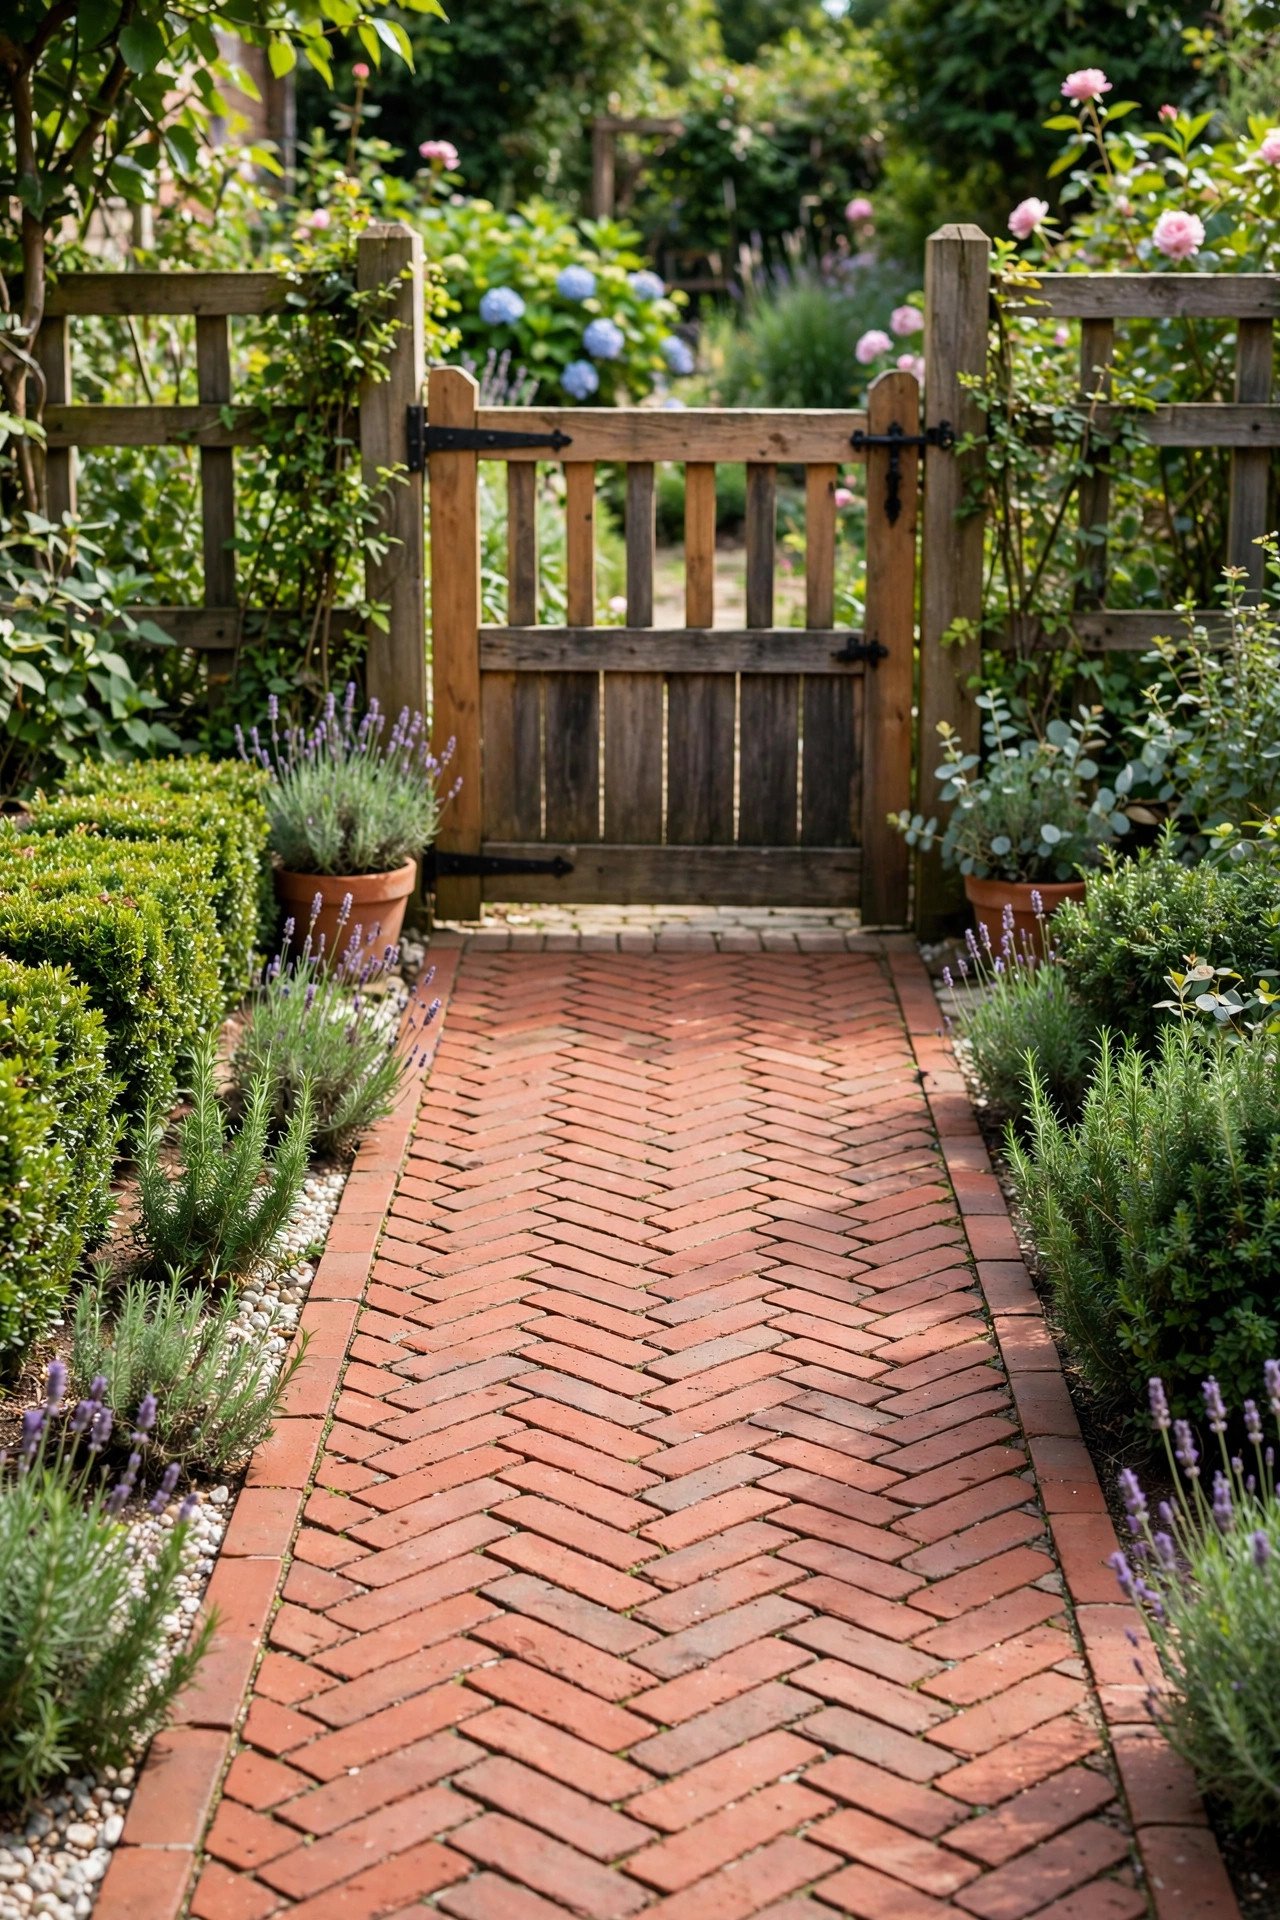
A herringbone pattern makes ordinary reclaimed brick look far more finished, especially at a garden entrance where first impressions matter. The strong diagonal lines suit a straight run, and a compacted sand base is the practical detail that keeps the pattern from shifting over time. Lay the bricks tightly so weeds have nowhere to start.
Sweep fine sand into the joints after laying to lock everything together. A herringbone entry pairs beautifully with a dressed-up doorway, and these fall front porch decor ideas show how to style the entrance it leads to.
20. Groundcover Pockets Growing Between Stepping Stones
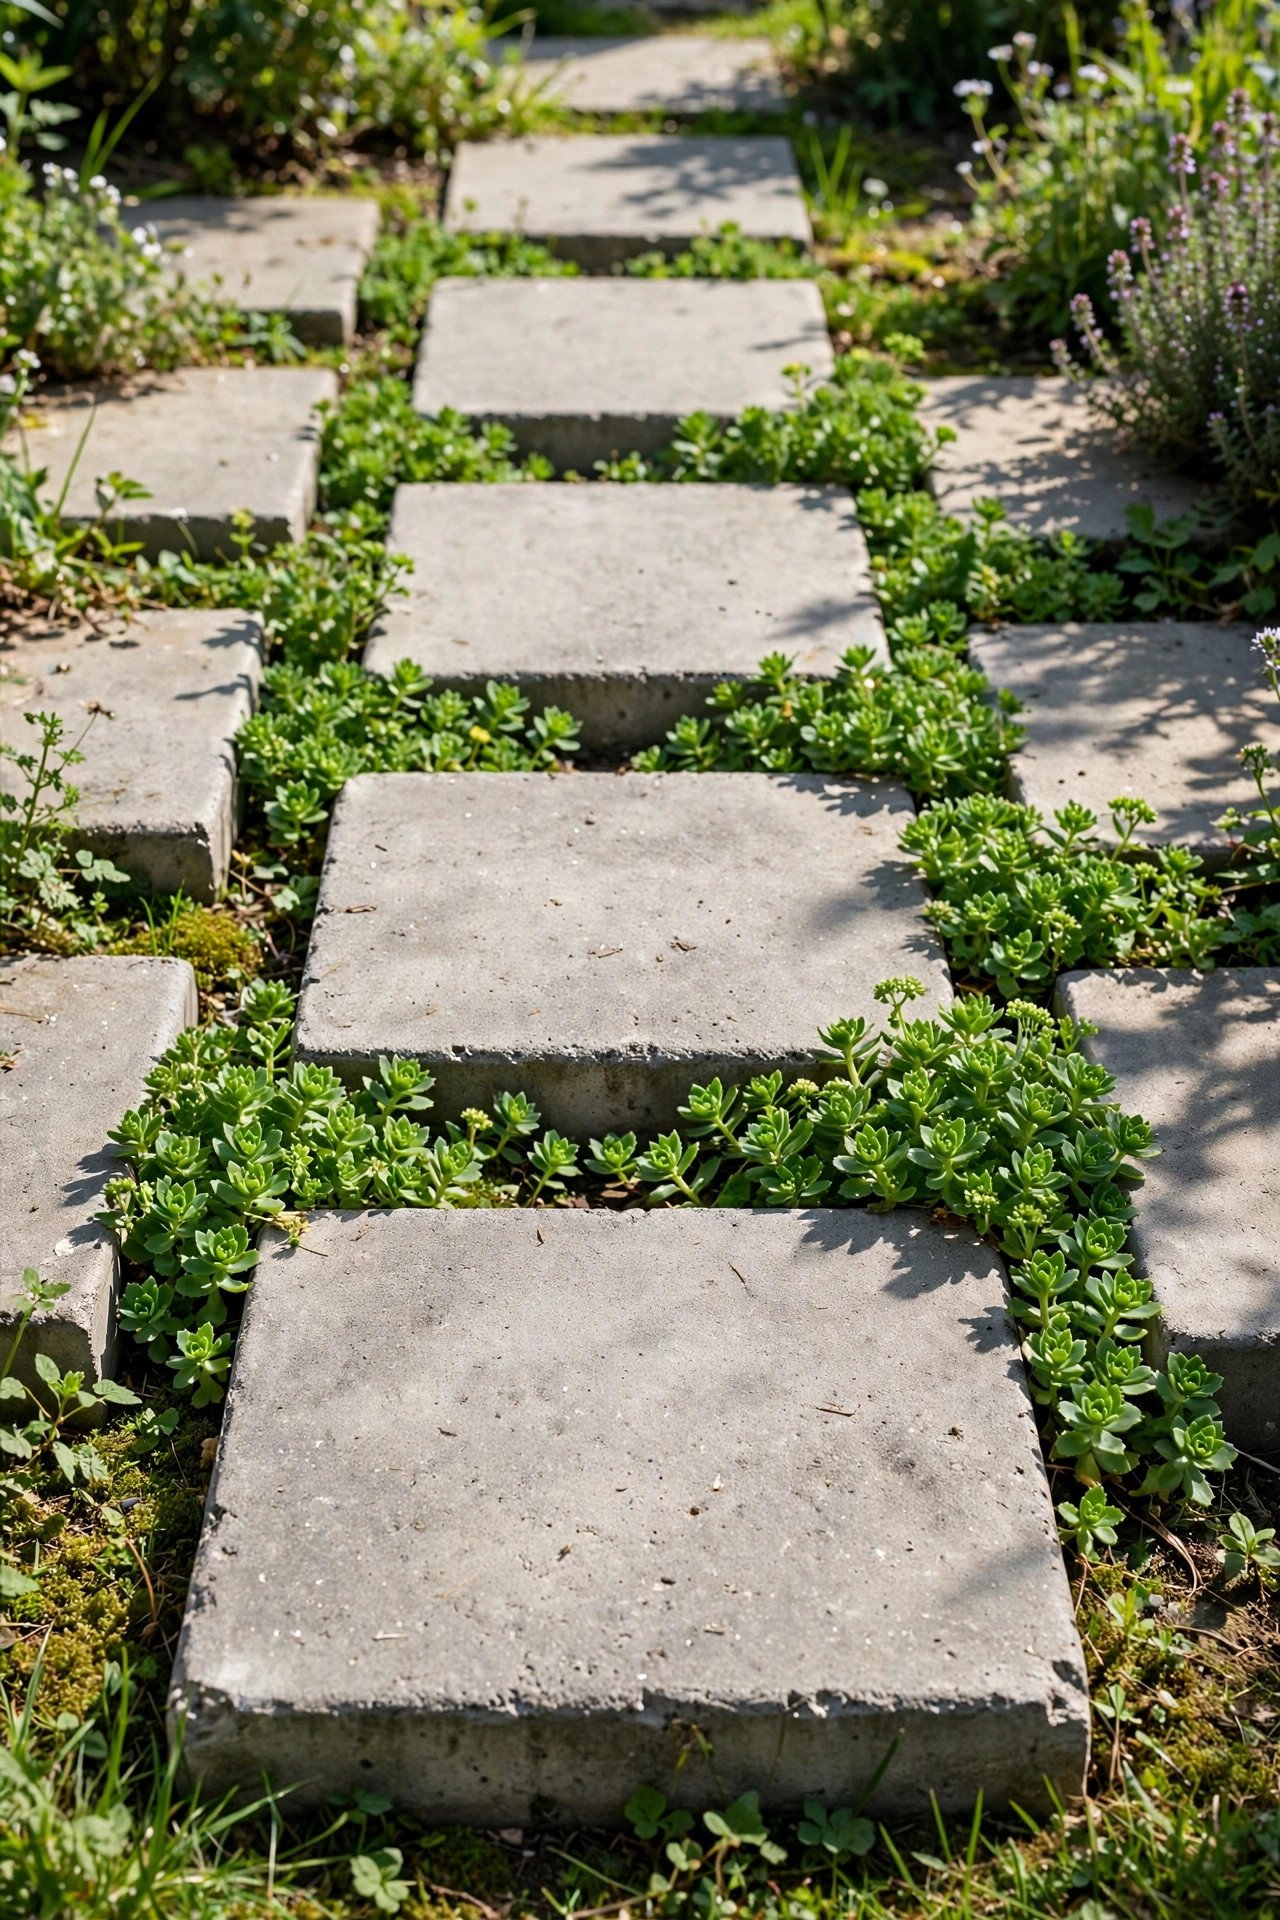
Wide concrete pads make the walking surface clear, but little planted gaps stop the route from feeling hard and bare. Leave pockets of soil between the stones and fill them with tough groundcover like sedum or moss. Using plants only in the pockets keeps maintenance manageable and reduces how many pavers you need.
Water the pockets well for the first few weeks until the plants root in. Once established, the green seams make the path look soft and settled, like it has always belonged in the garden.
Conclusion
A garden path does not need expensive stone to look finished. Clear edges, comfortable spacing, and a well-prepared base will do more for your walkway than any premium material alone, so put your effort into the layout before you spend on the surface.
Start with the route you walk every day, build it with the materials you can afford now, and let planting soften the edges over time. Your garden will feel more connected and cared for from the very first stone you set.
Frequently Asked Questions About Garden Pathway Ideas Using Stone and Gravel
What is the cheapest material for a garden path?
Bark mulch and pea gravel are usually the cheapest options, especially for long routes. Both are easy to spread yourself, and you can upgrade sections with stone landings or brick edging later without redoing the whole path.
How do I keep weeds from growing through my gravel path?
Lay heavy-duty landscape fabric under the gravel before you spread it. Overlap the fabric edges by several inches, and keep the gravel at least two to three inches deep so sunlight cannot reach weed seeds below.
How far apart should stepping stones be placed?
Space stepping stones to match your natural stride, usually 18 to 24 inches from center to center. Walk the route normally and mark where your feet land, then set the stones to those marks for the most comfortable path.
Do I need edging for a gravel garden path?
Yes, edging keeps gravel from spreading into beds and lawns. Brick, steel strips, timber, or even short logs all work well. Without edging you will spend far more time raking stray stones back into place.
Can I lay a garden path directly on soil?
You can, but the path will sink and shift over time. A base of compacted sand or fine gravel, plus landscape fabric underneath, keeps stones level and greatly extends the life of the path with only a little extra work.

Hi, I’m Emily! I turn messy corners into cozy, organized spots. DreamNestDecor is where I share simple, practical home ideas — decor, organization, and small-space solutions that work in real life, not just in photos. Every idea here is carefully researched before it’s shared.