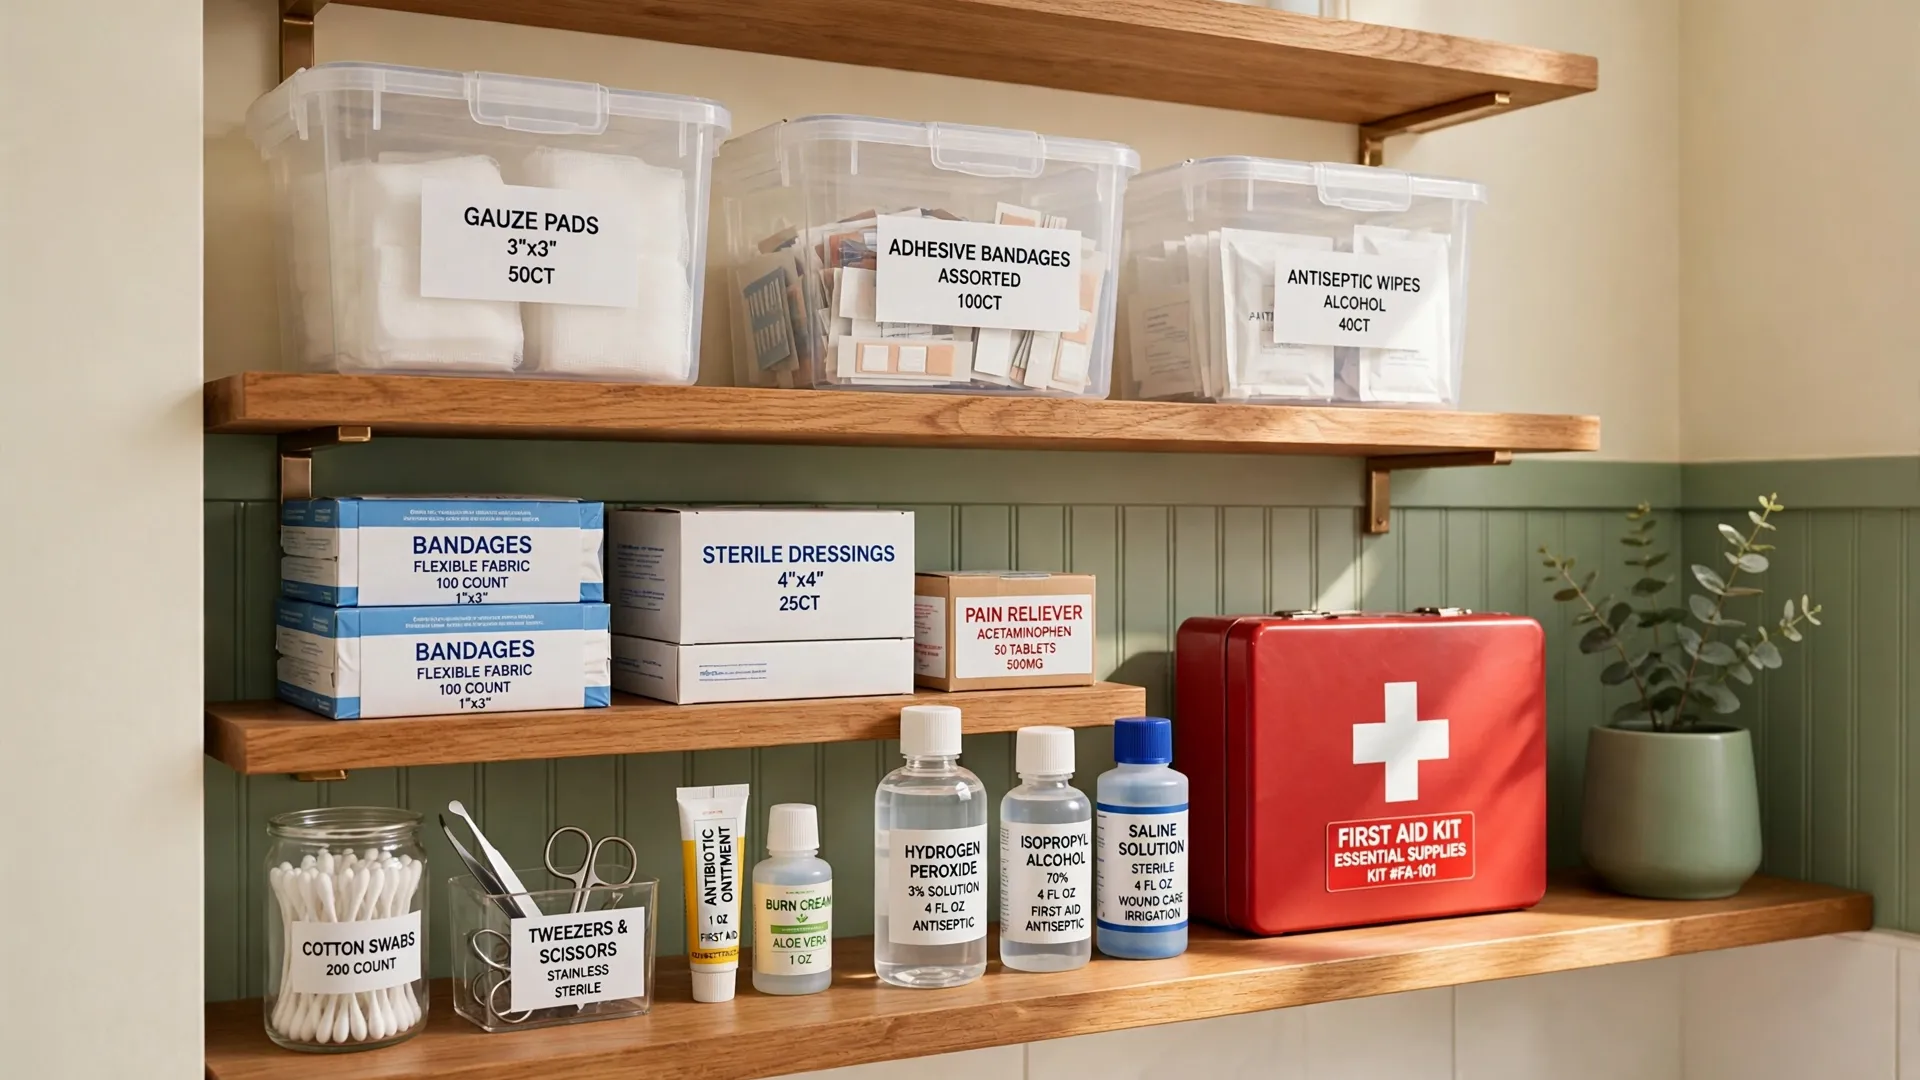
Picture this: someone in your family gets a small cut or a scraped knee, and you reach for a bandage only to find a jumbled box of loose packets and expired bottles. That stressful moment is exactly what a well organized first aid kit prevents. When every supply has a proper home, you can help fast and stay calm.
You do not need a large cabinet or expensive supplies to get there. All you need is the right storage idea for your space and your family. These 25 first aid kit organization ideas will help you keep every bandage, bottle, and tool tidy, visible, and ready whenever your family needs one.
1. Tiered Organizer System
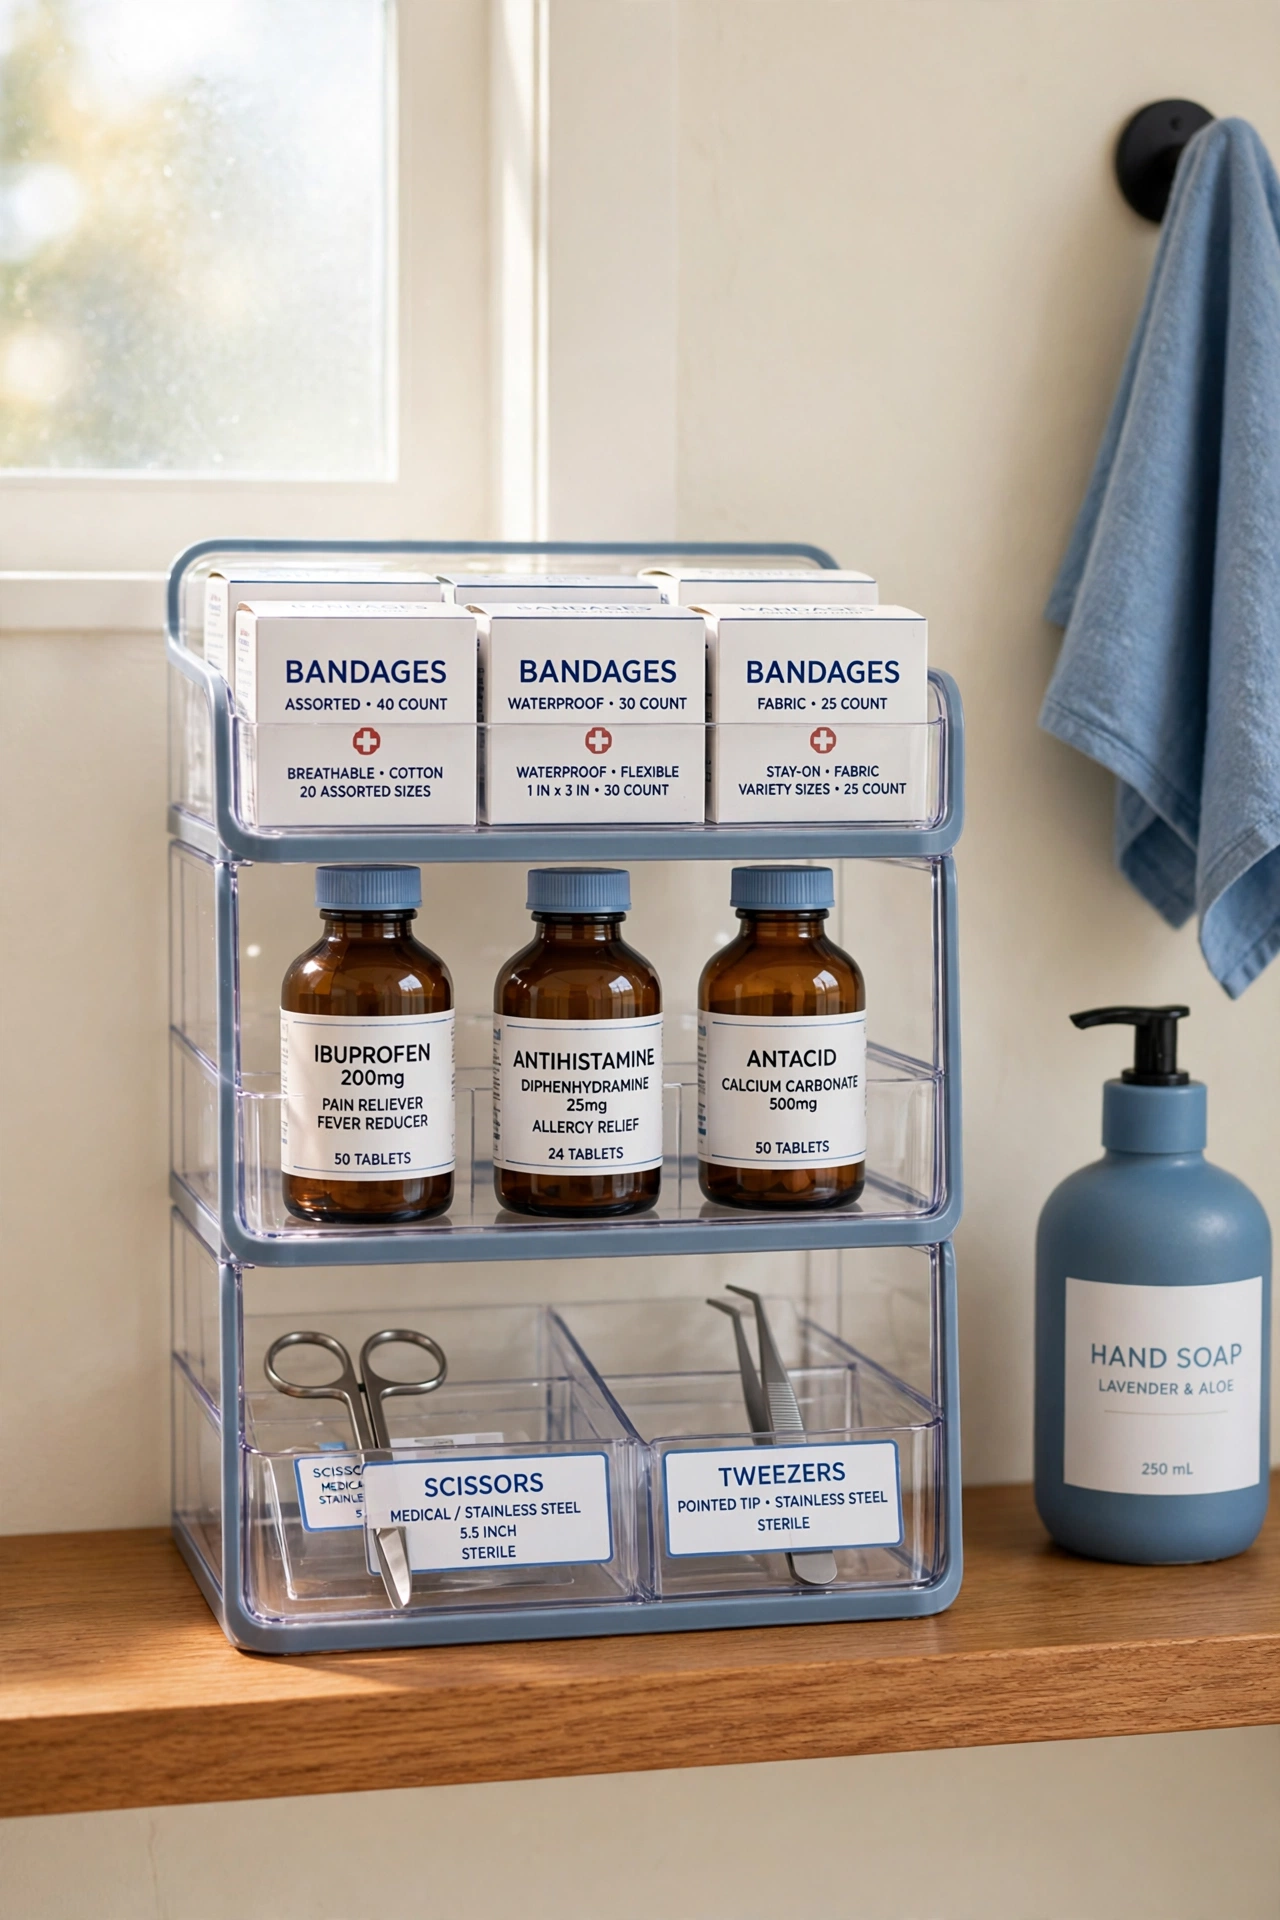
A tiered organizer gives your first aid supplies a clear home on every level. Stackable trays let you sort bandages on the top tier, medicines in the middle, and tools like scissors and tweezers at the bottom. Everything stays visible at a glance, so you never dig through a deep box in an emergency.
Choose a tiered organizer with sturdy handles so you can carry the whole kit from room to room. Clear sides help you see what is inside without opening every tray. This simple system works well in a bathroom cabinet, a linen closet, or on a hallway shelf.
2. Cabinet with Clear Bins
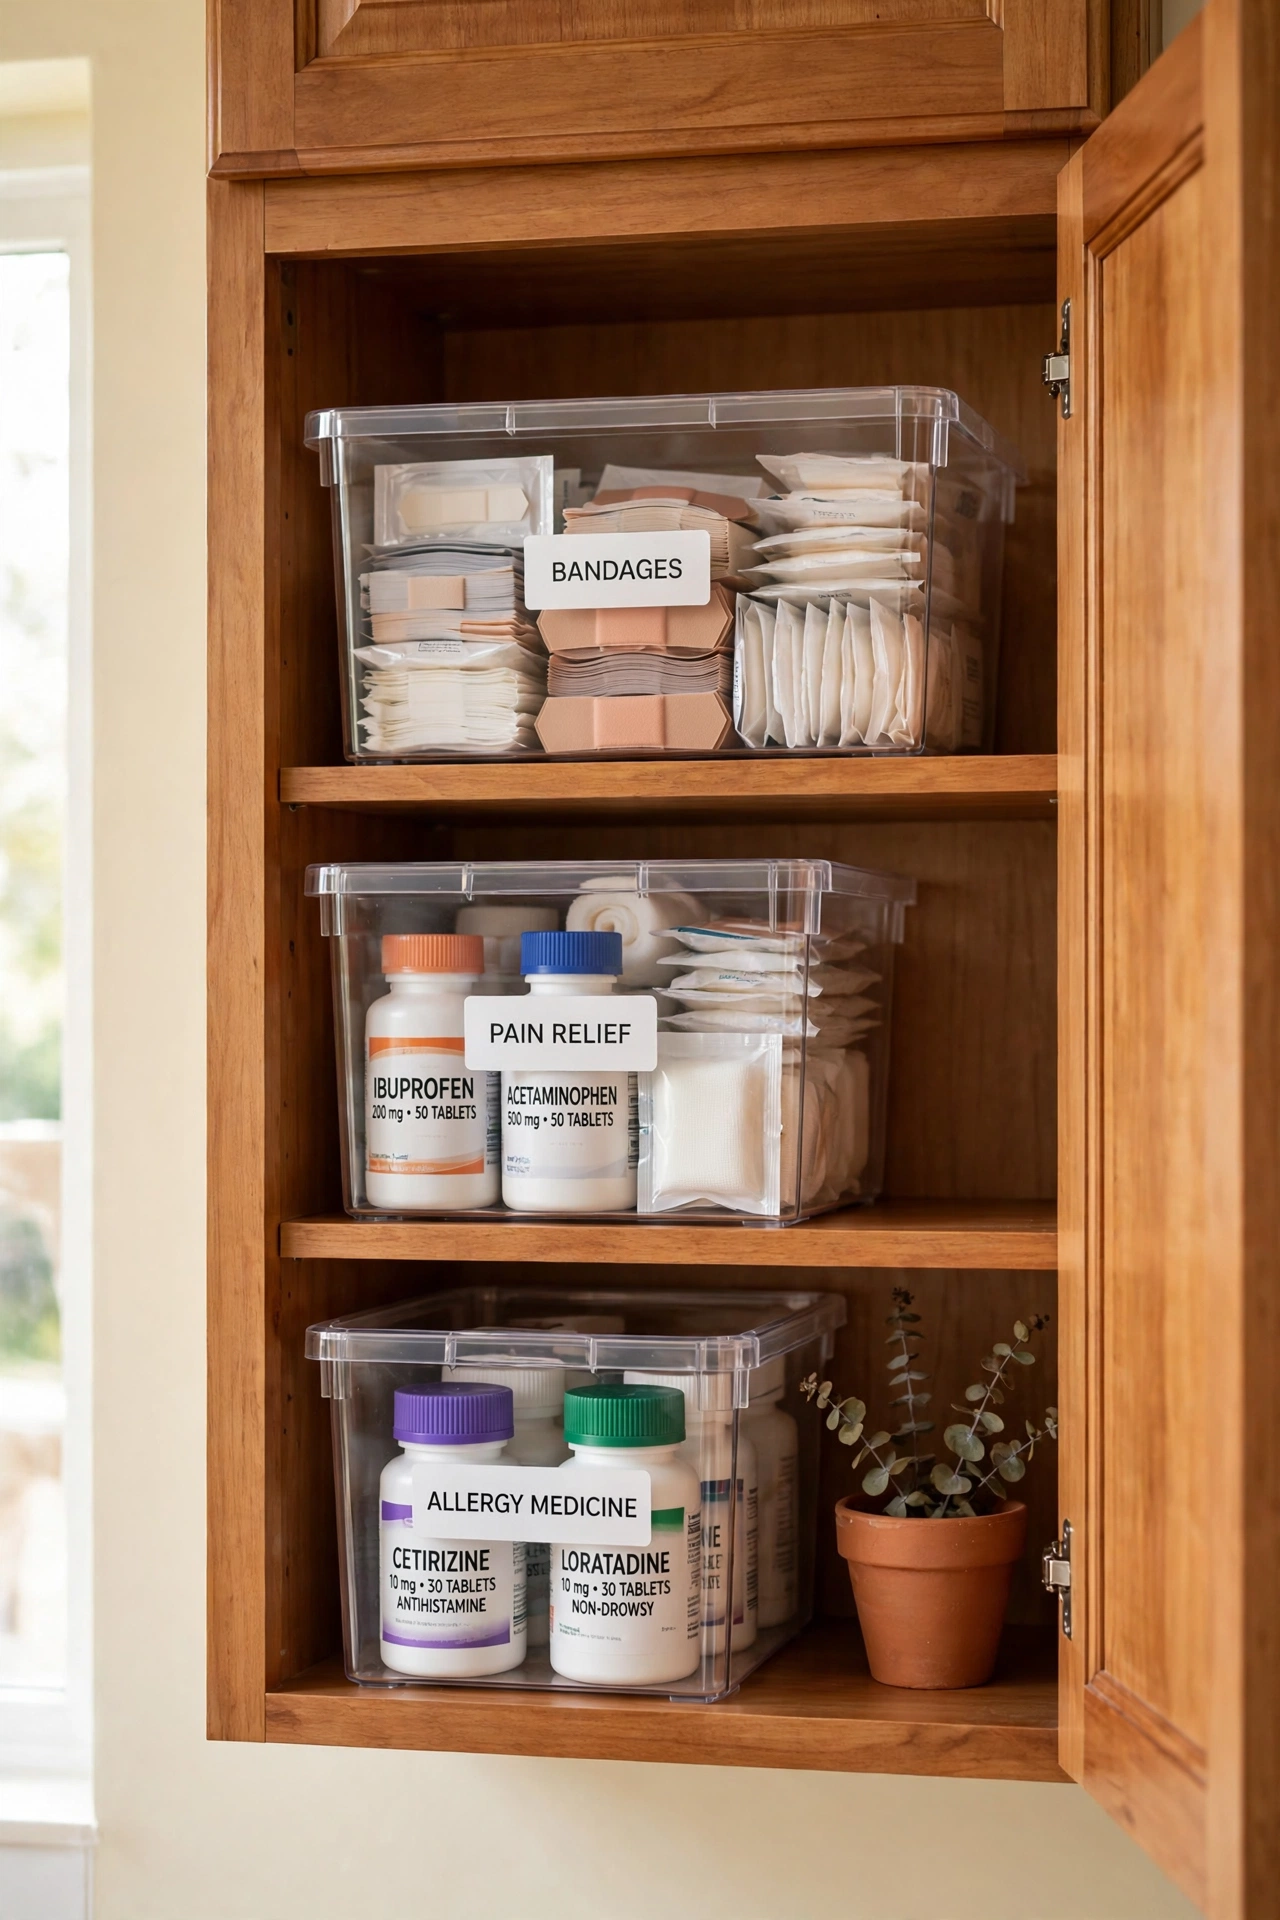
Clear bins inside a cabinet turn a messy pile of supplies into a tidy system you can see at a glance. Give each bin a job, such as wound care, pain relief, or allergy medicine, and stack the bins so the most used items sit at the front. Transparent walls mean you can spot what you need without pulling every bin out.
Label each bin on the front so every family member knows where things belong. For a full plan for your storage closet, see these linen closet organization ideas. Keep the cabinet in a cool, dry spot away from steam and direct sunlight so medicines stay effective.
3. Magnetic Strip Solution
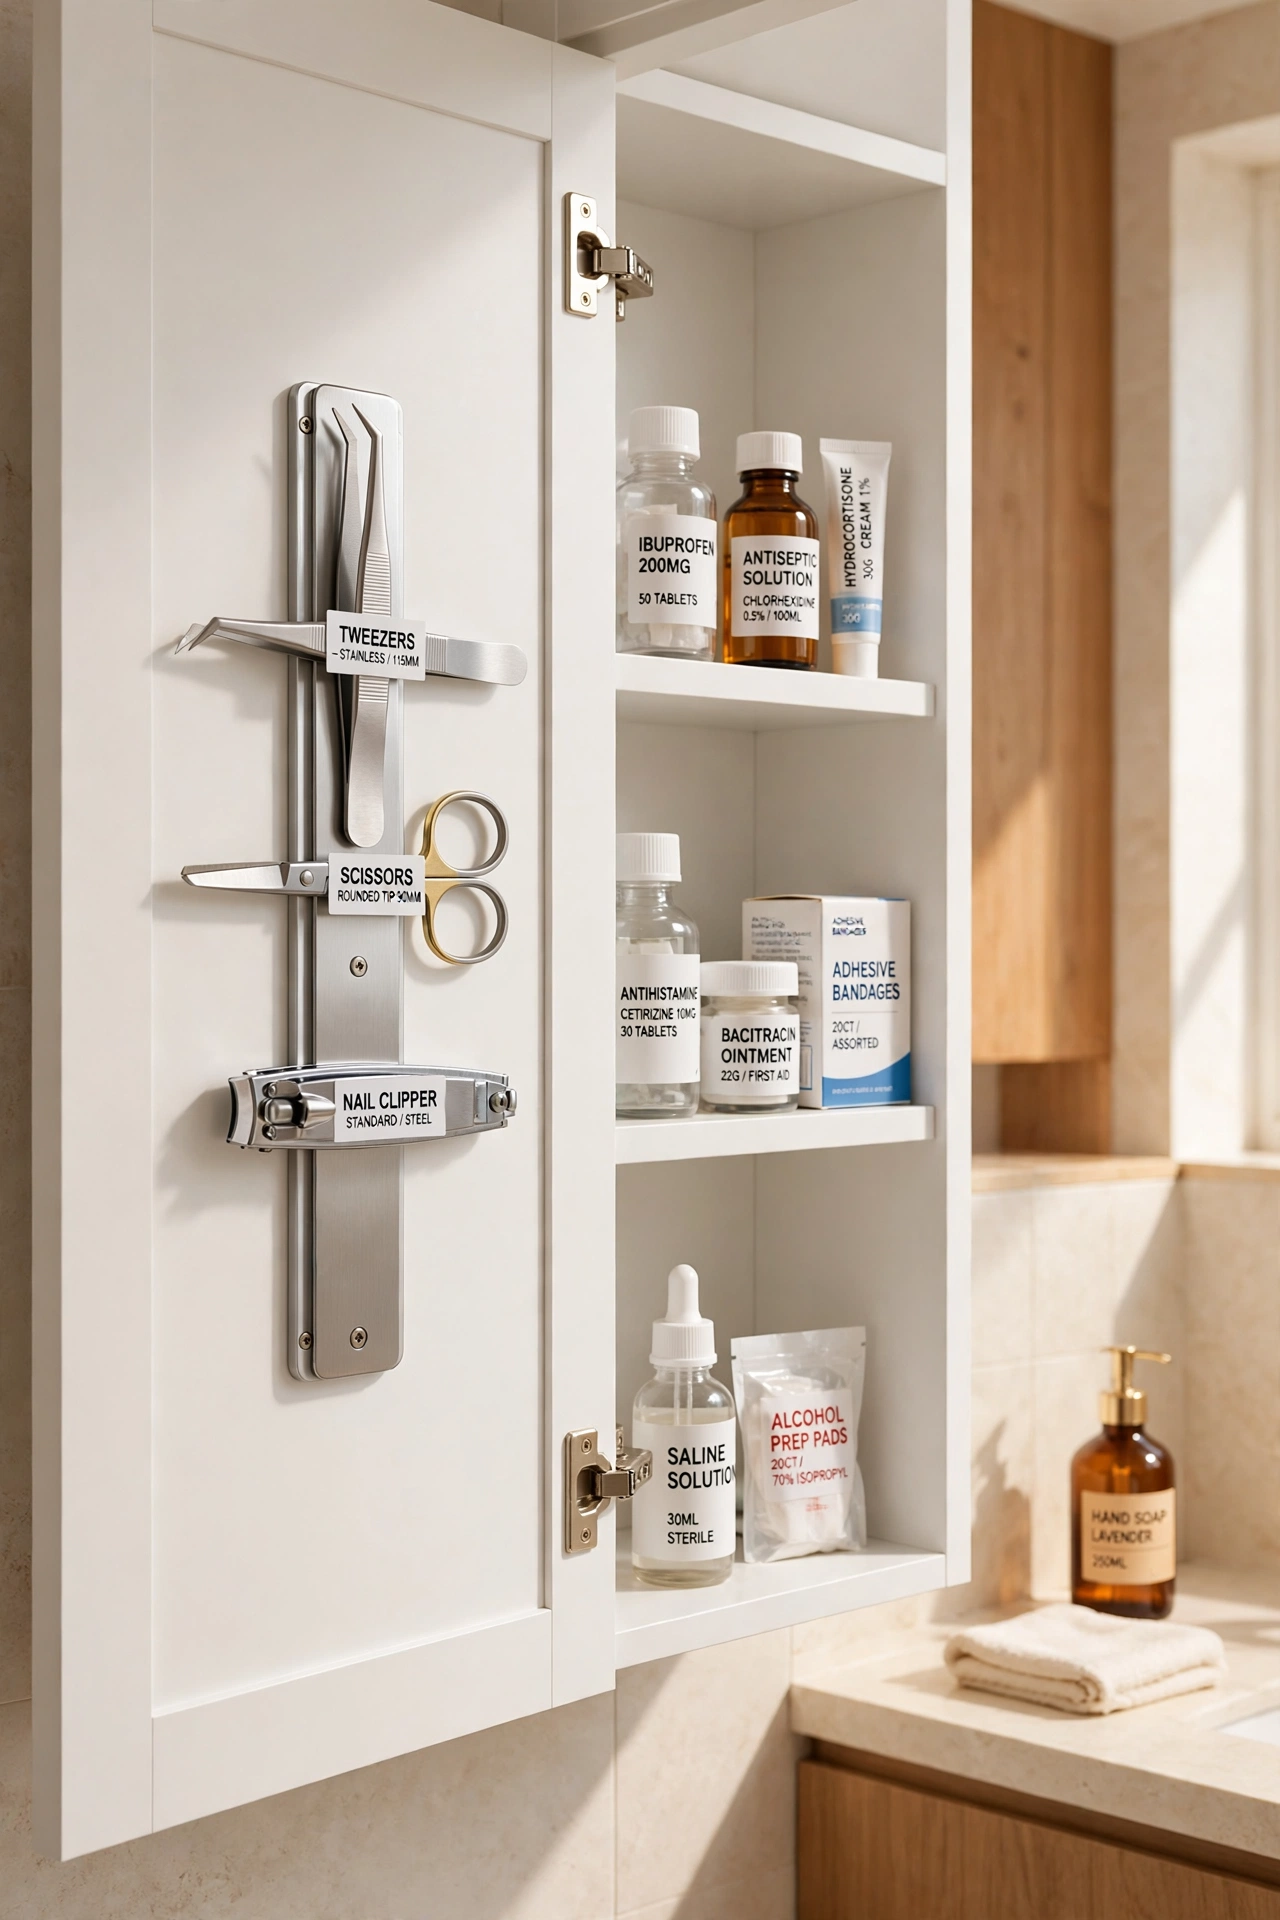
A magnetic strip on the inside of a cabinet door holds metal tools exactly where you can see them. Tweezers, small scissors, and nail clippers snap onto the strip and stay in place, so they never sink to the bottom of a crowded box. This idea frees up shelf space for bottles and bandage packs.
Mount the strip at eye level so every tool is easy to grab in a hurry. Keep sharp items on the higher end of the strip and out of reach of small children. A strong adhesive strip needs no drilling, which makes it perfect for renters.
4. Over-the-Door Organizer
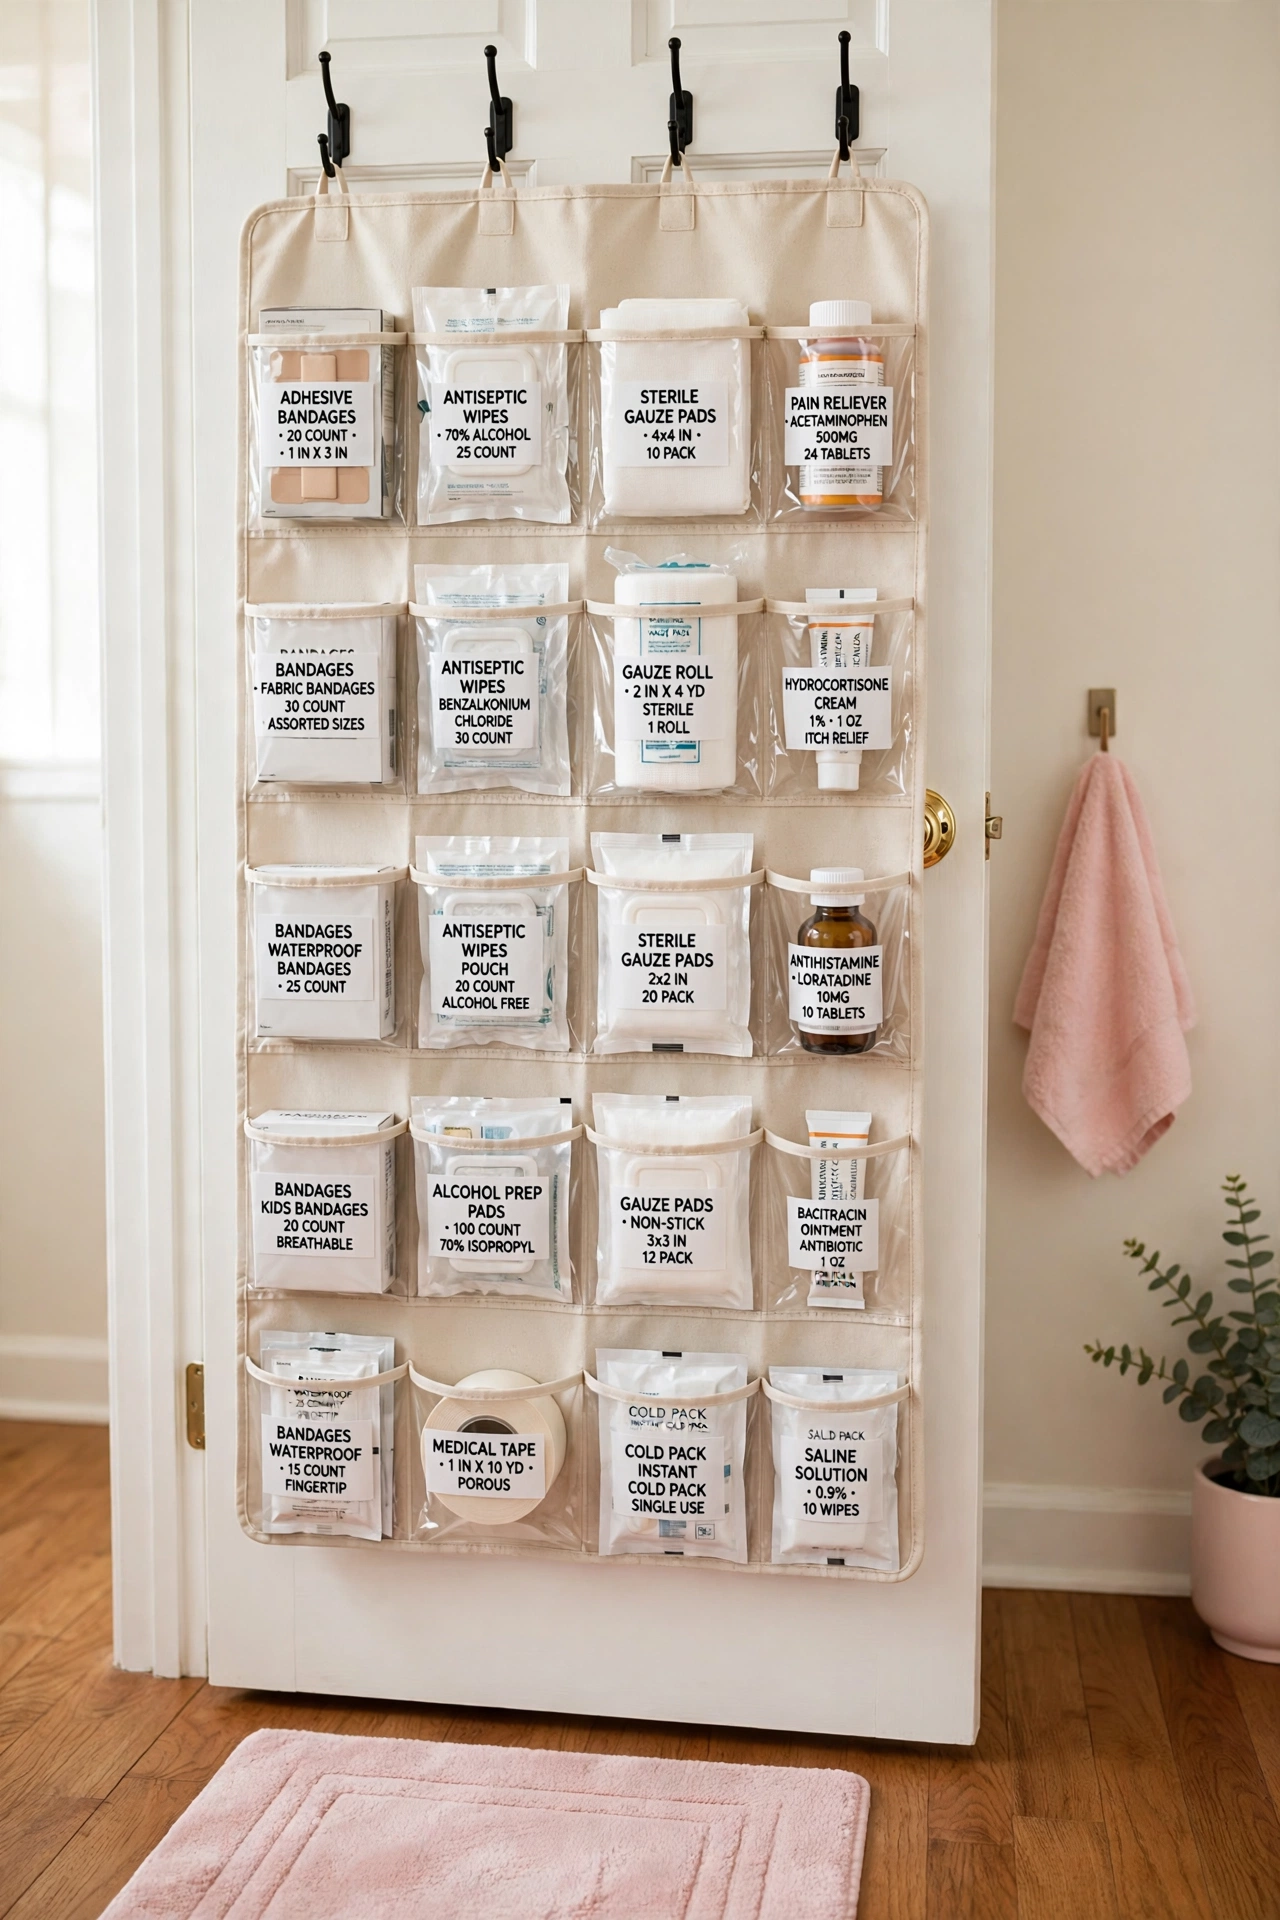
An over-the-door organizer hangs from the top of any door and turns wasted space into first aid storage. Clear pockets hold bandages, gauze, antiseptic wipes, and small bottles in neat rows. You can see every item at once, which saves precious seconds when someone needs help.
Hang the organizer on the inside of a bathroom or linen closet door so supplies stay hidden yet close. Choose a slim organizer so the door still closes fully. This is one of the cheapest ways to give a growing first aid kit a proper home.
5. Lazy Susan System
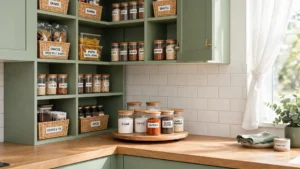
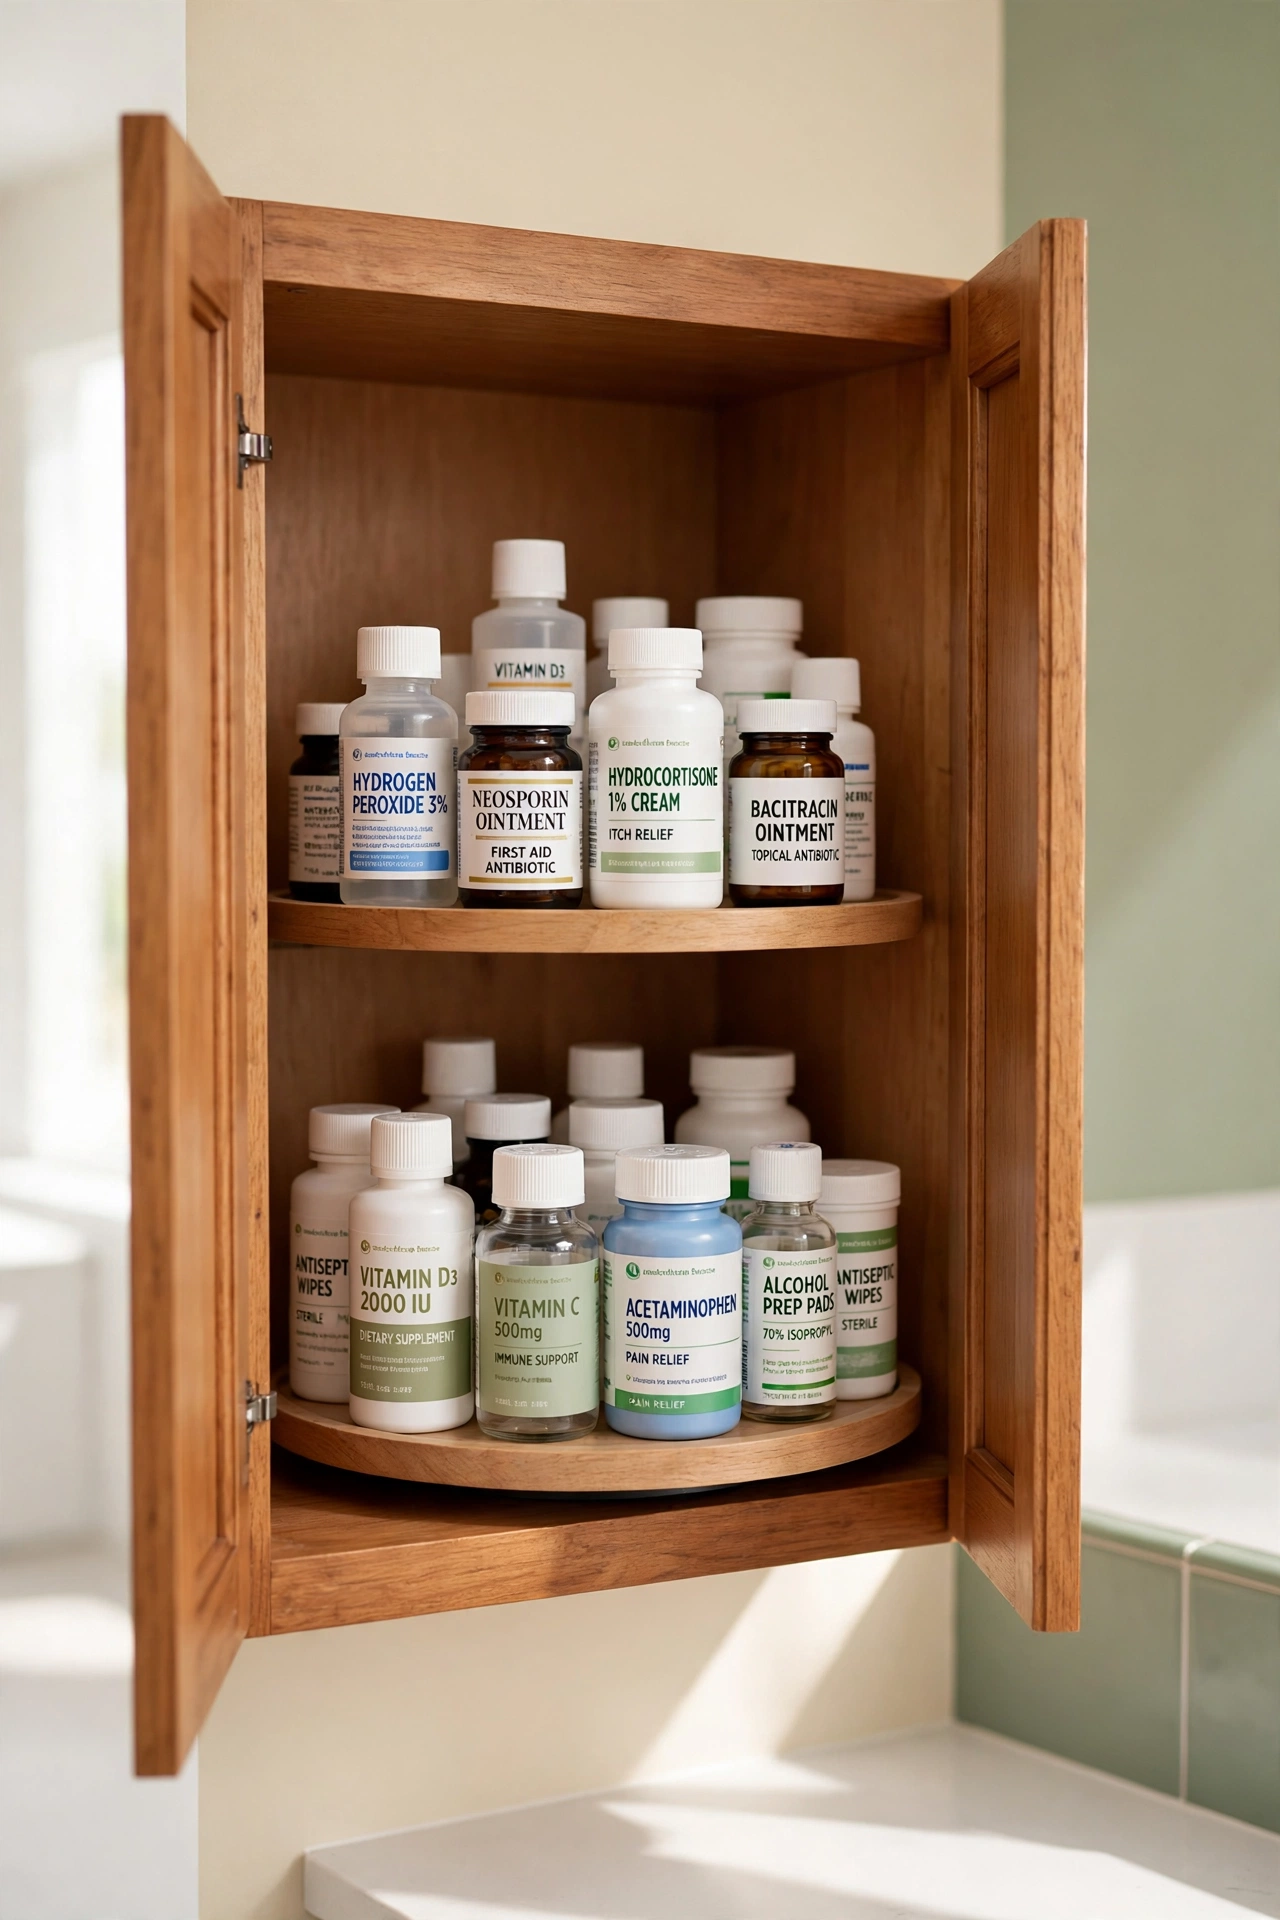
A lazy Susan turntable spins your first aid supplies into easy reach with one smooth turn. Place bottles and jars on the turntable inside a cabinet, and nothing gets lost at the back of a deep shelf. This is ideal for round containers like ointment jars and vitamin bottles.
Choose a turntable with a raised edge so nothing slides off when it spins. A two-tier lazy Susan doubles your storage in the same footprint. Wipe the surface once a month so dust never builds up around your medicines.
6. Drawer with Dividers
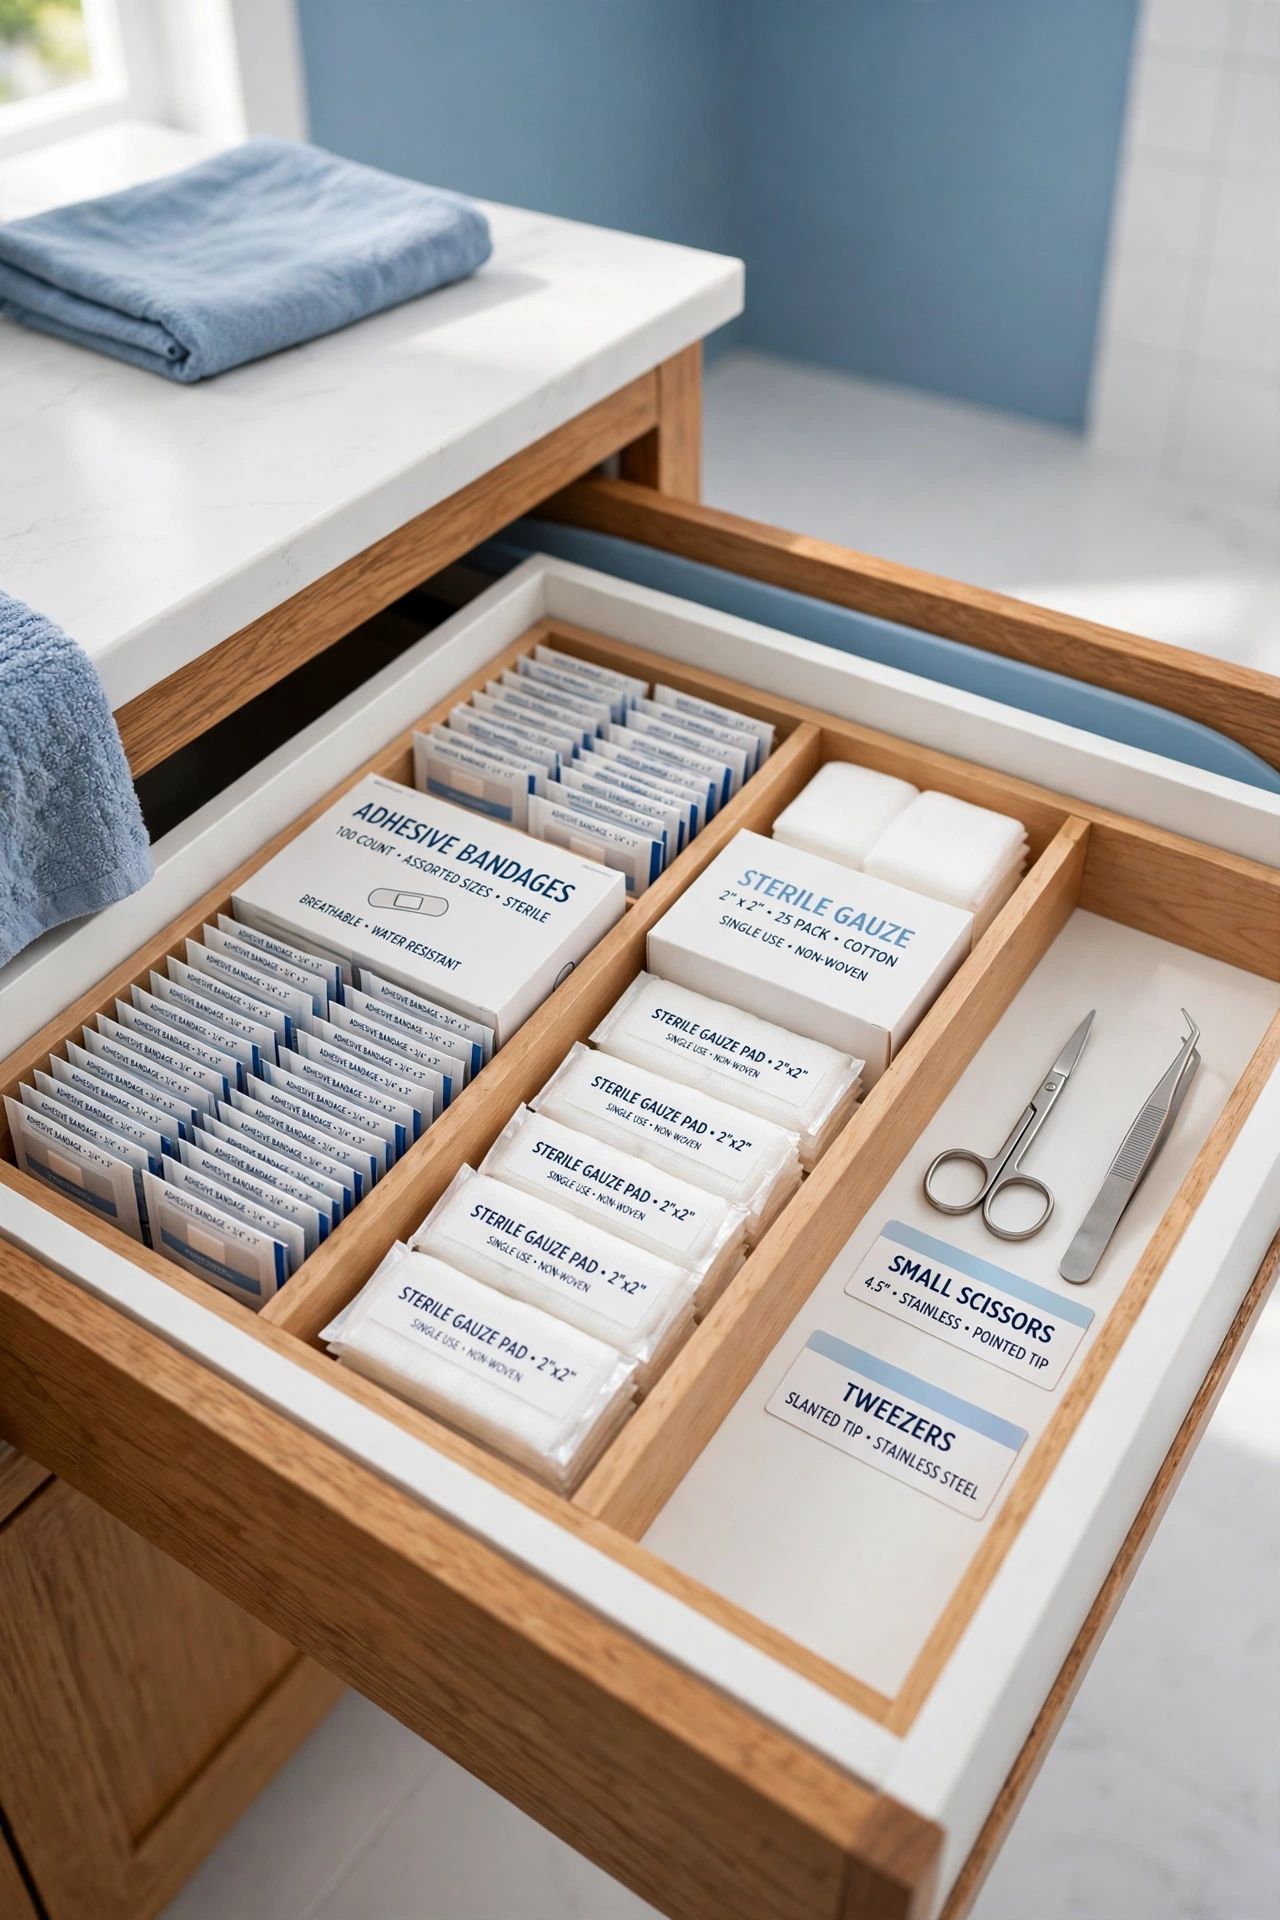
A drawer with dividers gives every first aid item its own small compartment. Bandages stay in one section, gauze in another, and small tools in a third, so nothing mixes into a tangled pile. Adjustable dividers let you resize the sections as your kit changes over time.
Line the drawer with a non-slip mat so dividers stay in place when you open and close it. For more ways to sort small items, see these bathroom drawer organization ideas. Keep the drawer near the bathroom or bedroom so the kit is always within reach.
7. Portable Travel Kit
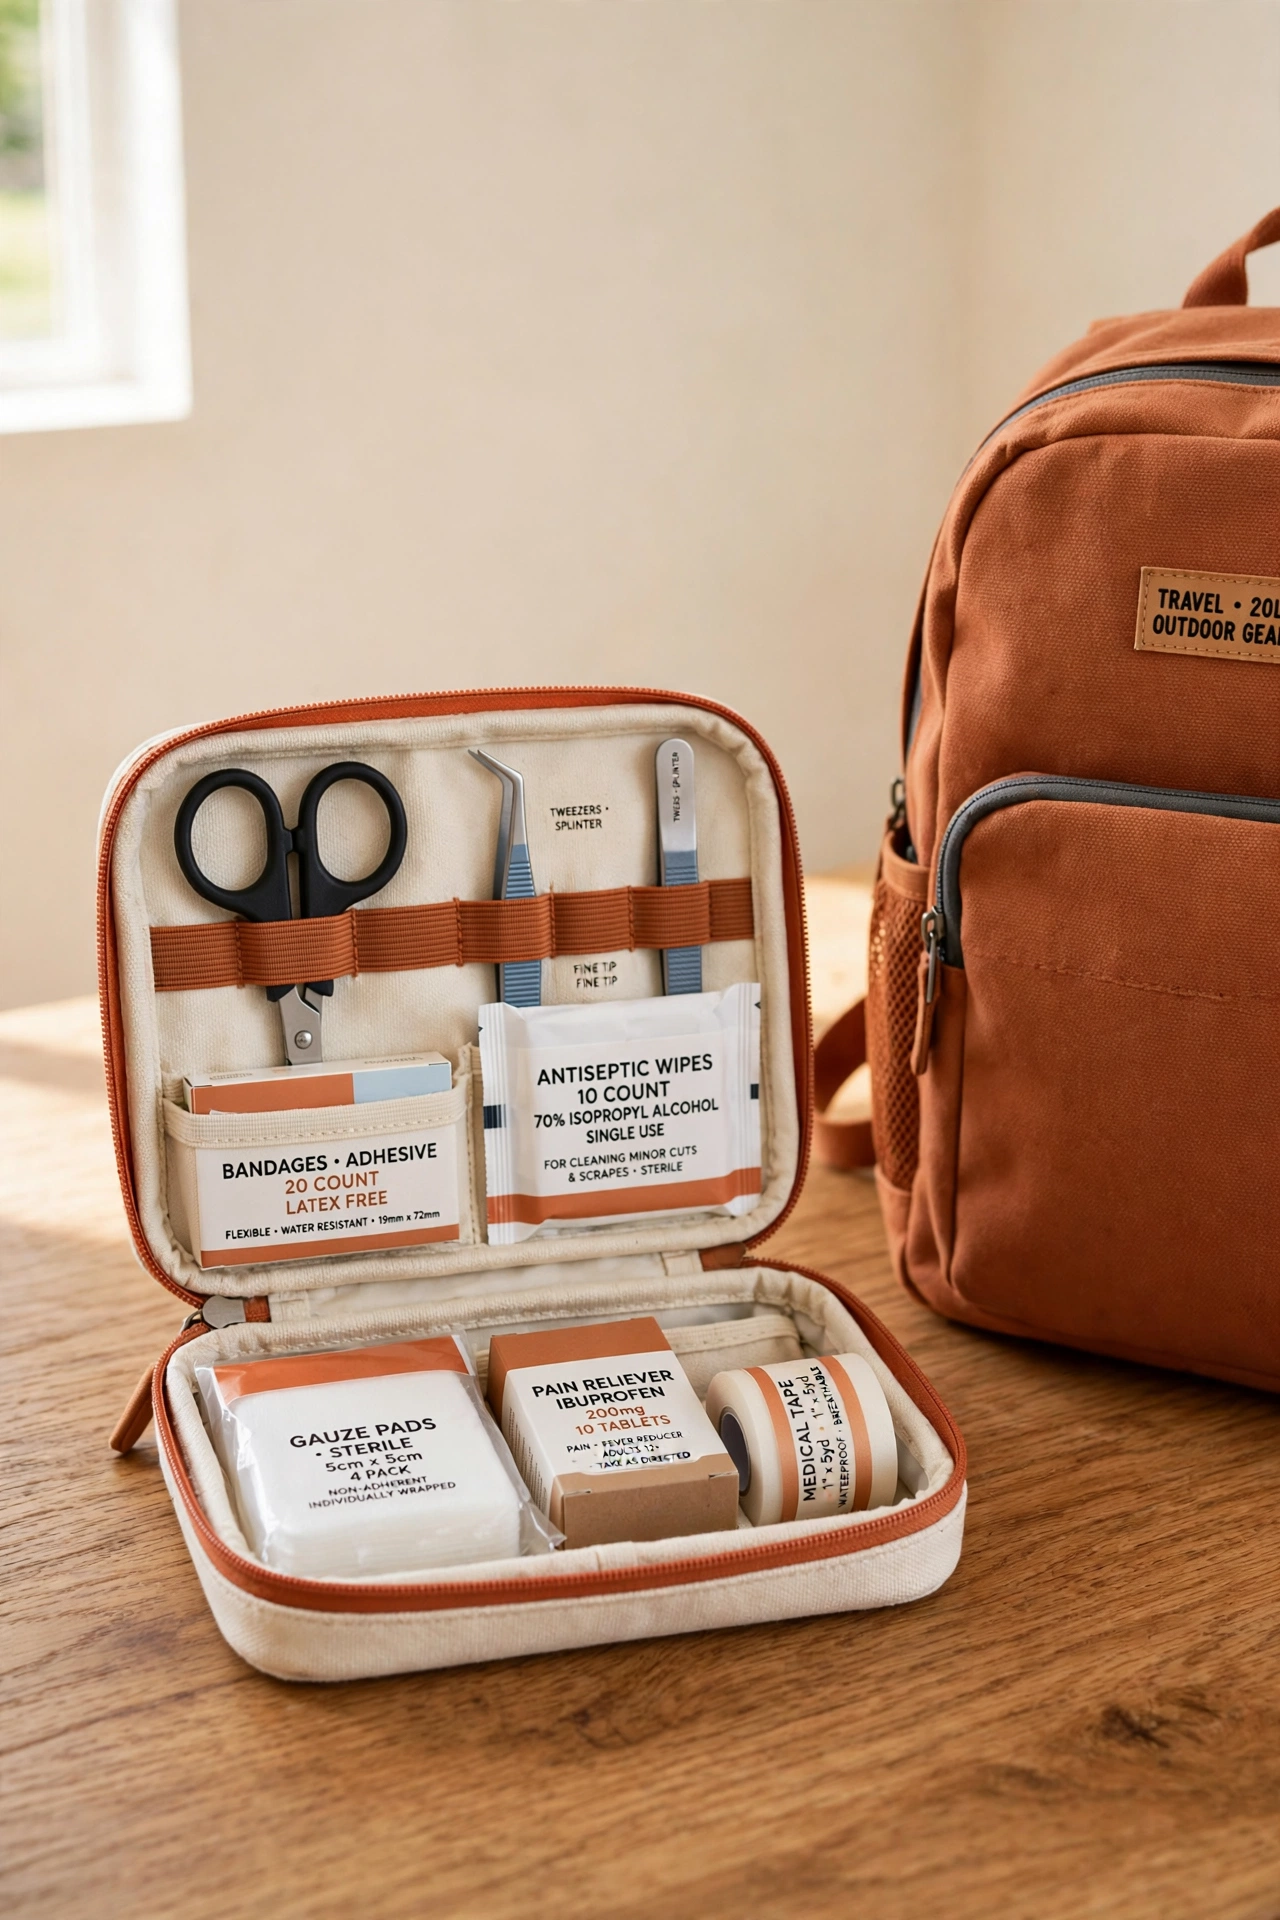
A portable travel kit packs your essential first aid supplies into a compact case you can grab and go. Choose a small zippered pouch with elastic loops for scissors and tweezers, plus pockets for bandages and antiseptic wipes. The whole kit fits in a car glove box, a diaper bag, or a backpack.
Keep the travel kit stocked with the items you use most often on trips, such as adhesive bandages, pain relief tablets, and allergy medicine. Check the kit before every trip and refill anything you used last time. A portable kit means your family is covered at the park, on the road, and on vacation.
8. Mirror Cabinet with Lighting
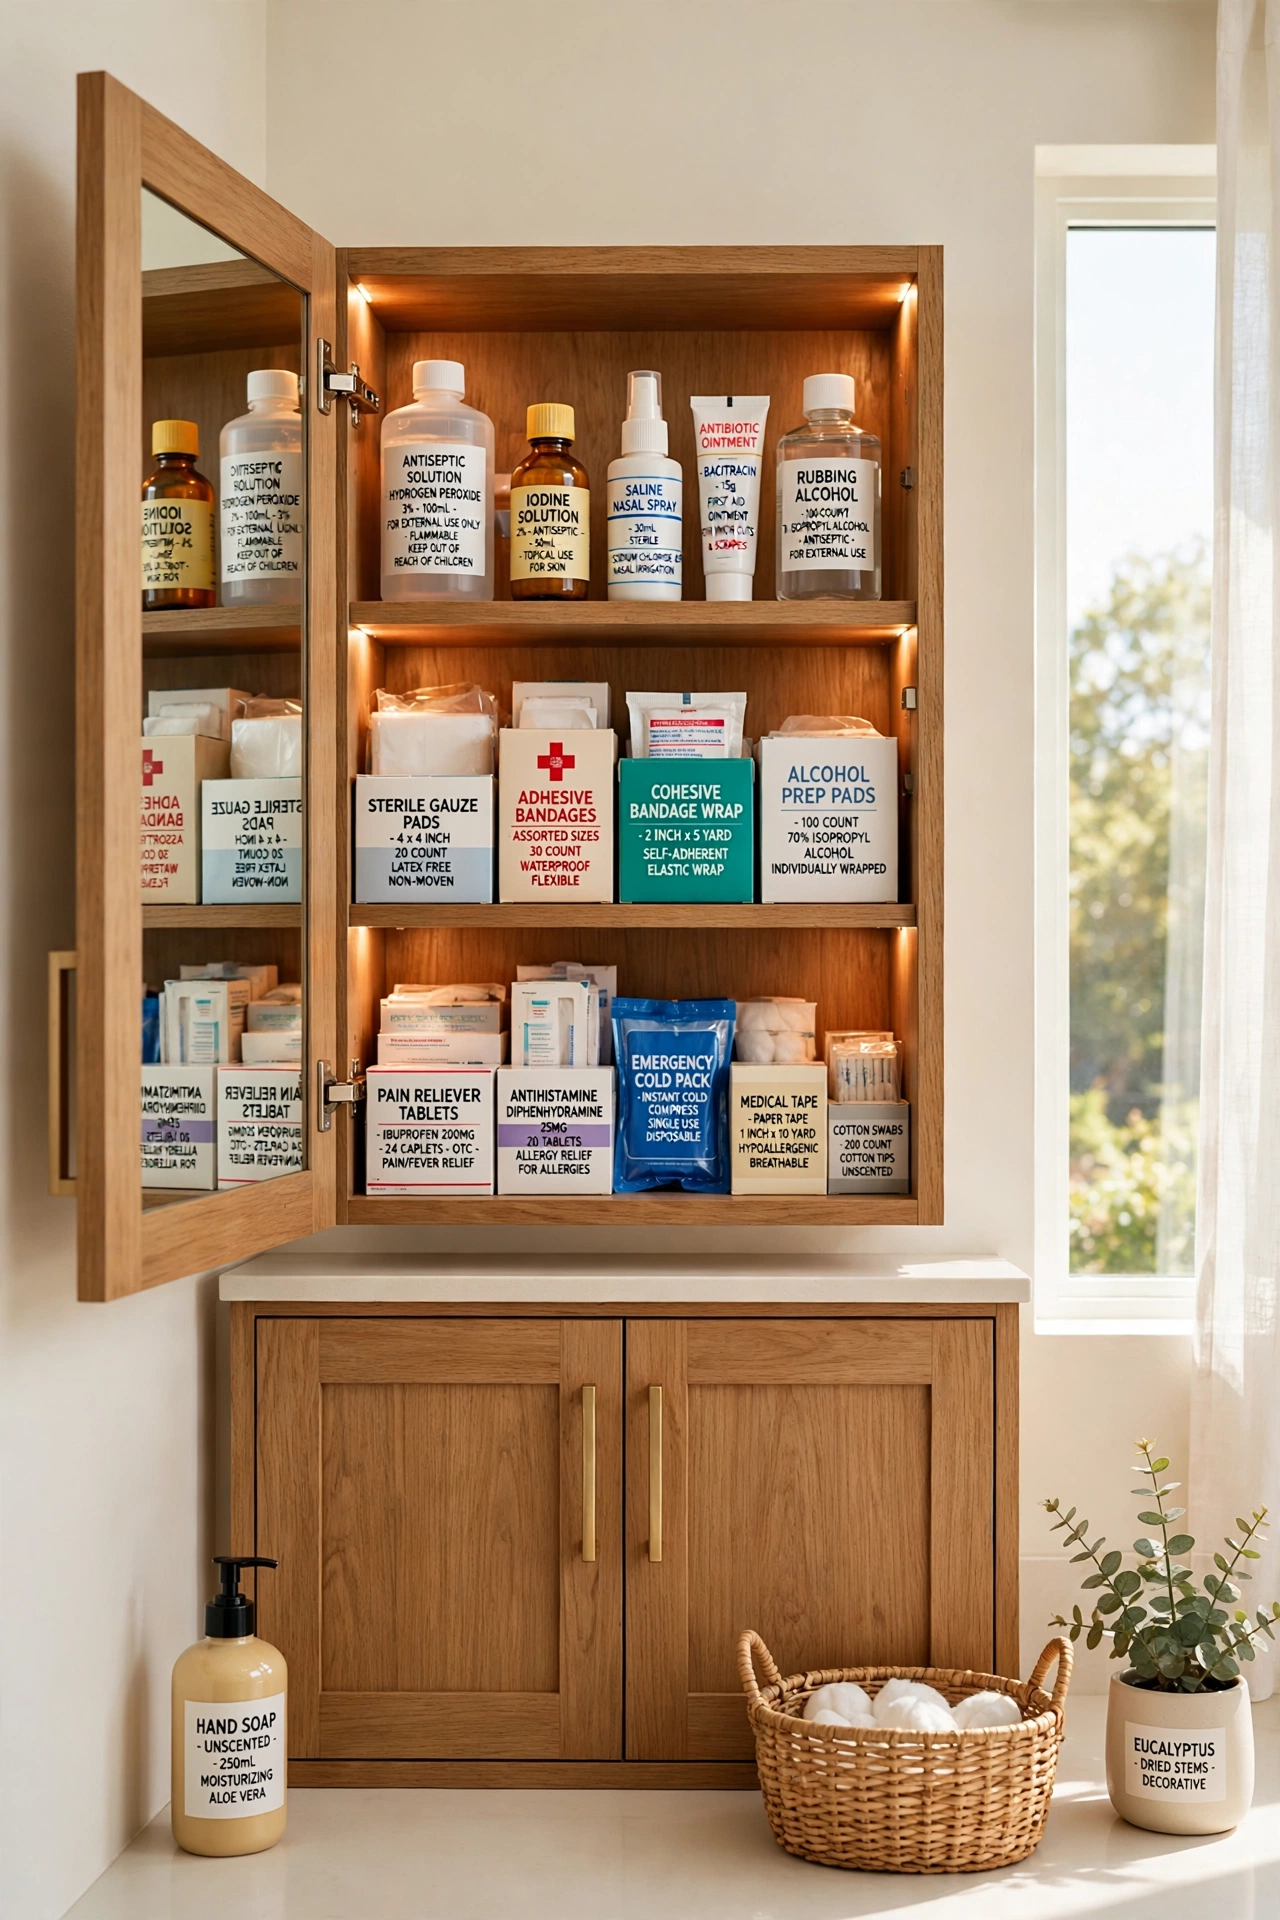
A mirror cabinet with built-in lighting stores first aid supplies behind a mirror while it lights up the whole bathroom. The shelves inside hold bottles and bandage boxes at eye level, and the light helps you read small labels clearly. This is a smart upgrade for a bathroom with limited storage.
Choose a cabinet with adjustable shelves so tall bottles fit without tipping over. For more ways to use cabinet space well, see these over the door medicine cabinet ideas. Keep the mirror clean and the light bright so the cabinet stays practical every day.
9. Under-Sink Solution
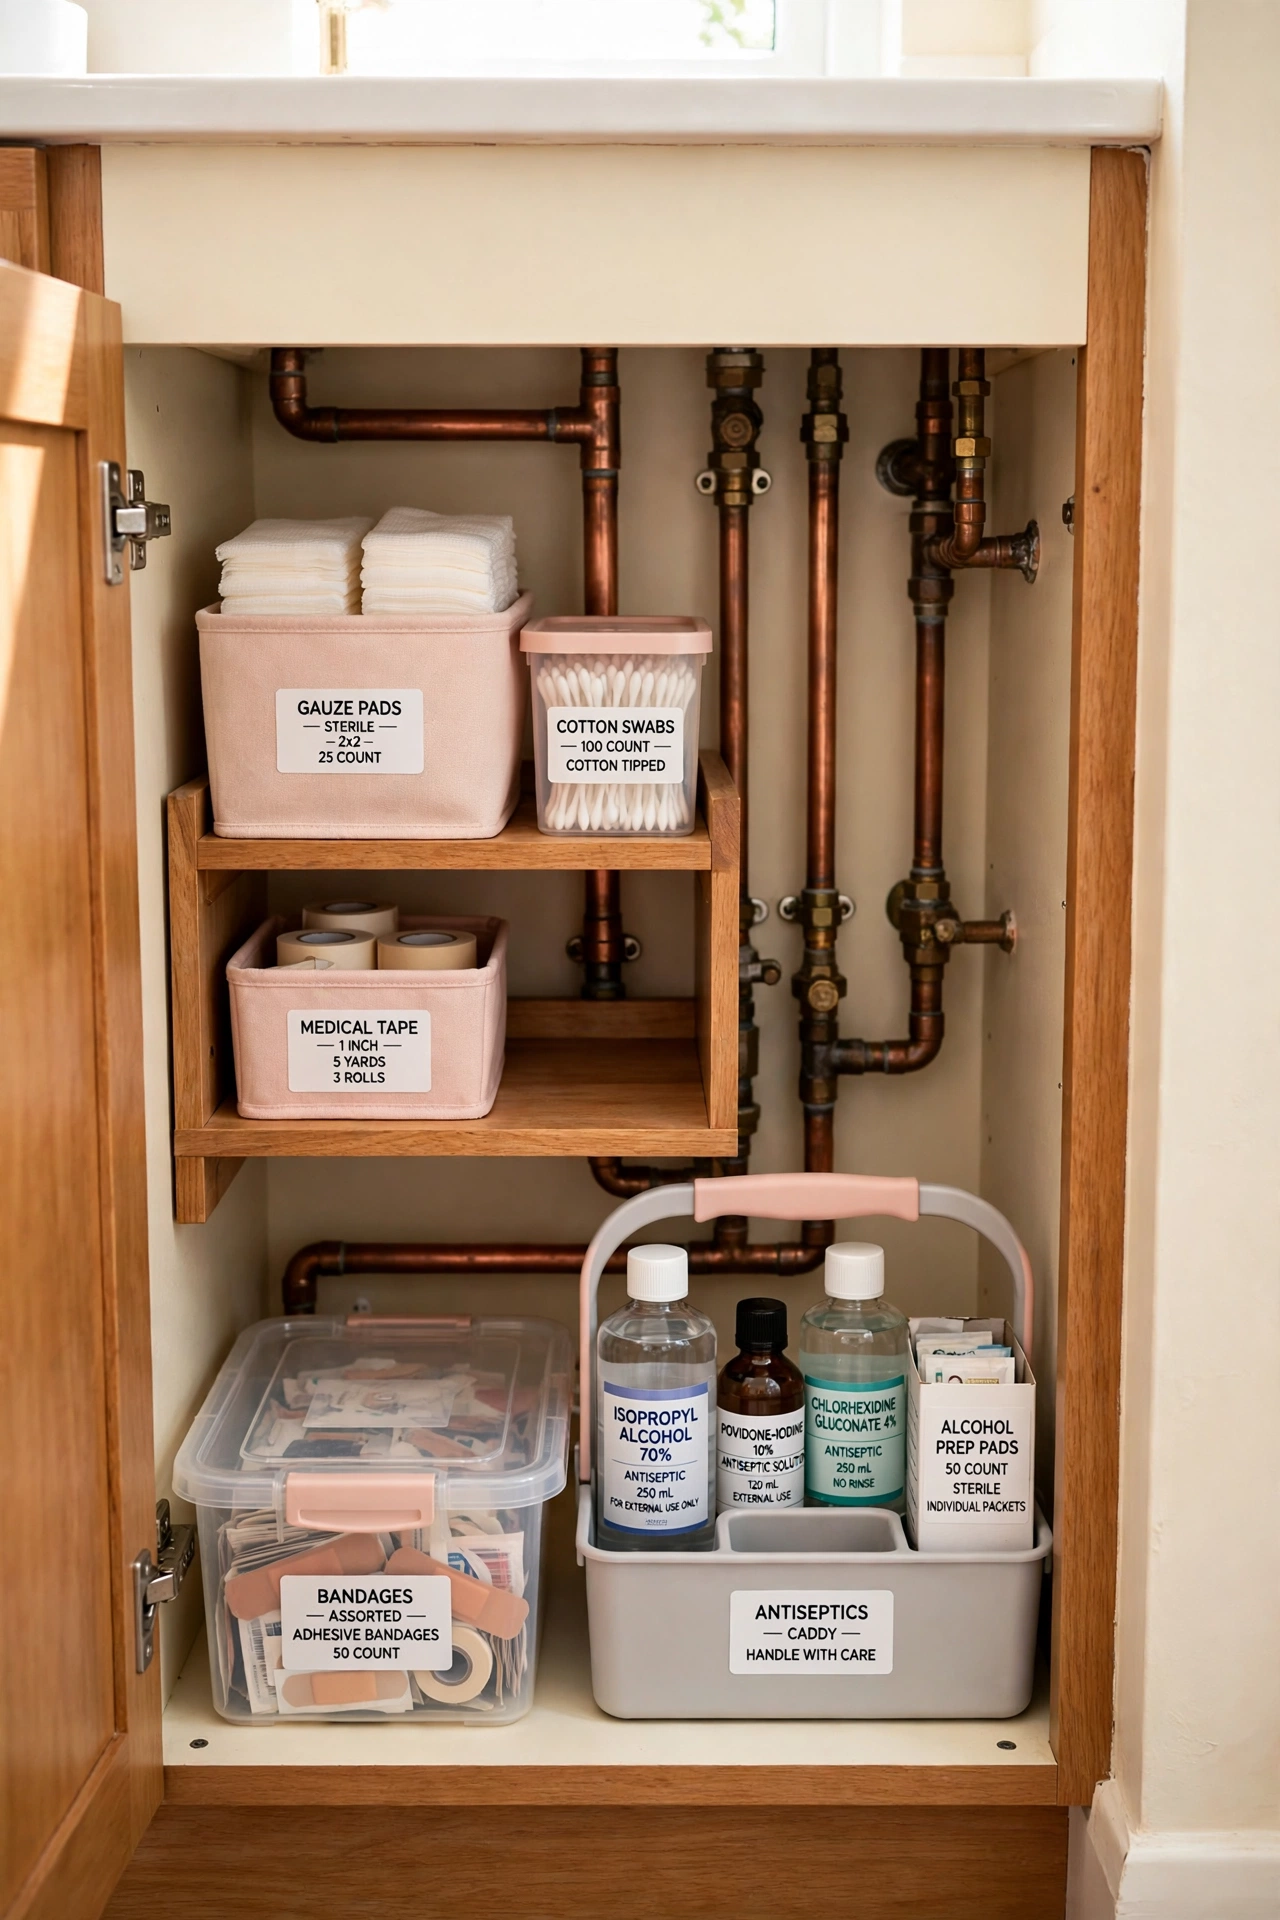
The cabinet under the sink can hold a tidy first aid kit if you plan the space well. Add a small shelf or a pair of stacking bins inside the cabinet to separate medicines from cleaning supplies. Keep bandages and wound care items in a bin with a lid so they stay dry and dust-free.
Use a small caddy with a handle so you can lift the whole kit out when you need it. Store only the supplies you use often under the sink and keep backups in a larger closet. This idea works best in bathrooms with no linen closet nearby.
10. Wall-Mounted System
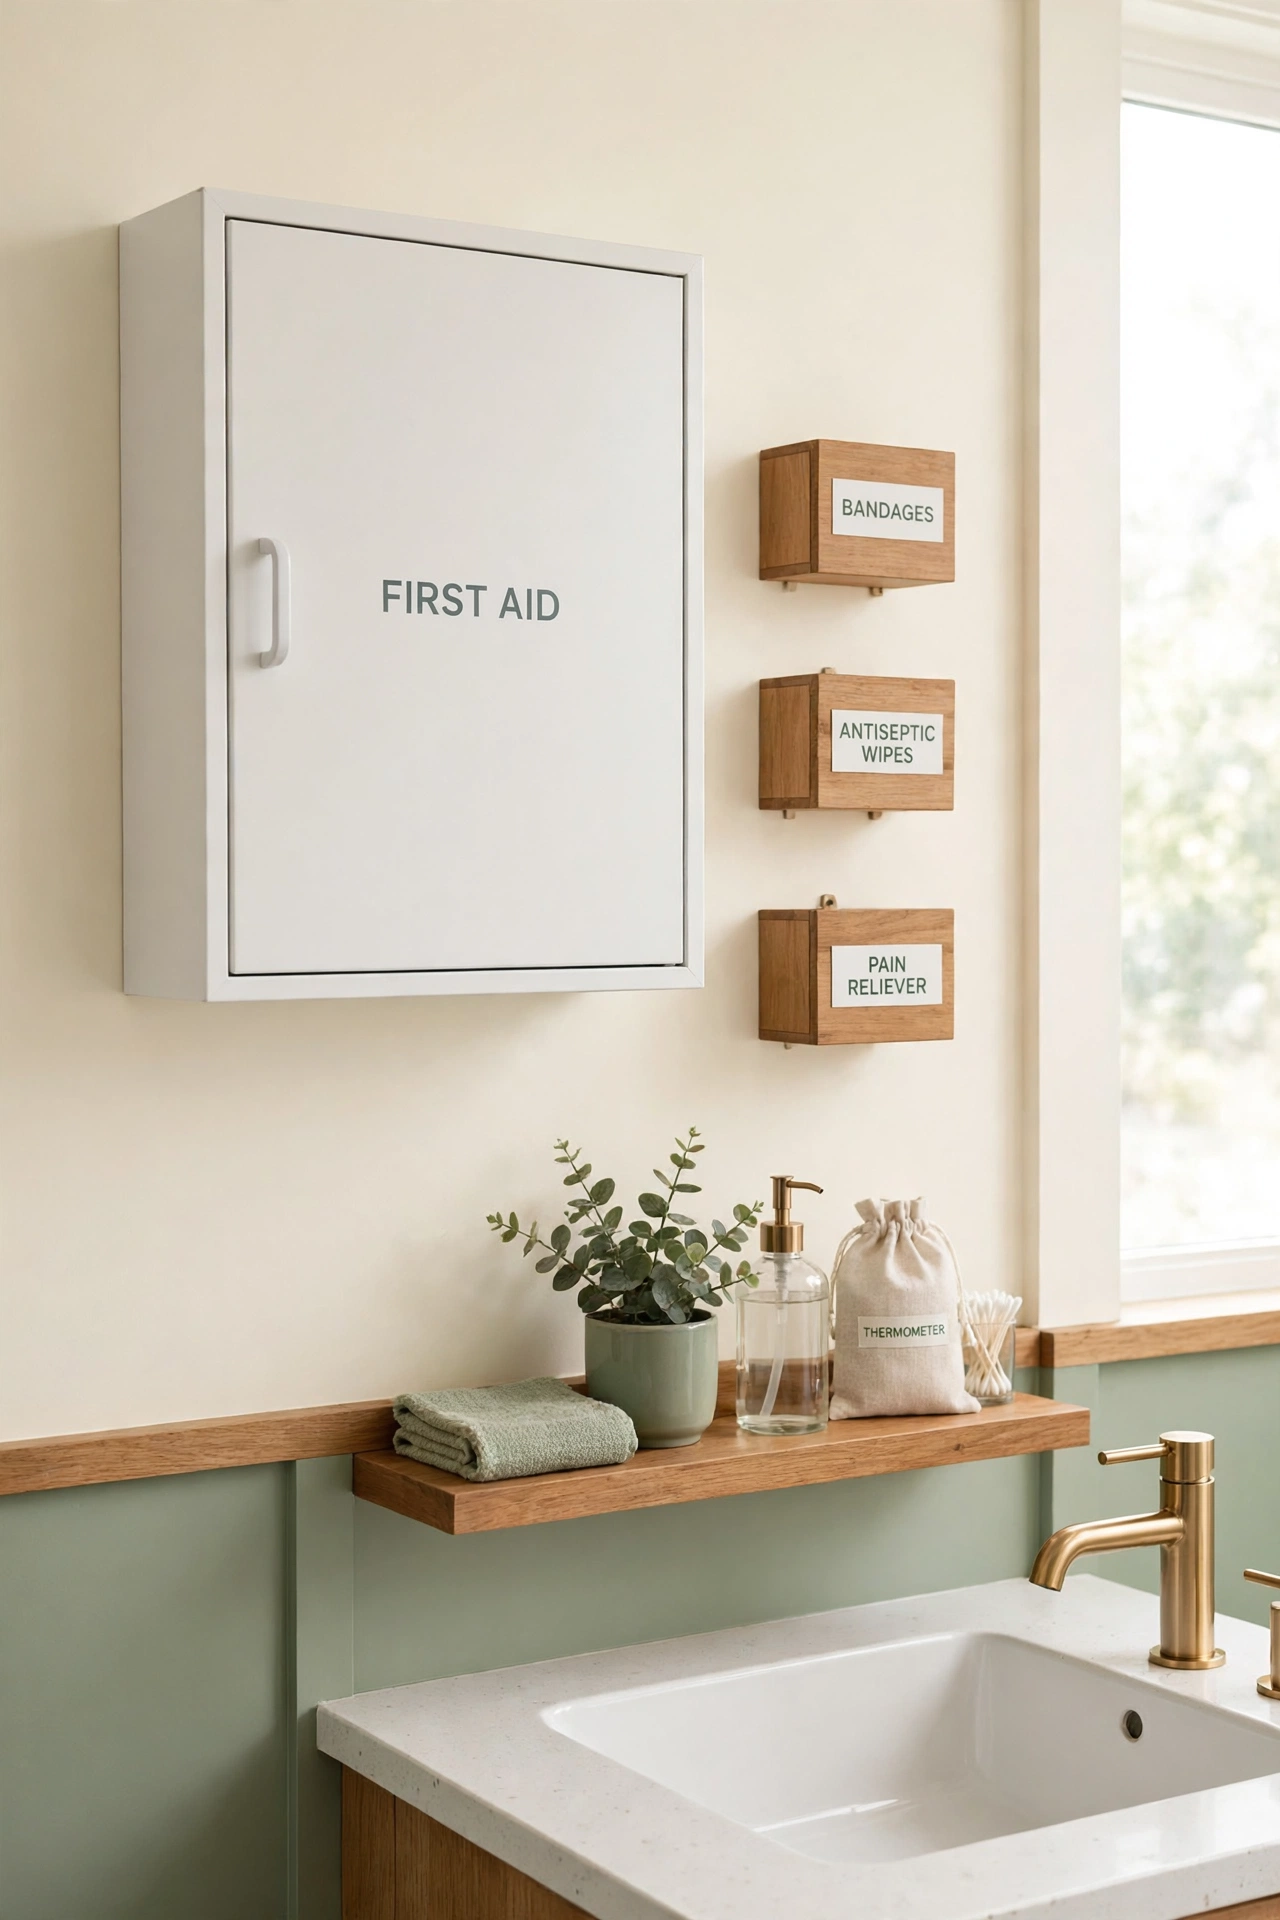
A wall-mounted first aid system keeps supplies off counters and shelves while they stay easy to reach. Mount a shallow cabinet or a set of labeled boxes on the wall near the bathroom or kitchen. Every item hangs at eye level, so you can find what you need without opening a drawer.
Choose a wall unit with a door or a cover to keep dust away from open bandage packs. Mount it high enough that small children cannot reach medicines, yet low enough for adults to grab items fast. This system works well in small homes where cabinet space is already full.
11. Refrigerated Section
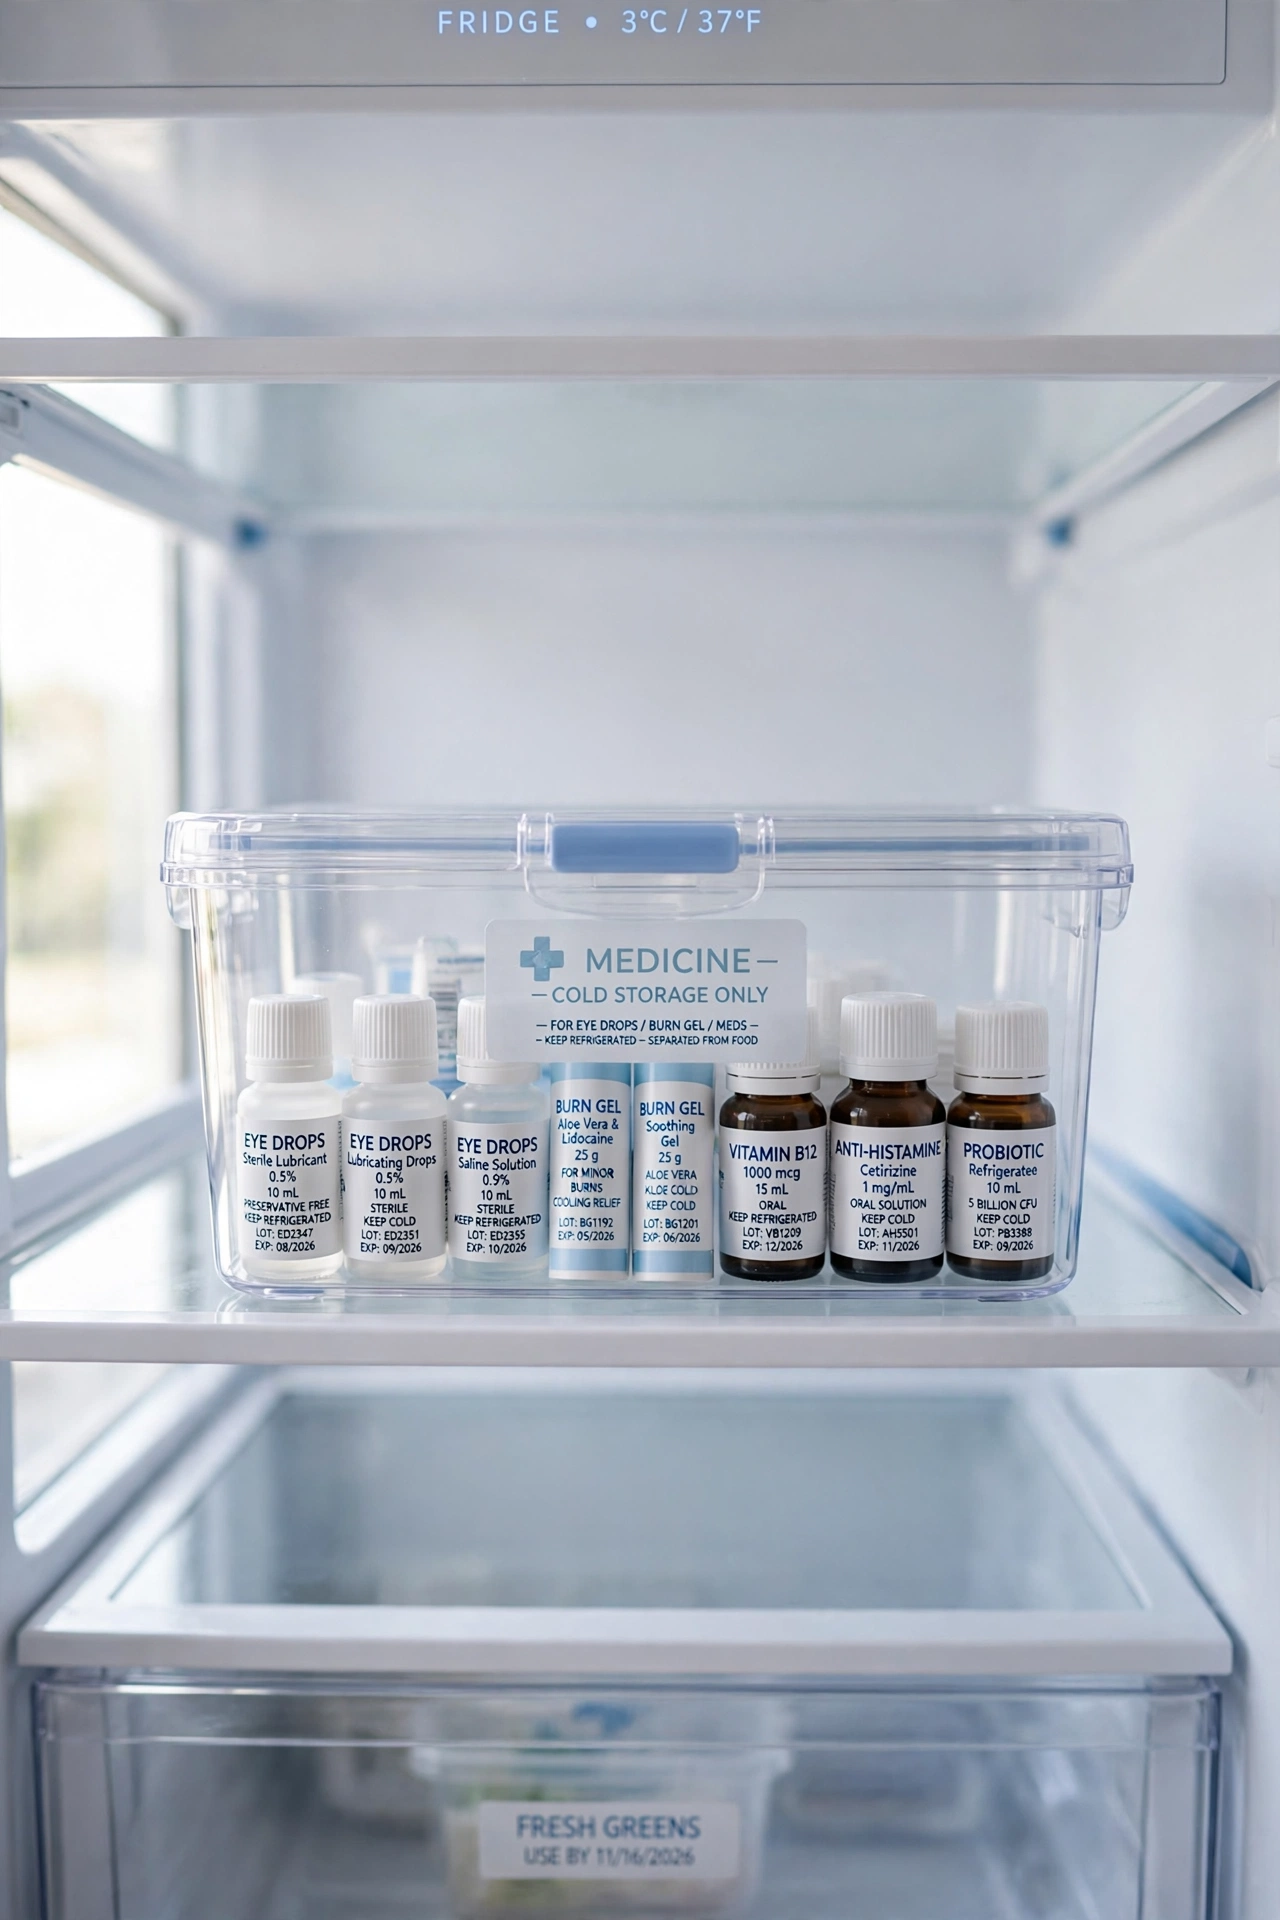
Some medicines and supplies need cold storage to stay effective, so give them a dedicated section in the refrigerator. Use a small clear bin with a lid to hold eye drops, certain antibiotics, and burn gels that must stay cool. A labeled bin keeps these items separate from food and easy to find.
Place the bin on a middle shelf where it stays cold but never freezes. Label the outside clearly so guests and babysitters know the bin holds medicine, not snacks. Check the bin weekly and throw away anything past its date.
12. Child-Safe Lock System
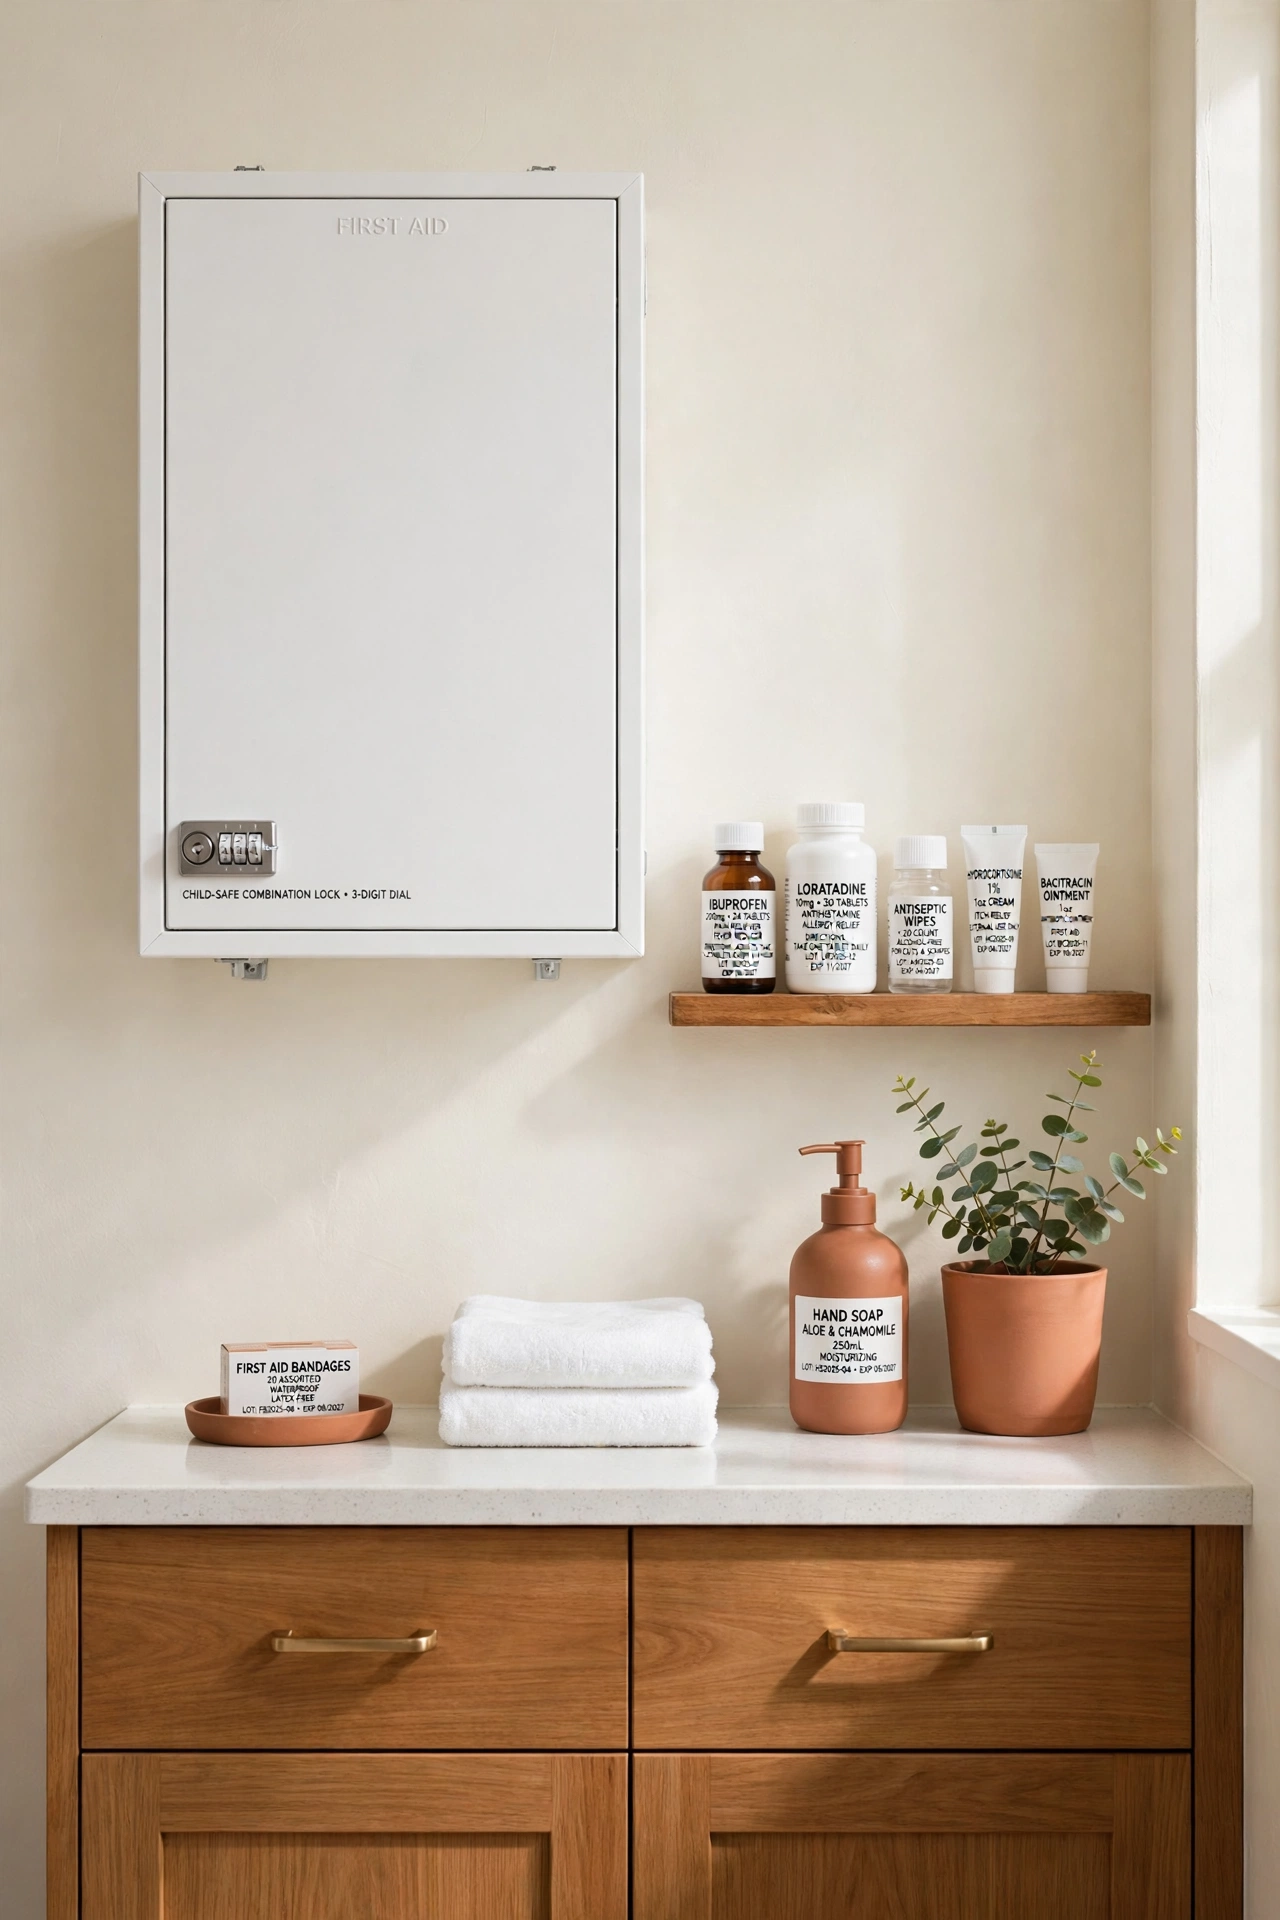
A child-safe lock system keeps medicines and sharp tools out of small hands while adults can still open the kit fast. Add a simple latch or a combination lock to the cabinet or box that holds your first aid supplies. This is essential in any home with toddlers or curious young children.
Choose a lock that adults can open with one hand, since emergencies leave no time for a tricky mechanism. Teach older children where the kit lives and that medicines are for adults only. A locked kit protects your family twice, by keeping supplies organized and children safe.
13. Vacuum-Sealed Container
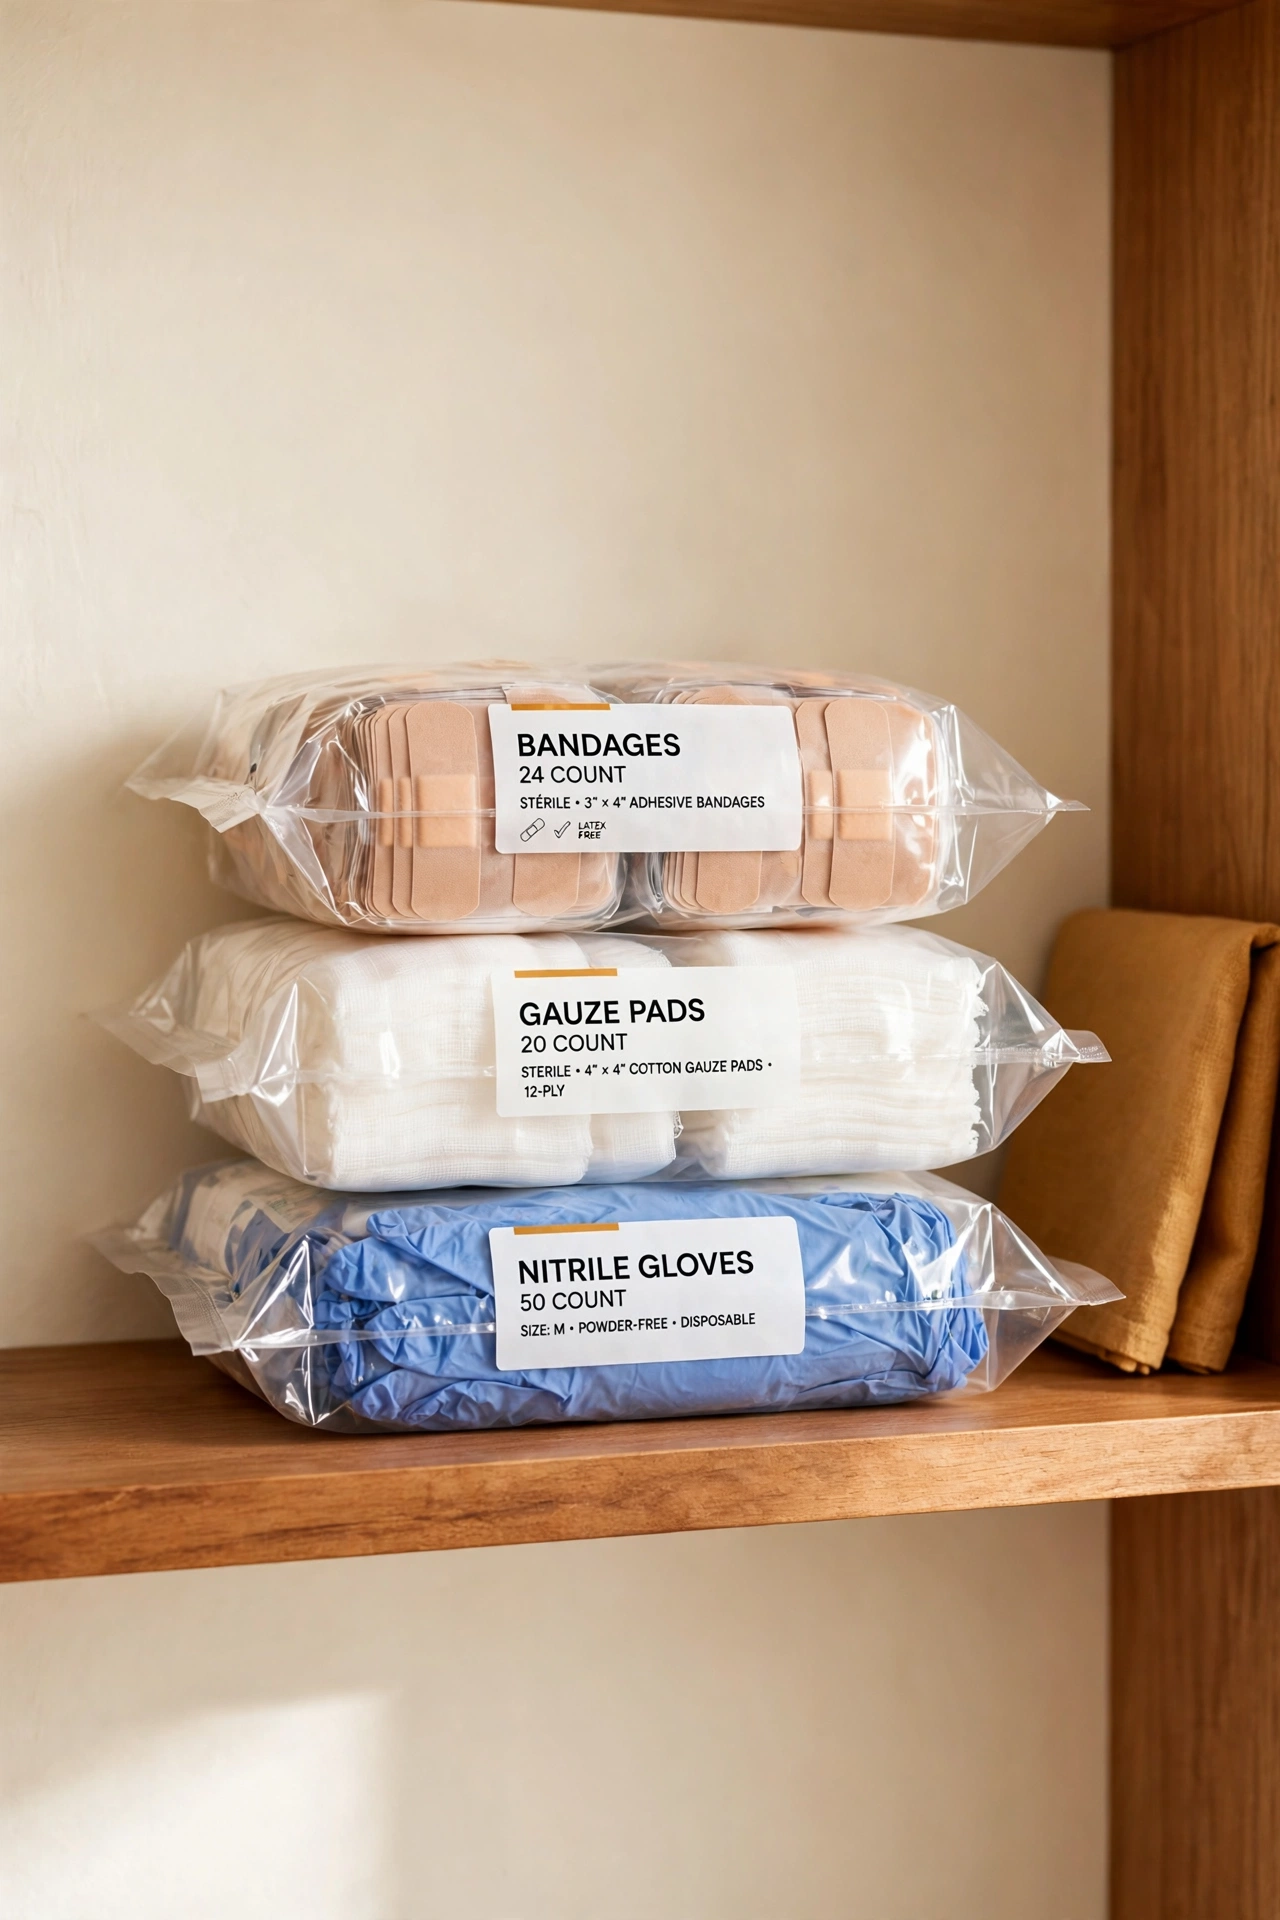
A vacuum-sealed container protects first aid supplies from moisture, dust, and air. Seal backup bandages, gauze, and gloves in flat vacuum bags and stack them in a closet or a travel bag. The airtight seal keeps everything clean and fresh for months.
This idea works best for supplies you store long-term, such as an emergency kit in the car or a basement. Label each sealed bag with its contents and the date you packed it. When you open a bag, replace it with a fresh sealed one so your backup stock never runs out.
14. Weekly Pill Organizer
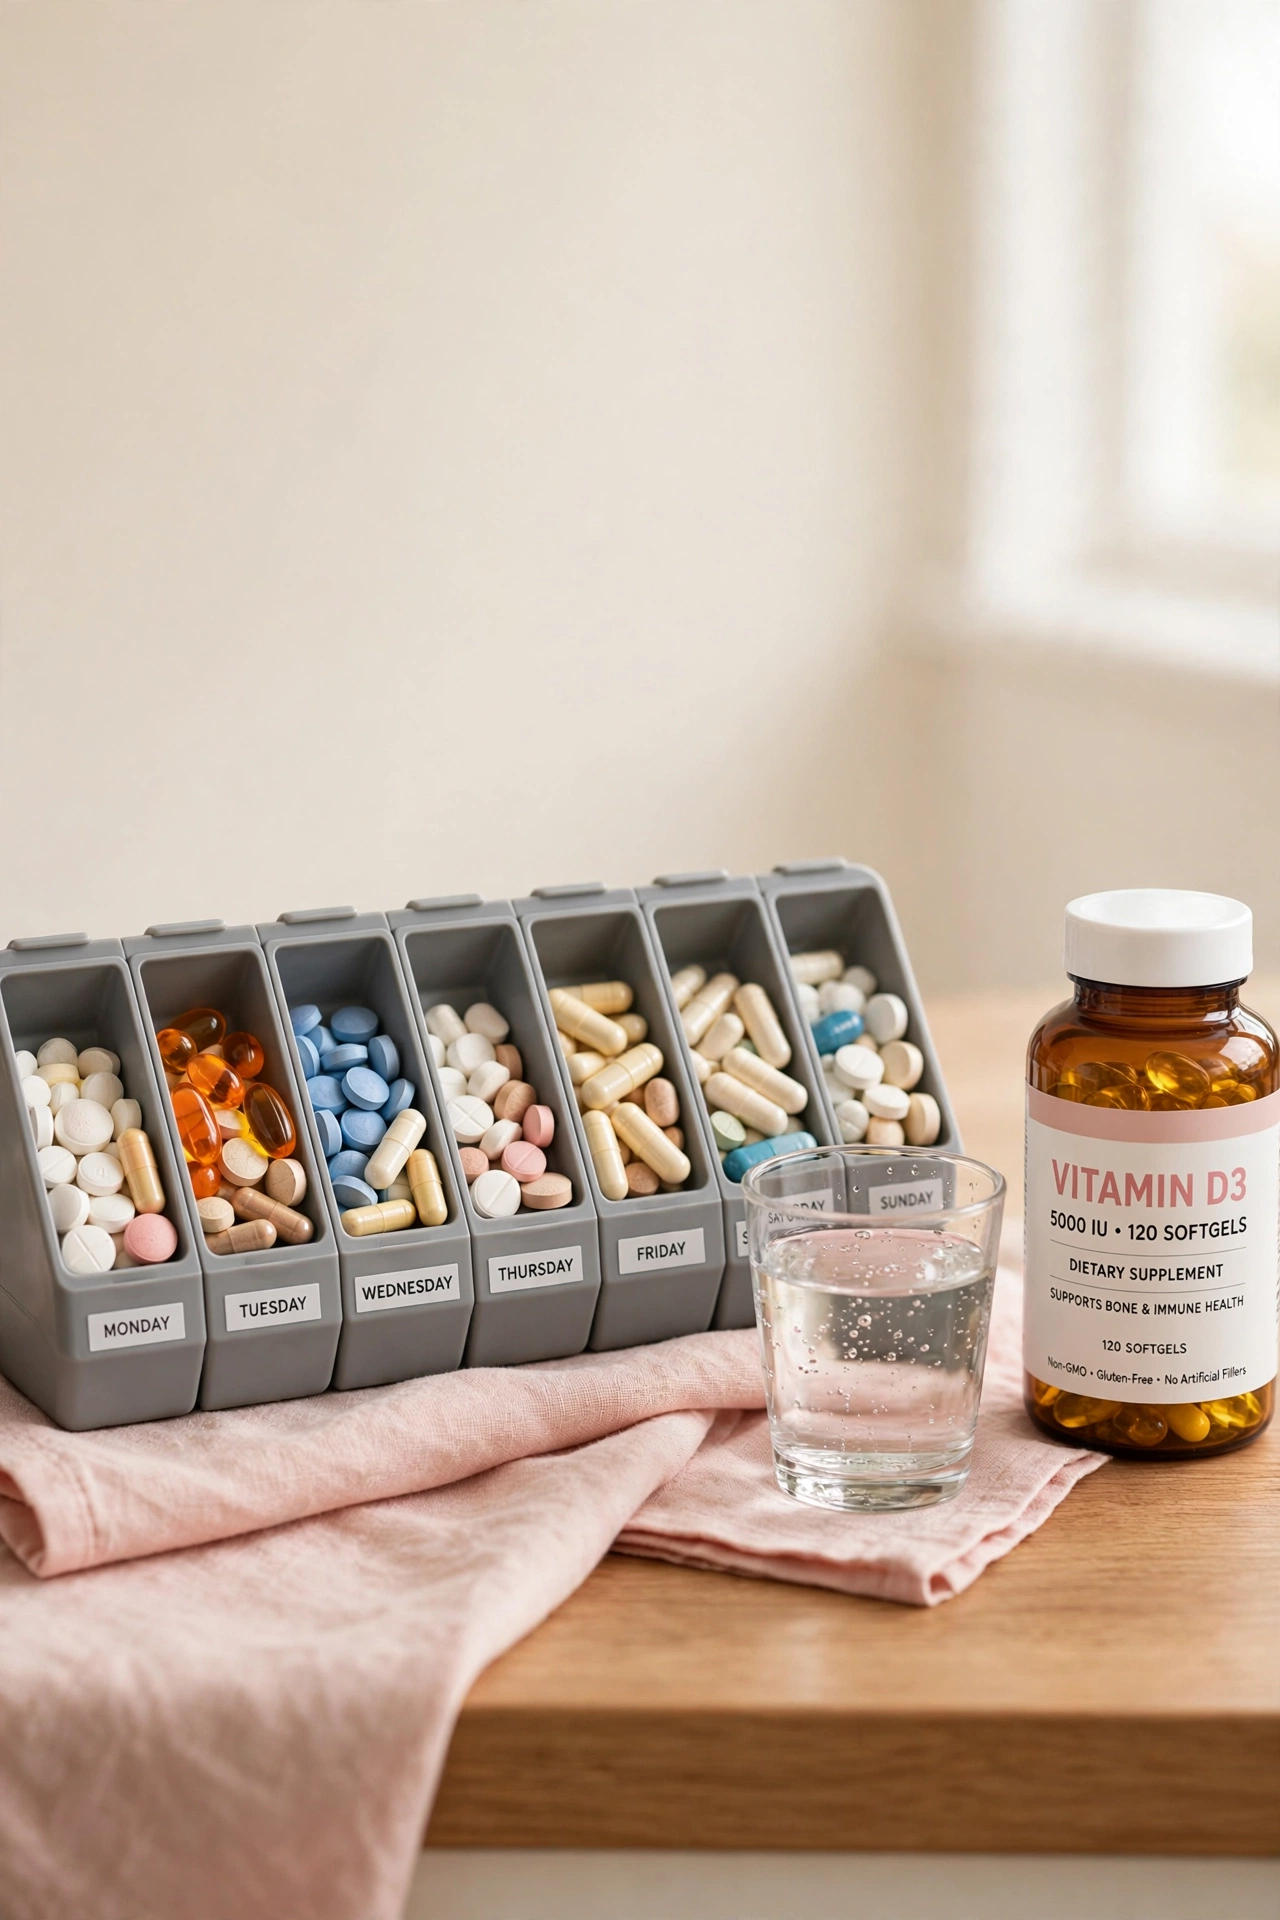
A weekly pill organizer sorts daily medicines into seven labeled compartments, one for each day. Fill the organizer every Sunday and you always know whether the morning dose was taken. This simple habit prevents missed doses and accidental double doses.
Choose an organizer with large compartments if several pills go in each day, or a morning and evening split for complex schedules. For a full system for daily supplements, see these vitamin supplement organization ideas. Keep the organizer in a visible spot, such as the kitchen counter or the bedside table, so it becomes part of the daily routine.
15. First Aid Station
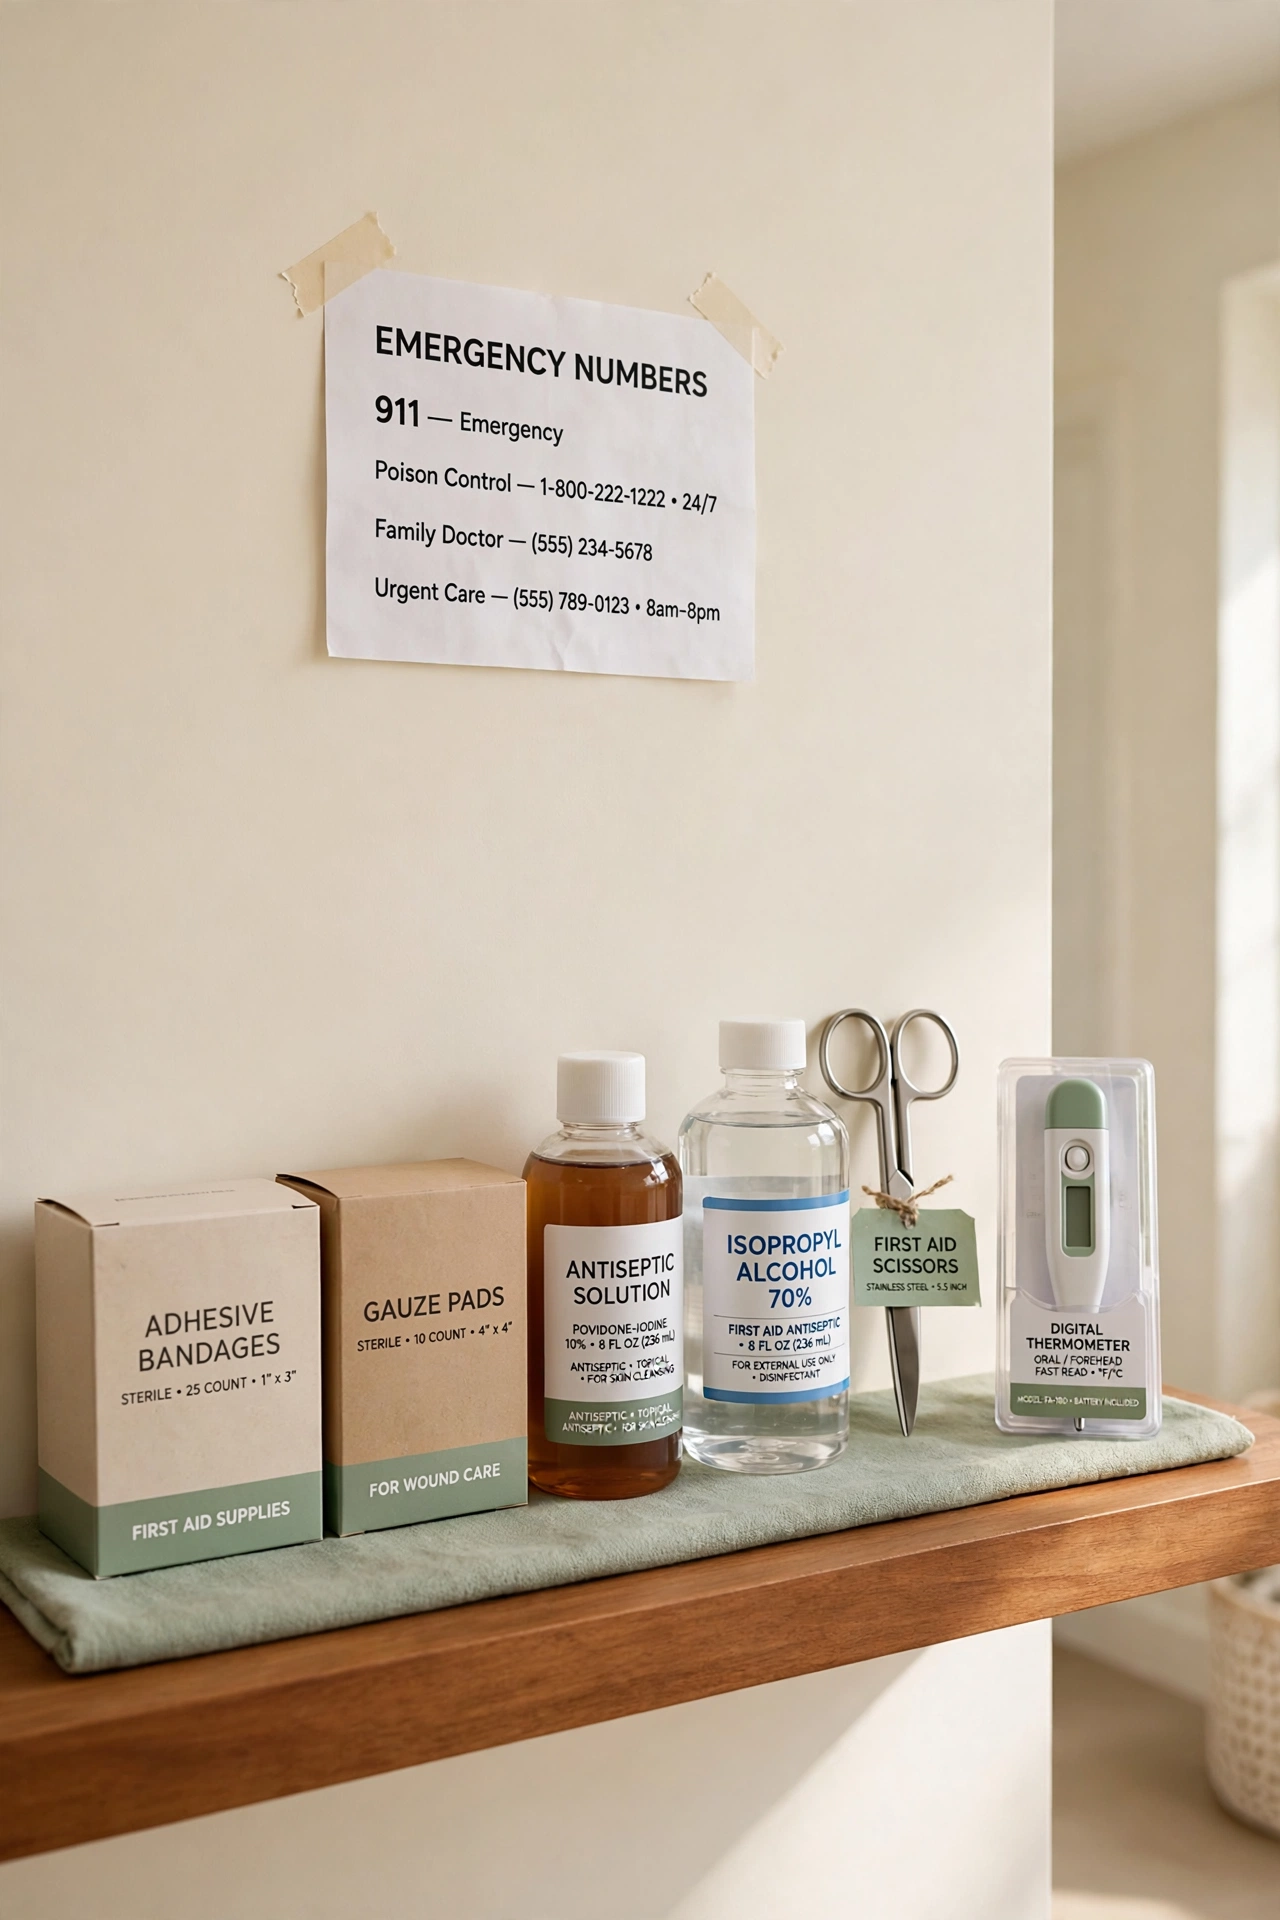
A first aid station is a dedicated spot in your home where every supply lives in one place. Set up a small shelf or a rolling cart in the hallway, the kitchen, or the bathroom, and stock it with bandages, antiseptic, scissors, and a thermometer. When someone gets hurt, everyone in the family knows exactly where to go.
Keep the station stocked with a printed list of emergency numbers taped to the wall nearby. A small basket on the station holds the items you reach for most, while larger supplies sit on the lower shelves. A visible station turns panic into a calm, quick response.
16. Bathroom Caddy
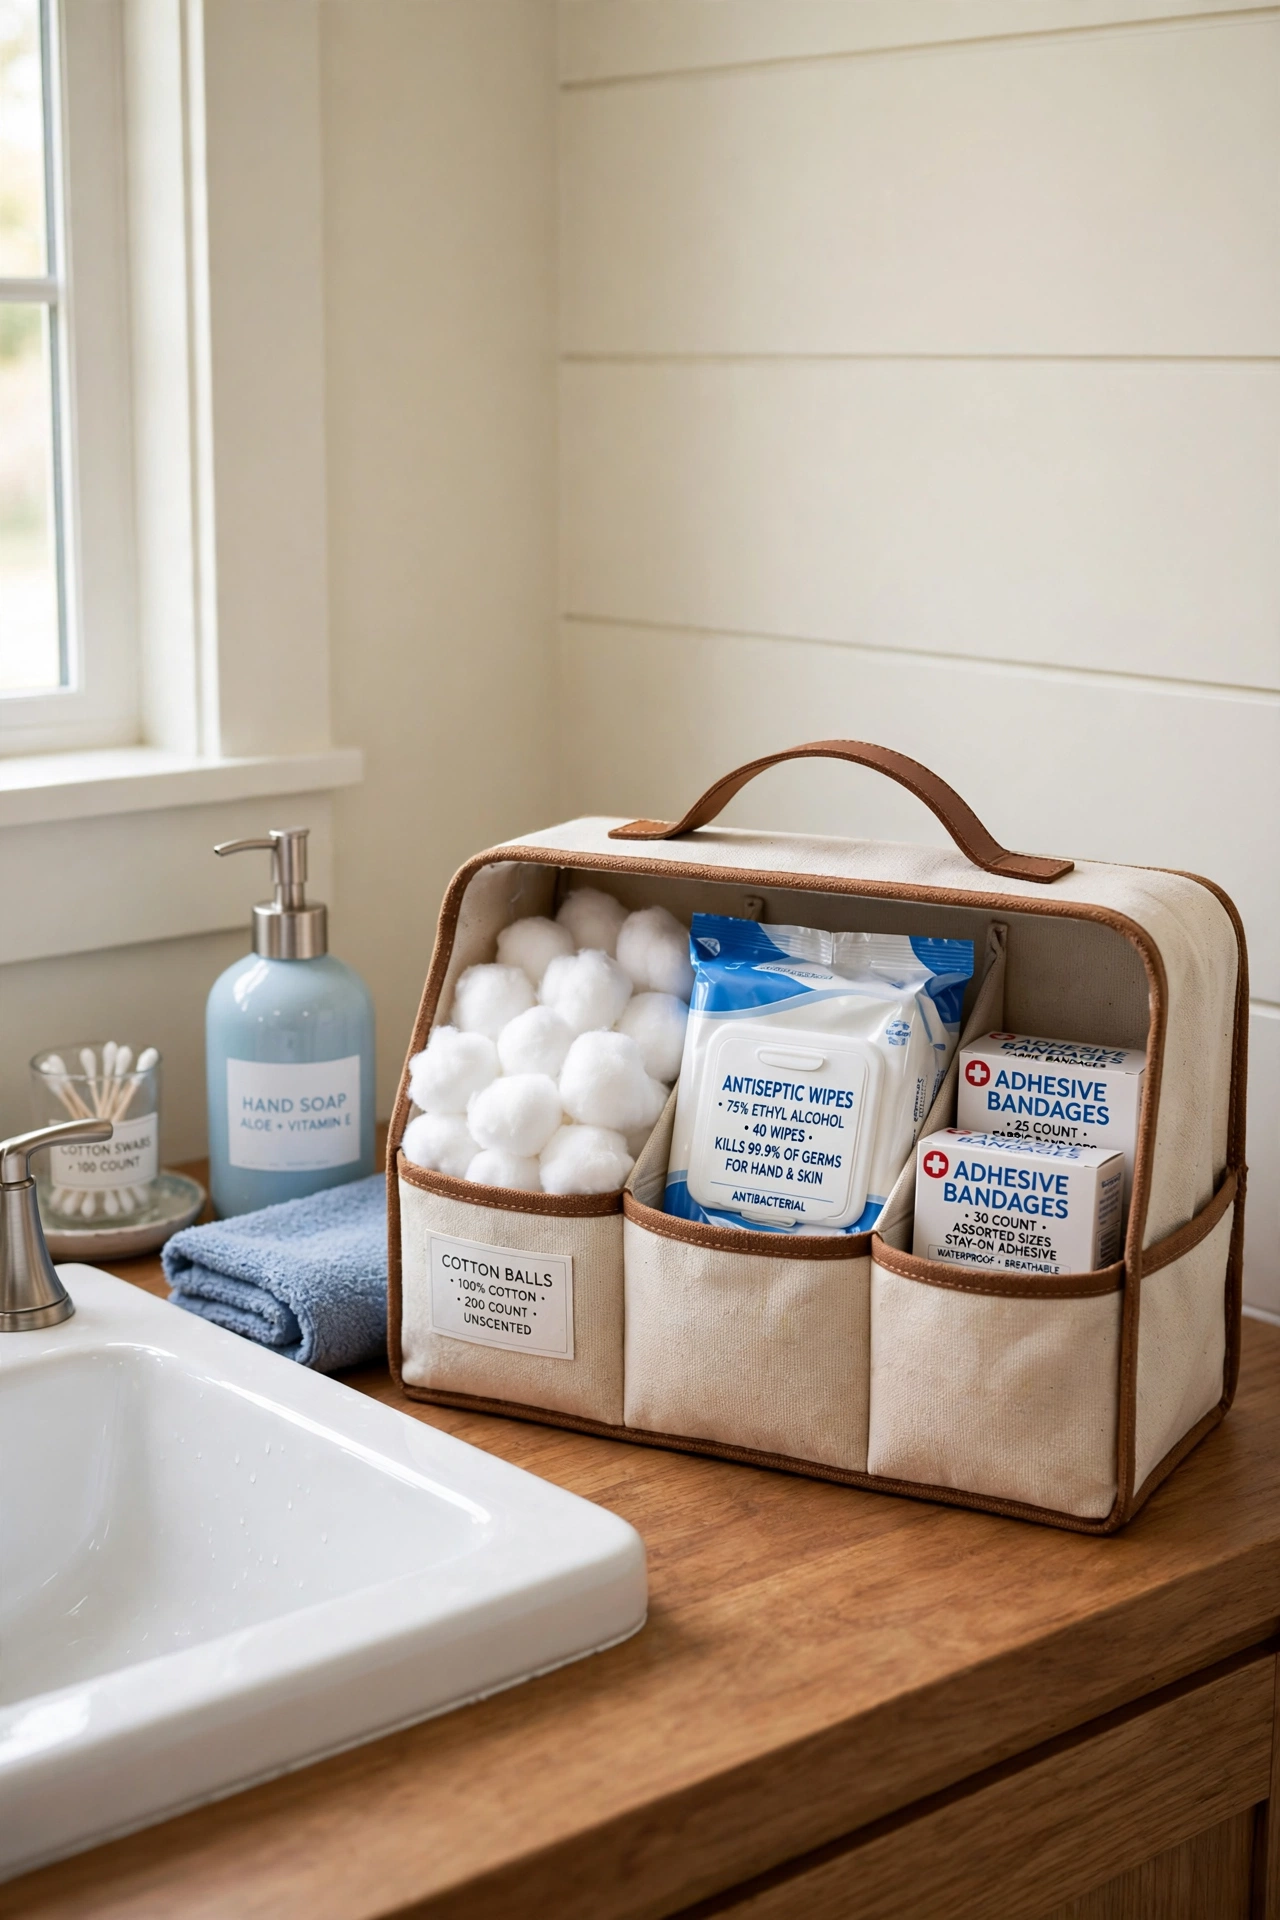
A bathroom caddy with a handle carries your first aid supplies from the cabinet to the sink in one trip. Fill the caddy with the items you use most, such as cotton balls, antiseptic wipes, and adhesive bandages. The handle makes it easy to lift the whole kit out when you need it and put it back when you finish.
Choose a caddy with separate compartments so bottles stay upright and small items stay sorted. Wipe the caddy clean once a week to keep it hygienic. This portable setup is perfect for bathrooms where several family members share one small cabinet.
17. Kitchen Counter Station
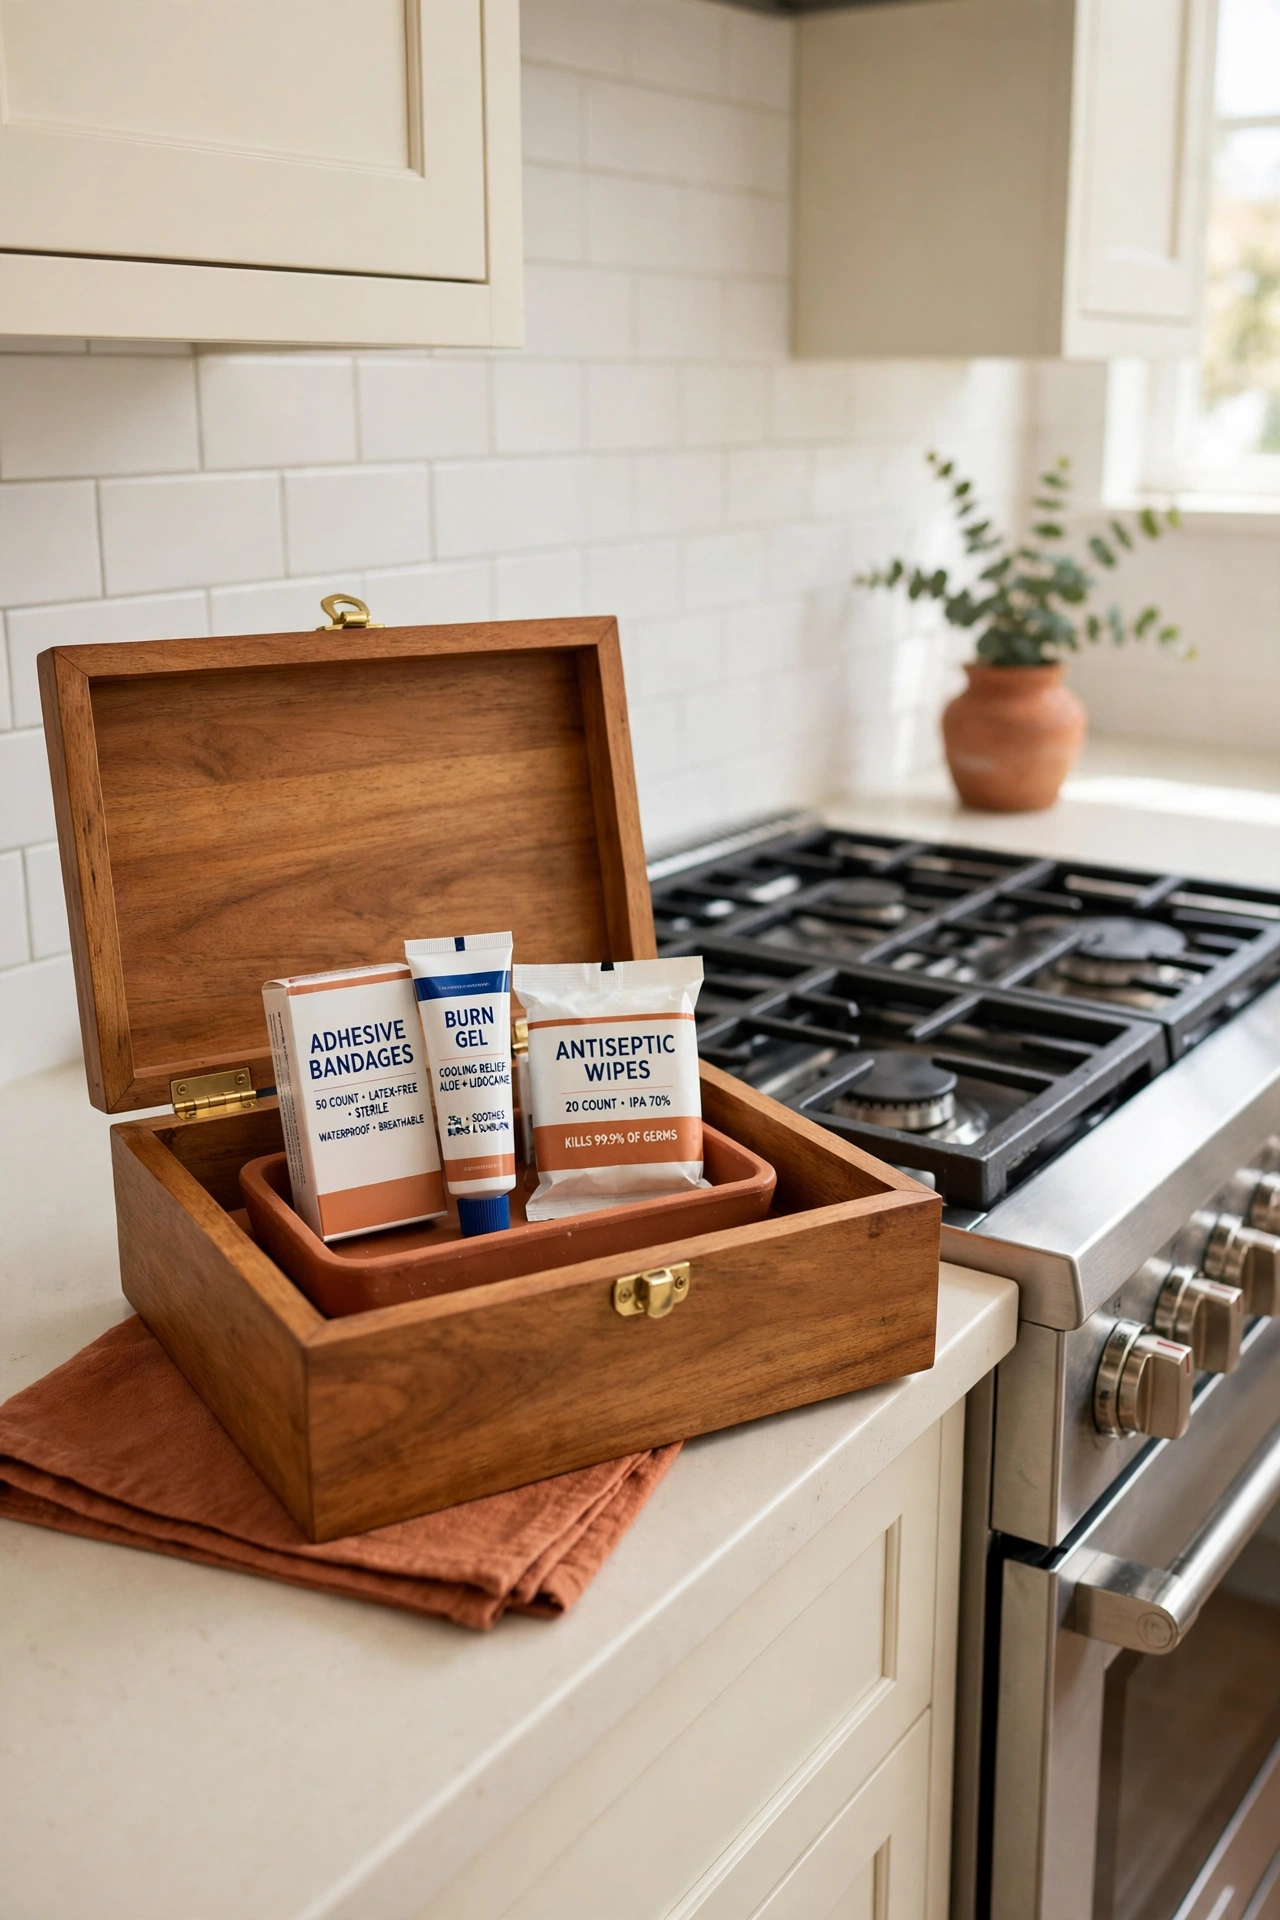
A kitchen counter station keeps first aid basics close to the room where most small cuts and burns happen. Set a small tray or a lidded box on the counter with adhesive bandages, burn gel, and antiseptic wipes. The station stays in reach while you cook, so help is never more than a few steps away.
Keep the station compact so it does not crowd your cooking space. A small wooden box or a ceramic jar blends with kitchen decor while it hides the supplies inside. Restock the station every week, since kitchen accidents use up bandages fast.
18. Bedside Emergency Kit
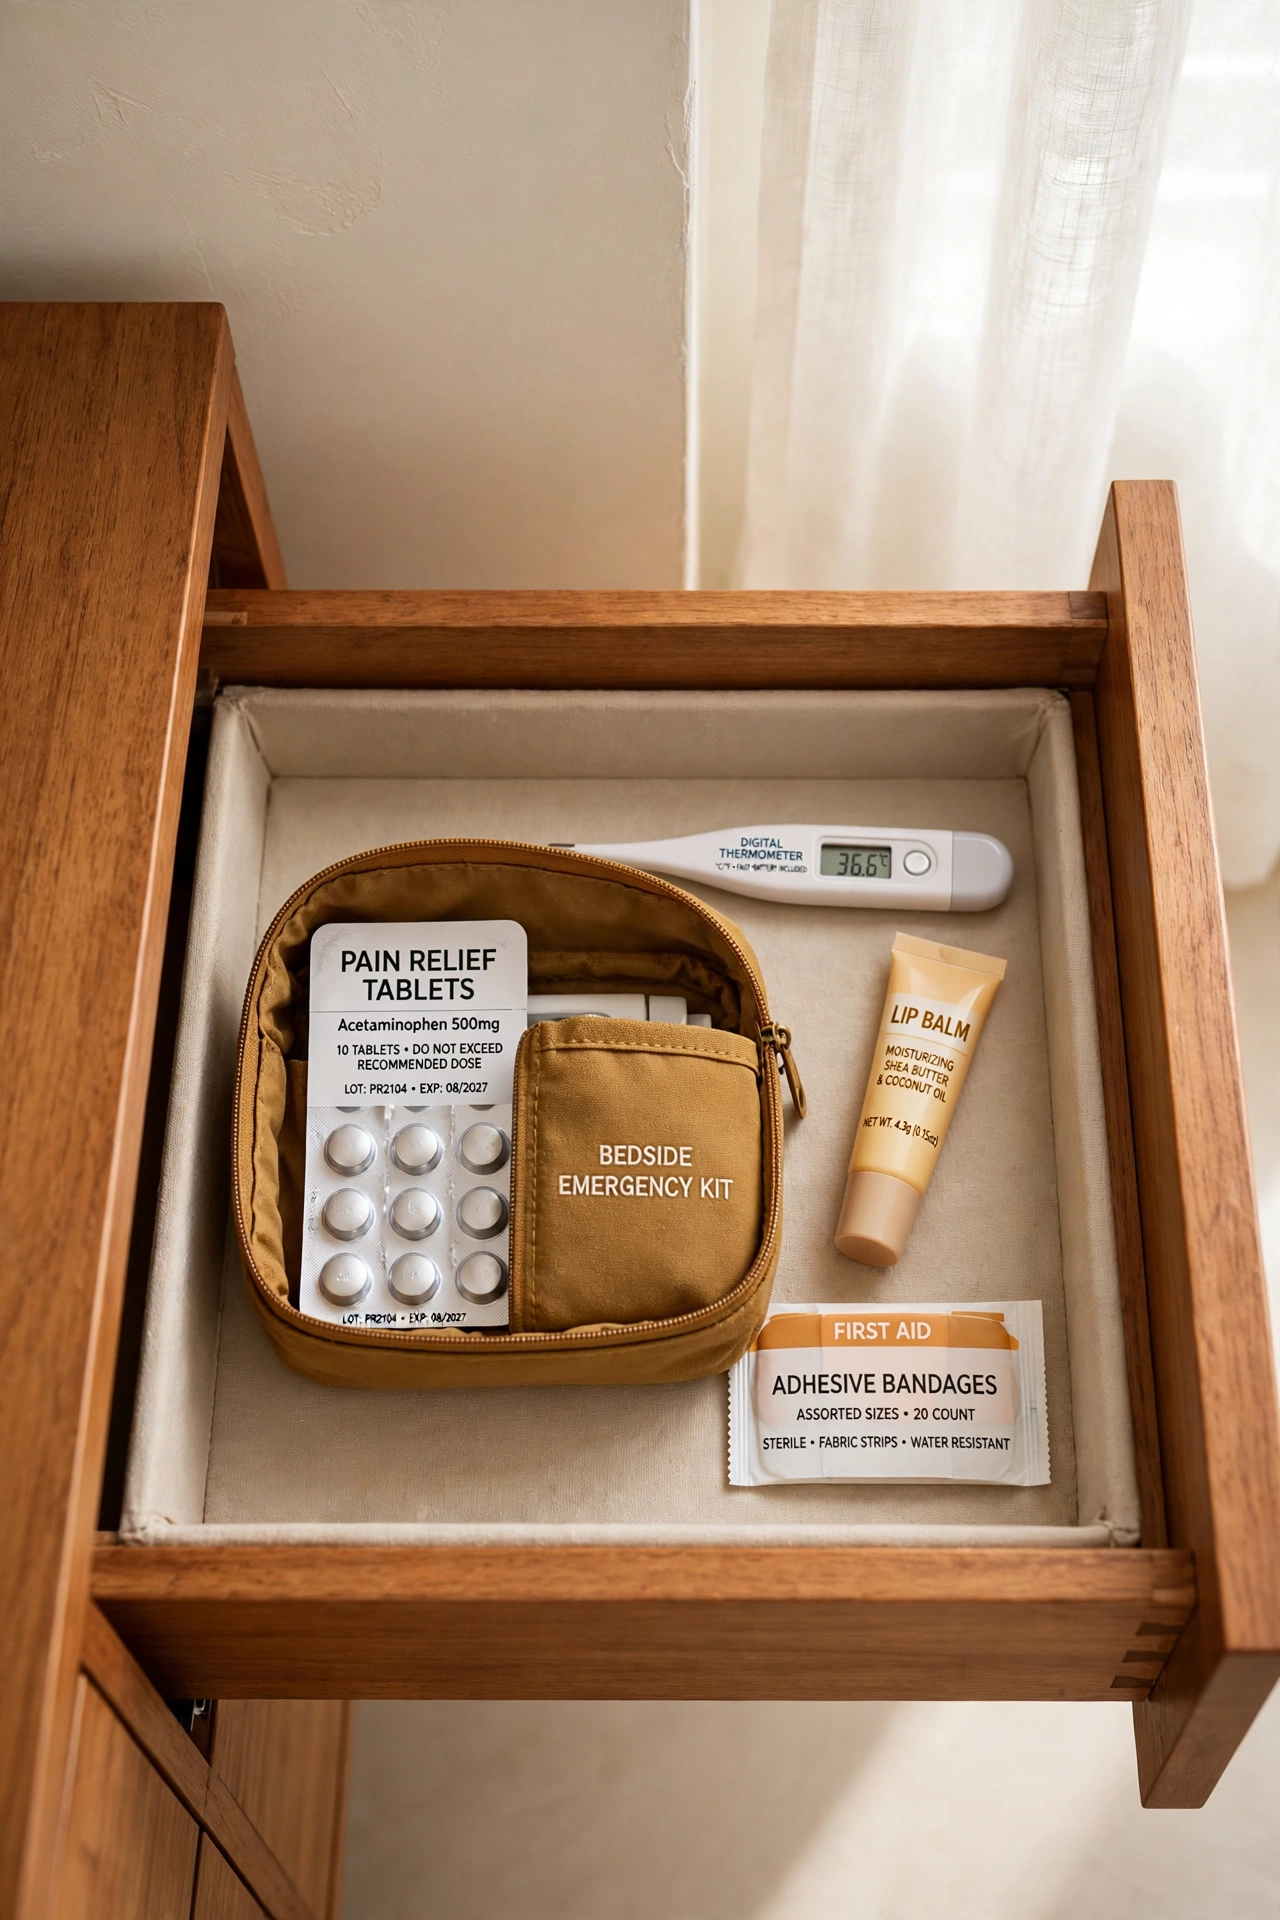
A bedside emergency kit holds the supplies you might need in the middle of the night. Keep a small pouch in the nightstand drawer with pain relief tablets, a thermometer, lip balm, and a few adhesive bandages. When someone wakes up with a headache or a fever, the kit is already within arm’s reach.
Check the bedside kit once a month and replace anything you used. Keep the pouch small so it fits in the drawer without crowding other items. This tiny kit saves a trip to the bathroom cabinet when you are half asleep.
19. Vintage Apothecary Style
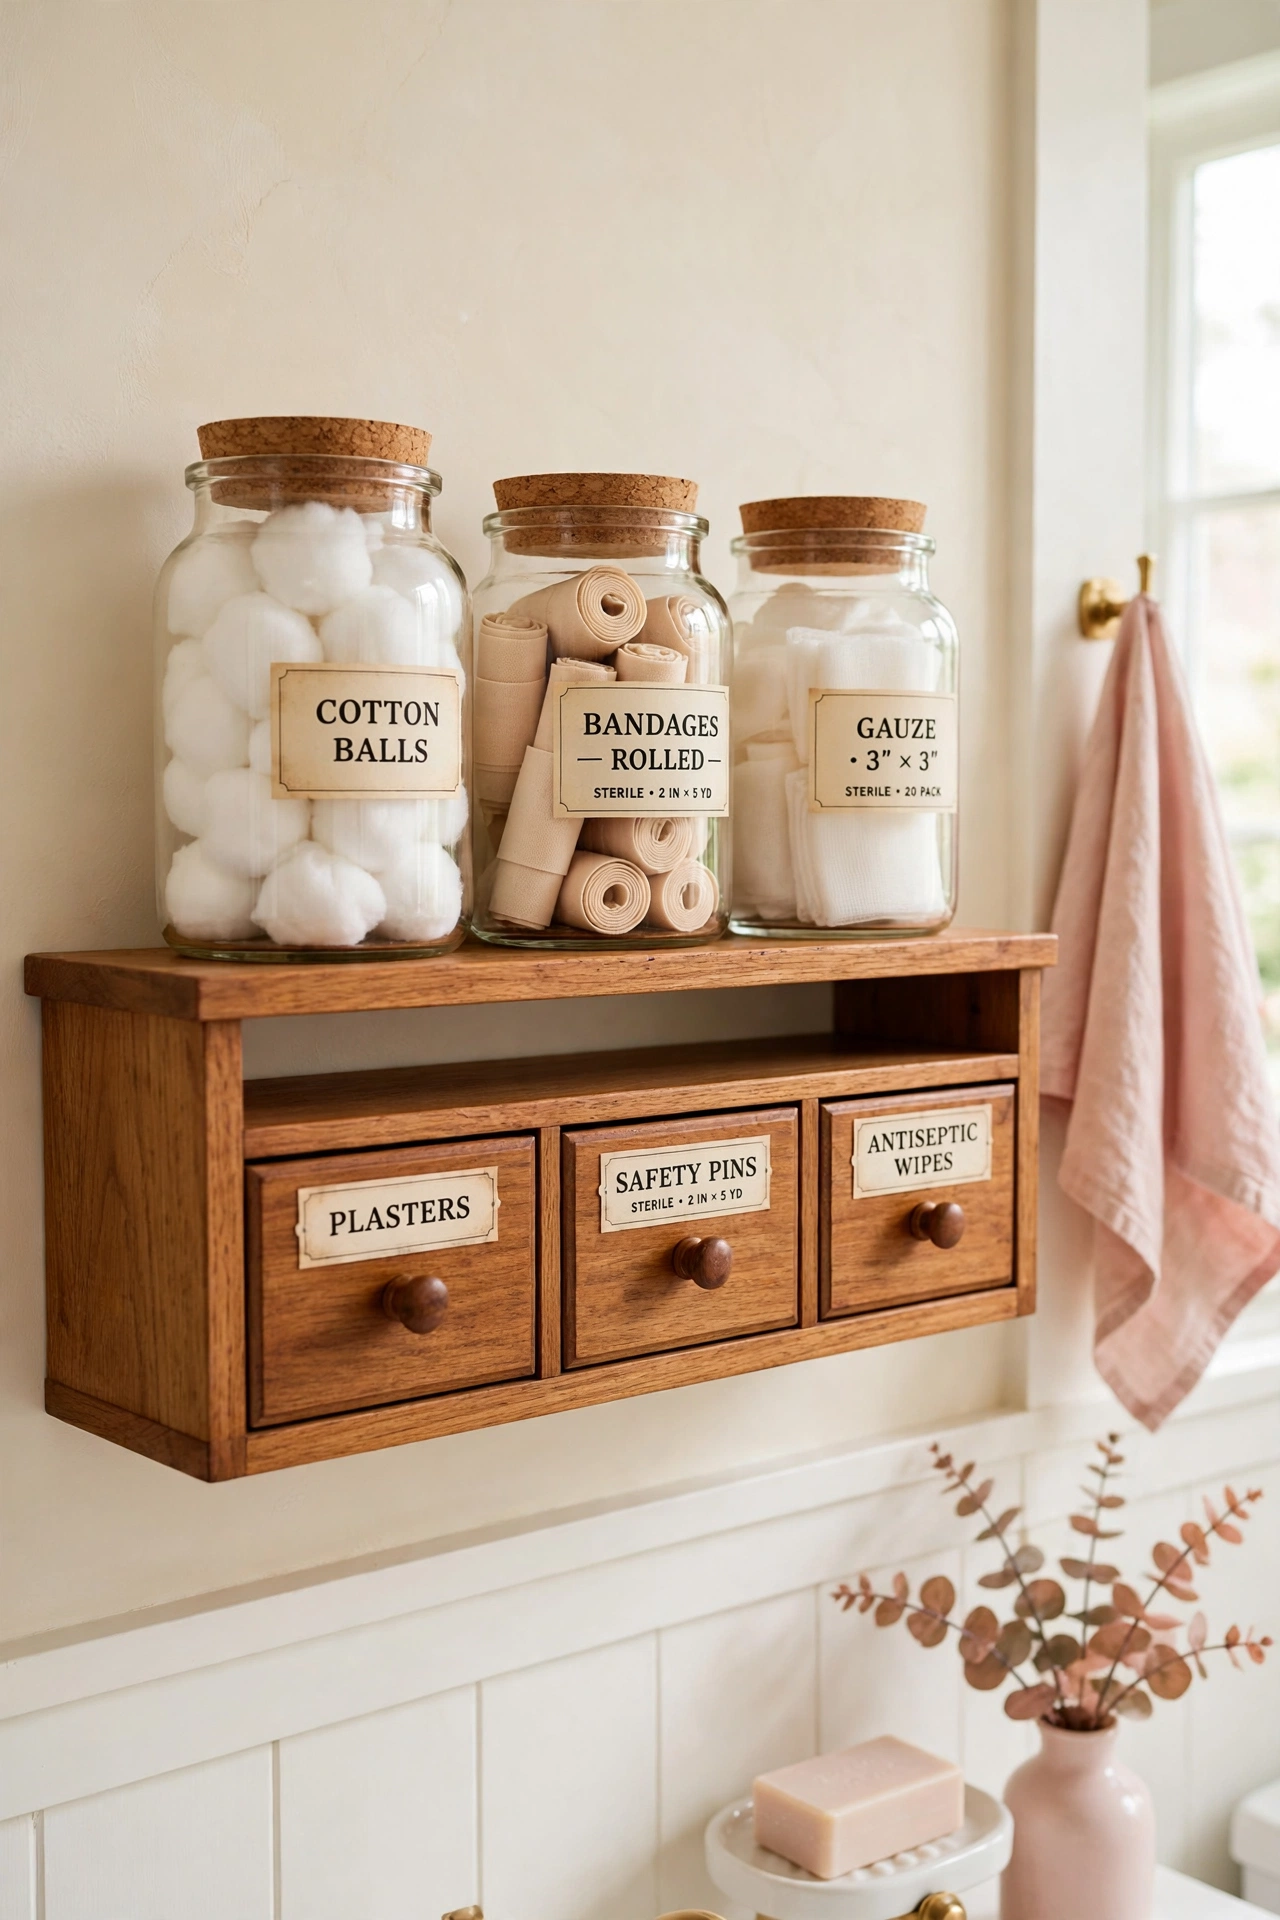
A vintage apothecary style turns first aid storage into a beautiful display. Glass jars with cork lids, small wooden drawers, and printed labels give your supplies an old-fashioned pharmacy look. Bandages, cotton balls, and gauze look charming inside clear jars on an open shelf.
Choose jars with tight lids so supplies stay clean and dry. Label each jar clearly so the vintage look never hides what is inside. This style suits farmhouse and traditional bathrooms especially well, and it proves that practical storage can also be pretty.
20. Smart Technology Integration
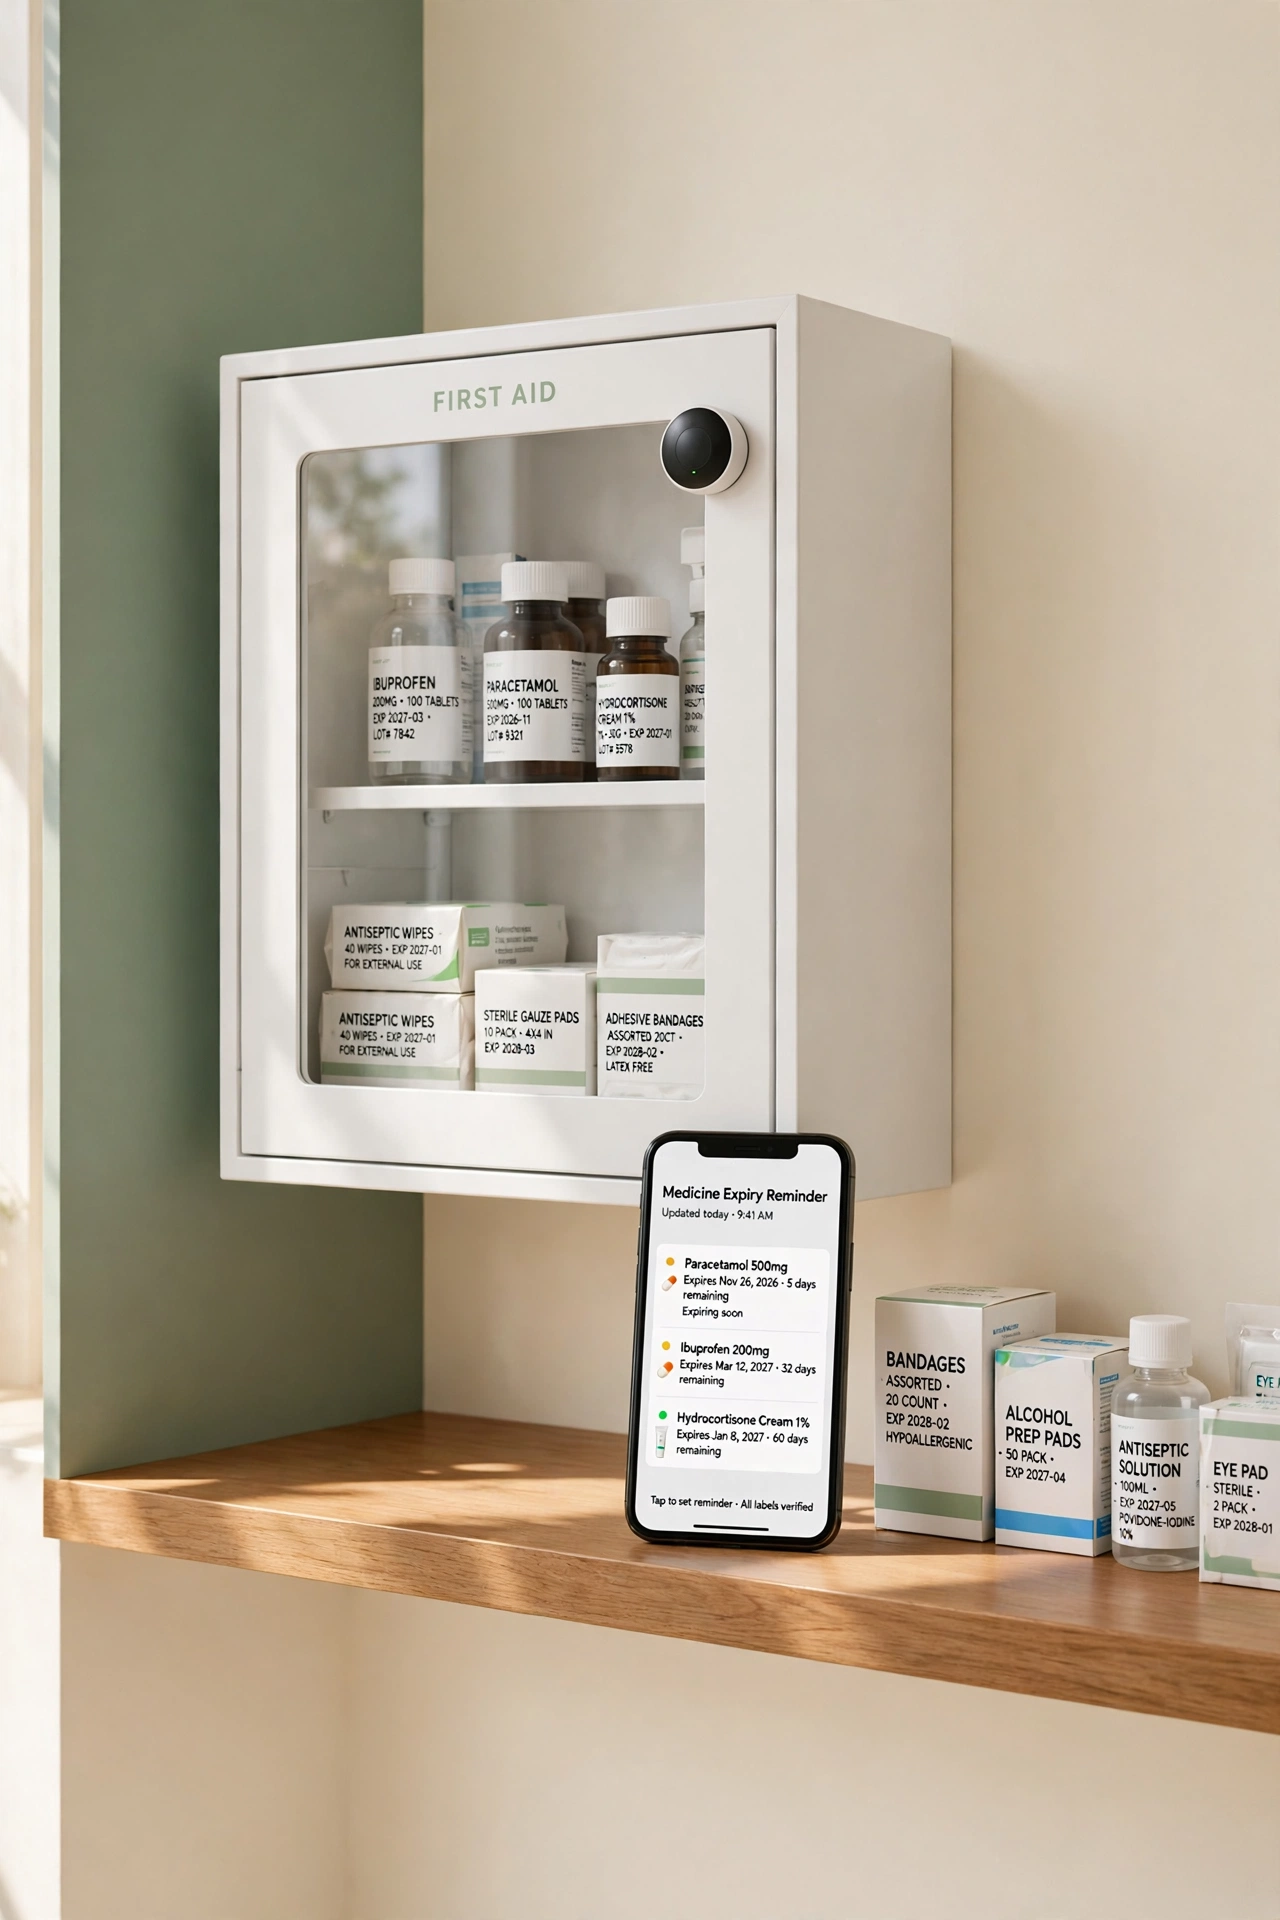
Smart technology can help you manage a first aid kit with less effort. A small sensor on the cabinet door sends a reminder to your phone when the kit stays open, and an app tracks expiry dates for every medicine inside. Some smart pill bottles even glow when it is time for a dose.
Start with one simple tool, such as an expiry date reminder app, before you add more gadgets. Smart tools work best when they support a tidy physical system, not replace it. Even a simple phone alarm for your monthly kit check makes a real difference.
21. Label Everything Clearly
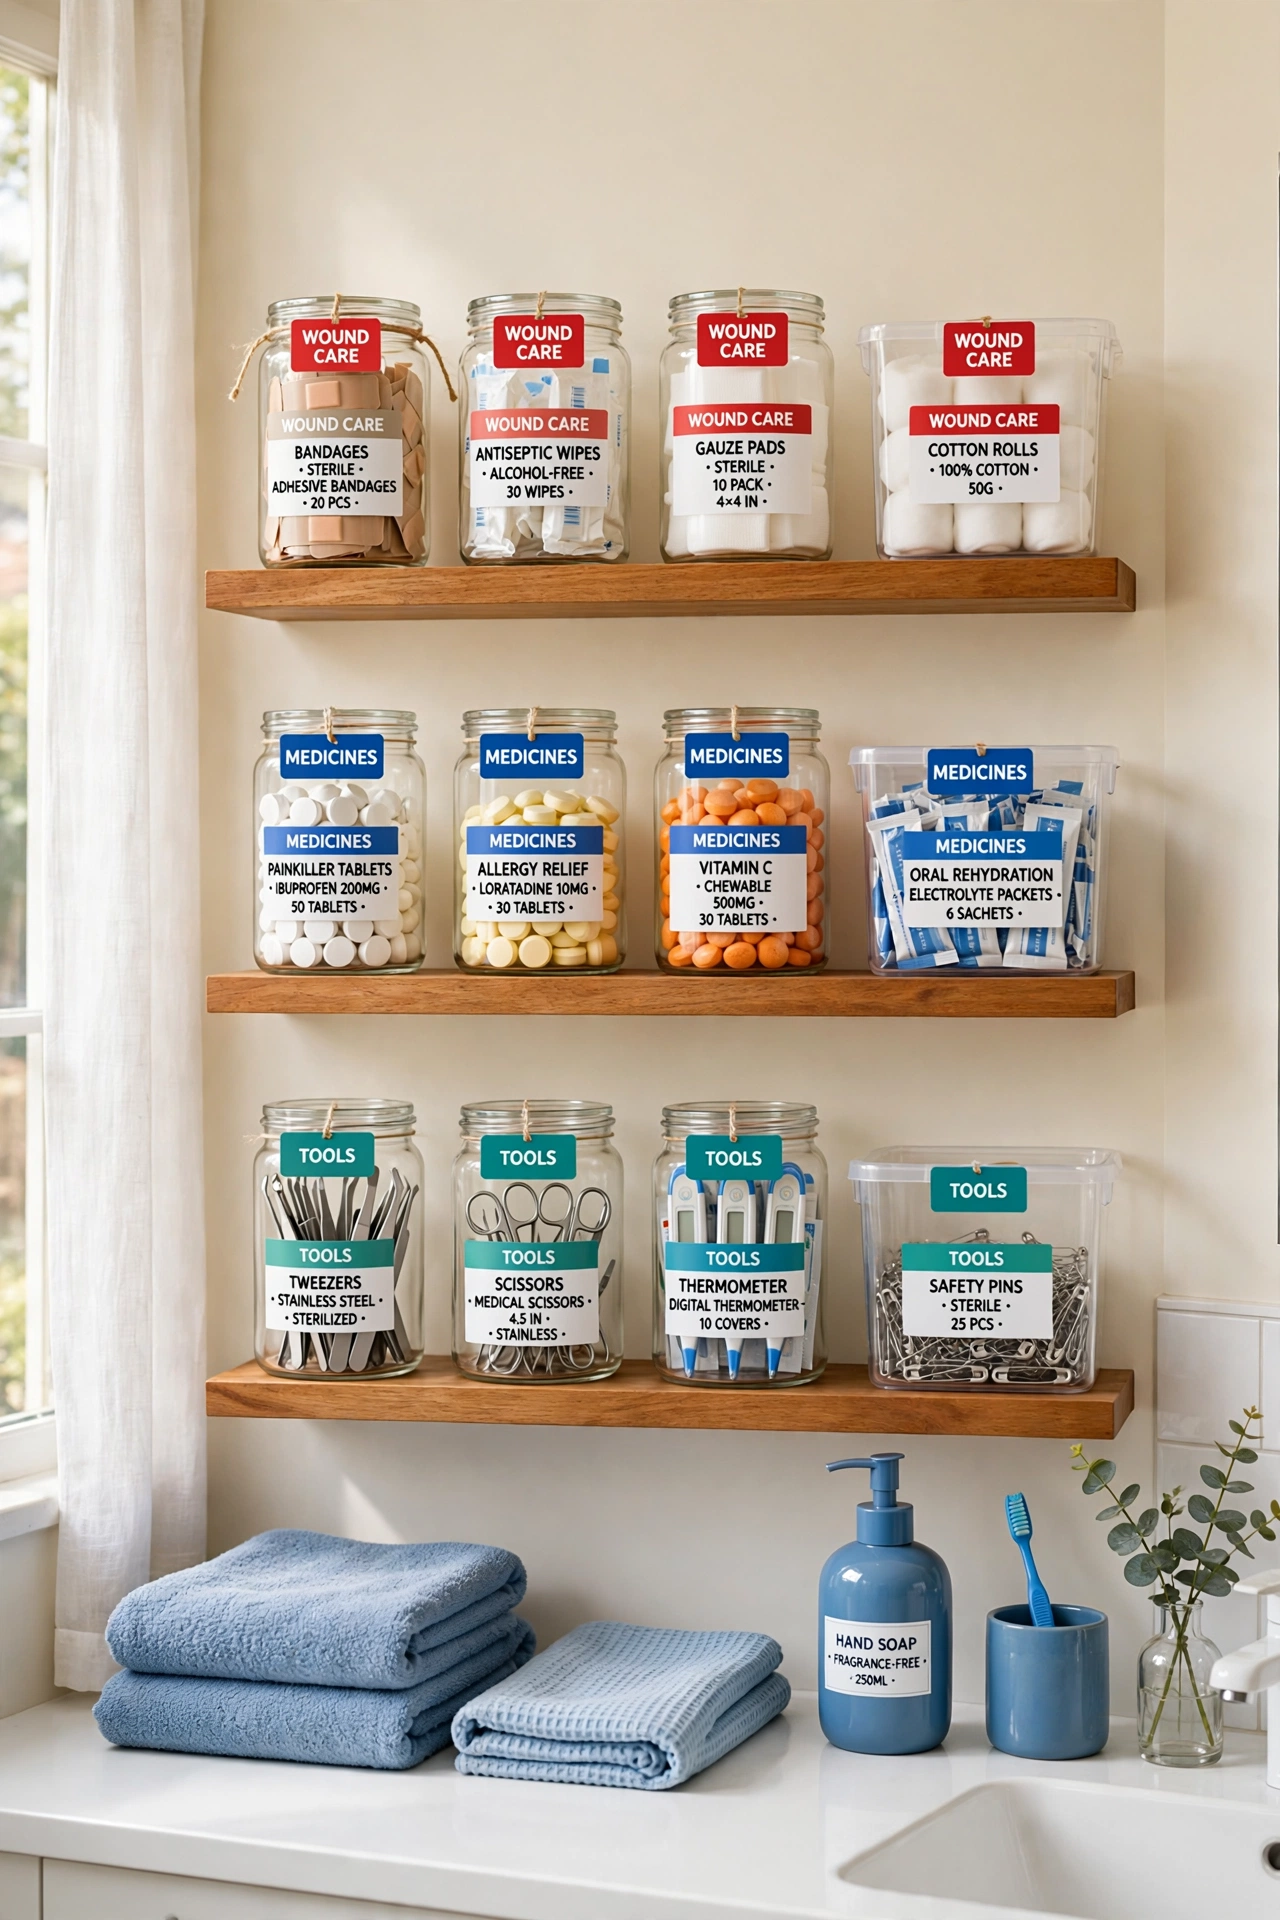
Clear labels are the fastest way to make any first aid kit easy to use. Label every bin, jar, and drawer with the contents inside, using large print that anyone can read in a hurry. Color-coded labels work even better, with one color for wound care, one for medicines, and one for tools.
Use a label maker or neat handwritten tags, and replace labels when supplies change. Labels help babysitters, guests, and older children find the right item without asking. A well labeled kit saves time when every second counts.
22. Expiry Date Check Routine
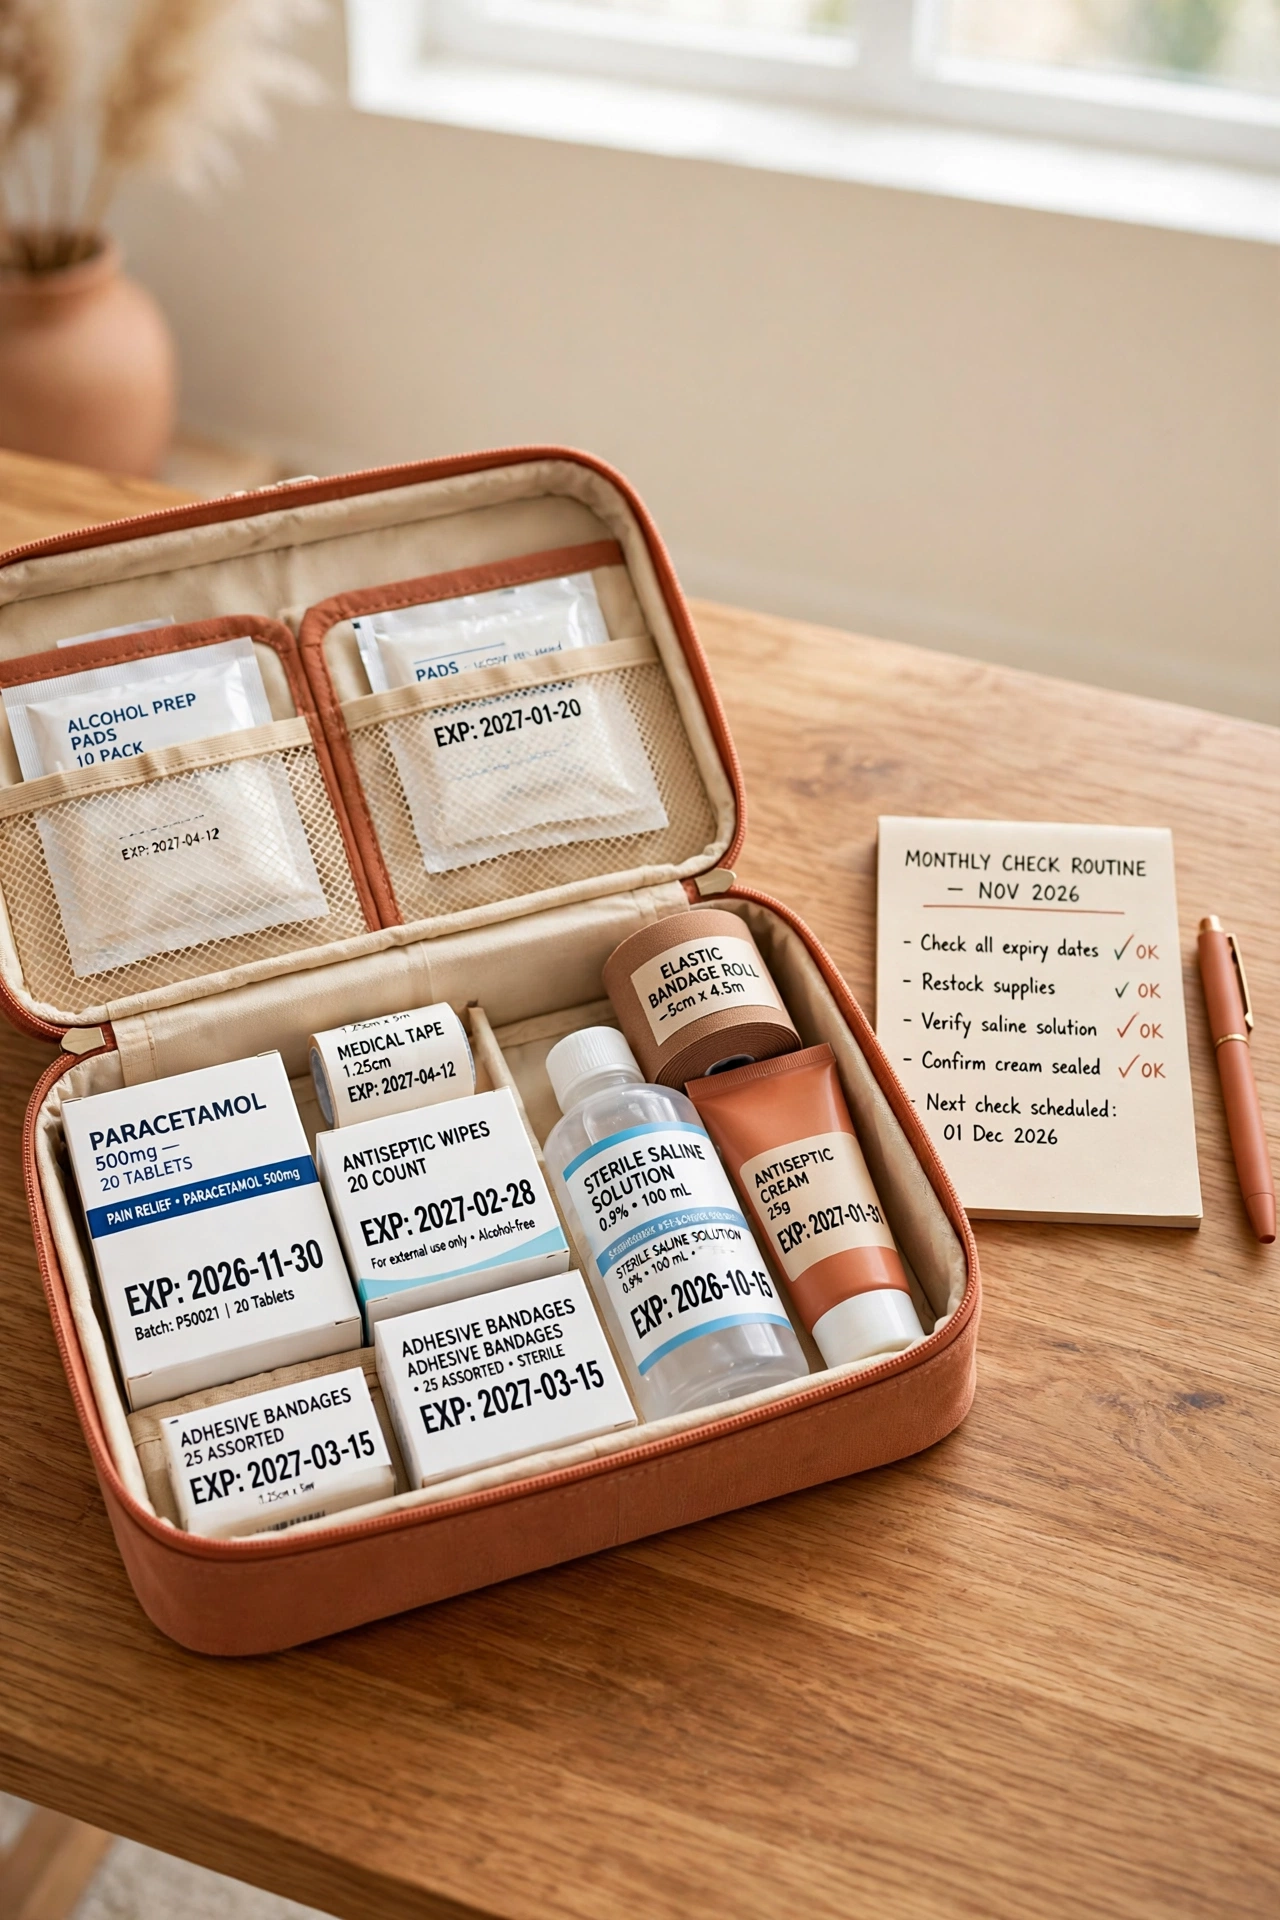
An expiry date check routine keeps your first aid kit safe and reliable. Set a monthly reminder to open the kit, check every bottle and packet, and throw away anything past its date. Expired medicines can lose strength or become unsafe, so this habit matters more than it seems.
Write the expiry date in large print on the outside of each box when you buy it, so checks take minutes instead of an hour. Keep a small notepad in the kit to record what you threw away, so you know what to buy next. A regular check means your kit is always ready, never risky.
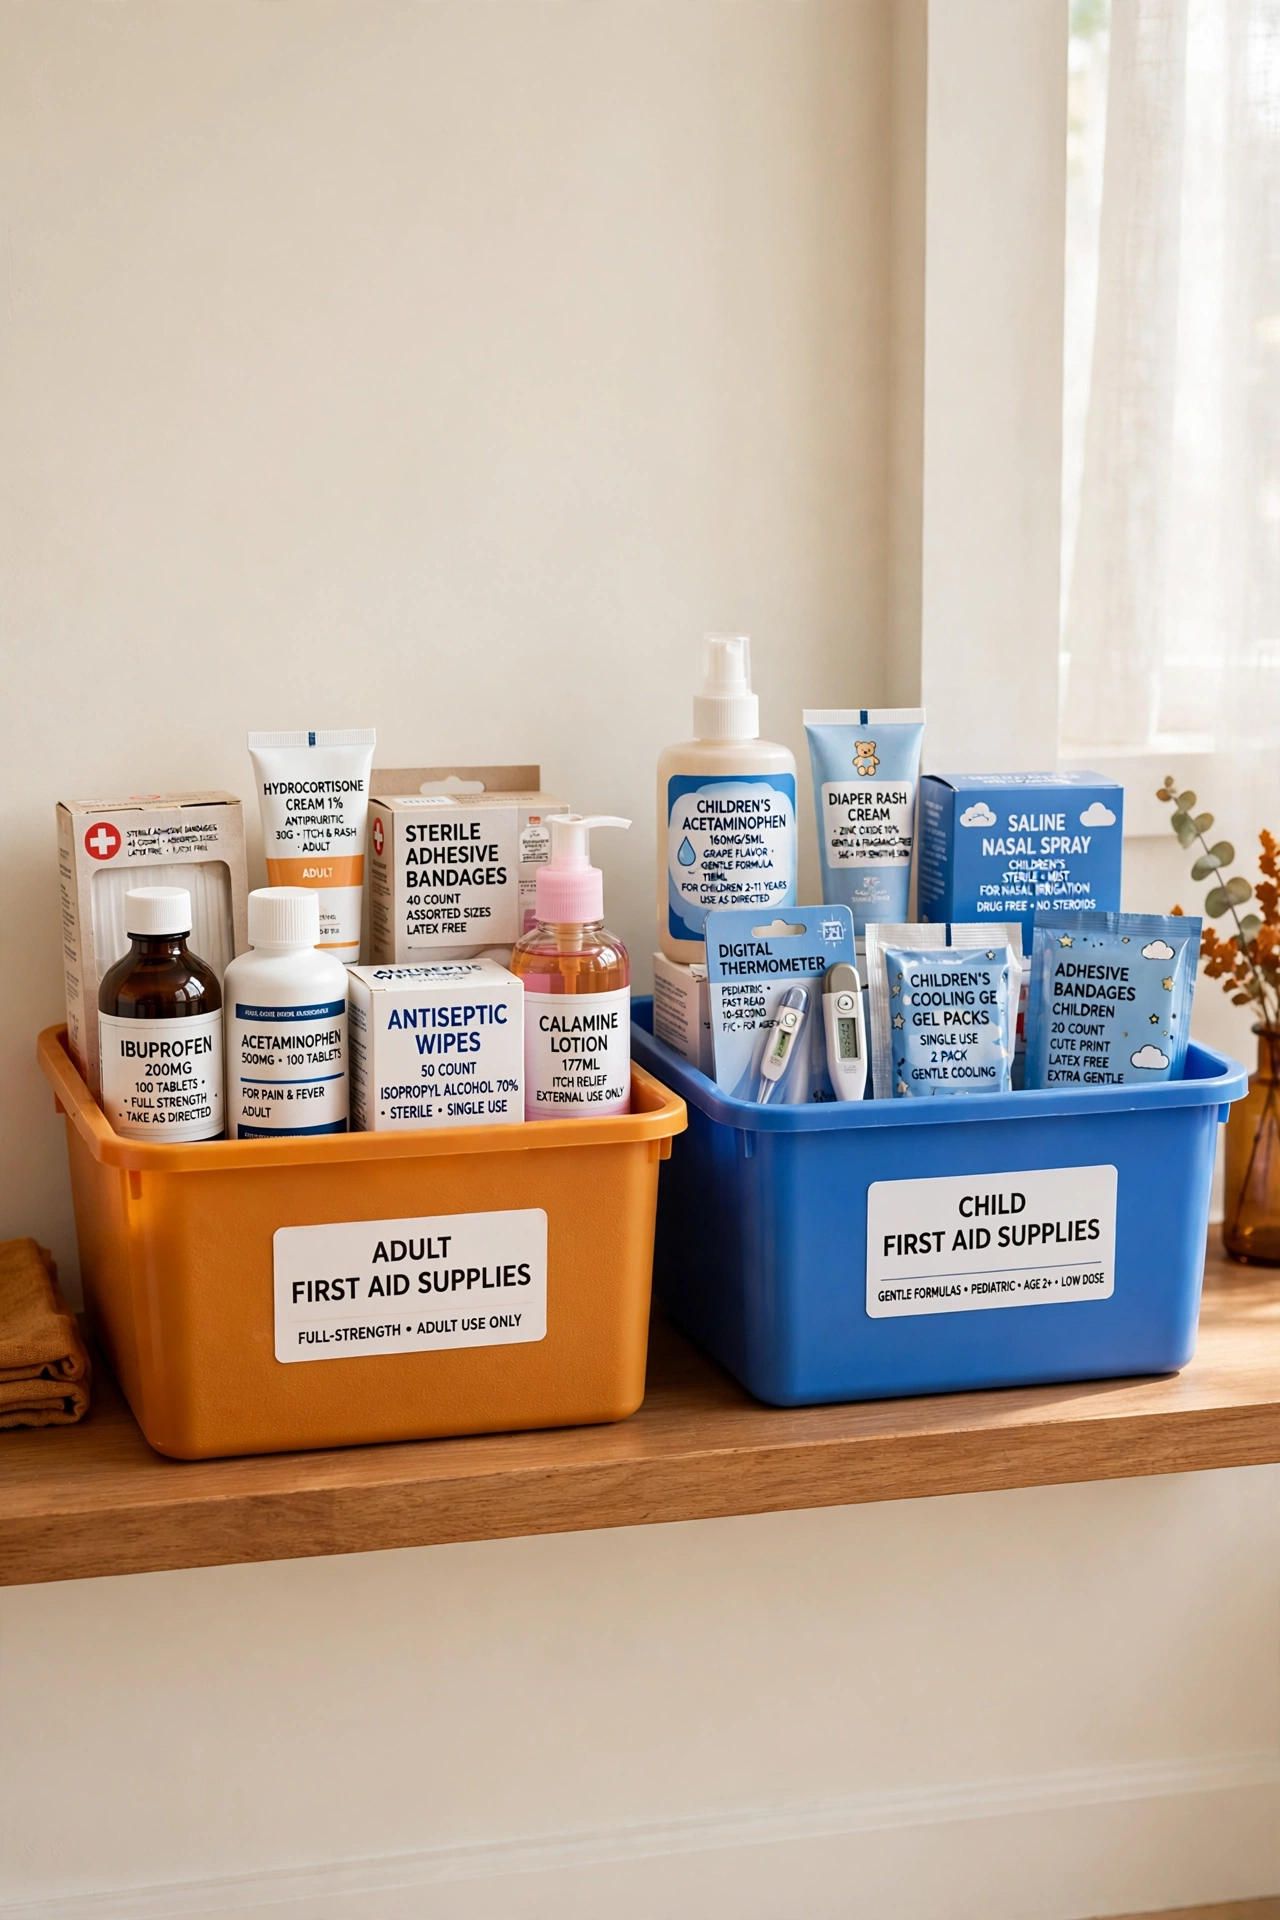
23. Separate Adult and Child Supplies
Separate bins for adult and child supplies prevent dangerous mix-ups. Children need smaller doses and gentler formulas, so keep their medicines, bandages, and thermometers in a clearly marked bin of their own. Adults use a separate bin with full-strength products.
Label the child bin with a bright color and the word child on the front, so no one grabs the wrong bottle in a rush. Store the child bin on a lower shelf if older children need their own bandages, but keep all medicines locked away from toddlers. Separation brings safety and peace of mind.
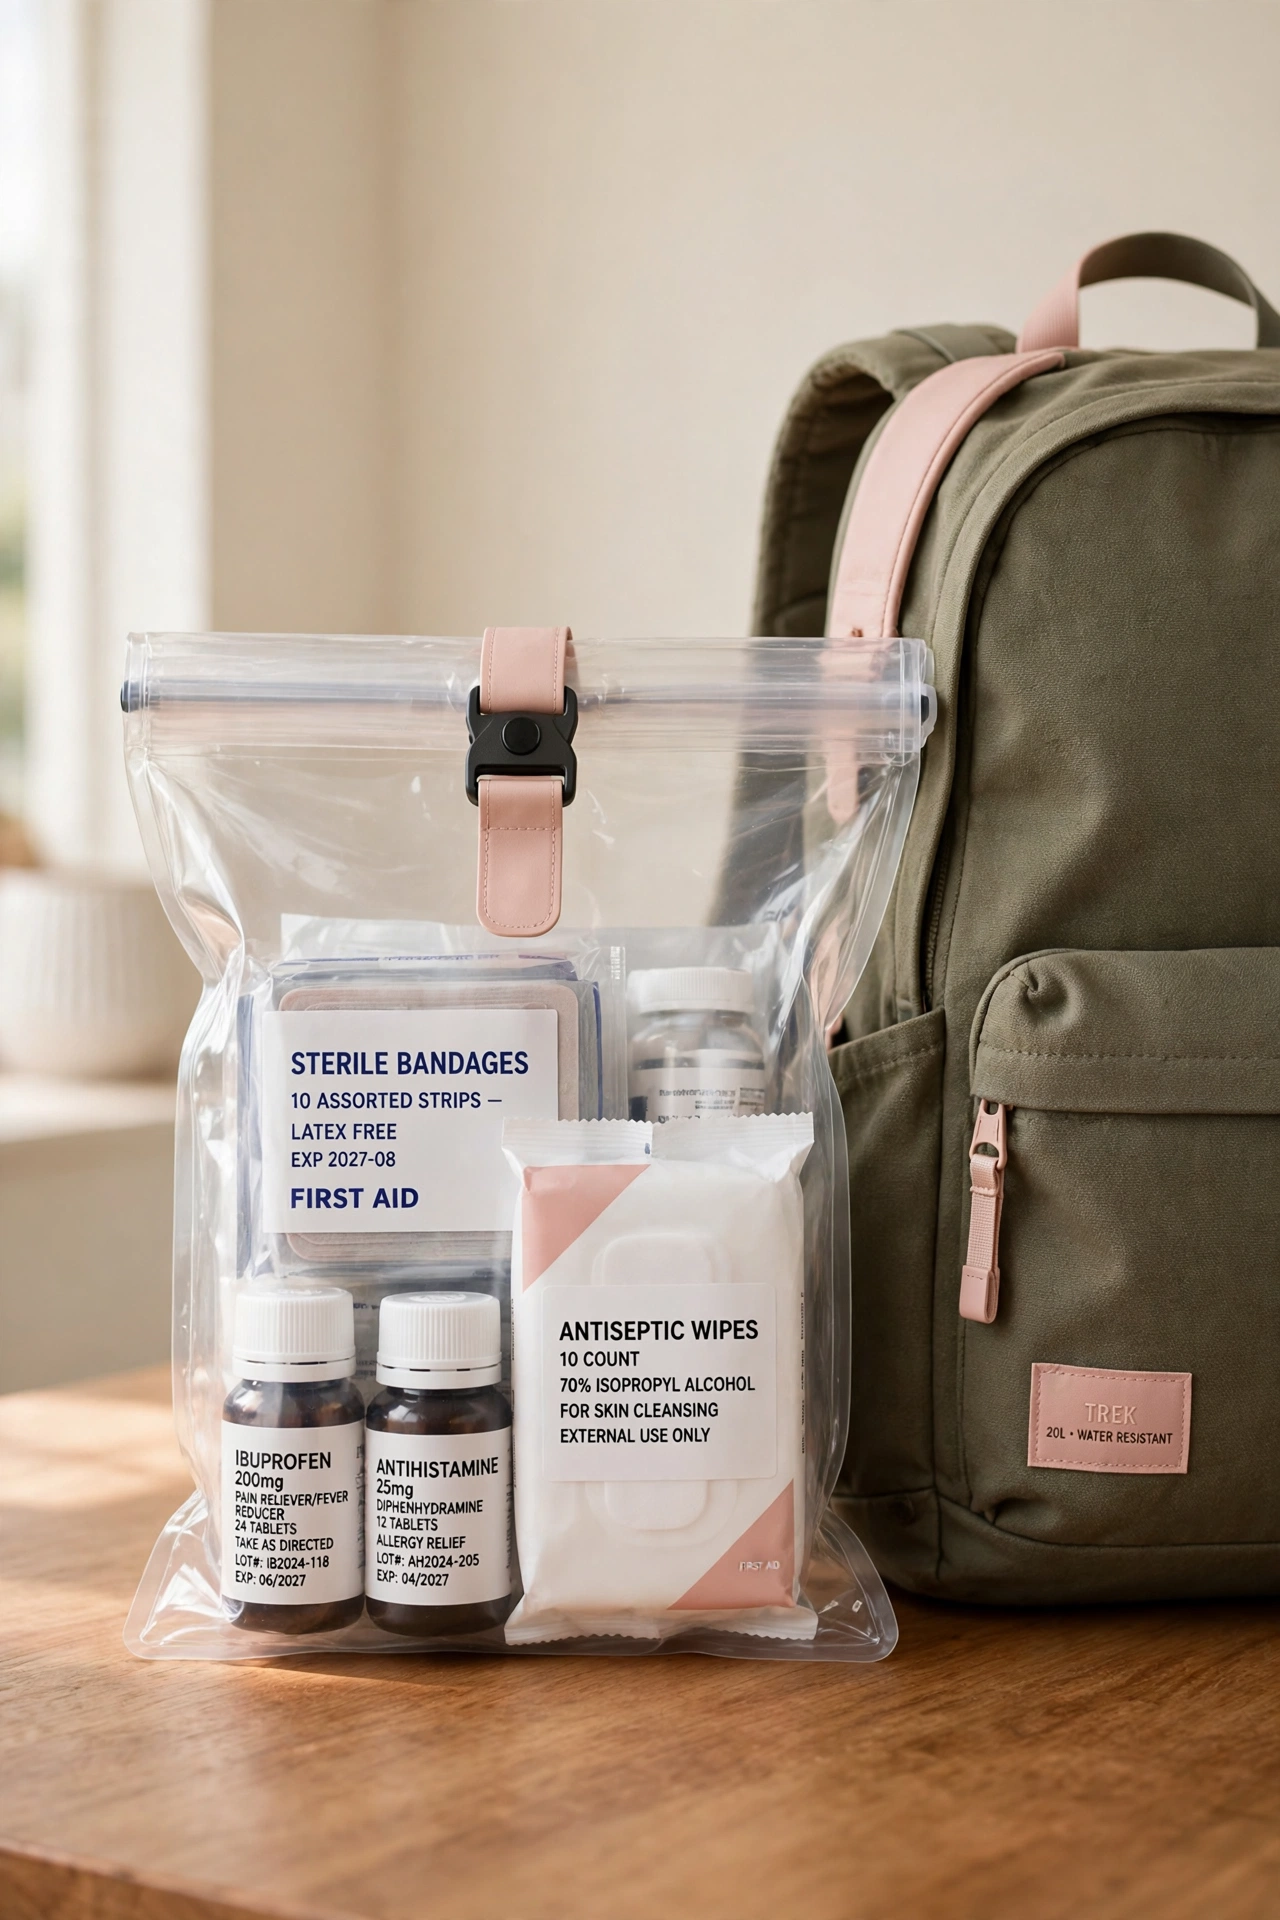
24. Waterproof Storage for Travel
Waterproof storage protects first aid supplies from rain, splashes, and spills while you travel. A sealed dry bag or a hard waterproof case keeps bandages dry and medicines safe, even on a beach trip or a rainy hike. The case floats or clips to a backpack, so it is always close.
Pack the waterproof case with the essentials only, such as adhesive bandages, antiseptic wipes, pain relief tablets, and allergy medicine. Check the seal before every trip and replace the case if the zipper or latch wears out. Dry supplies are ready supplies, no matter the weather.
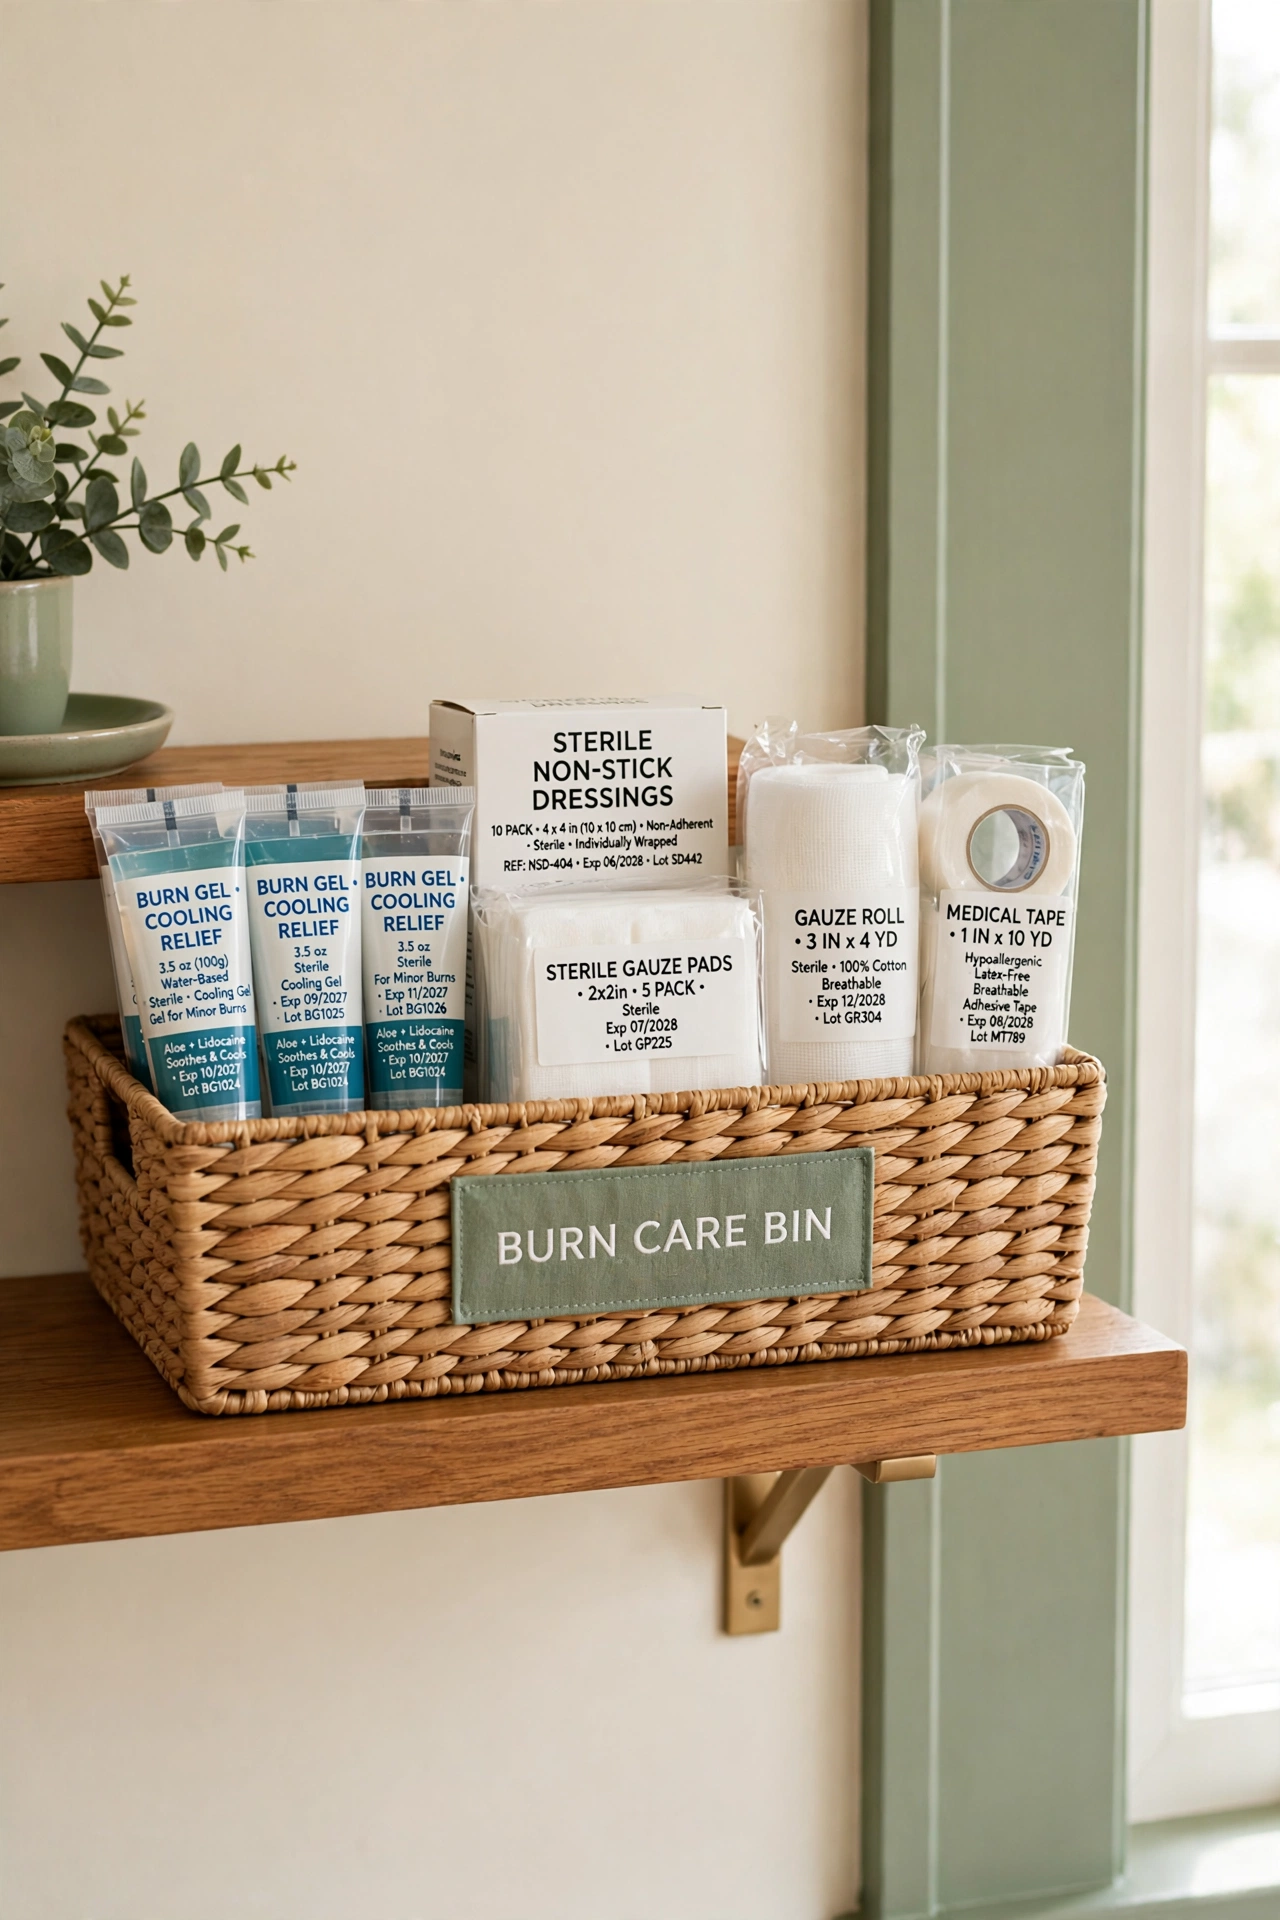
25. Stock a Burn Care Section
A dedicated burn care section prepares your kit for one of the most common home injuries. Stock it with burn gel, sterile non-stick dressings, gauze rolls, and medical tape, all in one labeled bin. When a burn happens, you grab one bin instead of searching the whole kit.
Place the burn care bin near the kitchen station, since most burns happen while cooking. Check the burn gel expiry date every month, because it loses effectiveness over time. A ready burn section turns a scary moment into a calm, quick response.
Conclusion
First aid kit organization does not have to be complicated or expensive. From a simple labeled bin to a full first aid station, there is an idea here for every home and every family. The best system is the one you can find in the dark and use with one hand.
Pick one or two ideas that fit your space and start today. Sort your supplies, label every bin, and set a monthly check on your calendar. For more storage that keeps the whole bathroom calm, these under bathroom sink organization ideas will help you use every inch of hidden space.
Frequently Asked Questions About First Aid Kit Organization Ideas for Family Supplies
What should every family first aid kit include?
Every family kit needs adhesive bandages in several sizes, sterile gauze, antiseptic wipes, medical tape, scissors, tweezers, a thermometer, pain relief tablets, allergy medicine, and burn gel. Add any prescription medicines your family uses regularly, plus a printed list of emergency numbers. Keep the list inside the kit lid so it is always easy to find.
Where is the best place to store a first aid kit at home?
Store the main kit in a cool, dry spot that every adult can reach fast, such as a bathroom cabinet, a linen closet, or a hallway shelf. Avoid damp places like the shower area and hot places like the top of the stove. Keep a small travel kit in the car and a bedside kit in the bedroom for night-time needs.
How often should you check and restock a first aid kit?
Check the kit once a month and restock anything you used right away. A full check every three months works well for expiry dates, since medicines and burn gels lose strength over time. Set a phone reminder for the first day of each month so the habit never slips.
How do you keep medicines safe from children?
Store all medicines in a locked cabinet or a box with a child-safe latch, and keep the kit on a high shelf out of reach of toddlers. Teach older children that medicines are for adults only and show them where bandages live so they can help with small cuts safely. Never call medicine candy, since that invites children to try it.
What is the best way to organize first aid supplies for travel?
Pack a compact waterproof case with adhesive bandages, antiseptic wipes, pain relief tablets, allergy medicine, and a small pair of scissors. Use elastic loops and small zip pouches inside the case so nothing shifts during travel. Check the case before every trip and refill it the moment you return home.
What should every family first aid kit include?
Every family kit needs adhesive bandages in several sizes, sterile gauze, antiseptic wipes, medical tape, scissors, tweezers, a thermometer, pain relief tablets, allergy medicine, and burn gel. Add any prescription medicines your family uses regularly, plus a printed list of emergency numbers. Keep the list inside the kit lid so it is always easy to find.
Where is the best place to store a first aid kit at home?
Store the main kit in a cool, dry spot that every adult can reach fast, such as a bathroom cabinet, a linen closet, or a hallway shelf. Avoid damp places like the shower area and hot places like the top of the stove. Keep a small travel kit in the car and a bedside kit in the bedroom for night-time needs.
How often should you check and restock a first aid kit?
Check the kit once a month and restock anything you used right away. A full check every three months works well for expiry dates, since medicines and burn gels lose strength over time. Set a phone reminder for the first day of each month so the habit never slips.
How do you keep medicines safe from children?
Store all medicines in a locked cabinet or a box with a child-safe latch, and keep the kit on a high shelf out of reach of toddlers. Teach older children that medicines are for adults only and show them where bandages live so they can help with small cuts safely. Never call medicine candy, since that invites children to try it.
What is the best way to organize first aid supplies for travel?
Pack a compact waterproof case with adhesive bandages, antiseptic wipes, pain relief tablets, allergy medicine, and a small pair of scissors. Use elastic loops and small zip pouches inside the case so nothing shifts during travel. Check the case before every trip and refill it the moment you return home.

Hi, I’m Emily! I turn messy corners into cozy, organized spots. DreamNestDecor is where I share simple, practical home ideas — decor, organization, and small-space solutions that work in real life, not just in photos. Every idea here is carefully researched before it’s shared.