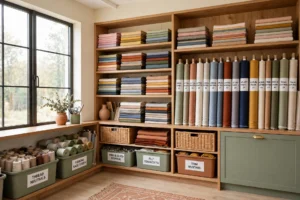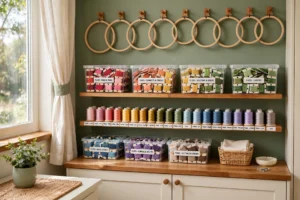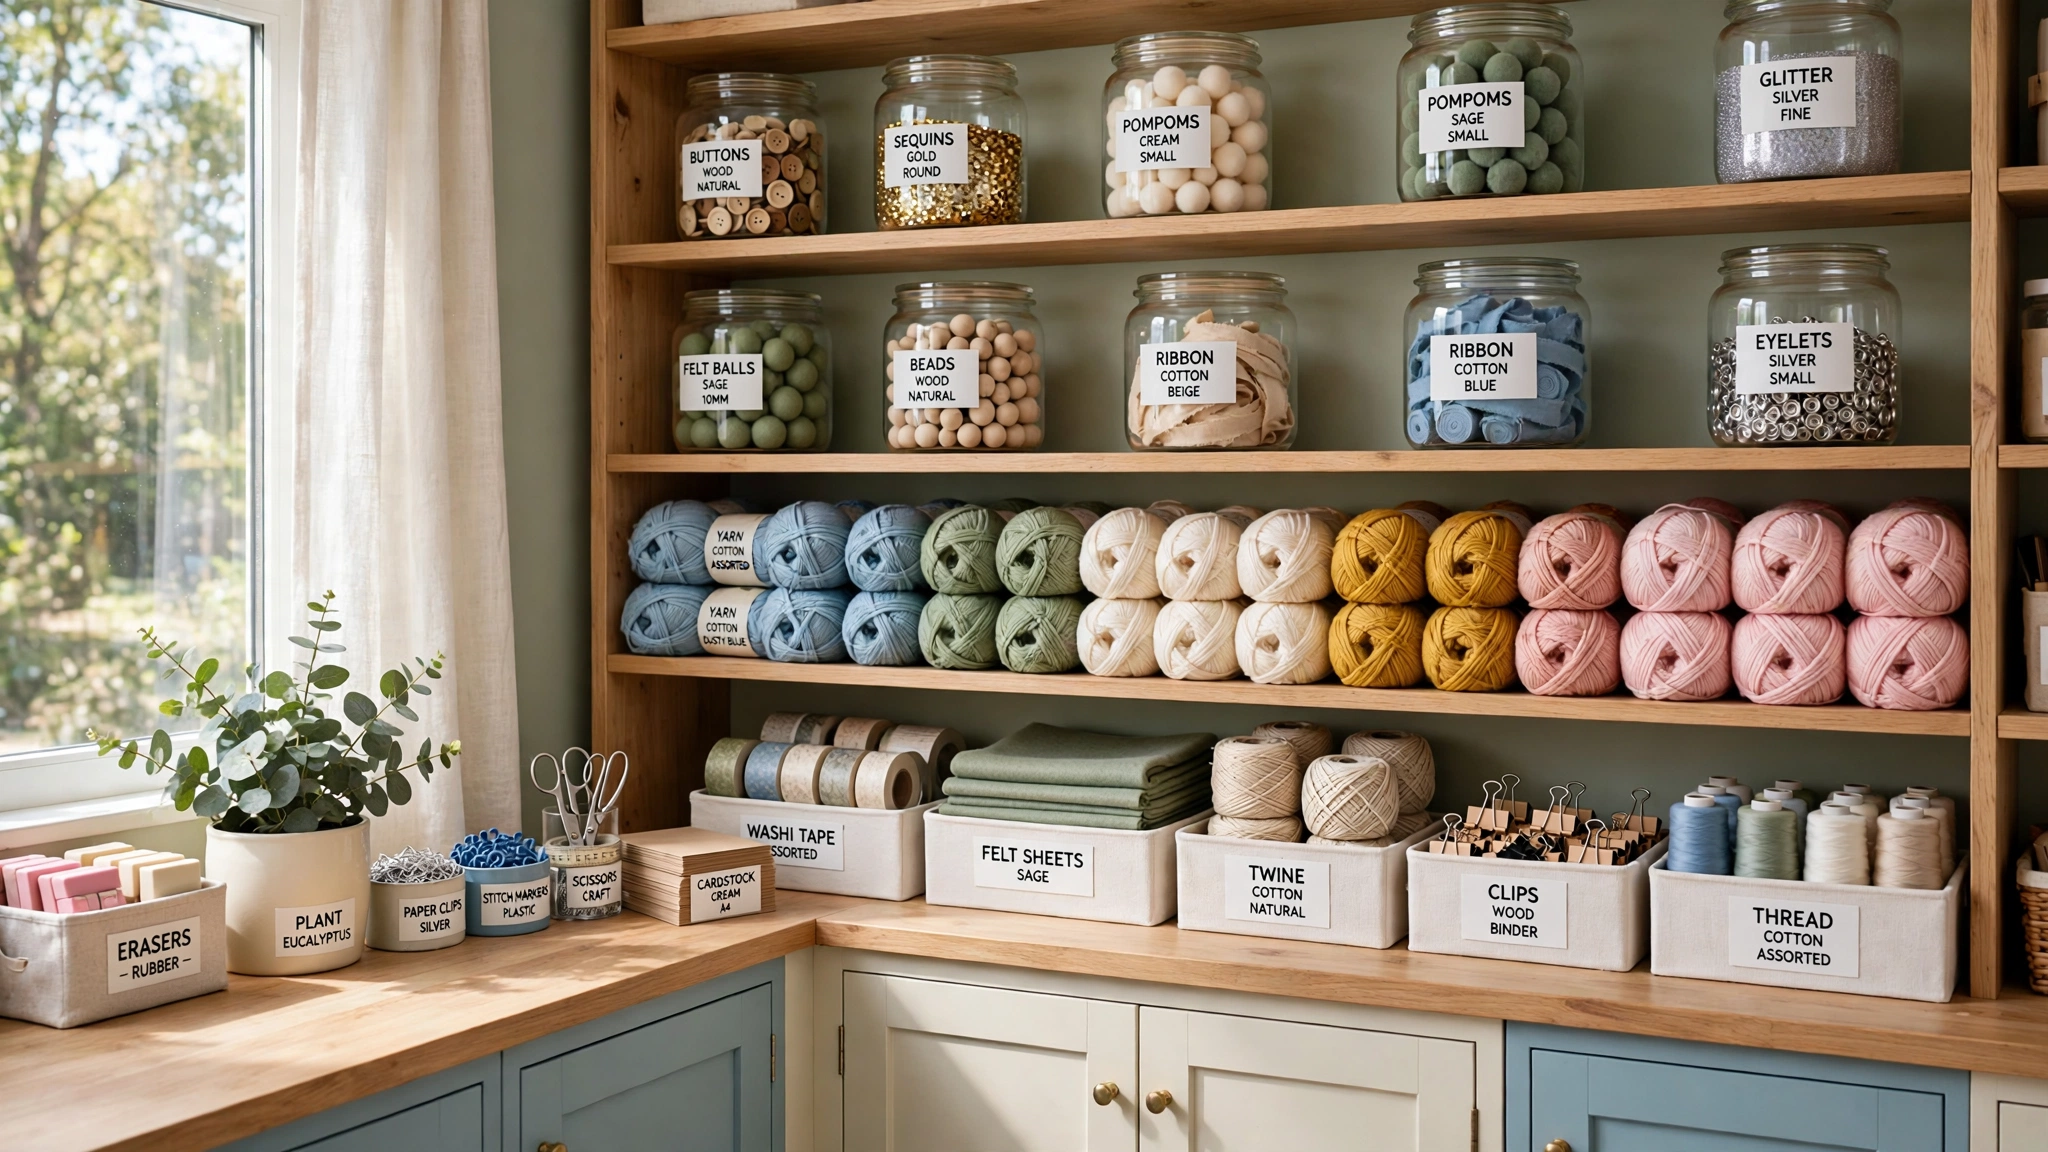
Picture this: you sit down to start a project, and every supply you need is right where it belongs. The ribbons are sorted by color, the paints stand in neat rows, and the scissors hang within easy reach. No digging through boxes, no tangled thread, no lost glue sticks. That calm start changes the whole feeling of making something.
You do not need a huge room or a big budget to get there. All you need is a clear home for every supply, from the tiniest bead to the tallest roll of paper. These 27 craft room organization ideas will help you sort, store, and display your supplies so your next project starts with joy instead of searching.
1. Build a Wall of Industrial Shelves for Supplies
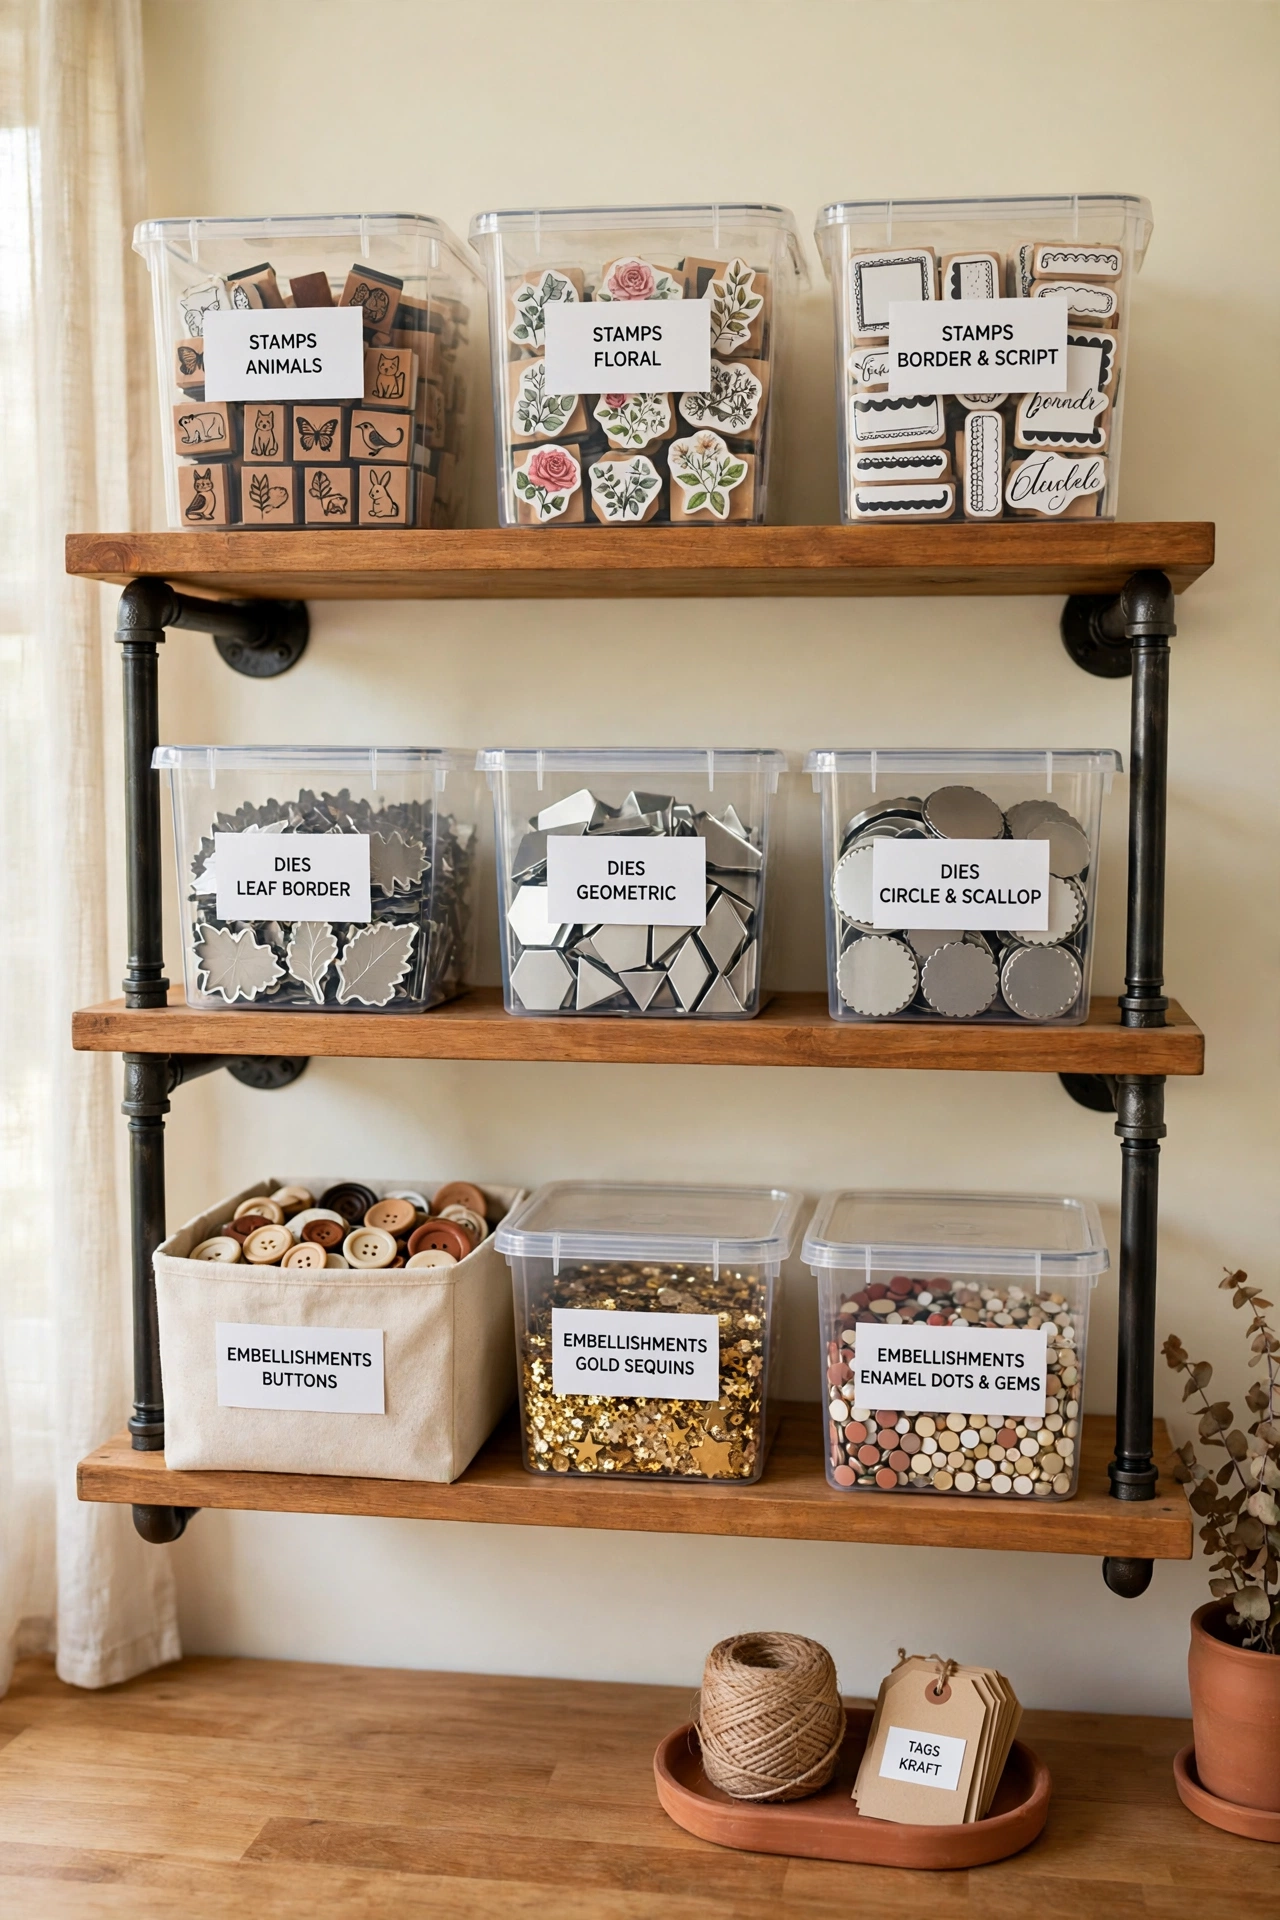
A wall of industrial shelves gives your craft room serious storage without taking over the floor. Wooden shelves held up by dark metal pipes look modern and strong, and the open design lets you see everything at a glance. Use the tall vertical space for bins, jars, and boxes that would otherwise pile up on your desk.
Place labeled bins and clear containers on the shelves to sort stamps, dies, and embellishments by type. Keep the items you reach for most often at eye level and the seasonal supplies higher up. A wall-mounted strip for scissors and small tools beside the shelves keeps your work surface clear for the project in front of you.
2. Turn a Thread Rack Into a Colorful Wall Display
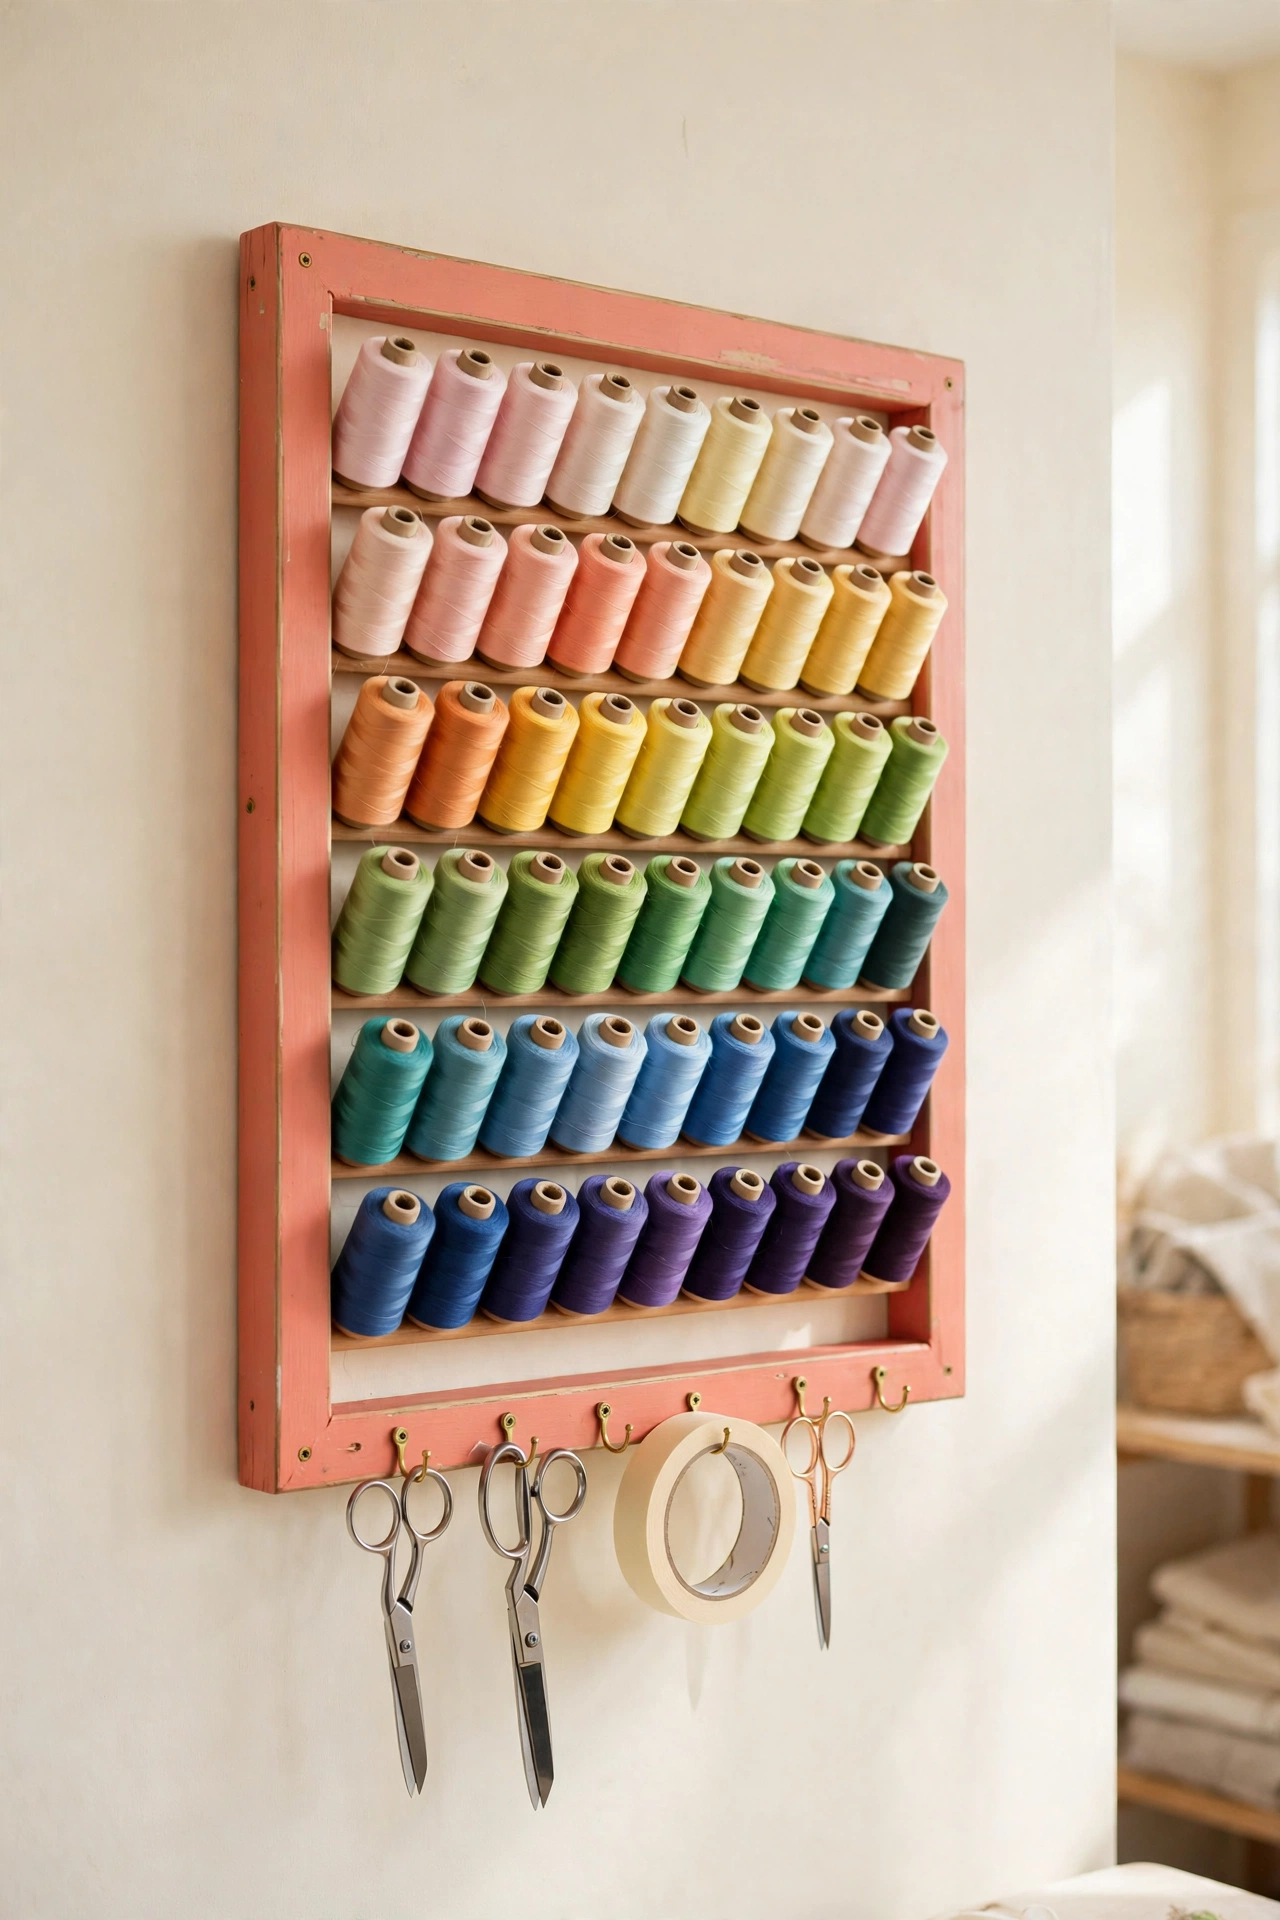
A wall-mounted thread rack turns plain storage into a piece of art. Spools arranged in rainbow order fill the rack with color, and a painted frame in coral or sage makes the whole display pop against a plain wall. You can see every shade at once, which makes choosing thread for a project fast and fun.
Sort the spools by color family, from light to dark, so you can find the exact shade you need in seconds. Hooks along the bottom row hold scissors, tape, and small extras within easy reach. For more ways to keep sewing extras tidy, these sewing notions organization ideas pair beautifully with a thread rack display.
3. Store Small Supplies in Clear Labeled Jars
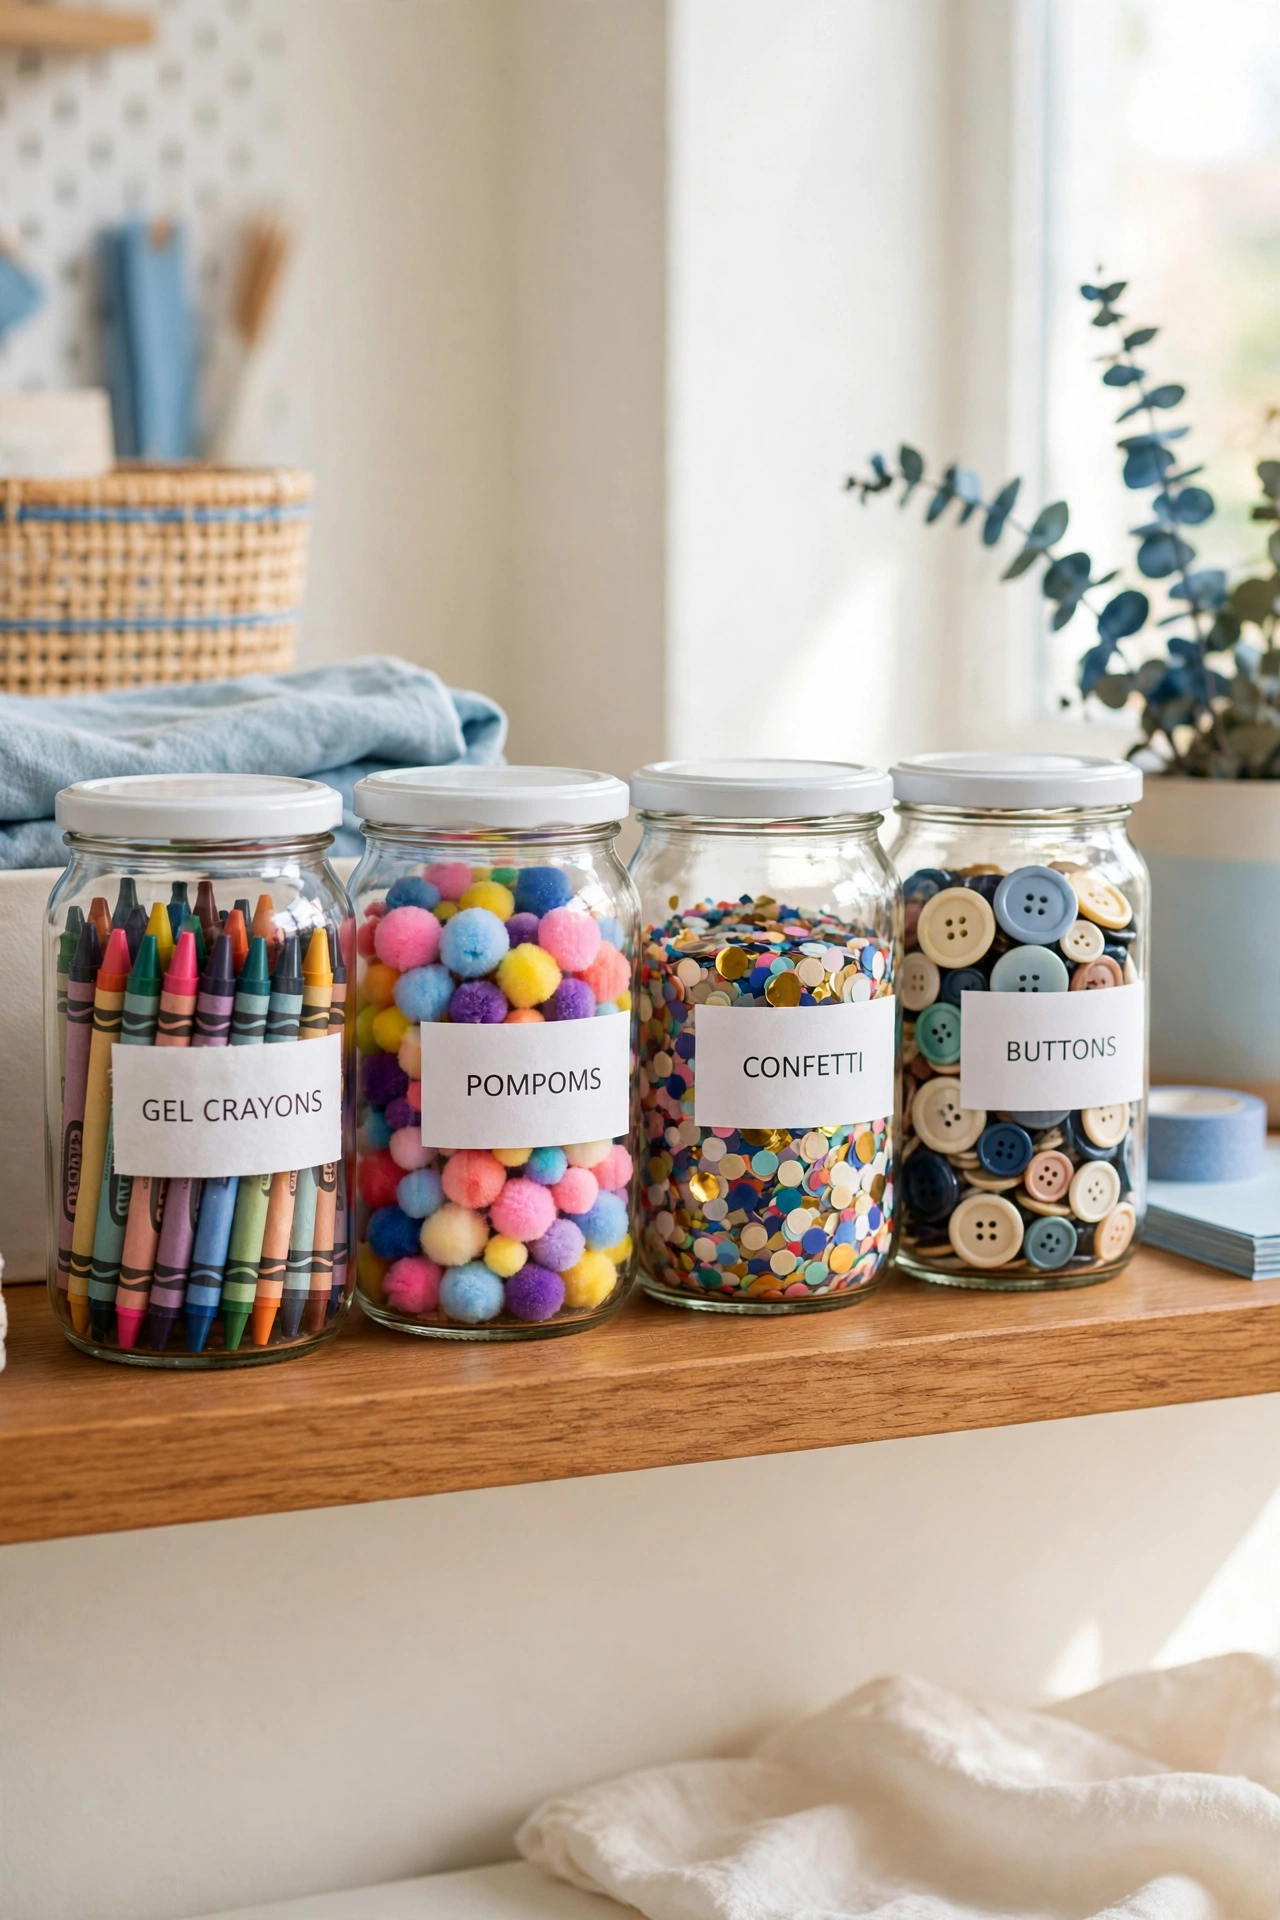
Clear jars with plain white lids make small supplies easy to see and easy to grab. Gel crayons, pompoms, confetti, buttons, and beads all stay visible through the glass, so you never have to open five containers to find one item. The uniform jars also make a shelf look calm and tidy even when the contents are bright and playful.
Add a clear printed label to each jar so every item has a named home. Group the jars by project type on one shelf, with the most used supplies at the front. When a jar runs low, the clear glass shows it right away, which makes restocking simple before your next project begins.
4. Stack Labeled Plastic Bins by Category
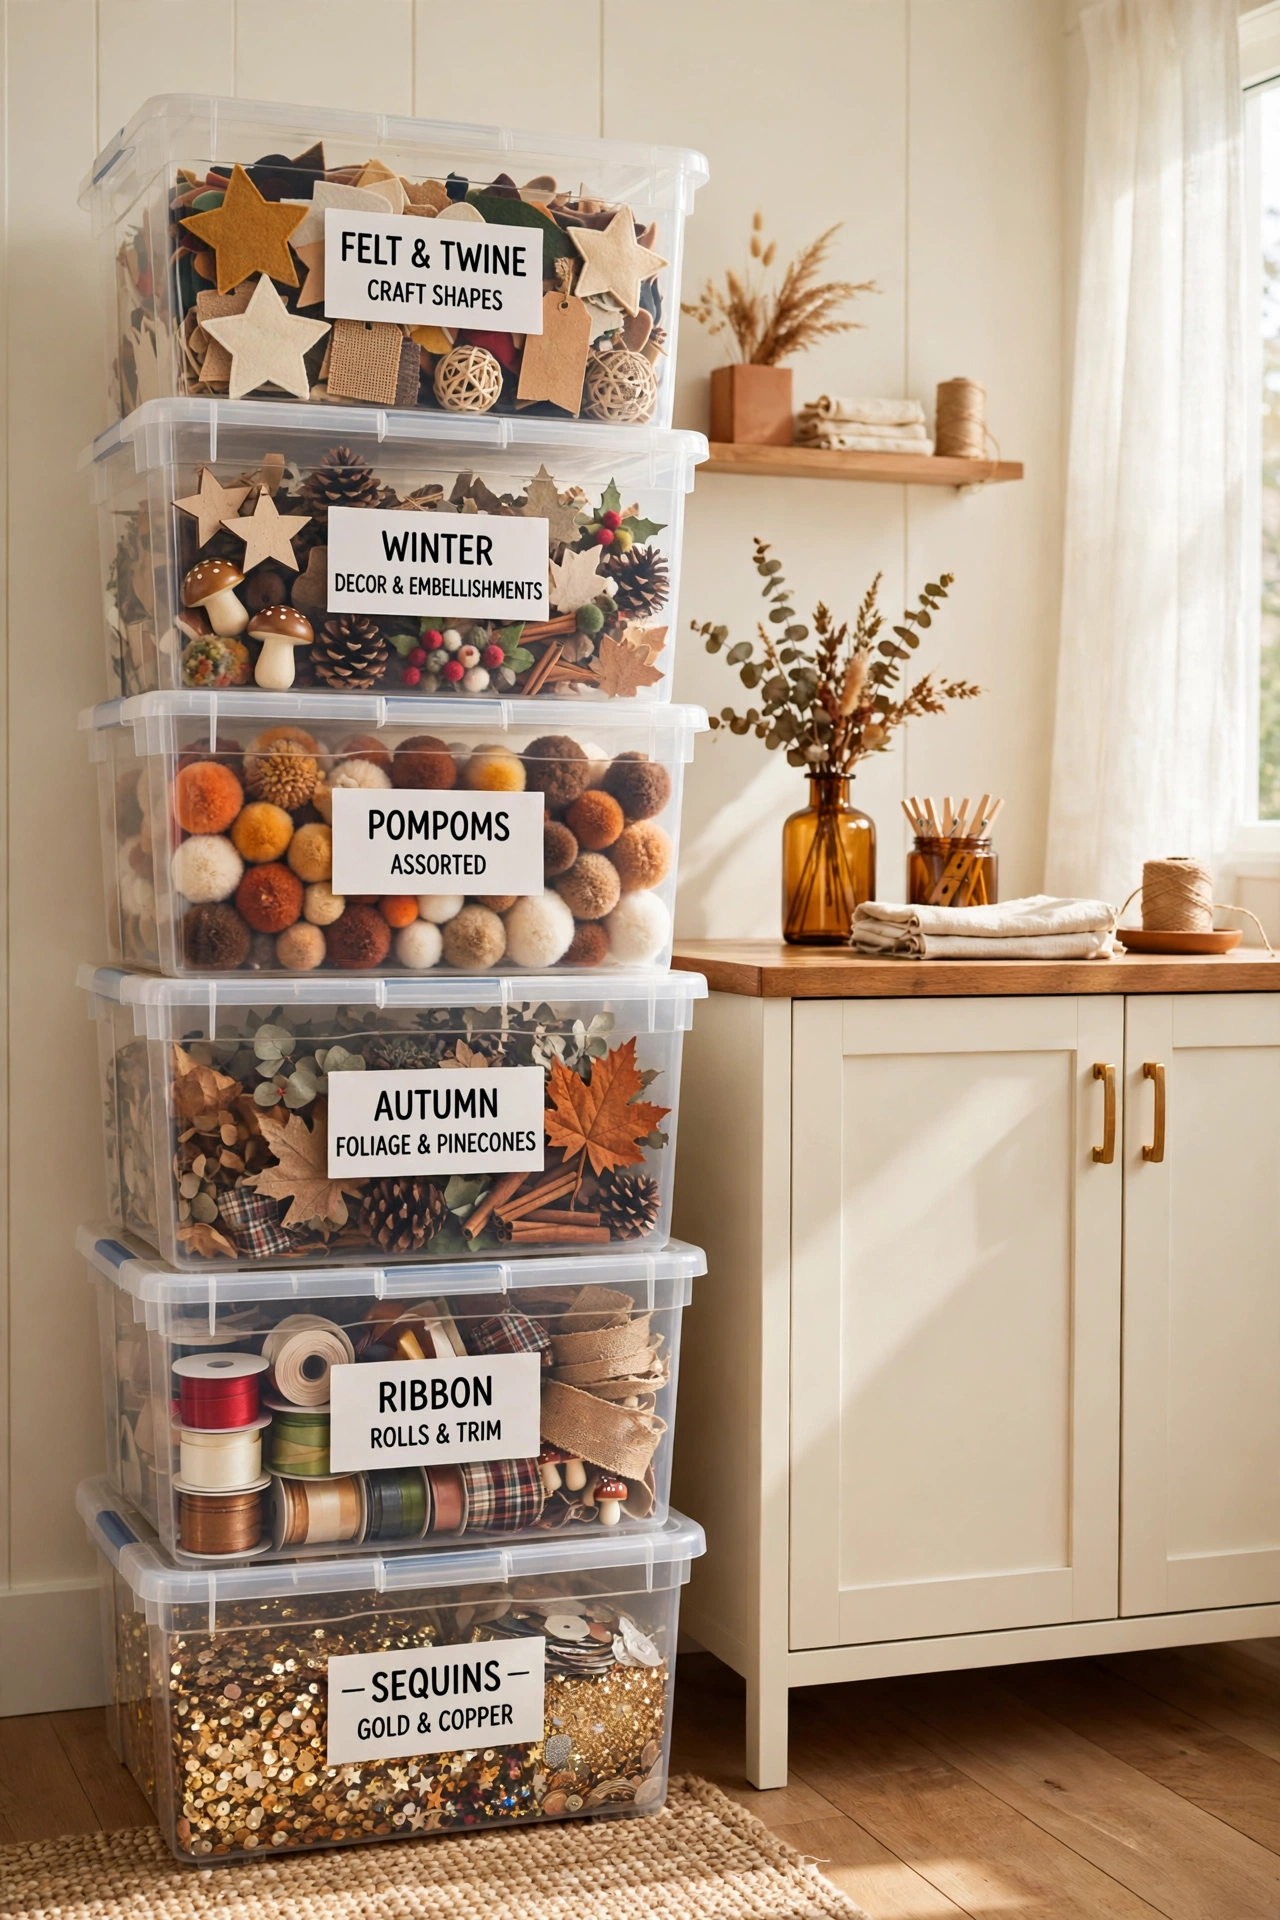
Stacked plastic bins with bold labels are a workhorse for craft room storage. Each bin holds one category, such as sequins, ribbon, or seasonal supplies, so you can pull down exactly what you need without disturbing the rest. The stackable shape lets you build storage upward instead of outward.
Choose bins in one neutral color and let the labels do the talking, or pick a different soft color for each category. Place the stack beside a cabinet or in a closet so the workspace stays bright and open. When a project ends, everything goes back into its labeled bin in seconds.
5. Lean a Wooden Ladder Rack for Quilts and Fabric
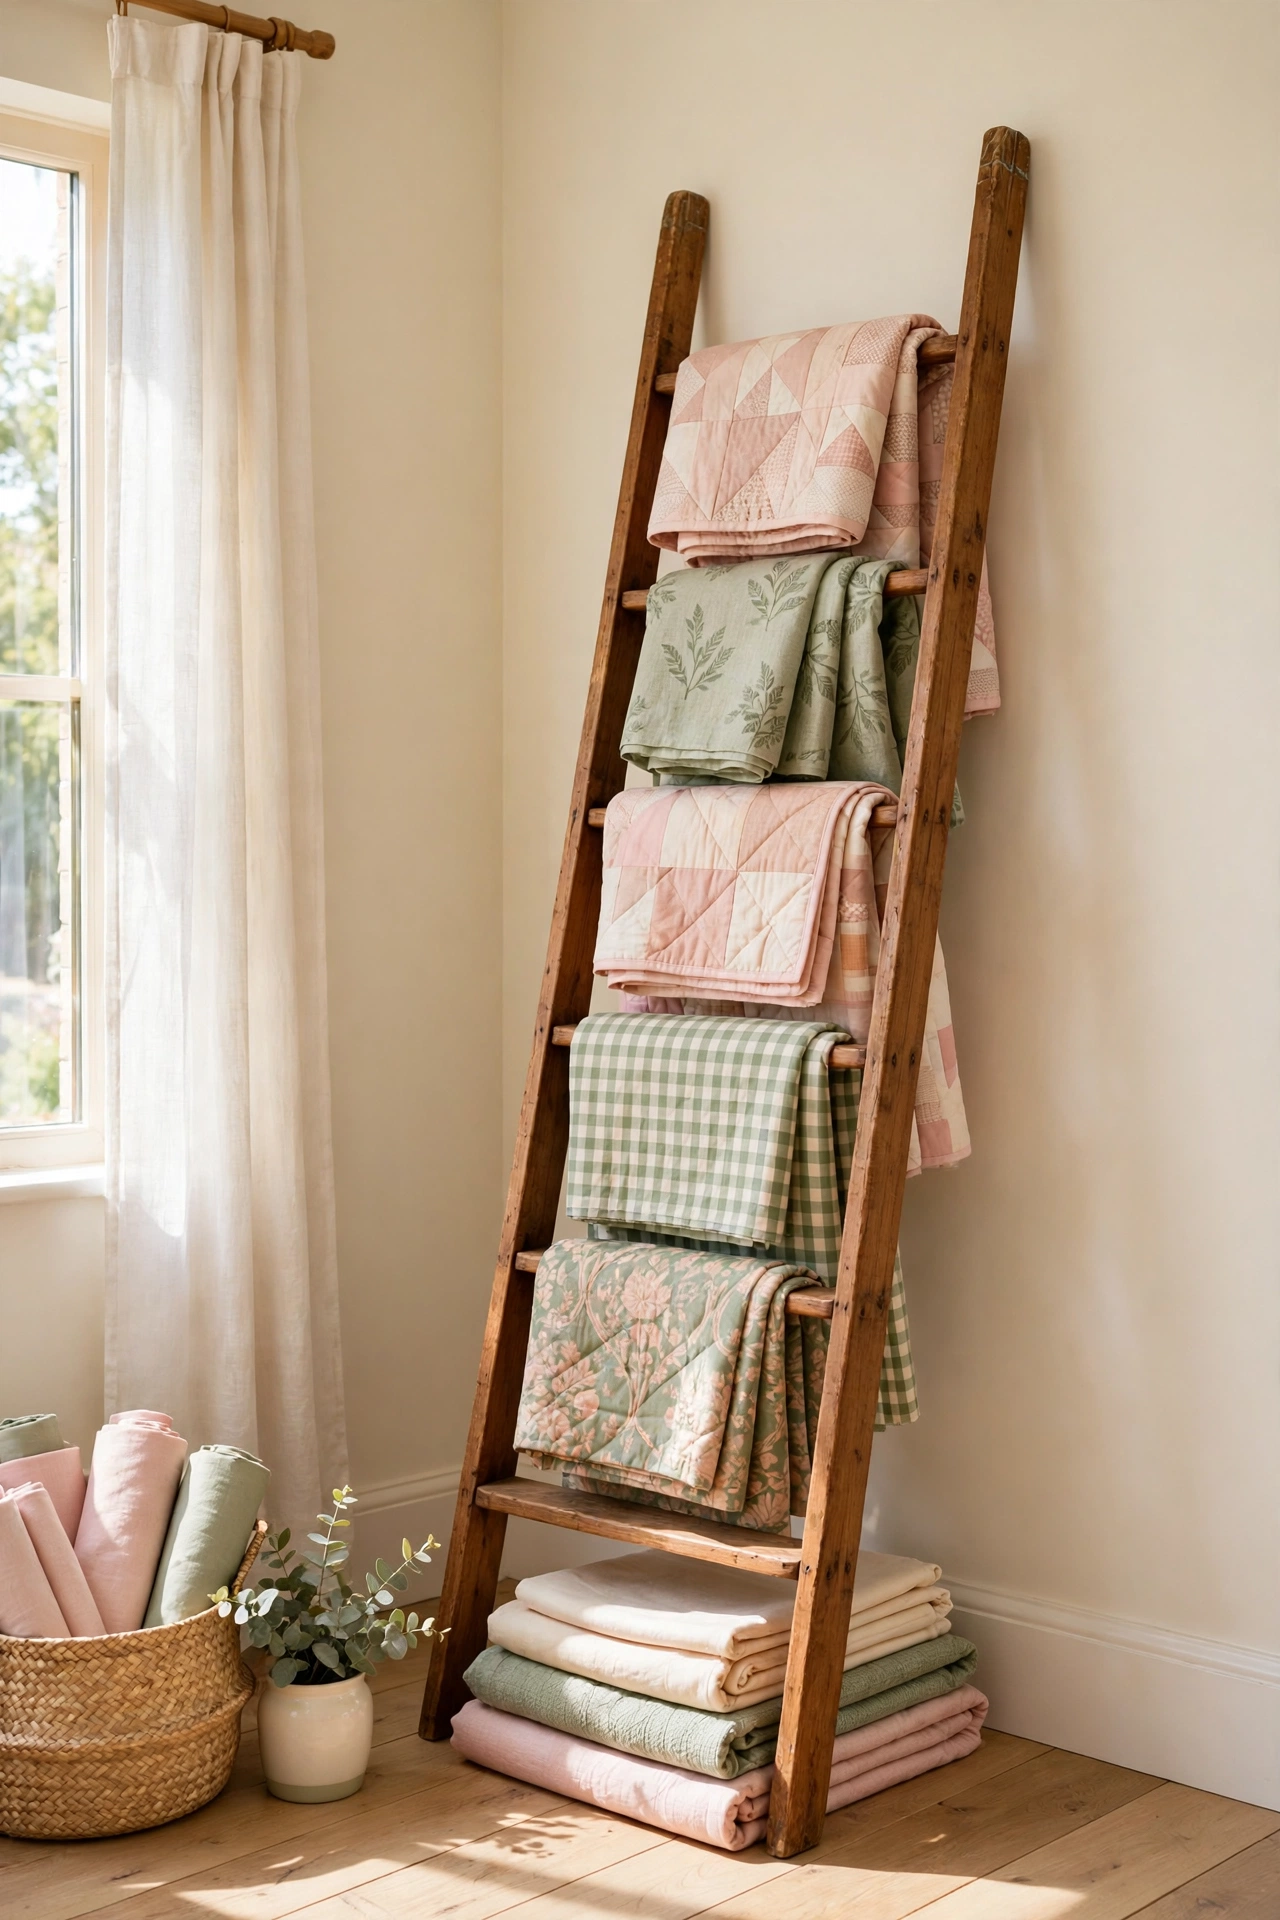
A wooden ladder rack leaning against the wall gives quilts and fabric projects a beautiful place to rest. The tiered rungs display patterns and colors like a gallery, while keeping finished pieces and works in progress tidy and off the floor. It adds warmth to the room with almost no footprint.
Drape one quilt or fabric piece over each rung, with the boldest patterns at eye level. Keep the ladder in a corner away from direct sunlight so colors stay bright. This simple rack is a space-saving way to show off your work and keep it wrinkle-free until you need it again.
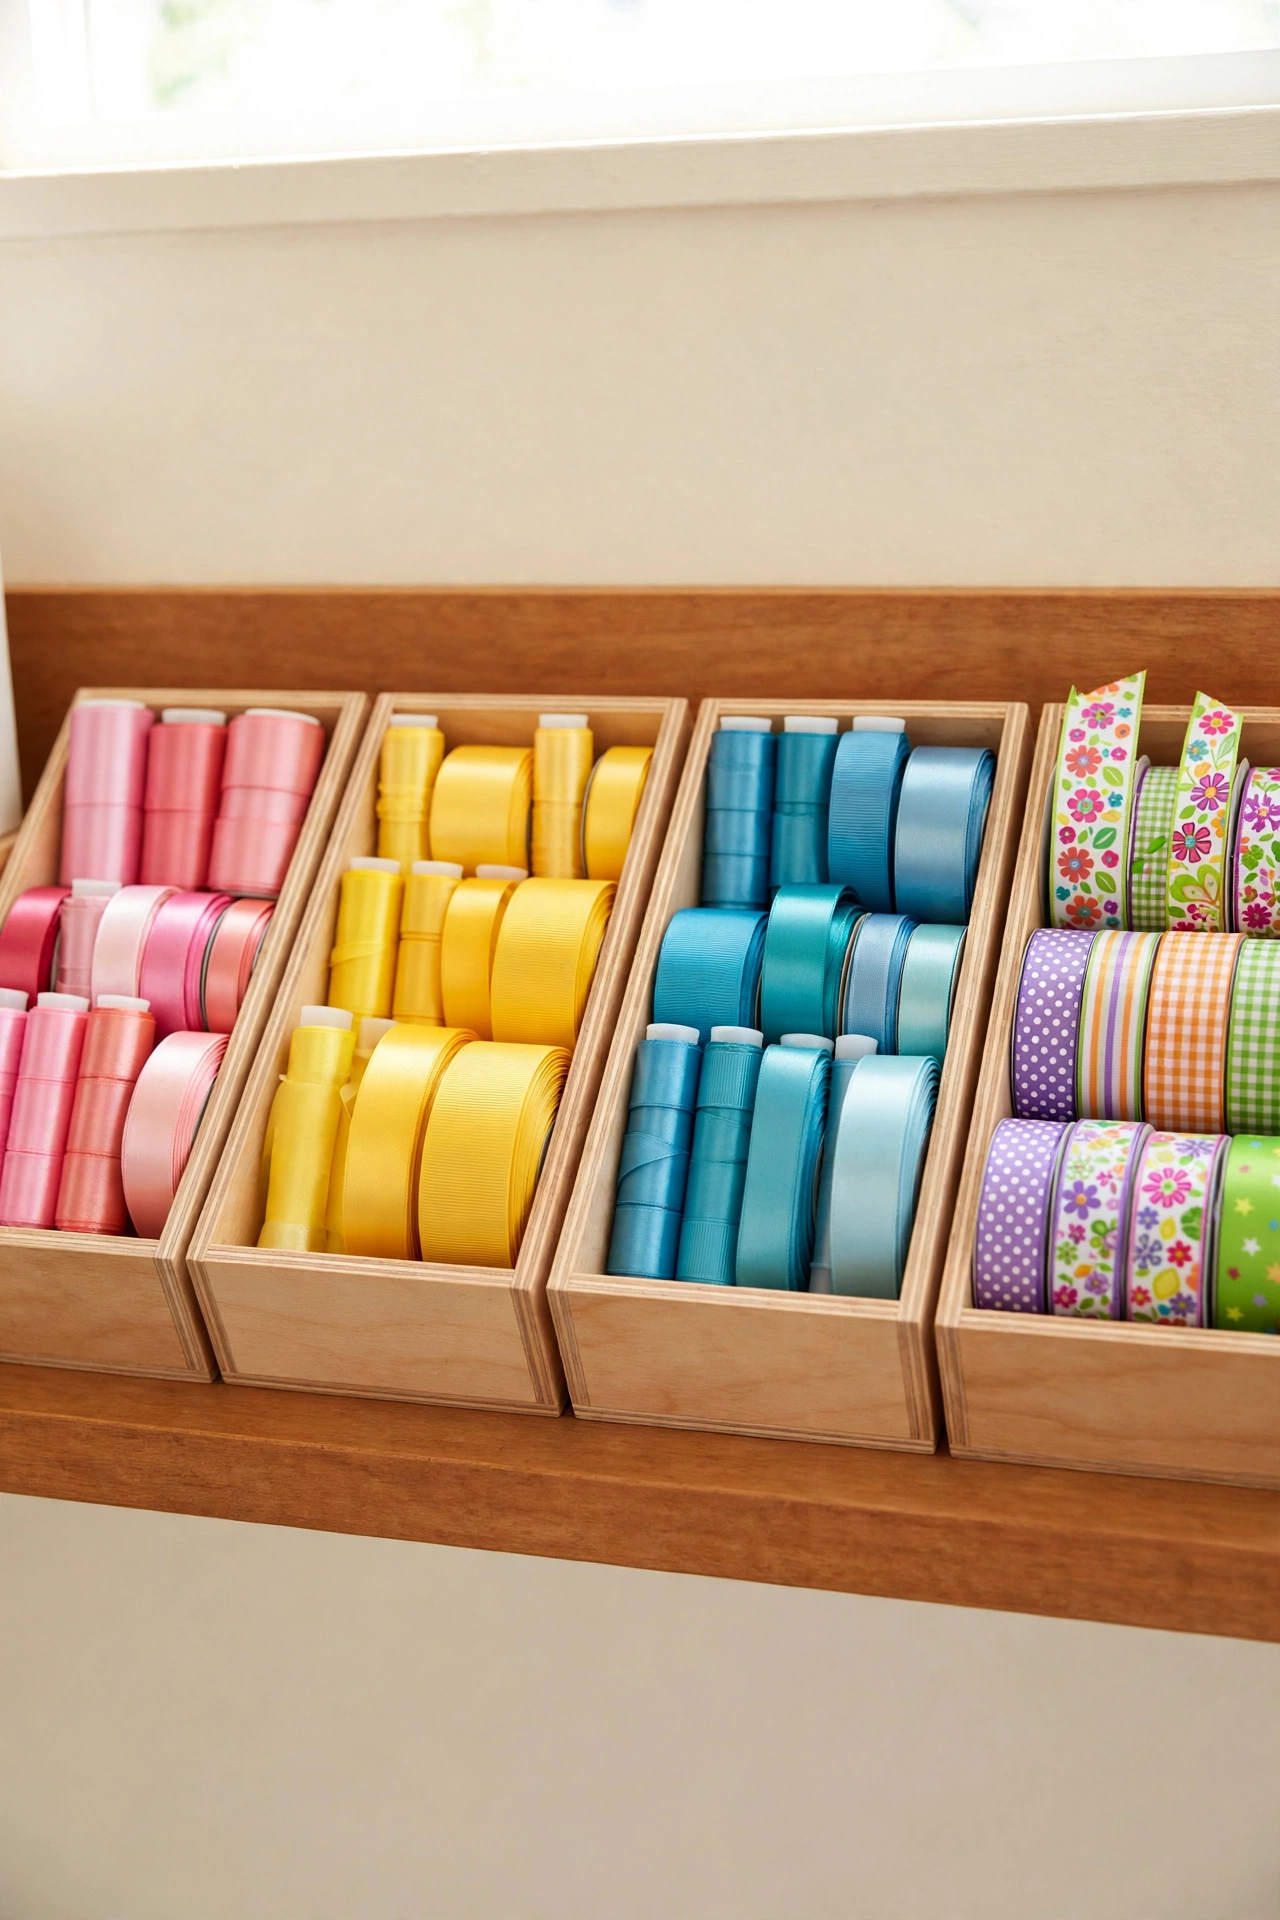
6. Tame Ribbon Spools in Shallow Open Boxes
Ribbon spools tangle the moment they share a drawer, but shallow open-top boxes keep them calm. Group the spools by color and type inside each box, standing them upright so you can see every ribbon at once. The boxes fit neatly on shelves or inside cabinets, and you can carry one box to your desk for a single project.
Keep satin ribbons in one box, grosgrain in another, and patterned ribbon in a third. The bright ribbons inside each box create a joyful display even while they stay organized. When you need the perfect spool, you can spot it in seconds instead of untangling a drawer full of curls.
7. Set Up a Colorful Craft Desk With Clear Drawers
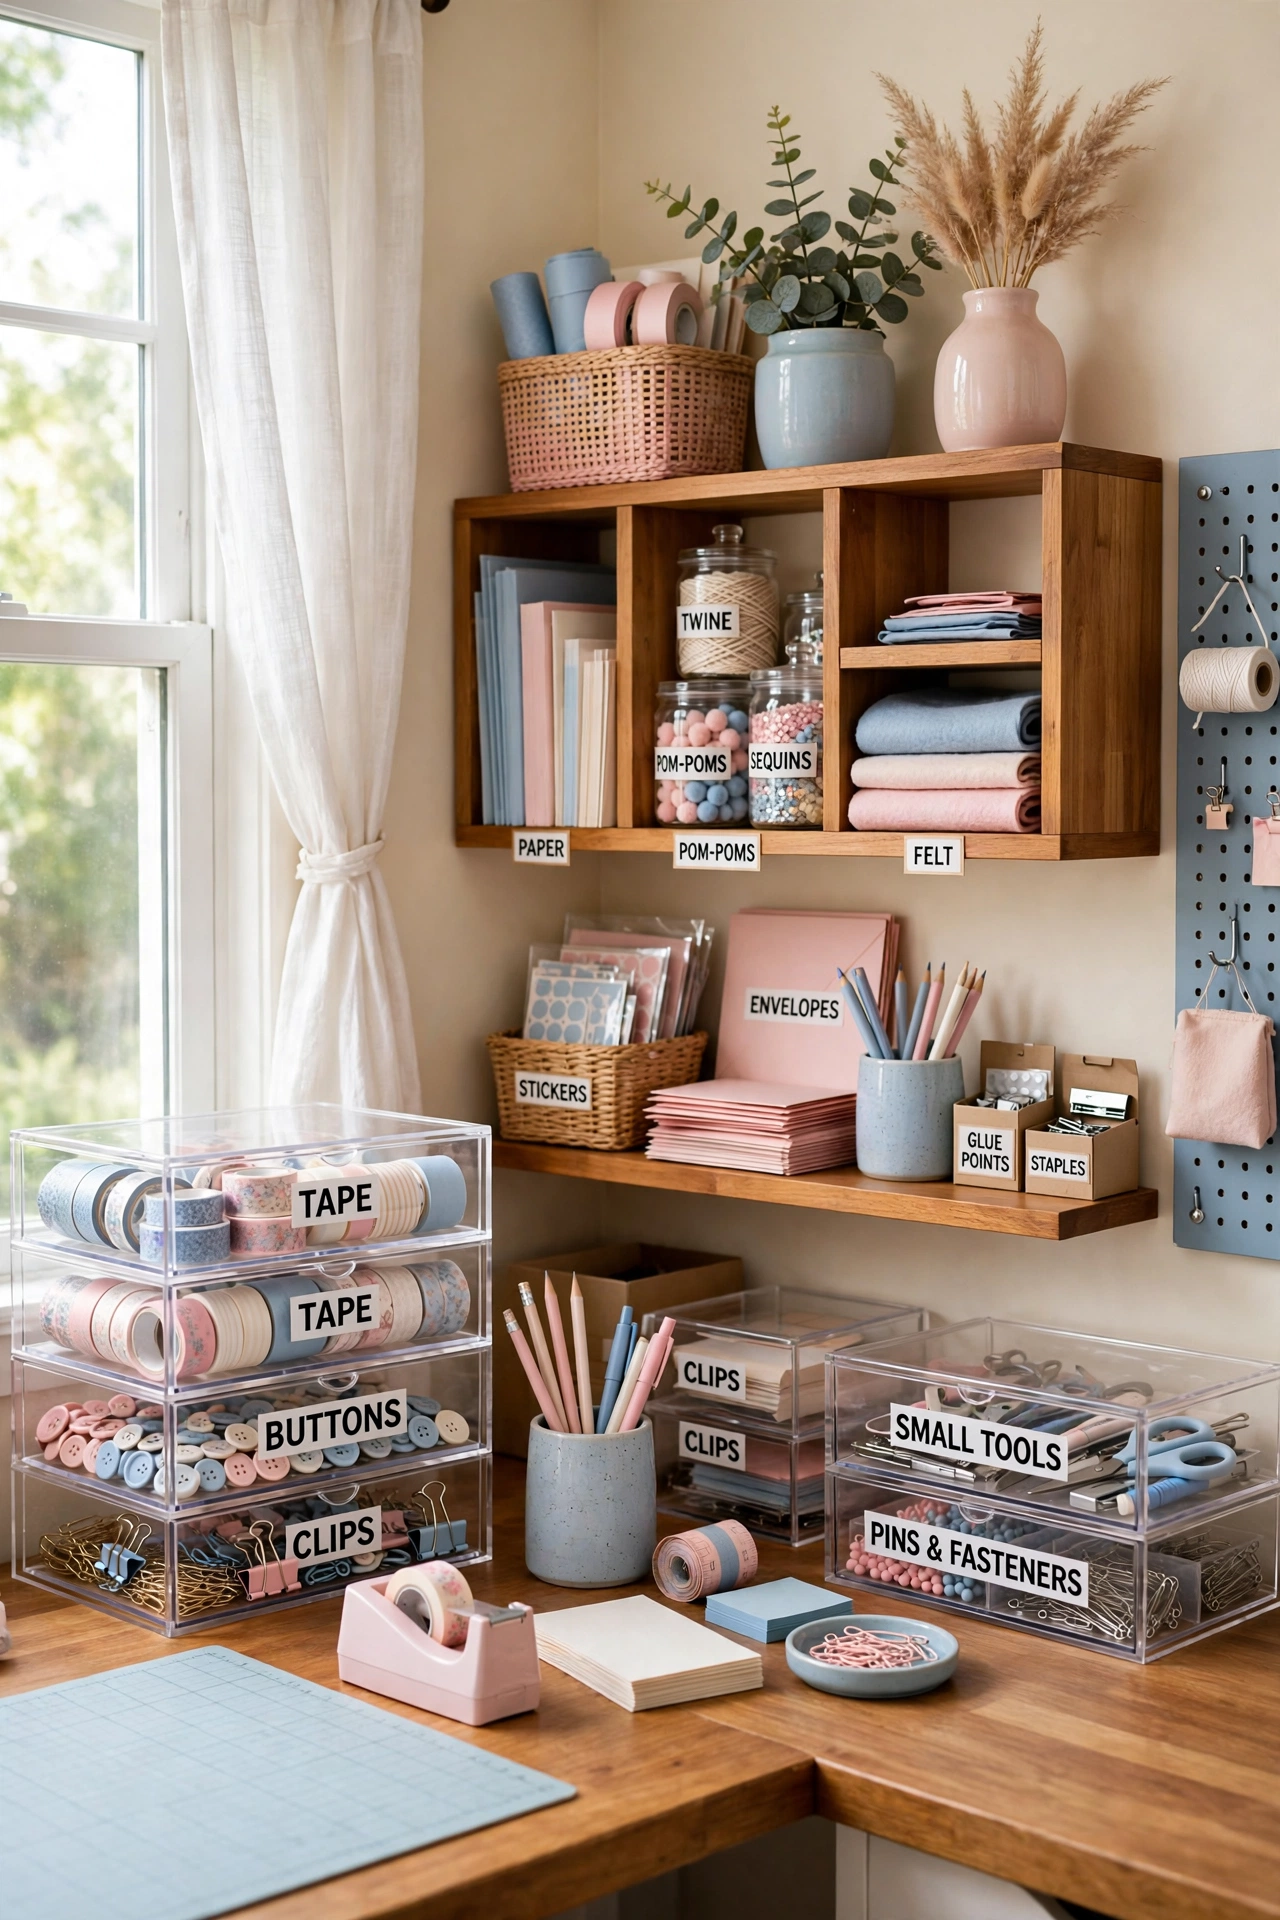
A corner craft desk with clear drawers puts organization right where you work. Bold labels on each drawer sort tape, buttons, adhesives, and small tools into categories you can read at a glance. Shelves and cubbies around the desk hold larger tools within arm’s reach while the desktop stays clear for cutting and gluing.
Add bright accents and a few favorite decorations to make the desk feel like your own creative corner. Keep only the tools for the current project on the desktop and return the rest to their labeled drawers when you finish. For desk setups that stay tidy through daily use, these computer desk organization ideas share habits that work just as well at a craft desk.
8. Mount a Sleek Wall Rail System for Tools
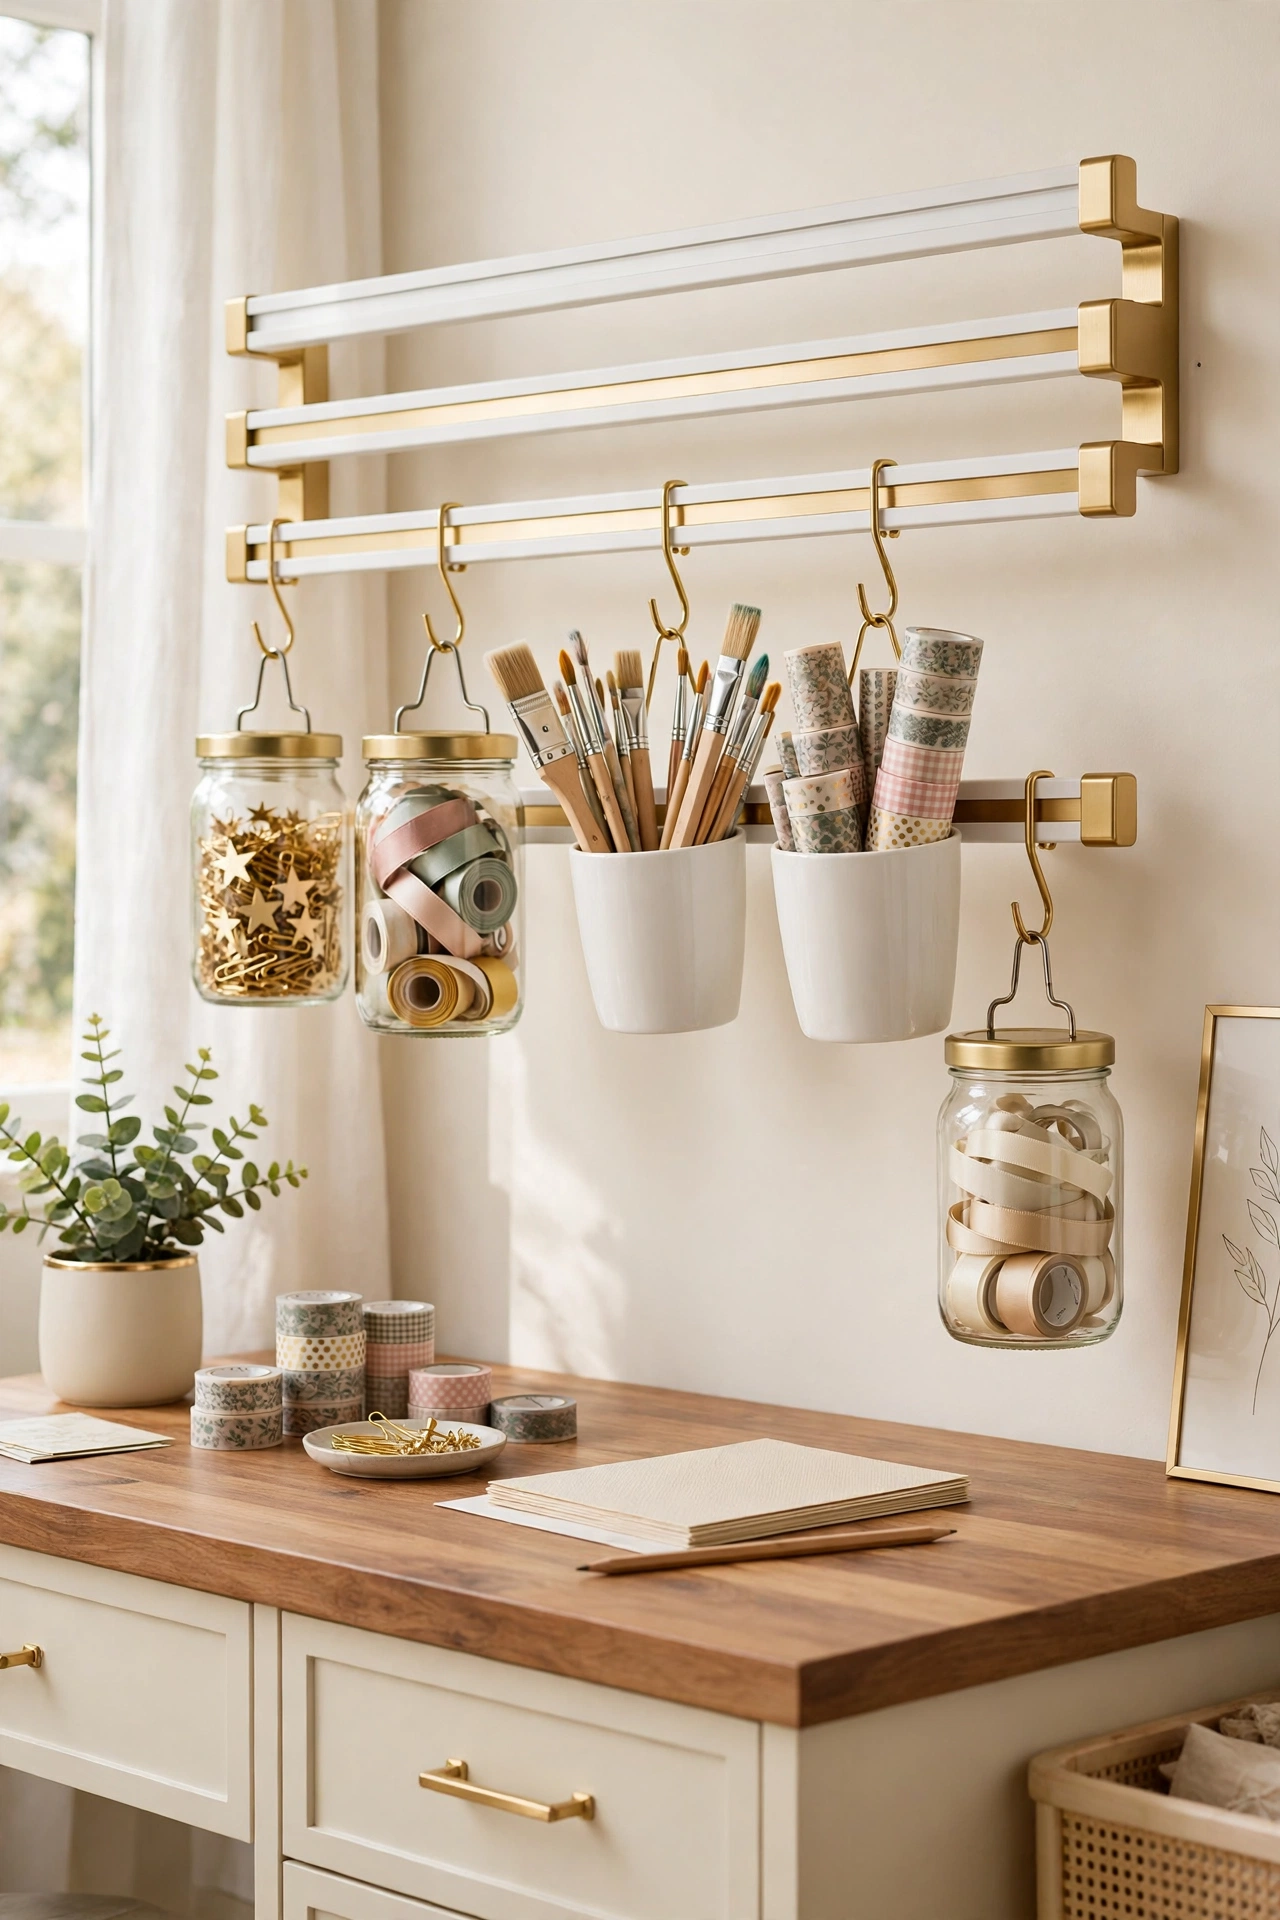
A wall-mounted rail system turns empty wall space above your desk into hard-working storage. Horizontal rails hold jars, cups, and small containers for paintbrushes, ribbons, and washi tape, all hanging neatly in a row. Your most used tools stay visible and within reach without covering the desk.
Choose rails in white with gold hooks for a clean look that suits any craft room style. Hang one rail for brushes, one for tape and ribbon, and one for scissors and pens. The vertical setup frees up drawer space for larger items and keeps the tools you grab a dozen times a day right at eye level.
9. Keep Ribbon Scraps in One Big Glass Jar
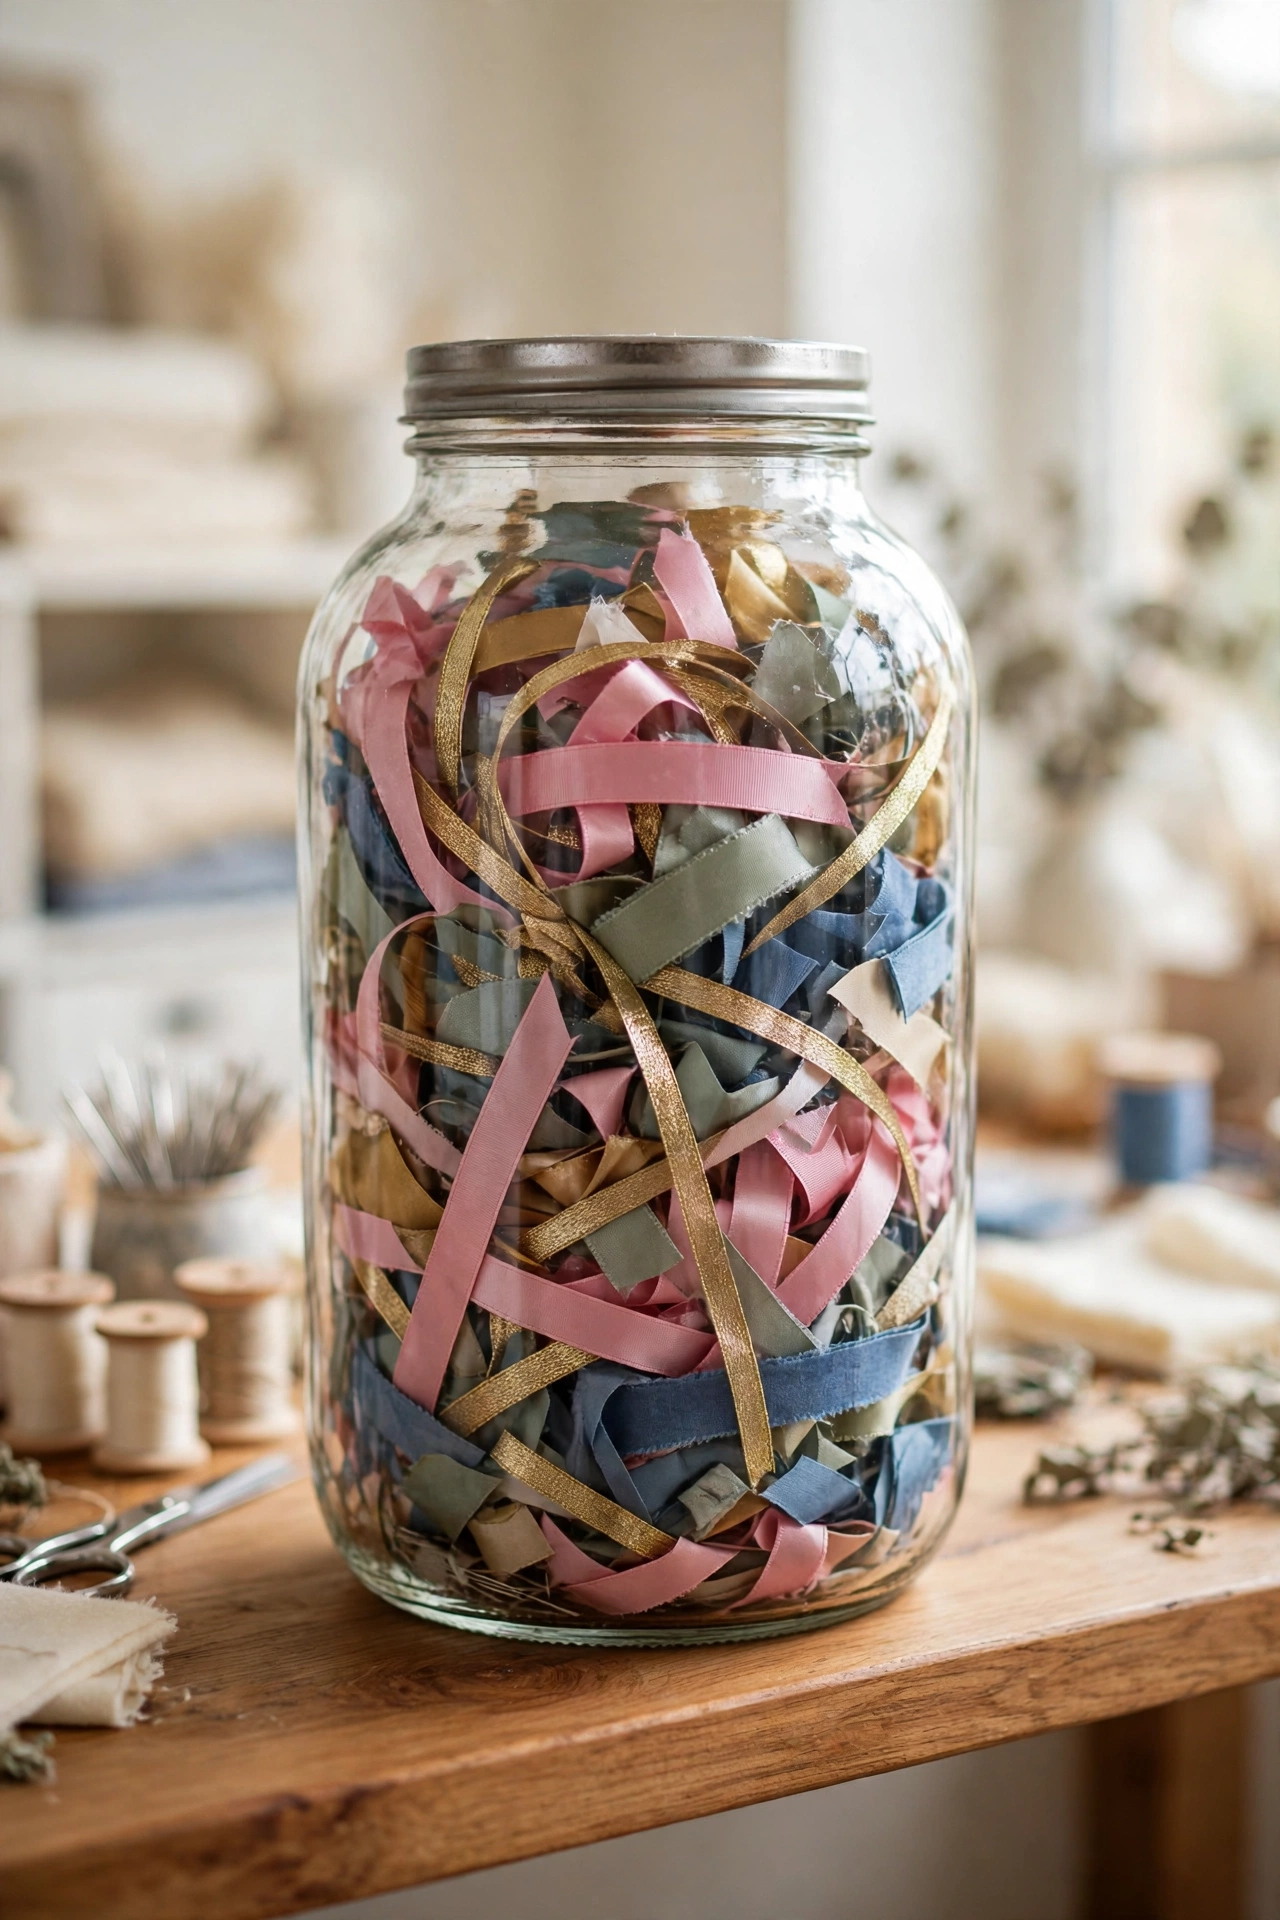
Ribbon scraps are too pretty to throw away and too small to store in a box. A large glass jar with a lid solves the problem in one step. Drop every leftover piece of ribbon and trim into the jar, and the clear sides turn the colorful mix into a charming display on your shelf or table.
Place the jar where you can reach it while you work, so short pieces go straight in instead of piling up on the desk. When you need a small accent for a card or a gift wrap, dig through the jar and enjoy the hunt. The jar keeps scraps tidy while celebrating every color you have ever used.
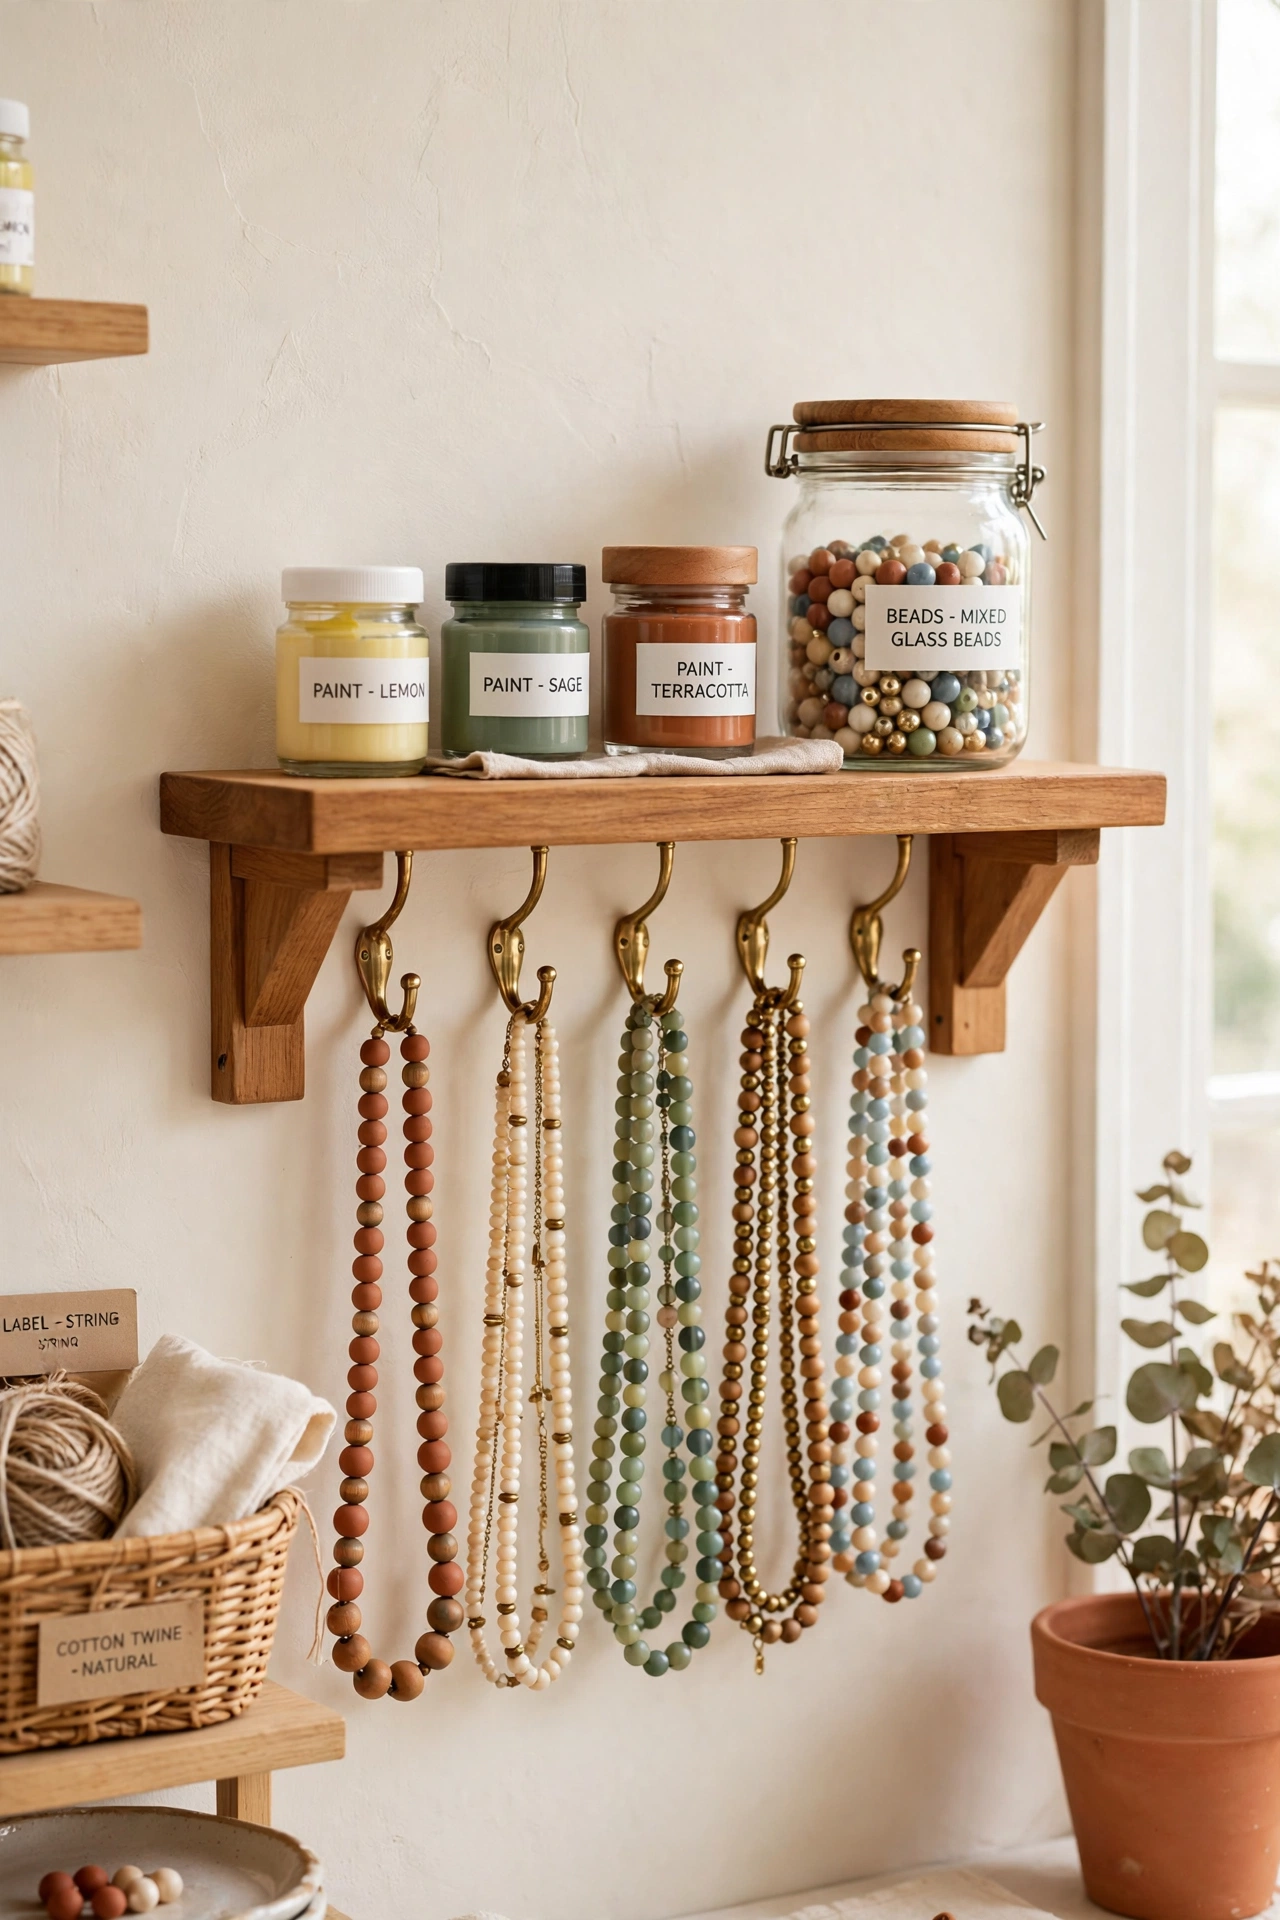
10. Add a Wooden Shelf With Hooks Below
A multi-use wooden shelf with hooks underneath does two jobs in one small footprint. The top shelf holds small paint jars, beads, or essential supplies, while the hooks below hang necklaces, charms, and beaded strands without tangling. It is a graceful solution for craft rooms that mix paper crafts with jewelry making.
Hang the shelf near your work area so jewelry pieces and small supplies stay close but off the desk. Keep one hook for each necklace or strand so nothing knots together. This compact setup brings order to mixed supplies and adds a warm wooden accent to the wall.
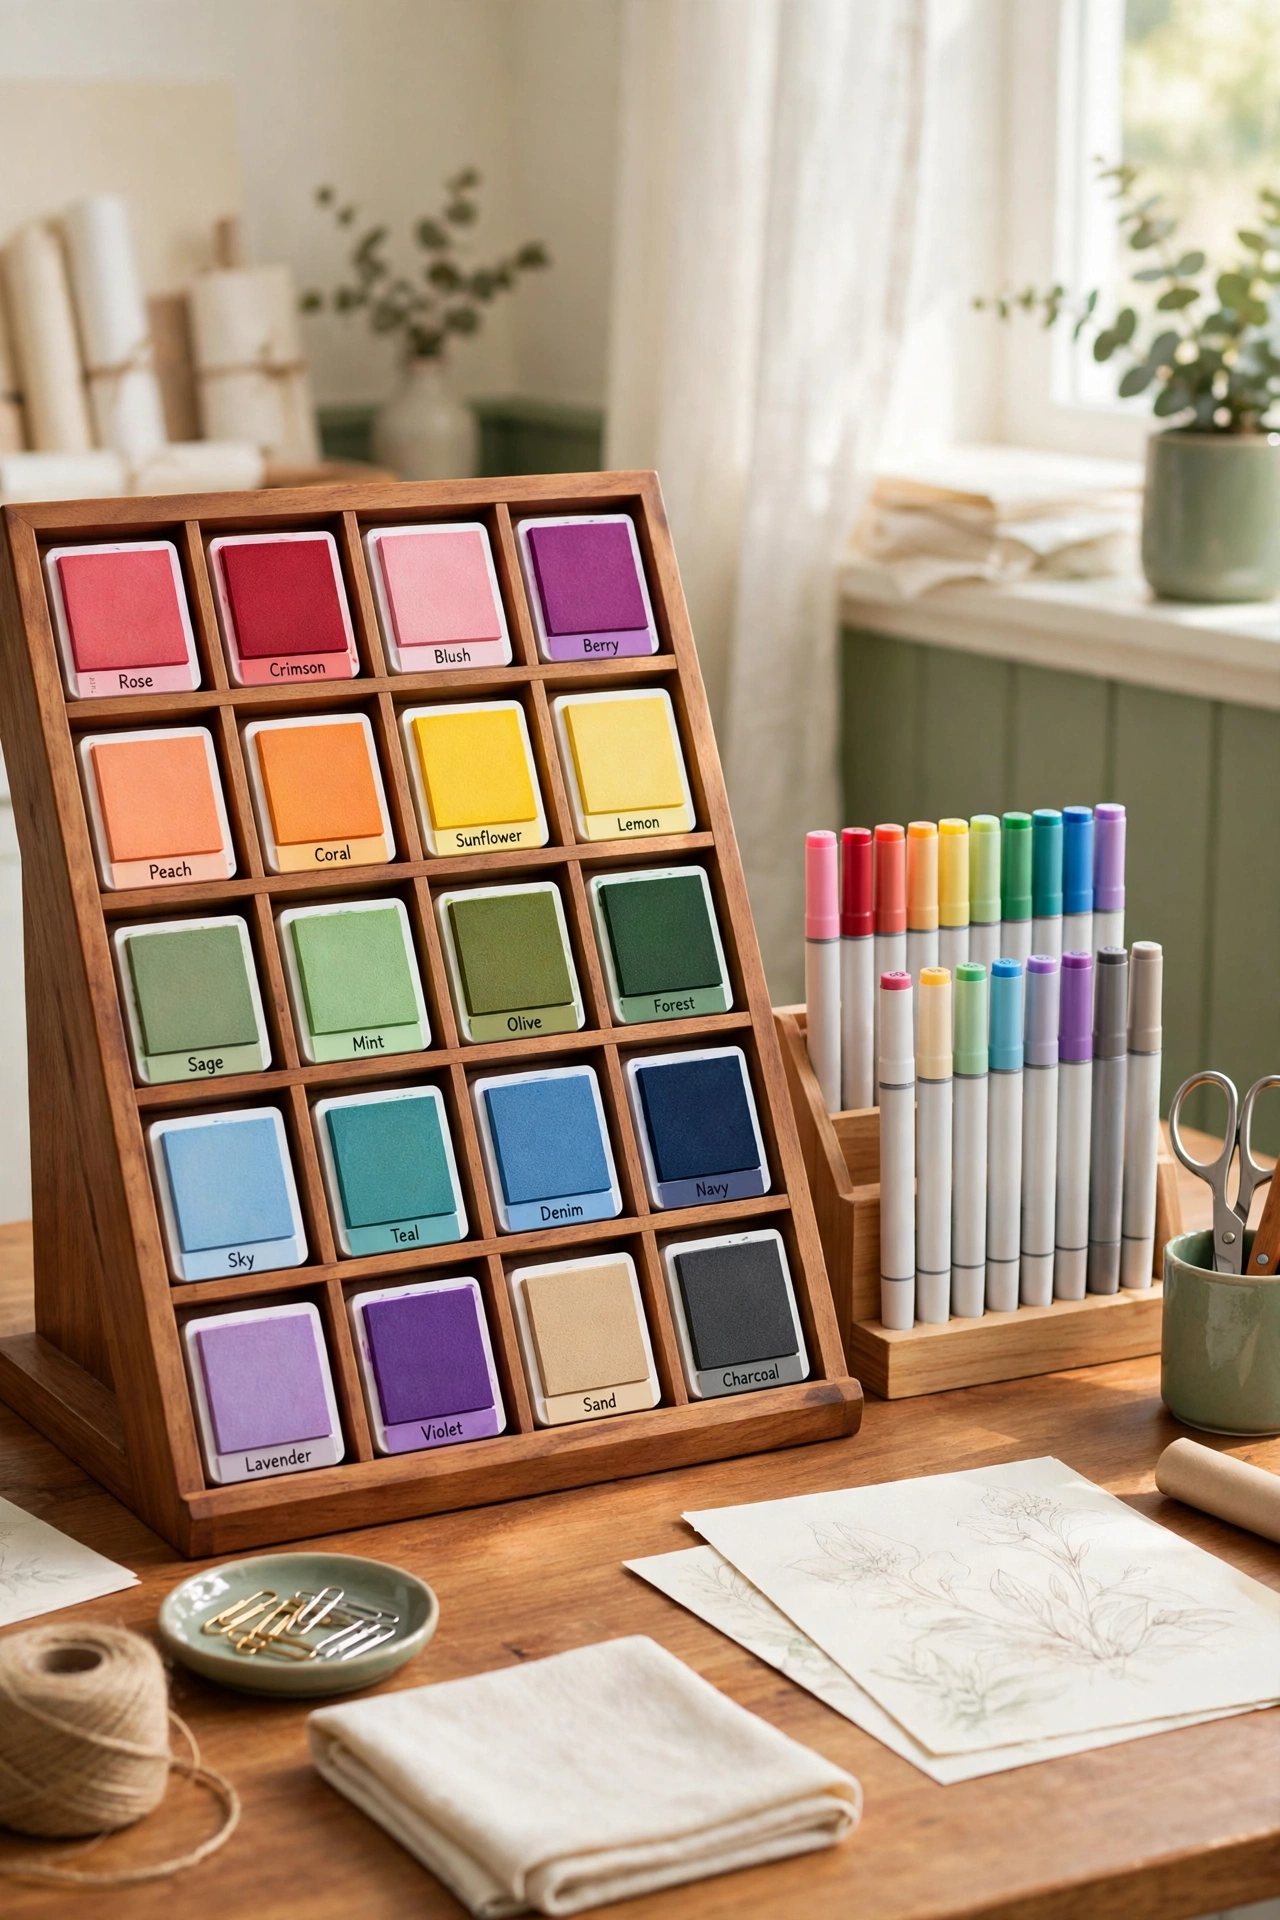
11. Sort Ink Pads in a Dedicated Row Organizer
Ink pads stack badly and hide in drawers, but a dedicated row organizer keeps every pad visible. Neat rows with labeled edges let you read each color name without lifting a single pad. The slim design saves space while keeping your full color palette ready for card making and stamping.
Arrange the pads by color family so you can build a palette at a glance. Pair the organizer with a marker rack in the same spot to keep all your coloring tools together. When every ink pad has a labeled slot, cleanup takes seconds and no pad gets lost at the back of a drawer.
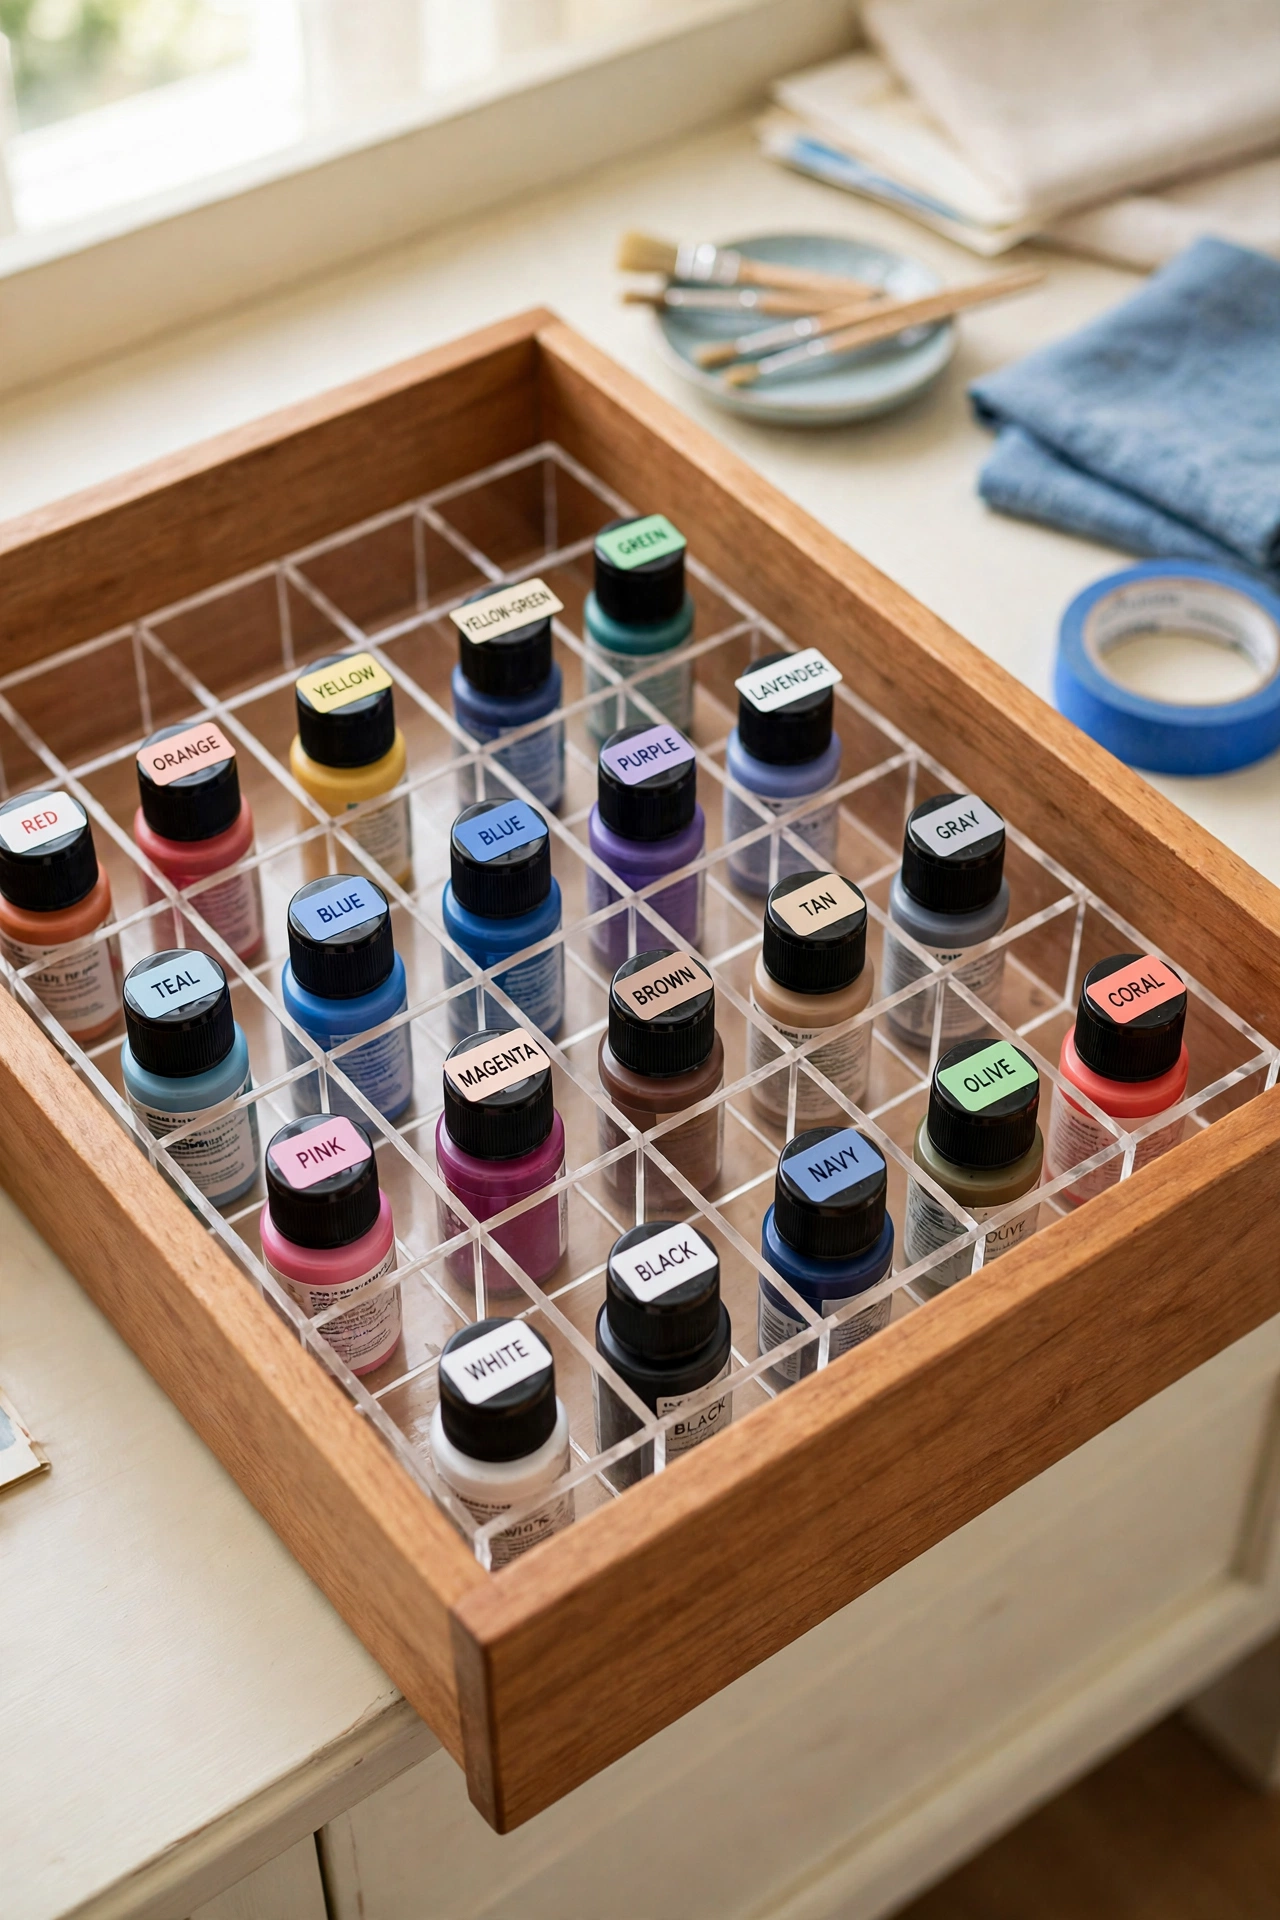
12. Keep Paint Bottles Upright With Drawer Inserts
Clear acrylic drawer inserts turn a messy paint drawer into a tidy grid. Each small bottle stands upright in its own slot, which prevents spills and keeps labels facing up where you can read them. Sorting by color or paint type becomes easy when every bottle has a fixed place.
This system works especially well for small paint bottles, alcohol inks, and reinkers that roll around in an open drawer. The inserts use the full drawer depth without wasting space, and the clear acrylic keeps the drawer looking clean. Pull the drawer open and your whole paint collection is ready in one view.
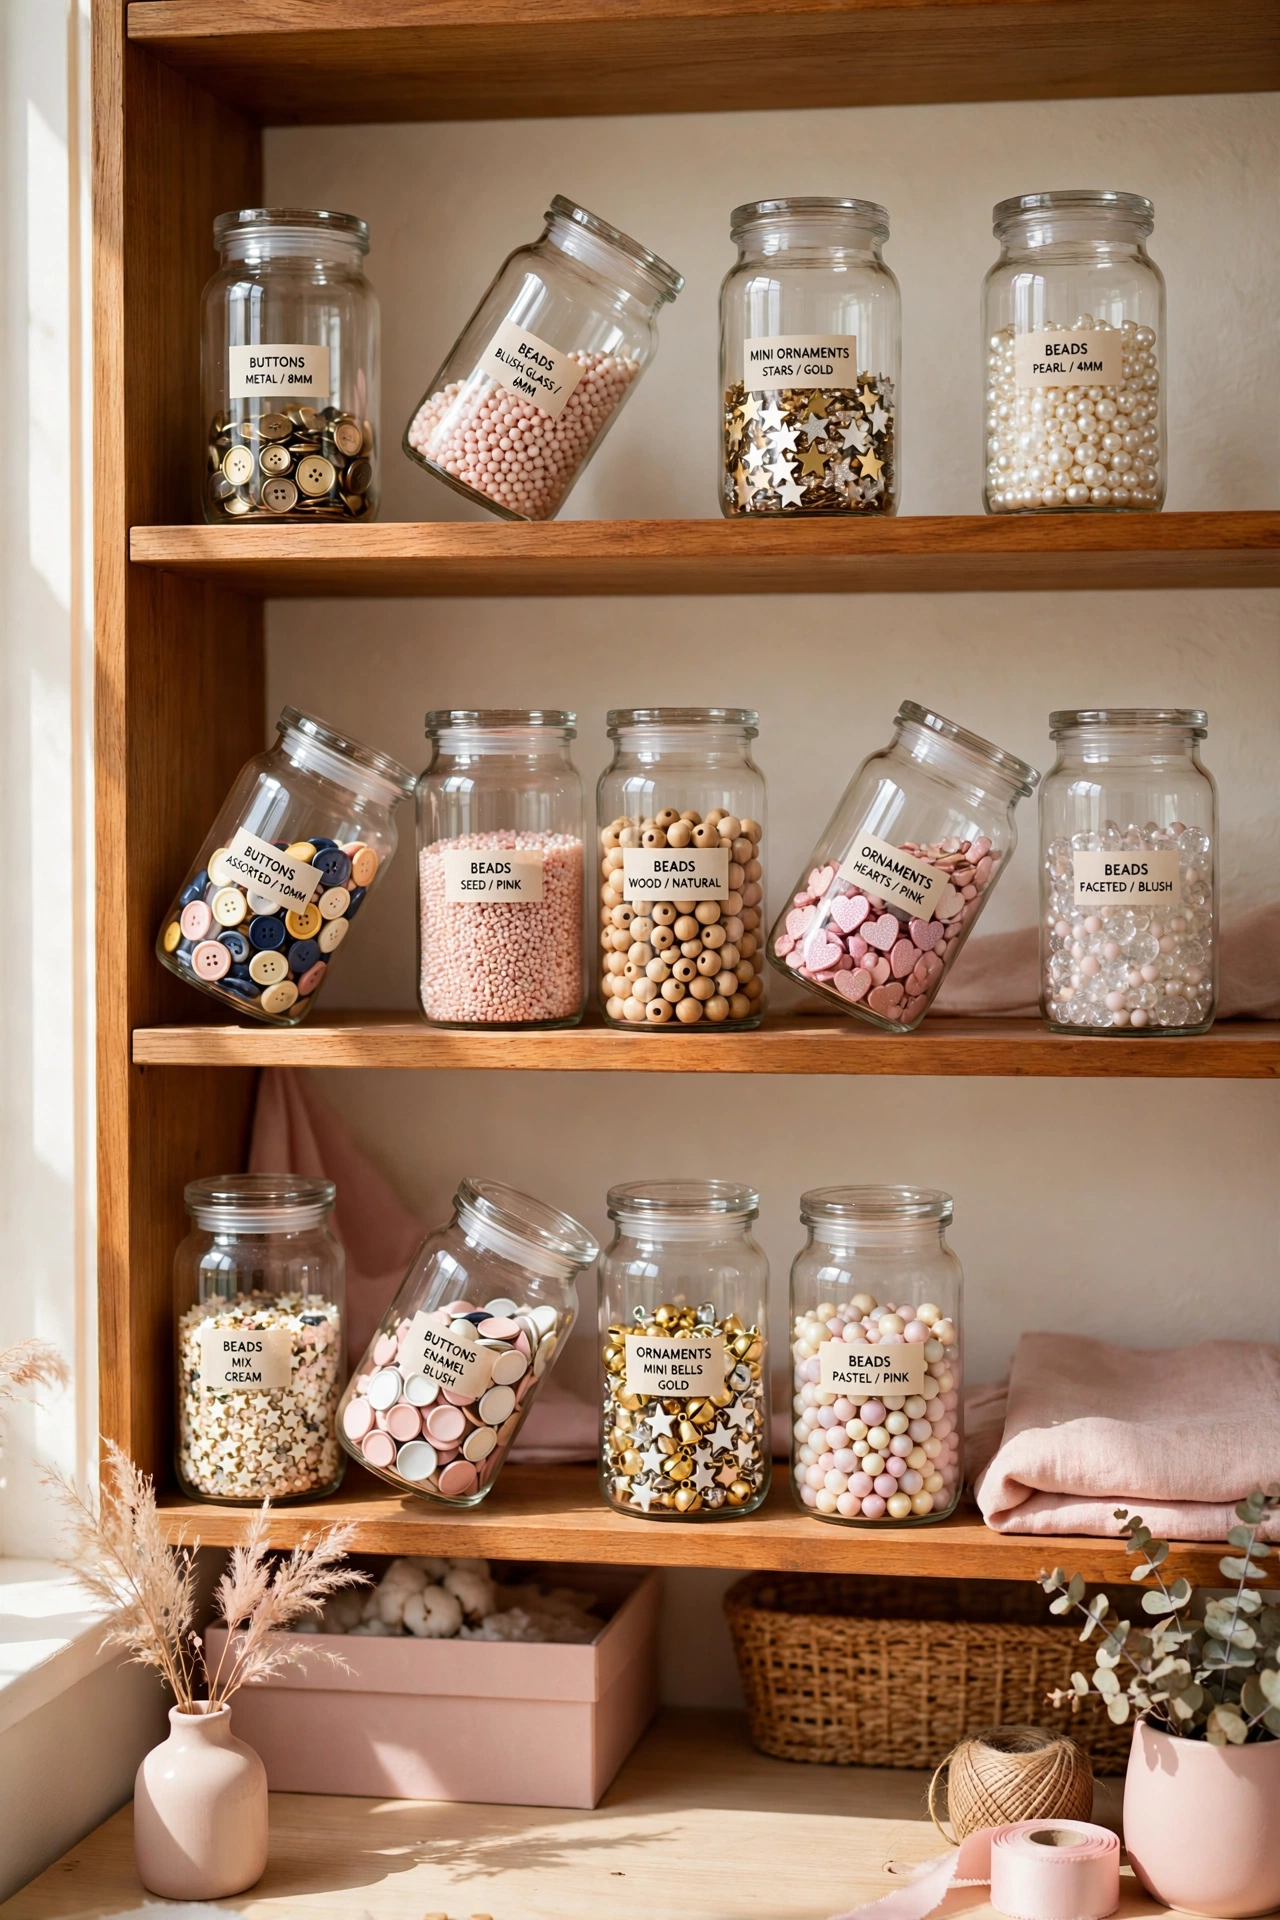
13. Line Open Shelves With Jars for Tiny Supplies
Open shelves lined with clear jars make tiny supplies look like decor. Buttons, beads, mini ornaments, and small embellishments each get a jar of their own, and the glass turns the collection into a sparkling display. Angled jars make scooping easy, while upright jars show off the prettiest contents.
Group the jars by color or material and keep the smallest items on the middle shelves where they are easiest to reach. A printed label on each jar keeps sorting simple even when the jars look alike. Your supplies stay sorted, protected from dust, and beautiful enough to leave on show.
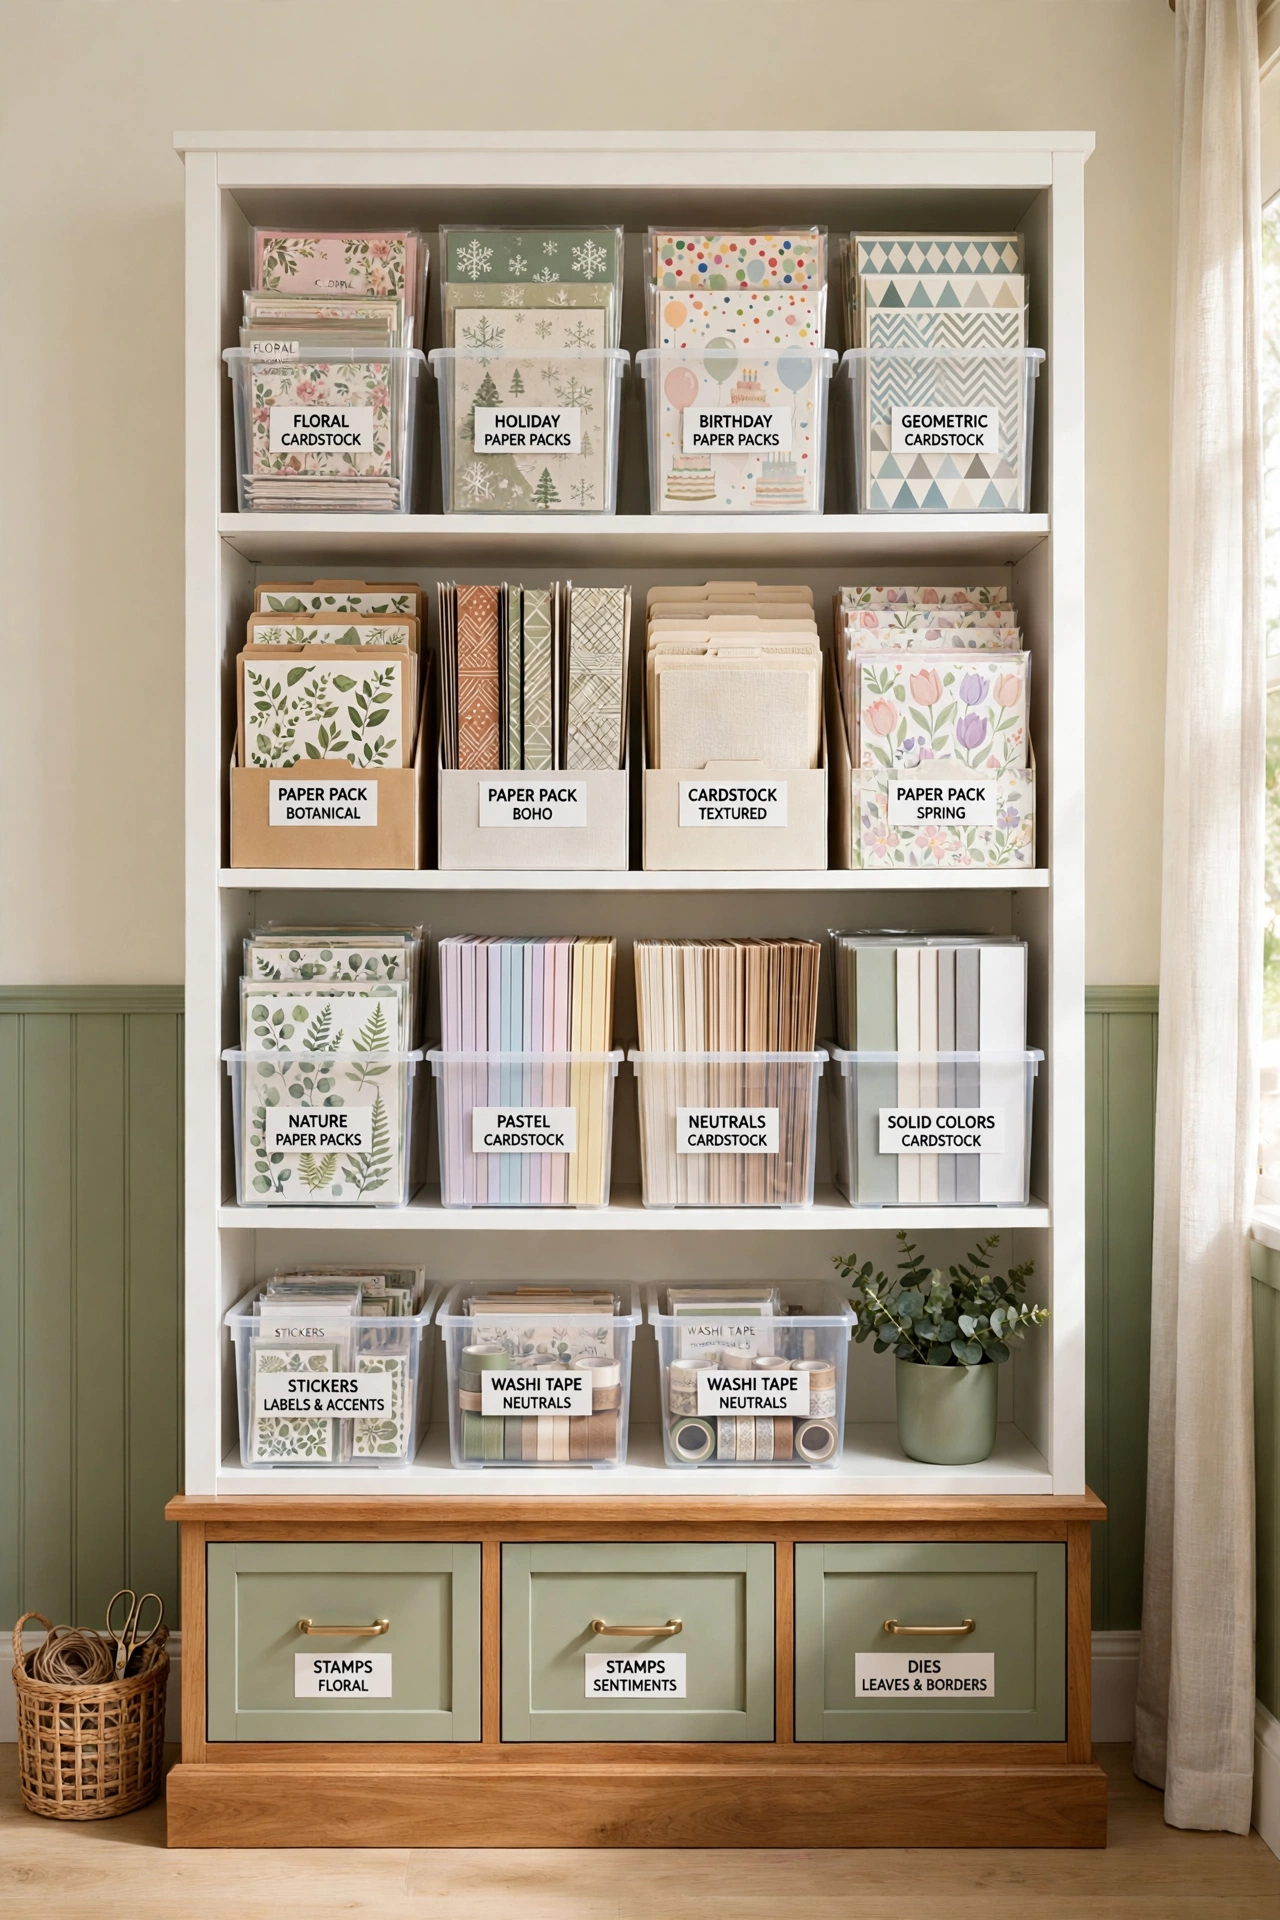
14. File Cardstock and Paper Packs on a Tall Shelf
A tall shelving unit with clear bins and file folders brings order to paper storage. Cardstock, paper packs, and project files each get a labeled home sorted by theme, color, or type, so you can find the right paper without pulling out a whole stack. The vertical design uses wall space that often goes to waste.
Use the lower shelves for drawers or containers holding smaller tools like stamps and dies. Keep the papers you use most often at arm height and the specialty packs higher up. A tall paper shelf makes the craft room feel professional and keeps delicate paper flat, clean, and easy to browse.
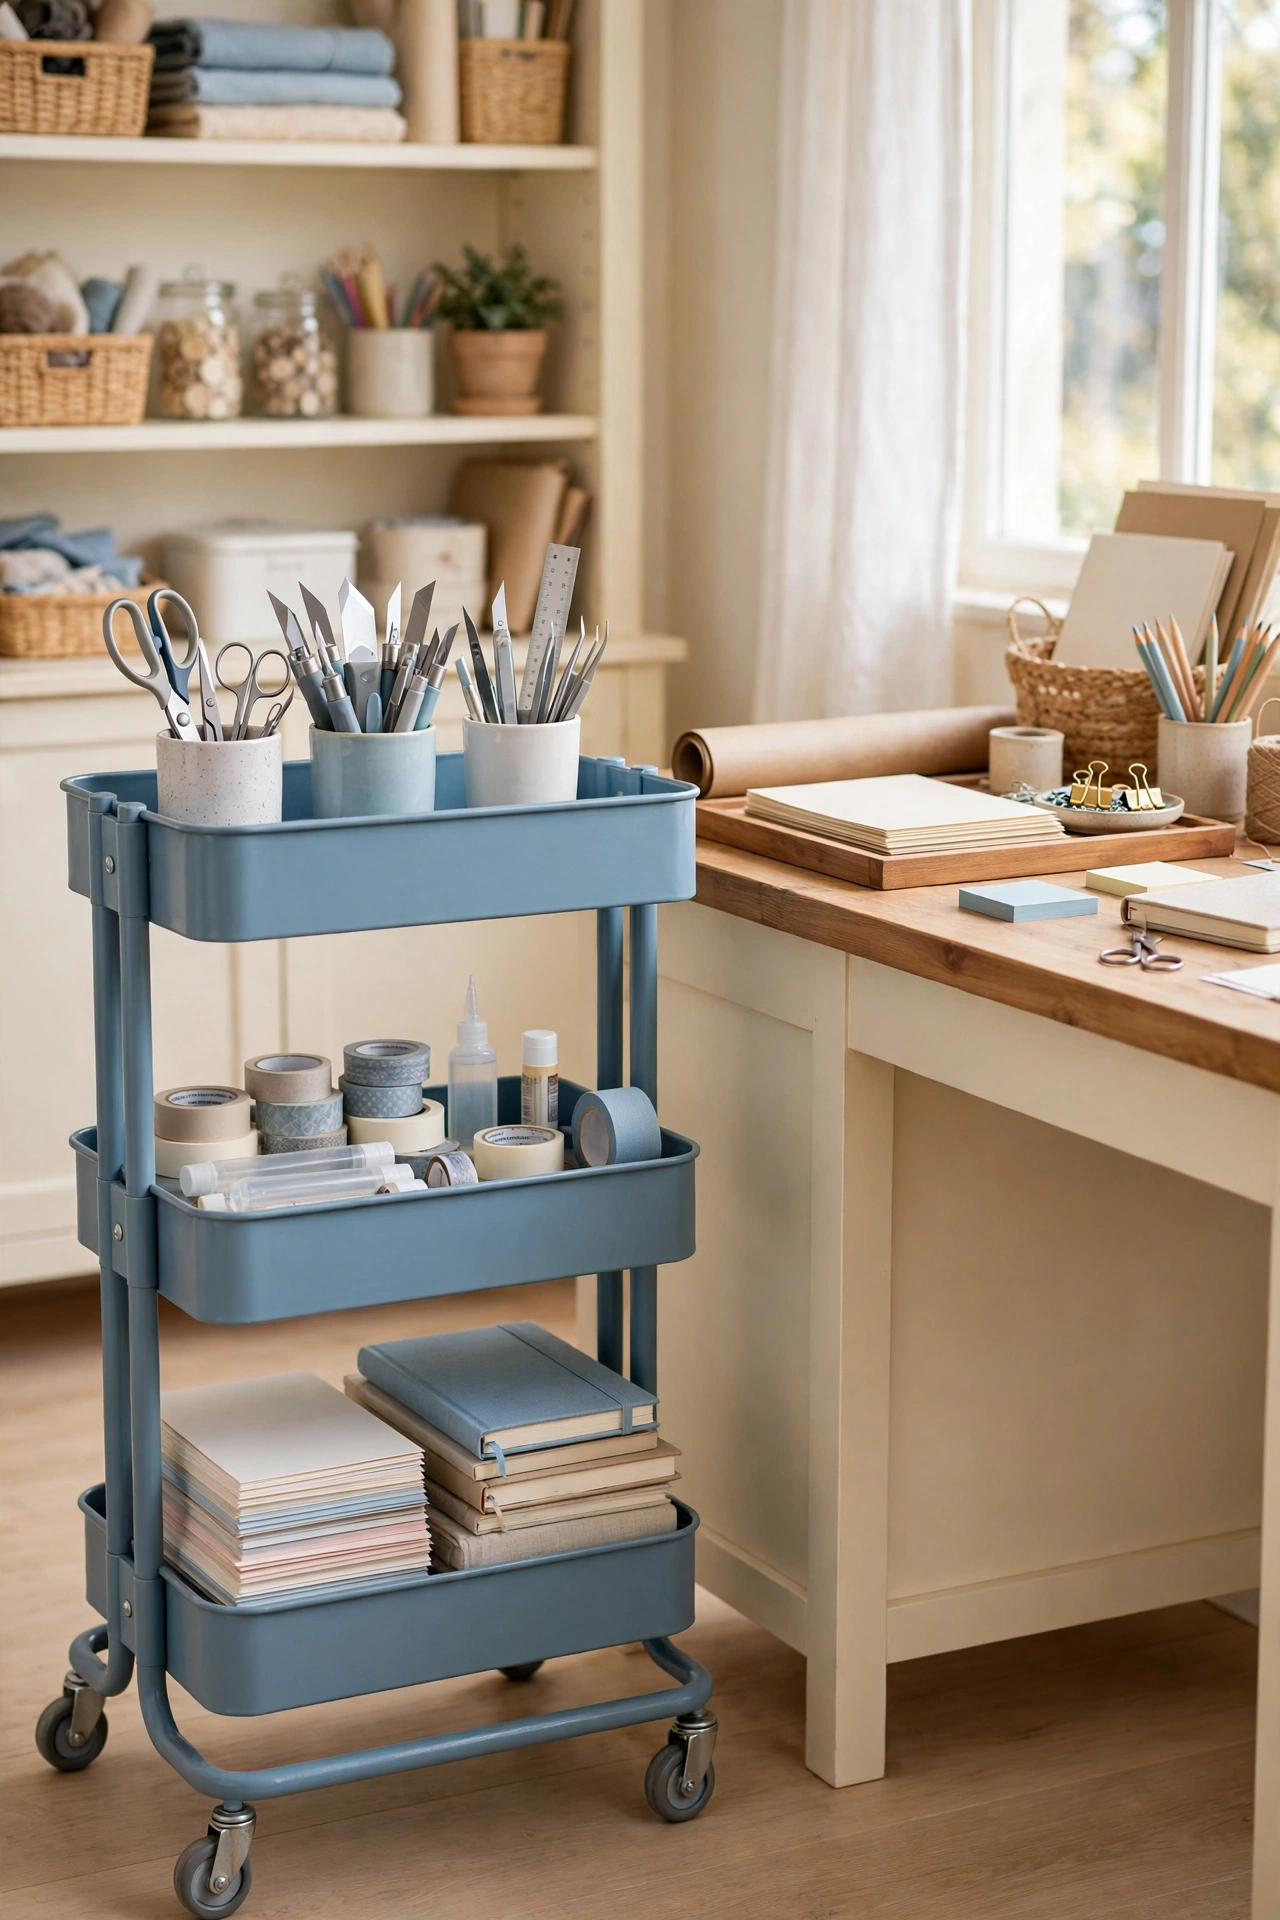
15. Roll a Three-Tier Craft Cart Where You Need It
A three-tier rolling cart brings your supplies to you instead of the other way around. The compact cart rolls beside your desk, to the dining table, or into a sunny corner, carrying tools, adhesives, and journals across its three trays. It keeps the essentials for a current project together without cluttering the main workspace.
Sort the cart by task, with cutting tools on top, adhesives and tape in the middle, and paper and journals on the bottom tier. When the project ends, roll the cart back against the wall and the room is tidy again. For more ways to use a cart all over the house, these rolling cart organization ideas show how one cart can serve every room.
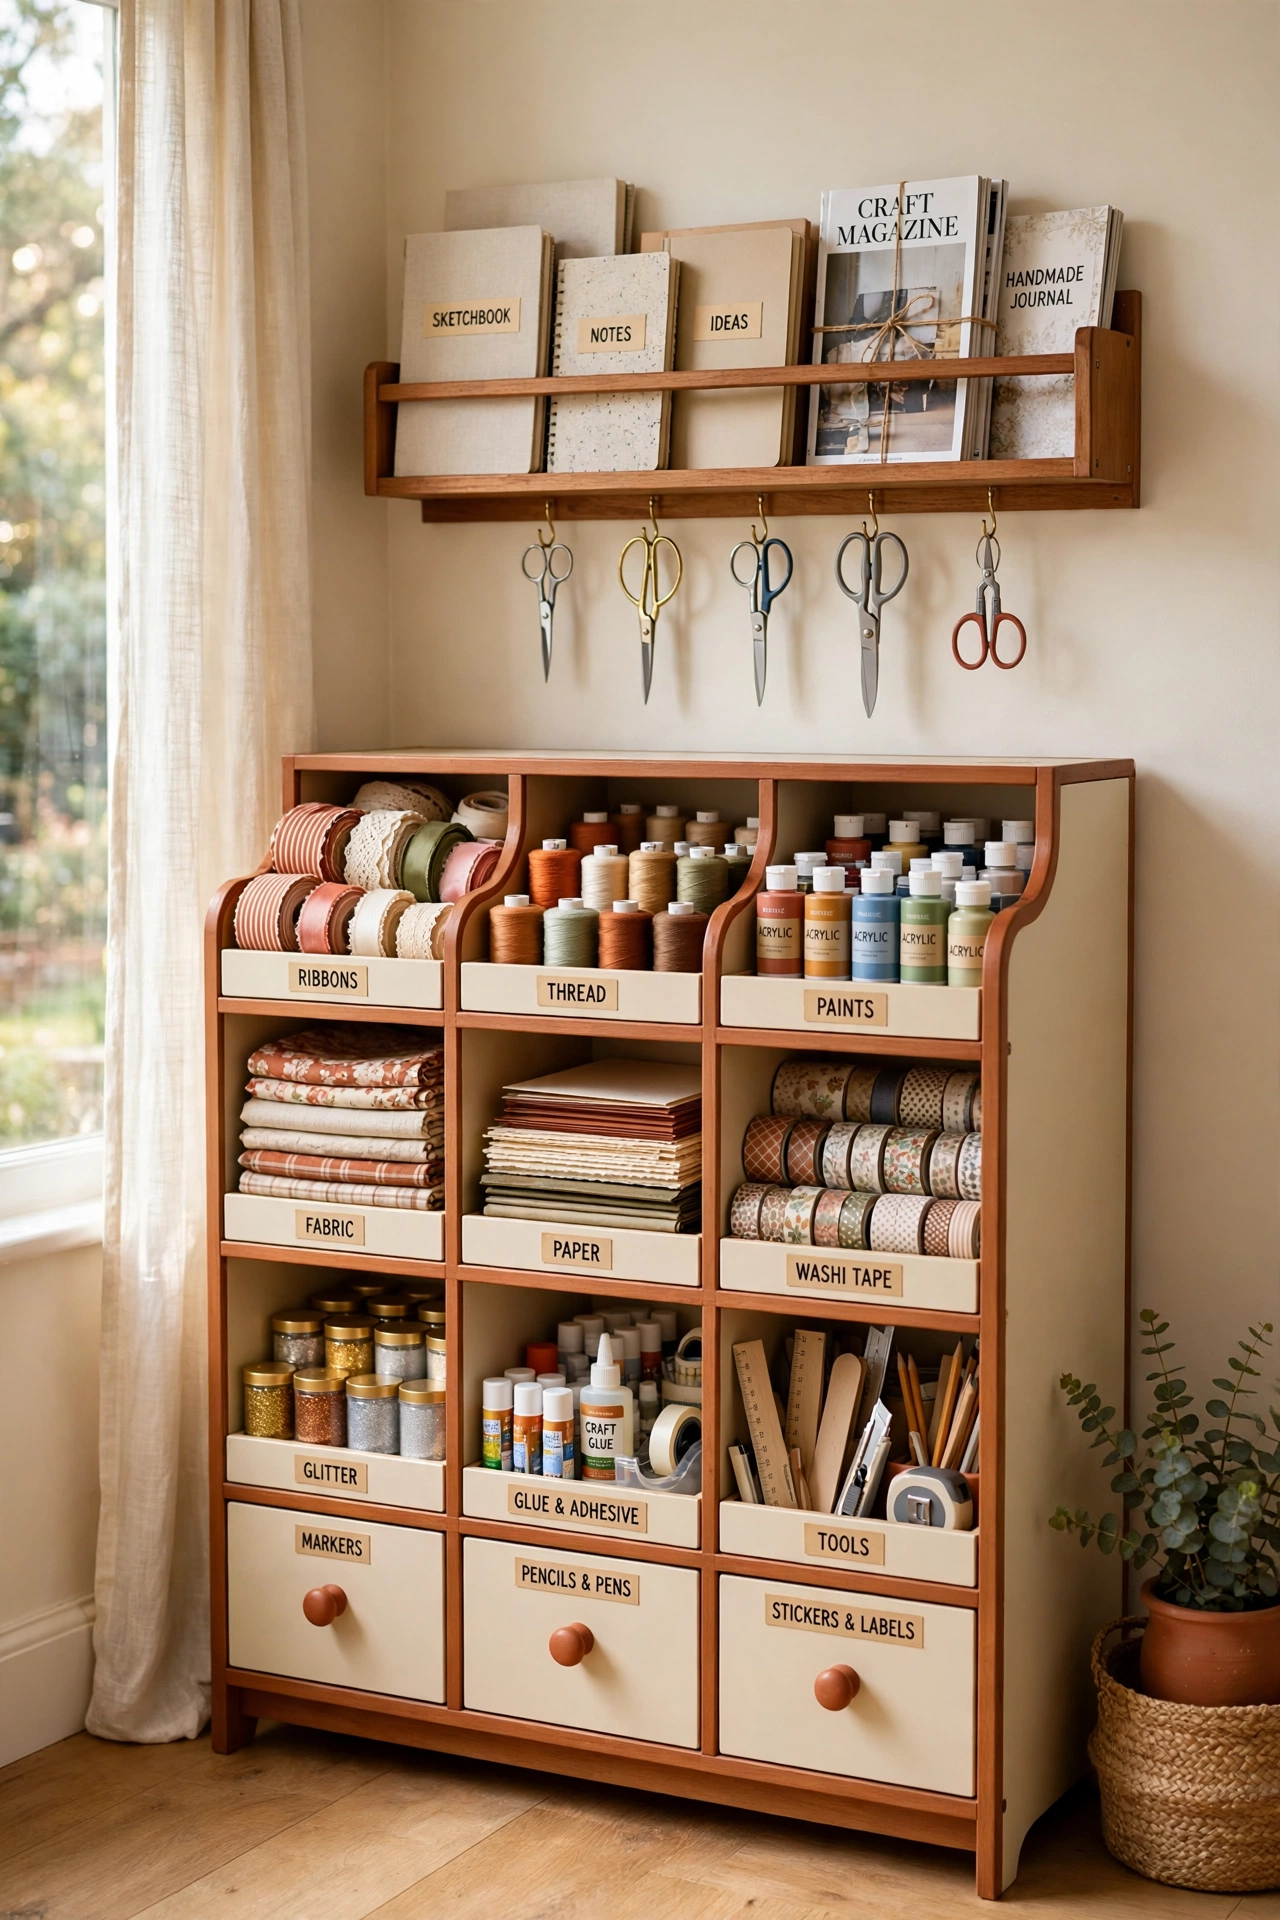
16. Combine Everything Into One All-in-One Station
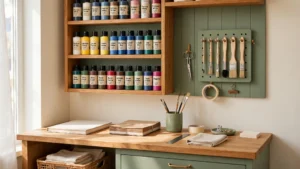
An all-in-one craft station gathers every supply into one stylish spot. A wall-mounted rack above holds notebooks, magazines, and scissors, while the compact unit below offers cubbies and drawers for ribbons, paints, fabrics, and tools. The whole system works as one piece, which cuts clutter and speeds up your workflow.
Keep the station in one corner so the rest of the room stays open and calm. Assign each cubby a category and label the drawers so cleanup is automatic. When everything lives in one station, starting a project means opening one cabinet instead of searching the whole room.
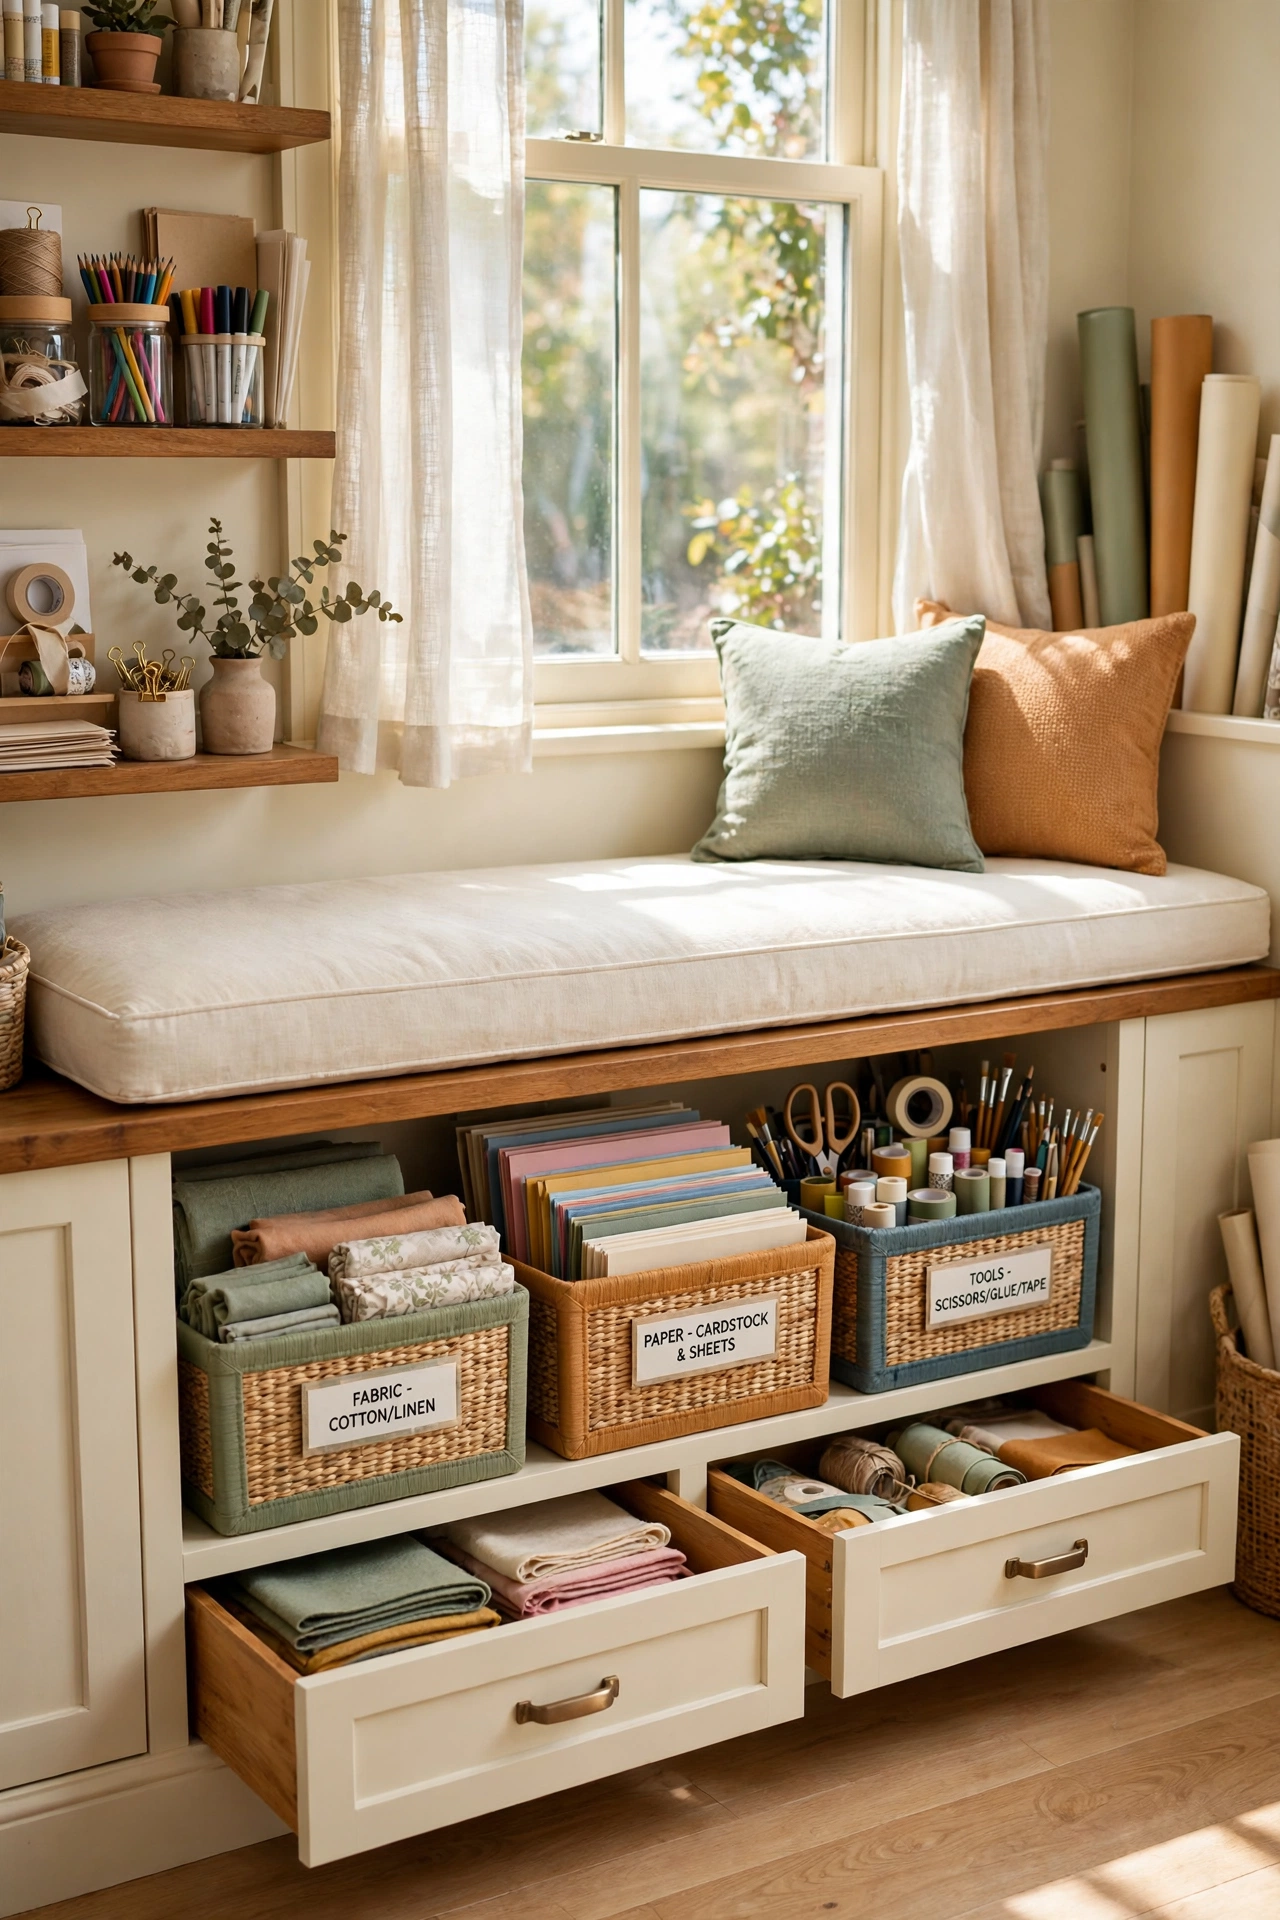
17. Hide Supplies Inside a Storage Bench With Cubes
A window seat with built-in storage cubes does double duty in a small craft room. Colorful bins and shallow drawers beneath the bench hold craft papers, tools, and fabrics, while the cushioned top gives you a cozy seat for reading patterns or planning a project. Clutter hides away behind a cheerful, useful piece of furniture.
Choose bins in bright colors that match the room and label each one by category. Keep heavy items like fabric bolts in the lowest cubes and light papers in the shallow drawers. A storage bench turns an awkward window nook into the hardest working spot in the room.
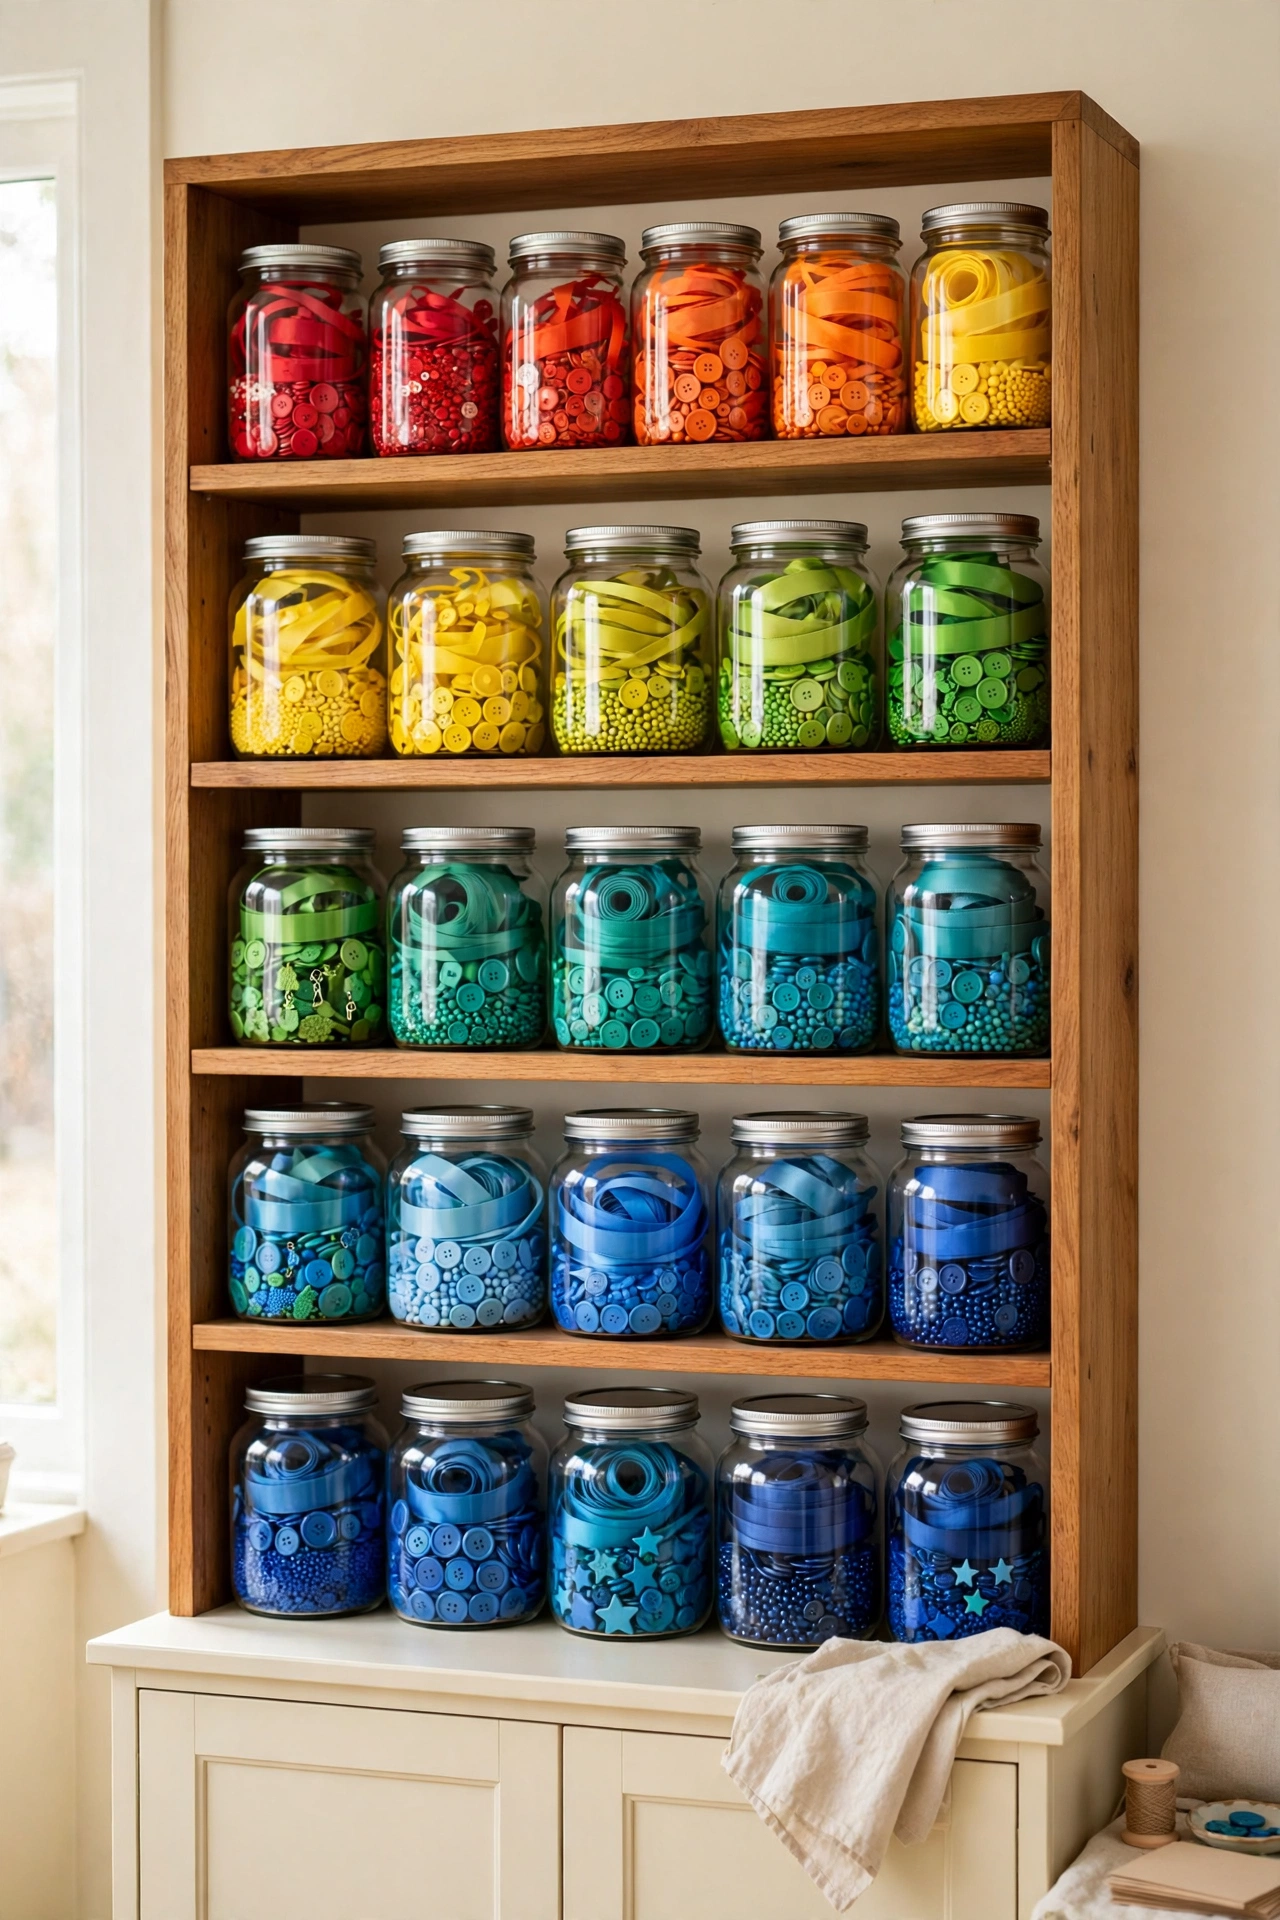
18. Arrange Color-Coded Jars on Open Shelves
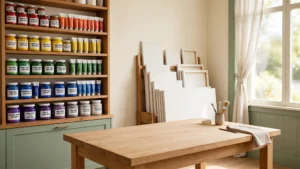
Color-coded glass jars on open shelves turn ordinary supplies into a striking display. Ribbons, buttons, and trinkets sorted by color fill matching jars in a rainbow row, so you can find the exact shade you need while enjoying the view. The uniform jar style keeps the shelves looking calm even with a riot of color inside.
Place the jars in spectrum order, from reds through blues, so the shelf reads like a color chart. Use the same jar size across the whole row for a polished look. This setup suits crafters who think in color first and want inspiration waiting on the shelf every time they walk in.
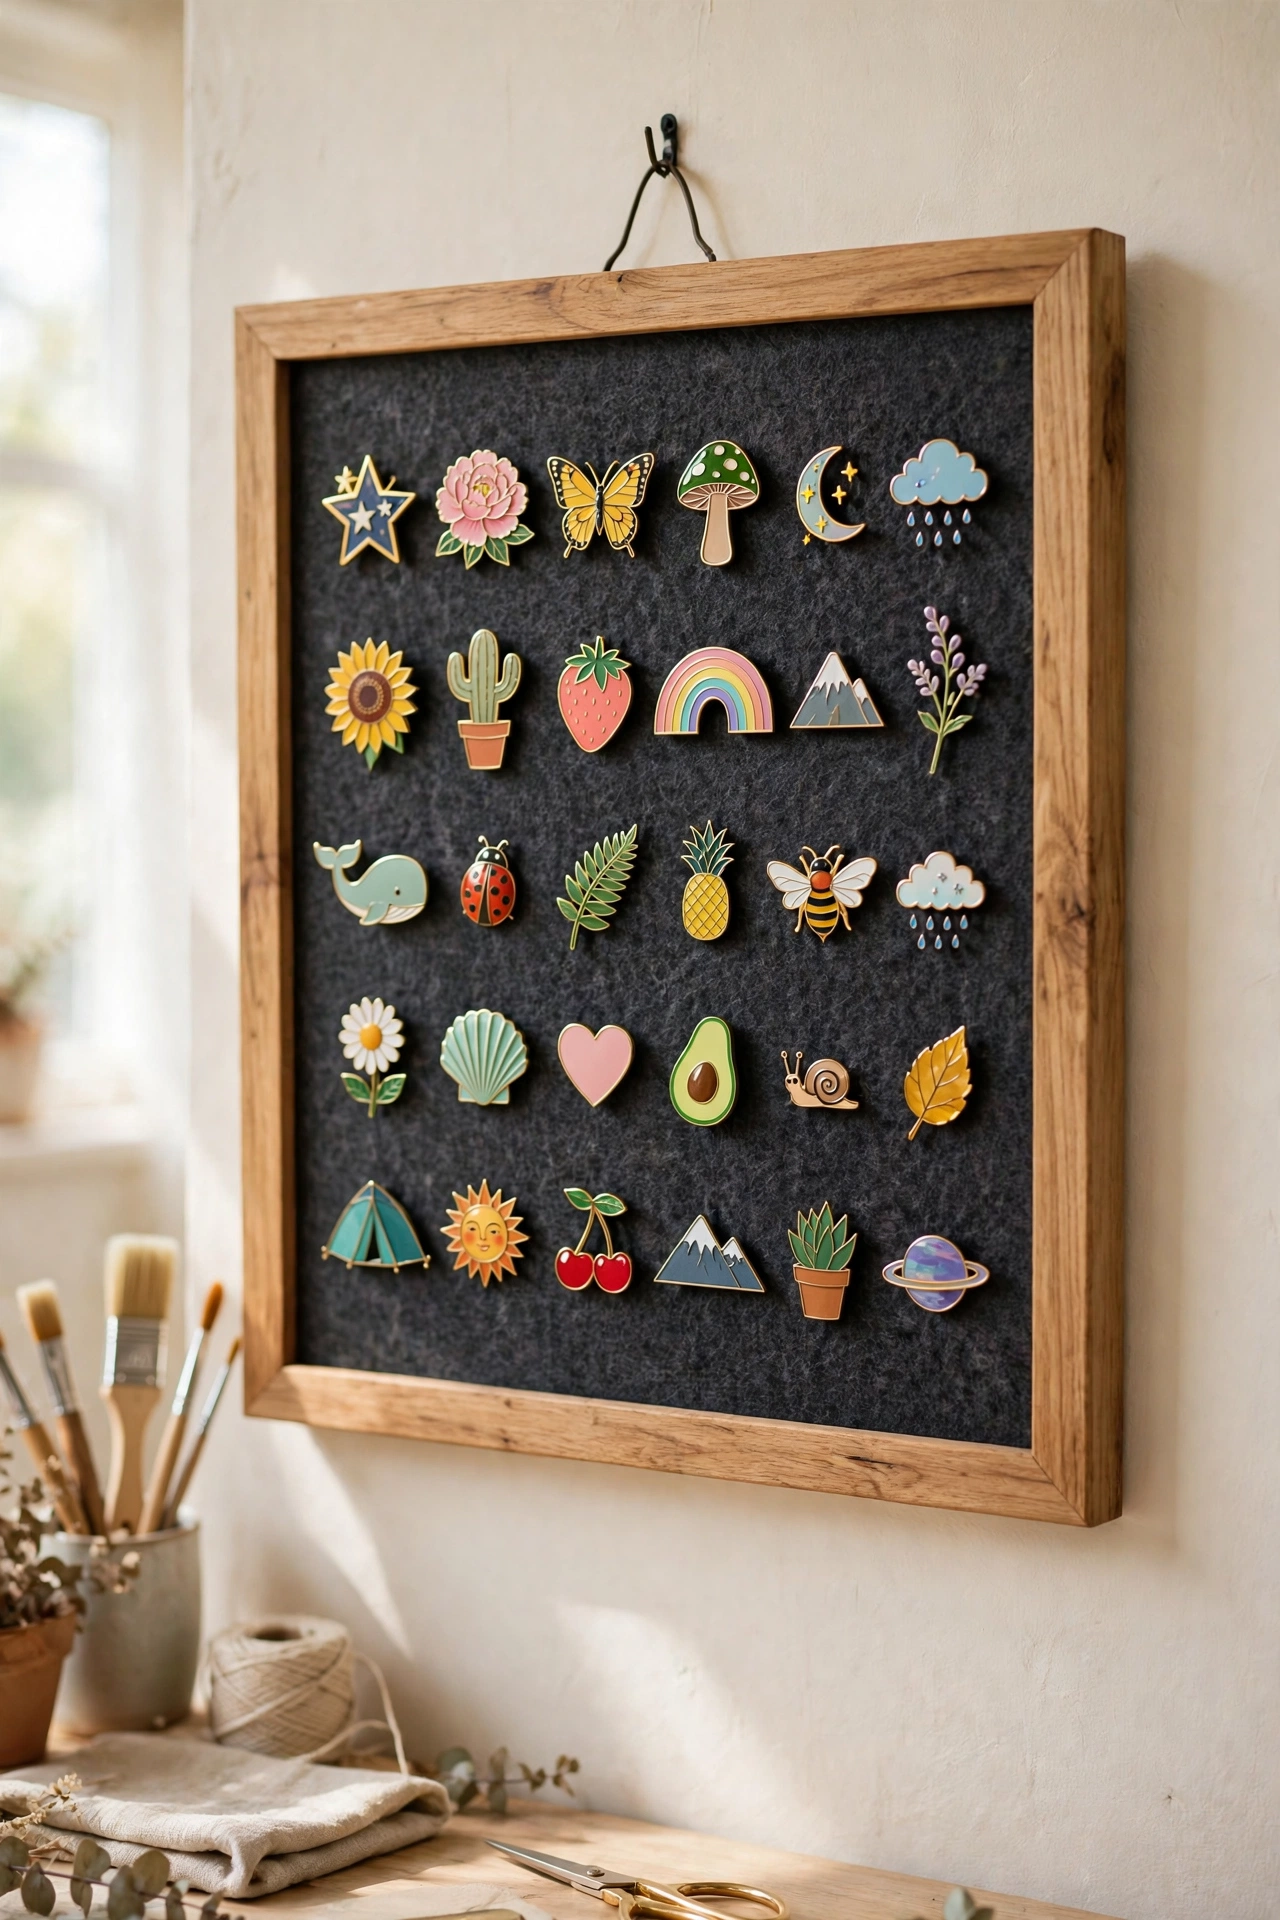
19. Show Off Pins on a Framed Display Board
A framed pin and button display board keeps a collection safe, visible, and beautifully arranged. A dark fabric background makes enamel pins, badges, and brooches stand out like art in a gallery. The board doubles as wall decor while giving every pin a fixed place.
Arrange the pins by theme or color, leaving a little space between each one so the collection can grow. Hang the board away from direct sunlight to protect the finishes. Your pins stay protected from scratches and dust while adding personality to the craft room wall.
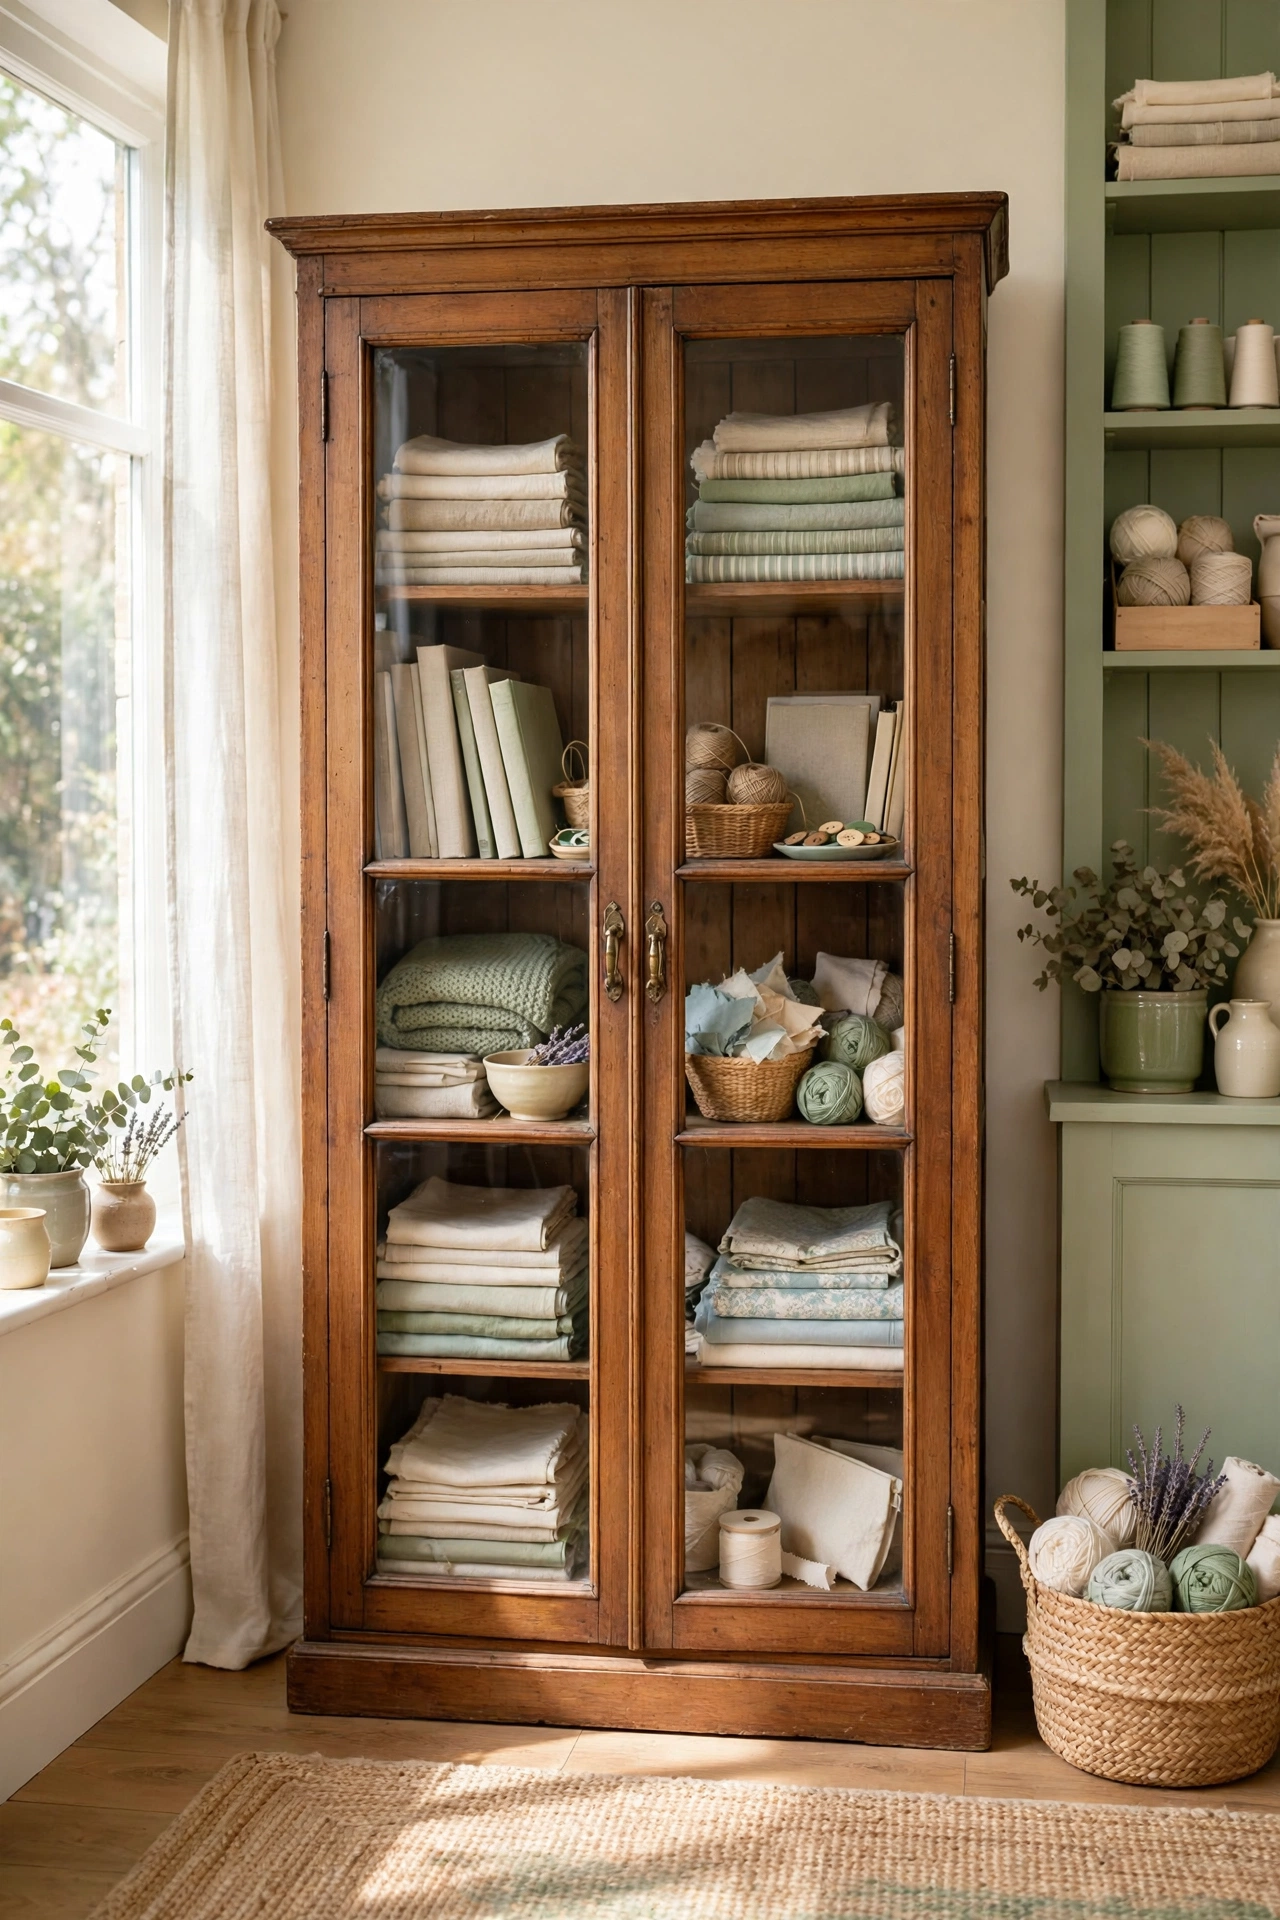
20. Protect Supplies in a Vintage Glass Cabinet
A vintage glass-front cabinet adds timeless charm while keeping supplies dust-free and visible. Books, fabrics, and finished projects sit behind glass doors, protected from dust but still on display. The warm wood tones and elegant shape make storage feel like furniture instead of clutter control.
Use the cabinet for your prettiest supplies and cherished handmade pieces, with a shelf for each category. Keep the glass clean so the contents shine through. A vintage cabinet brings character to the craft room and proves that practical storage can also be beautiful.
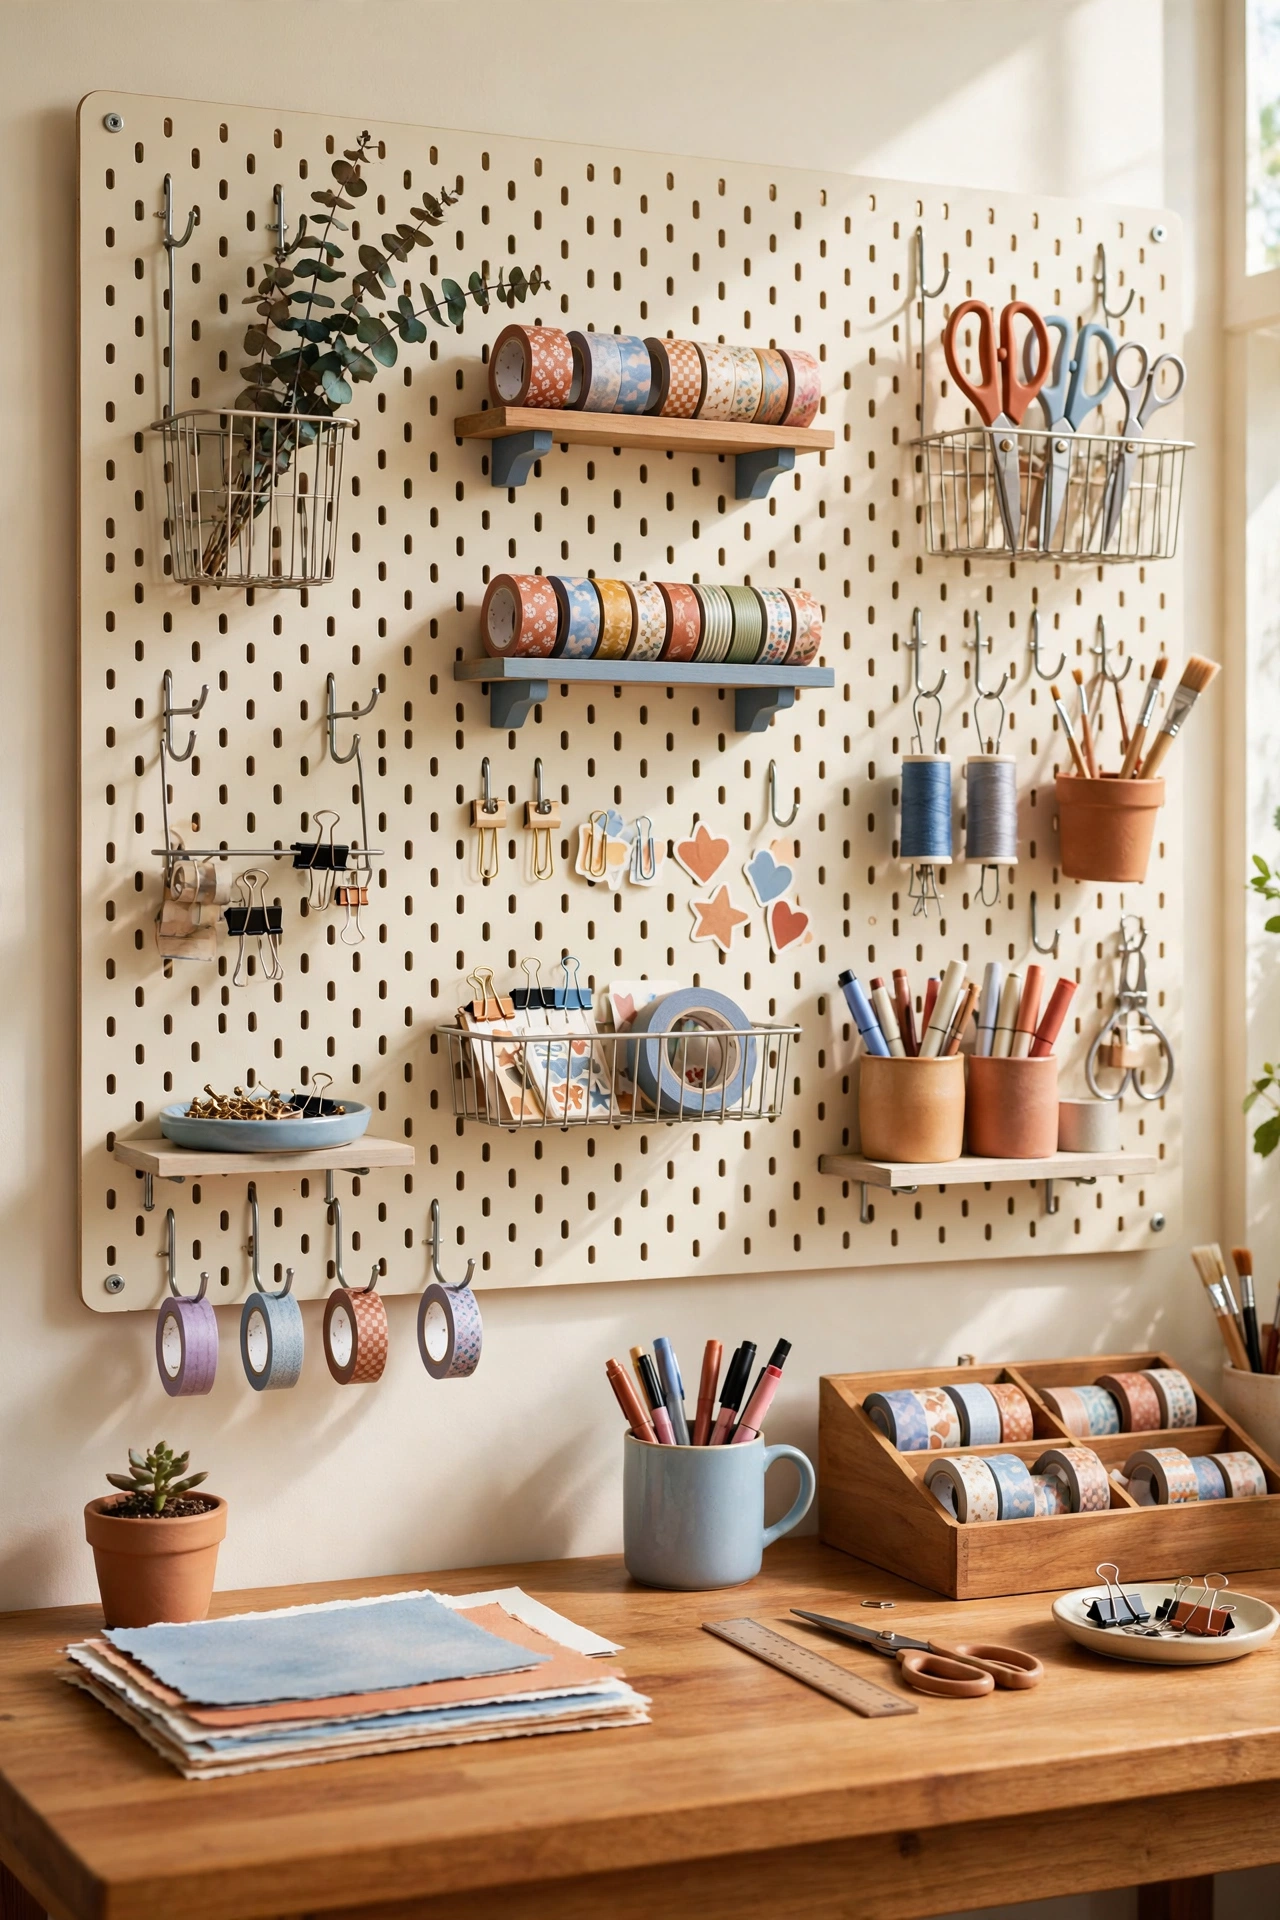
21. Hang Every Tool on a Big Pegboard Wall
A large pegboard wall keeps tools and supplies visible and within reach above your desk. Hooks, baskets, and mini shelves hold washi tape, pens, scissors, and decor items in a layout you can rearrange whenever your projects change. The modular design adapts to new tools and seasonal supplies without any new furniture.
Outline each tool spot with a painted shape or a label so everything returns to the right hook. Keep daily tools at arm height and lighter decor items higher up. A bright, colorful pegboard adds energy to the workspace while making every tool easy to find and easy to put away.
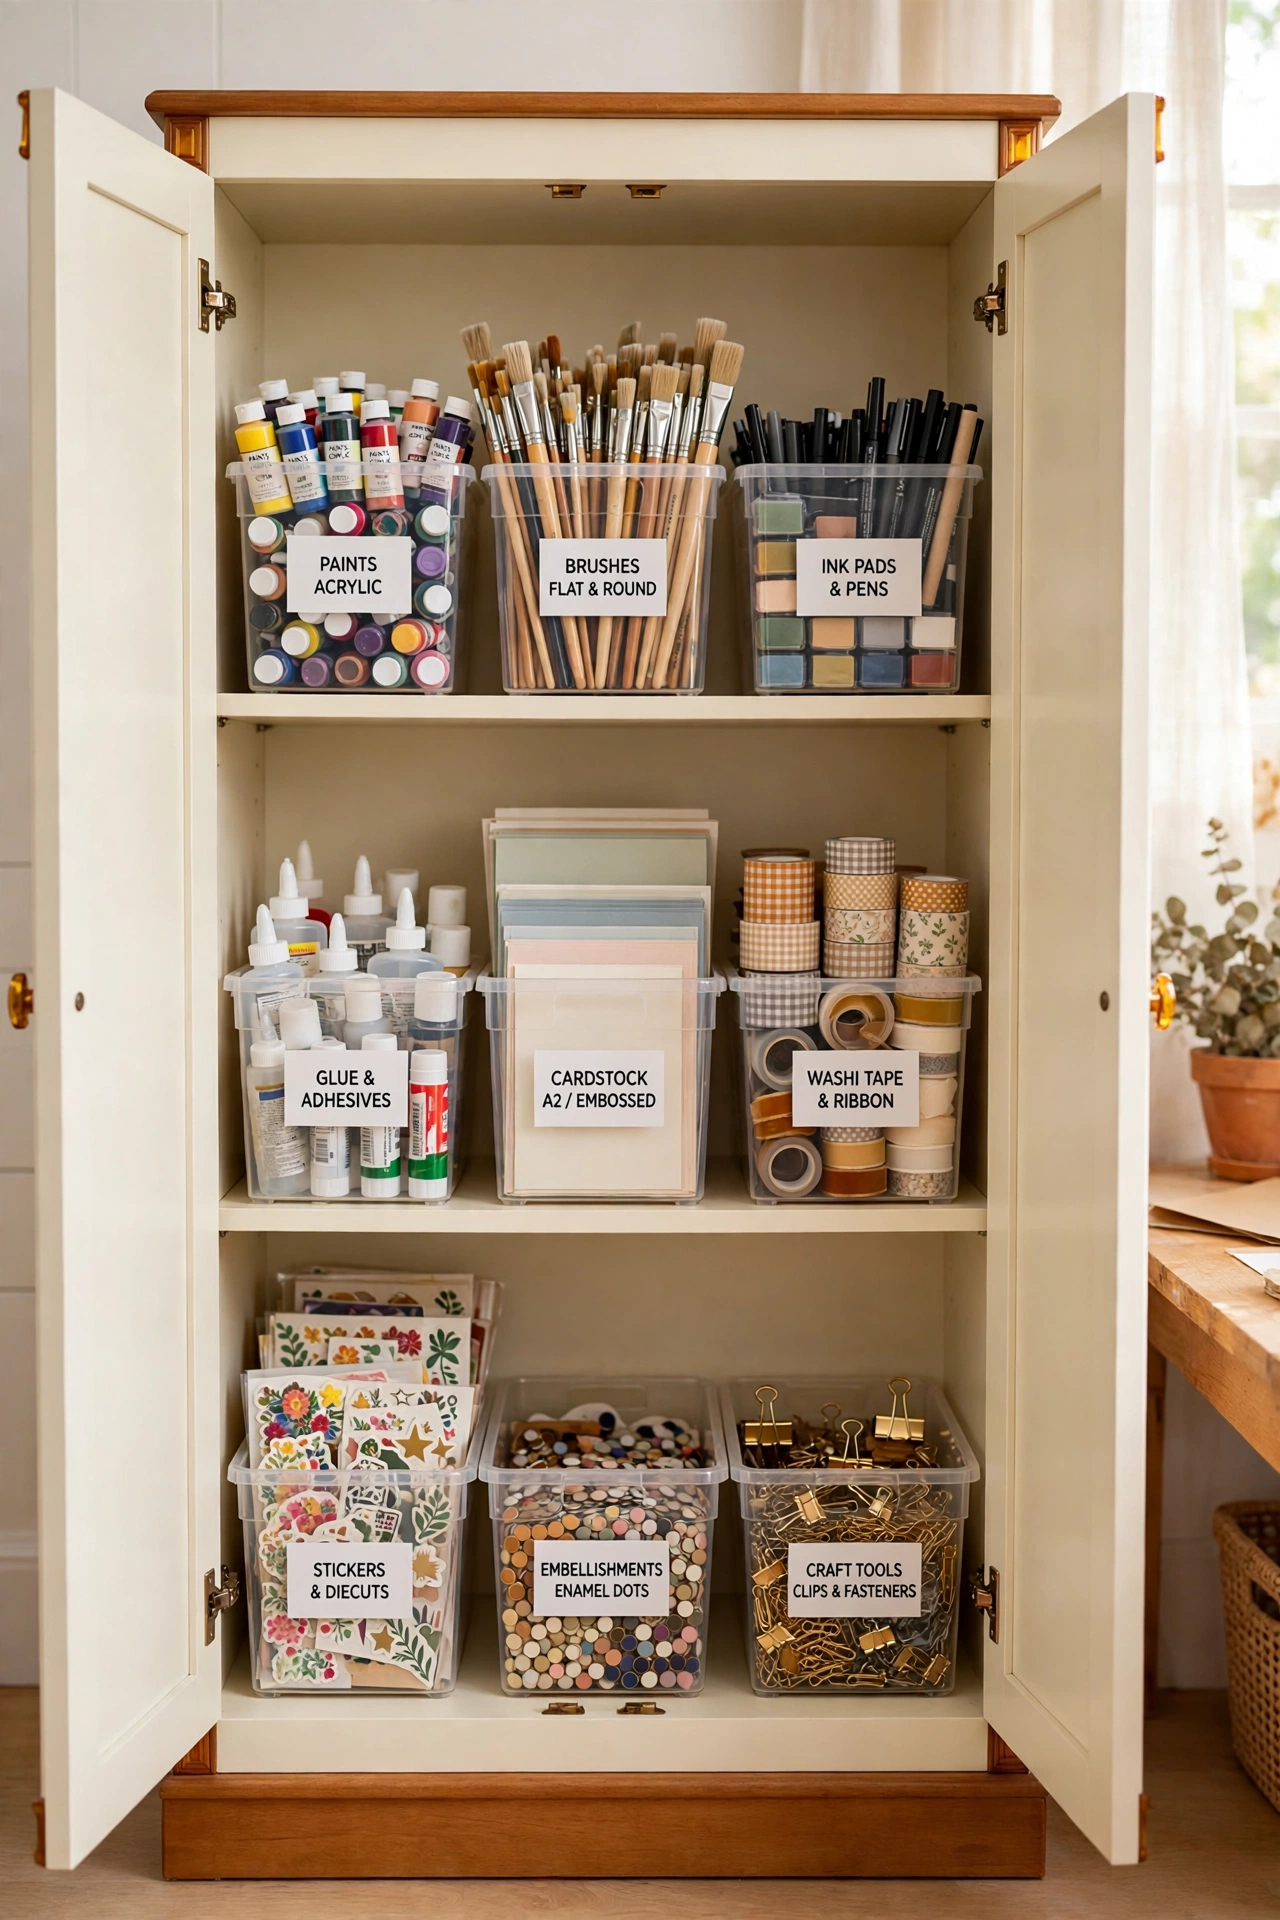
22. Hide Clear Bins Inside a Closed Cabinet
Clear labeled bins inside a closed cabinet give you a clean, streamlined look with all the benefits of see-through storage. Paints, brushes, glue, and card-making materials each get a designated bin, and closing the cabinet doors hides everything in one motion. The room looks calm even when the bins inside are full of color.
Label every bin on the side that faces out, and sort by project type so you can pull one bin for one task. The transparent bins also show when a supply runs low, which makes shopping lists easy. This concealed system suits crafters who love a tidy room but still want to find things fast.
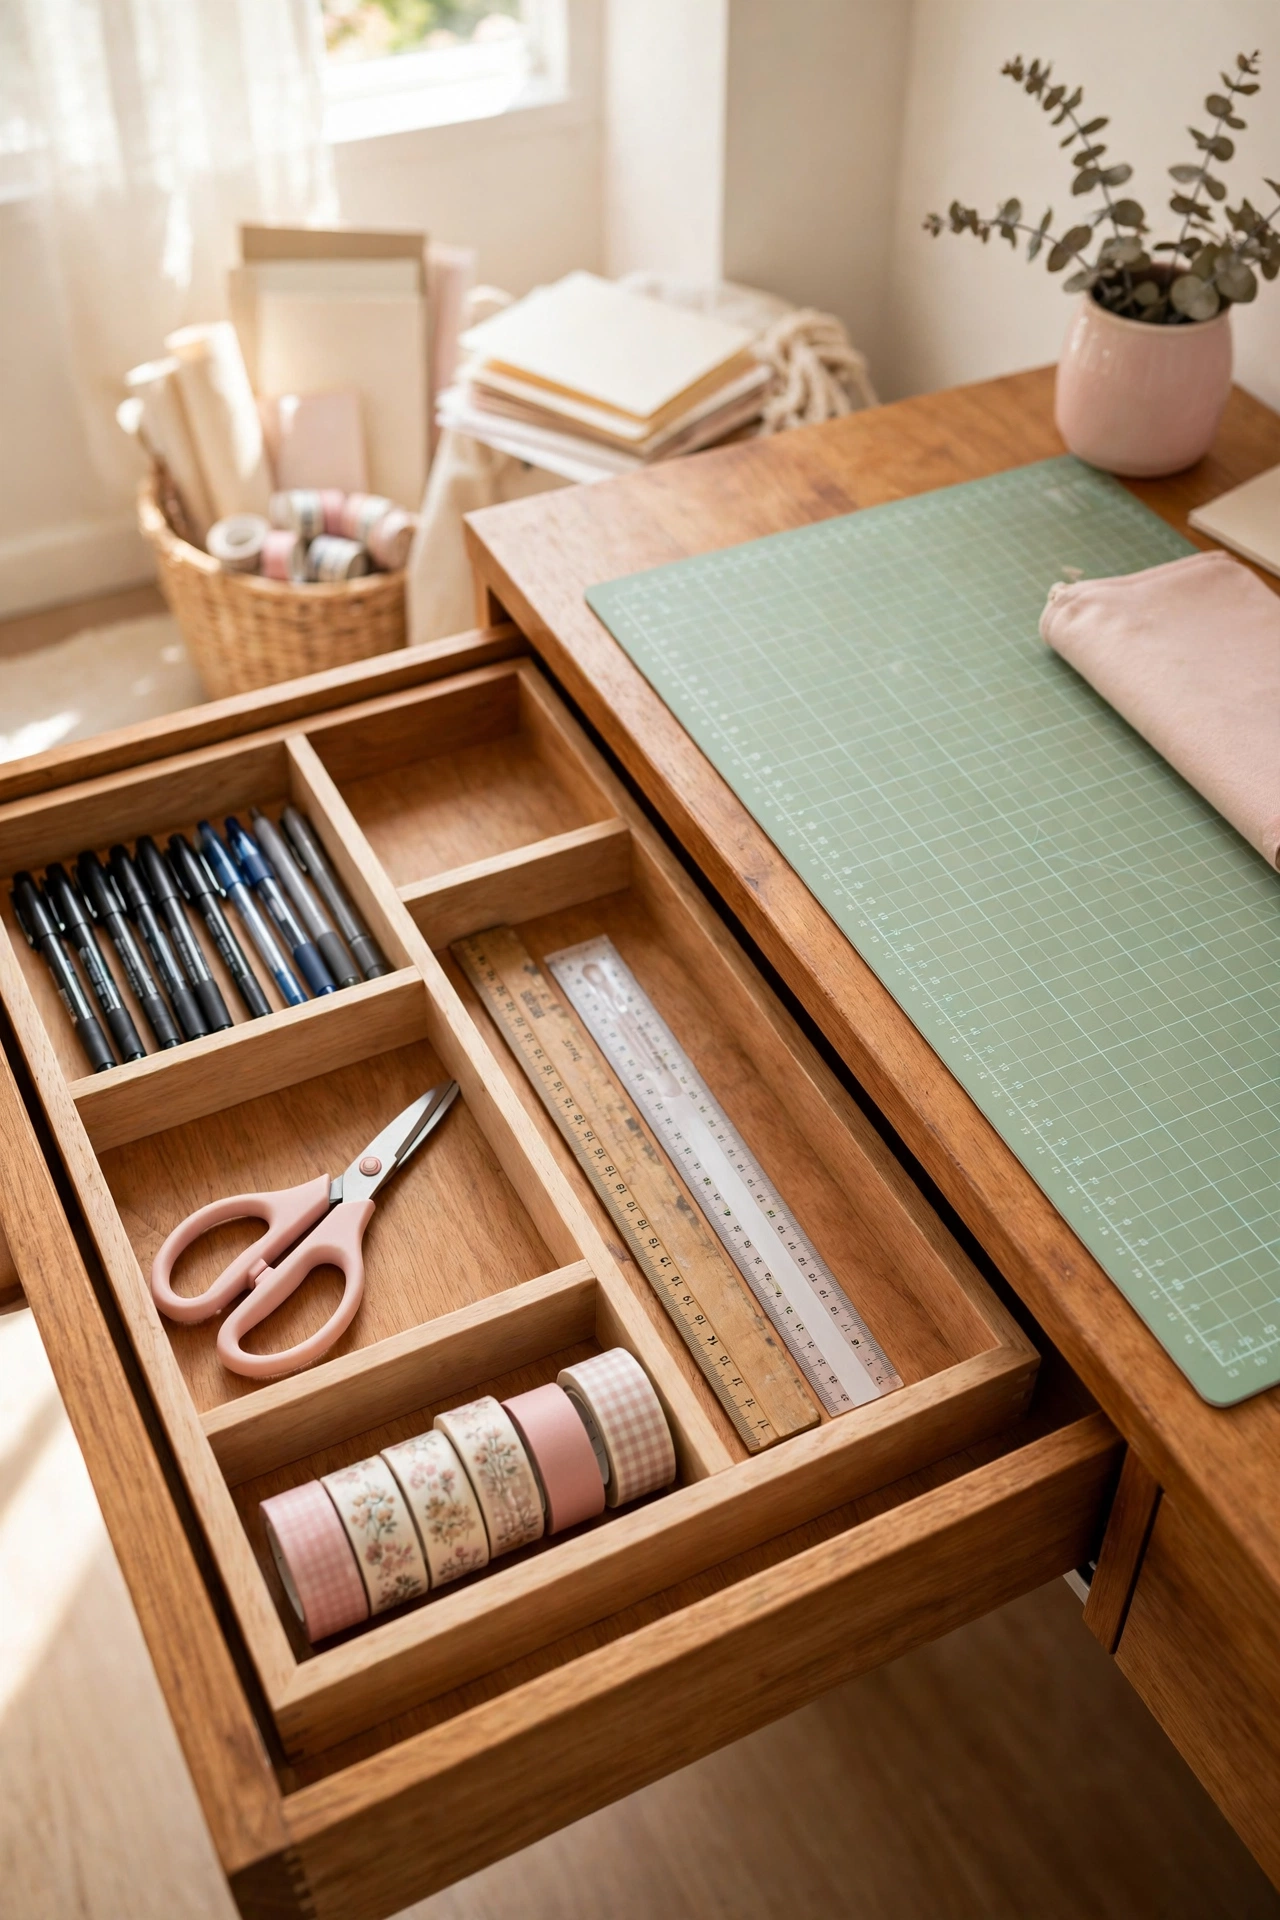
23. Divide Desk Drawers With Tray Organizers
Drawer trays with multiple compartments turn a jumbled desk drawer into a tidy toolkit. Pens, rulers, scissors, and washi tape each get a slot, so tools stay protected and easy to grab during a project. The drawer closes on a calm, sorted space instead of a tangle.
Measure your drawers before buying trays so every compartment fits without wasted gaps. Keep the tray for the current project near the top of the desk and store backup supplies in lower drawers. For drawer systems that work in any room, these desk drawer organization ideas share layouts that keep small tools sorted for good.
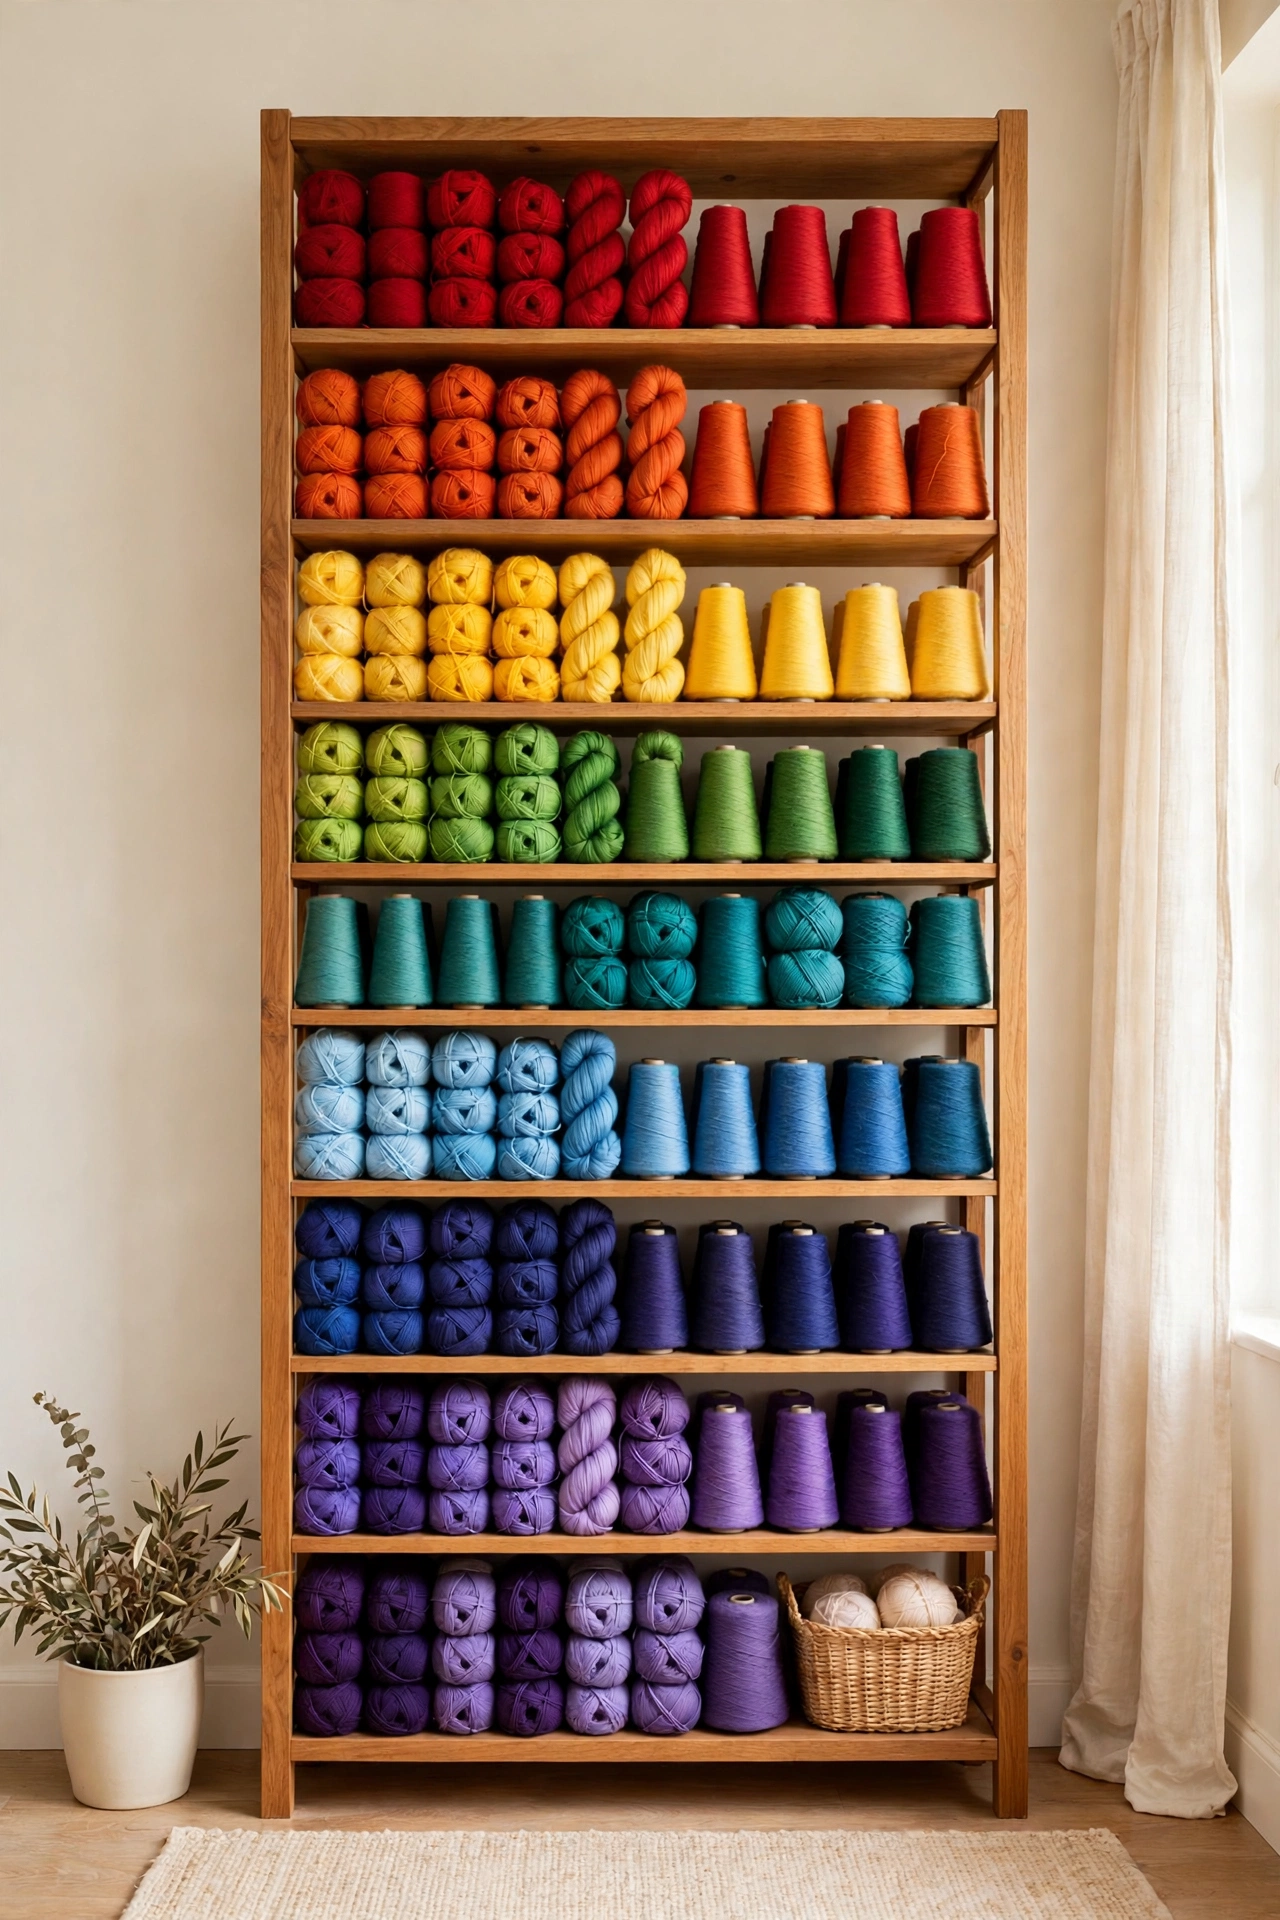
24. Stack Yarn by Color on Open Shelves
Open shelves stacked with yarn cones and skeins create a colorful haven for fiber arts. Arranging the yarn vertically by color builds a rainbow effect that inspires the next project while keeping every skein visible and tangle-free. The display doubles as the prettiest wall in the room.
Sort the yarn by weight first, then by color, so you can plan a project without pulling out half the shelf. Keep the yarn you use most often at eye level and store bulky cones on the lower shelves. A yarn shelf display makes choosing colors a joy and keeps fiber supplies neat between projects.
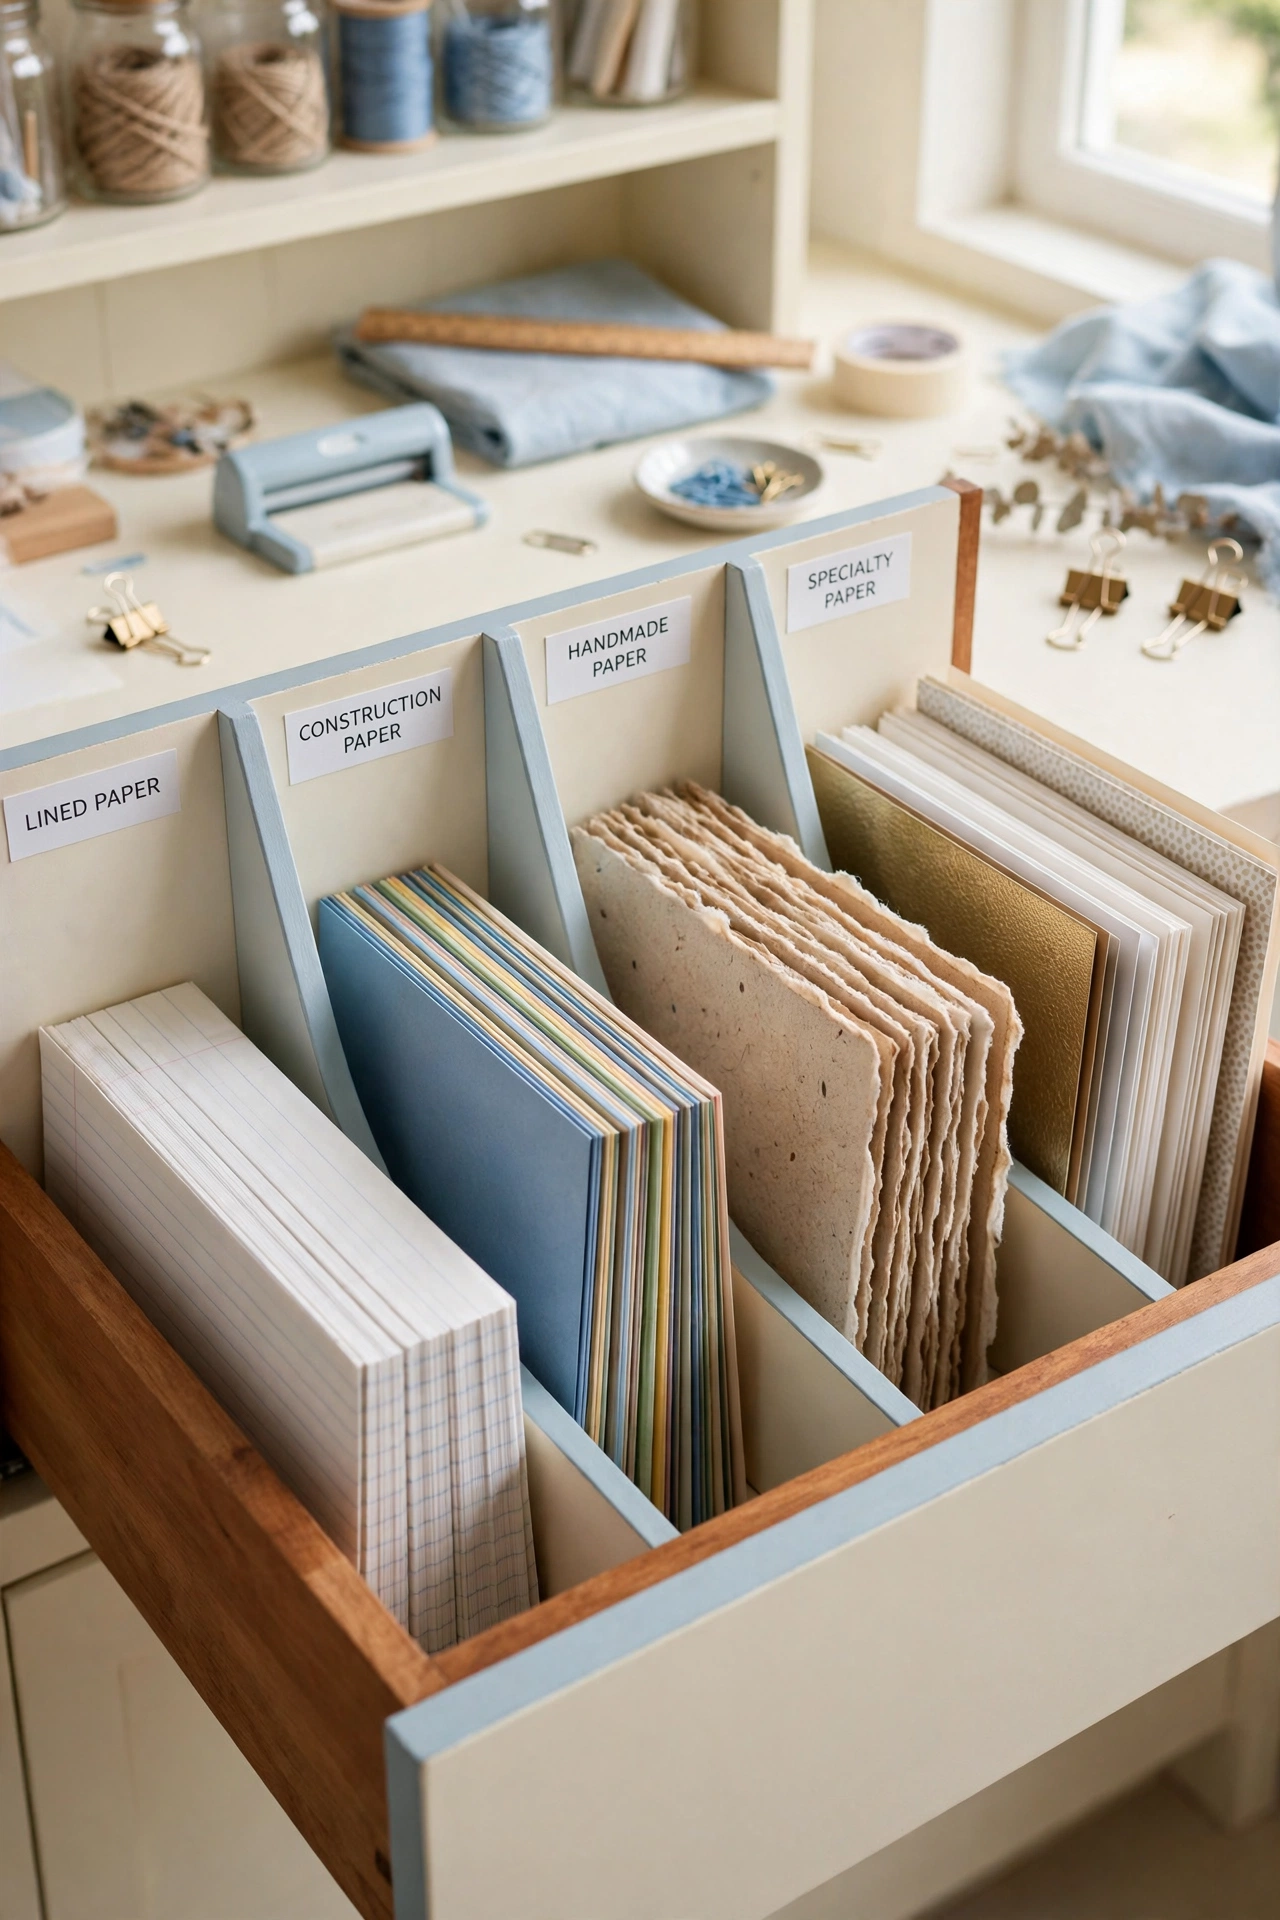
25. Separate Paper Types With Drawer Dividers
Dedicated paper drawer dividers keep every paper type in its own labeled space. Lined paper, construction paper, handmade paper, and specialty paper each get a divider, so sheets stay flat, protected, and easy to find. No more digging through a mixed stack for one sheet of cardstock.
Label each divider with the paper type and weight, and keep the dividers tall enough that papers stand upright without flopping. Store the papers you reach for daily in the top drawer and the specialty sheets below. A divided drawer saves time and starts every project with a stash that is ready to go.
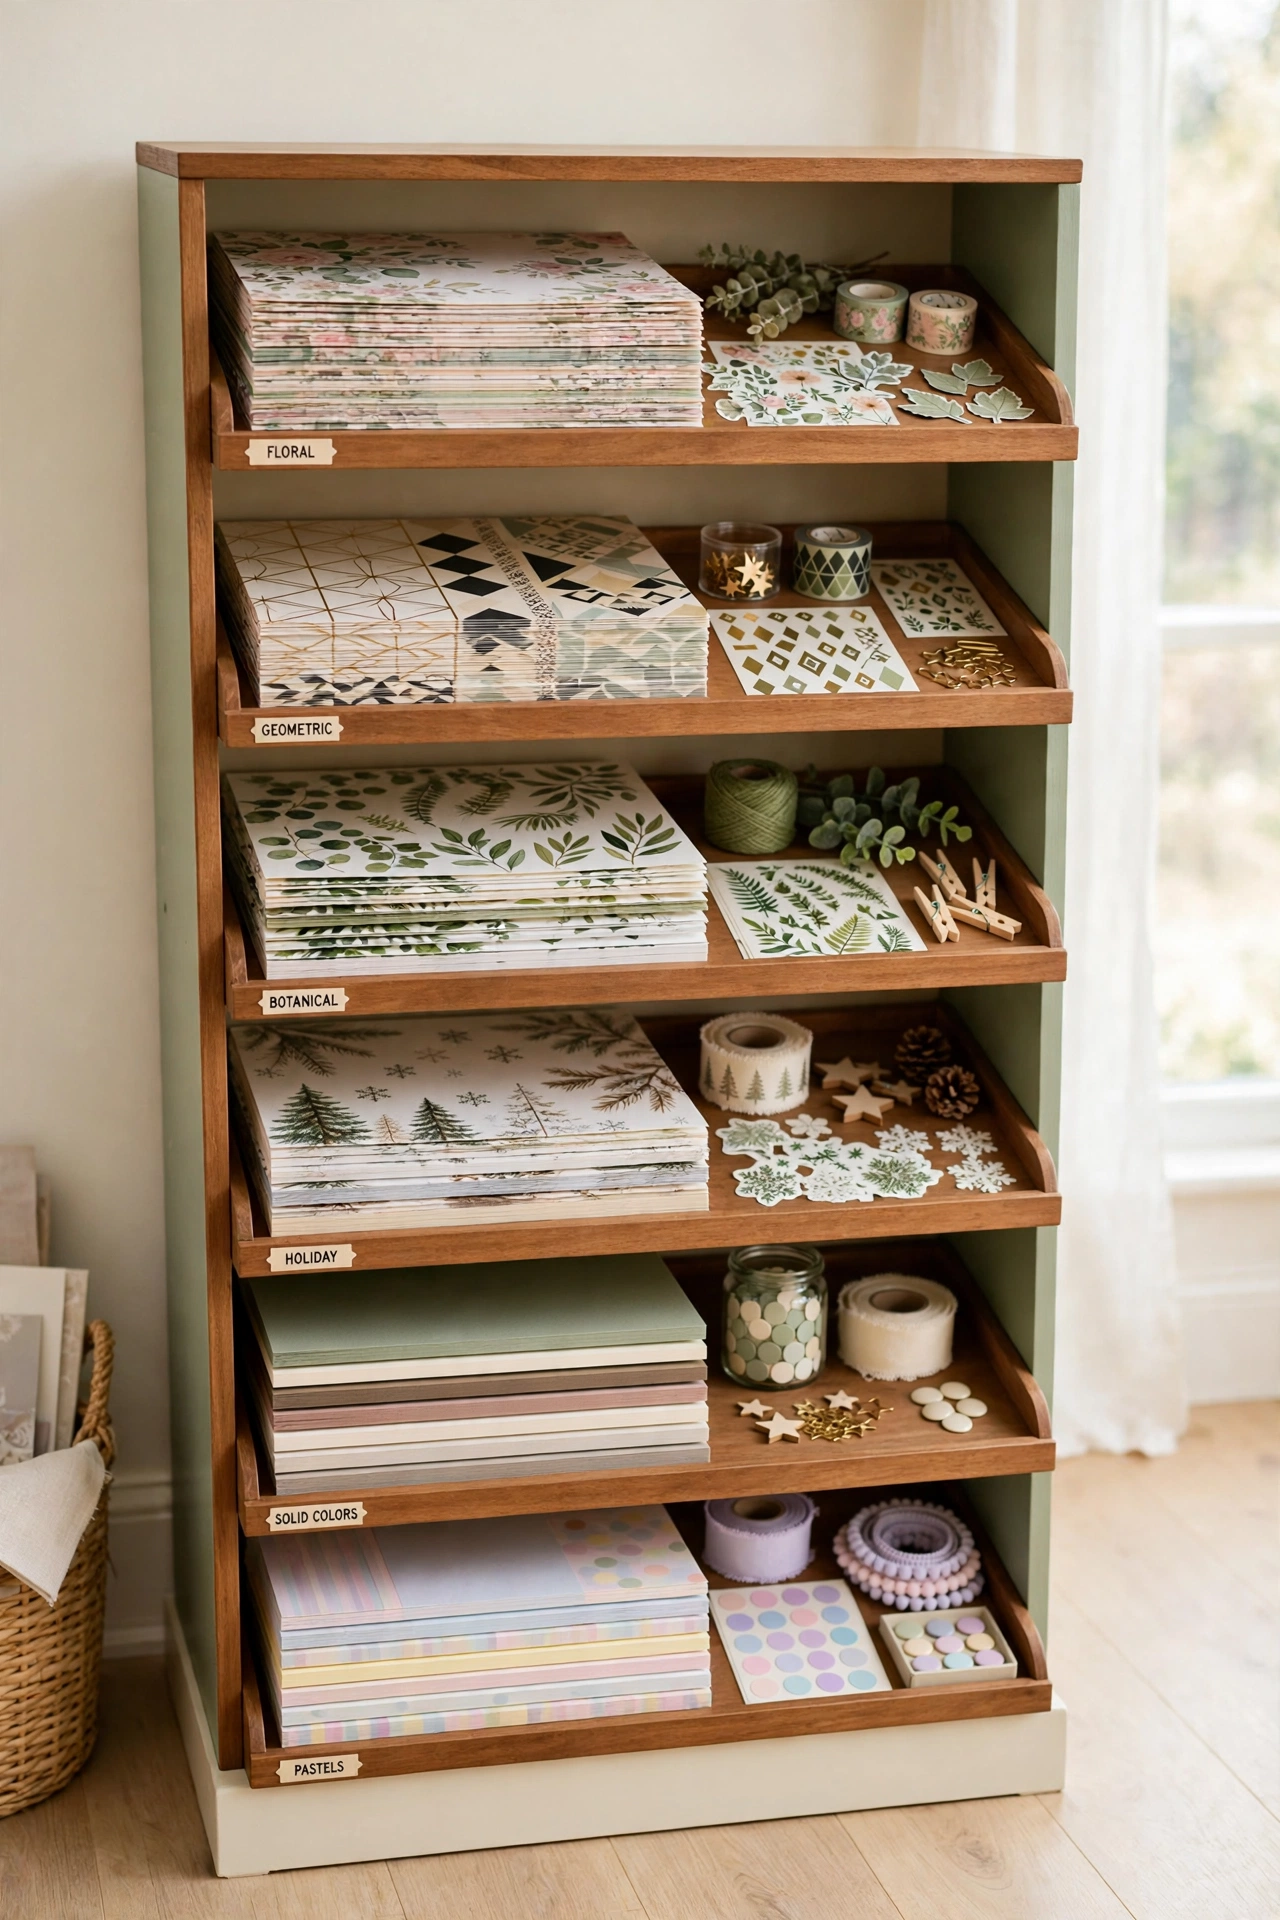
26. Store Scrapbook Paper Flat on a Shelf Stacker
An open paper stacker shelf keeps large scrapbook pads flat, sorted, and easy to browse. Each shelf holds one theme or paper size, which protects delicate sheets from bending and wear. You can flip through the collection like a shop display instead of lifting heavy stacks.
Sort the shelves by theme, season, or color family, and add a small label to the front edge of each shelf. Keep embellishments that match each paper theme on the shelf beside it. Flat storage is the kindest way to store paper and the fastest way to find the sheet you pictured.
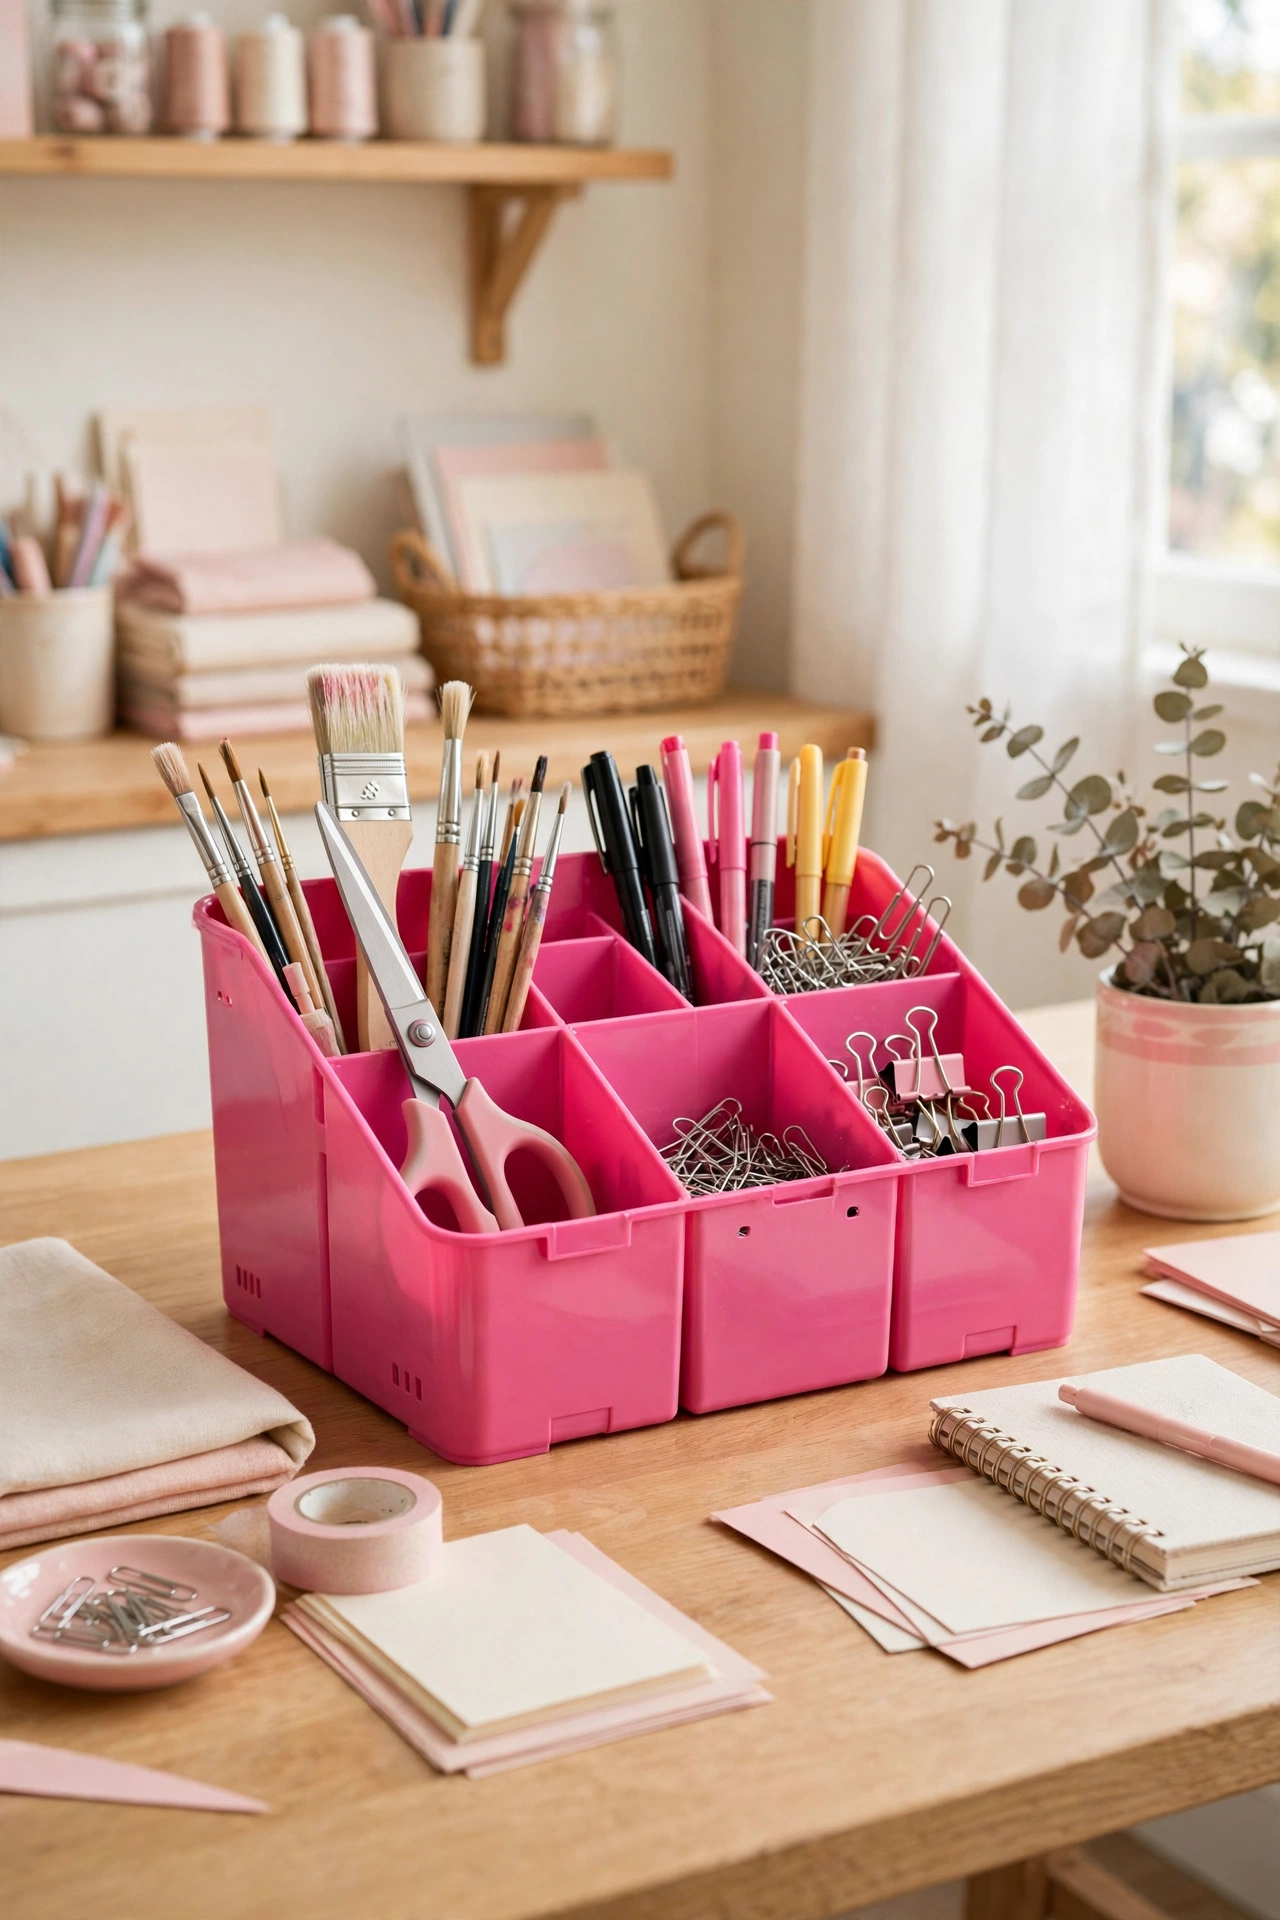
27. Brighten Your Desk With a Pink Tool Organizer
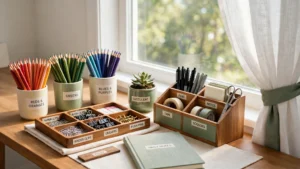
A pink desktop tool organizer brings a cheerful pop of color to your craft zone while keeping essentials within reach. Multiple compartments hold scissors, brushes, pens, and clips in one tidy caddy, so the tools you grab most often never wander across the desk. The bright color makes the organizer easy to spot and fun to use.
Keep the organizer at the corner of your desk where your dominant hand can reach it without looking. Refill each compartment at the end of a project so the next session starts tidy. A small, happy organizer like this keeps the desk clear and the mood bright through long crafting days.
Conclusion
An organized craft room is not about perfection. It is about giving every supply a clear home so your creativity has room to breathe. From a wall of shelves to a single jar of ribbon scraps, each idea here removes one small frustration and replaces it with a moment of calm.
Start with the supply that bothers you most, whether it is tangled ribbon, hidden ink pads, or paper stacks that slide everywhere. Give it one of these homes today, then add another next week. For the bigger picture of fitting it all into a small space, these small craft room layout ideas will help you plan a room where every organized supply has a place to shine.
Frequently Asked Questions About Craft Room Organization Ideas
How do I start organizing a messy craft room?
Start by sorting every supply into broad groups, such as paper, fabric, paint, ribbon, and tools. Remove anything broken or dried out, then give each group one storage home from the ideas above. Work in one zone at a time so the room improves steadily without a full day of chaos.
What is the best way to store small craft supplies?
Clear jars and small labeled bins work best for tiny items like beads, buttons, and sequins. The clear sides let you see the contents, and the labels keep sorting fast. Keep the jars on open shelves at eye level so small supplies never disappear into a drawer.
How do I keep my craft desk clear while I work?
Keep only the tools for the current project on the desktop and return everything else to a drawer, rail, or pegboard hook when you finish a step. A rolling cart beside the desk holds overflow supplies without covering the work surface. A short tidy-up at the end of each session keeps the desk ready for the next project.
How should I organize craft paper so it stays flat?
Store paper flat in a stacker shelf or in divided drawers, sorted by size, theme, or color. Flat storage prevents curling and bent corners, and labels on each shelf or divider make browsing fast. Keep paper away from damp spots and direct sunlight so colors stay true.
How do I organize a craft room in a small space?
Use the walls first with shelves, rails, and pegboards, then add rolling carts and storage benches that do two jobs at once. Clear bins and vertical file storage make the most of every inch. Even one well organized wall can hold the supplies for a whole hobby when every item has a labeled home.

Hi, I’m Emily! I turn messy corners into cozy, organized spots. DreamNestDecor is where I share simple, practical home ideas — decor, organization, and small-space solutions that work in real life, not just in photos. Every idea here is carefully researched before it’s shared.