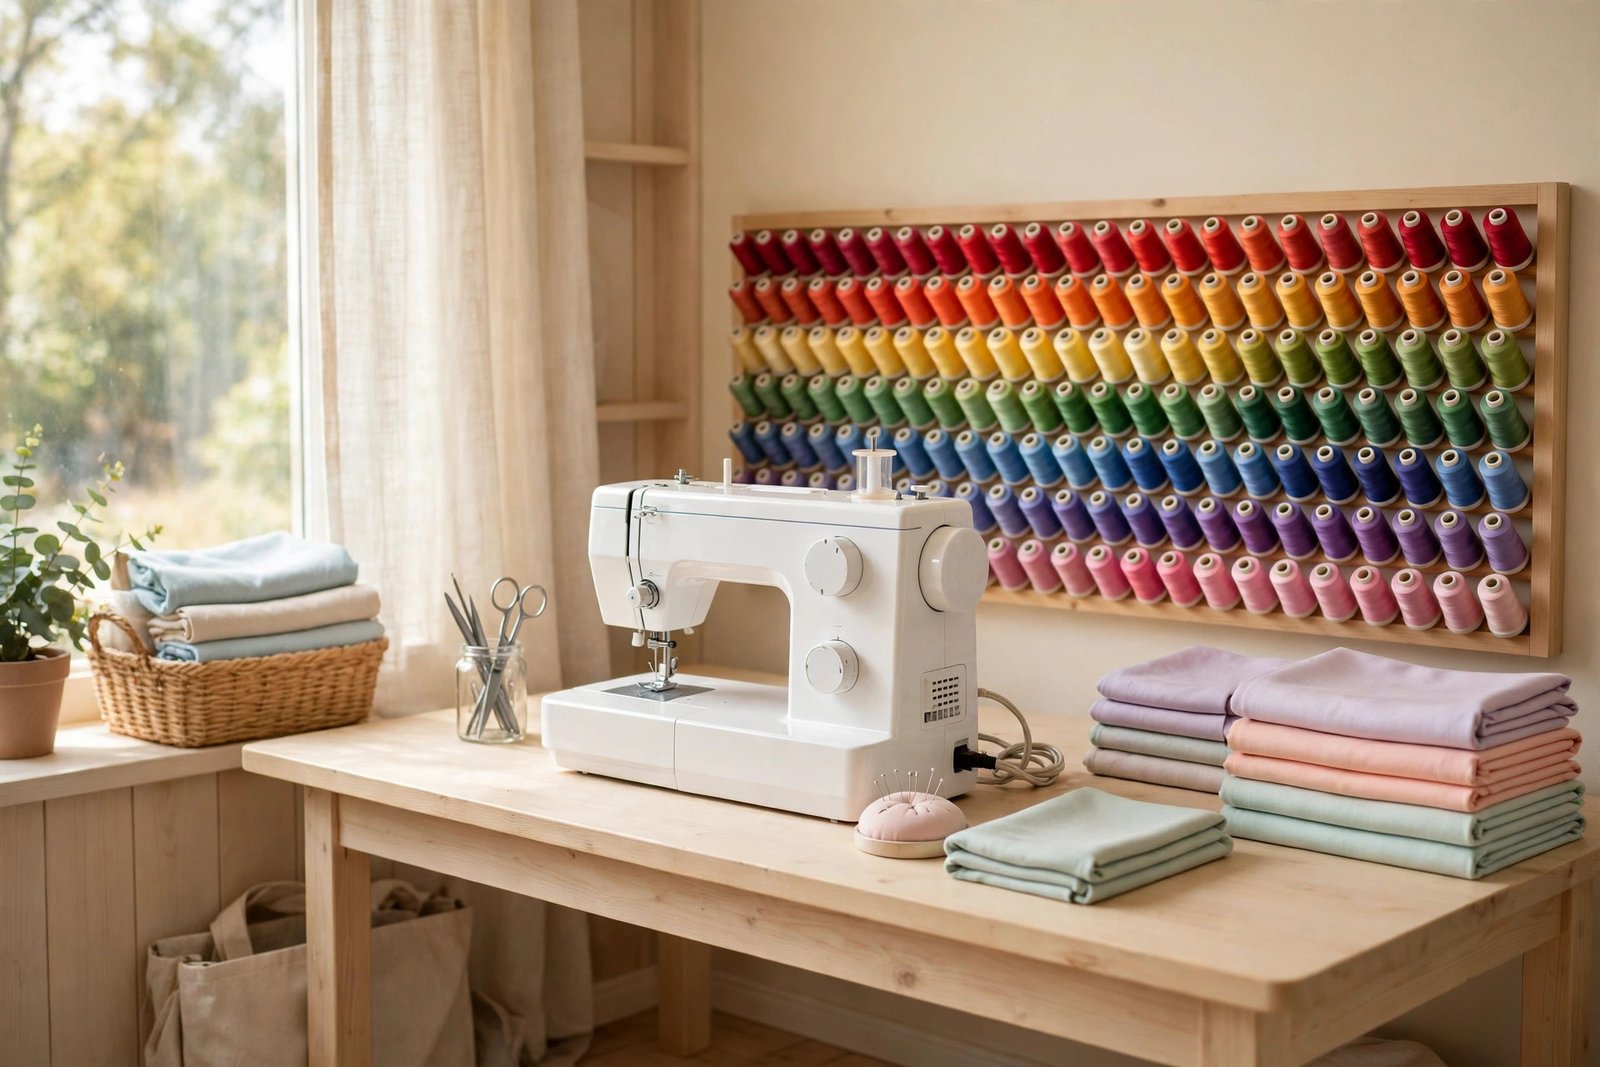
Picture this: you sit down to mend a hem, and the thread you need is buried in a drawer full of tangled bobbins, loose buttons, and half-used zippers. You dig for five minutes, the bobbin rolls under the table, and the quick fix turns into a frustrating hunt before you even thread the needle.
You do not need a bigger sewing room or a bigger budget to fix this. You only need a clear home for every notion, from thread spools and bobbins to buttons, needles, and patterns. These 16 ideas will help you organize your sewing notions so every spool is easy to find and every project starts calmly.
1. Hang Notions on a Pegboard Wall
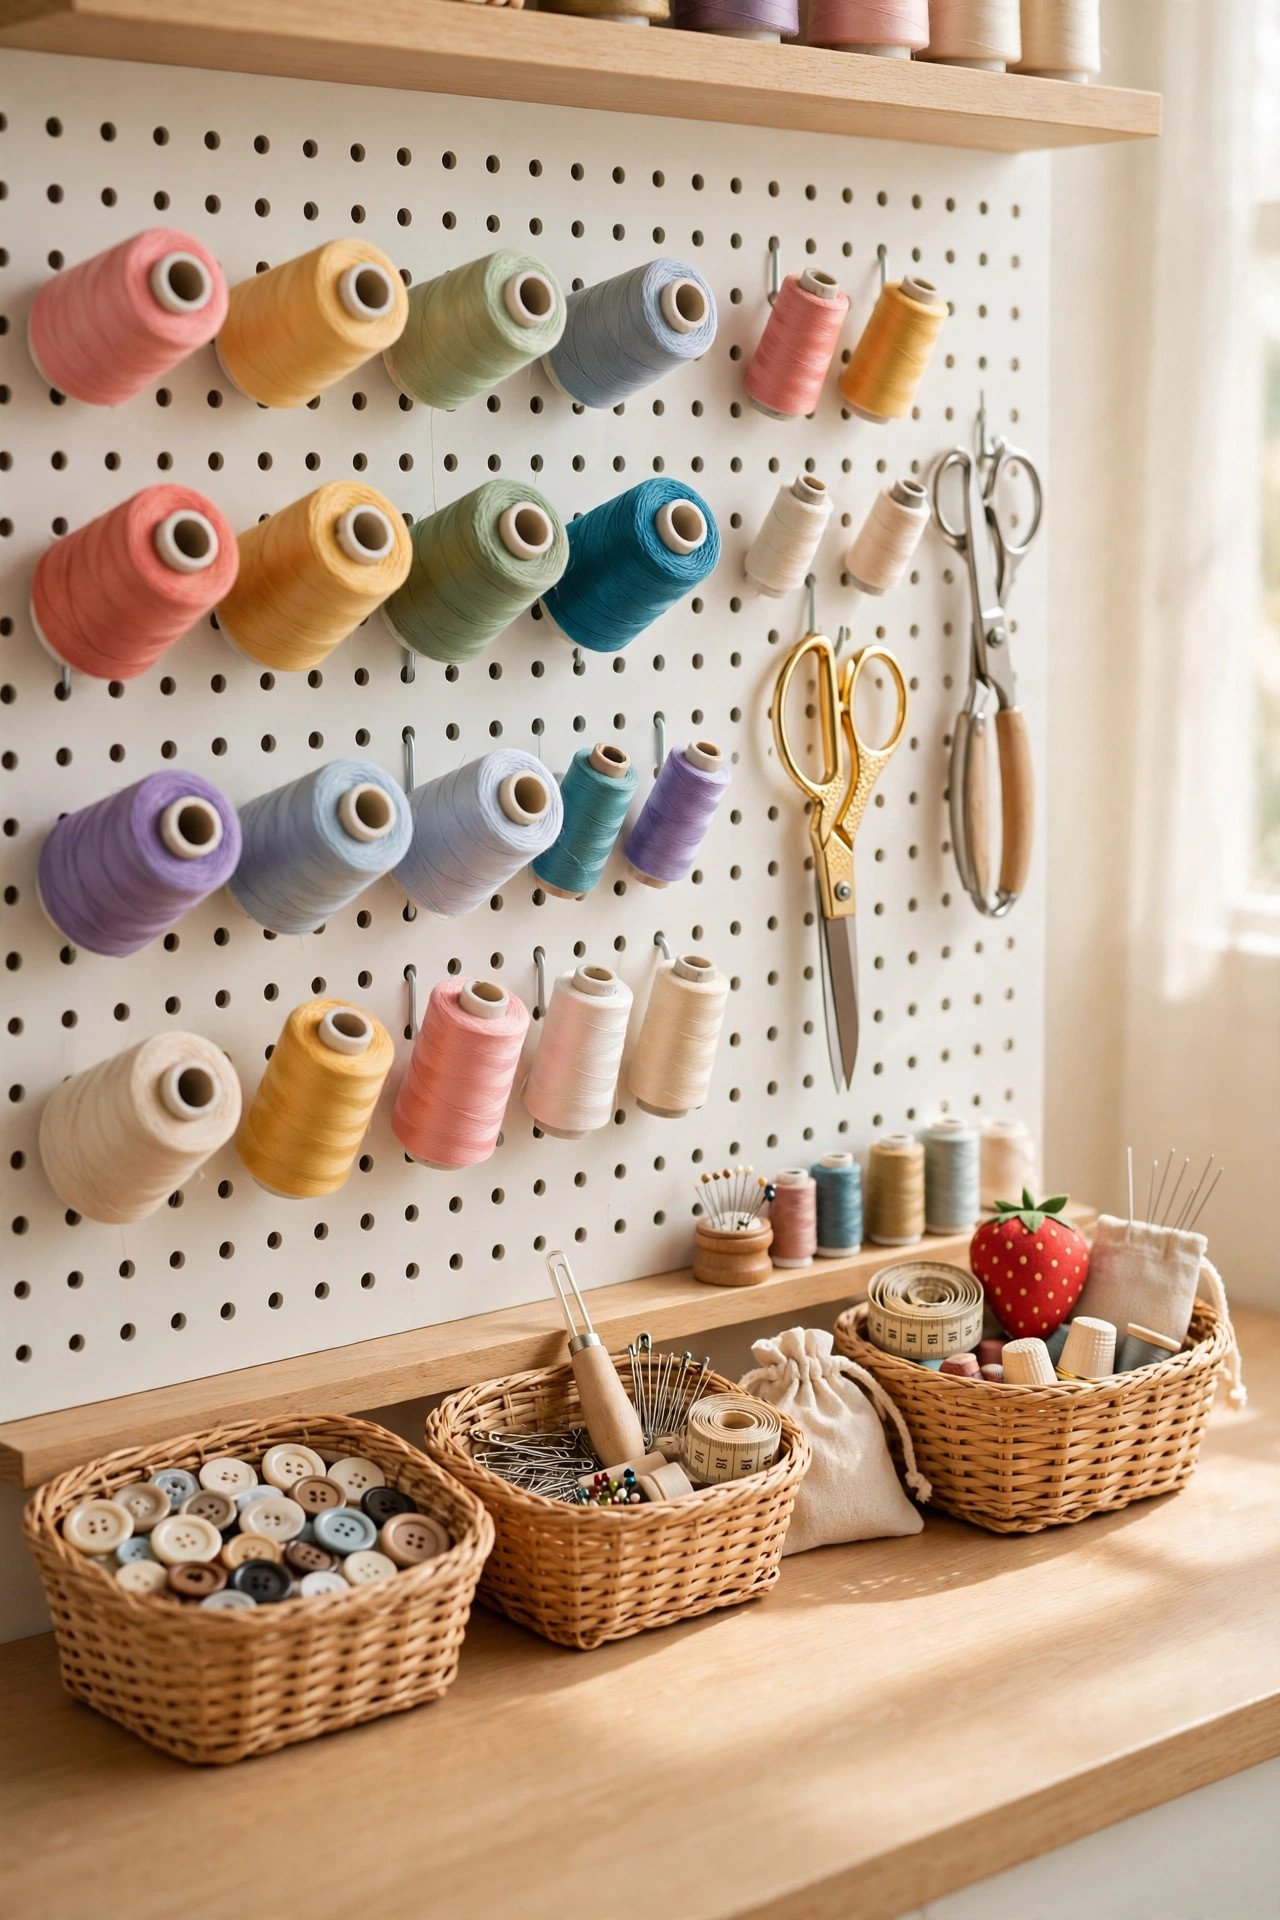
A pegboard wall turns a blank stretch of wall into flexible storage for all your small sewing notions. Hang hooks, baskets, and small shelves to hold thread spools, scissors, rulers, and measuring tapes where you can see them. Your tools stay within arm’s reach while the table stays clear for actual sewing.
Paint the pegboard a neutral color so the notions stay the stars of the display. Move the hooks around whenever a new project needs a different setup, and keep a cup for pins and needles on the board. A pegboard works by the front door too, and these entryway organization ideas show how to build a landing zone with one.
2. Roll Notions Around on a Storage Cart
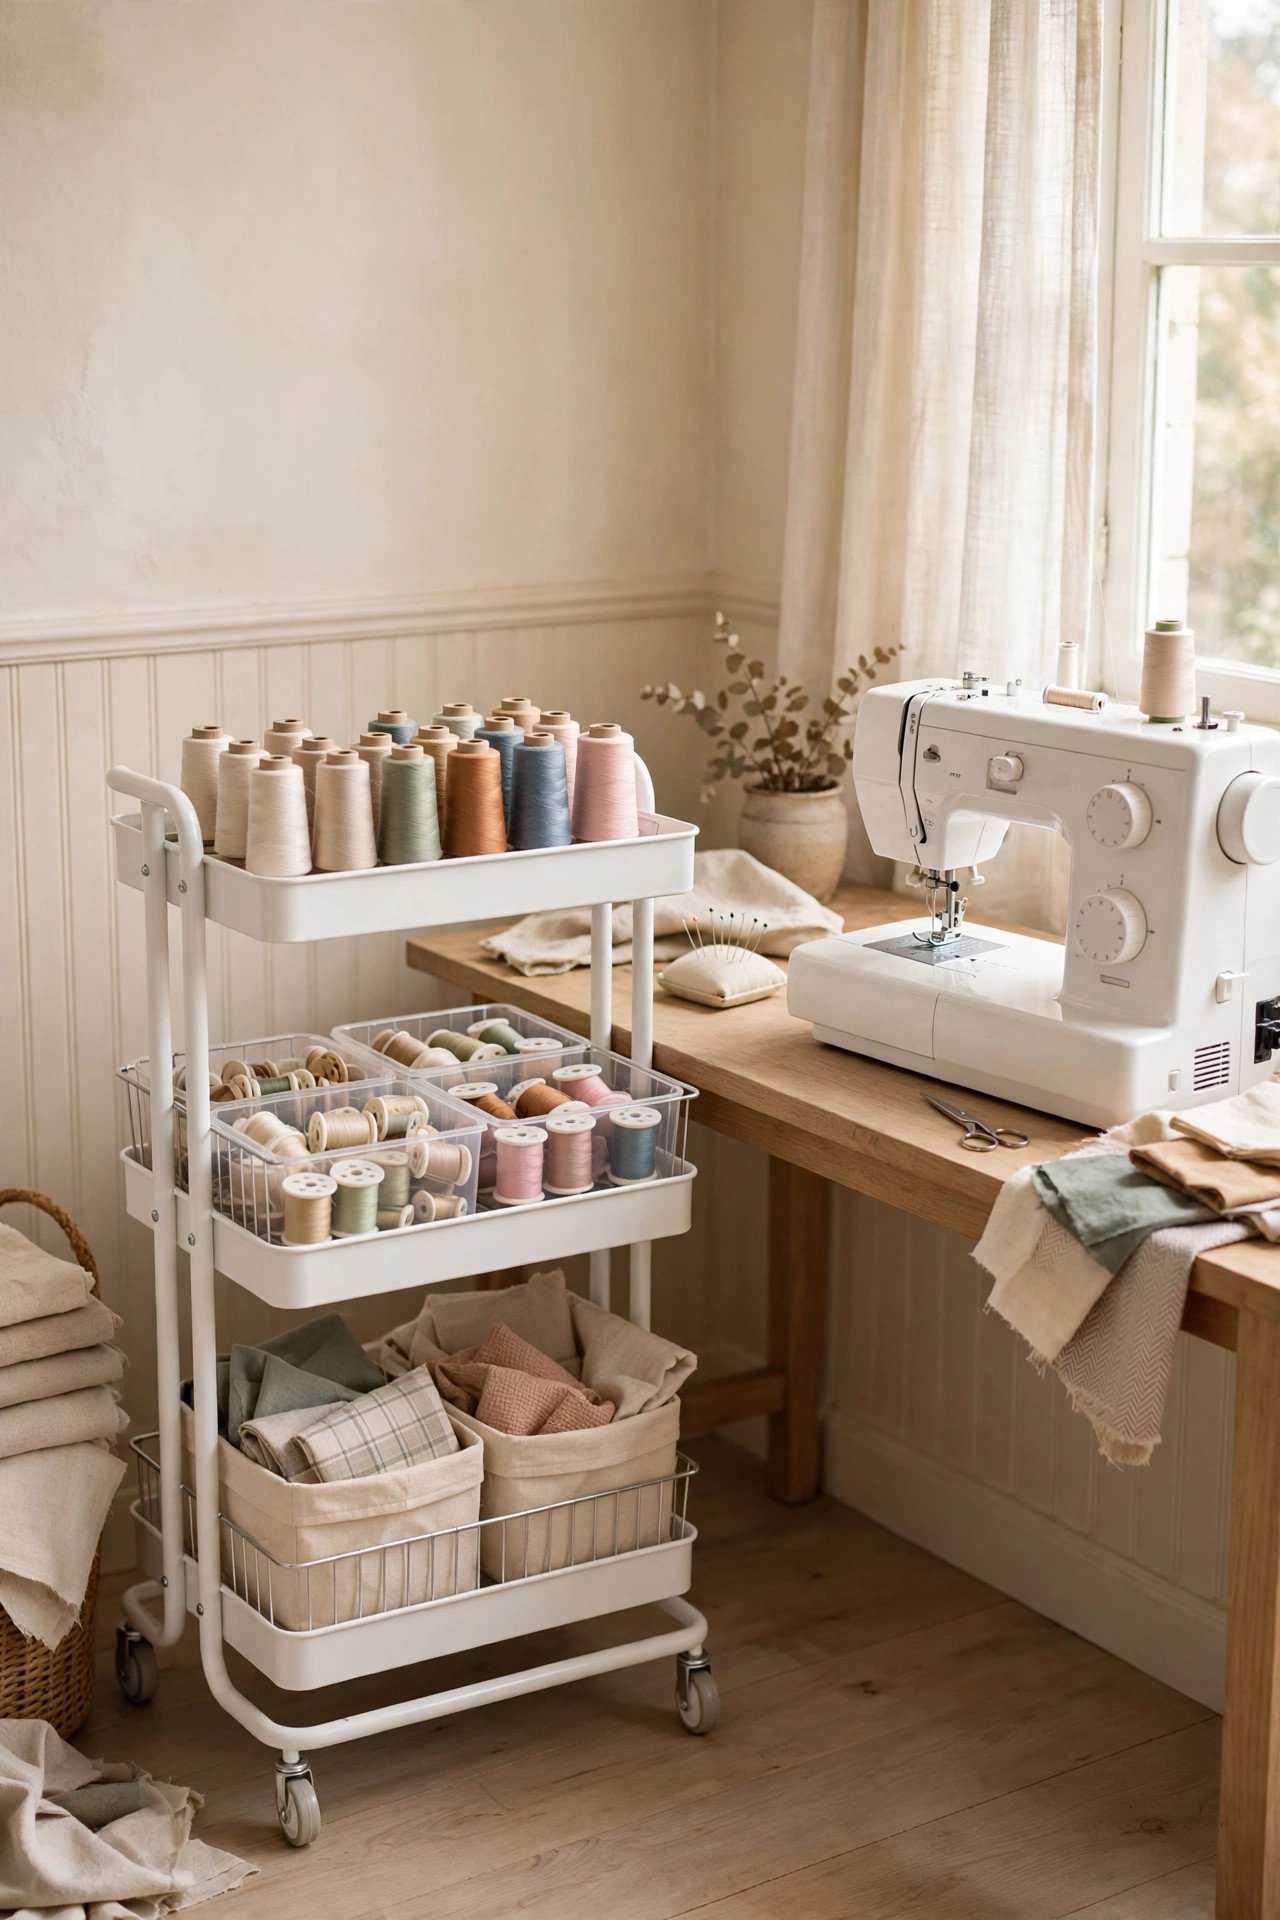
A rolling cart keeps your sewing notions close while you work and out of the way when you finish. Load the tiers with thread spools, bobbins, buttons, and fabric scraps, then park the cart beside your machine for the whole project. When the sewing ends, wheel it into a corner and the room looks tidy again.
Give each tier a clear job so notions never mix: thread on top, bobbins in the middle, and buttons and zippers at the bottom. Small cups on the cart hold scissors and seam rippers, and a clip on the side keeps the pattern visible. This moving station works well in small rooms where table space is tight.
3. Set Up a Cutting Table Beside Your Notions
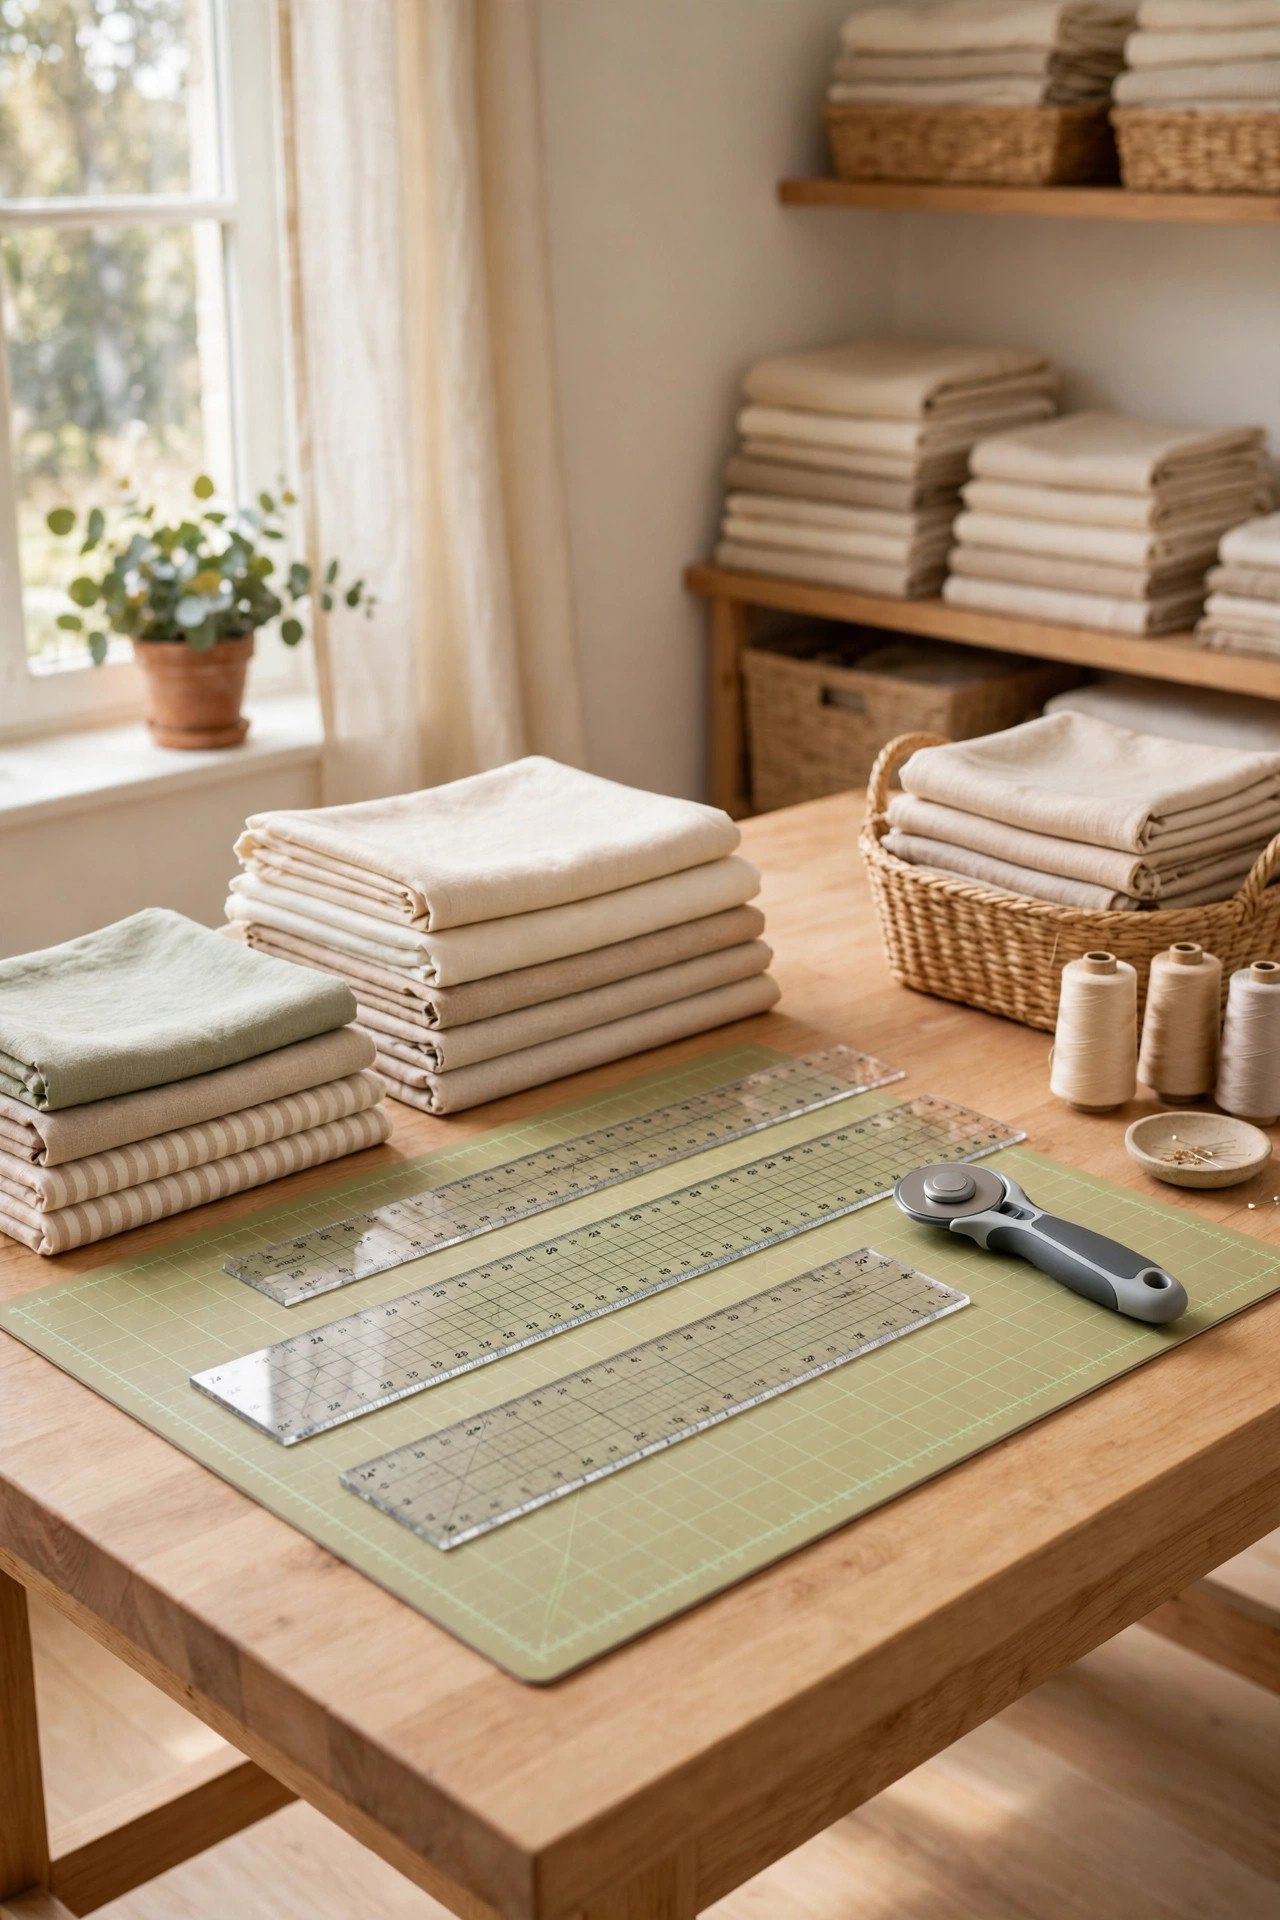
A proper cutting table stands at a comfortable height so you can cut fabric without bending over the dining table. Keep your rotary cutter, rulers, and marking tools in a tray on the table, with your thread and bobbins in a basket below. Everything you need for the first step of a project sits in one place.
Choose a table around waist height with storage underneath for cutting mats and fabric bolts. Add wheels if you want to move it, or keep it still with neat cubbies below. Cutting at the right height makes your lines straighter and your back happier during long sewing sessions.
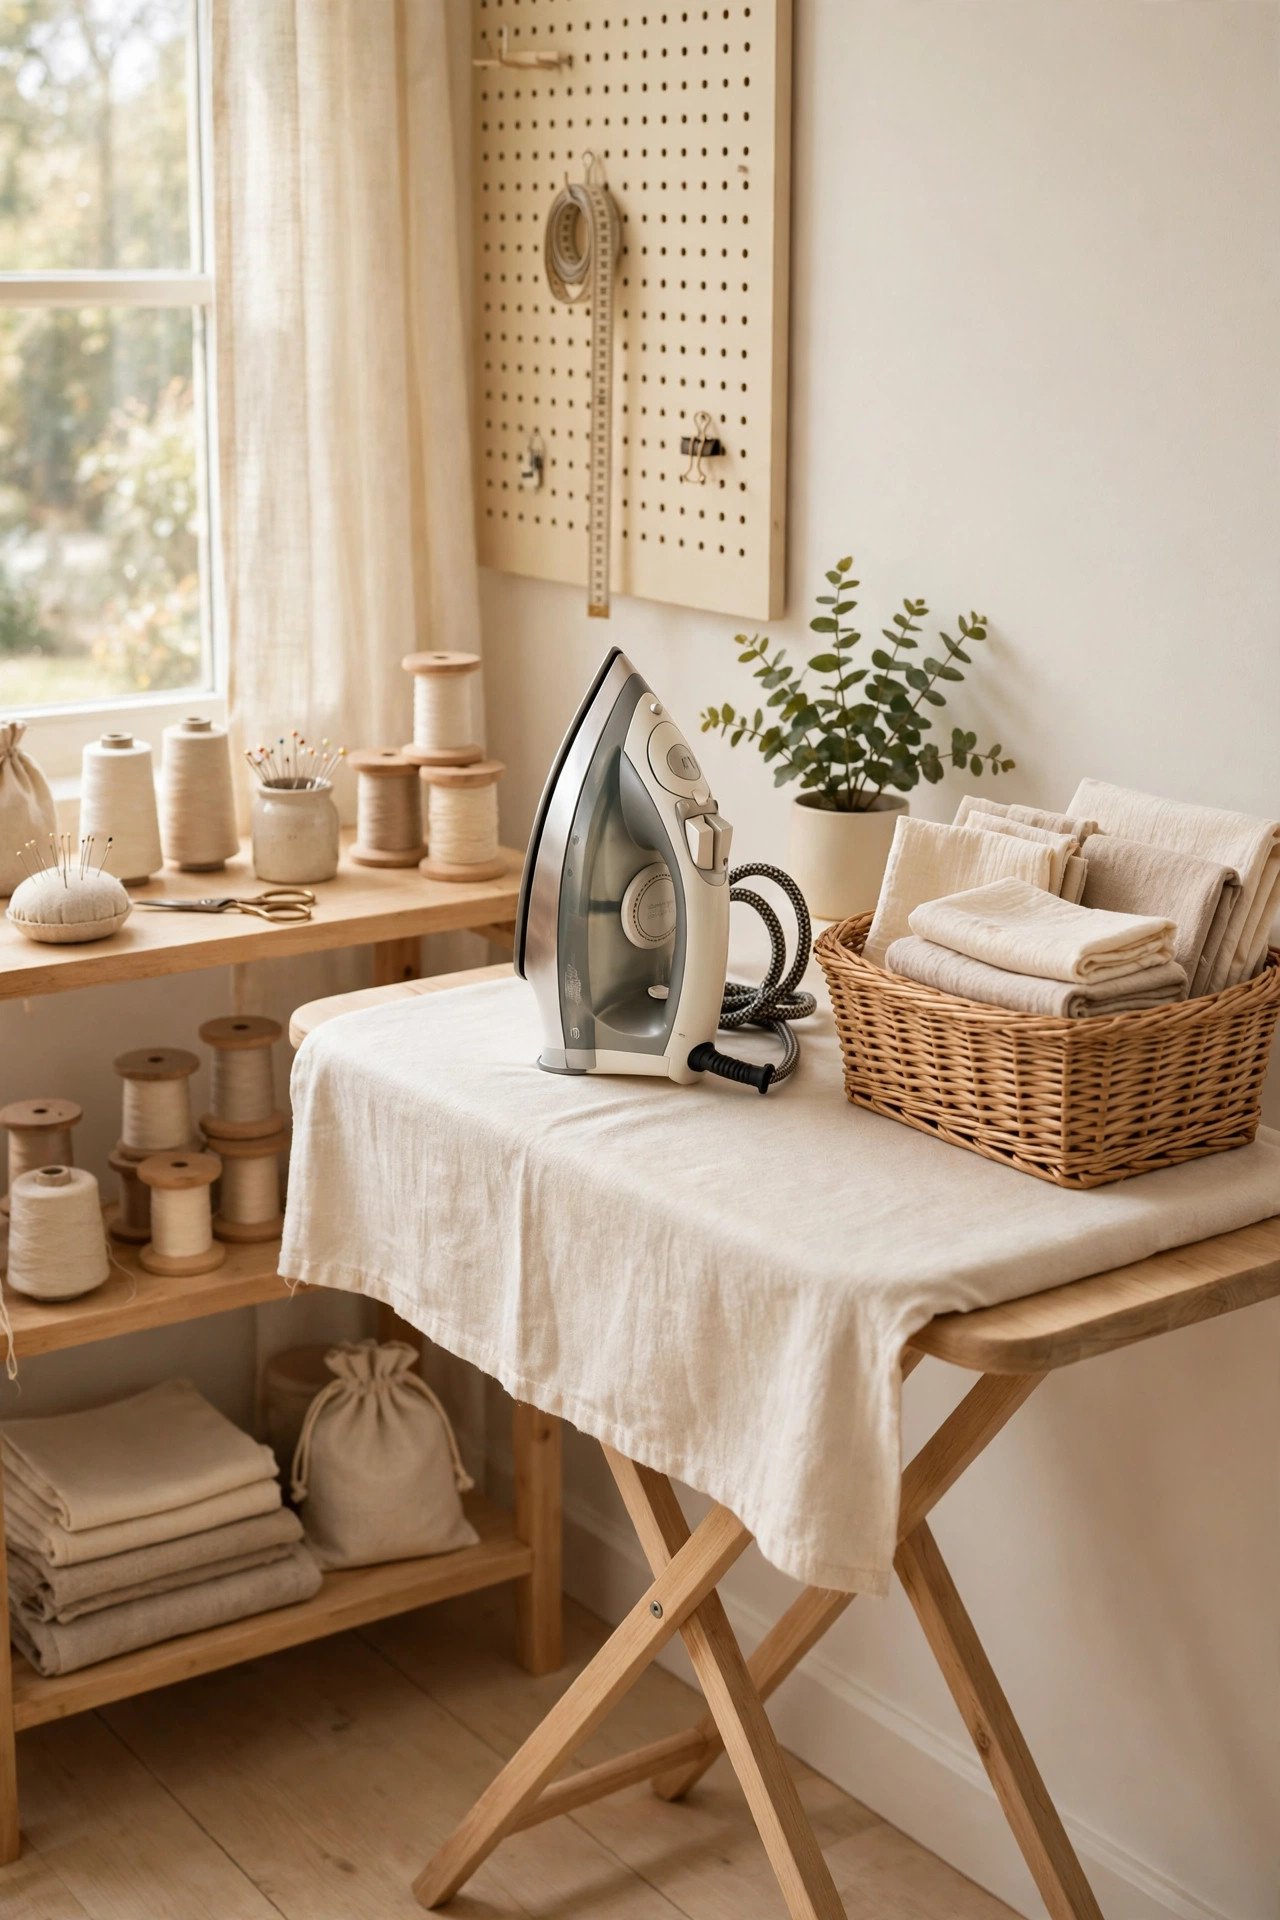
4. Set Up a Pressing Station Beside Your Machine
A small pressing station near your machine turns flat seams from a chore into a quick habit. Set a sturdy ironing surface at the right height, with a basket below for pressing cloths and spray bottles. When the iron is close, you press each seam as you go instead of saving them all for the end.
Keep the station simple: a heat-safe board, a small iron, and a cup for water. Tuck spare bobbins and thread in a drawer under the board so pressing and stitching share one tidy corner. Pressed seams make every finished project look neat and professional, even the simple ones.
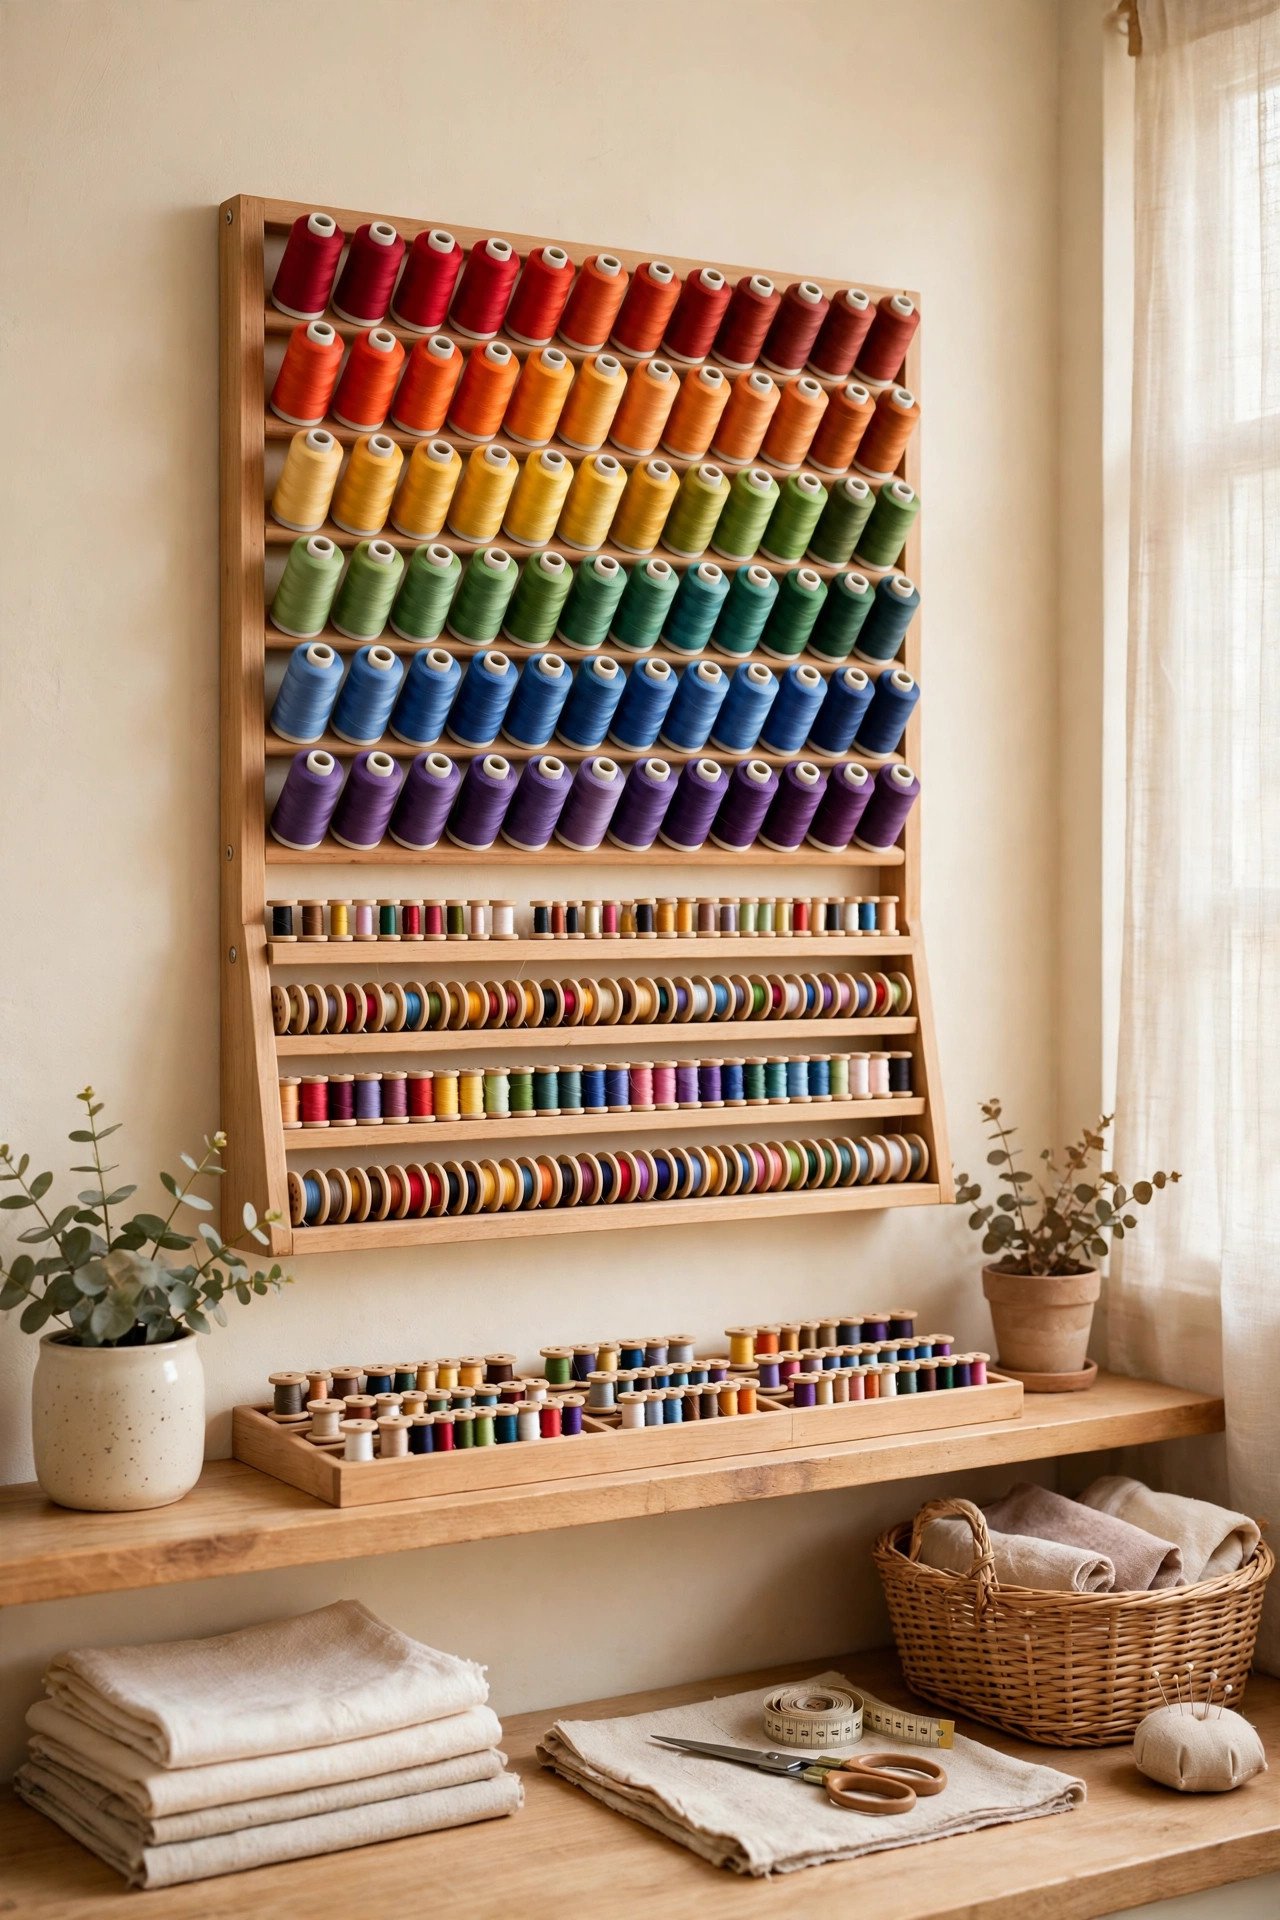
5. Display Thread Spools in Neat Rows
Thread spools look beautiful lined up in color order, and a wall rack keeps every shade easy to grab. Mount a wooden or acrylic rack near your machine, then sort the spools by color family so the one you need is always in sight. No more digging through a drawer for the right shade of blue.
Keep wound bobbins beside their matching thread spools so pairs stay together. Small spools tangle just like charging cords, and these cable management ideas use the same coil-and-label habit to keep them neat. A tidy thread wall also stops you from buying a color you already own.
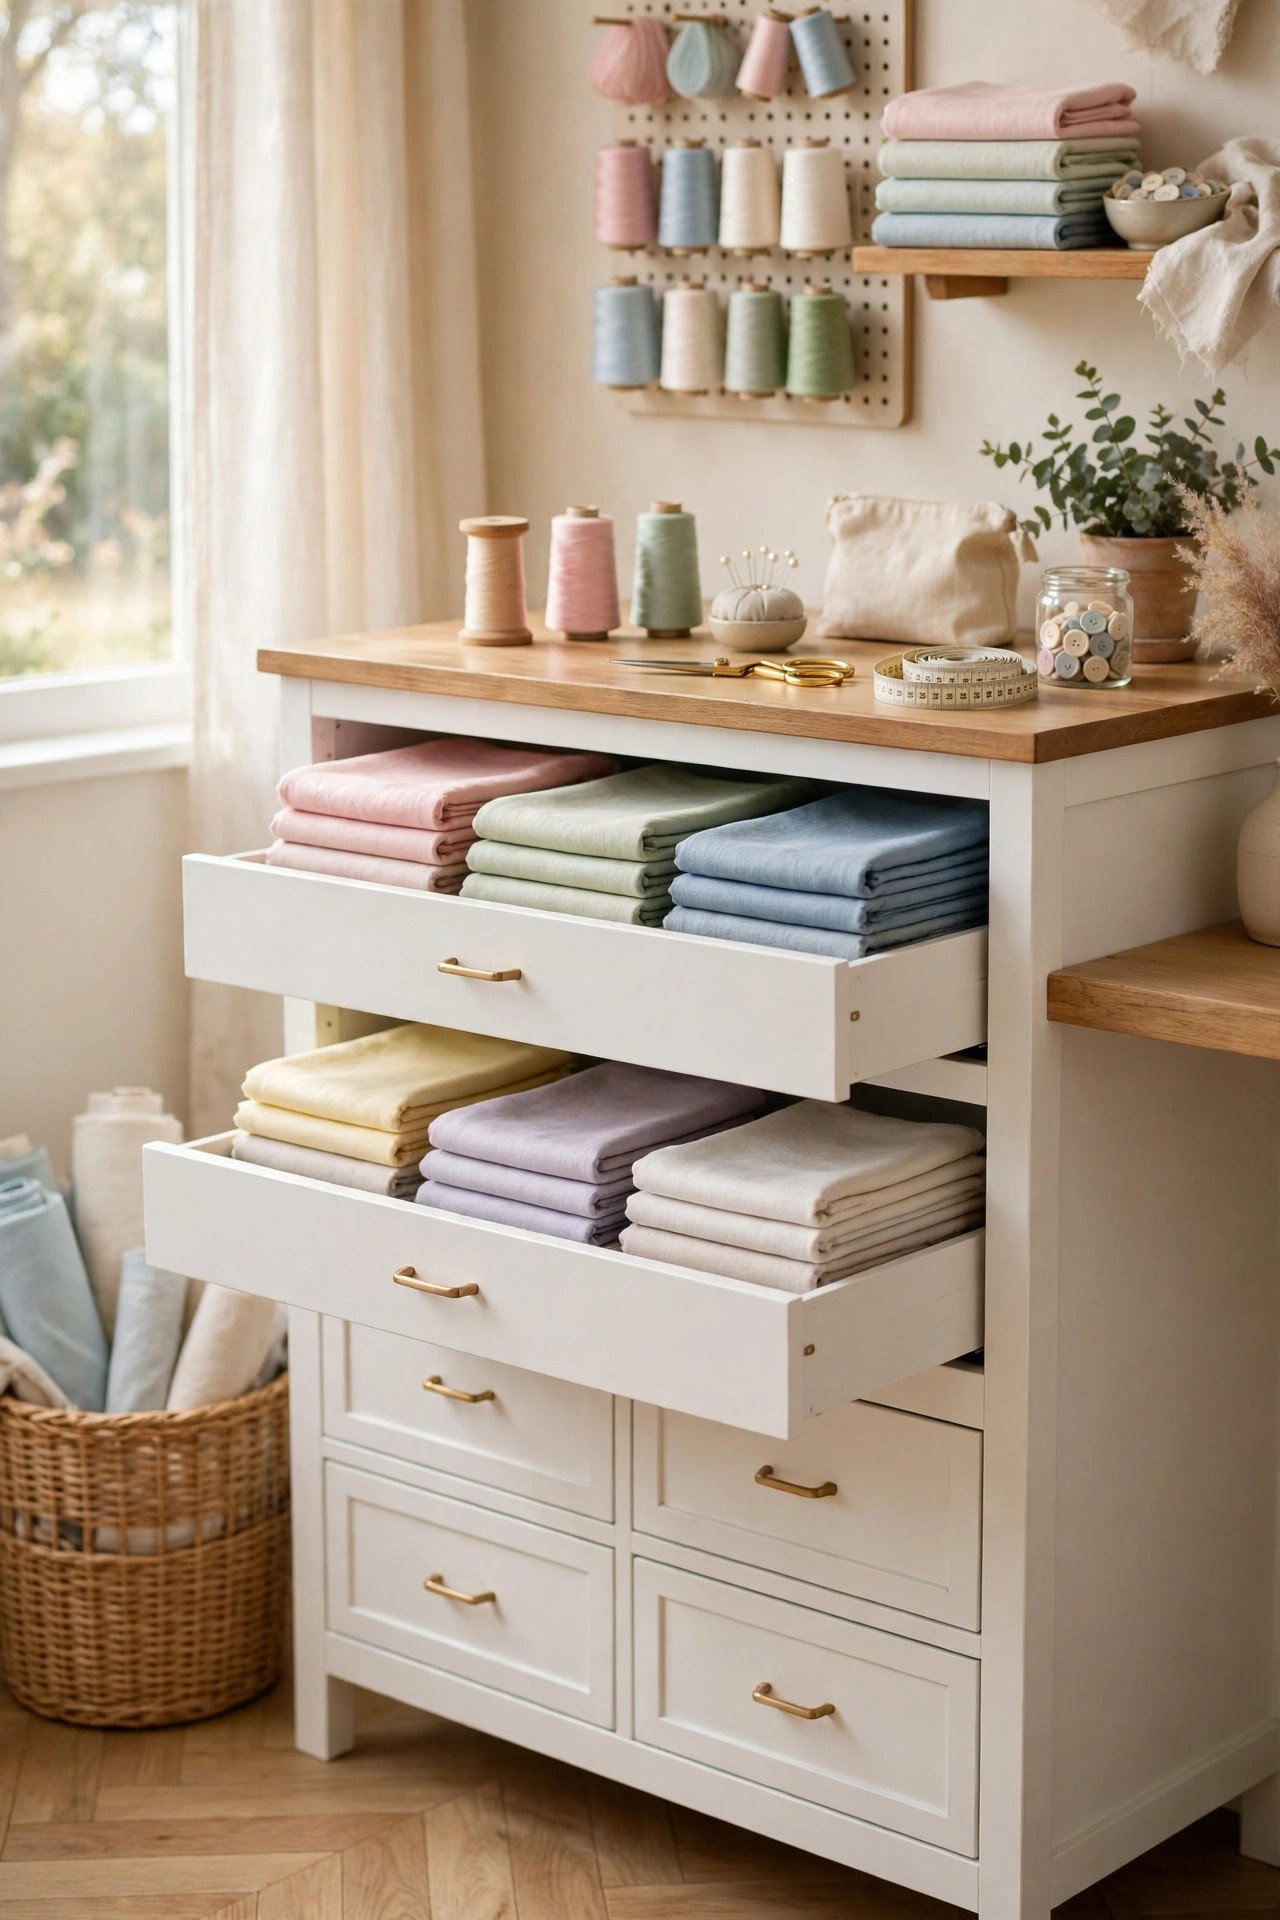
6. Store Fabric in a Labeled Cabinet
Folded fabric stays fresh and easy to browse inside a cabinet with deep drawers or adjustable shelves. Sort the pieces by type or color, roll longer lengths around cardboard tubes, and label each shelf so you can find the right fabric in seconds. Your stash stops feeling like a mystery pile.
Folded fabric stacks neatly just like throws, and these blanket storage ideas show the same fold-and-stack rhythm for soft things at home. Keep delicate fabrics on higher shelves away from dust, and store small scraps in clear bins below. A labeled cabinet turns your fabric collection into a real resource.
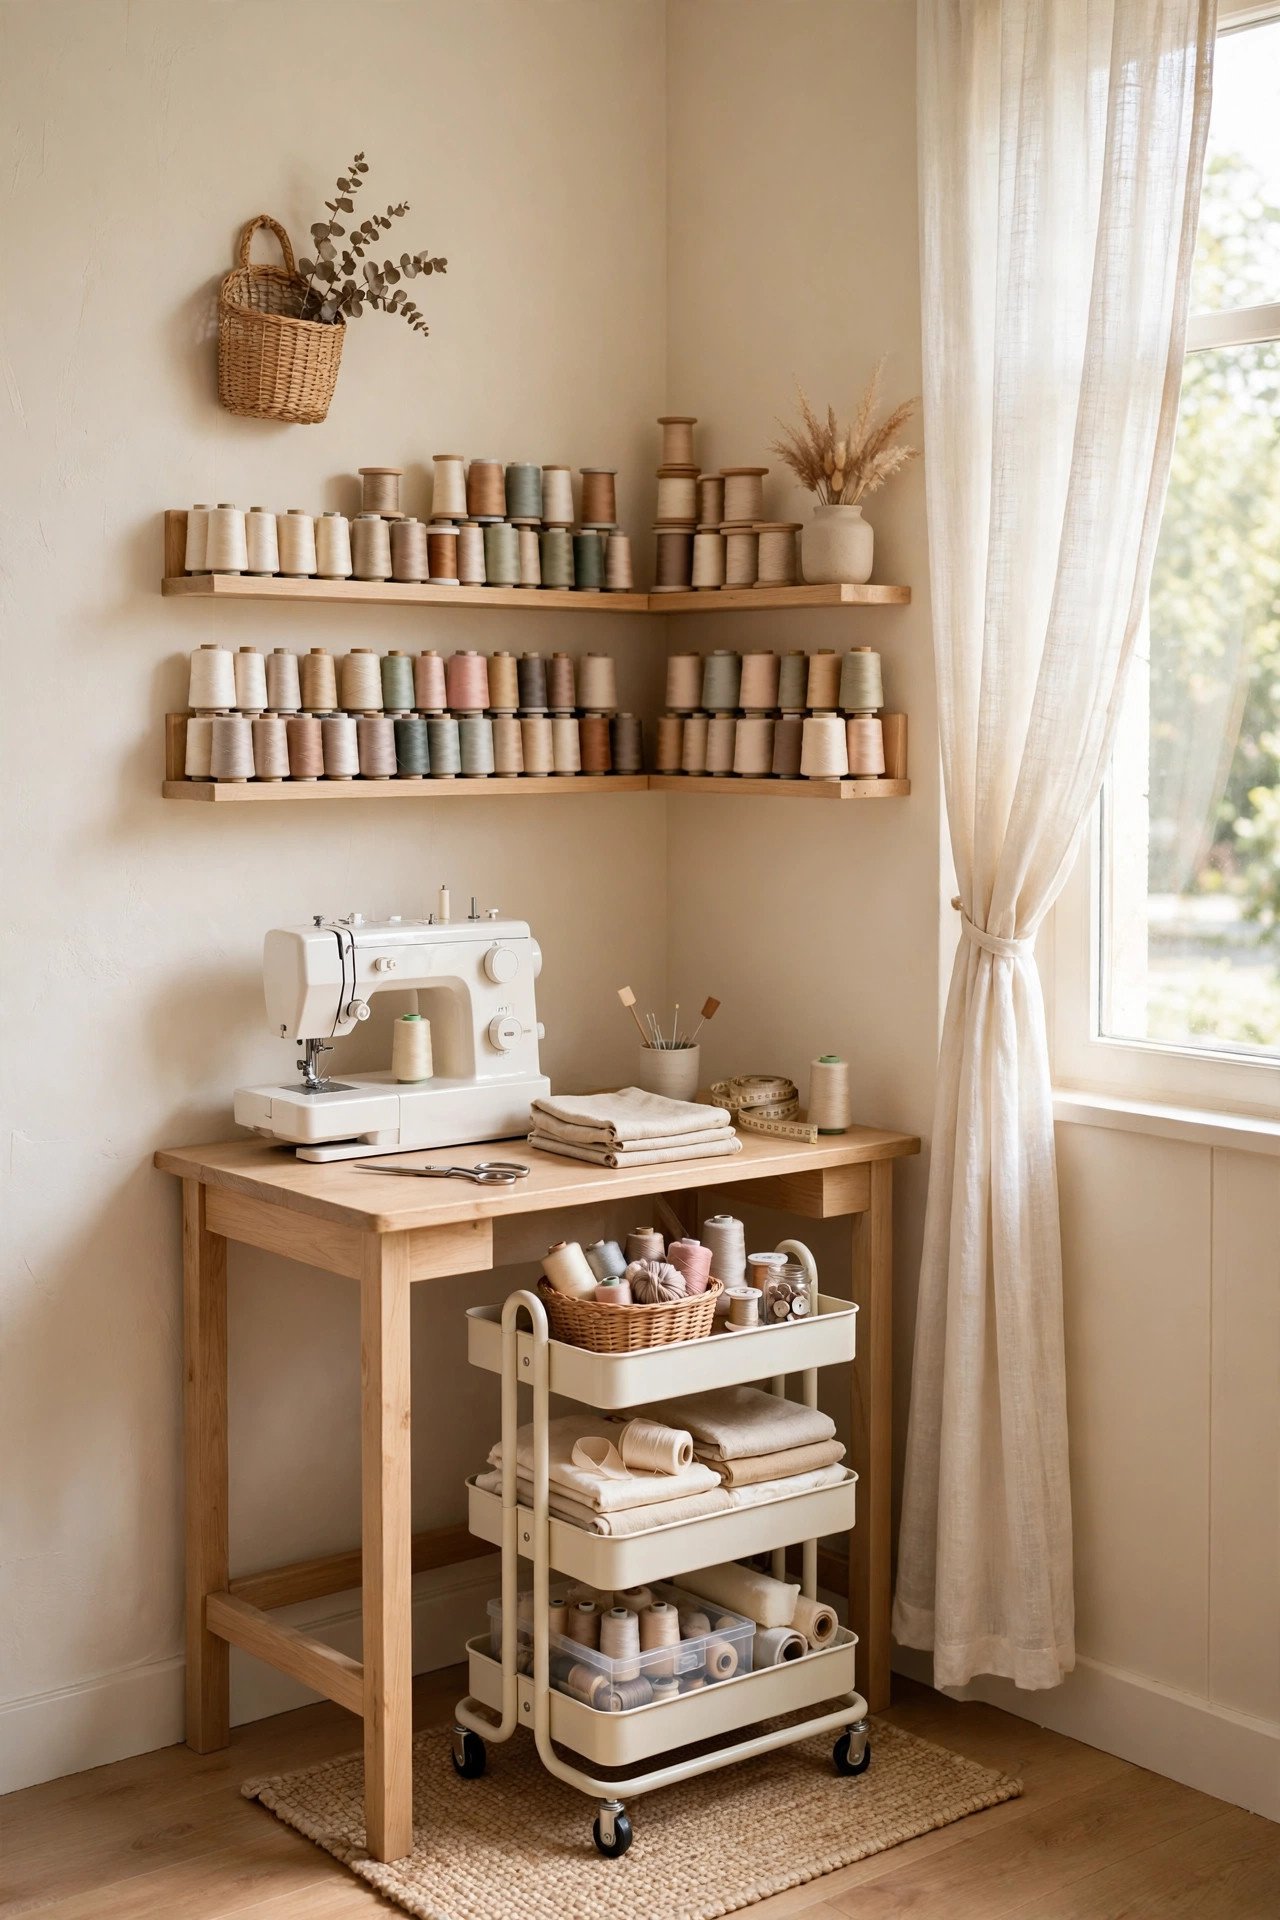
7. Build a Corner Workstation for Small Spaces
A corner workstation squeezes a full sewing setup into just a few square feet. Fit a small desk into the corner, add shelves above for thread and notions, and keep a rolling cart below for fabric. The corner you ignored becomes the most useful spot in the whole room.
Use every inch of wall height with hooks and narrow shelves, and choose furniture that does two jobs at once. A drop-leaf table folds away when you need the space back, and good task lighting makes the small corner feel bright. Small sewing spaces work best when everything has one clear home.
8. Plan Projects on a Design Wall
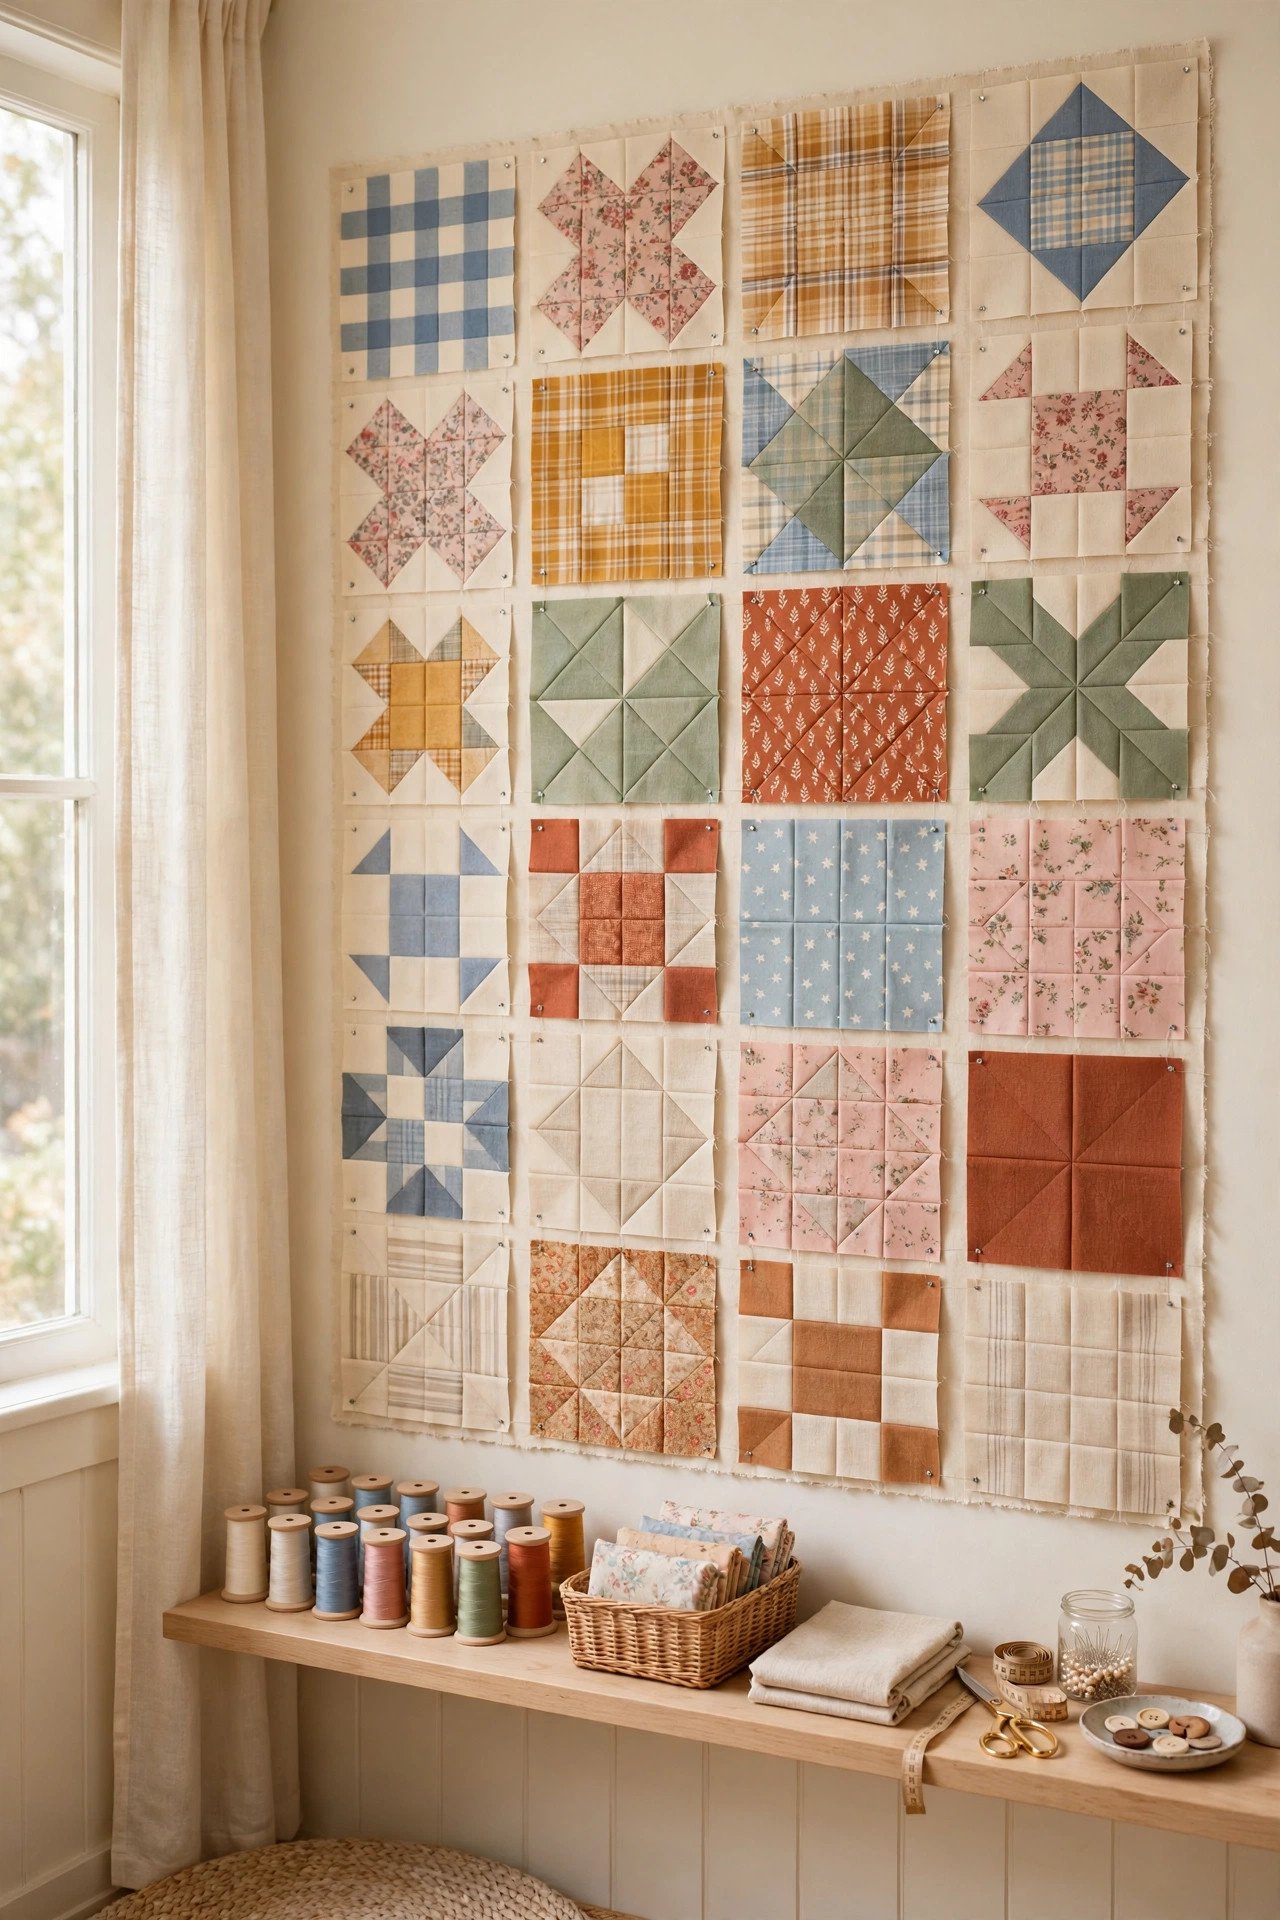
A design wall lets you see a whole project before you sew a single seam. Stretch flannel or batting over a large frame on the wall, then arrange fabric pieces and quilt blocks on it to test the layout. You can step back, look, and move pieces around until the design feels right.
Keep the wall near your machine so planning and sewing stay in one flow. Pin the pattern and a small bag of matching thread and bobbins beside the layout, so the whole project waits in one place. A design wall saves fabric and frustration by catching mistakes before the cutting starts.
9. Share the Sewing Room With Overnight Guests
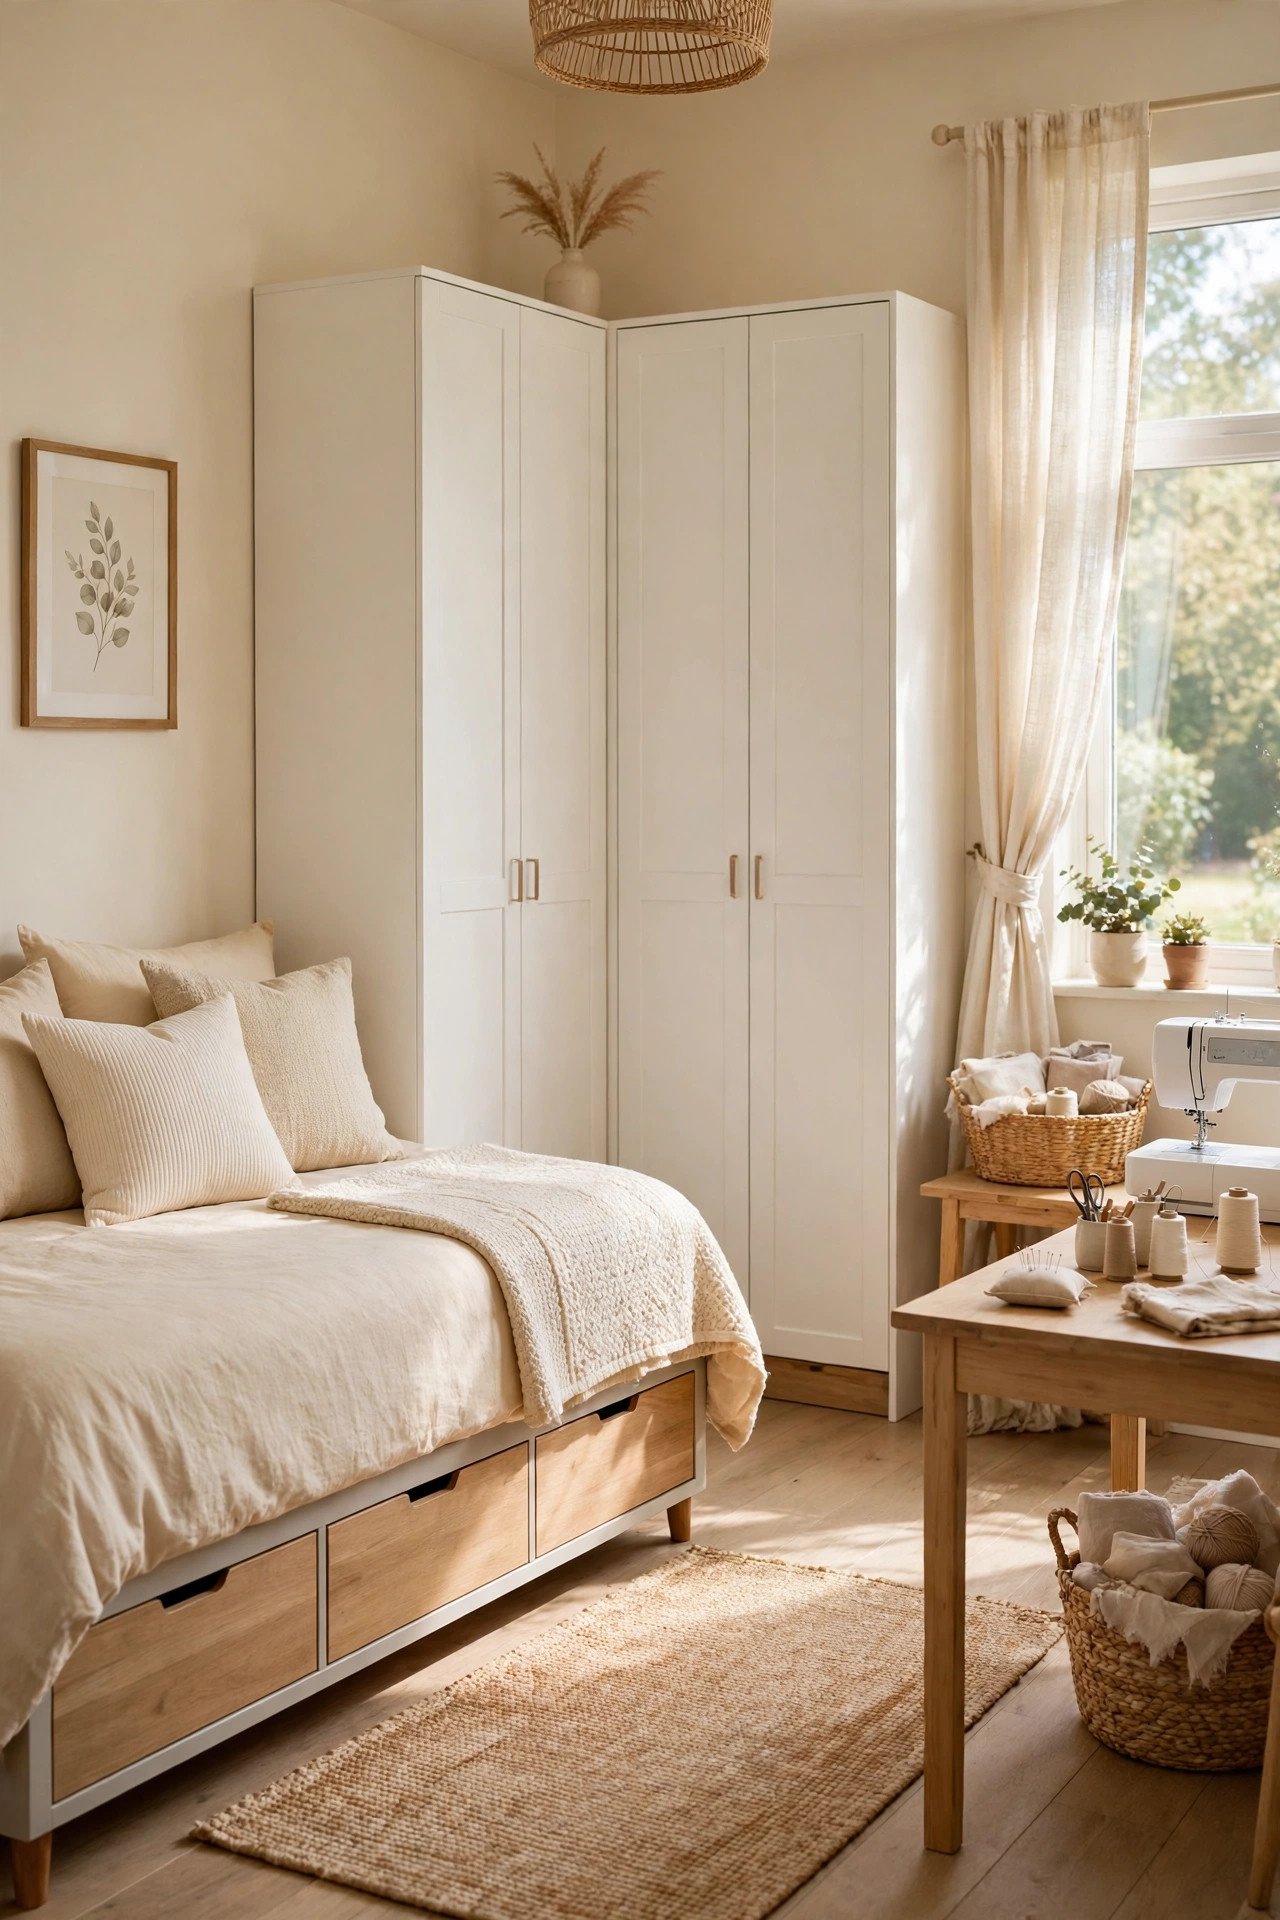
One room can serve both sewing and guests when the furniture does double duty. Choose a daybed with storage underneath or a folding cutting table that disappears when visitors arrive. Closed cabinets hide machines and notions, so the room turns into a calm guest room in minutes.
Wall-mounted storage keeps supplies organized without taking floor space your guests need. Keep the sewing corner tidy with labeled boxes, and leave the bed clear of projects before anyone arrives. A room that changes roles easily lets you sew every day and host your guests happily.
10. Restore a Vintage Cabinet for Notions
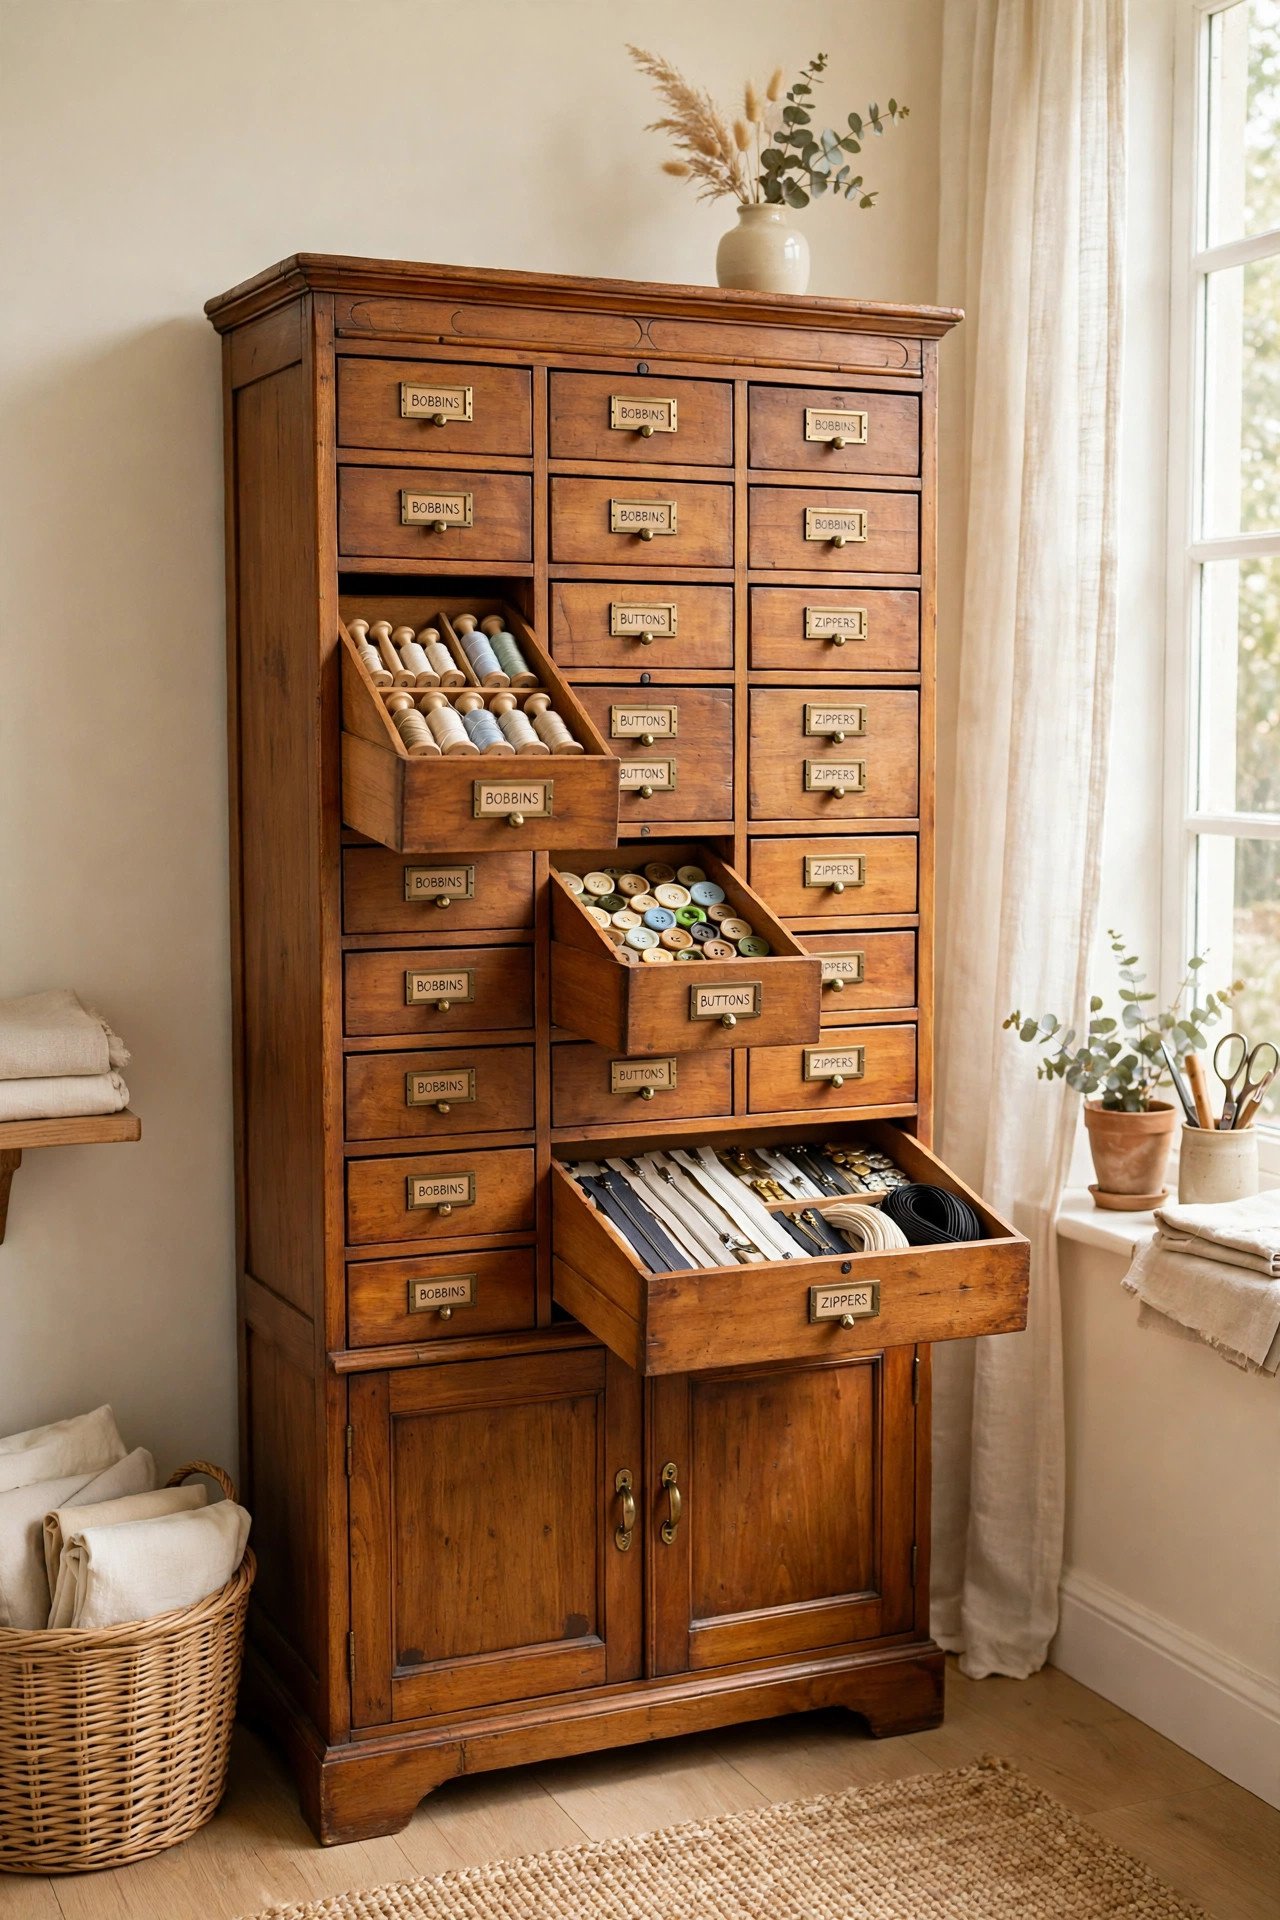
An old wooden cabinet can become the prettiest storage in your sewing room with a little care. Clean the wood, tighten the drawers, and add small dividers inside for bobbins, buttons, and zippers. The cabinet keeps your notions safe while adding warm character to the room.
Look for solid wood and sturdy drawers rather than perfect paint, since you can refresh the outside later. Line the drawers with soft fabric so small notions do not slide around, and label each drawer by what lives inside. A restored cabinet turns a forgotten piece into a daily treasure.
11. Work at an Adjustable Height Table
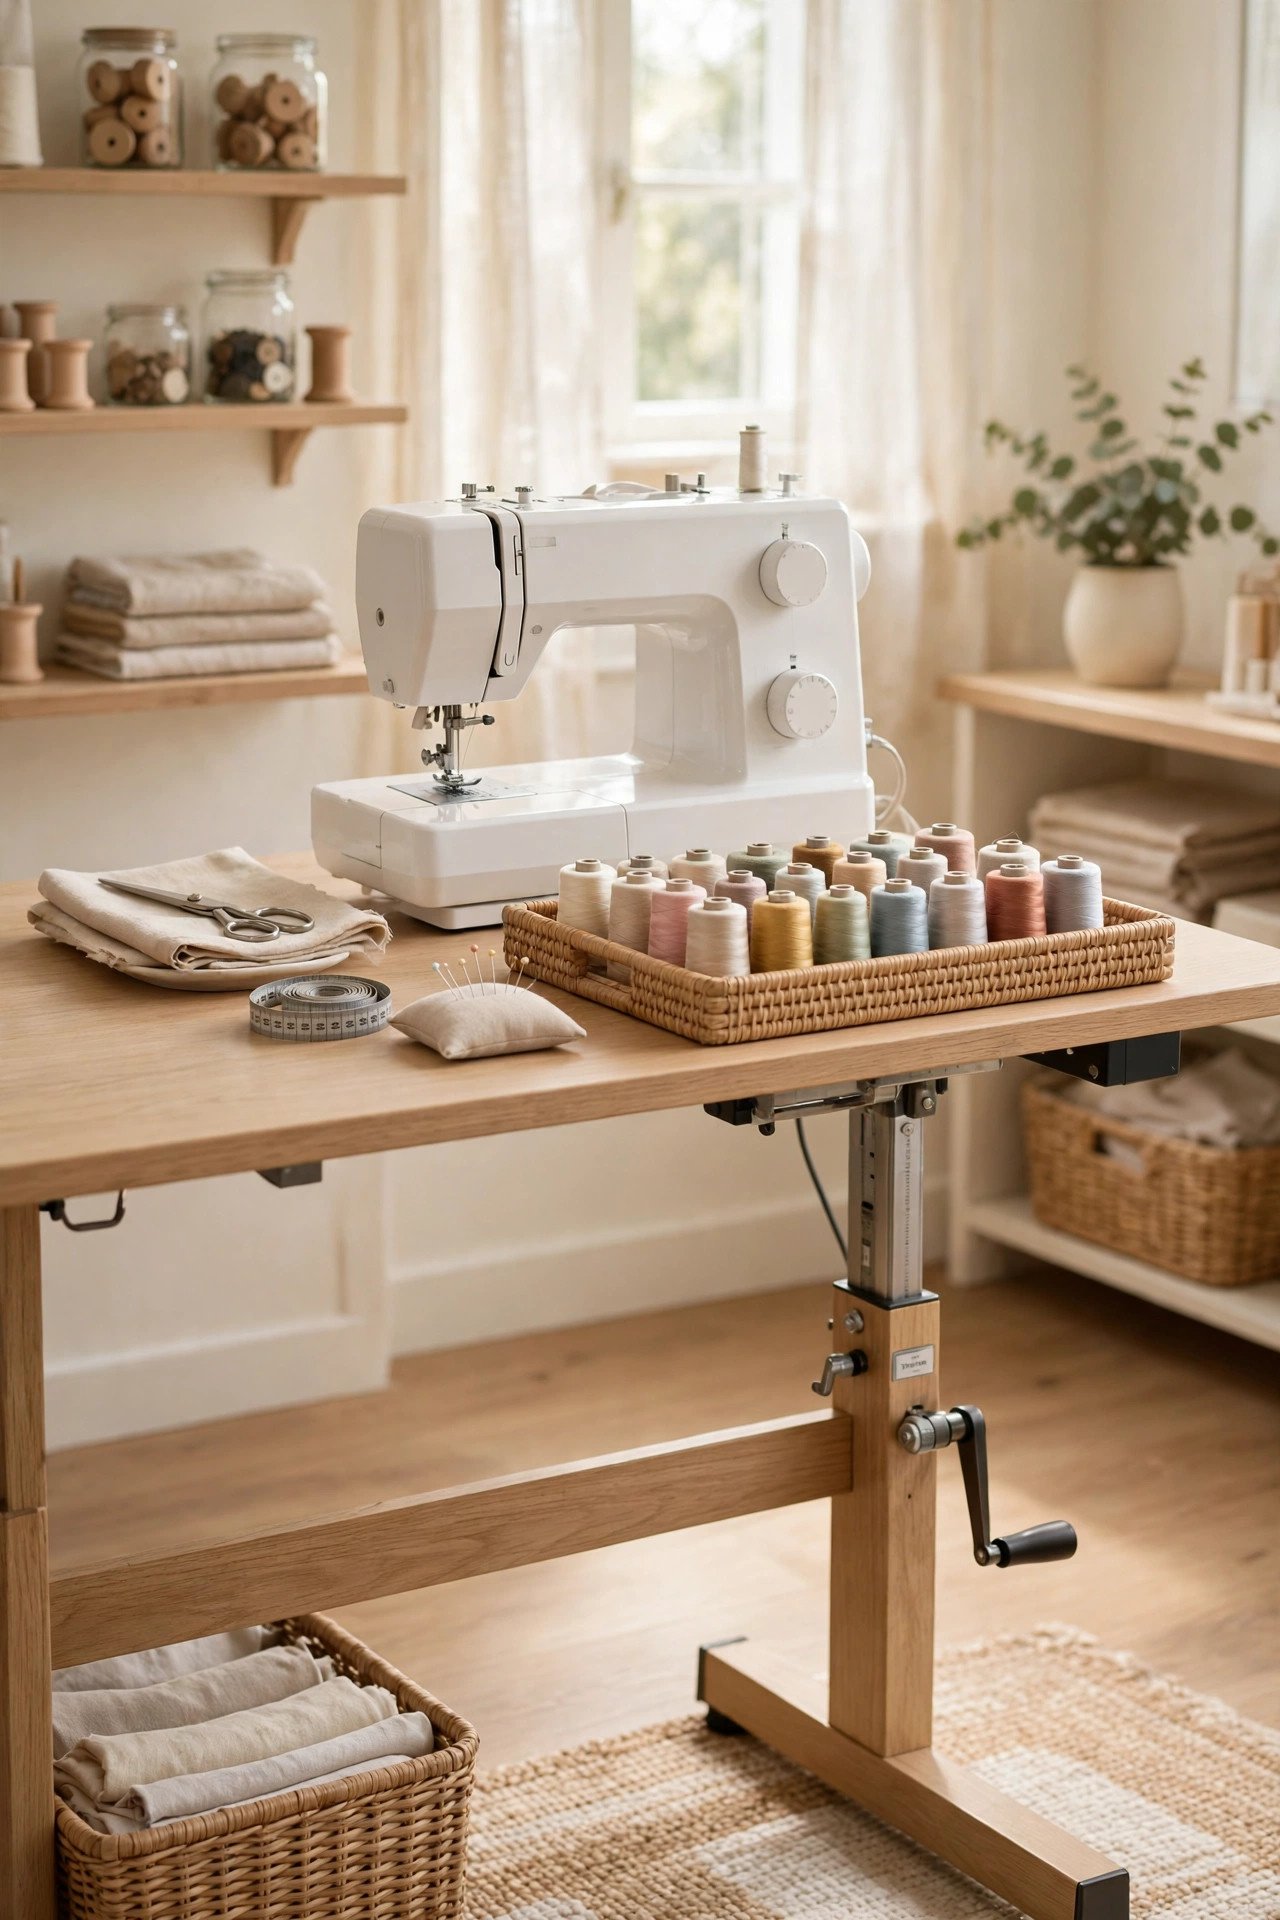
An adjustable table lets you switch between sitting and standing as the project changes. Lower it for careful machine work, then raise it for cutting and pressing so your back stays comfortable. The right height for each task makes long sewing sessions feel much easier on your body.
Choose a table that moves smoothly and locks firmly at any height. Keep thread and bobbins in a tray on the table so your notions travel with you between heights. Standing for cutting and sitting for stitching is a small change that protects your posture for years.
12. Build Storage Into the Walls
Built-in storage uses every inch of your sewing room, including awkward corners and slanted ceilings. Design cubbies that fit fabric bolts, shallow drawers for bobbins and buttons, and a pull-out shelf for cutting. The room looks calm because everything has a place made just for it.
Plan the built-ins around your real habits, not a picture in a magazine. Put the notions you reach for daily at arm height and seasonal supplies up high. Built-ins cost more than a freestanding shelf, but they make a small sewing room feel twice as big.
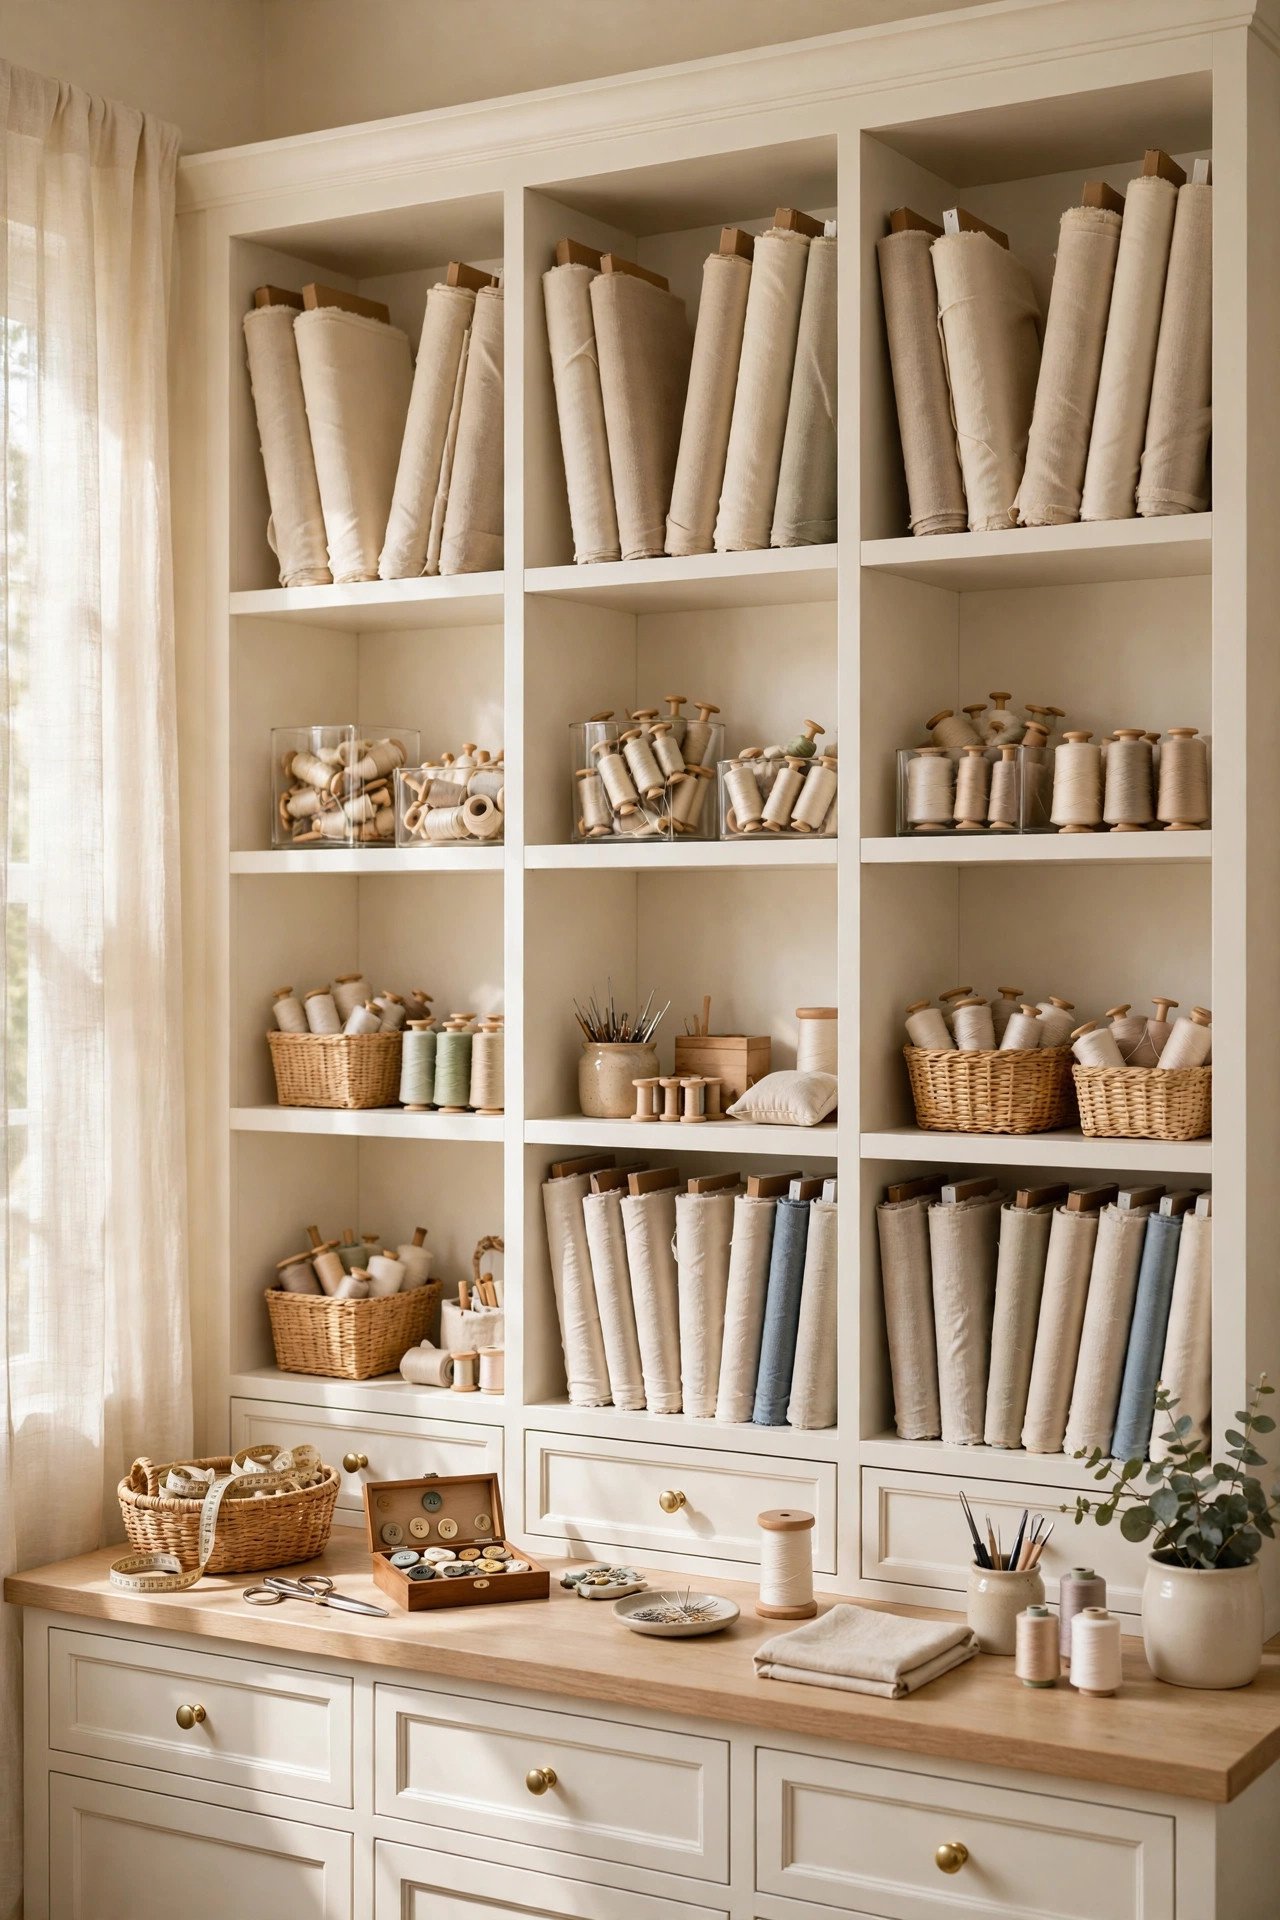
13. Pack Each Project in Its Own Box
A project box keeps everything for one sewing job together: fabric, pattern, thread, bobbins, and buttons. Use a clear box or a large zippered bag, label it with the project name, and store it on a shelf until you are ready. Nothing gets mixed up with the next project.
When you sit down to sew, grab the box and every supply is already inside. Return the box to the shelf when you stop, and your table stays clear for the next idea. Project boxes are the simplest way to juggle several makes without losing a single piece.
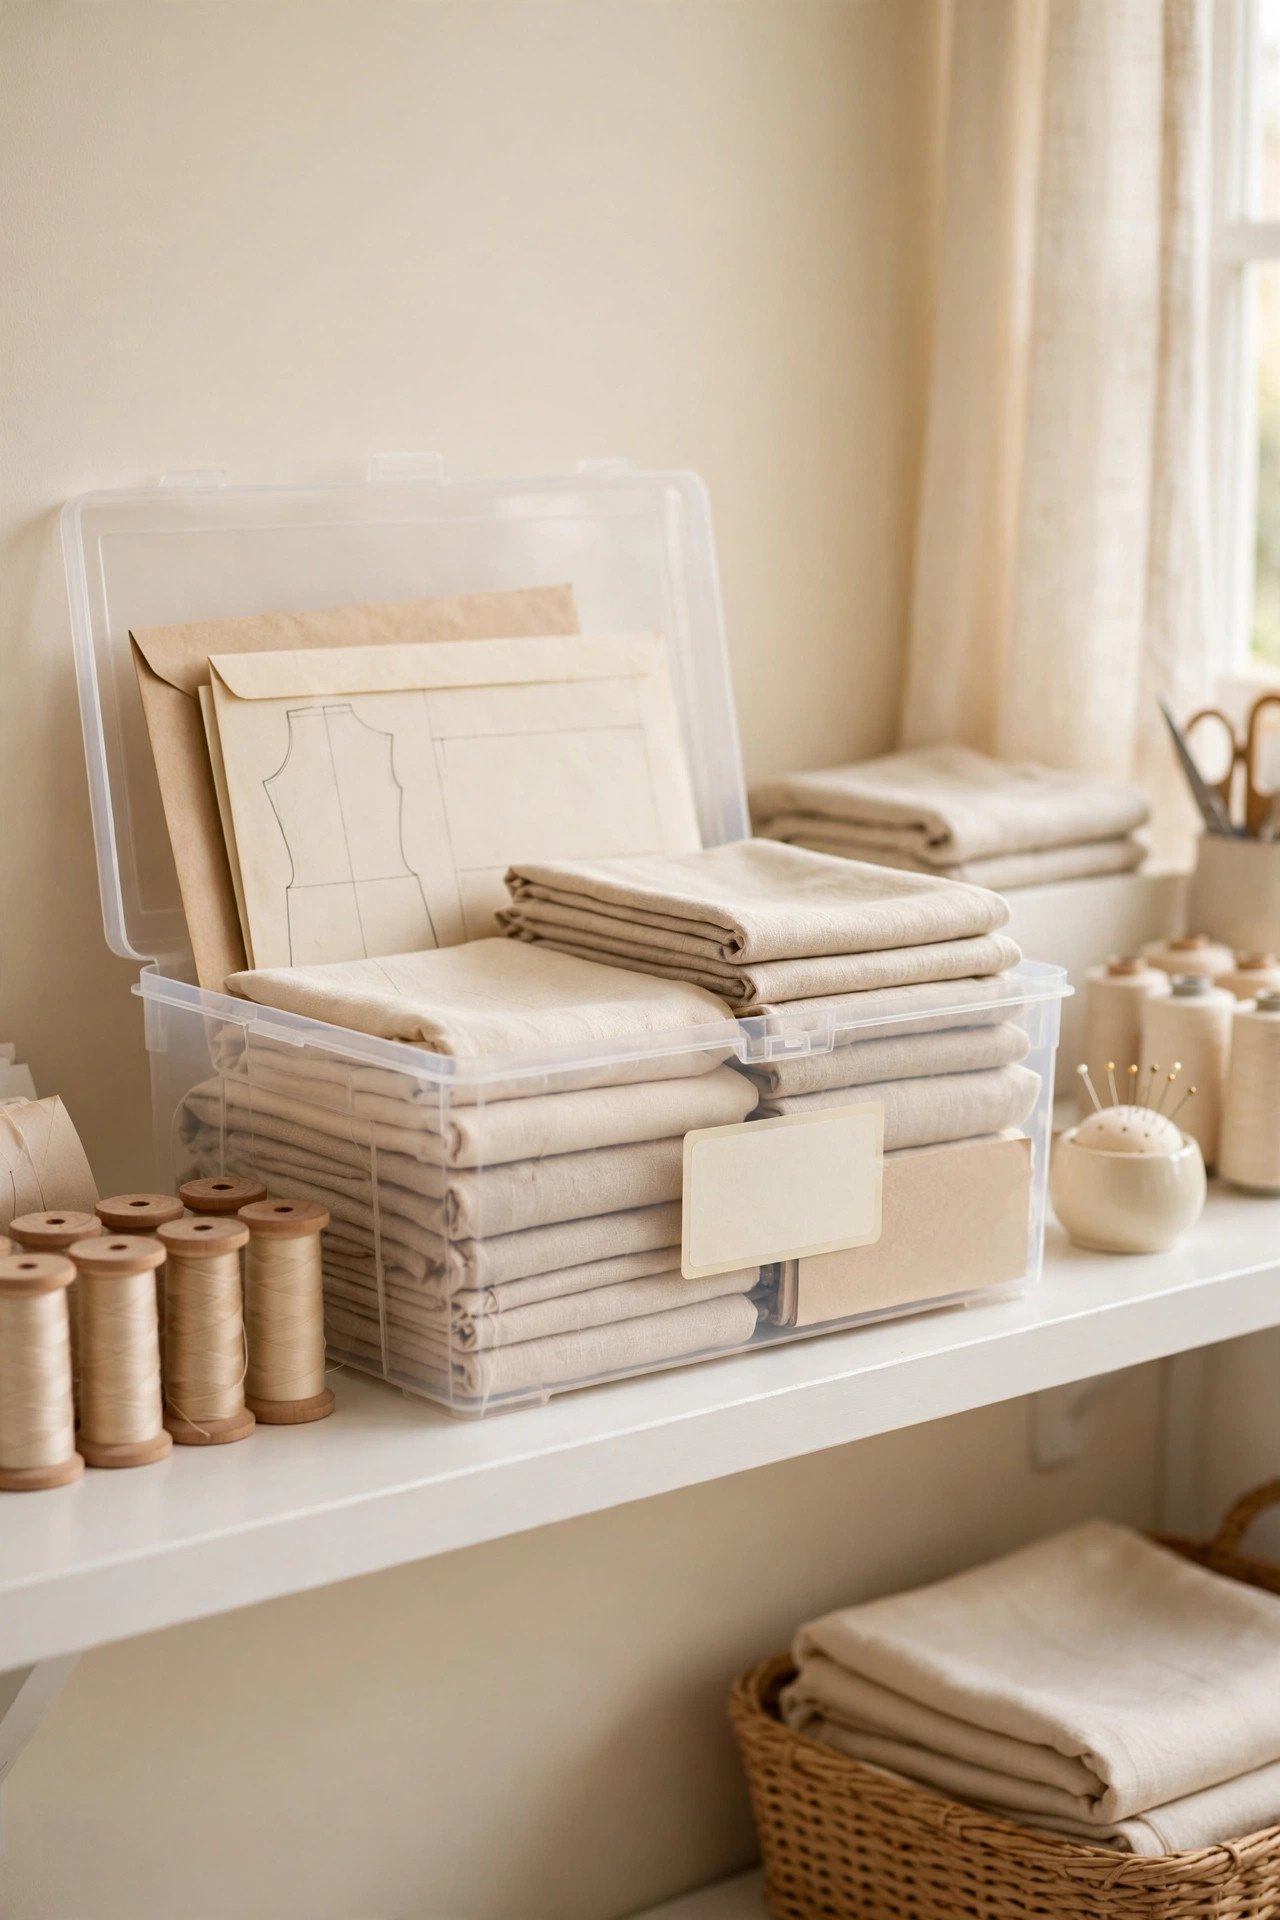
14. Light the Work Area Properly
Good light makes sewing easier and your colors truer. Place your machine near a bright window for natural daylight, then add an adjustable lamp over the needle so the stitching line stays clear and easy to follow. Under-shelf strip lights brighten the storage area without glare.
Choose bright white bulbs for detail work and warmer light for relaxed evening sewing. Keep the lamp close to the machine so shadows never fall across your seam. With the right light, you stop squinting at dark fabric and start enjoying the stitching itself even more.
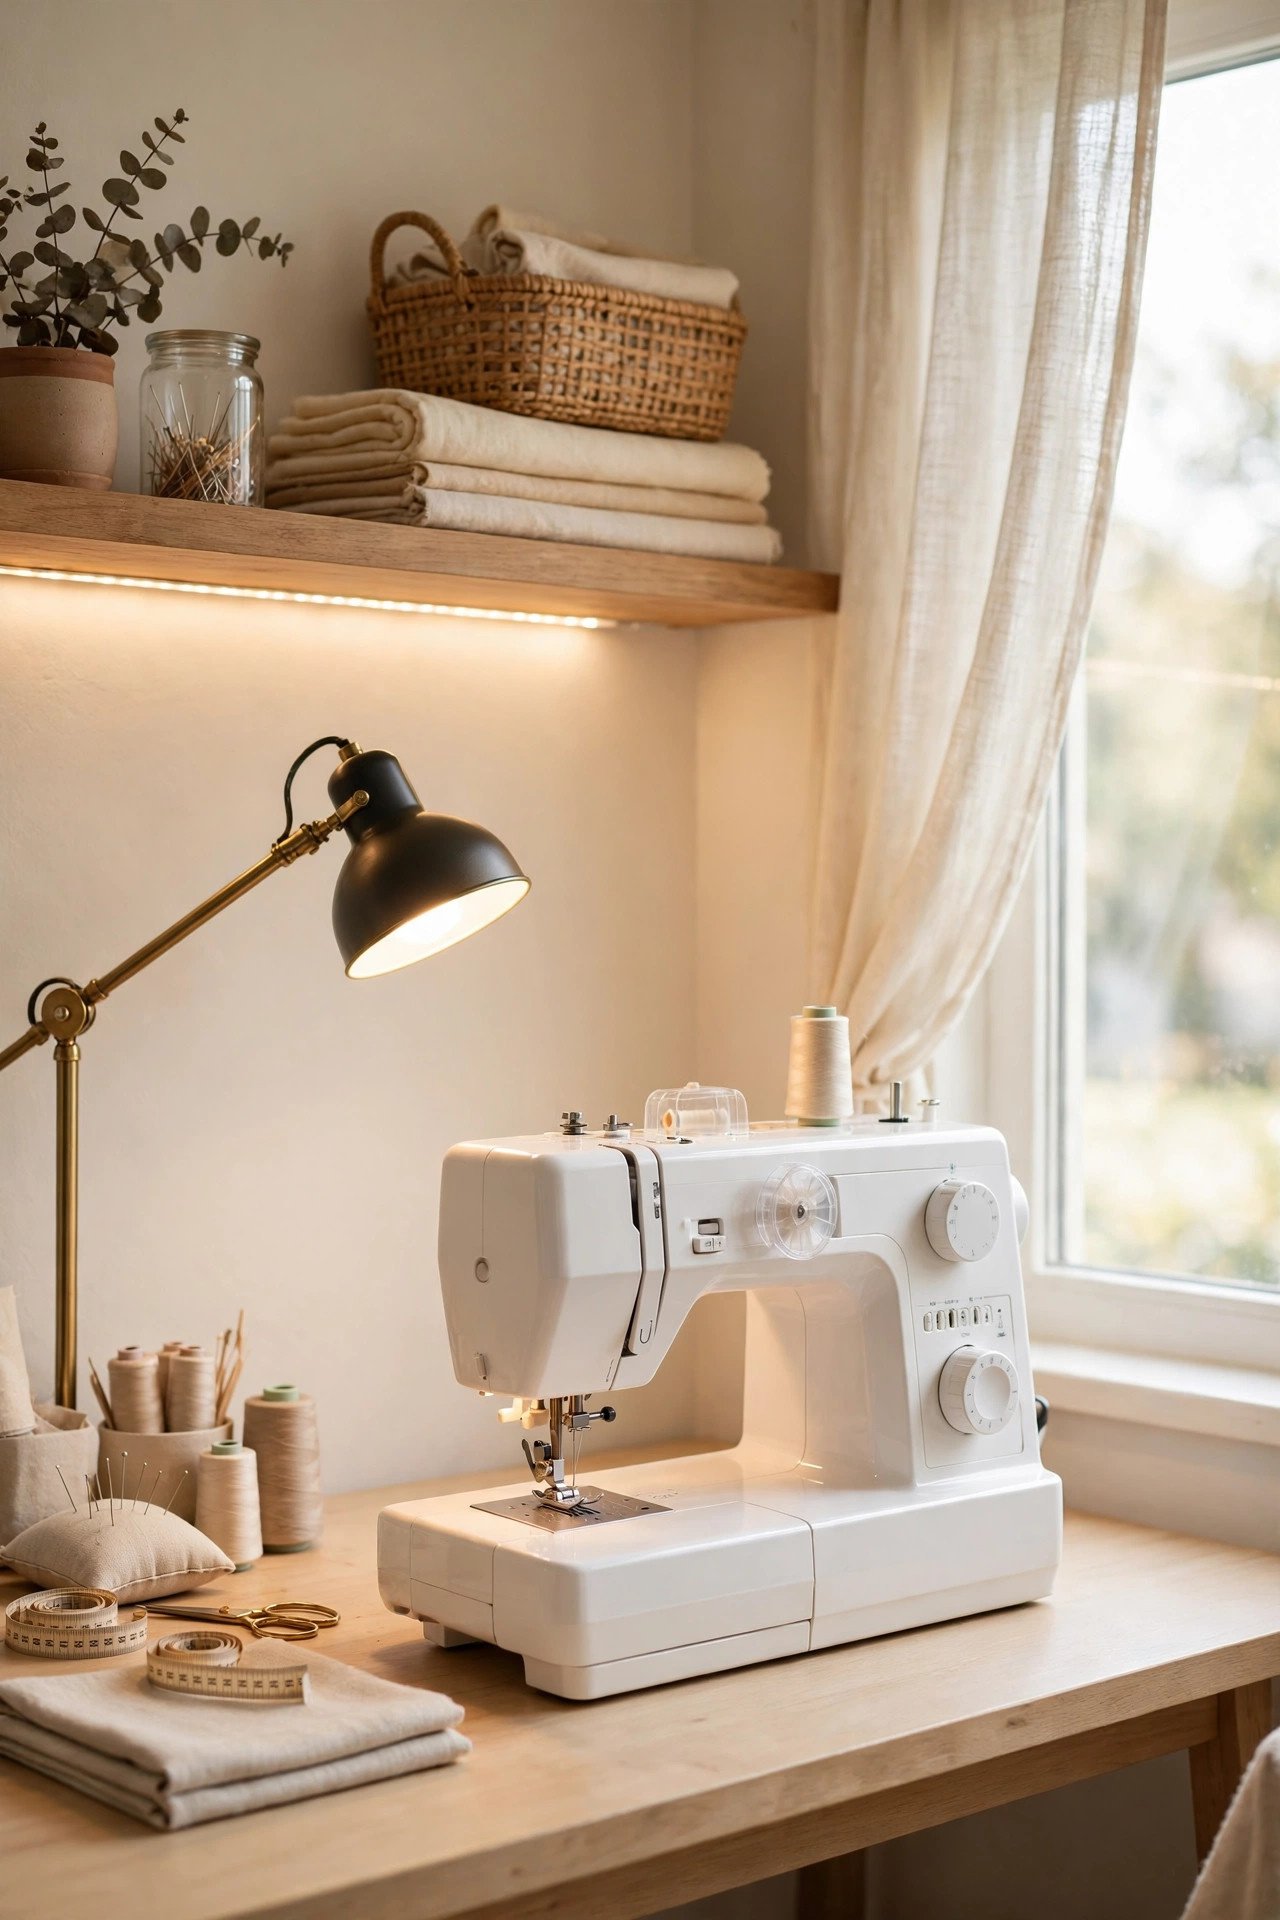
15. Create a Notion Center Near Your Machine
A notion center puts every small supply within one arm’s reach of your machine. Use a drawer organizer with adjustable compartments for buttons, snaps, zippers, and pins, plus small jars for elastic and bias tape. Label each compartment so the right notion is always seconds away.
Add a magnetic strip for metal pins and needles, and keep zippers sorted by color and length in a shallow tray. Place the center right beside your machine, not across the room, so you never leave your chair mid-seam. A tidy notion center turns hunting into sewing.
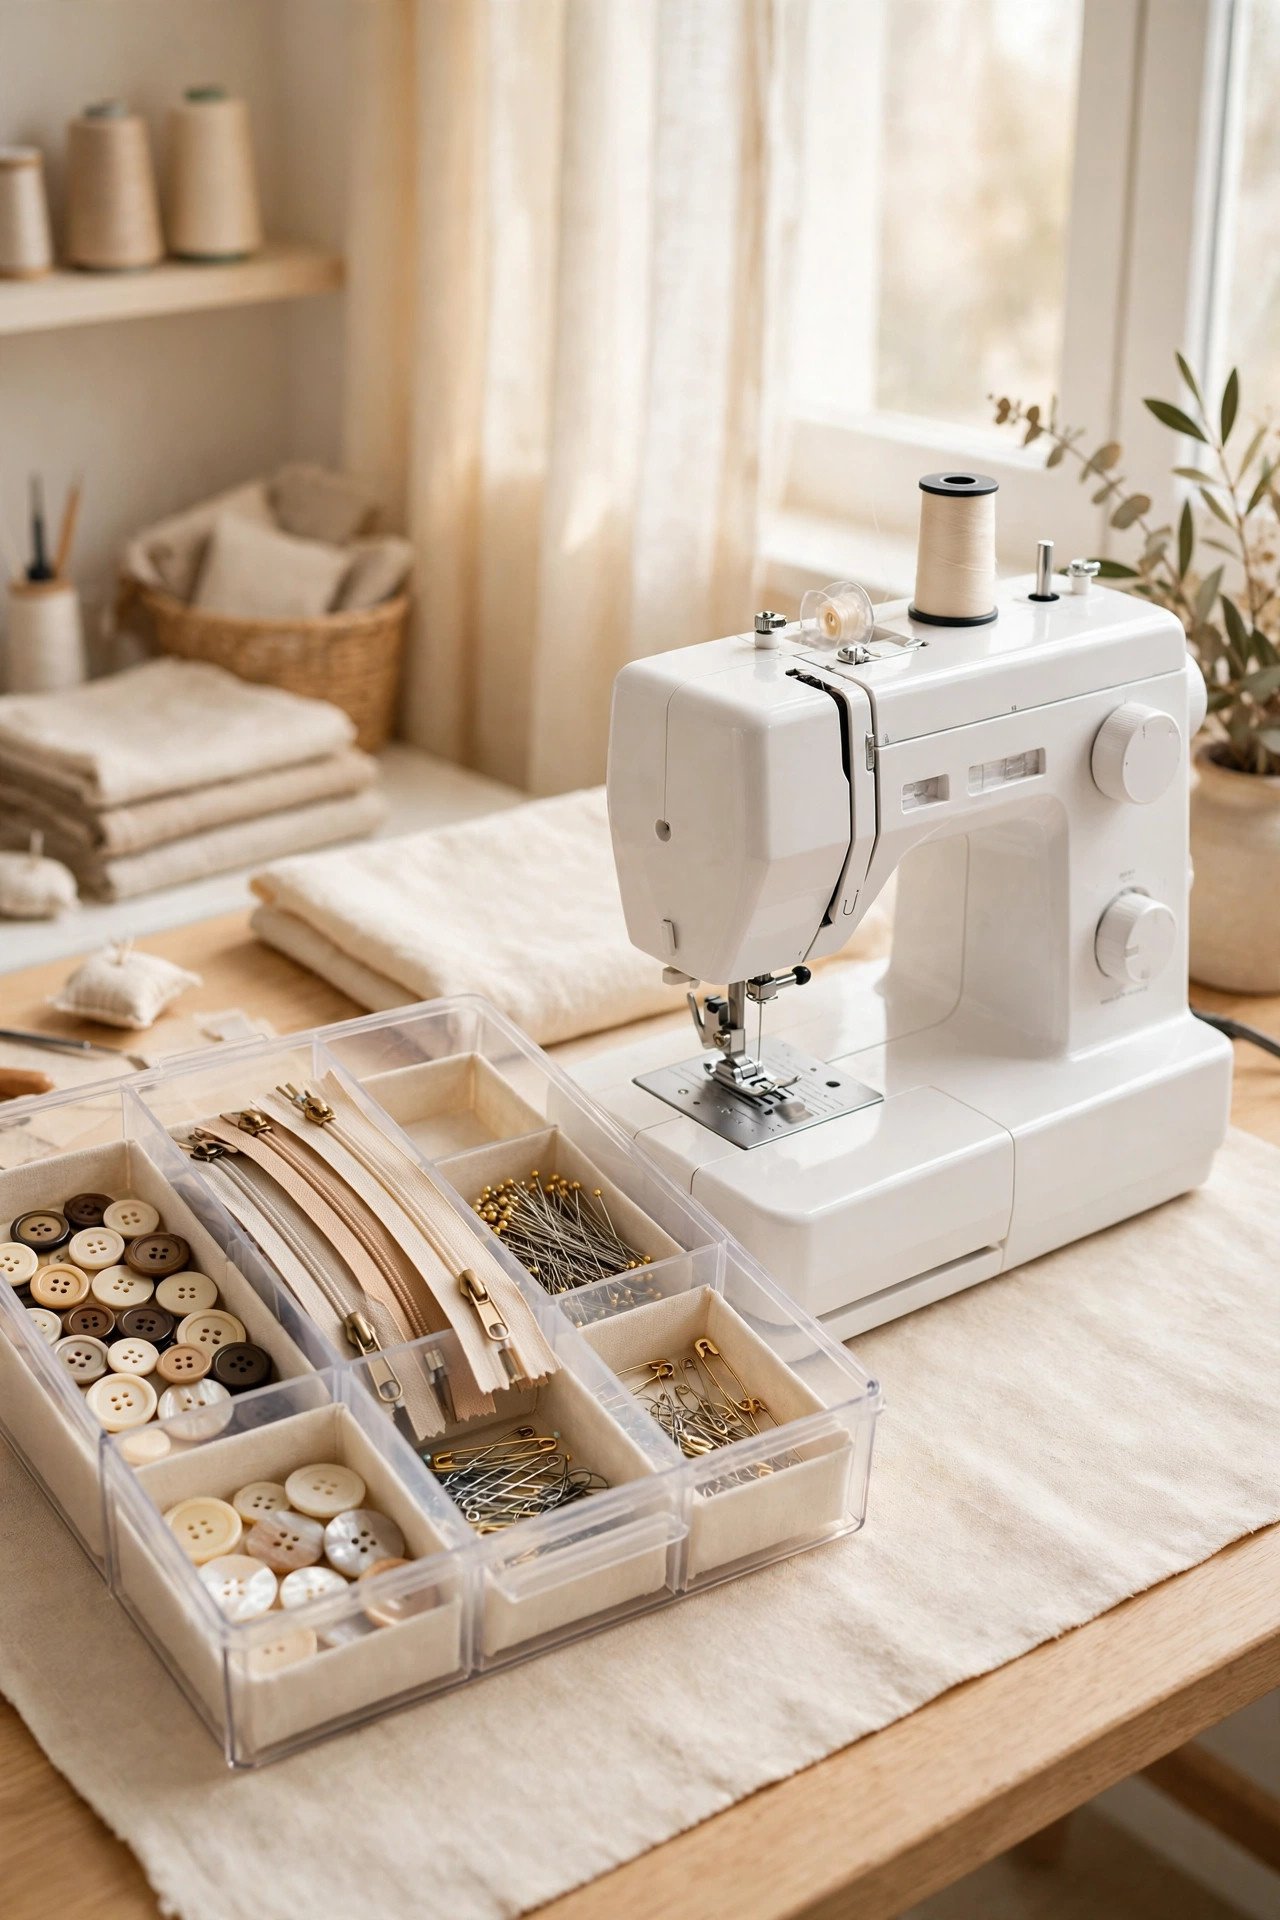
16. File Patterns in Labeled Folders
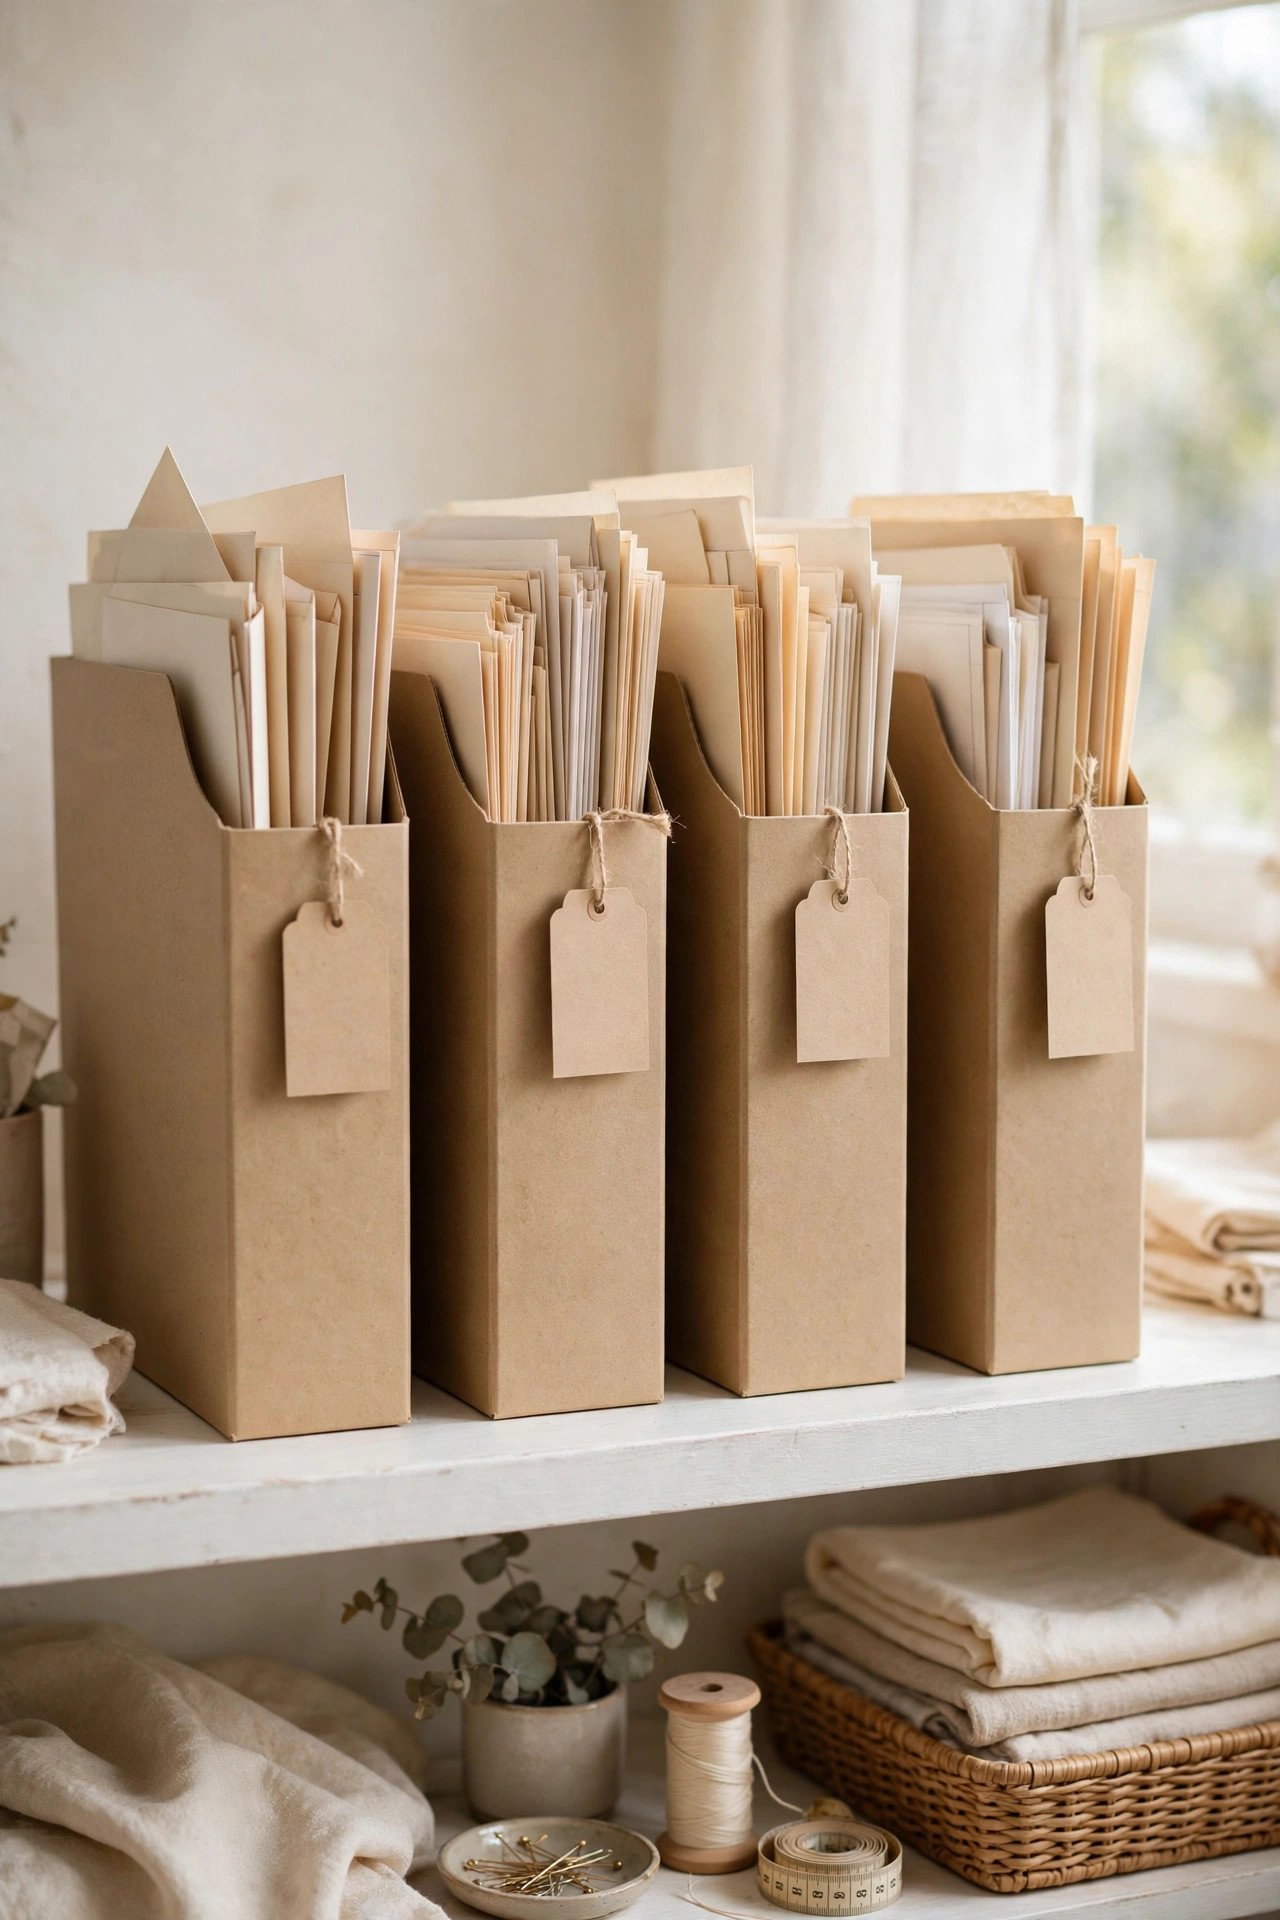
Paper patterns stay crisp and easy to find inside labeled folders or hanging files. Sort them by type or size, slip each pattern into its own envelope with all its pieces, and store the folders upright like books on a shelf. Your favorites stay ready to reuse.
Photograph the pattern envelope and keep a simple list of what you own, so you never buy the same pattern twice. Add notes about size changes and fabric choices inside each folder. A labeled pattern file turns a crumpled pile into a library you actually use.
Conclusion
A tidy sewing corner is not about a perfect room or matching containers. It is about giving every spool, bobbin, button, and pattern a home you can find without thinking. When your notions are organized, you spend your sewing time stitching instead of searching through drawers.
Add a five-minute tidy-up to your evening routine, and these nightly reset routines show how to build that habit into your day. Your sewing notions are waiting, and they will be tidy soon. Start with one idea that fits your biggest mess, such as a thread rack on the wall or labeled drawers for bobbins.
Frequently Asked Questions About 16 Sewing Notions Organization Ideas for Thread and Bobbins
How do I organize thread and bobbins together?
Keep each wound bobbin beside its matching thread spool on a wall rack or in a divided tray. Sort both by color family so pairs stay together and the right shade is easy to grab. A small label on each section stops spools and bobbins from drifting apart between projects.
What is the best way to store small sewing notions?
Use a drawer organizer with adjustable compartments or small clear jars for buttons, snaps, zippers, and pins. Label every section so you can find the right notion in seconds. Keep the organizer beside your machine, not across the room, so supplies stay within reach.
How do I keep my sewing room tidy between projects?
Pack each project into its own labeled box when you stop, and return thread and bobbins to their homes before you leave the table. A five-minute tidy-up after every session stops clutter from building. Clear surfaces make the next project start faster and feel calmer.
How should I store fabric so it stays in good shape?
Fold fabric neatly and store it in a labeled cabinet or on shelves away from direct sunlight. Roll longer pieces around cardboard tubes to prevent creases, and keep delicate fabrics on higher shelves. Check your stash twice a year and move unused fabric out.
Can I organize sewing notions in a small space?
Yes, use the walls with a pegboard and narrow shelves, and keep notions in a rolling cart that tucks away when you finish. A corner workstation with storage above and below holds a surprising amount. Small spaces work best when every notion has one clear home.

Hi, I’m Emily! I turn messy corners into cozy, organized spots. DreamNestDecor is where I share simple, practical home ideas — decor, organization, and small-space solutions that work in real life, not just in photos. Every idea here is carefully researched before it’s shared.