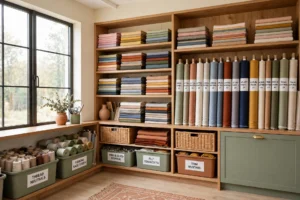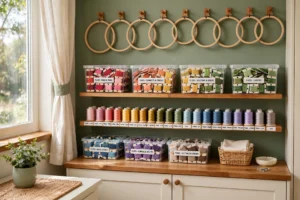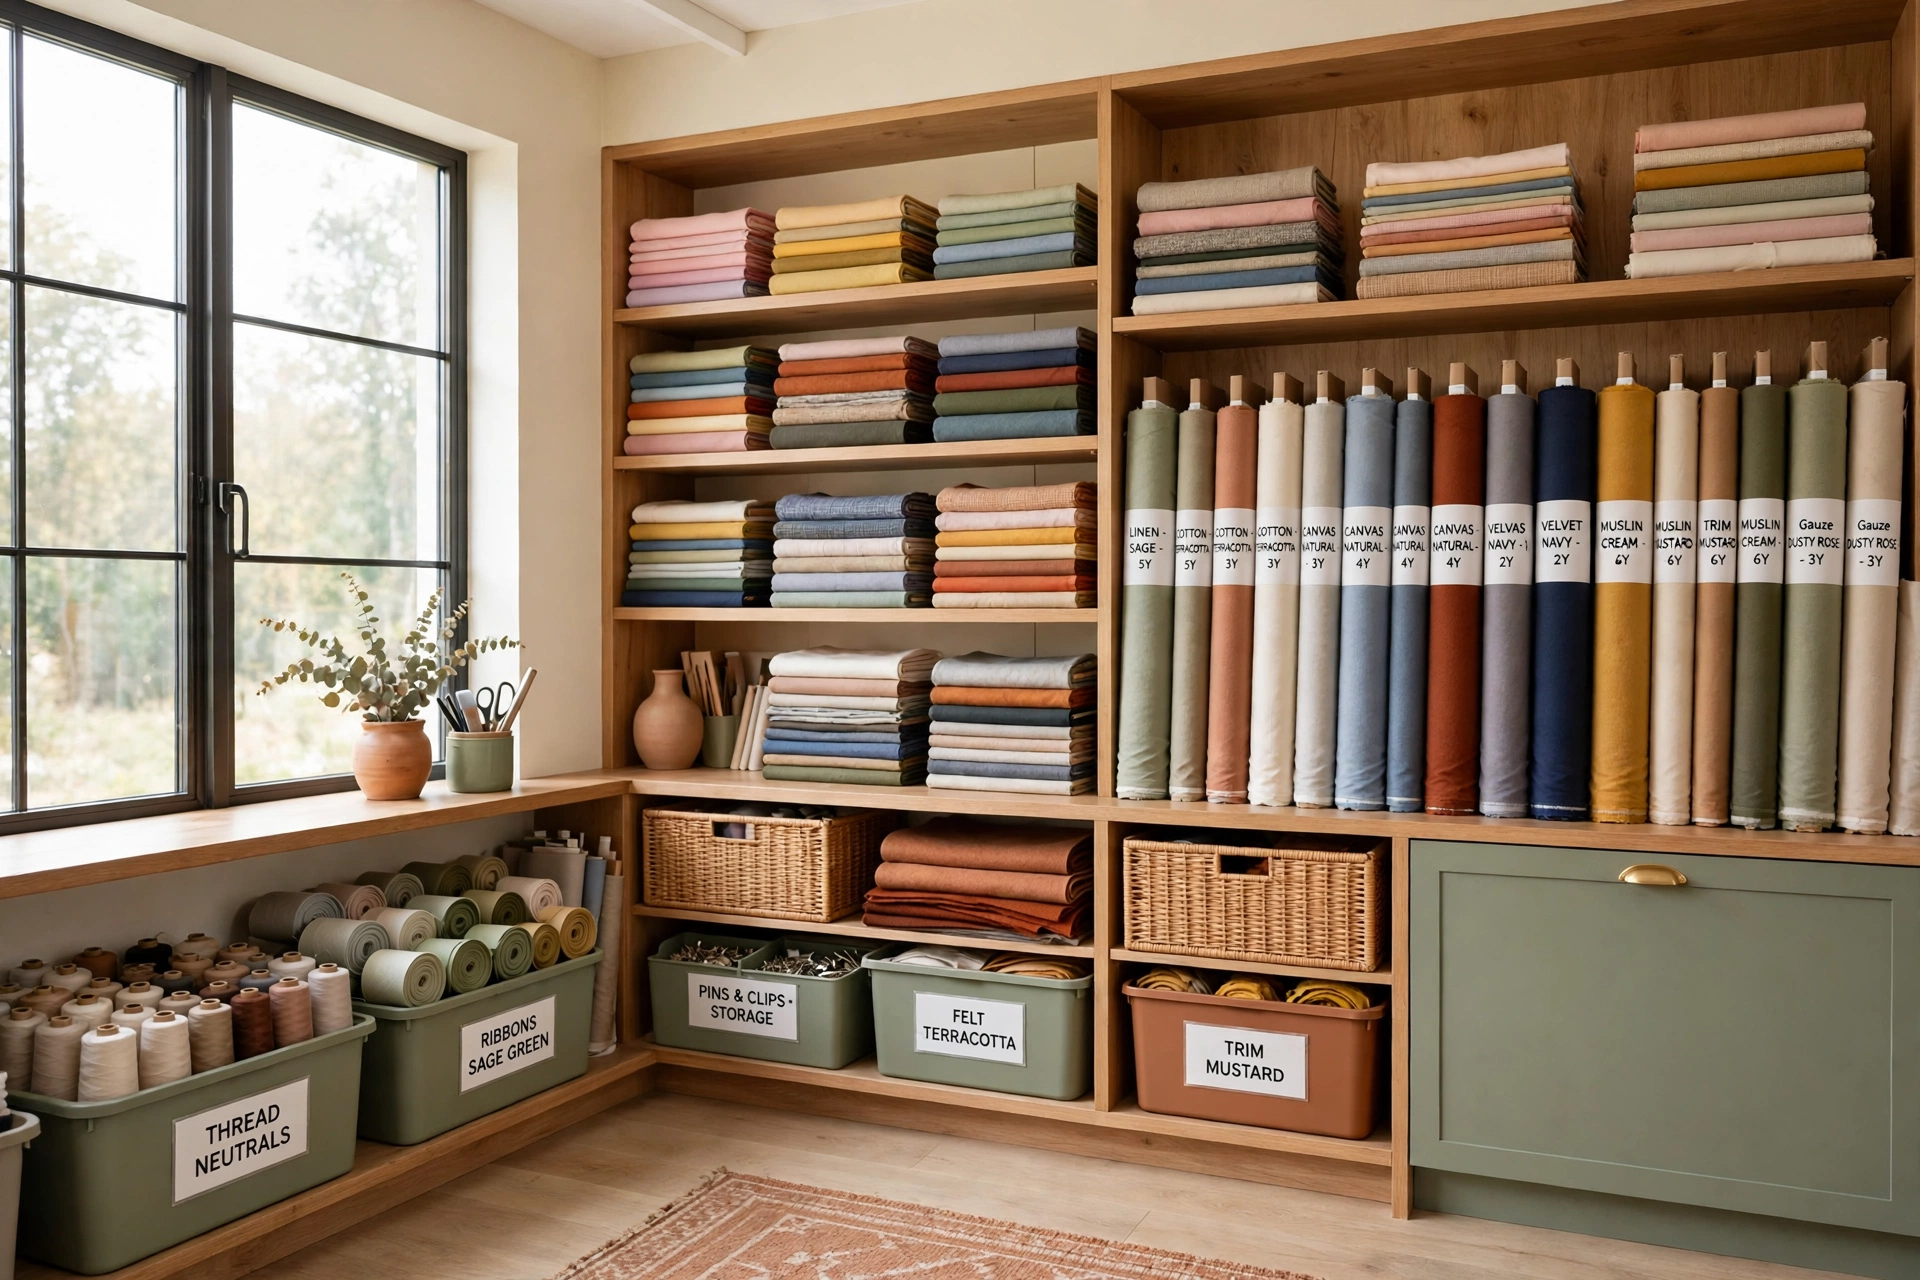
Picture this: you walk into your craft room with a new project in mind, and every piece of fabric you own is folded, sorted, and easy to see. No digging through bags, no wrinkled piles sliding off a chair, and no buying a print you already own. That calm, clear view is what good fabric storage gives you before you sew a single stitch.
You do not need a large studio or expensive furniture to get there. With the right shelves, bins, and labels, even a small corner can hold a growing collection in perfect order. These 22 fabric storage ideas will help you see what you have, protect your materials, and find inspiration at a glance.
1. Sort Fabric by Color on Open Shelves
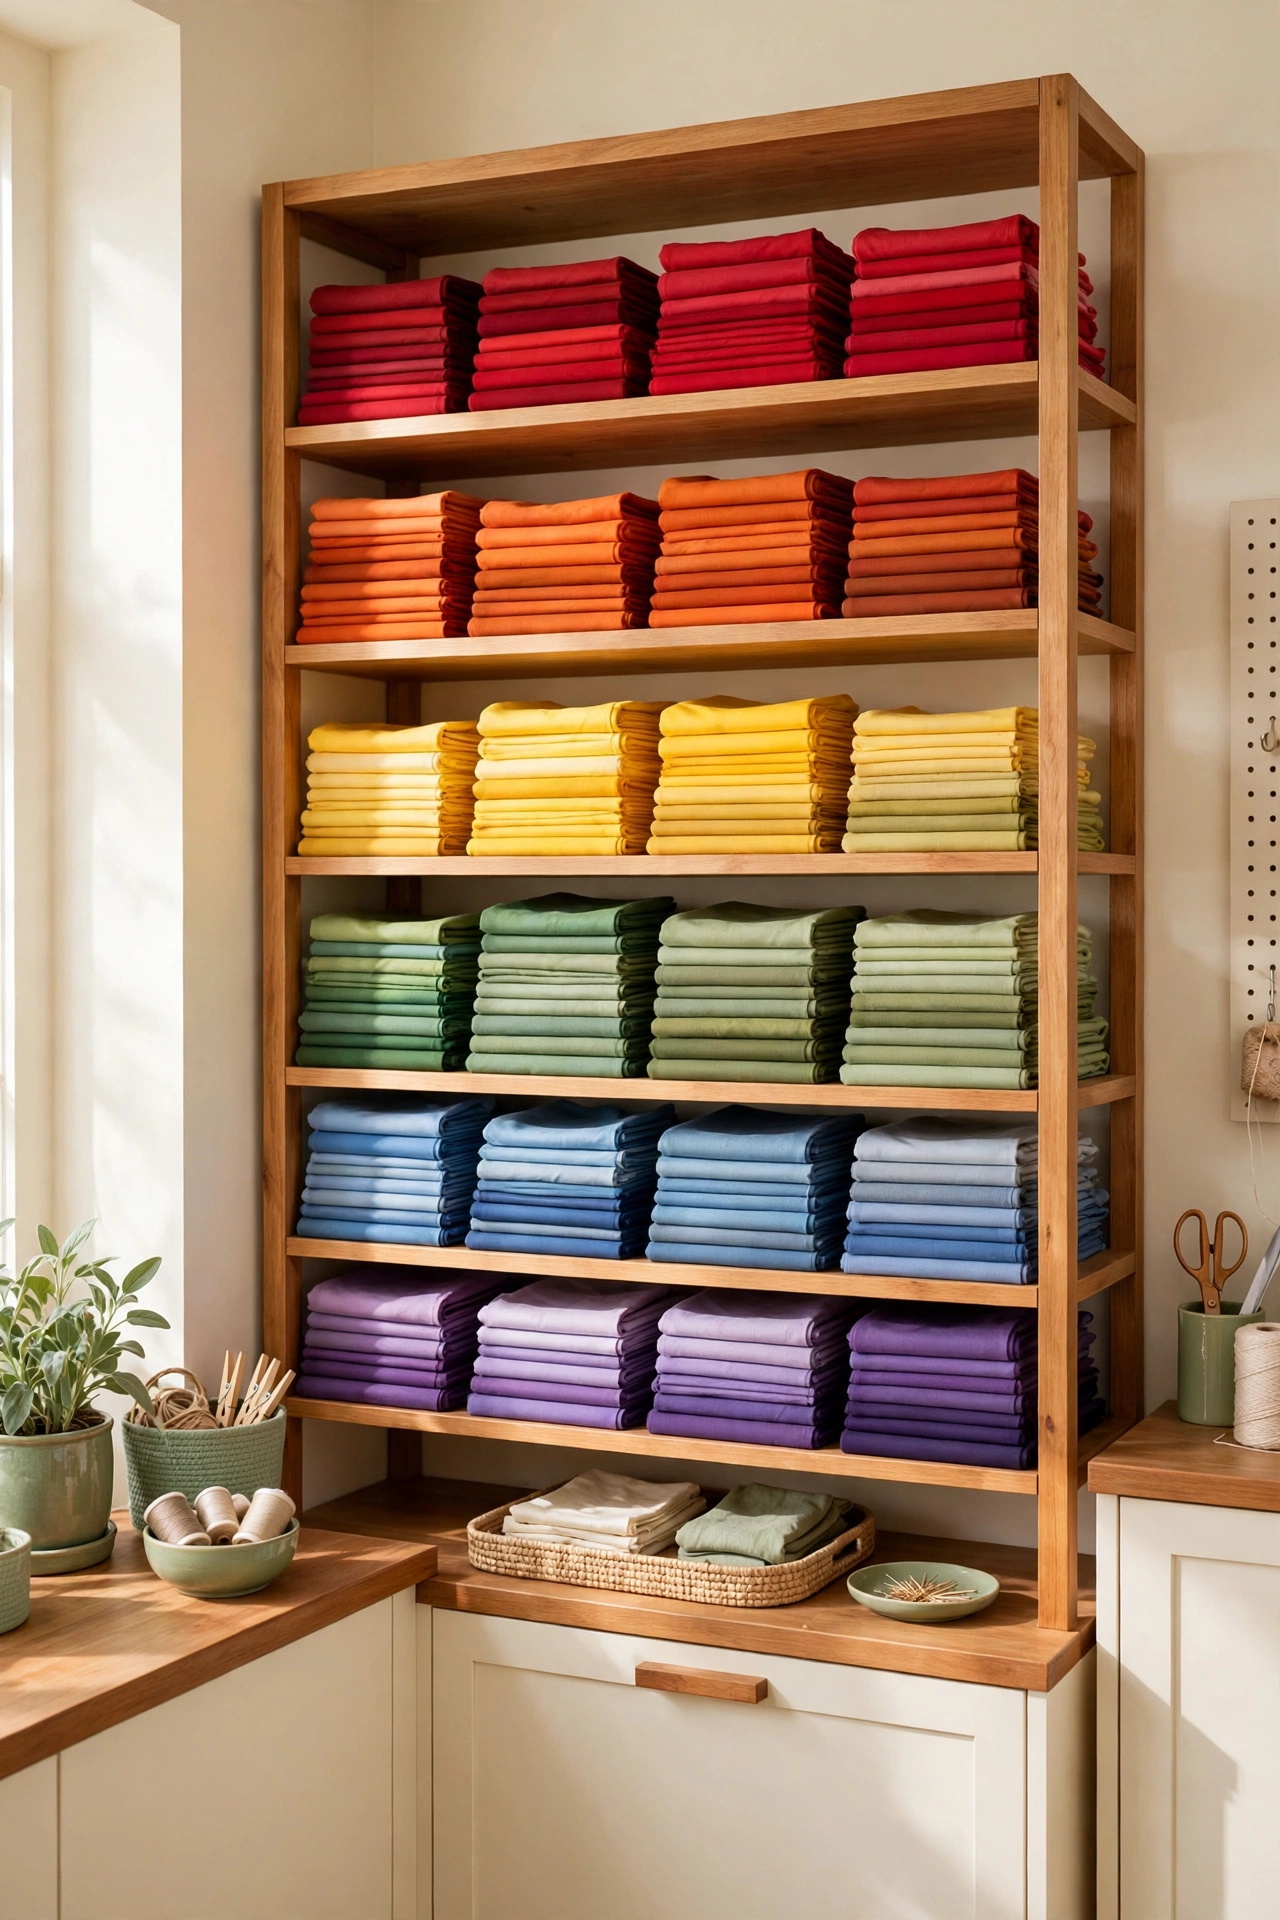
Open shelves sorted by color turn a fabric collection into a beautiful rainbow display. Fold each piece to the same size and place one color family in each cubby, moving from light shades to dark shades across the shelf. When every stack is neat and even, the whole wall looks like a fabric shop.
This system also makes shopping your own stash much faster. You can spot the exact blue or warm red you need without pulling out a single stack. Add a small plant or a jar of buttons on top of the unit to finish the look and keep the shelves feeling styled rather than crowded.
2. Combine a Cabinet With a Sewing Workstation
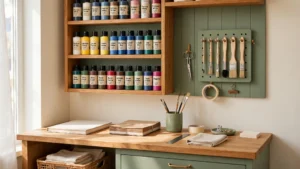
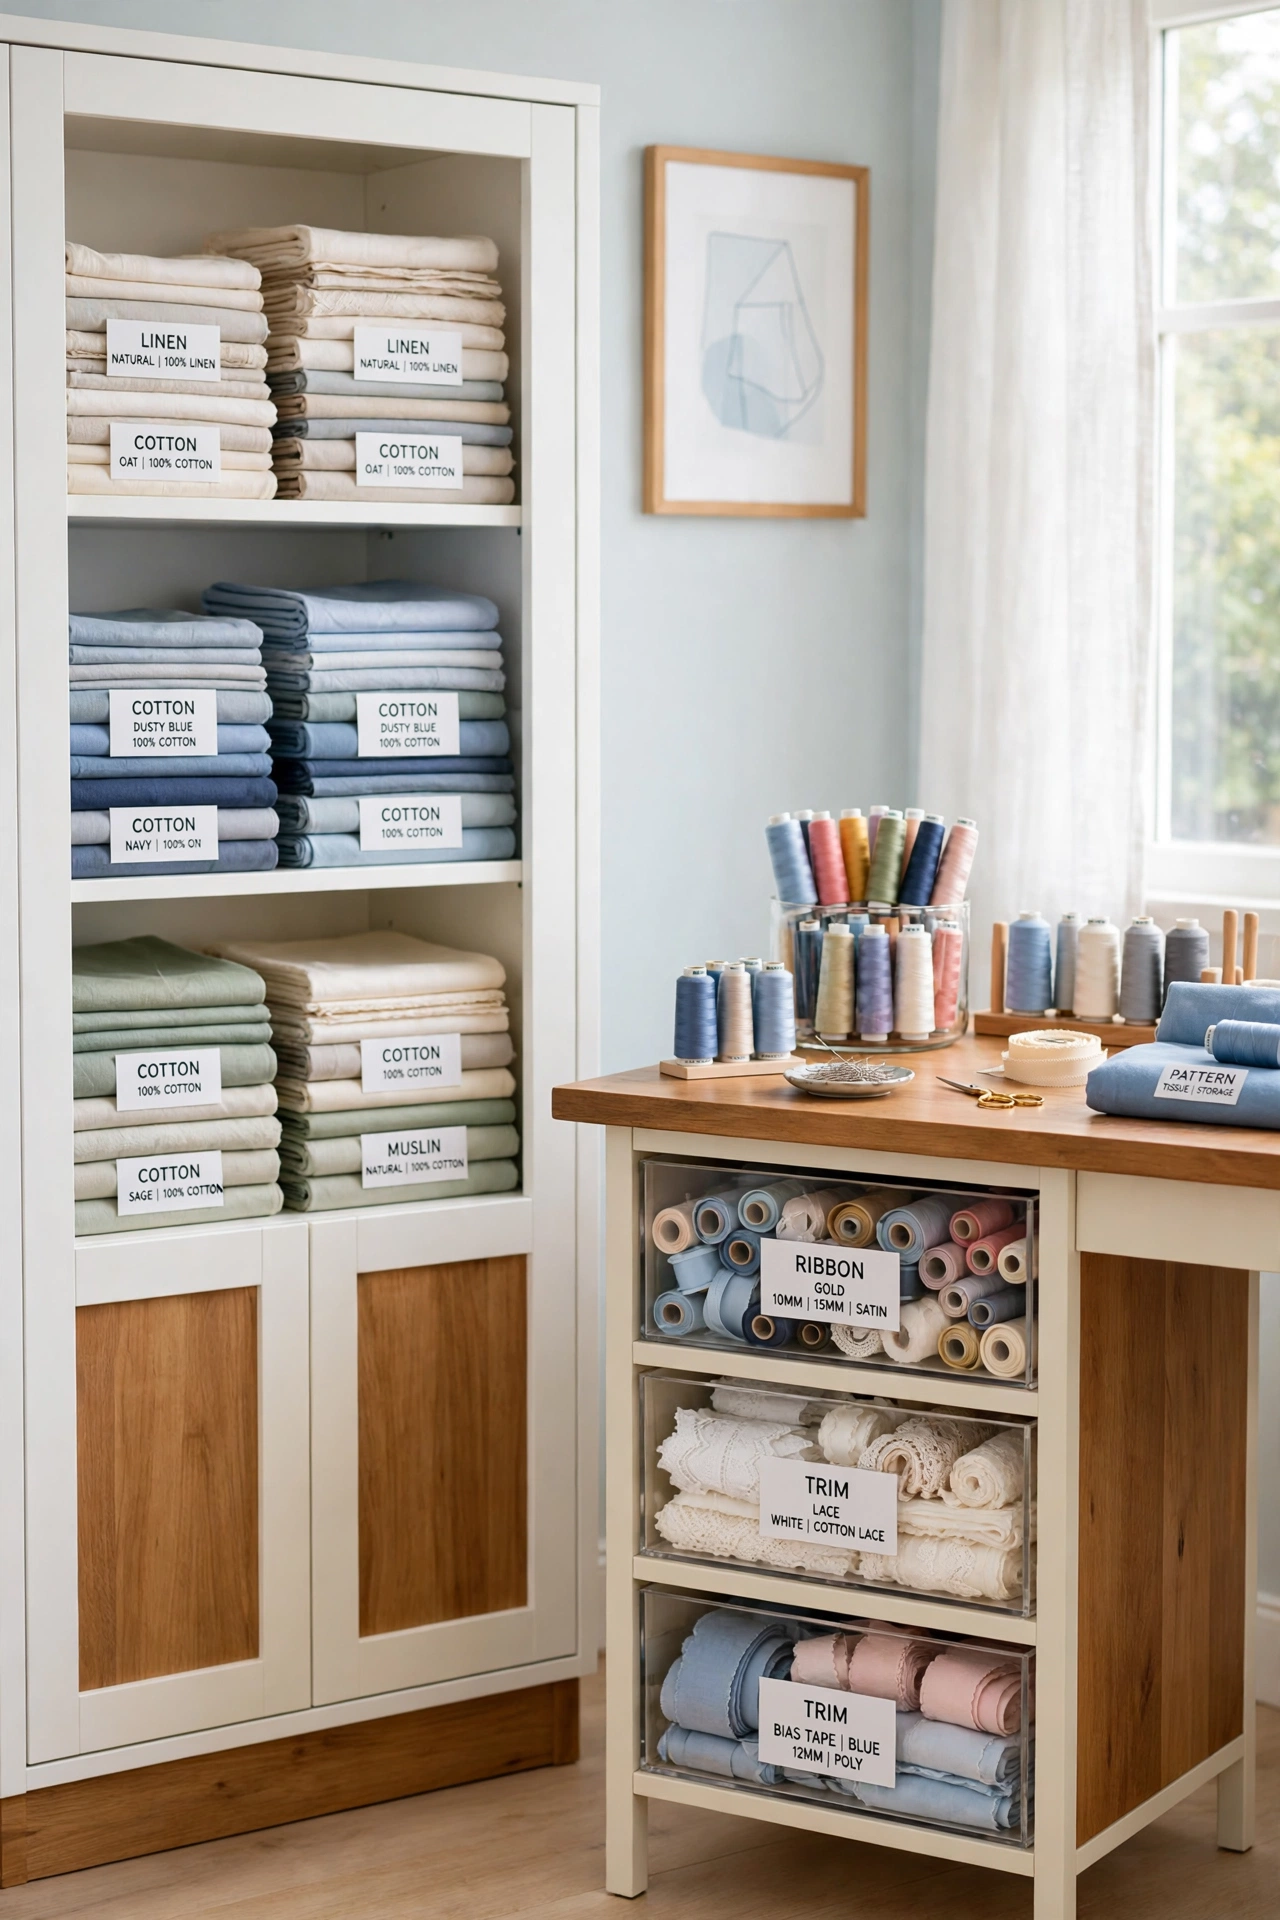
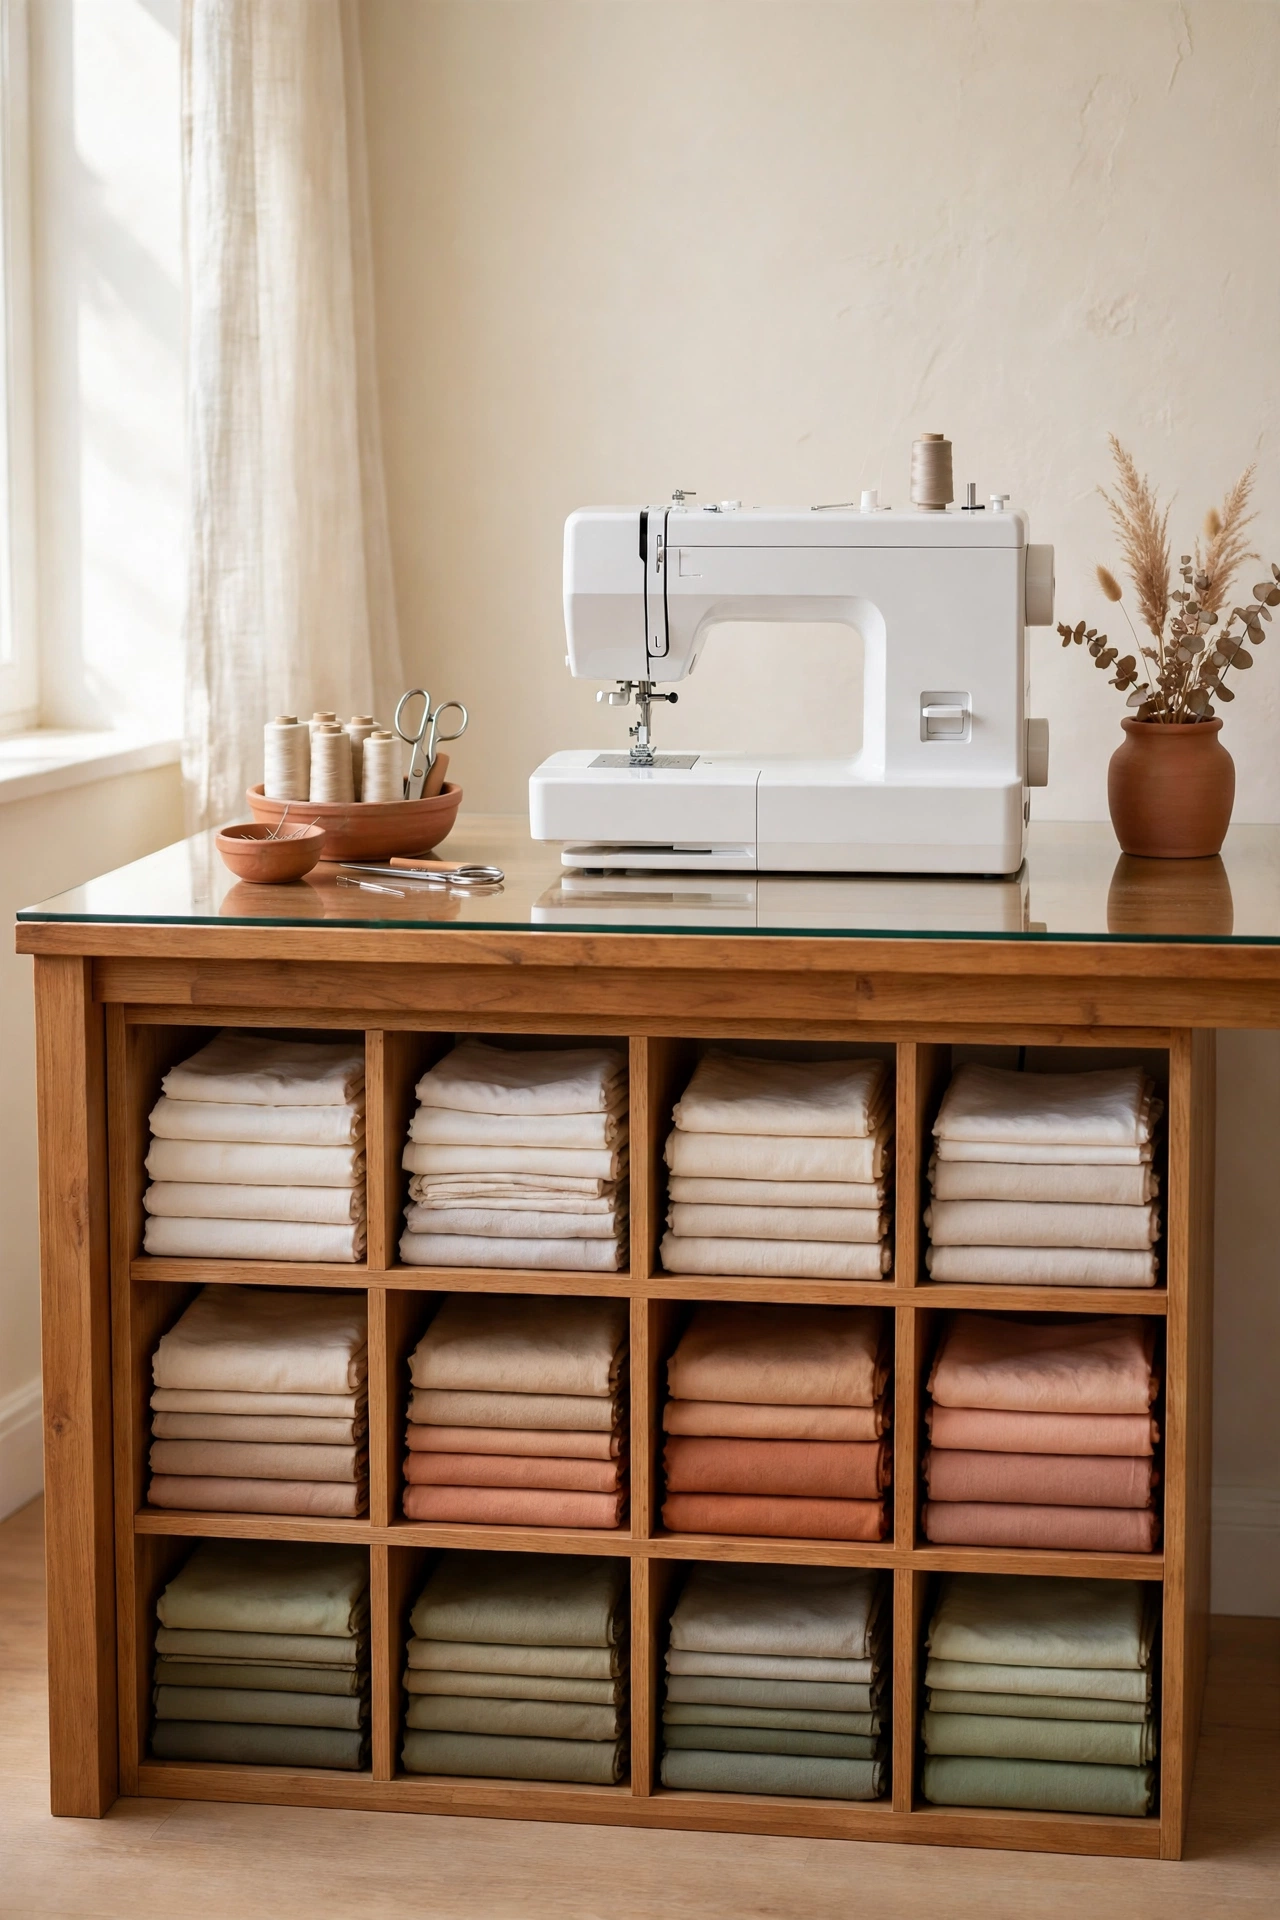
A cabinet beside your sewing table gives you storage and a work surface in one smart setup. Sort fabric inside the cabinet by color and type, with light hues on the upper shelves and darker pieces below. Keep thread, ribbon, and trim in clear bins and small drawers so every supply stays close to the machine.
Mount scissors, rulers, and other tools on the wall above the table so the work surface stays clear for cutting and sewing. For a tidy way to sort the small supplies that go with your fabric, these sewing notions organization ideas pair perfectly with a cabinet workstation. Everything stays within arm reach, and sewing sessions feel calm and productive.
3. Build a Wall From Stackable Crates
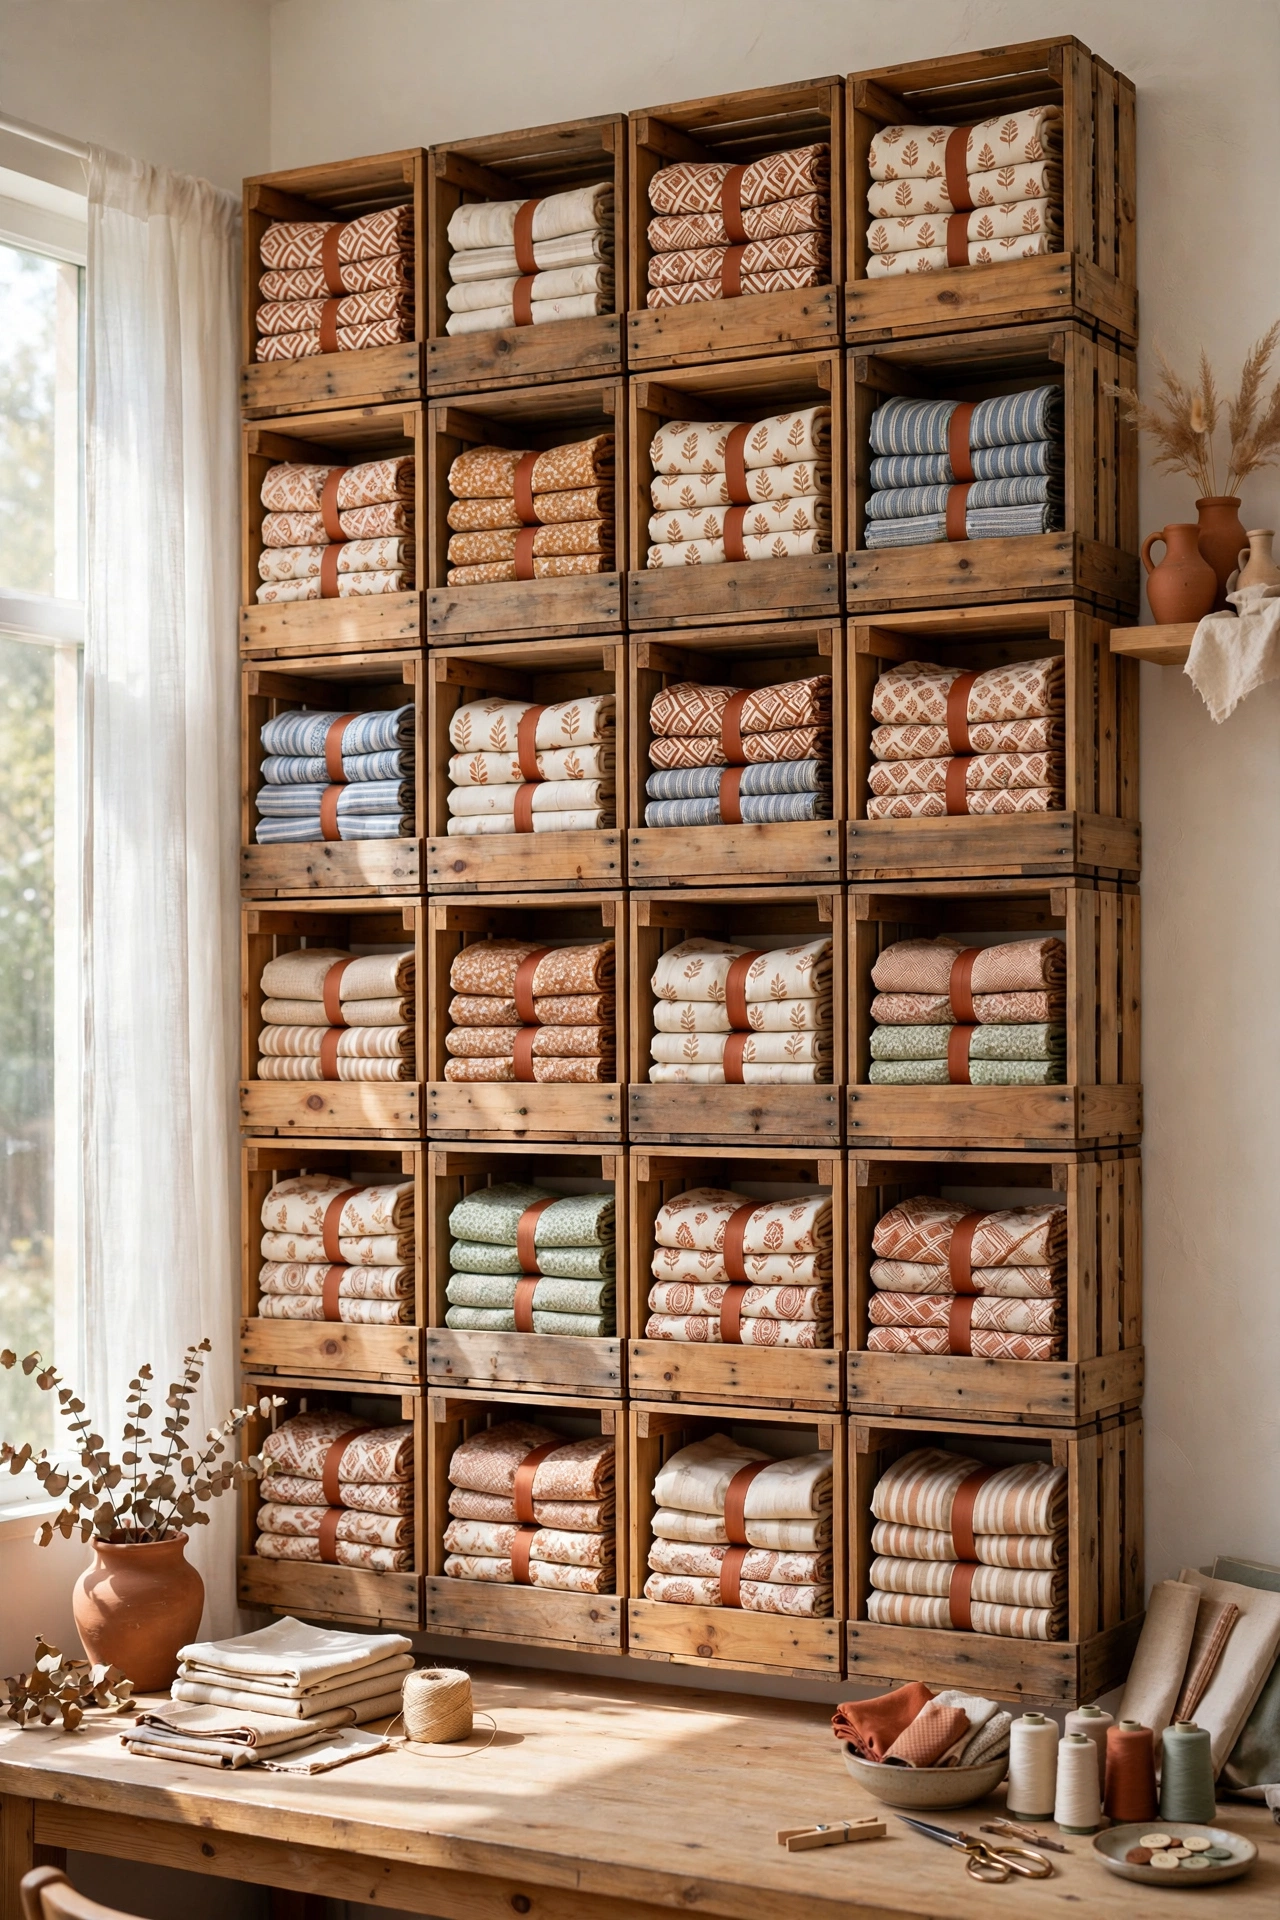
Stackable crates build a storage wall that grows with your collection. Place one crate for each pattern family or season, and secure folded fabric inside with a wide elastic band so every stack stays neat. The open fronts let you see each fold at a glance without opening a door or lid.
Crates are light, low cost, and easy to rearrange when a new project changes your sorting plan. Start with a small stack in a corner and add more crates as your stash grows. The playful grid looks cheerful in a compact craft room and keeps every theme in its own tidy home.
4. Organize a Closet With Clear Bins
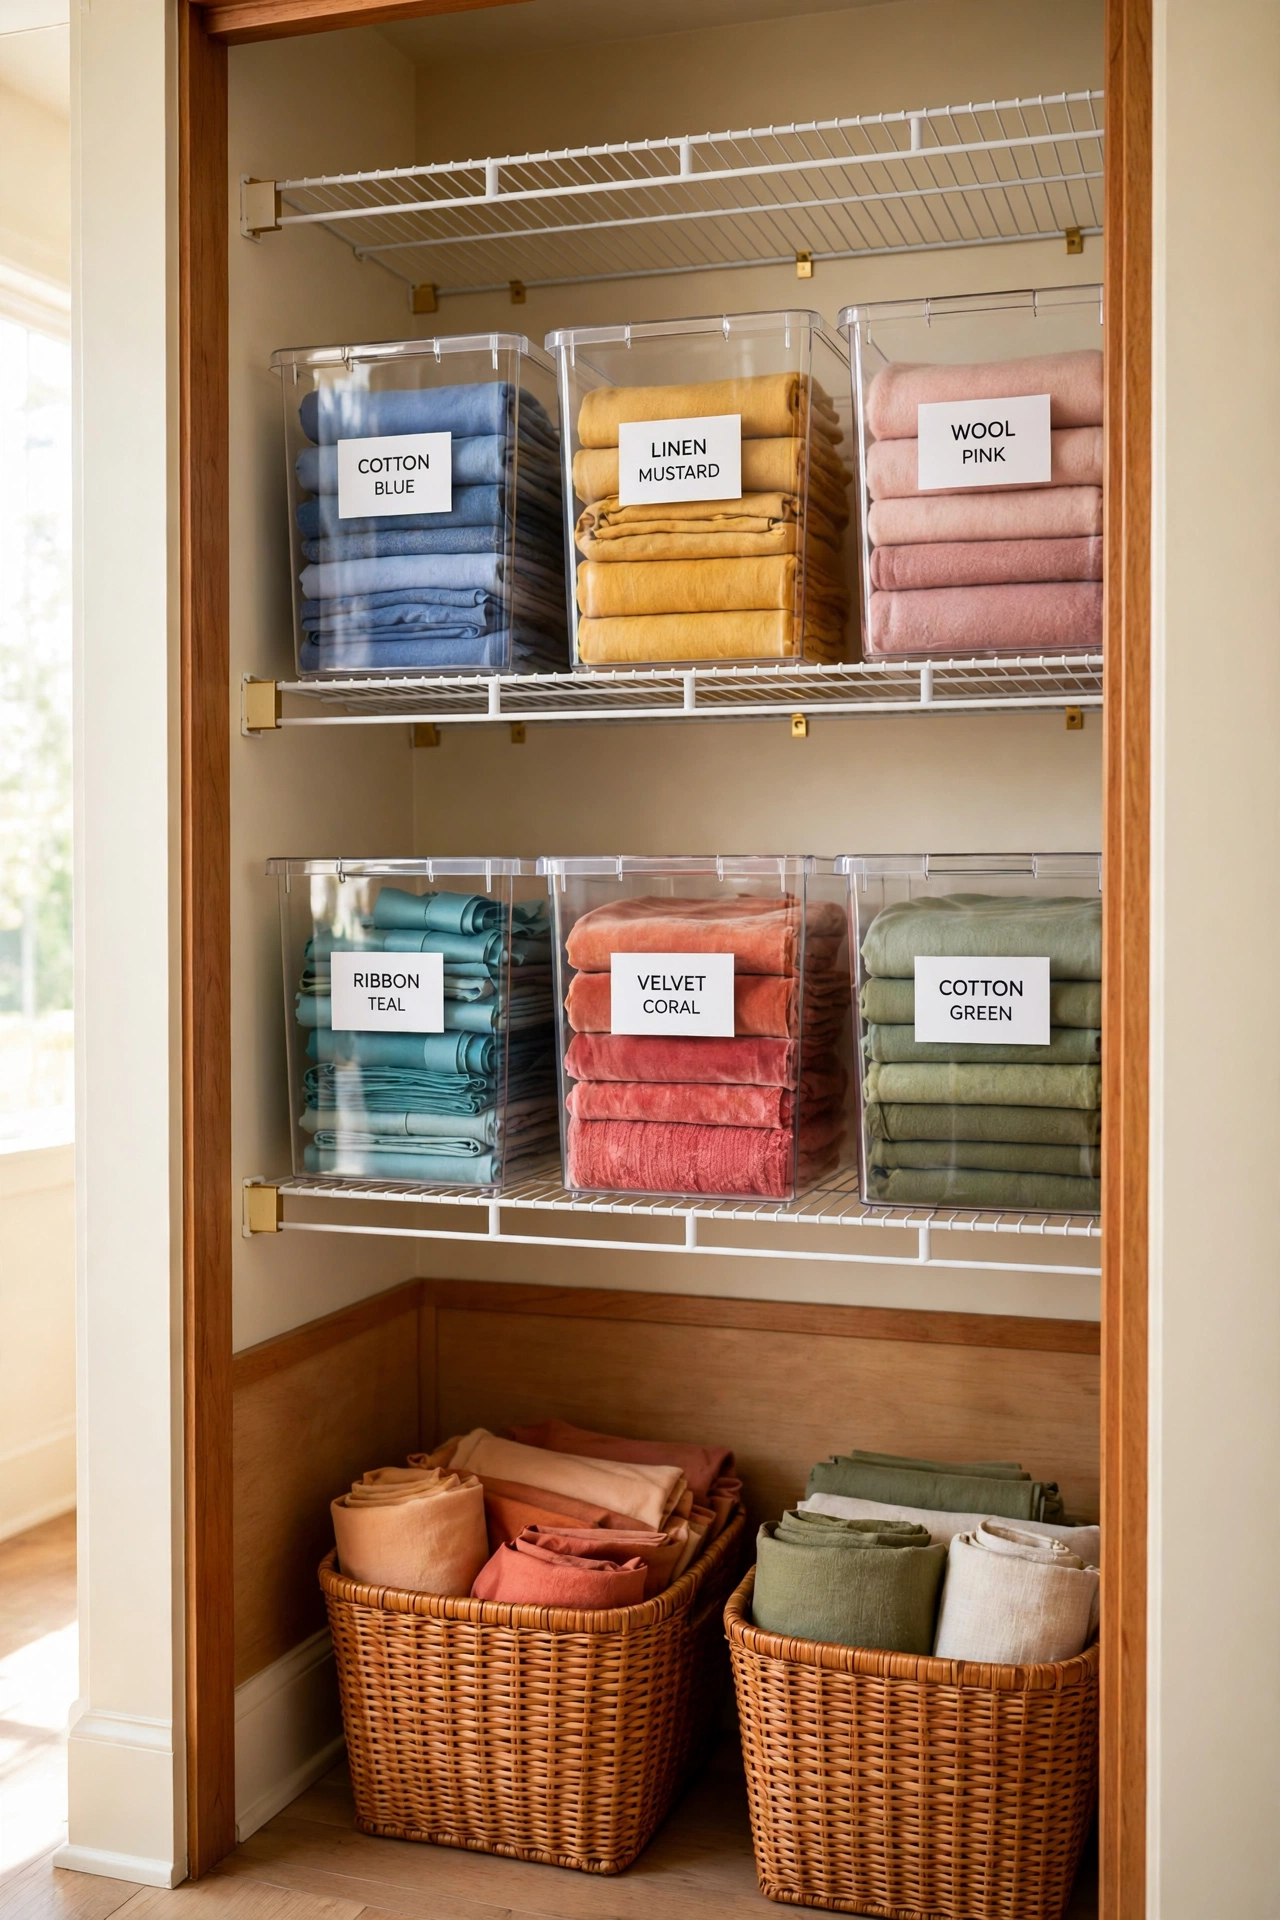
A spare closet becomes a hidden fabric vault with clear bins on wire shelves. Label each bin by color, project, or fabric type, and stack the bins so the labels face outward. Clear walls show the contents at a glance, and lids keep dust away from delicate prints.
Use floor baskets or large totes below the shelves for bulky yardage and big tools that do not fit in bins. If your closet also holds bedding or towels, these linen closet organization ideas show how to keep every shelf neat at the same time. A closed closet door hides the whole collection, yet everything stays sorted inside.
5. Fill Cube Shelves With Matching Baskets
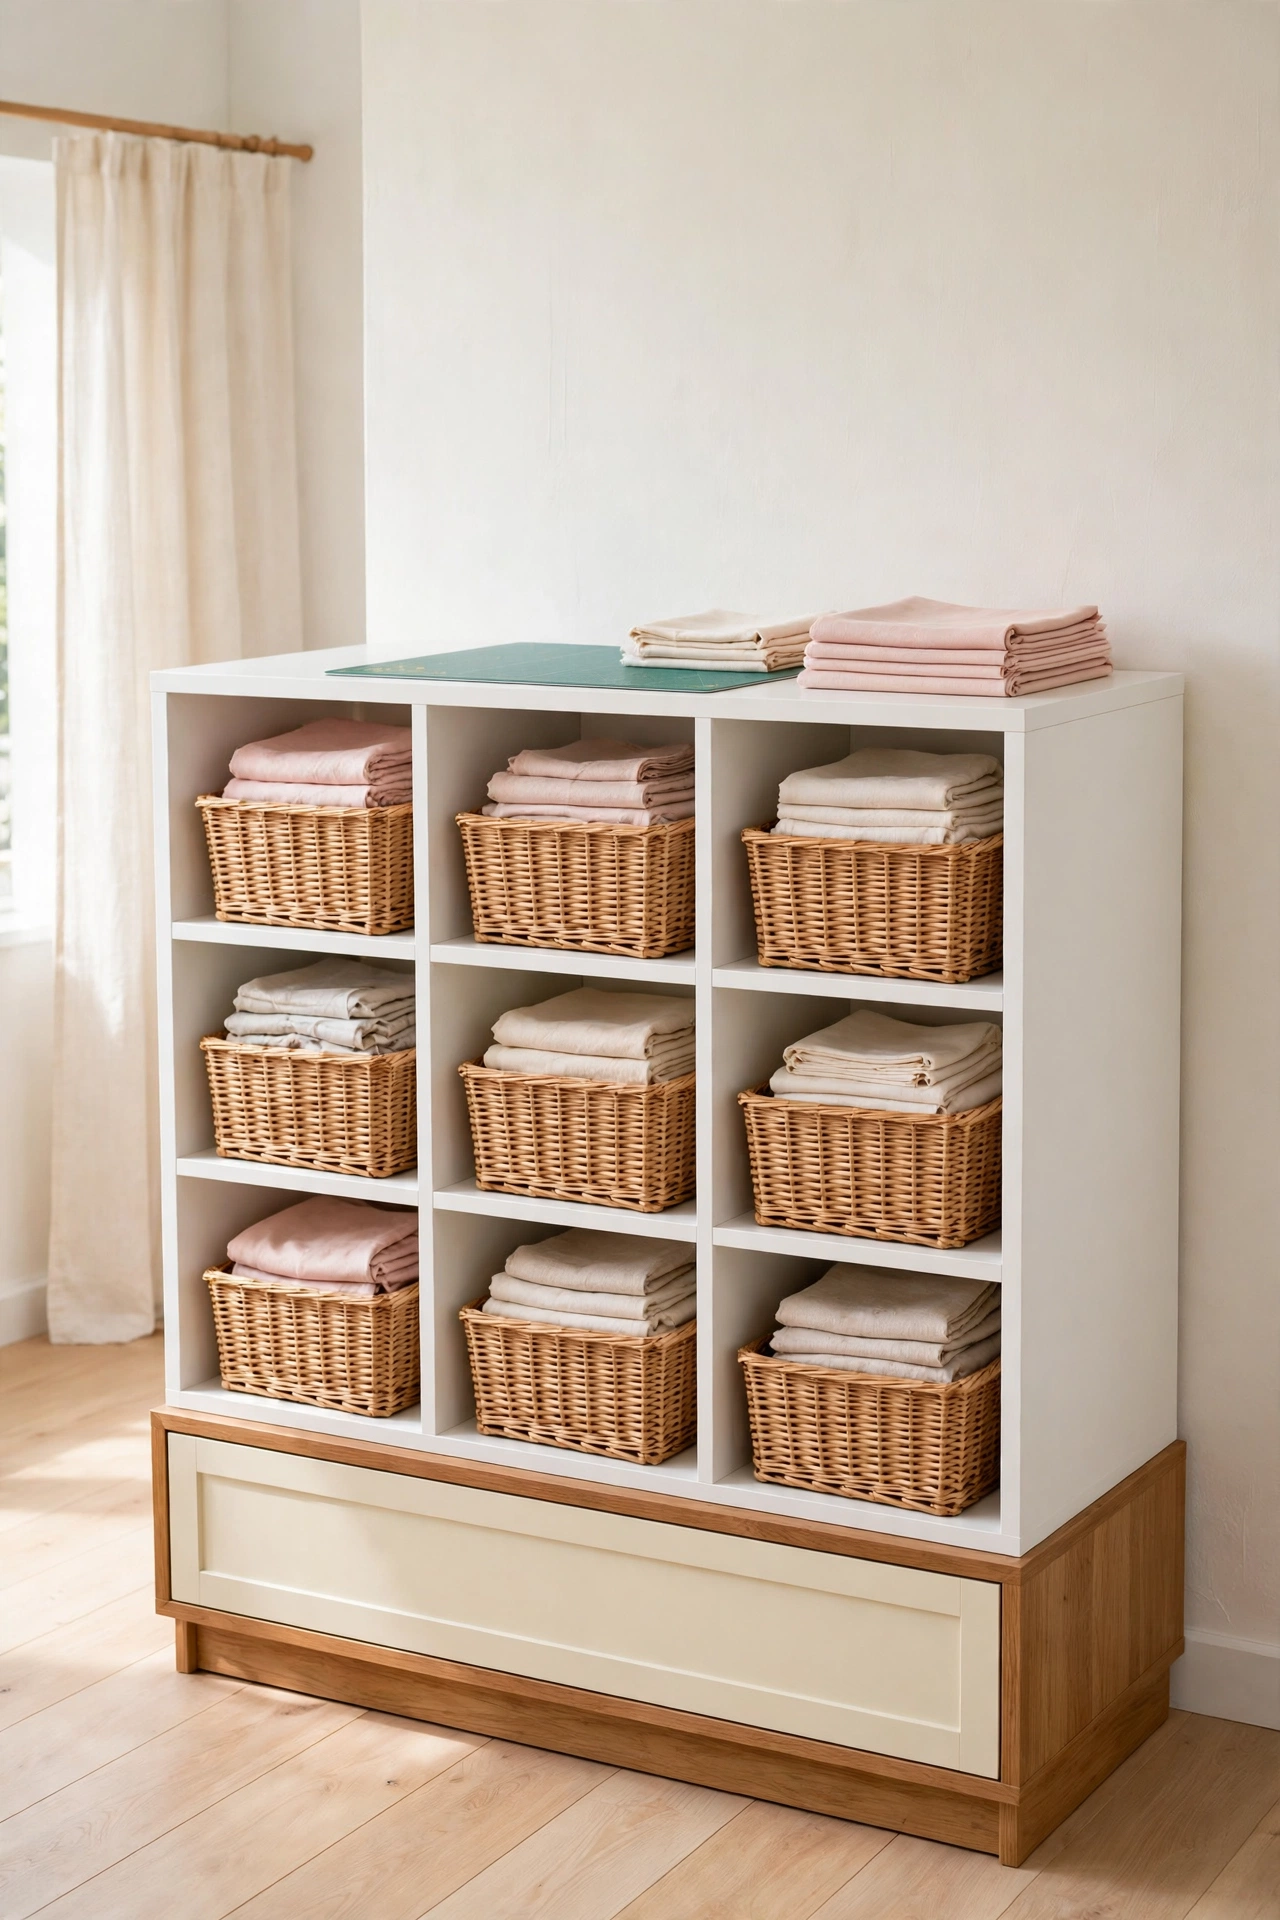
A cube shelf unit with matching baskets gives fabric storage a clean and streamlined look. Each basket slides into its own cubby and holds one group of folded fabric, so the front of the unit looks calm and even. Choose baskets in one material and color for a tidy, intentional finish.
The flat top of the unit doubles as a cutting table or extra work surface, which saves space in a small room. Pull out one basket at a time to browse, then slide it back when you are done. This discreet system suits shared rooms where you want storage to blend in rather than stand out.
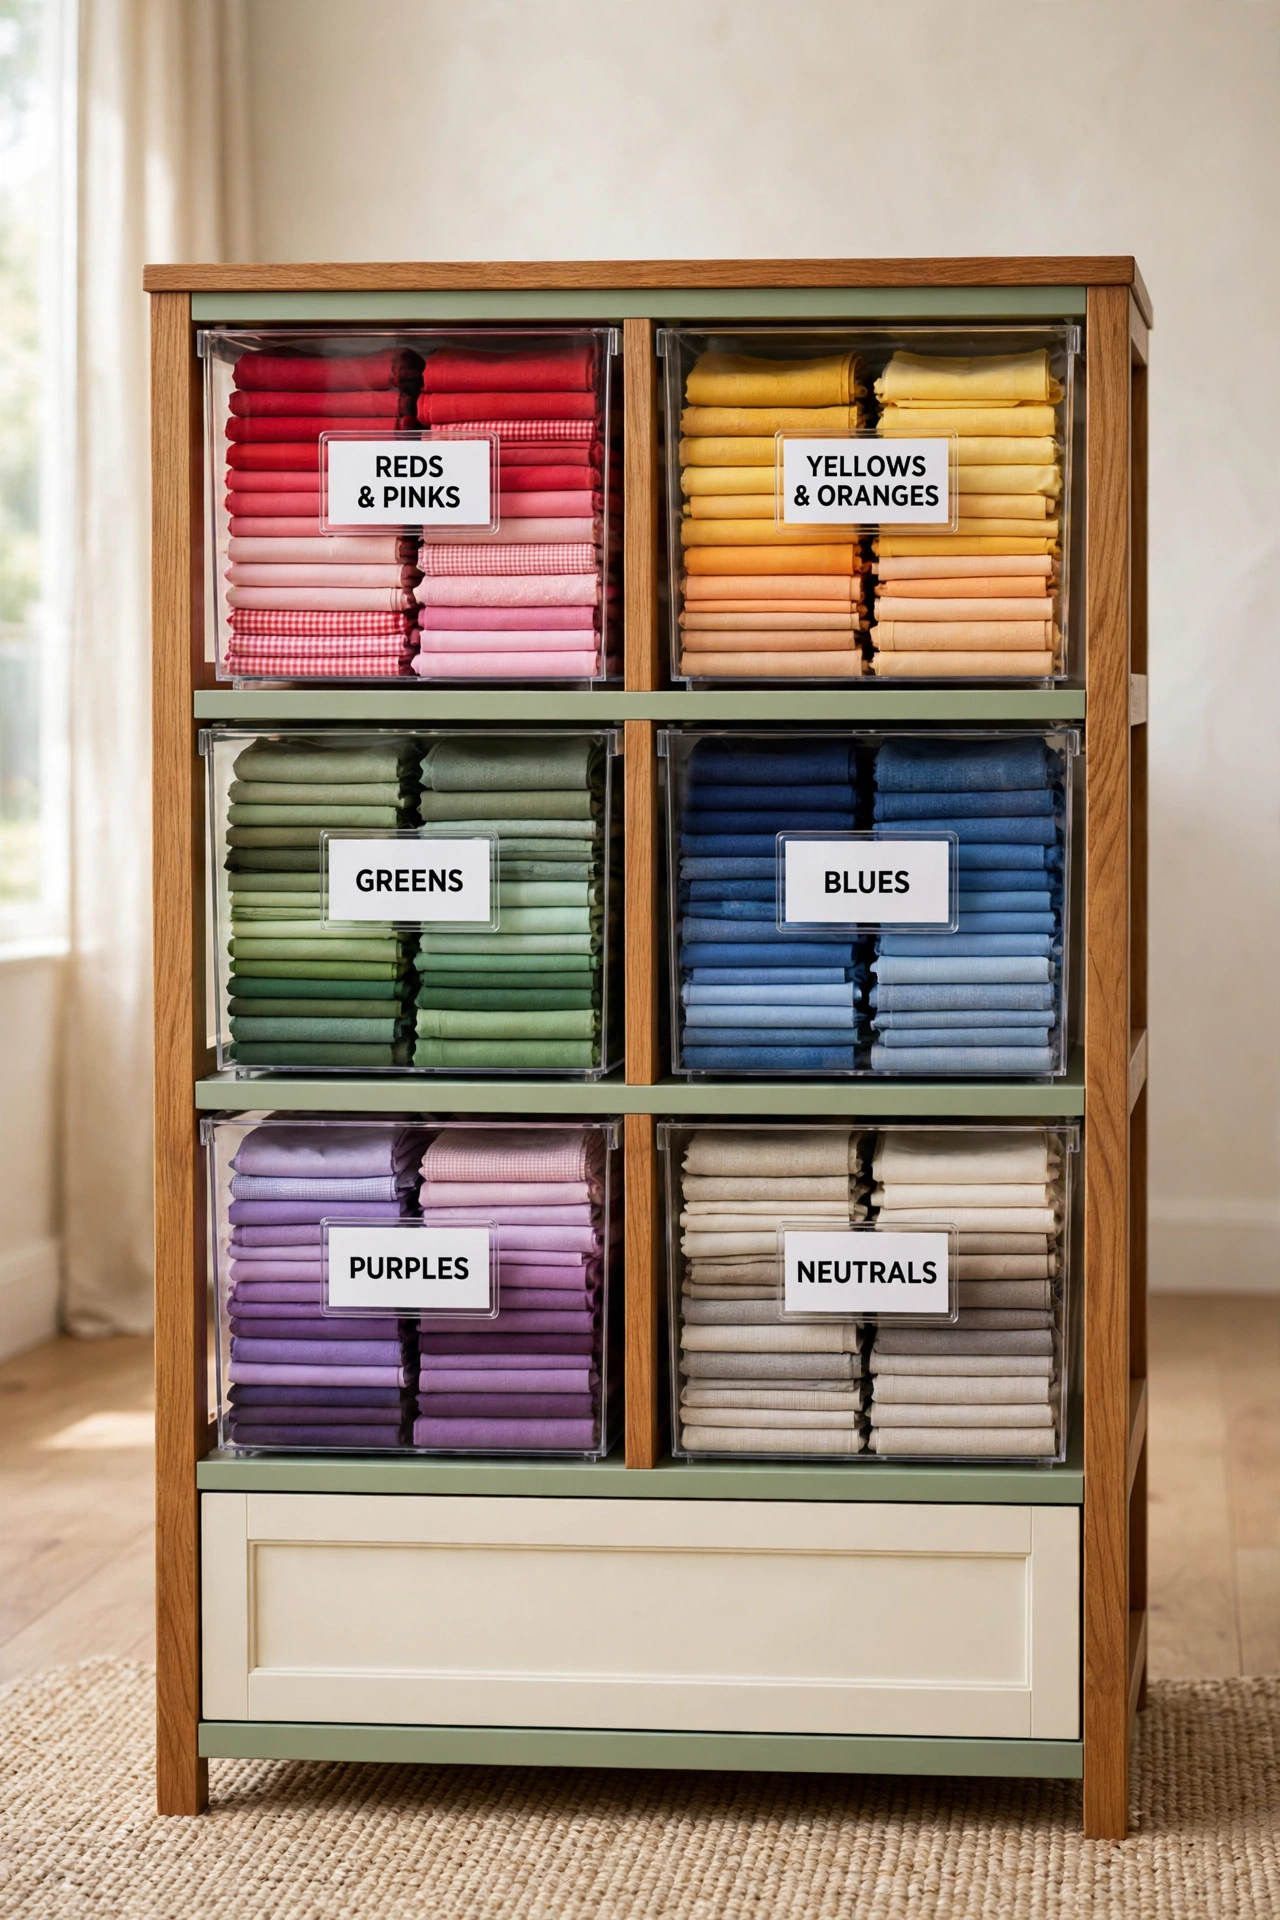
6. Sort Scraps in Clear Color-Coded Drawers
Clear drawer bins turn scrap storage into a colorful display you can actually enjoy. Sort folded scraps and fat quarters by color family, and add a bold printed label to the front of each drawer. The clear walls let you see every shade without opening a drawer first.
This setup works best for small cuts that would vanish inside a large bin. Keep warm tones together, cool tones together, and neutrals in their own drawer. When a new project calls for a certain color, you can pull the right drawer and find the perfect piece in seconds.
7. Use a Metal Rack in a Corner
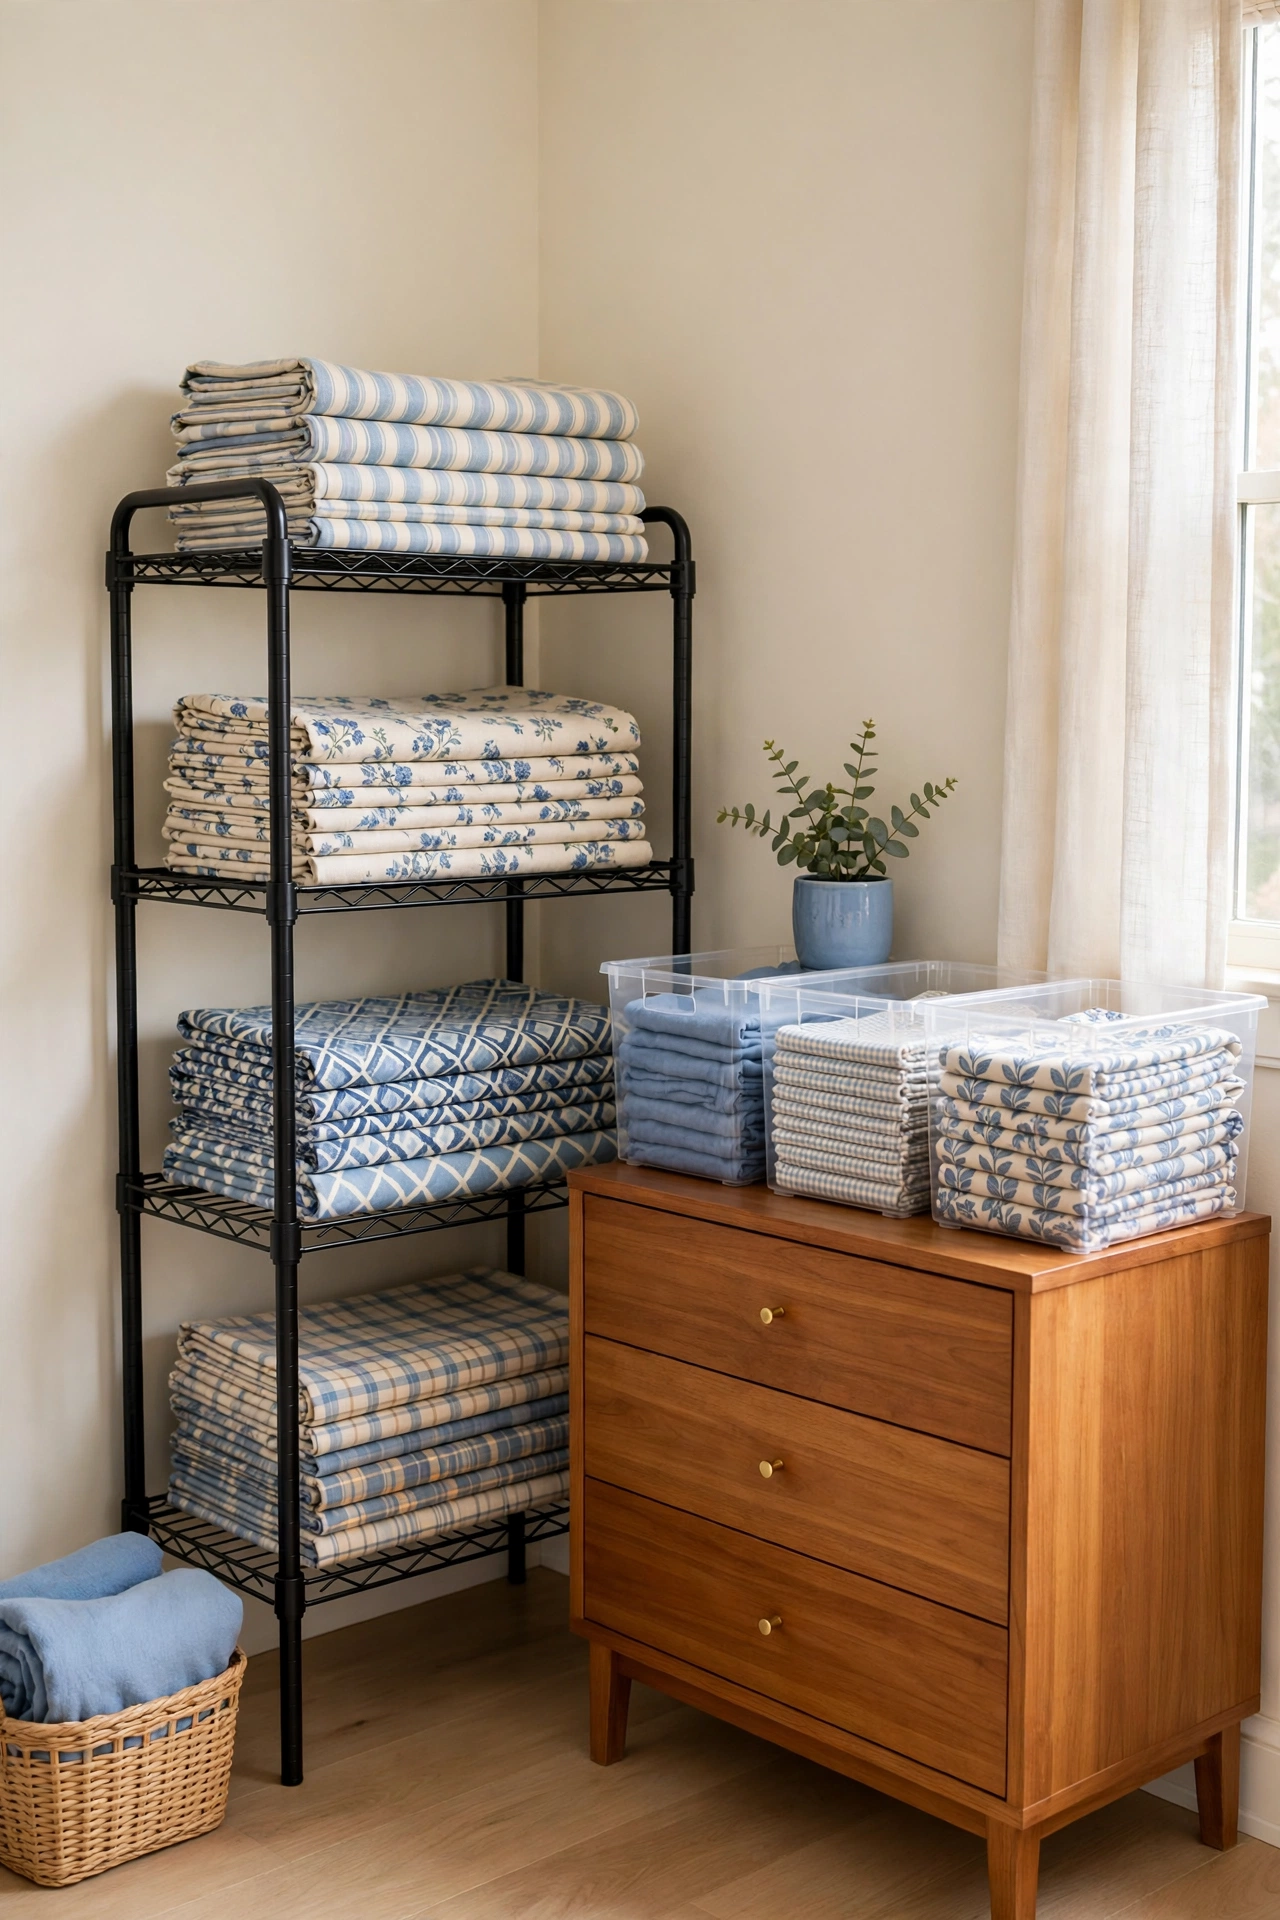
A tall wire rack turns an empty corner into hardworking fabric storage. Stack folded fabric on the open shelves by type or print, with the most used pieces at eye level and heavier bolts lower down. The open frame keeps air moving around the fabric and makes every stack easy to spot.
Pair the rack with a small dresser or a set of clear bins for delicate pieces and tiny scraps. The industrial look suits a busy studio, and the rack holds a large collection in a very small footprint. Keep the stacks even and aligned so the full rack still looks tidy and purposeful.
8. Tuck Mini Cubes Under the Desk
Mini cube shelves under a sewing desk use space that would otherwise sit empty. Each cube holds folded fabric sorted by tone or by current project, so your most used materials sit right below your work surface. The desk top stays clear for the machine, cutting mat, and tools.
This low profile setup is ideal when floor space is tight and you want supplies close at hand. Sort one cube per project so you can pull out a whole set of coordinating fabrics at once. When the project is done, refold the leftovers and return each piece to its cube.
9. Label Bins on Sturdy Metal Racks
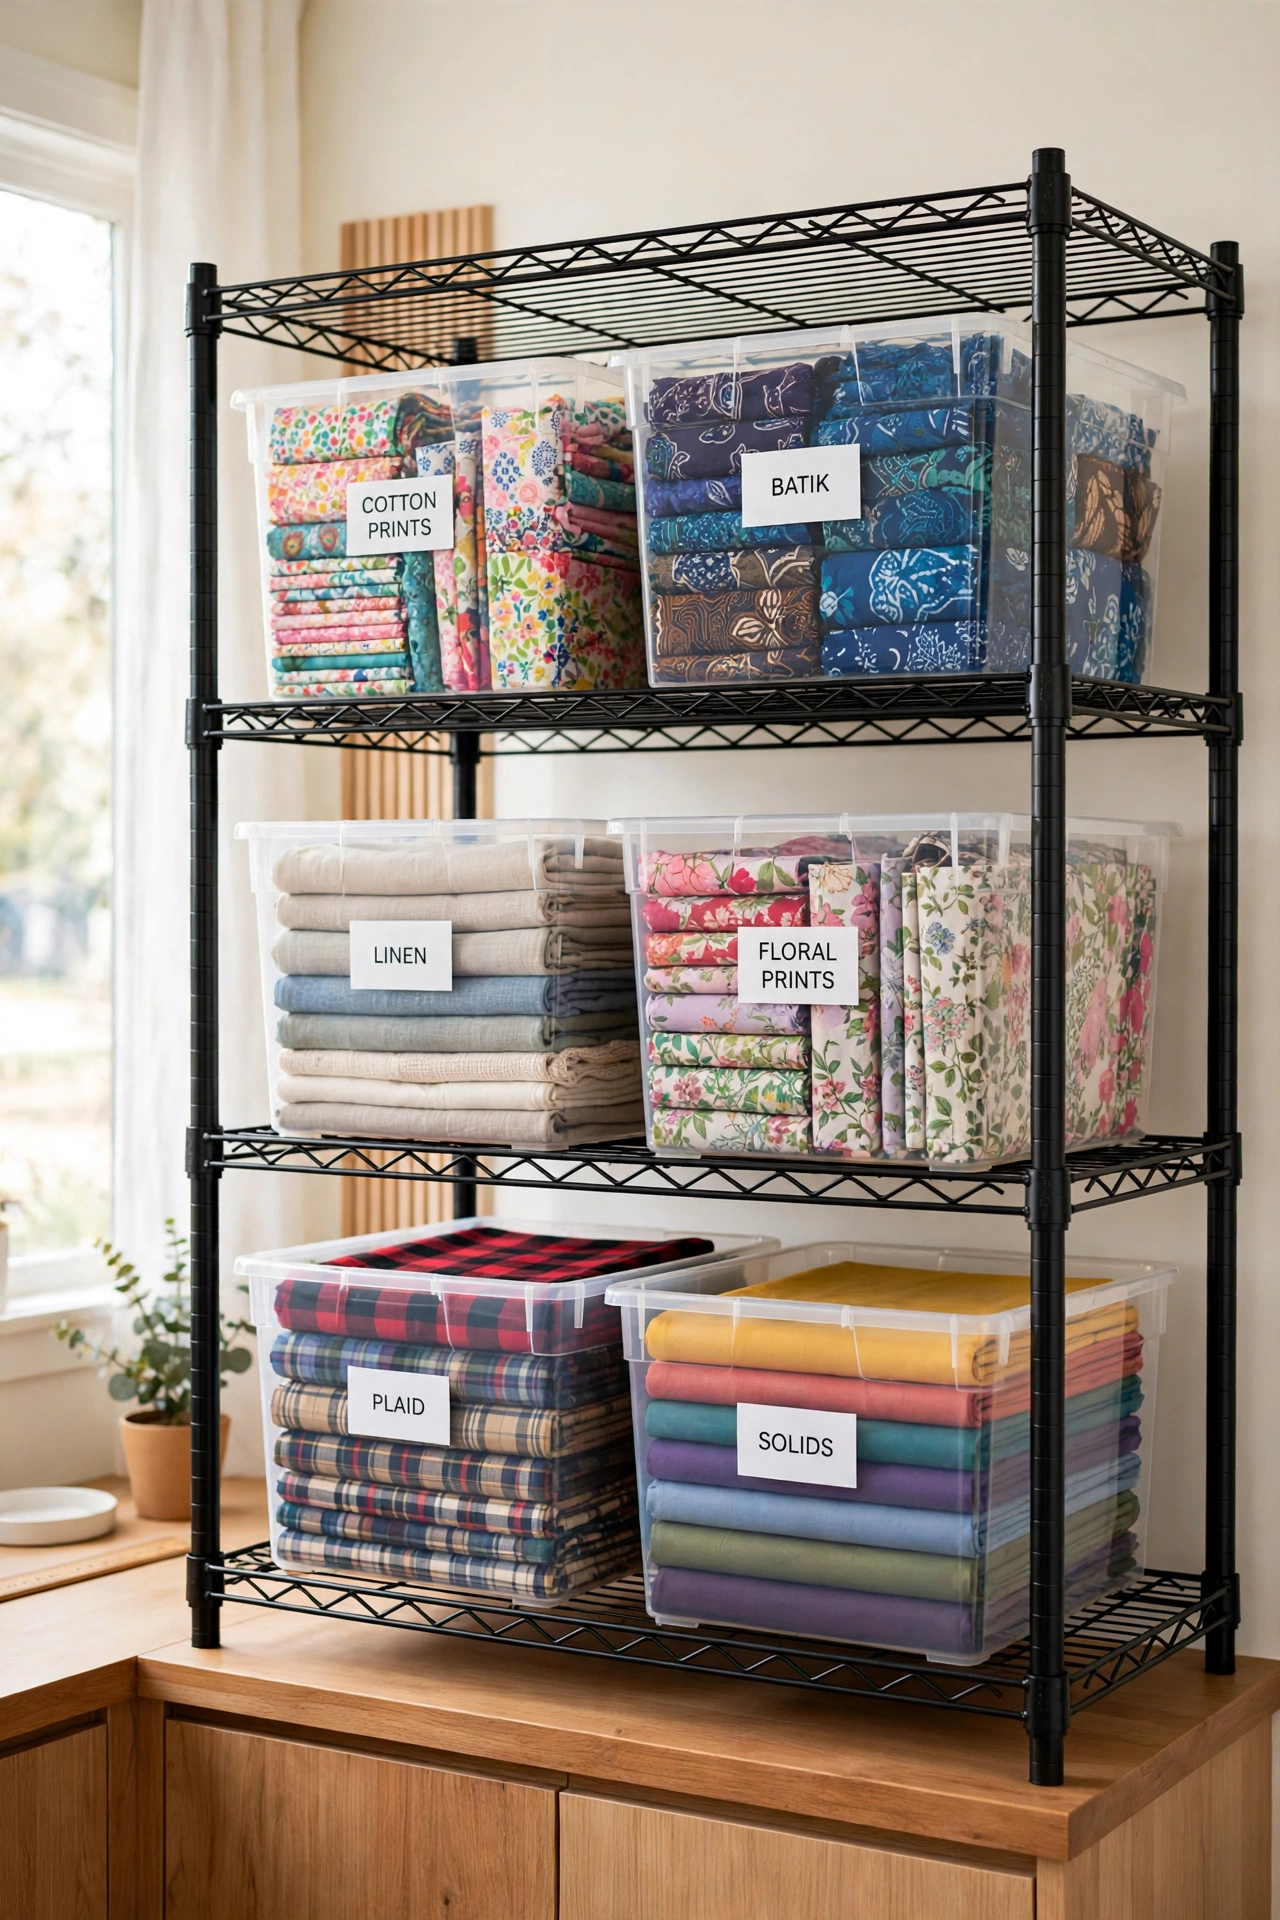
Labeled bins on sturdy metal racks bring order to a large fabric collection. Give each bin a clear printed label for one category, such as batiks, child prints, or travel themes, and keep the bins uniform in size and color. Uniform bins stack neatly and make the whole rack look calm and organized.
Lids protect fabric from dust while the labels save you from opening every bin to find one print. Place the bins you reach for most often at waist height and seasonal bins higher up or lower down. This system handles a high volume of fabric in a tight space without losing easy access.
10. Pair Open Shelves With Deep Drawers
A cabinet that pairs open shelves with deep drawers handles small cuts and bulky yardage in one piece of furniture. Keep small folded pieces in clear bins on the upper shelves where you can see them easily. Use the deep drawers below for large cuts, extra yardage, and backing fabric.
This combination fits well in a craft room corner or a bedroom nook where you need storage to look like real furniture. Keep the shelves tidy with even folds and matching bins, and label the drawers so you remember what is inside each one. The mix of open and closed storage gives you both display and dust protection.
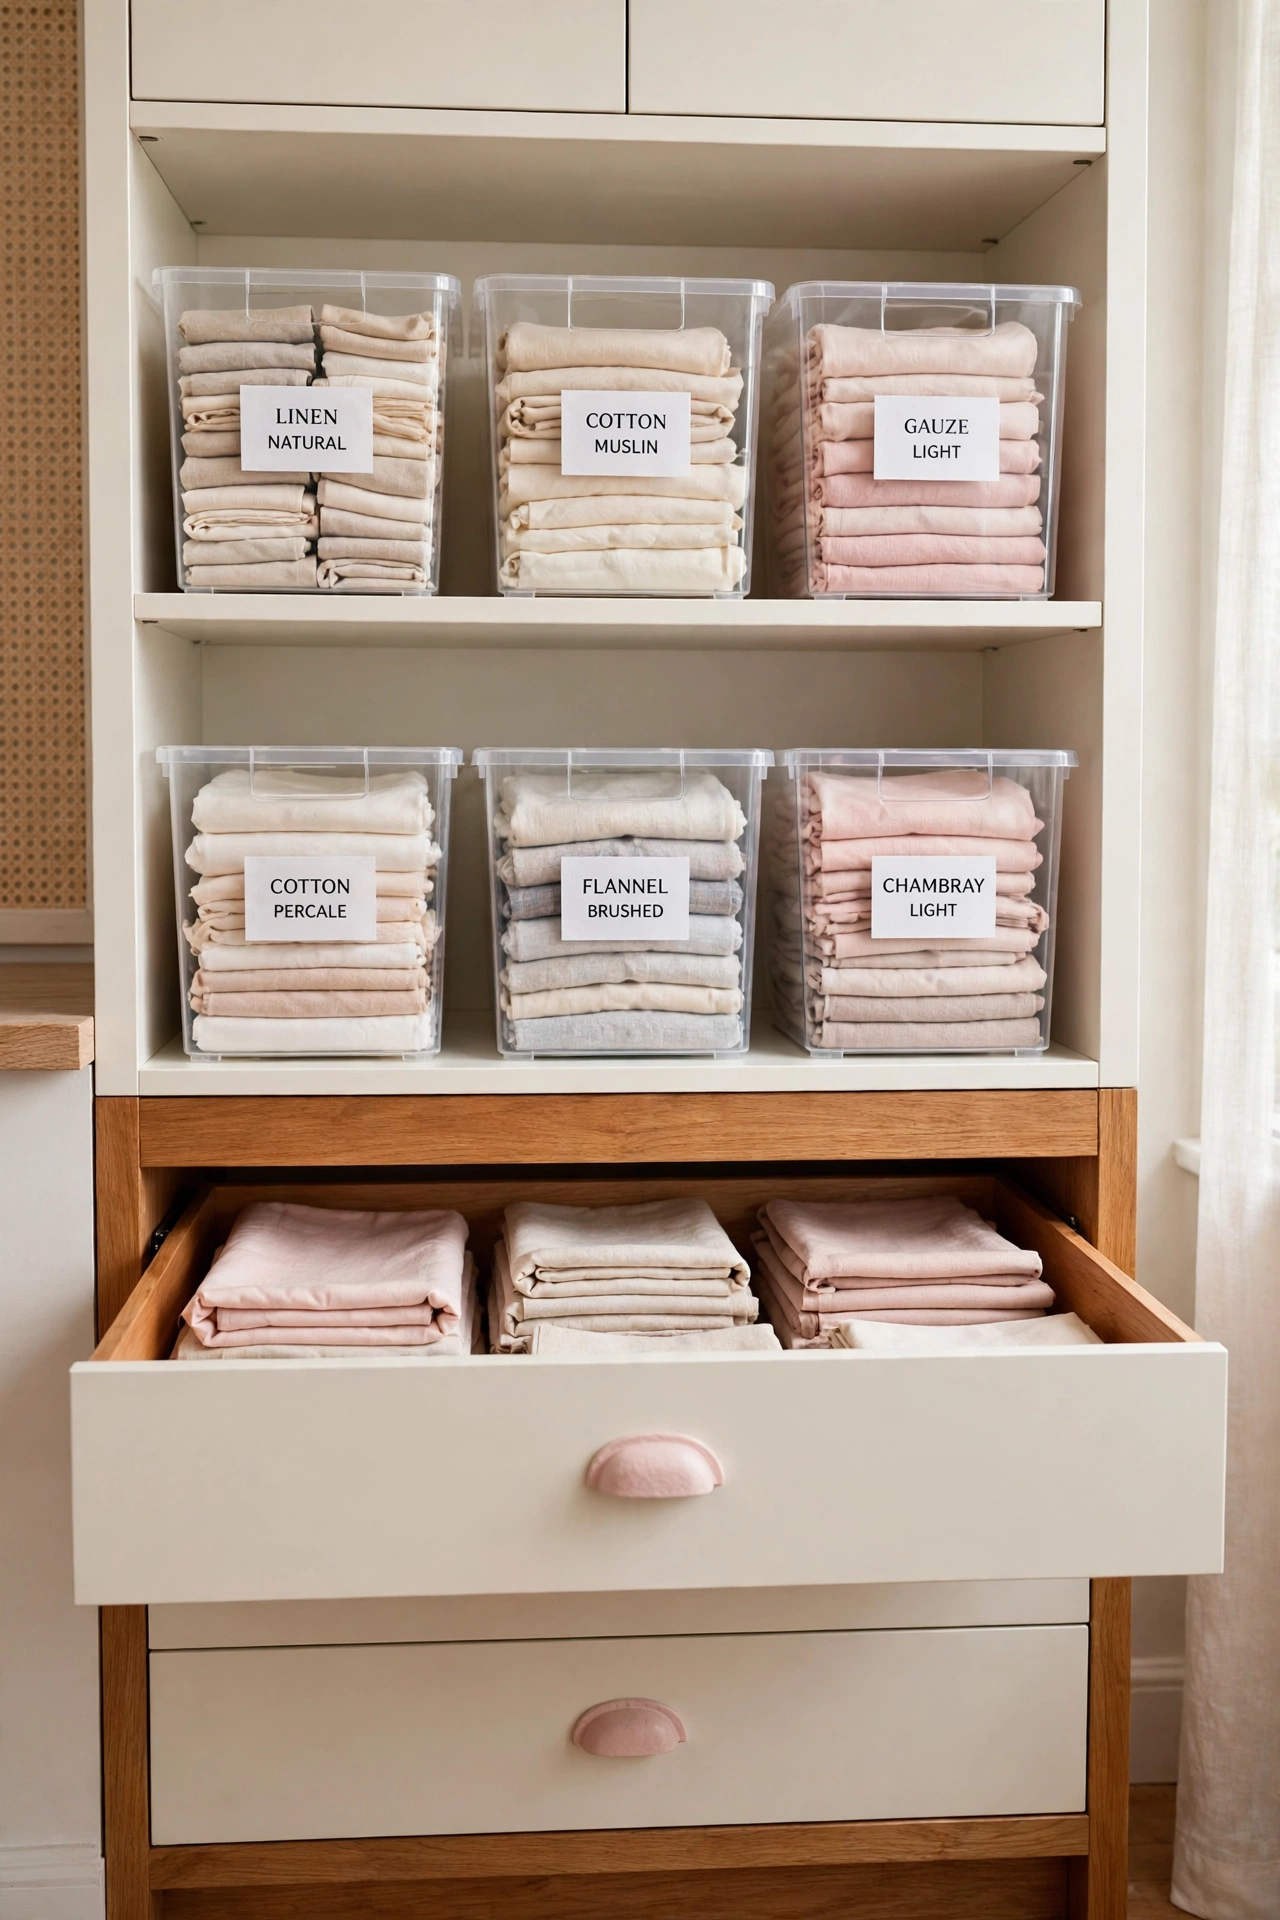
11. Display Fabric on Slanted Wood Shelves
Slanted wood shelves give fabric storage a boutique feel. The angled shelves tilt each stack forward just enough that you can see the top fold and the color of every pile. Sort the stacks by color from left to right so the unit reads like a rainbow.
Top the unit with a small potted plant or a simple decorative object to make it a focal point in the room. Slanted shelves work best for medium stacks that you browse often, since each pile is easy to lift out without disturbing the rest. The warm wood finish adds charm while keeping the display practical.
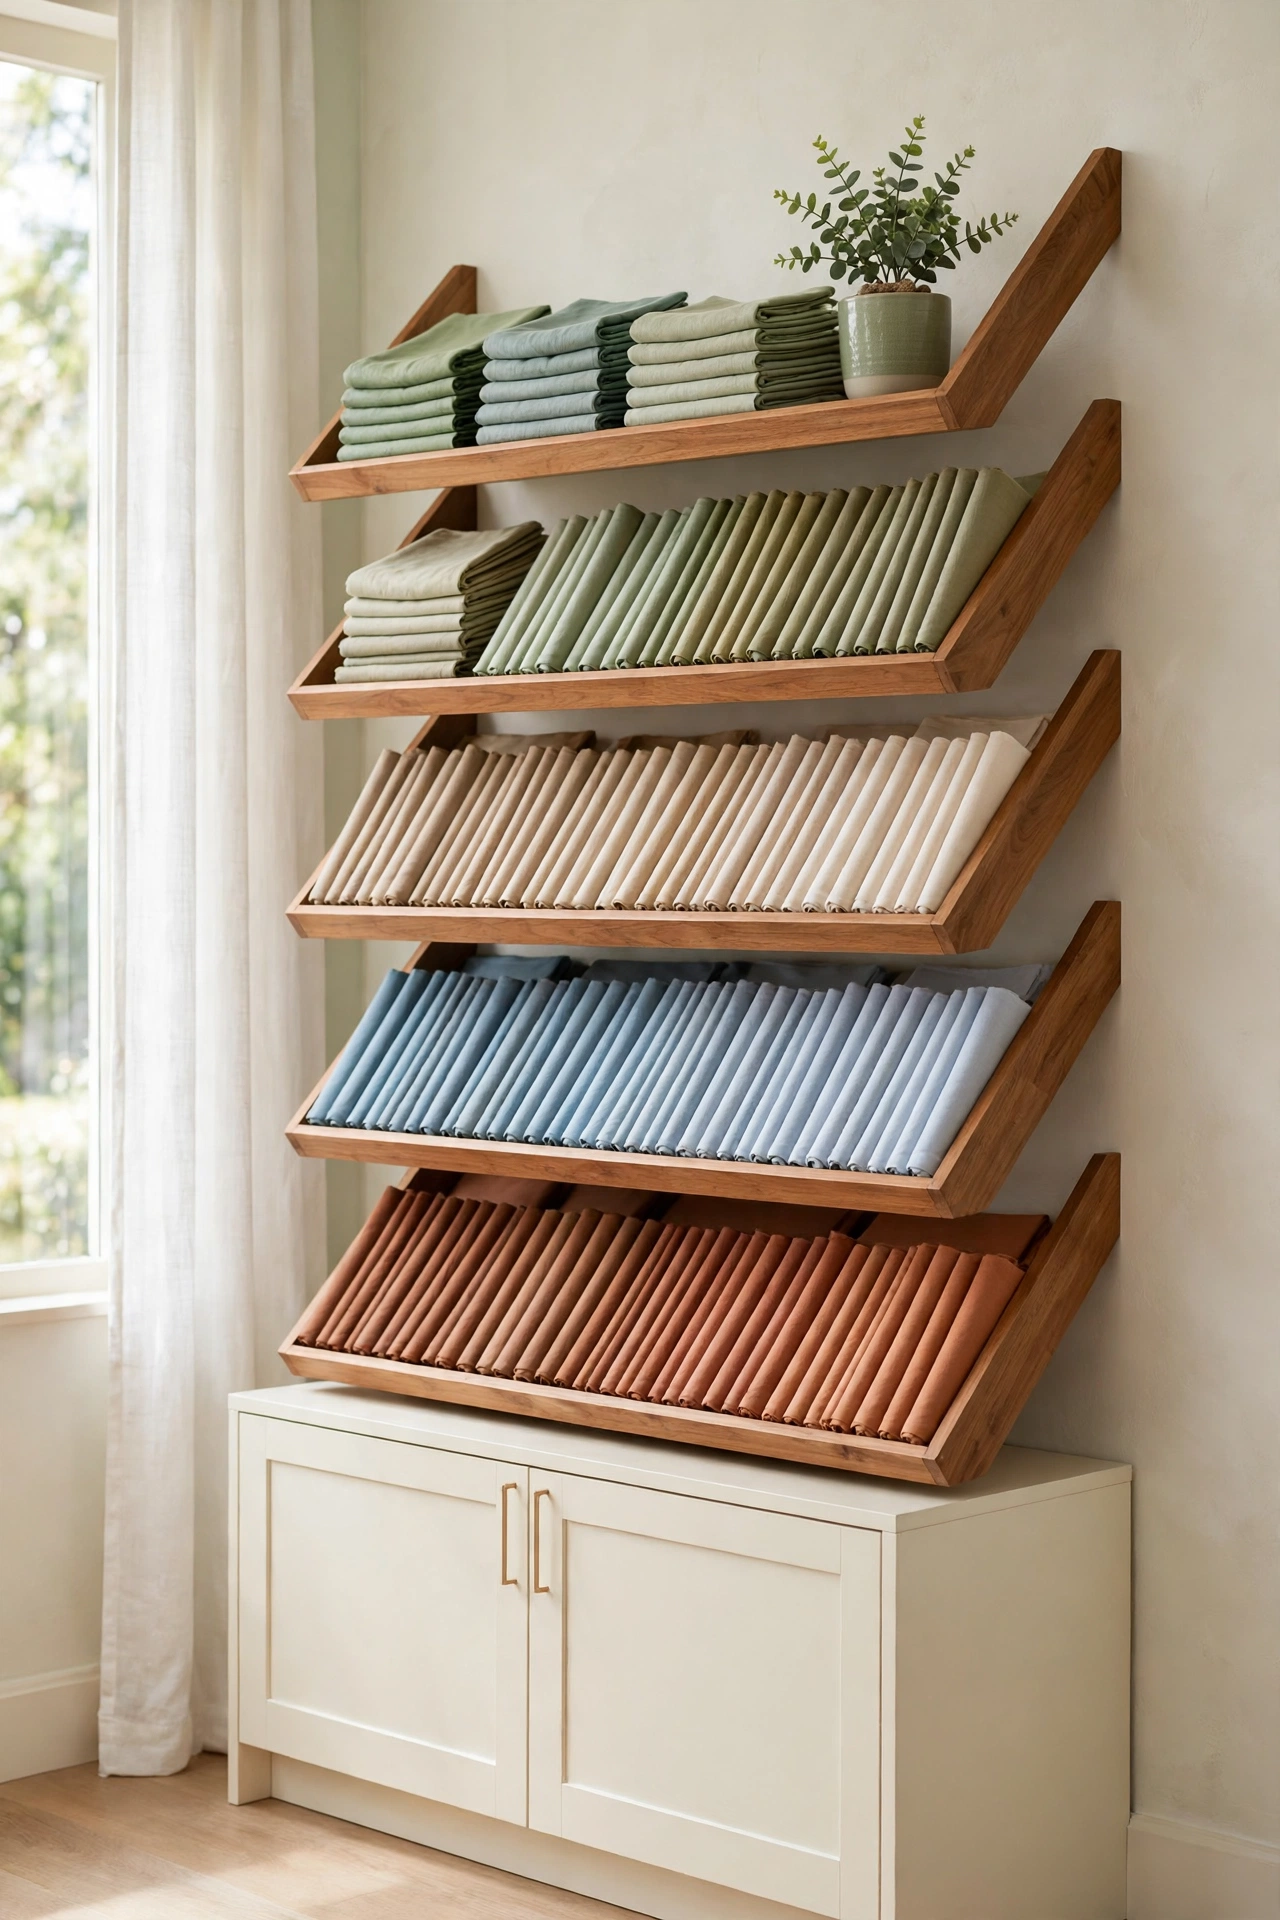
12. Keep Fat Quarters in Mini Shelf Cubes
Compact cube shelves are the perfect size for fat quarters and small fabric bundles. Sort the bundles by color gradient across the cubbies, with each cube holding one shade family. The small openings keep stacks from toppling and make the whole unit easy to scan.
Place the cubes under a workstation or on a desk where coordinating sets stay close to your cutting area. In a tight room, these small craft room layout ideas show how compact storage can make every inch work harder. Mini cubes encourage you to use vertical space well, especially in a shared or multipurpose room.
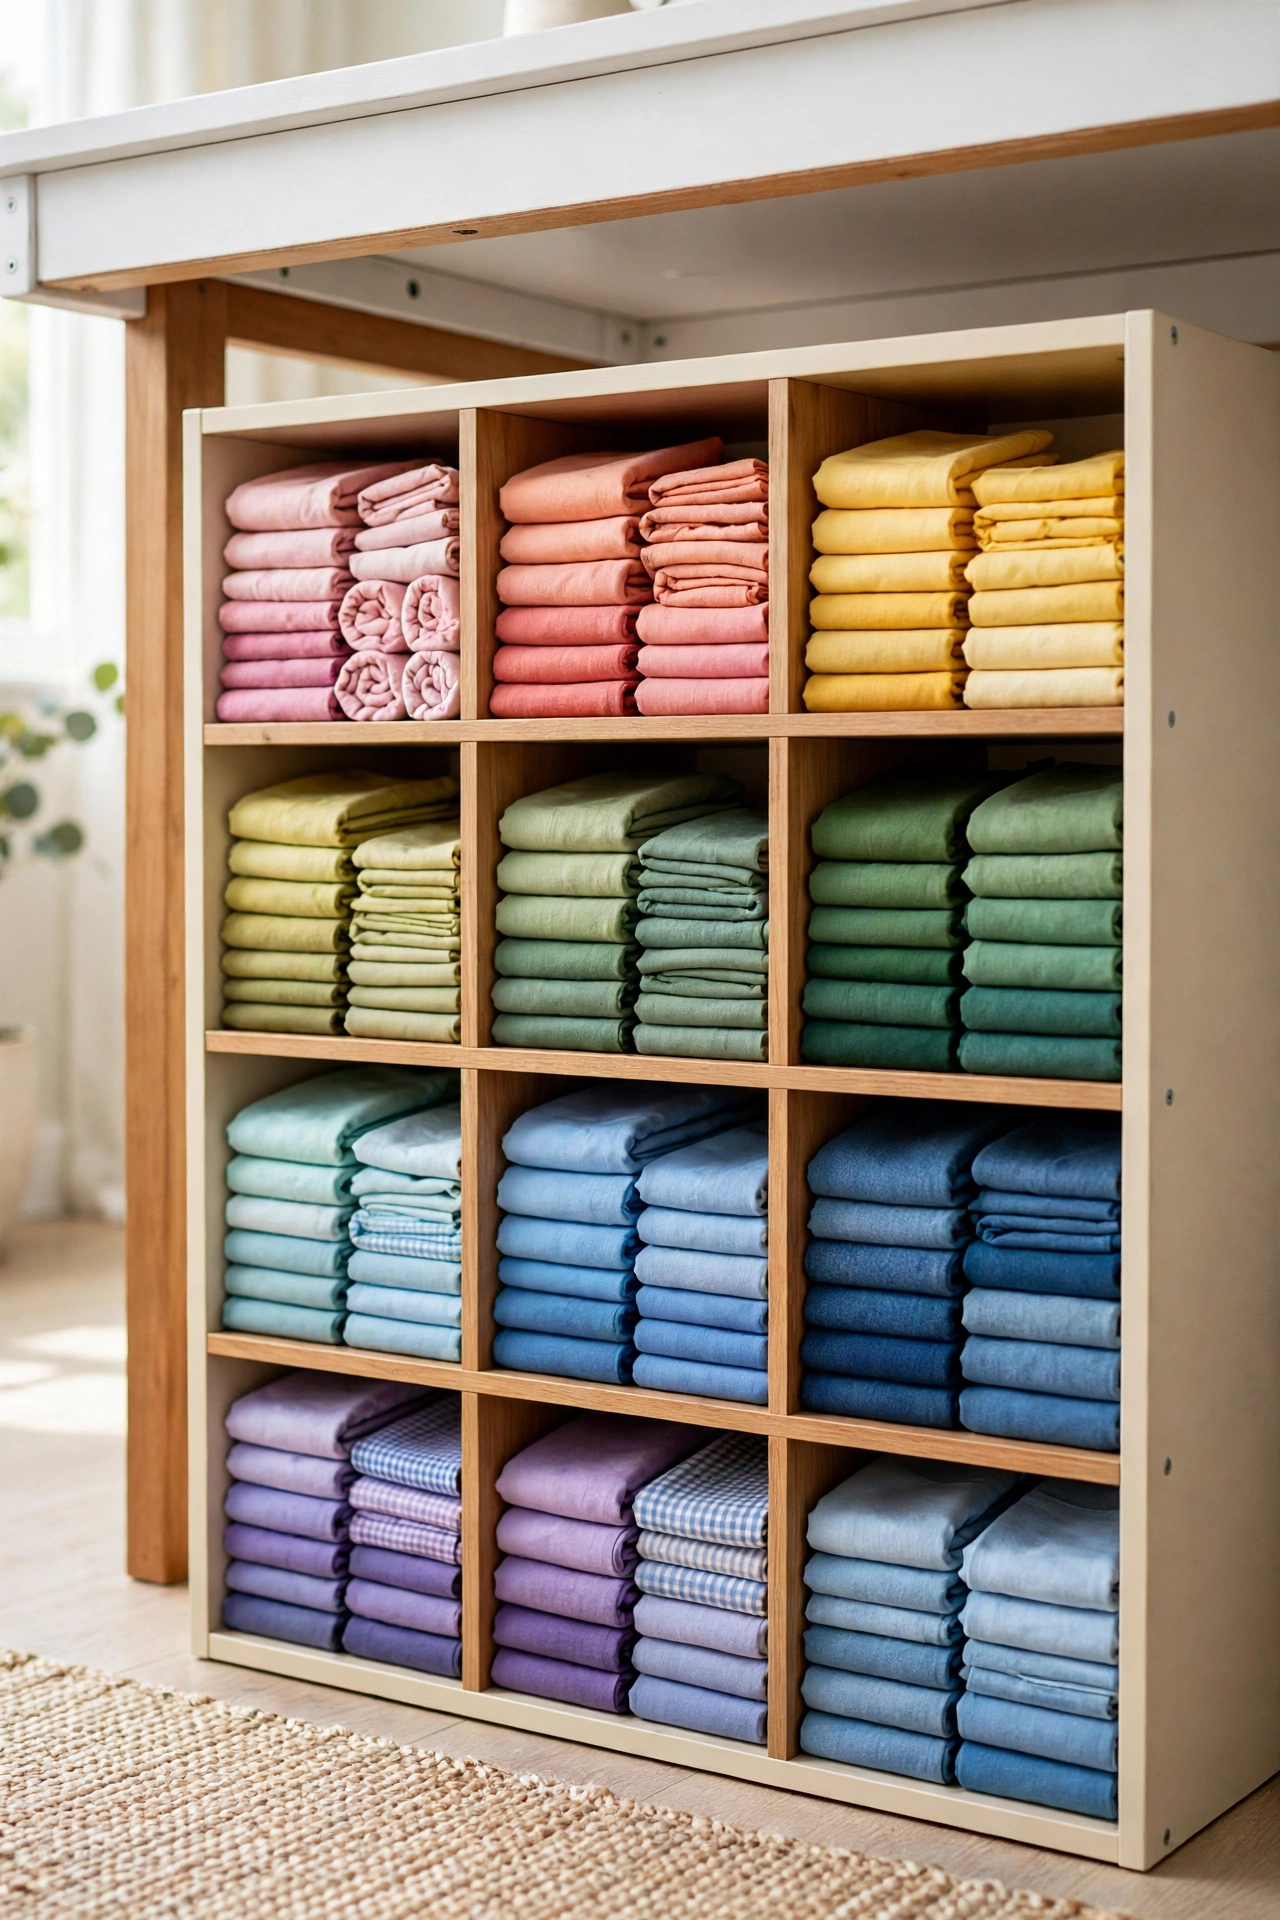
13. Hide Fabric Behind Curved Cabinet Doors
A sleek cabinet with curved panel doors hides most of your fabric behind closed doors. Leave one open cube visible with a single folded stack arranged as a color gradient, and the cabinet looks like modern furniture rather than storage. Closed doors keep dust away and calm visual clutter in a multipurpose room.
This minimalist option suits a living room corner or a shared space where you want the collection out of sight. Inside the doors, sort fabric on shelves by color and type just as you would on open shelving. You get the same organization with a much quieter look from across the room.
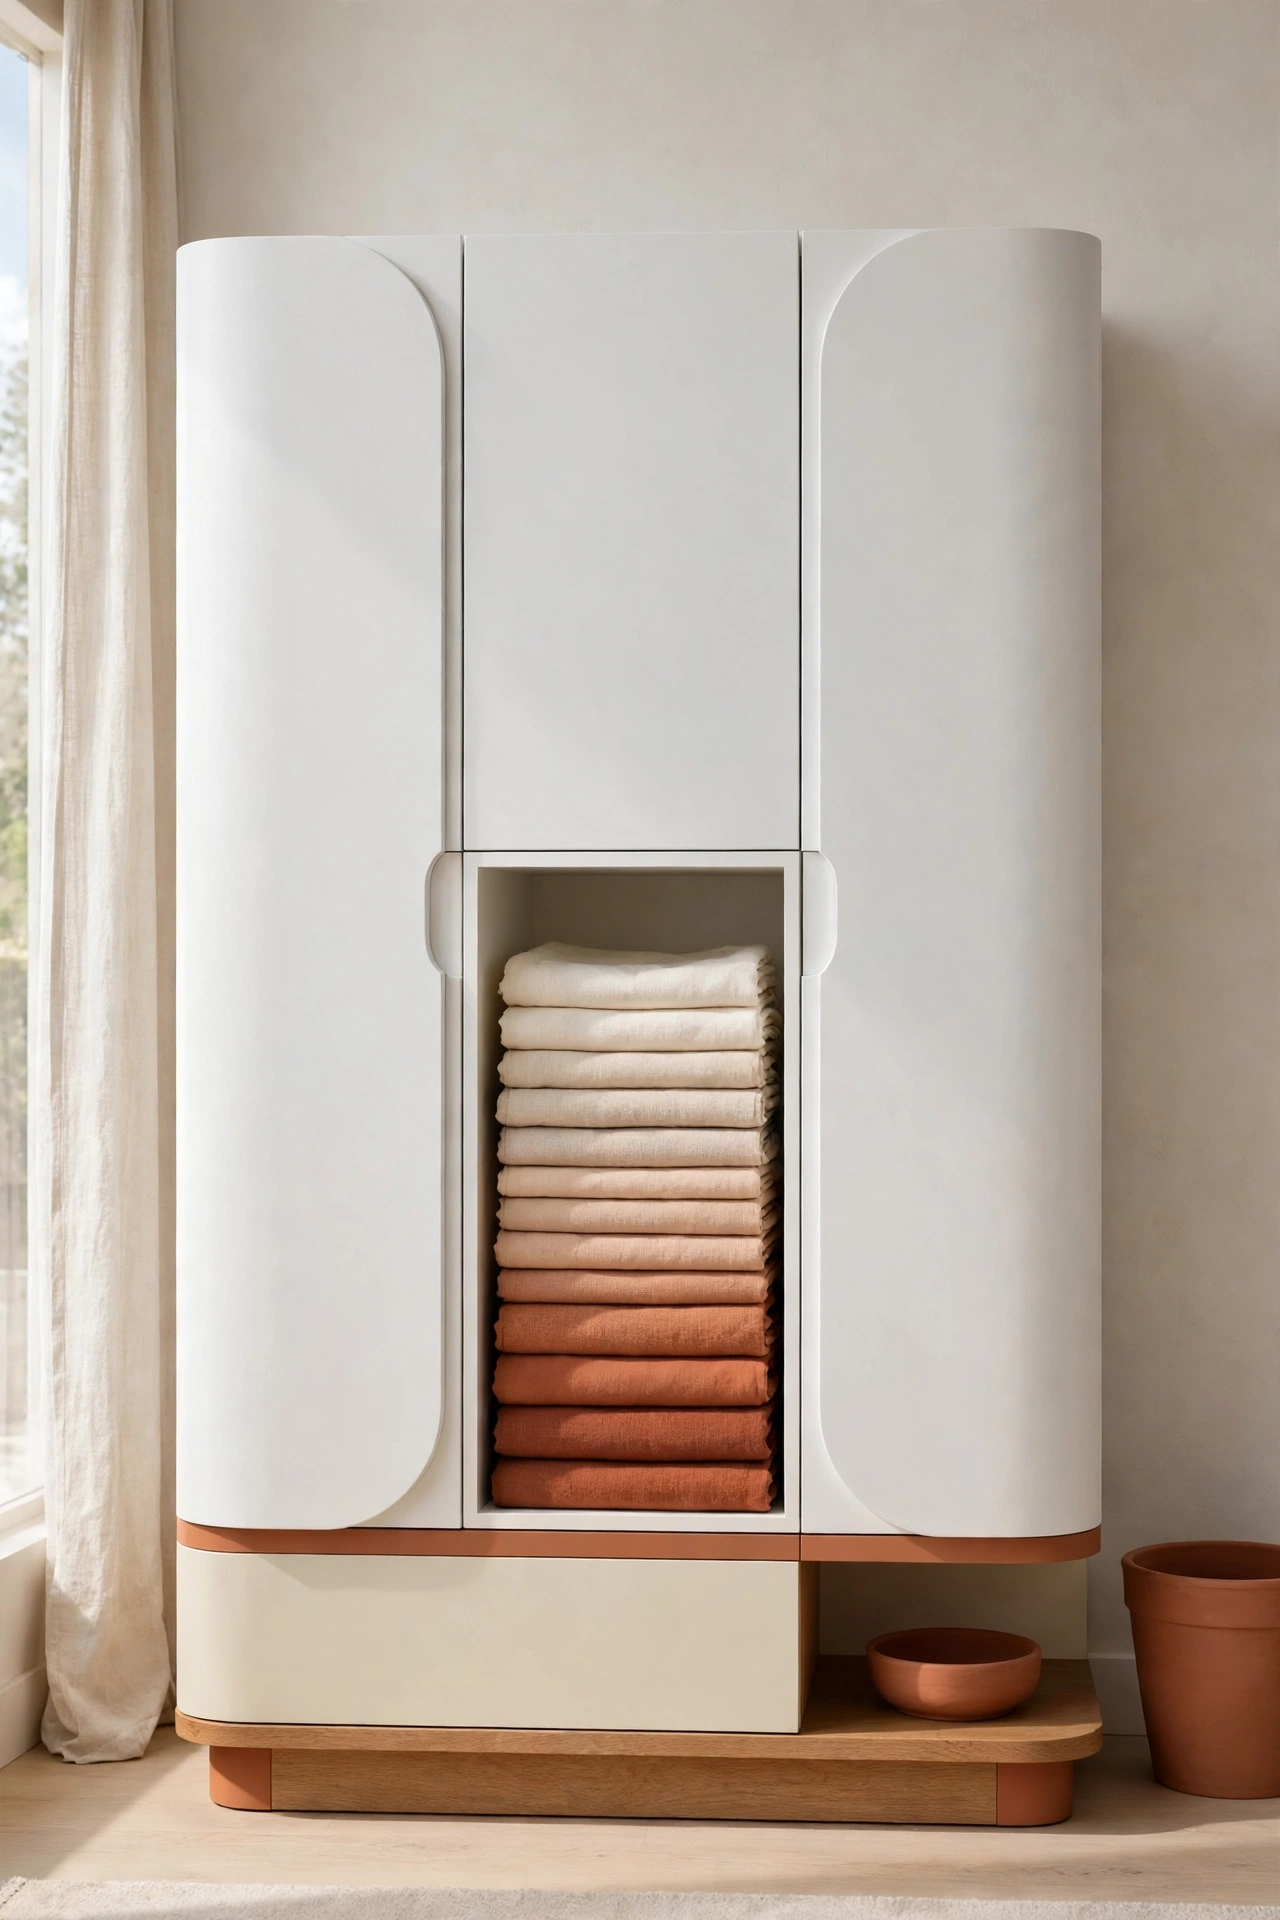
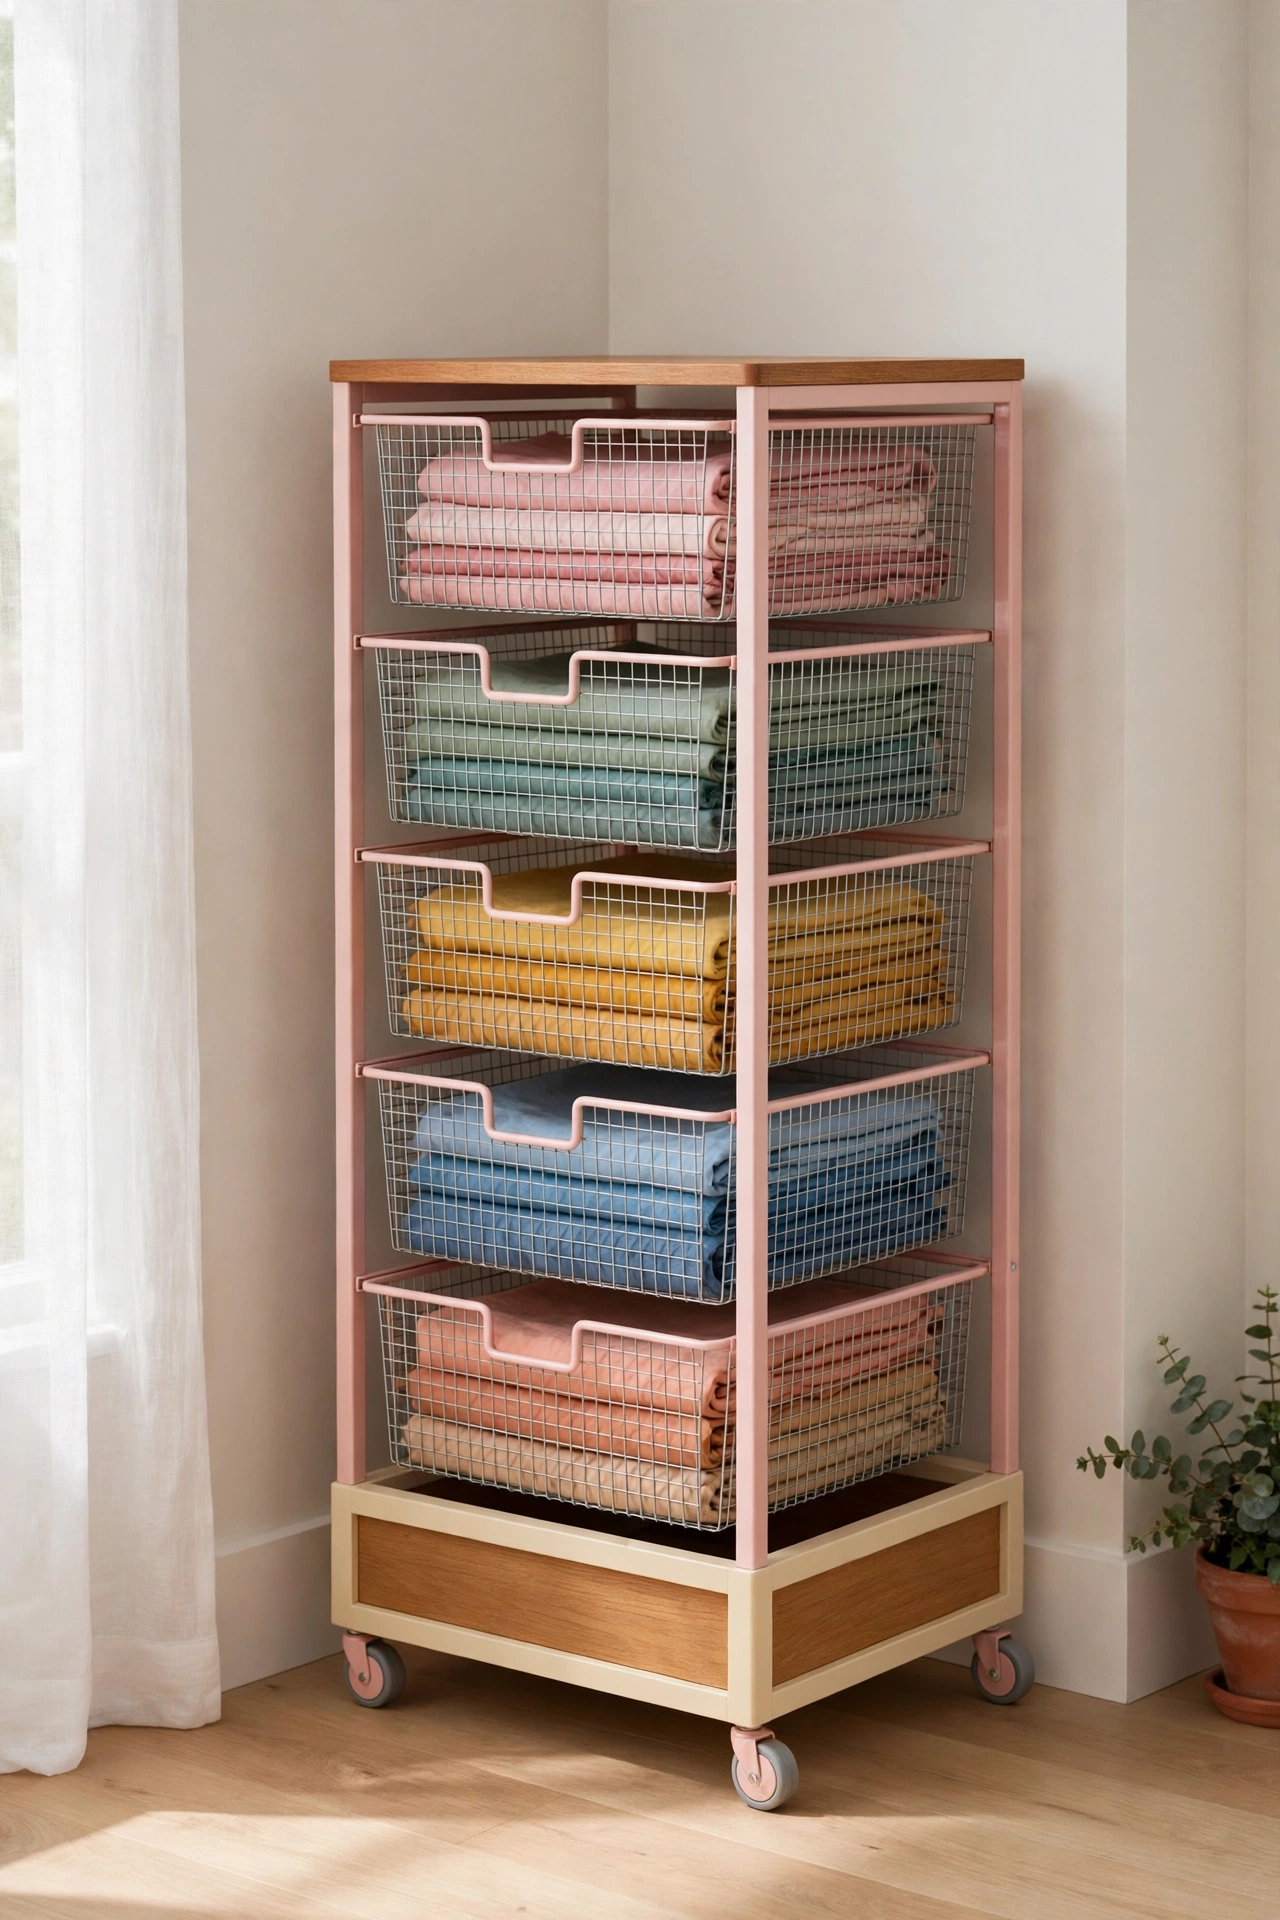
14. Roll Fabric Away in Mesh Drawer Towers
Rolling mesh drawer towers give you see-through storage that moves wherever you need it. The mesh baskets let you glimpse the fabric inside while still protecting it from dust. Each drawer holds one color family or project group, so browsing stays quick and simple.
Wheels make the tower easy to roll beside the sewing table while you work and tuck into a closet or corner when you are done. The compact footprint fits small rooms, yet the stacked drawers hold a surprising amount of folded fabric. Keep the drawers evenly filled so the tower rolls smoothly and stays balanced.
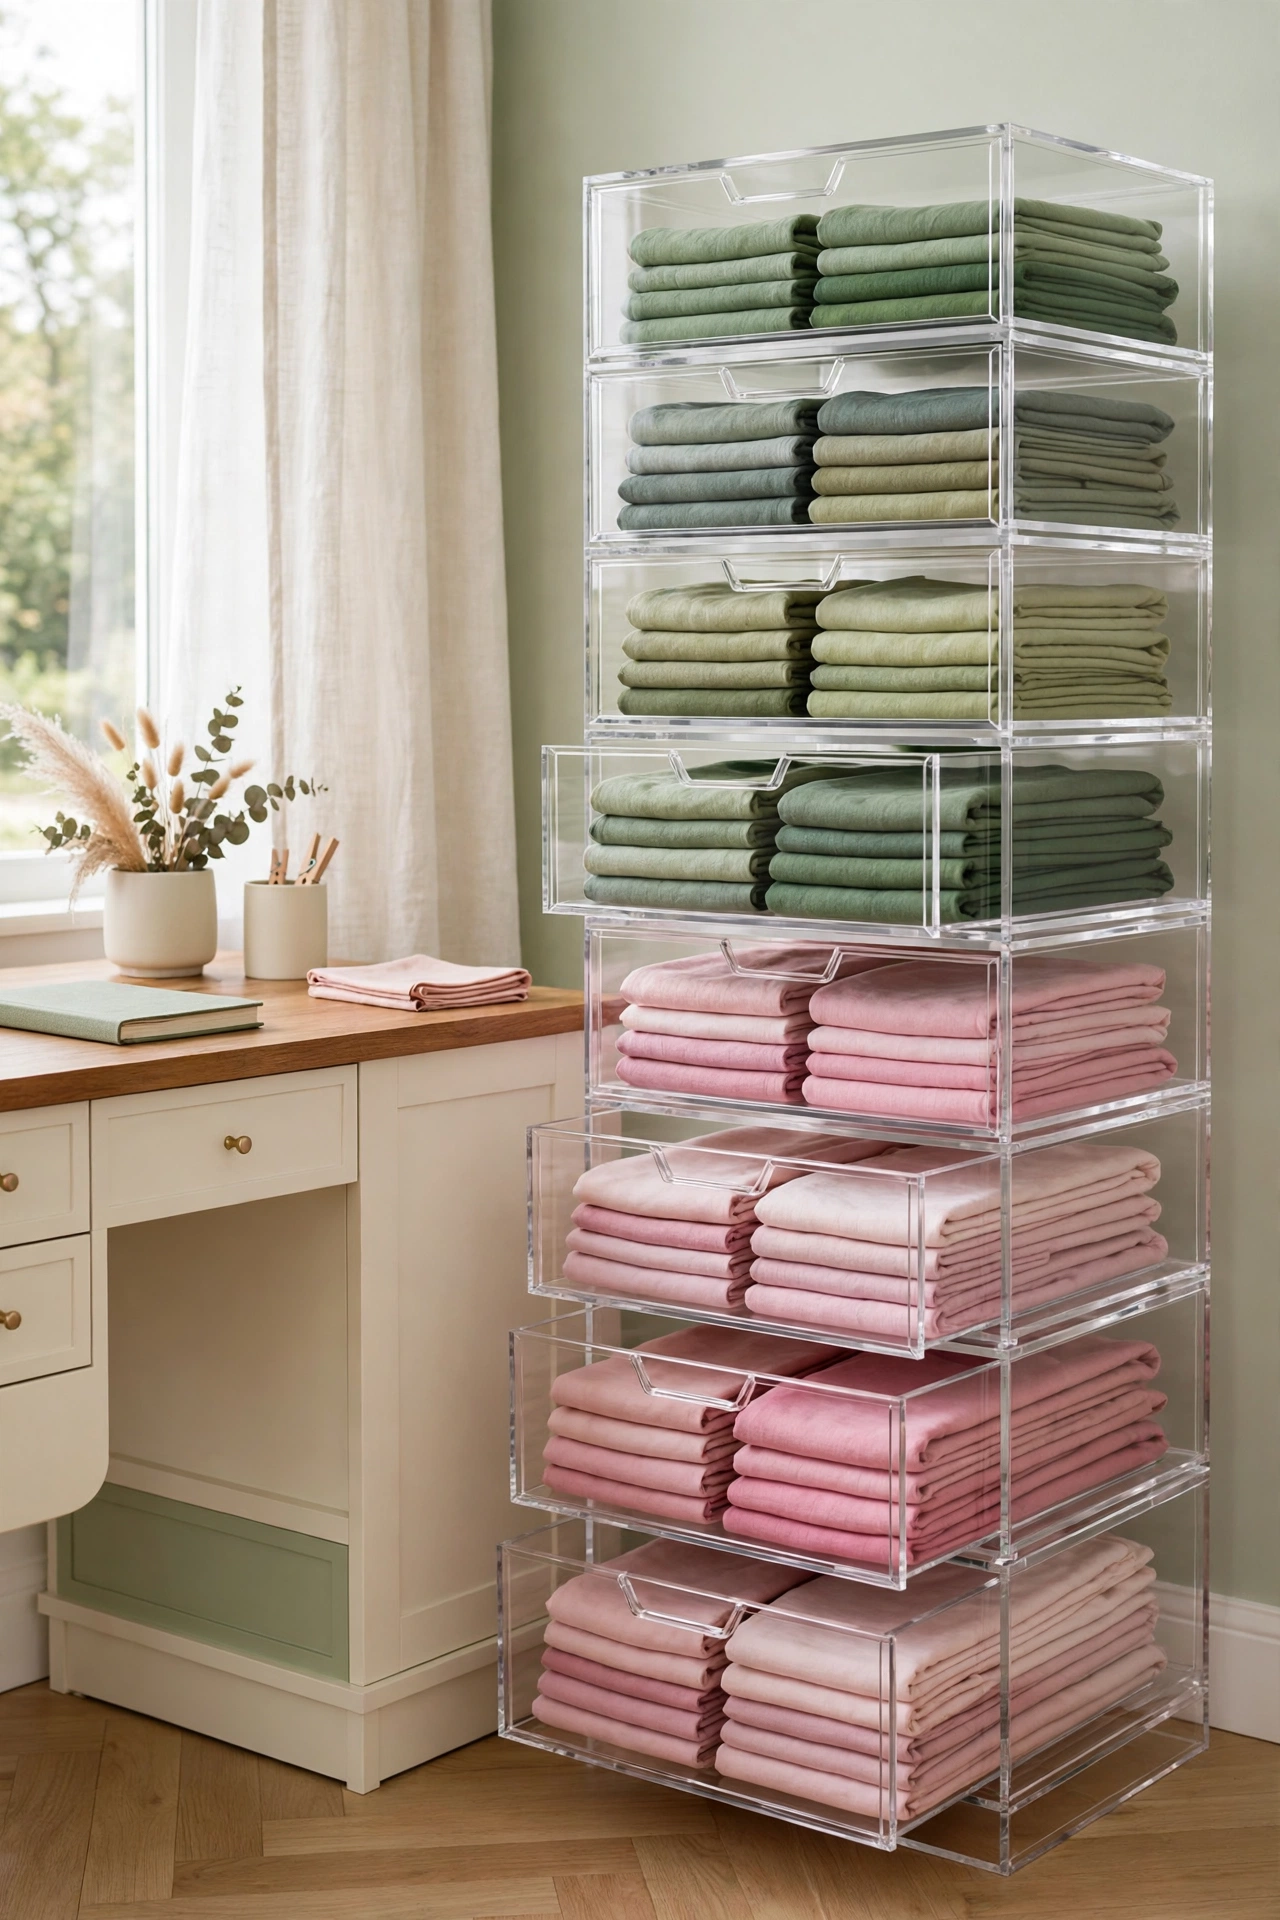
15. Stack Clear Acrylic Drawers on the Side
Clear acrylic drawers stacked beside a desk keep folded fabric visible and dust free. Sort each deep tray by color, with greens in one drawer and pinks in another, so every piece stays easy to find. The smooth slide out action lets you pull a drawer fully open without lifting a stack.
This tall, narrow system fits tight spaces beside a table or against a wall where a wide unit would not fit. The clear, modern look keeps a small room feeling light and open. Label the front of each drawer with the color family inside to make sorting even faster.
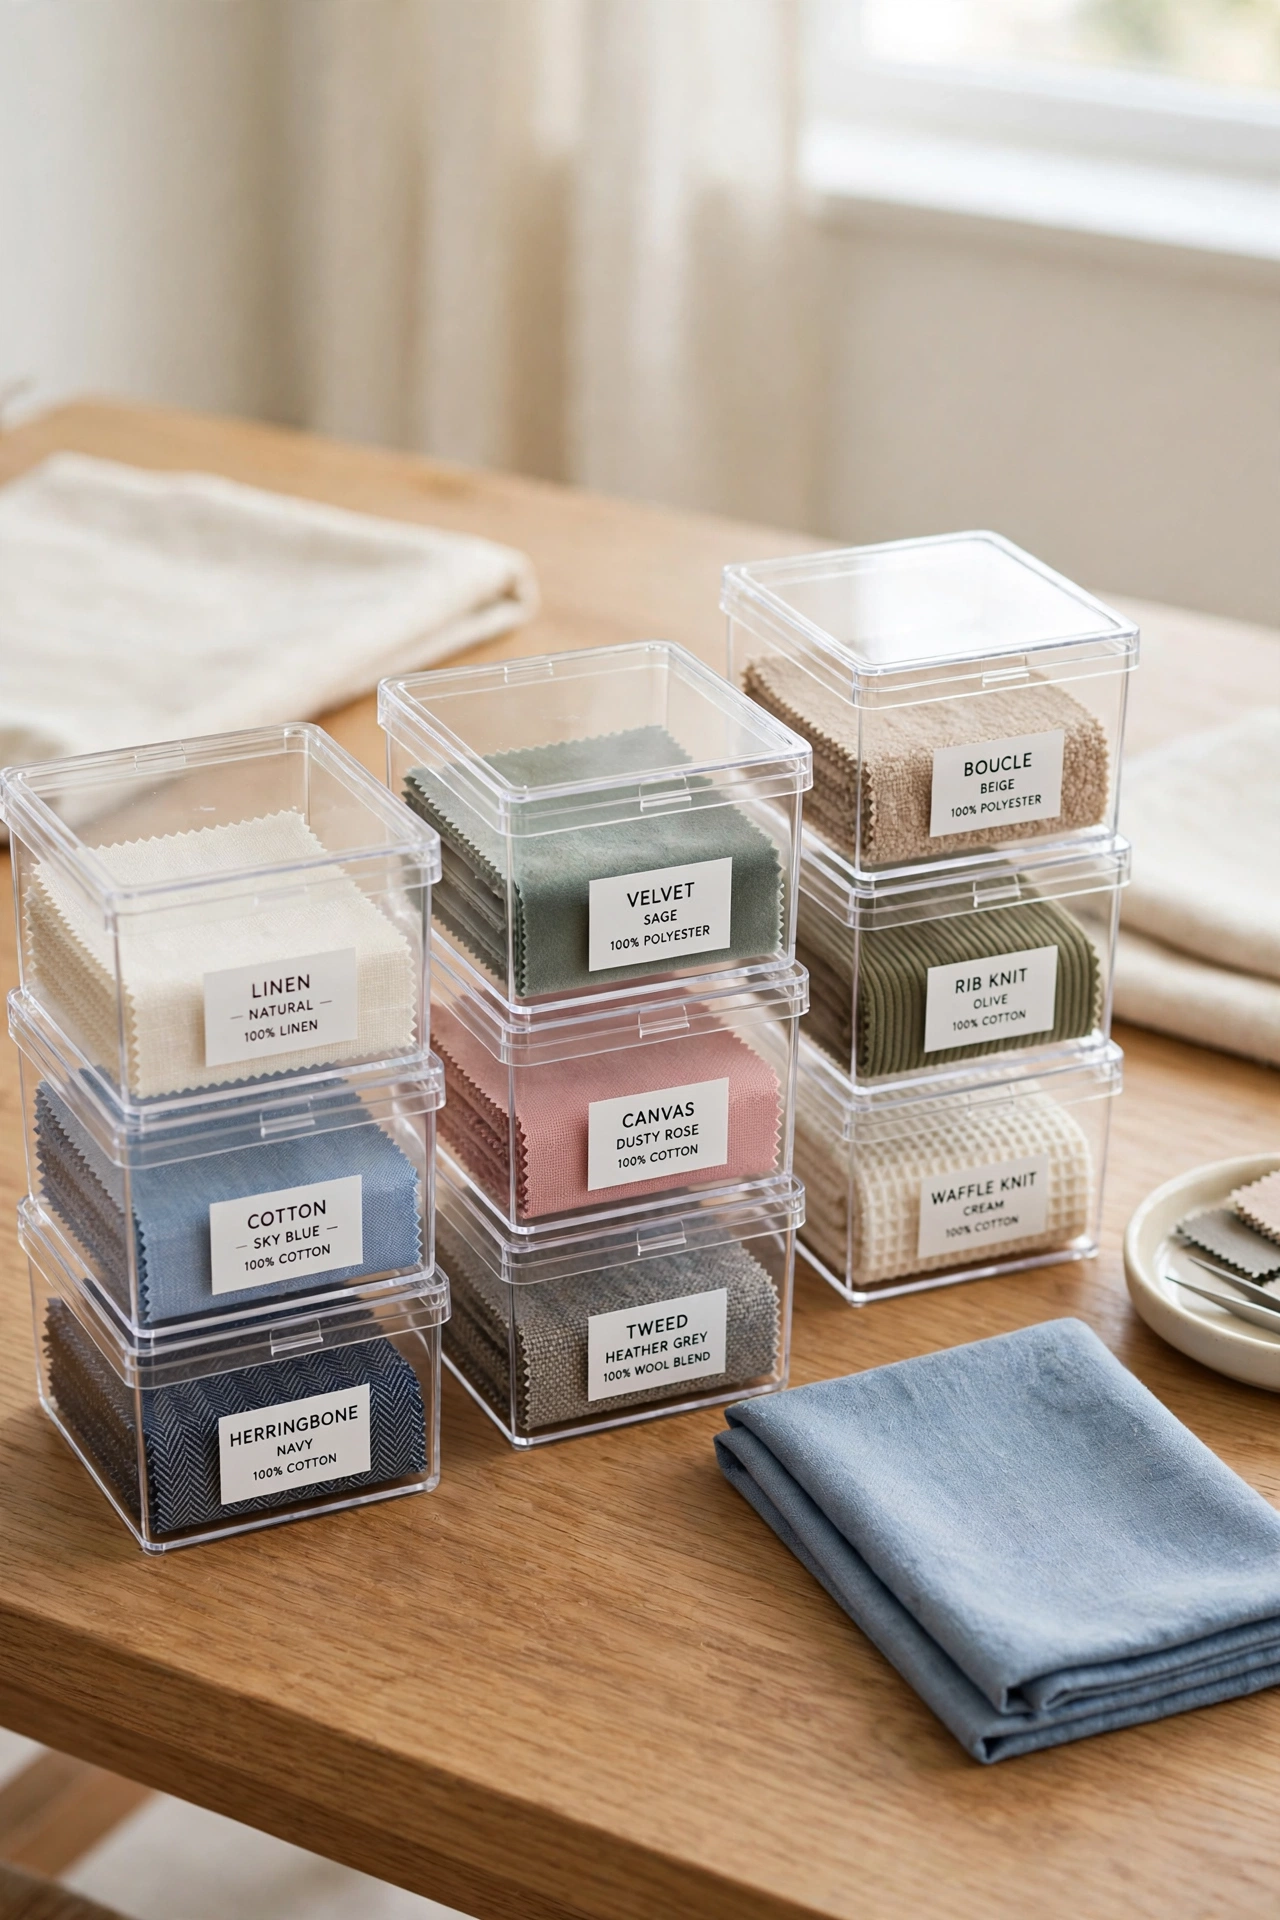
16. Separate Swatches in Tiny Clear Cubes
Small square containers with clear lids are ideal for swatches, samples, and mini charm pieces. Each cube holds one group flat and separated, so tiny cuts never tangle or vanish inside a large bin. The clear lids let you read the contents without opening a single box.
Stack the cubes in a drawer, on a cart shelf, or inside a tote for travel to a sewing class. This precise system suits quilters who sort by collection or by project and need detailed organization. Label each lid with the collection name or color so the right cube is easy to grab.
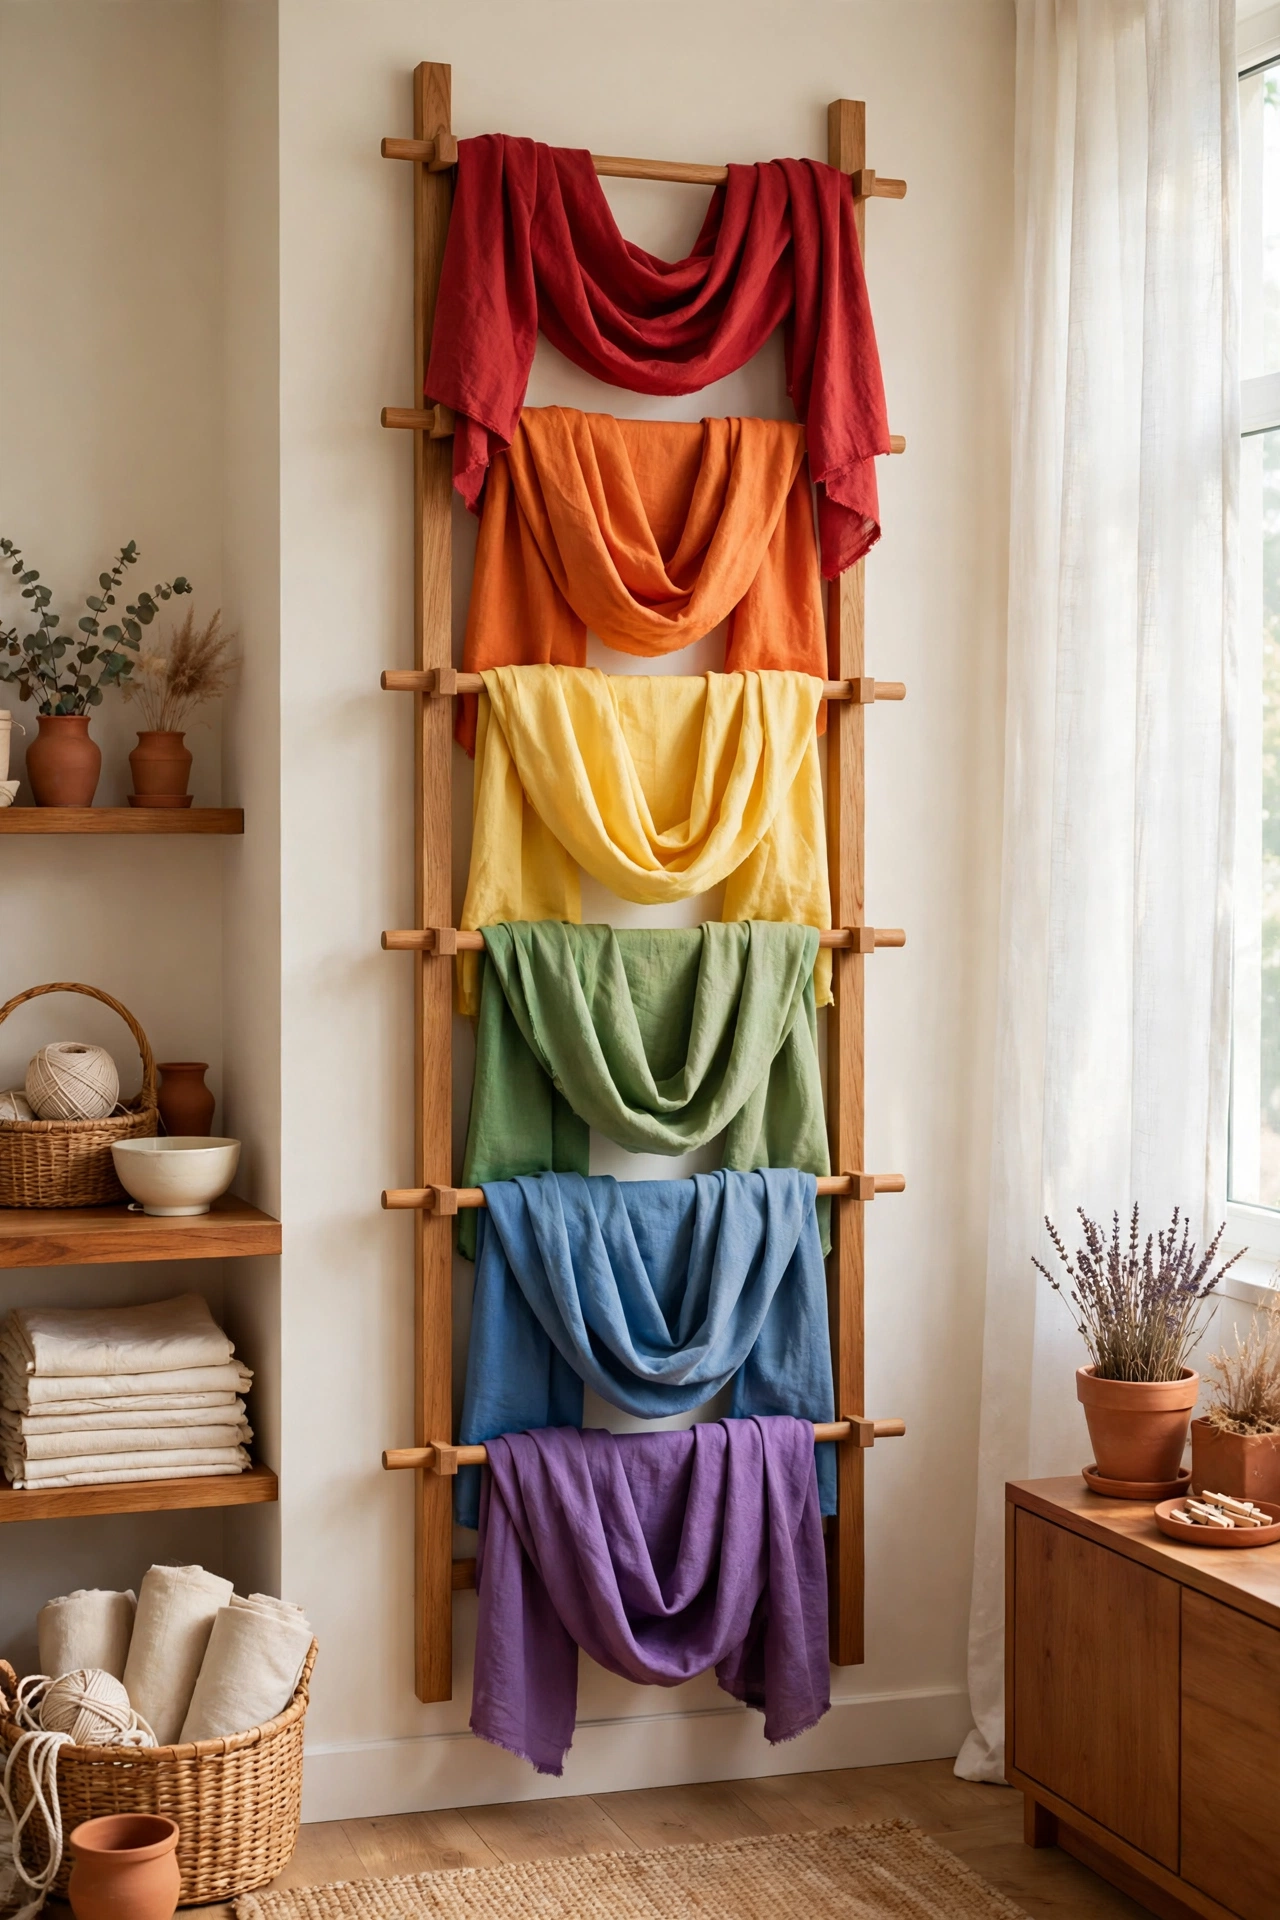
17. Drape Fabric Over a Vertical Bar Rack
A vertical rack with horizontal bars turns fabric storage into a striking wall display. Drape each length of fabric over a bar by color, building a rainbow from top to bottom. Hanging fabric stays wrinkle free and easy to lift off when you need it.
This wall mounted system uses vertical space that shelves and bins cannot reach, which makes it ideal for a narrow wall beside a desk. Keep the bars evenly spaced and the draped lengths aligned for a neat, intentional look. Busy makers love this setup because every print stays visible without any rummaging.
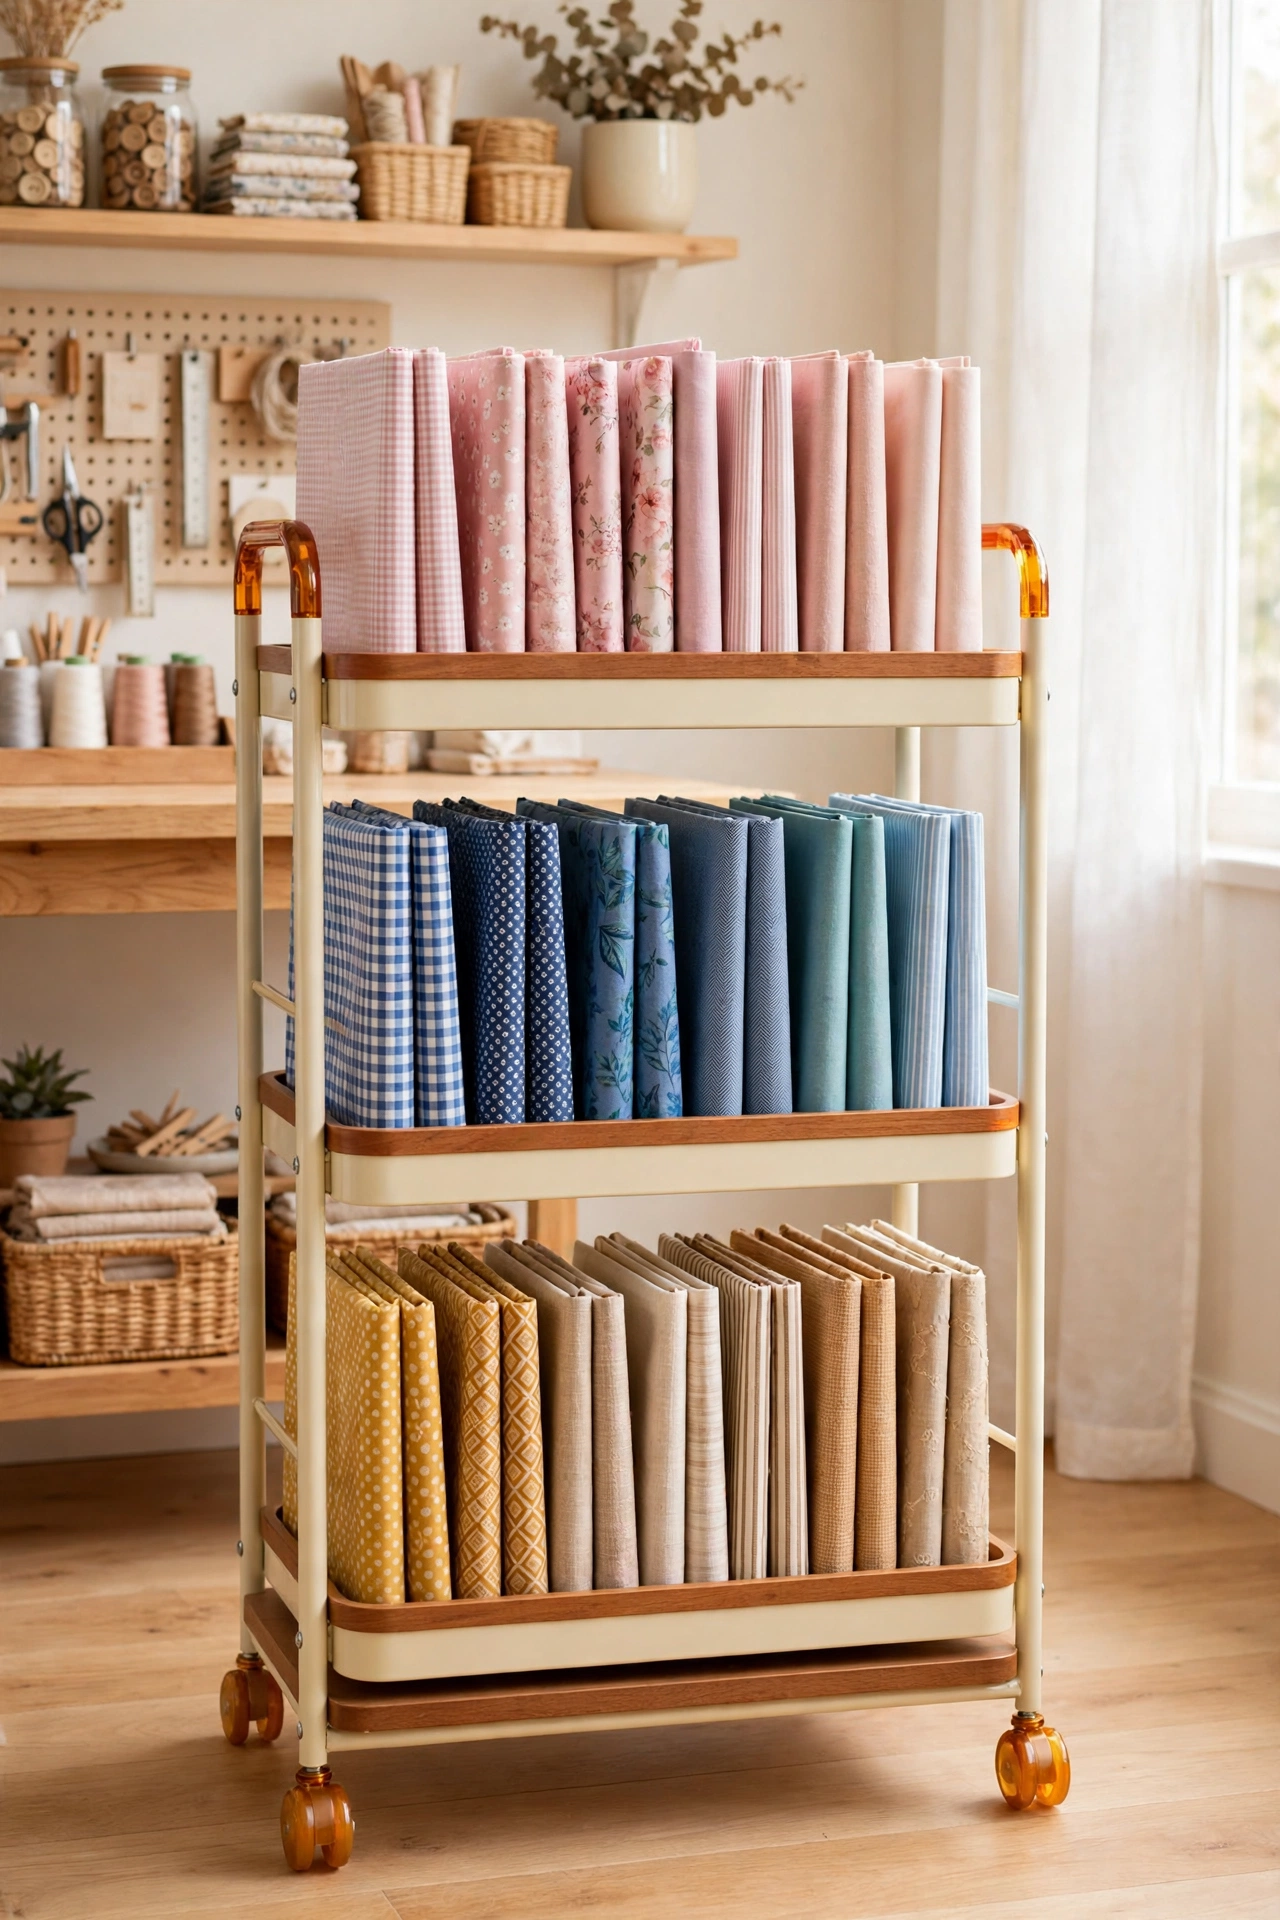
18. Organize Fabric on a Slim Rolling Cart
A slim three tier rolling cart holds vertically folded fabric in a footprint barely wider than a shelf. Sort each tier by color or pattern, and fold the fabric upright so you can flip through the pieces like files. Upright folds prevent deep creases and let air reach every piece.
Roll the cart to your sewing station while you work, then tuck it into a closet or beside a desk when you are done. For more ways to use a cart in every room, these rolling cart organization ideas show how mobile storage can solve tight space problems. A slim cart is a smart choice for shared spaces and small craft rooms alike.
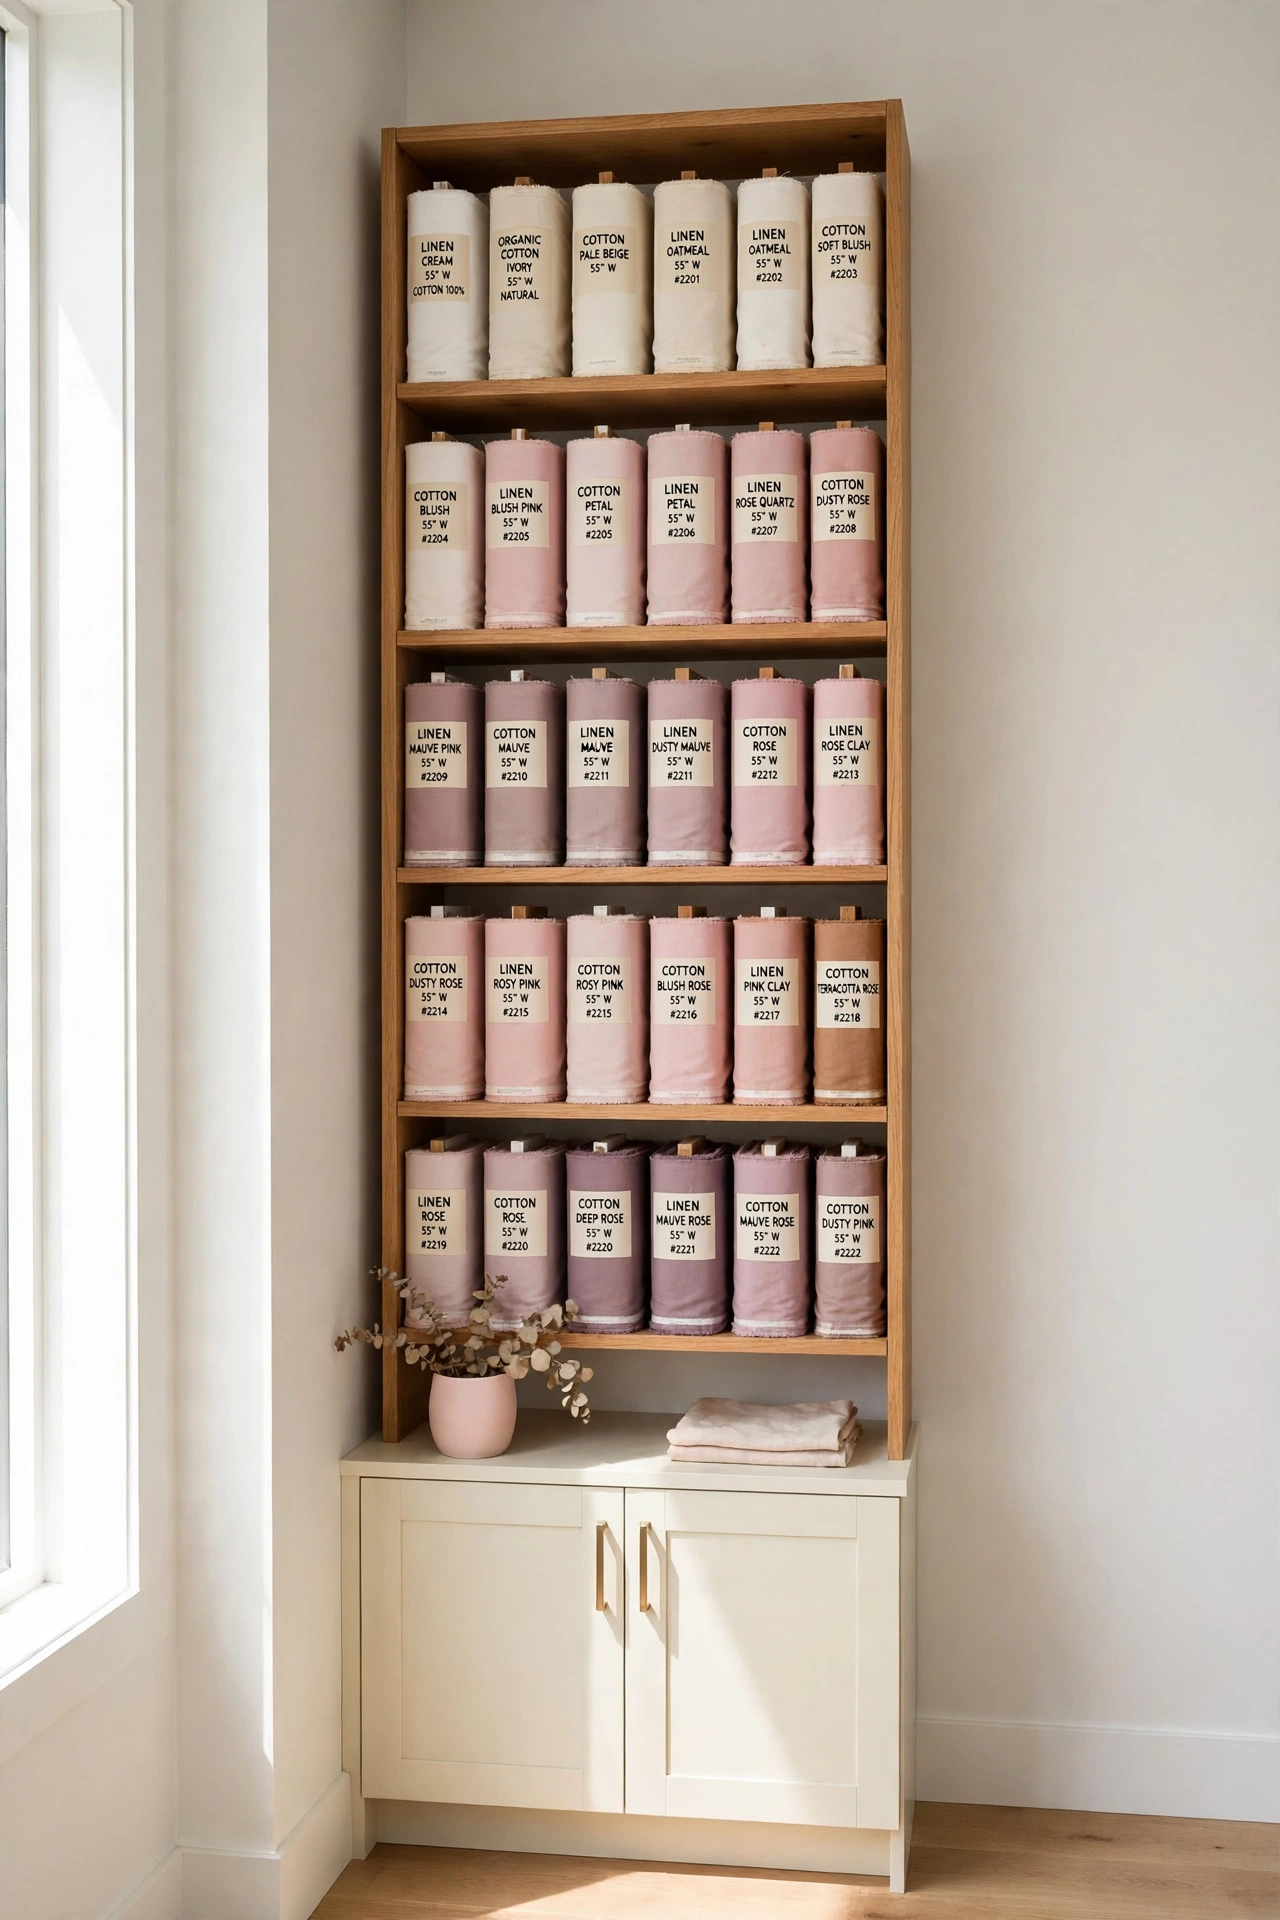
19. Stand Bolts Upright in a Narrow Shelf Tower
A narrow bookshelf style tower holds fabric bolts upright like books on a library shelf. Stand each bolt on end and sort them by shade, with light tones at the top and deep tones below. The upright position protects the structure of the bolt and keeps prints from creasing under weight.
The slim tower slides into a tight corner or beside a desk where a wide unit would block the room. Open shelves give the tower a clean, library like appearance and make every bolt easy to pull out and return. This setup works especially well for larger cuts and thick folds that need strong support.
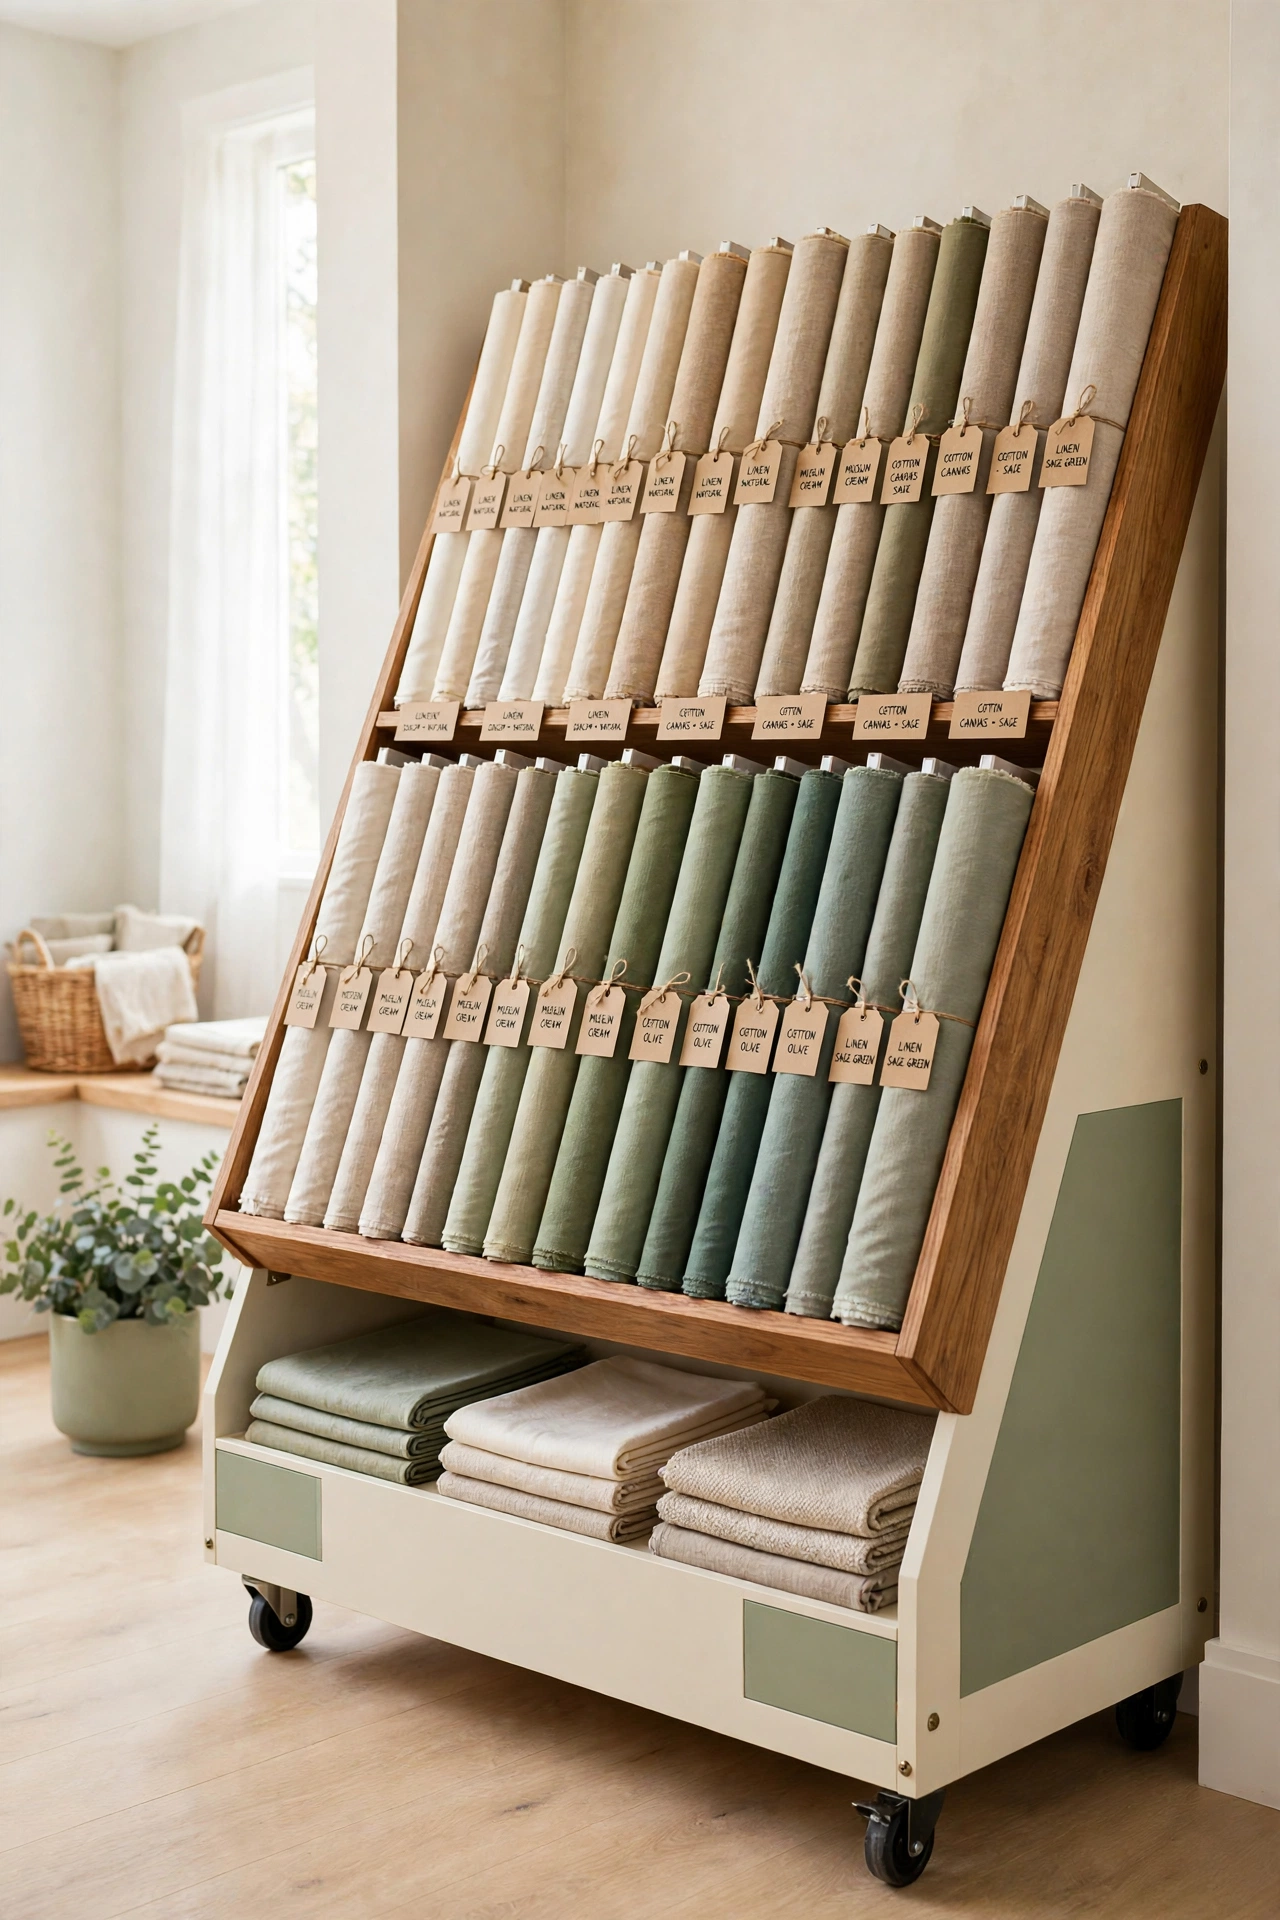
20. Show Off Bolts on an Angled Shelf
An angled bolt shelf displays fabric the way a fabric shop does. The slanted surface keeps each bolt in full view, so you can browse prints by tone or theme without lifting a stack. Sort the bolts in gentle color order for a display that looks professional and inviting.
A wheeled base lets you move the shelf near a window for better light or into a corner when guests arrive. This elegant setup suits designers and sellers with large collections, and it also works for any maker who loves to see every print at once. Keep the bolts aligned and evenly spaced for the neatest shop style finish.
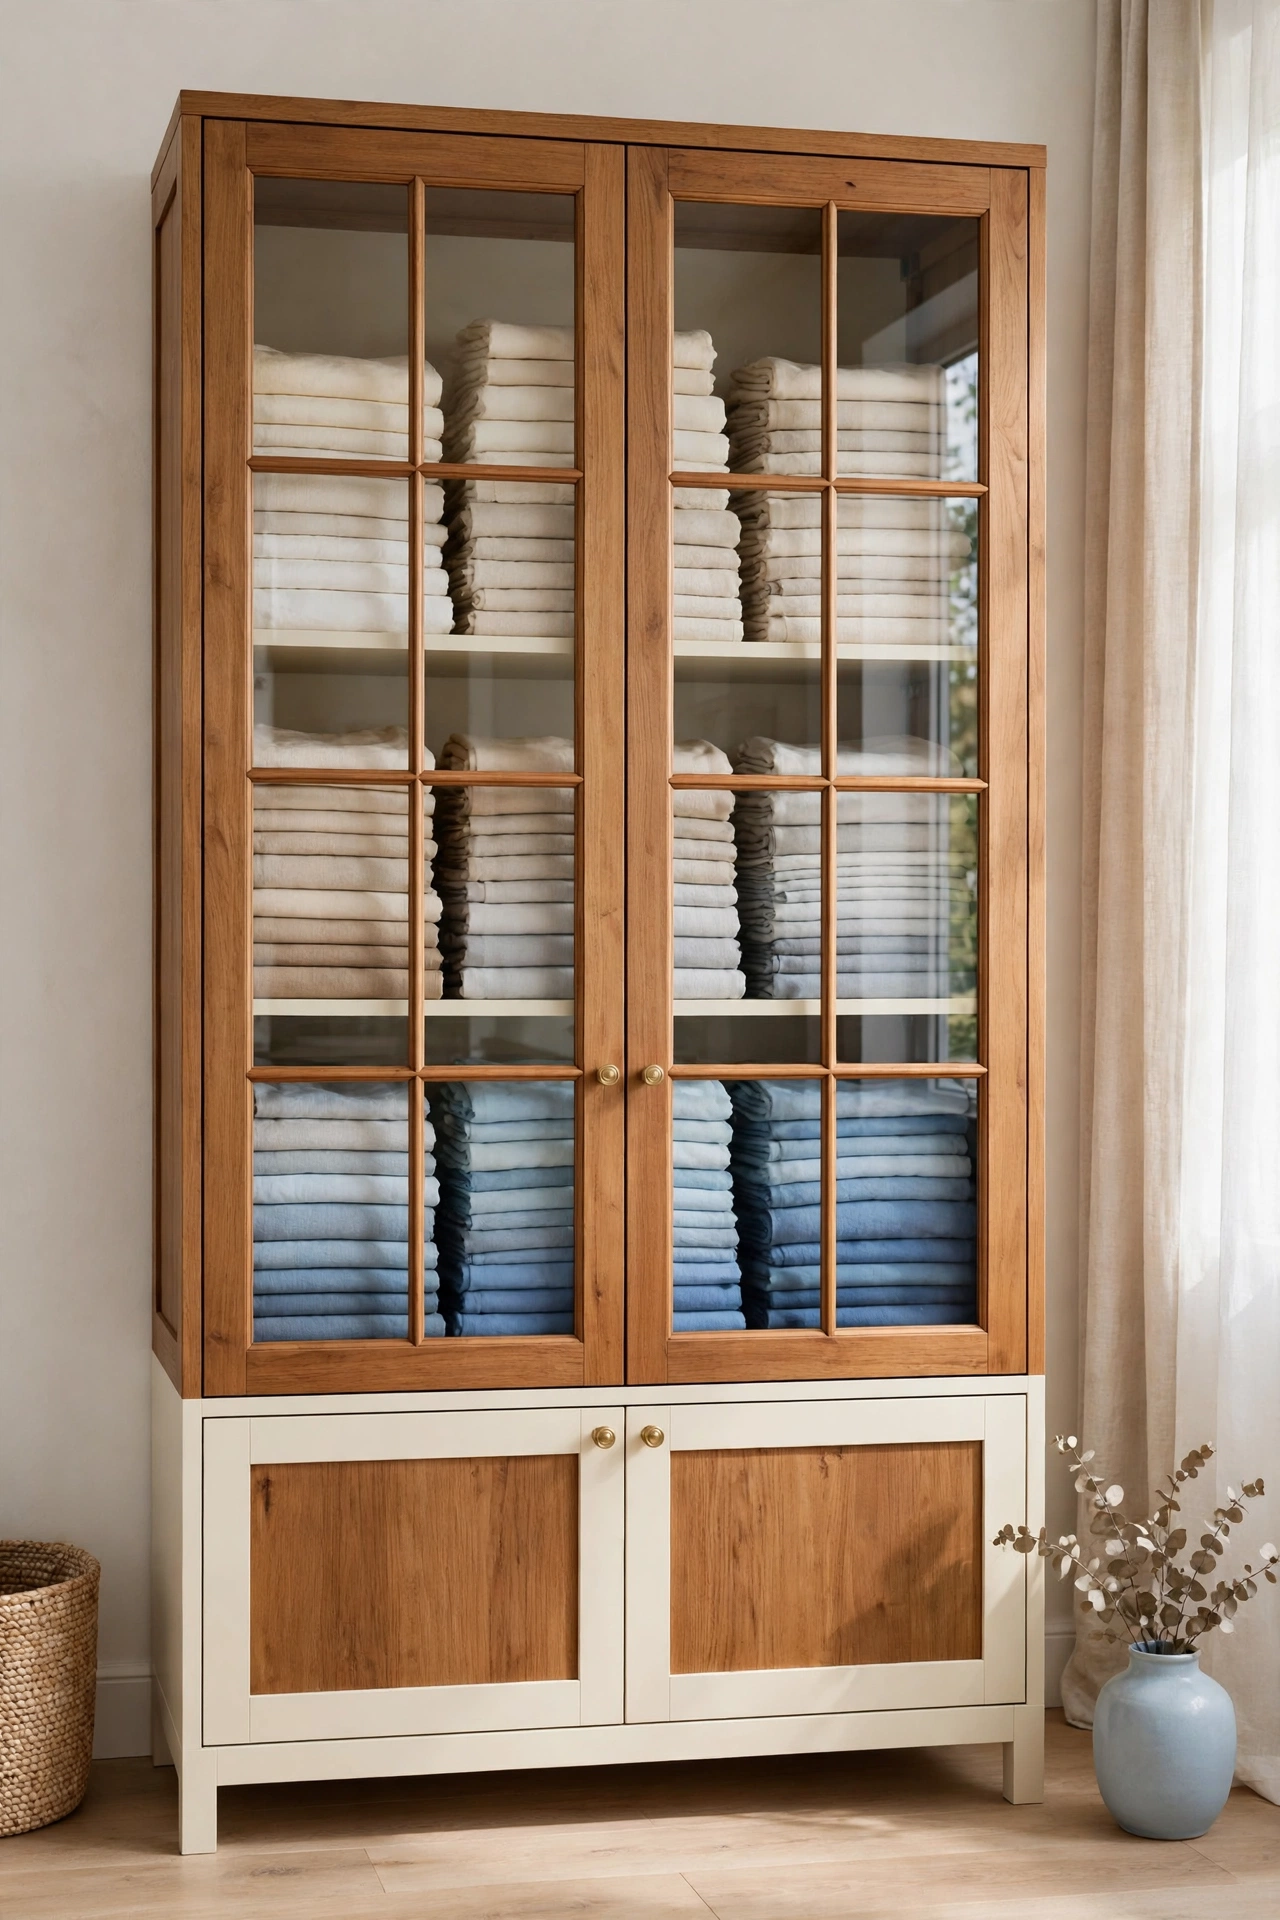
21. Protect Fabric in a Glass-Front Cabinet
A glass door cabinet protects fabric from dust while keeping every stack on display. Fold fabric neatly and sort it by tone and texture on the shelves inside, so the cabinet reads like a curated collection. The glass panels show the colors clearly without letting dust settle on the folds.
This charming option suits cottage style rooms and any space where storage should double as decor. Keep the stacks even and the shelves uncluttered so the cabinet looks intentional rather than crowded. When the doors stay closed, delicate silks and light prints stay clean and safe between projects.
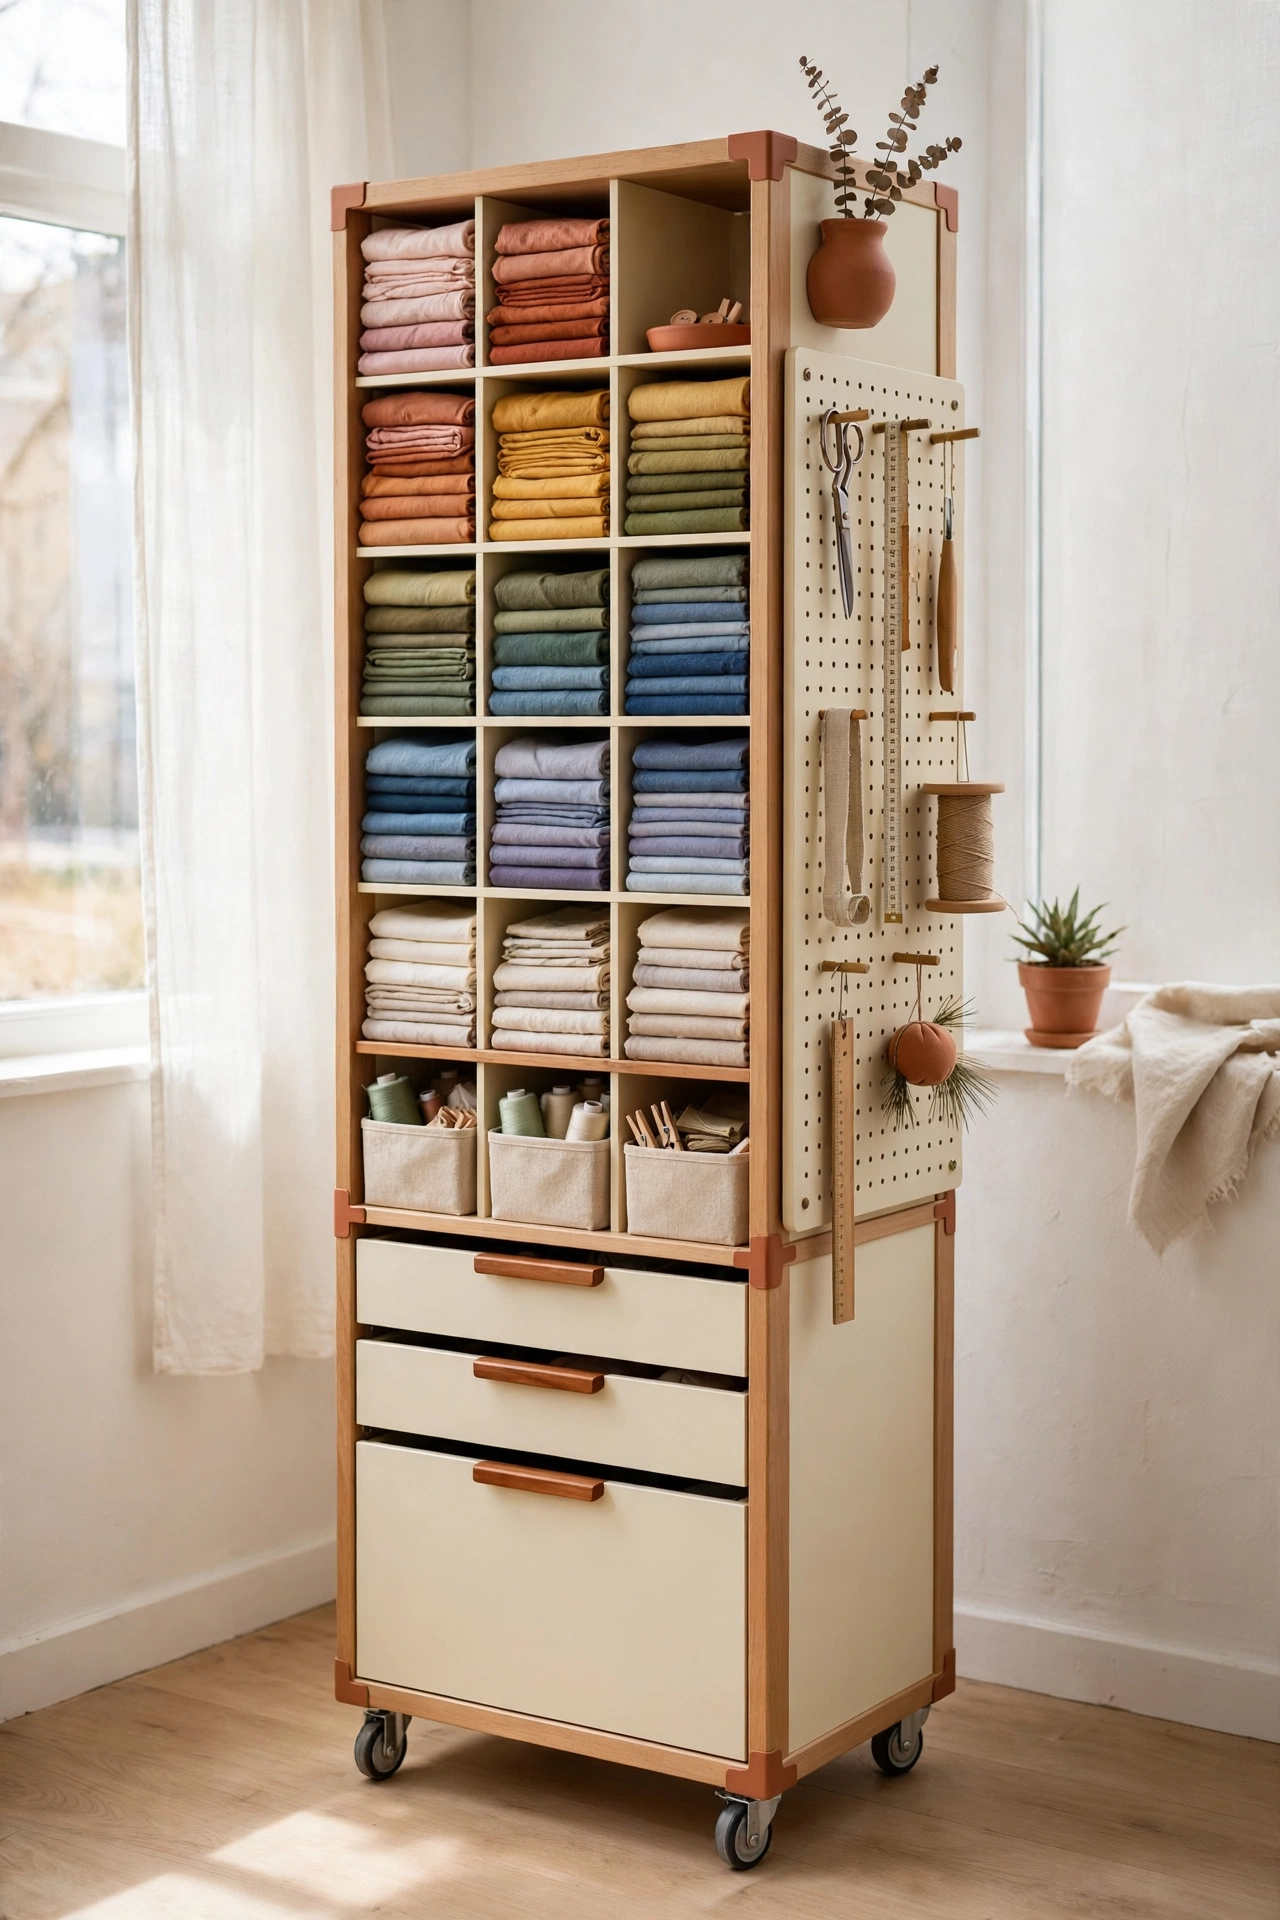
22. Squeeze Storage Into a Compact Rolling Tower
A tall, narrow rolling tower squeezes serious storage into the smallest workspaces. Shallow open cubbies hold fabric sorted by color and type, while small bins, drawers, and a pegged door add room for tools and notions. Casters let you roll the whole tower out of a closet or into a corner in seconds.
This compact system is ideal for busy studios and multipurpose rooms where every inch matters. Keep the most used fabrics at eye level and less used pieces higher up or lower down. A single tower can hold a full starter collection without taking over the room.
Conclusion
Fabric storage works best when you can see what you own and reach it without a struggle. From rainbow shelves and rolling carts to glass cabinets and tiny swatch cubes, there is an idea here for every collection size and every room. The best system is the one that matches how you actually sew, cut, and create.
Start with one idea that fits your space, sort your fabric by color or project, and label everything clearly. A tidy stash saves time, protects your materials, and makes every project more enjoyable from the first cut. When leftover pieces pile up, these DIY fabric wall art ideas turn beautiful scraps into decor you can enjoy every day.
Frequently Asked Questions About Fabric Storage Ideas
How should I fold fabric for storage?
Fold fabric into neat rectangles of the same size, smoothing each fold as you go. Even folds stack safely, stay visible on shelves, and prevent deep creases. For bolts, keep the fabric wrapped on the bolt and store the bolt upright or flat in a cool, dry spot.
What is the best way to store fabric scraps?
Sort scraps by color or project in clear containers with lids. Small clear cubes suit tiny swatches, while clear drawers suit fat quarters and larger scraps. Labels on every container save time and keep small pieces from mixing into one tangled pile.
How do I protect fabric from dust and fading?
Store fabric away from direct sunlight, since sun fades prints quickly. Closed bins, cabinet doors, and glass fronts all block dust while keeping fabric visible. Keep the storage area dry and clean, and air out rarely used pieces every few months.
Can I store fabric in a small room or closet?
Yes, narrow towers, rolling carts, under desk cubes, and closet bins all store fabric in a small footprint. Use vertical wall space with racks and tall shelves, and sort by color so a small collection stays easy to browse. Even one well organized shelf can hold a surprising amount of fabric.
How often should I sort and clean out my fabric stash?
Sort your stash every few months, or at the start of each new season of projects. Refold stacks that have slipped, return stray pieces to the right bin, and set aside prints you no longer love. A regular tidy keeps the system working and frees space for fabric you truly want to use.

Hi, I’m Emily! I turn messy corners into cozy, organized spots. DreamNestDecor is where I share simple, practical home ideas — decor, organization, and small-space solutions that work in real life, not just in photos. Every idea here is carefully researched before it’s shared.