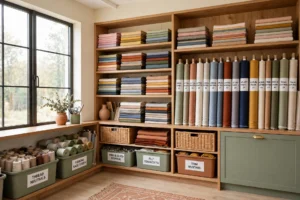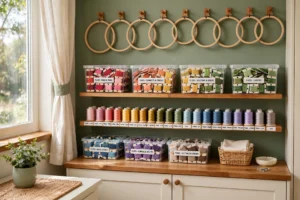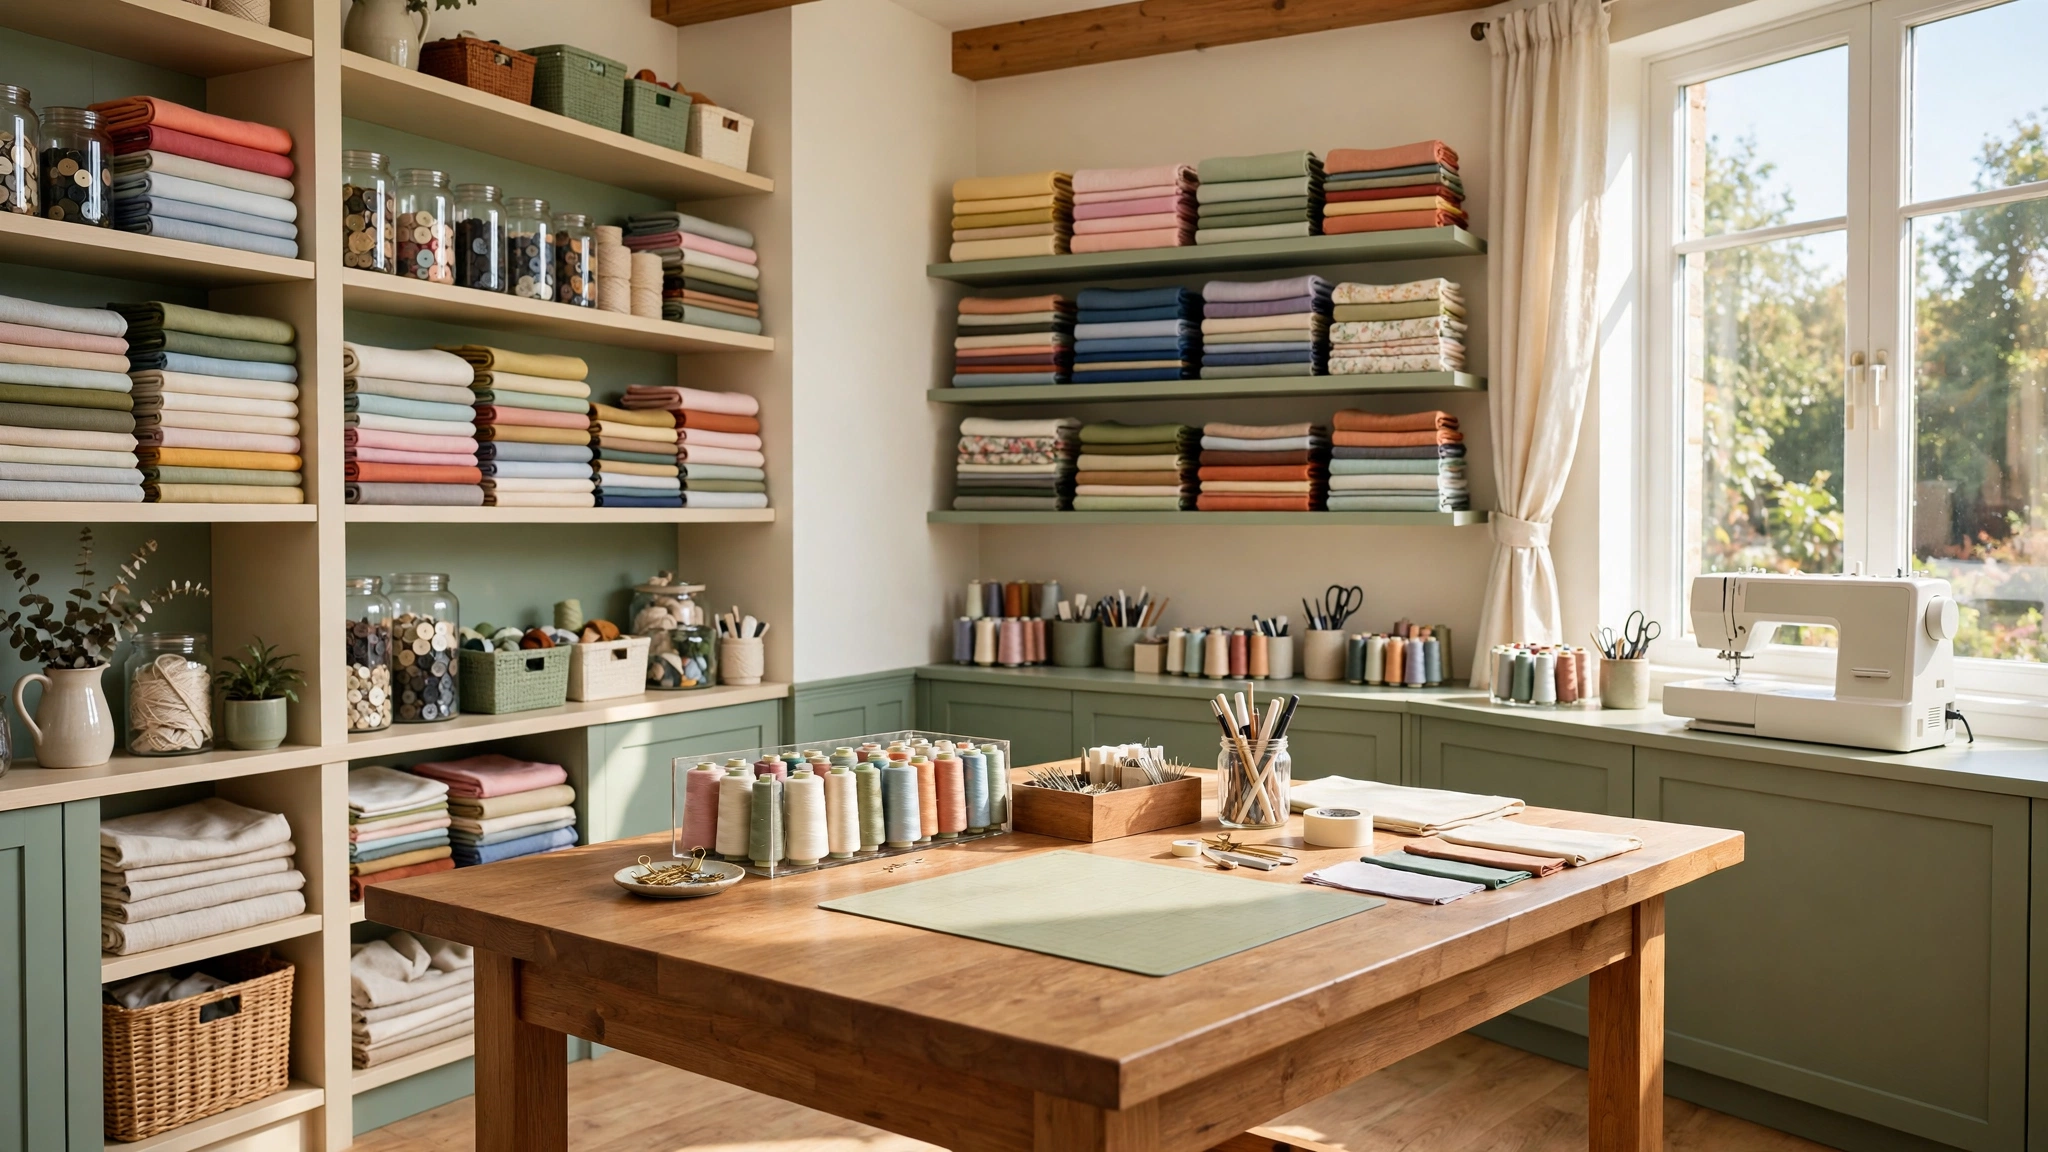
Picture this: you sit down to sew, and everything you need is already in its place. The fabric is folded and visible, the scissors hang within reach, and the cutting table is clear and ready. No digging through piles, no hunting for a lost bobbin, no clearing a mountain of clutter before the first stitch.
That kind of calm does not come from owning fewer supplies. It comes from giving every item a home that matches how you actually sew. These 22 sewing room organization ideas will help you build a room where cutting, sewing, pressing, and storing each have their own spot, so every project starts smoothly and ends tidily.
1. Build Your Room Around a Center Island Worktable
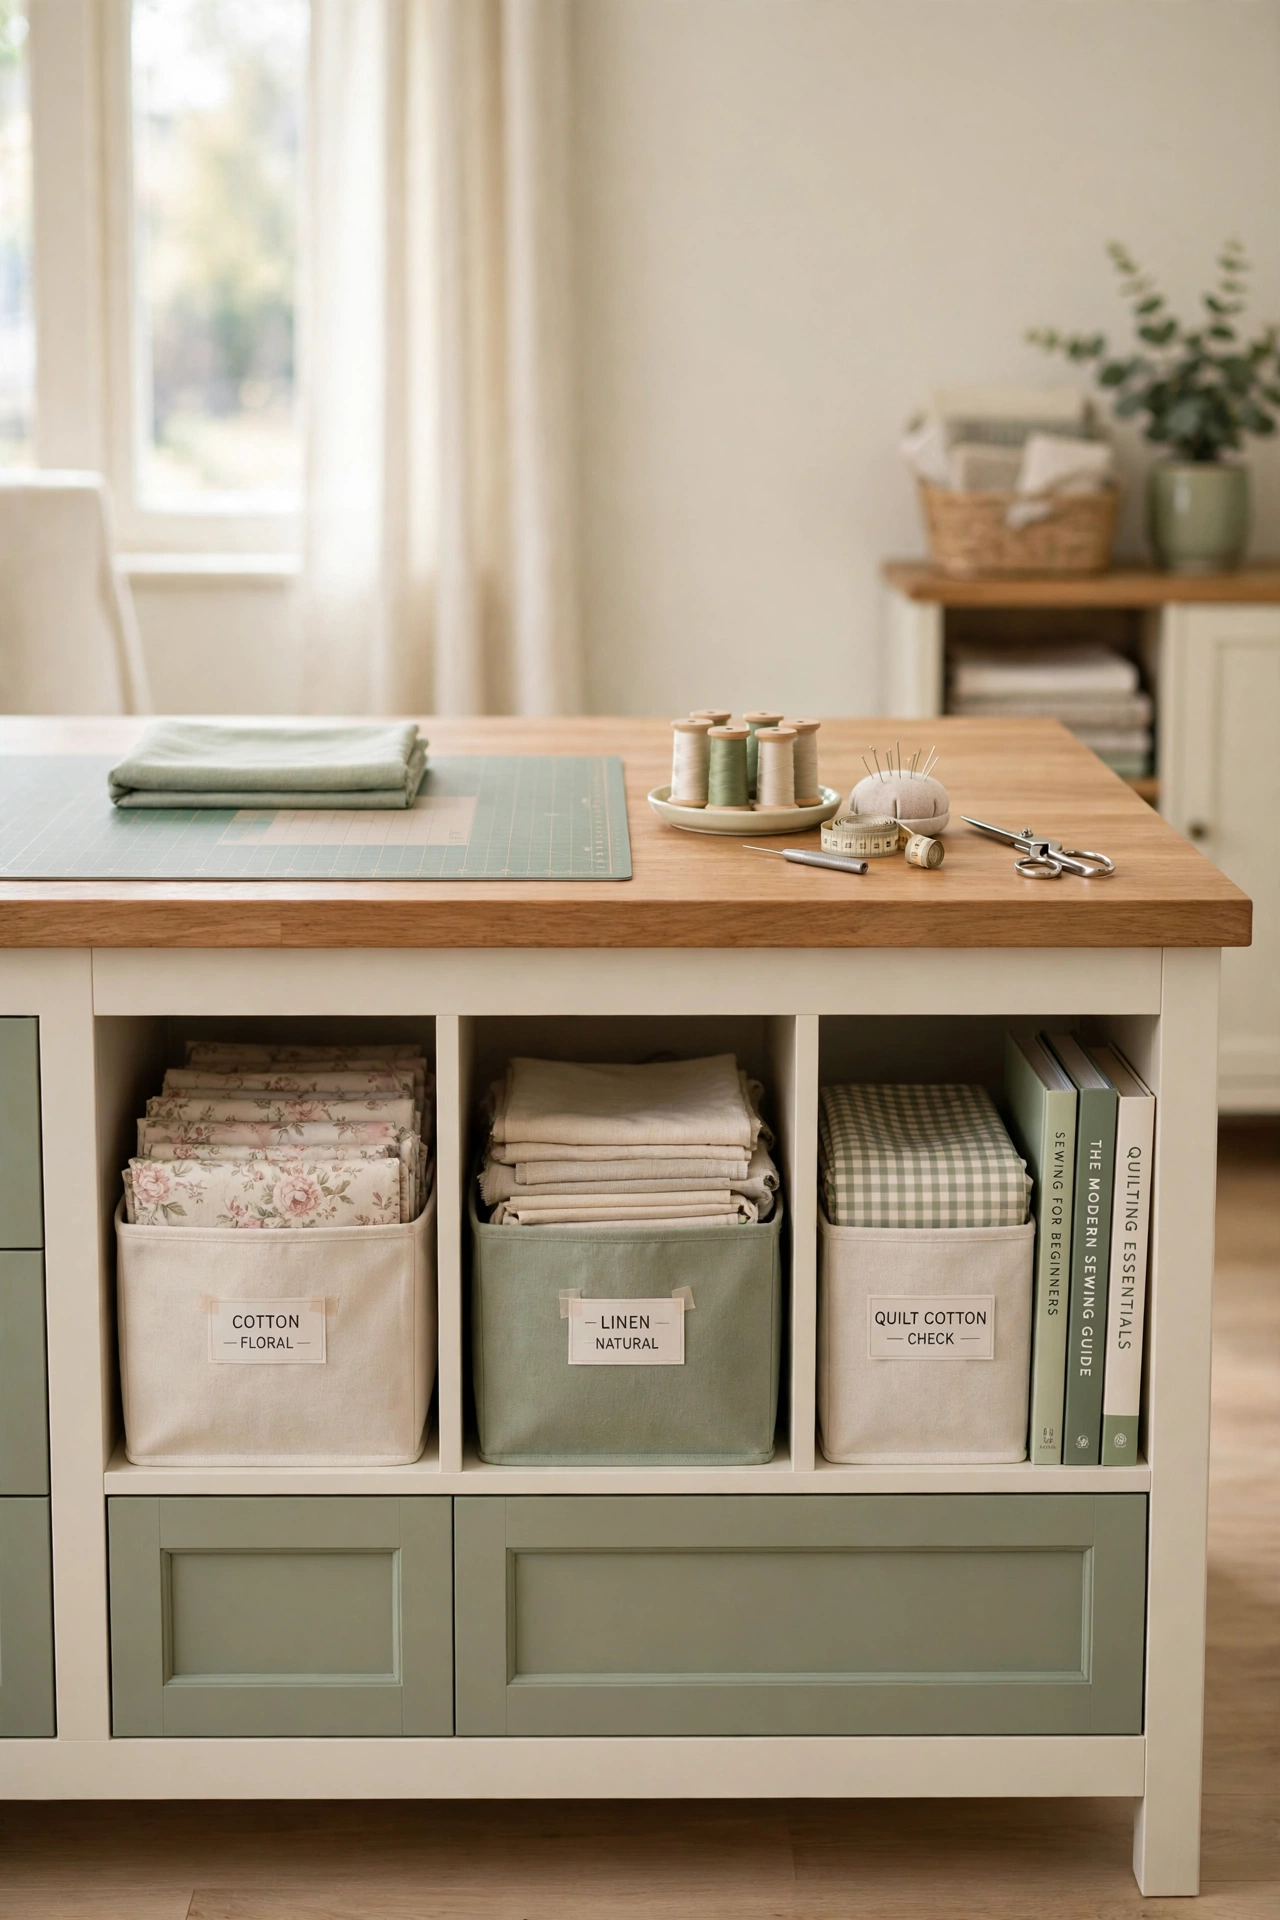
A wide center worktable changes everything in a sewing room. It gives you one large surface for cutting, sewing, and planning without clearing it every five minutes. With open space around all four sides, you can walk around a large project instead of dragging it across a cramped desk.
Choose a table with open cubbies underneath so books, rulers, and storage bins stay close but out of sight. When the tabletop has no clutter creeping onto it, the whole room feels calmer. This setup works best in a medium or large room where you can leave generous walking space on every side.
2. Turn Open Shelves Into a Fabric Library
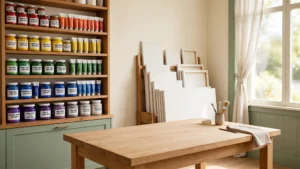
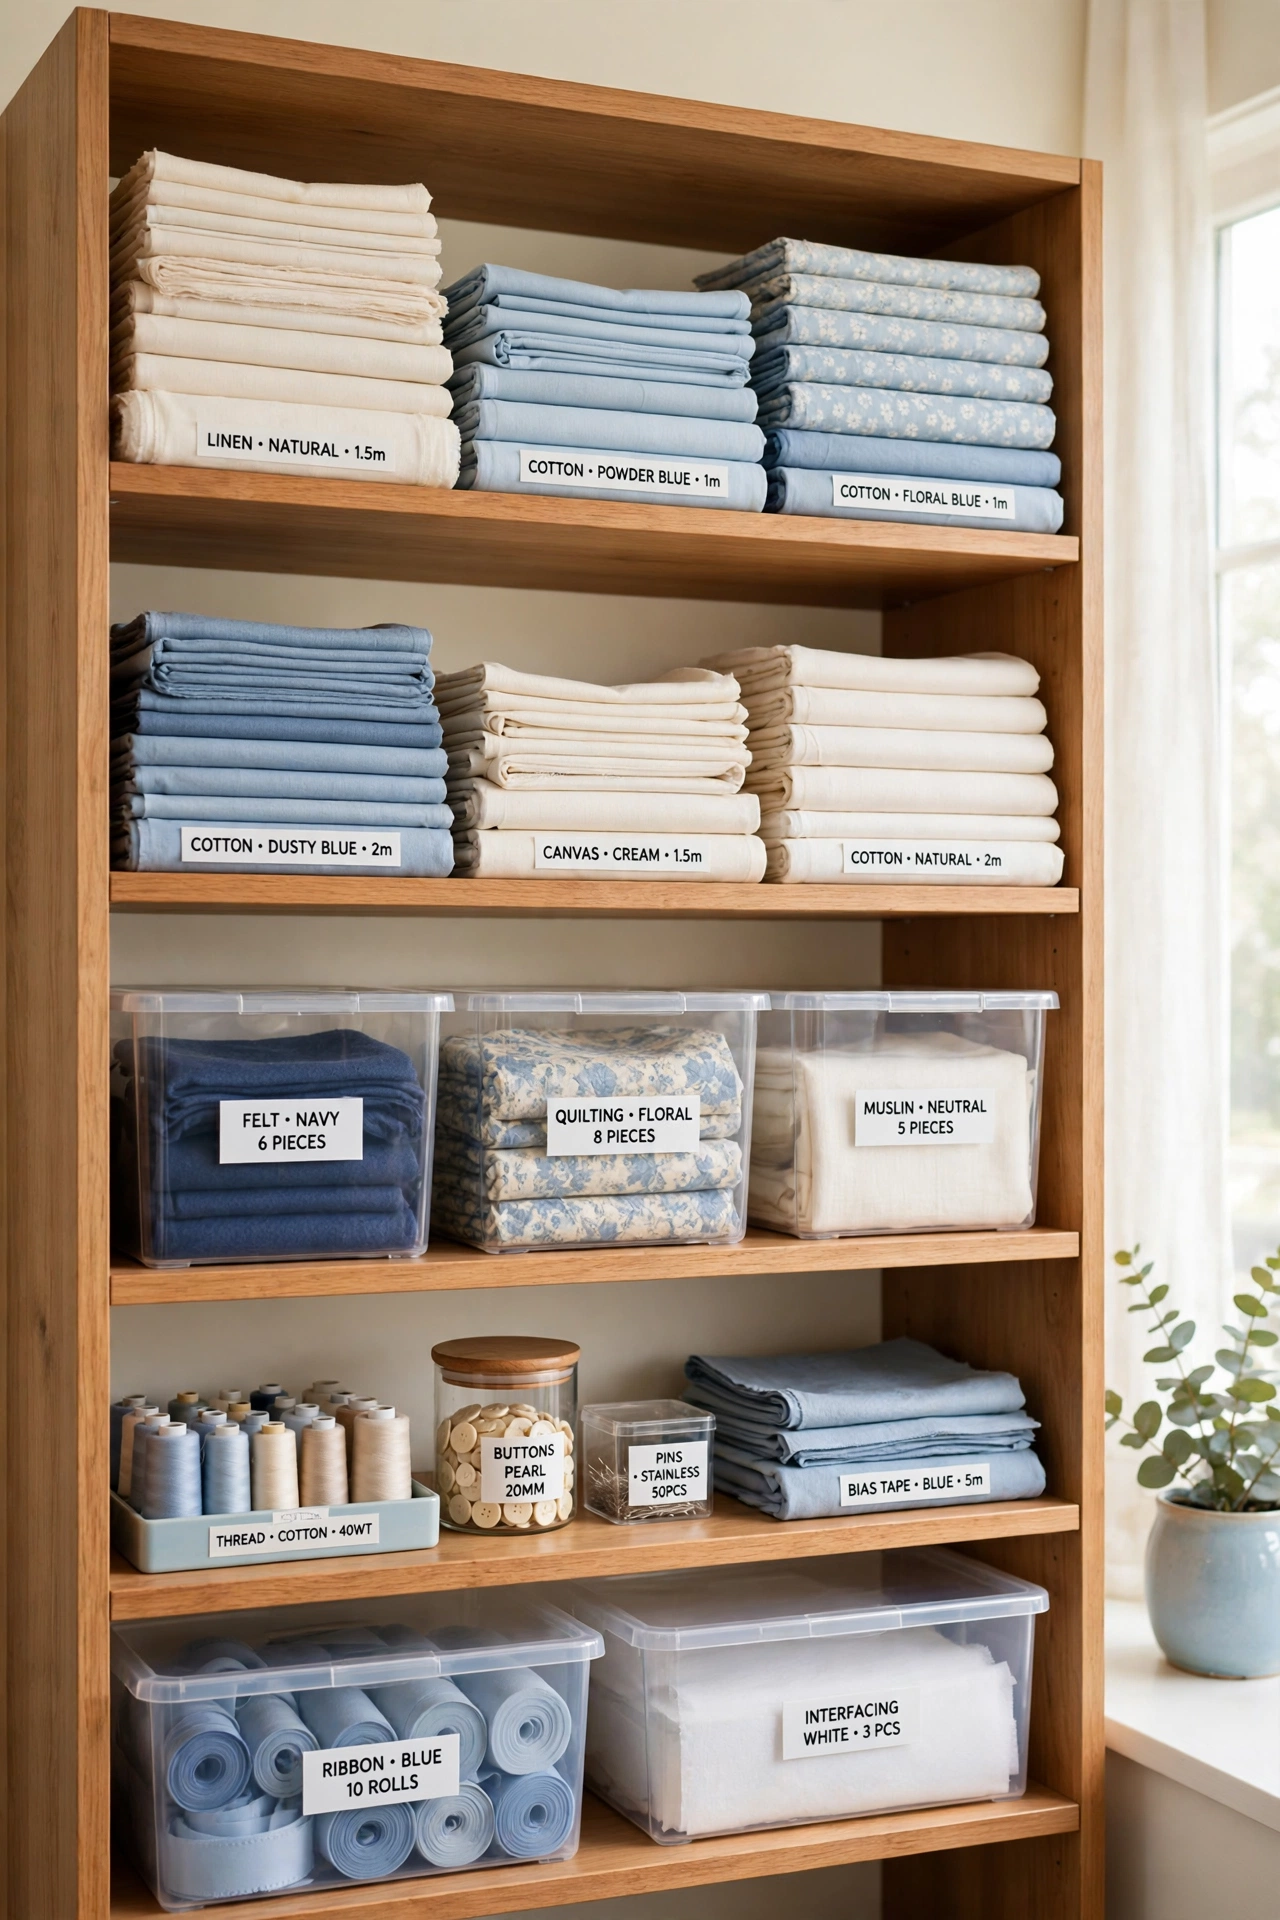
Open shelving turns a fabric stash into a working library instead of hidden clutter. Folded stacks and clear bins on open shelves let you see colors and textures at a glance, so choosing fabric for a new project takes seconds instead of a long dig through boxes.
Keep finished quilt blocks and current project pieces visible on the shelves too, so nothing stalls halfway. This method suits quilters and fabric lovers who change materials often and need to make fast choices. Sort the stacks by color family so the shelves read like a tidy rainbow from across the room.
3. Use a Mobile Cutting Table on Wheels
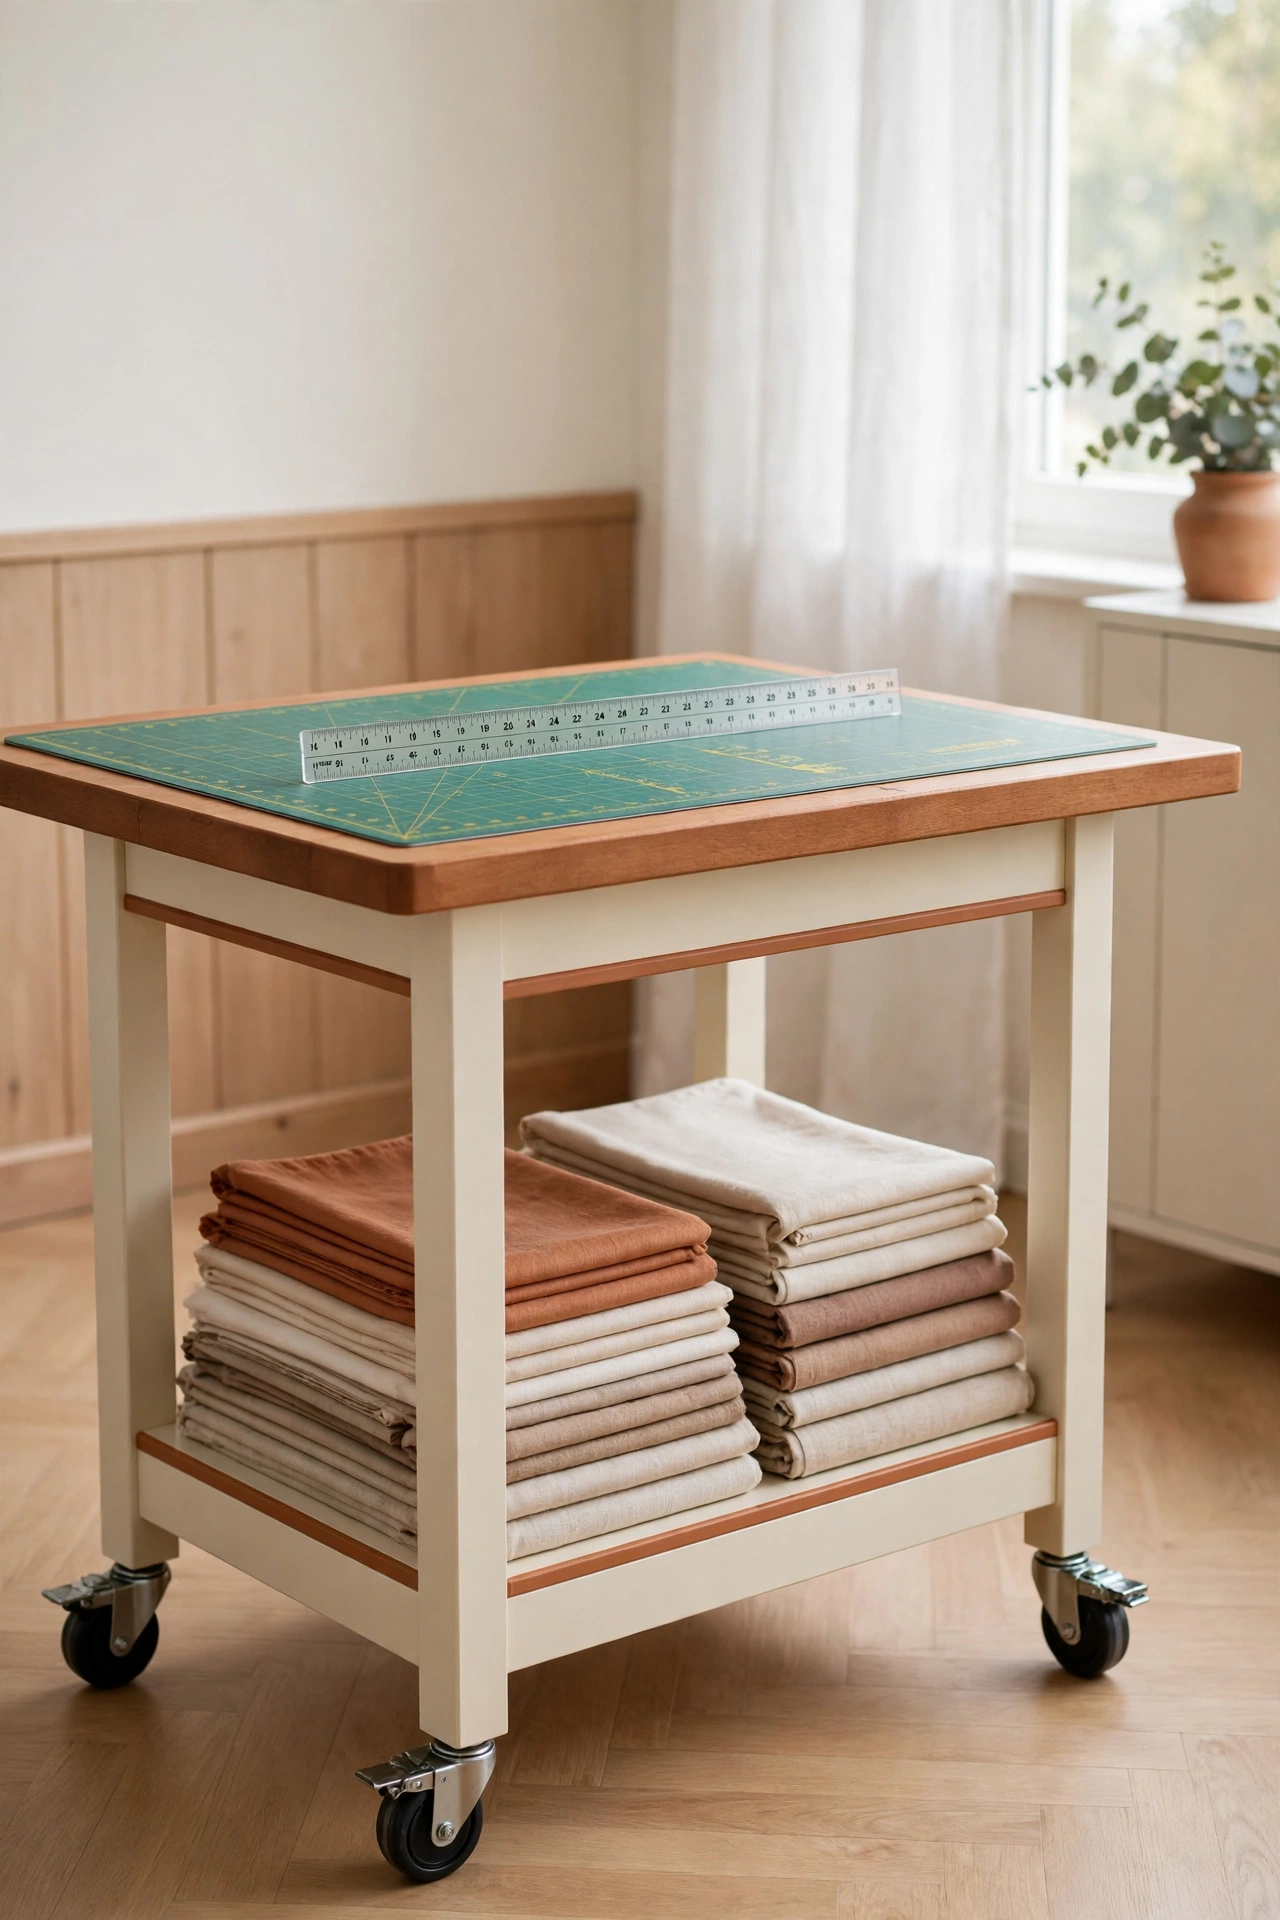
Wheels under a cutting table solve more problems than extra storage ever will. Roll the surface into open floor space when you need to cut large pieces of fabric, then roll it back against the wall when you are done. The room stays flexible instead of being ruled by one huge table.
Store folded fabric on the shelf underneath the cutting table so yardage stays organized and easy to see. For more ideas on wheeled storage that moves with you, see these rolling cart organization ideas. A mobile table is especially useful in a shared room where the sewing setup must shrink away between sessions.
4. Set Up Two Separate Work Zones
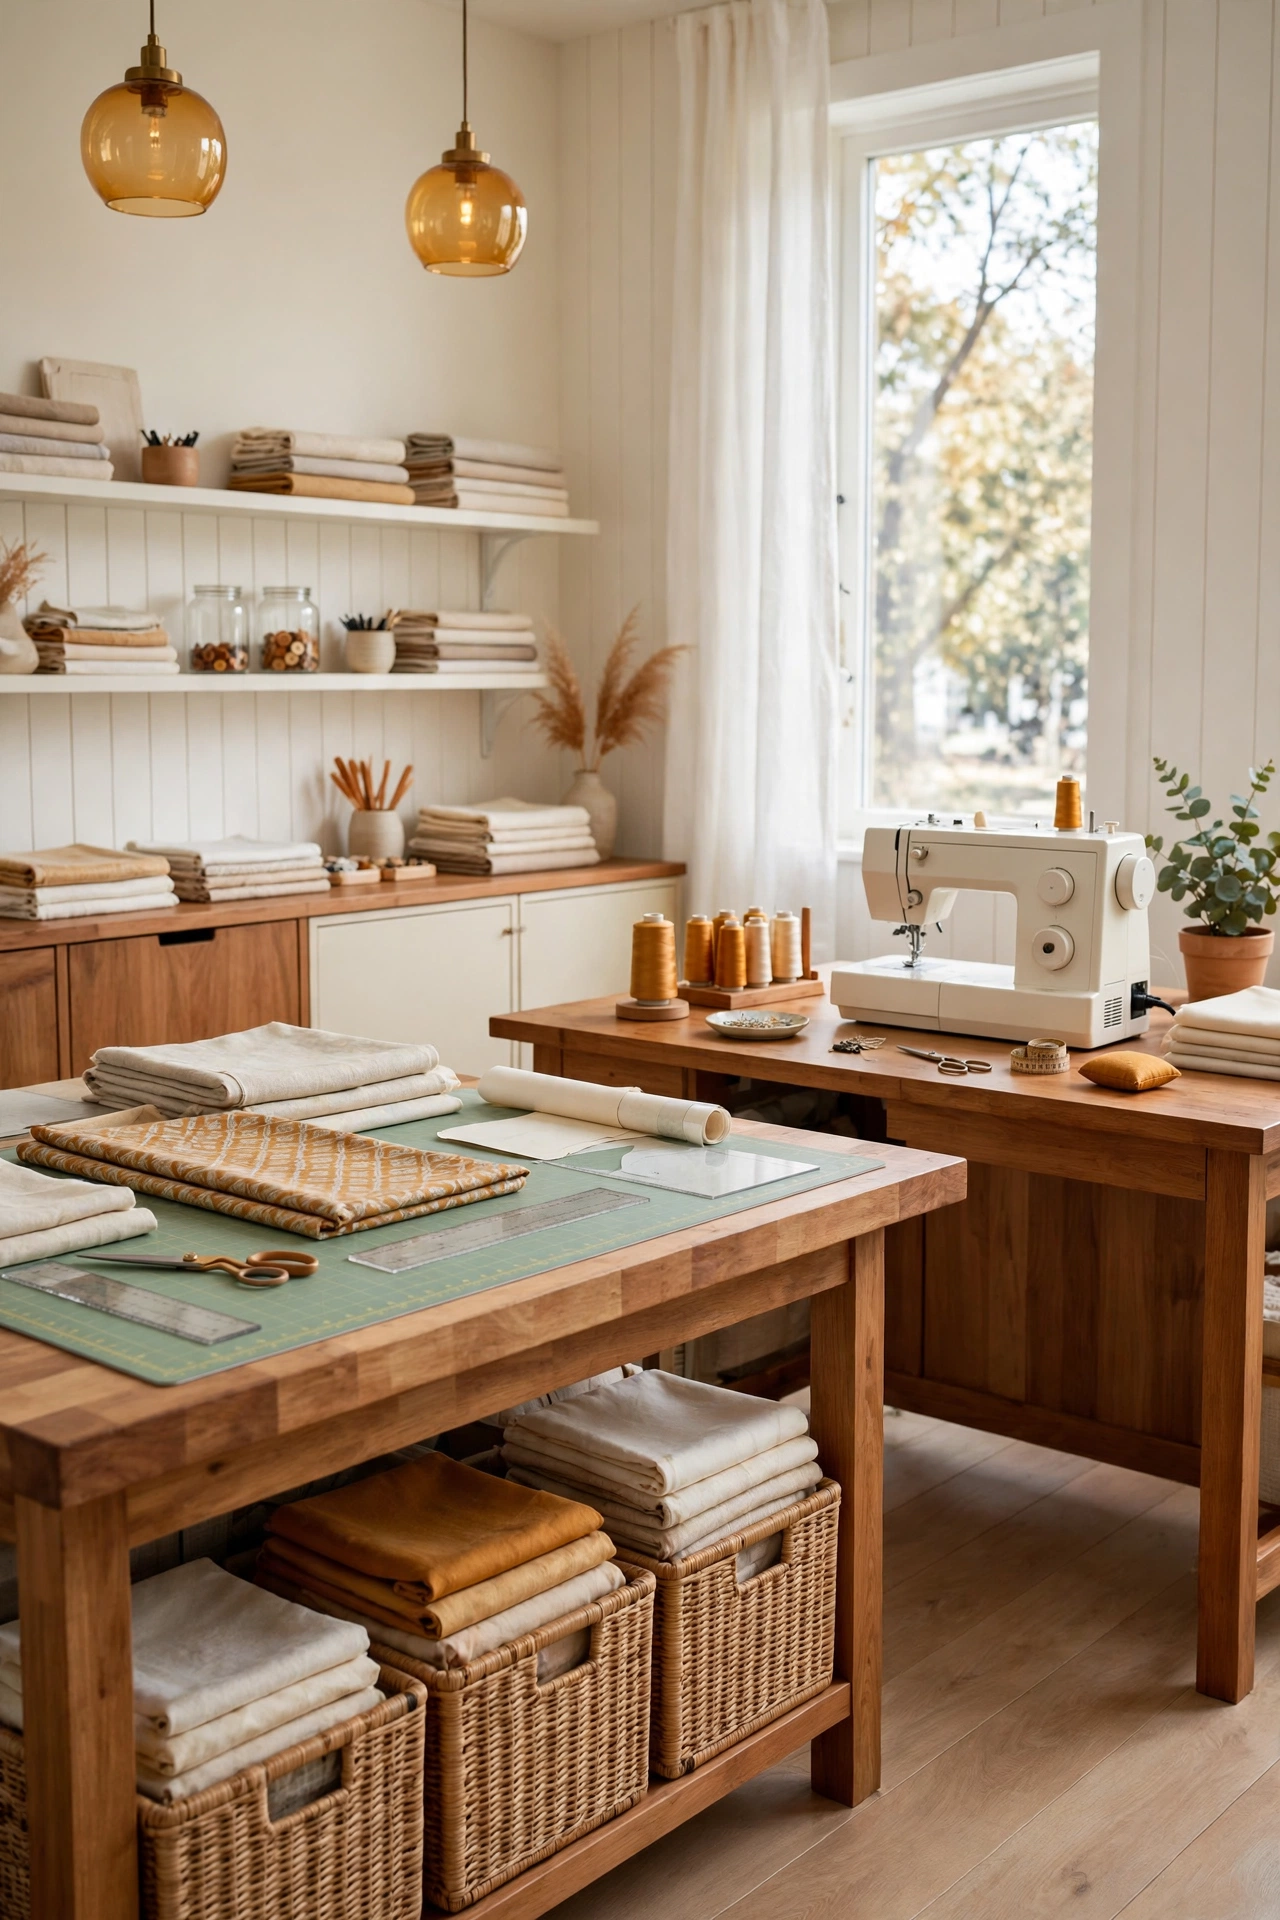
Separate tables keep sewing tasks from getting mixed up. One surface stays dedicated to cutting while a second surface holds the sewing machine and pressing tools, so you never have to clear one job away to start another. Each zone holds only the tools its task needs.
Keep fabric stored right beneath the cutting desk so supplies stay put instead of scattering across the room. If your space is tight, these small craft room layout ideas show how two zones can still fit in a compact footprint. Dual zones work best in a dedicated sewing space where several tasks happen every day.
5. Use Vertical Storage to Free the Floor
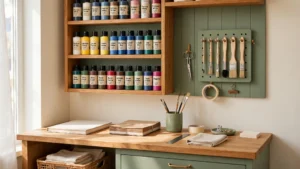
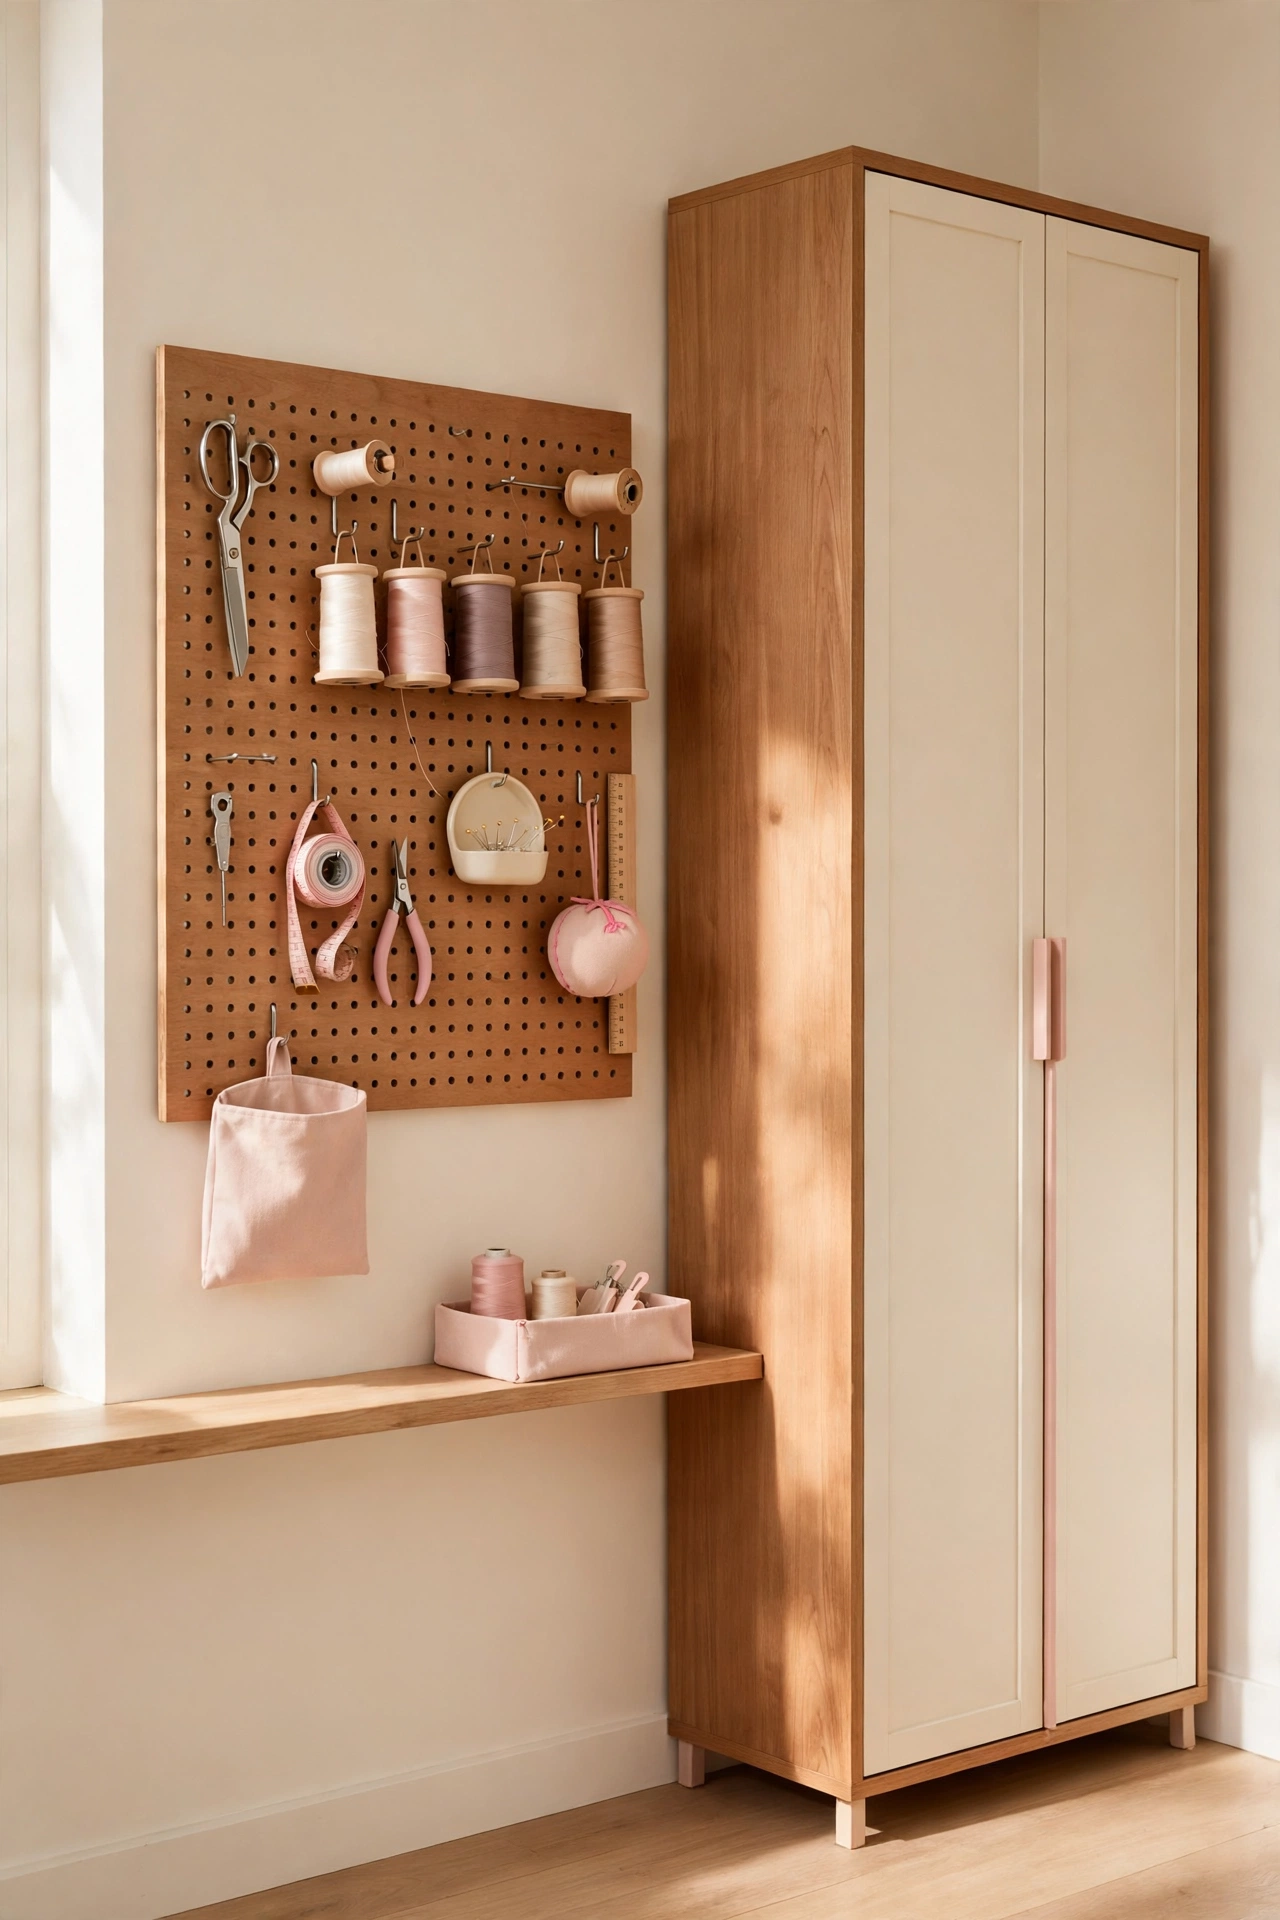
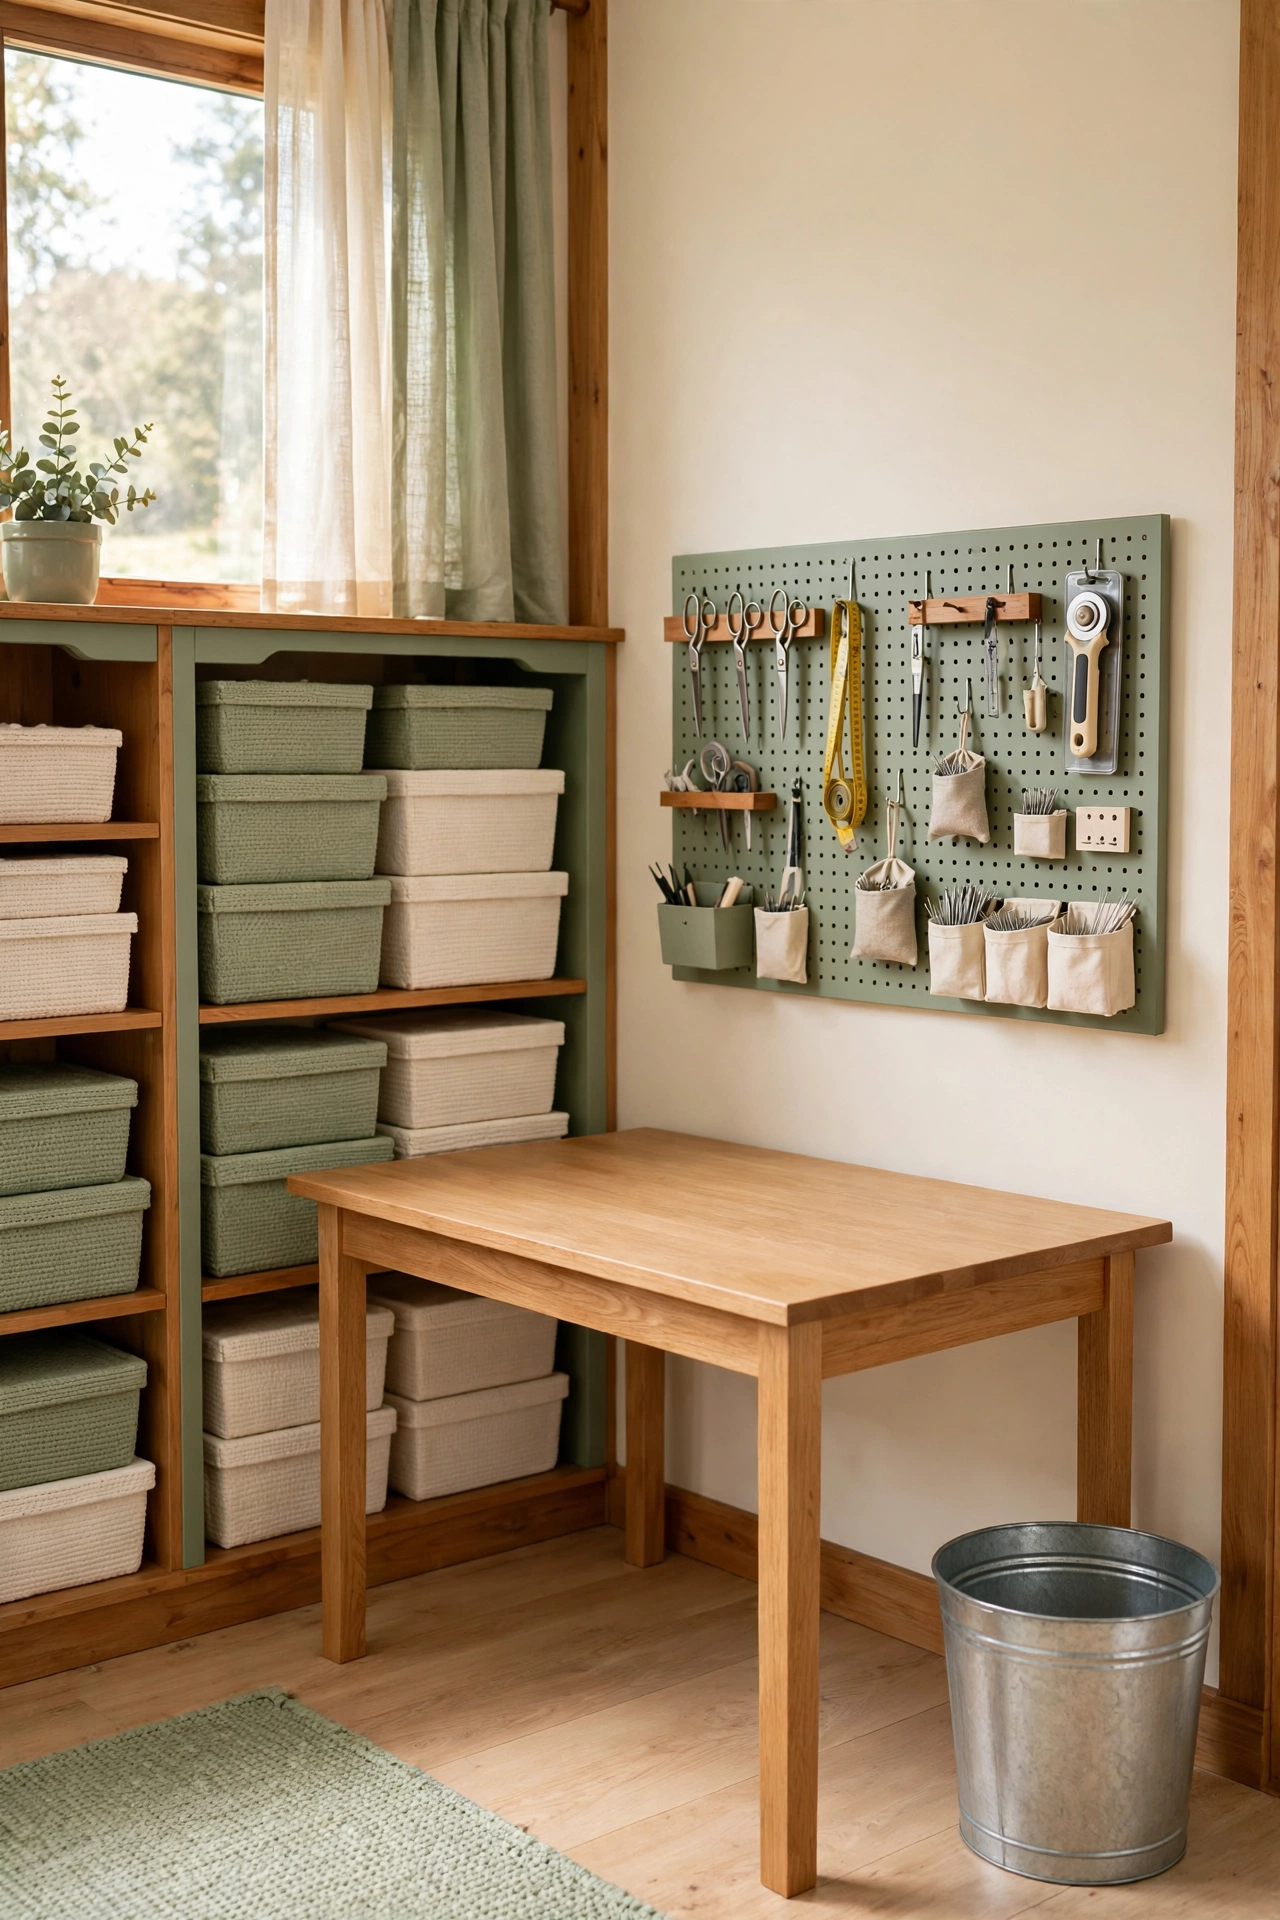
Vertical storage frees floor space without sacrificing access to your supplies. A pegboard on the wall keeps scissors, thread, and small tools visible and within reach, while a slender cabinet beside it conceals bulkier items behind closed doors. Everyday essentials stay out in the open and extra stock stays neatly hidden.
This pairing is ideal for compact rooms and rental homes where wall space matters more than floor space. Keep the pegboard hooks labeled or grouped by task so every tool has one obvious home. When everything has a visible spot, tidying up takes moments instead of a full afternoon.
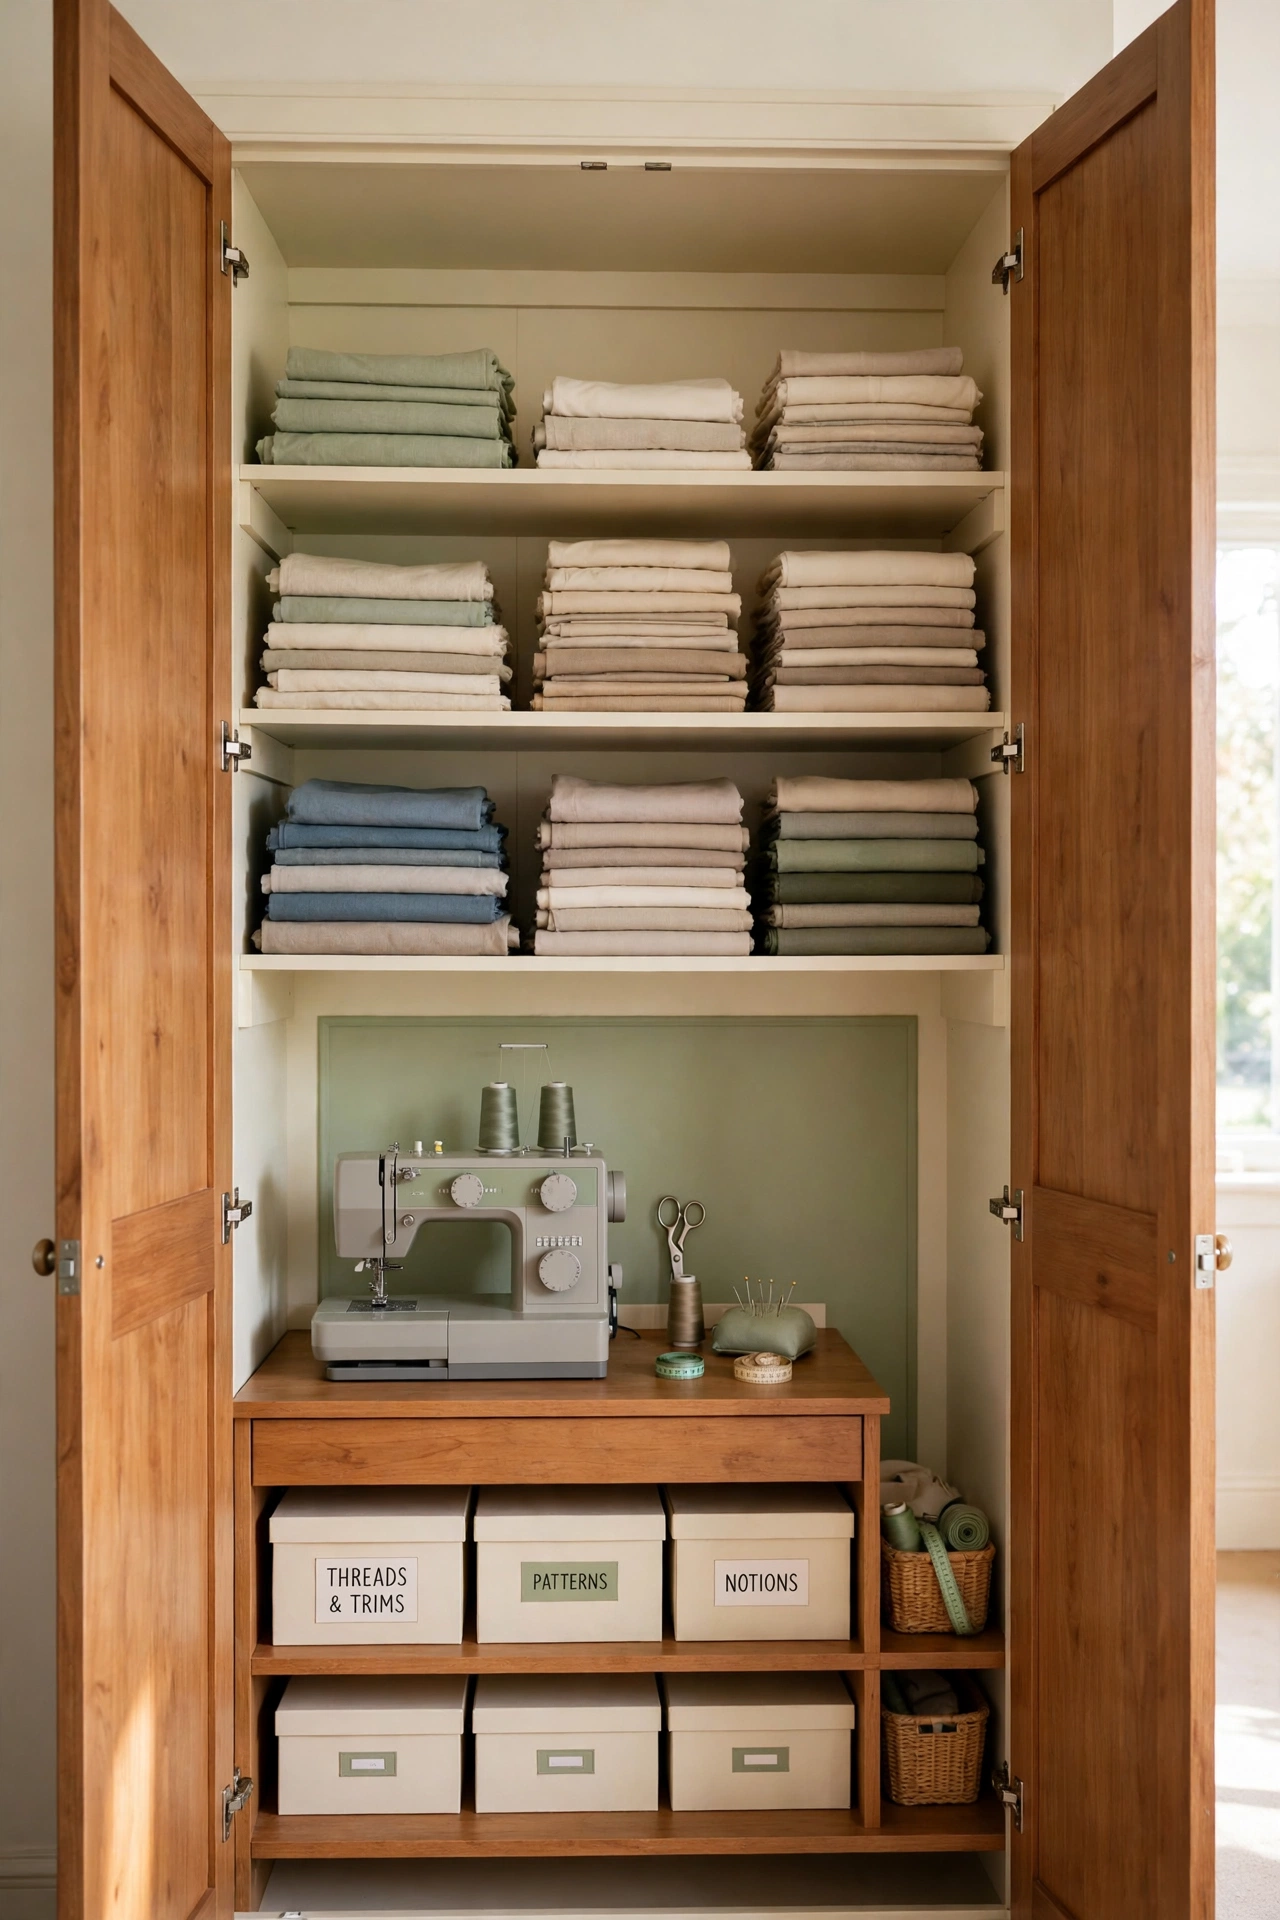
6. Hide a Whole Studio Inside a Closet
Doors that open wide can hide an entire sewing setup in plain sight. A closet fitted with shelves, drawers, and a fold-down work surface keeps the machine, tools, paper, and fabric sorted without spreading across the room. Open the doors to sew, close them to restore order.
This approach shines in spare rooms, basements, and awkward corners where a dedicated sewing room is not possible. For more ways to use every inch of closet space, these closet door organization ideas add storage to the doors themselves. A closet studio keeps a shared room looking calm while your sewing world stays ready inside.
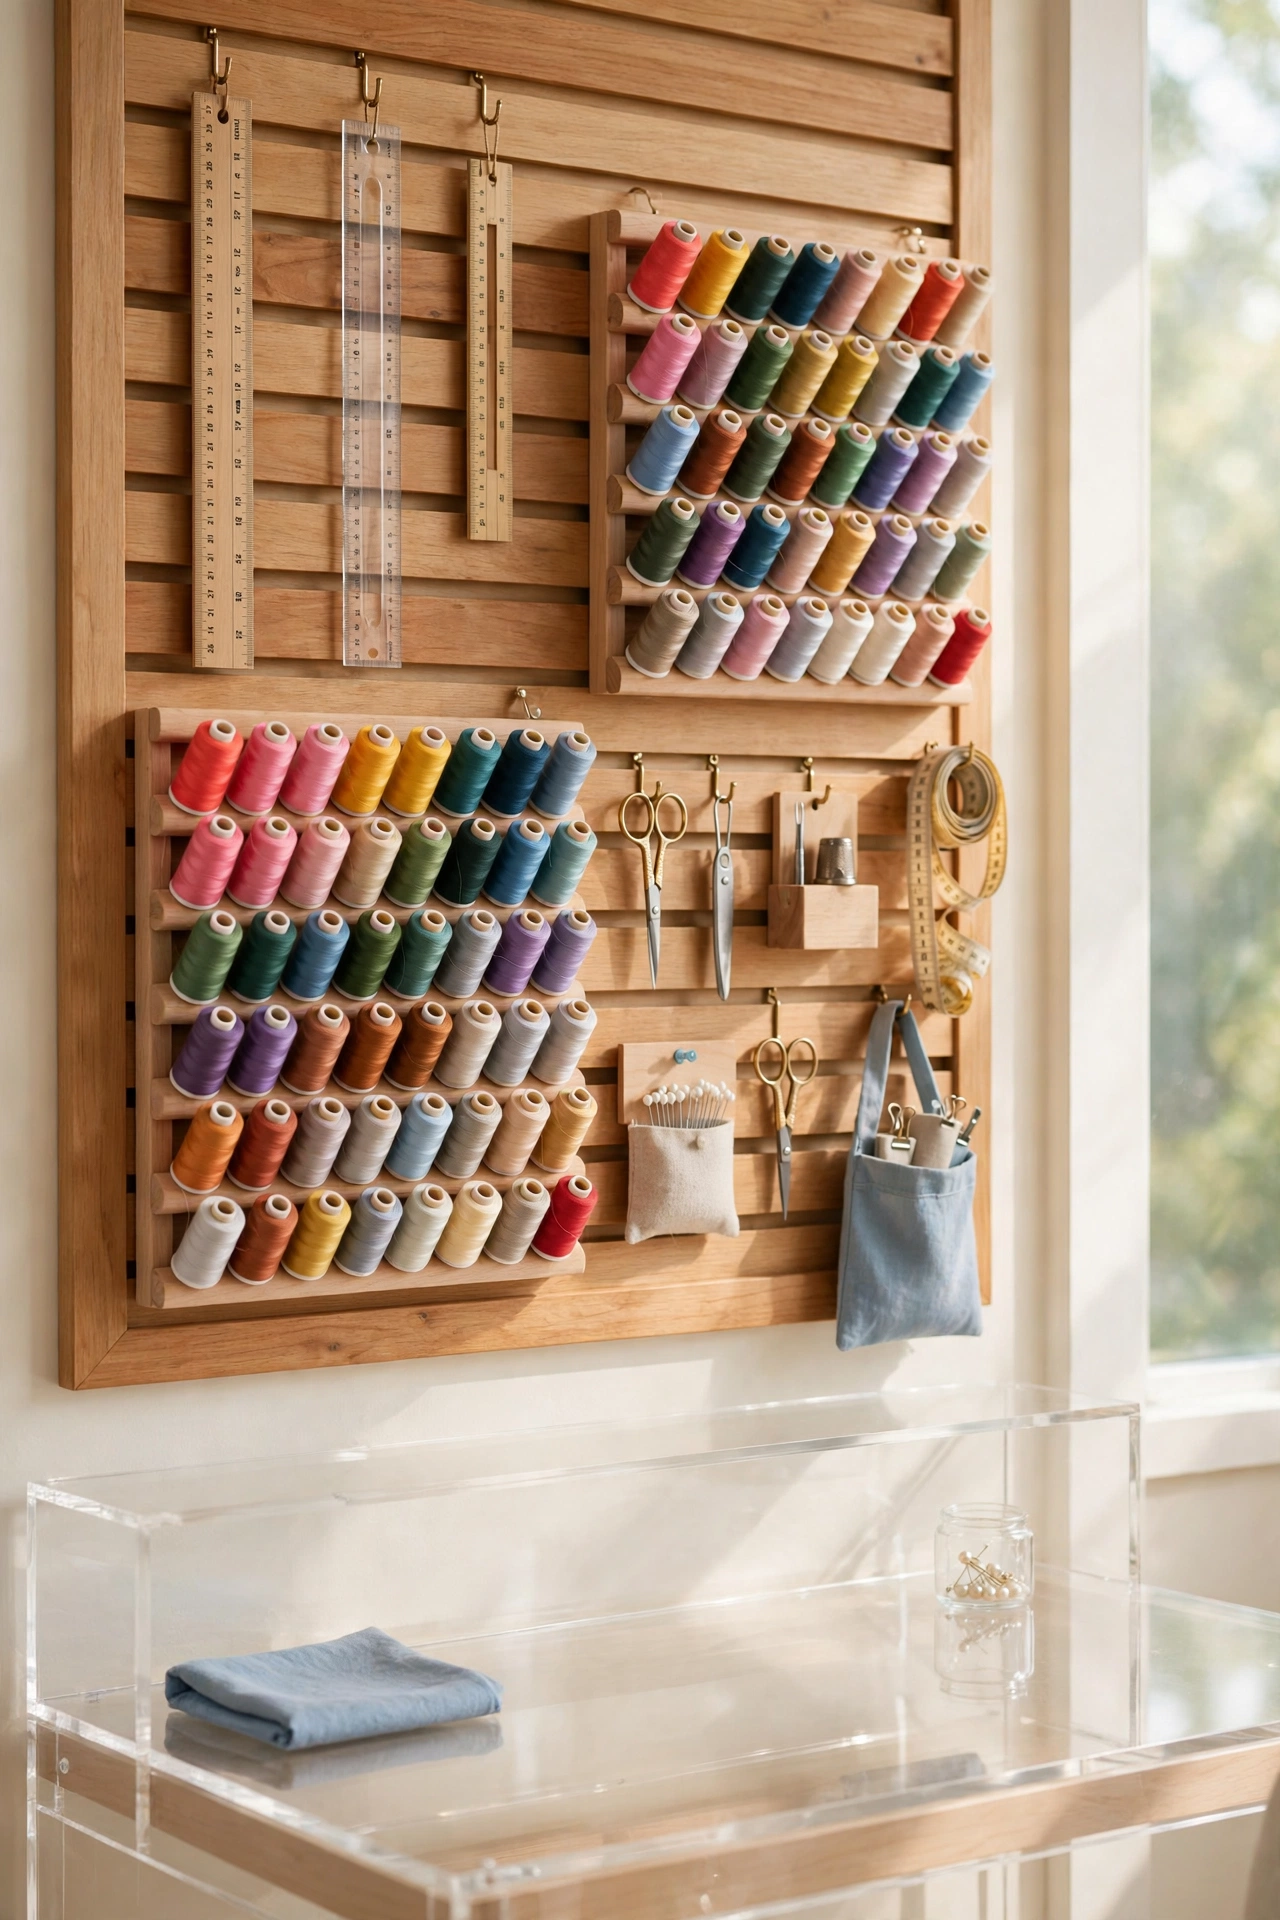
7. Put Your Tools on a Wall Display
Walls can work harder than furniture ever will. Mounting thread racks, rulers, and small tools on the wall keeps the work surface clear and makes decisions fast, because you can see every option without opening a drawer. When tools stay visible, you stop buying duplicates of things you already own.
This wall-first approach suits smaller rooms with limited desk space, especially when tools get used every day rather than stored for occasional use. Group the wall display by task, with cutting tools near the cutting area and machine tools near the machine. A tidy tool wall also becomes a colorful feature that makes the room feel like a real studio.
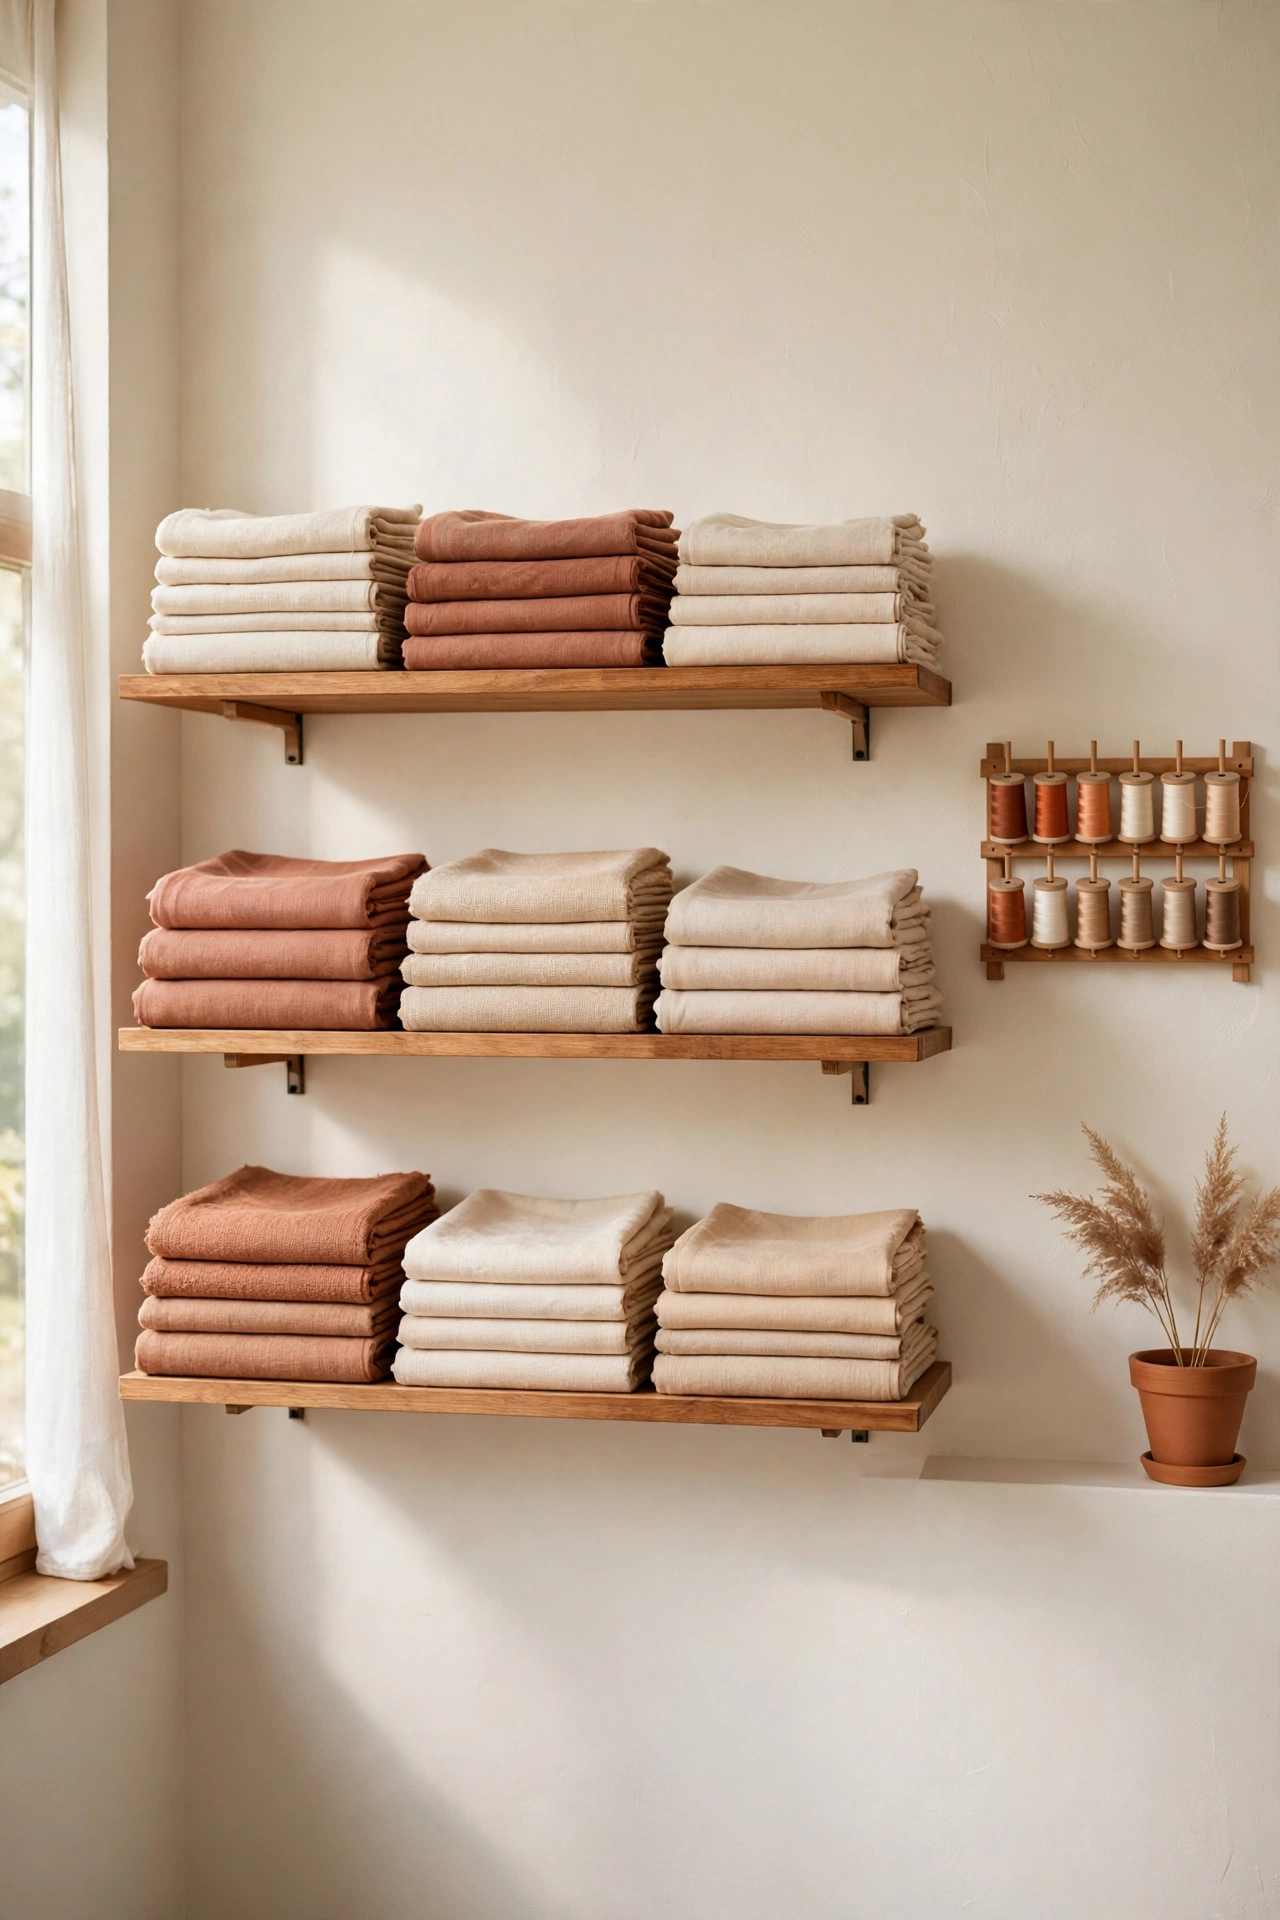
8. Keep Folded Fabric at Eye Level
Folded fabric stored at eye level makes choosing materials quick and mess-free. Shallow shelves prevent tall piles from toppling while keeping every print visible, so you can pull one piece without disturbing the rest. A thread rack mounted nearby keeps colors tidy and frees the table completely.
This setup is ideal for smaller spaces where walls take the place of large furniture and every inch must serve sewing rather than storage. Keep the most used fabrics at arm height and move seasonal or special occasion fabrics to the higher and lower shelves. Eye level storage turns fabric selection into the easiest part of the project.
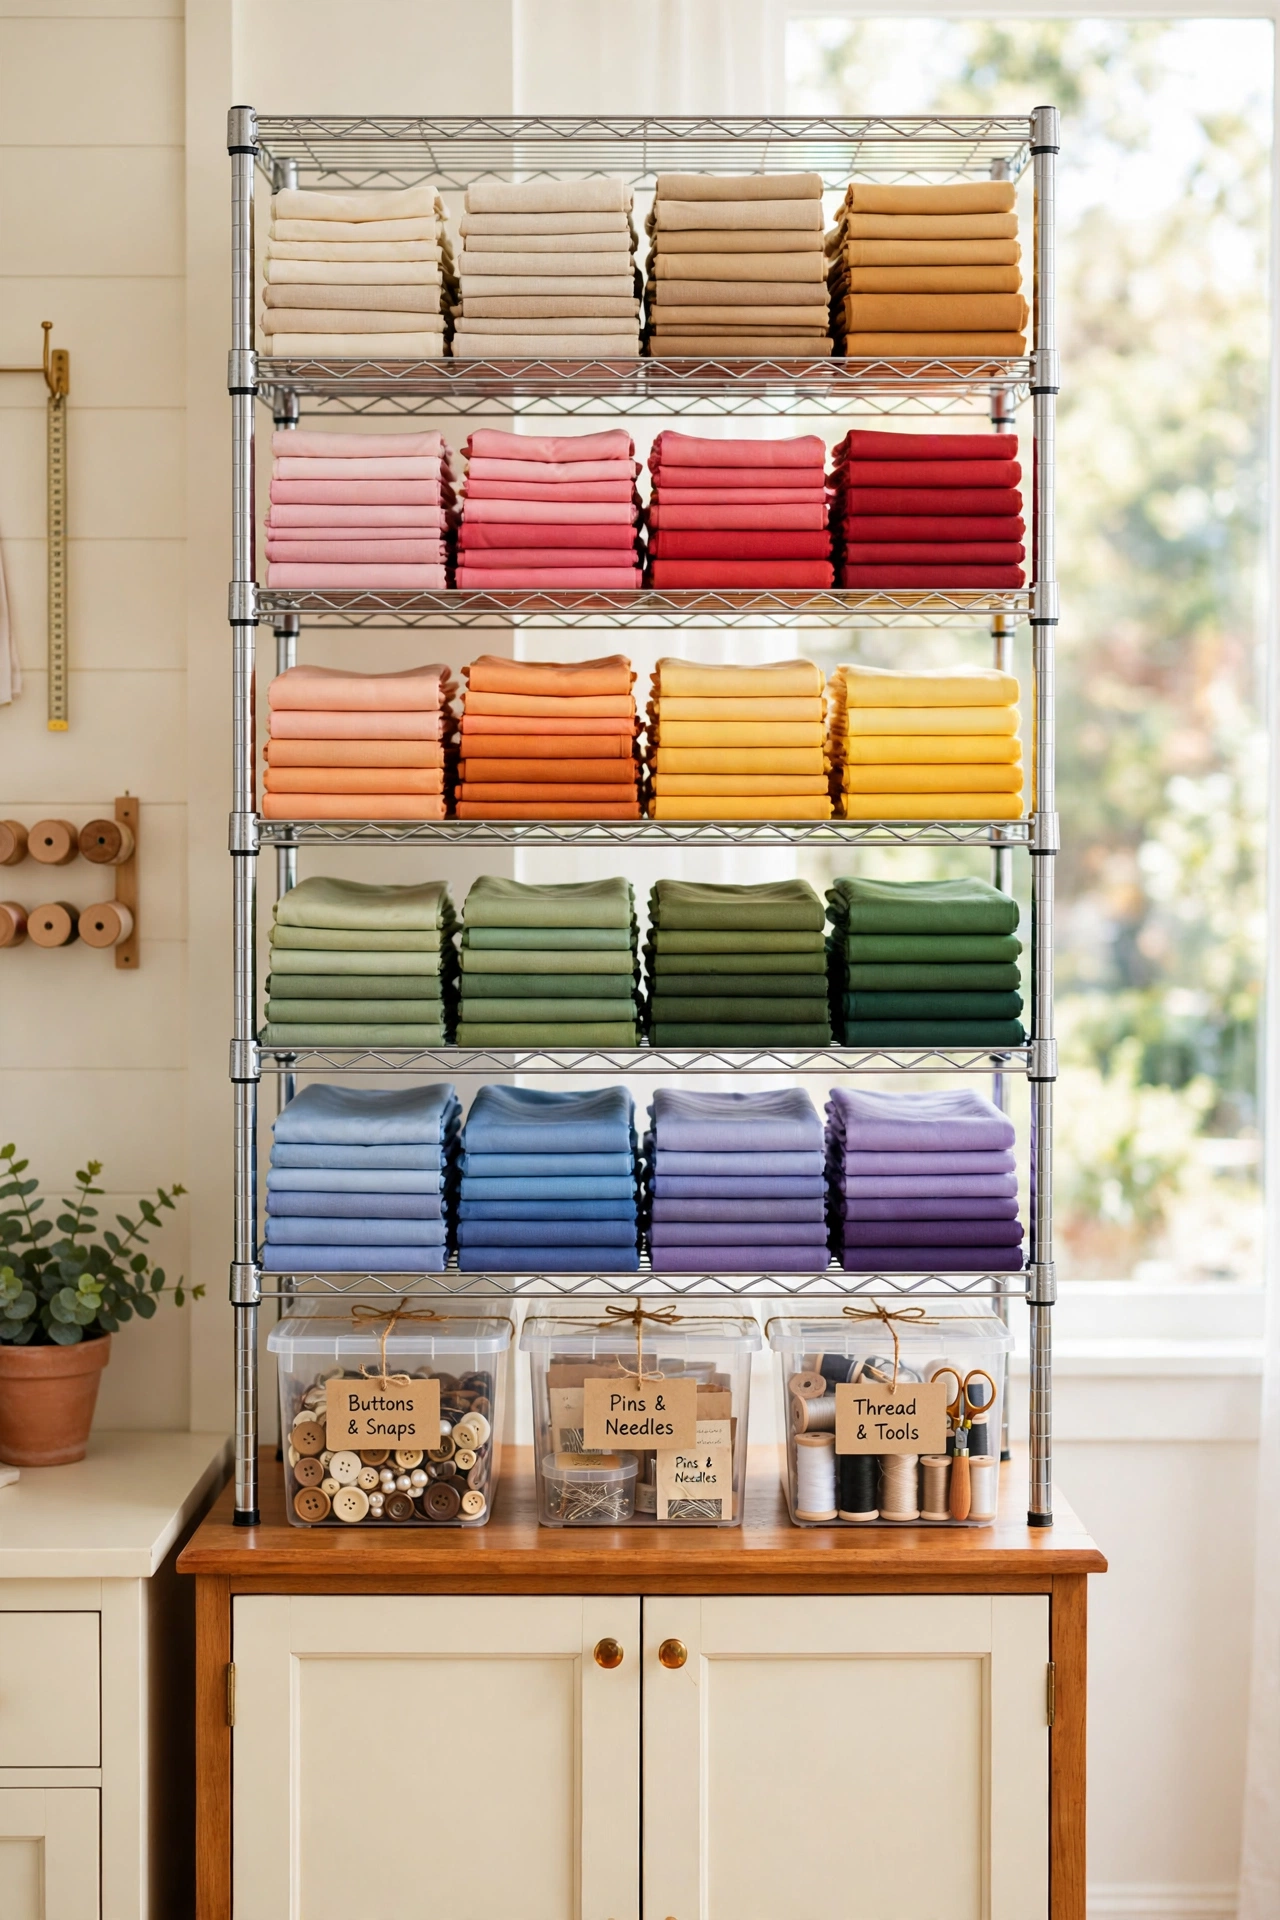
9. Sort a Big Stash With Wire Shelving
Open metal racks turn a large fabric collection into something manageable instead of overwhelming. Adjustable wire shelves let you expand or shrink each section as projects change, and clear bins on the shelves keep smaller items from vanishing into deep piles.
Sort the fabric by color so finding the right piece becomes fast, and keep leftover cuts in labeled bins where they stay visible for future projects. Wire shelving costs less than built-in cabinets and can be reconfigured in minutes. It is a practical backbone for a serious stash that keeps growing.
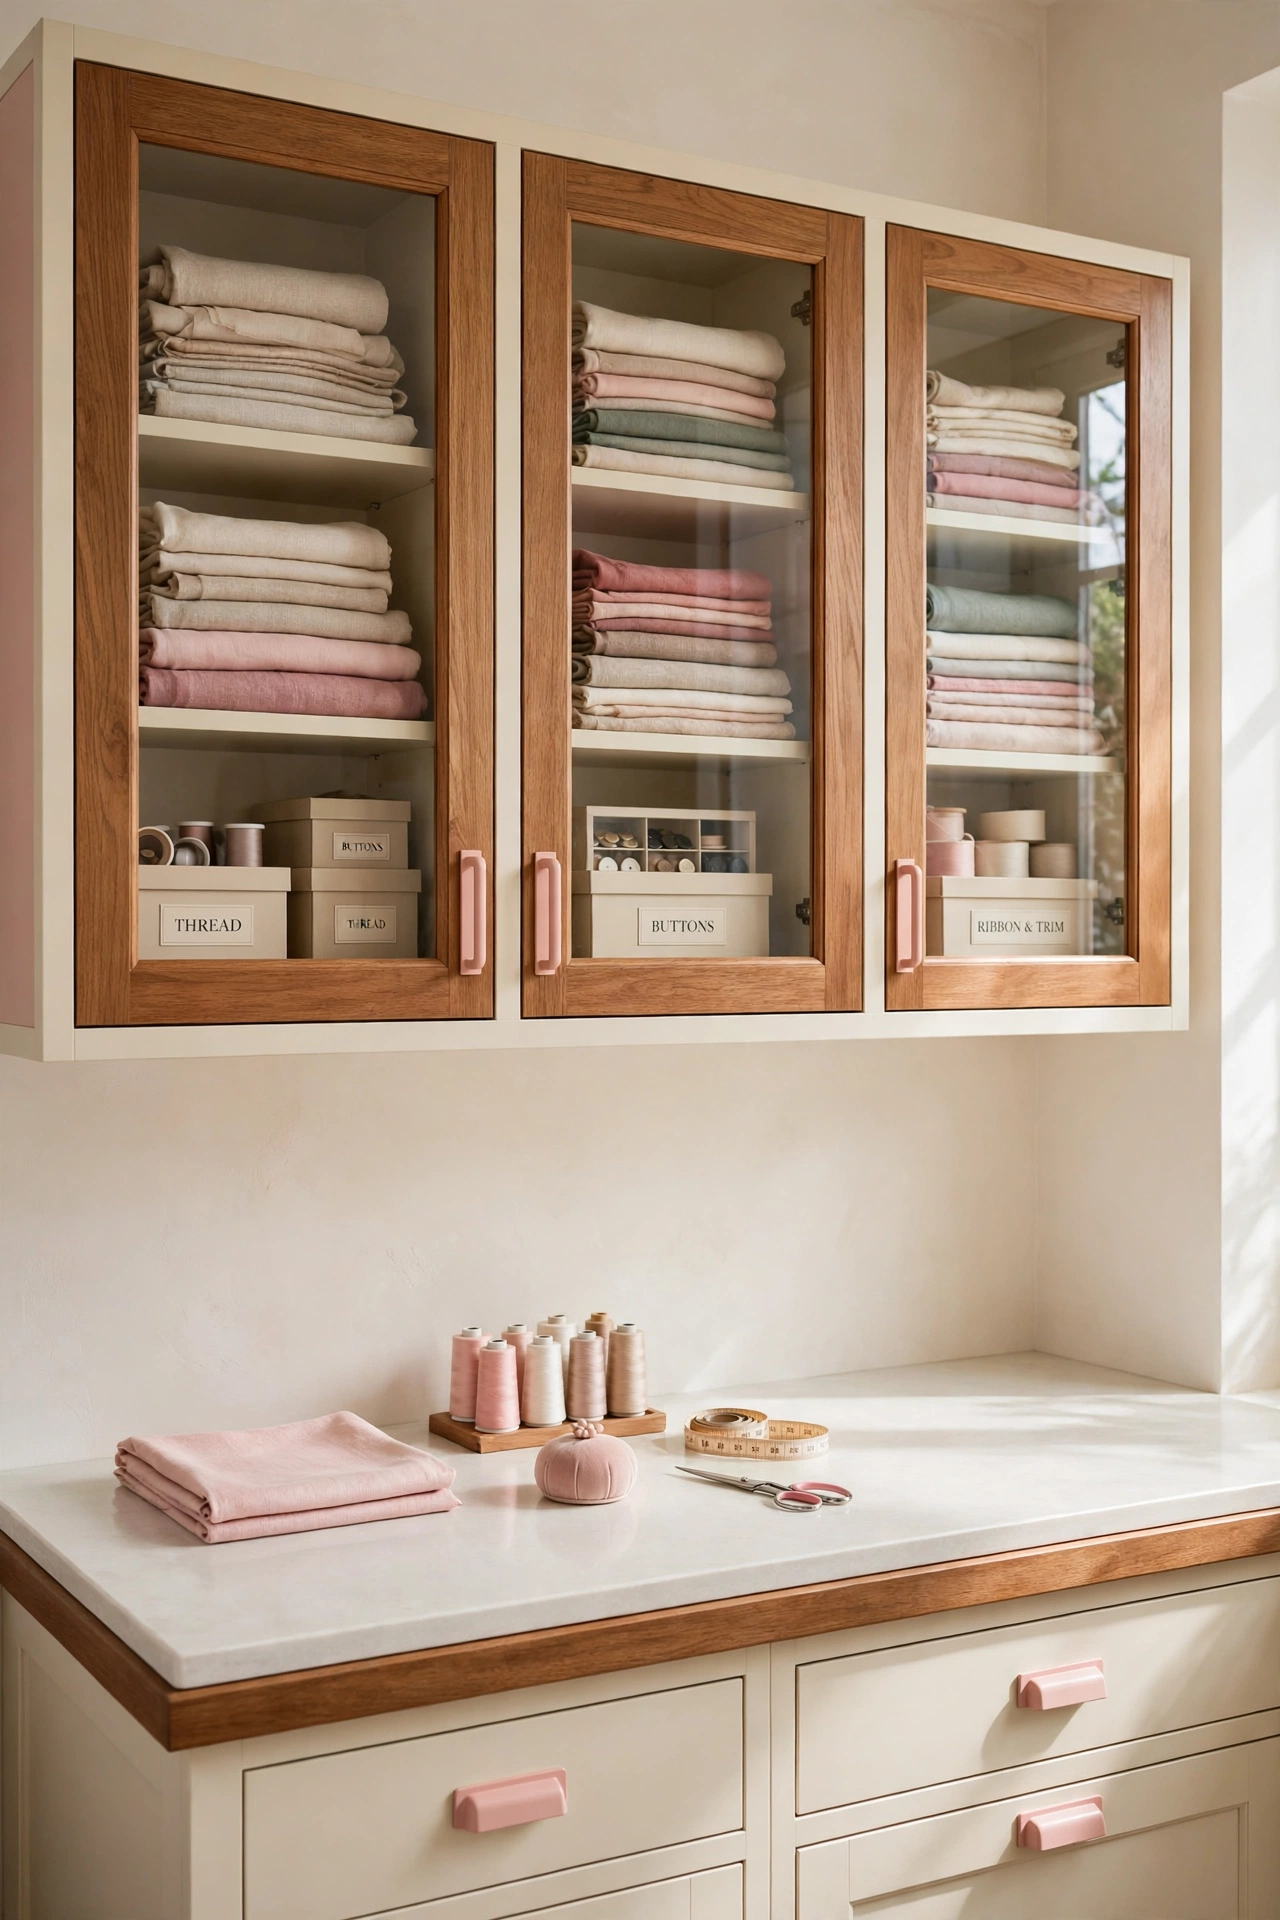
10. Store Supplies in Upper Cabinets
Storing fabric and supplies above the workspace keeps the room feeling open while still holding a great deal. Glass-front upper cabinets offer a quick view of contents without any rummaging, so you can spot what you need from the sewing chair.
Reserve the highest shelves for heavier or rarely used goods, and keep everyday equipment within easy reach on the desk below. Upper cabinets work beautifully above a long work counter, where they turn dead wall space into a tidy storage wall. The room stays airy because the floor remains completely clear.
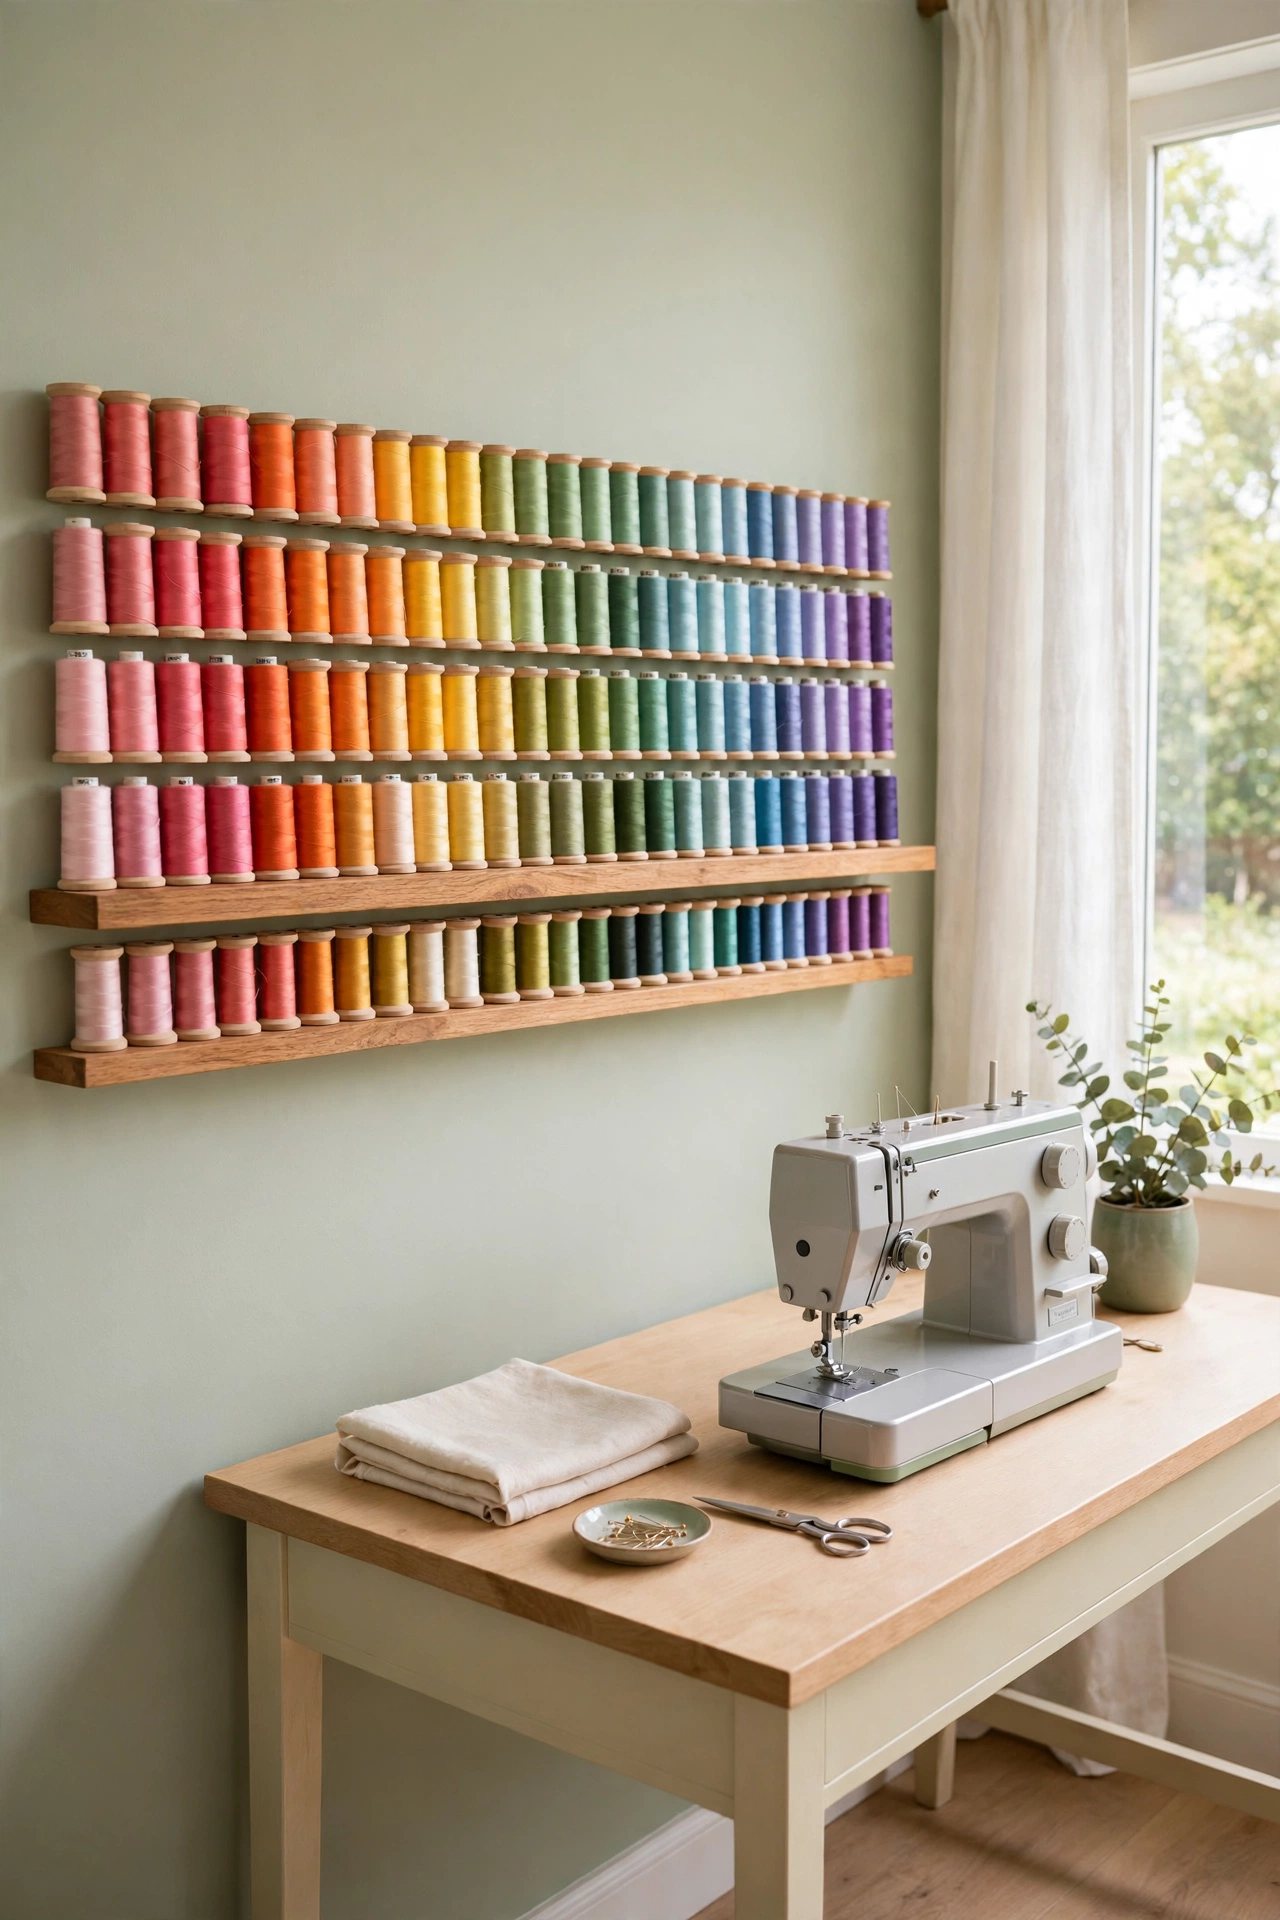
11. Run a Slim Thread Ledge Along the Wall
A slender wall ledge holding rows of thread spools turns a plain wall into a color library. The spools stay organized, easy to see, and off the work surface, which speeds up setup at the machine and keeps the desk clear for fabric.
This slim storage shines in tight spaces where horizontal shelving beats bulky cabinets and thread gets used constantly. For organizing the smaller supplies that live near the machine, these sewing notions organization ideas cover the details. Keep the ledge at arm height beside the machine so grabbing the right color never breaks your rhythm.
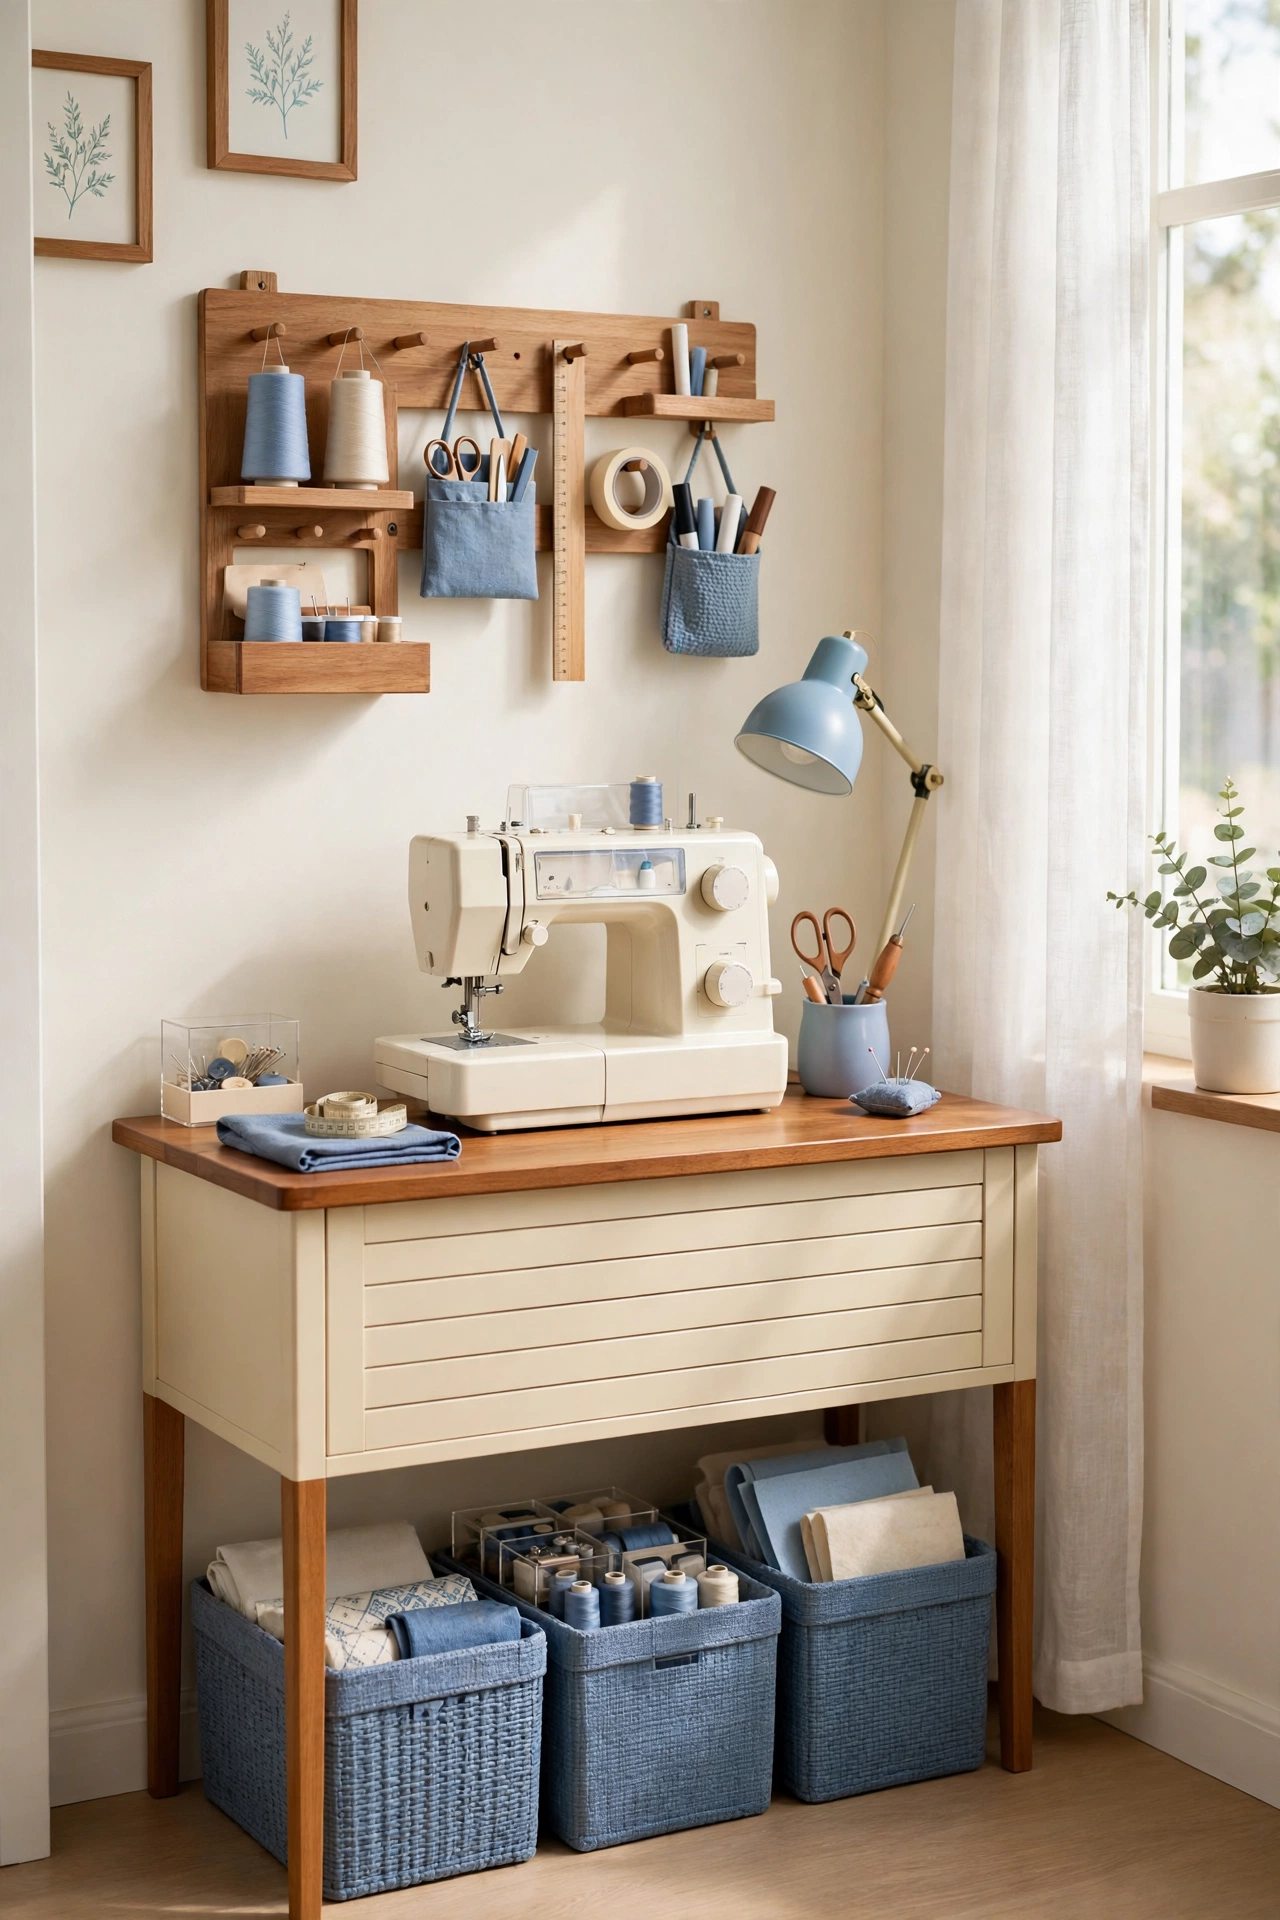
12. Fit a Compact Desk Into a Narrow Room
Long, narrow tables keep a sewing setup simple without eating the whole room. Supplies stored underneath the desk stay close but off the surface, and wall-mounted organizers hold tools and thread above it, freeing the desk for actual sewing.
A compact task light on the desk makes the station much easier to use without adding clutter. This approach fits attic rooms, spare nooks, and any space where width is limited but everyday sewing still matters. Keep only the machine and the current project on the surface, and the small desk will feel surprisingly spacious.
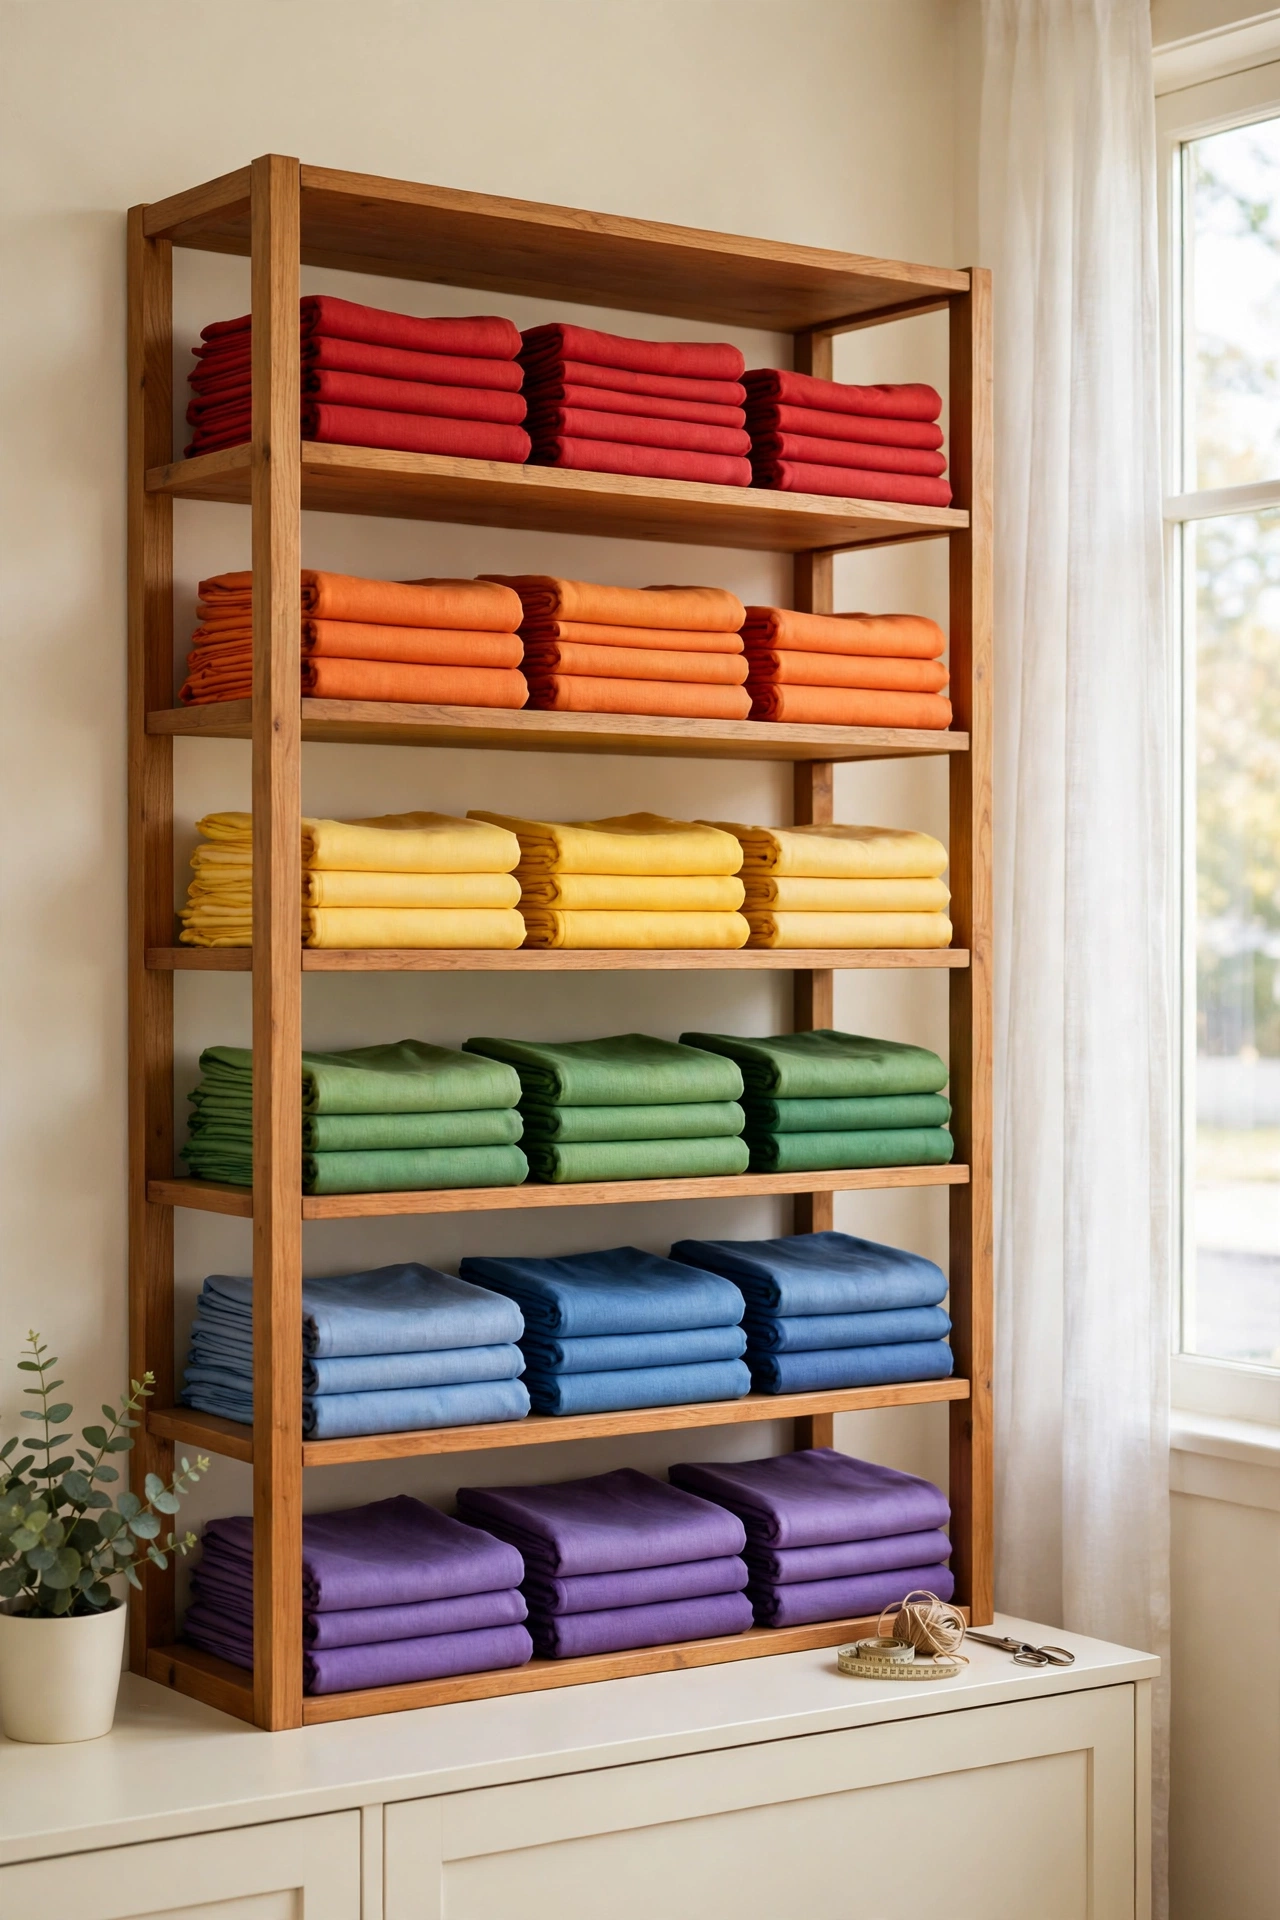
13. Arrange Fabric in Color Blocks
Arranging fabric by color turns storage into a decision-making tool. Pulling the right shade becomes instant, and leftover cuts stop getting lost in random piles because each color has one obvious home on the shelf.
Open shelving gives a clear view of the whole stash, which can help curb extra purchases and make project planning easier. This method suits quilters and garment makers who think visually and like inspiration within sight. Arrange the blocks in rainbow order so the shelves look as beautiful as they are useful.
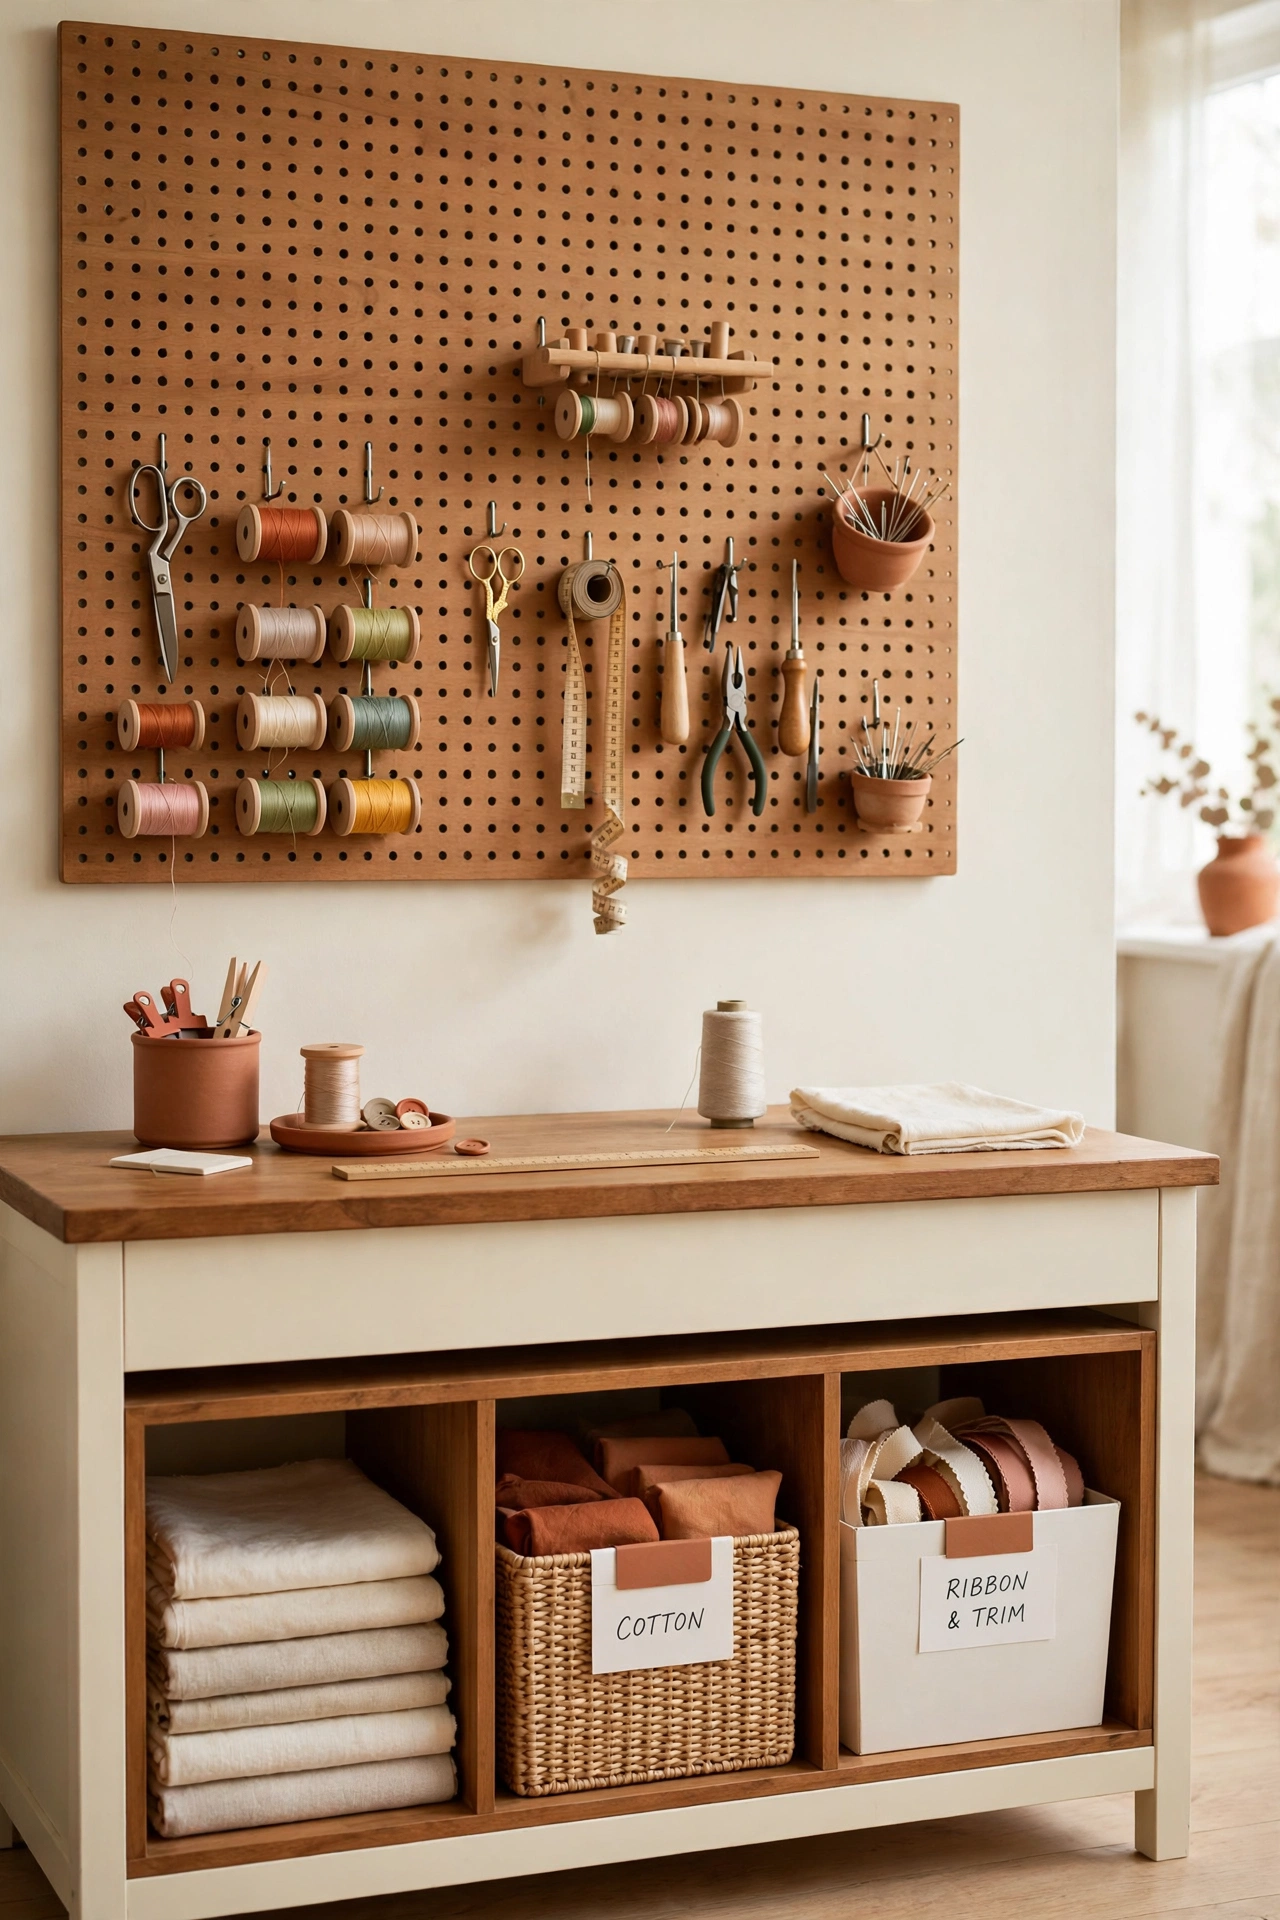
14. Make a Pegboard the Hub of the Room
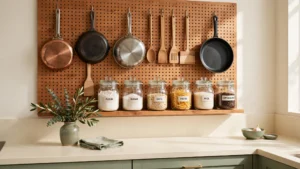
When everything earns a visible place on a large pegboard, tools stop piling up on the table. Hanging scissors, thread, and small supplies on hooks and baskets keeps your hands moving instead of rummaging through drawers.
Pair the pegboard with storage cubes underneath to manage larger items like fabric bundles and project boxes without disrupting the workflow. This hub suits rooms where projects shift often and quick access matters more than hiding supplies behind doors. Refresh the pegboard layout whenever your sewing habits change so it always matches how you work.
15. Wrap Storage Around a Cozy Corner
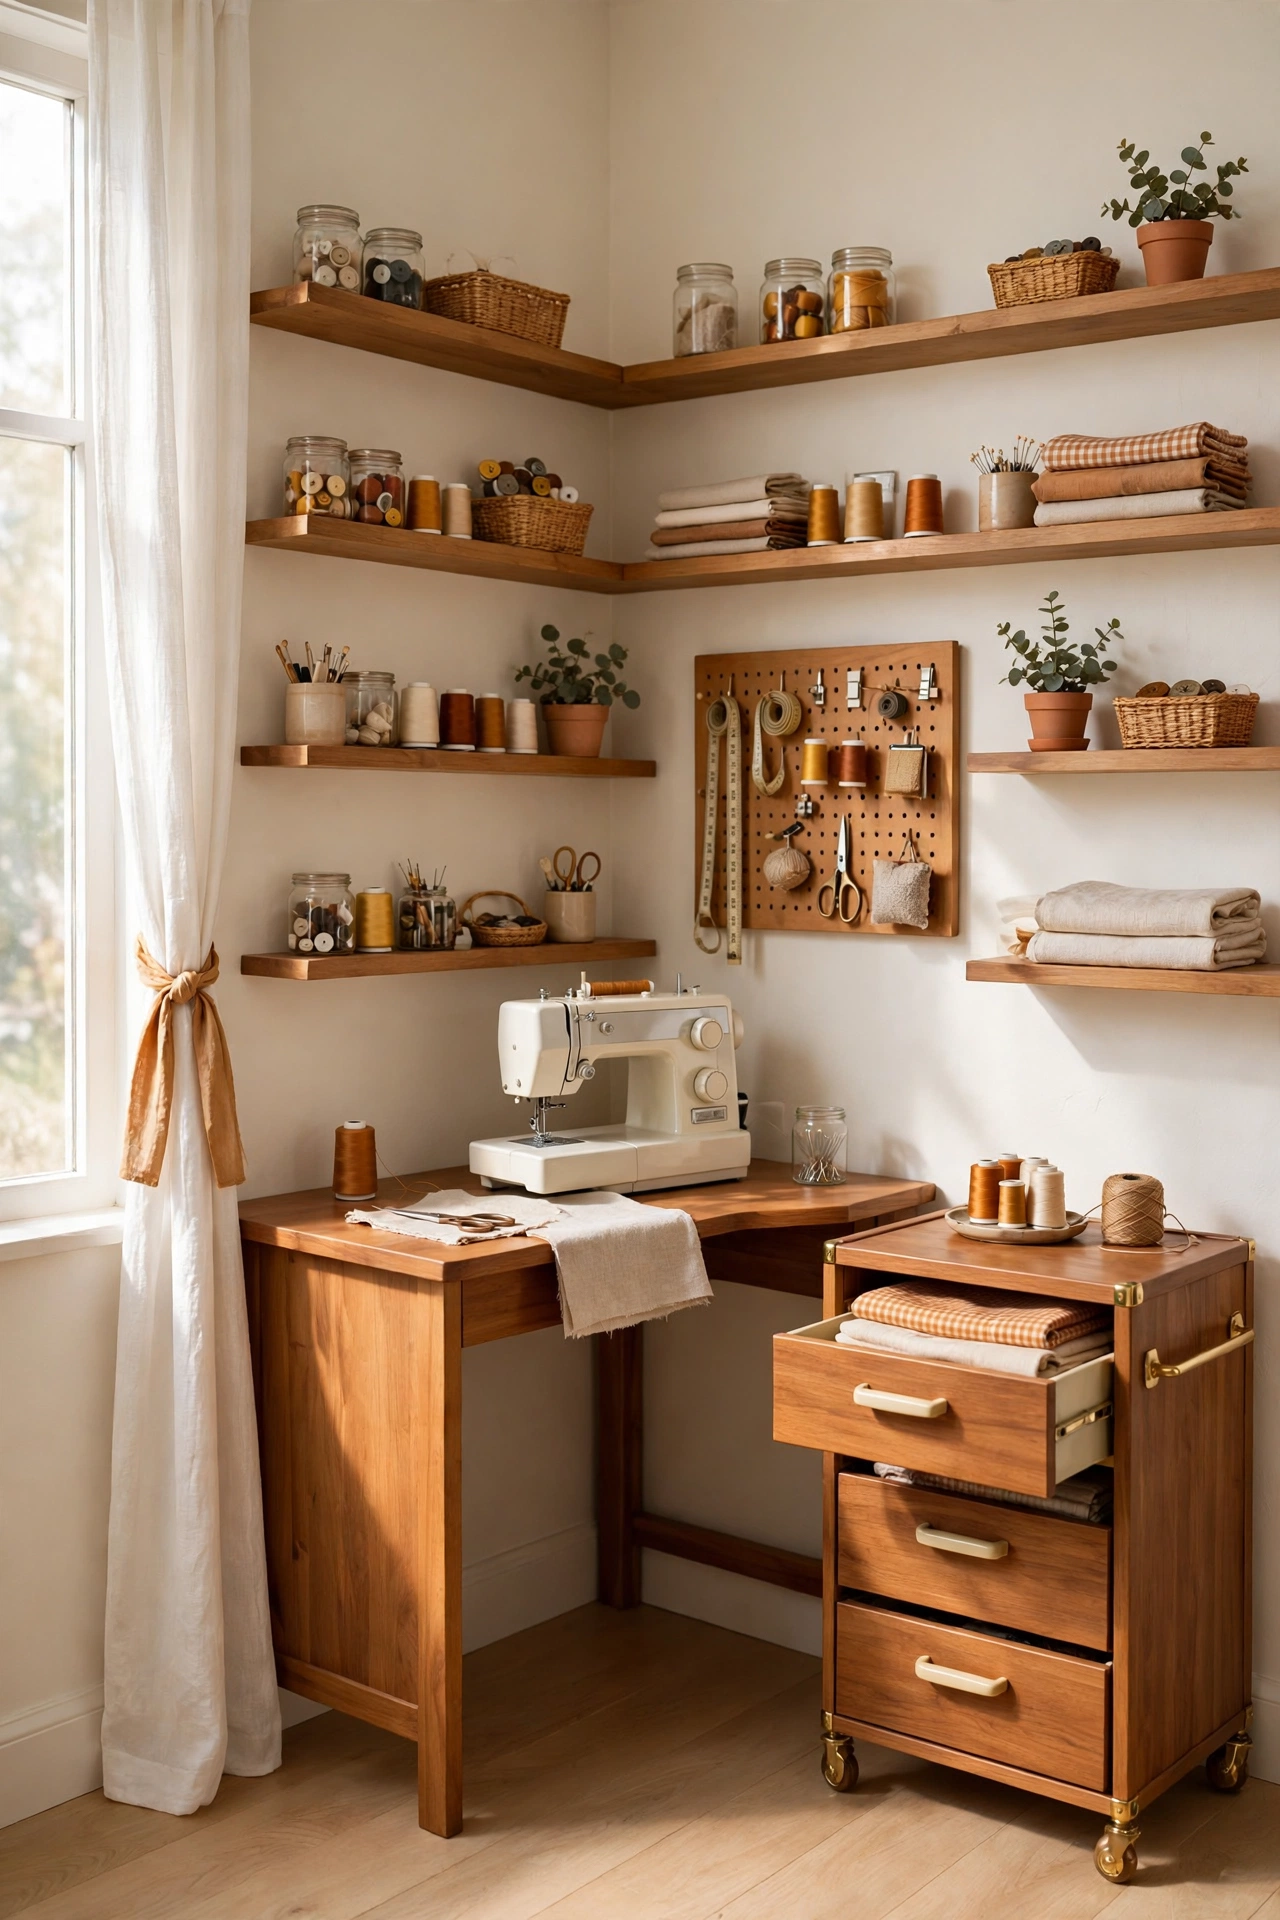
Tight rooms still work when storage wraps around the workspace. Pegboards and shallow shelves on two adjoining walls keep tools off the desk, while a rolling cart holds the supplies that shift from one project to another.
Build compartments beneath the corner table to hold bins and the sewing machine, keeping them out of the way of feet. This arrangement suits compact spaces where every inch of wall must be used and clutter is unwelcome. A corner setup feels cozy and focused, like a studio of your own inside a busy home.
16. Let One Storage Wall Do the Heavy Lifting
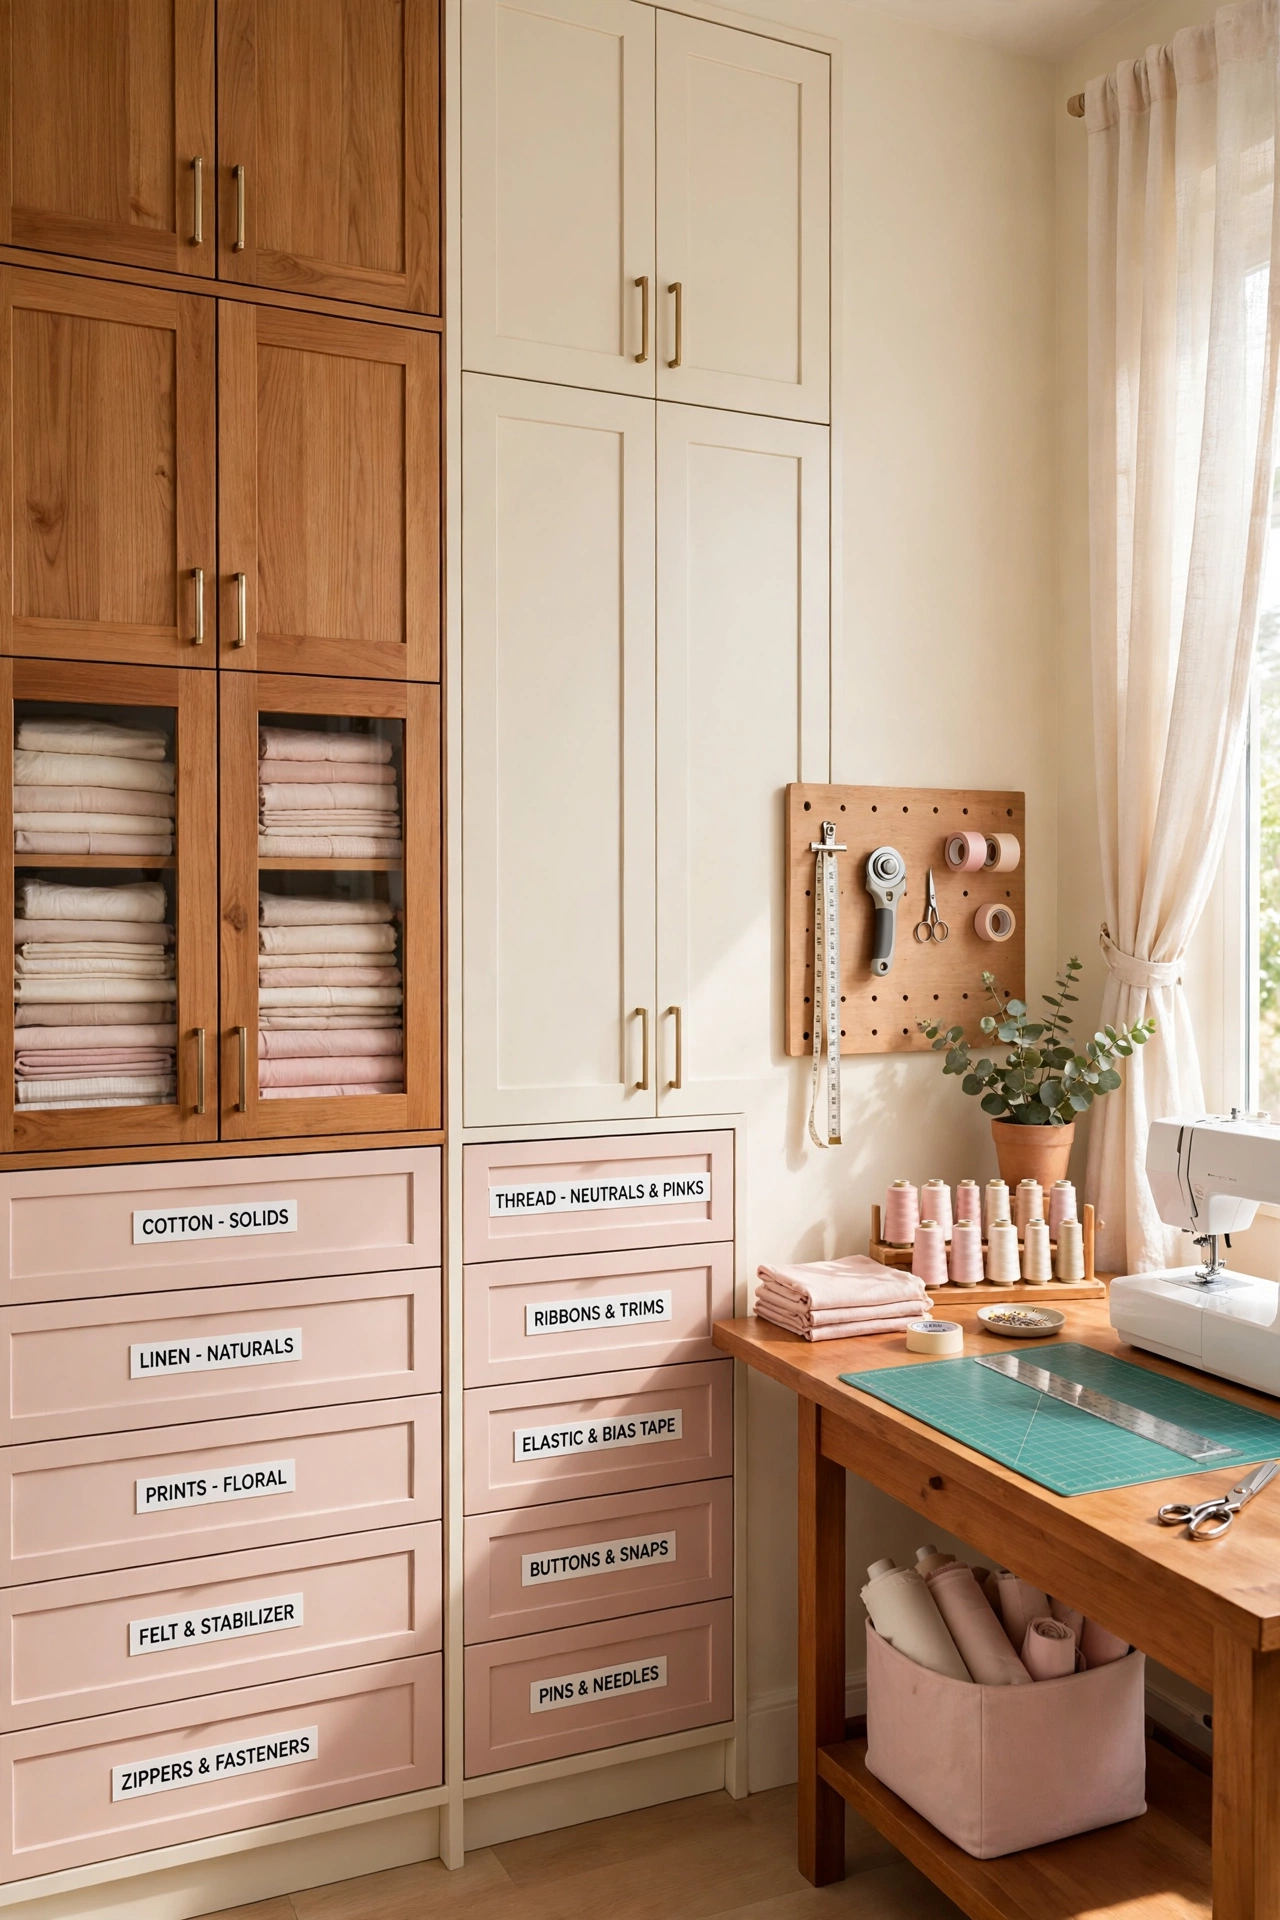
One wall doing all the heavy lifting keeps the rest of the room calm. Tall cabinets and drawer towers sort fabric, yarn, and small supplies into clear categories, while the remaining walls stay free for windows, art, and breathing room.
Place the worktable at a right angle to the storage wall so the path to supplies stays open and the workflow never breaks. This permanent setup shines in rooms built for long-term projects and large collections. Label every cabinet and drawer so the wall works like a well organized shop rather than a wall of mystery boxes.
17. File Paper Patterns Upright
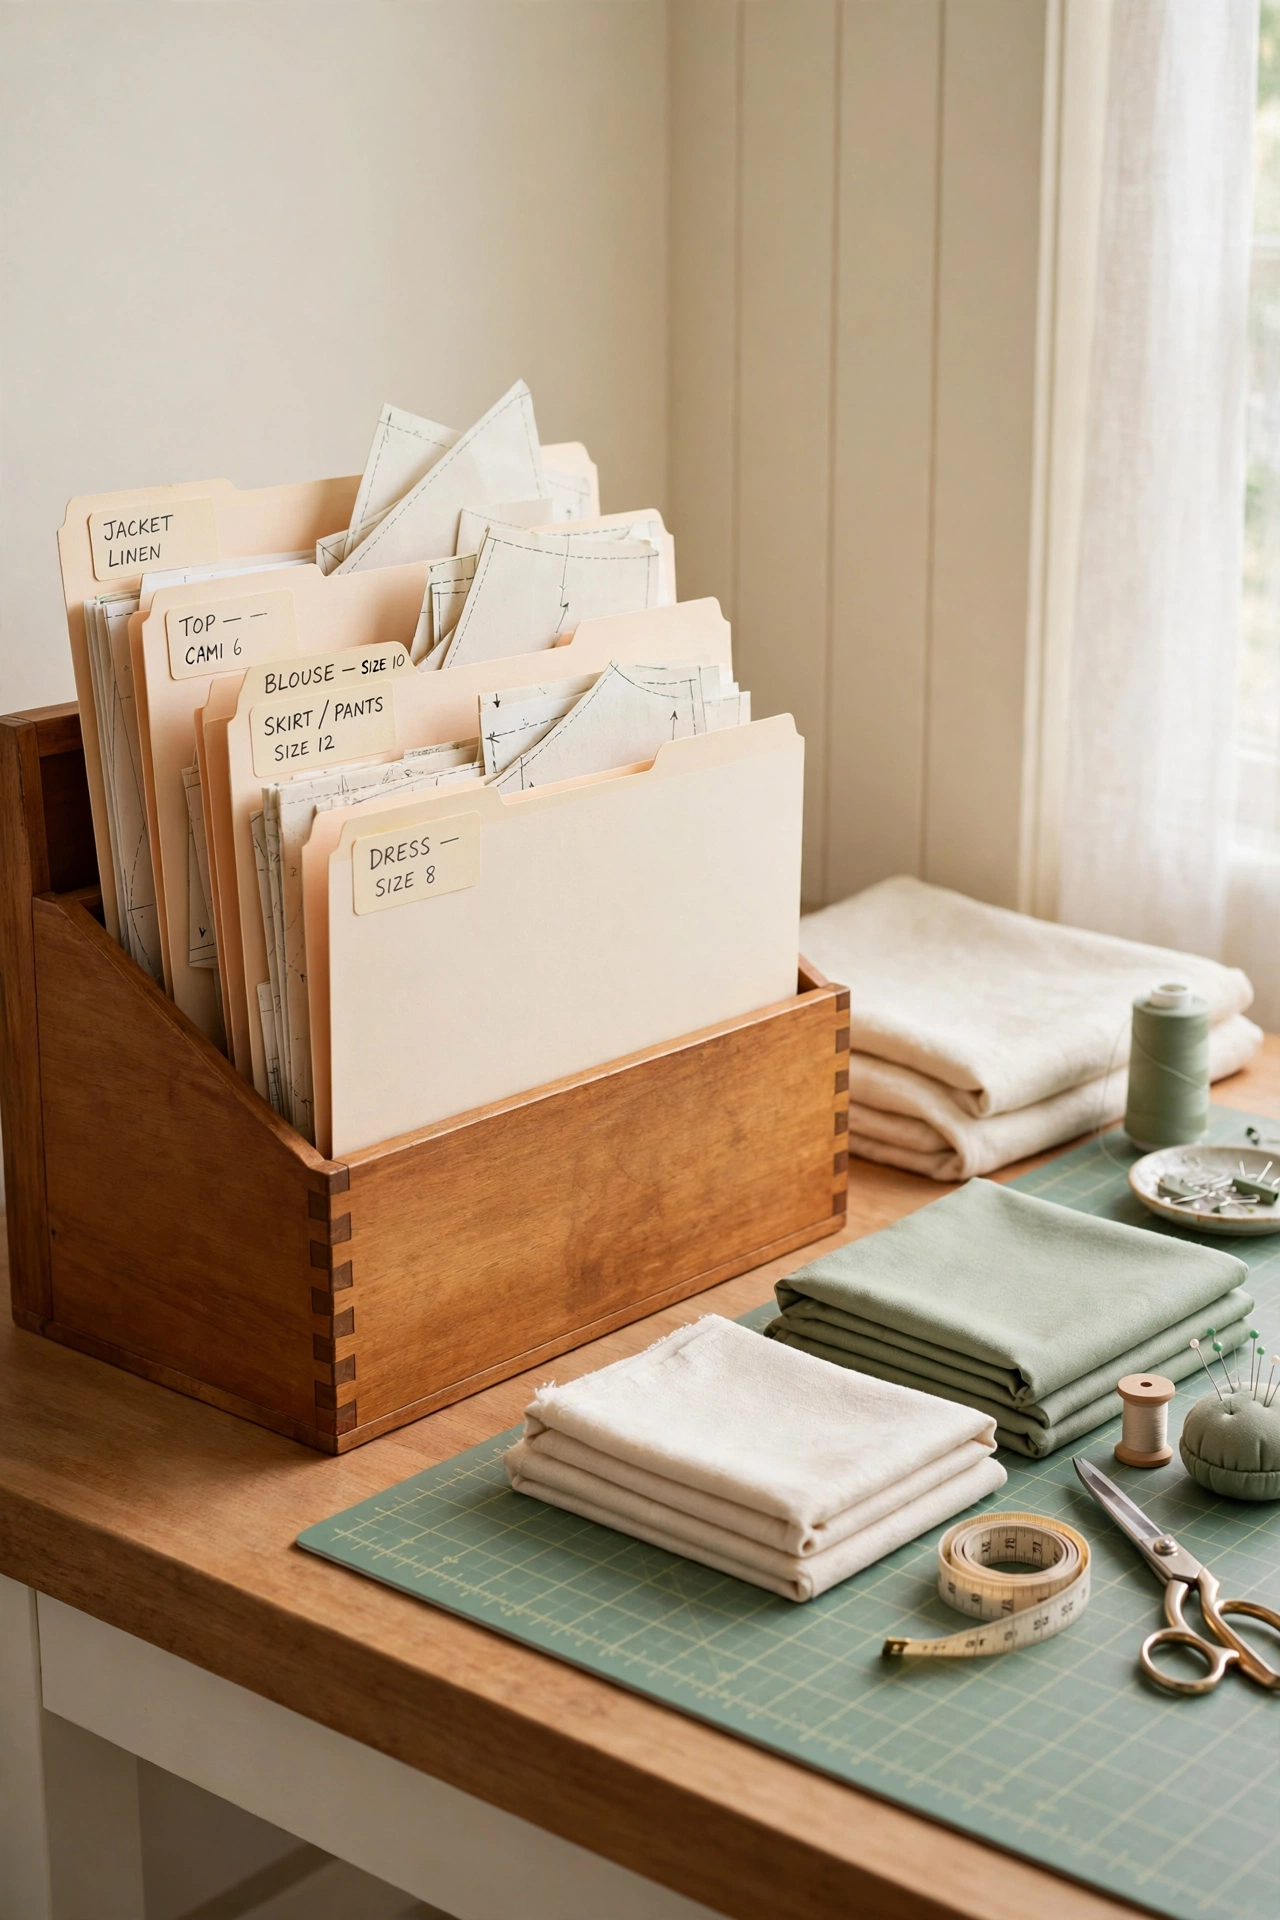
Paper patterns cause chaos when they live in piles. A vertical file system lets patterns stand upright like folders in a filing cabinet, so flipping through options takes seconds instead of spreading paper across the whole table.
Label each file by garment type or size range rather than by brand, so you can find what you need even when you forget where it came from. Keep the filing station close to the cutting area, where the real design decisions happen before fabric ever reaches the table. Upright filing protects delicate tissue patterns from creases and tears too.
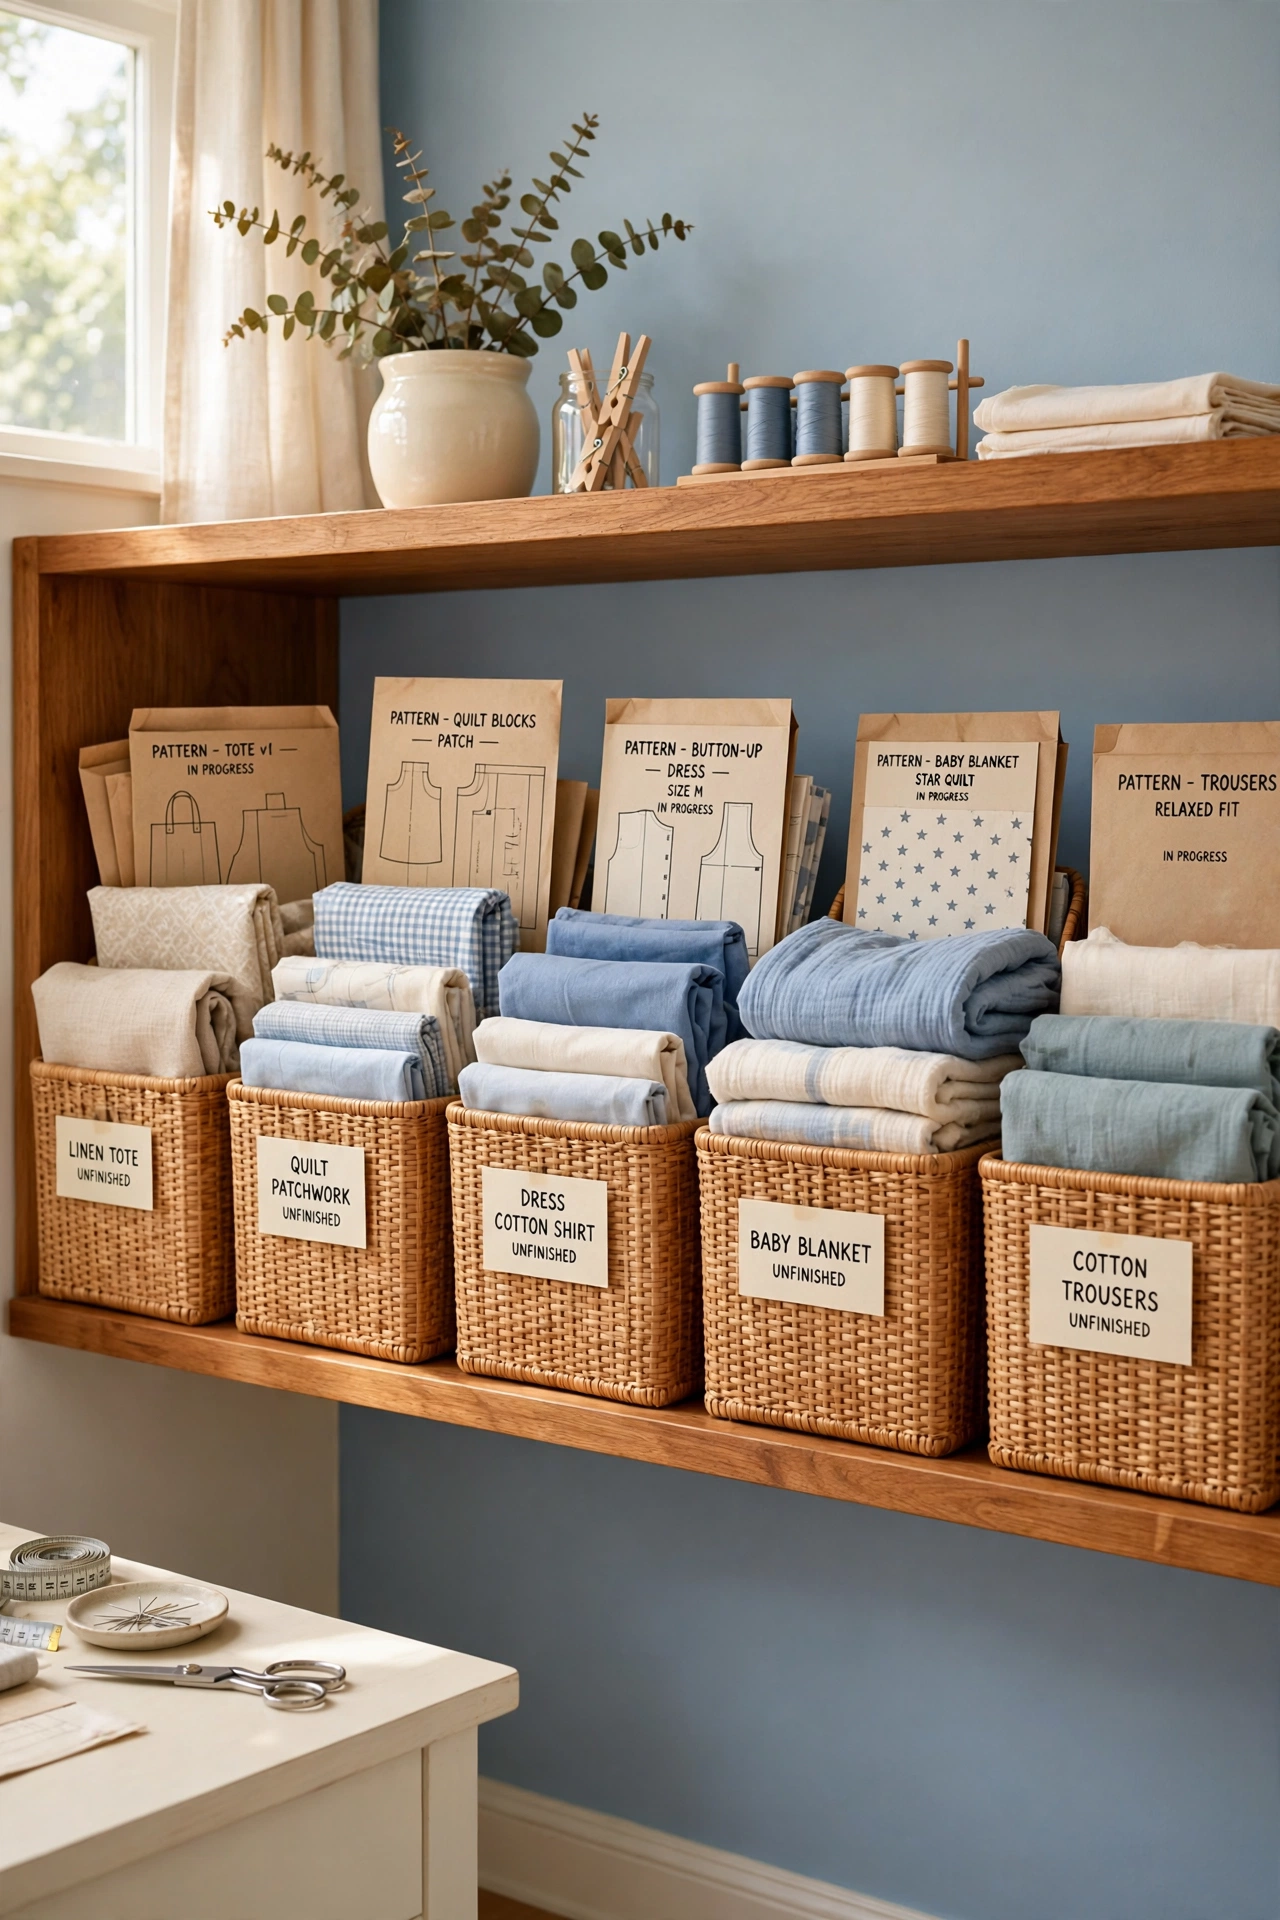
18. Give Every Project a Parking Spot
Half-finished projects do not belong on your main table. A dedicated parking spot with one labeled bin per project stops works in progress from taking over the room and keeps the work surface free for the project you are sewing today.
Keep the fabric, instructions, and notes for each project together in its own bin, so picking up where you left off feels easy instead of daunting. This system helps sewists who juggle several projects at once, because nothing loses momentum to disorganization. Park the bins on one shelf where you can see all your active projects at a glance.
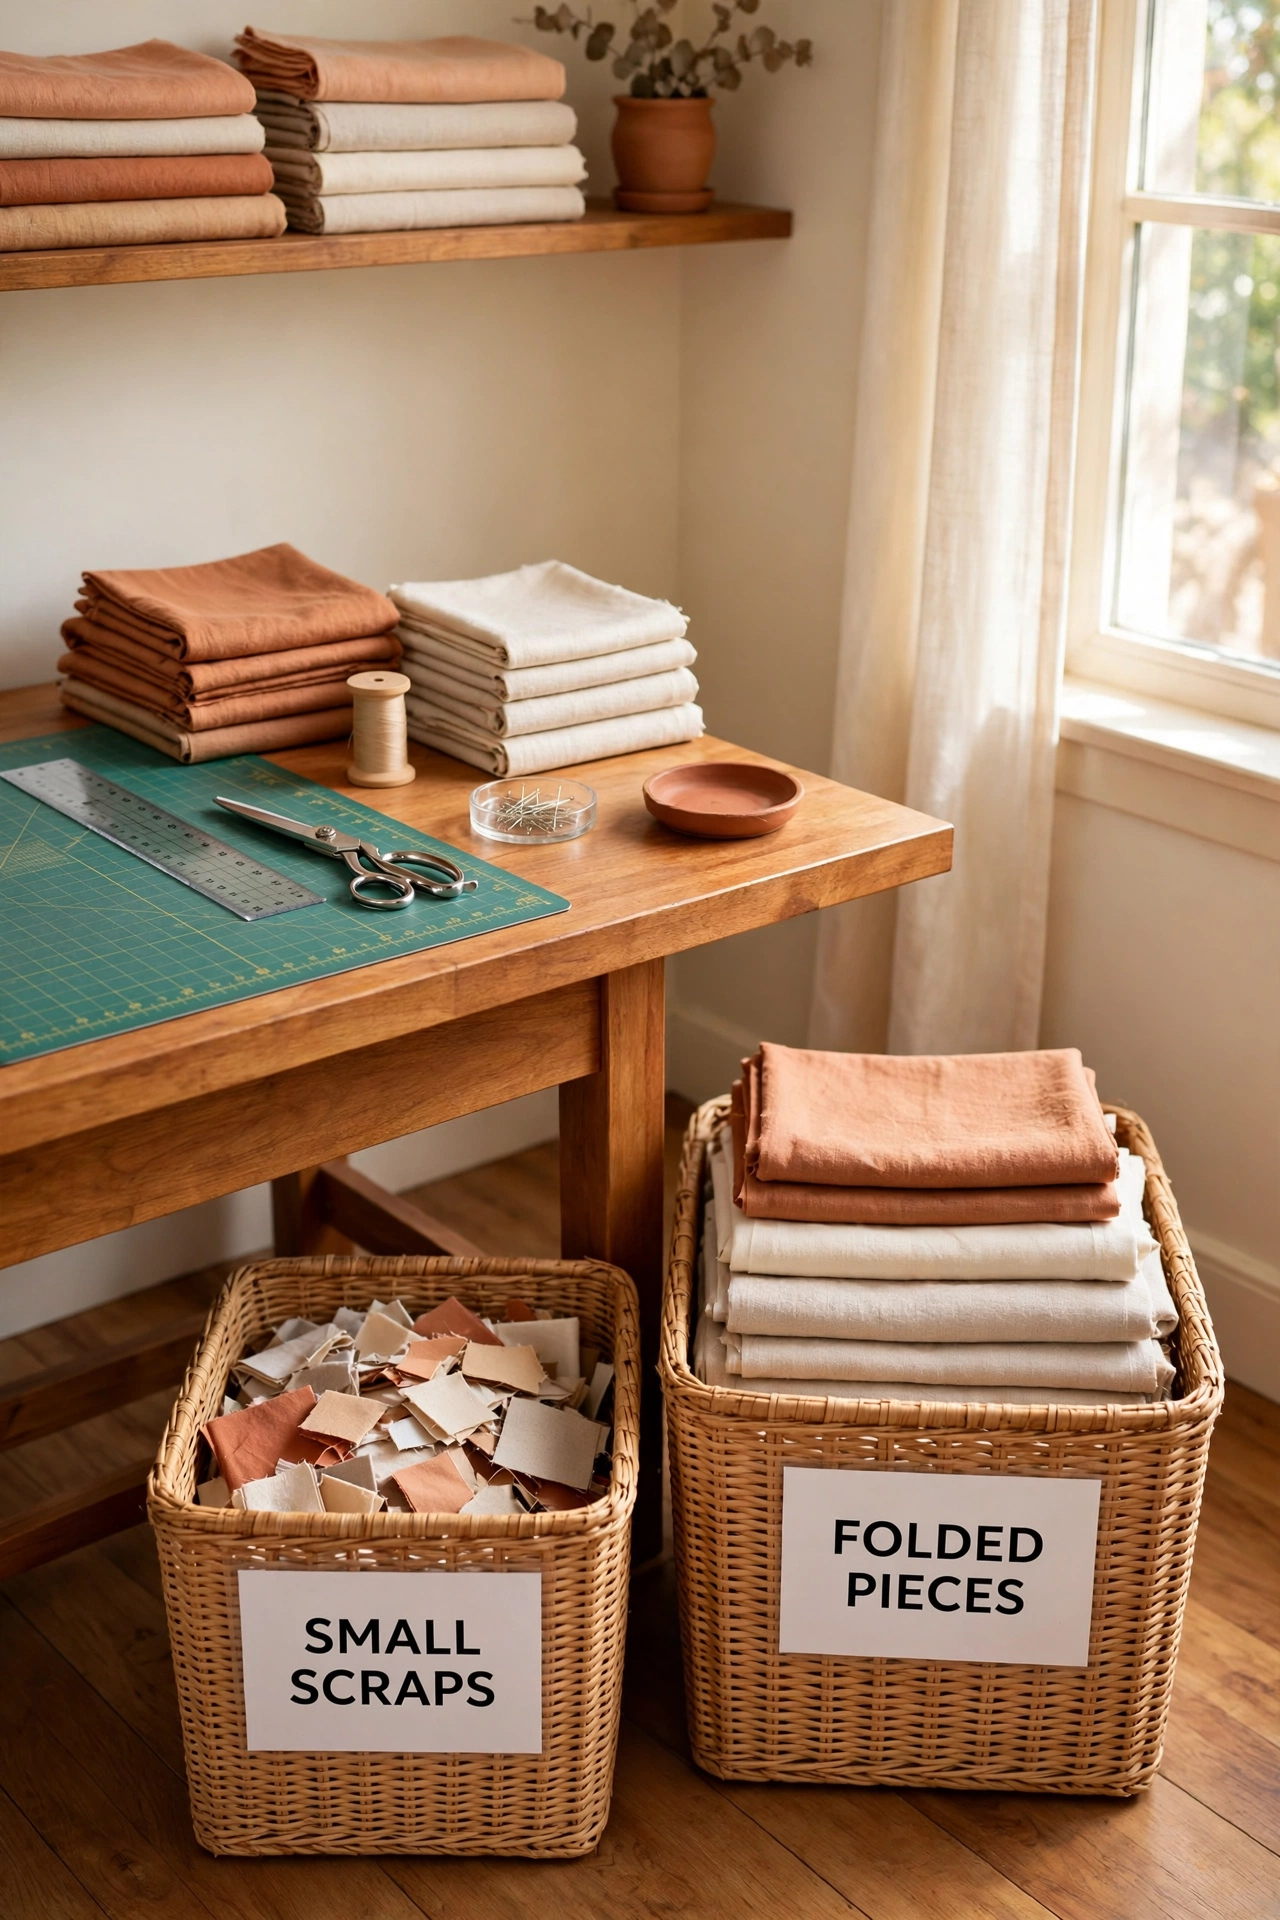
19. Control Scraps by Size, Not by Fabric
Scraps grow faster than any fabric stash when they are not managed early. Sorting scraps by size instead of fabric type keeps them usable, because you reach for a scrap based on the size of the piece you need, not the fabric it came from.
Small pieces go in one labeled bin, larger pieces in another, and anything too small to use gets tossed right away. Place the scrap station beside the cutting area, where waste is created and quick decisions must happen. Size sorting turns a messy scrap pile into a useful resource you will actually dig into.
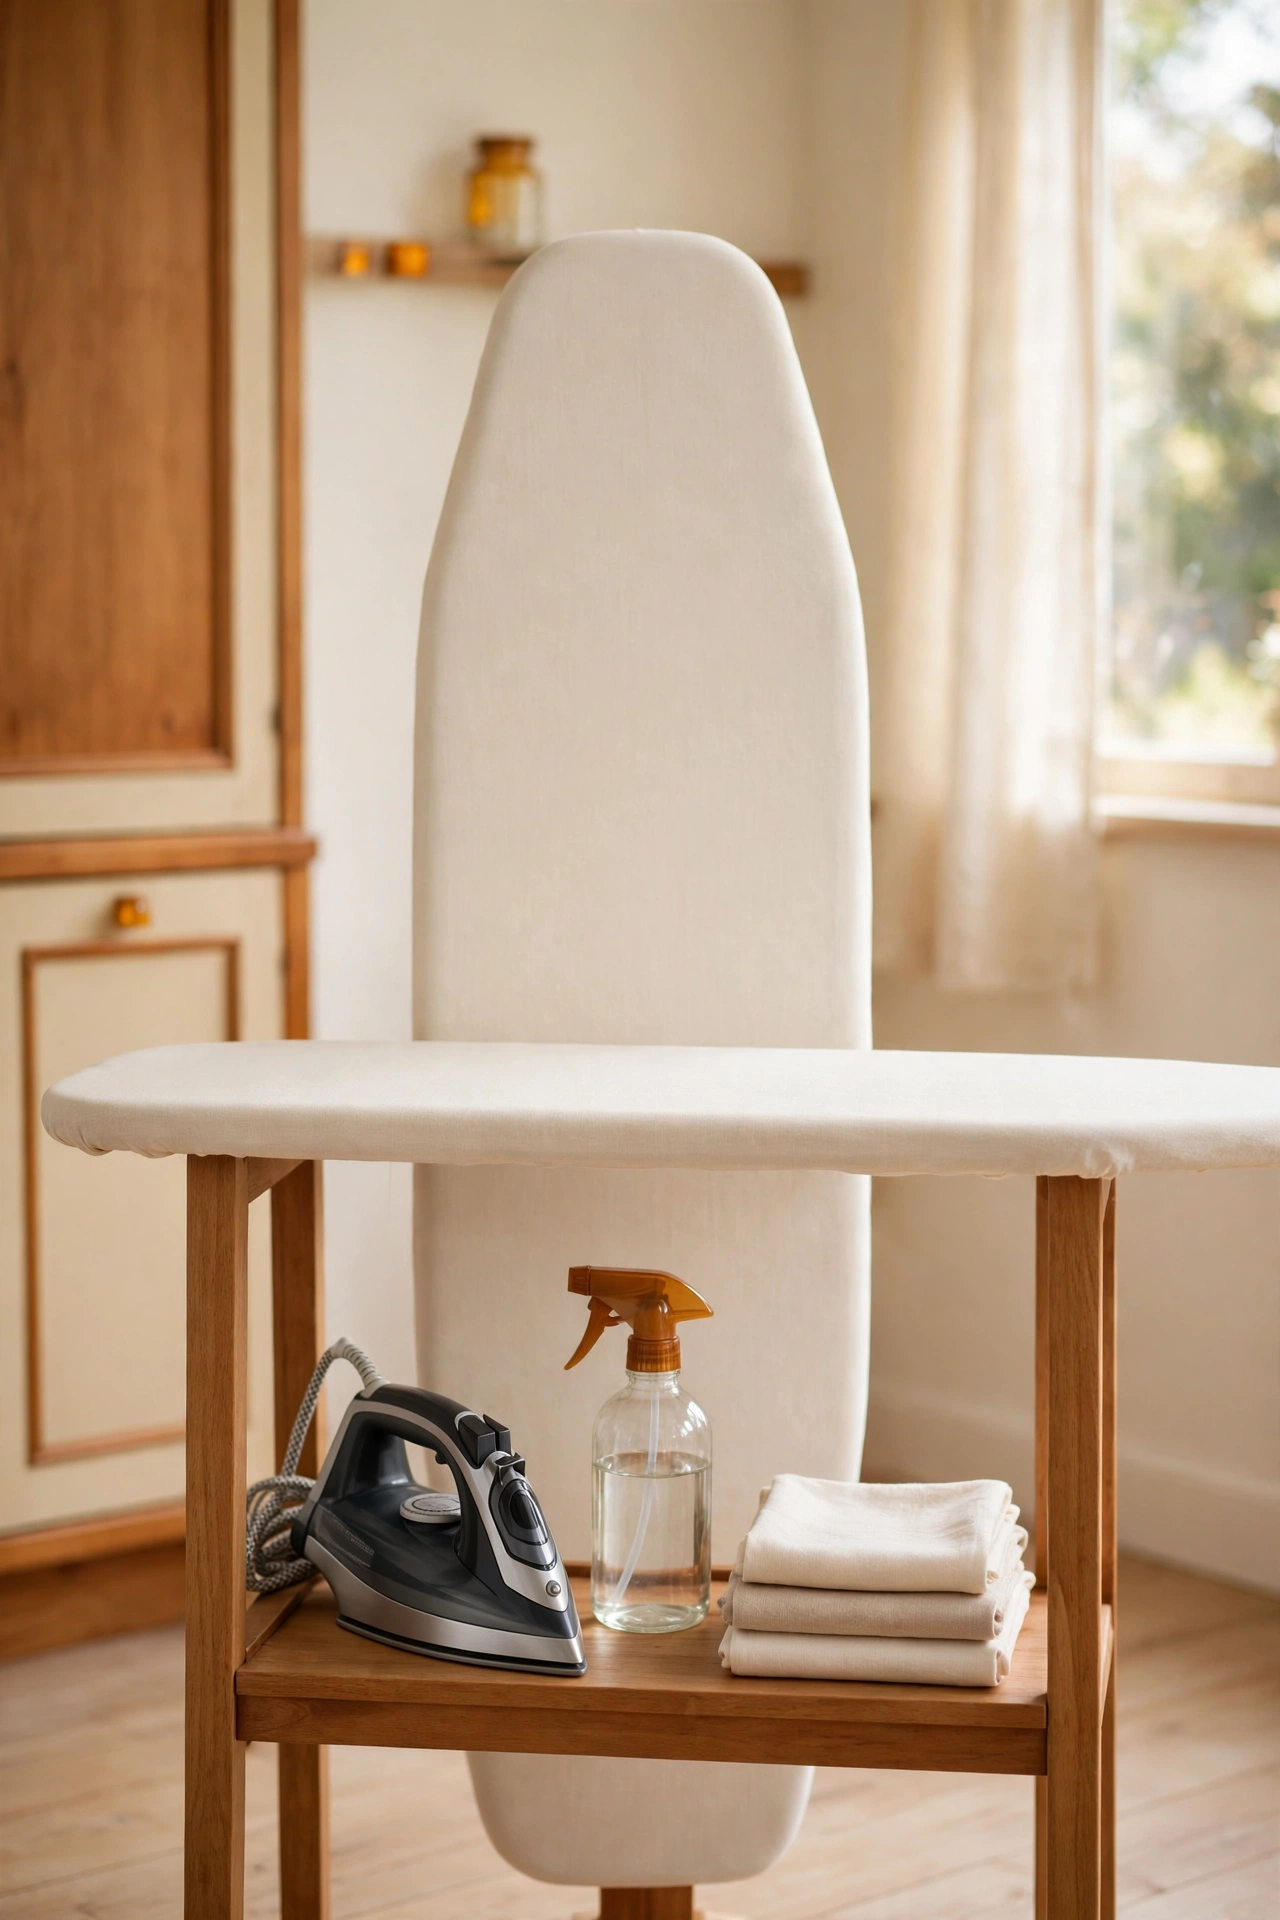
20. Give Pressing a Permanent Station
Pressing becomes smoother when it has its own permanent home. A narrow press station with heat-safe storage underneath keeps the ironing board from becoming a tripping hazard and keeps pressing tools ready at all times.
Stow the iron, spray bottle, and pressing cloth directly under the station so setup takes seconds. This design shines in rooms where sewing and cutting already flow well but pressing keeps interrupting the rhythm. A dedicated station also protects the ironing board from damage between uses.
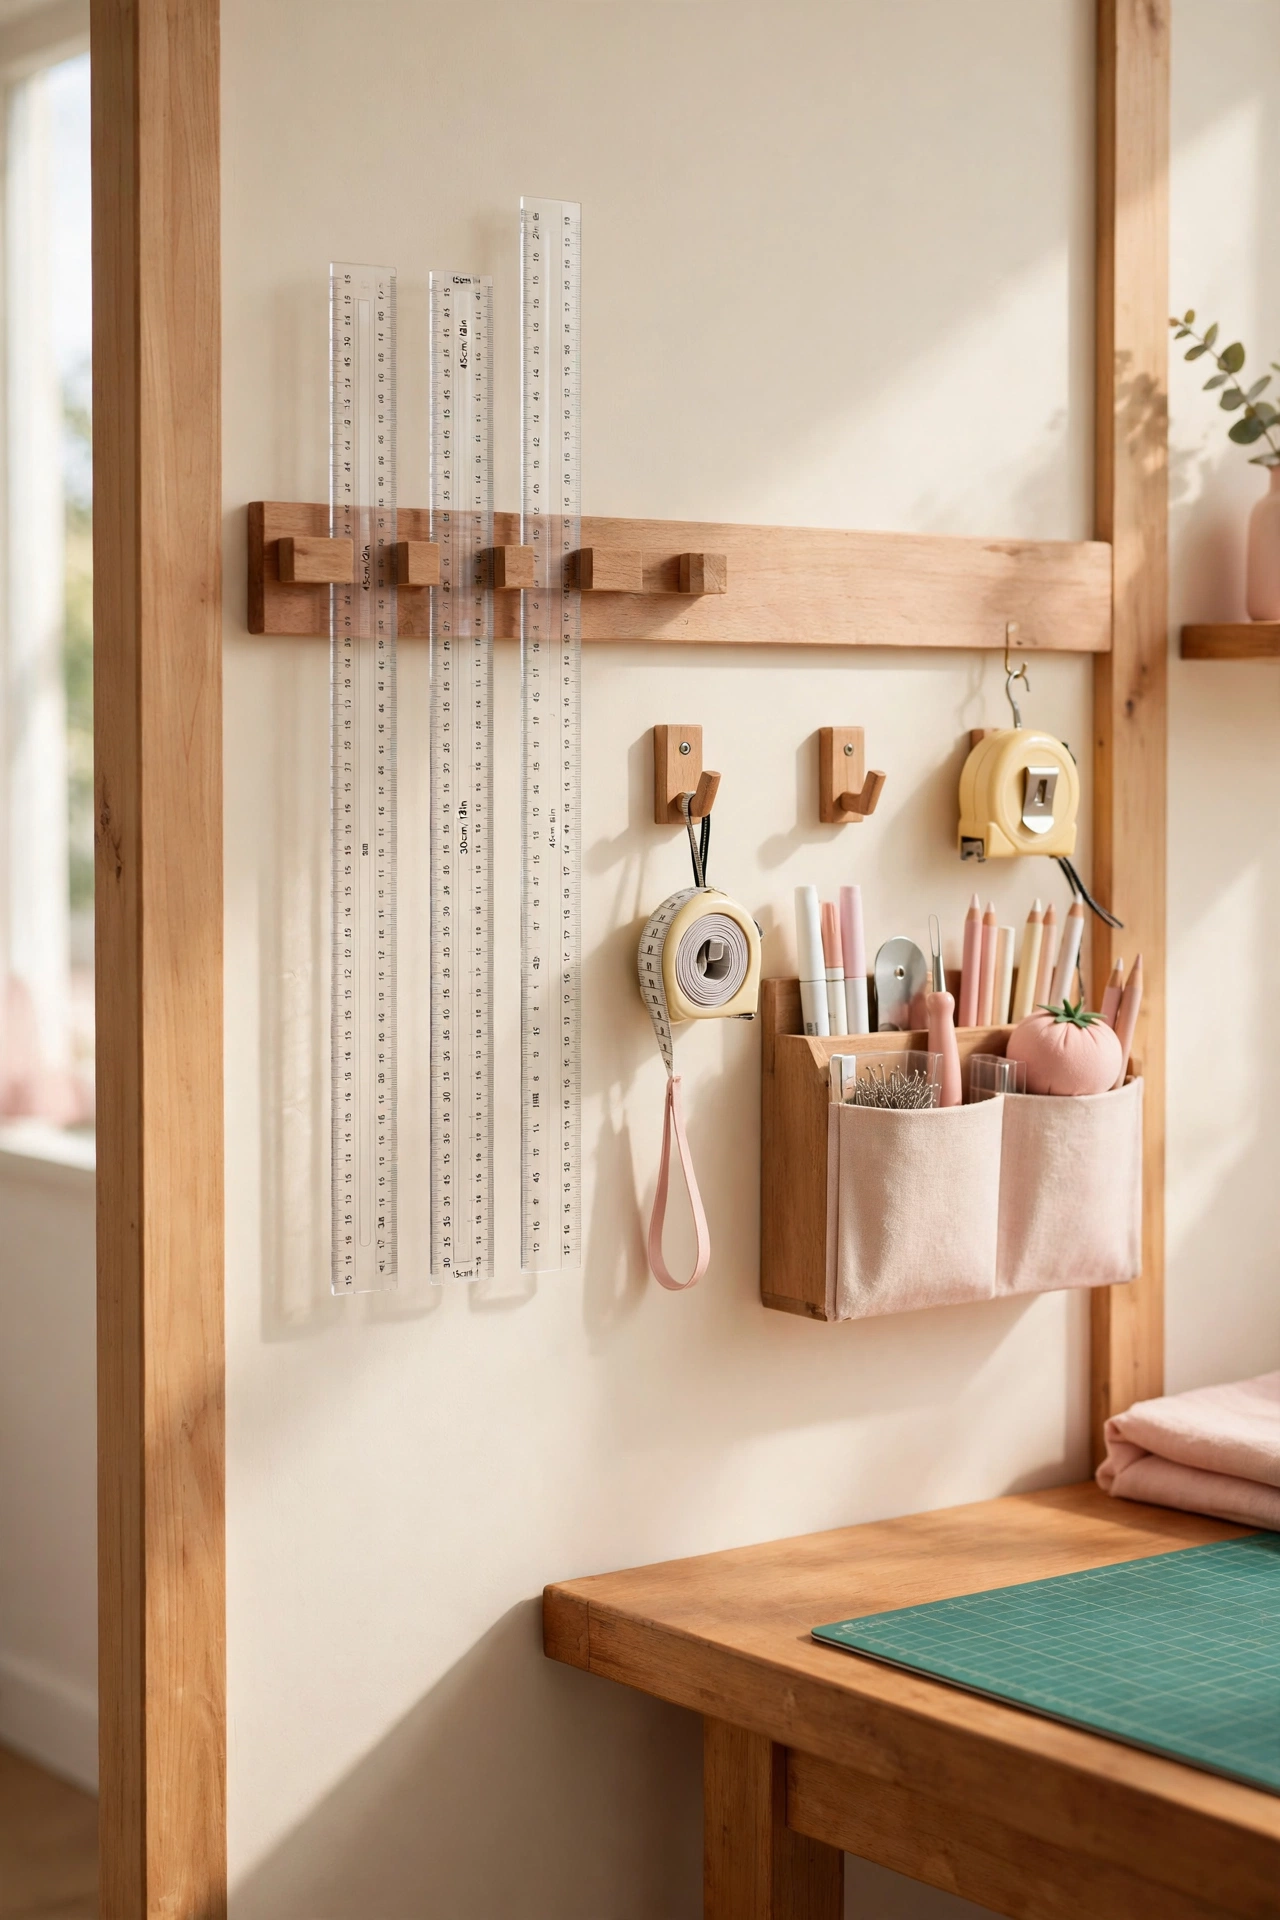
21. Create One Measurement Zone
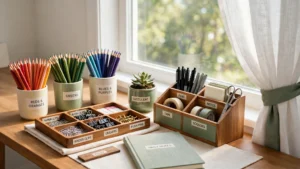
Rulers scattered across tables slow everything down. A single measurement zone with wall-mounted rulers, hanging tape measures, and marking tools keeps sizing decisions quick and precise, and stops tools from wandering to every corner of the room.
Position the zone close to the cutting area to minimize retracing steps and prevent measuring errors. This arrangement works best where accuracy matters and tools stay in constant use. Mount a clear ruler rack at eye level so the right ruler is always the first one your hand finds.
22. End Every Session With a Five Minute Reset
Organization fails without a reset habit. A five minute end of session routine prevents mess from turning permanent, and it needs no fancy equipment, just a commitment to doing it every time you finish sewing.
Return tools to their homes, clear off surfaces, and empty the scrap bin before you leave the room. This simple habit is effective in any sewing space, but it matters most in shared rooms where someone else uses the space after you. For a whole home version of this habit, these nightly reset routines keep every room tidy with a few minutes each evening.
Conclusion
A well organized sewing room is not about perfect shelves or expensive furniture. It is about a room that matches how you sew, with a clear place for cutting, a clear place for sewing, and a clear place for everything in between. When each zone does its job, projects flow and creativity has room to breathe.
Start with the zone that causes you the most frustration, whether it is the fabric stash, the cutting table, or the pile of half-finished projects. Fix one zone well, then move to the next. Small, steady changes will turn even the messiest sewing corner into a studio you love to walk into.
Frequently Asked Questions About Sewing Room Organization Ideas
How do I organize a sewing room from scratch?
Start by clearing the whole space so you can see exactly what you own. Sort everything by function, such as sewing tools, cutting tools, fabric, and ongoing projects, then assign each group a home based on how often you use it. Buy storage only after sorting, so every container matches a real need.
What is the best layout for a small sewing room?
Use vertical storage and a compact desk against one wall, with a pegboard above the desk for tools. A mobile cutting table adds a large work surface only when you need it, then rolls away. Keep the floor clear so even a tiny room feels open and workable.
How should I store fabric so I can find it easily?
Fold fabric into uniform stacks on open shelves and sort by color so you can see every option at a glance. Clear bins work well for smaller cuts and scraps, and labels help when stacks grow tall. Keep the fabrics you reach for most often at eye level.
How do I keep a sewing room organized once it is clean?
Give every tool one specific home and end each session with a five minute reset. Clear the work surface, return tools, and park unfinished projects in their bins before you leave. When tidying is quick and every item has a place, order becomes a habit instead of a chore.
Should I organize my sewing room for looks or for how I sew?
Always organize for how you sew first. A beautiful room that slows you down will turn messy again within days, because tools end up wherever the work happens. Keep the most used tools closest to the machine, and let the pretty storage serve the workflow rather than fight it.

Hi, I’m Emily! I turn messy corners into cozy, organized spots. DreamNestDecor is where I share simple, practical home ideas — decor, organization, and small-space solutions that work in real life, not just in photos. Every idea here is carefully researched before it’s shared.