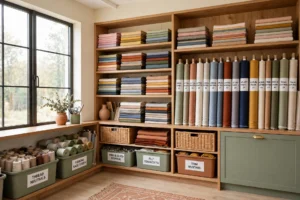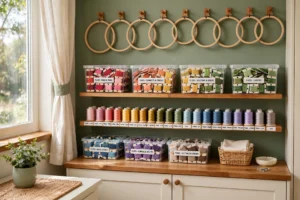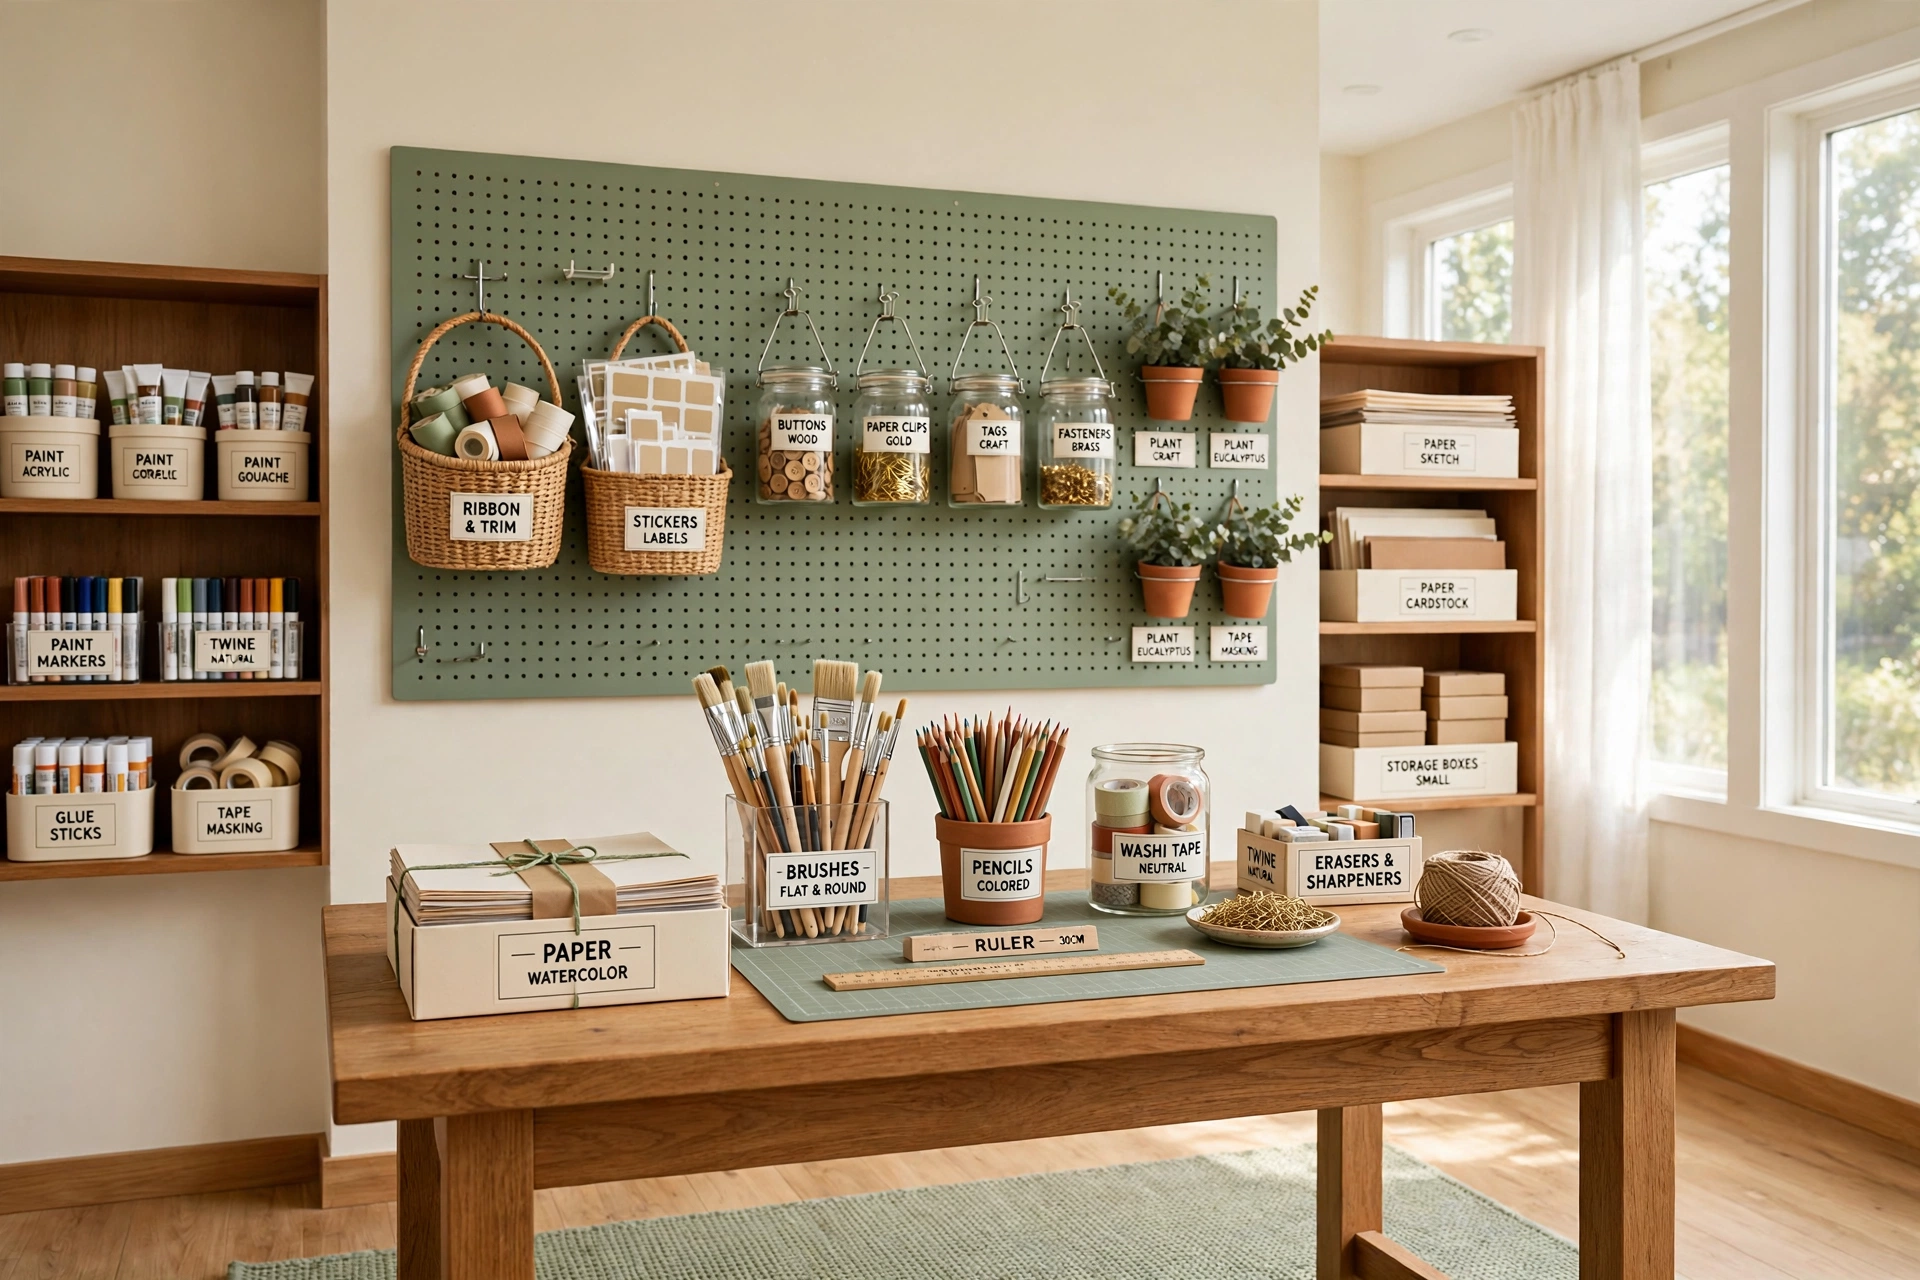
Picture this: you sit down to start a new project, and every brush, paint tube, and sheet of paper is exactly where you left it. No digging through drawers, no tangled ribbon, and no dried out markers hiding at the bottom of a box. That calm start makes the whole creative session feel easier and more joyful.
You do not need a large studio or an expensive storage system to get there. With a few smart containers, a clear spot for each category, and labels you can read at a glance, any corner can become a tidy creative space. These 20 art supply organization ideas will help you sort paints, brushes, paper, and tools so you can spend less time searching and more time creating.
1. Hang a Wall Pegboard Above the Work Table
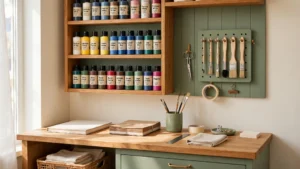
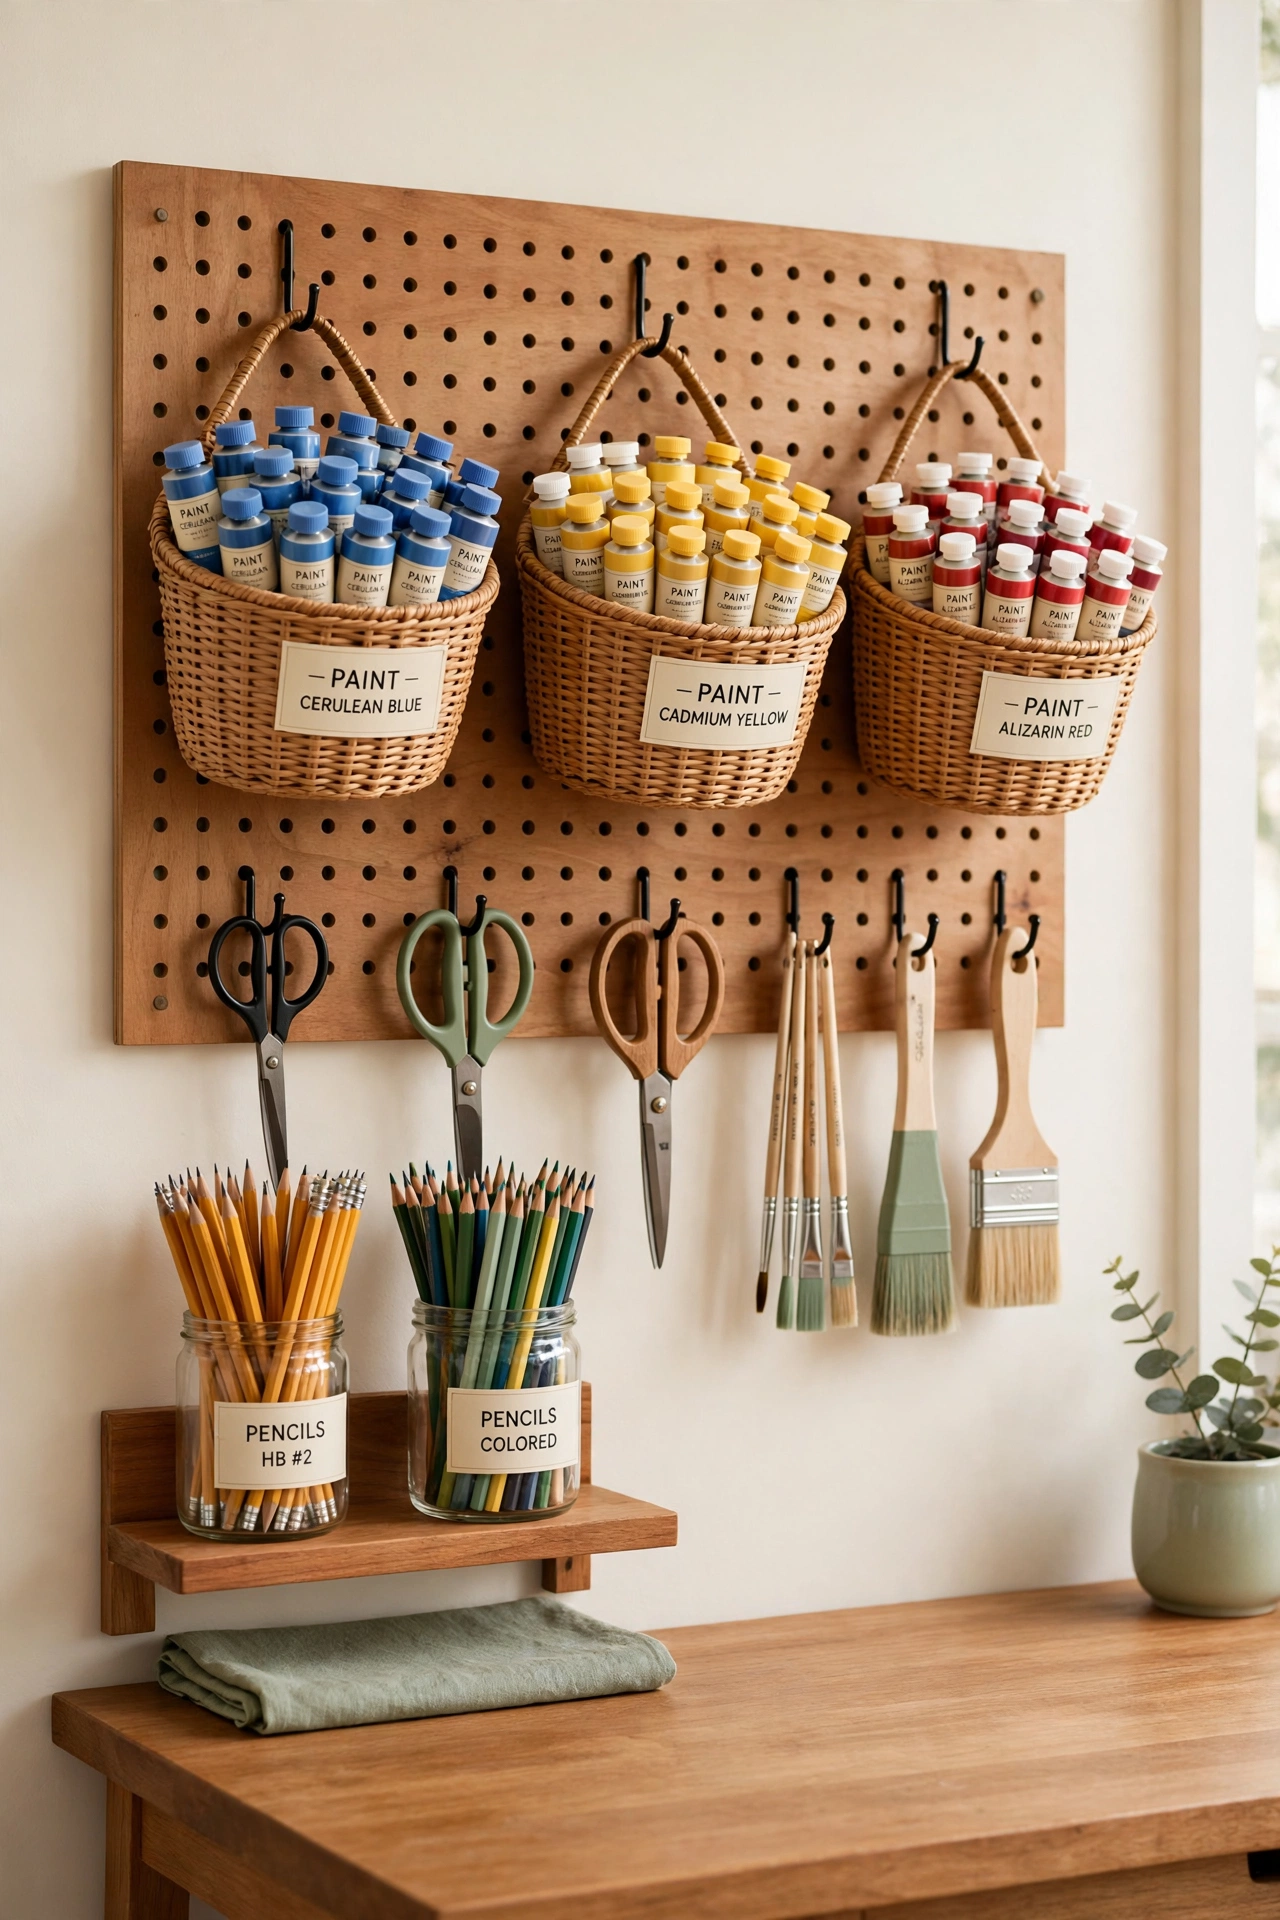
A wall pegboard turns empty wall space above your work table into flexible storage that you can change at any time. Hang small baskets for paint tubes, add hooks for scissors and brushes, and fix tiny shelves to hold jars filled with pencils and tools. Everything stays visible and within easy reach while your tabletop stays clear for work.
Choose a pegboard size that fits your wall, and paint it a soft color that suits your room if you want a finished look. Move hooks and baskets around until the layout matches the way you work, with daily tools at arm level and less used items higher up. For a full plan for a small creative corner, these small art studio layout ideas show how vertical storage can shape a whole workspace.
2. Sort Supplies in a Clear Bin System
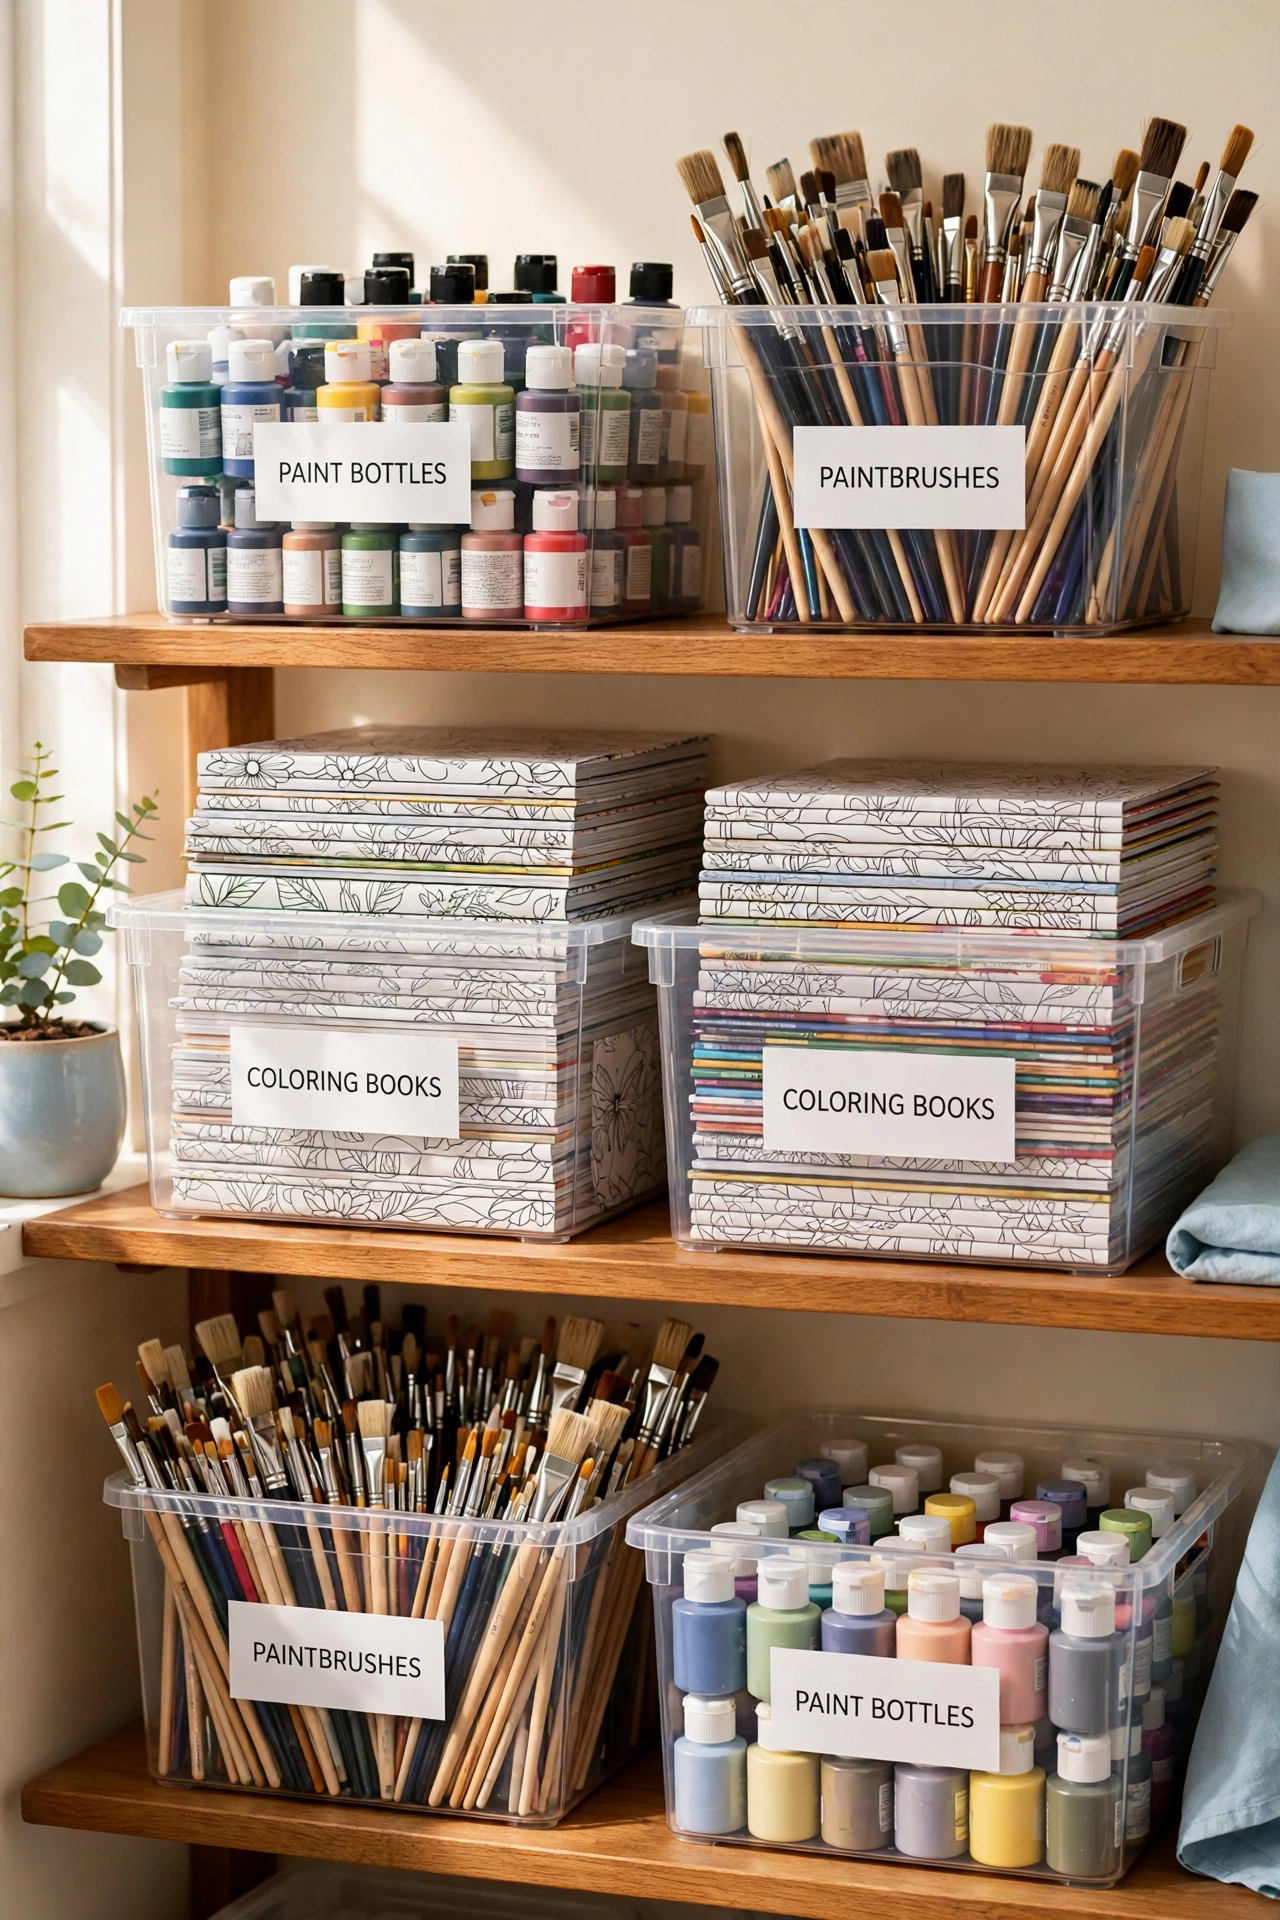
Clear bins give every category a home you can see through at a glance. Give paints one bin, brushes another, and paper goods a third, then add a readable label to the front of each bin. When every bin holds only one category, you never have to open three boxes to find one item.
Stack the bins vertically on open shelves to use height instead of floor space, and keep the bins you reach for most often at eye level. Clear bins also make cleanup fast, because each item has an obvious place to return to at the end of a project. Choose sturdy bins with lids if you store supplies in a dusty room or a shared space.
3. Carry Supplies in a Sectioned Basket
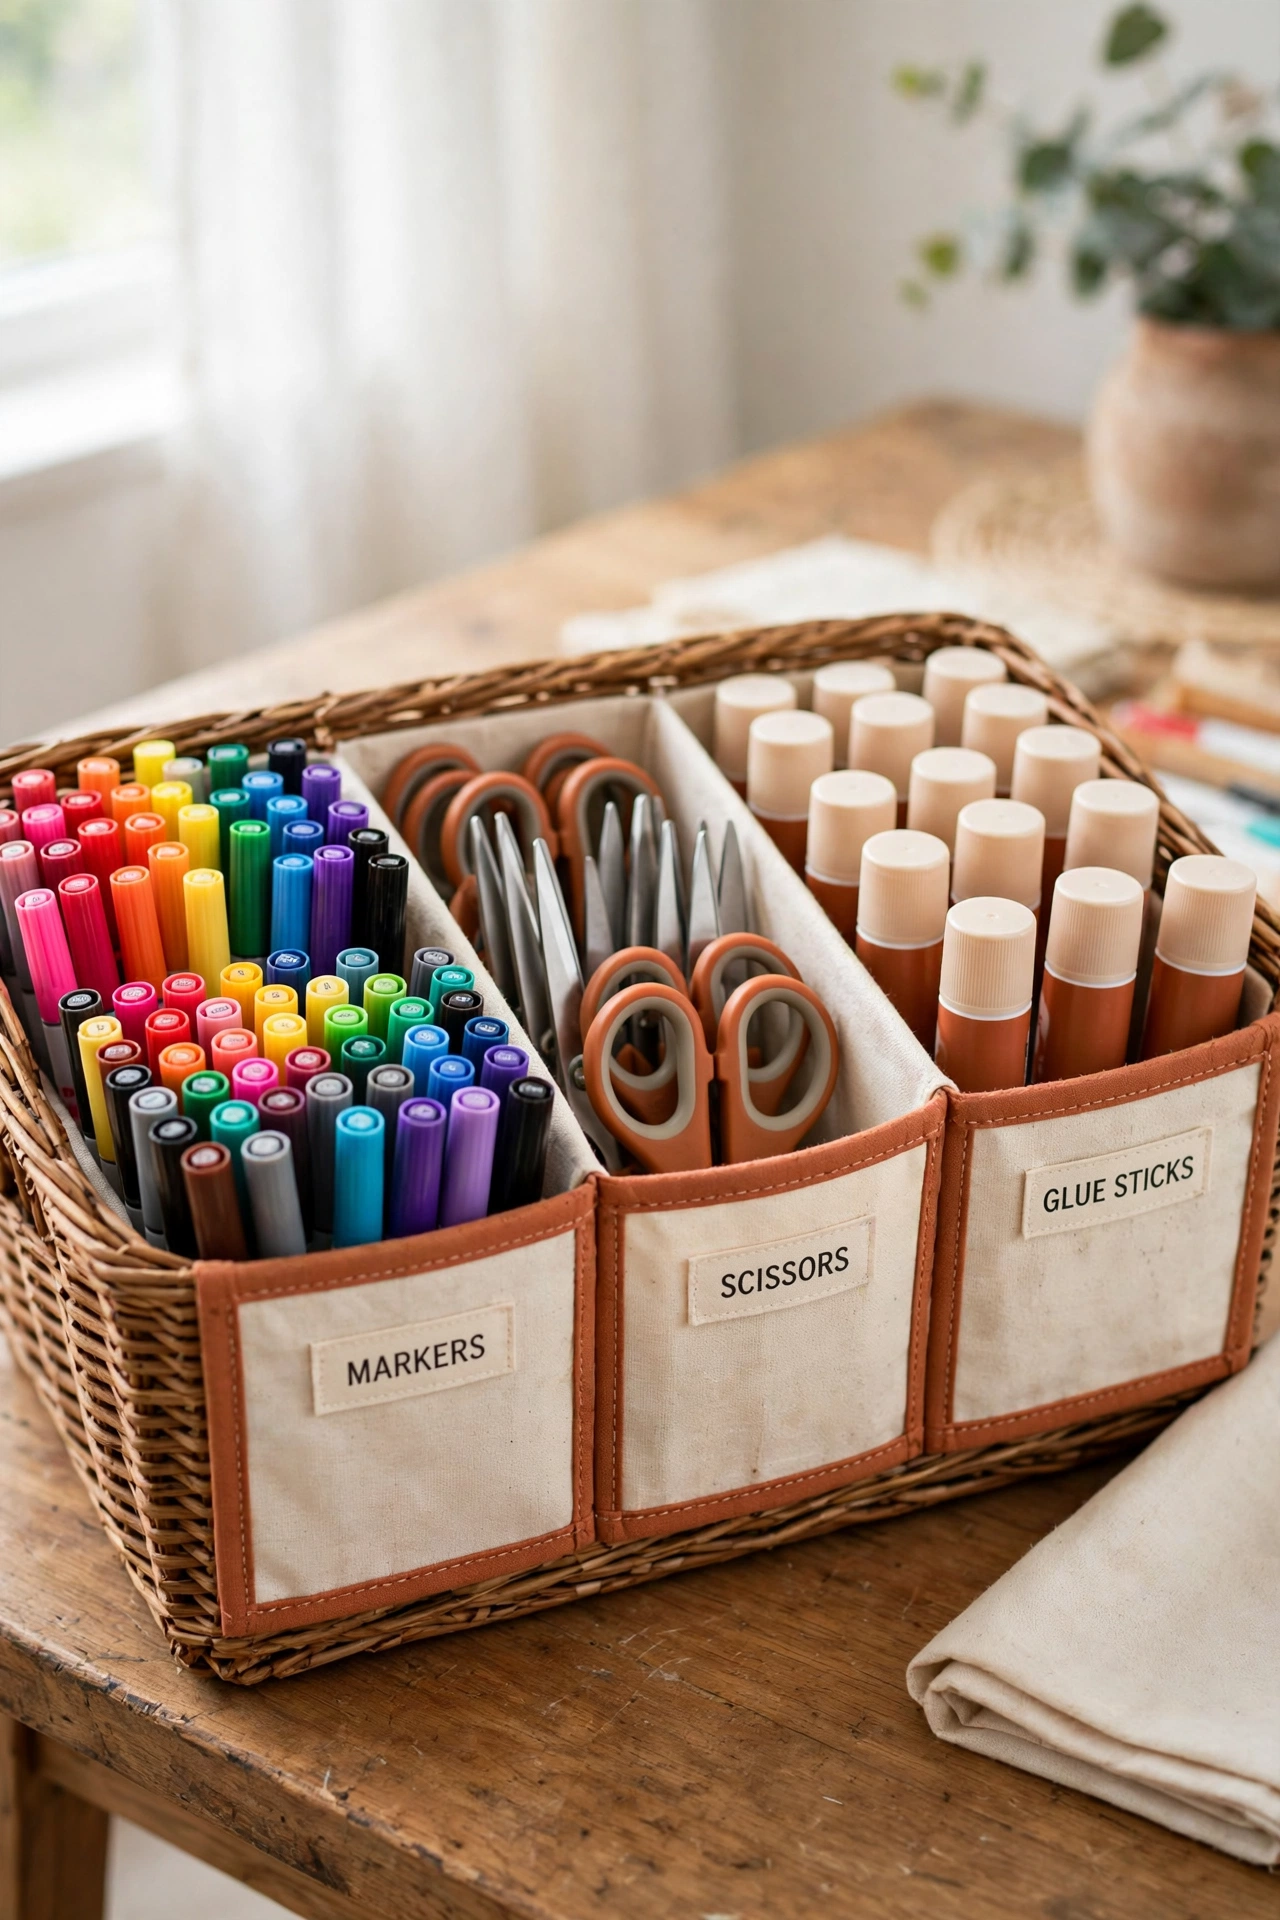
A sectioned basket keeps supplies sorted and ready to move from room to room. An open top woven basket with dividers gives markers, scissors, glue sticks, and tape separate spaces, so small tools do not slide into one mixed pile. Pick up the basket and your whole project travels with you.
Adjust the sections as your projects change, and keep a small basket for current work and a larger one for backup stock. A basket with a sturdy handle works best, because a full basket of supplies can get heavy. This simple carrier suits crafters who work at the kitchen table, on the porch, or in different rooms through the week.
4. Hang a Pocket Organizer on the Wall
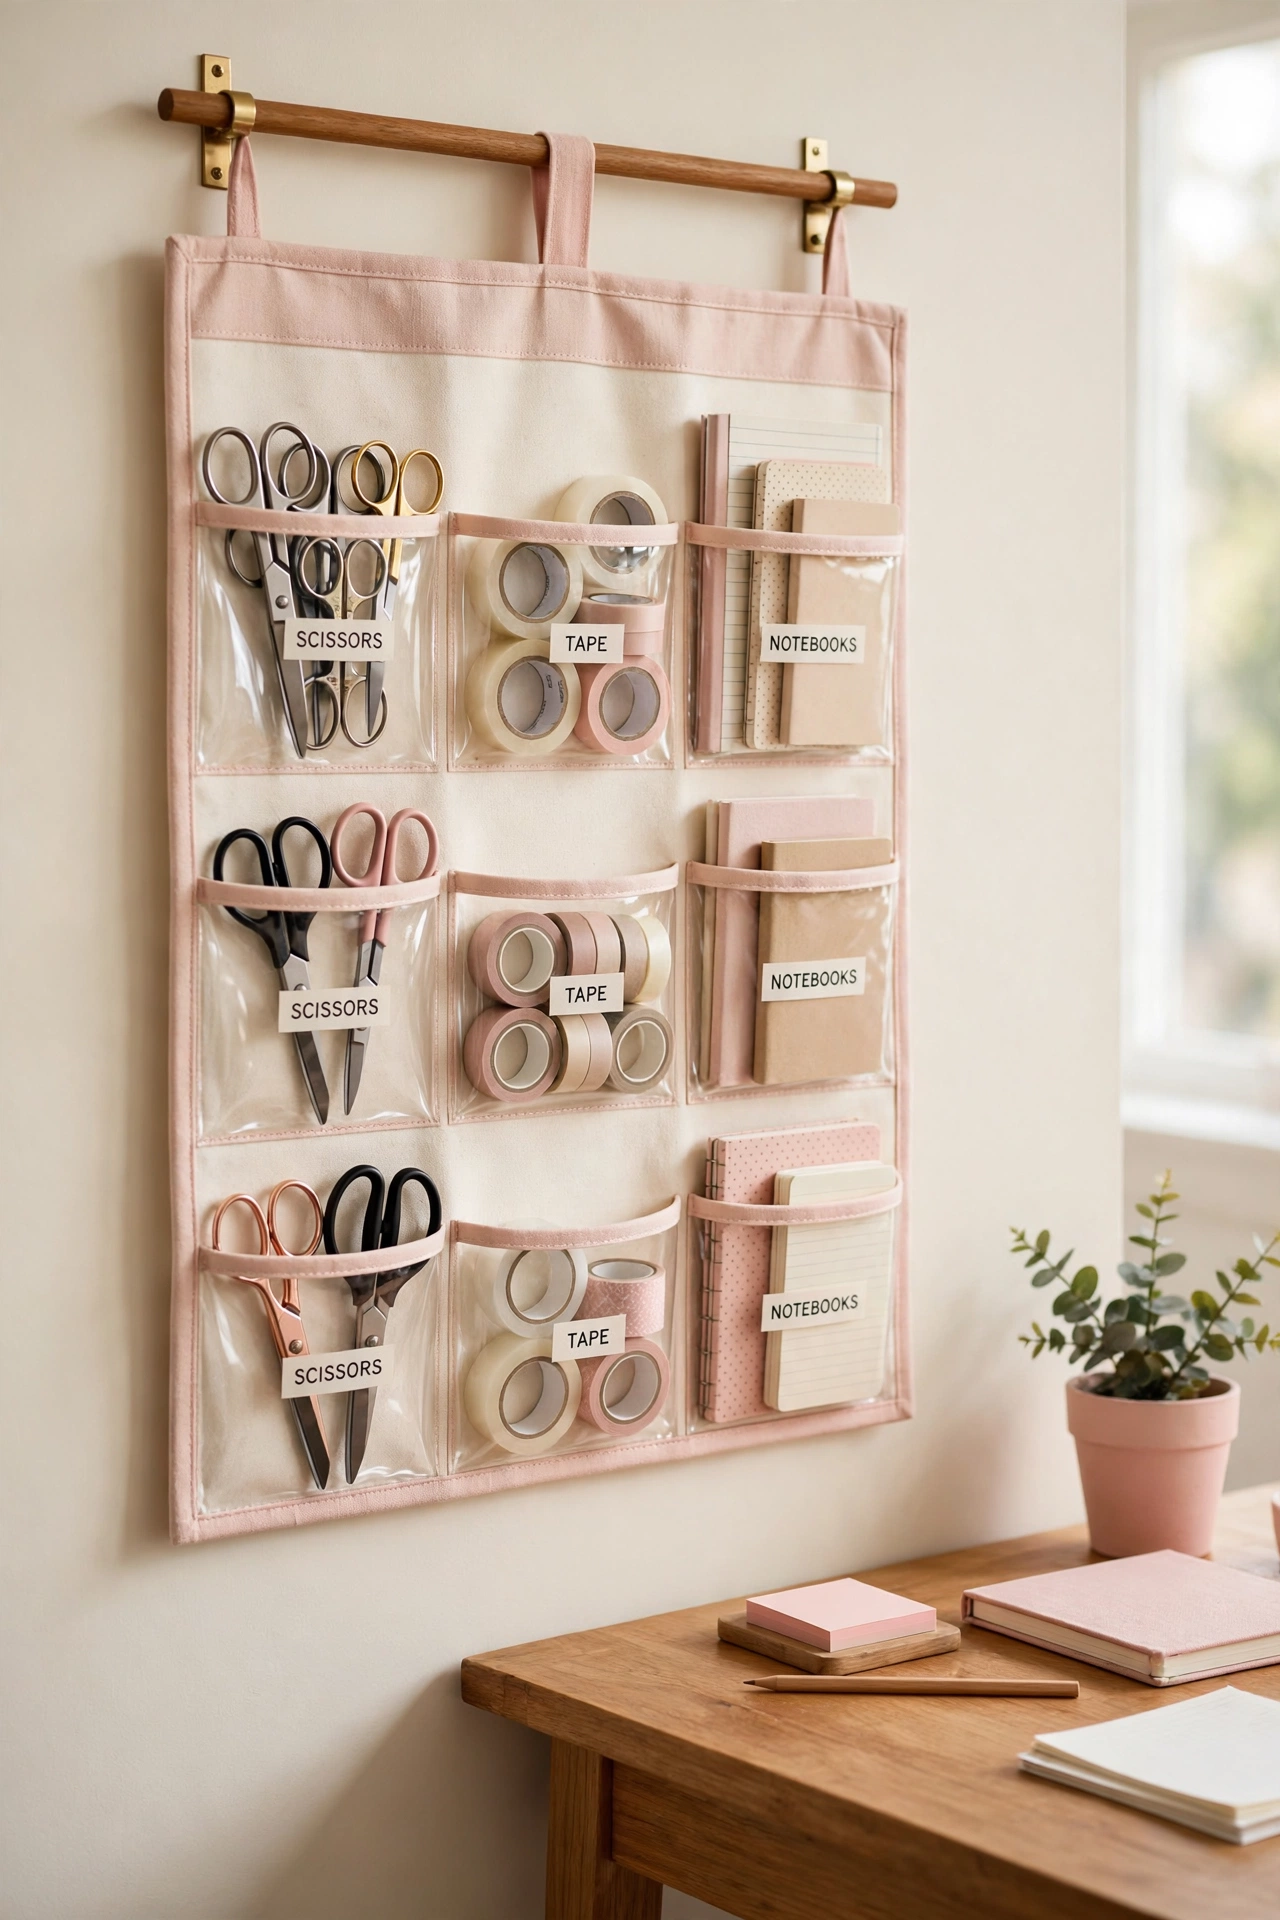
A fabric pocket organizer uses wall space to hold small supplies in plain sight. Clear or mesh pockets hold scissors, tape, notebooks, and rolls of ribbon, while the wall mounting keeps your desk free for cutting and painting. Hang it beside your work table so you can grab tools without standing up.
Fix the organizer with strong hooks or reinforced grommets so it stays flat and secure even when the pockets are full. Sort pockets by task, with cutting tools in one row and drawing tools in another, and label the top row if children share the space. A pocket organizer also works well inside a closet door when wall space is tight.
5. Display Paints on a Wall Rack
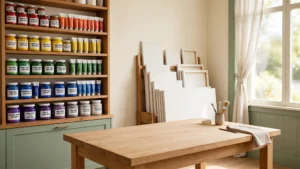
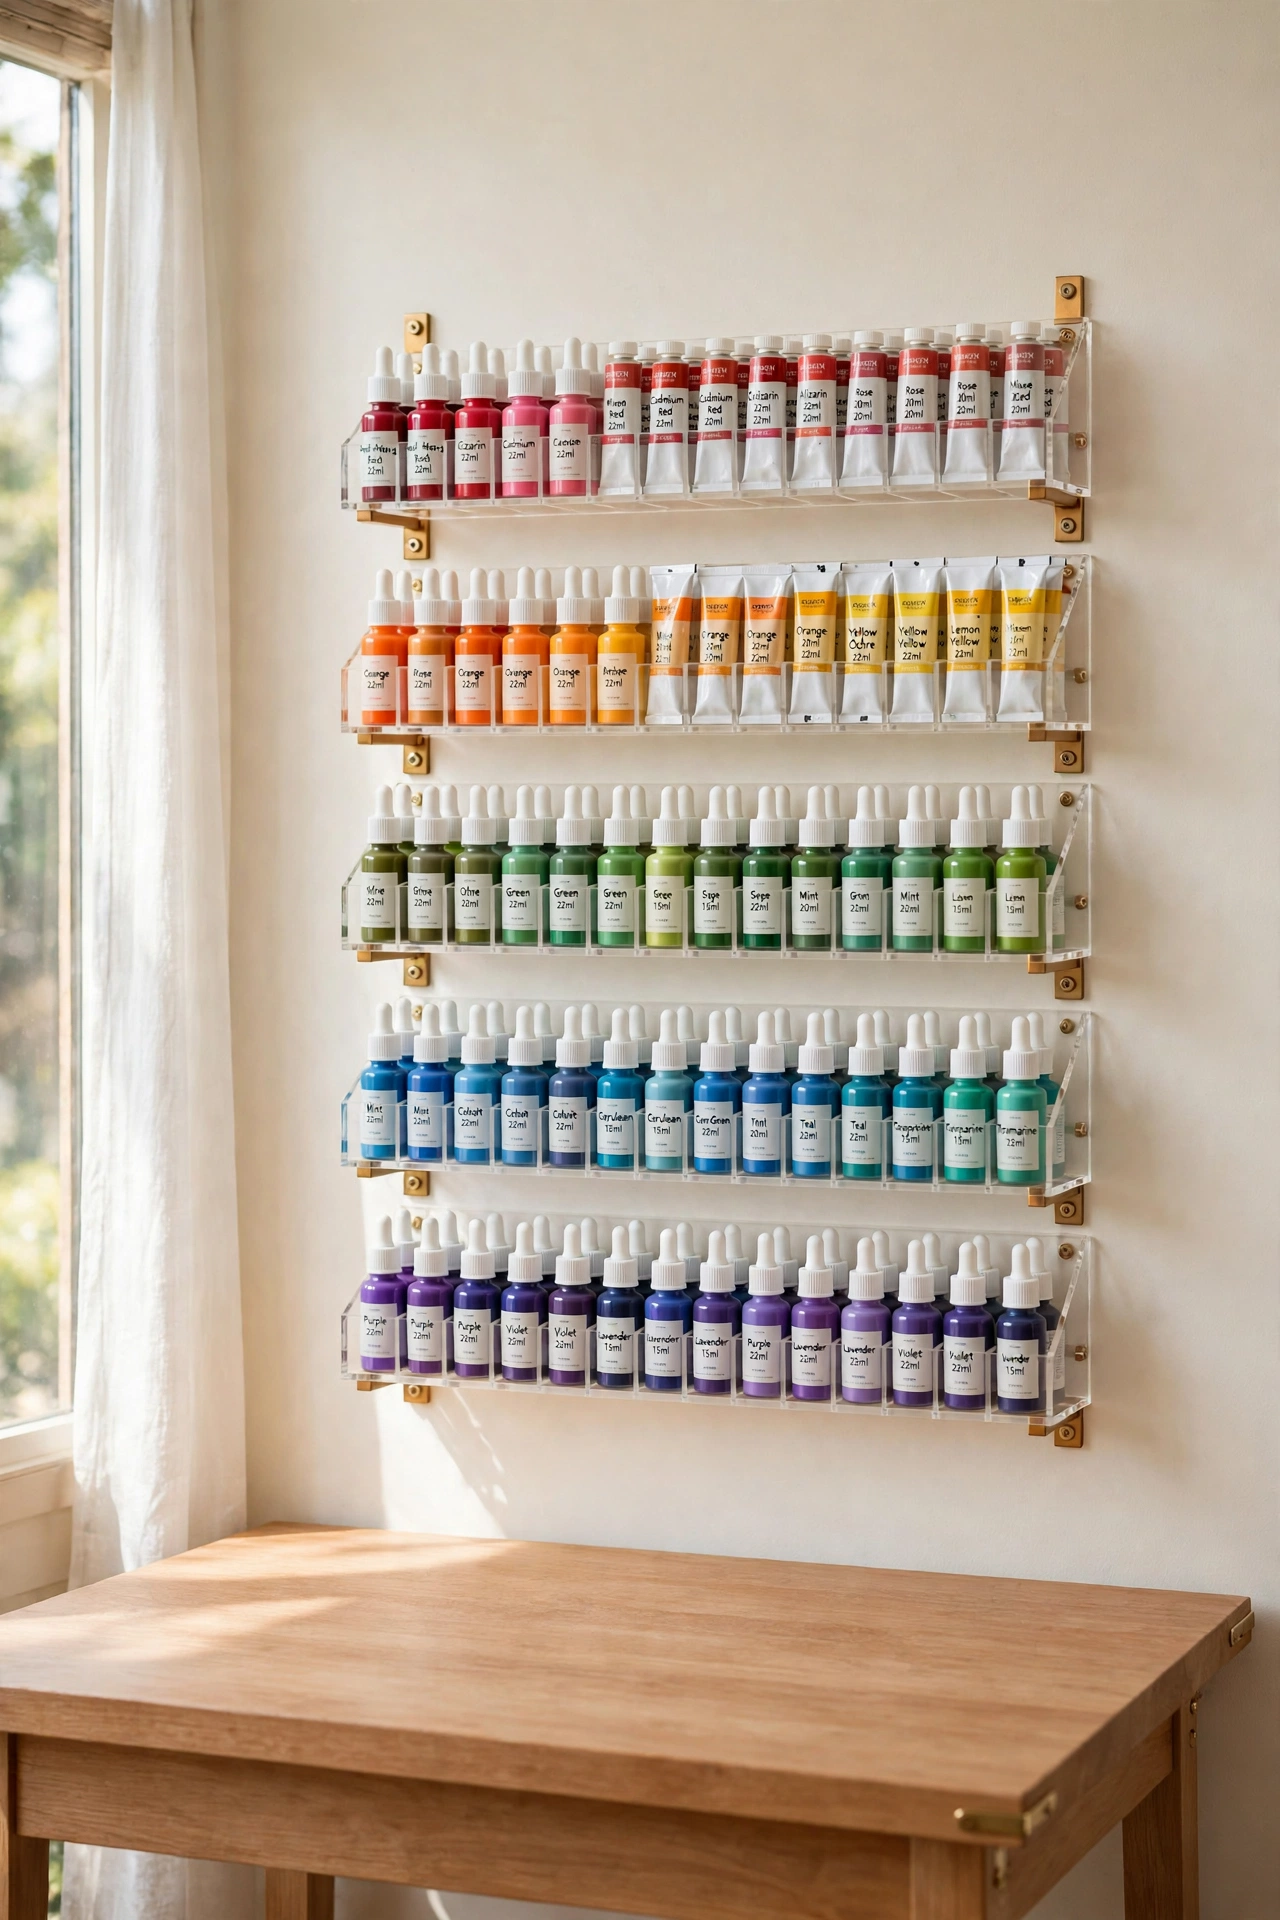
A wall mounted rack turns your paint collection into both storage and decoration. Clear acrylic racks hold paint tubes and bottles in neat rows, sorted by color and size, so you can spot the exact shade you need in seconds. The display adds color to a plain wall and keeps paints off the work surface.
Sort paints from light to dark or group warm and cool tones together, and keep the most used colors at the center where they are easiest to reach. Check that each rack is fixed firmly to the wall, because full paint bottles are heavier than they look. A paint wall also helps you see which colors are running low before you start a project.
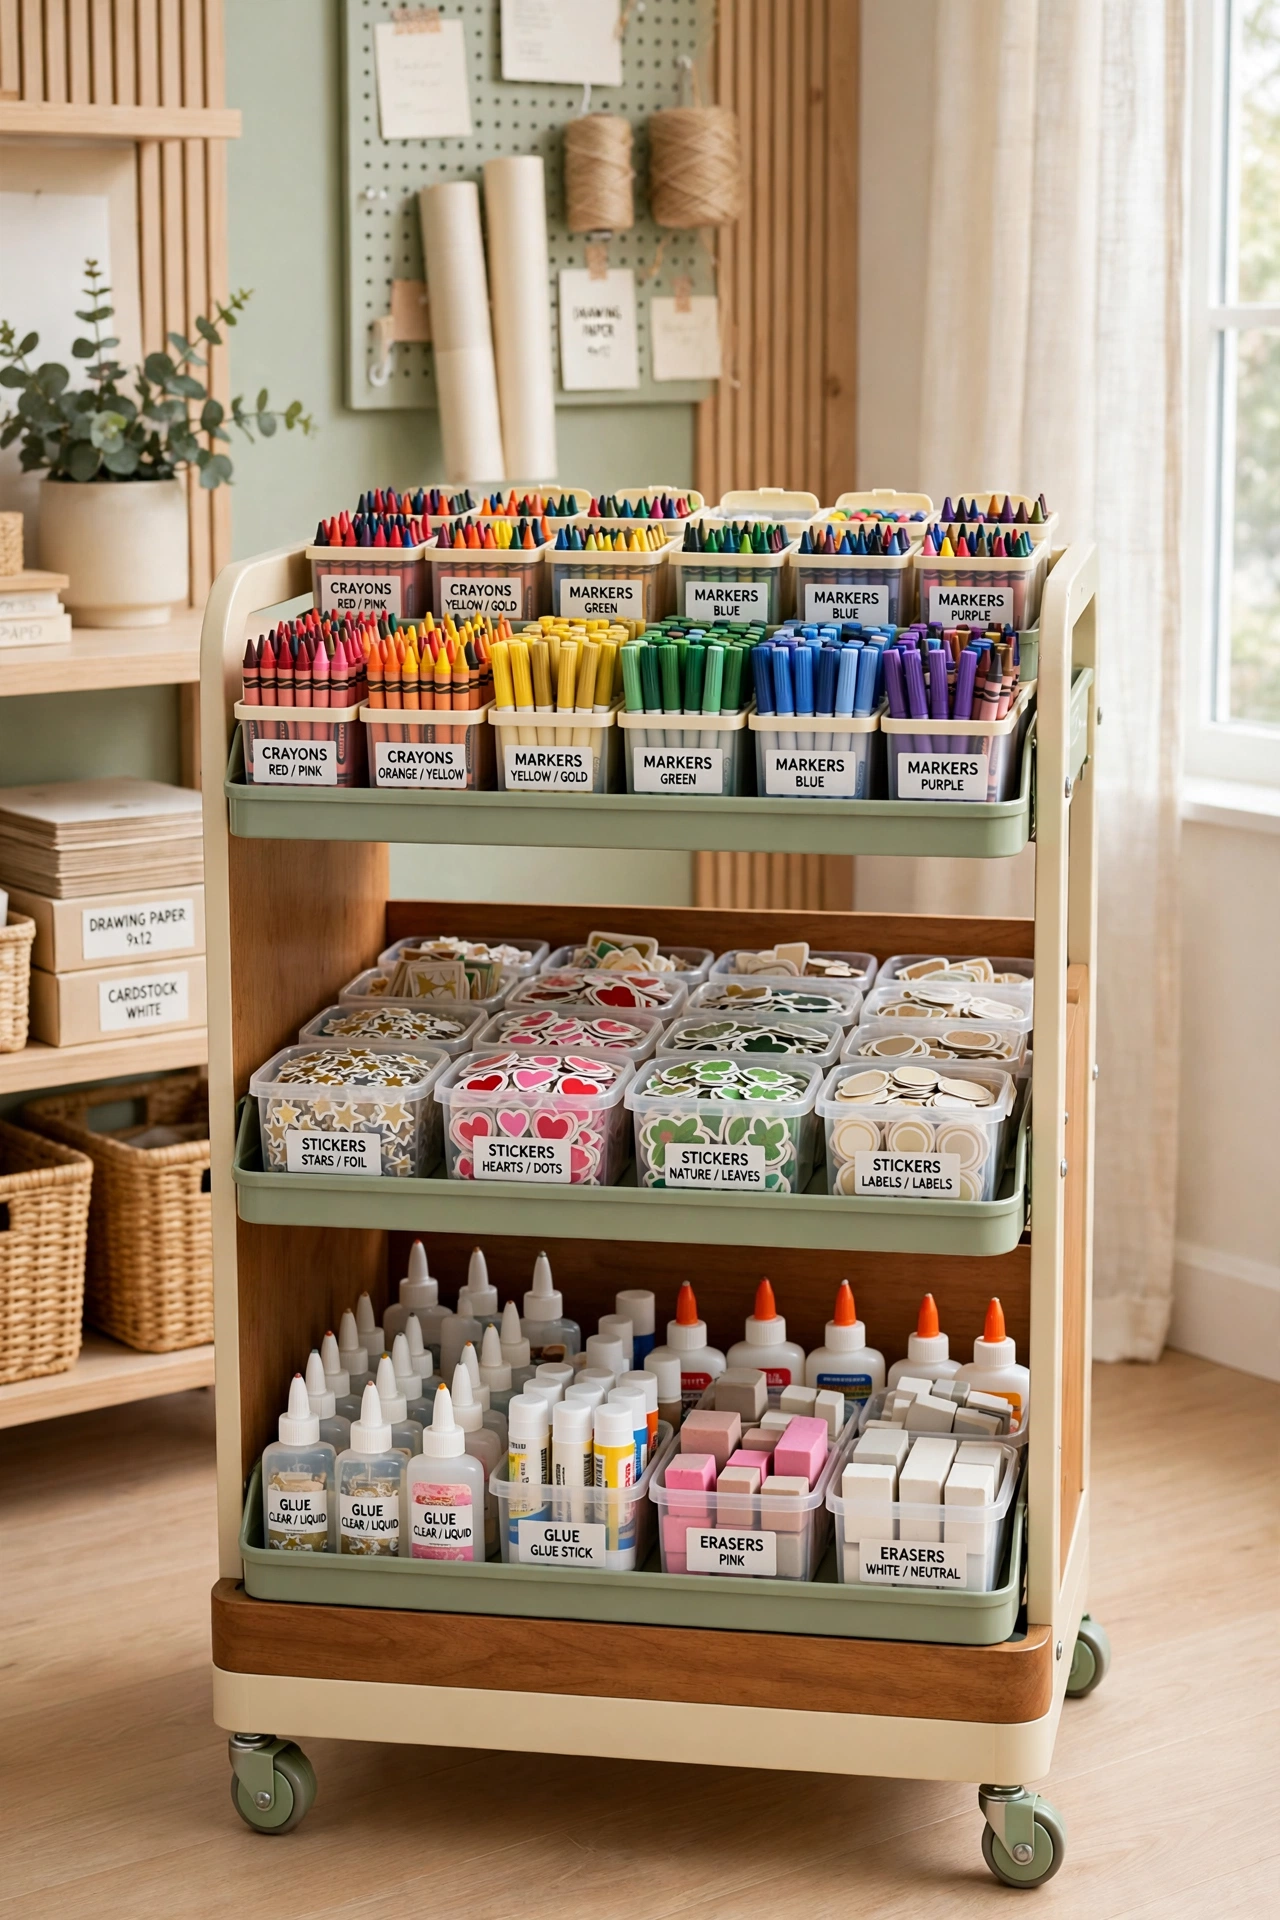
6. Roll Supplies Around on a Tiered Cart Station
A tiered rolling cart brings your supplies to any spot in the house. The top tray holds crayons, markers, and pens sorted by color, while the lower trays store stickers, glue, erasers, and small paper pads. Wheels let you roll the whole station to the table, then tuck it into a corner when you are done.
Keep the top tray for daily tools and the lower trays for backup stock and finished pieces waiting to dry. A cart with a handle and locking wheels stays steady while you work and moves easily between rooms. For more ways to use a cart in every room, these rolling cart organization ideas show how one cart can serve many purposes.
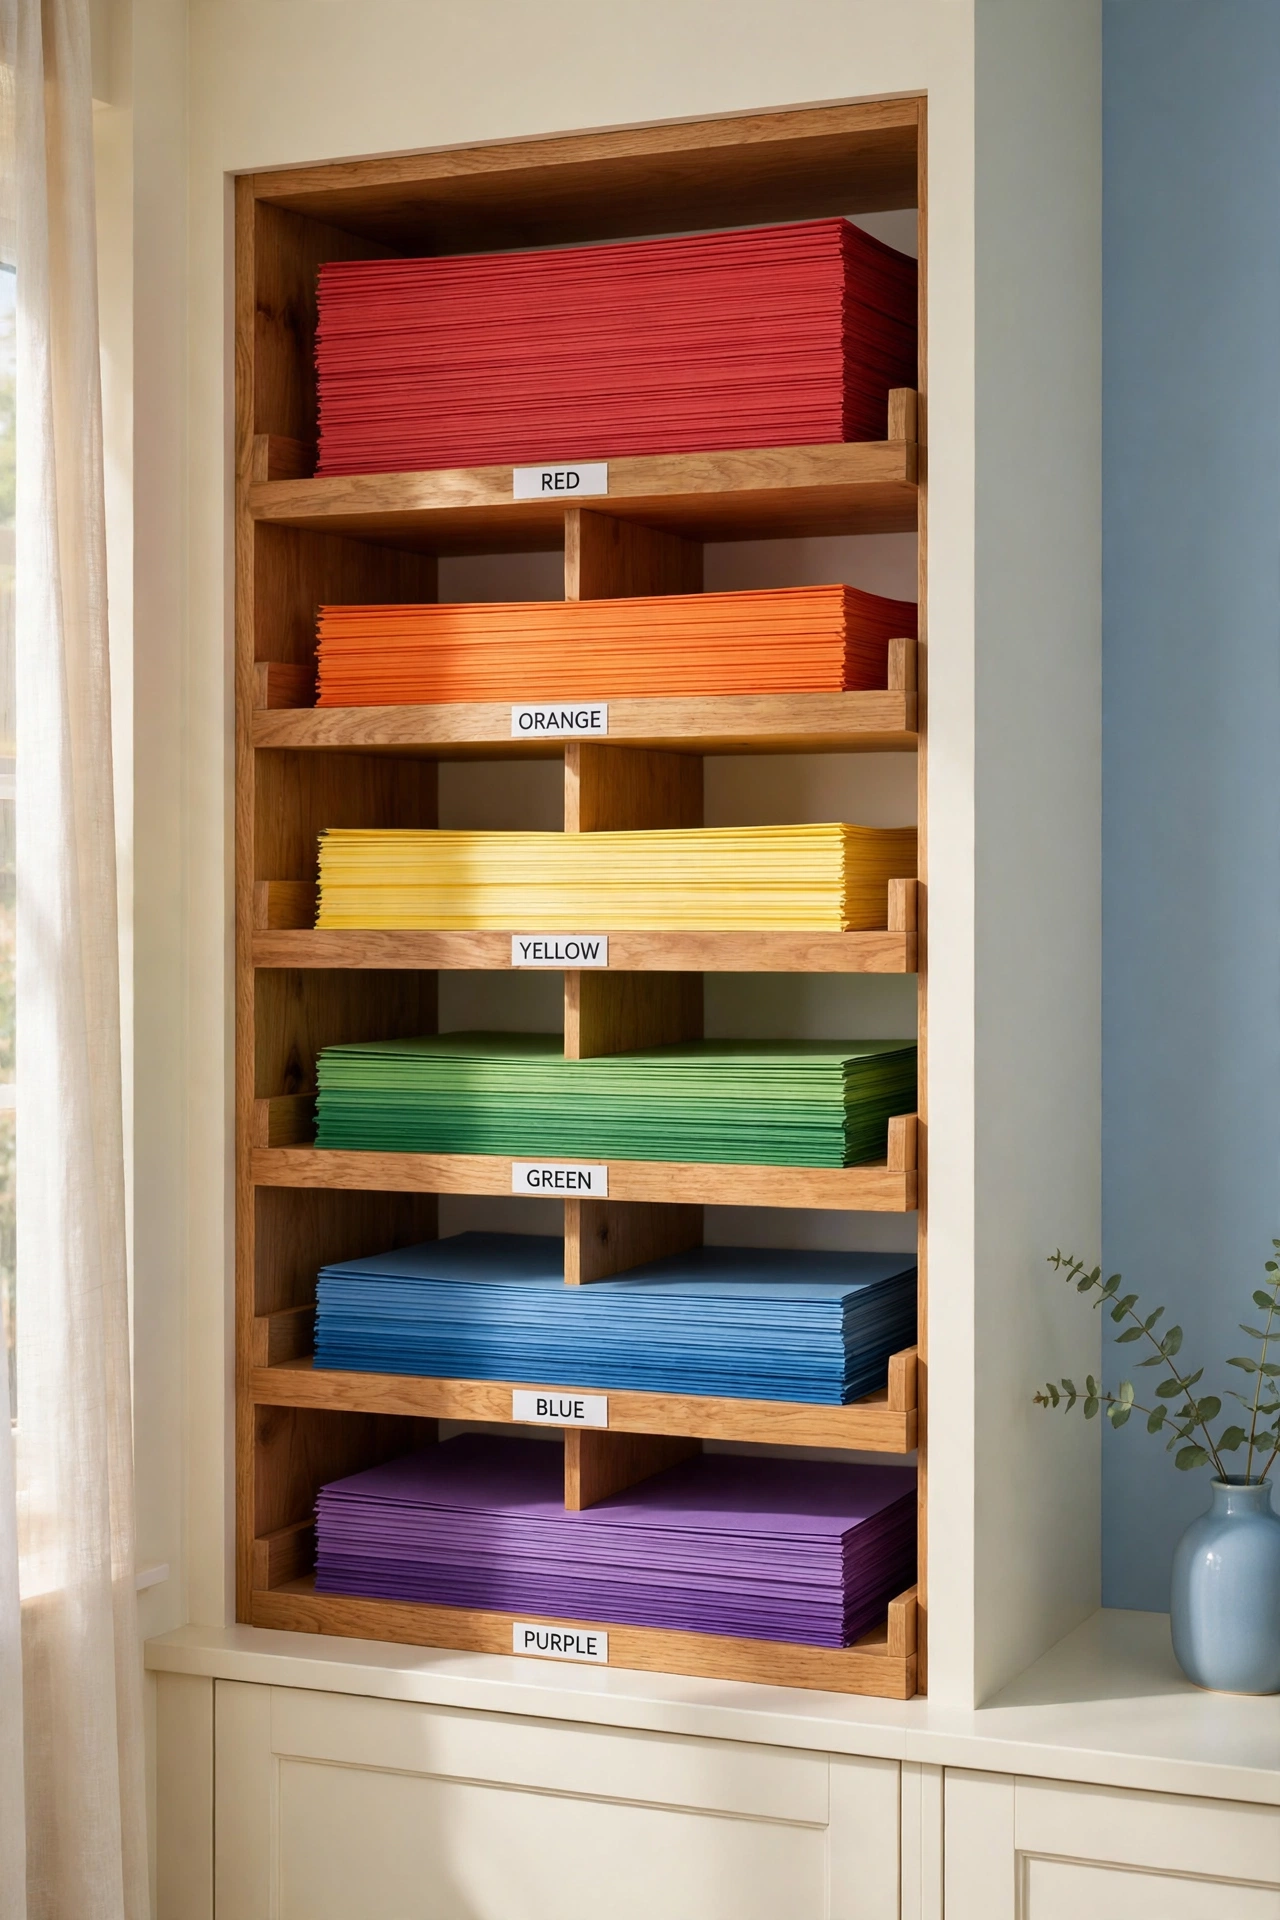
7. Sort Paper Stacks by Color on Open Shelves
Color sorted paper stacks turn storage into a cheerful display. Arrange sheets by hue on open shelves, with each color in its own neat stack, so you can pull the right shade without disturbing the rest. Flat stacks keep paper smooth and free from bends and creases.
Use shelf dividers or upright file holders to stop tall stacks from leaning, and keep specialty paper like card stock and watercolor paper in separate labeled sections. Open shelves also remind you to use paper you already own before buying more. A rainbow shelf brightens a craft room and makes paper selection part of the fun.
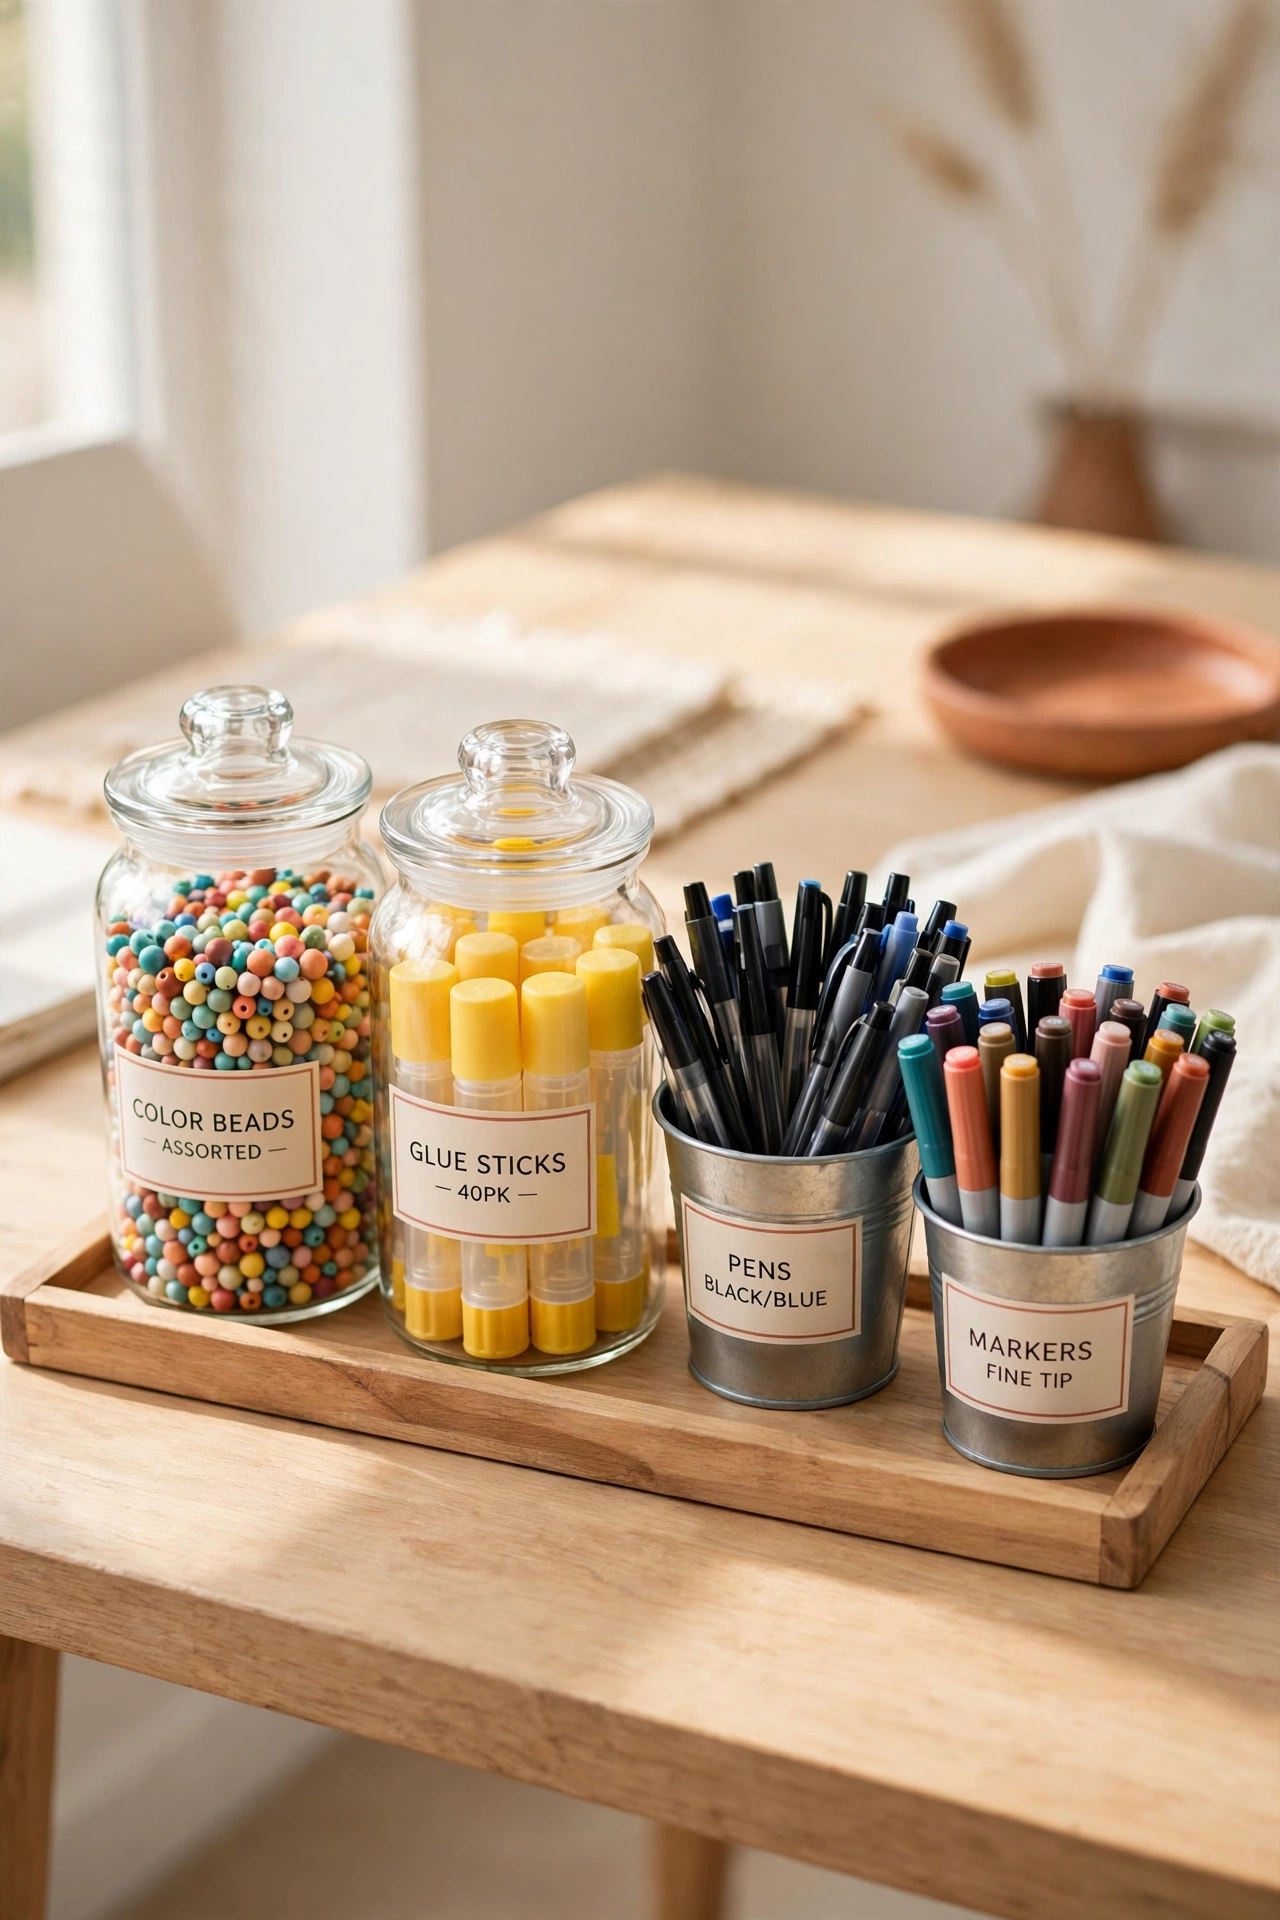
8. Store Tools in Glass Jars and Metal Buckets
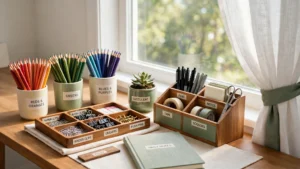
Glass jars and metal buckets make everyday tools easy to see and easy to grab. Metal buckets hold pens and markers upright within reach, while clear glass jars store small items like beads, buttons, and glue sticks. The mix of glass and metal adds charm to a desk while keeping tools sorted.
Group jars and buckets on a tray so you can lift the whole set off the desk when you need a clear surface. Fill each container with one category only, and add a small paper label if several jars look alike. Wash jars often so they stay clear, and replace any chipped jar before it becomes a safety risk.
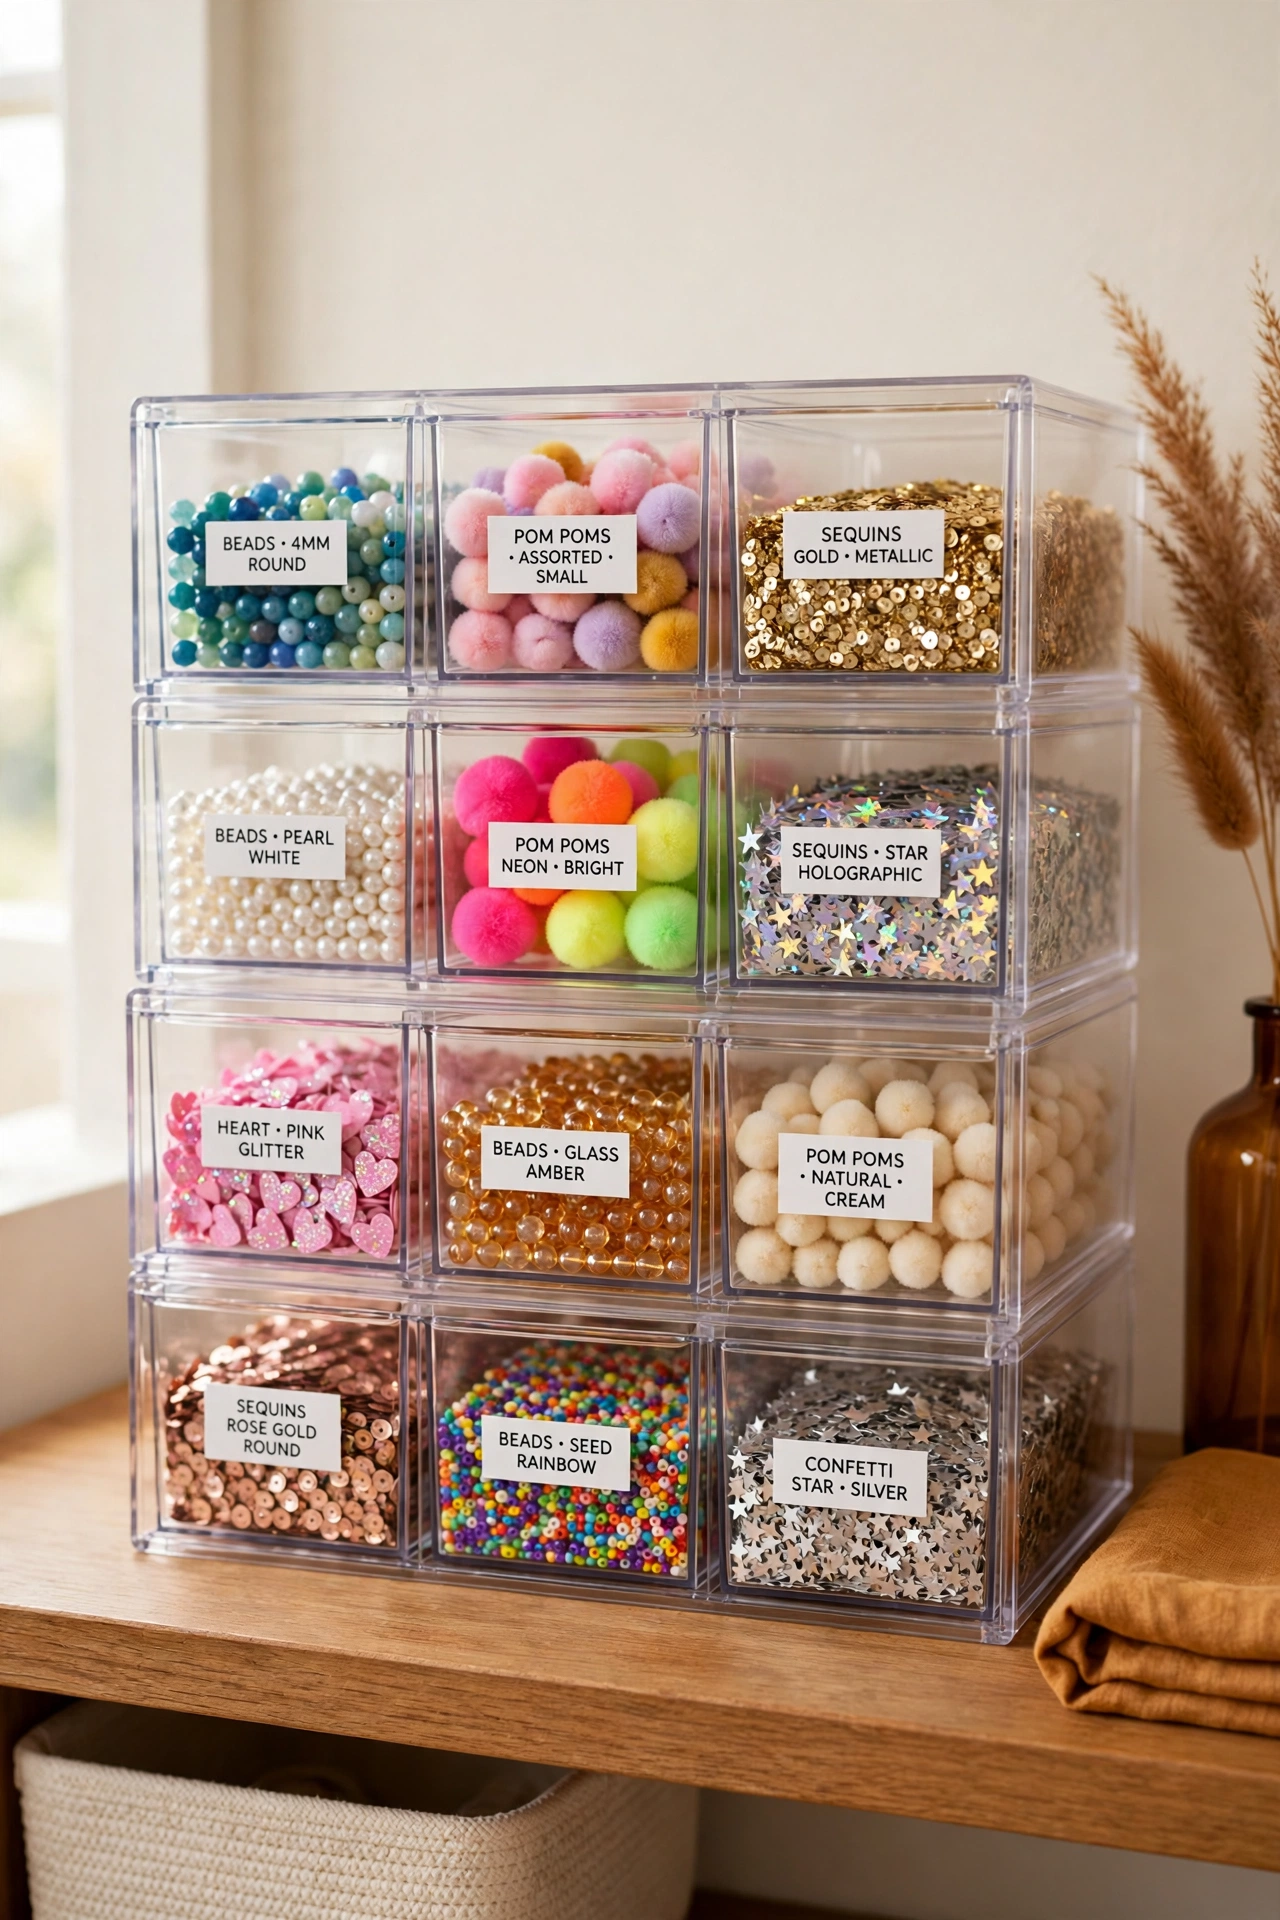
9. Stack Small Supplies in Drawer Boxes
Stackable drawer boxes are perfect for the tiny supplies that vanish in large bins. Small drawers hold pom poms, beads, sequins, and embellishments in separate compartments, and clear fronts let you see the contents without pulling each drawer open. Stack the boxes on a shelf or inside a cabinet to build hidden storage.
Label each drawer with the item name and color range, and keep the smallest items in the top drawers where they are easiest to reach. Drawer boxes also protect delicate embellishments from dust and crushing. When you buy new supplies, add a new drawer instead of mixing new items into a drawer that is already full.
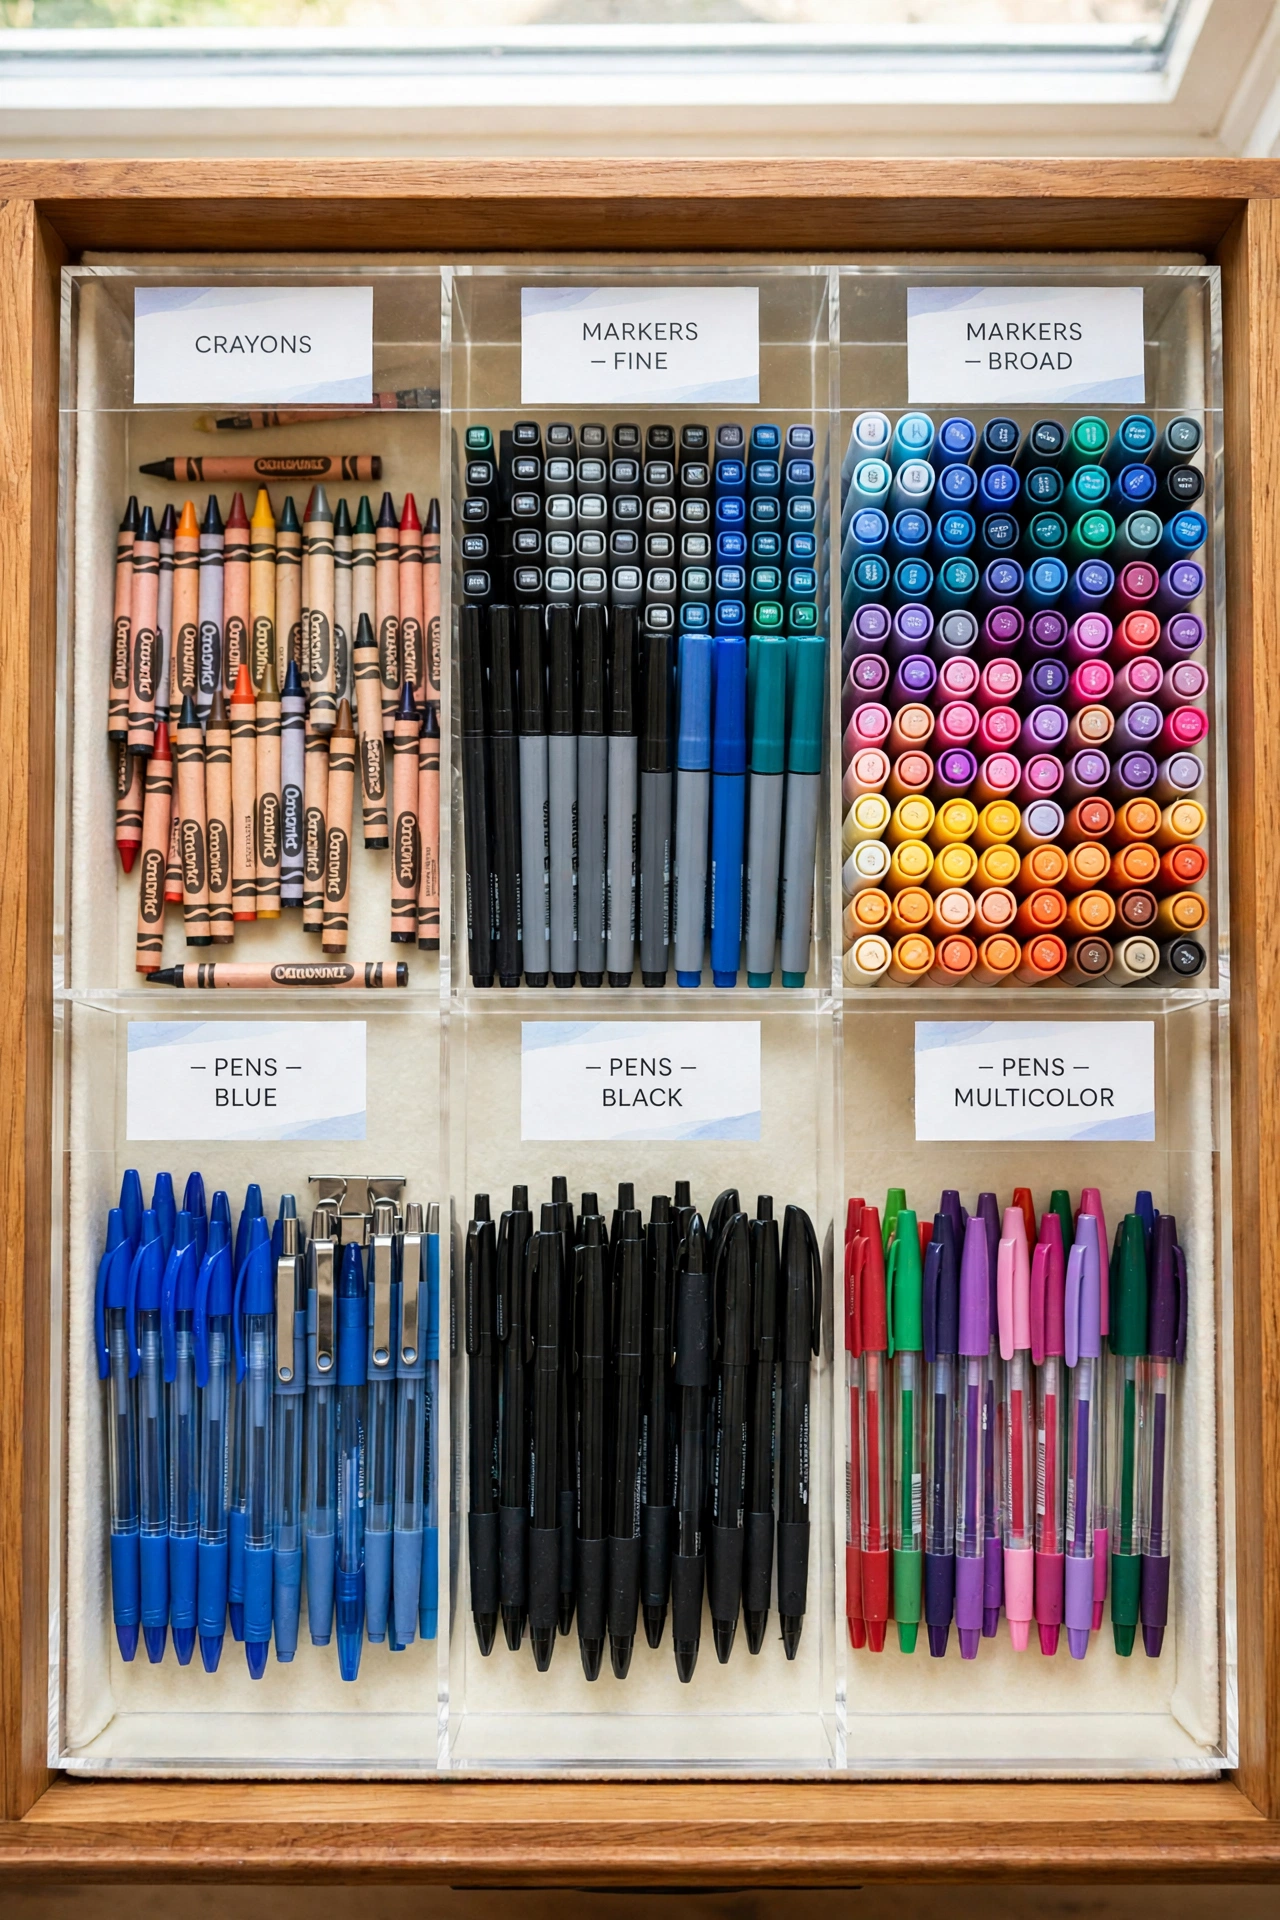
10. Divide a Drawer With Clear Acrylic Dividers
Clear acrylic dividers turn one messy drawer into a set of tidy compartments. Assign one section to crayons, one to markers, and one to pens, so each tool has a fixed spot and stays visible through the clear walls. The clean modern look suits a desk drawer, a craft table drawer, or a studio workbench.
Measure your drawer before you buy dividers, and choose adjustable dividers if your collection changes often. Keep sharp tools like craft knives in a lidded section at the back of the drawer for safety. For more drawer systems that work in any room, these desk drawer organization ideas show how dividers can tame even the busiest drawer.
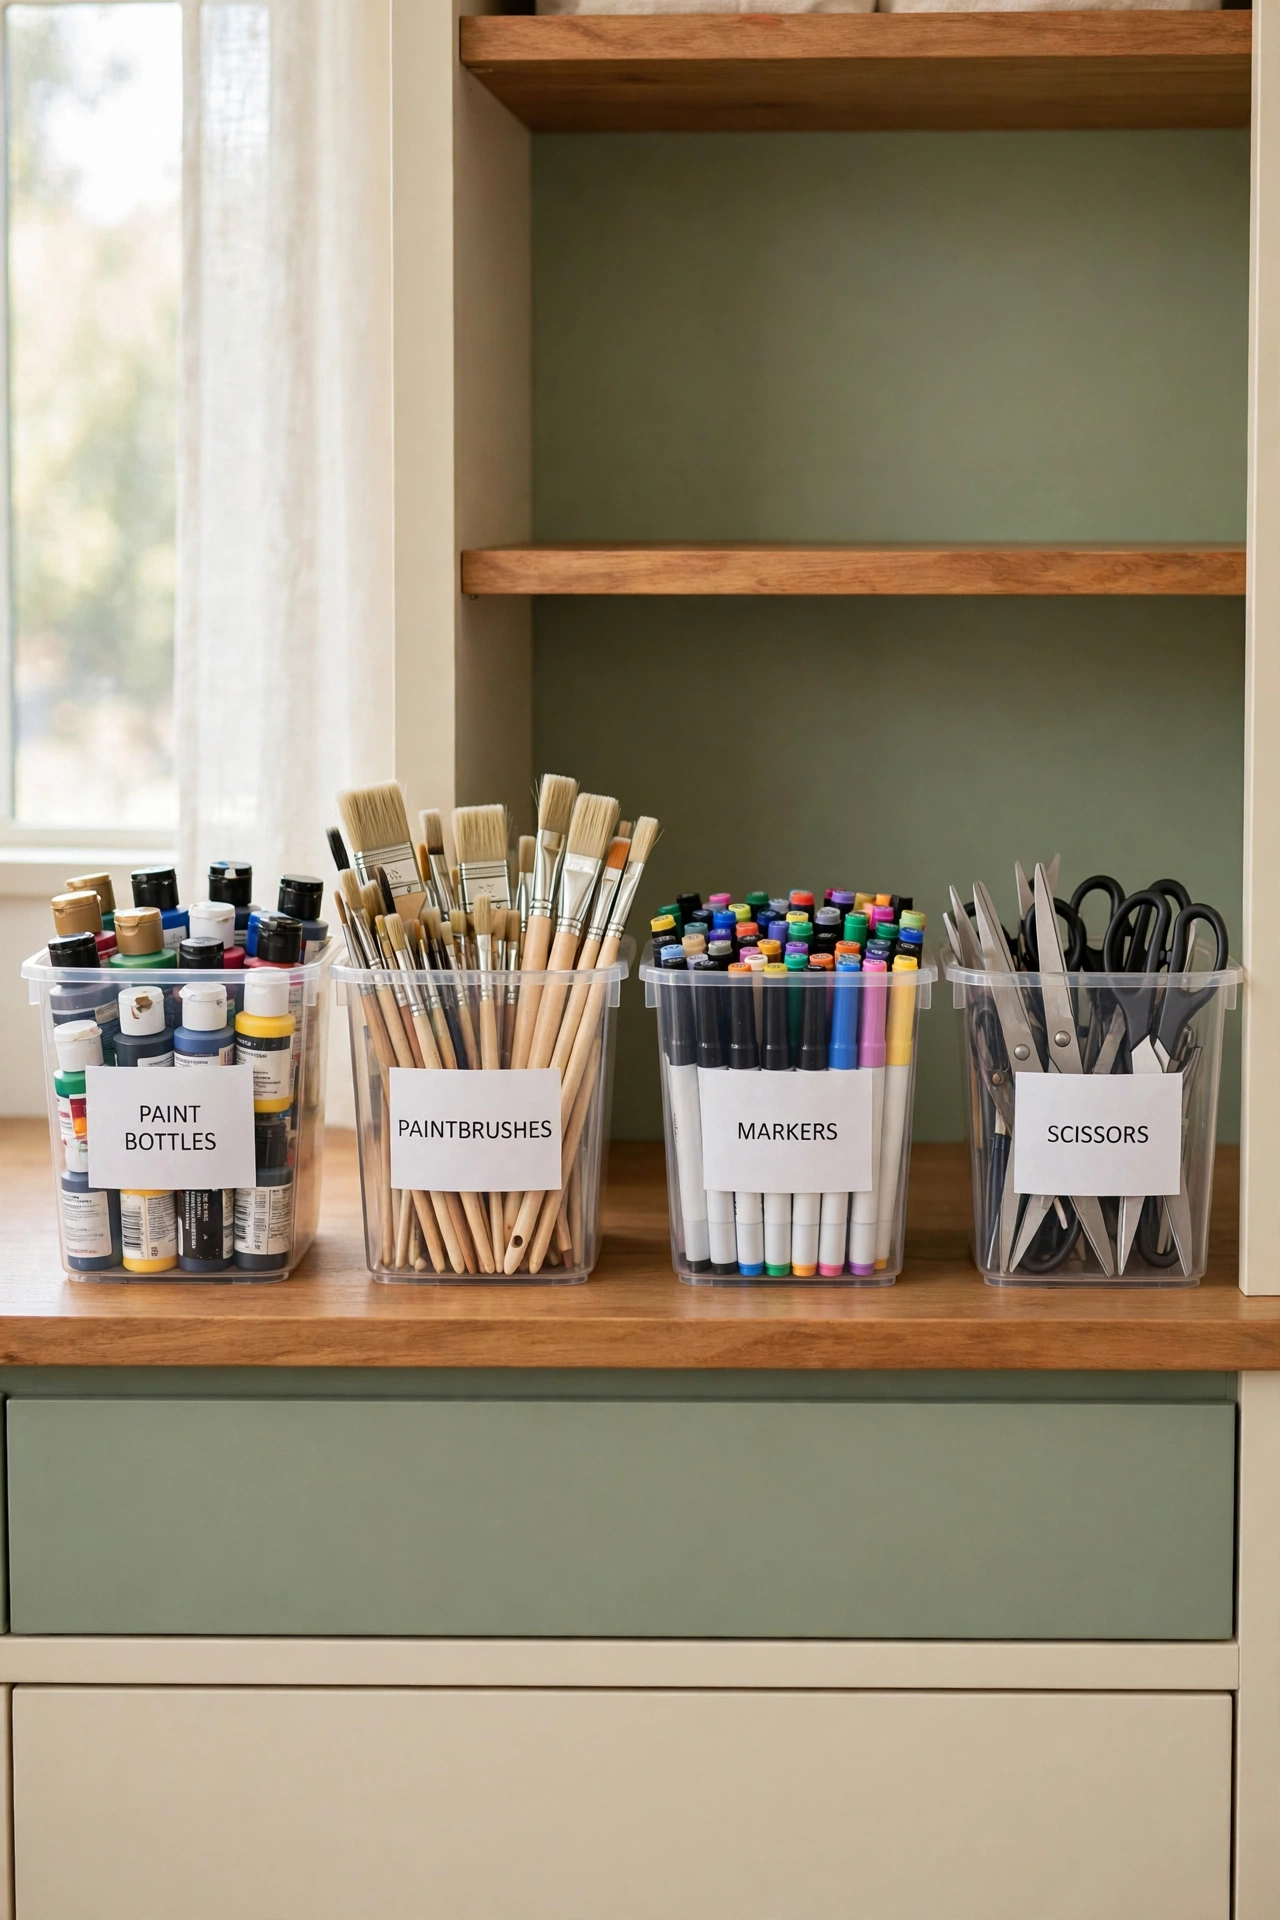
11. Label a Set of Open Pails by Category
Labeled open pails bring order to cabinet shelves with a uniform, easy to scan look. Store paints in one pail, brushes in another, and markers or scissors in their own pails, with a clear label on the front of each one. Open tops let you reach in and grab a tool without opening a lid.
Choose pails in the same size and color so a full shelf looks calm and intentional instead of cluttered. Keep heavy pails on lower shelves and light pails up high, and leave a small gap between pails so you can pull one out without moving the rest. Pails also make it easy to carry one category to the table and return it when you finish.
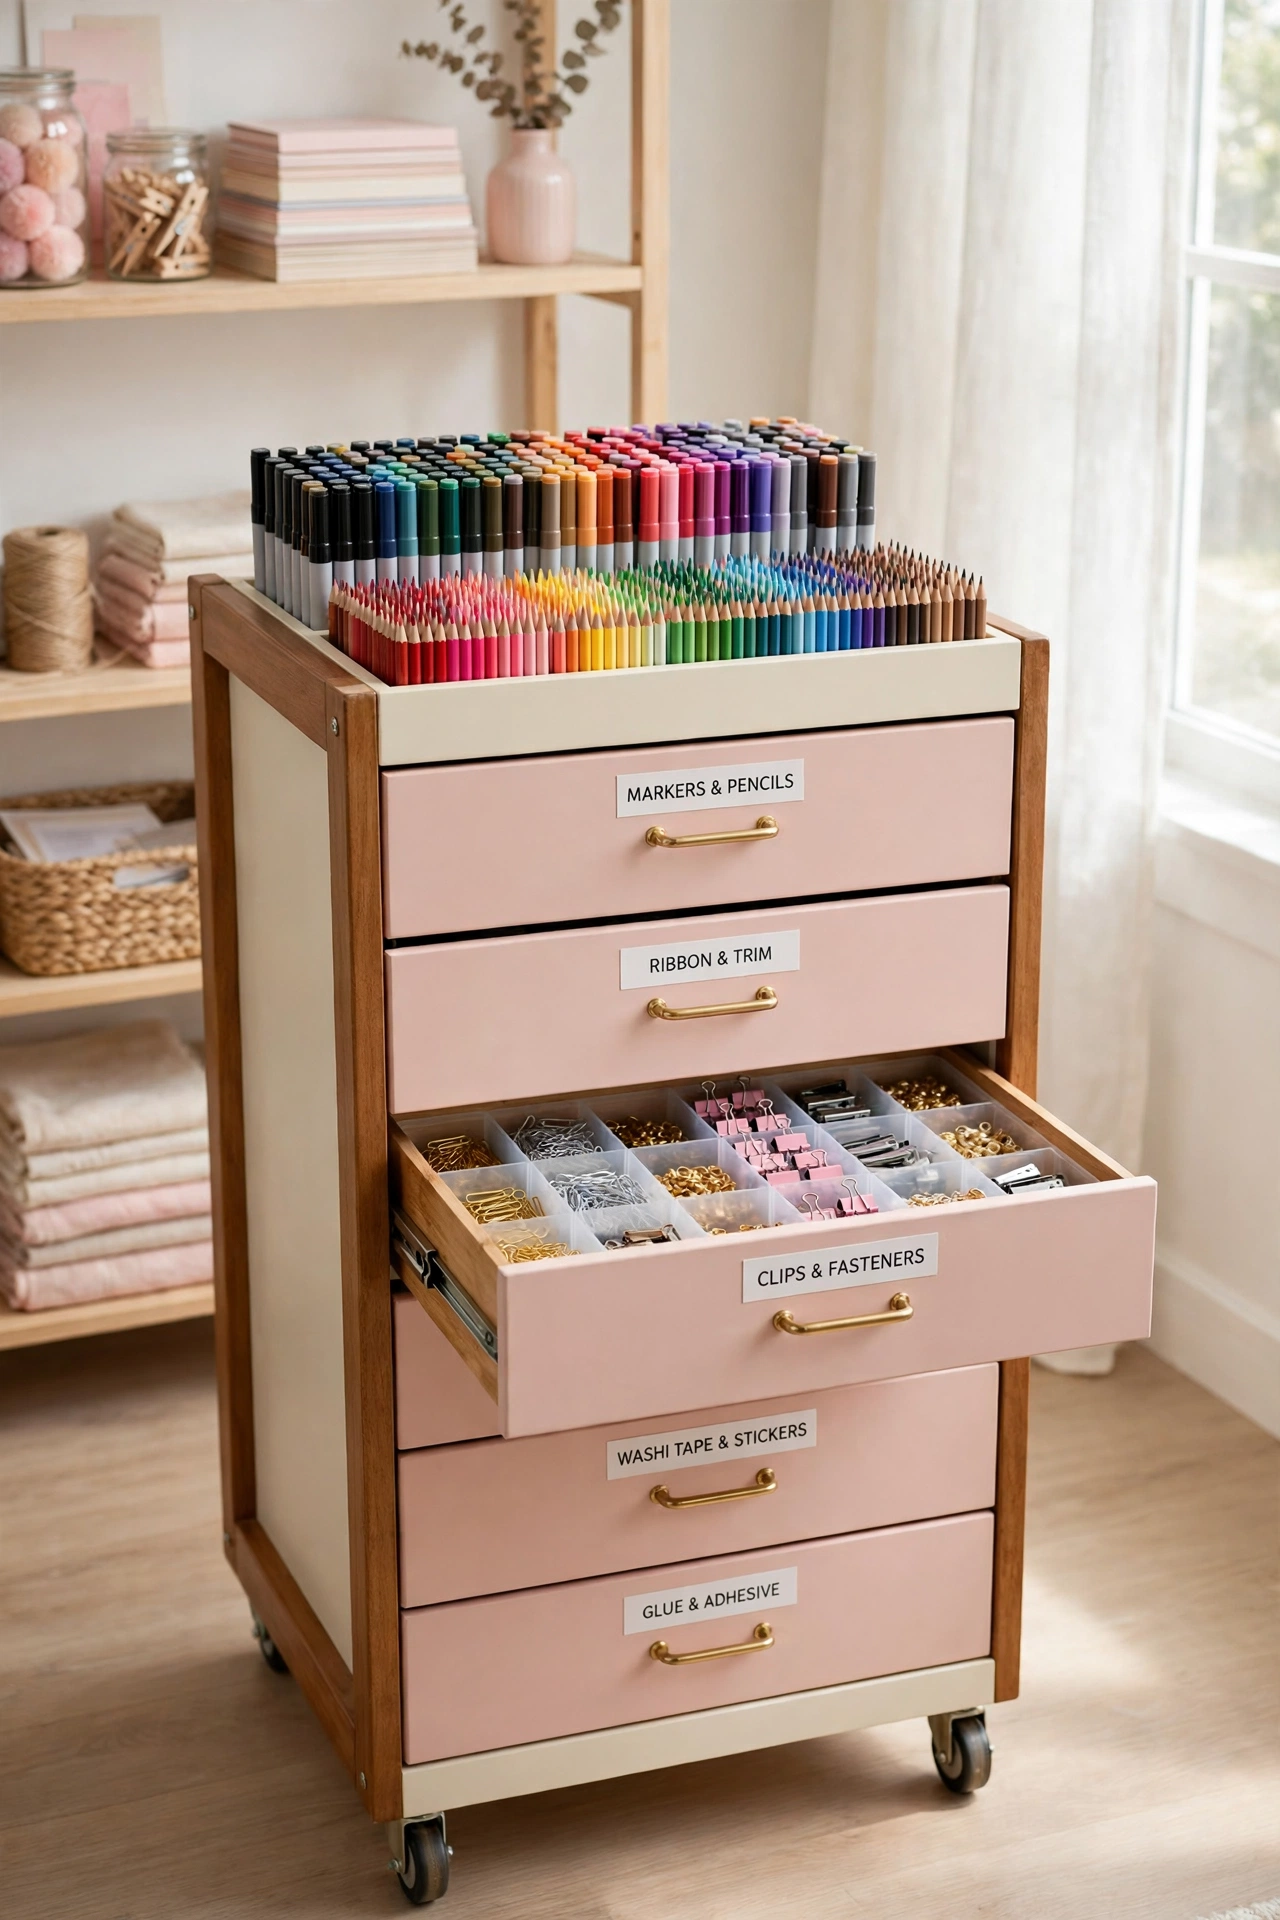
12. Roll a Drawer Cart Between Rooms
A rolling drawer cart combines the privacy of drawers with the freedom of wheels. Labeled pull out drawers hold markers and pencils on top, with smaller materials sorted in the drawers below, so supplies stay dust free and hidden until you need them. Roll the cart to the kitchen table, the porch, or a classroom and back again.
Label each drawer on the front, and keep a small tray on top for the tools you use in every session. Lock the wheels before you work so the cart stays steady, and check that drawers slide smoothly when full. A drawer cart suits shared rooms well, because you can close the drawers and roll everything out of sight in seconds.
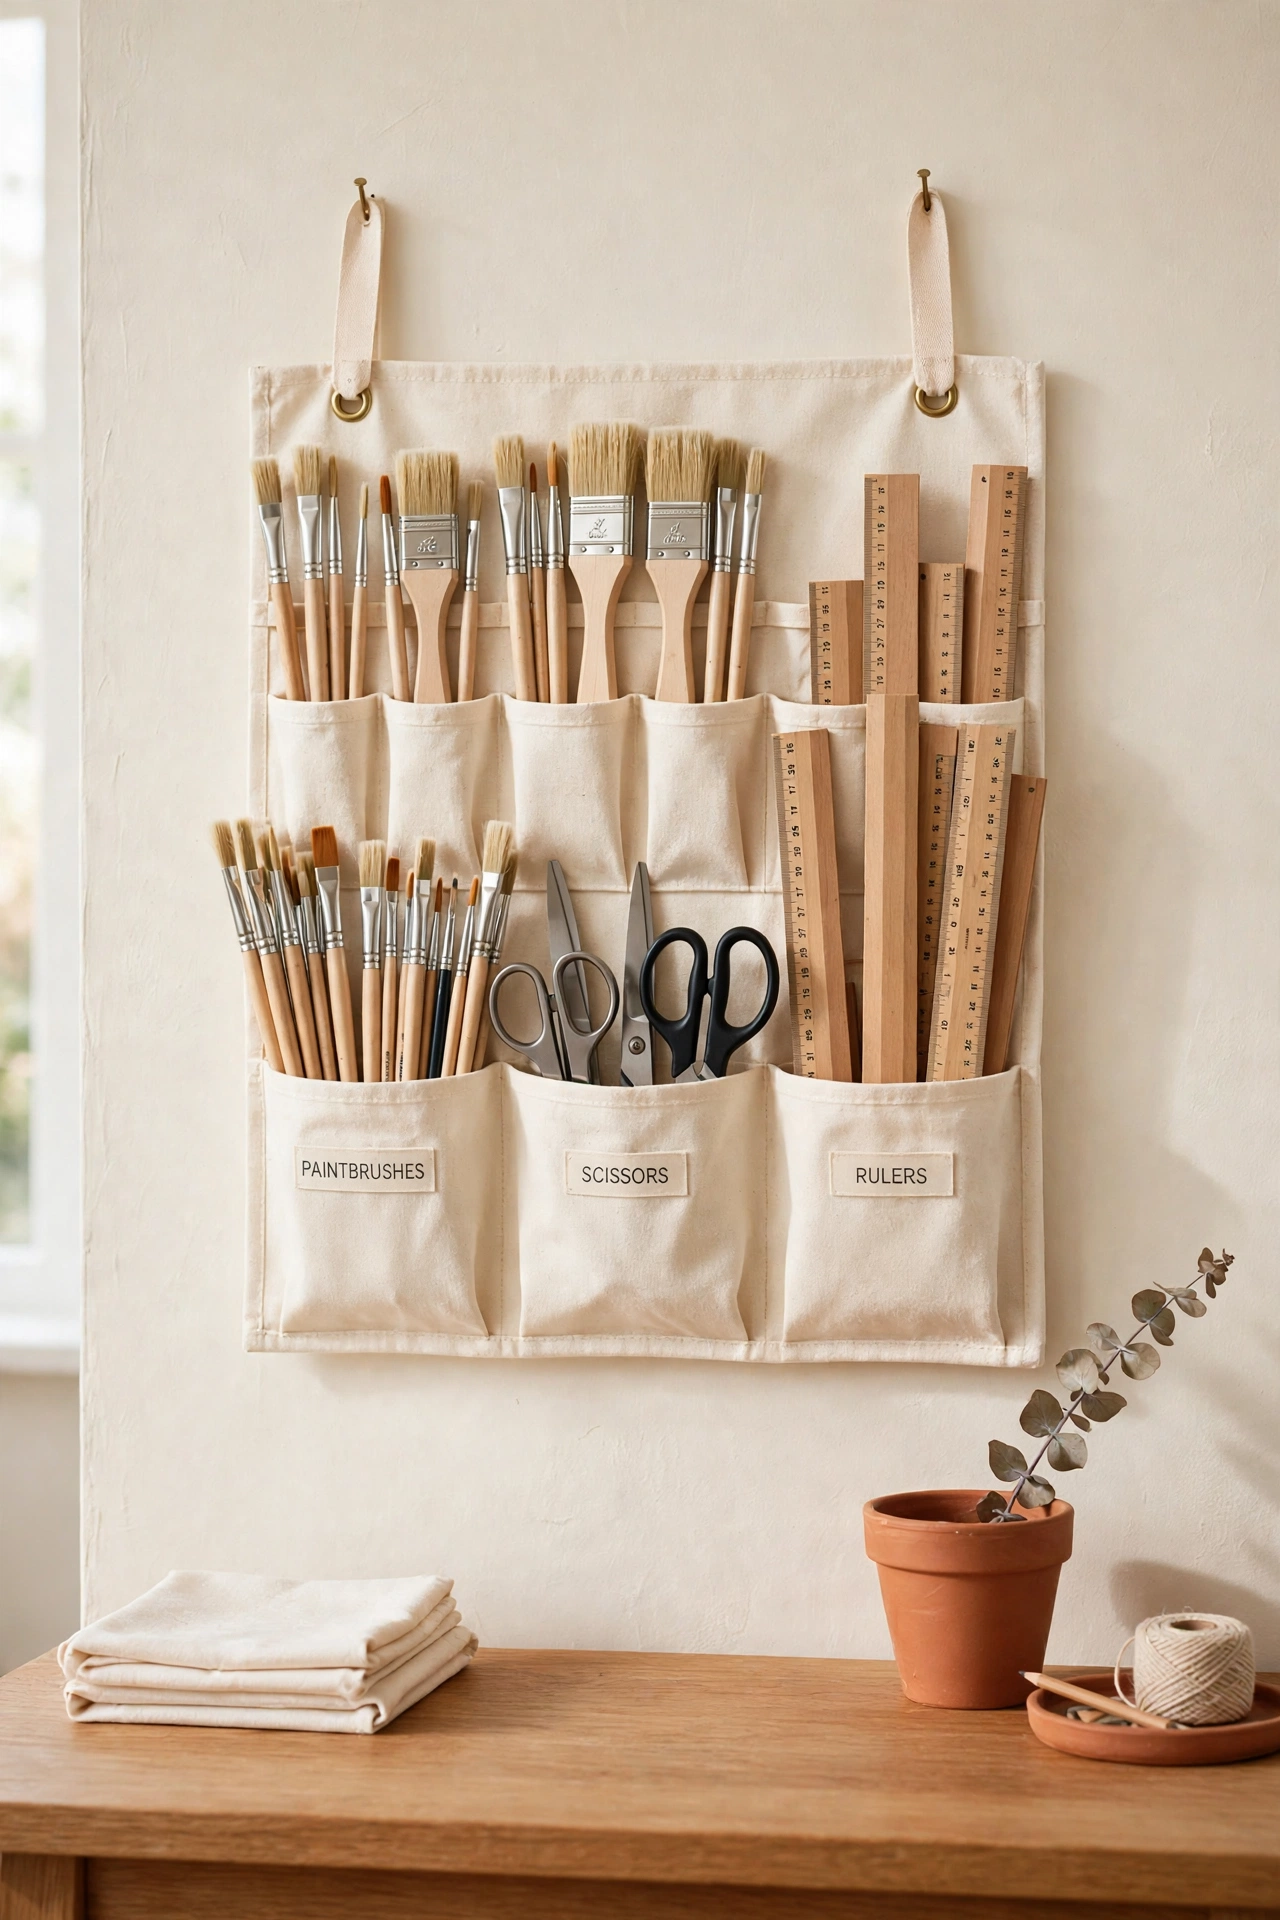
13. Hang a Canvas Wall Organizer With Pockets and Loops
A canvas wall organizer adds soft, tidy vertical storage to a studio or a cozy work corner. Pockets hold flat tools and small notebooks, while loops grip paintbrushes, scissors, and rulers upright in plain sight. The natural canvas fabric gives the wall a calm, minimal look that suits many room styles.
Hang the organizer at a height where you can reach every pocket without stretching, and fix it with two strong hooks so it hangs flat. Sort tools by size, with long brushes in tall loops and short tools in shallow pockets. Canvas organizers fold flat for storage, so they also work well in a temporary or rented workspace.
14. Add a Playful Themed Holder to the Desk
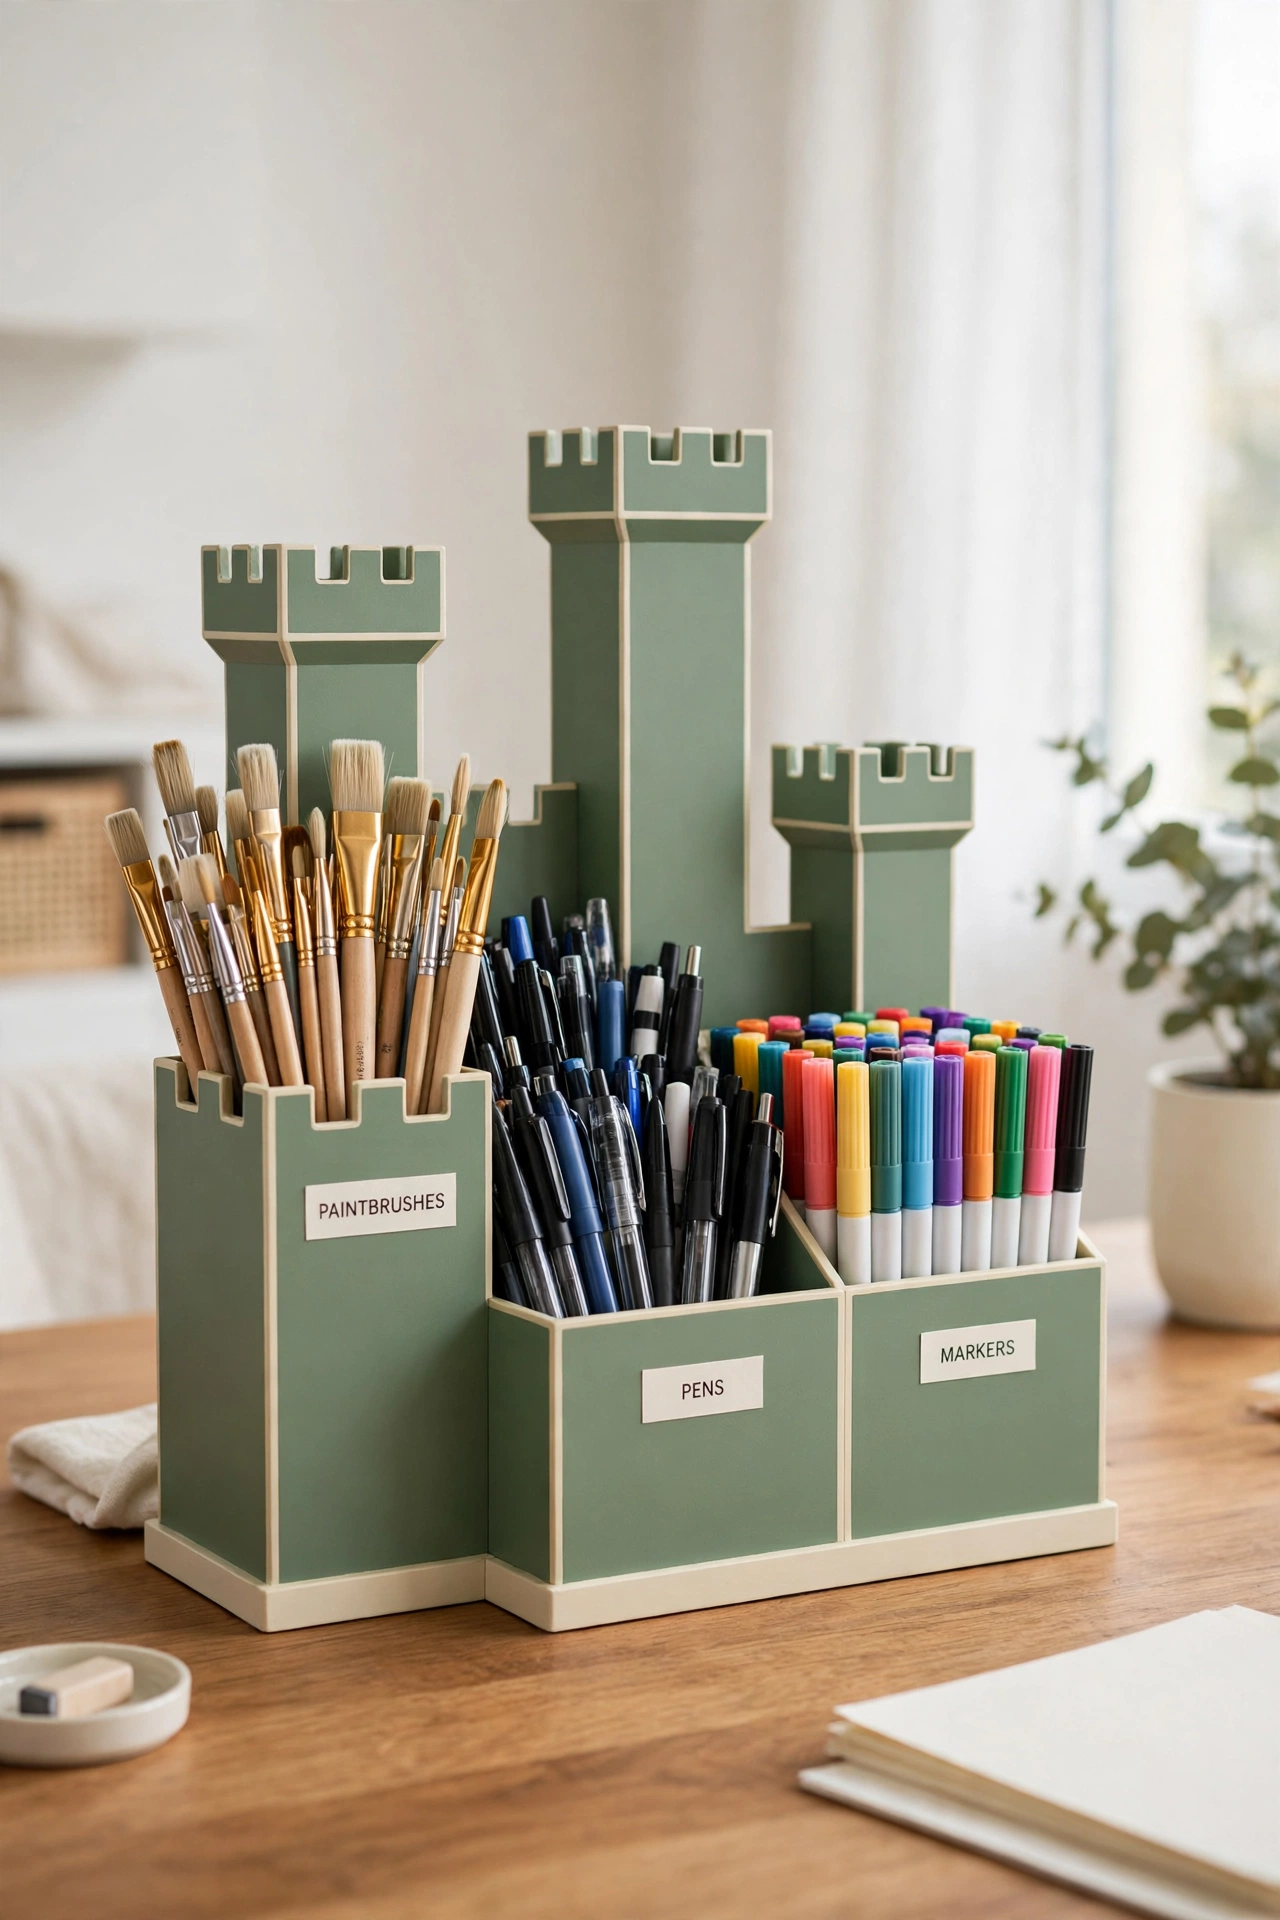
A themed holder makes desk storage fun, especially in a room shared with young artists. A castle shaped holder with compartments in different sizes stores paintbrushes, pens, markers, and small tools, while its playful shape adds character to the desk. Children are more likely to tidy up when the container itself feels like part of the fun.
Place the holder at the back corner of the desk so it does not crowd the work area, and give each compartment a fixed category so cleanup stays simple. Look for a sturdy holder with a wide base that will not tip when full. A themed holder also makes a sweet gift for a young artist who is learning to care for tools.
15. Sort Silicone Molds by Color in Mesh Baskets
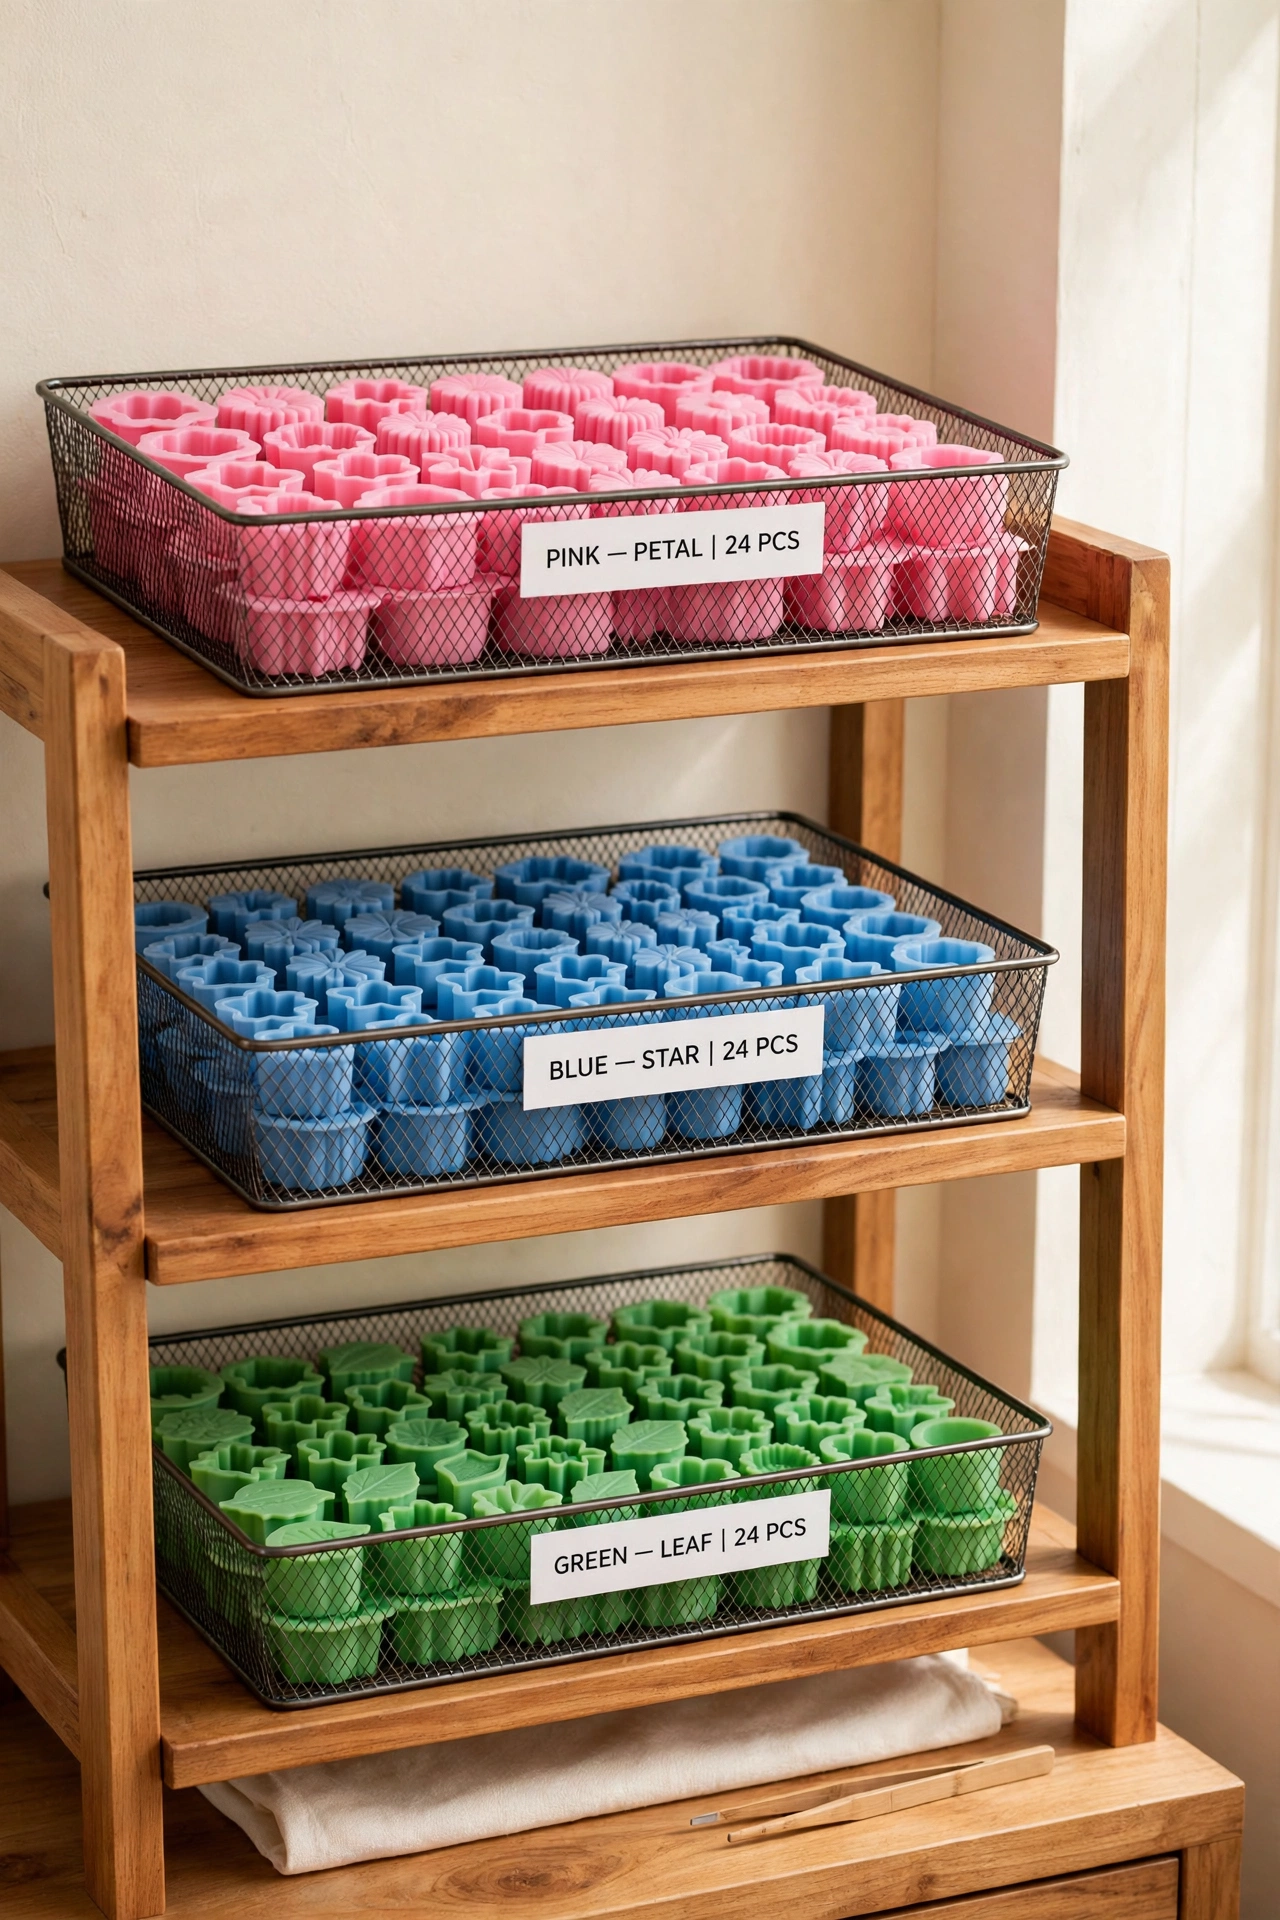
Metal mesh baskets keep silicone molds sorted, visible, and protected from bending. Group molds by color in flat, open baskets, so you can find the right shape and shade without lifting a whole stack. The open mesh lets you see every mold at a glance and keeps air moving around the material.
Stack two or three shallow baskets on a shelf, with the most used molds in the top basket, and add a label to the front edge of each basket. Mesh baskets also suit wax, clay, and crayon molds, because the flat shape stops soft molds from folding. Keep baskets away from direct heat so molds hold their shape.
16. Hang Pails From a Wall-Mounted Bar
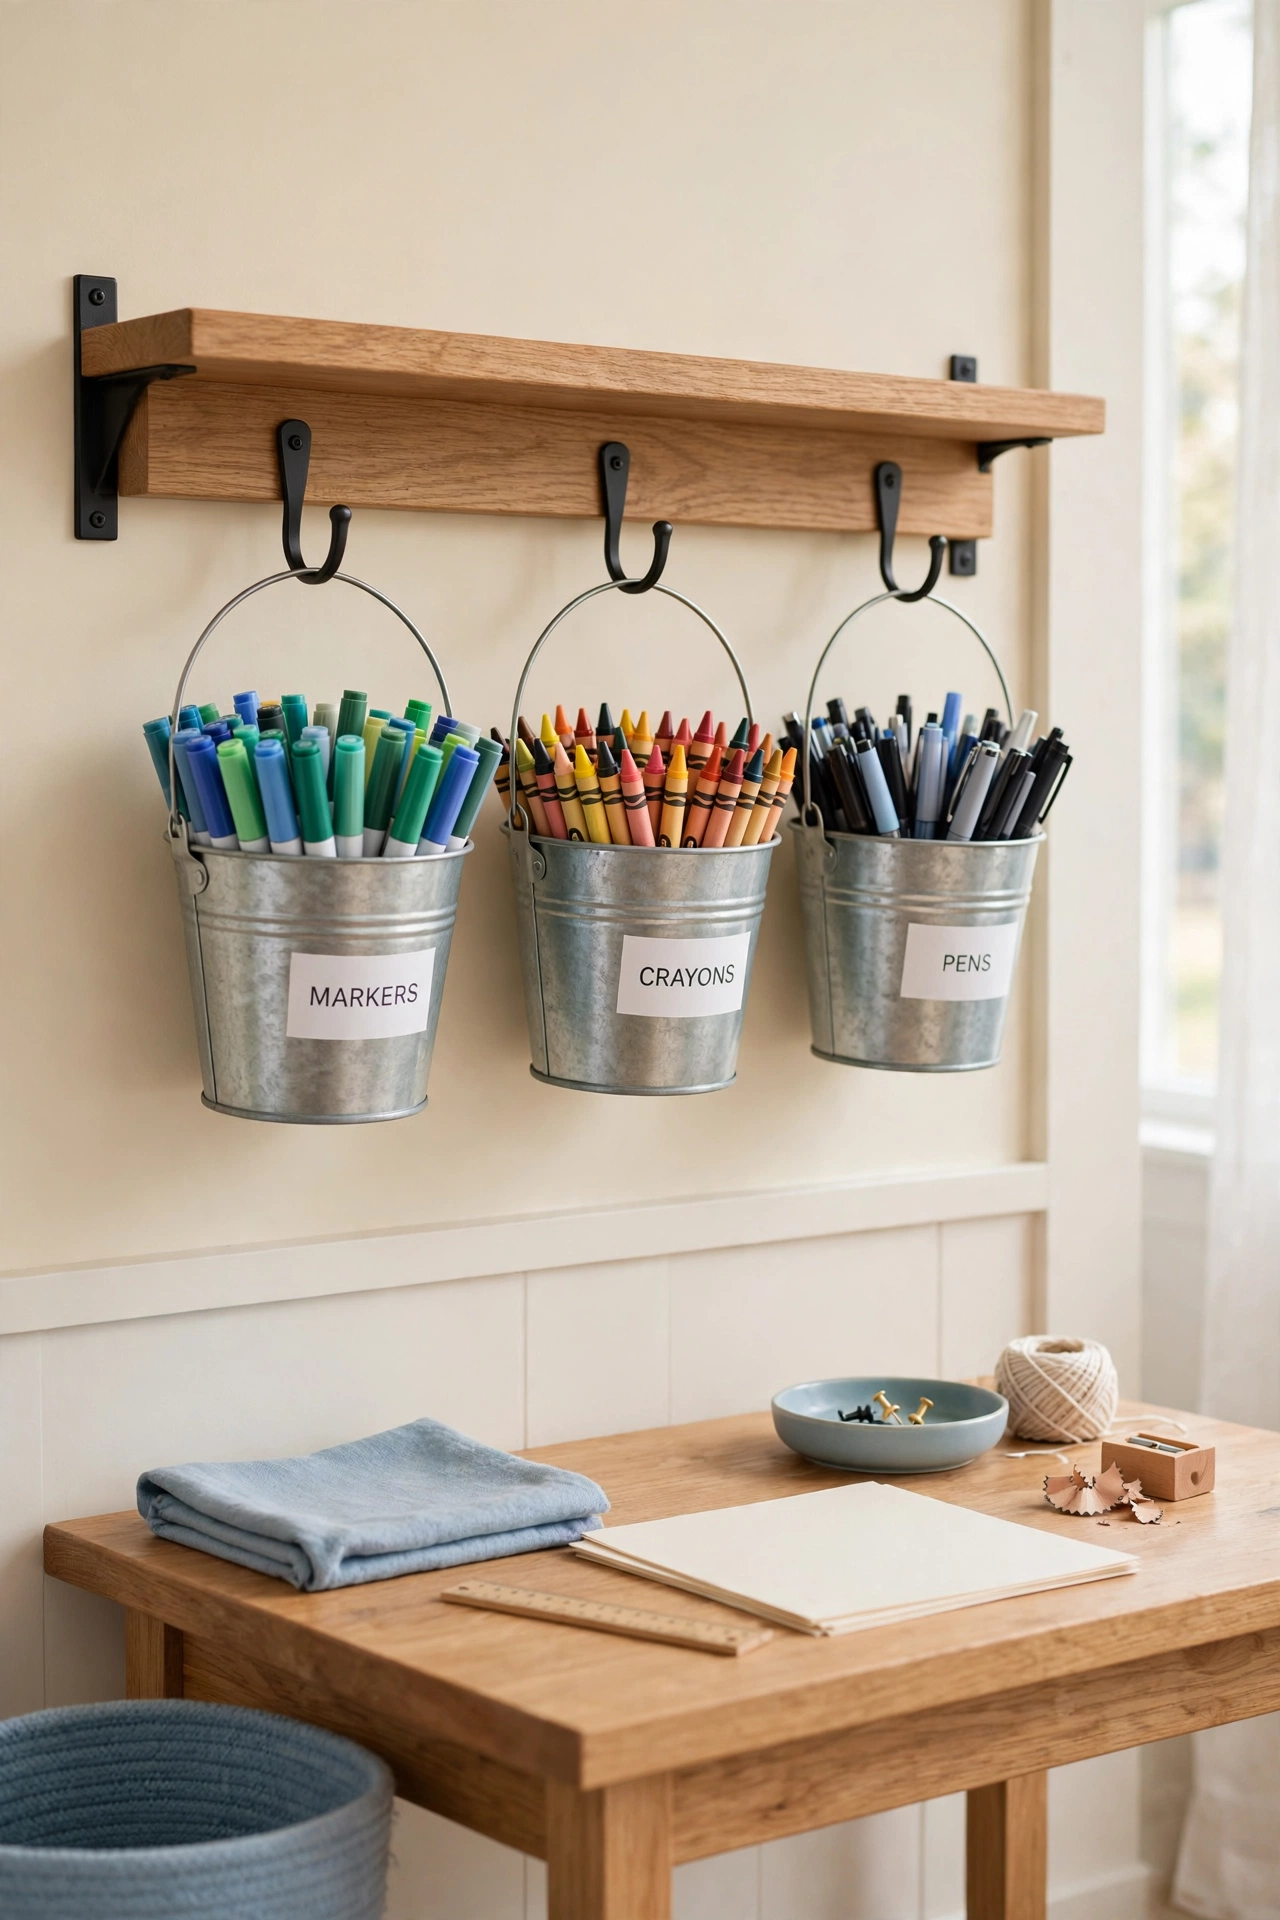
A wall mounted bar with hanging pails keeps markers, crayons, and pens within easy reach above the craft table. Metal buckets hang from hooks along the bar, so each category has its own pail and the desk below stays clear. The setup looks tidy and inviting, and cleanup is as simple as dropping each tool back into its pail.
Mount the bar firmly into wall studs or with strong anchors, and hang the heaviest pail near the center for balance. Leave space between pails so you can lift one off the hook without knocking the next one. A pail bar works well in a classroom corner, a playroom, or a home studio where many hands share the same tools.
17. Store Markers Upright in Tube Racks
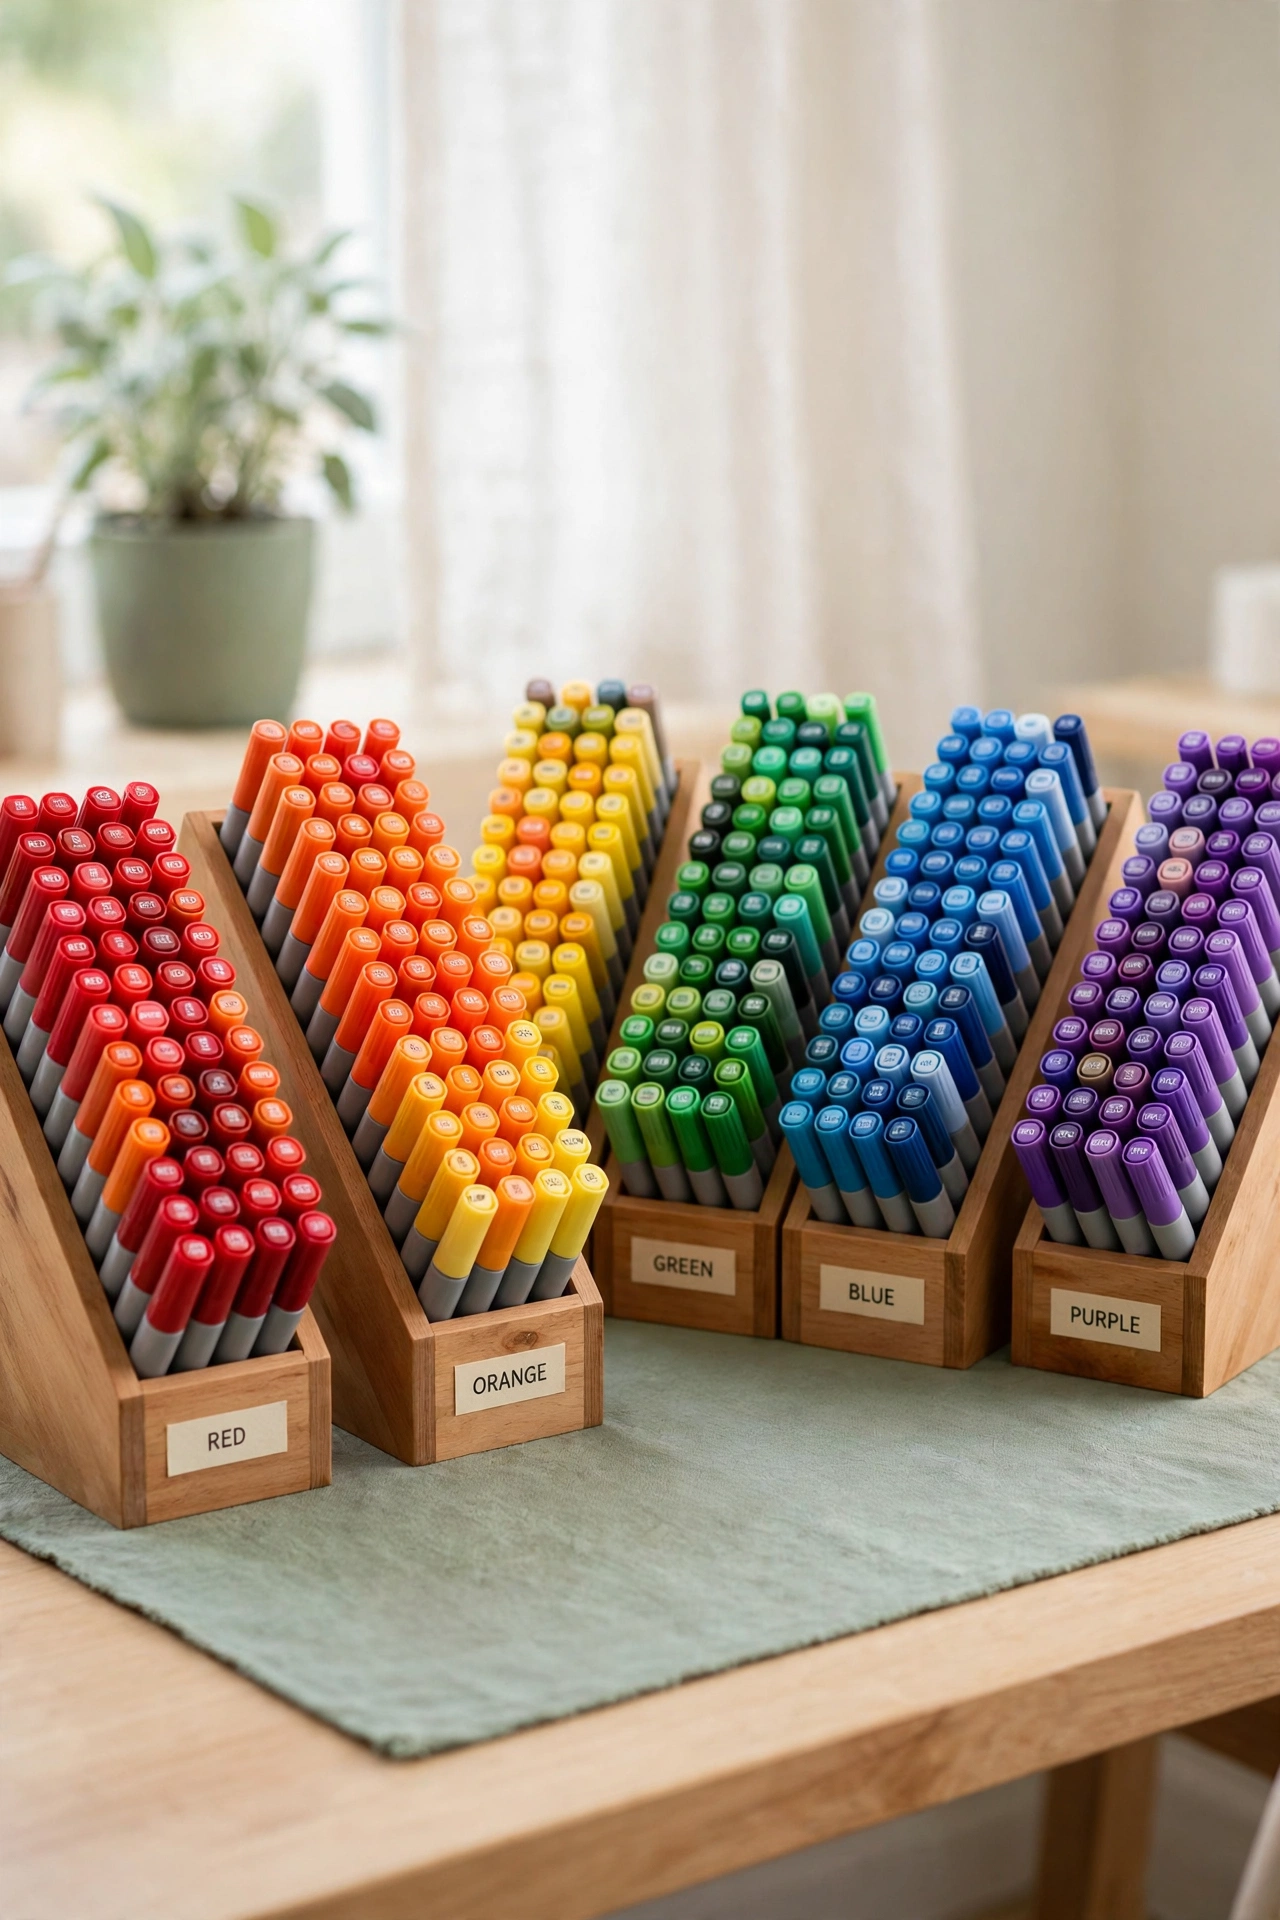
Tube racks keep a large marker collection sorted by color and safe from damage. Each tube holds one color group, with markers standing upright and caps facing up, so tips stay in good shape and colors are easy to find. An angled rack lets you read cap colors without pulling markers out one by one.
Build or buy a rack with tubes wide enough for your thickest markers, and group colors in rainbow order so you can spot gaps in your collection. Keep specialty pens and alcohol markers in their own rack section, away from everyday markers. A tube rack also stops markers from rolling off the desk and drying out under the sun.
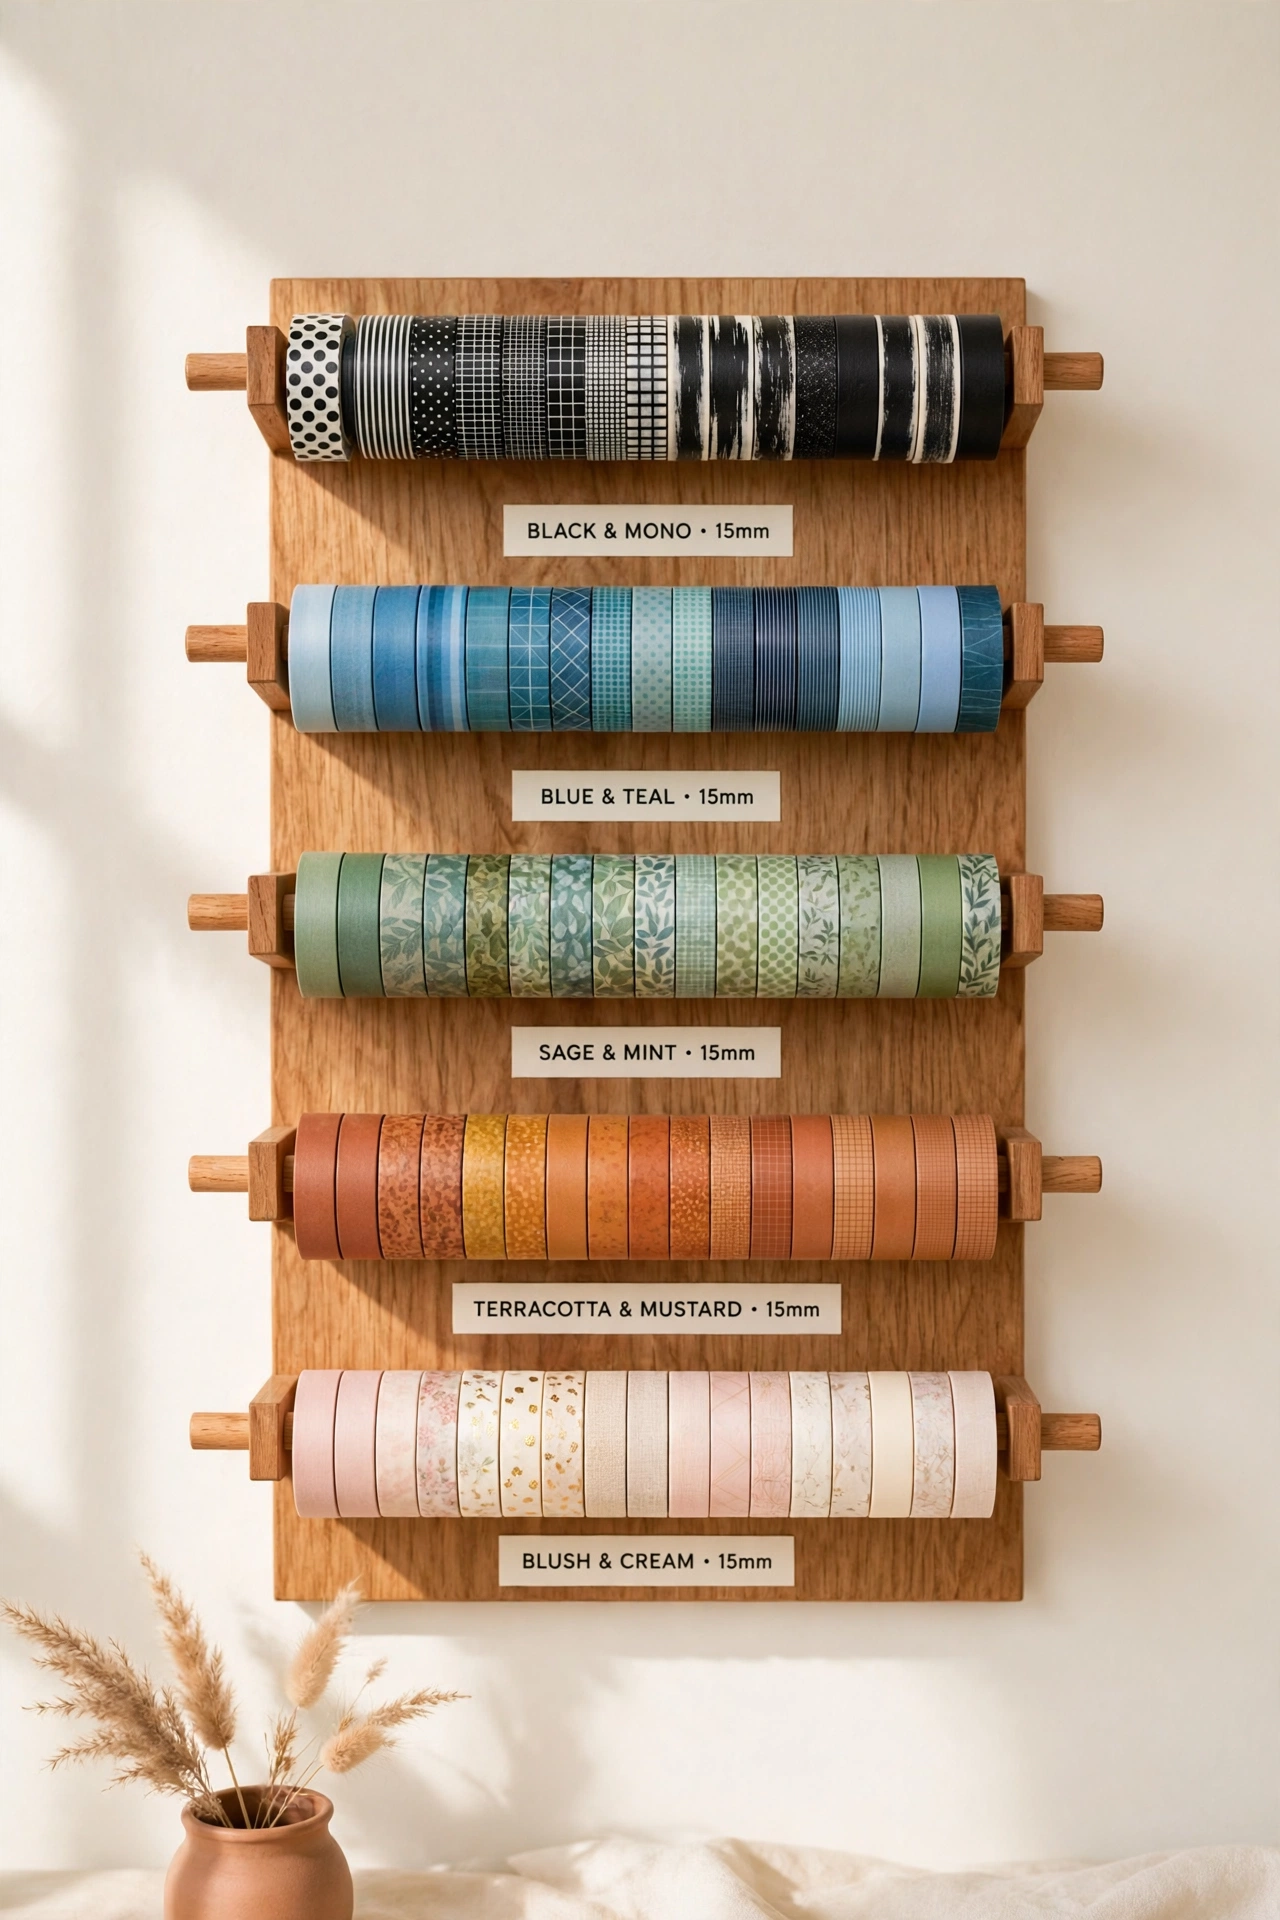
18. Thread Washi Tape Onto Wooden Dowel Rods
Wooden dowel rods turn a jumble of washi tape into a neat, colorful display. Thread rolls onto dowels fixed across a basket or a small frame, lined up in rows so patterns stay visible and tape ends stay tangle free. You can compare patterns side by side and pull the roll you want without unstacking a box.
Sort rolls by color family or by season, and keep the dowels at a height where rolls spin freely without rubbing. A basket with dowels also travels well, because the rods hold rolls in place during the move. This setup suits crafters who collect many patterns and want to see the full range before choosing one.
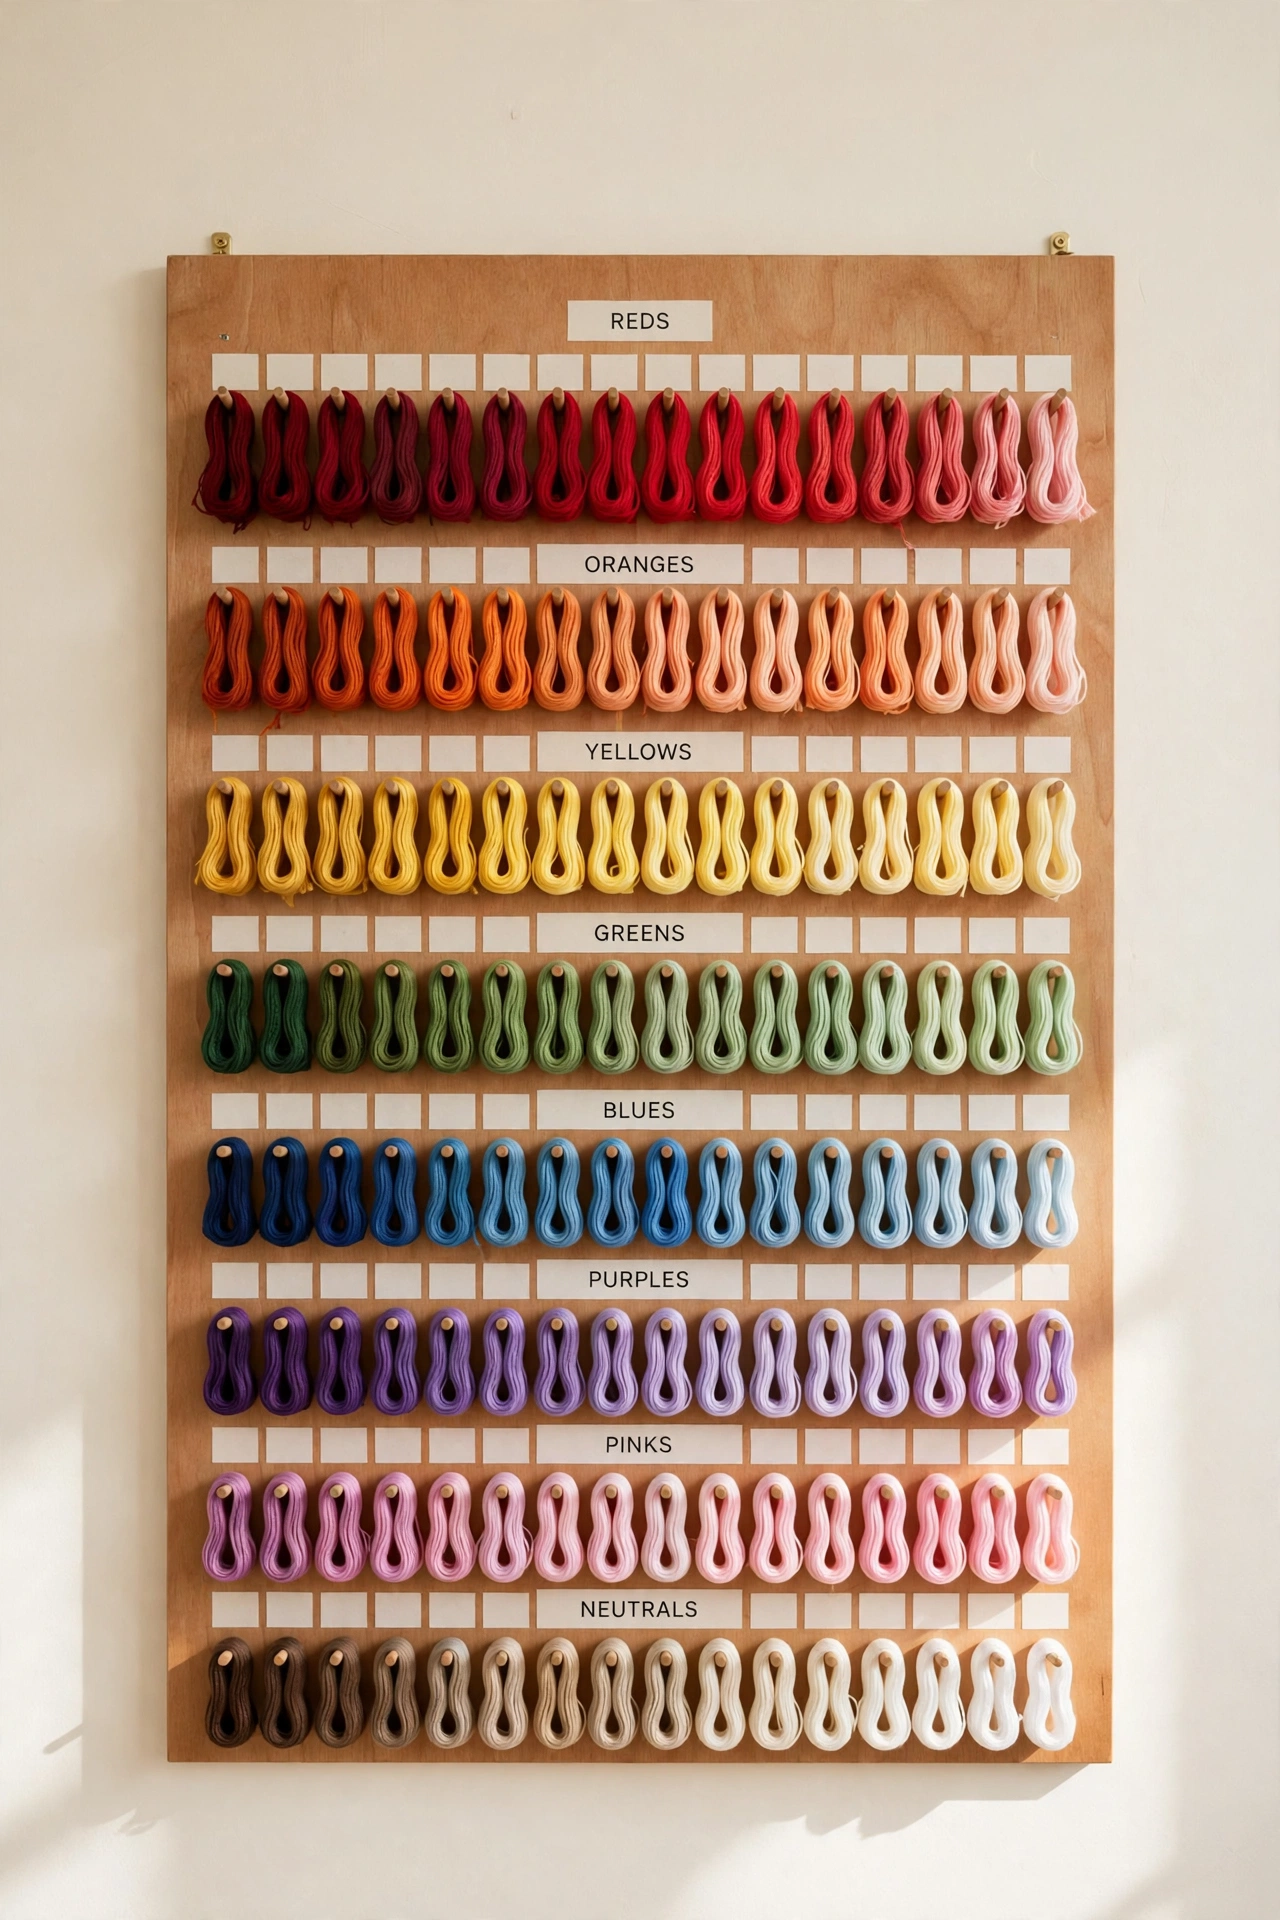
19. Clip Embroidery Thread to a Twine Board
A twine board turns embroidery thread storage into wall art that also prevents tangles. Stretch twine across an open wooden frame, then clip bundles of thread with small clothespins, grouped by color so each shade hangs securely in its own spot. The vertical display keeps thread visible, untangled, and easy to reach.
Hang the board away from direct sunlight so thread colors stay bright, and add new bundles at the end of each color row as your collection grows. Small clothespins grip thread gently without crushing it, and the open frame suits a sewing corner or a craft wall. For more ways to sort small sewing supplies, these sewing notions organization ideas pair well with a thread display.
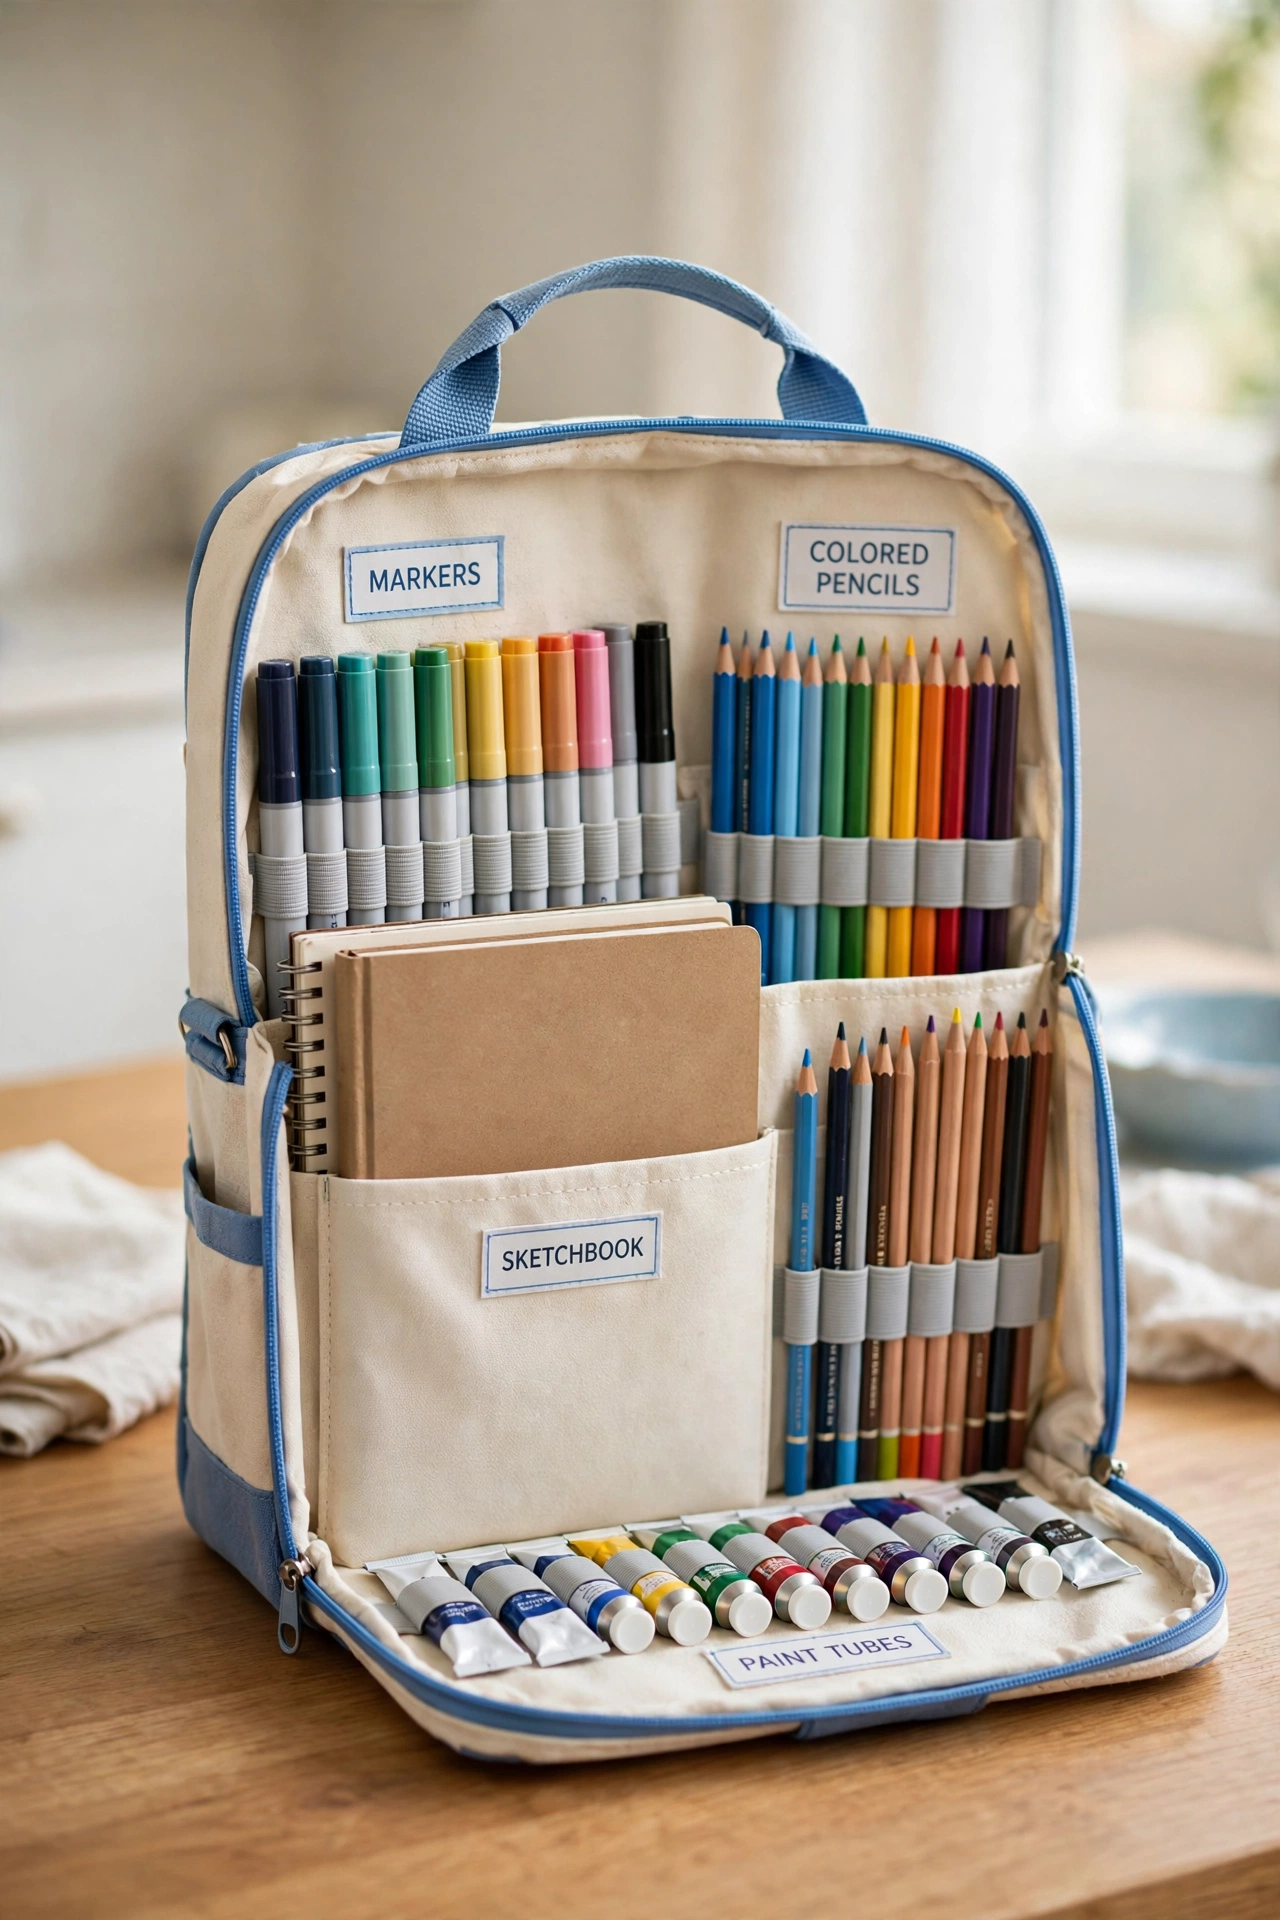
20. Pack Supplies in a Portable Art Bag
A portable art bag lets you take creativity anywhere without losing order. A soft sided bag with structured compartments holds markers, pencils, and specialty tools securely, with padded sections that protect delicate items during travel. The lightweight design suits workshops, outdoor sketching, and art classes.
Pack the bag the night before a class or trip, and use a small checklist to make sure nothing is left behind. Keep wet supplies like paint tubes in a sealed pouch inside the bag, and store the bag upright at home so tools do not shift. A well packed art bag means you can start creating the moment you arrive.
Conclusion
Art supply organization is really about giving every tool a clear home and keeping that home easy to reach. From a pegboard on the wall to a portable bag for travel, the ideas in this guide work in large studios and small corners alike. The best system is the one that matches your space, your supplies, and the way you love to create.
Start with one idea that solves your biggest frustration, whether that is tangled thread, lost markers, or paint tubes in every drawer. Sort one category, label it, and enjoy the calm of a tidy workspace. For help shaping the whole room around your new system, these small craft room layout ideas will help you plan a space that stays organized all year long.
Frequently Asked Questions About Art Supply Organization Ideas
How do I start organizing a large art supply collection?
Start by sorting everything into broad categories like paints, brushes, paper, and small tools, then give each category one container and one label. Work through one category at a time so the task stays manageable. Remove dried out markers, empty paint tubes, and broken tools as you sort, so you store only supplies you still use.
What is the best way to store paint tubes and bottles?
Store paint tubes upright in a box or rack with labels facing out, sorted by color, so you can read each shade at a glance. Keep lids closed tightly and store paints away from direct sunlight and extreme heat. A wall rack or a labeled bin both work well, as long as paints stay upright and protected from dust.
How do I keep small supplies like beads and sequins from getting lost?
Use small clear drawer boxes or lidded jars, with one container for each item type, and label every container. Clear walls let you see contents without opening each box. Keep tiny supplies on a high shelf or in a closed drawer if young children share the space, and sort new items into the system right away.
Can I organize art supplies in a small apartment?
Yes, vertical storage like pegboards, pocket organizers, and wall racks uses wall space instead of floor space. A rolling cart can tuck into a closet or a corner when it is not in use, and a portable art bag holds a full kit in one grab and go package. Even a single shelf with labeled bins can hold a complete starter collection.
How often should I tidy and restock art supplies?
Do a quick tidy after every project by returning each tool to its labeled spot, which takes only a few minutes. Once a season, check markers, glue, and paint for items that have dried out or run low, and restock the colors you use most. A regular seasonal check keeps the system working and stops clutter from building up again.

Hi, I’m Emily! I turn messy corners into cozy, organized spots. DreamNestDecor is where I share simple, practical home ideas — decor, organization, and small-space solutions that work in real life, not just in photos. Every idea here is carefully researched before it’s shared.