Picture this: you open a kitchen drawer and every fork, spoon, and measuring cup sits in its own neat spot. The counter is clear, the pantry shelves make sense, and cooking dinner feels calm instead of chaotic. That peaceful feeling does not require a costly remodel or fancy custom storage.
All it takes is a handful of clever low cost organizers placed exactly where you need them most. These 18 dollar tree kitchen organization ideas will help you tame drawers, cabinets, counters, the pantry, the fridge, and the freezer on a small budget, one small space at a time.
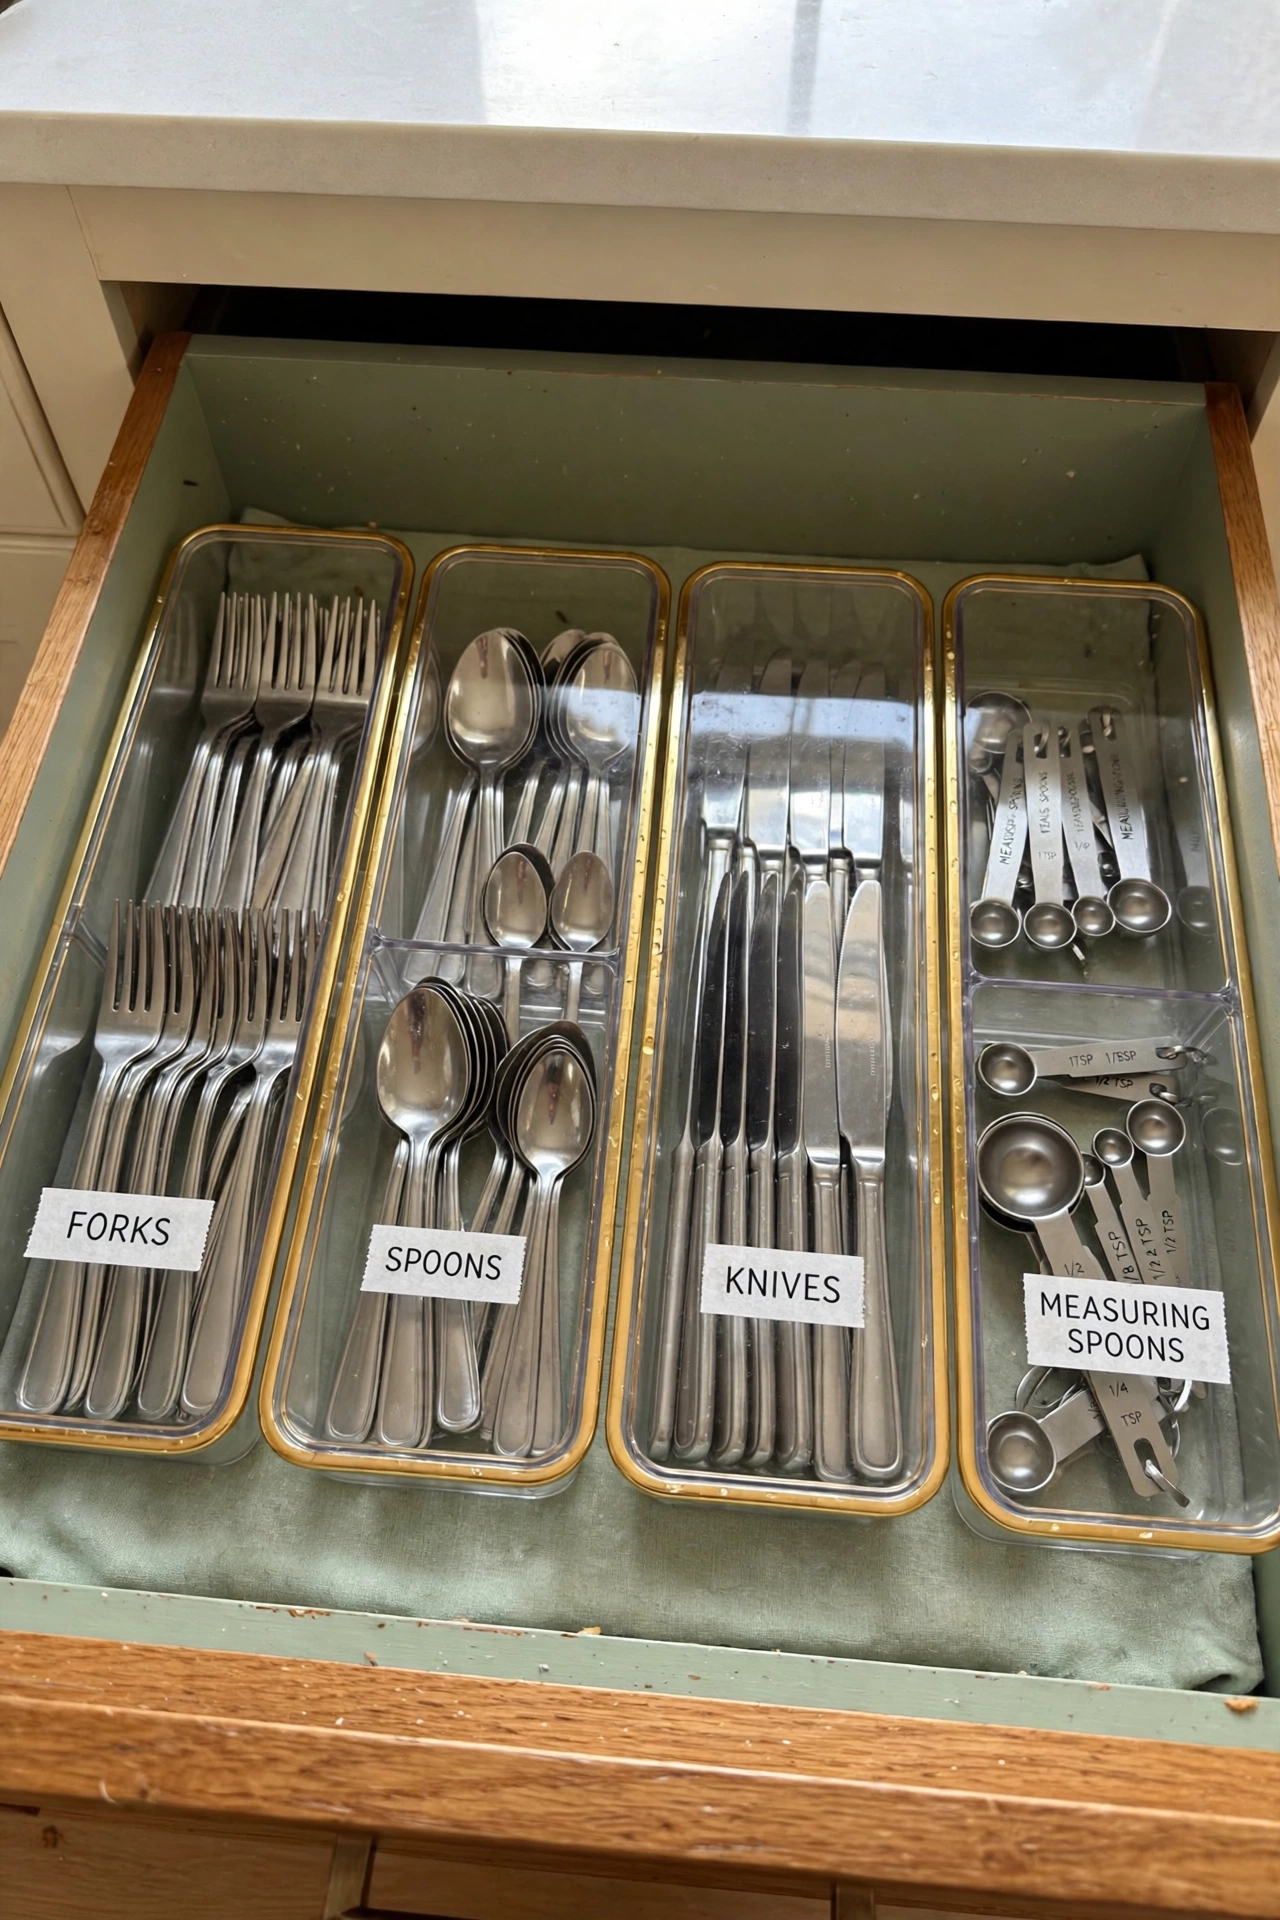
1. Sort Utensils With Gold-Trimmed Drawer Trays
A crowded utensil drawer can turn a simple meal into a daily search mission. Clear trays with gold colored edges divide the drawer into tidy zones for forks, knives, spoons, measuring spoons, and small kitchen tools. Everything stays visible, and each item has a clear home.
Leave a little space around each tray so you can lift it out when the drawer needs a wipe down. Start with the drawer that frustrates you most and build from there. For more drawer layouts that work hard in a small kitchen, see these kitchen utensil drawer organization ideas.
2. Add Shelf Risers to Split Cabinet Space
When plates and bowls stack in one tall pile, the dish at the bottom is always the hardest to reach. A small shelf riser creates a second level inside the cabinet so dinner plates sit below and smaller dishes sit above. Wire risers and sturdy plastic risers both work well for this job.
Measure the space between your cabinet shelves before you buy. You need enough room to lift each dish out without bumping the shelf above. With a riser in place, unloading the dishwasher becomes faster and your cabinet looks instantly tidier.
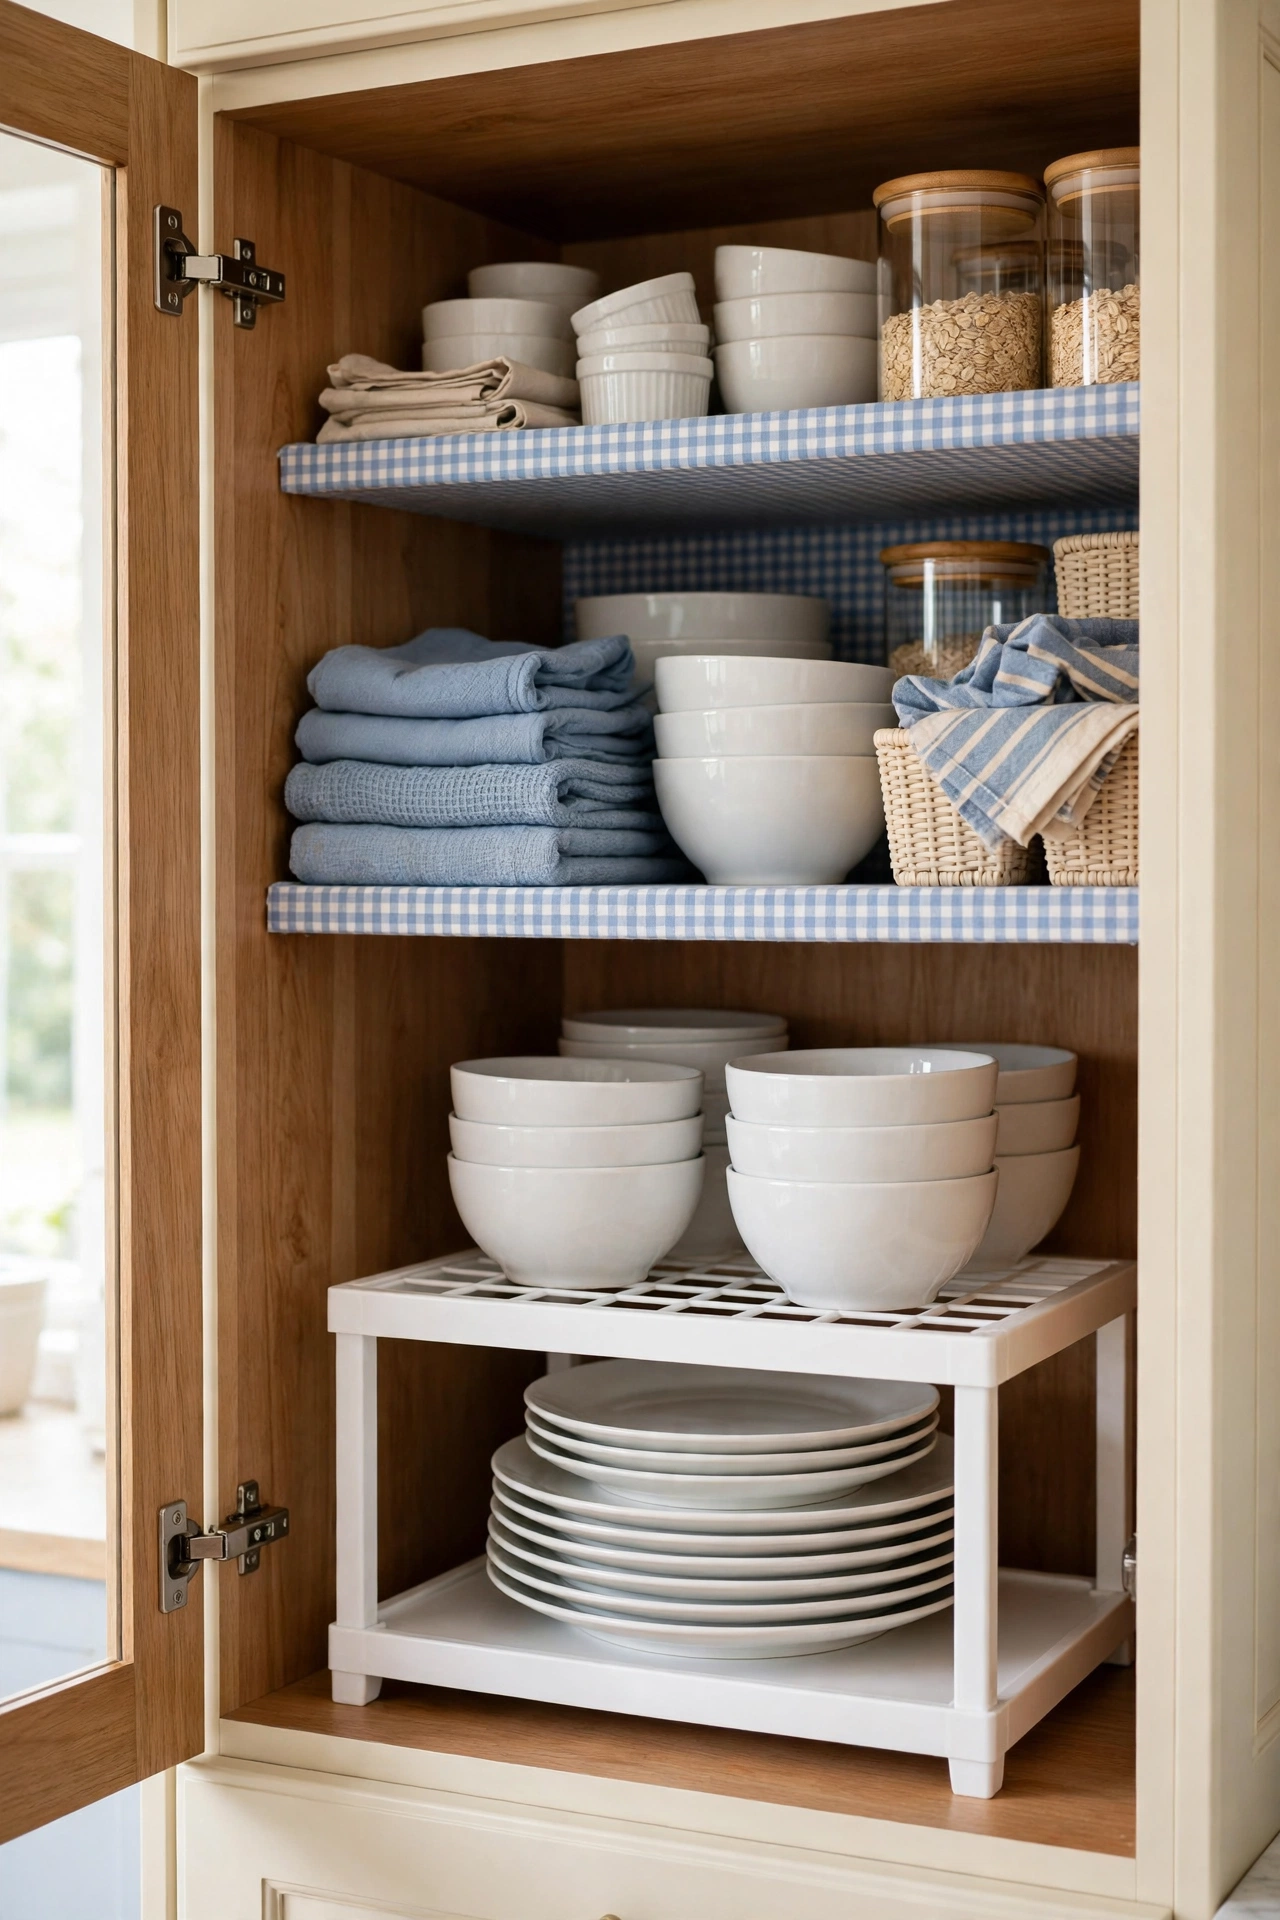
3. Gather Everyday Cooking Items in a Countertop Caddy
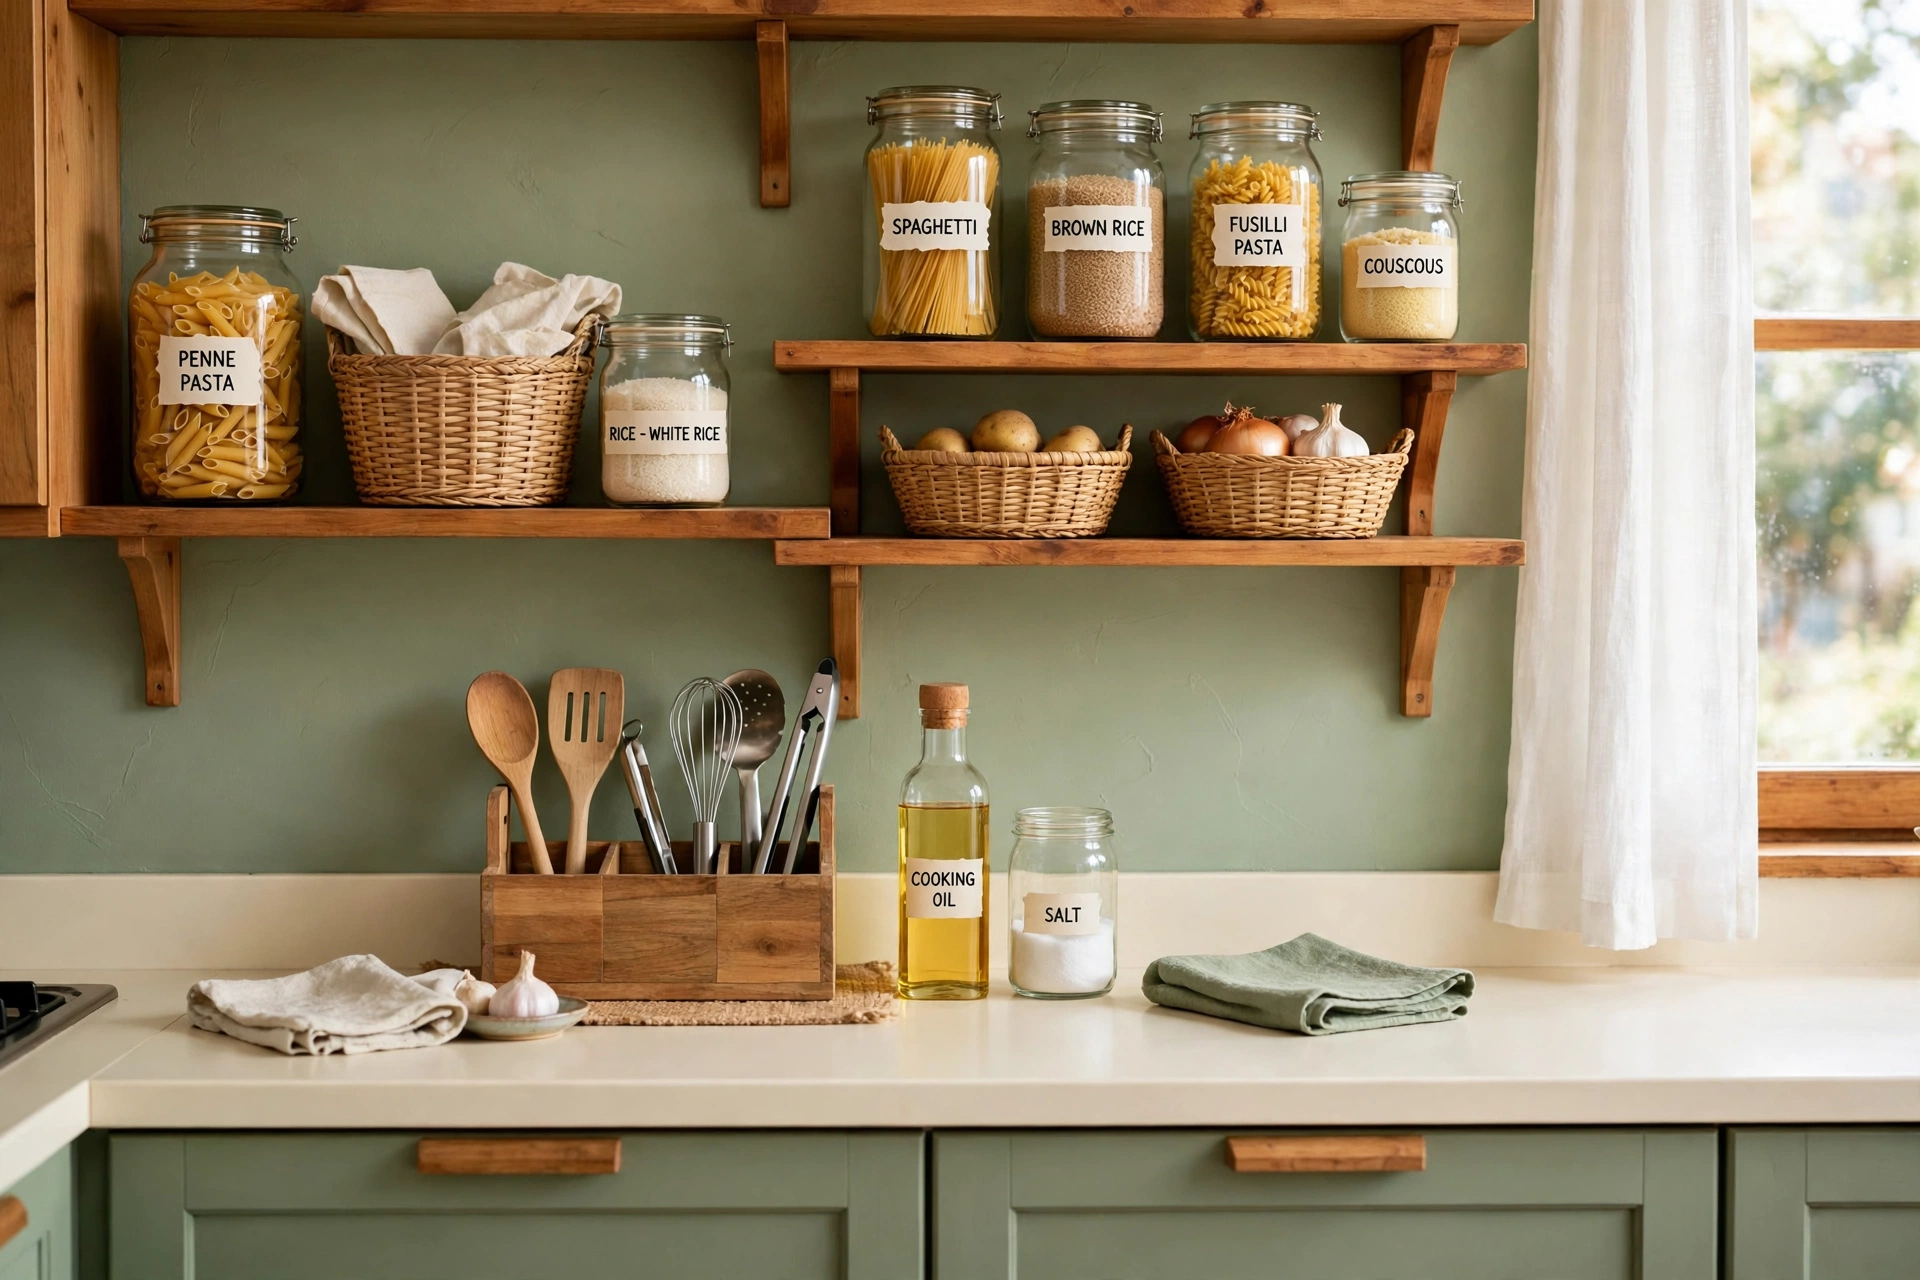
A counter often looks cluttered simply because useful items sit scattered across it. A small caddy or shallow tray gathers cooking oil, salt, pepper, and the utensils you reach for most into one tidy group. When everything sits together, the counter feels calmer and is much easier to wipe clean.
Keep this station for everyday items only. If too many bottles join the group, the caddy becomes another spot where clutter collects. Choose a caddy that suits your counter size and leave plenty of open space beside it for food preparation.
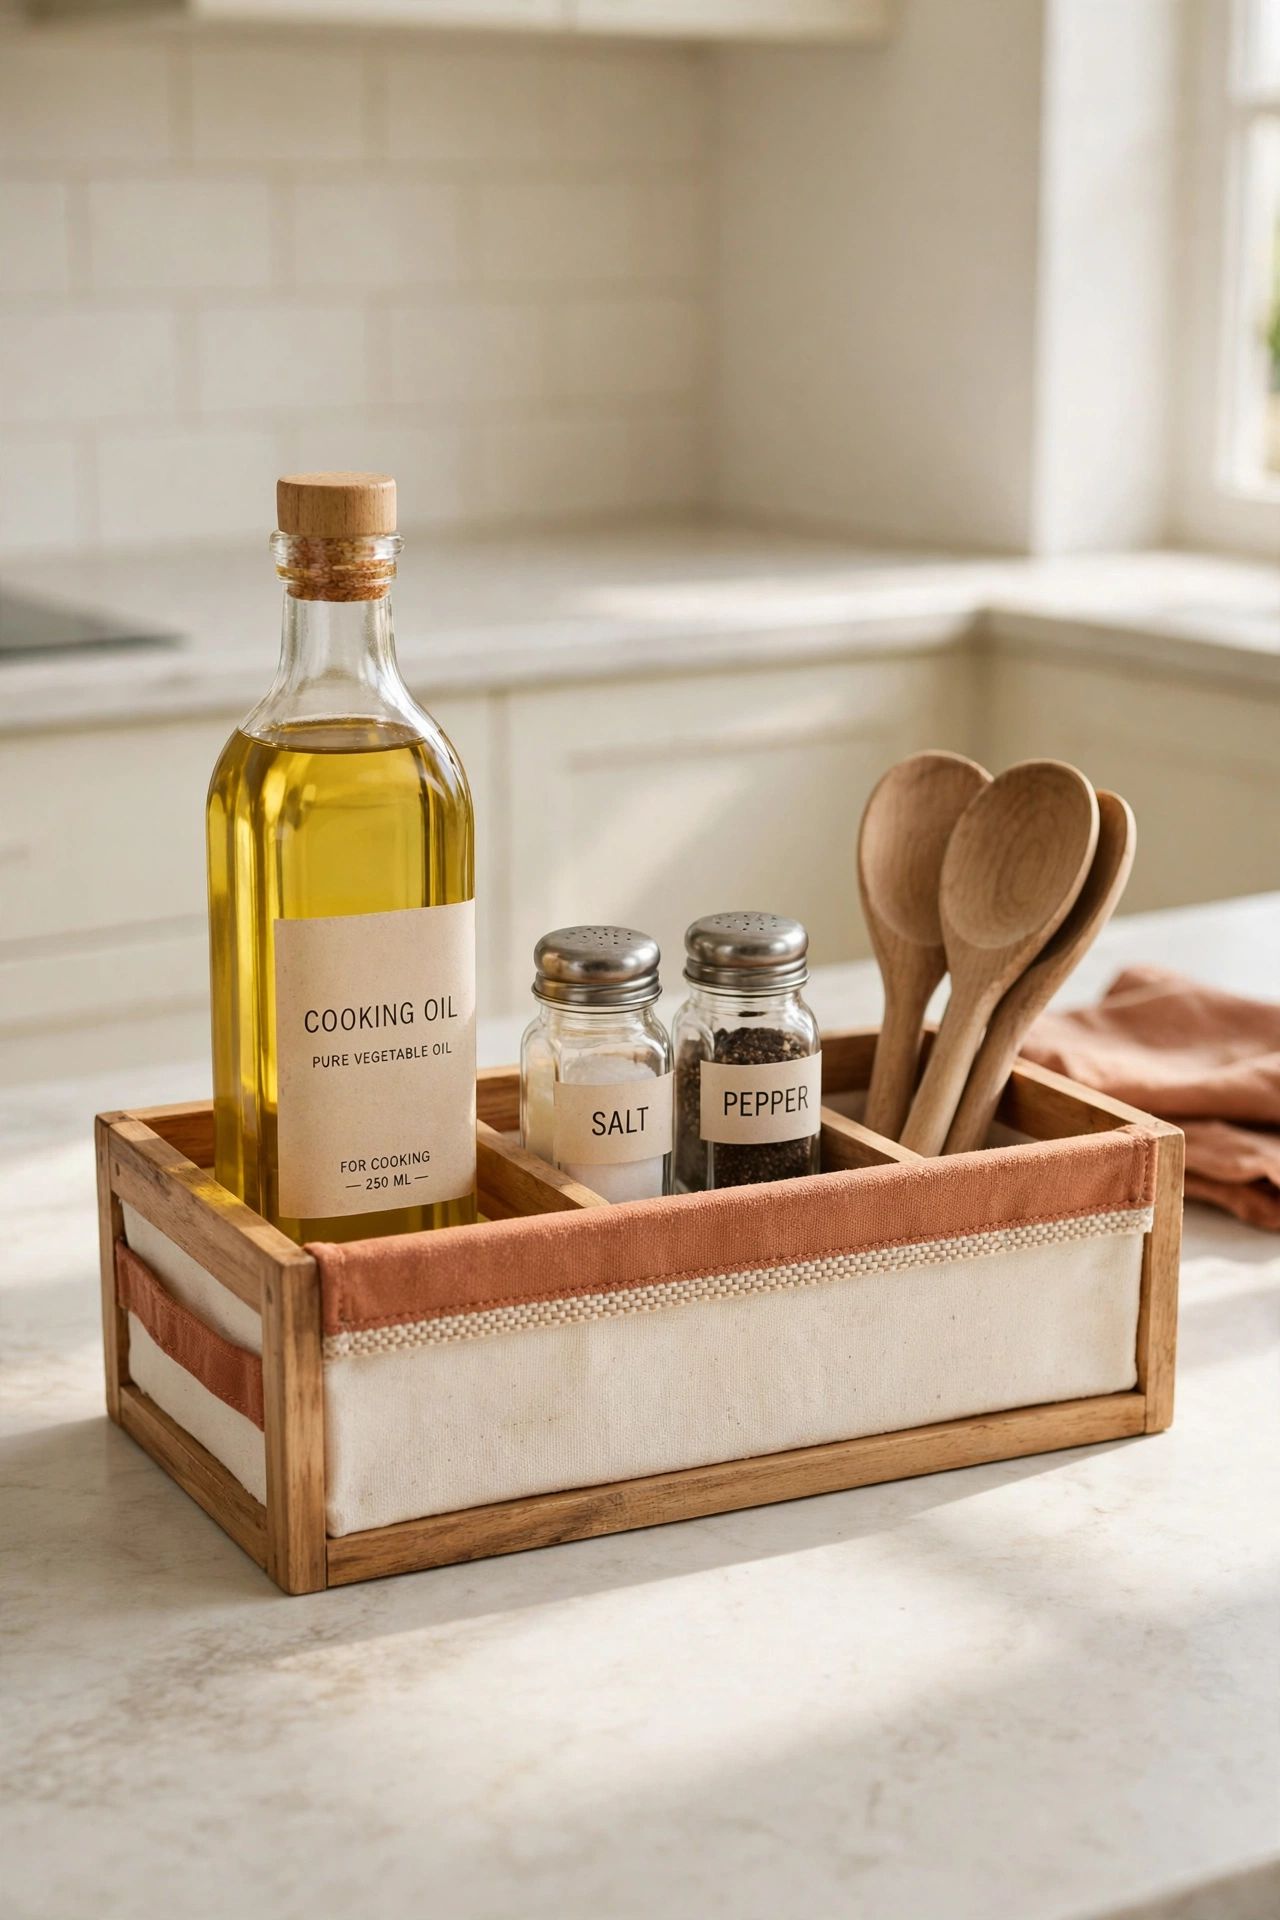
4. Reach Deep Corners With Pullout Baskets
Deep cabinet corners hide whatever sits at the back, and forgotten items pile up there for months. Handled baskets solve the problem by letting you pull several items forward at once. One basket can hold baking supplies, another can store packet mixes, and a third can keep spare condiments together.
Choose a basket that slides in and out with ease. A basket that catches on the sides every time you use it will not make the cabinet feel any easier. For more ways to use awkward corner space, explore these corner kitchen cabinet organization ideas.
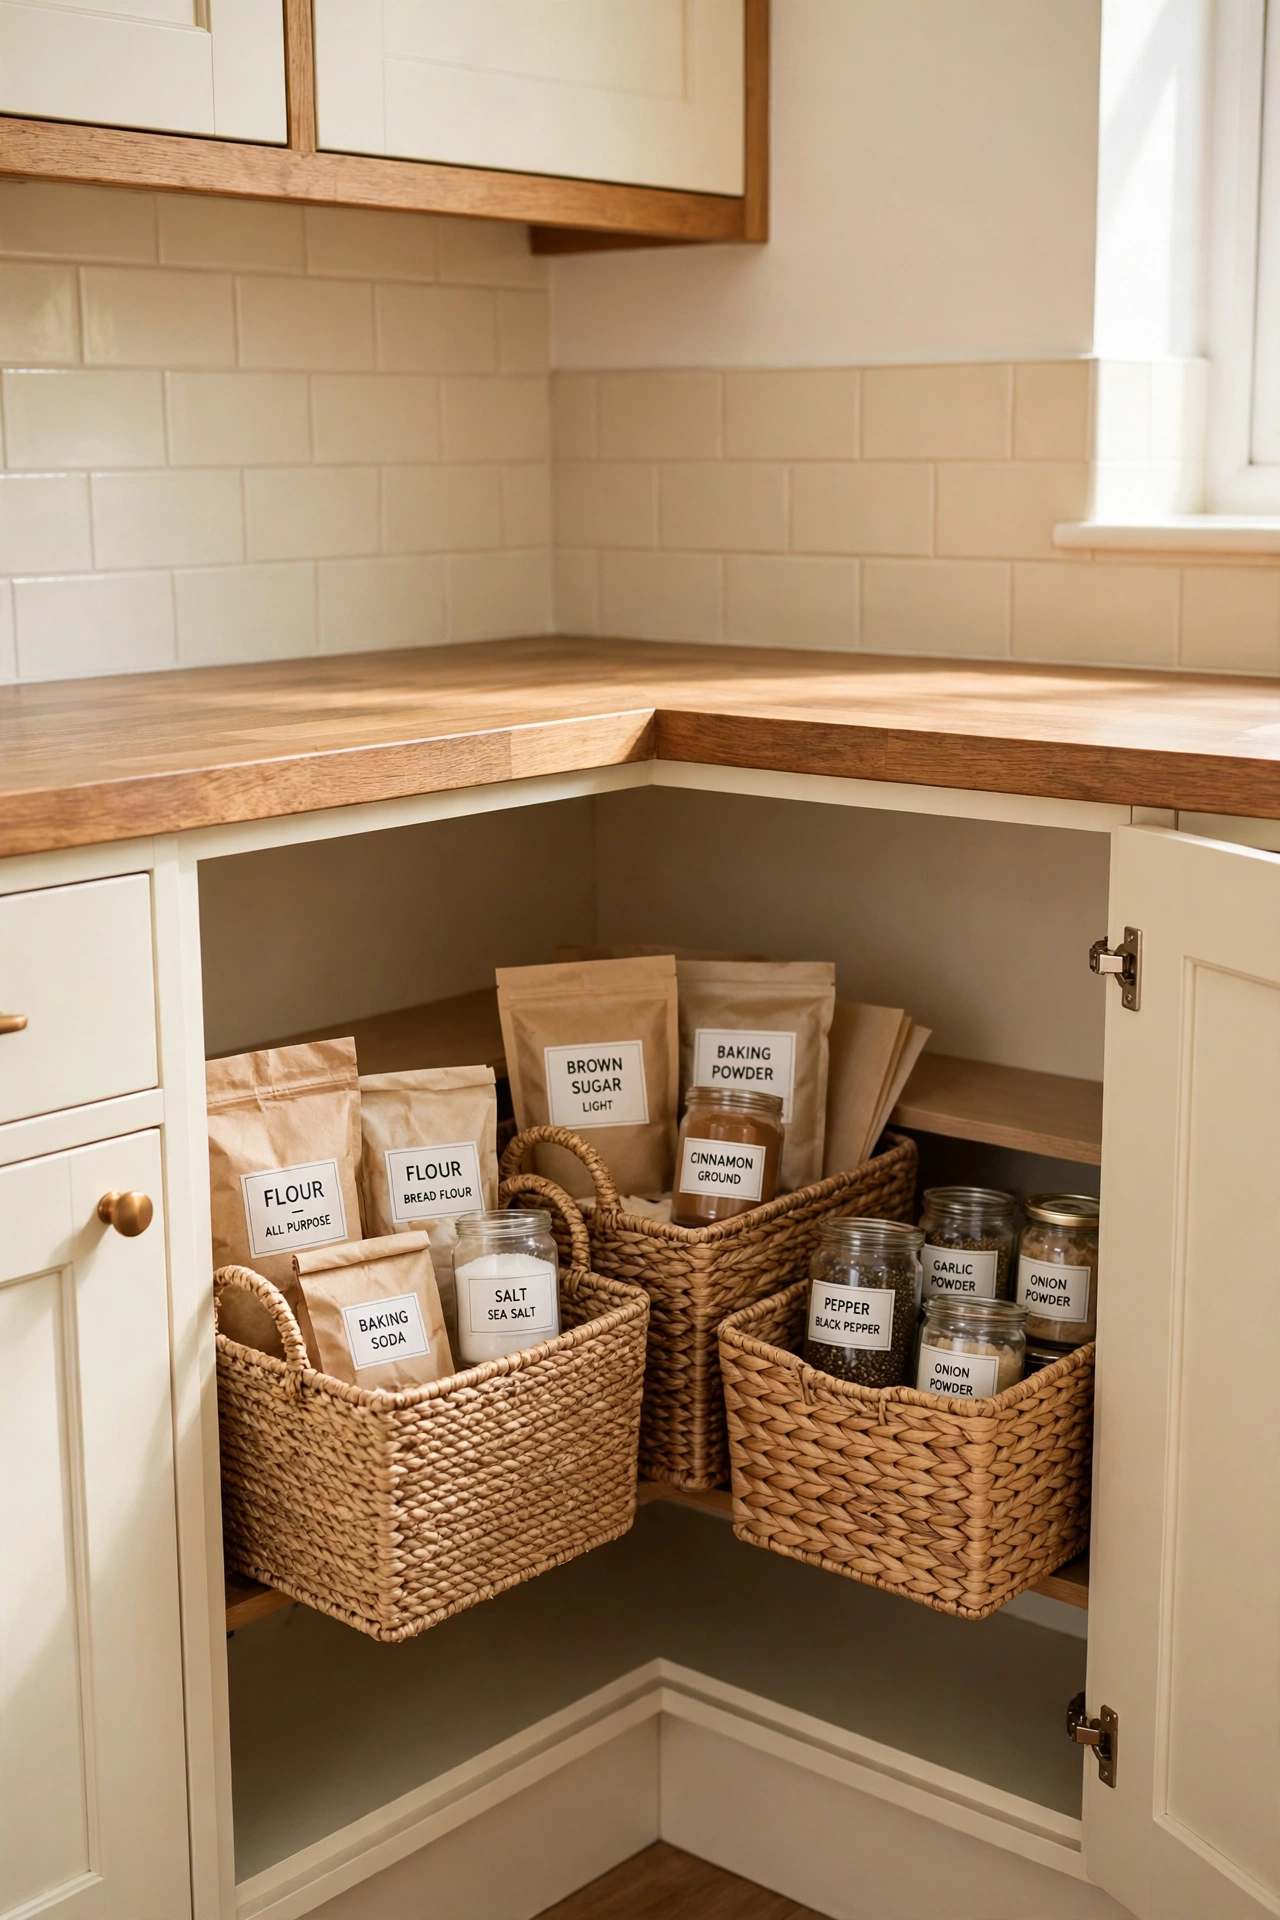
5. Hang Light Tools on Adhesive Hooks Inside Cabinet Doors
The inside of a cabinet door offers bonus storage without taking space from the shelves. Small adhesive hooks can hold measuring cups, oven gloves, or lightweight utensils right where you need them. This trick works best on doors that open fully and close without obstruction.
Before you stick the hooks in place, test that the hanging items will not stop the door from closing. Keep the hooks for lighter pieces only, since pots and heavy tools need something stronger. This tiny change frees up drawer space you can use for larger items.
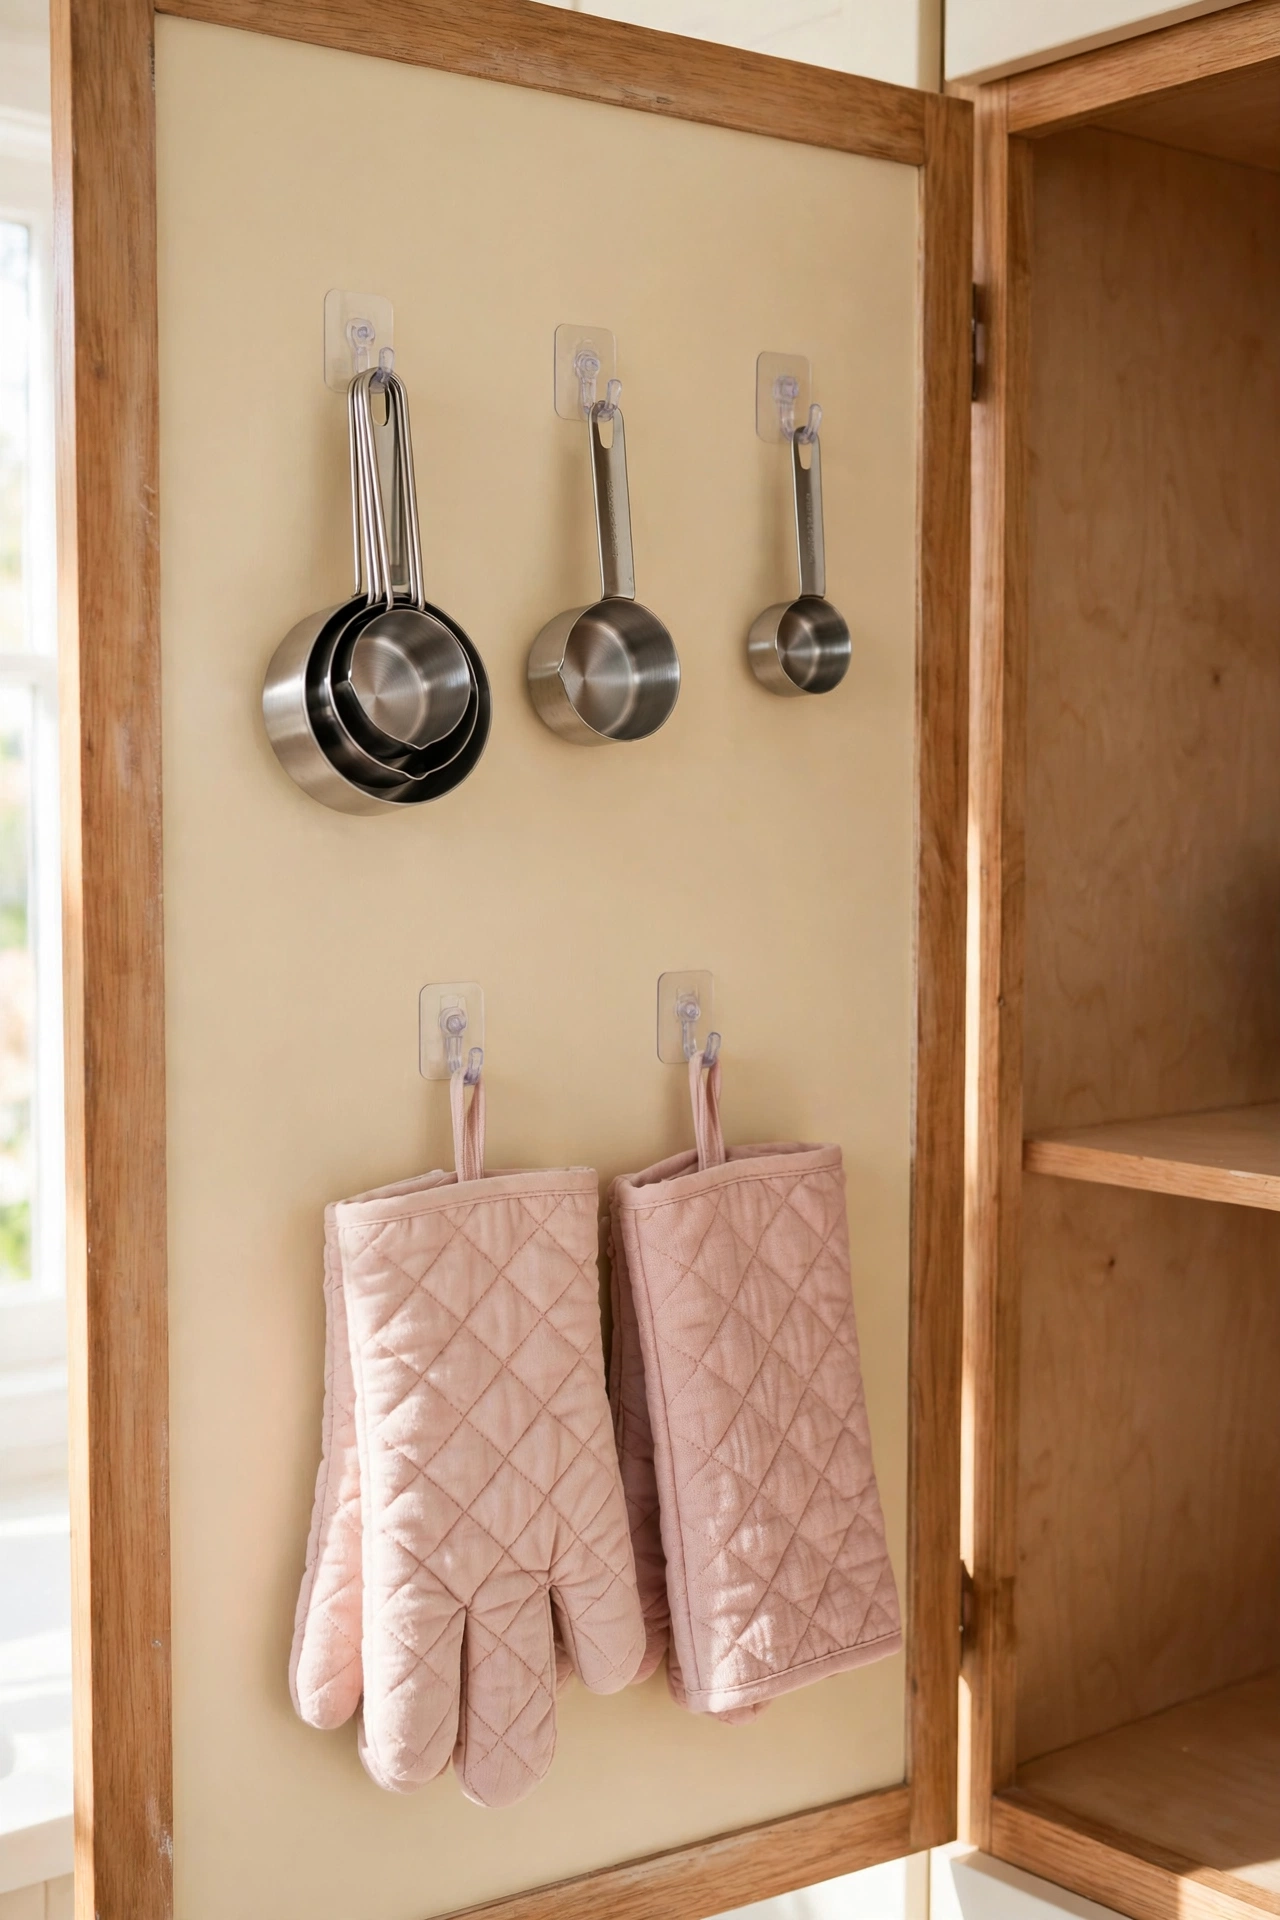
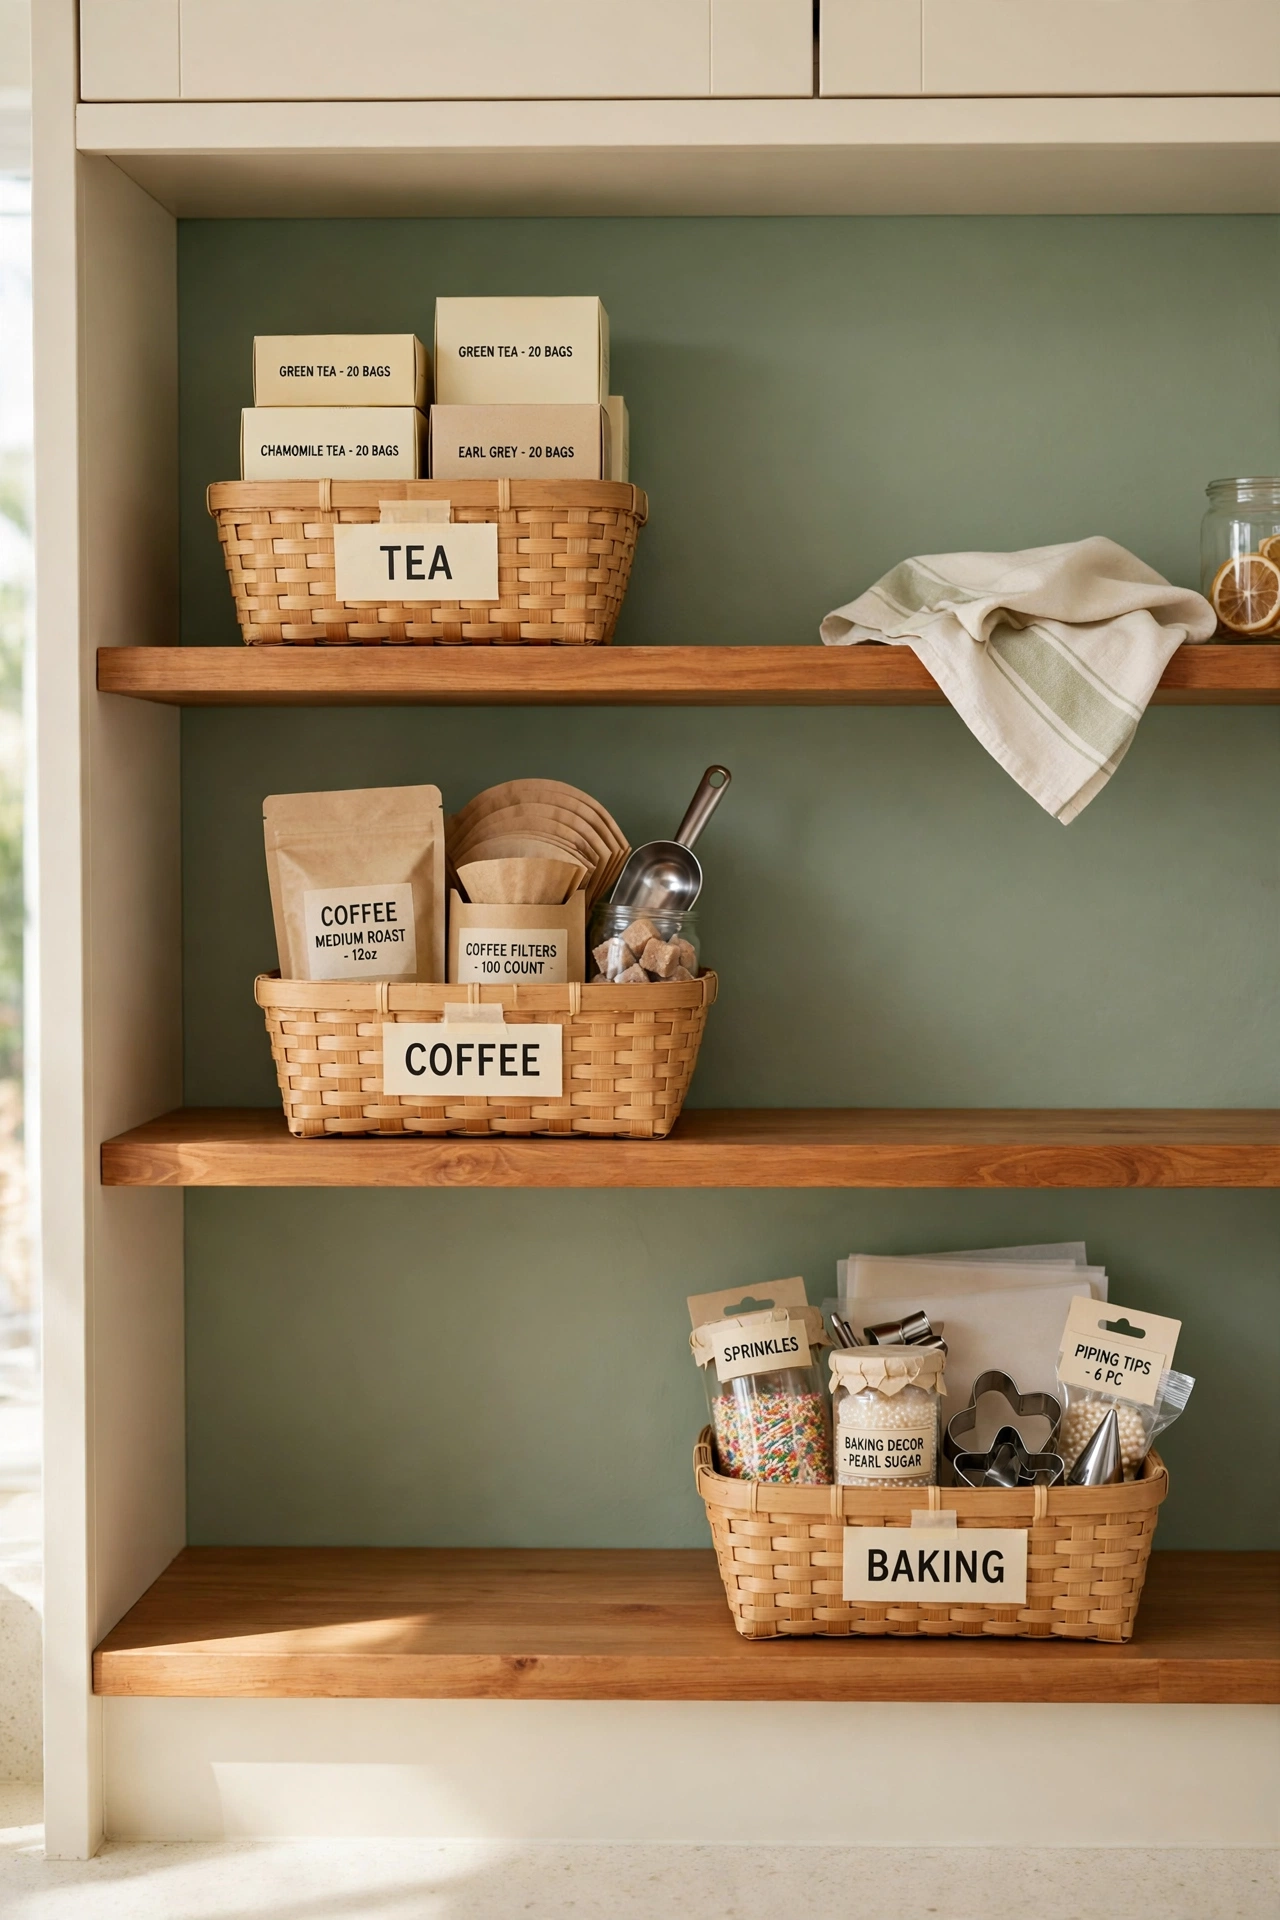
6. Sort Open Shelves With Small Labeled Baskets
A few small baskets can make an open shelf feel far more manageable. You might use one basket for tea and coffee, one for lunchbox supplies, and another for baking decorations. The baskets do not need to match perfectly, because clear labels and sensible groups matter much more.
Leave a little room inside each basket so you can see what is inside without unpacking everything. When contents are not packed to the top, finding one small item takes seconds. Baskets also hide visual clutter while keeping the shelf looking warm and styled.
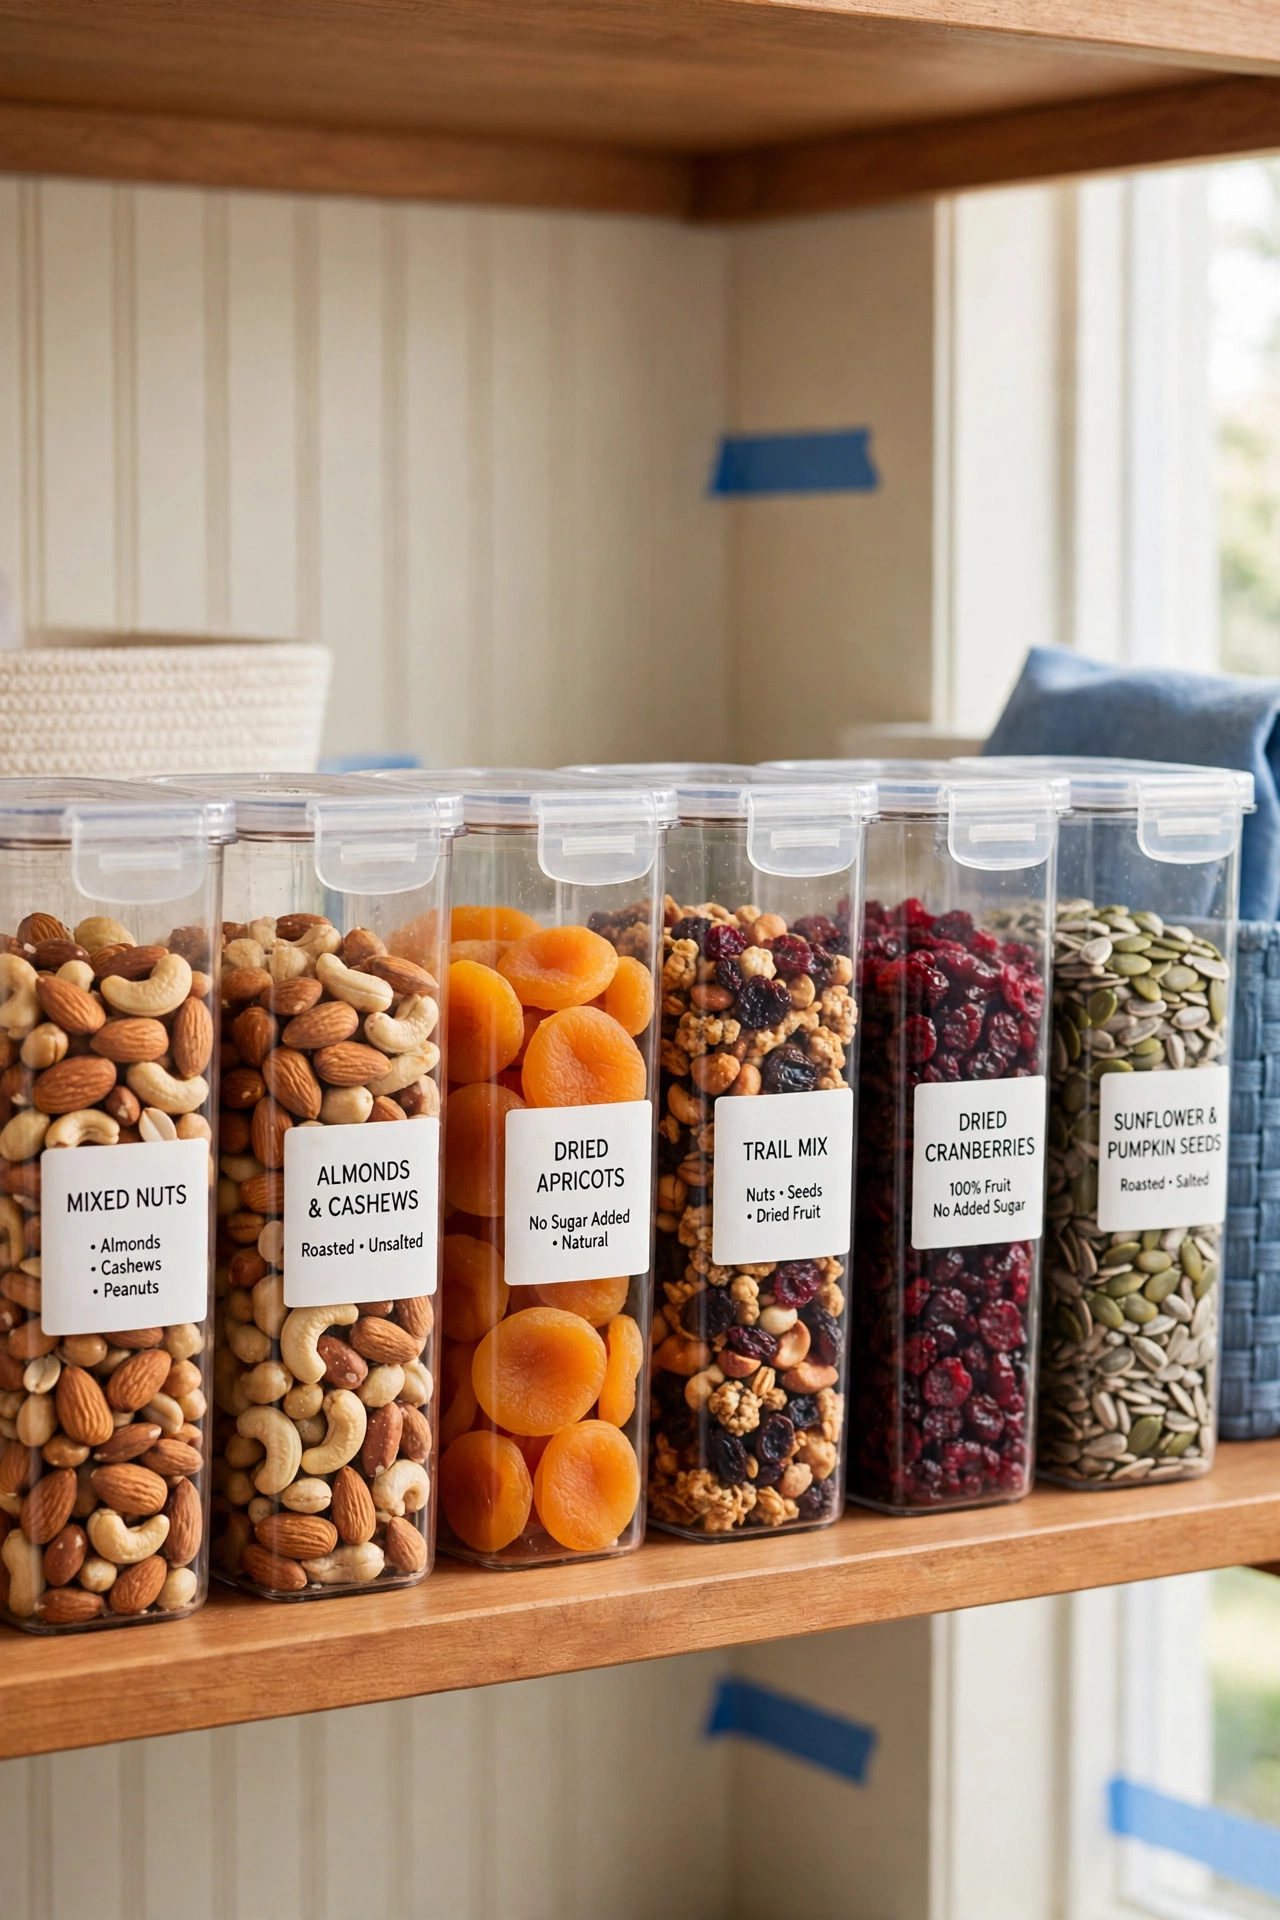
7. Store Nuts and Snacks in Clear Containers
Half open bags of nuts, dried fruit, and small snacks fall over and spill across pantry shelves. Clear containers or lidded tubs keep these foods together while still showing what is inside at a glance. You will use food faster when you can actually see it.
If you move food out of its original packaging, write the name and expiry date on the container. Clean and dry each container before refilling it, and keep foods with strong flavors separate. Clear storage turns a messy shelf into a neat row you can scan in seconds.
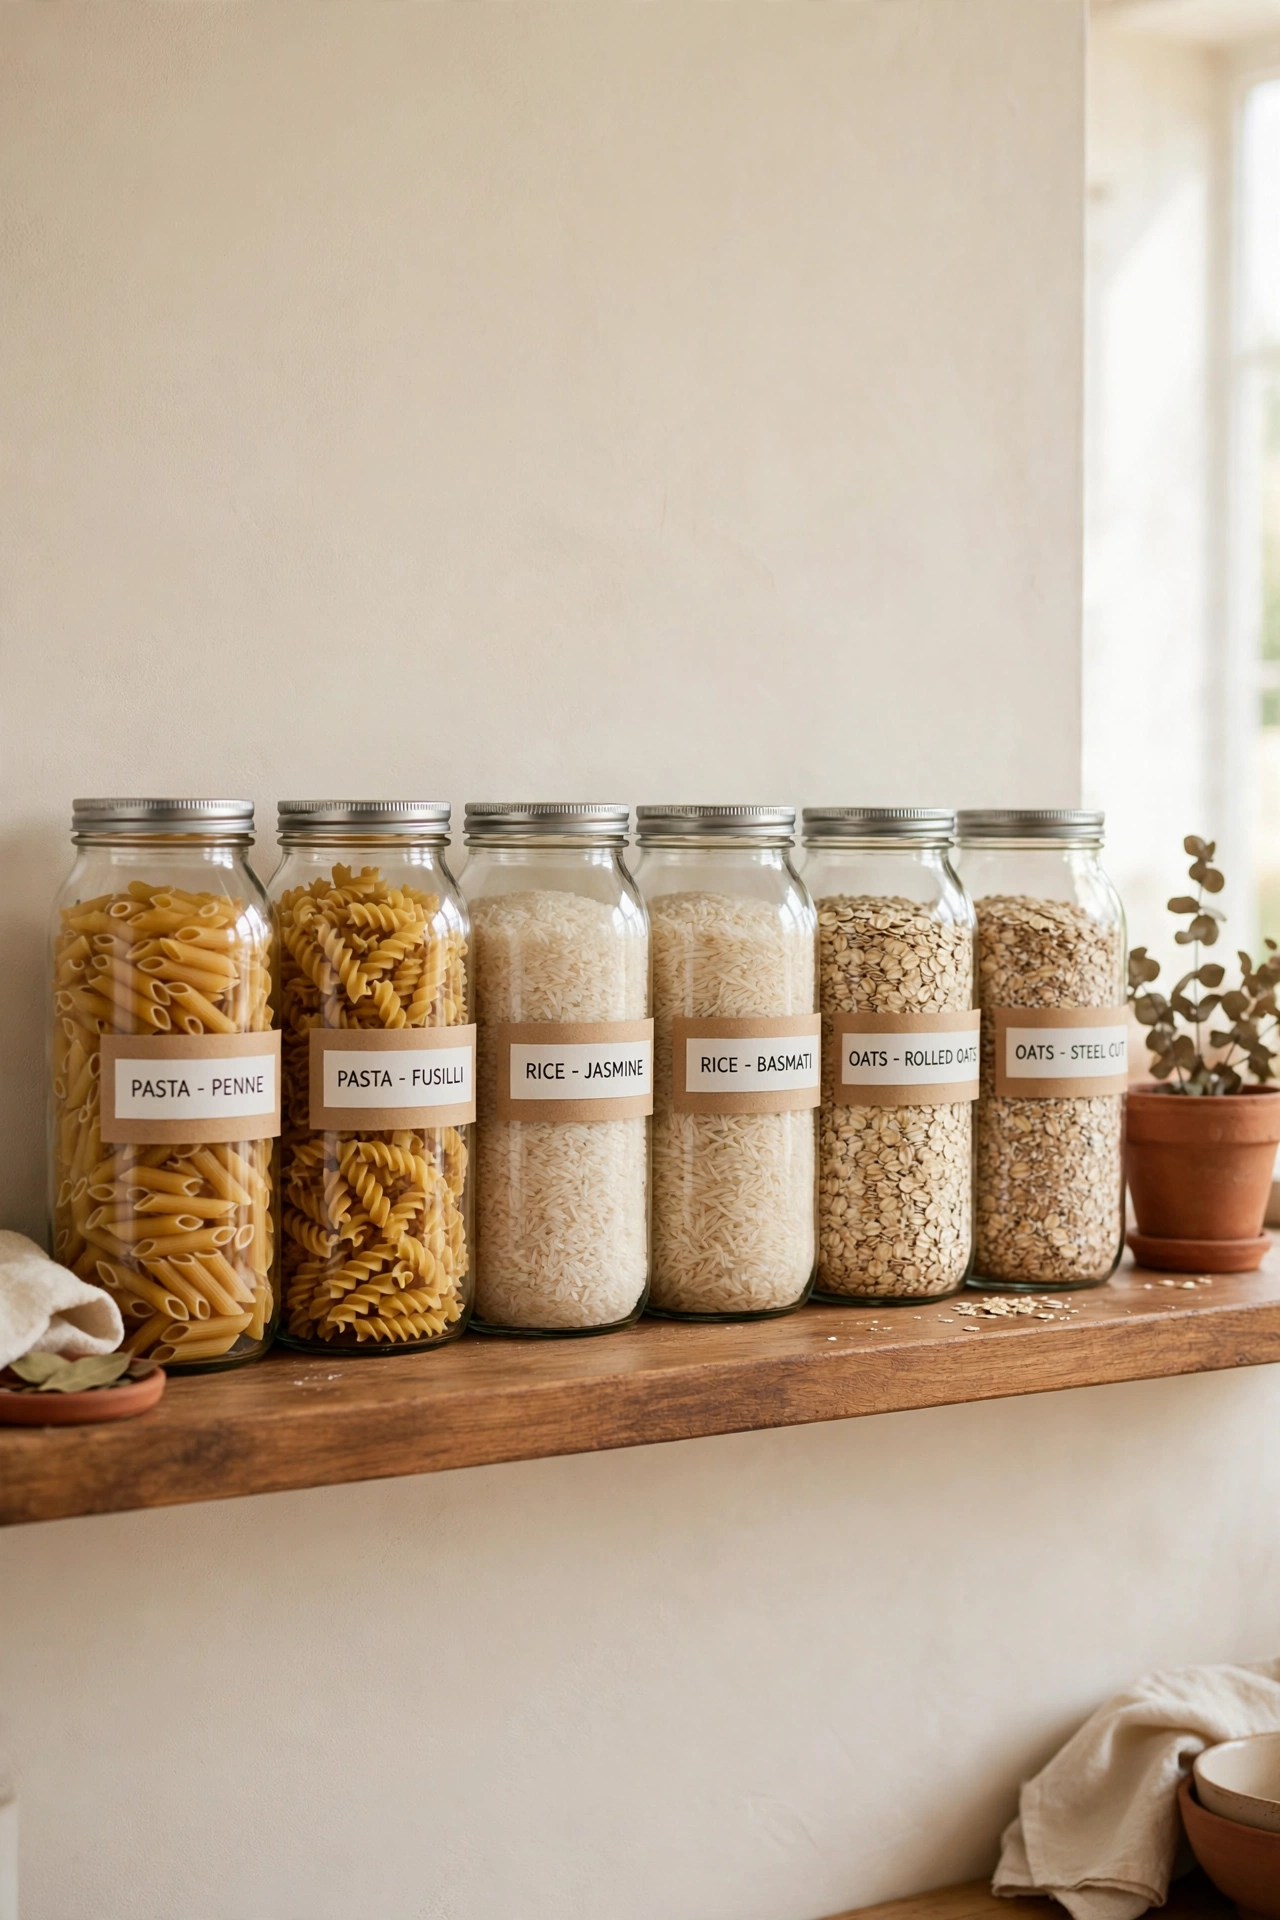
8. Transfer Pantry Staples Into Labeled Jars
Pantry jars look beautiful, and they also help with foods that arrive in awkward bags. Pasta, rice, oats, and baking ingredients are smart places to begin. There is no need to transfer every single item in the pantry just to make the shelves match.
A clear, easy to read label is more useful than a fancy decorative one. Add the expiry date on the back or bottom where it stays out of sight but easy to check. Start with the staples you cook with most, and your pantry will feel organized without a full overhaul.
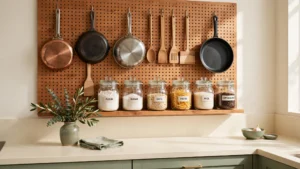
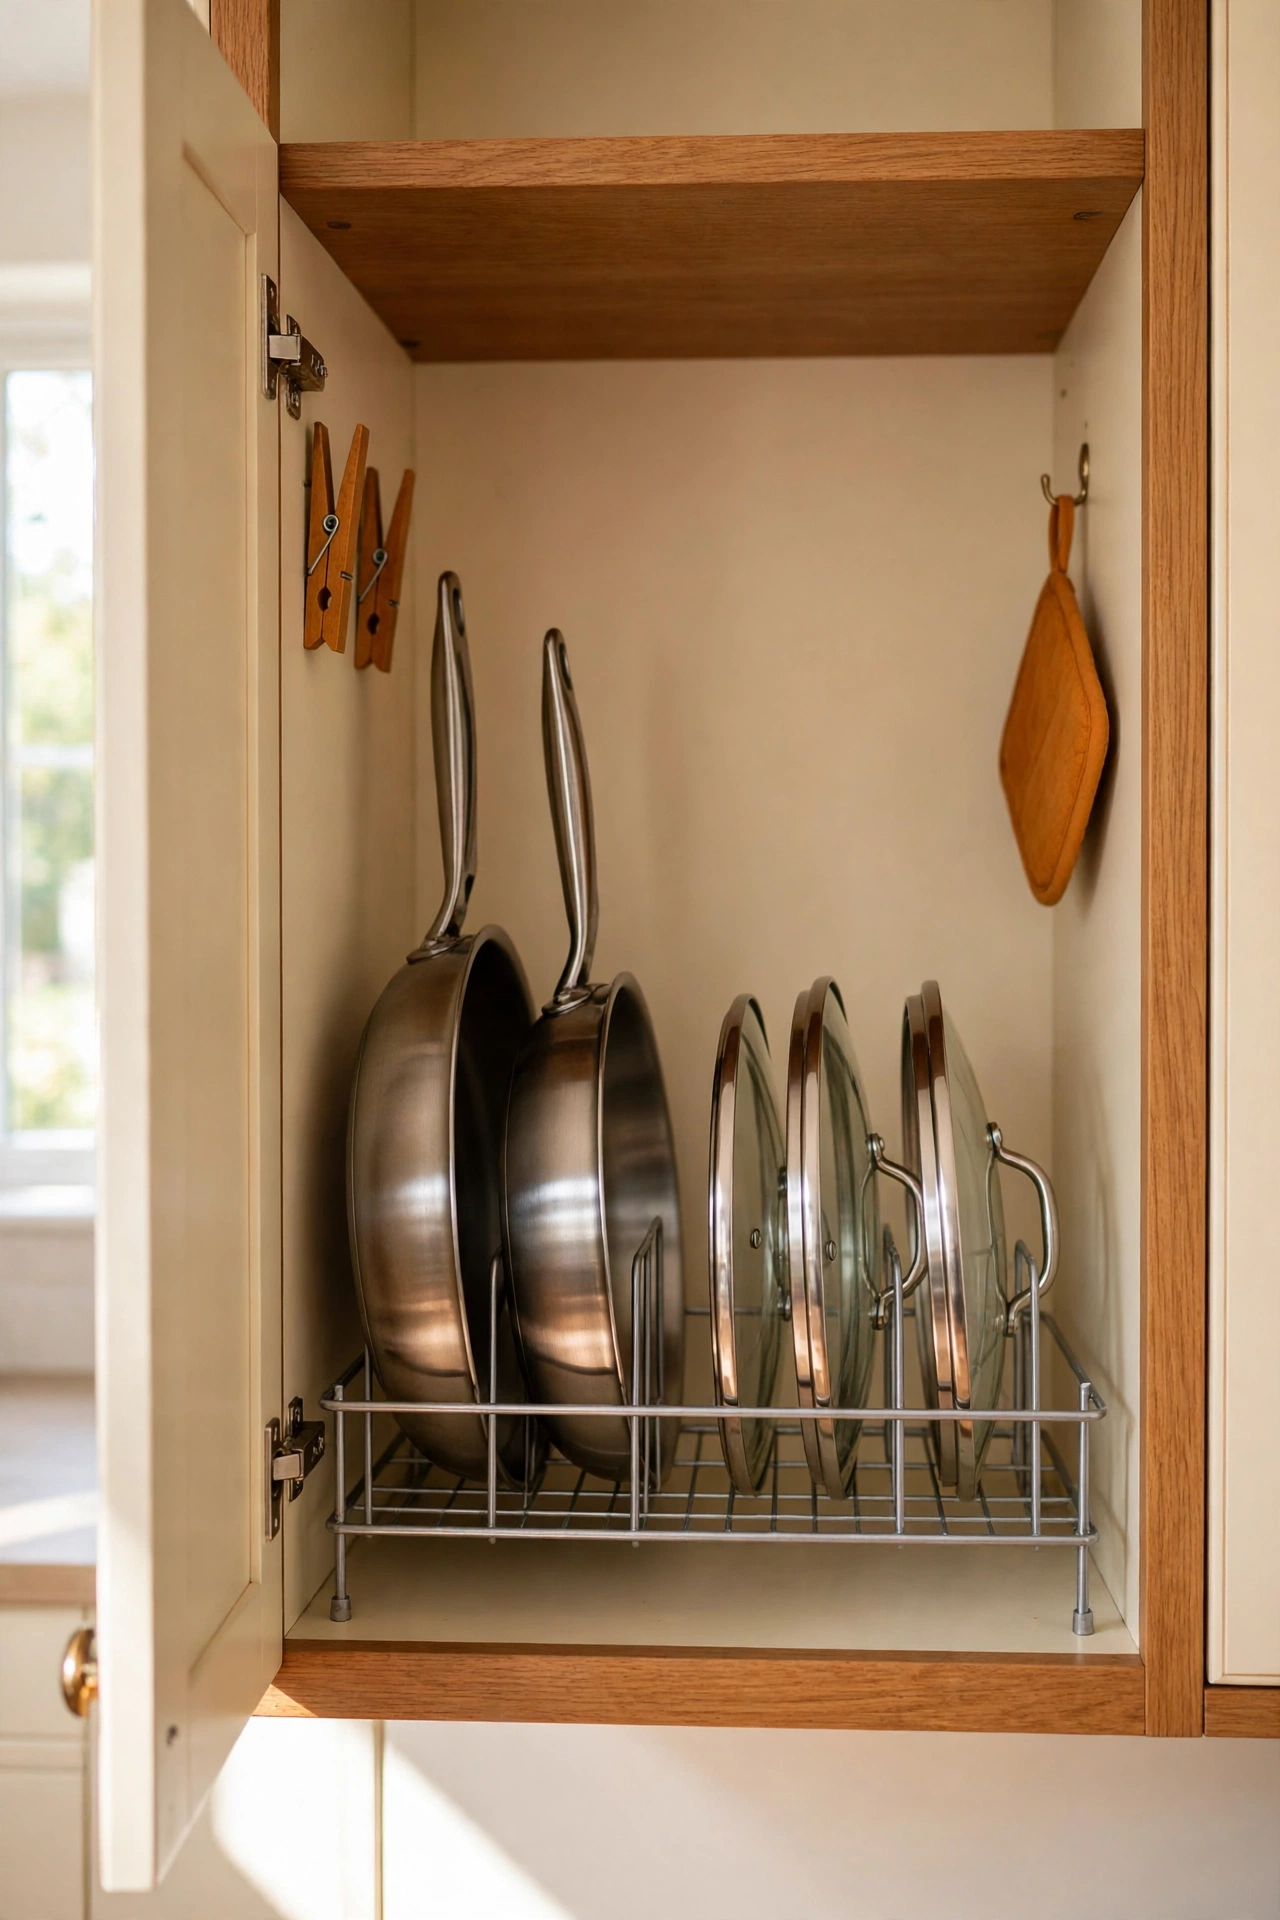
9. Stand Pots and Pans Upright in a Rack
Pots and pans are hard to manage when they stack inside one another in a deep cabinet. A rack holds pans vertically so you can pull out one pan without lifting the whole pile. A strong dish rack or file organizer can work just as well if you cannot find a dedicated pan rack.
Place the heaviest pan where the rack has the most support, and keep lids in a separate basket or narrow holder nearby. Standing pans upright also protects nonstick surfaces from scratches. Your cabinet will feel lighter and cooking will feel easier.
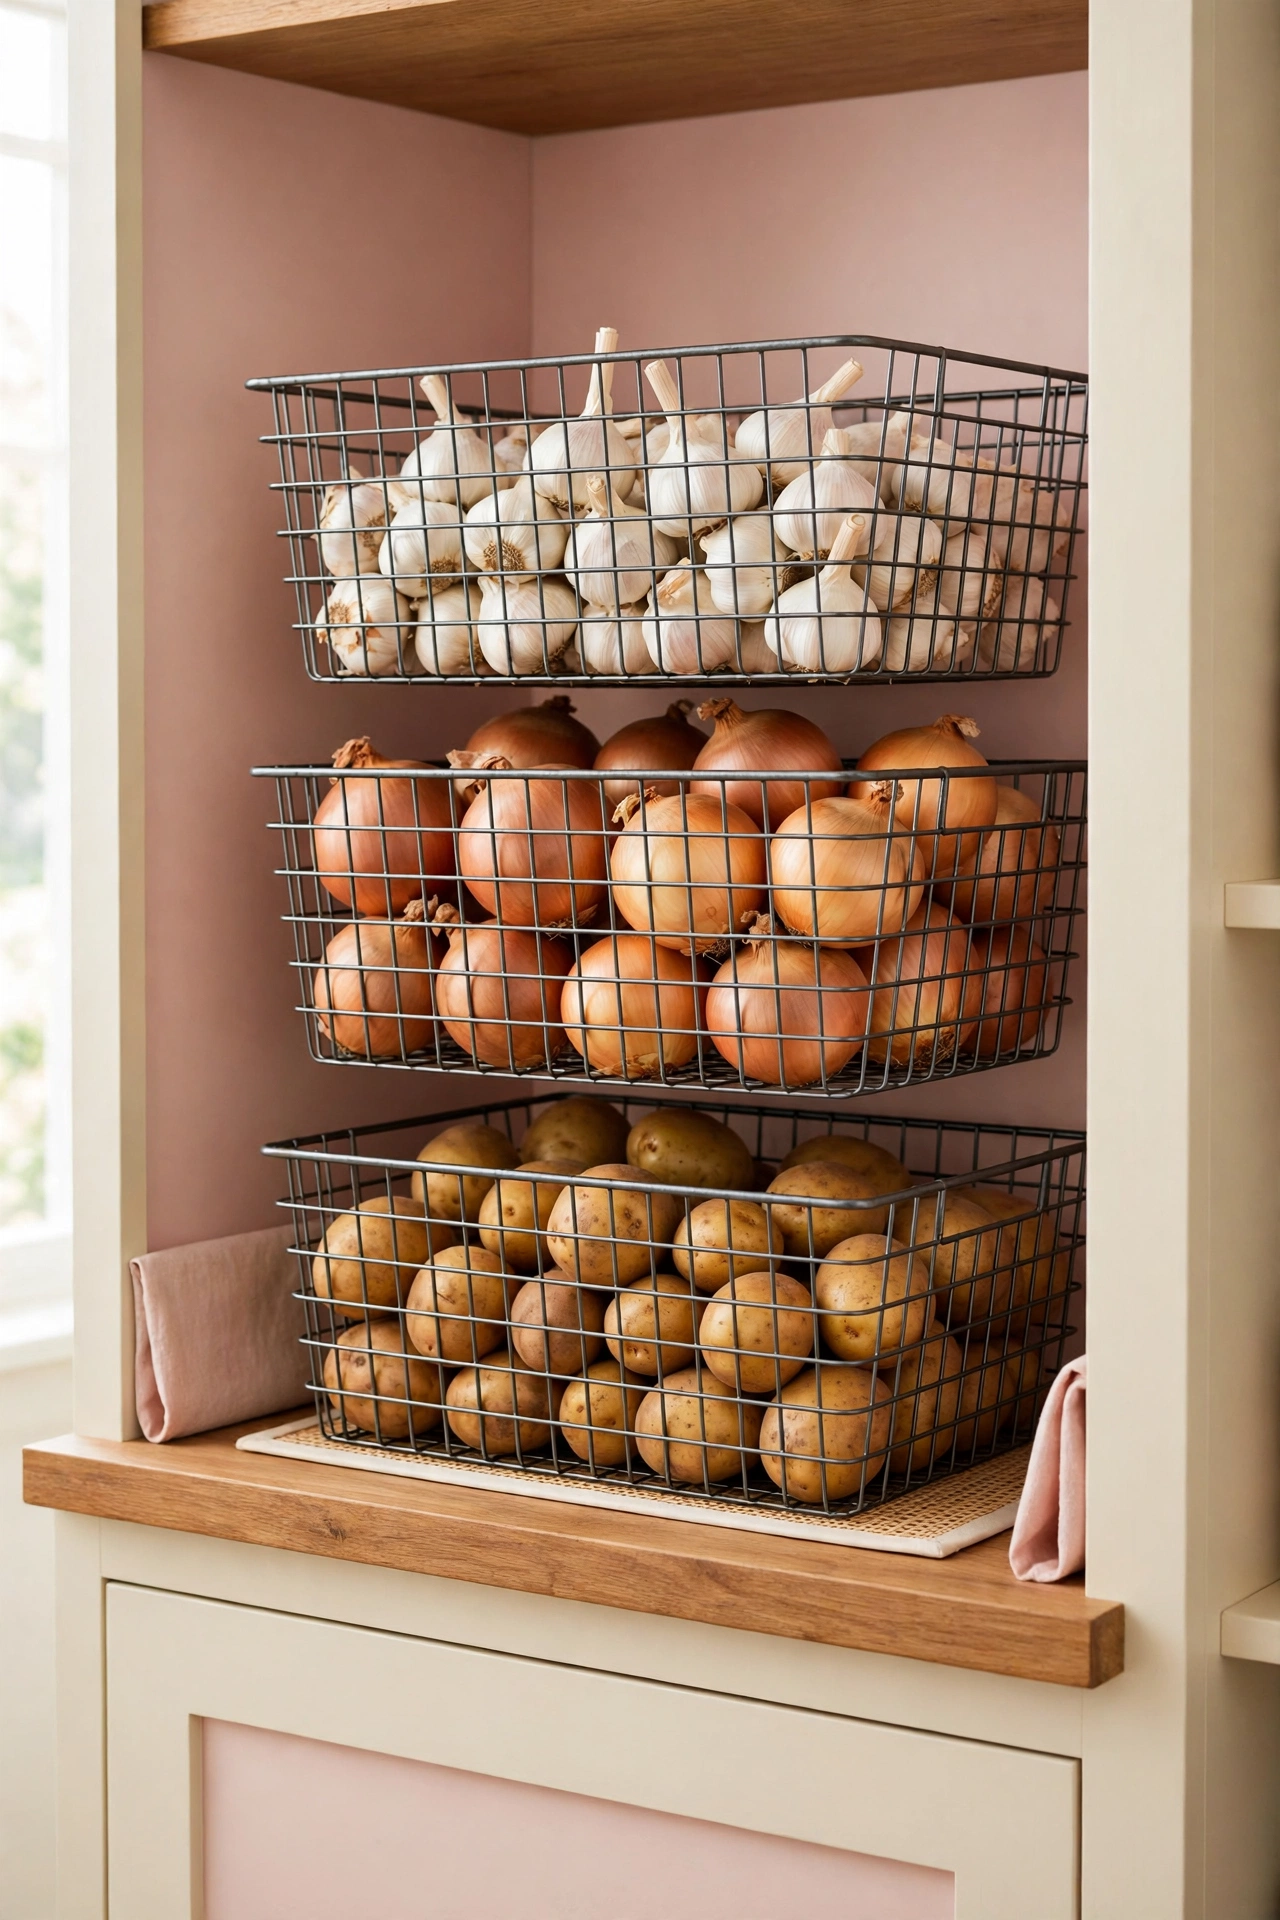
10. Keep Produce Fresh in Stackable Baskets
Onions, potatoes, and other pantry produce need airflow, but loose bags make shelves look untidy. Open stackable baskets keep different foods apart while letting you see what needs to be used soon. A cool, dry spot away from direct sunlight is usually best for storage.
Do not pack the baskets too tightly, because a little breathing room helps produce stay in better condition. Check the baskets once a week and remove anything that has started to soften. Stacking upward uses shelf height that often goes to waste.
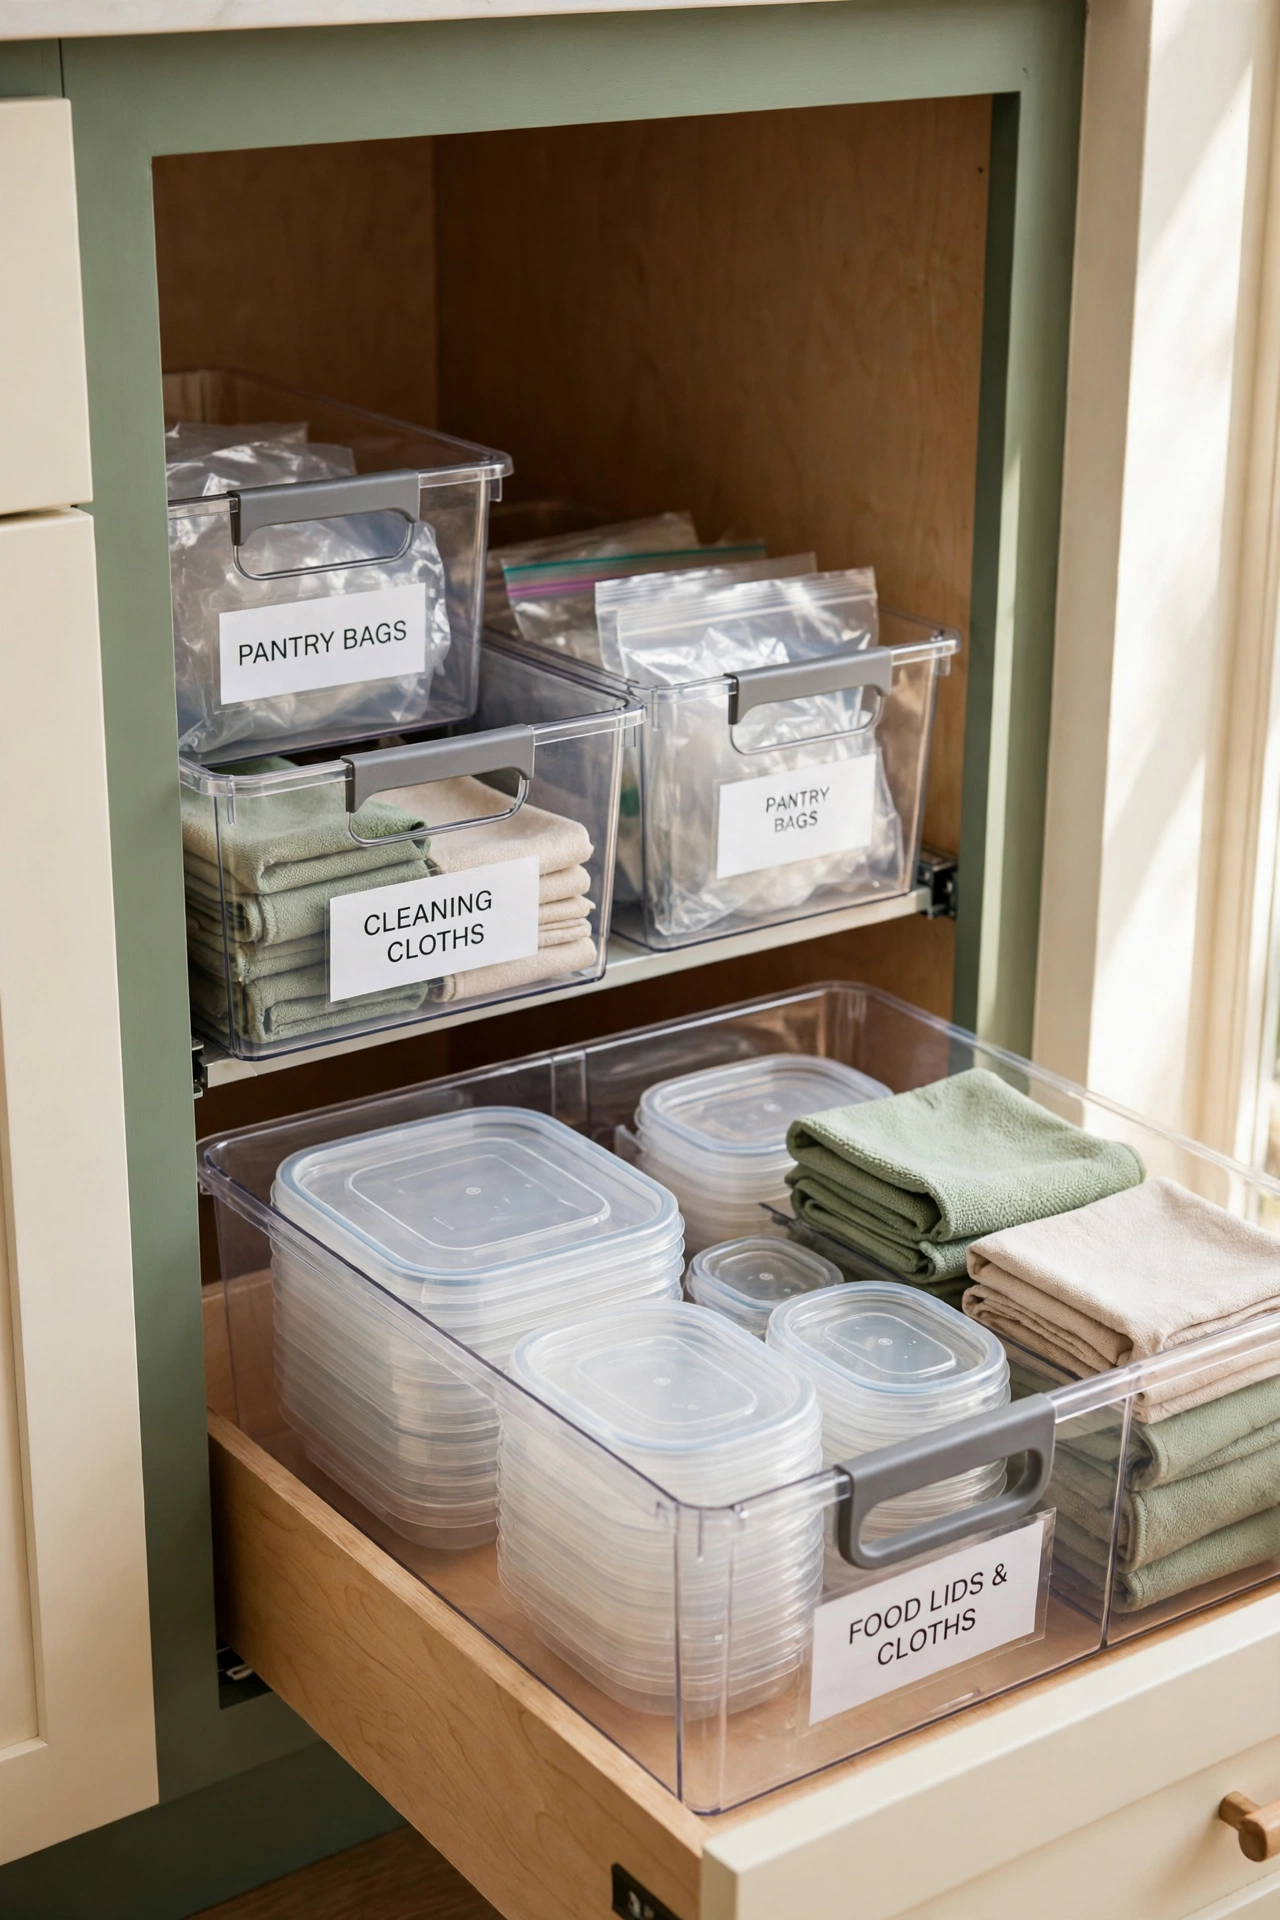
11. Tame Deep Cabinets With Pullout Bins
A deep lower cabinet can feel like a dark hole where small items vanish behind larger ones. Pullout bins bring everything forward in one smooth motion. They work well for food storage lids, cleaning cloths, baking supplies, and small appliances you do not use every day.
Bins with comfortable handles are especially helpful in a low cabinet. You can reach the contents without unloading the entire shelf onto the floor. Group similar items together and label the front of each bin so the system stays easy for the whole household.
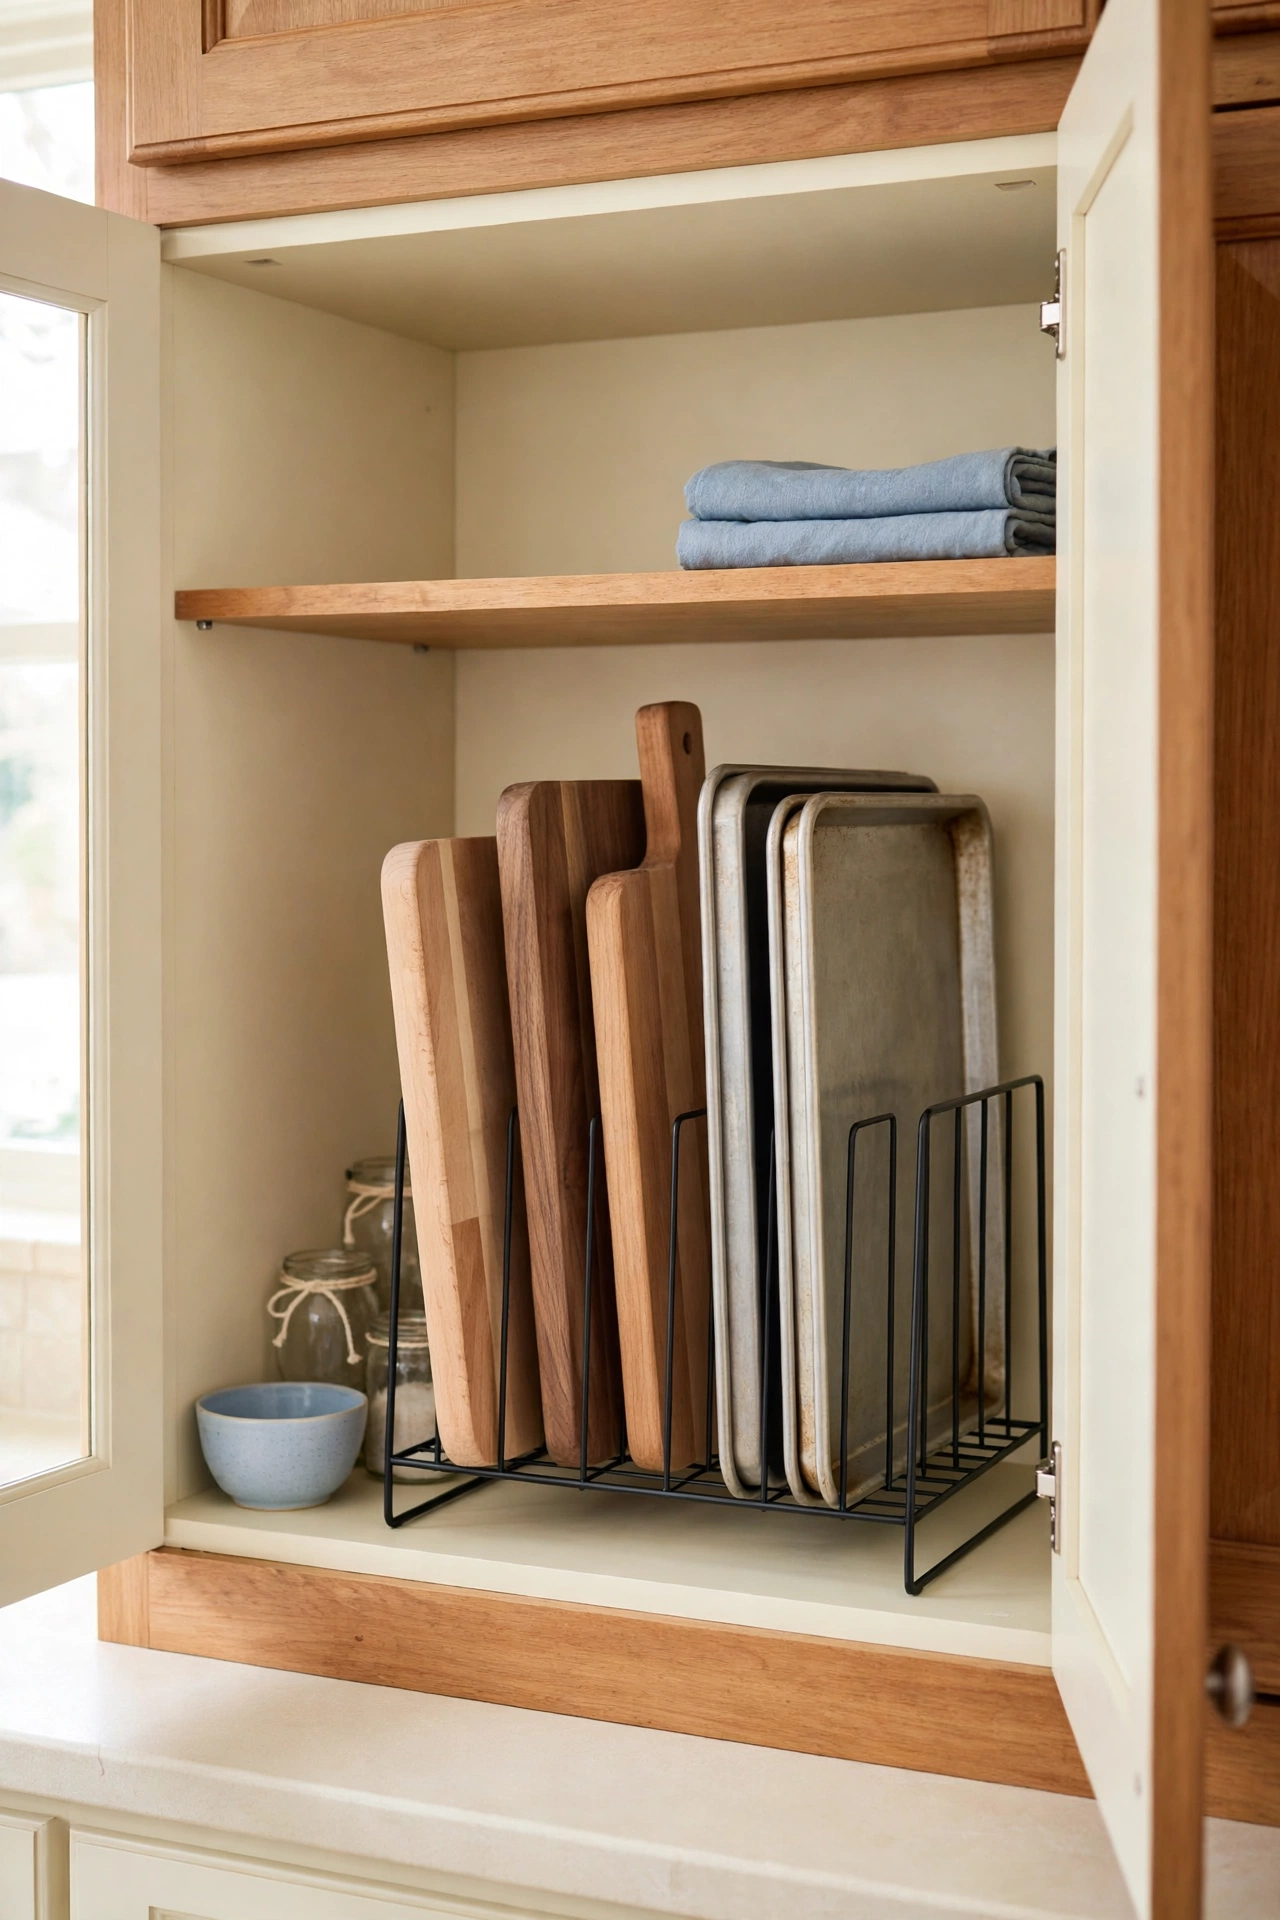
12. Stand Cutting Boards Upright in a Rack
Cutting boards are much easier to grab when they stand upright instead of lying beneath trays and pans. A dish rack, file holder, or divided organizer keeps boards separated inside a cabinet. The same rack may also hold baking sheets if the spaces are wide enough.
Place a non slip liner beneath the rack so it stays put whenever you pull a board out. Sort boards by size, with the largest at the back and the smallest at the front. This simple upright system ends the noisy pile of boards sliding around in the cabinet.
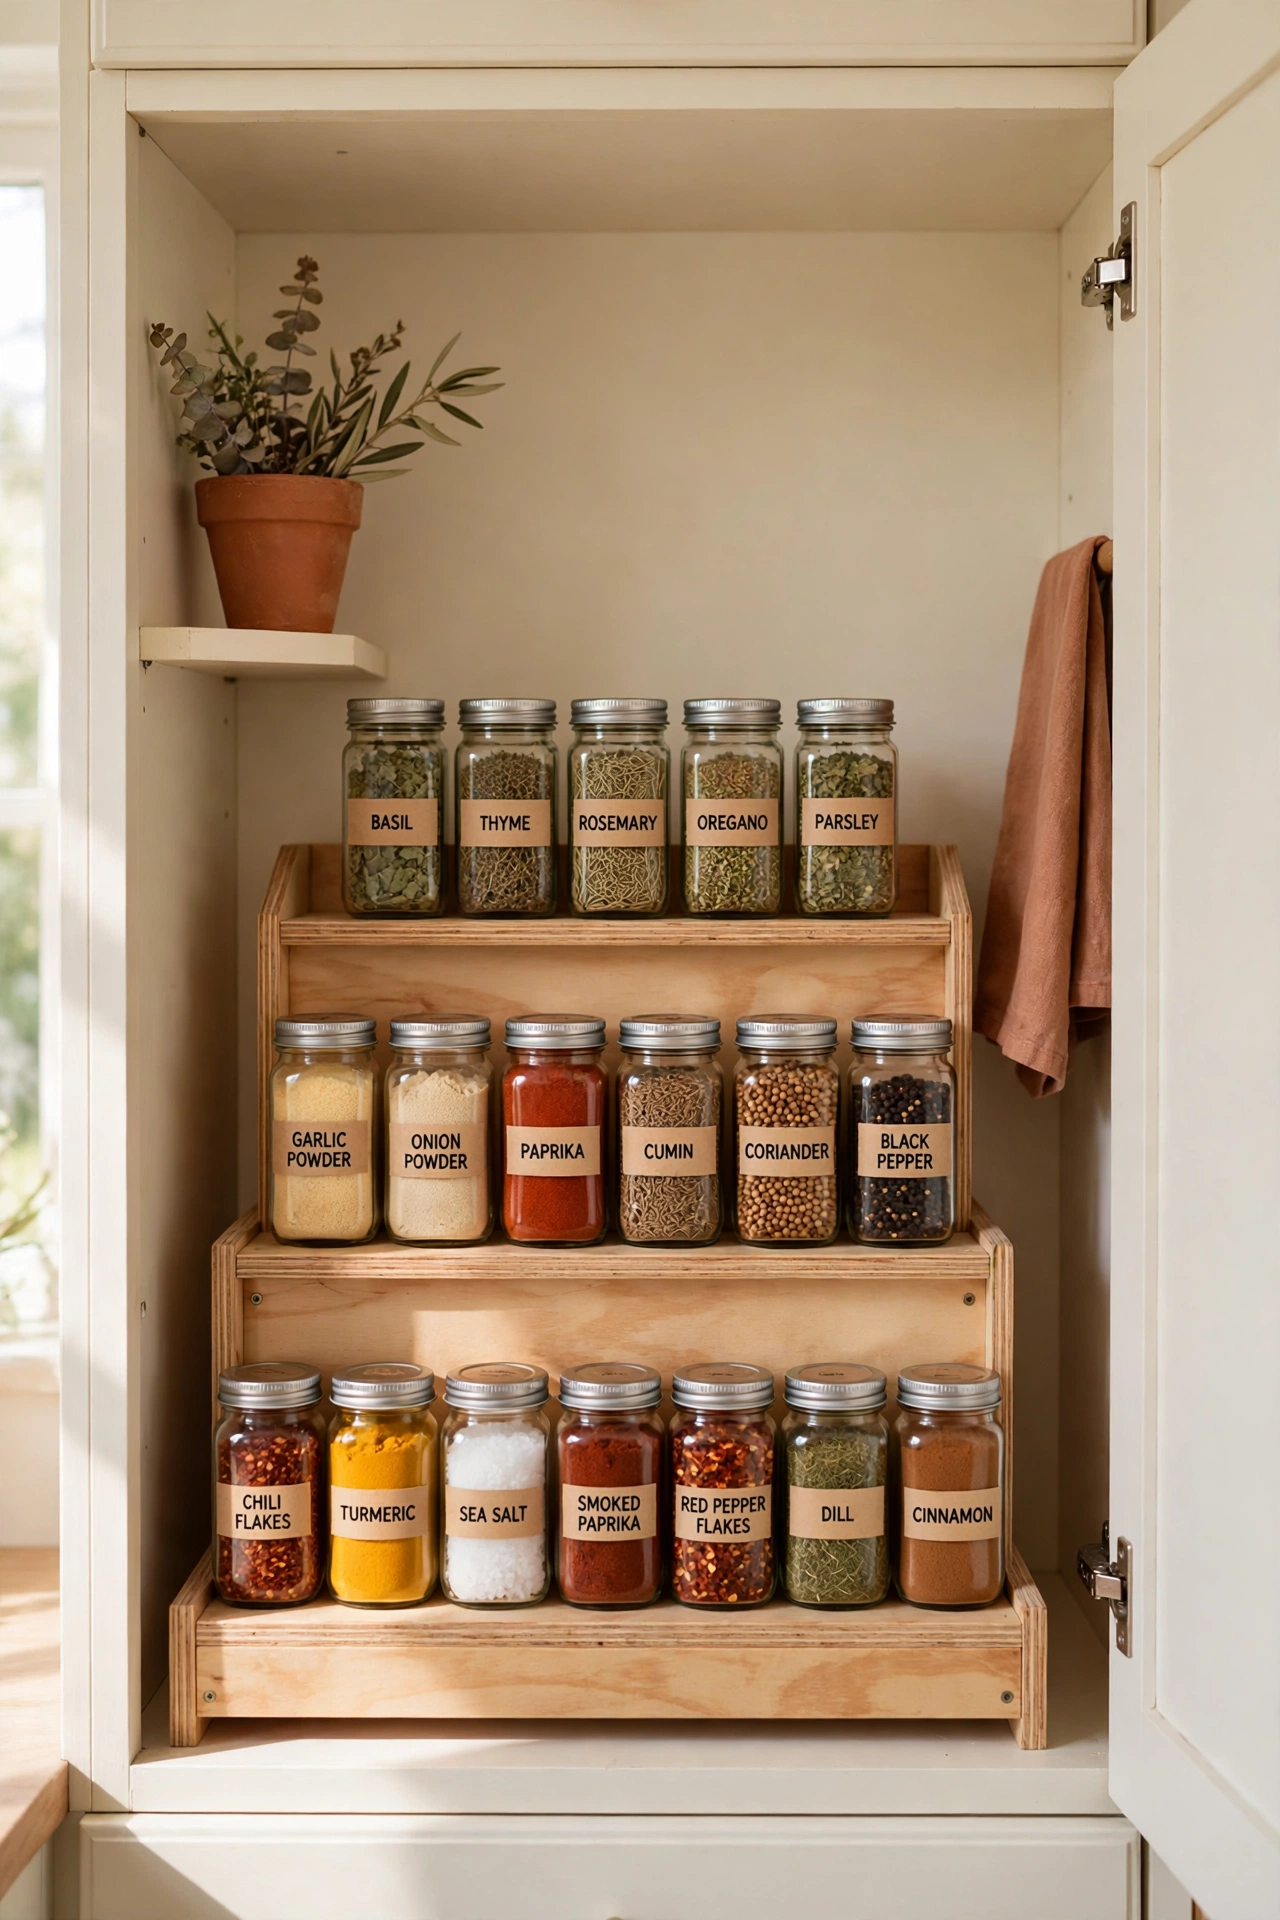
13. See Every Spice With Tiered Spice Steps
It is very easy to forget about spice jars sitting at the back of a cabinet. A small tiered shelf raises each row so every label stays visible. You can arrange spices alphabetically, by cooking style, or simply by how often you use them.
The best arrangement is the one that feels natural when dinner is already cooking. There is no need to follow a complicated system if a simple one works for you. For more spice storage layouts, see these kitchen spice organization ideas.
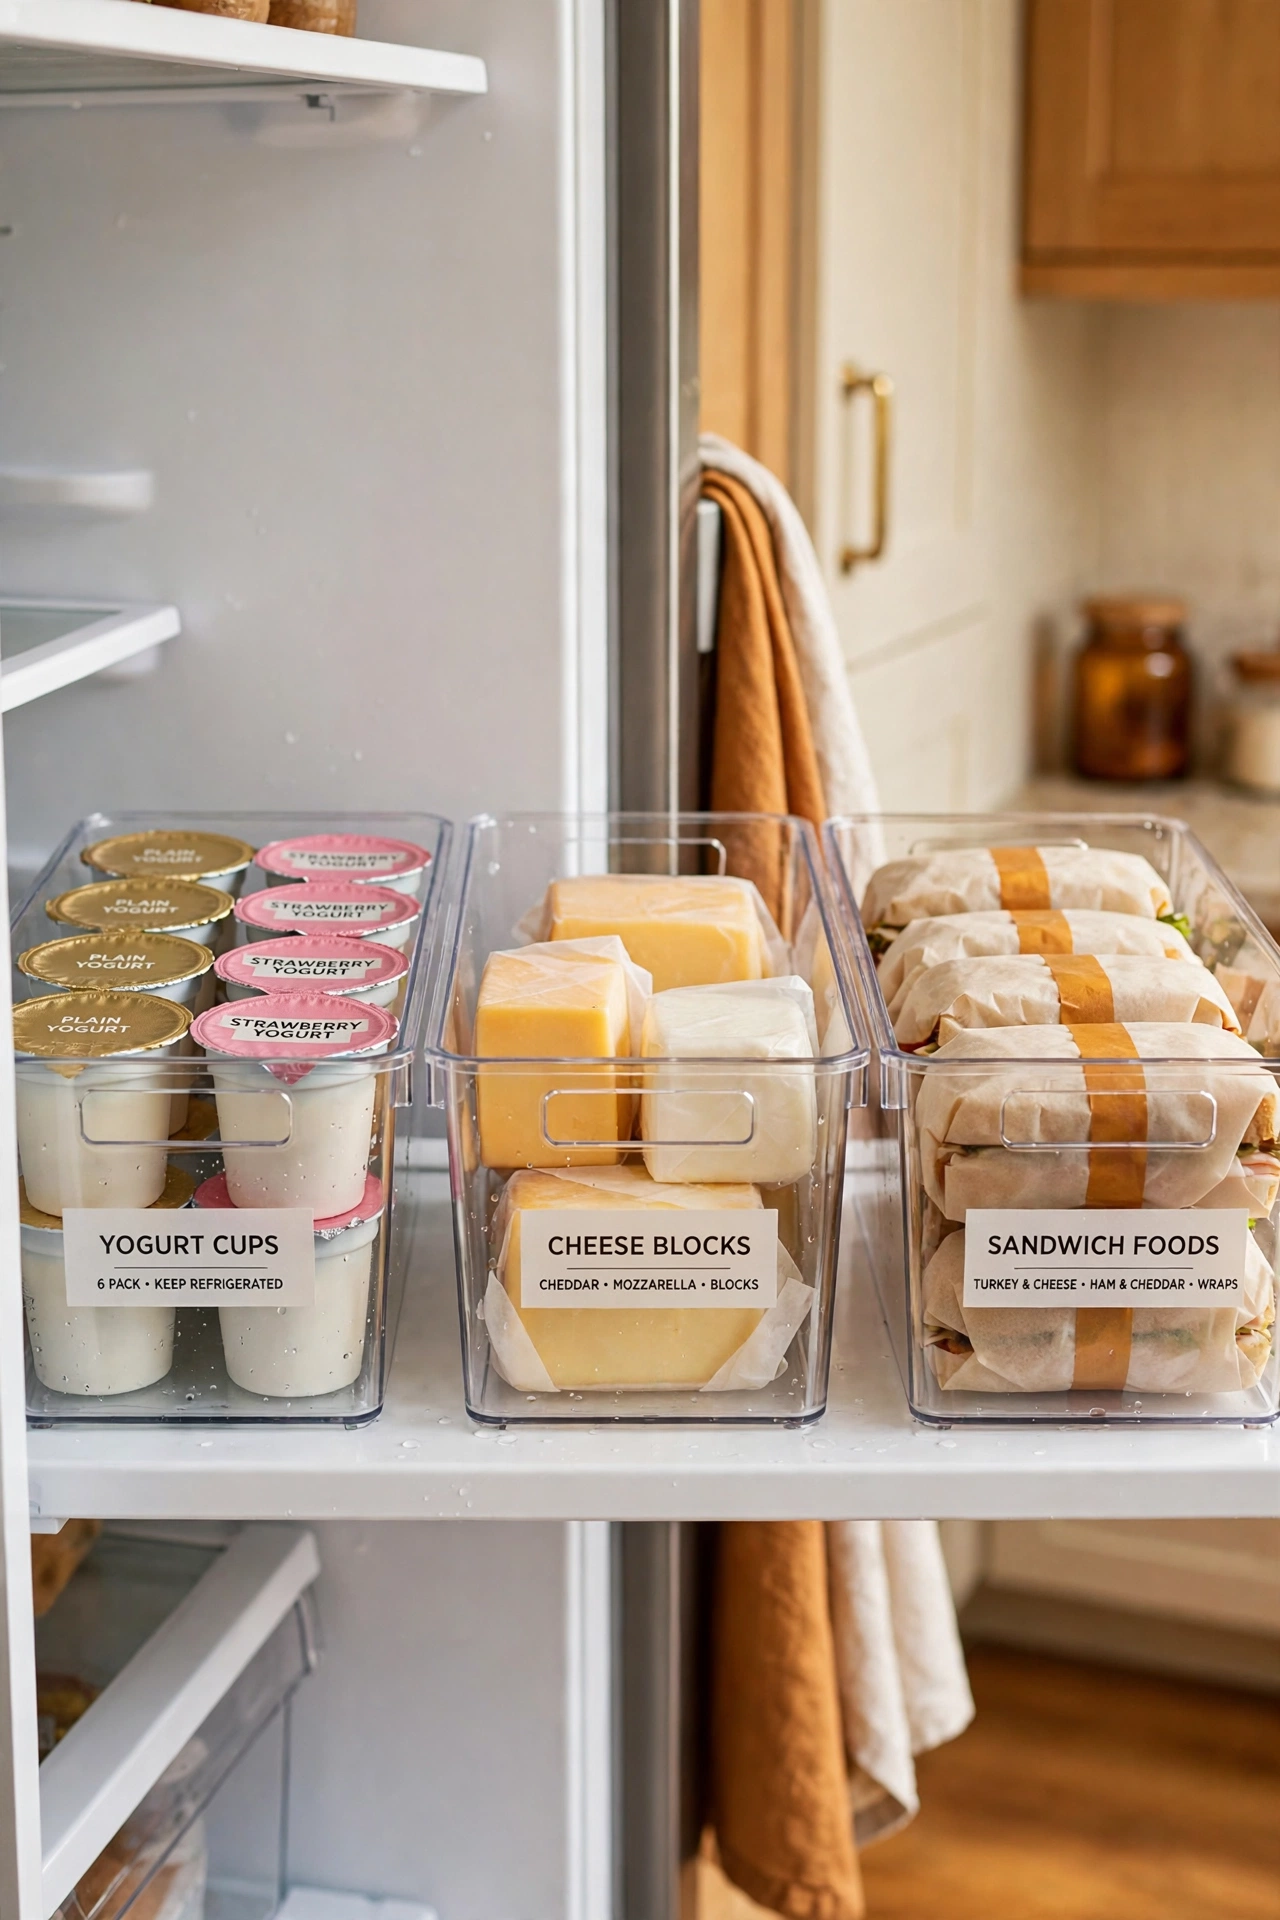
14. Group Fridge Foods in Clear Bins
Small items drift around the fridge until nobody is quite sure what is still there. Clear bins gather yogurt, cheese, sandwich fillings, and lunchbox foods into tidy groups. A broad category such as lunches is easier to maintain than a separate bin for every single product.
Leave the fridge vents uncovered and wash the bins regularly so they stay fresh. Because the bins are clear, you will spot forgotten food before it becomes unpleasant. For a fridge that looks as good as it works, browse these fridge organization aesthetic ideas.
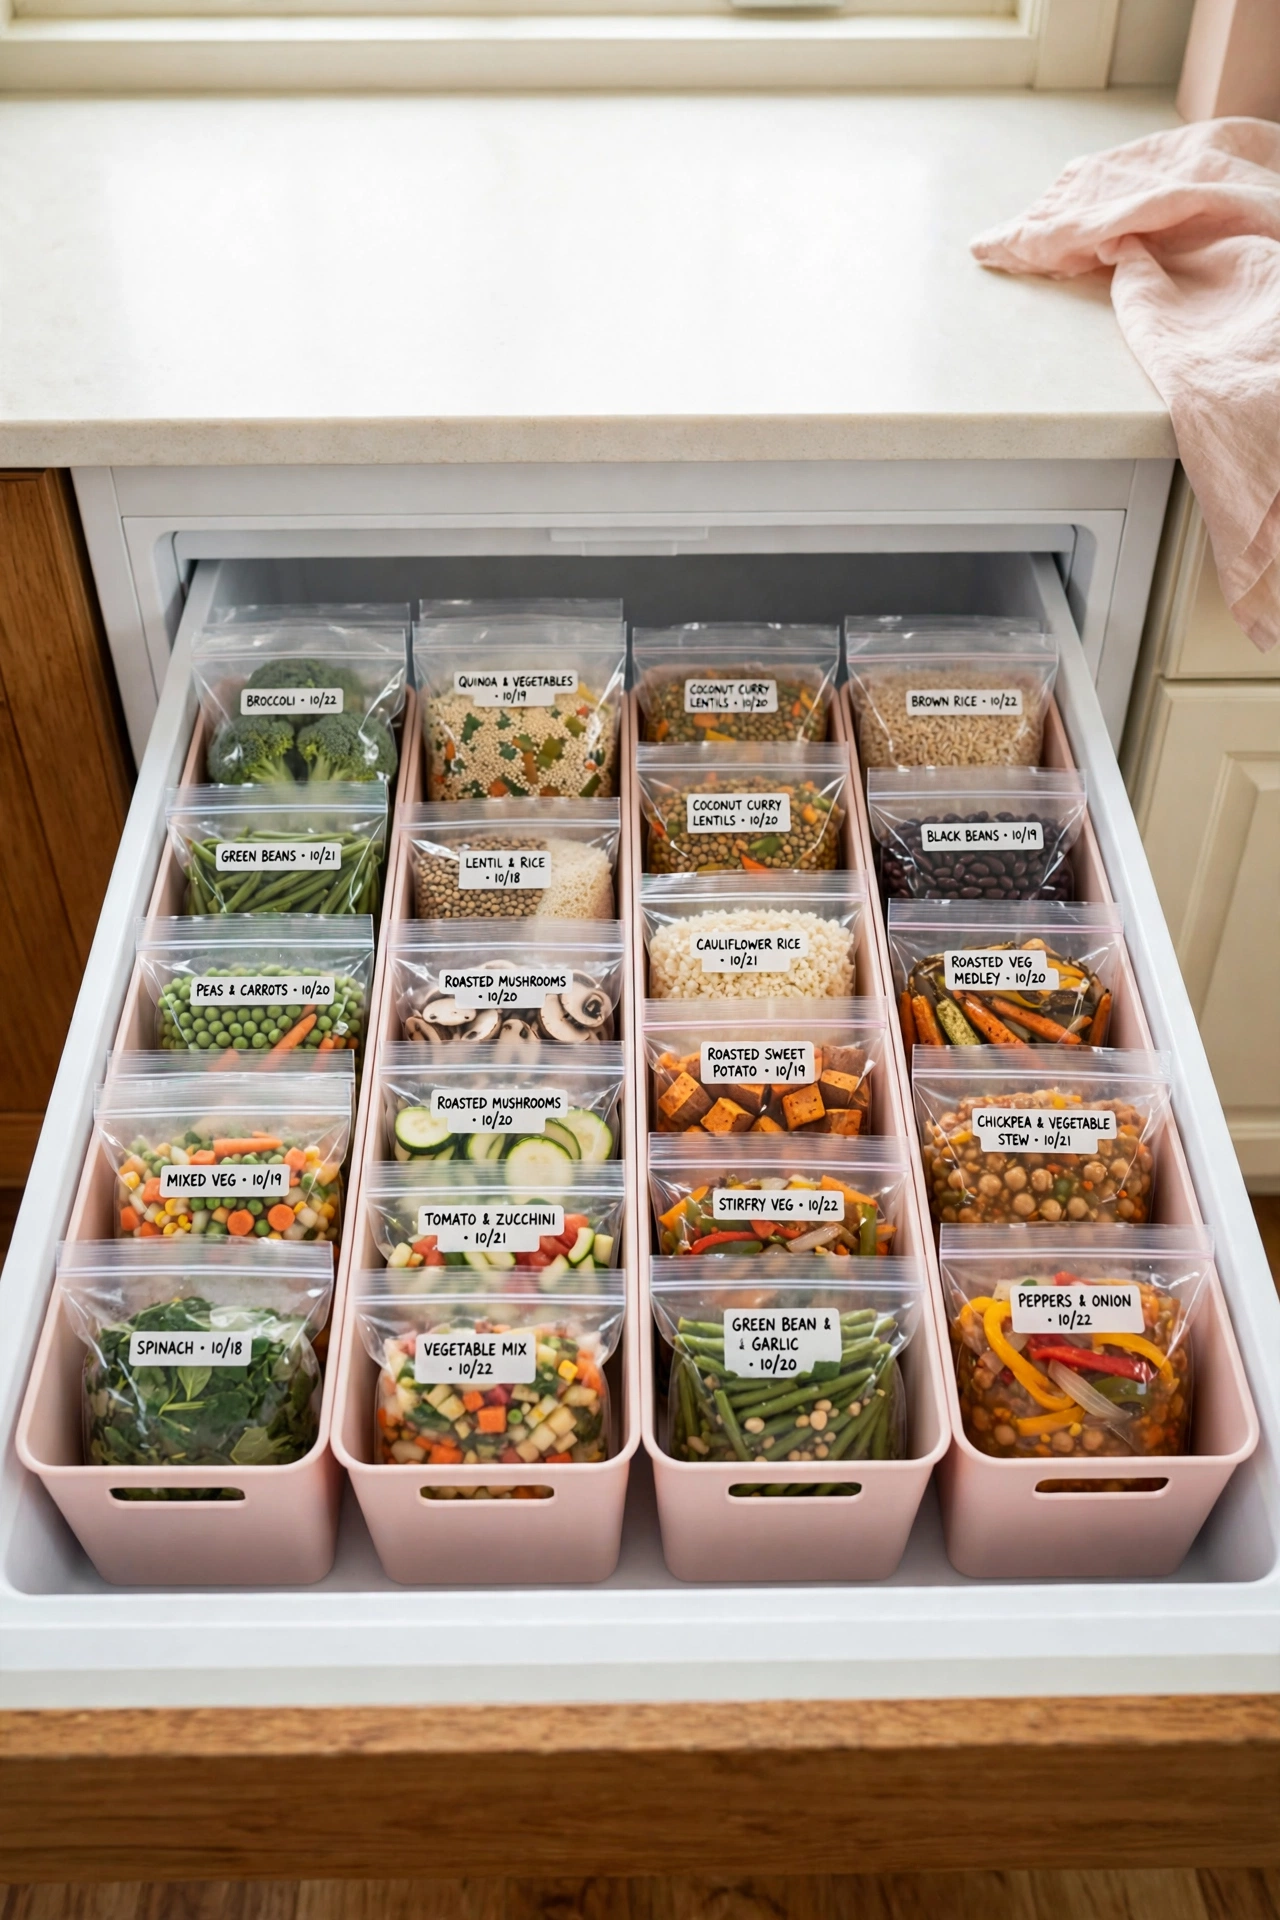
15. File Freezer Bags Upright in Narrow Bins
Frozen packets rarely stay in neat stacks for very long. Narrow bins hold bags of vegetables, fruit, meat, or prepared meals upright, almost like files in a drawer. A label on the front of each bin makes it easy to pull out the right group without searching the whole freezer.
Write the contents and date on each freezer bag before it goes in. That small habit saves a surprising amount of guesswork later when you are planning dinner. Filing bags upright also shows you exactly how much space is left.
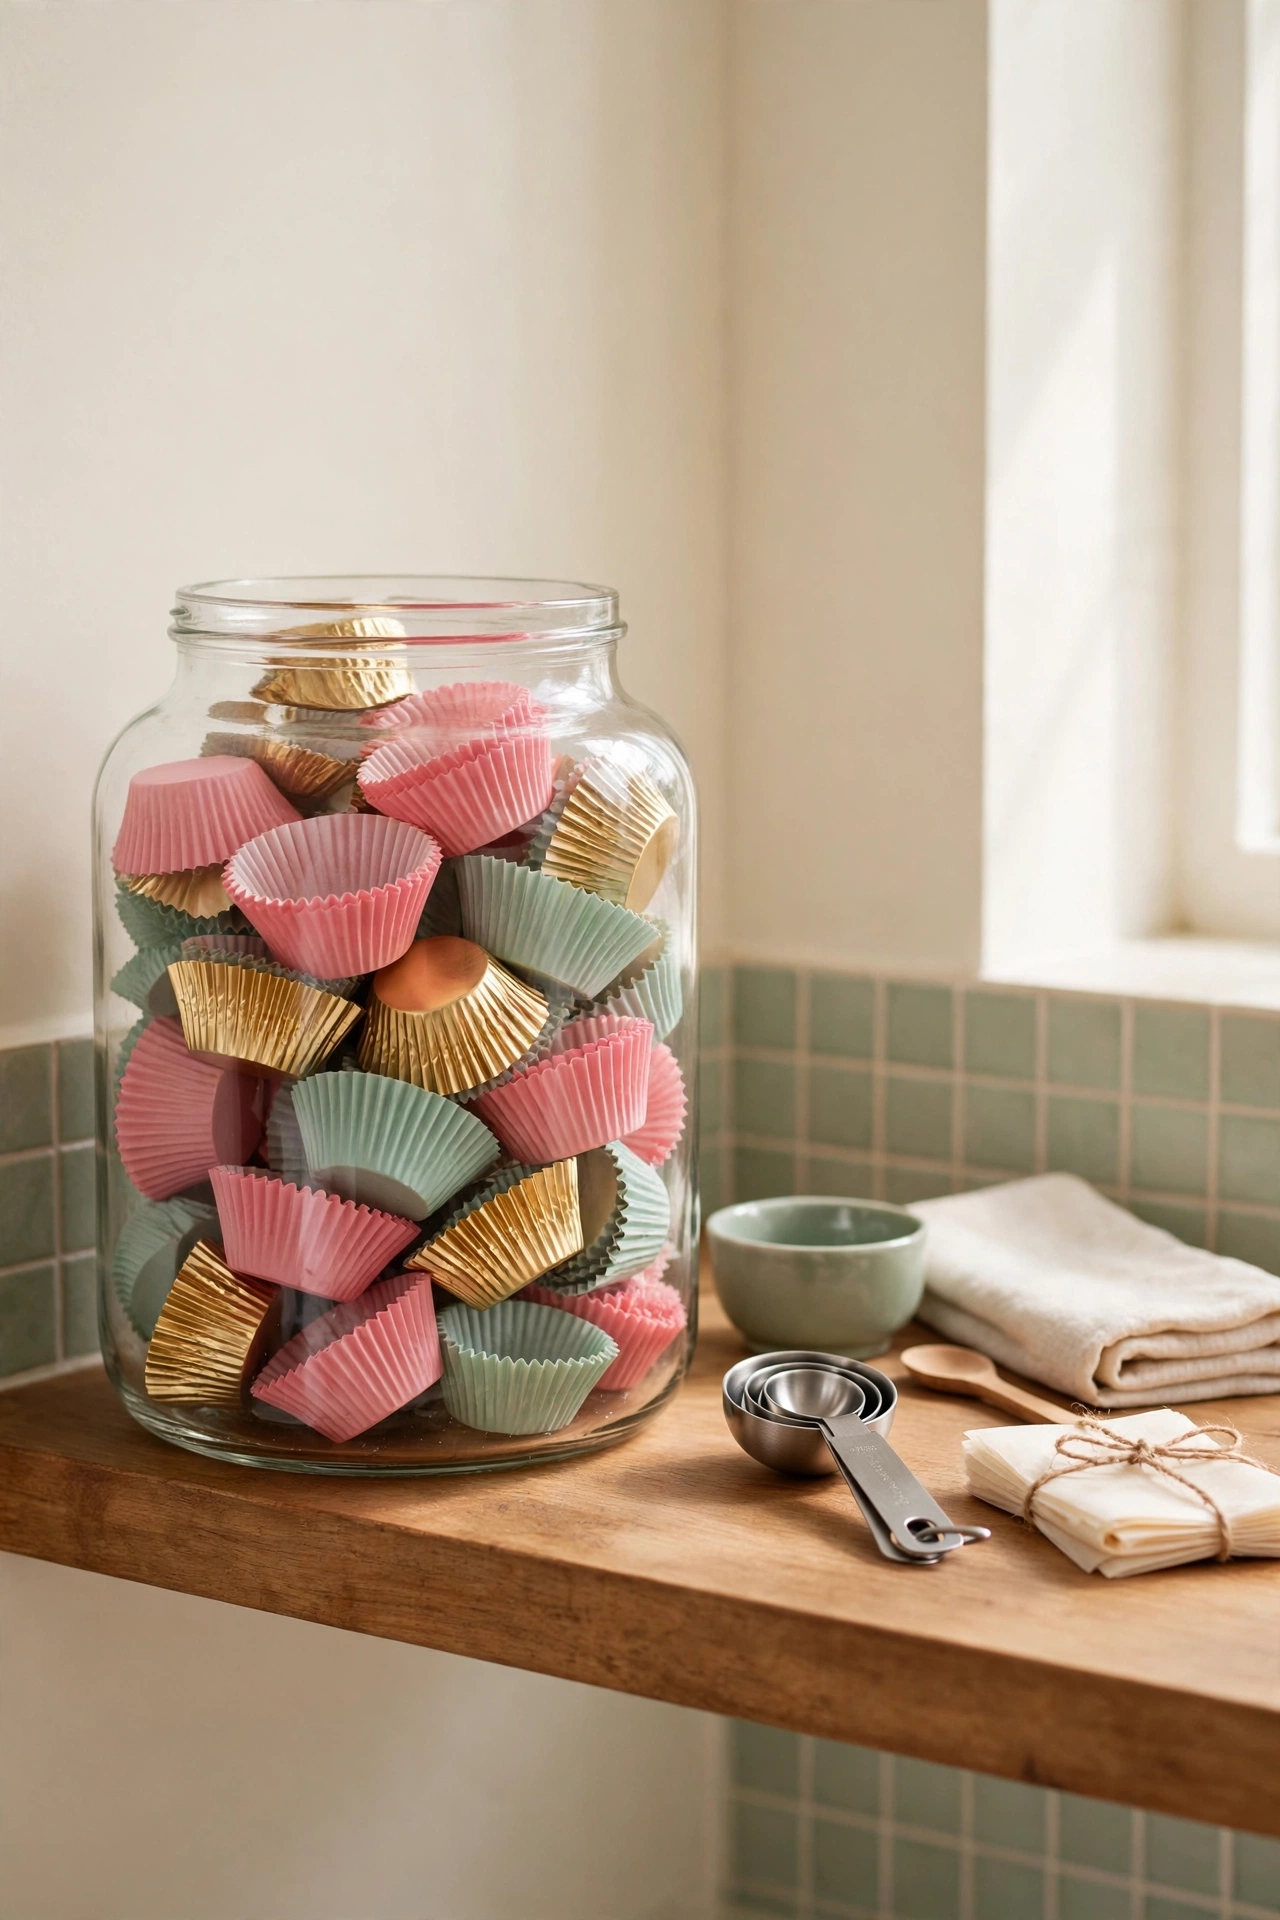
16. Show Off Cupcake Liners in a Glass Jar
Cupcake liners are lovely to look at, but their paper packaging gets crushed in a busy baking drawer. A wide glass jar keeps liners clean, visible, and easy to reach. You can arrange them by color or occasion if you enjoy having them on display.
If young helpers often join you for baking, a clear plastic container offers the same tidy look without the worry of breakage. Set the jar on an open shelf or inside a cabinet near your baking supplies. This small display adds charm while protecting delicate liners.
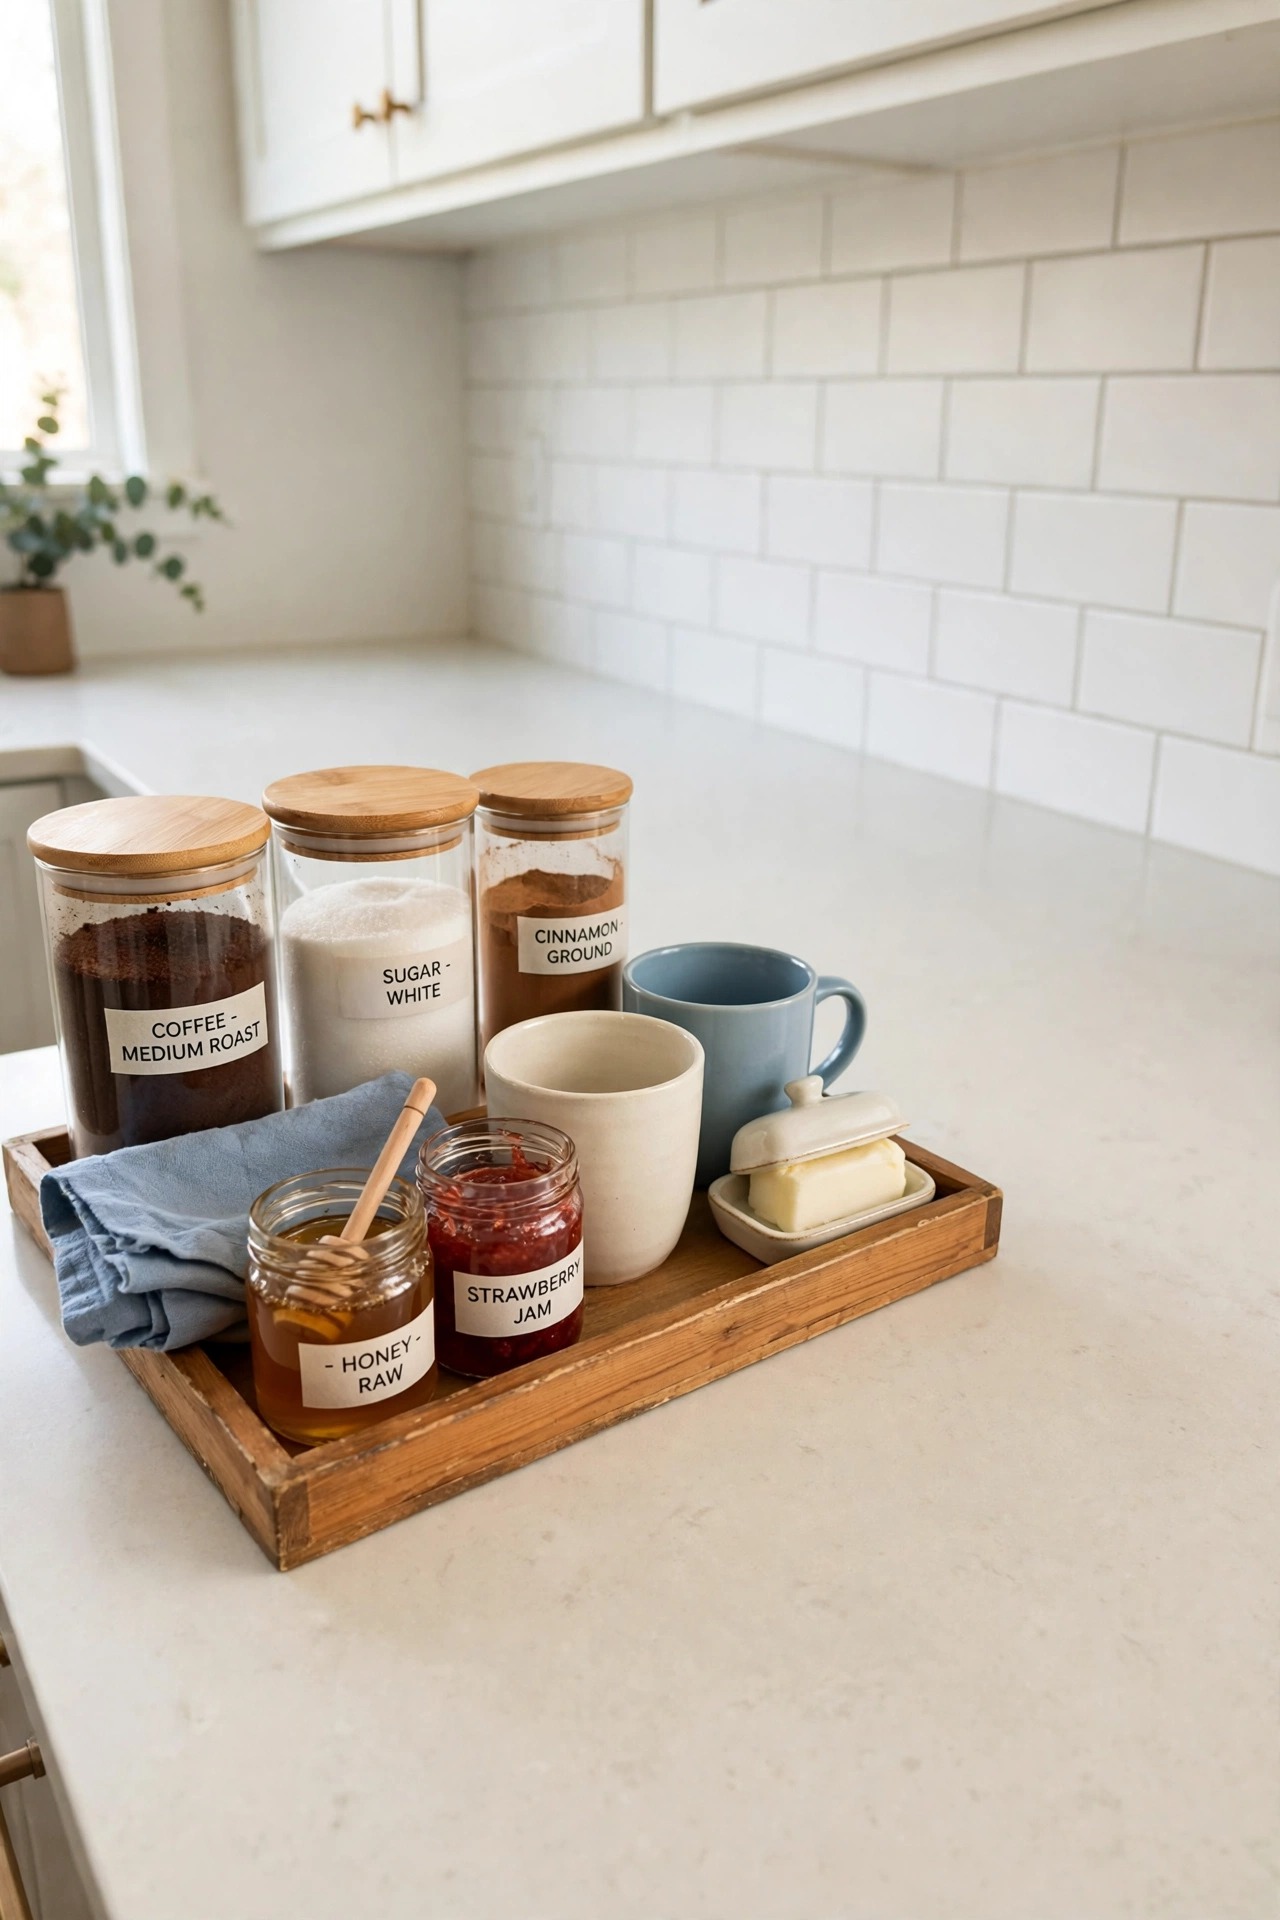
17. Build a Small Station for Everyday Counter Items
If the same few items appear on your counter every morning, giving them a small station can make the space feel much calmer. A tray can hold coffee supplies, breakfast condiments, or the items you use for packing lunches. Keeping them together also makes it easy to move everything when the counter needs wiping.
Avoid adding items you only use occasionally. The purpose of the station is to make everyday routines easier while leaving enough open space for preparing food. One tidy tray beats a counter full of scattered bottles and boxes.
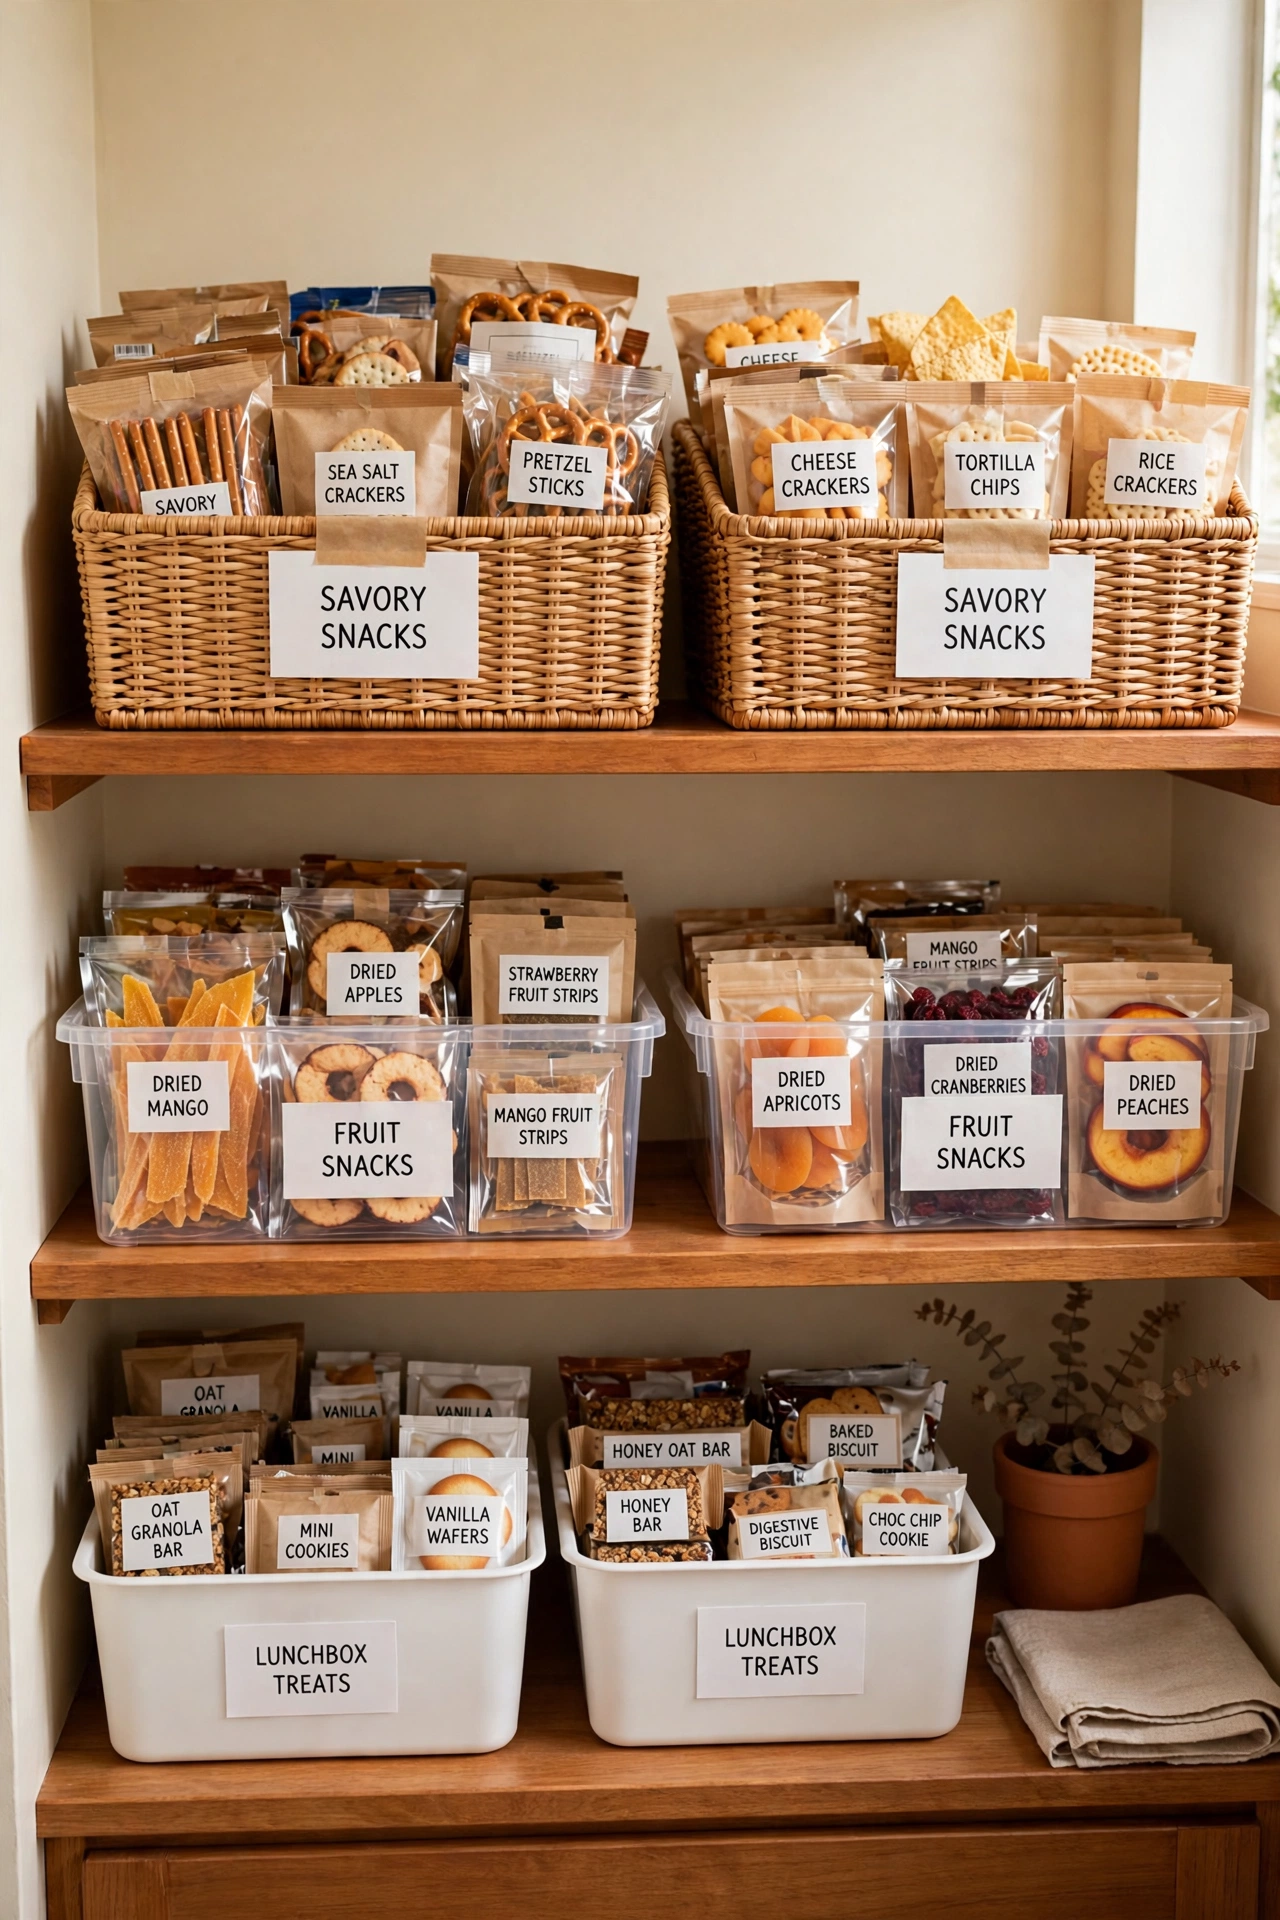
18. Contain Loose Snacks in Labeled Bins
Snack bins stop loose packets from spreading across an entire pantry shelf. Simple groups such as savory snacks, fruit snacks, and lunchbox treats are usually enough. If children prepare their own lunches, placing suitable choices within easy reach can make the morning routine smoother.
The baskets do not need to match. If the labels are clear and everyone understands where things belong, the system is already doing its job. Refill the bins once a week and remove empty packets so the shelf stays tidy.
Conclusion
An organized kitchen does not have to look perfect or cost a fortune. If one drawer opens more easily, the counter takes less time to clean, or the missing lid finally sits beside its container, that is real progress worth celebrating.
Choose one small area and begin there, then move on when you are ready. Measure before you shop, buy only what fits, and let each small win build your confidence. For more pantry systems that keep everyday cooking simple, see these pantry can organization ideas.
Frequently Asked Questions About Dollar Tree Kitchen Organization Ideas
How do I start organizing my kitchen on a small budget?
Start with the one drawer, cabinet, or counter section that bothers you most. Clear it out, remove expired food, measure the space, and buy only the organizers that fit. One finished area builds momentum better than a whole kitchen project started at once.
What should I measure before buying Dollar Tree organizers?
Measure the width, depth, and height of each drawer, shelf, and cabinet before you shop. Take a photo of the space with you, since stock varies between stores. An organizer that is slightly too wide will not help, even if it looks perfect on the shelf.
Are clear containers better than baskets for pantry storage?
Clear containers work best for foods you need to see, such as nuts, snacks, and dry staples. Baskets work best for grouped items such as lunchbox supplies and packet mixes. Many kitchens use both, with containers for food and baskets for categories.
How do I keep an organized kitchen tidy over time?
Put every item back in its labeled home after use, and do a quick five minute tidy each evening. Check pantry bins once a week for expired food and empty packets. A simple system with clear labels is much easier to maintain than a complicated one.
Can Dollar Tree organizers work in a very small kitchen?
Yes, small organizers shine in small kitchens because they use vertical space and hidden spots such as cabinet doors and deep corners. Shelf risers, tiered steps, and stackable baskets add storage without taking floor space. Choose slim pieces that fit your exact measurements.

Hi, I’m Emily! I turn messy corners into cozy, organized spots. DreamNestDecor is where I share simple, practical home ideas — decor, organization, and small-space solutions that work in real life, not just in photos. Every idea here is carefully researched before it’s shared.