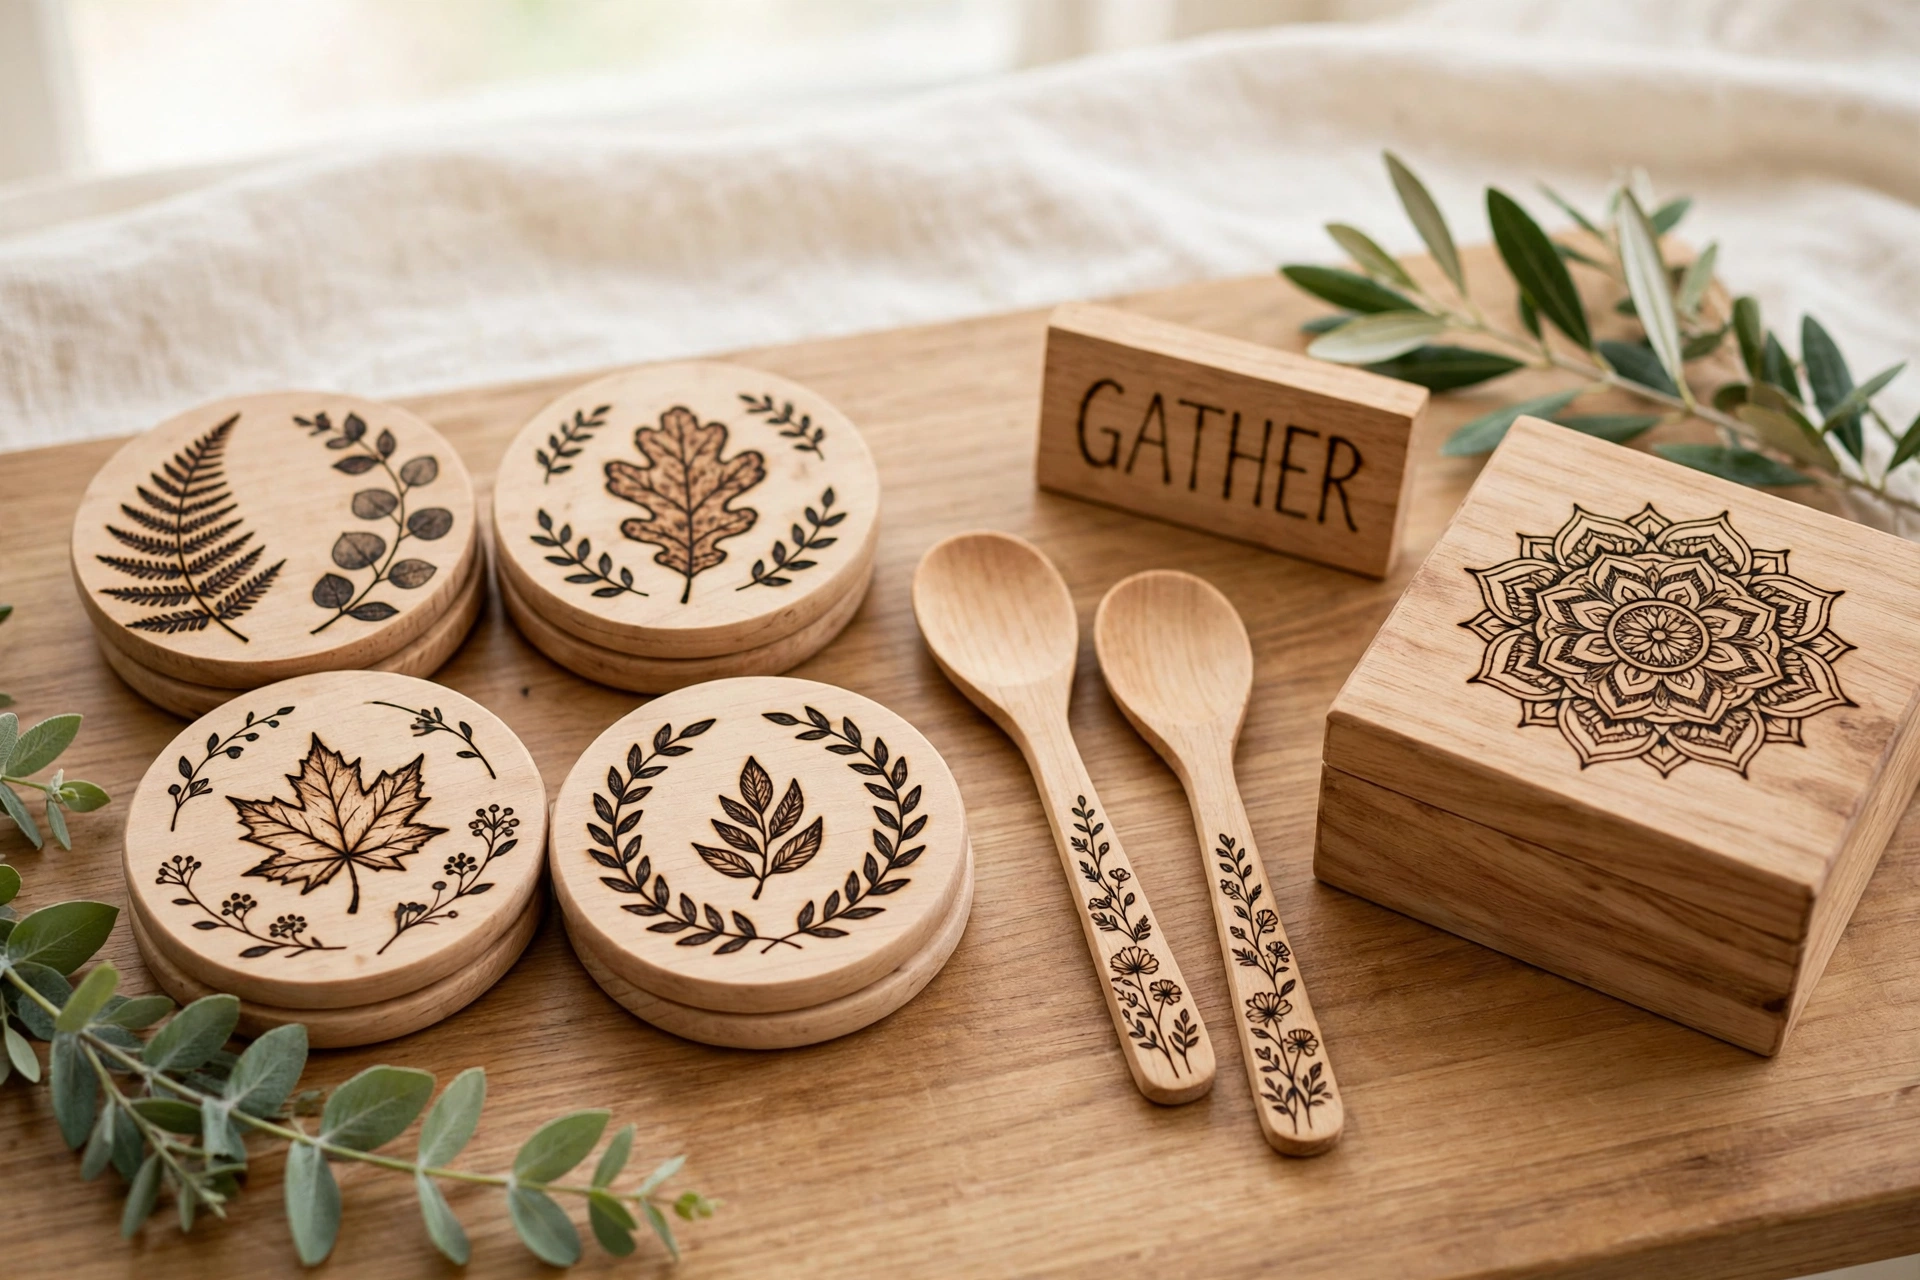
Picture this: a plain wooden coaster sits on the table, and with a single slow stroke of a heated pen, a delicate leaf appears in rich brown lines. That small moment is the magic of wood burning. A simple tool and a steady hand turn ordinary wood into pieces that look thoughtful, personal, and completely one of a kind.
You do not need years of practice or an expensive workshop to begin. A basic pyrography pen, a few smooth wood blanks, and a little patience are enough to make beautiful handmade accessories for every room. These 14 diy wood burning decor ideas will show you where to start, what to burn, and how each finished piece can add warmth to your home.
1. Burn Delicate Botanical Coasters
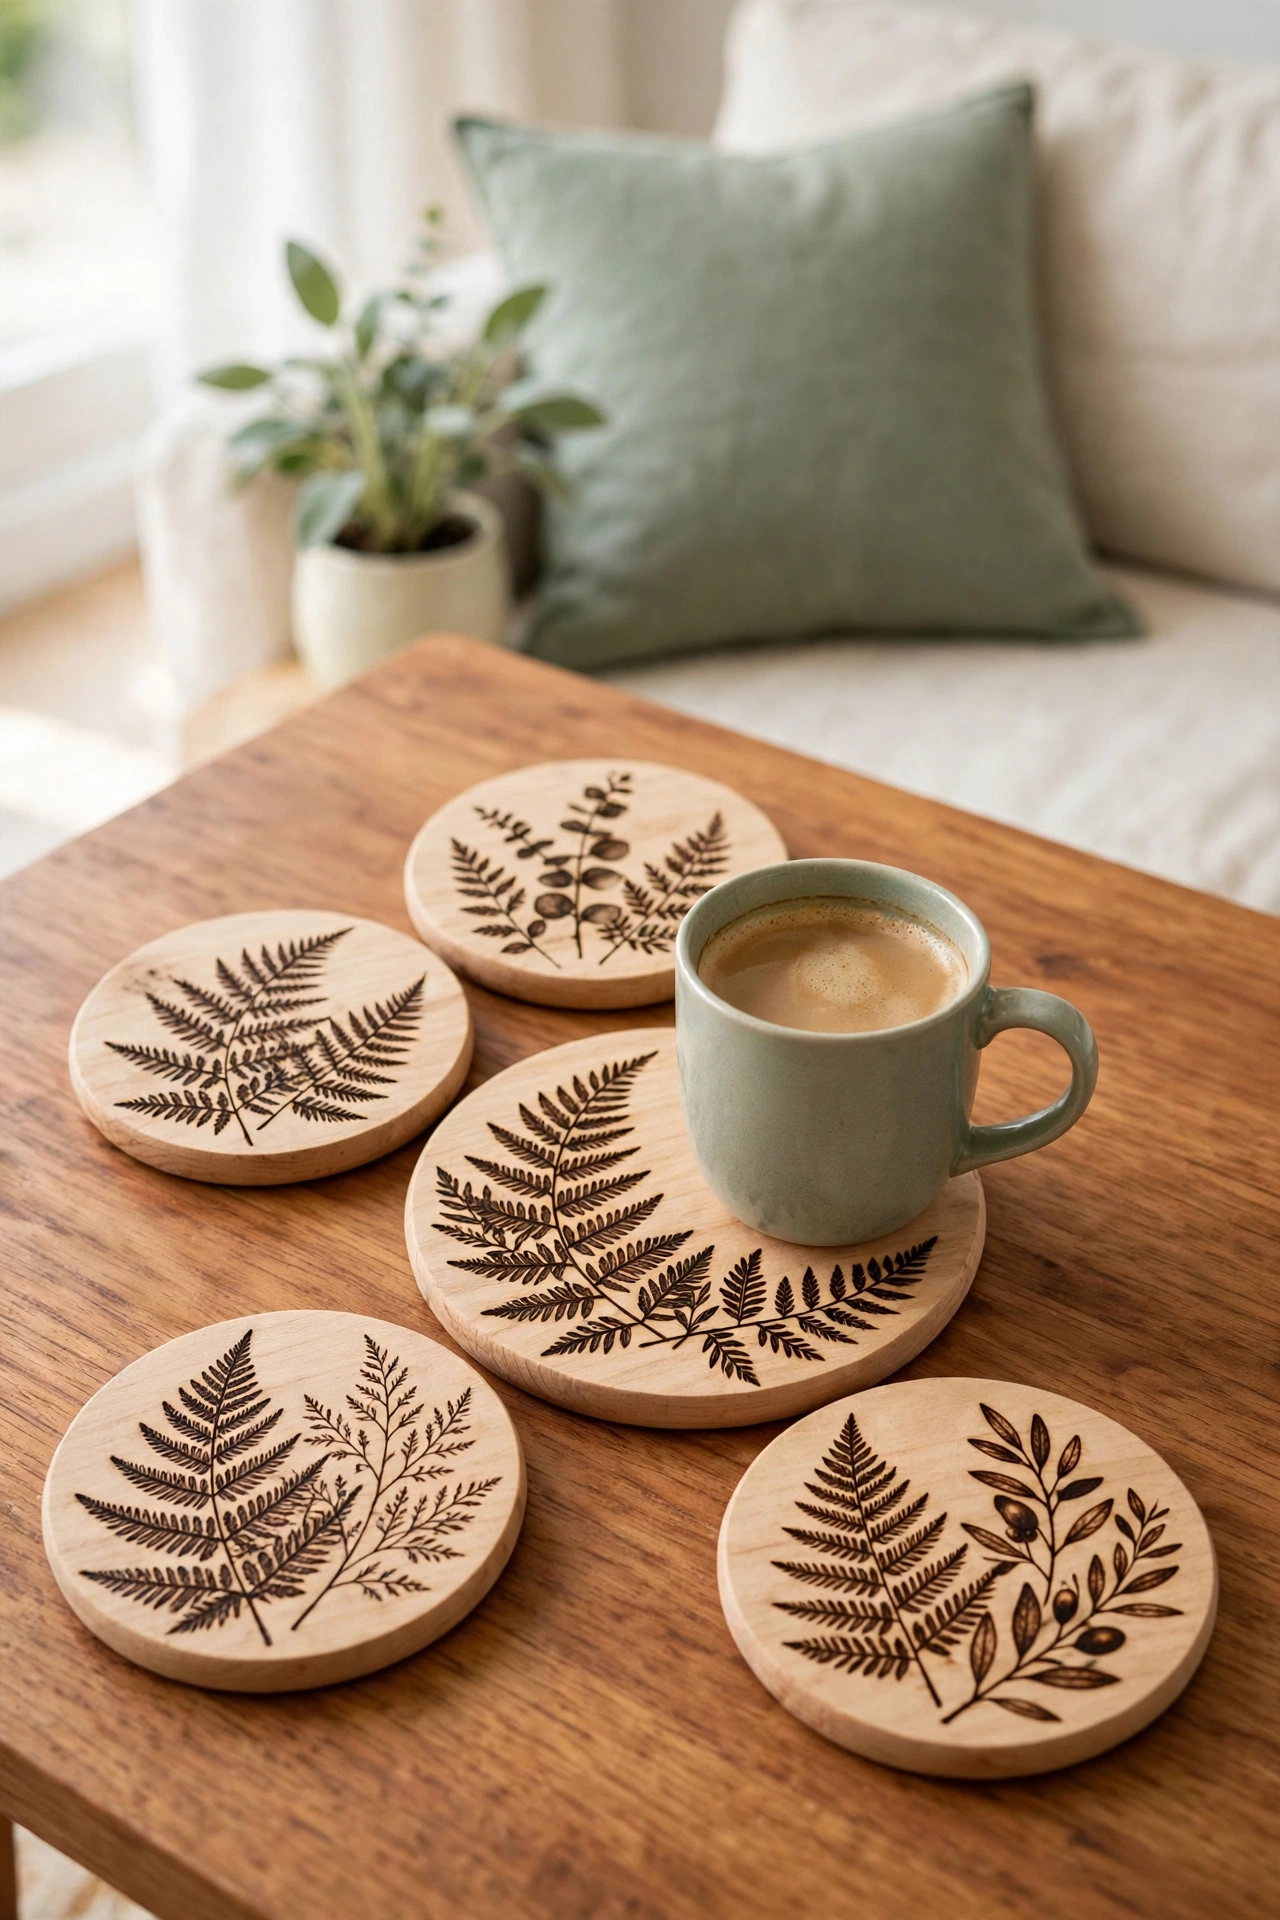
Round wooden coasters are the perfect first project for a new wood burner. The small flat surface is easy to hold steady, and a simple leaf, fern, or wildflower design fills the space beautifully. Burn the outline first with slow even strokes, then add shading by moving the pen in small circles over the same area.
A set of four or six coasters makes a lovely gift, and each one can carry a different plant design. Keep the finish food safe and heat resistant by sealing the burned surface with a clear matte sealer made for wood. The warm brown burn lines look lovely against the pale wood, and the set will only grow more charming with daily use.
2. Personalize Wooden Spoons With Burned Names
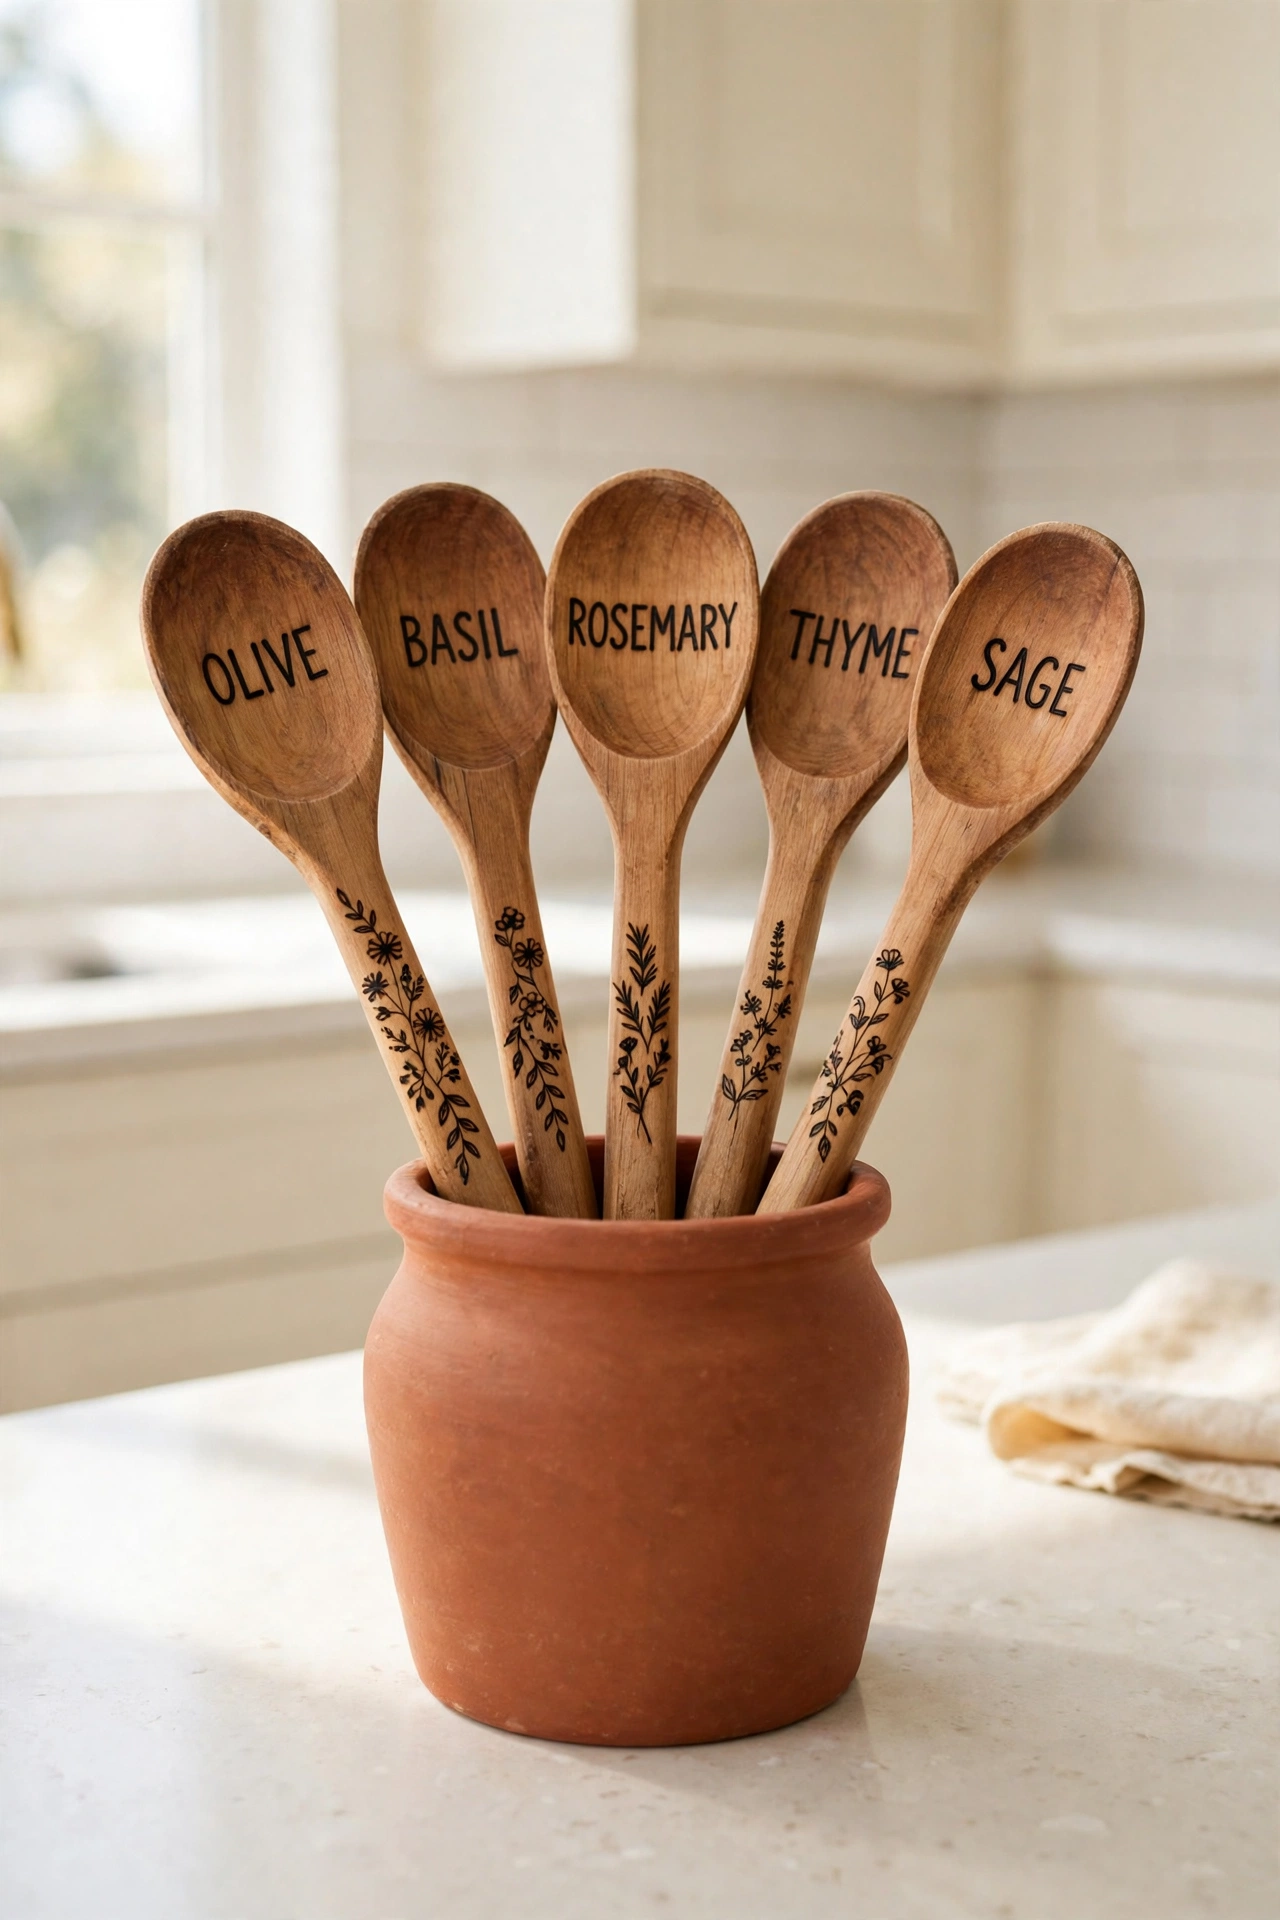
Plain wooden spoons become treasured kitchen tools when you add a burned name, a small flower, or a simple border pattern along the handle. The handle gives you a long narrow canvas that suits words and repeating shapes. Write the design lightly in pencil first so the letters stay even and straight.
Burned spoons make wonderful housewarming gifts, especially when you match the design to the person who will use them. A set for a baker might carry wheat stalks, while a set for a tea lover might carry tiny teacups. Seal the handles with food safe oil and keep the bowls of the spoons plain so they stay easy to clean.
3. Burn a Patterned Keepsake Box
A plain wooden box becomes a keepsake the moment you cover the lid with burned patterns. Geometric borders, mandala circles, and trailing vines all work well on a flat lid. The box gives you room to practice different pen tips, from fine lines for detail to wide shading tips for bold filled areas.
Use the finished box for jewelry, letters, photos, or small treasures, and the burned lid will make it feel special every time you open it. A small latch or a pair of pretty hinges finishes the piece, and these diy decorative hardware makeovers offer simple ways to dress up the metal parts so the whole box looks polished and complete.
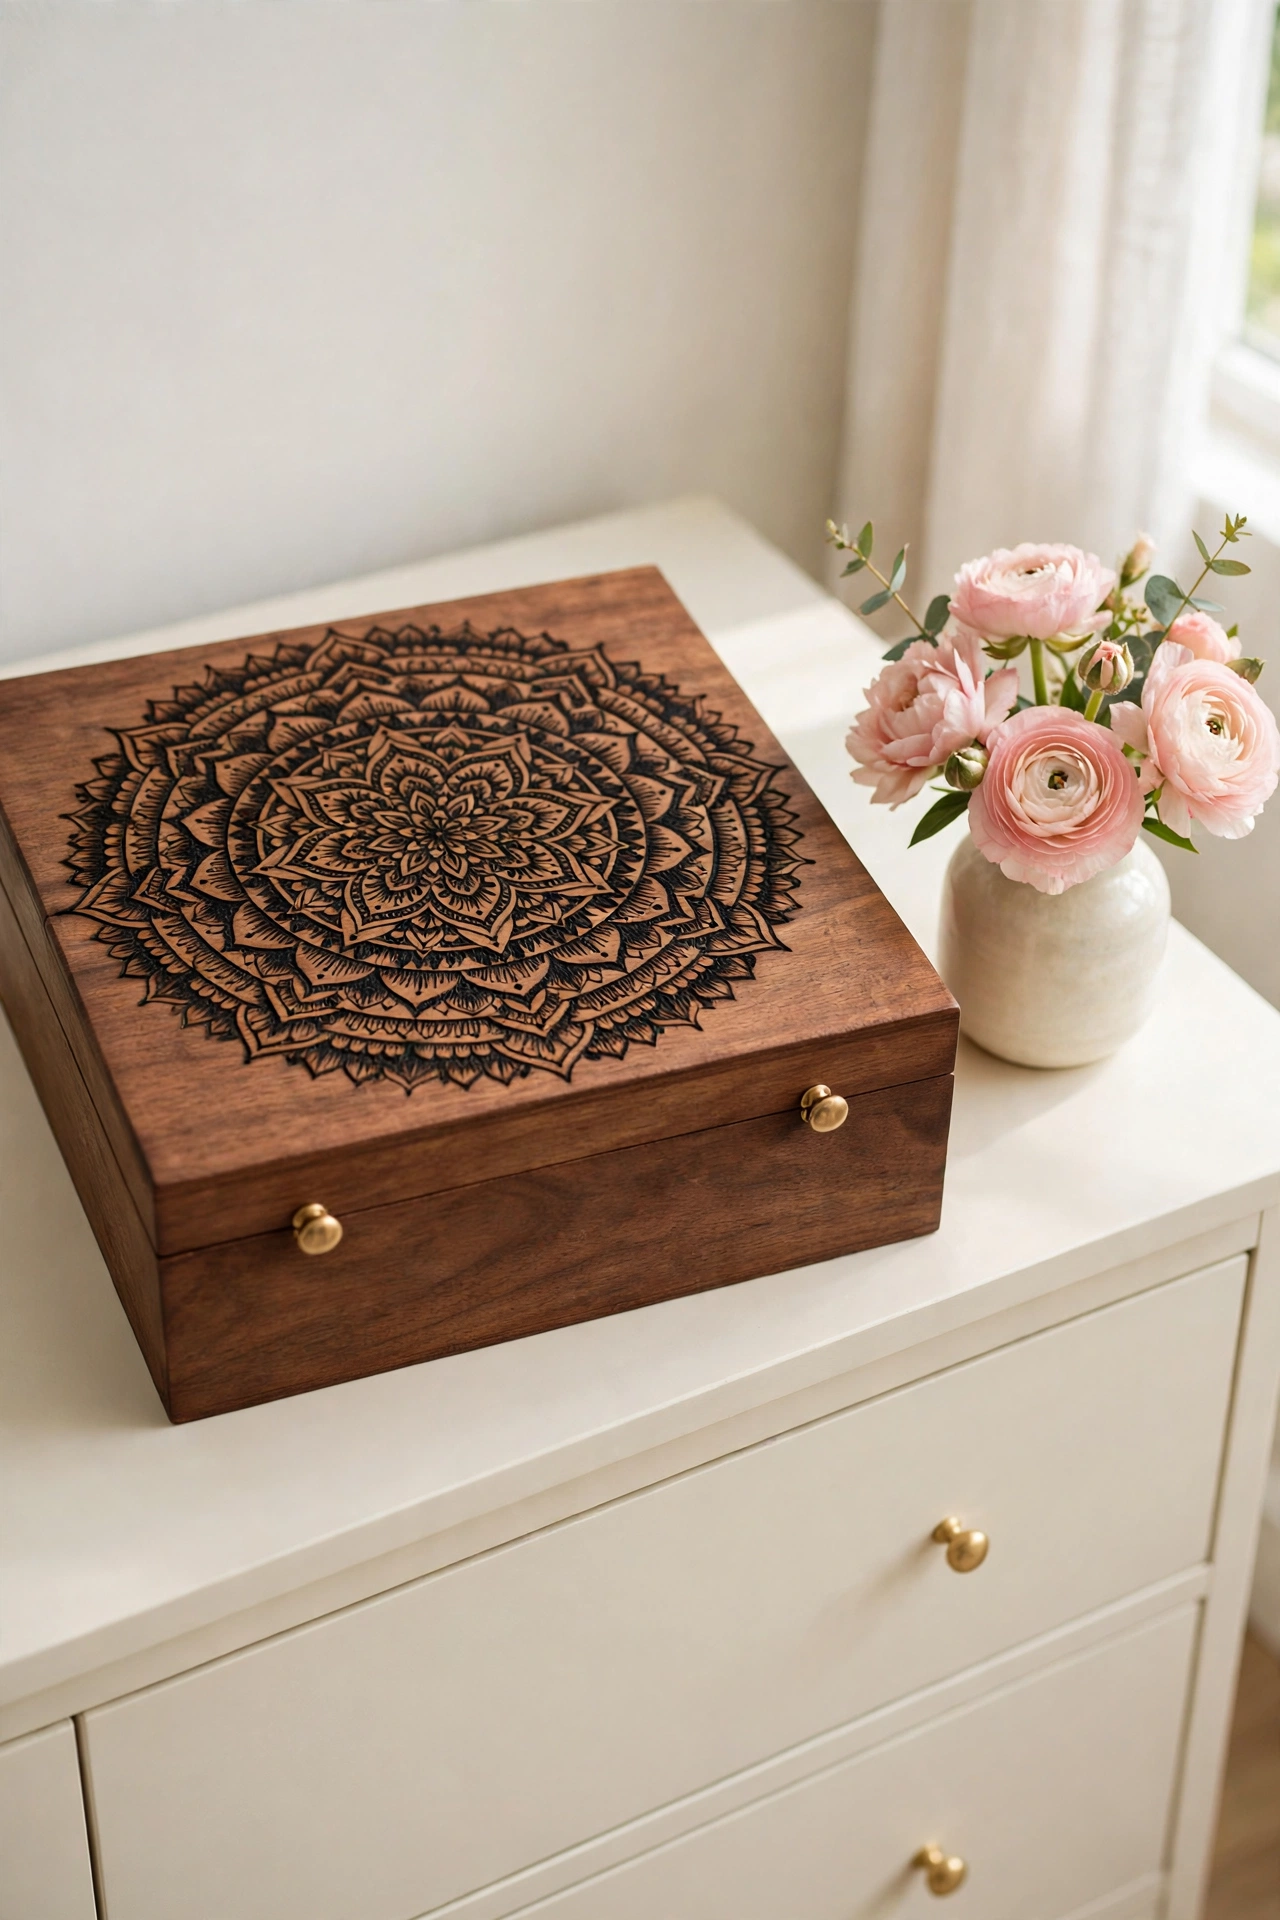
4. Create a Wood Burned Welcome Sign
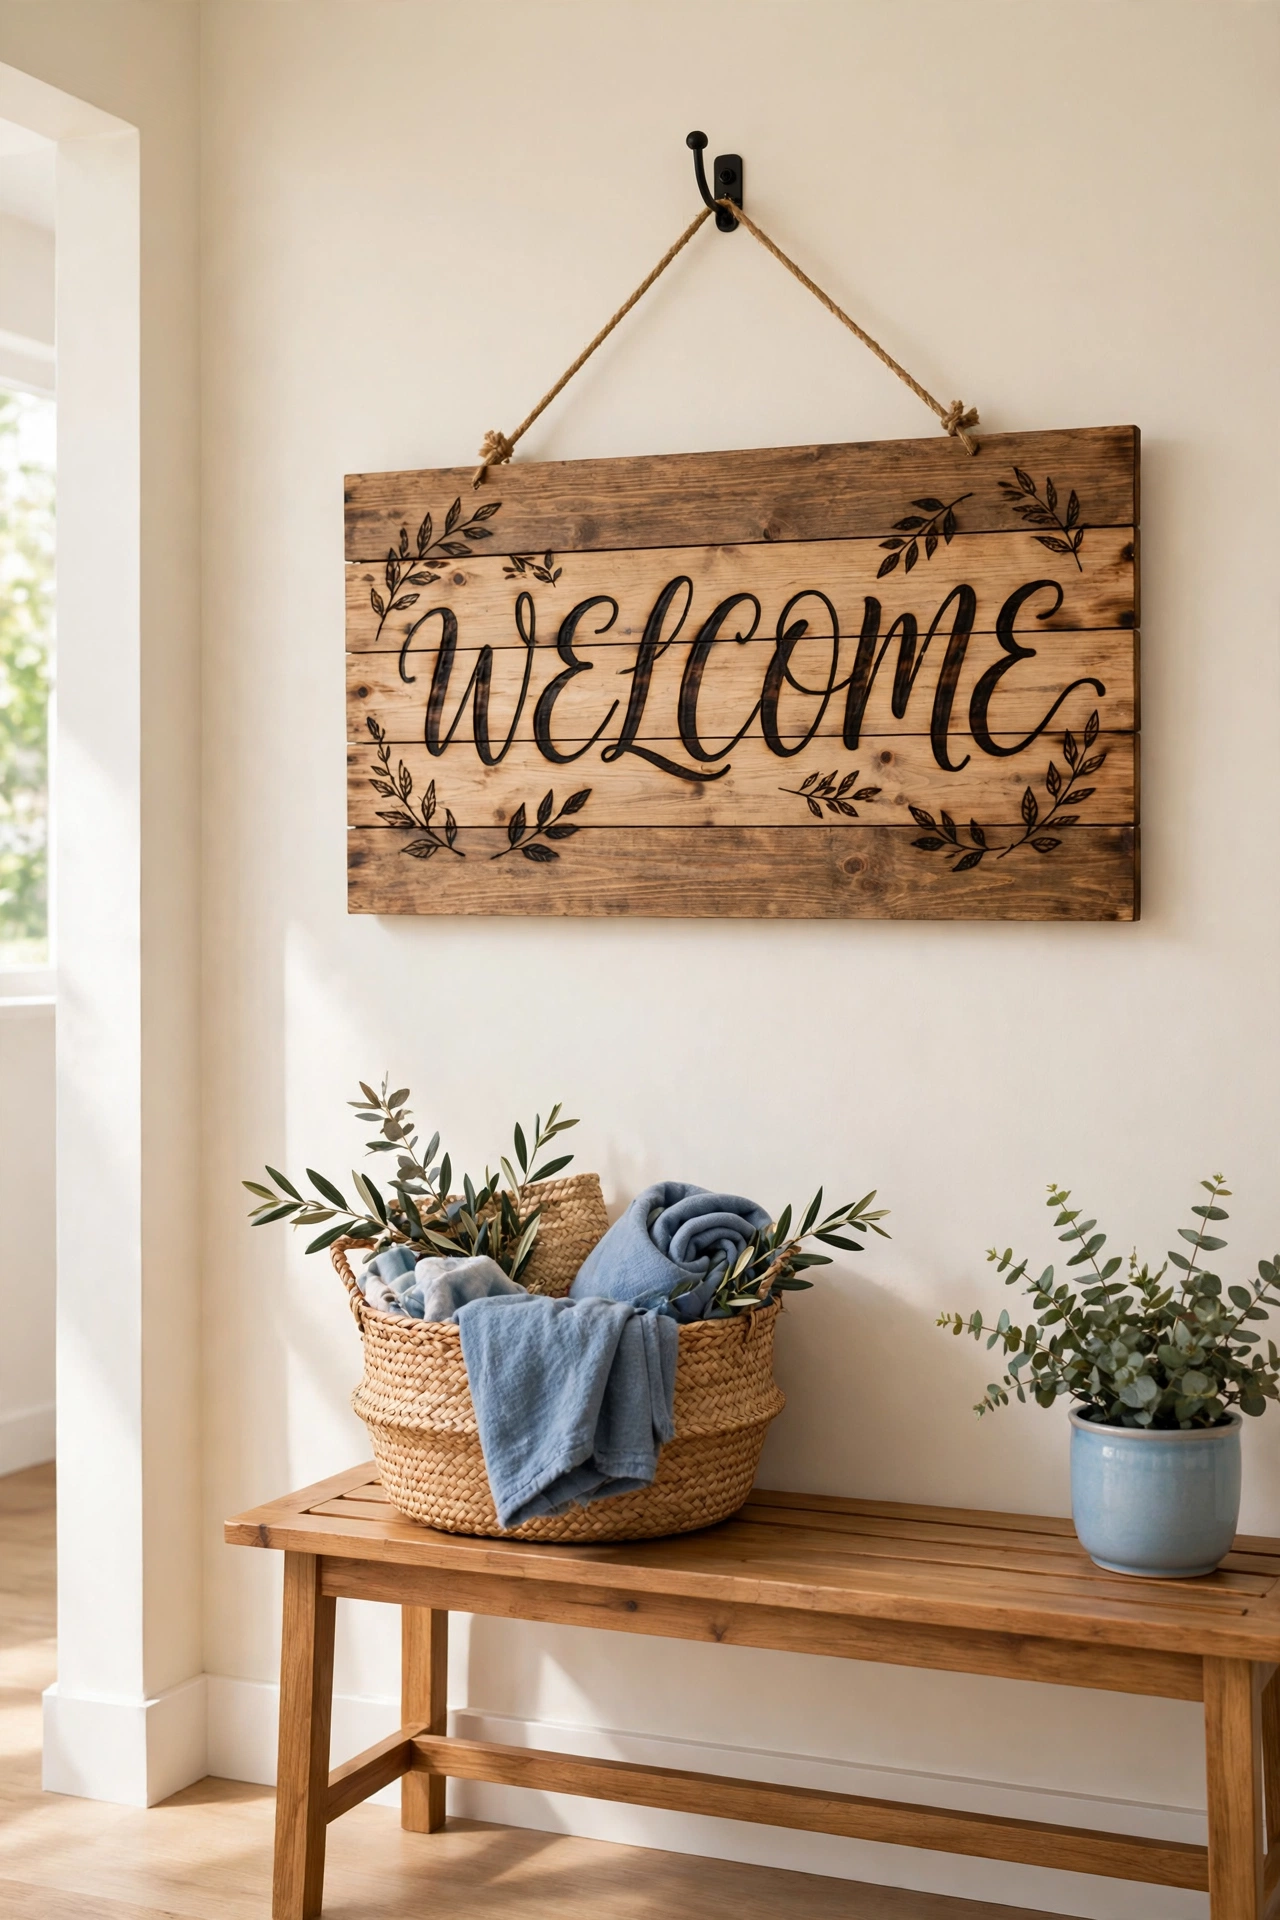
A welcome sign is one of the most satisfying wood burning projects because the result hangs where everyone can see it. Choose a smooth plank or a round wood slice, sketch the word welcome in large flowing letters, and burn the letters slowly with a medium tip. Add small burned stars, leaves, or a simple house outline around the word.
Hang the finished sign by the front door, in the entryway, or above a hallway bench. The burned letters have a warm rustic look that suits farmhouse, cottage, and modern homes alike. Seal the sign with clear outdoor sealer if it will hang outside so the burn lines stay dark and crisp through every season.
5. Burn Rustic Wood Slice Ornaments
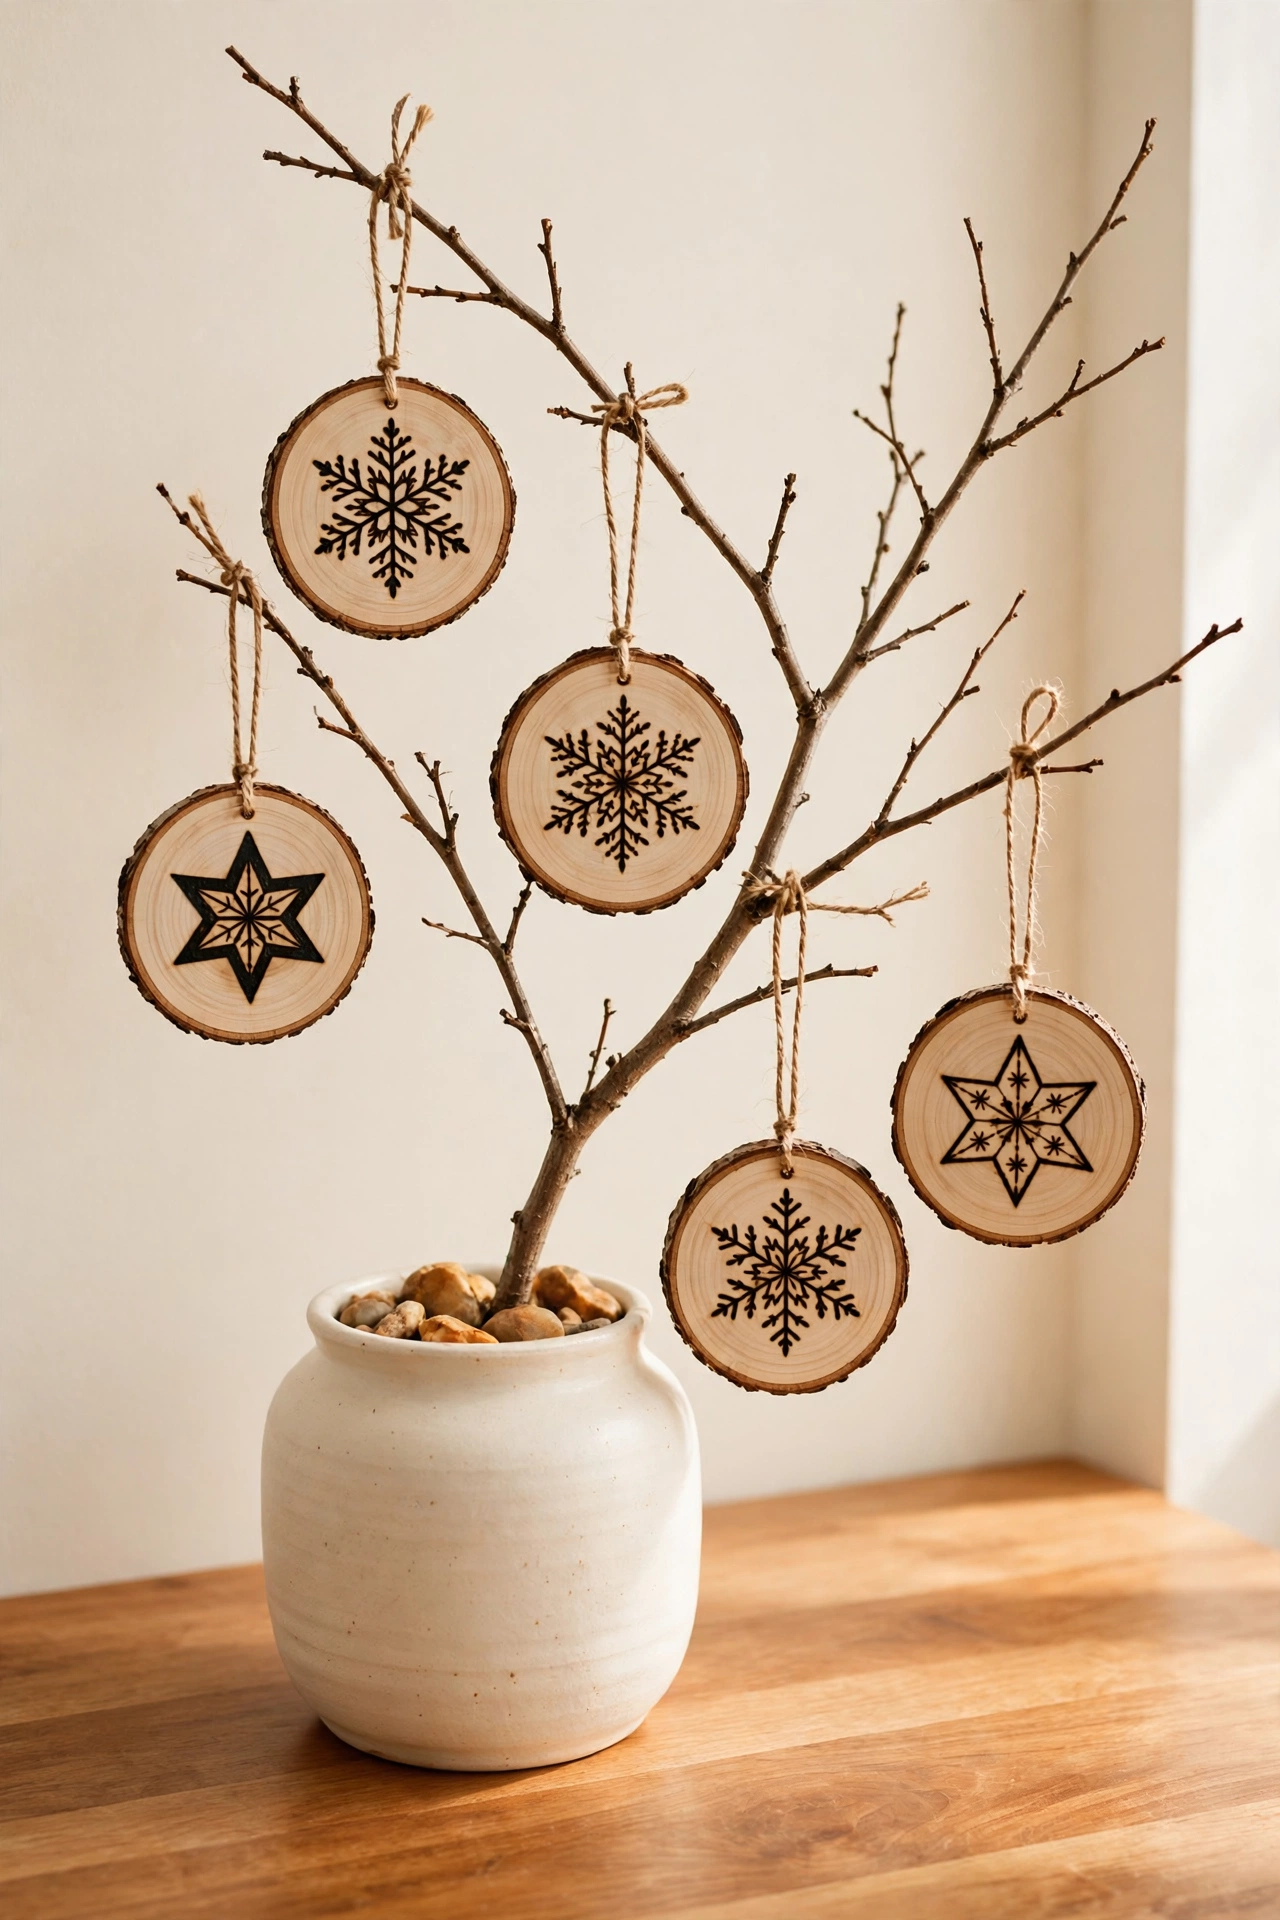
Thin wood slices with the bark still attached make charming ornaments for holidays, seasons, and everyday display. Burn a snowflake, a star, a heart, or a tiny pine tree onto the flat face of each slice. The natural edge of the bark frames the burned design and gives every ornament a rustic handmade feel.
Drill a small hole near the top of each slice and thread through twine or thin ribbon for hanging. A set of matching ornaments looks beautiful on a tree, along a mantel garland, or hanging from a branch in a tall vase. The small size makes these ornaments a quick project, so you can burn a whole set in one relaxed afternoon.
6. Burn a Bordered Serving Tray
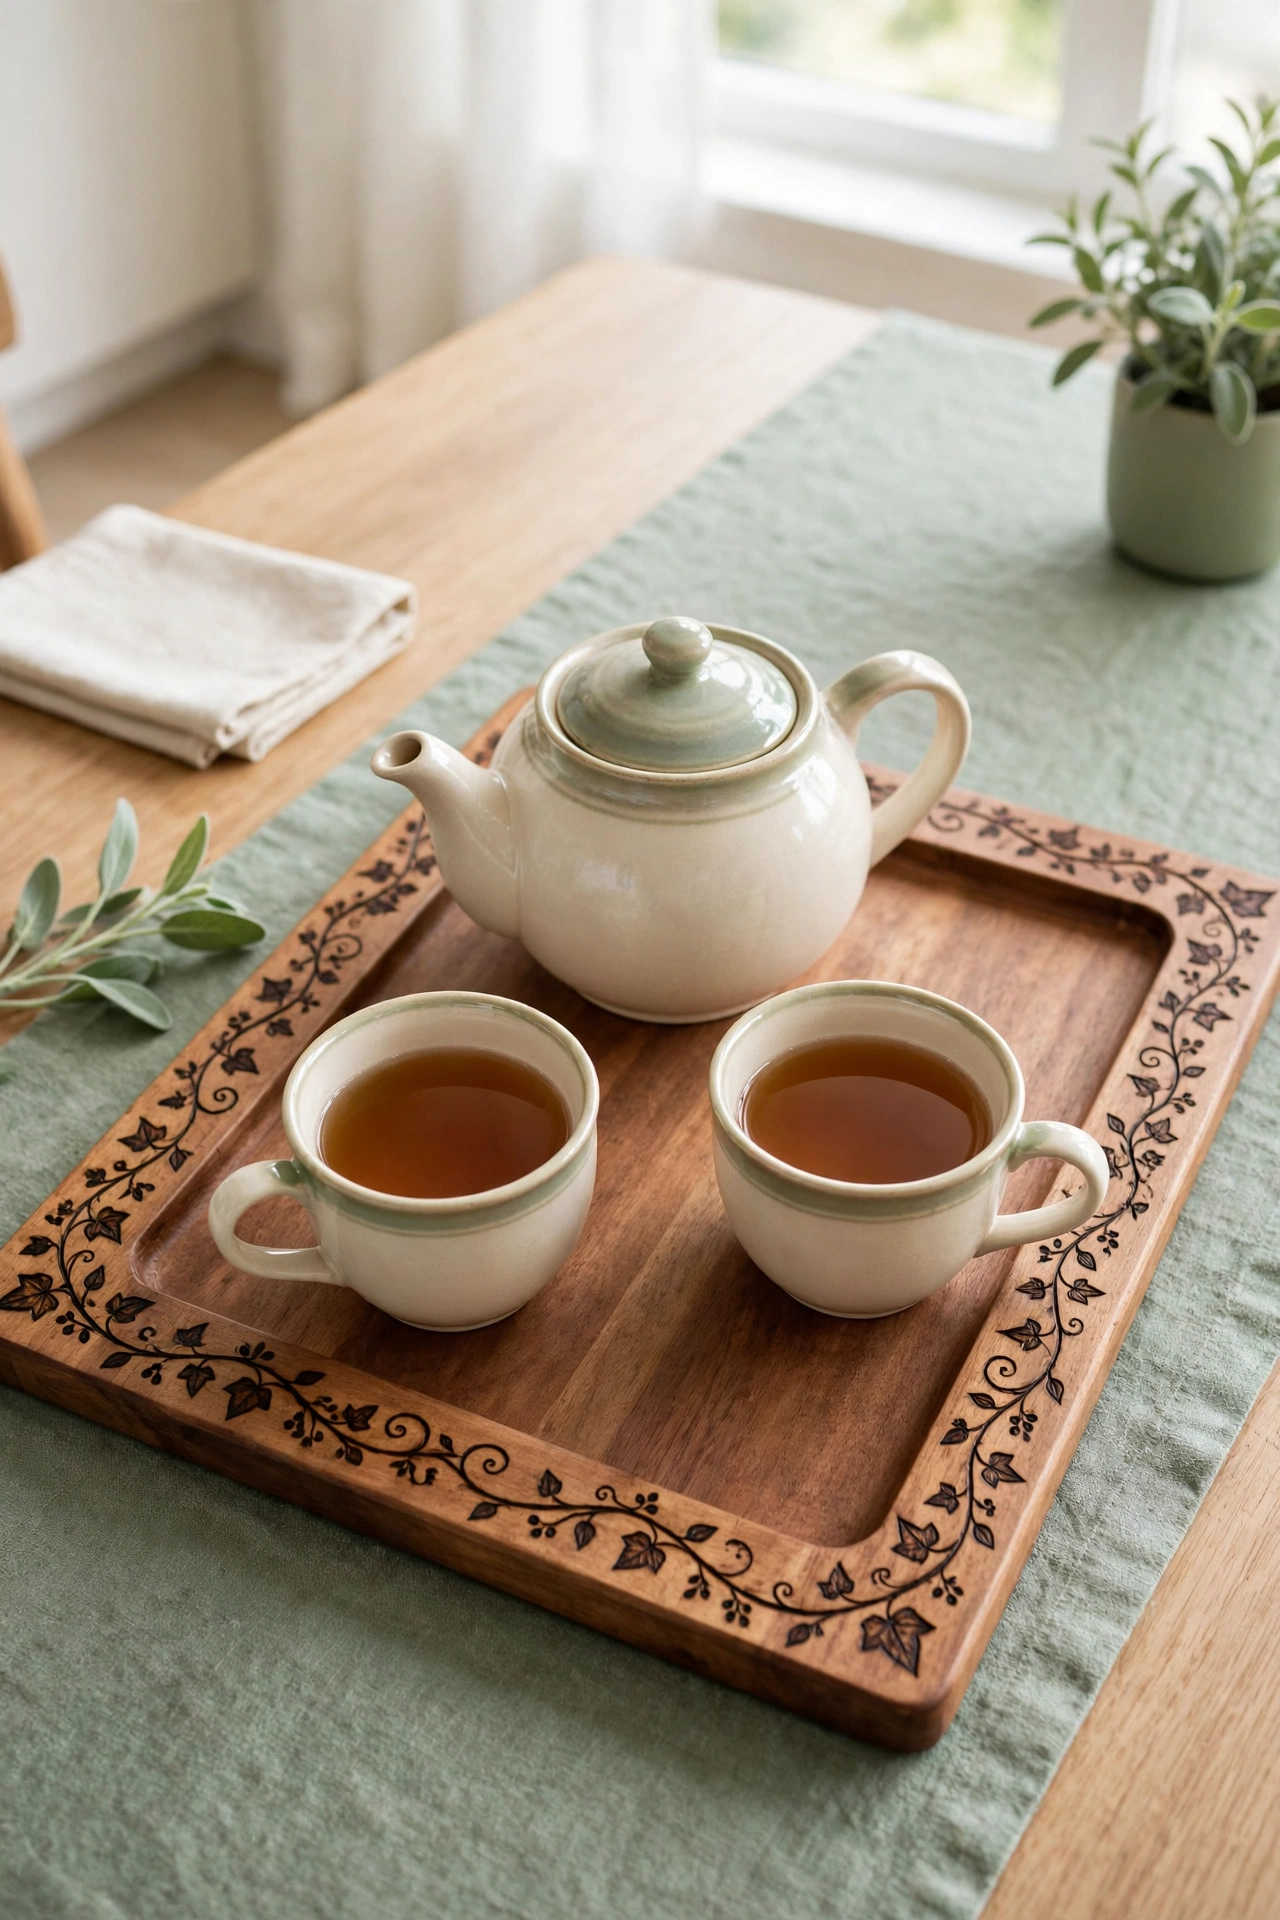
A wooden serving tray offers a generous flat surface for a burned border design. Try a repeating leaf pattern, a geometric lattice, or a simple vine that winds around all four edges. The border frames the center of the tray and turns an everyday item into a piece you will want to leave out on display.
Use the tray for morning coffee, afternoon tea, or a candle display in the living room. A light coat of clear sealer protects the burn work from spills and makes the tray easy to wipe clean. If the tray wood looks pale or uneven, these diy wood stain projects show how a warm stain under the burn lines can add depth and richness to the whole piece.
7. Burn a Decorative Cutting Board
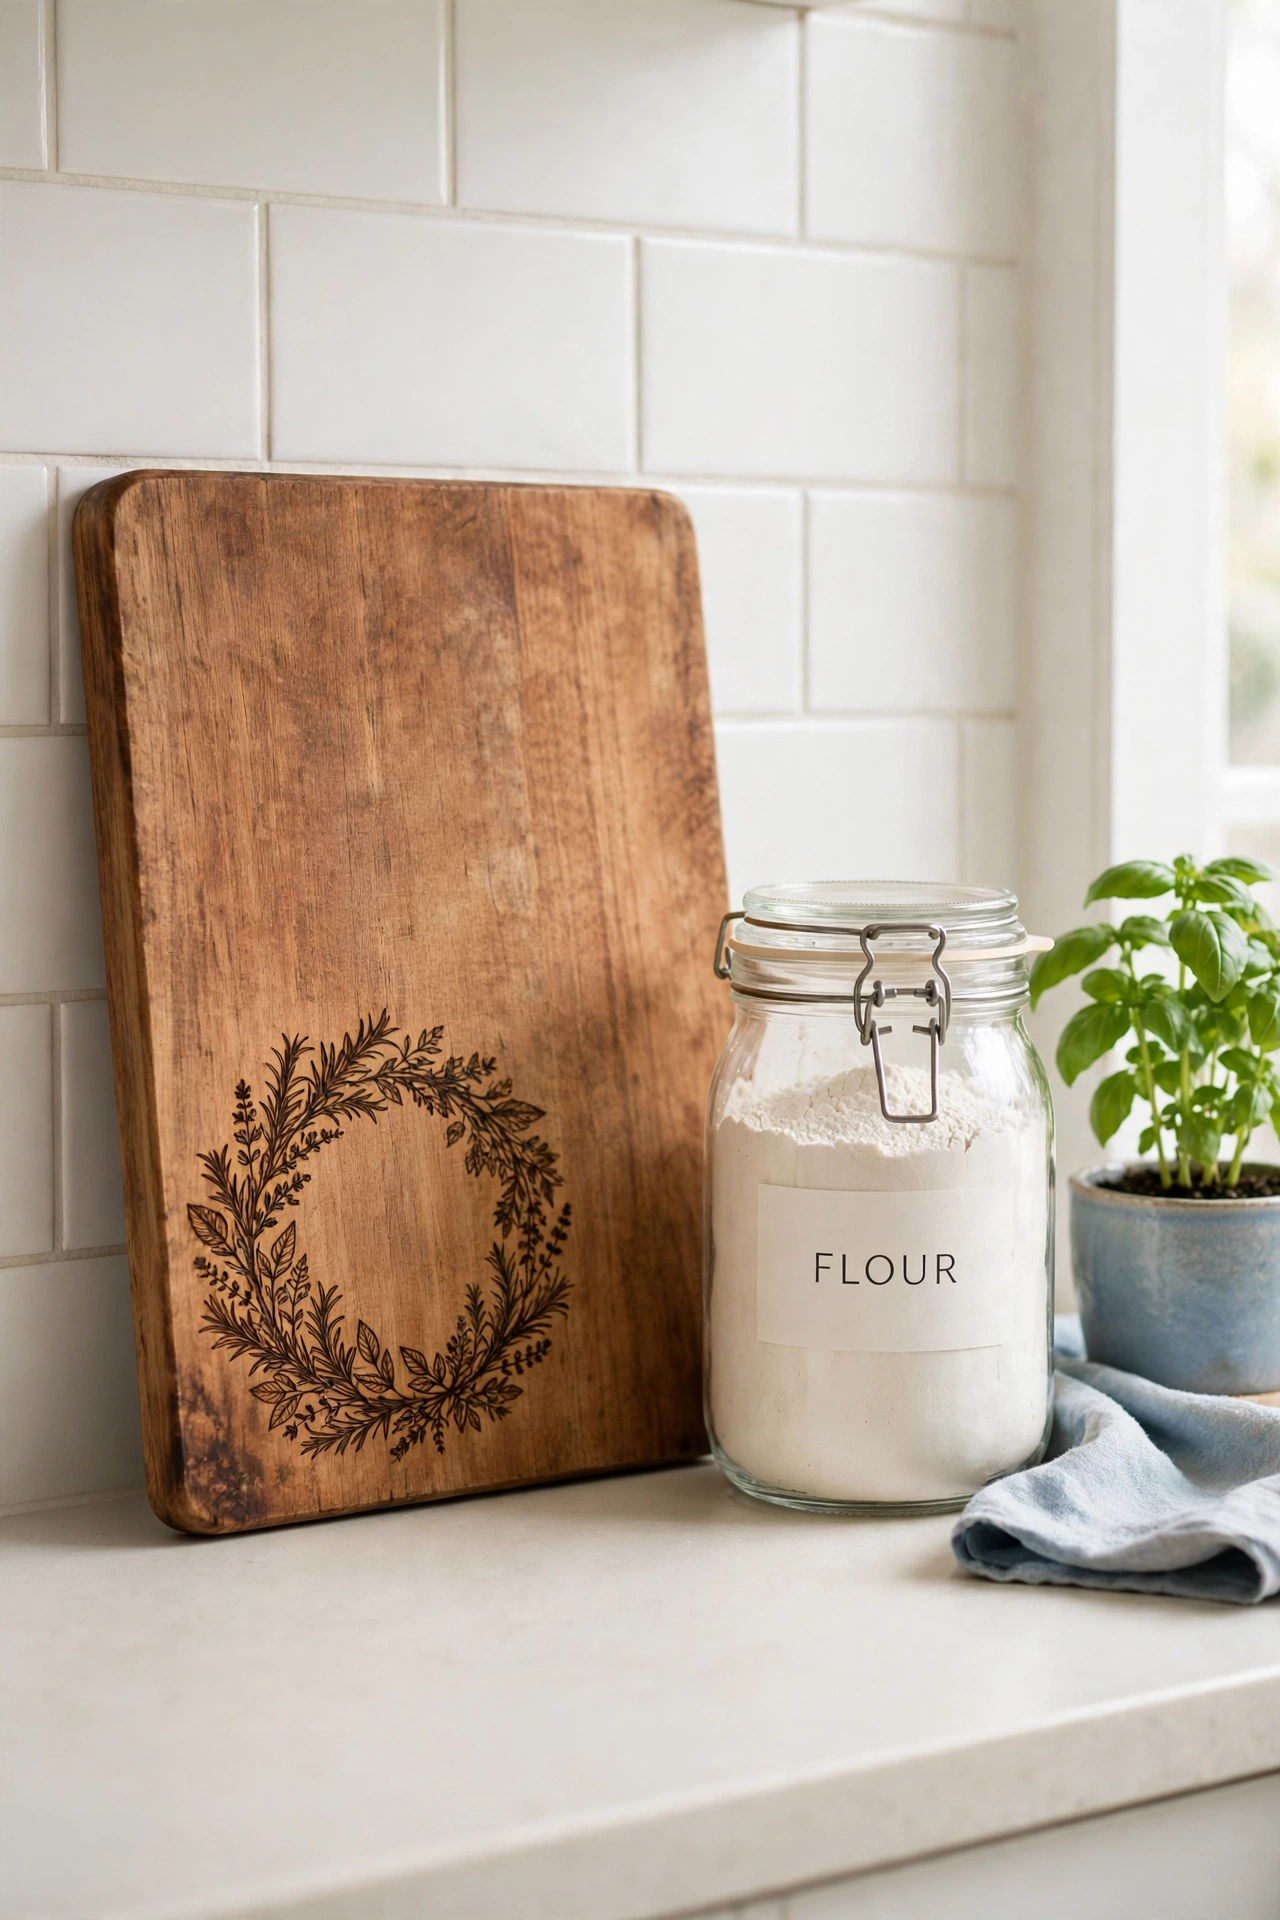
A cutting board with a burned design works best as a display piece or a serving board rather than a daily chopping surface. Burn a wreath of herbs, a farmhouse rooster, or a simple monogram near one corner, and leave the center clear for cheese, bread, or fruit. The burned design gives the board personality while the clear center stays practical.
Lean the finished board against the kitchen backsplash when it is not in use so the burned artwork stays visible. Choose a board with a handle hole so it hangs neatly from a hook as well. Seal the burned area with food safe oil if the board will touch food, and wash it gently by hand to keep the burn lines sharp.
8. Burn a Statement Wall Round
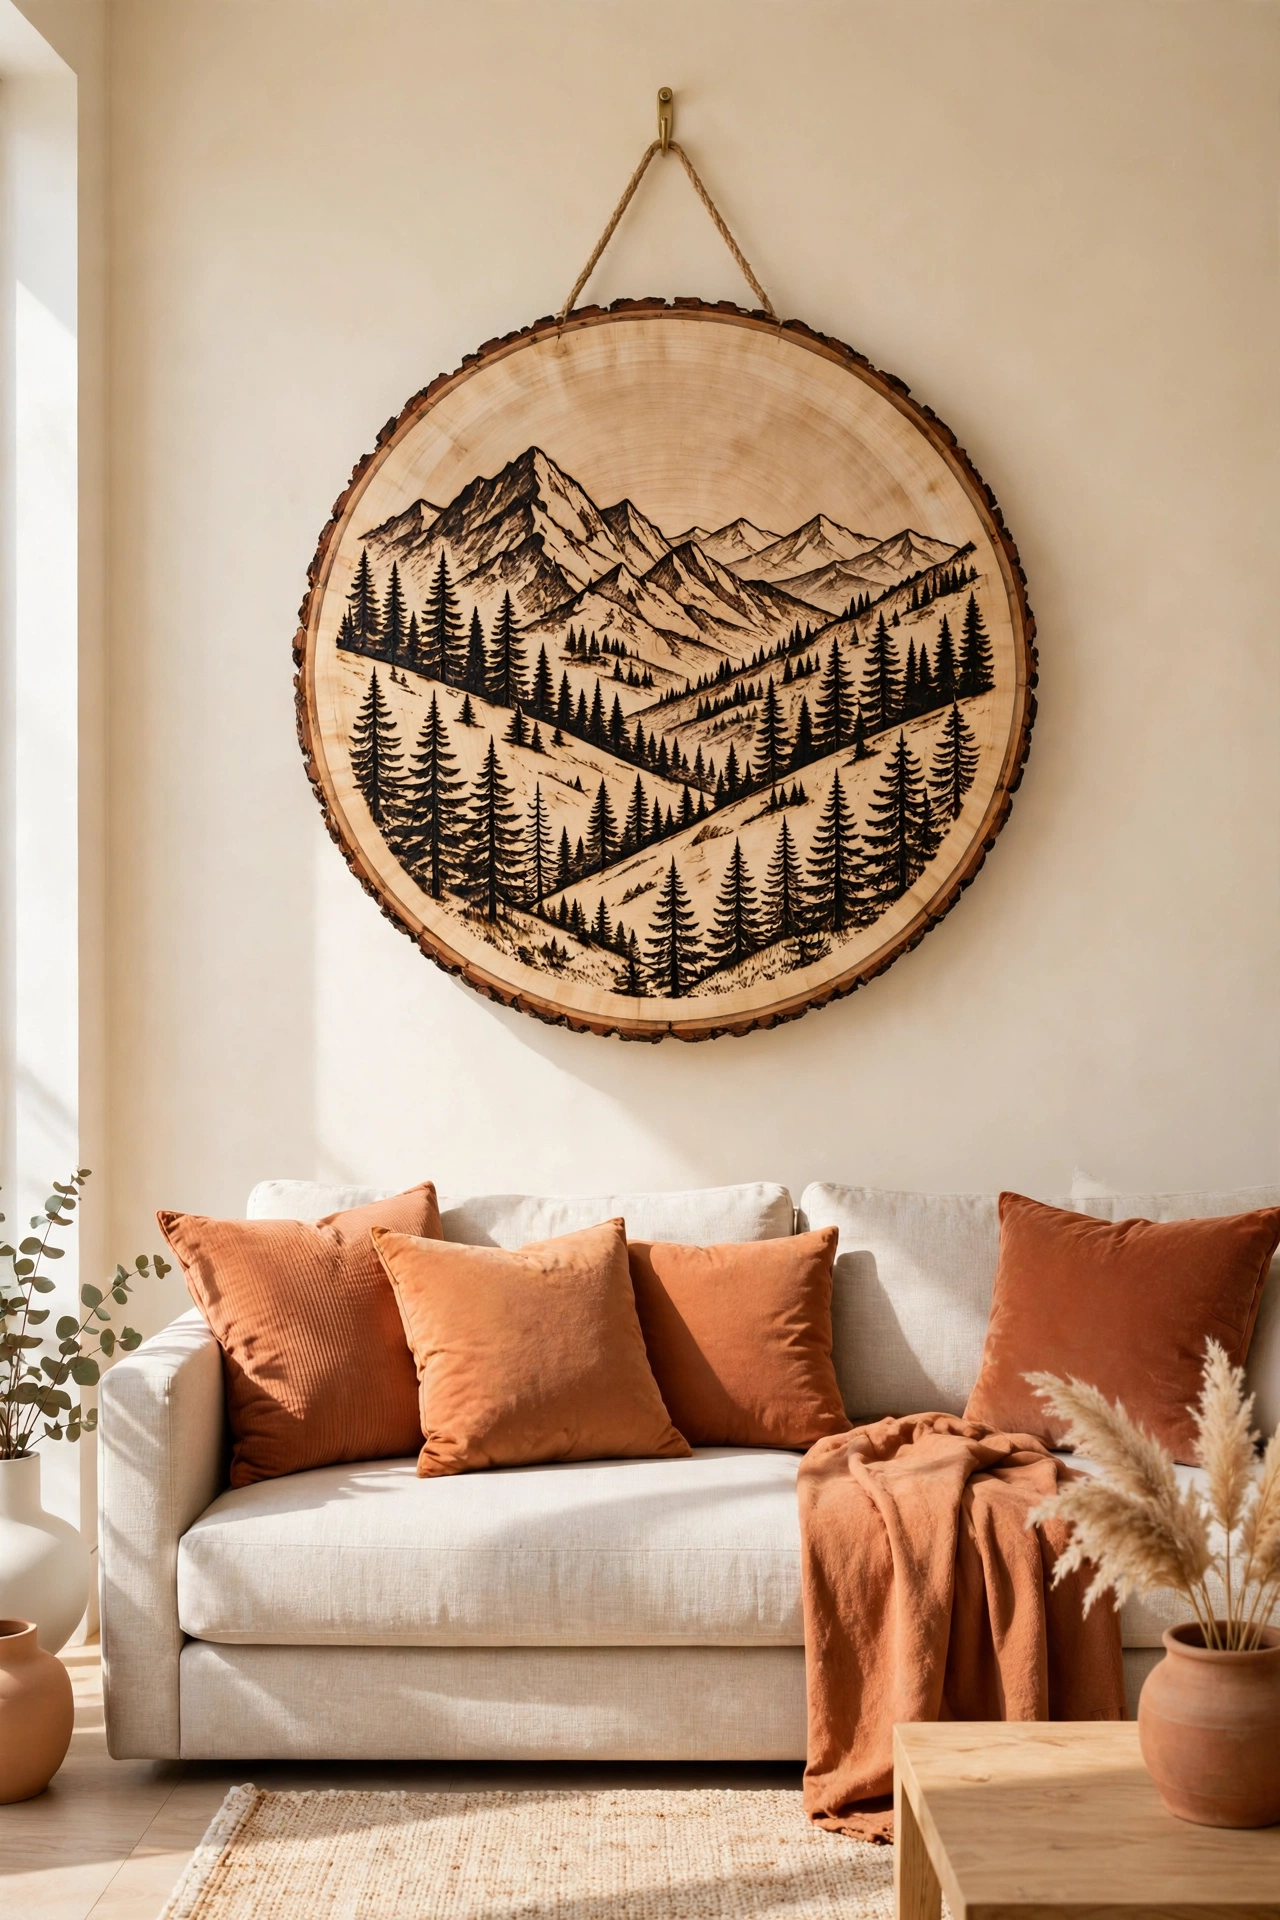
A large round wood slice makes a bold piece of wall art when you fill it with a burned landscape, a mountain scene, or a detailed floral wreath. The round shape suits circular designs, and the wide surface lets you build up shading and texture with slow layered strokes. Start with the main shapes and add fine detail last.
Hang the wall round above a sofa, a bed, or a reading chair where it can act as a focal point. The natural wood tones and dark burn lines pair beautifully with textured walls, and a round like this looks especially striking against these diy faux brick wall ideas because the warm wood and the brick tones share the same cozy palette.
9. Burn Garden Plant Markers
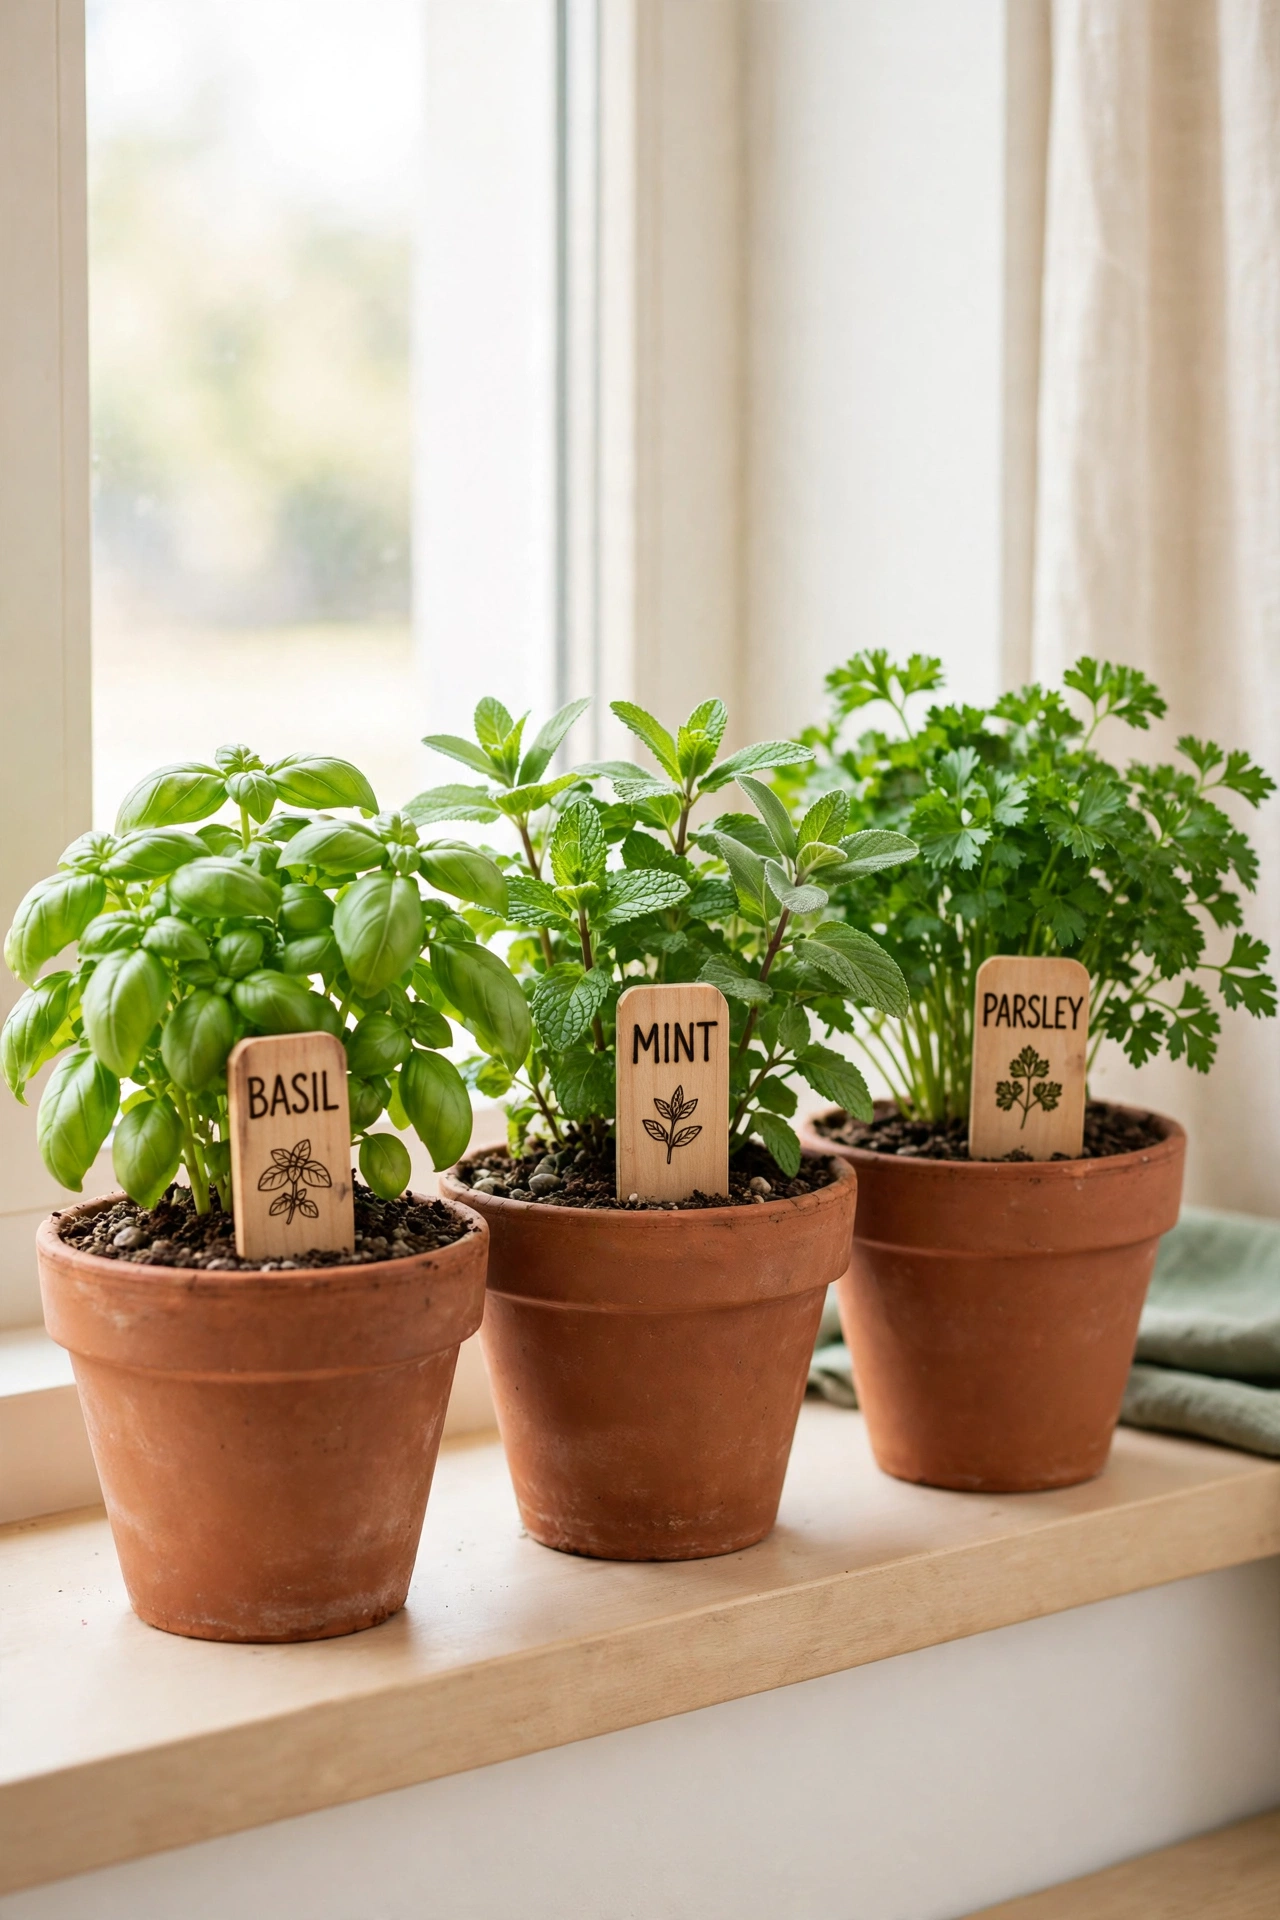
Wooden plant markers are a practical project that puts your wood burning skills to work in the garden. Burn the name of each herb or vegetable onto a small wooden stake with clear block letters, and add a tiny burned drawing of the plant beside the name. The burned letters will not wash away in rain the way ink does.
Push the finished markers into pots on a windowsill, raised beds, or a small herb garden by the kitchen door. The markers look tidy and charming, and they make it easy for the whole family to find the right herb at cooking time. Seal the markers with outdoor sealer so the burn lines stay readable through the growing season.
10. Burn a Key Holder With Hooks
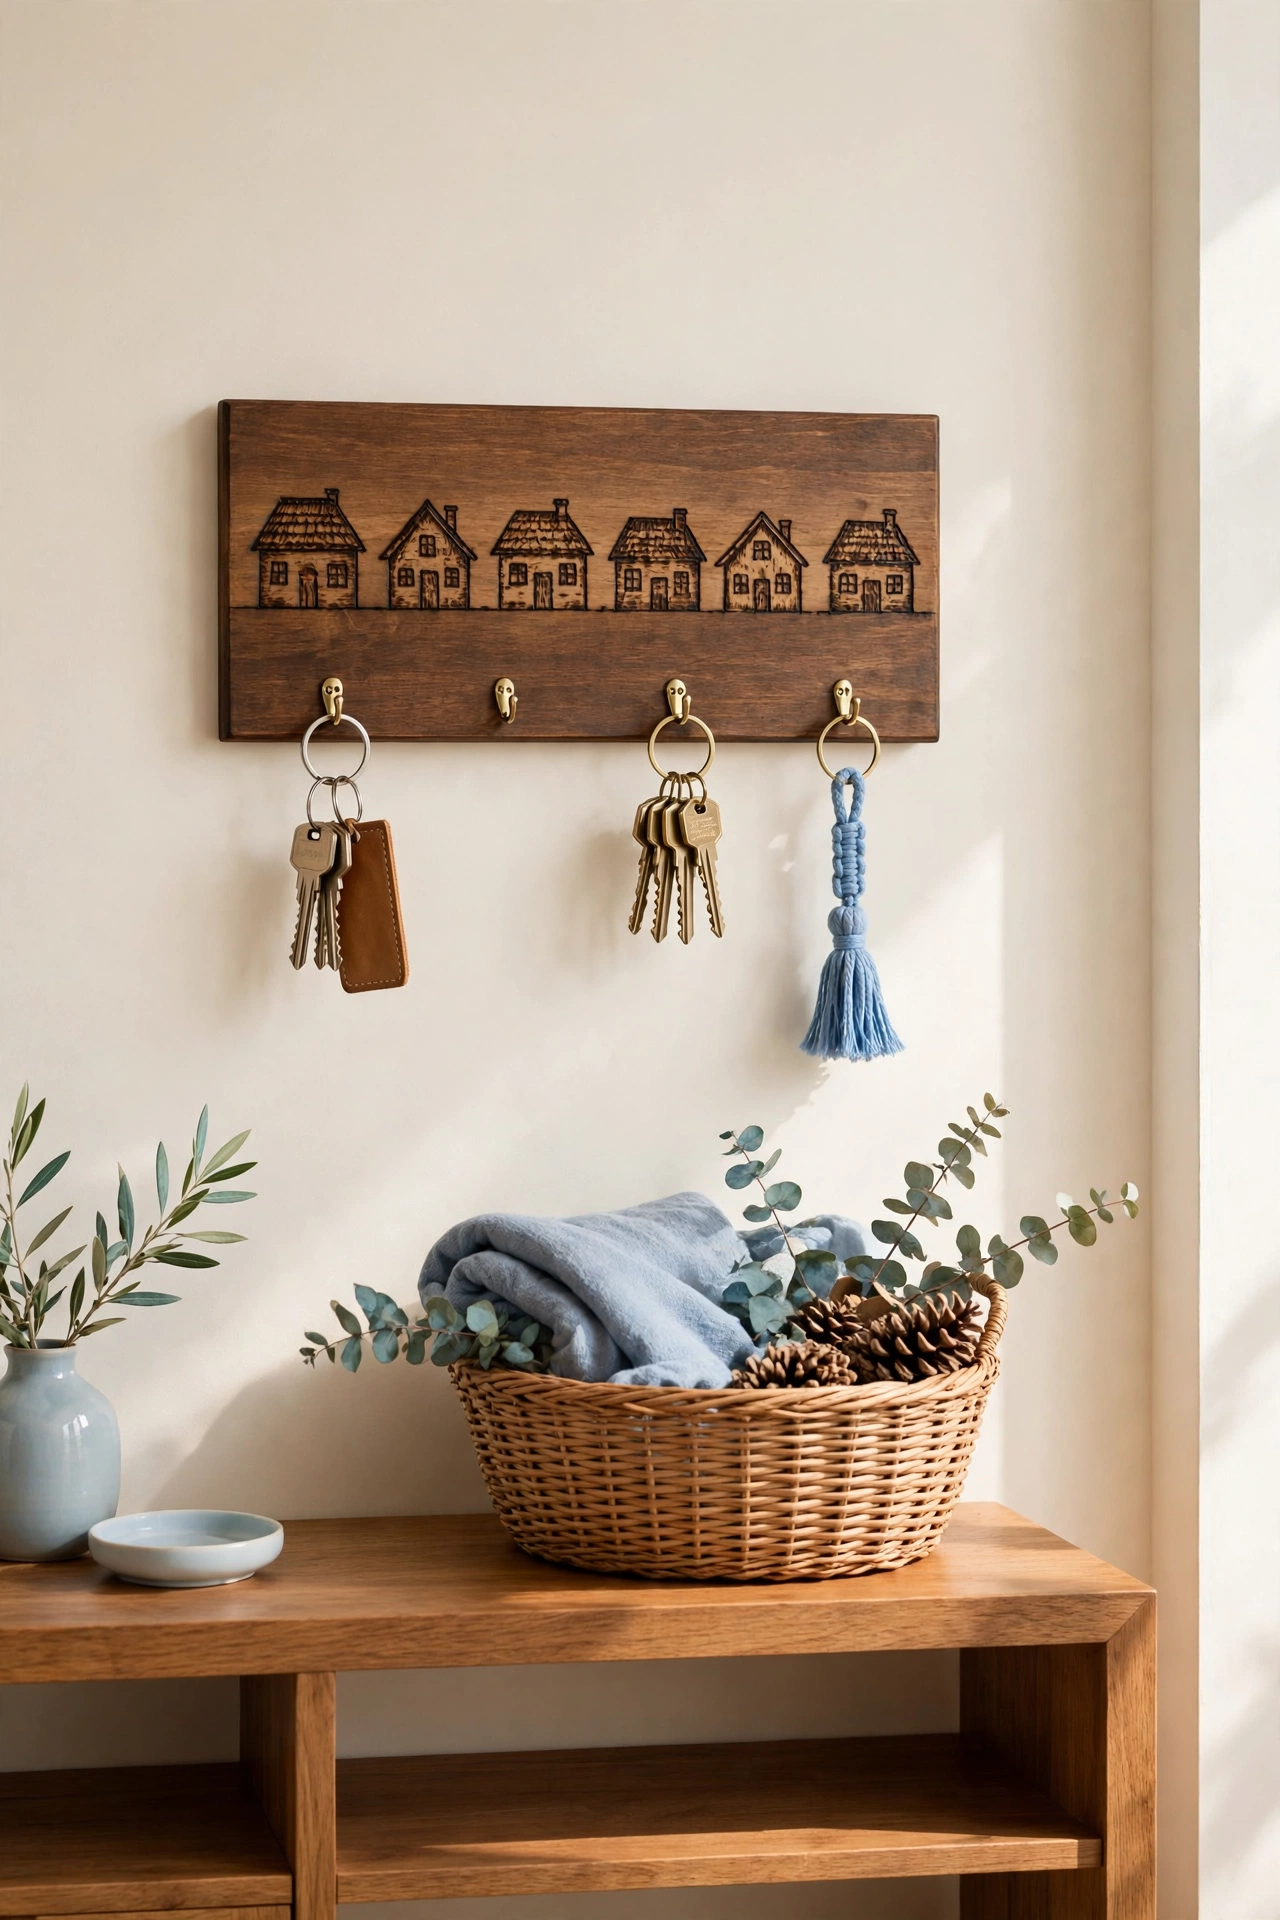
A key holder is a small wall project that combines burned artwork with everyday function. Burn a row of houses, a line of trees, or a cheerful phrase like home sweet home across a narrow wooden board, then attach small hooks along the bottom edge. The burned design turns a useful item into a welcoming piece of entryway decor.
Mount the holder near the front door at a height that is easy for everyone to reach. Keys, dog leashes, and small bags can all hang from the hooks, and the entryway stays tidy because everything has one clear home. For hooks with extra character, these diy cabinet knob makeover ideas show how painted or patterned knobs can double as sturdy and stylish hanging pegs.
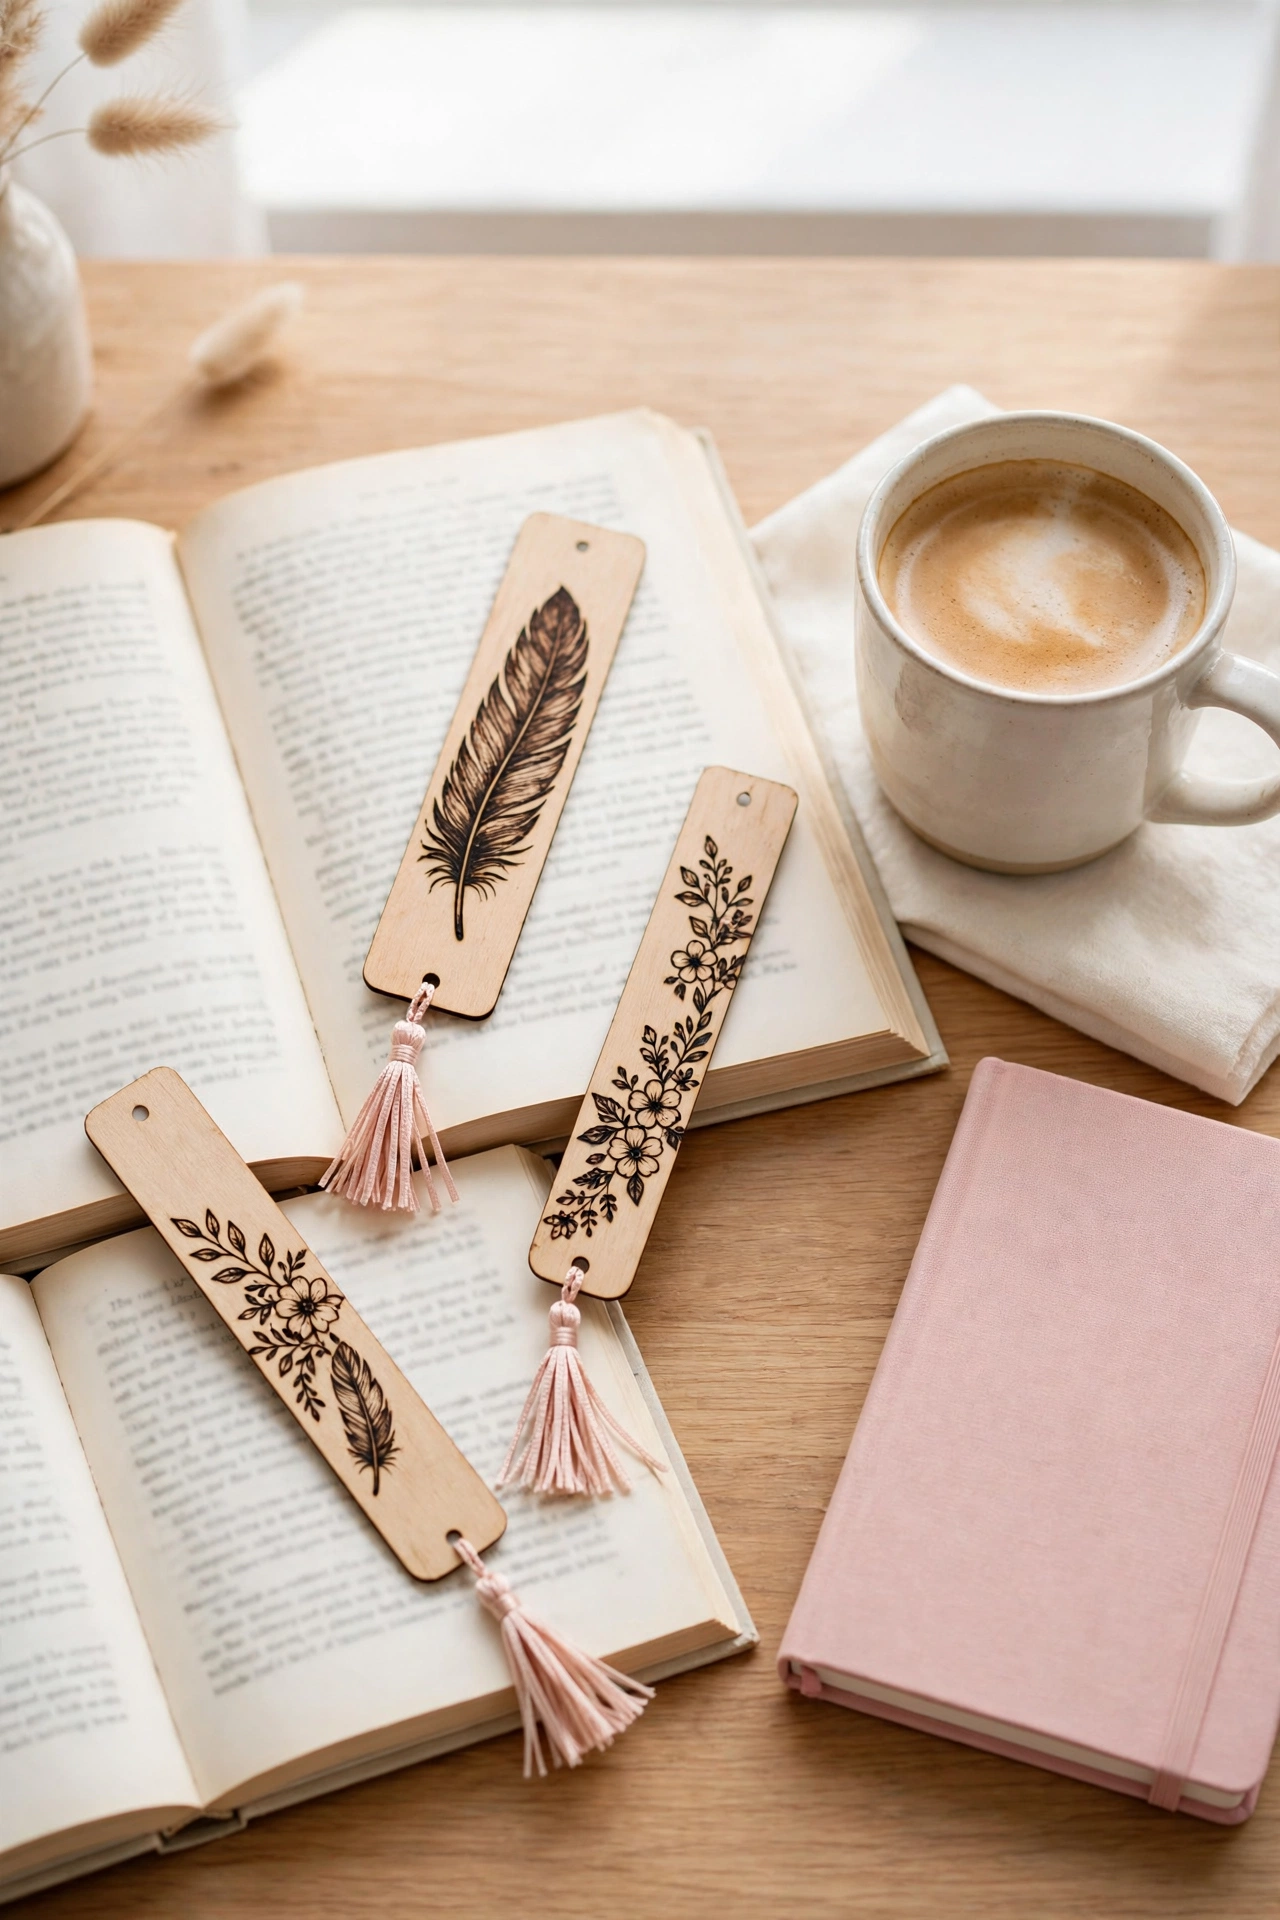
11. Burn Wooden Bookmarks With Fine Detail
Thin wooden bookmarks are a lovely small project for practicing fine line work. The narrow shape suits a single stem of flowers, a feather, a bird, or a short favorite quote burned in neat lettering. The fine tip of the pyrography pen glides along the smooth wood and gives you crisp lines with very little effort.
Bookmarks make thoughtful gifts for readers, teachers, and students, and they slip easily into a card or a wrapped book. Add a tassel or a short length of ribbon through a hole at the top for a finished look. A set of three or four bookmarks in different designs makes a charming gift bundle that costs very little to create.
12. Burn a Patterned Picture Frame
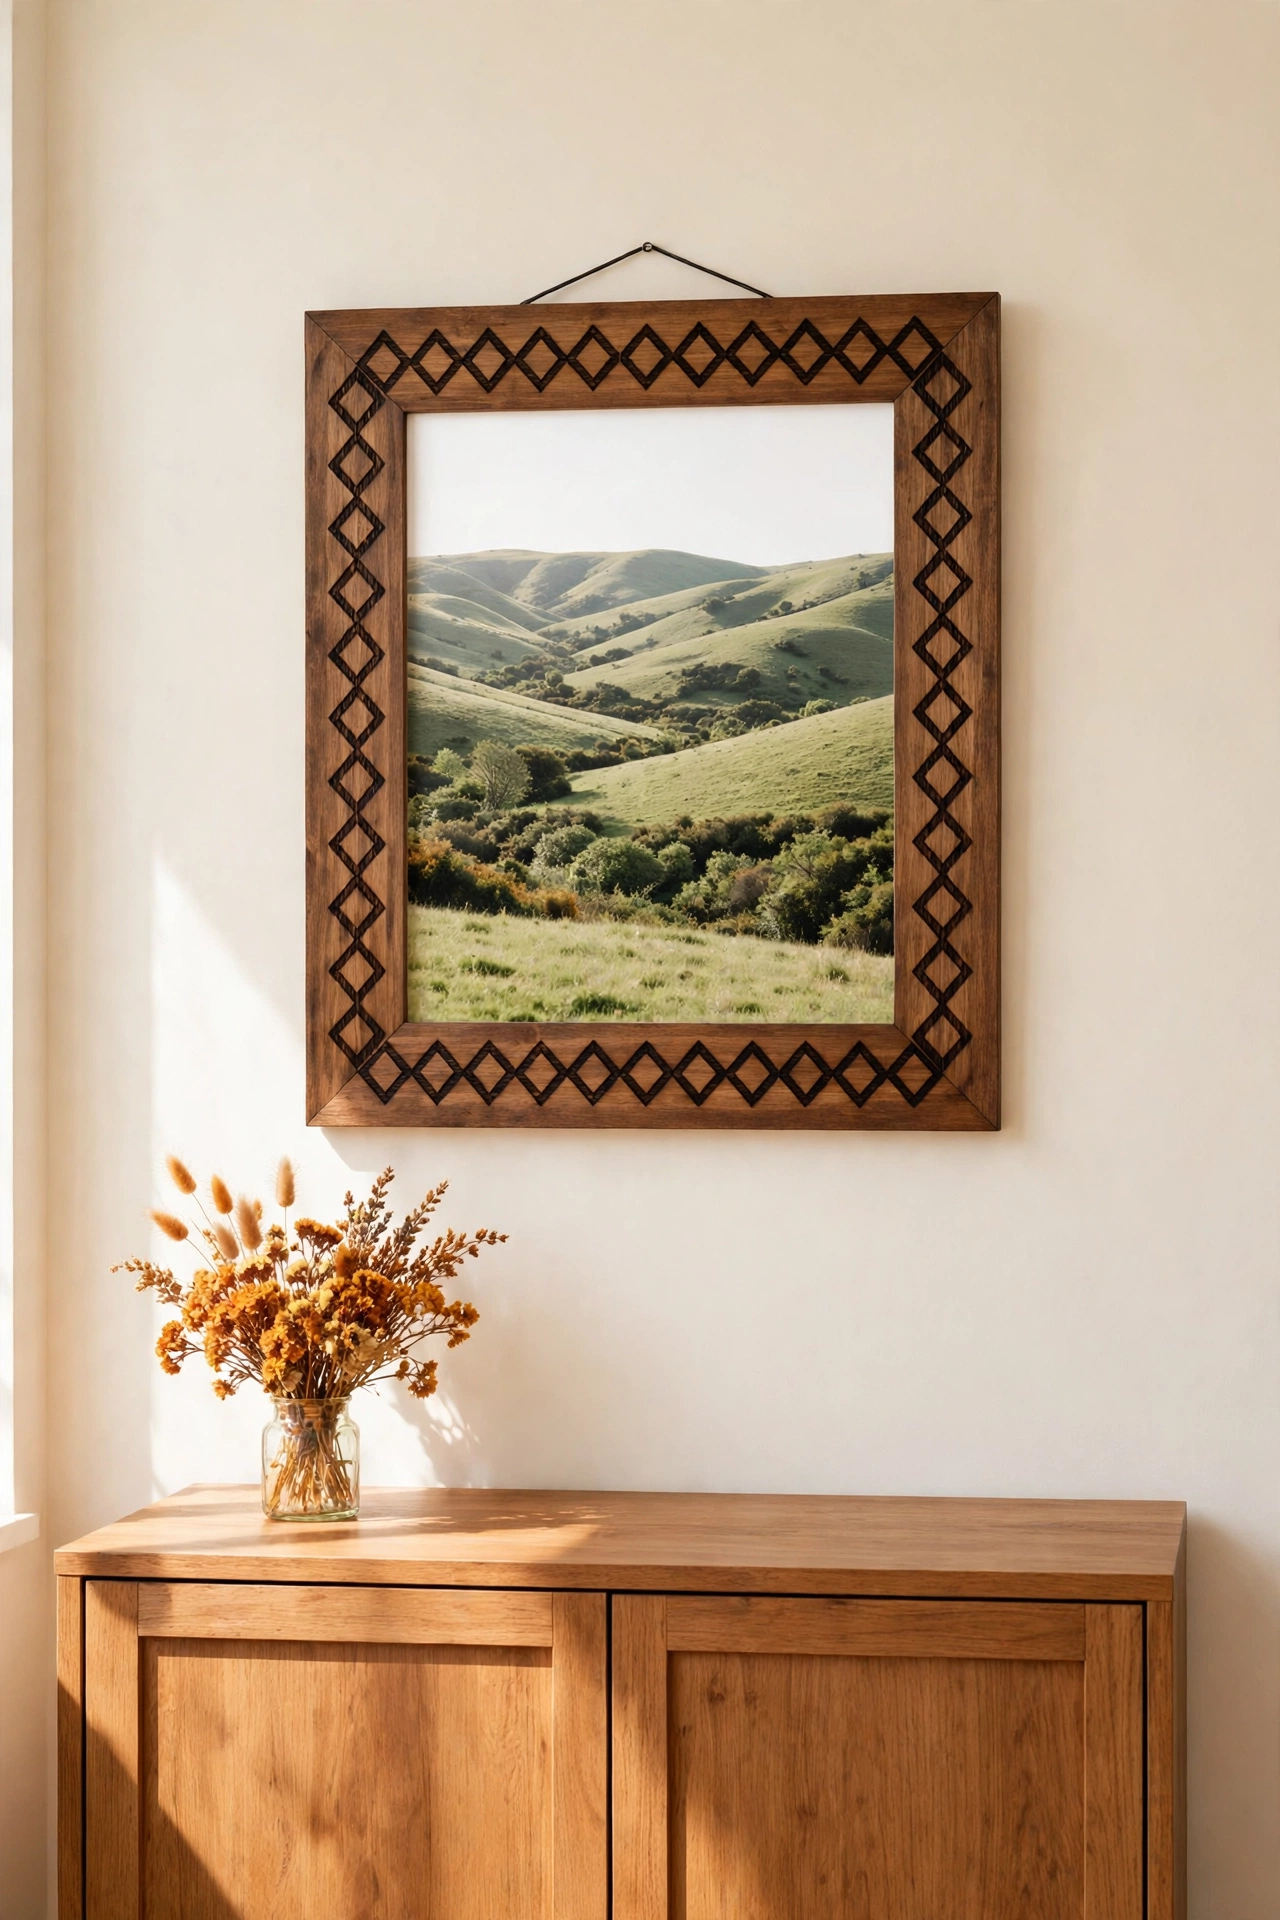
A plain wooden picture frame becomes a work of art when you burn a pattern around all four sides. Try a scalloped border, a row of tiny flowers, or a geometric diamond pattern that repeats neatly around the corners. The burned pattern frames the photo inside and makes the whole piece feel handmade and intentional.
Use the finished frame for a favorite family photo, a pressed flower, or a small print that suits the pattern you burned. A group of matching burned frames on a gallery wall looks cohesive and personal. Keep the burn lines even by rotating the frame as you work so your hand always moves in a comfortable direction.
13. Burn a Labeled Recipe Box
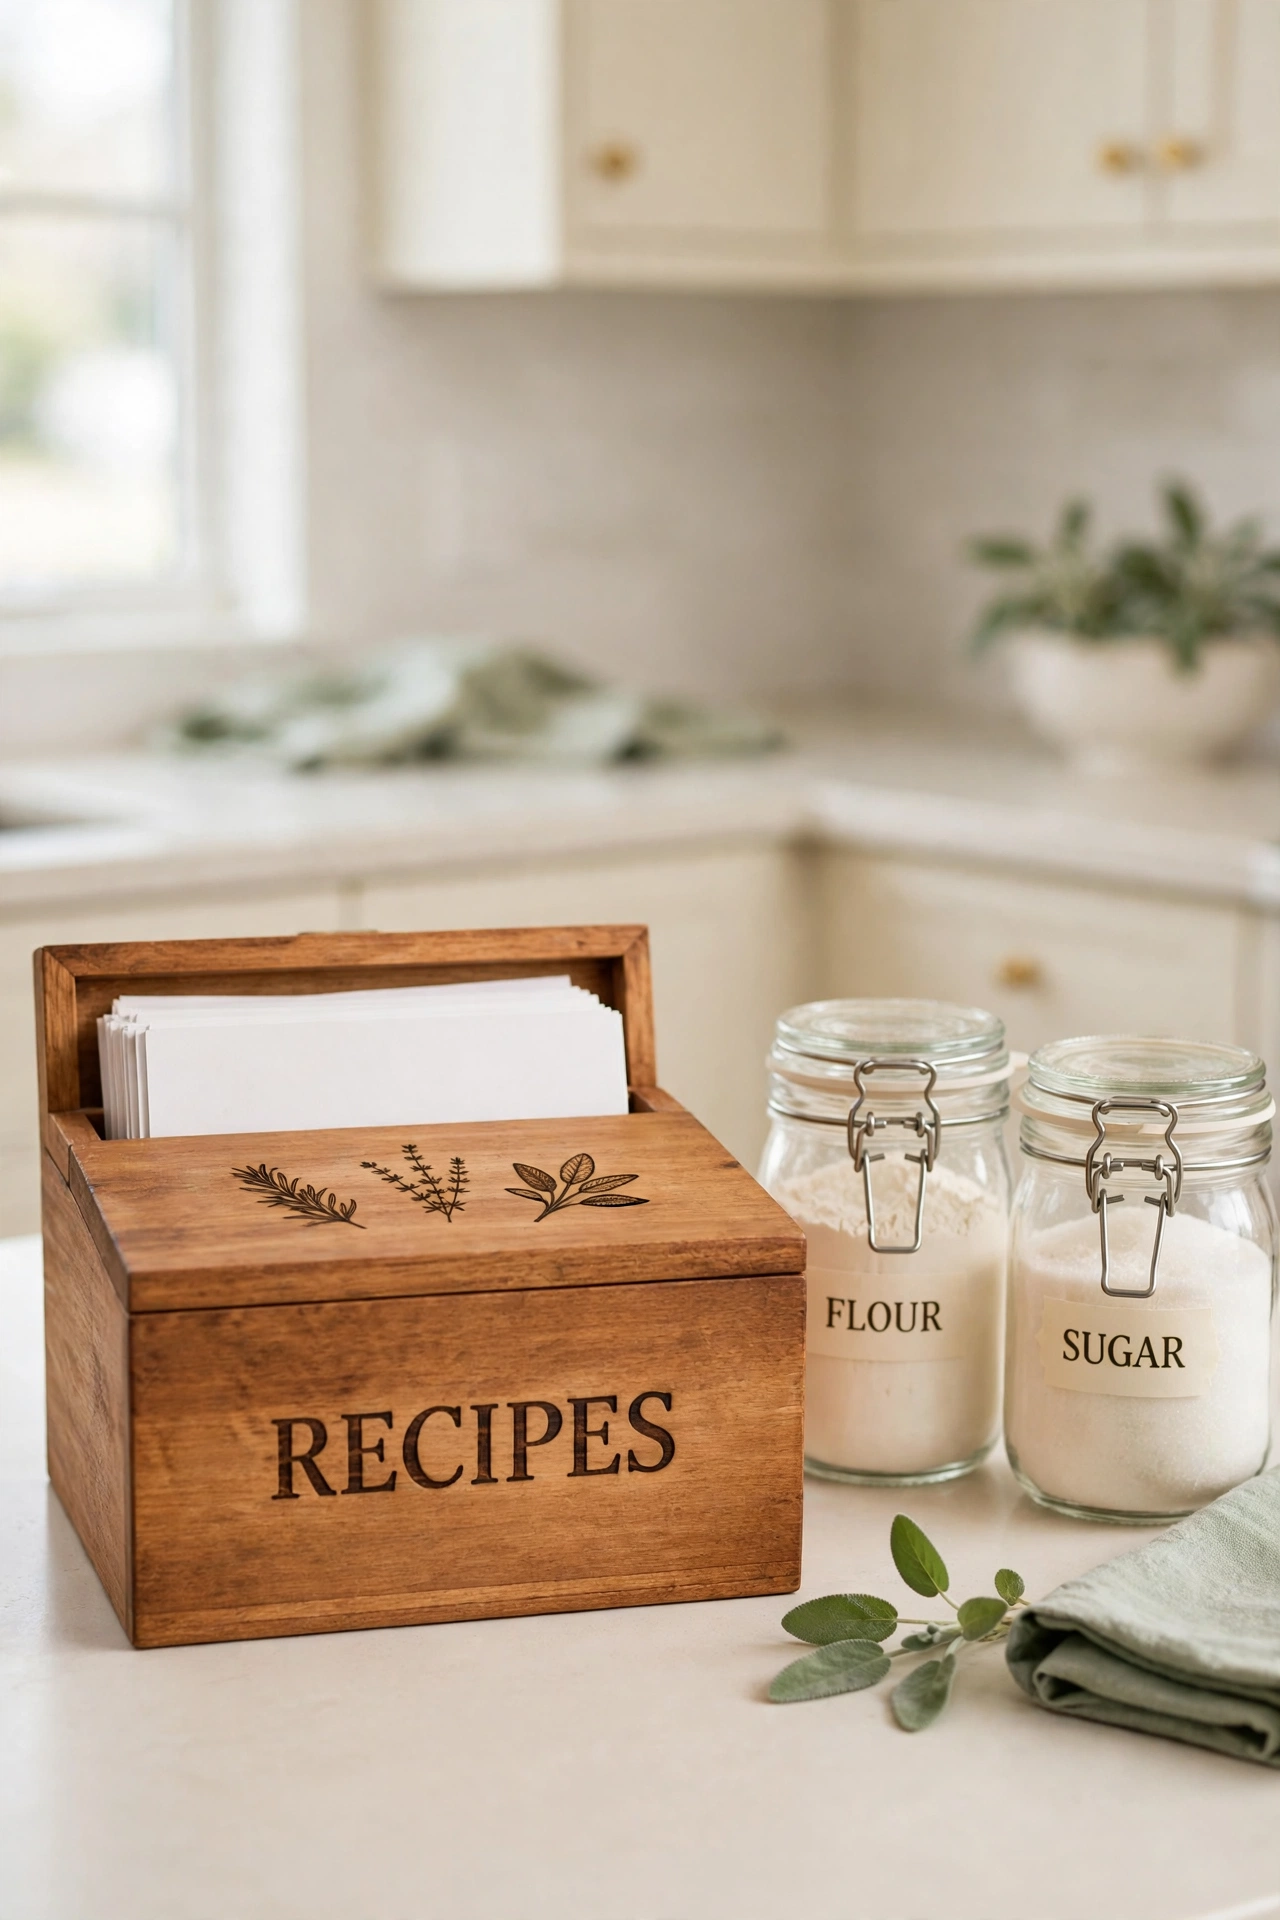
A wooden recipe box with a burned label is a kitchen treasure that gets better with every recipe card added. Burn the word recipes across the front in bold letters, and add small burned drawings of a whisk, a rolling pin, or a sprig of herbs on the lid. The burned label is easy to read and will never peel or fade.
Fill the box with handwritten recipe cards sorted by dividers, and keep it on the kitchen counter where it stays within reach while you cook. A burned recipe box also makes a heartfelt gift for a new homeowner or a newly married couple. Start the box with a few of your own favorite recipes tucked inside as a warm surprise.
14. Burn Patterned Wooden Candle Holders
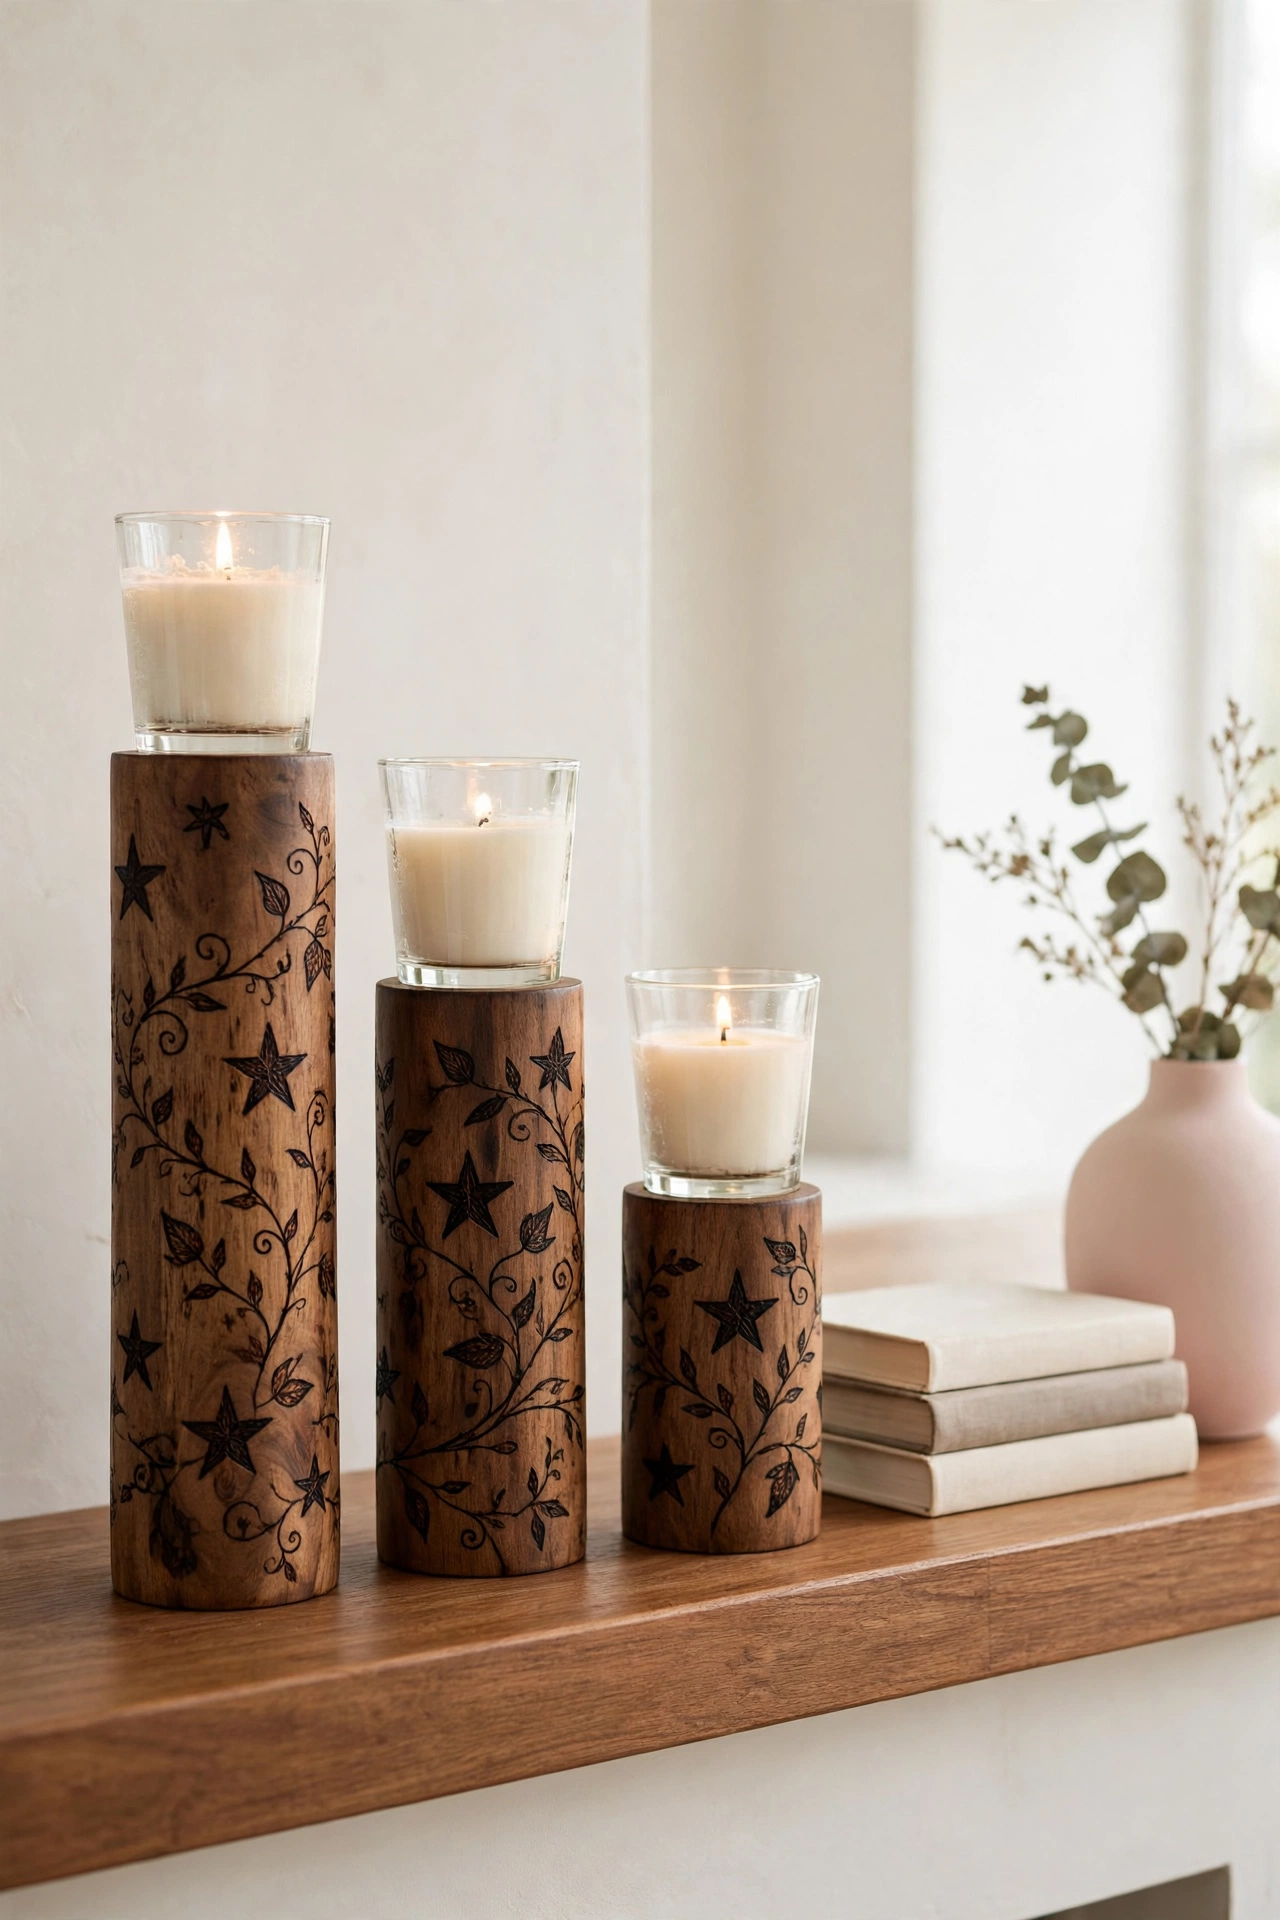
Wooden candle holders with burned patterns bring a soft warm glow to any room. Burn rings, dots, stars, or a wrapping vine around the outside of each holder, and keep the burned designs below the rim where the candle sits. A set of three holders in different heights looks balanced on a mantel or a dining table.
Always use the holders with candles in glass cups or with battery candles so the flame never touches the wood directly. The burned patterns catch the candlelight beautifully in the evening and add texture to the table even when the candles are unlit. A matching set makes a calm and thoughtful gift for anyone who loves cozy evenings at home.
Conclusion
Wood burning is a craft that rewards patience with pieces no store can match. Each burned line carries the mark of the hand that made it, and each finished accessory tells a small story about the home it belongs to. Whether you start with a coaster, a spoon, or a welcome sign, the first project will teach your hand the slow steady rhythm that makes pyrography so relaxing.
Choose one idea from this list and burn it this week, with a pencil sketch first and a calm unhurried pace. Once you finish the first piece, pair it with other handmade touches around the home, because burned wood looks wonderful beside natural textures like rope and woven baskets, as these diy rope decor ideas show with warm coastal styling. Your home will feel more personal with every burned piece you add.
Frequently Asked Questions About DIY Wood Burning Decor Ideas for Handmade Accessories
What wood is best for wood burning beginners?
Soft light colored woods with a smooth even grain are best for beginners. Basswood, birch plywood, and pine are all easy to burn and show the dark burn lines clearly. Avoid wood with heavy grain patterns or rough surfaces, because the pen tip can catch and skip, which makes clean lines harder to achieve.
Do I need to seal wood burned projects?
Yes, sealing protects the burn lines from fading, moisture, and everyday wear. Use a clear matte sealer for display pieces, food safe oil for items that touch food, and outdoor sealer for pieces that will live outside or in the garden. Apply the sealer in thin coats and let each coat dry fully before adding the next one.
How do I transfer a design onto wood before burning?
Draw the design lightly in pencil directly on the wood, or print the design and trace it with graphite transfer paper placed between the print and the wood. Pencil lines are easy to erase from unburned areas, and transfer paper gives clean lines for detailed patterns. Always test the transfer on a scrap piece first.
Is wood burning safe to do indoors?
Wood burning is safe indoors when you work in a well ventilated room, because the heated pen creates light smoke as it burns the wood surface. Open a window or work near a small fan that moves the smoke away from your face. Keep the hot pen on its stand whenever you pause, and keep the work area clear of paper and fabric scraps.
Can I burn designs on wood that is already stained or painted?
Burning over stain or paint is not recommended, because the heat can release fumes from the finish and the burn lines will look uneven. Always burn on bare sanded wood, and apply stain, paint, or sealer only after the burn work is complete. If a piece already has a finish, sand it back to bare wood before you begin burning.

Hi, I’m Emily! I turn messy corners into cozy, organized spots. DreamNestDecor is where I share simple, practical home ideas — decor, organization, and small-space solutions that work in real life, not just in photos. Every idea here is carefully researched before it’s shared.