Picture this: you walk into the living room and glance at the wall, and instead of a plain store bought clock you see a round face made from an old vinyl record, with hands that sweep past bottle cap markers. A guest asks where you found it, and you get to say you made it yourself from things that were headed for the trash. That small moment of pride is exactly what a handmade clock gives you every single day.
You do not need woodworking skill or a large budget to build a clock worth showing off. All you need is a simple clock movement, a sturdy base, and one rescued material with character. These 31 diy decorative wall clock ideas will help you turn old records, pallet boards, fabric scraps, and tin lids into working wall art that tells time and tells a story.
1. Build a Reclaimed Barn Wood Plank Clock
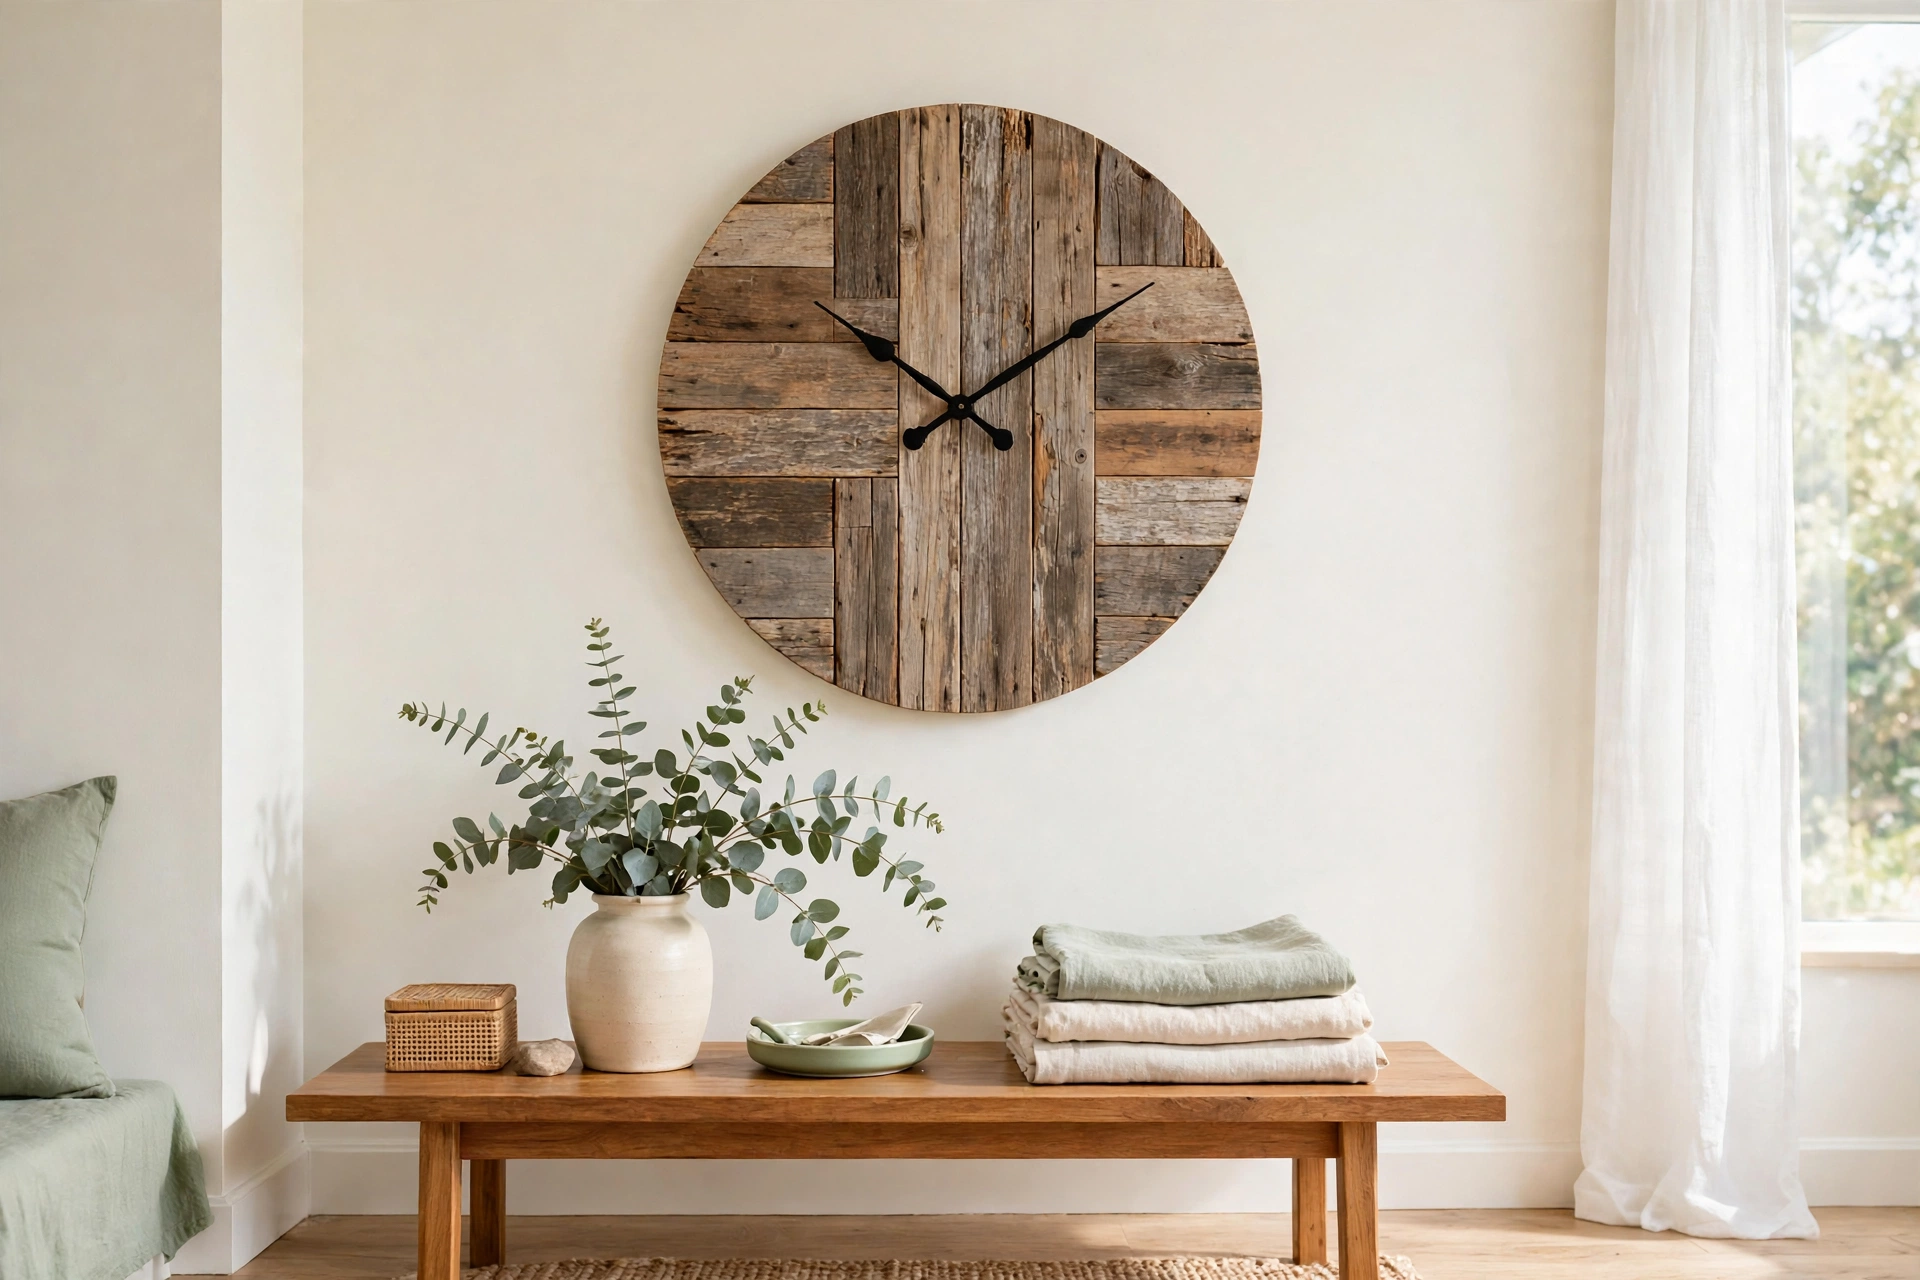
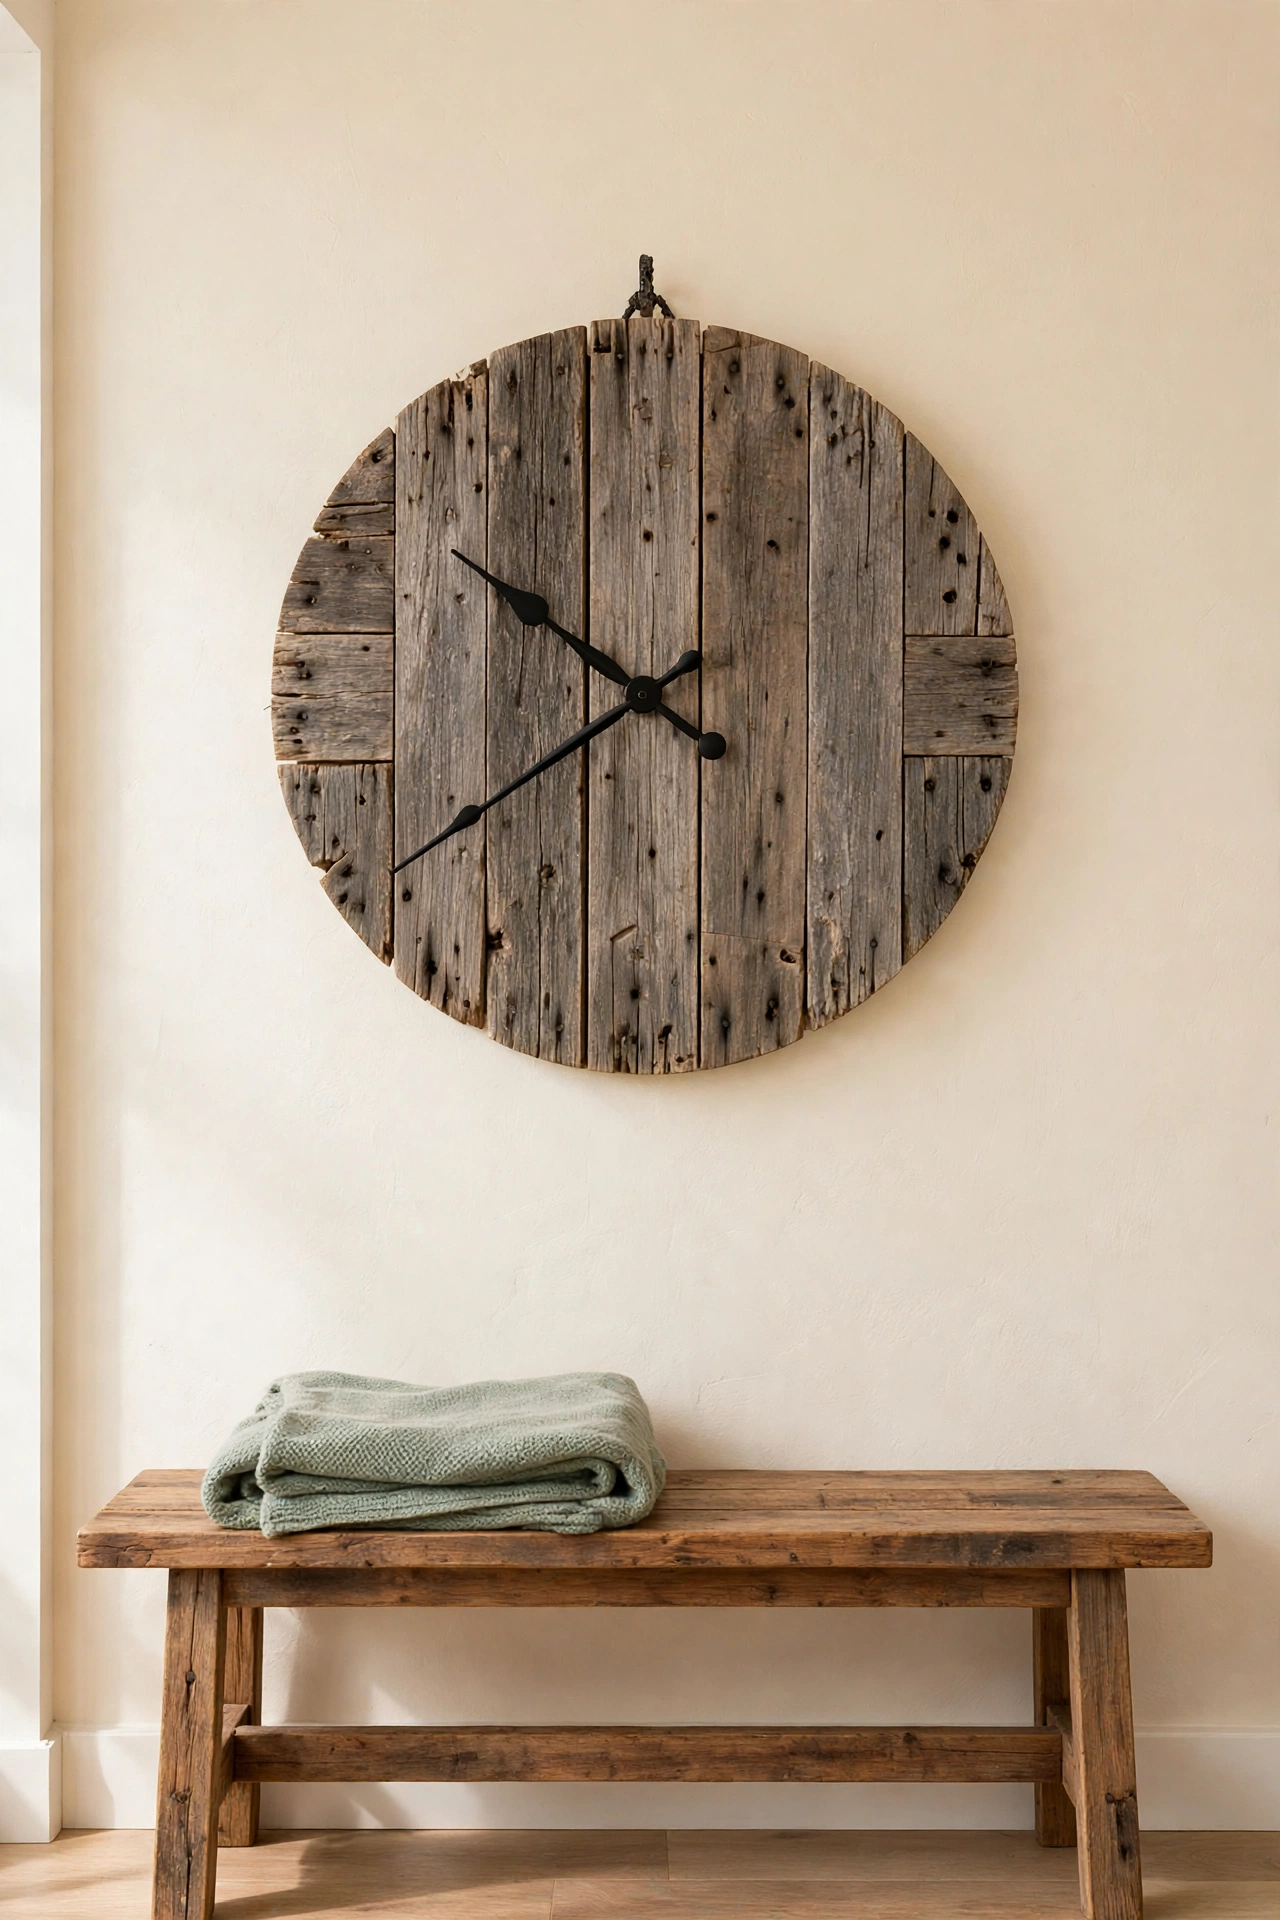
Reclaimed barn wood gives a wall clock instant history, because every plank carries old nail holes, weathered grain, and a warm gray brown tone that new lumber cannot copy. Join three or four planks side by side with battens on the back, sand the front smooth enough to keep splinters away, and mount a clock movement through the center plank. The wide face reads clearly from across the room and suits farmhouse, rustic, and cottage rooms alike.
Keep the finish simple so the old wood stays the star of the piece. A coat of clear wax protects the surface without hiding the grain. Use large black metal hands and simple number markers, or skip the numbers entirely and let the plank seams mark the hours. Hang the clock with two sturdy wall anchors, since reclaimed boards are heavier than they look.
2. Spin an Old Vinyl Record Clock
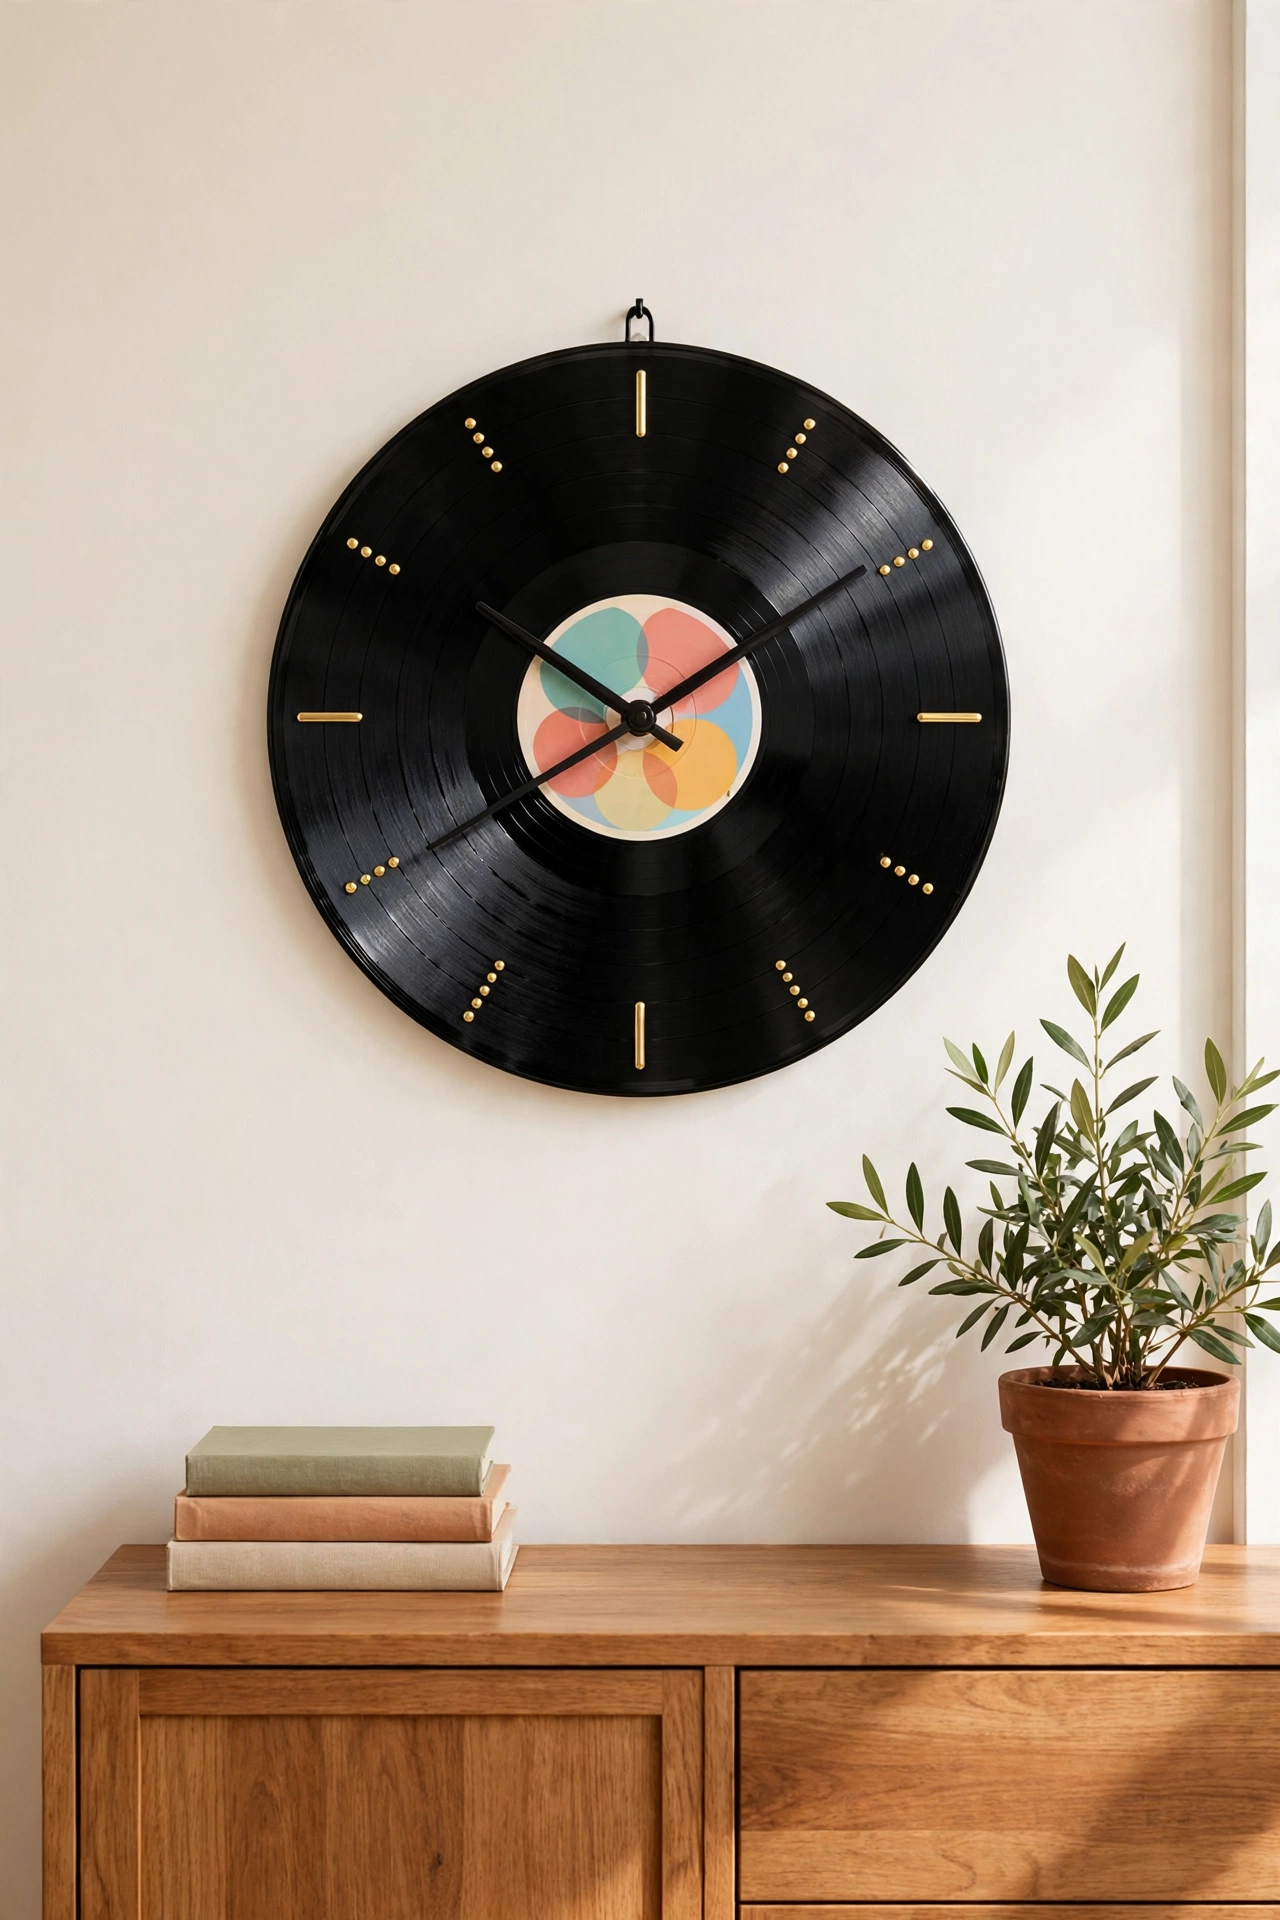
An old vinyl record is already the perfect clock shape, with a center hole that fits a standard clock movement with almost no work at all. Choose a scratched or warped record you no longer play, clean it gently with a soft cloth, and press the movement through the middle. The glossy black grooves catch the light and give the clock a bold retro look that fits music rooms, dens, and teen spaces.
Leave the record label visible in the center for a pop of color, or paint small hour markers around the rim in white or gold. If the record has a paper sleeve with bold artwork, frame the sleeve beside the clock for a matched pair. This project takes less than an hour, and it rescues a record that would otherwise sit forgotten in a box.
3. Hang a Bicycle Wheel Clock
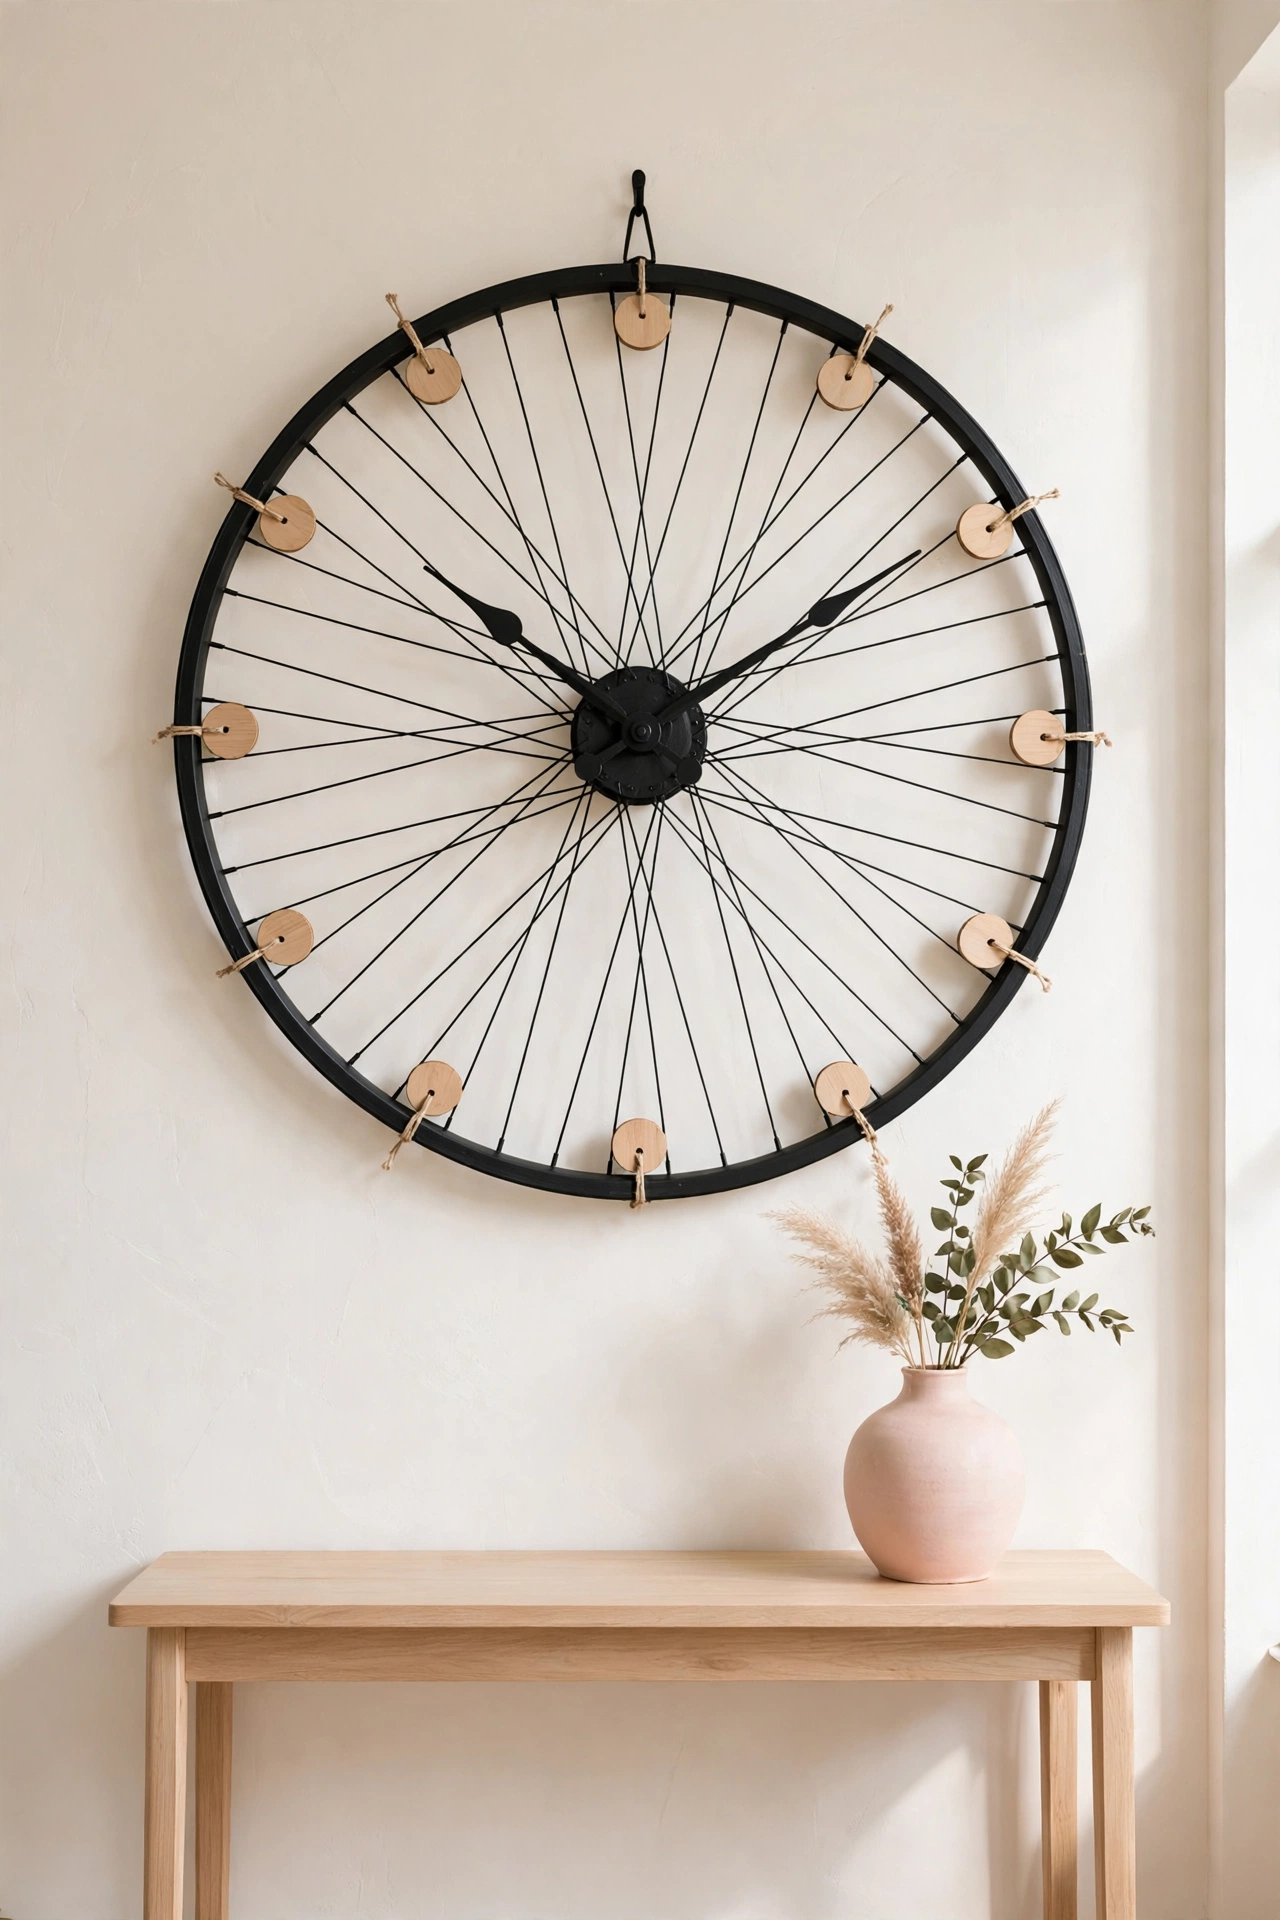
A bicycle wheel makes a striking oversized clock, because the thin metal rim and fine spokes create an open airy face that never overwhelms a wall. Remove the tire and tube, clean the rim and spokes, and mount the clock movement at the hub where the axle once sat. The spokes naturally divide the face into even sections, so hour markers can sit on small wooden discs tied to the rim.
Paint the wheel a single color for a clean modern look, or leave the aged metal bare for industrial charm. This clock works best on a large blank wall where its open design can breathe. Hang it with a sturdy hook rated for the weight of the wheel, and check that the hands clear the spokes as they turn.
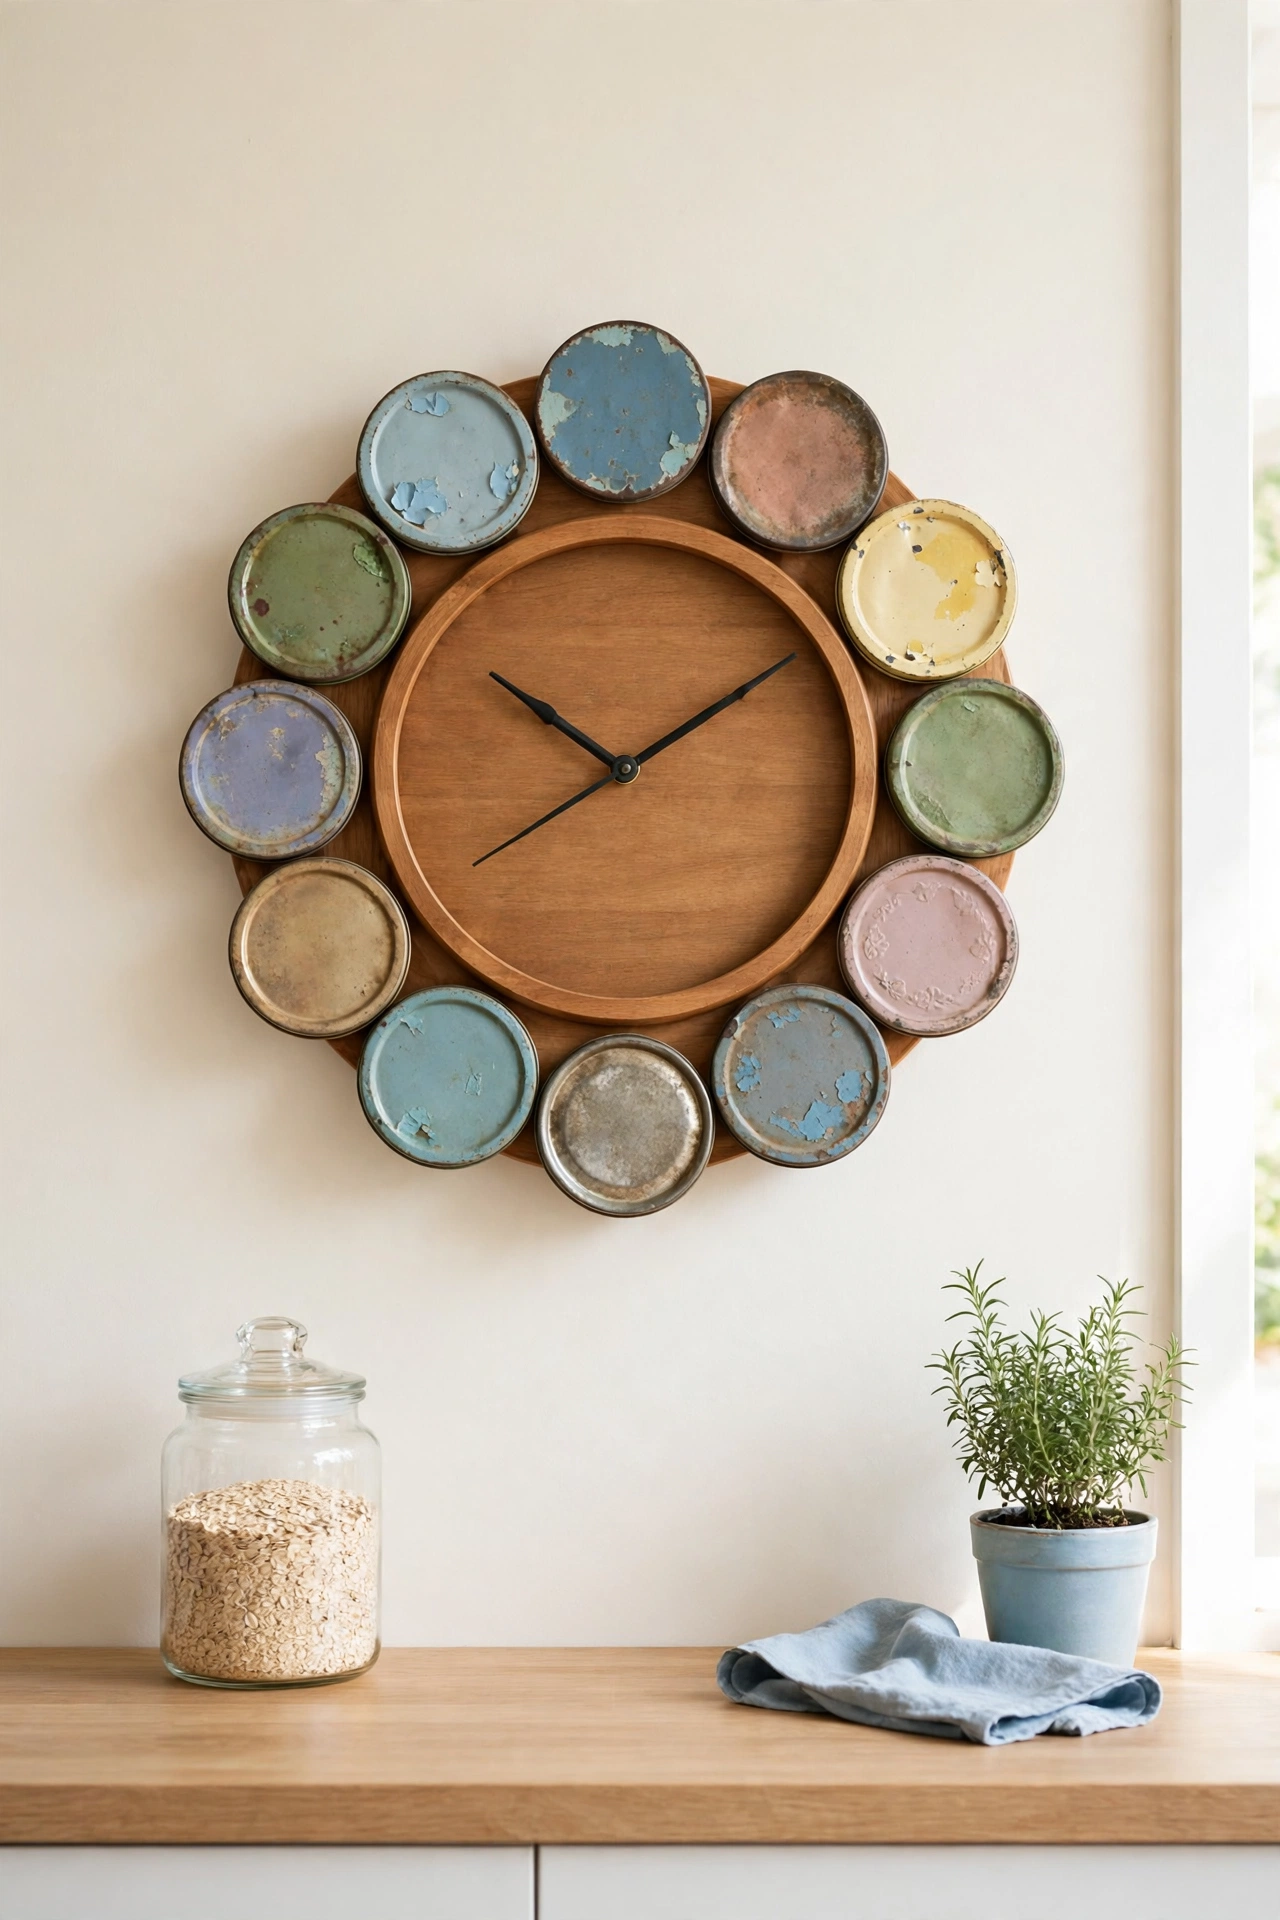
4. Arrange Mismatched Tin Lids Into a Clock Face
Old tin lids from coffee cans, cookie tins, and storage jars make charming hour markers when they are arranged in a ring on a round wooden base. Each lid brings a different size, color, and printed pattern, so the clock face becomes a small collection of kitchen history. Screw or glue twelve lids in a circle, drill a center hole, and fit the clock movement through the middle.
Keep the lids clean and dry, and sand any sharp edges smooth before you mount them. A warm wood or painted plywood disc behind the lids gives the clock a finished edge and holds the movement steady. This is a wonderful project for a kitchen wall, where the tin lids echo the jars and canisters nearby.
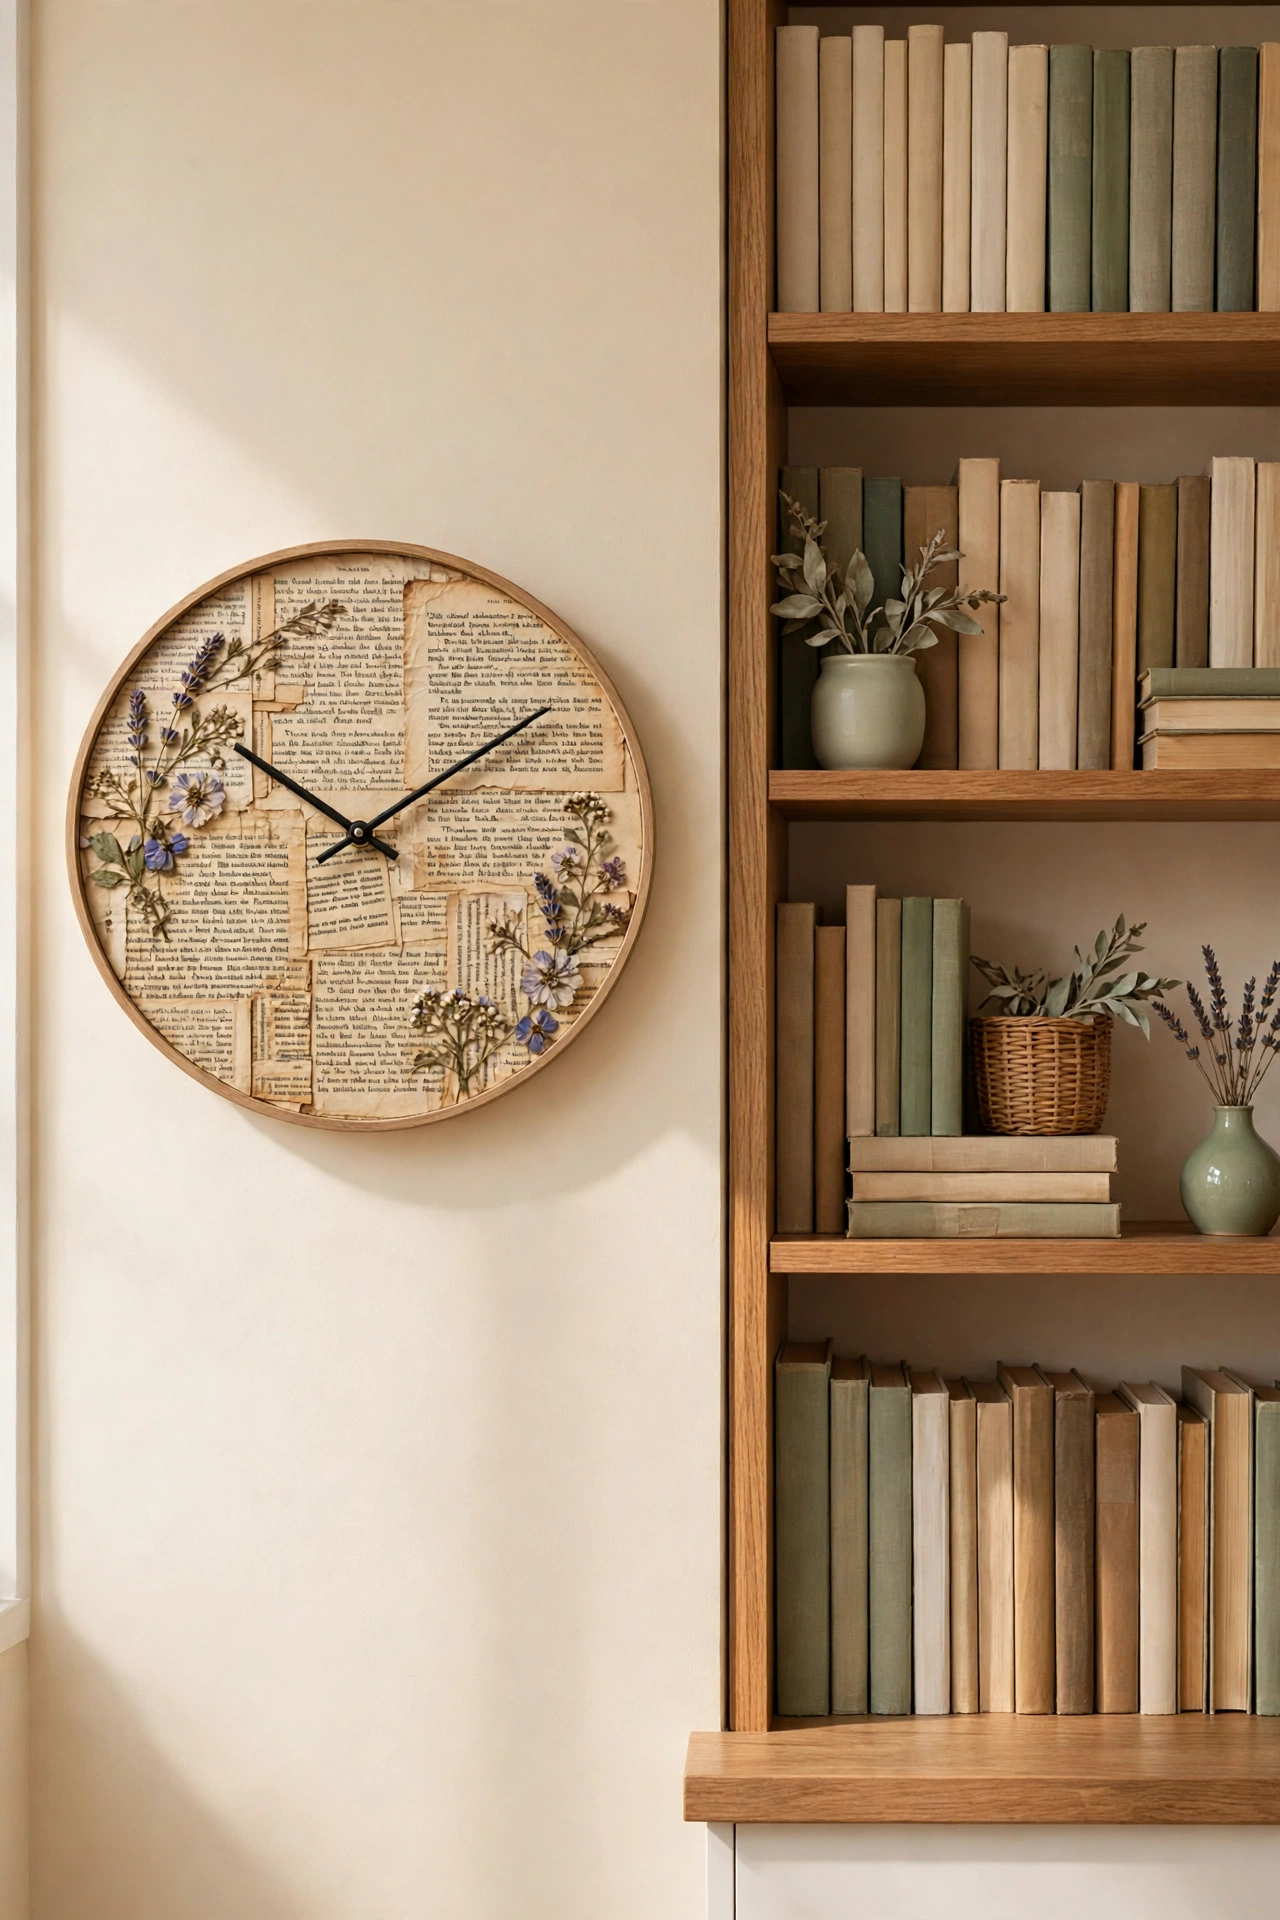
5. Decoupage a Clock With Old Book Pages
Old book pages with yellowed edges and classic type give a clock face a soft literary feel that suits reading nooks, libraries, and bedrooms. Tear or cut pages from a damaged book that is past repair, and glue them across a round wooden or cardboard base with decoupage glue, overlapping the edges slightly. Seal the whole face with two coats of clear sealer so the paper stays protected and smooth.
Add a few pressed flower prints or small botanical cutouts between the pages for gentle color, and use slim black hands so the text stays readable beneath them. For more wall art that pairs paper and plants, these diy botanical wall art ideas show how pressed leaves and simple frames turn humble materials into lovely decor. Keep the finished clock out of direct sun so the old paper does not fade.
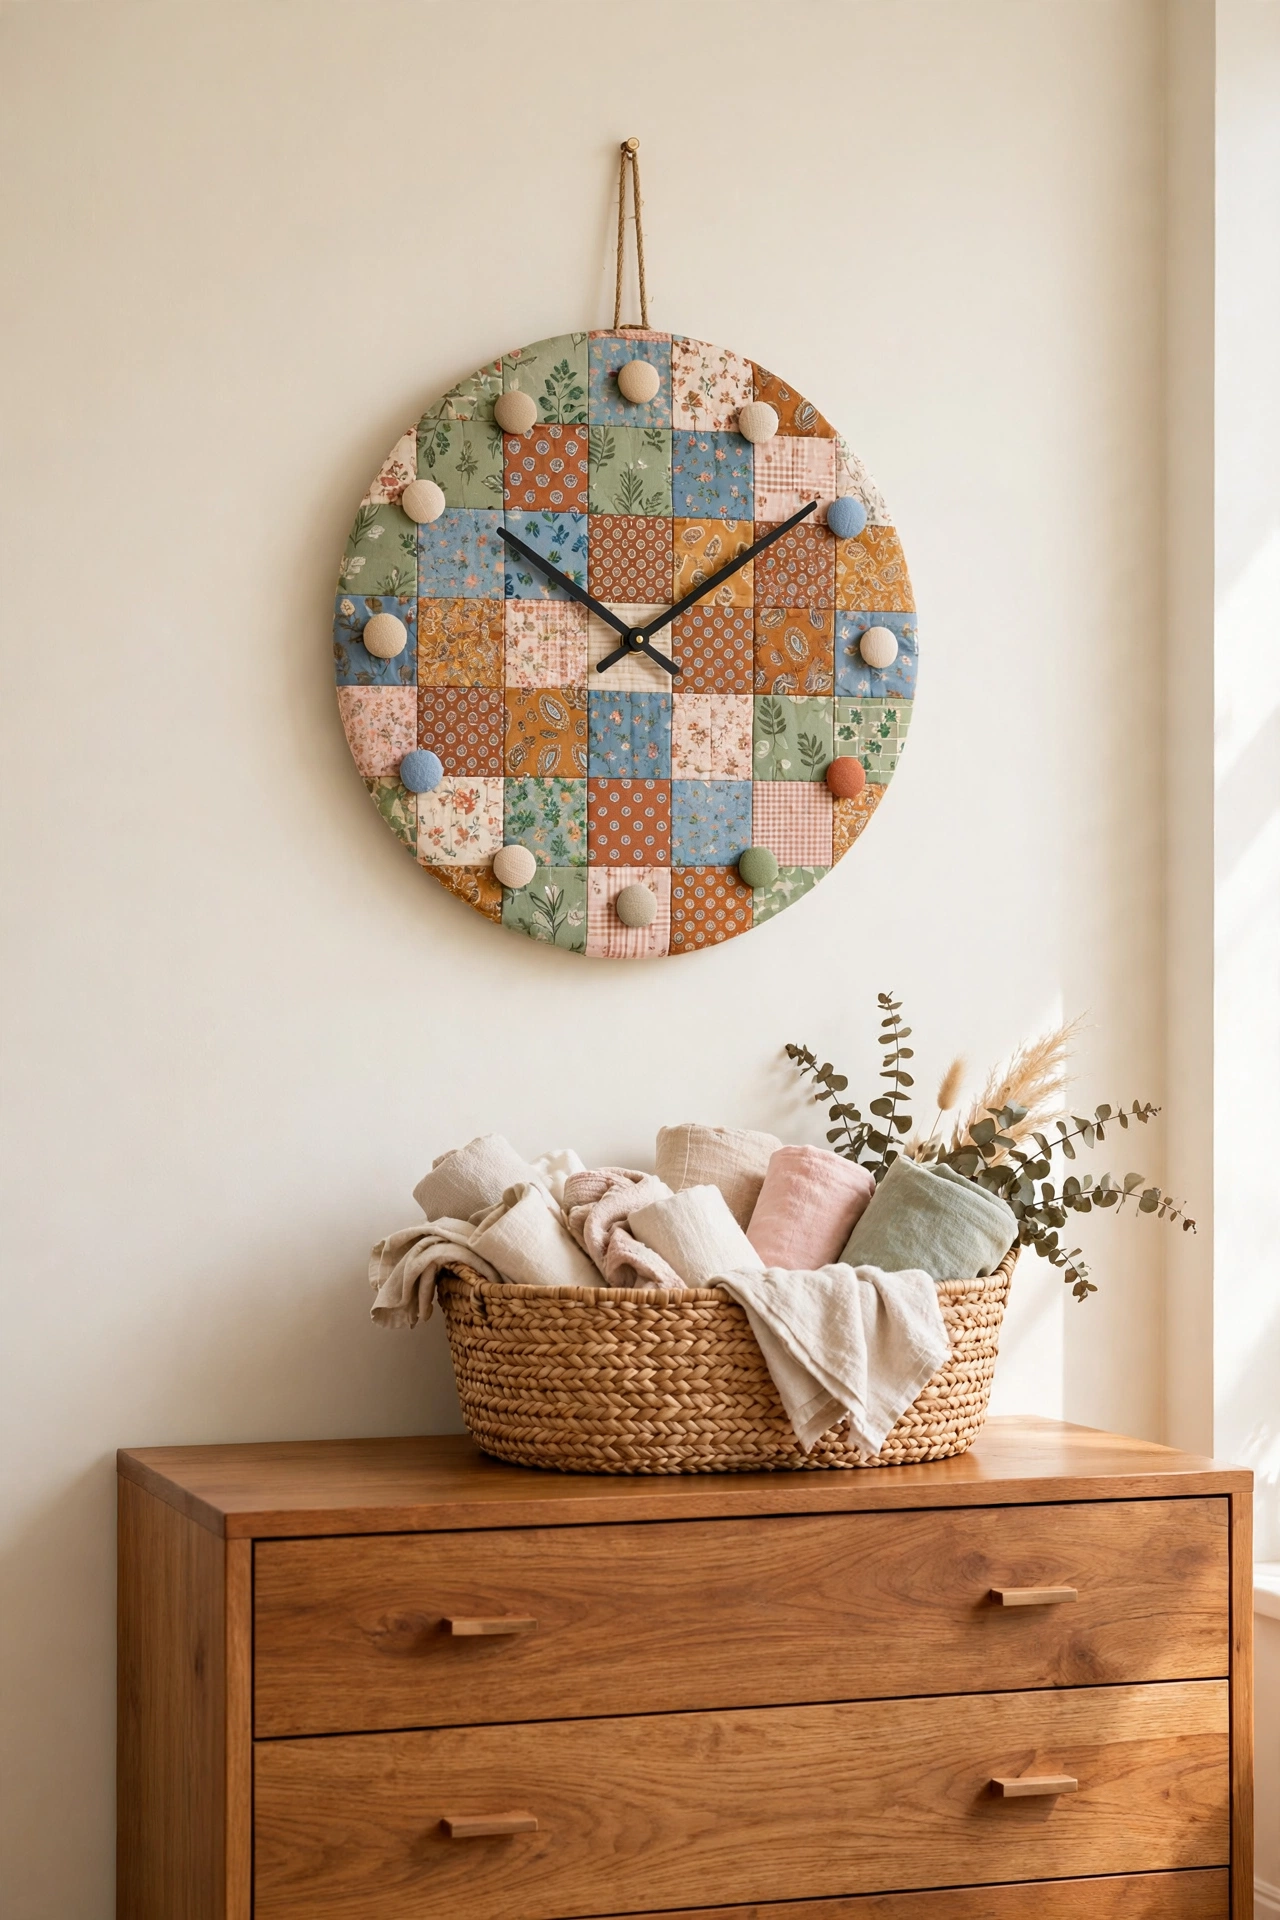
6. Sew a Fabric Scrap Patchwork Clock
Fabric scraps left over from sewing projects can cover a clock face in a cheerful patchwork that matches your room exactly. Cut the scraps into even squares or triangles, arrange them in a pattern you love, and glue them onto a round base with fabric glue. Press the seams flat and seal the face with a clear fabric sealer so the colors stay bright and the surface stays smooth.
Choose fabrics in one color family for a calm coordinated look, or mix bold prints for a playful boho feel. Stitch a few buttons at the hour positions for texture, and use simple black hands that stand out against the pattern. This clock is a lovely way to use the last pieces of favorite fabrics that are too small for larger projects.
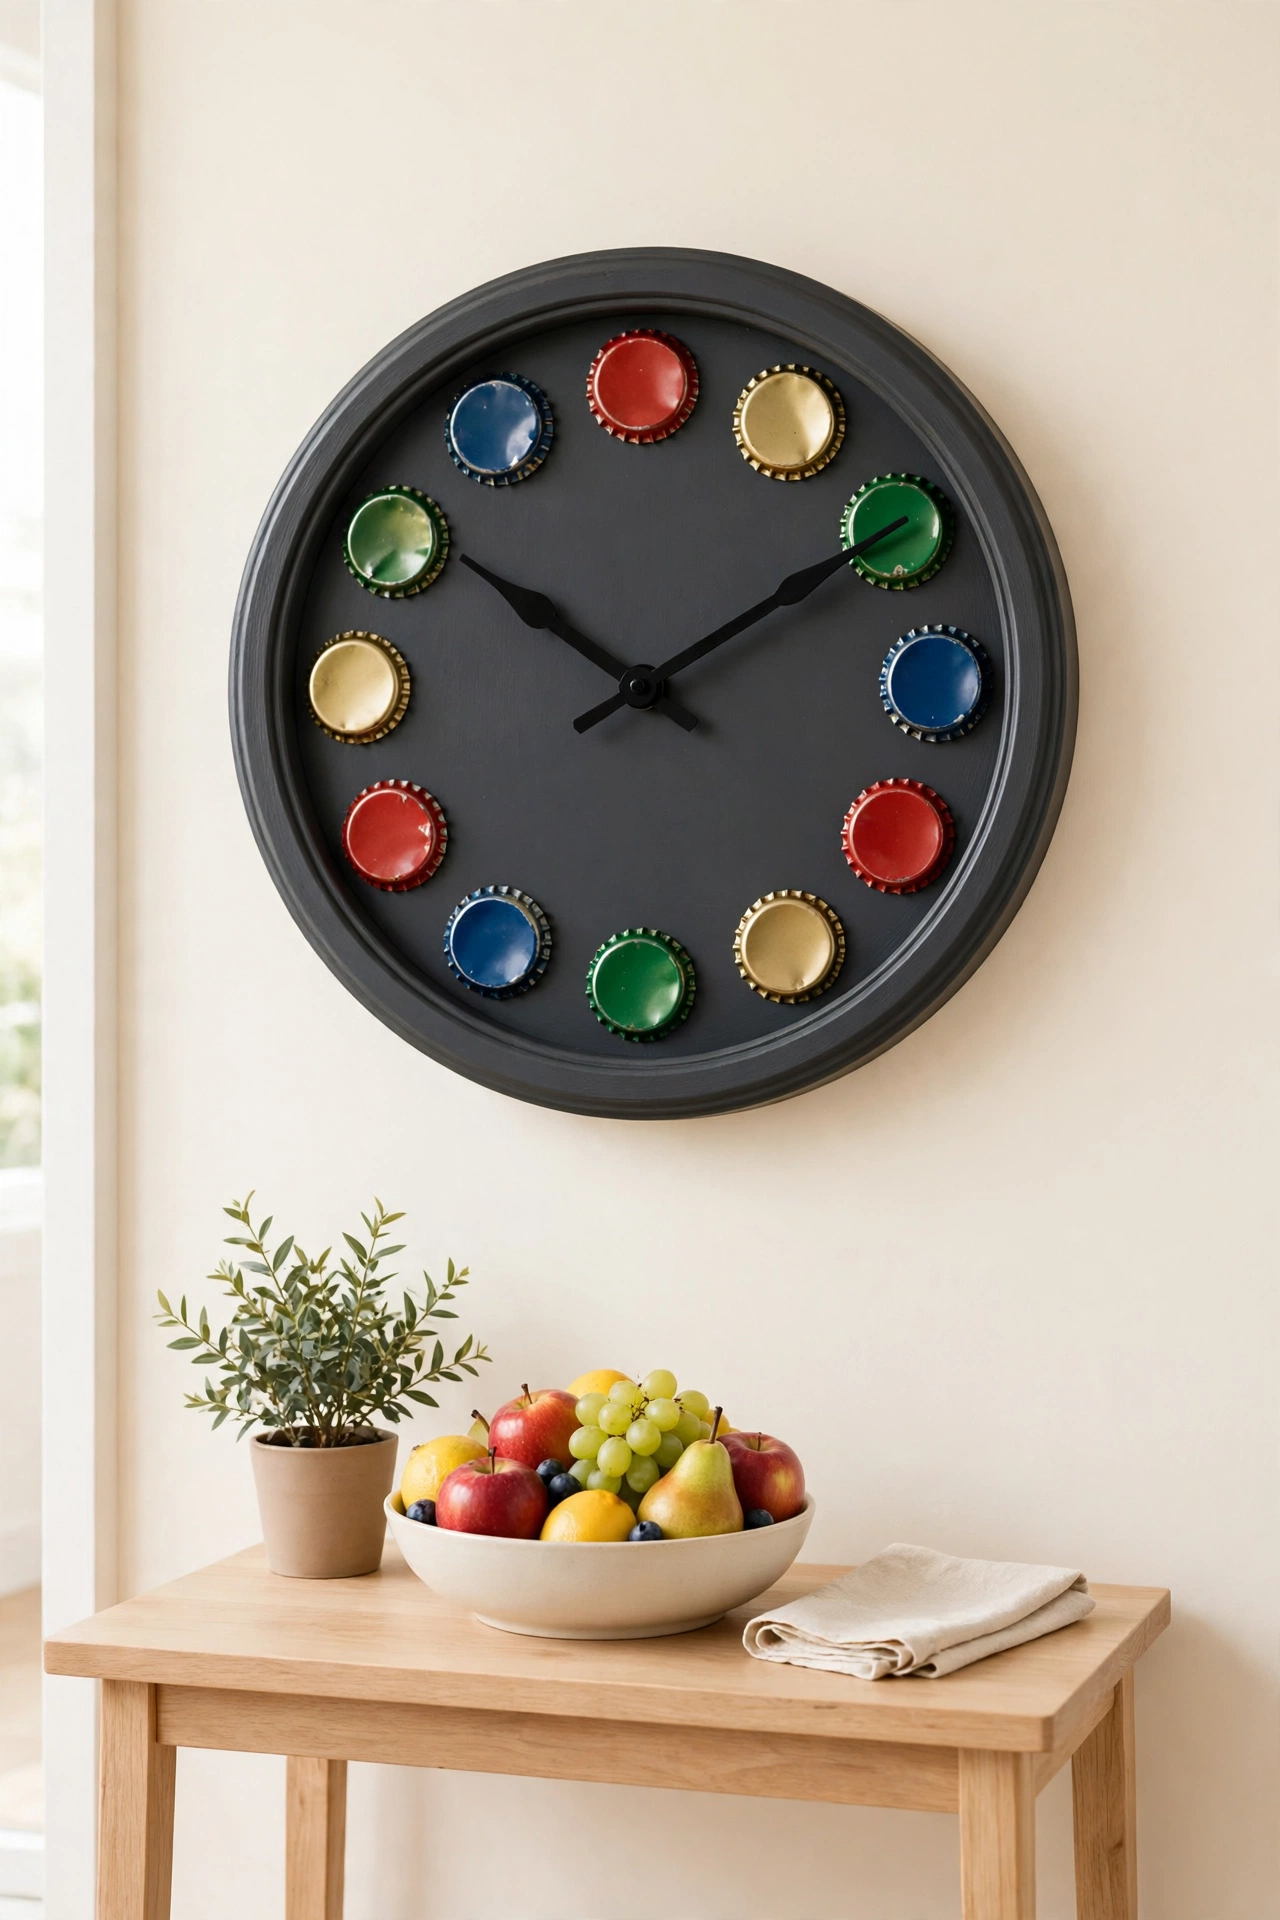
7. Ring a Clock With Colorful Bottle Caps
Bottle caps collected from soda and sparkling water bottles make a bright playful ring of hour markers around a simple clock face. Flatten each cap gently with a mallet, arrange twelve of them in a circle on a painted round base, and glue them firmly in place. The mix of colors and printed logos becomes a cheerful mosaic that suits kitchens, game rooms, and casual family spaces.
Sort the caps by color before you start so the ring looks intentional rather than random. A dark painted base makes bright caps pop, while a white base gives a lighter airy feel. Seal the caps with a clear coat to keep the printed designs from scratching, and use bold hands that are easy to read against the busy ring.
8. Shape a Clock From Pallet Wood Boards
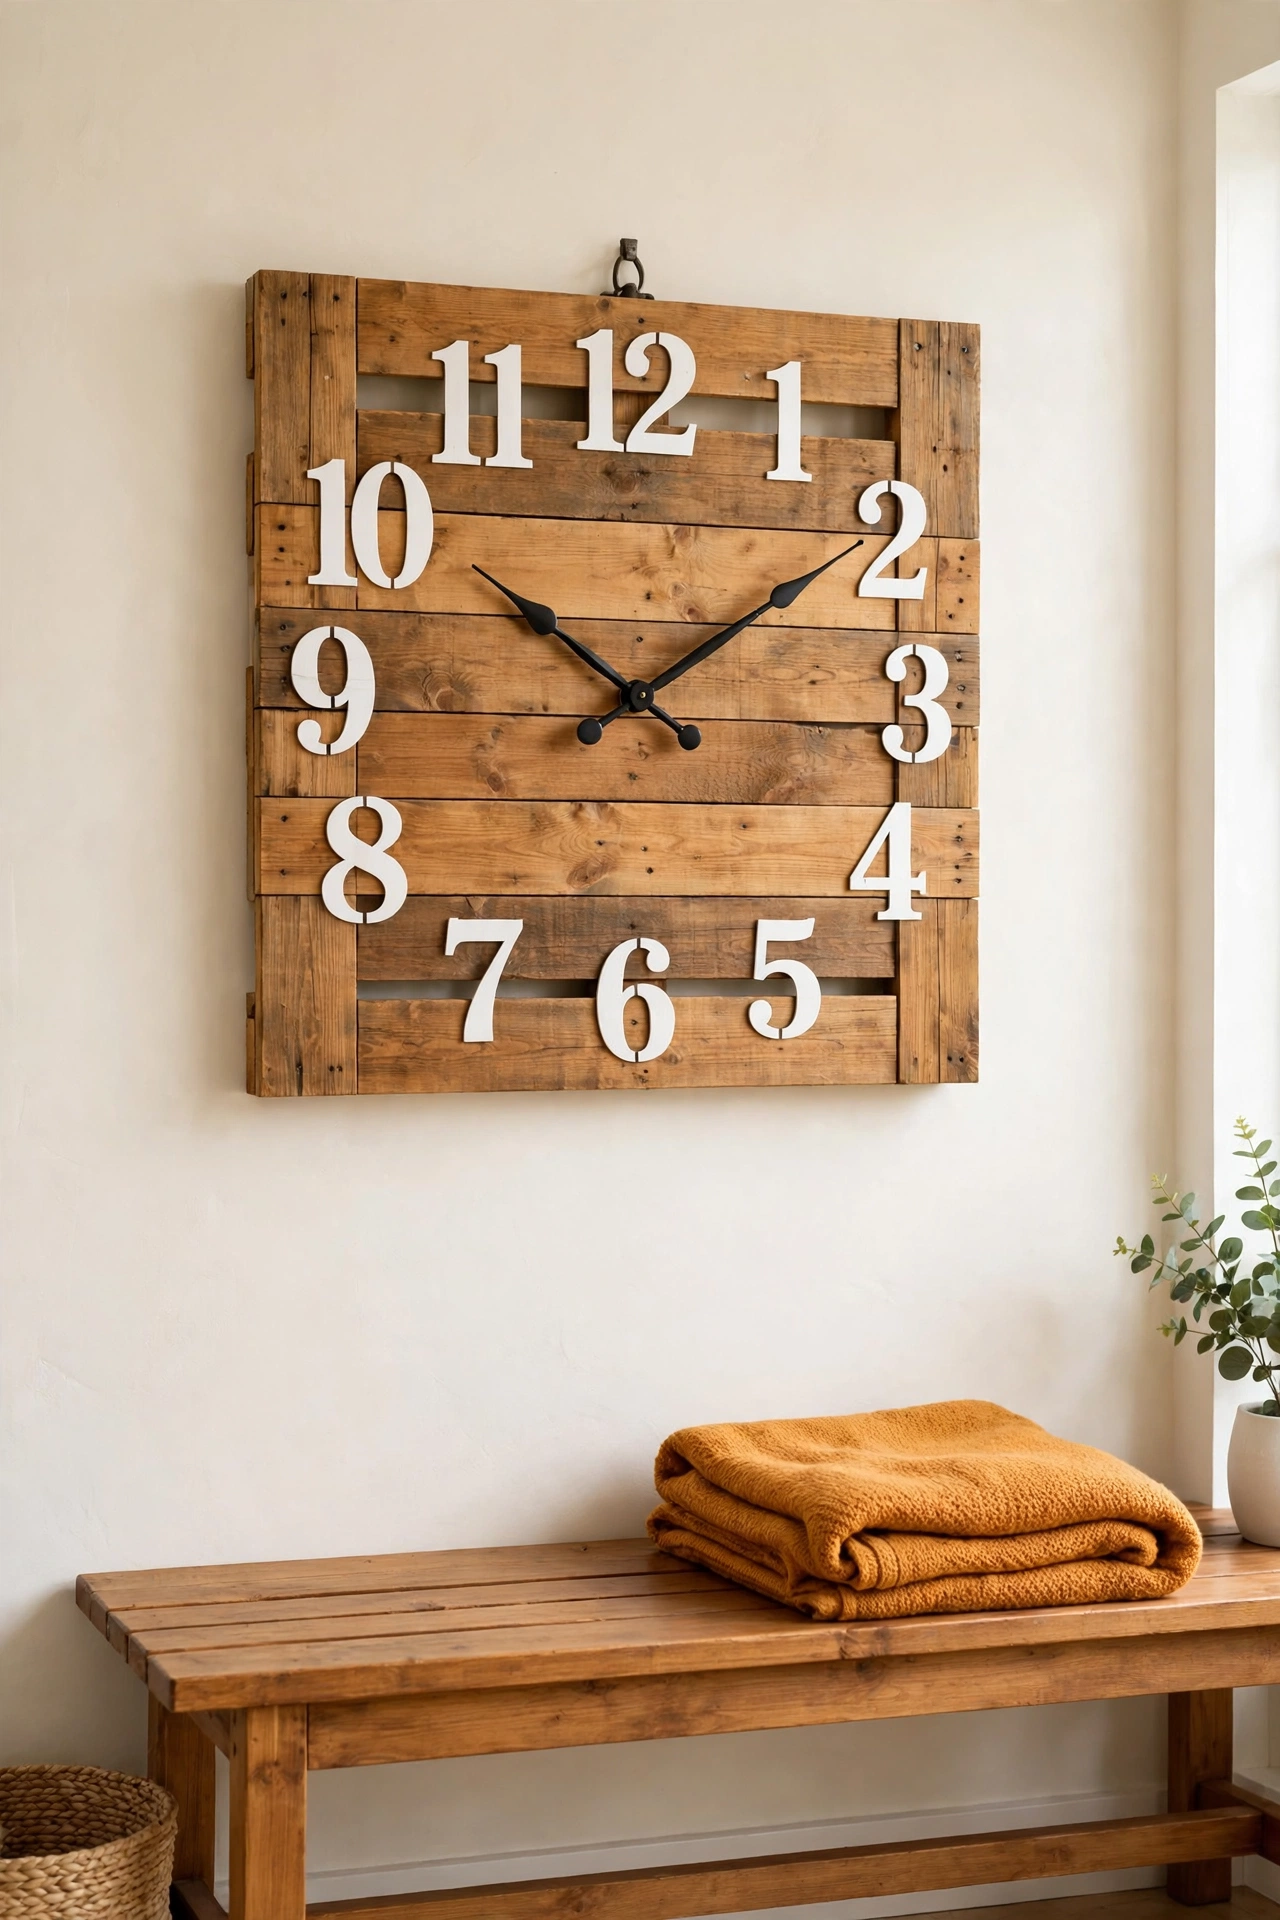
Pallet wood is free, sturdy, and full of character, which makes it an ideal base for a large rustic wall clock. Break down a clean heat treated pallet, choose the straightest boards, and cut them into even lengths for a square or round face. Sand the boards well, join them with battens on the back, and drill a center hole for the clock movement.
Stain the boards a warm honey tone or whitewash them for a coastal look, and paint large numbers directly onto the wood for a bold farmhouse face. For finish ideas that suit rescued wood, these diy wood stain projects show how stain, wax, and simple techniques give old boards a rich new life. Seal the finished clock so the rough pallet texture does not catch dust.
9. Frame a Clock Inside an Embroidery Hoop
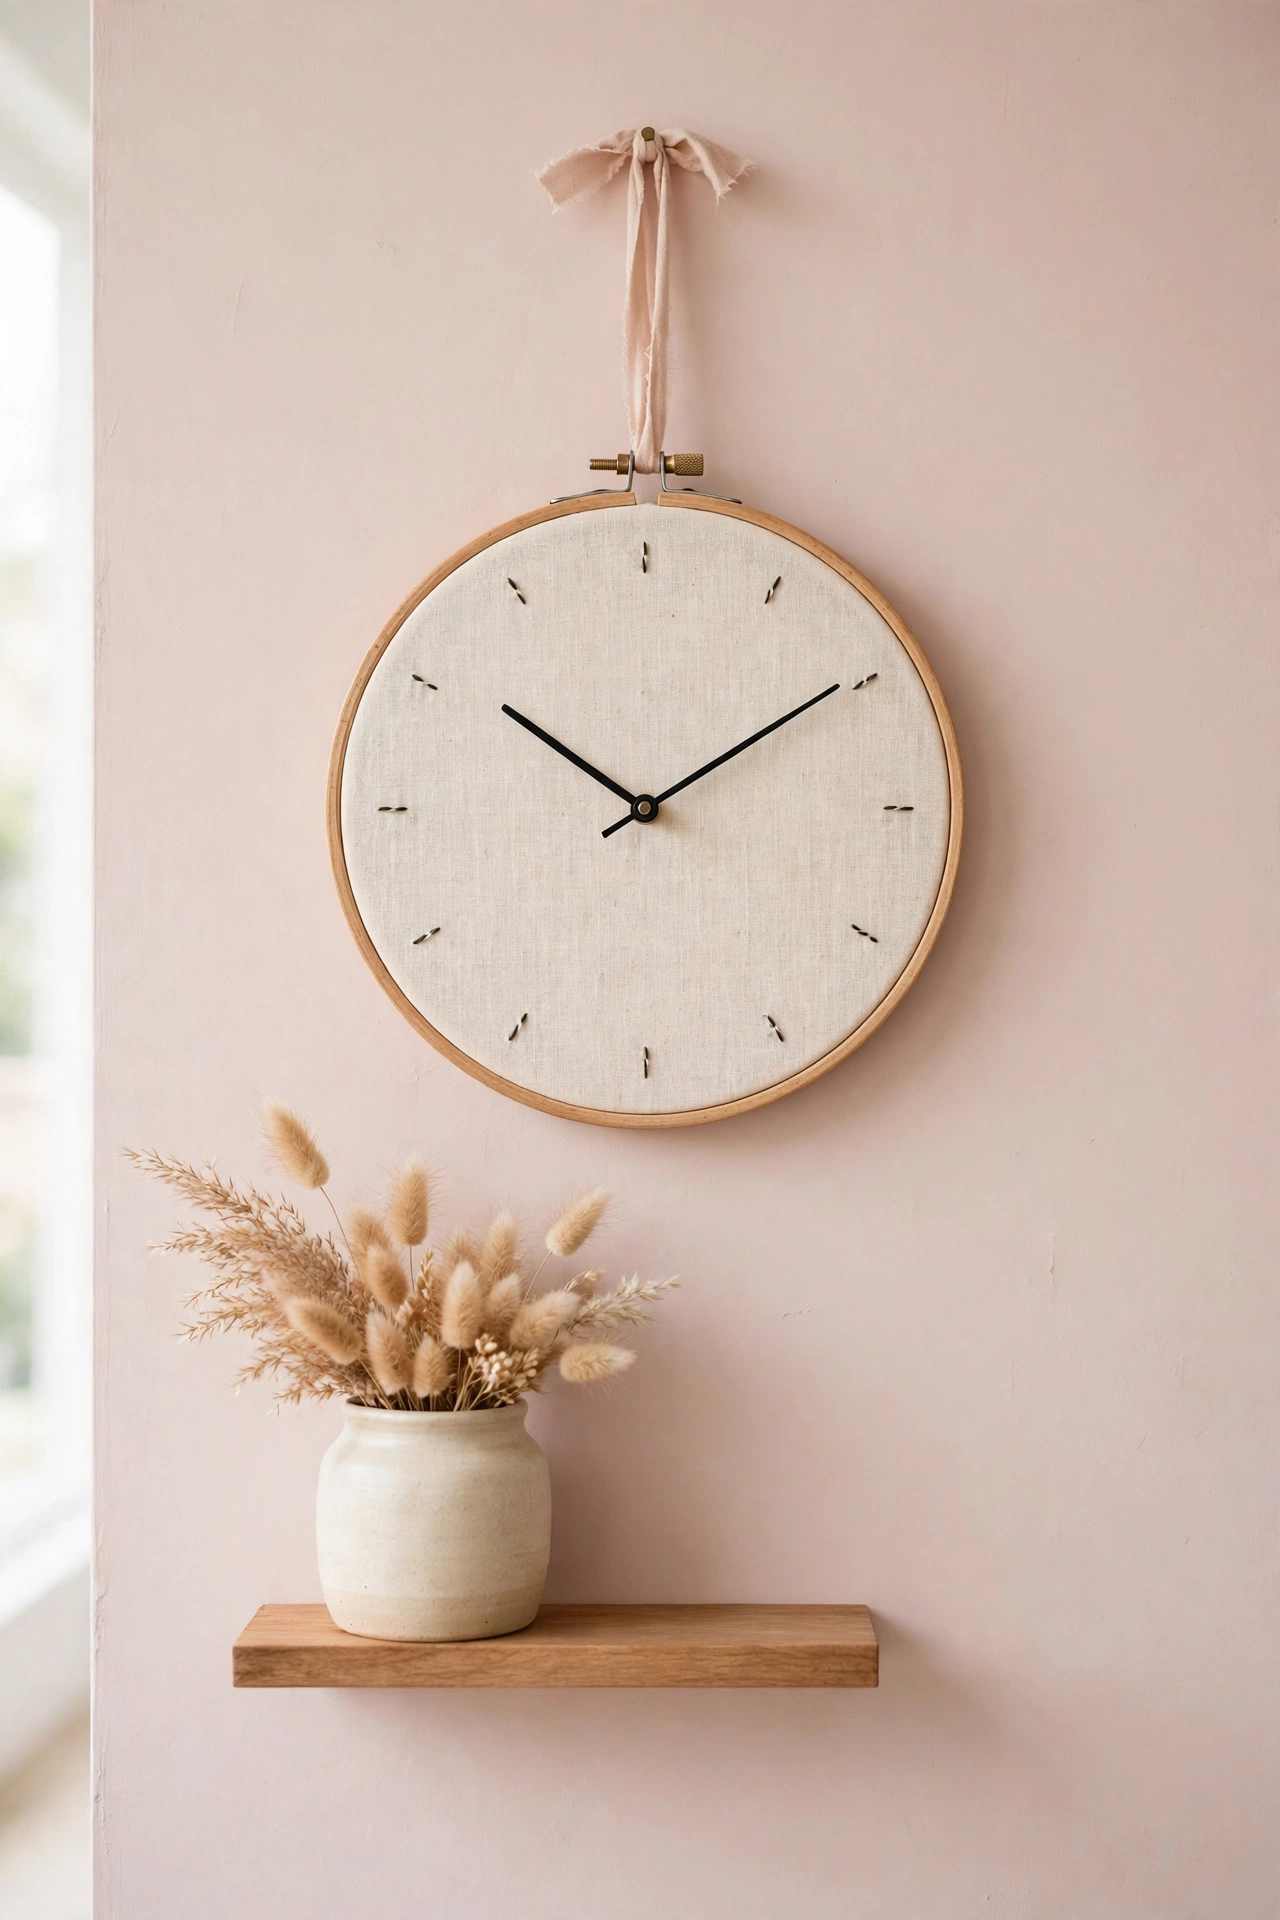
An embroidery hoop makes a sweet lightweight clock frame, and the fabric stretched inside becomes the clock face itself. Choose a hoop at least ten inches wide, stretch a piece of linen or cotton tightly inside it, and trim the extra fabric at the back. Paint or stitch the hour markers onto the fabric, then mount a clock movement through the center with a small wooden disc behind it for support.
Stitched numbers give the clock a handmade heirloom feel, while painted dots keep it simple and modern. Hang the hoop from a small nail using a ribbon loop tied through the screw at the top. This clock is light enough for any wall, and it looks lovely grouped with other hoop art in a craft room or bedroom.
10. Set a Clock Inside a Salvaged Window Frame
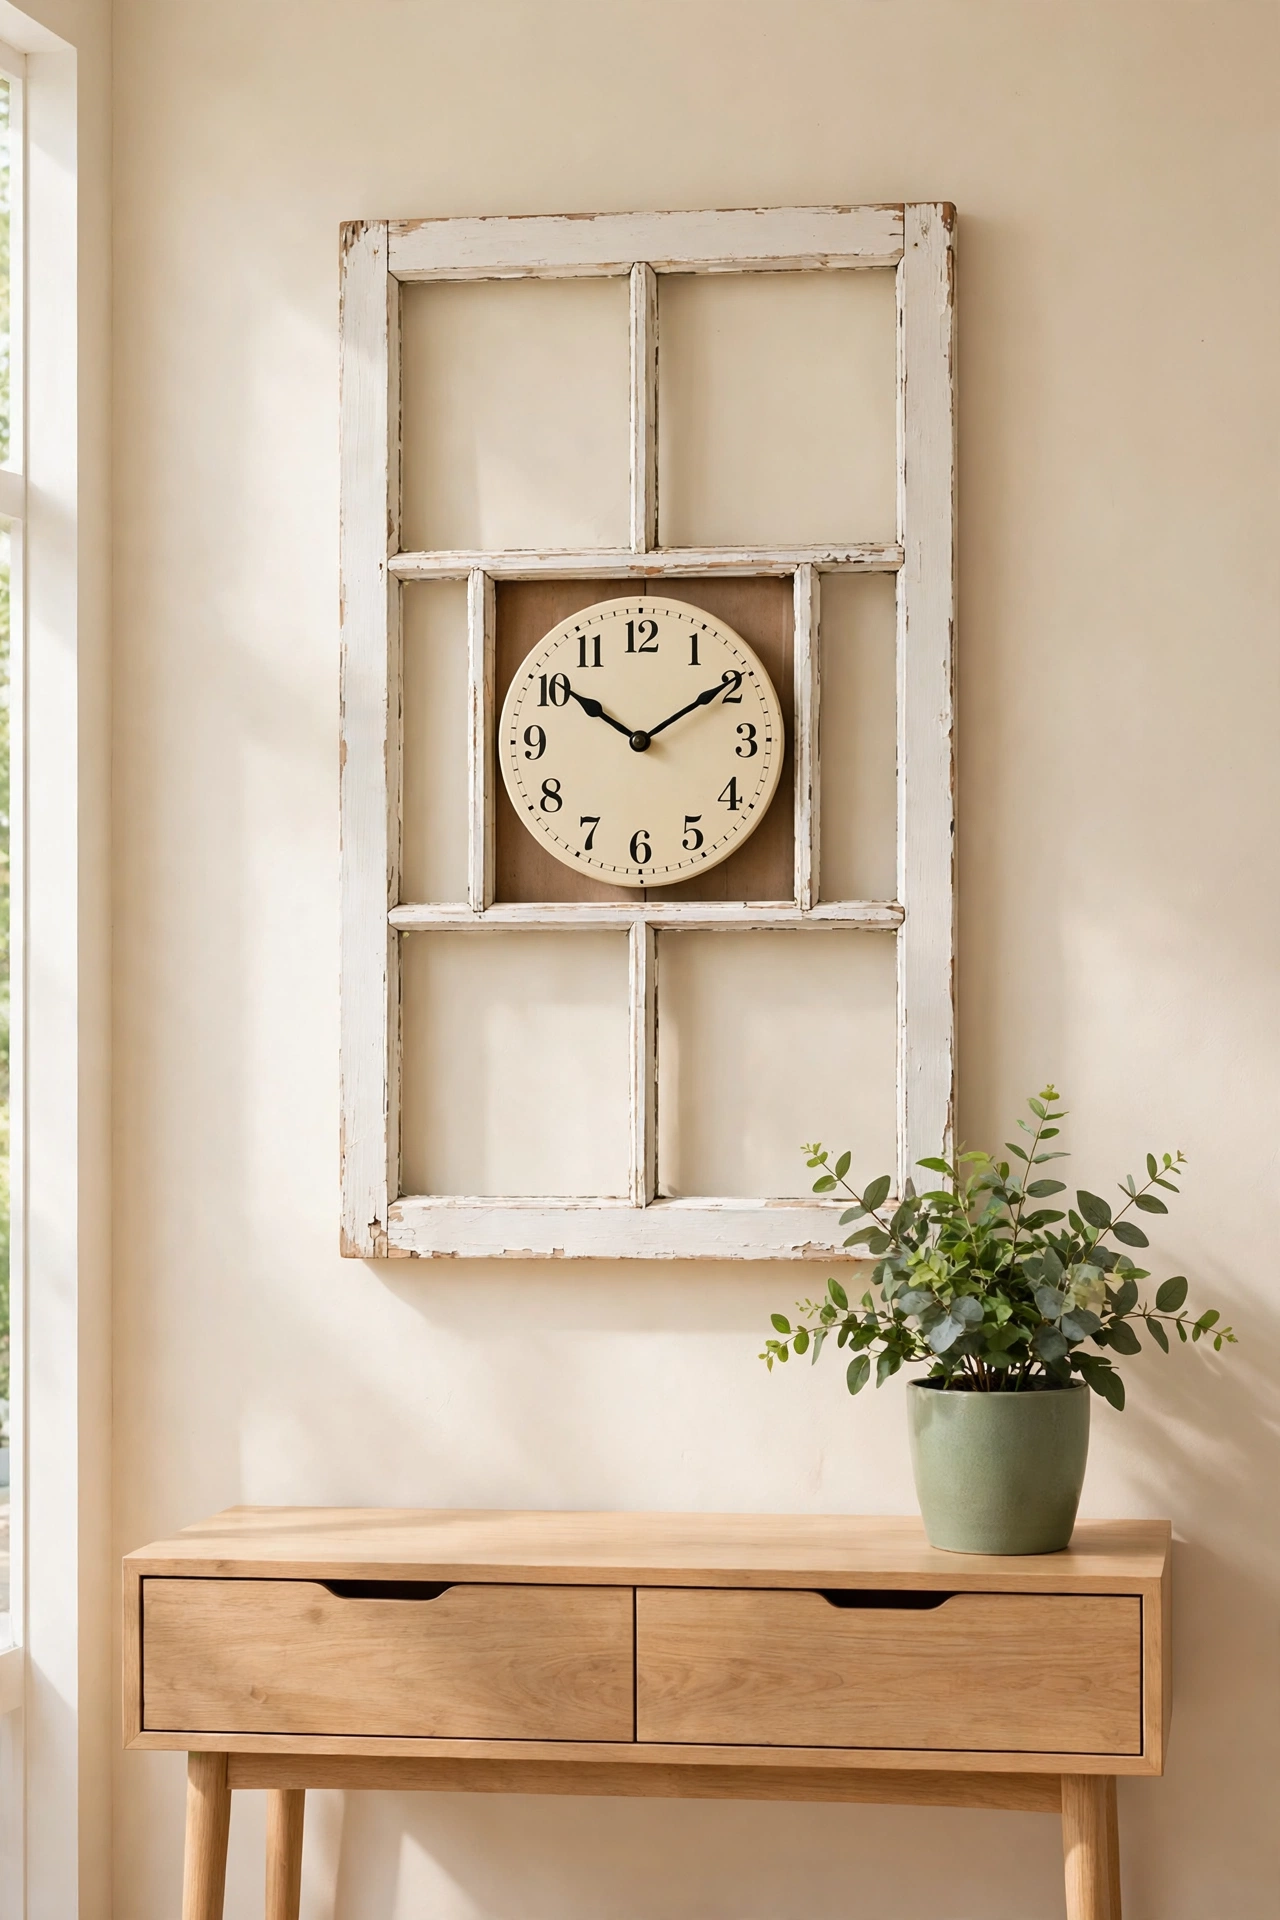
A salvaged window frame turns a clock into a piece of architectural wall decor, with divided panes that frame the clock face beautifully. Clean the old frame, tighten loose joints, and remove any cracked glass for safety. Mount a round clock face or a set of large numbers on a backing board inside the frame, and fit the movement through the center pane opening.
Keep the chipped paint and worn wood for cottage charm, or repaint the frame a soft sage or cream to match the room. The frame gives the clock presence on a large wall, and the divided panes add rhythm without any extra decoration. Check that the frame hangs level and secure, since old wood frames can be heavy.
11. Build a Clock From Saved Wine Corks
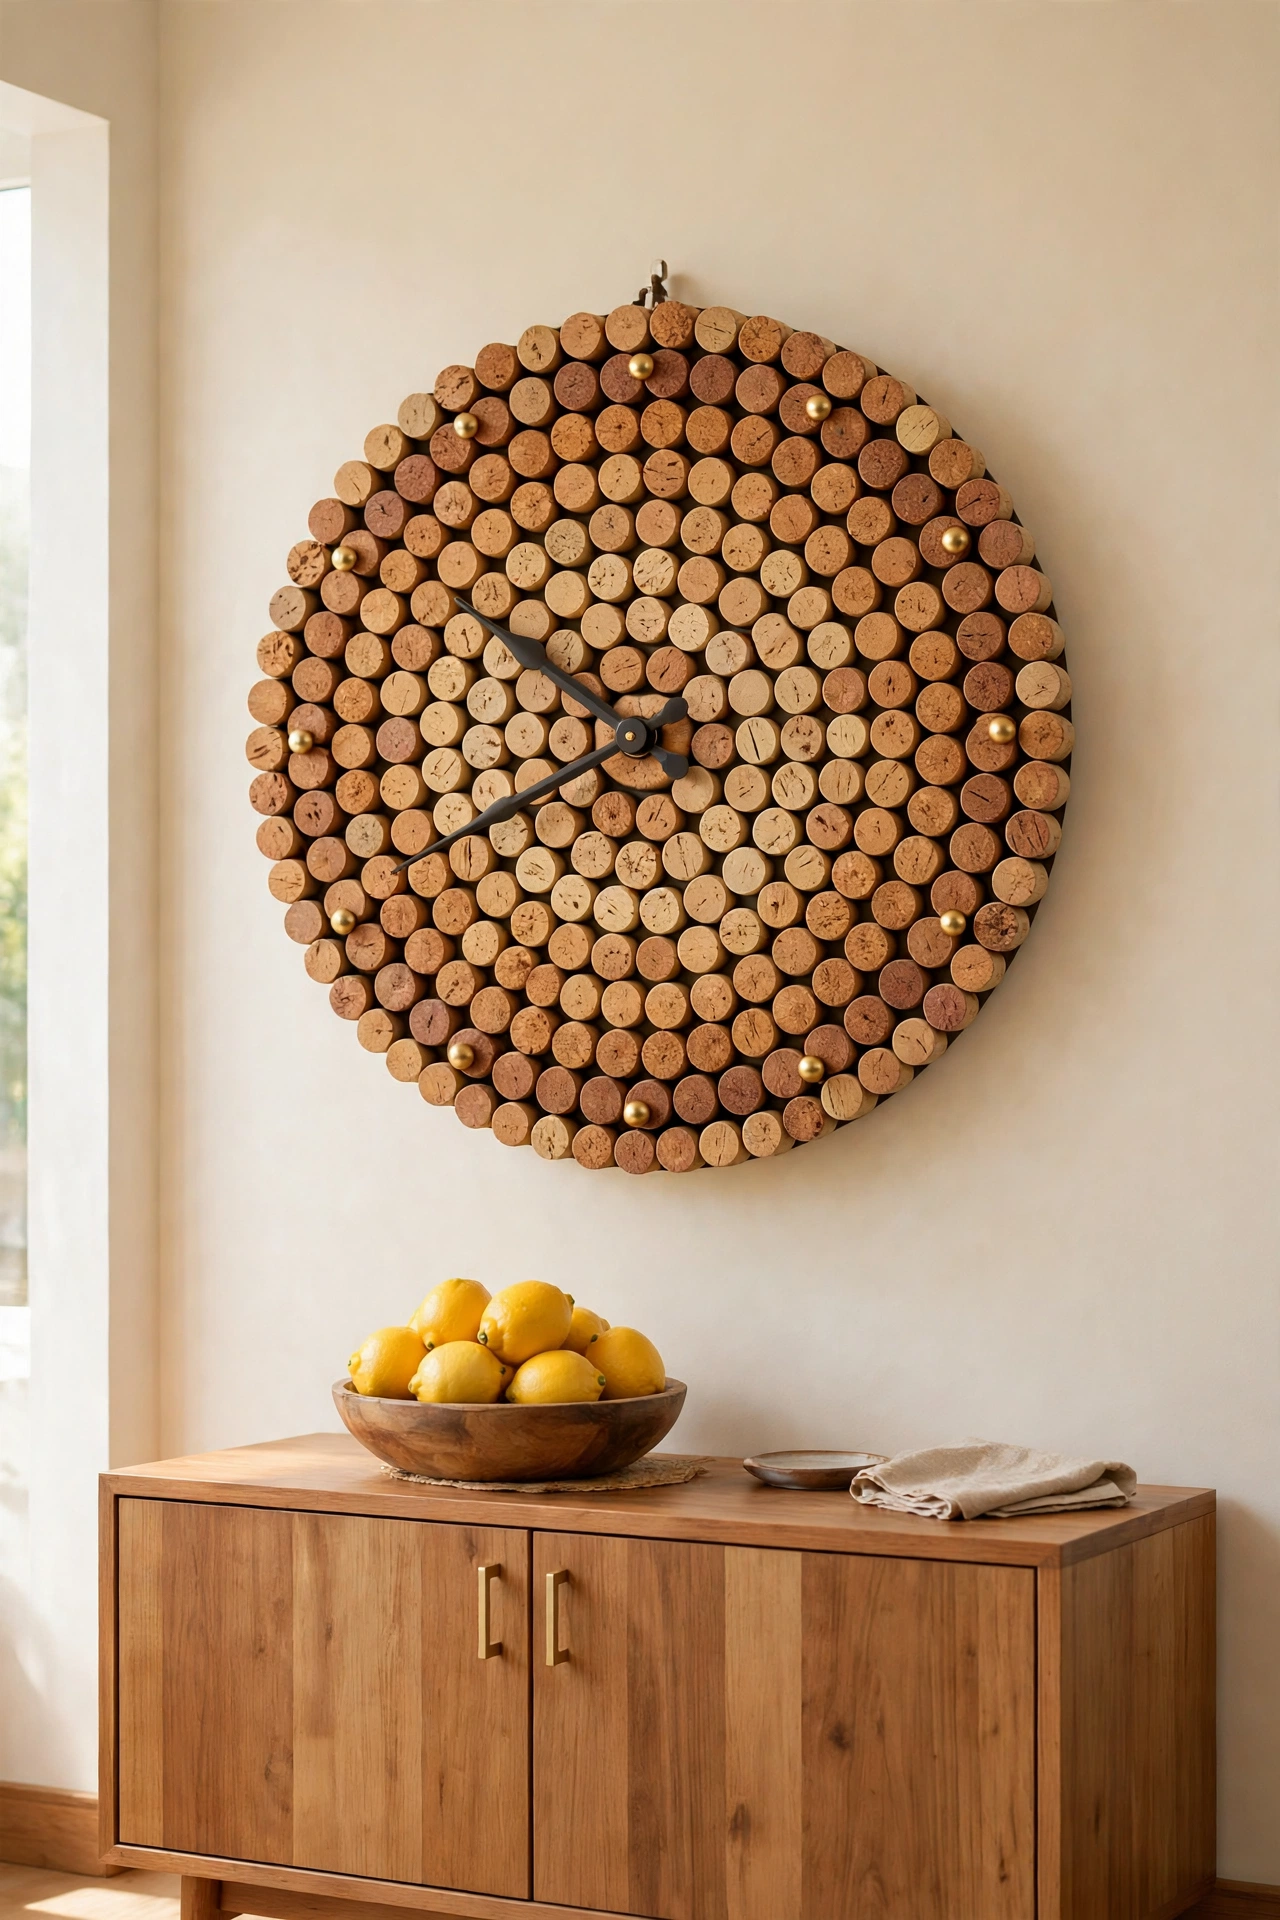
Wine corks saved over time can be sliced and arranged into a warm textured clock face that suits kitchens, dining rooms, and home bars. Cut the corks into even rounds with a sharp knife, and glue them in tight concentric rings onto a round base. The natural cork tones range from pale tan to deep amber, which gives the face gentle variety without any paint at all.
Use small brass pins or painted dots for the hour markers, and choose dark hands that contrast with the light cork. Seal the face with a clear matte sealer so the cork stays clean and the cut edges do not crumble. This clock is a conversation piece, and every cork holds a small memory of a shared meal.
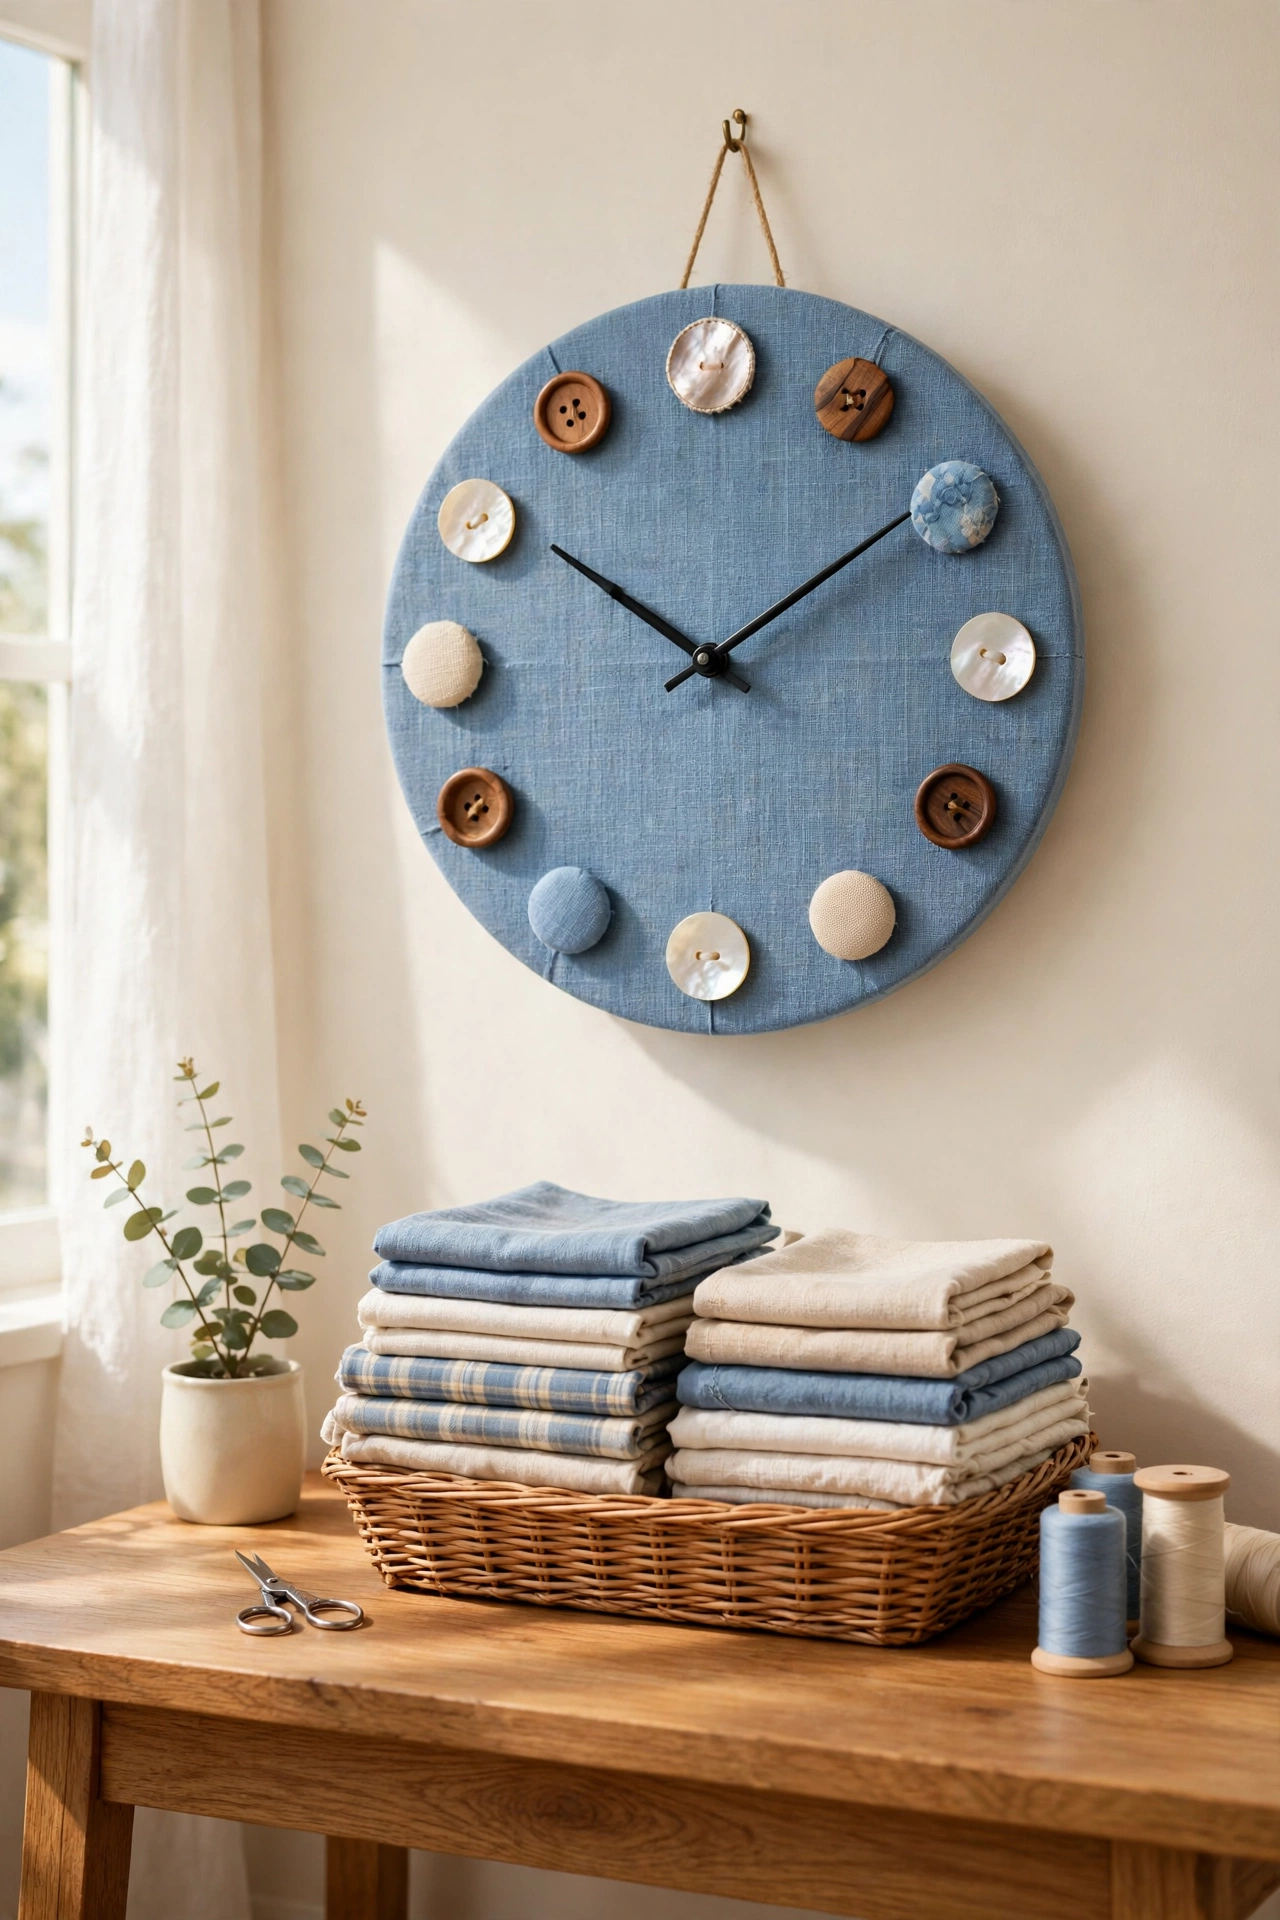
12. Mark the Hours With Vintage Buttons
Vintage buttons from old sewing boxes make delightful hour markers, because each one brings a different size, color, and material to the clock face. Sort twelve buttons that share a color family or mix them boldly for an eclectic look, and sew or glue them onto a fabric covered or painted round base. The raised buttons catch the light and add a tactile charm that flat markers cannot match.
Mother of pearl buttons give an elegant shimmer, while wooden and fabric covered buttons suit rustic rooms. Use a slim second hand and simple hour and minute hands so the buttons stay the focus. This clock is a lovely way to honor a sewing box passed down through the family.
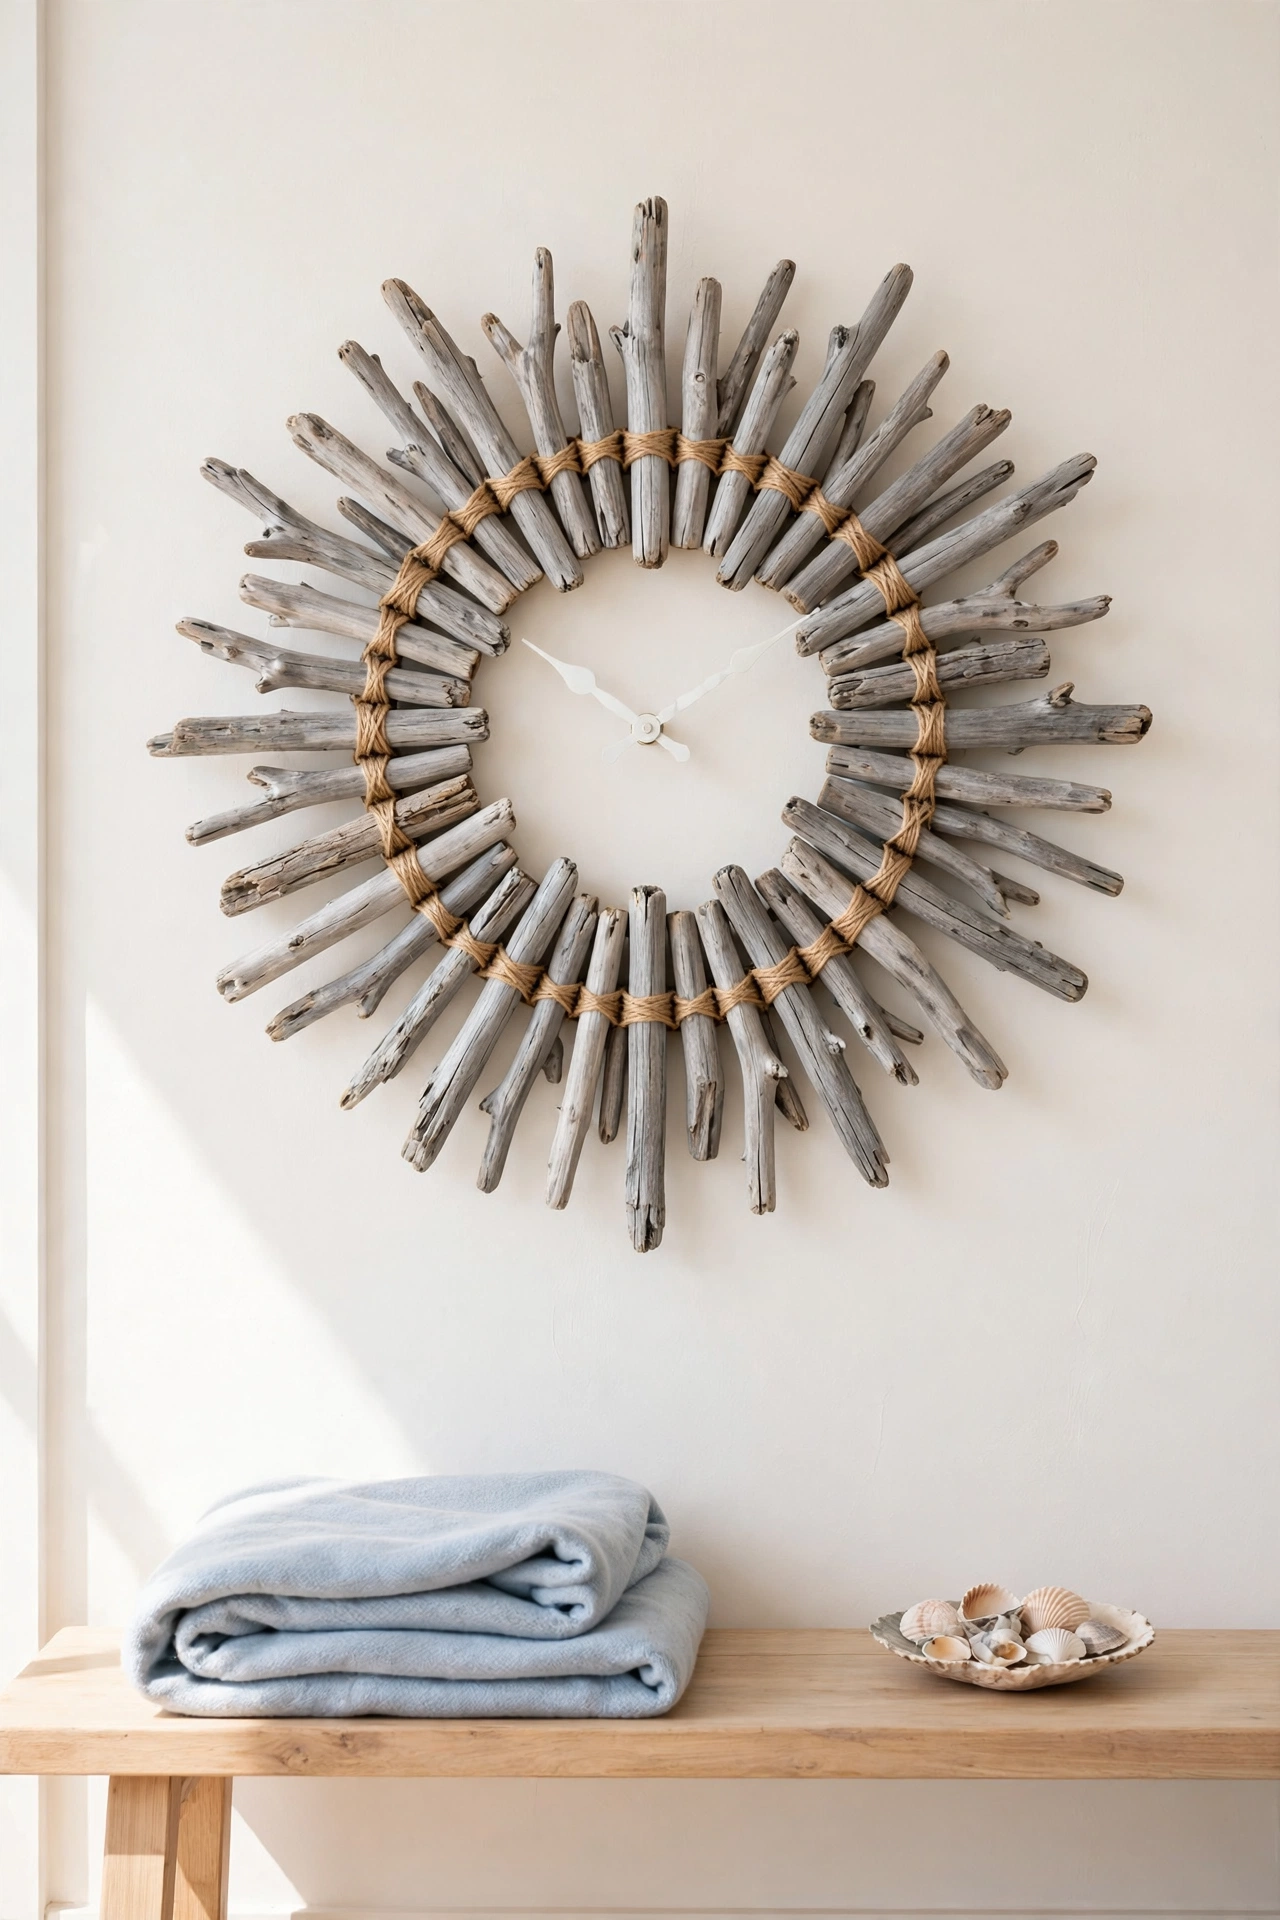
13. Lash Driftwood Pieces Into a Coastal Clock
Driftwood gathered from a beach trip makes a clock face that feels like a seaside souvenir. Choose flat smooth pieces in similar tones, arrange them in a sunburst or wagon wheel pattern on a round backing, and lash the joints with natural jute twine. The silvery gray wood and rope details give the clock a relaxed coastal character that suits bathrooms, porches, and beach themed rooms.
Let the driftwood dry fully indoors for a week before you build, so it does not warp after assembly. For more ways to use rope and natural fibers at home, these diy rope decor ideas show how simple knots and coils add warmth to everyday pieces. Use white or pale hands that stand out against the gray wood.
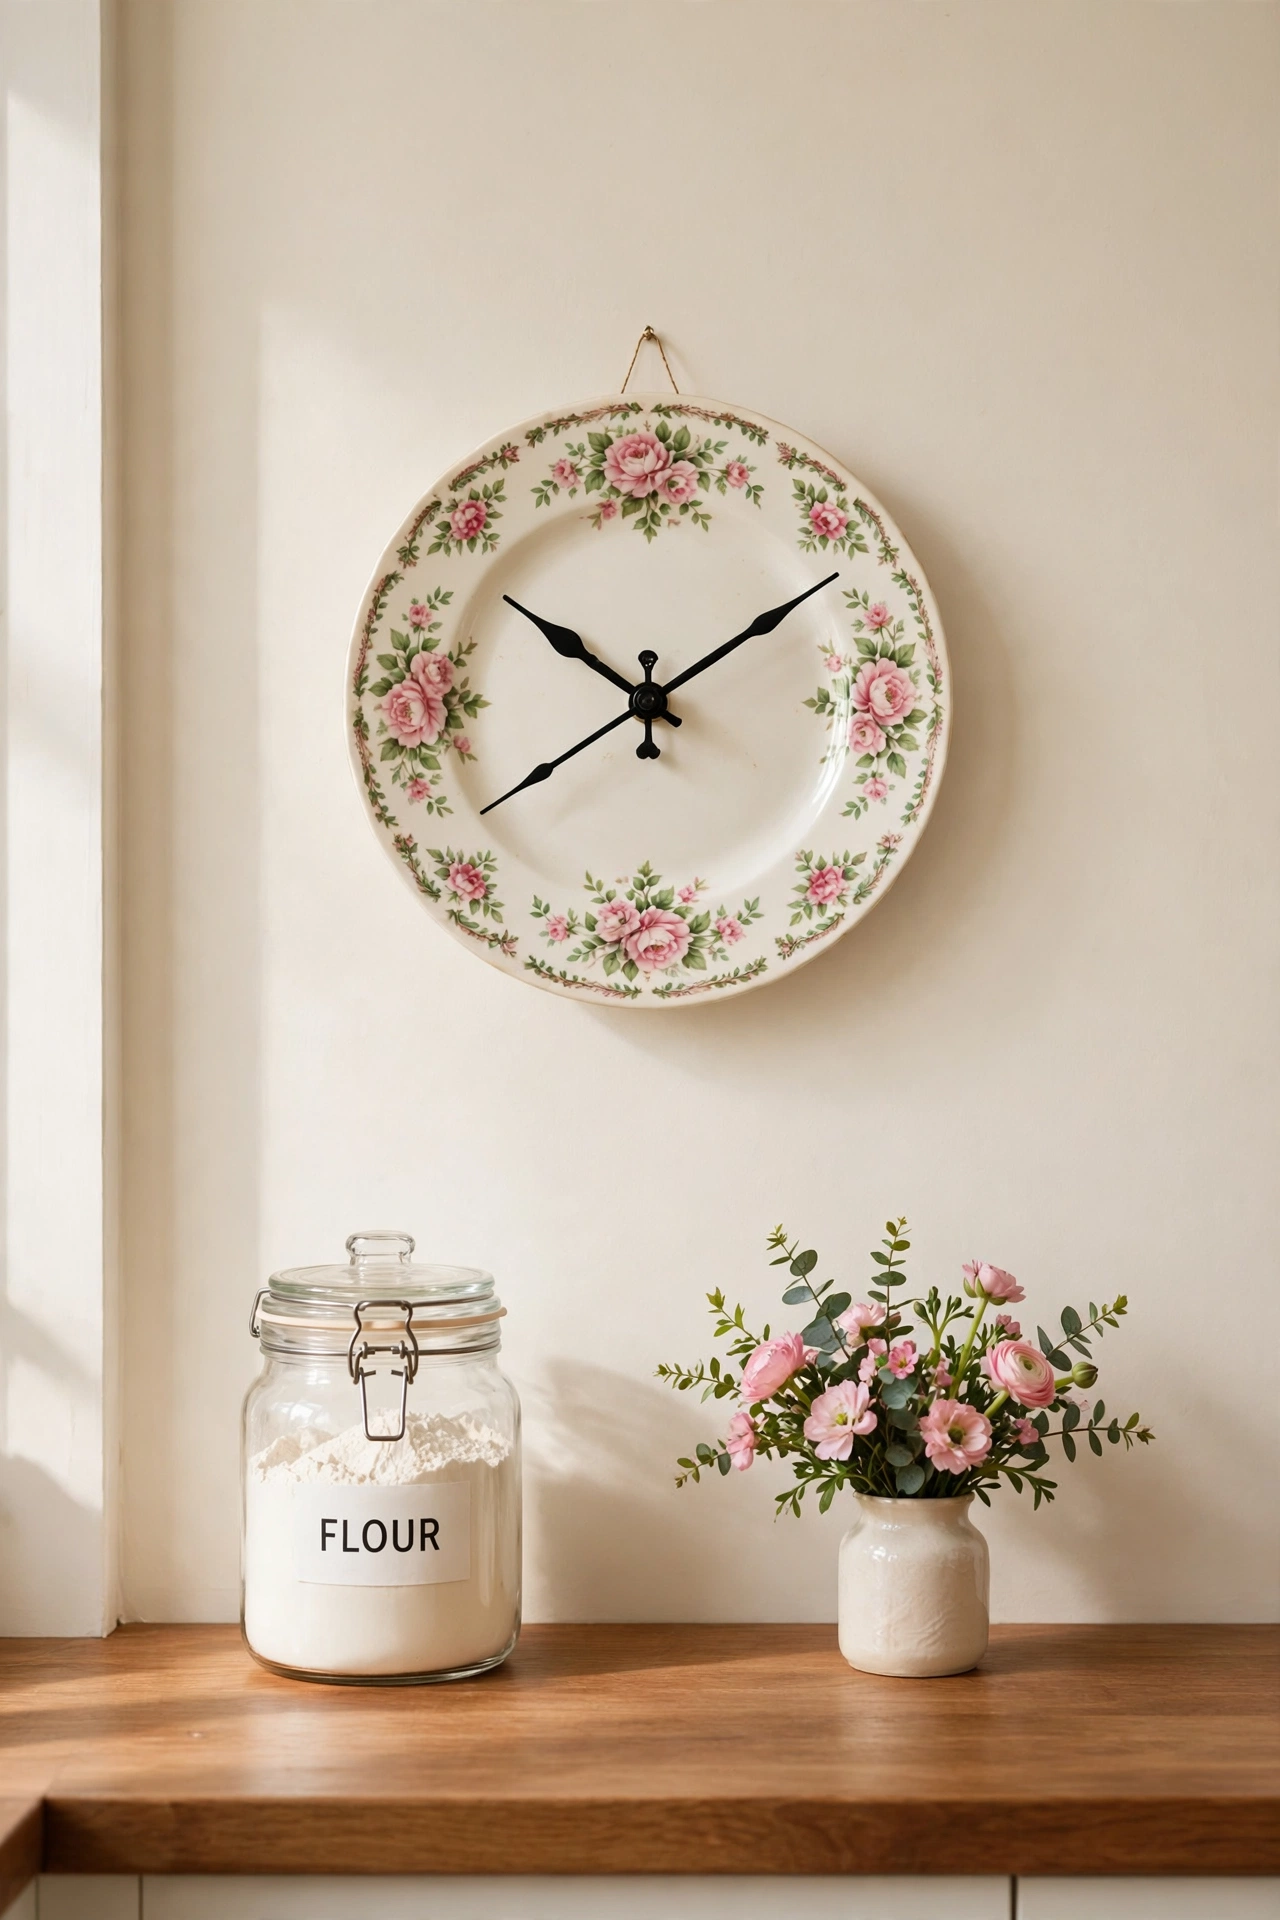
14. Turn an Old Dinner Plate Into a Clock
An old dinner plate with a pretty rim pattern is already a finished clock face waiting for a movement. Choose a sturdy ceramic or stoneware plate, drill a center hole with a diamond drill bit while keeping the plate cool with water, and fit the clock movement through the hole. The painted rim becomes a natural border, and the center stays clean and easy to read.
Floral plates suit cottage kitchens, while plain white plates with a colored rim suit modern rooms. Hang the plate clock with a plate hanger or a strong adhesive disc rated for the weight. This project rescues single plates left over from broken sets and gives them a new purpose on the wall.
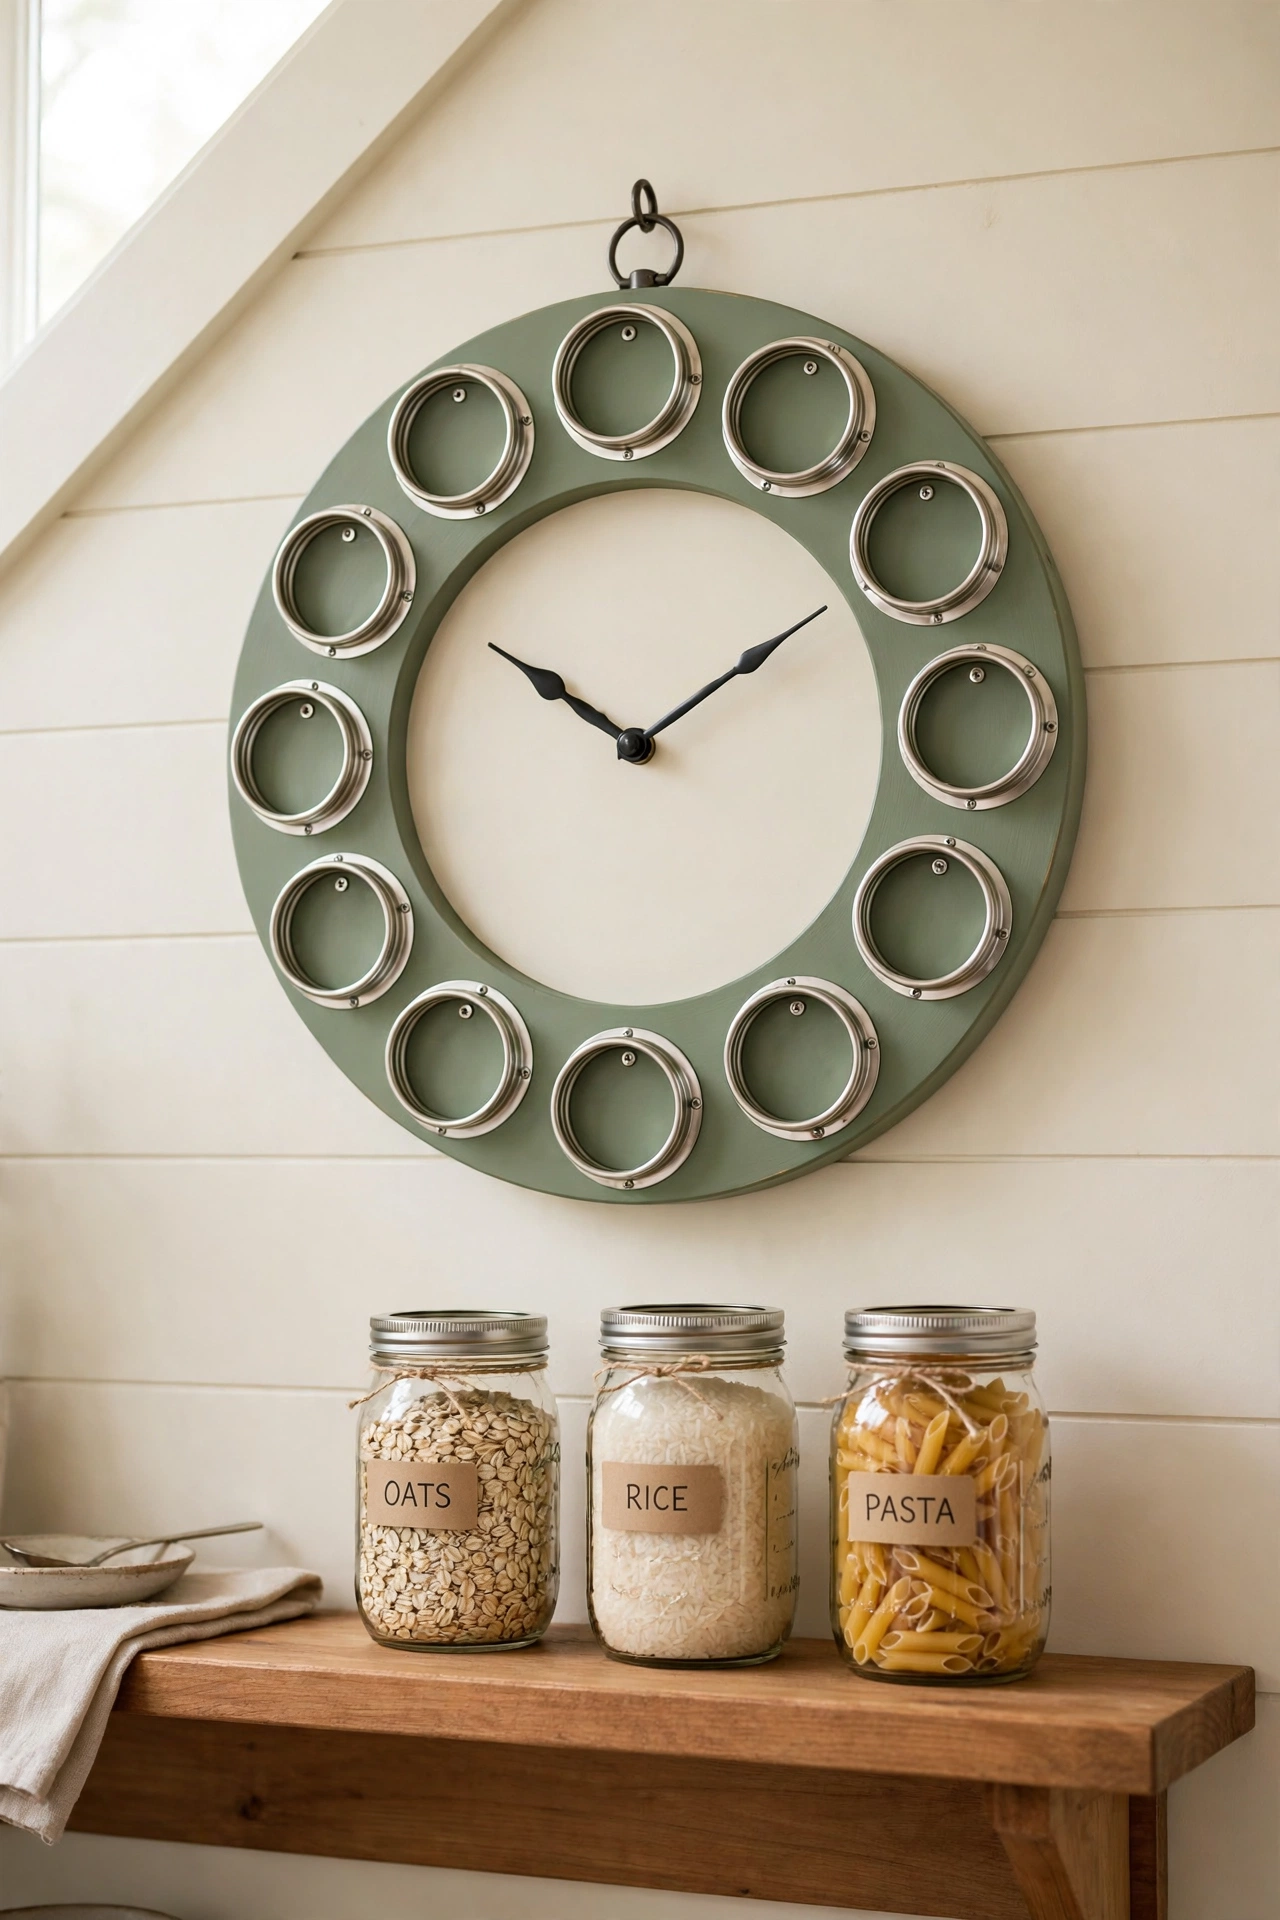
15. Ring a Clock With Canning Jar Rings
Canning jar rings saved from preserving season make a neat metal ring of hour markers around a round wooden clock face. Polish the rings to a soft shine or leave the light patina for rustic charm, and screw twelve of them evenly around the edge of a painted base. The uniform rings give the clock a tidy farmhouse look that fits kitchens and pantries.
Paint the base a soft cream or sage so the silver rings stand out, and use dark hands for clear reading. You can tuck a small printed label inside each ring for a homestead touch, or leave the rings empty for a cleaner look. This clock uses supplies many kitchens already own, so it costs almost nothing to make.
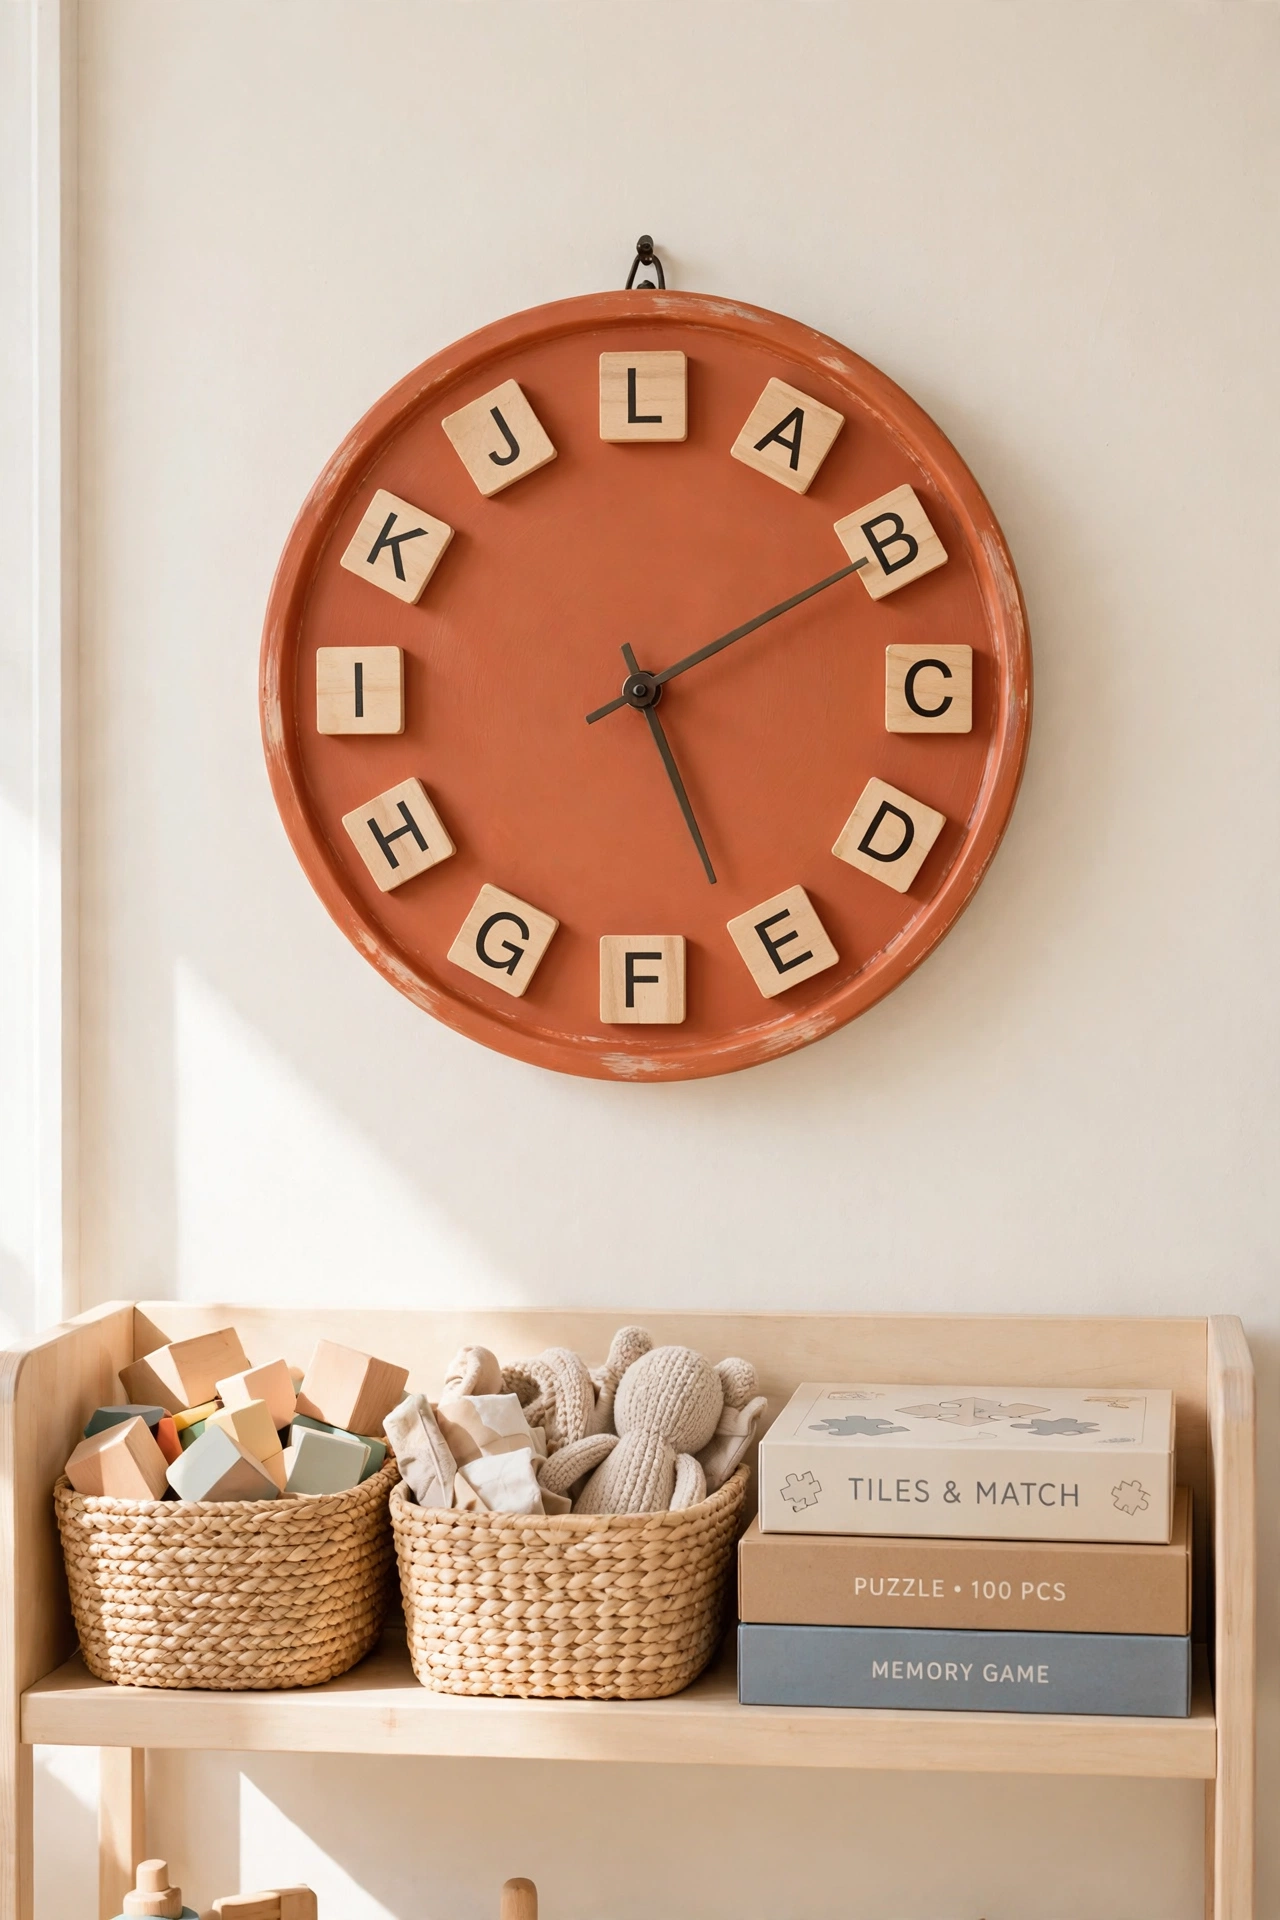
16. Spell the Hours With Old Board Game Tiles
Letter tiles from an old board game make a playful clock face that sparks conversation in family rooms and playrooms. Arrange twelve tiles in a circle on a round base, with each tile showing a letter that starts a number word, or simply use tiles with numbers printed on them. Glue the tiles firmly and seal the face so the small wooden pieces stay put.
Mix tile colors if the set includes them, or paint the base a bold color so the pale wooden tiles stand out. Keep the hands simple and dark so the face stays easy to read. This clock rescues a game with missing pieces and turns it into decor that children love to read.
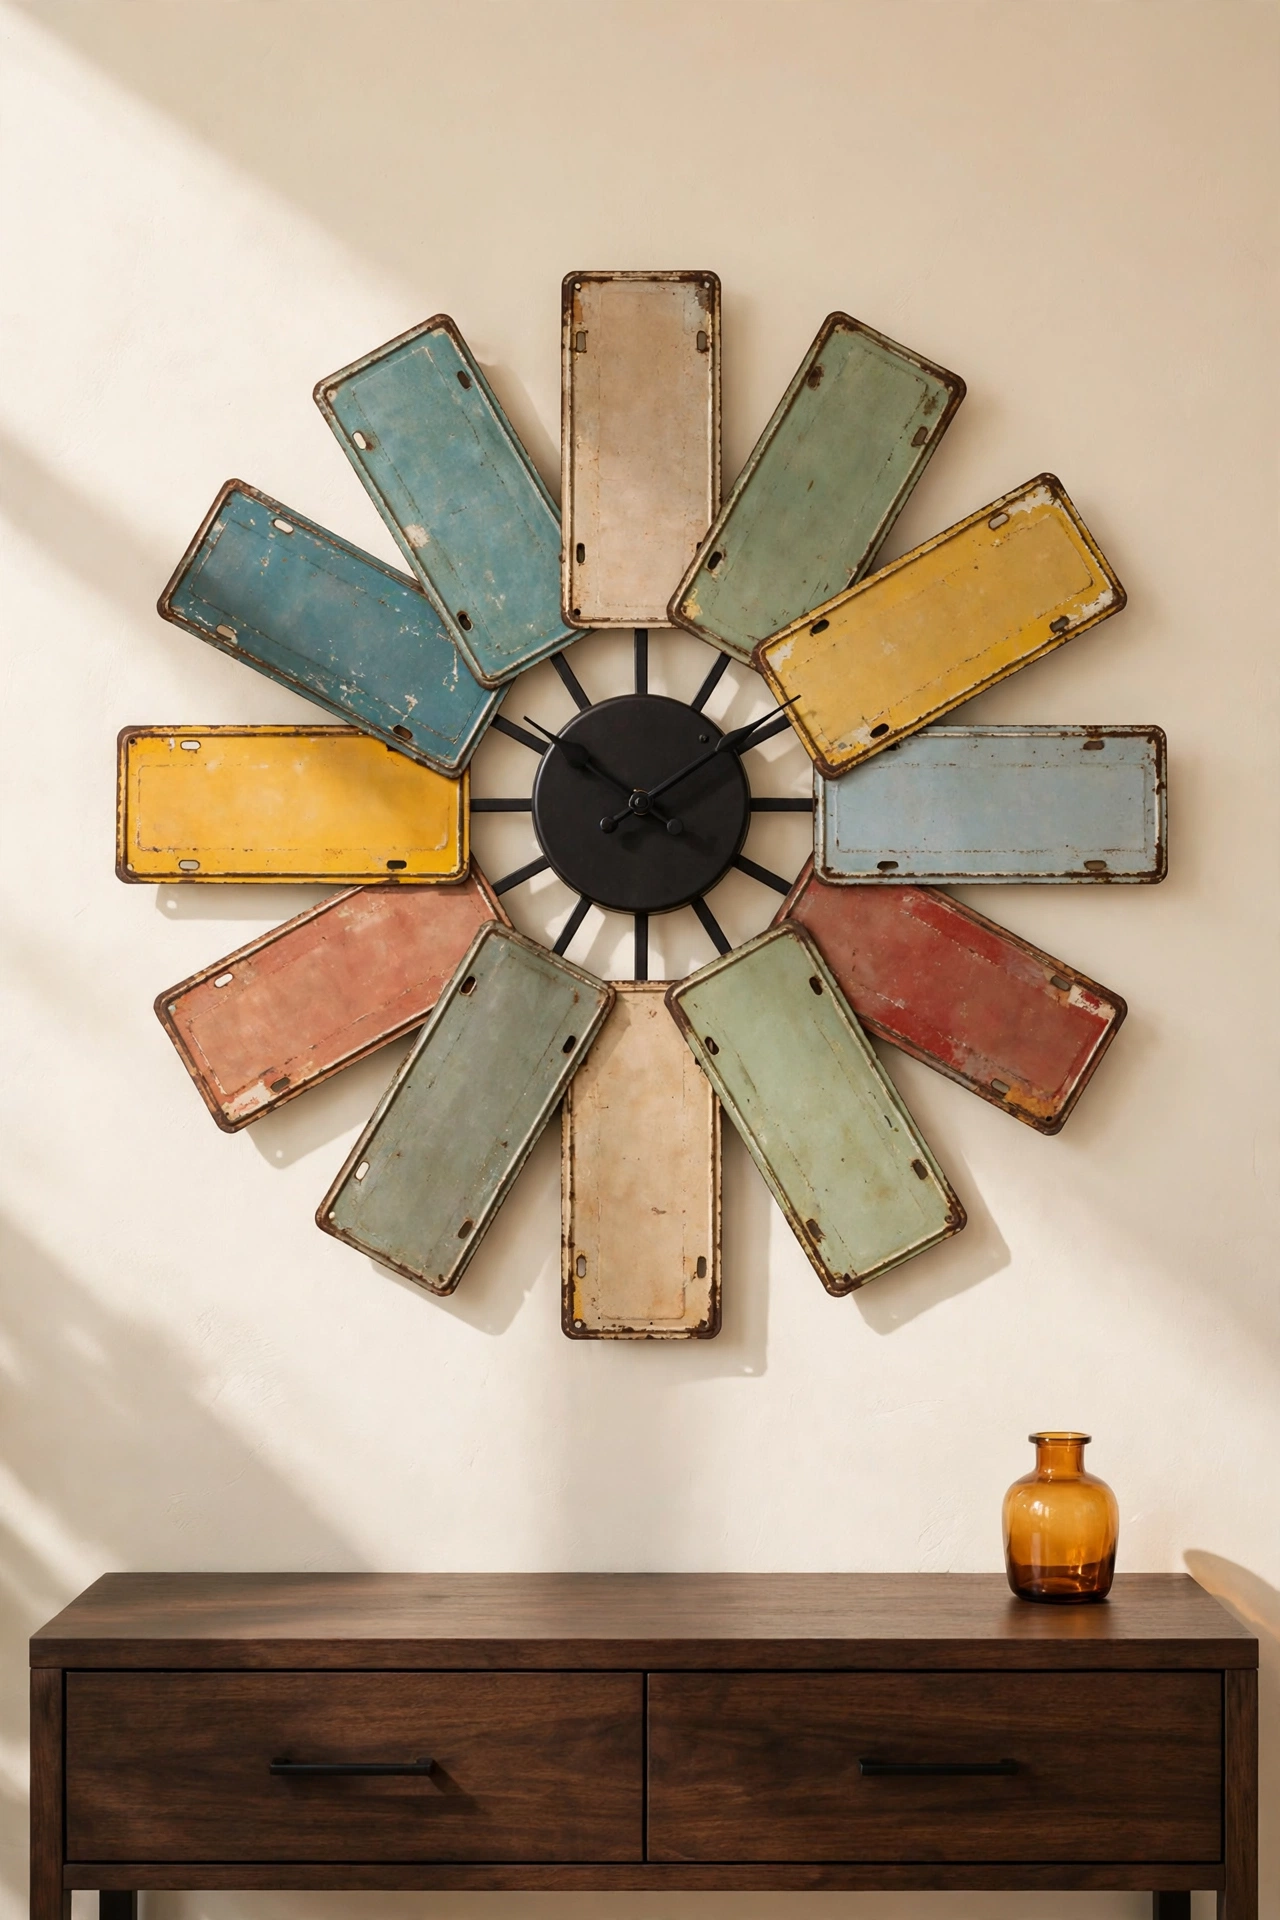
17. Stack Old License Plates Into a Retro Clock
Old license plates with faded paint and embossed numbers make a bold retro clock face with real vintage character. Cut two or three plates into strips and arrange them in a starburst on a round base, or use a single plate as a rectangular clock face with the numbers marking the hours. The worn enamel colors add instant age and story to the piece.
Use plates that are legally retired and no longer in use, and sand any sharp cut edges smooth before assembly. A dark base behind the plates makes the faded colors pop, and simple black hands keep the face readable. This clock suits garages, dens, and rooms with a vintage Americana feel.
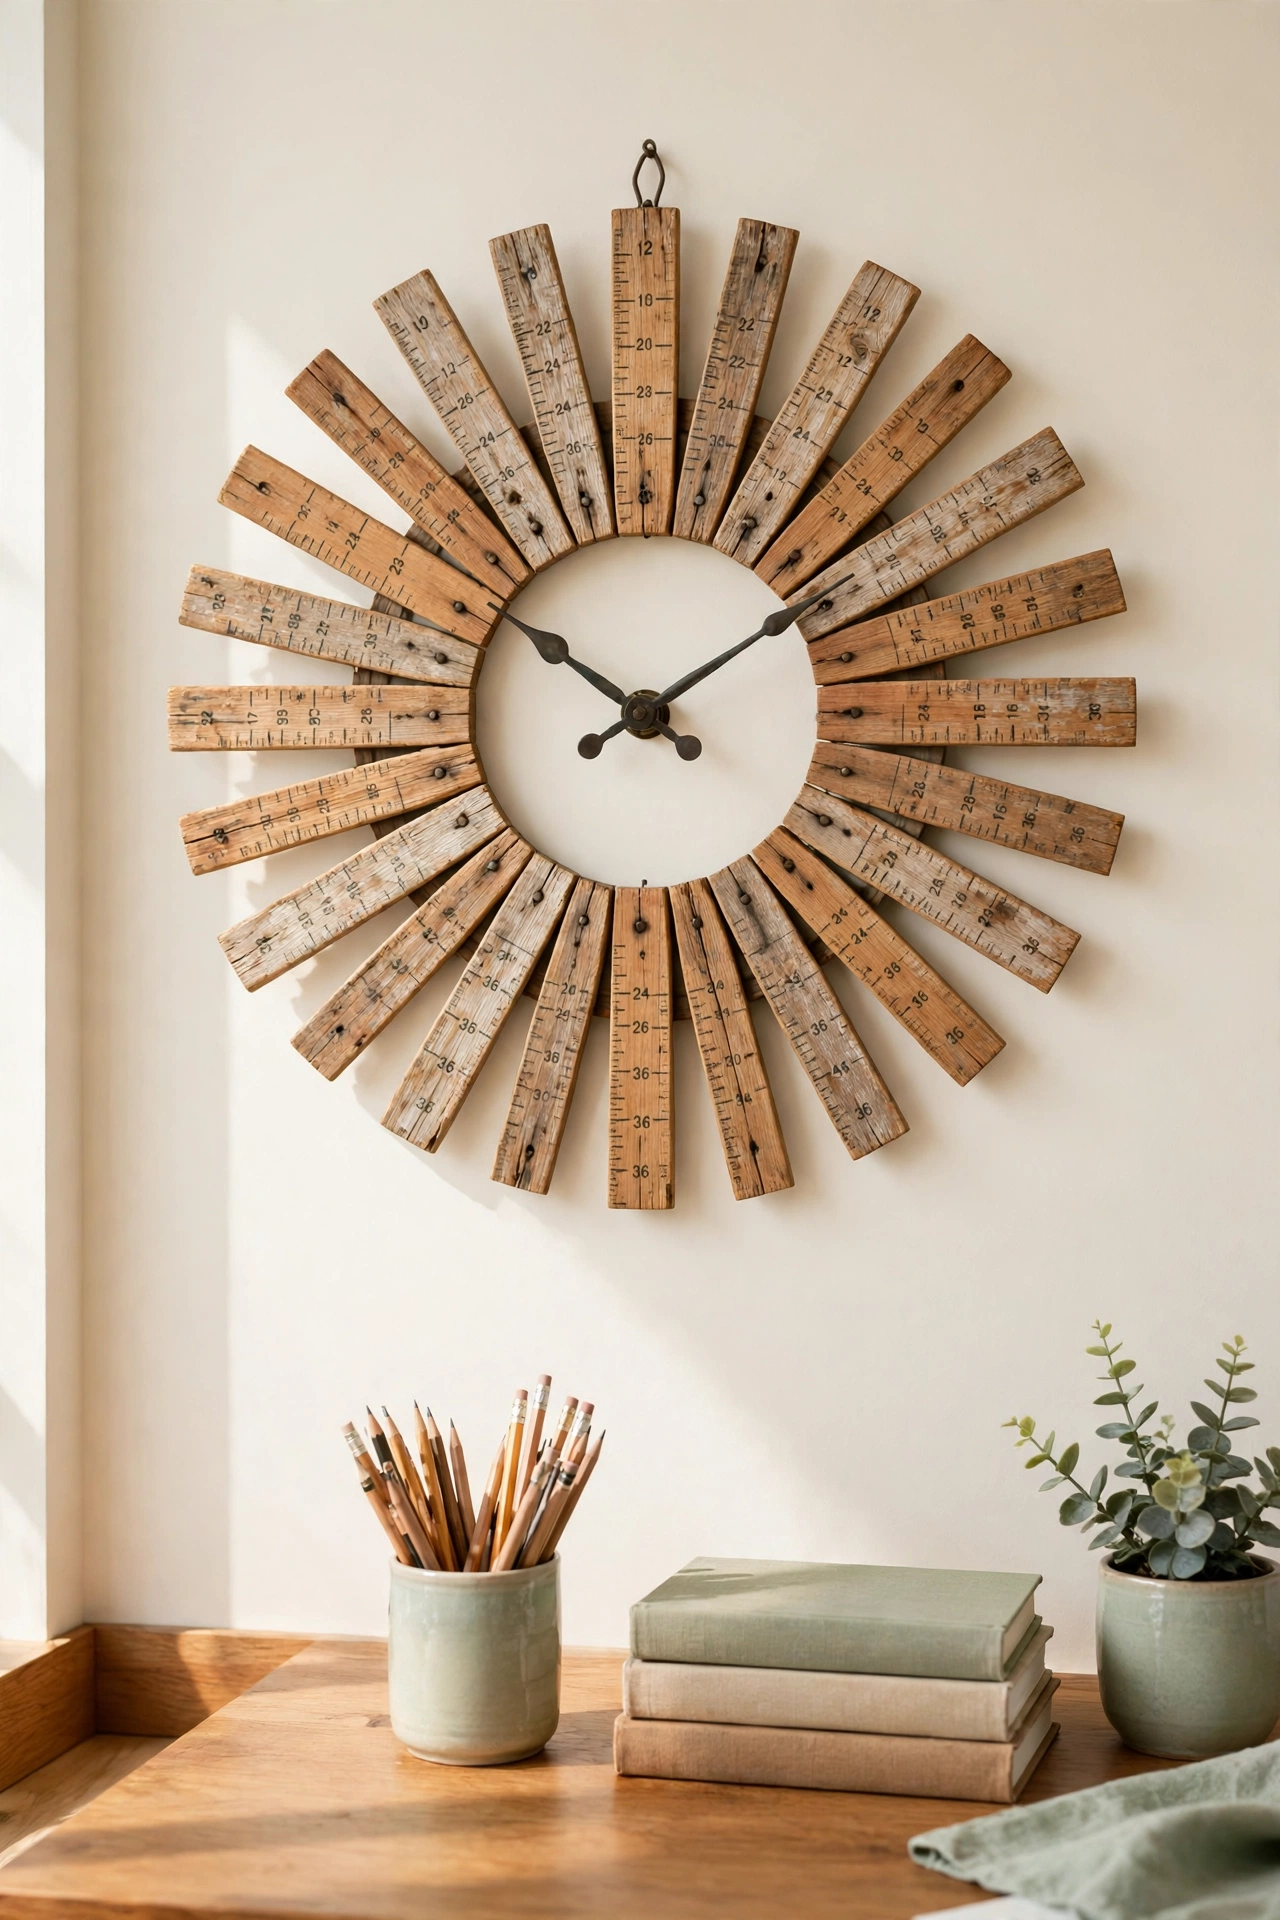
18. Line a Clock With Salvaged Wooden Yardsticks
Salvaged wooden yardsticks and rulers make a clock face full of printed numbers and warm honey colored wood. Cut the sticks into even lengths and arrange them in a sunburst or herringbone pattern on a round base, letting the printed inch marks add texture. The repeated numbers and lines give the clock a charming schoolhouse feel that suits offices, craft rooms, and kitchens.
Look for yardsticks with clear printed markings and minimal damage, and sand the cut ends smooth. Glue the sticks firmly and seal the face with a clear coat to protect the printed numbers. Use dark hands that contrast with the pale wood, and hang the clock where the printed details can be admired up close.
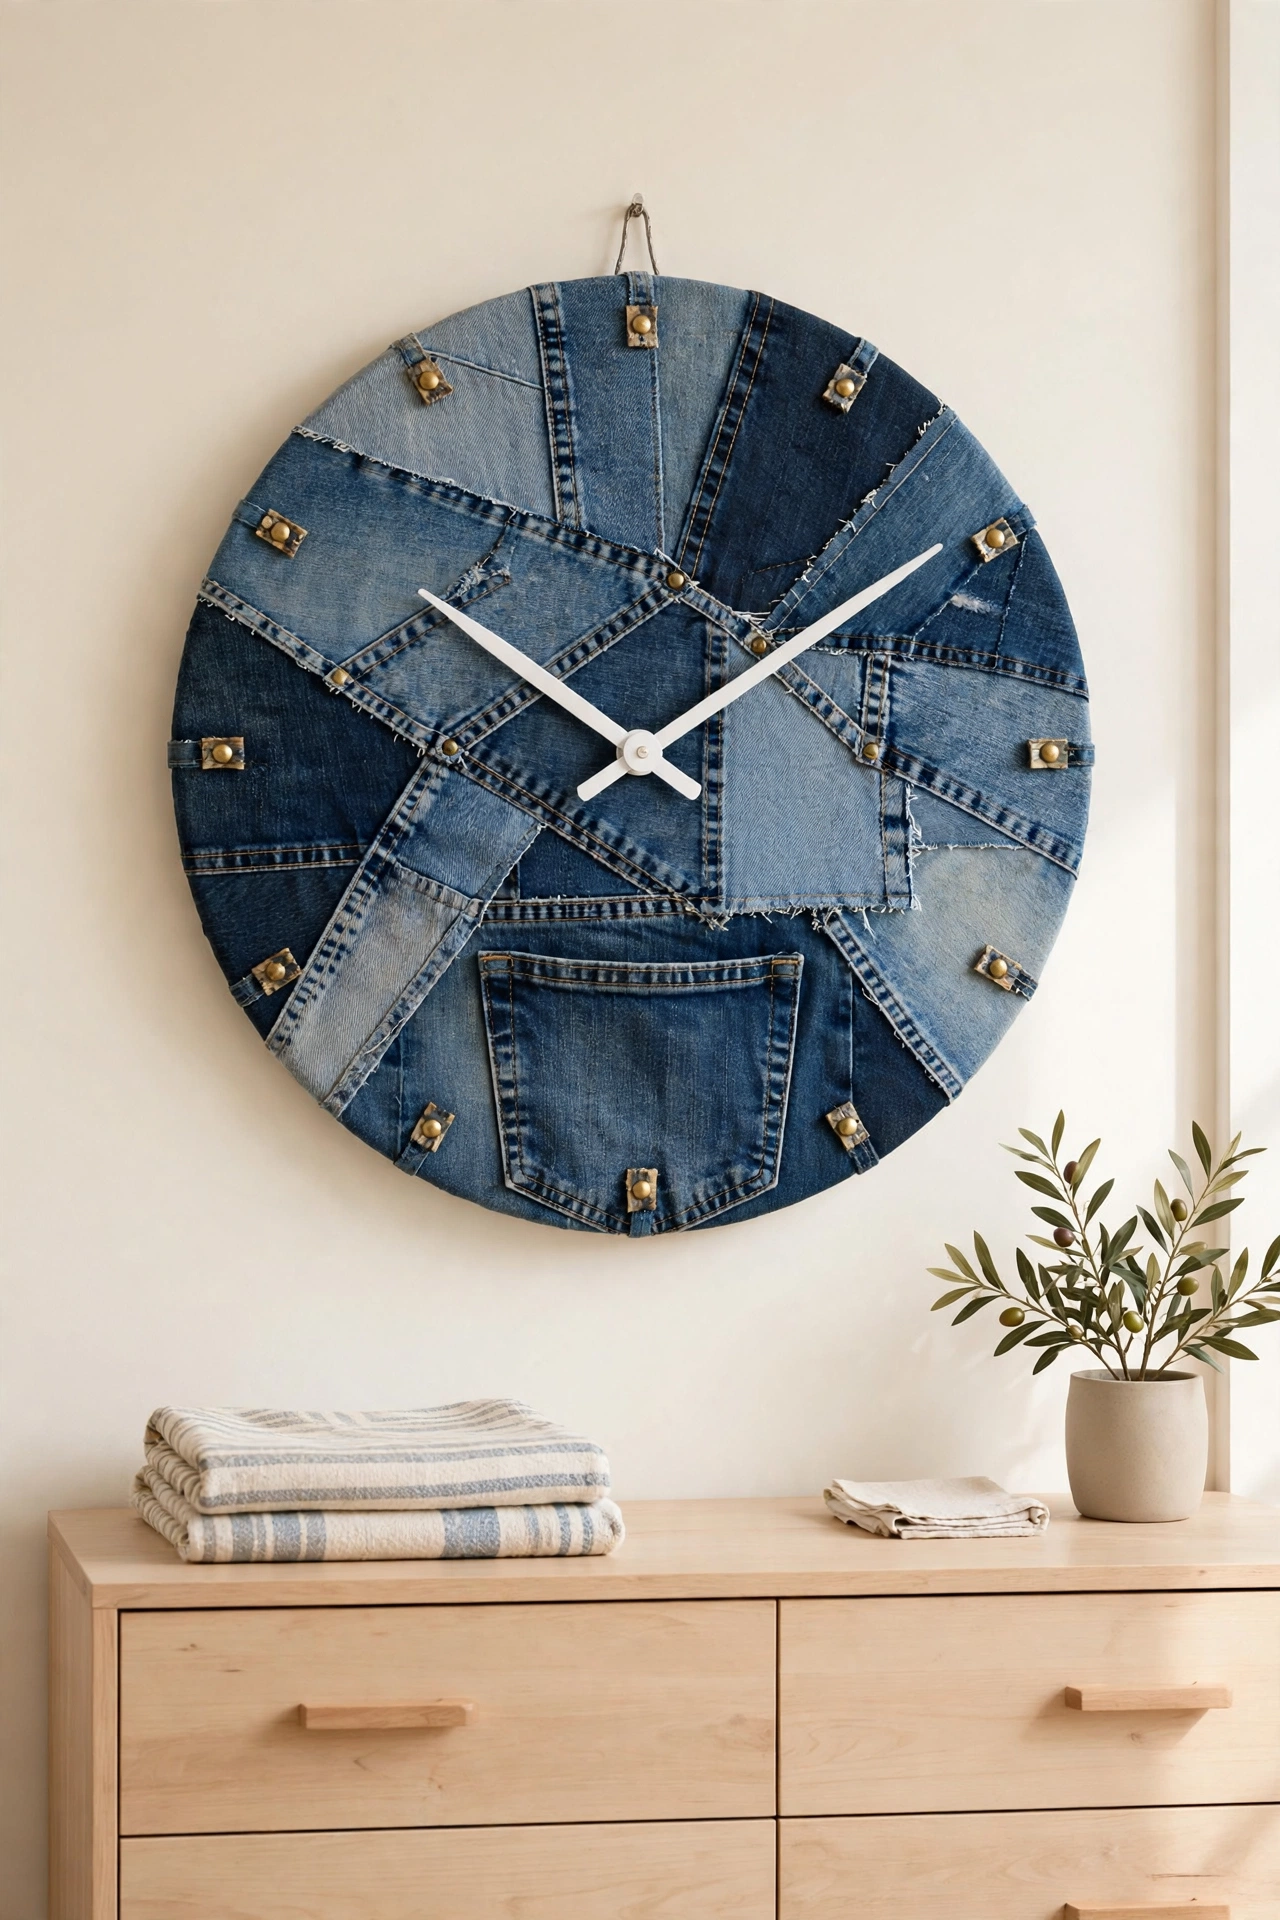
19. Stitch a Clock From Old Denim Jeans
Old denim jeans too worn to wear can cover a clock face in sturdy blue fabric with pockets, seams, and stitching that add instant texture. Cut panels from the legs, arrange them in a patchwork on a round base, and glue them flat with fabric glue. A pocket from the jeans can sit at the center or edge as a small holder for notes or a spare key.
Mix light and dark washes for contrast, and add brass rivets or denim covered buttons as hour markers. The blue tones suit casual rooms, teen bedrooms, and laundry rooms alike. Seal the fabric edges so they do not fray, and use white or cream hands that read clearly against the denim.
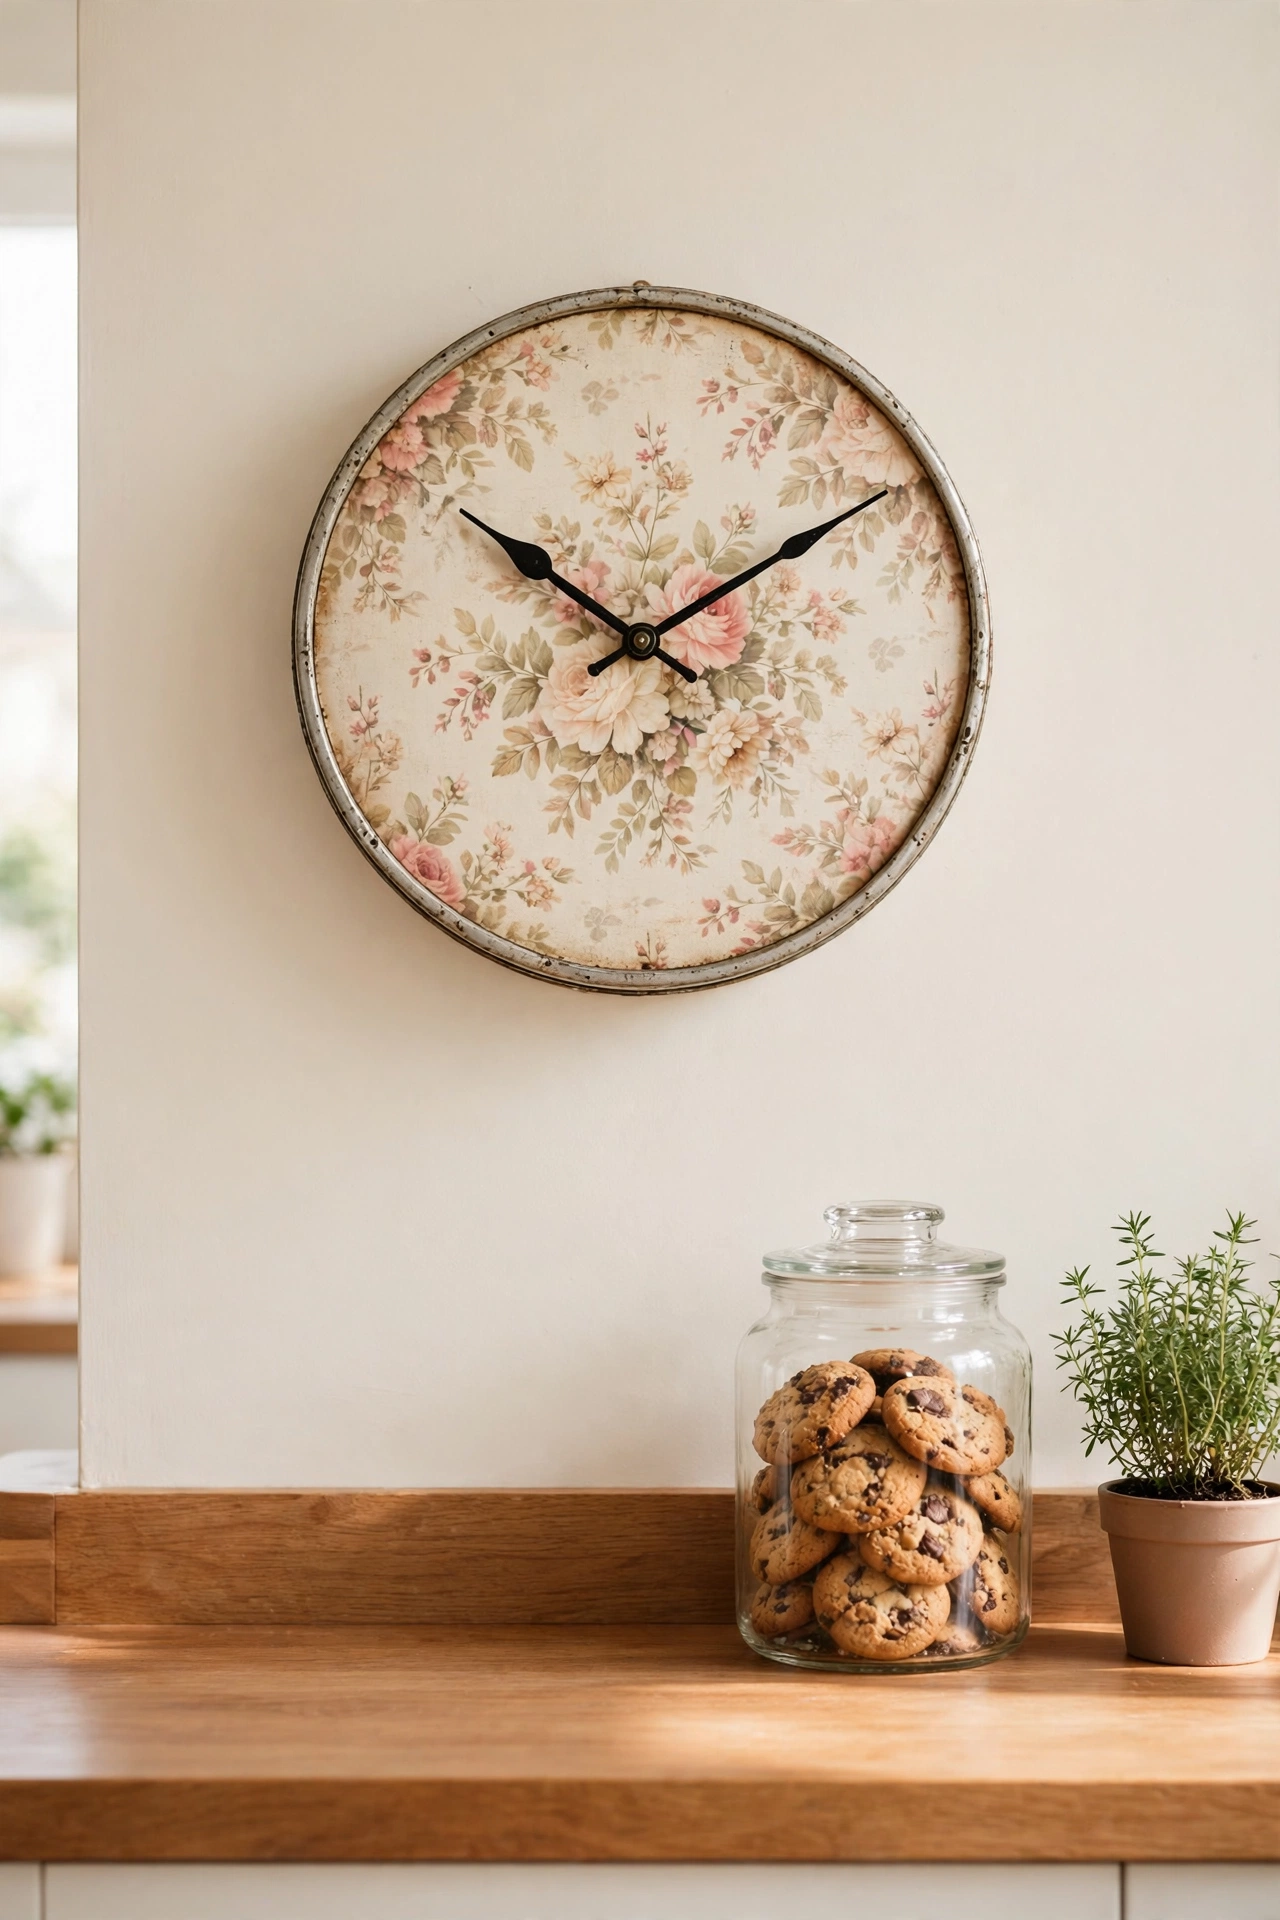
20. Mount a Clock in a Vintage Cookie Tin
A vintage cookie tin with a printed lid makes a ready made clock case with retro graphics built right in. Clean the tin thoroughly, drill a center hole through the lid, and fit the clock movement so the hands sweep across the printed design. The shallow tin body holds the movement neatly, and the rim gives the clock a finished edge without any extra framing.
Look for tins with bold floral, holiday, or advertising prints at thrift stores and flea markets, where these treasures often cost very little. For more secondhand finds worth a second look, these thrift store decor ideas show how rescued pieces become the most loved decor in a home. Hang the tin clock with a strong adhesive hook or a small bracket on the back.
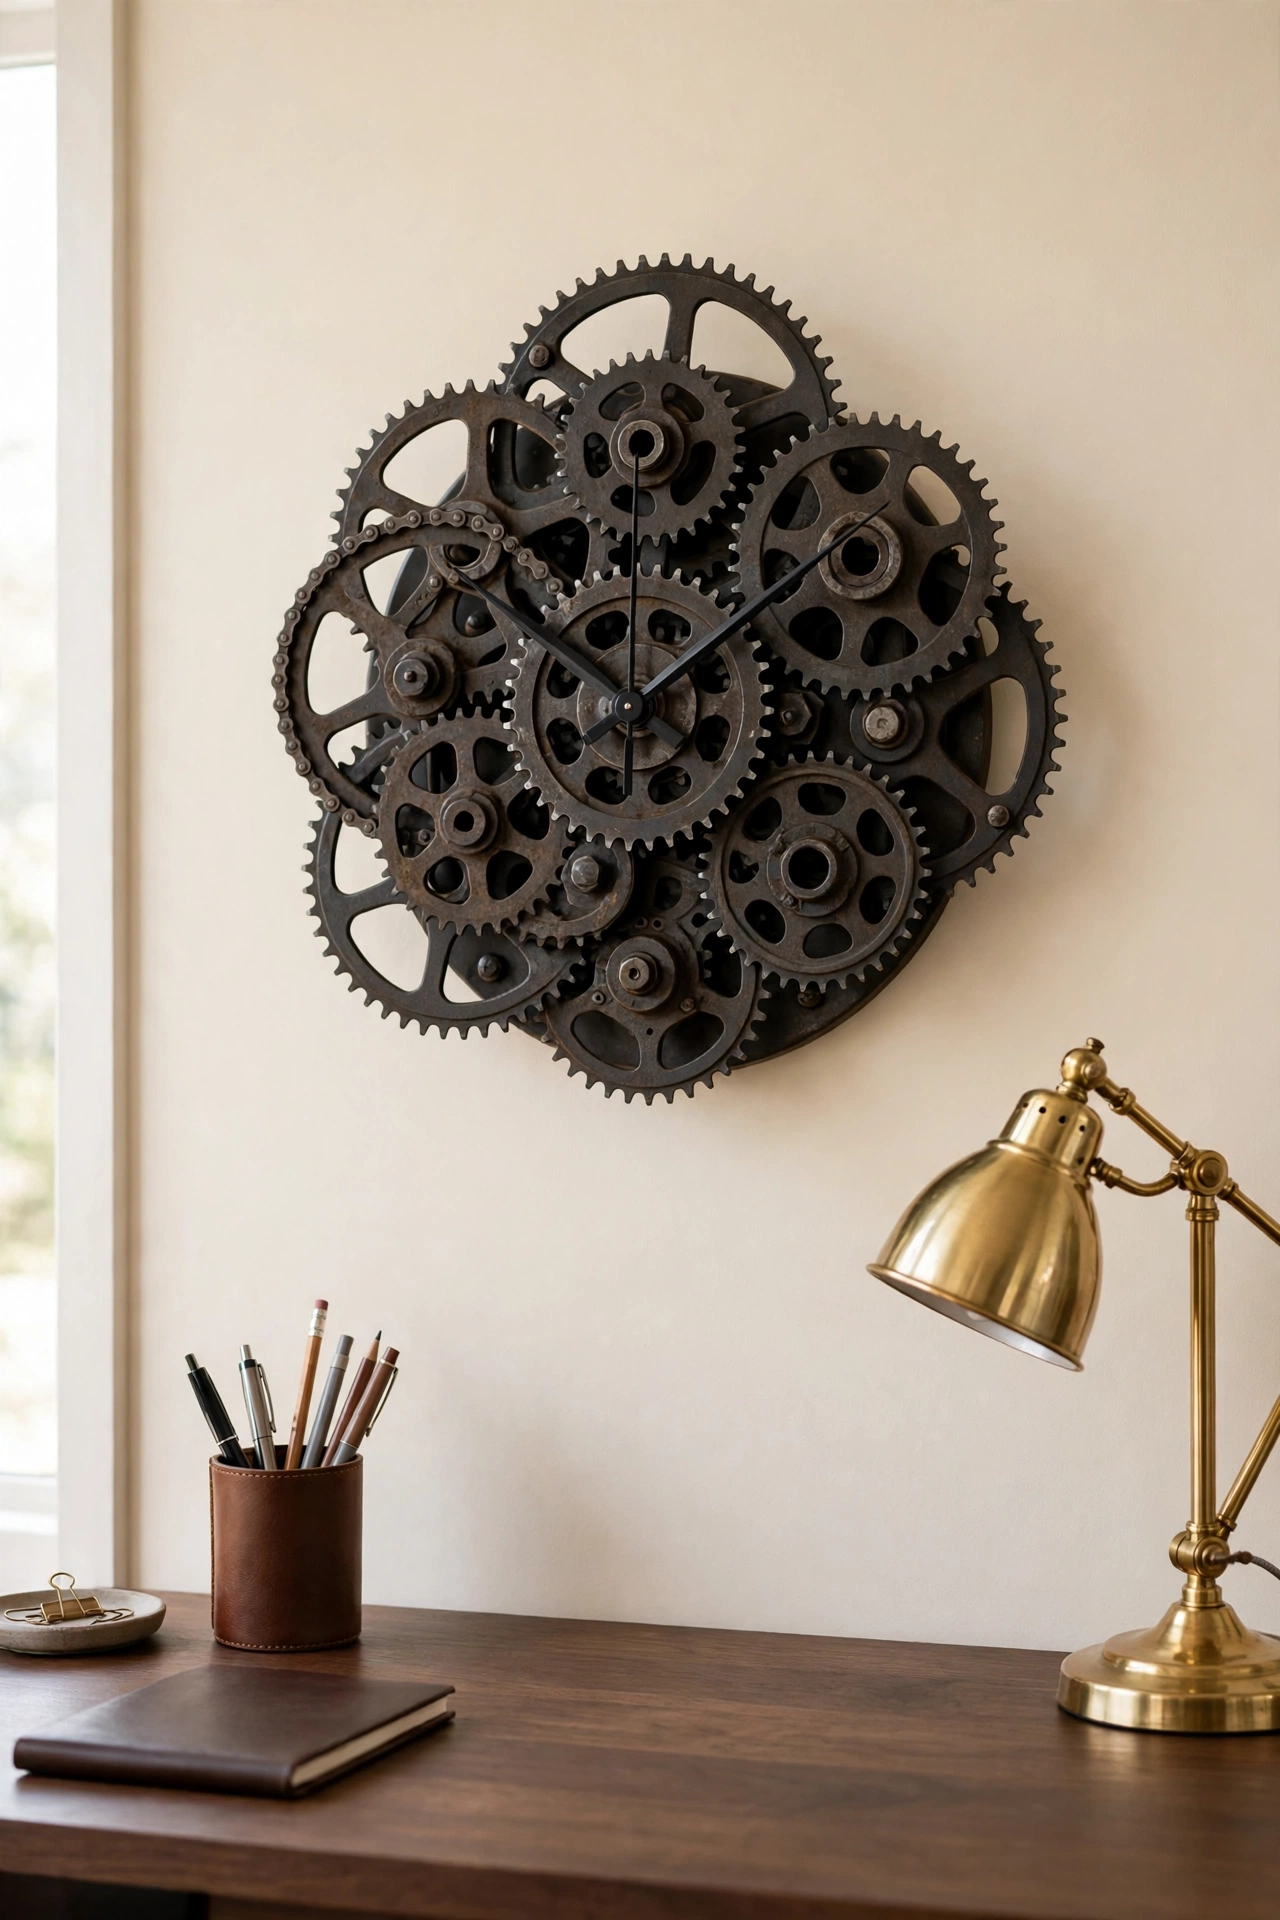
21. Gear Up With Salvaged Bicycle Gears
Salvaged bicycle gears and sprockets make an industrial clock face full of moving visual energy, even though the gears themselves stay still. Clean the gears thoroughly, arrange them in a cluster on a round metal or wood base, and let the teeth overlap slightly for a mechanical look. The clock movement mounts through the center gear, so the hands appear to rise from the machine itself.
Leave the metal bare with its oil darkened patina for authentic industrial style, or spray the gears a single matte color for a cleaner modern version. This clock suits workshops, offices, and rooms with metal and leather accents. Make sure the gears sit flat and secure so the hands turn without catching.
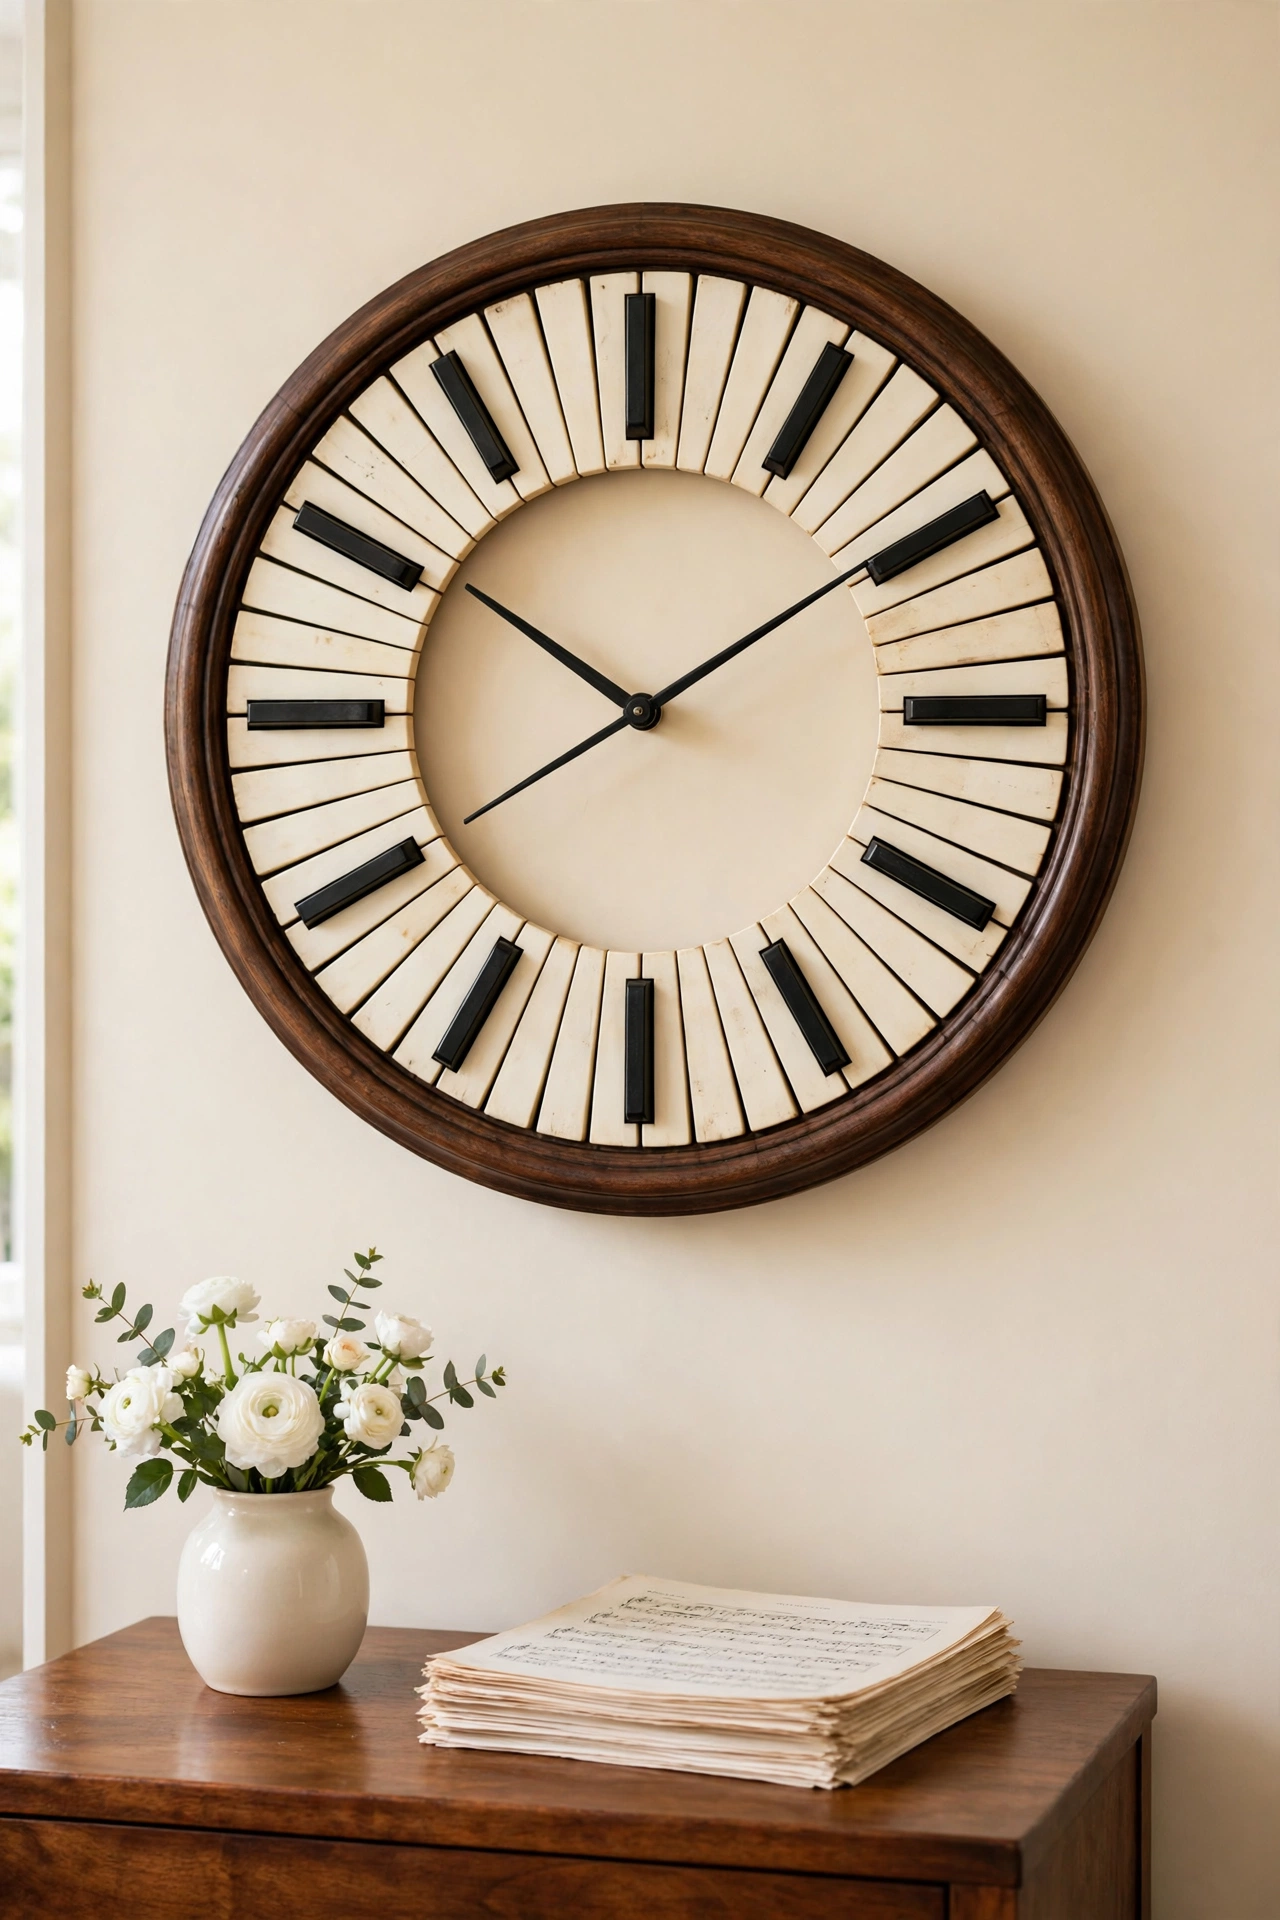
22. Line a Clock With Old Piano Keys
Old piano keys rescued from an upright piano beyond repair make an elegant black and white clock face with musical soul. Arrange the white keys in a ring or a full circle on a round base, and use the black keys as hour markers between them. The smooth ivory colored surface and the familiar keyboard pattern give the clock a refined look that suits music rooms and living rooms.
Ask a piano tuner or salvage shop about keys from pianos that cannot be restored, and clean each key gently before assembly. A dark stained base behind the keys makes the white surfaces glow, and slim black hands echo the keyboard theme. This clock honors an instrument that gave music for decades.
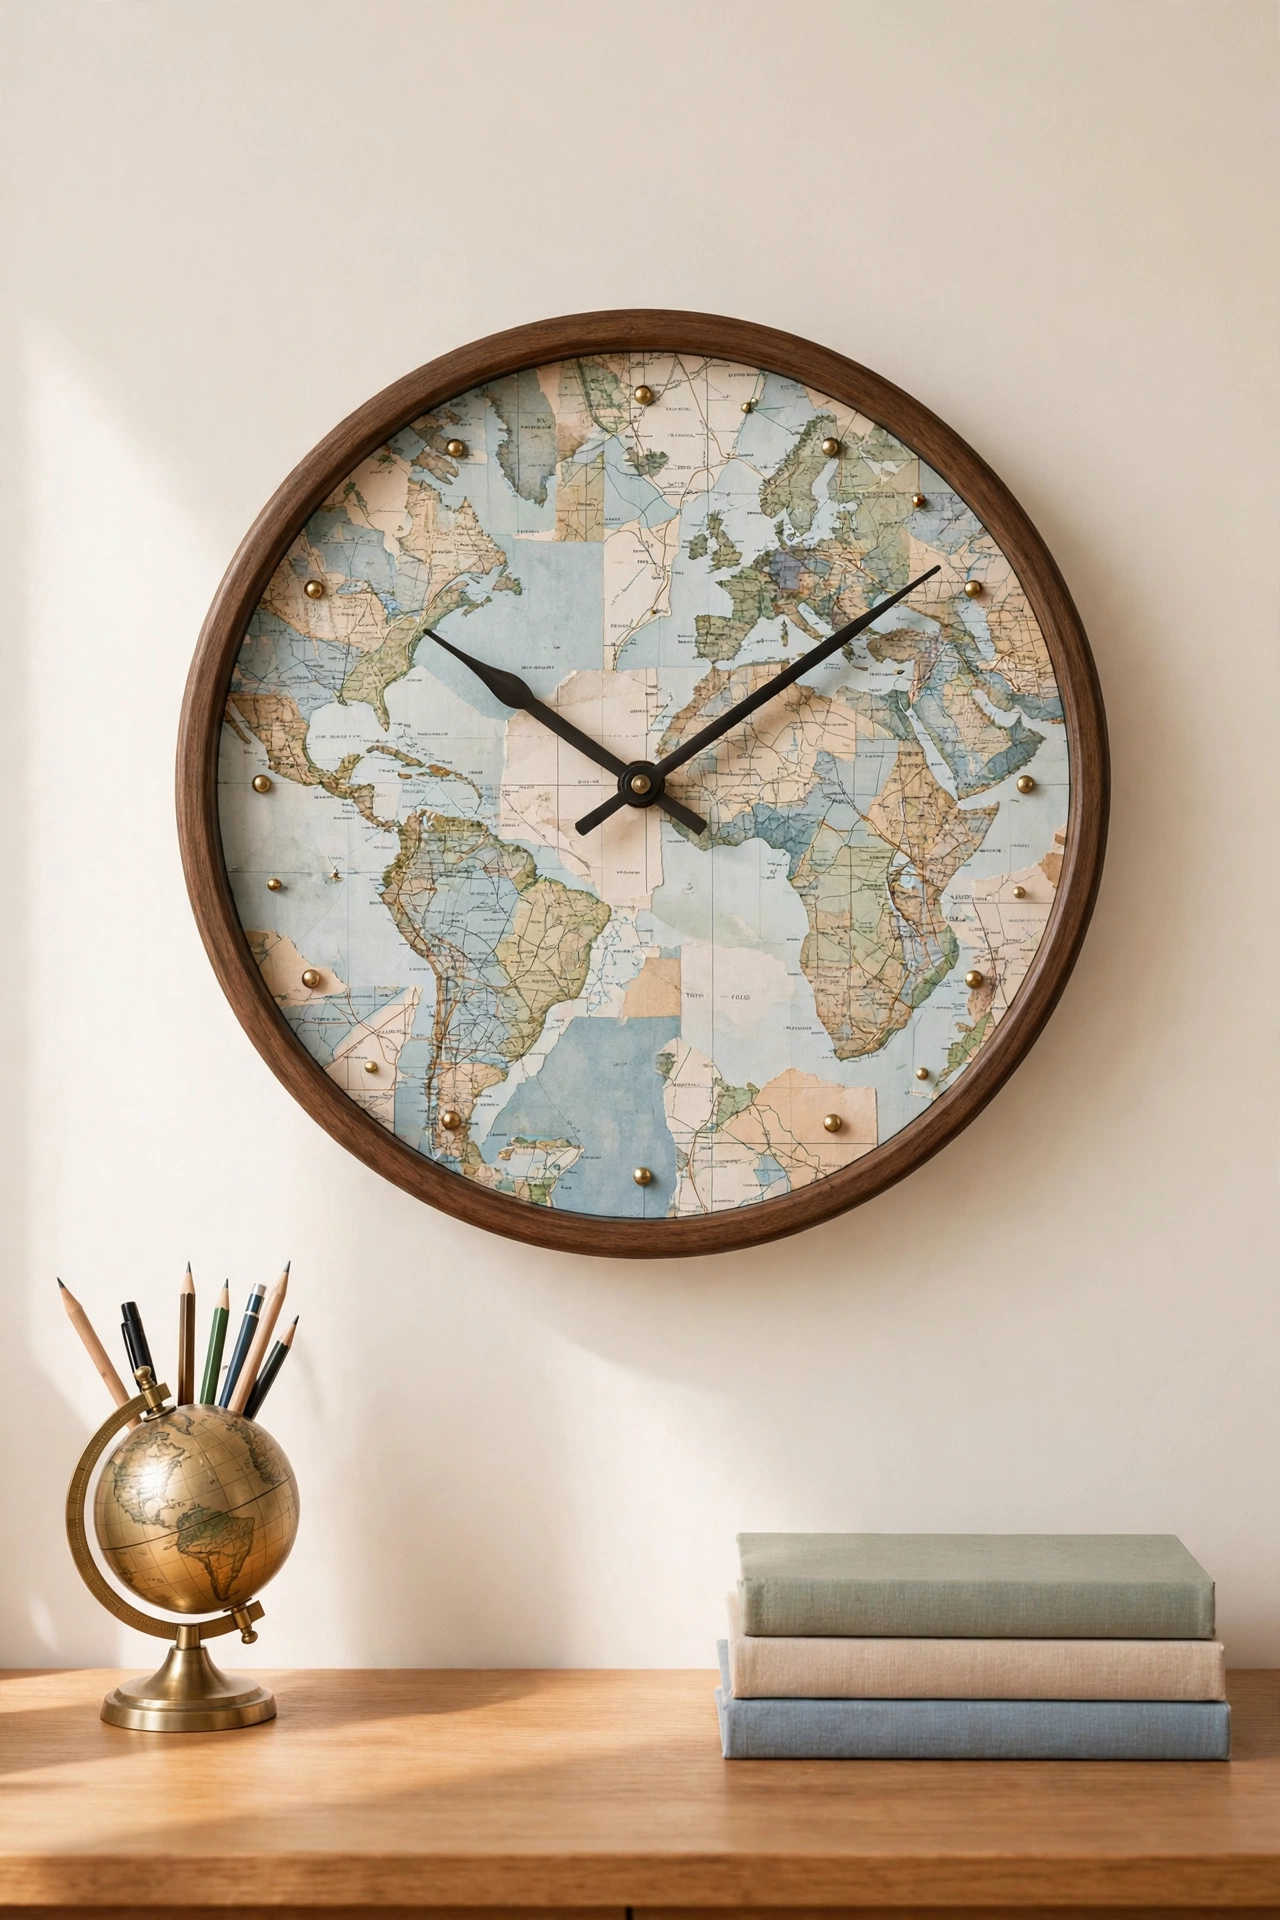
23. Map the Hours With Old Road Maps
Old road maps and atlas pages make a clock face full of soft colors, thin lines, and place names that invite a closer look. Cut the maps to fit a round base, arrange the pieces so coastlines or borders create interest, and seal them with decoupage glue. The faded paper tones suit travel themed rooms, offices, and bedrooms with a wanderlust spirit.
Choose maps of places that matter to you, such as a home state, a favorite road trip route, or a dream destination. Use small map pins or dots for hour markers, and dark hands that read clearly over the busy print. Keep the clock out of strong sunlight so the old ink does not fade.
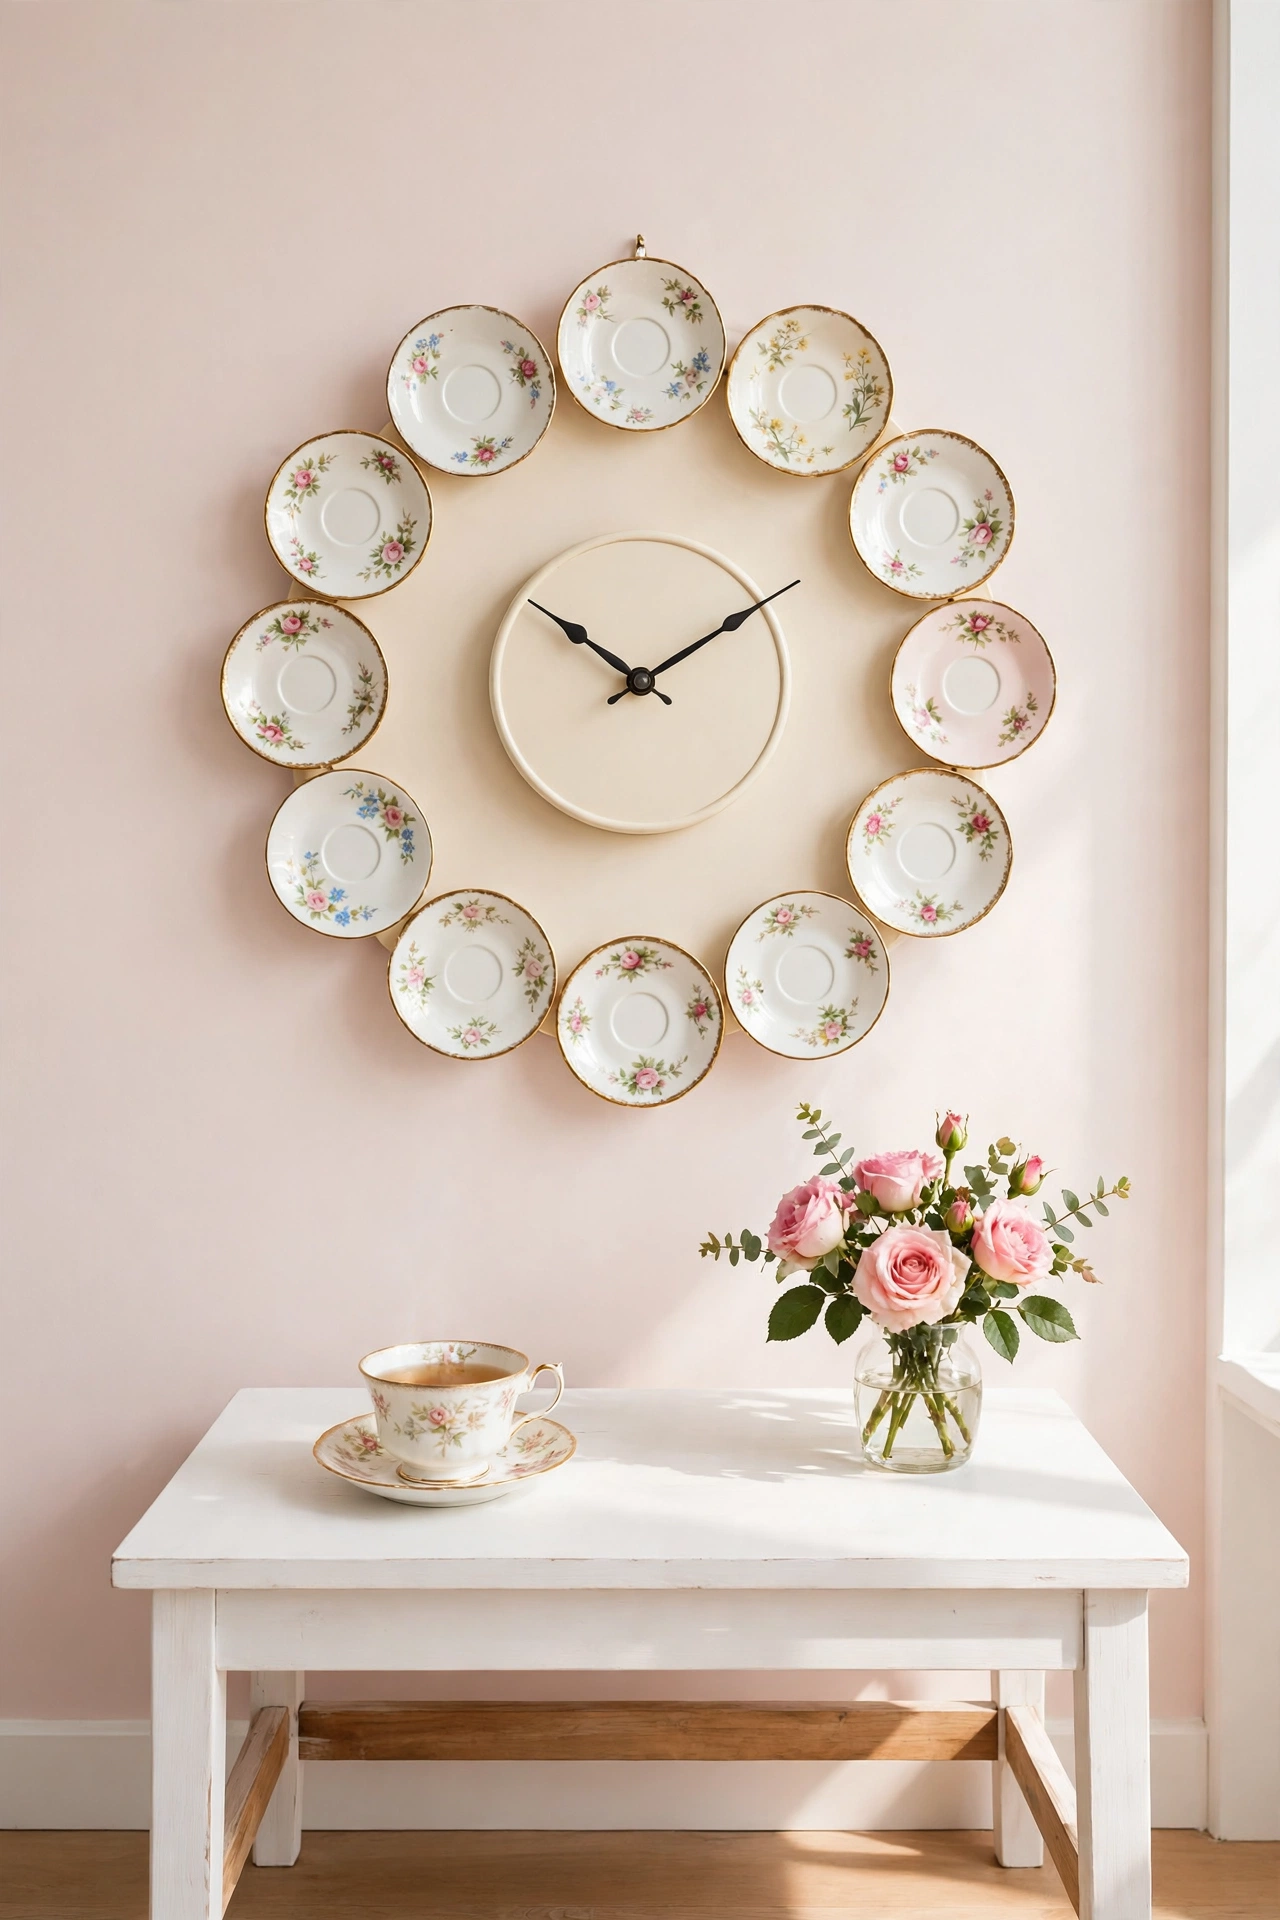
24. Circle a Clock With Mismatched China Saucers
Mismatched china saucers from broken tea sets make a delicate ring of hour markers around a round clock face. Each saucer brings a different floral pattern and gilt edge, so the clock becomes a small gallery of vintage china. Glue twelve small saucers in a circle on a painted round base, and mount the movement through the center.
Choose saucers in a shared color family for harmony, or mix patterns boldly for a shabby chic look. A soft cream or pale pink base keeps the display light and airy. Hang the clock with strong anchors, since china adds real weight, and handle the finished piece gently when you change the battery.
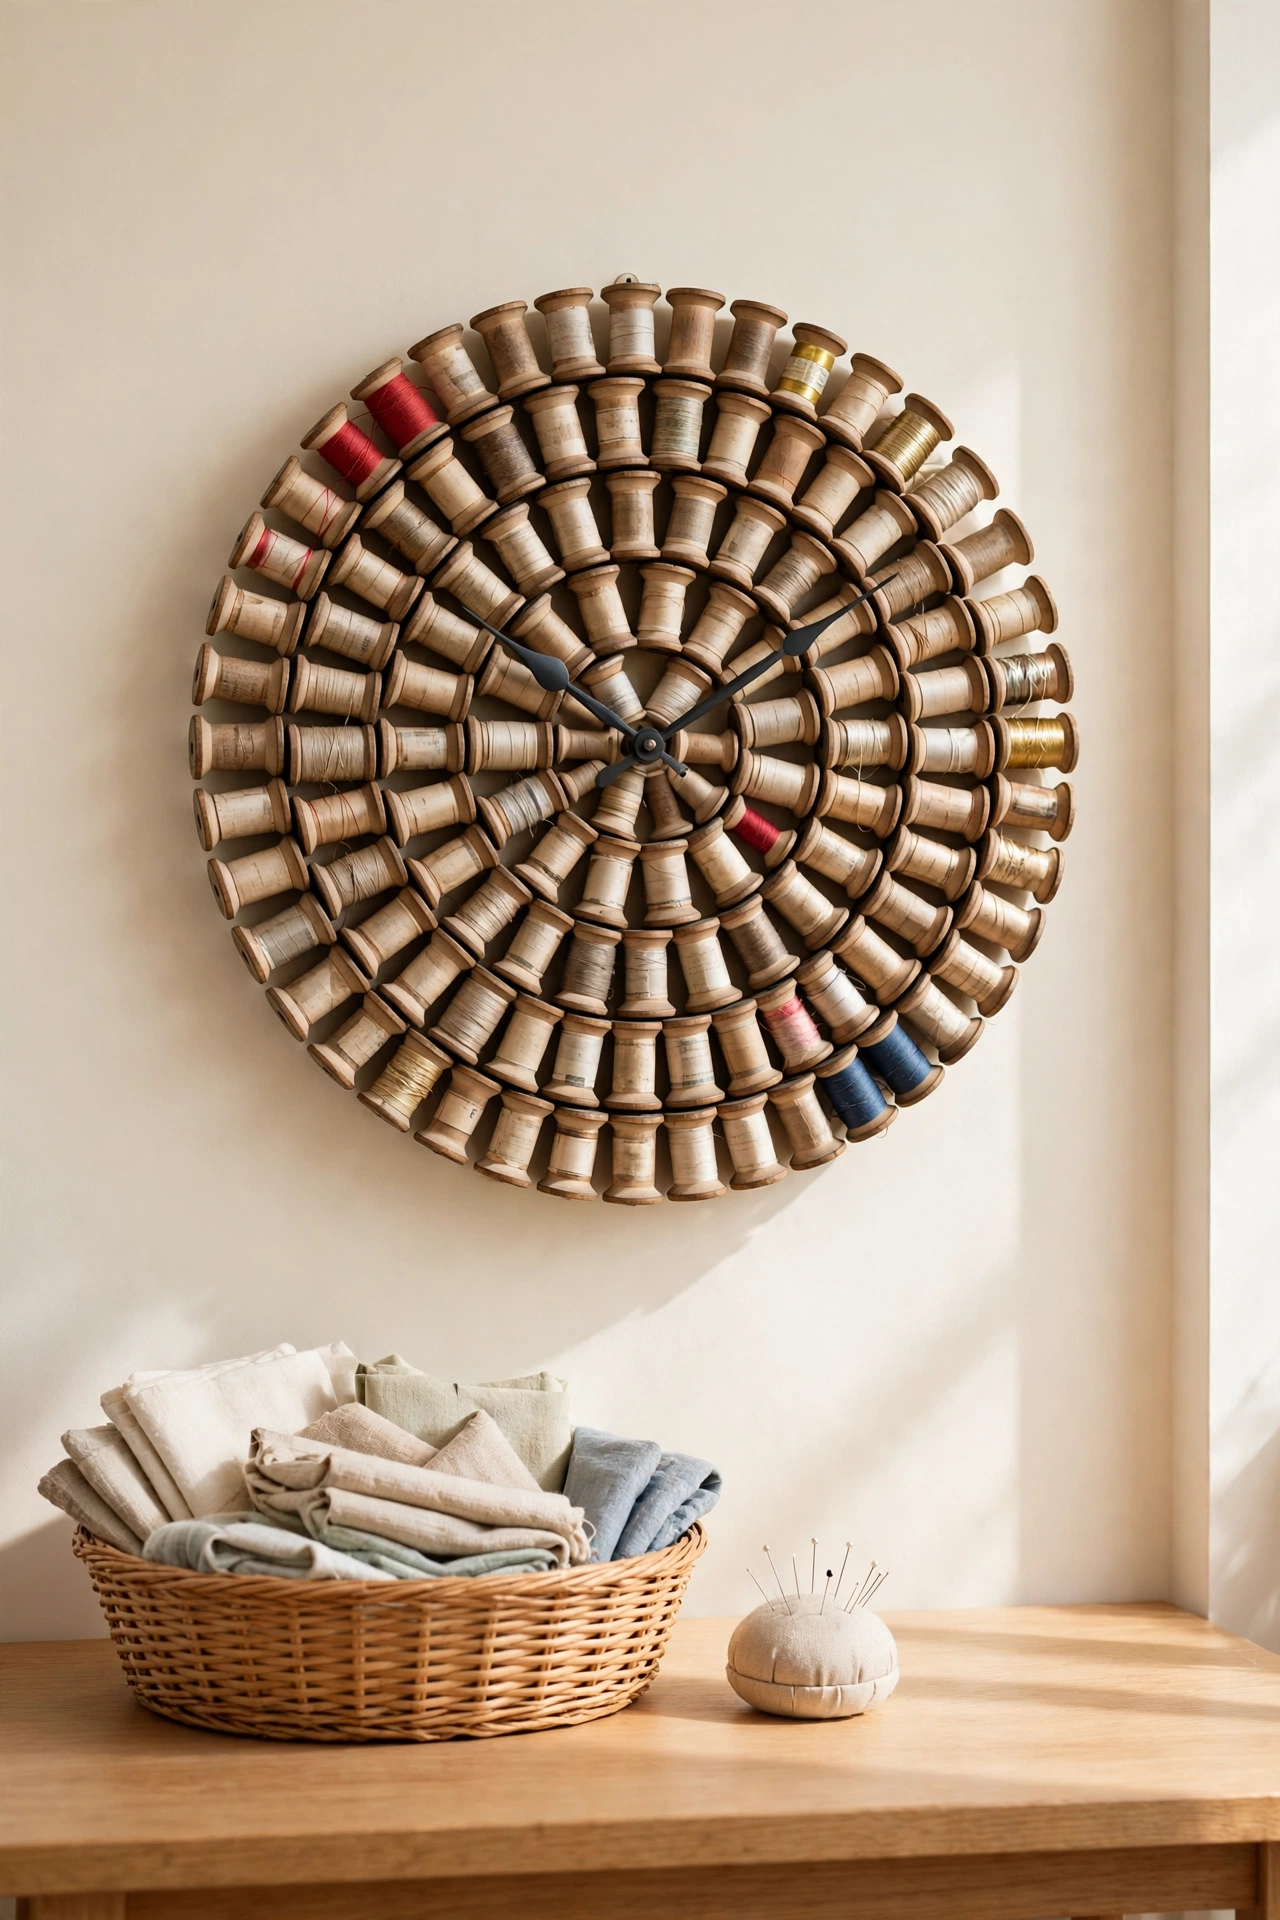
25. Stand Old Wooden Thread Spools Into a Clock
Old wooden thread spools with faded paper labels make a warm crafty clock face full of small round shapes. Remove any remaining thread, sand the spools lightly, and glue them standing upright in tight rings on a round base. The mix of spool sizes and pale wood tones gives the face a honeycomb texture that suits sewing rooms, craft corners, and cozy bedrooms.
Leave a few spools wrapped in colored thread for pops of red, blue, or gold, and use dark hands that contrast with the pale wood. A round of cork behind the spools adds grip and softness. This clock rescues sewing notions that would otherwise sit forgotten in a drawer.
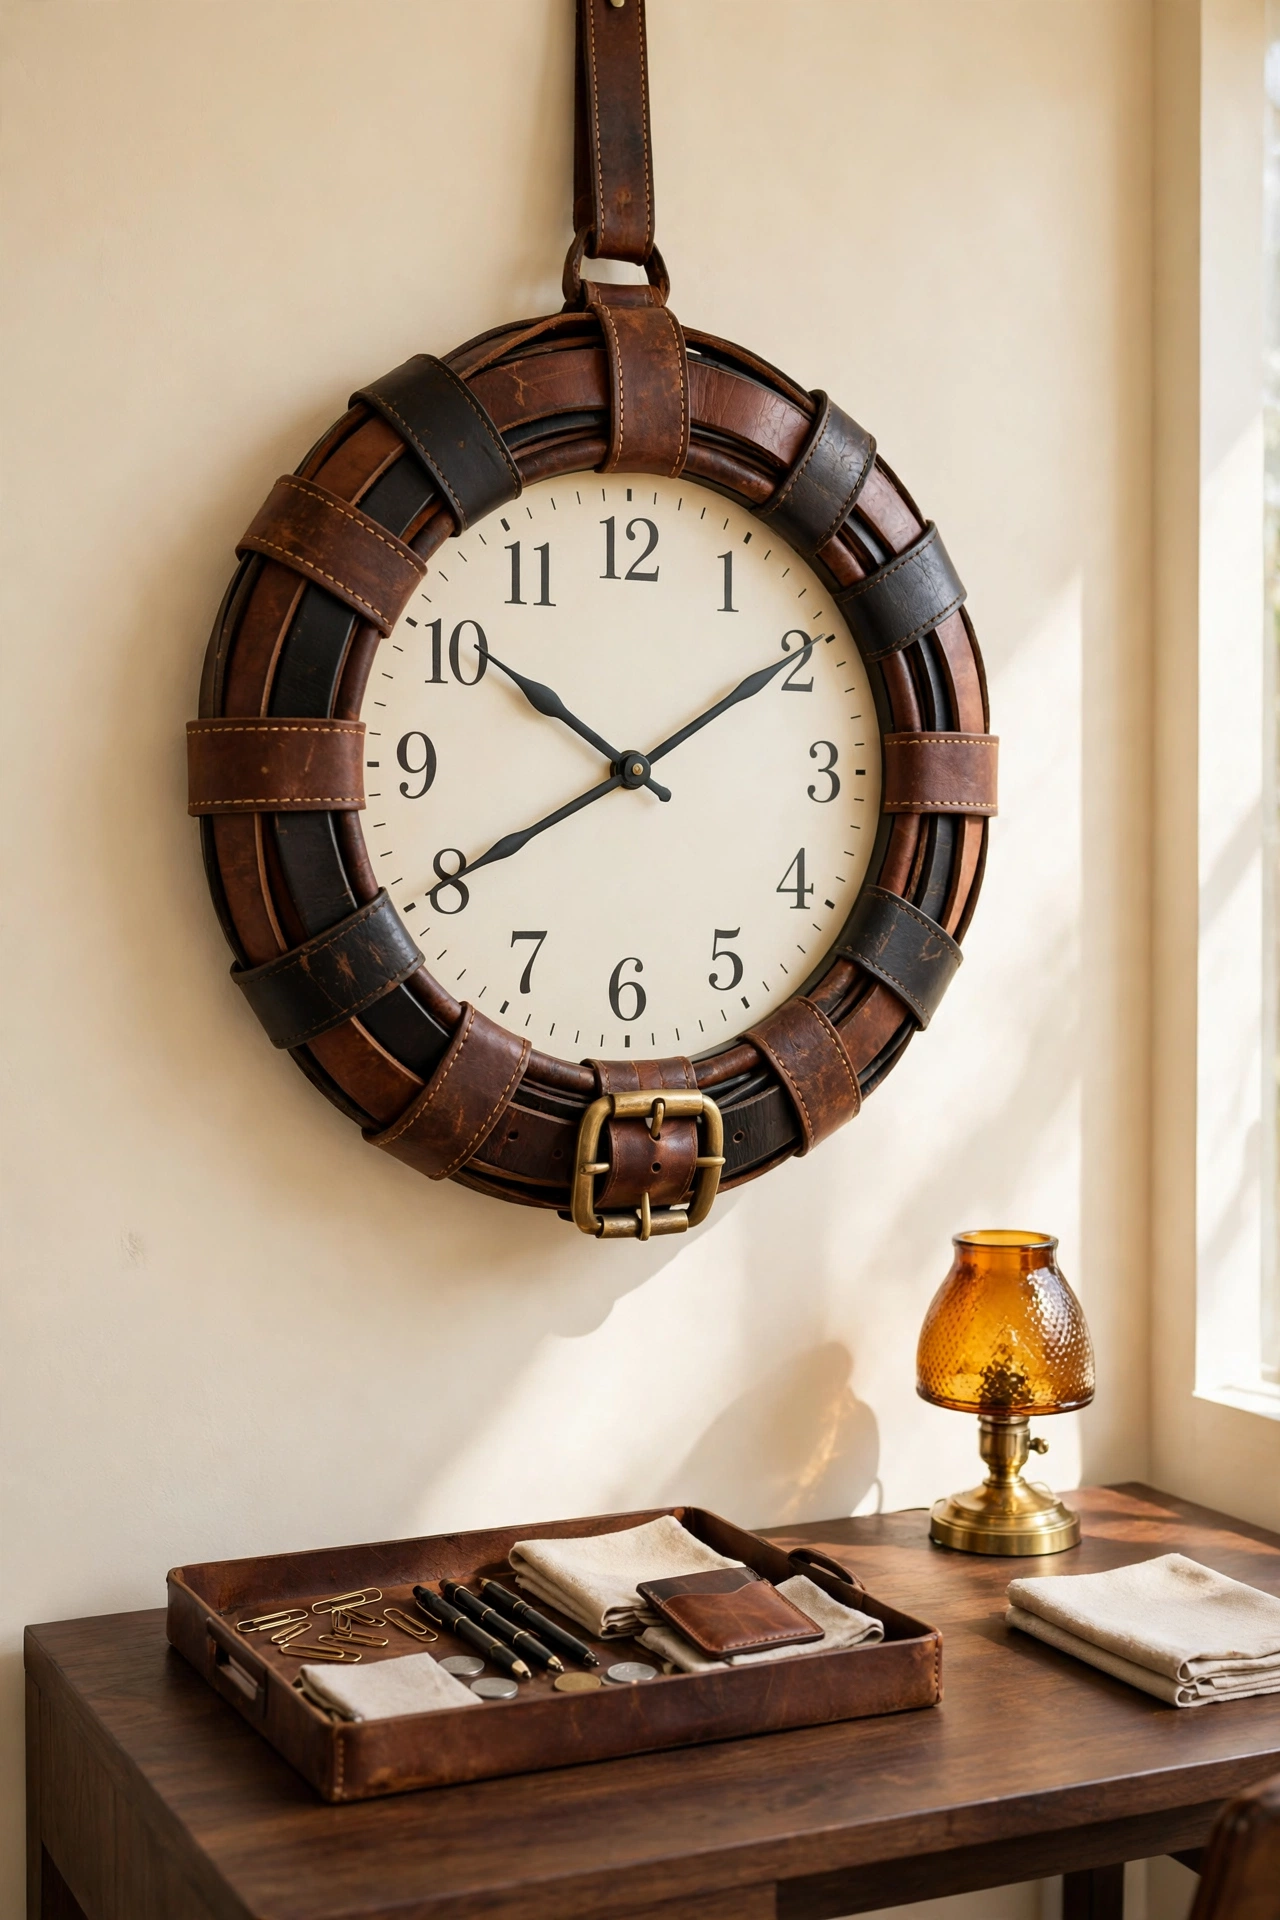
26. Wrap a Clock Frame in Old Leather Belts
Old leather belts too worn to wear can wrap a clock frame in rich brown and black tones with buckles and stitching for detail. Cut the belts into even strips, wrap them around a round wooden frame, and secure the ends at the back with strong glue and small tacks. The leather gives the clock a warm rugged edge that suits dens, offices, and rooms with wood and metal accents.
Keep one buckle visible at the top or bottom of the frame as a signature detail, and choose a simple cream or wood face so the leather border stays the focus. Condition the leather lightly before wrapping so it bends without cracking. This clock turns closet castoffs into a handsome masculine accent.
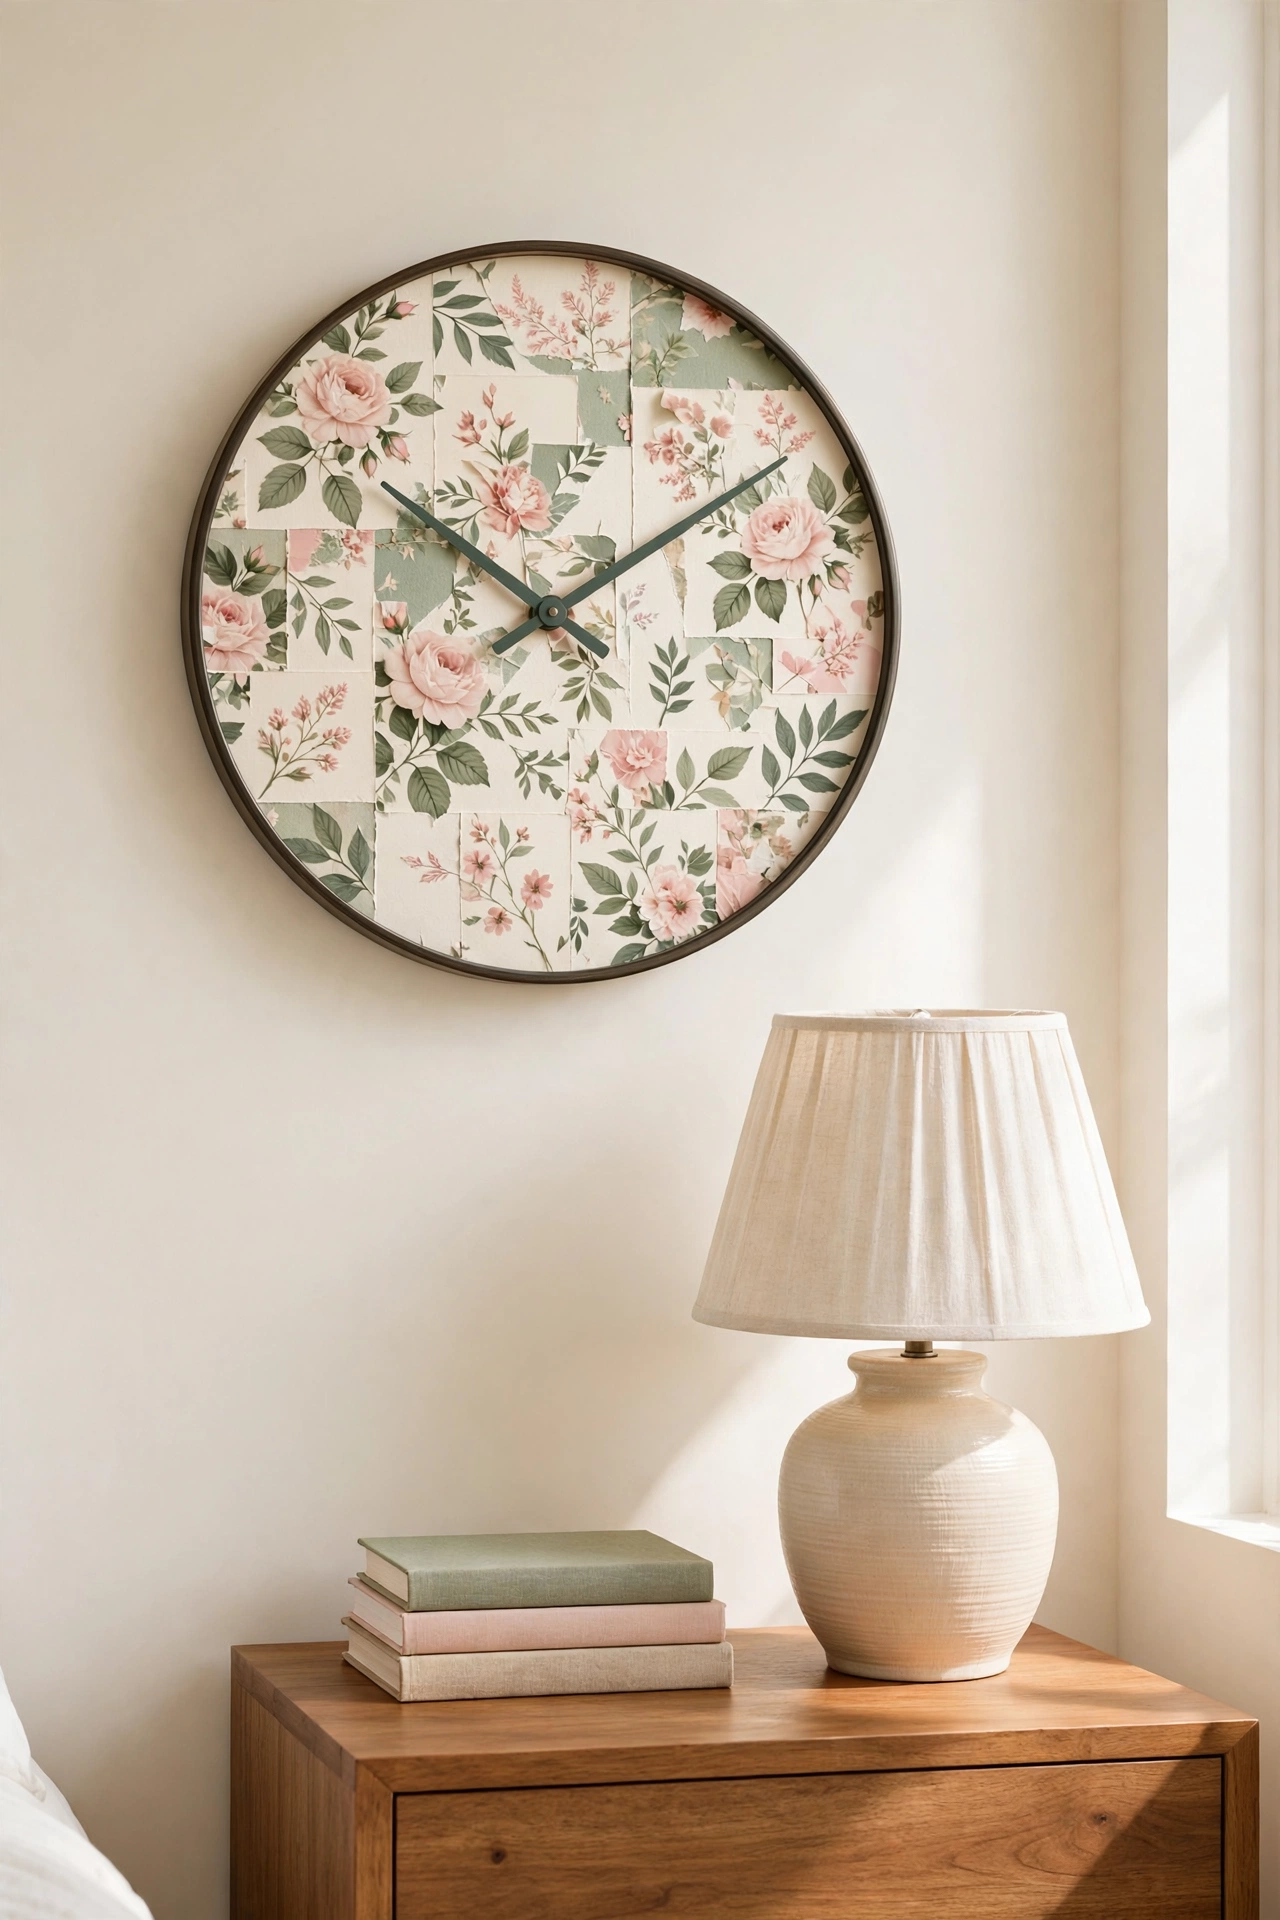
27. Paper a Clock With Leftover Wallpaper Scraps
Leftover wallpaper scraps from a past project can cover a clock face in pattern and color at no extra cost. Cut the scraps to fit a round base, match the pattern at the seams if the design repeats, and glue them down smoothly with wallpaper paste or decoupage glue. A bold floral or geometric print turns the clock into a small framed artwork that echoes the room it hangs in.
Use scraps from the same roll for a seamless look, or patch several prints together for an eclectic collage. Seal the face with a clear coat to protect the paper, and choose hands in a color pulled from the print. This is the fastest clock project on the list, and it uses up rolls that would otherwise gather dust.
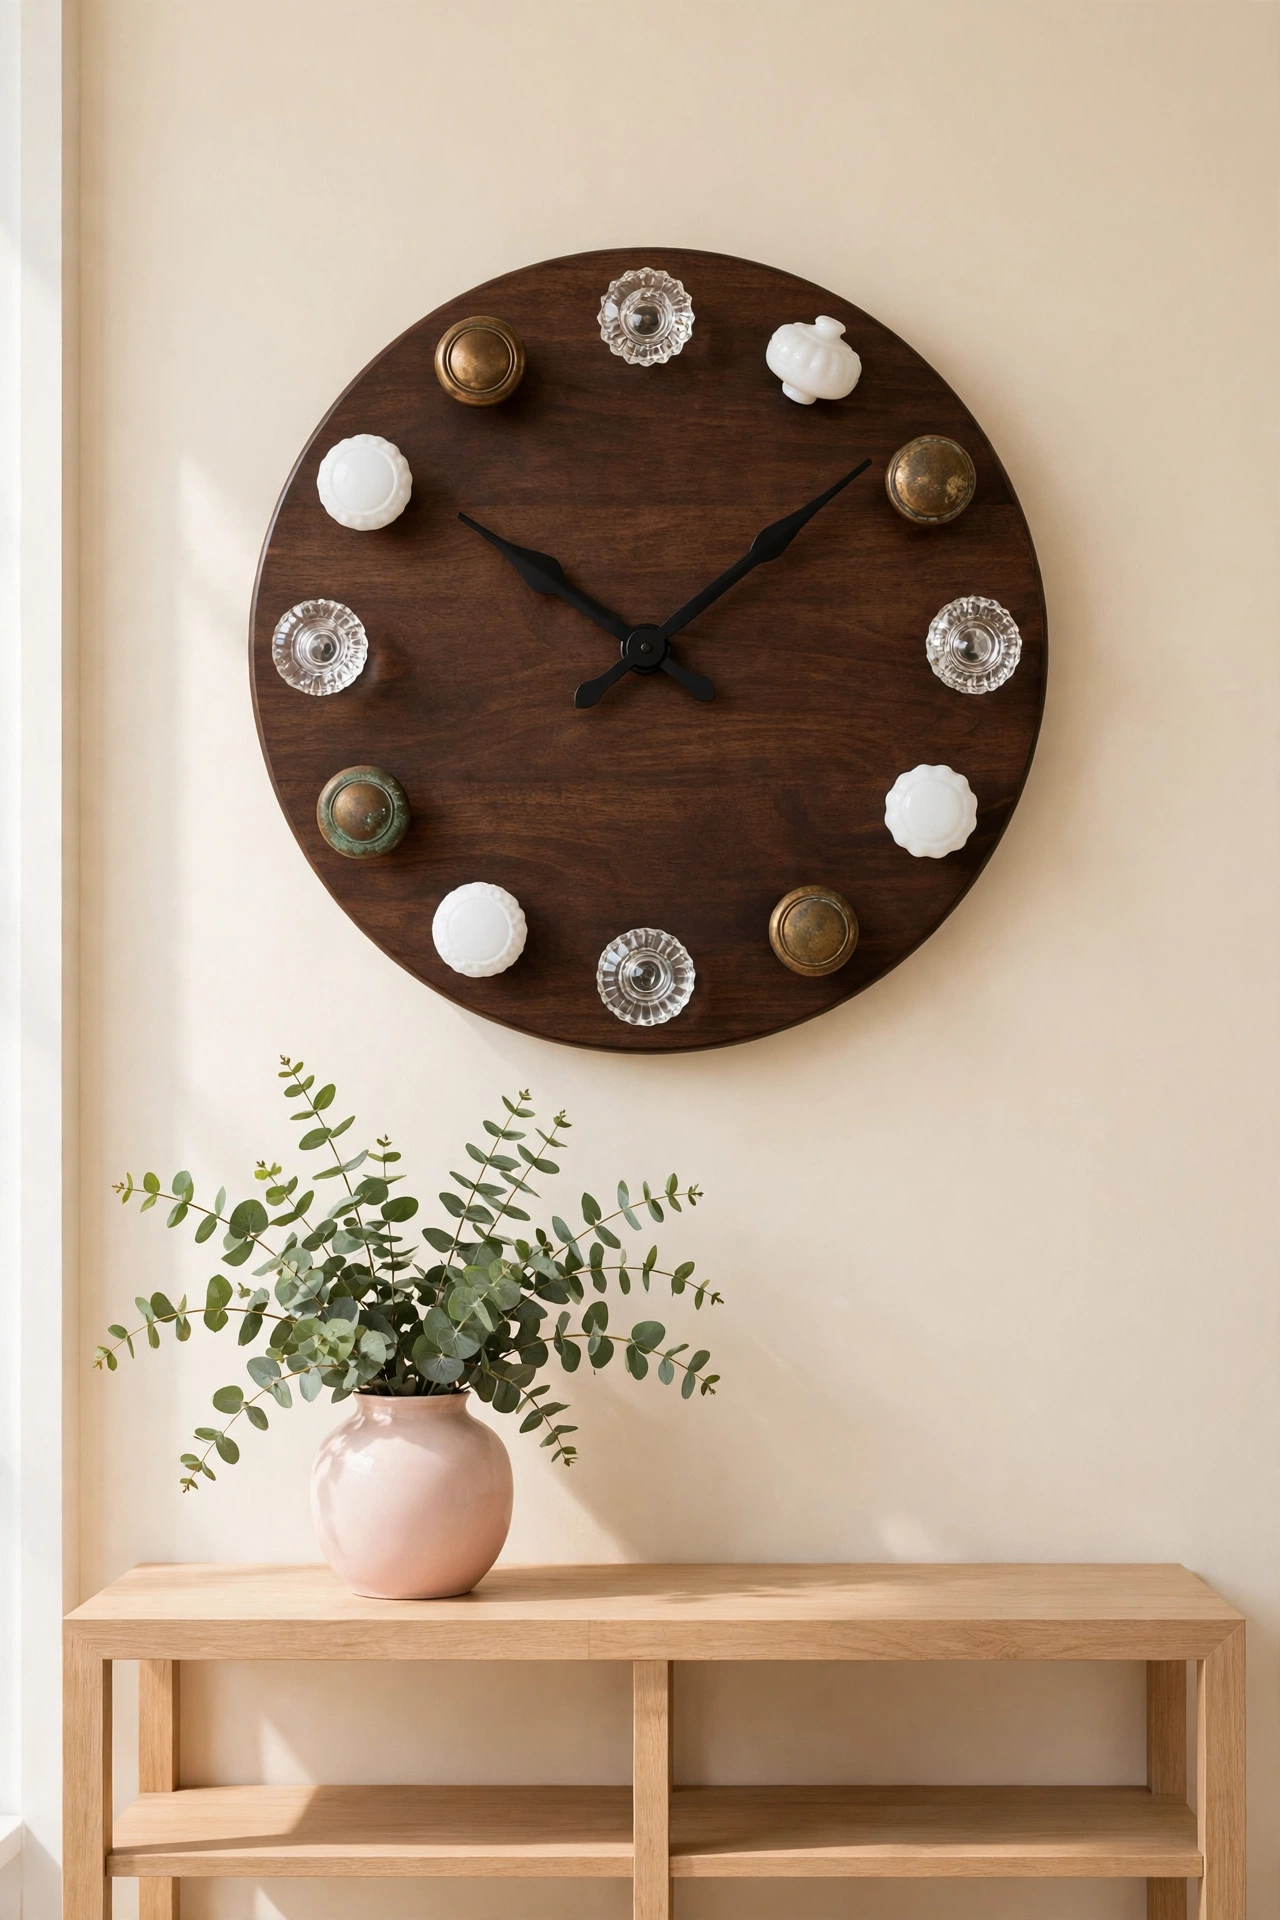
28. Mark the Hours With Salvaged Door Knobs
Salvaged door knobs in glass, porcelain, and brass make glamorous hour markers with real weight and shine. Mount twelve knobs in a circle on a round wooden base, spacing them evenly and securing each one with its original screw through the back. The mix of crystal, milk glass, and aged brass catches the light from every angle.
Choose knobs in a shared finish for a polished look, or mix materials for a collected vintage feel. A dark stained or painted base makes glass knobs glow, while a cream base suits porcelain. Use bold dark hands, and hang the clock with strong anchors since the knobs add weight.
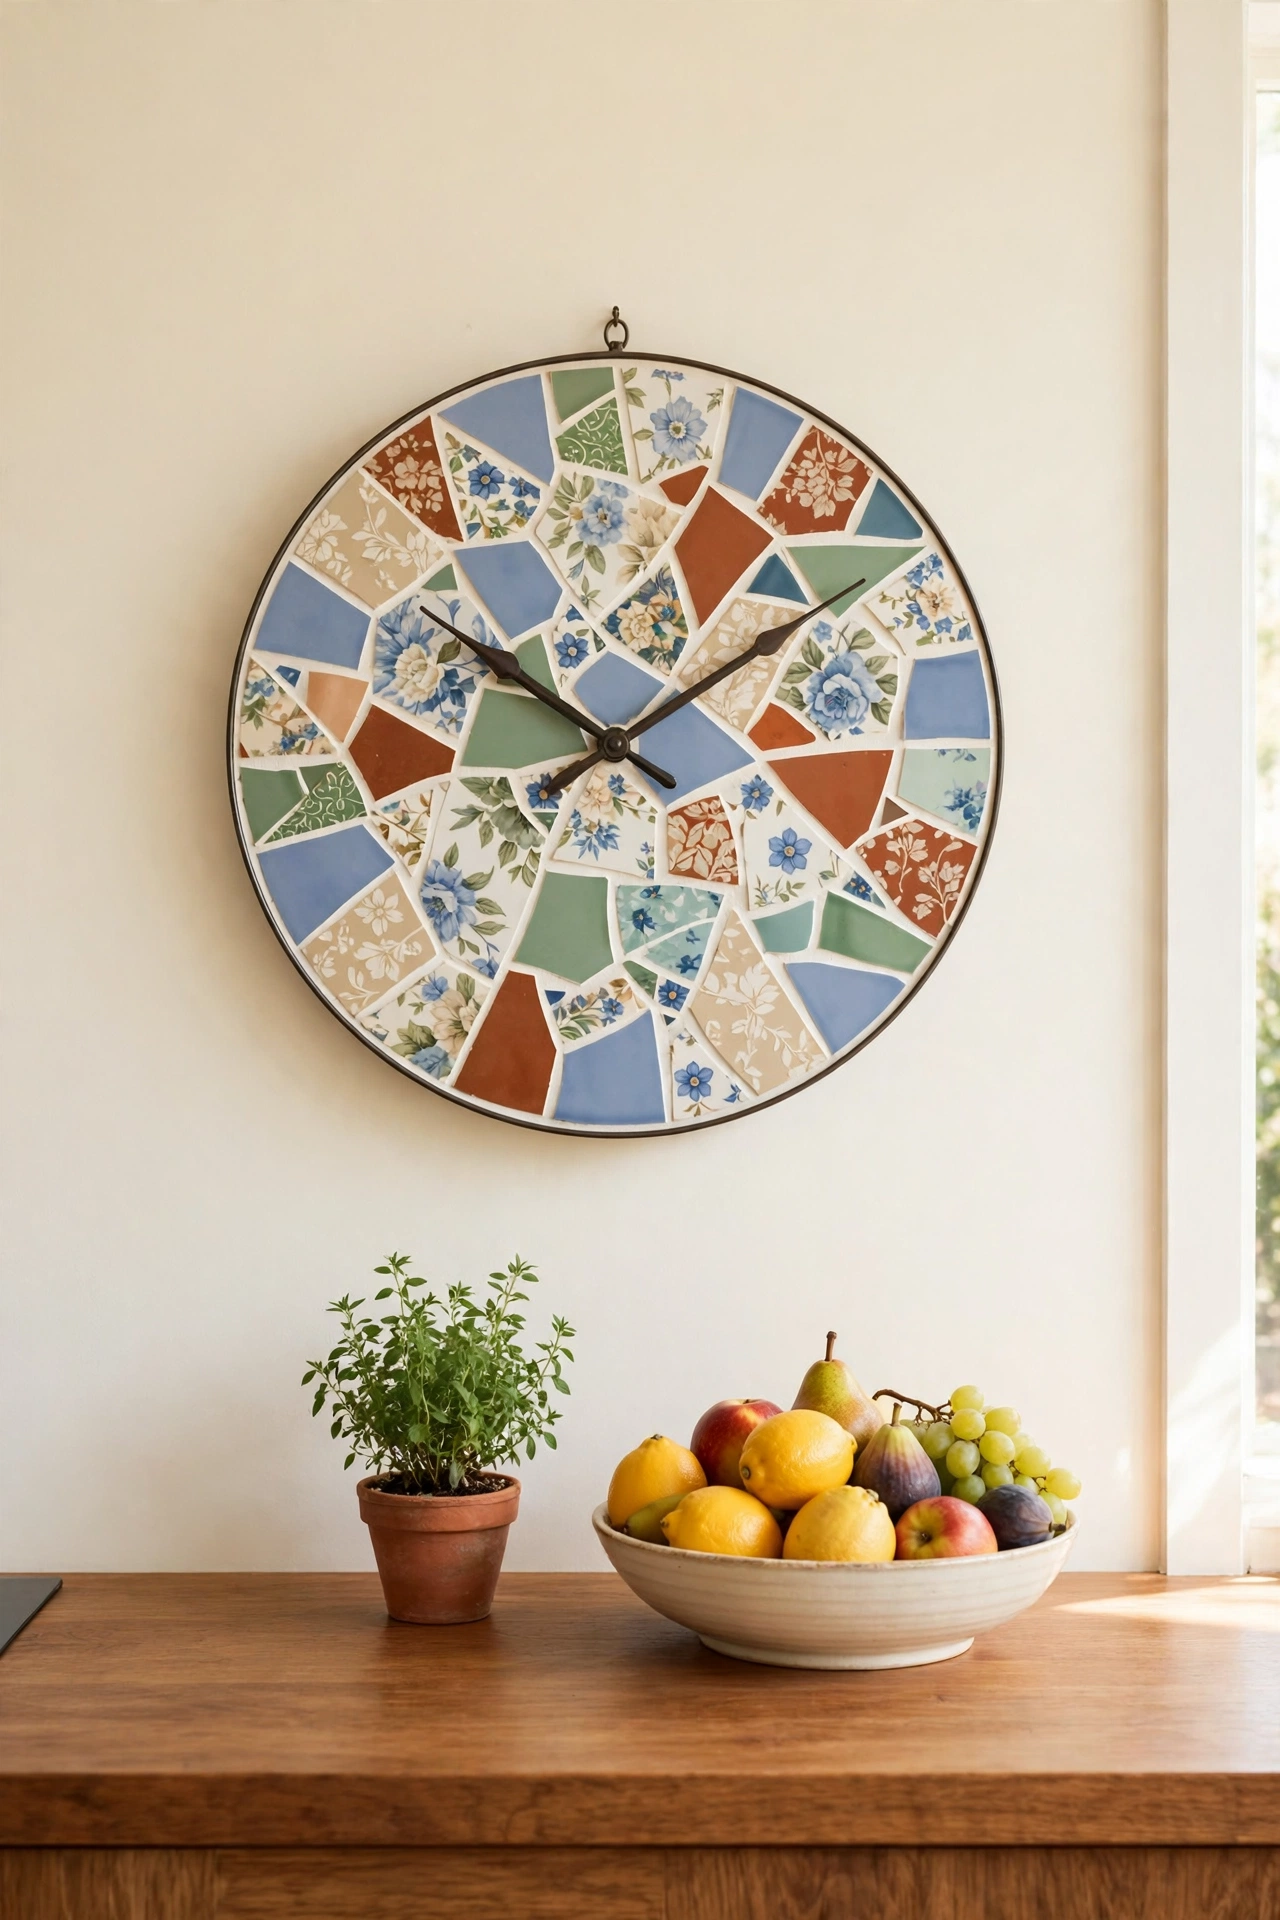
29. Mosaic a Clock From Broken China Pieces
Broken china too chipped to use can be carefully broken into small pieces and set into a mosaic clock face full of color and pattern. Arrange the shards on a round base with small gaps between them, glue each piece firmly, and grout the gaps with white or gray grout for a finished tile look. The mix of floral and solid pieces creates a one of a kind face that suits kitchens, patios, and eclectic rooms.
Wear gloves and safety glasses when you break the china, and sand any razor sharp edges before you set the pieces. For more dimensional wall pieces built from humble supplies, these diy 3d wall art ideas show how layered materials add depth to flat walls. Seal the grout so the finished clock wipes clean.
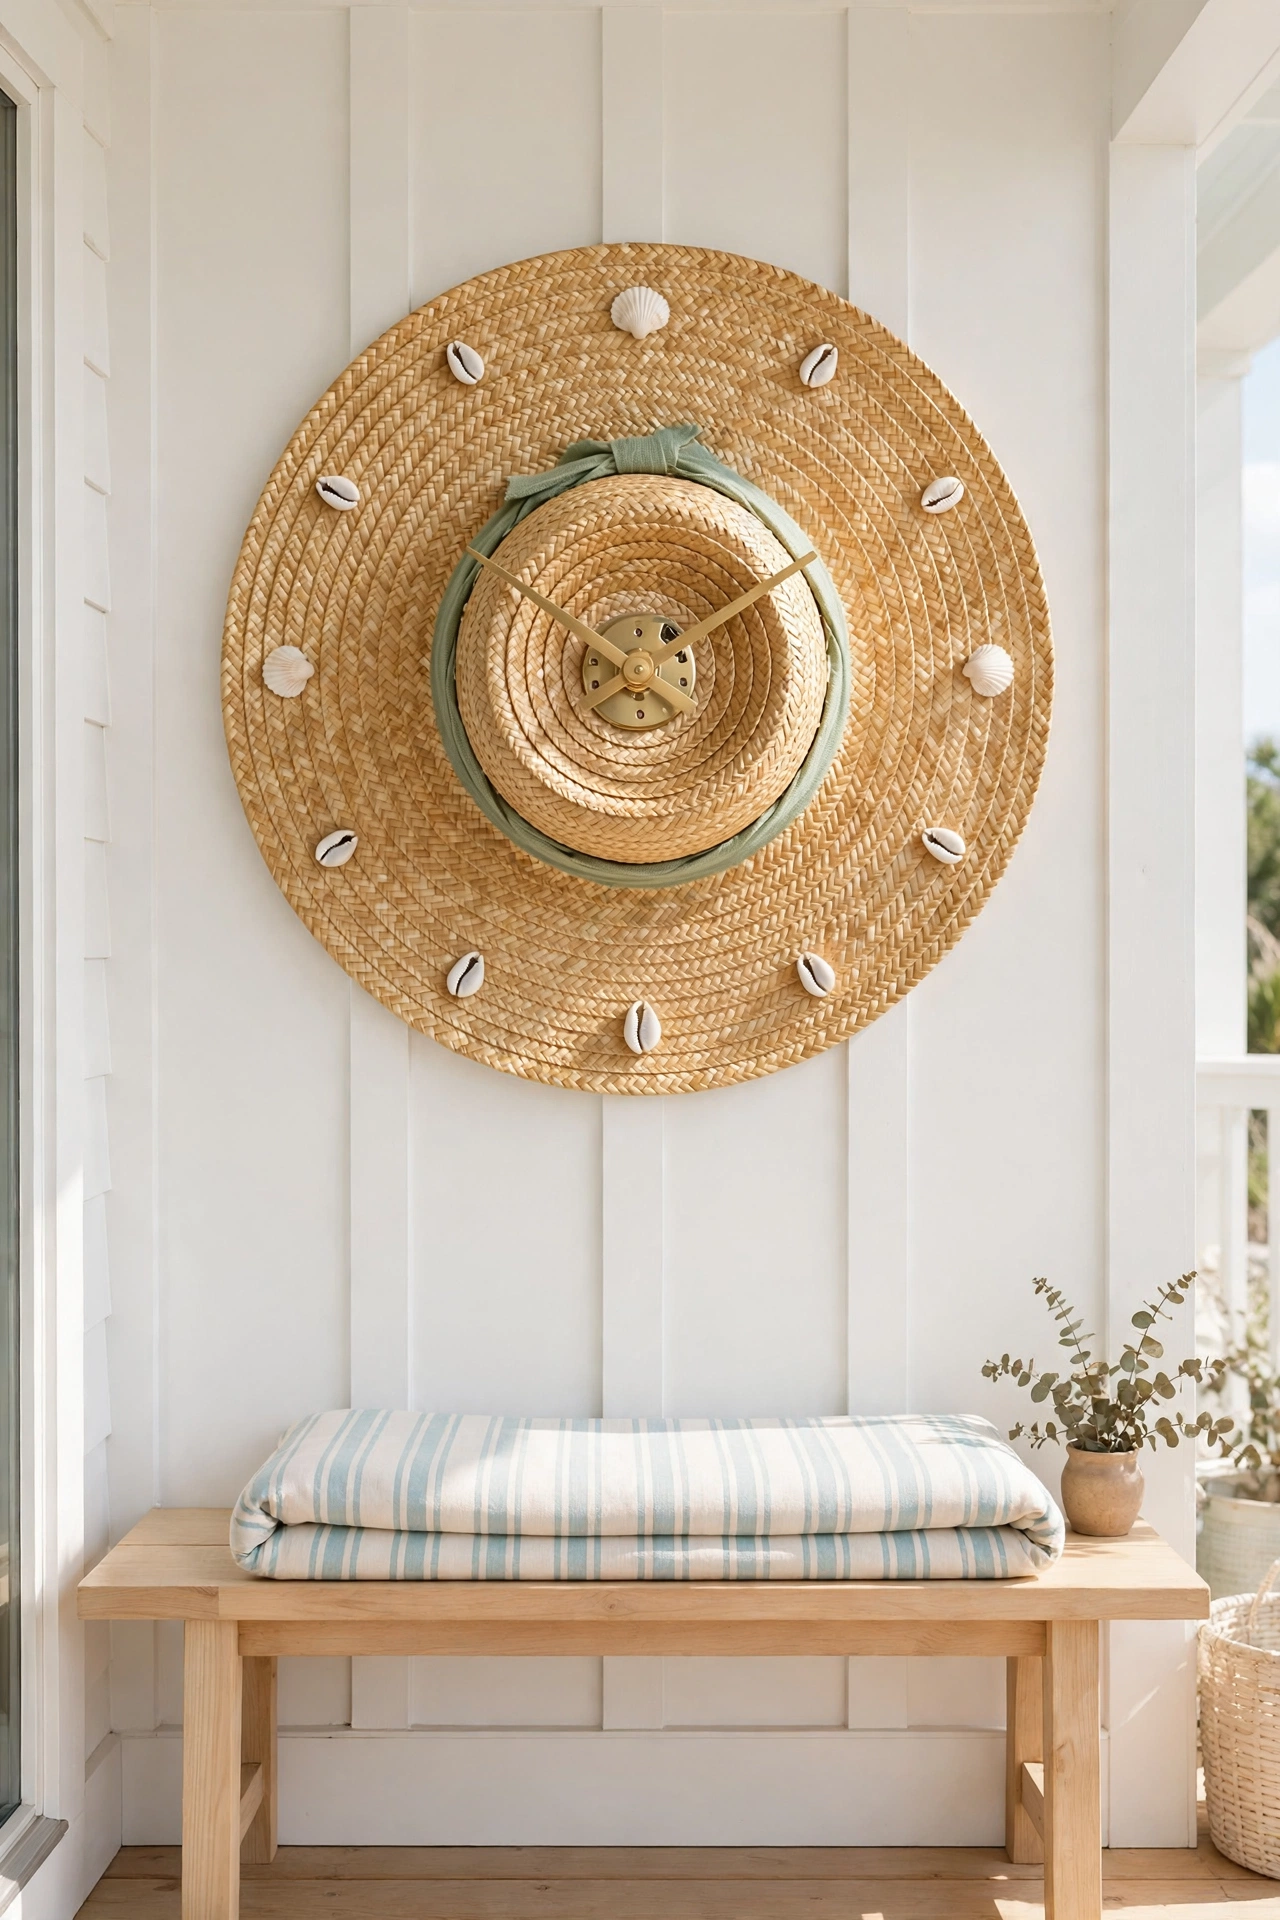
30. Crown a Clock With a Woven Straw Hat
A woven straw hat with a wide flat brim makes a sunny summery clock face with natural texture built right in. Flatten the crown gently or remove it, mount a clock movement through the center of the crown, and use small painted dots or shells on the brim as hour markers. The golden straw tones suit porches, sunrooms, and coastal bedrooms.
Choose a hat with tight even weaving so the face looks tidy, and add a ribbon band around the crown in a color that matches the room. This clock is light enough to hang from a single nail, and it brings a relaxed holiday feeling to the wall all year long.
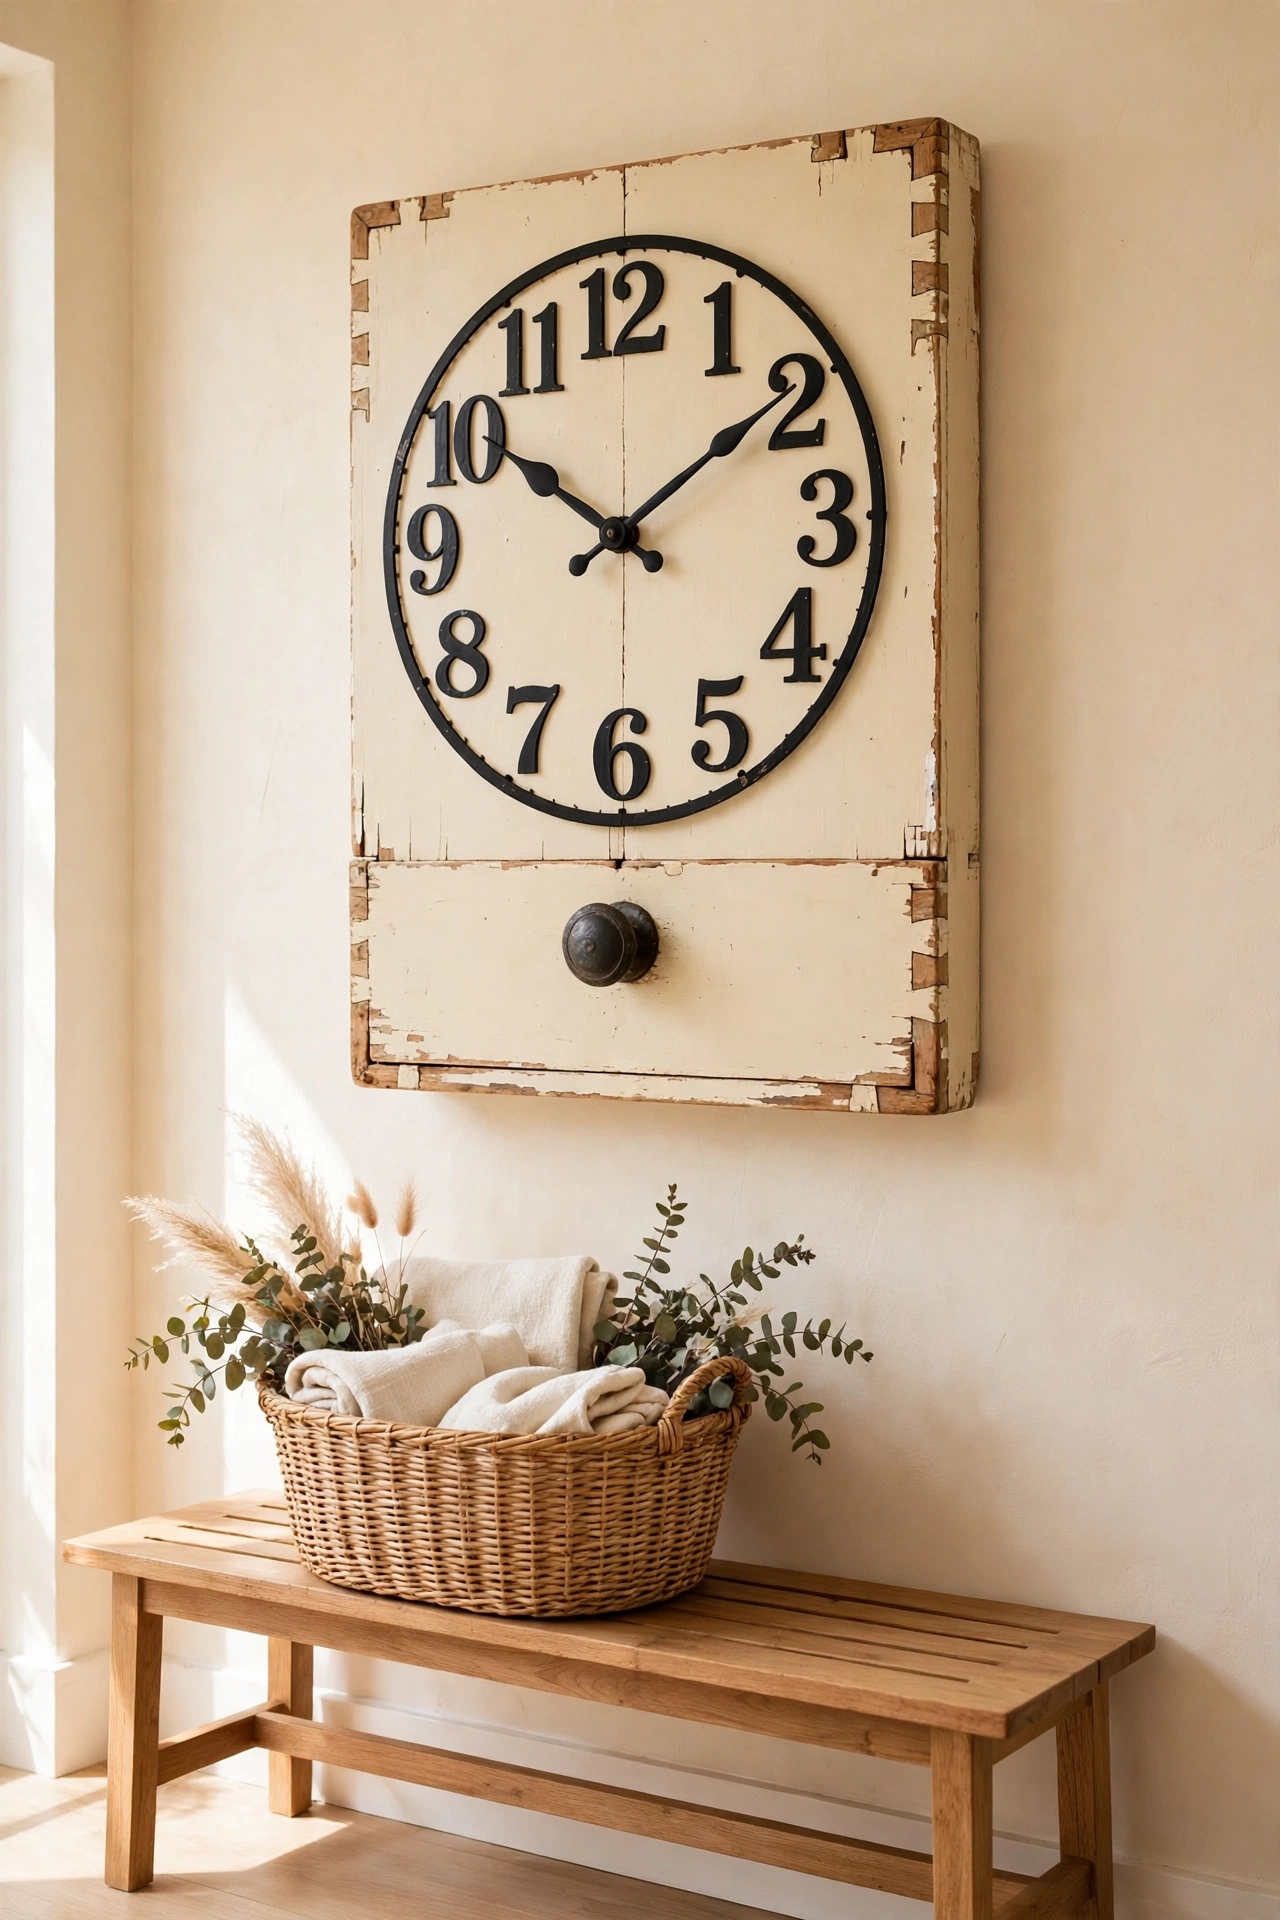
31. Mount a Clock on an Old Drawer Front
An old drawer front with a knob or pull already in place makes a ready made rectangular clock with farmhouse charm. Clean the drawer front, keep the original hardware as a decorative detail at the bottom, and mount a clock movement through the center of the panel. The dovetail corners, worn paint, and old knob give the clock a salvaged furniture look that suits kitchens, entryways, and mudrooms.
Paint large numbers directly on the wood or use small metal house numbers as hour markers for an industrial touch. A drawer front from a dresser or kitchen cabinet is sturdy enough to hold the movement without flexing. Hang it with two screws through the back panel for a secure level mount.
Conclusion
A wall clock made from recycled materials does more than tell time. It saves a rescued object from the trash, it adds a story to your wall, and it proves that beautiful decor does not need a big budget. From vinyl records and pallet boards to corks, buttons, and broken china, every material on this list is waiting in a closet, a garage, or a thrift store shelf.
Pick one idea that matches a material you already own, gather a simple clock movement, and start building this weekend. The first clock you make will likely not be the last, because handmade clocks make thoughtful gifts and every room can use one. Your wall is ready for a clock with a past and a personality.
Frequently Asked Questions About DIY Decorative Wall Clock Ideas Using Recycled Materials
What type of clock movement works best for a handmade wall clock?
A standard quartz clock movement with a shaft long enough to pass through your base works for most projects. Measure the thickness of your base before you buy, and choose a movement with a shaft at least a quarter inch longer than the base. High torque movements suit large or heavy hands, while standard movements suit light hands on small faces.
How do I drill a center hole through a ceramic plate without breaking it?
Use a diamond tipped drill bit made for glass and tile, and keep the plate cool with a slow stream of water while you drill. Start at a slow speed with light pressure, and place the plate on a folded towel for support. Patience matters more than force, so let the bit cut slowly through the glaze and the ceramic body.
Where can I find recycled materials for clock projects?
Thrift stores, flea markets, salvage yards, and garage sales are rich sources of old records, tins, plates, and wood. Ask friends and family for items headed to donation bins, and check your own closets, garage, and craft supplies first. Online marketplaces often list free pallets, old windows, and furniture parts for pickup.
How do I hang a heavy handmade clock safely?
Use wall anchors rated for the weight of the finished clock, and drive at least one screw into a wall stud when the clock weighs more than a few pounds. For clocks made from china, glass knobs, or thick wood, use two mounting points to keep the clock level and secure. Test the mount by pressing gently on the clock before you walk away.
Can I make a wall clock without any power tools?
Yes, many ideas on this list need only glue, a screwdriver, and a hand drill or awl. Vinyl records, fabric covered bases, and tin lid clocks can be assembled with a simple hand drill for the center hole. Choose a light base and a standard movement, and you can finish the whole project on a kitchen table.

Hi, I’m Emily! I turn messy corners into cozy, organized spots. DreamNestDecor is where I share simple, practical home ideas — decor, organization, and small-space solutions that work in real life, not just in photos. Every idea here is carefully researched before it’s shared.